Maker Crate is a monthly craft box from KiwiCo, which provides makers and crafters ages 14 to 104 with projects that introduce new craft techniques and design tools. Each box will include materials and tools for the project plus a booklet that shares the real-world applications and the history behind each art form or design. They also promise that the end product for each project is always fun and functional. Some of the skills you can learn through this subscription may include paper marbling, metal sculpture, dip-dye painting, macrame, loom knitting, hand lettering, embroidery, and more. The subscription is $24.95 a month, with free shipping in the US. KiwiCo’s Maker Crate was voted as the best craft & DIY box for 2021 and the best subscription box for teens.
DEAL: Save 30% on your first month! No coupon code needed, just use this link to subscribe! (also valid on the other KiwiCo family subscriptions Kiwi Crate, Koala Crate, Panda Crate, Atlas Crate, Doodle Crate, Tinker Crate, and Eureka Crate).
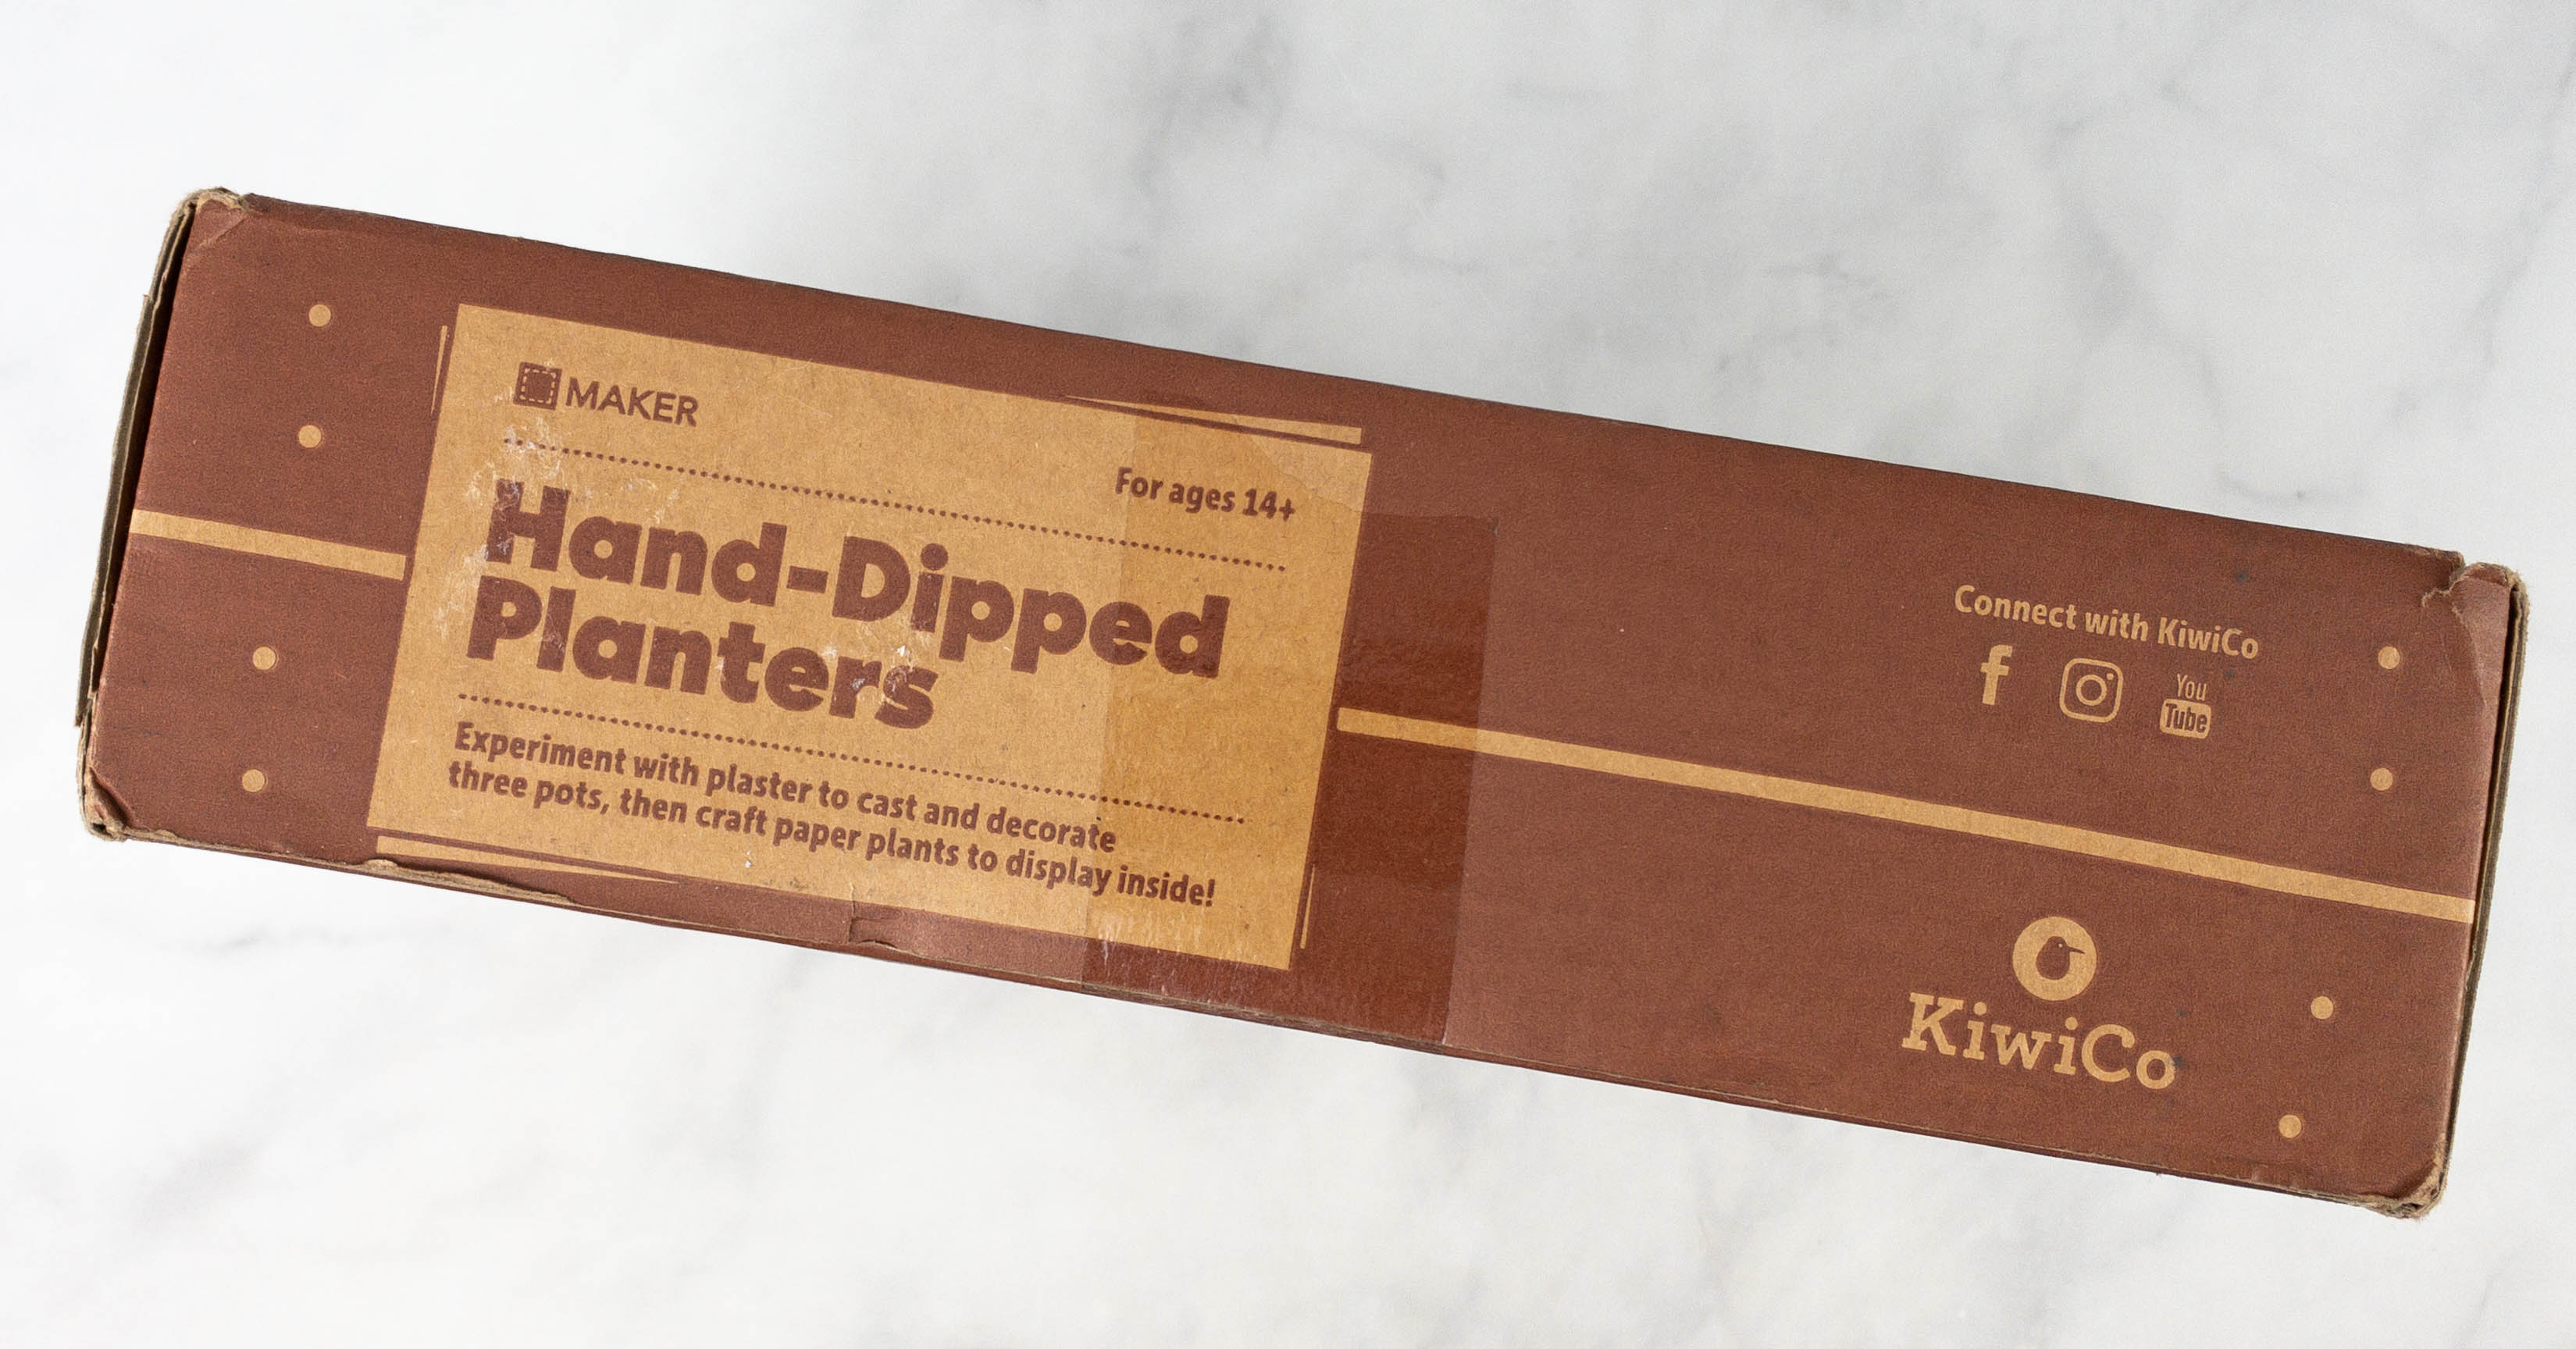
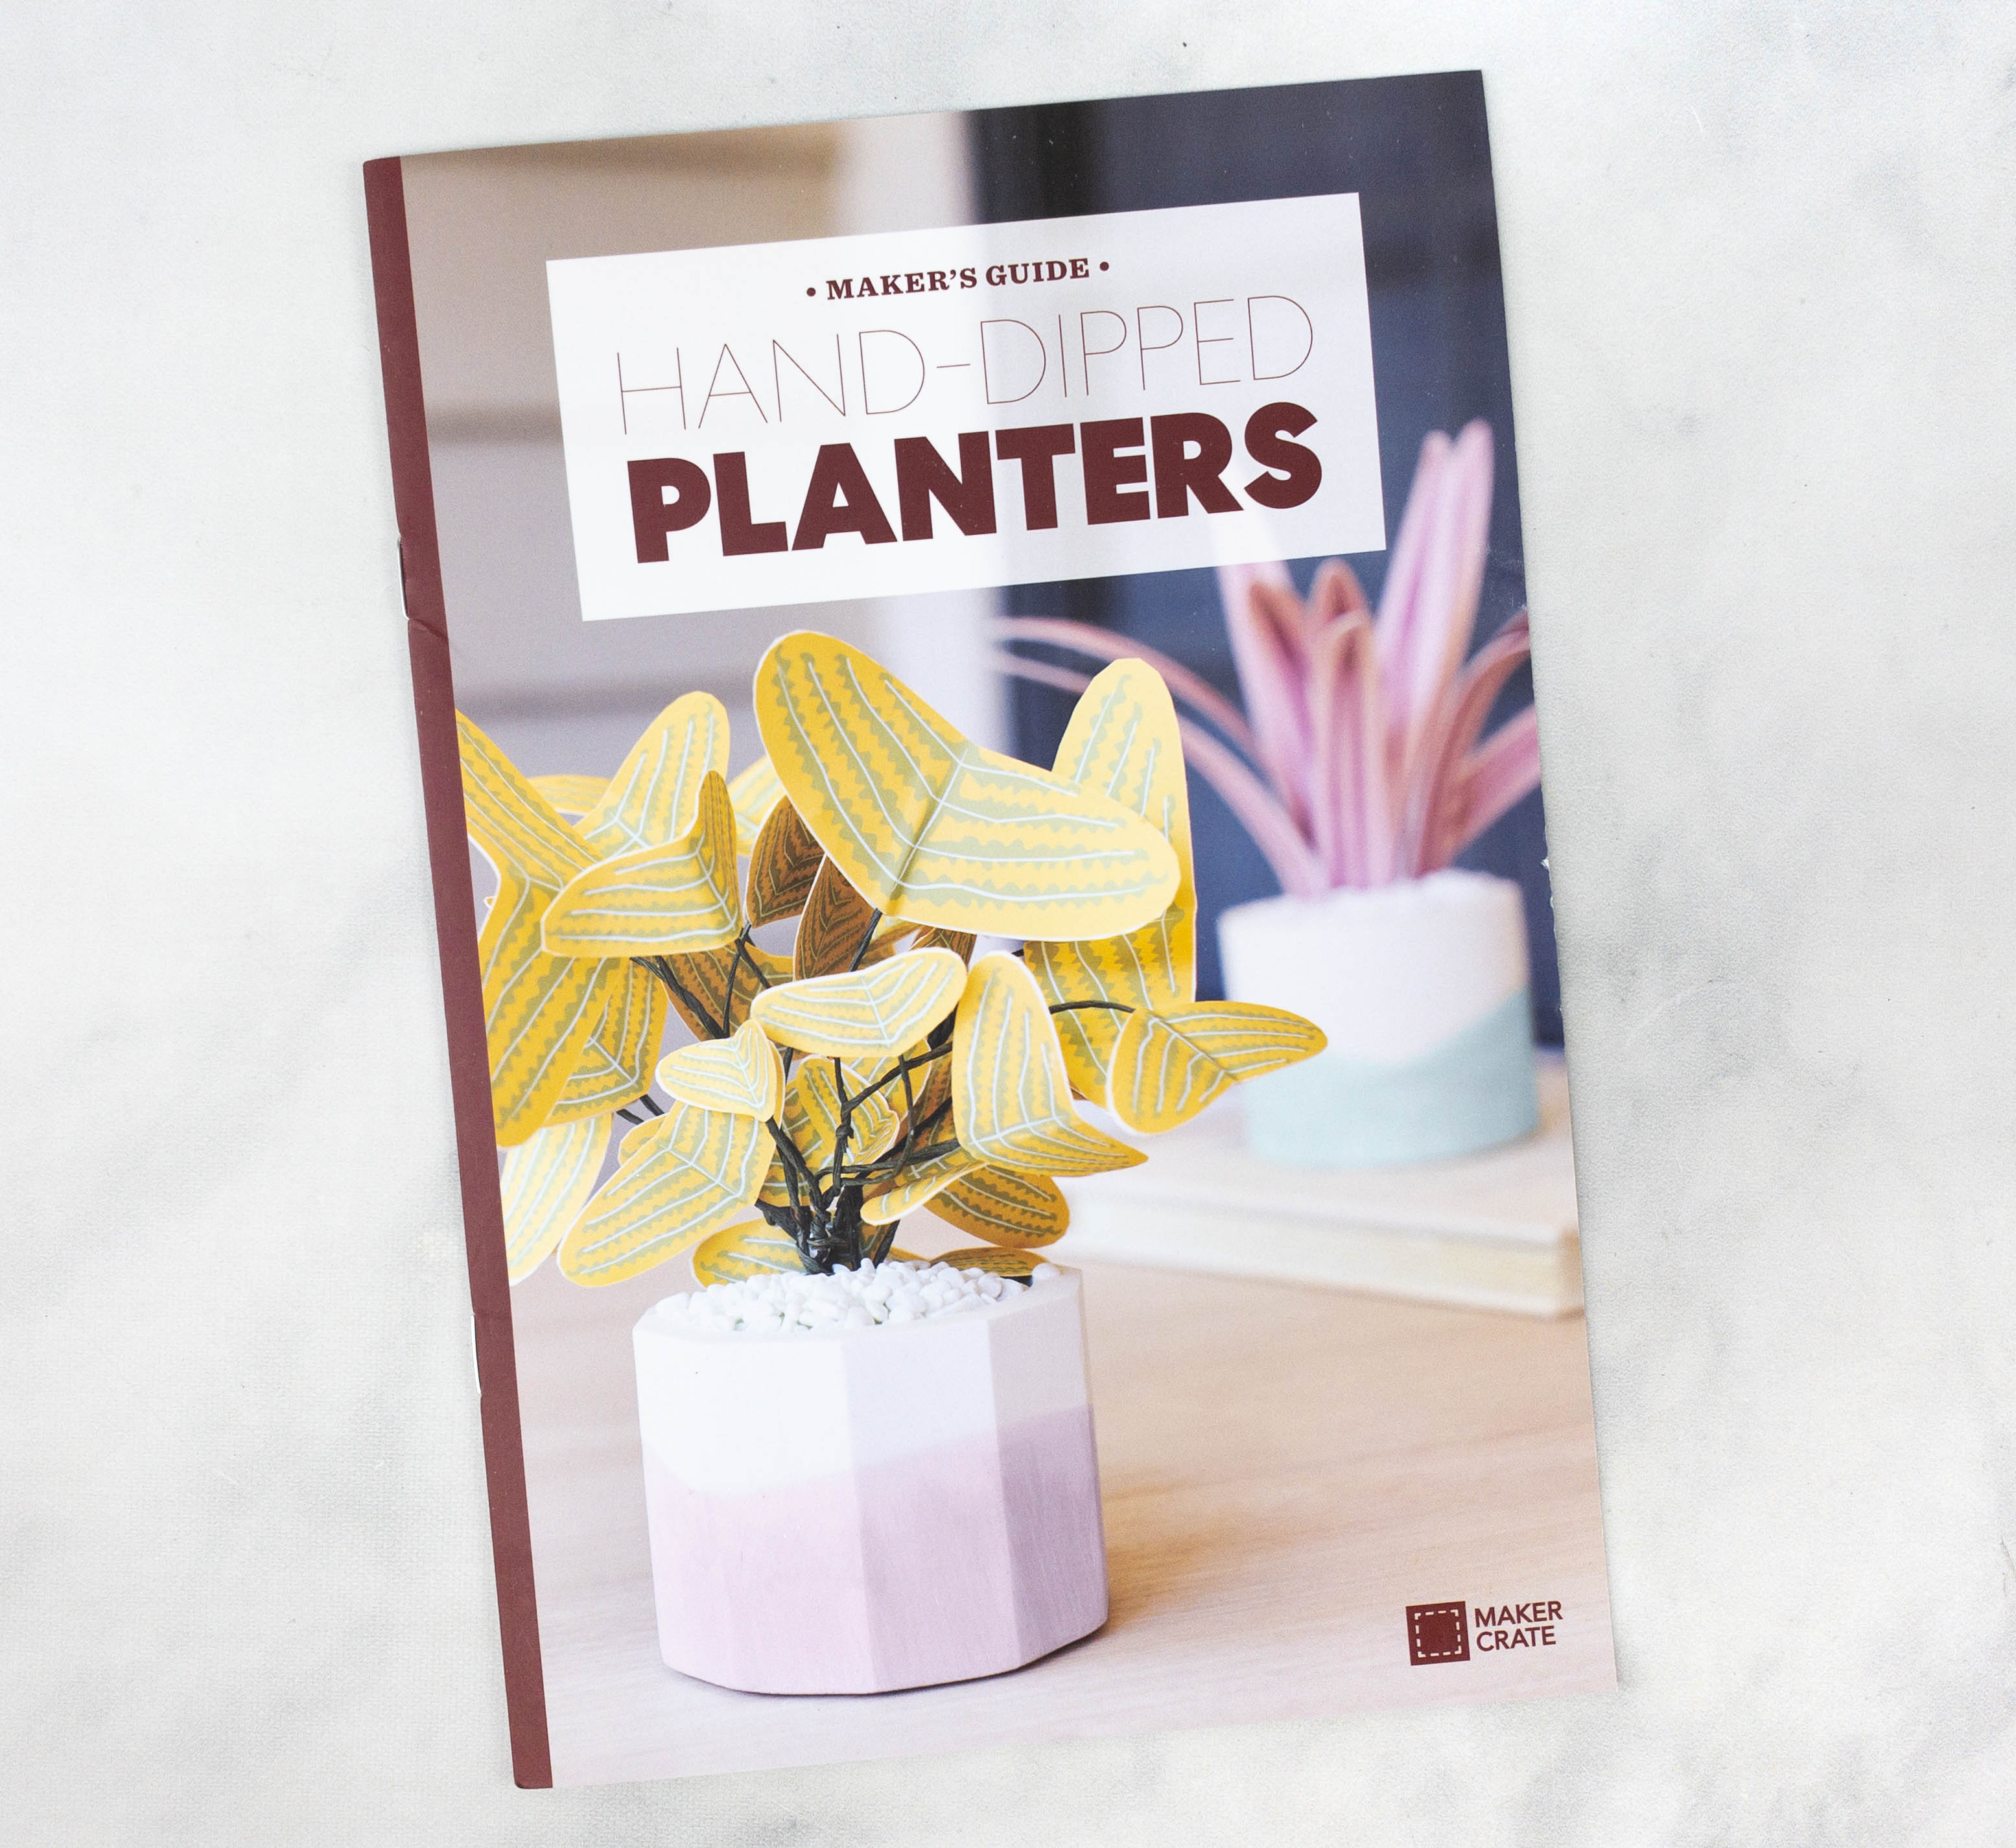
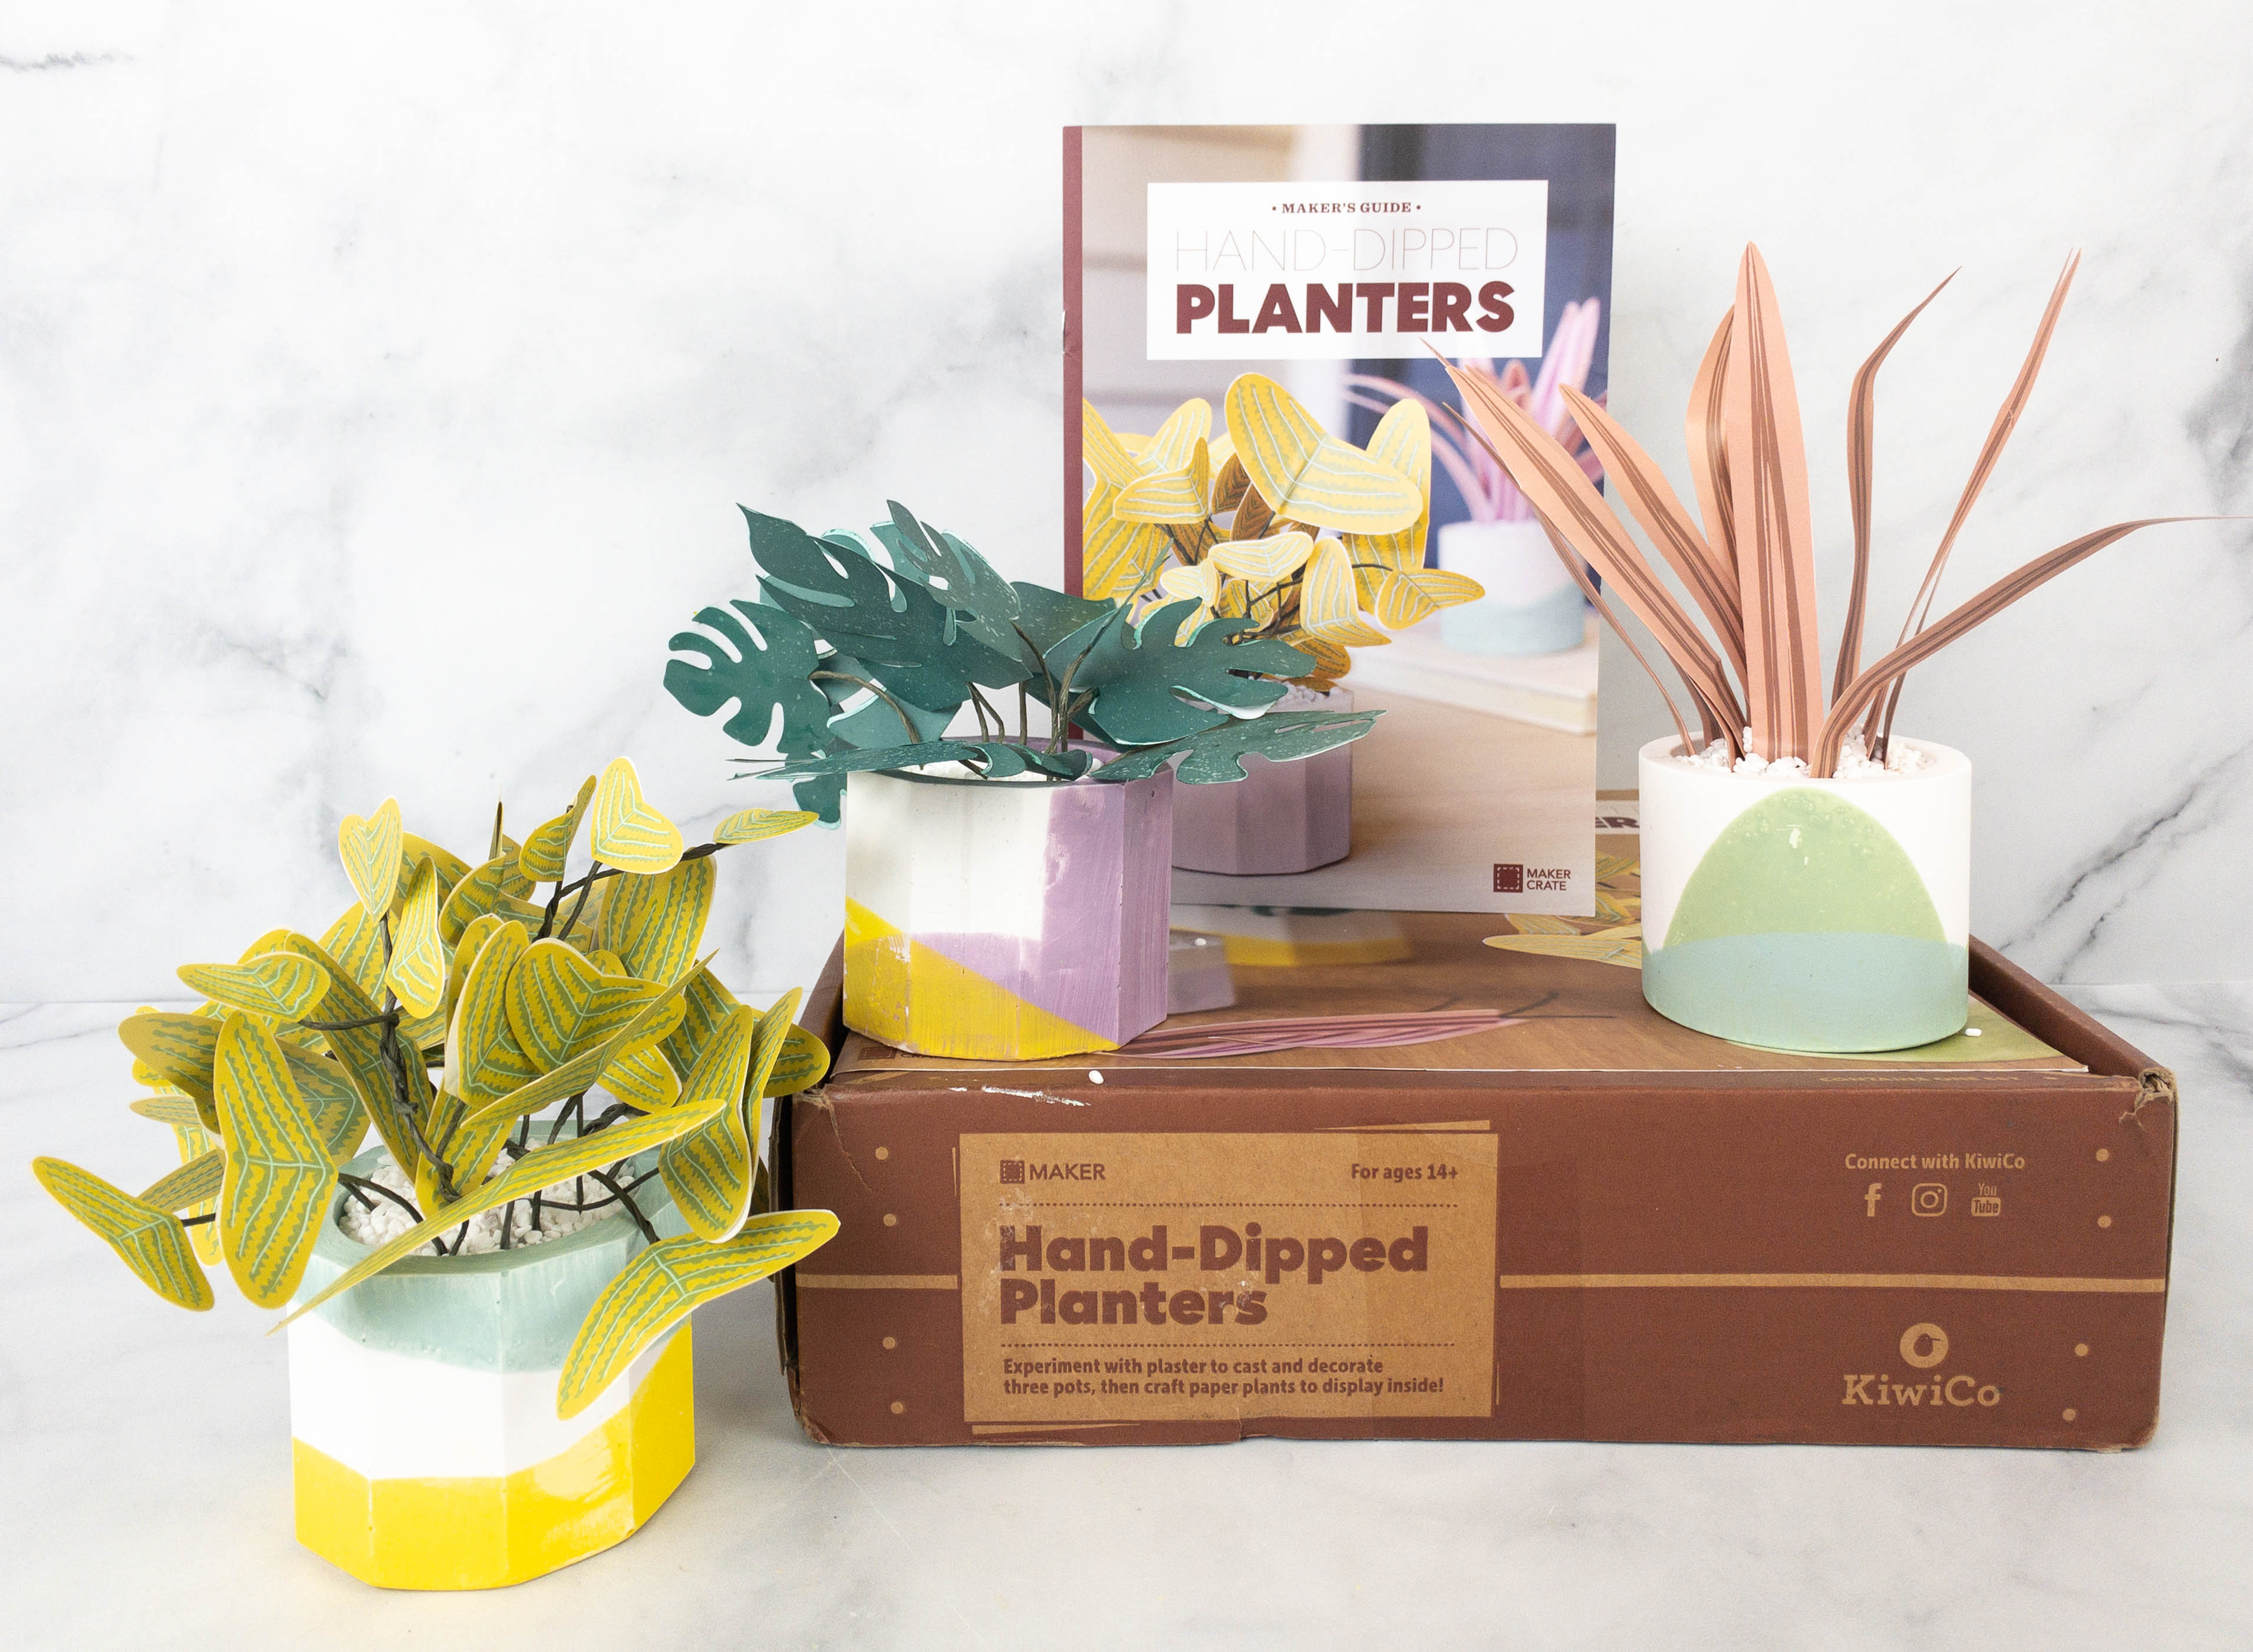
This month’s project is Hand-Dipped Planters!
Experiment with plaster to cast and decorate three pots, then craft paper plants to display inside.
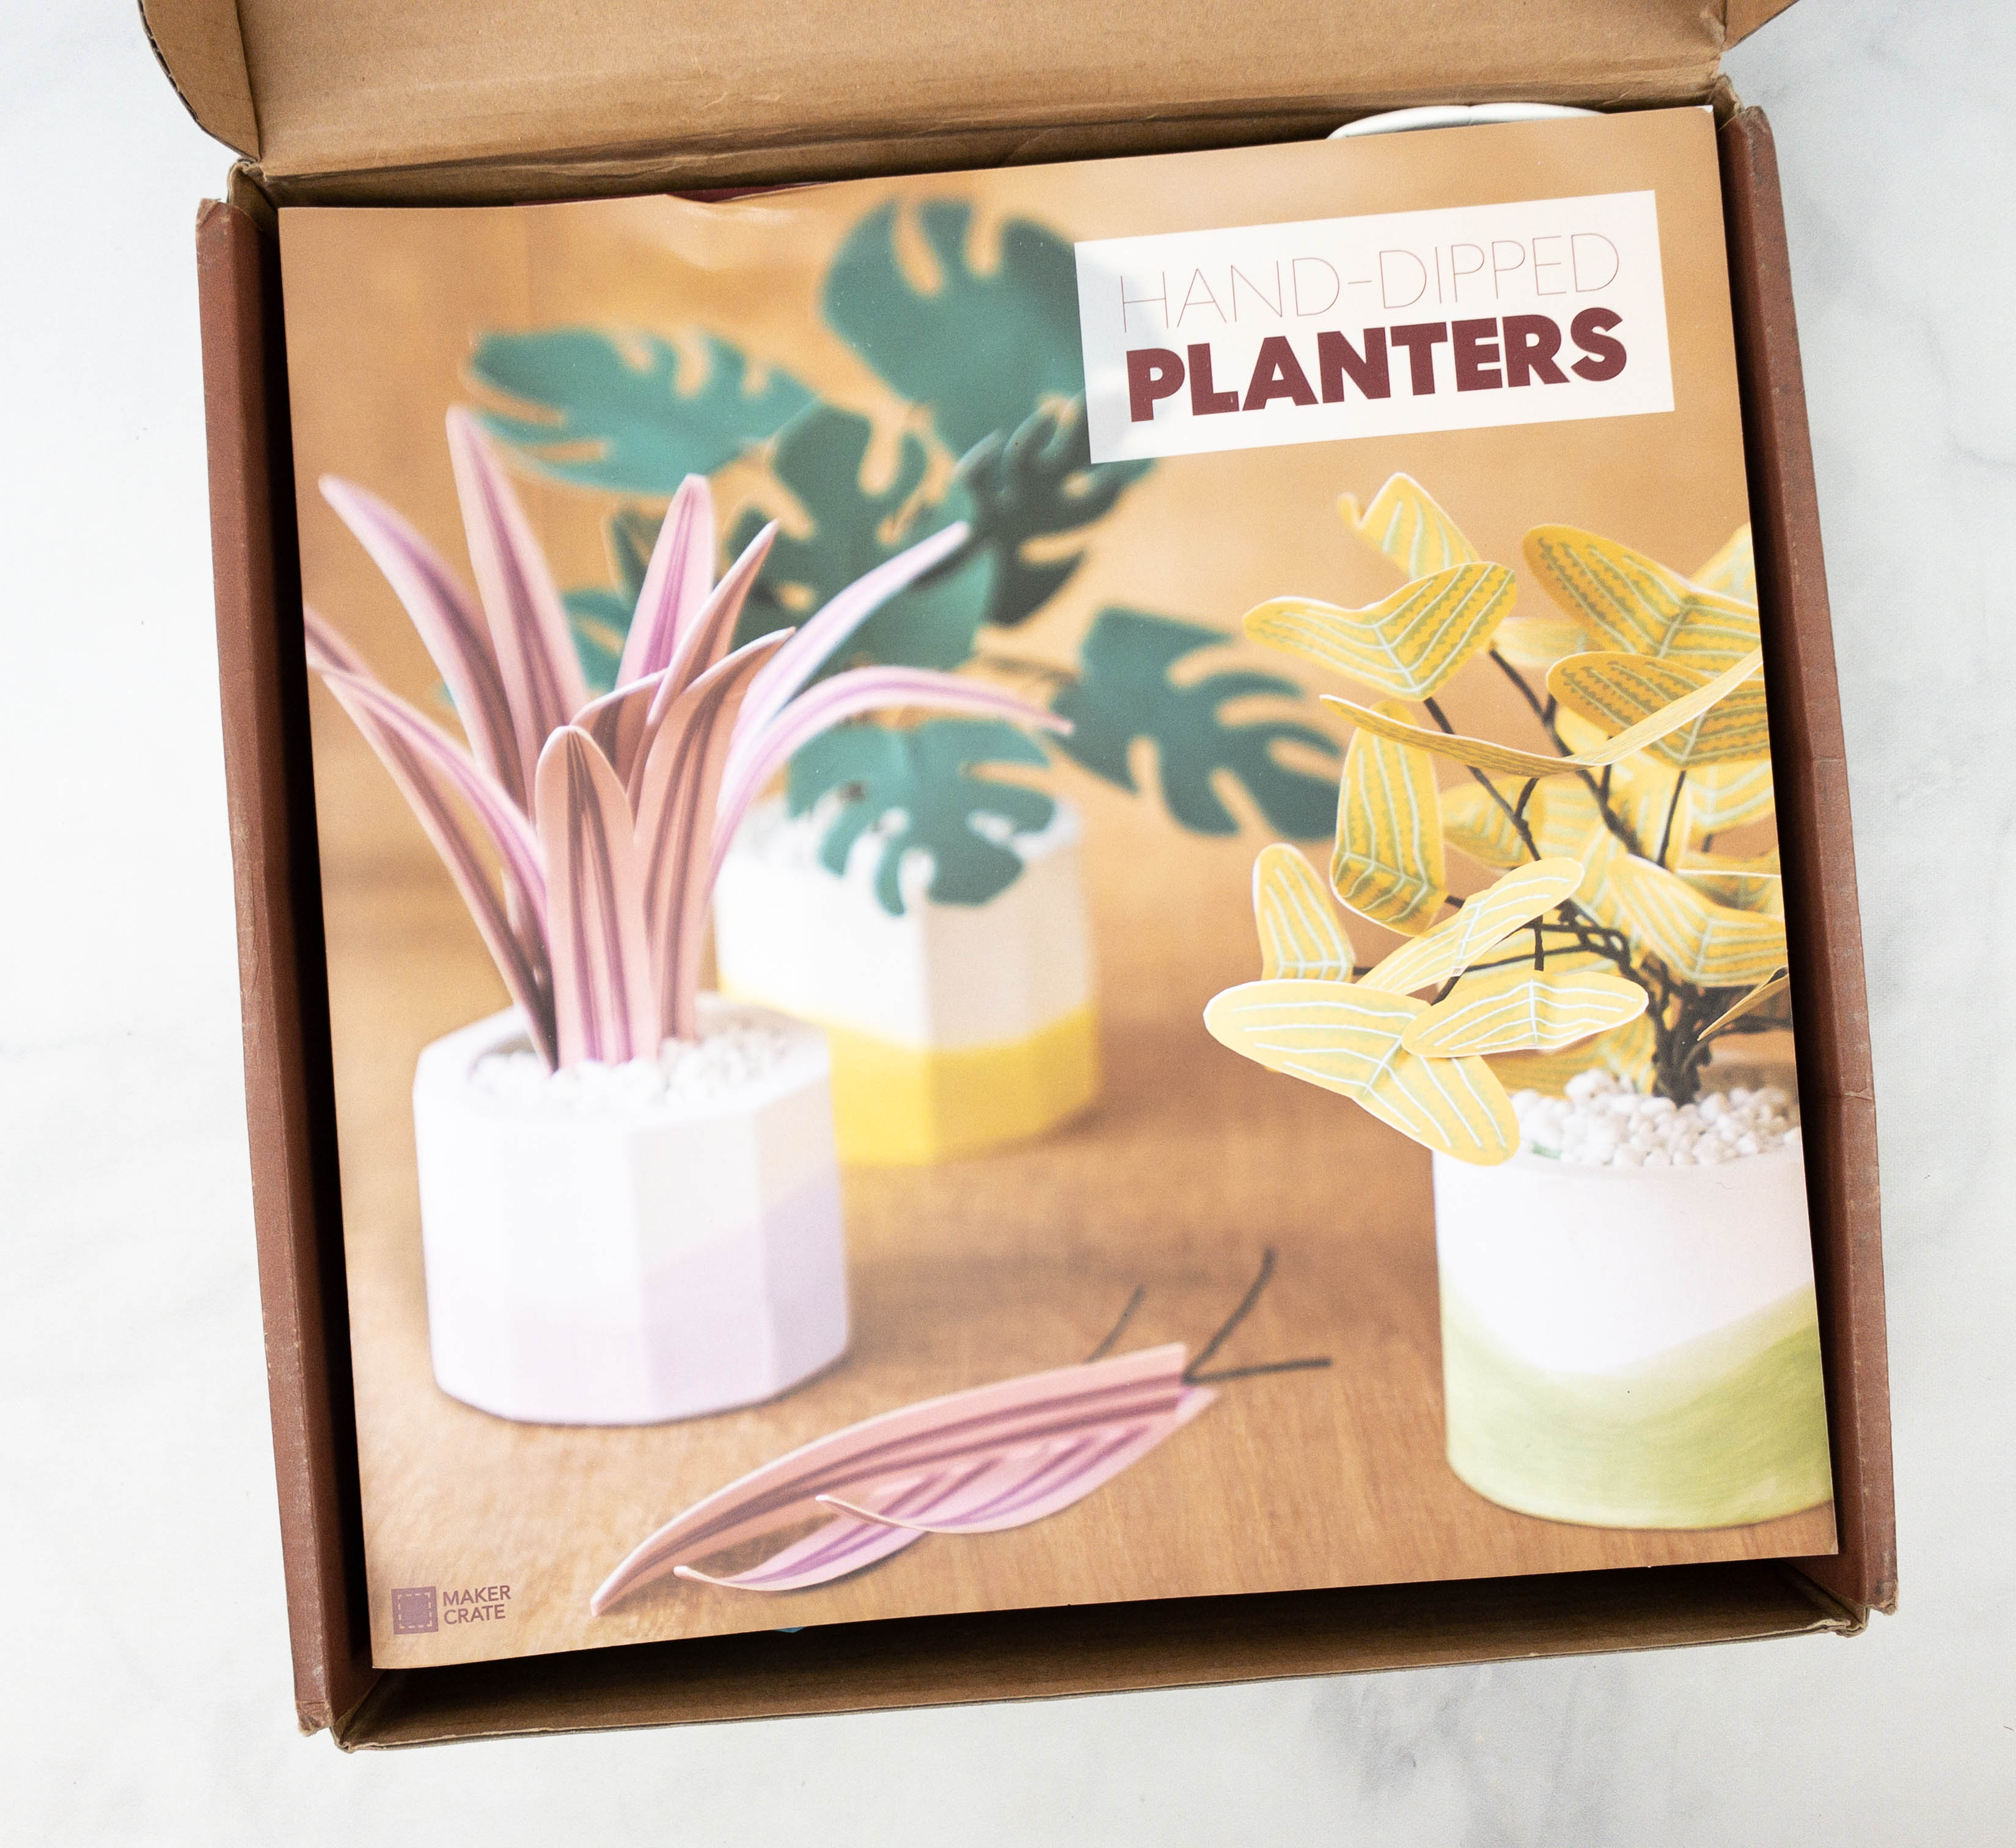
On top of the materials is a card featuring this month’s project!
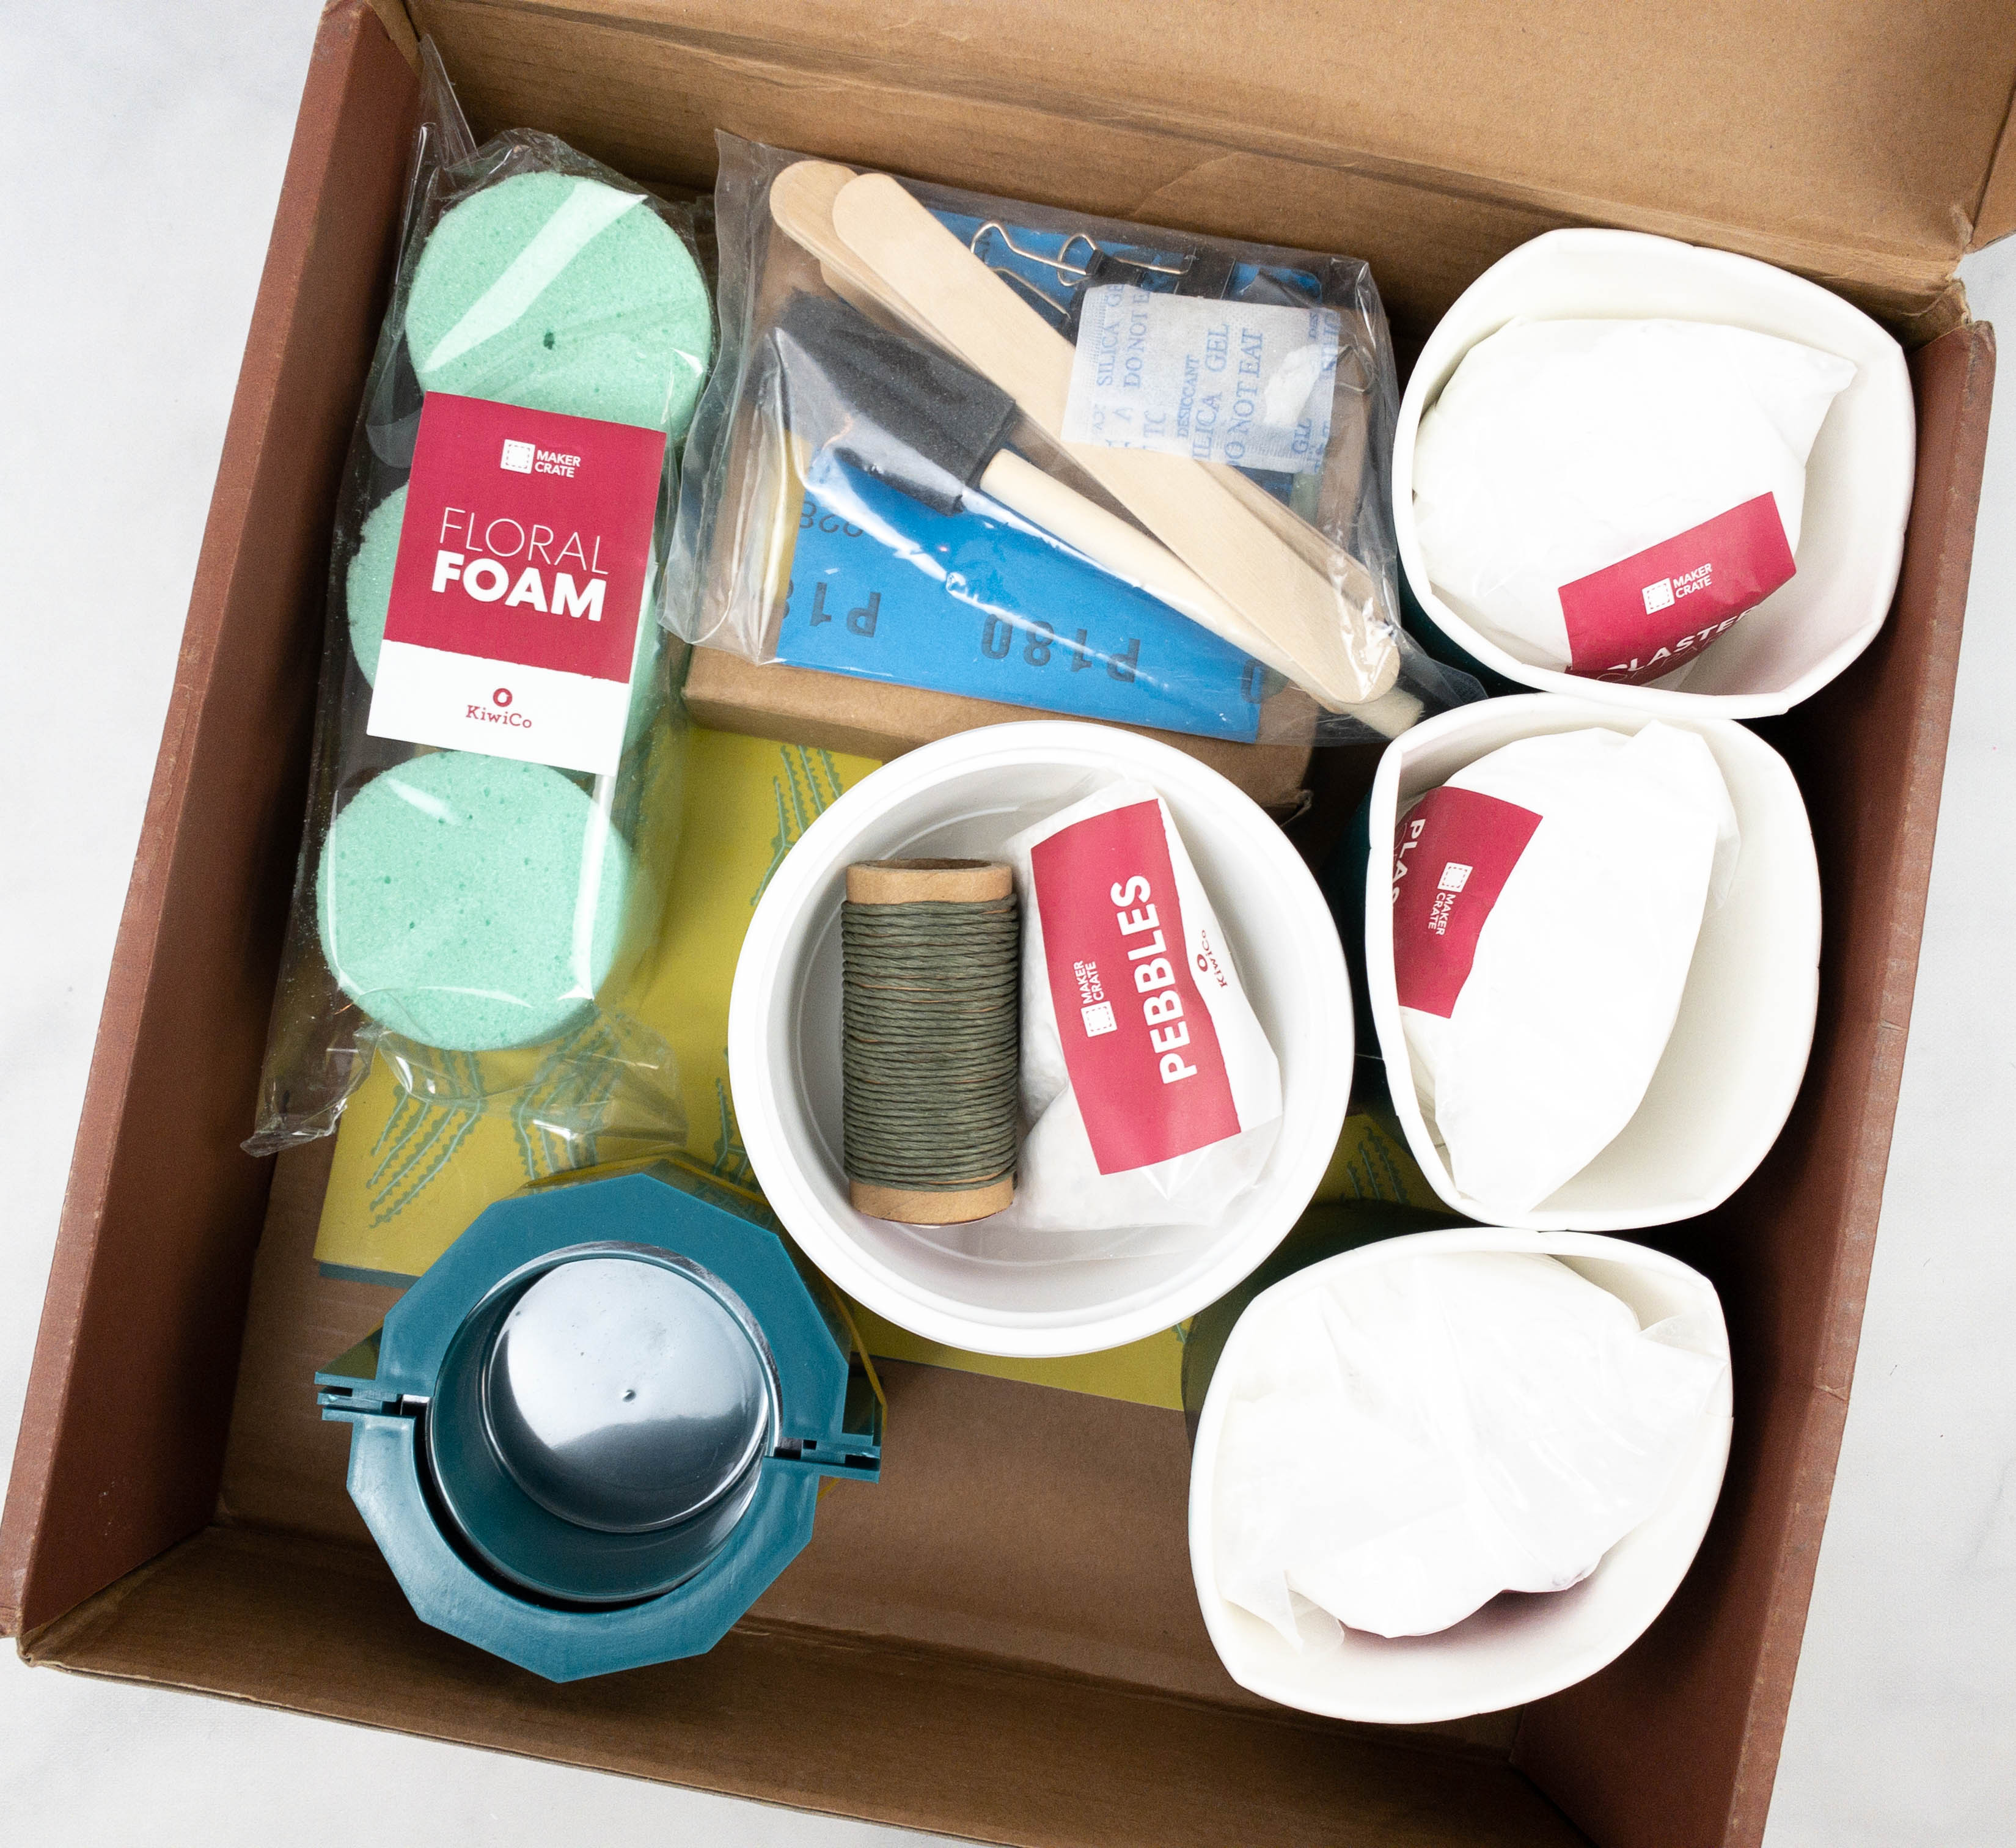
Maker Crate includes all the necessary supplies for the featured activities.

Blessed are they who see beautiful things in humble places where other people see nothing.
– Camille Pissaro

You can use the QR code to see more about this project!
Like the other crates from KiwiCo, Maker Crate includes a booklet.
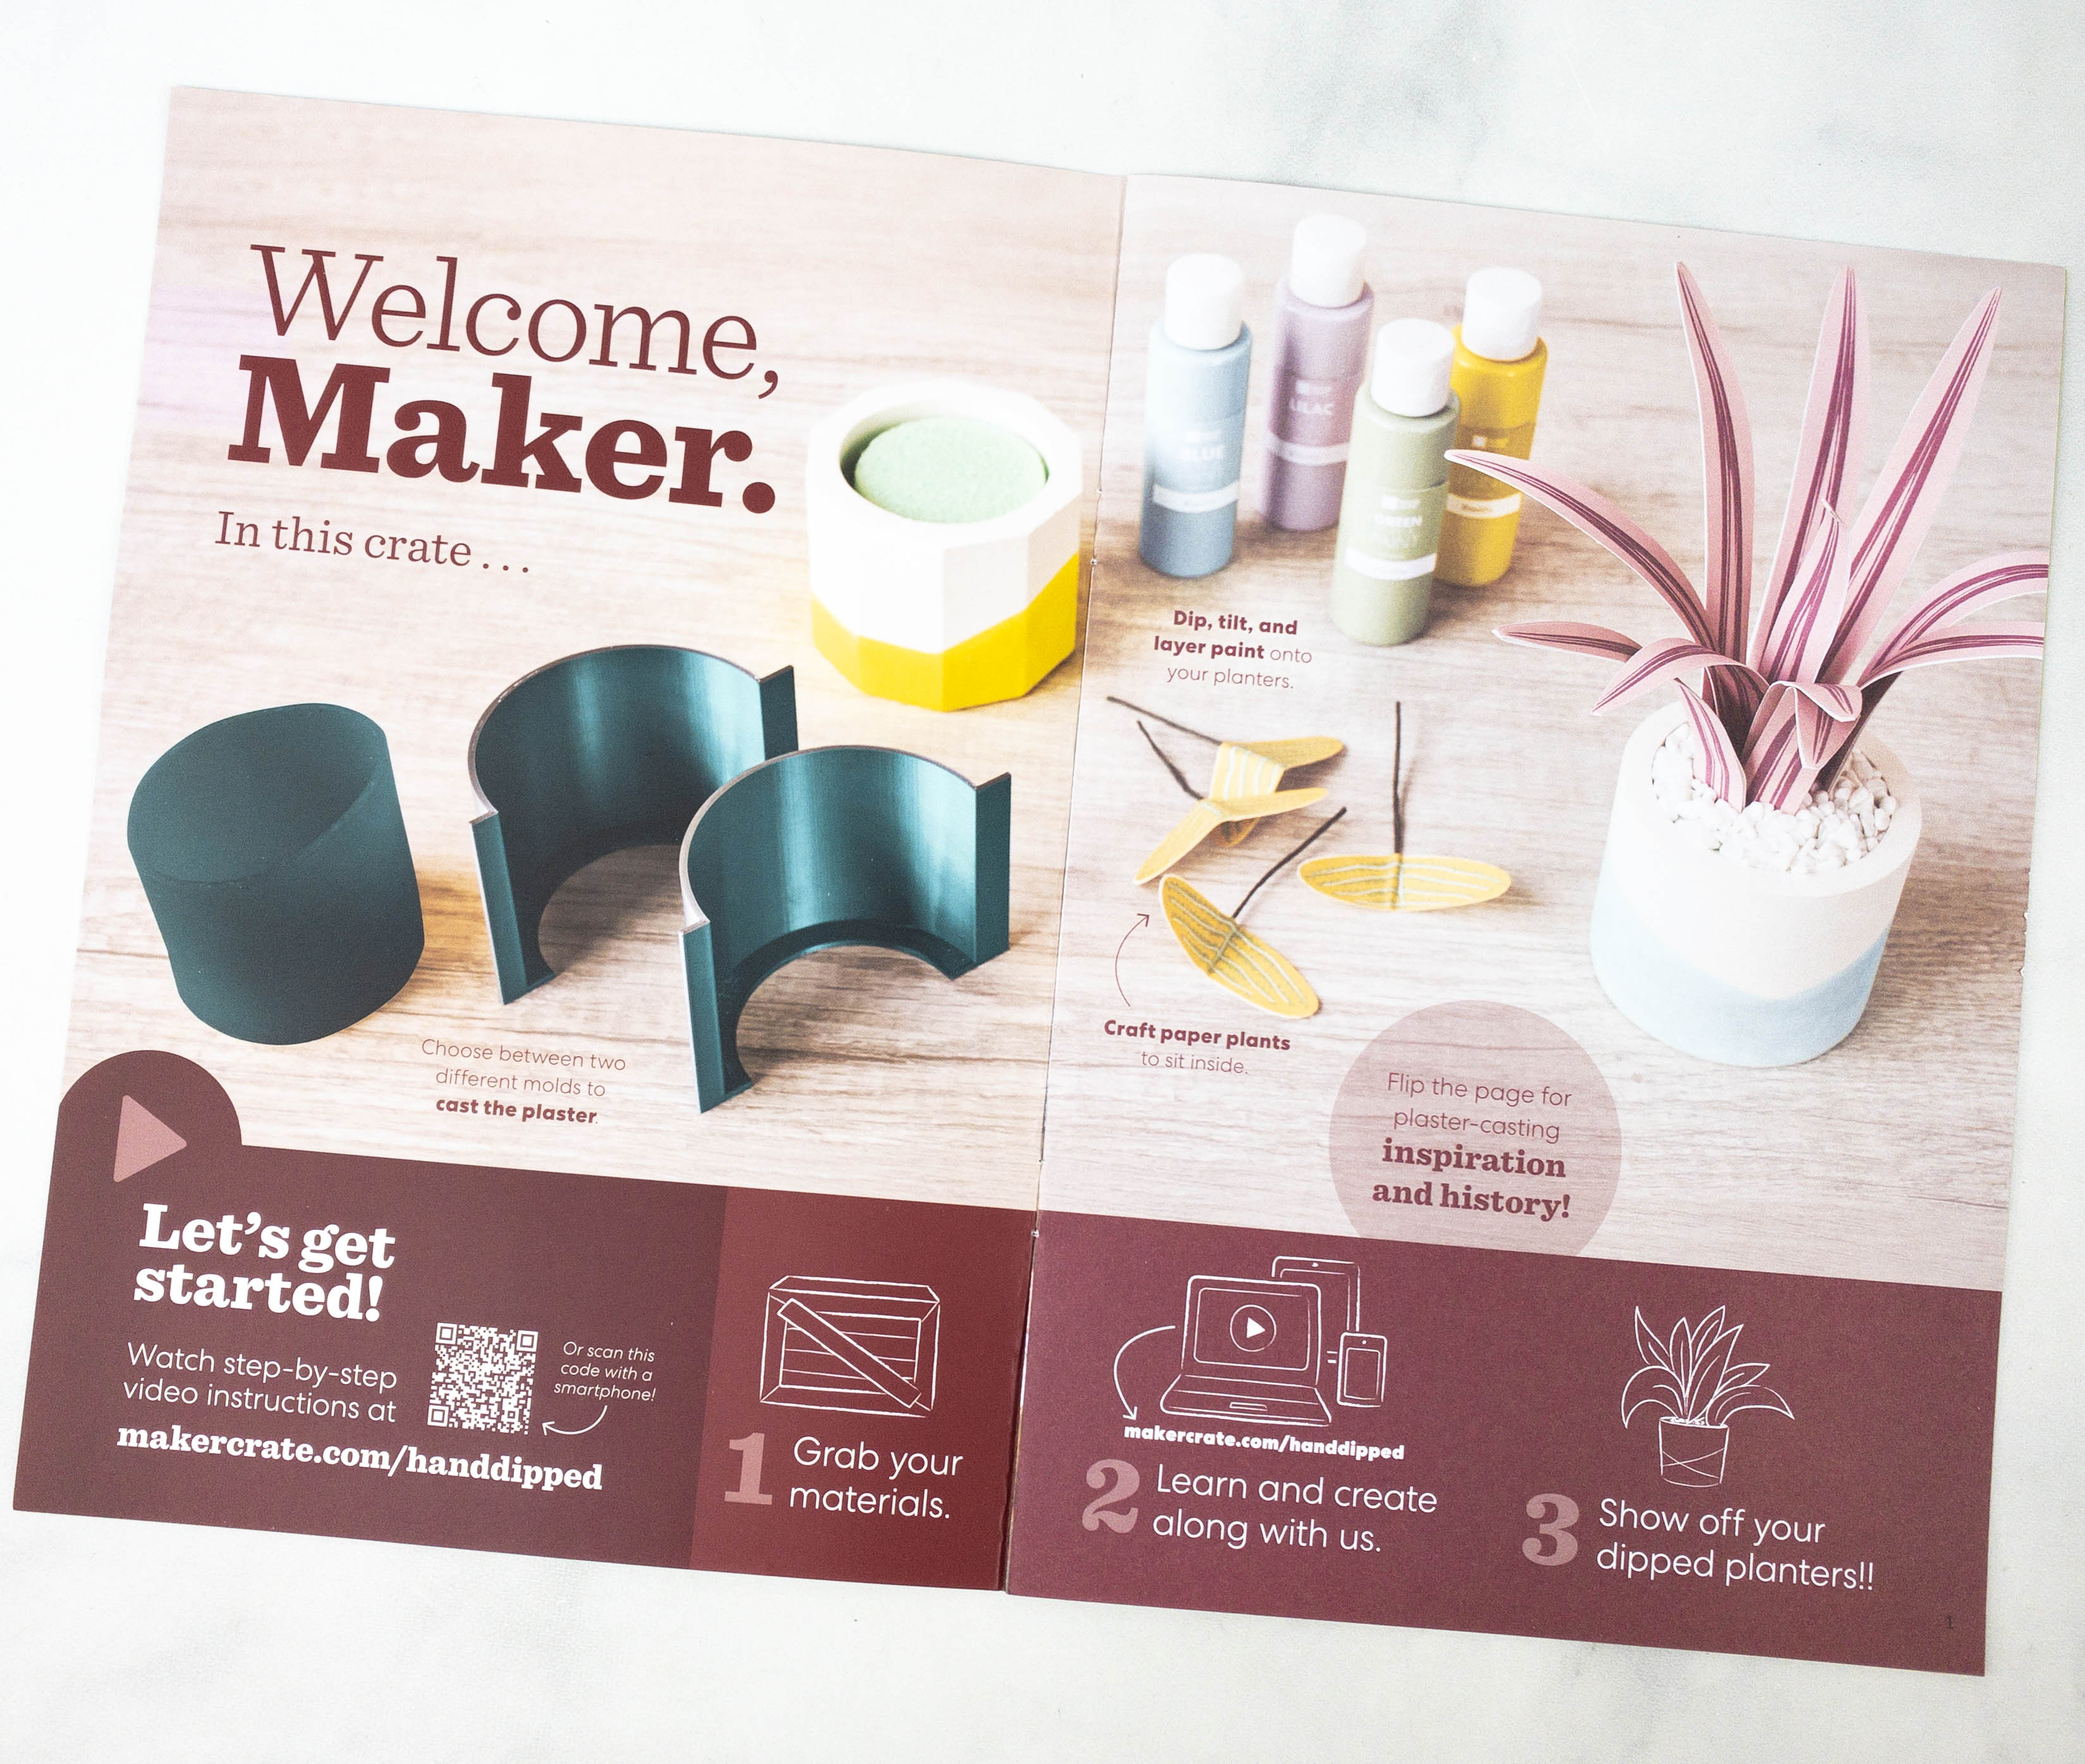
The booklet has an overview of this month’s project. There’s also a step-by-step video instruction for the project, available on their website!
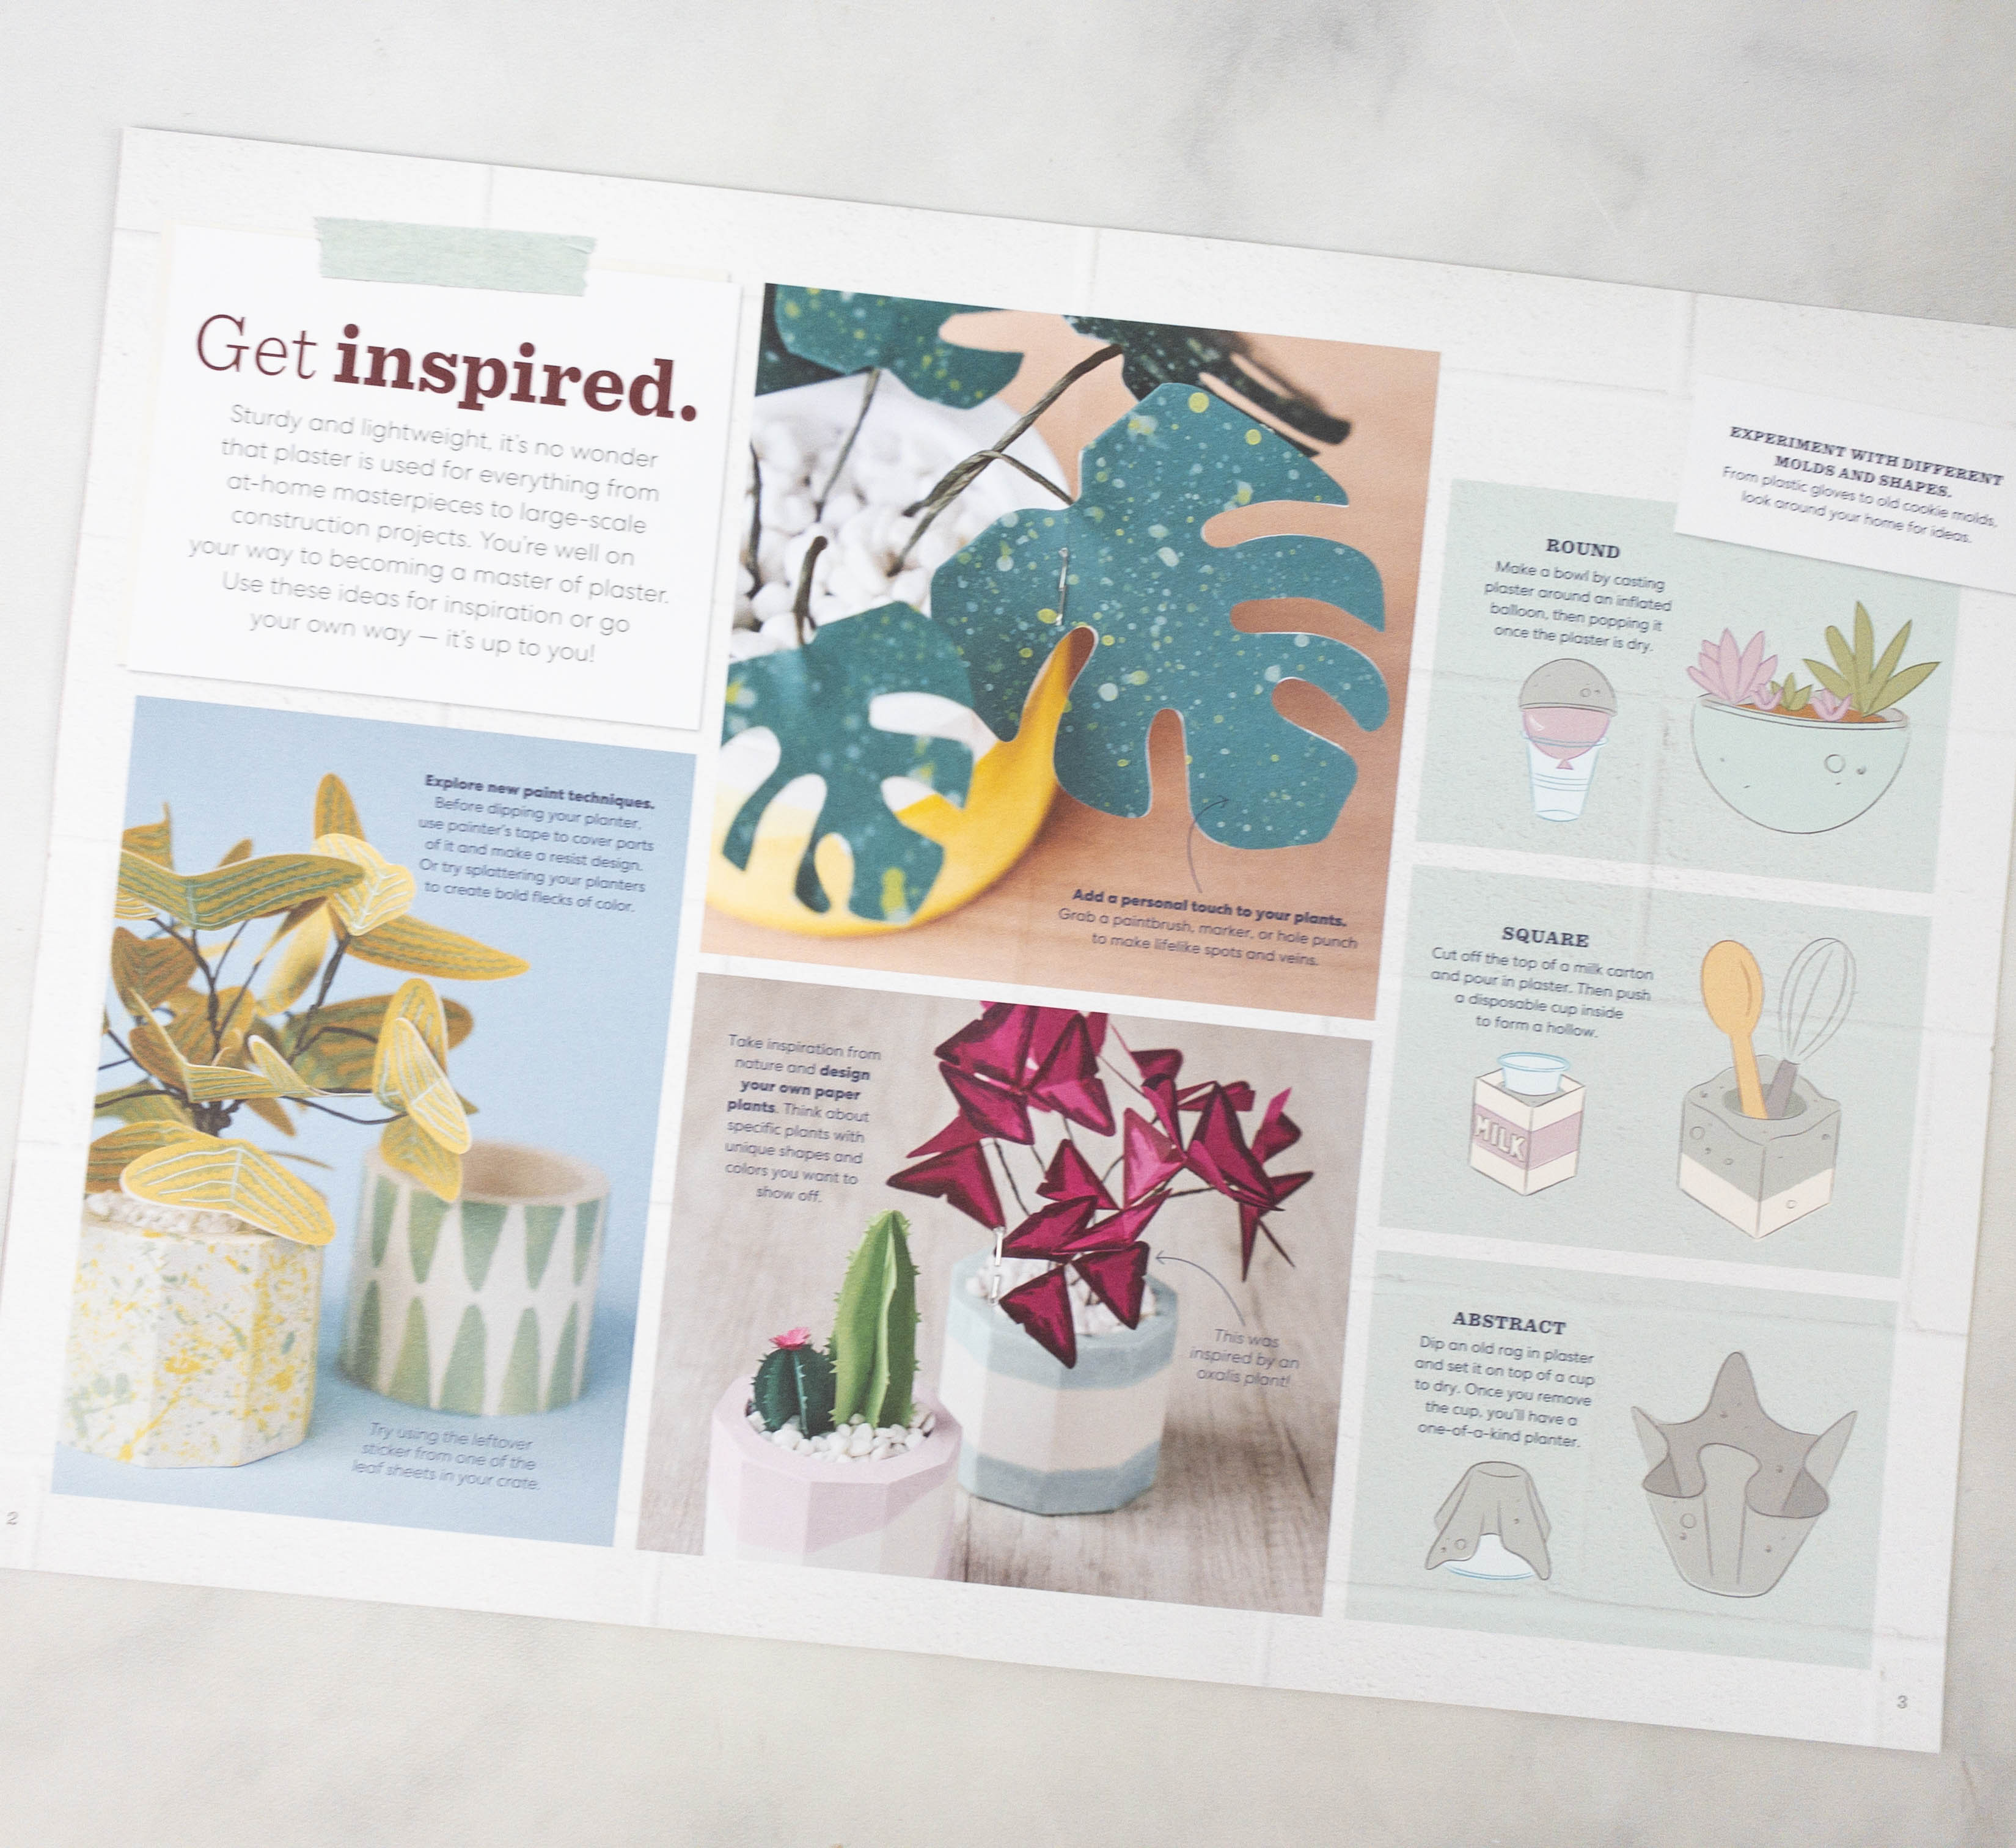
Featured on this part of the booklet are some photos that can be used for inspiration in creating the project.
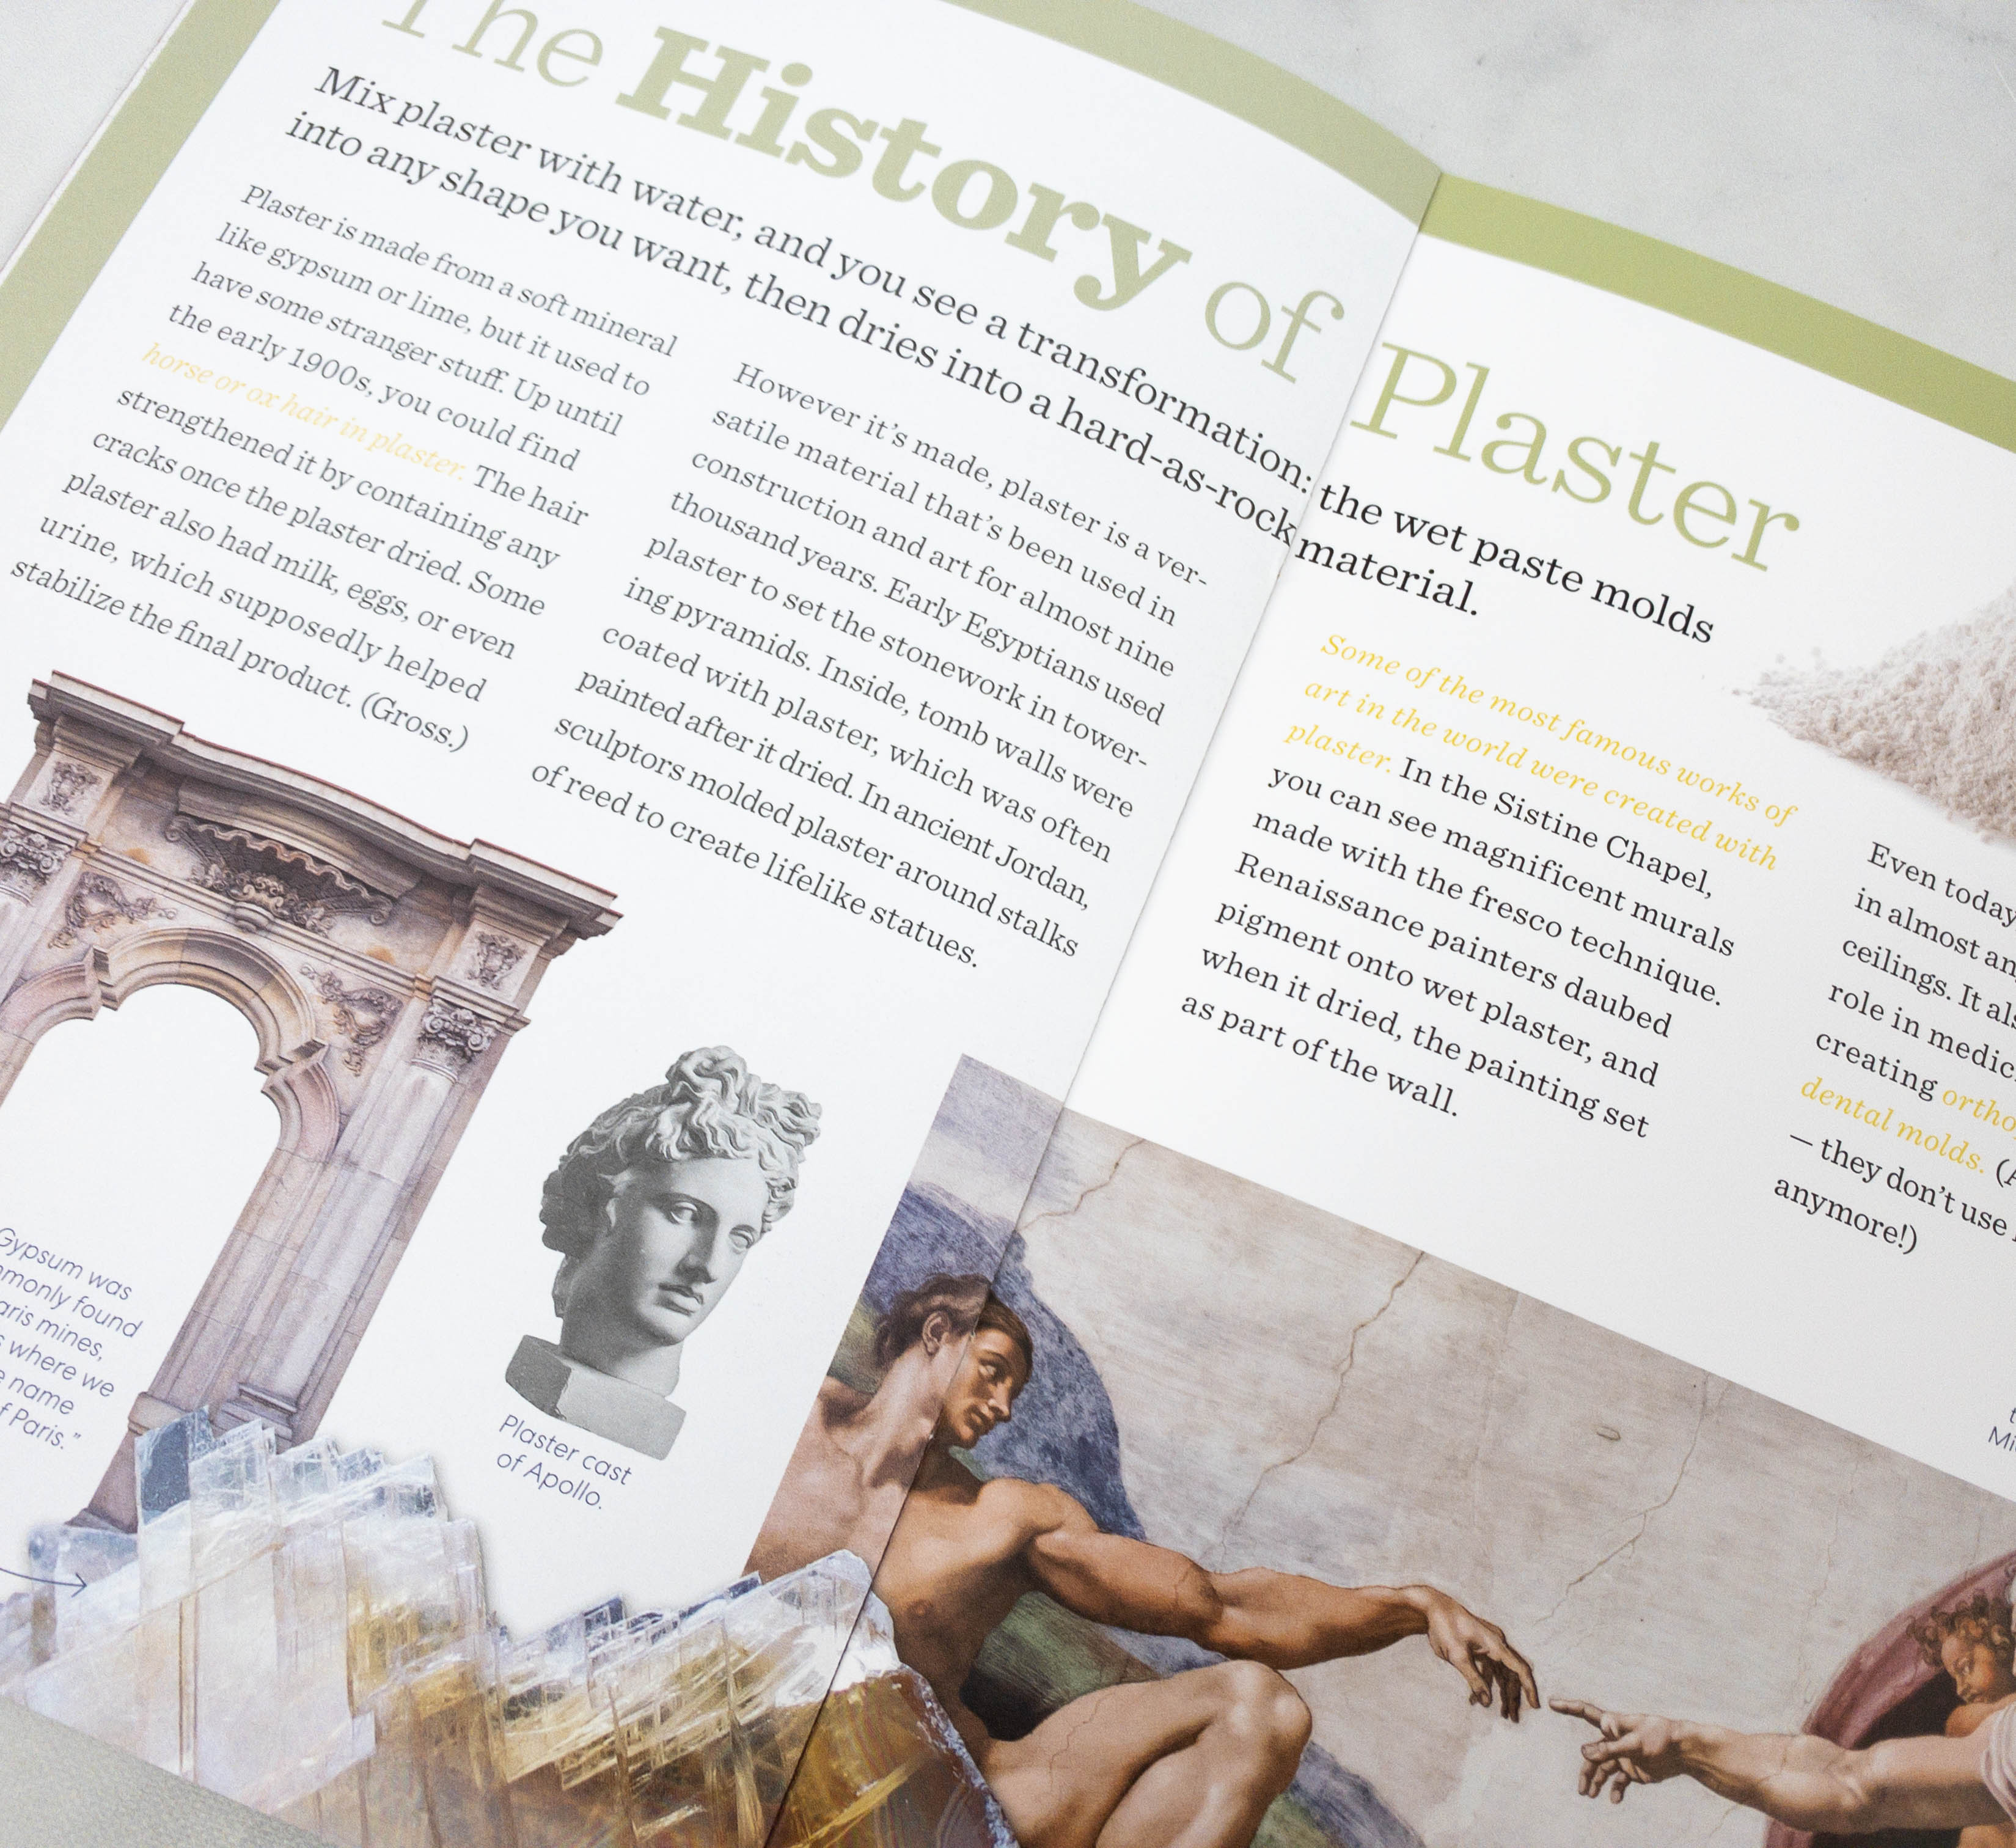
They even included a short history of plaster.
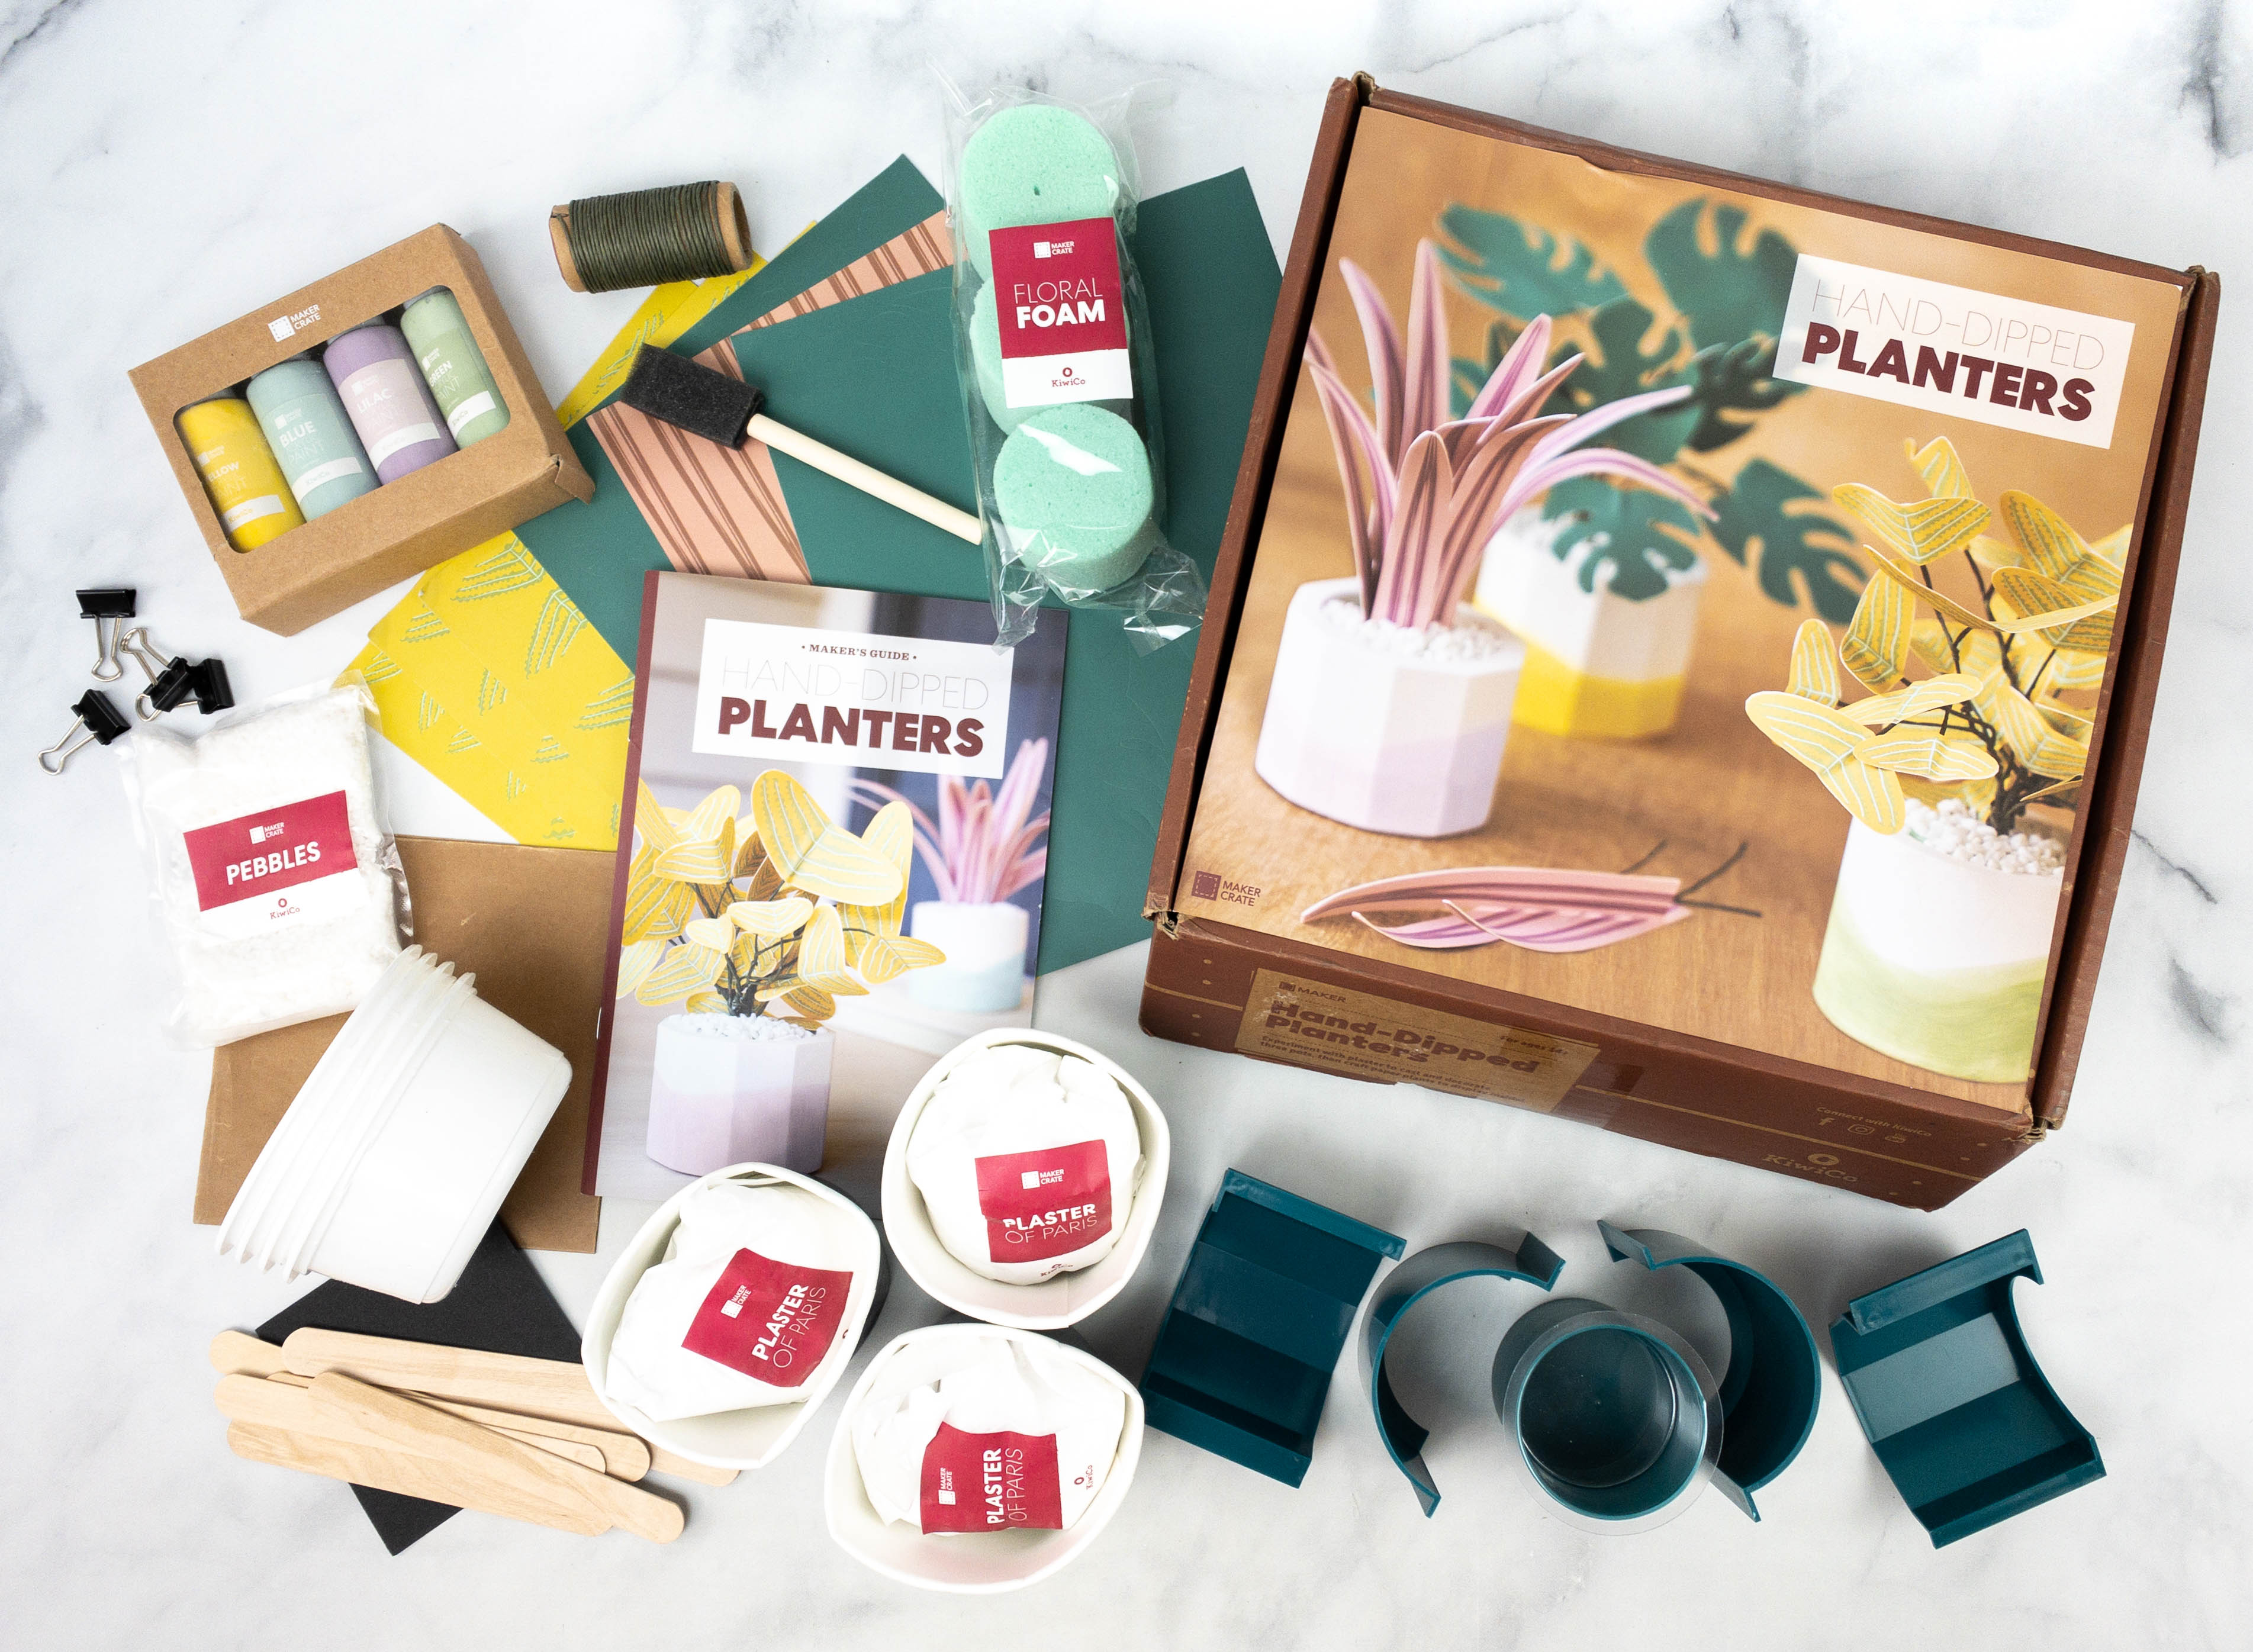
Everything inside the box!
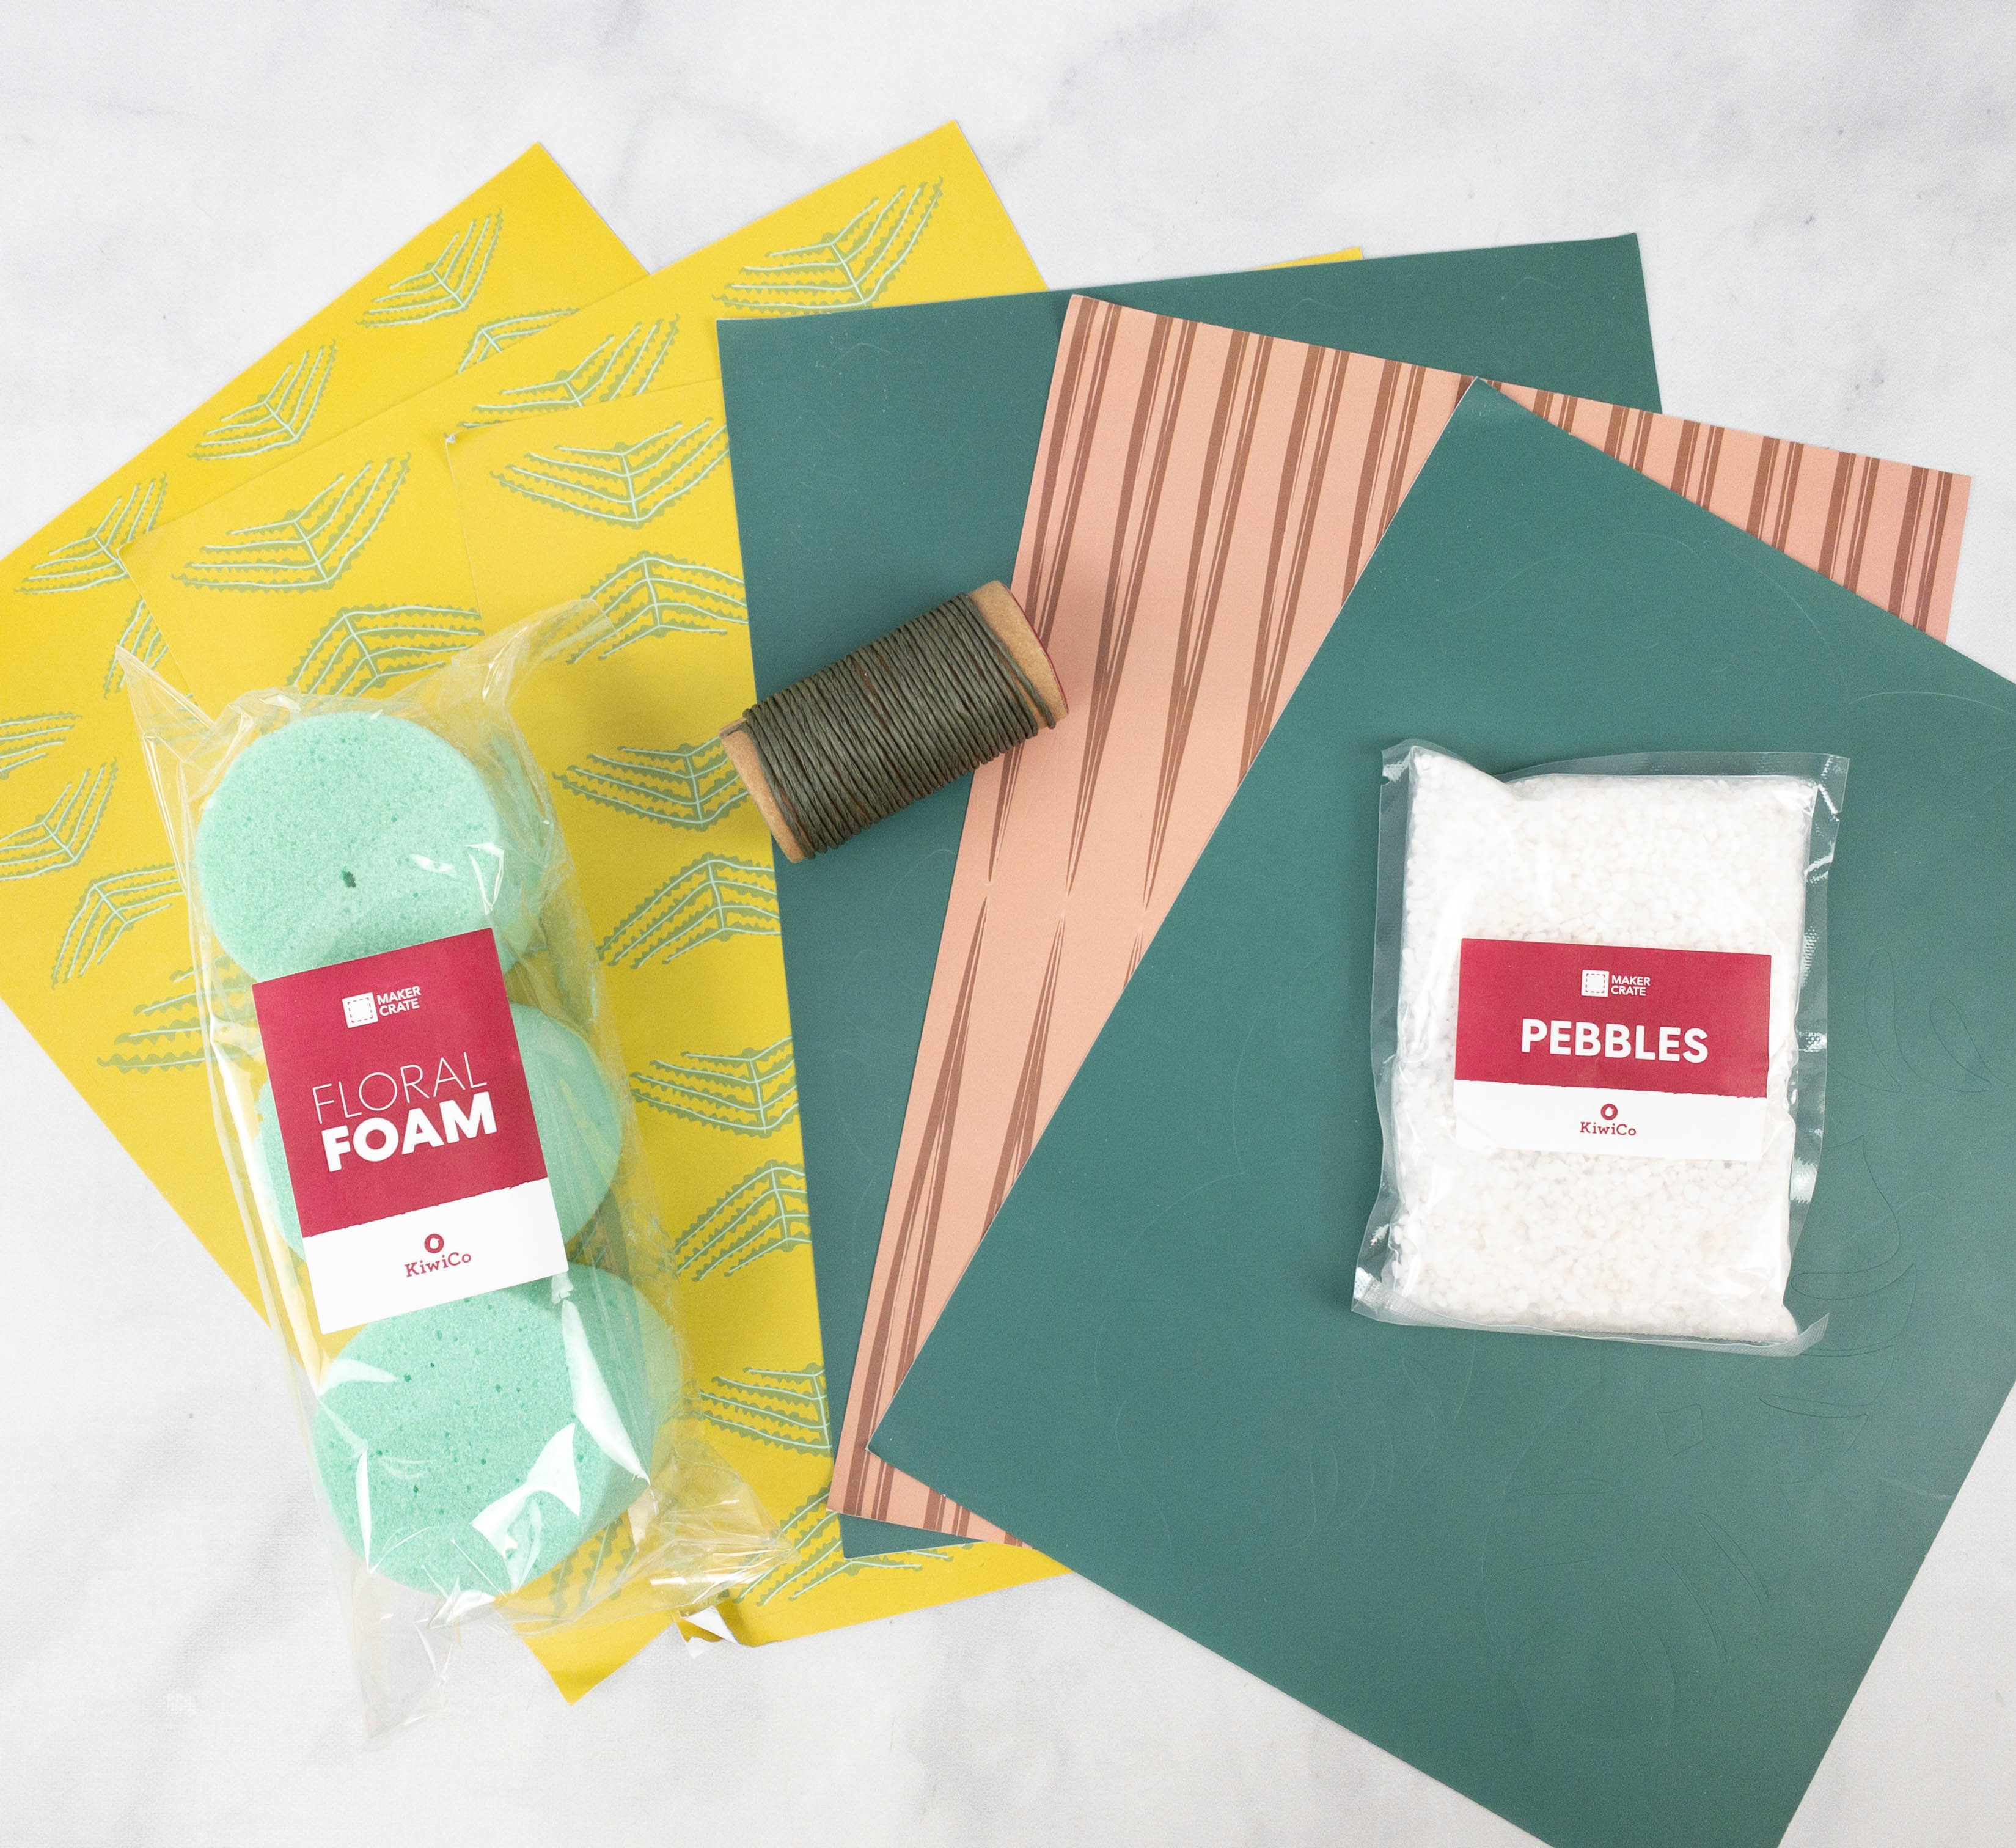
Maker Crate Main Project: Hand-Dipped Planters. The box includes everything needed for the project. They provided the floral foam, pebbles, floral wire, and plant sheets.
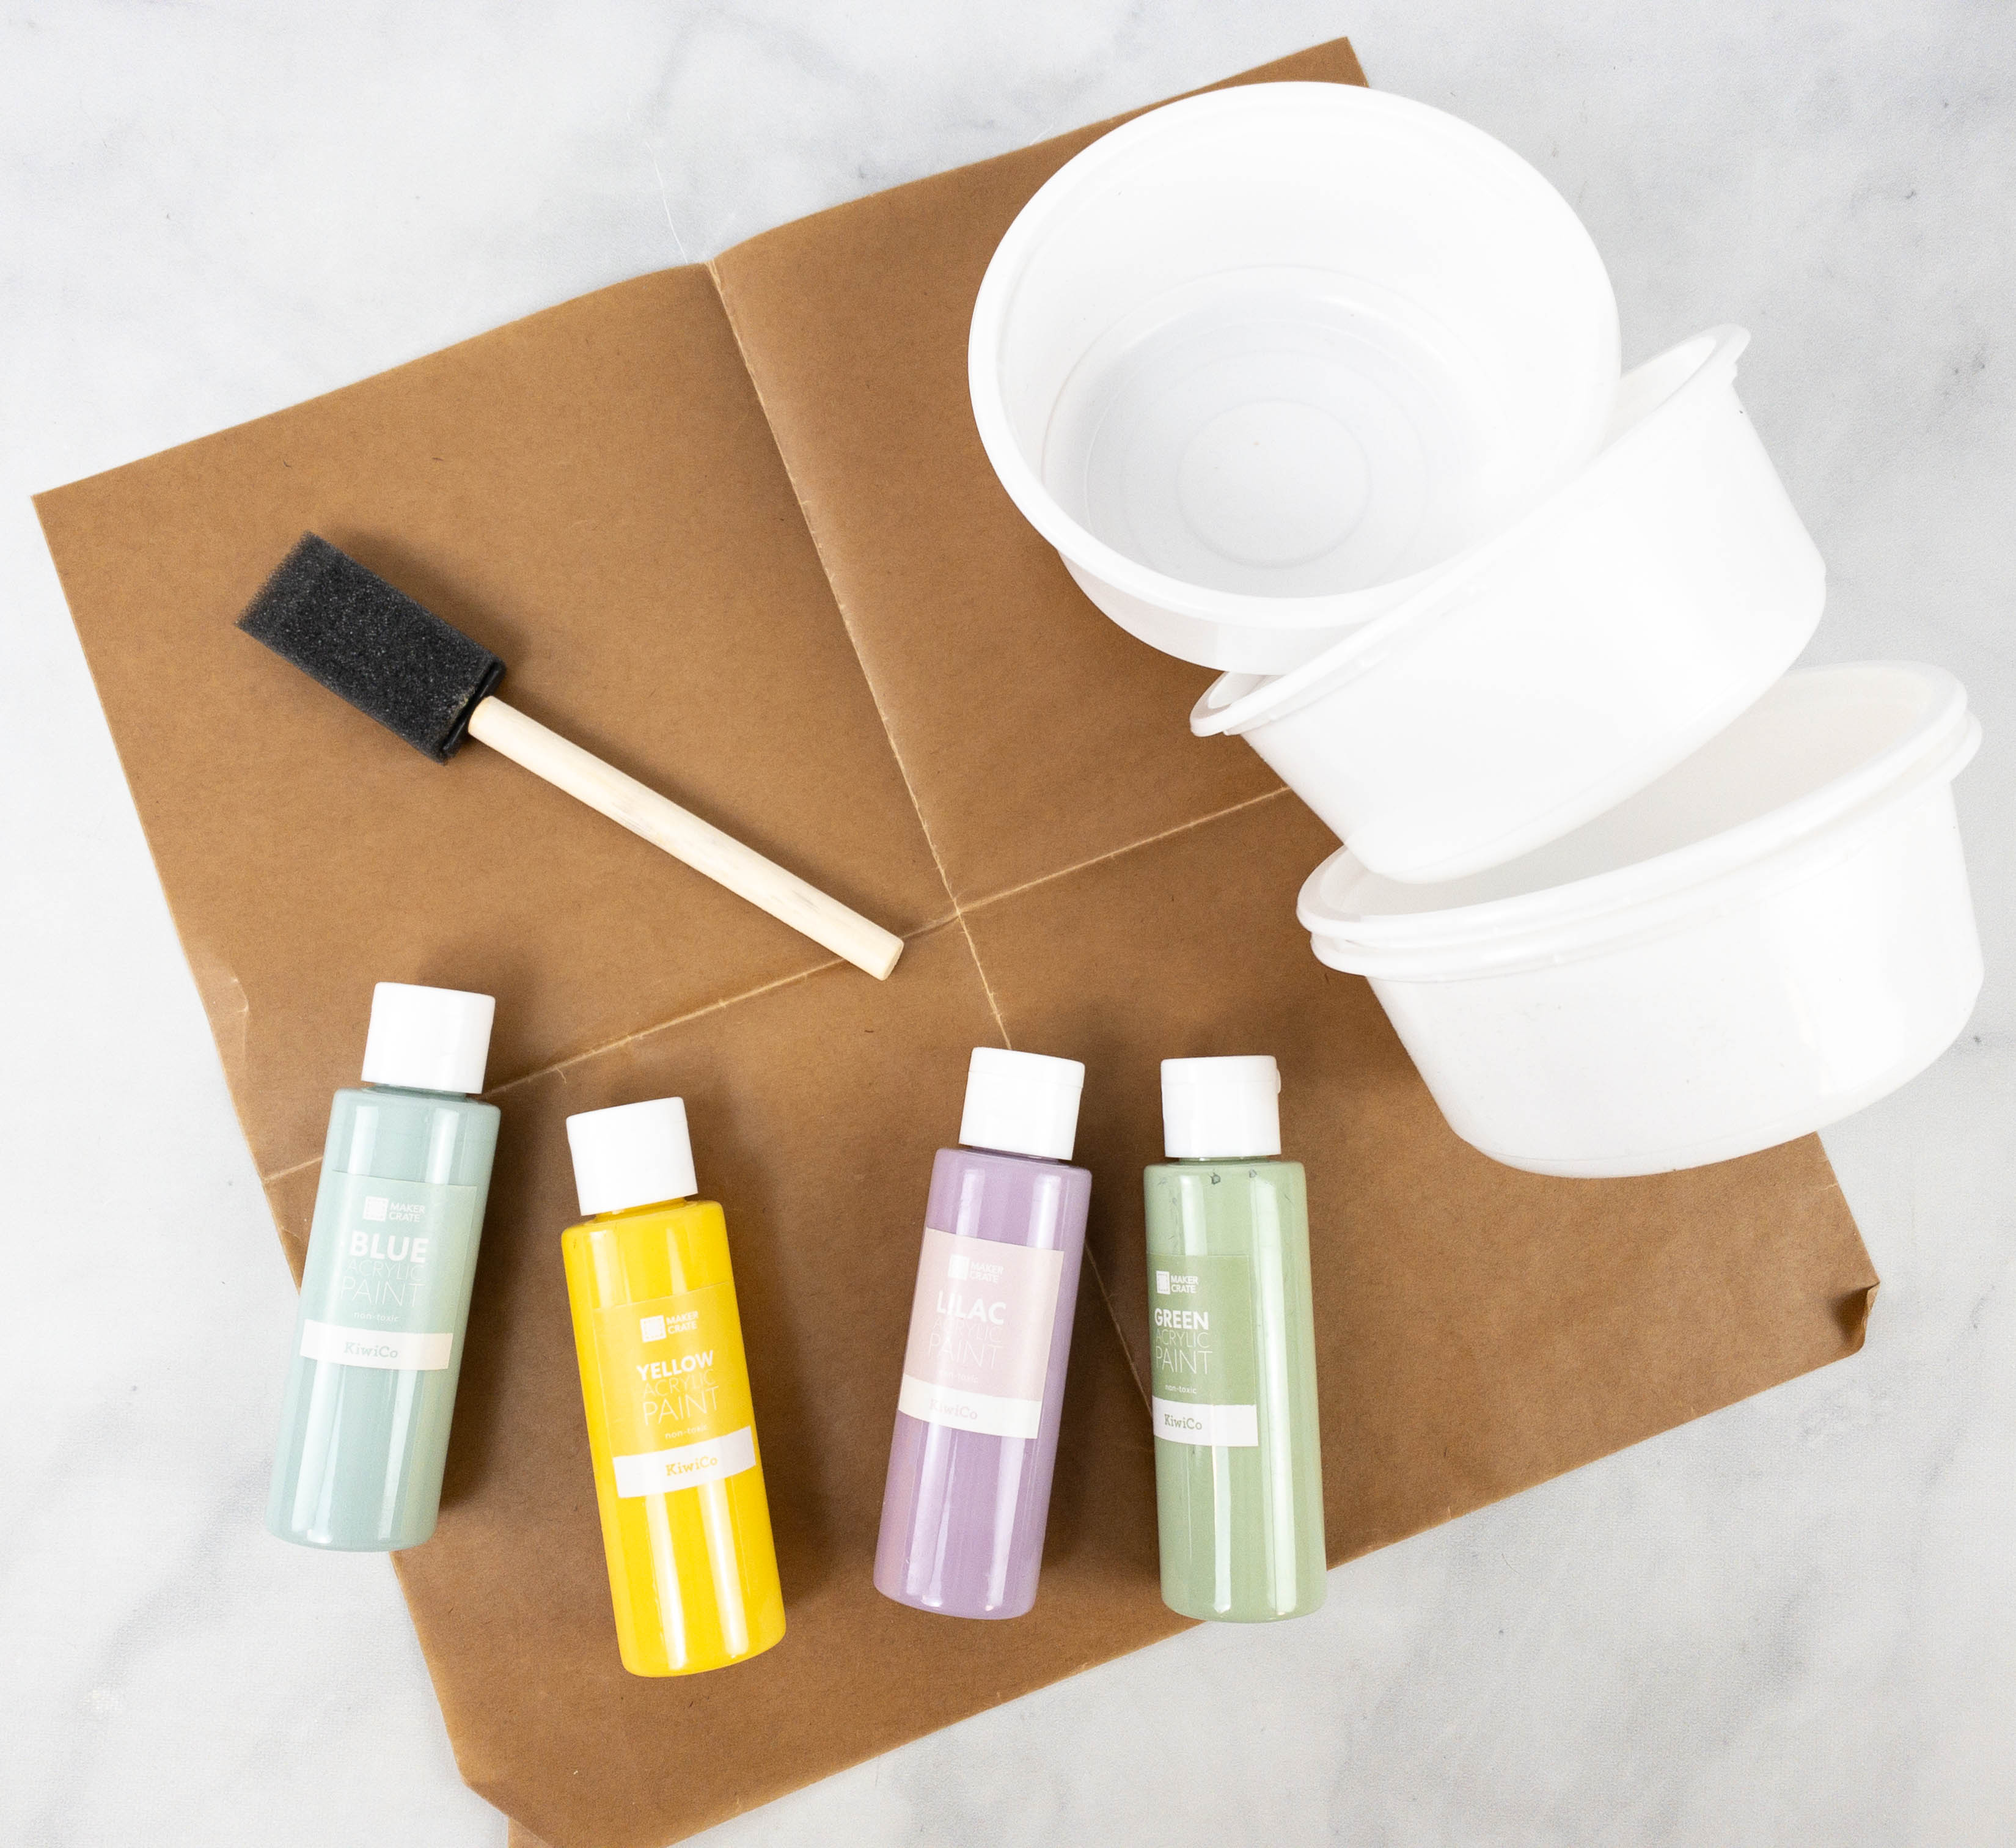
The box also includes 4 different colors of paint: blue, yellow, lilac, and green. Of course, there’s also a paint brush, dipping bowls, and a mess mat.
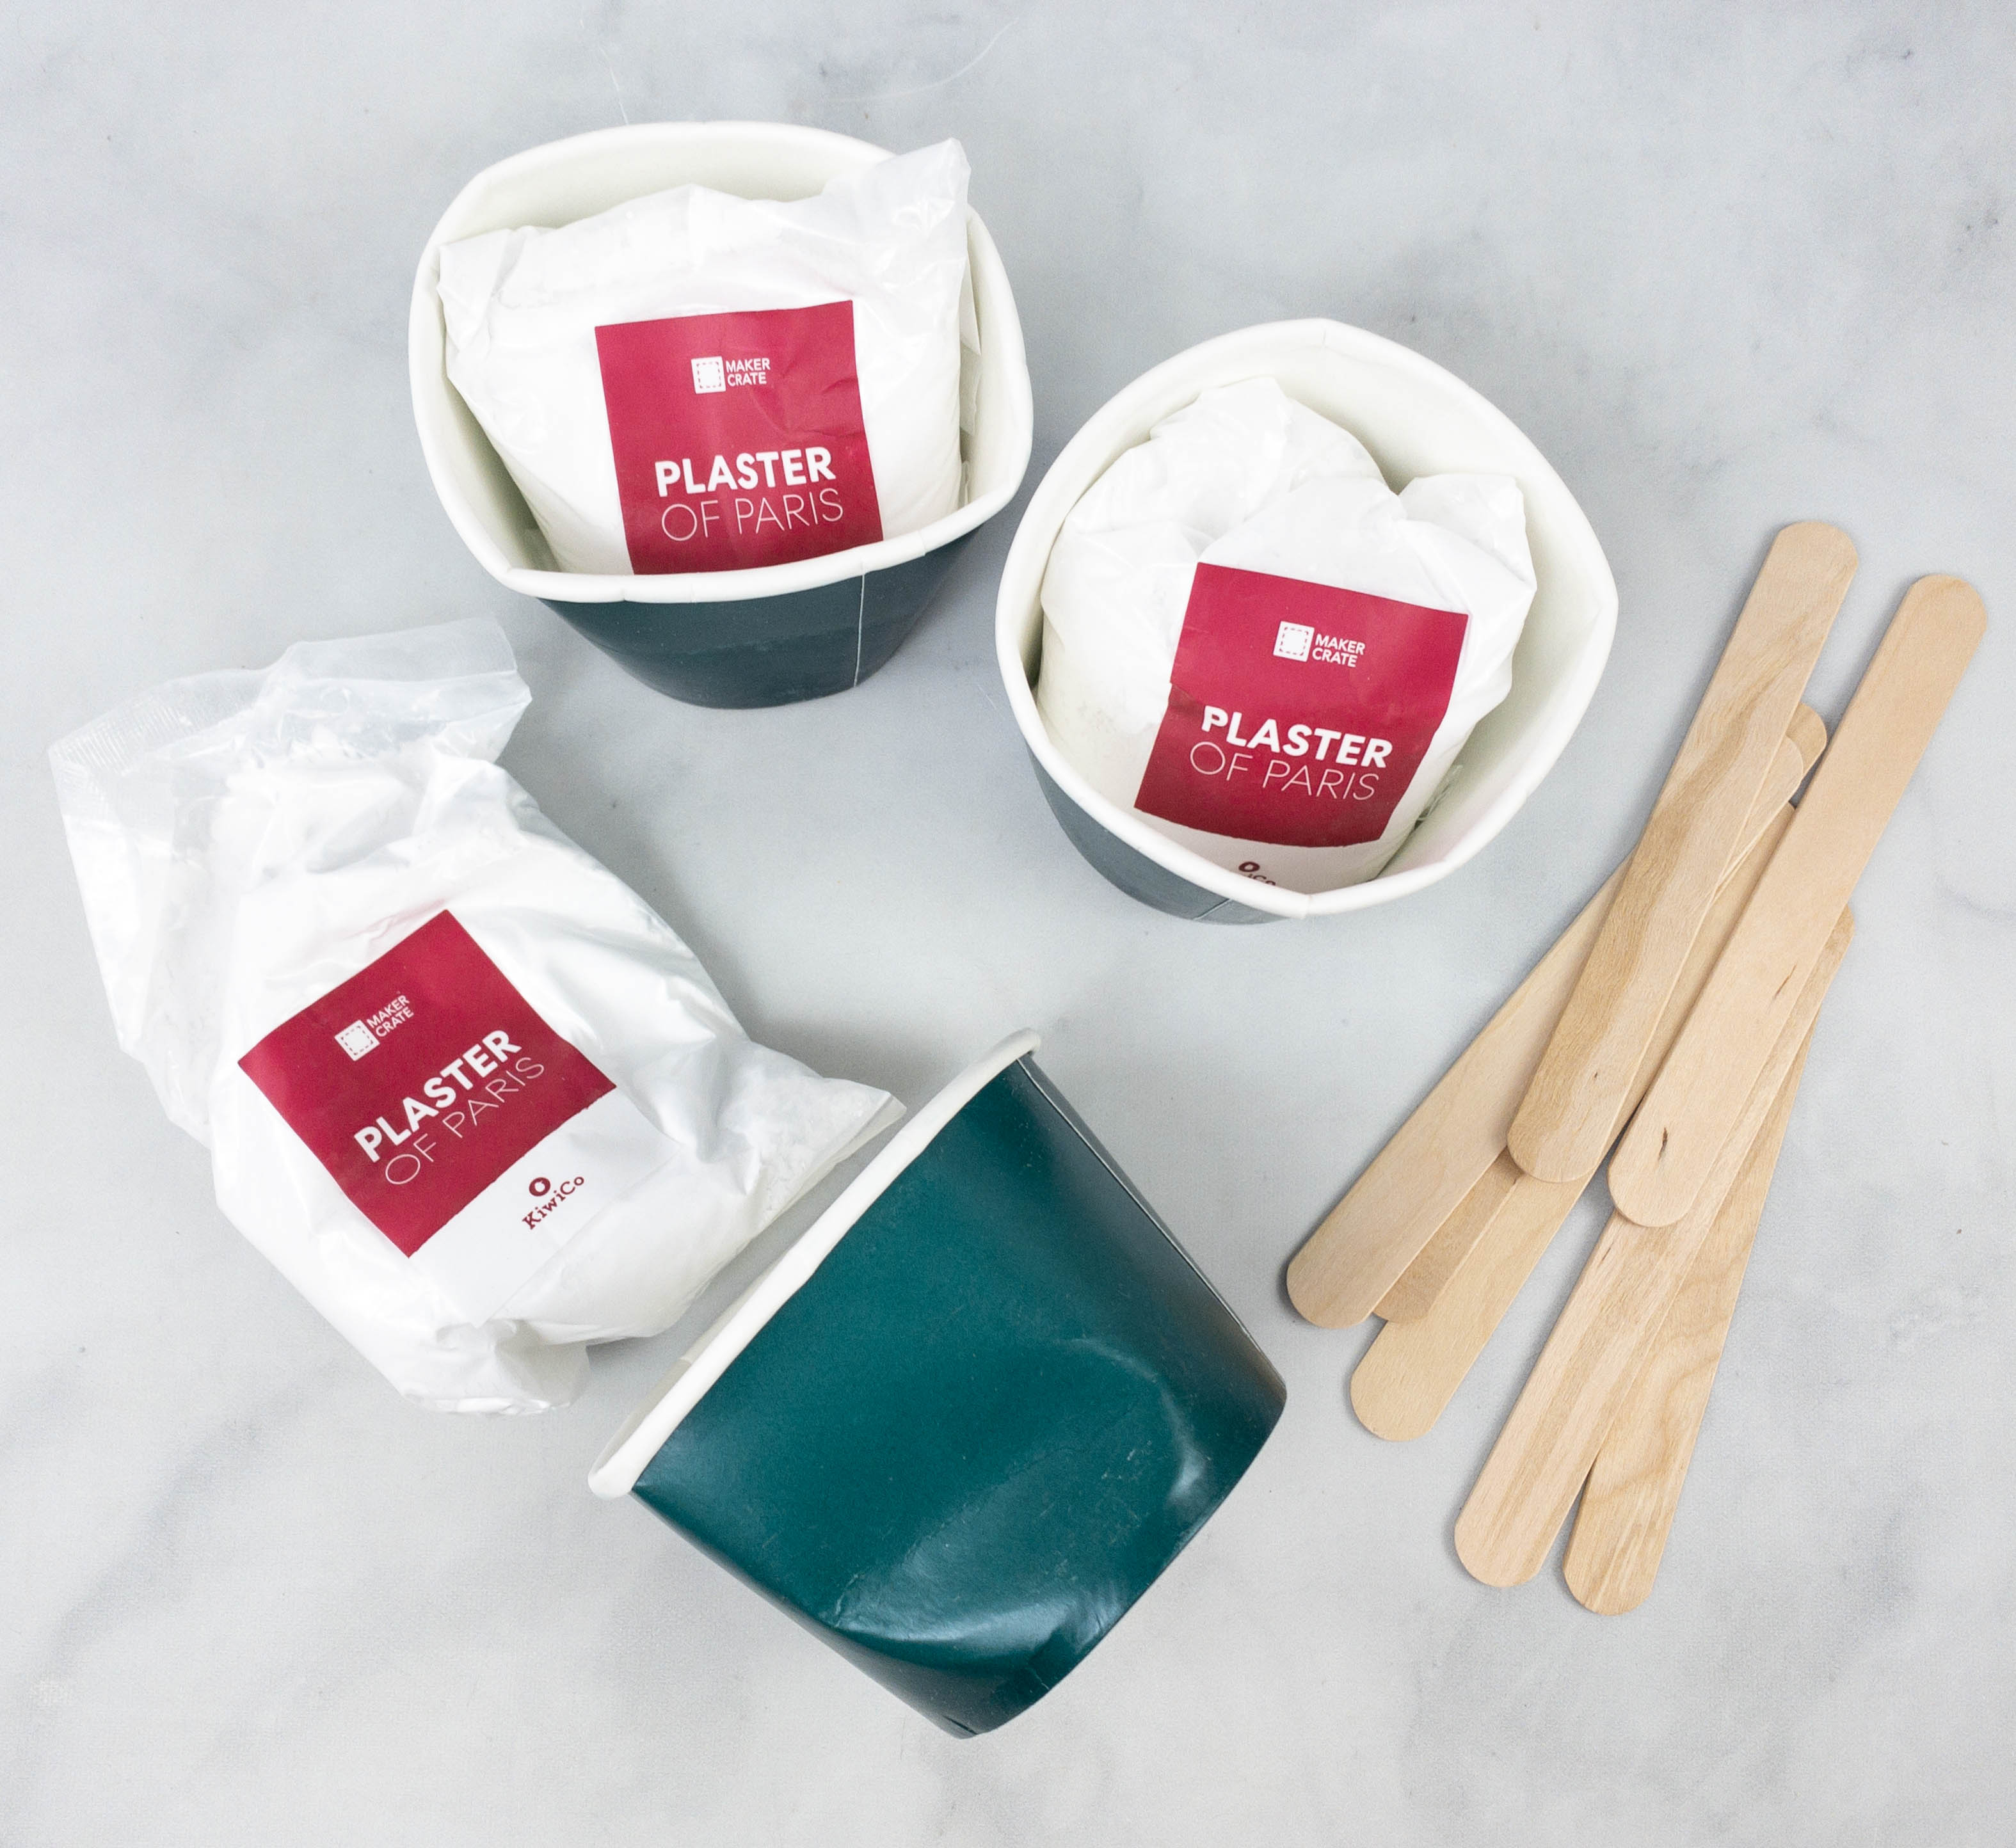
Here are the stirring sticks, mixing cups, and the plaster, all from the box as well.
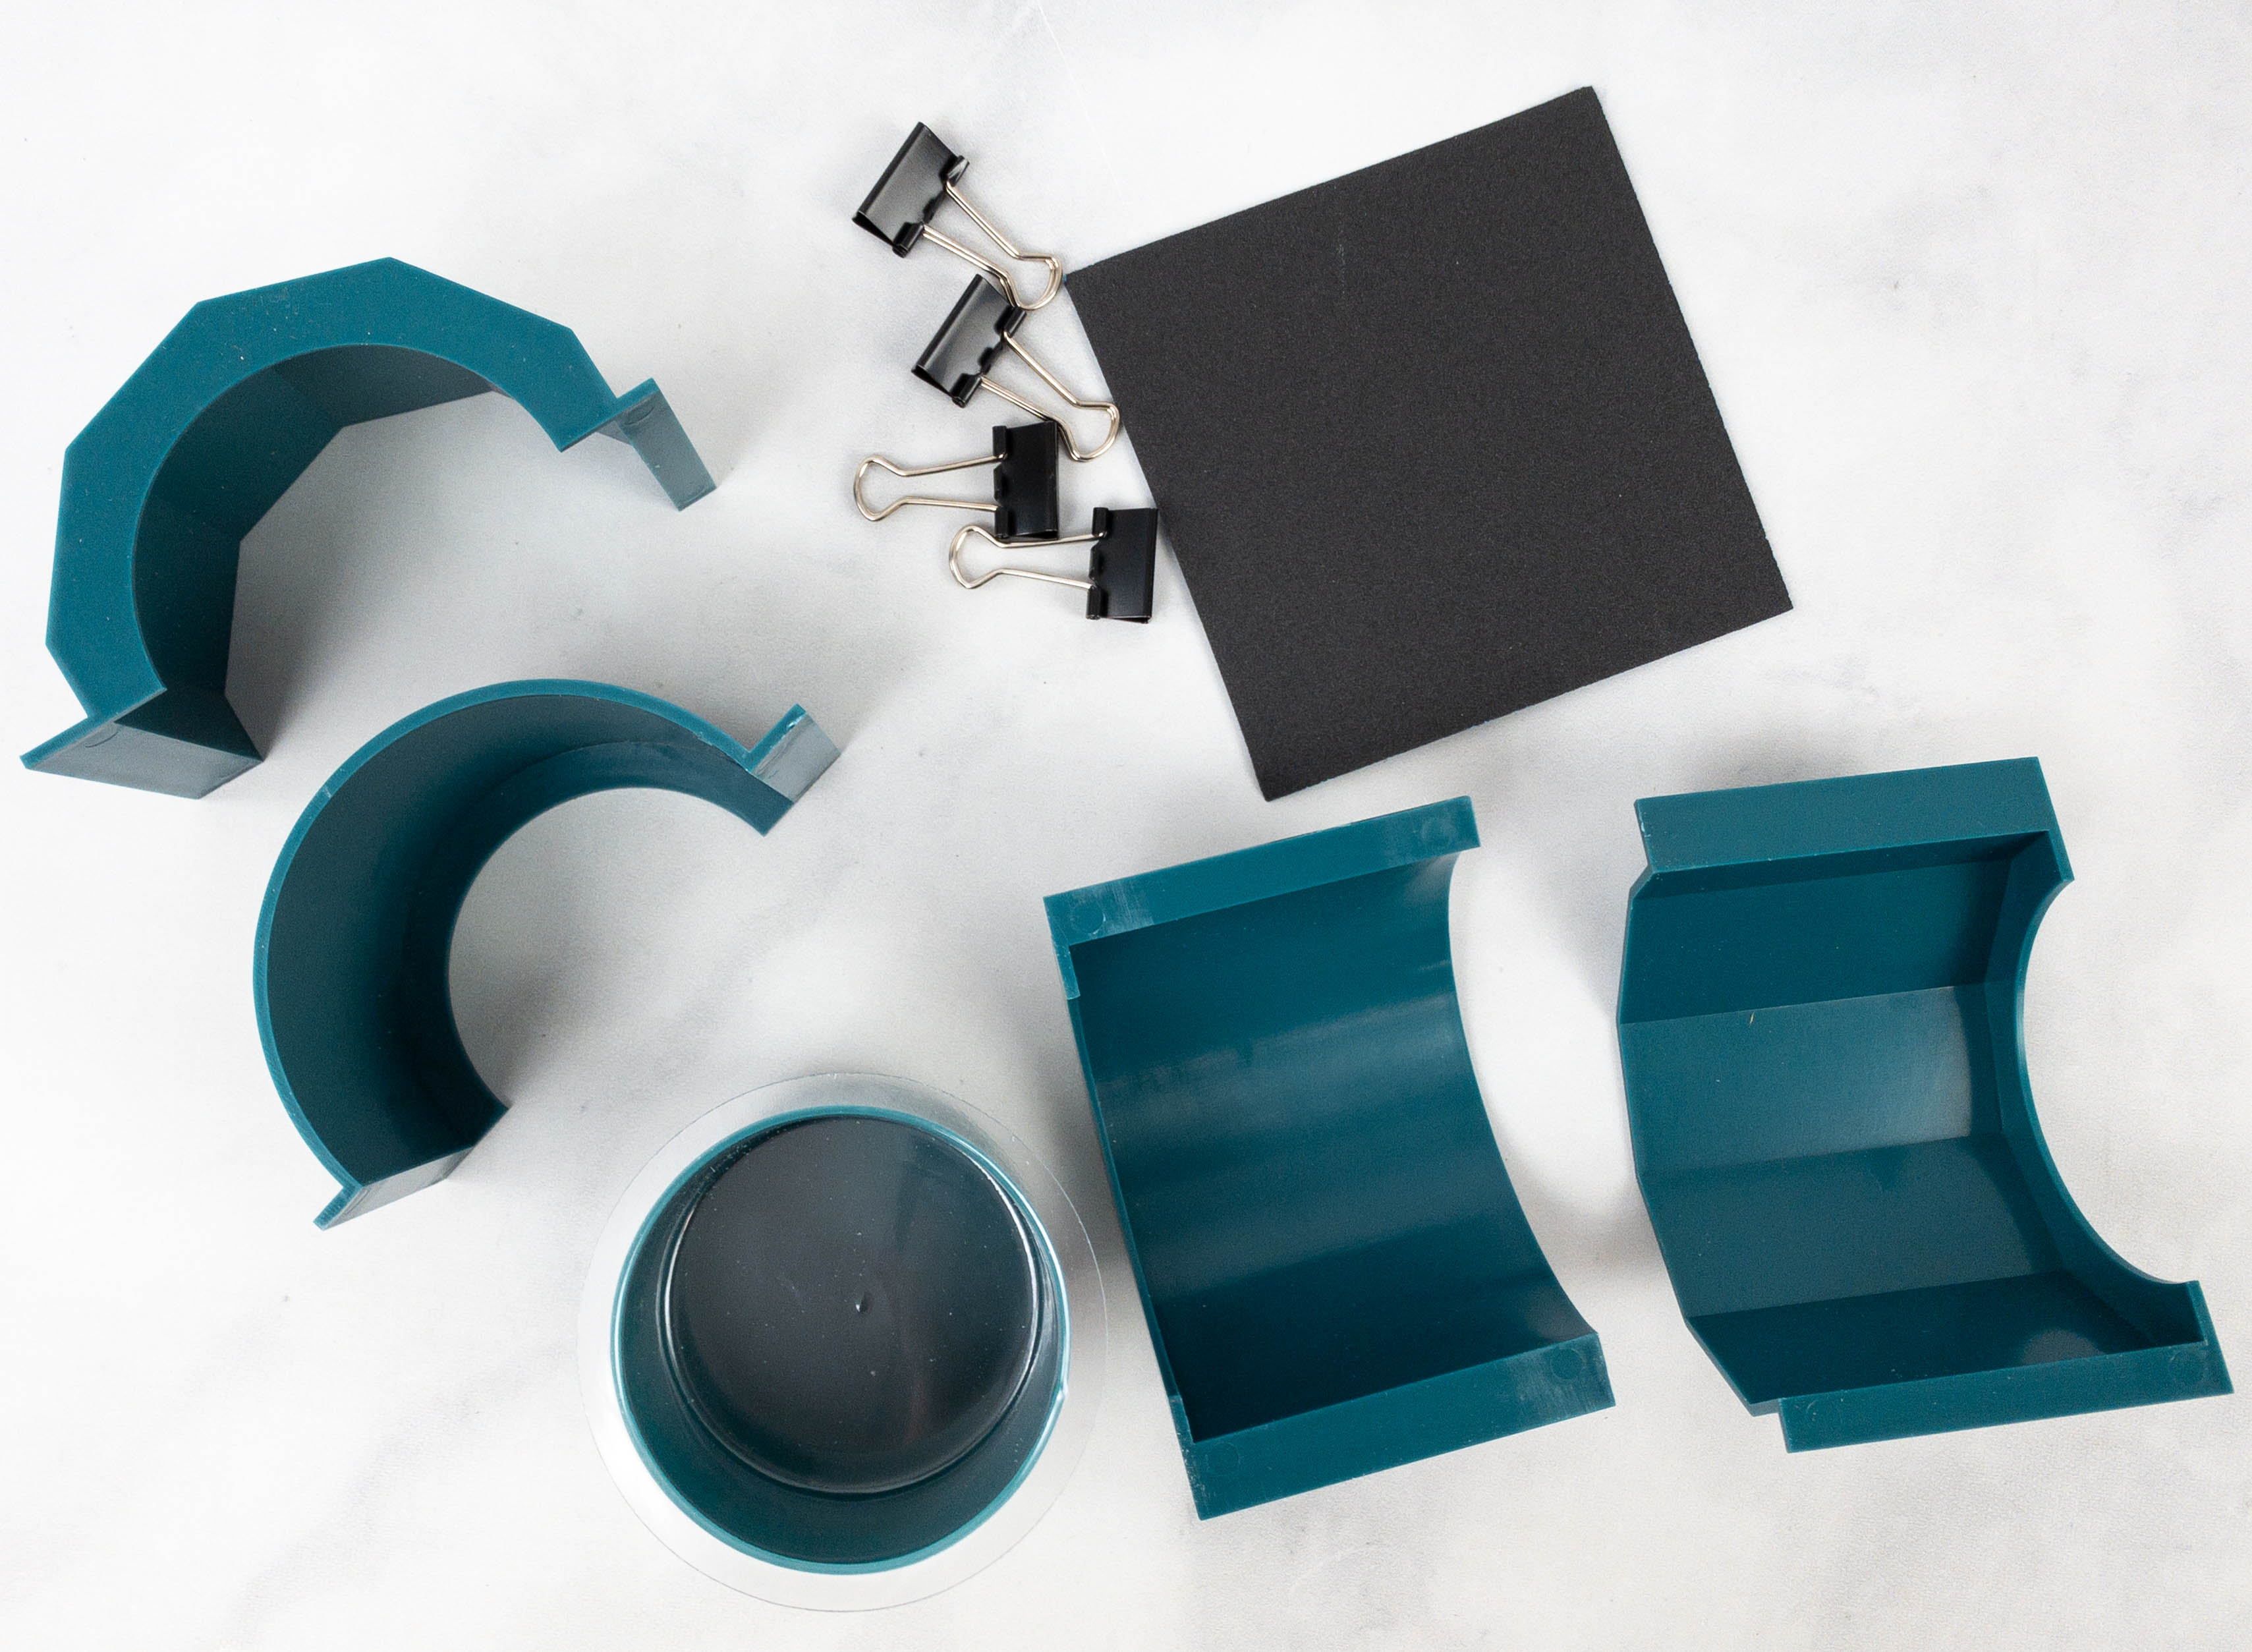
To complete the project, here are the molds, inserts, binder clips, and sand paper. In this project, there are two shape of molds.
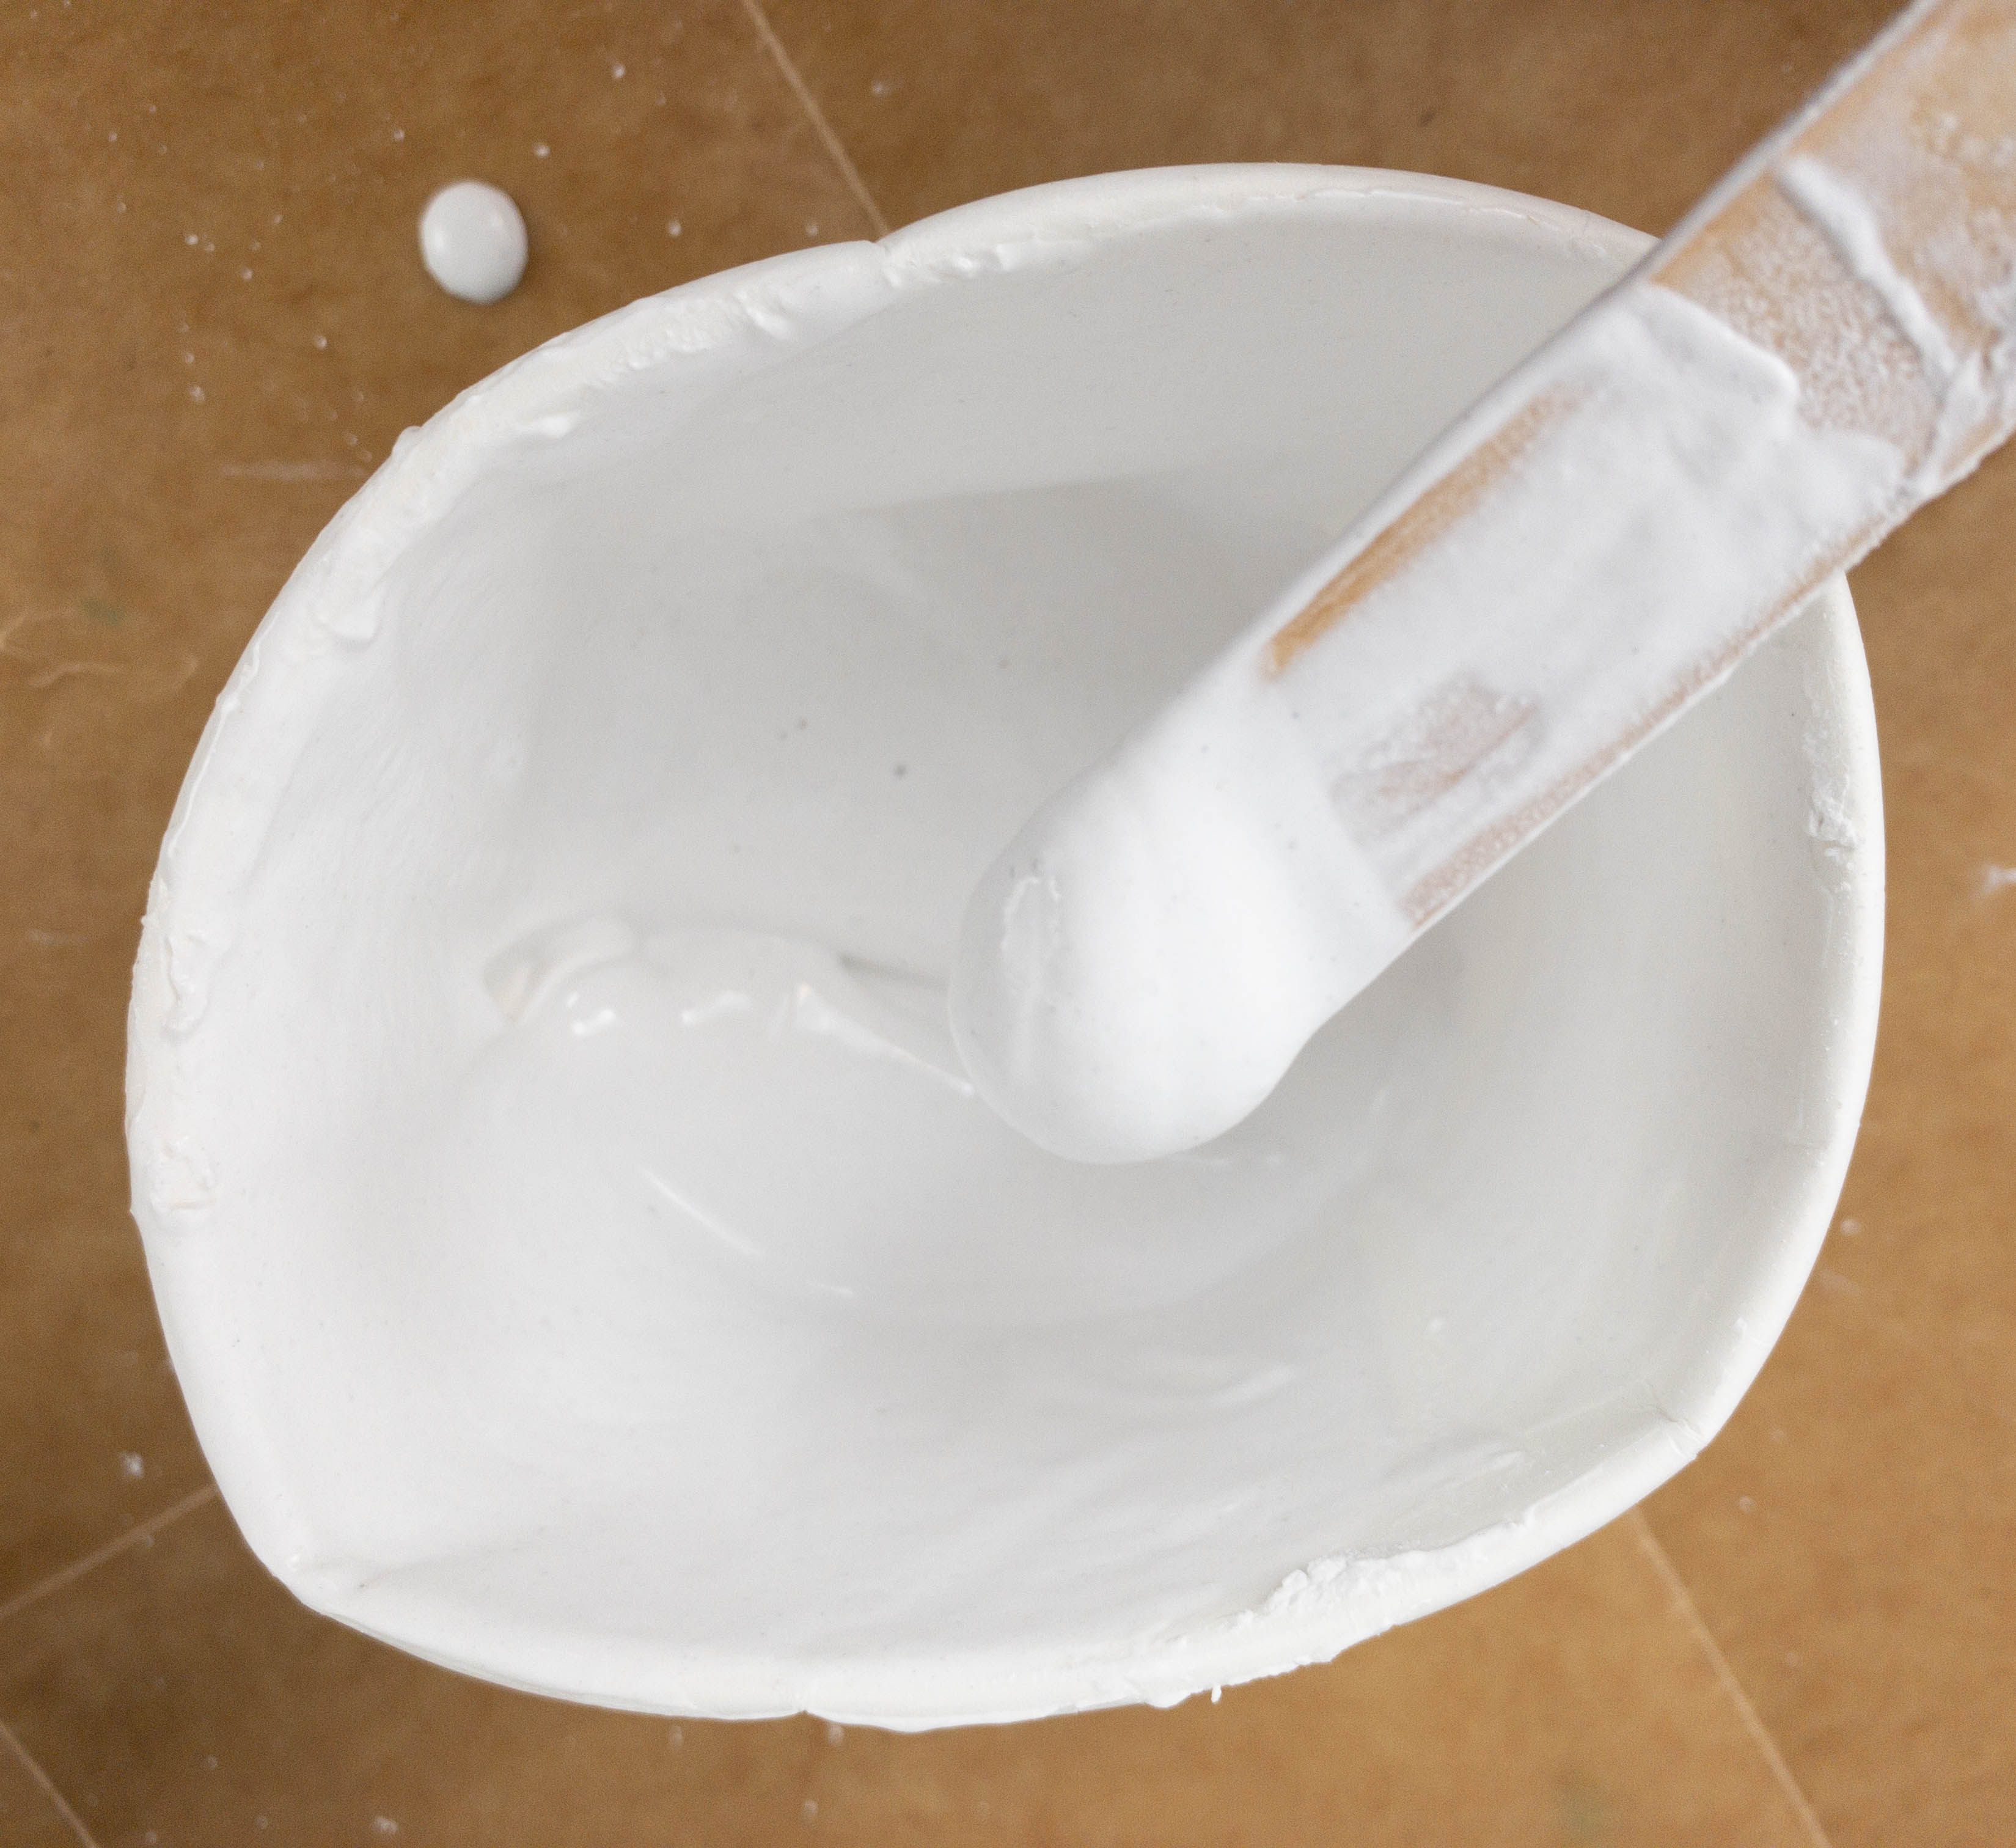
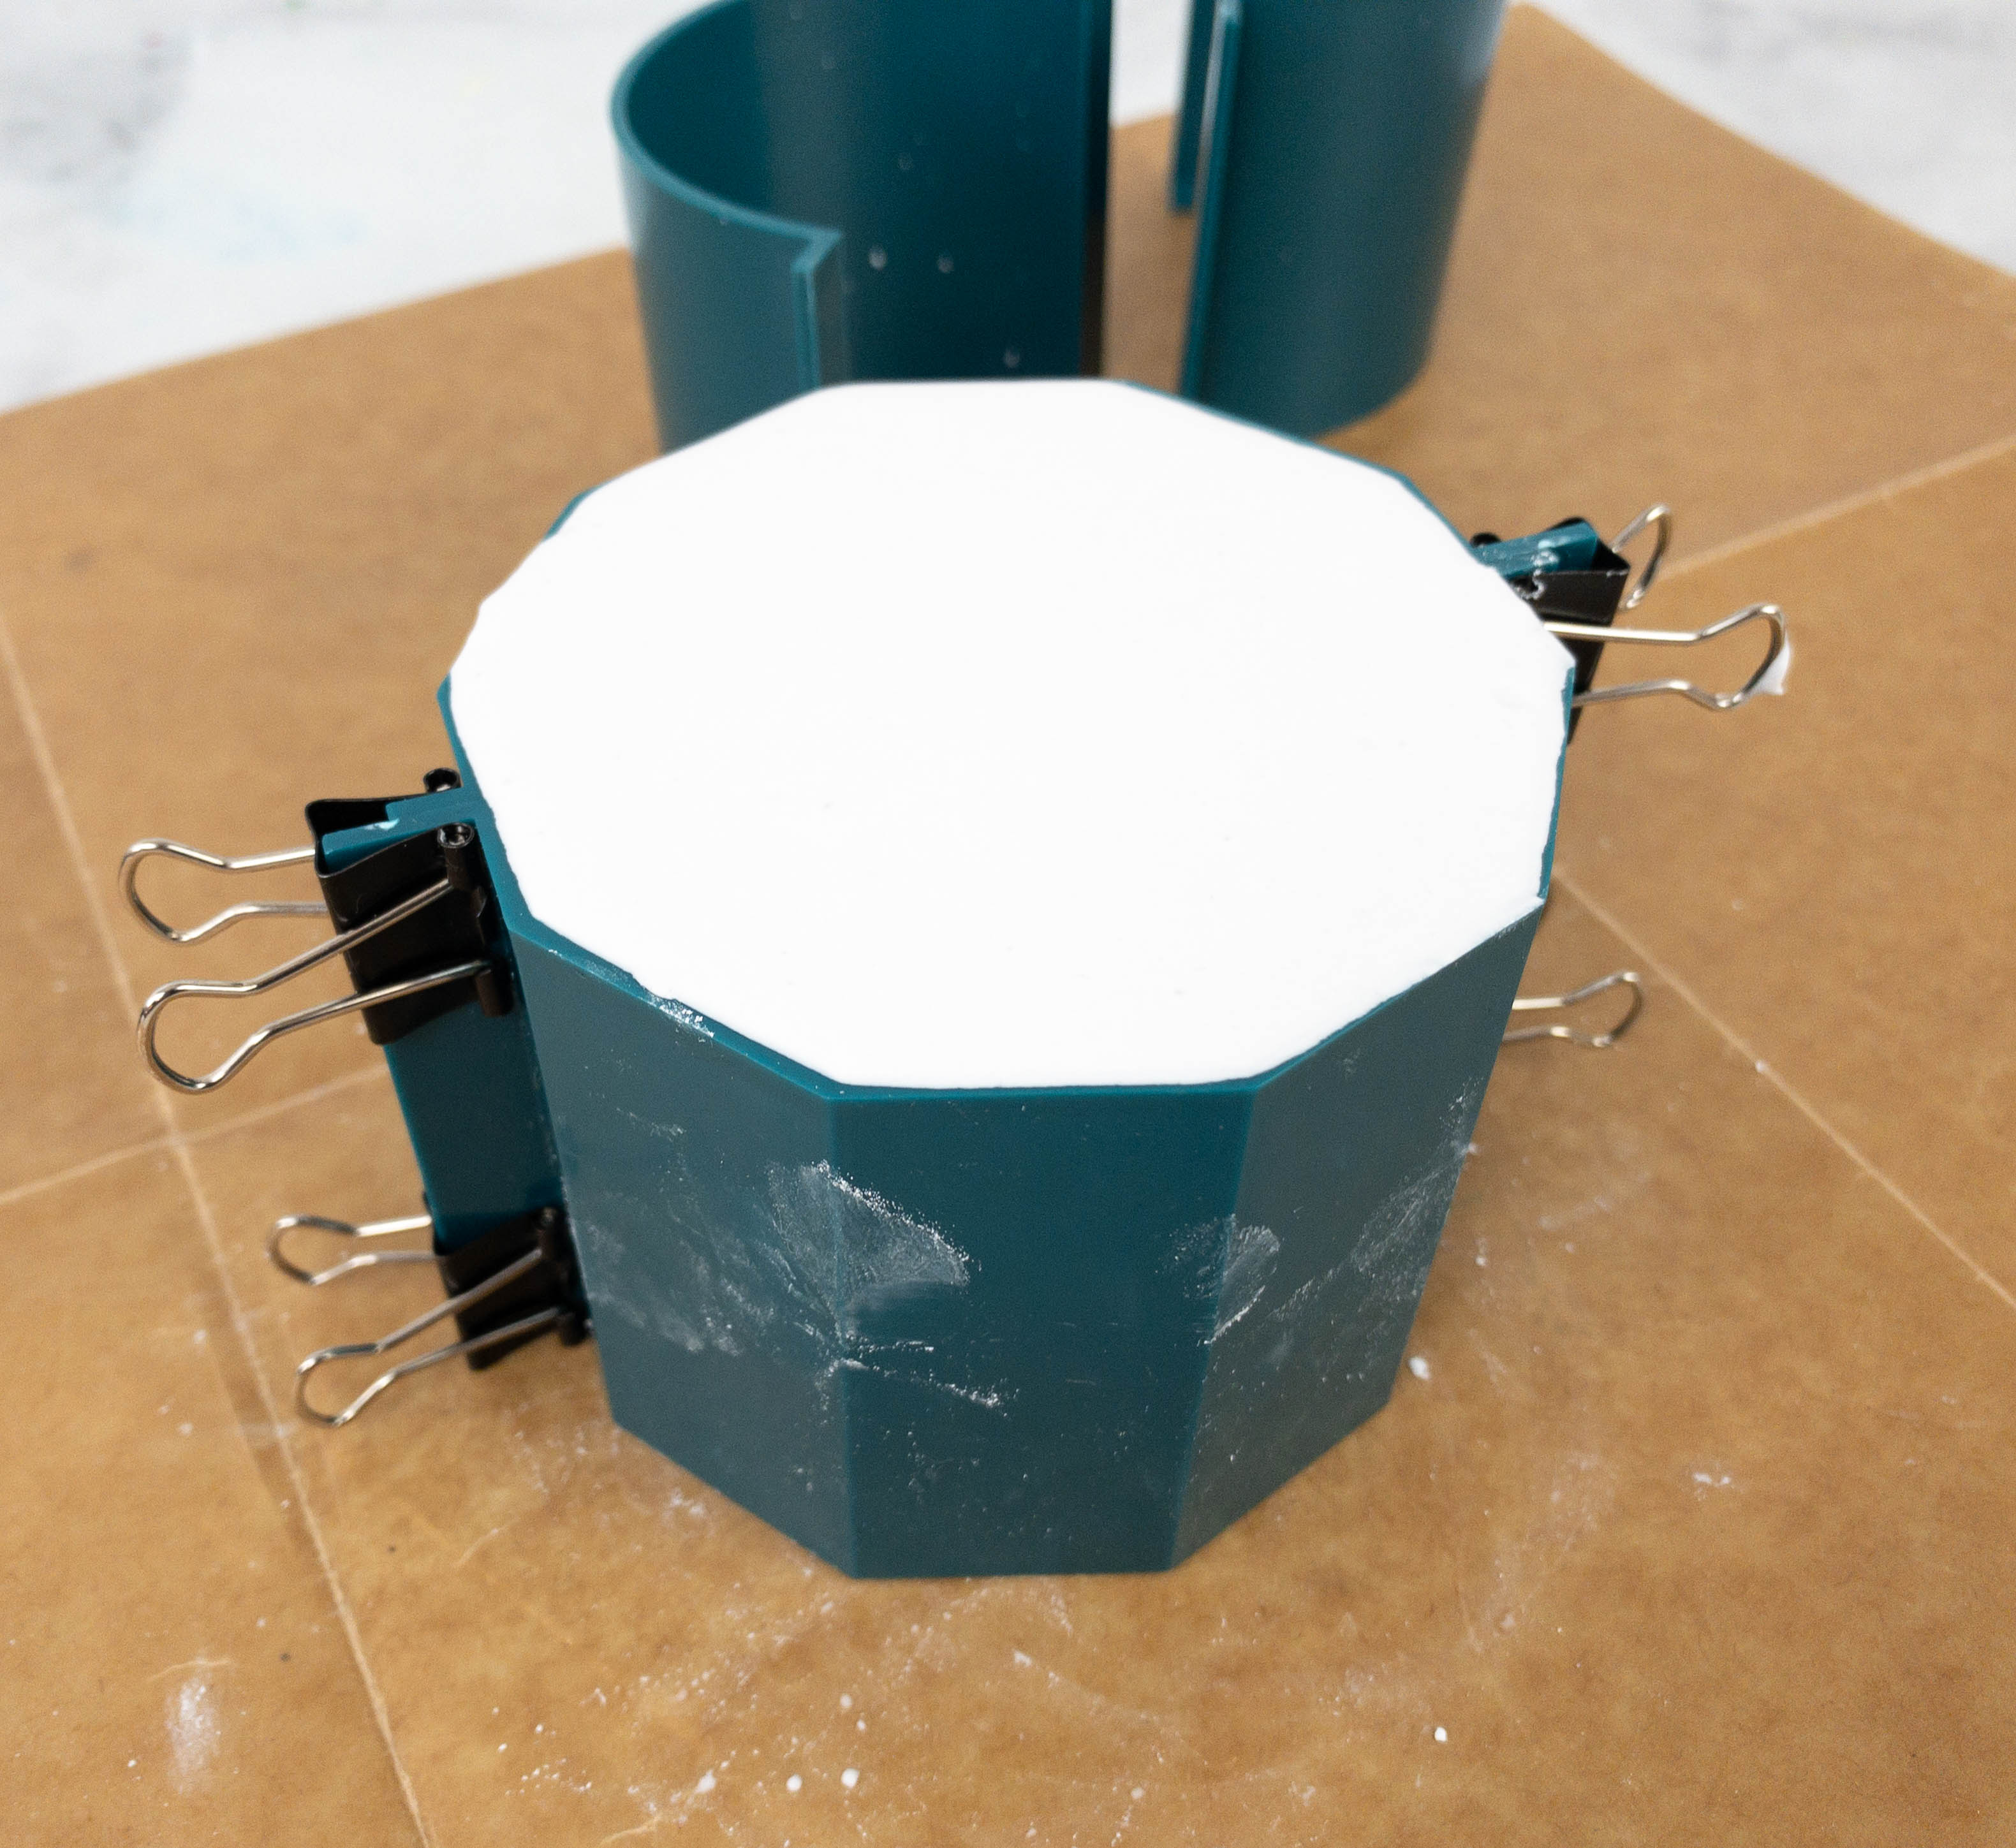
We worked on the provided mess mat. The first step is to assemble the mold and secure the sides using binder clips. Once that’s done, mix the plaster. In the mixing bowl, add half a cup plus 1 tablespoon of cold water and then slowly pour a pack of the plaster while mixing. Mix it together until the consistency is like a pancake batter. When you reach the right consistency, it’s time to pour it in the mold. Let it sit for at least an hour (or more) to dry up and harden.
Once it is dry, it’s time to remove the plaster from the mold!

To do this, simply take off the binder clips from the mold and gently apply a bit of pressure to the tabs of the mold that are sticking out so you can get the pot inside to pop out. Then remove the insert by gently wiggling it out. Now, it’s ready to paint!
Before painting, we started making the plants first!
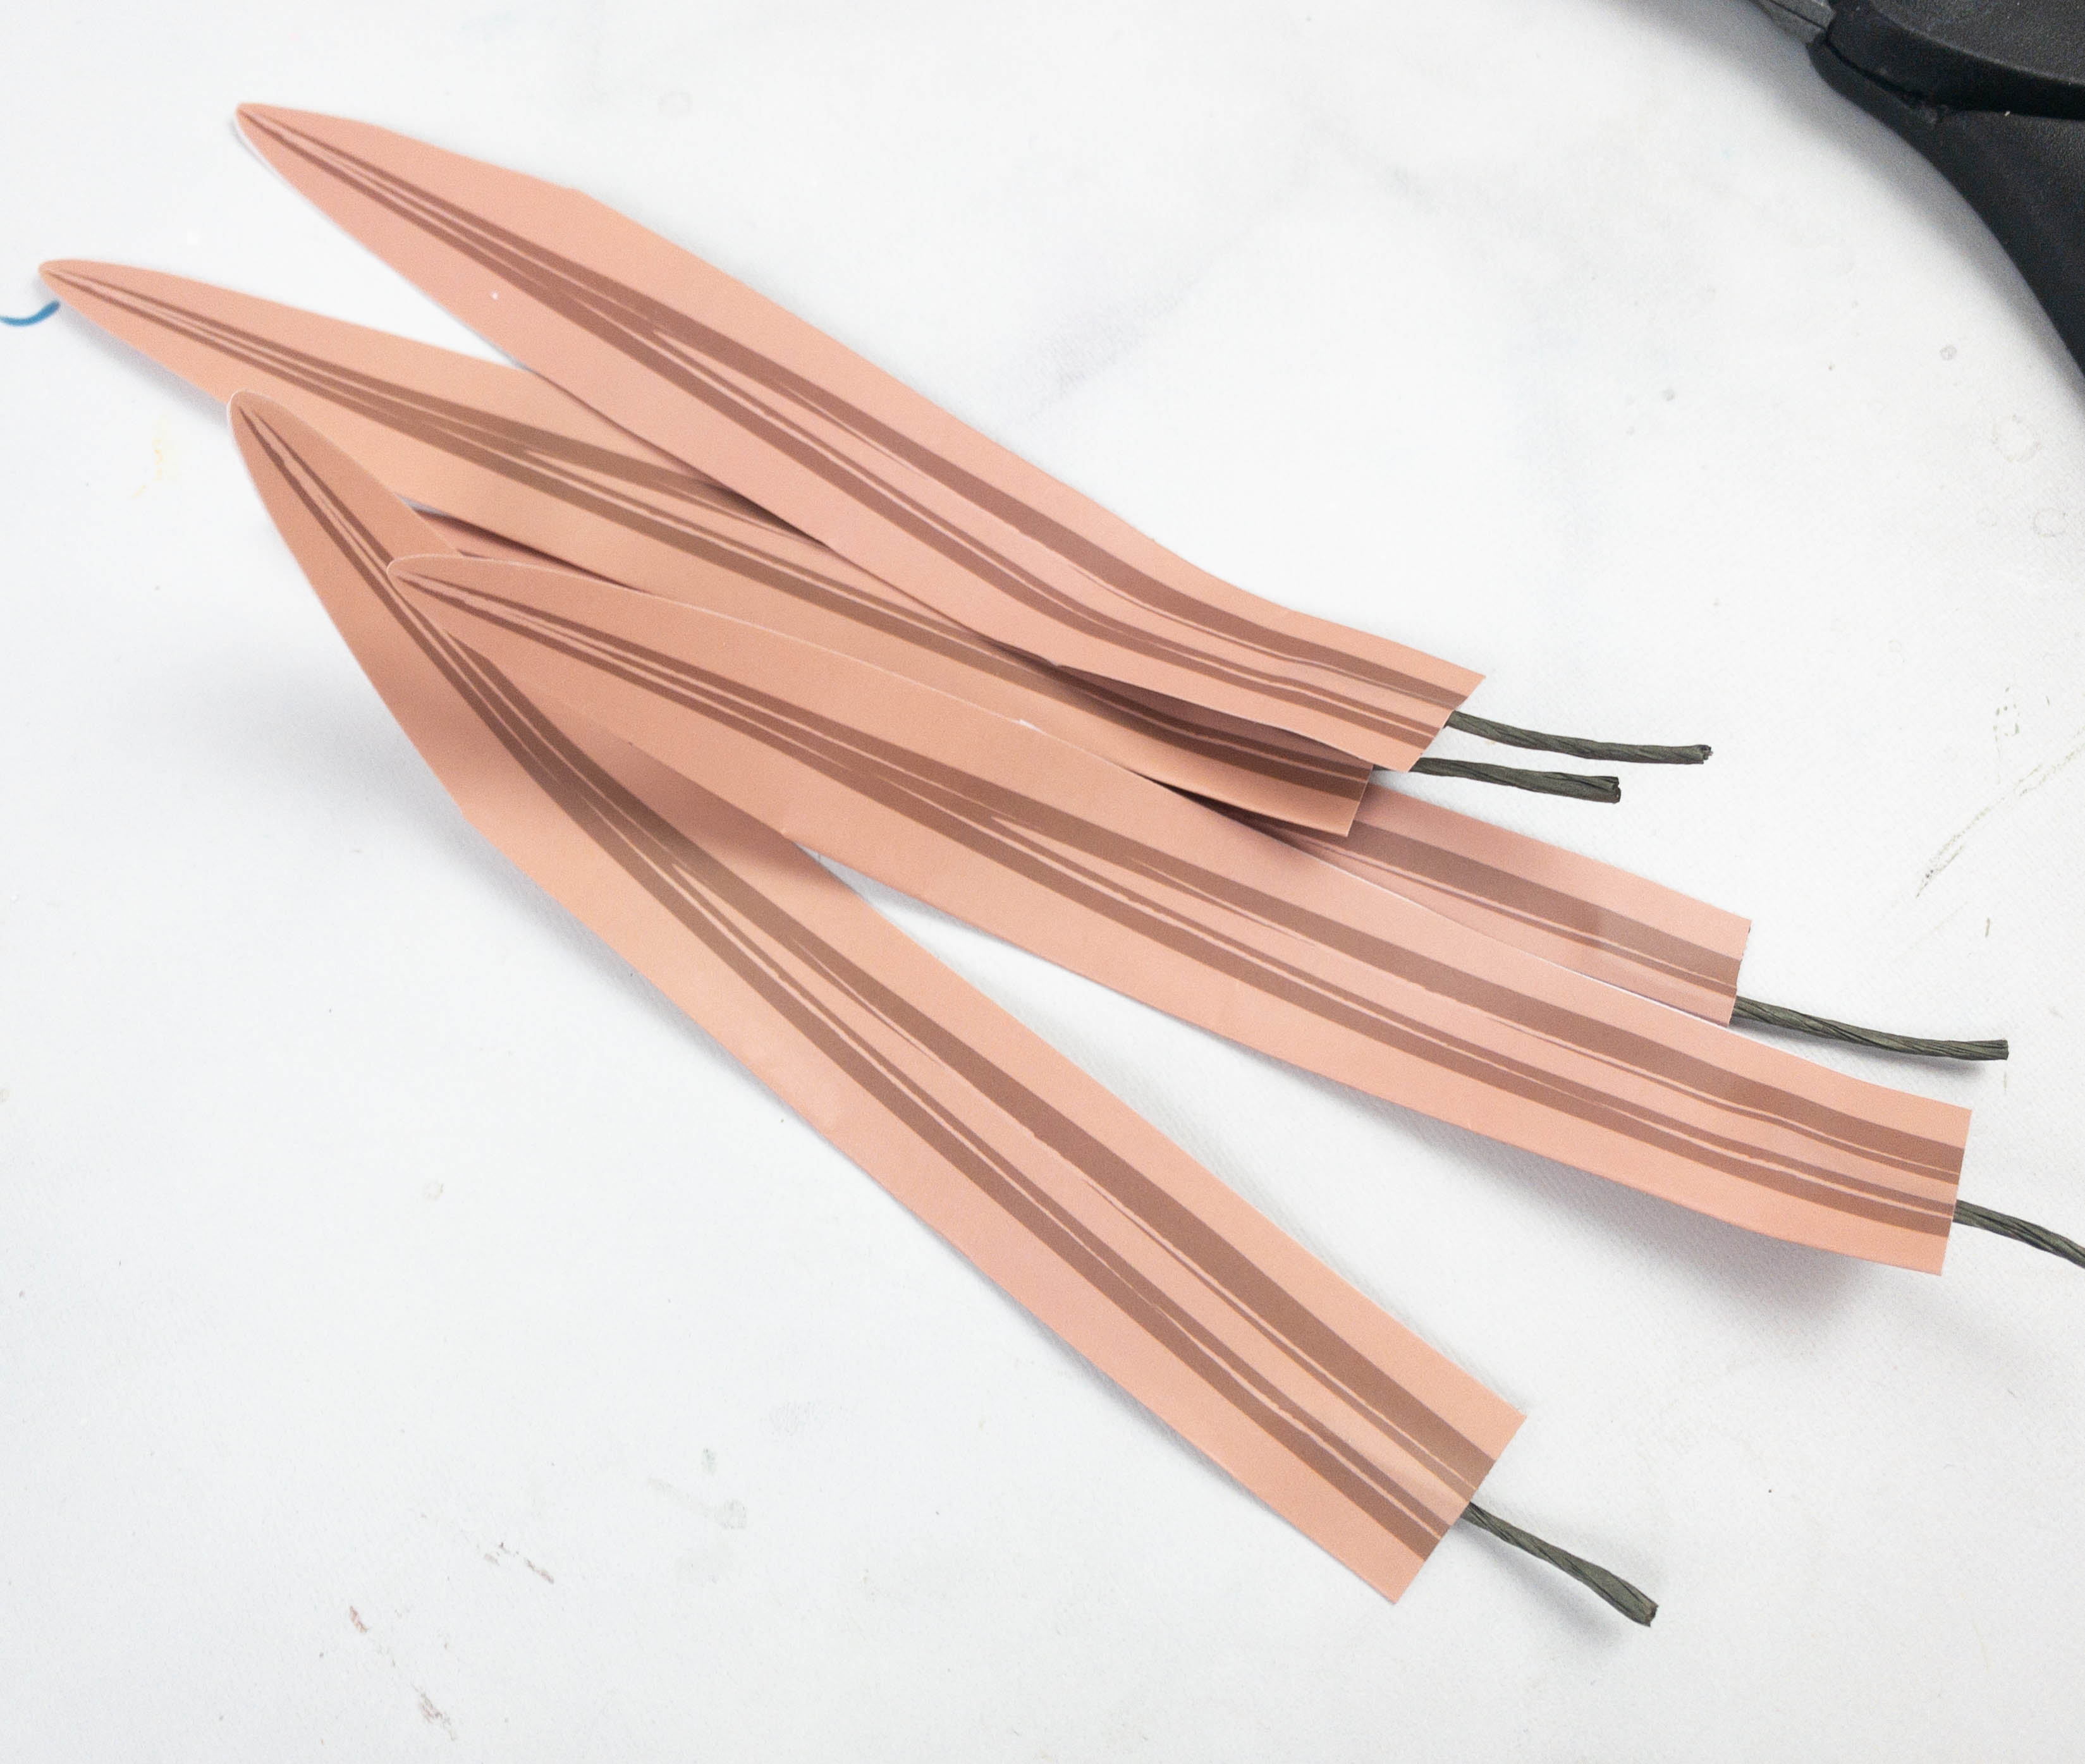
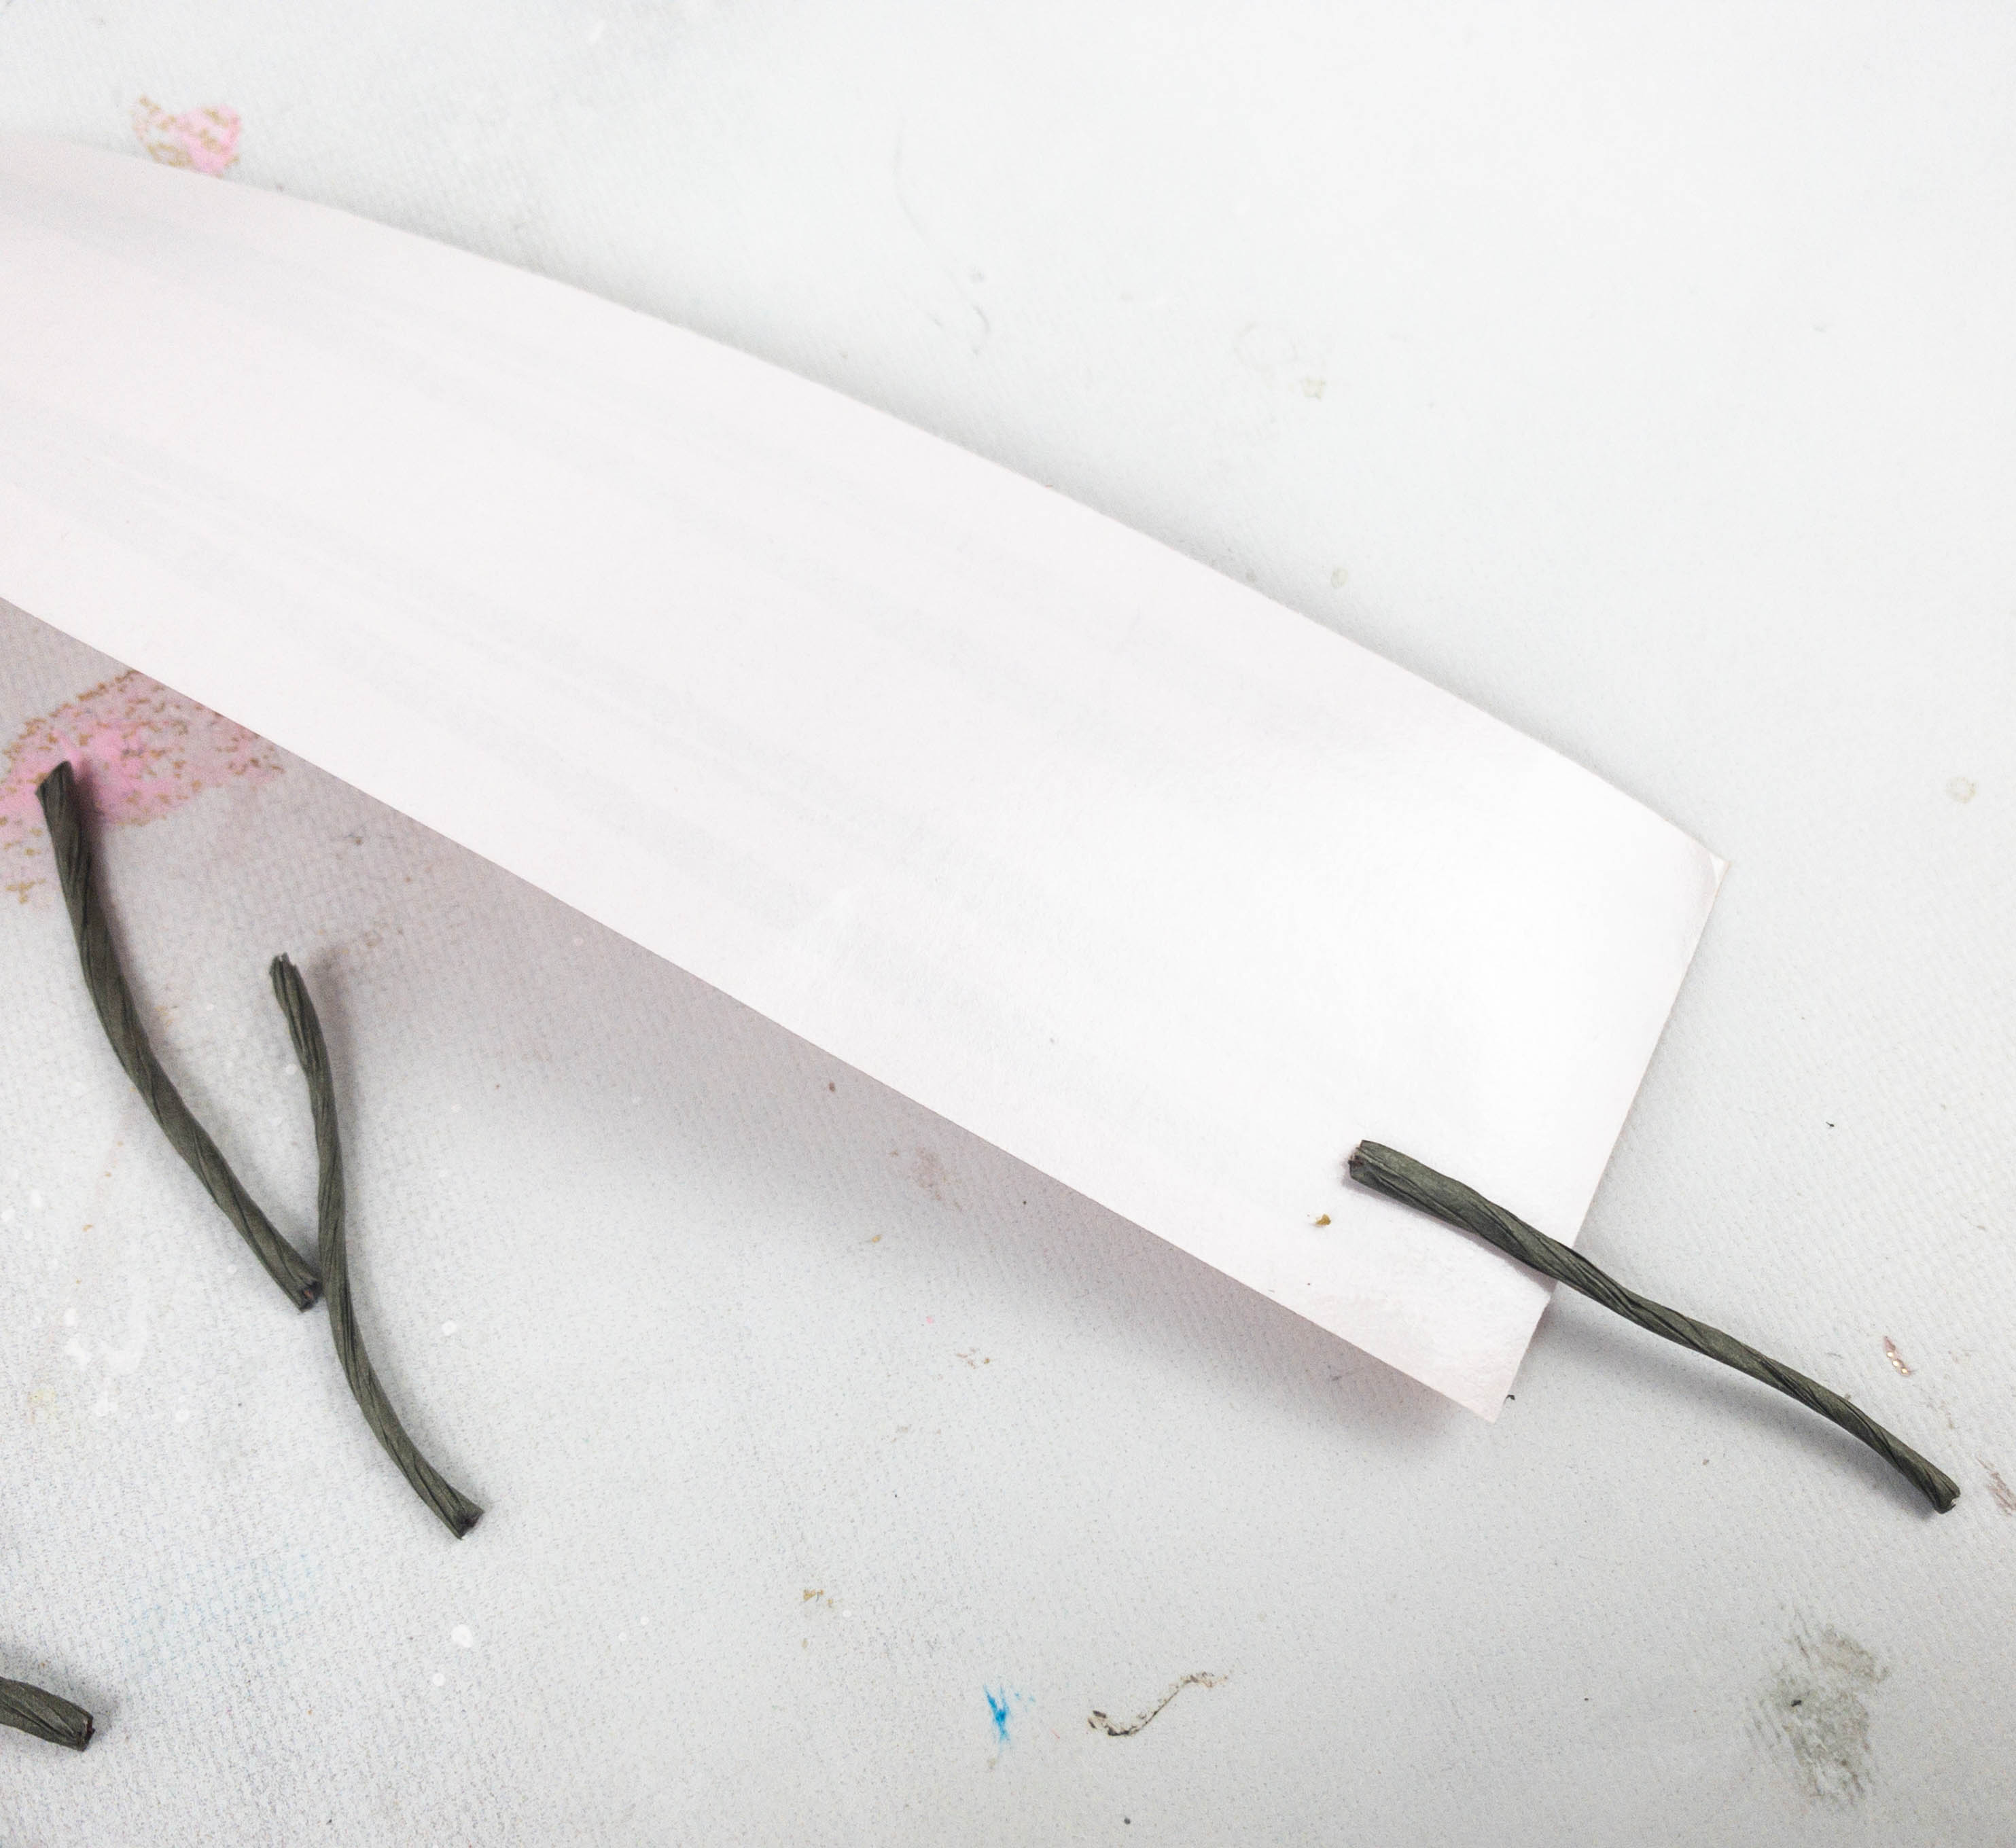
The instructions are quite easy to follow. In this part of the project, the floral wire is needed to make the stems.
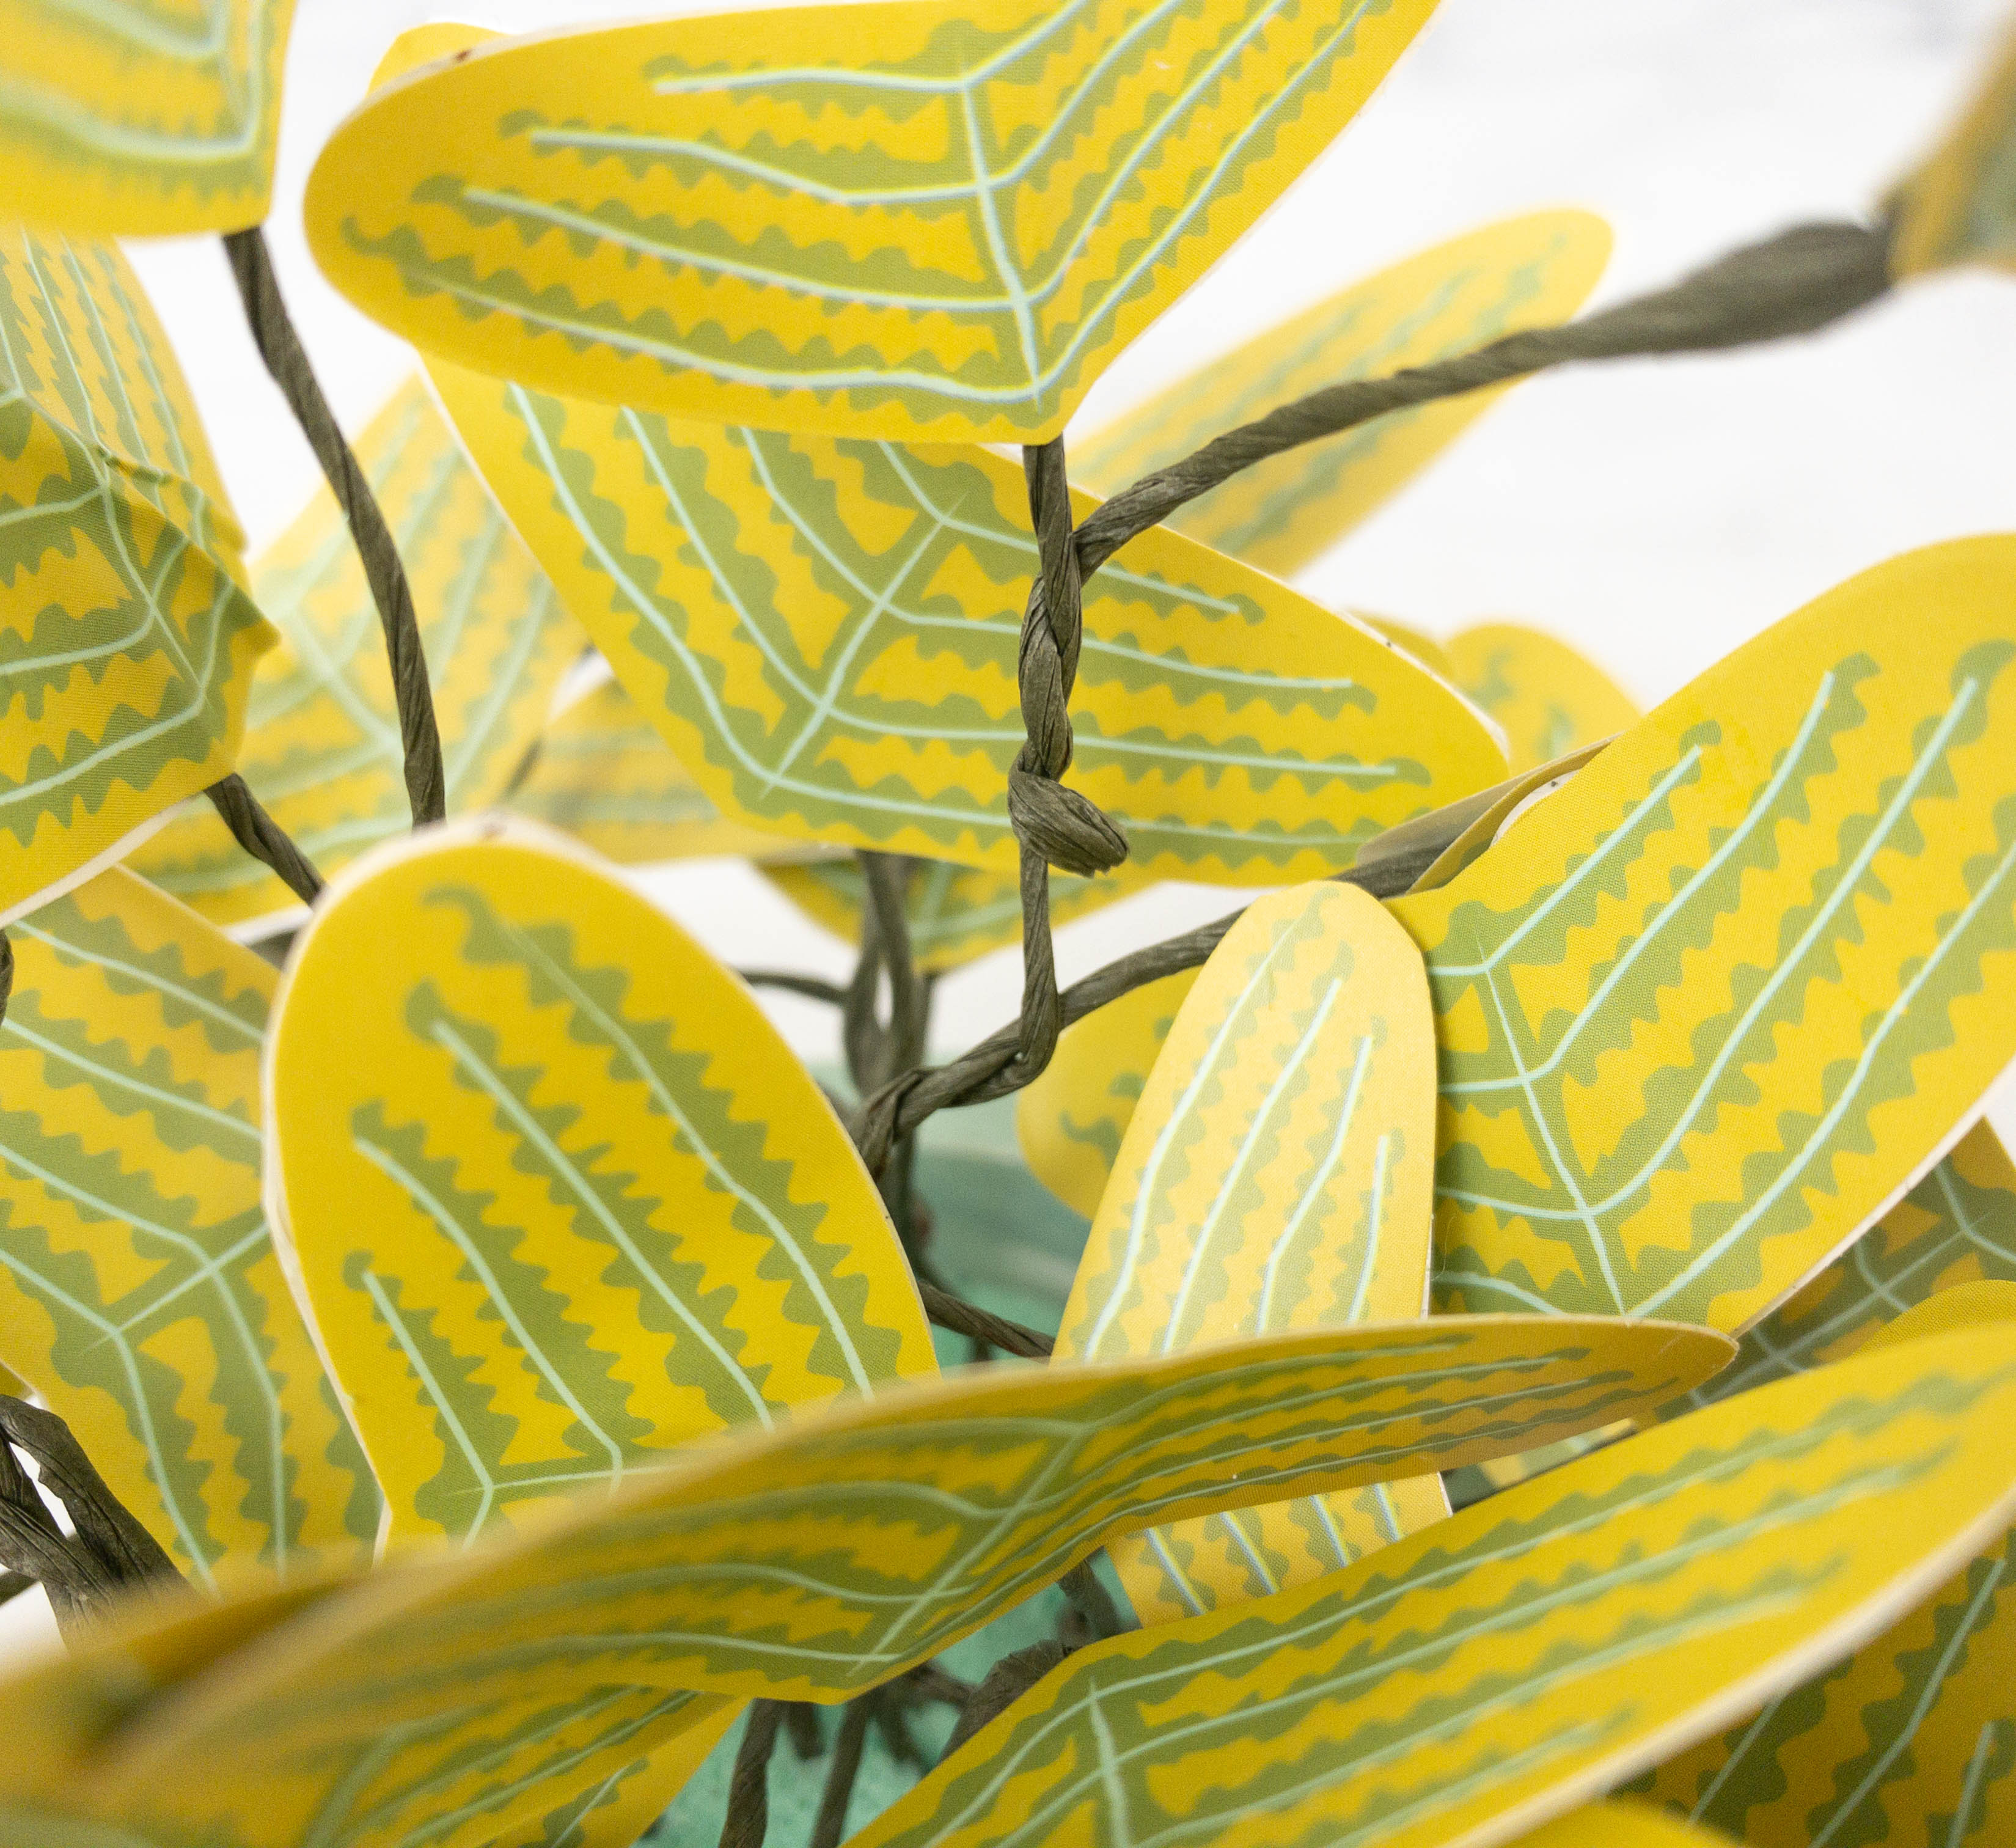
Cut out 1-inch pieces of the floral wire and then put a leaf sticker on it. Make sure that most of the stem is sticking out. Now, fold the leaf over like a book while lining up the two halves as neatly as you can. Do the same steps for the rest of the leaves!
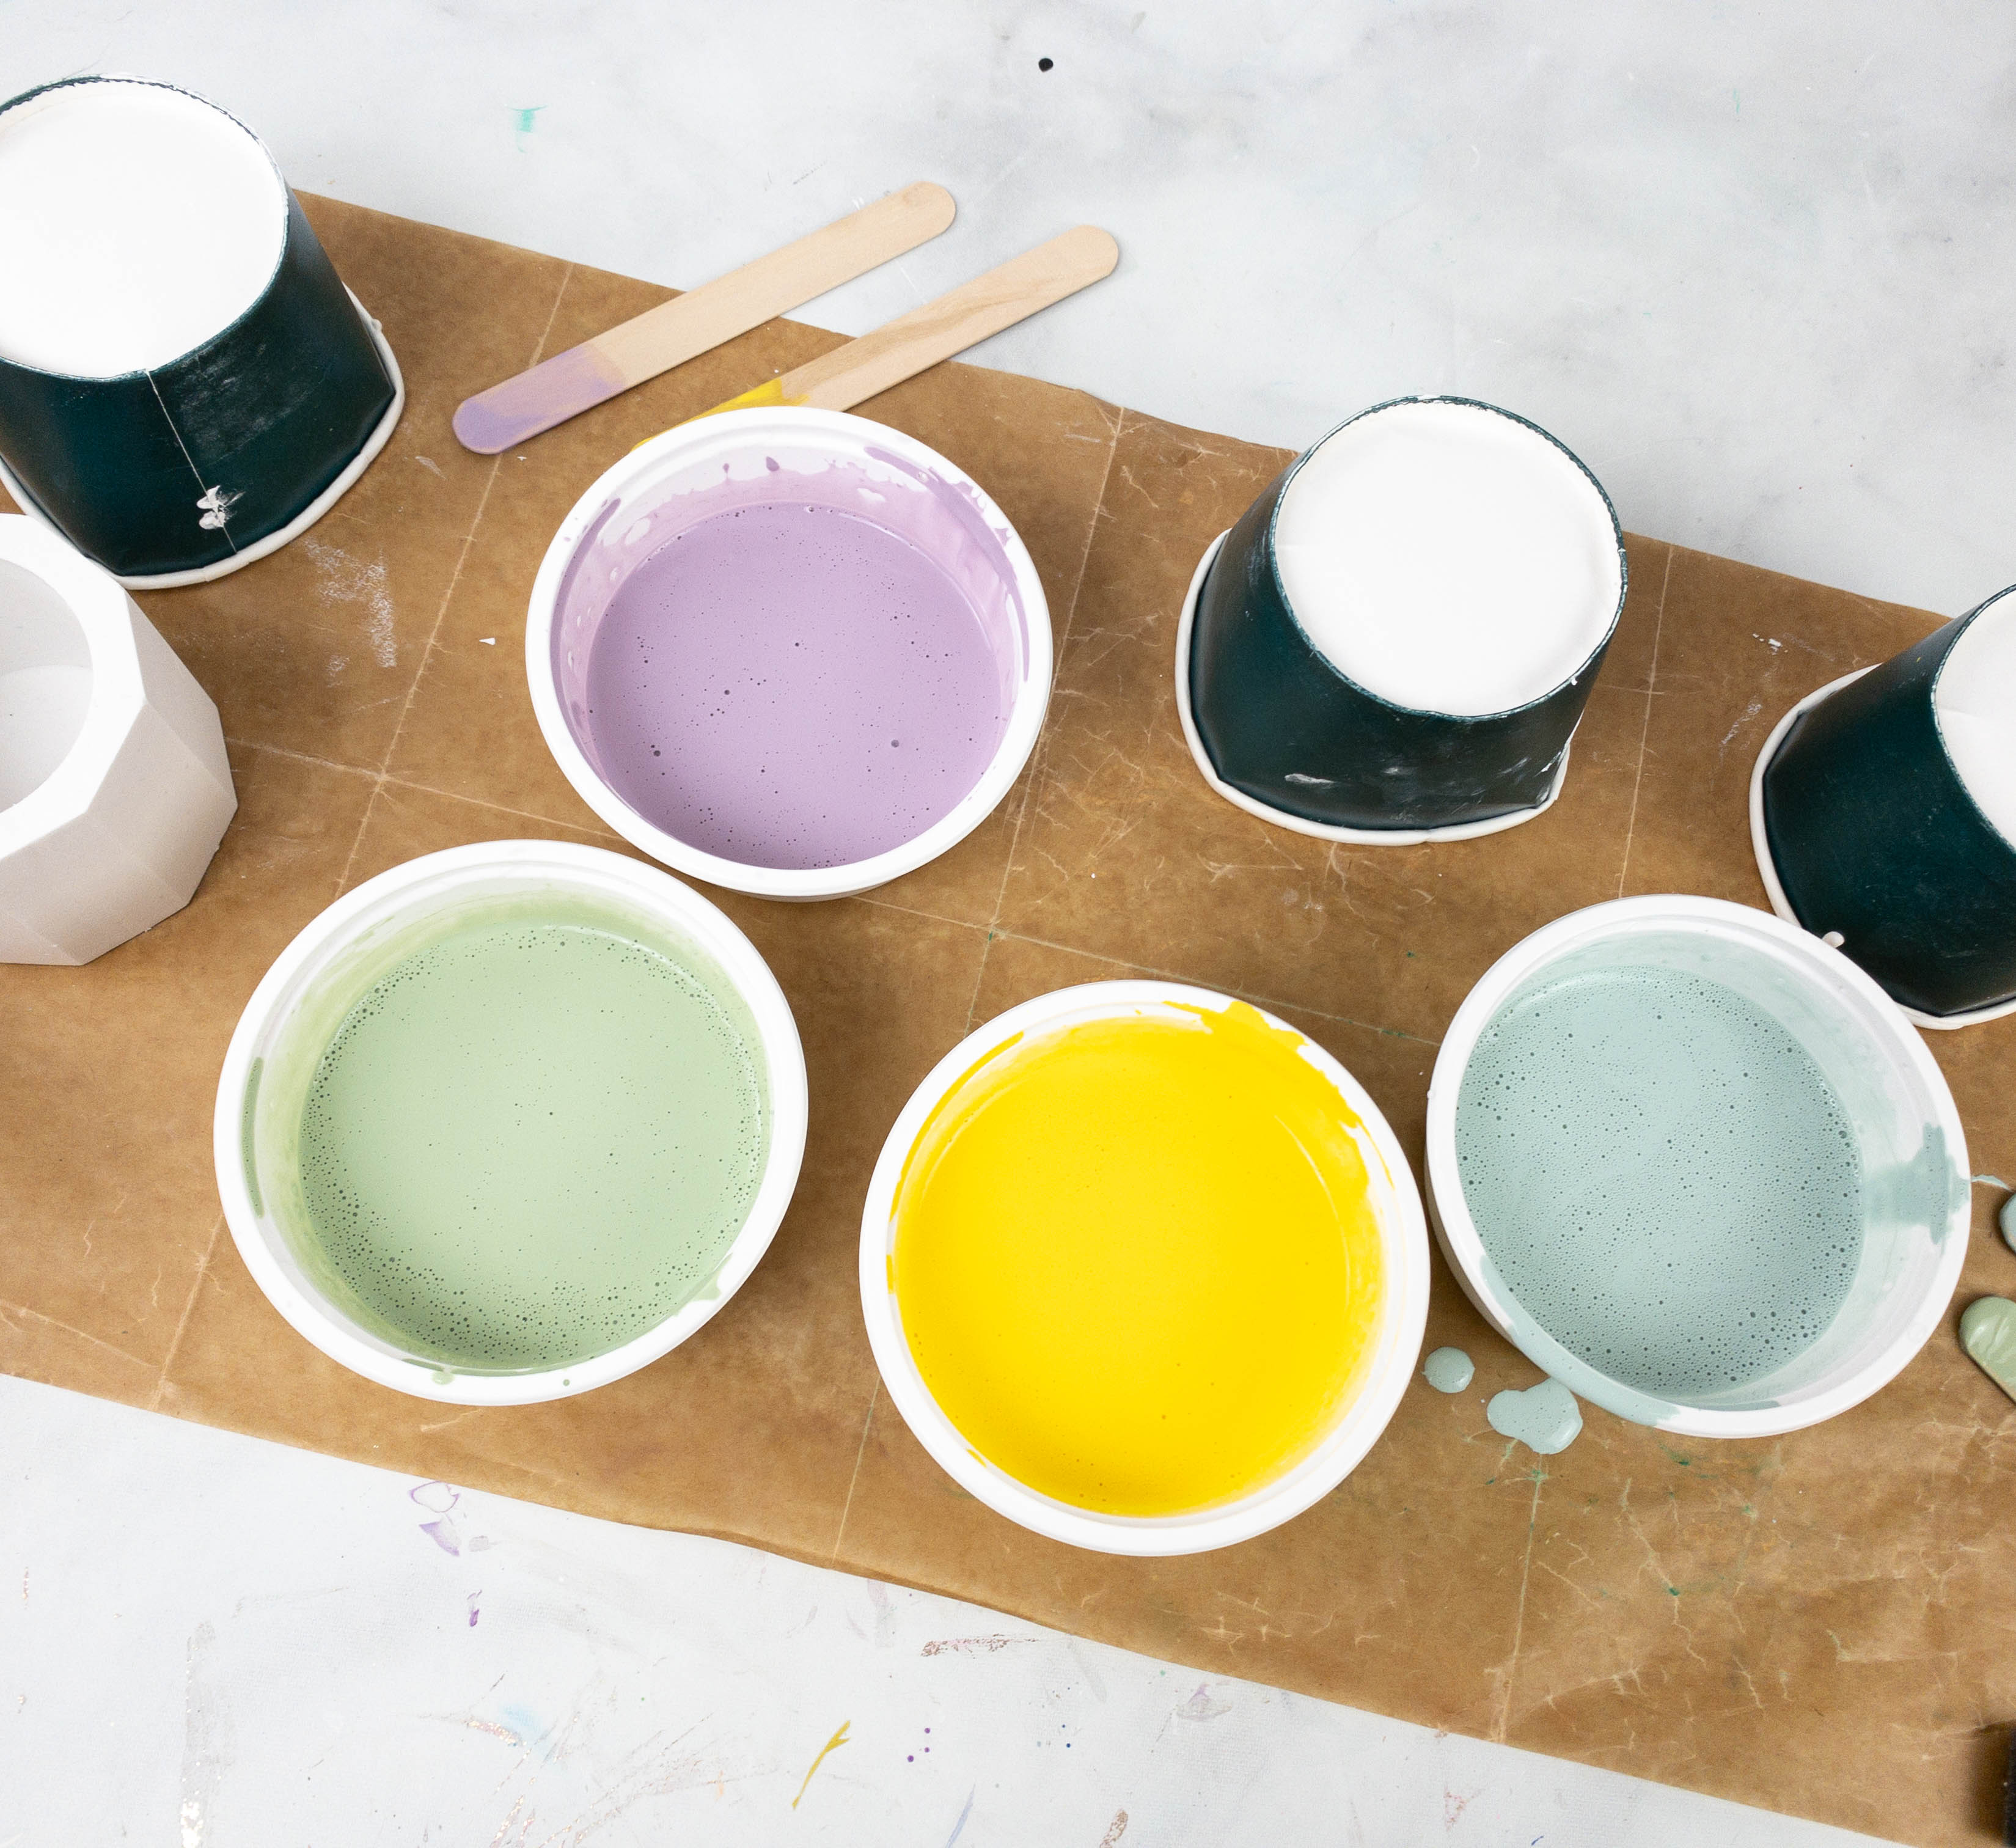
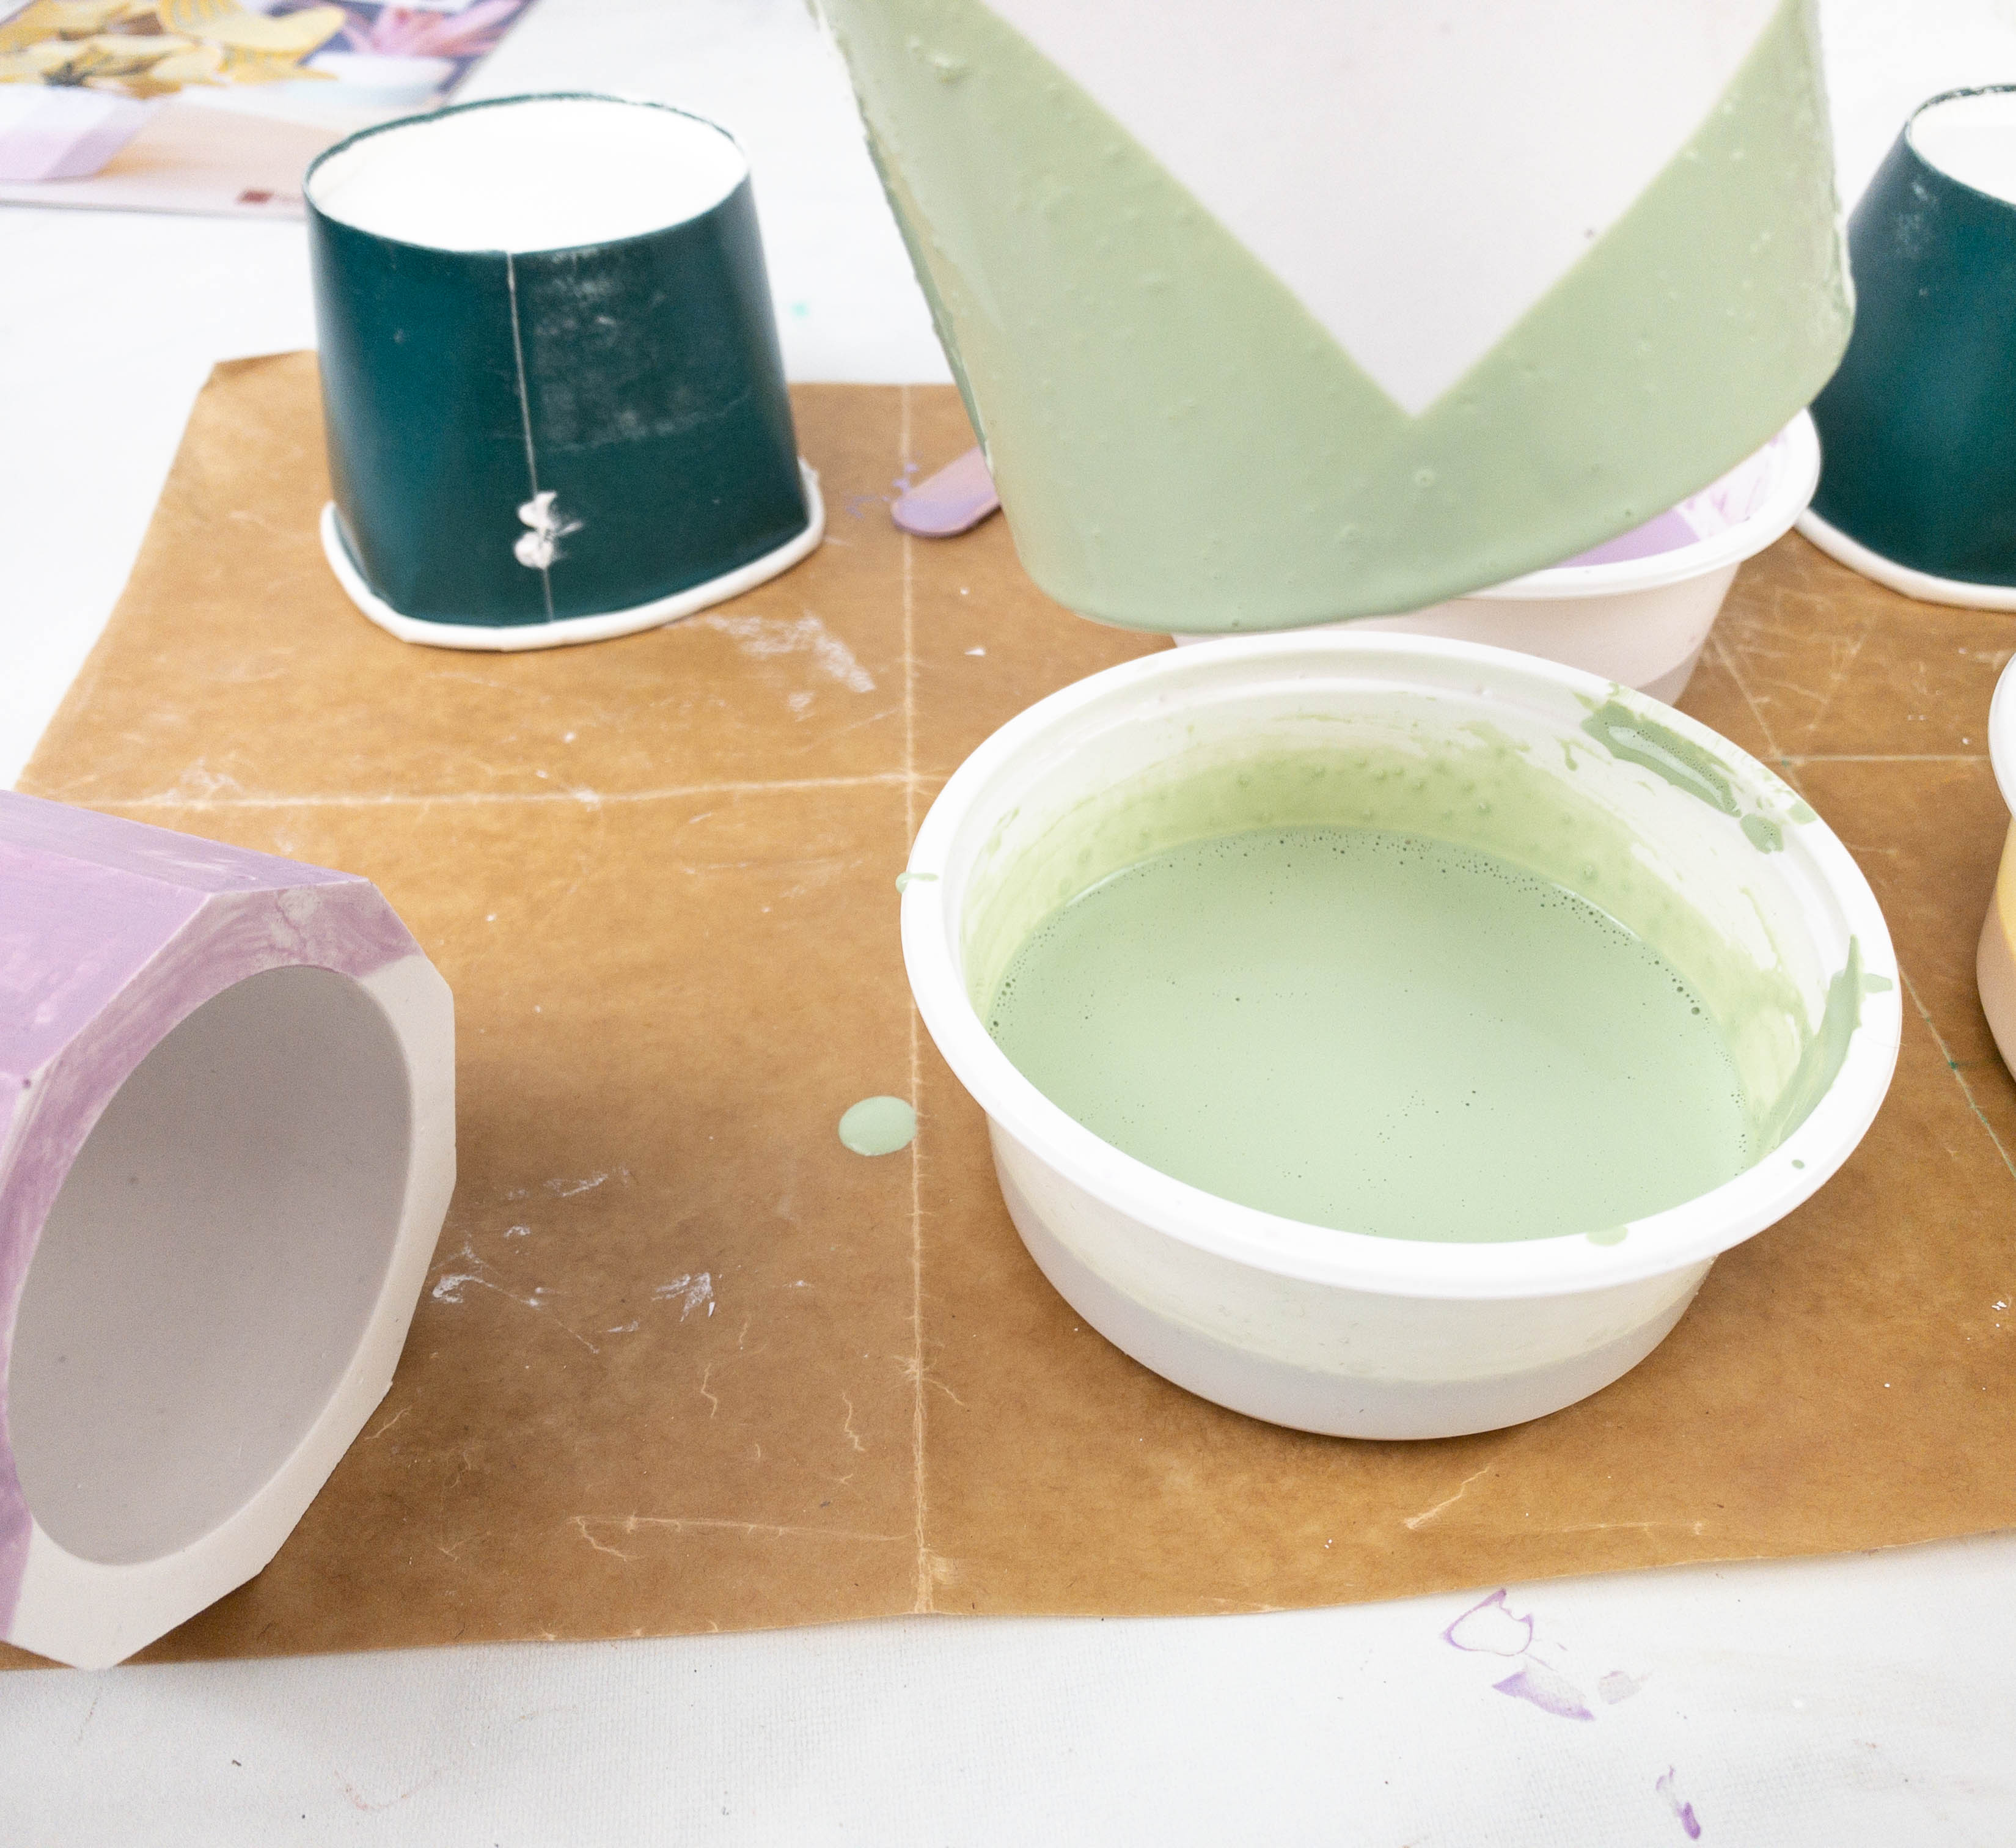
Now, it’s time to paint the pots using the hand dipping method. You just have to empty the paint into a dipping bowl. Then, fill the paint bottle with water, put the cap back on, and shake. Add the contents again to the bowl. Keep doing this until the bowl is 1/3 full. Use the mixing stick to mix the paint evenly and do the same steps for the other colors.
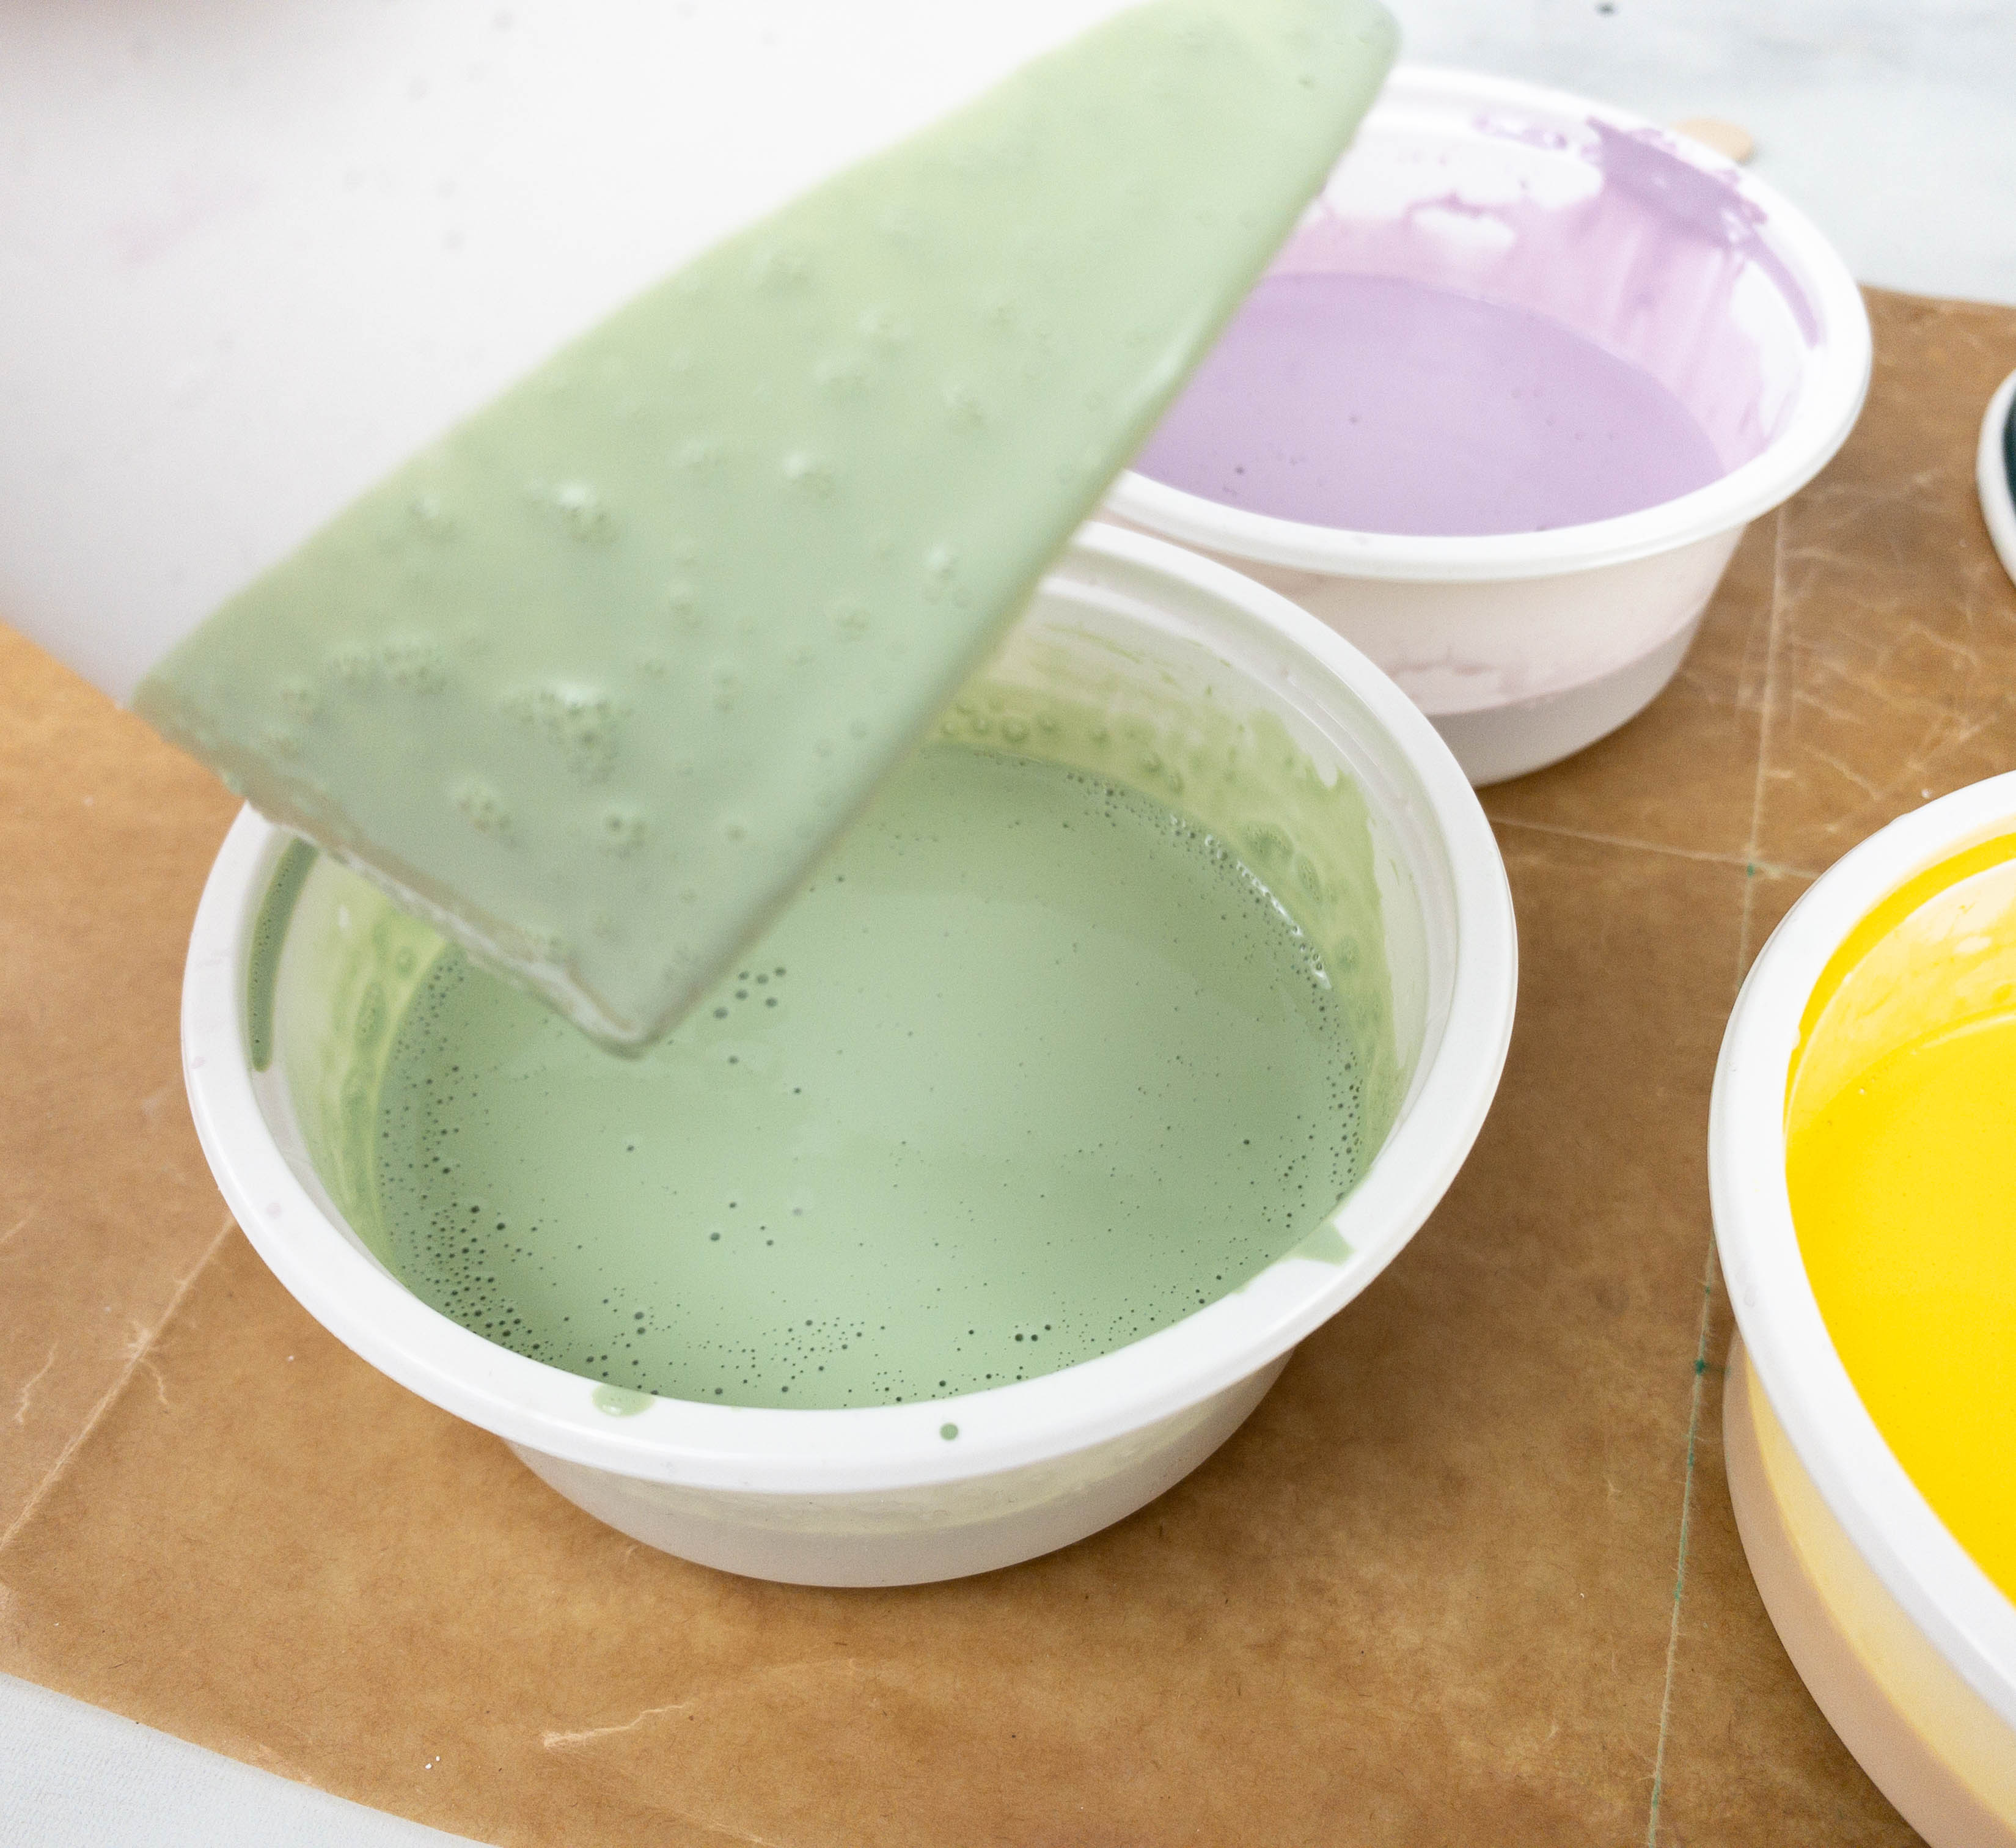
Use the sand paper to make sure the pot surface is smooth before proceeding to paint. After that, you can start dipping the pot.
You can use your creativity and imagination to paint the pots however you want them to look! To even out the paint and wipe off the excess, you can also use the brush.
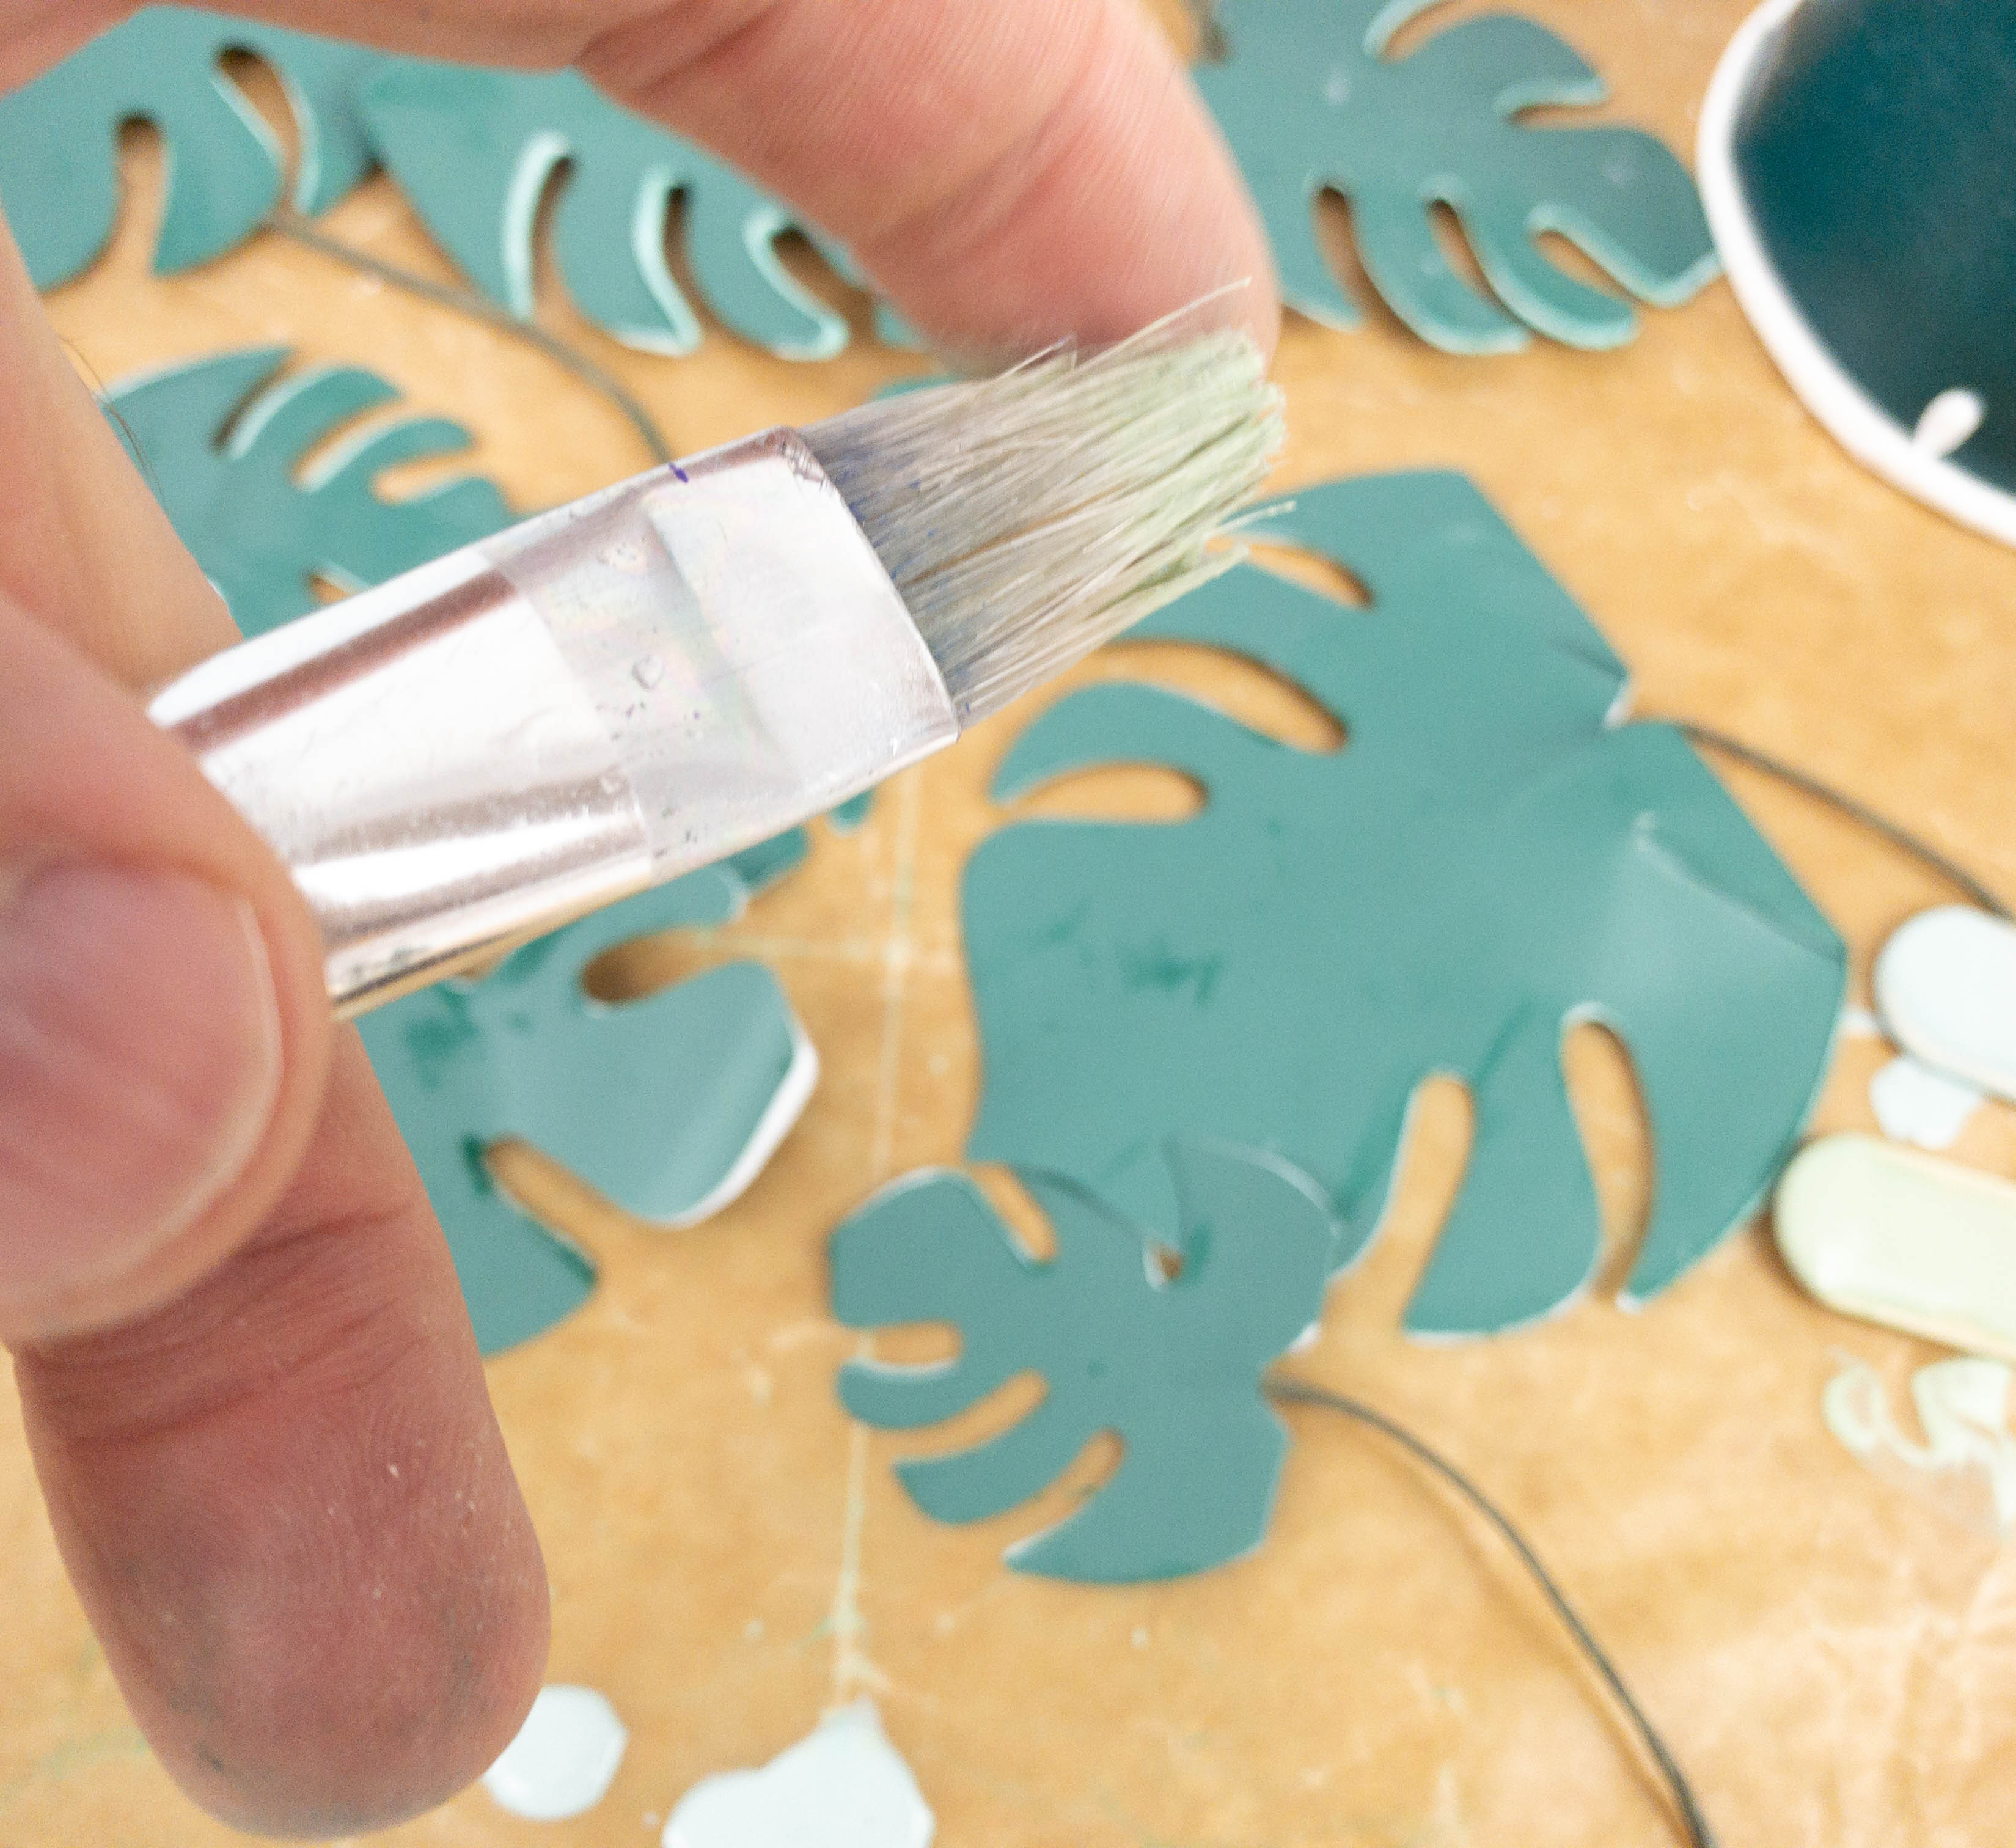
We have a spare paint brush here at home so I decided to add a bit of character to the leaves by sprinkling some green paint!
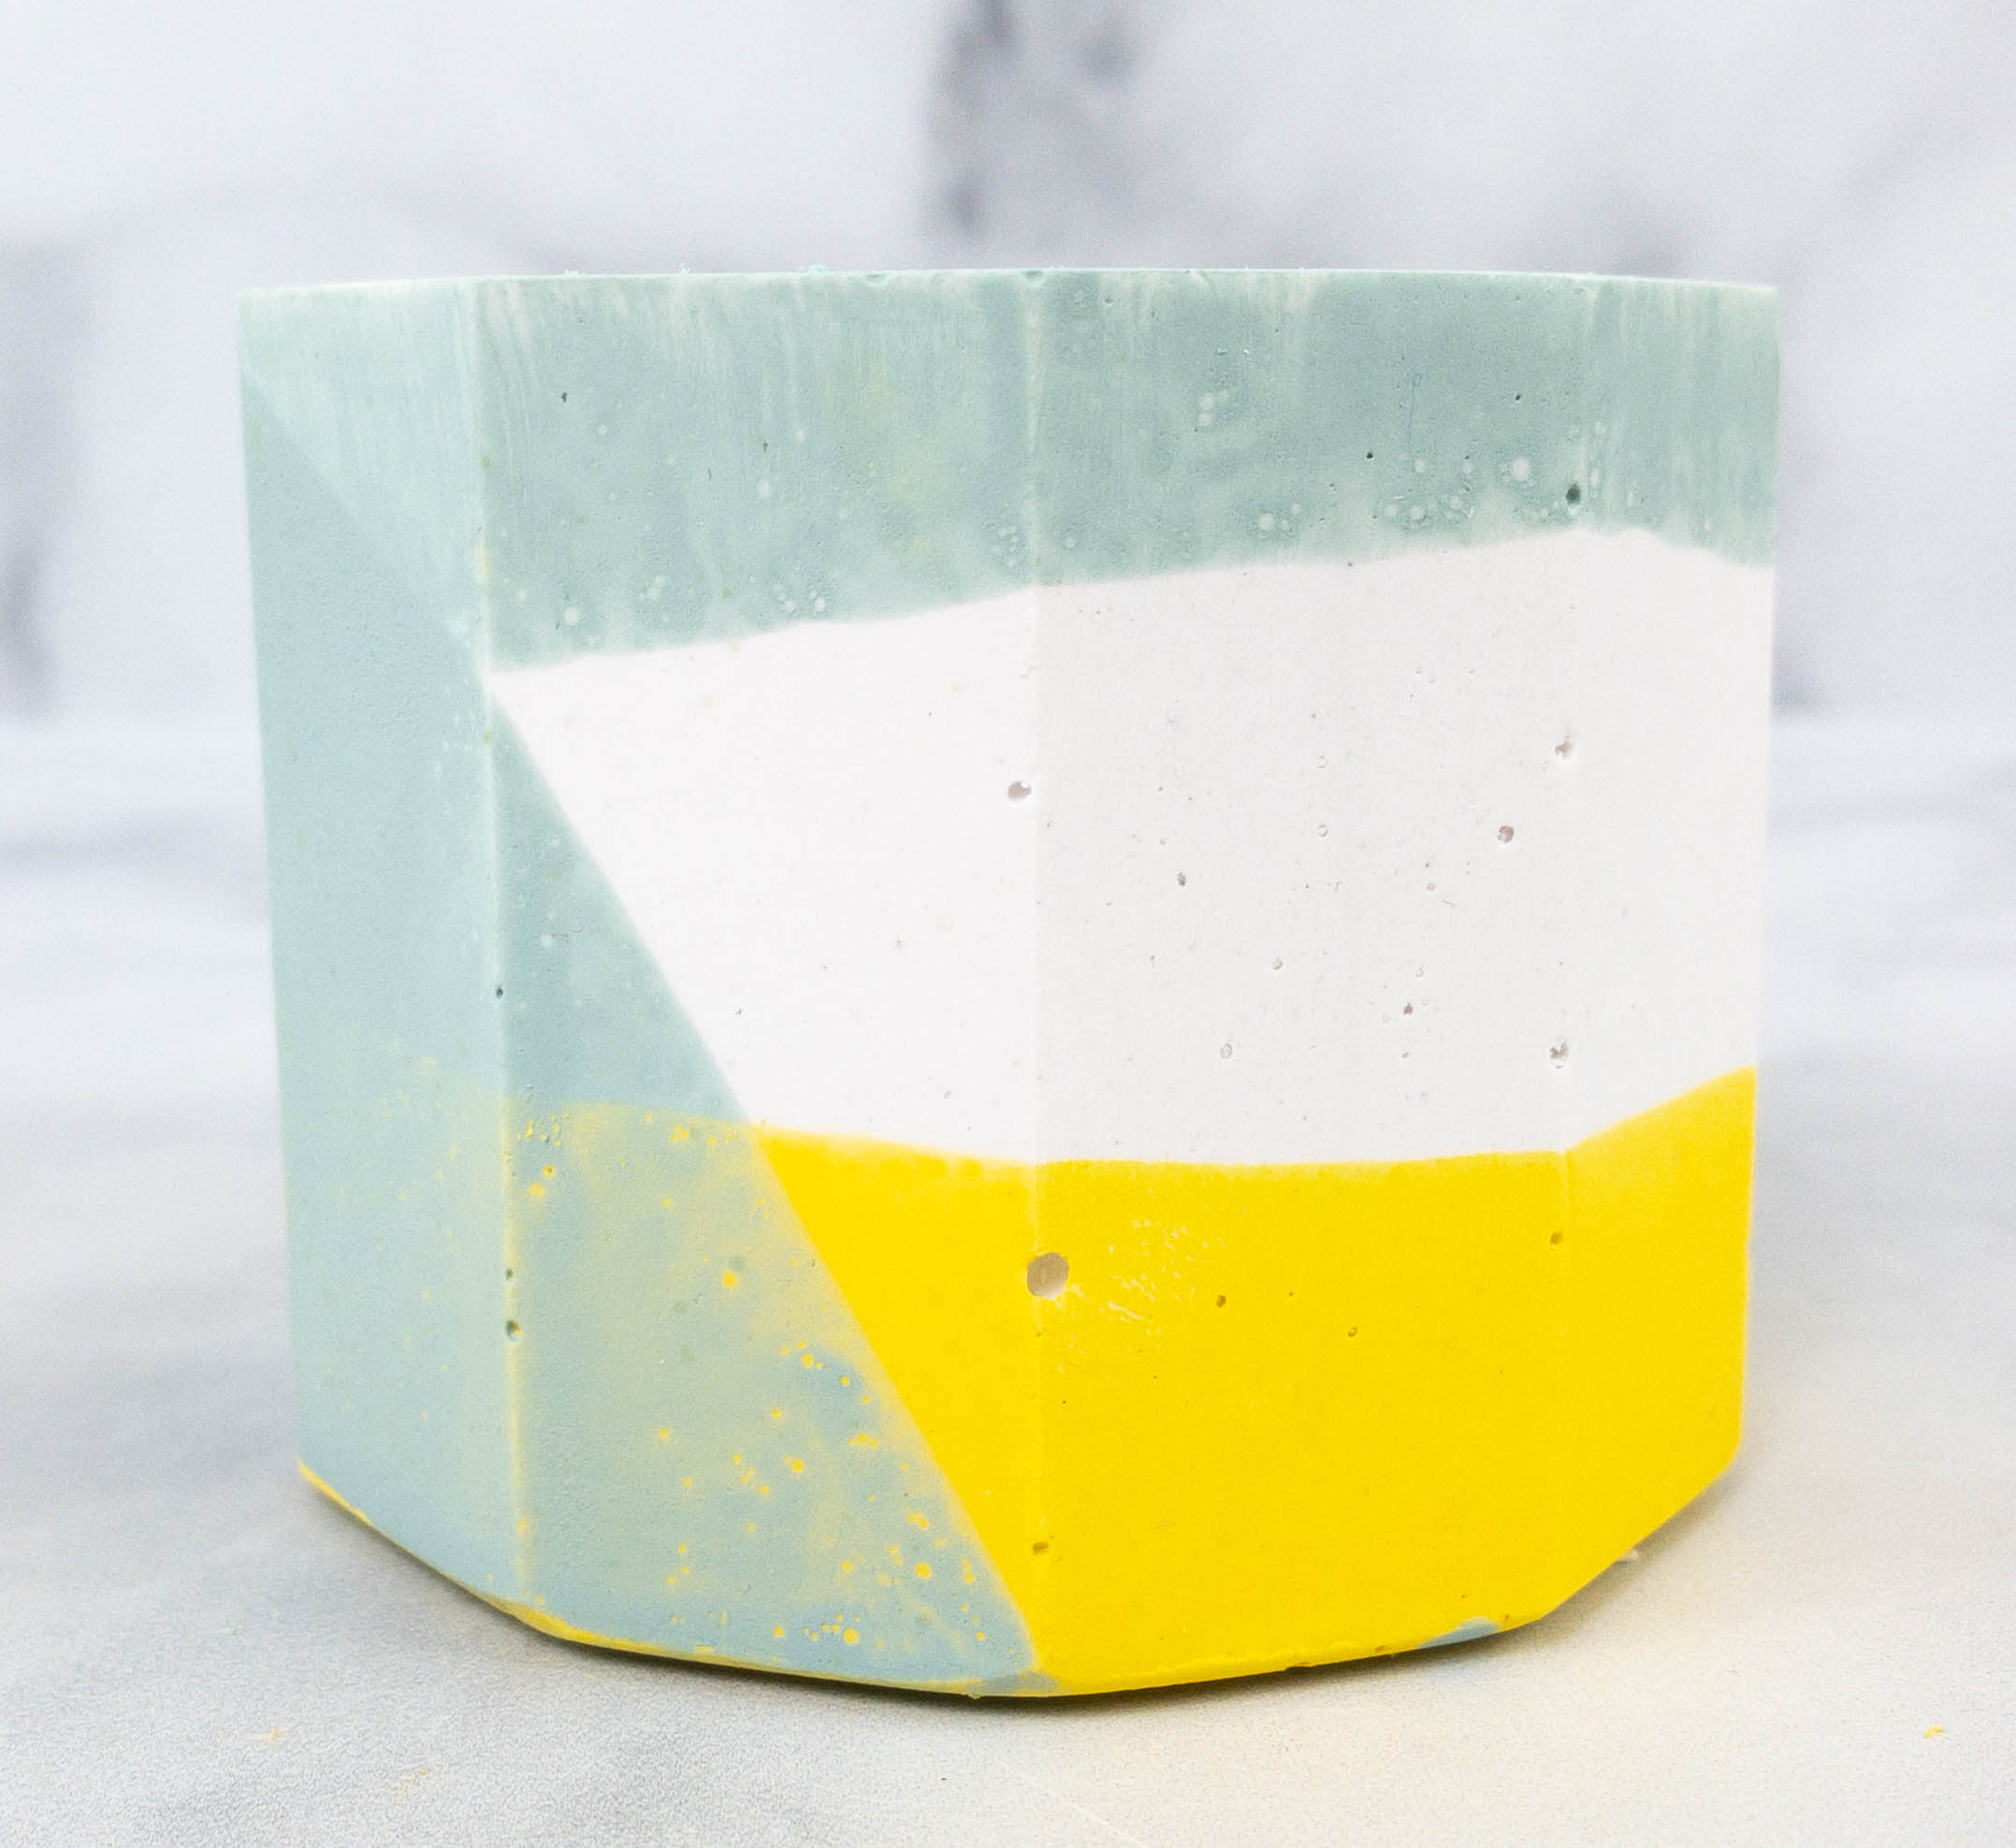
After painting the pots, leave it alone to dry. Here’s what the finished product looks like!
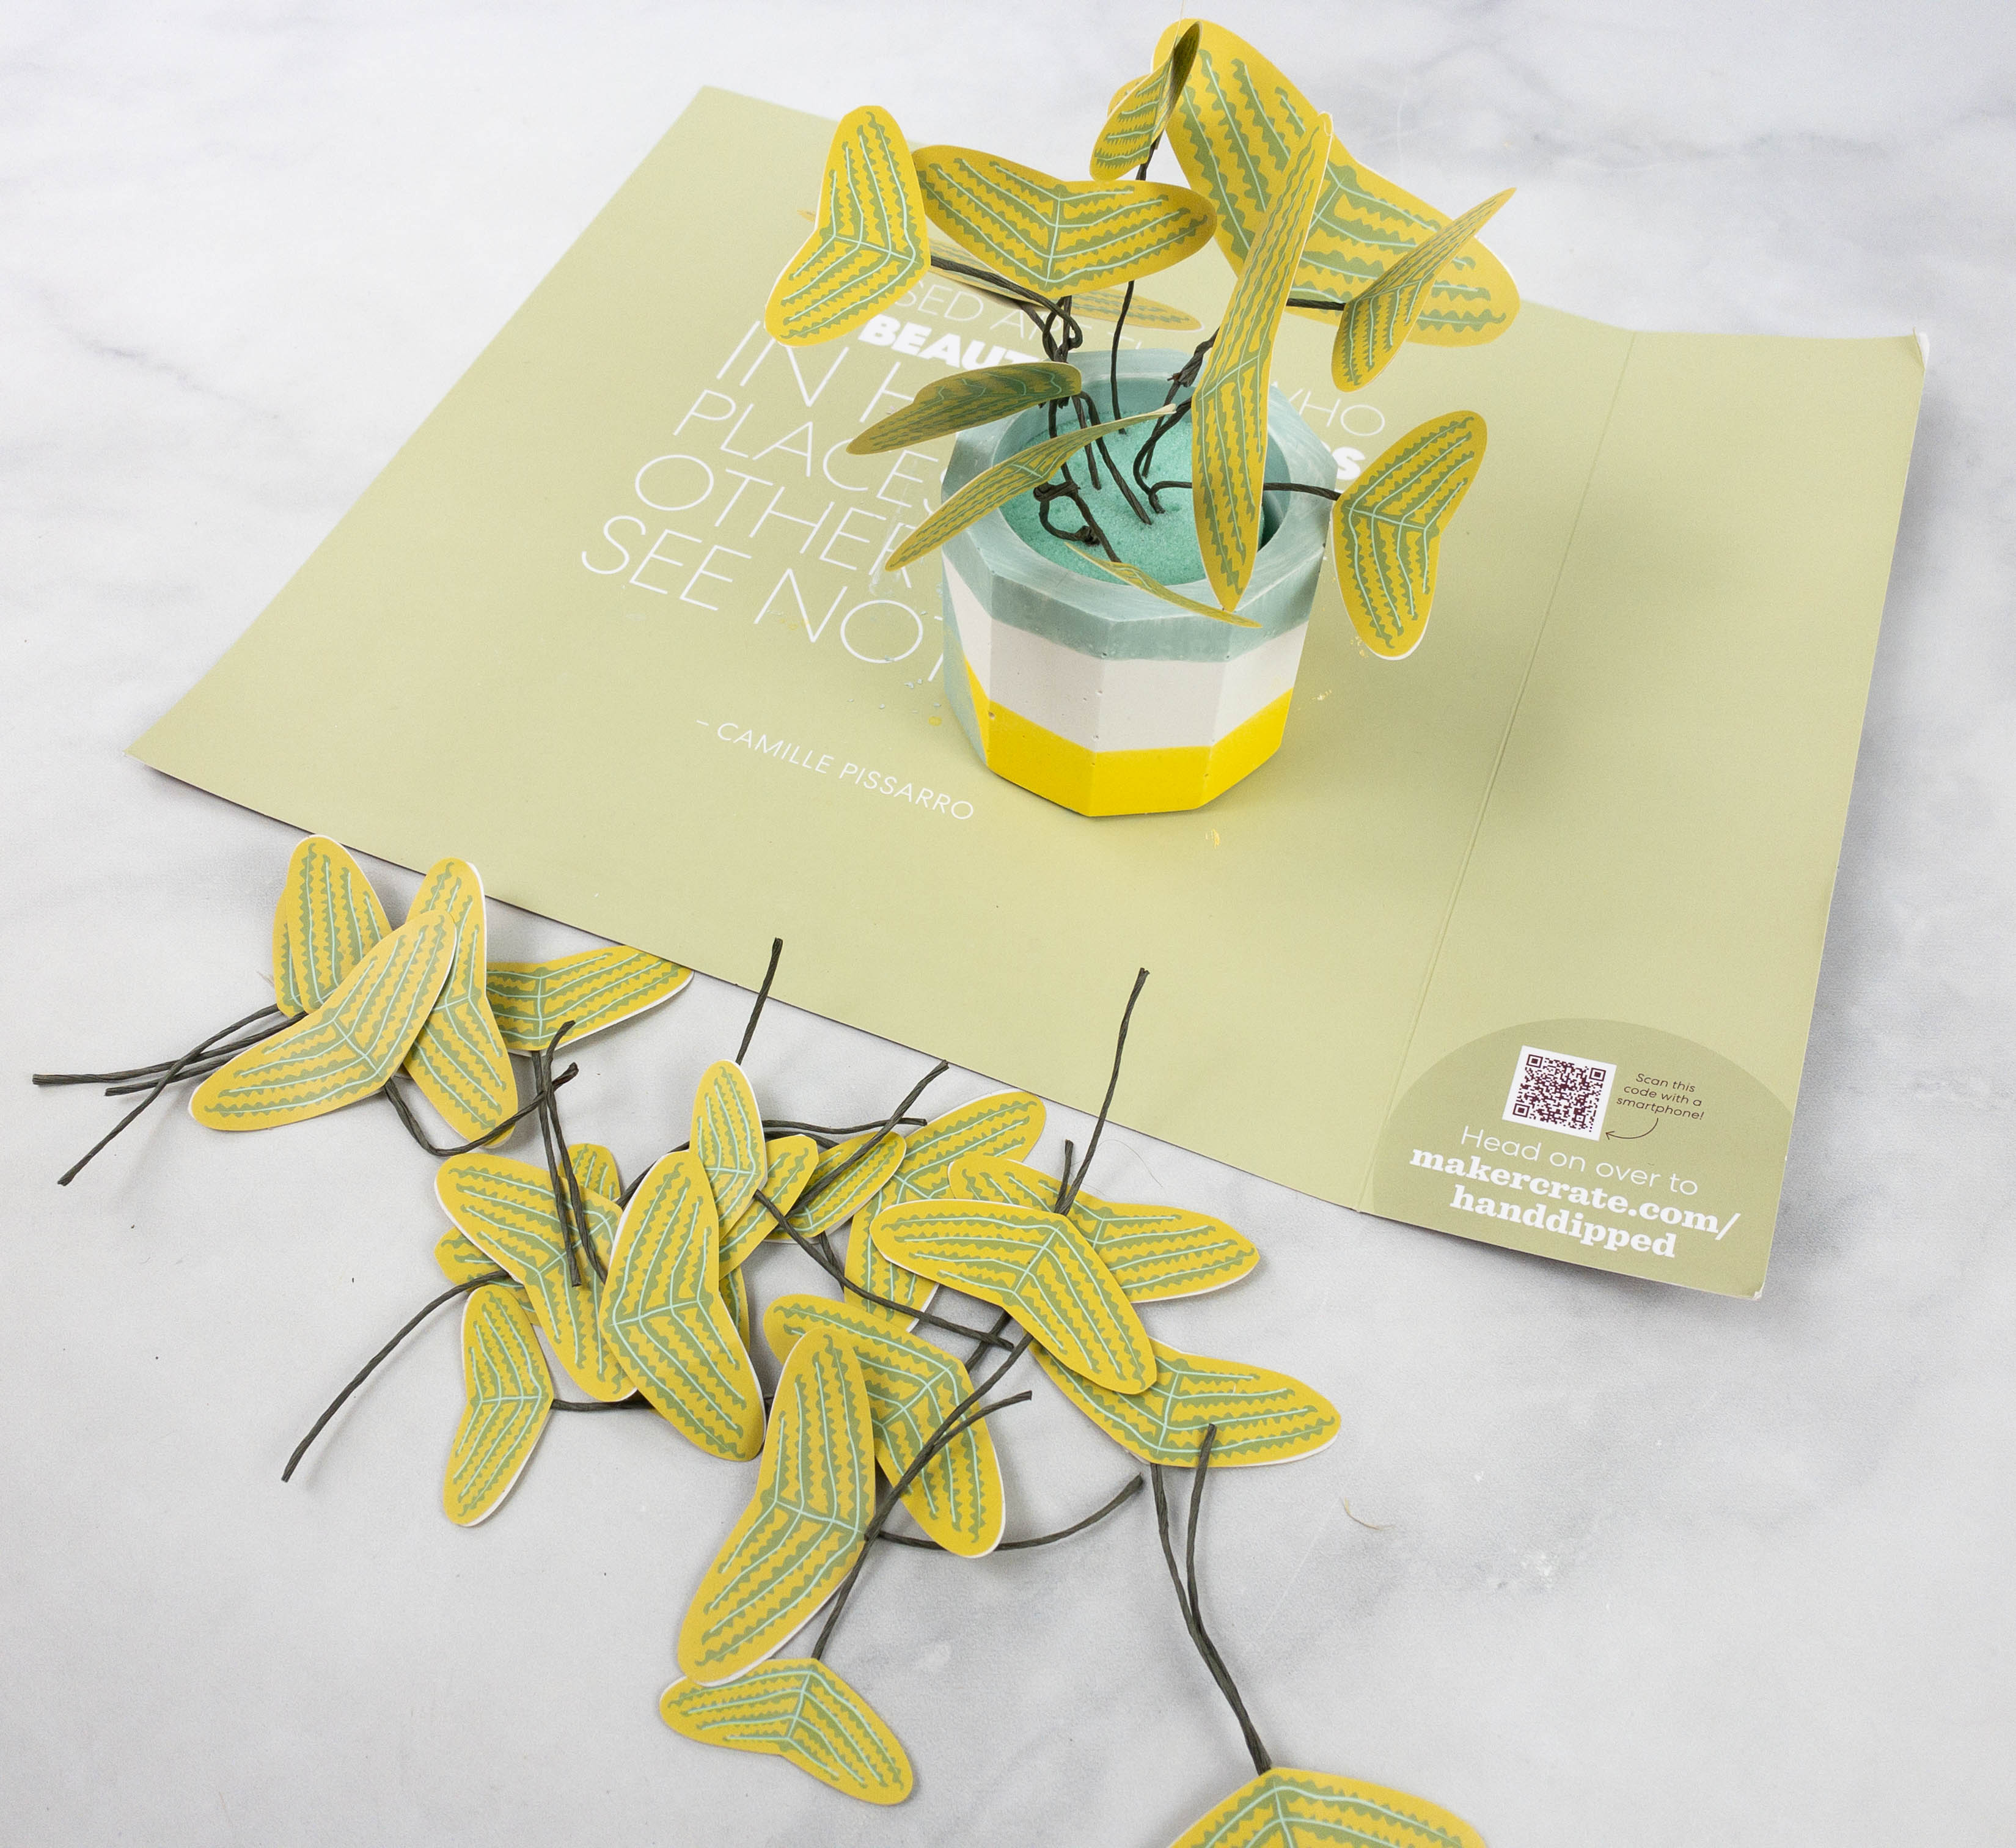
The last step is to decorate it with the leaves! Take 1 floral foam an place it inside the pot.
You can now stick the leaves however you want! You can mix and match them or put one type of leaf per pot.
Stick the leaves in the foam by using the other end of the floral wire.
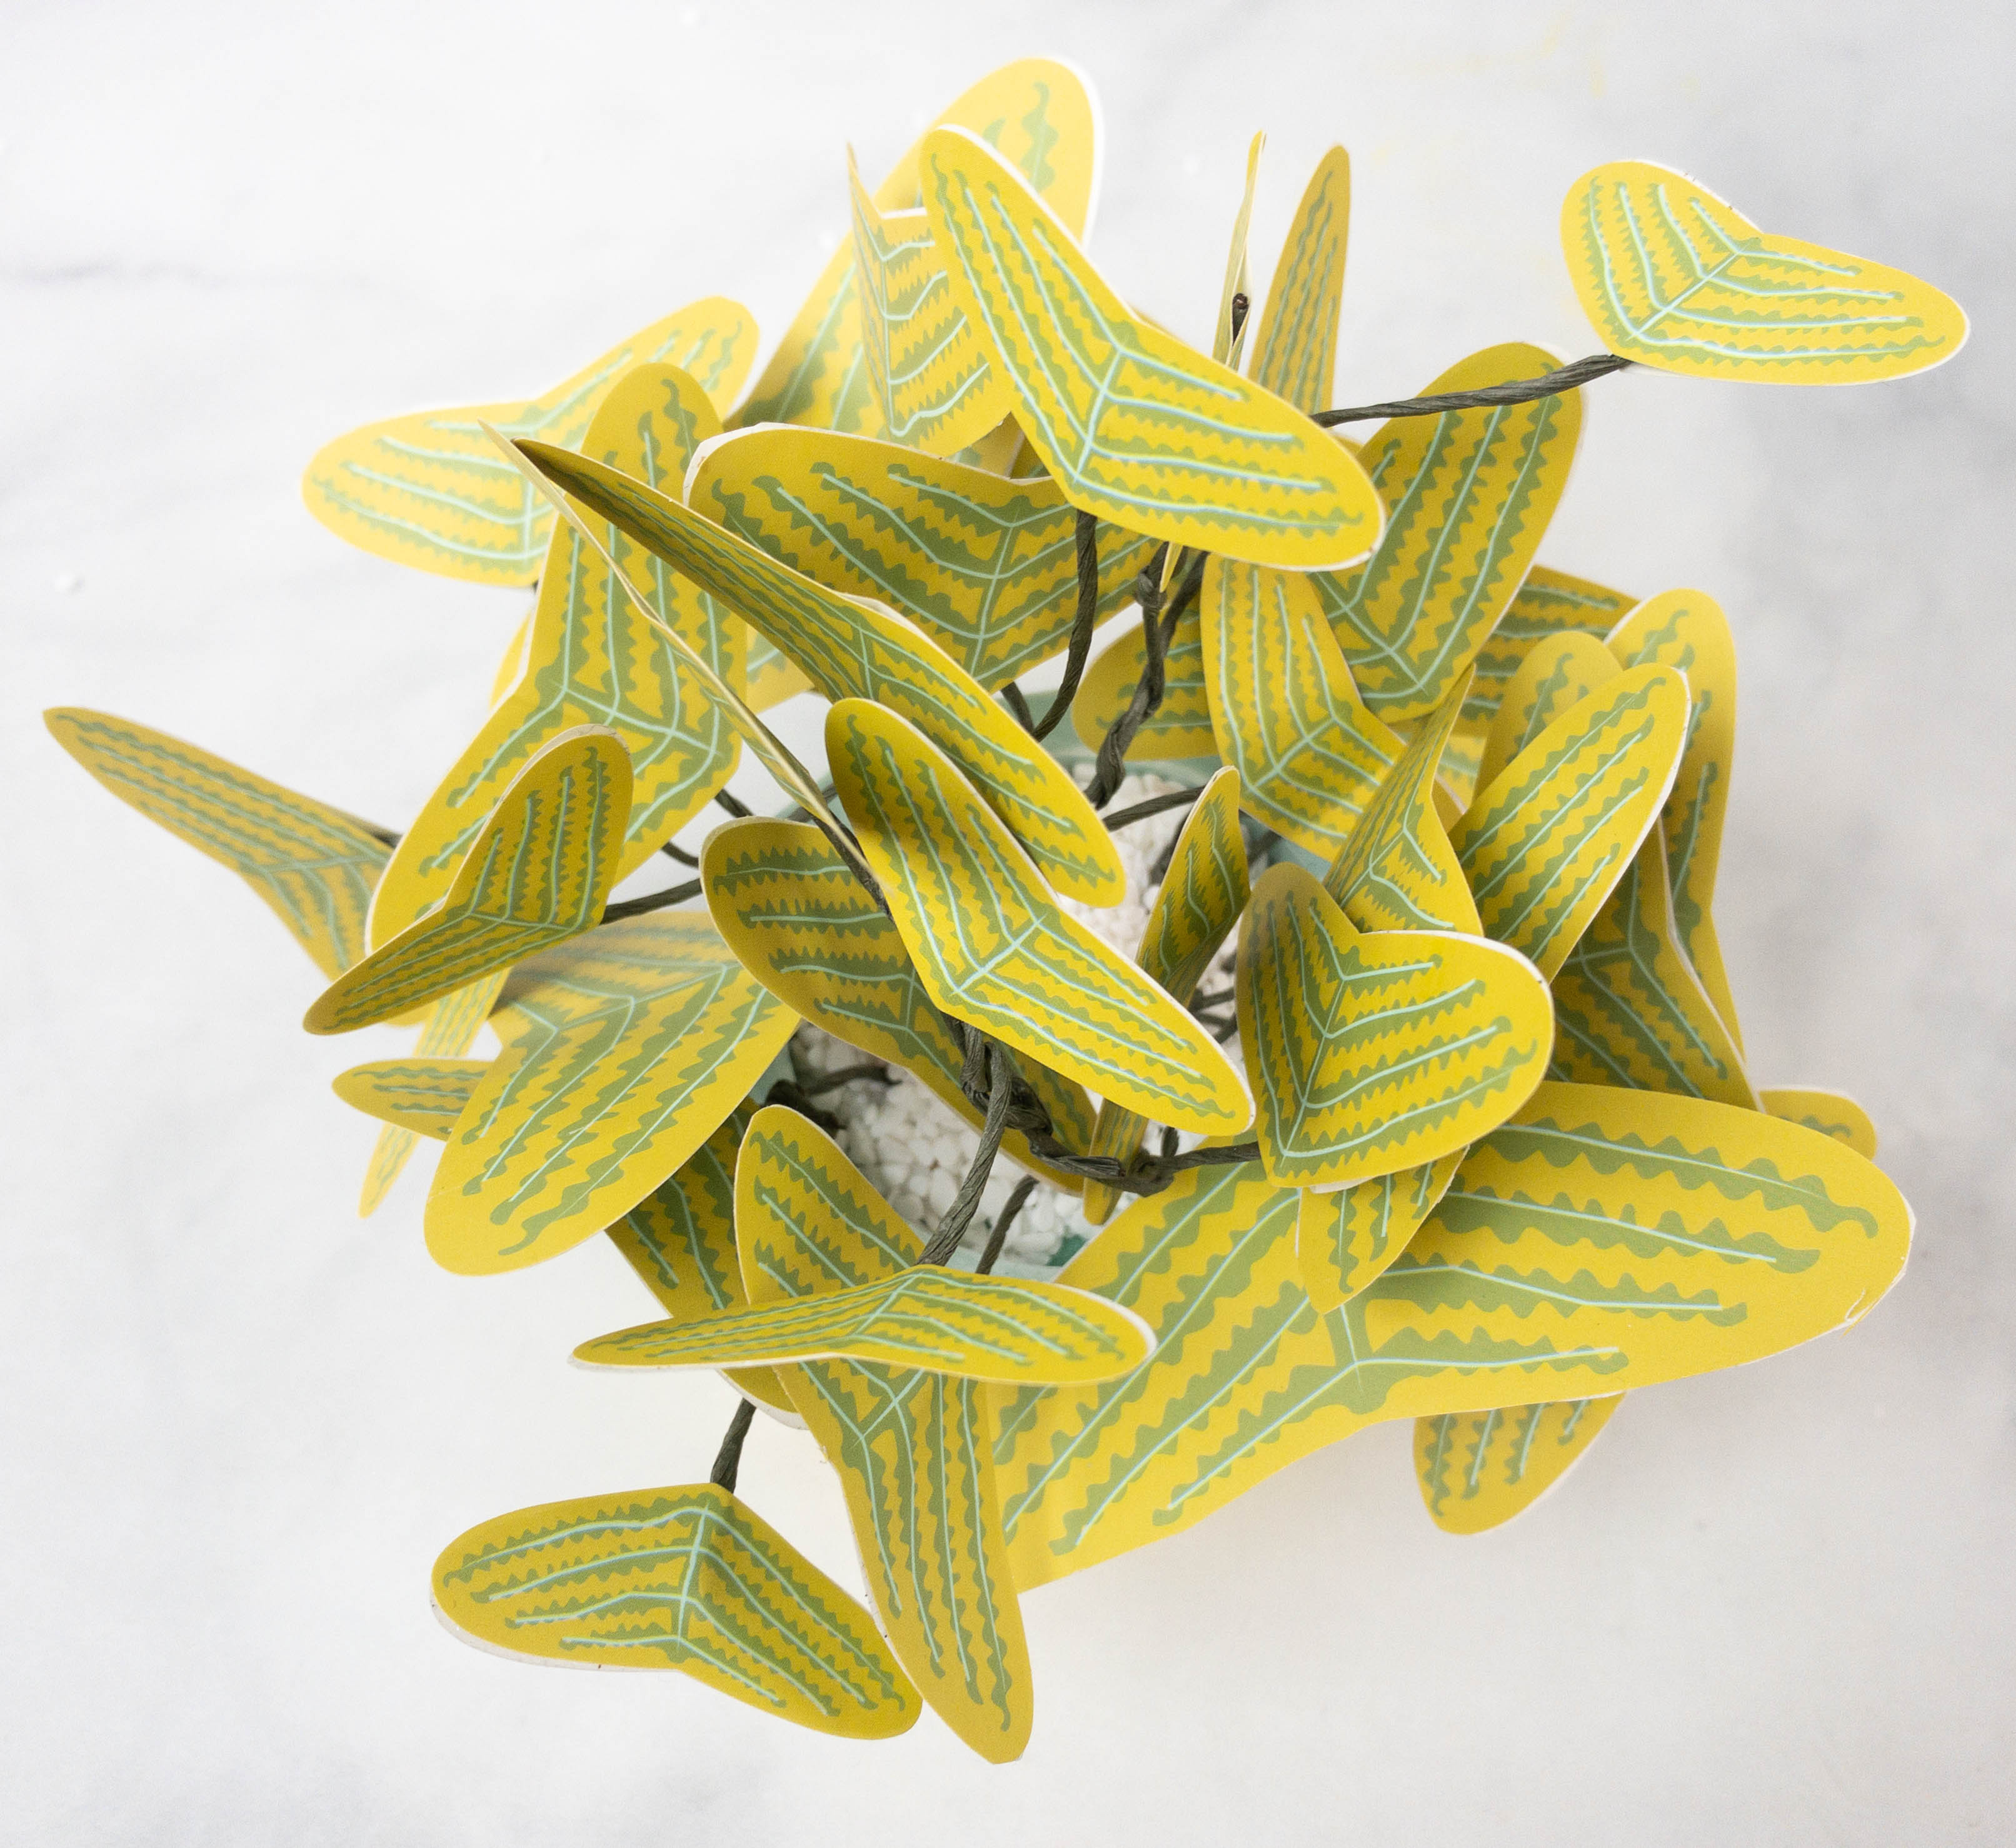
You can put as many leaves as you can for a lush look!
Do the same steps for the other plants.
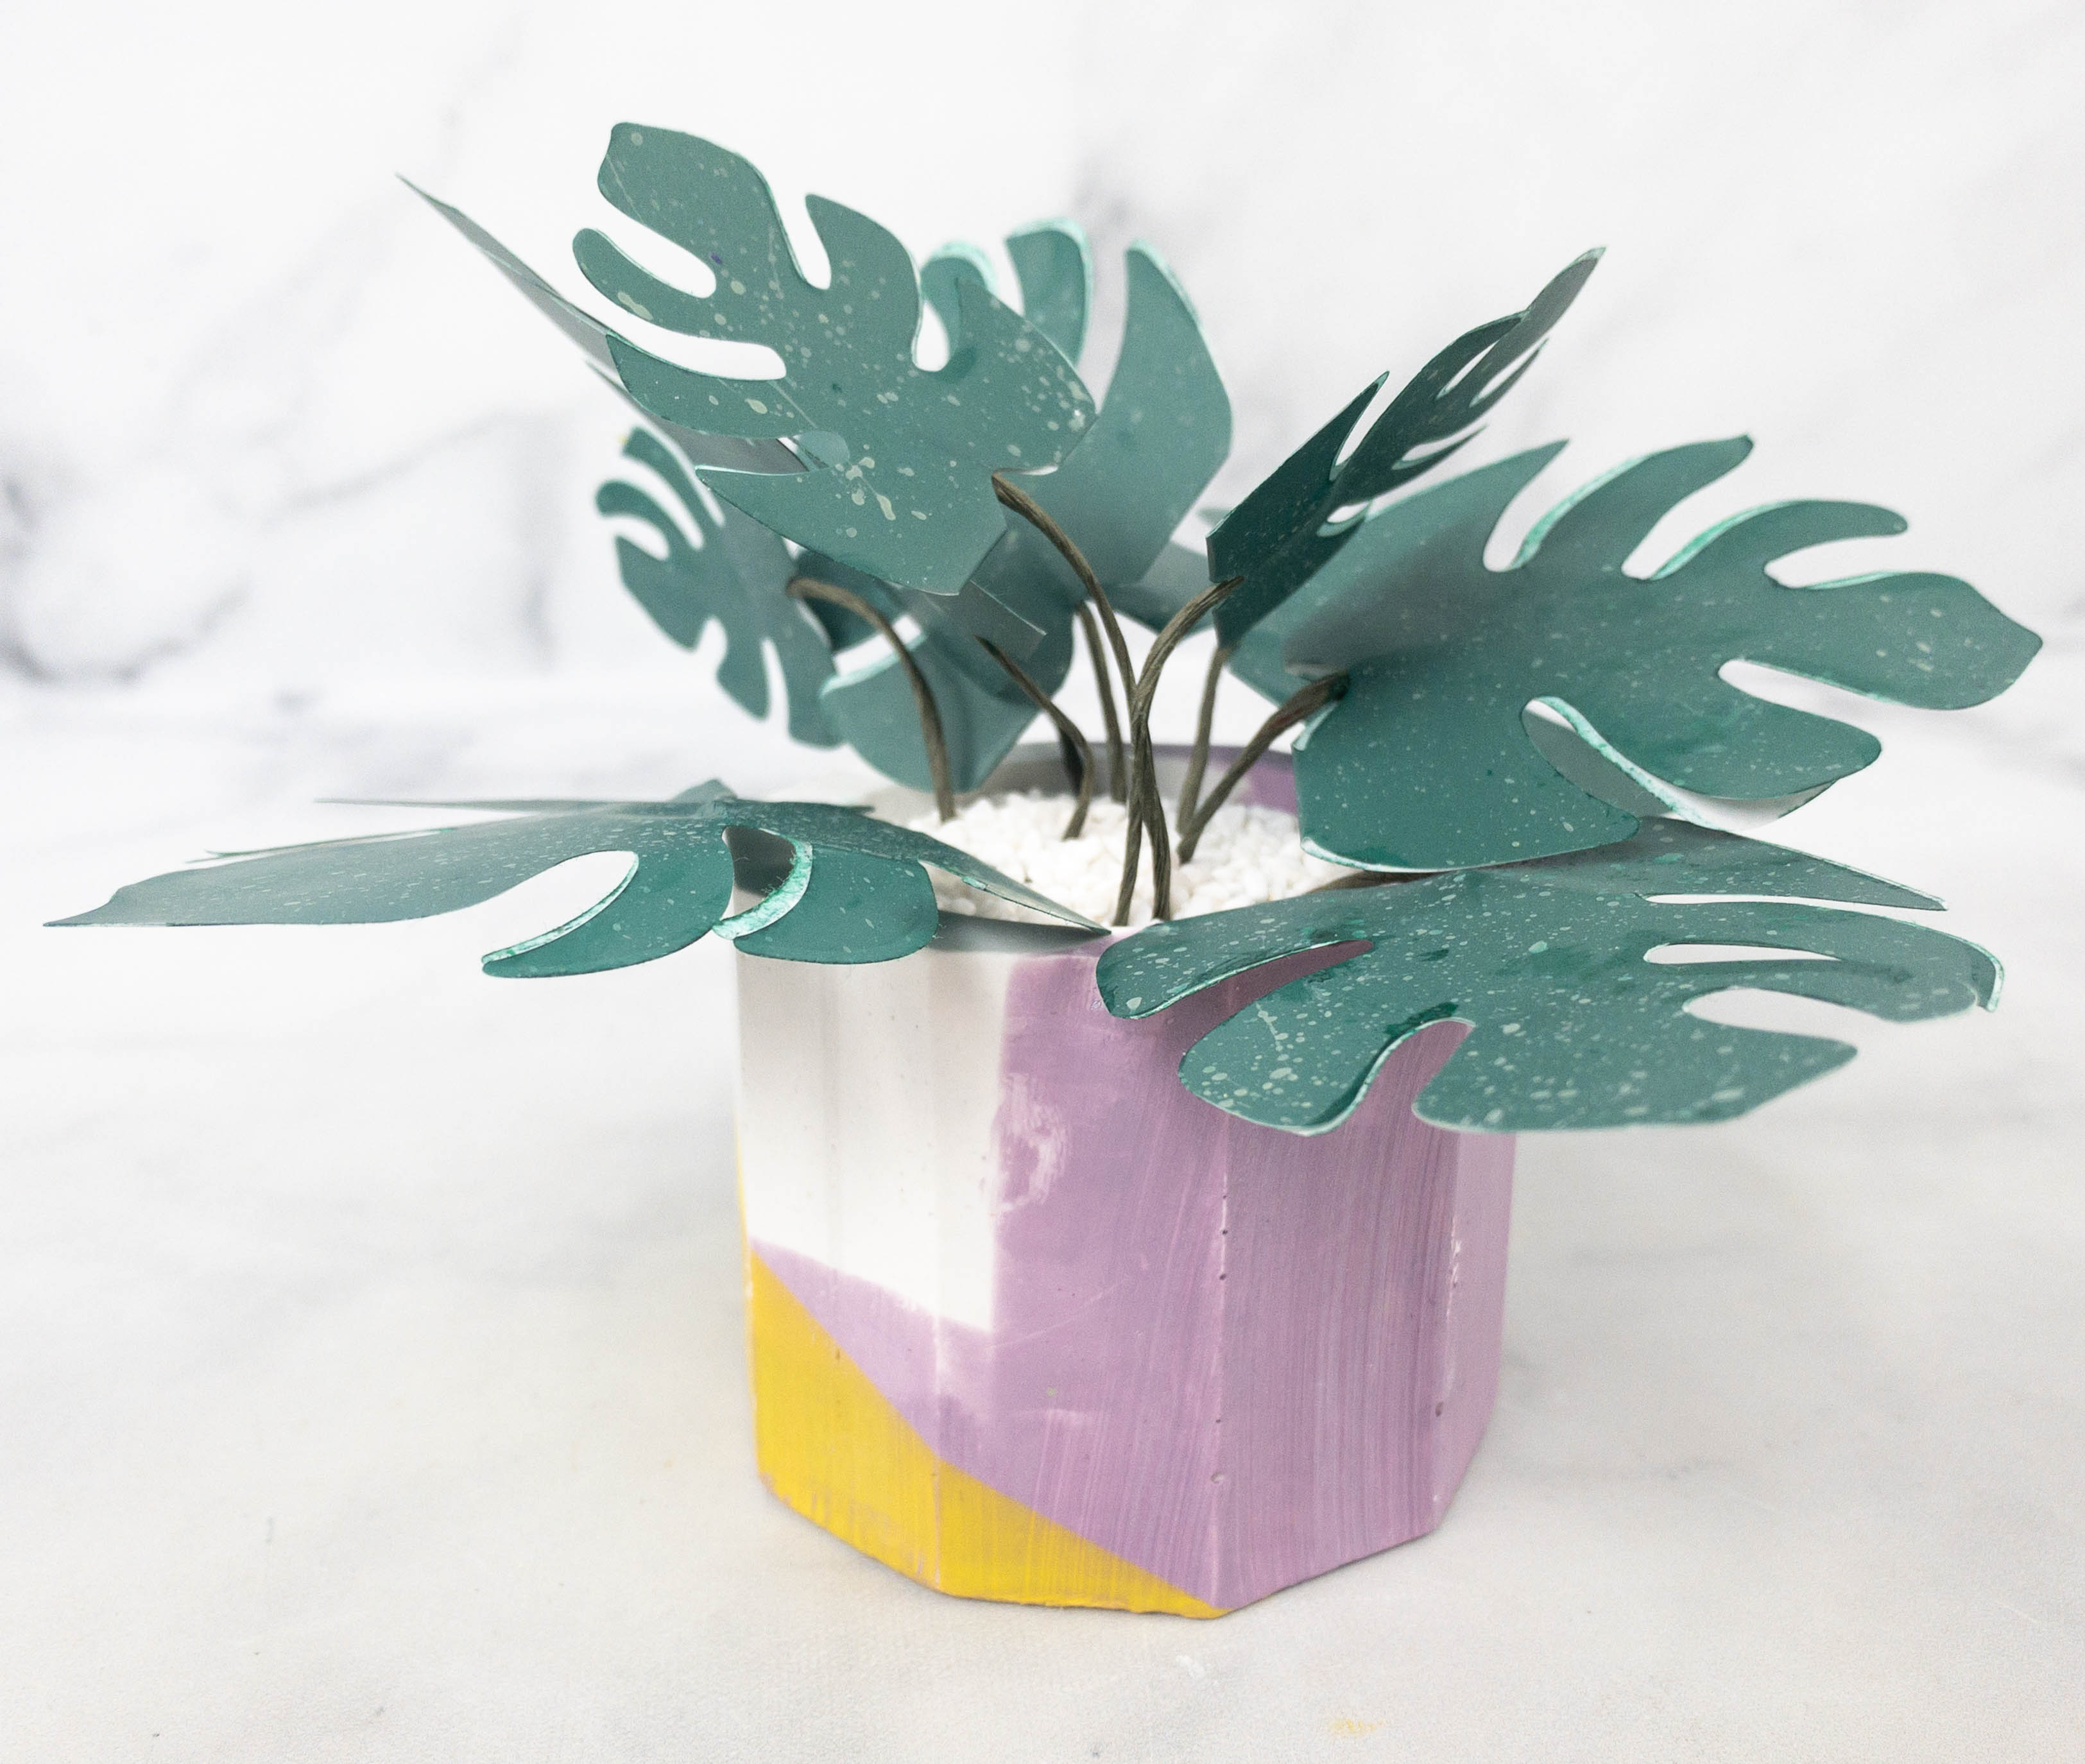
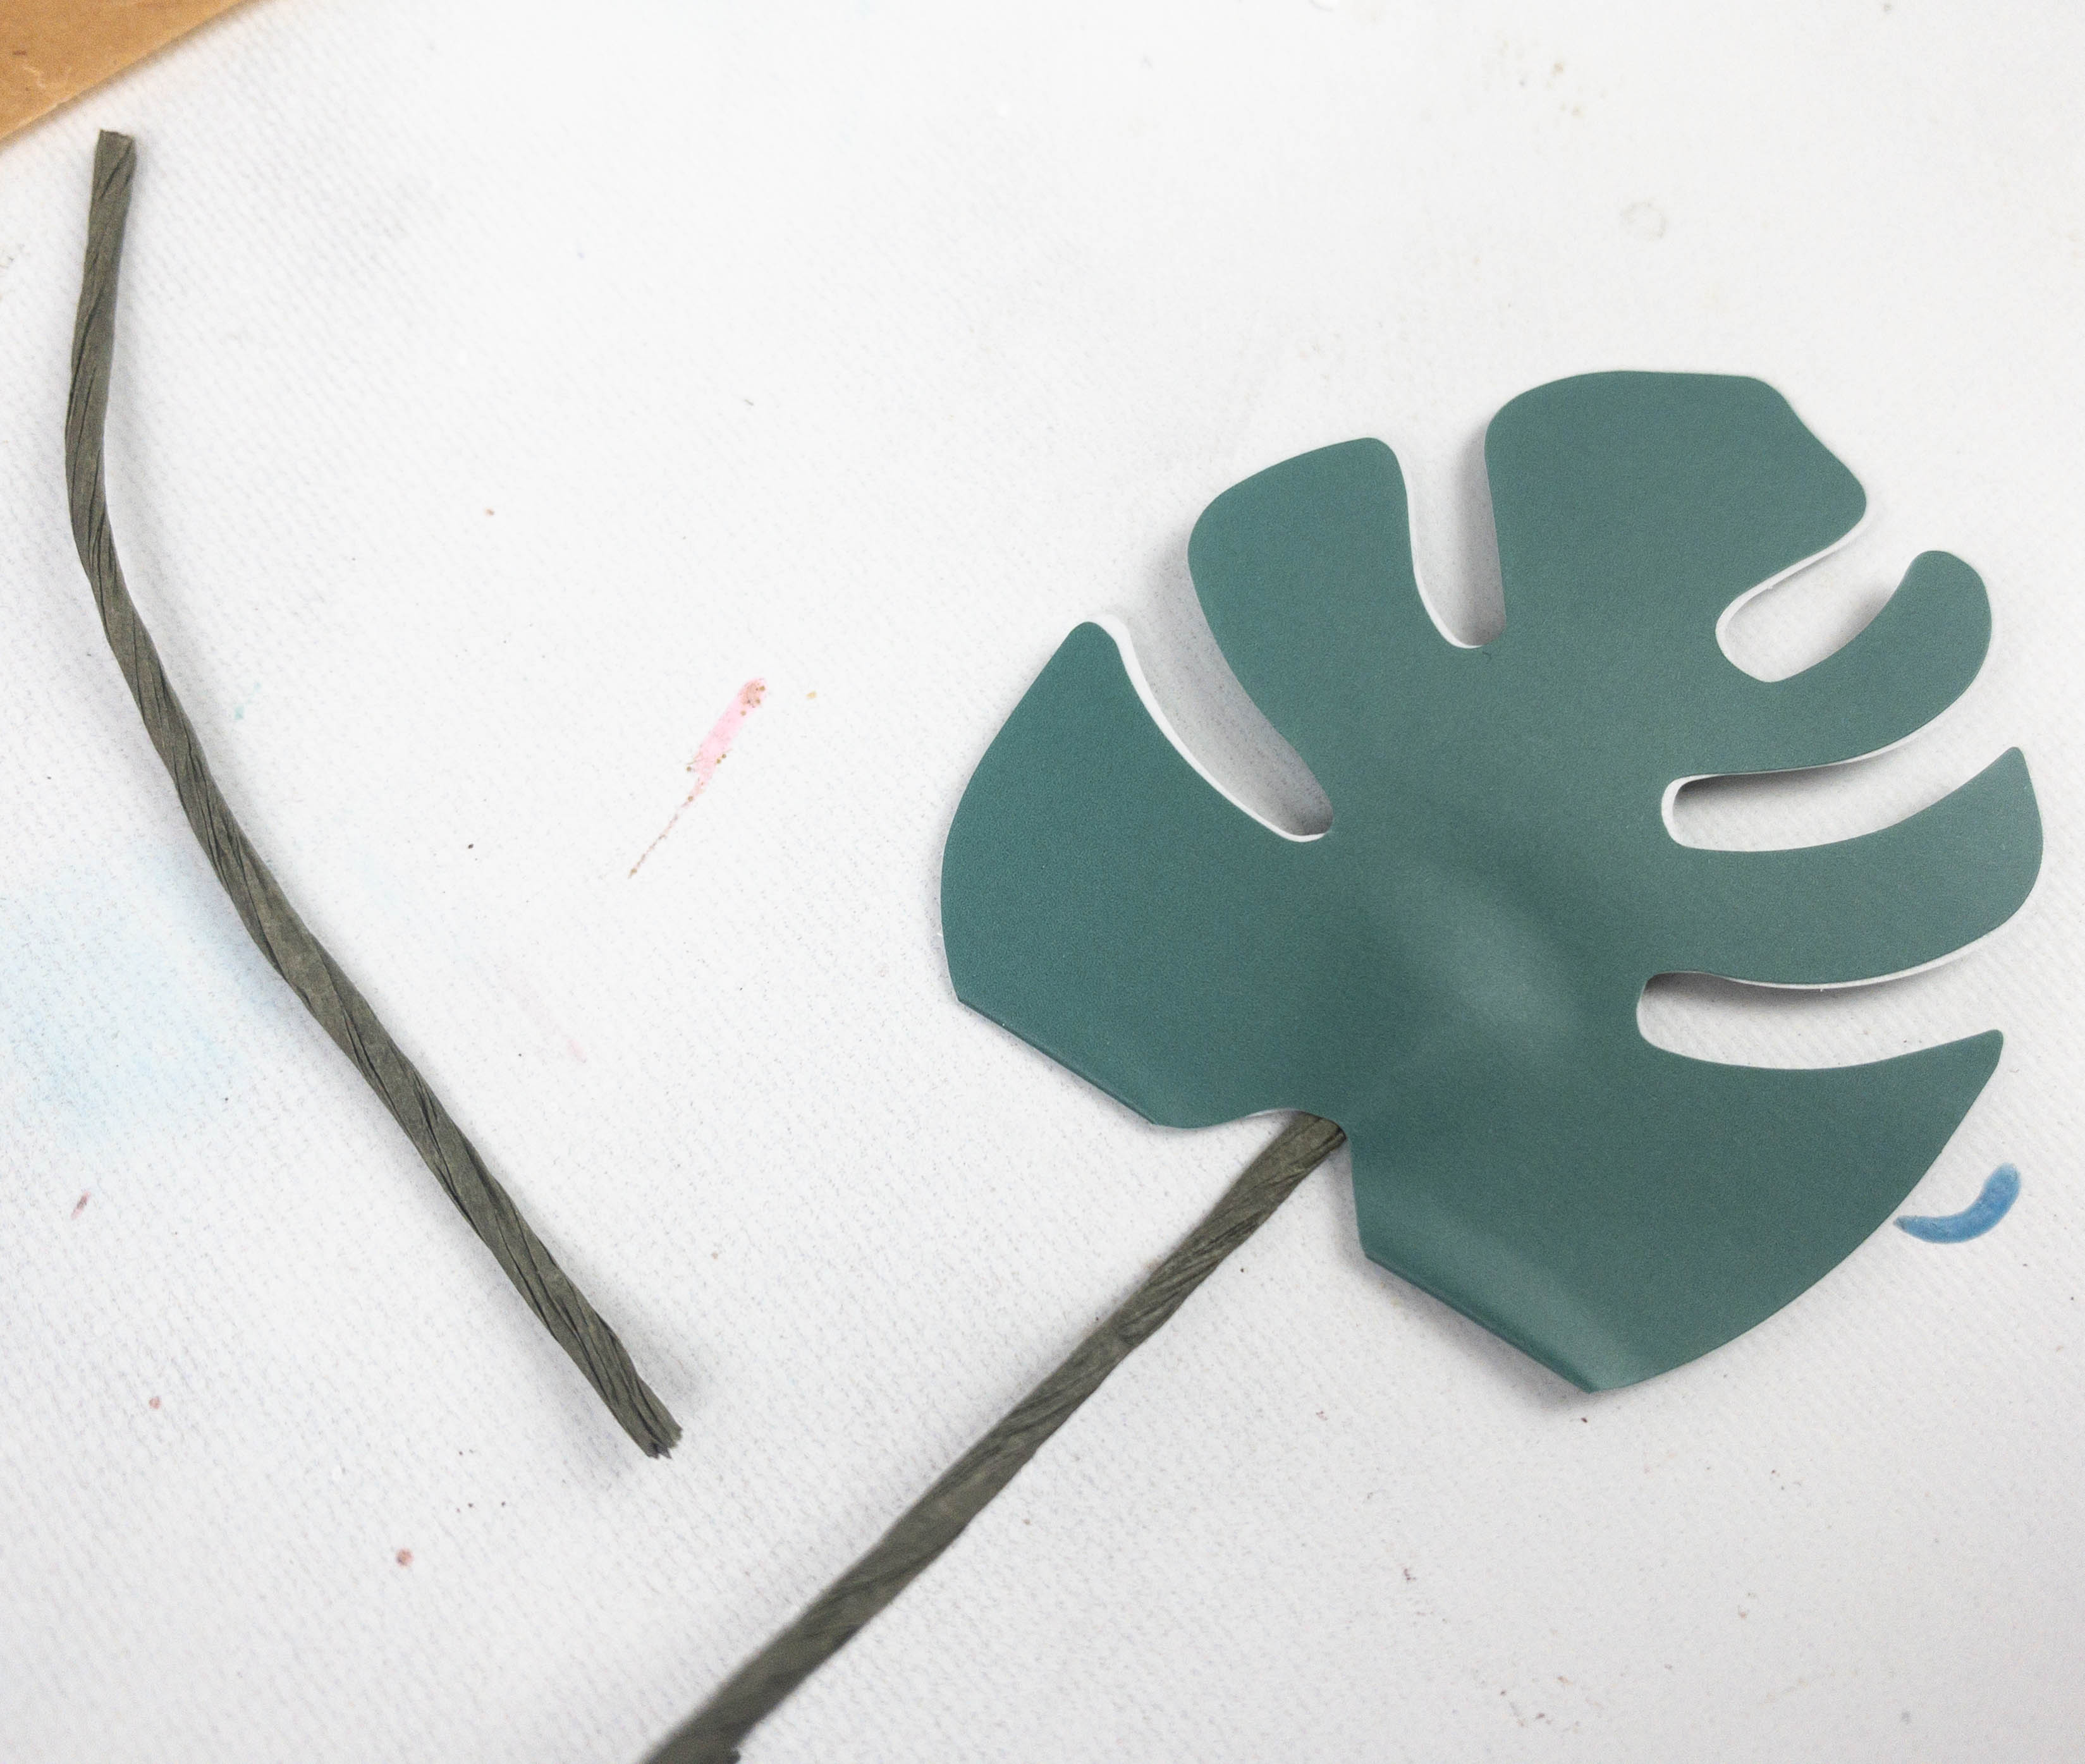
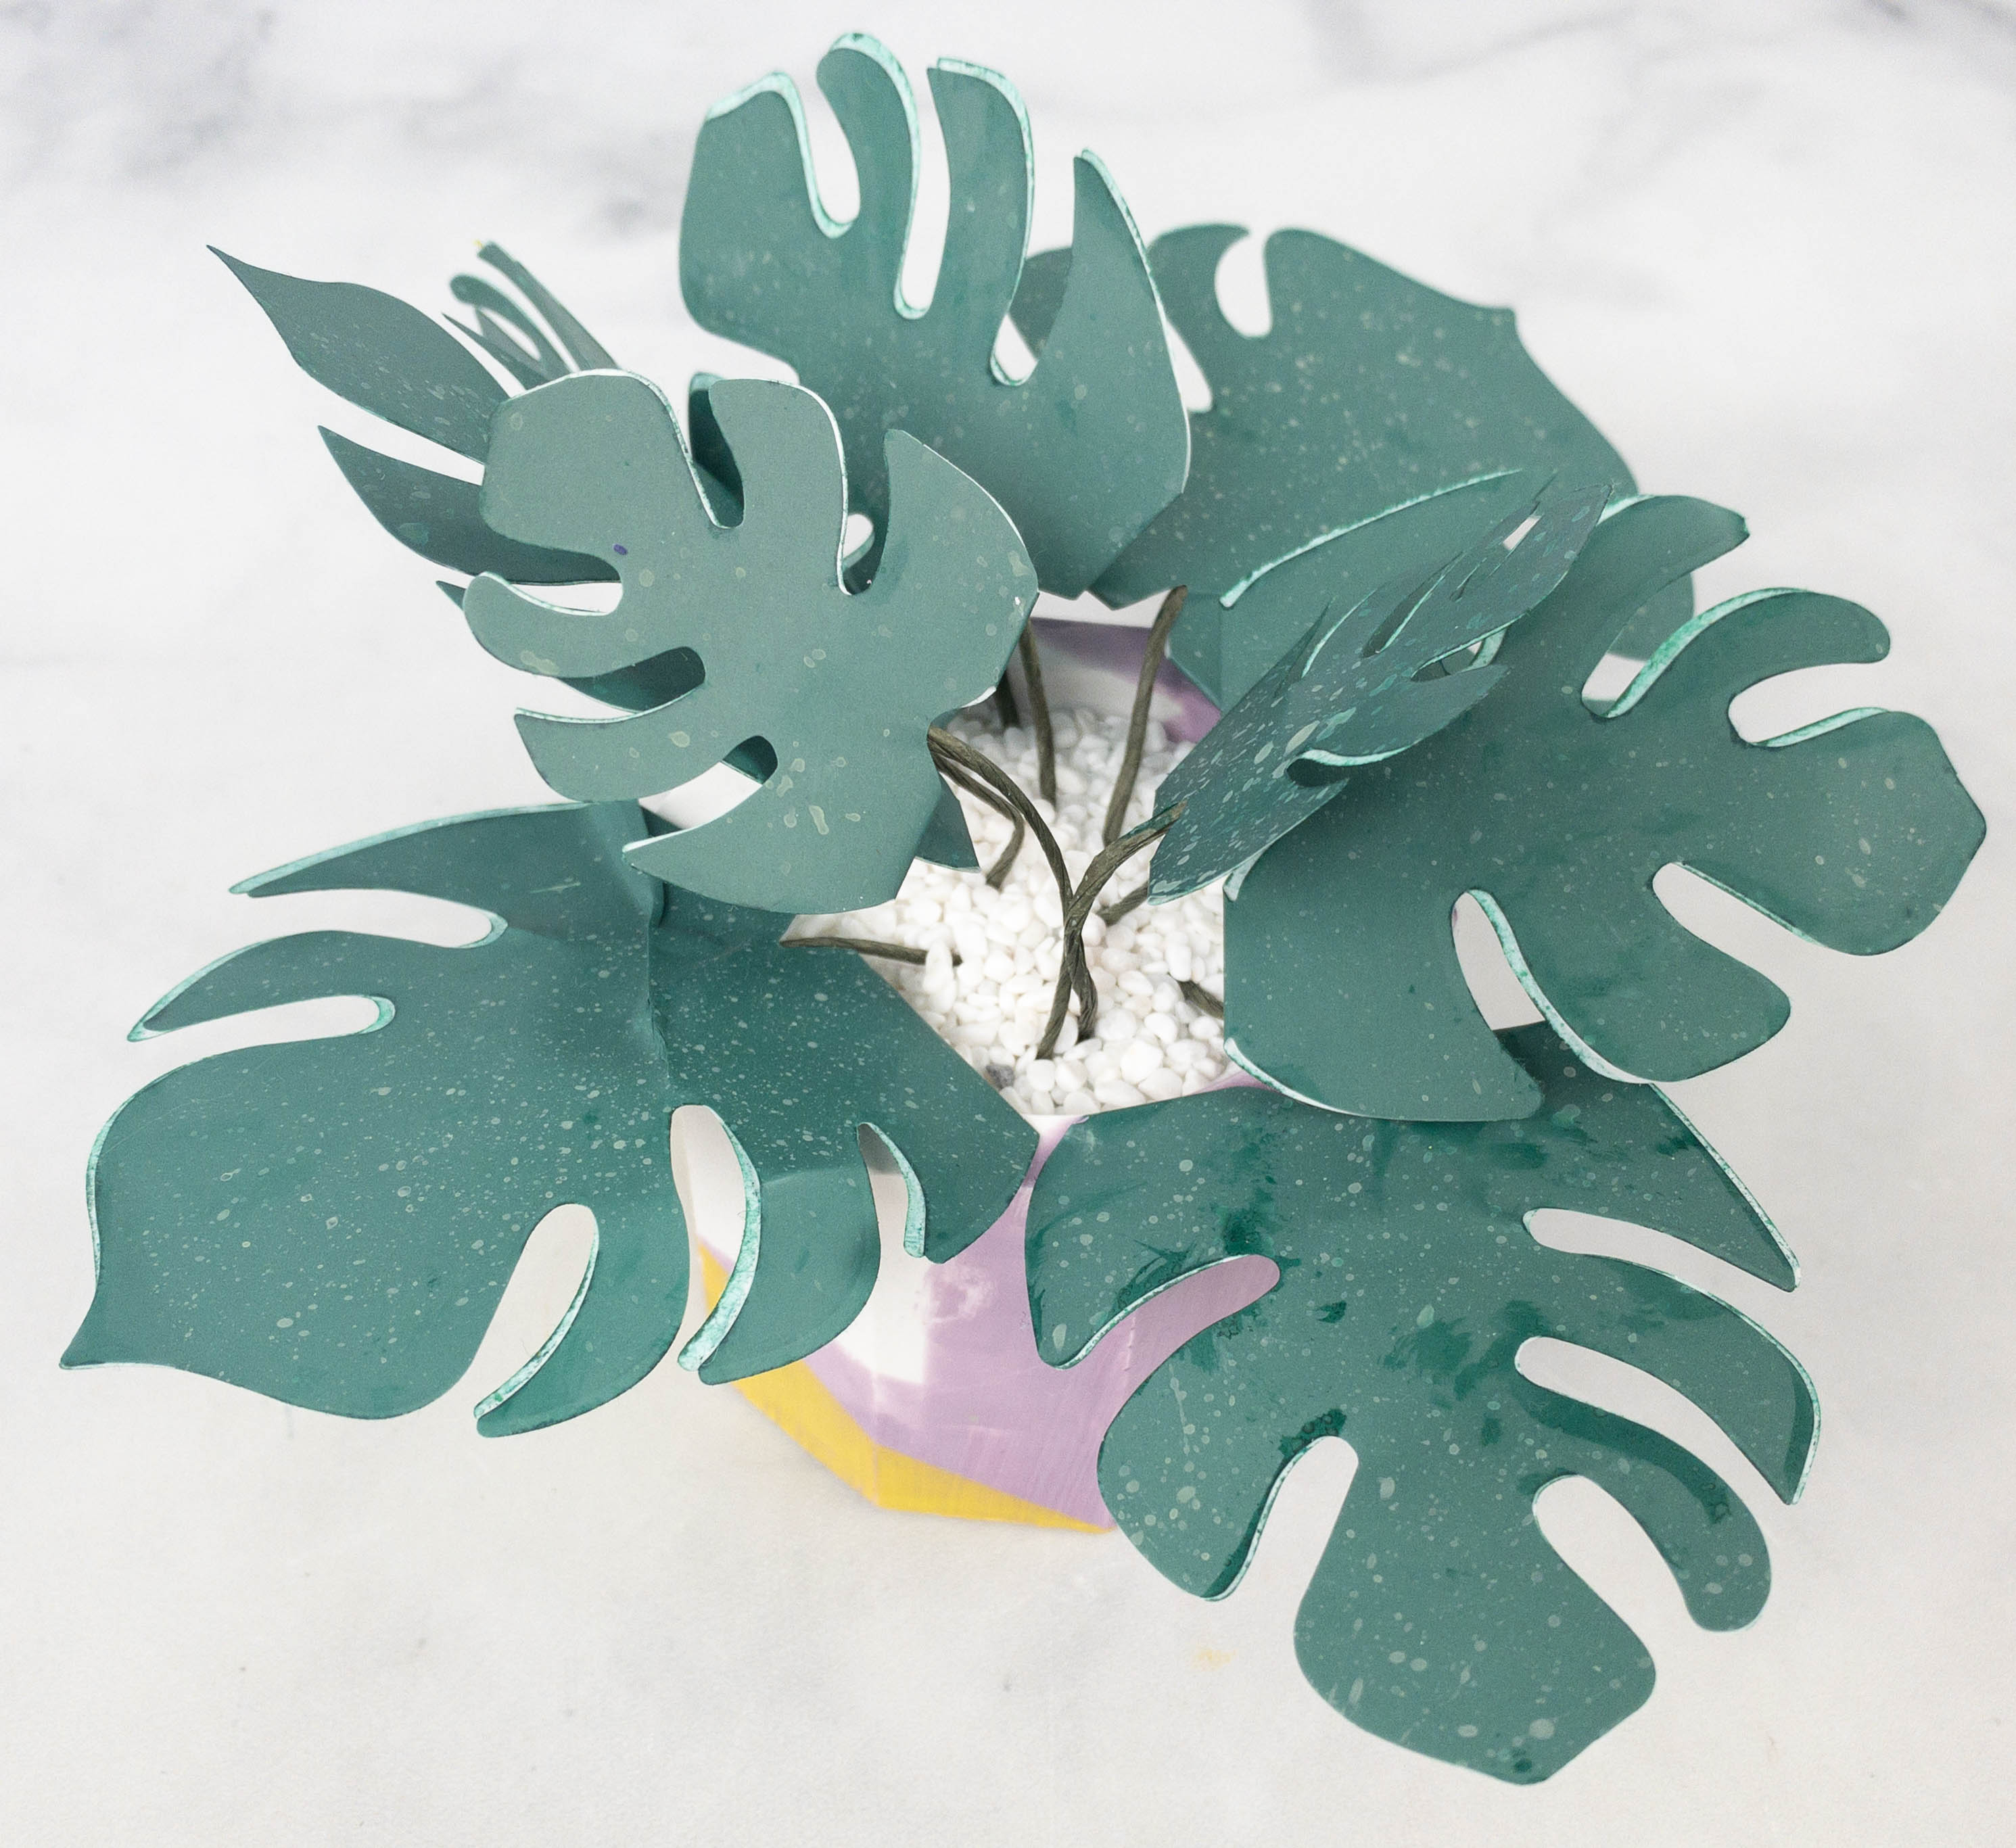
This pot with Monstera inspired leaves turned out really pretty!
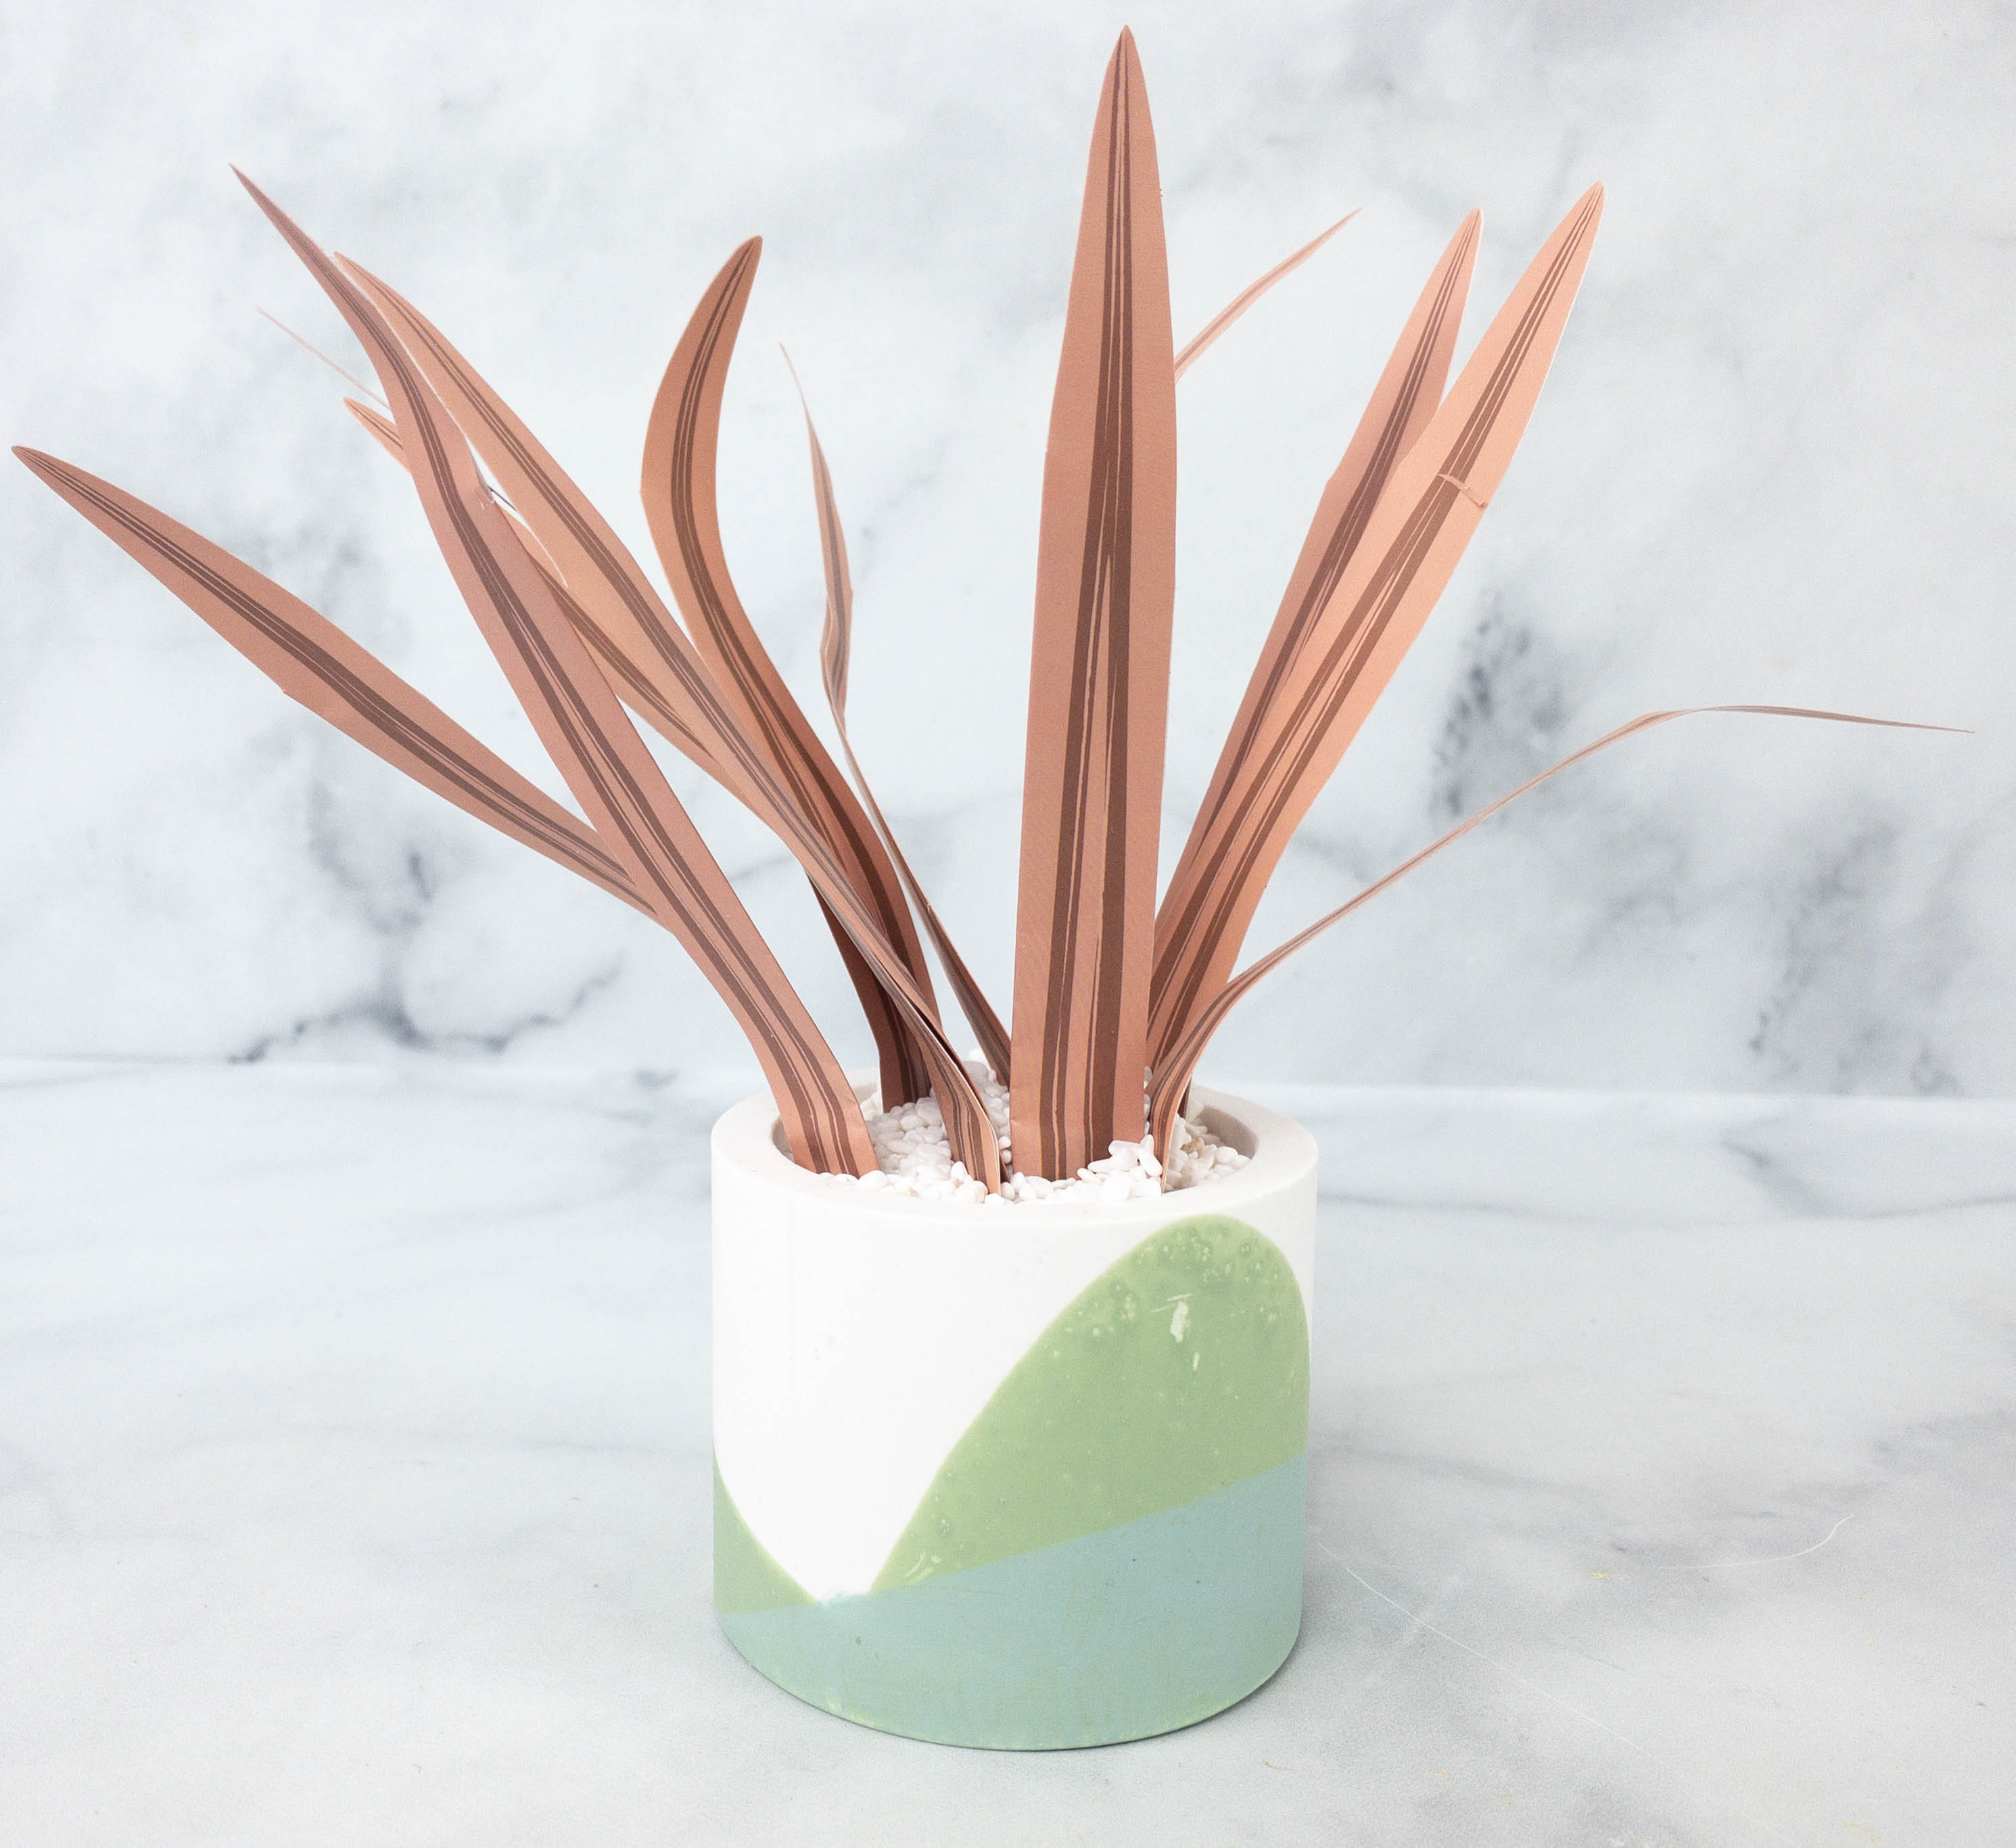
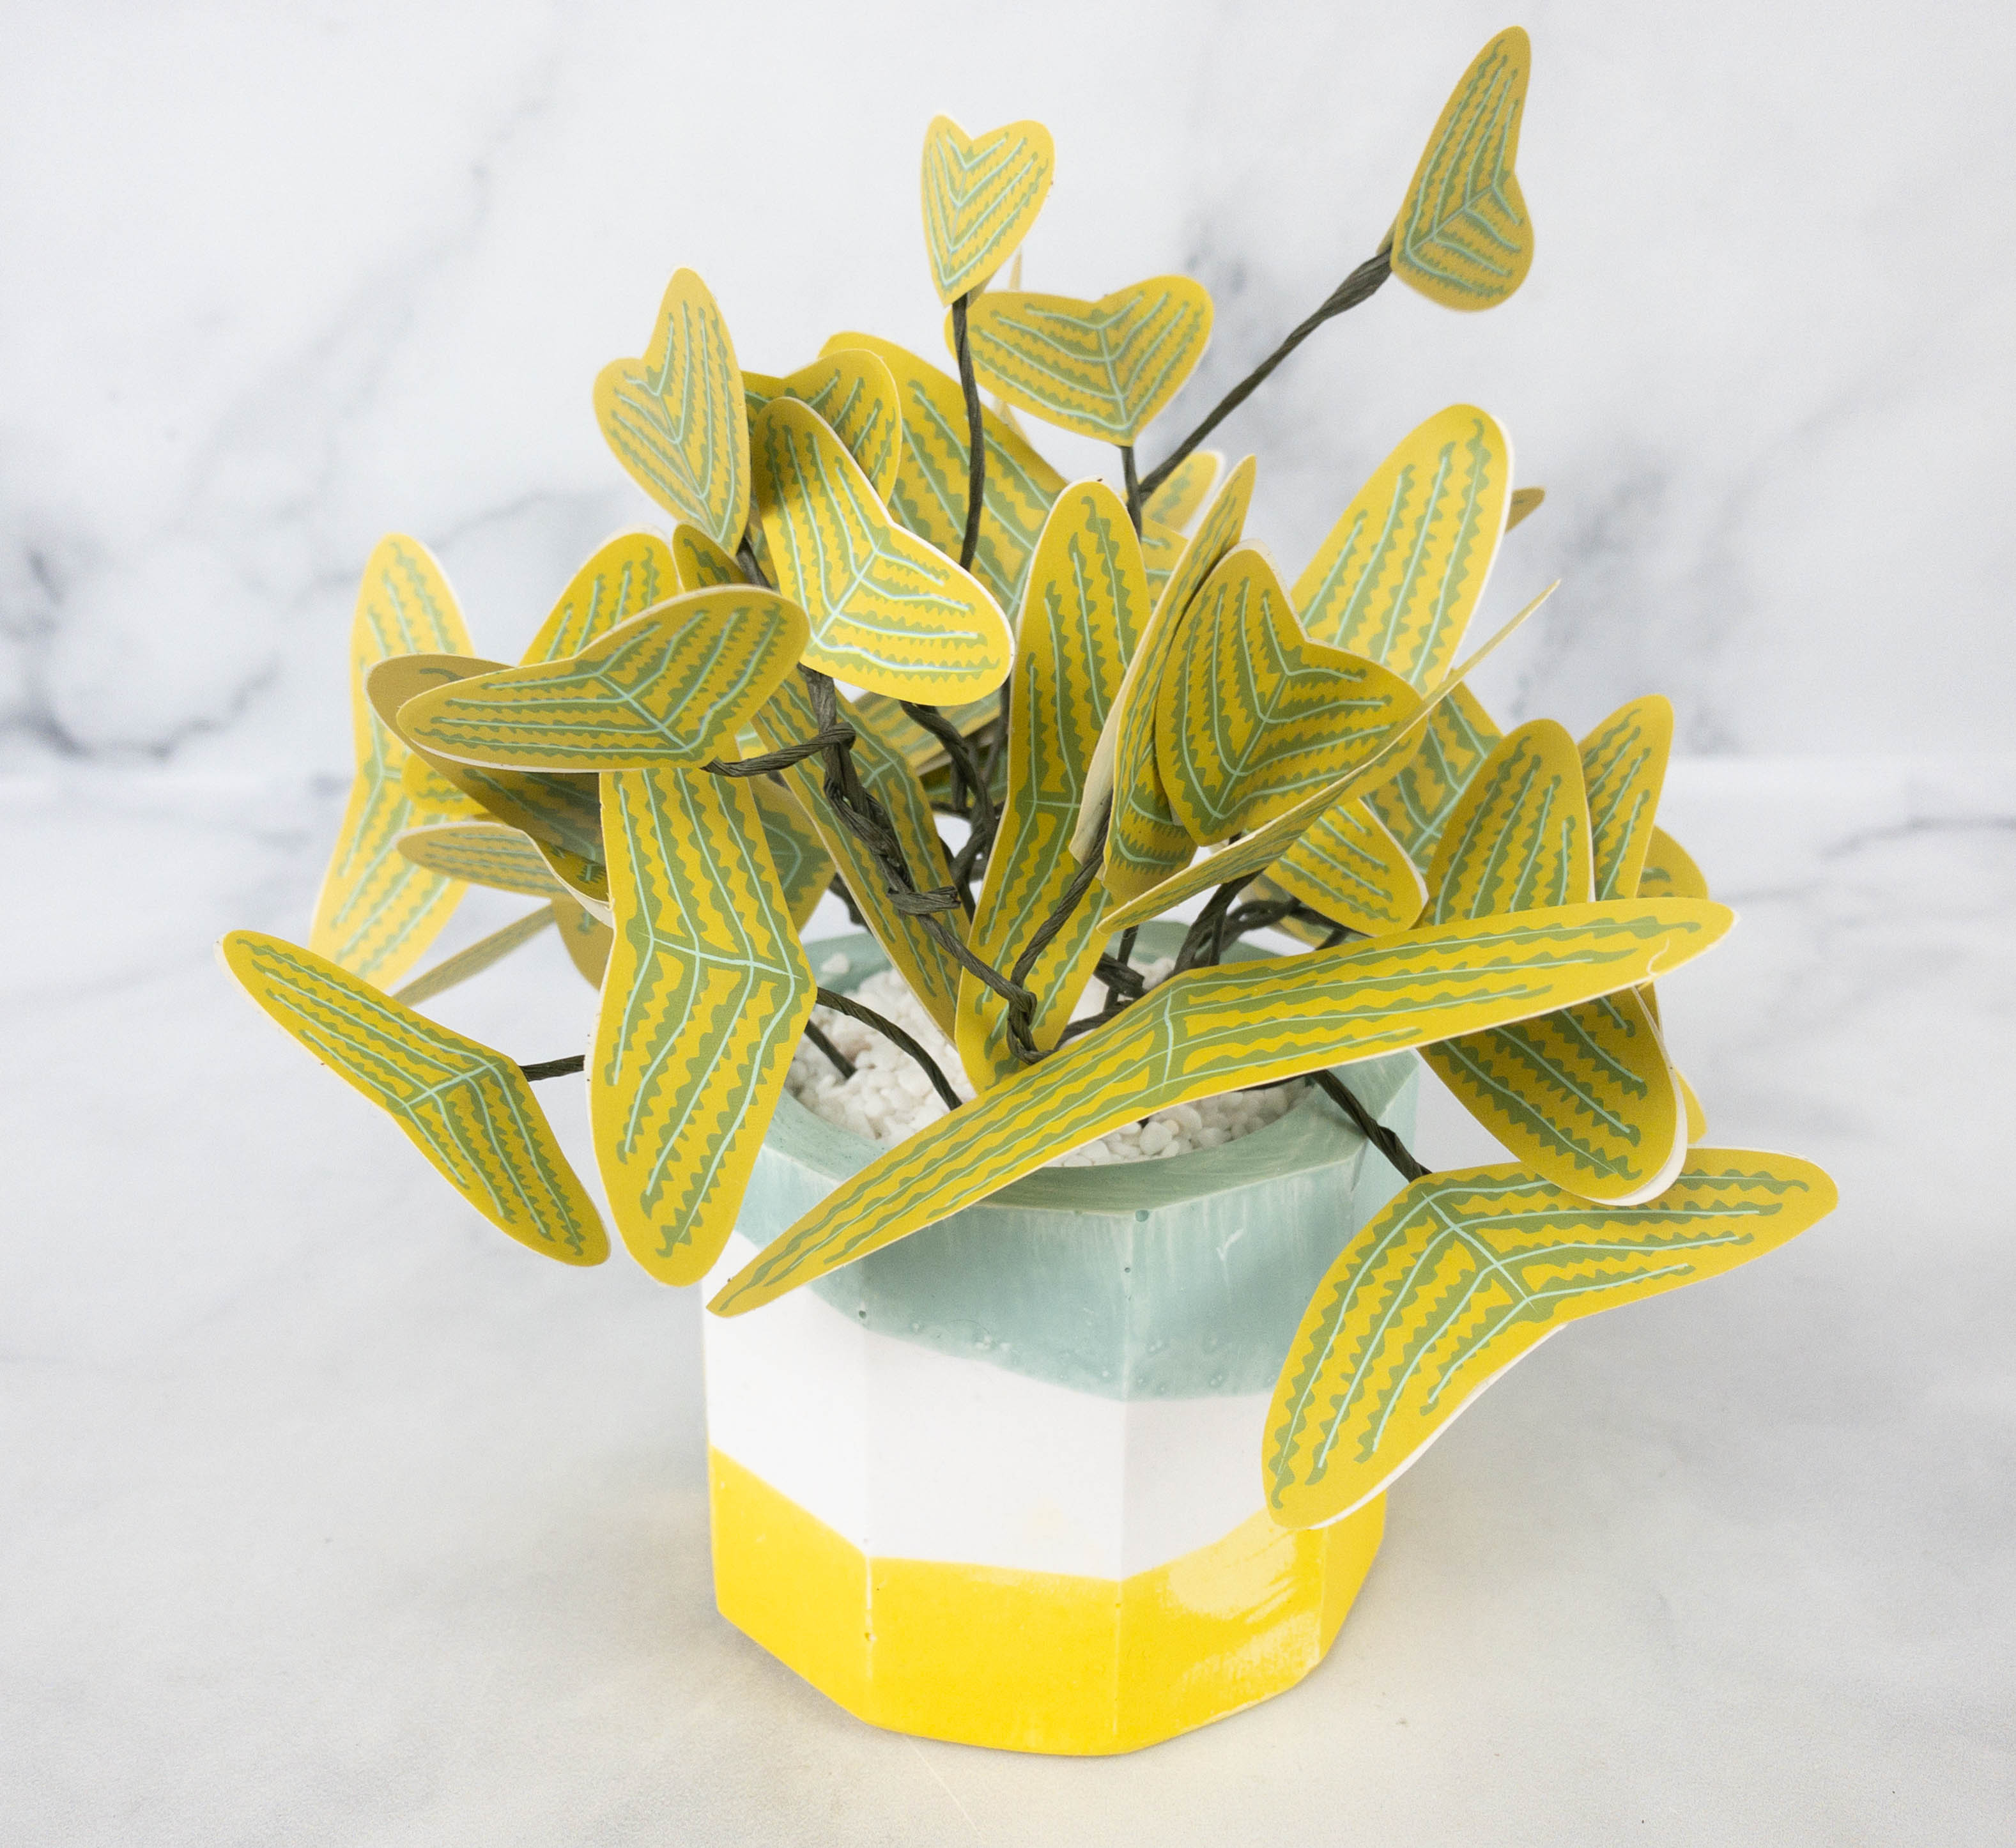
This one reminds me of an actual snake plant.
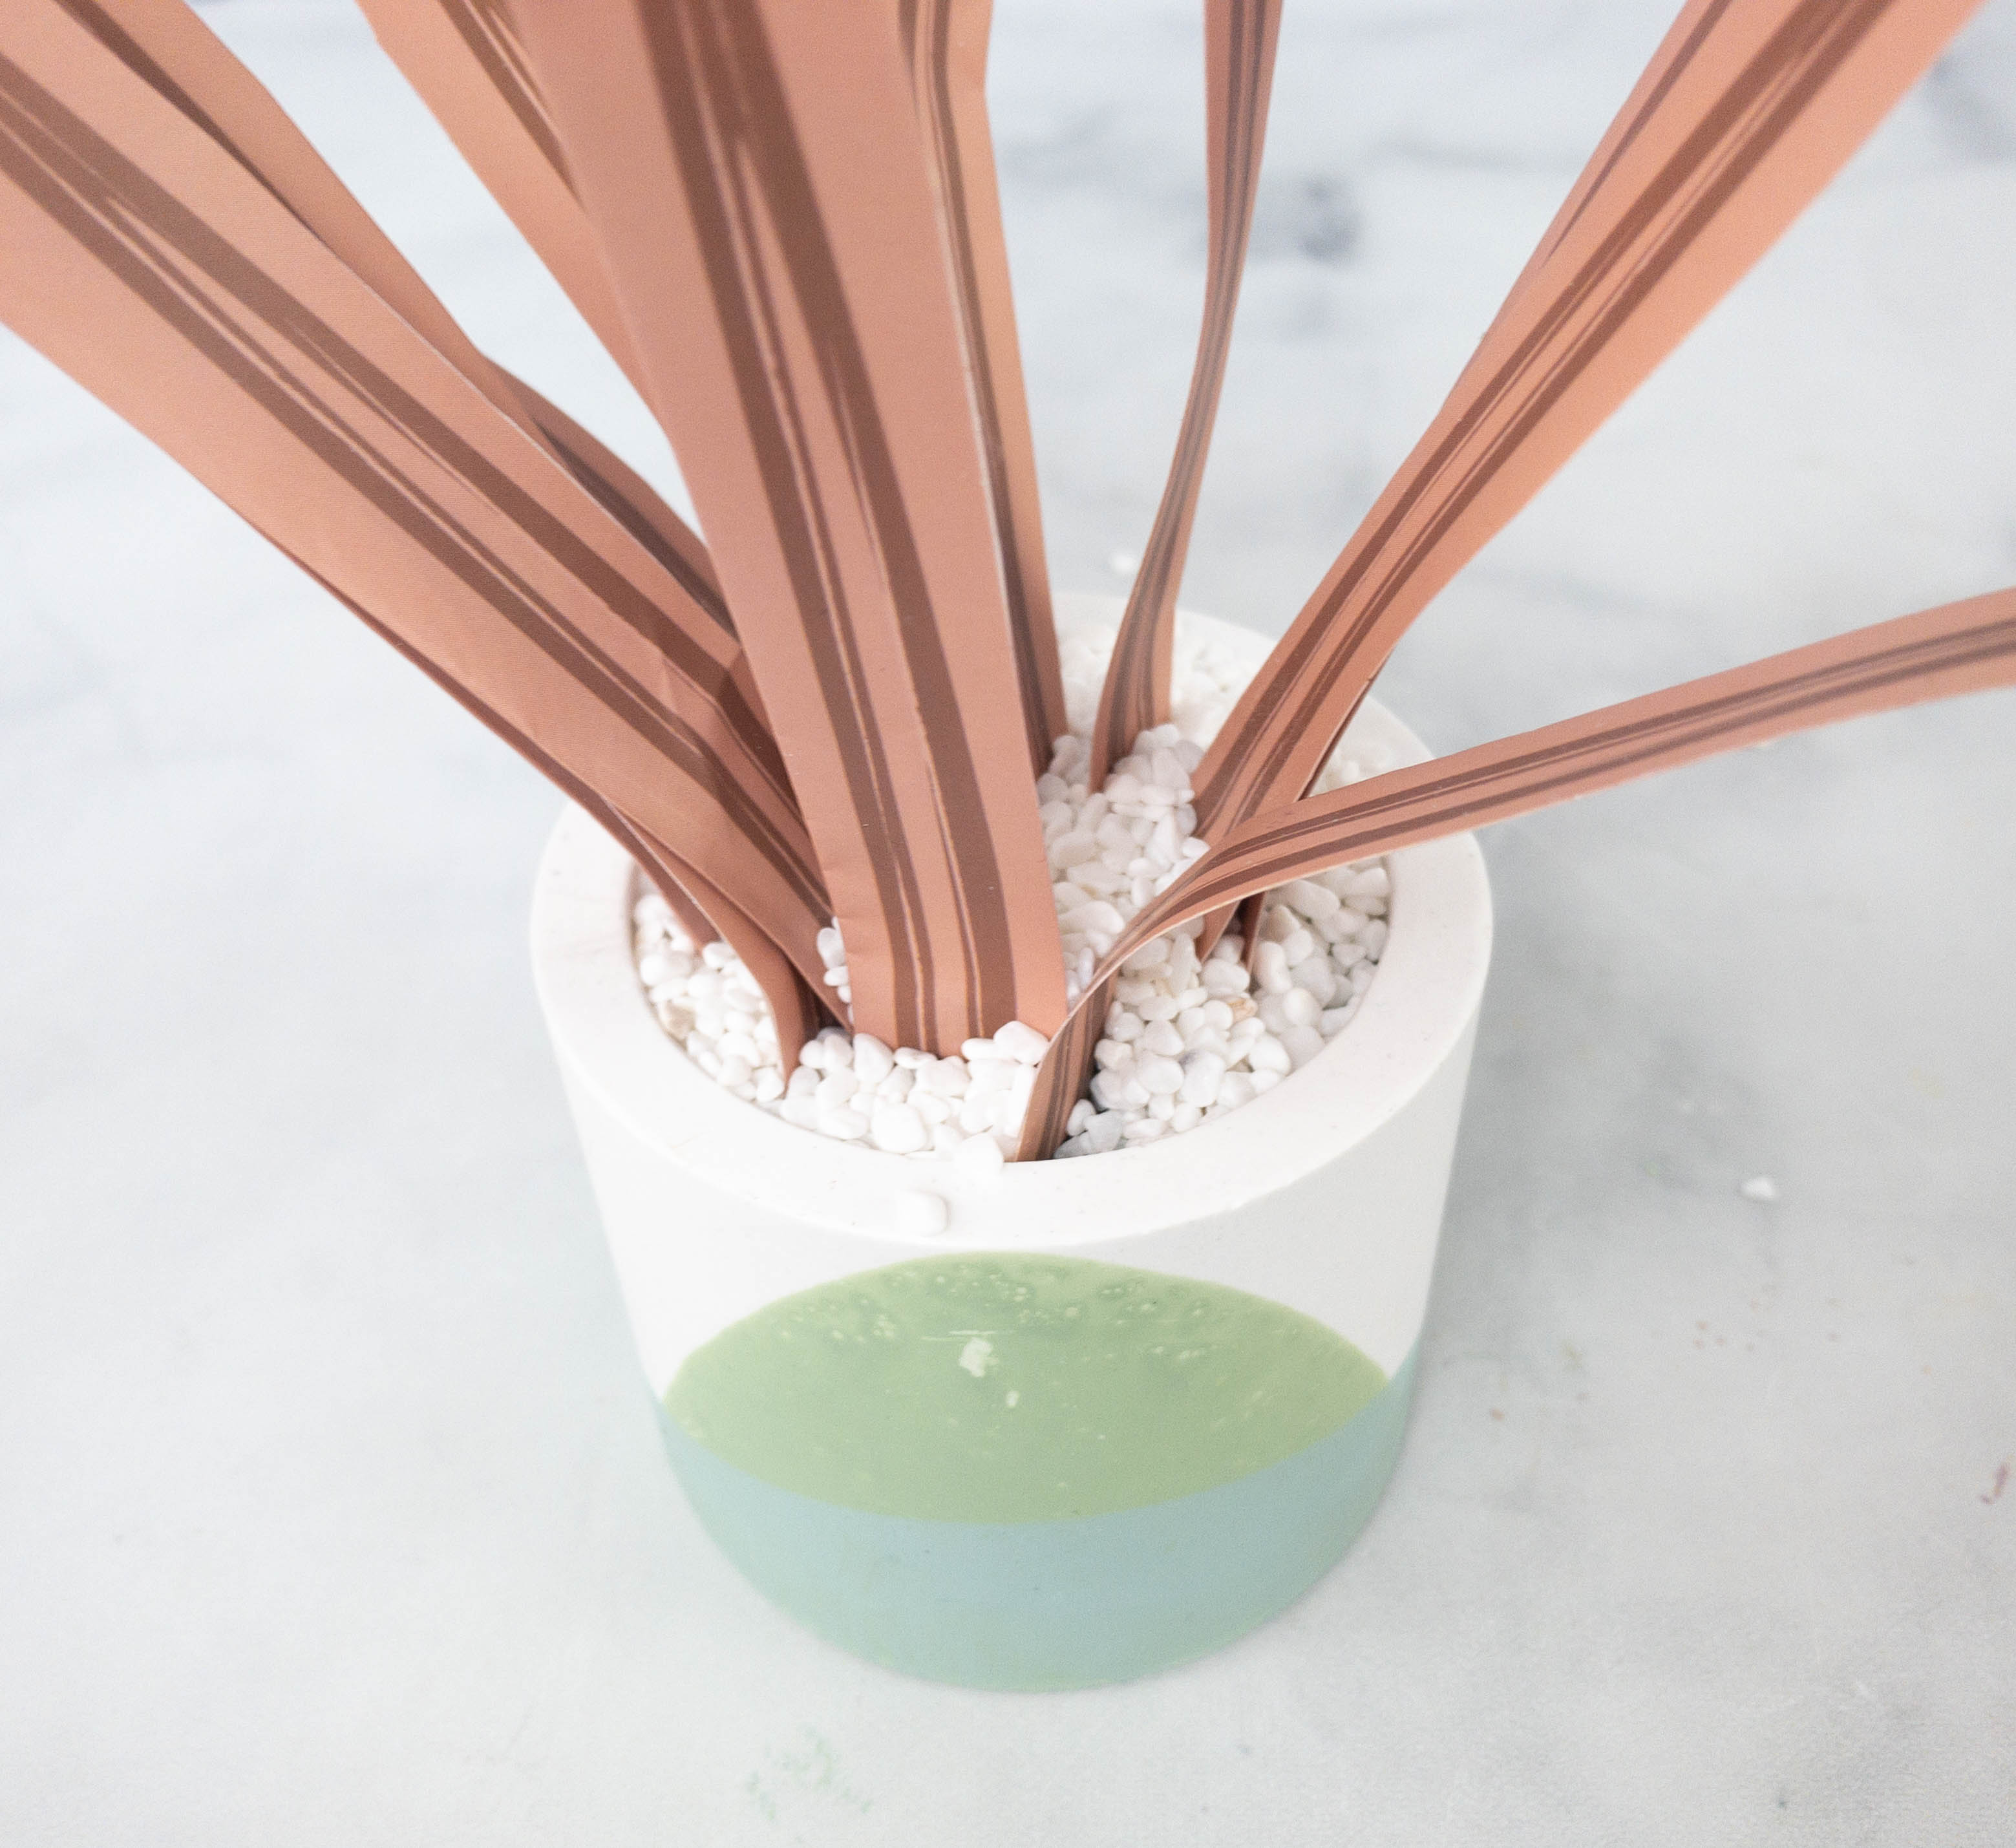
Once you’re happy with your arrangement, use the pebbles to cover the floral foam.
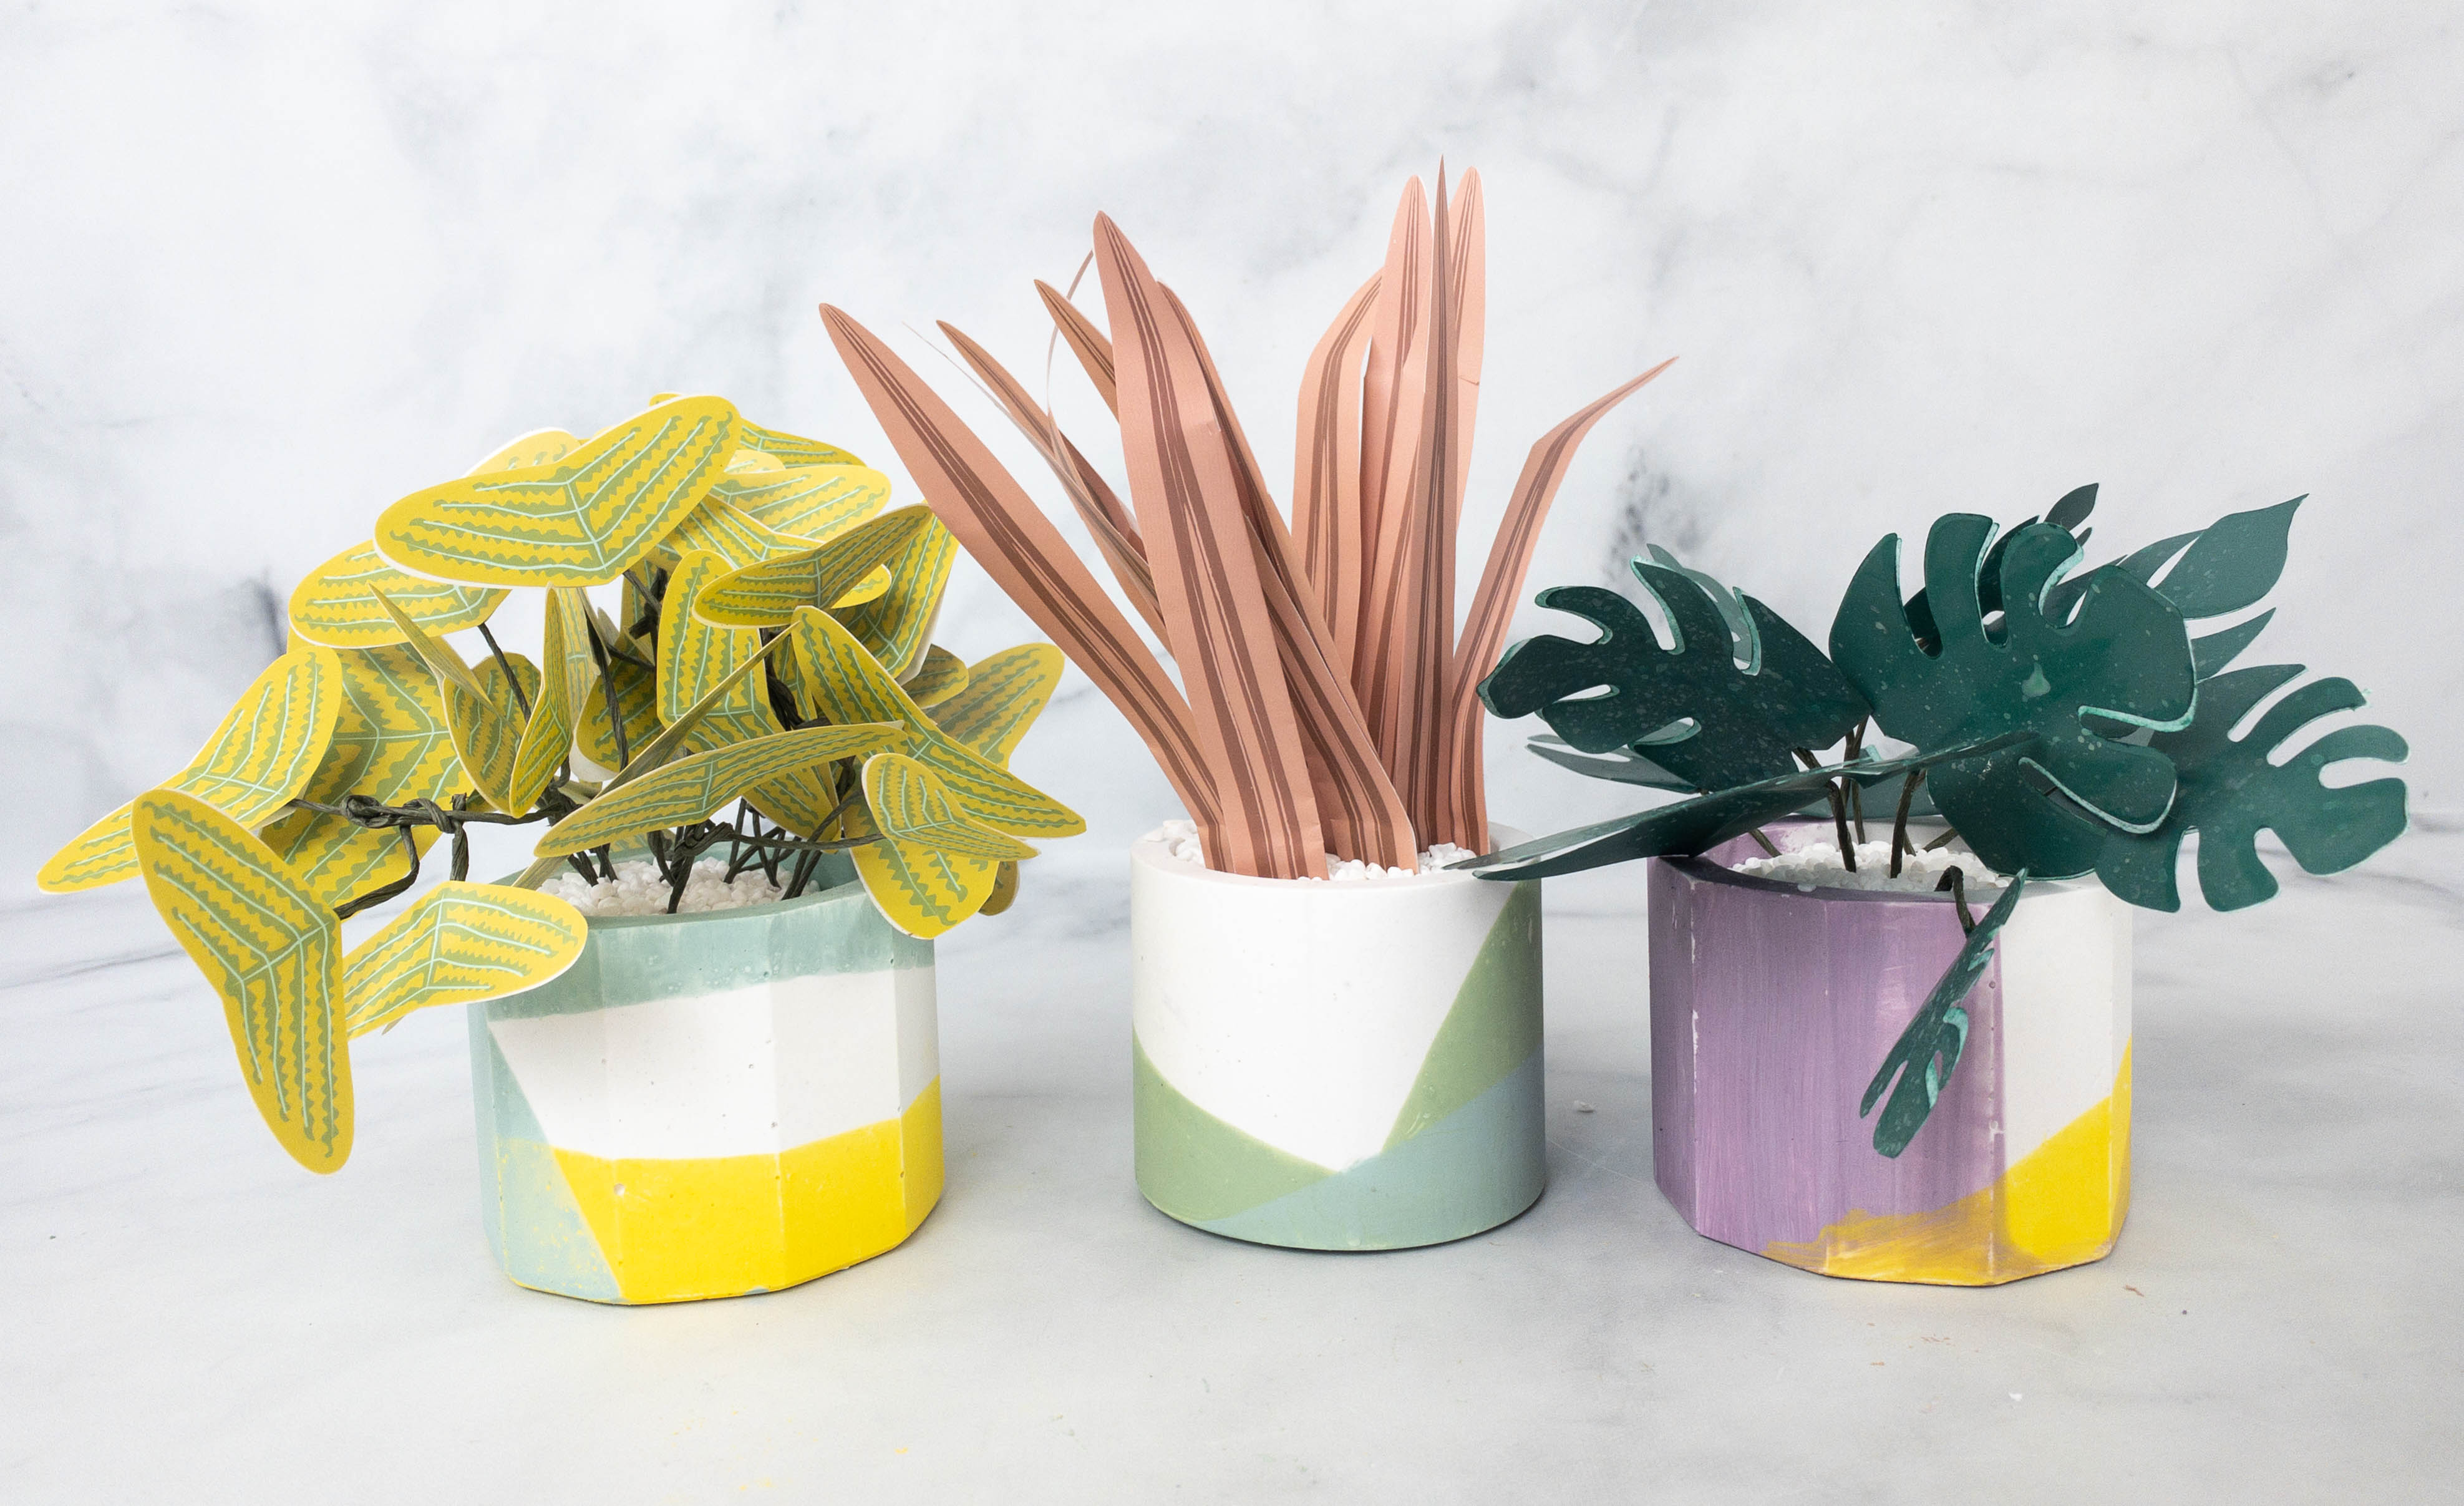
This is what the finished planters look like!
You can display it on your room or desk to brighten up the space!
This month’s Maker Crate project is really fun! It involved making our own planters, painting them using the hand dipping method, and making faux plants then putting them in the pots. The video instructions were clear and easy to follow so the project went smoothly. It also helps that they already send all the materials in each box, so there’s no need to go to a crafts store. My finished planters turned out lovely! They are a joy to look at, and they are perfect for decorating work and study desks or just about any corner of the home (and no need to water!). This subscription sends projects that are good for teens and adults alike. The end product is always something you can use or display, making it worth your time and effort!
What do you think of this Maker Crate project?


Comments