Green Kid Crafts is a subscription box that sends 5-8 themed projects made with eco-friendly materials to your home every month. The boxes contain hands-on explorations in science, math, technology, engineering and art that are intended to challenge children from 3-10 years of age.
DEAL: Save 50% on your first box! Use coupon code HELLOSUB50.
Green Kid Crafts offers two age ranges – the Junior Discovery Box (ages 2-4) or the Discovery Box (ages 5-10+). This is a review of the Discovery box! Green Kid Crafts also offers a Sibling Discovery Box (ages 2-10+).
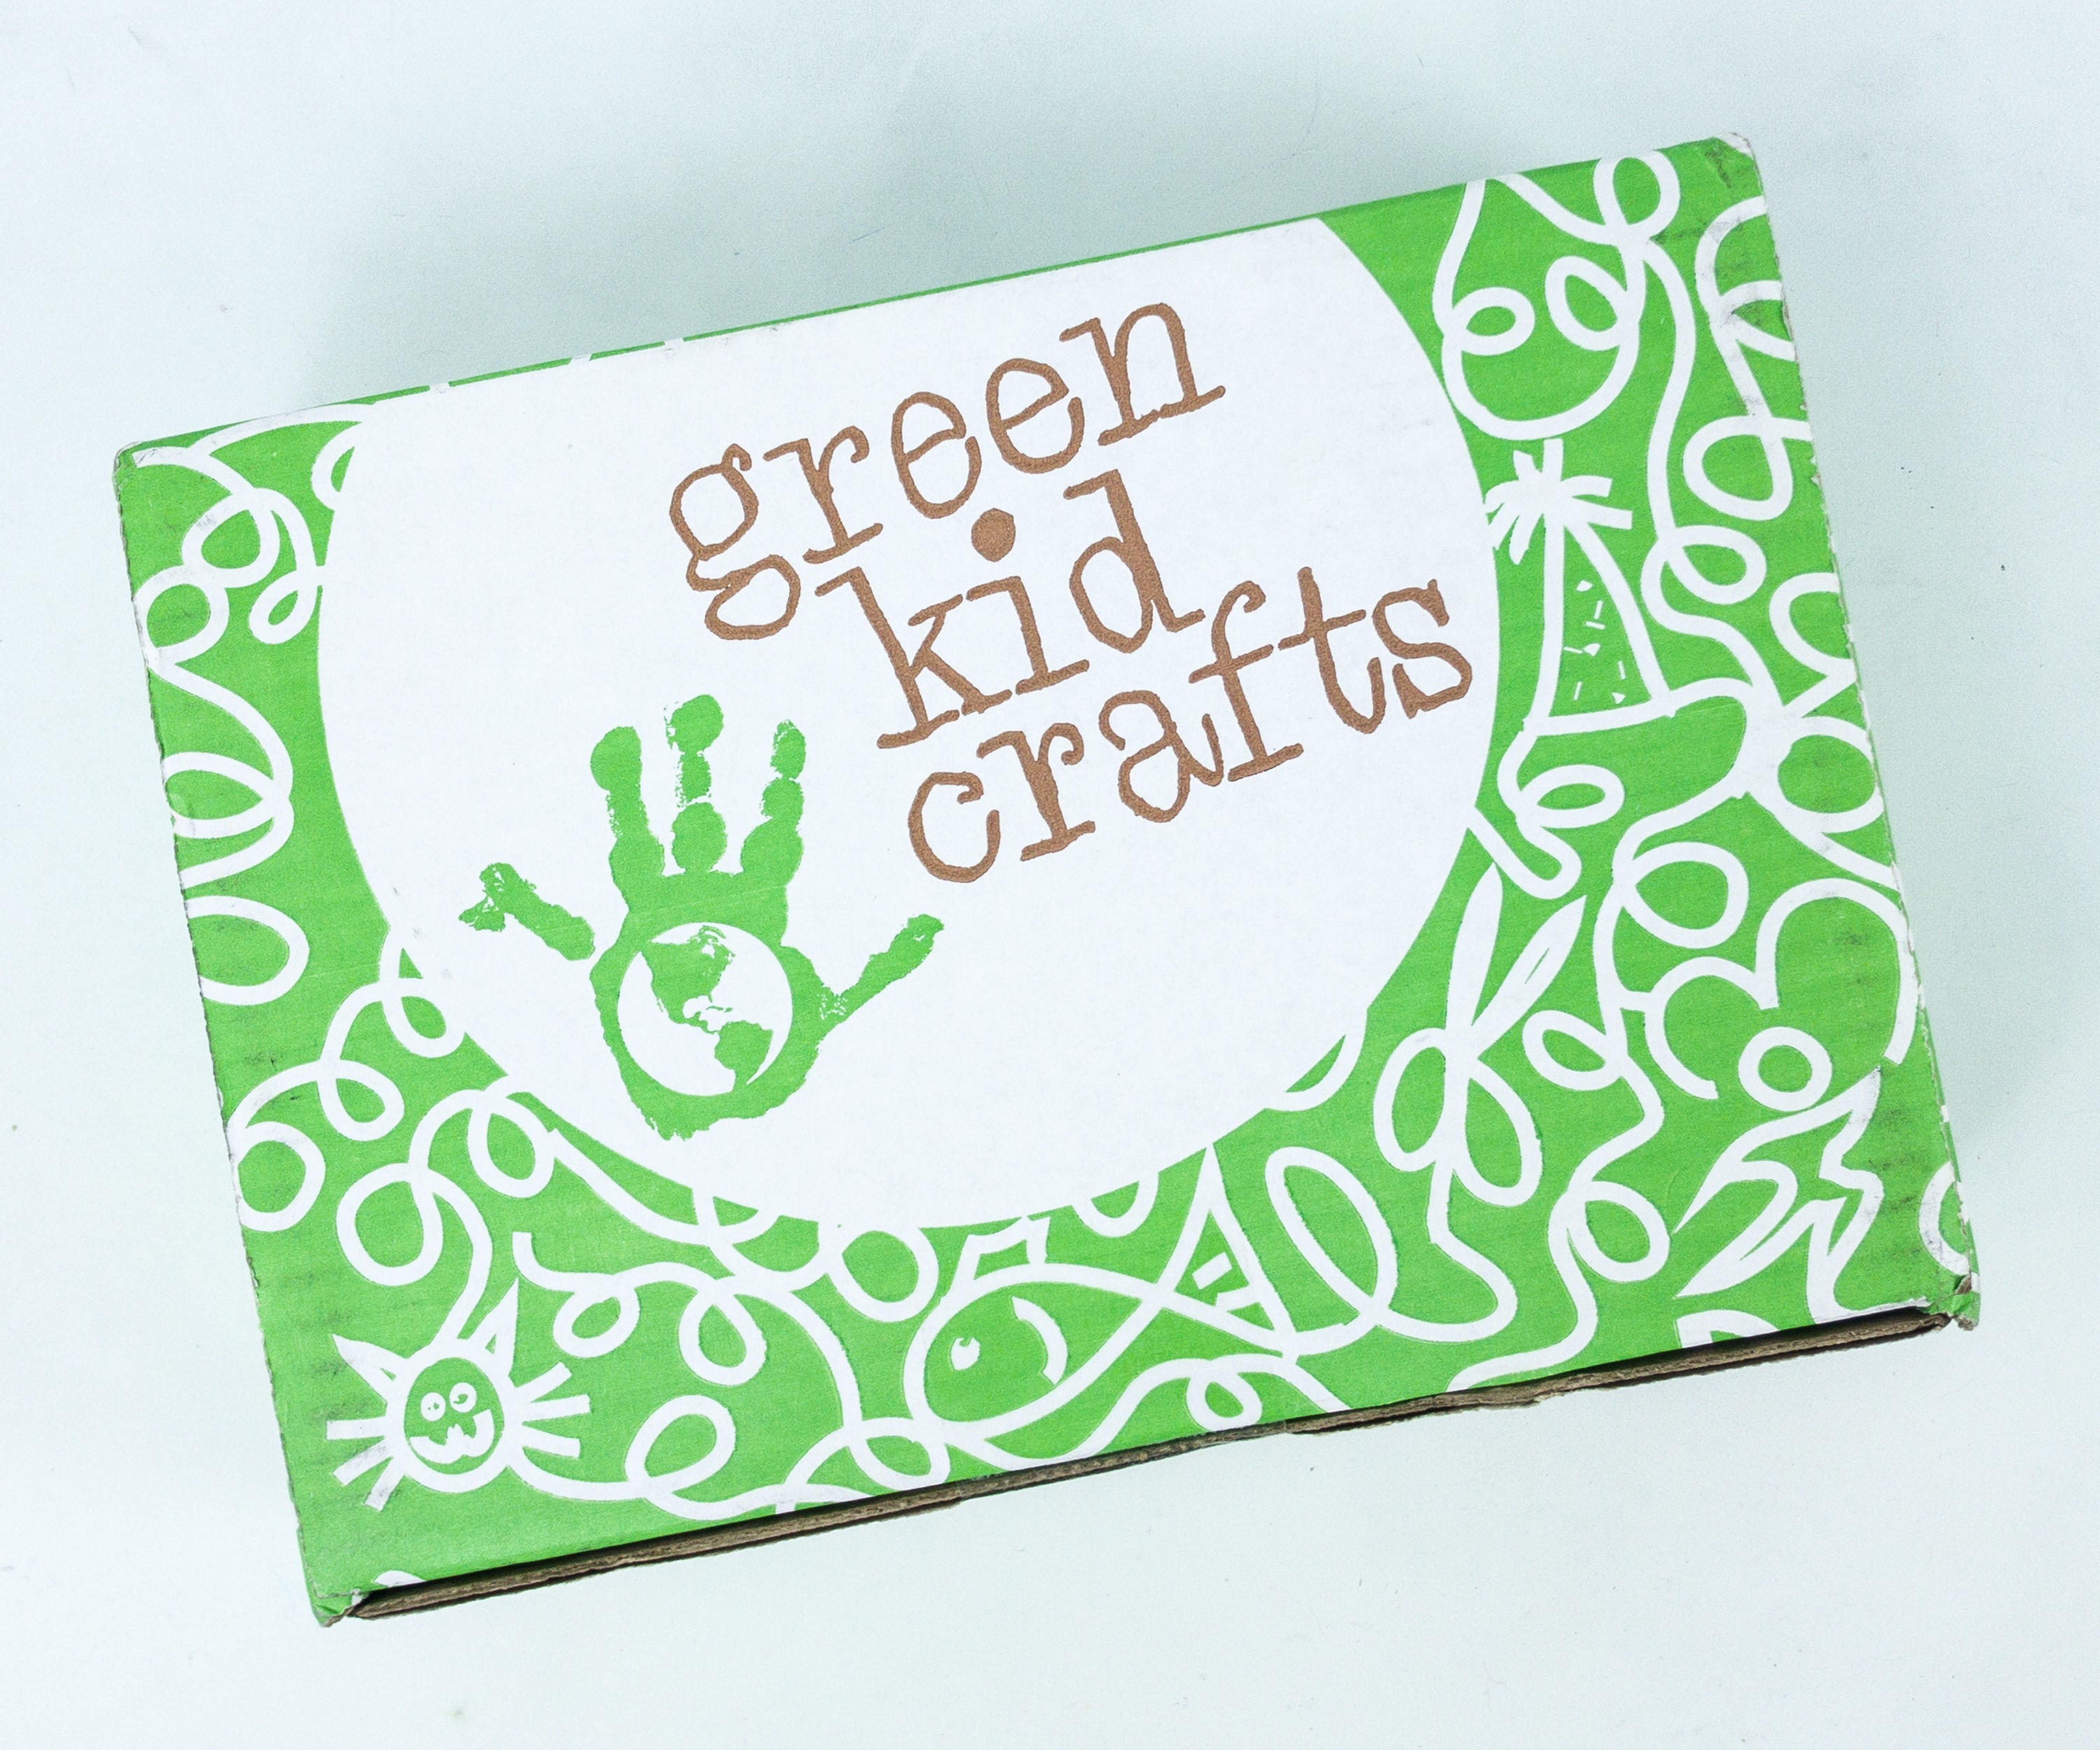
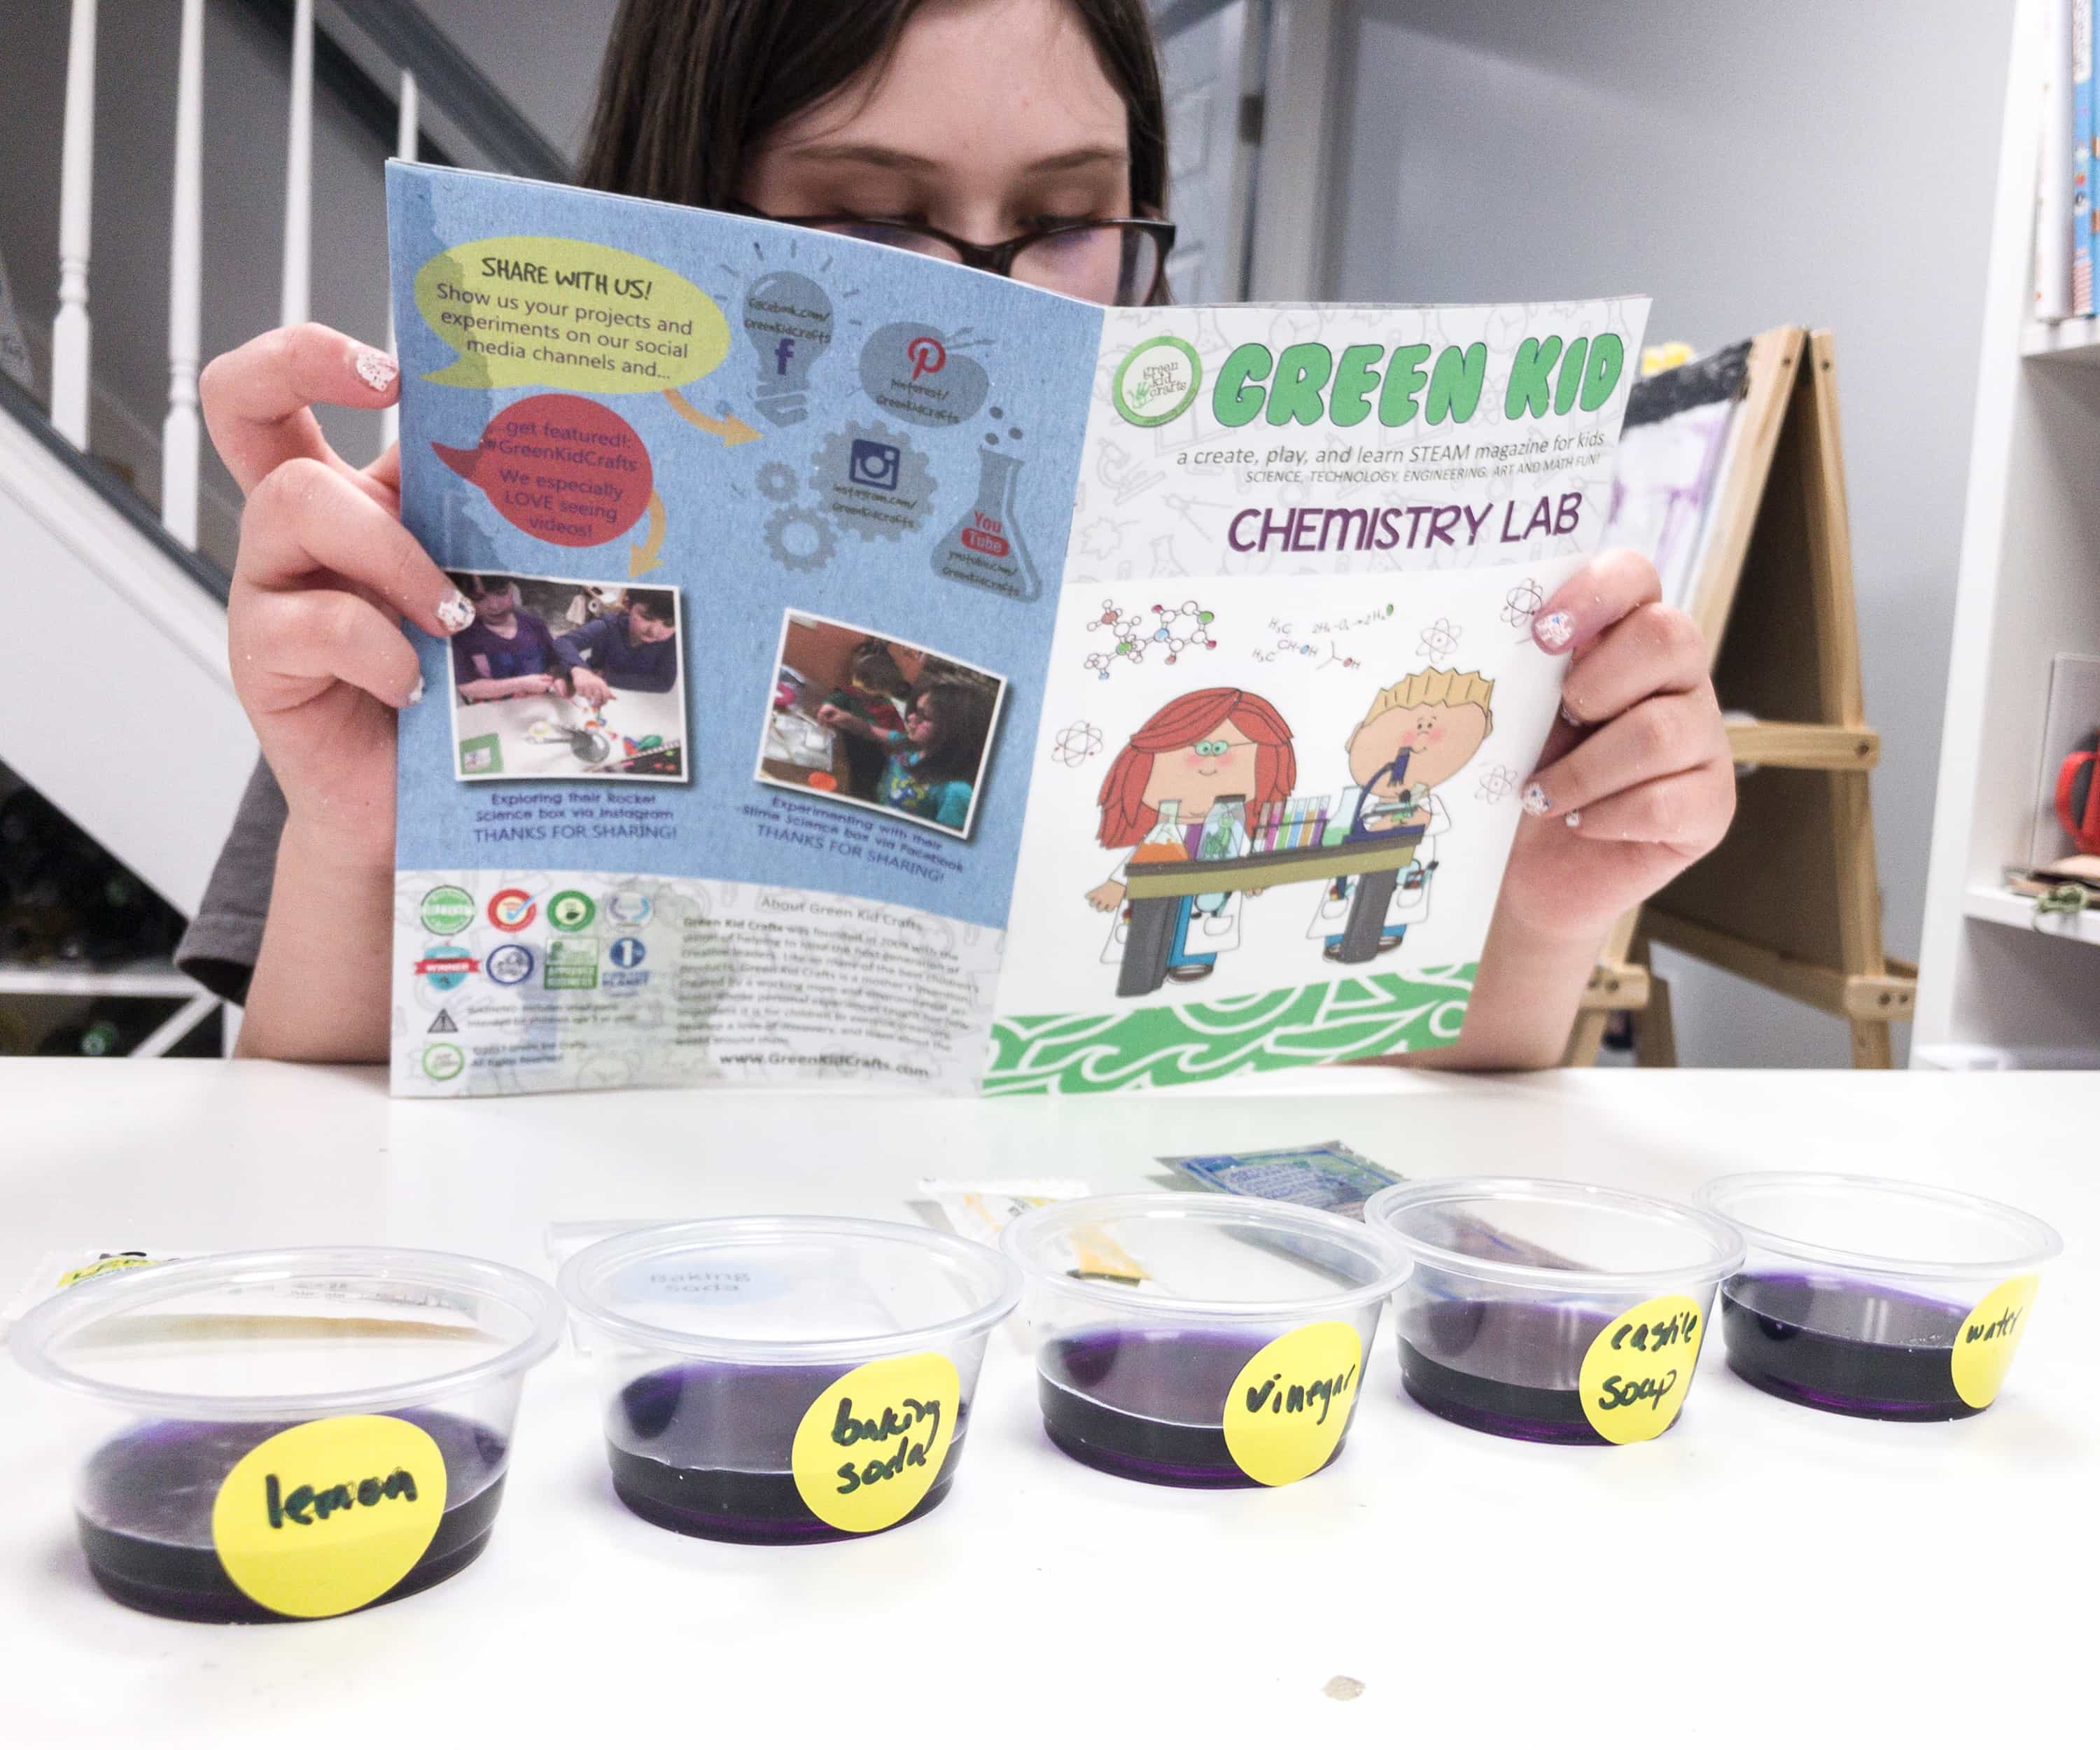
The July 2019 Green Kid Crafts theme is CHEMISTRY LAB. The box itself is in green, with cute doodles on it, and all the items are packed neatly inside it.
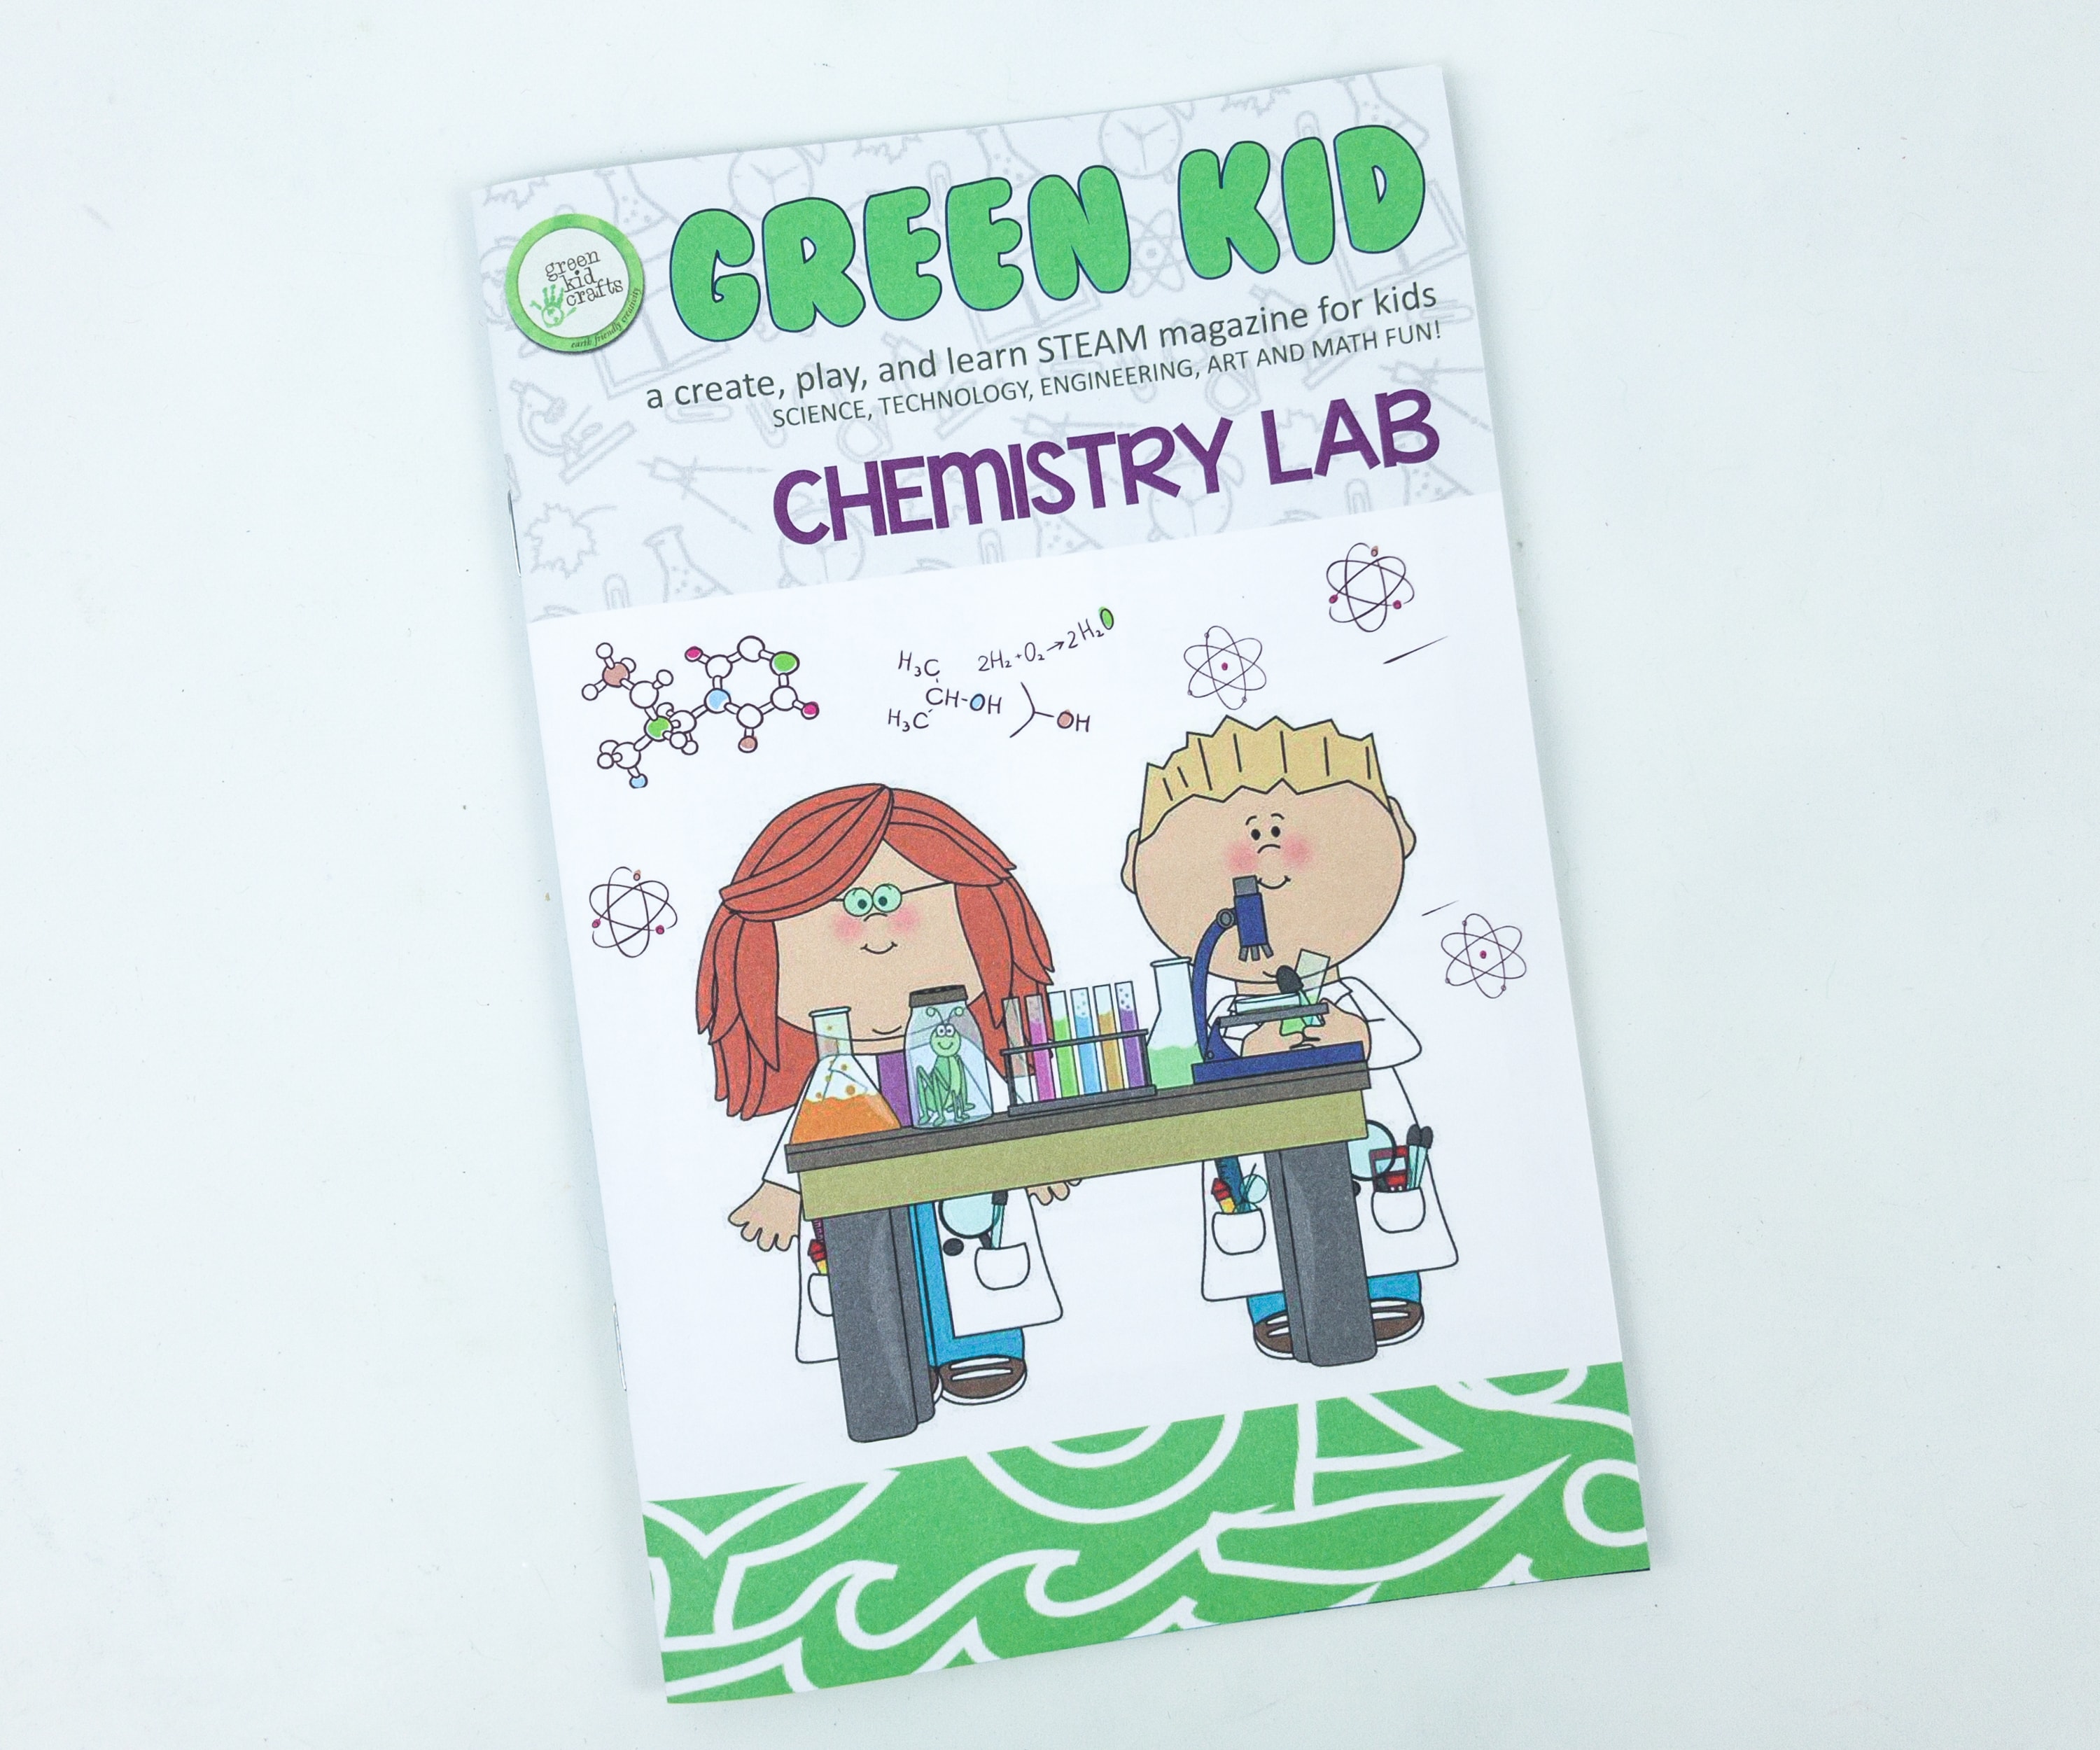
The booklet provides essential information about the subscription and projects that you can work on.
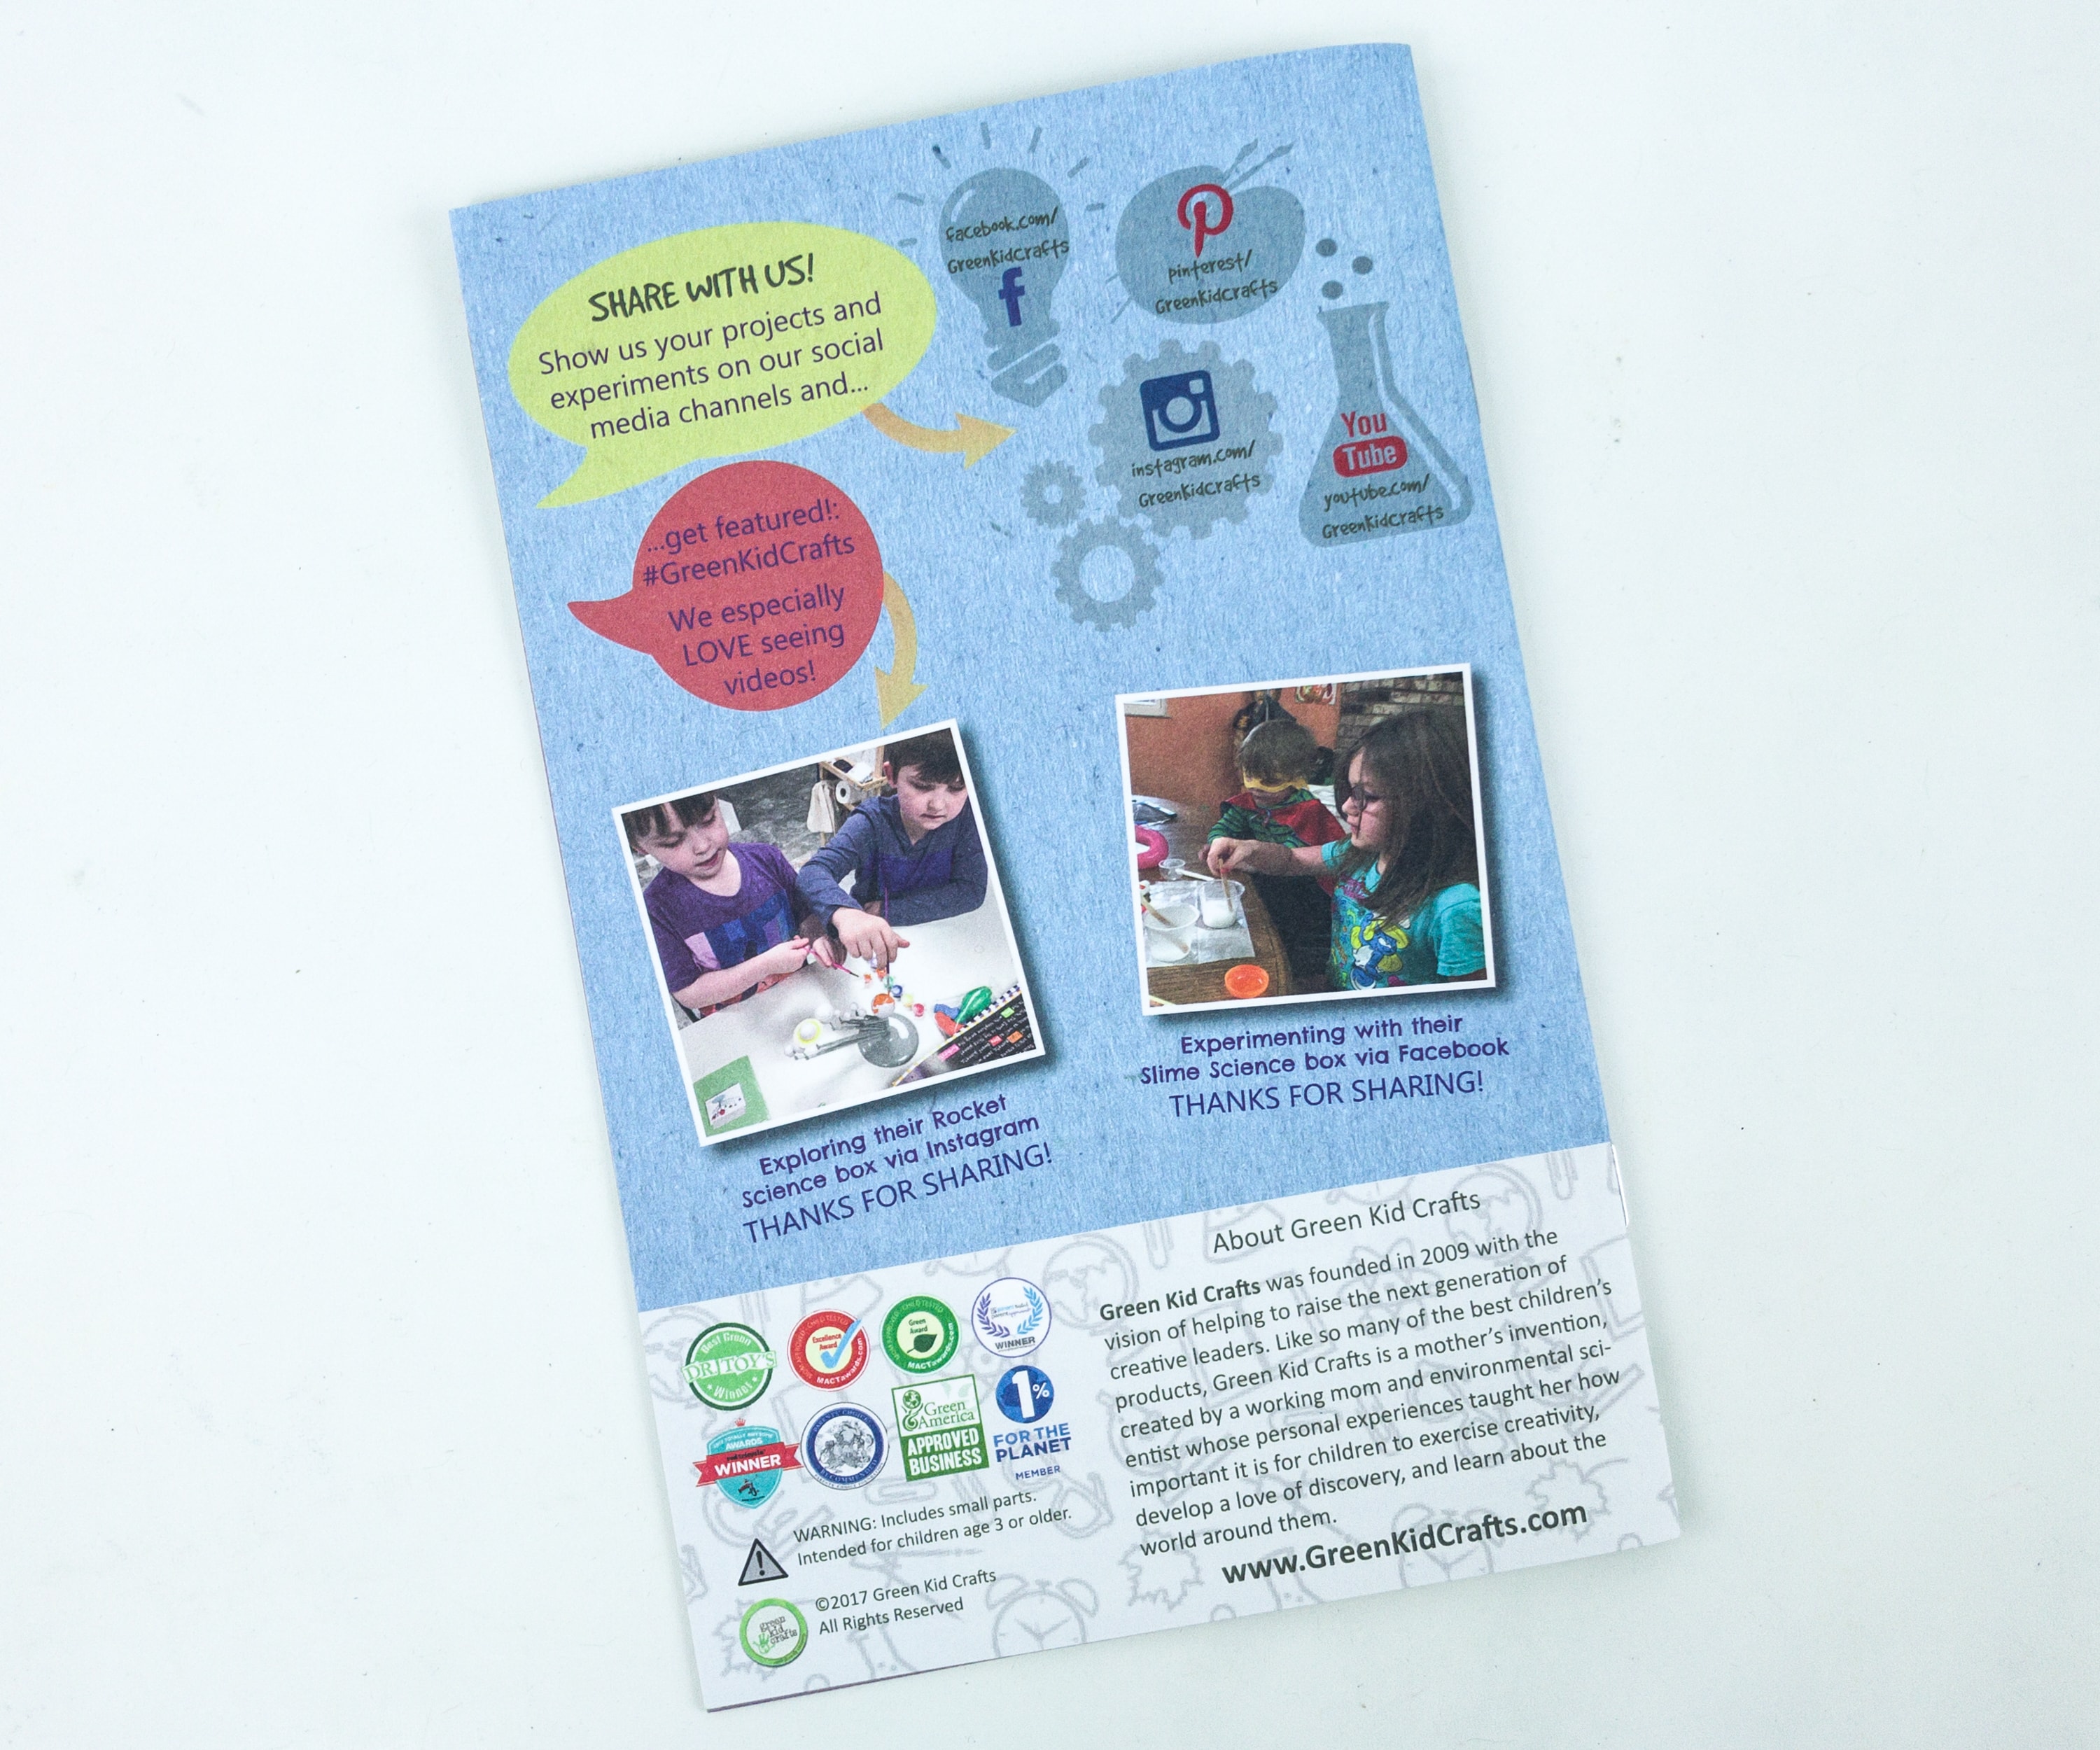
The back of the booklet shows some shared photos from subscribers. You can also get featured in the next box when you share your photos or videos and use the hashtag #GreenKidCrafts!
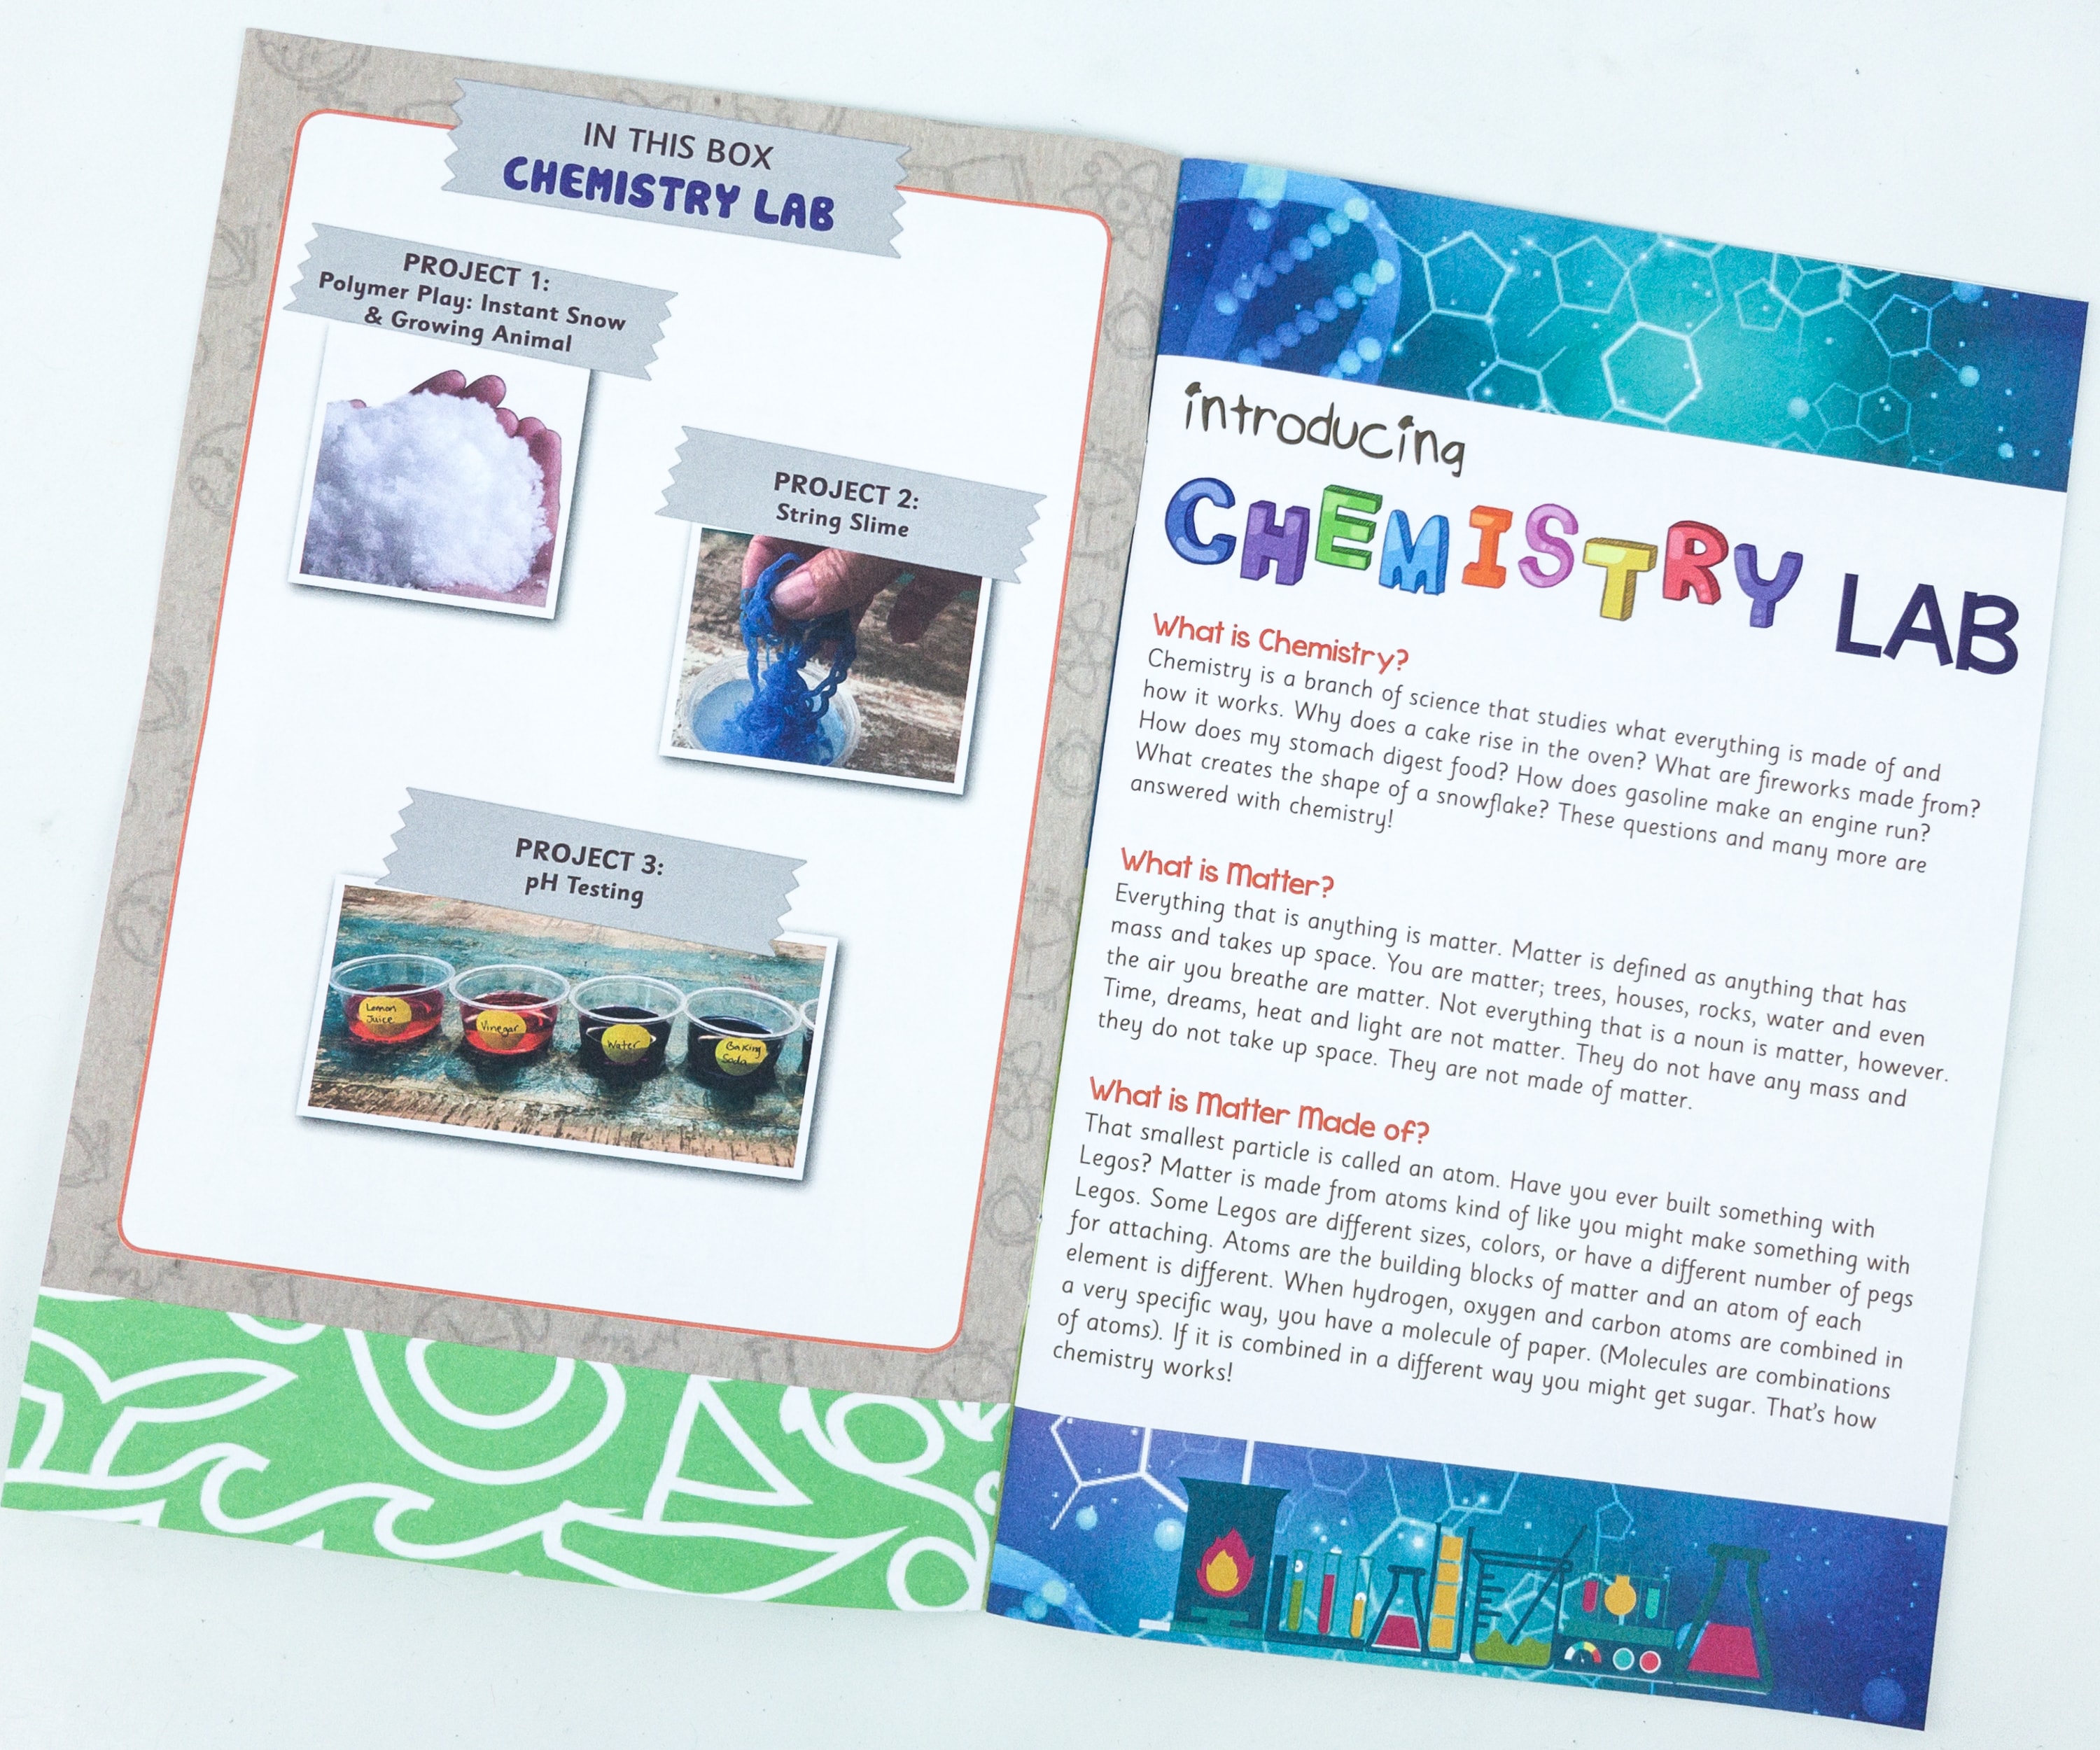
The booklet has a table of contents and an introduction to the Chemistry Lab.
The booklet provided complete instructions and details about each project.
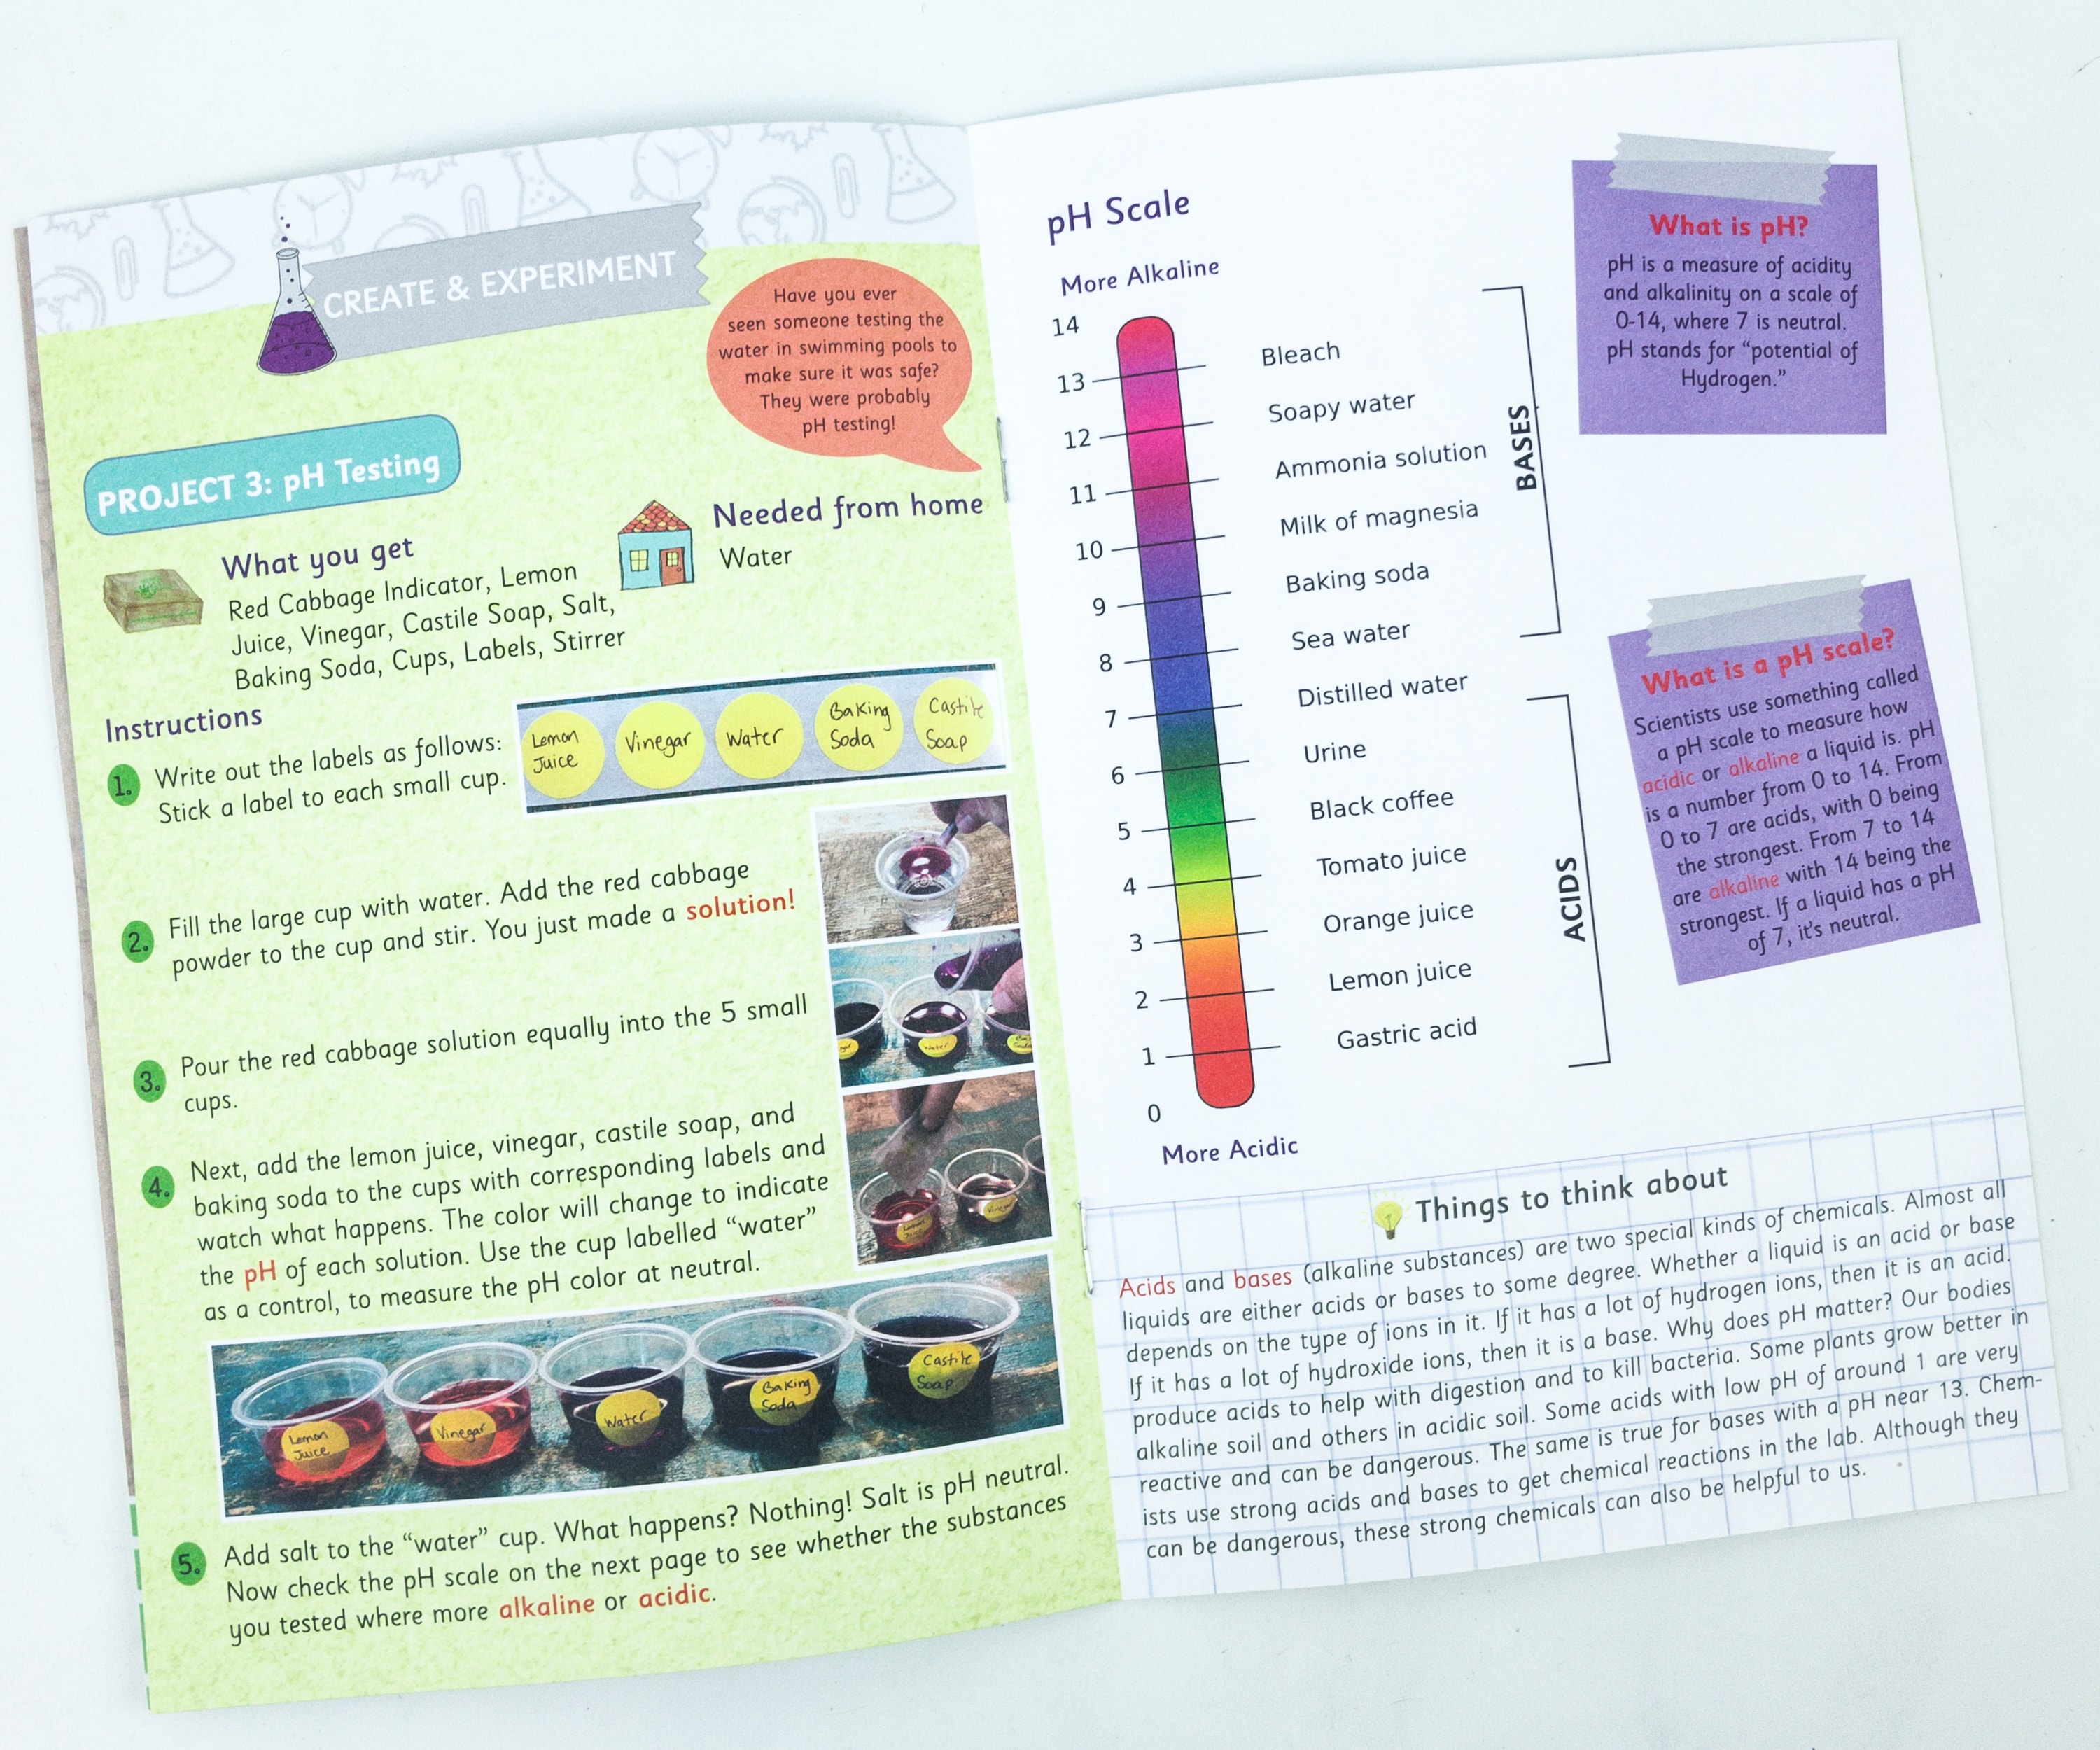
There’s a total of 3 projects for this activity box. The booklet even included a pH scale.
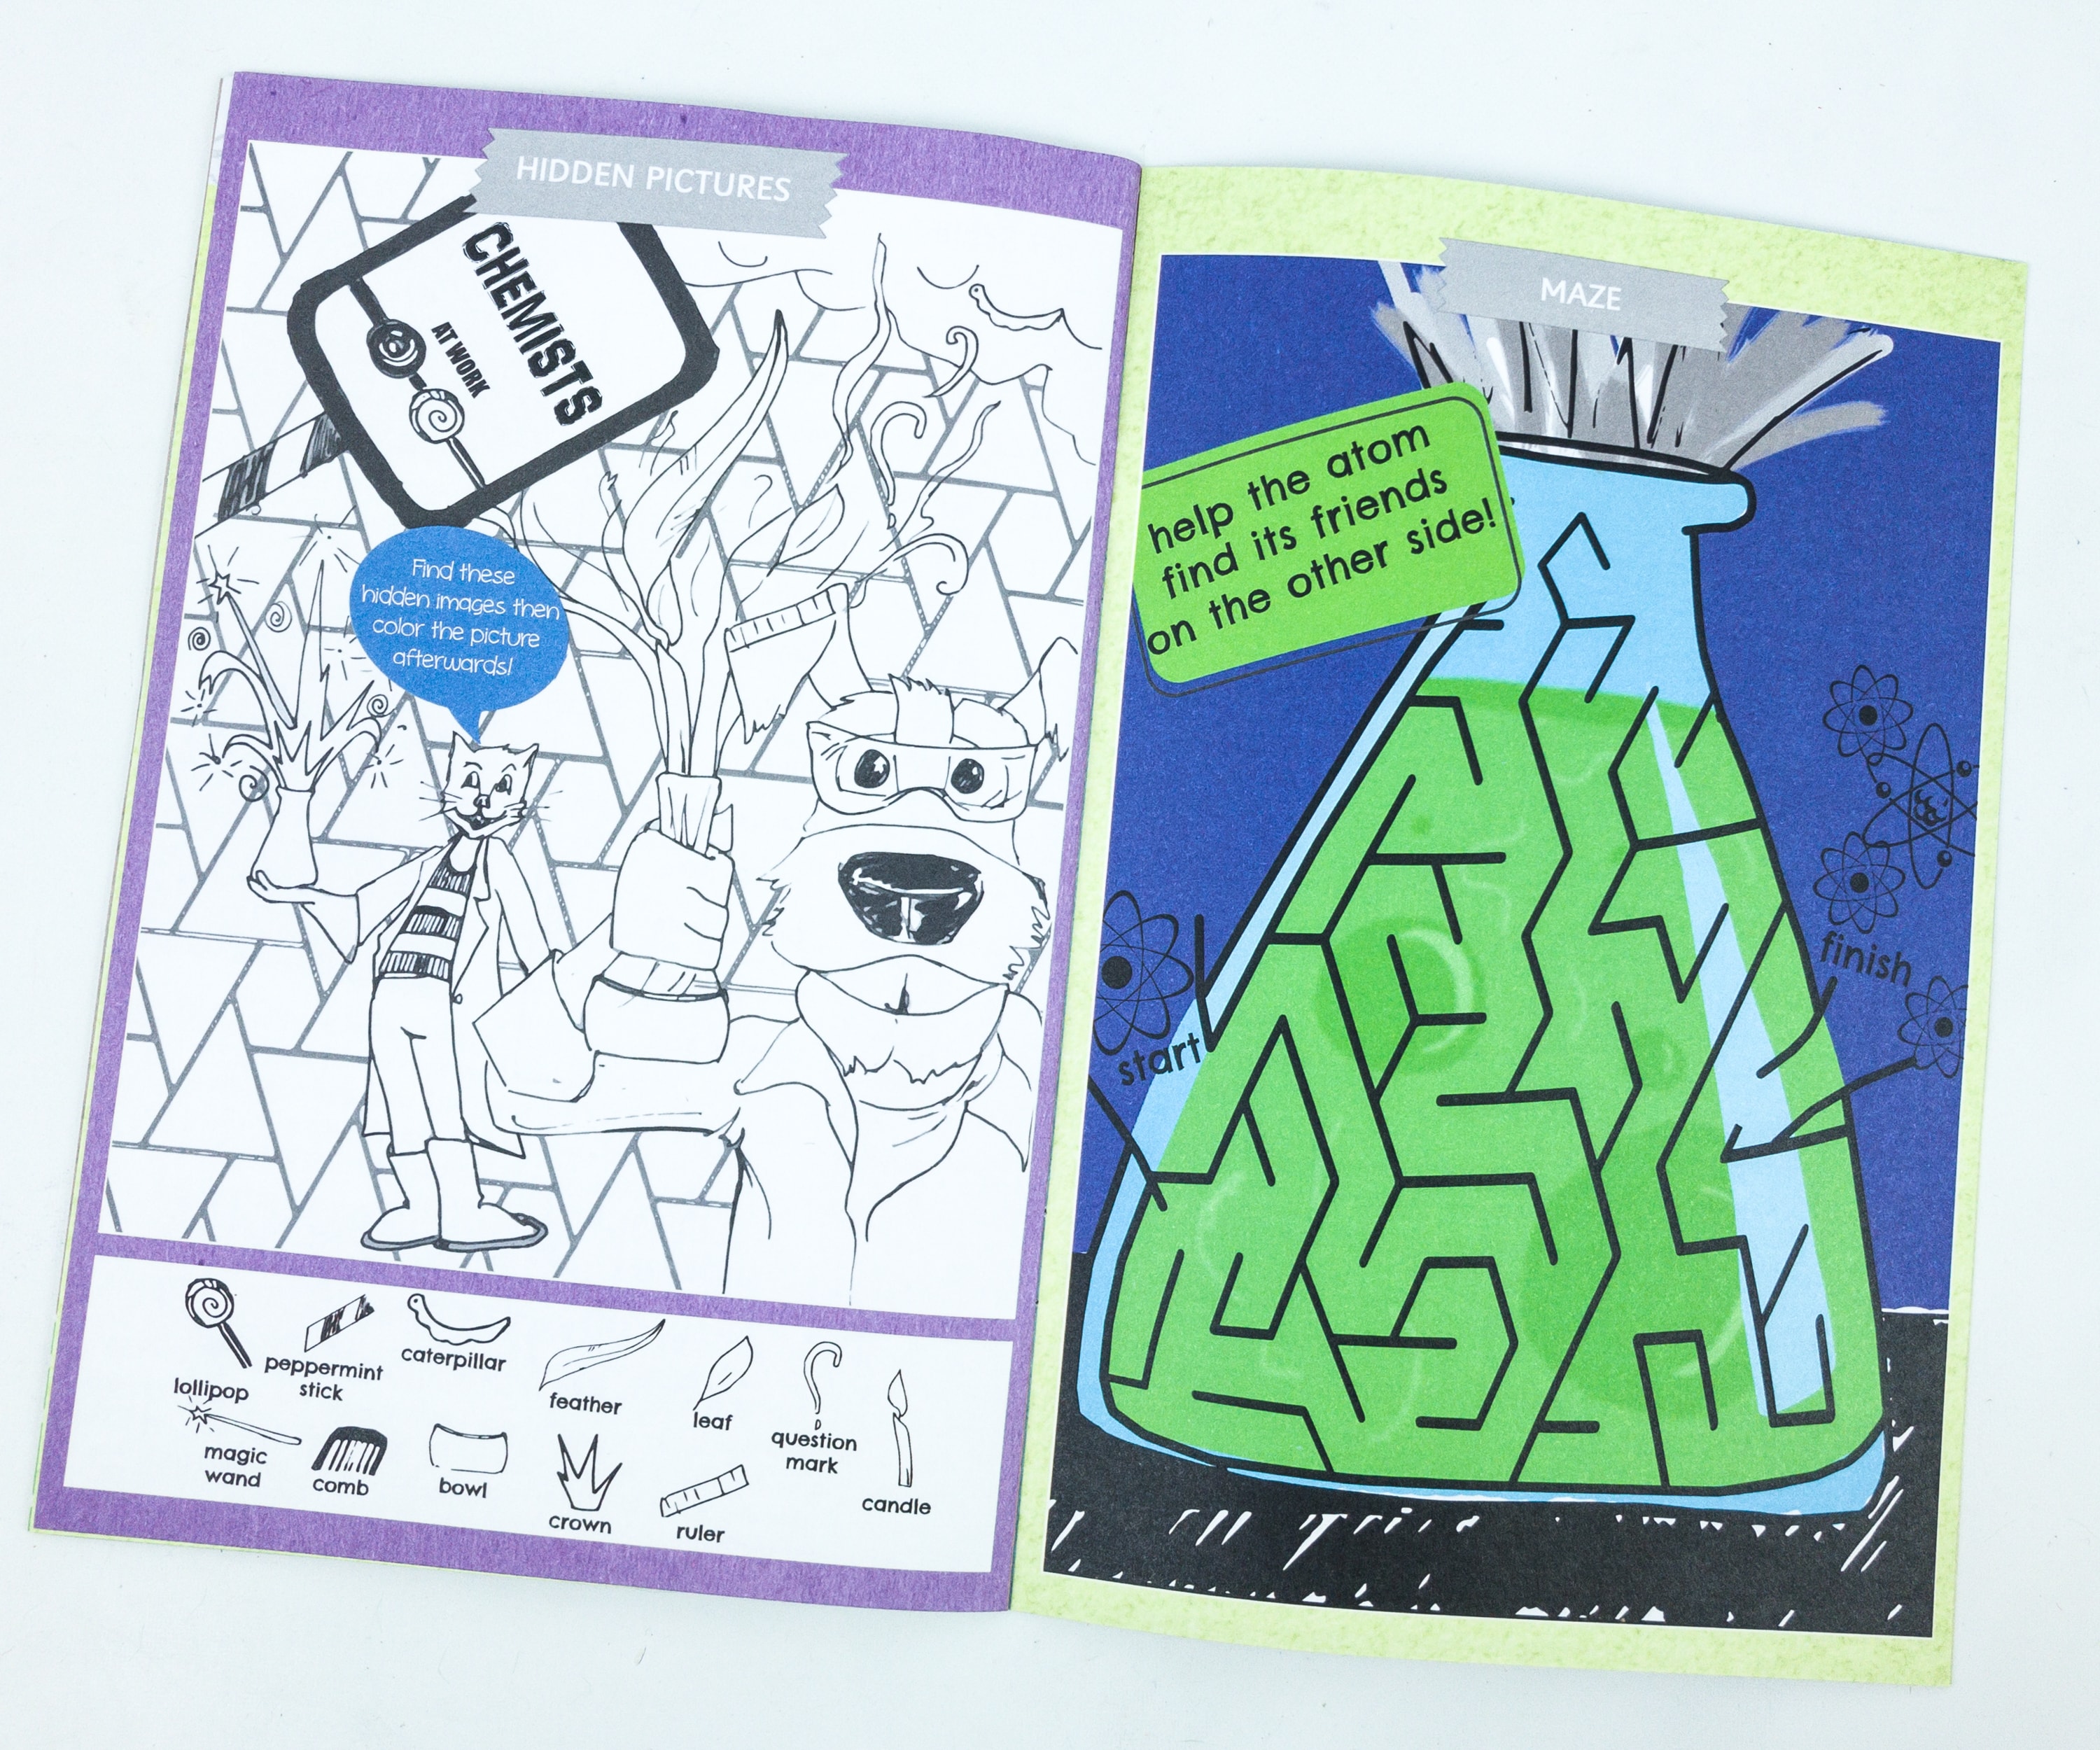
There are also fun on-page activities, like a maze and finding hidden pictures.
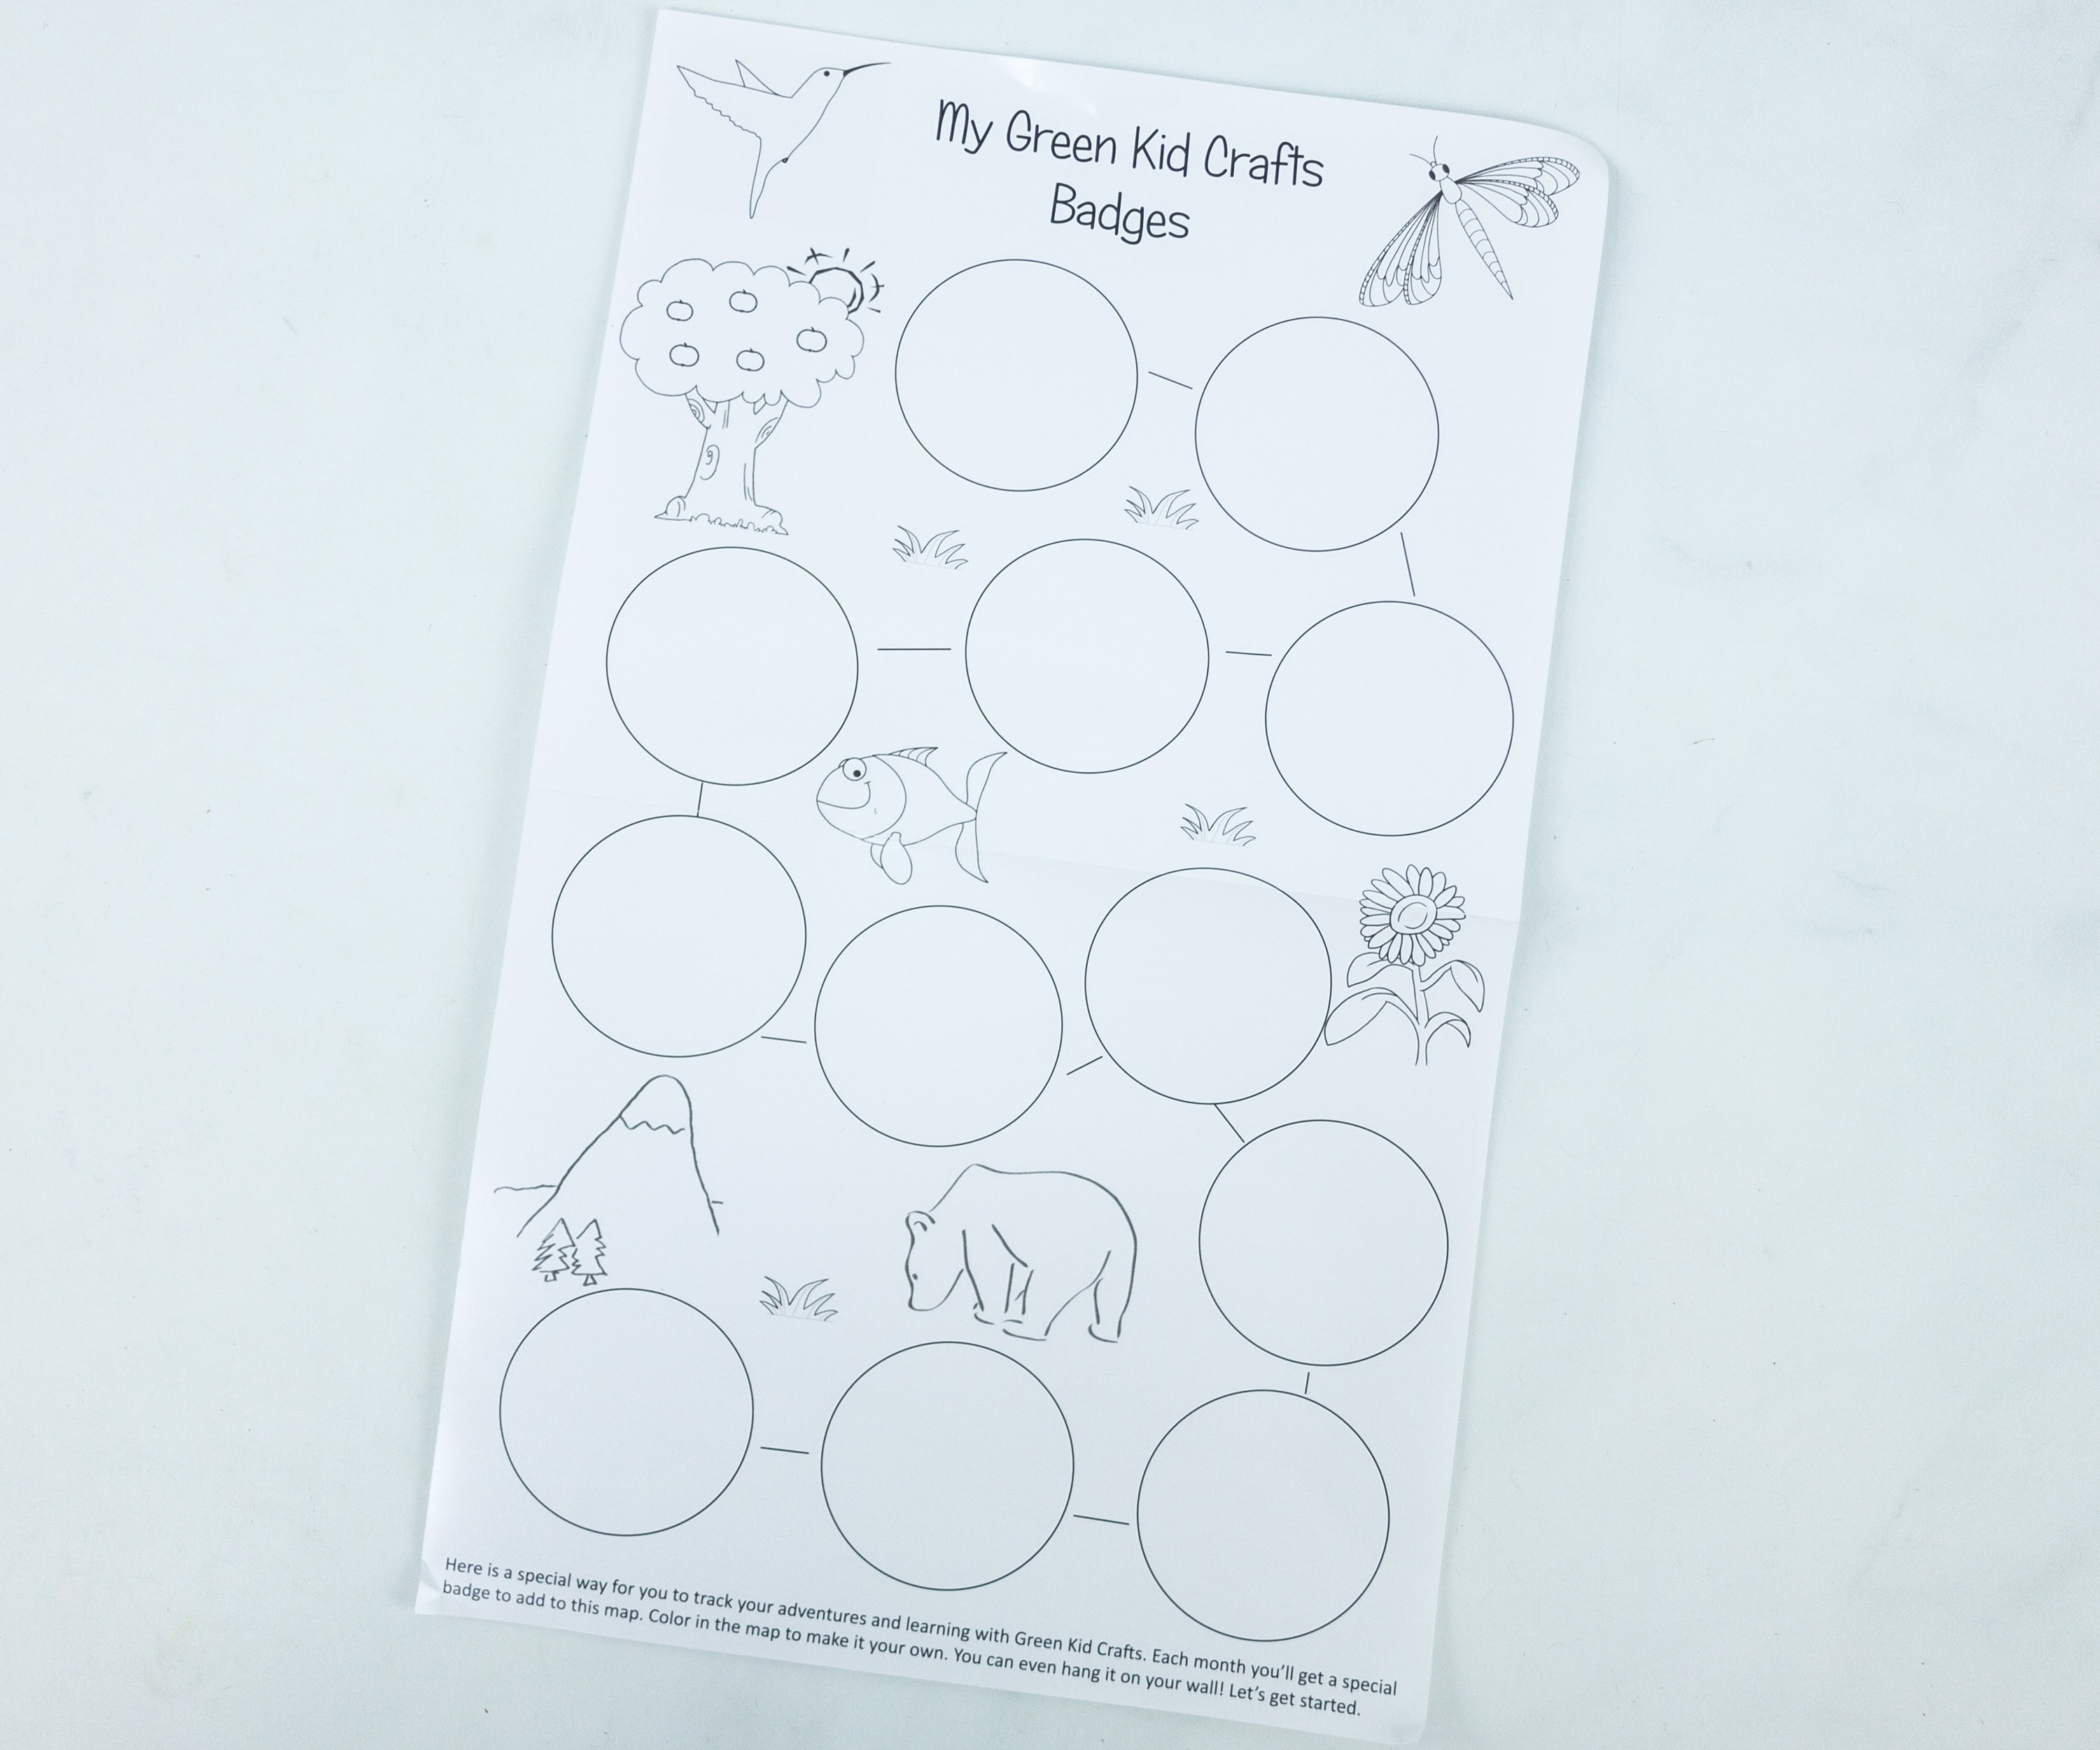
Also included is a sheet that can be filled up with the Green Kid Crafts Badges!
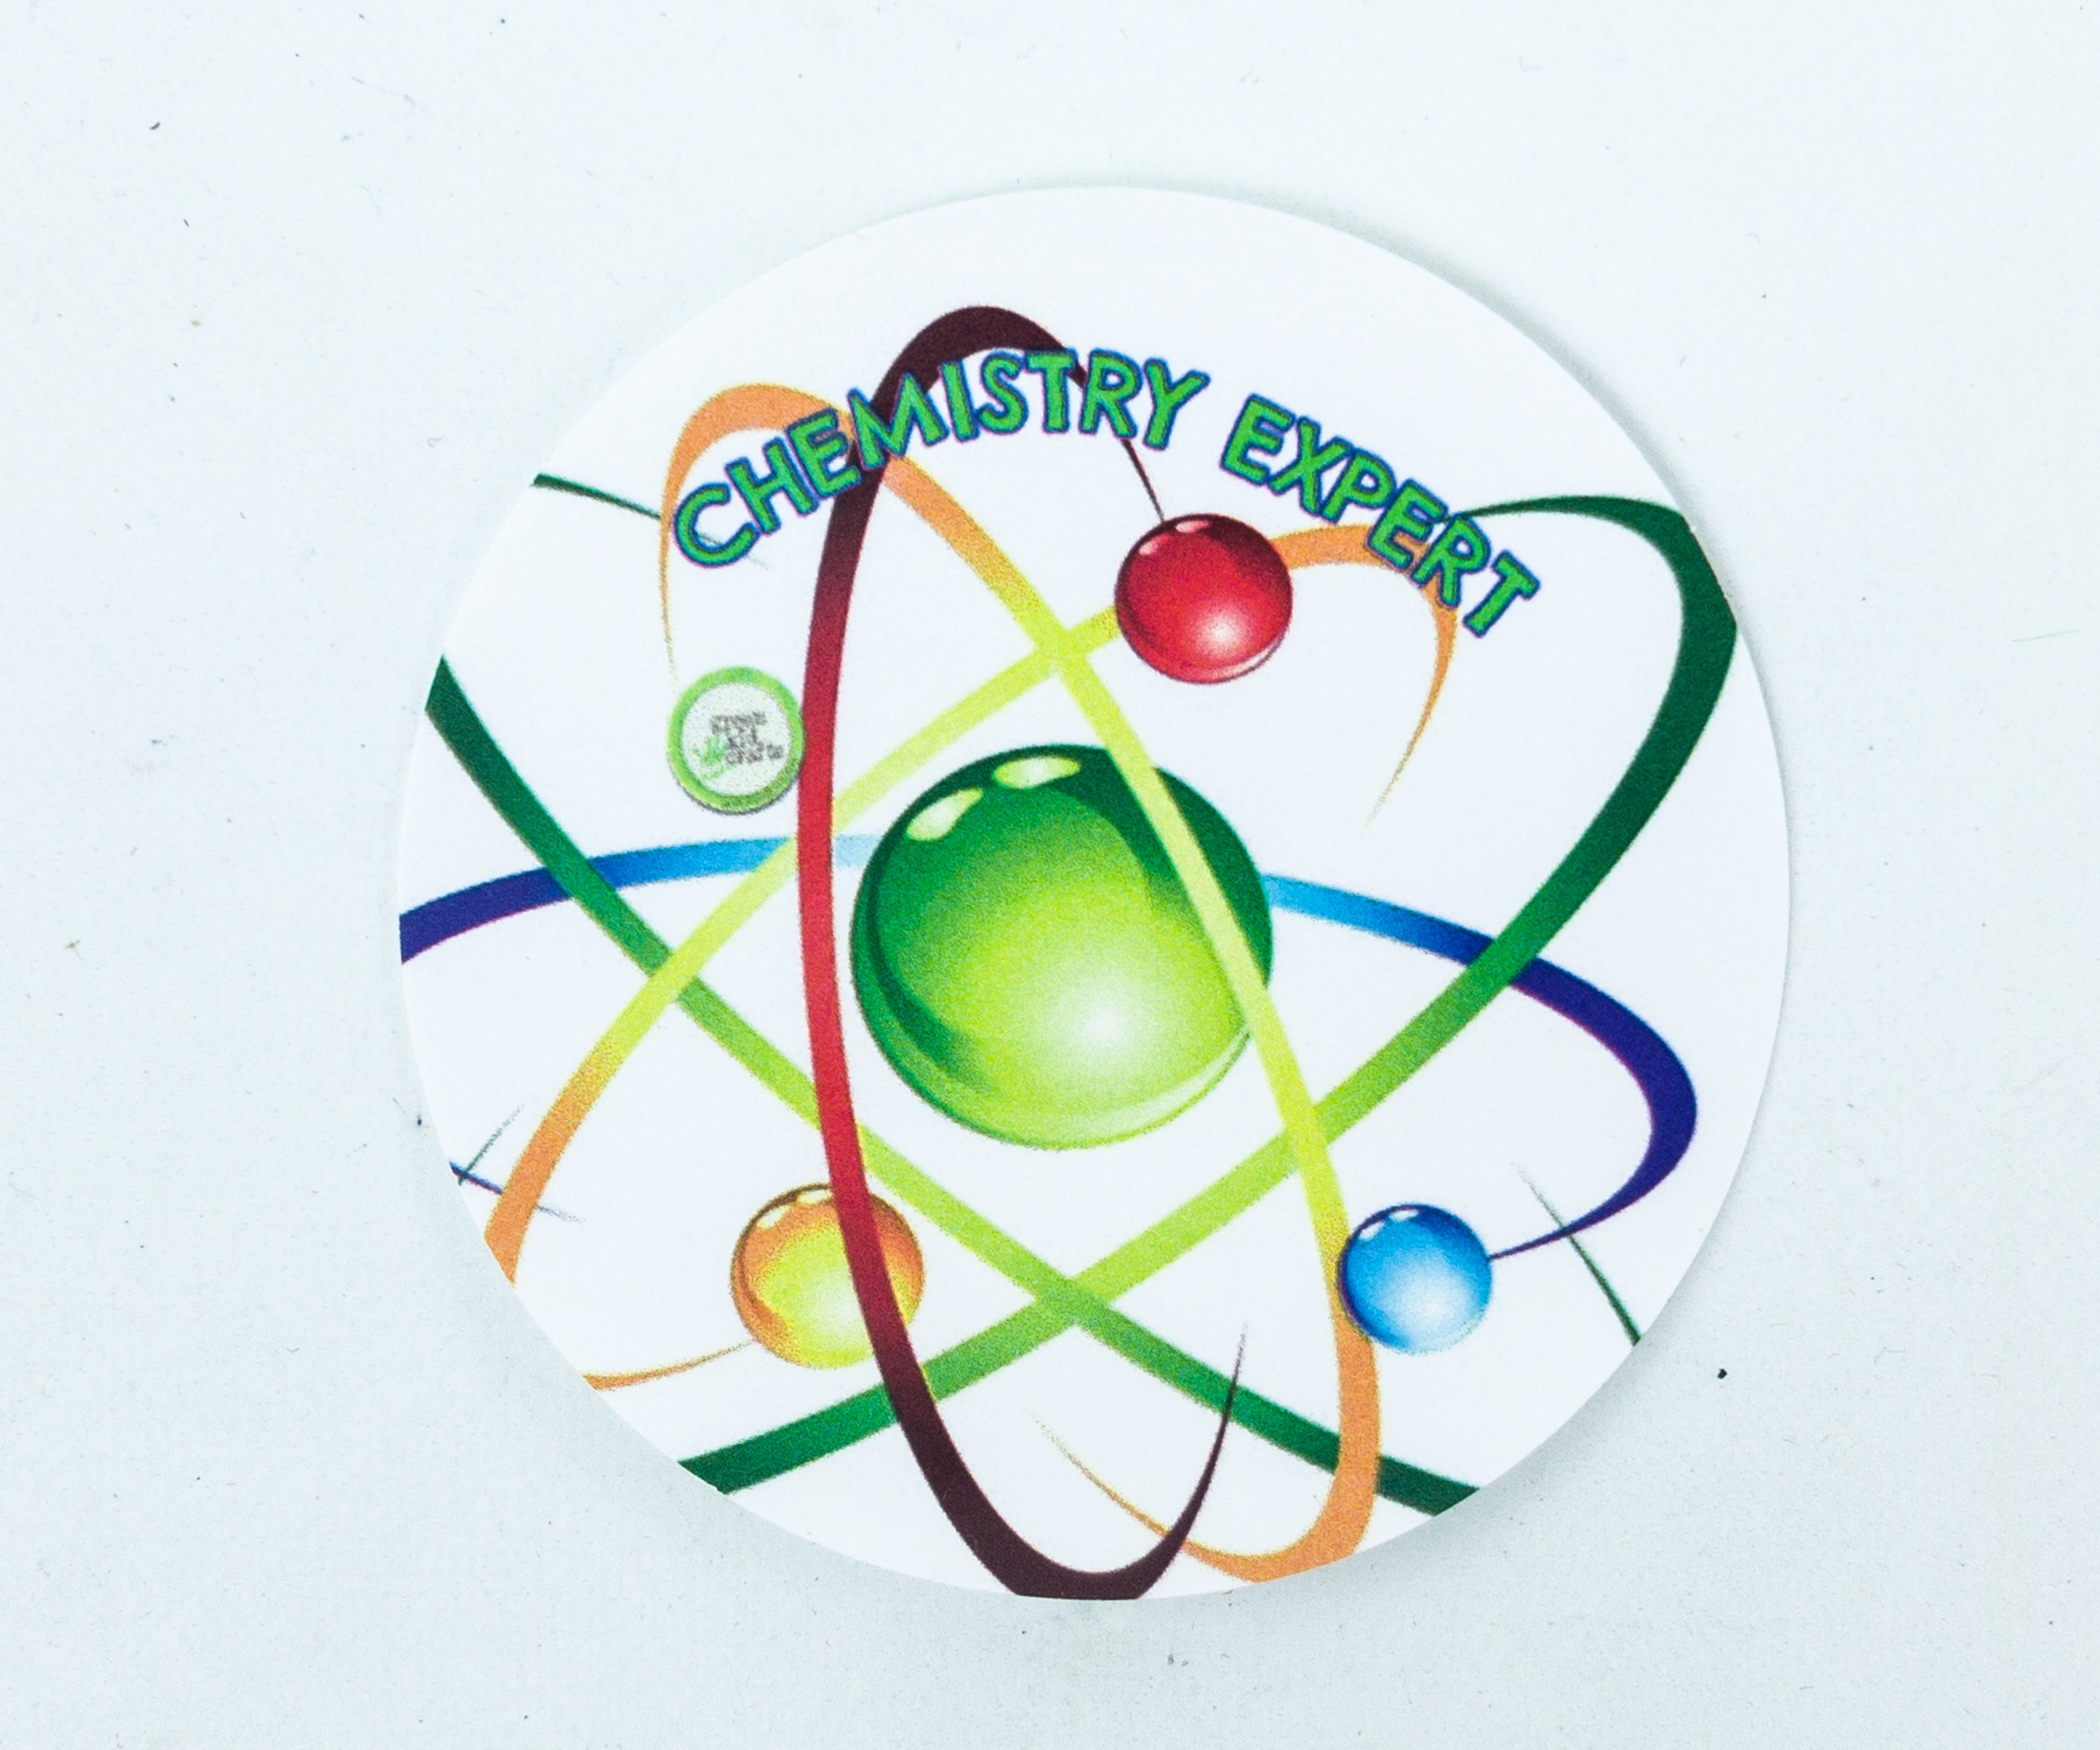
Here’s the Chemistry Expert badge that we can stick to the sheet!
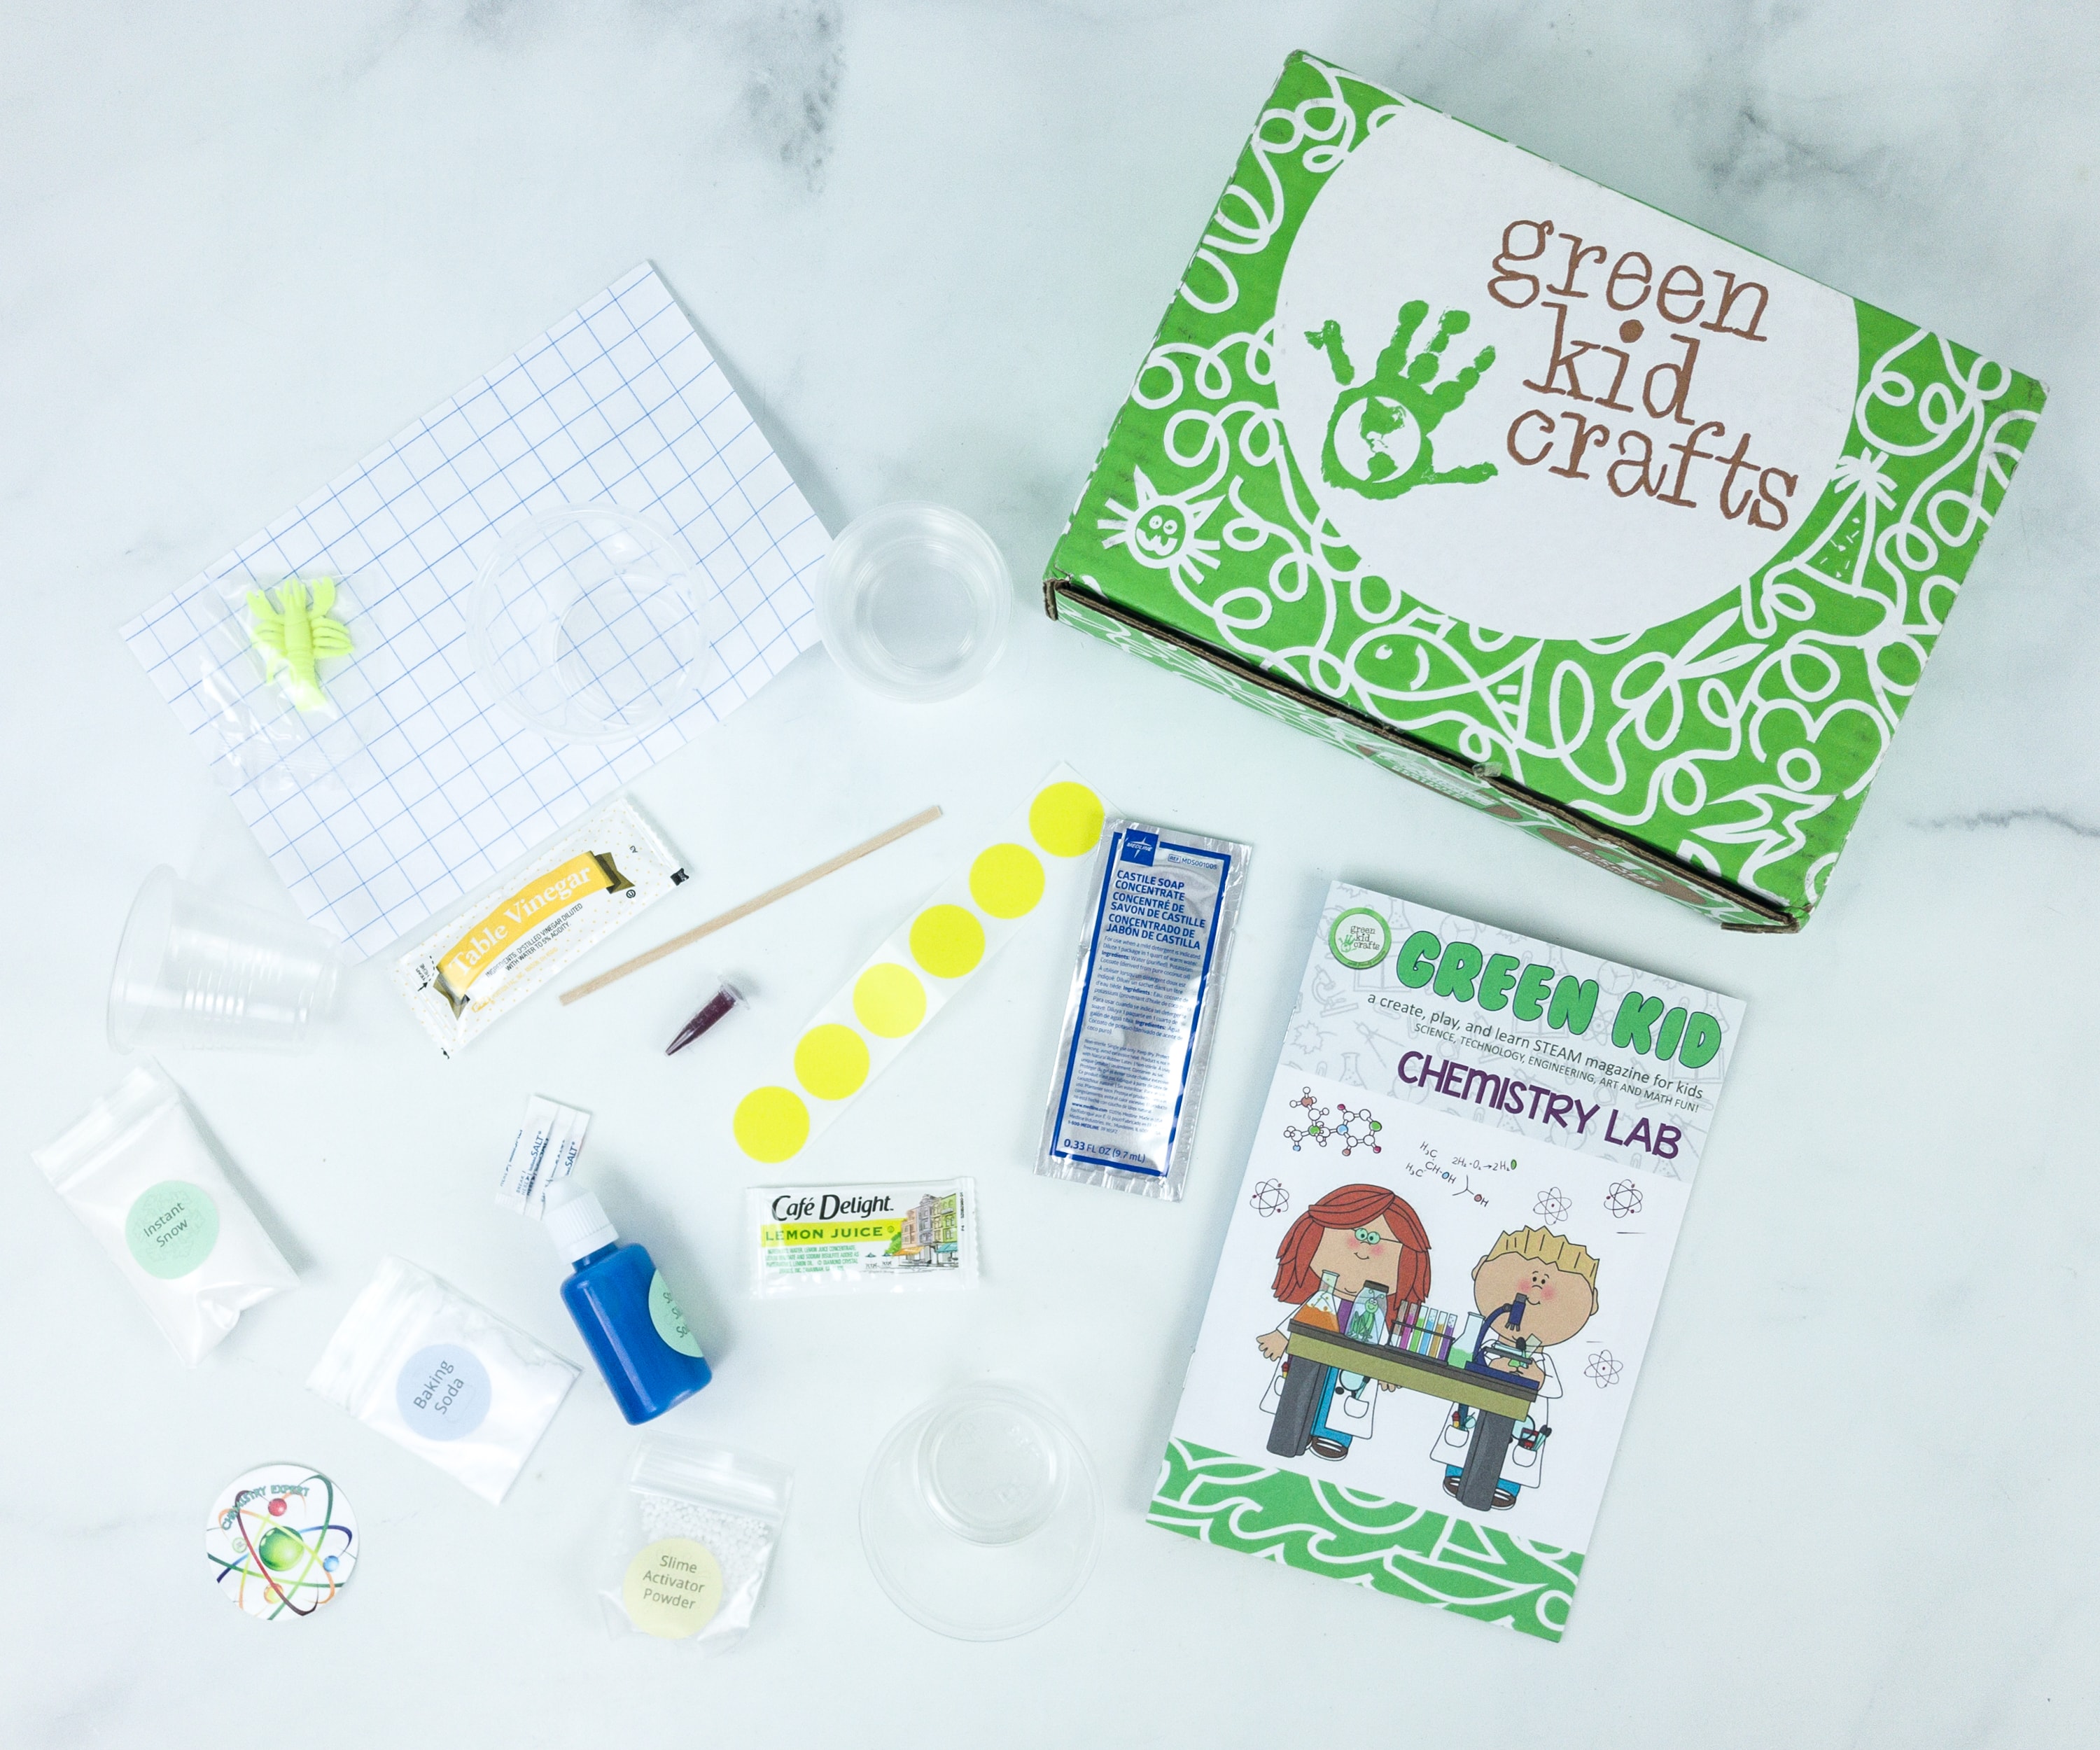
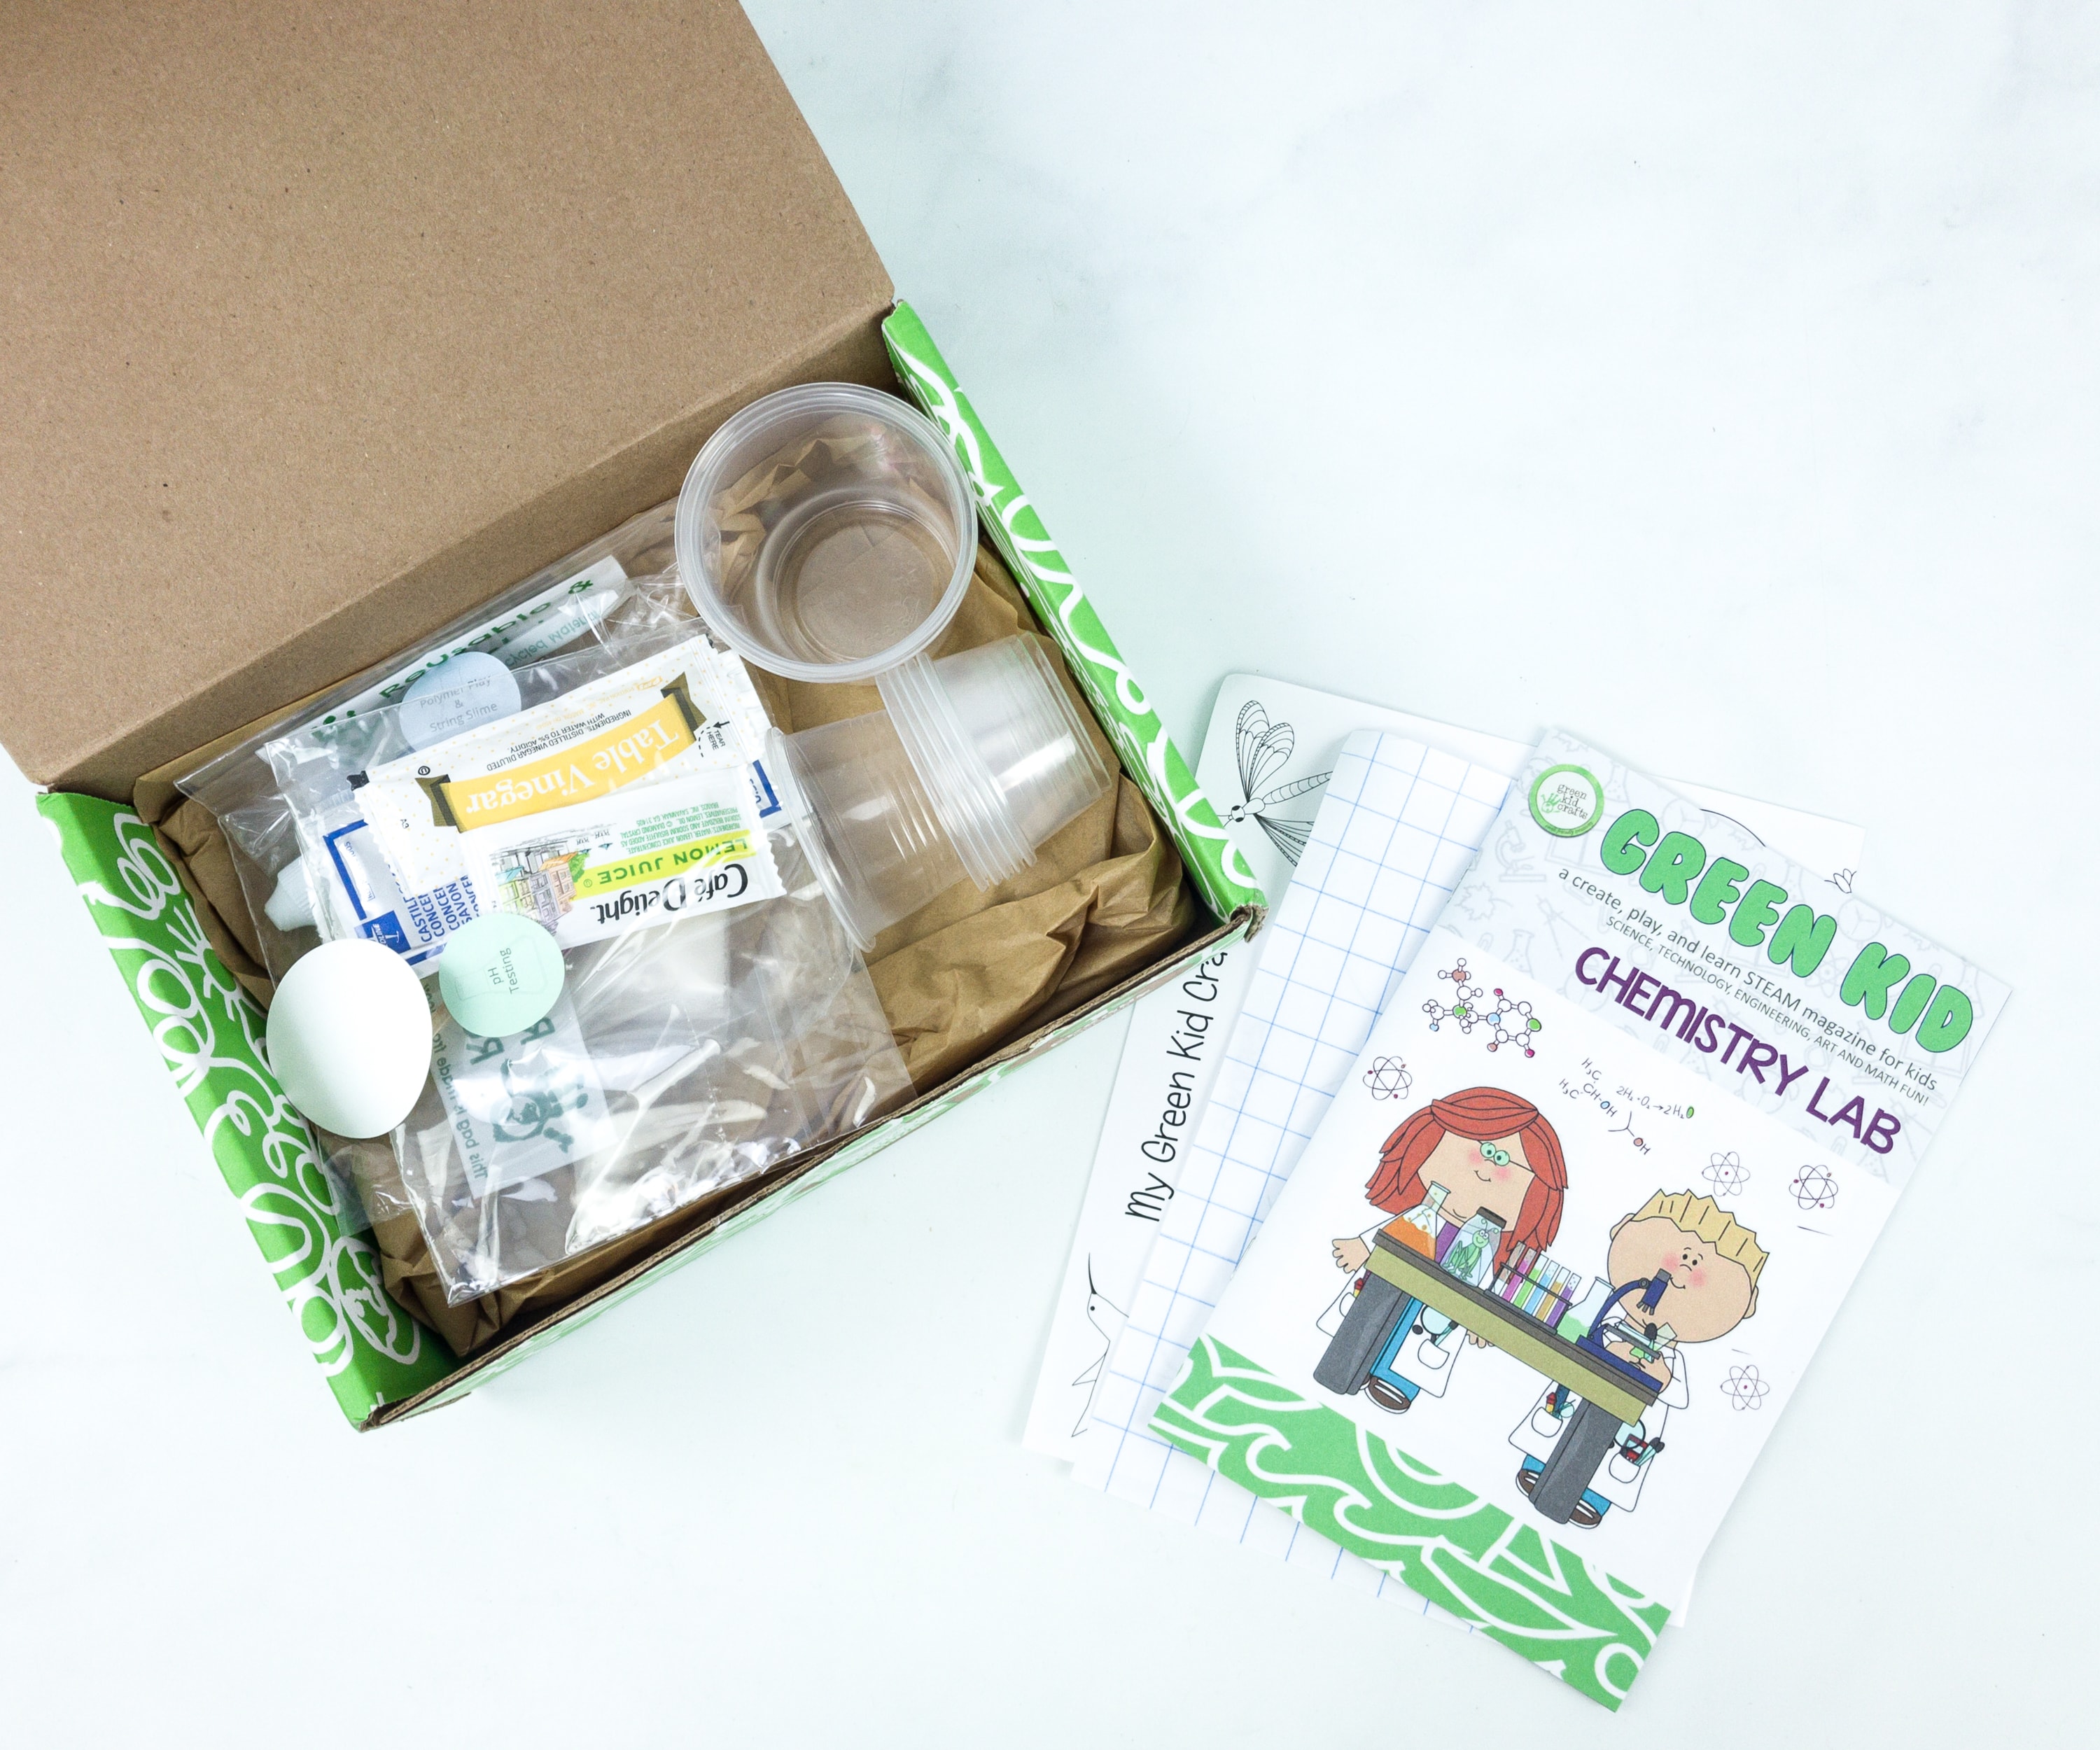
Everything in my box!
The box provided all the materials that we’ll be needing to complete all the projects, except water and liquid watercolors.
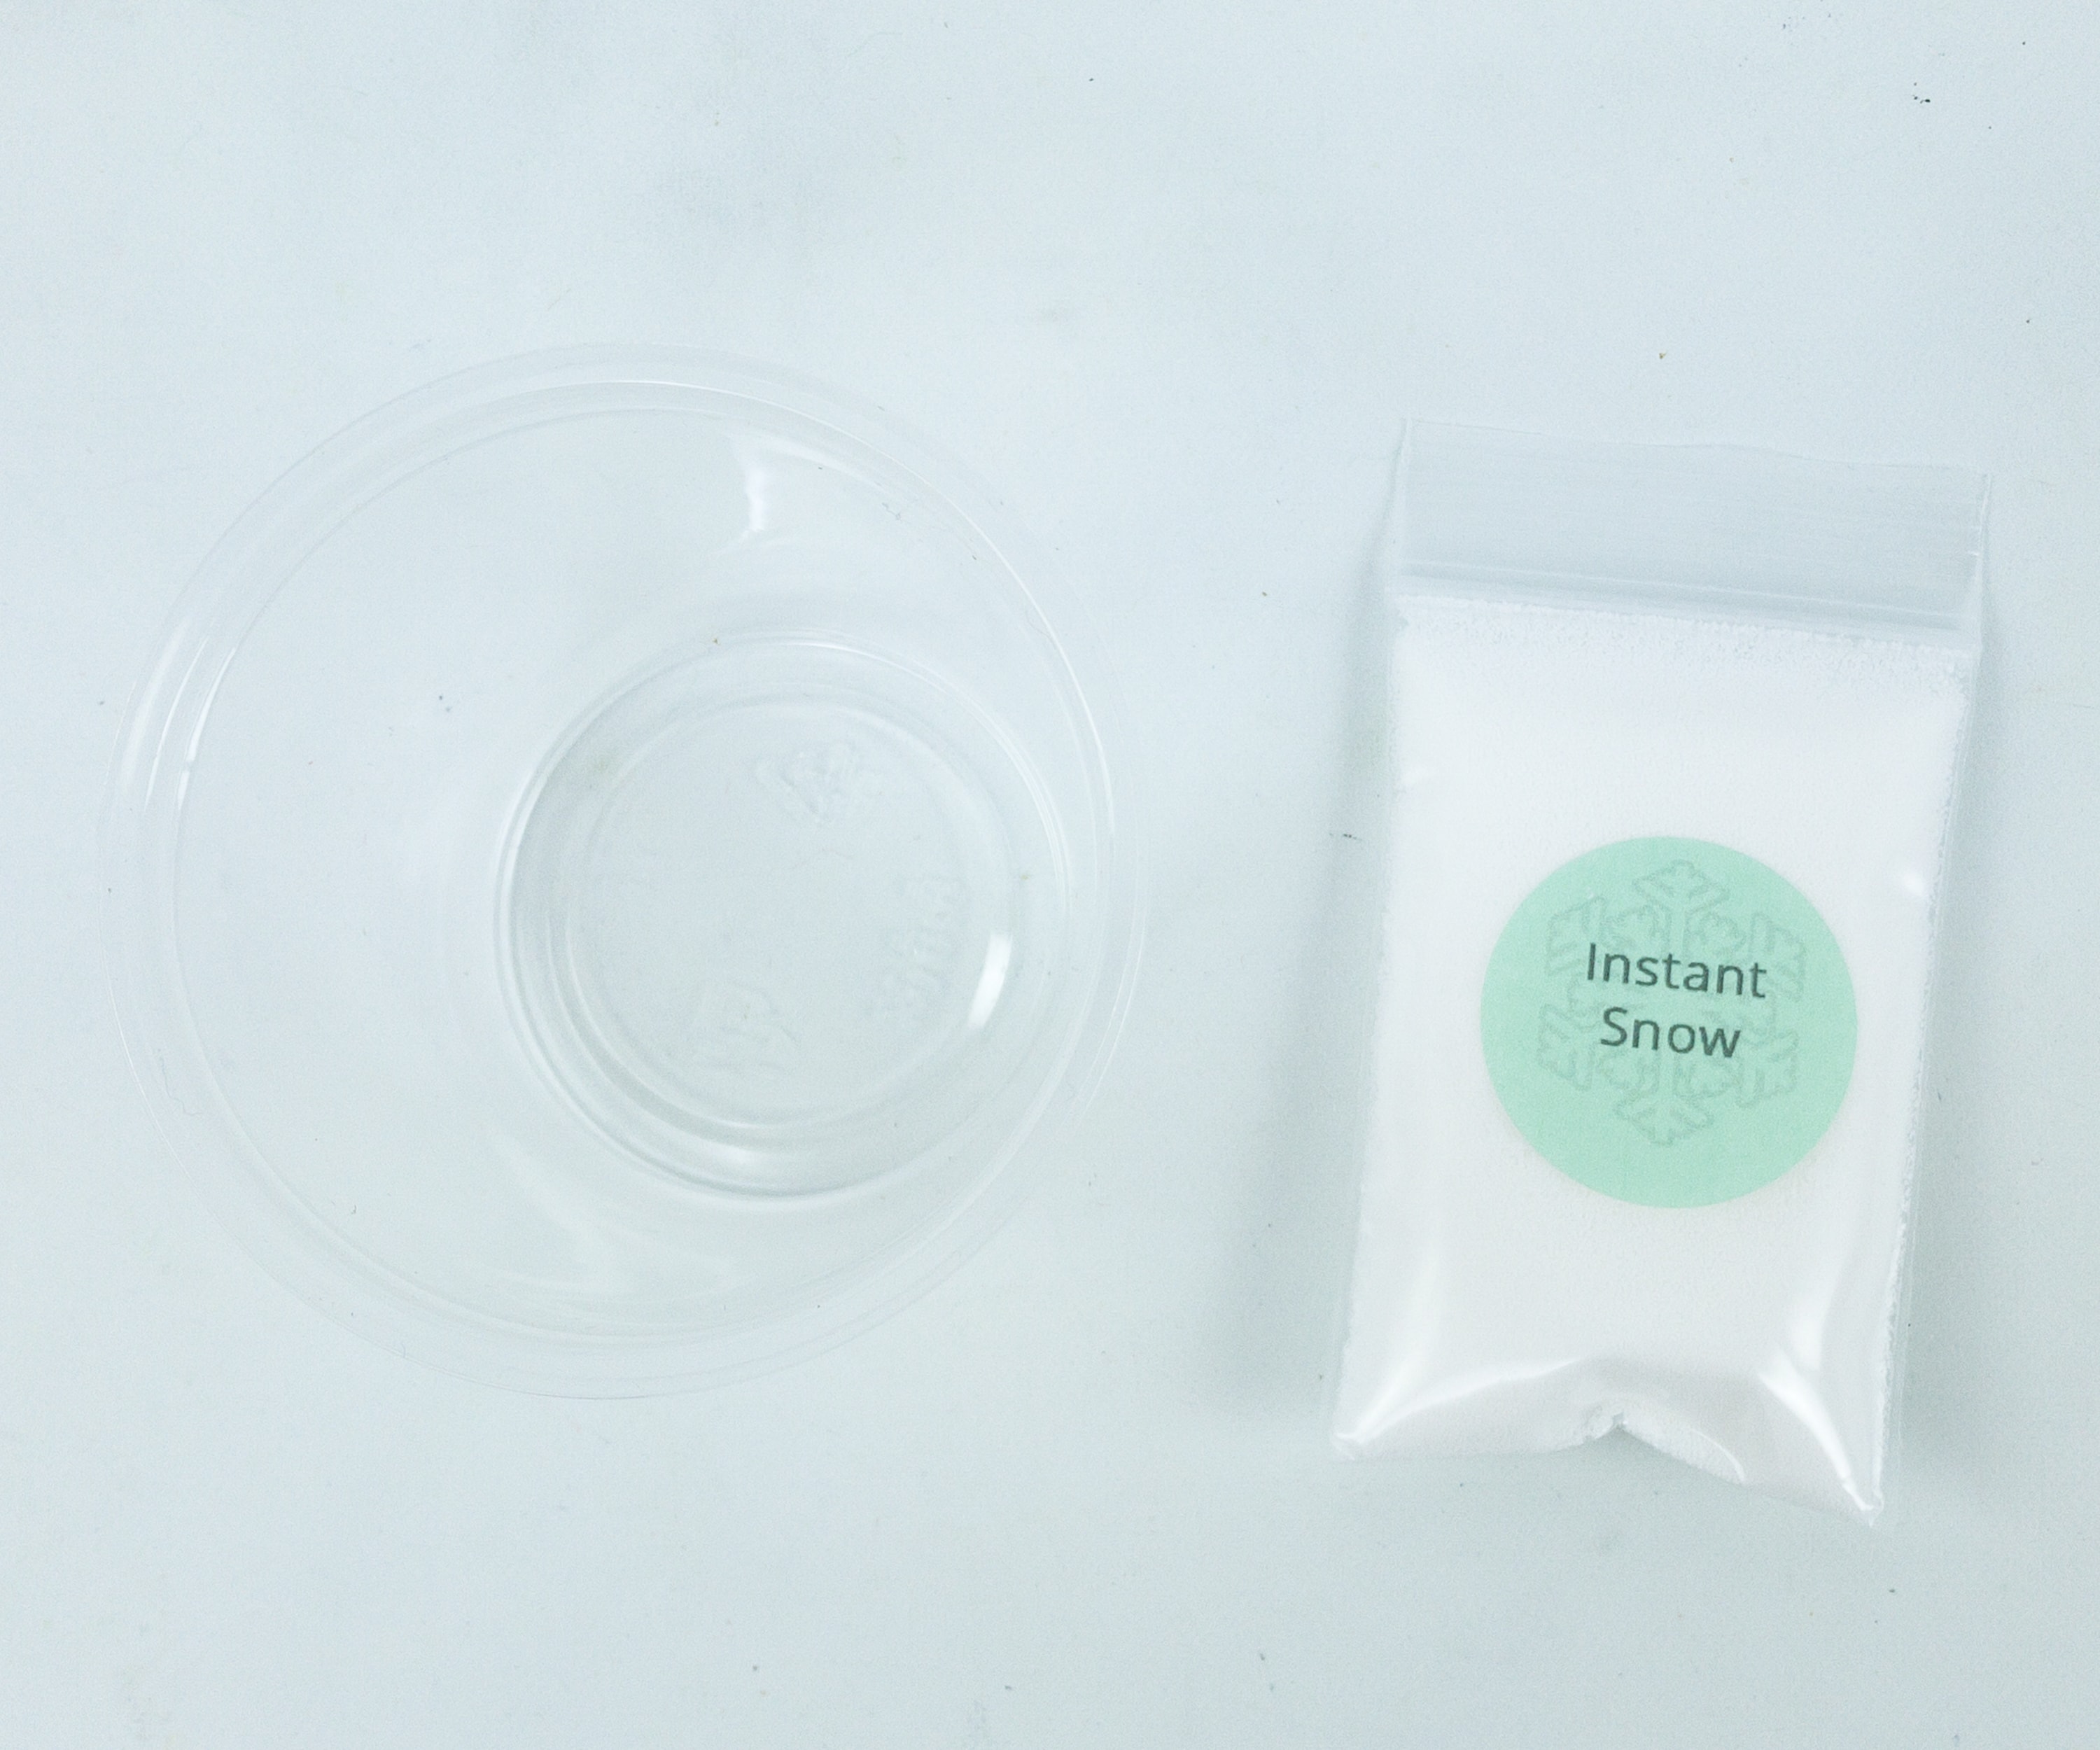
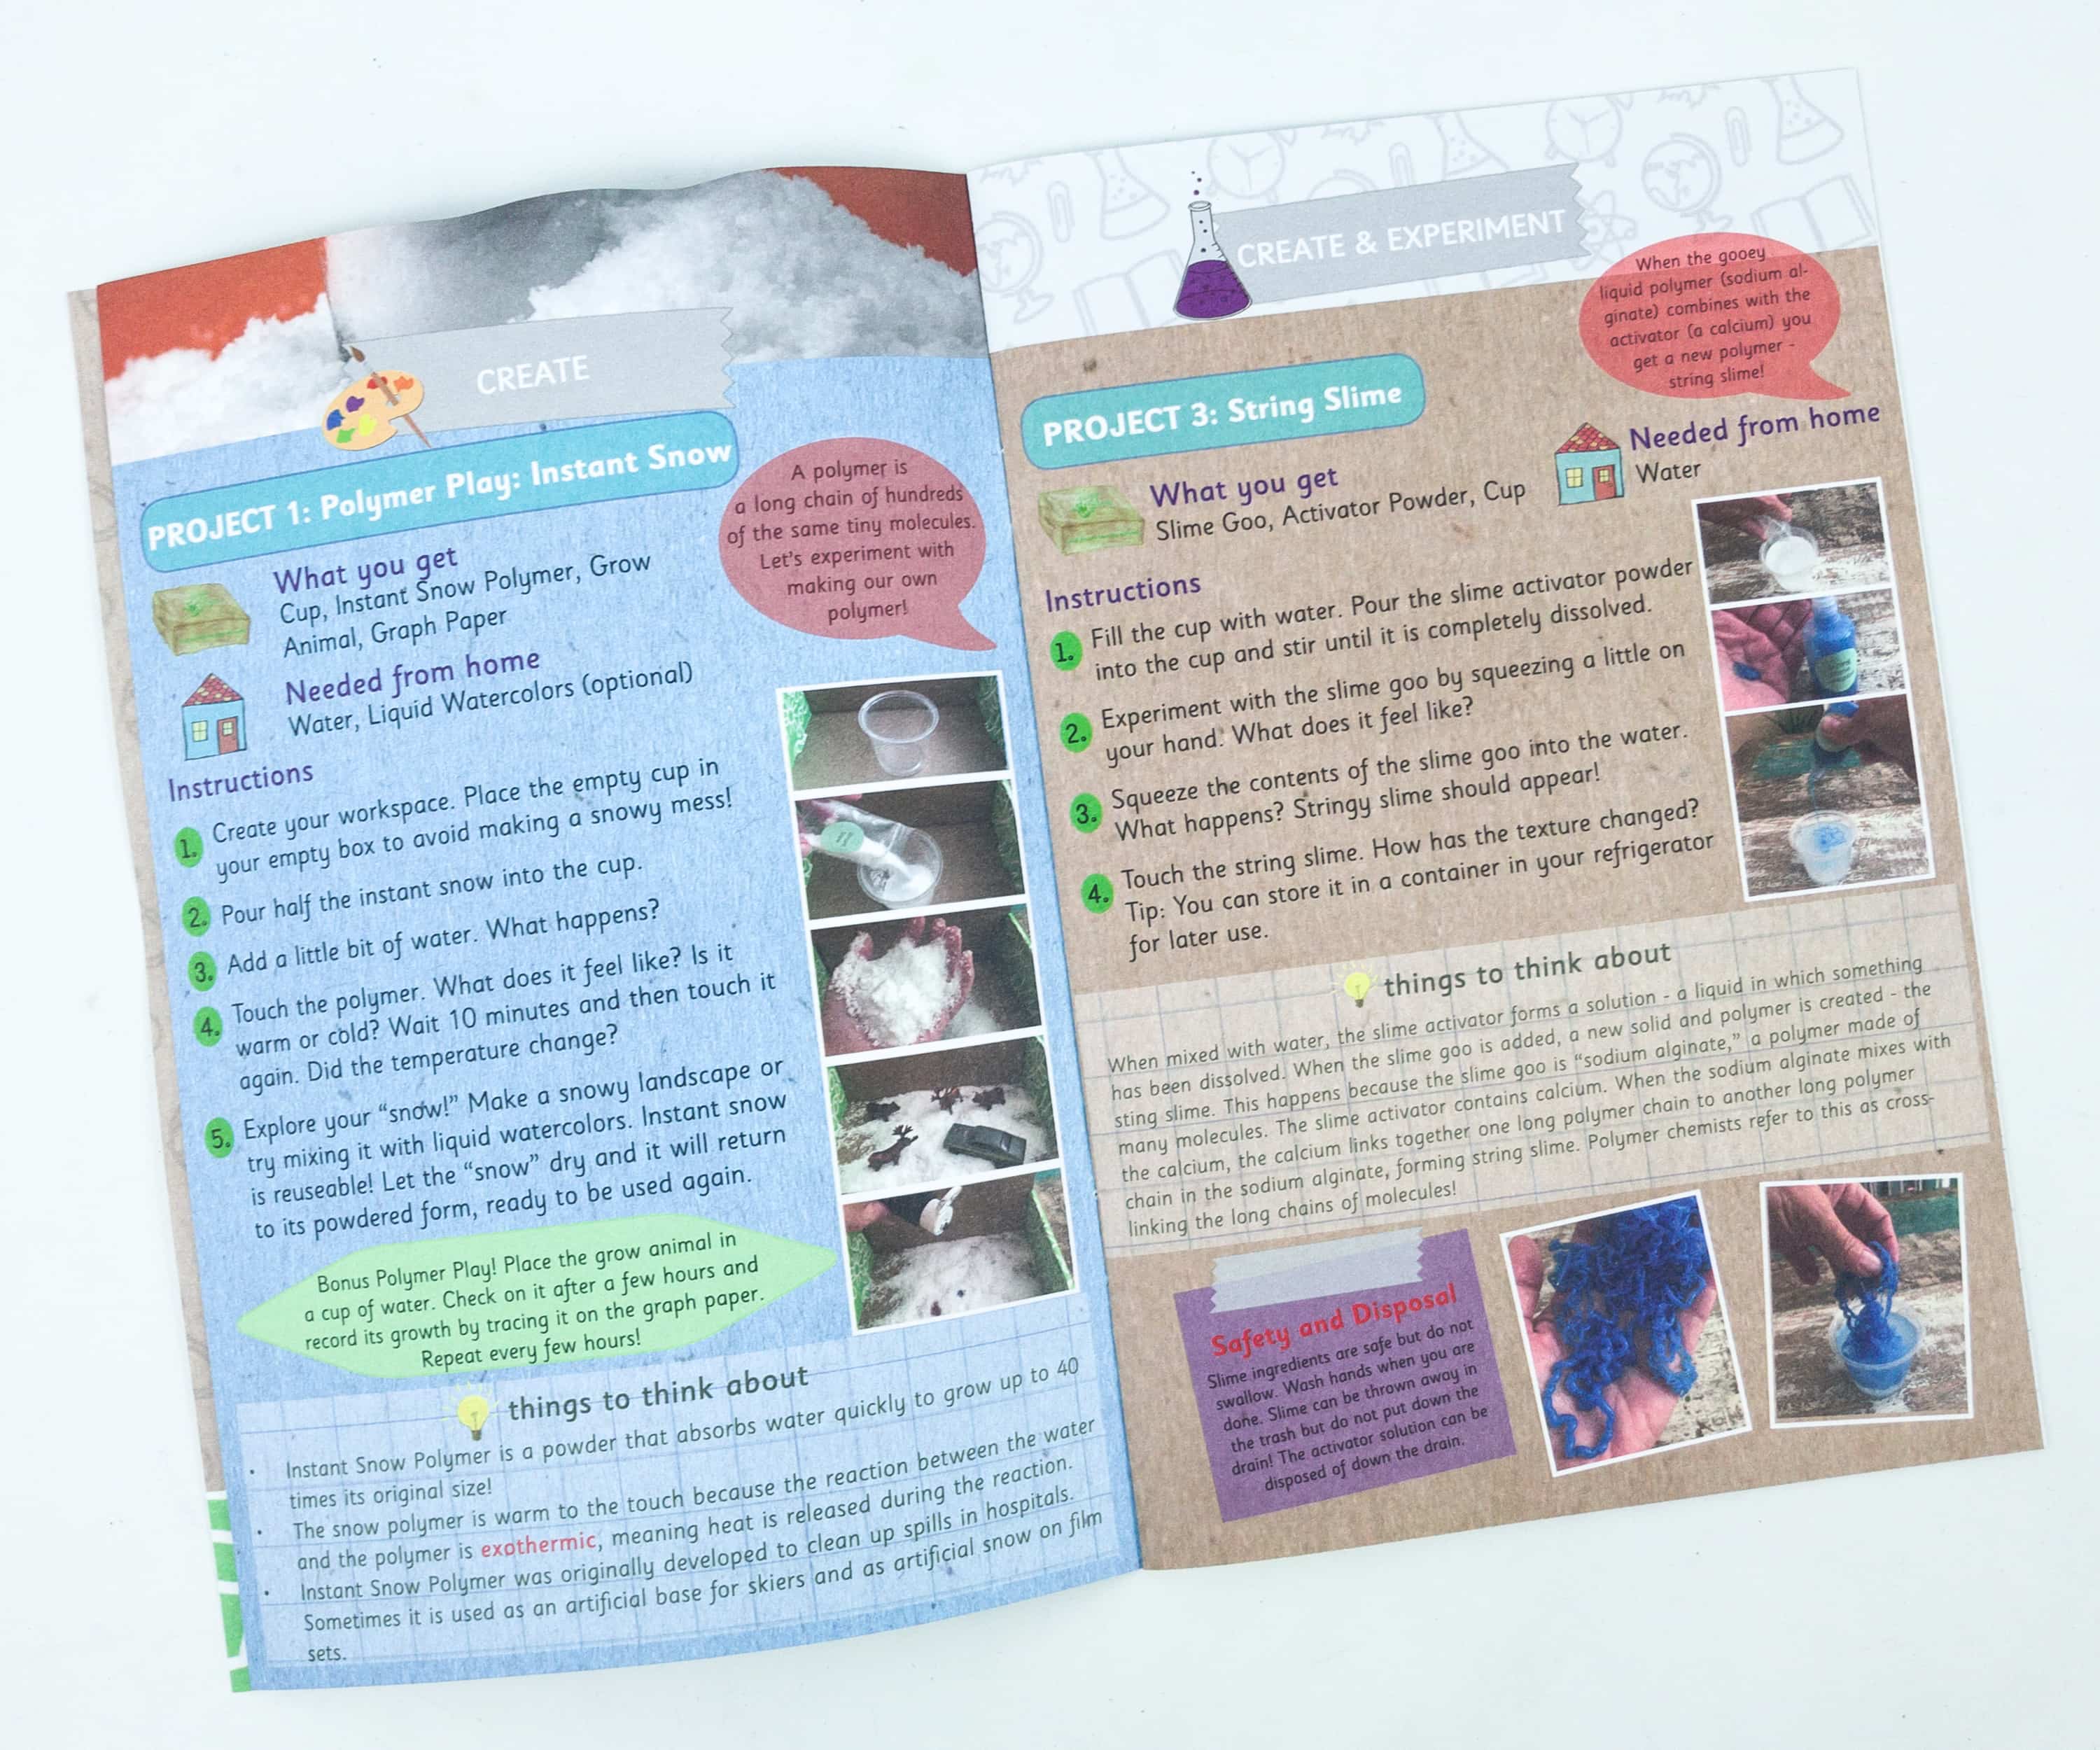
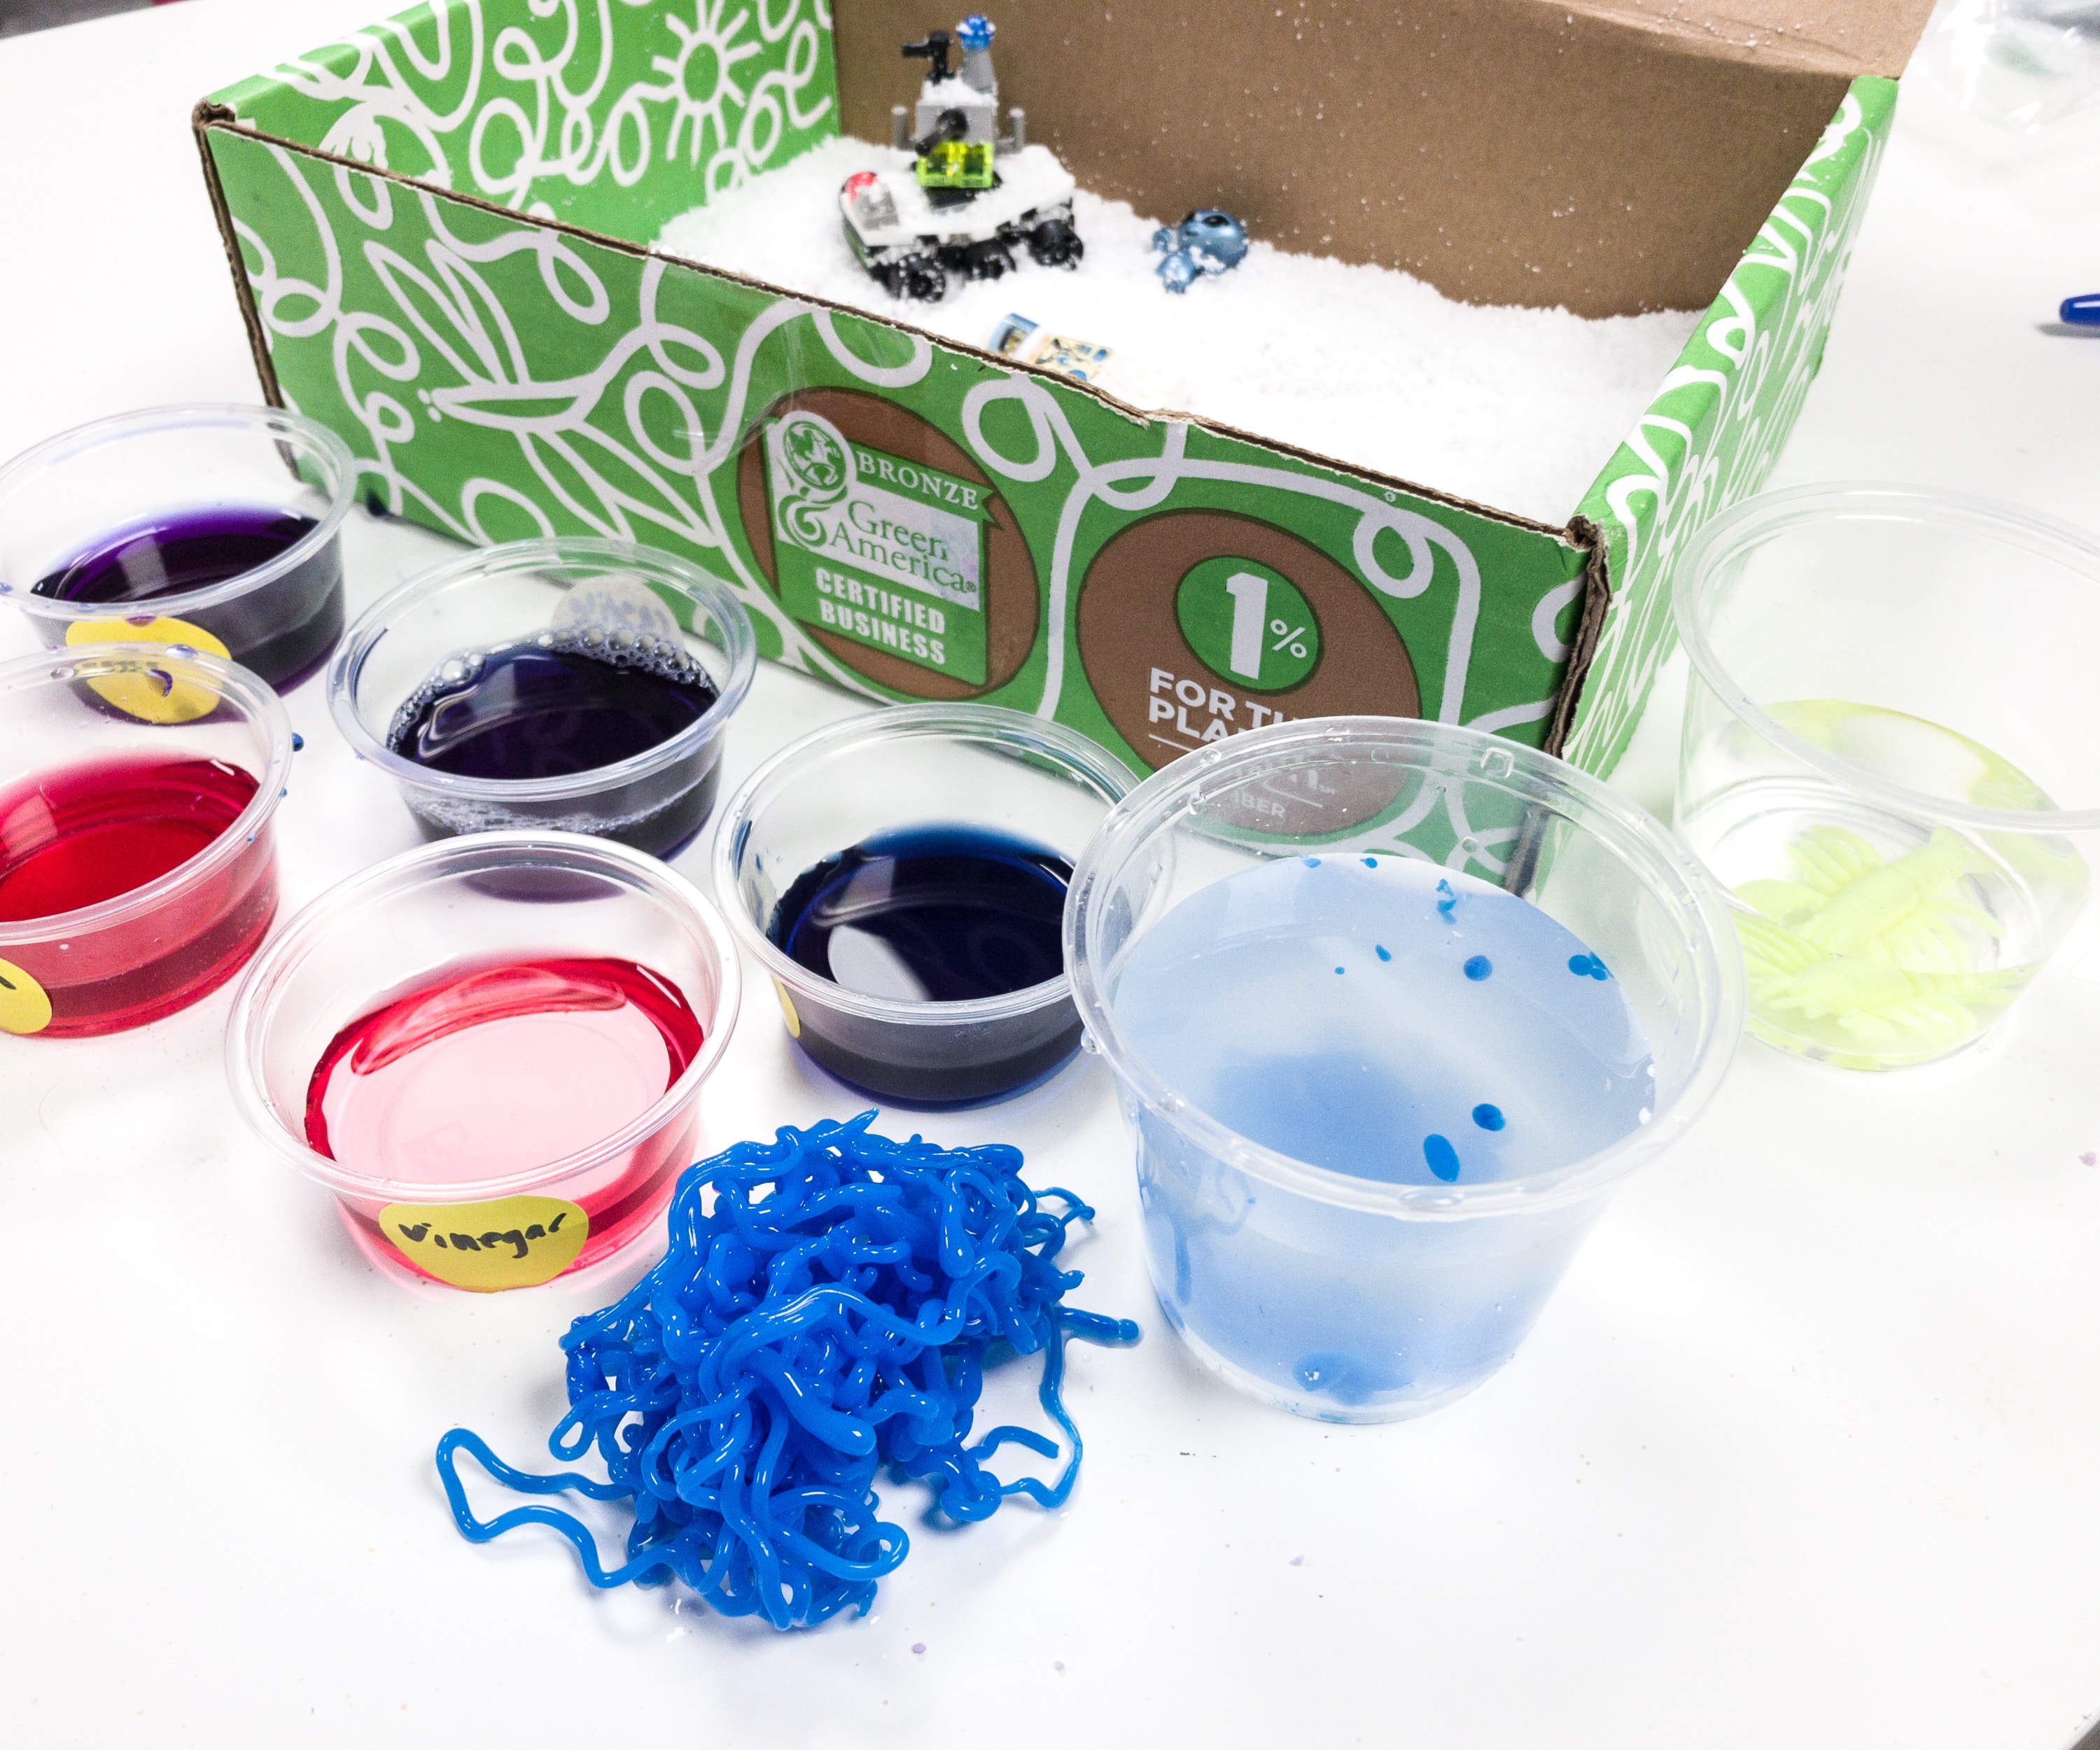
Project #1: Polymer Play: Instant Snow & Growing Animal. For the first project, we’re making instant snow and observing a growing animal. The crate provided materials such as a cup, instant snow polymer, grow animal, and graph paper.
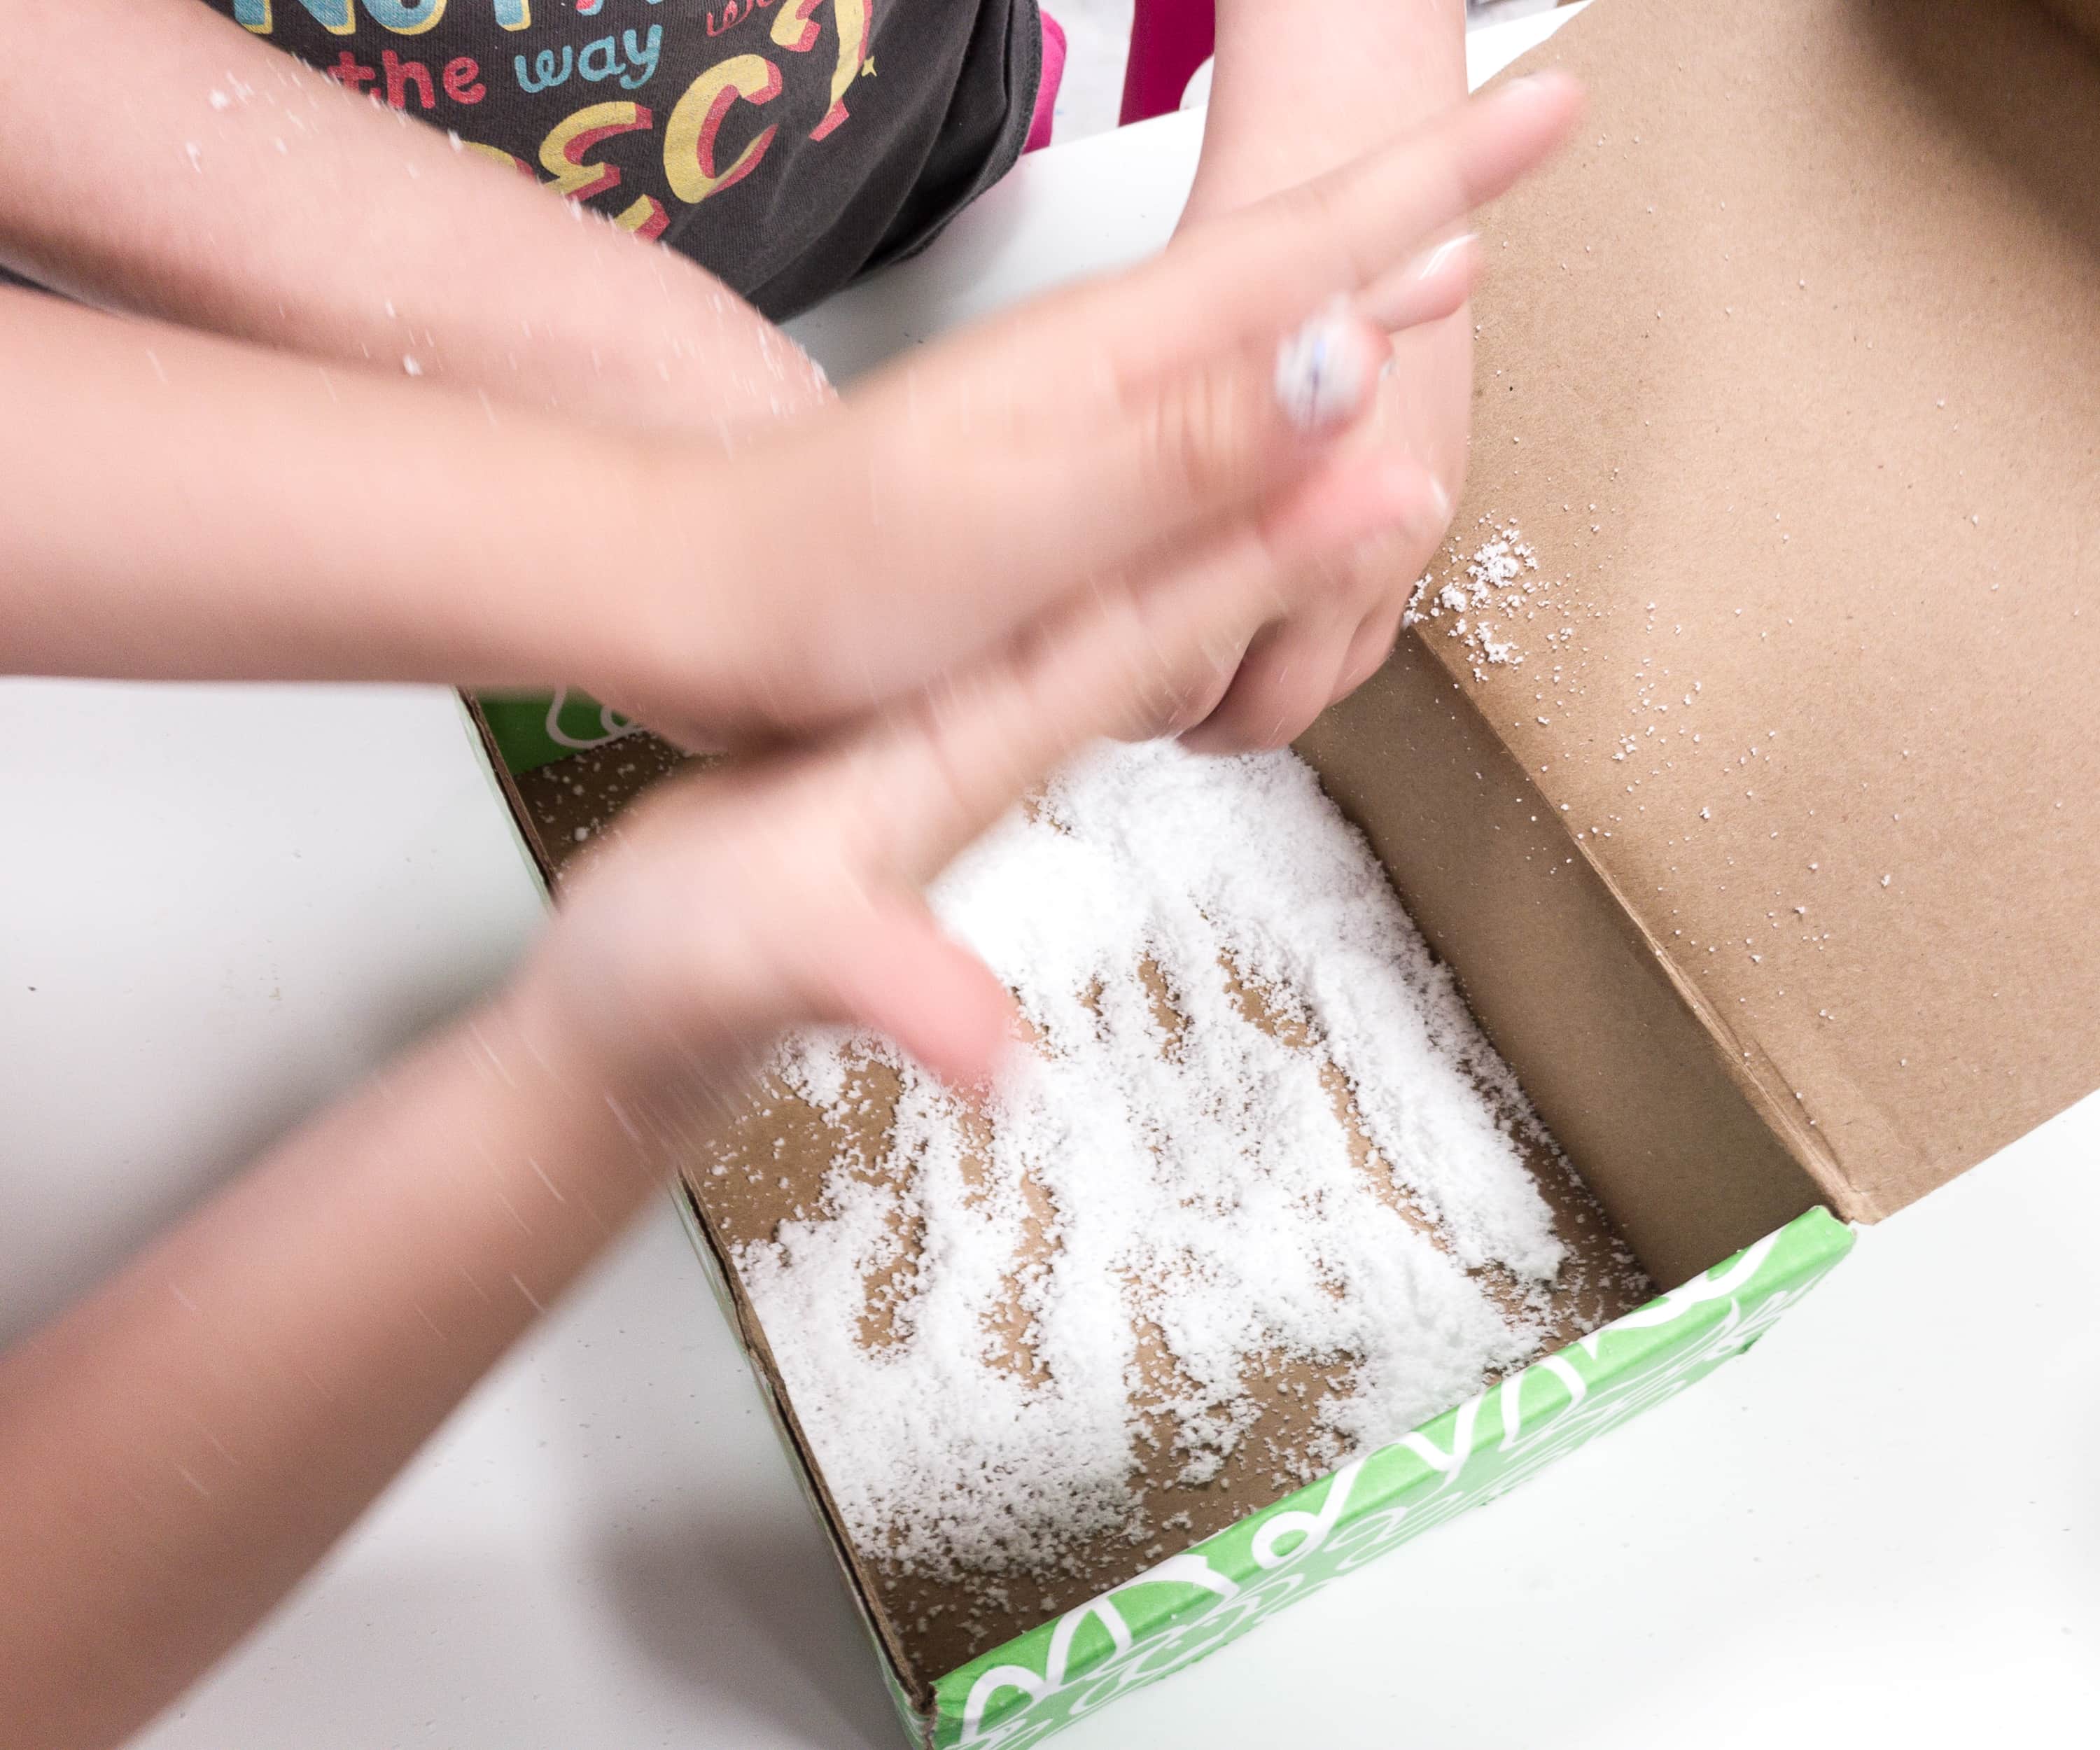
To avoid a snowy mess, you can use the box as a mat.

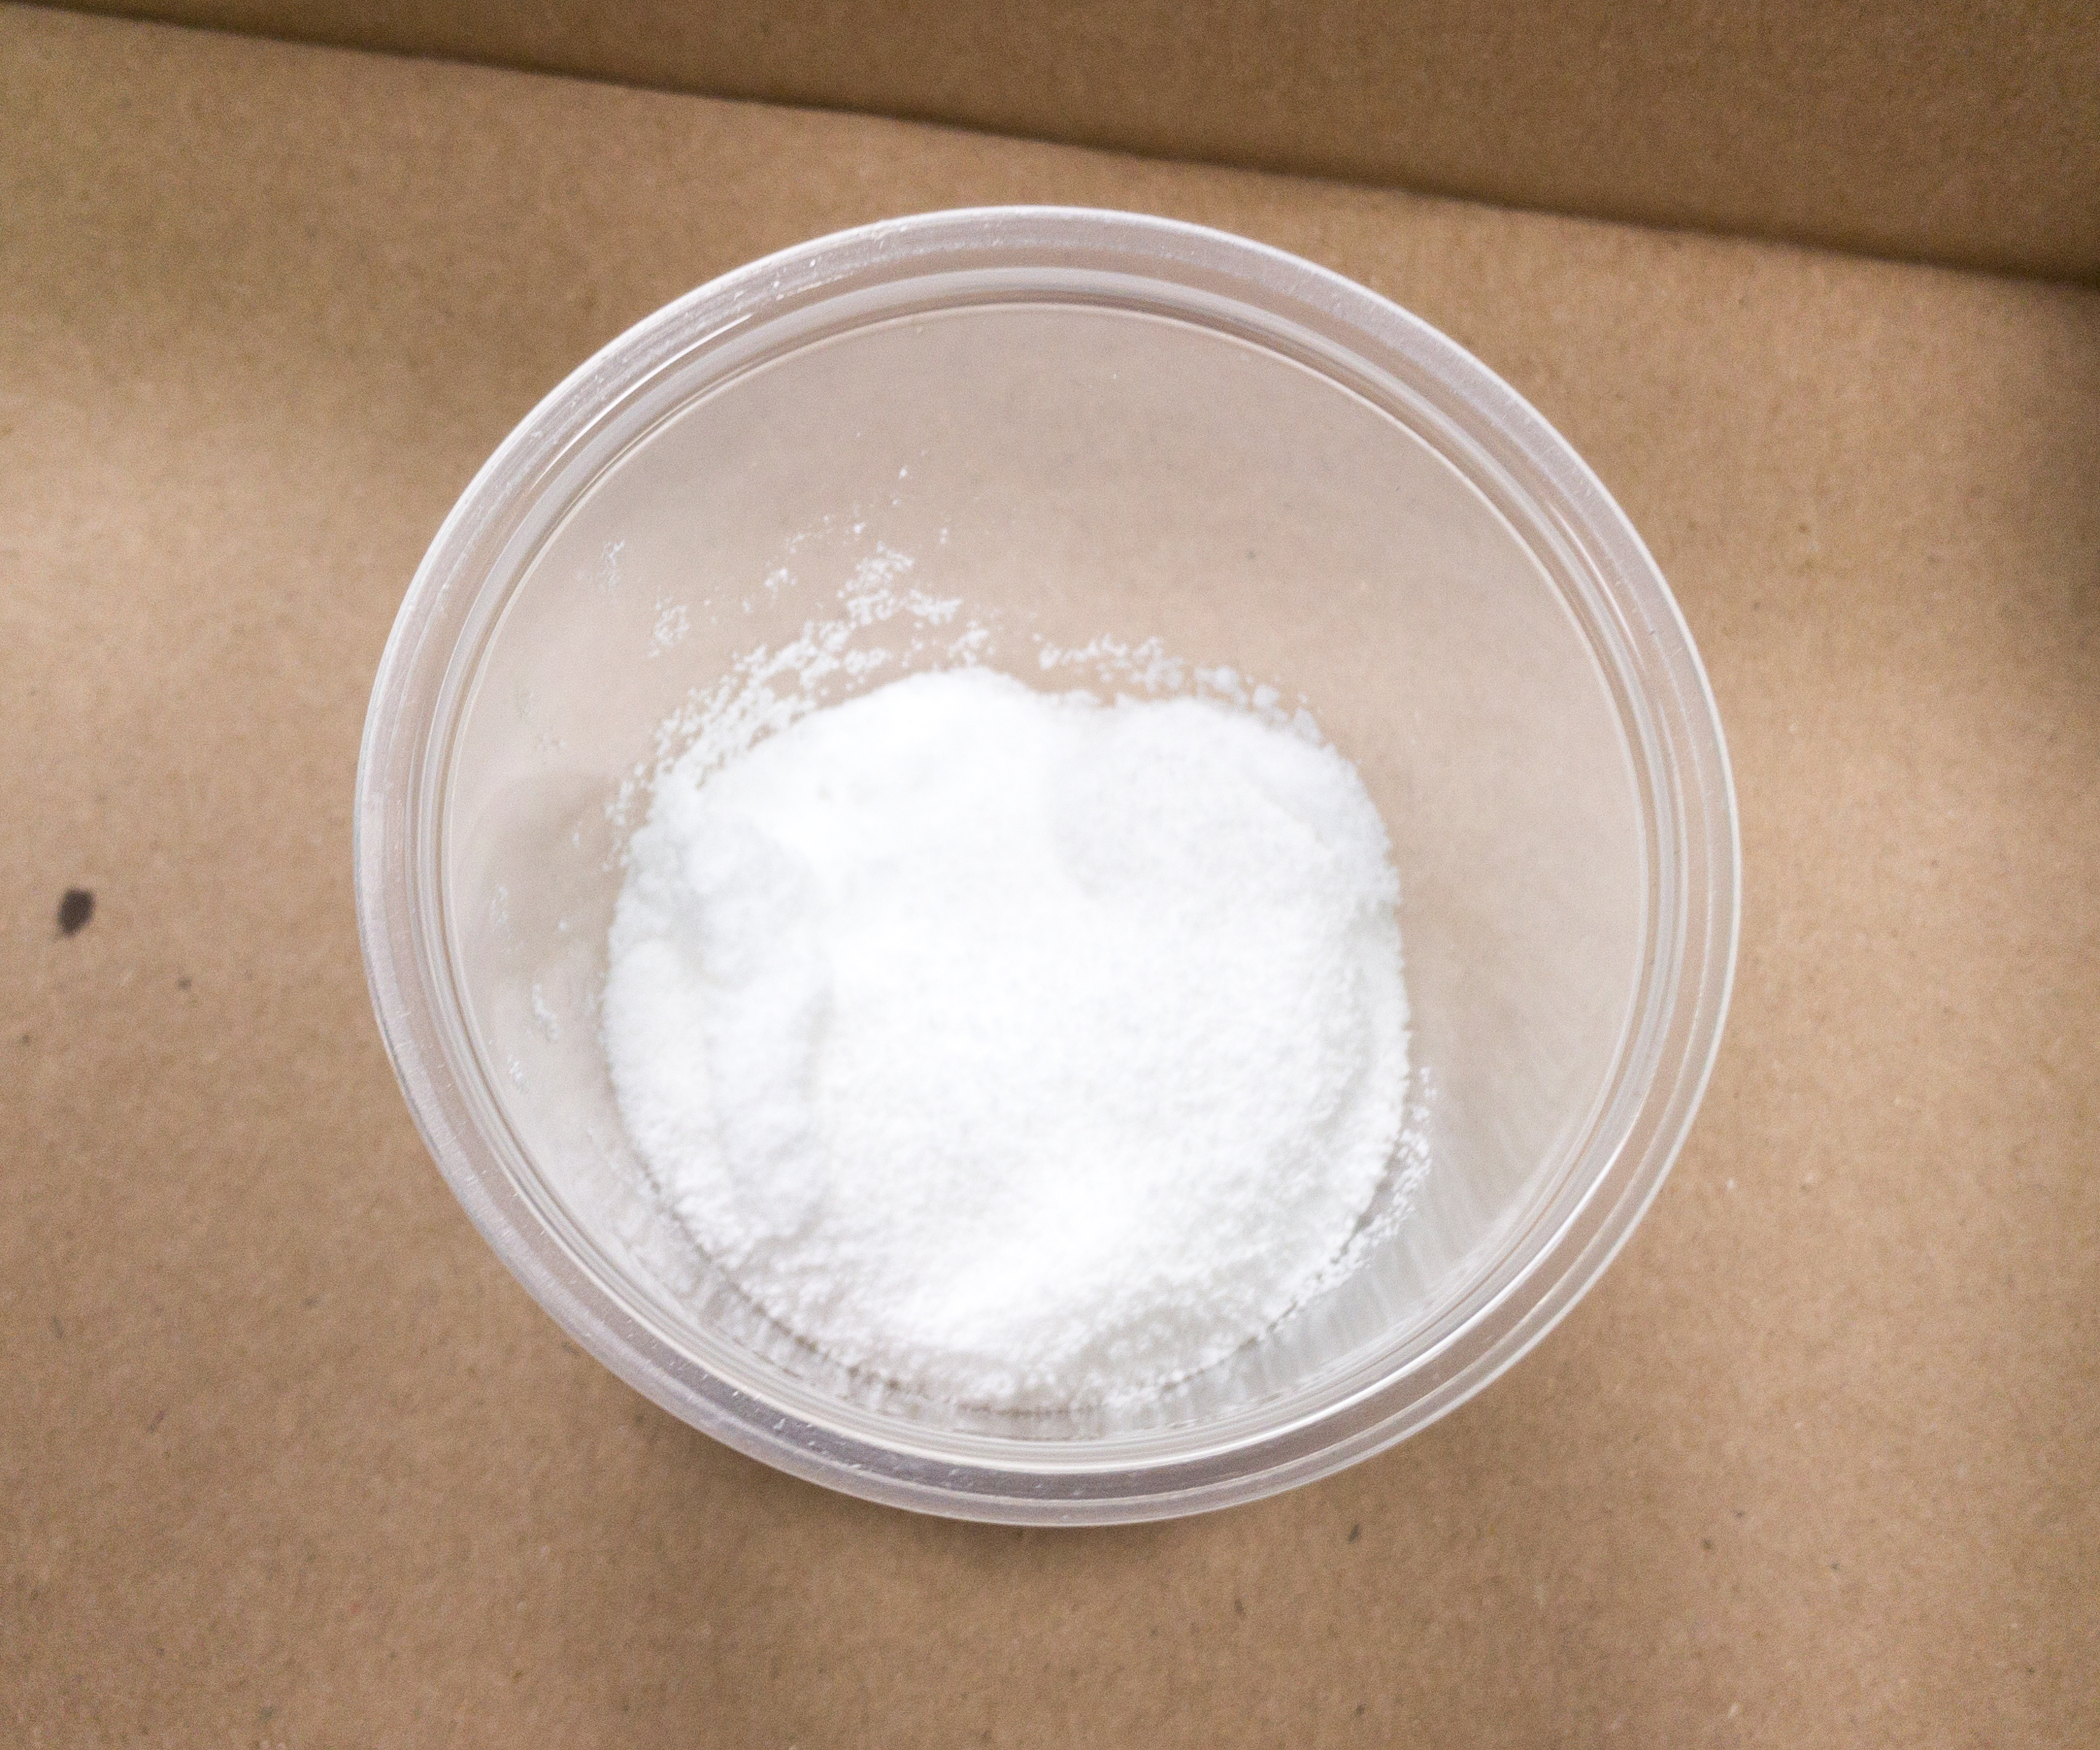
Add water to the instant snow and feel it. The polymer absorbed the water, making it grow bigger. Also, the polymer feels warm as an exothermic reaction occurred, meaning heat is released during the reaction.
This is the kind of snow that can be found on movie sets! It’s also the kind of polymer used for cleaning up spills in the hospital.
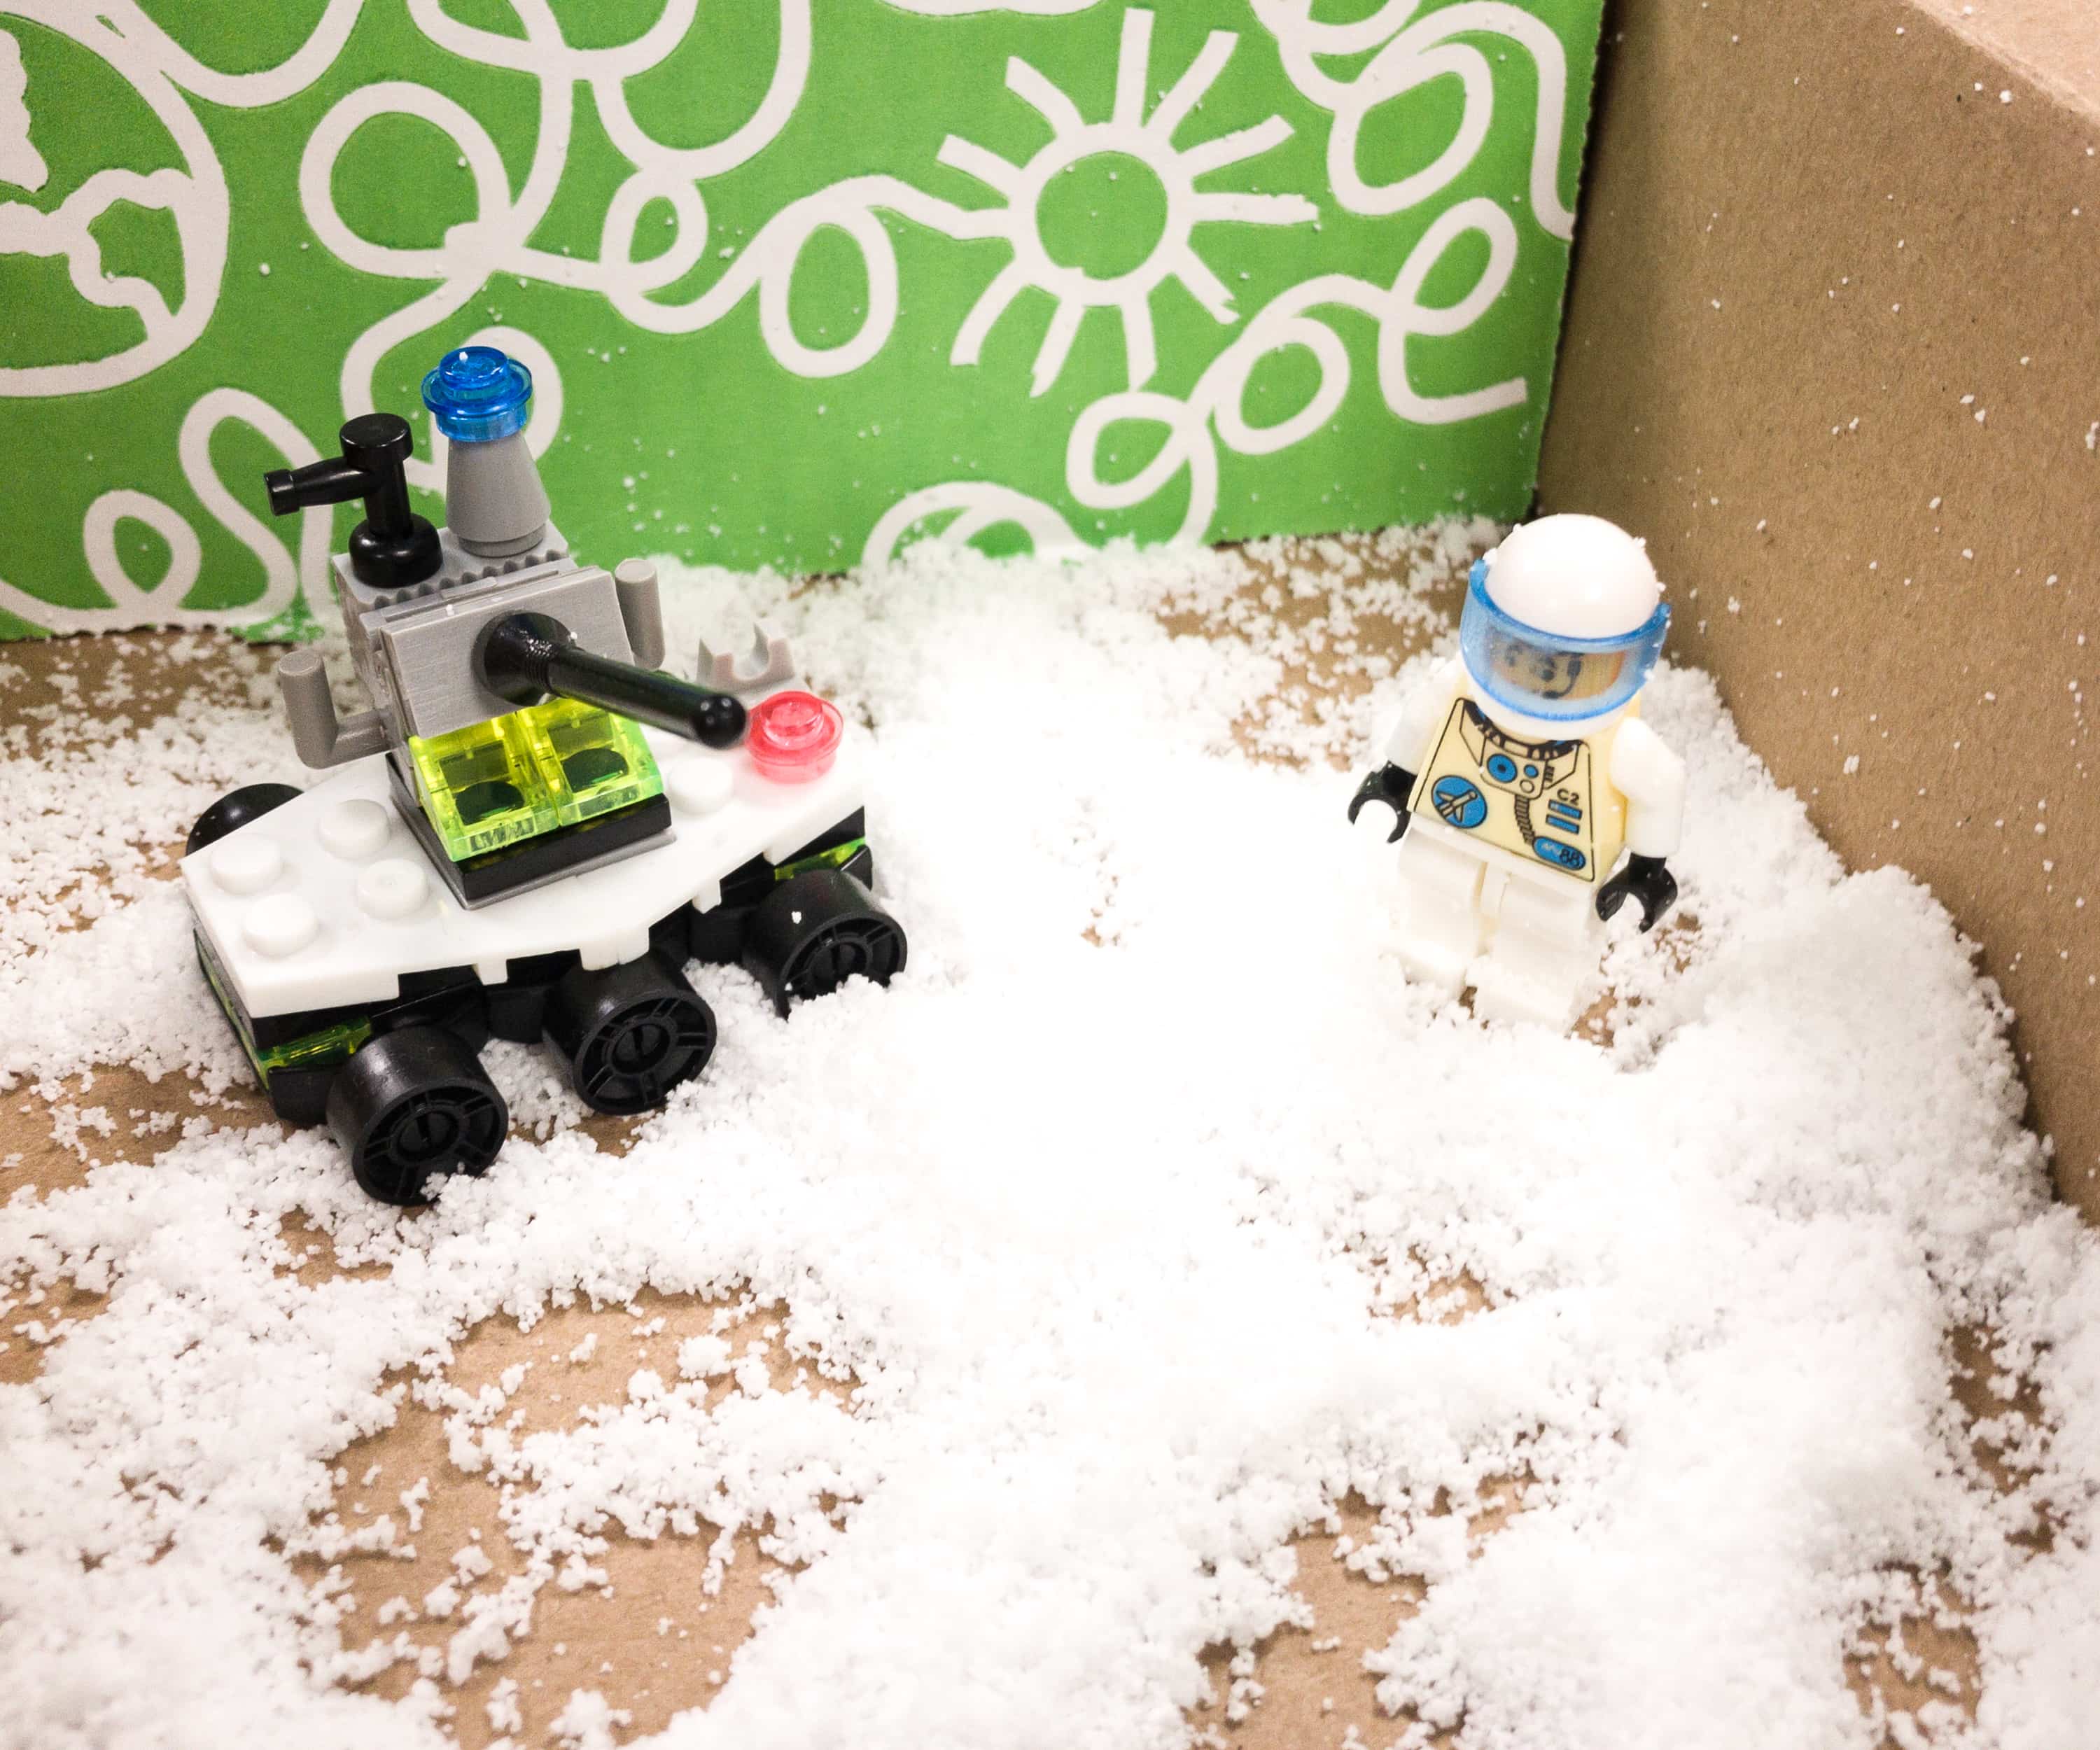
The kids added some of their toy blocks to make a snowy scene!
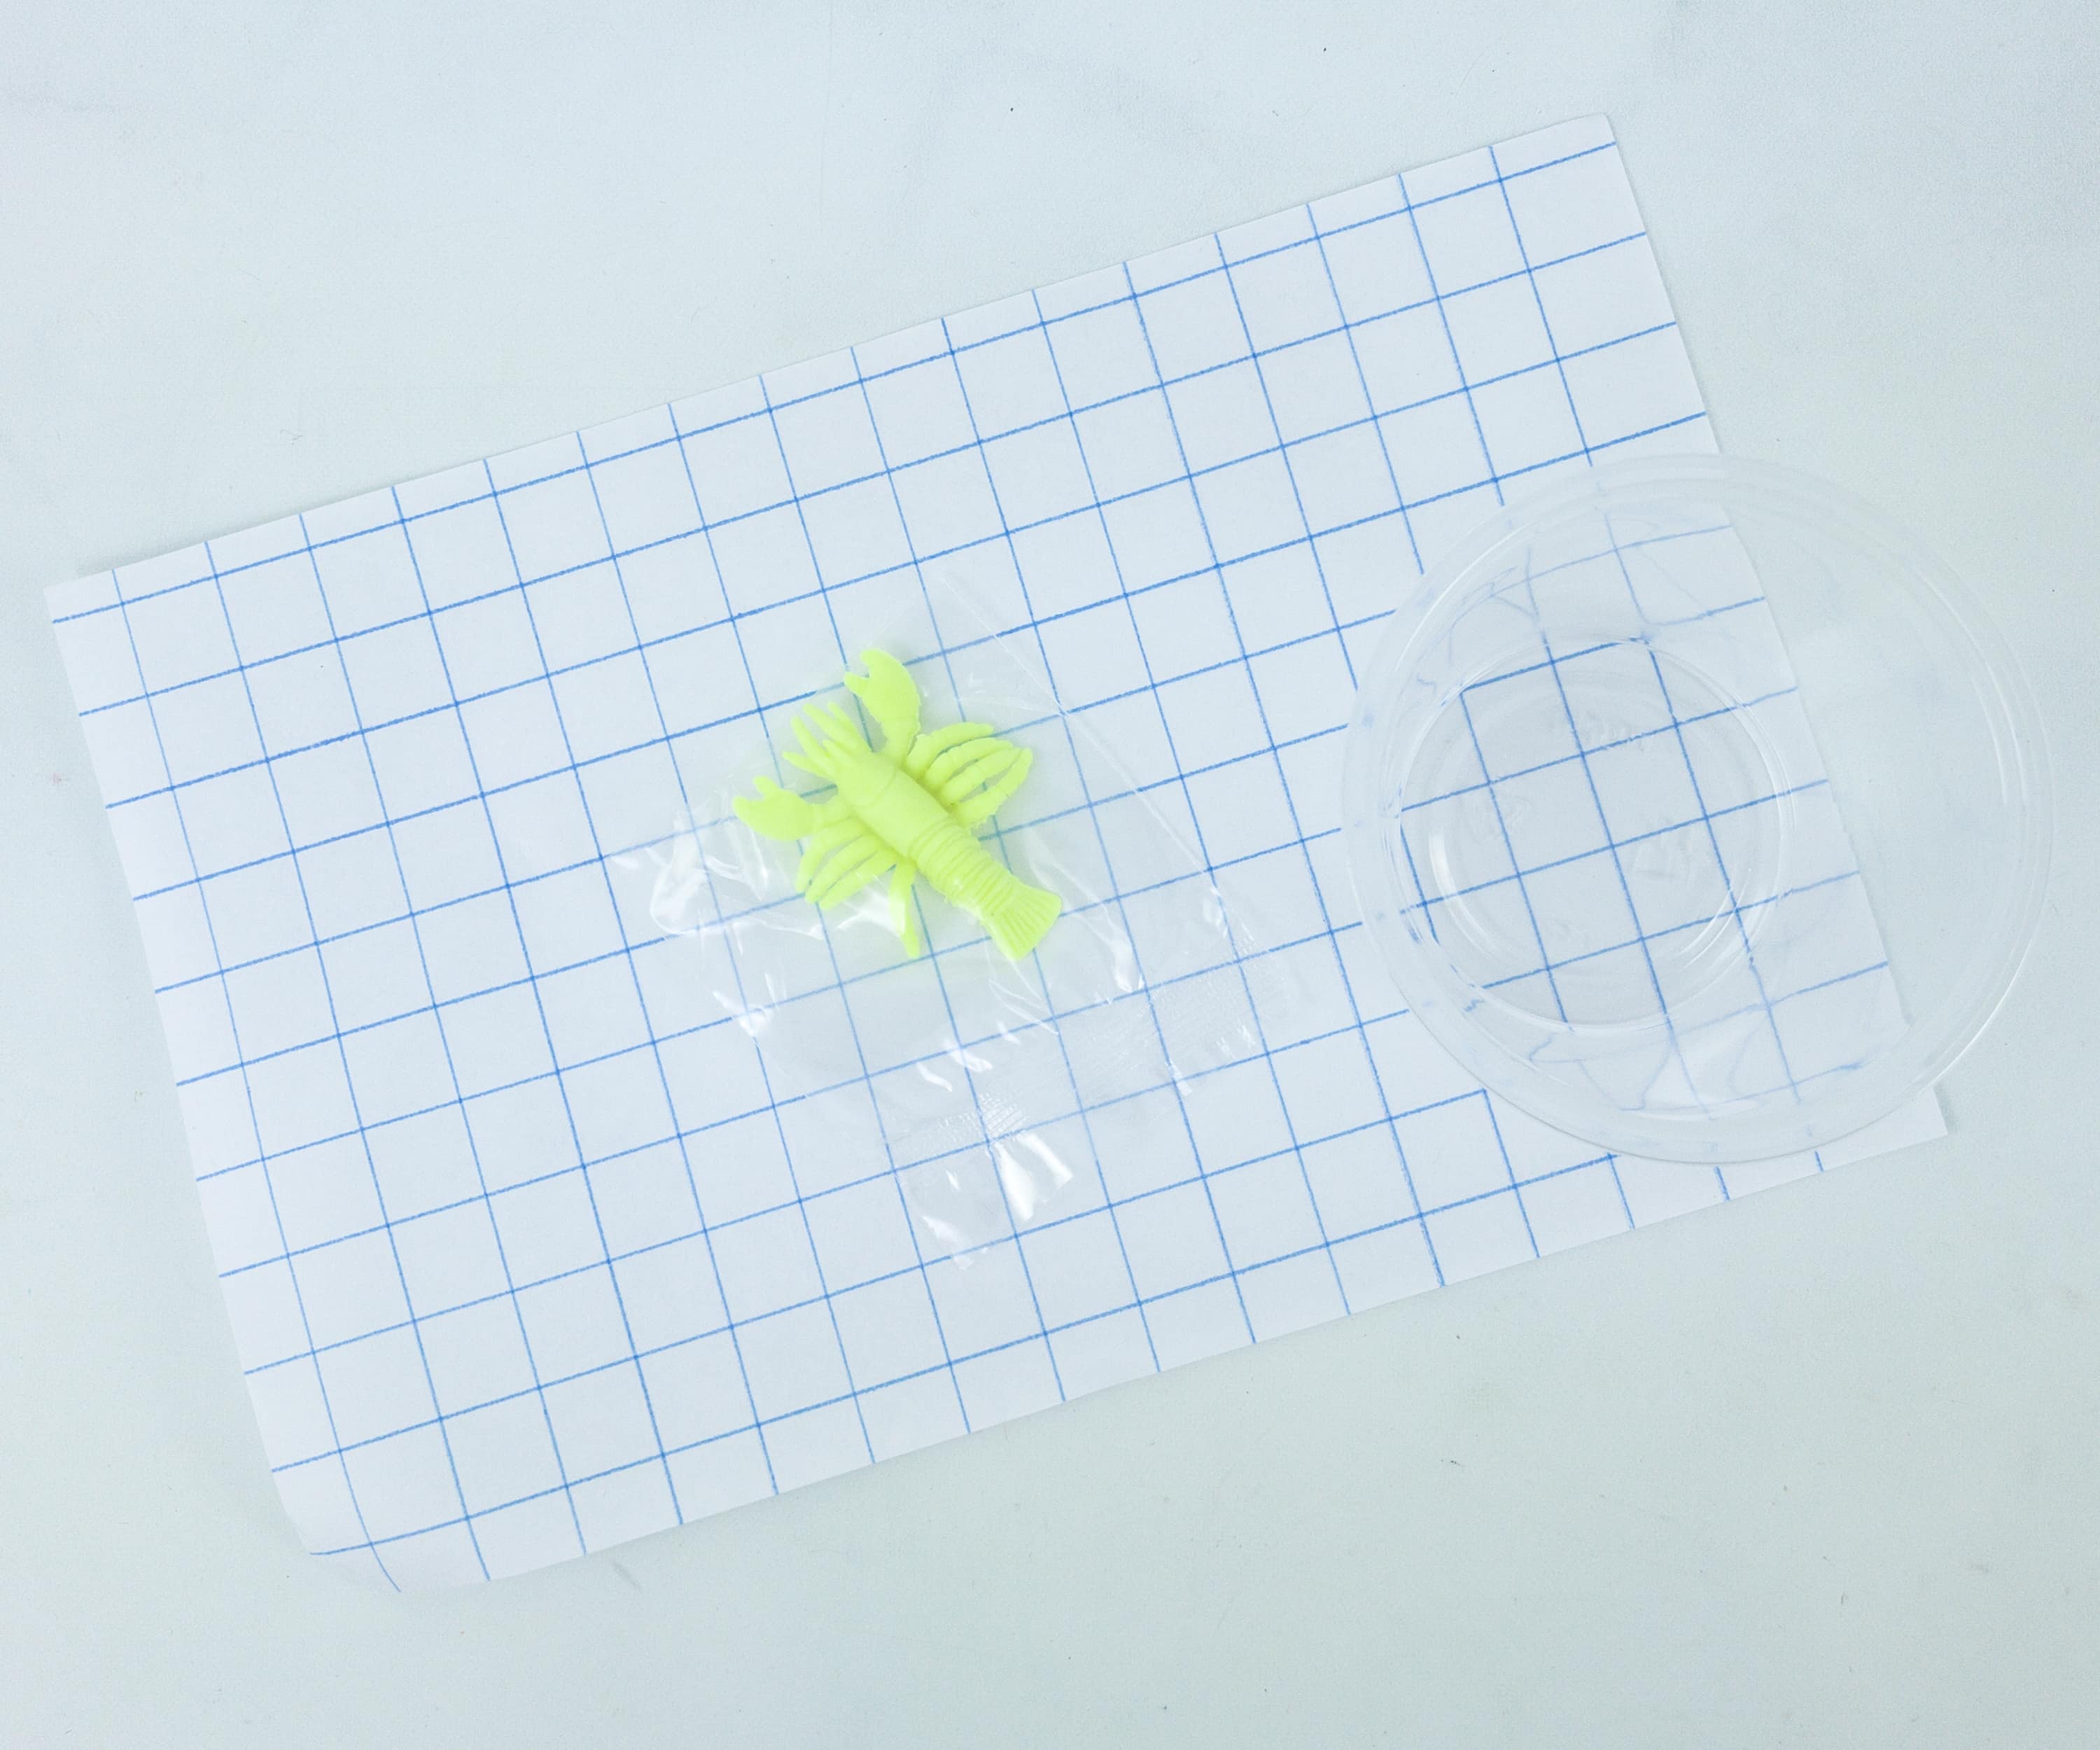
As a bonus activity, we will be observing this lobster as it grows! First, we used the graph paper to mark its initial size.
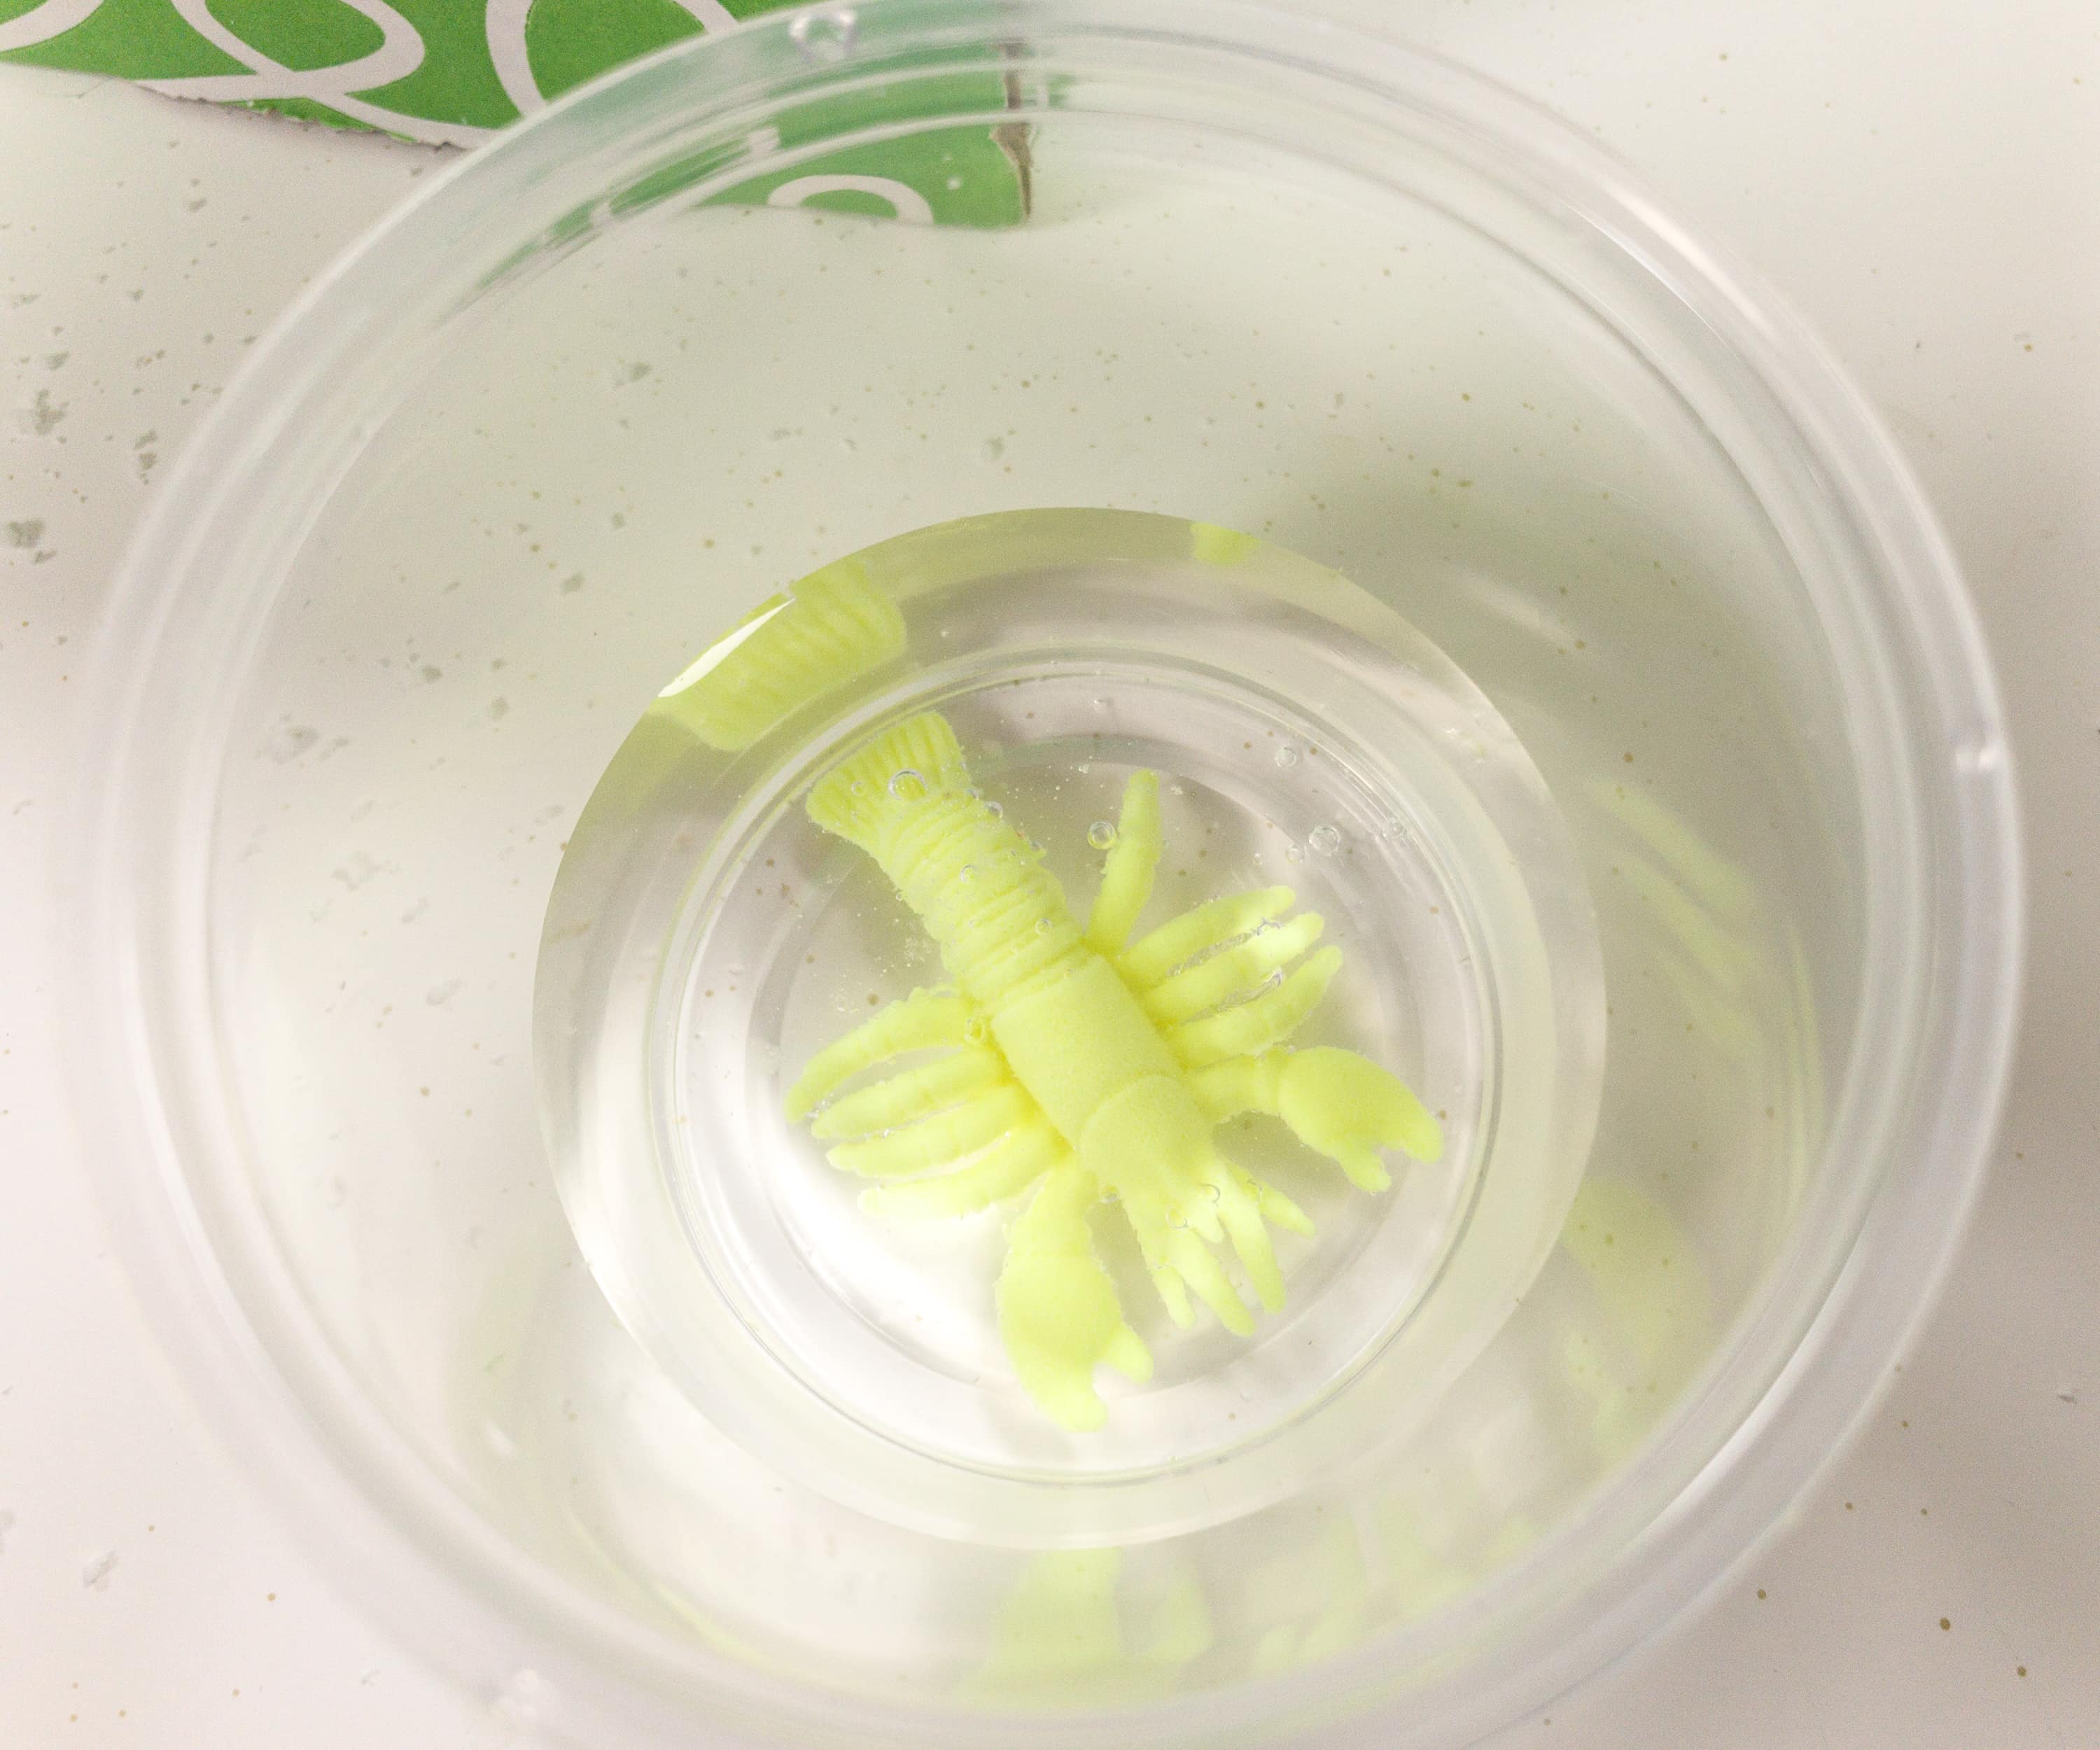
We submerged the animal in water then, after several hours, we took it out of the water and using the graph paper again, we measured how big it got! It has the same principle involved as the instant snow polymer. We don’t have a second photo, but as expected, it grew – a lot!
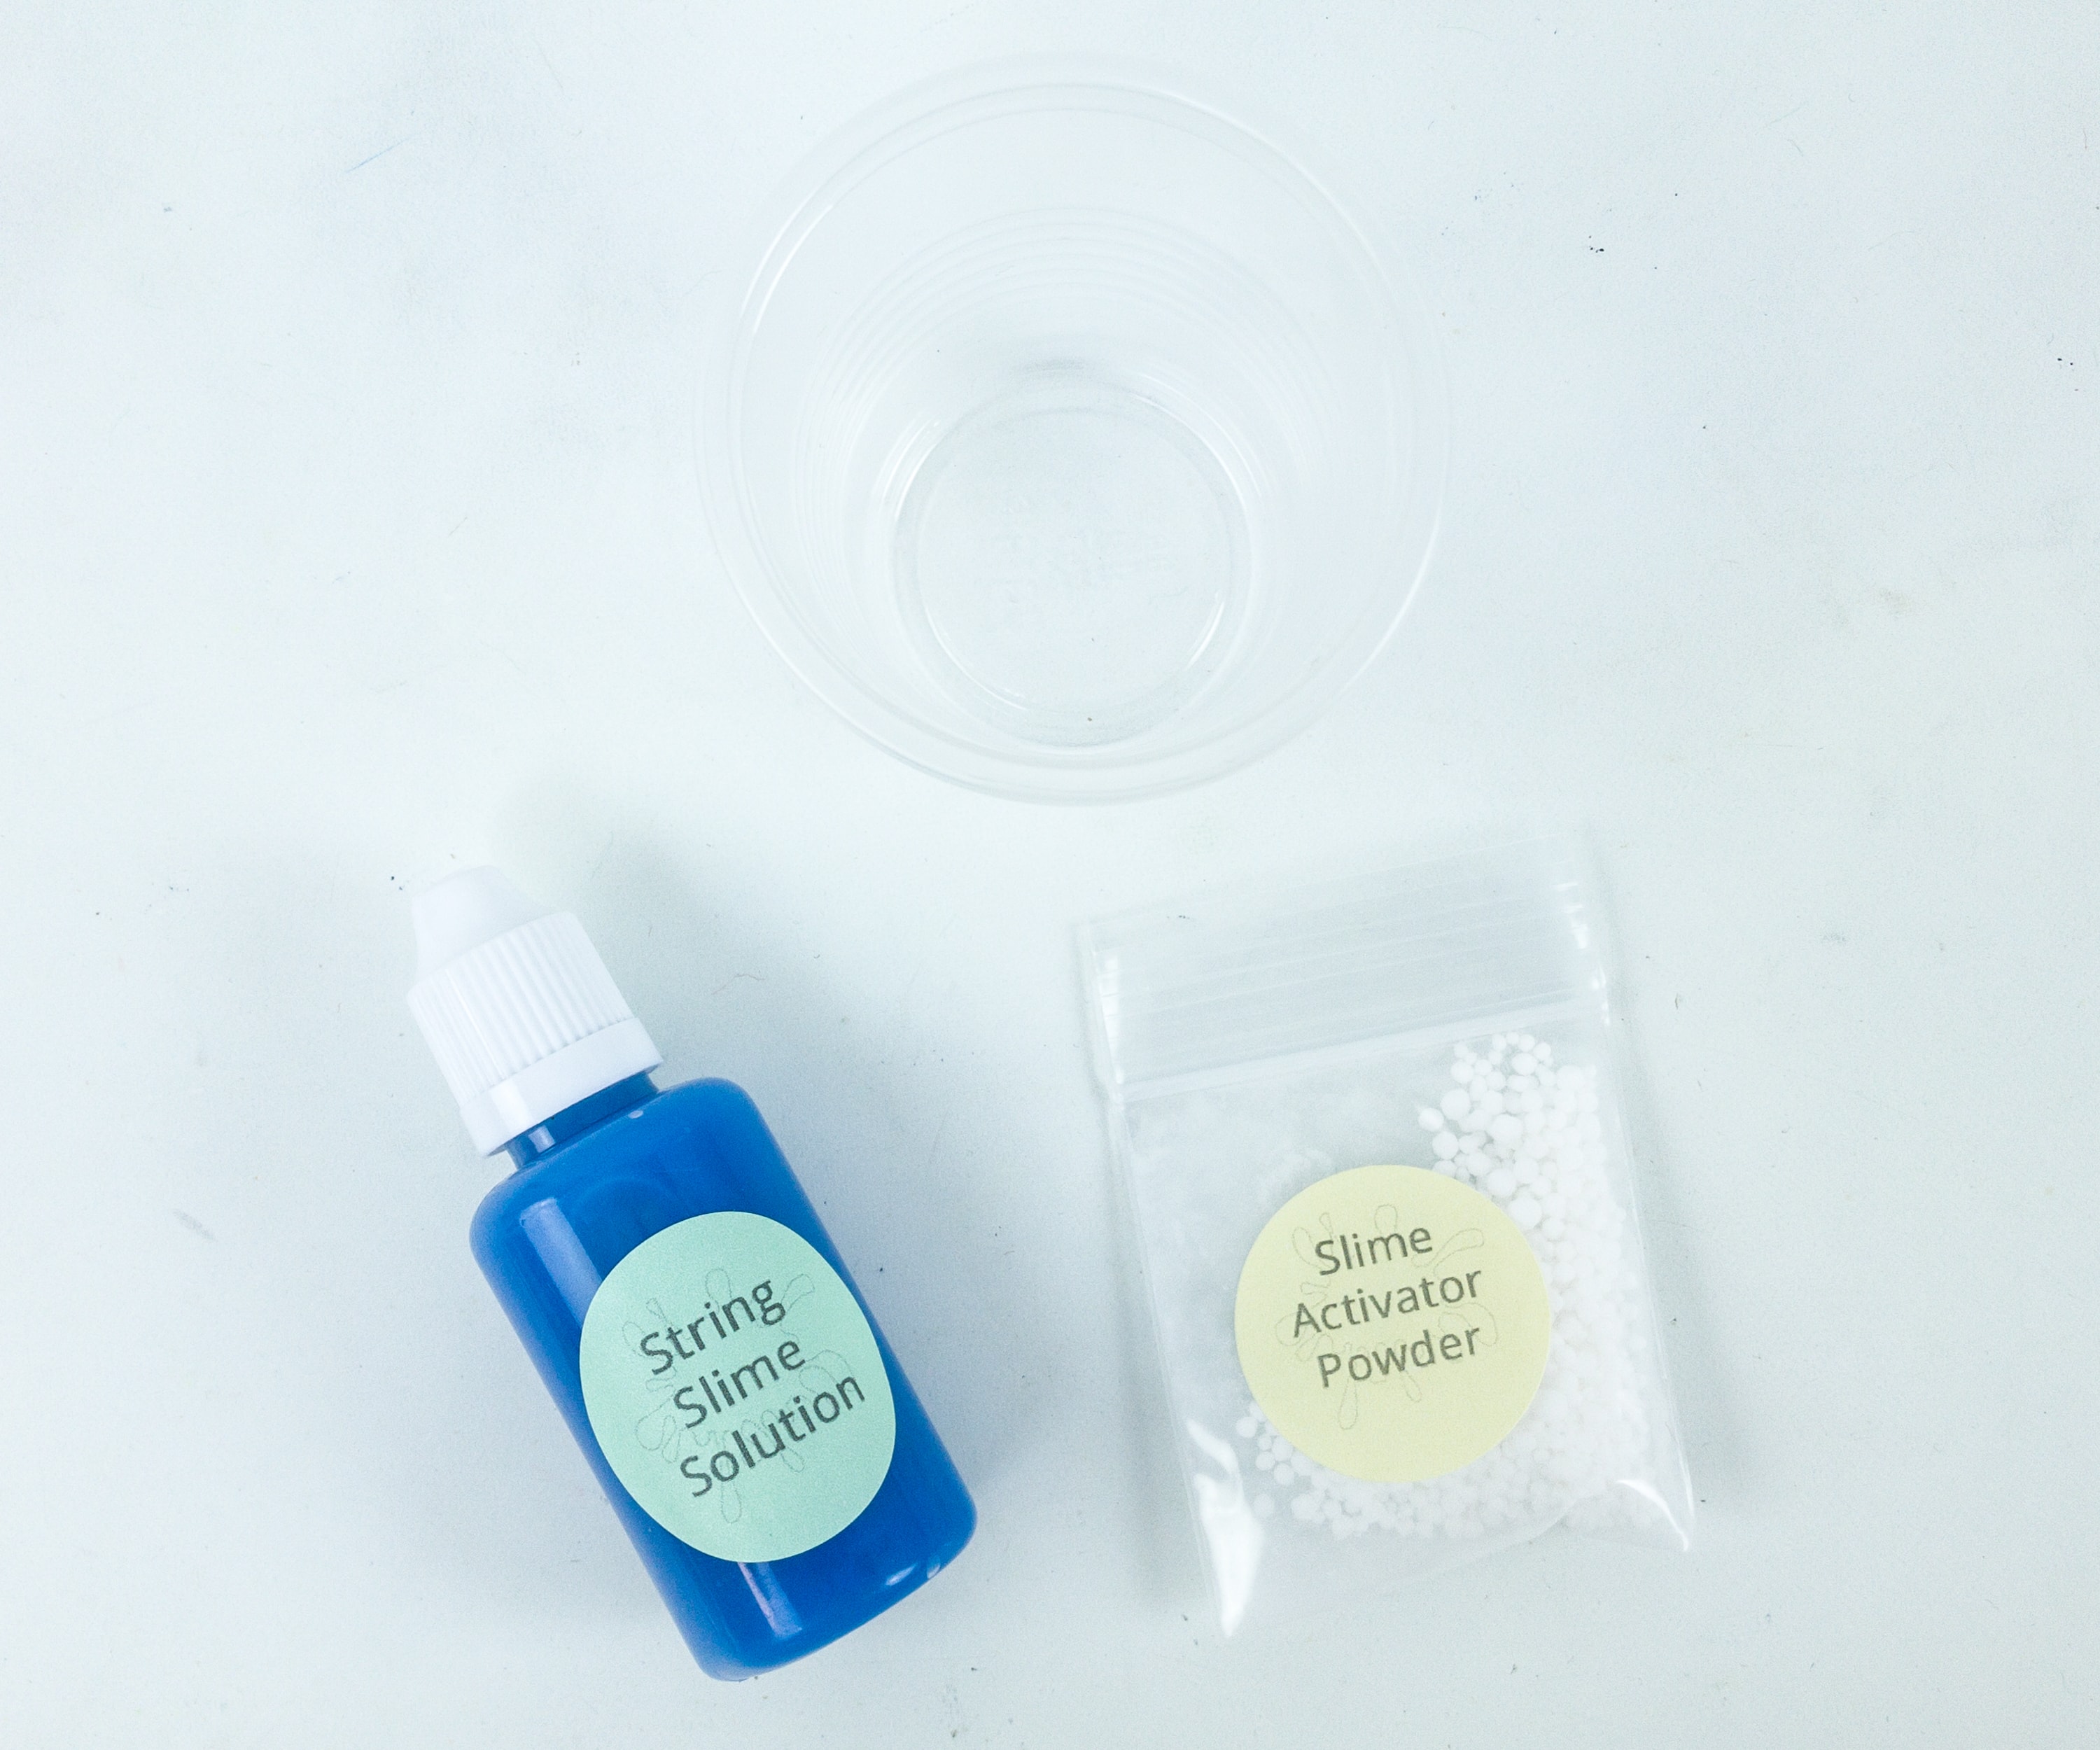
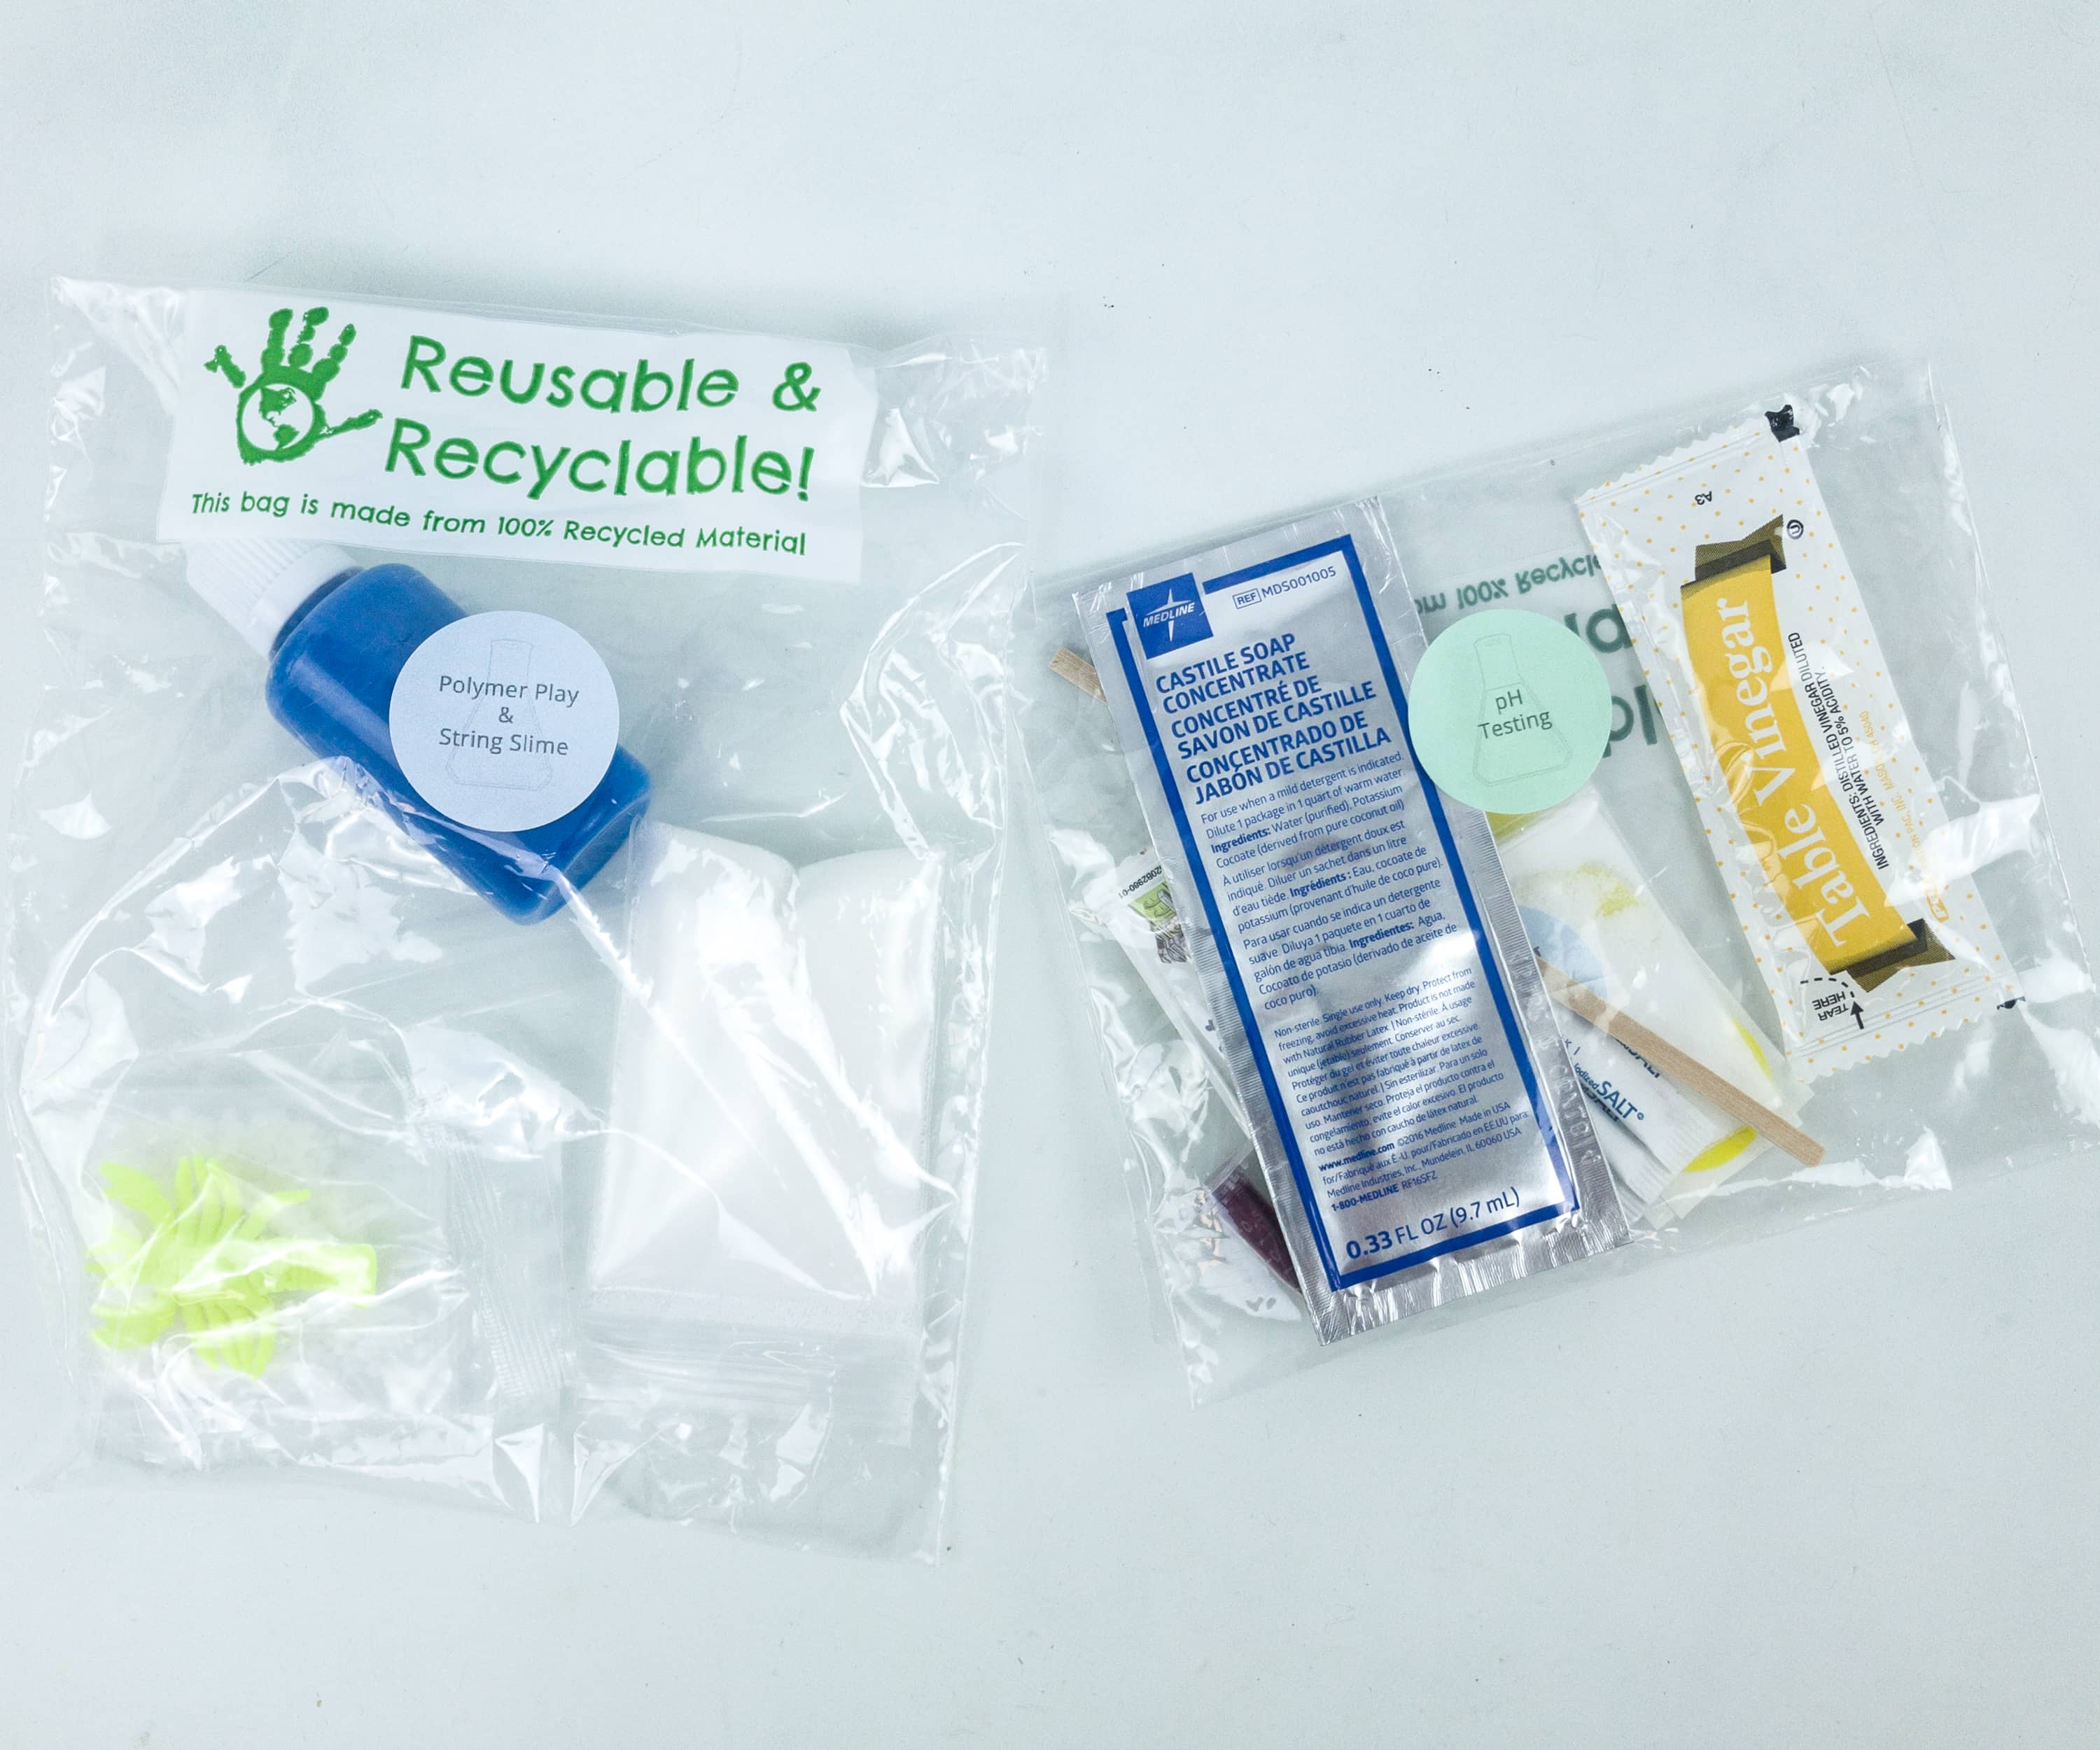
Project #2: String Slime. For the second project, we’re using the slime goo or the string slime solution, slime activator powder and another cup with water.
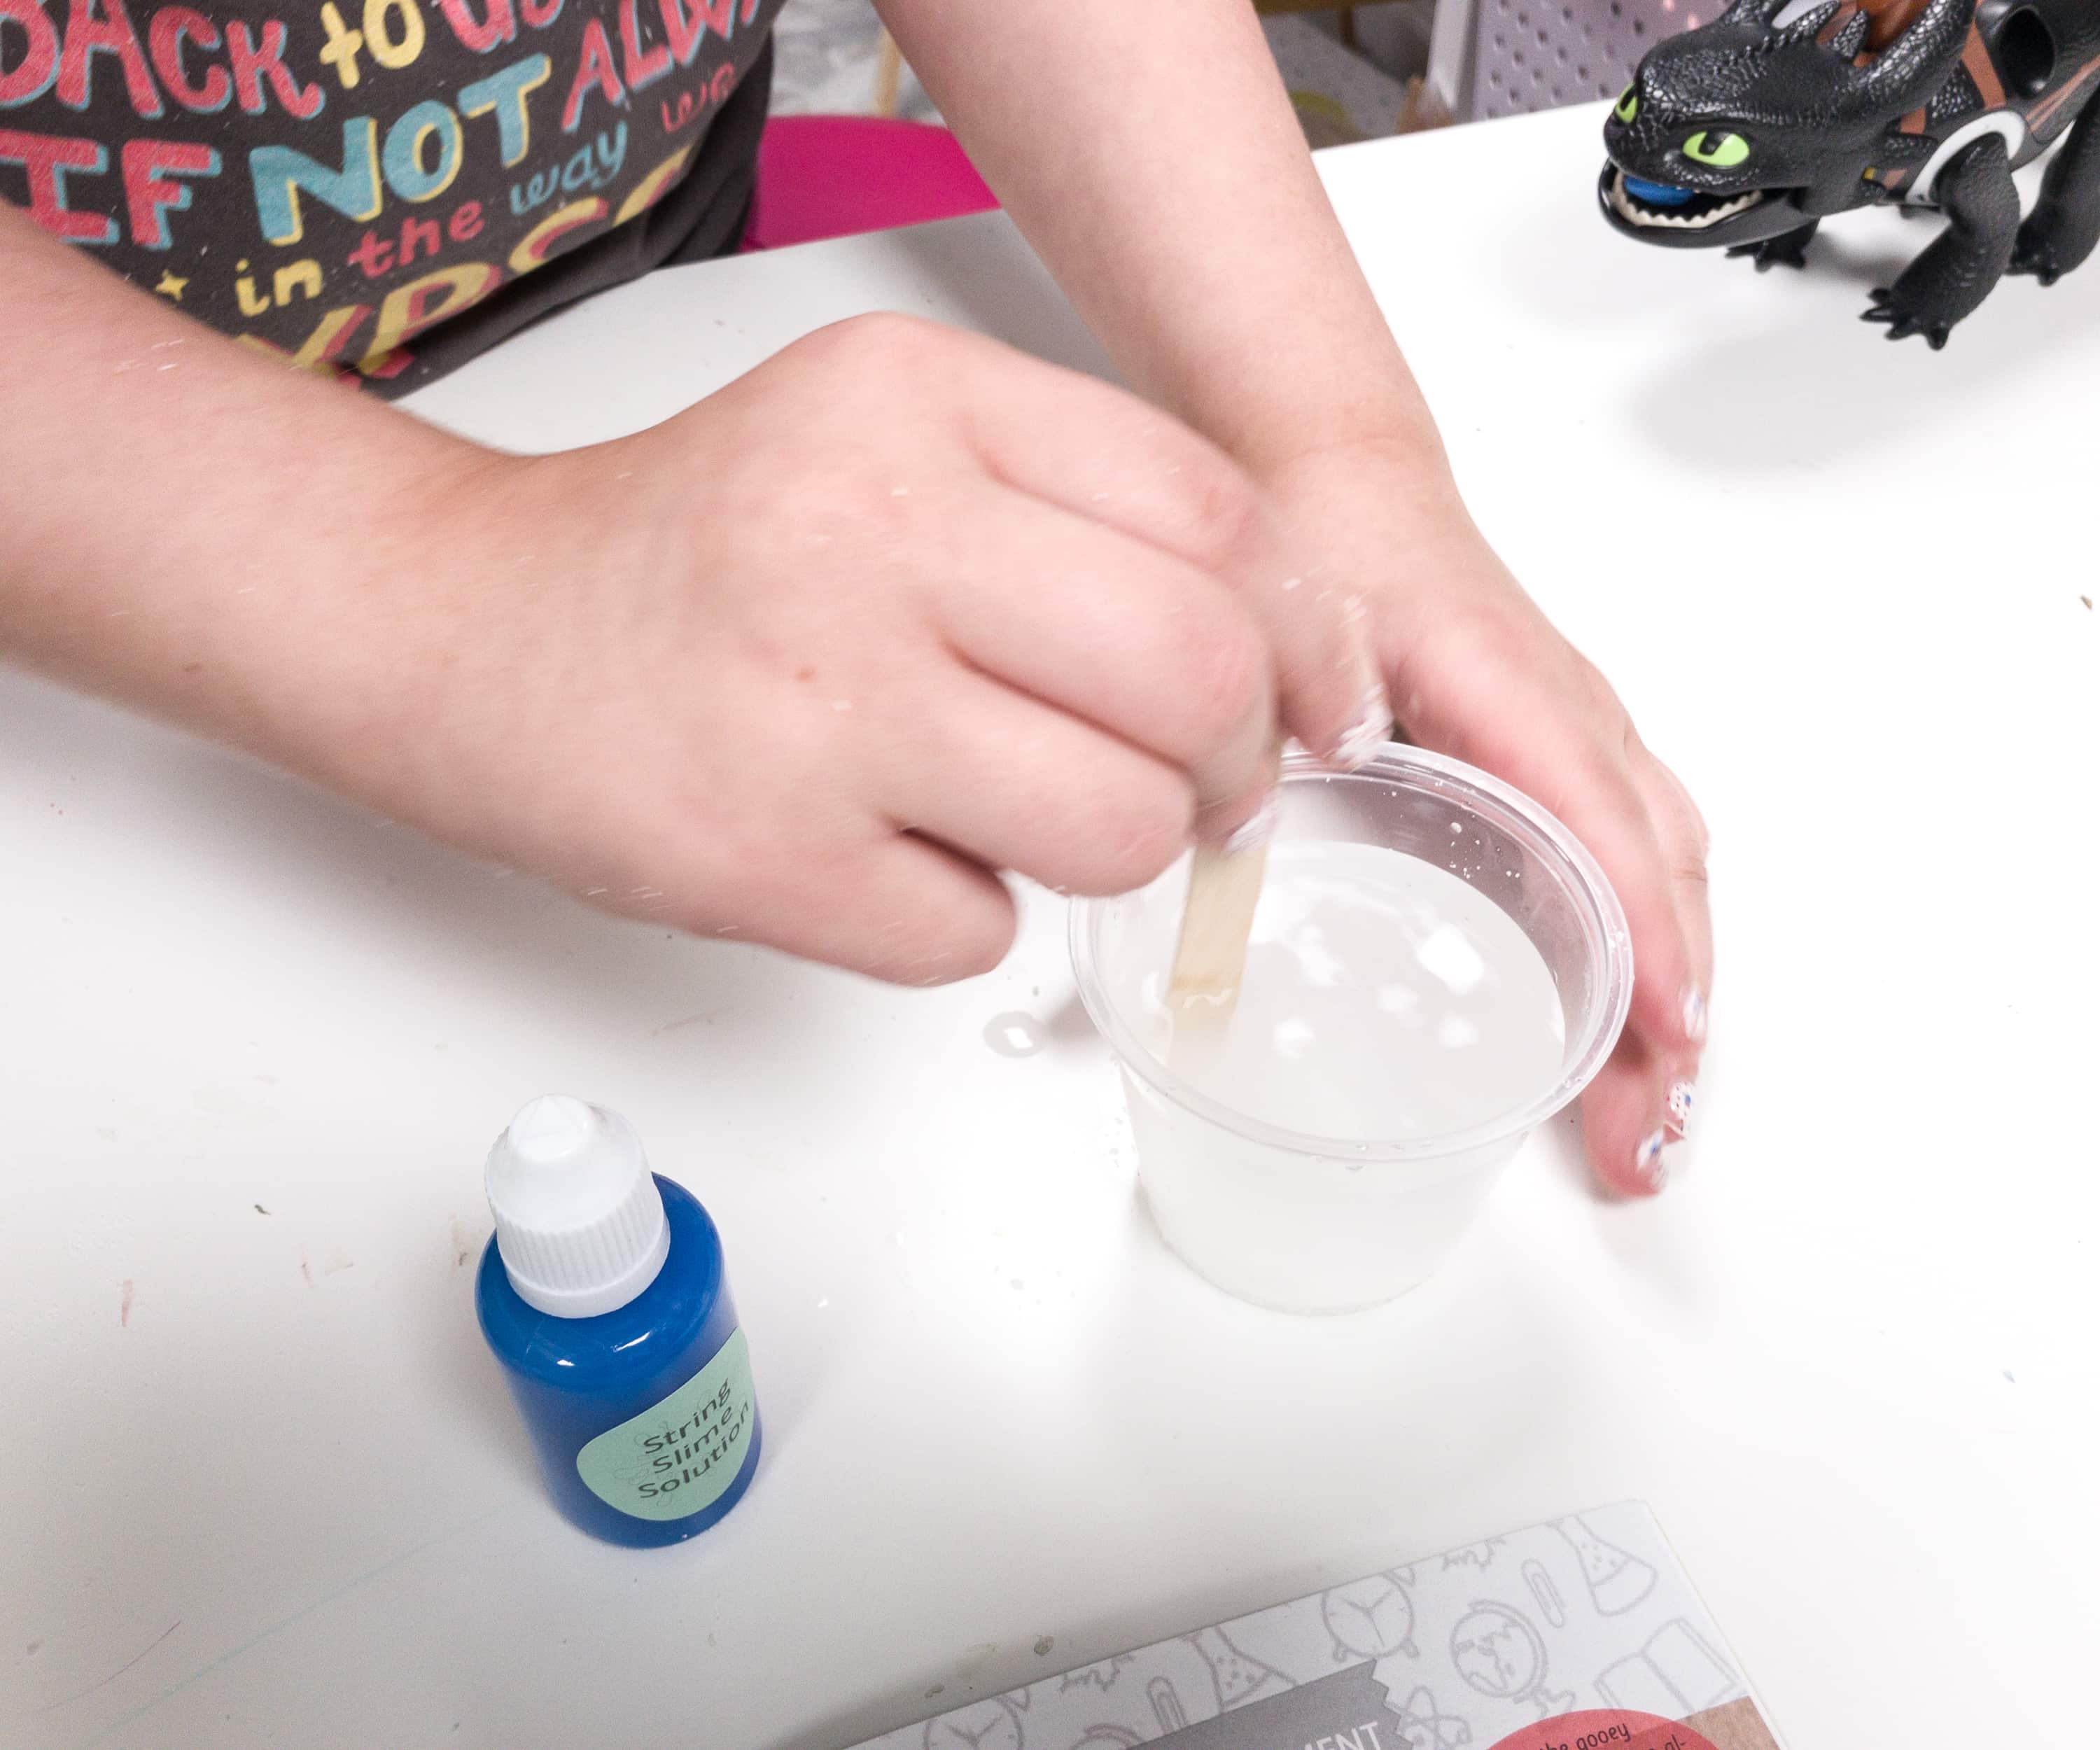
First, my son dissolved the slime activator powder in a cup of water.
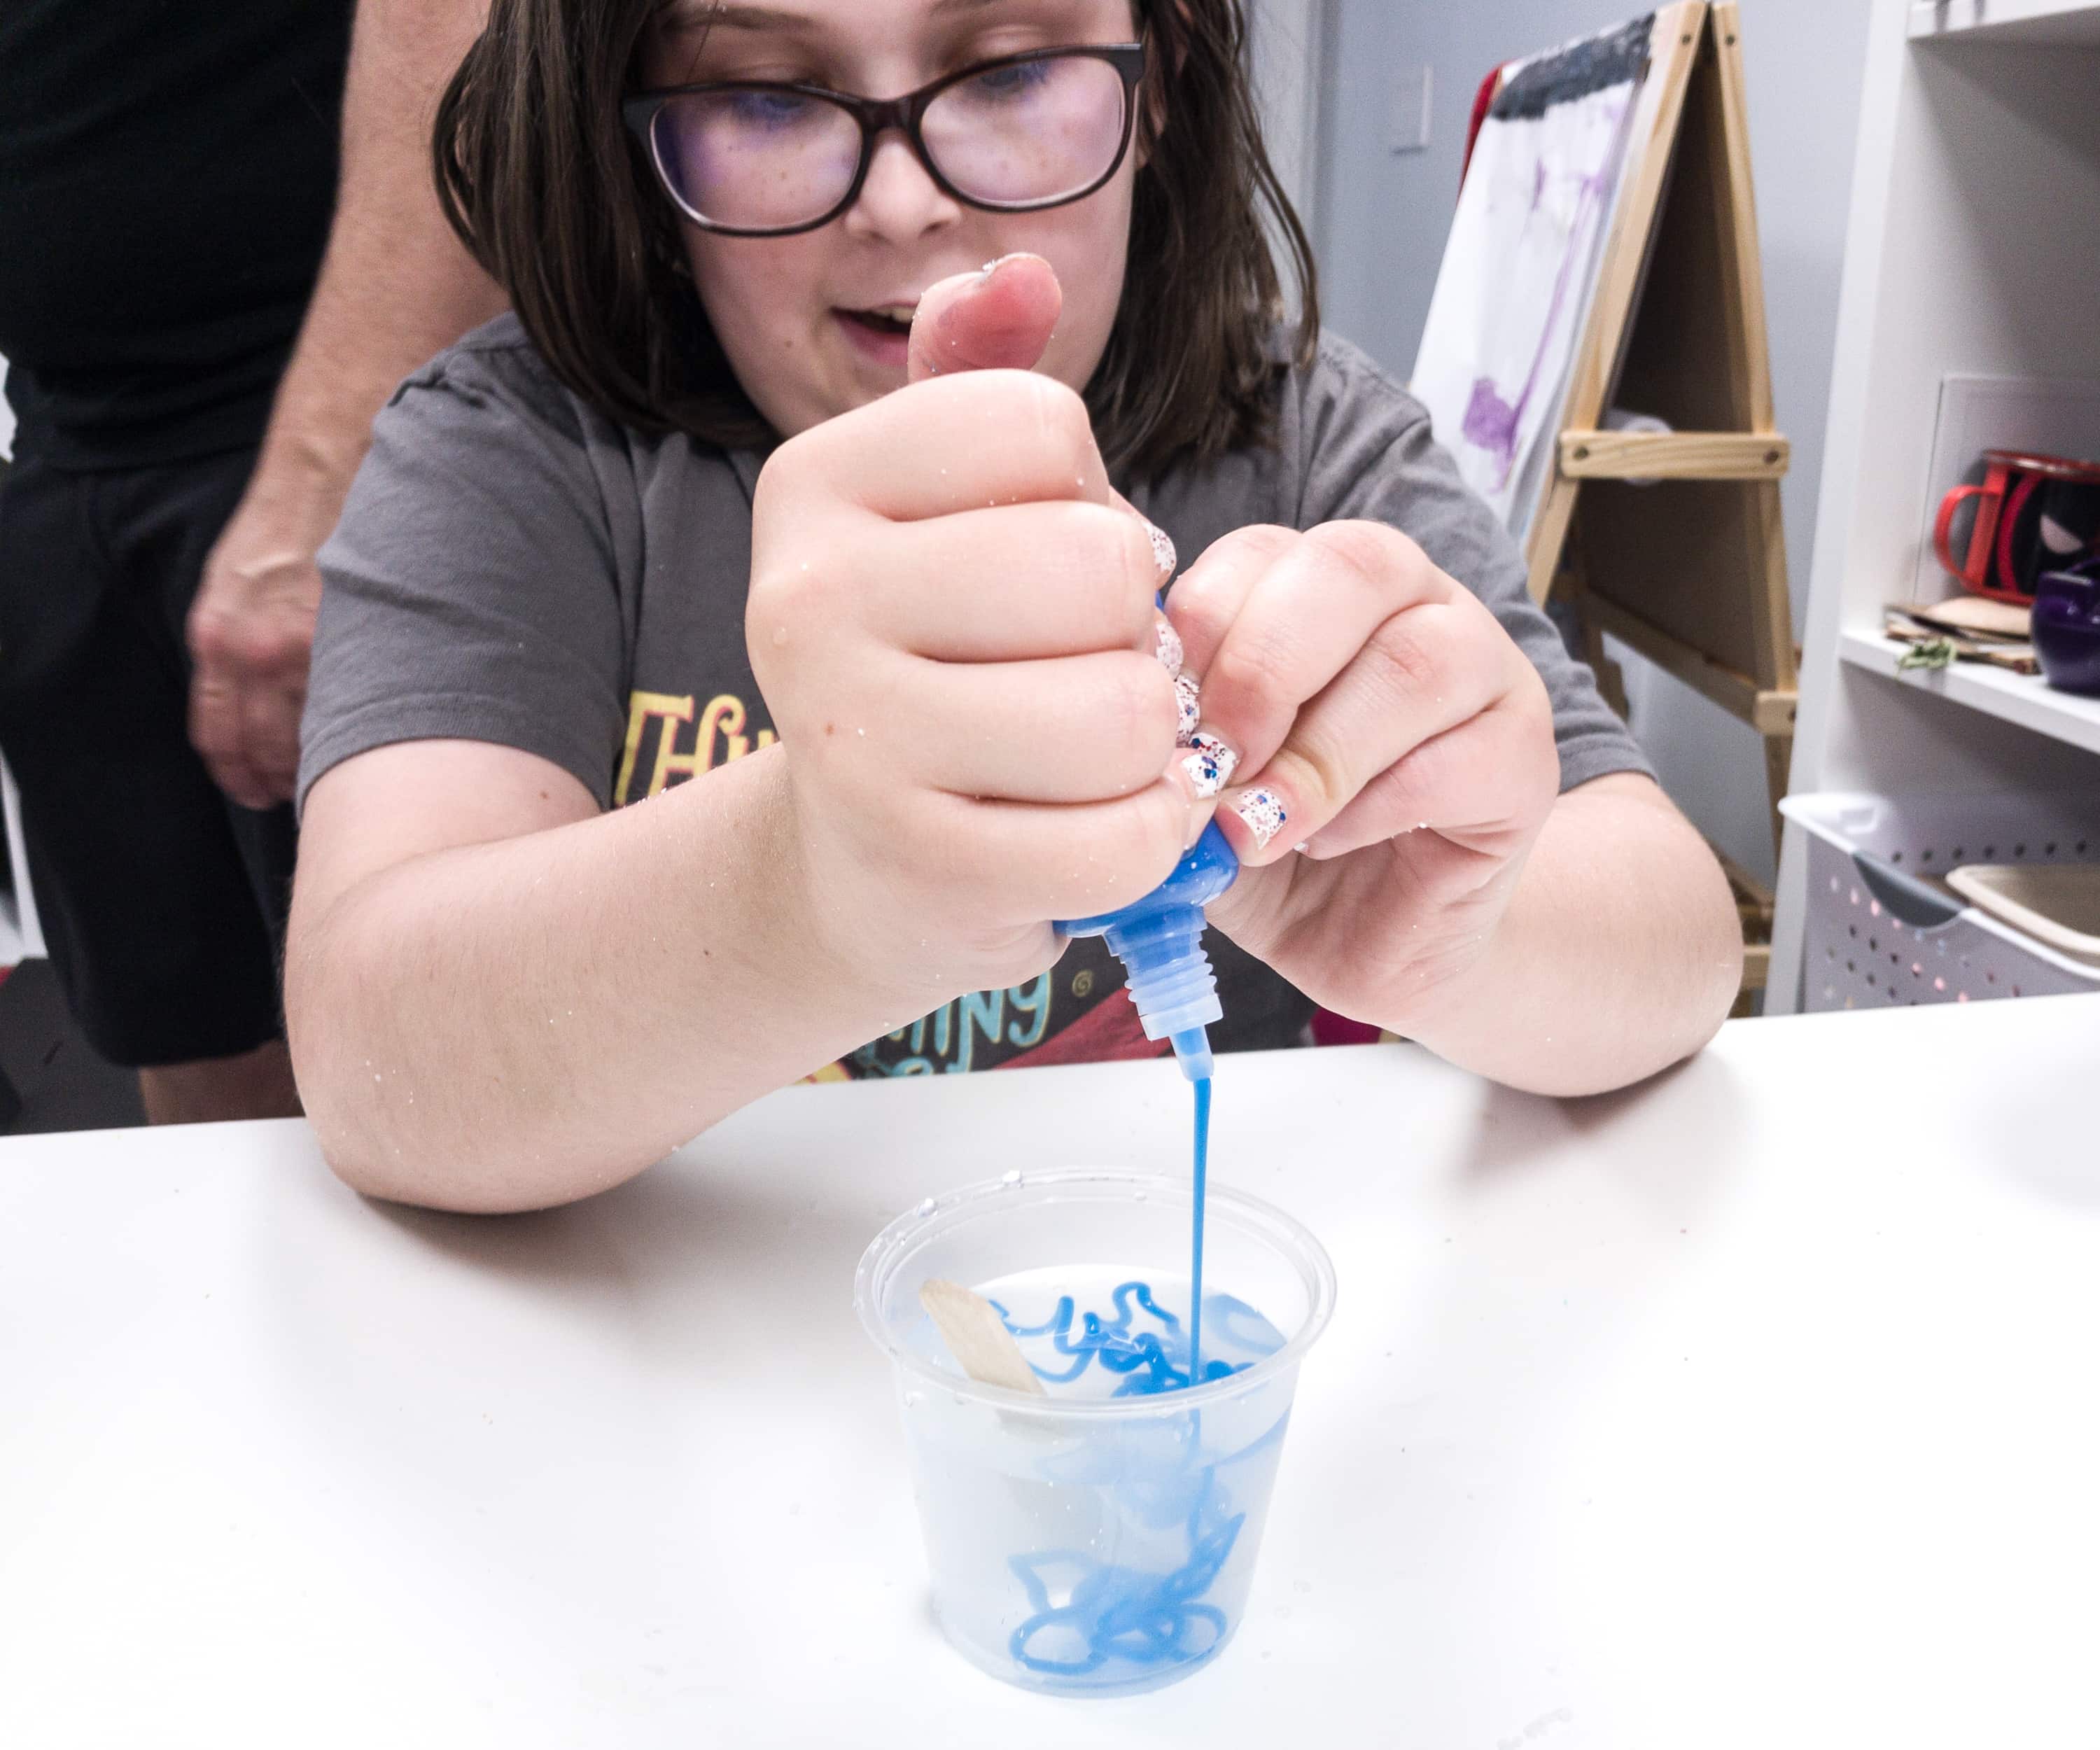
It’s time to form the slime string! My daughter started to squeeze some slime goo on the water and activator mixture!
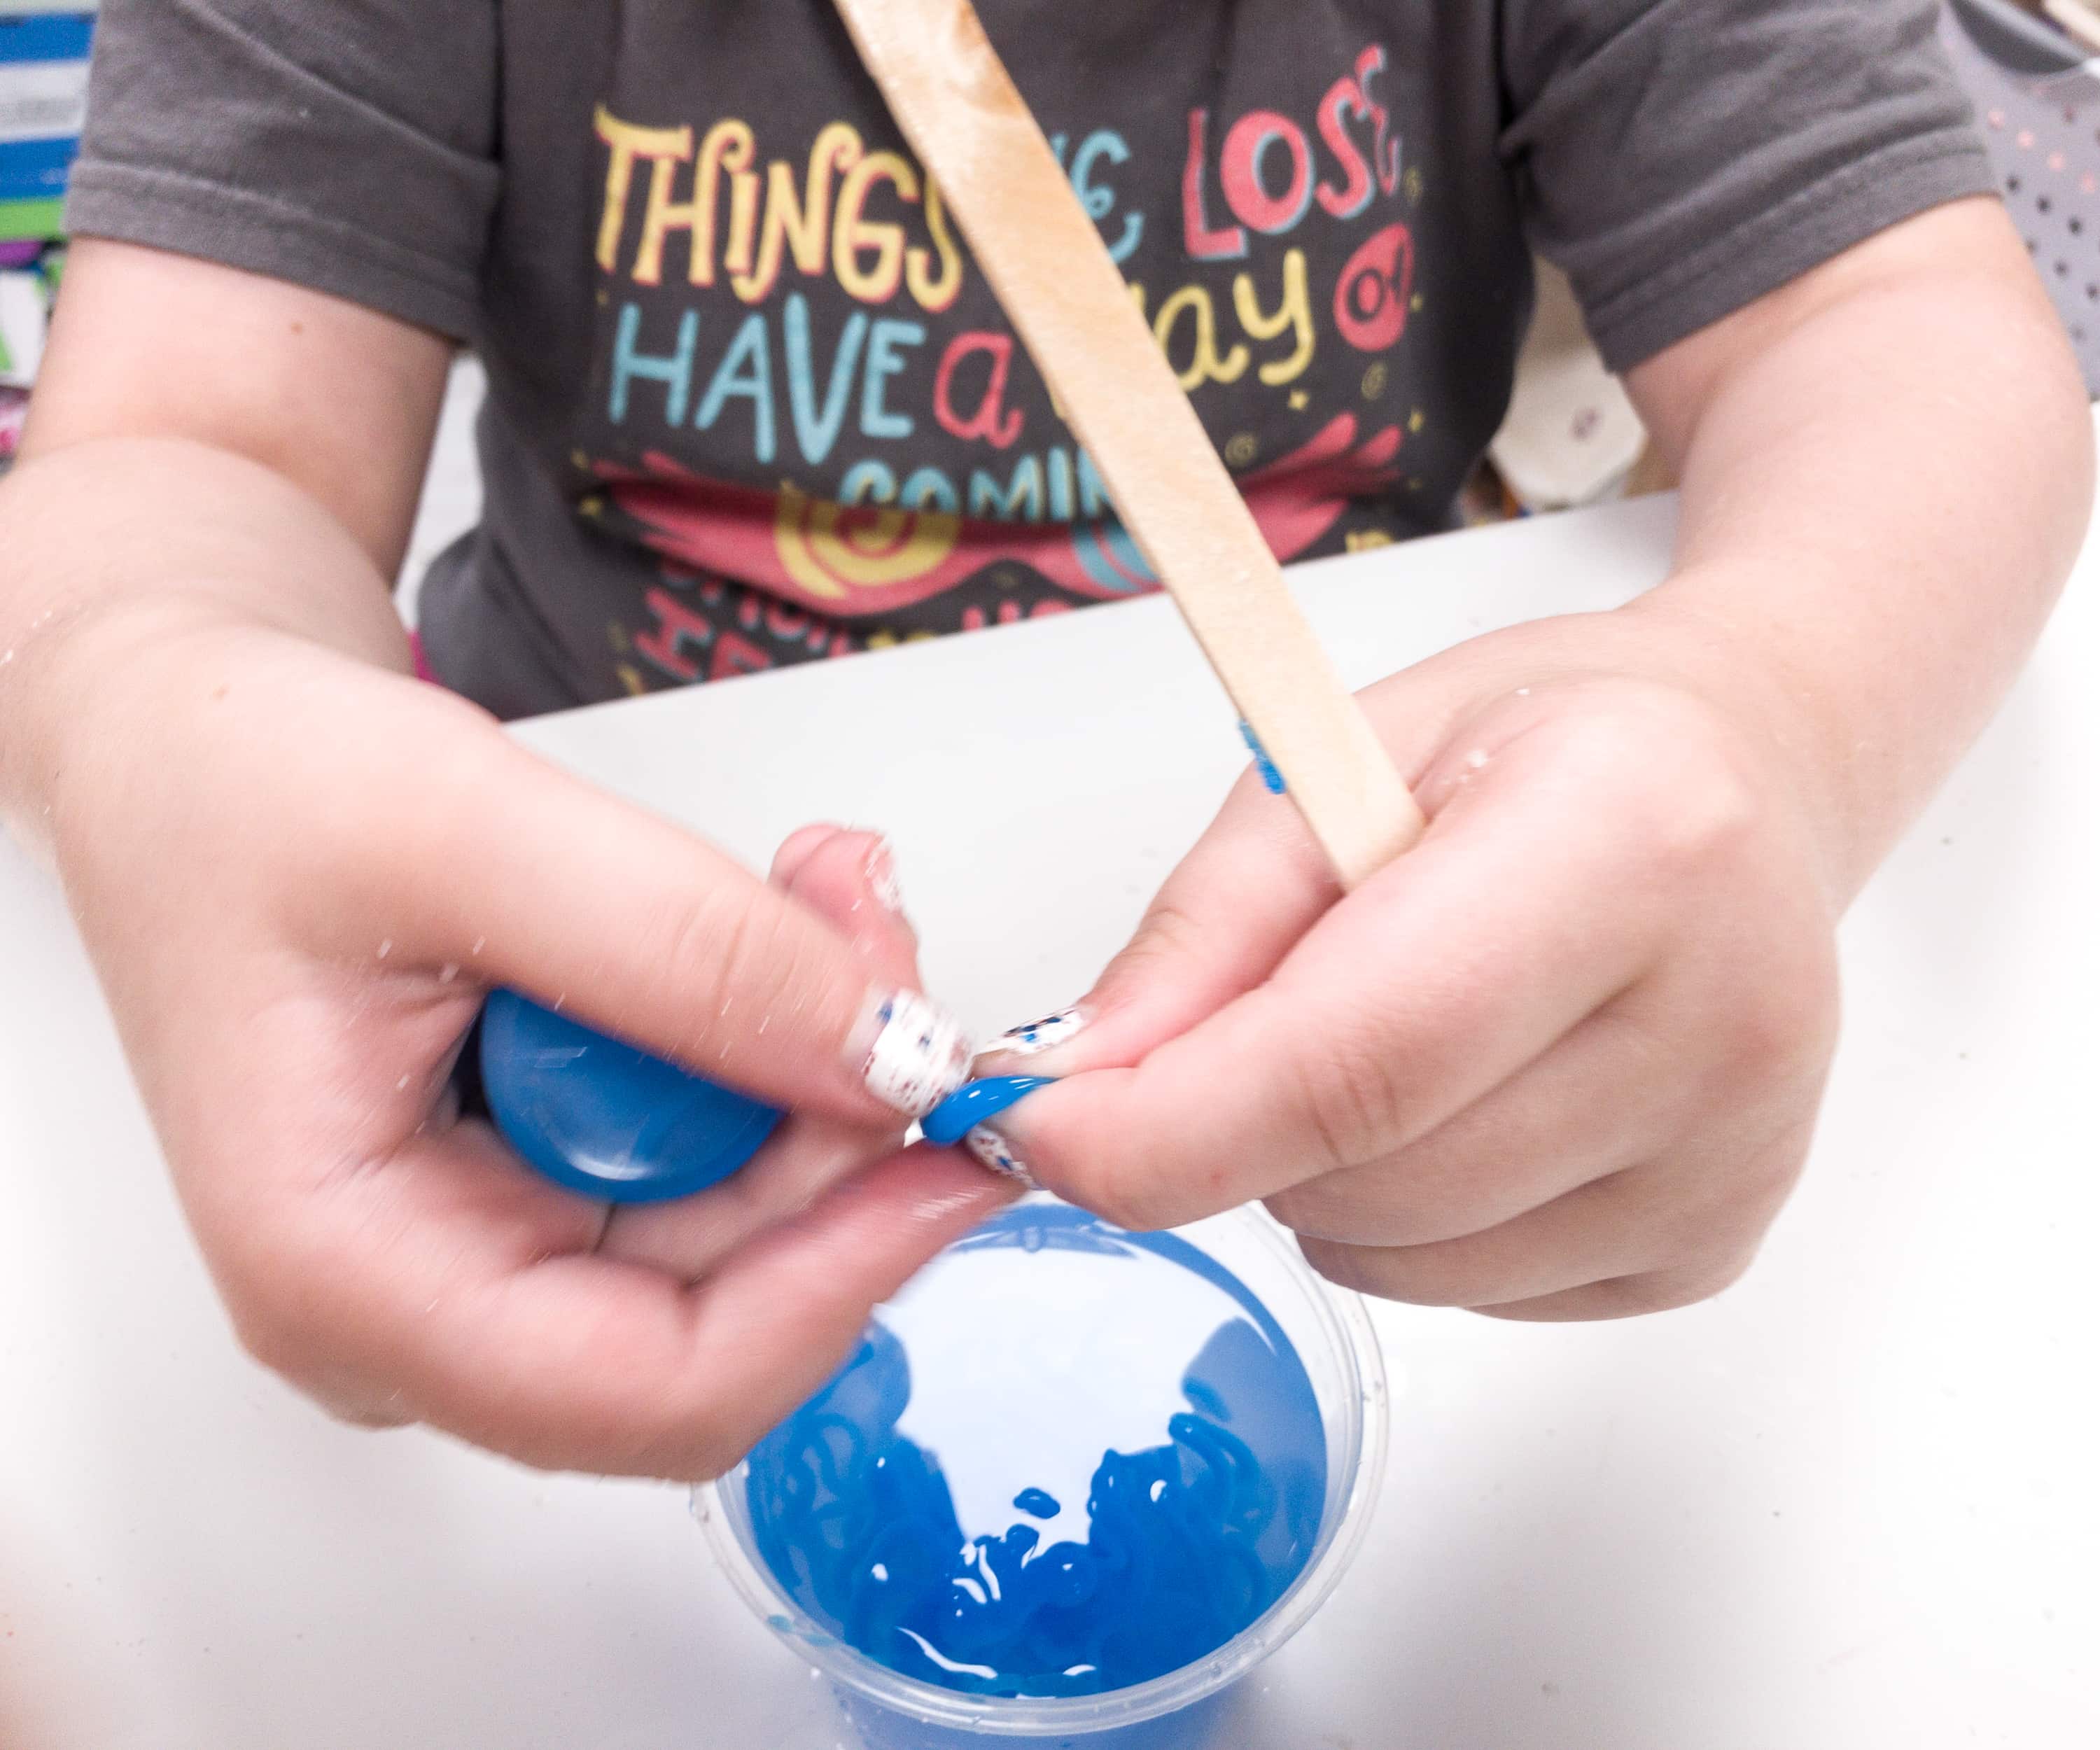
The slime solidifies and forms a string.
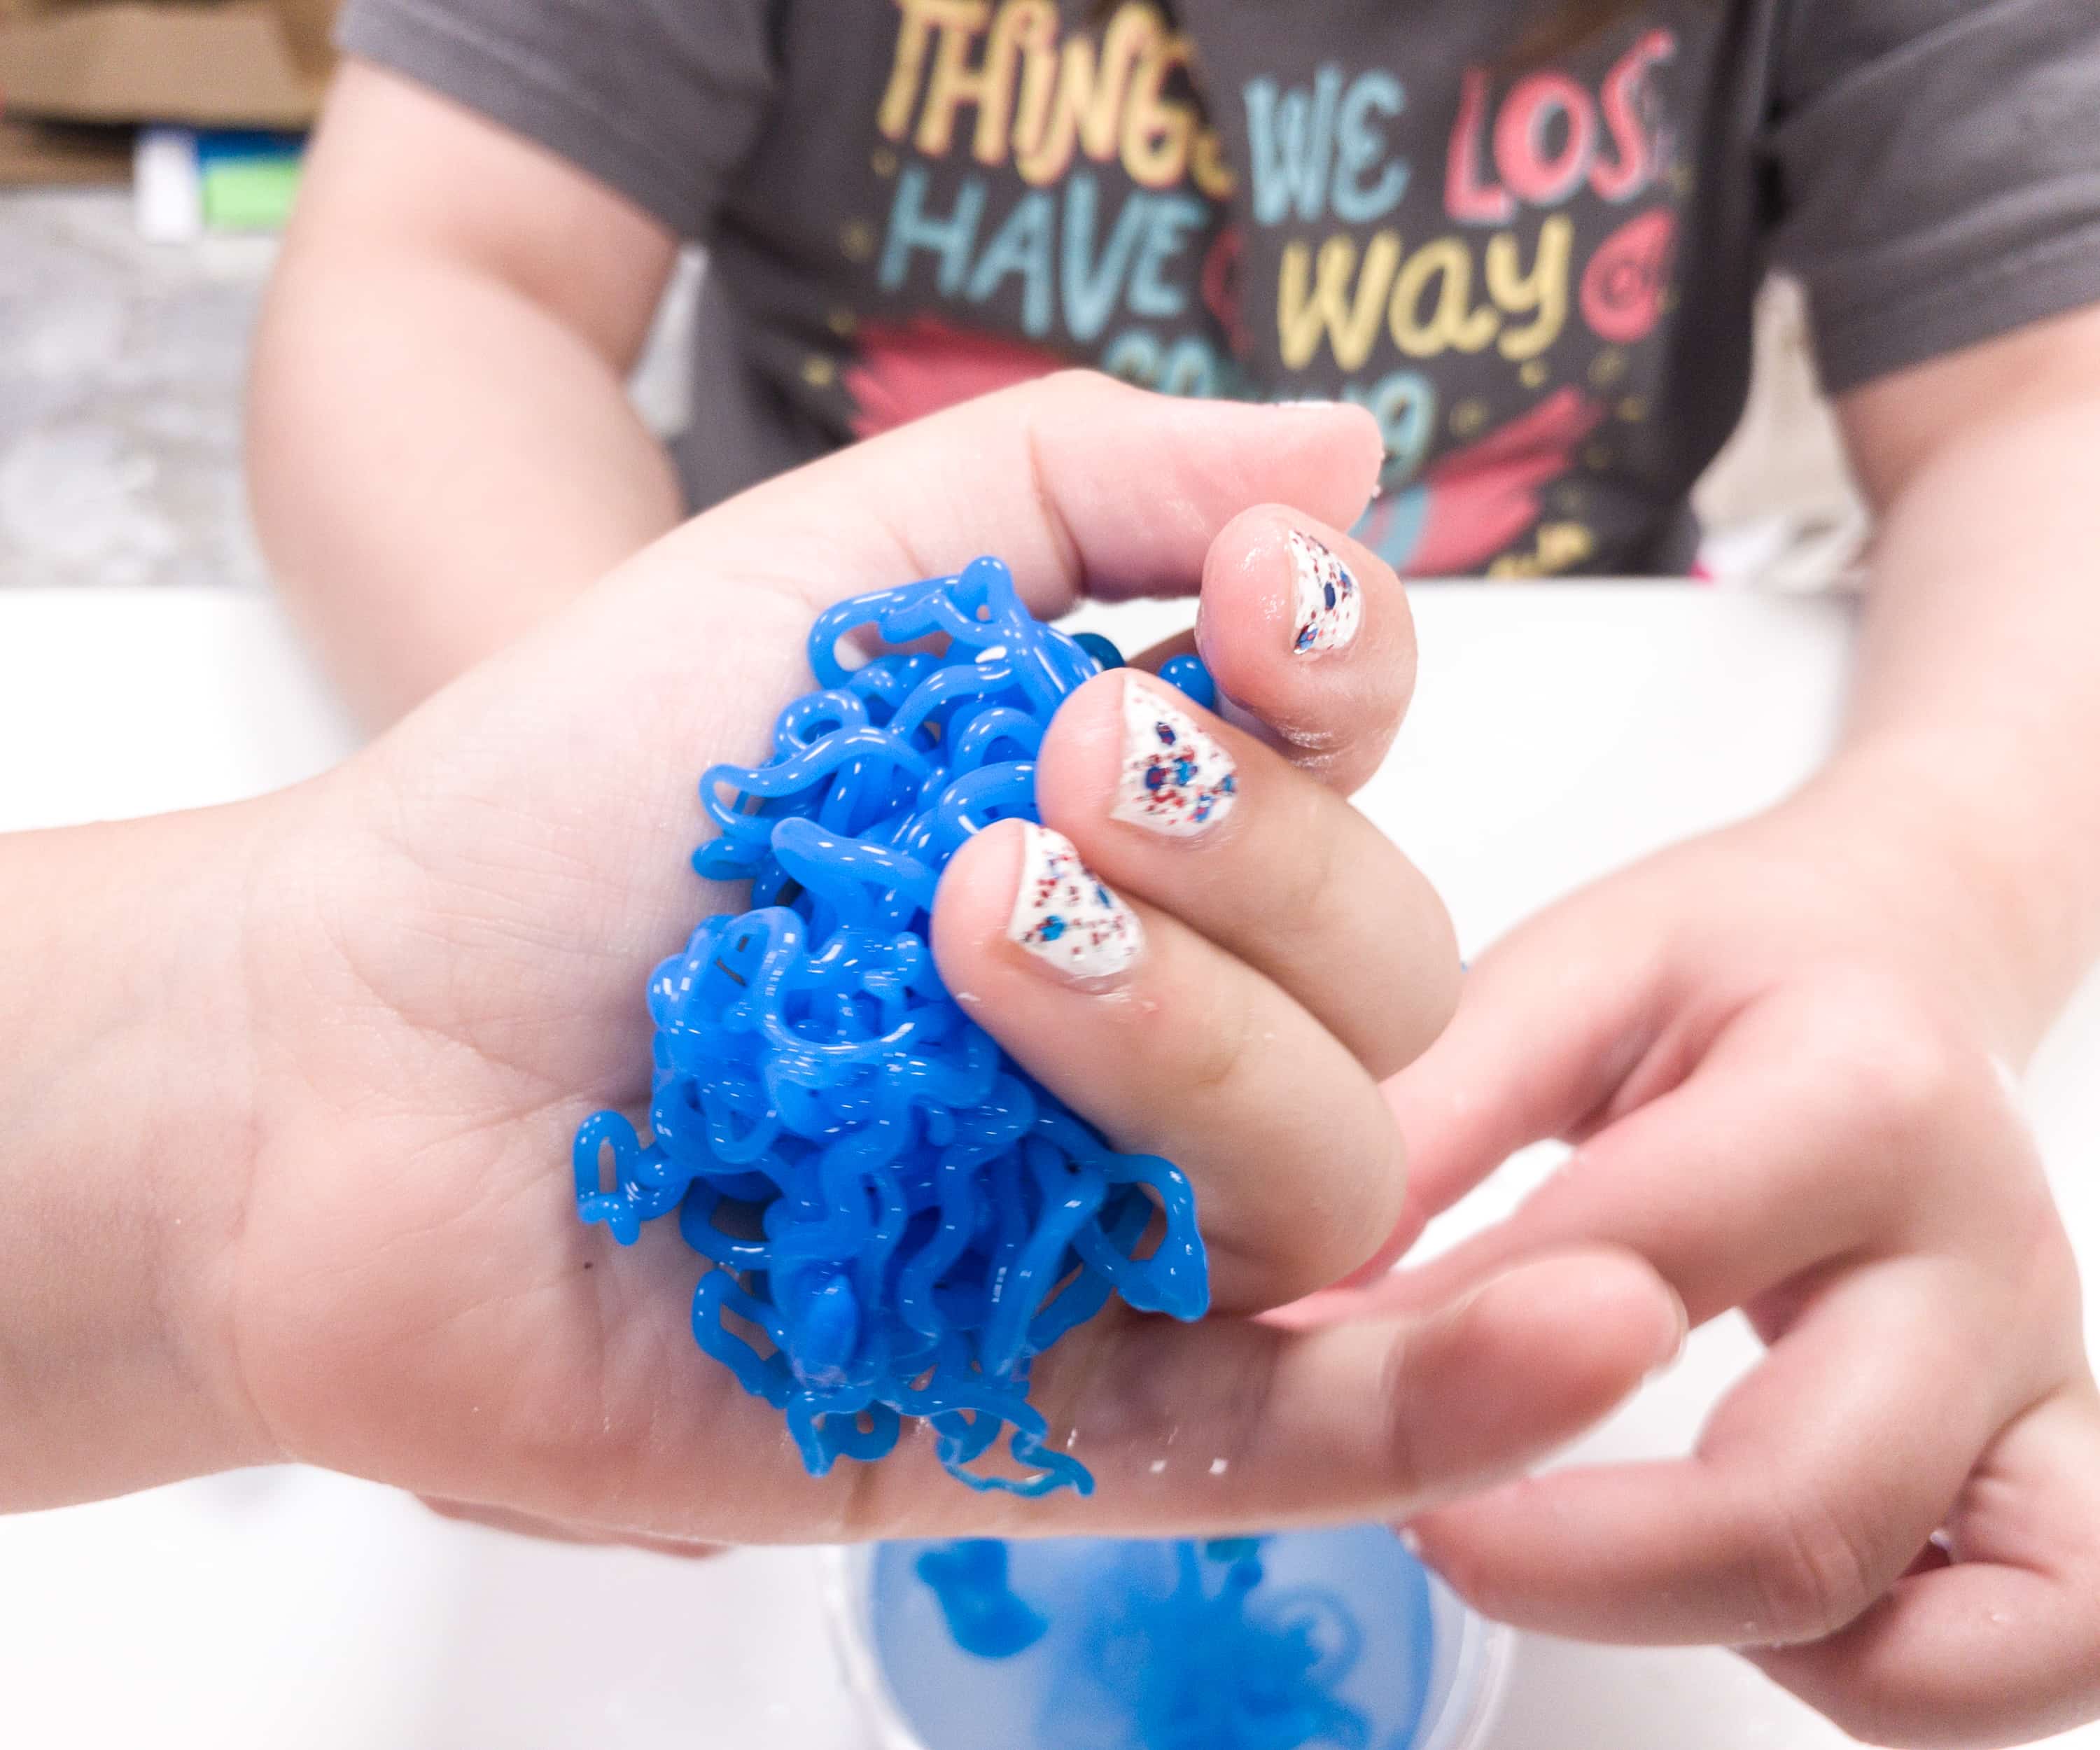
They actually look like blue noodles! You can refrigerate the string slime for future use but if you want to discard it, there’s nothing to worry about because it contains safe ingredients and it can go directly to the trash. Also, the activator solution can go down the drain.
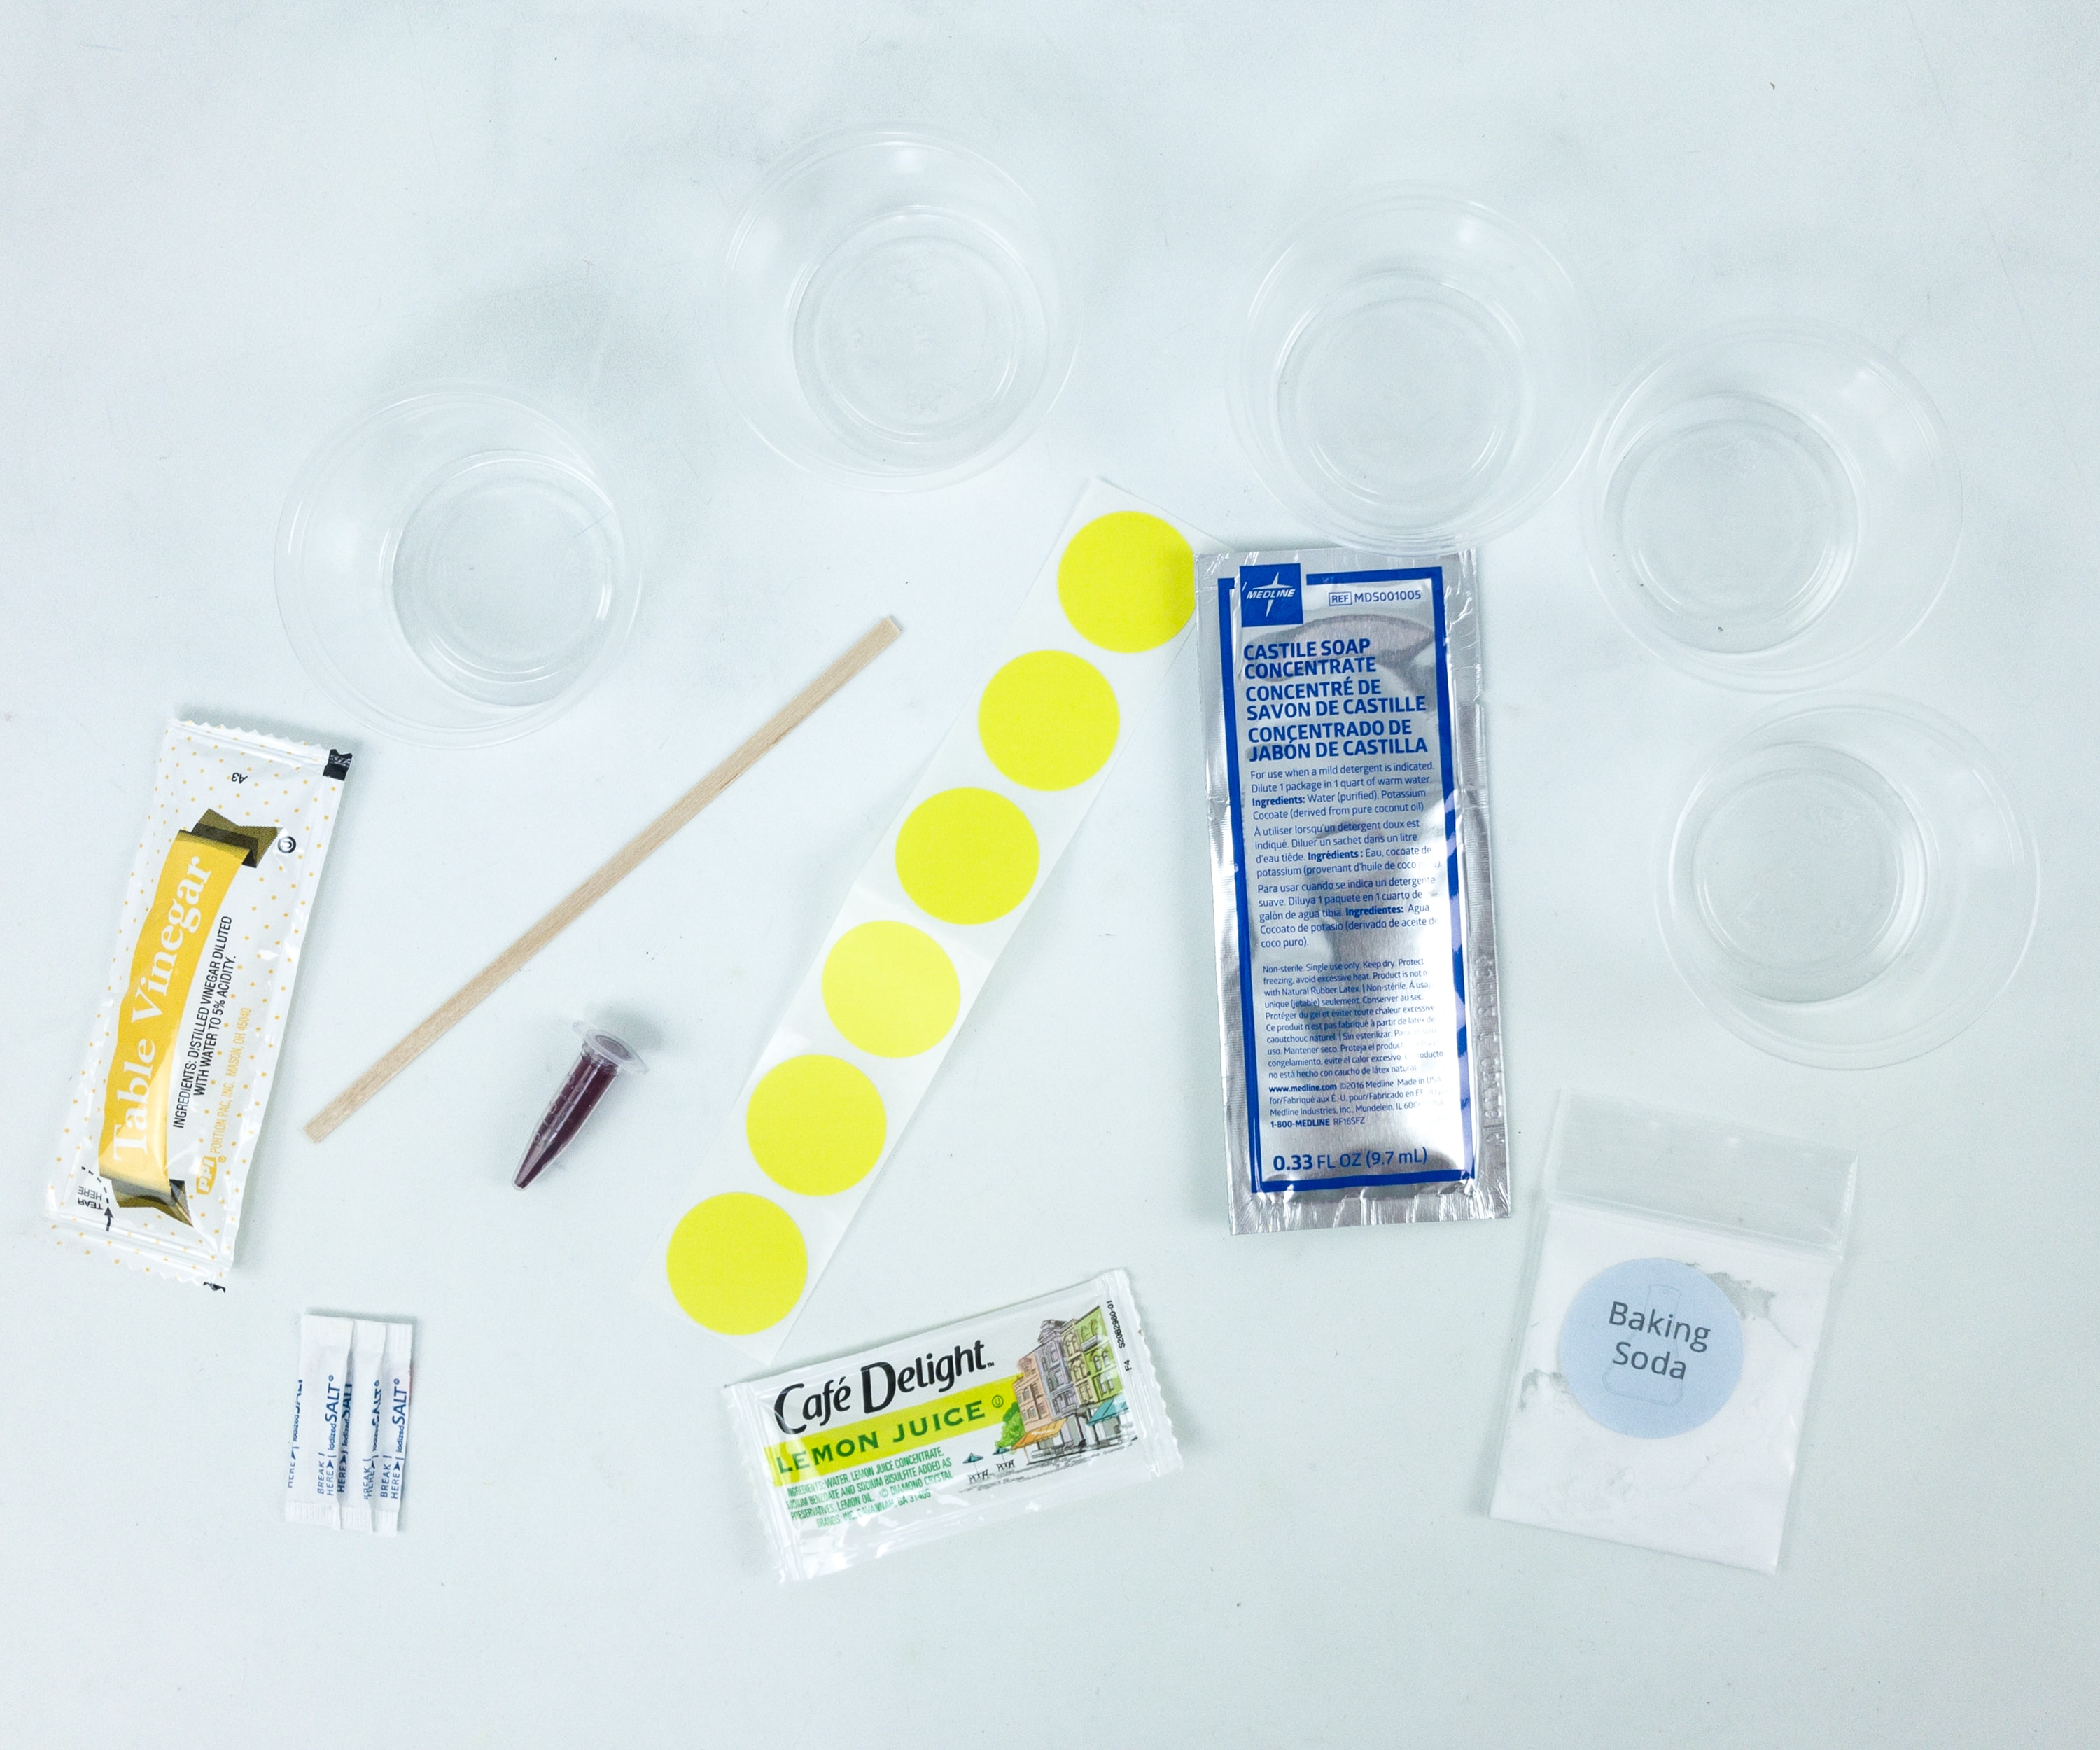
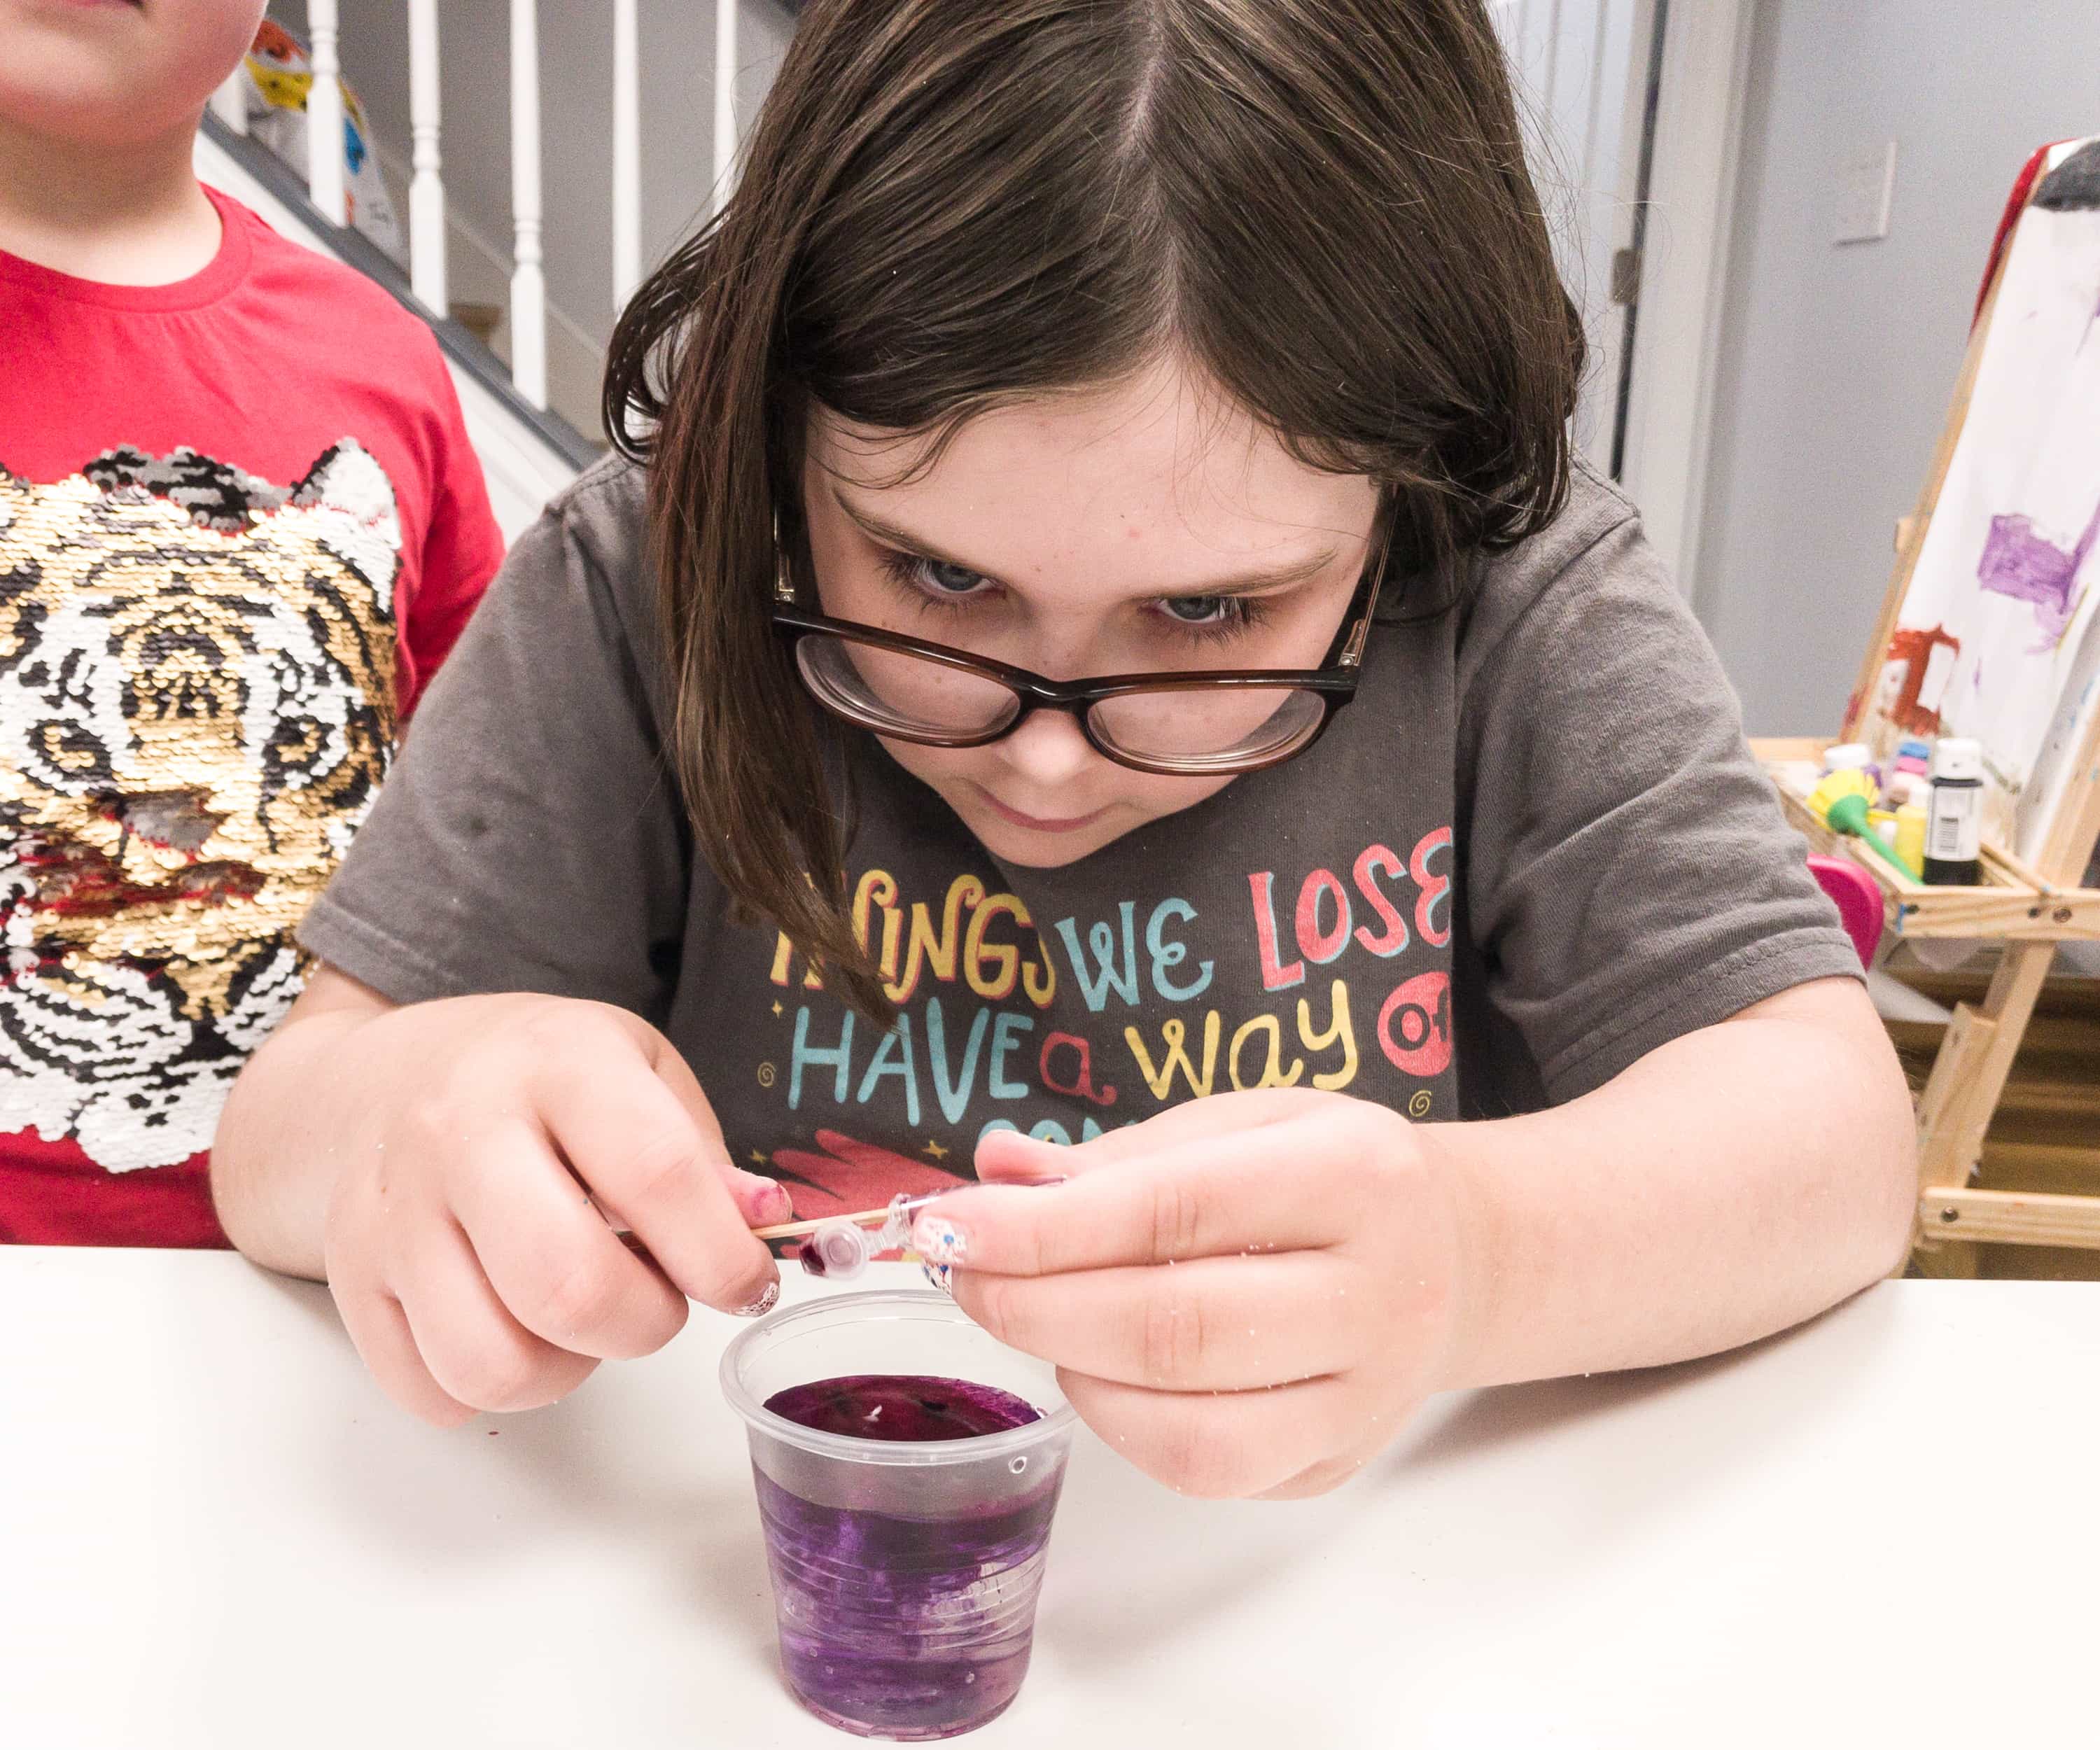
Project #3: pH Testing. For the last project, we got quite a bunch of materials like a red cabbage indicator, lemon juice, table vinegar, castile soap, baking soda, salt, stirrer, sticker labels, and cups.
My daughter made the red cabbage indicator by mixing the red cabbage powder with water.
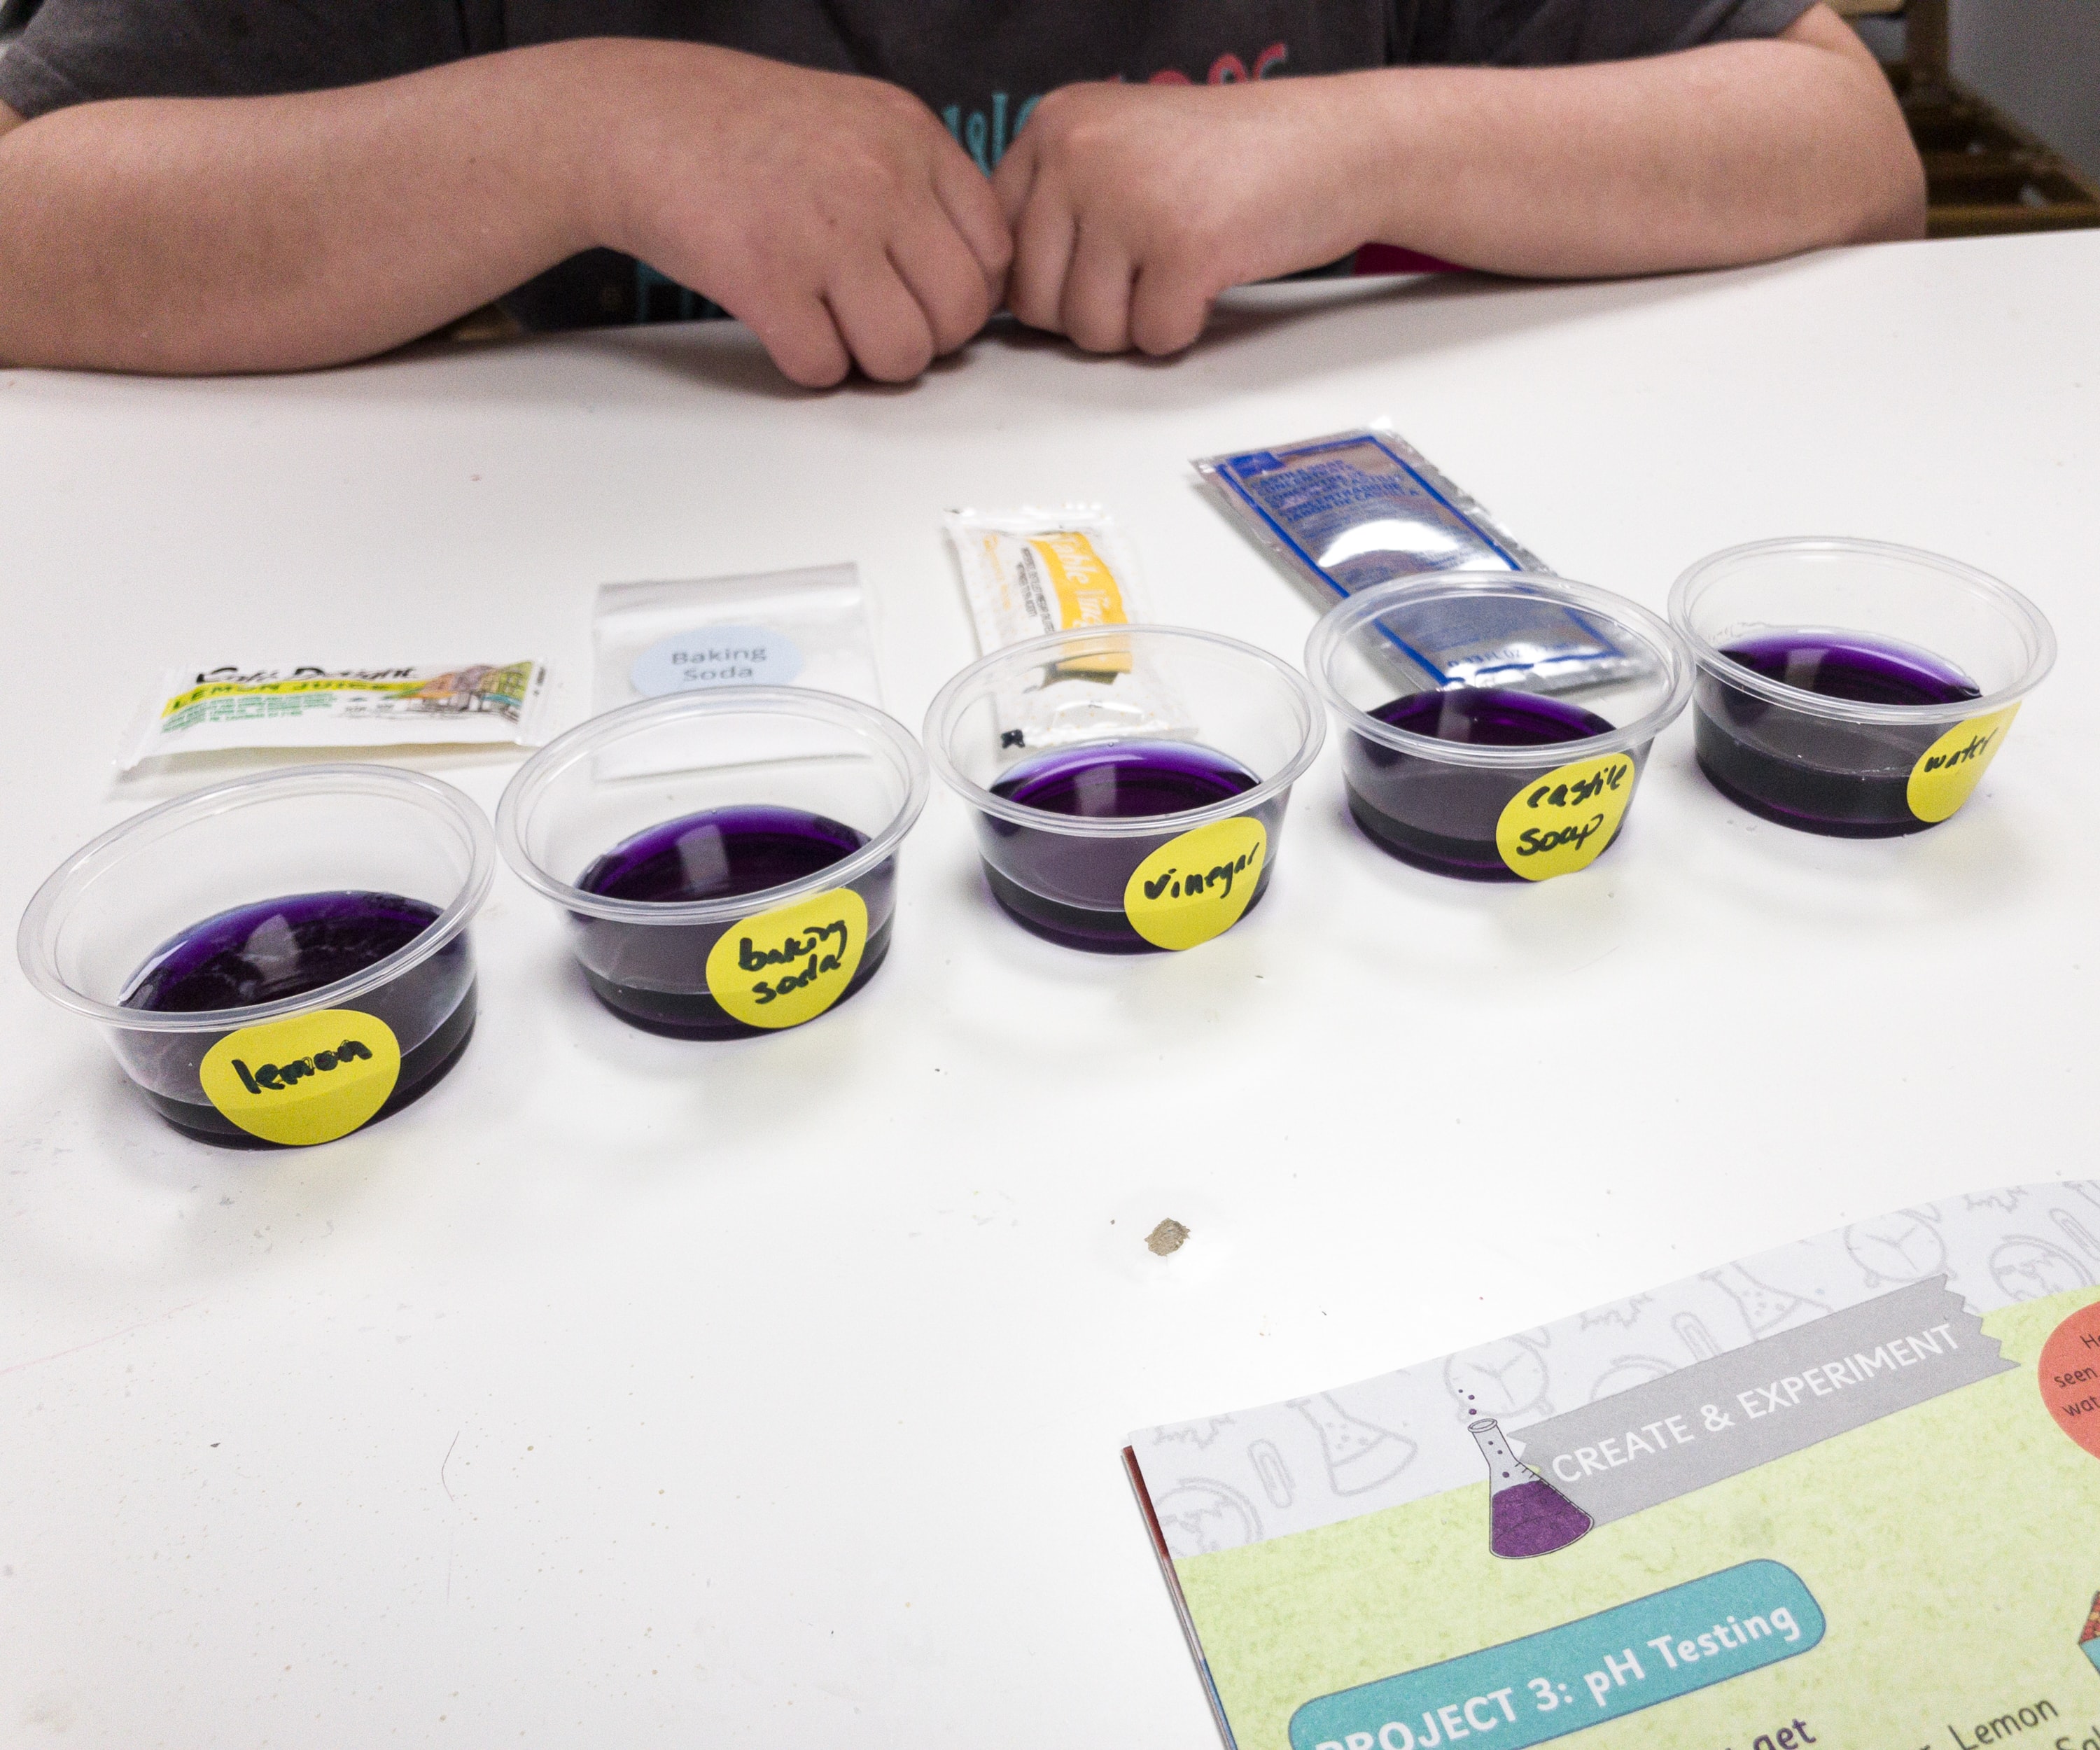
Then, equally, the kids divided the solution to the 5 labeled cups.
My daughter went back on reading the instructions for this project.
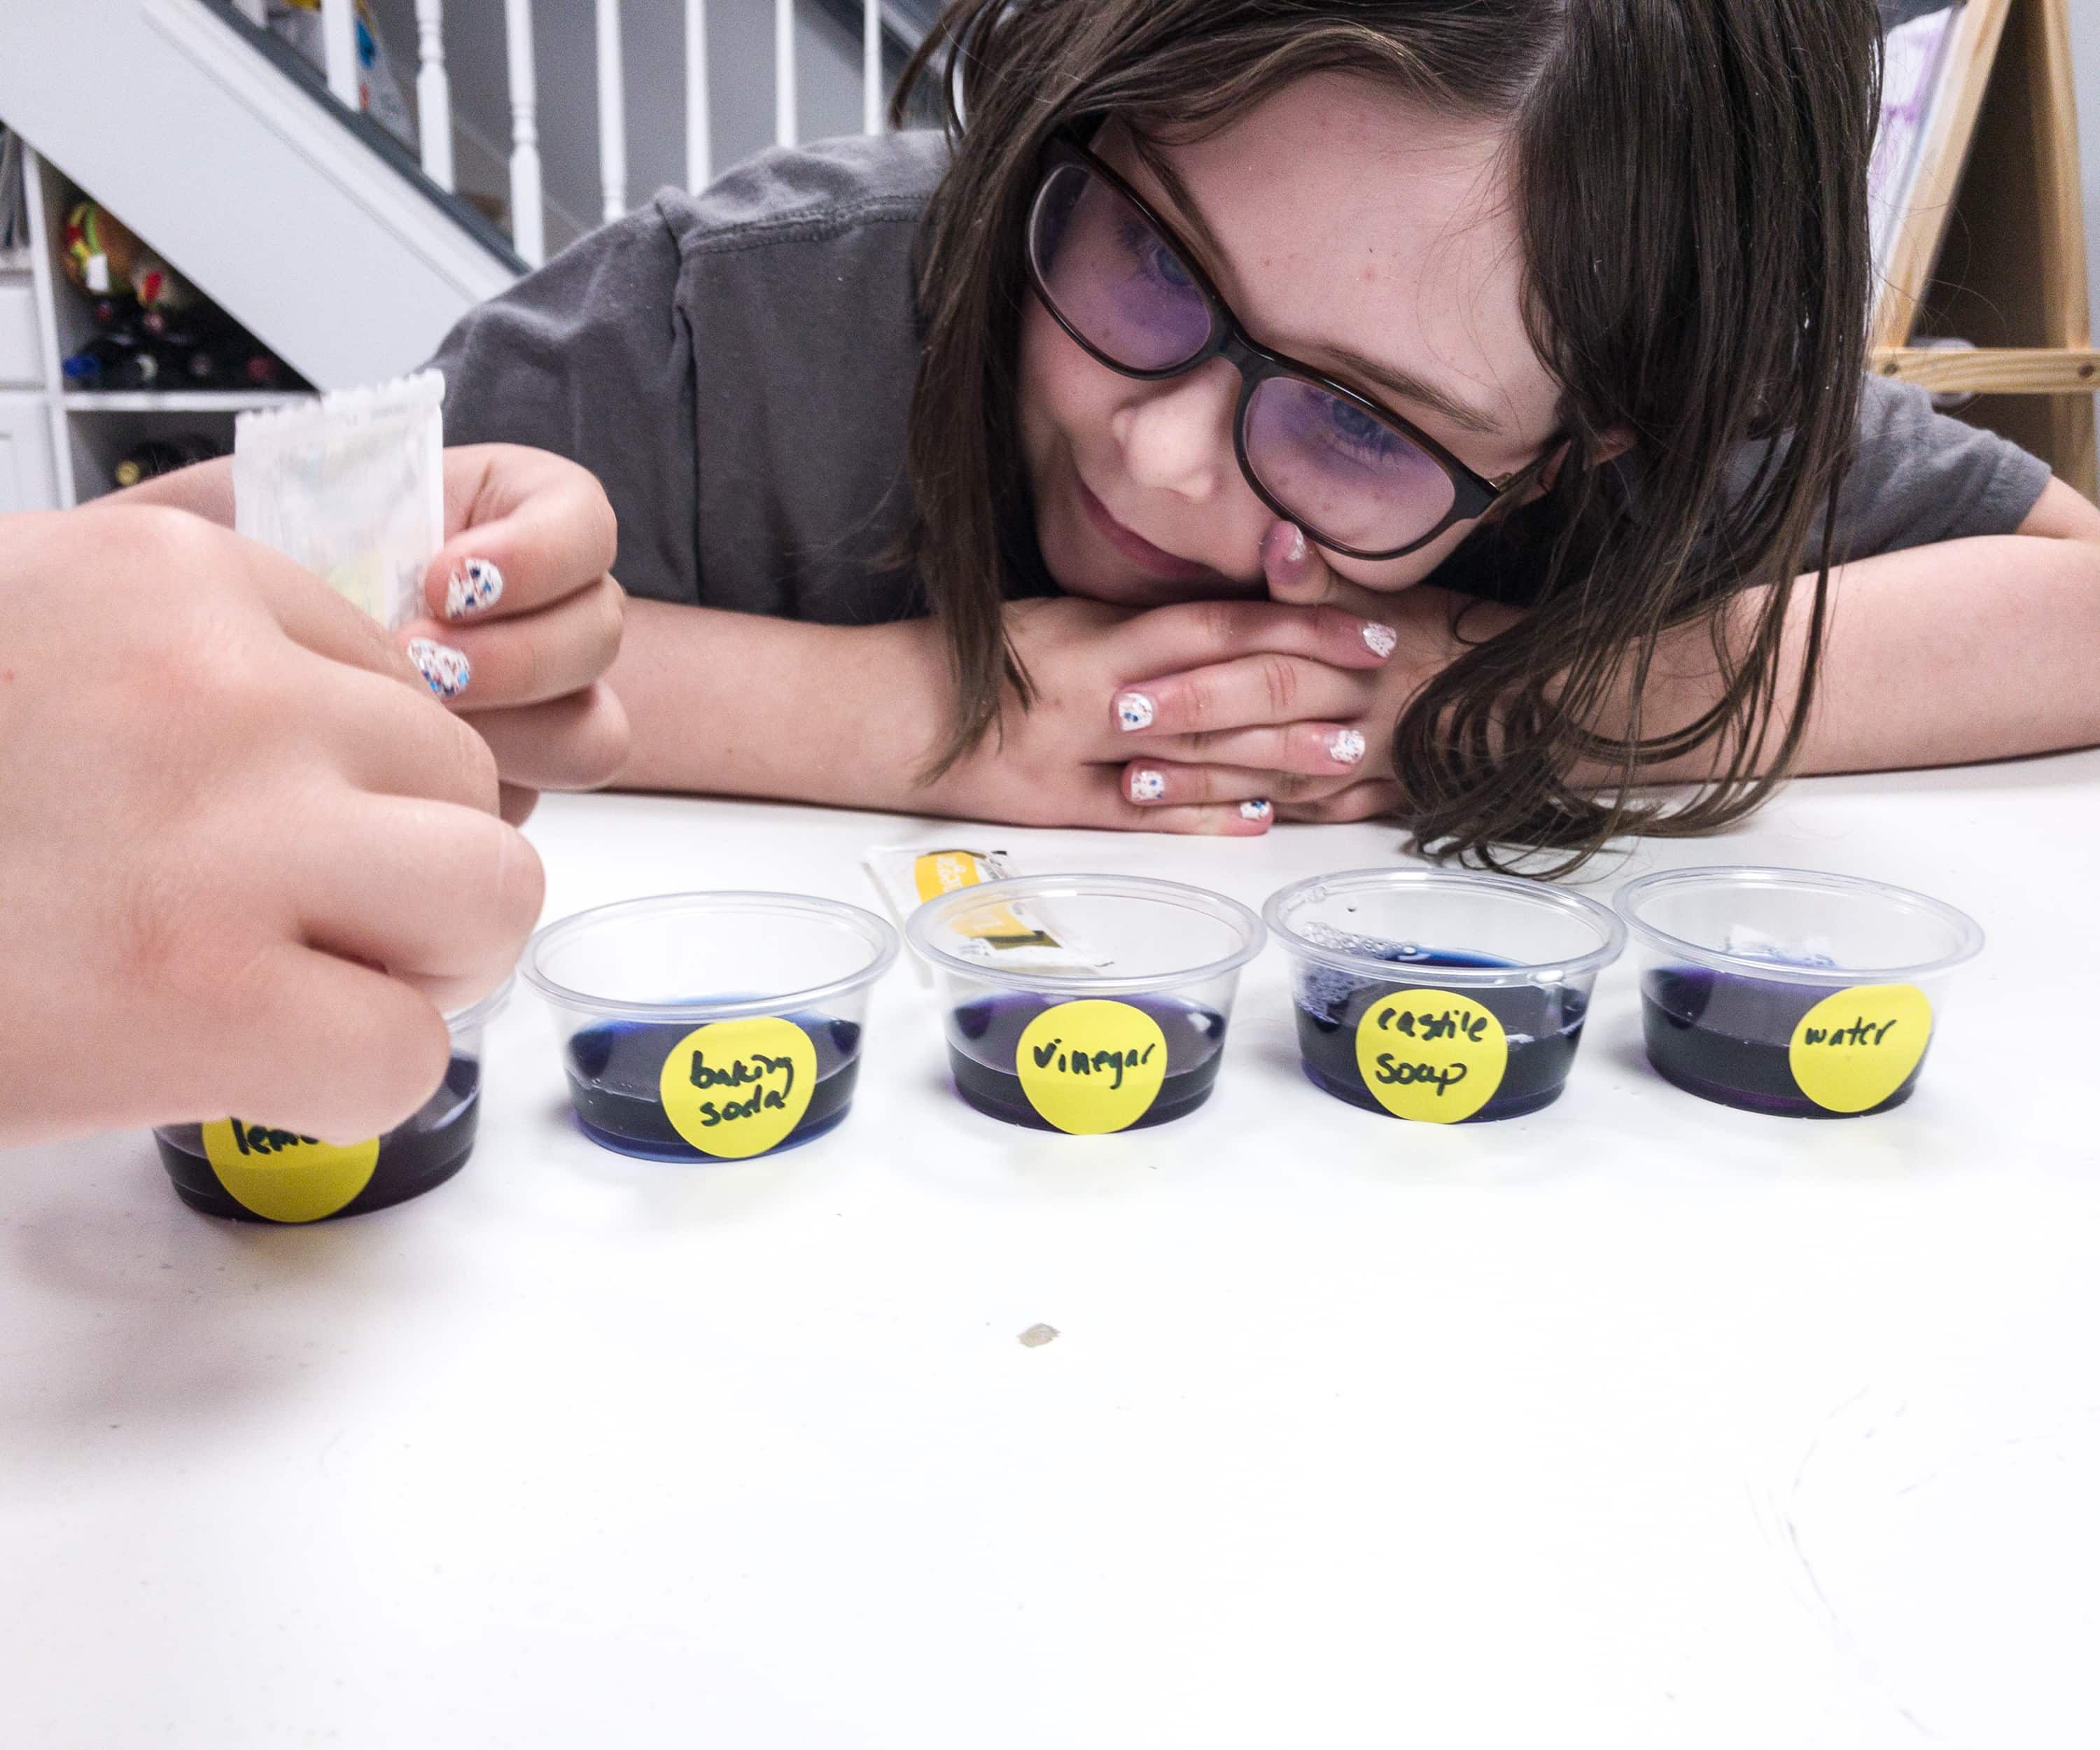
It’s time to add the lemon juice, baking soda, vinegar, castile soap, and water to their respective labeled cups.
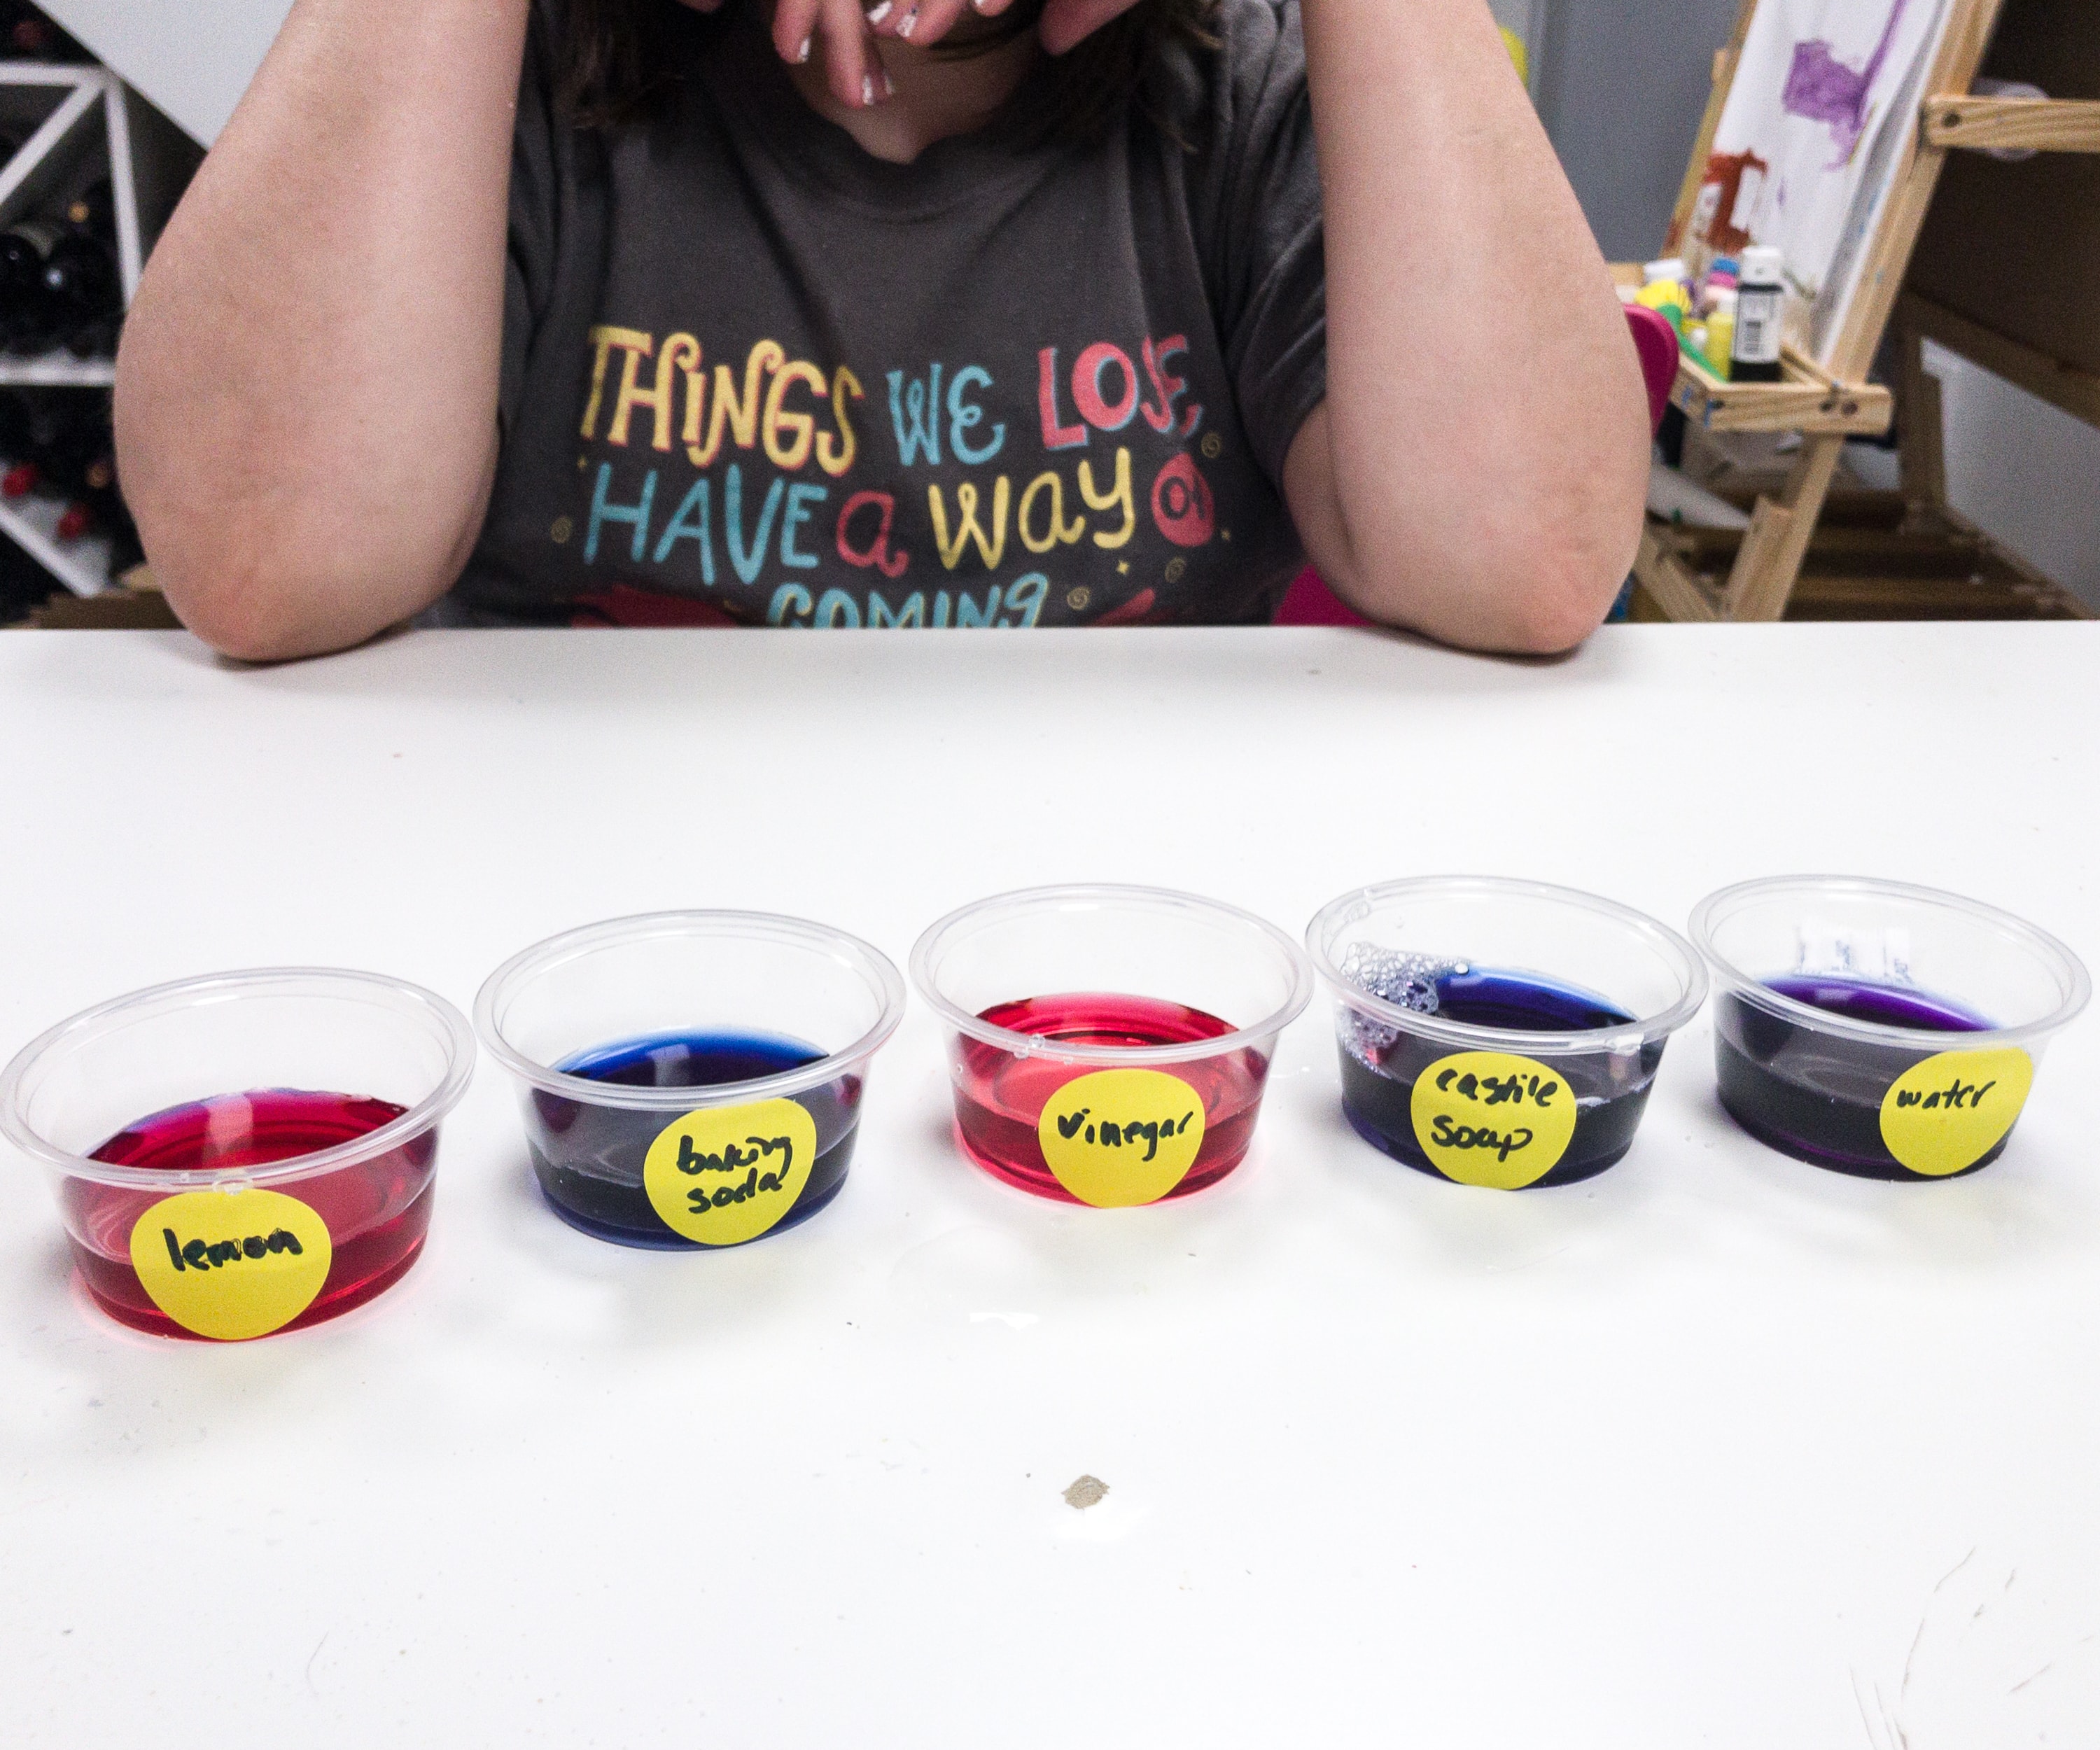
Look how the solutions changed color! Now we can compare the solutions to the pH scale in the booklet. For the water solution, we added salt but still, nothing happened because salt has neutral pH. Lemon and vinegar are acidic according to the scale, while baking soda and castile soap are leaning to the alkaline (basic) side.
Chemistry projects are really fun! And we would love to do more chemistry-related projects from this box!
This month’s theme is really fun! When we talk about science experiments, we mostly think about chemistry-related ones, and this is it! My kids enjoyed mixing and watching how these projects turn out from one thing to another. Everything consists of matter, so it’s just right that we learn about it. They also loved the slime string and the snow projects, as well as the pH project! Of course, they also learned which everyday items we use are acidic and alkaline. This is a nice way to introduce the kids to the fun and colorful world of chemistry, which is really a broad subject and can truly be an enjoyable one!
Has your family tried Green Kid Crafts?


Comments