
Annie’s Creative Girls Club sends craft activities for girls ages 7-12! Each package ships every 6 weeks or so, and it contains 2 project kits with easy-to-follow instructions and all the materials needed to get crafting with minimal adult supervision. Young girls will learn fun skills from this subscription, such as painting, beading, stitching, paper crafting, and more! The subscription costs $19.98 and shipping is $5.95 ($6.95 in Canada).
DEAL: Save0% off your first month! Just use this link to subscribe.
The package arrived in a bubble mailer with the Annie’s Creative Girls Club branding.
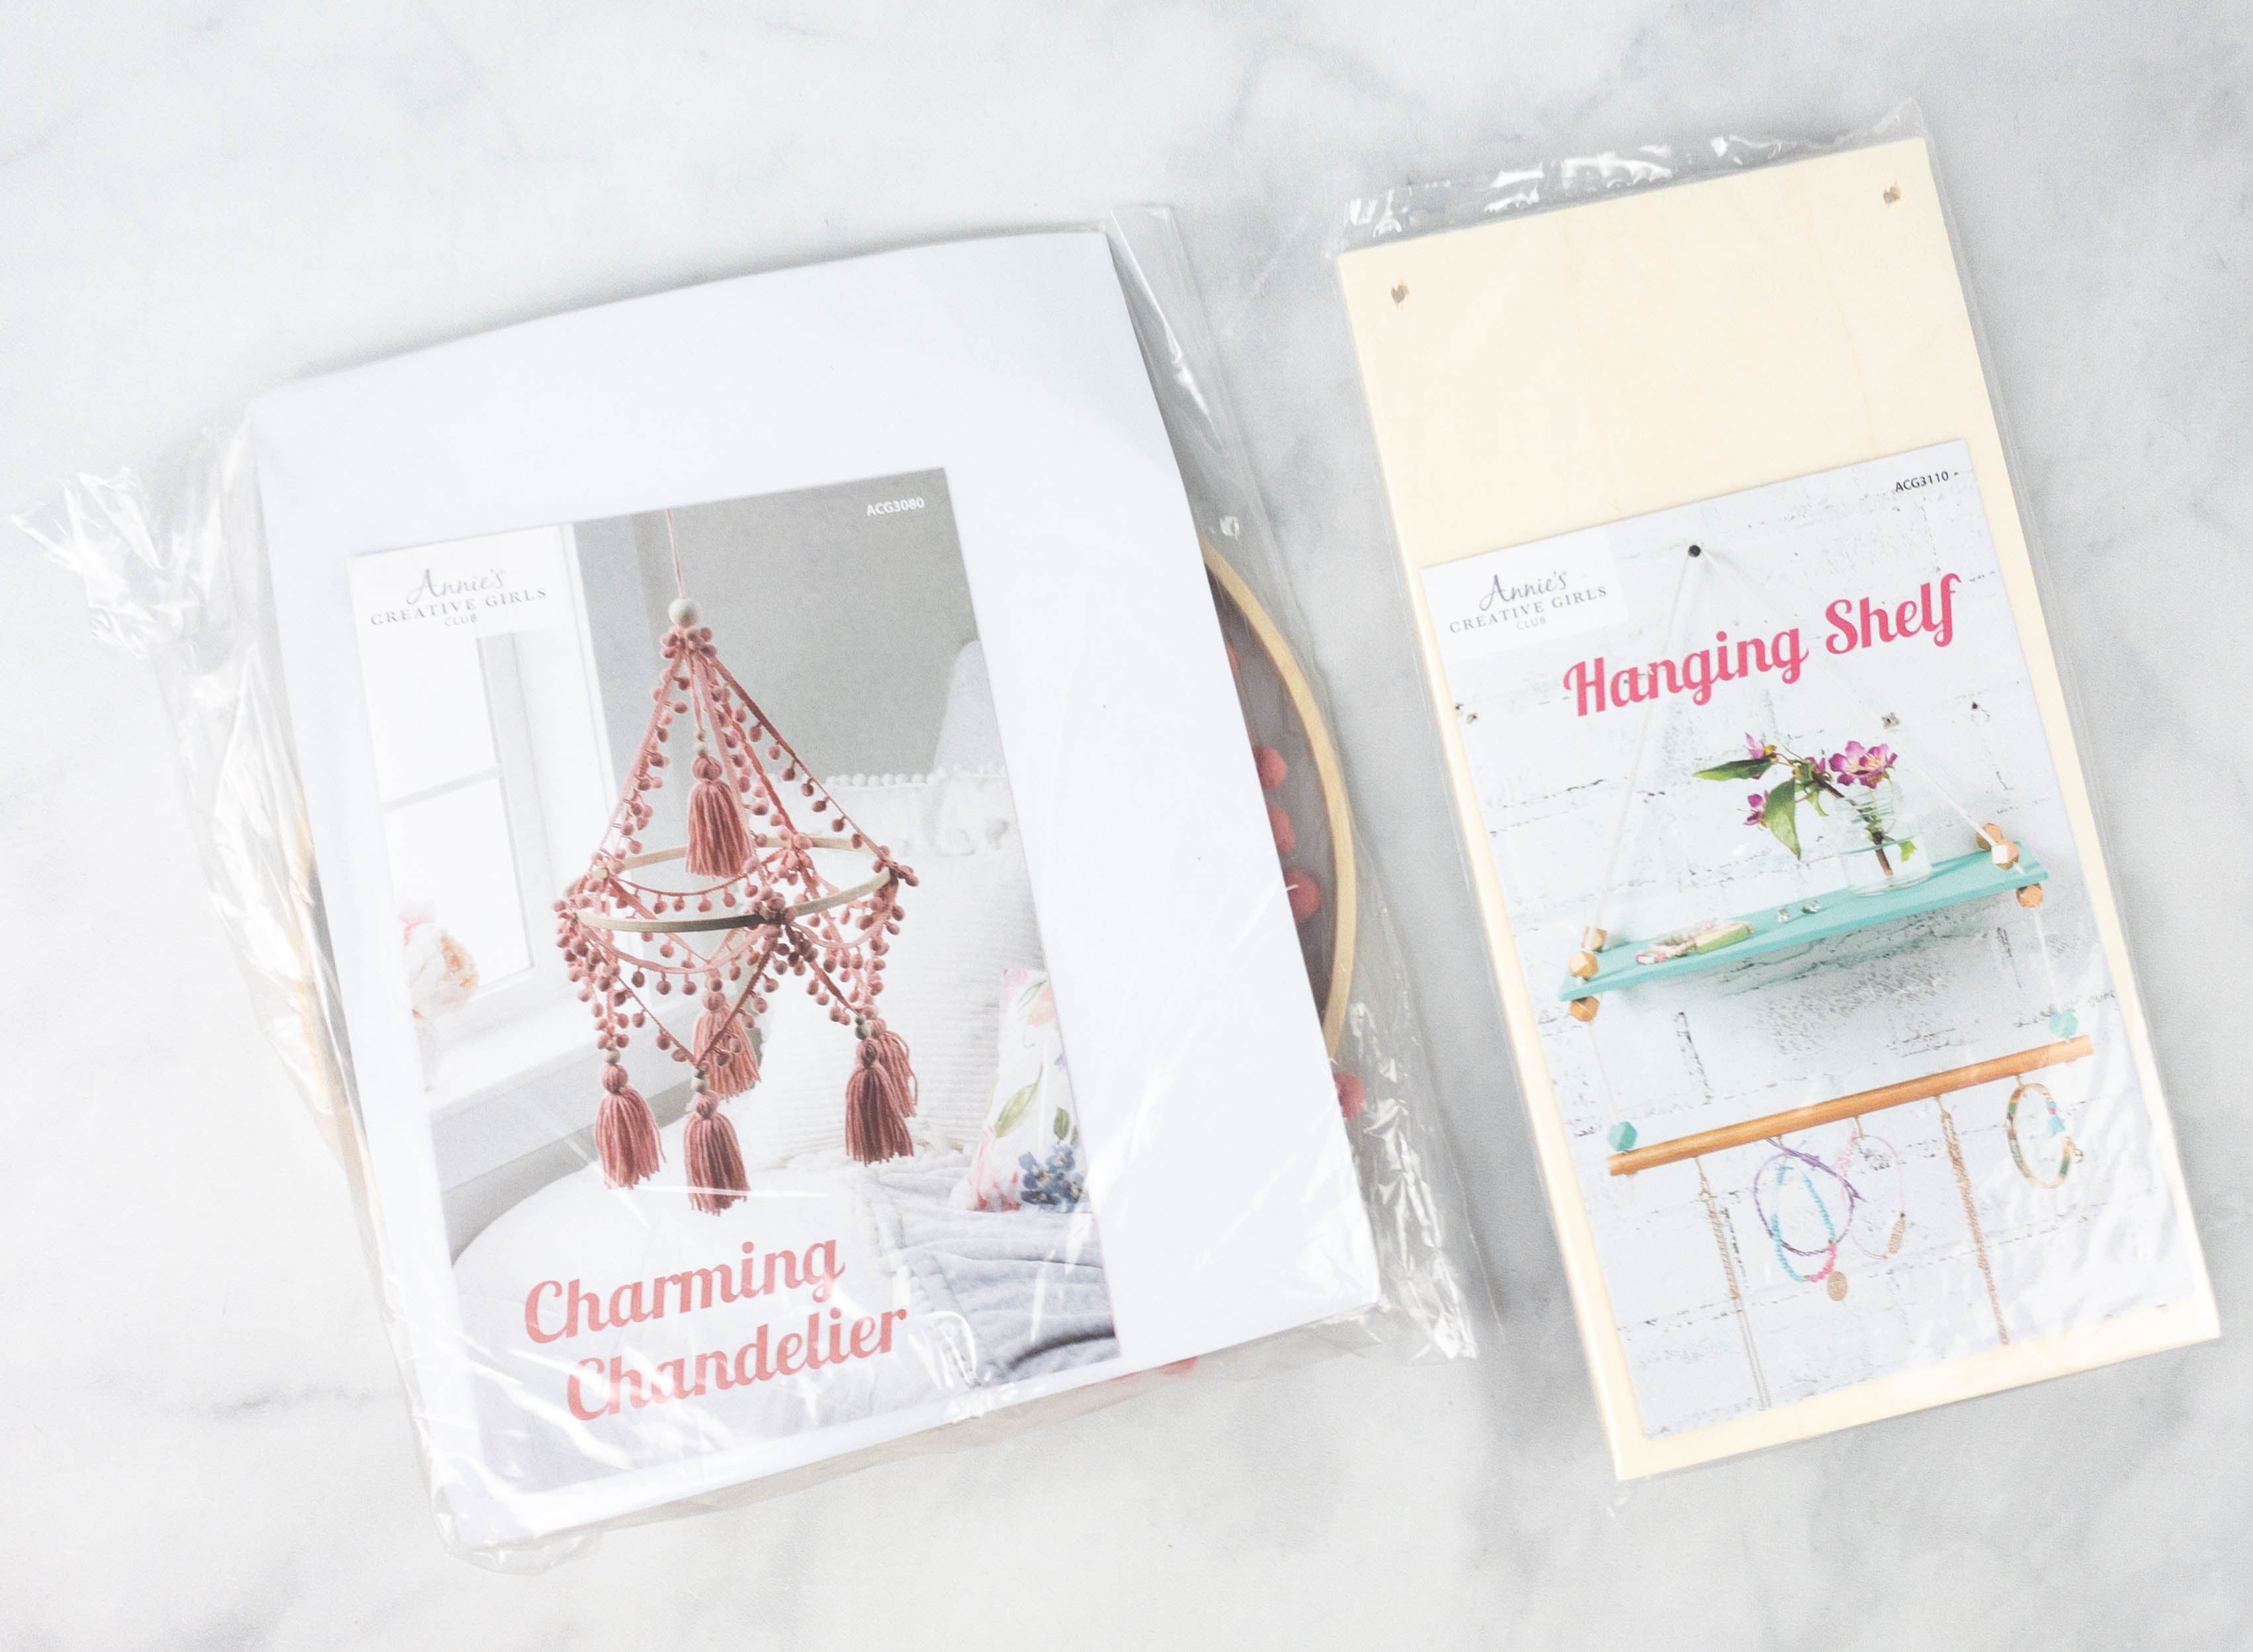
The kits were packed in plastic packaging.
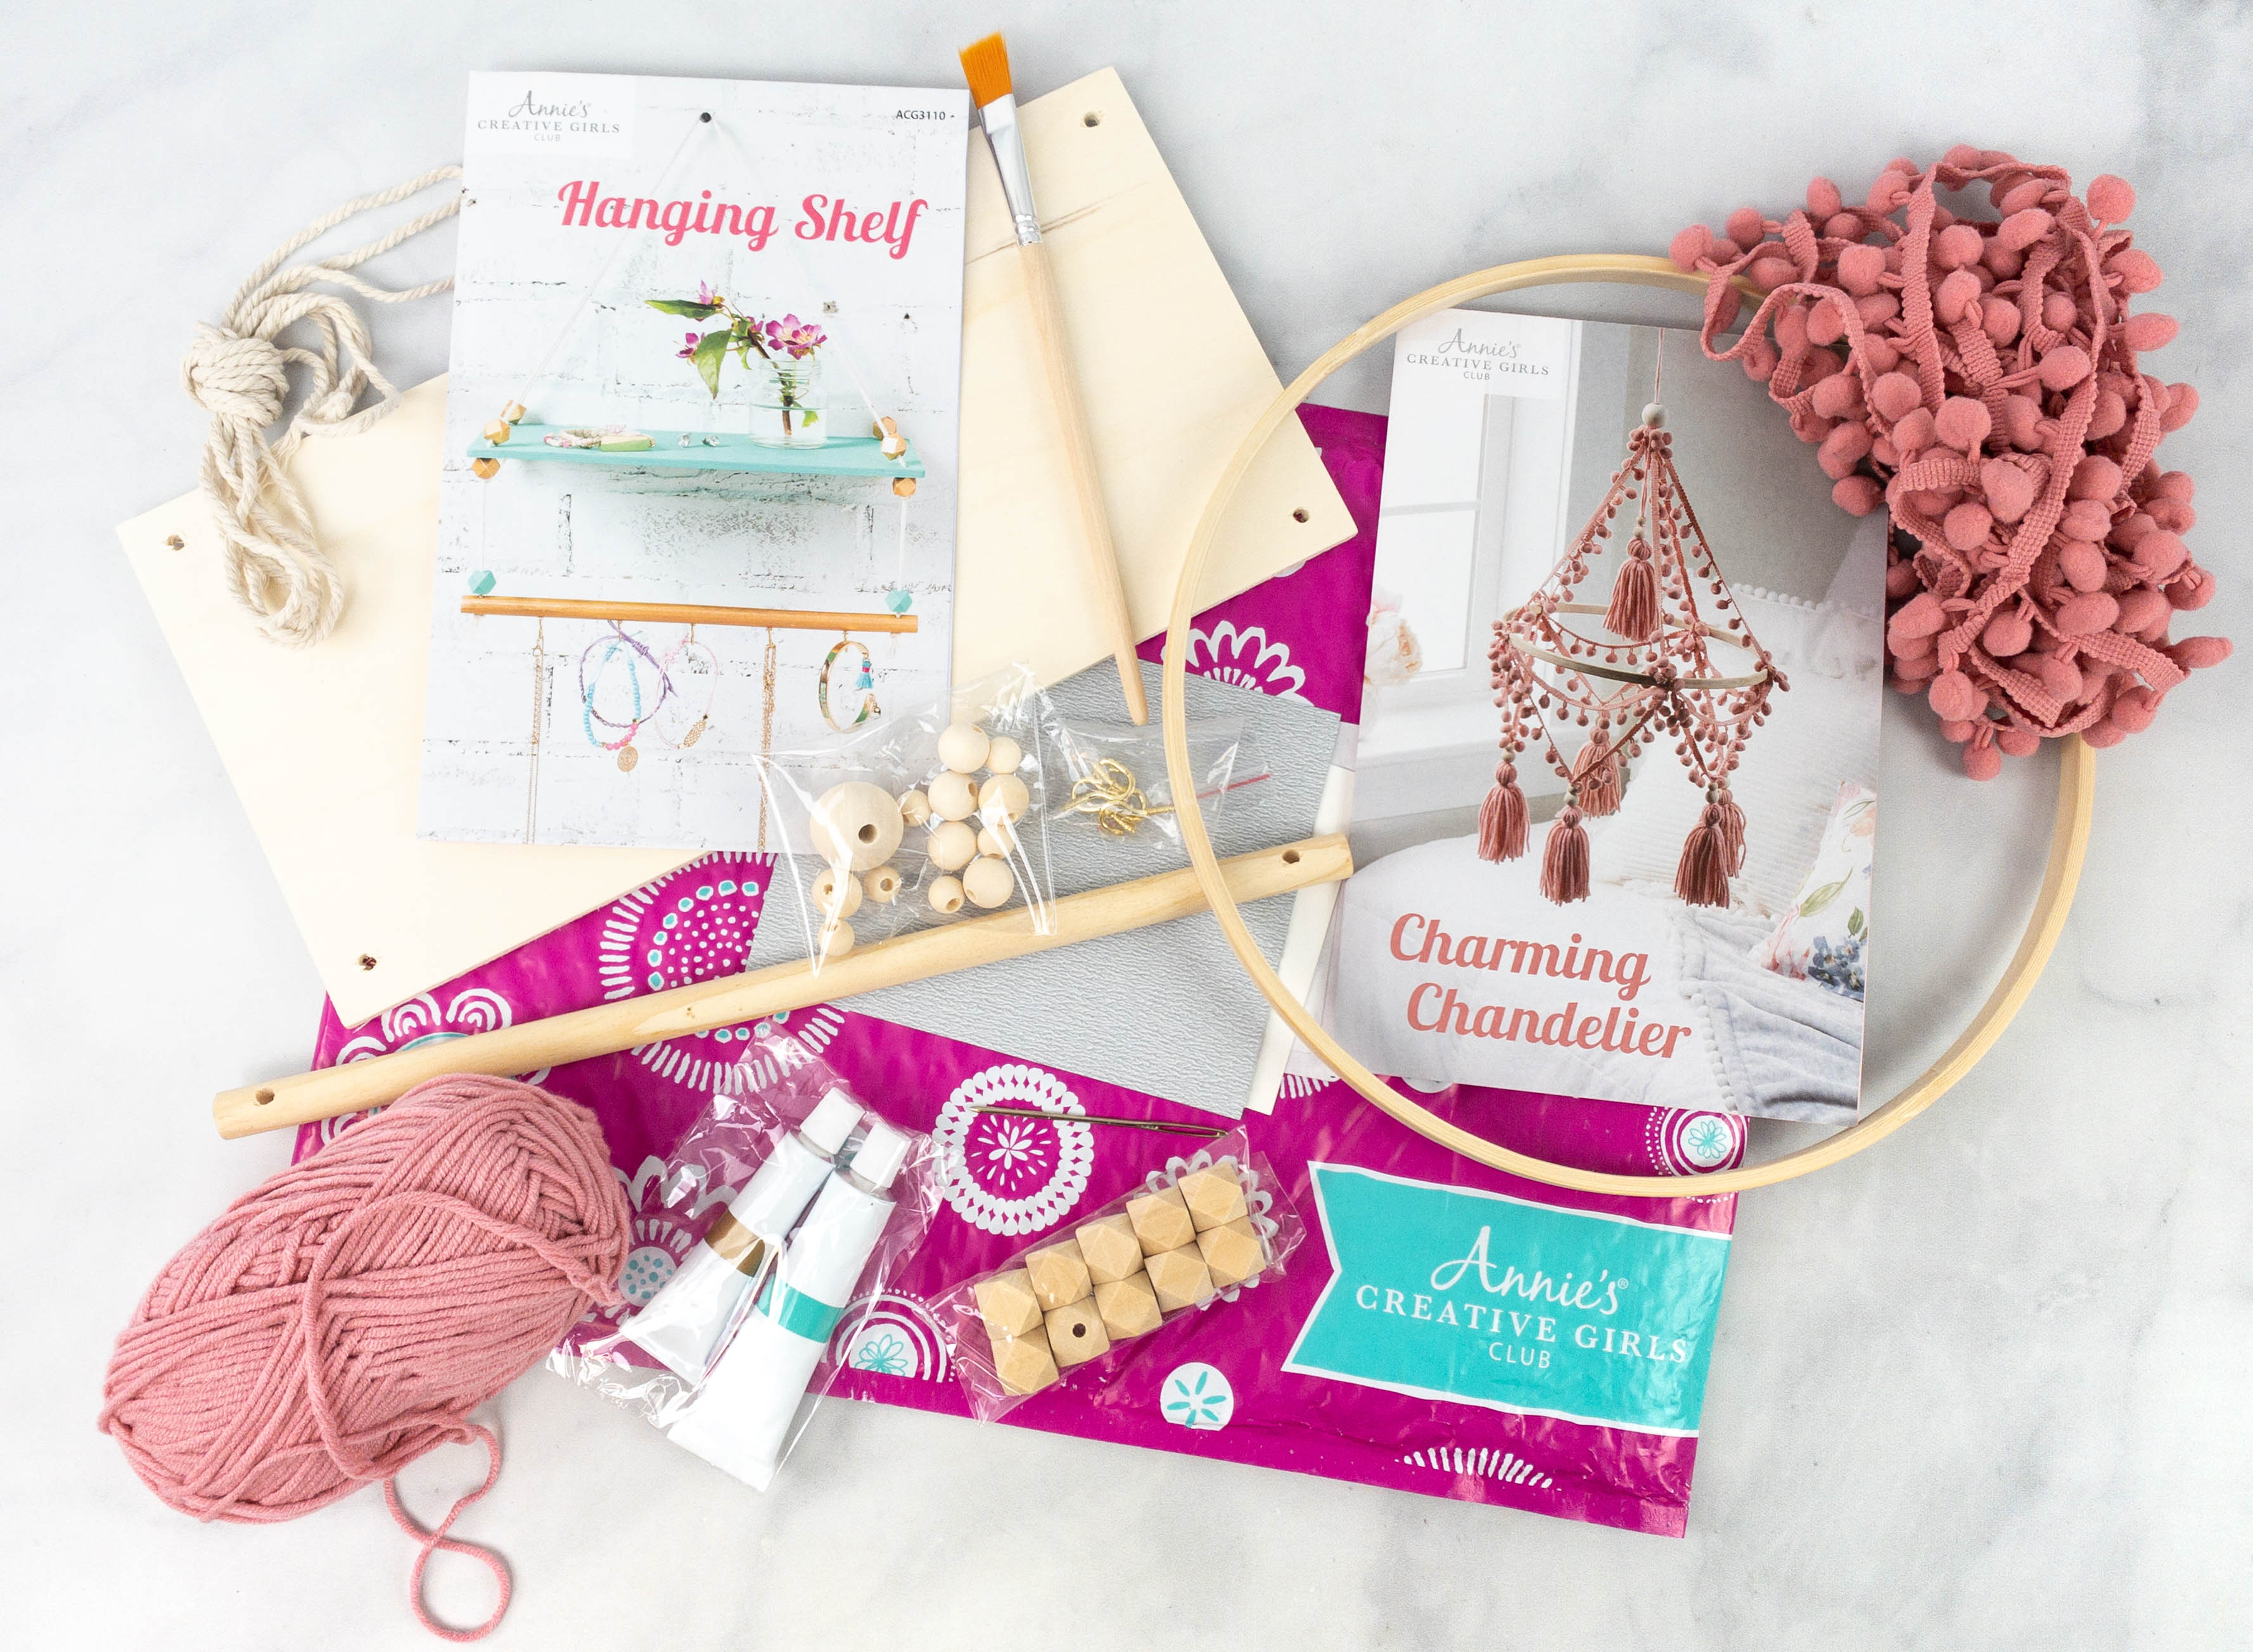
Everything in the package!
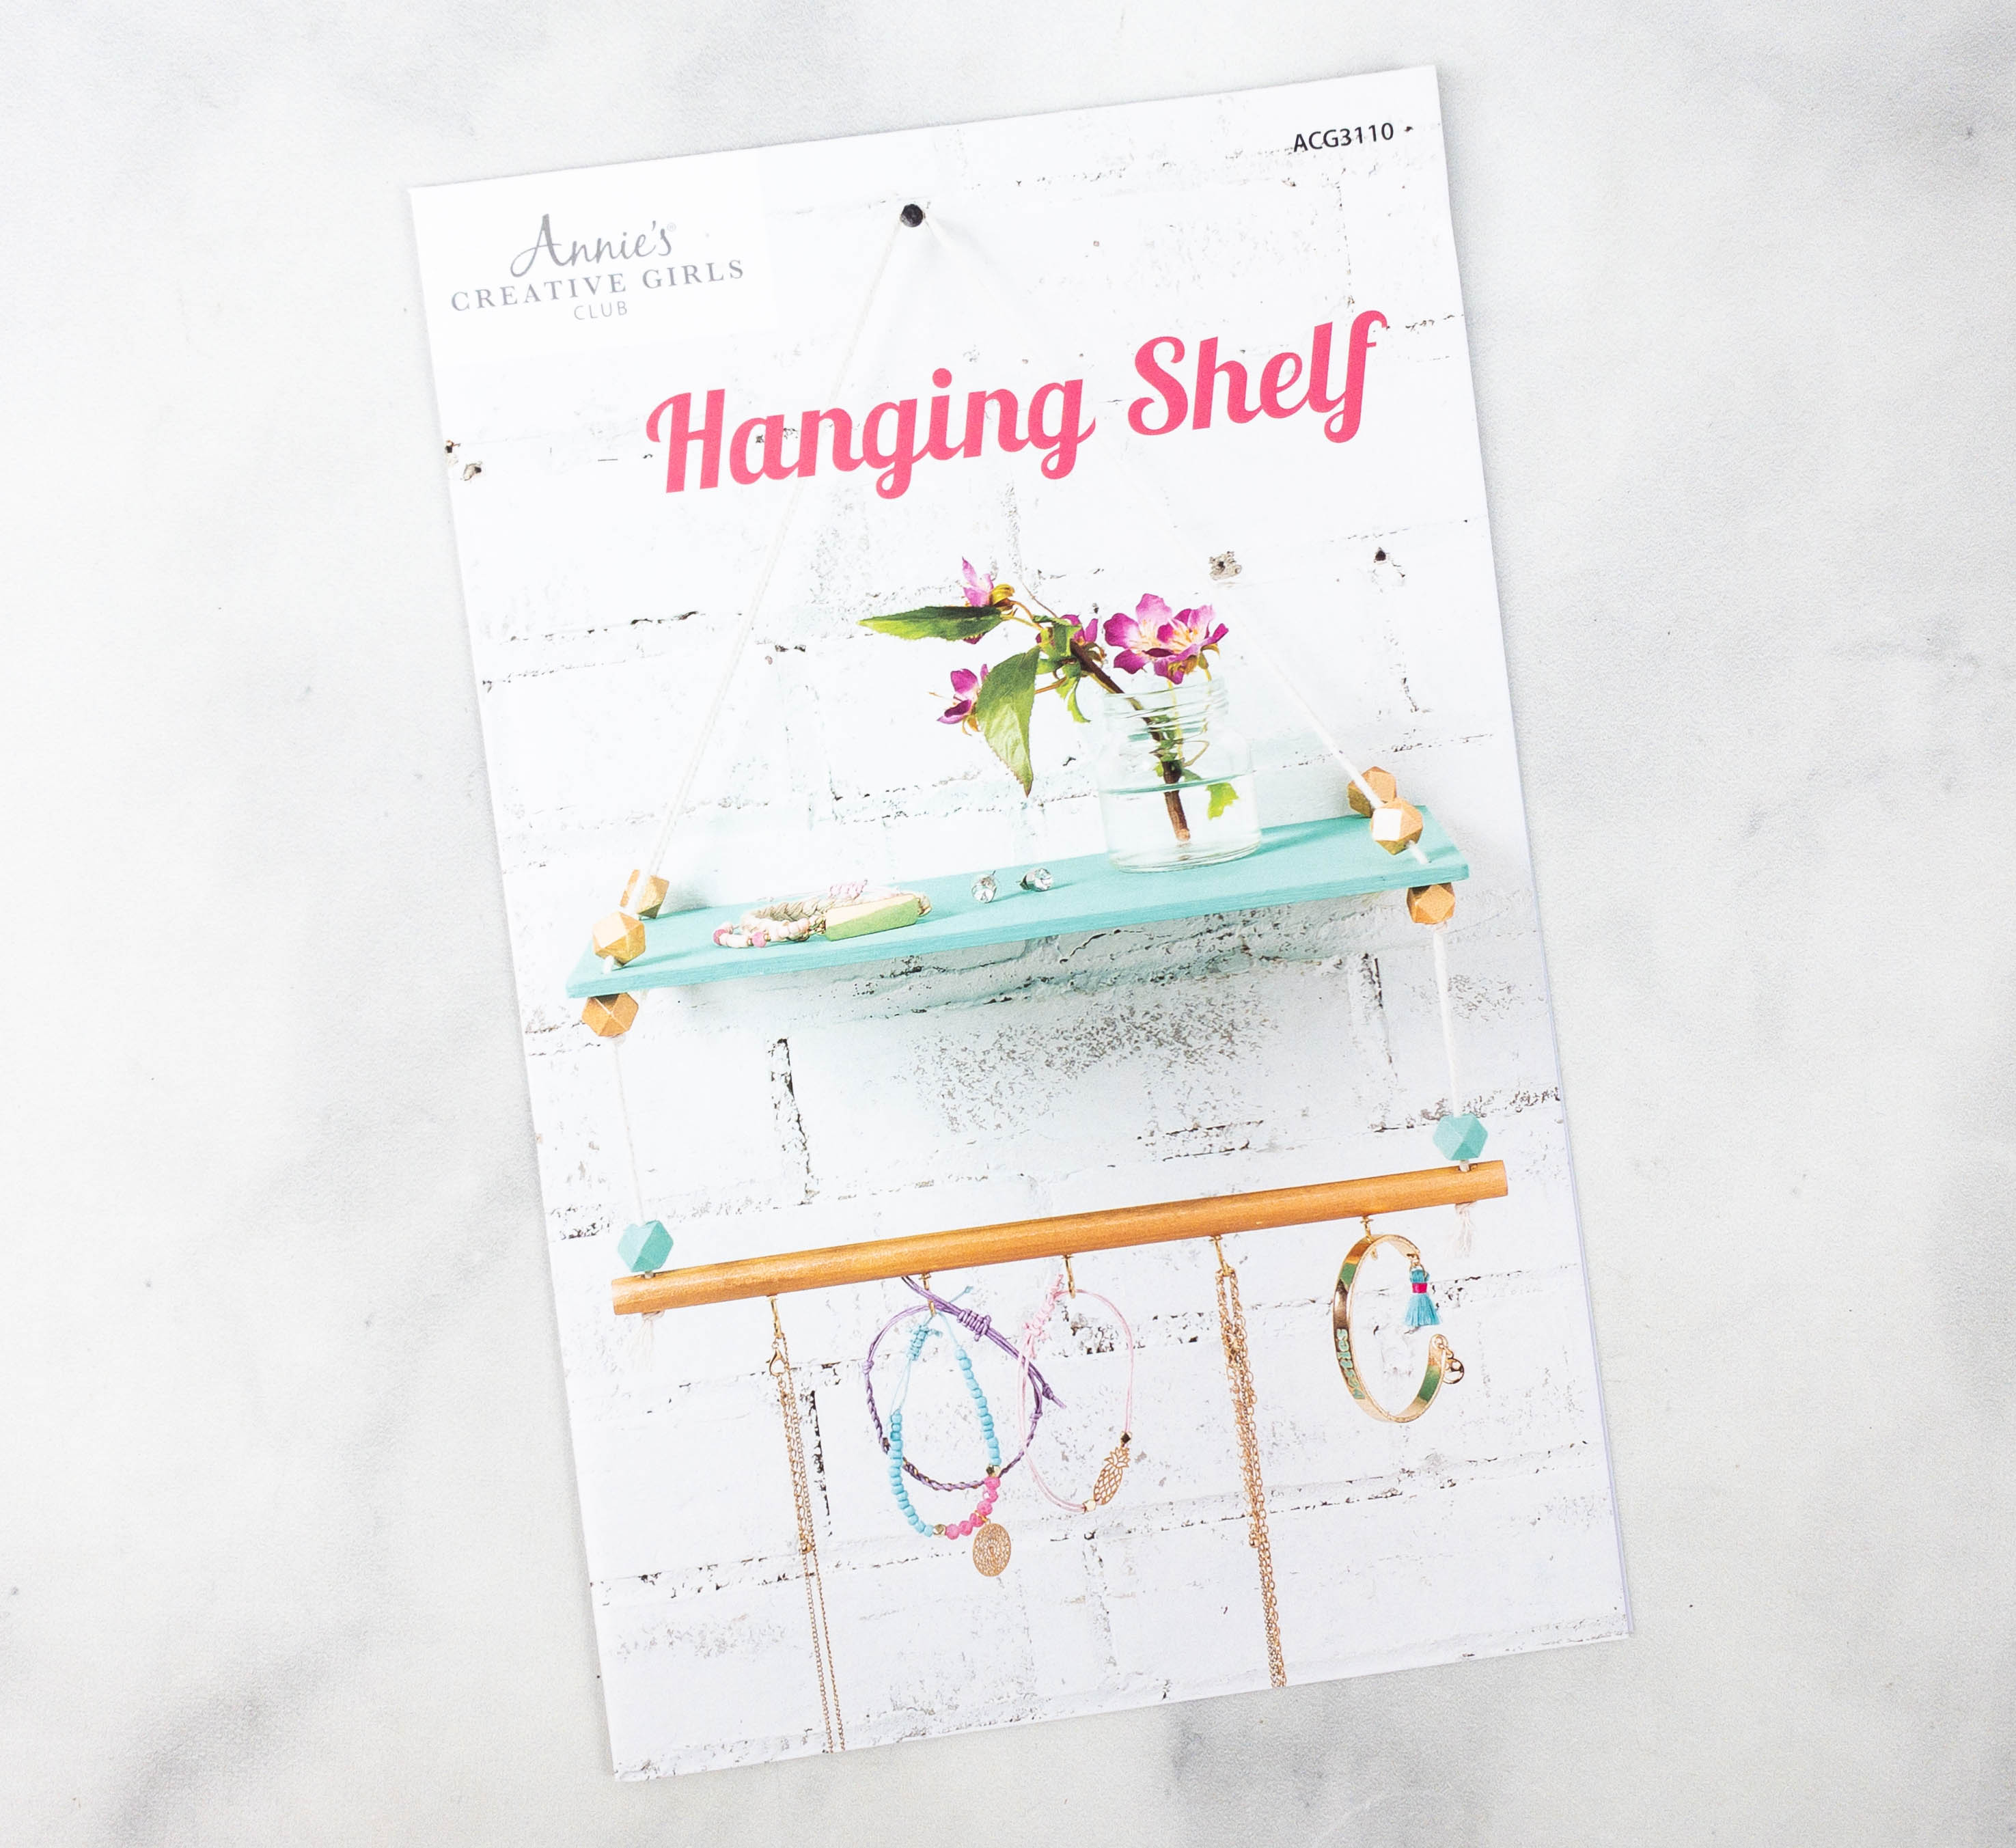
Hanging Shelf. For the first project, my daughter made a hanging shelf. There’s a mini booklet that shows what the finished product is supposed to look like.
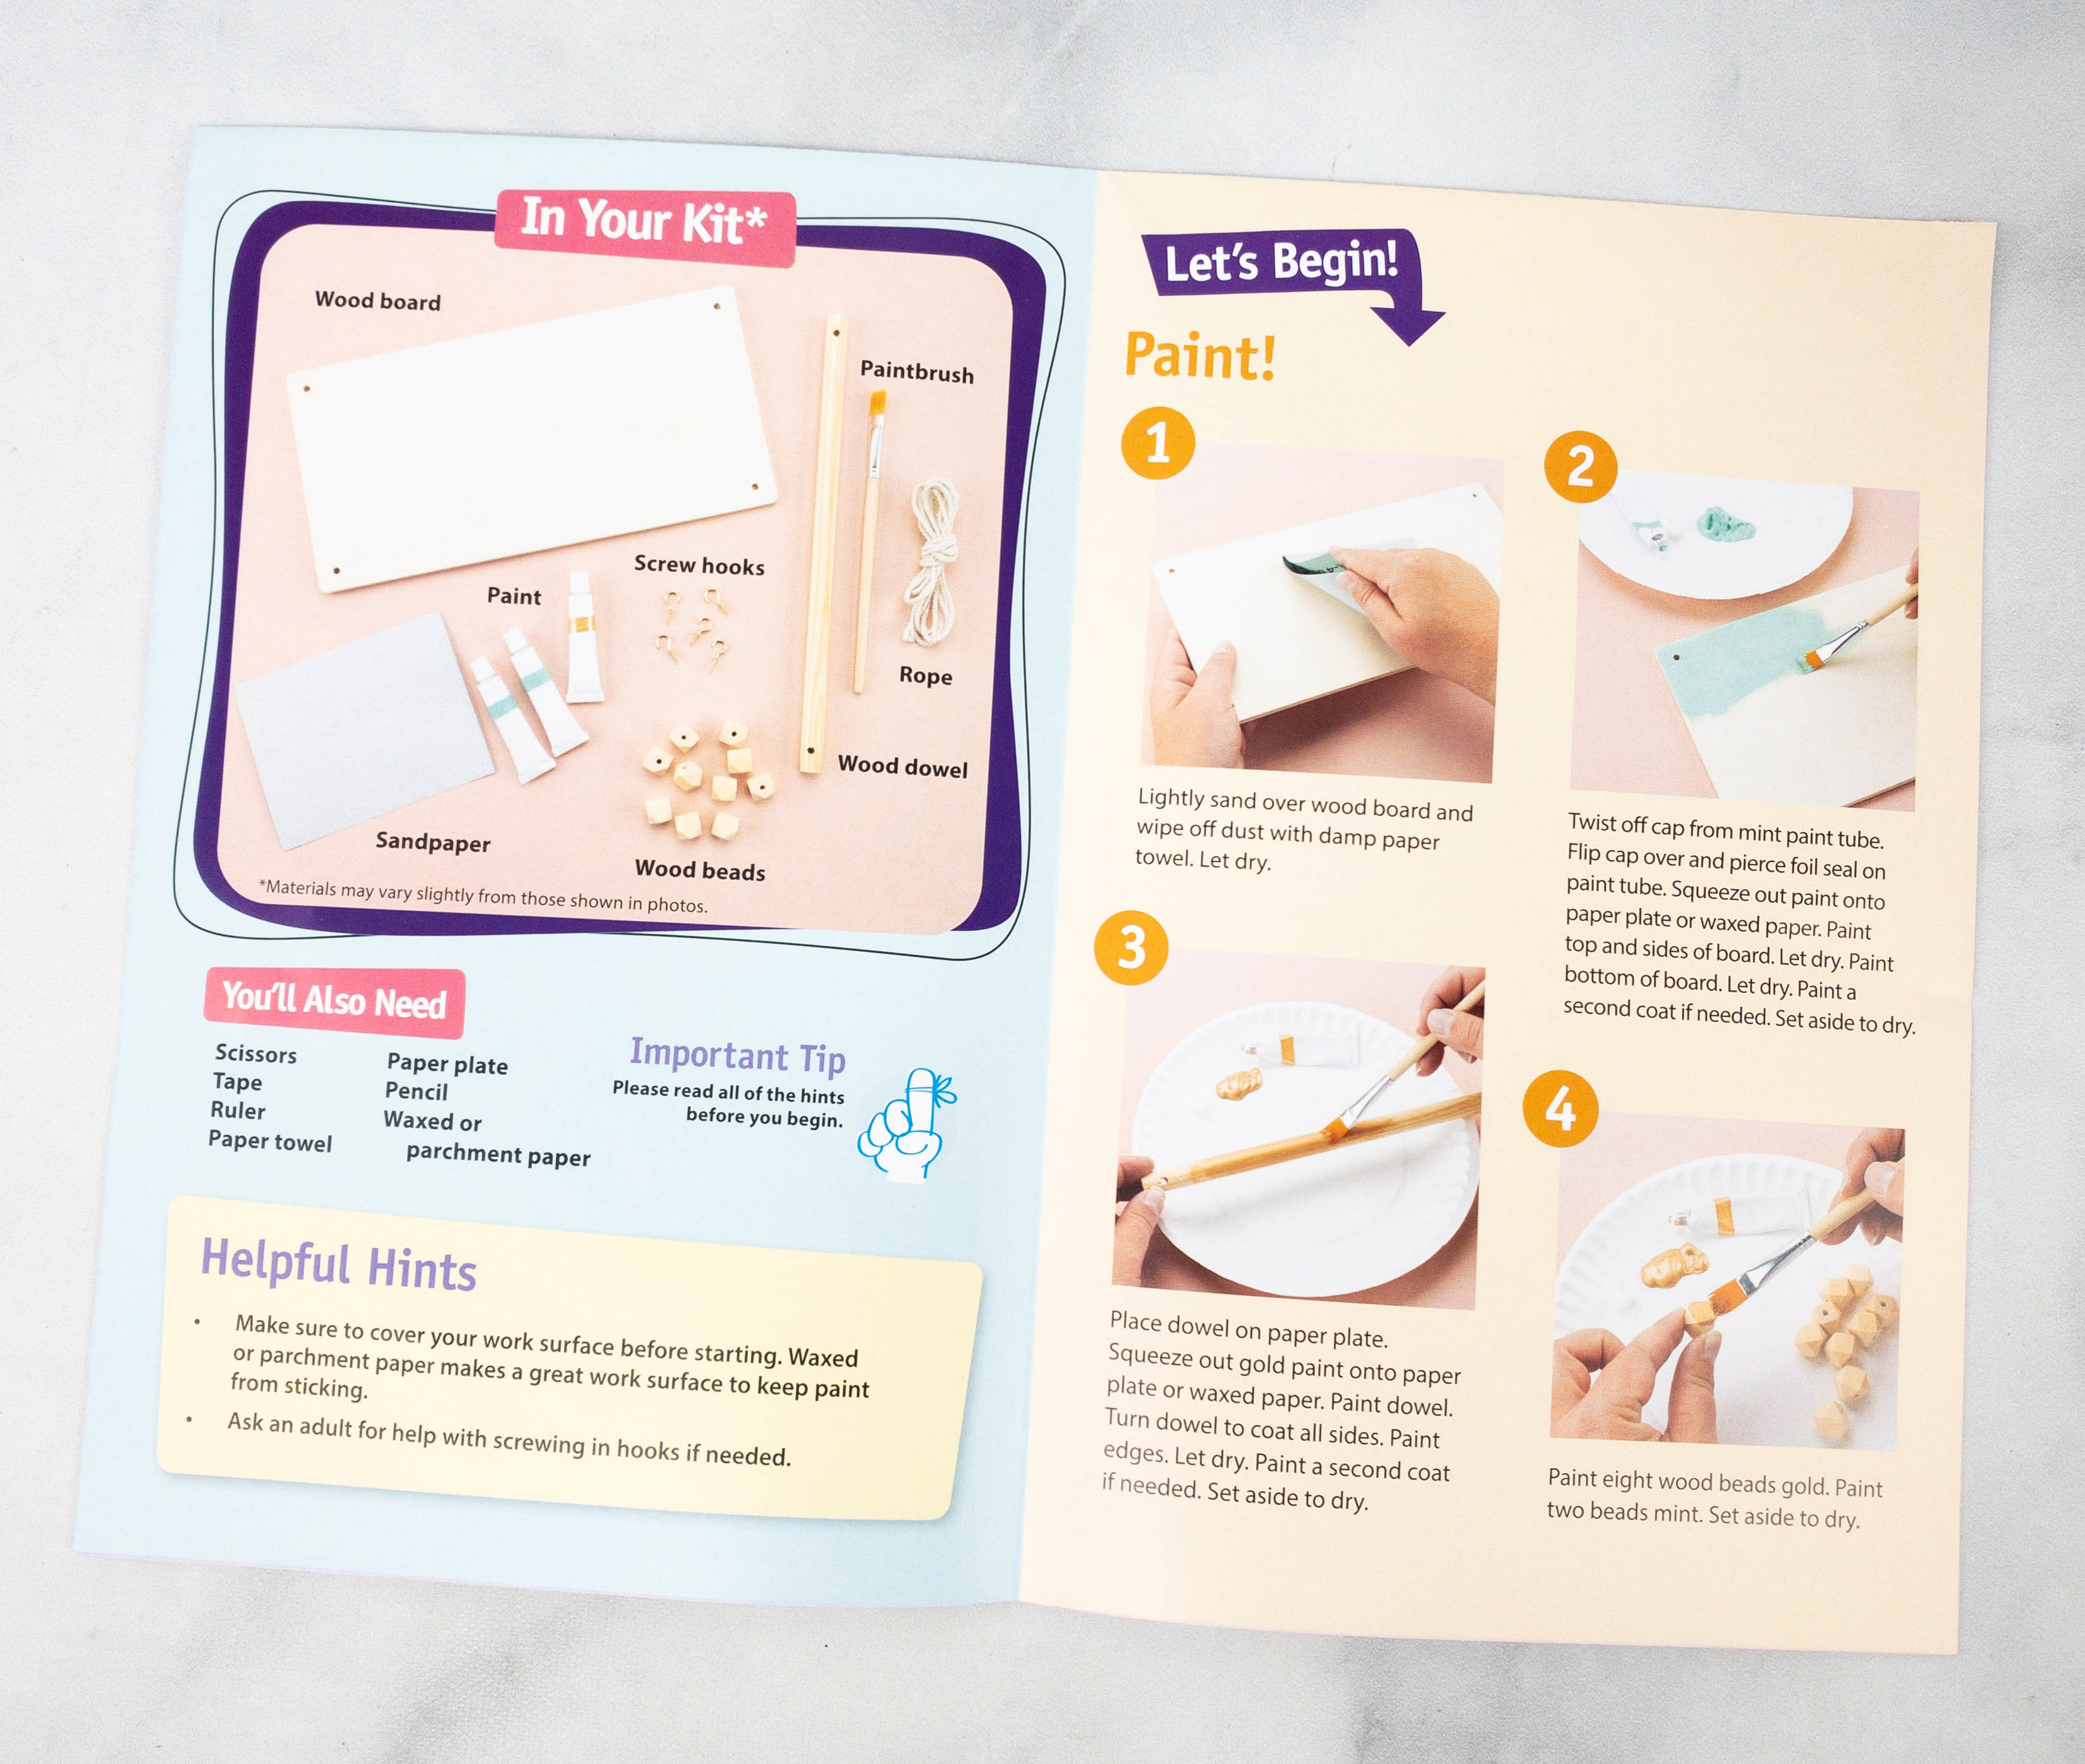
They listed all the items included in the kit along with some helpful hints.
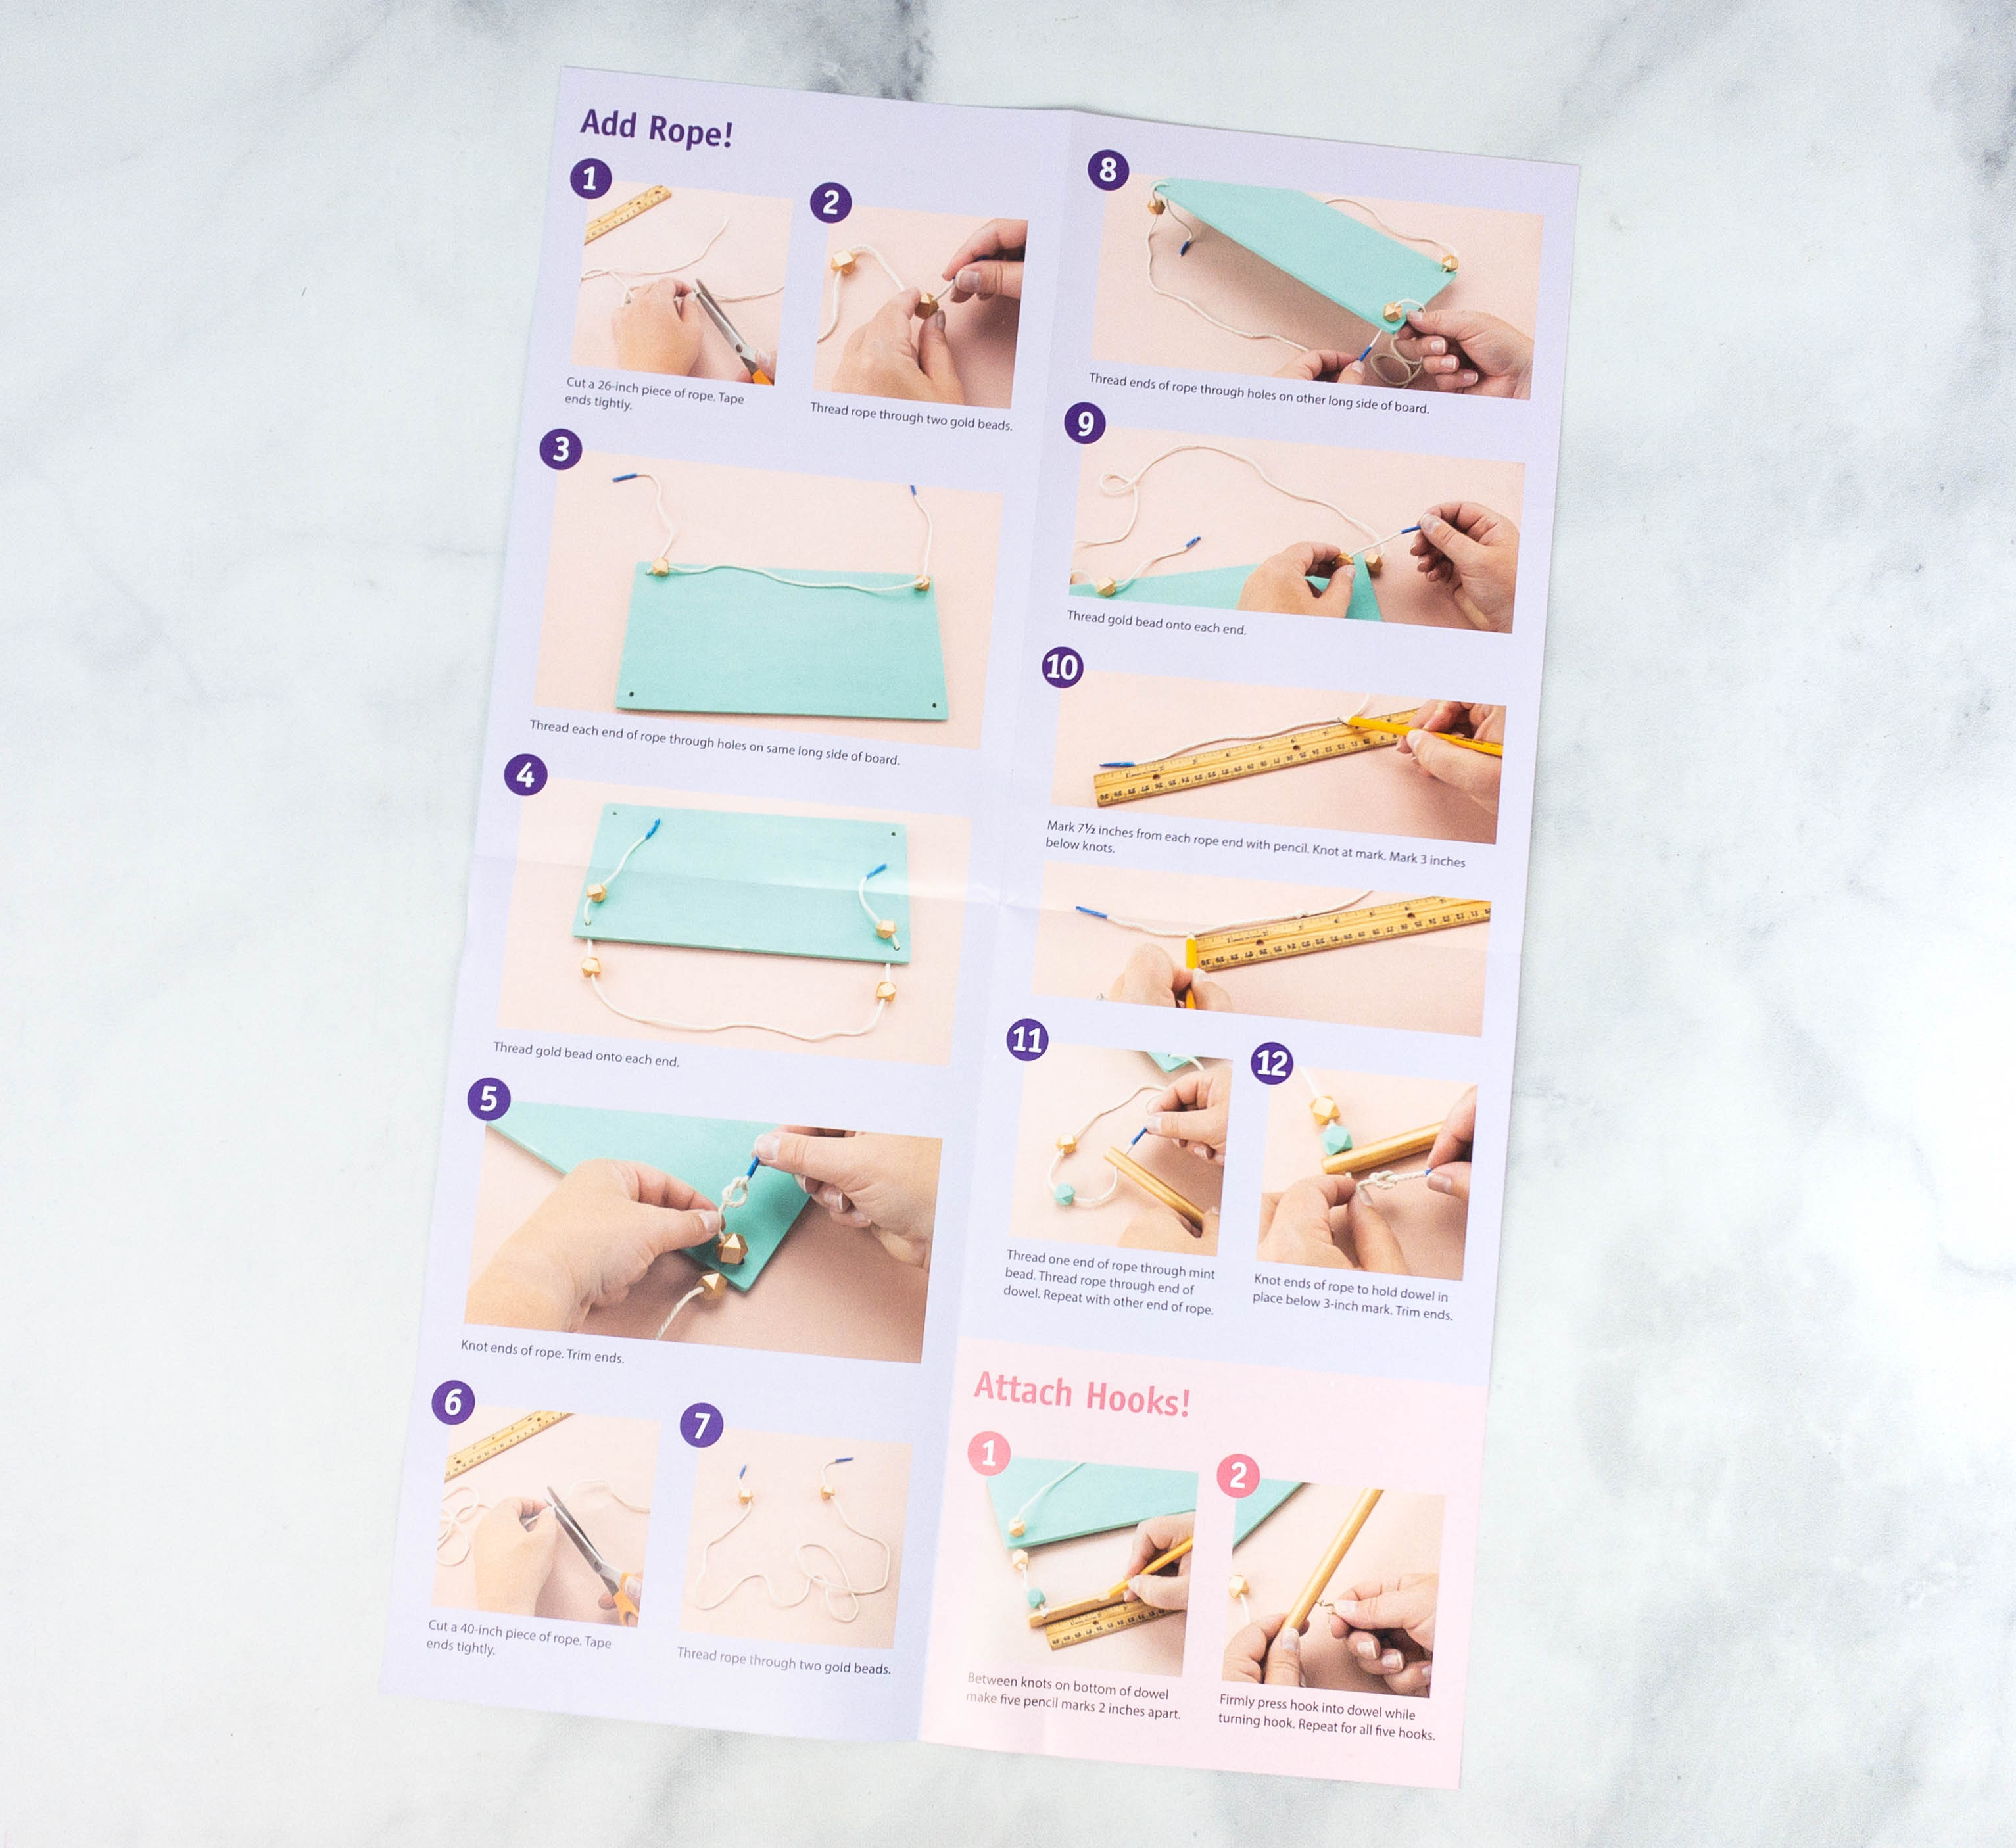
The step-by-step instructions also included photos which made it easier to follow.
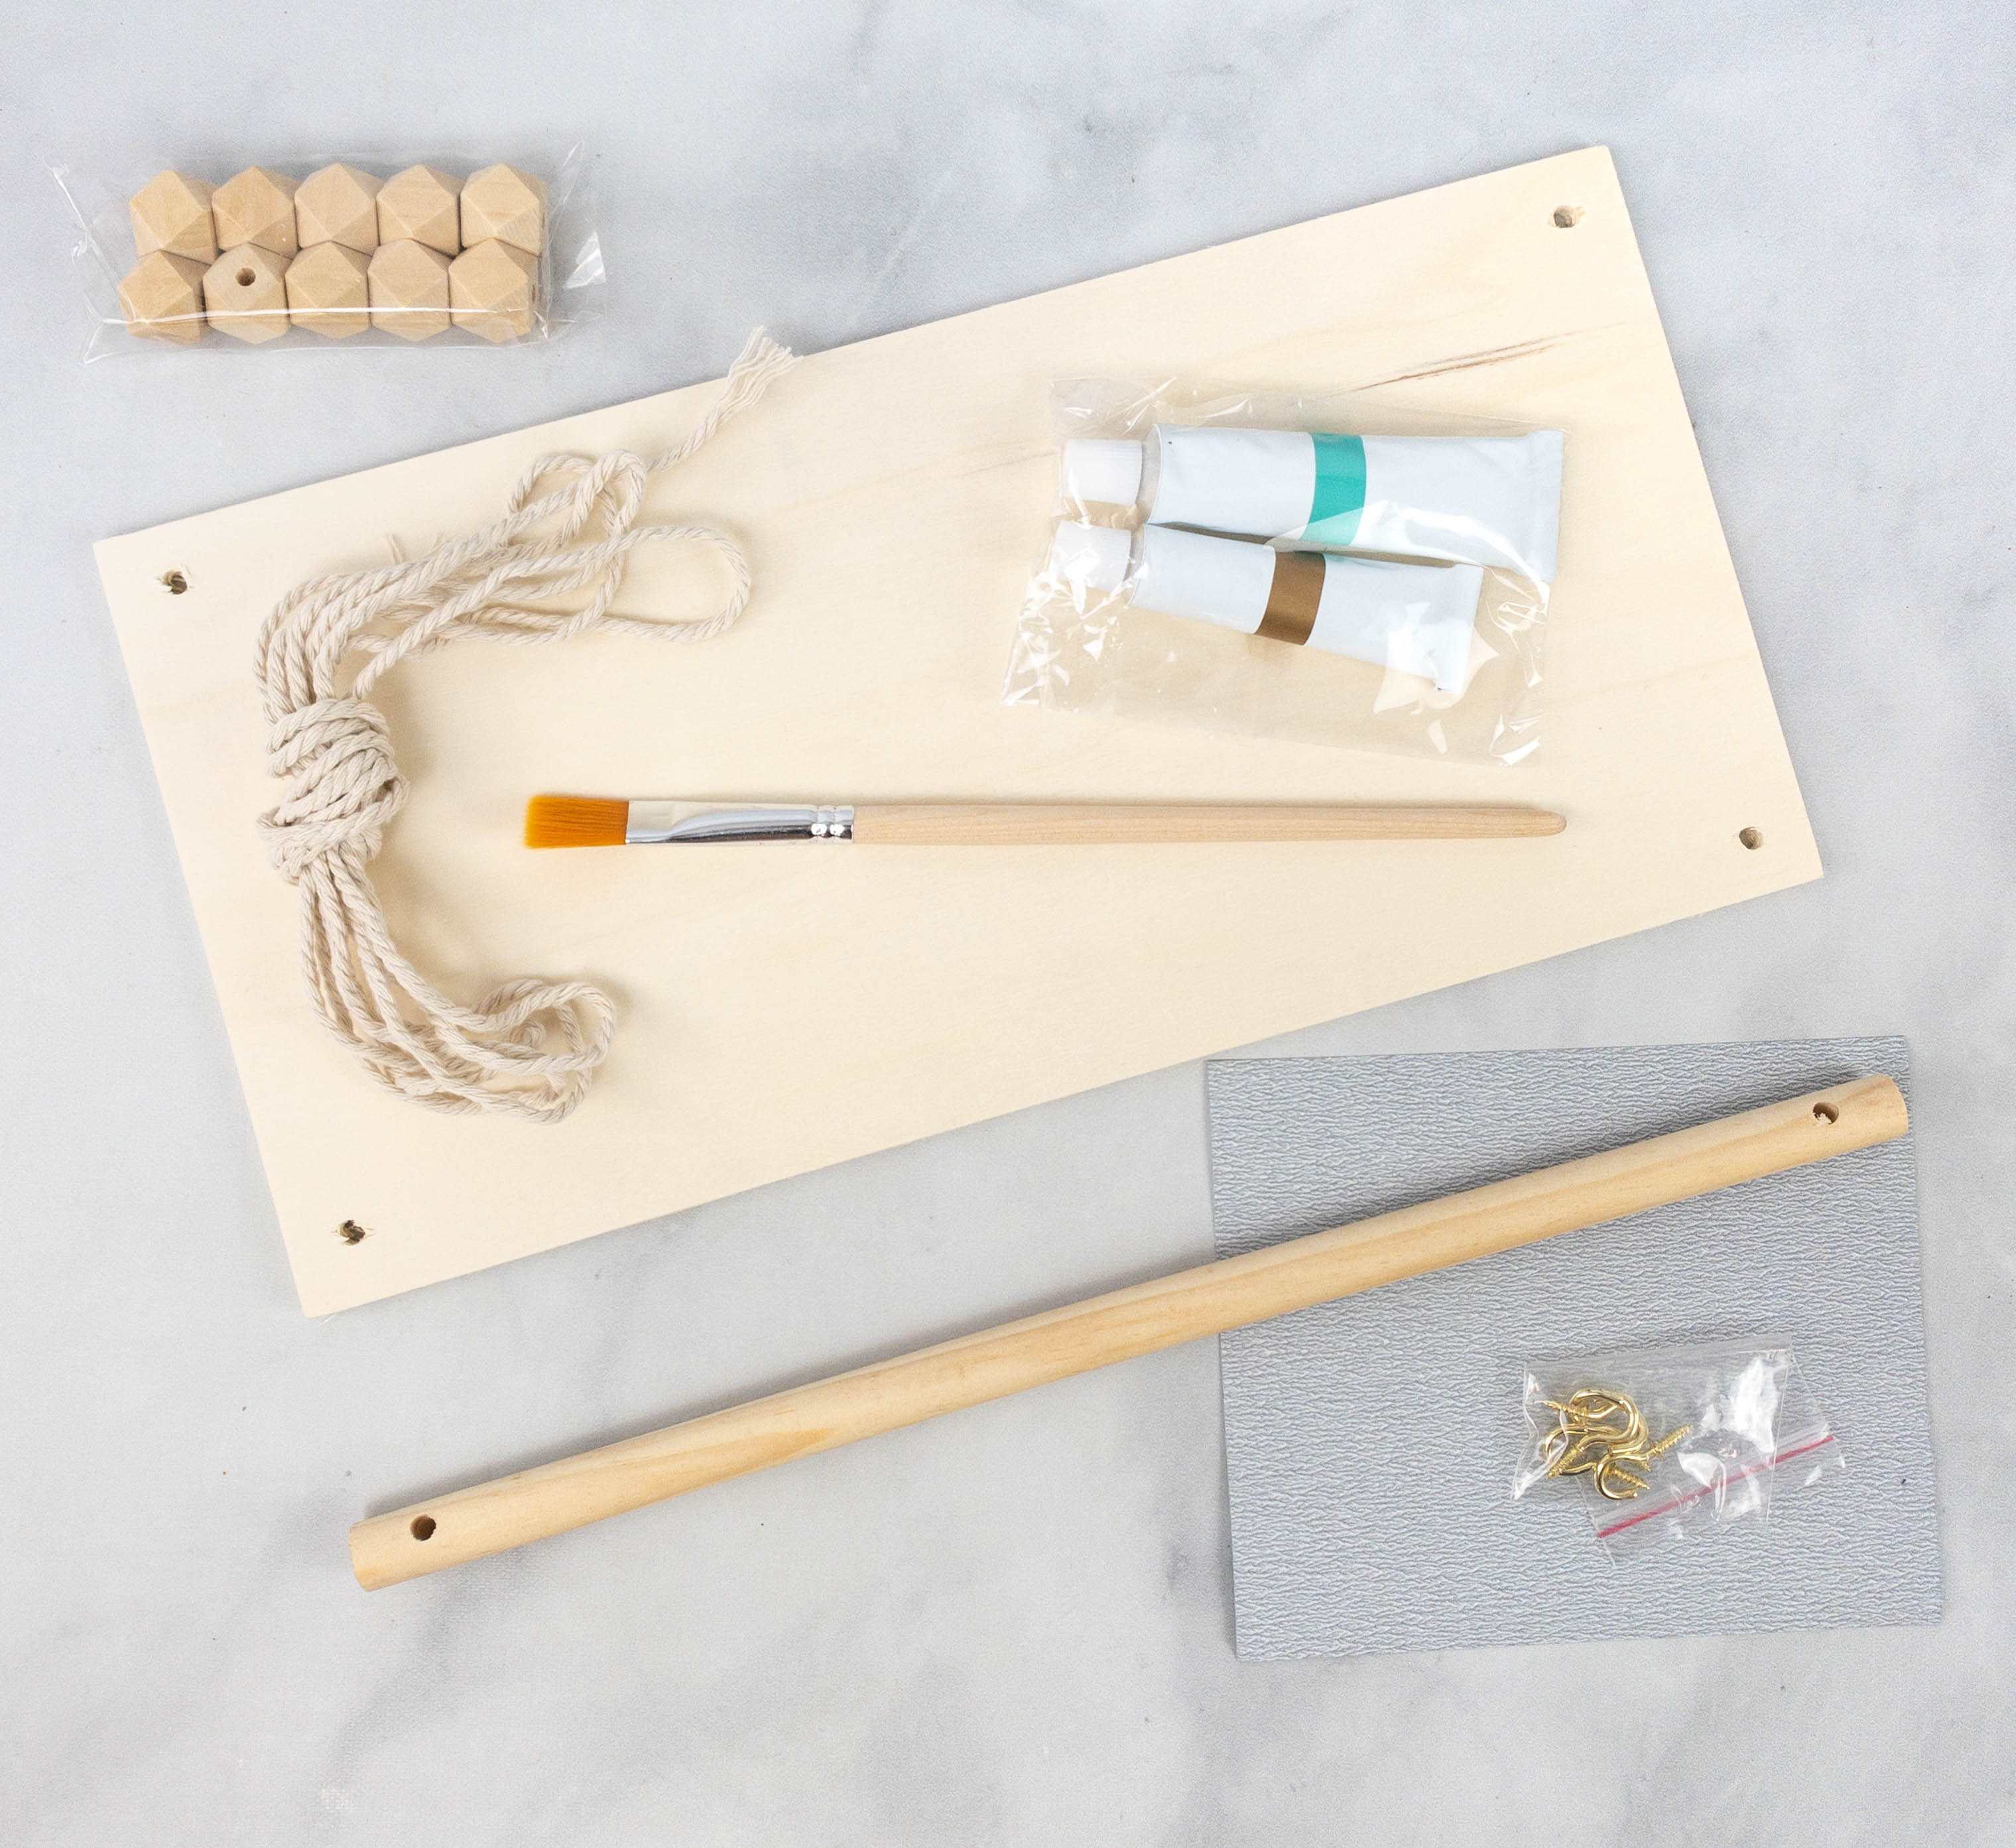
Here are all the materials inside the kit!
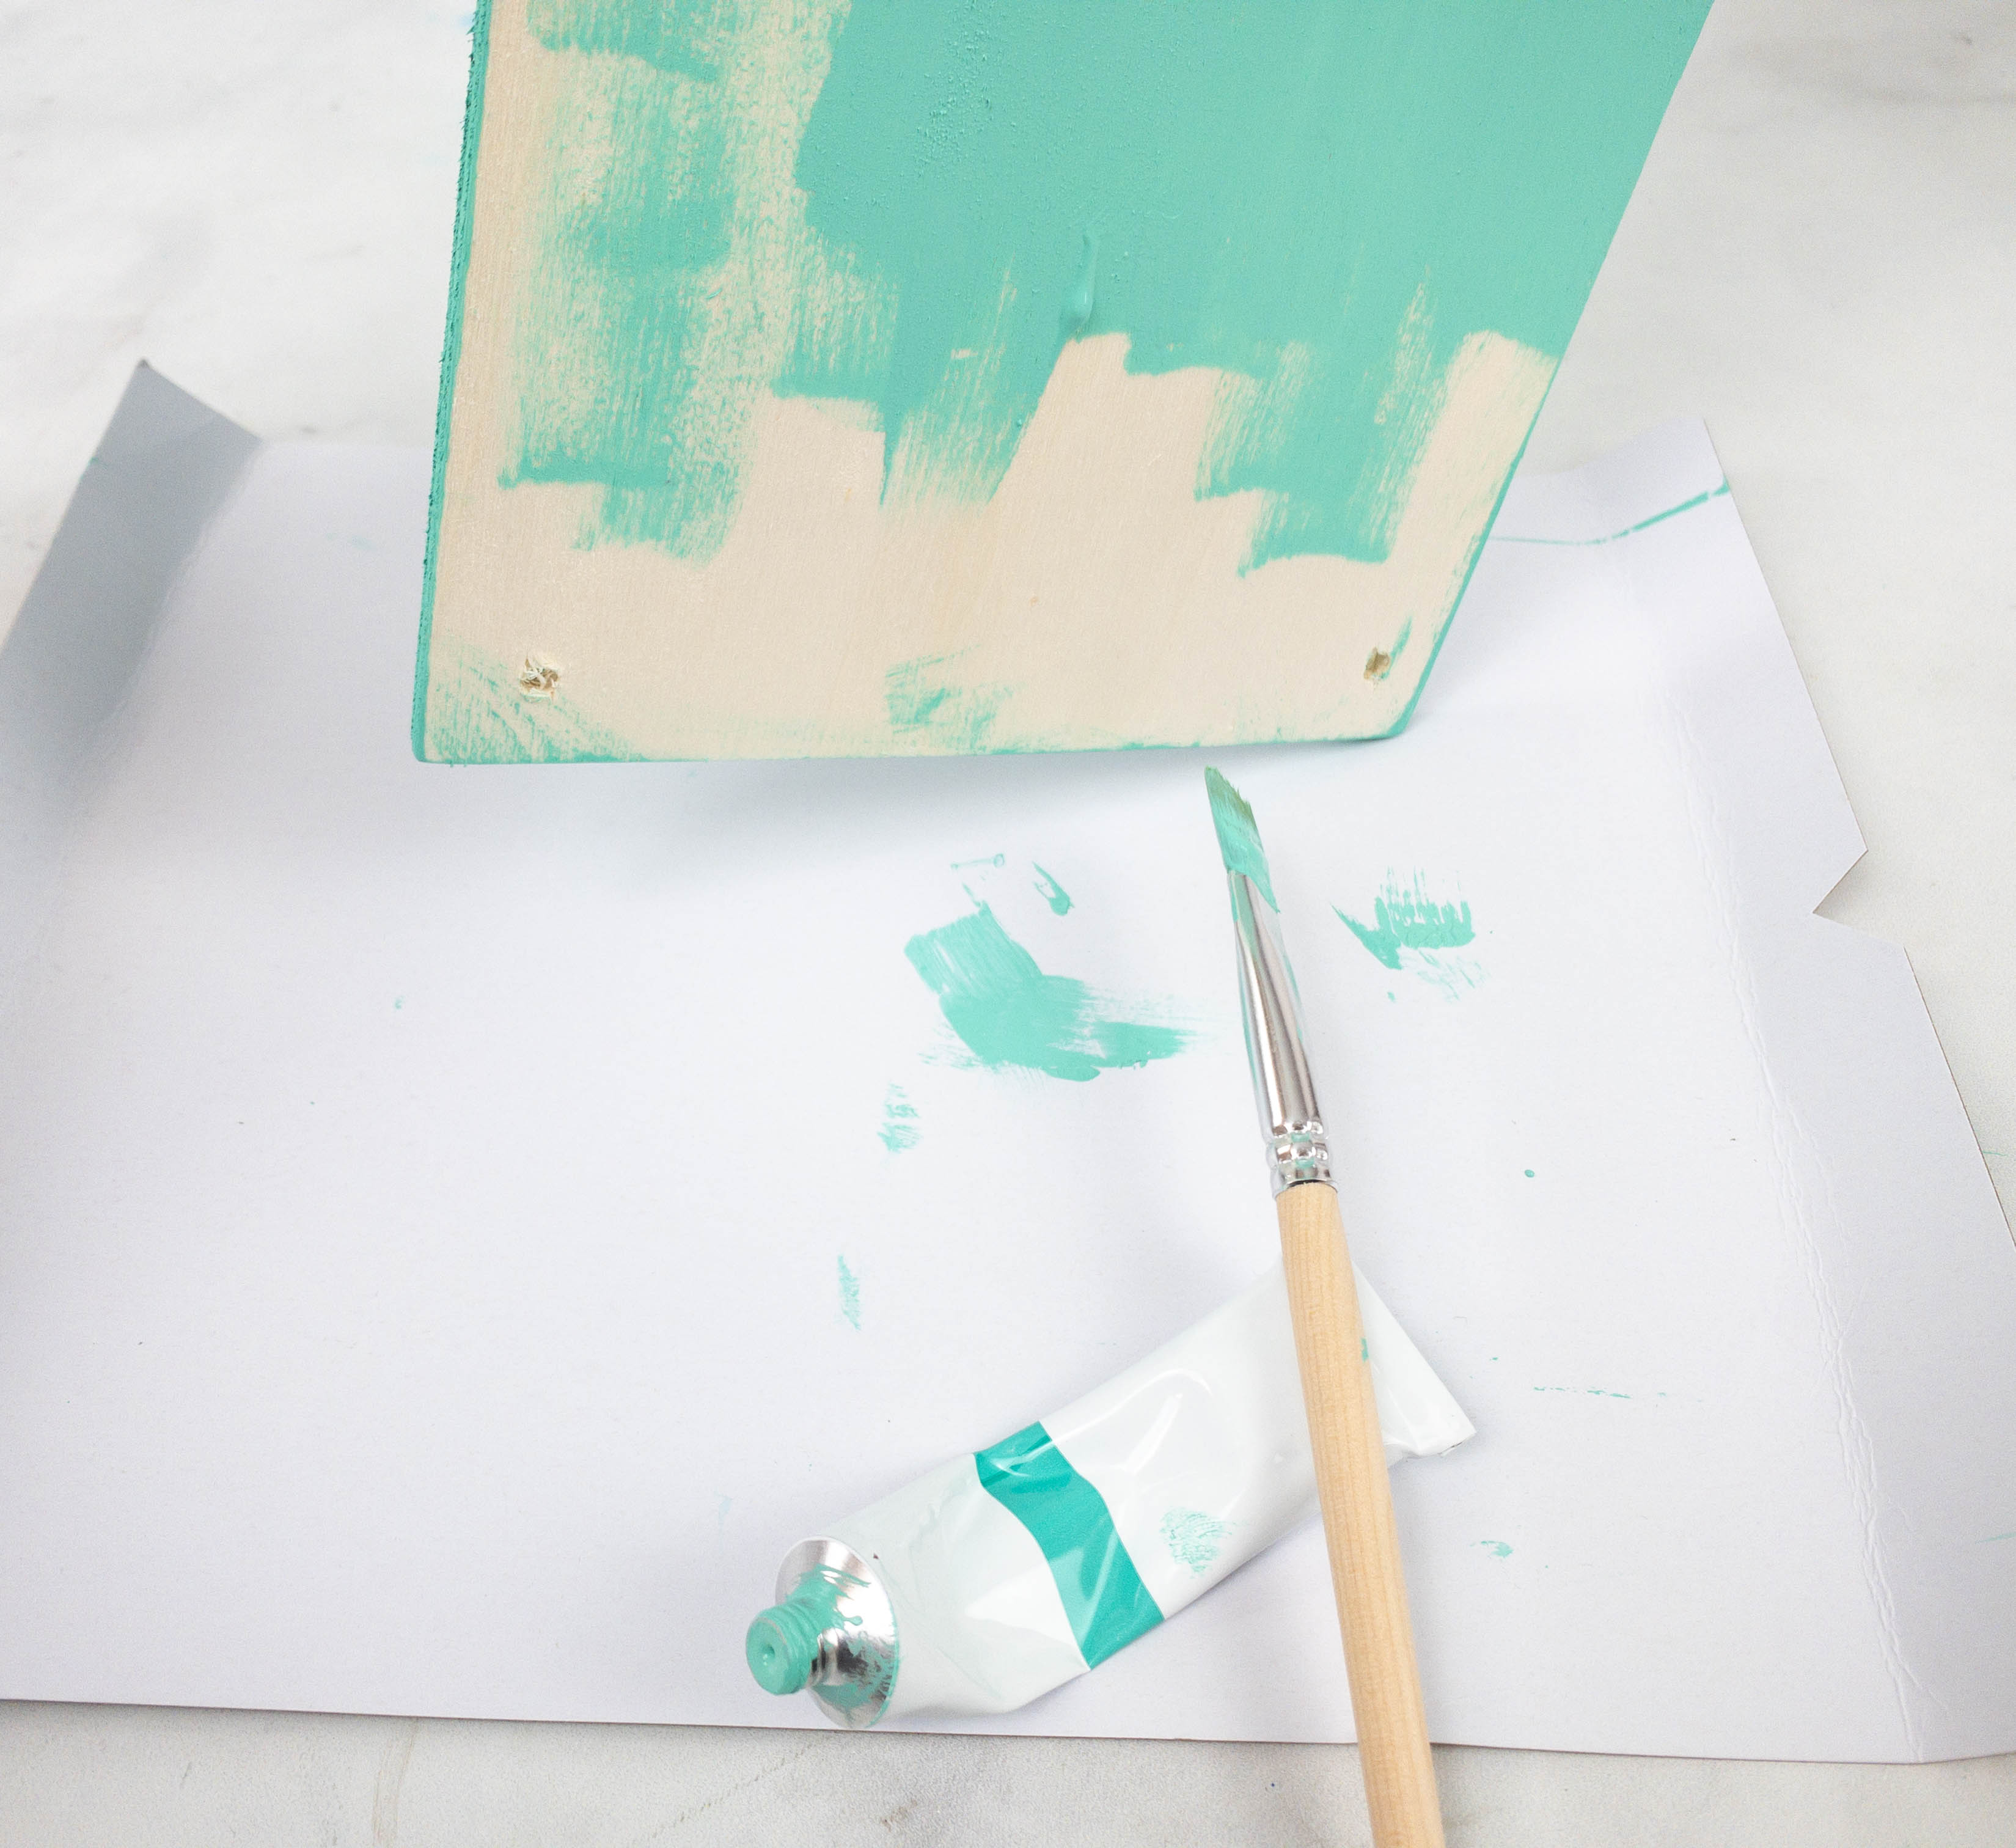
My daughter started by sanding off the wood board to smooth it. Once dry, she painted the top and sides of the wood board. She let it dry before painting the bottom of the board. Next, she took the dowel and used the gold paint to paint it on all sides and edges. She also used the gold paint for 8 wooden beads and the mint paint for 2 wooden beads.
It’s time to assemble the hanger! It was easy enough for my daughter, and the instructions were a great help.
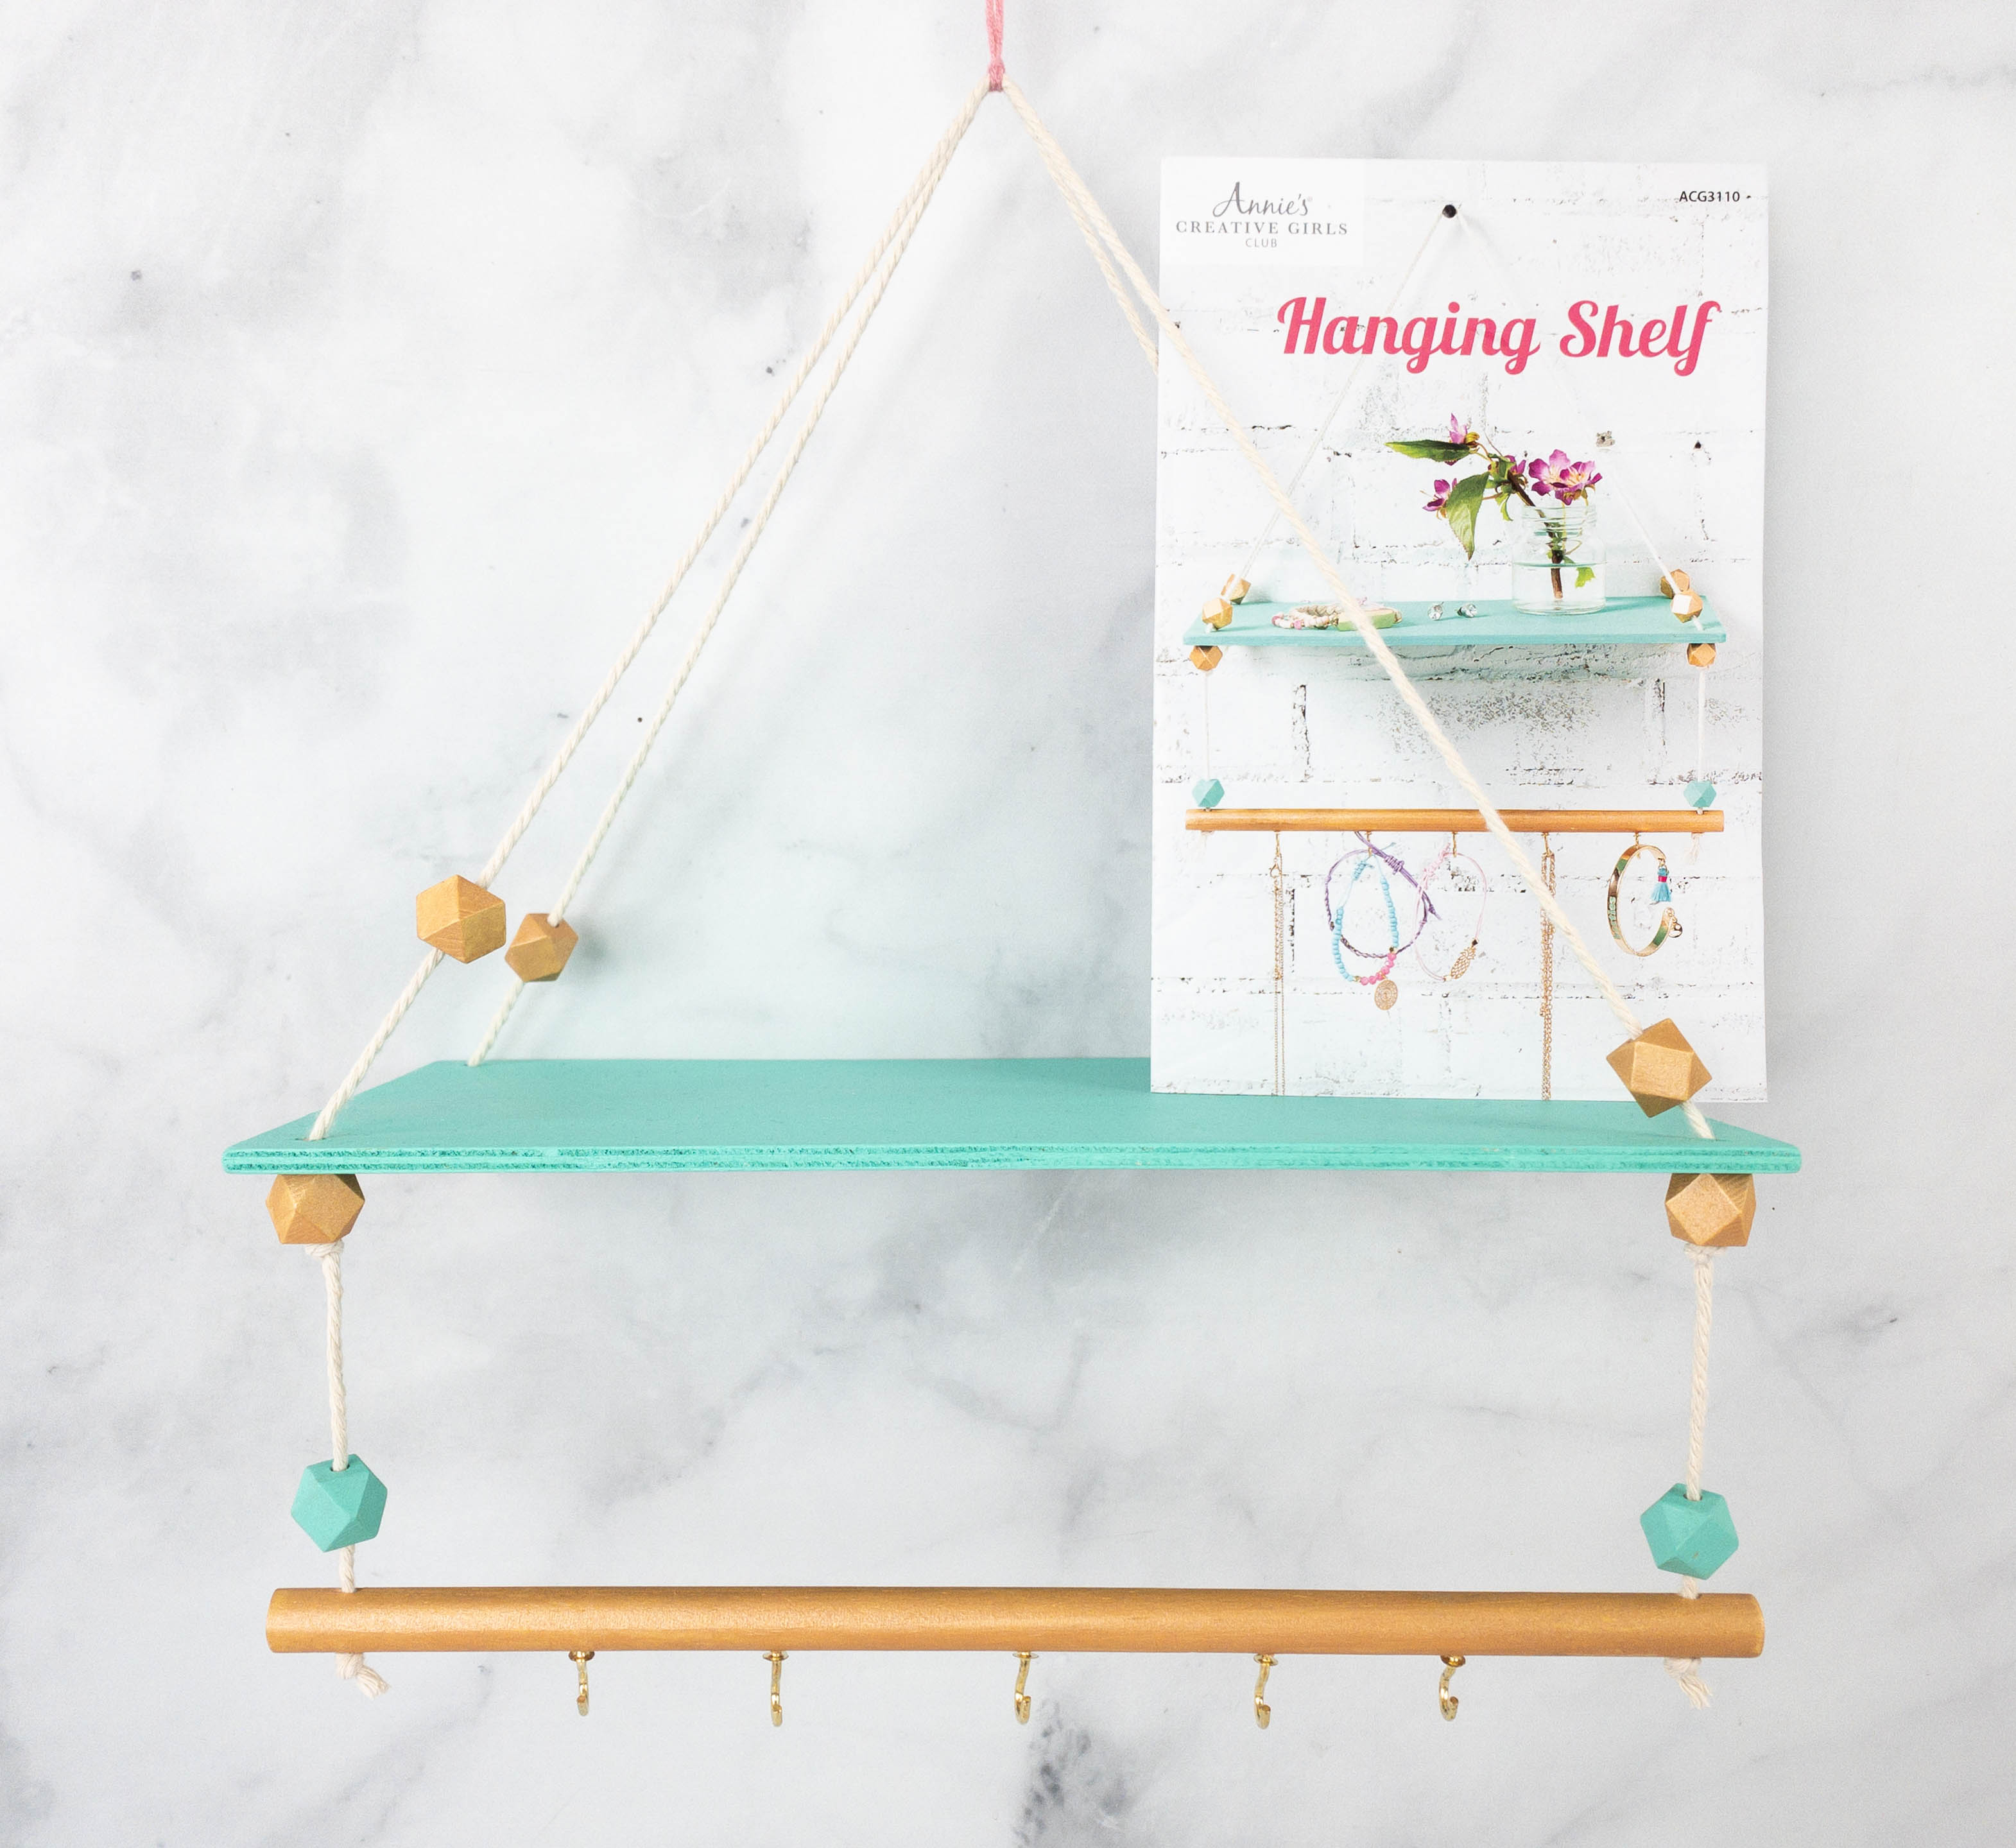
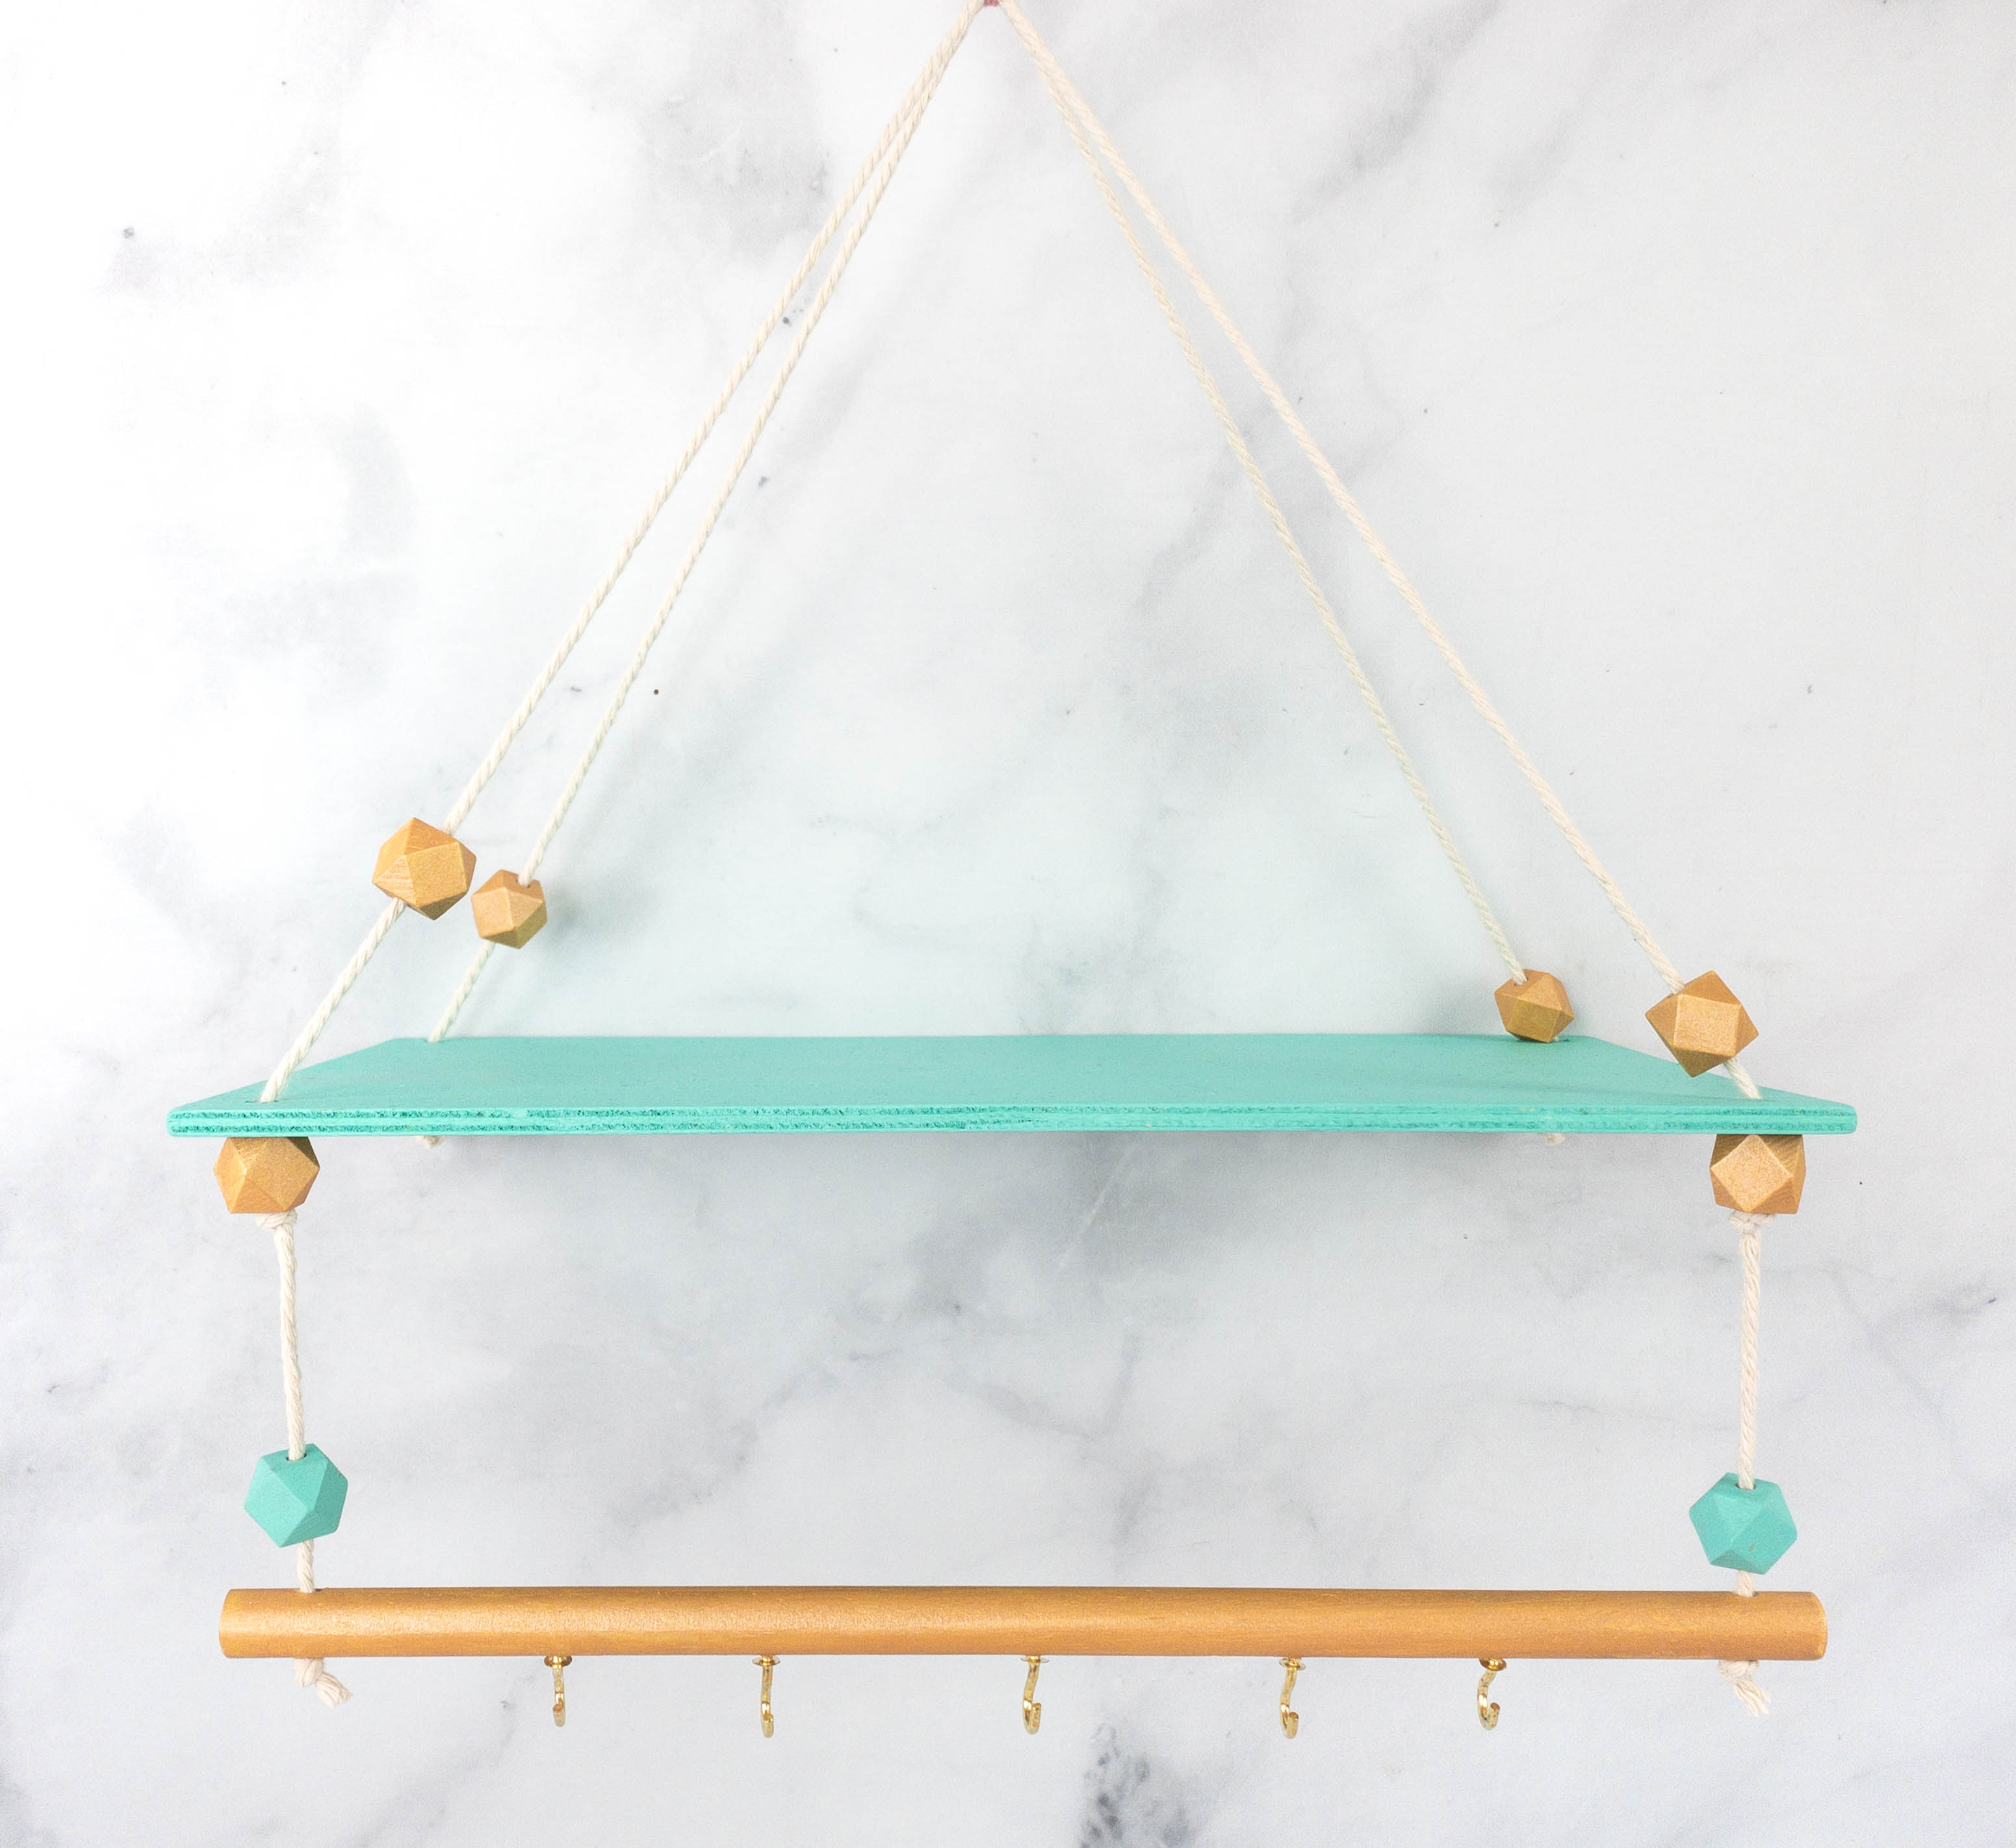
It turned out so pretty and it will make a beautiful accent piece! The hooks are also very useful for holding accessories.
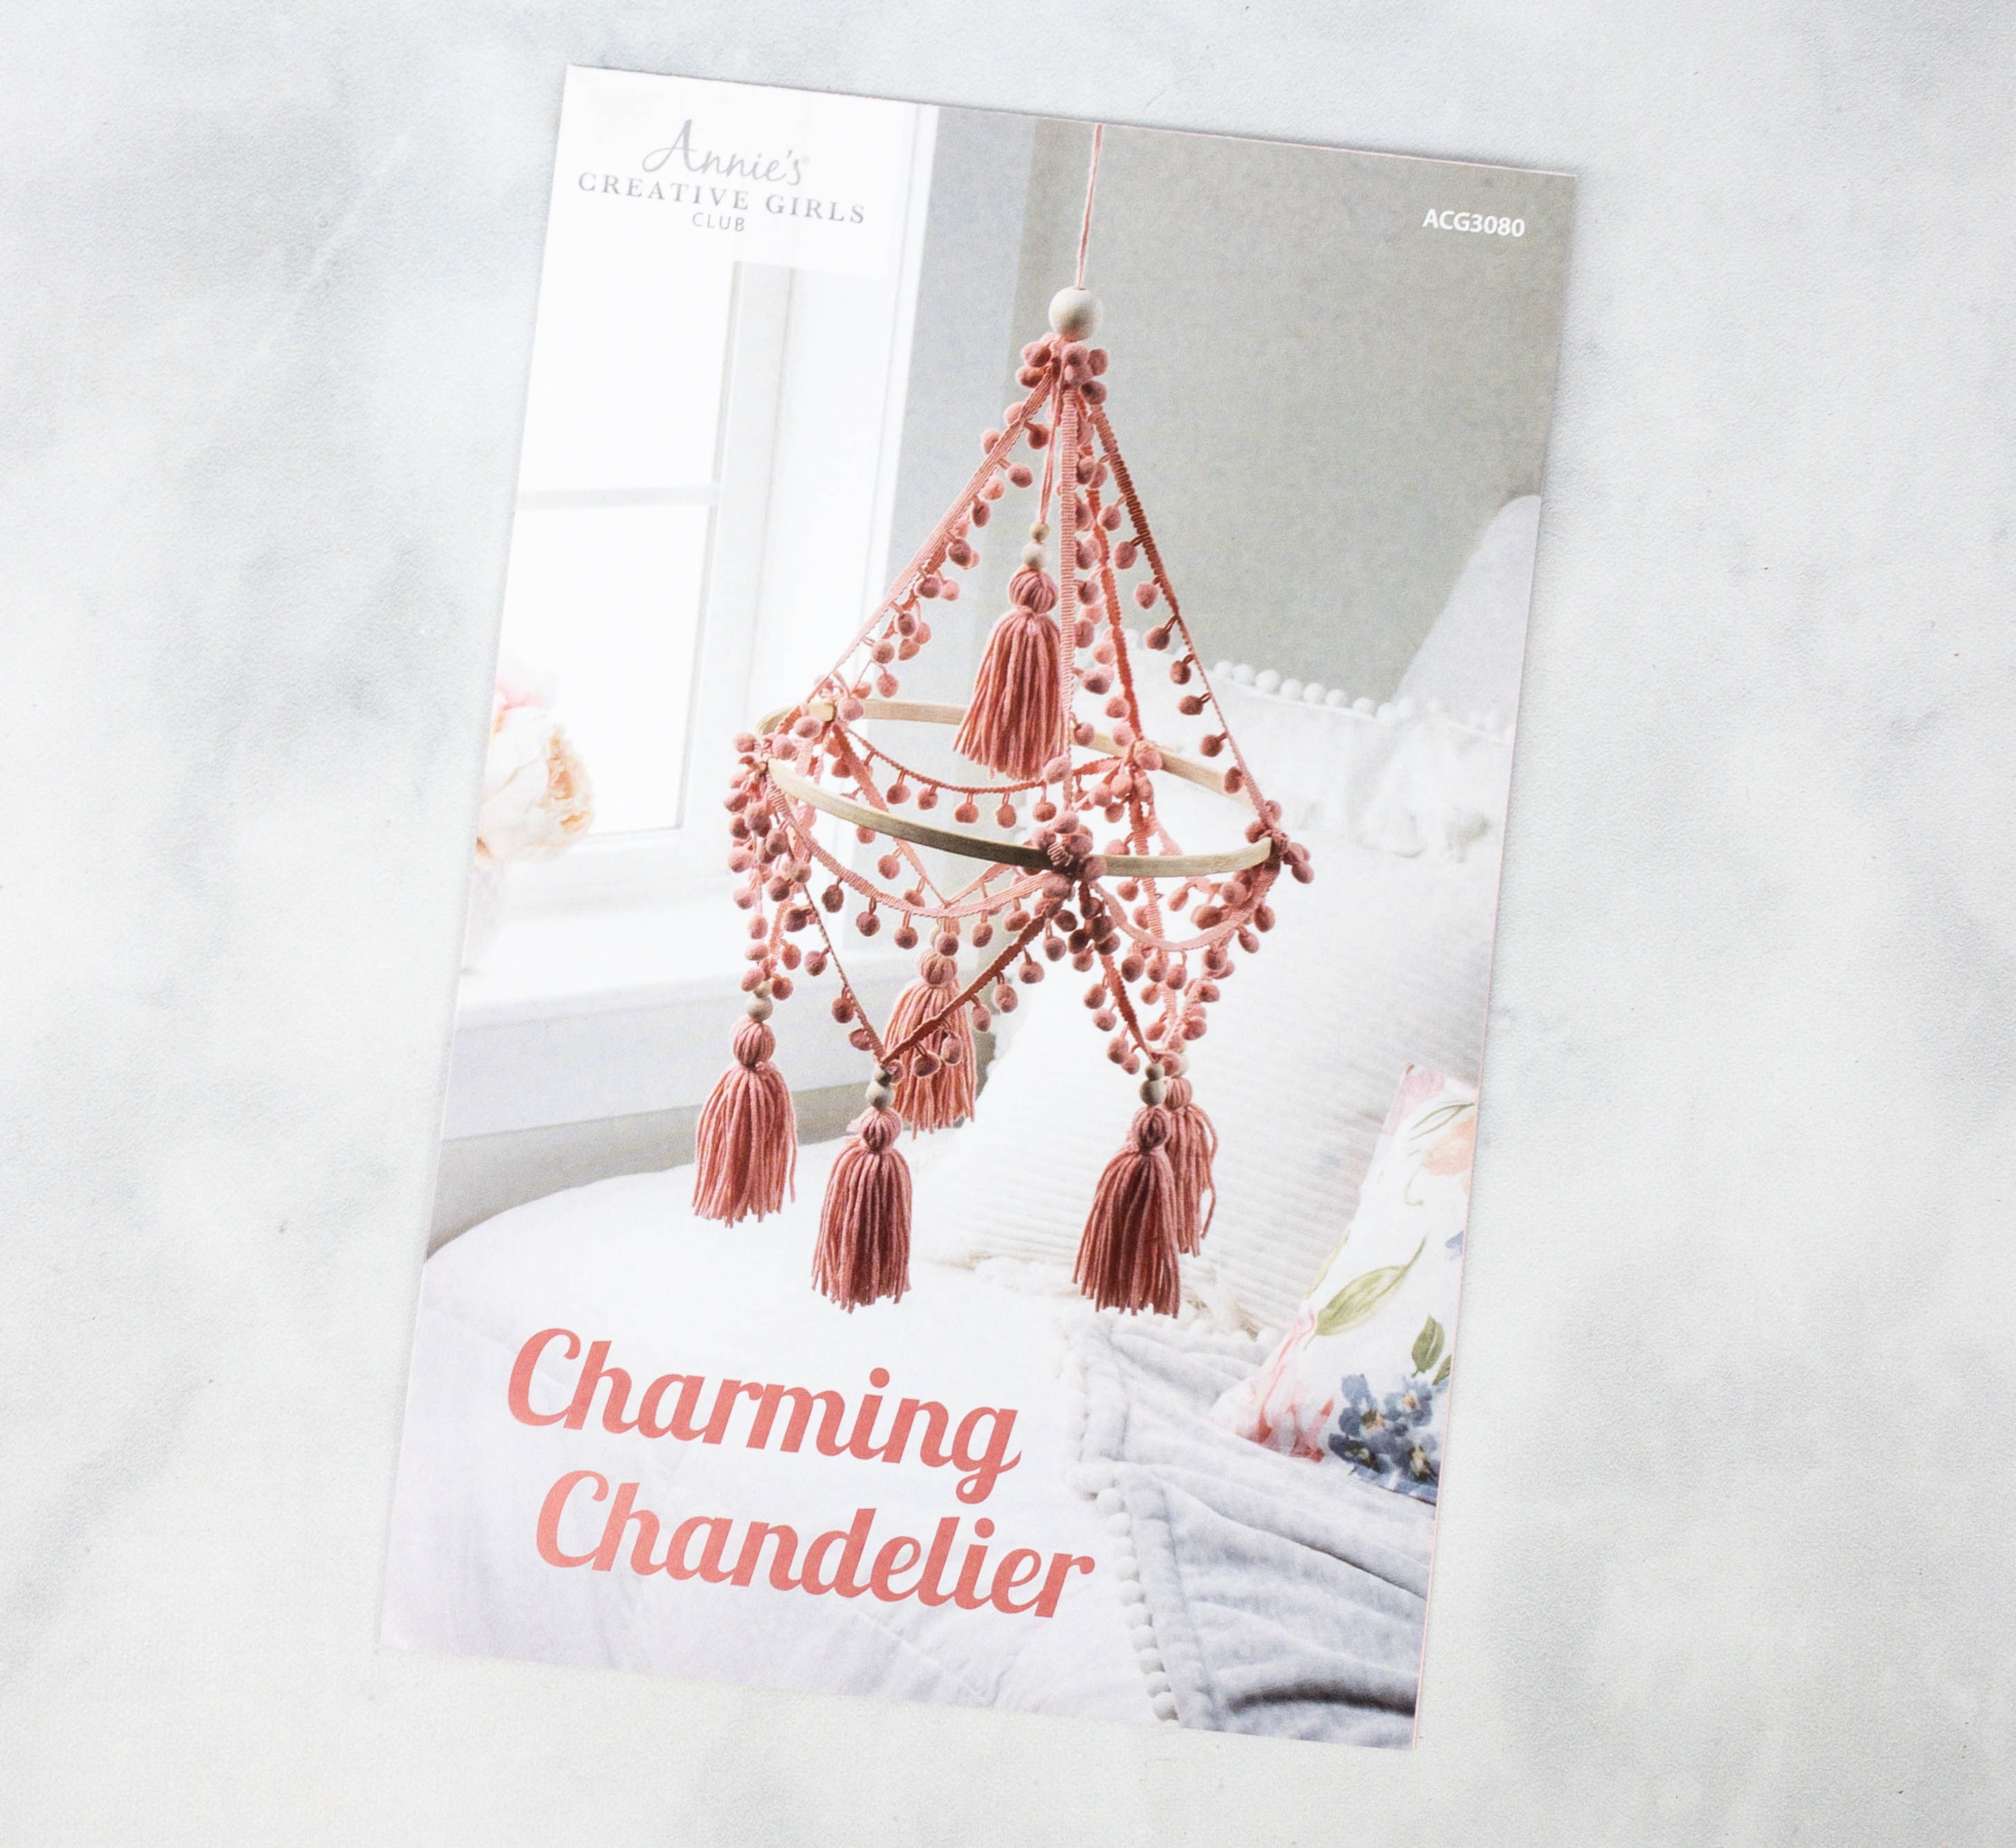
Charming Chandelier. The next project is a chandelier. The mini booklet shows a photo of the finished product and it’s so pretty!
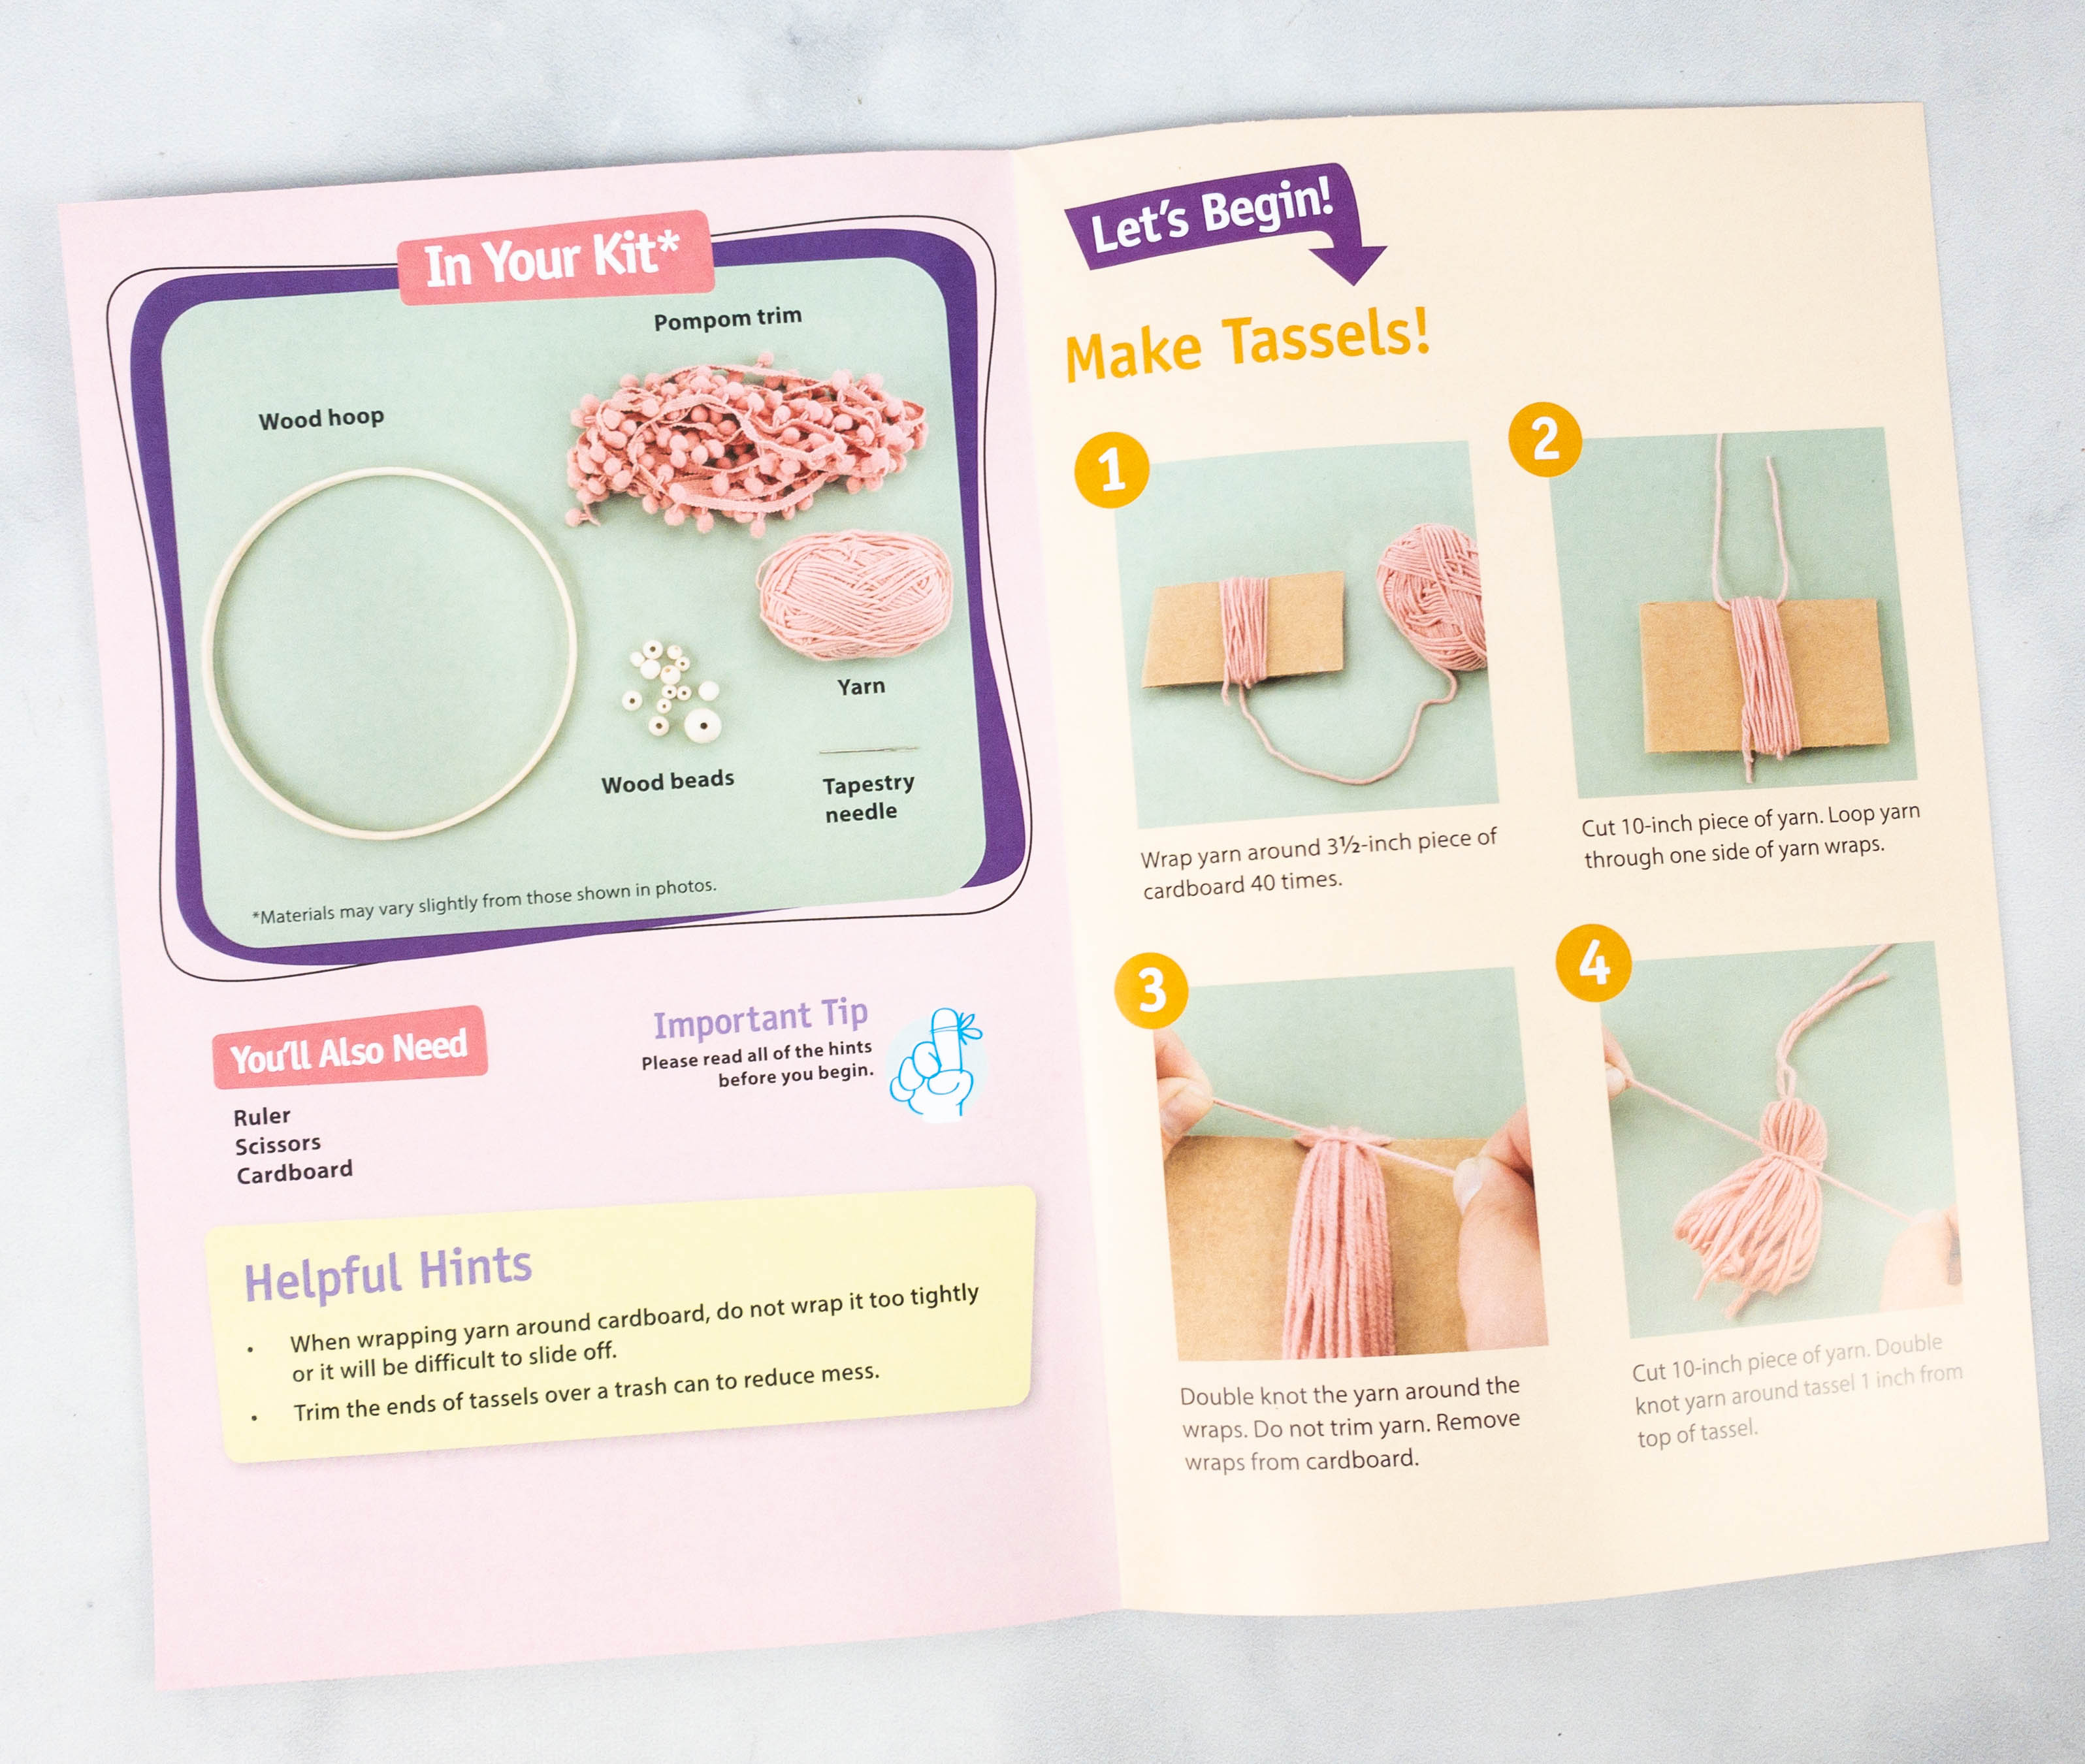
Like the first project, the booklet also included a list of all the materials needed along with some helpful hints.
The instructions are also divided into parts for an easier workflow.
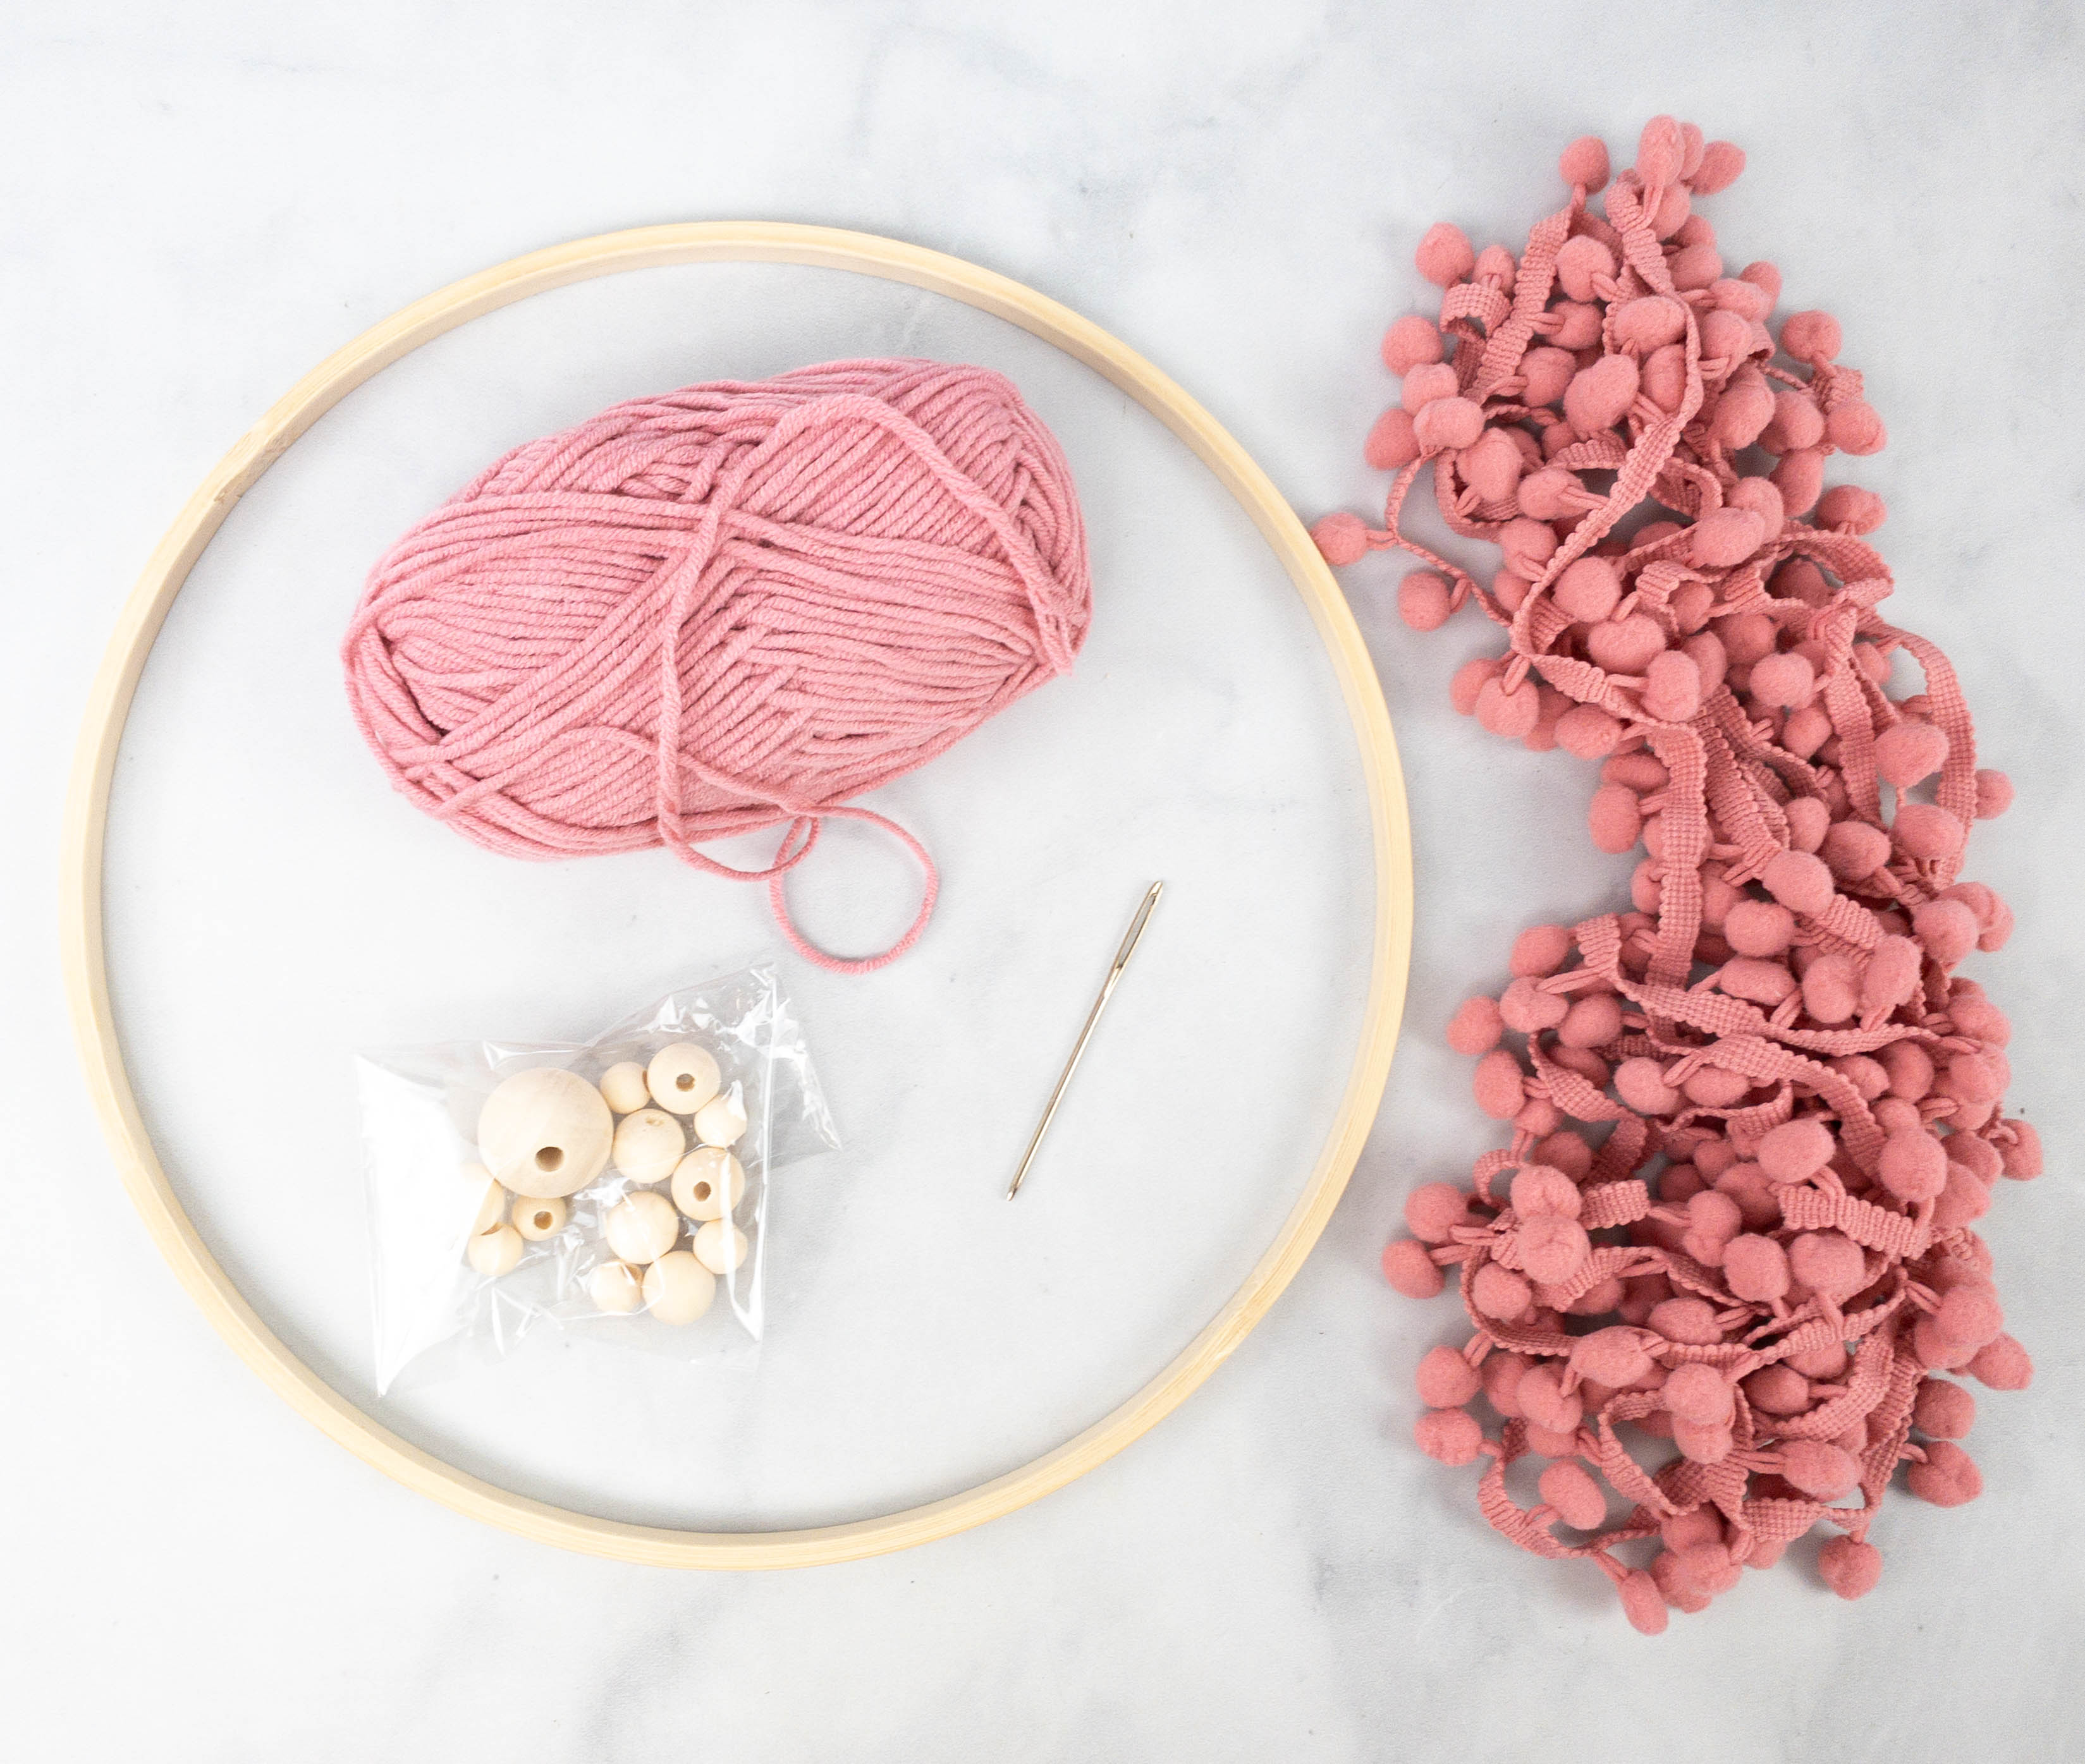
Here are all the items inside this second activity kit!
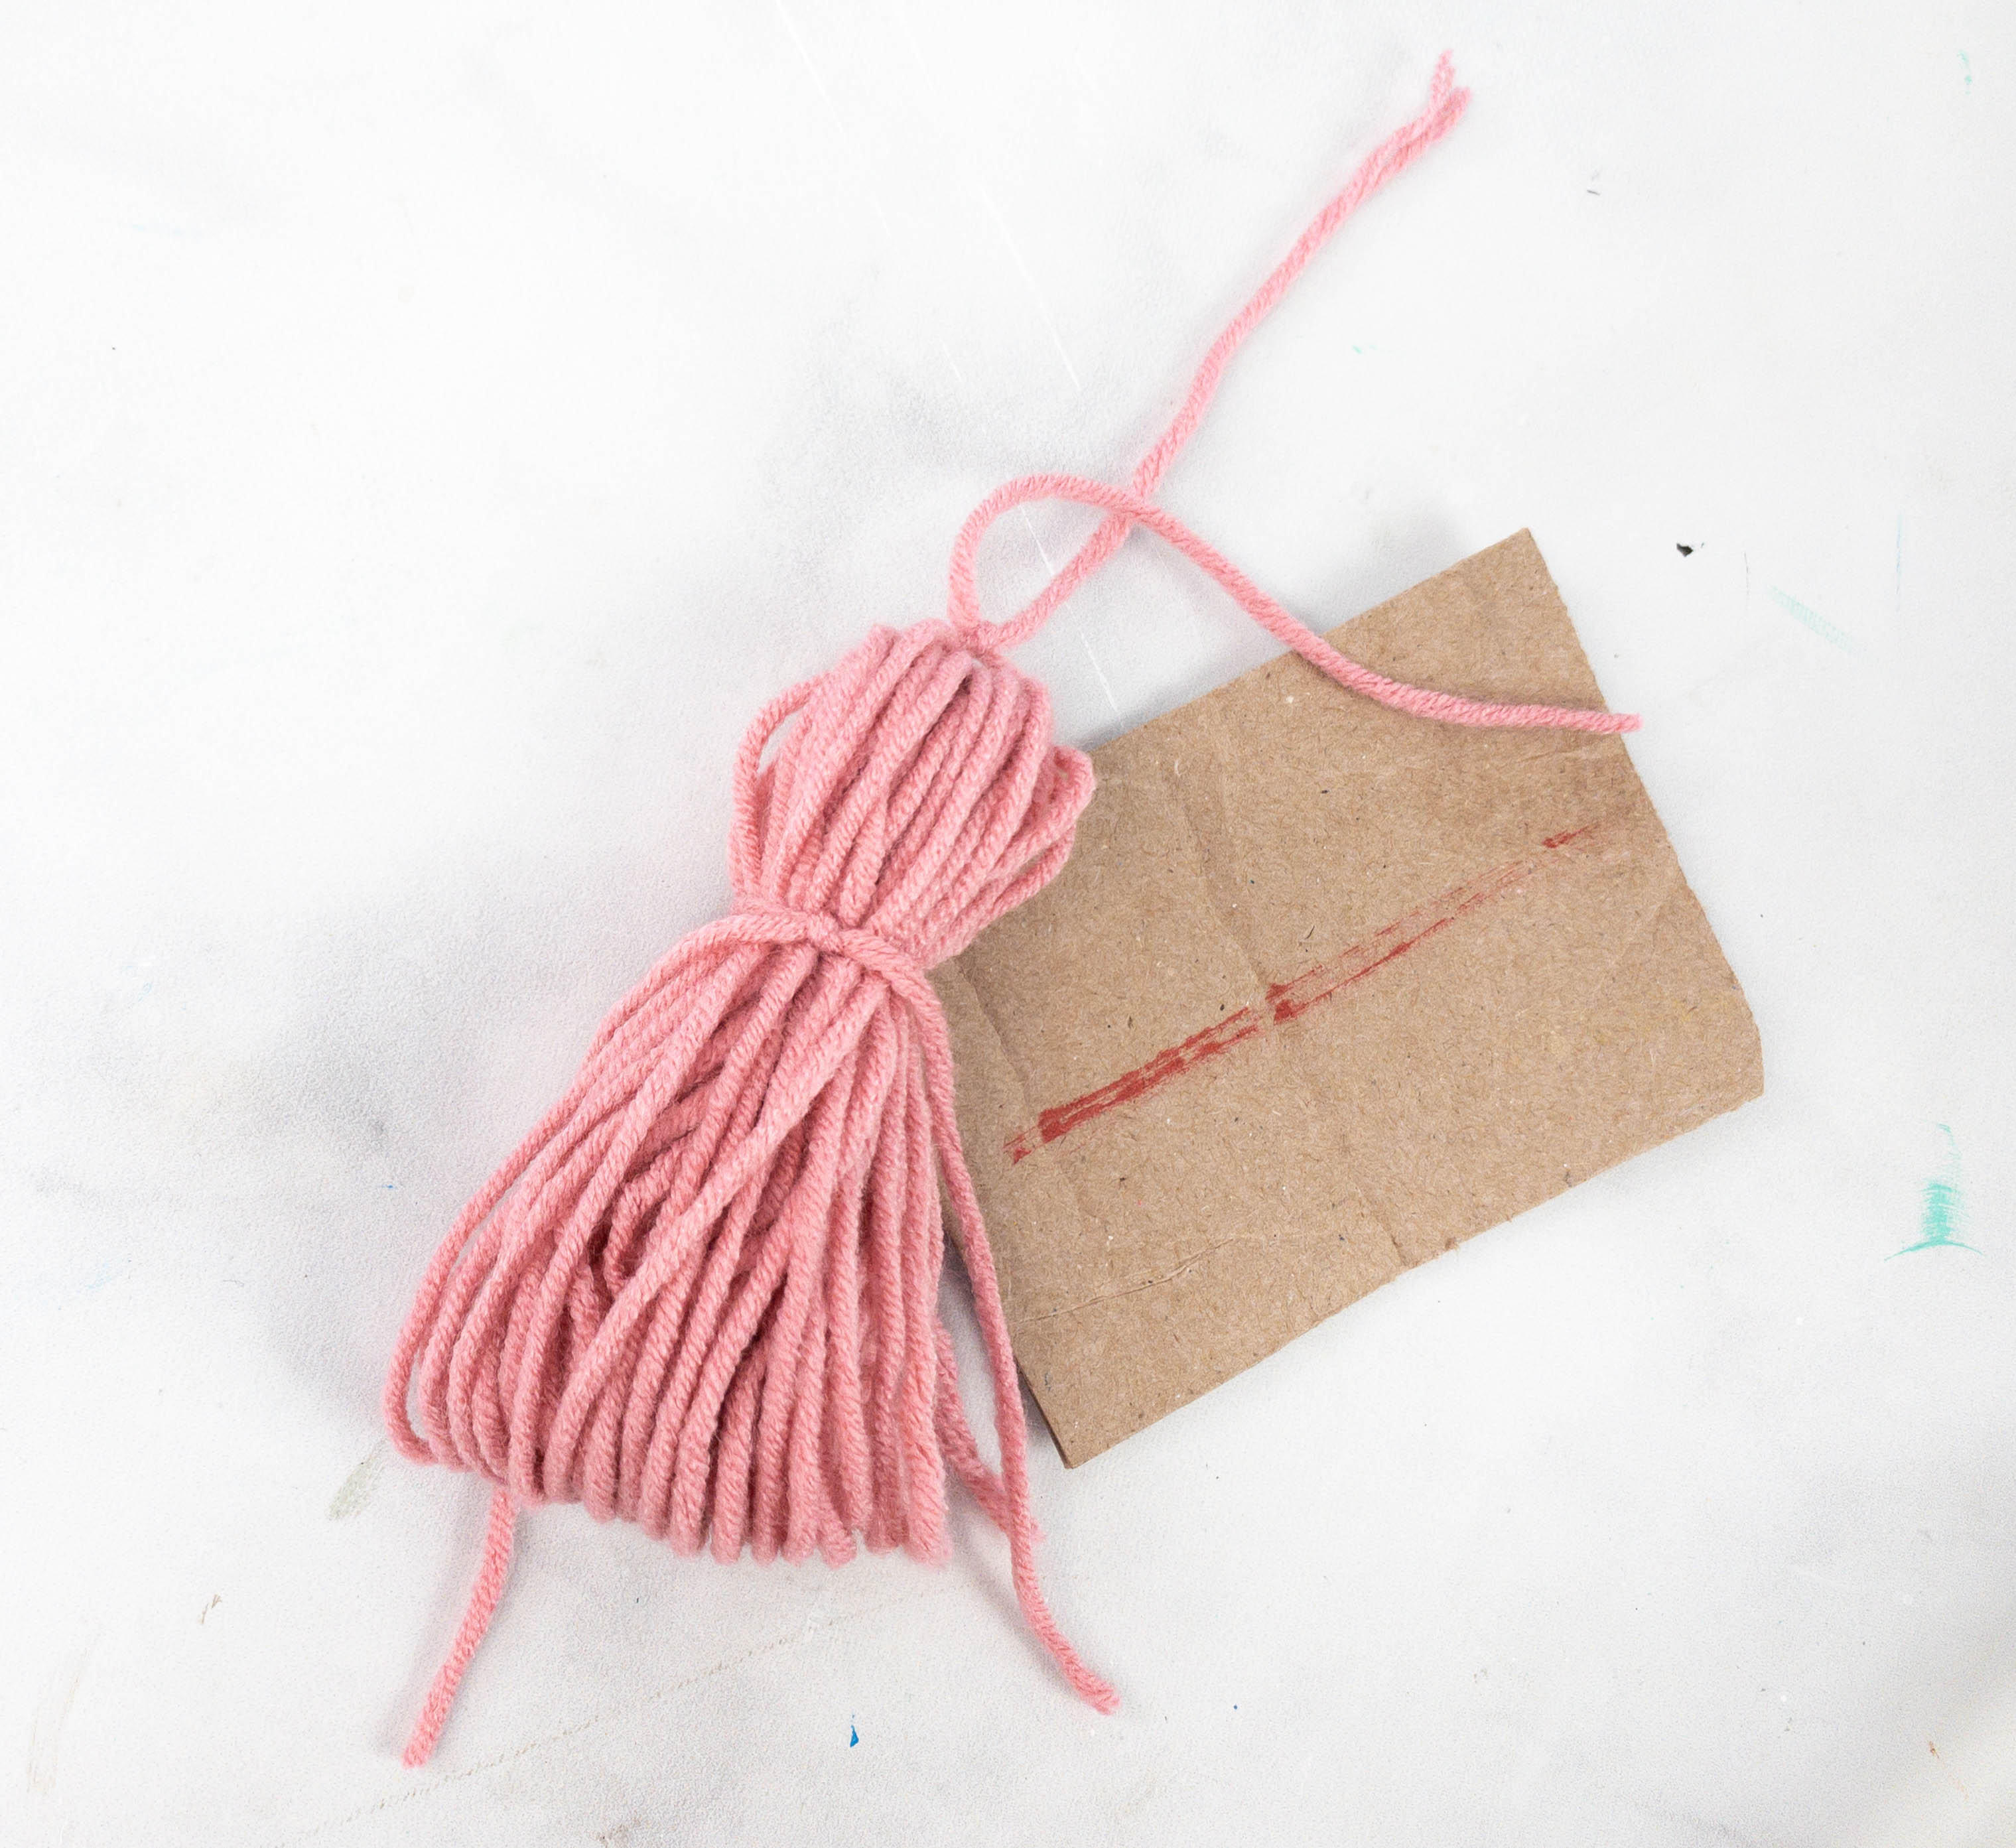
My daughter started by making the tassels, following the instructions from the mini booklet. It was pretty easy since she just had to wrap the yarn on the cardboard.
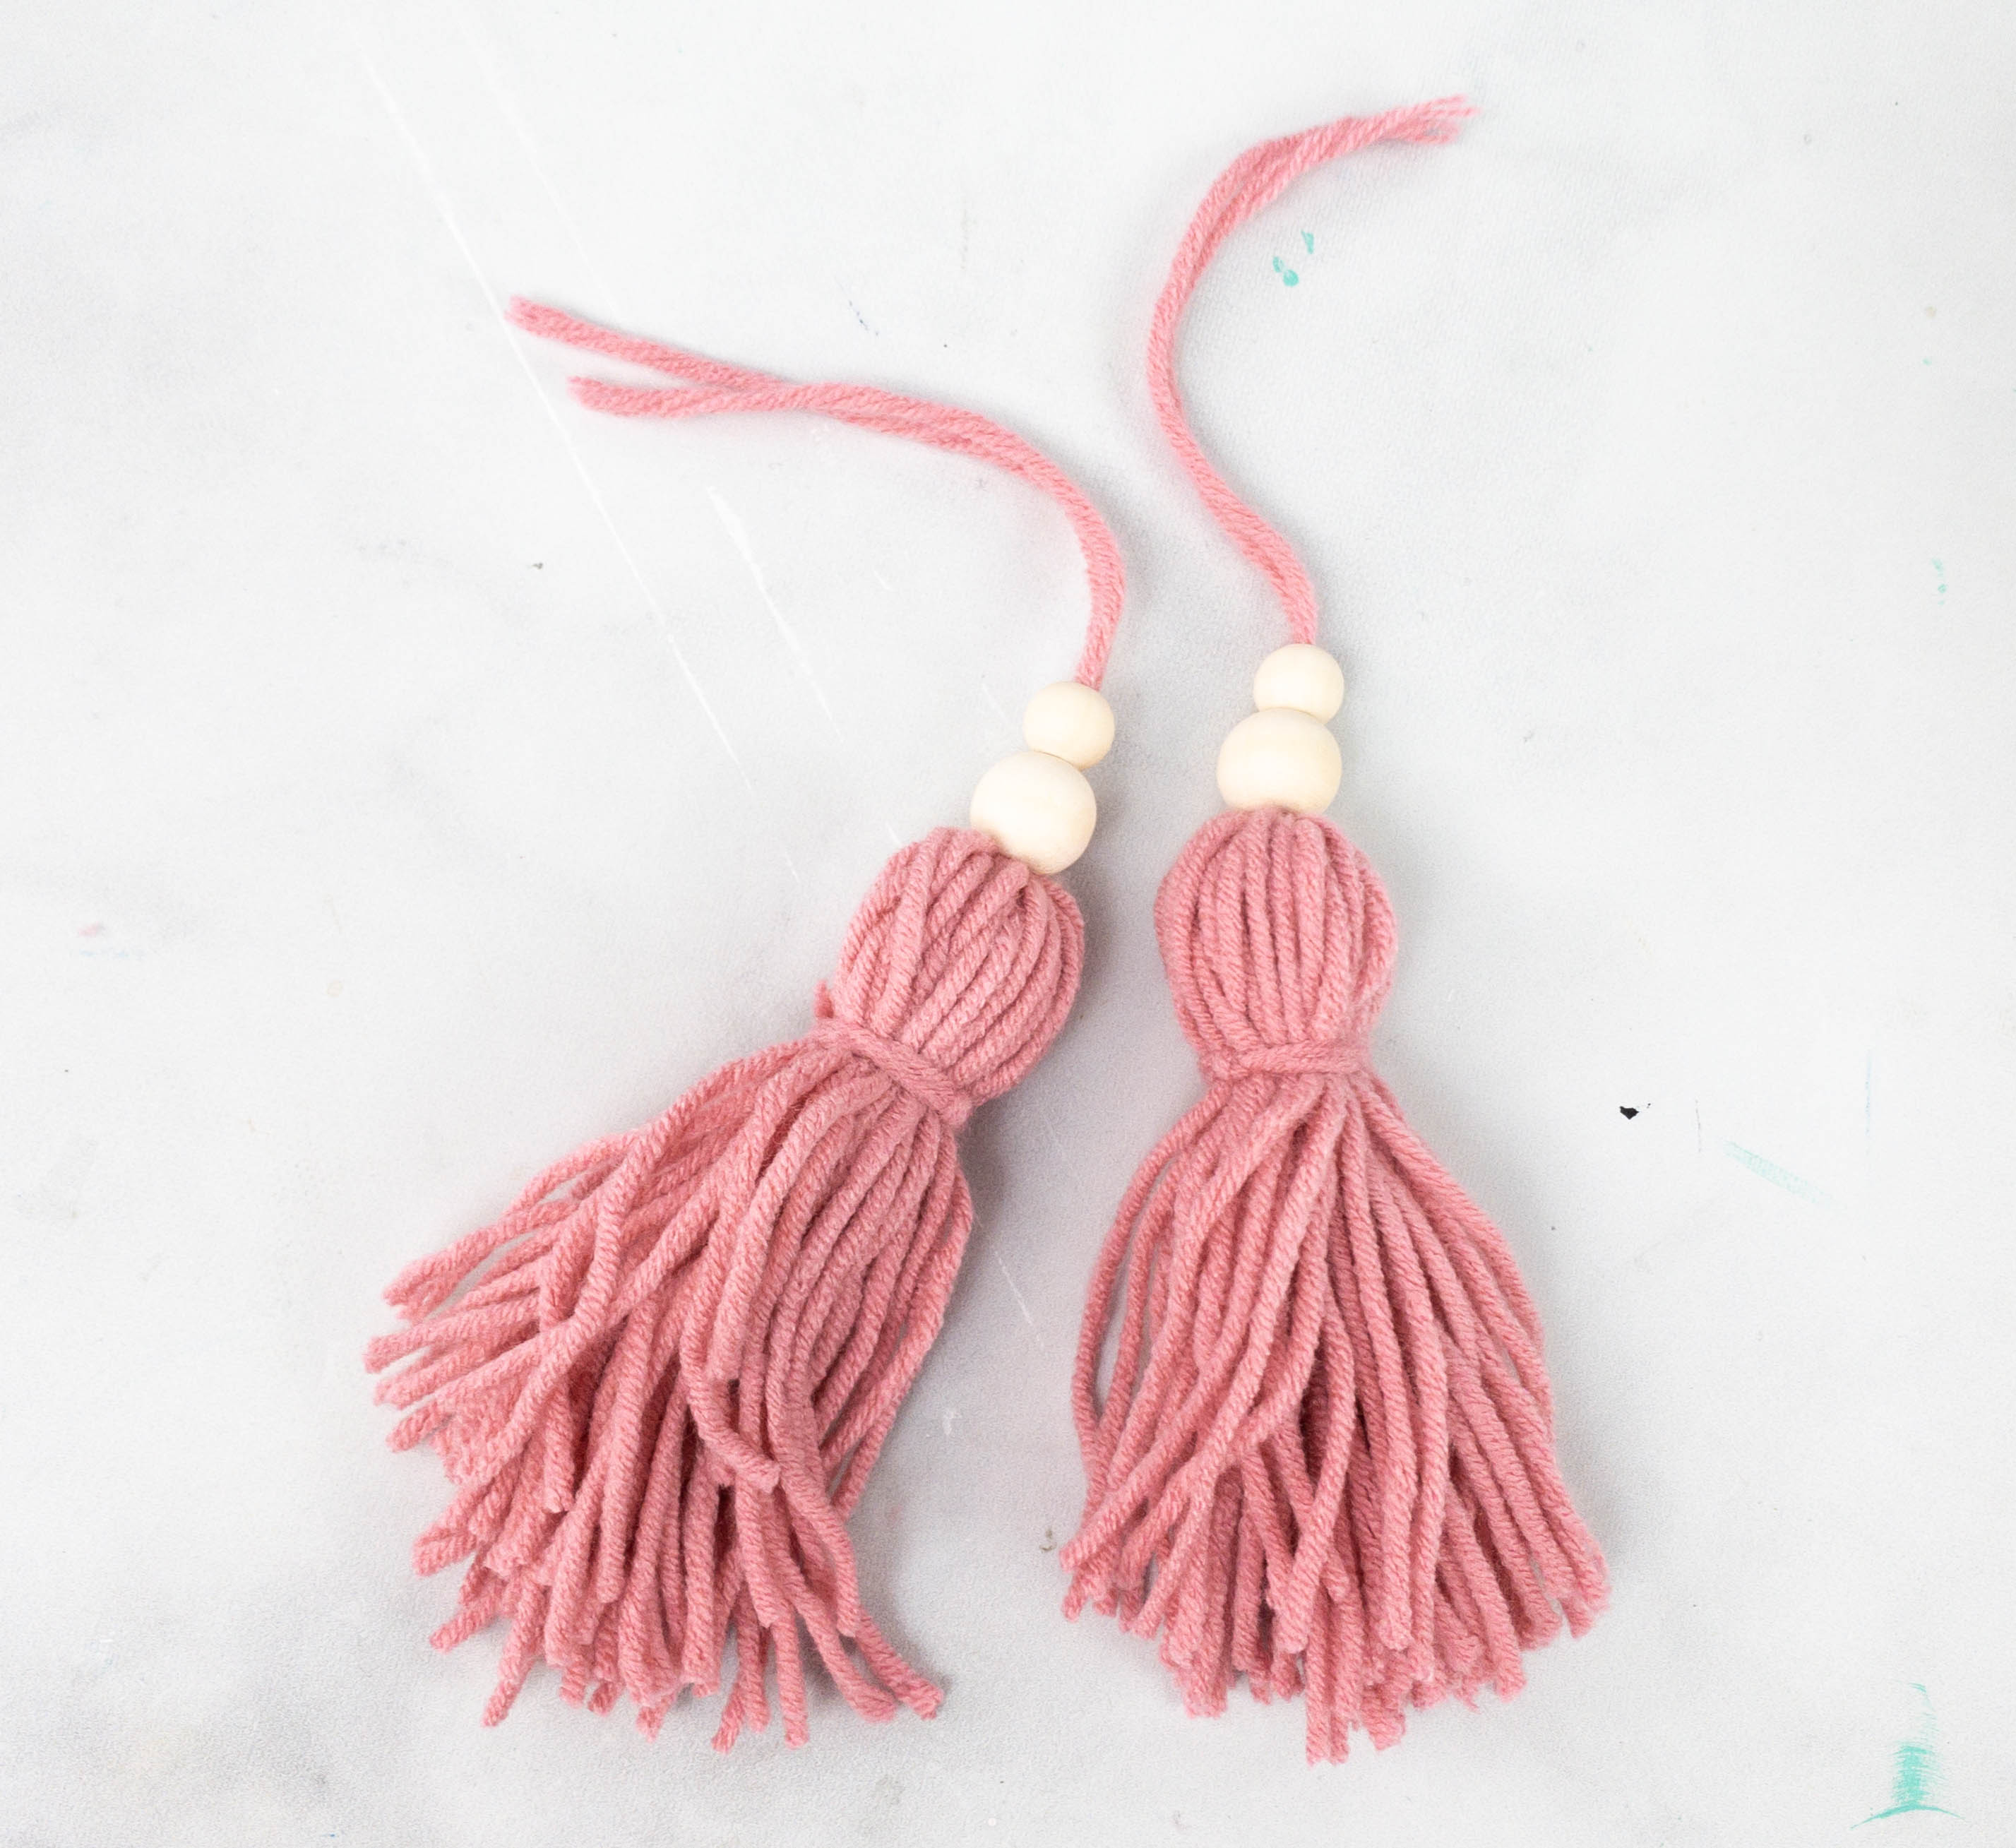
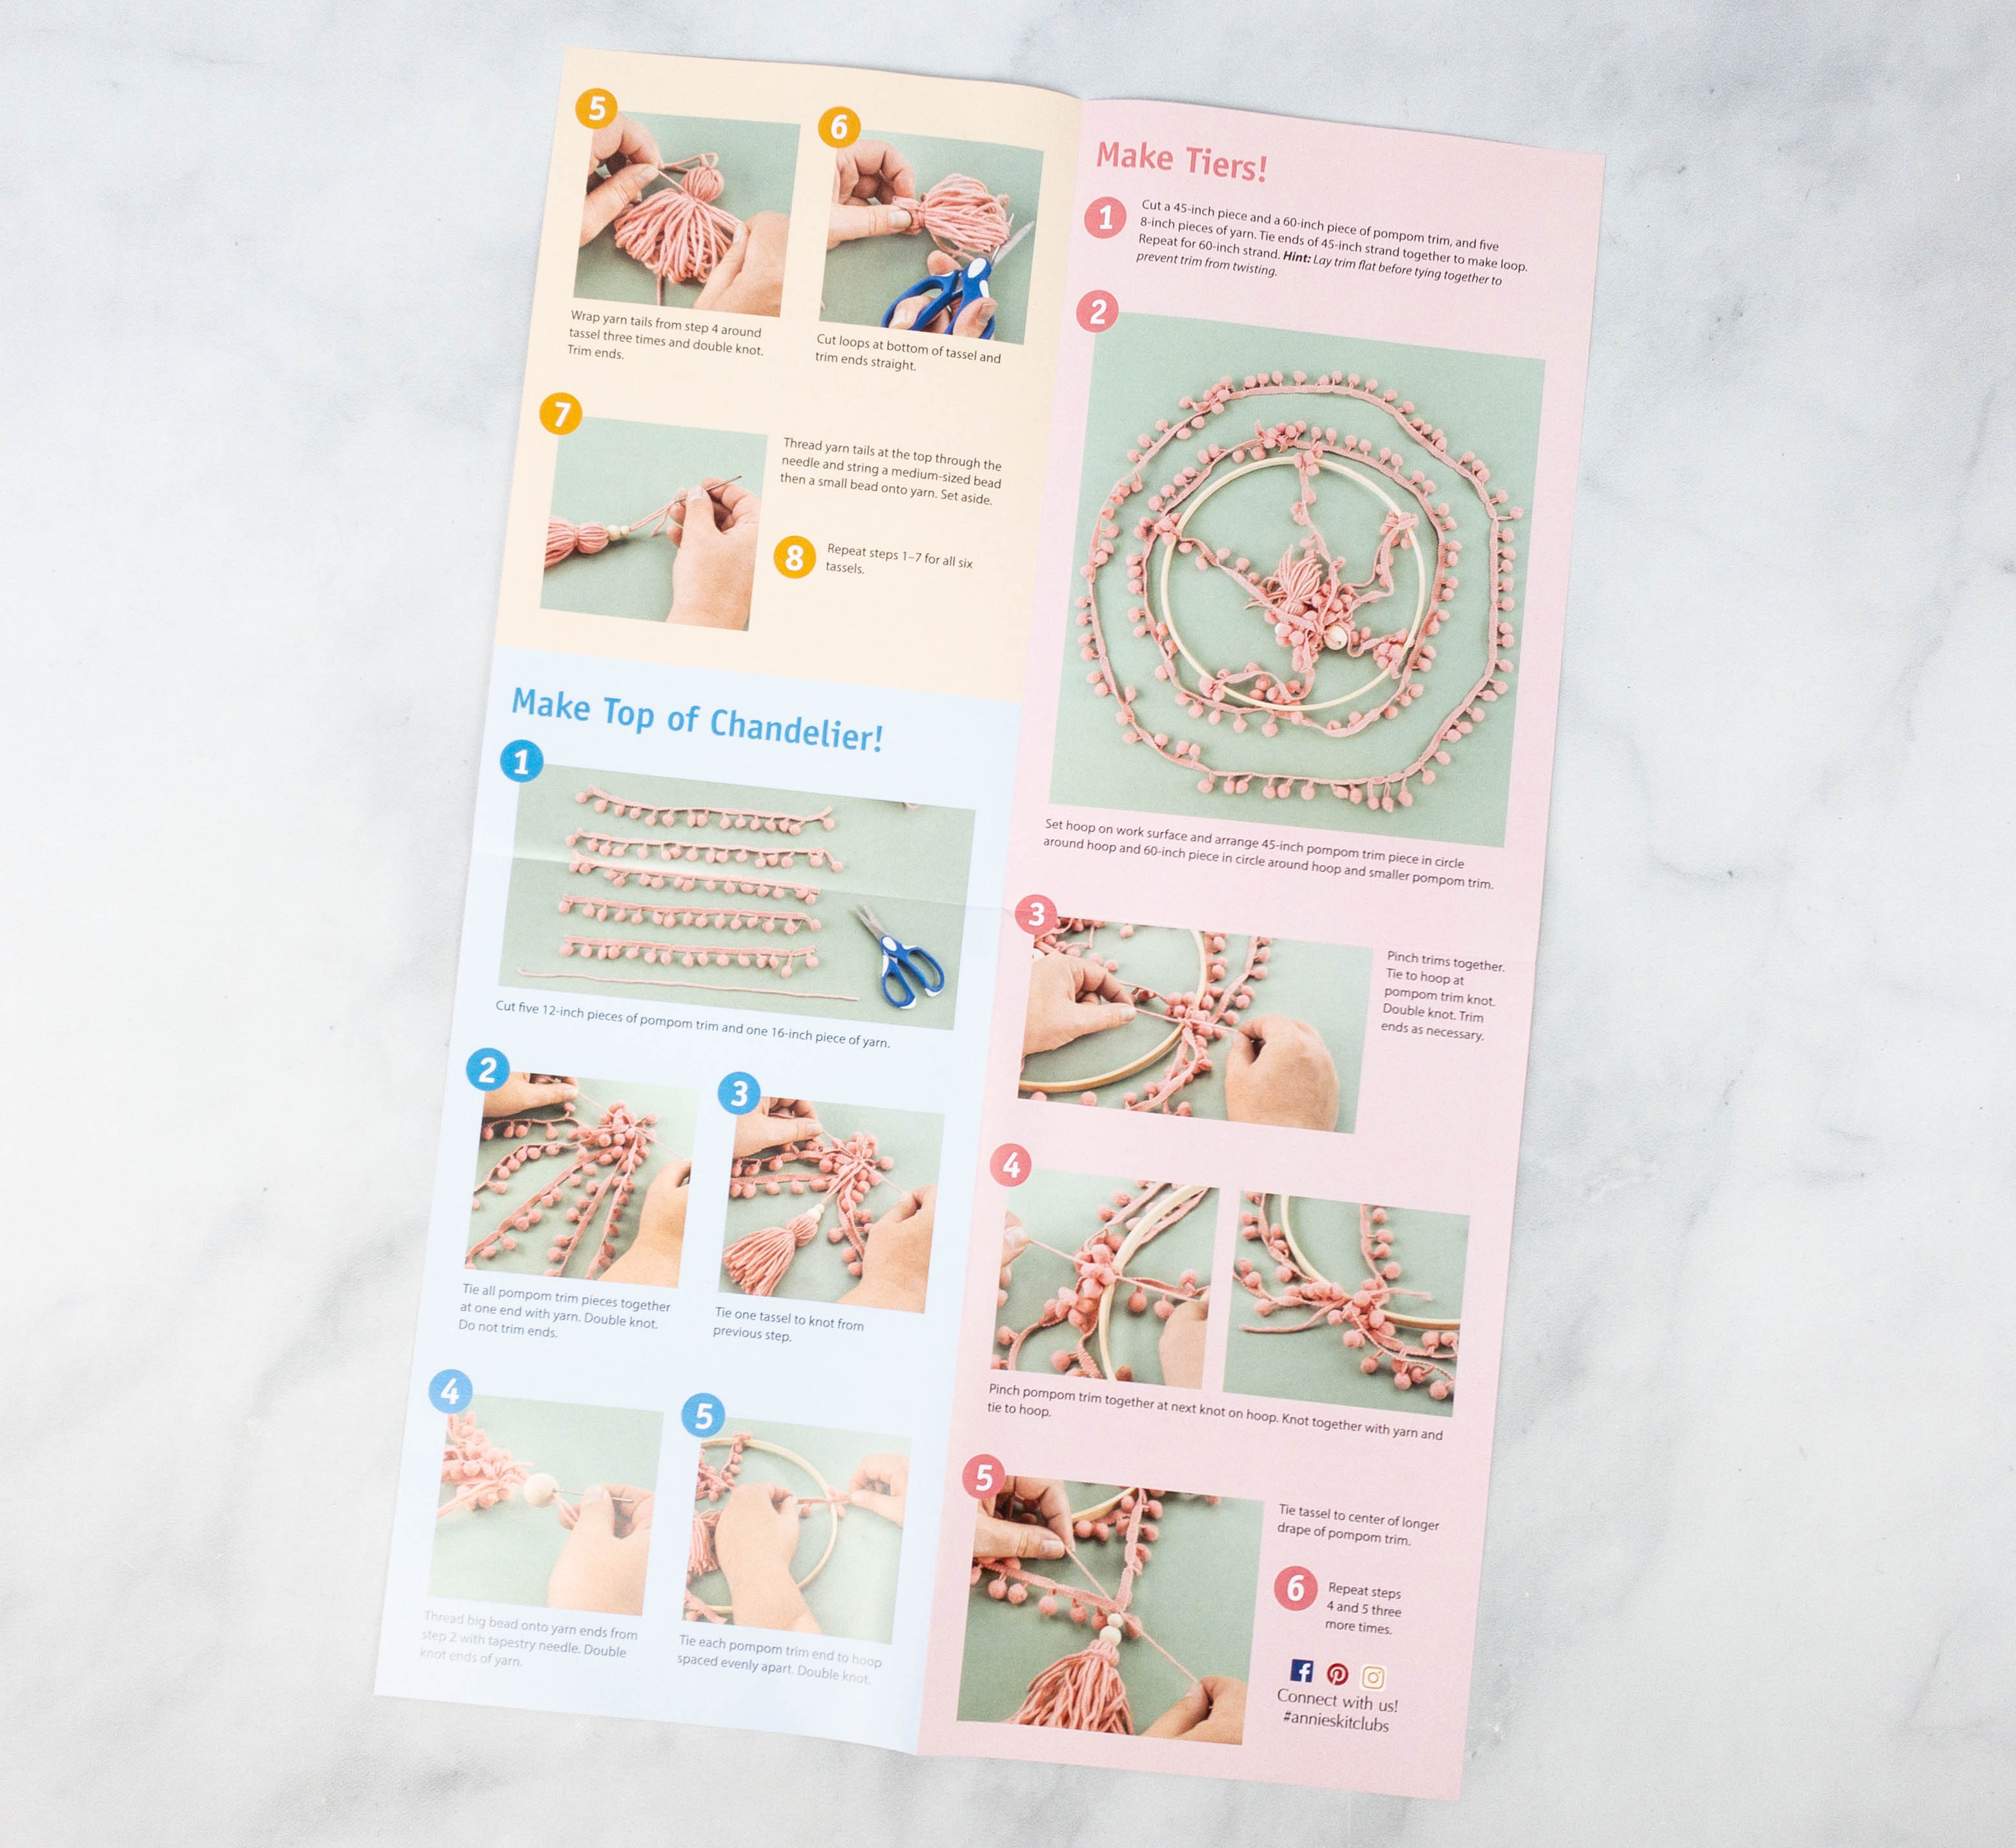
Next, she cut the loops at the bottom of the tassel and trimmed the ends to make sure they’re even. On the top string piece, she threaded a medium and then a small bead onto the yarn. She repeated the whole process until she finished all 6 tassels.
The following part is about tying all the pompom trim pieces together. My daughter added a tassel by tying it up on the double knot.
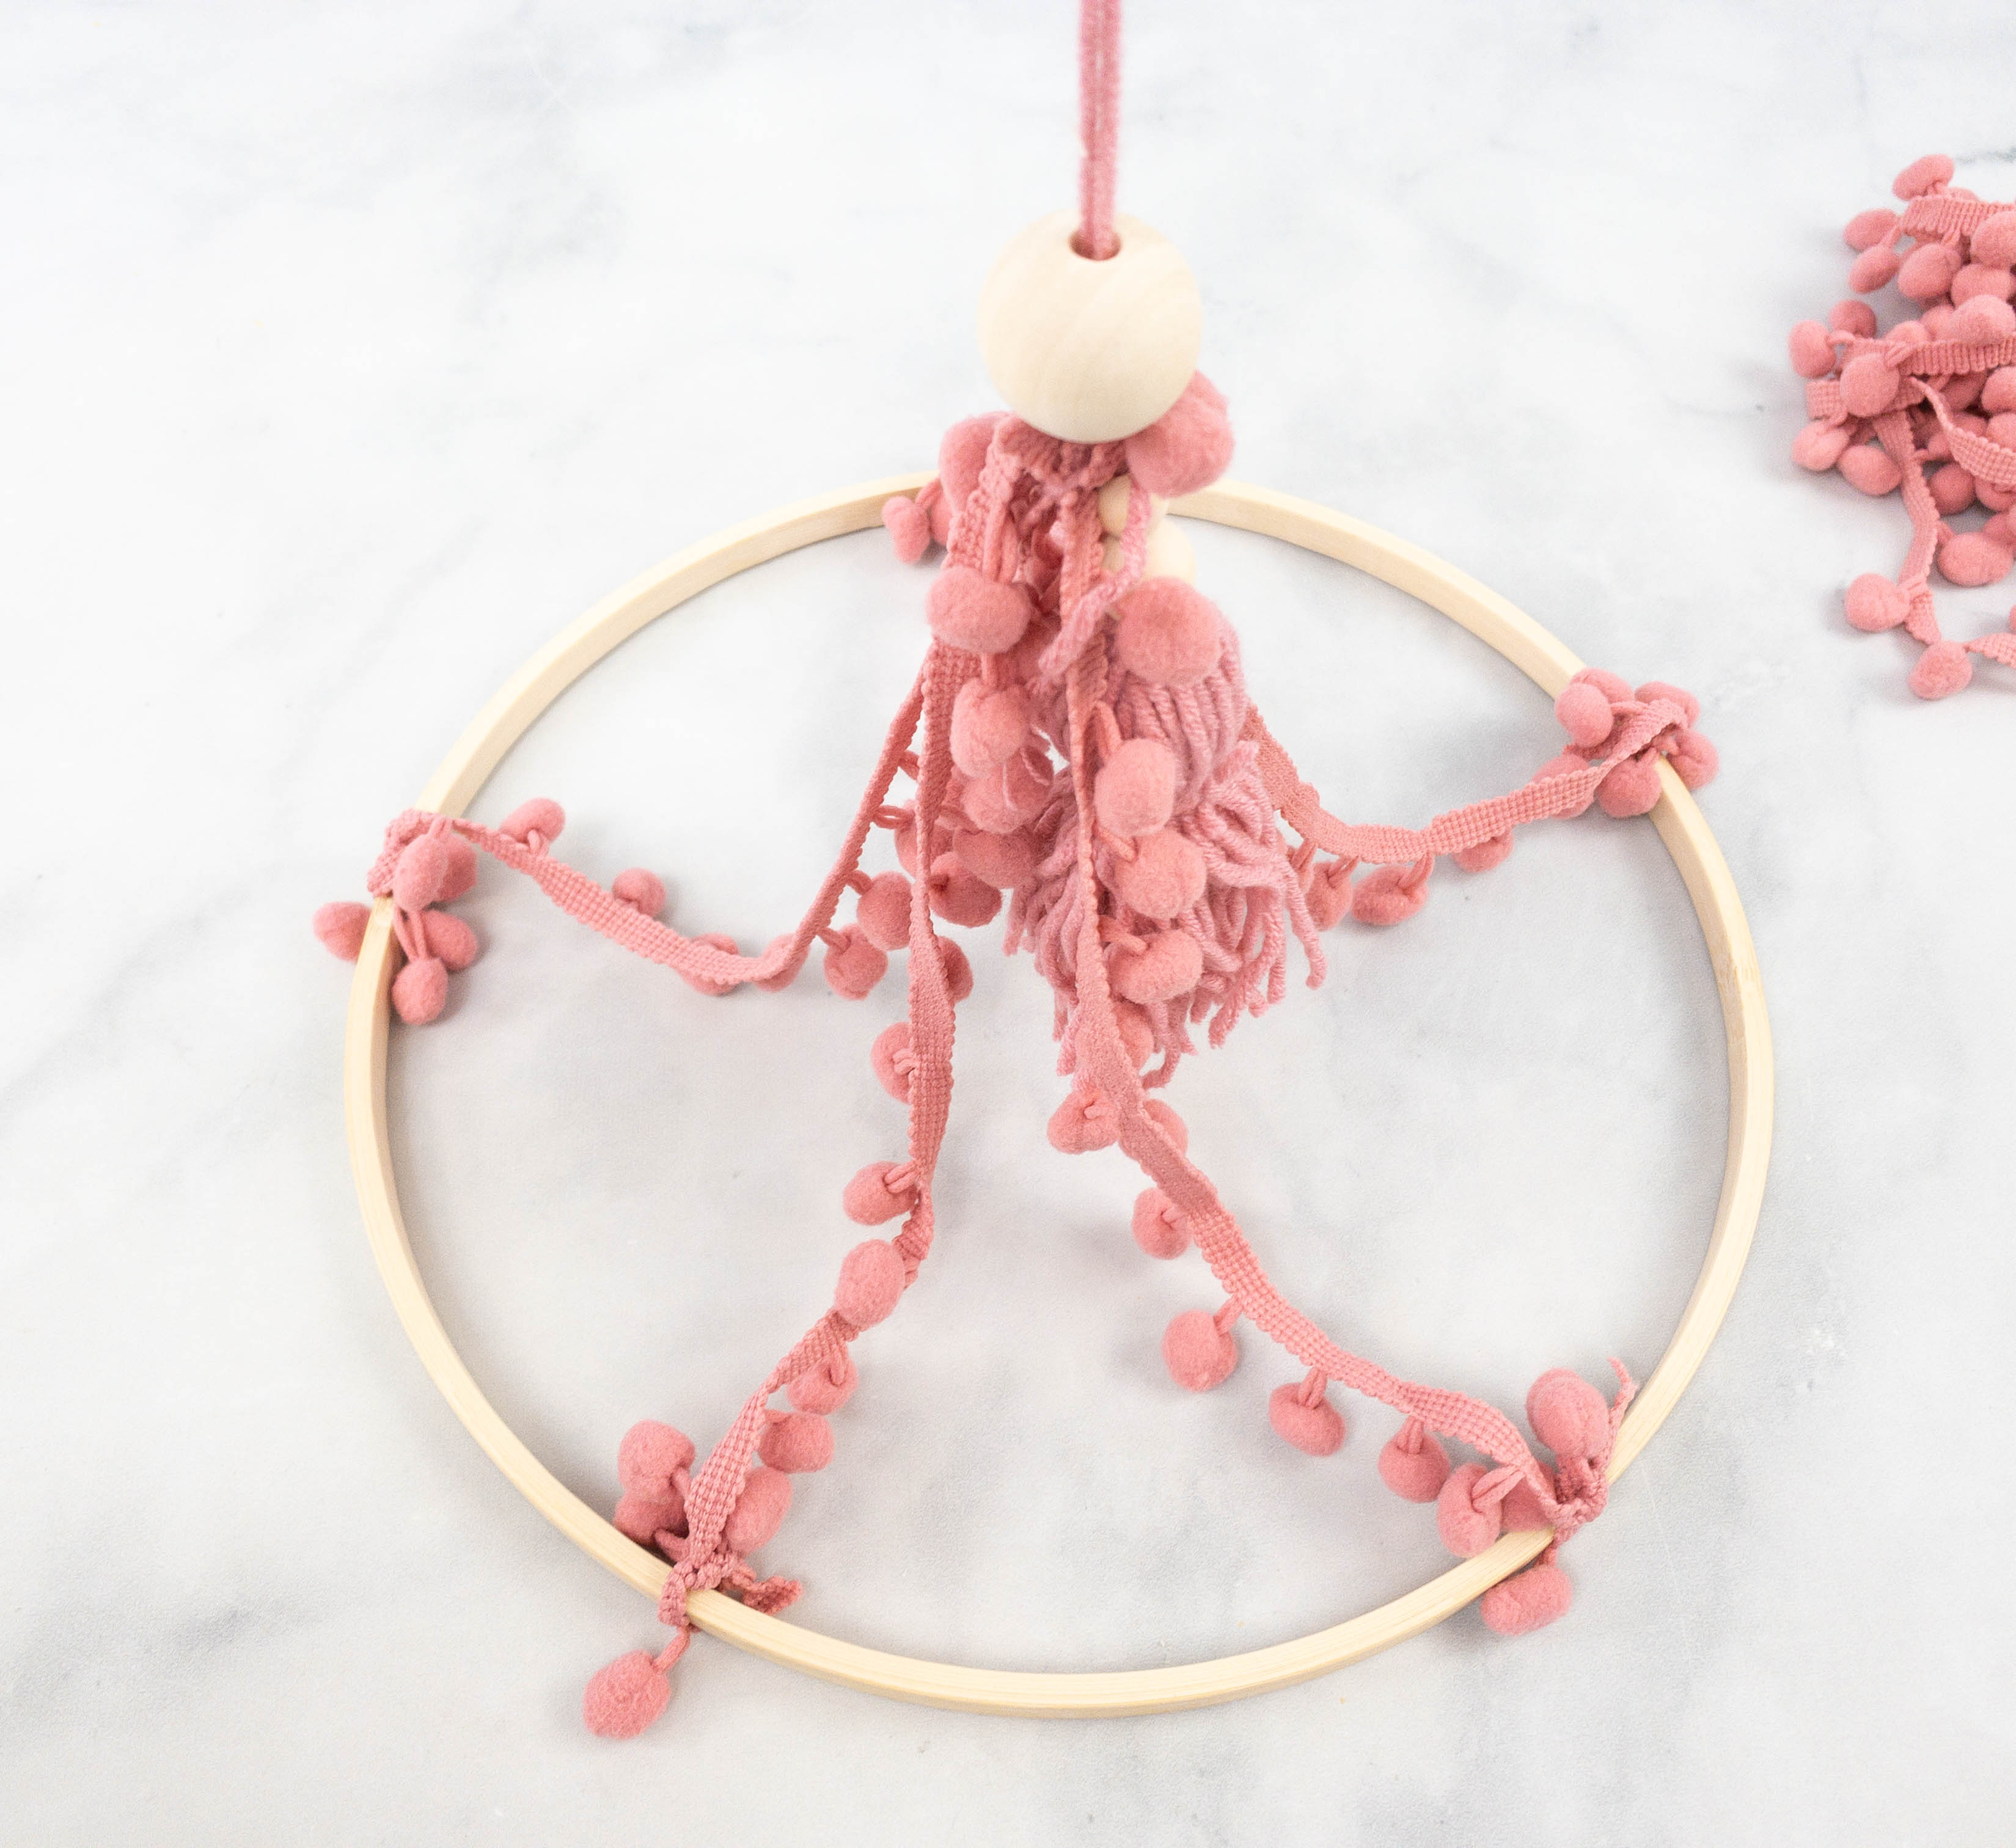
It’s time to thread the big bead onto the yarn ends using the tapestry needle and double knotted the ends of the yarn. My daughter also tied each pompom trim end to the hoop while making sure that they’re evenly spaced apart.
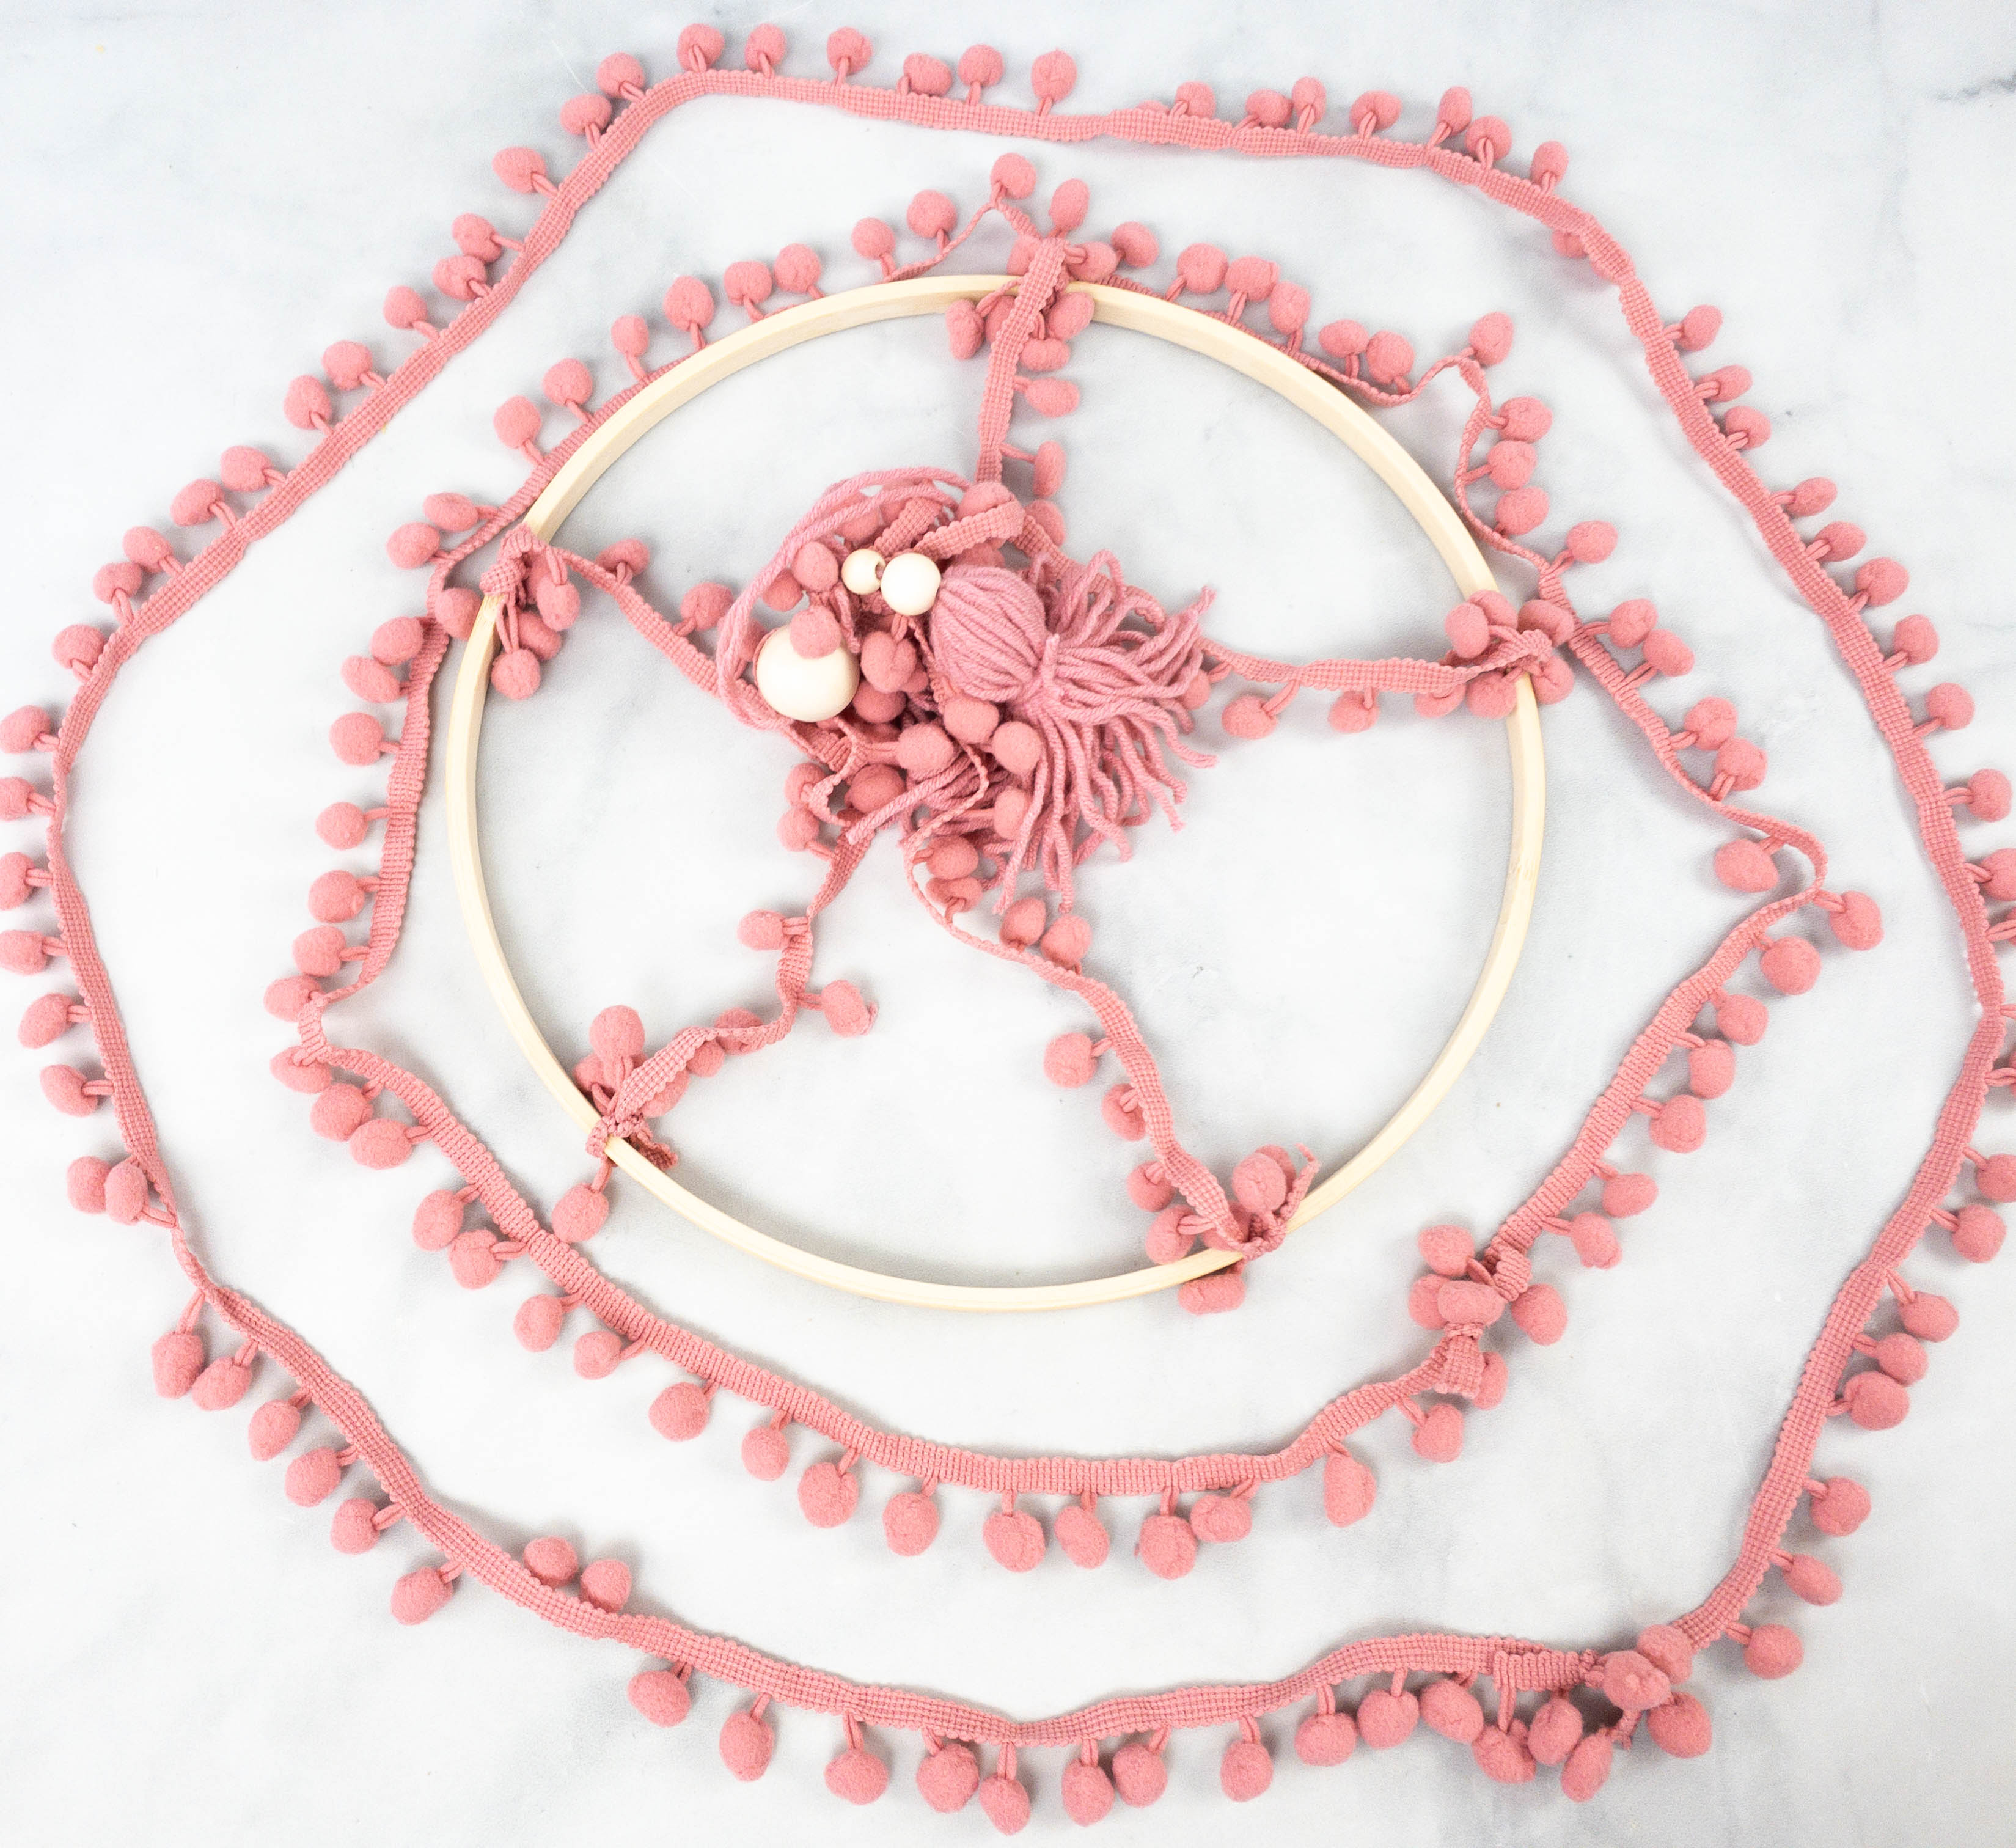
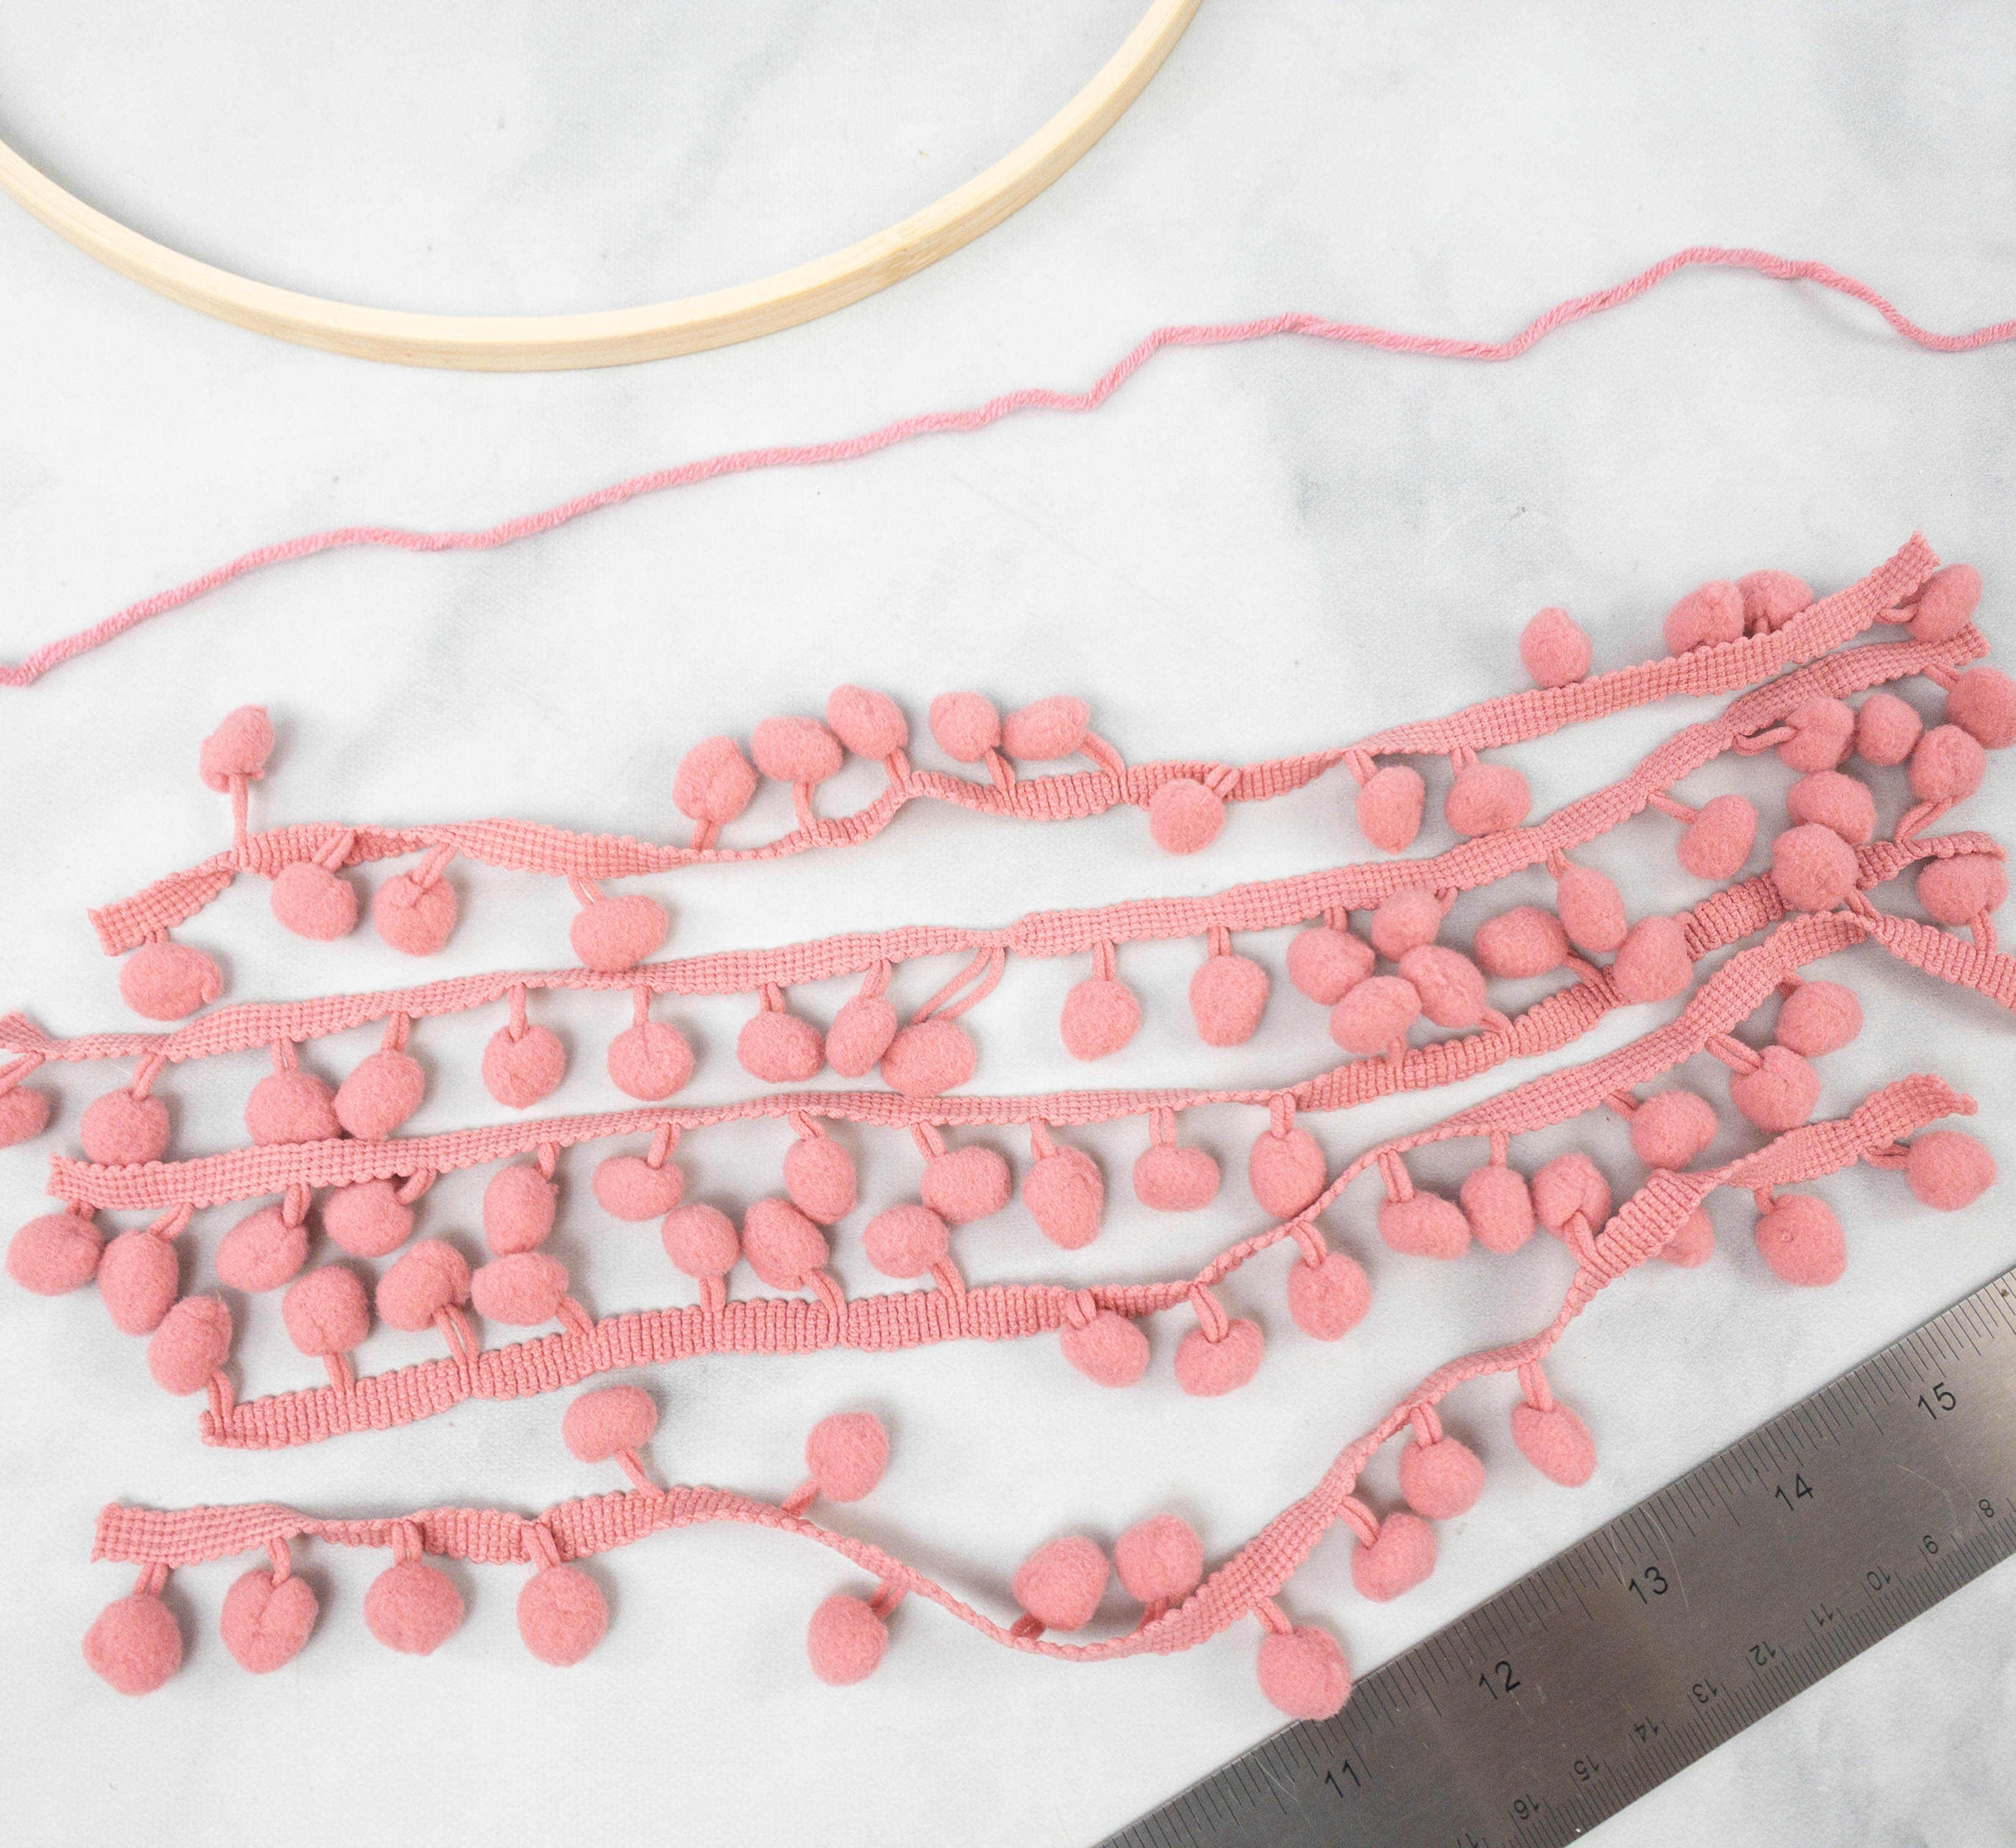
Next, we have to work on the layers! My daughter cut pompom trims and yarns in different lengths, then tied the ends together so it forms a circle. She set the hoop on a flat surface and arranged the two circular pompom trims to circle around the hoop with the smaller piece inside and the larger one out.
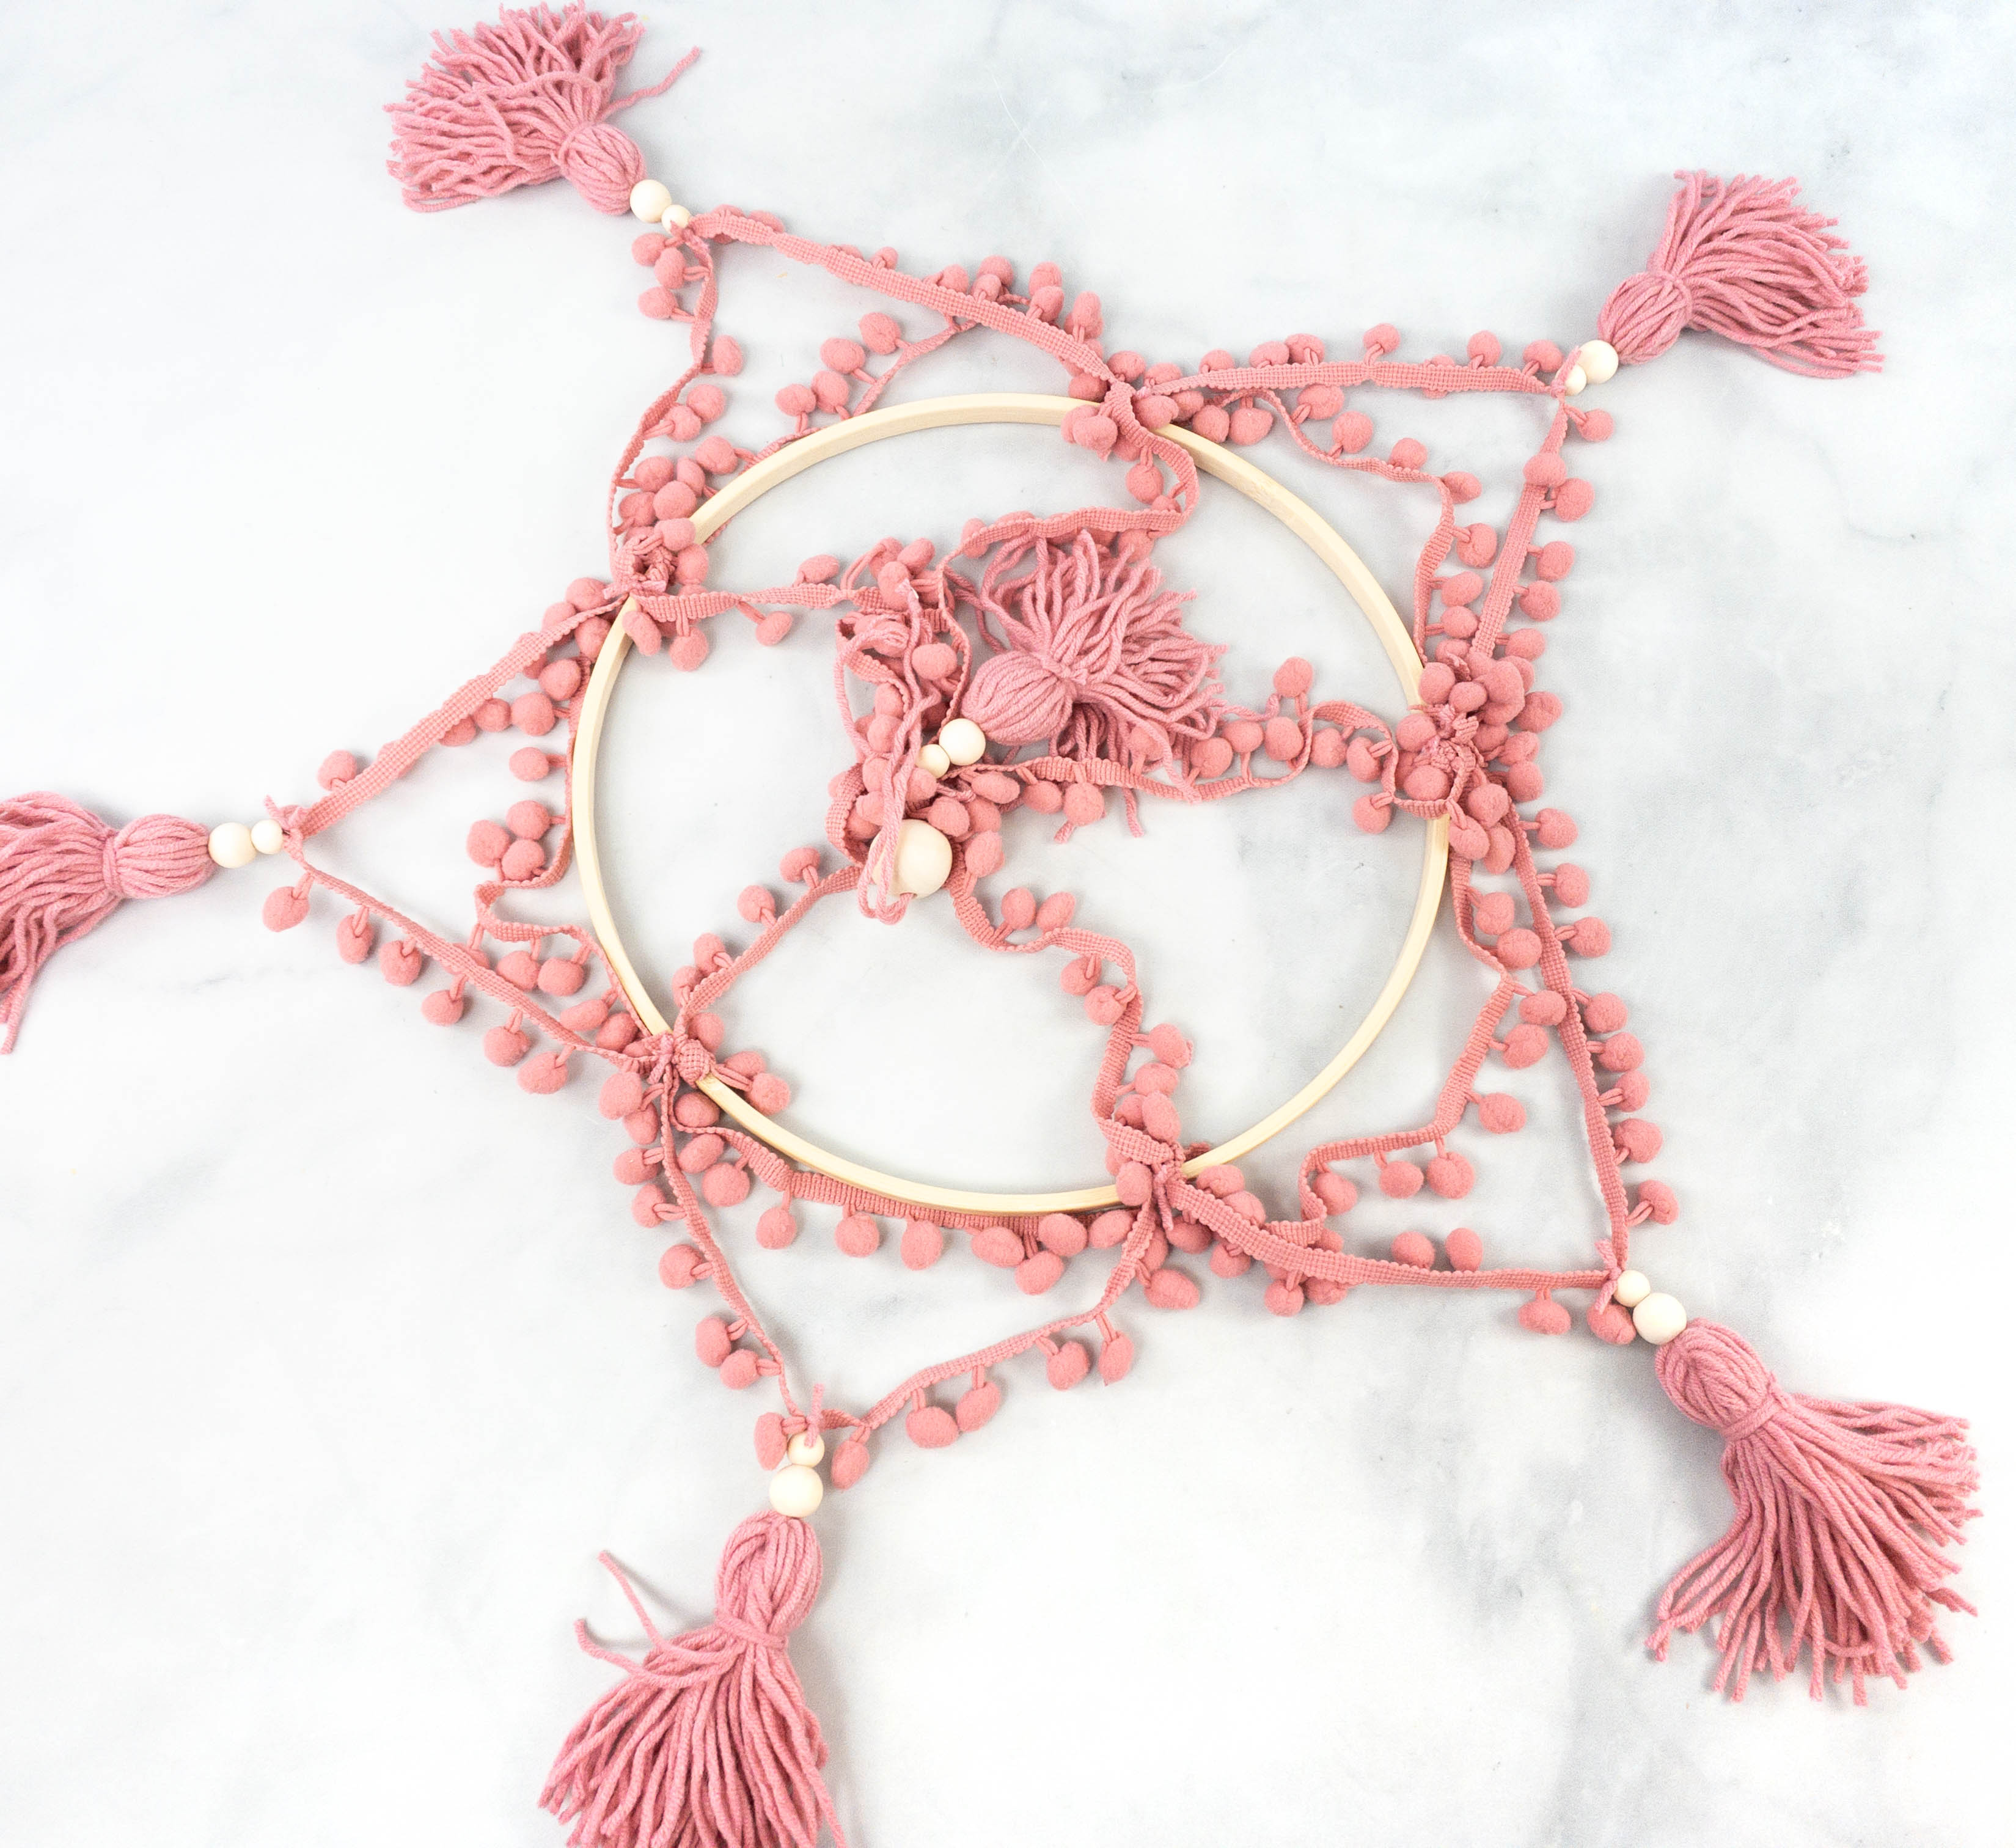
My daughter also pinched the trims together and tied them to the hoop at the pompom trim knot. She trimmed off the excess yarn so it looks clean. Lastly, she tied the tassel to the center of the longer drape of the pompom trim and just repeated these steps until she got around the hoop.
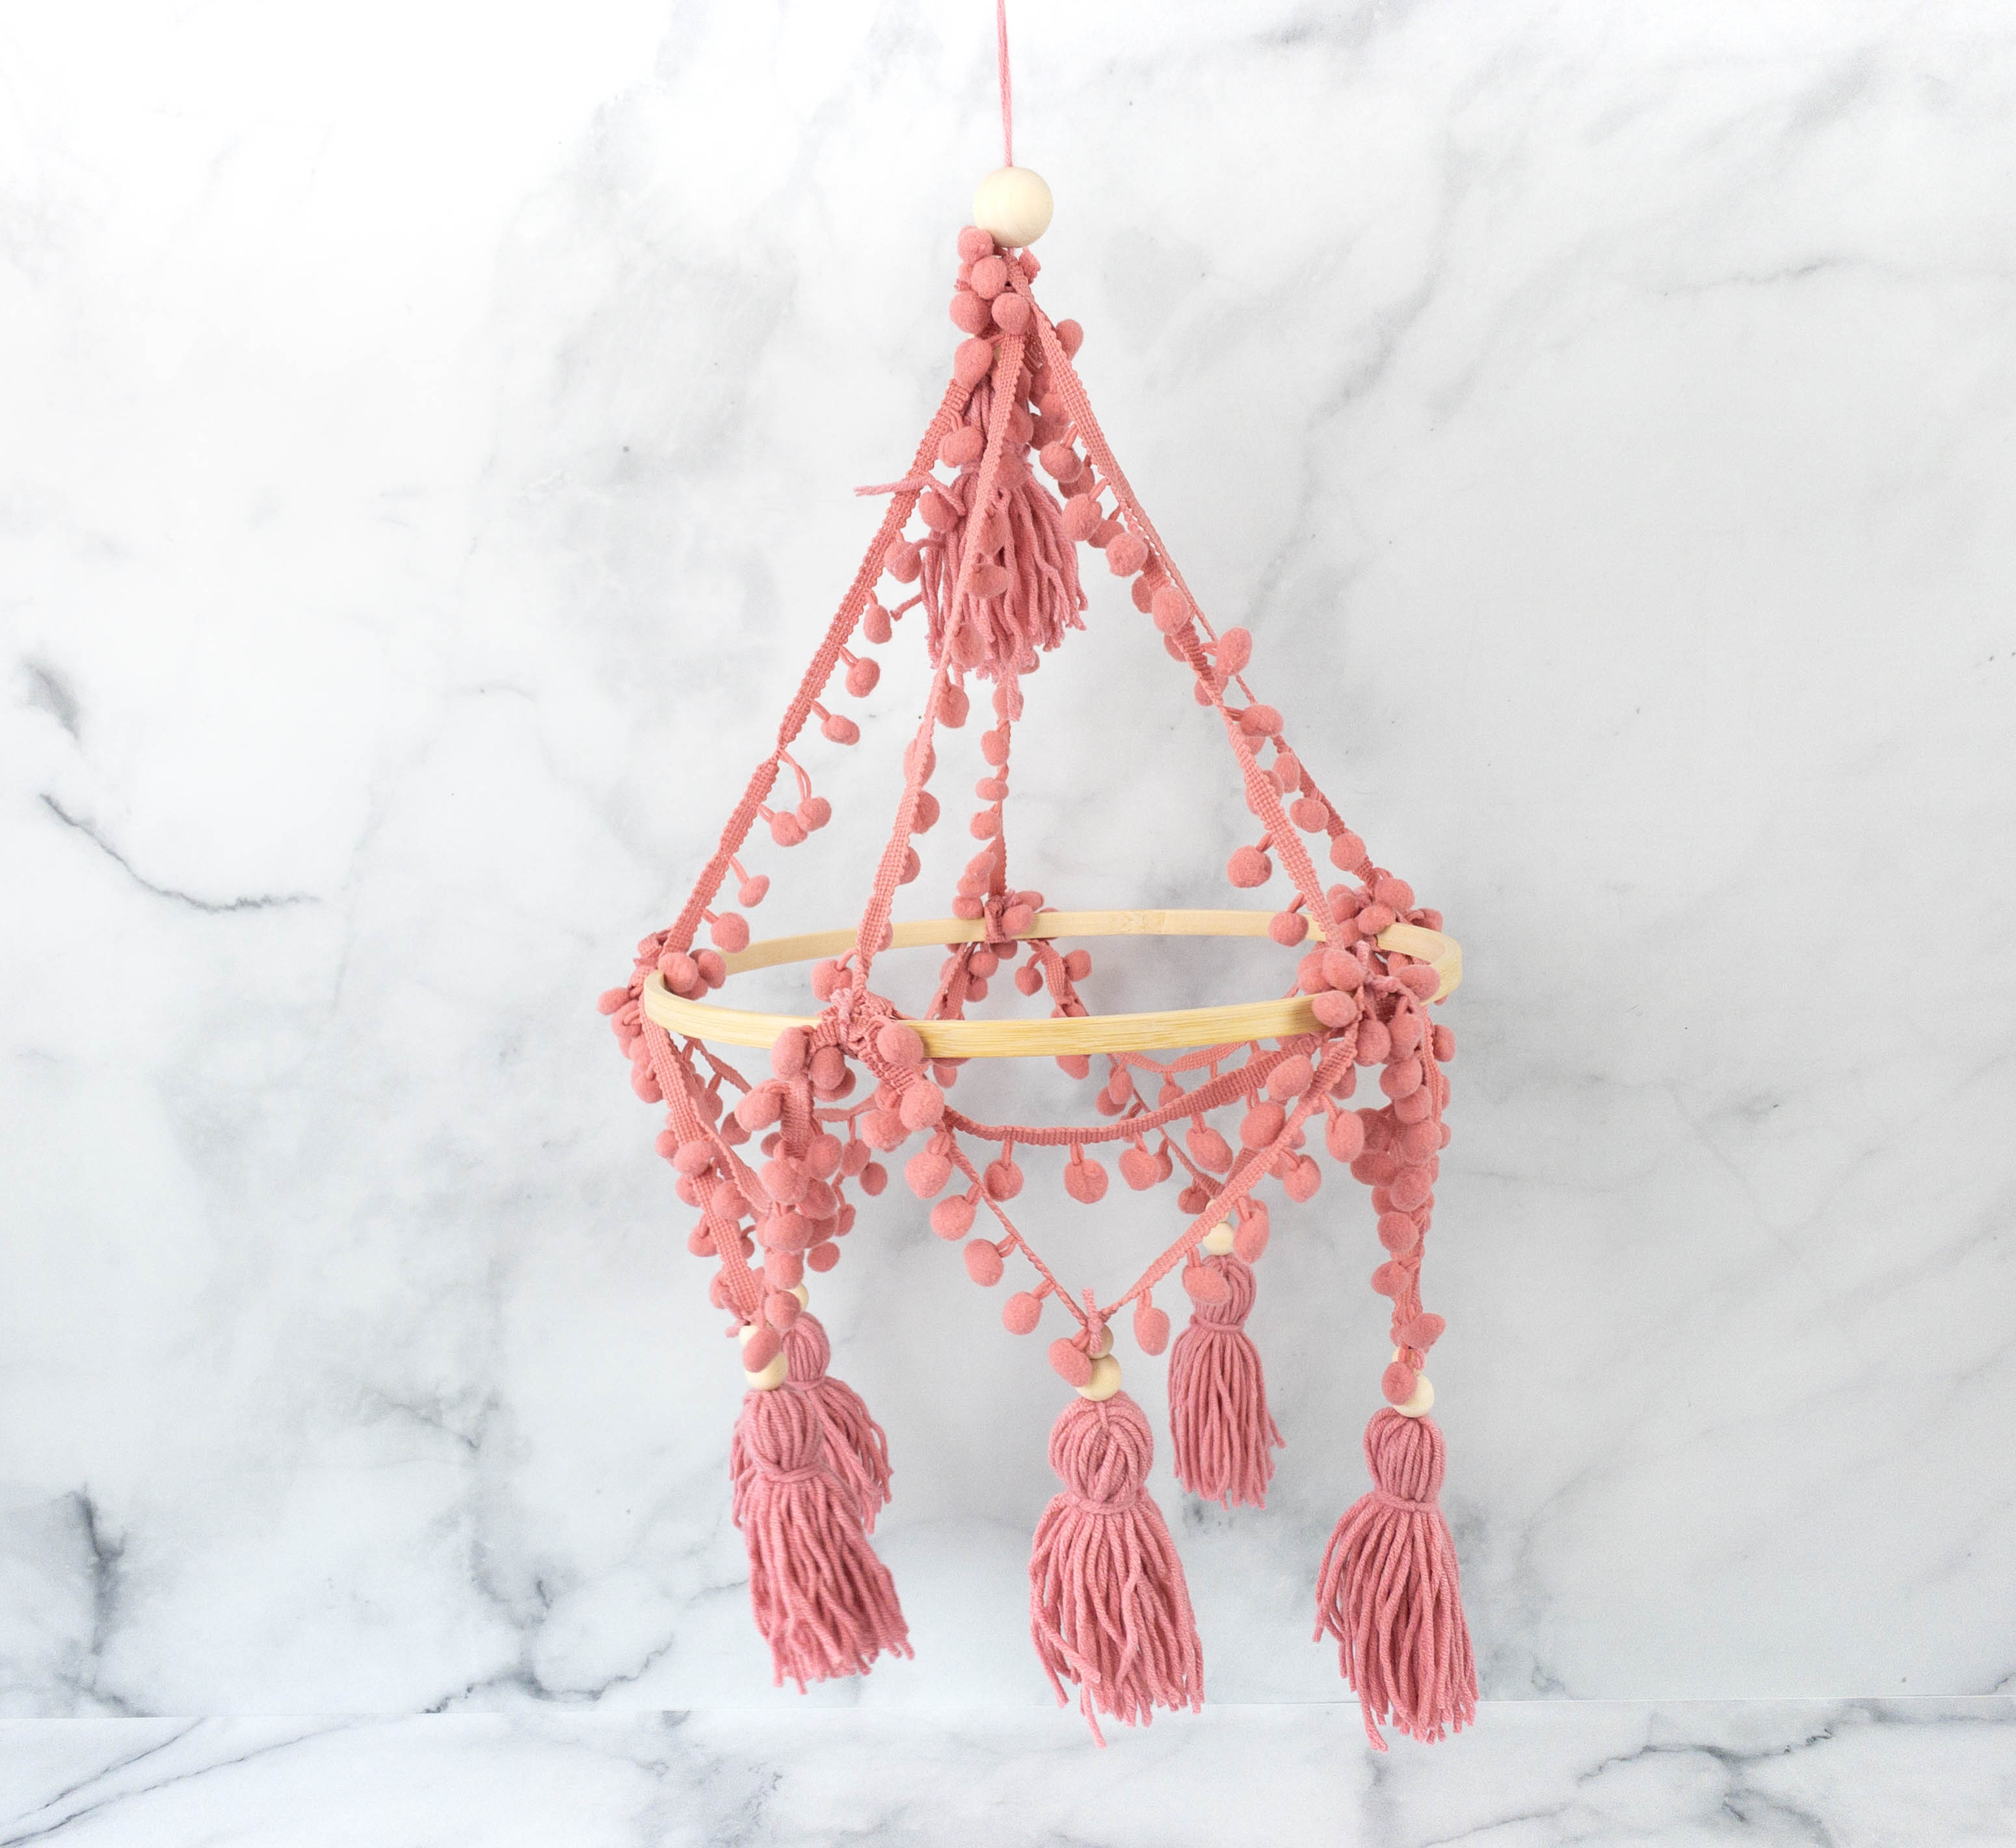
Here’s what the finished chandelier looks like! It’s a bit time consuming to make, since you have to be accurate with the measurements and you have to follow the steps correctly, or else the chandelier would look different. It turned out really lovely though, so it’s worth it!
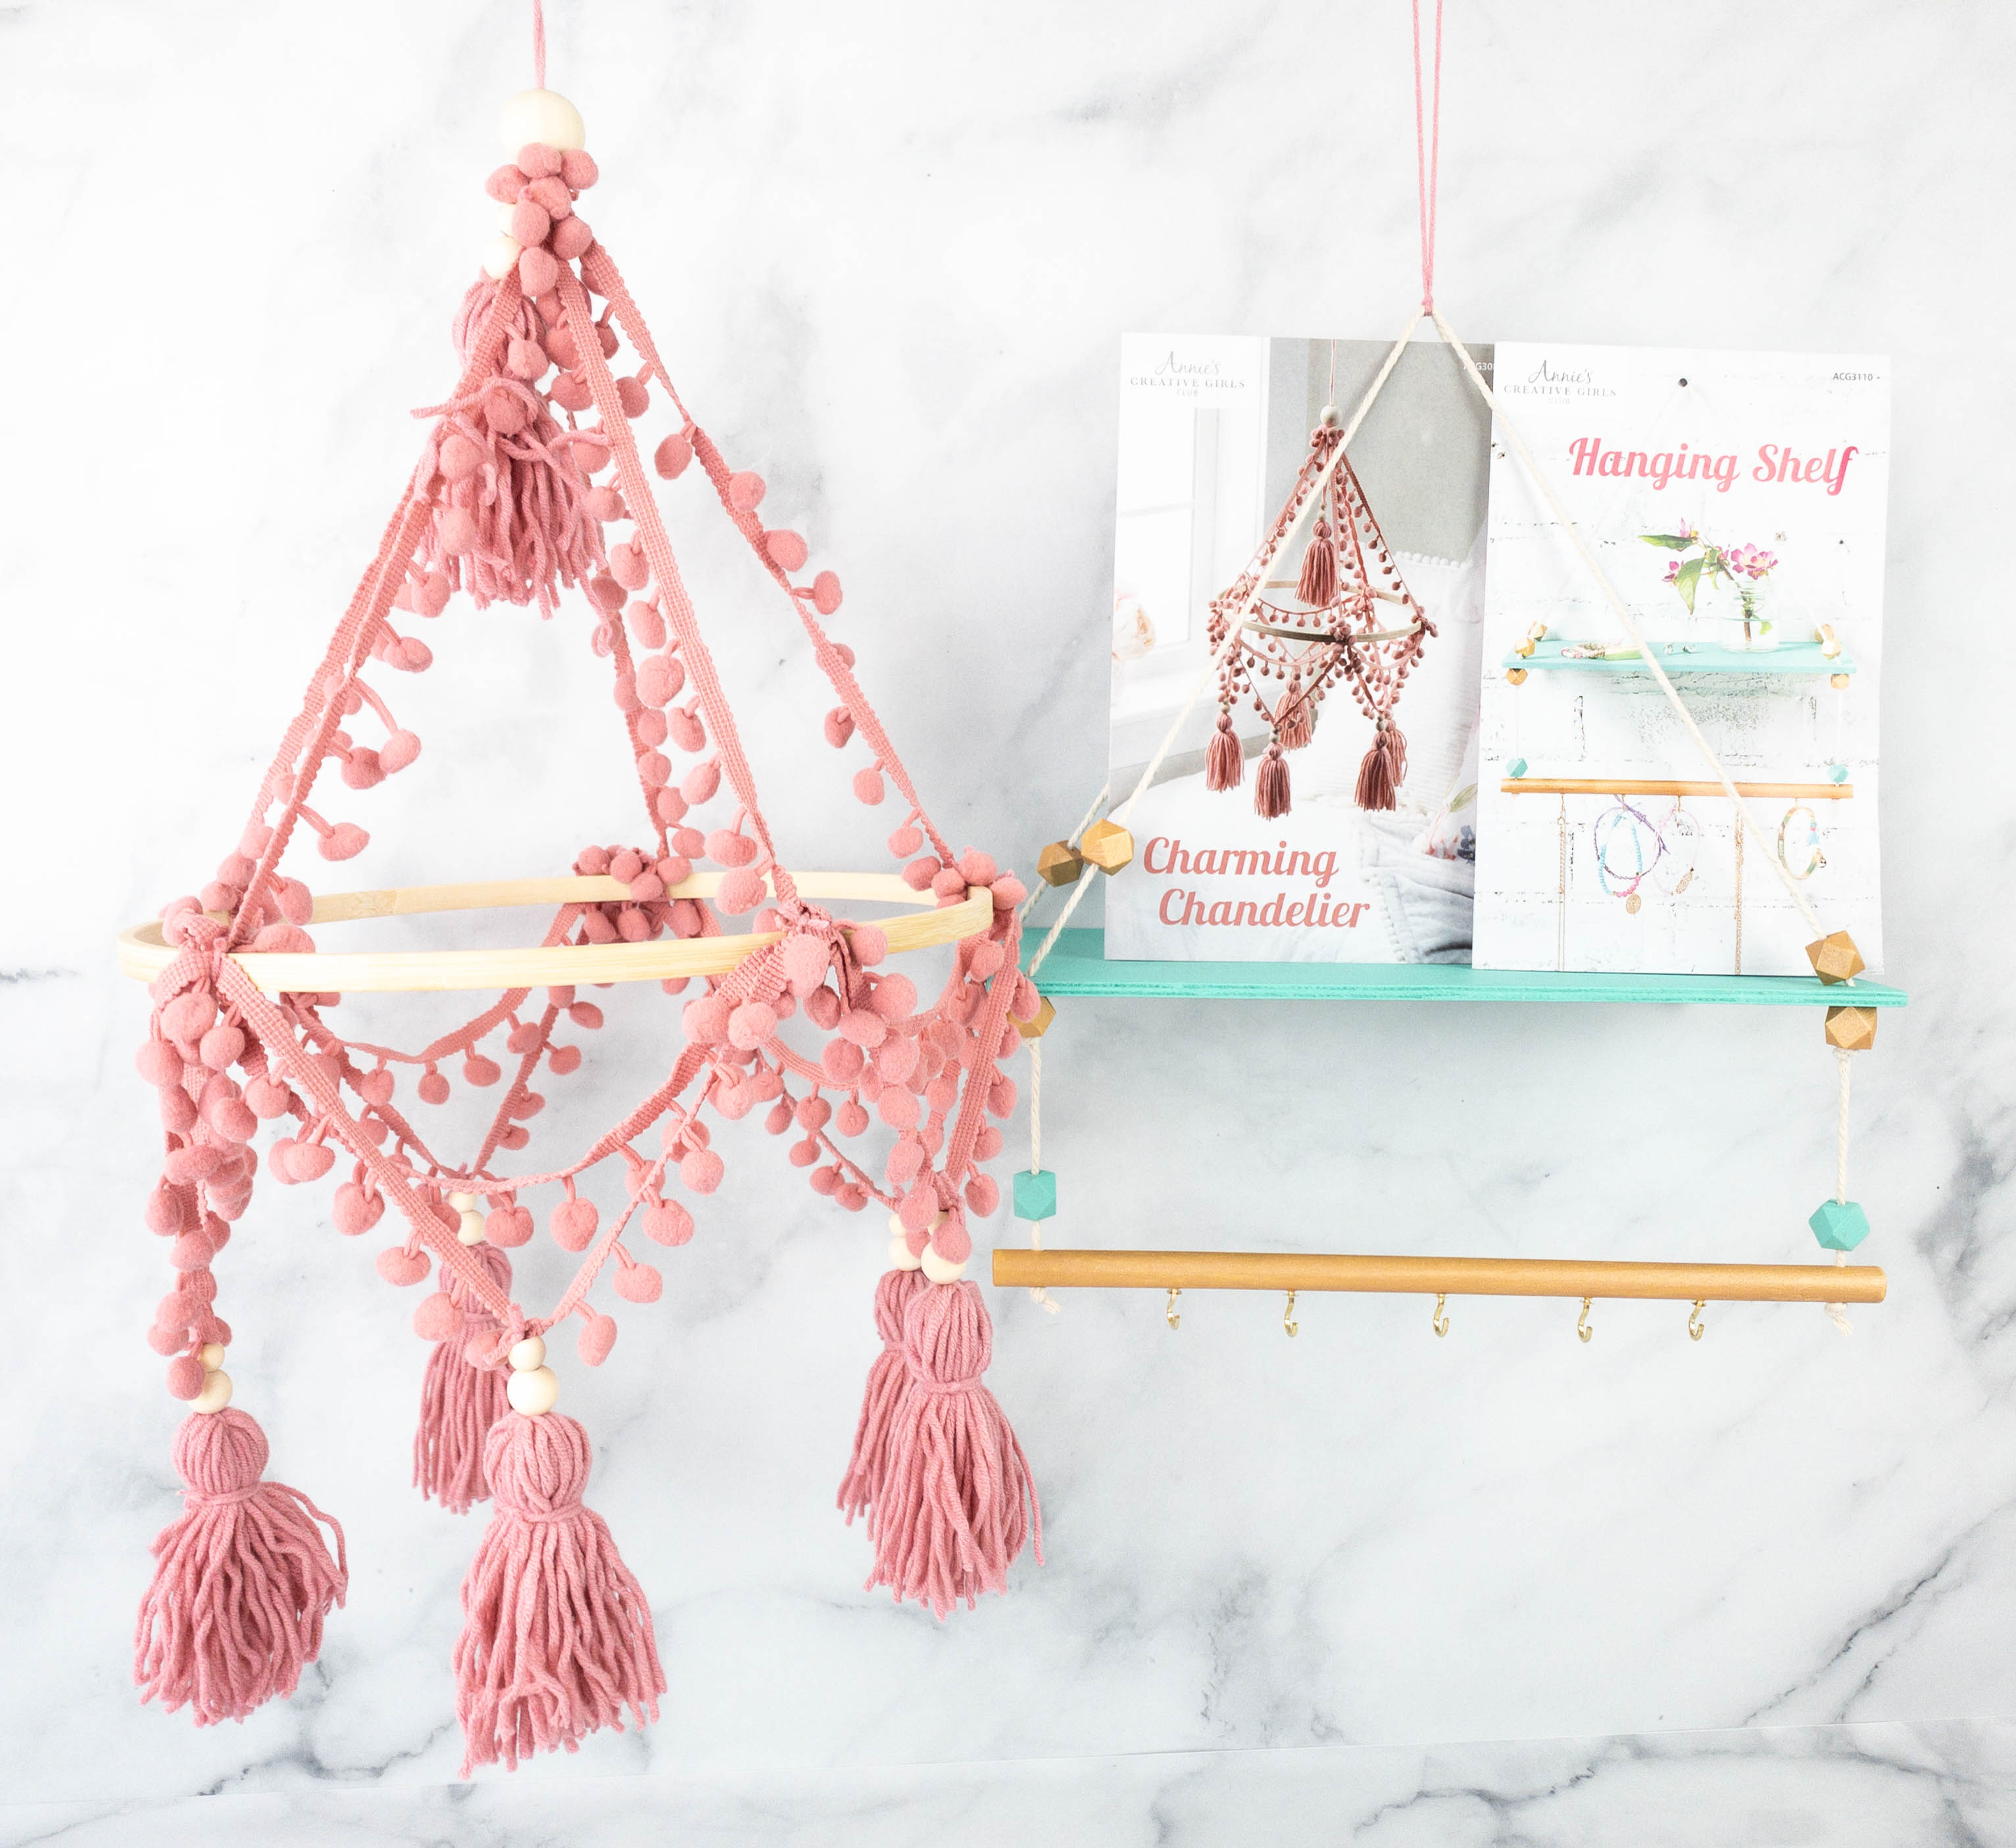
Both projects this month add a boho feel to any corner of the room!
My daughter had a great time with this month’s DIY crafts. She loved all the decorative pieces she made, and so did I. The chandelier had more complicated steps than the hanger, but it turned out really beautiful. We also liked the pink and teal color schemes because they’re very pleasant to the eyes! These DIY projects are great as weekend activities for kids, to help them boost their creativity and improve their crafting skills. The materials are already provided and the instructions are easy to follow. If older kids are doing the crafts, there’s little to no adult help needed!
What do you think of Annie’s Creative Girls Club? Let us know your thoughts!
Visit Annie’s Creative Girls Club to subscribe or find out more!


Comments