Annie’s Creative Girls Club sends craft activities for girls ages 7-12! Each package ships every 6 weeks or so, and it contains 2 project kits with easy-to-follow instructions and all the materials needed to get crafting with minimal adult supervision. Young girls will learn fun skills from this subscription, such as painting, beading, stitching, paper crafting, and more! The subscription costs $19.99 and shipping is $5.95 ($6.95 in Canada).
DEAL: Save0% off your first month! Just use this link to subscribe.
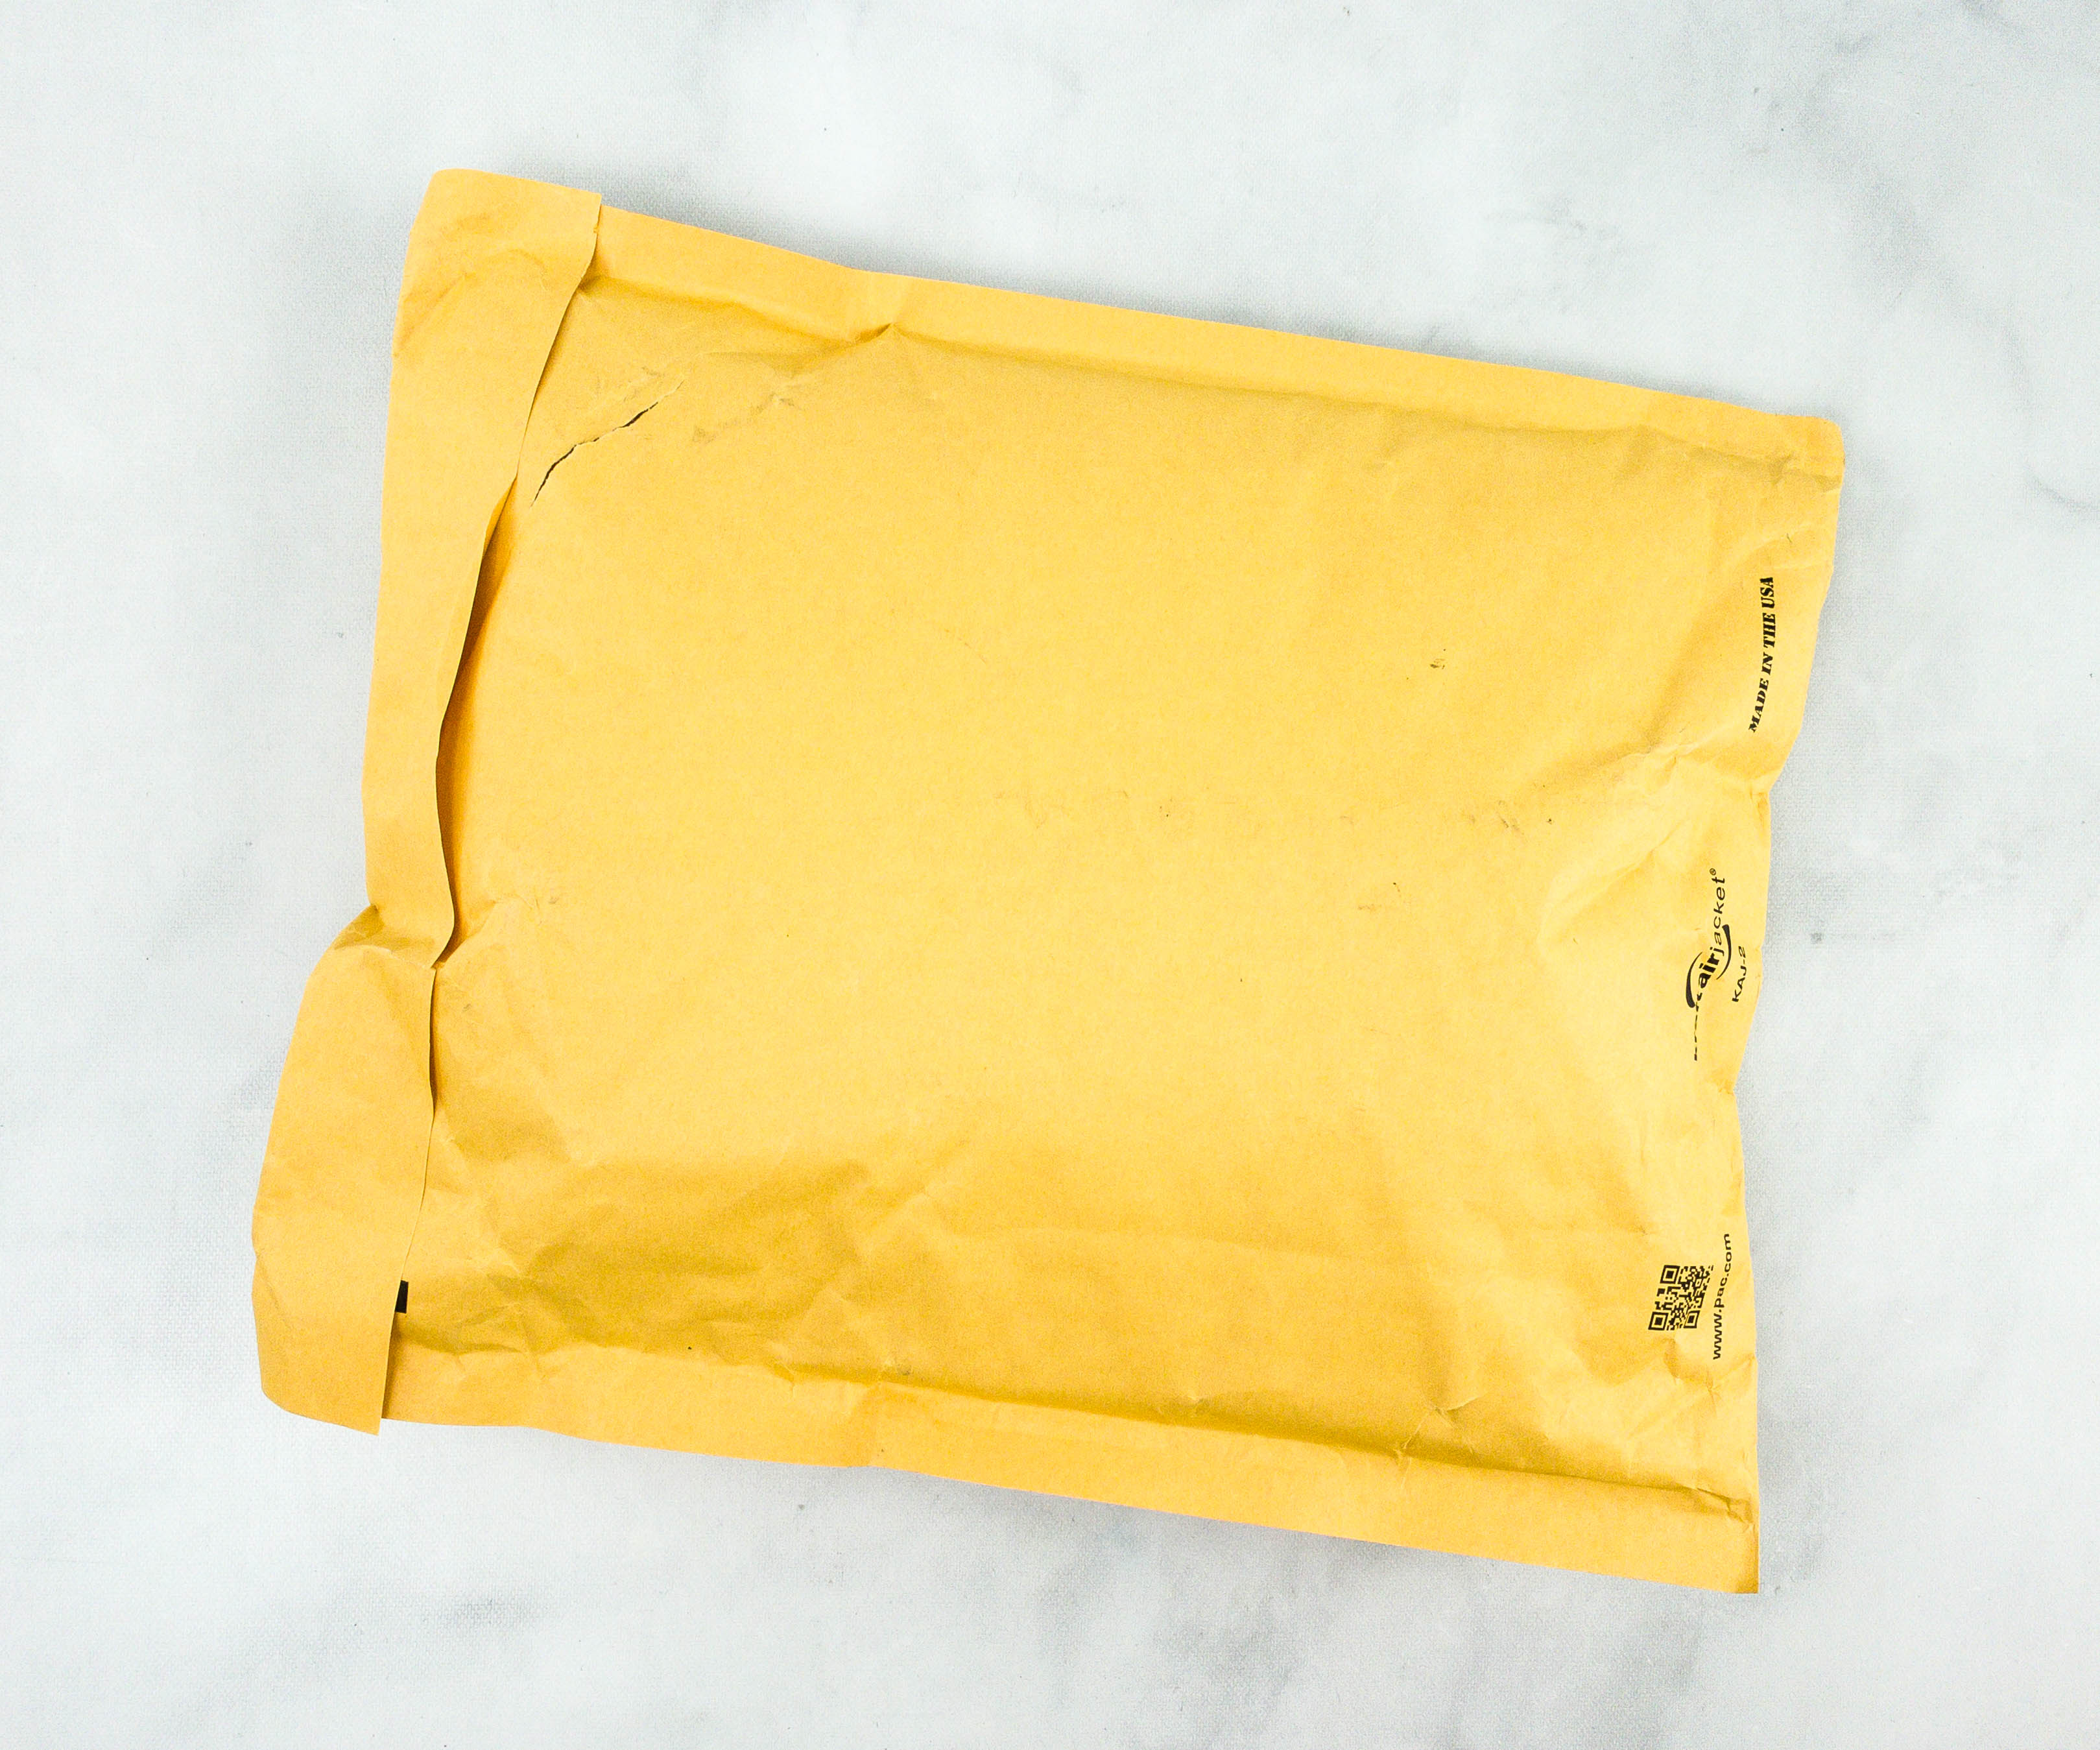
The items came in a padded mailer.
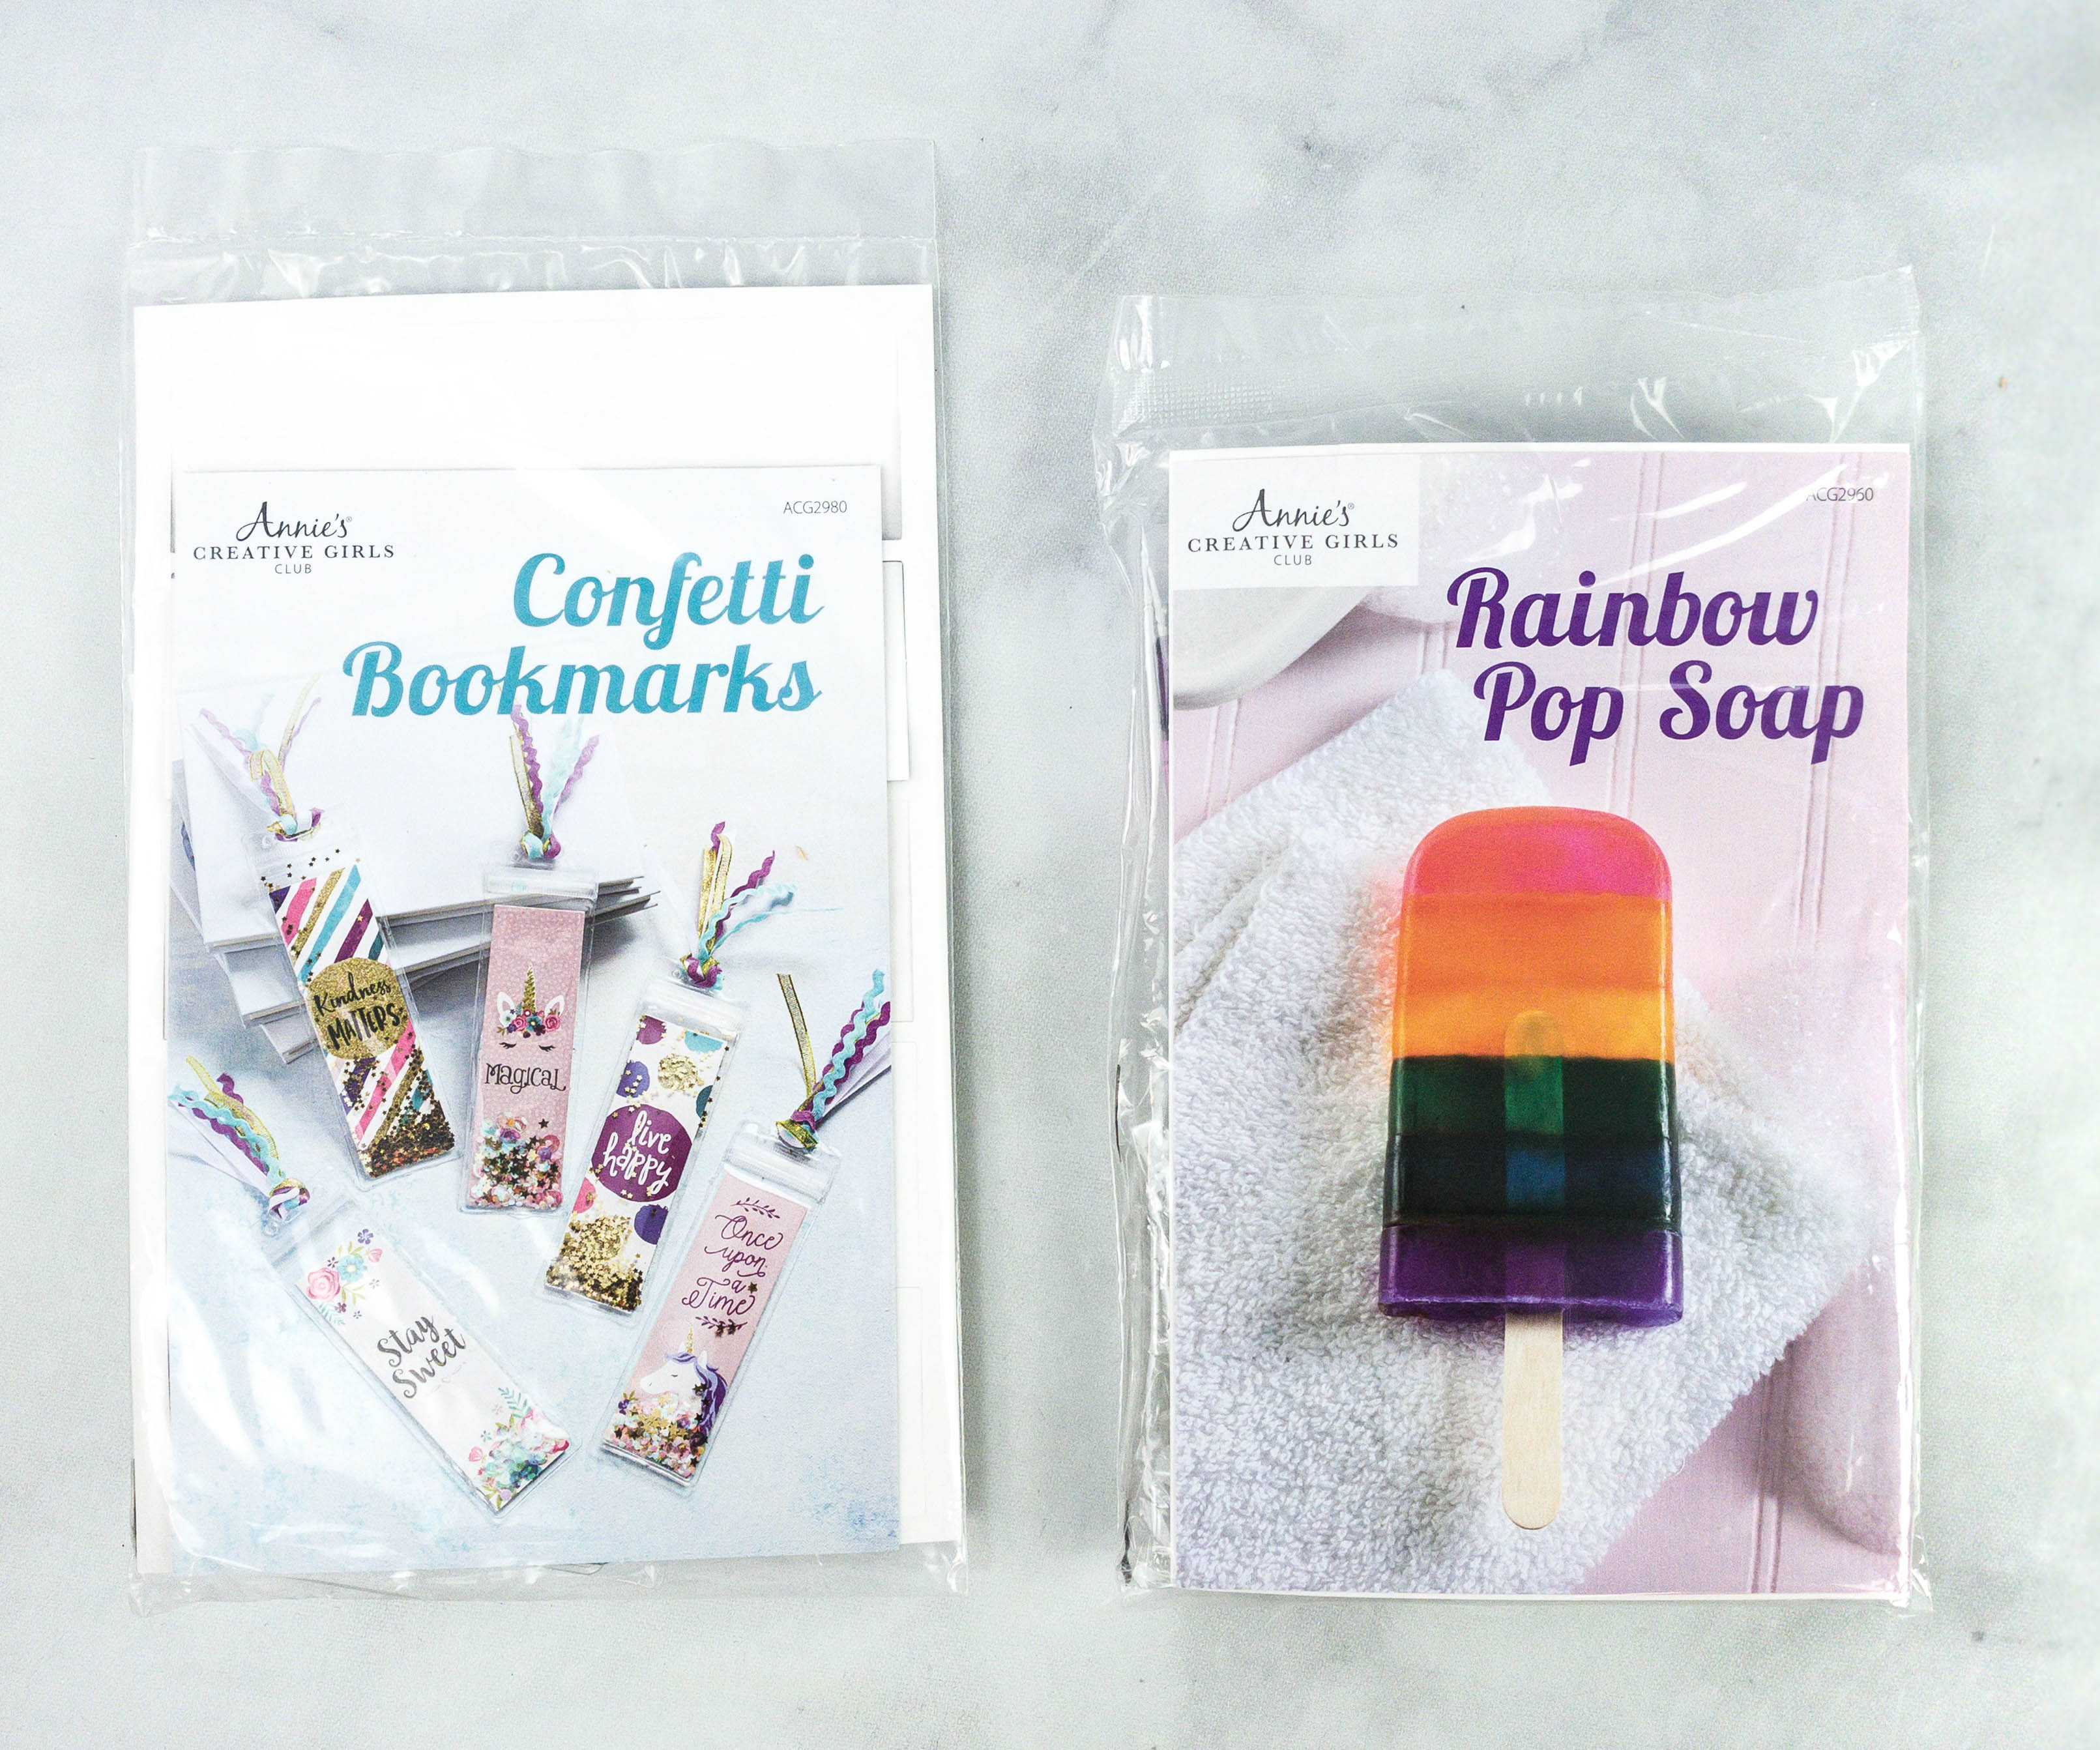
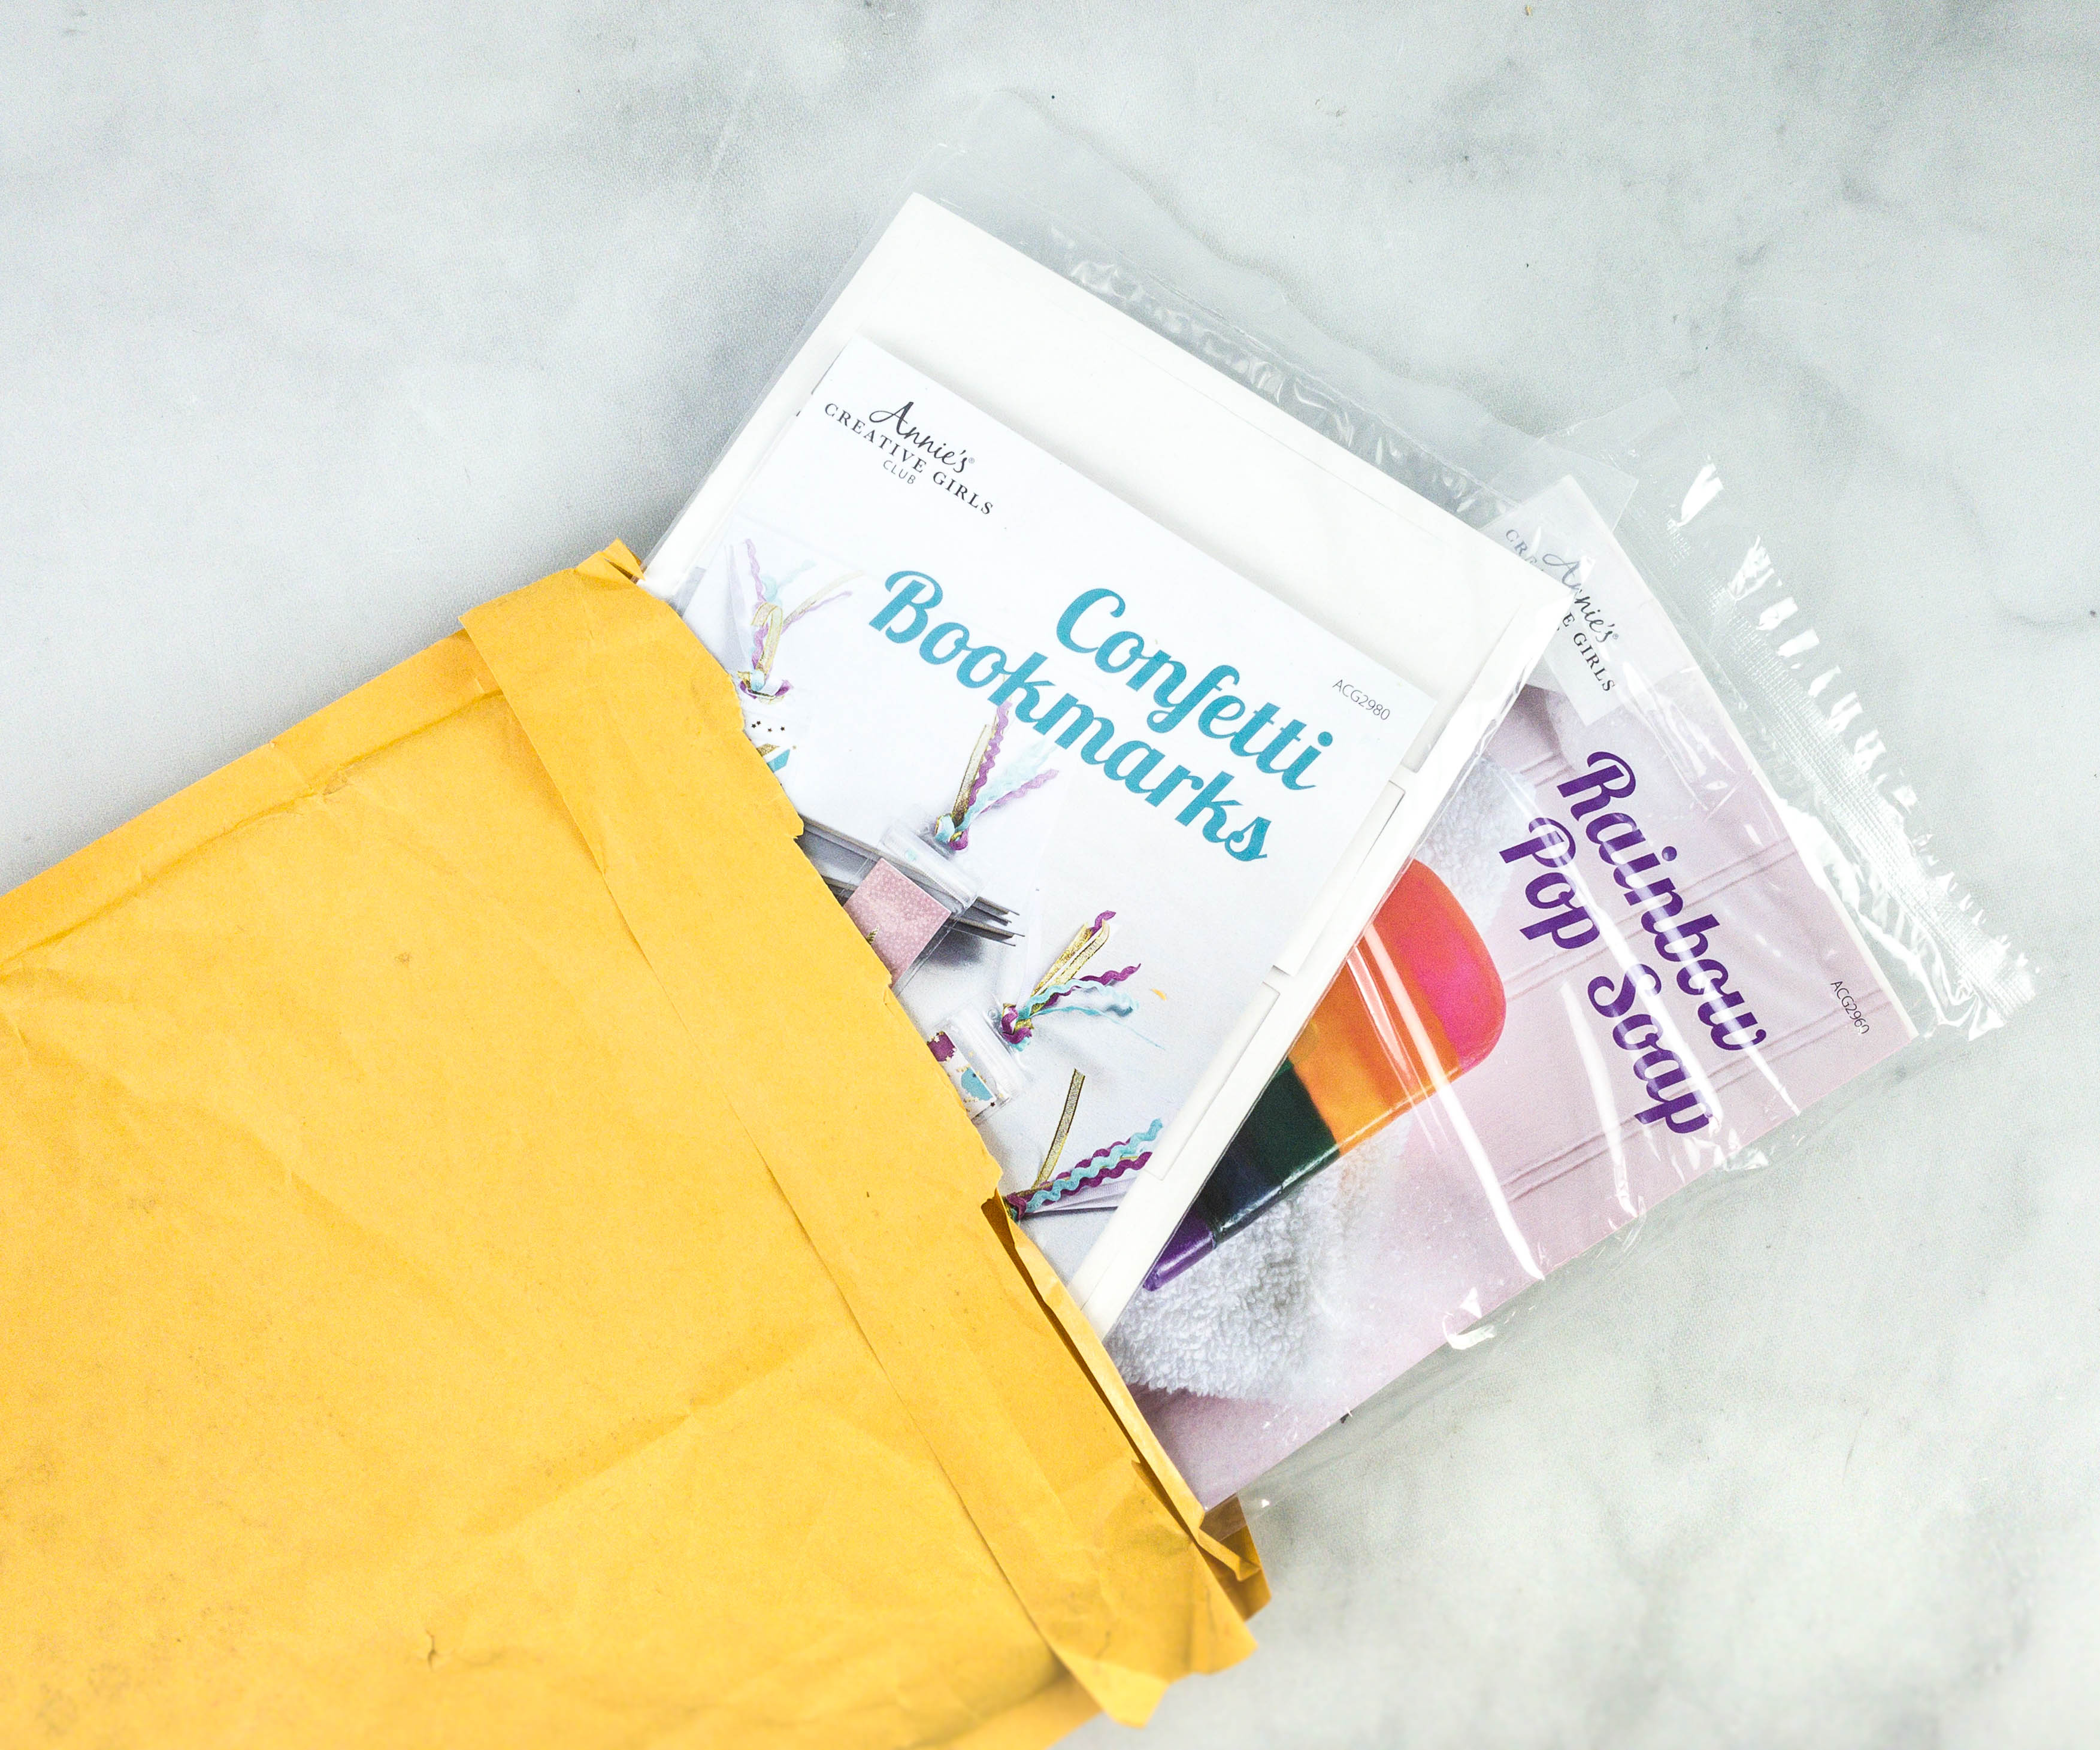
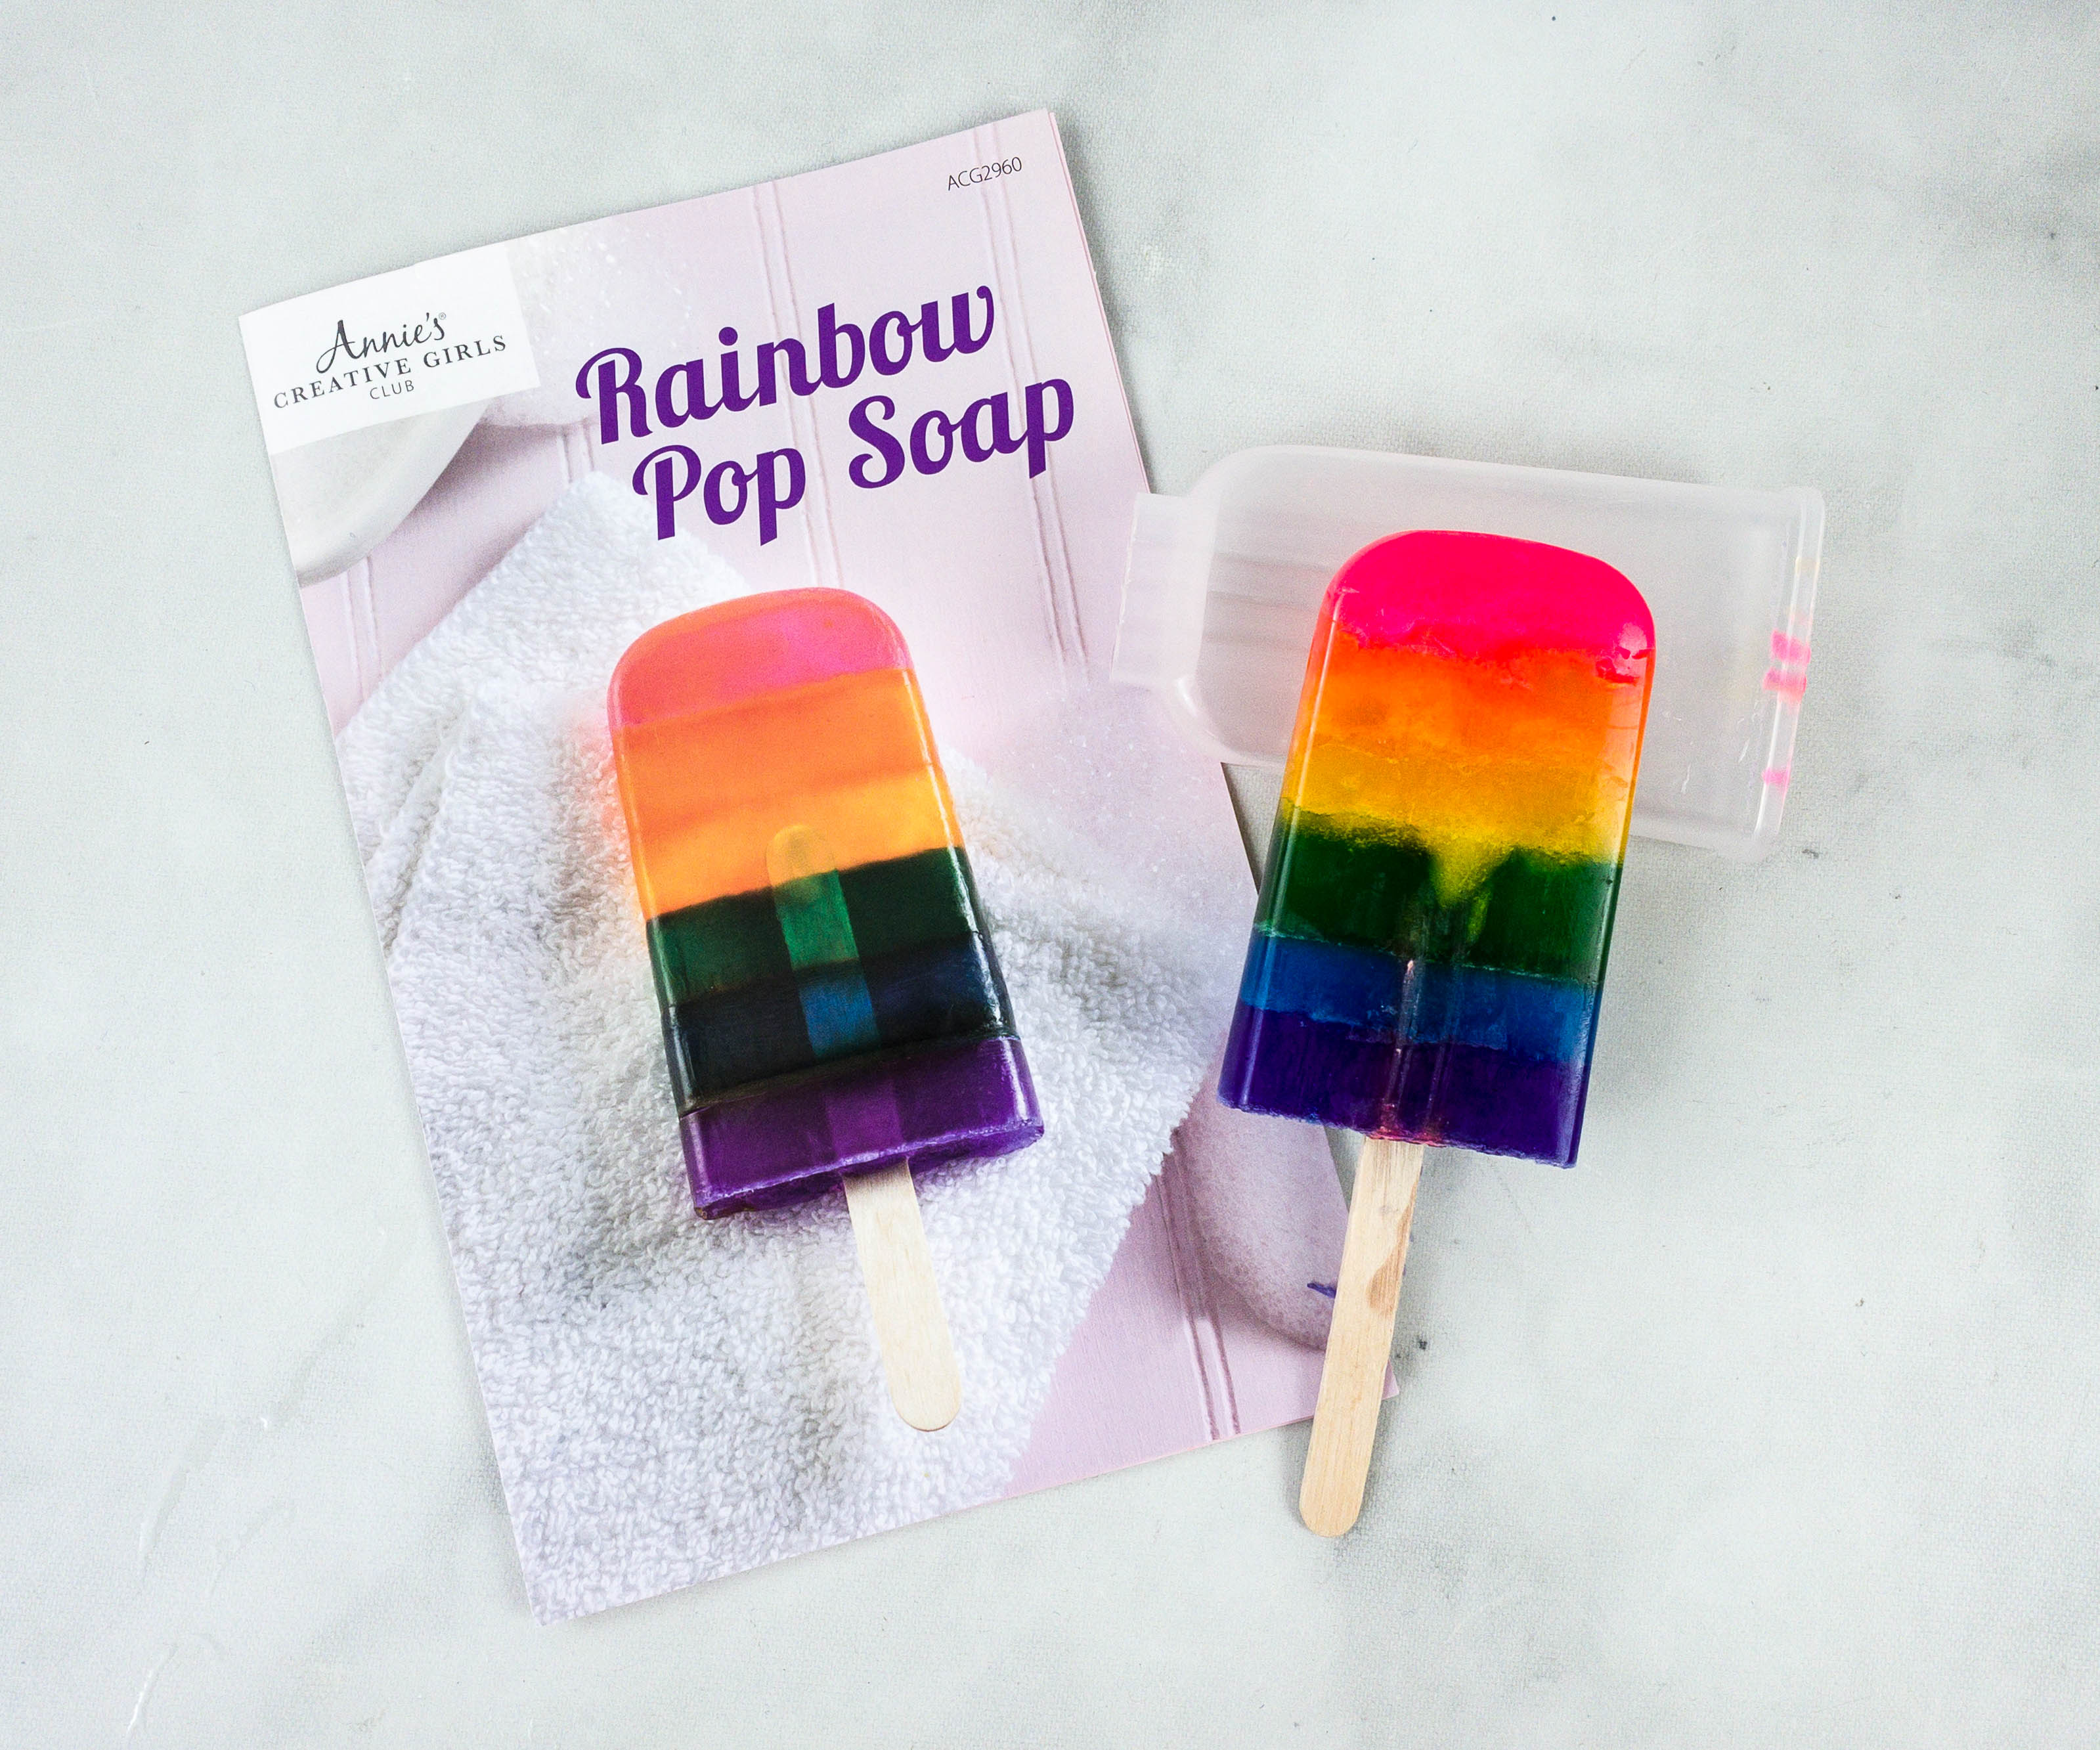
There are two projects in this box: Confetti Bookmarks and Floral Rainbow Pop Soap!
Everything in the package!

First up is Rainbow Pop Soap. It comes with a mini-booklet that shows a photo of the finished product in front.
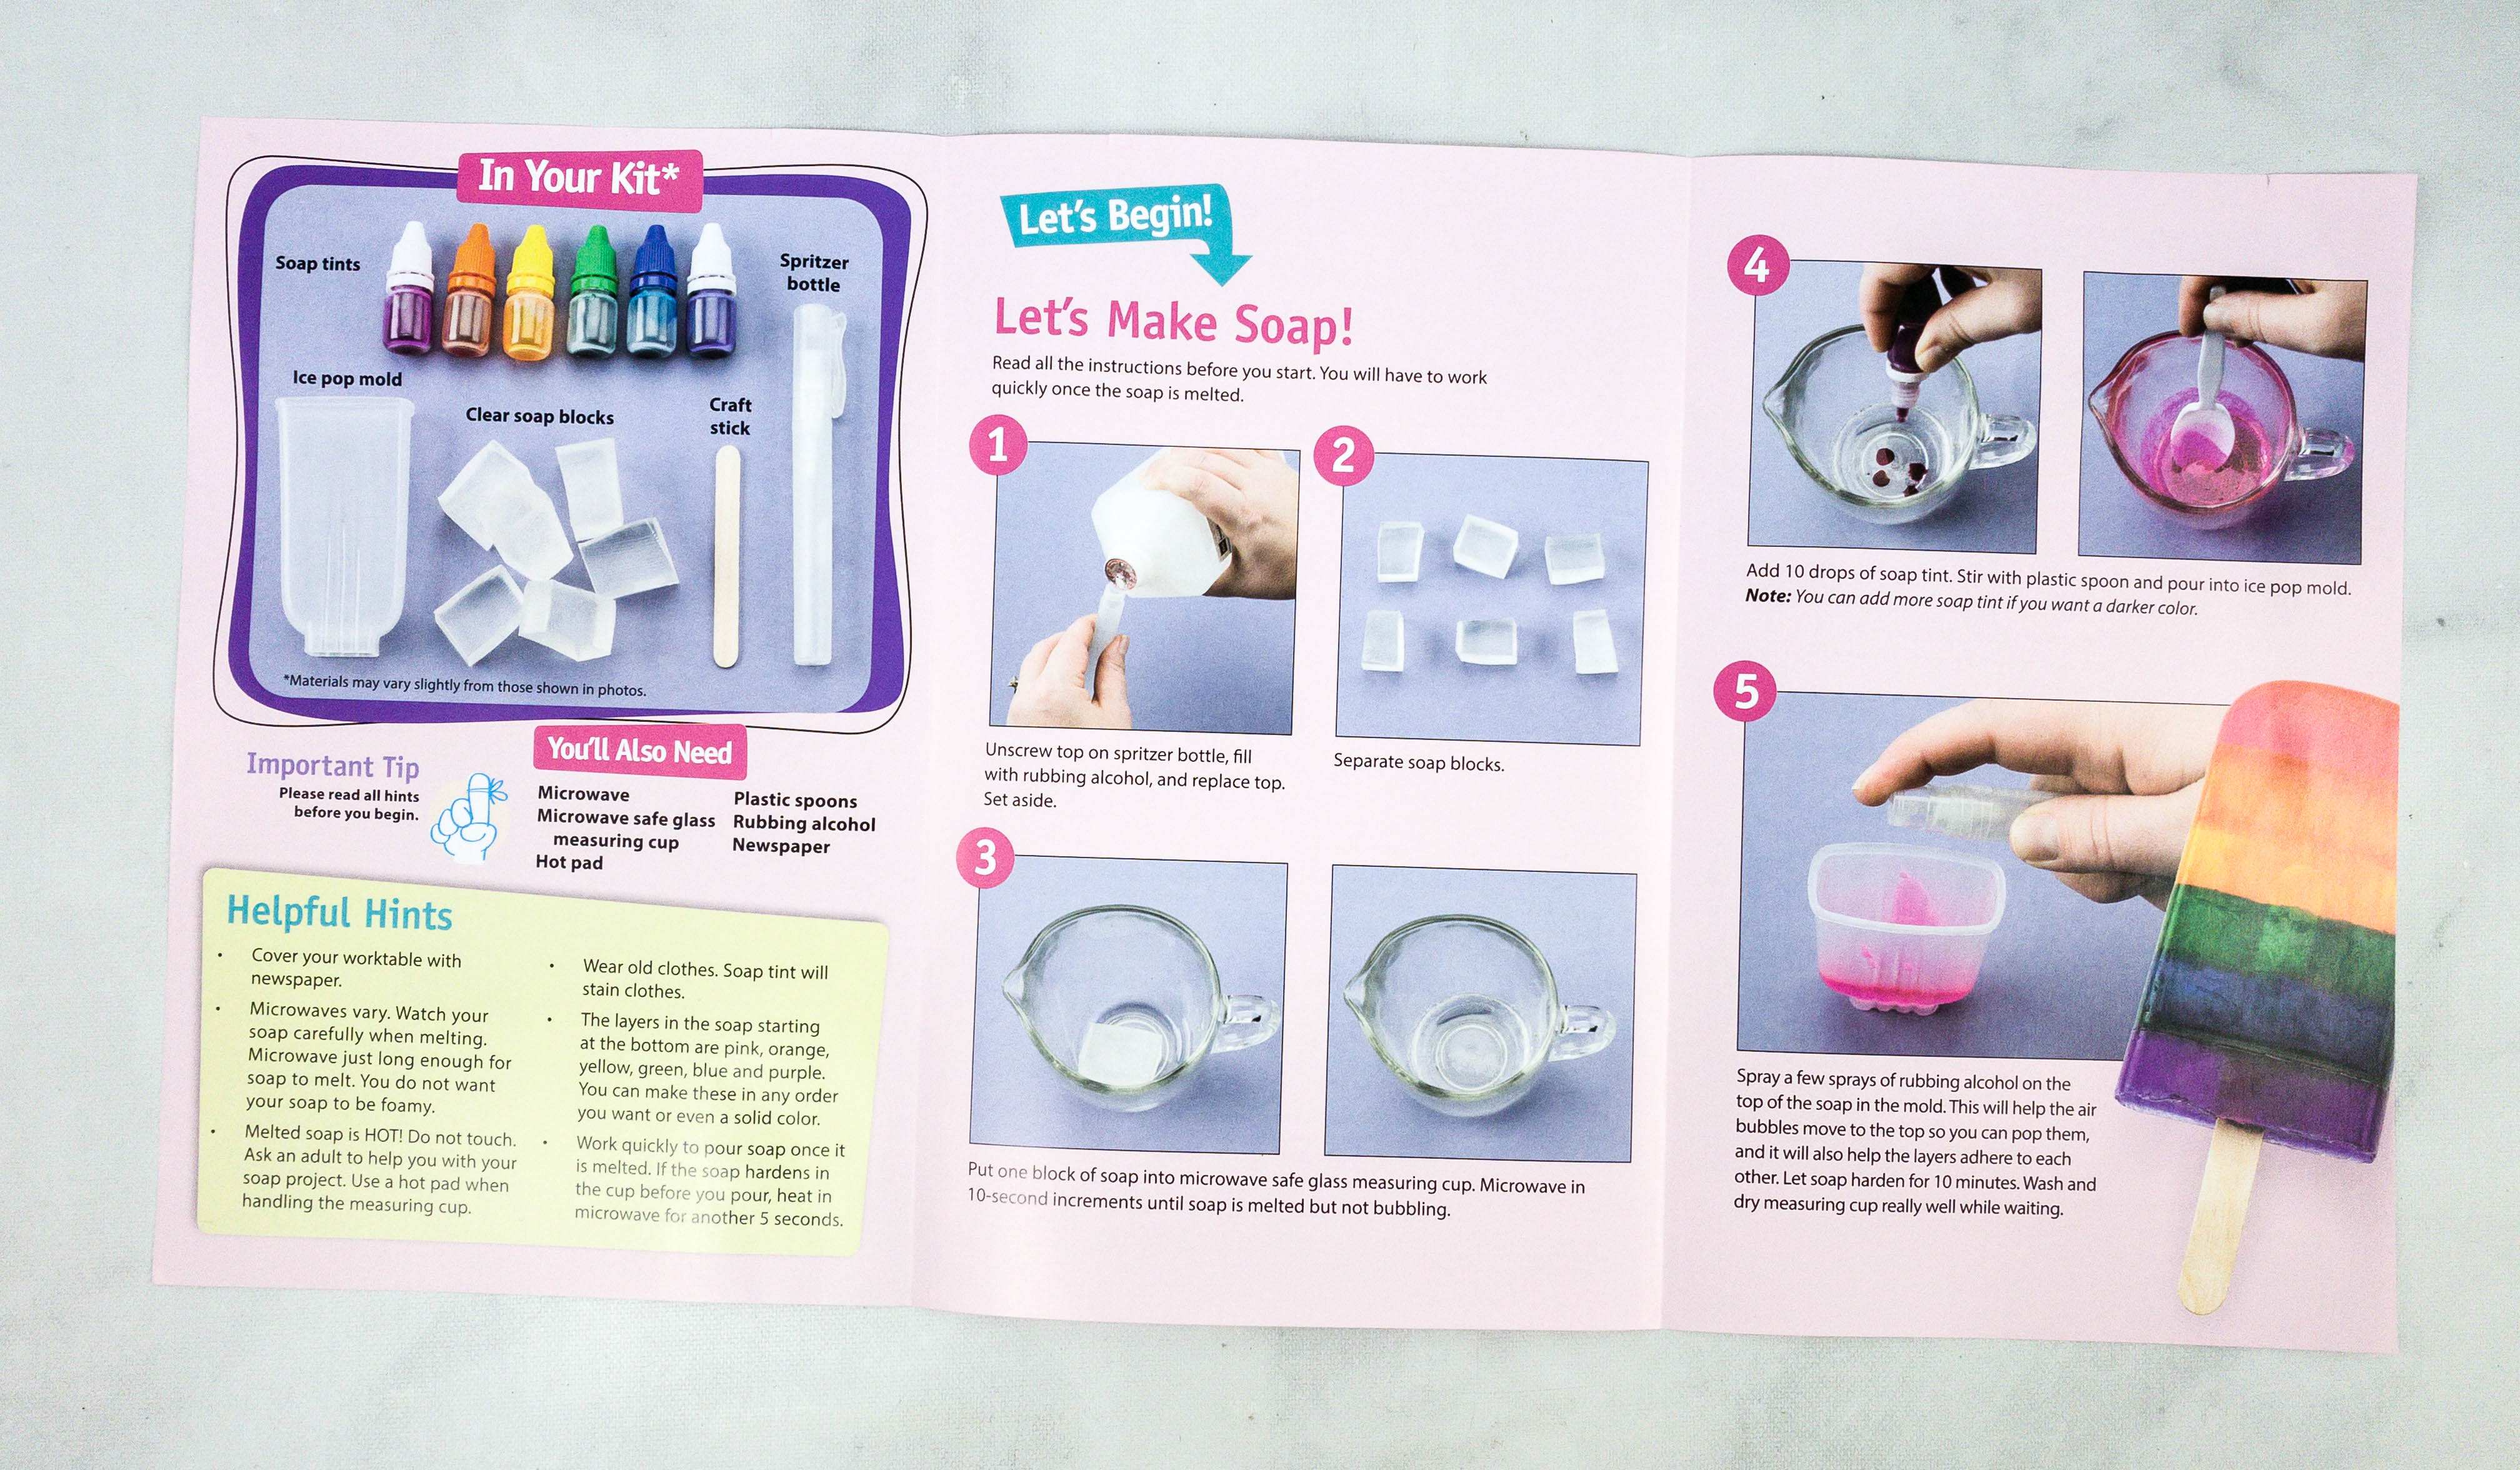
Upon unfolding, there are instructions on how to make the rainbow popsicle soap! They also listed down all the ingredients and equipment needed.
The instructions were detailed and they even included photos for reference!
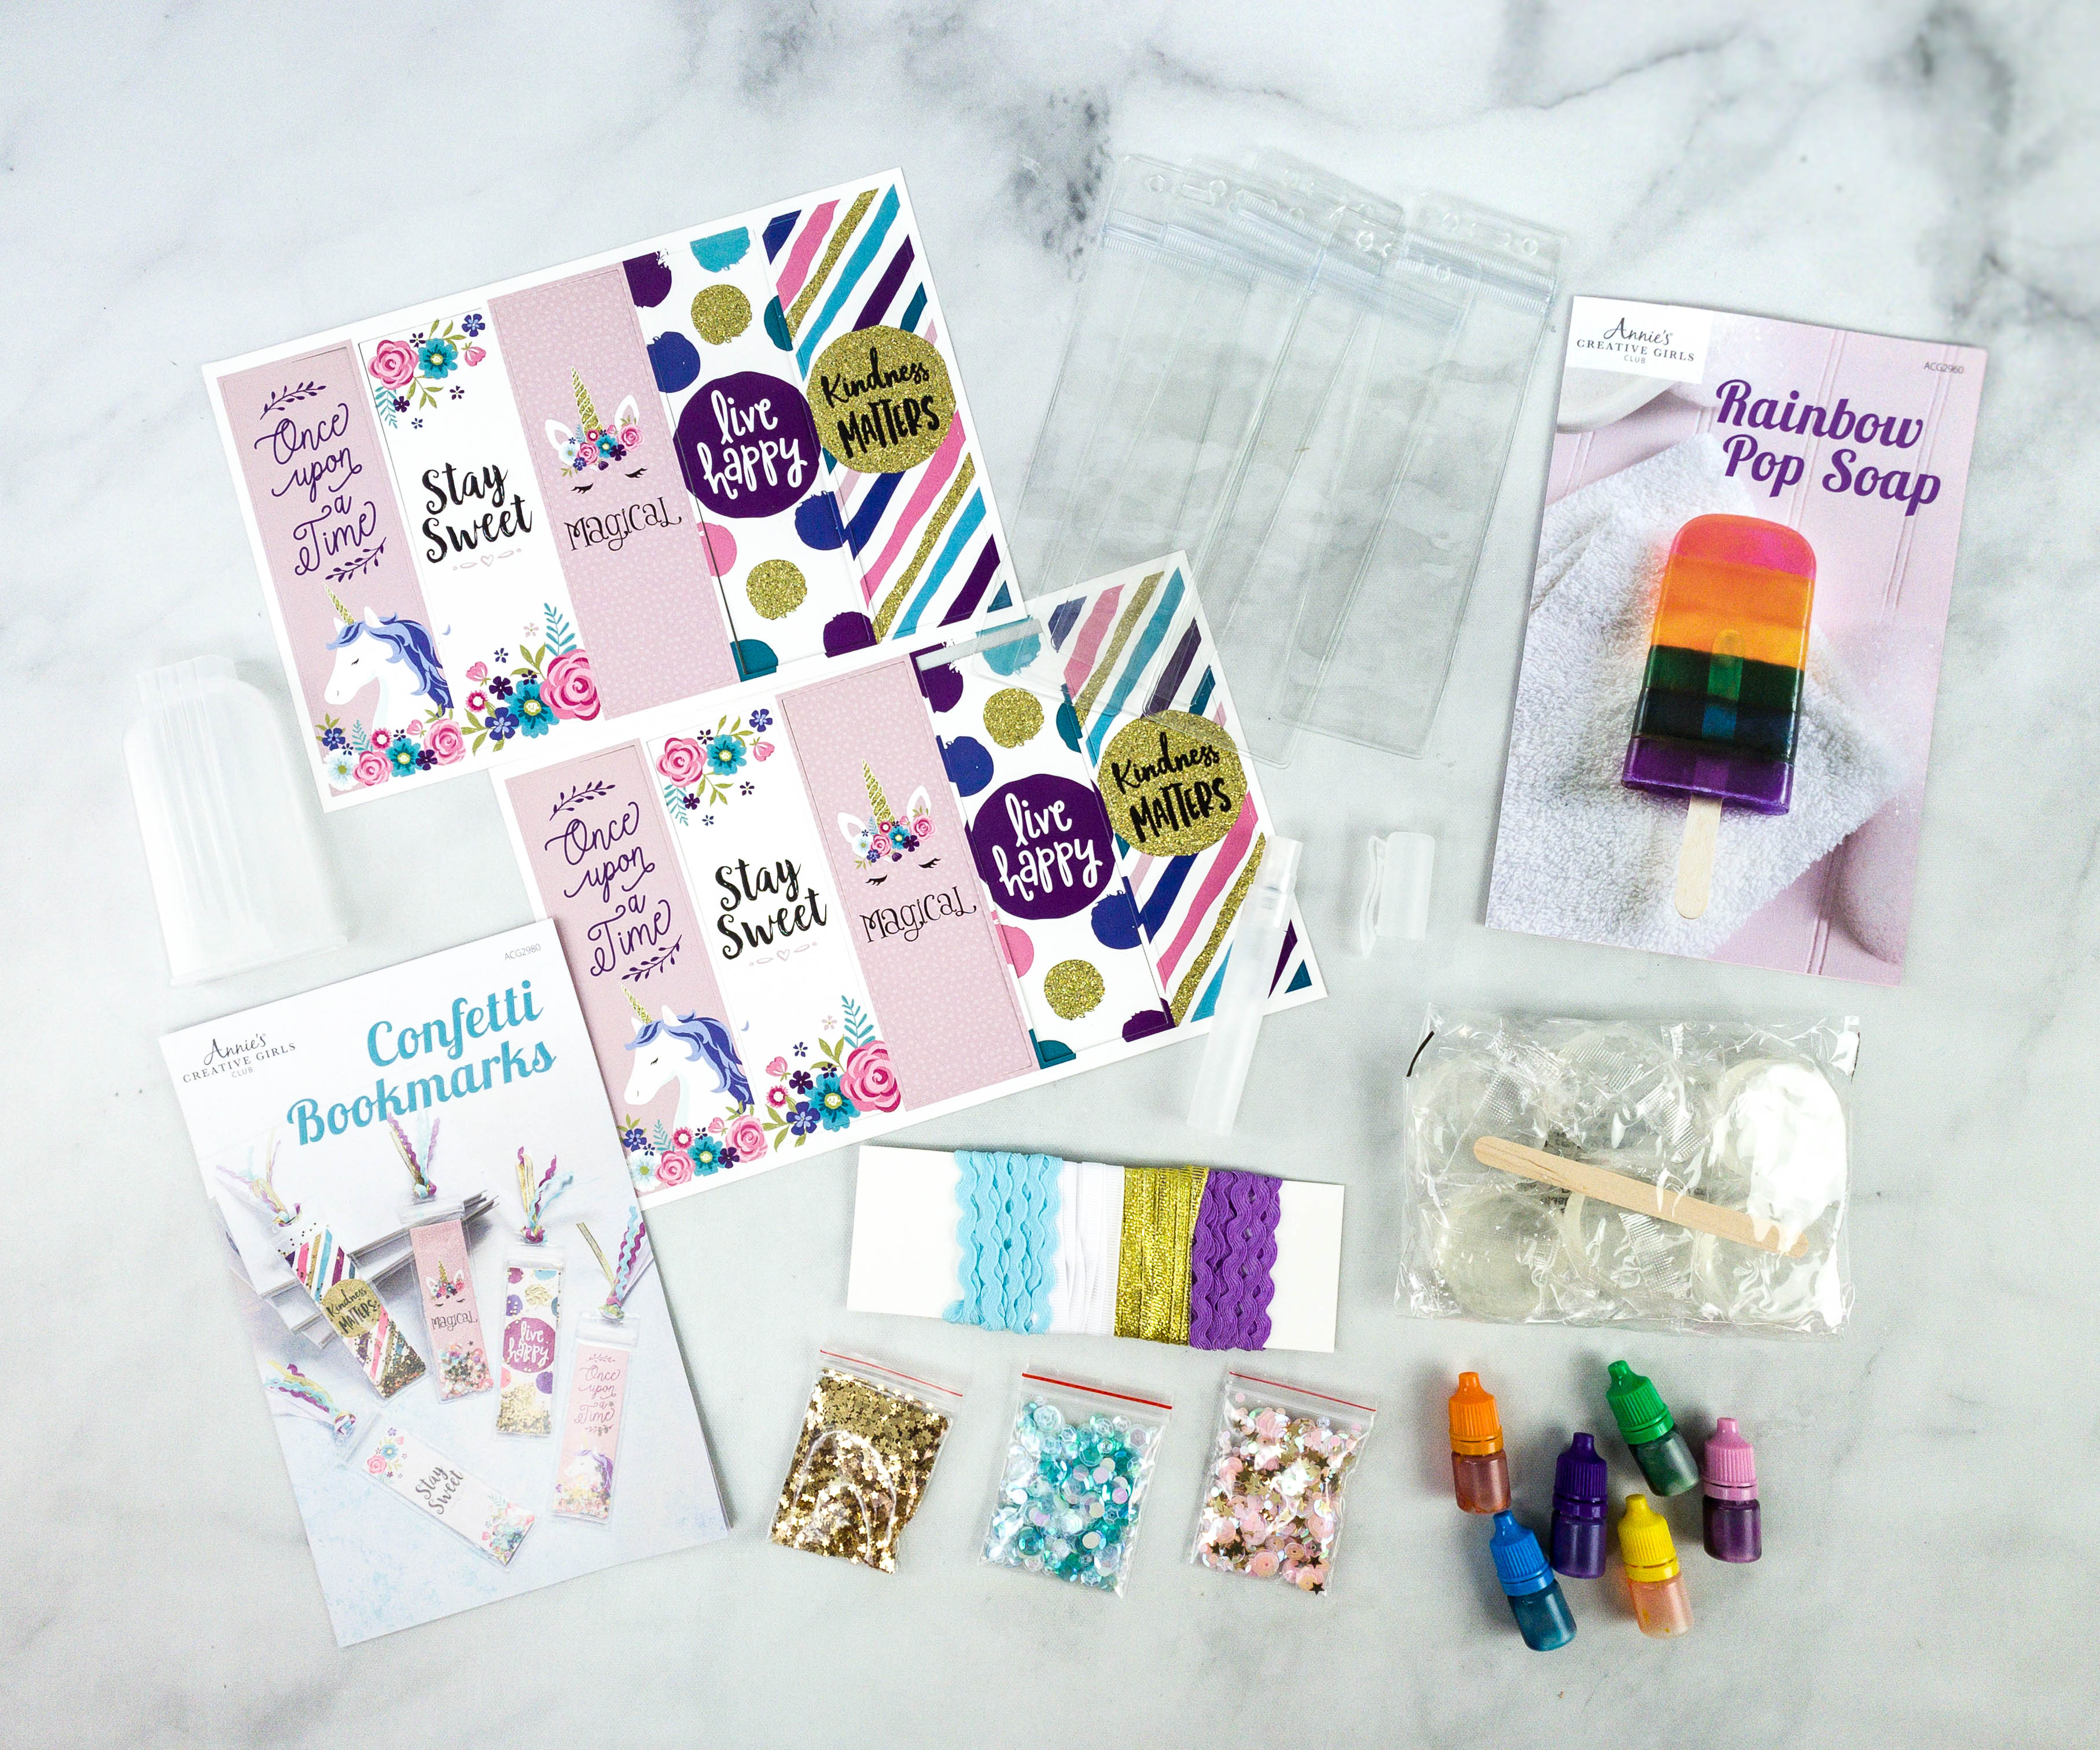
For this project, they sent individually packed clear soap blocks and a crafts stick.
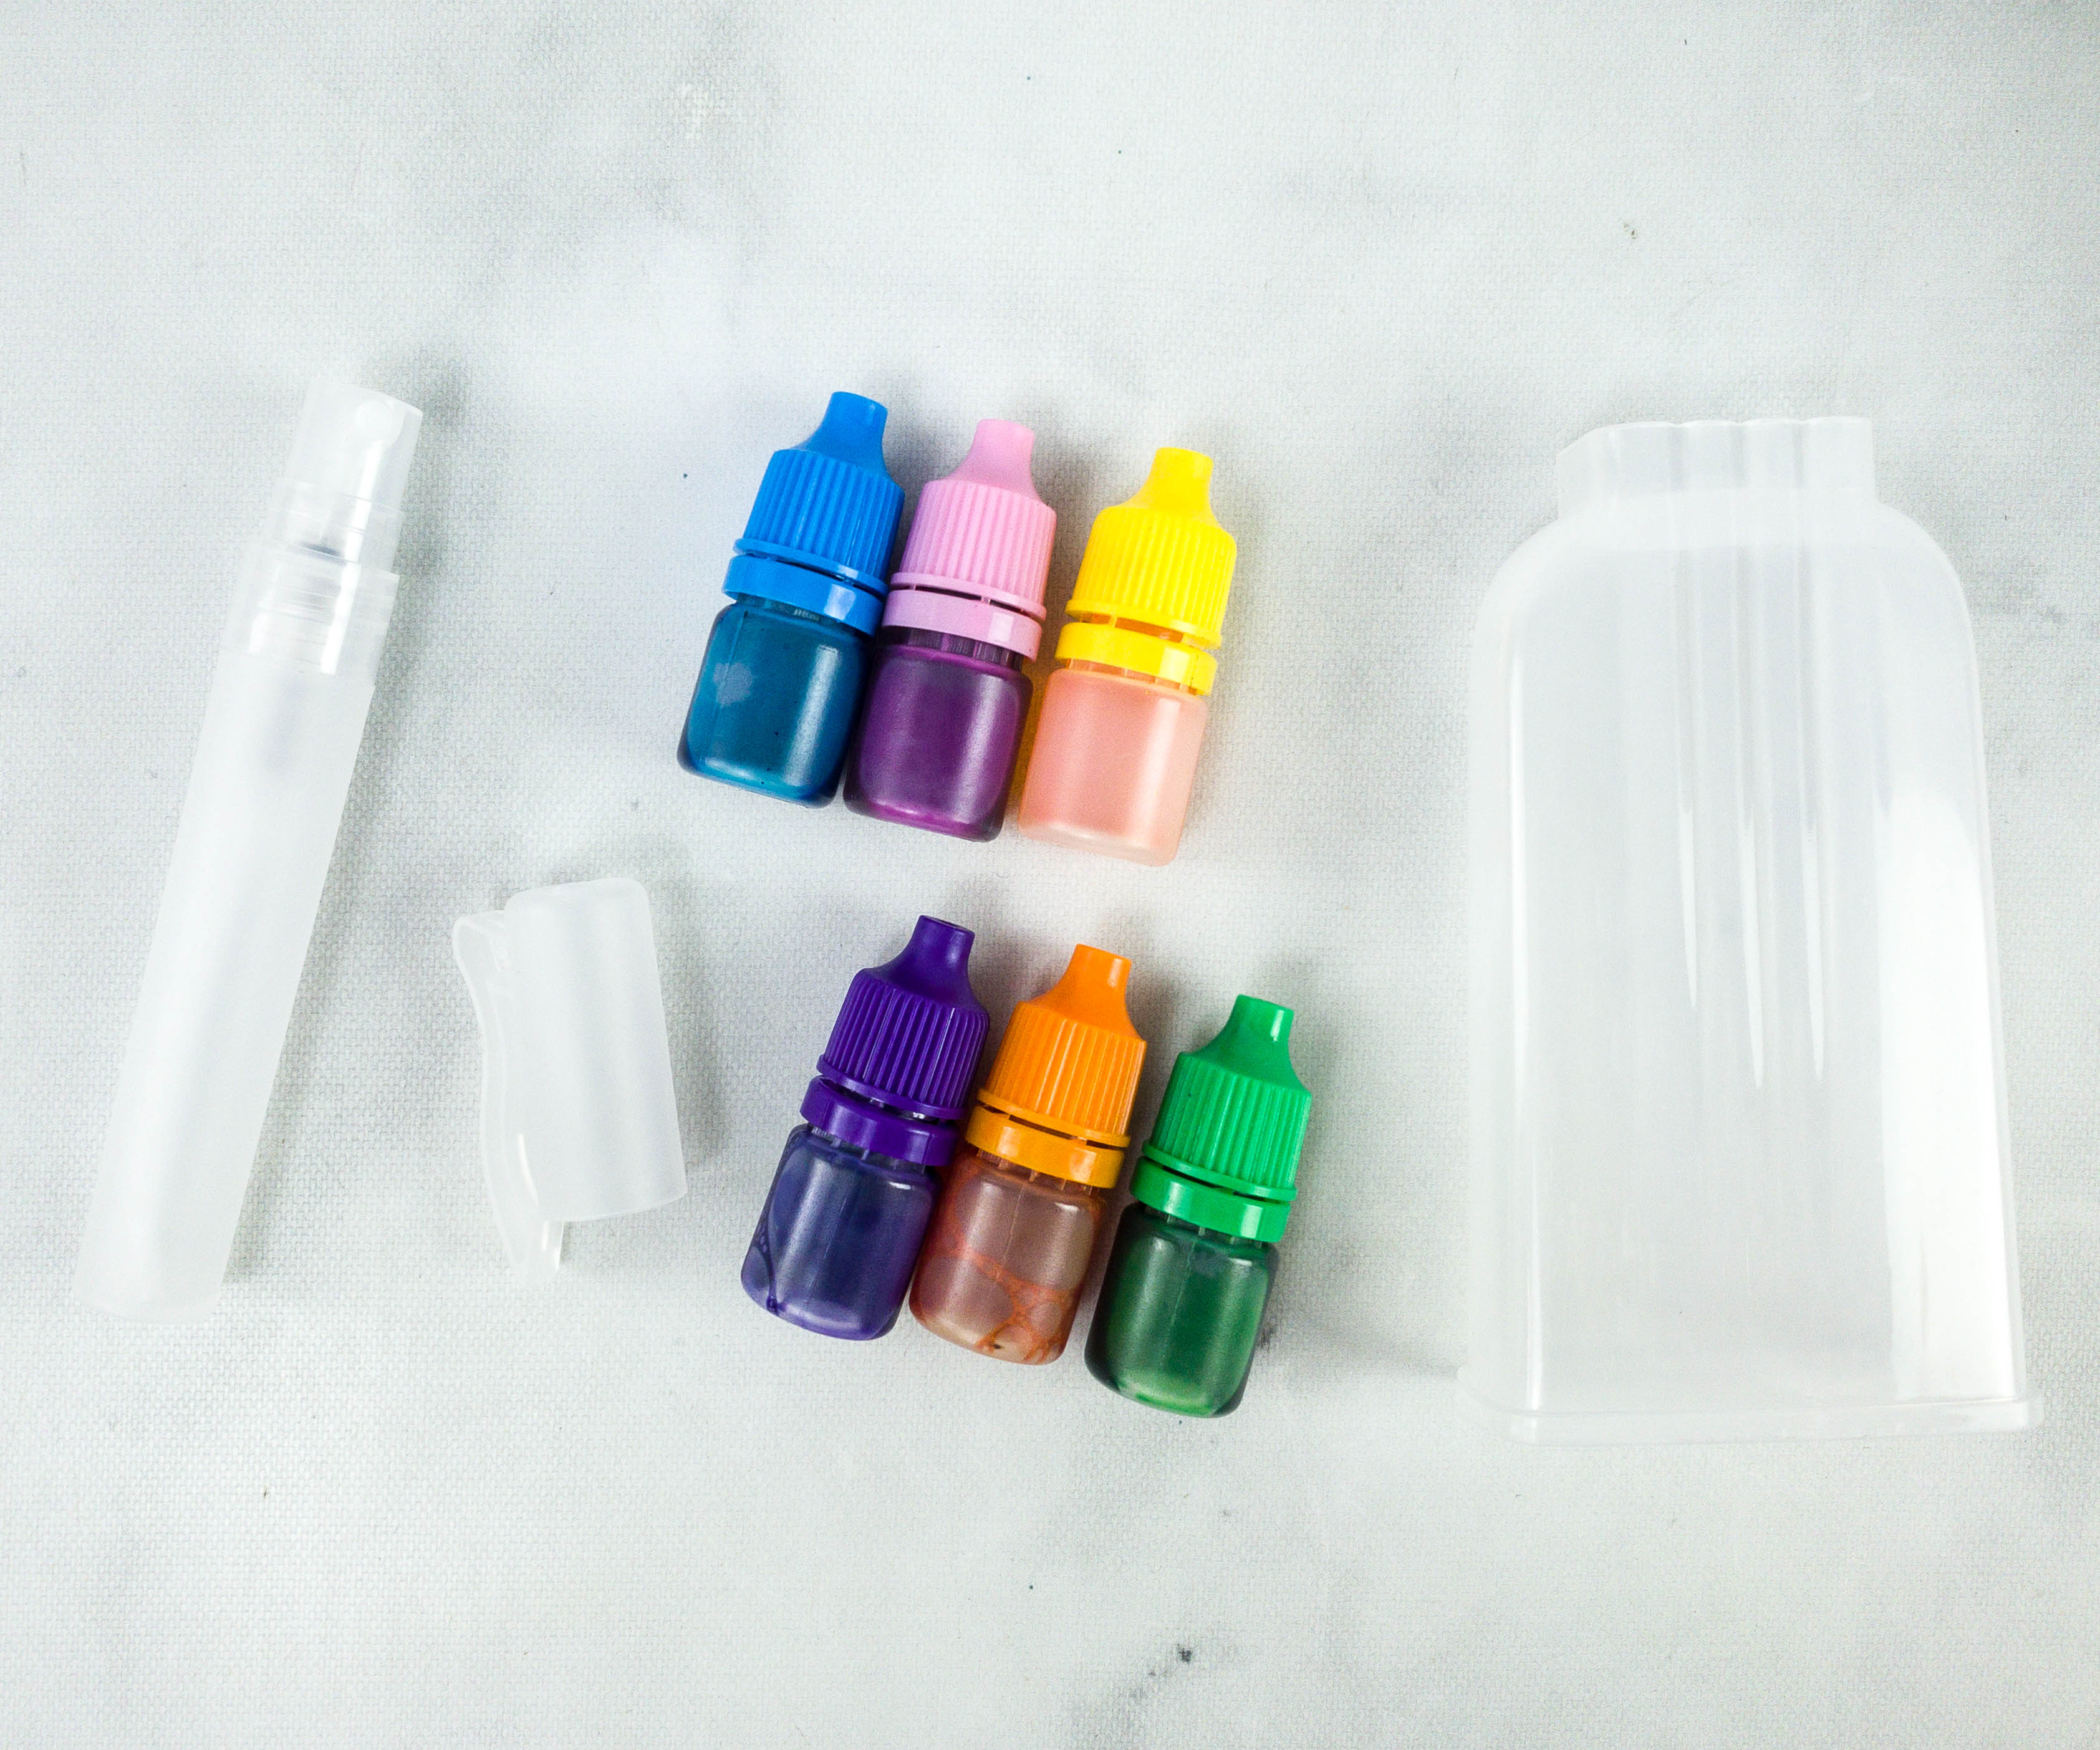
There are also 6 soap tints in different colors, an ice pop mold, and a spritzer bottle.
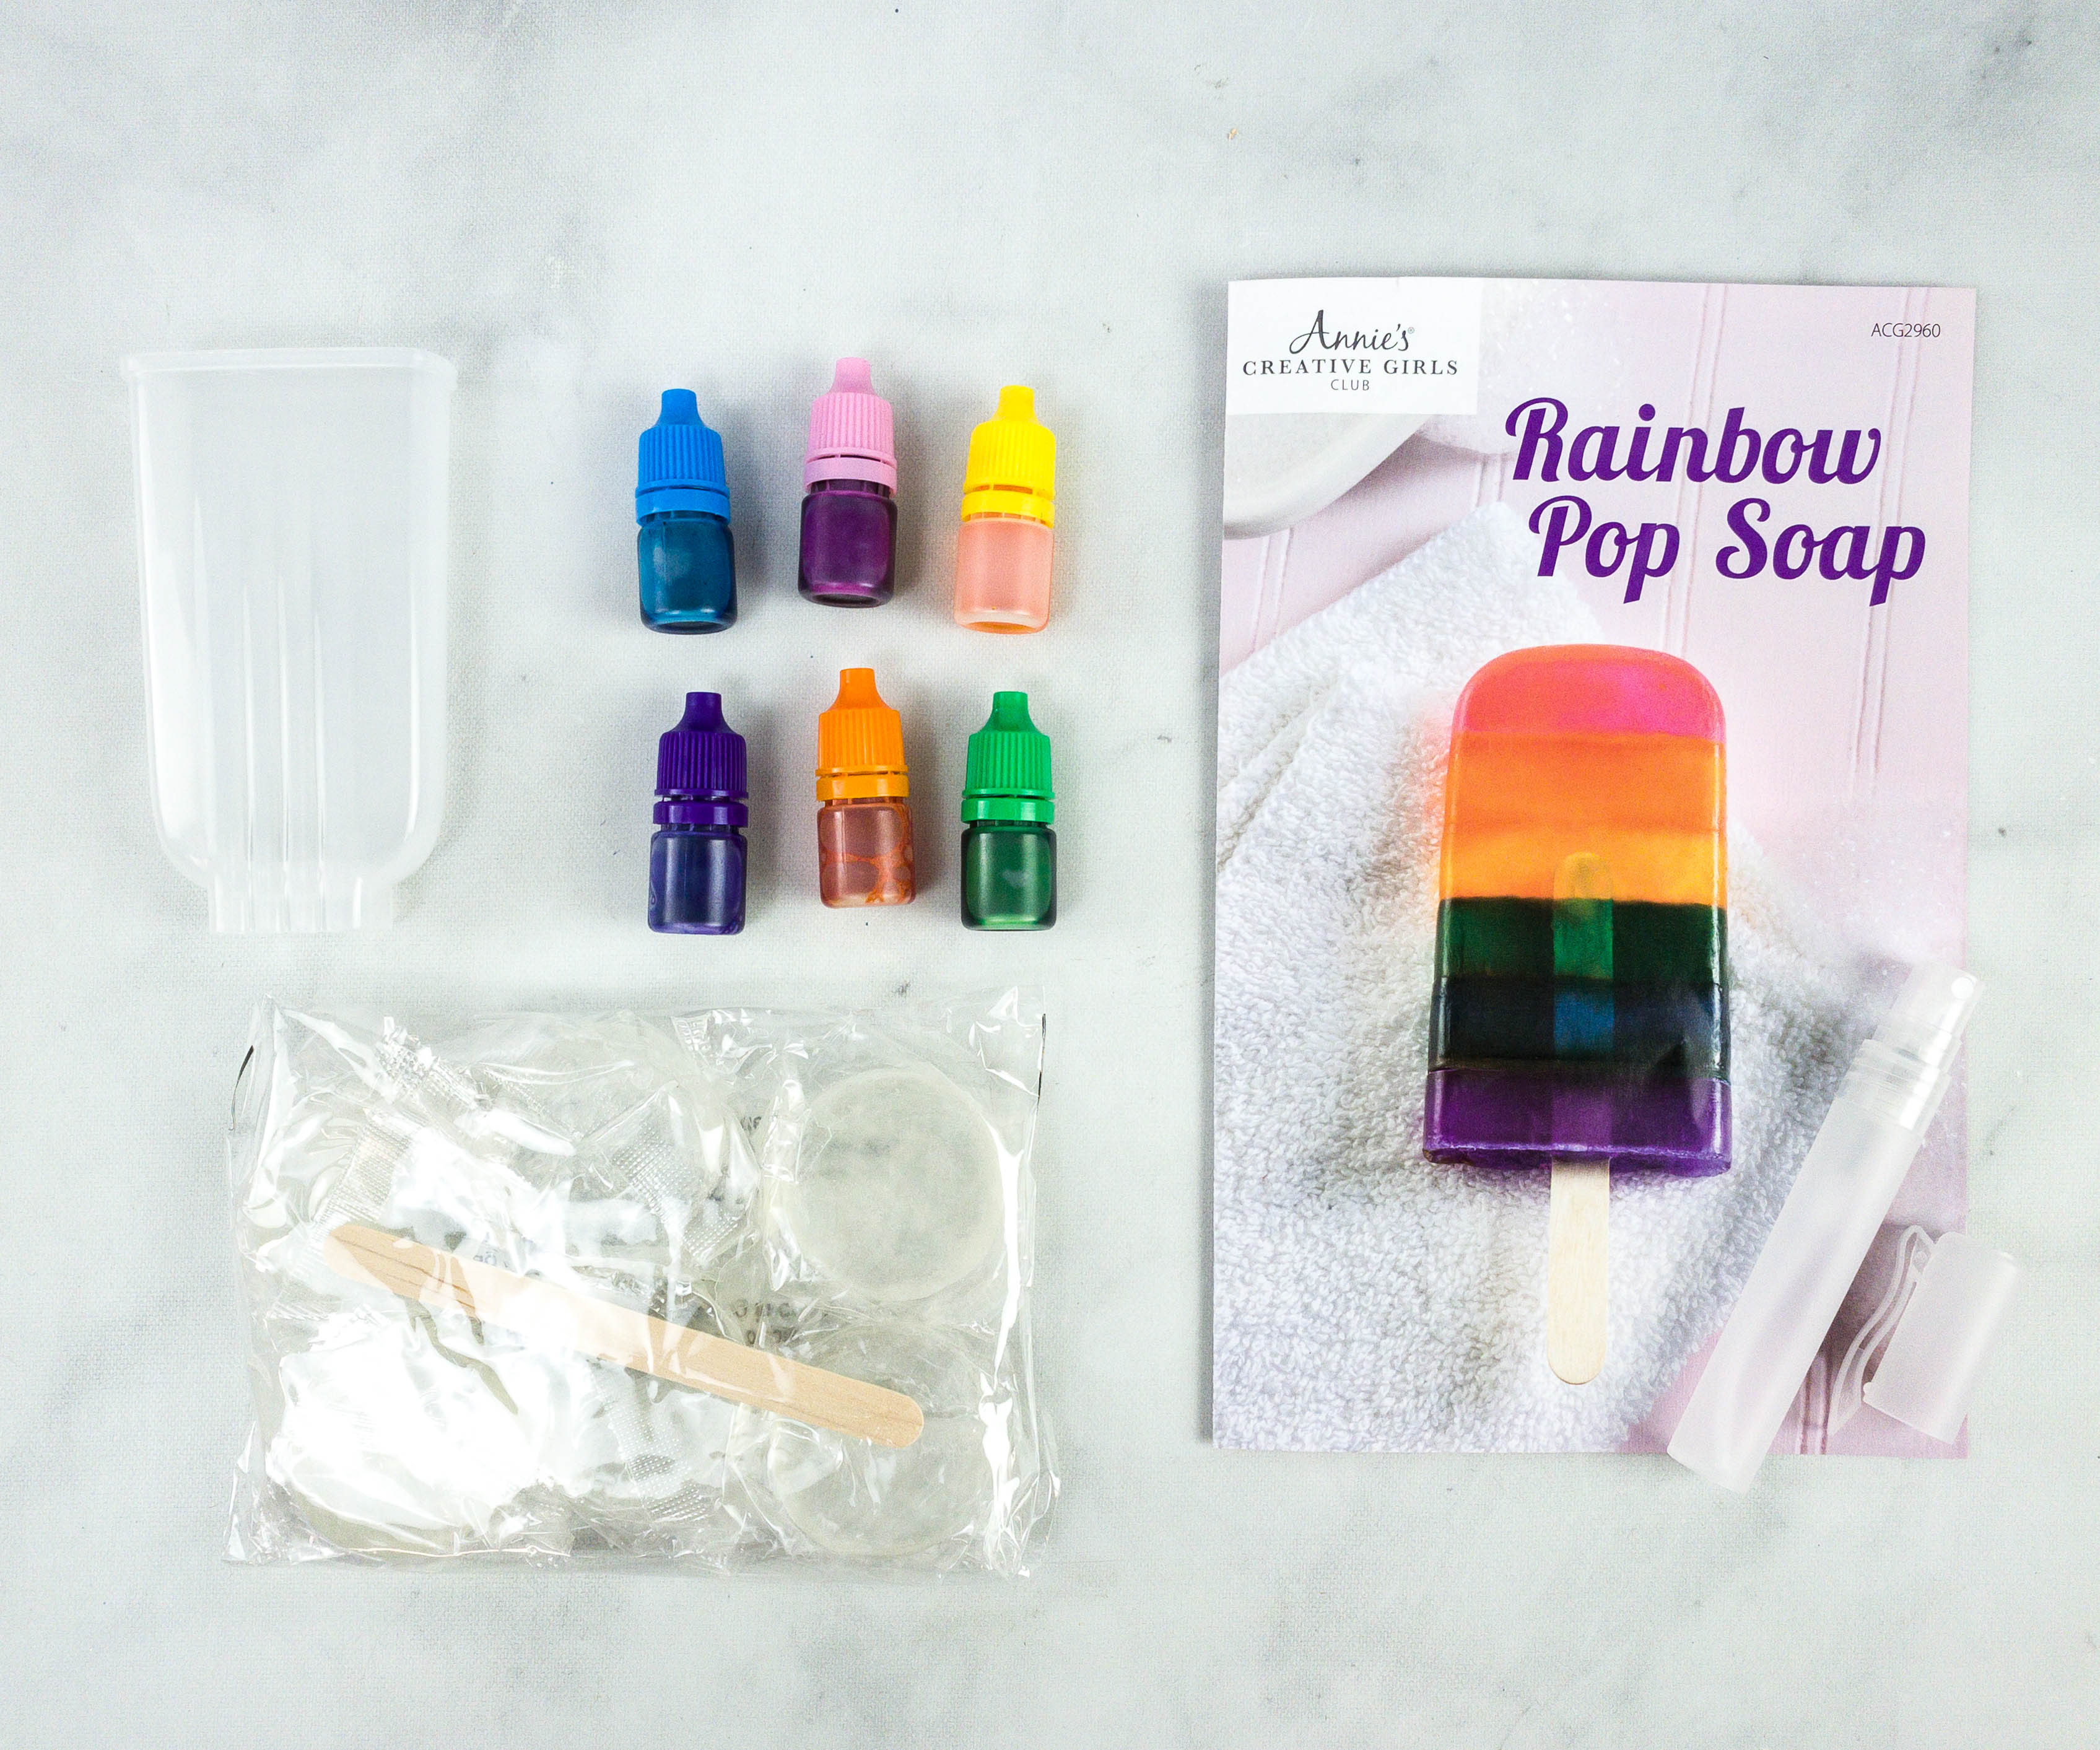
Here’s a look at all the materials they provided. The project also requires the use of a microwave at home, plus a microwave-safe glass measuring cup, hot pad, plastic spoons, rubbing alcohol, and newspaper.
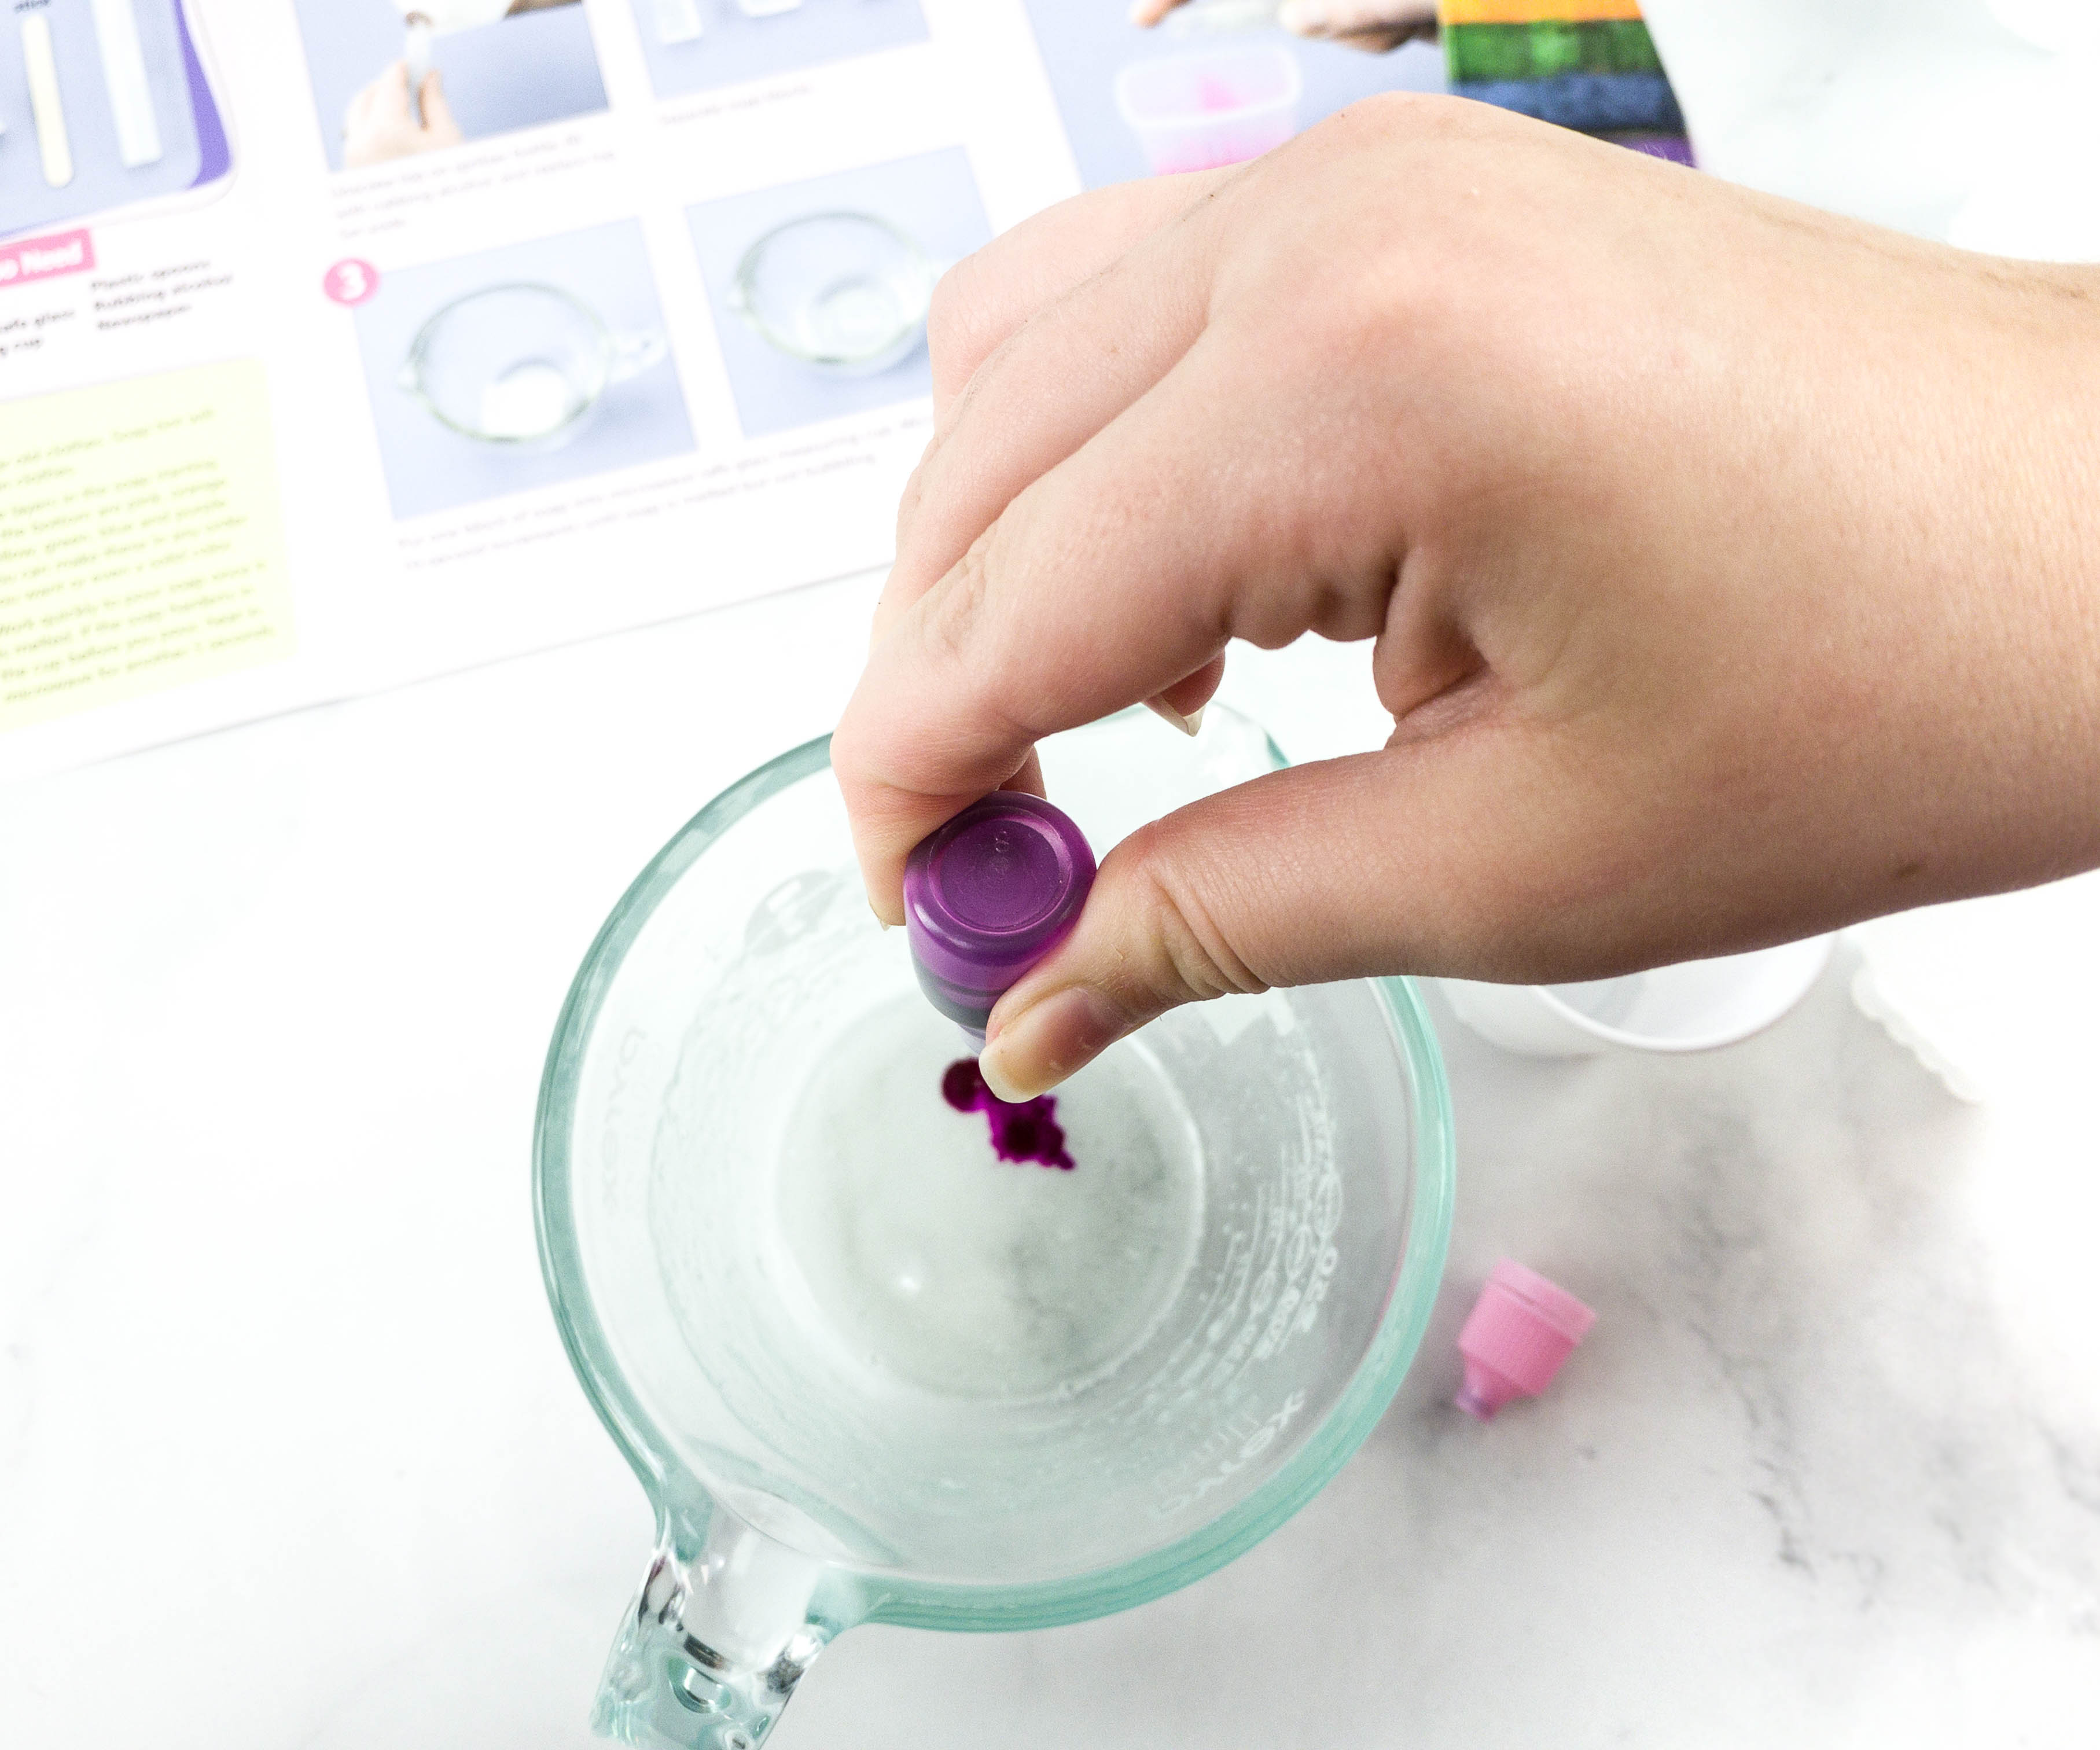
The first step is to melt a piece of the clear soap block in the microwave using a 10-second increment until the soap is fully melted. Once done, put a few drops of the soap tint.
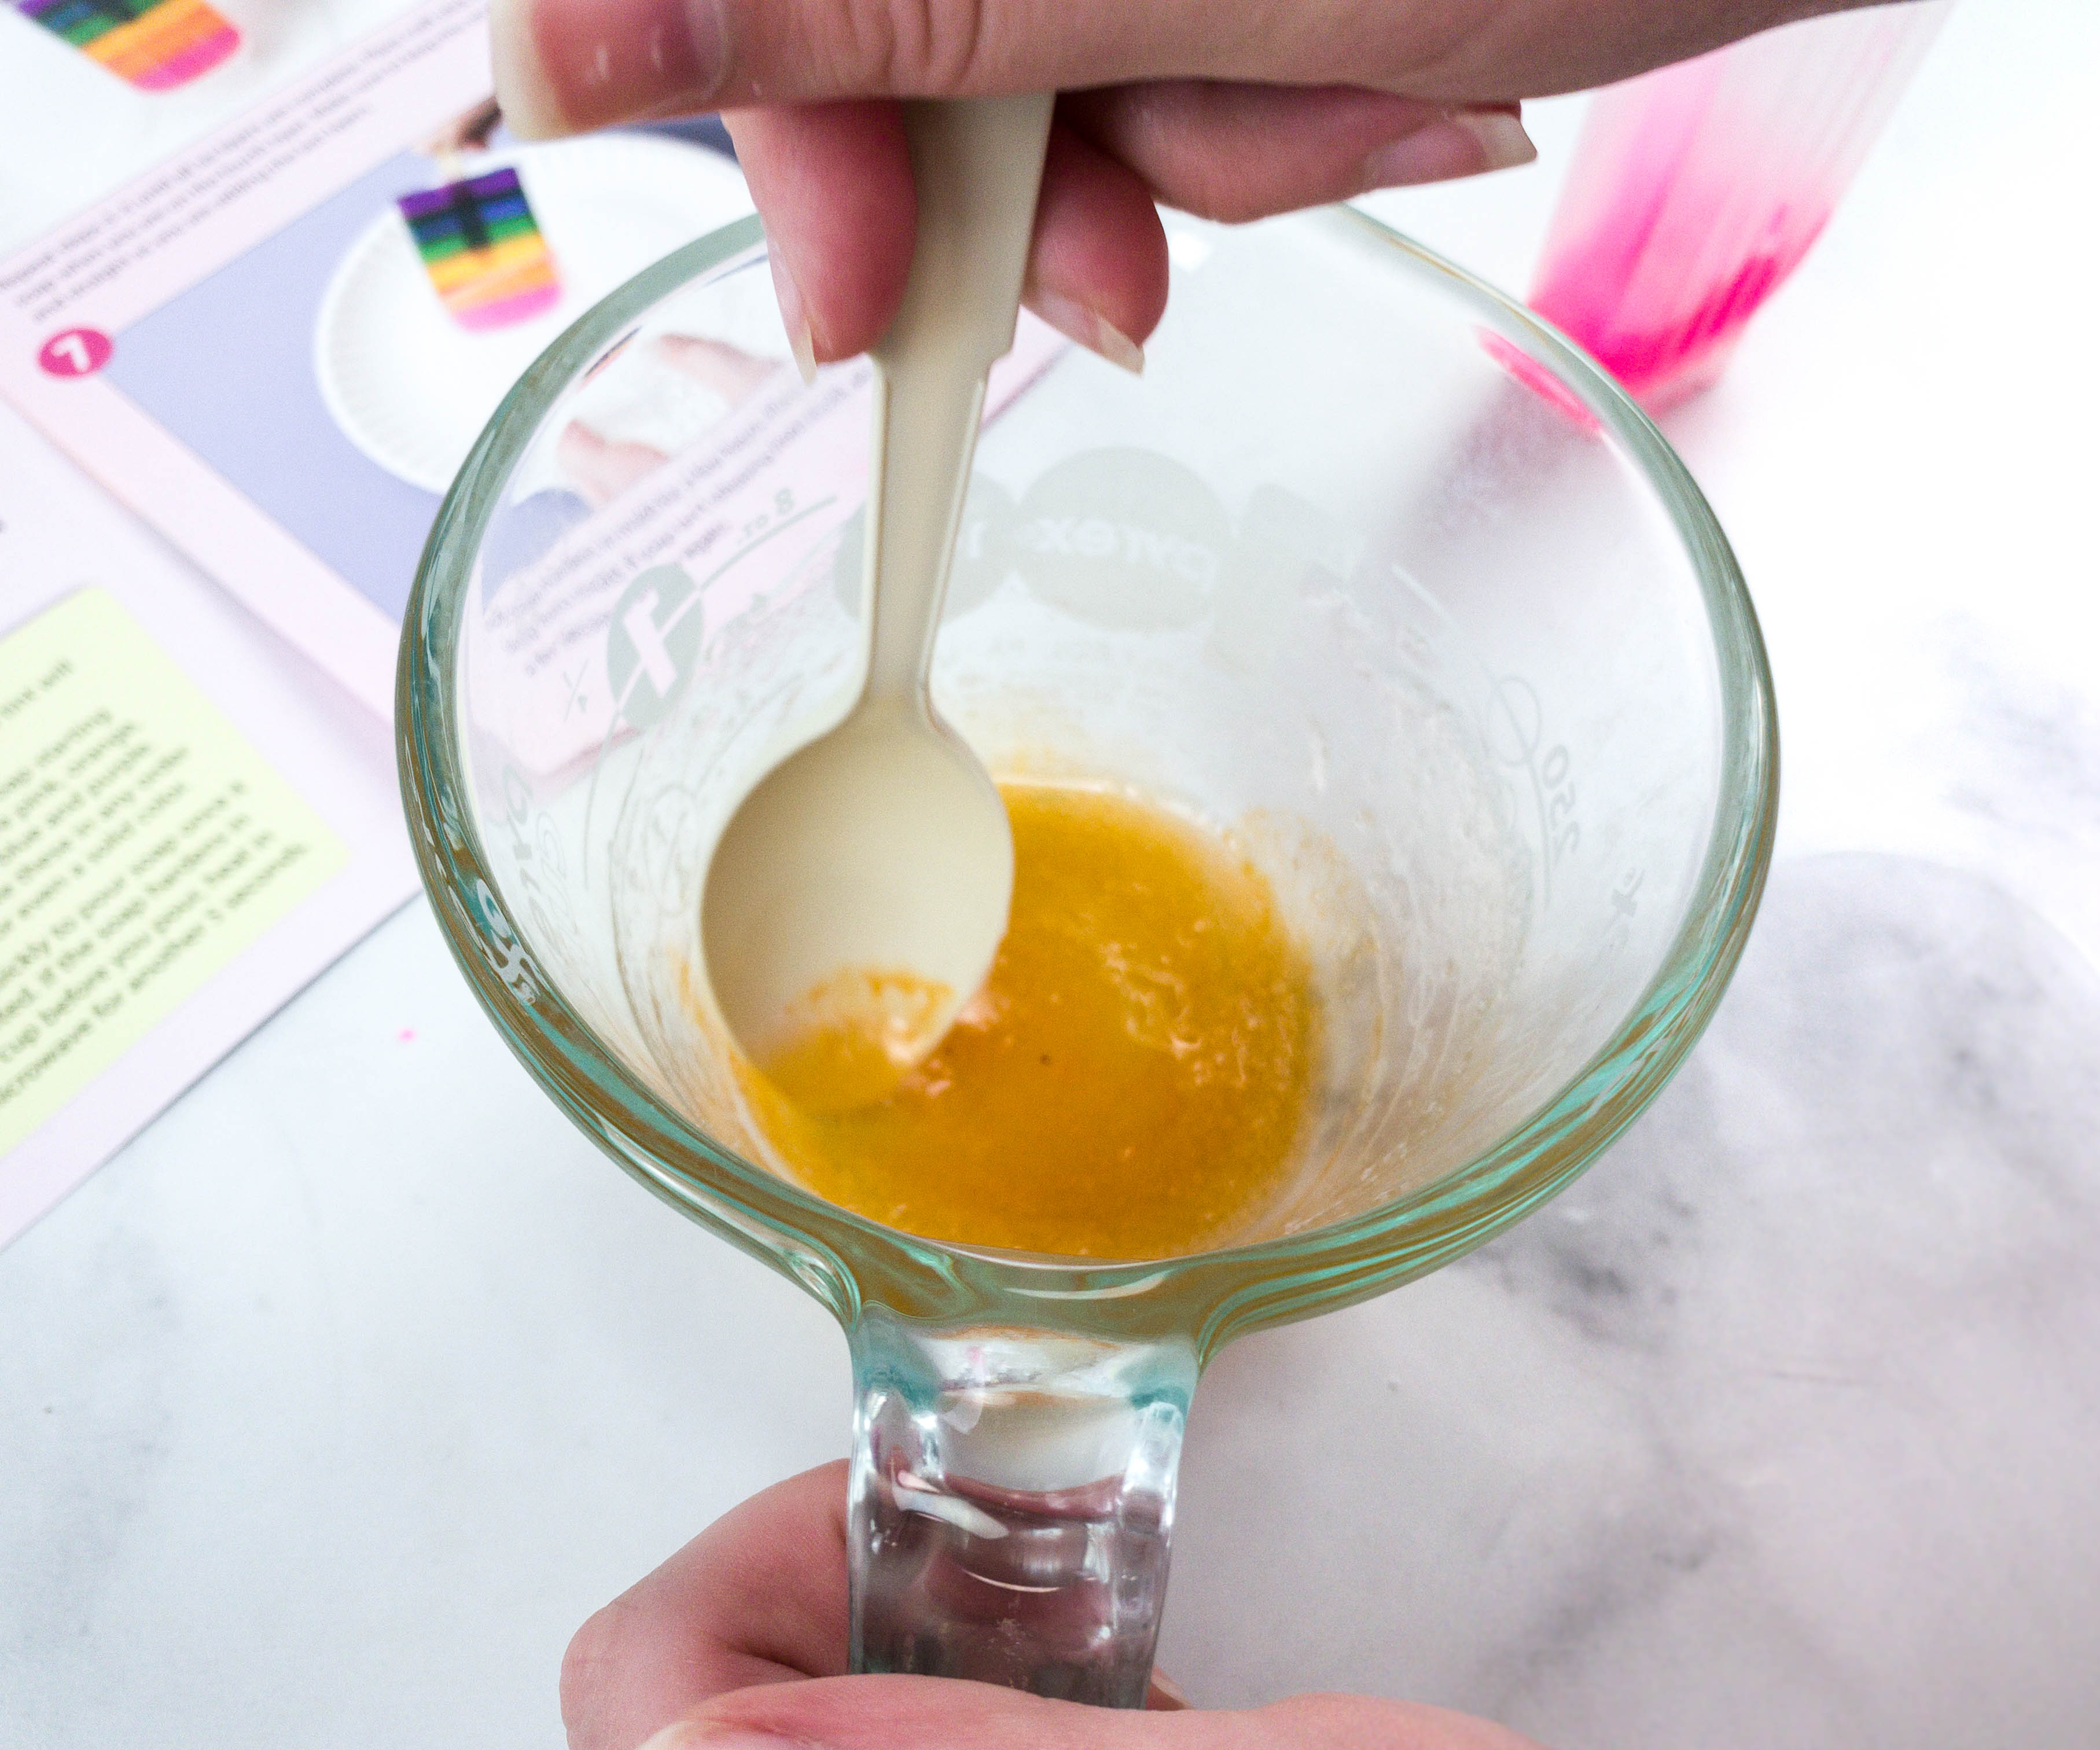
Next, my daughter mixed it really well until the clear soap turned into the color of the tint. You can adjust the opacity by adding more or less until you reach your desired hue.
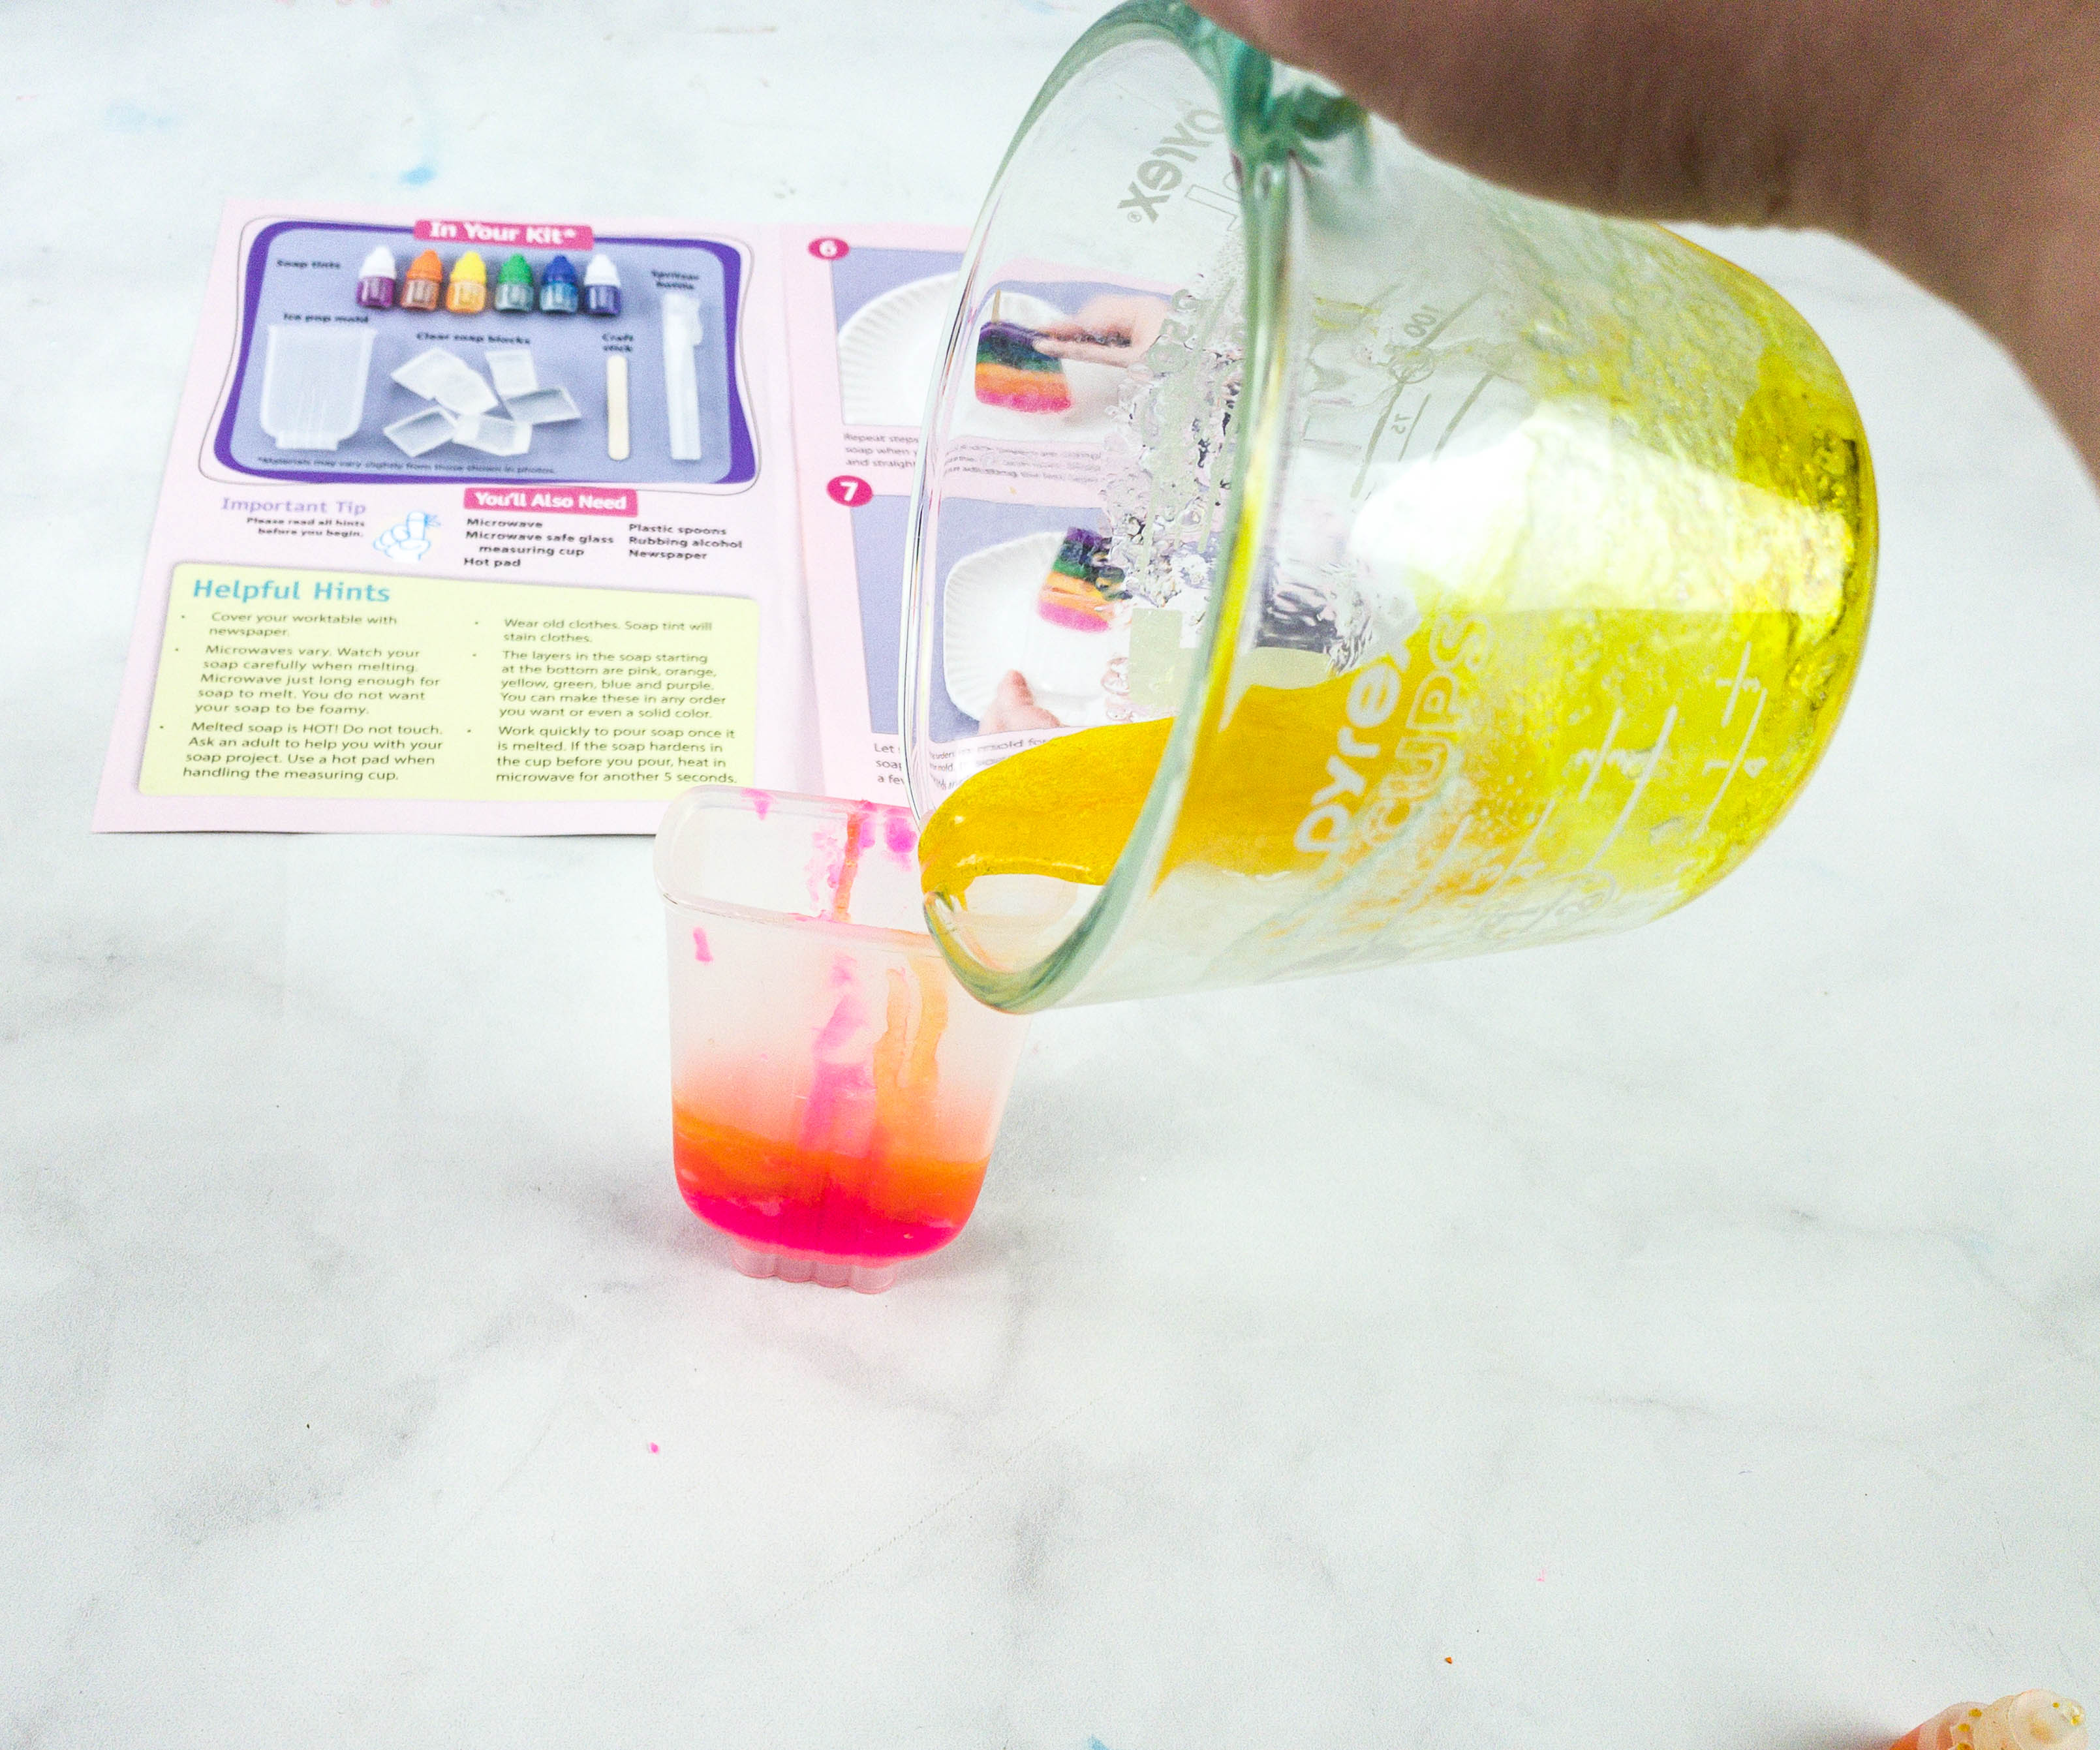
It’s now time to pour the contents into the mold.
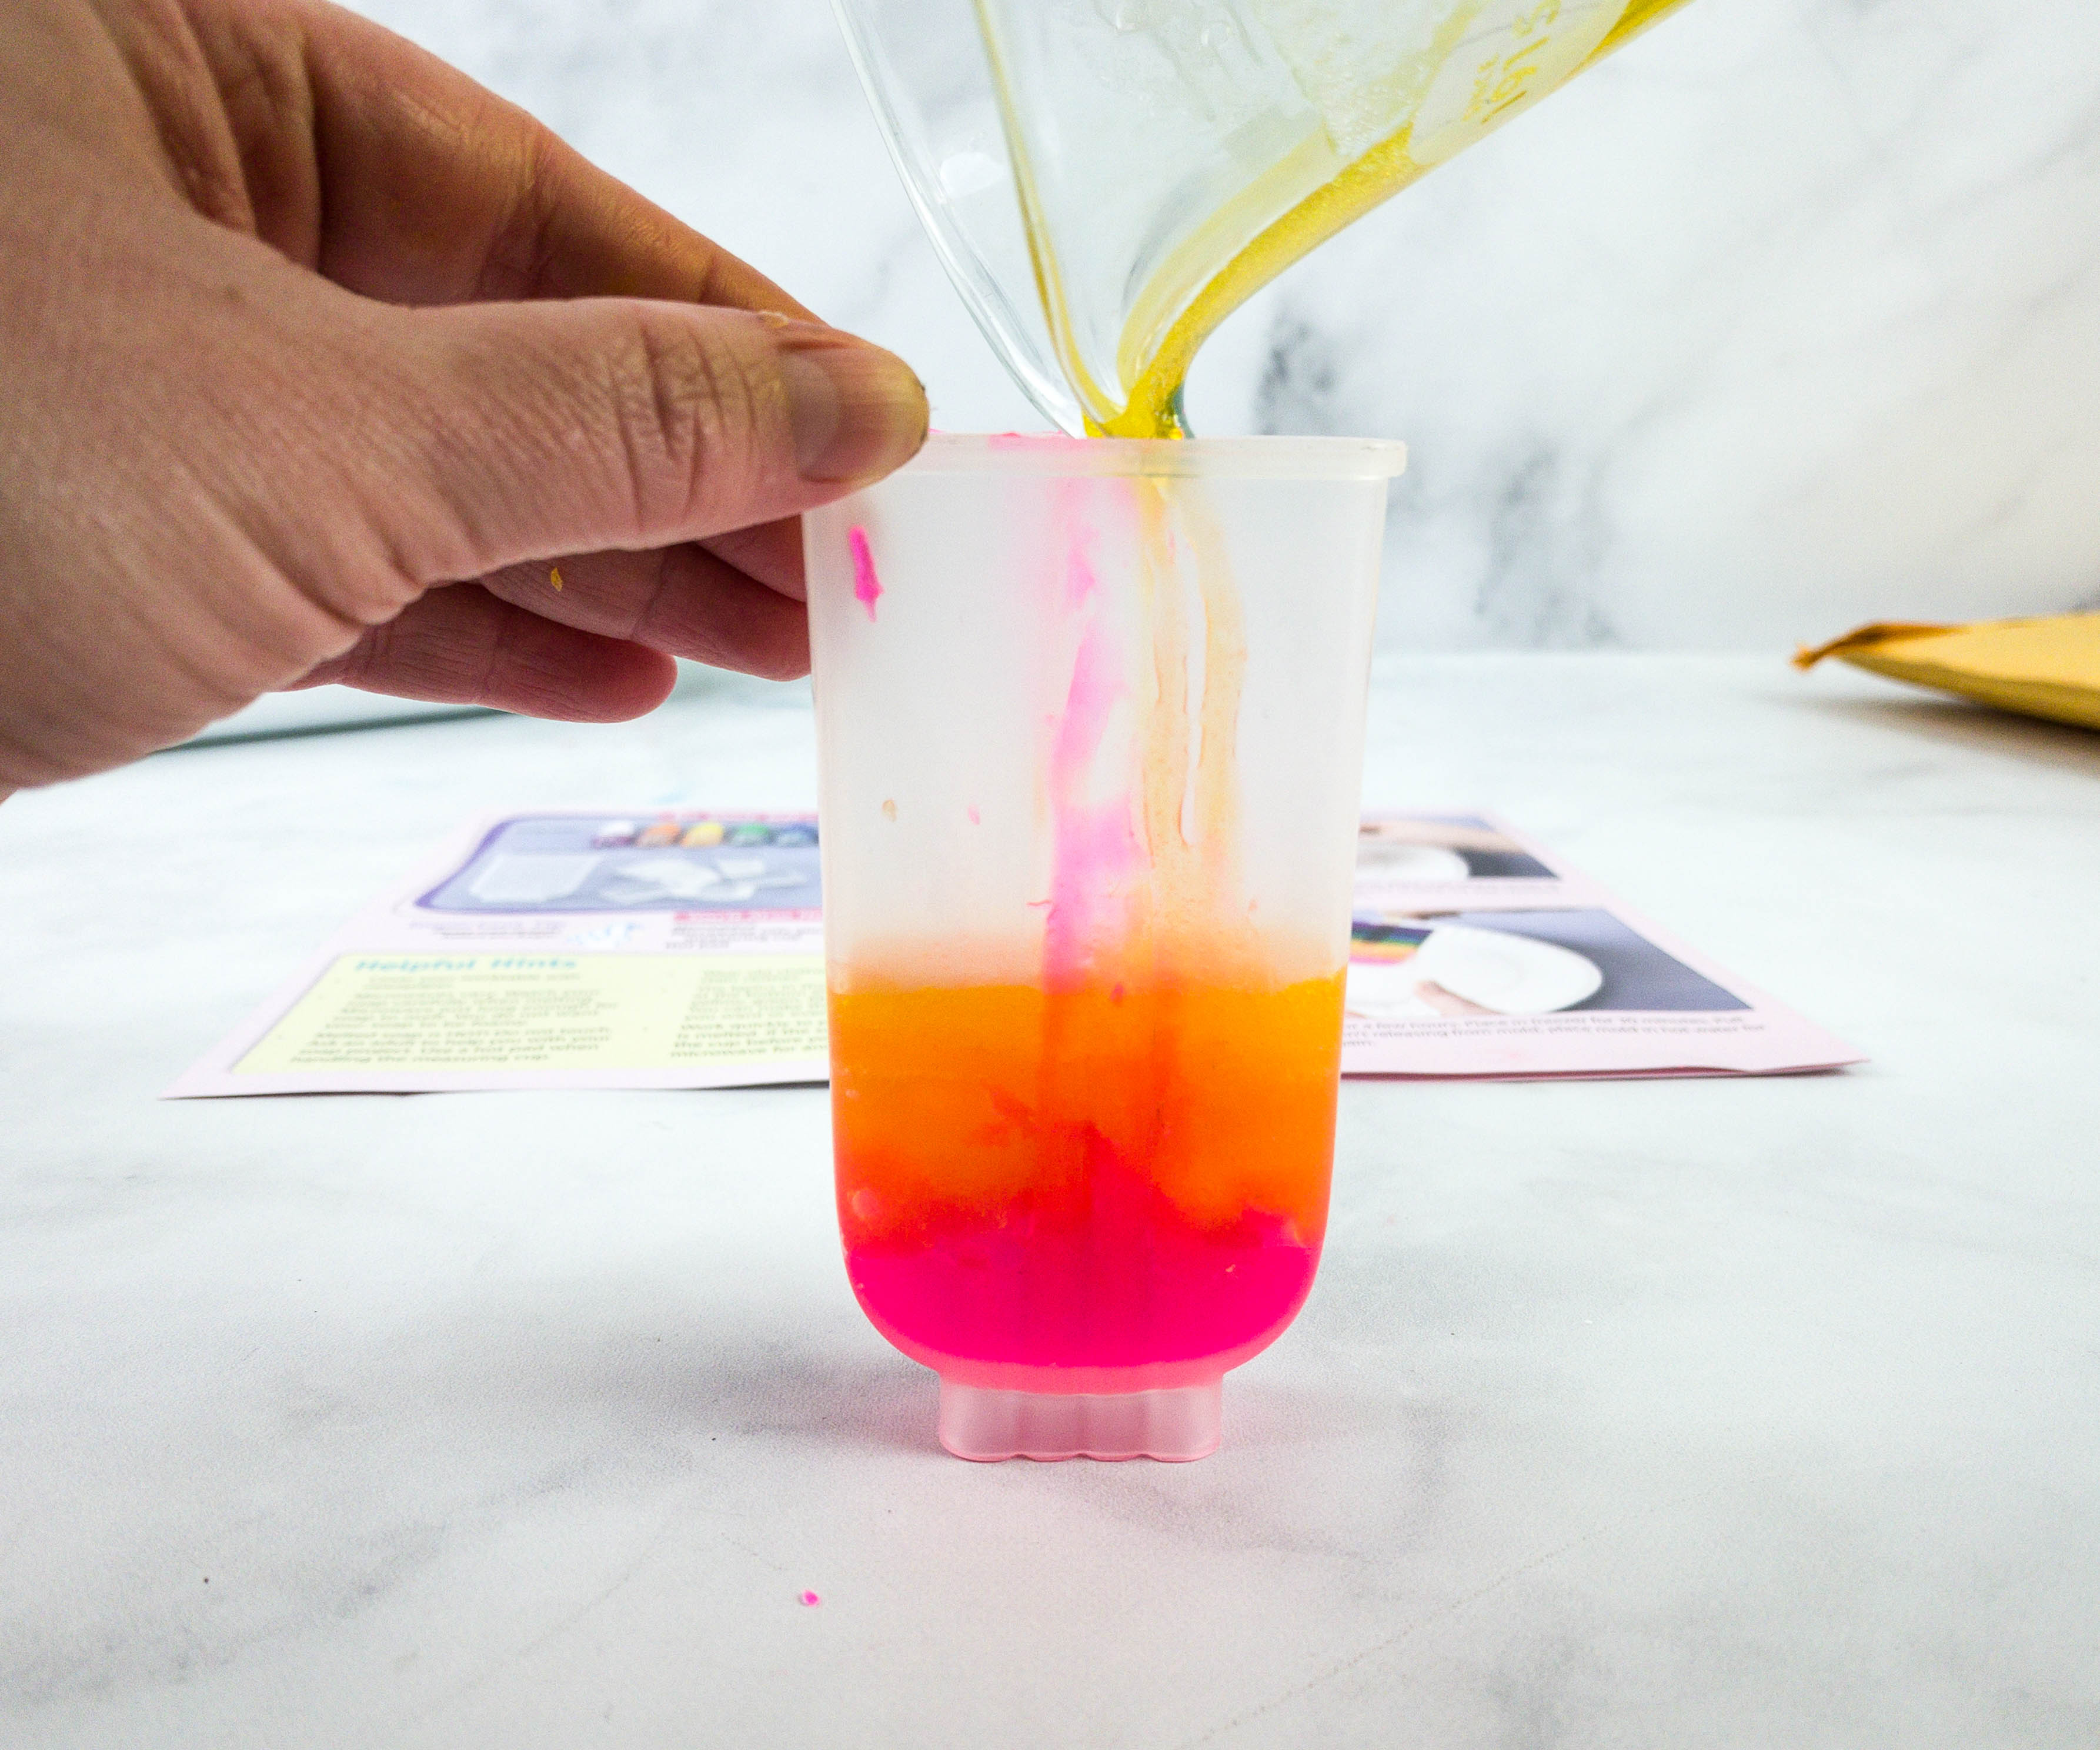
Don’t forget to use the spritzer to spray a thin layer of alcohol on each layer to make sure the bubbles float at the top and you can pop them. This will also help the layers adhere better together.
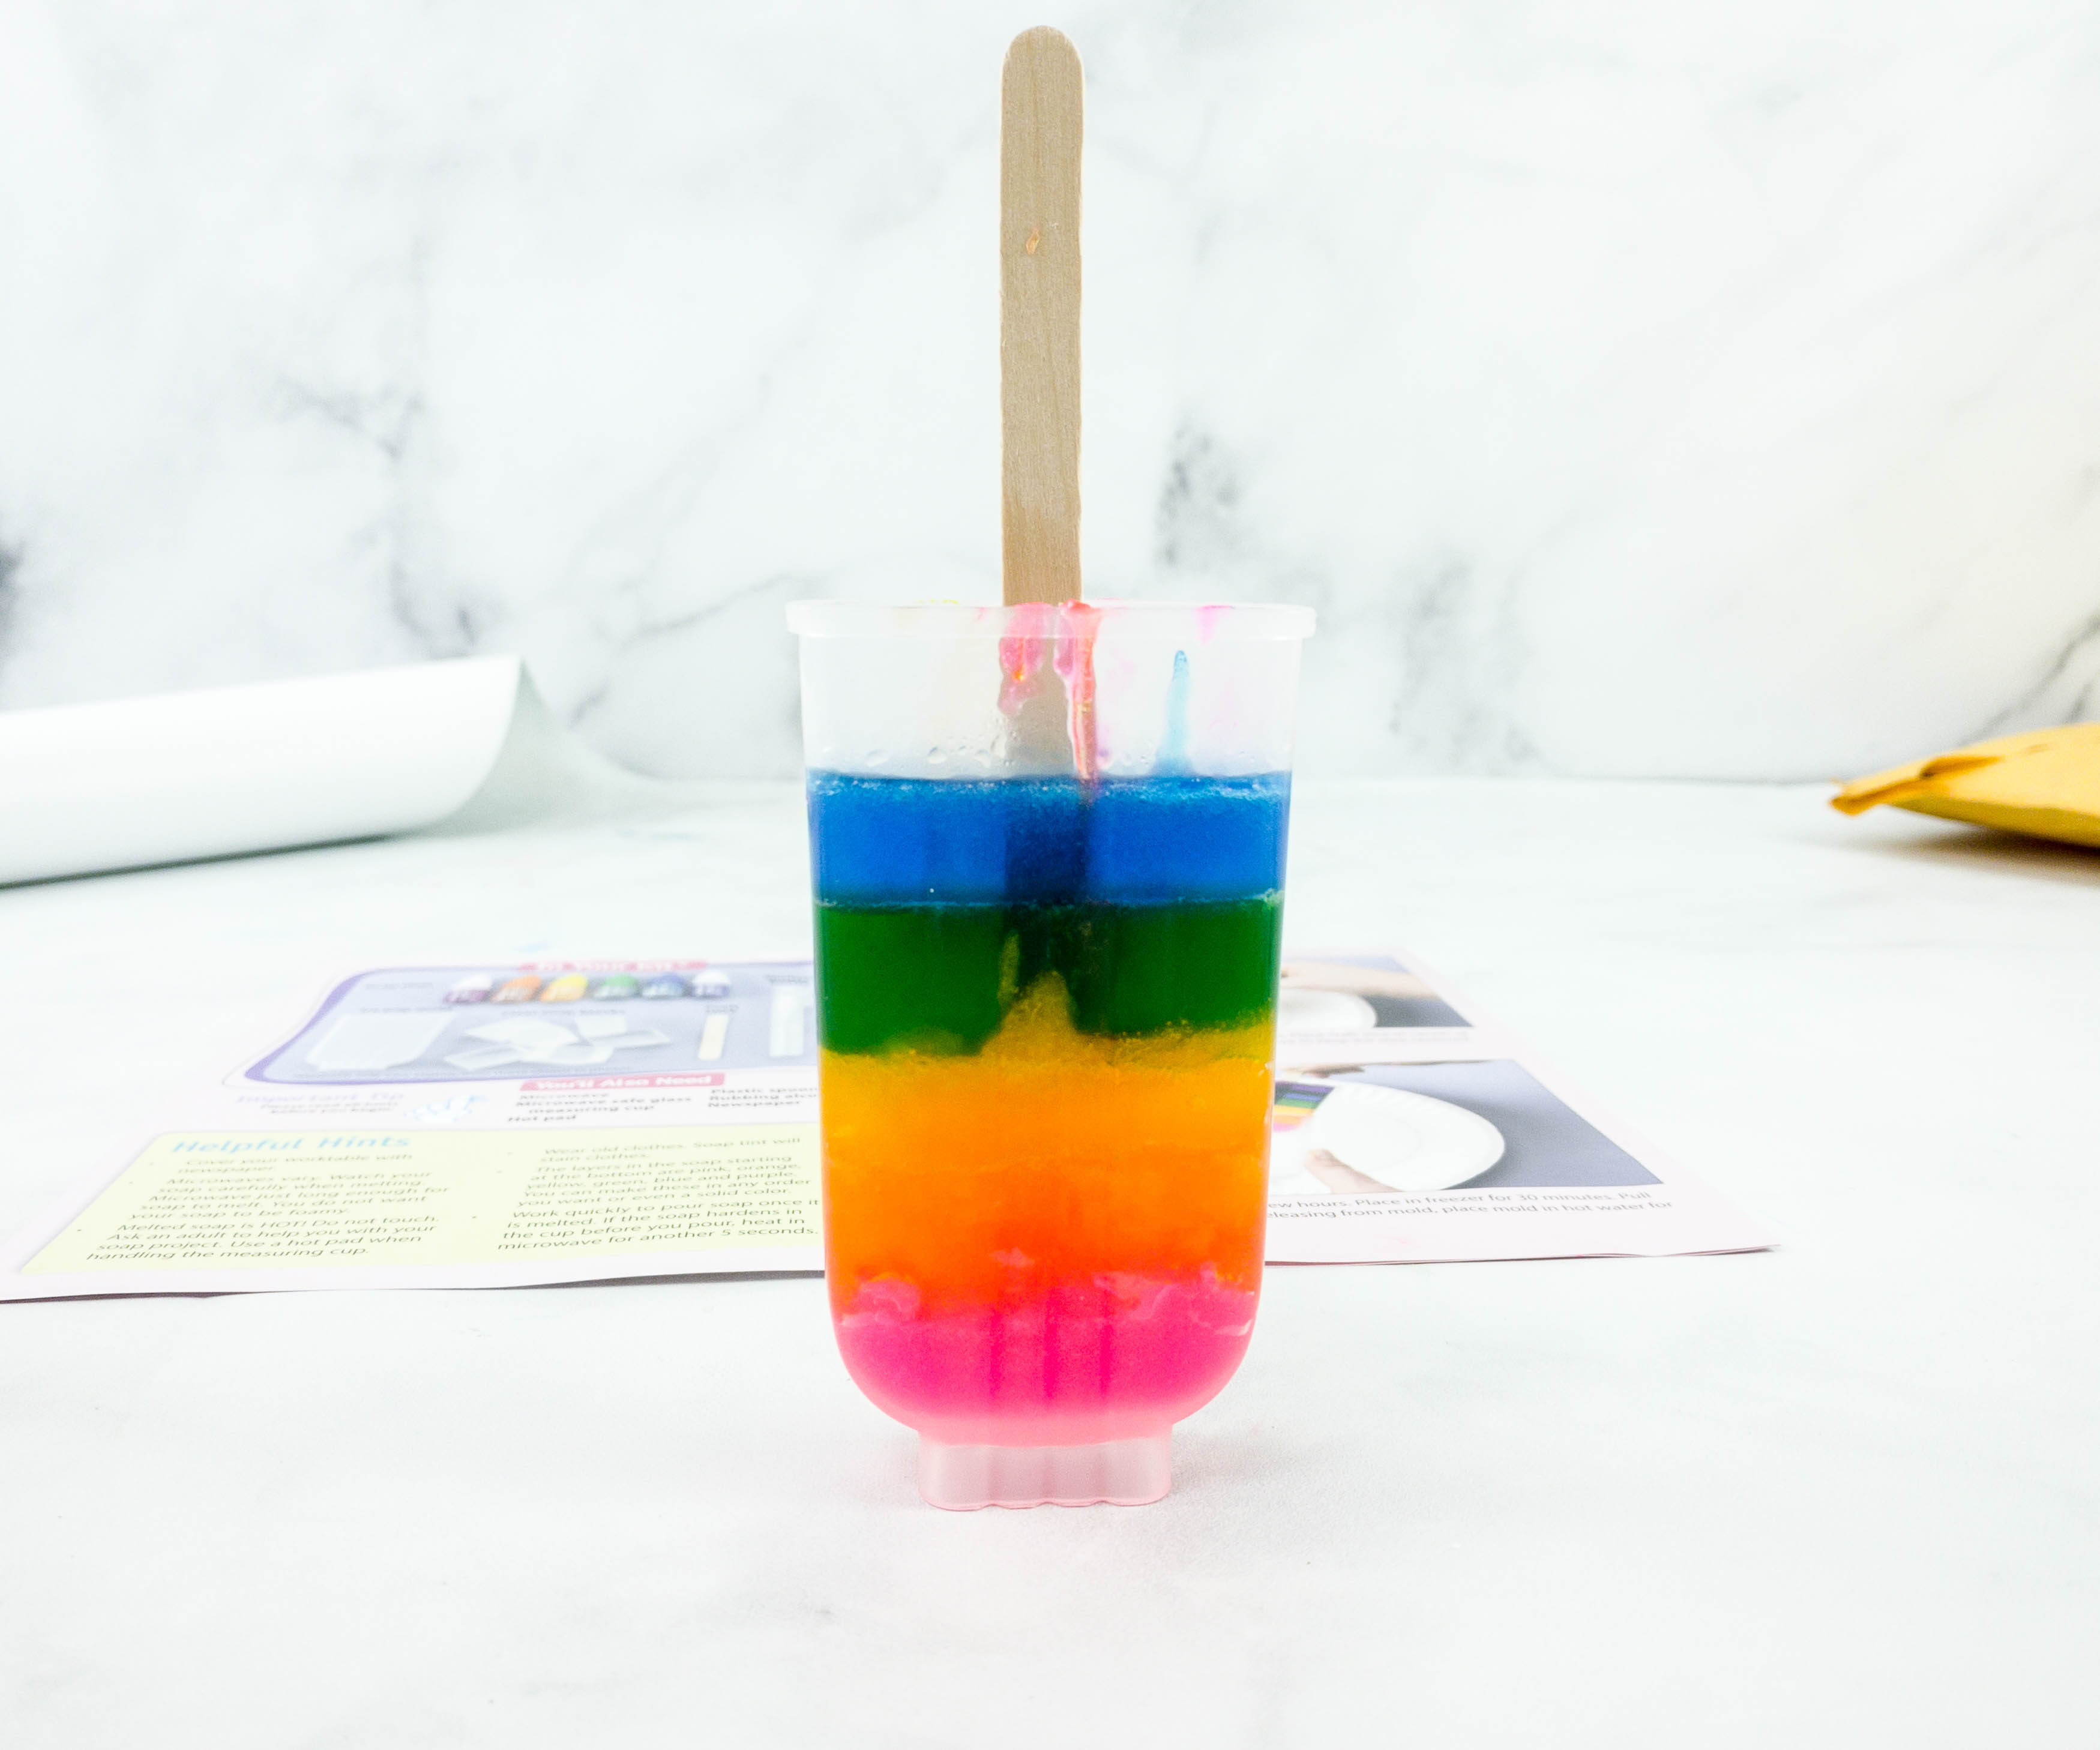
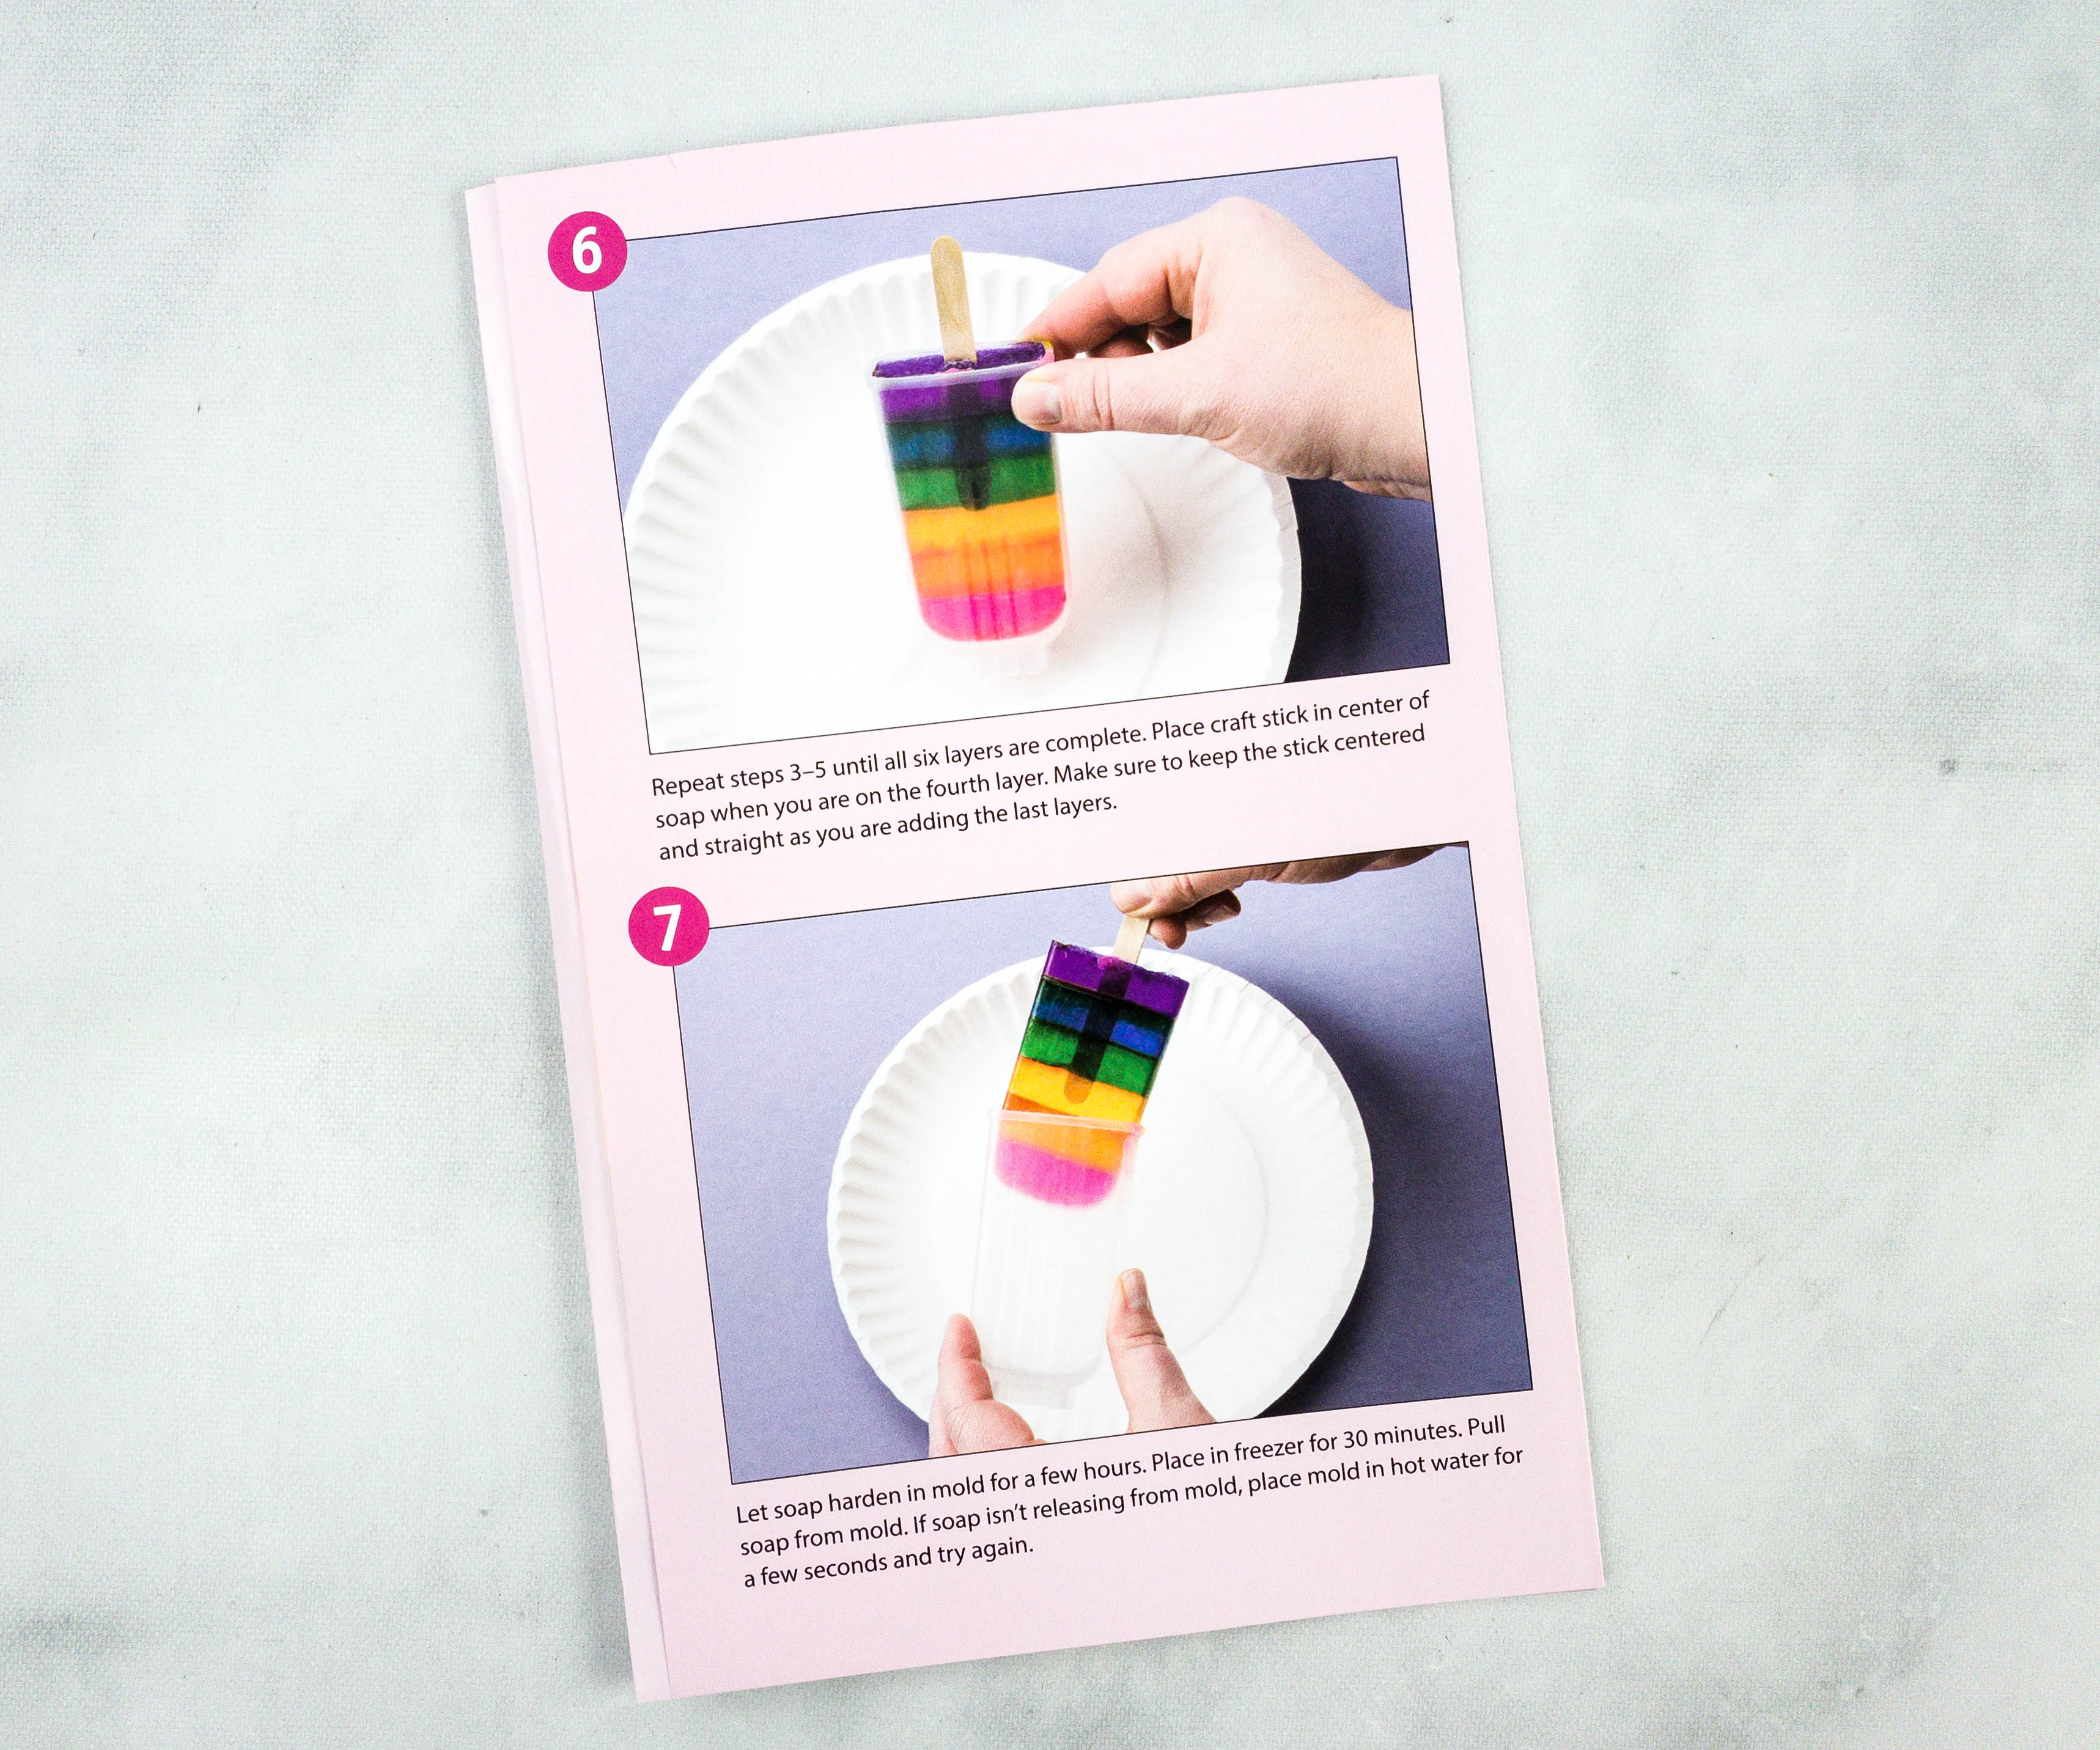
When it’s about halfway through, my daughter put the craft stick in the middle to create the popsicle effect!
She continued to fill the mold with the rest of the colors, following the same directions when layering like the previous ones.
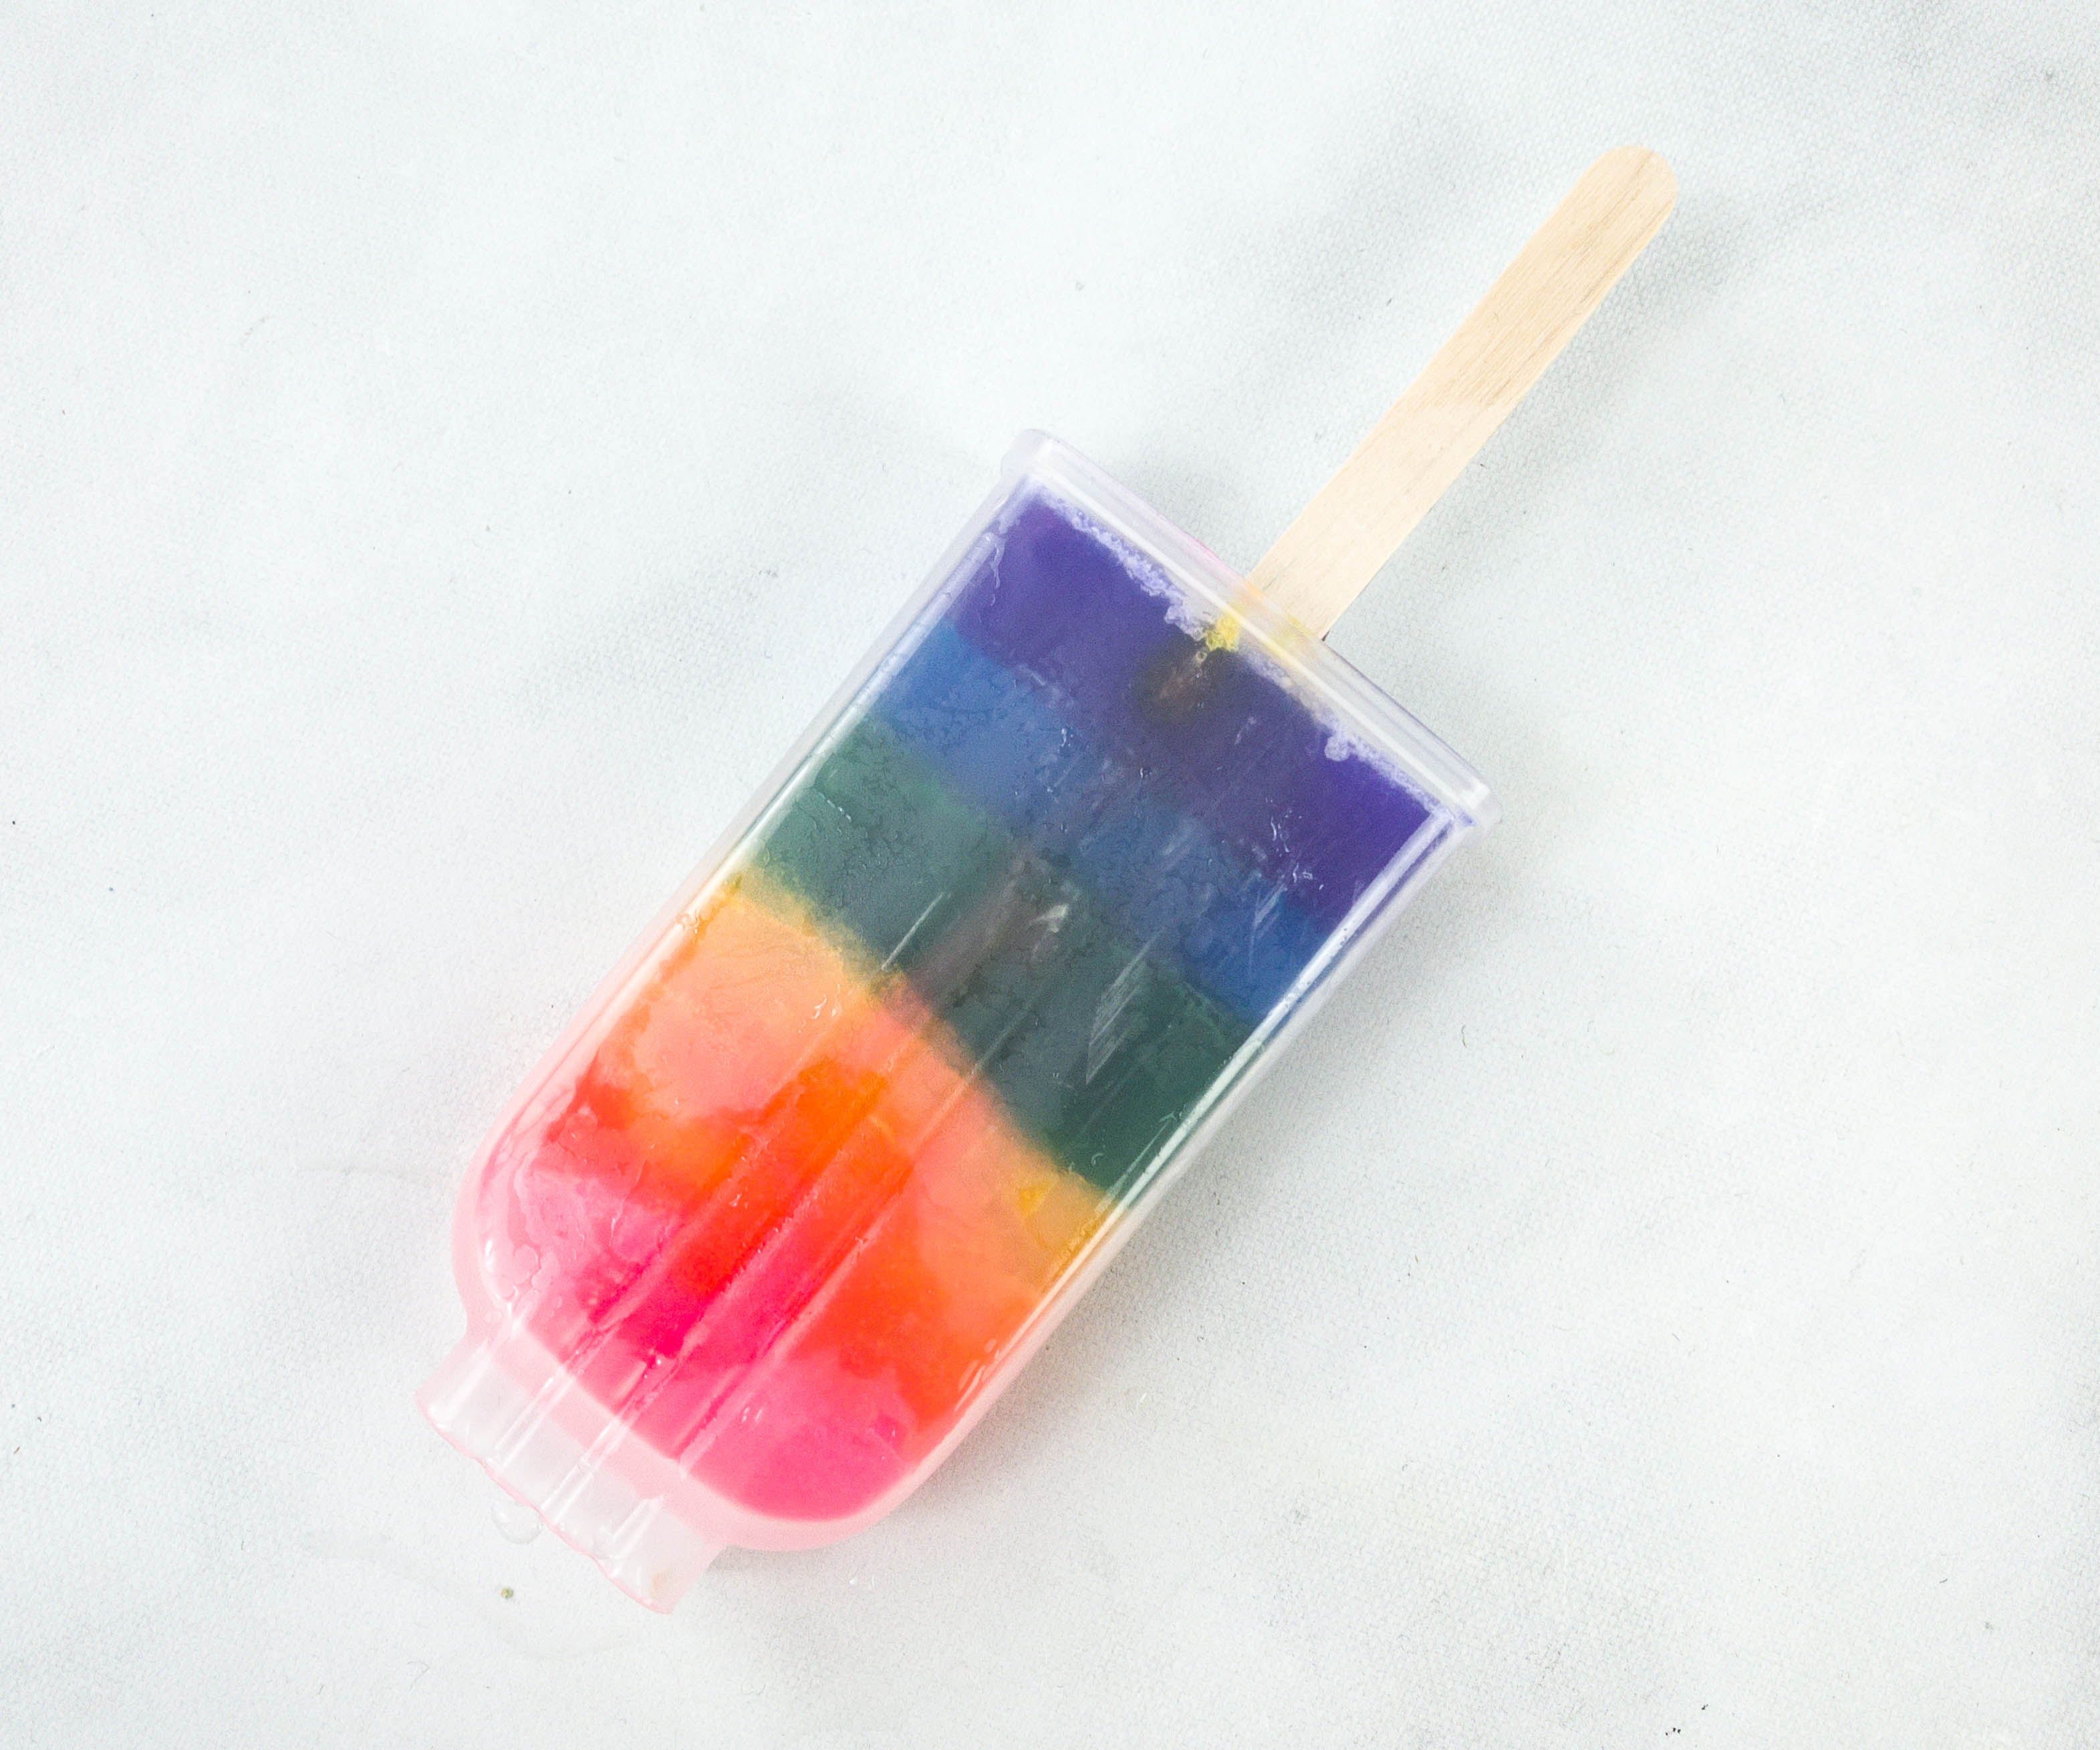
Leave it to harden for a few hours or you can also put it in the freezer for 30 minutes to speed up the process.
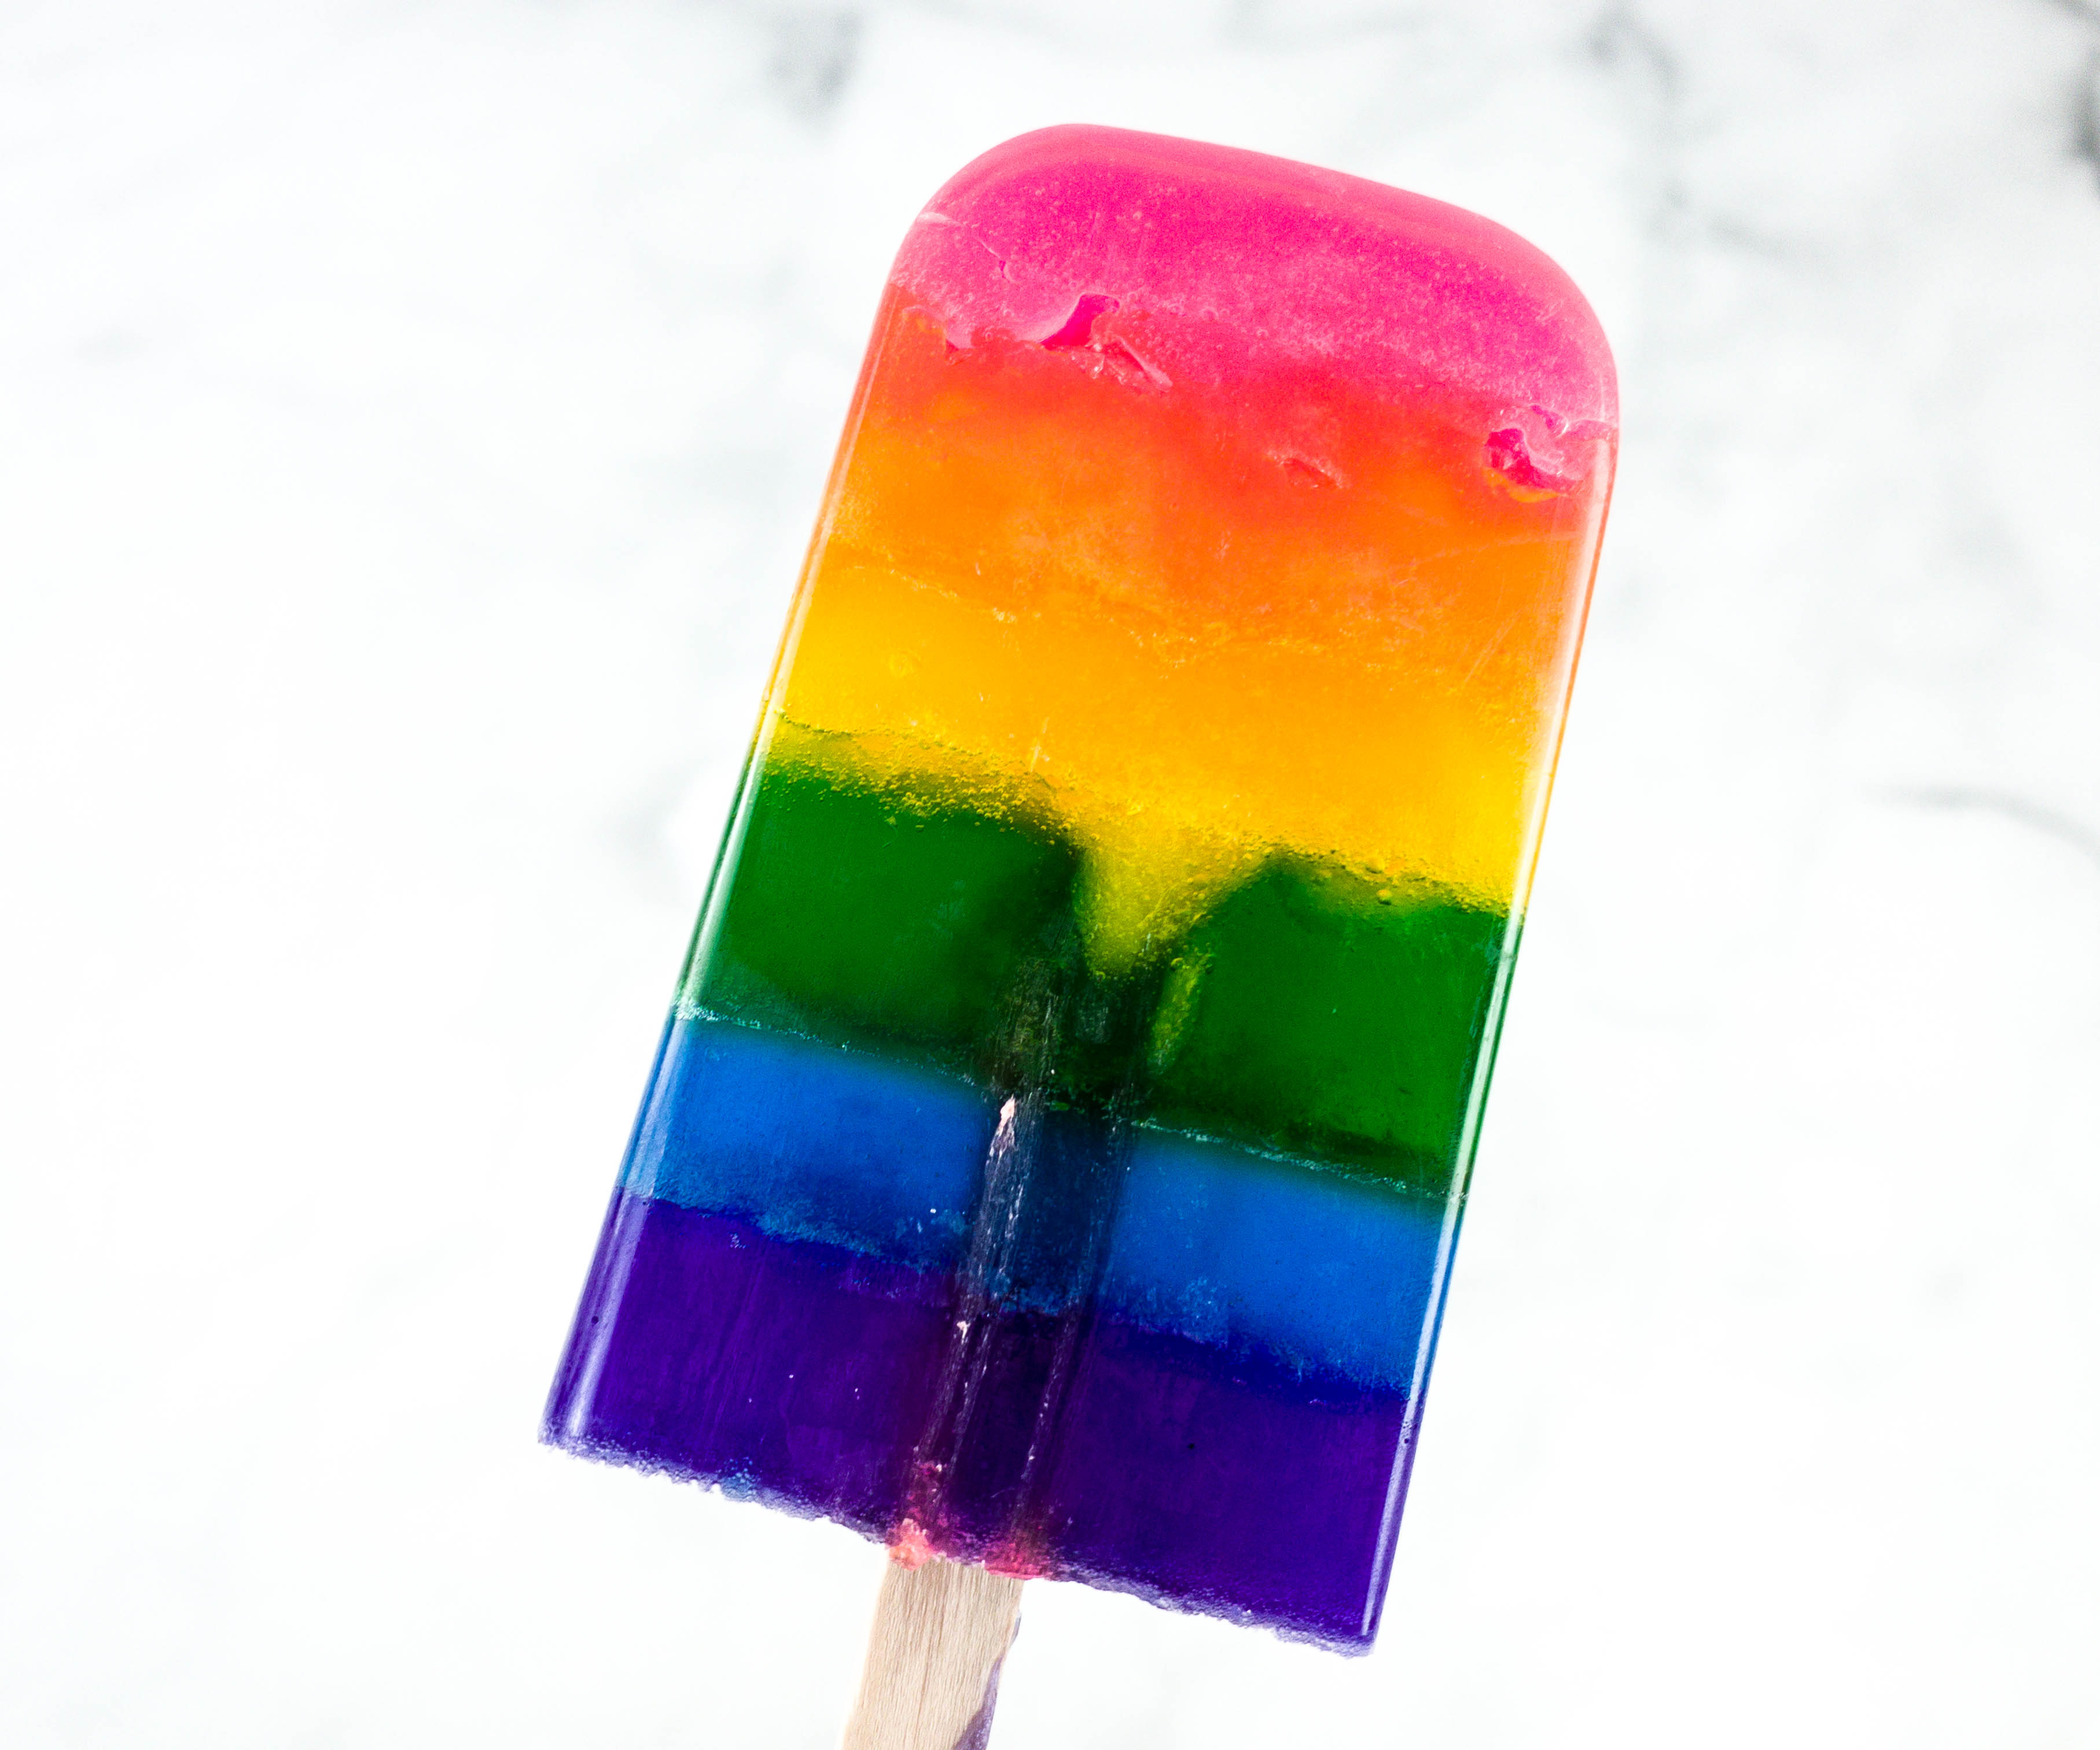
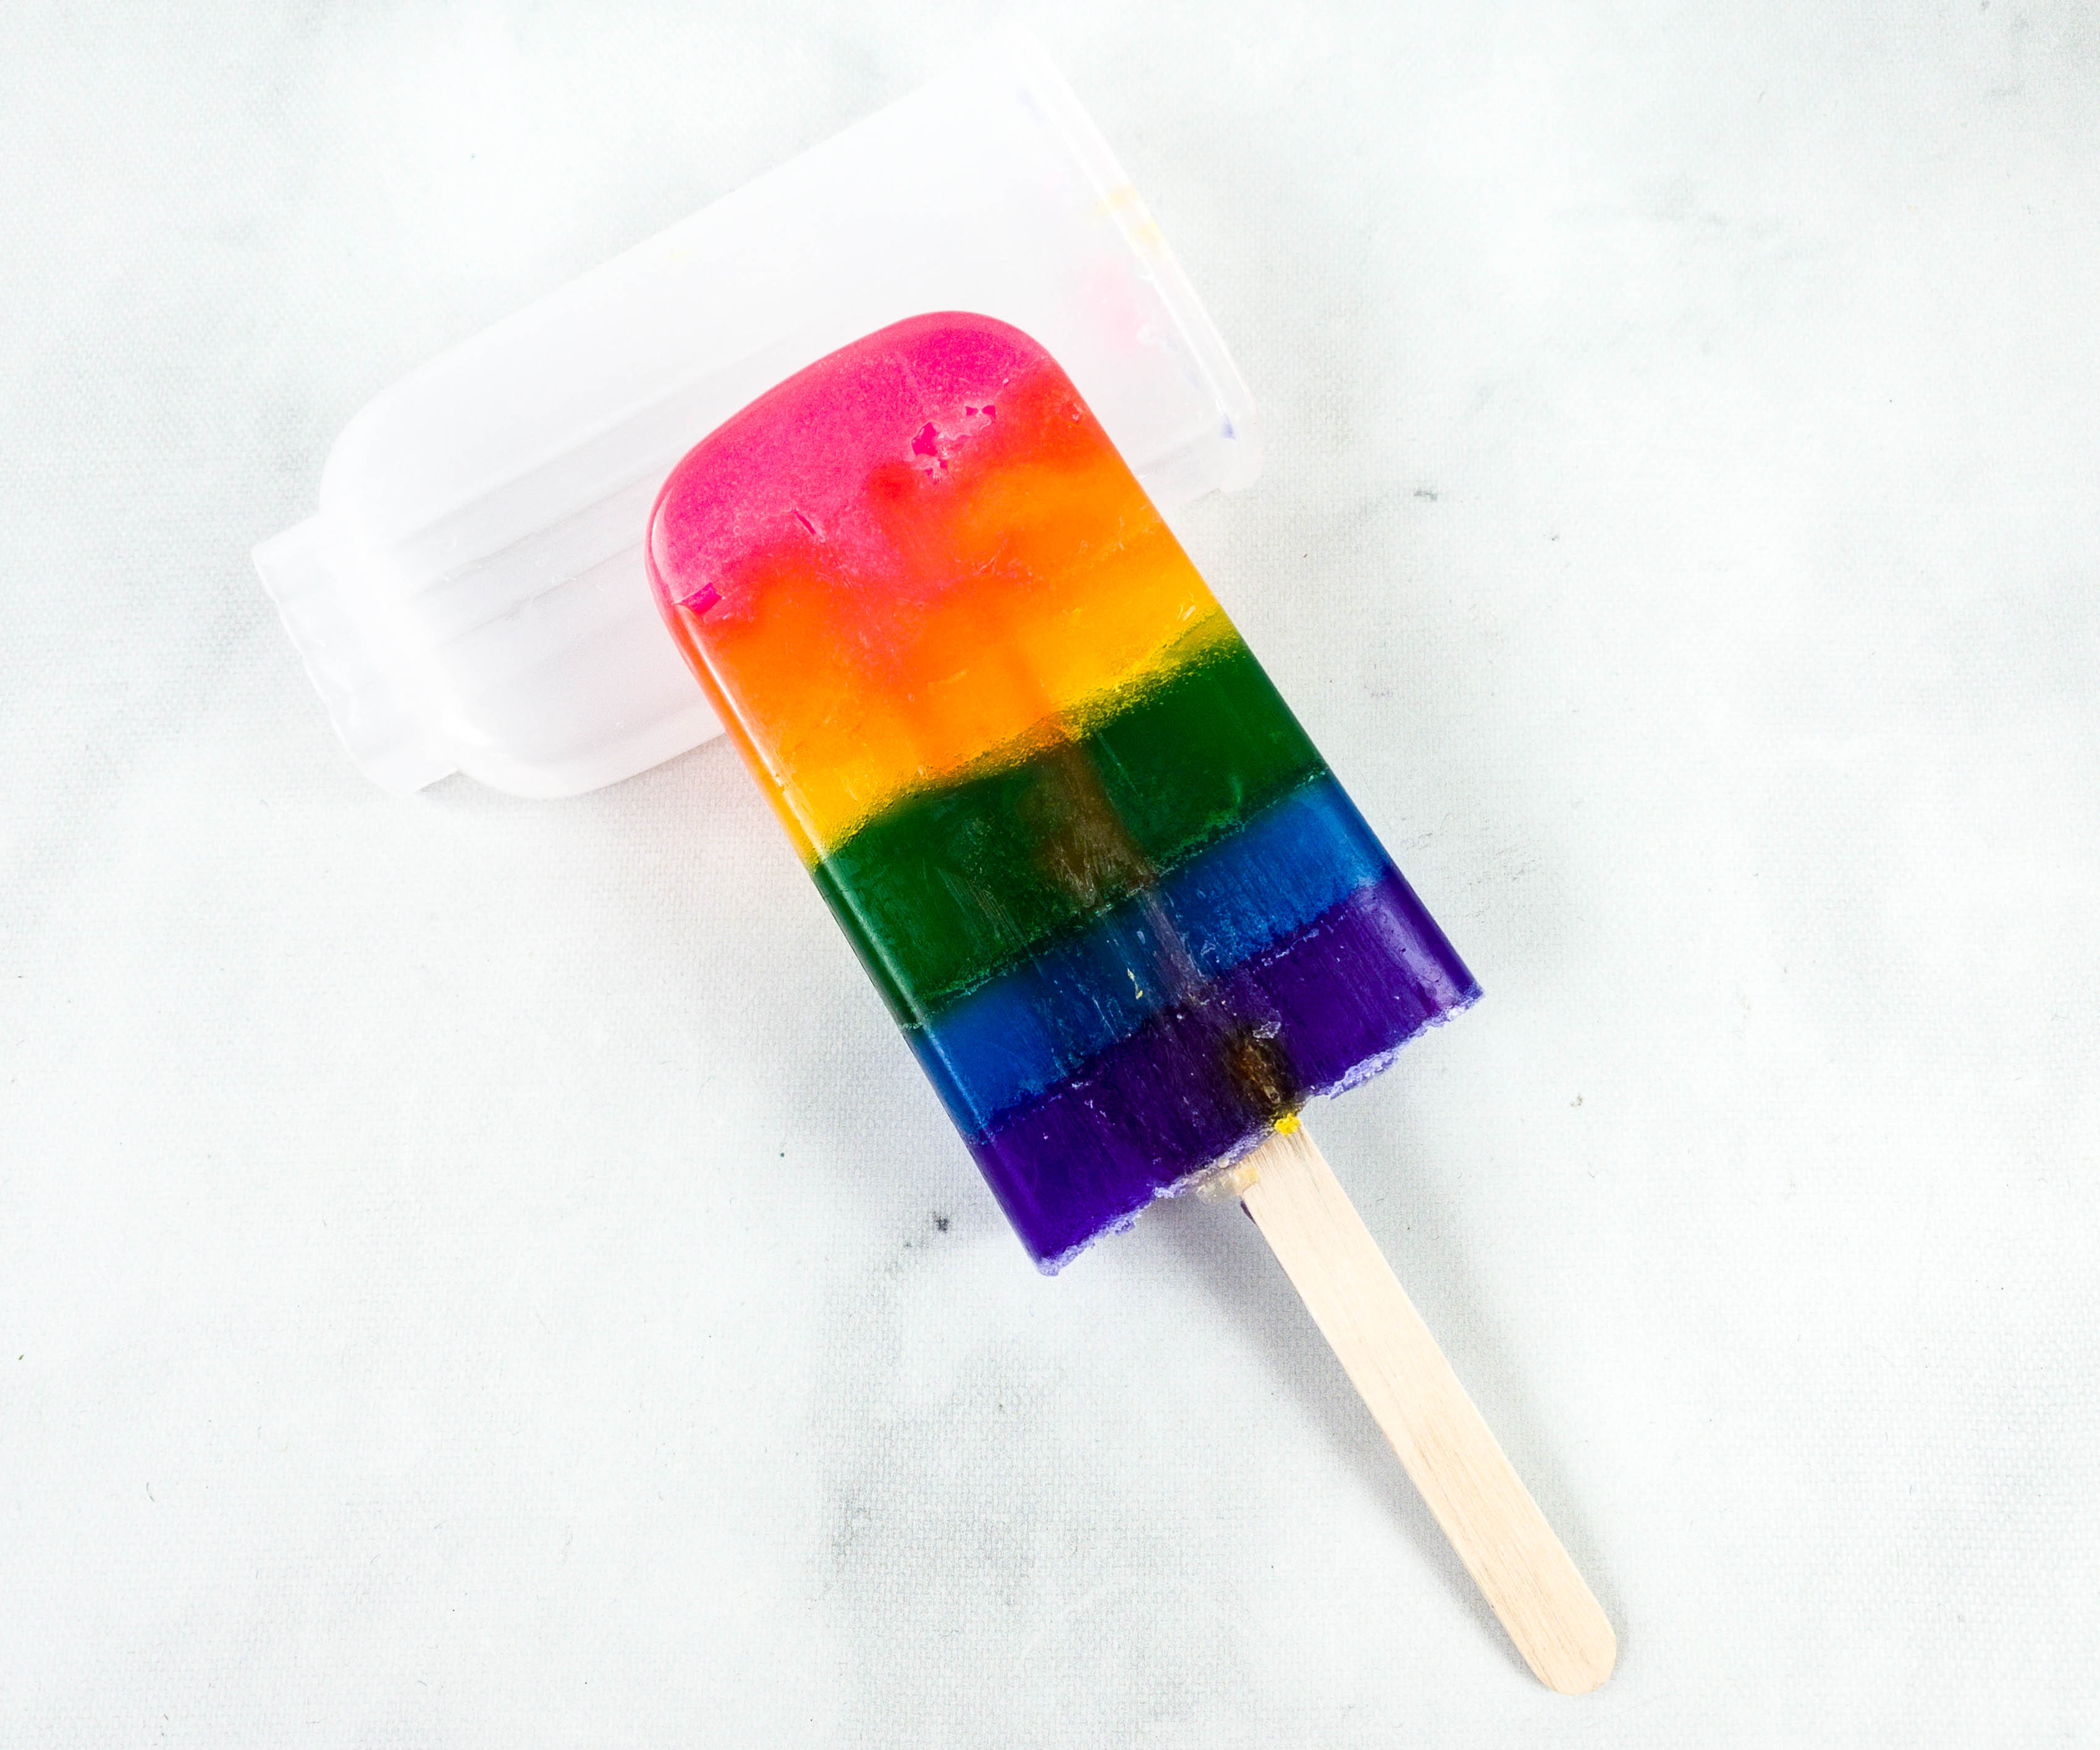
Here’s the finished product! It looks so pretty!
The box provided a plain soap base but you can also customize this by adding essentials oils or other scents depending on your preference!
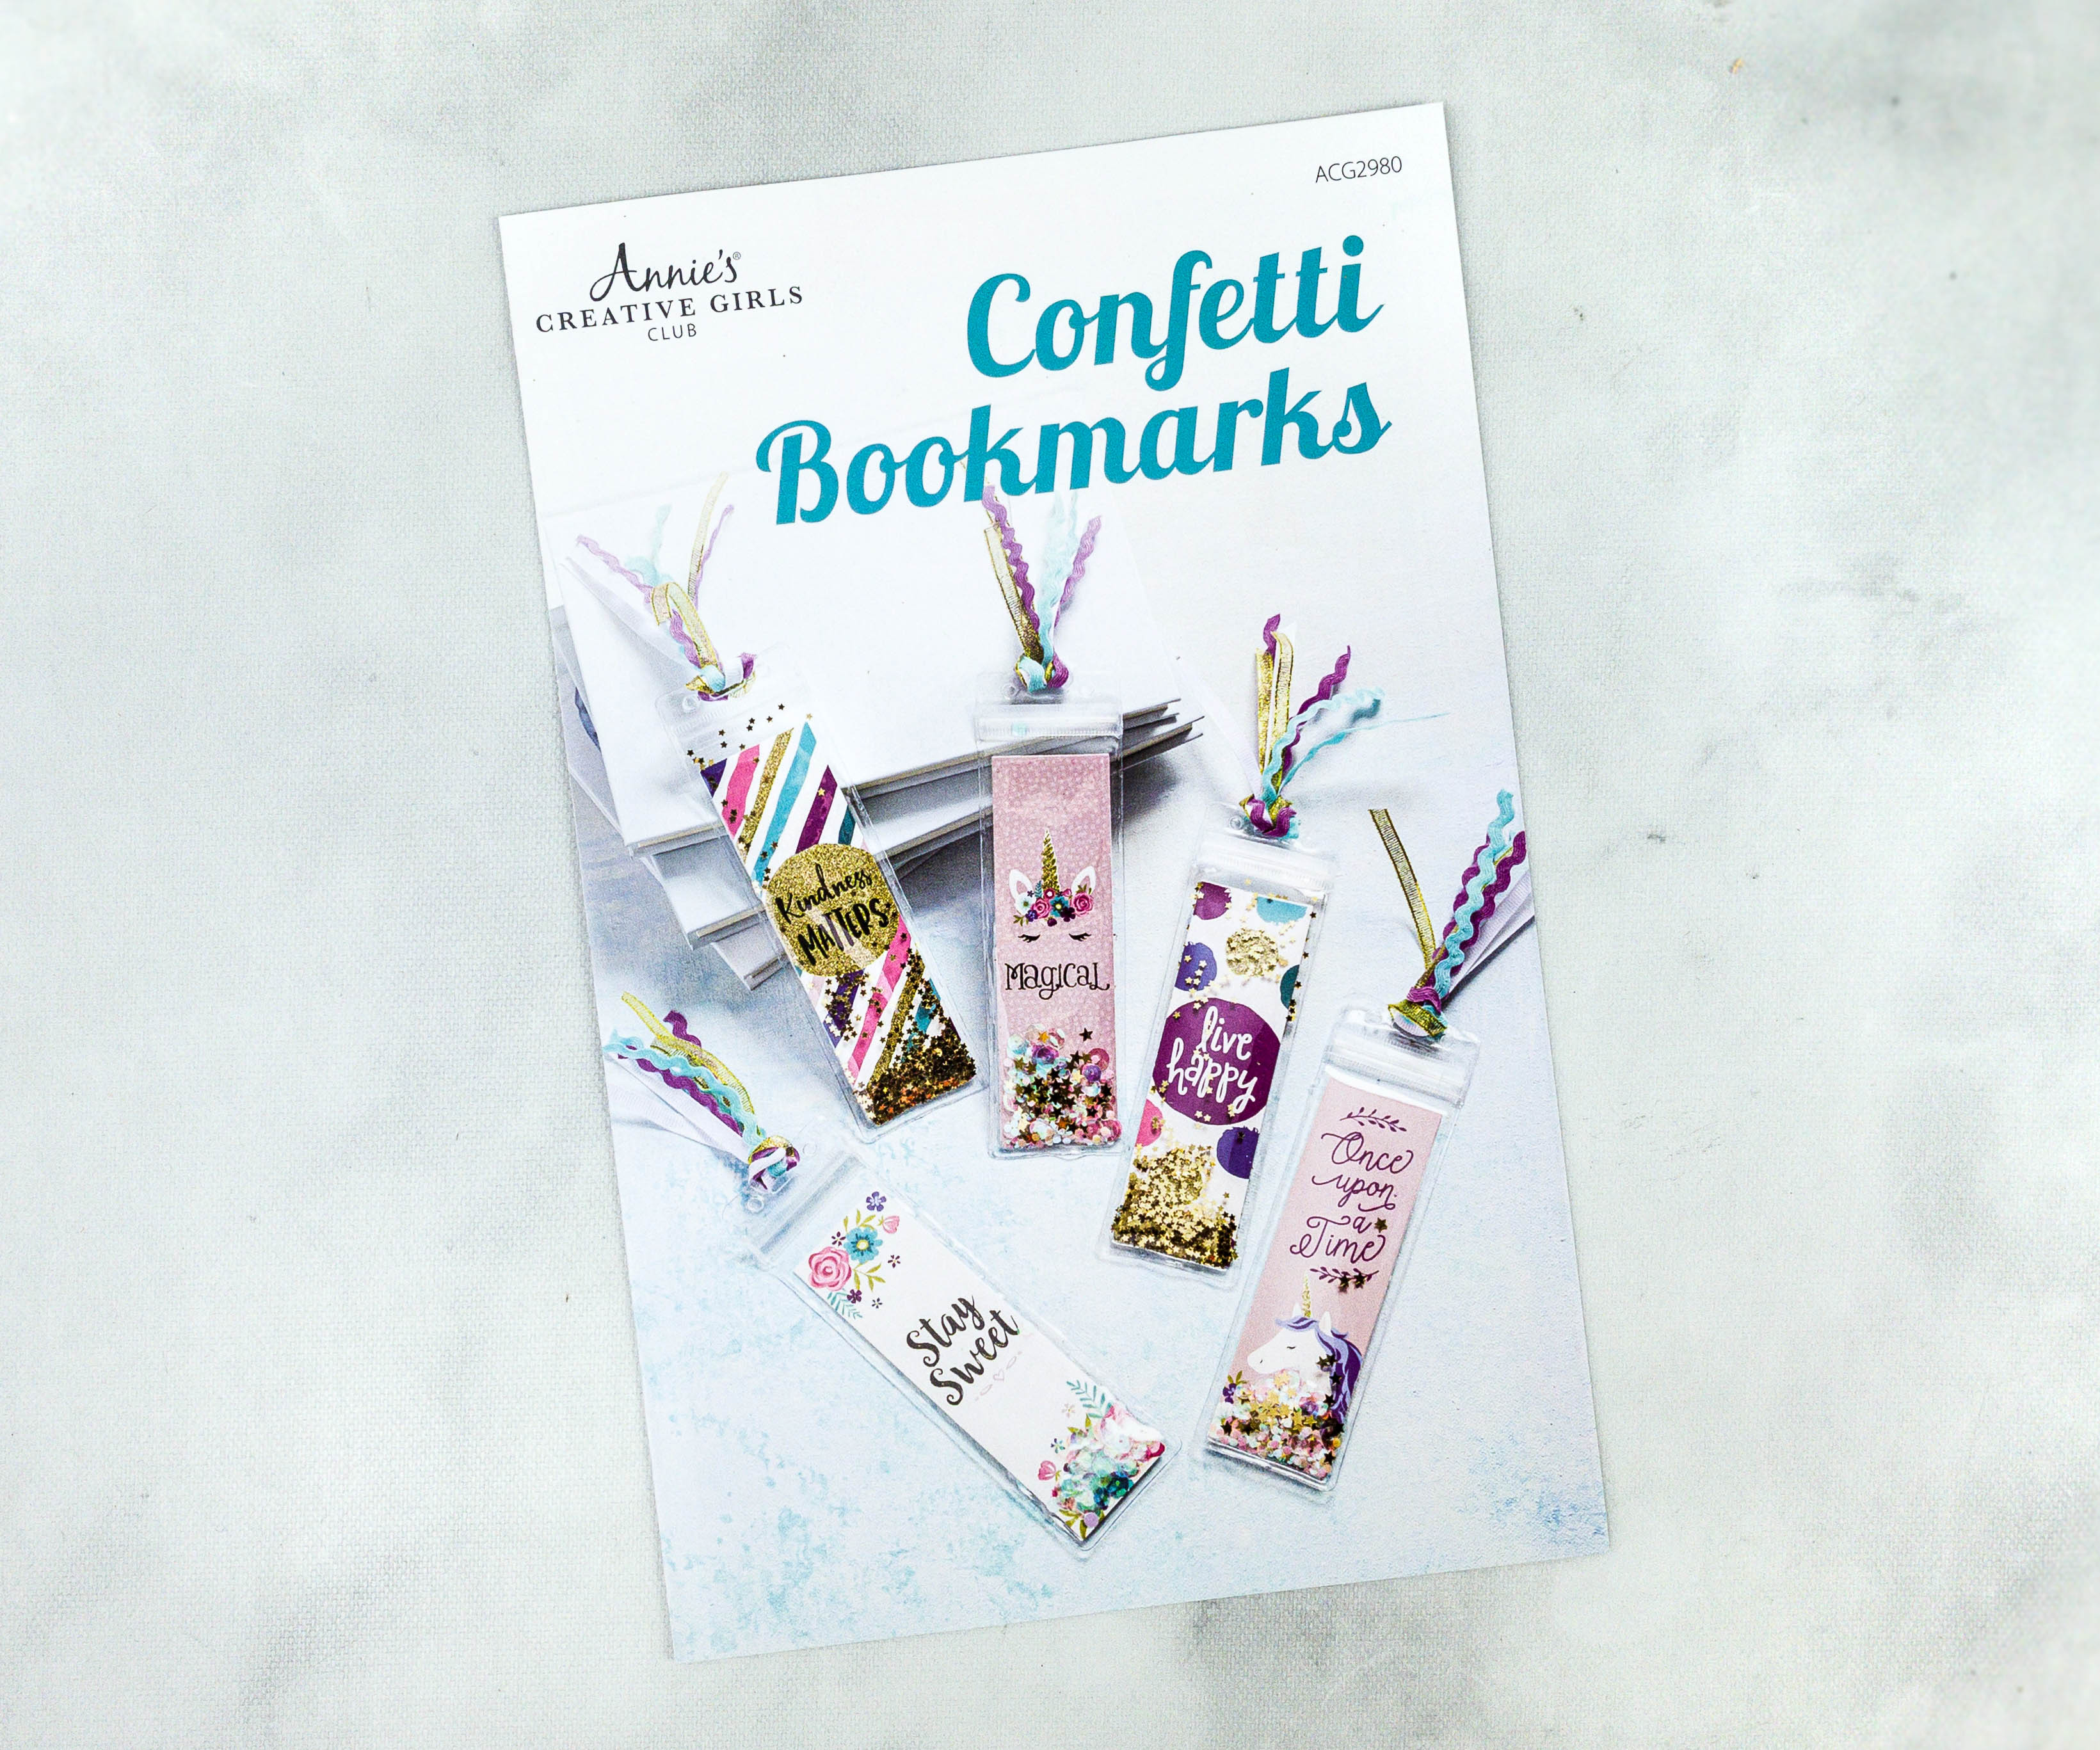
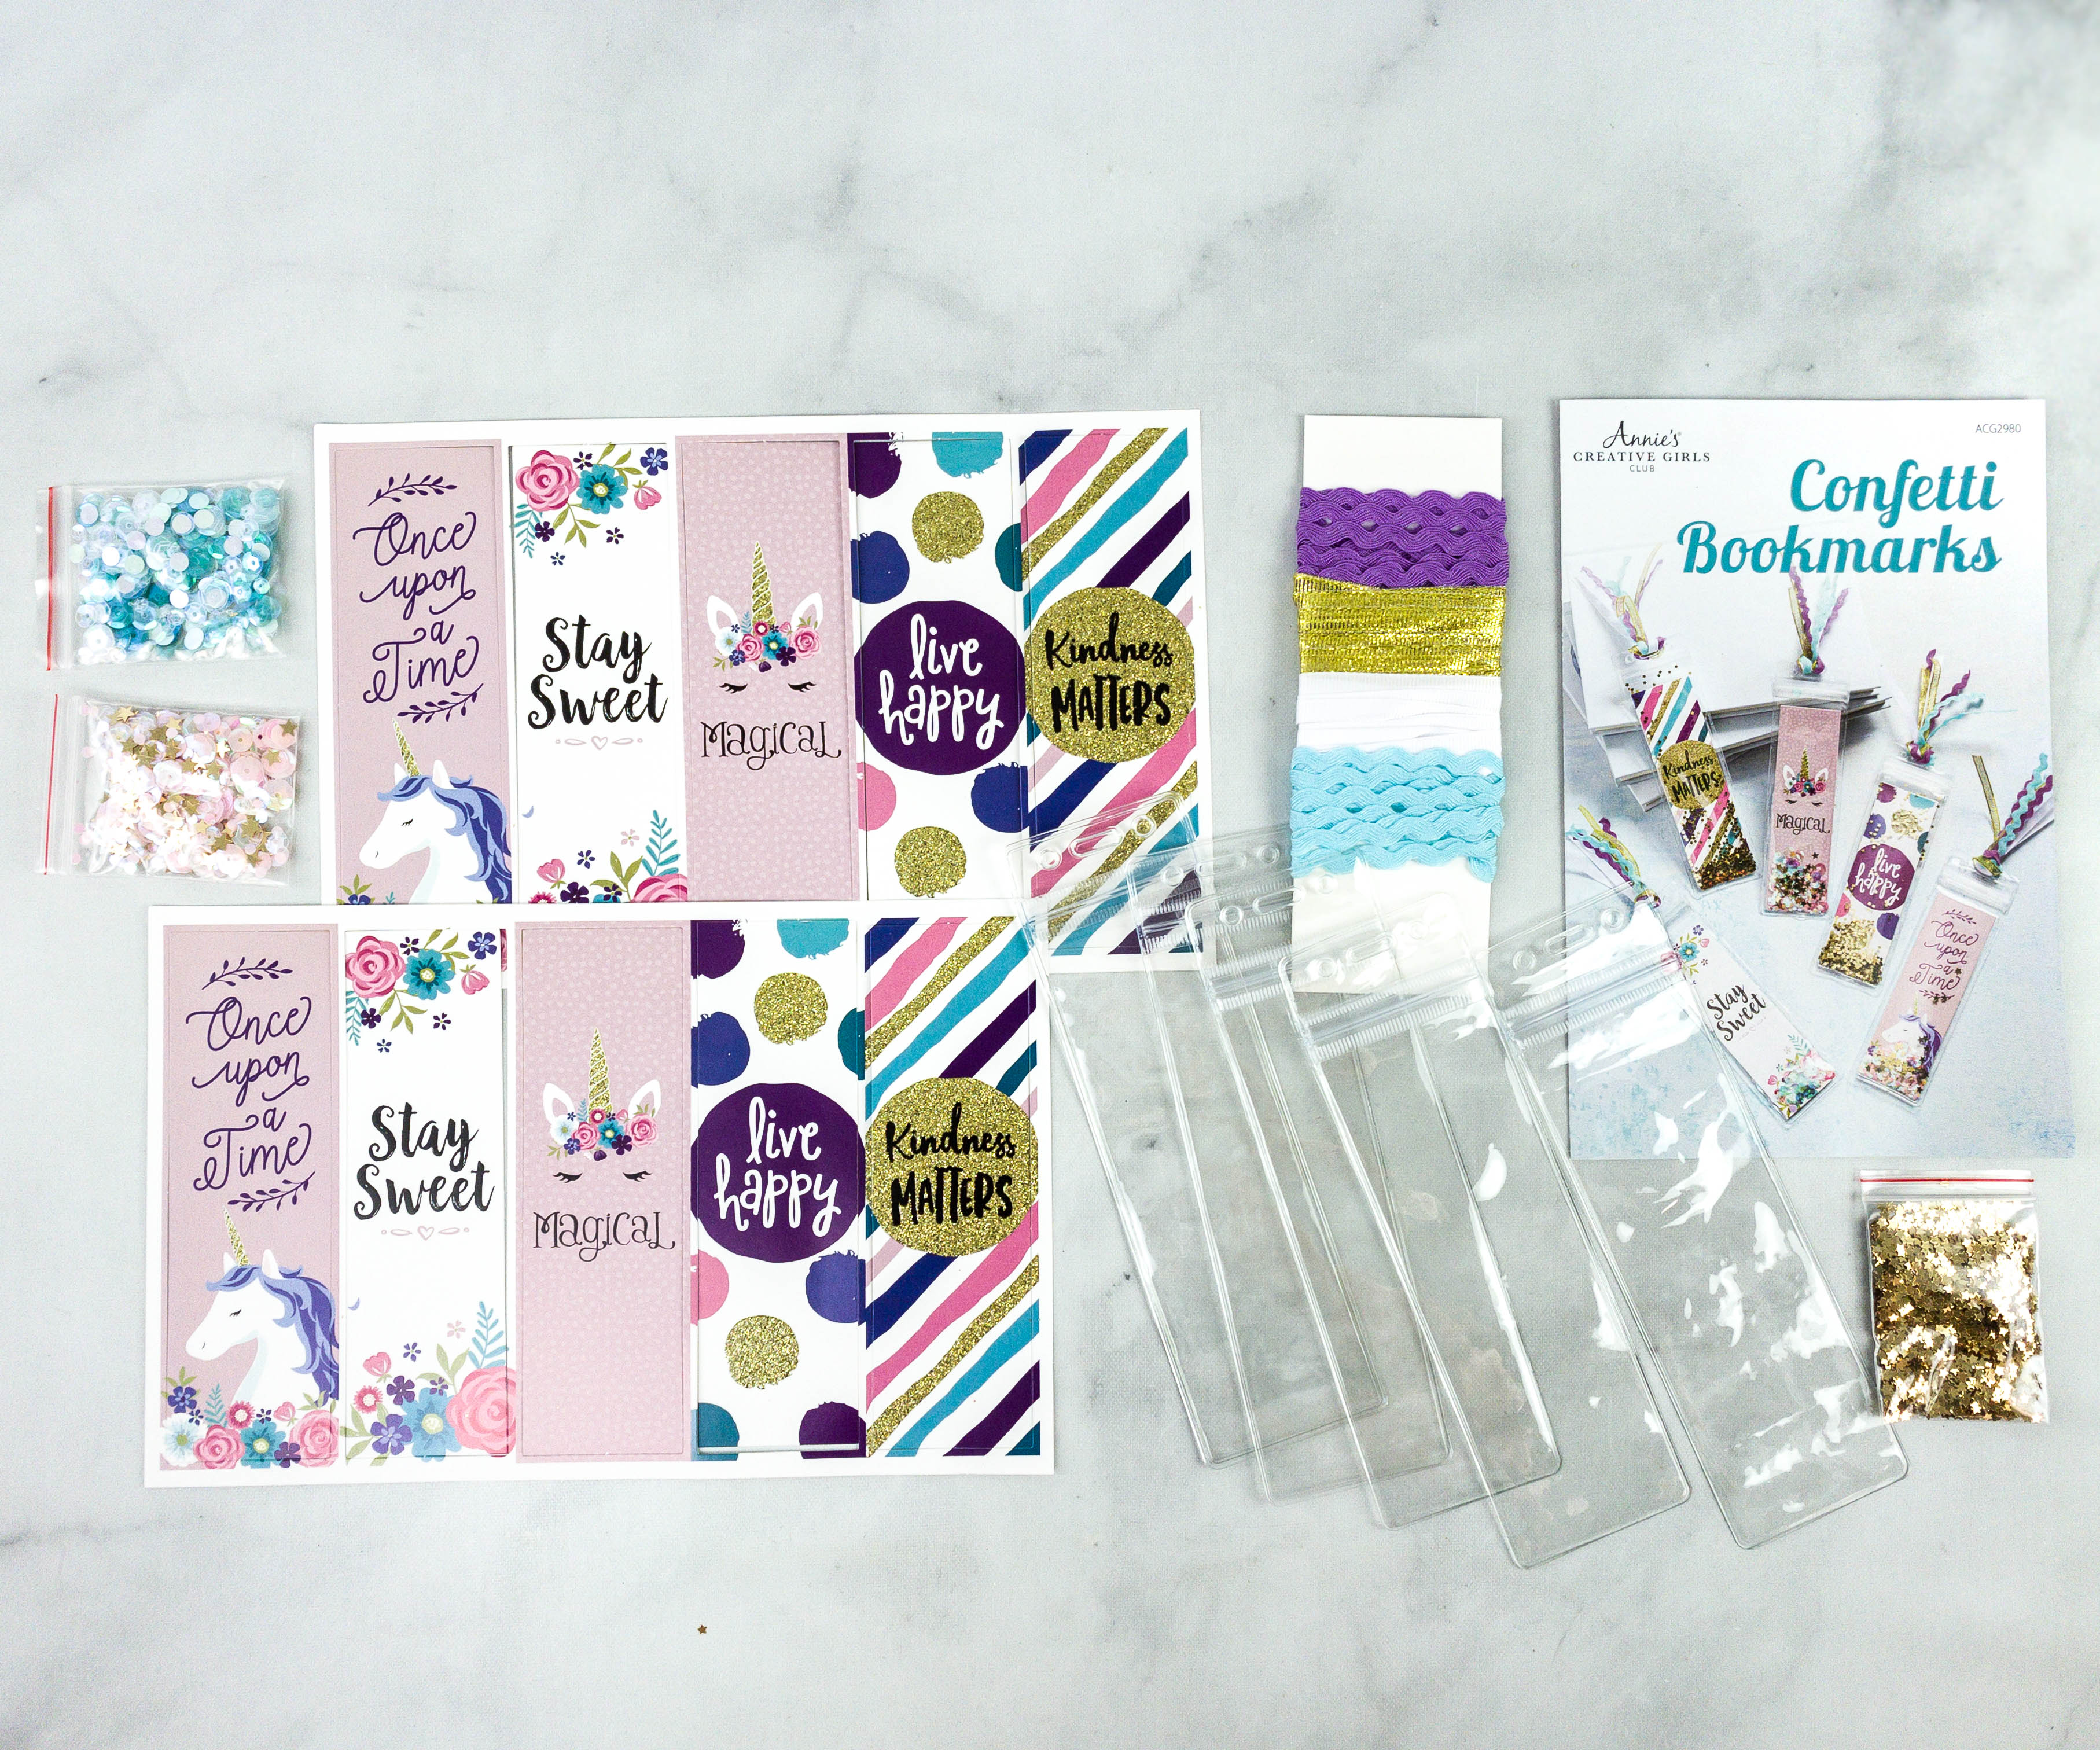
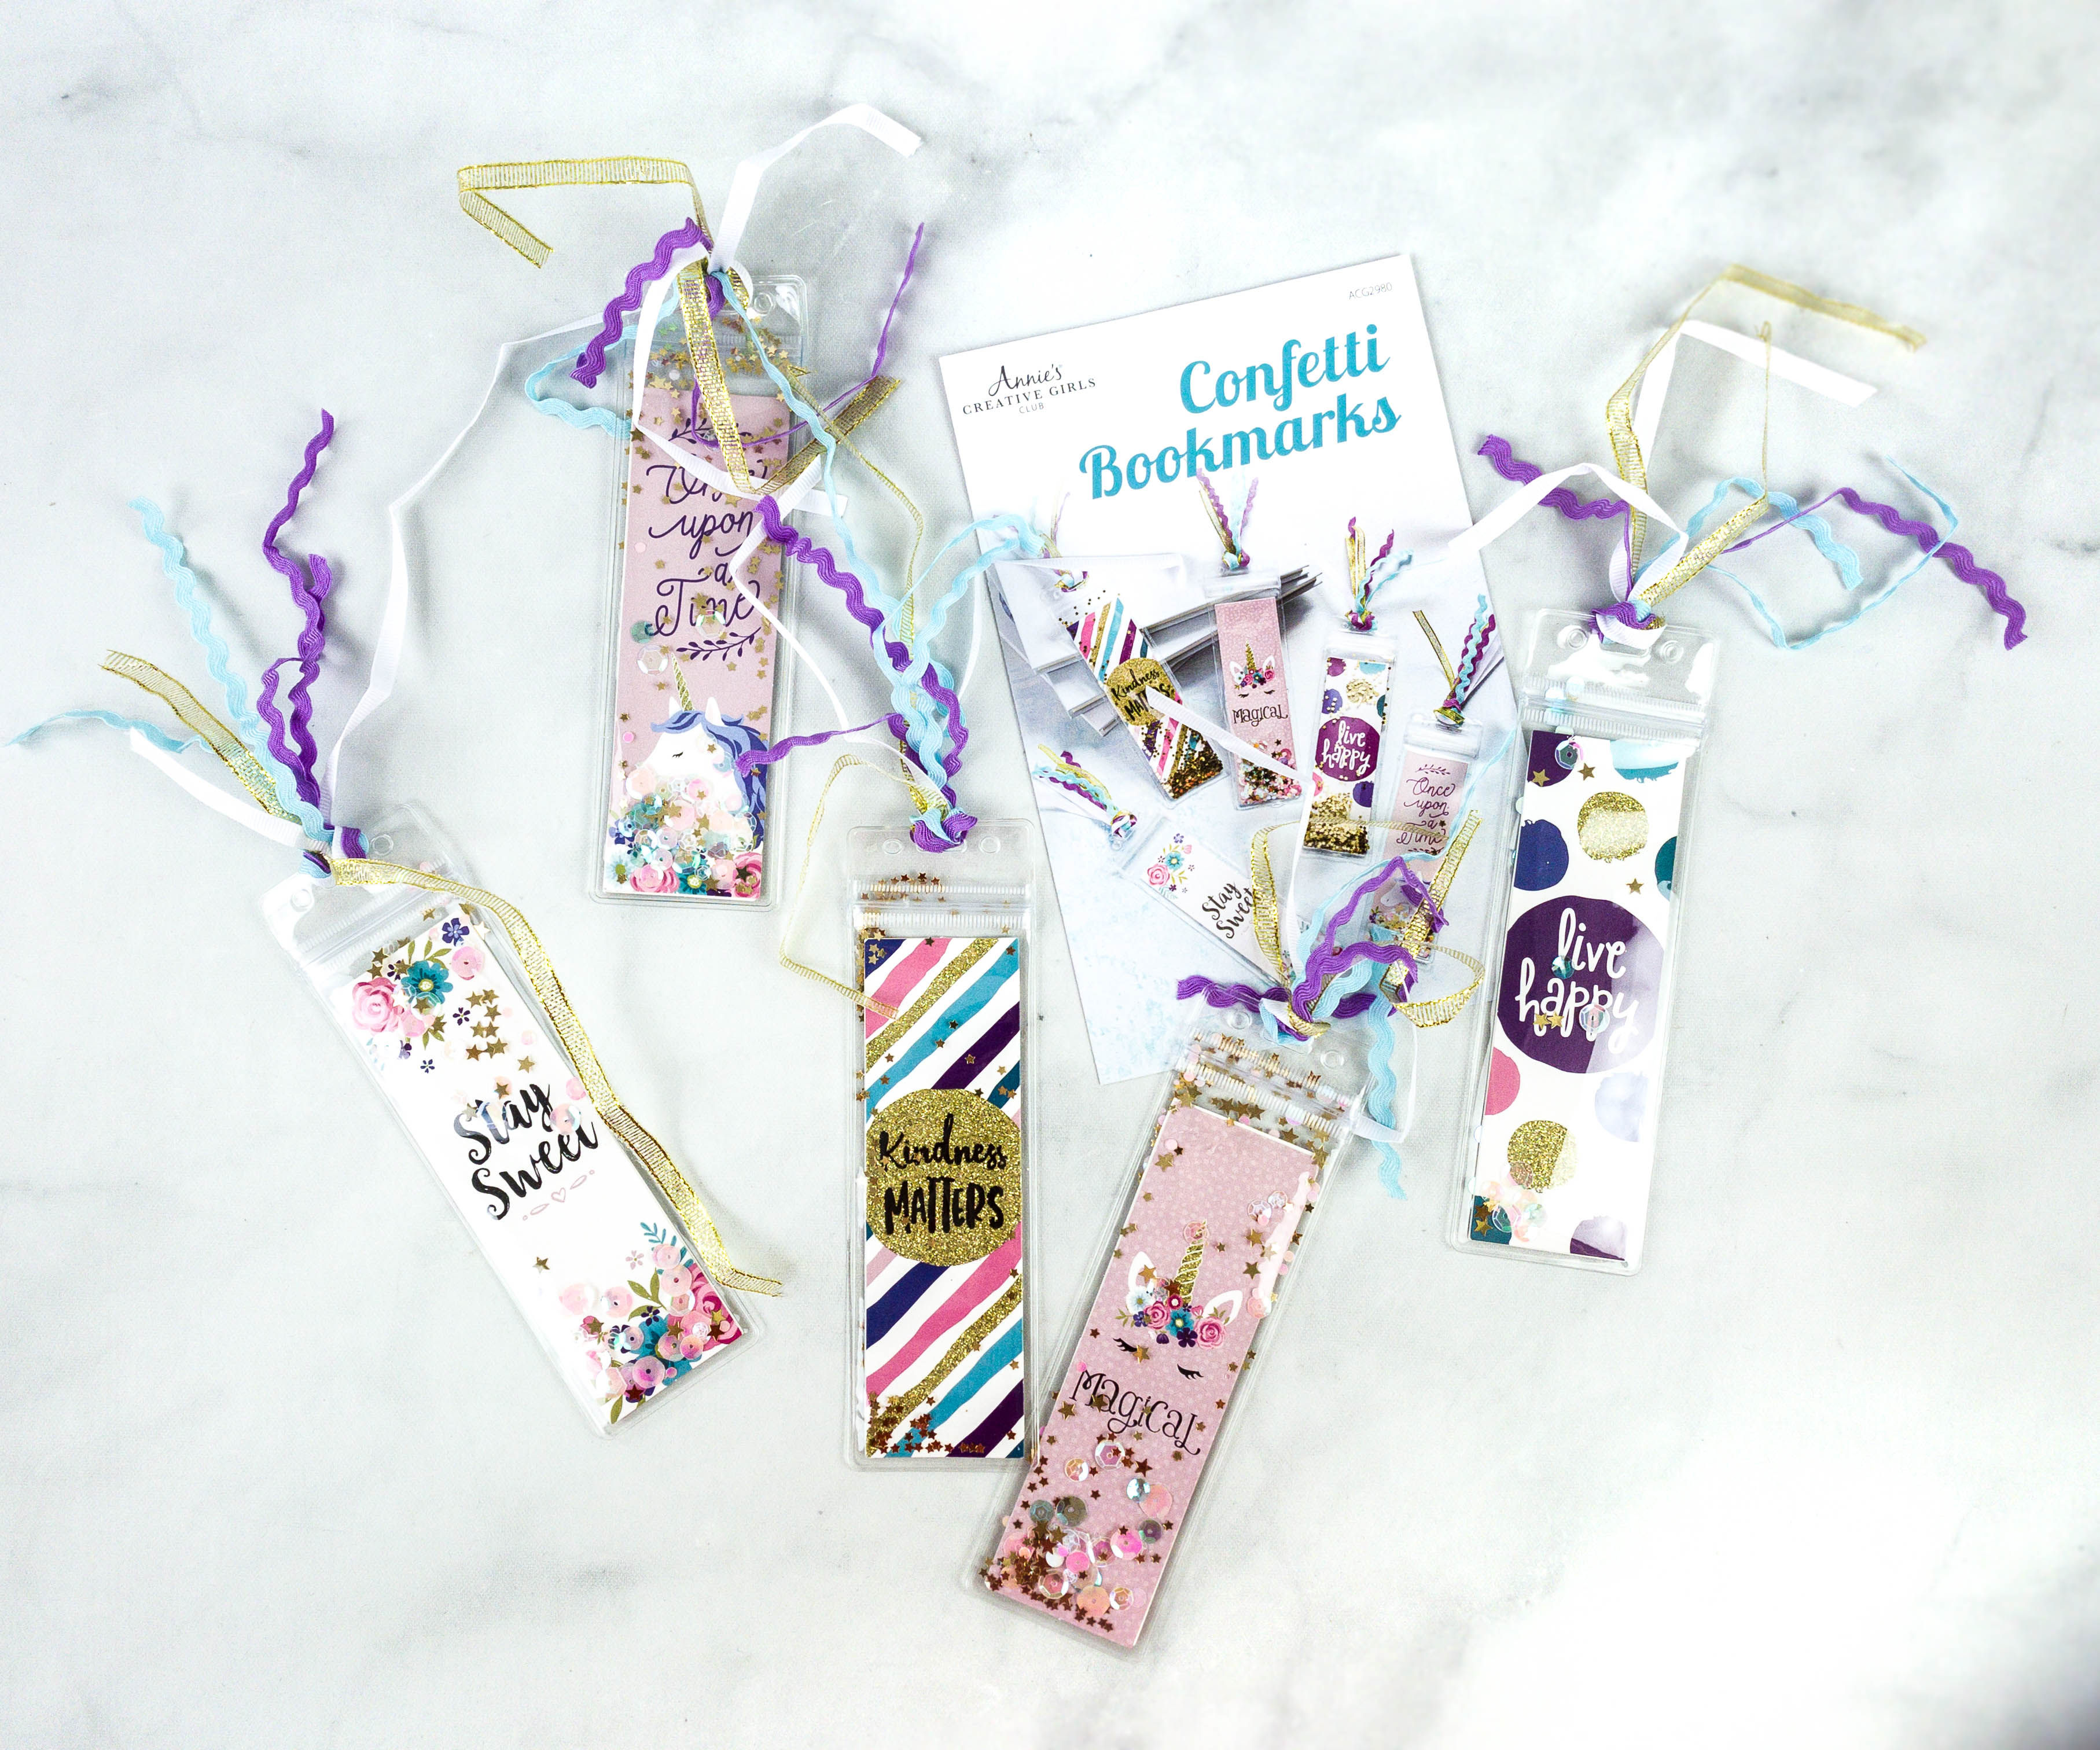
The next project is about making Confetti Bookmarks!
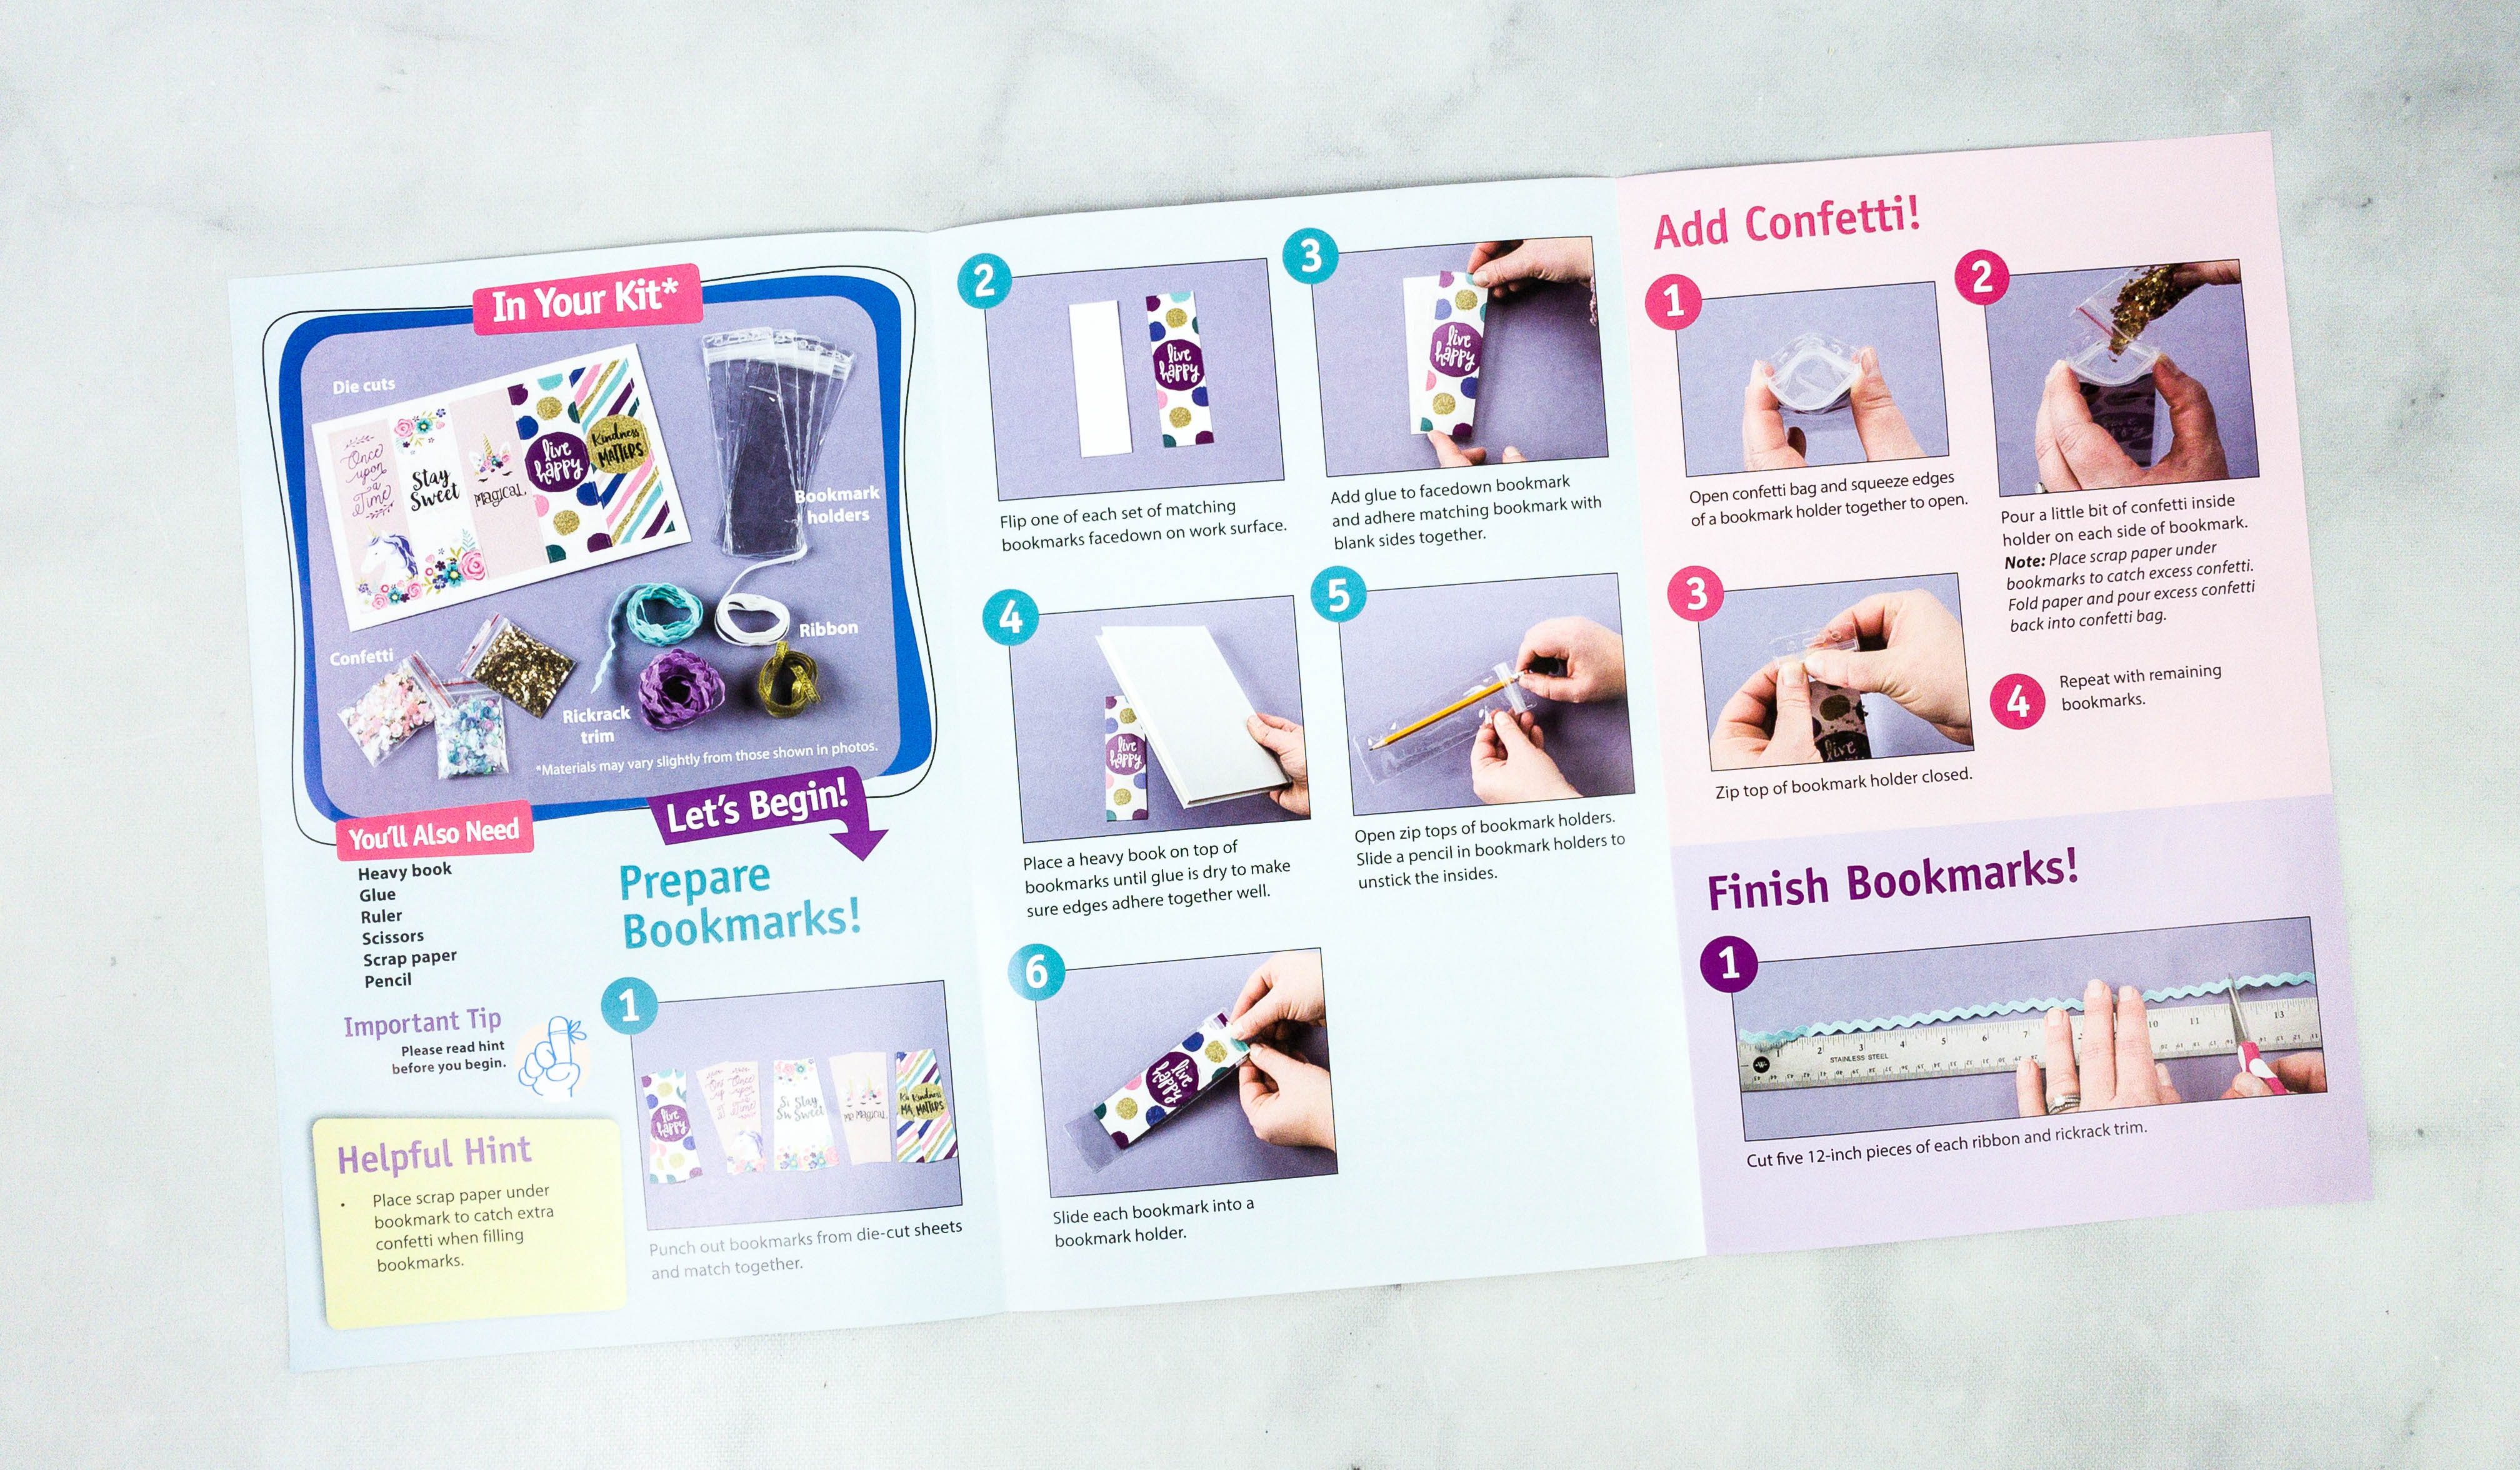
Just like the first project, there’s a brochure with a list of materials and instructions.
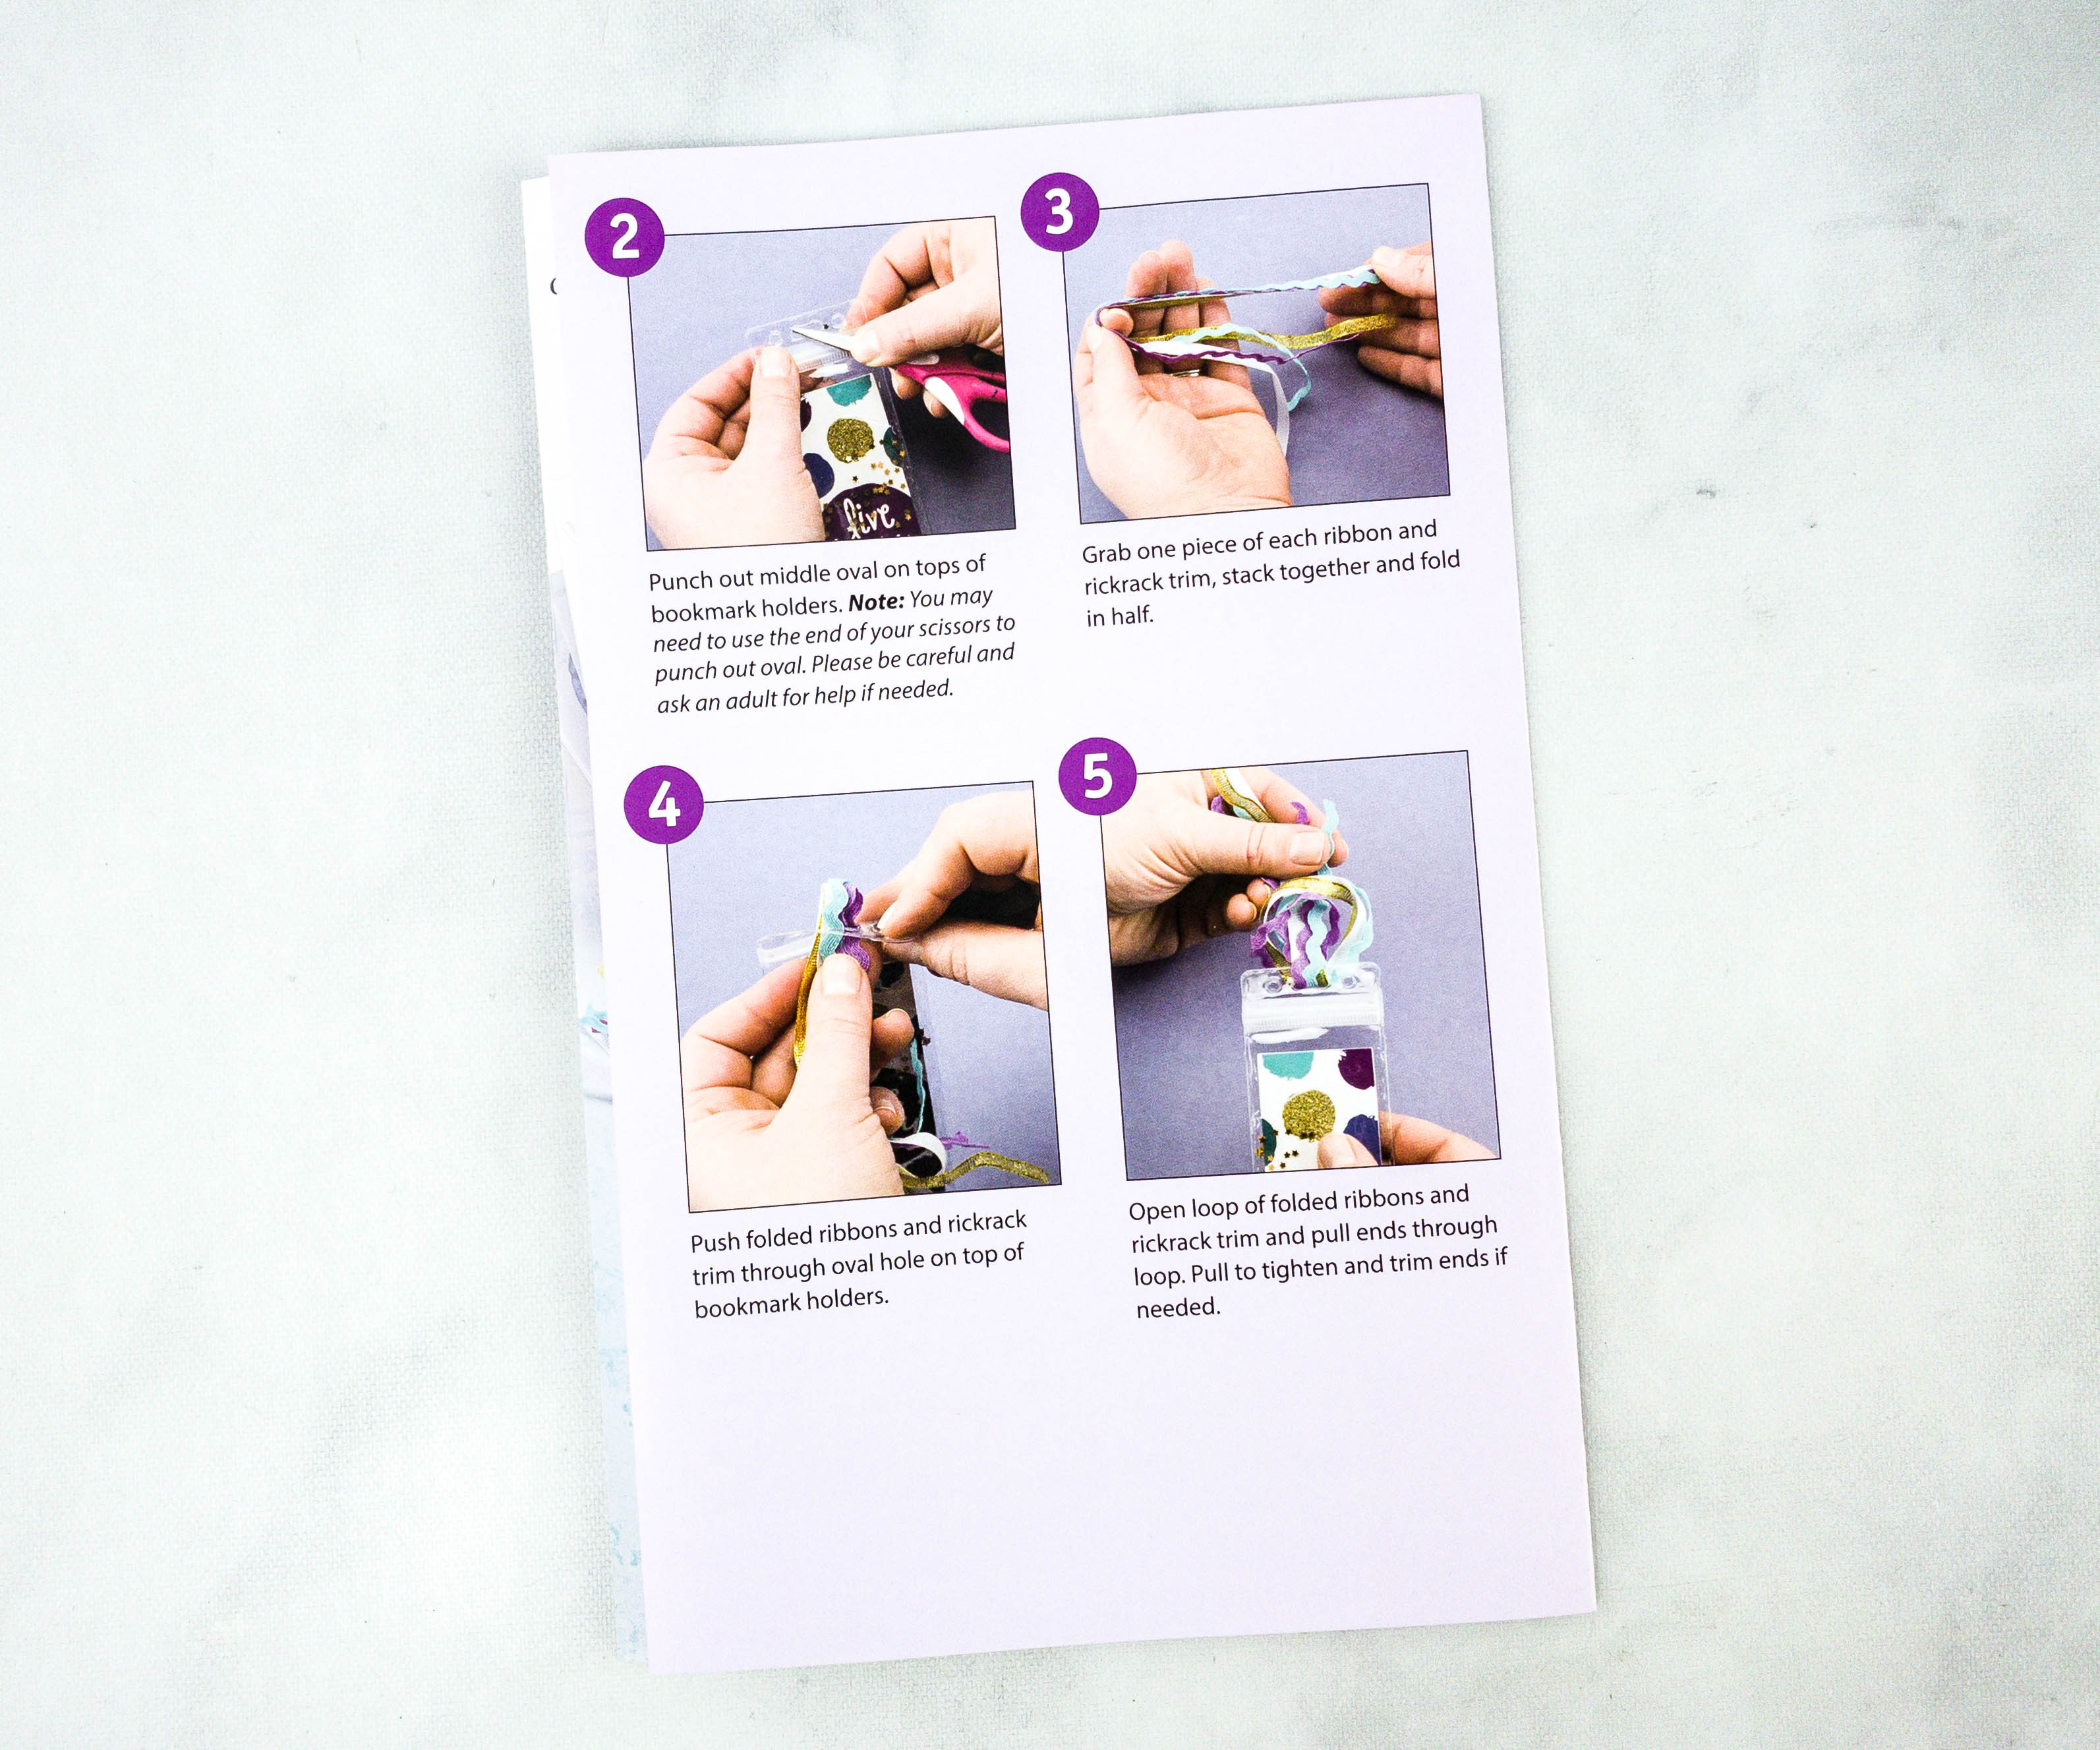
The photo guides make each step easier to understand!
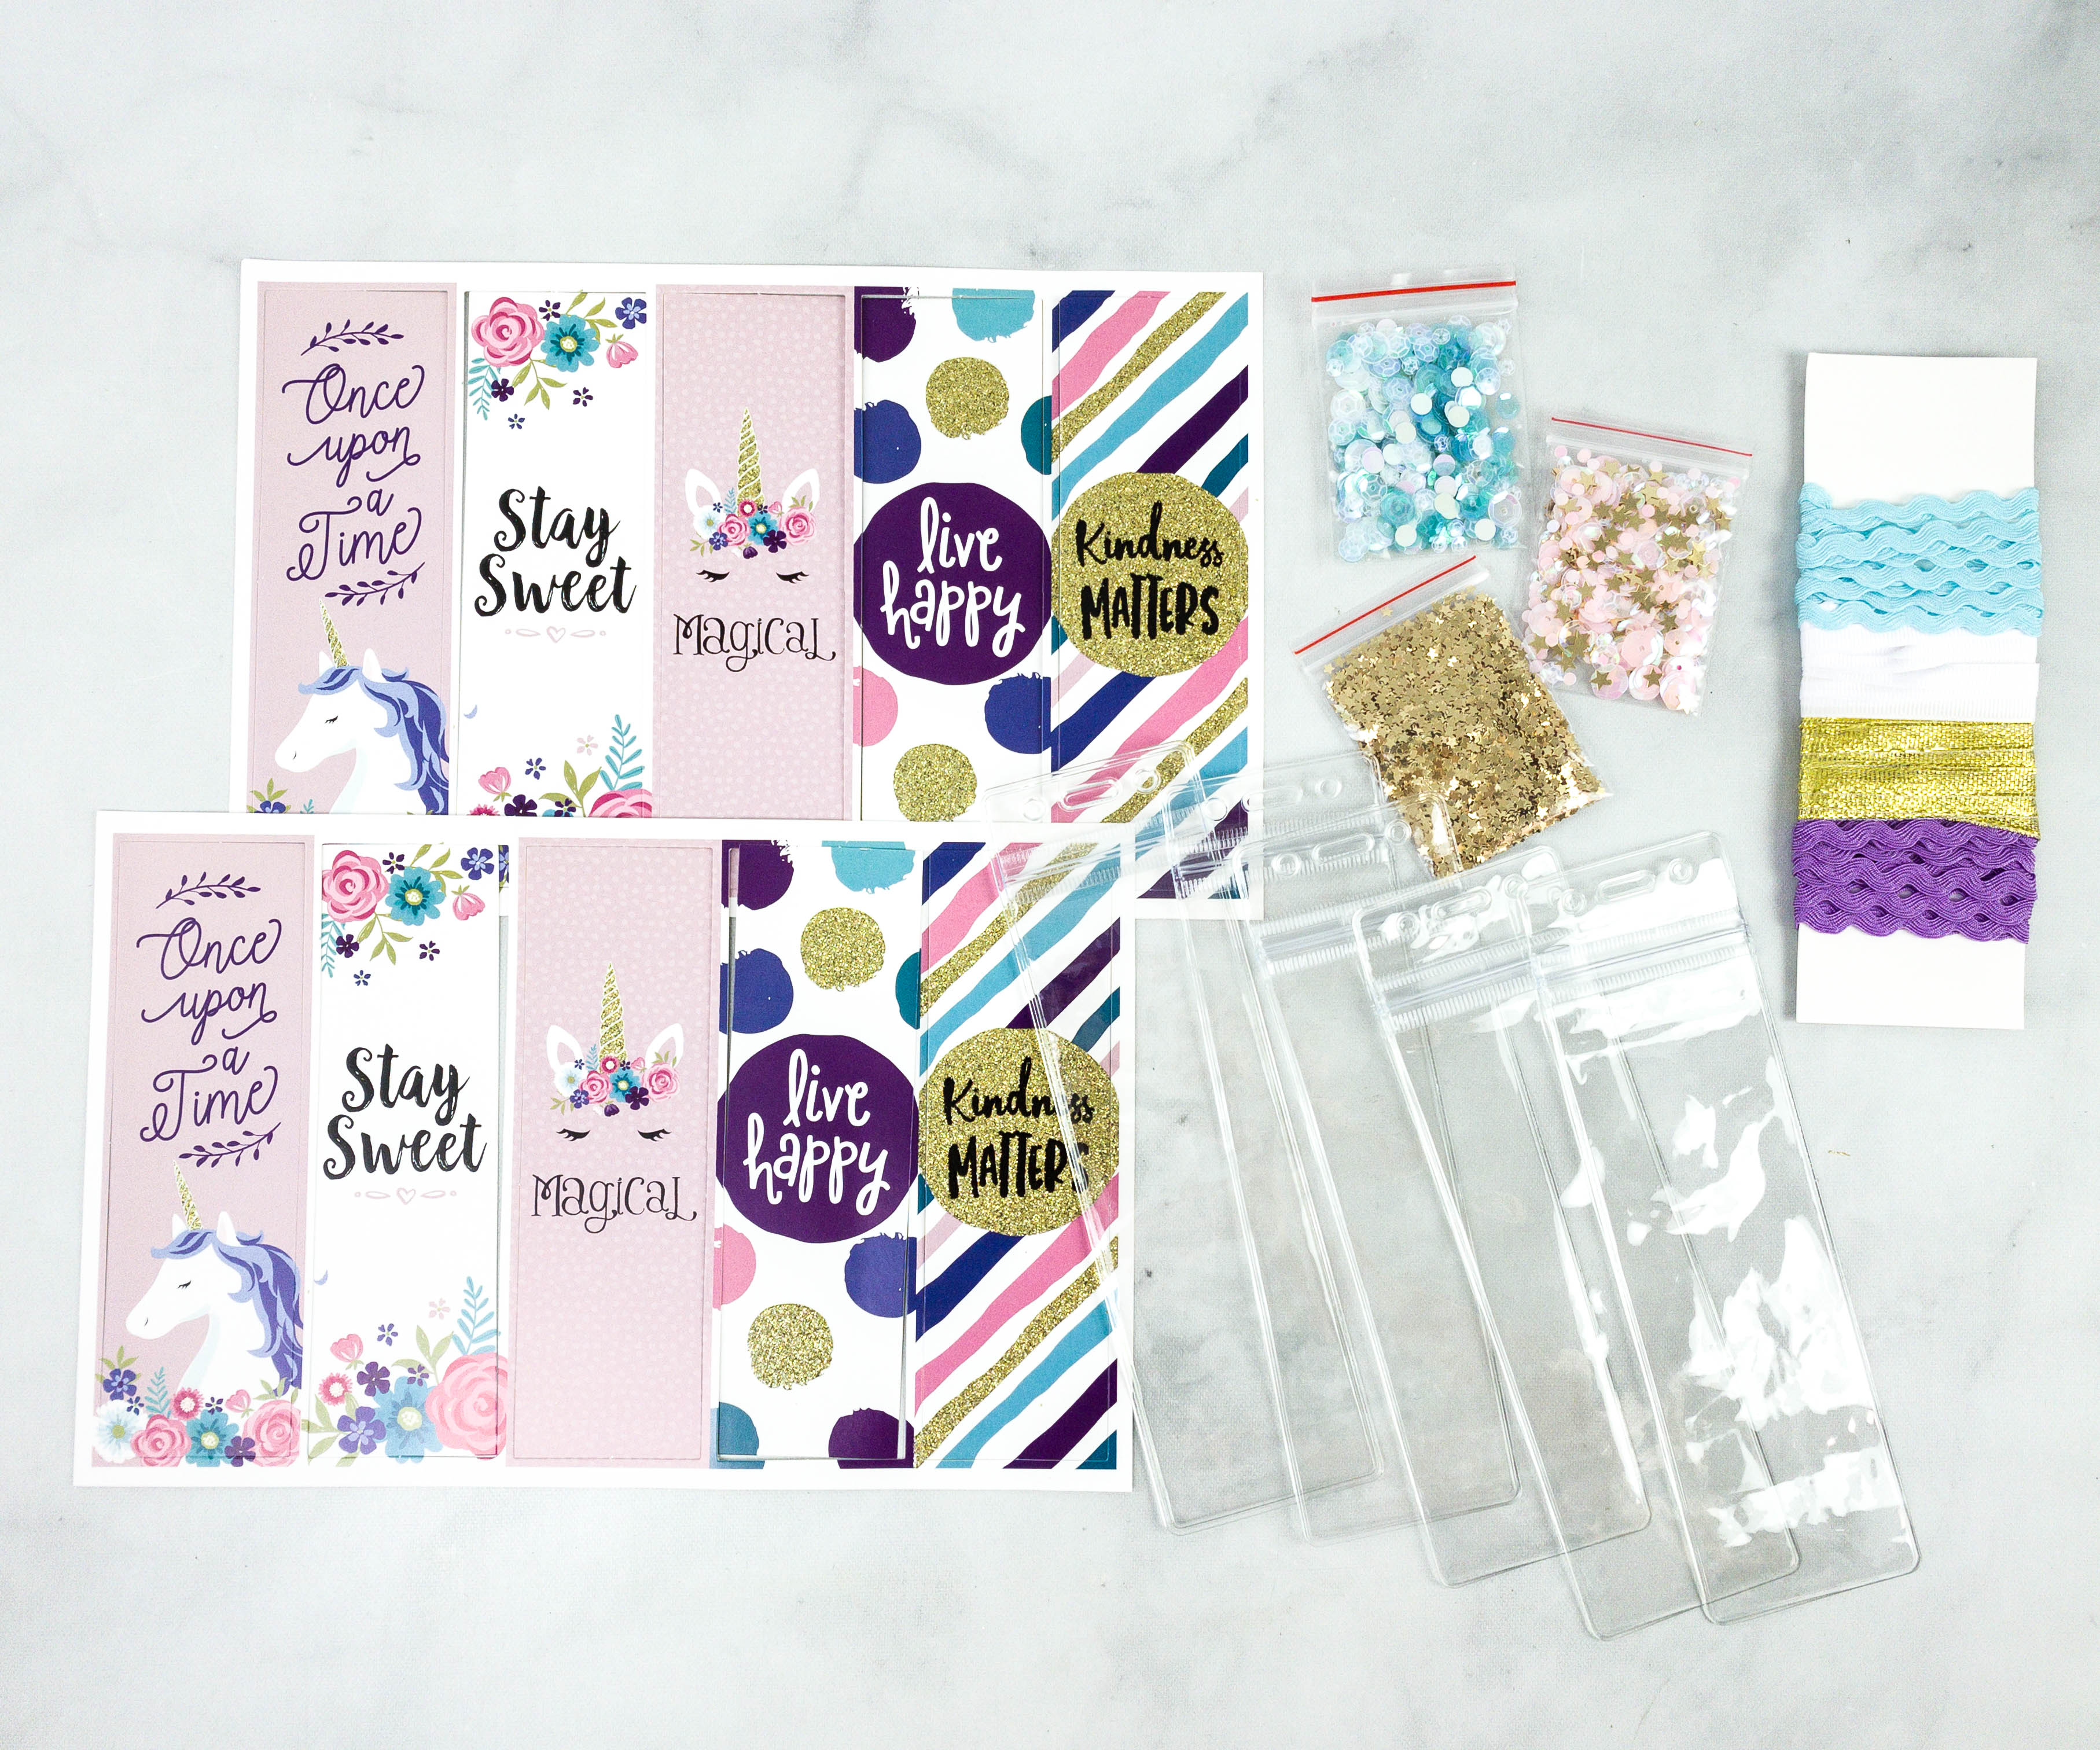
Here are all the materials for the cute bookmarks: die cuts, confetti, bookmark holders, ribbon, and rick rack trim.
The other needed items can be found at home like a pair of scissors, a heavy book, ruler, scrap paper, and pencil.
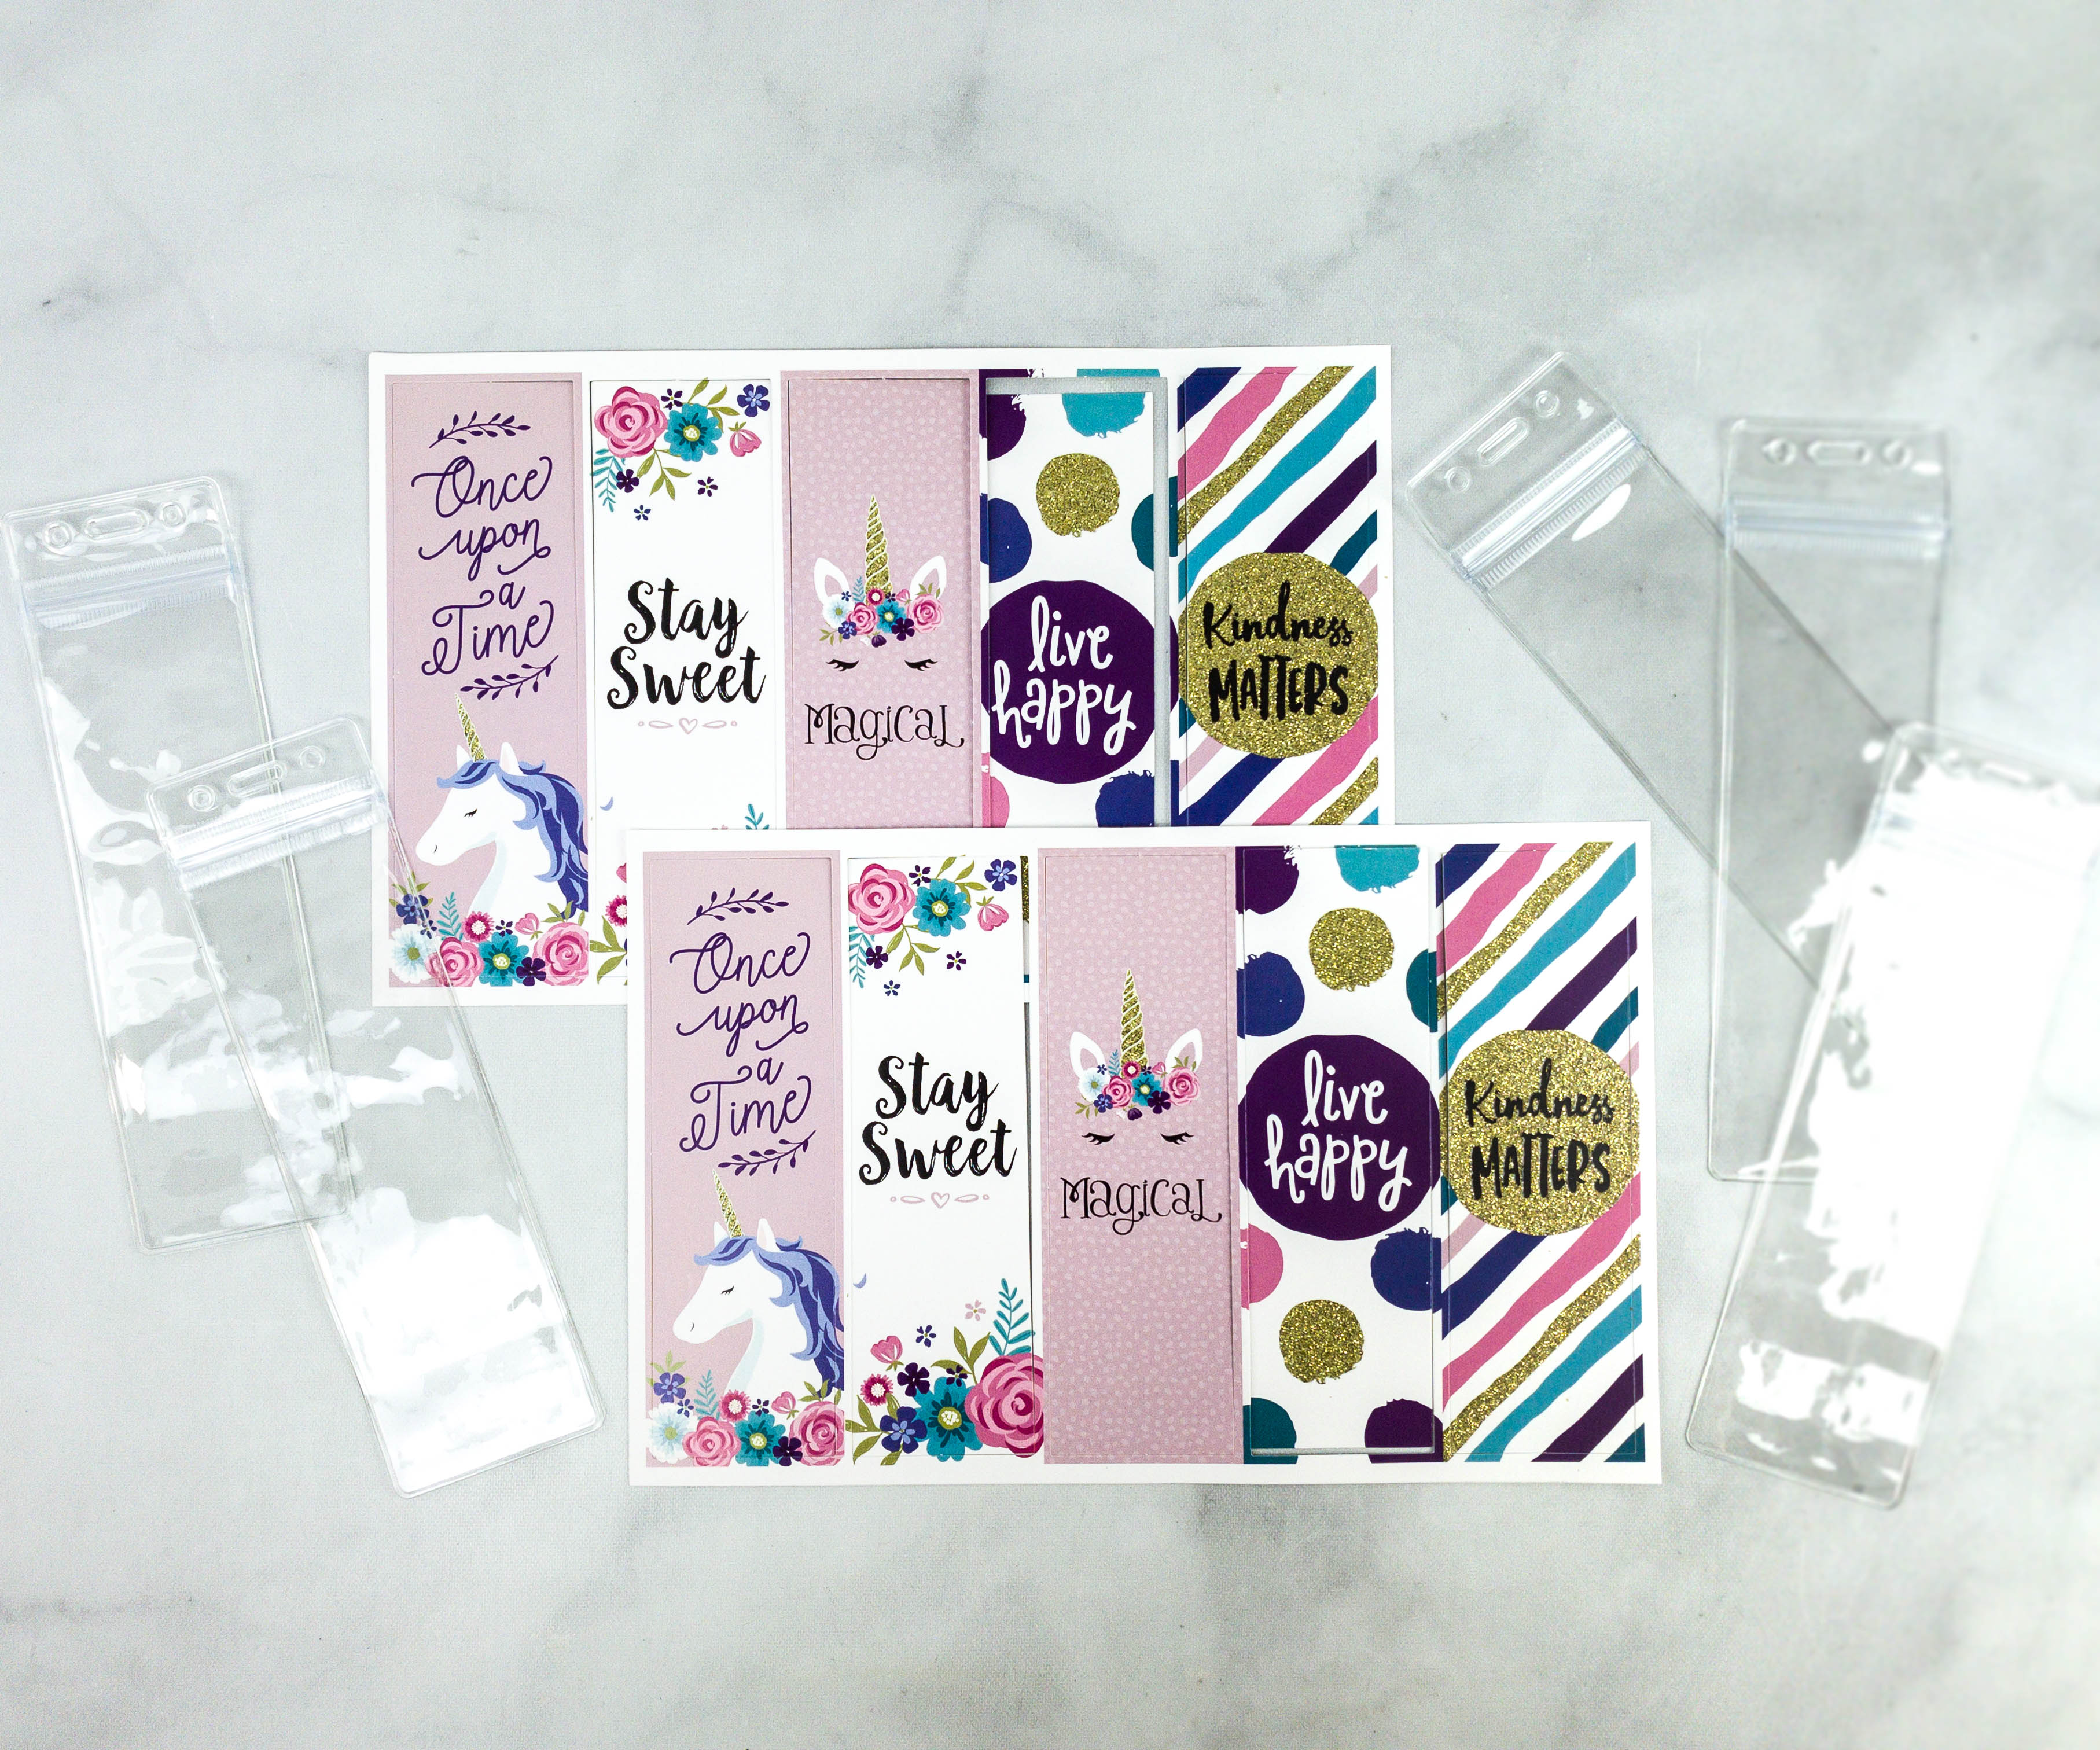
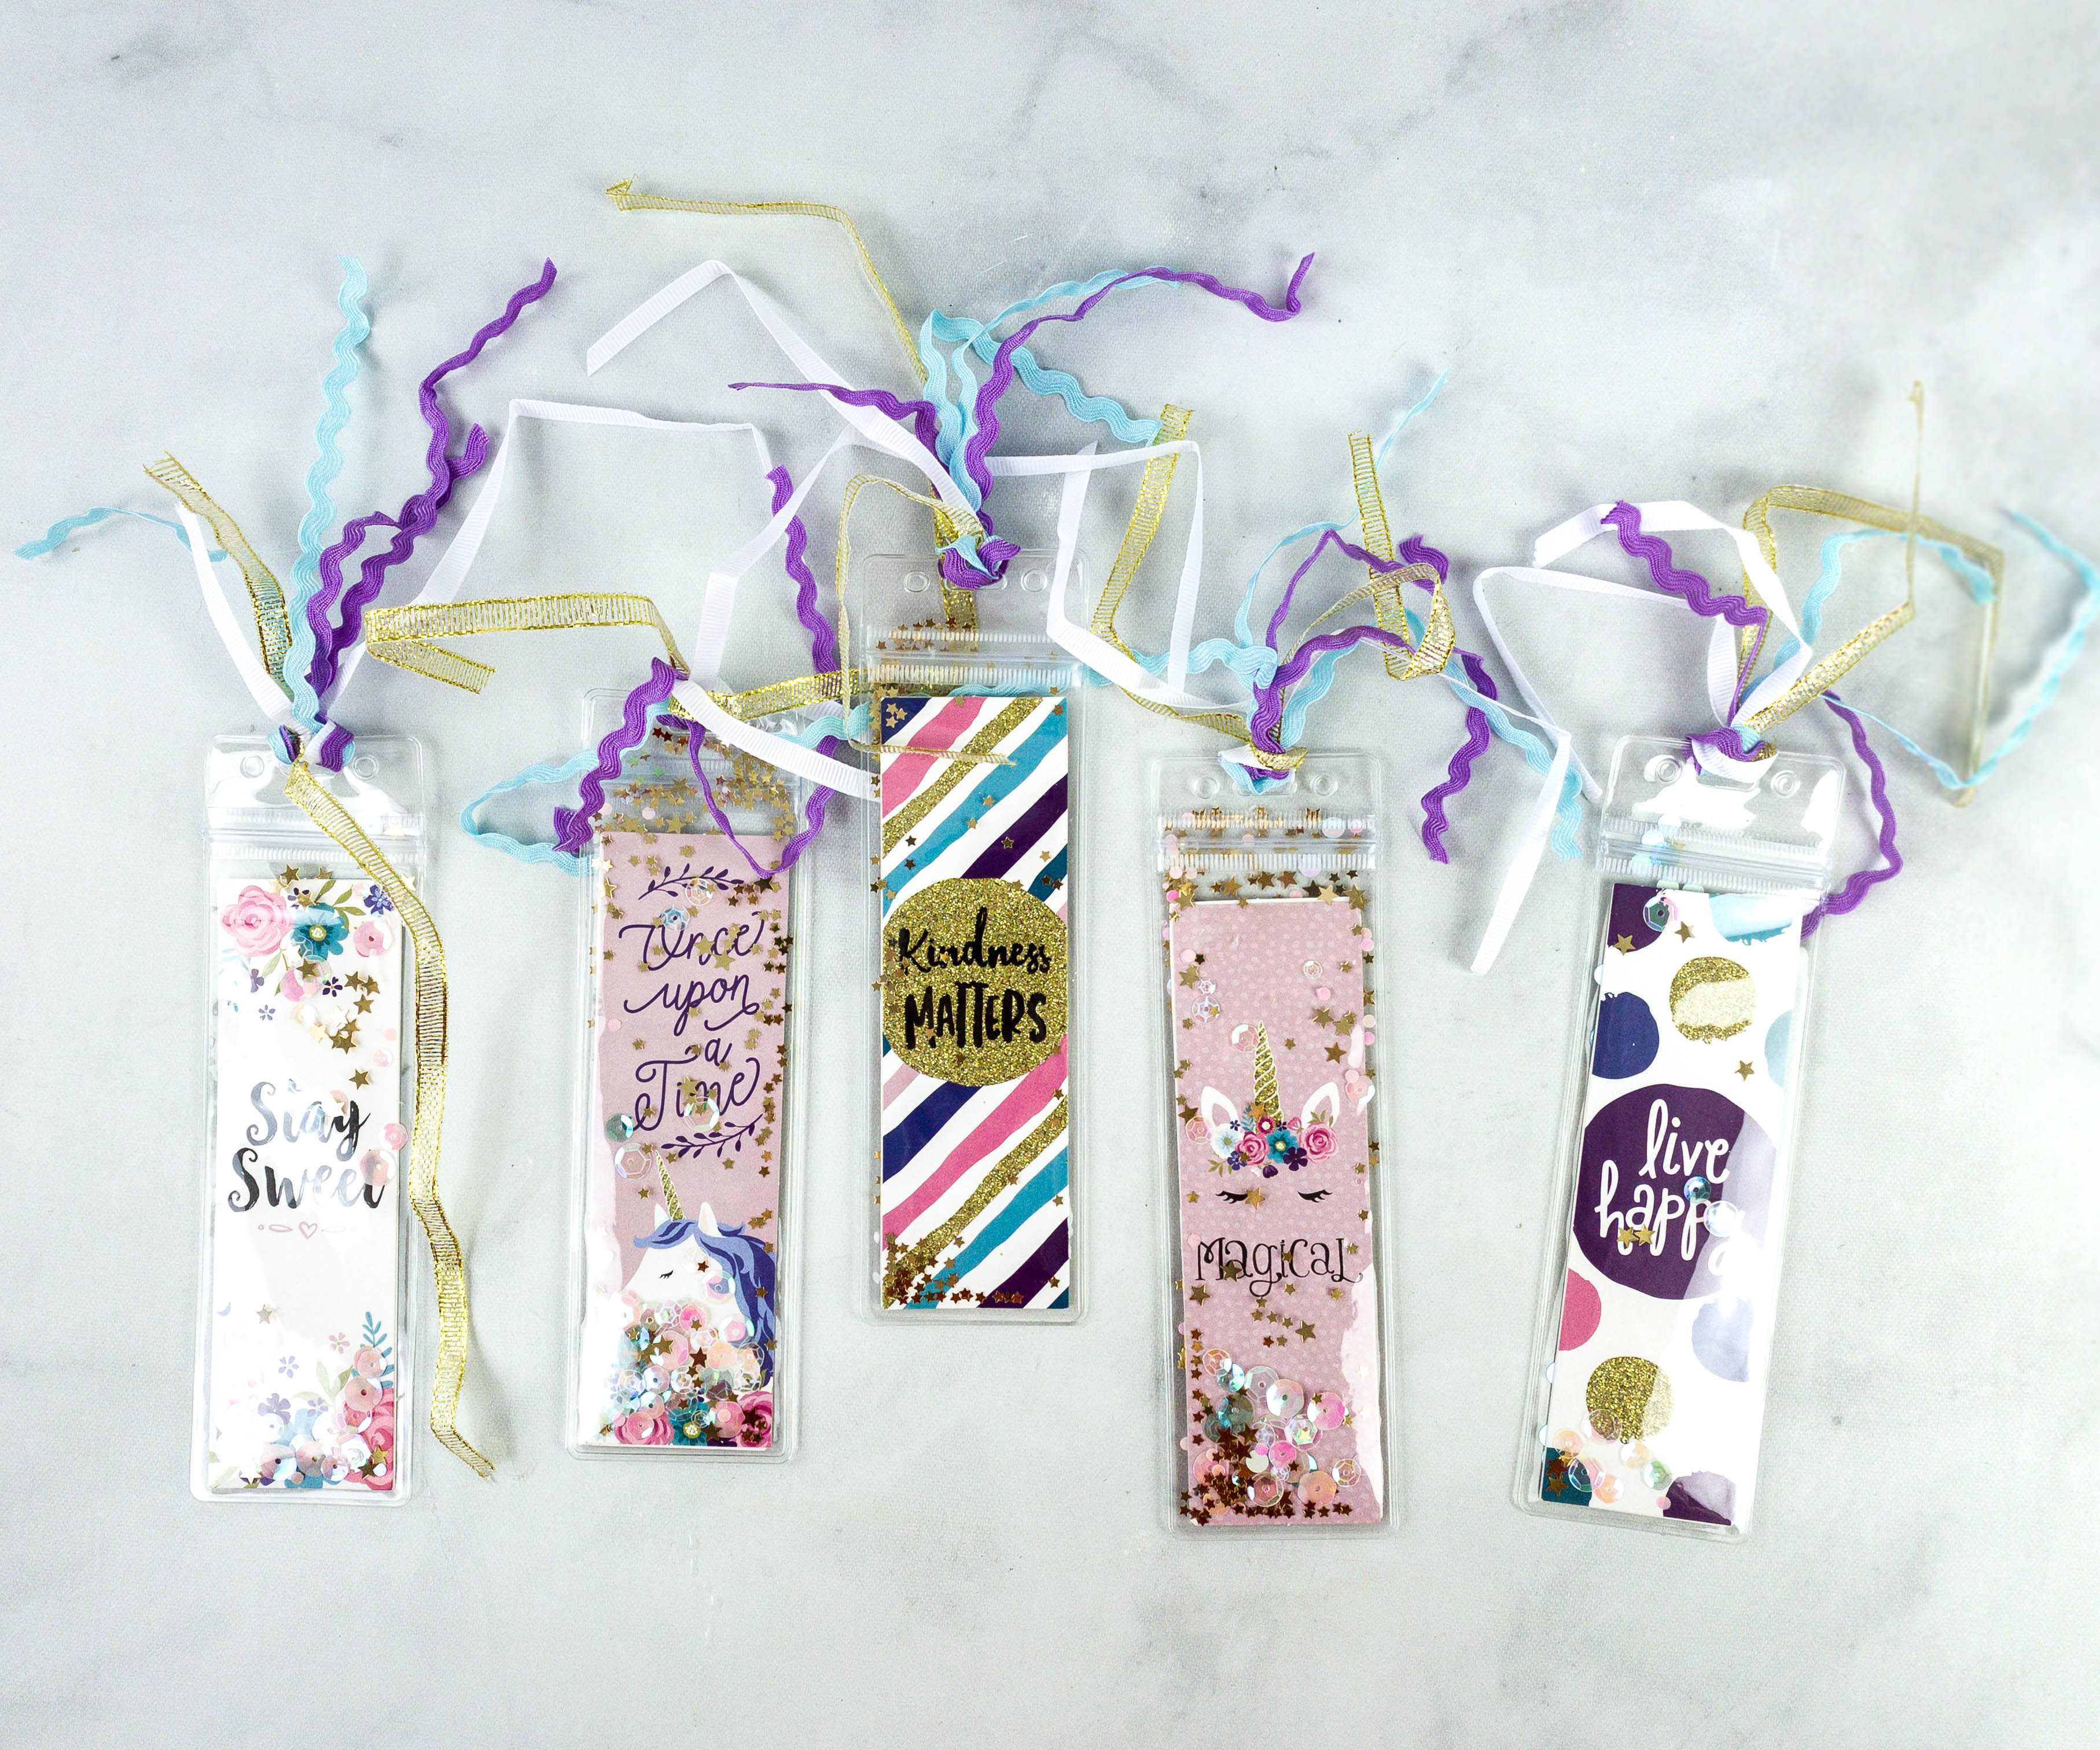
The materials are enough for making five bookmarks!
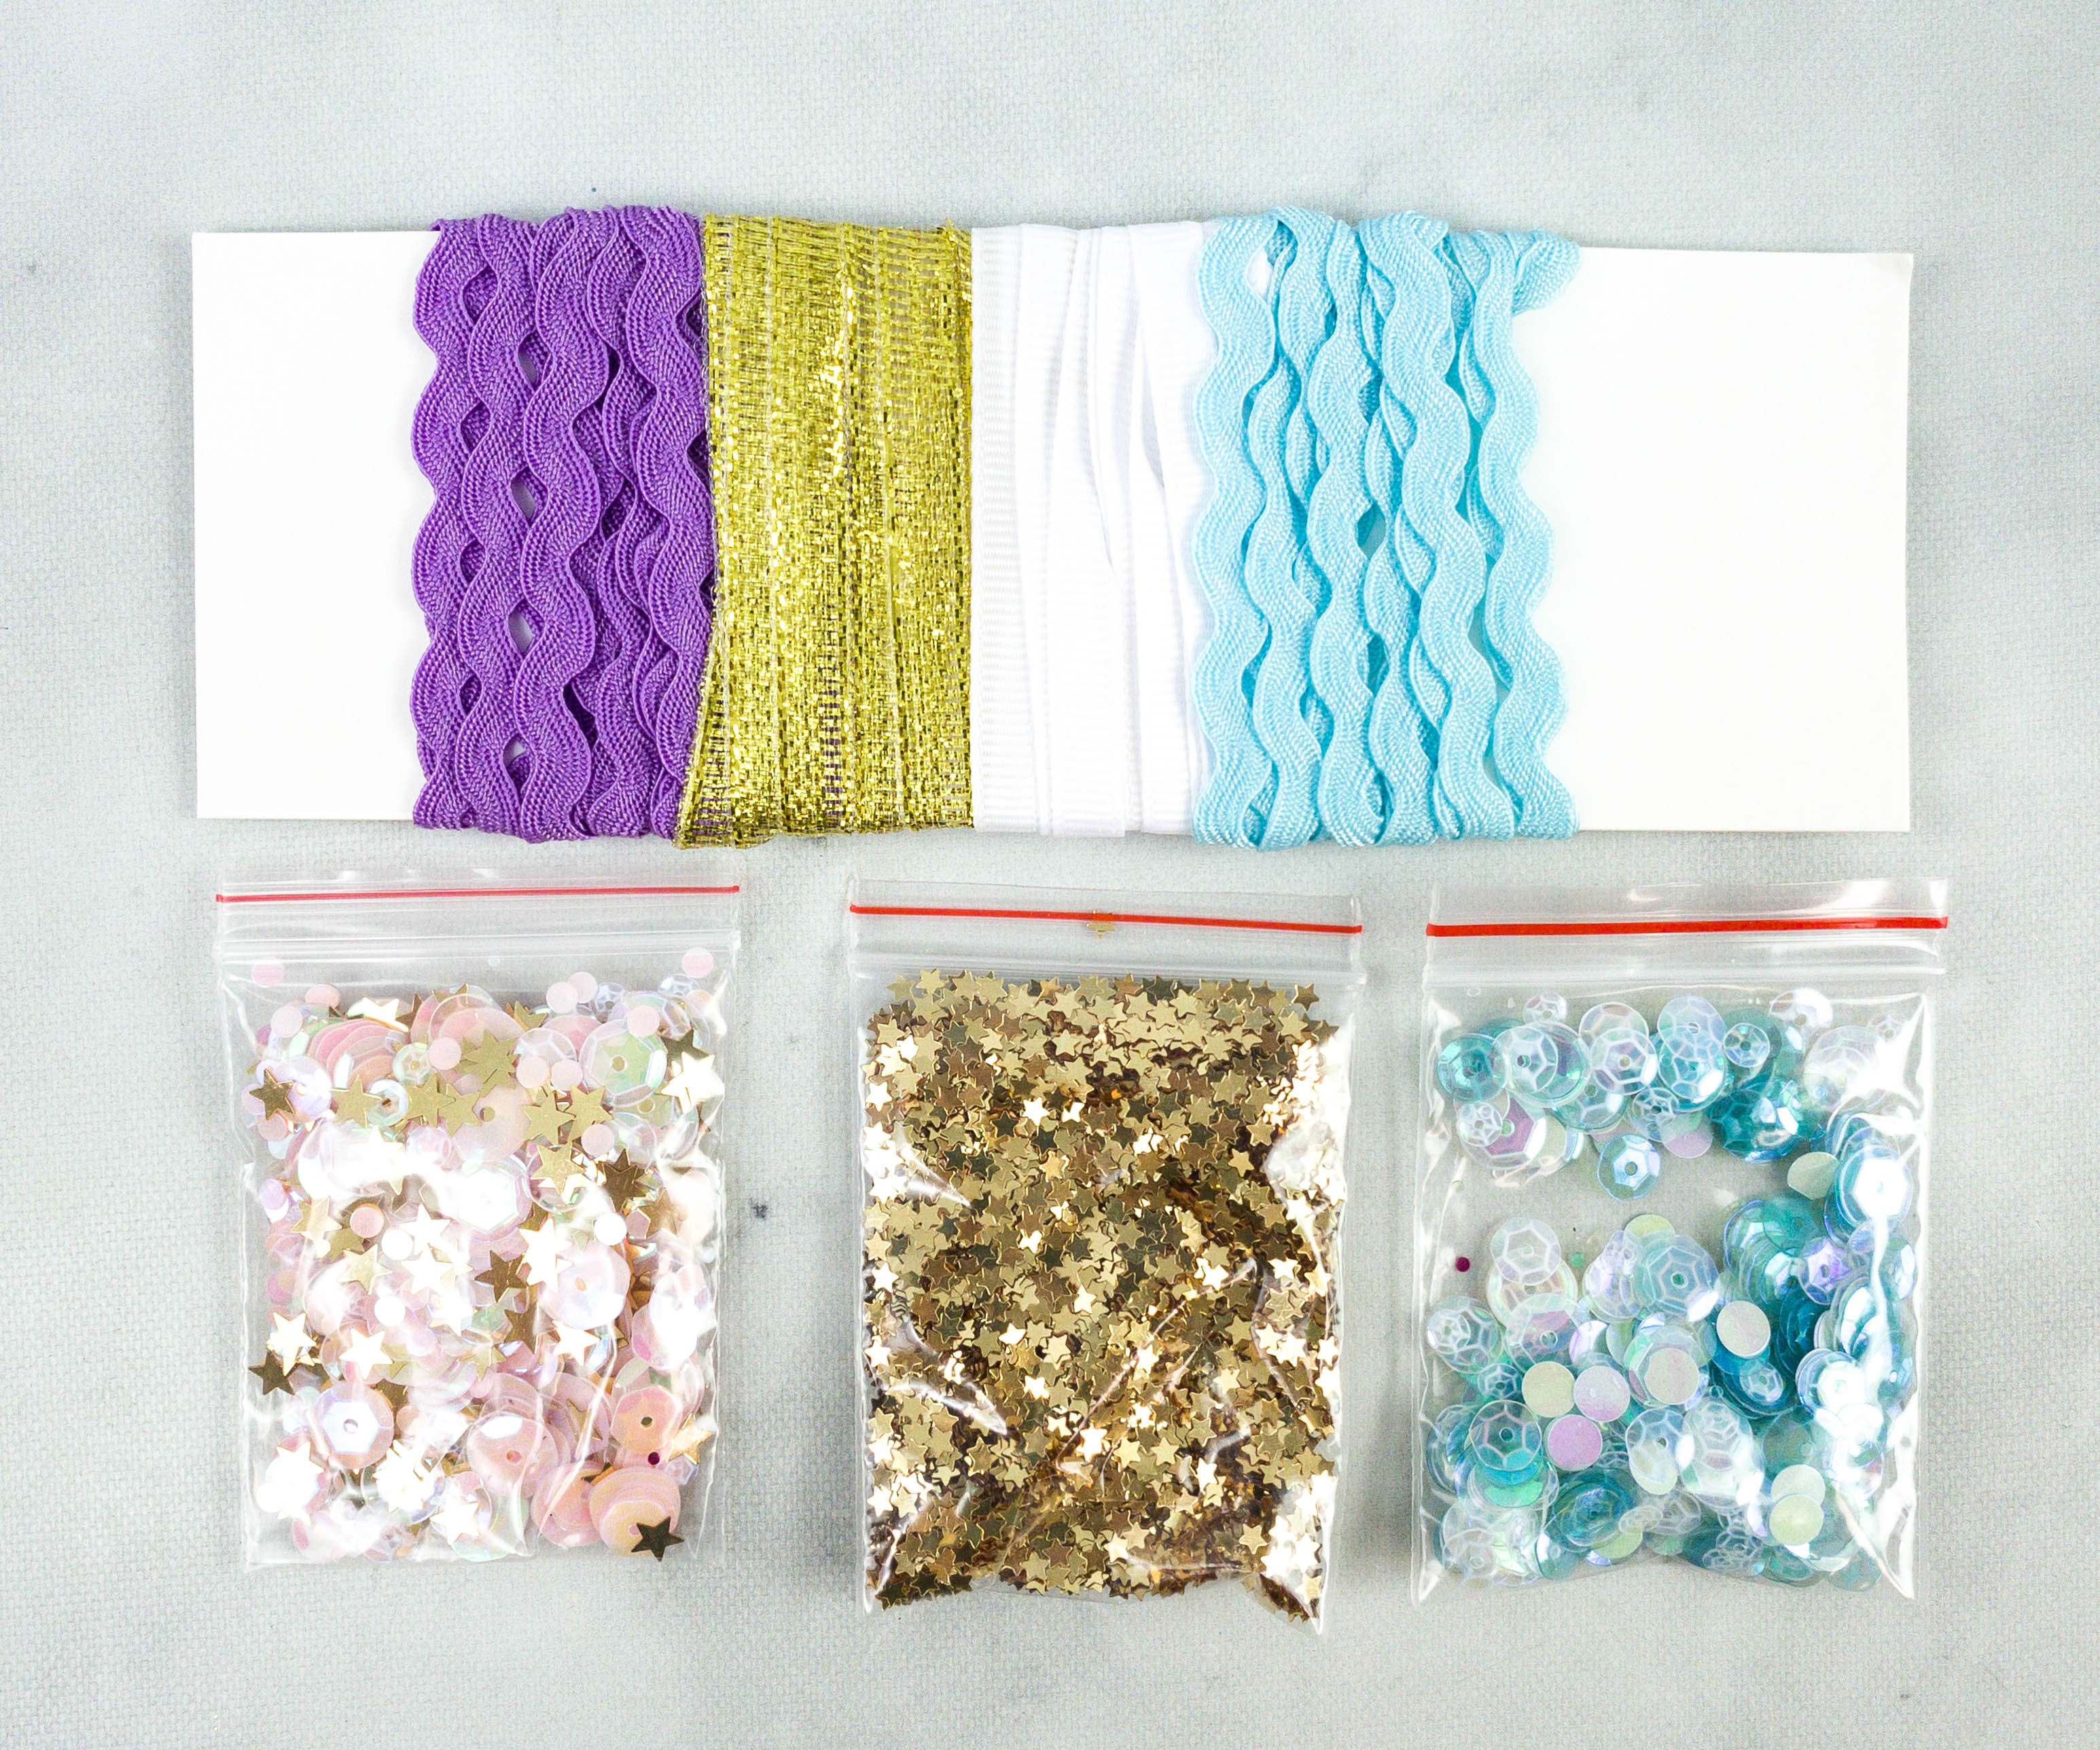
I’m loving the colorful ribbons and colorful confetti. They make everything look cute!
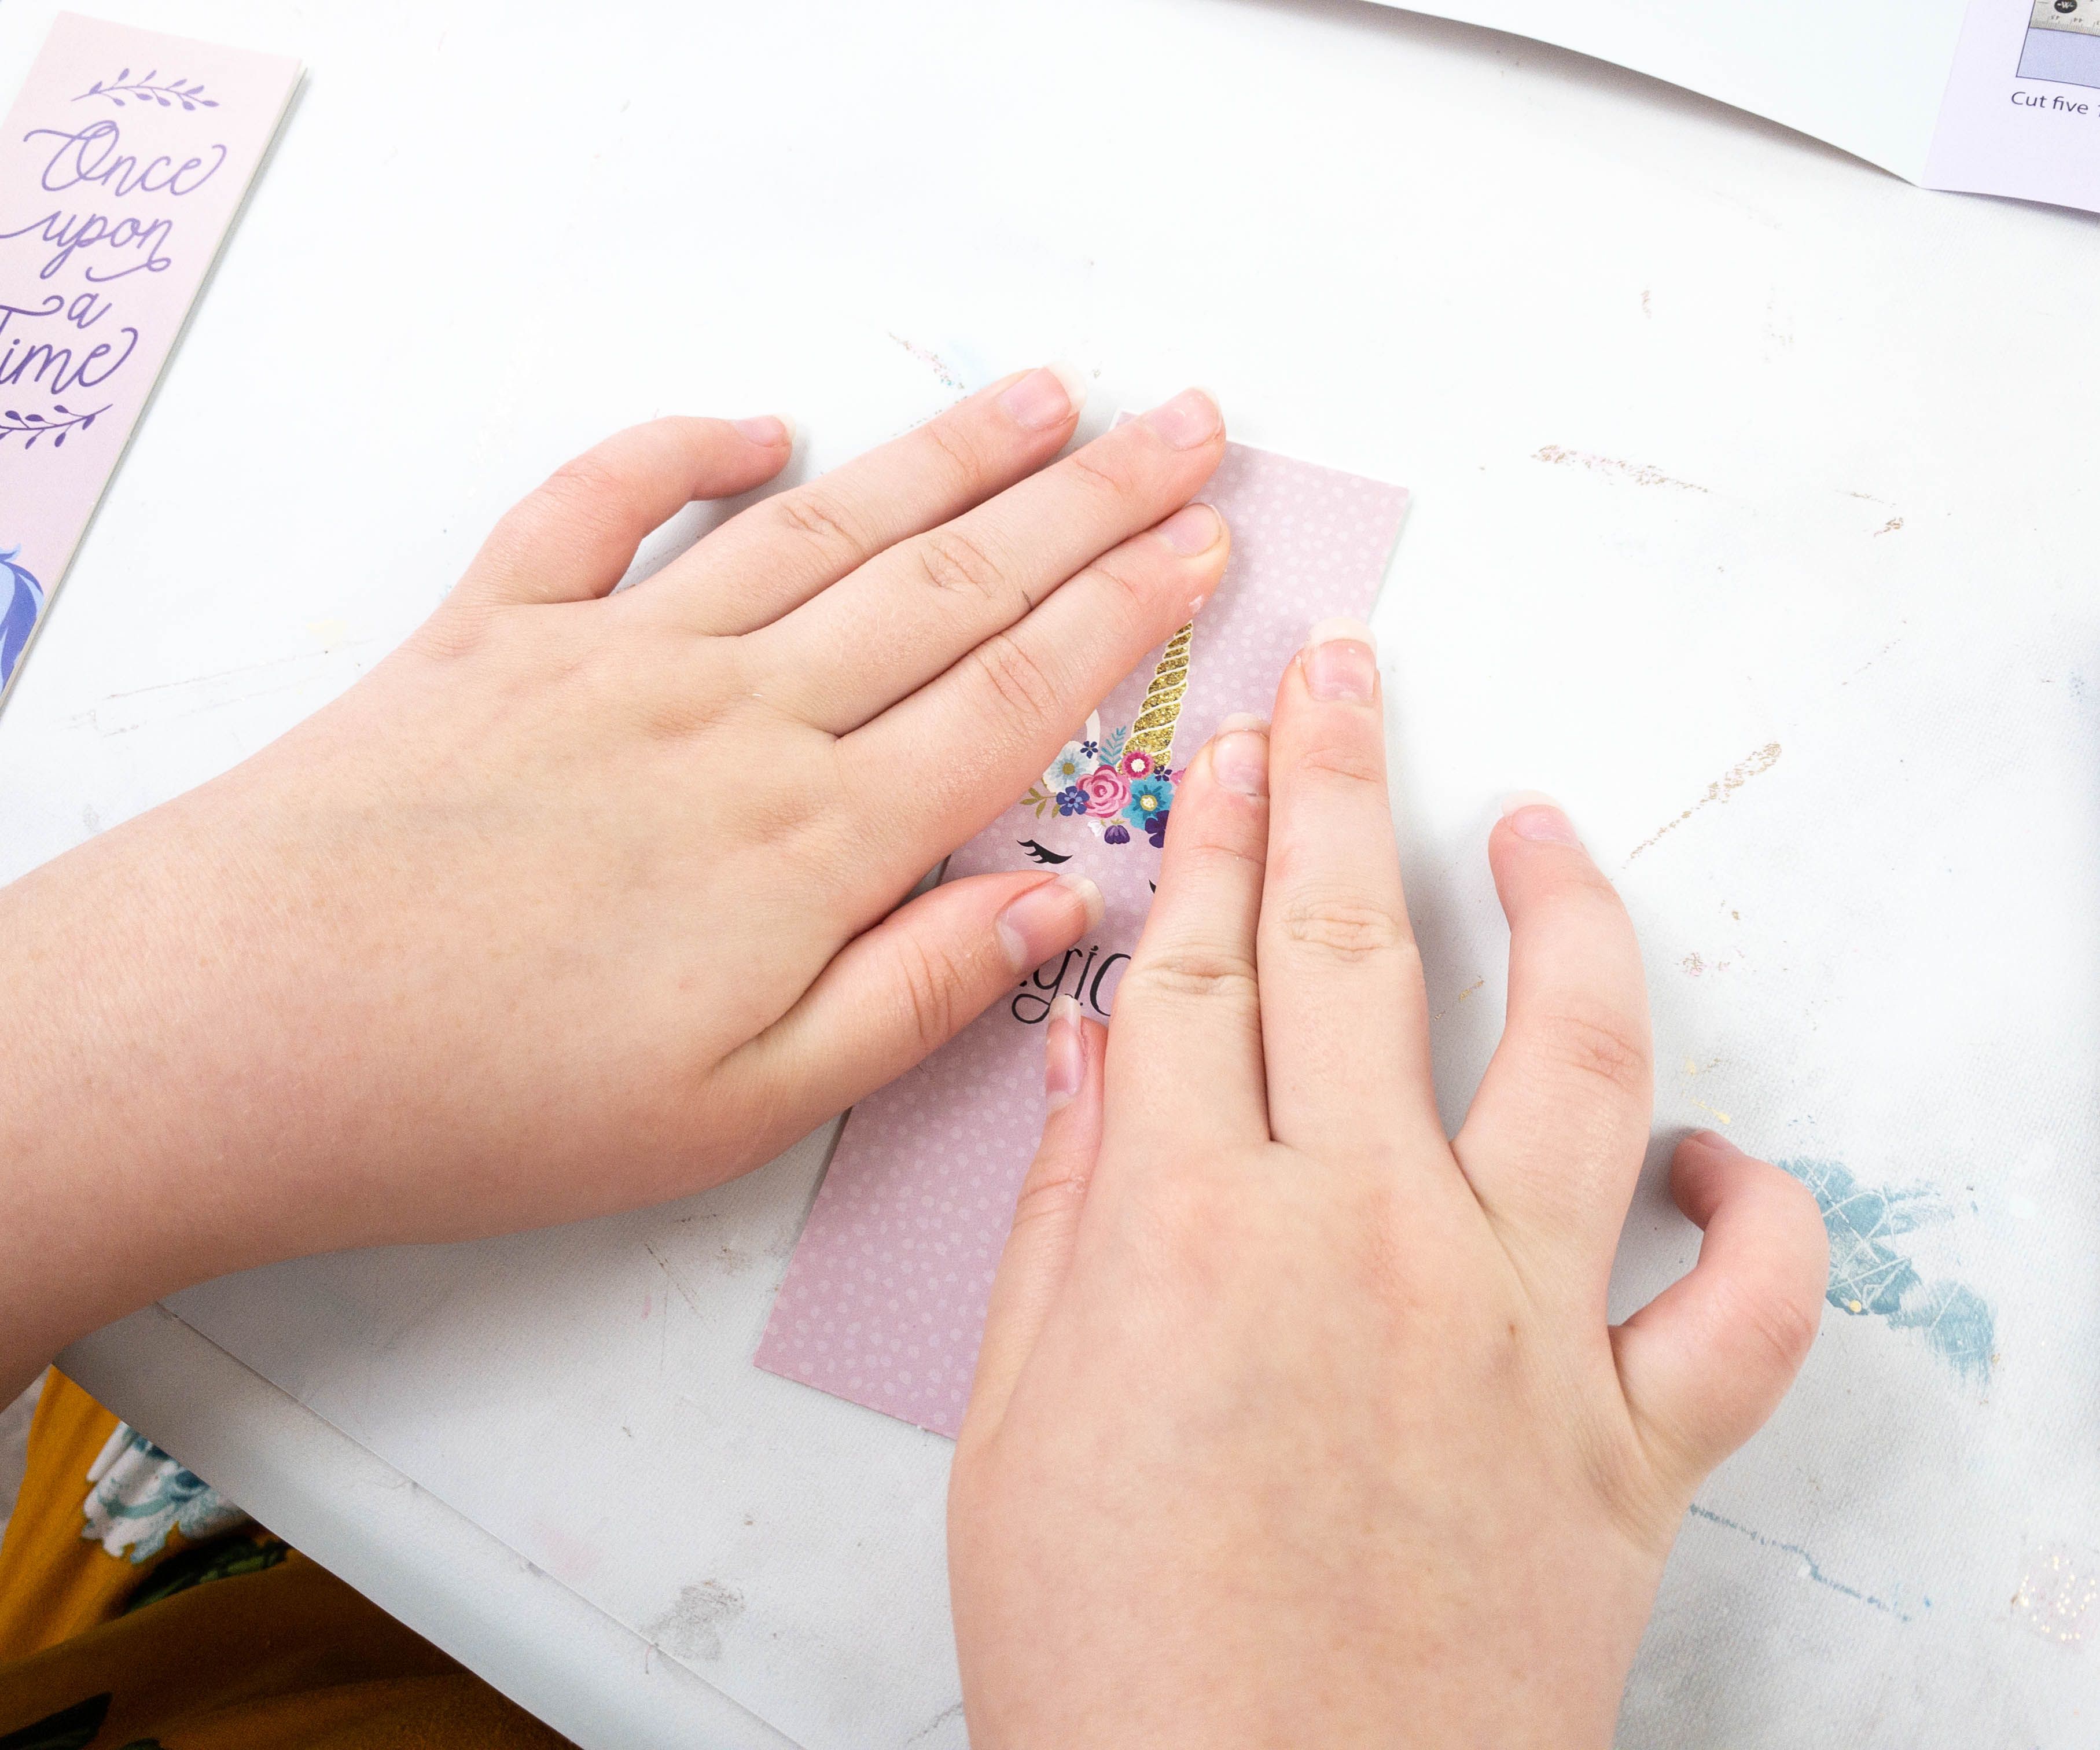
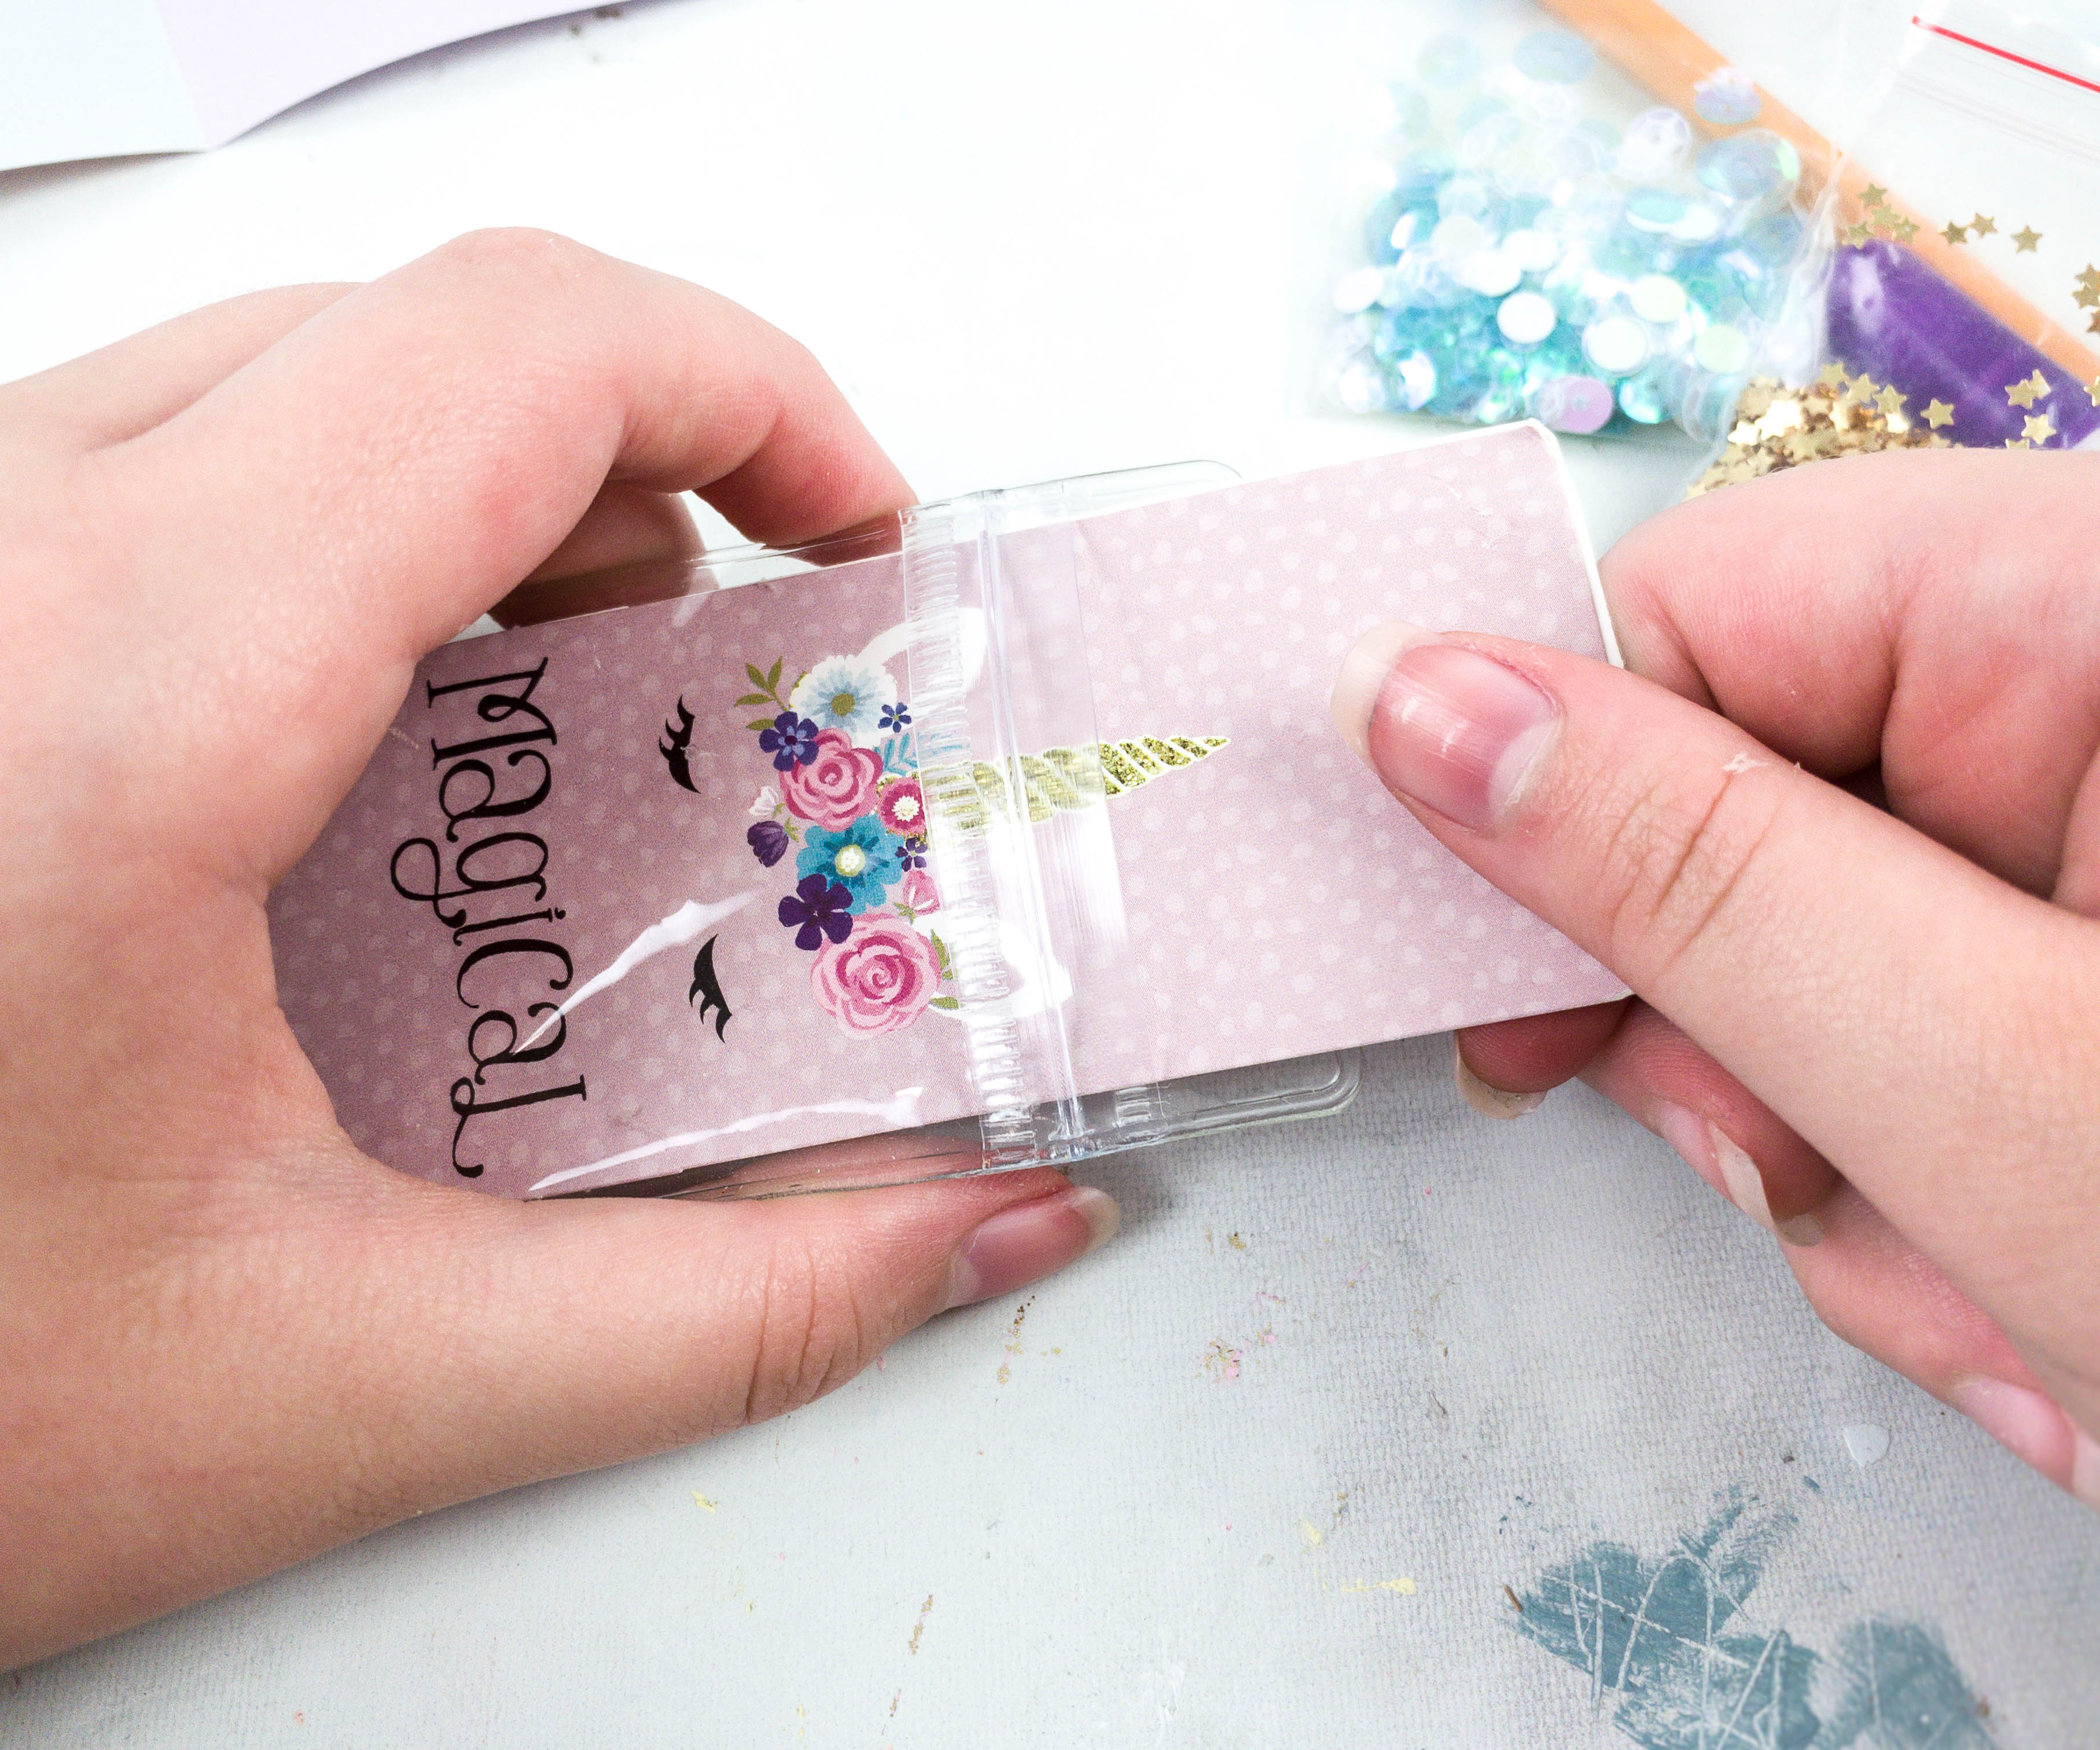
My daughter started by cutting the designs she likes. Then, she glued them back to back!
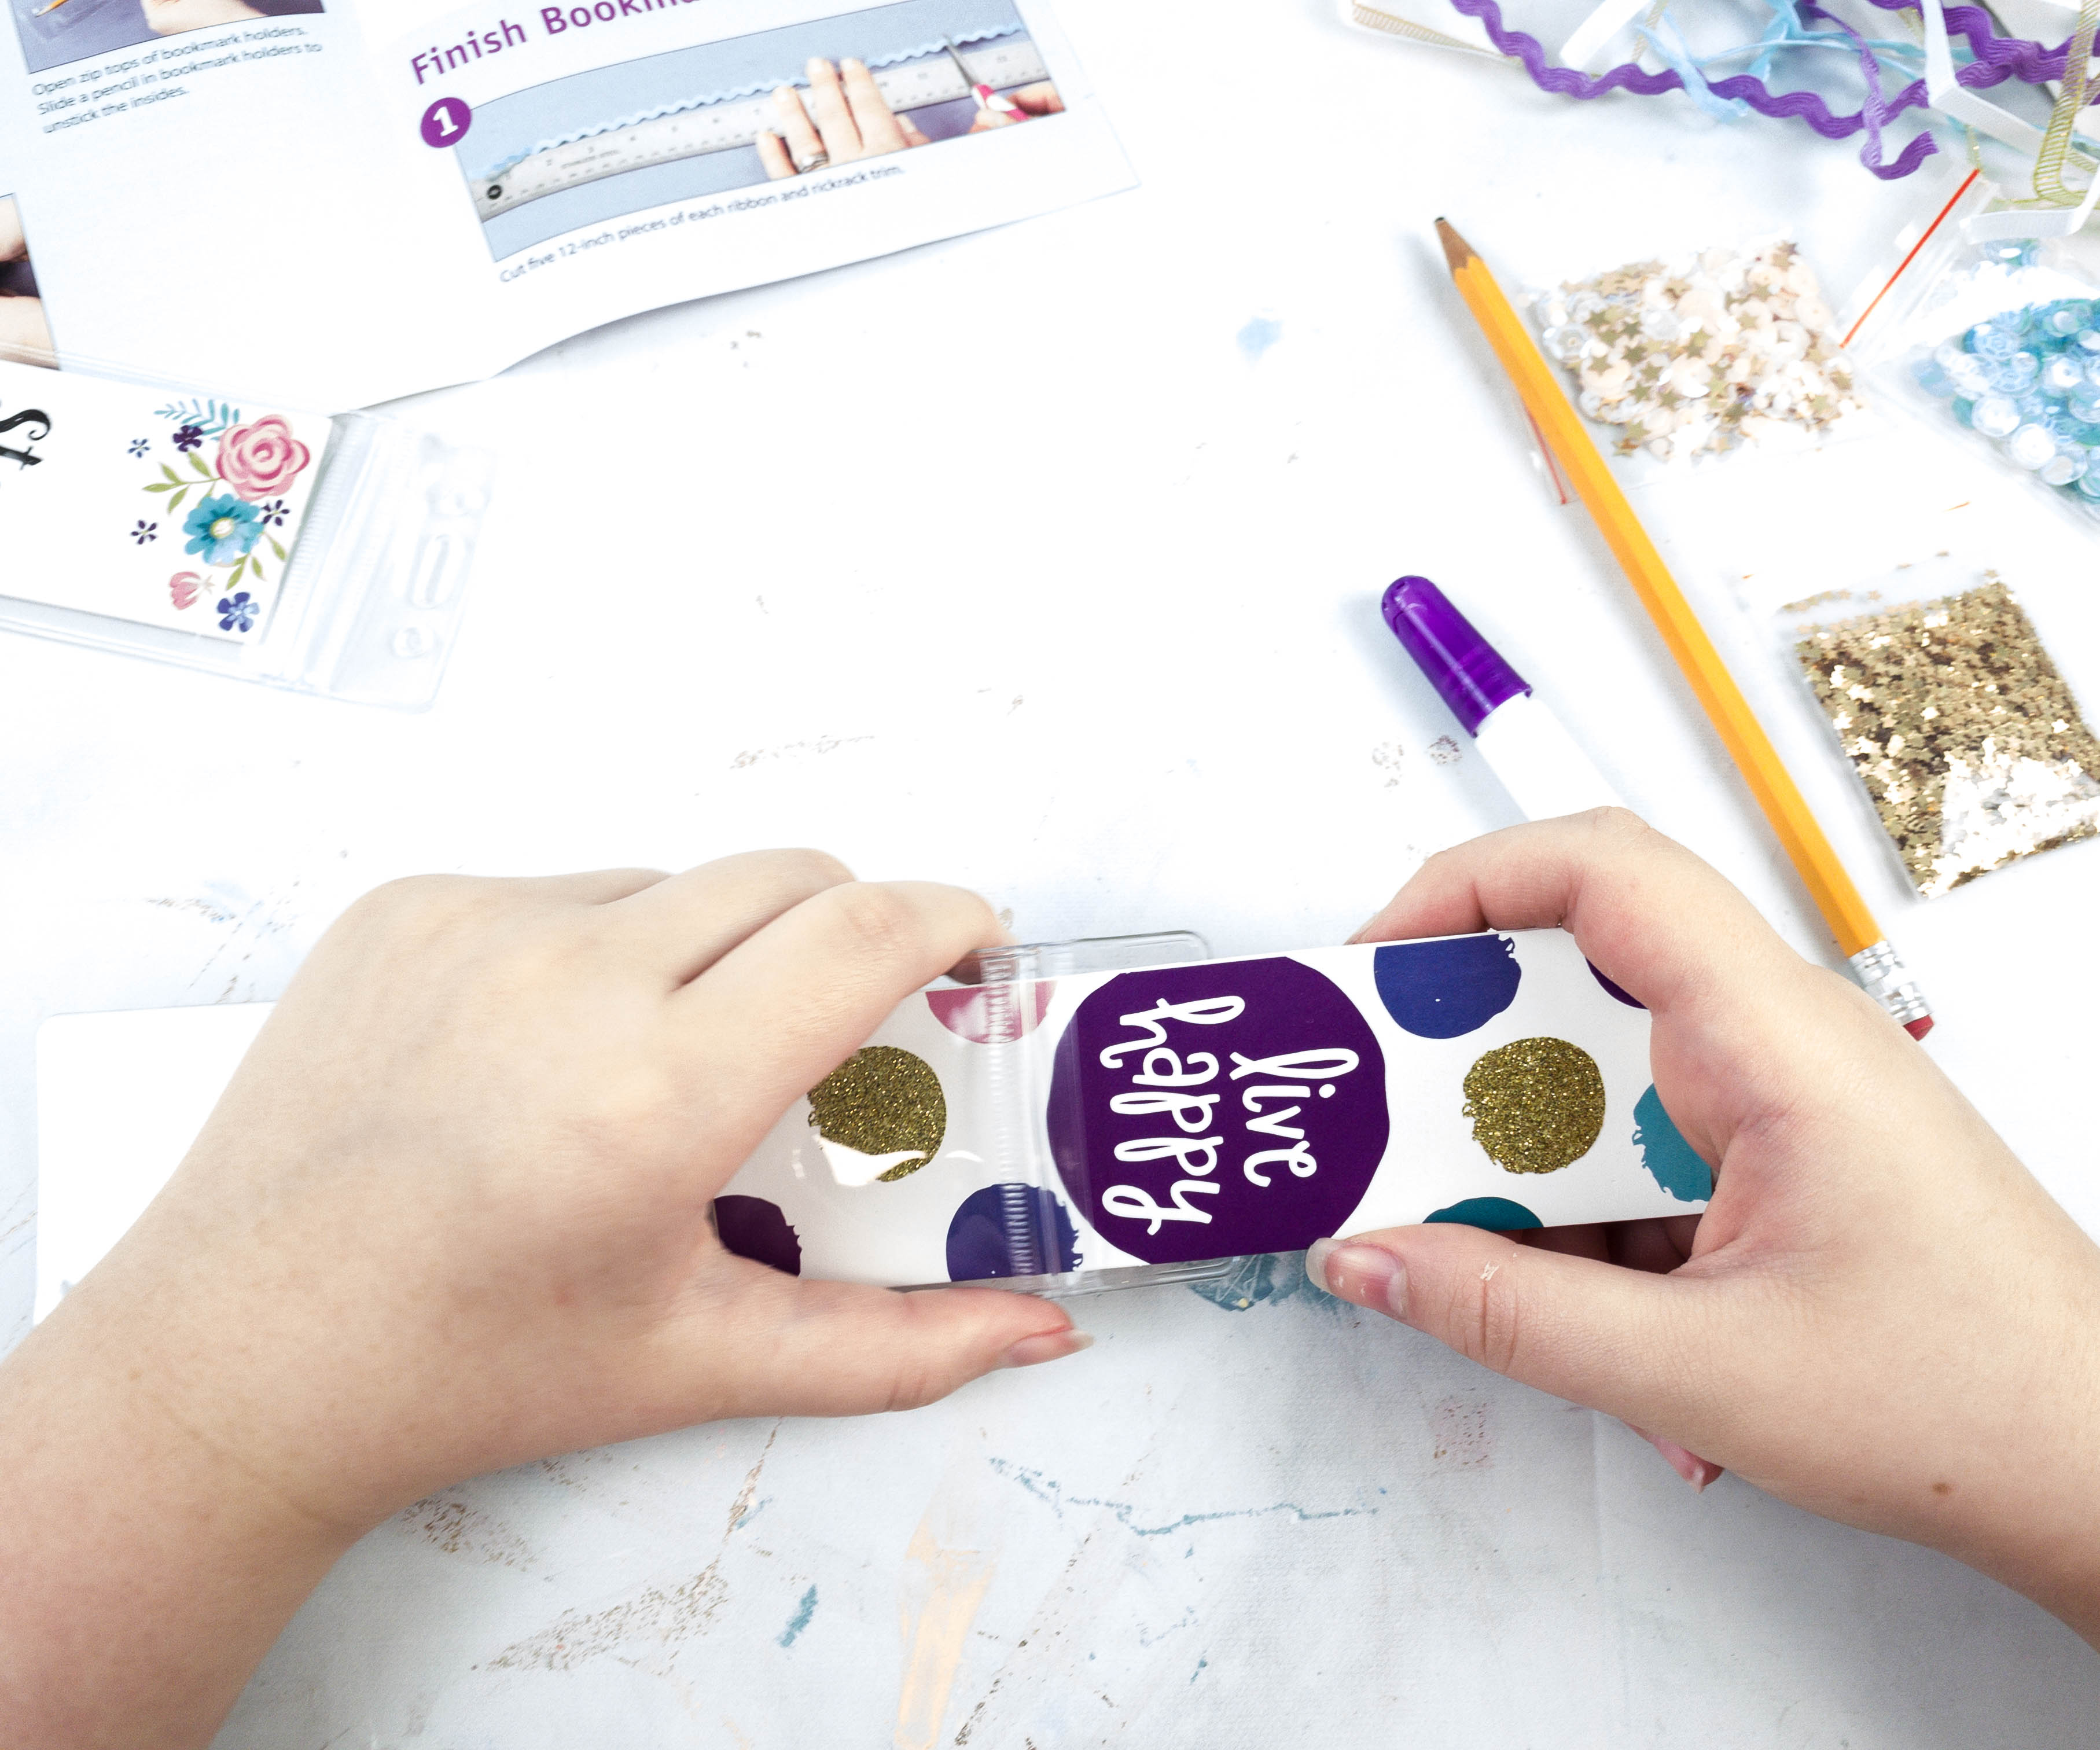
Then, she slipped the bookmark inside the clear bookmark holder.
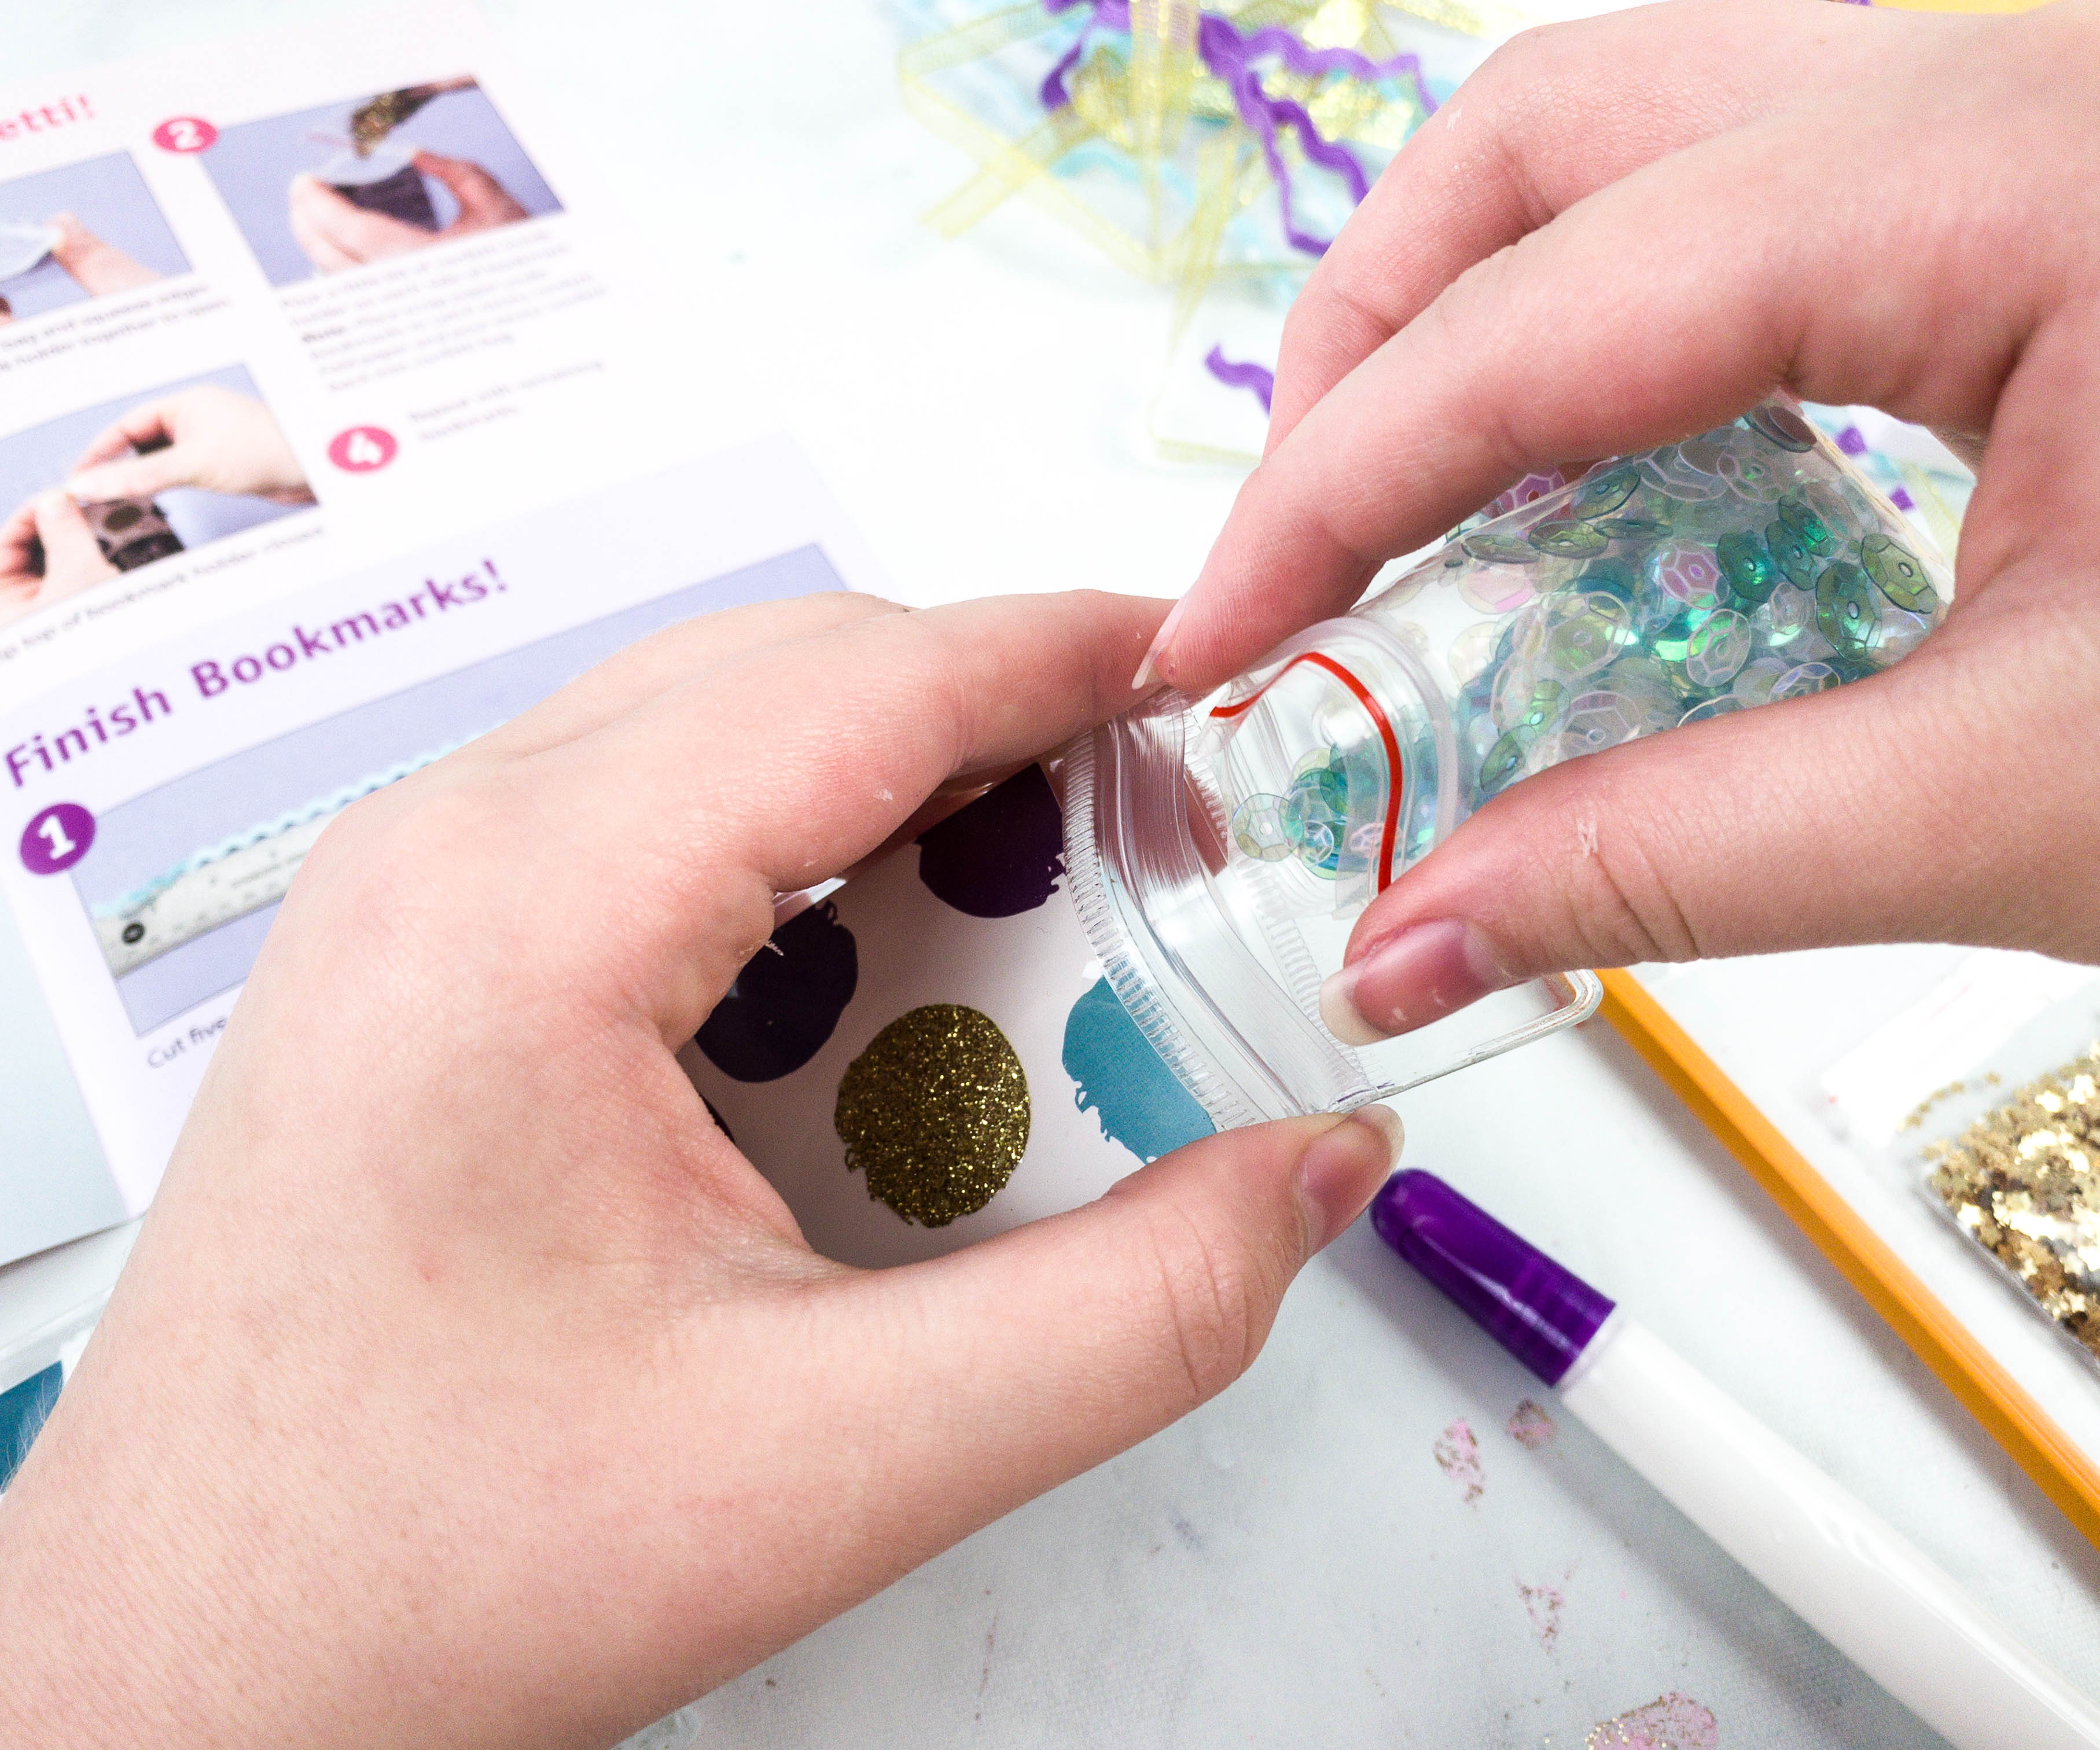
Here comes the fun part! It’s now time to add in the confetti inside the bookmark holder!
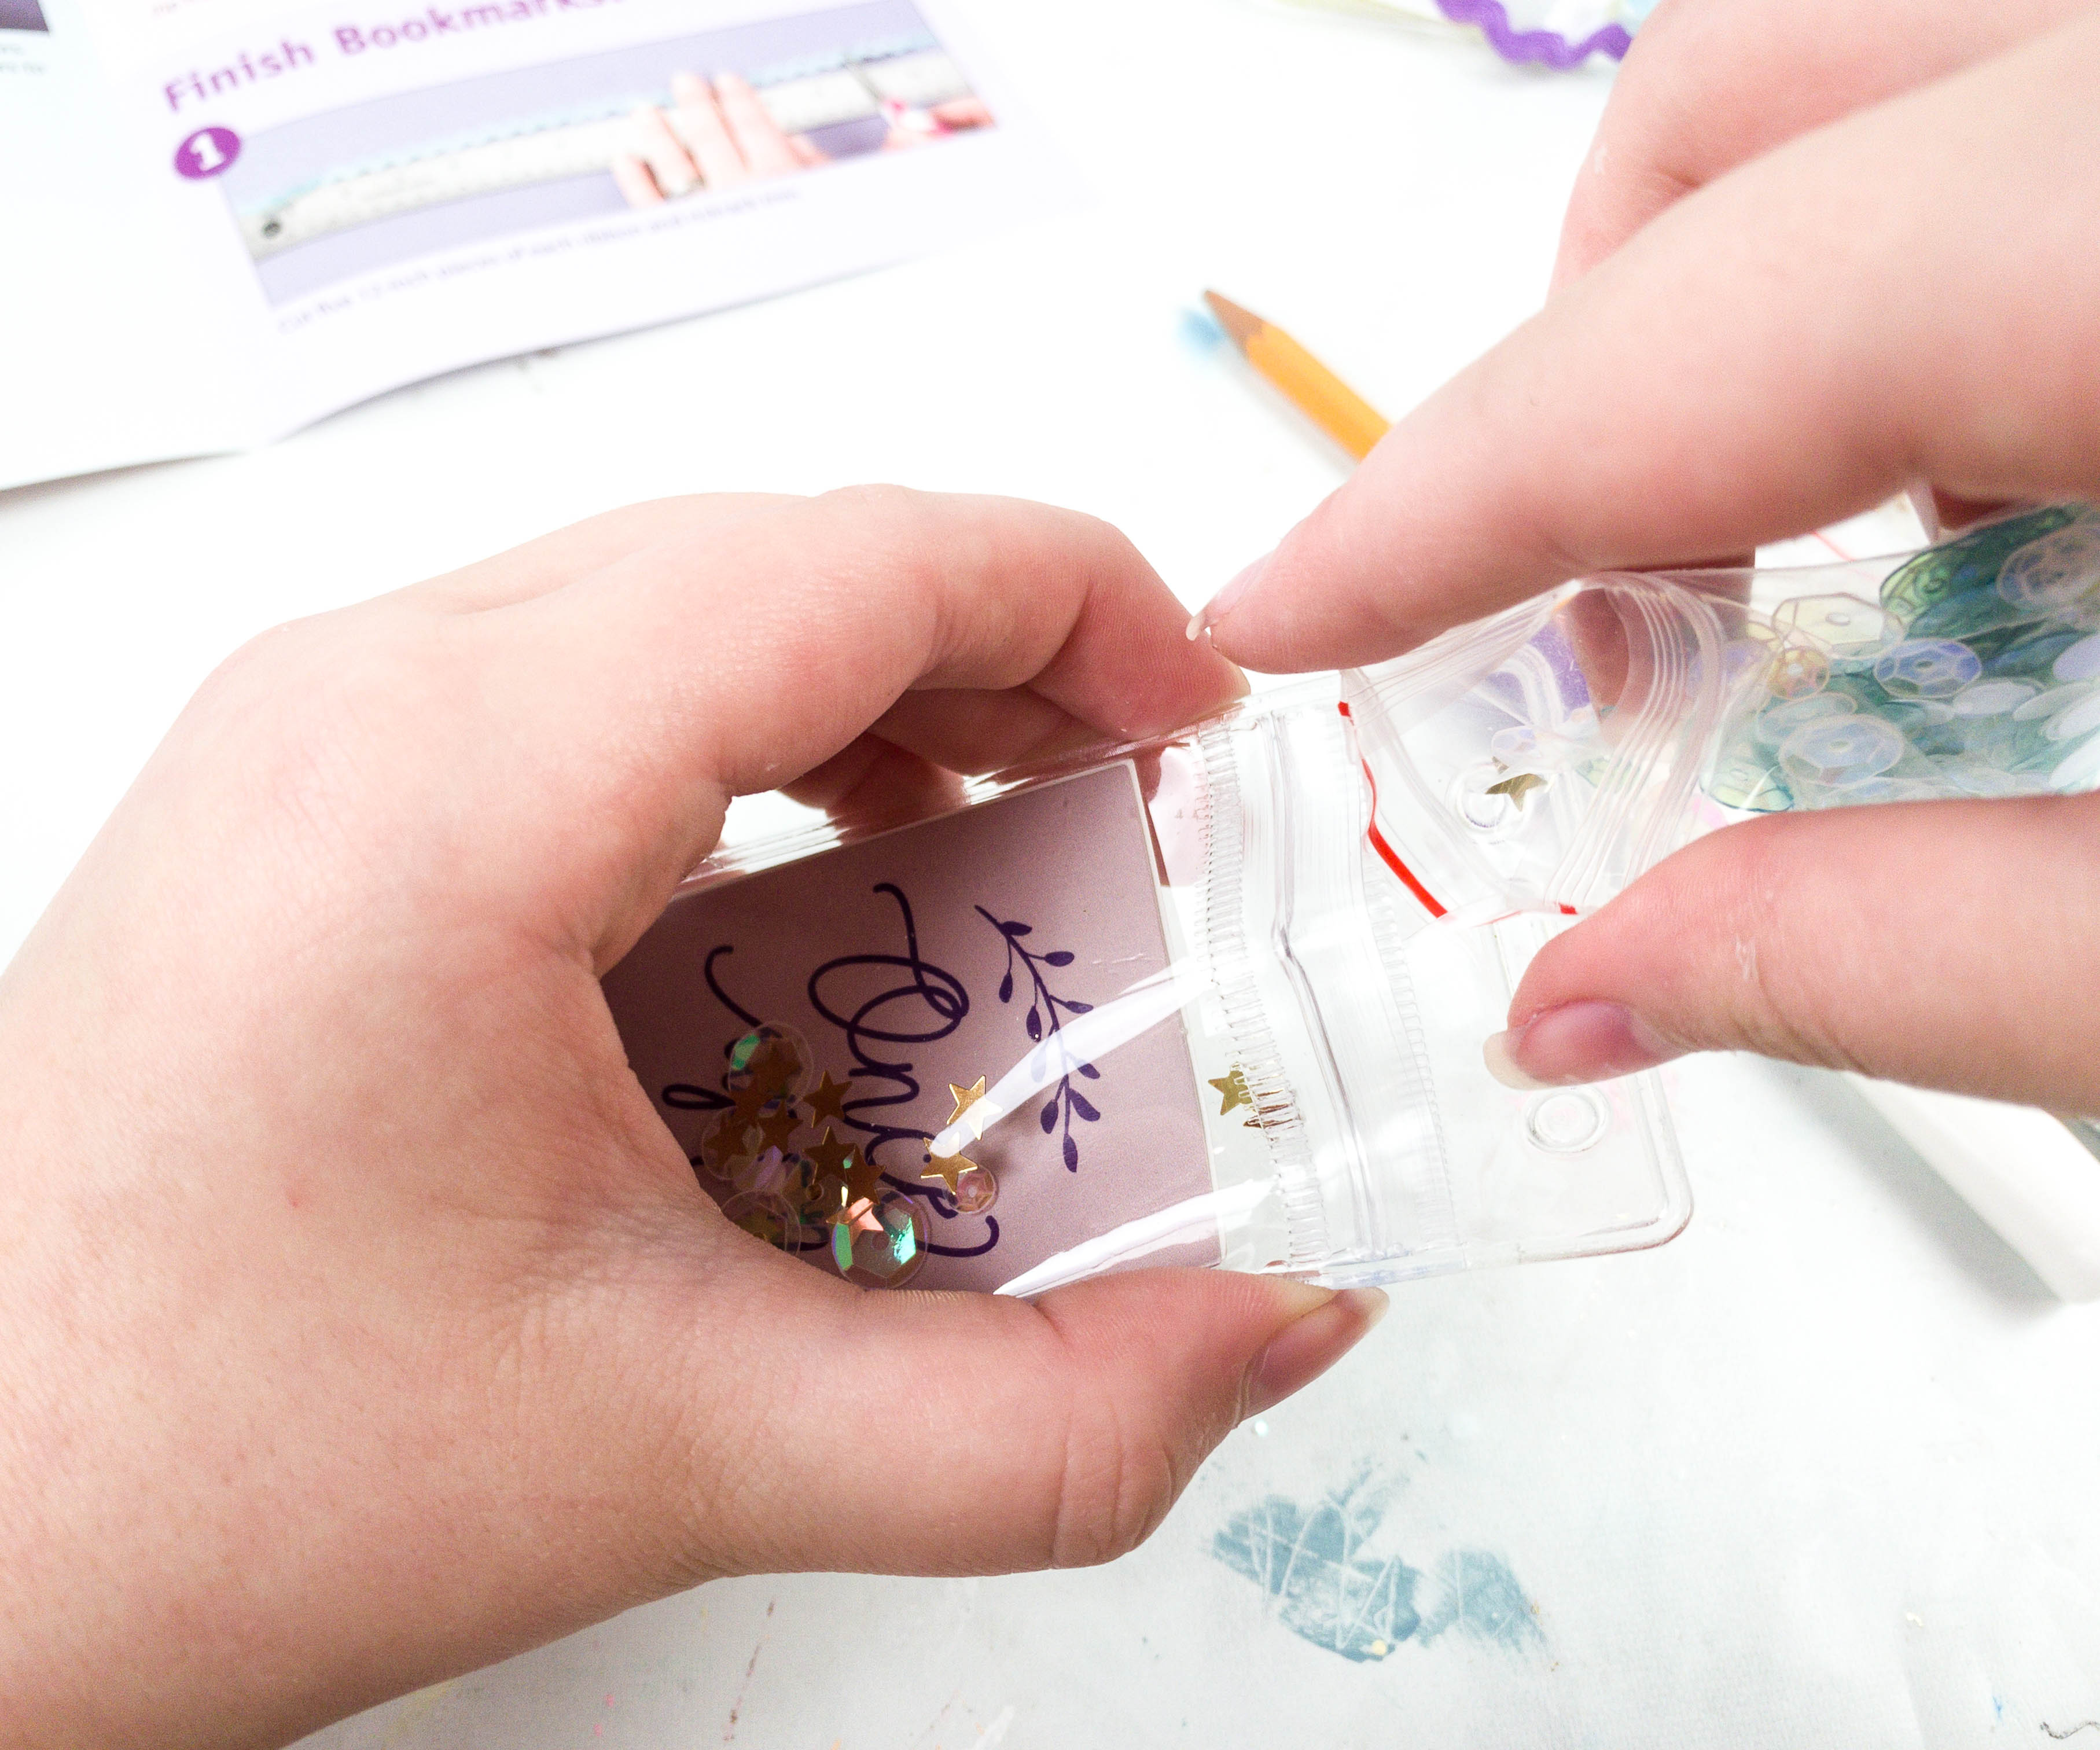
You can put a single color or you can mix and match them!
You can shake the inside up to mix the colors and adjust the die-cut papers during this process. Once you’re happy with everything inside, you can now seal the bookmark close.
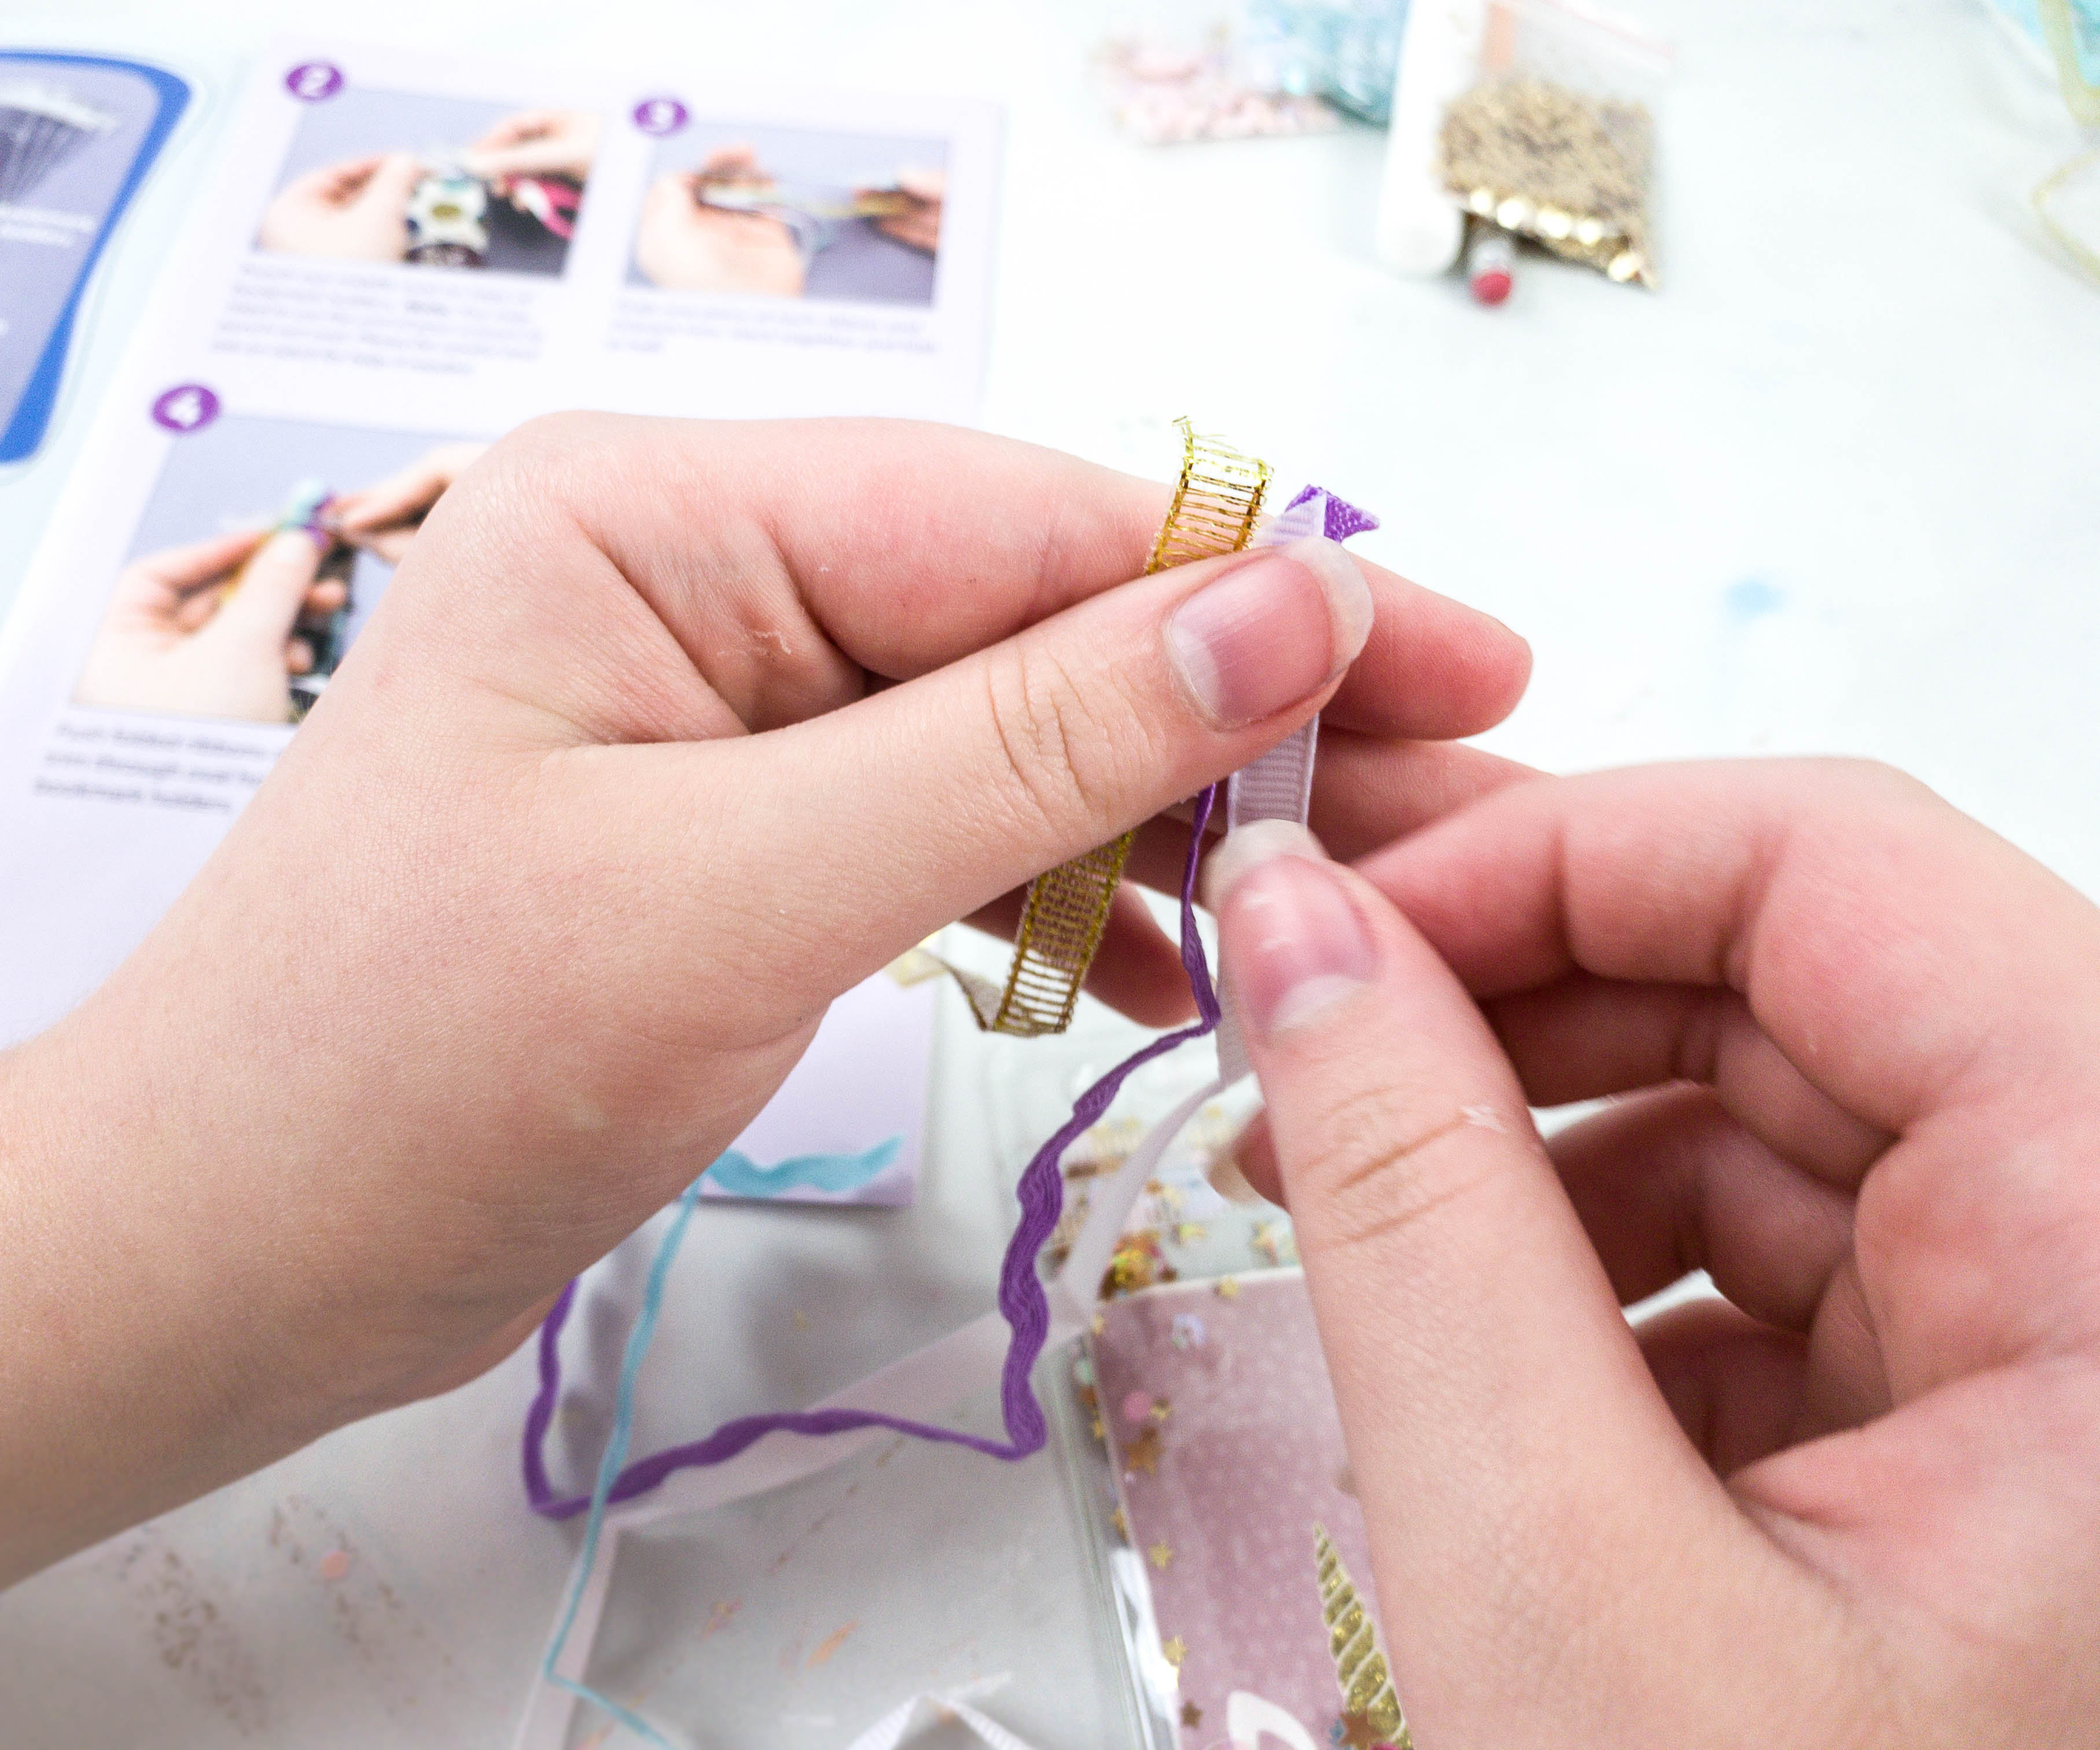
Next, using a ruler, measure and cut 12-inch pieces of the ribbon and the rickrack trim.
Gather one of each color (you can also pick one color if you would like to customize your design) and fold it in half.
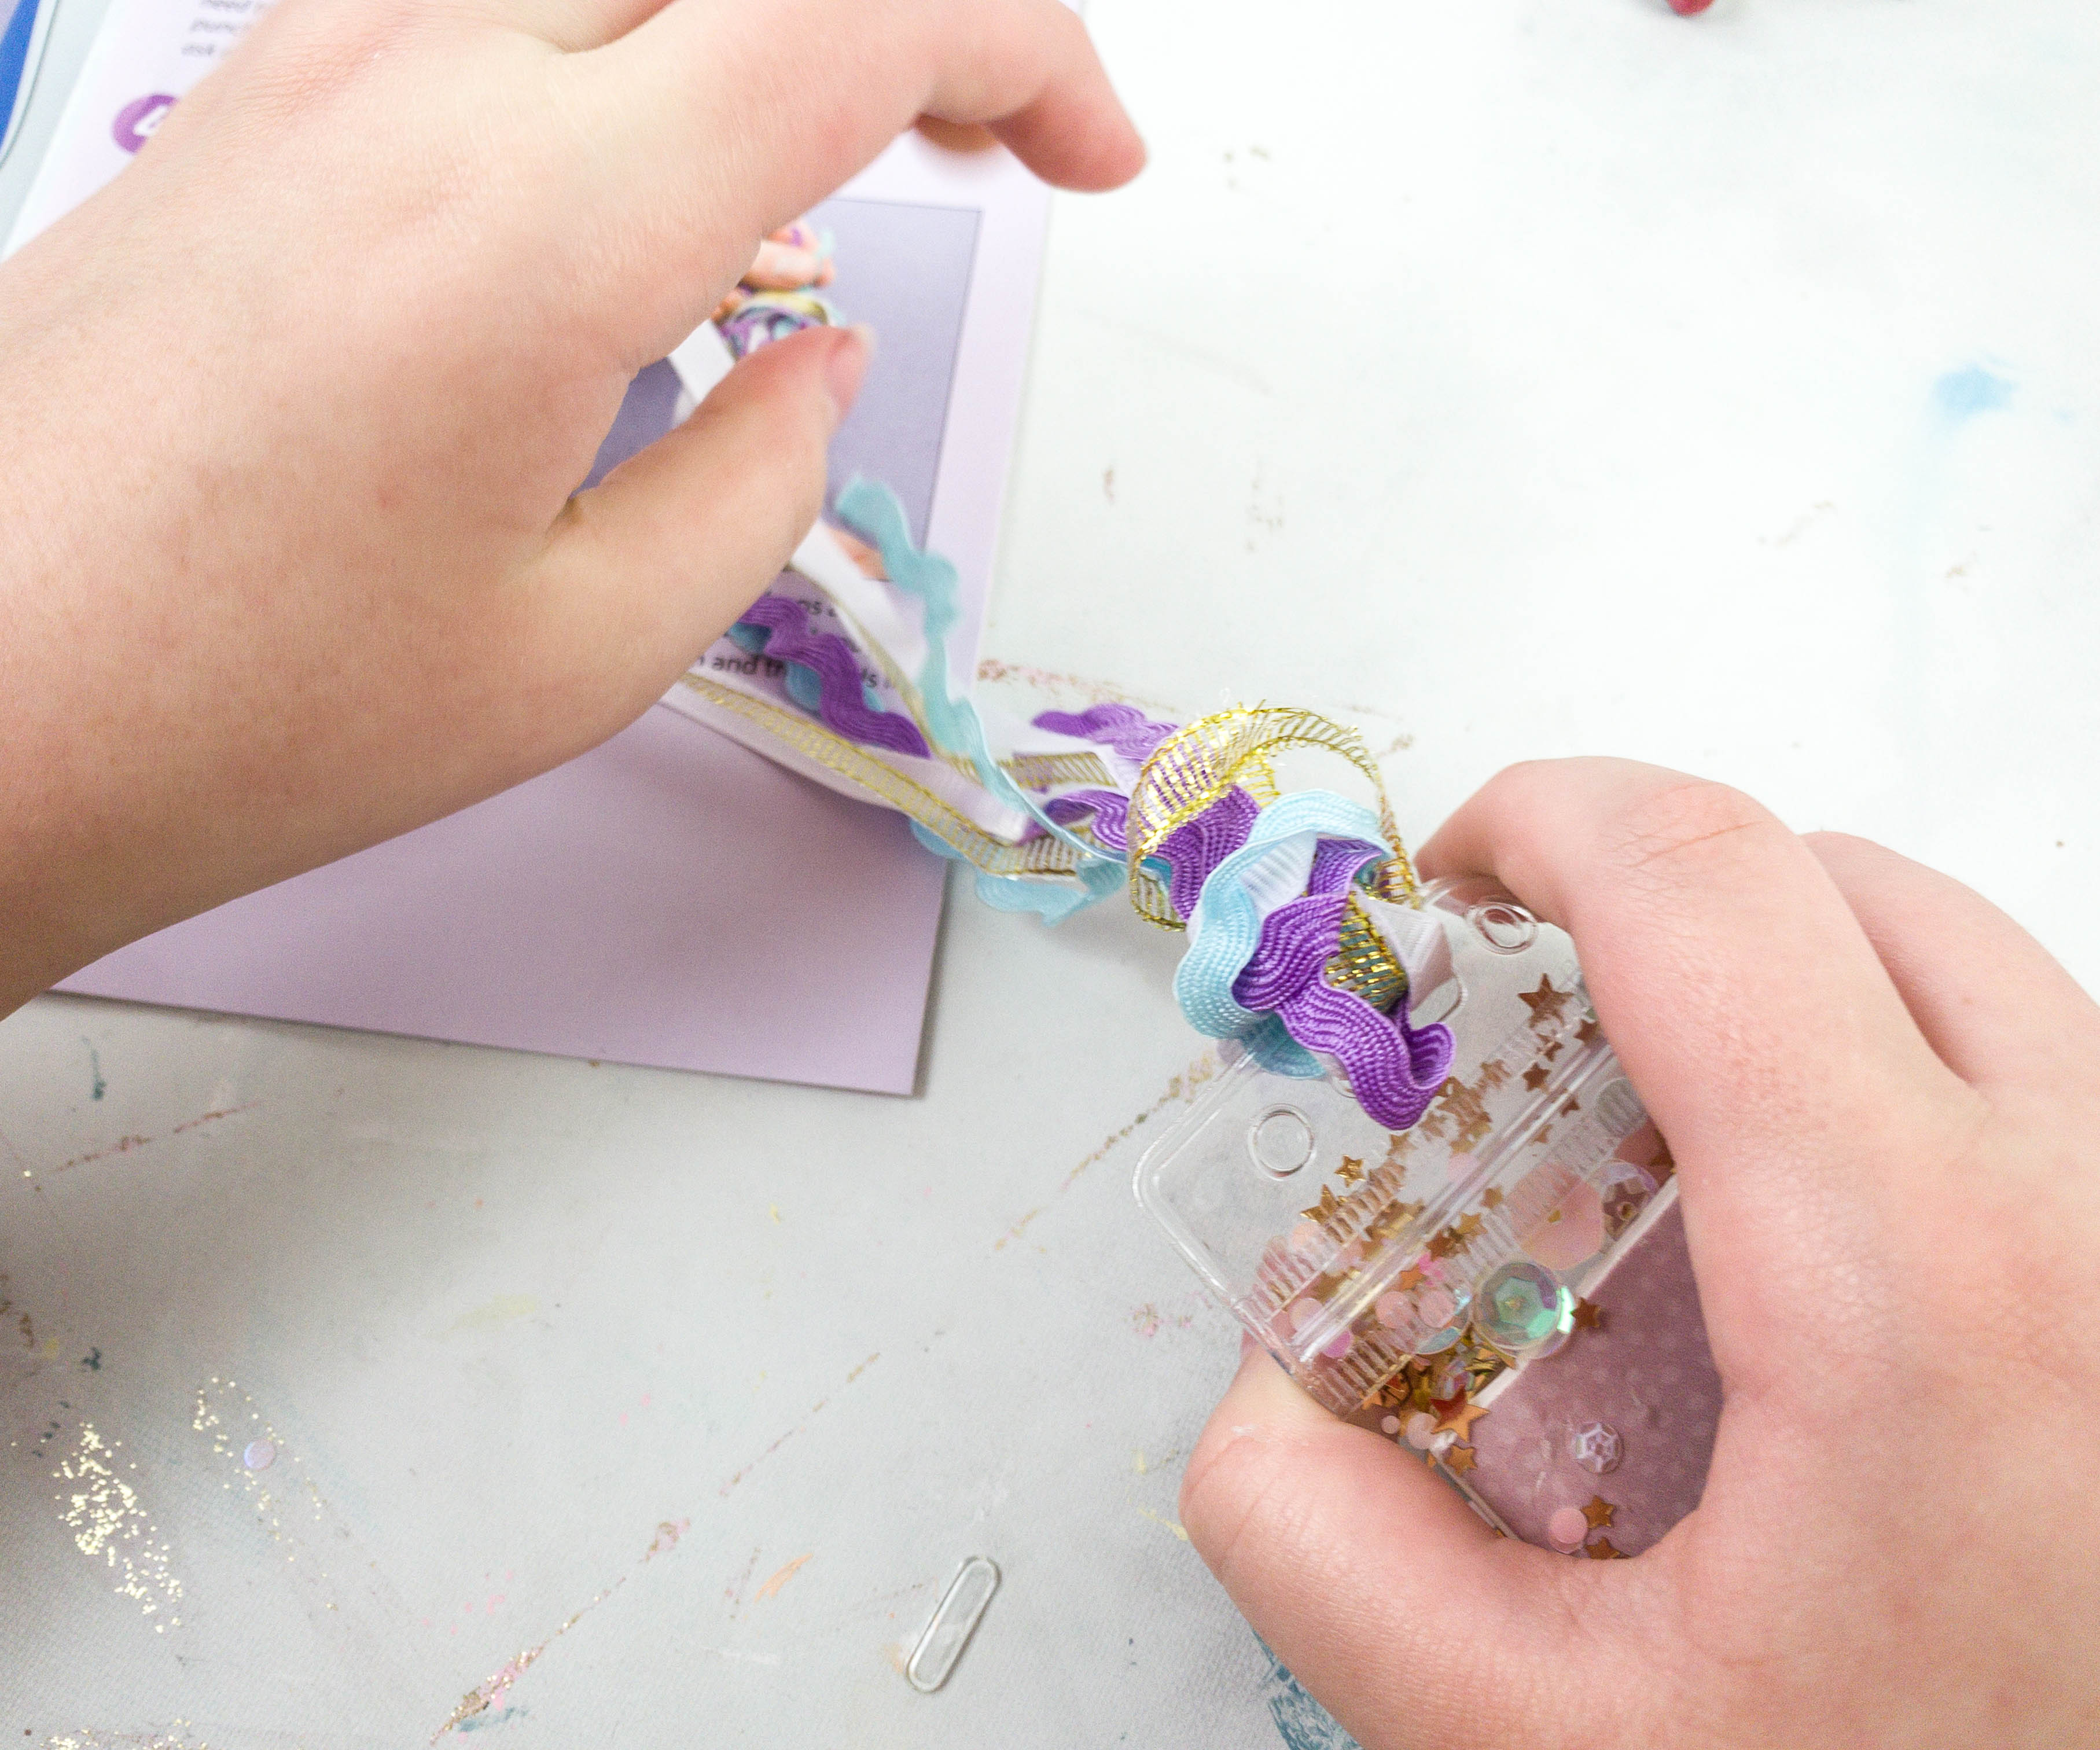
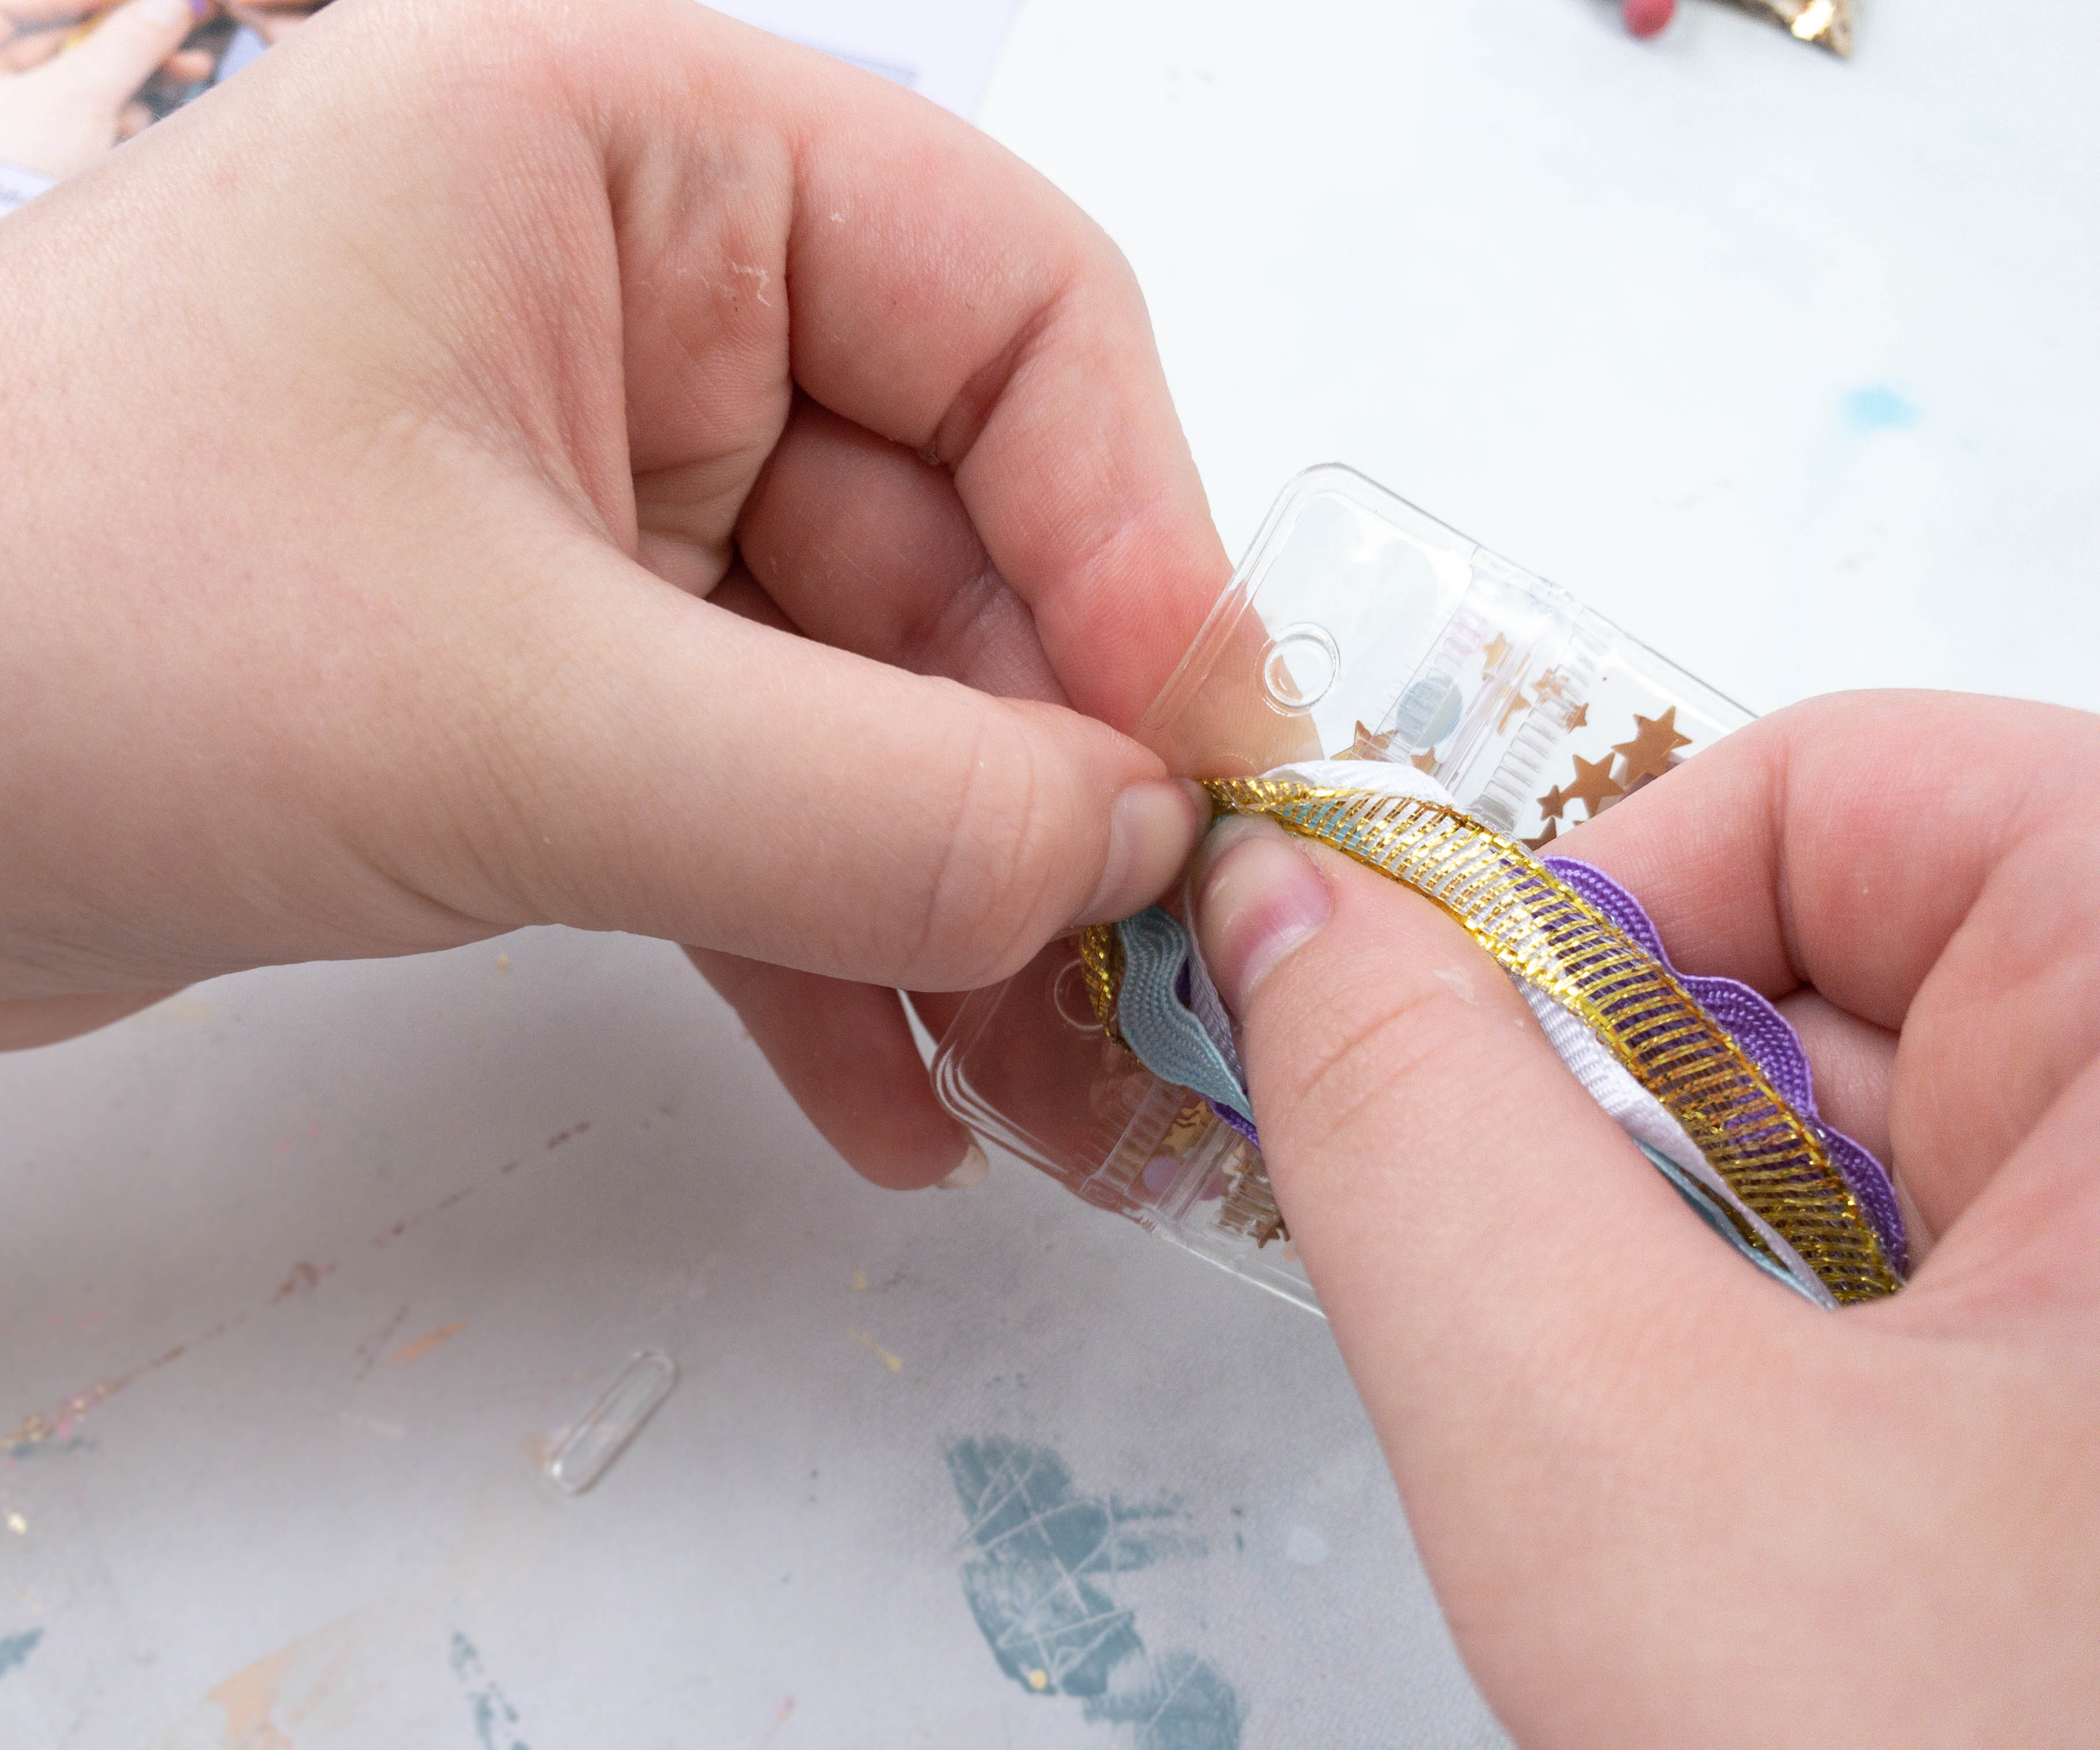
Push the folded part of the ribbons and rickrack trim into the oval hole on top of the bookmark cover.
Tie it up by opening a loop and pulling the ends of the ribbon and rickrack trim inside that loop. Just pull the ends a bit more to tighten the knot and it’s done!
You can also trim the ribbon if you want but I like them a bit long as they give more flair!
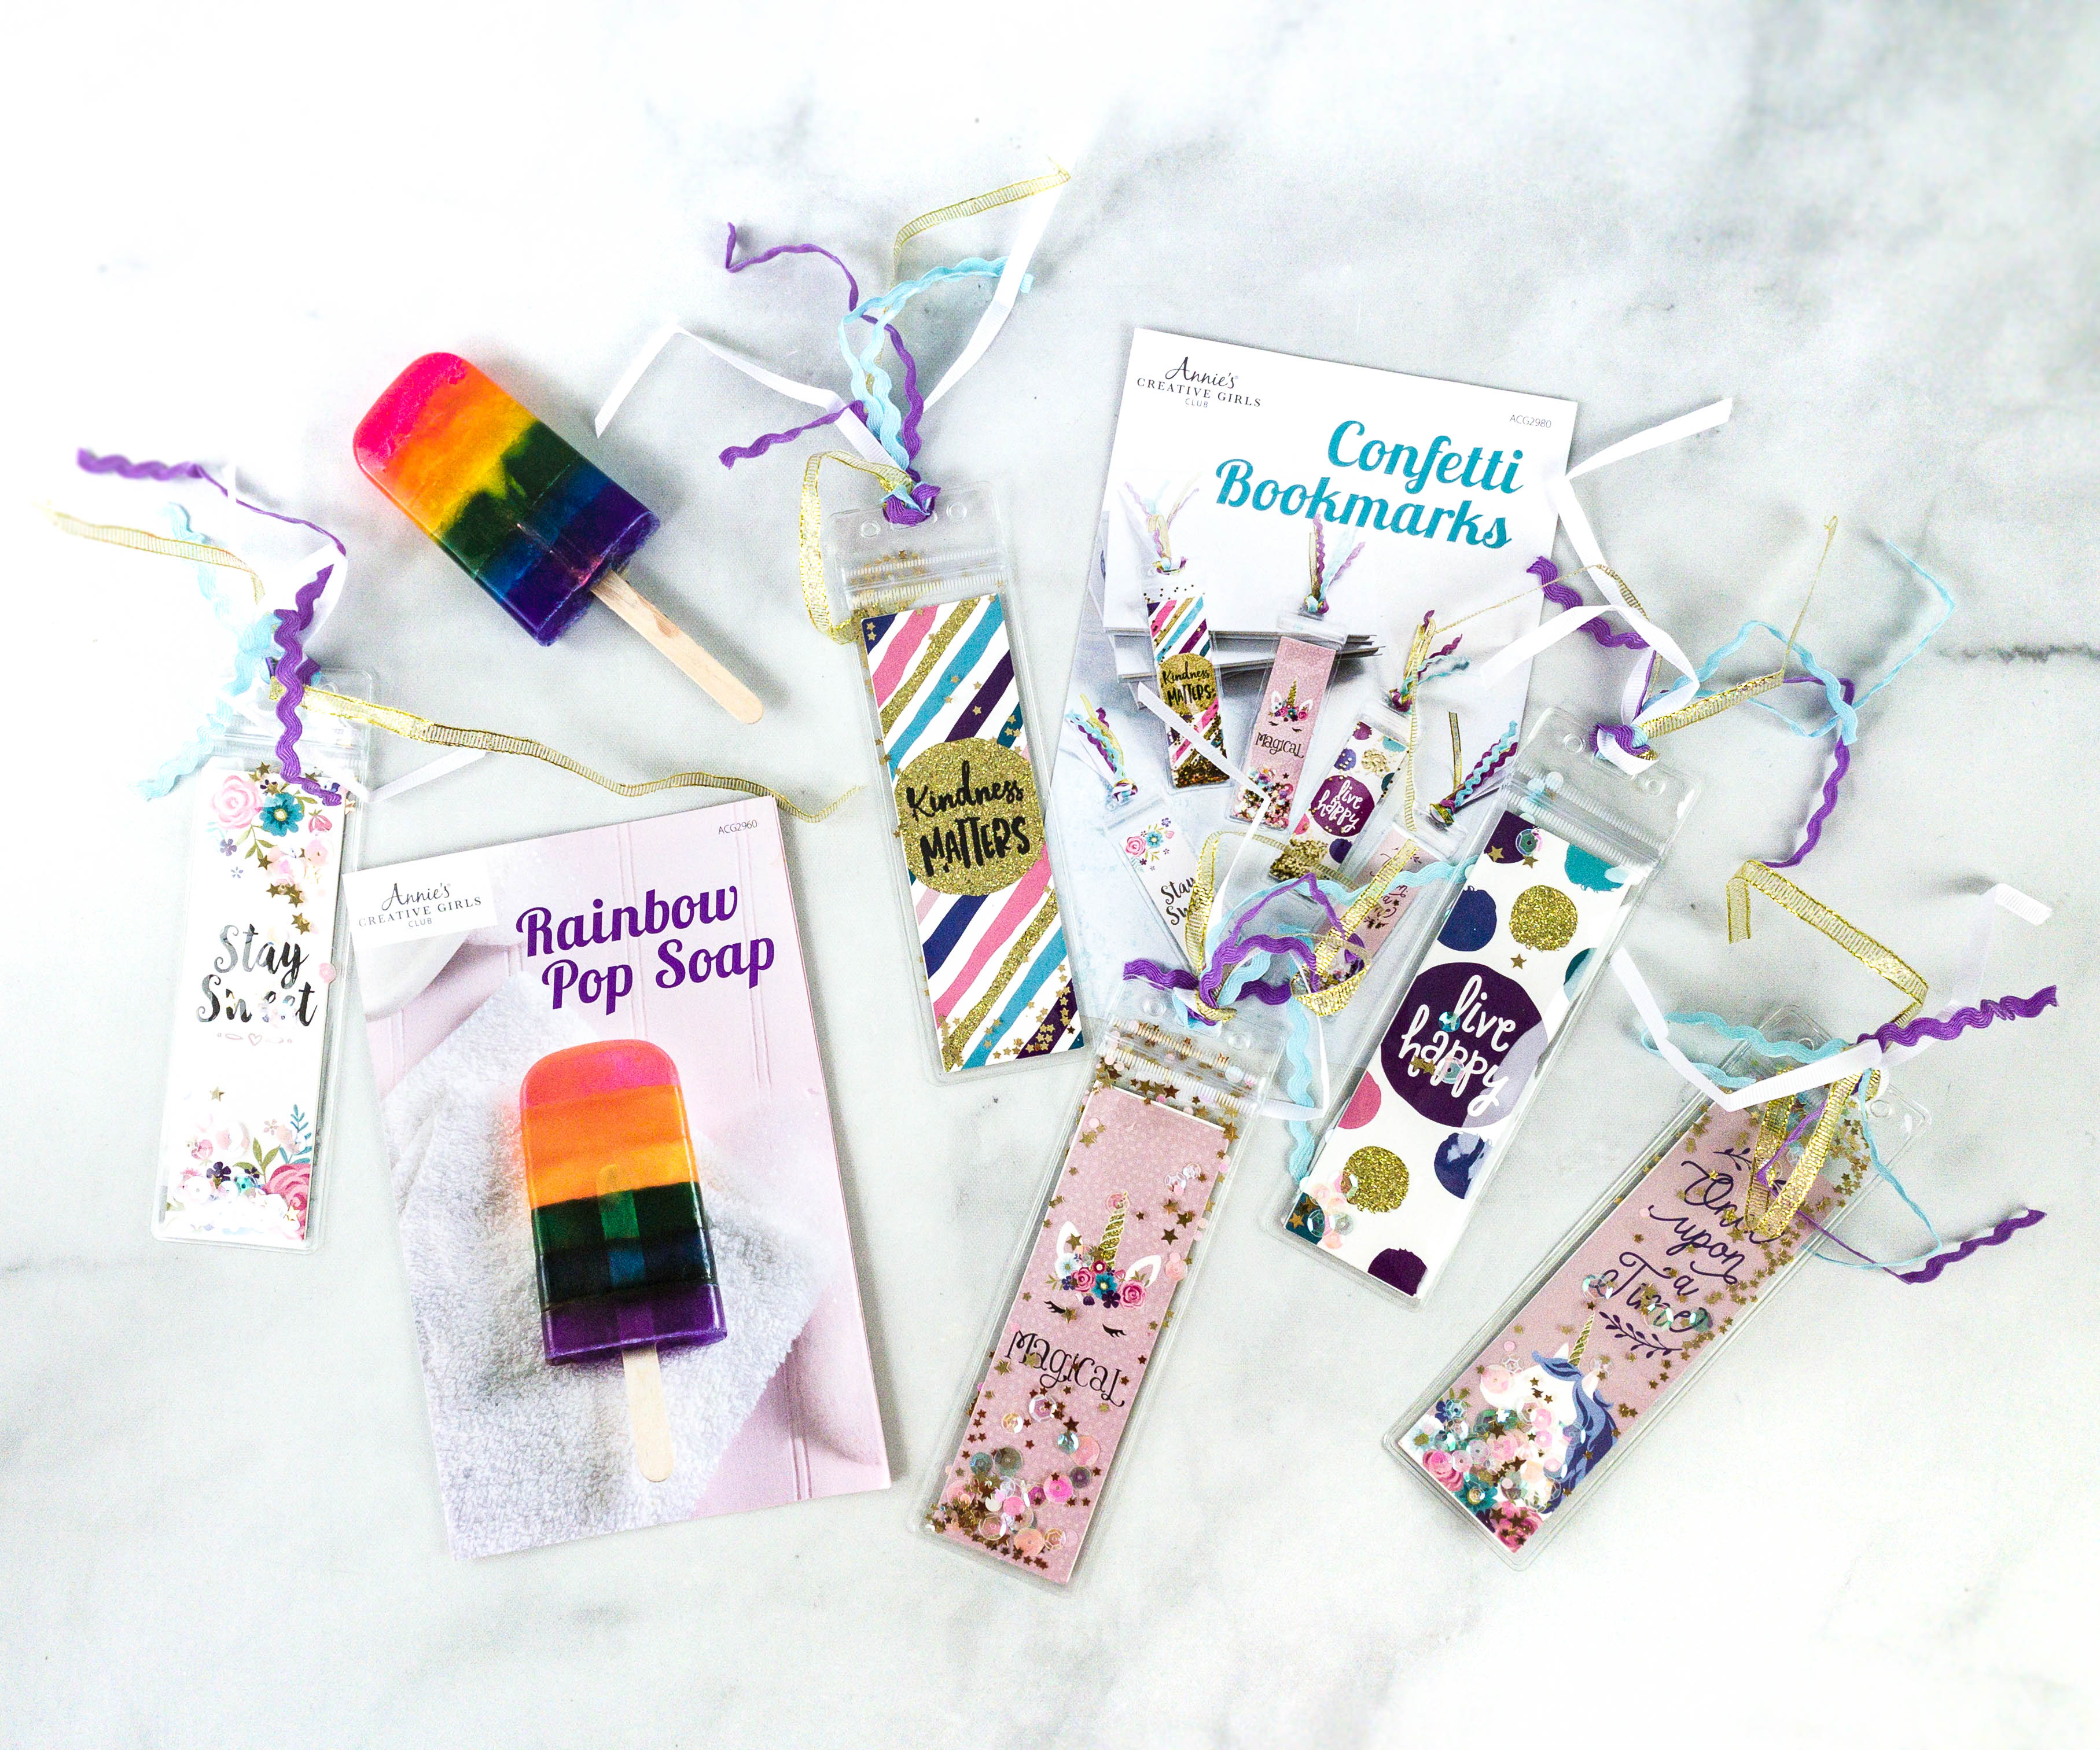
This month’s projects are all cute and colorful!
Annie’s Creative Girls Club sends fun DIY projects for girls! This month, the projects are about making a popsicle-shaped soap and sparkly bookmarks. They are not just fun to make, the finished products are also pretty useful. They are also ideal if you’re looking for easy and enjoyable projects for your daughter, so they can pass time at home and enhance their creative side at the same time. So far, my daughter has been delight with all the projects from this subscription!
What do you think of Annie’s Creative Girls Club review? Let us know your thoughts!
Visit Annie’s Creative Girls Club to subscribe or find out more!


Comments