Adults & Crafts is a monthly DIY crafts subscription box for adults. For only $33 per month, you’ll get a box full of materials to create an awesome craft project, plus easy-to-follow instructions. They feature a new craft and craft techniques every month, from woodworking to embossing to clockmaking and more!
DEAL: Save 10% on your first box! Use coupon code HELLOSUB.
The box was well-sealed!
The tools and materials were neatly stacked in a cardboard box.
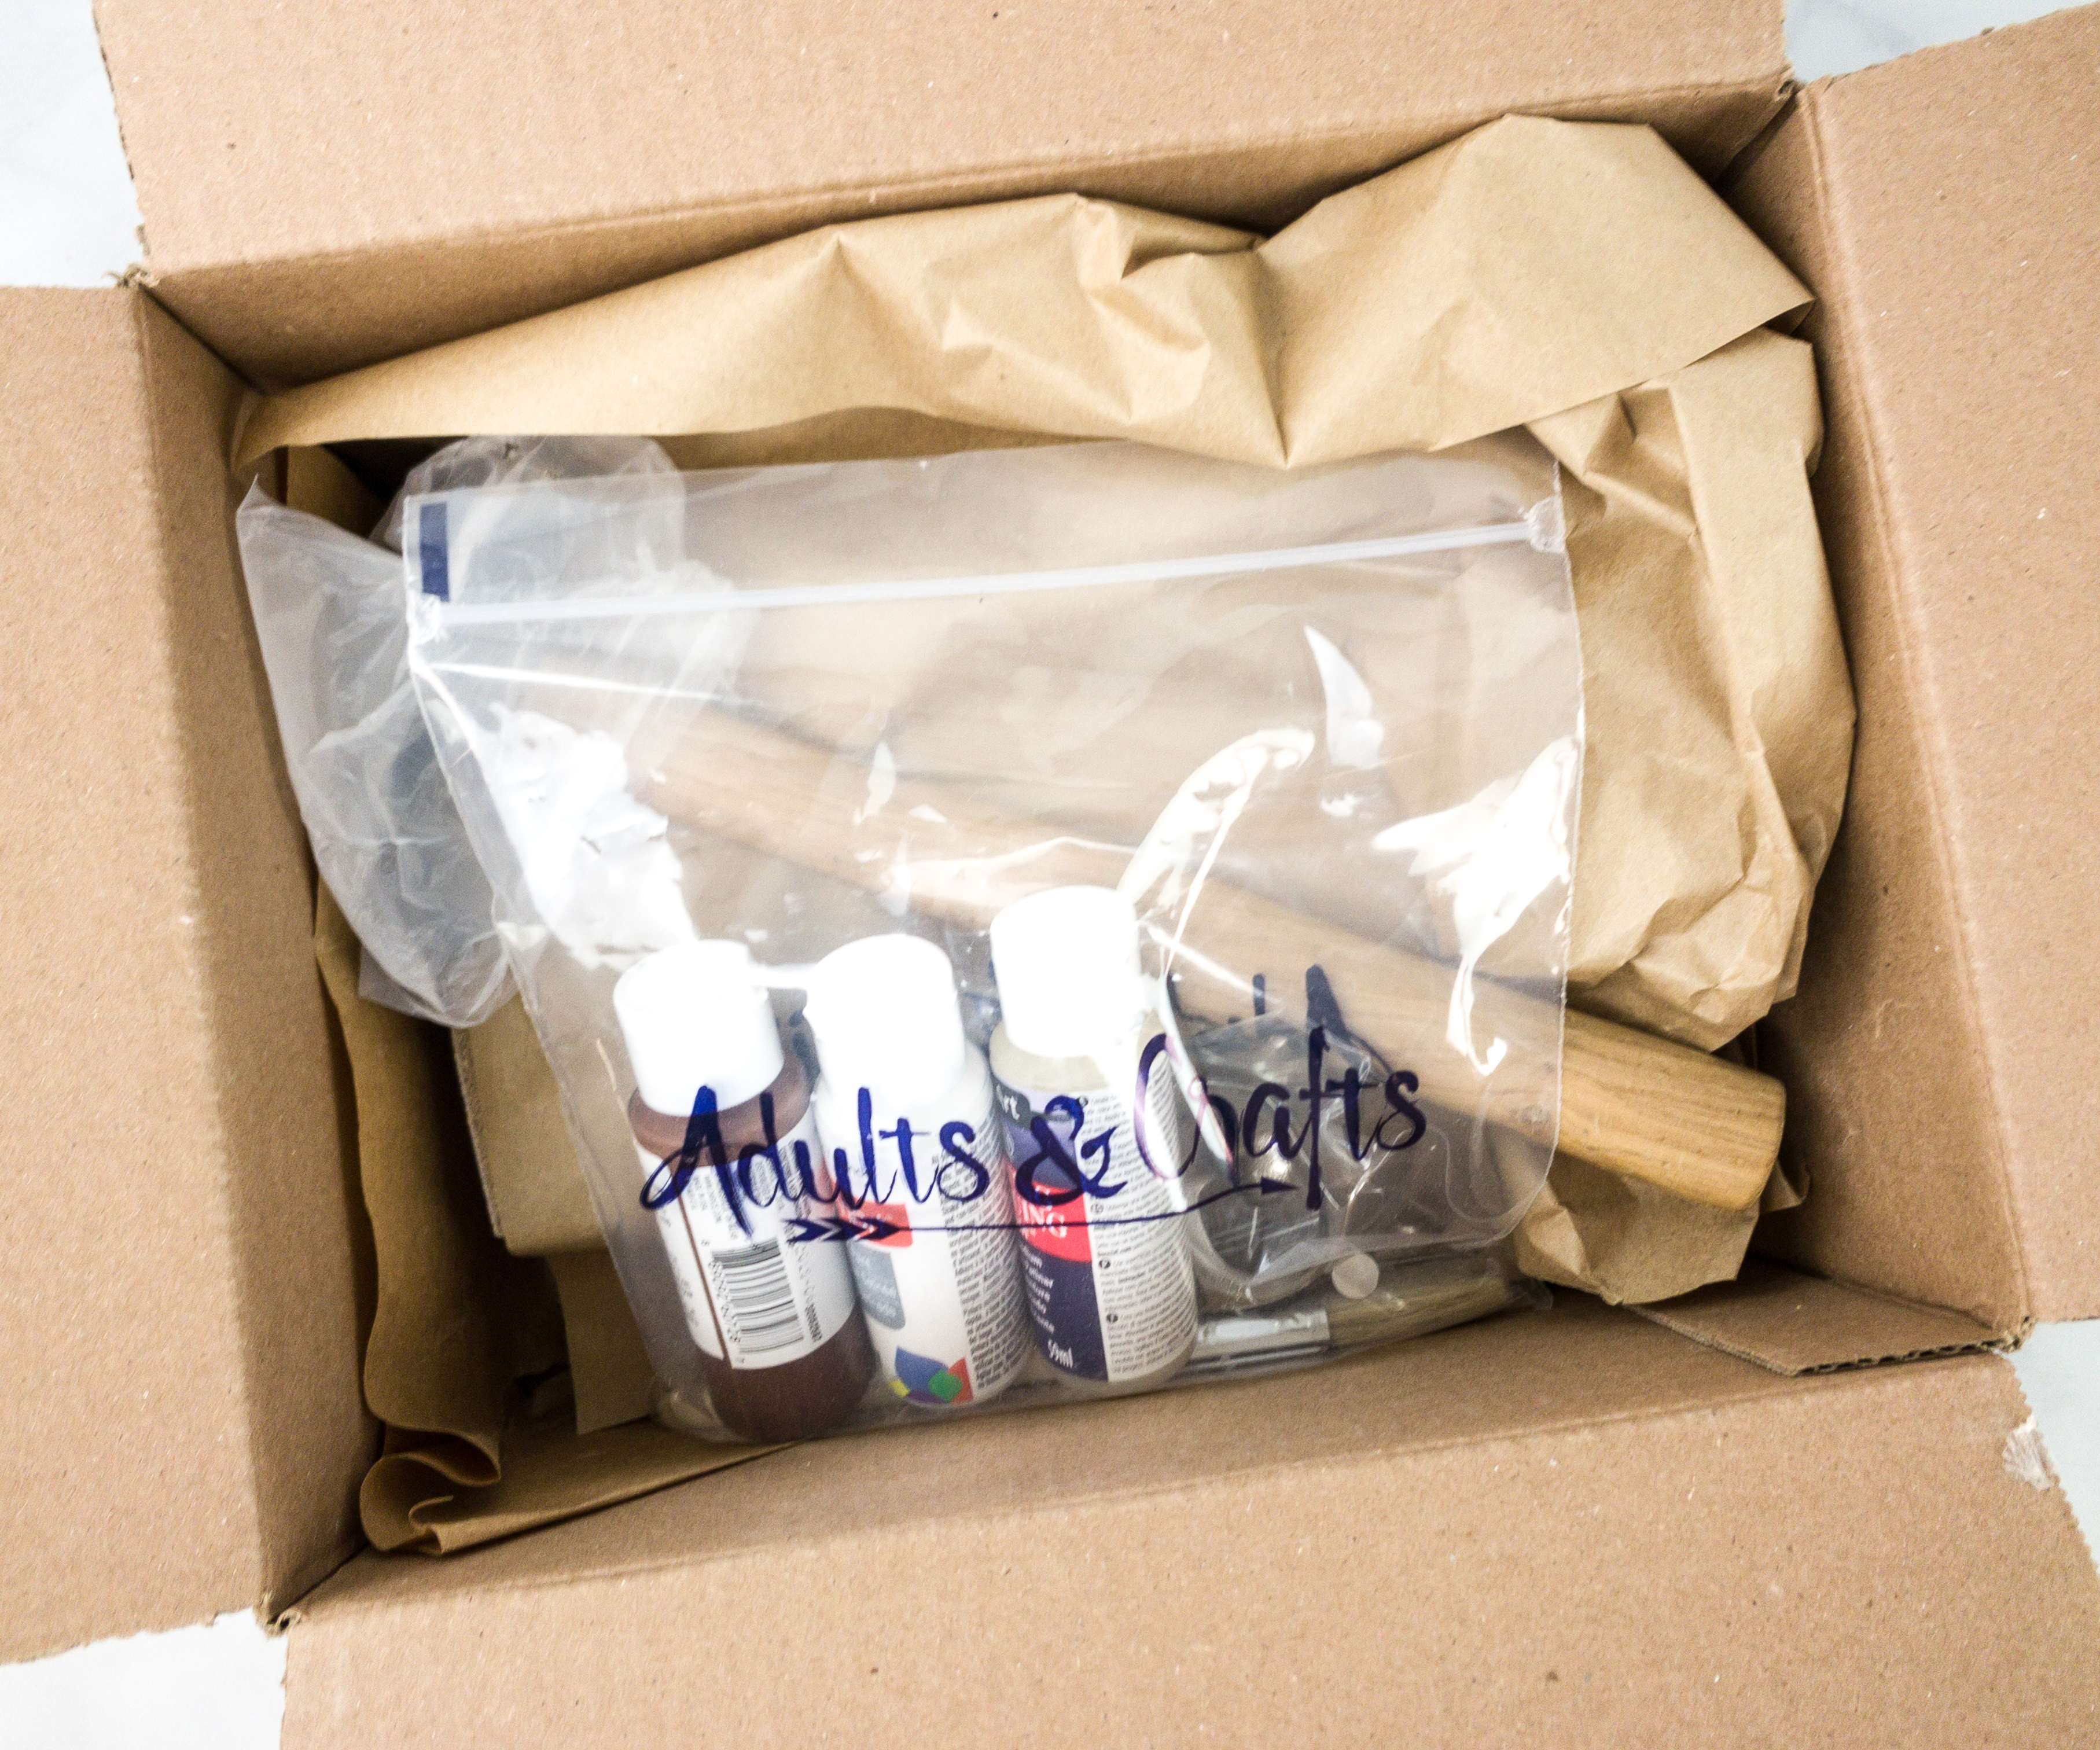
The items were wrapped in paper and some were also in plastic pouches. As expected, they sent a complete set of materials for this project!
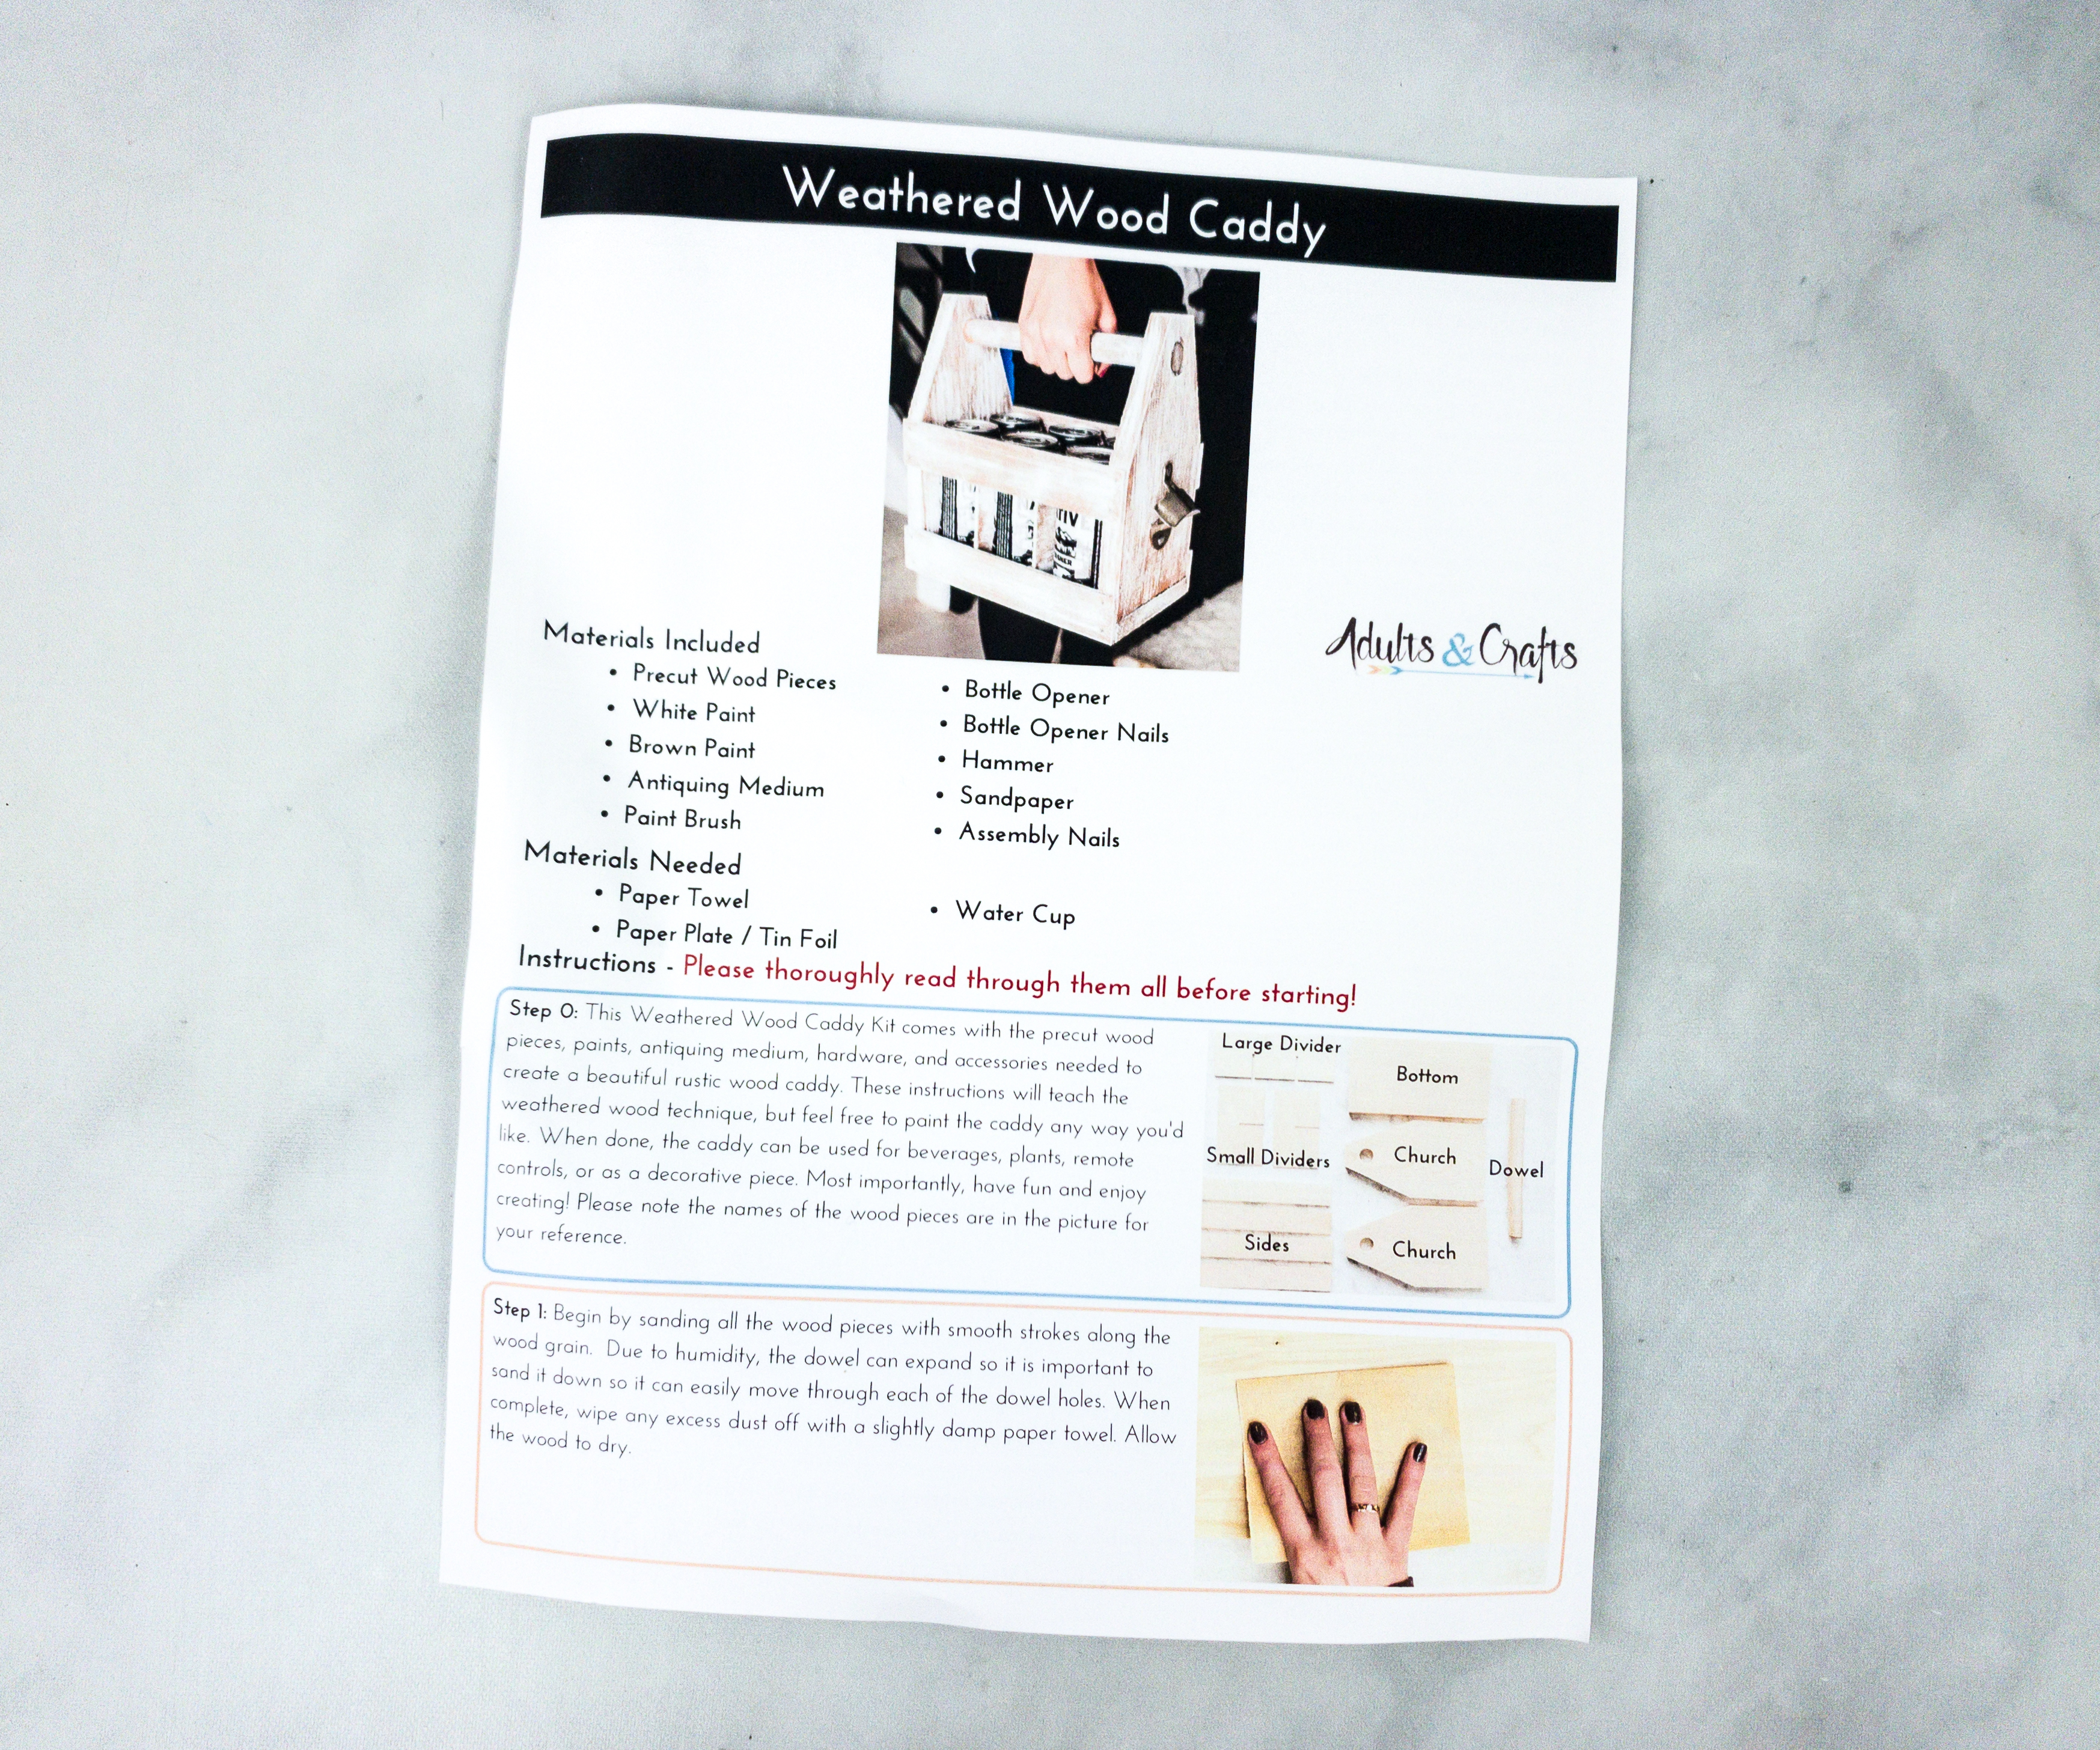
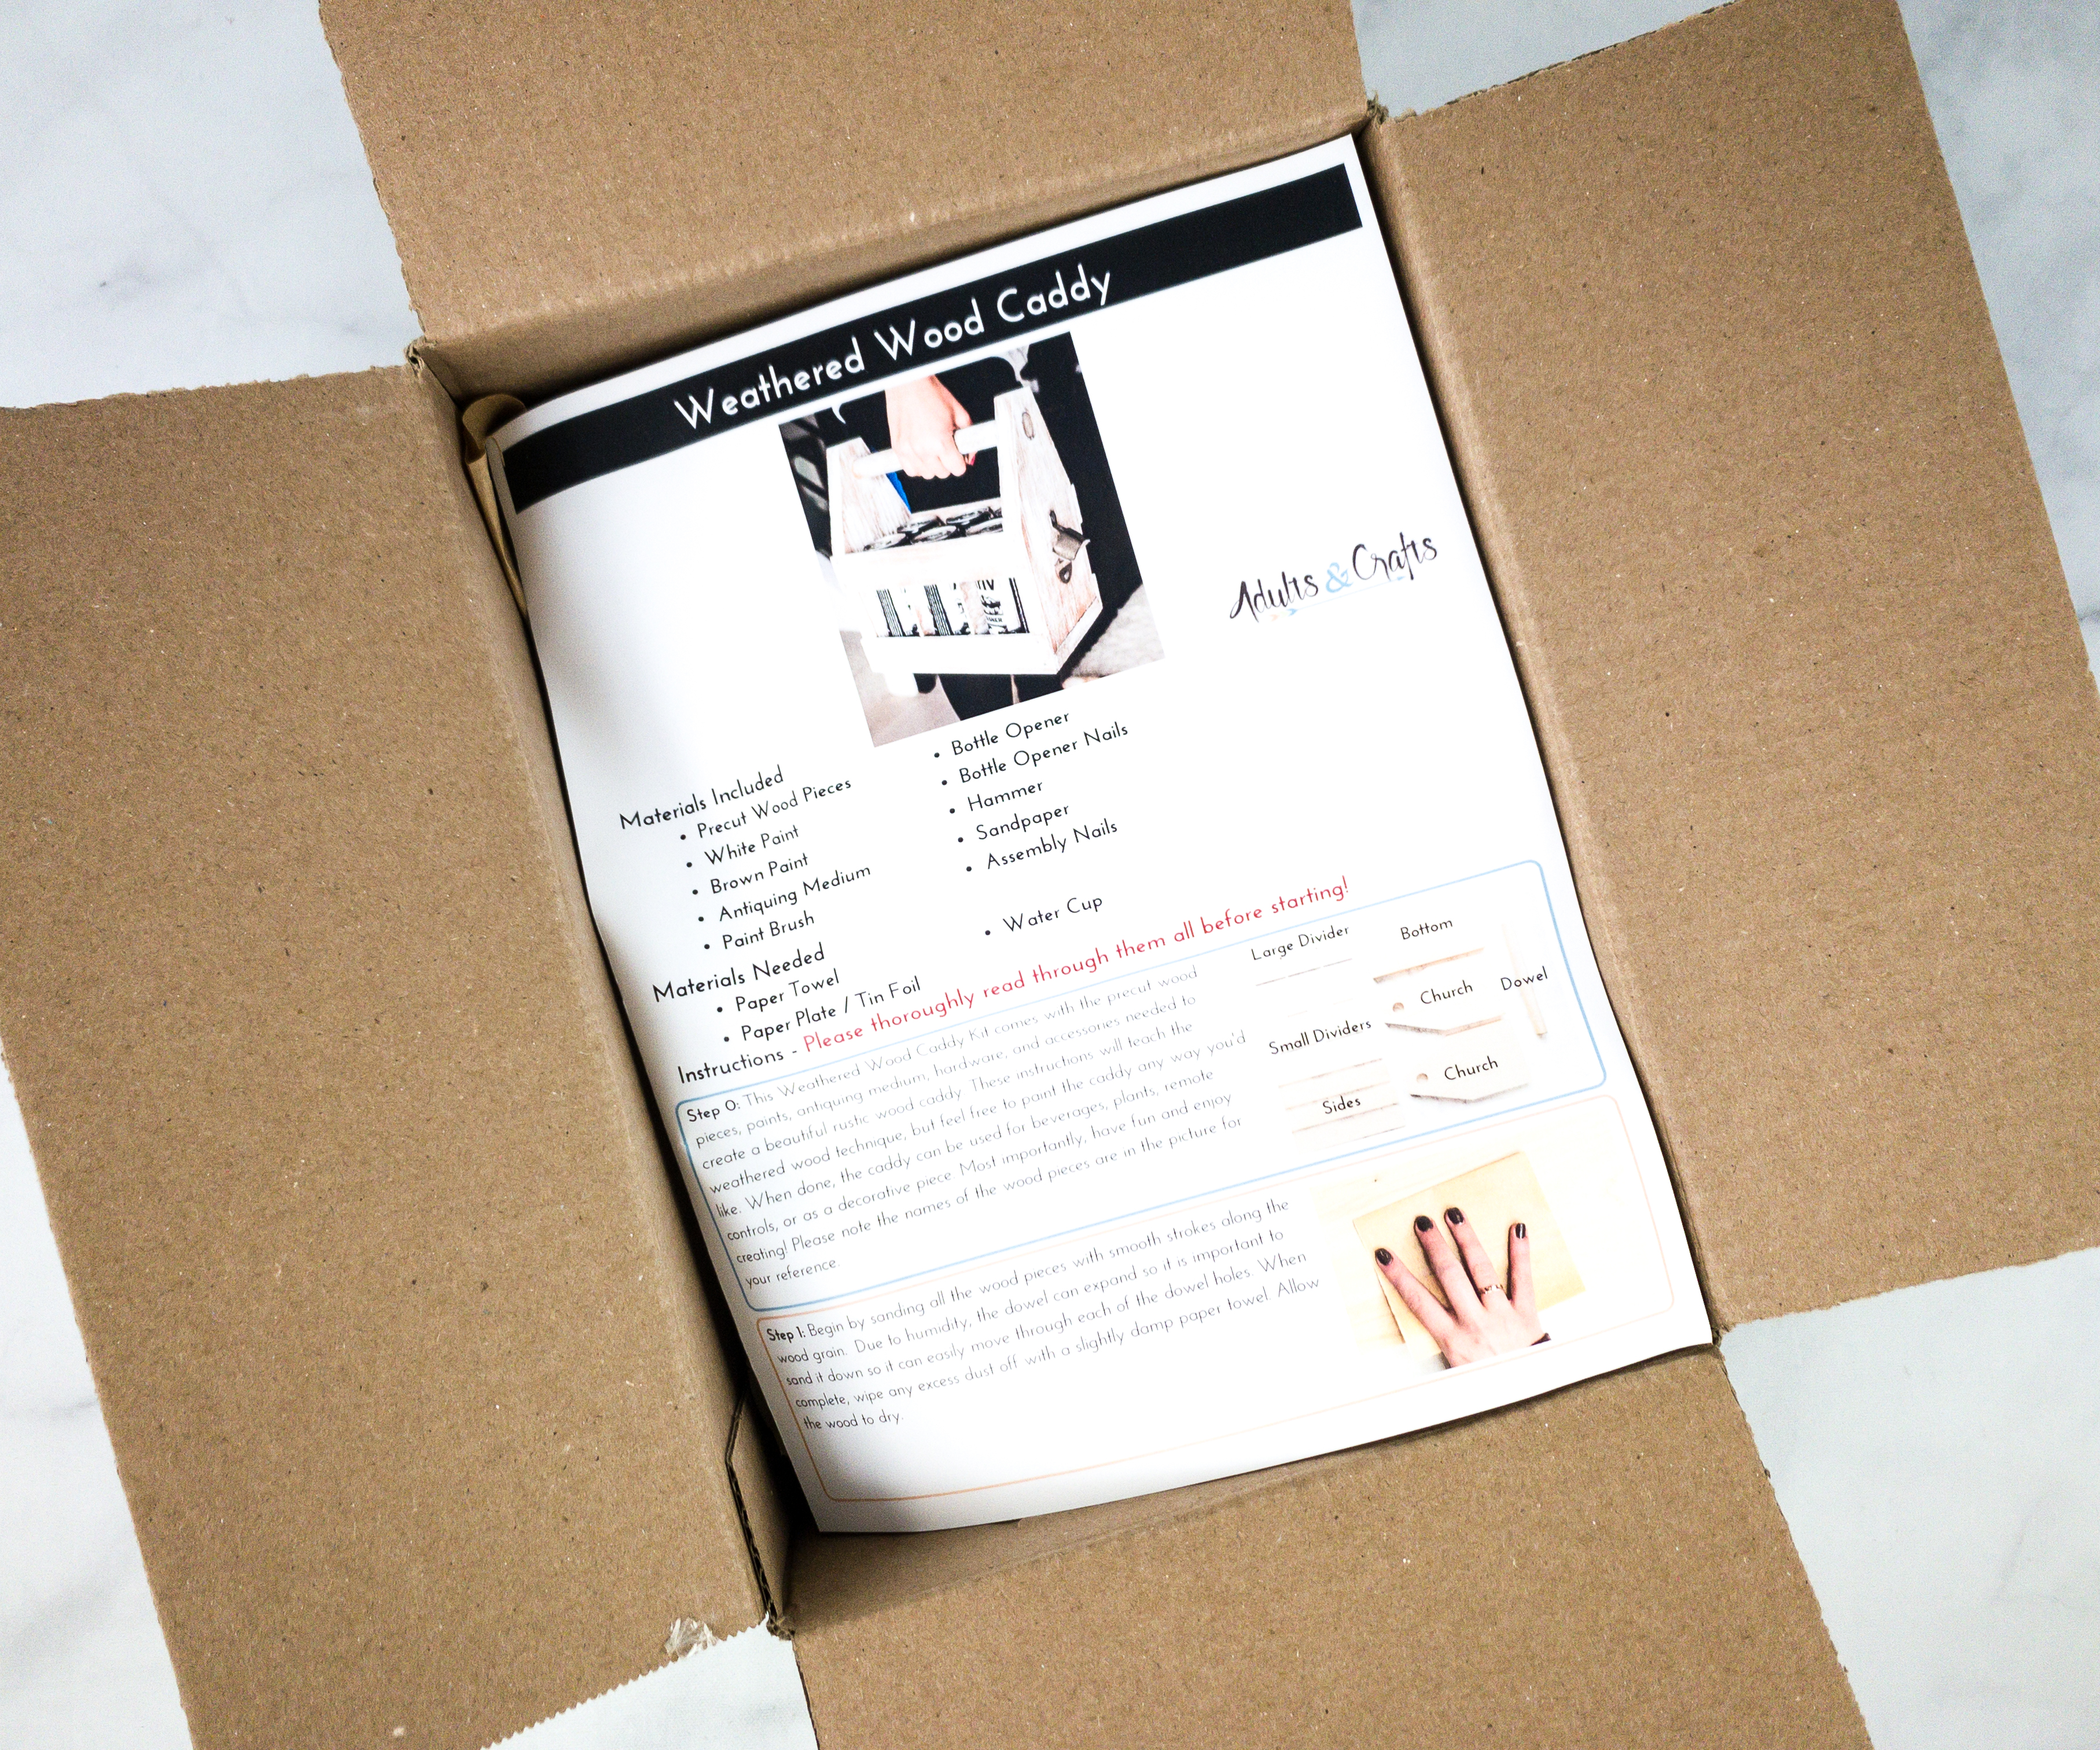
Featured on the leaflet are instructions and materials for the project. They were very easy to follow since they were written in detail.
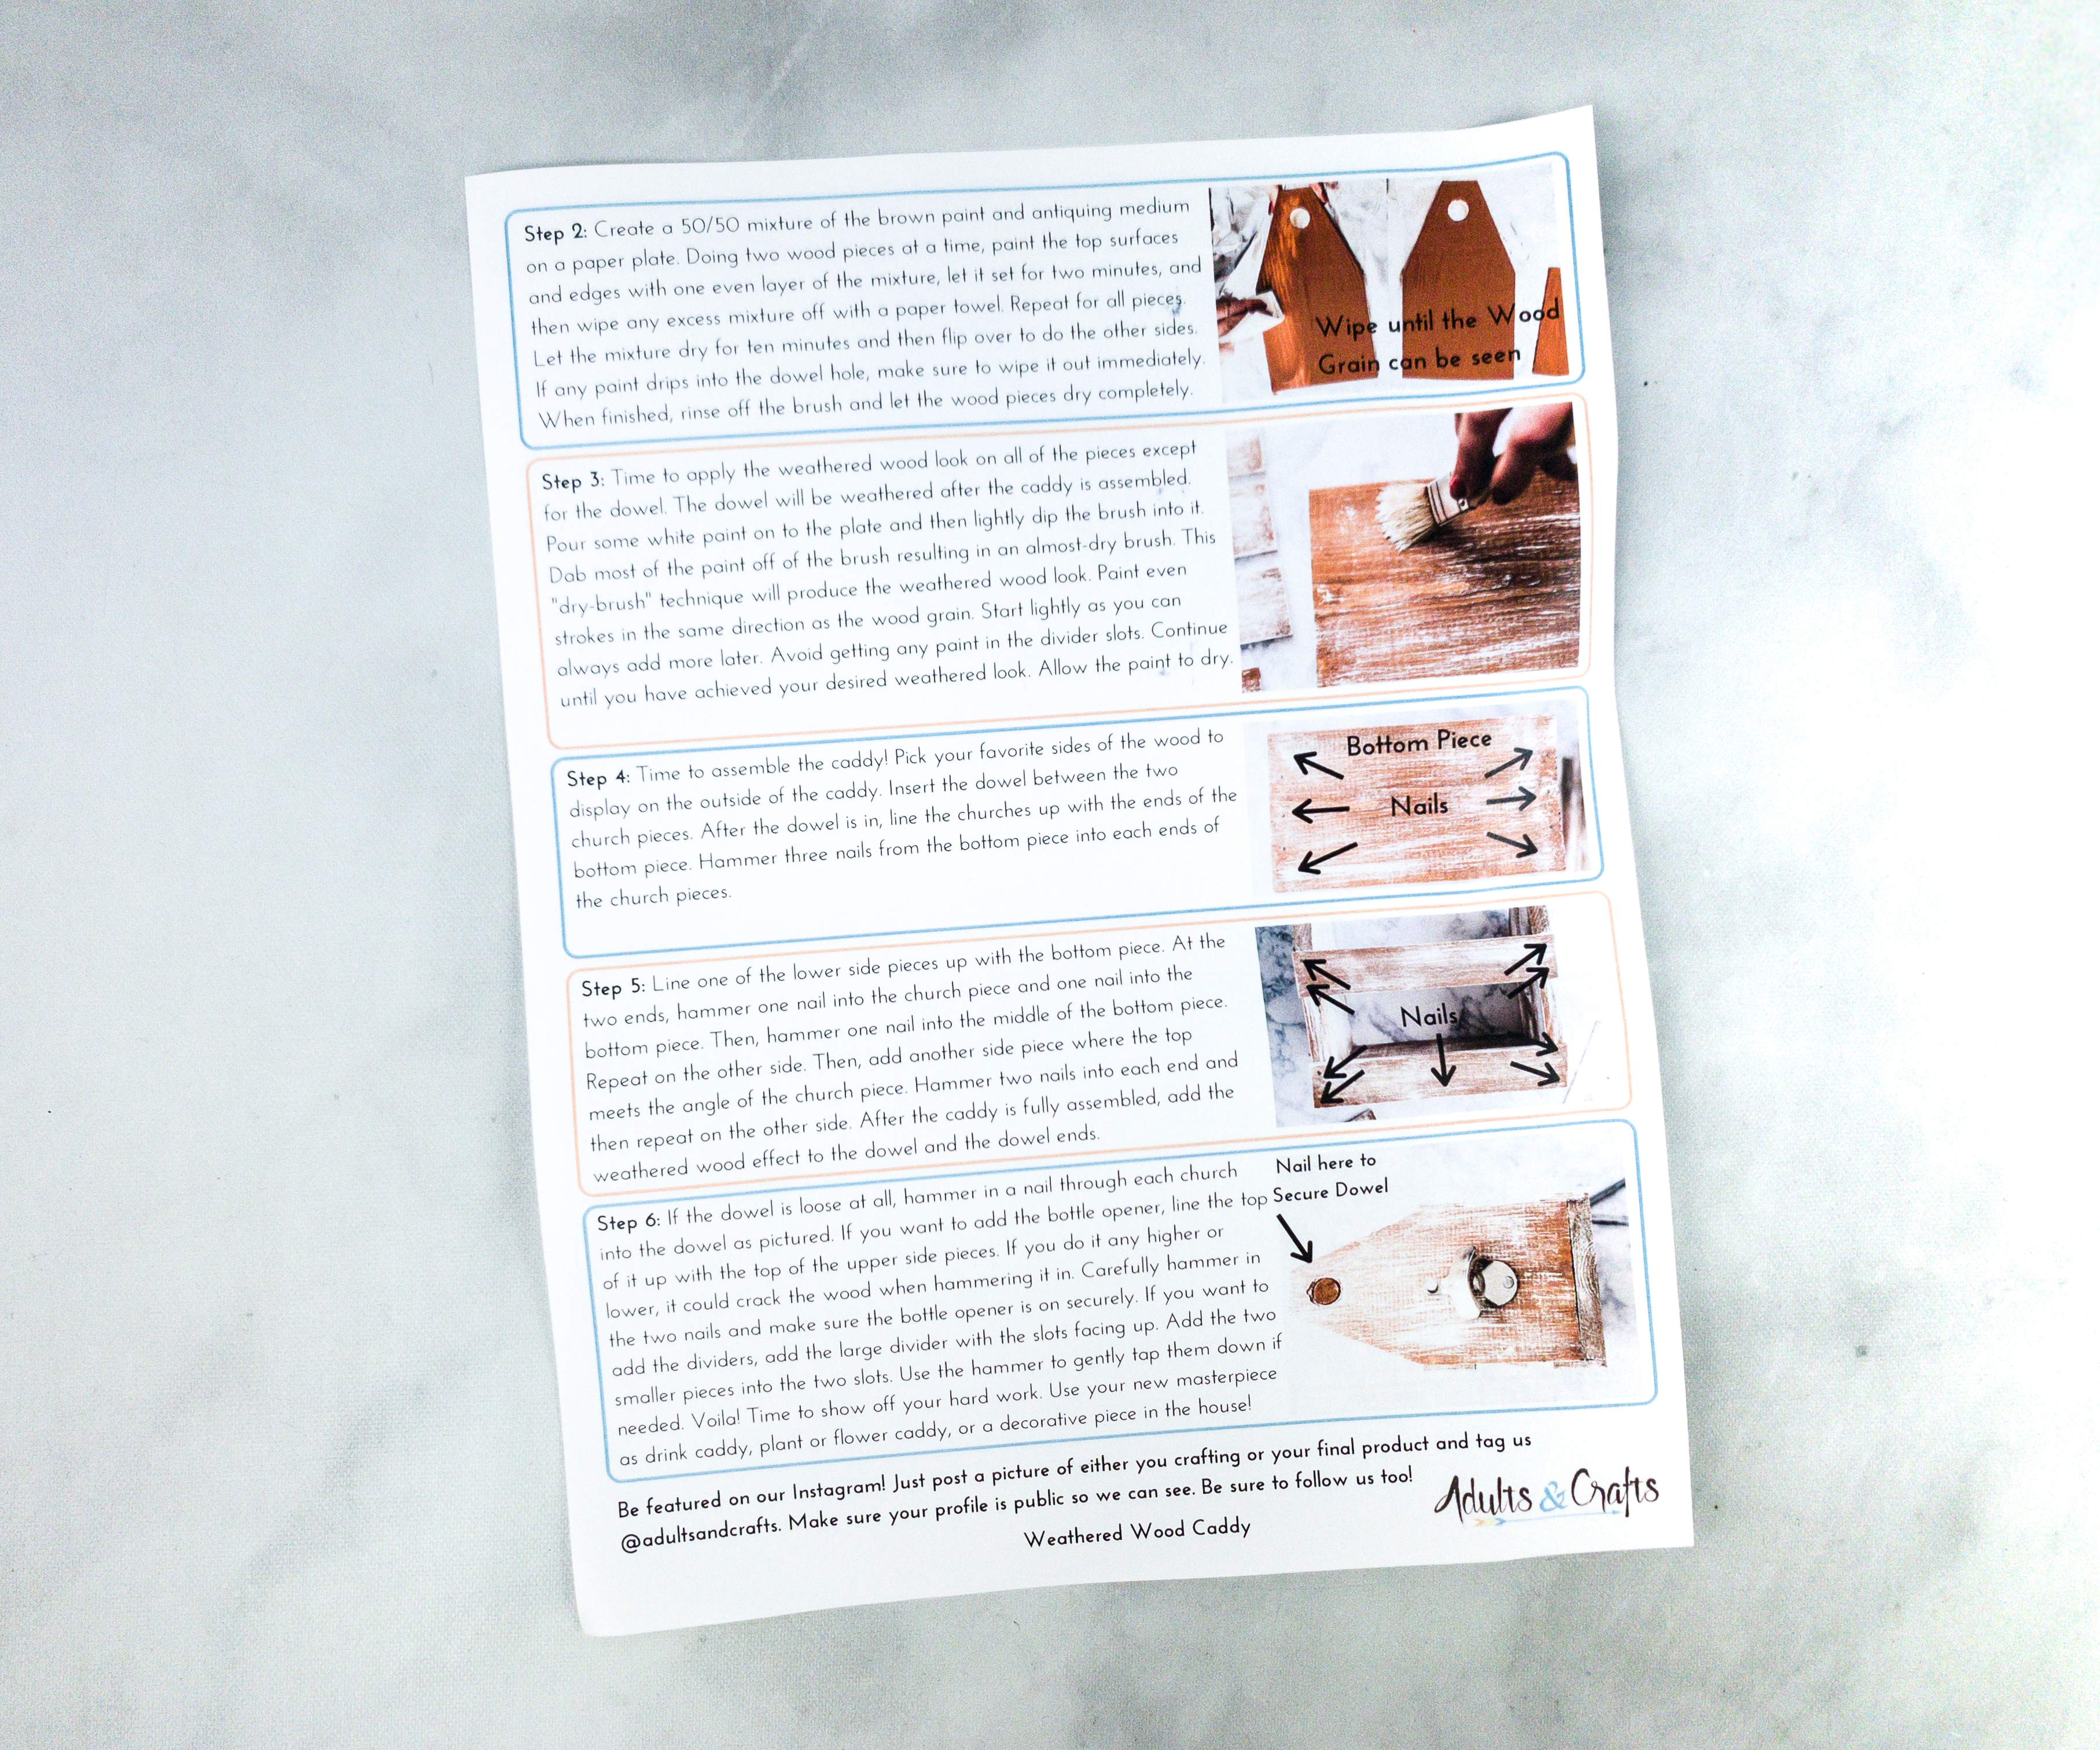
There are also corresponding illustrations for every step of the process so it was easy to monitor if I was doing it correctly or not.
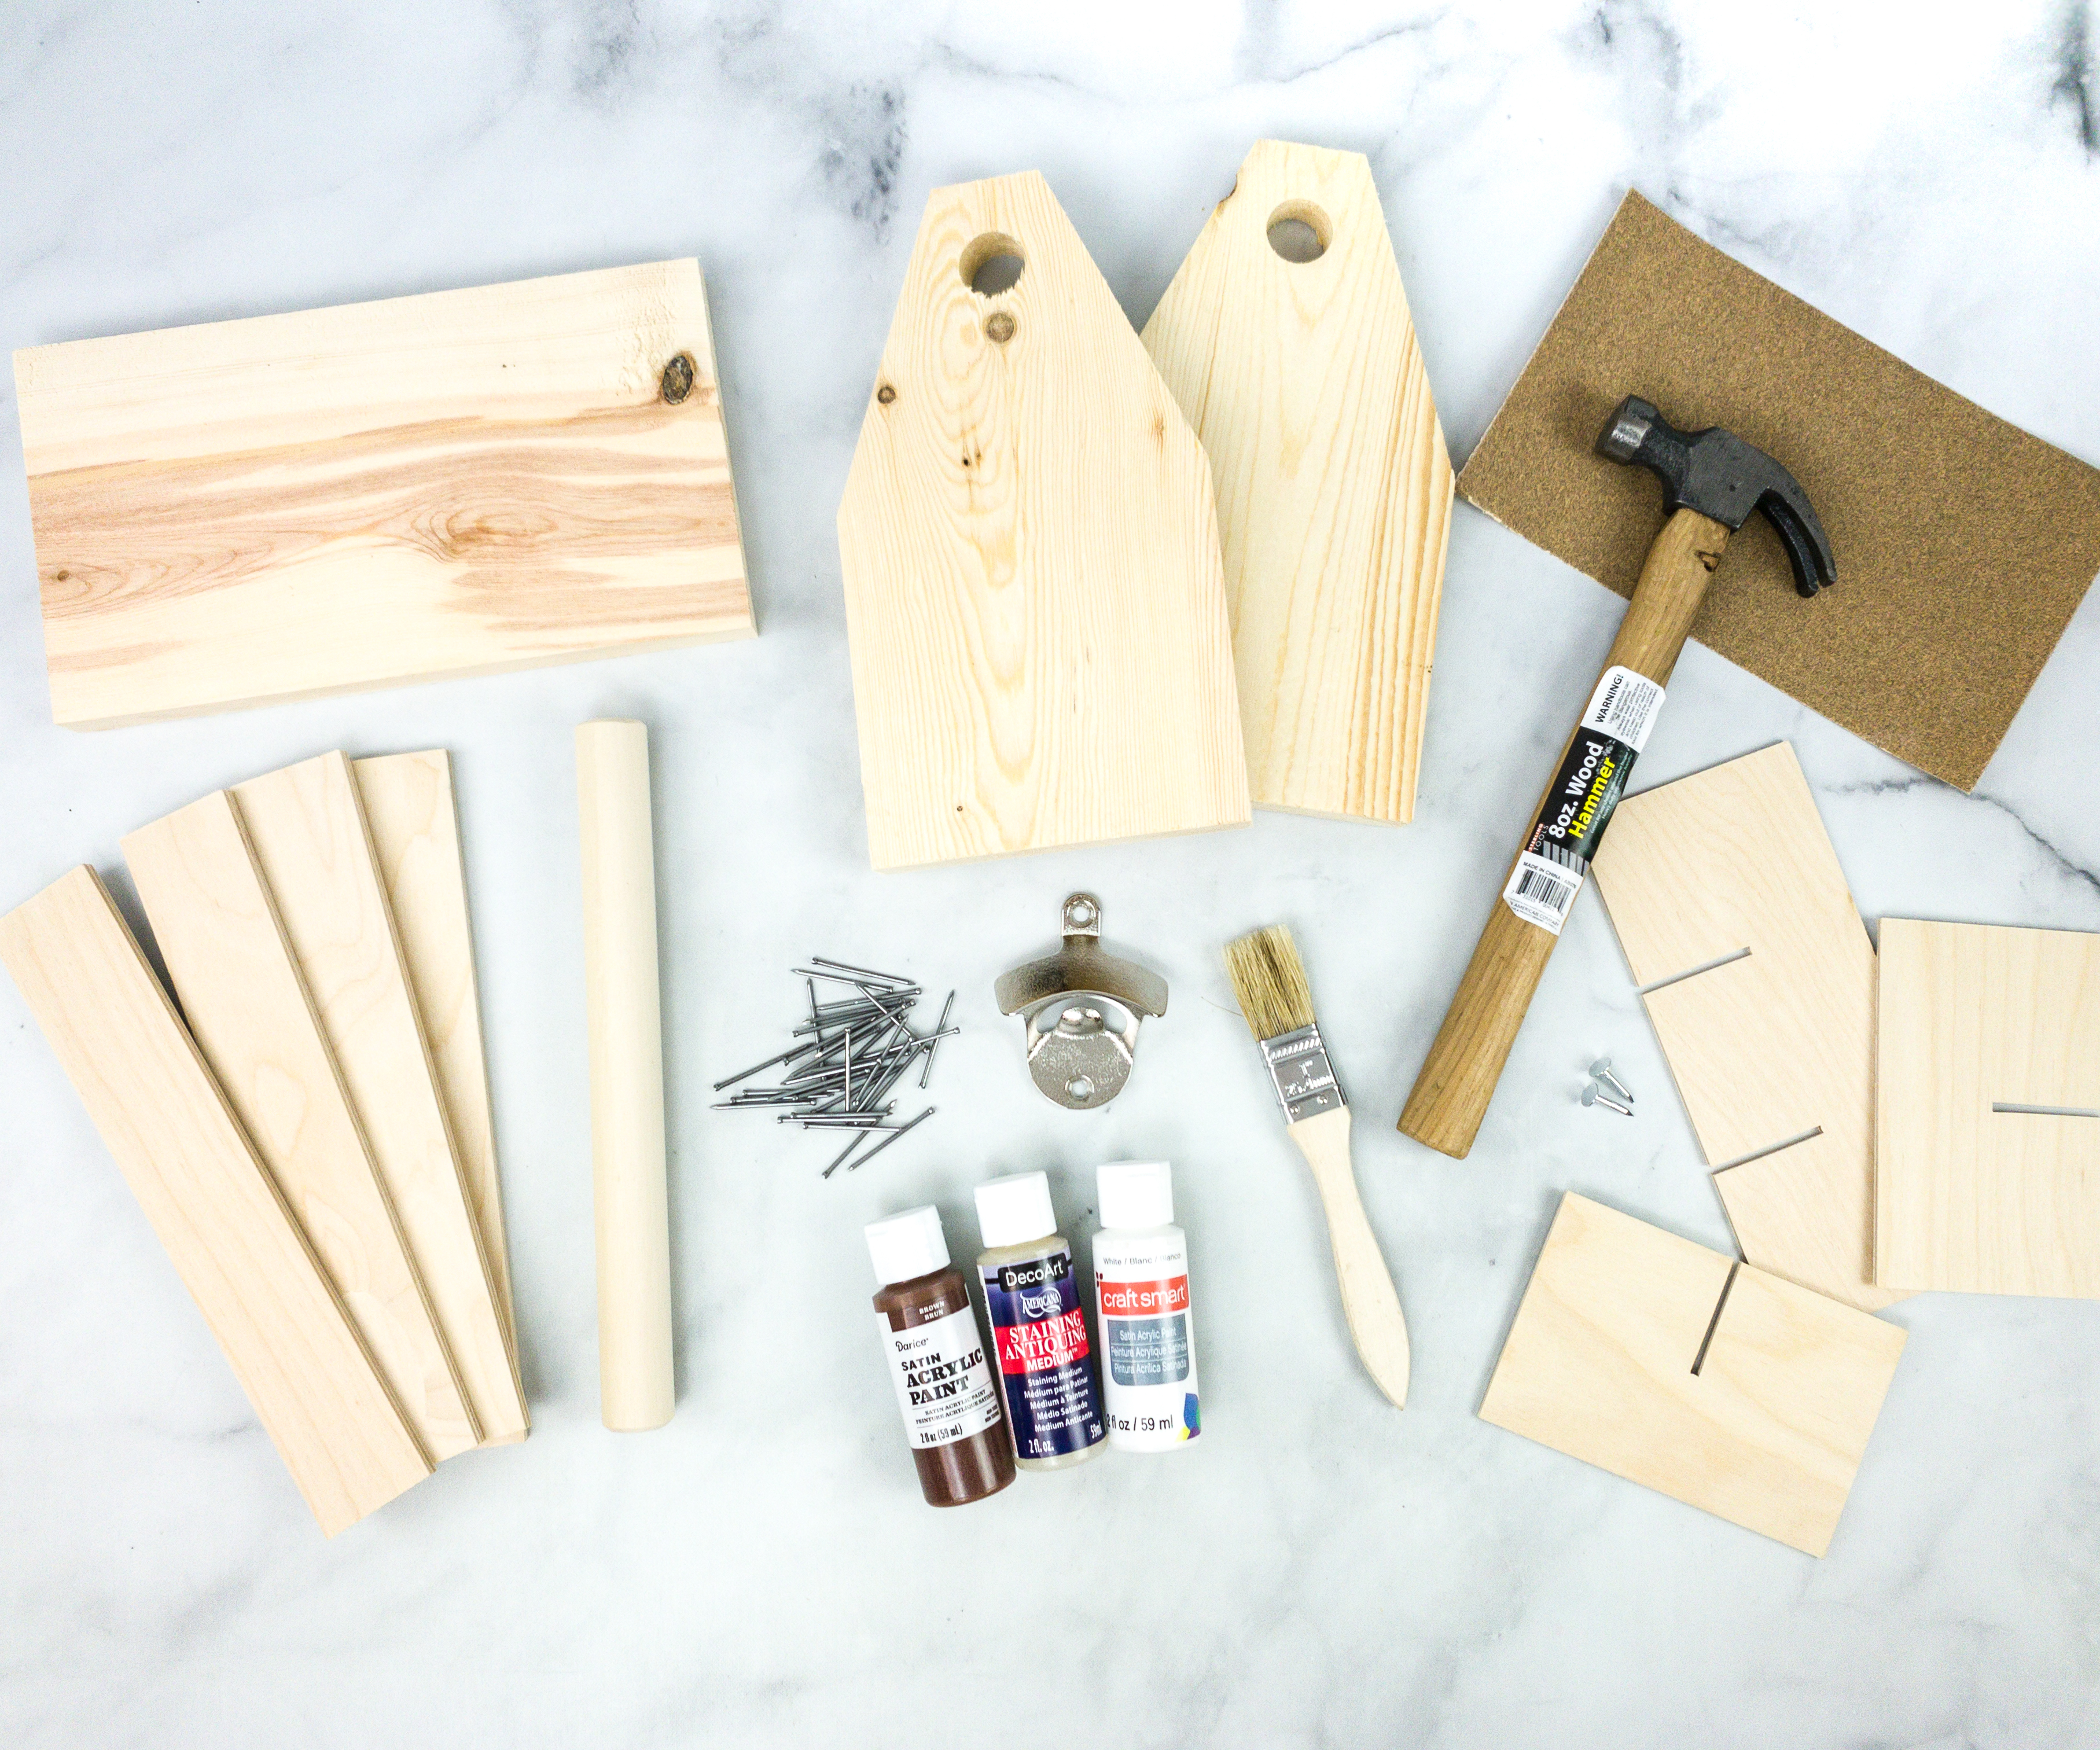
Everything in my box!
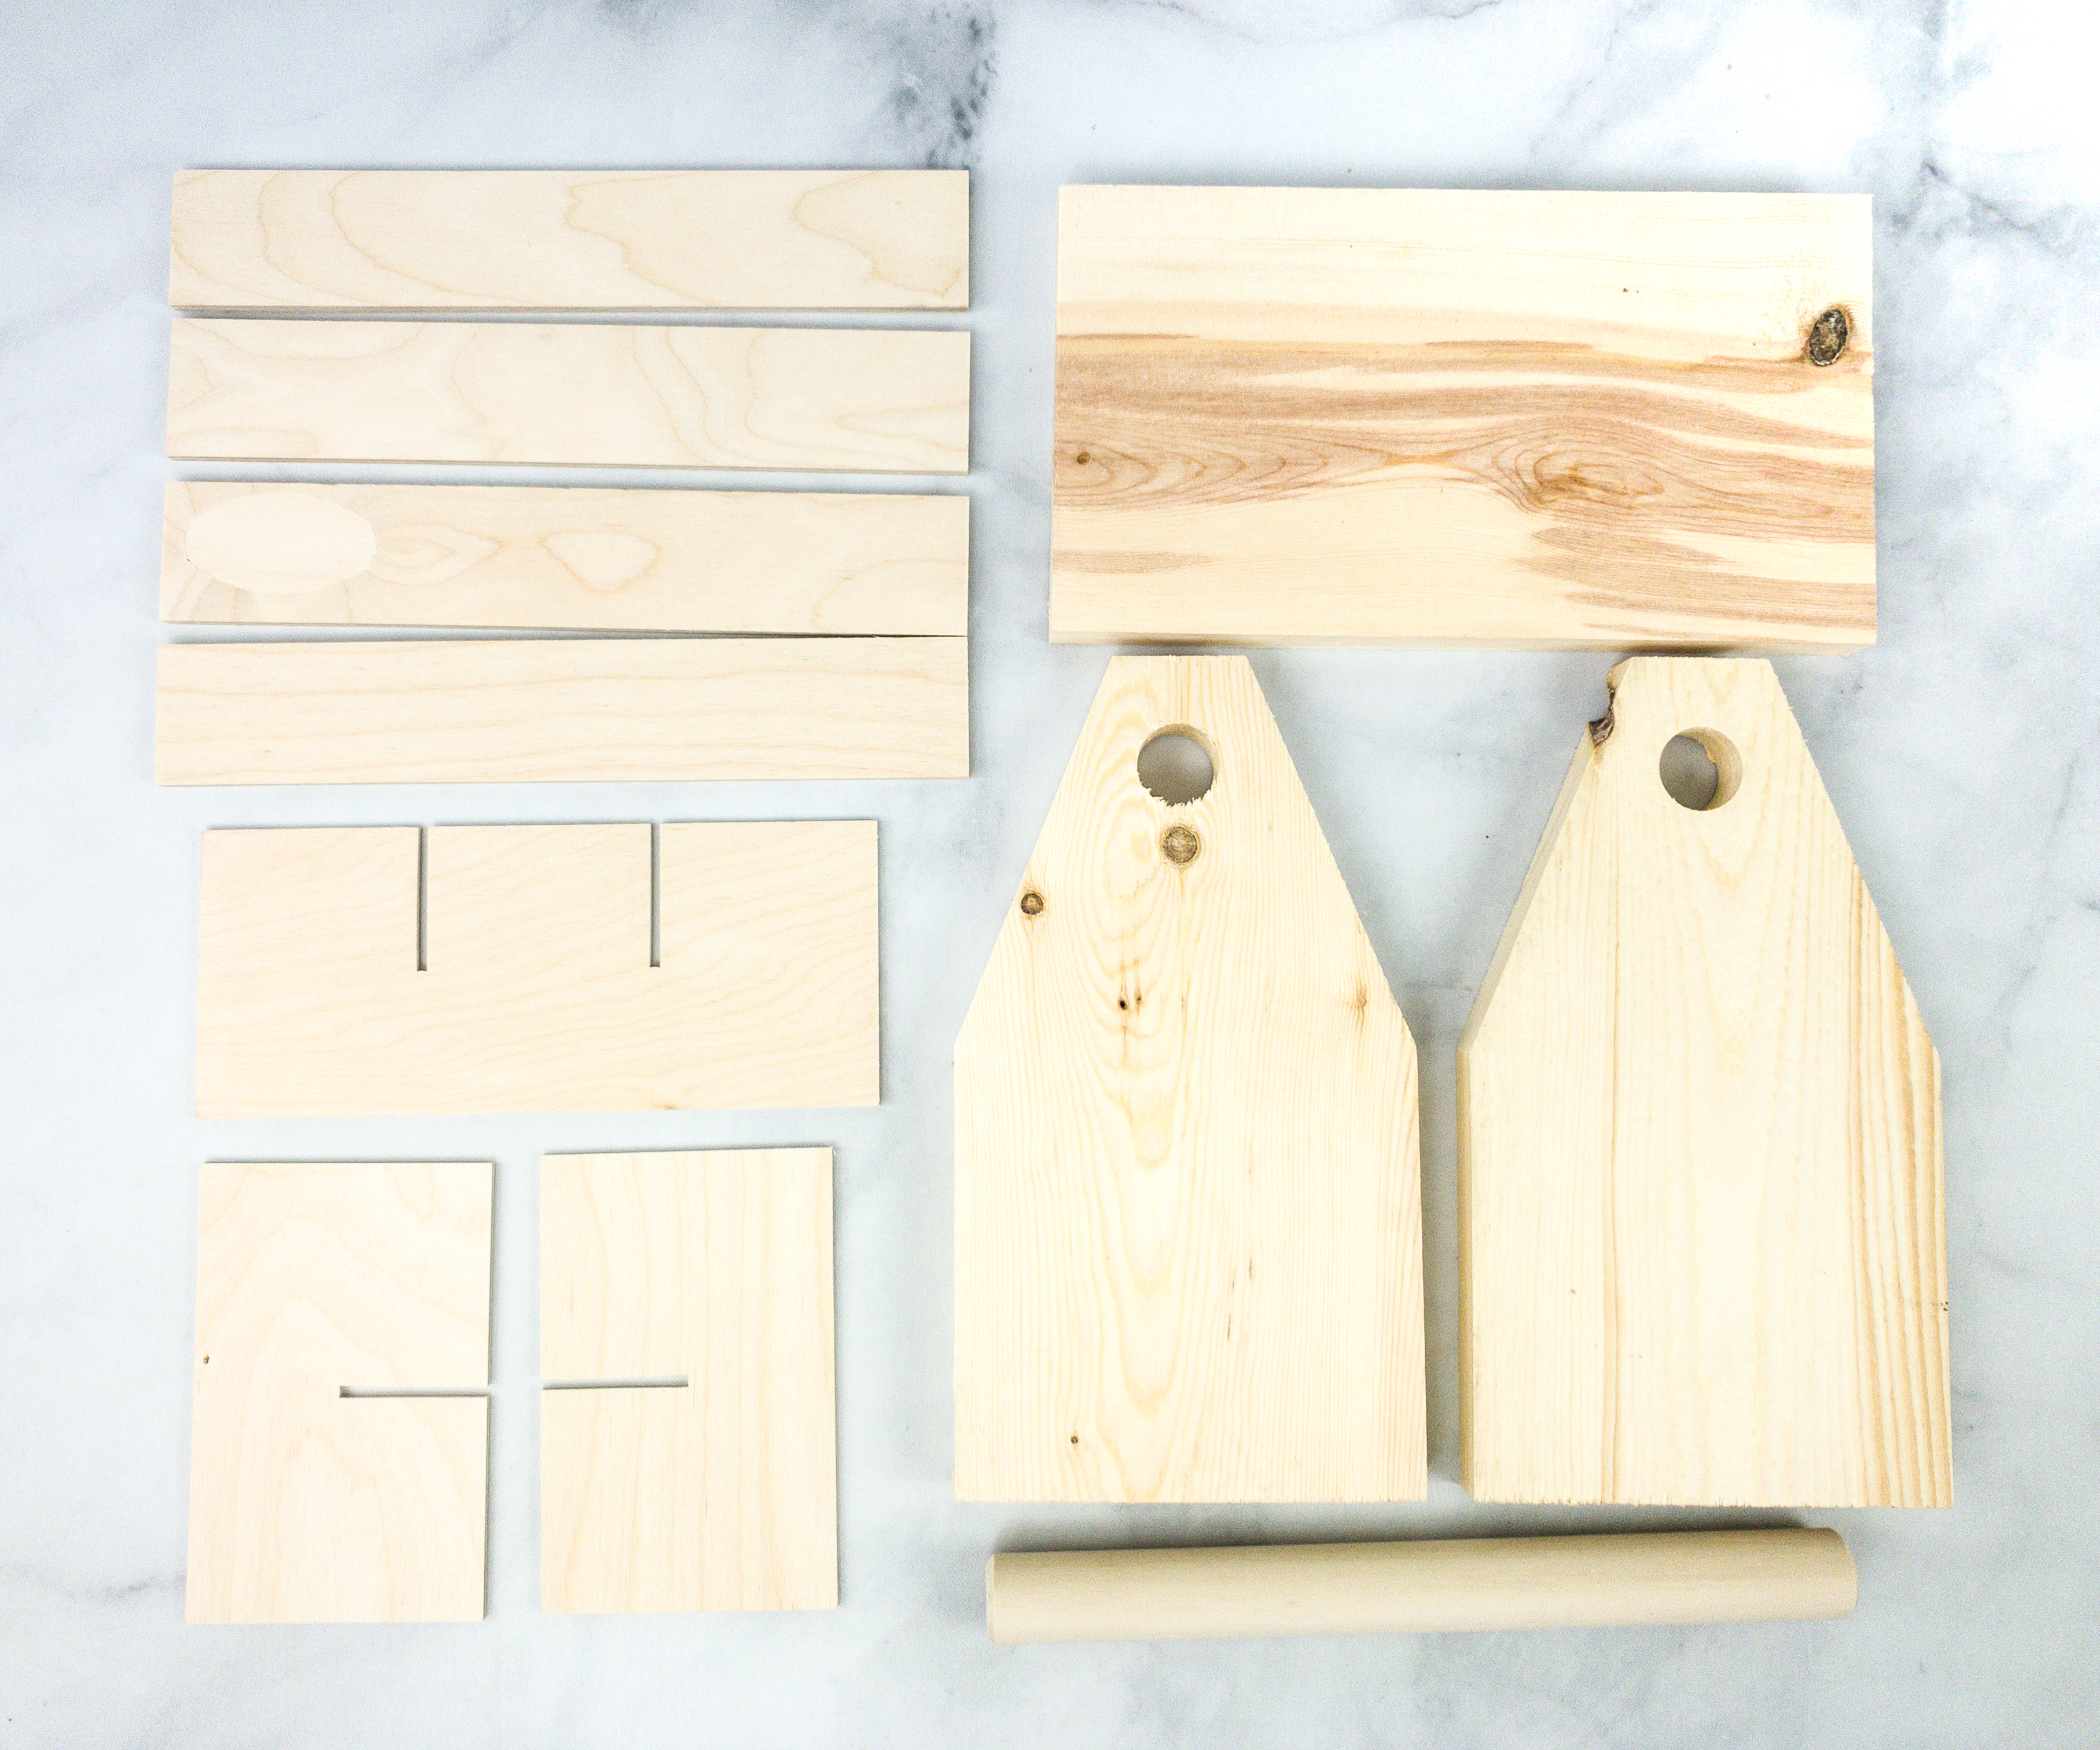
Precut Wood Pieces. The precut wood pieces consist of 4 sides, a bottom, 2 churches, a dowel, small dividers, and a large divider.
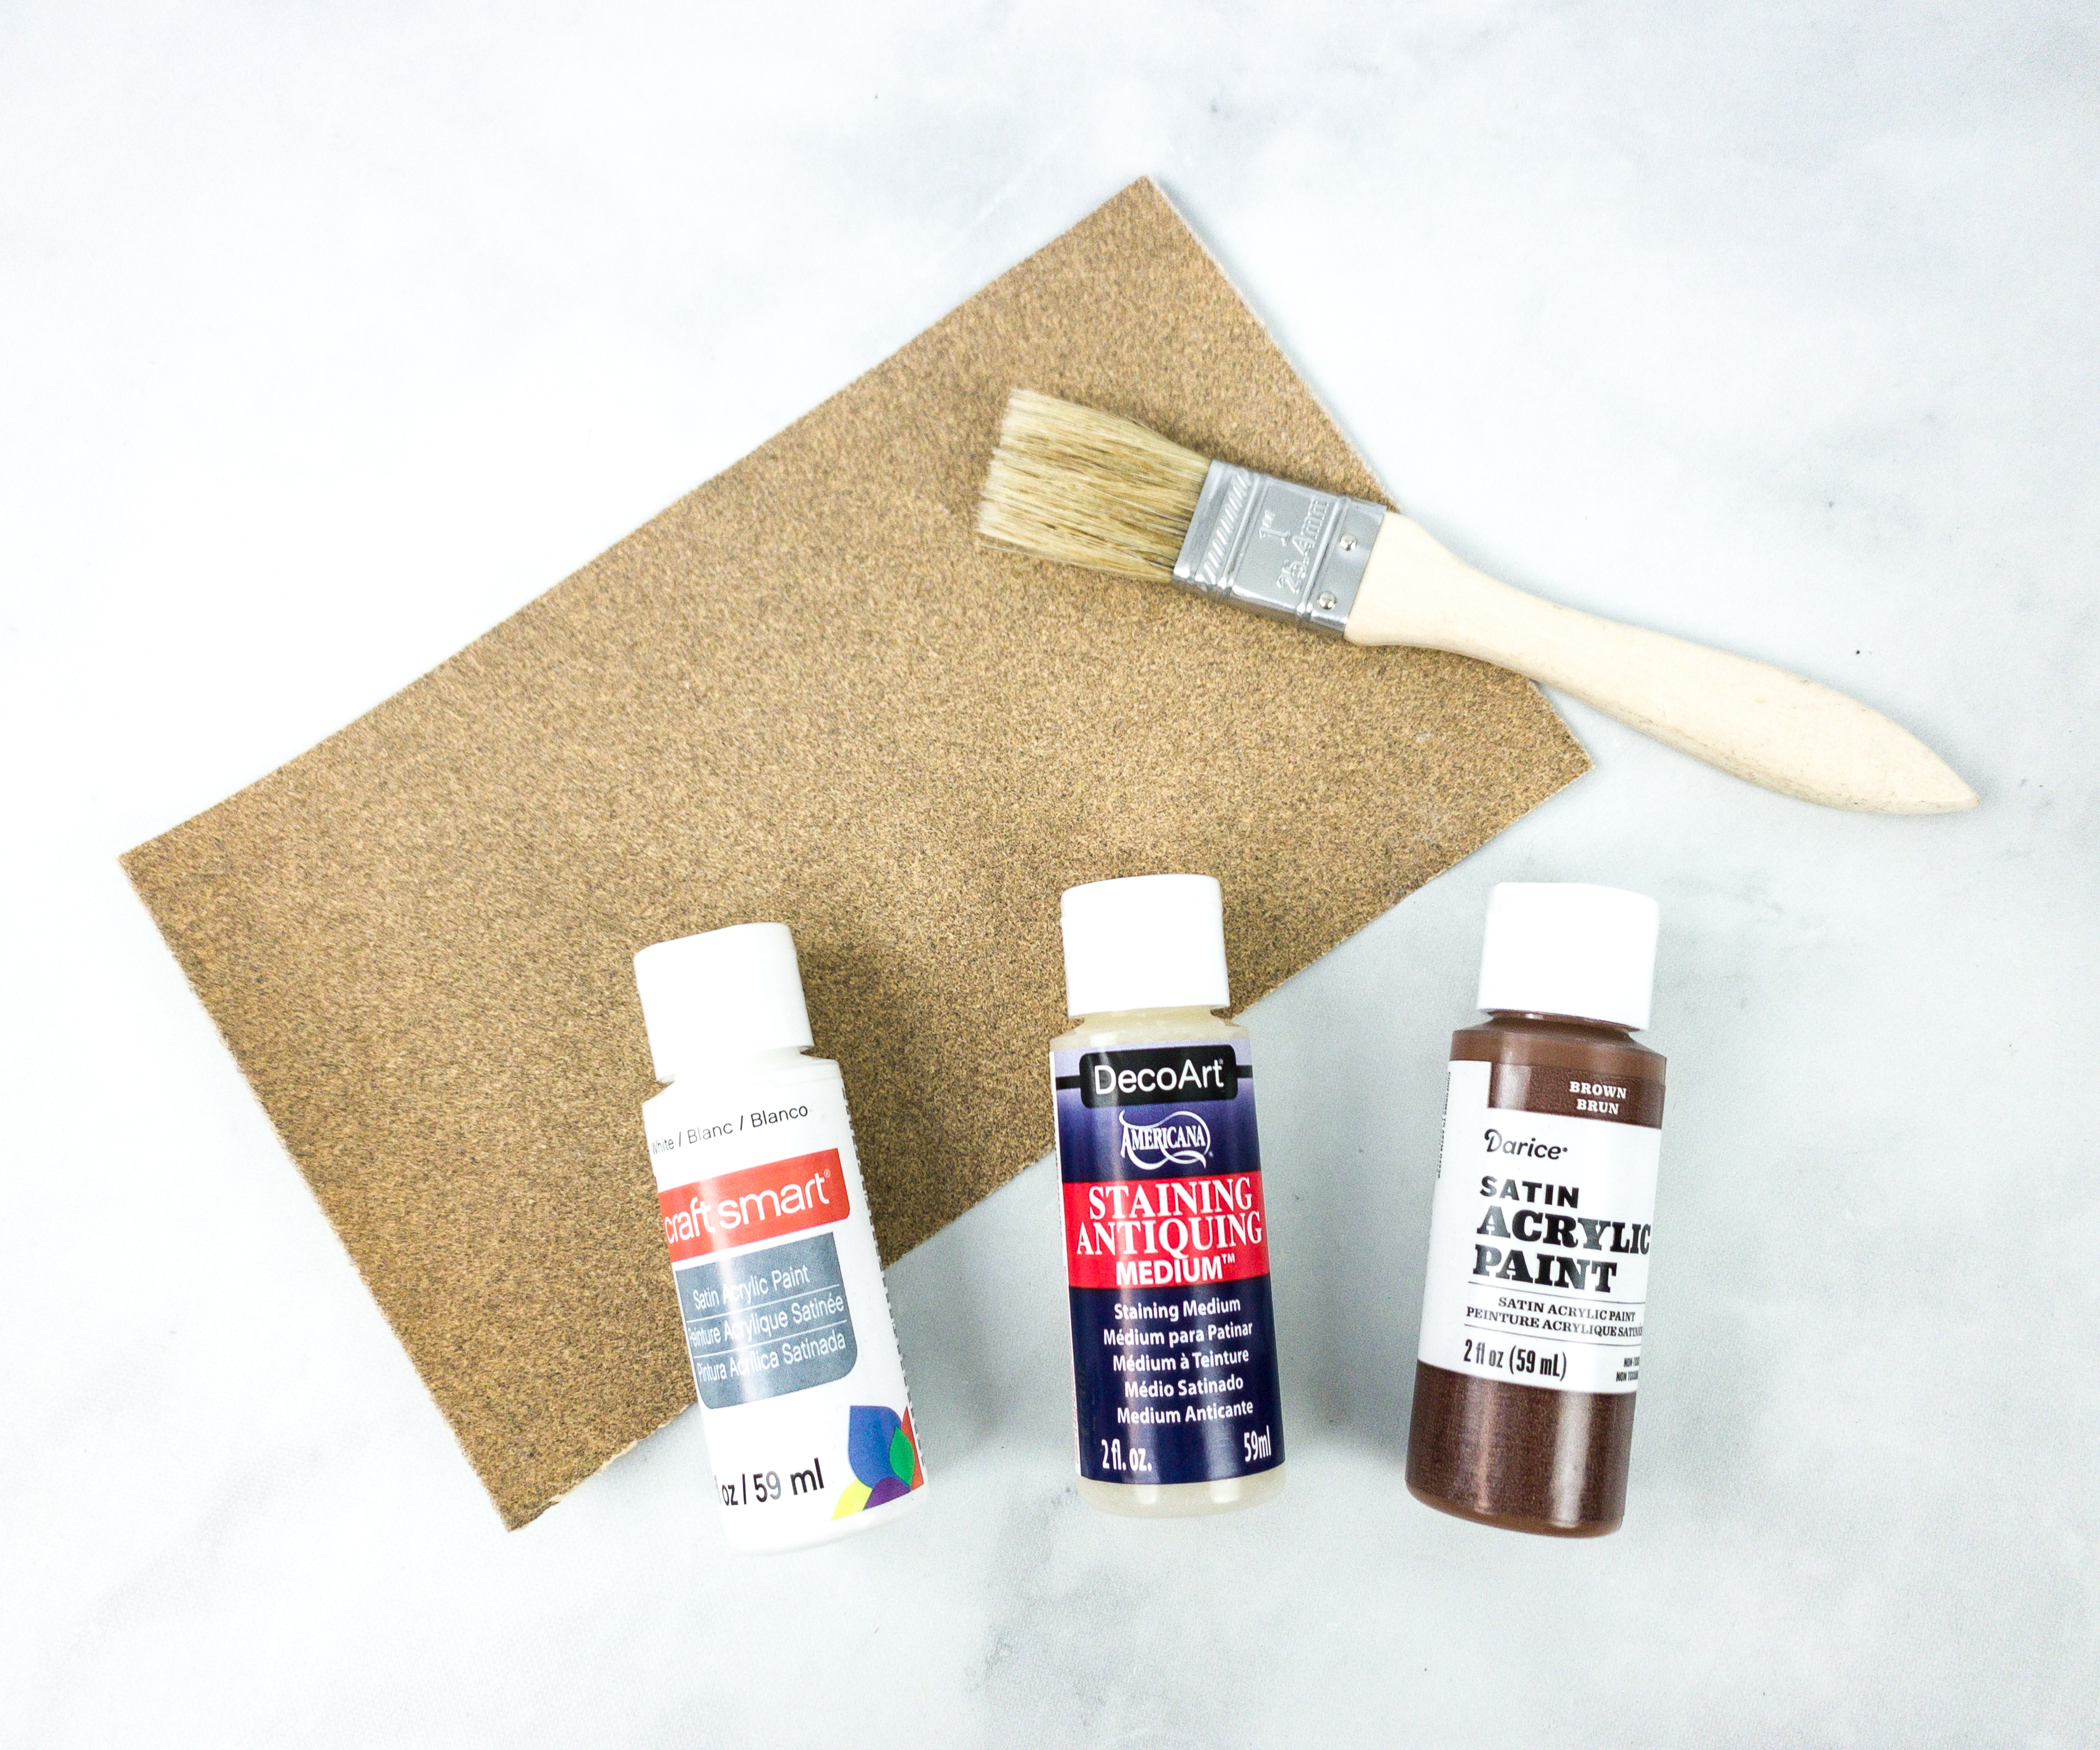
The other materials included in this box are sandpaper, antiquing medium, white and brown paint, and a paintbrush.
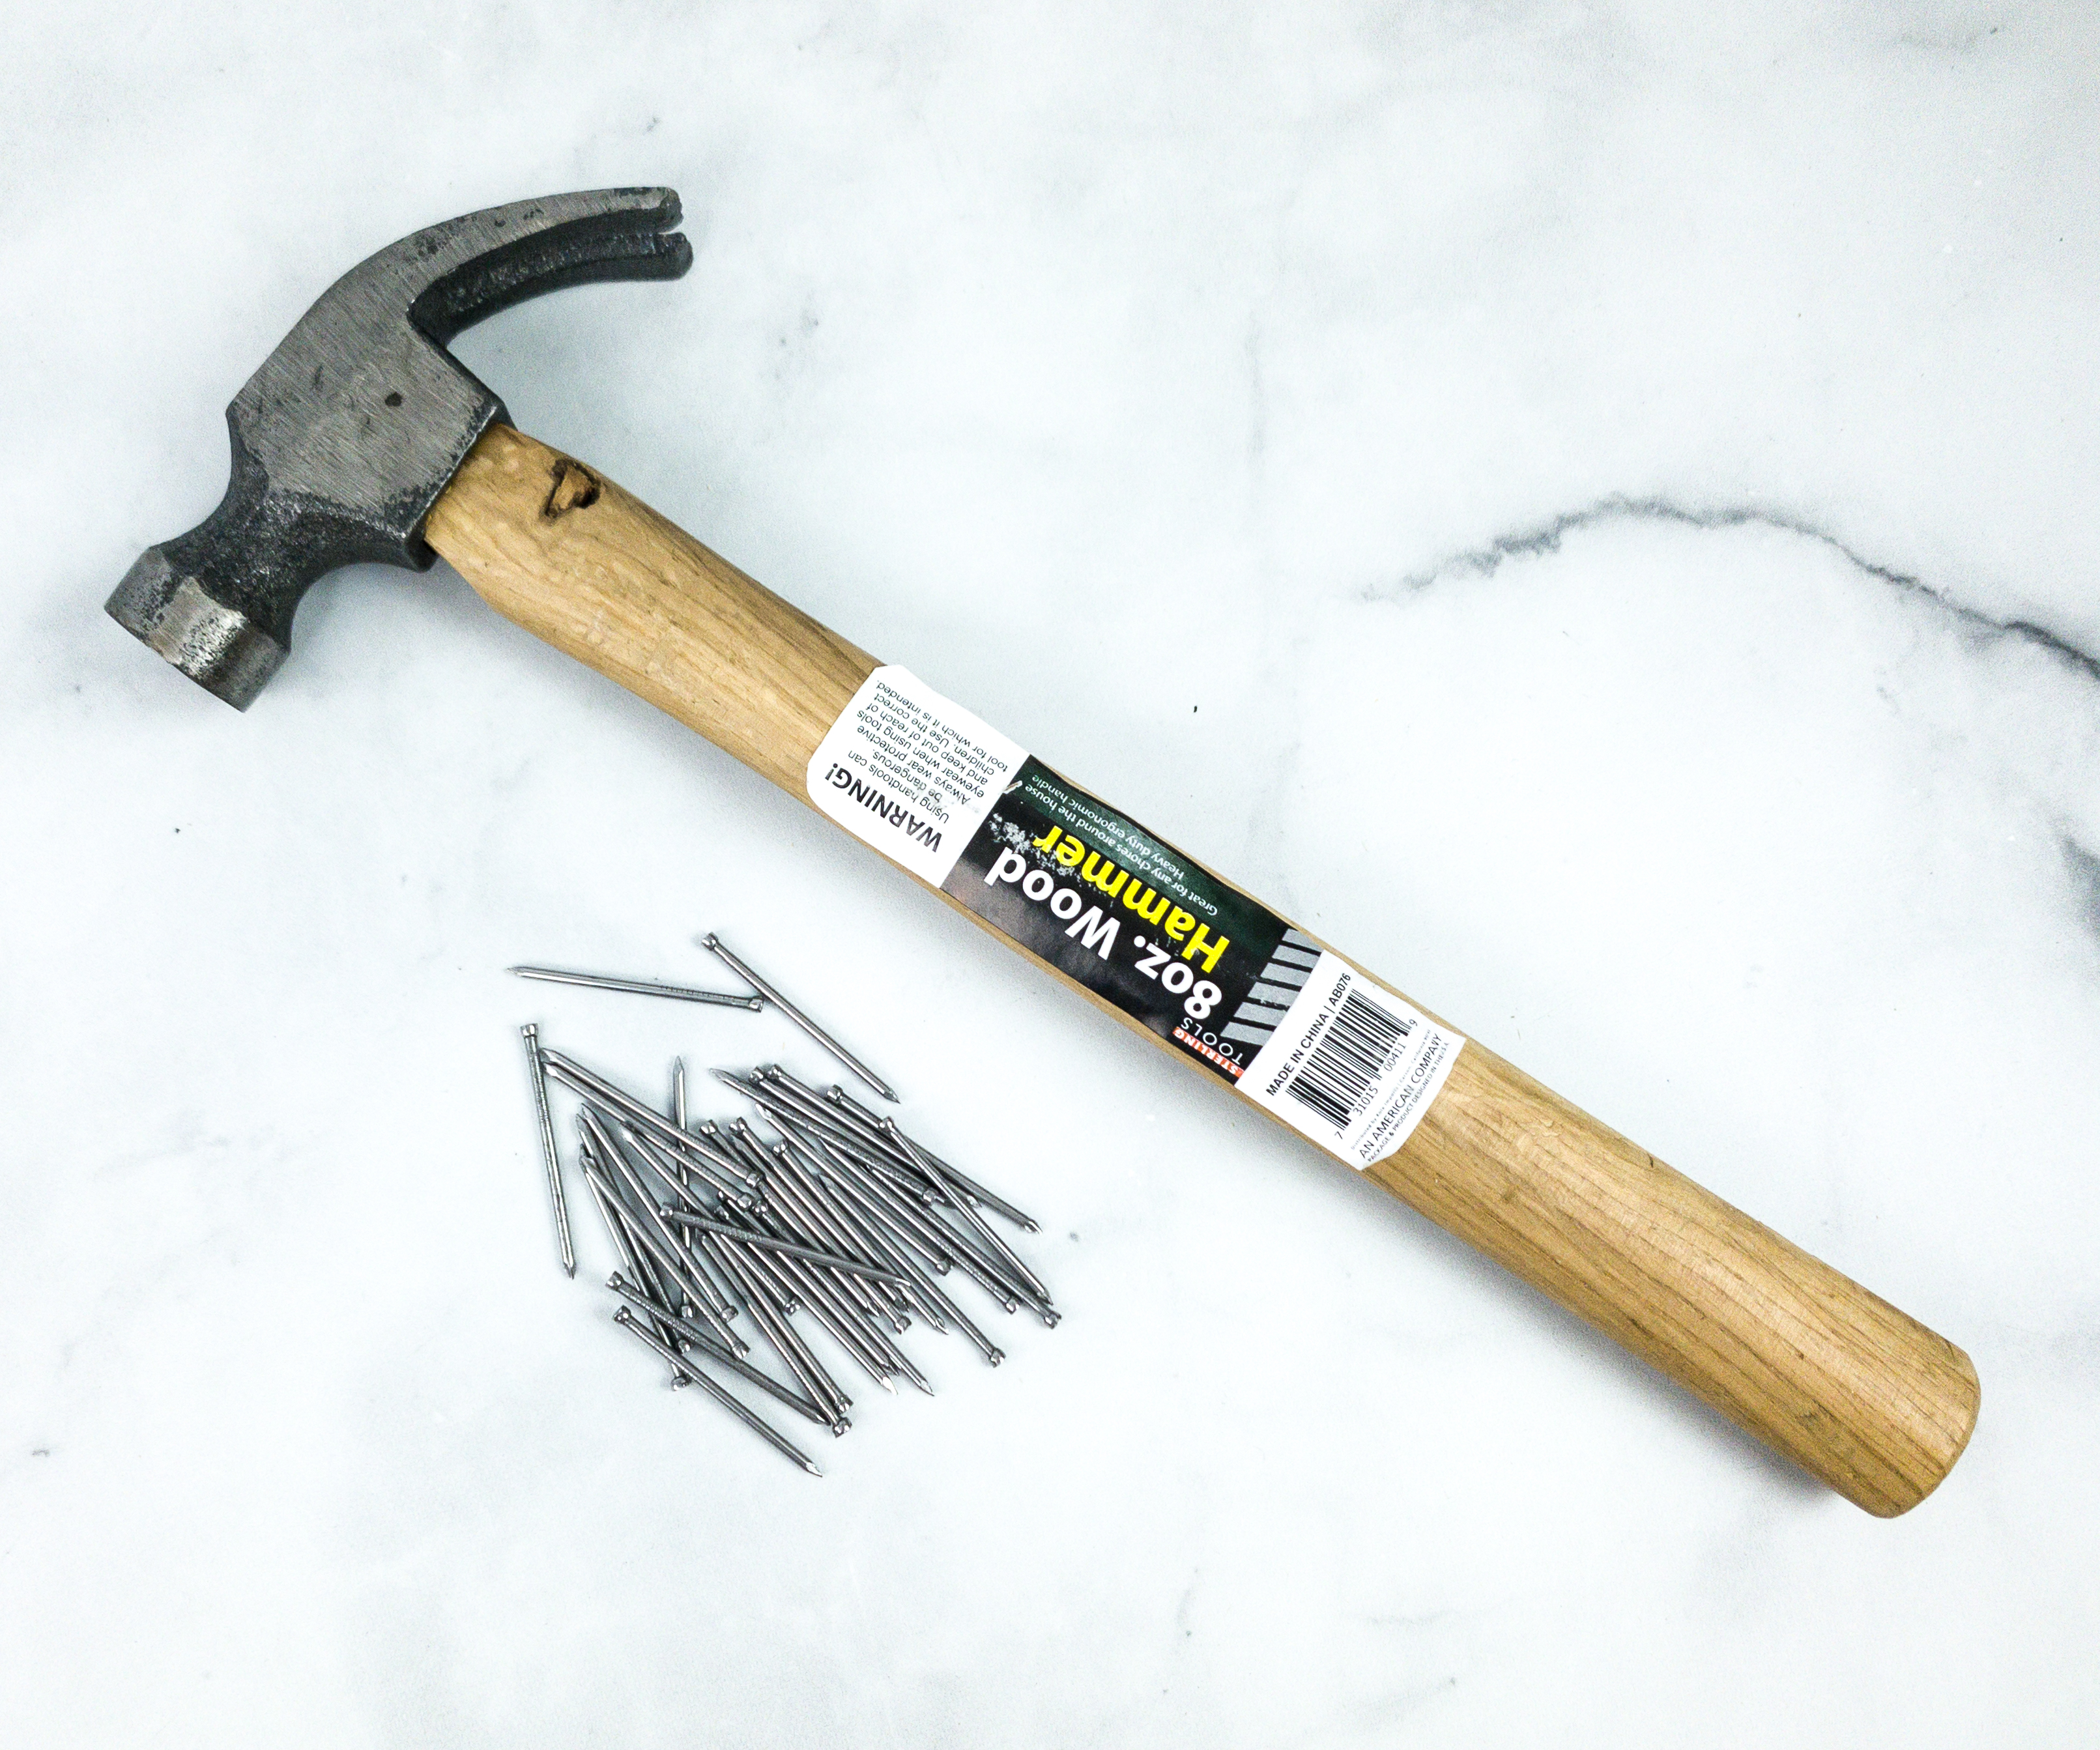
Hammer. There’s also an included hammer and some assembly nails. They will be used to secure all the parts of the caddy.
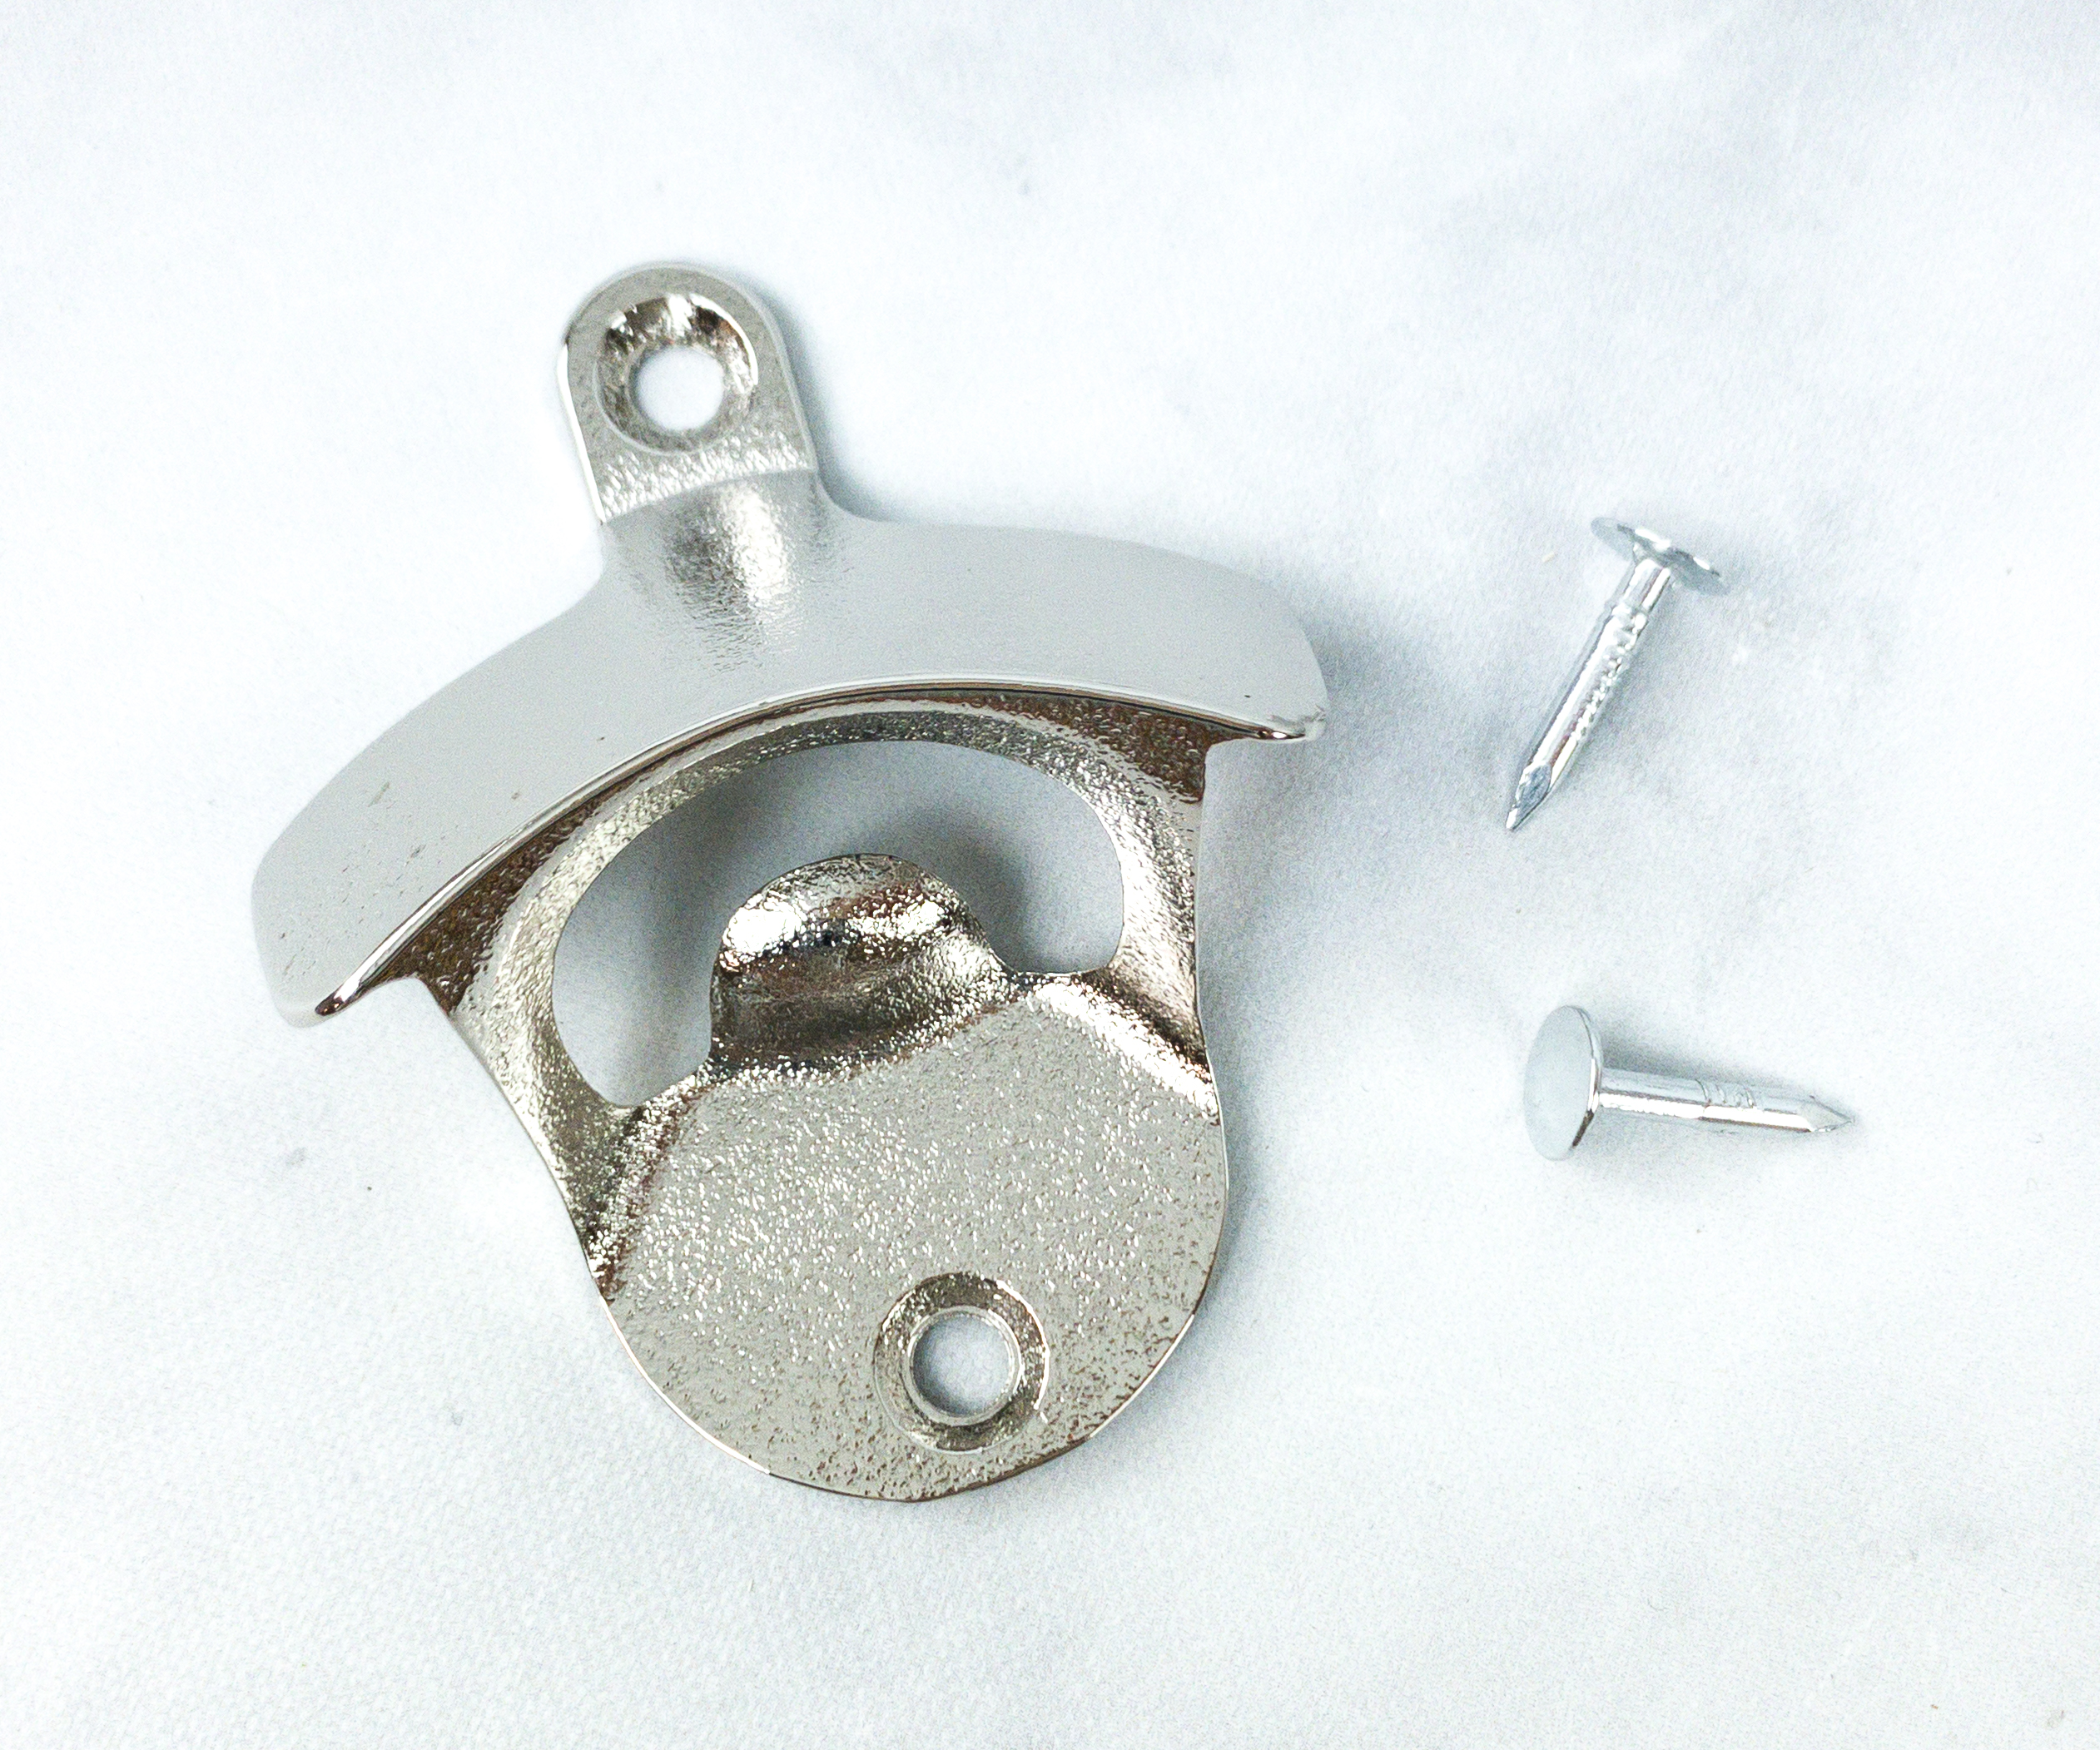
Bottle Opener and Bottle Opener Nails. Here’s another set of hardware that we can attach to the caddy, a bottle opener, and some nails that will fasten it properly on the caddy’s side.
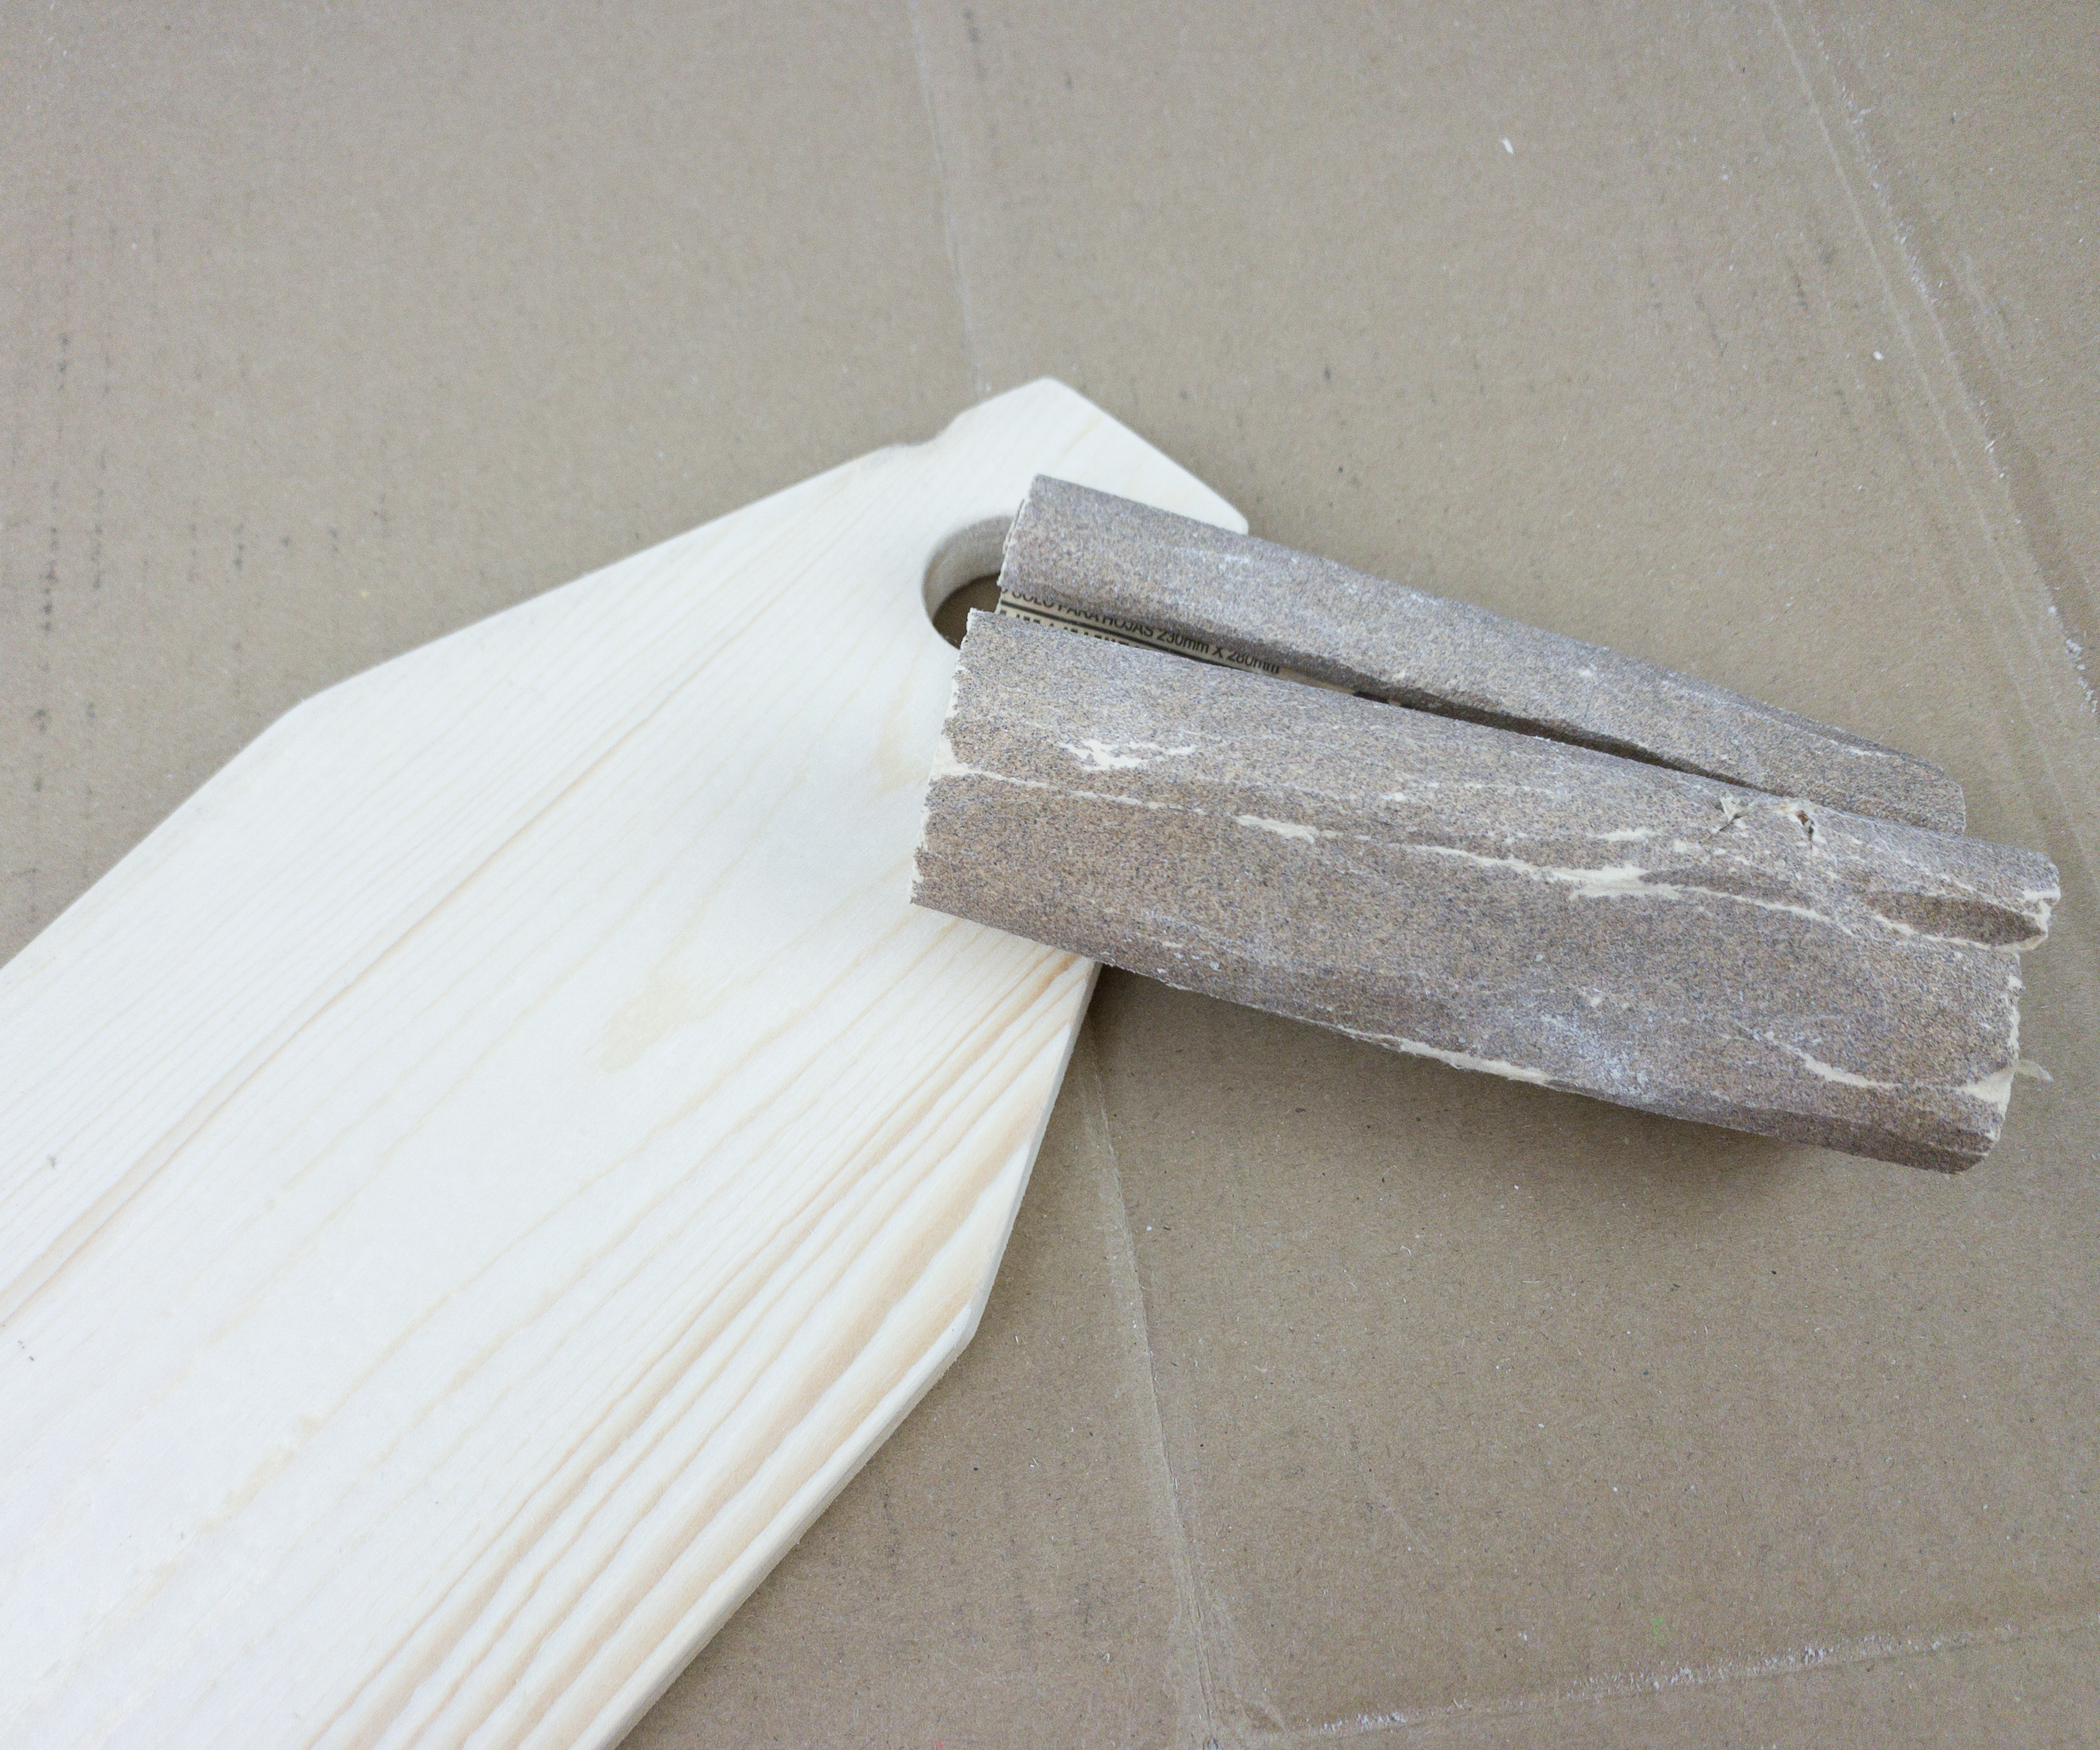
First, we sanded the wood pieces! Sanding the wood pieces is important as it removes the wood flaws like mill marks, dents, and gouges. After sanding, the wood becomes smooth and easier to paint on.
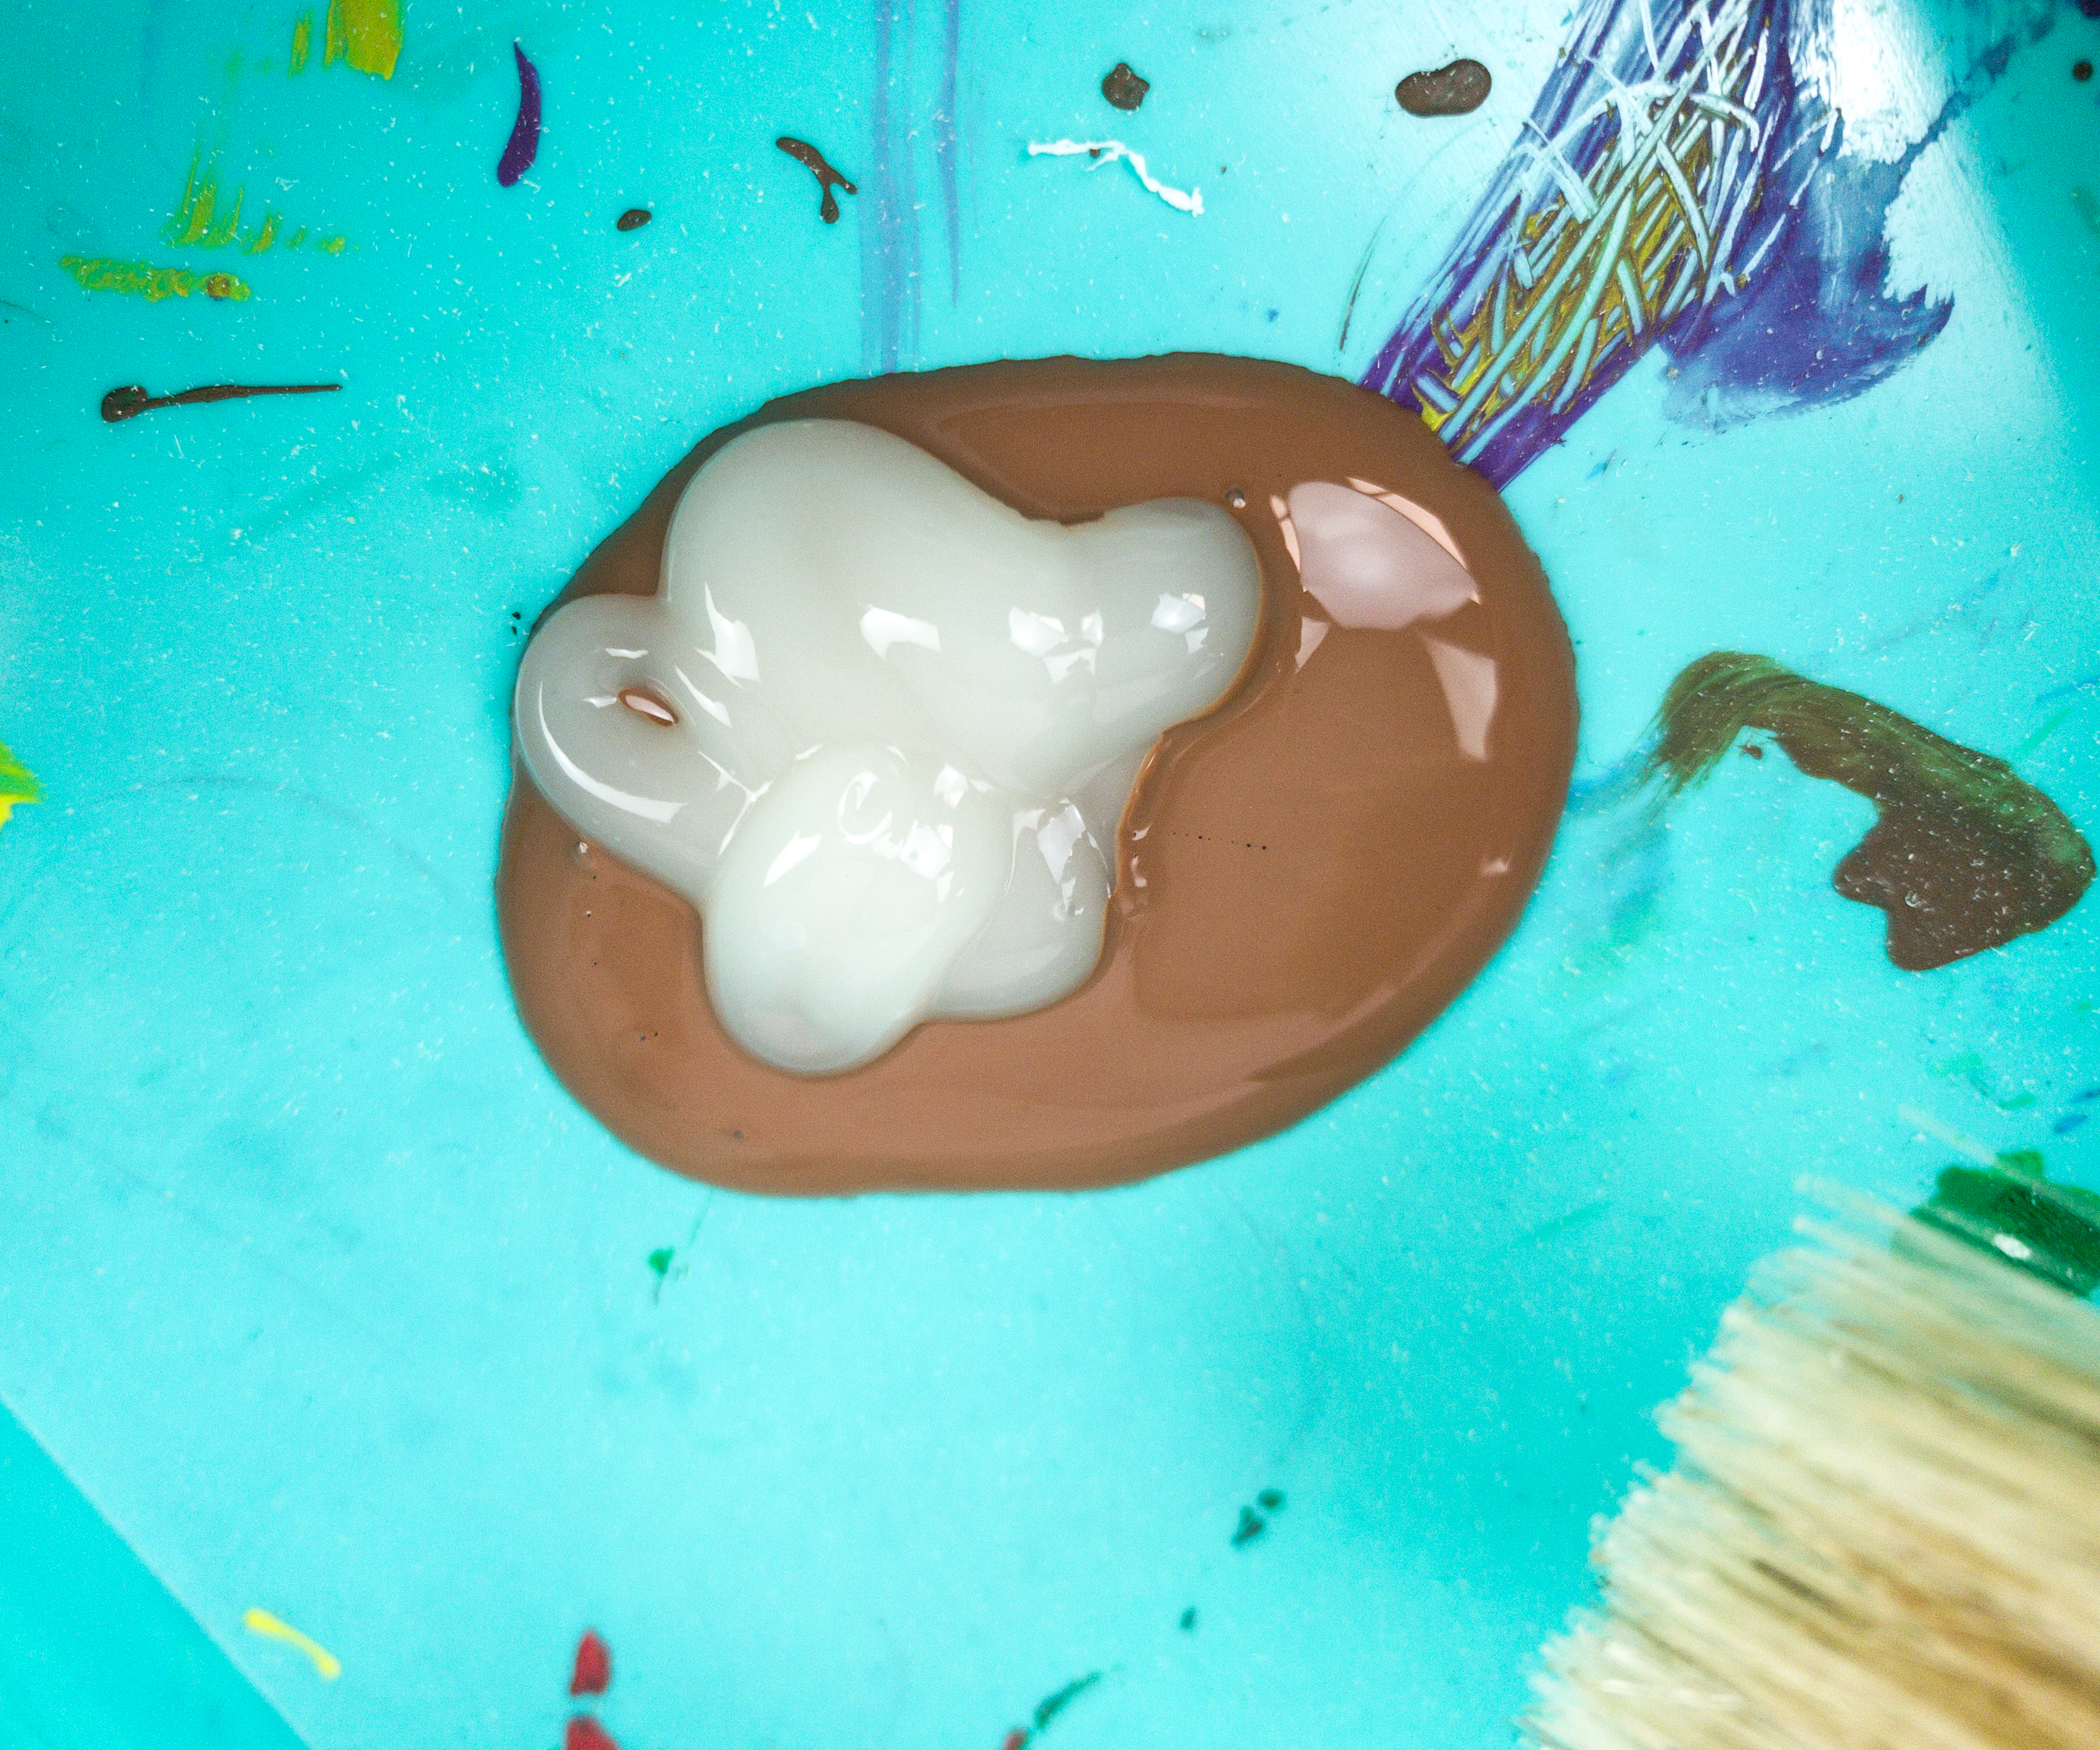
To make the base paint, we mixed the brown paint with the antiquing medium.
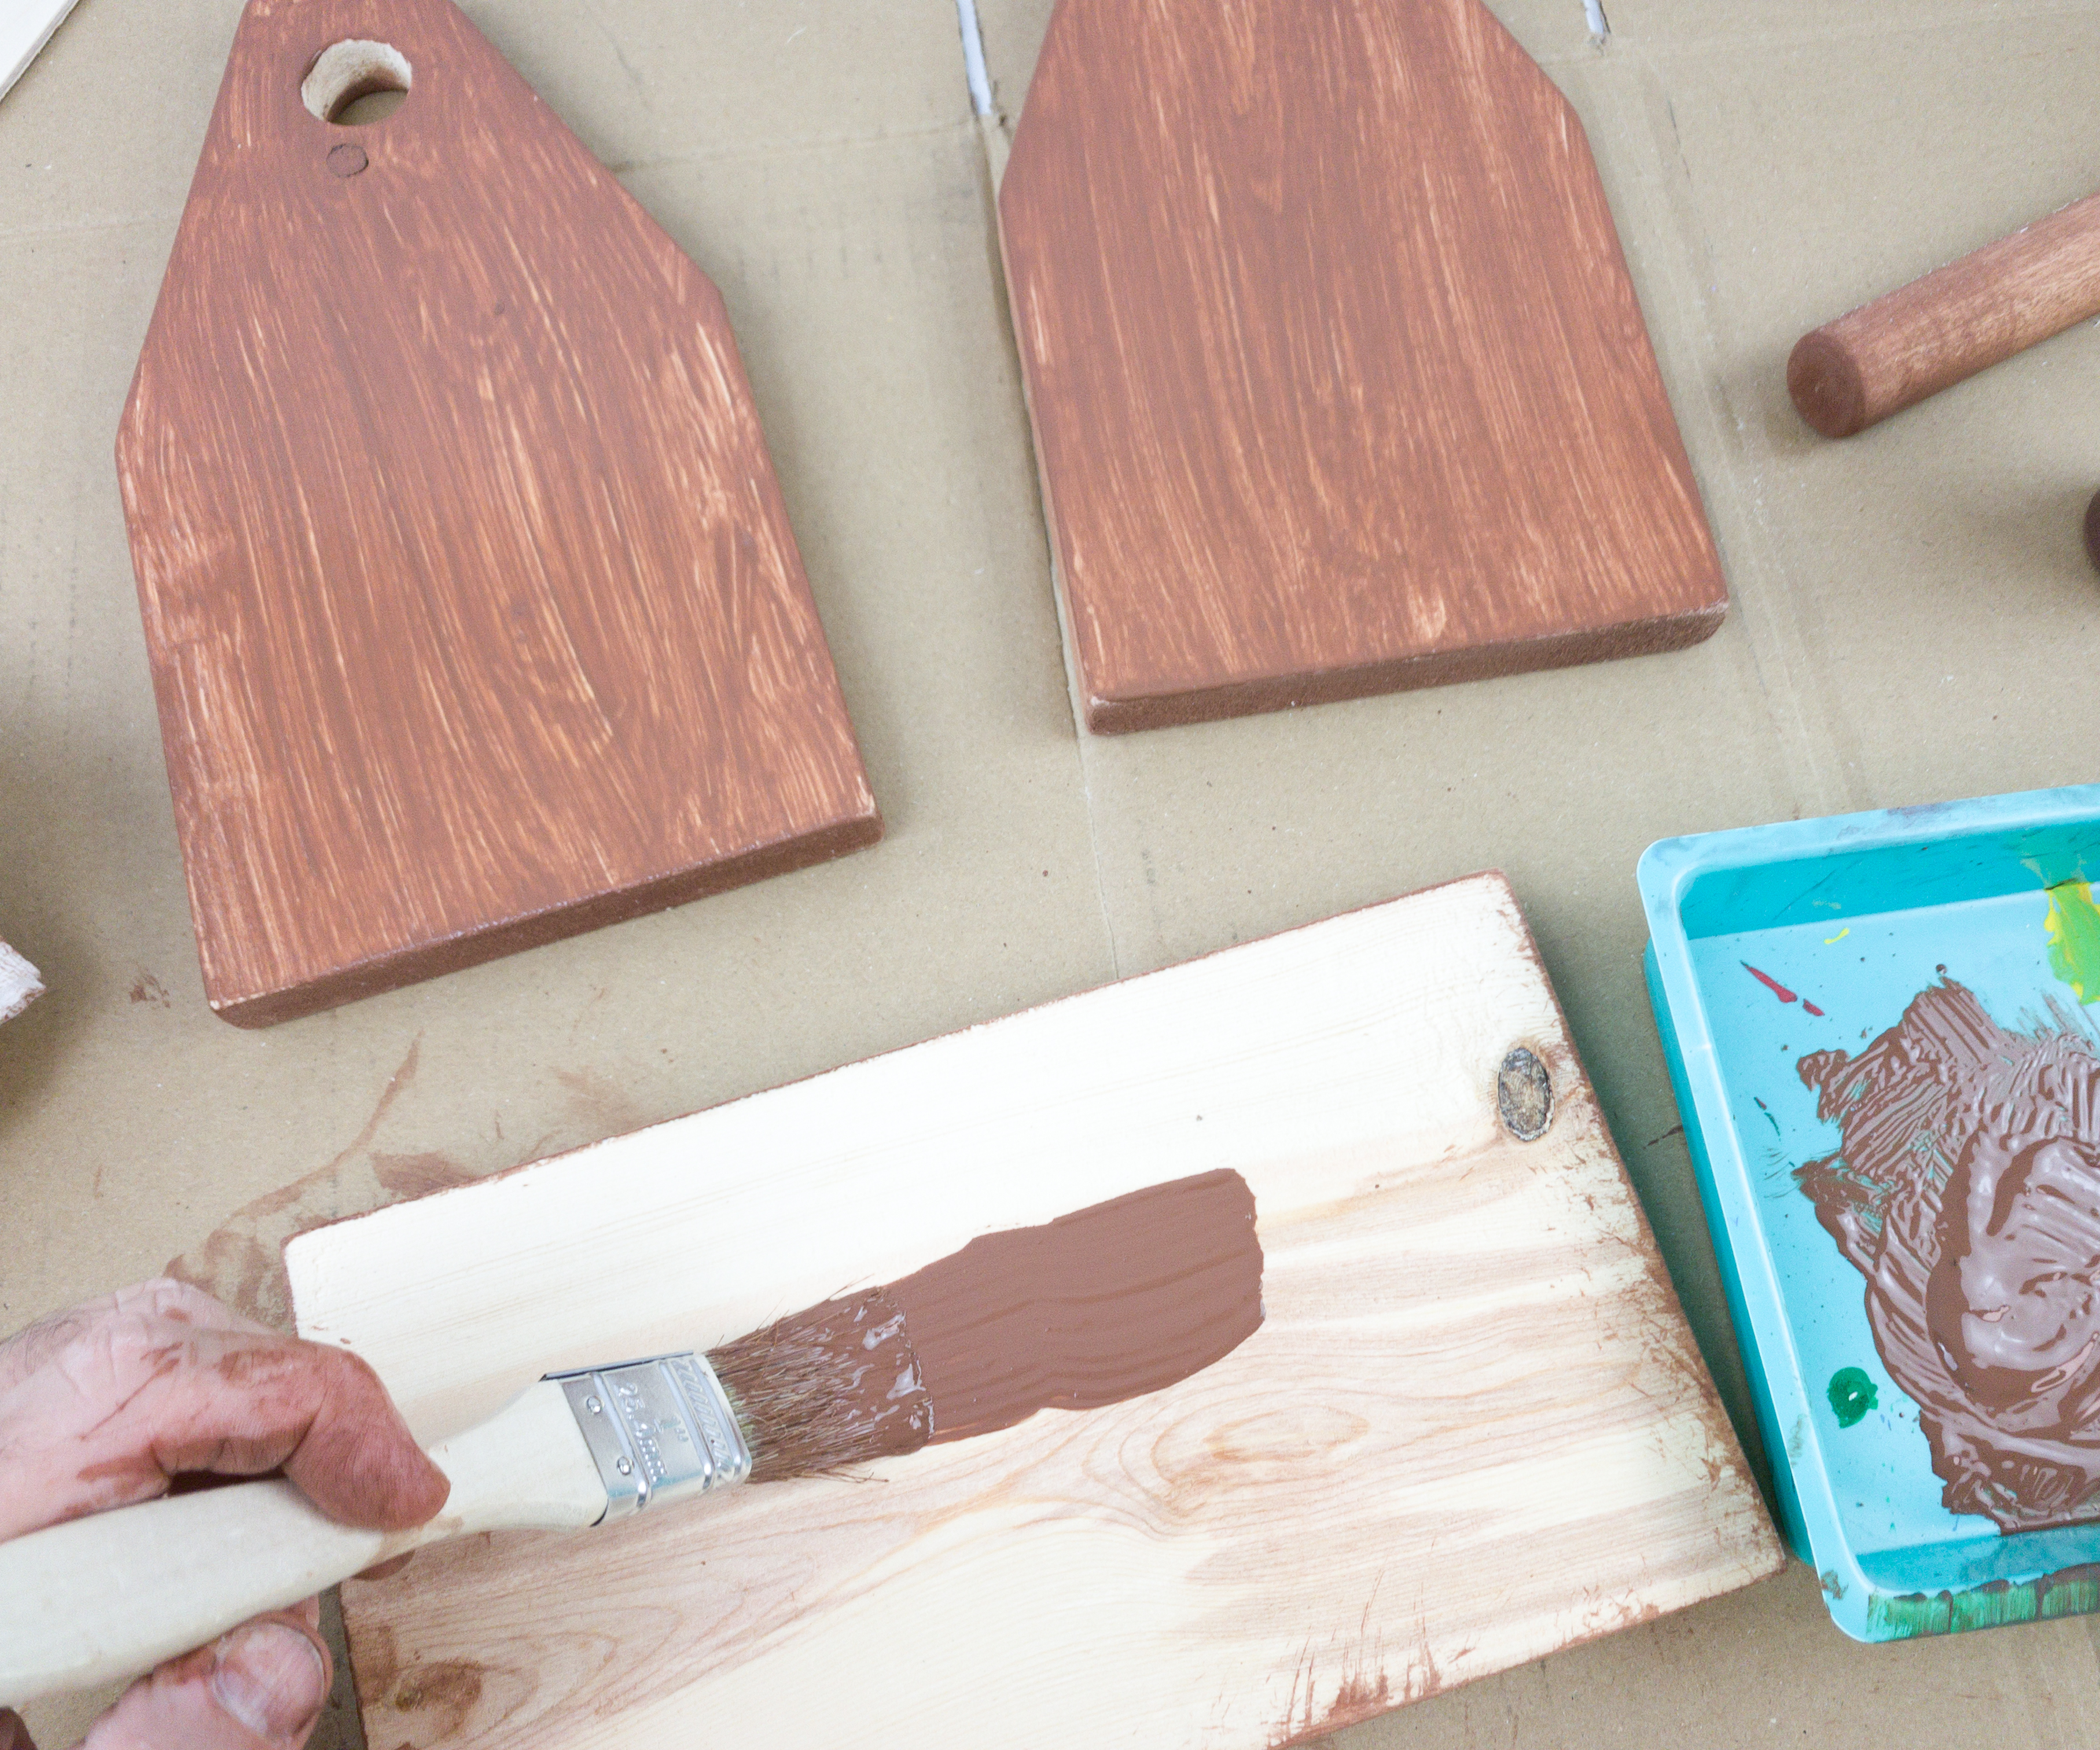
We painted each side of the wood pieces, including the insides and edges, while avoiding the dowel holes.
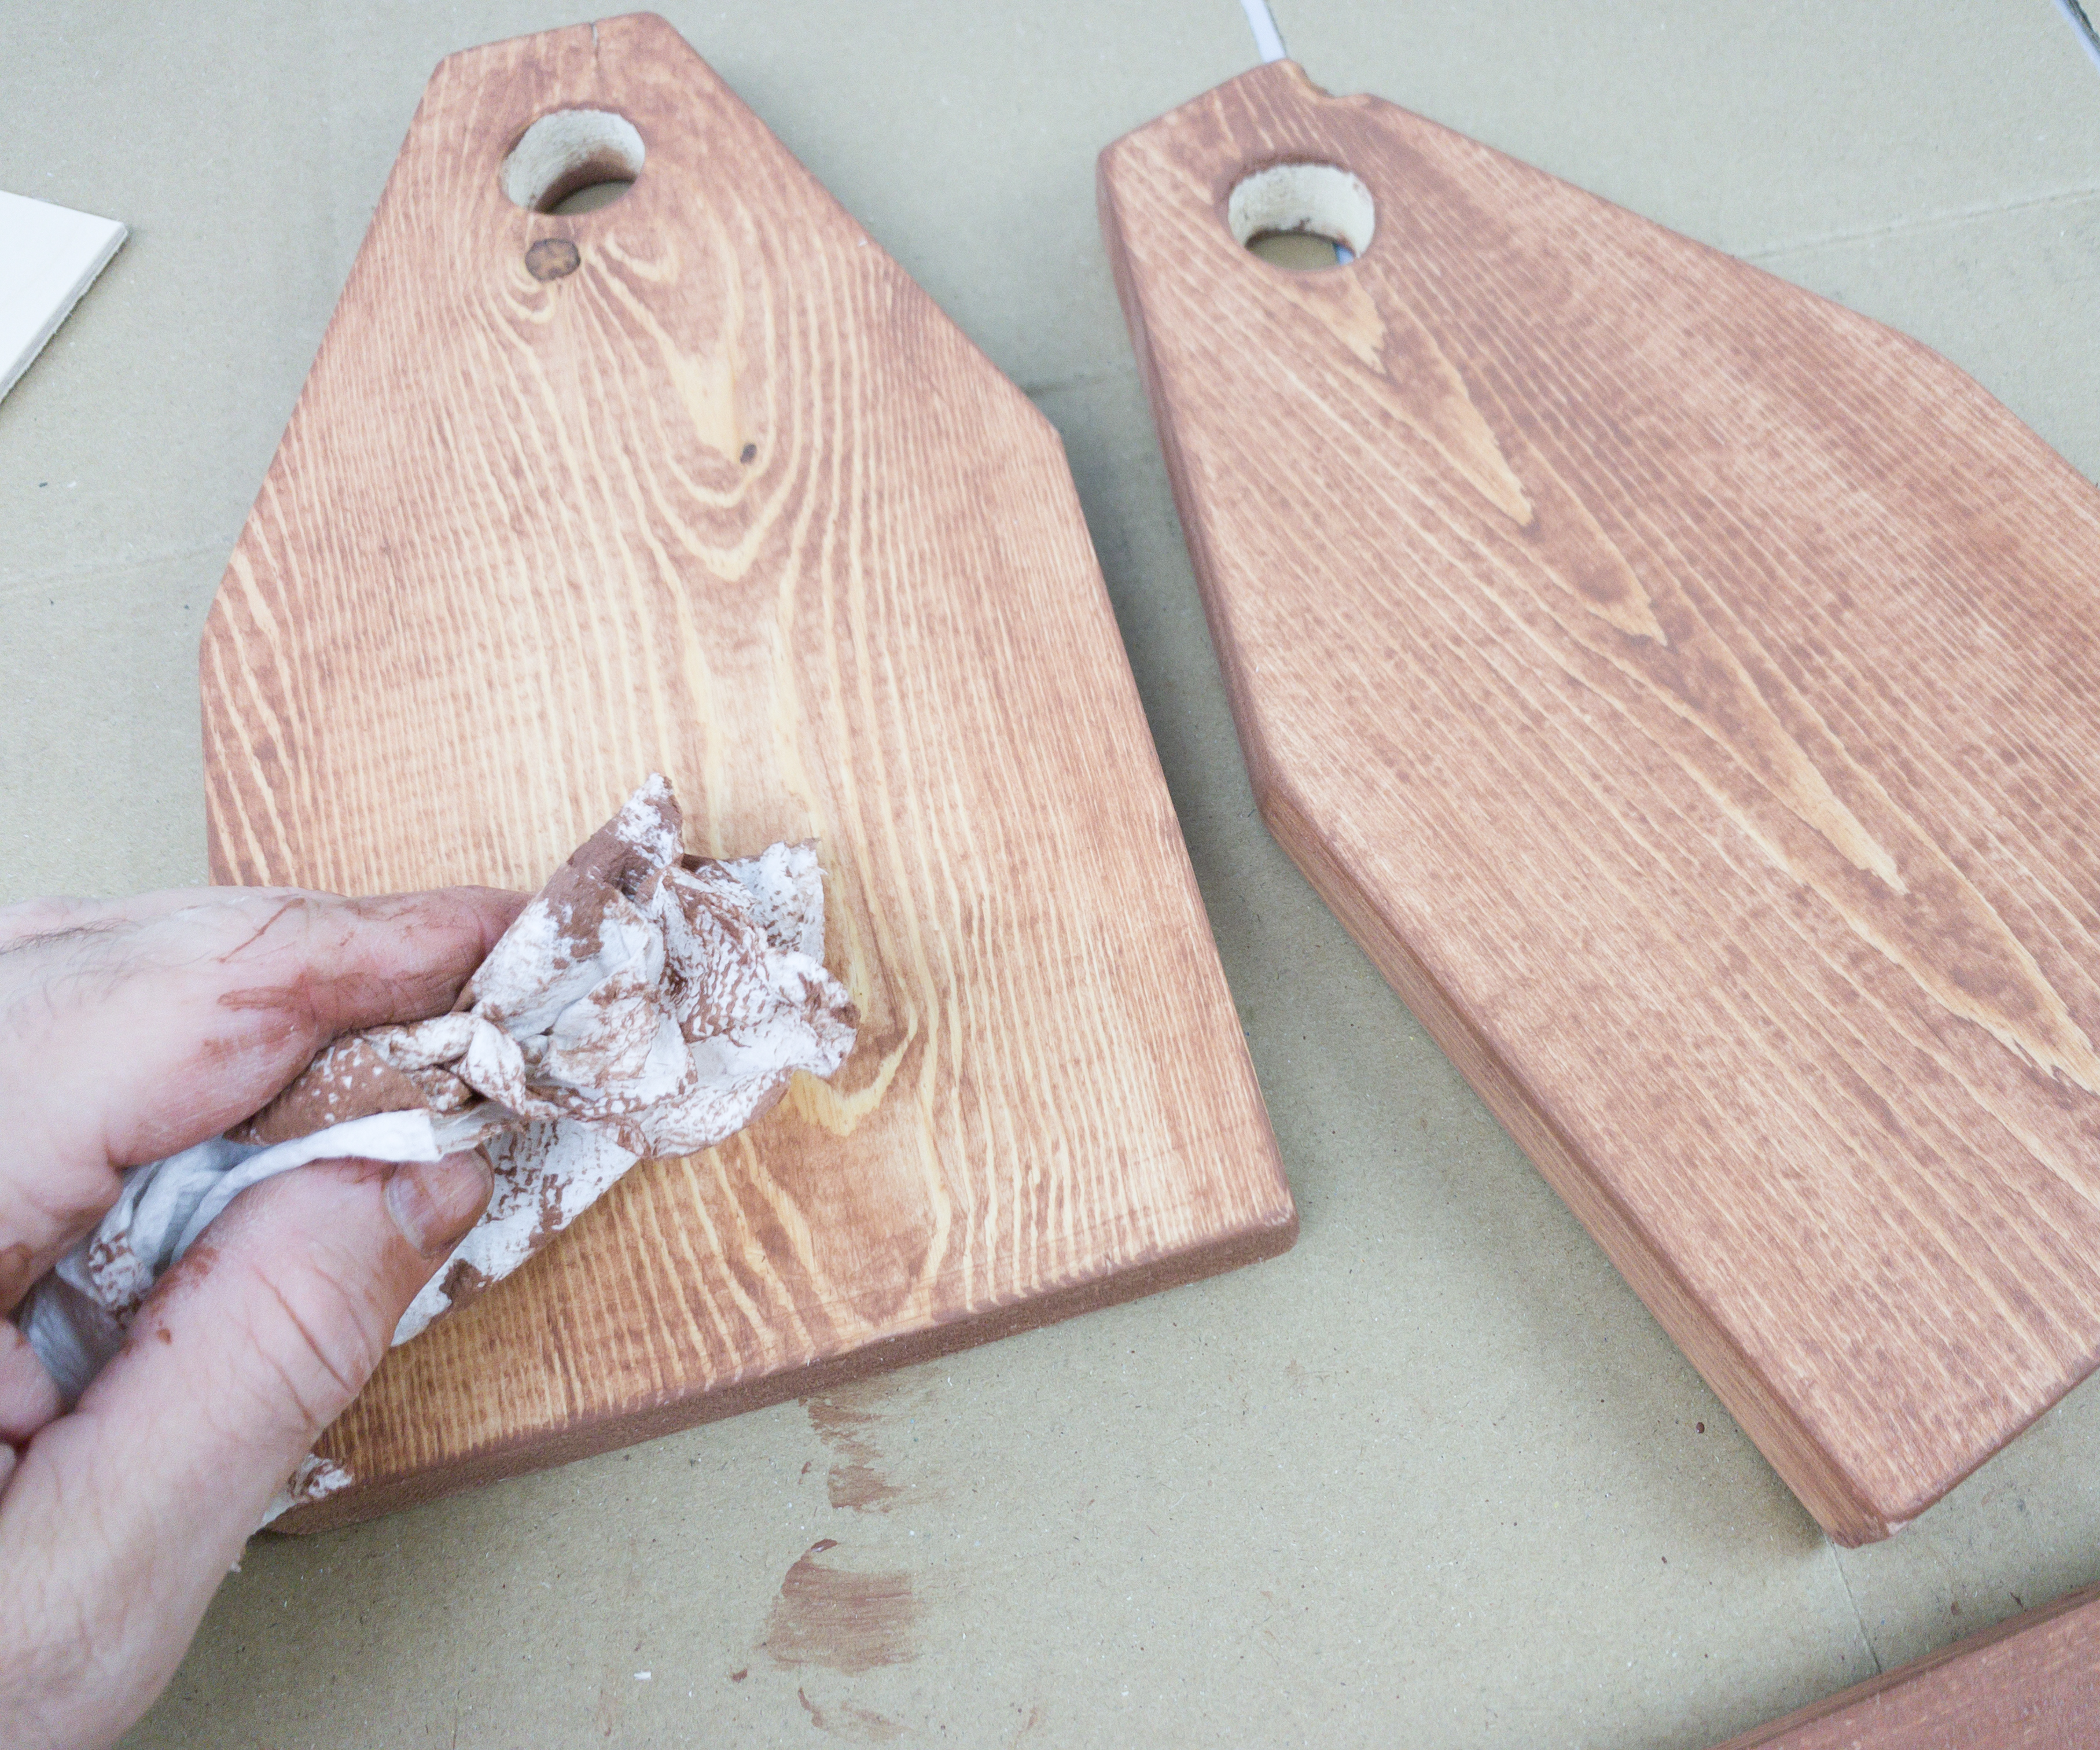
The next step is to wipe off the excess paint until the wood grain can be seen.
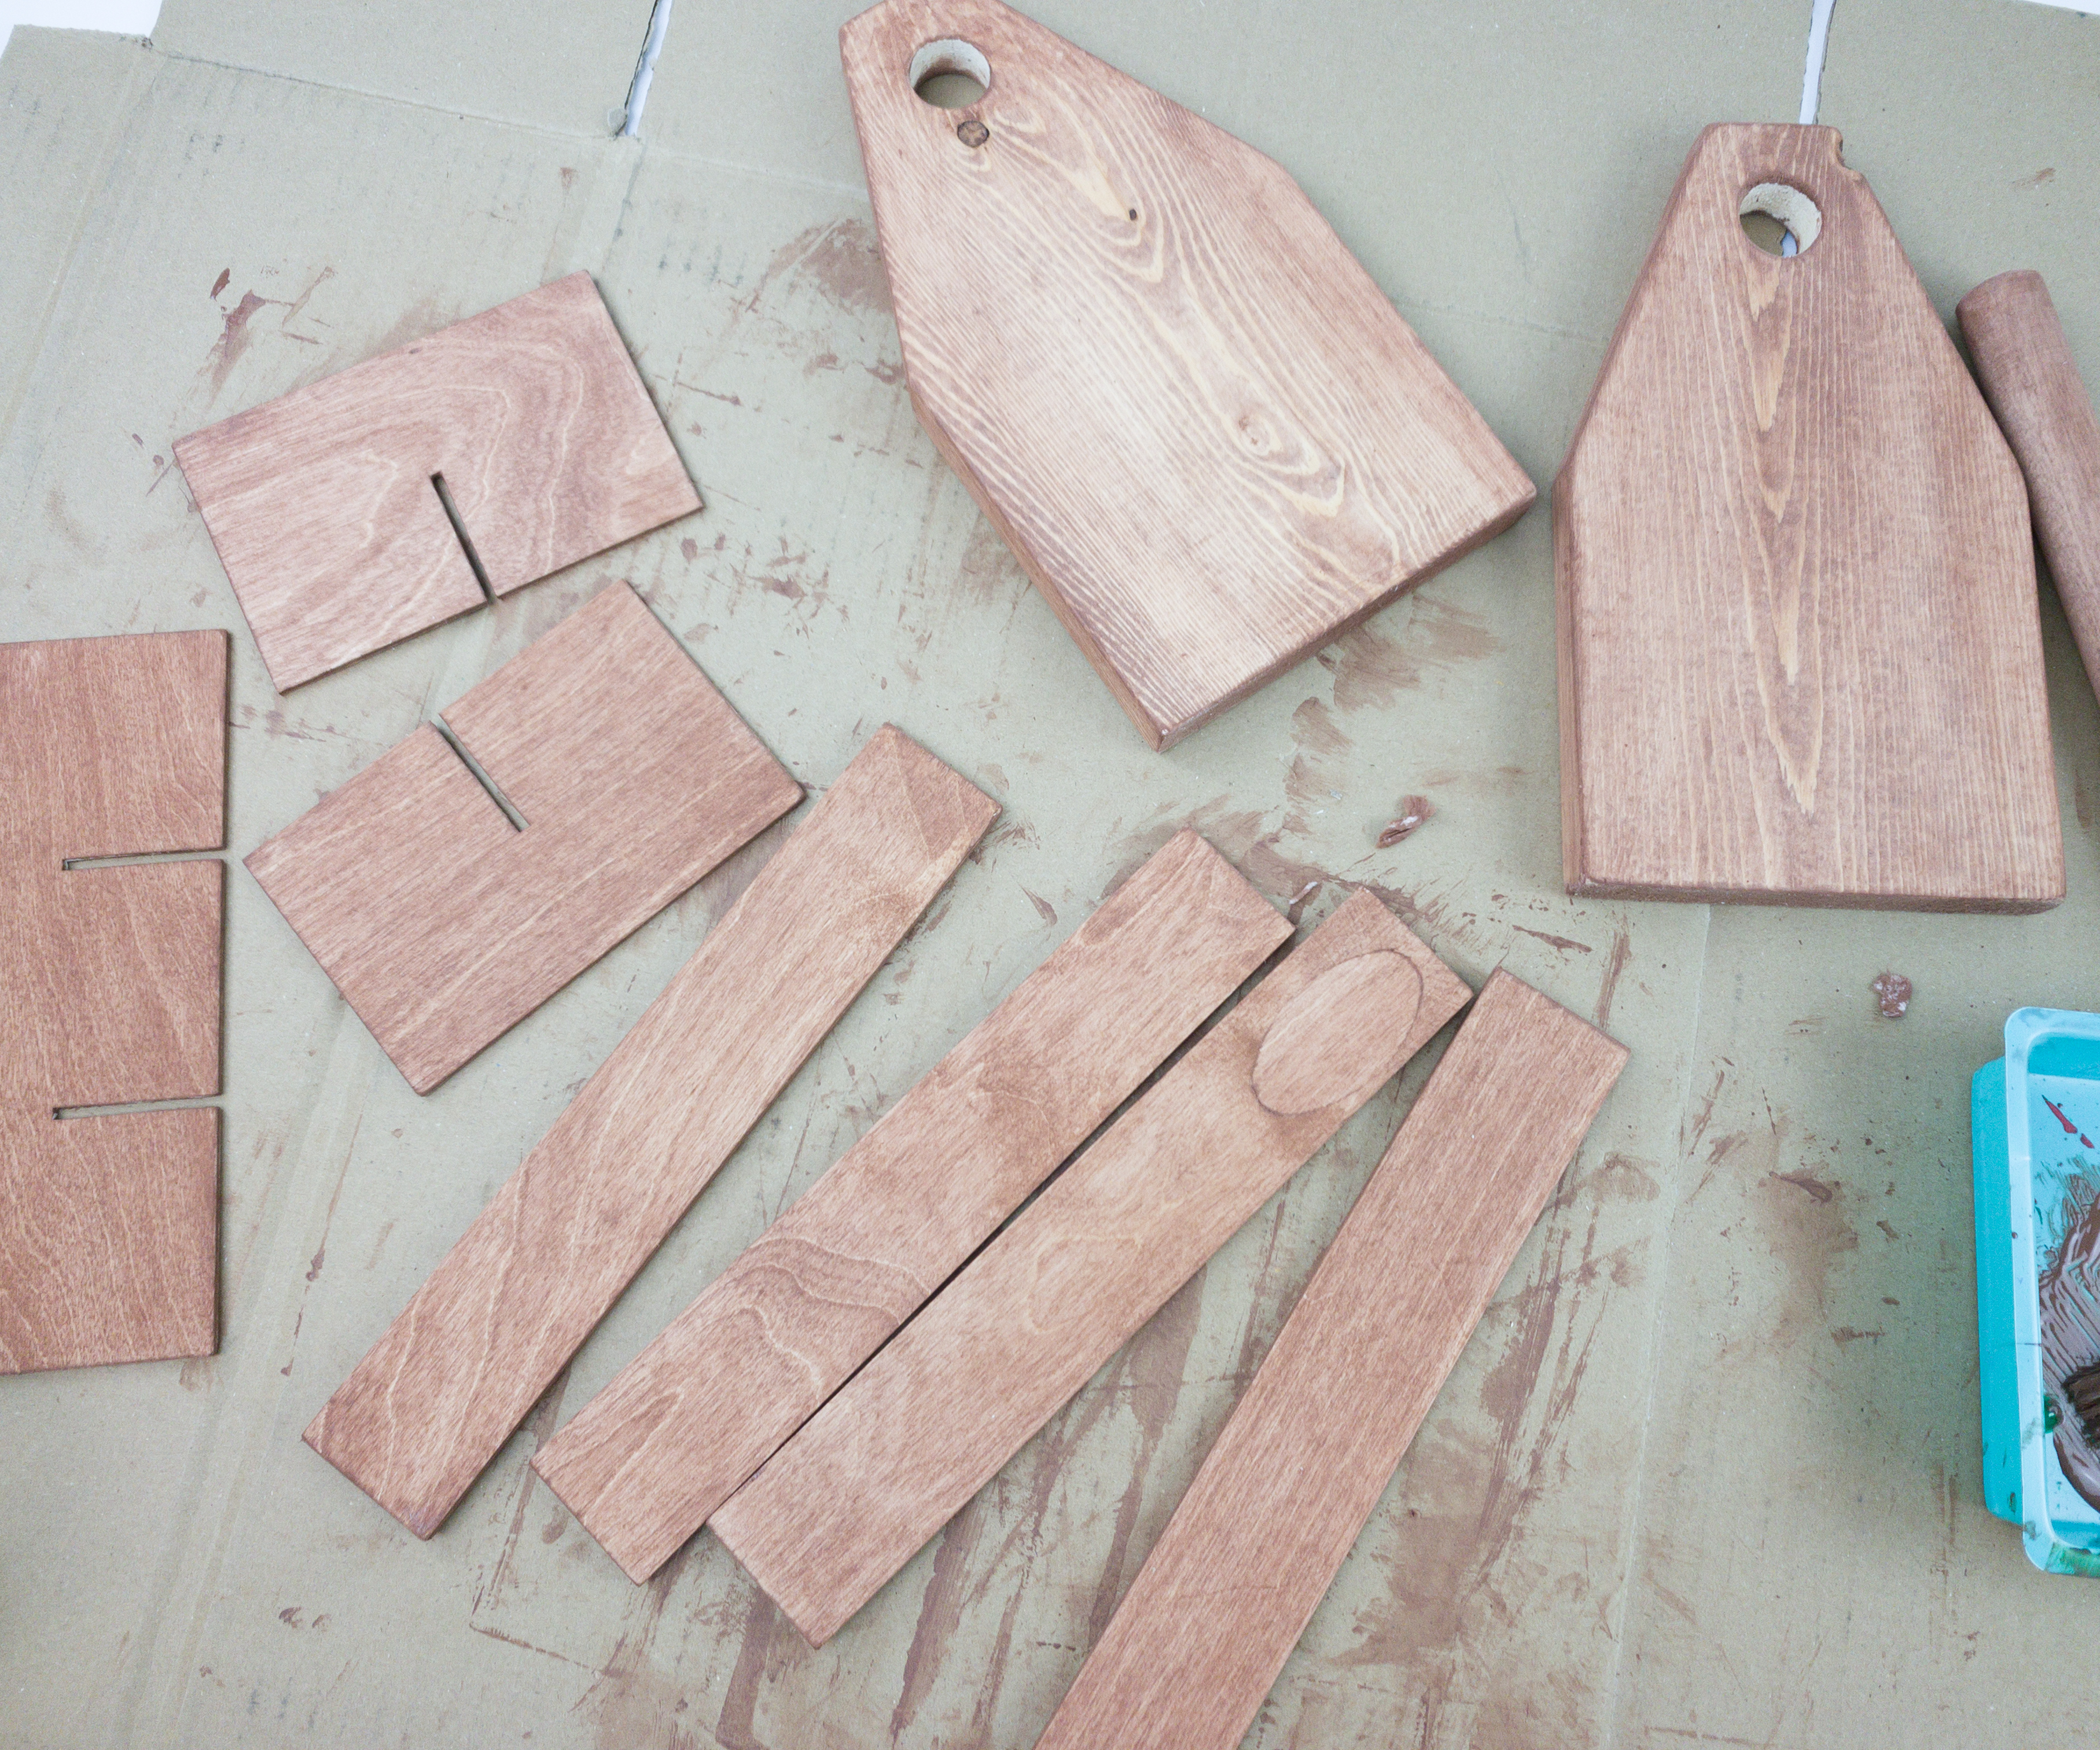
Now, it’s time to let the painted pieces dry before doing the weathered look!
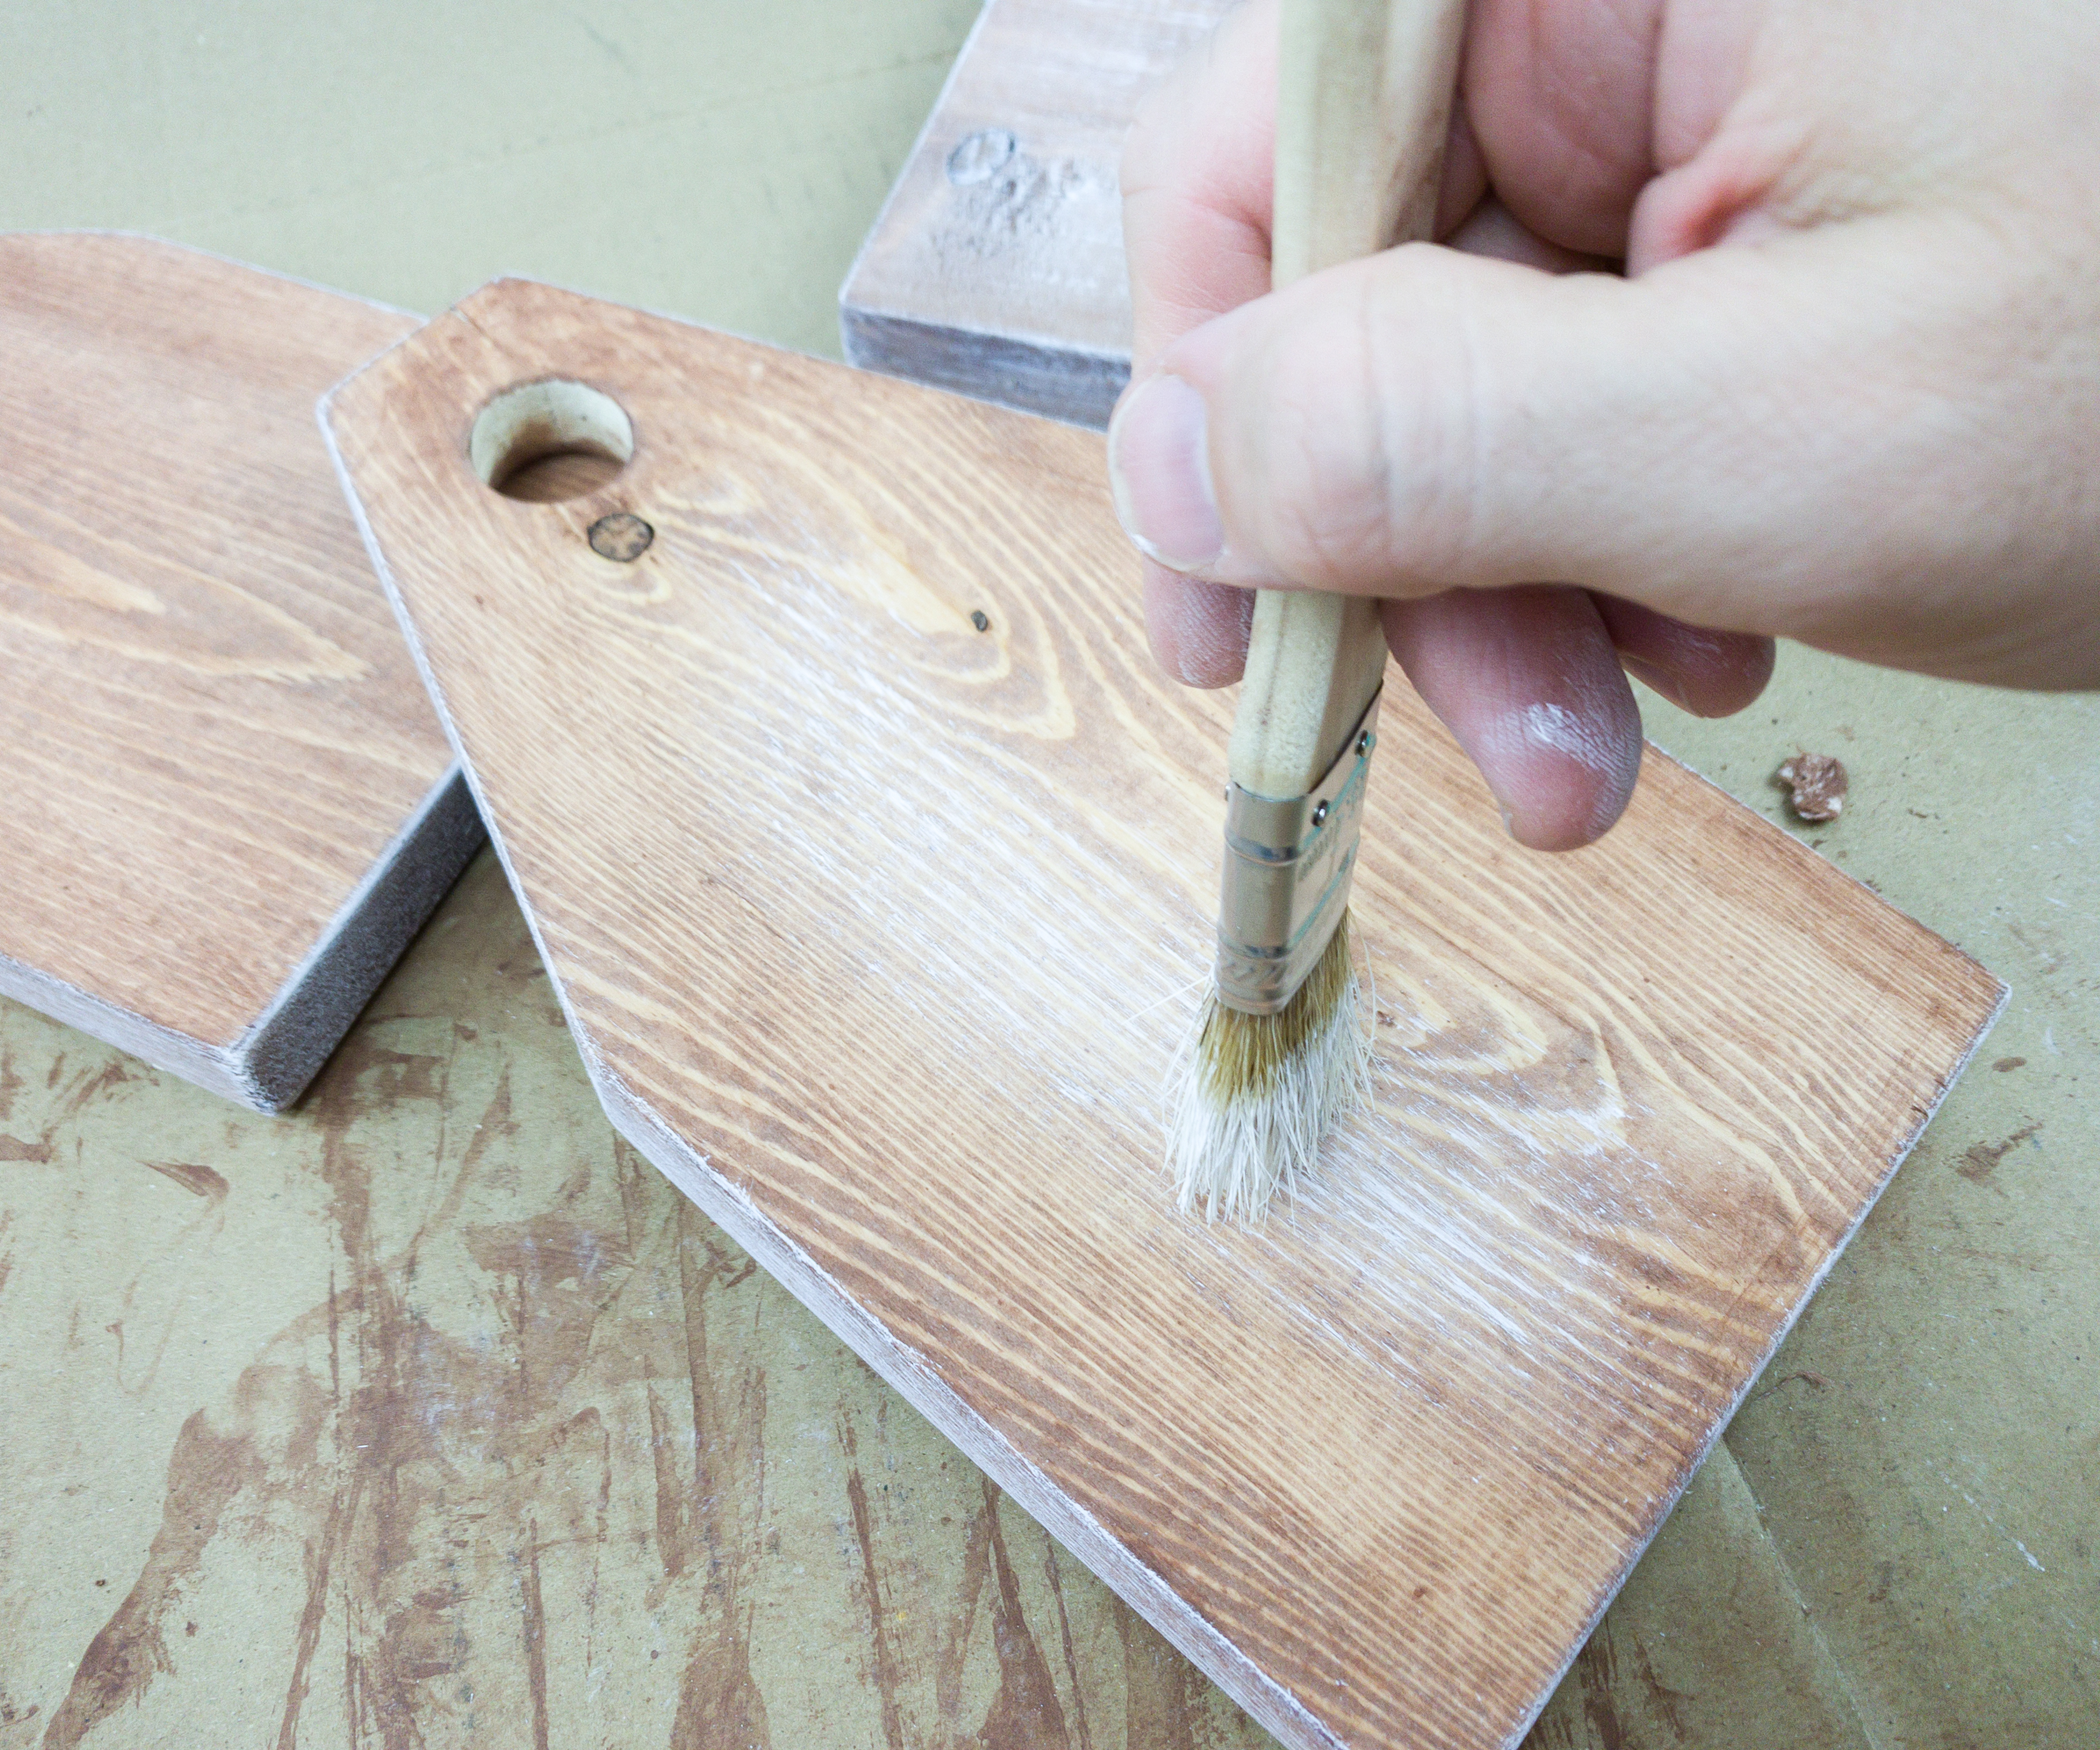
To give the wood pieces a weathered look, we used the white paint. First, we put some white paint on the paper plate and dipped the brush in it, then we dabbed most of the paint off, which will allow us to use the “dry brush” technique. We painted even strokes on the wood parts while avoiding the divider slots, and the dowel will be painted later after the caddy’s fully assembled.
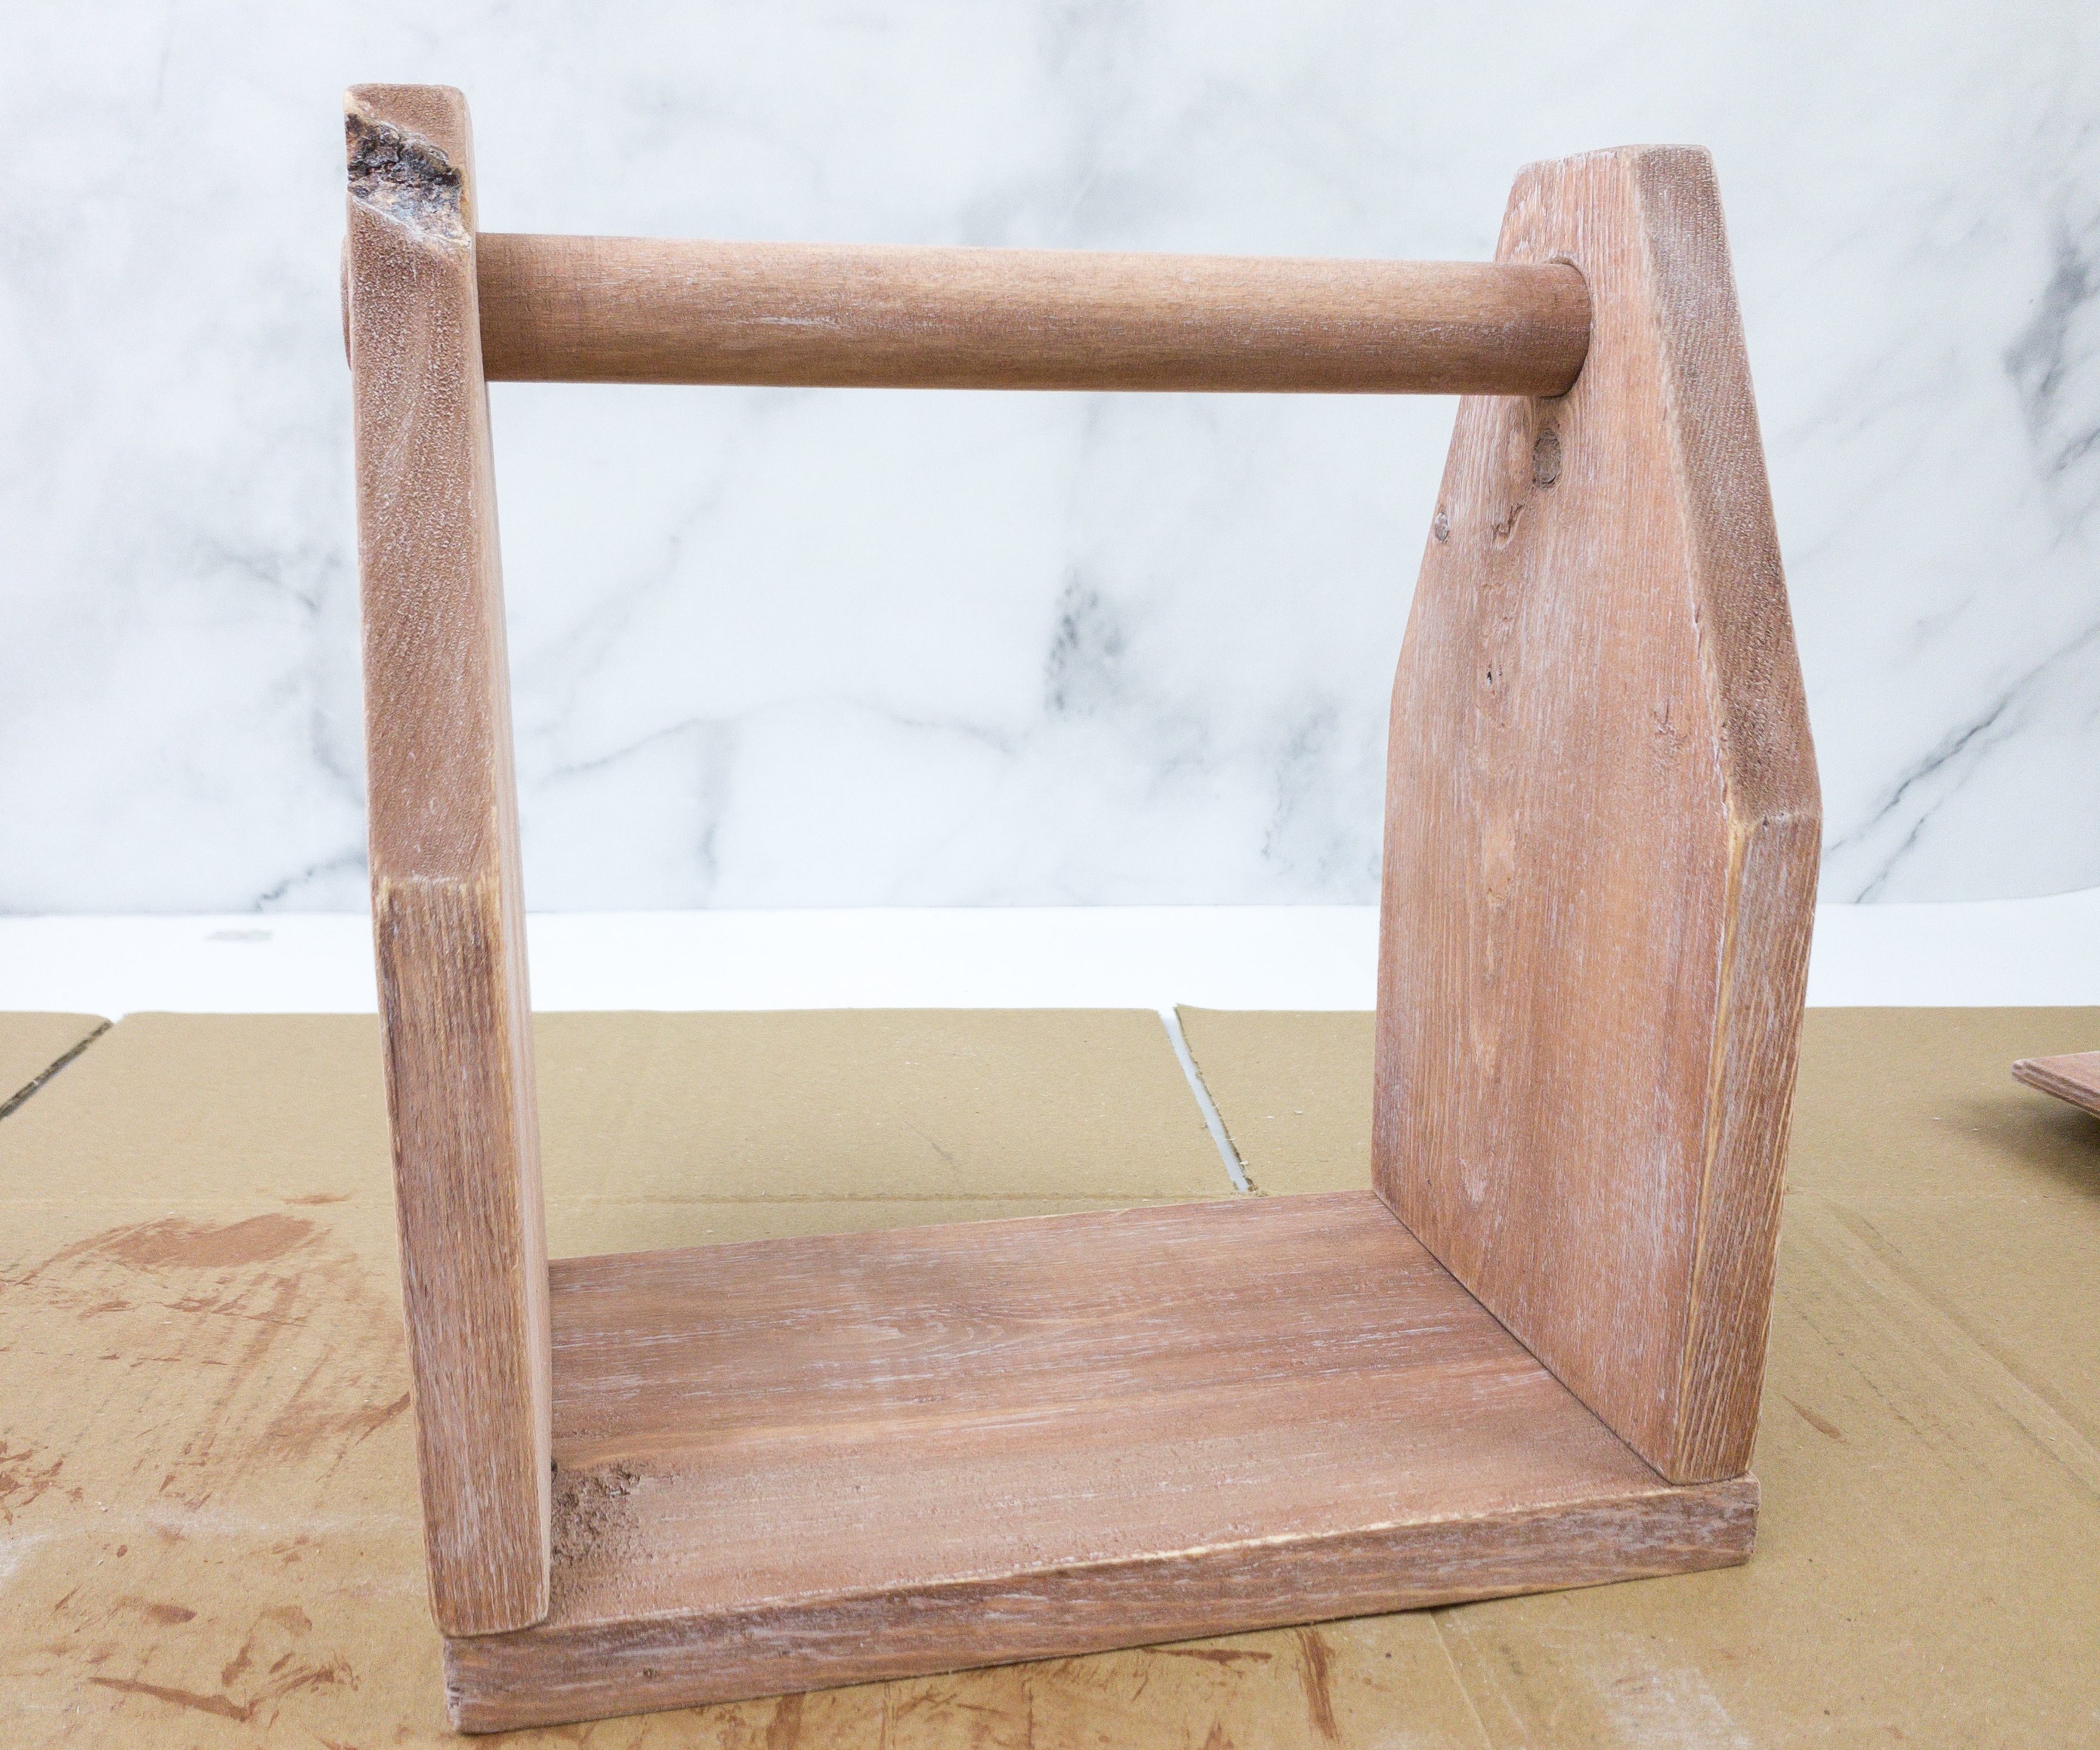
We started assembling the caddy, starting with connecting the churches with the dowel and attaching the bottom part.
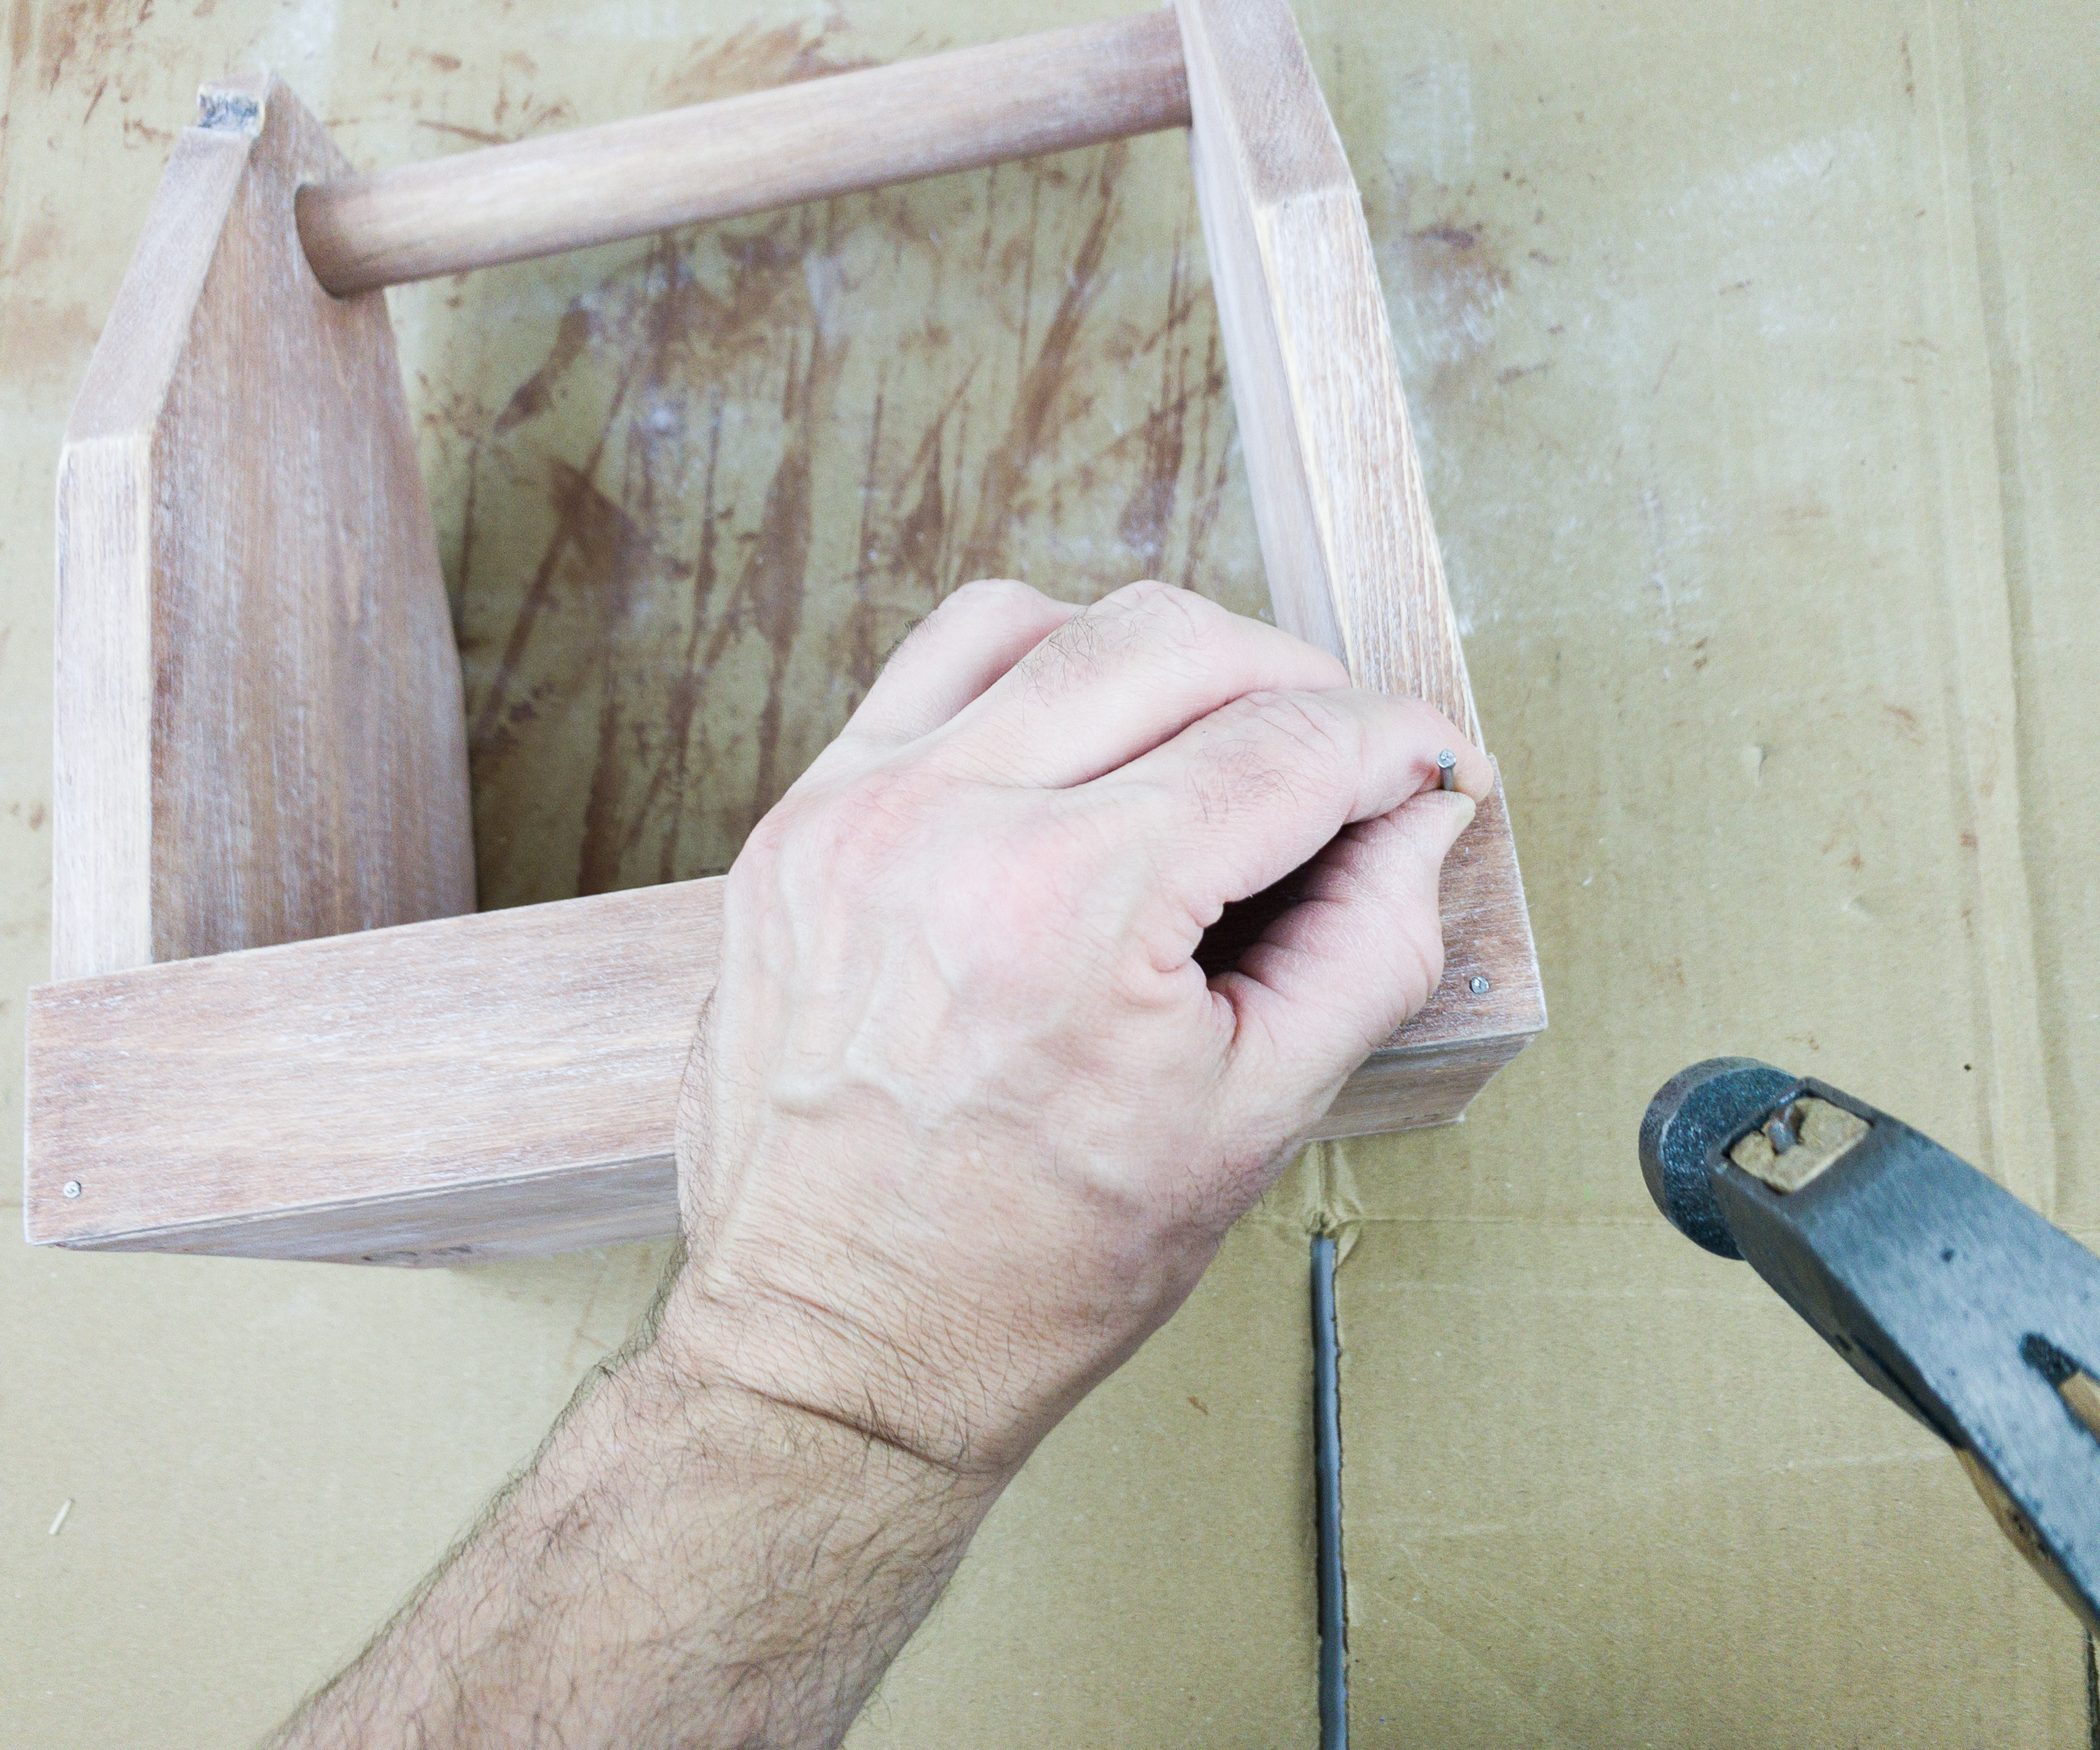
I nailed the sides of the caddy after.
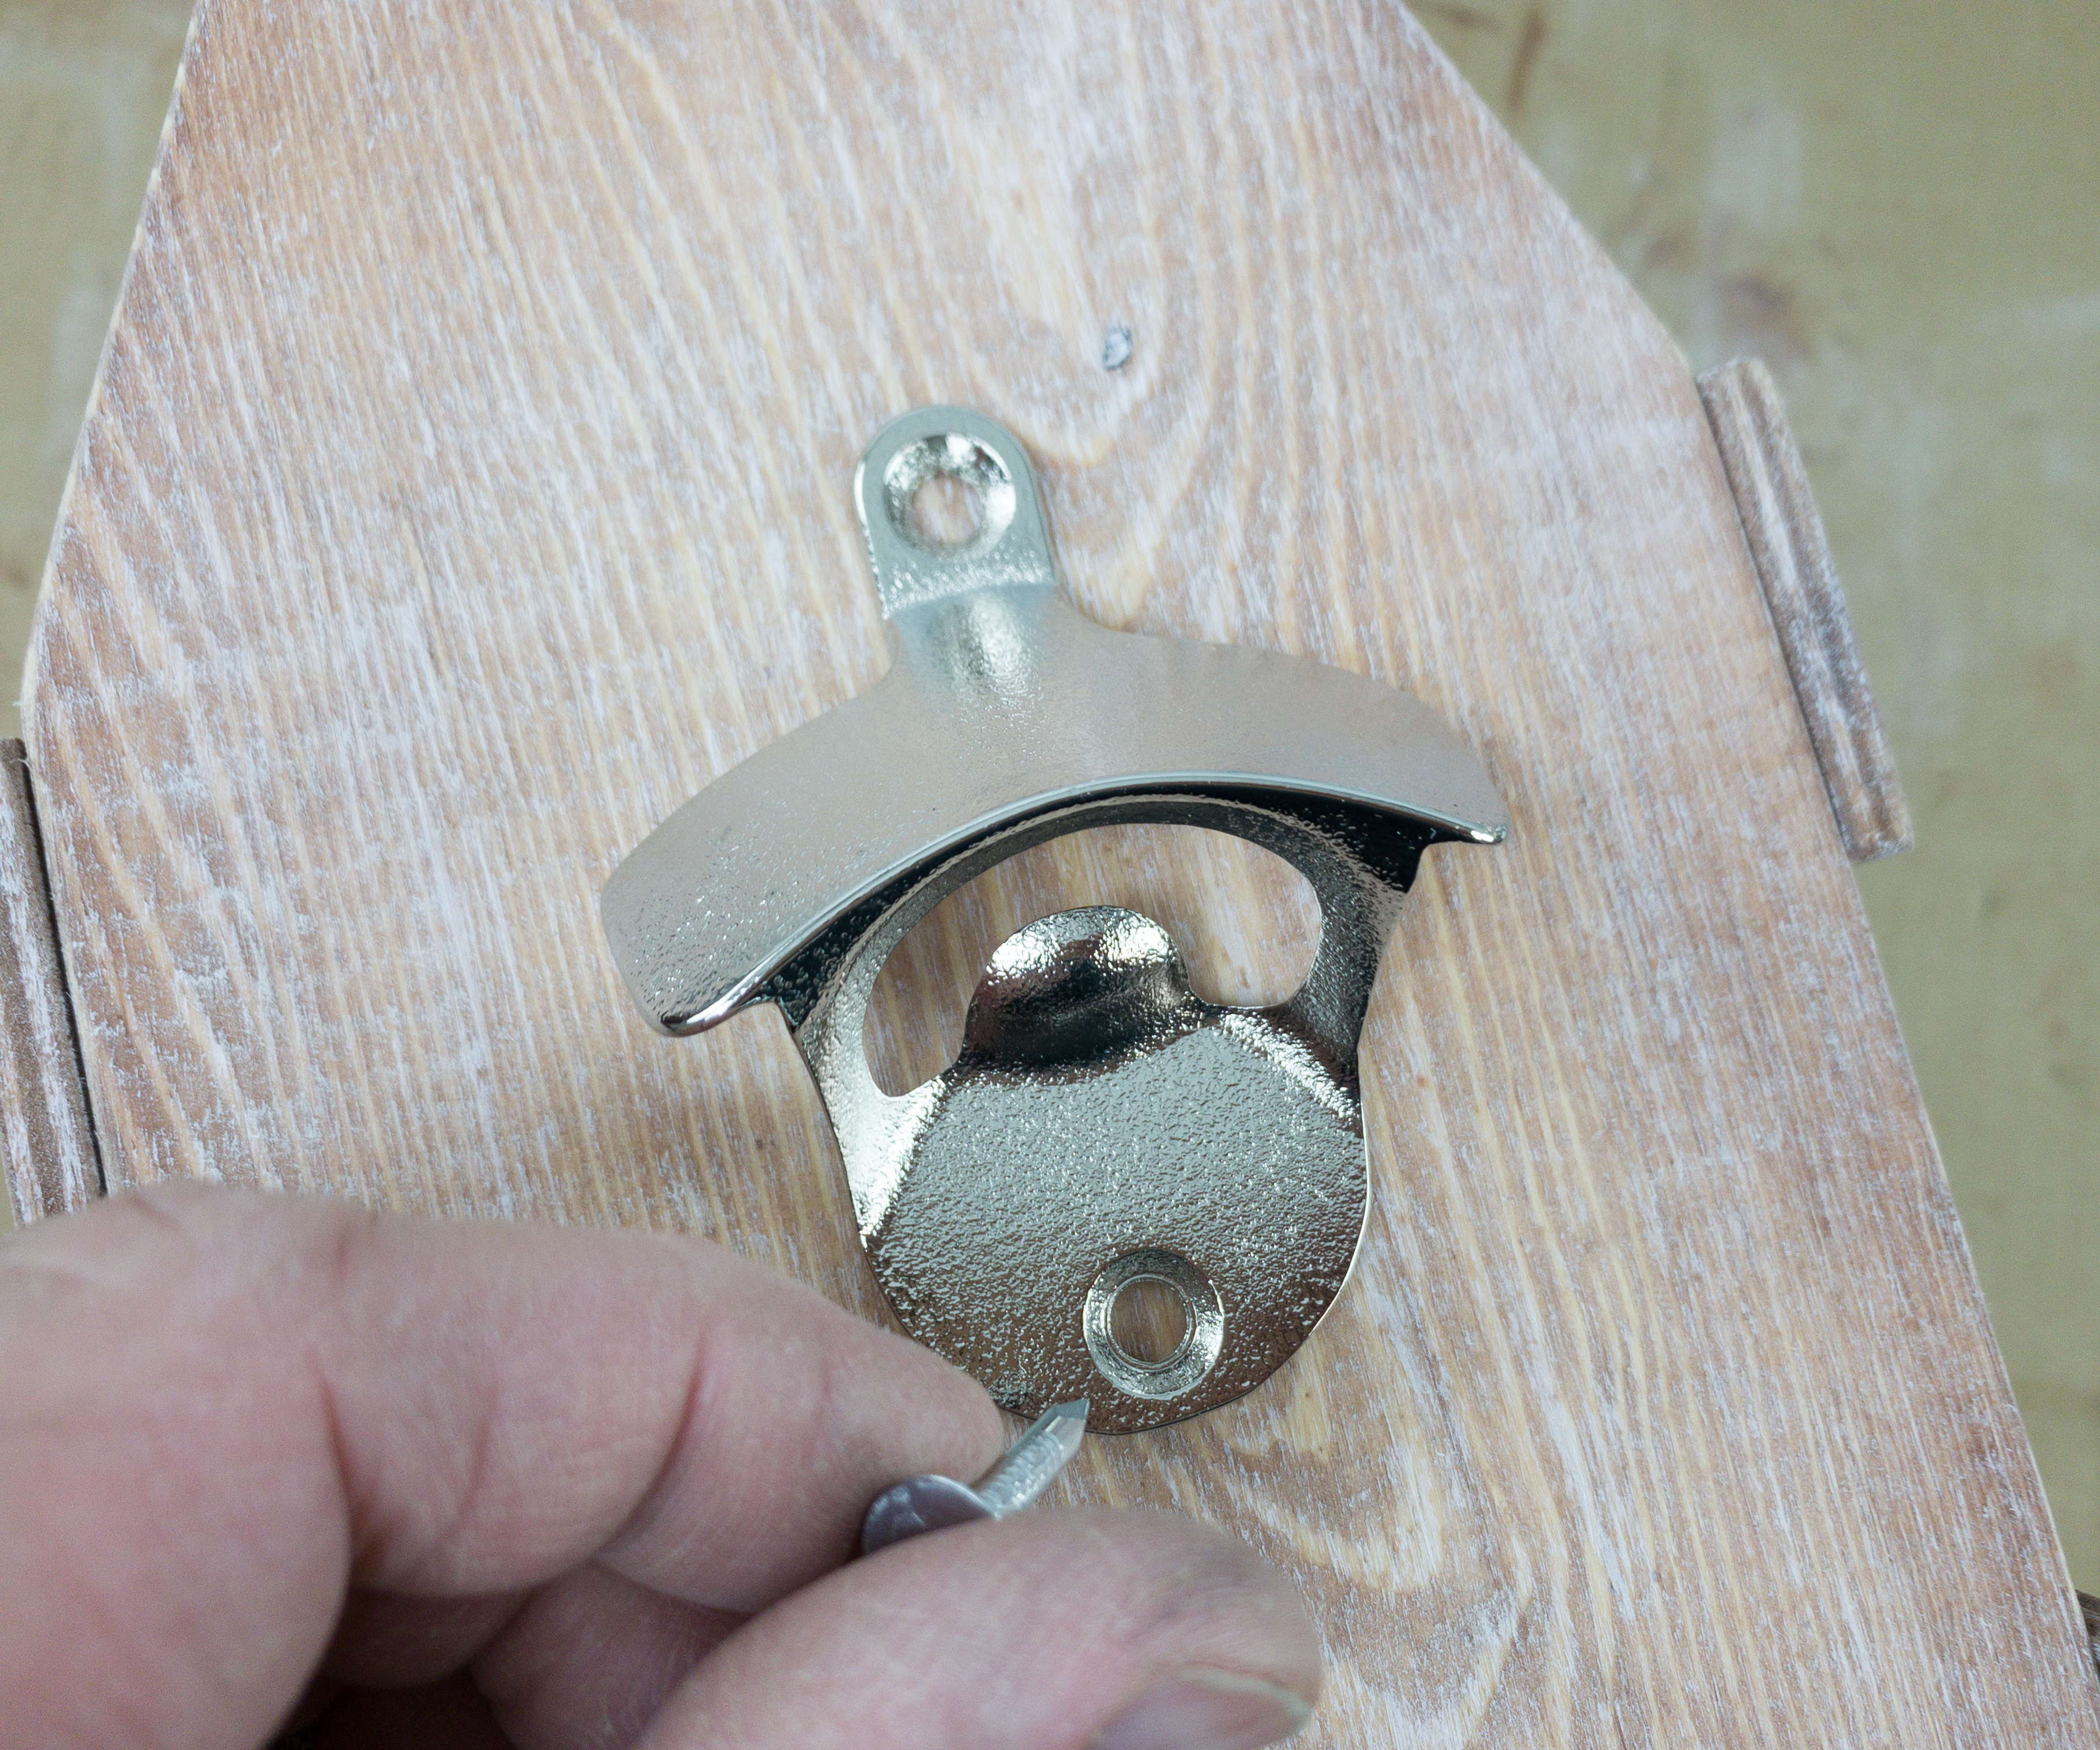
The last step is to attach the bottle opener on one side (church) of the caddy. We secured it using the included bottle opener nails.
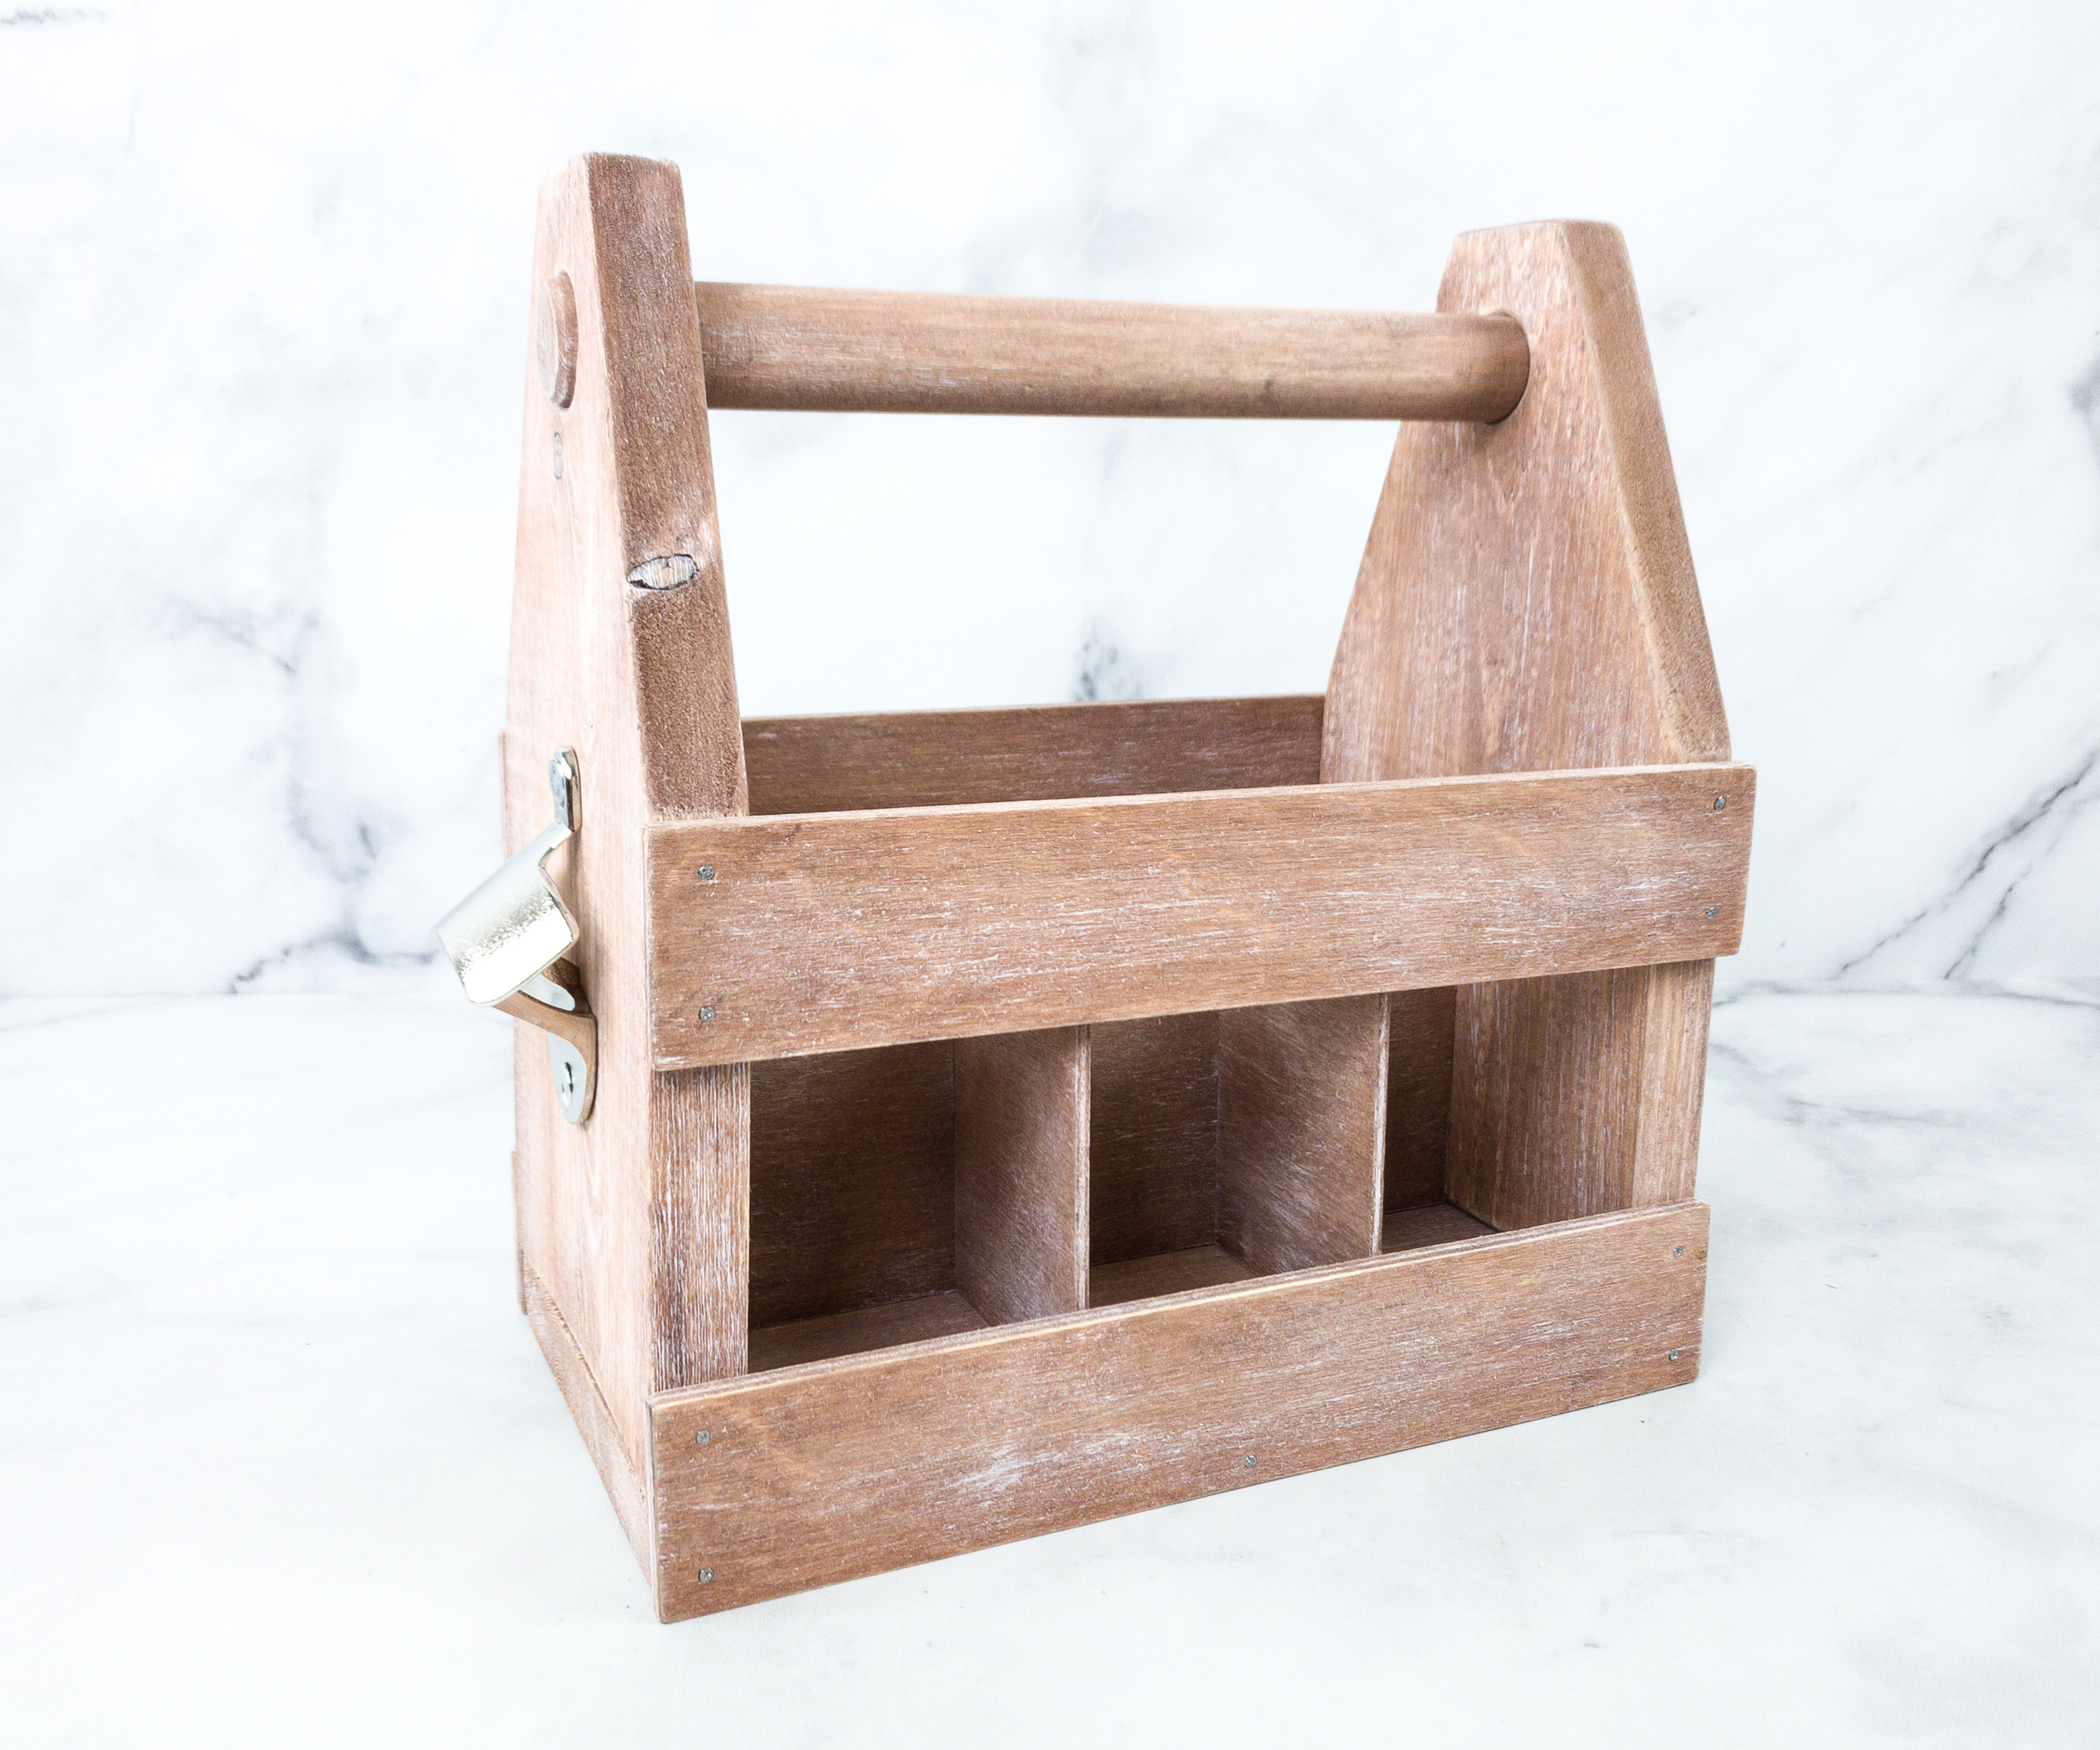
We inserted the dividers inside the caddy, creating more compartments. Lastly, we applied the weathered look to the dowel by adding white paint using the “dry brush” technique to it as well.
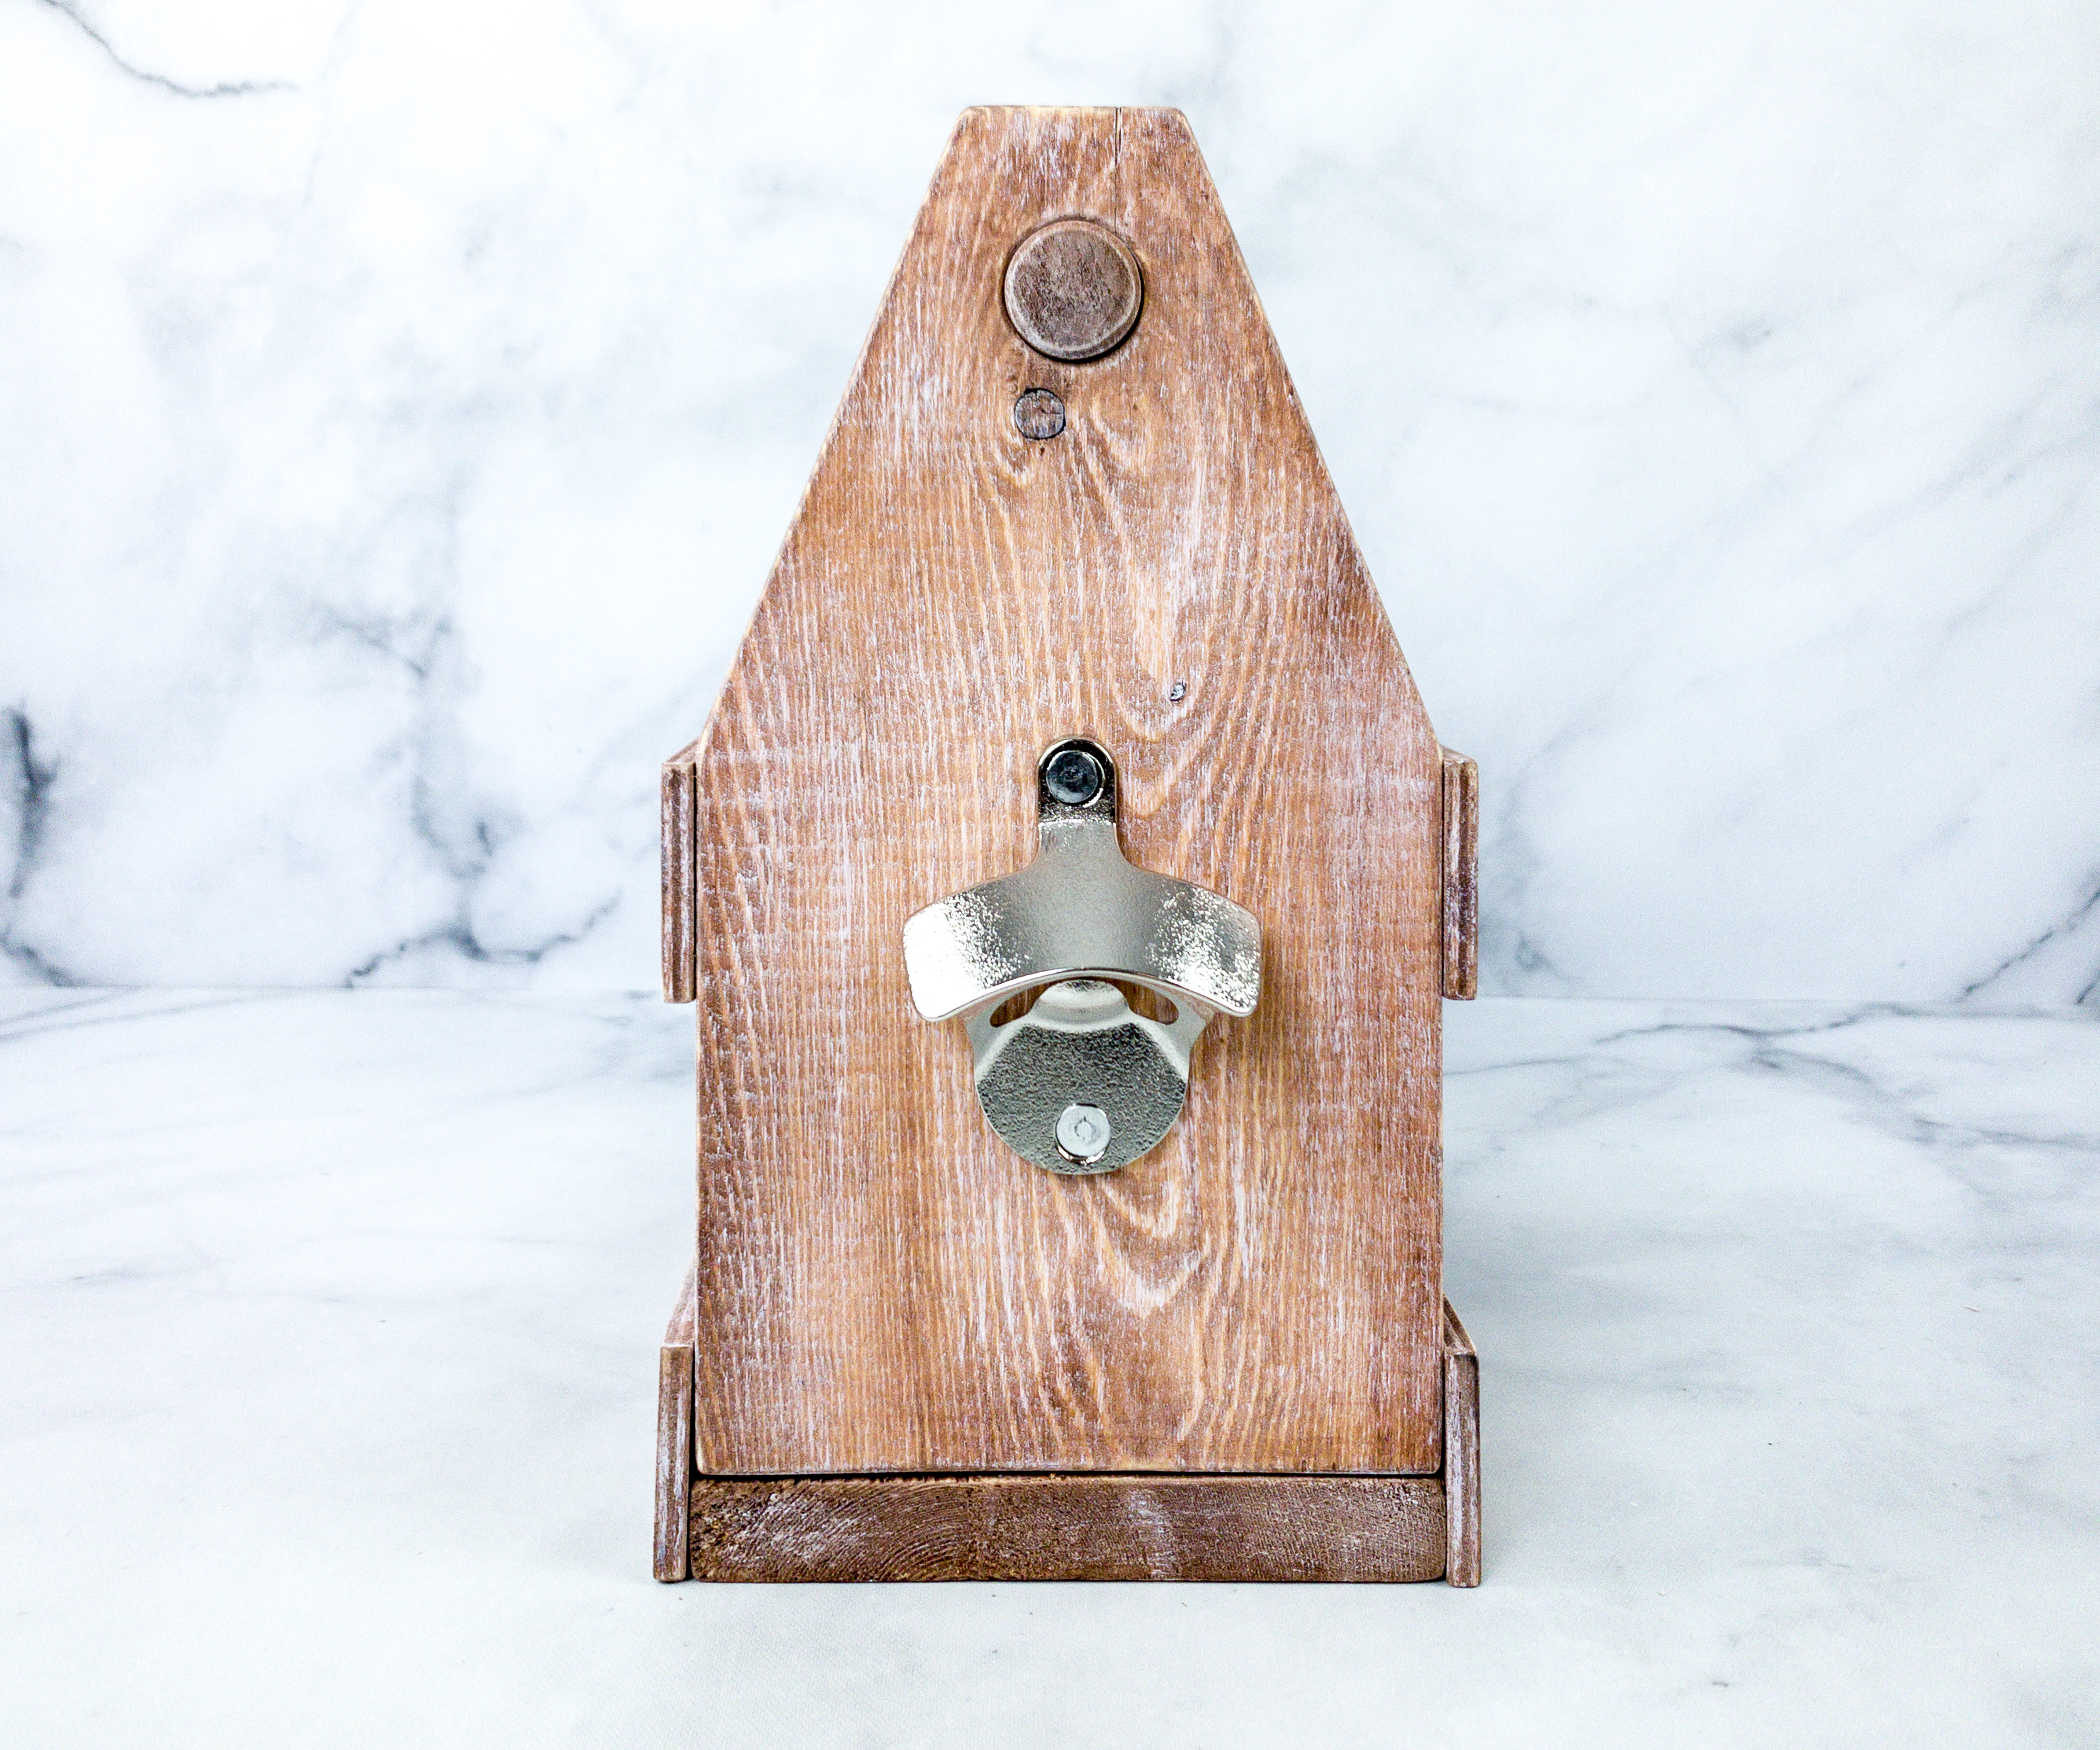
The bottle opener is perfectly placed on one of the sides. This part will be very useful when we use the caddy to carry bottled drinks!
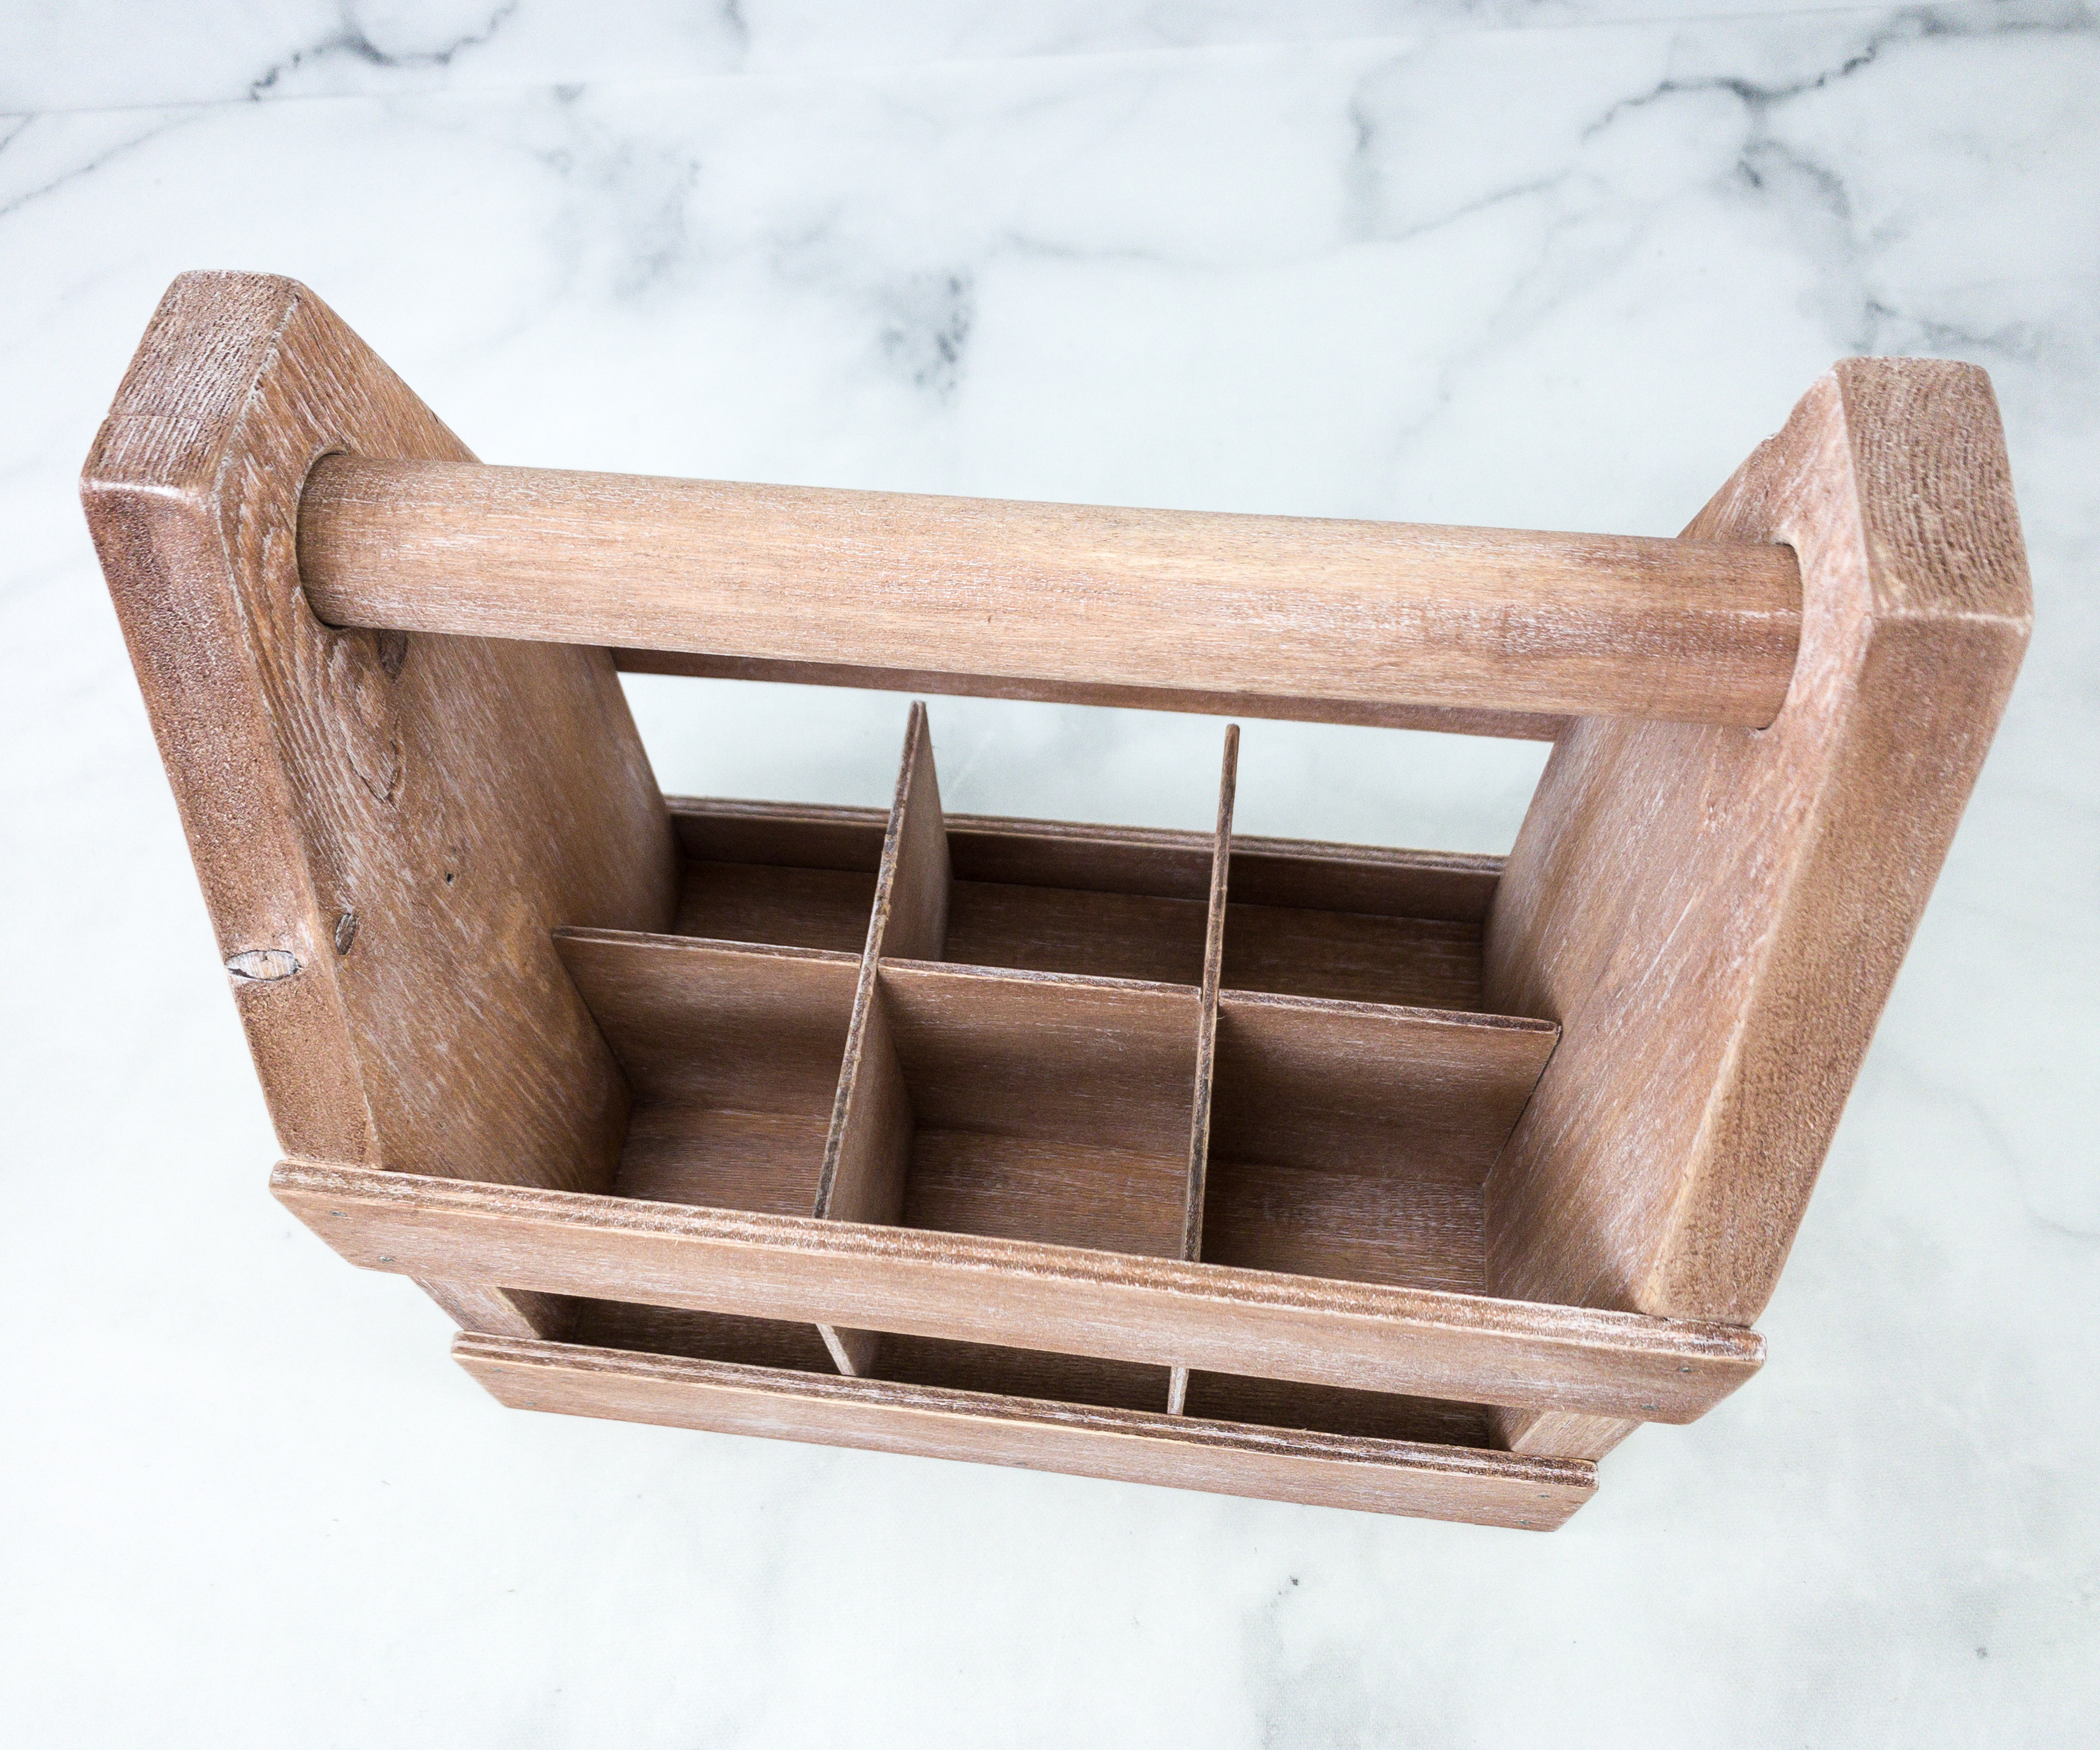
We love our caddy’s look, and we don’t even need to age the wood to look this good!
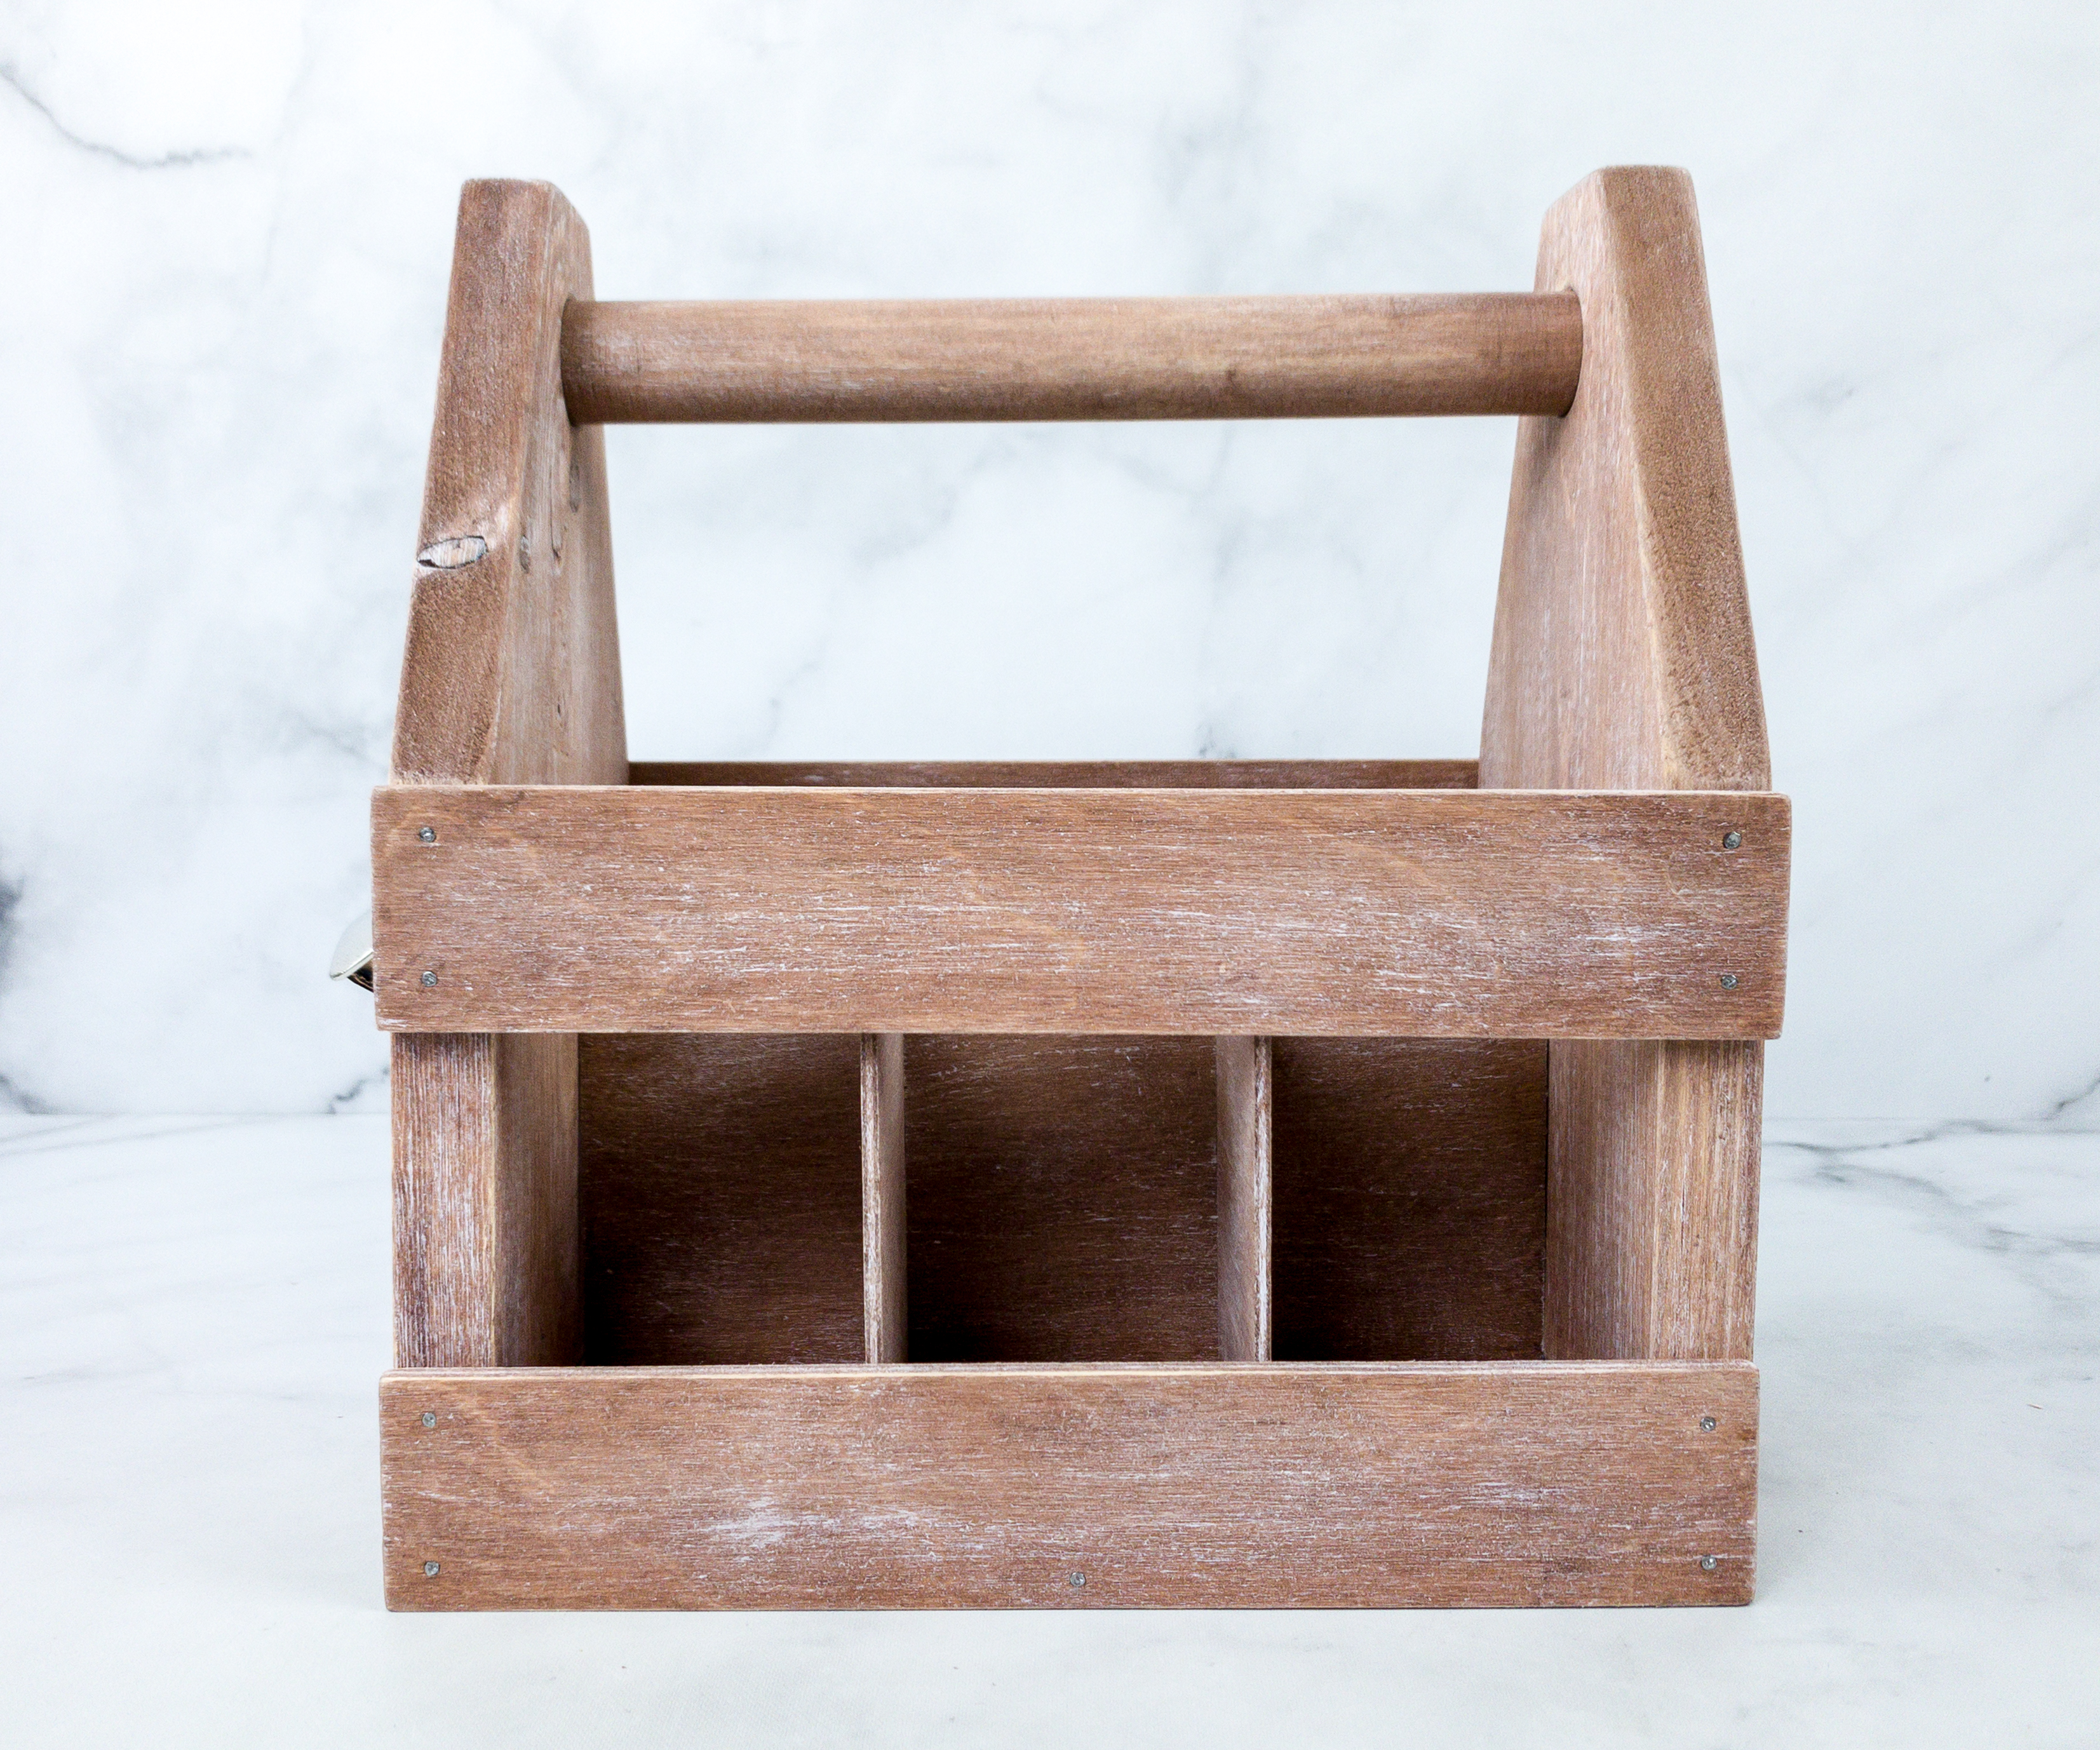
Our caddy is ready for use!
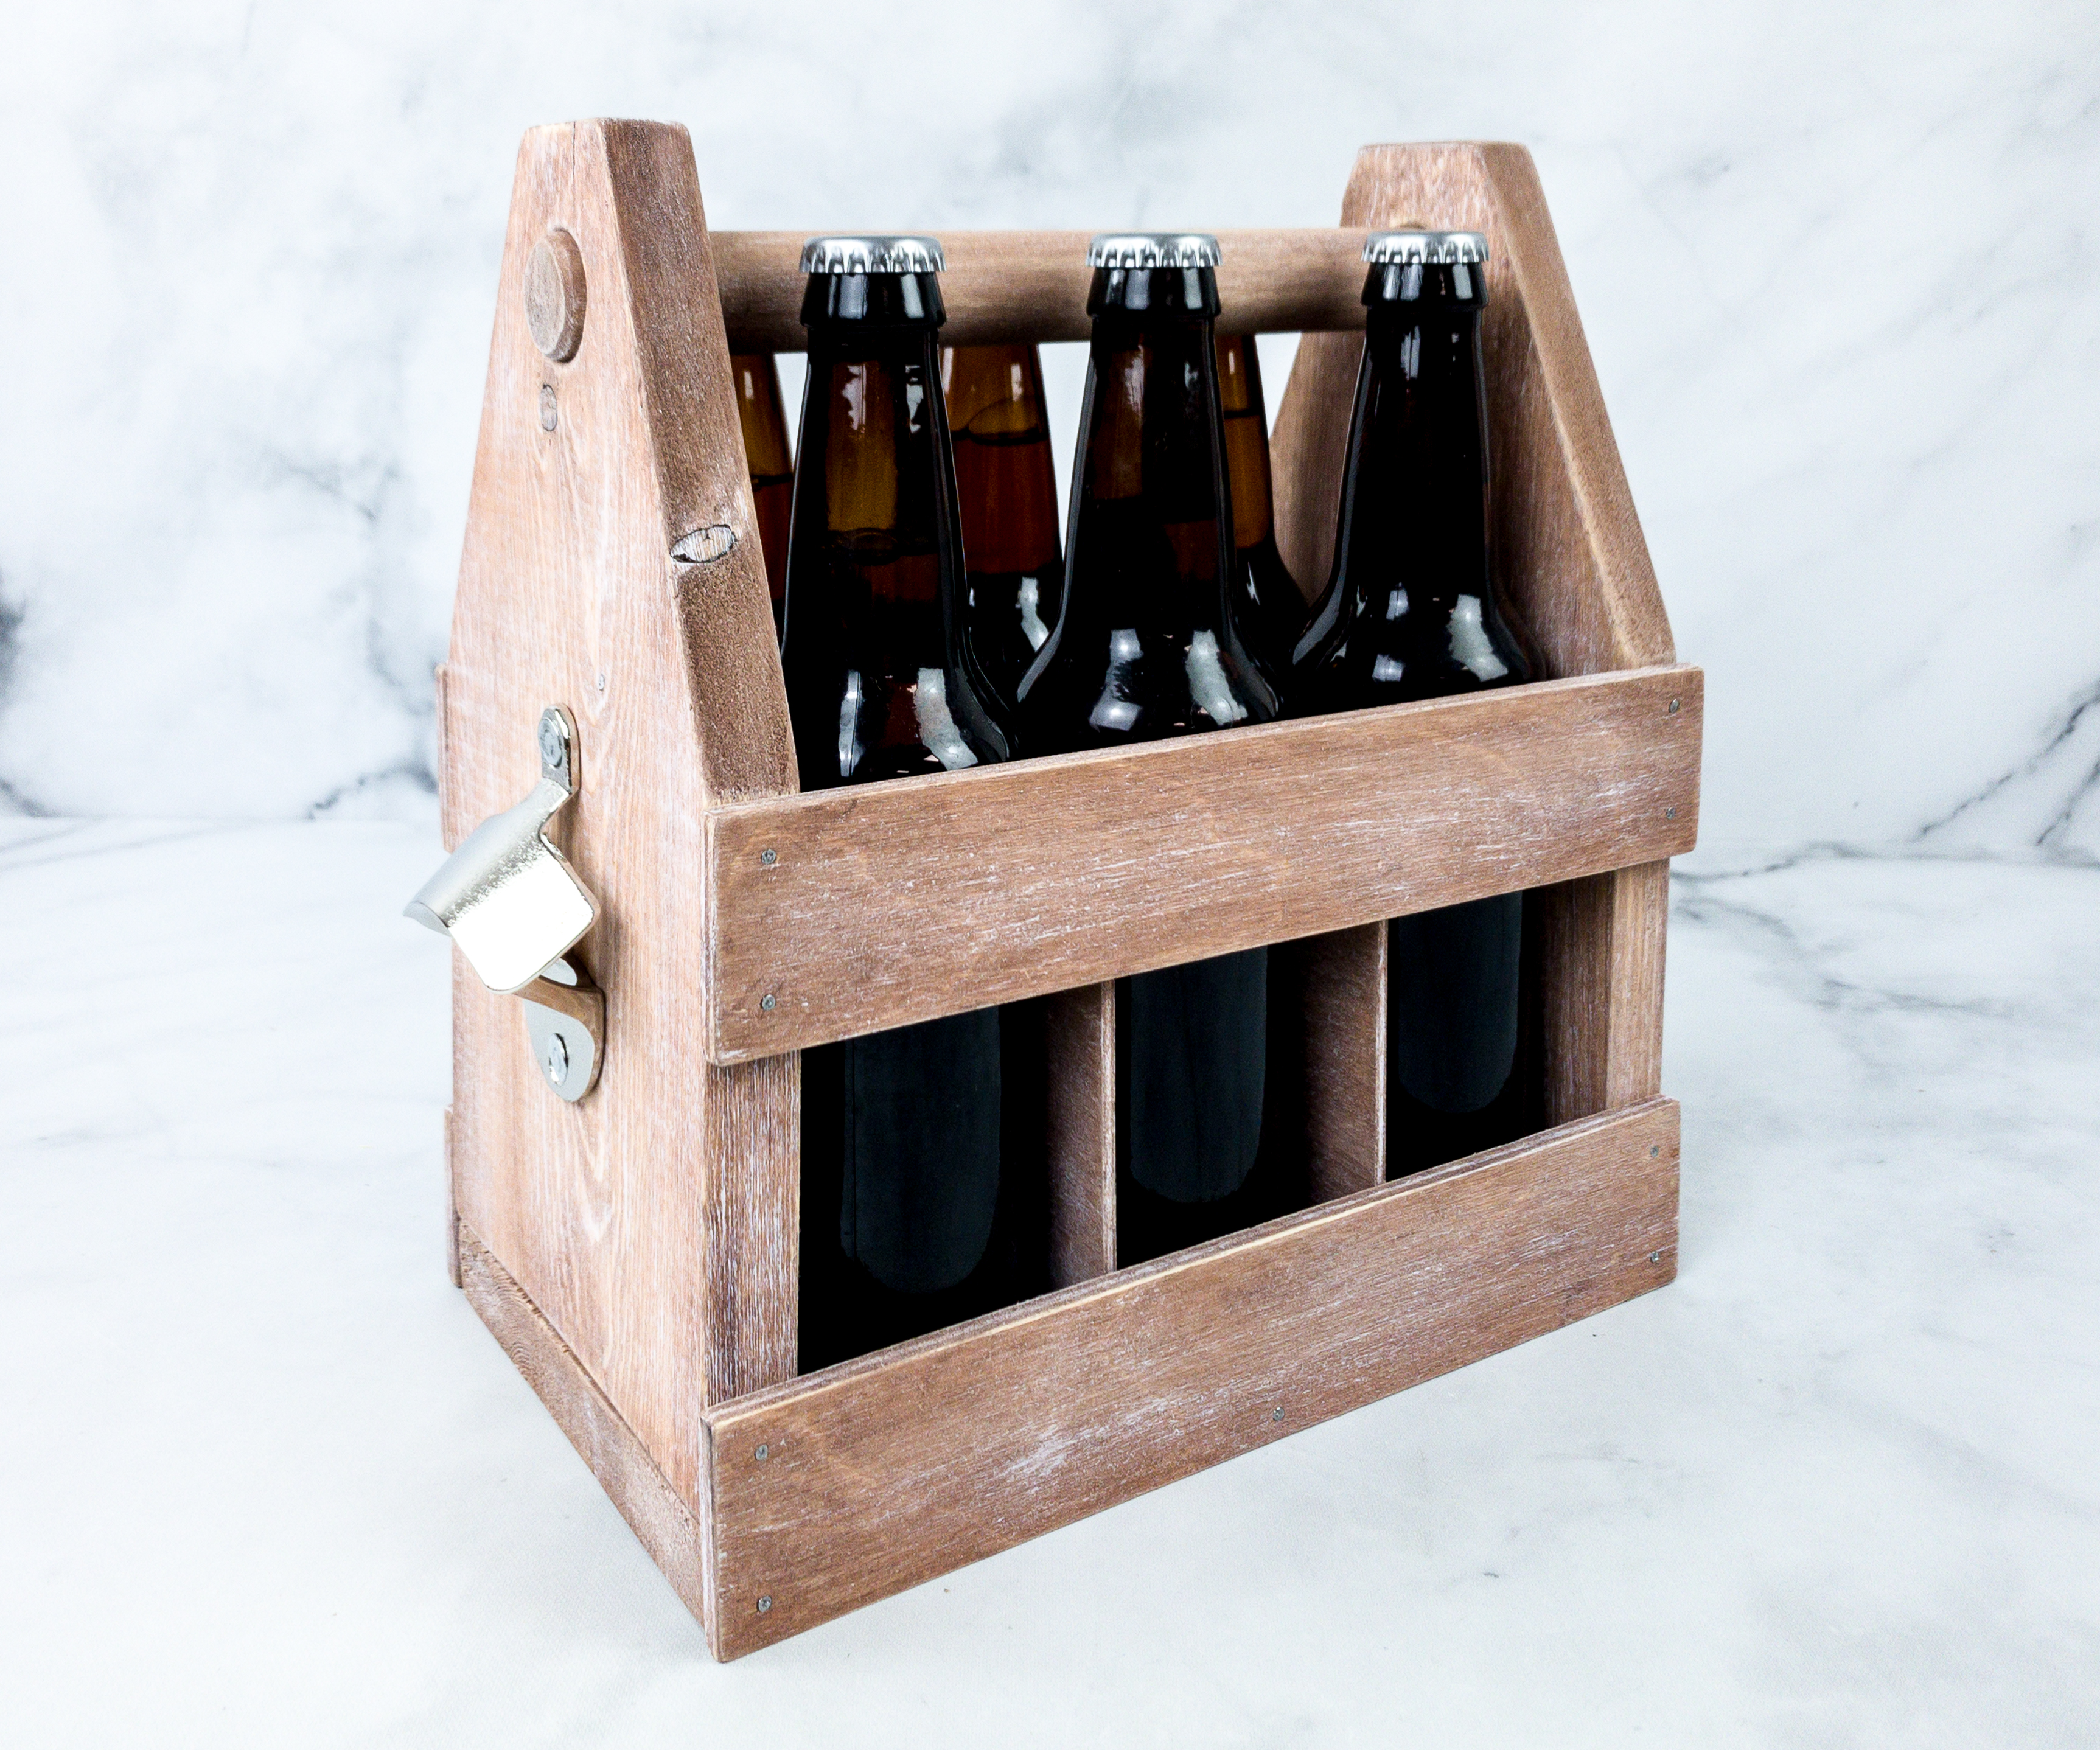
The caddy can fit 6 glass bottles, or used to carry tools and other items.
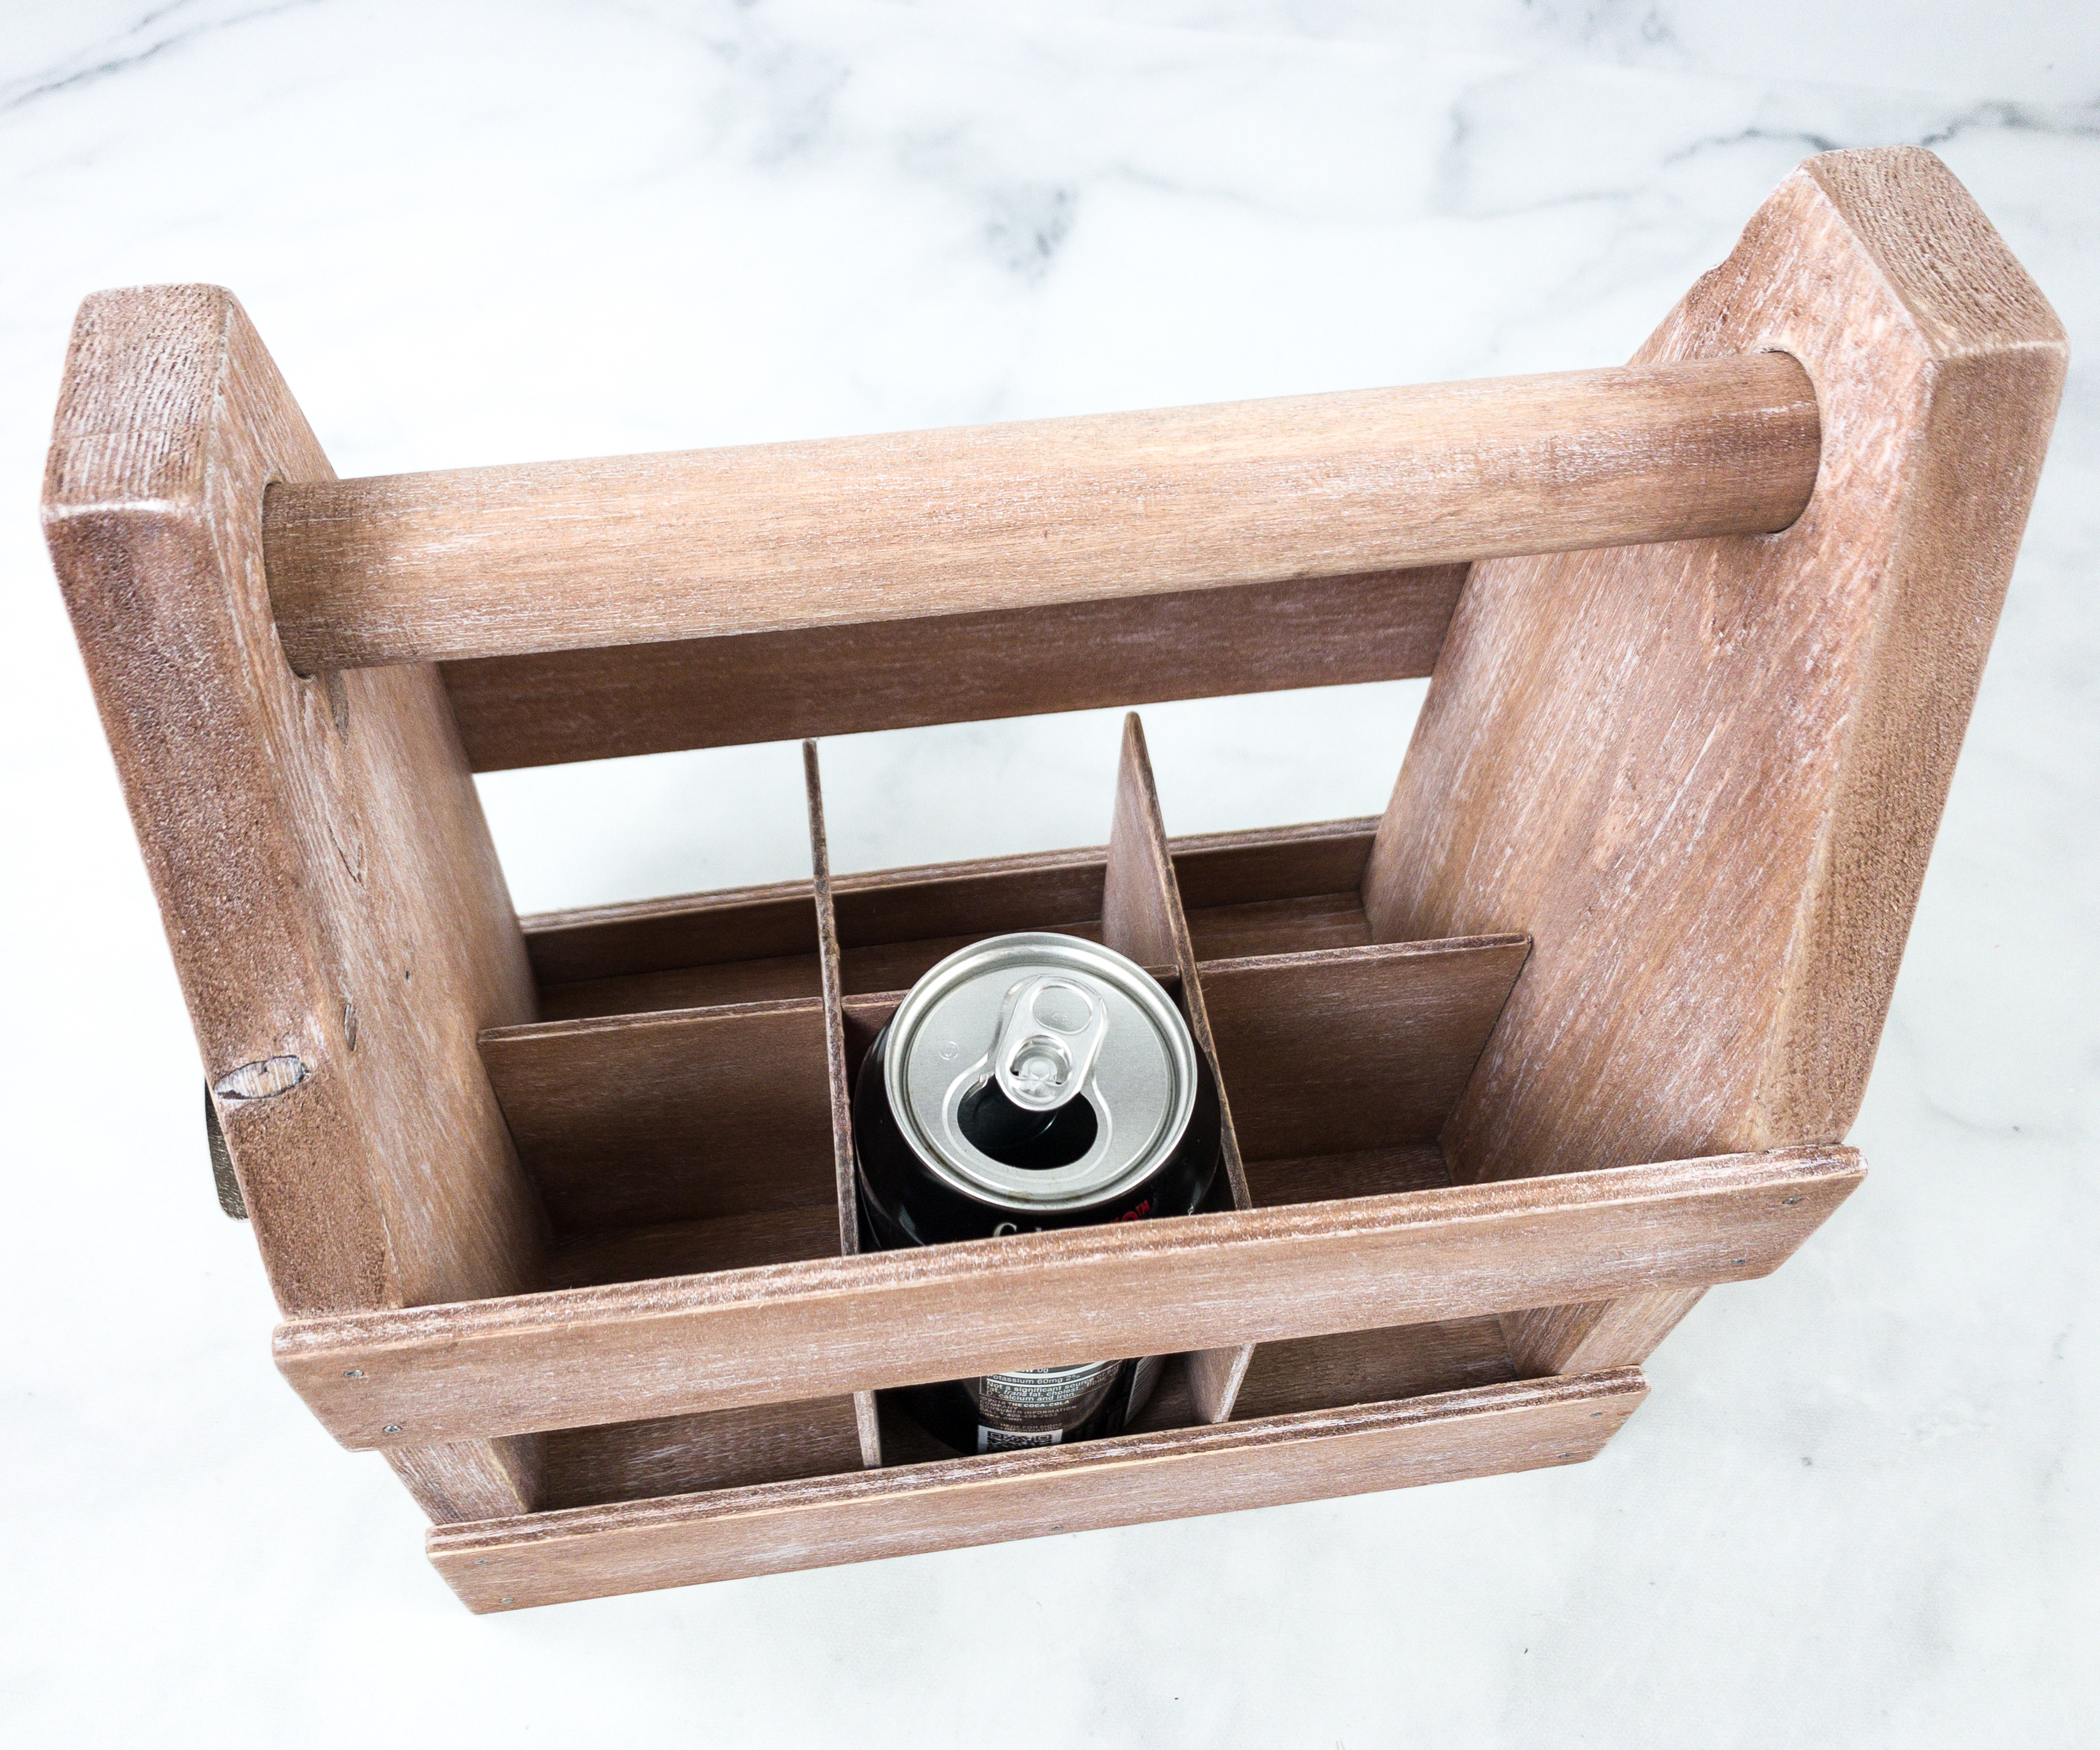
It can also fit cans! It’s the perfect container for beverages during picnics or parties at home!
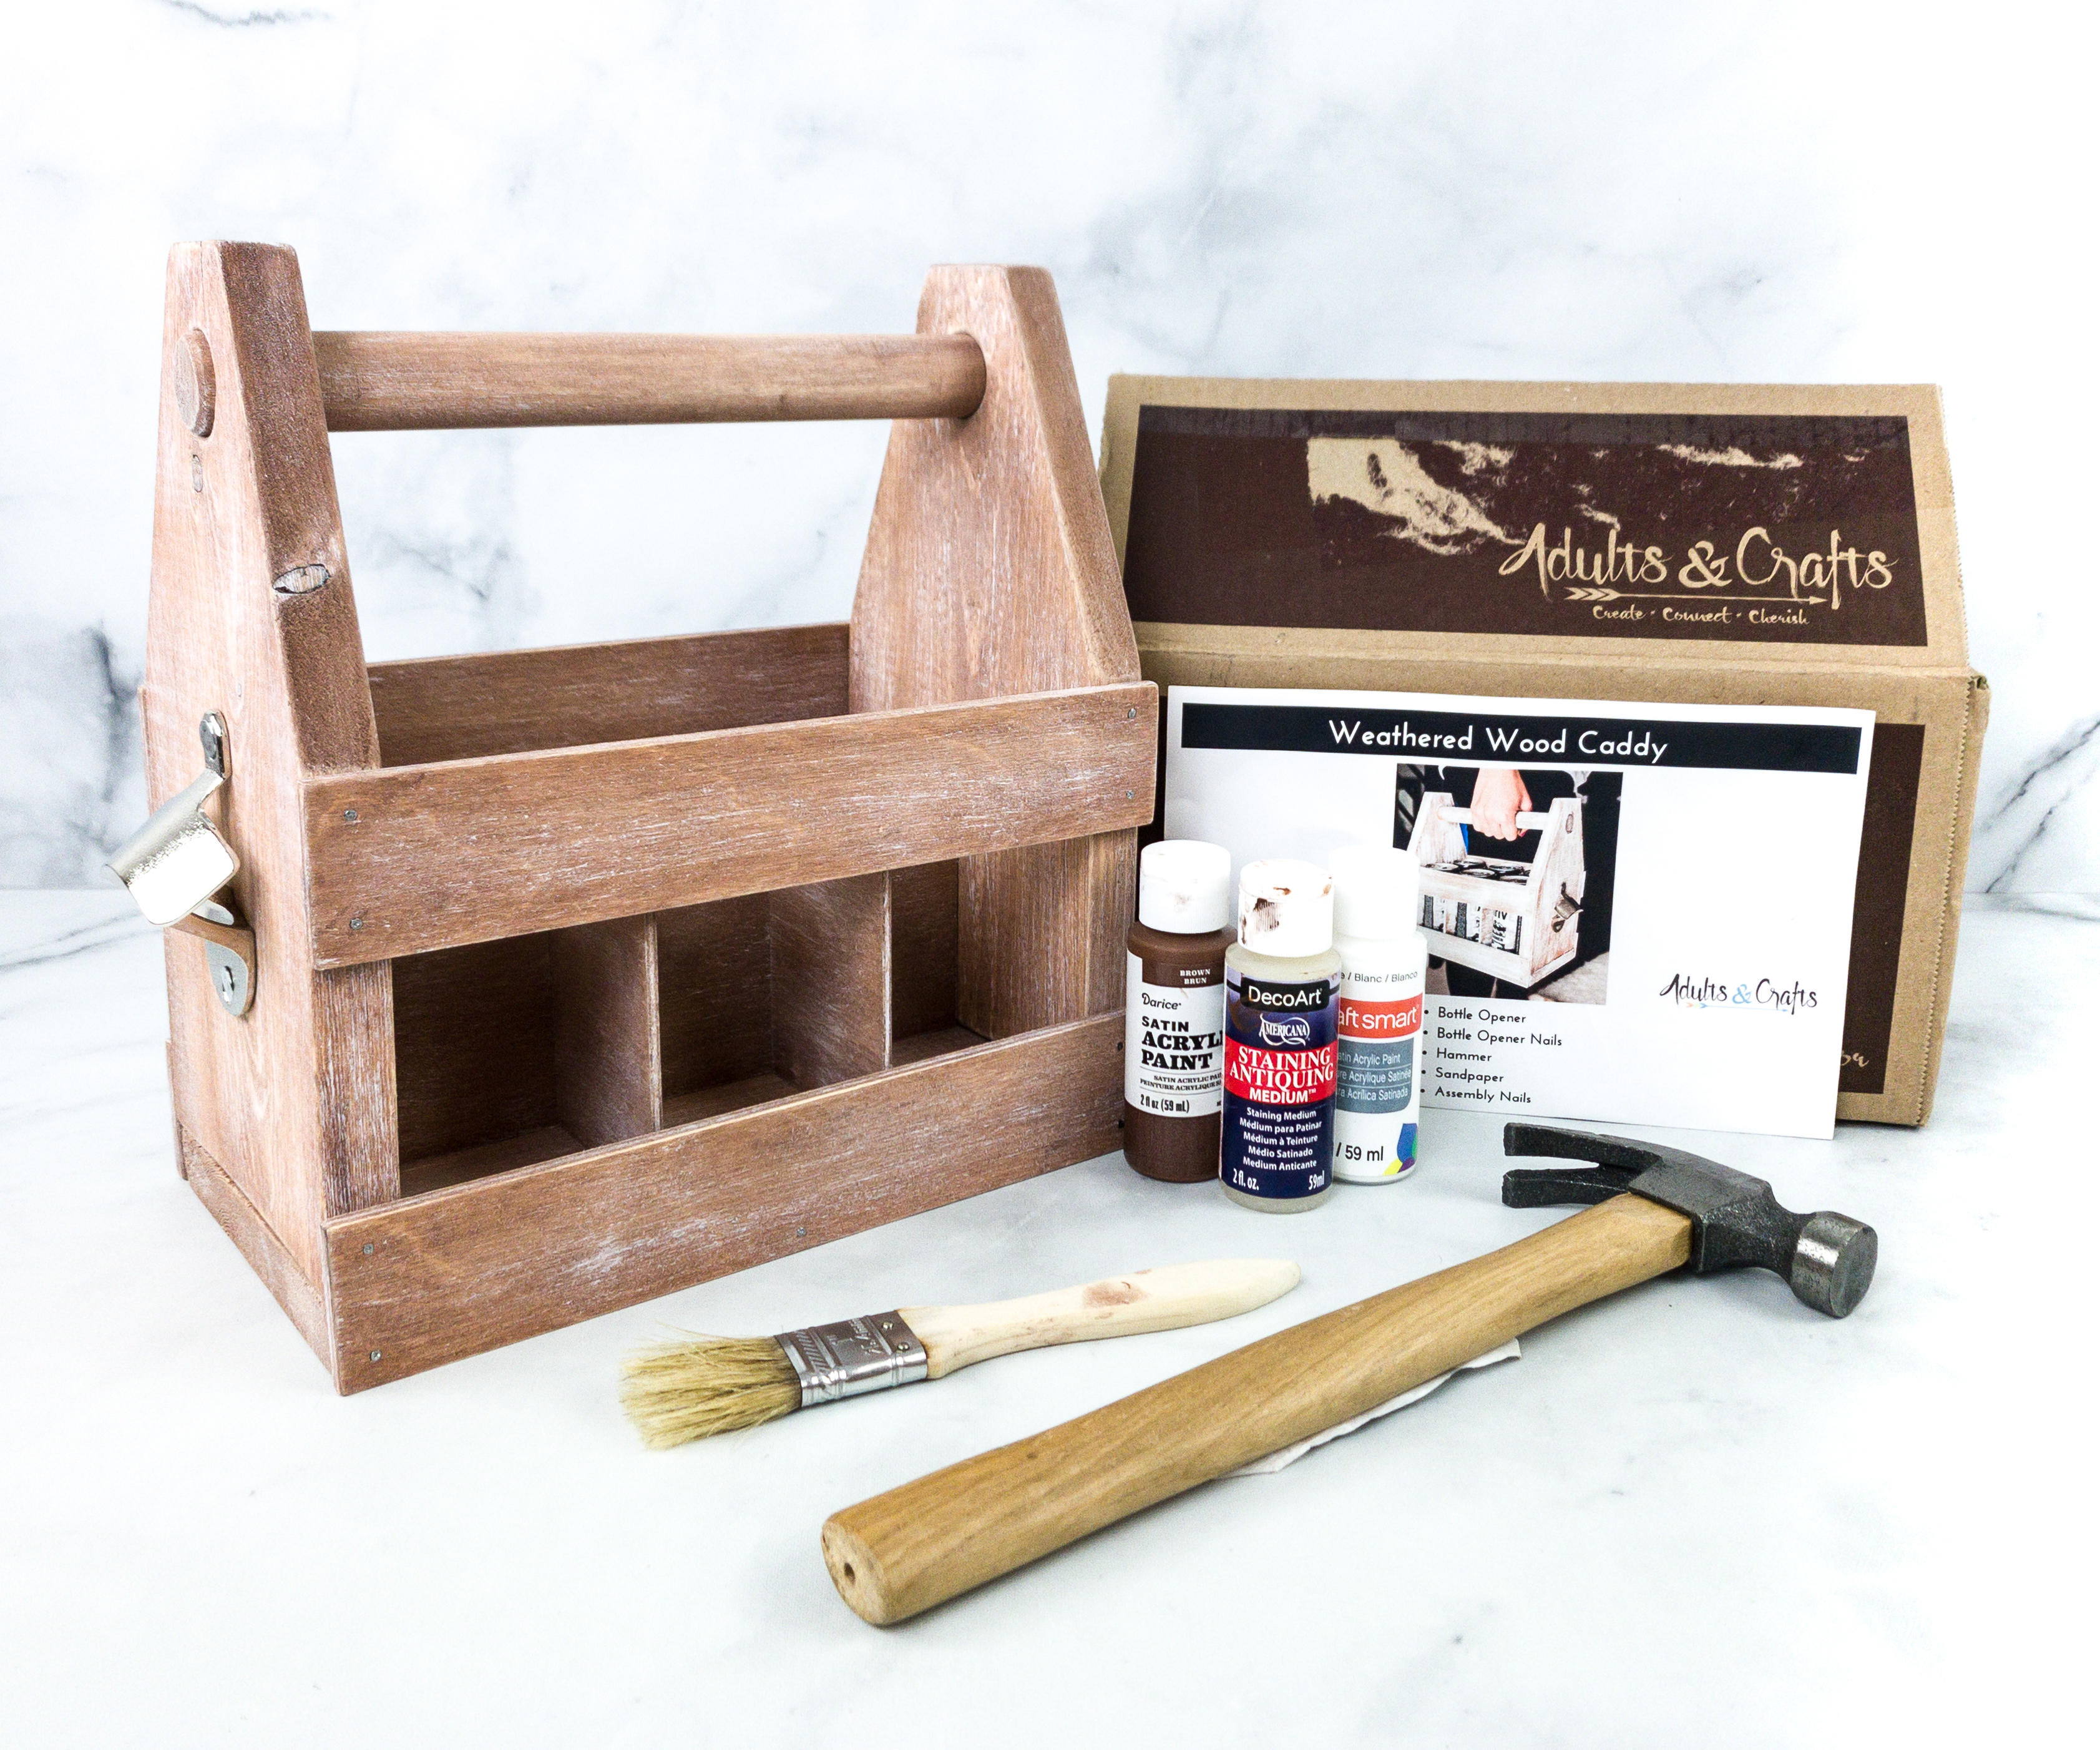
It’s another worthwhile project from Adults & Crafts and we truly enjoyed making and using it! It also taught us a new technique to make wood crafts look great and weathered, which is the dry brush technique. I love the end product as we can definitely use it at home or when we go out. It’s a nice caddy that can carry a lot of stuff, and I know that it’s also durable as it is made of wood. For those who love making crafts on their own, or even with the help of others or just want to bond over some amazing crafts with family or friends, this is the perfect box to get!
What do you think of this month’s box?


Comments