Eureka Crate is a monthly STEM and maker subscription box that teaches kids and adults how to apply principles of science and math to make awesome things you will love to use every day – from an articulated desk lamp to an electric pencil sharpener to a wooden ukulele. Every Eureka Crate includes an engineering project, detailed step-by-step instructions, everything you need to complete the project, a Maker’s Guide that explains all the design, process, and engineering behind the design, plus a design challenge to take your project knowledge to the next level!
DEAL: Save 30% on your first month! Just use this link to subscribe, no coupon code required! You can also use the same link to save 30% on the first month of any other KiwiCo crate – just check out this page to discover which box is right for you.
Eureka Crate is KiwiCo’s latest subscription! Eureka Crate is designed for ages 14-104. If you’re ready to graduate from KiwiCo’s other boxes or just can’t get enough (or are just too old for their other subscriptions), you’ll love this box, which is designed to create a hands-on learning experience using everyday items to delve deeply into the science and math principles they embody, along with the design process of the month’s project.
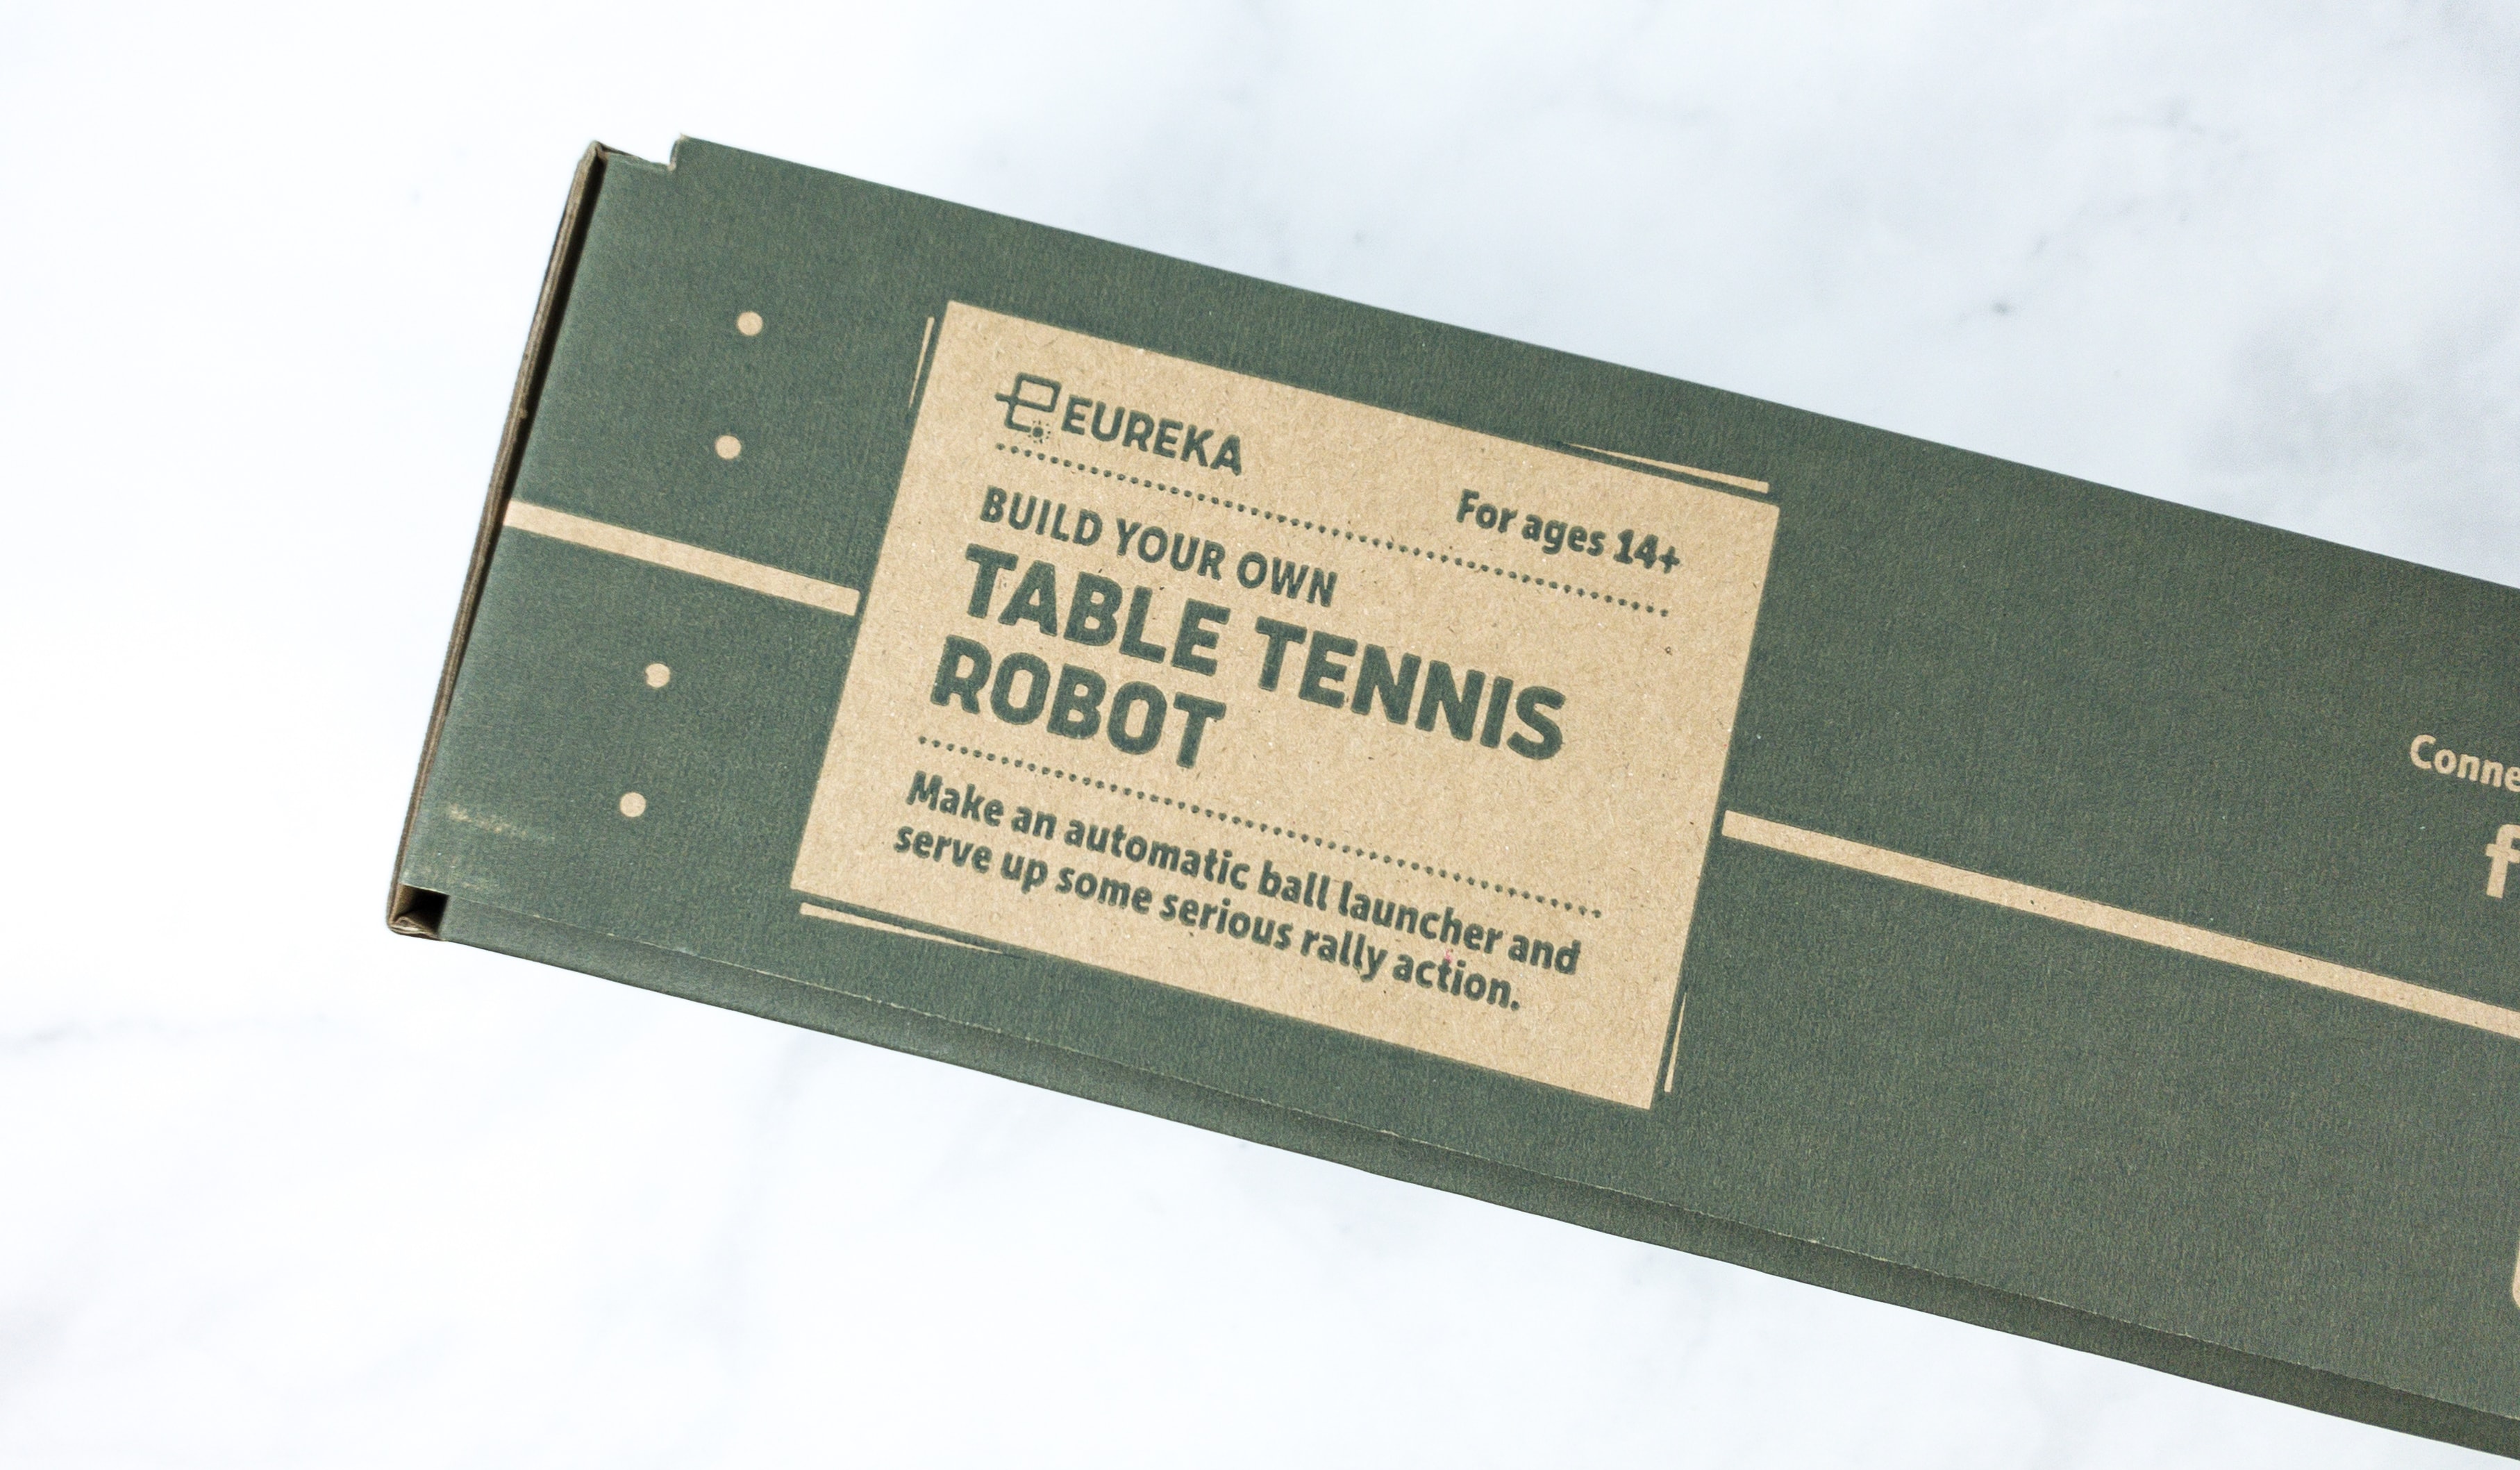
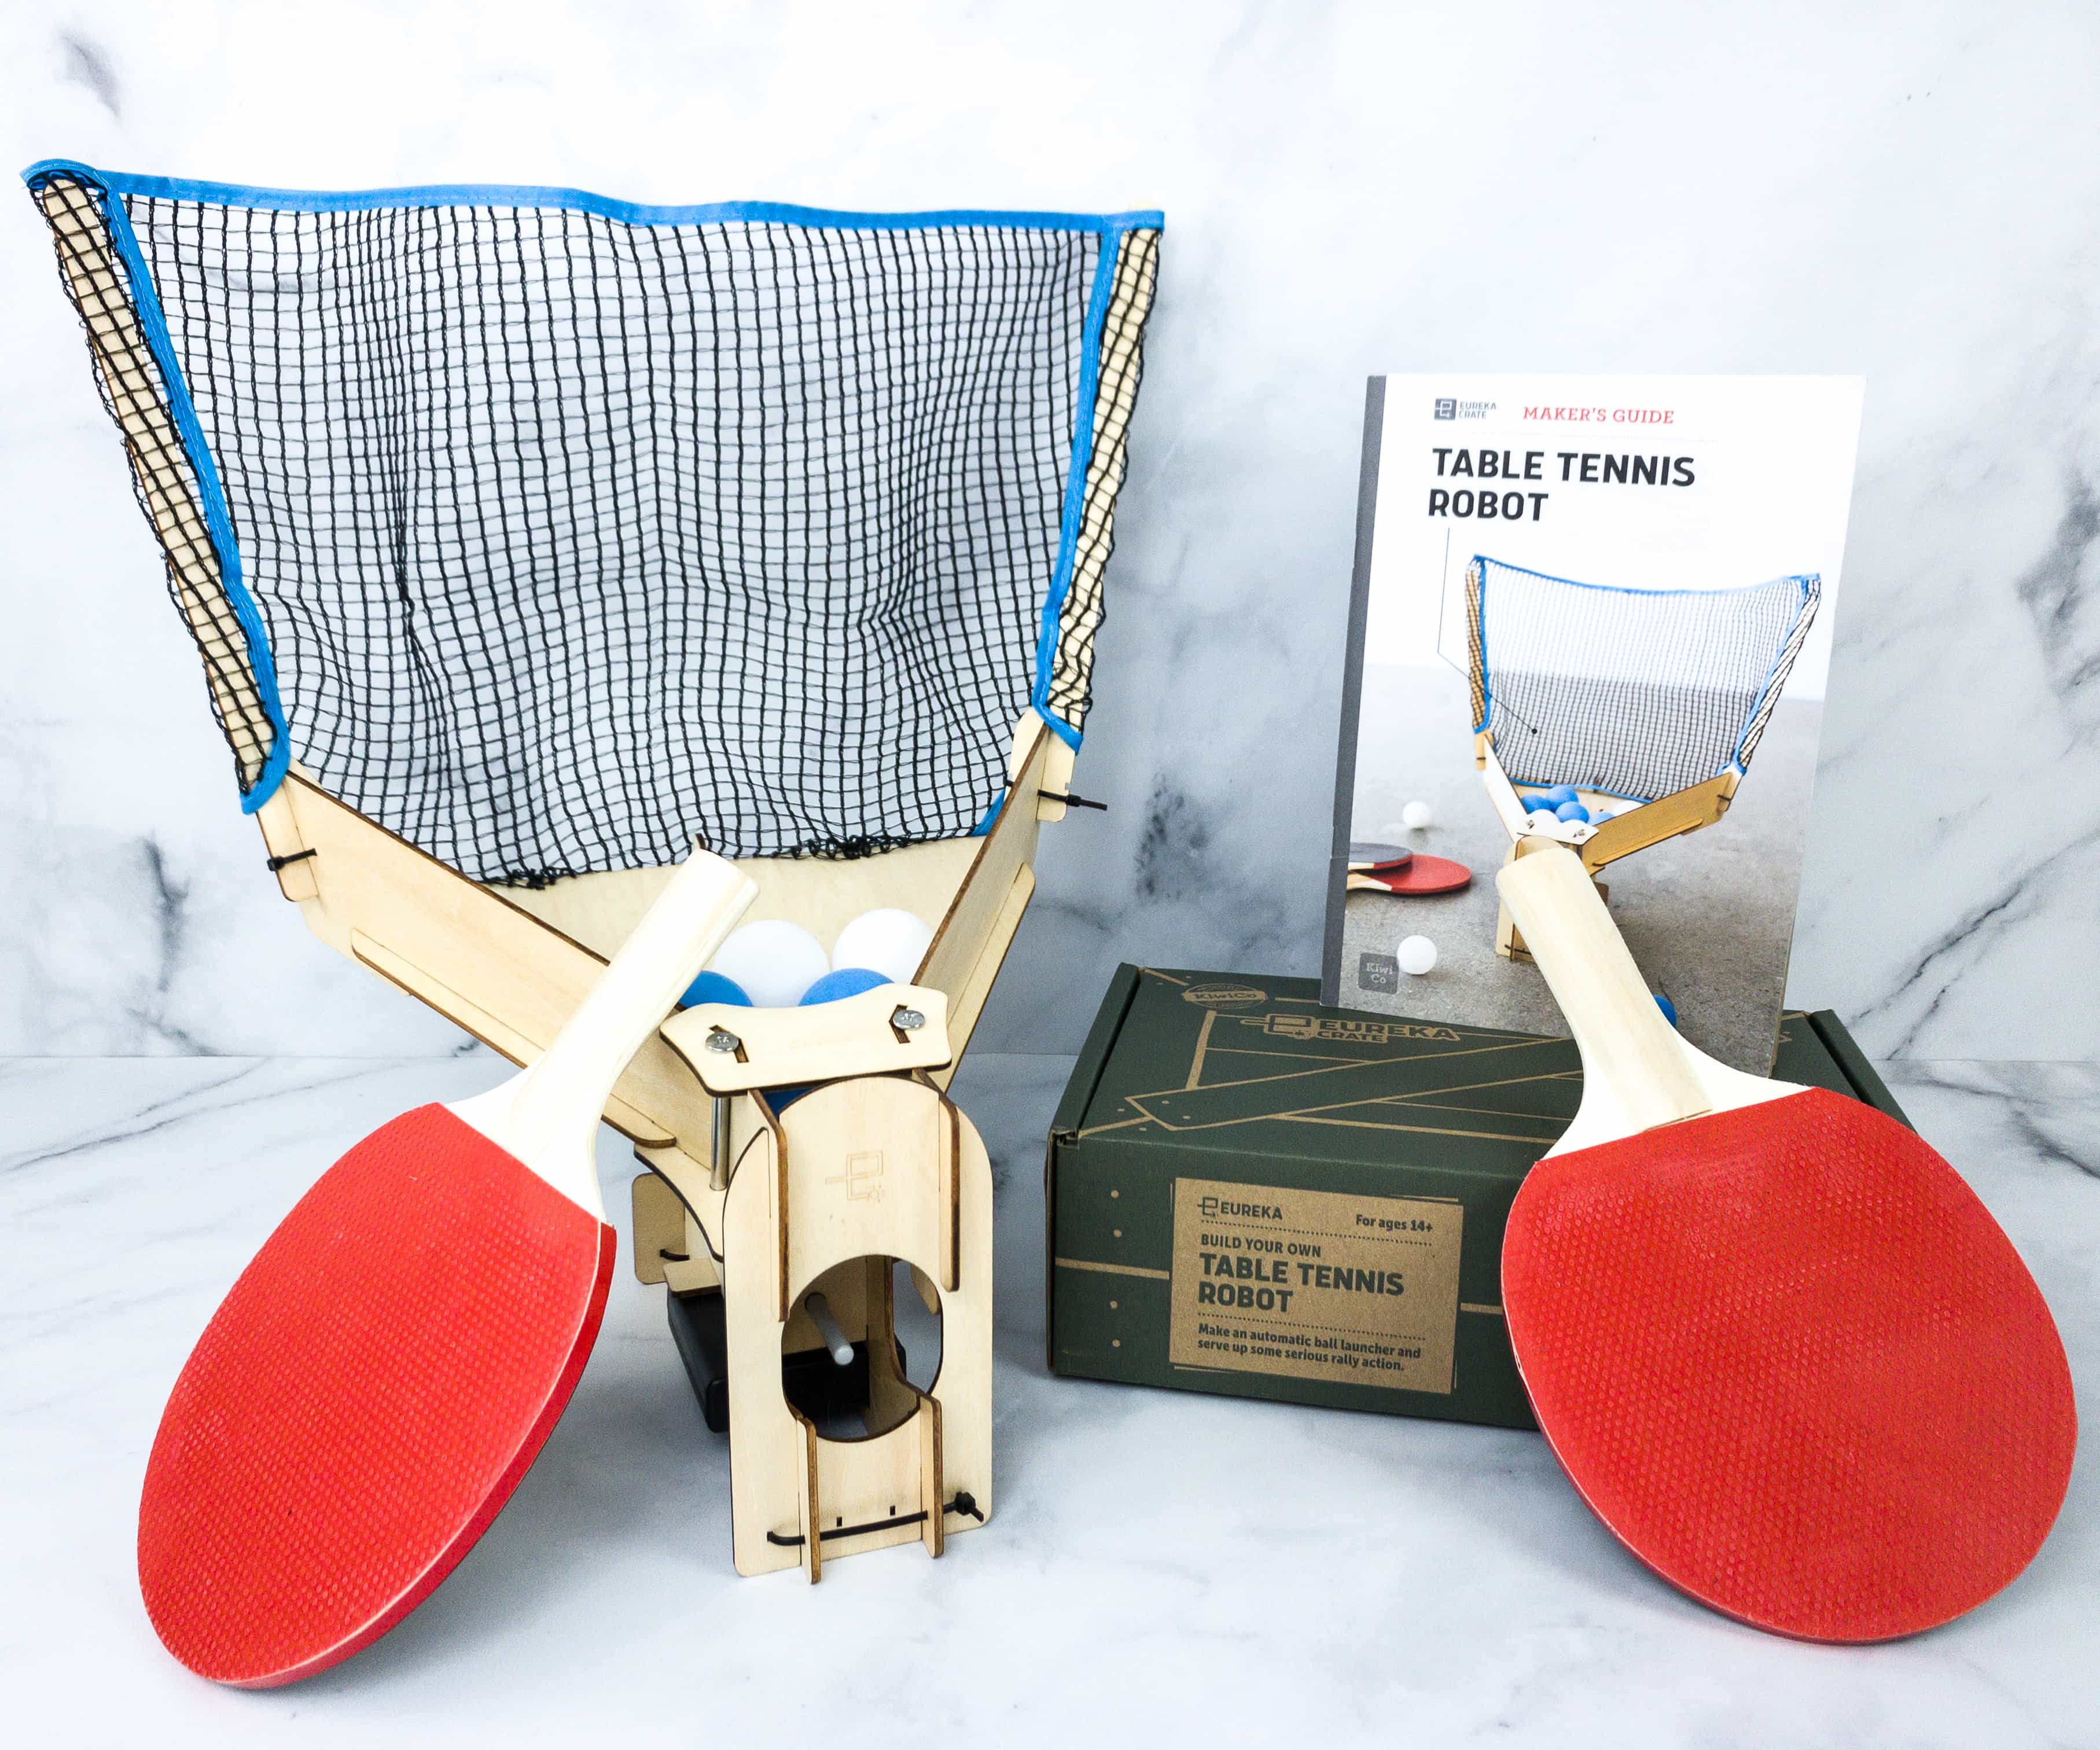
This month, we’re making a Table Tennis Robot!
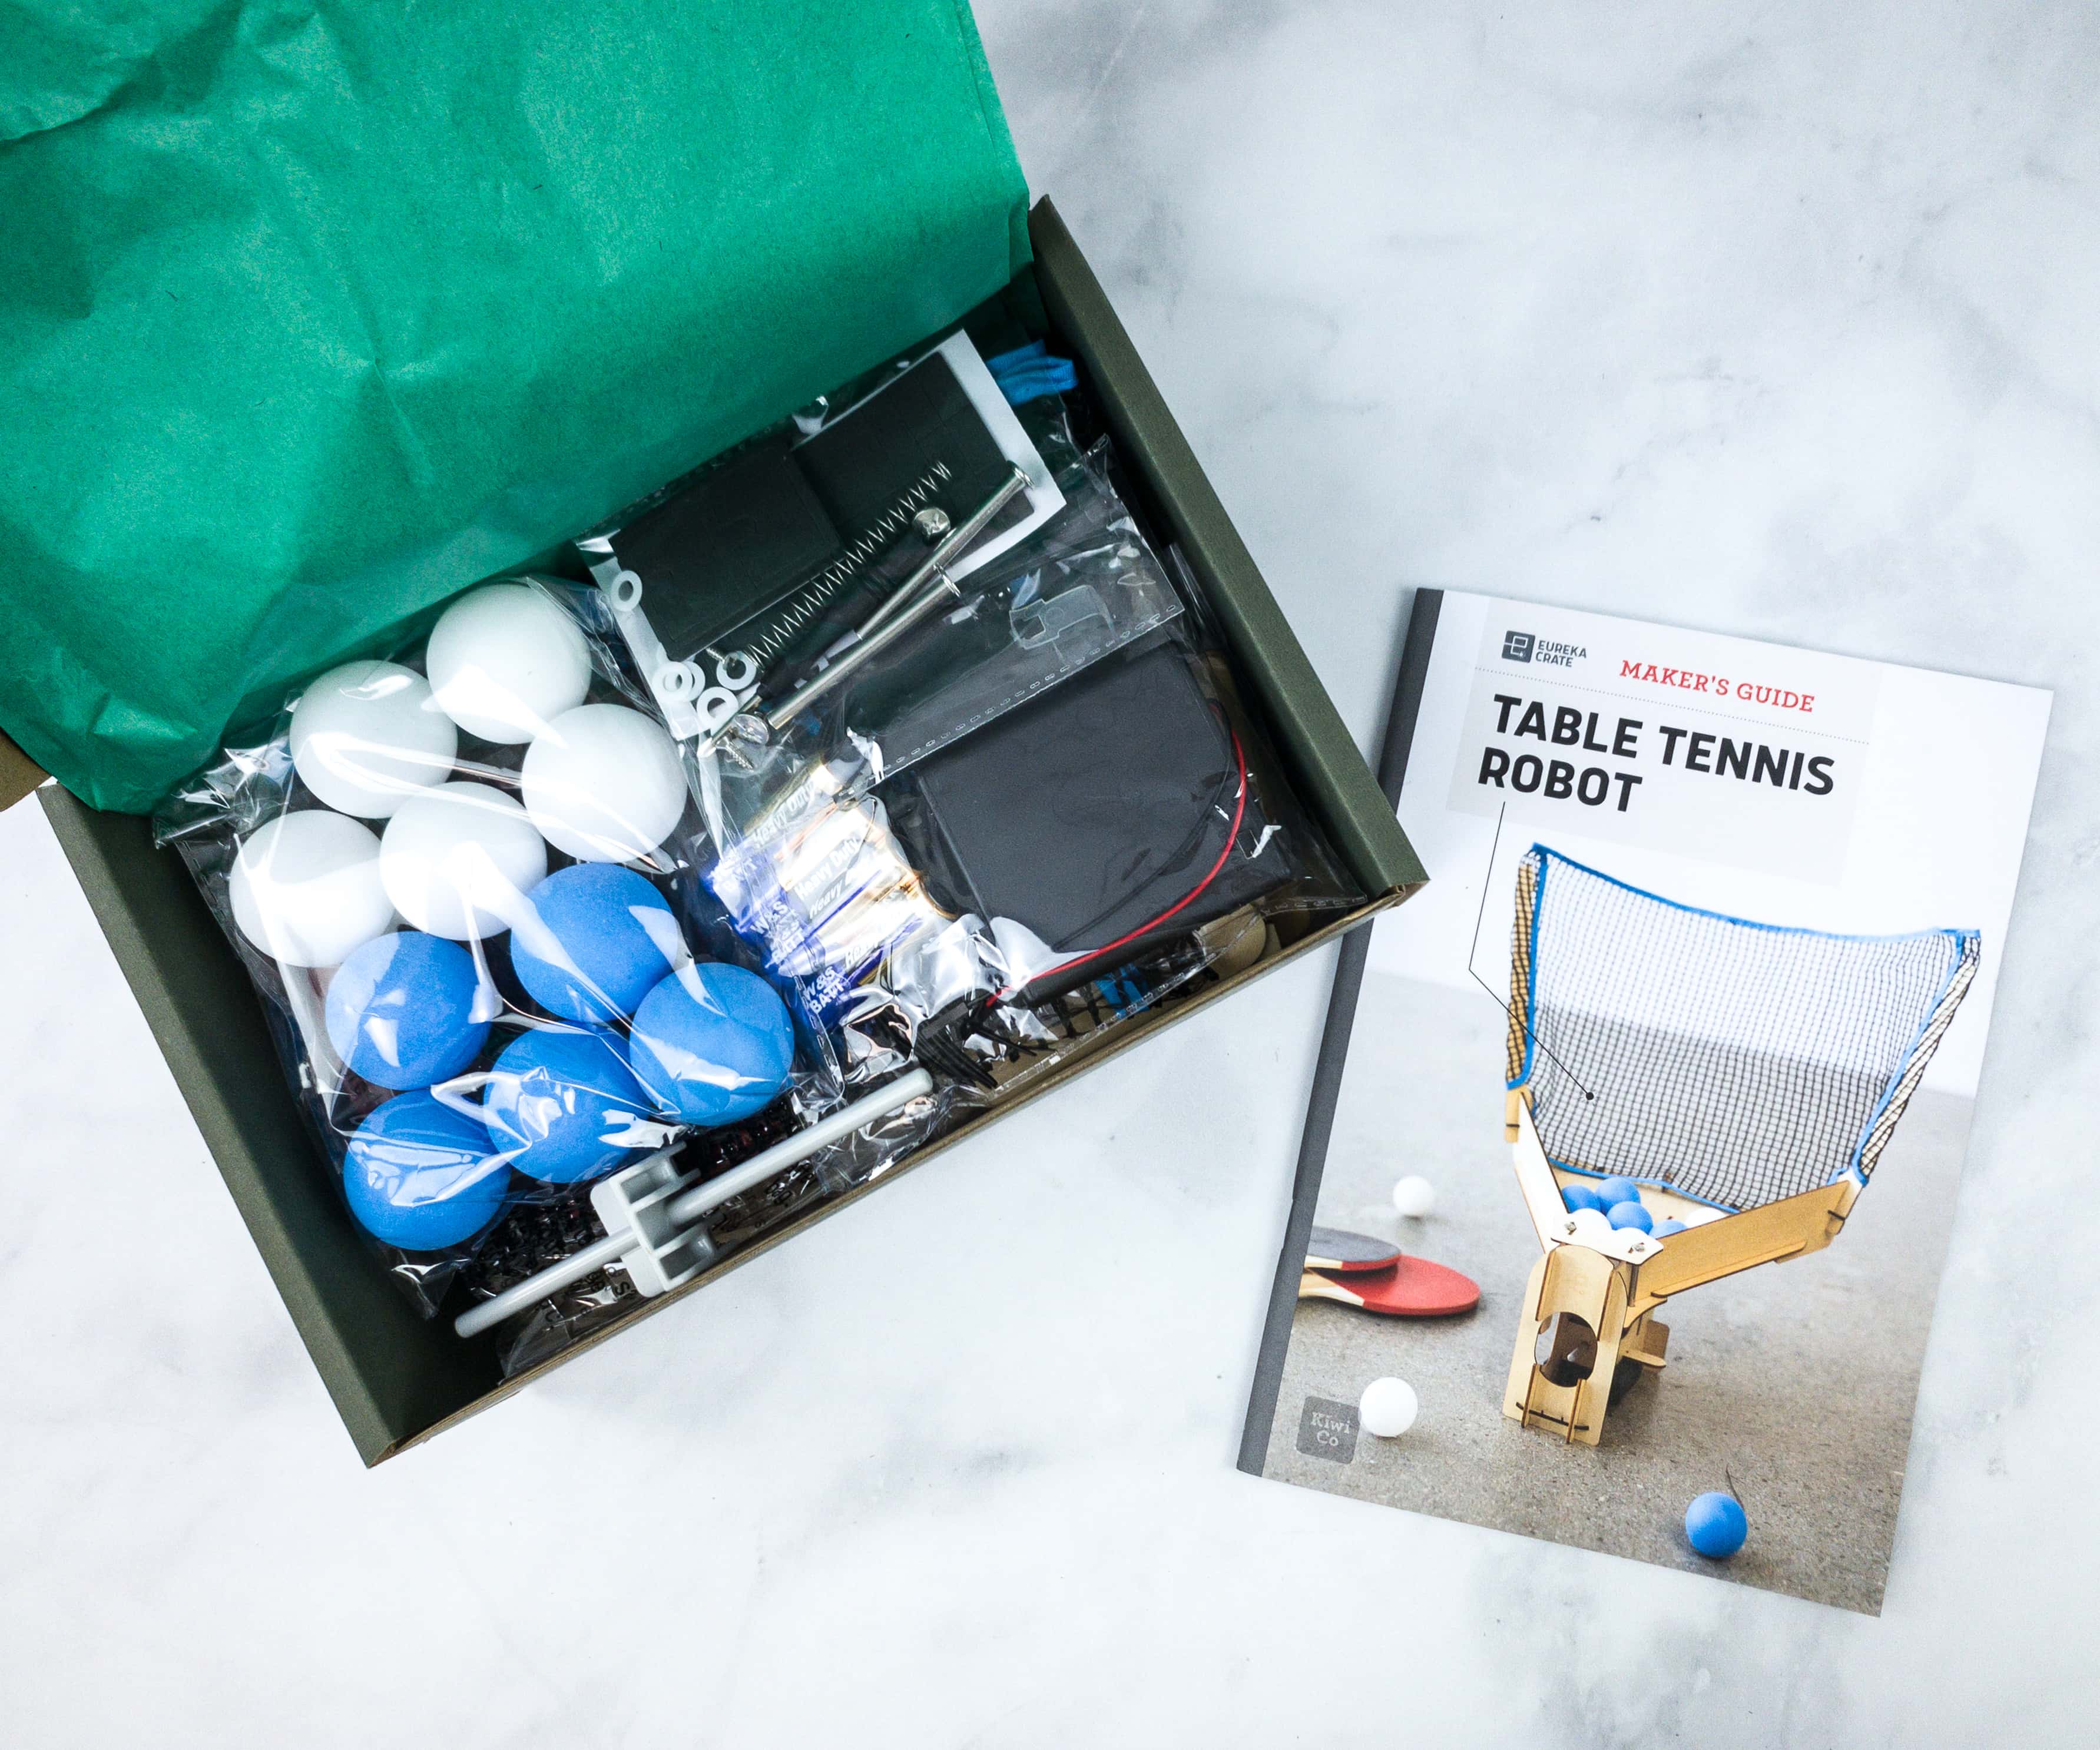
Like the other crates from KiwiCo, Eureka Crate includes a booklet.
One of KiwiCo’s goals is to equip the next generation of innovators with the tools and confidence for creative exploration and problem-solving.

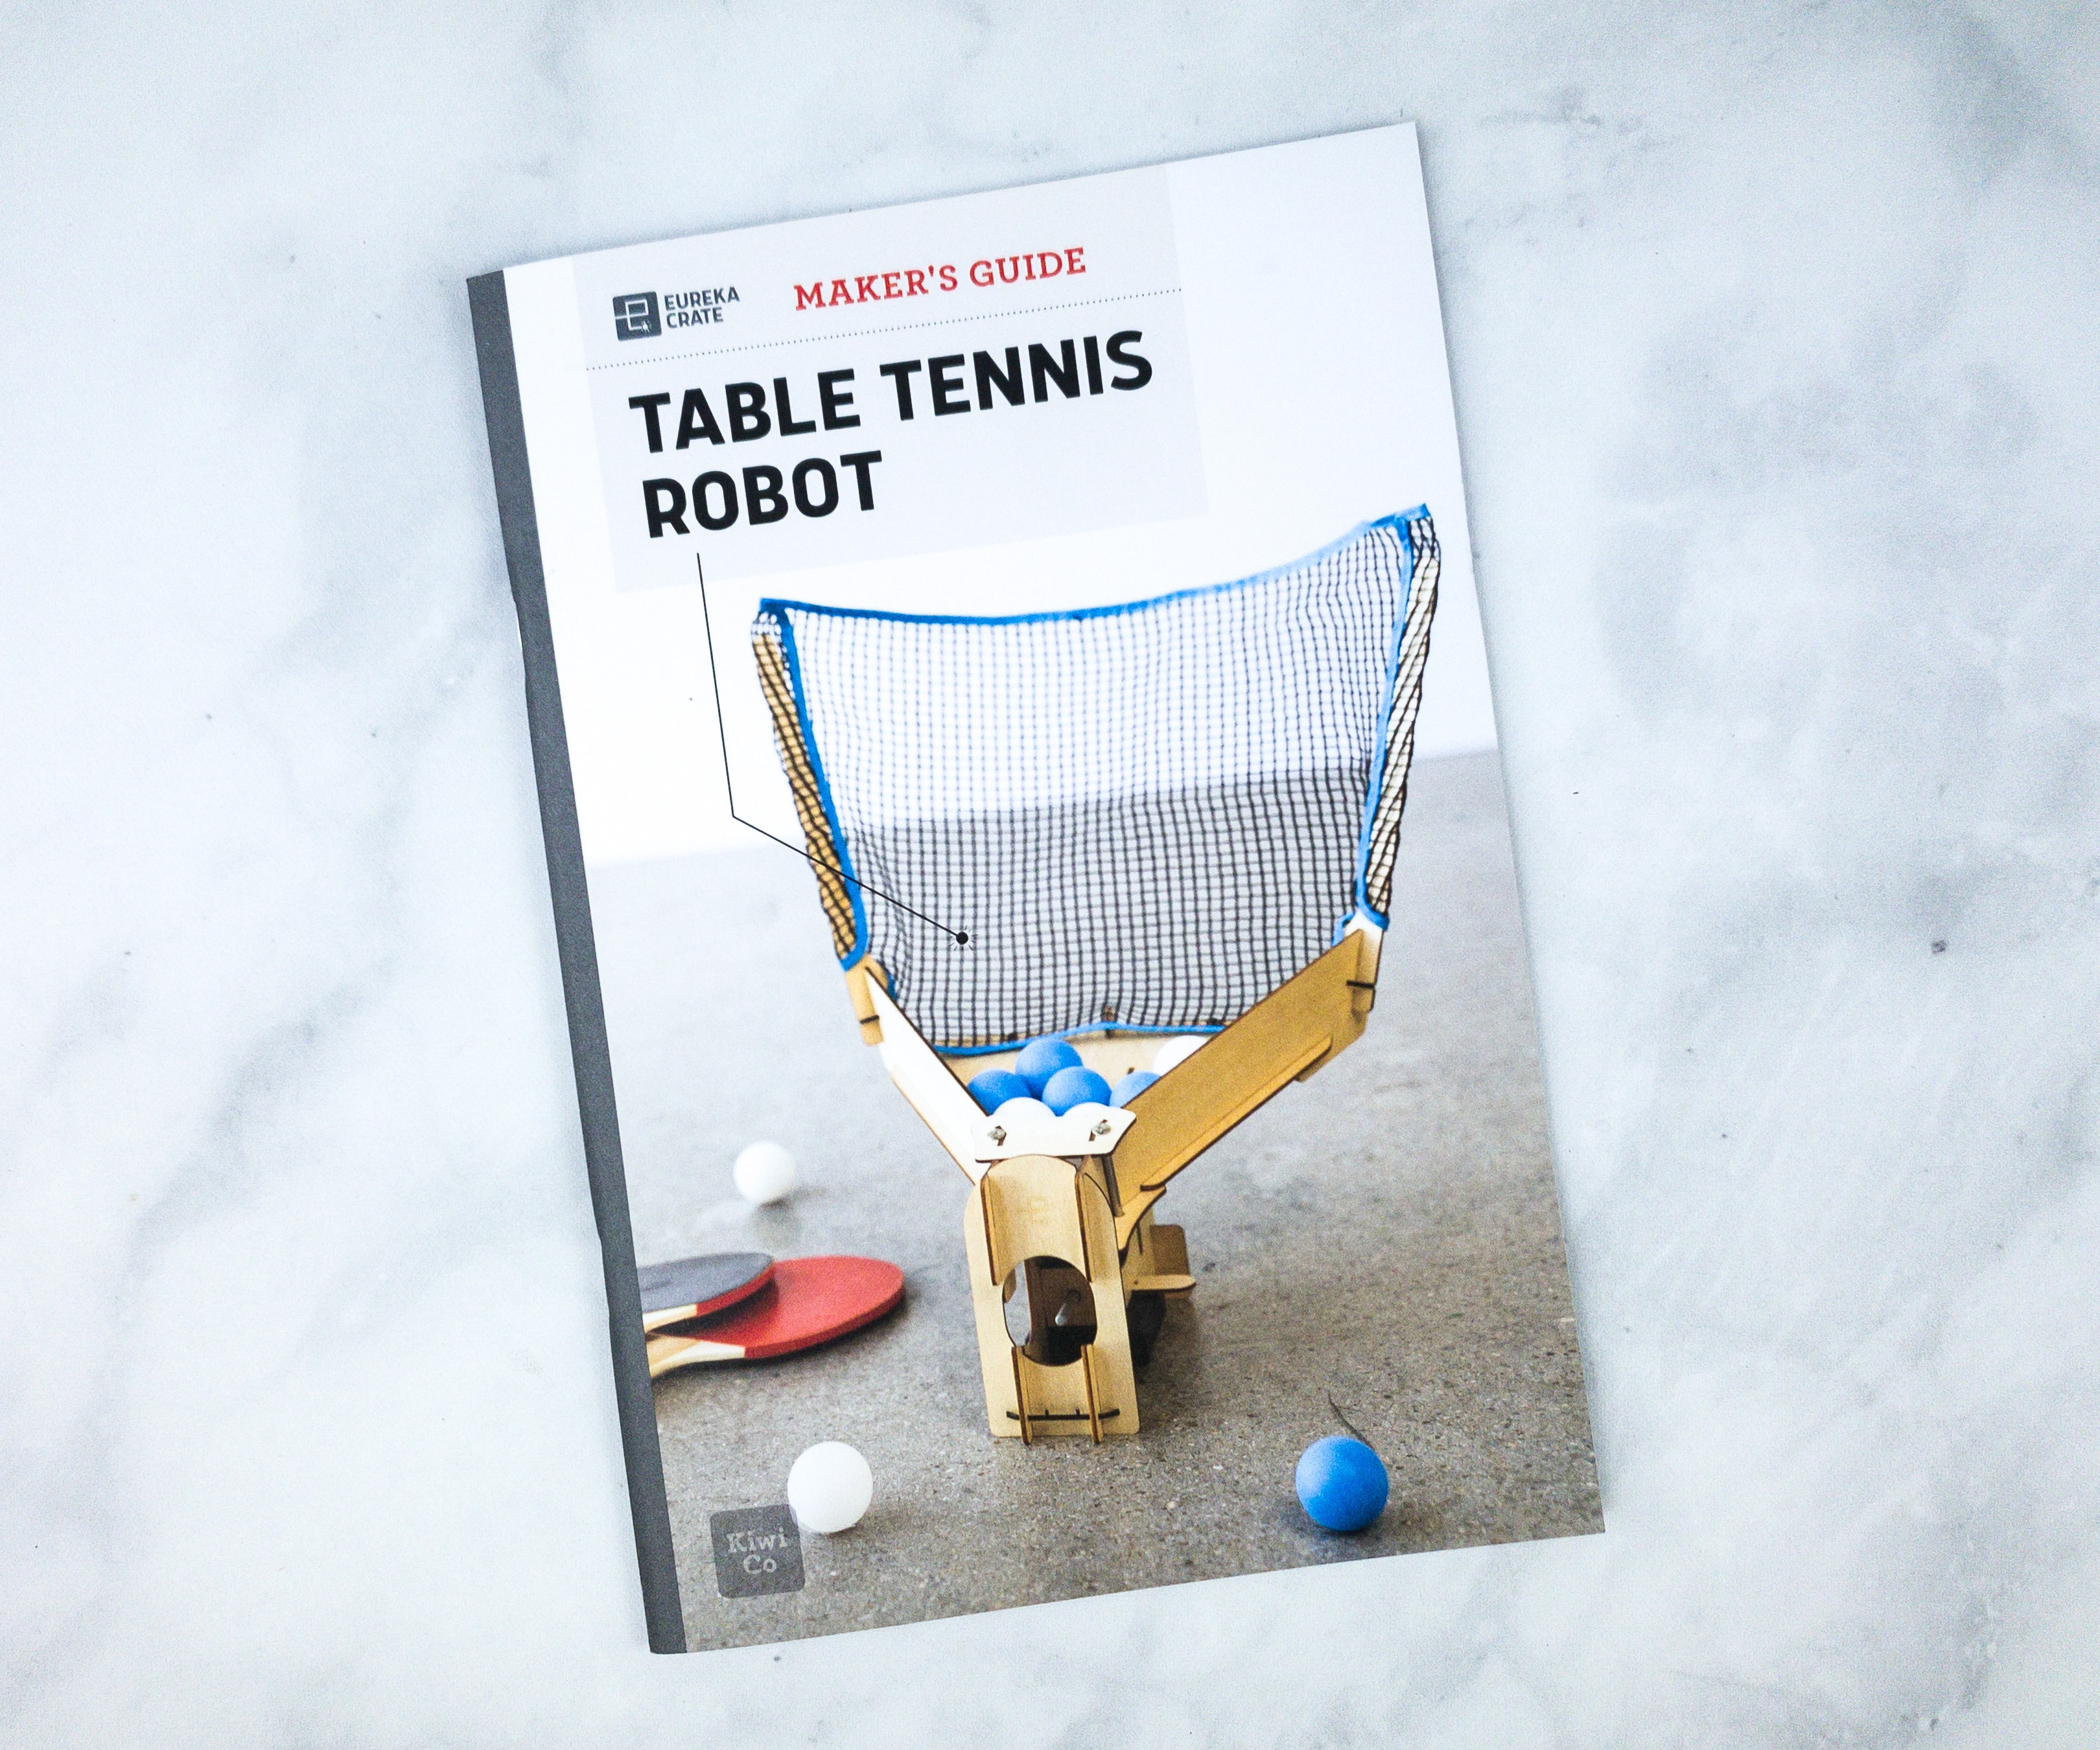
The booklet gives a complete history and details about this month’s project. They also included some fun facts and trivia related to the theme.
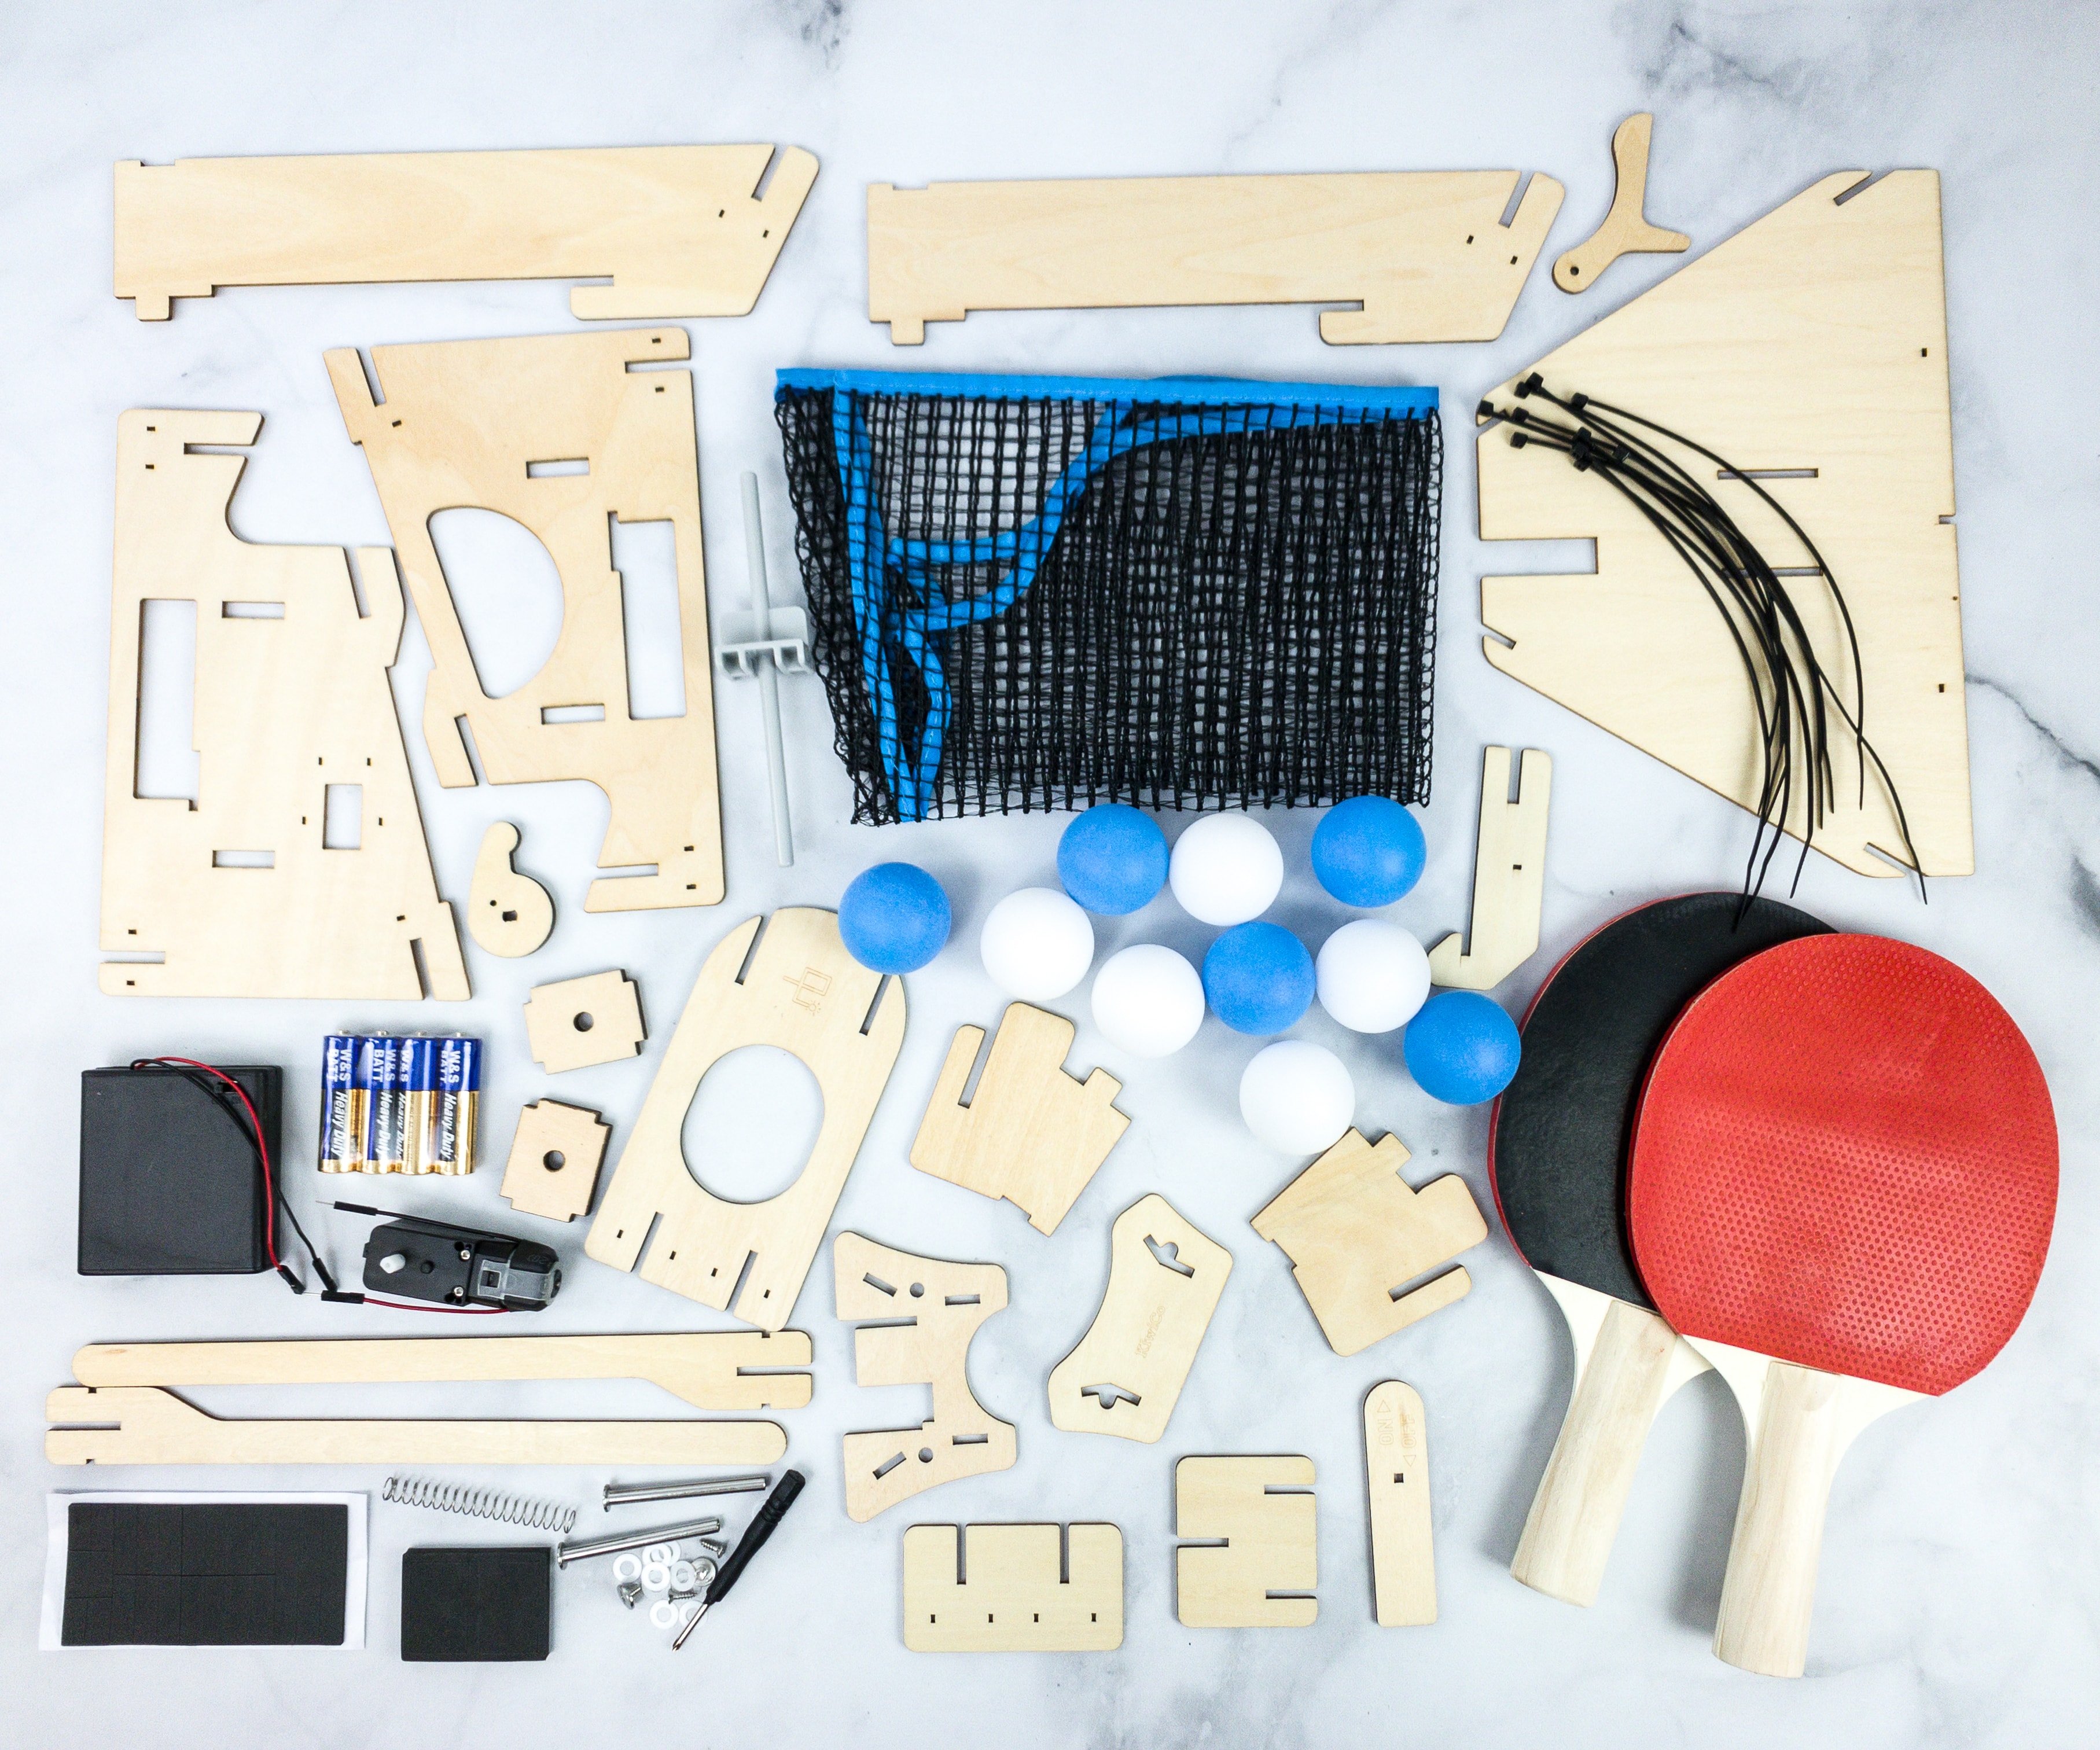
Everything in this month’s box!
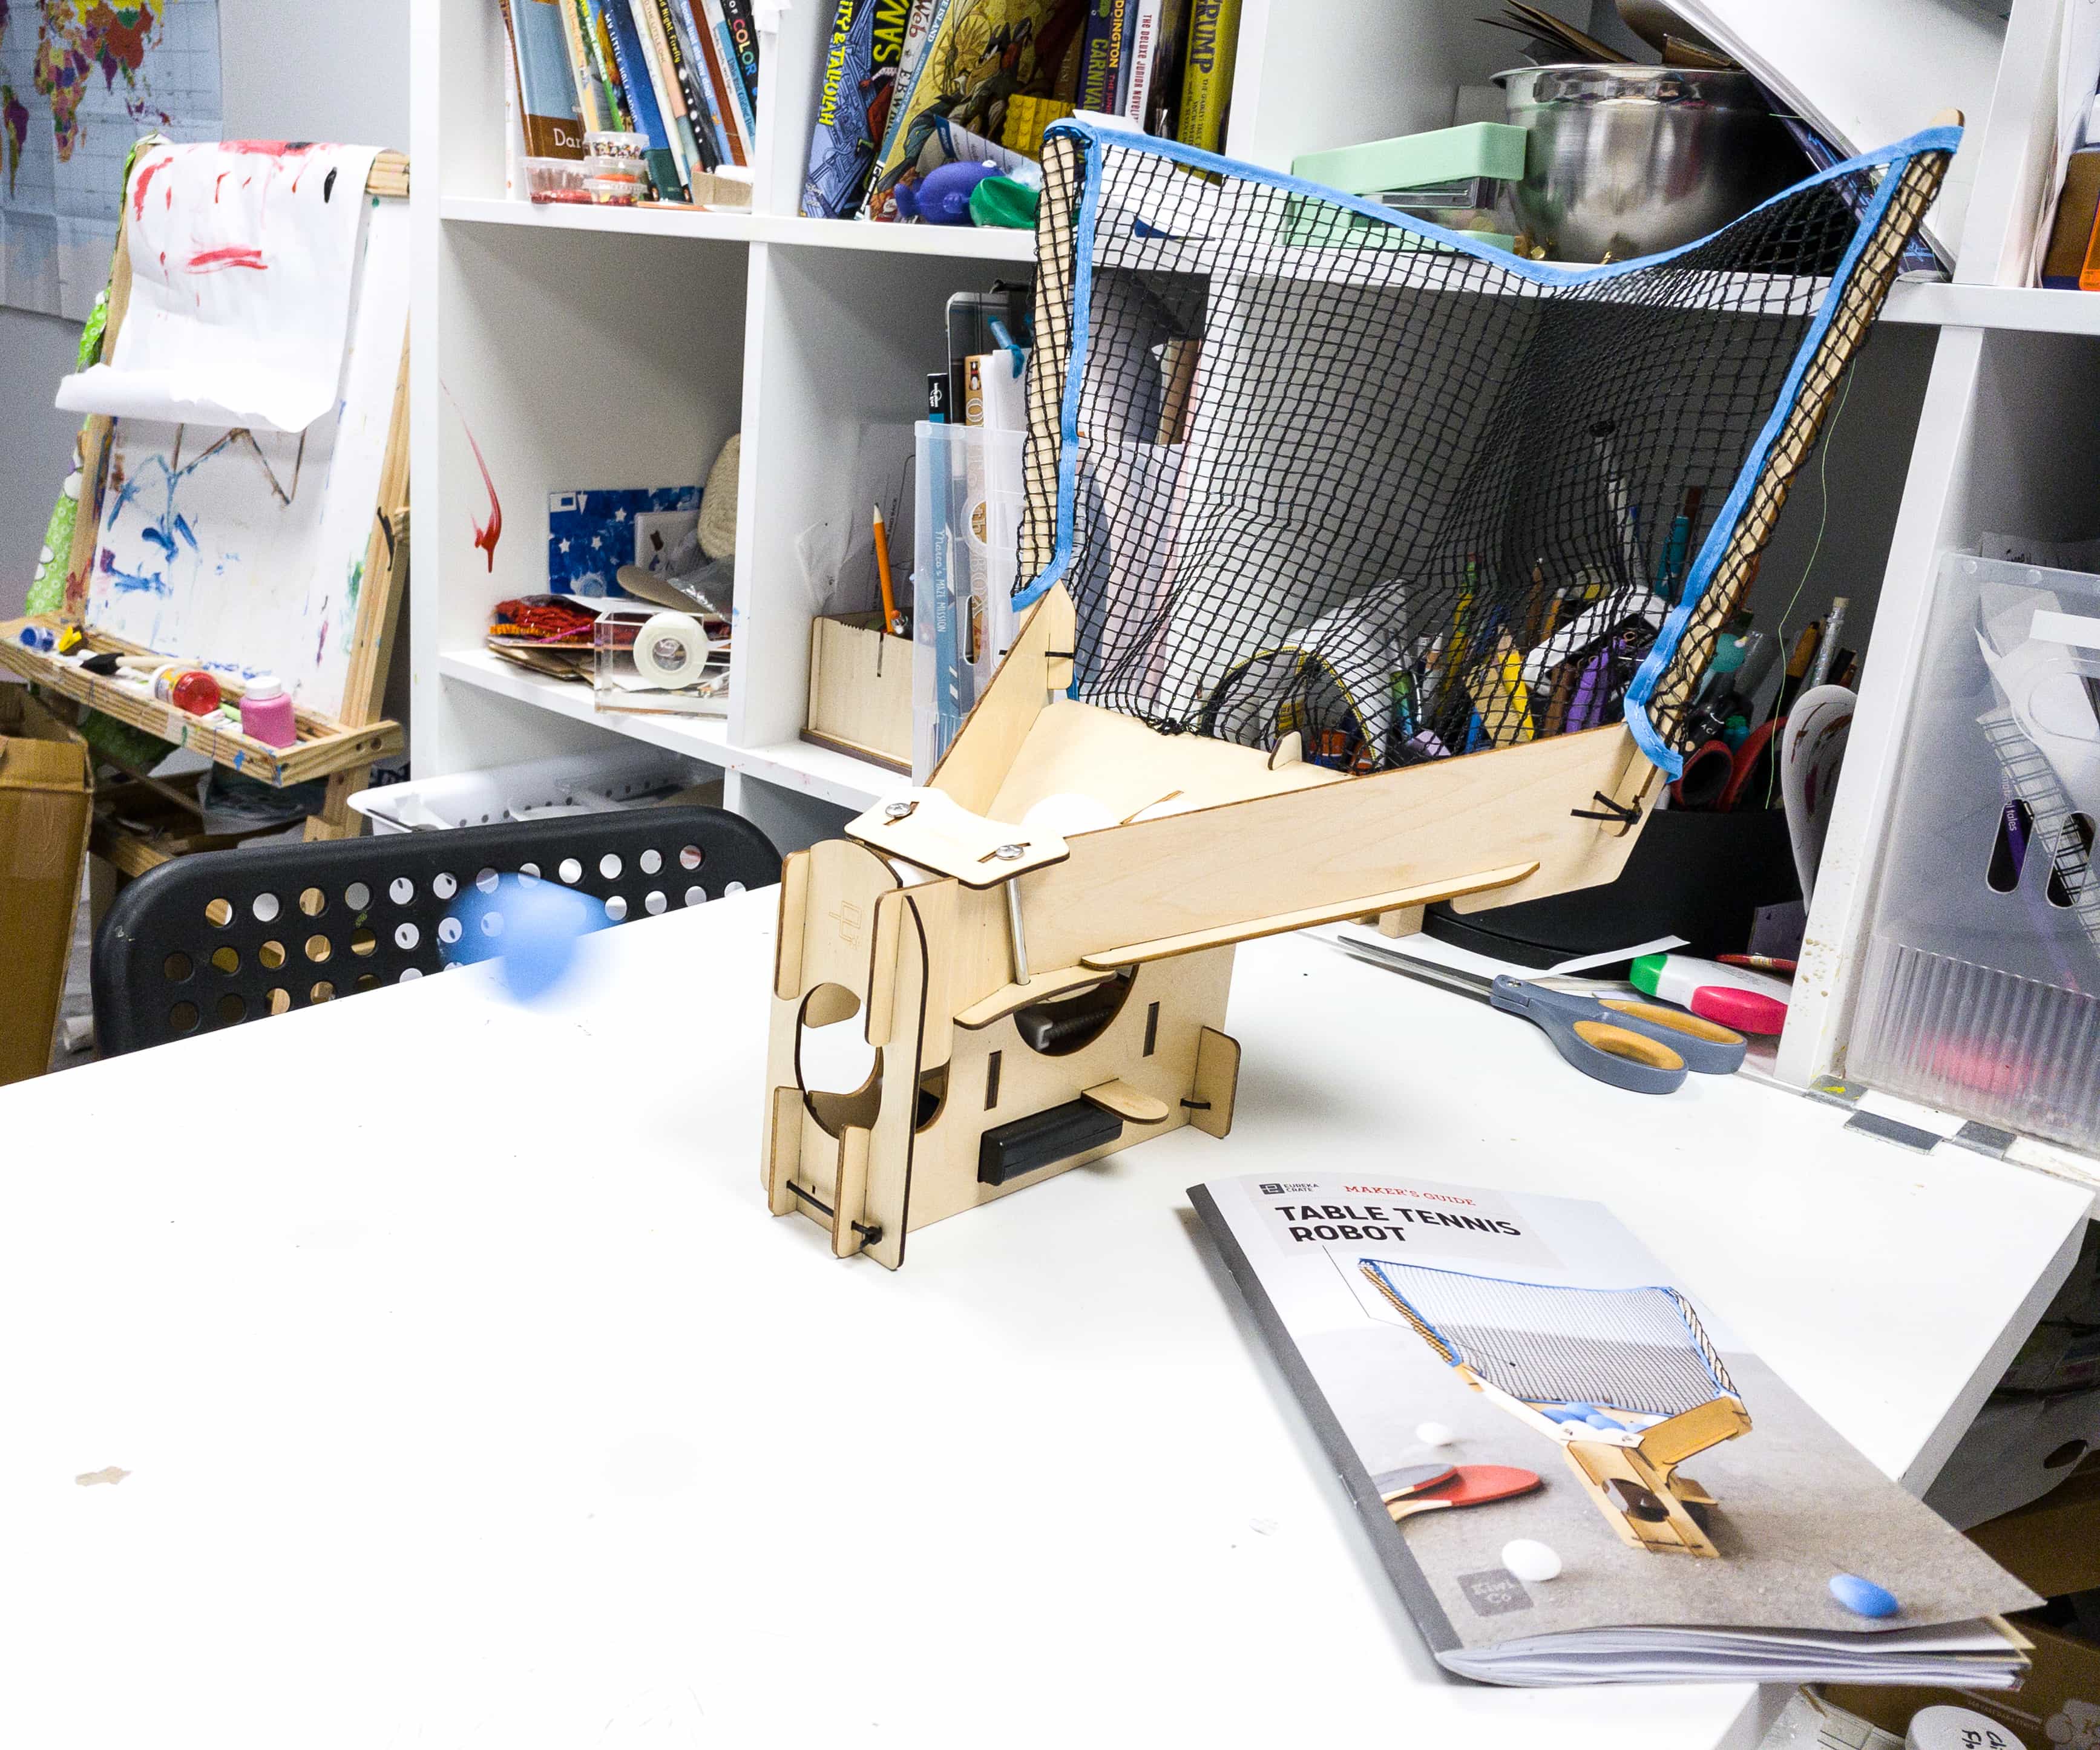
Eureka Crate Maker’s Guide
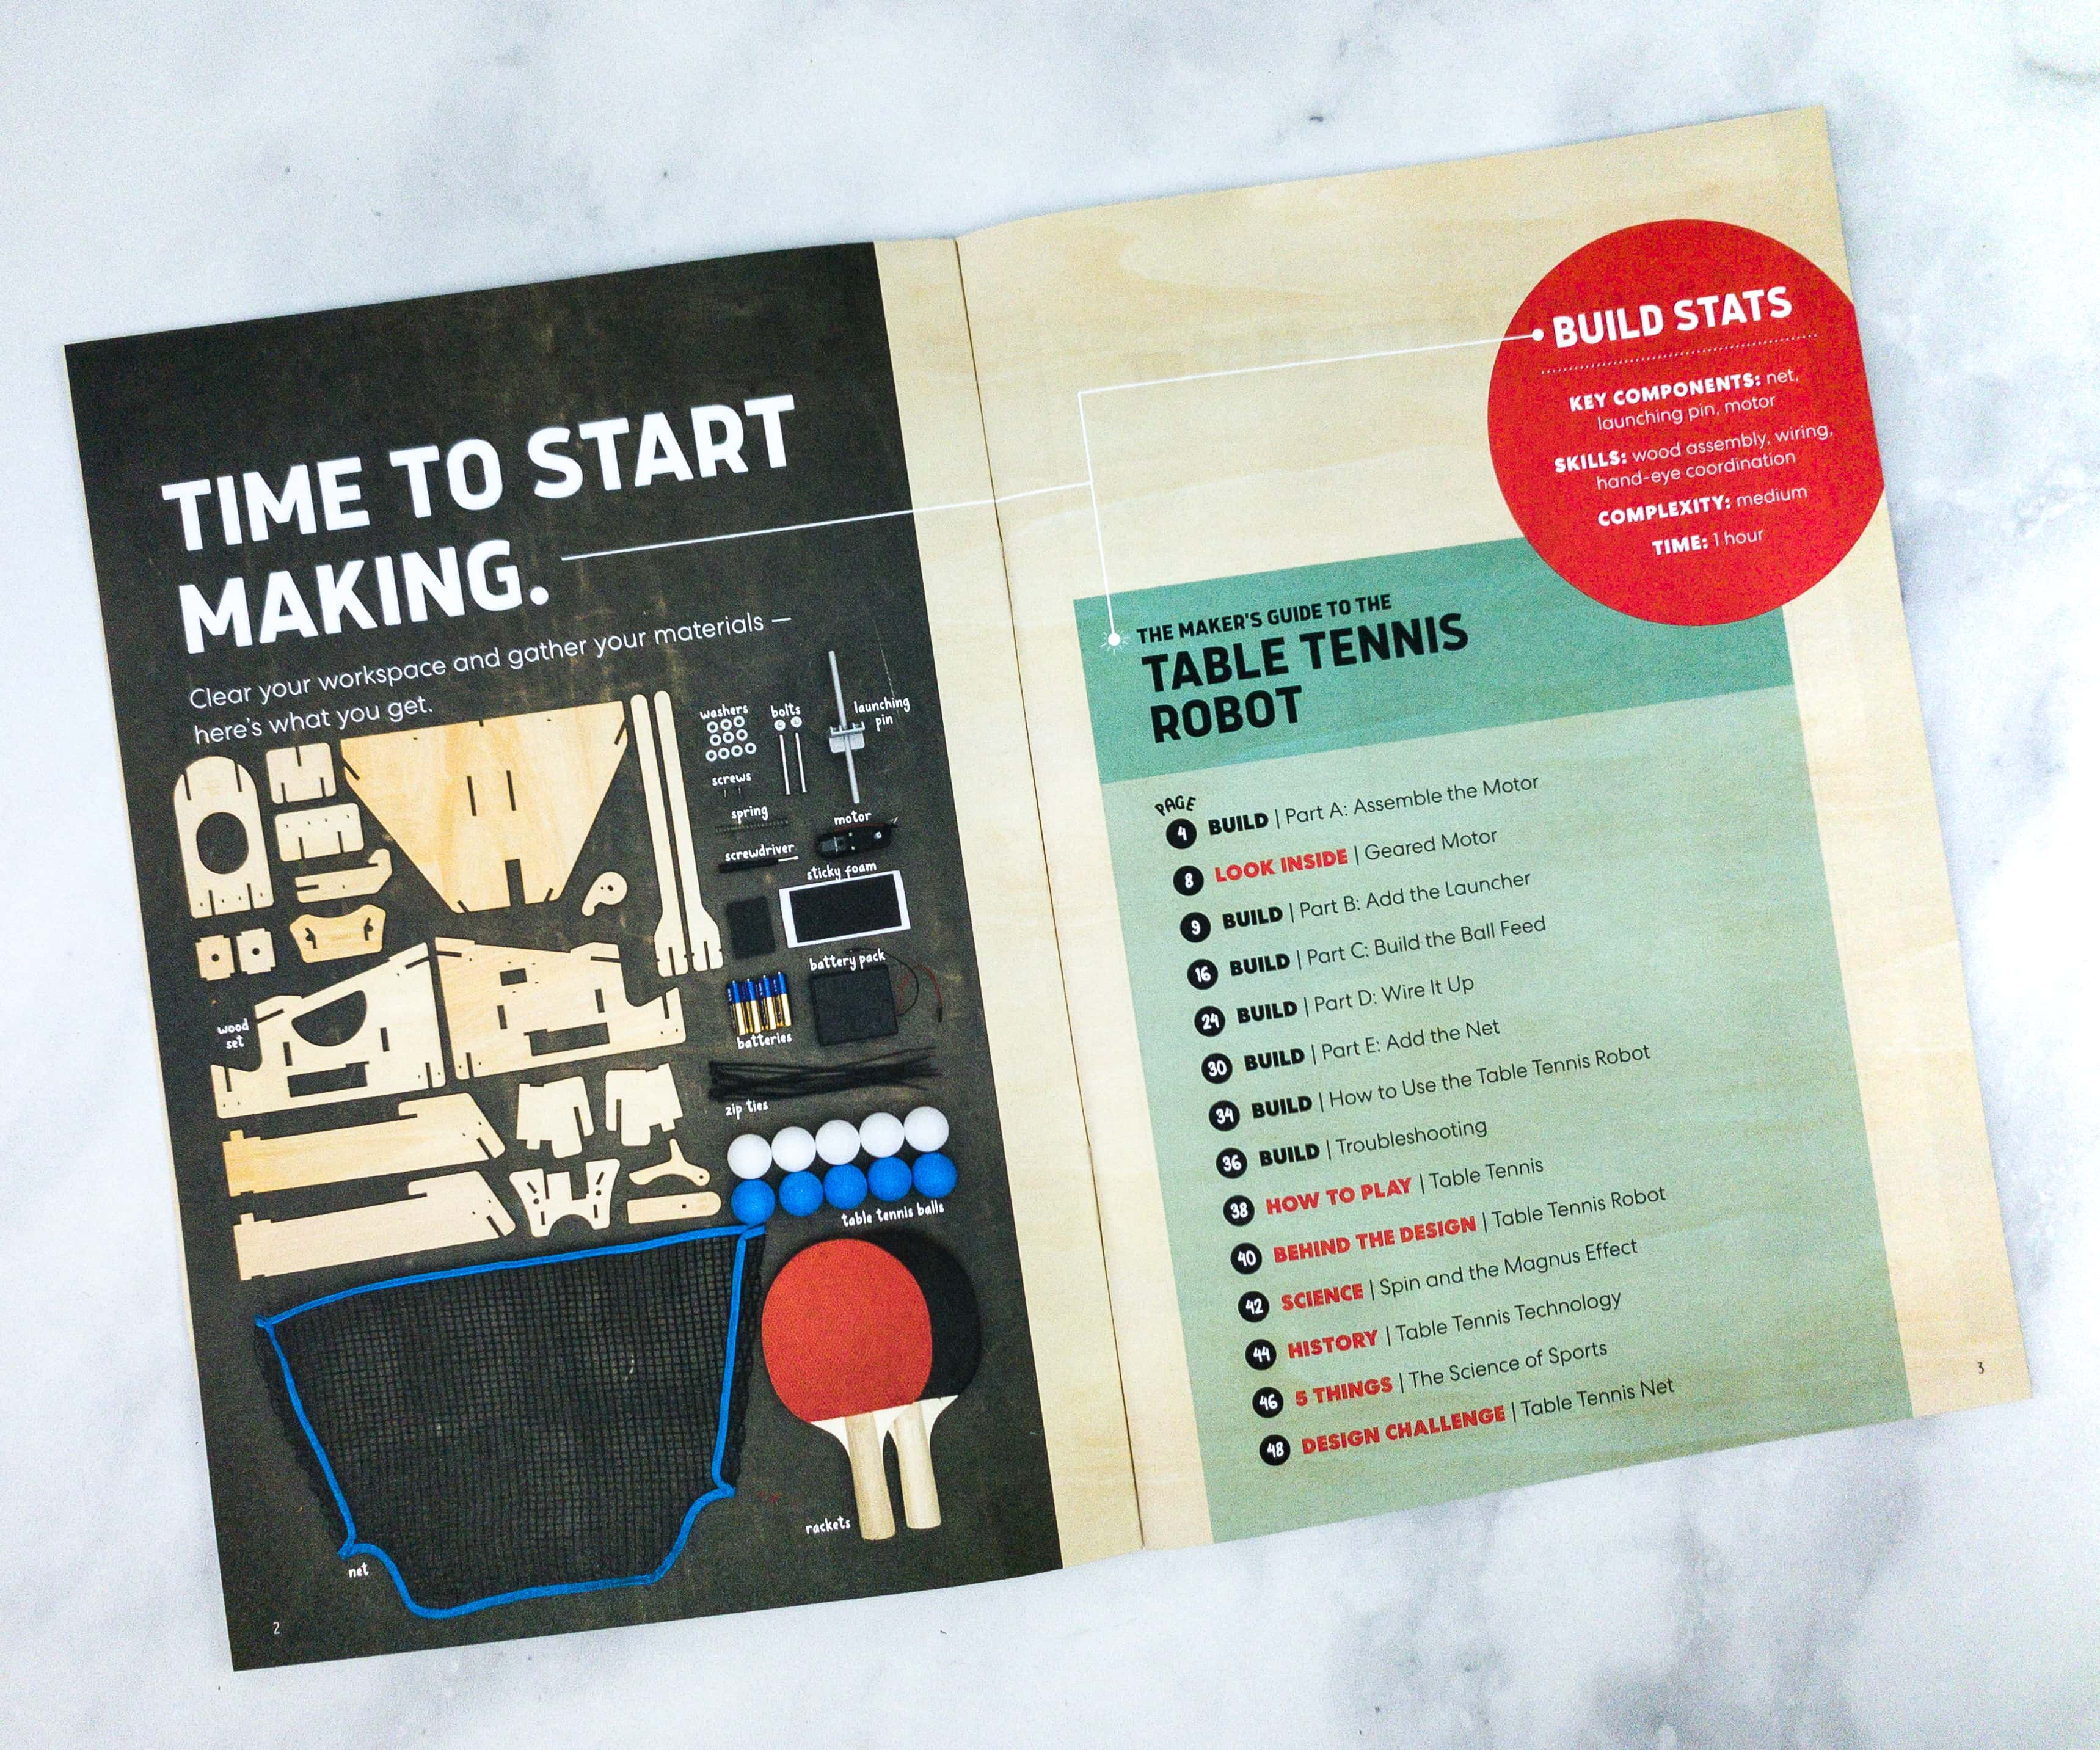
This booklet means business as it jumps right to the activity.
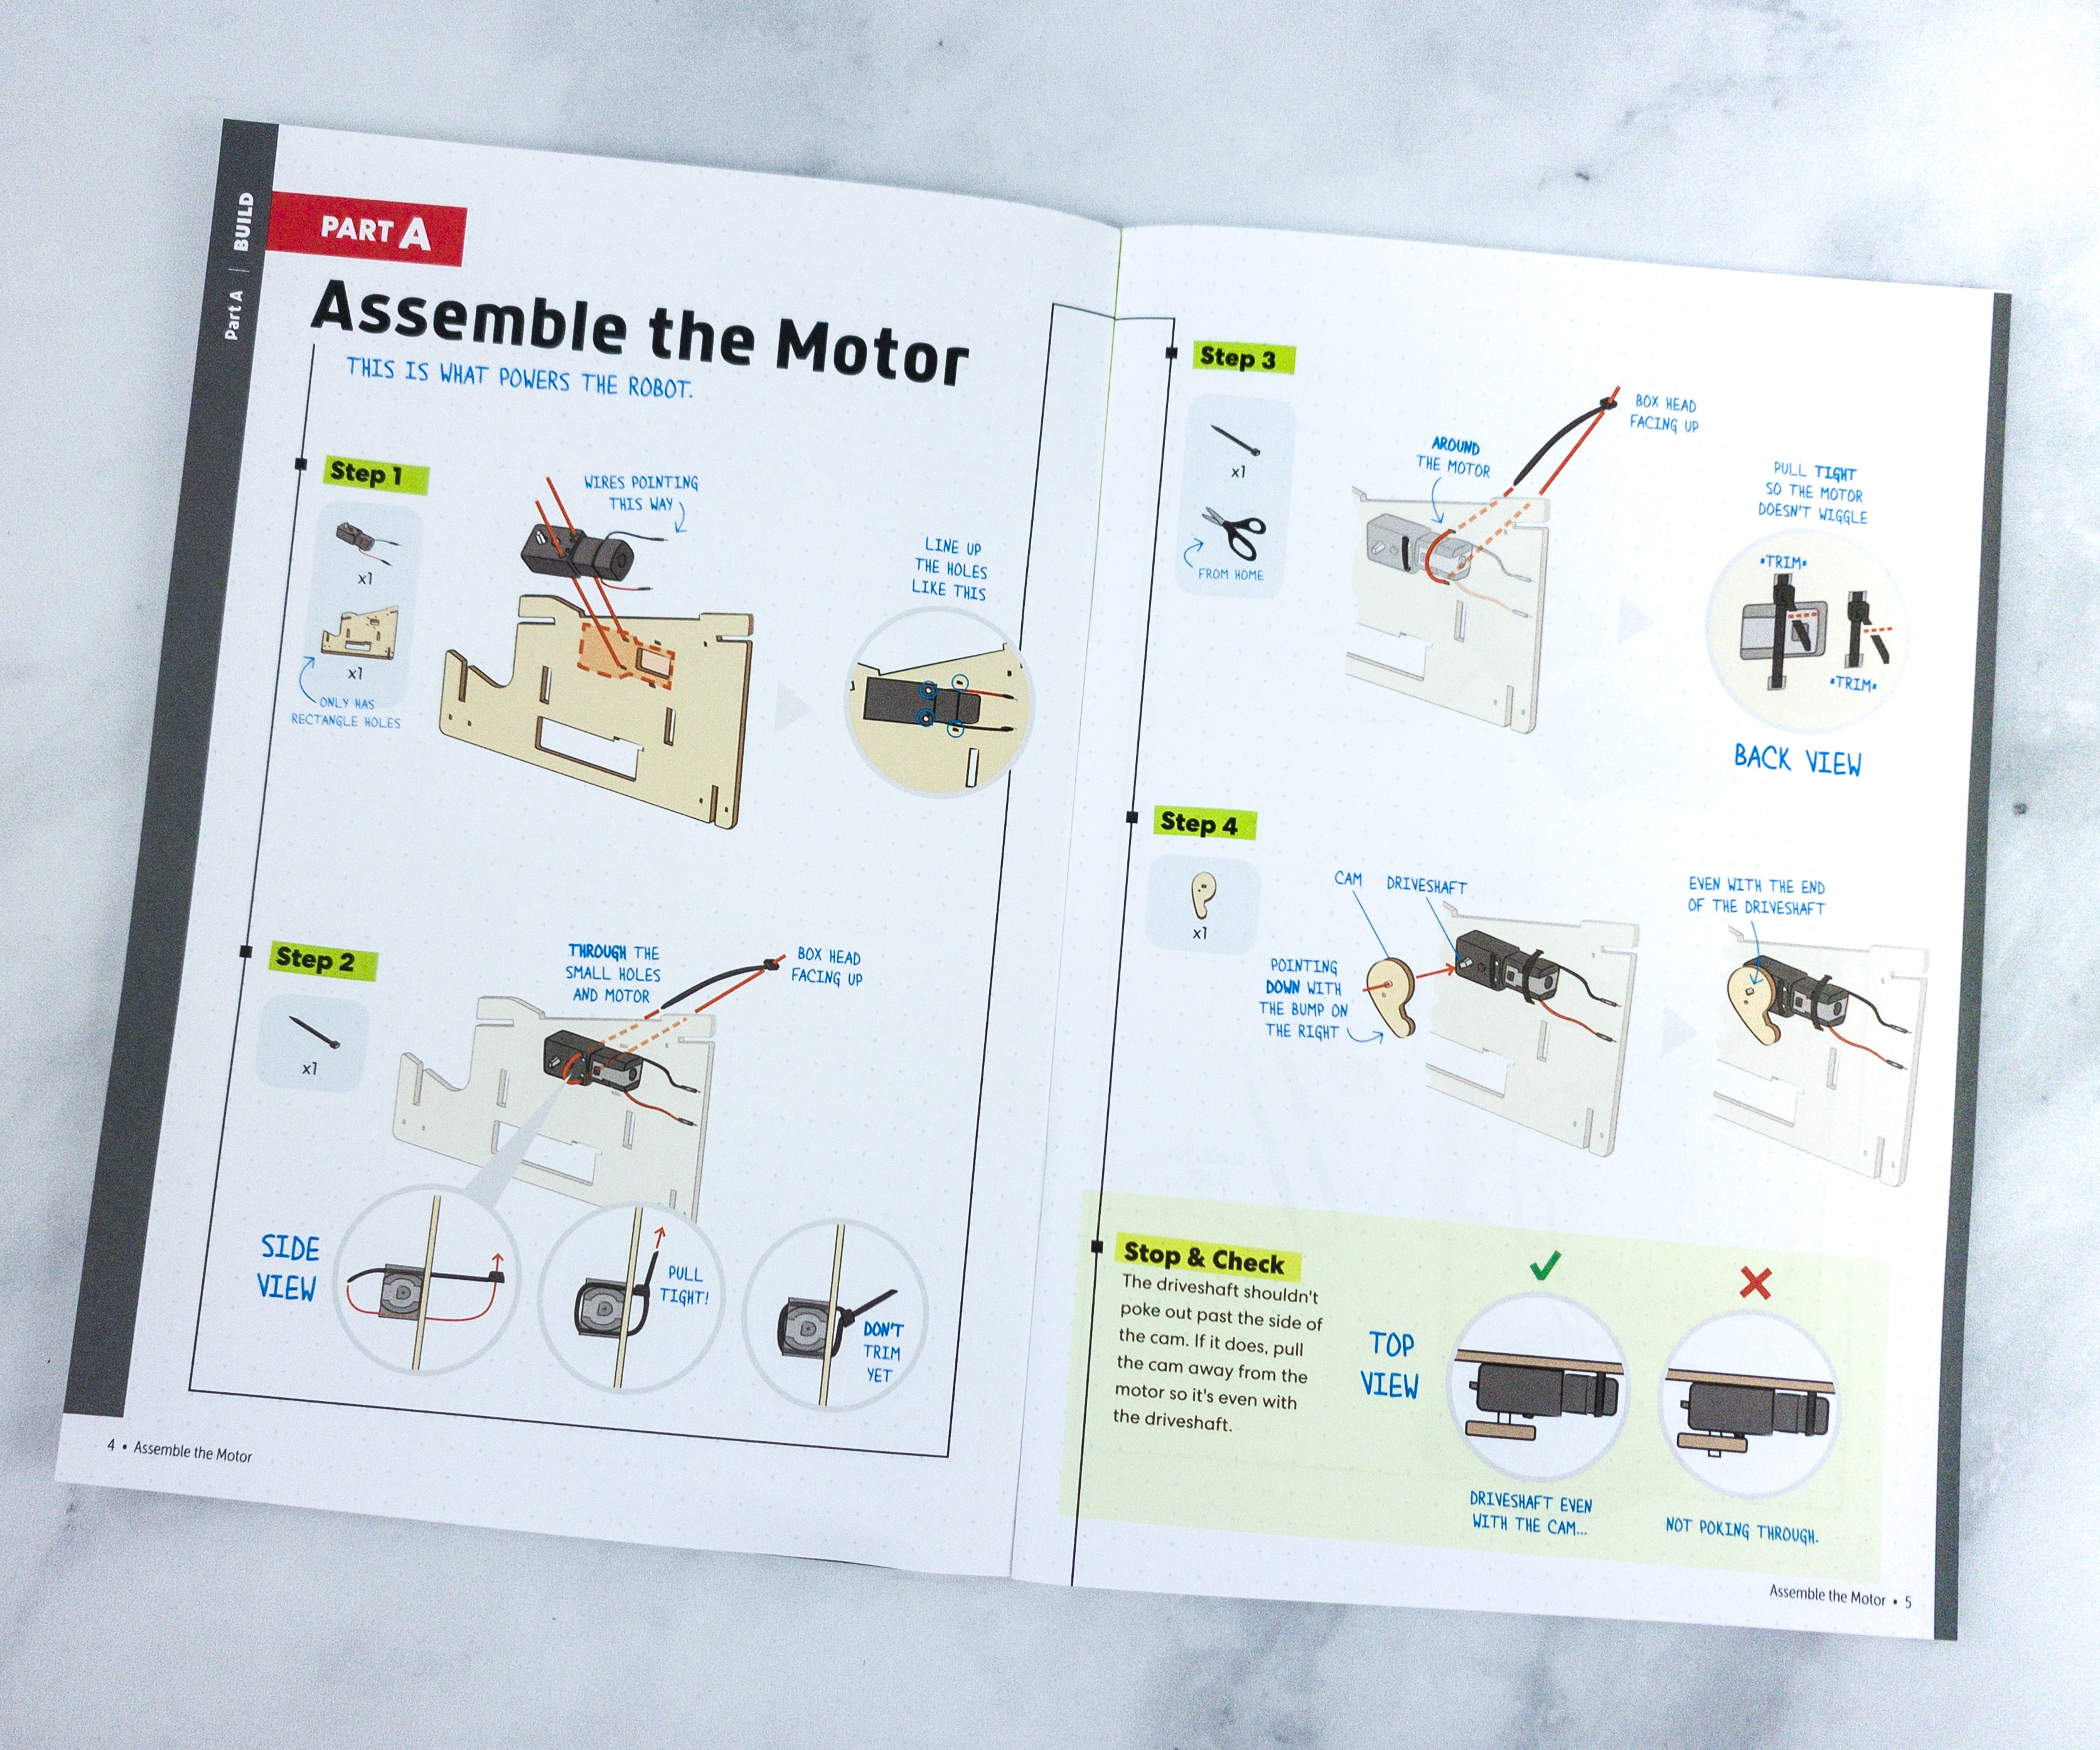
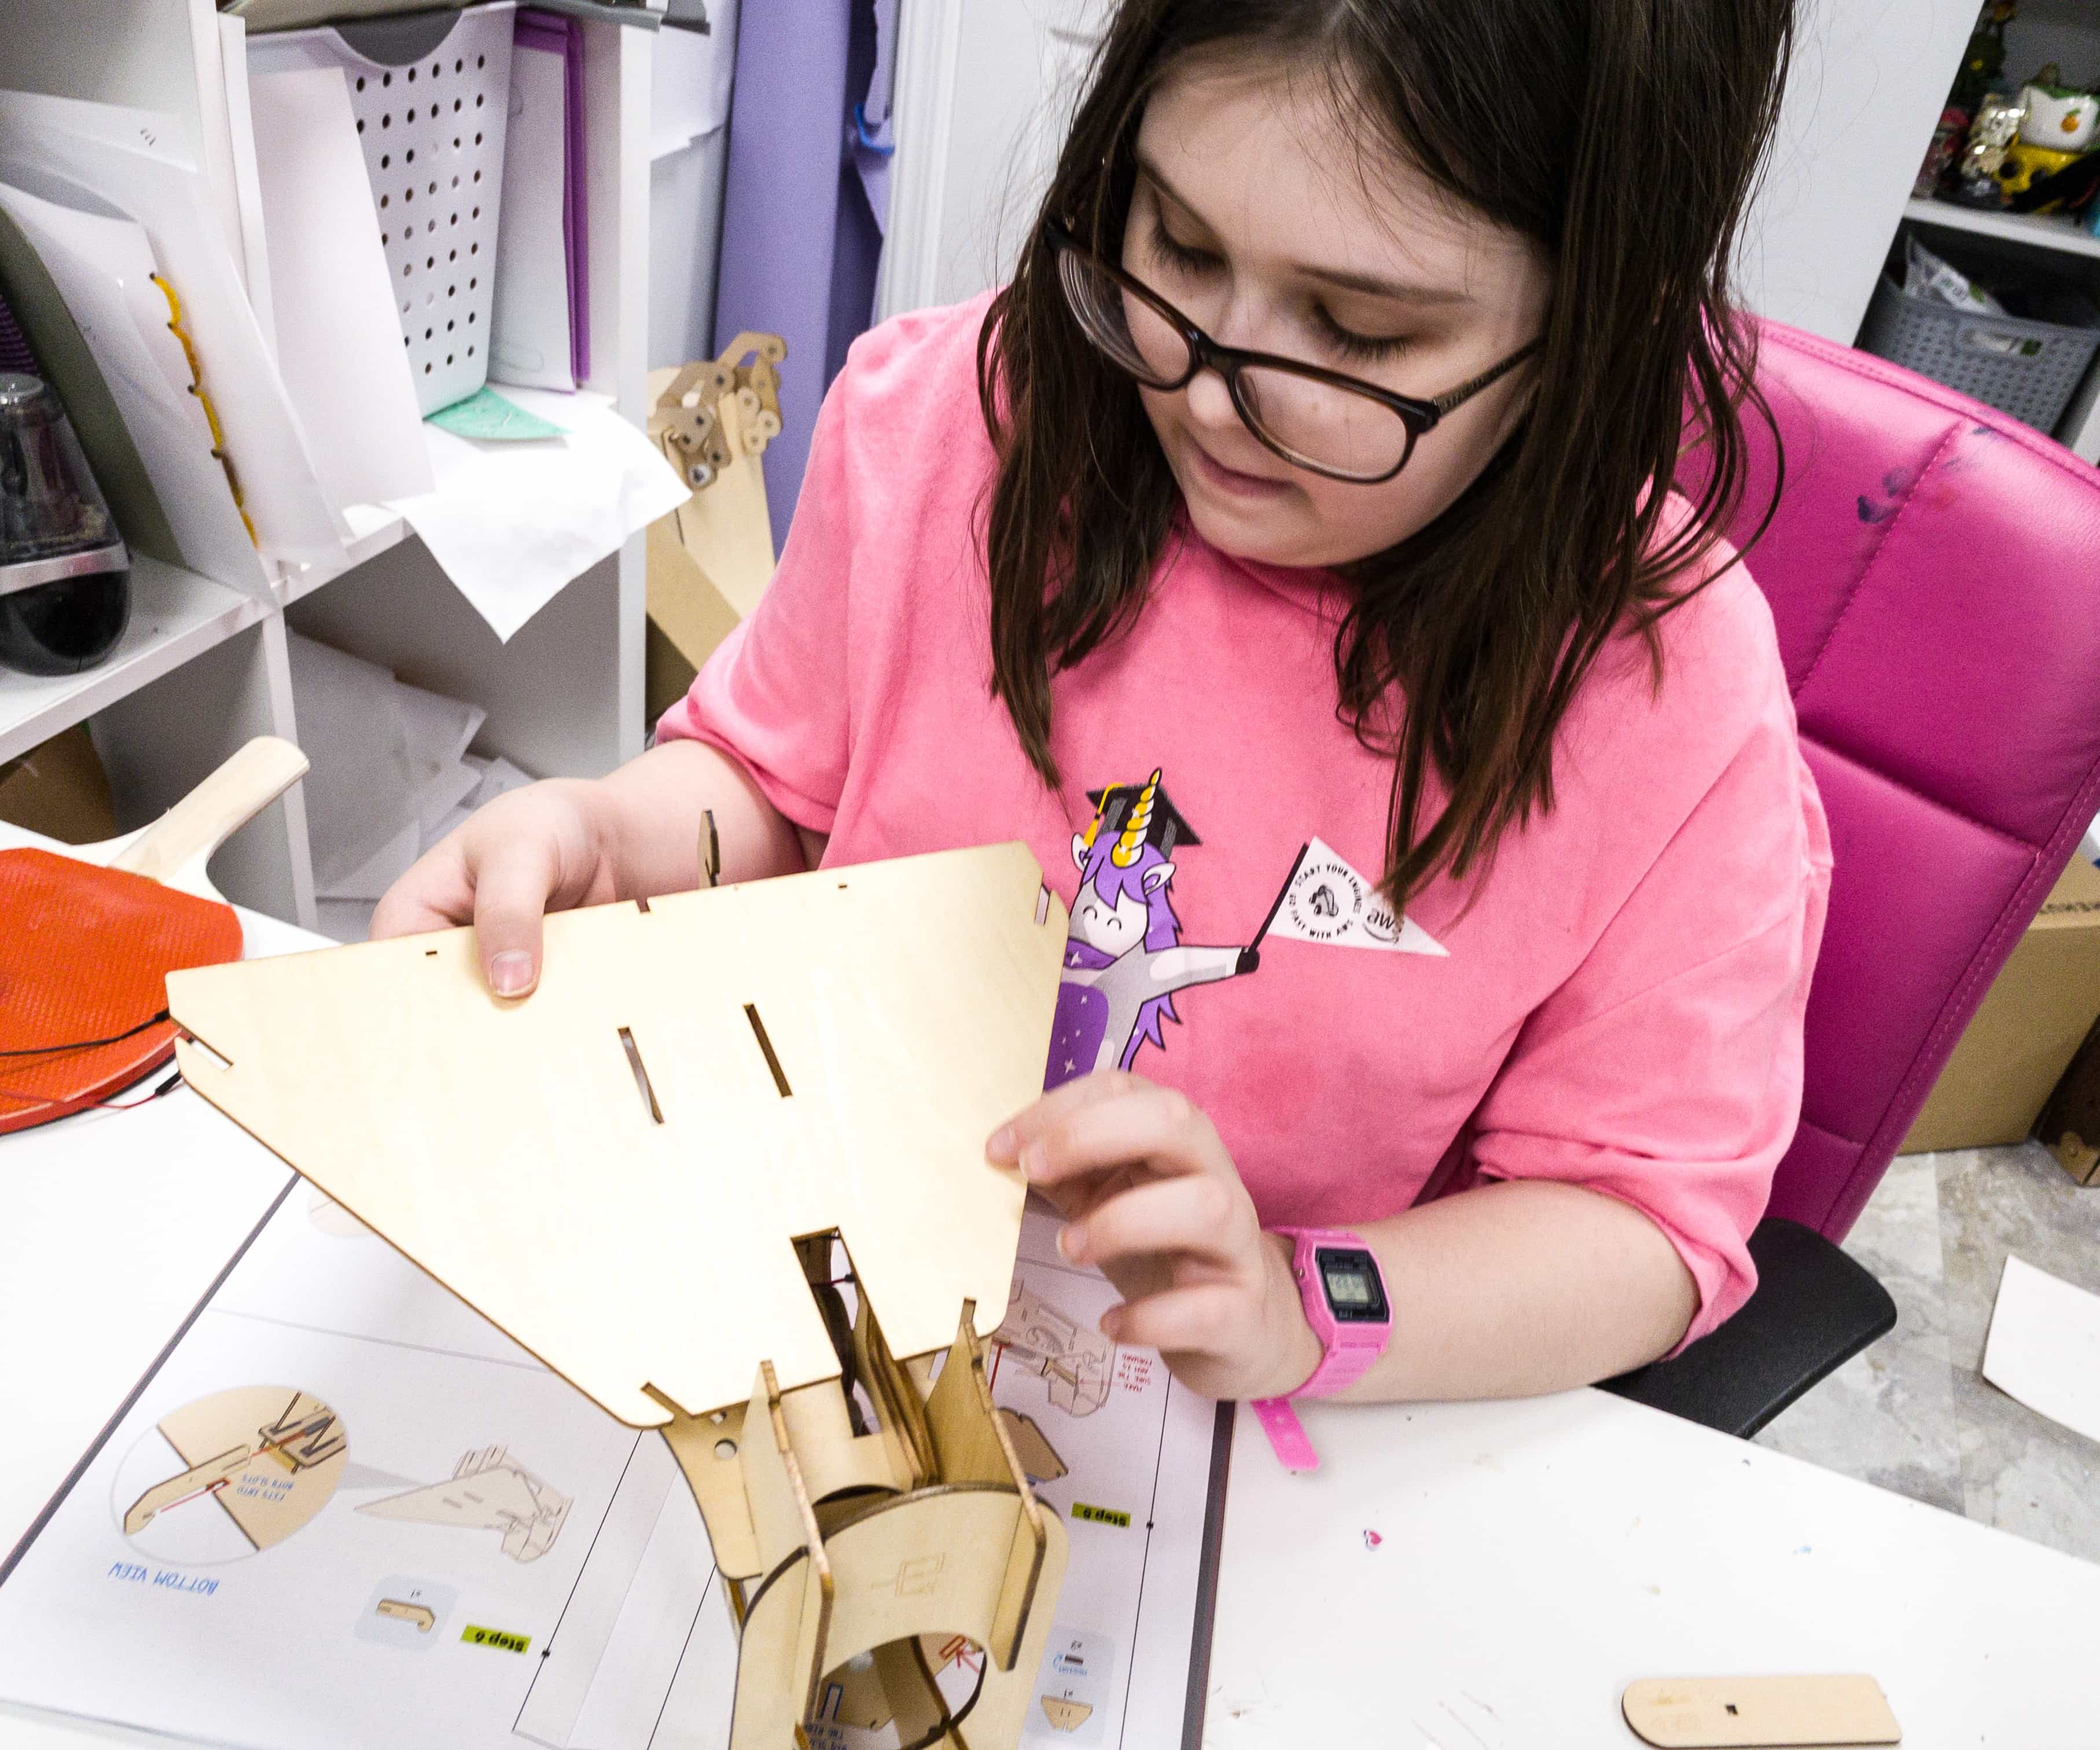
The first part of this project is to assemble the motor. The instructions kept the continuous flow of the activity easy to understand, while the drawings were very detailed.
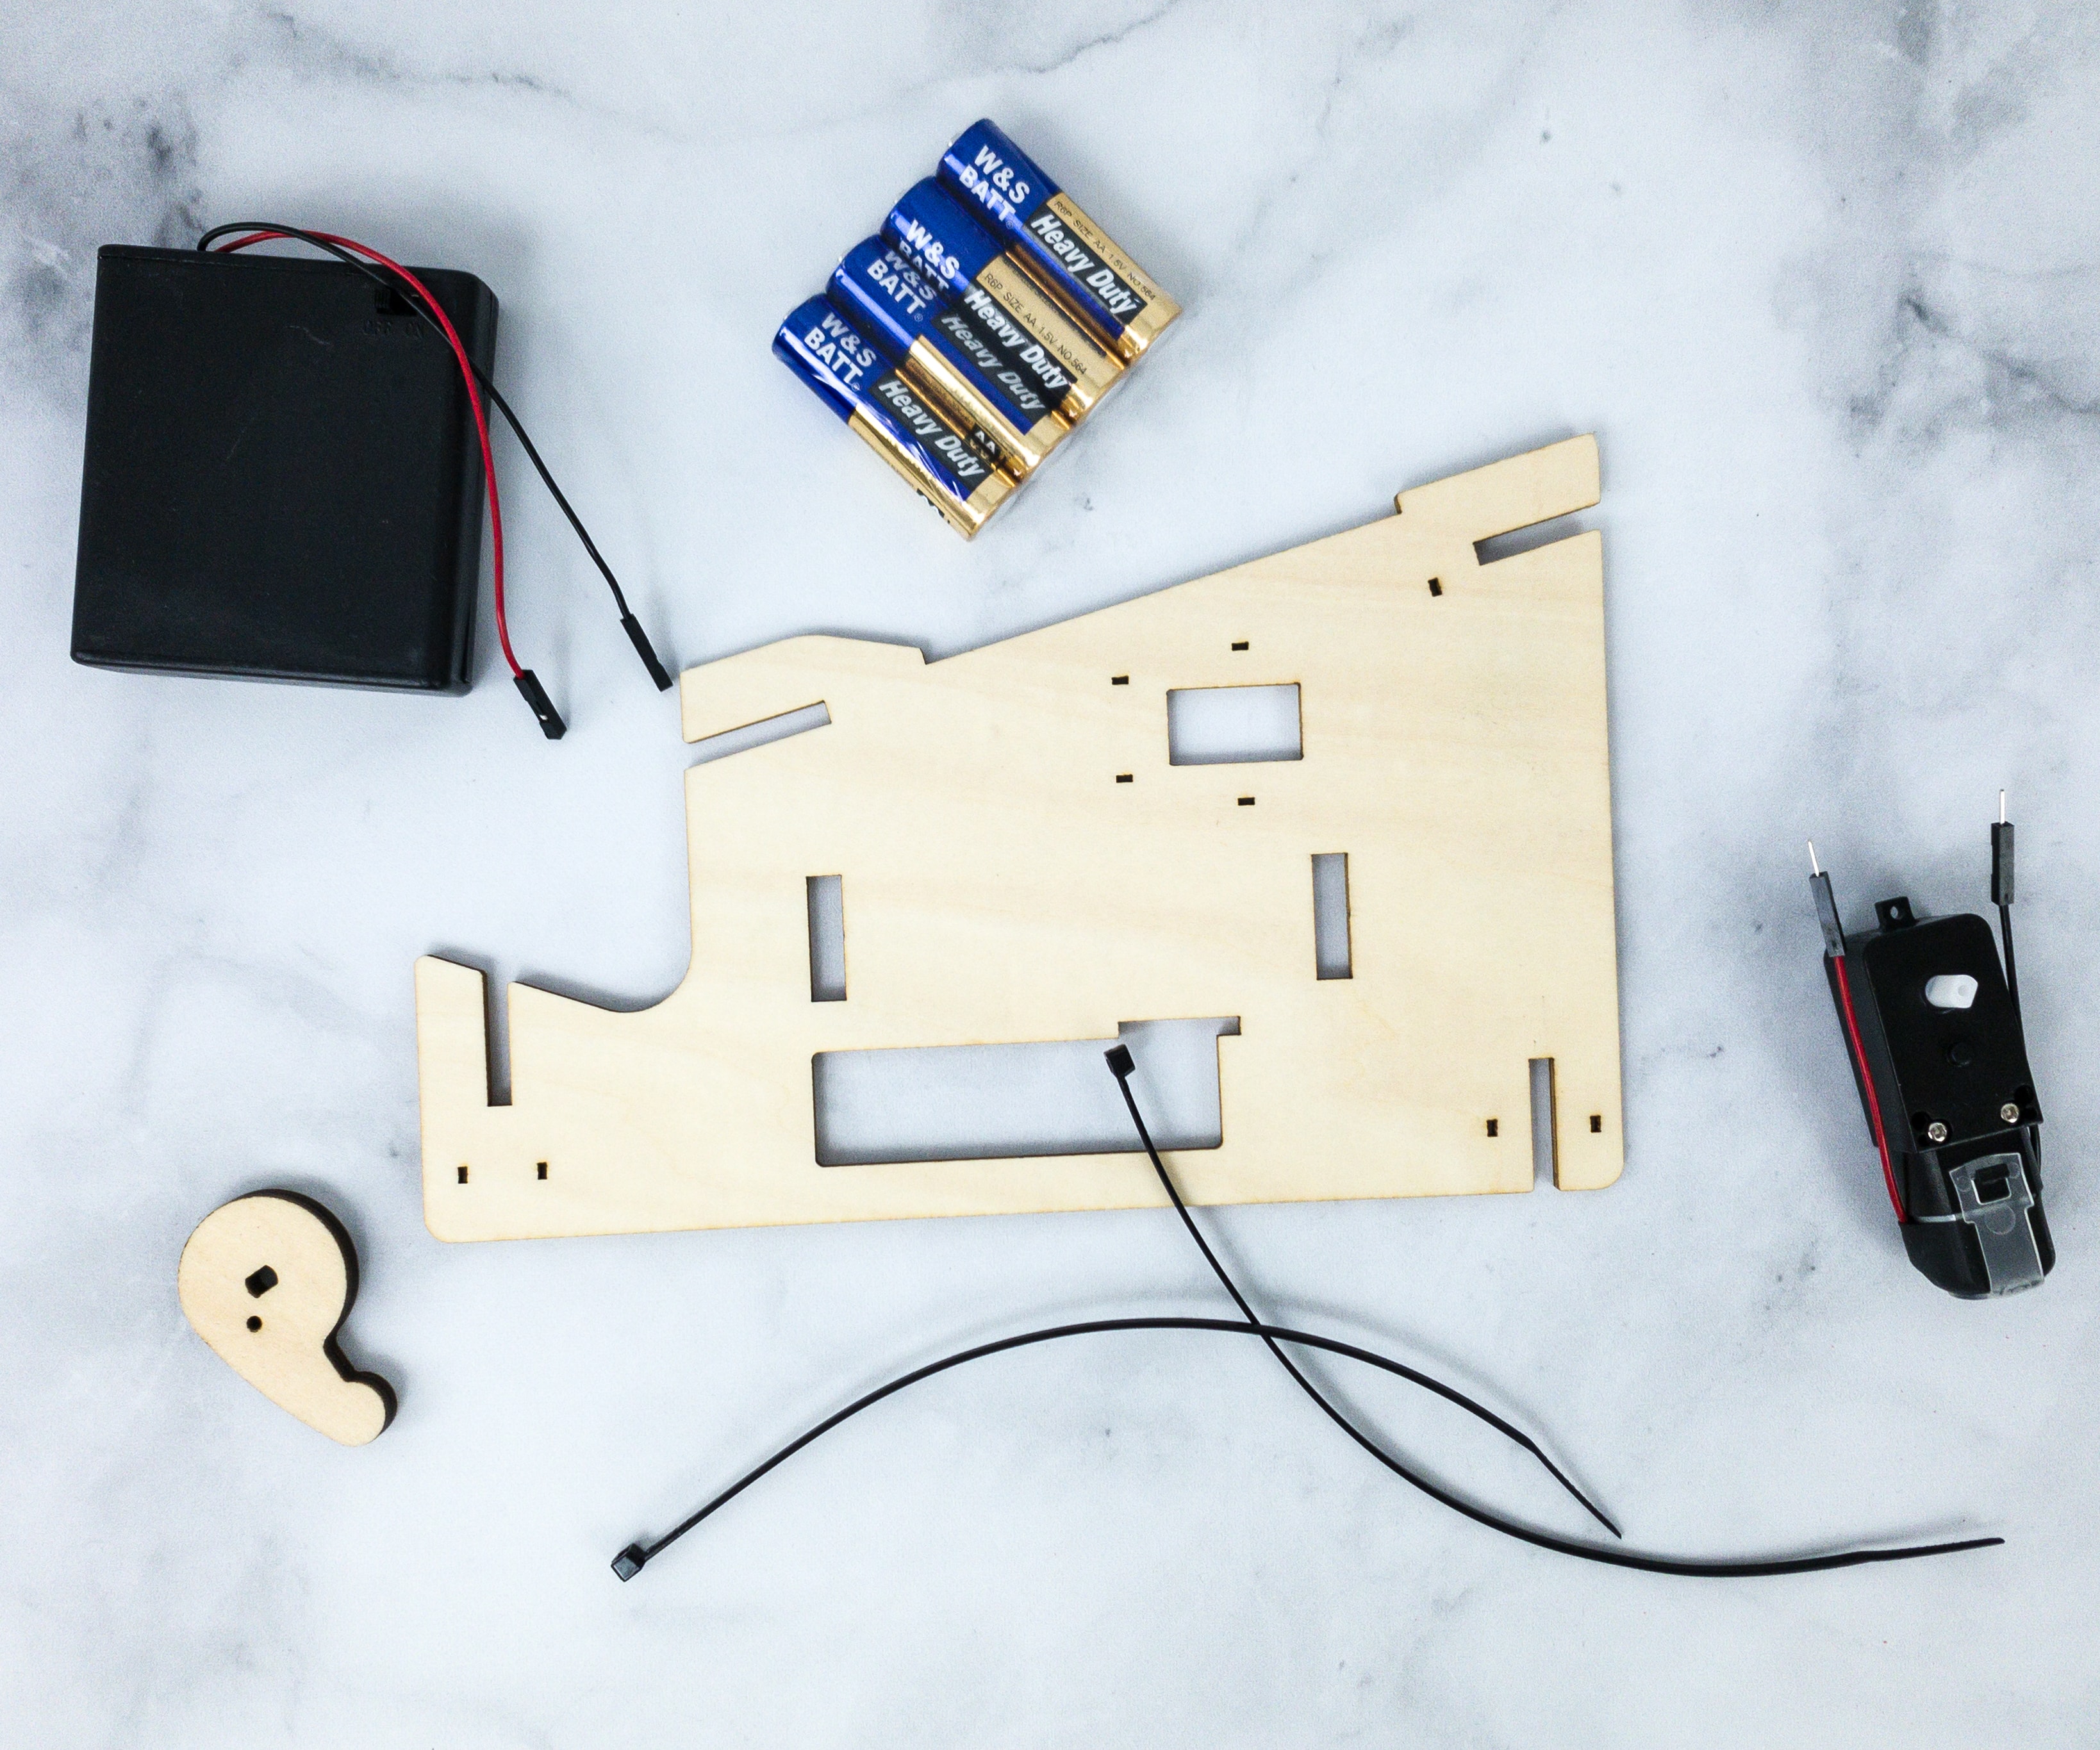
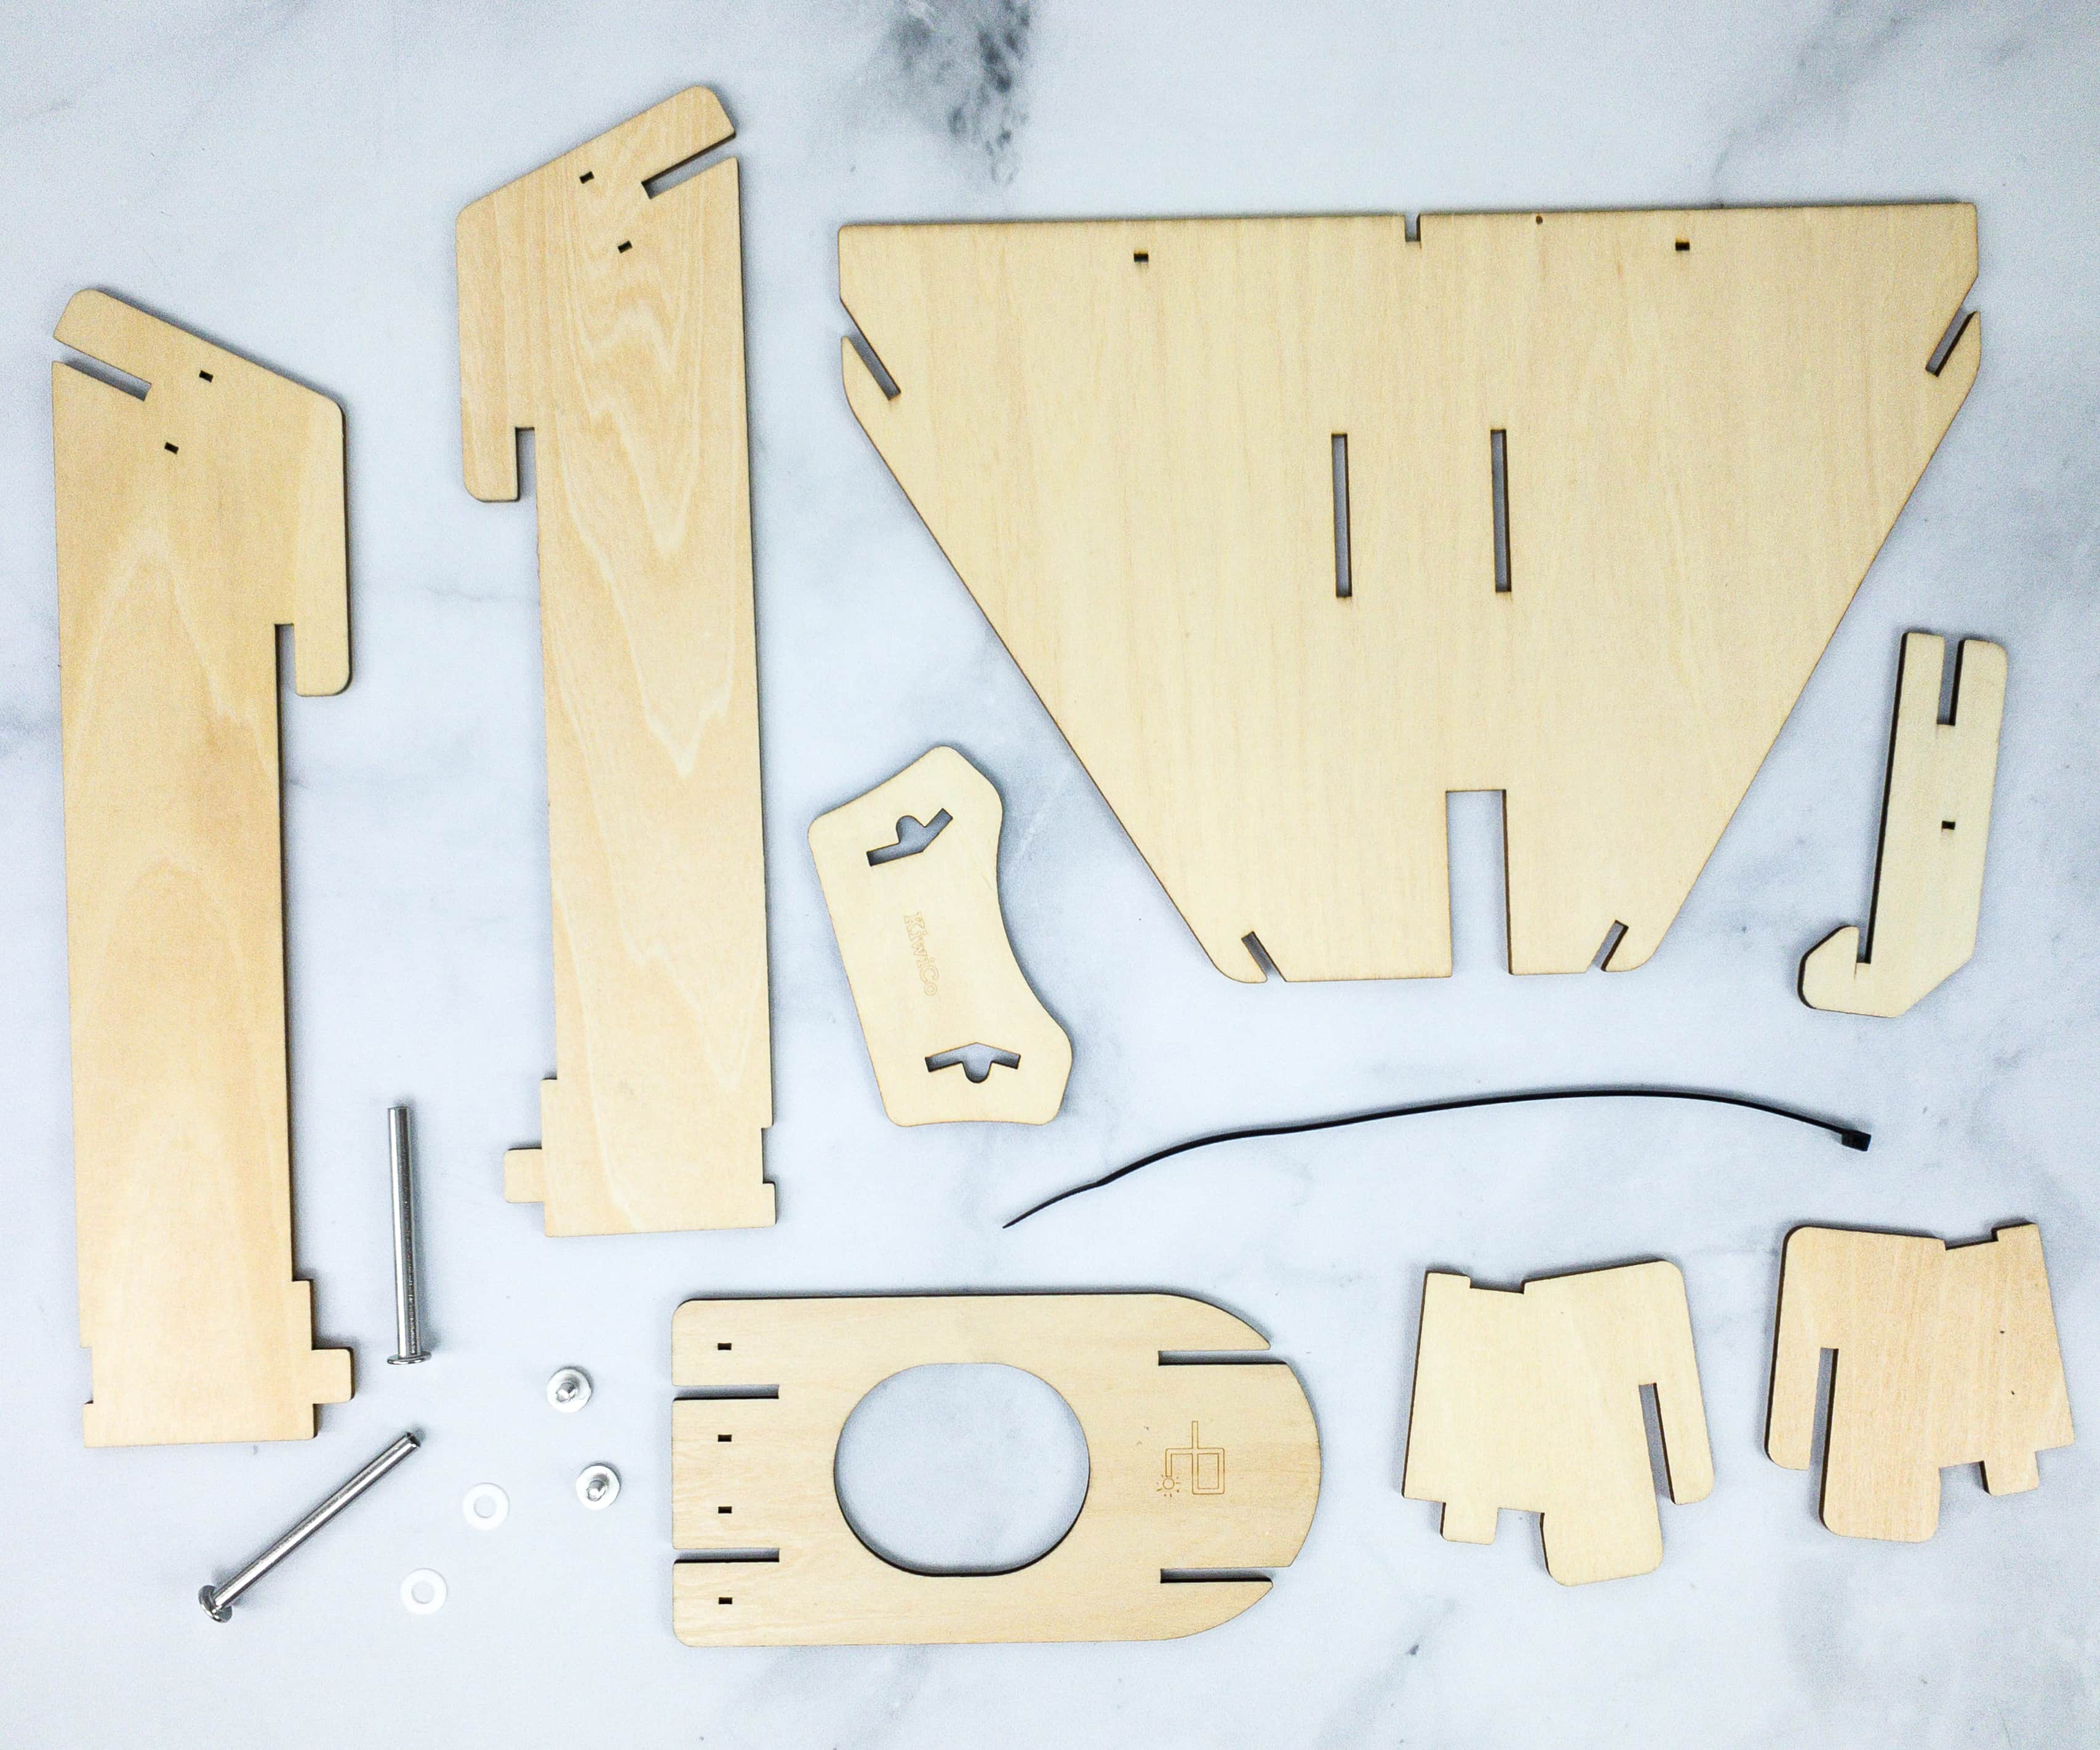
Here are the materials! You can check if you have the complete parts by comparing them to the picture in the booklet.
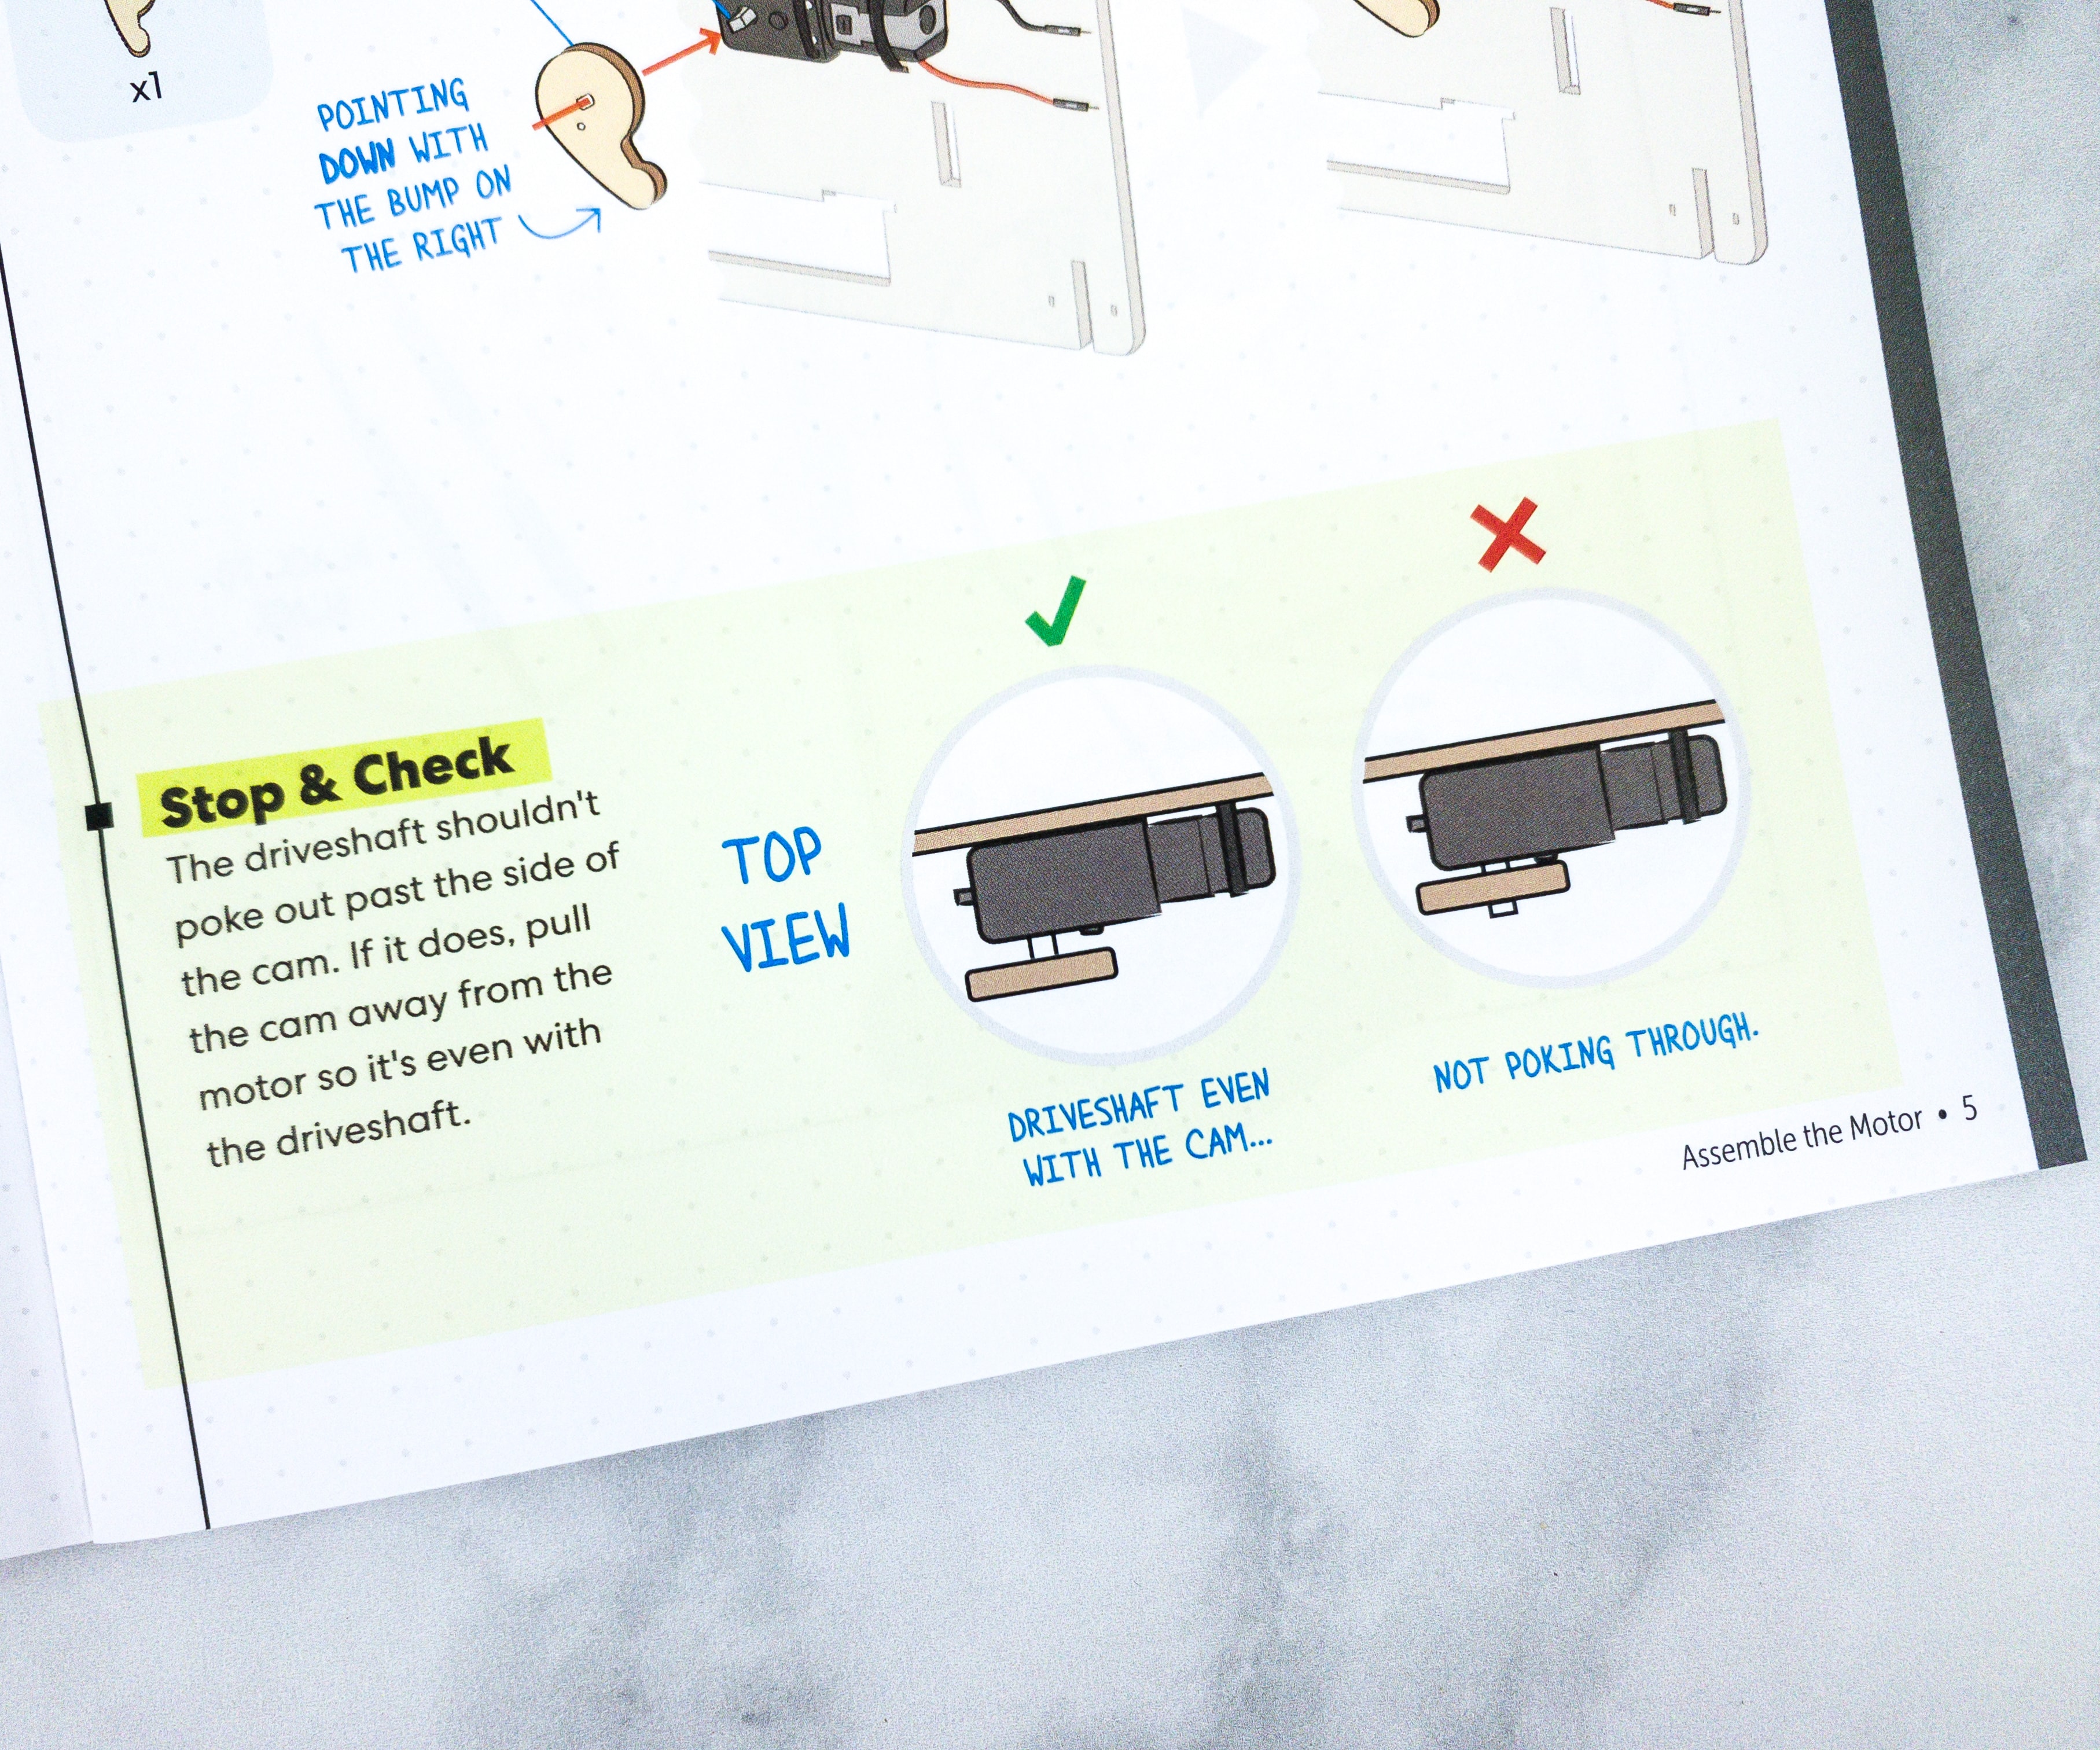
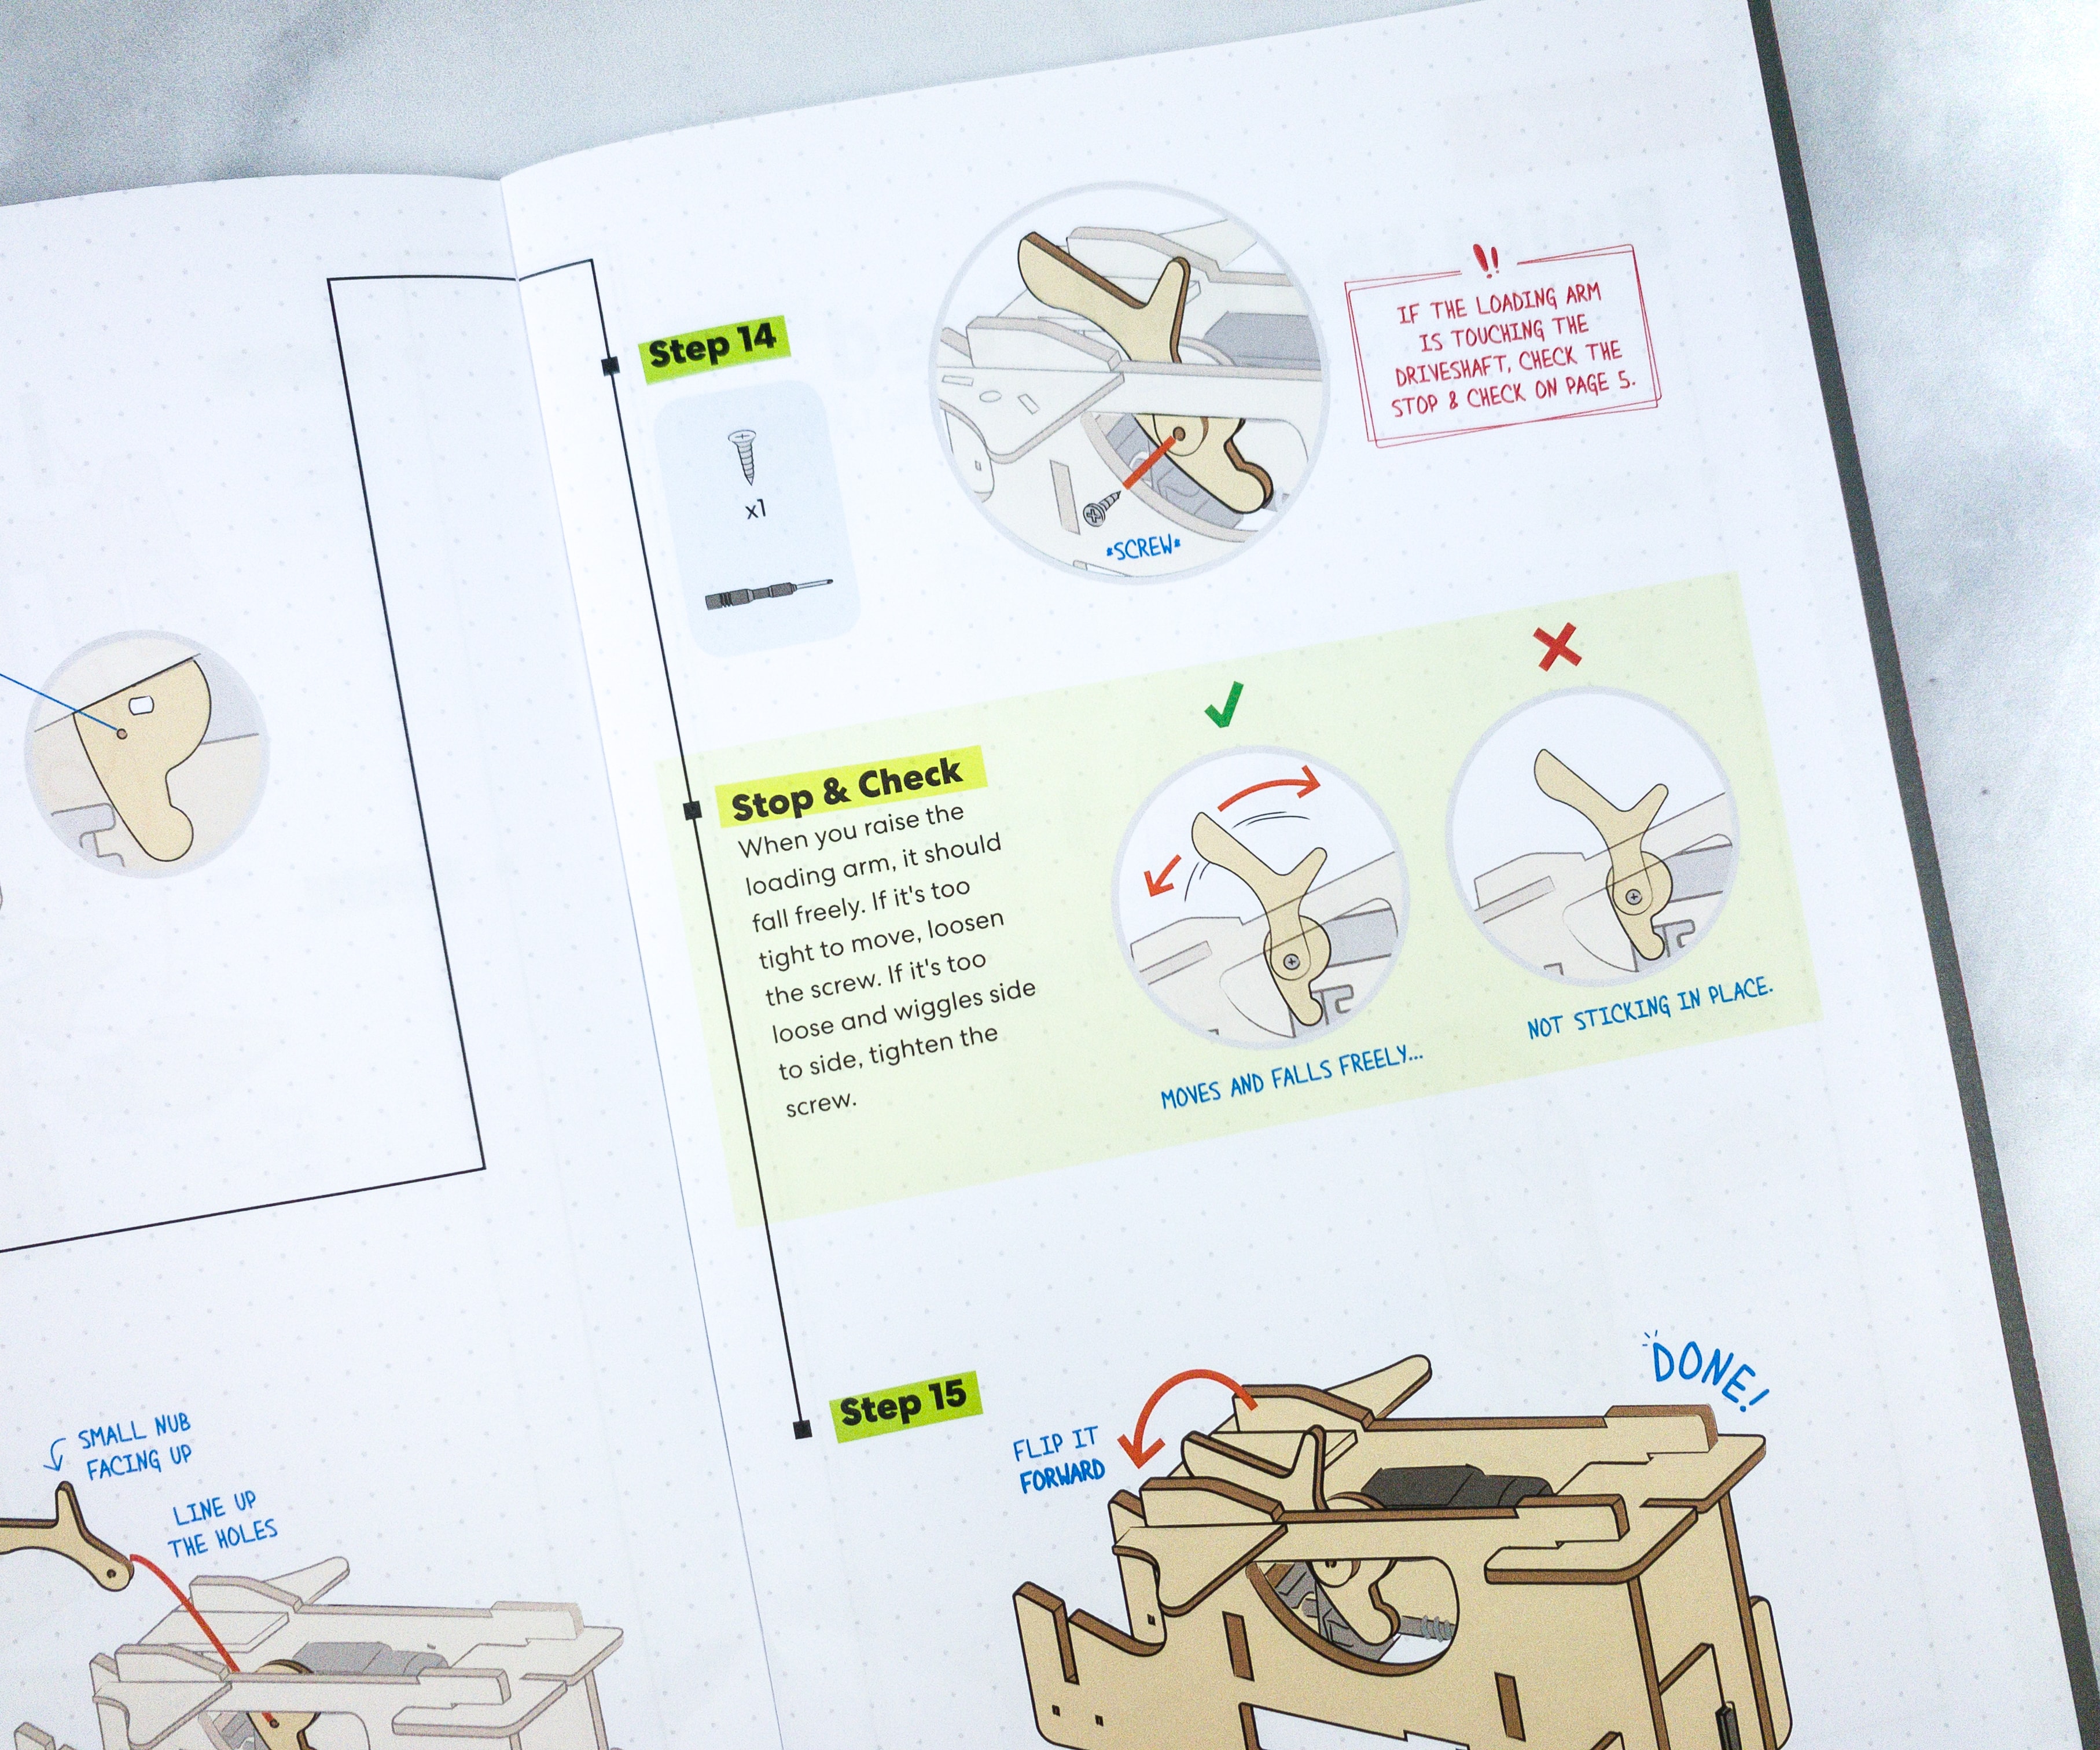
Some parts of the booklet also come with a reminder telling you to stop and check your work as you go along.
It would definitely ensure that you are working on the right track!
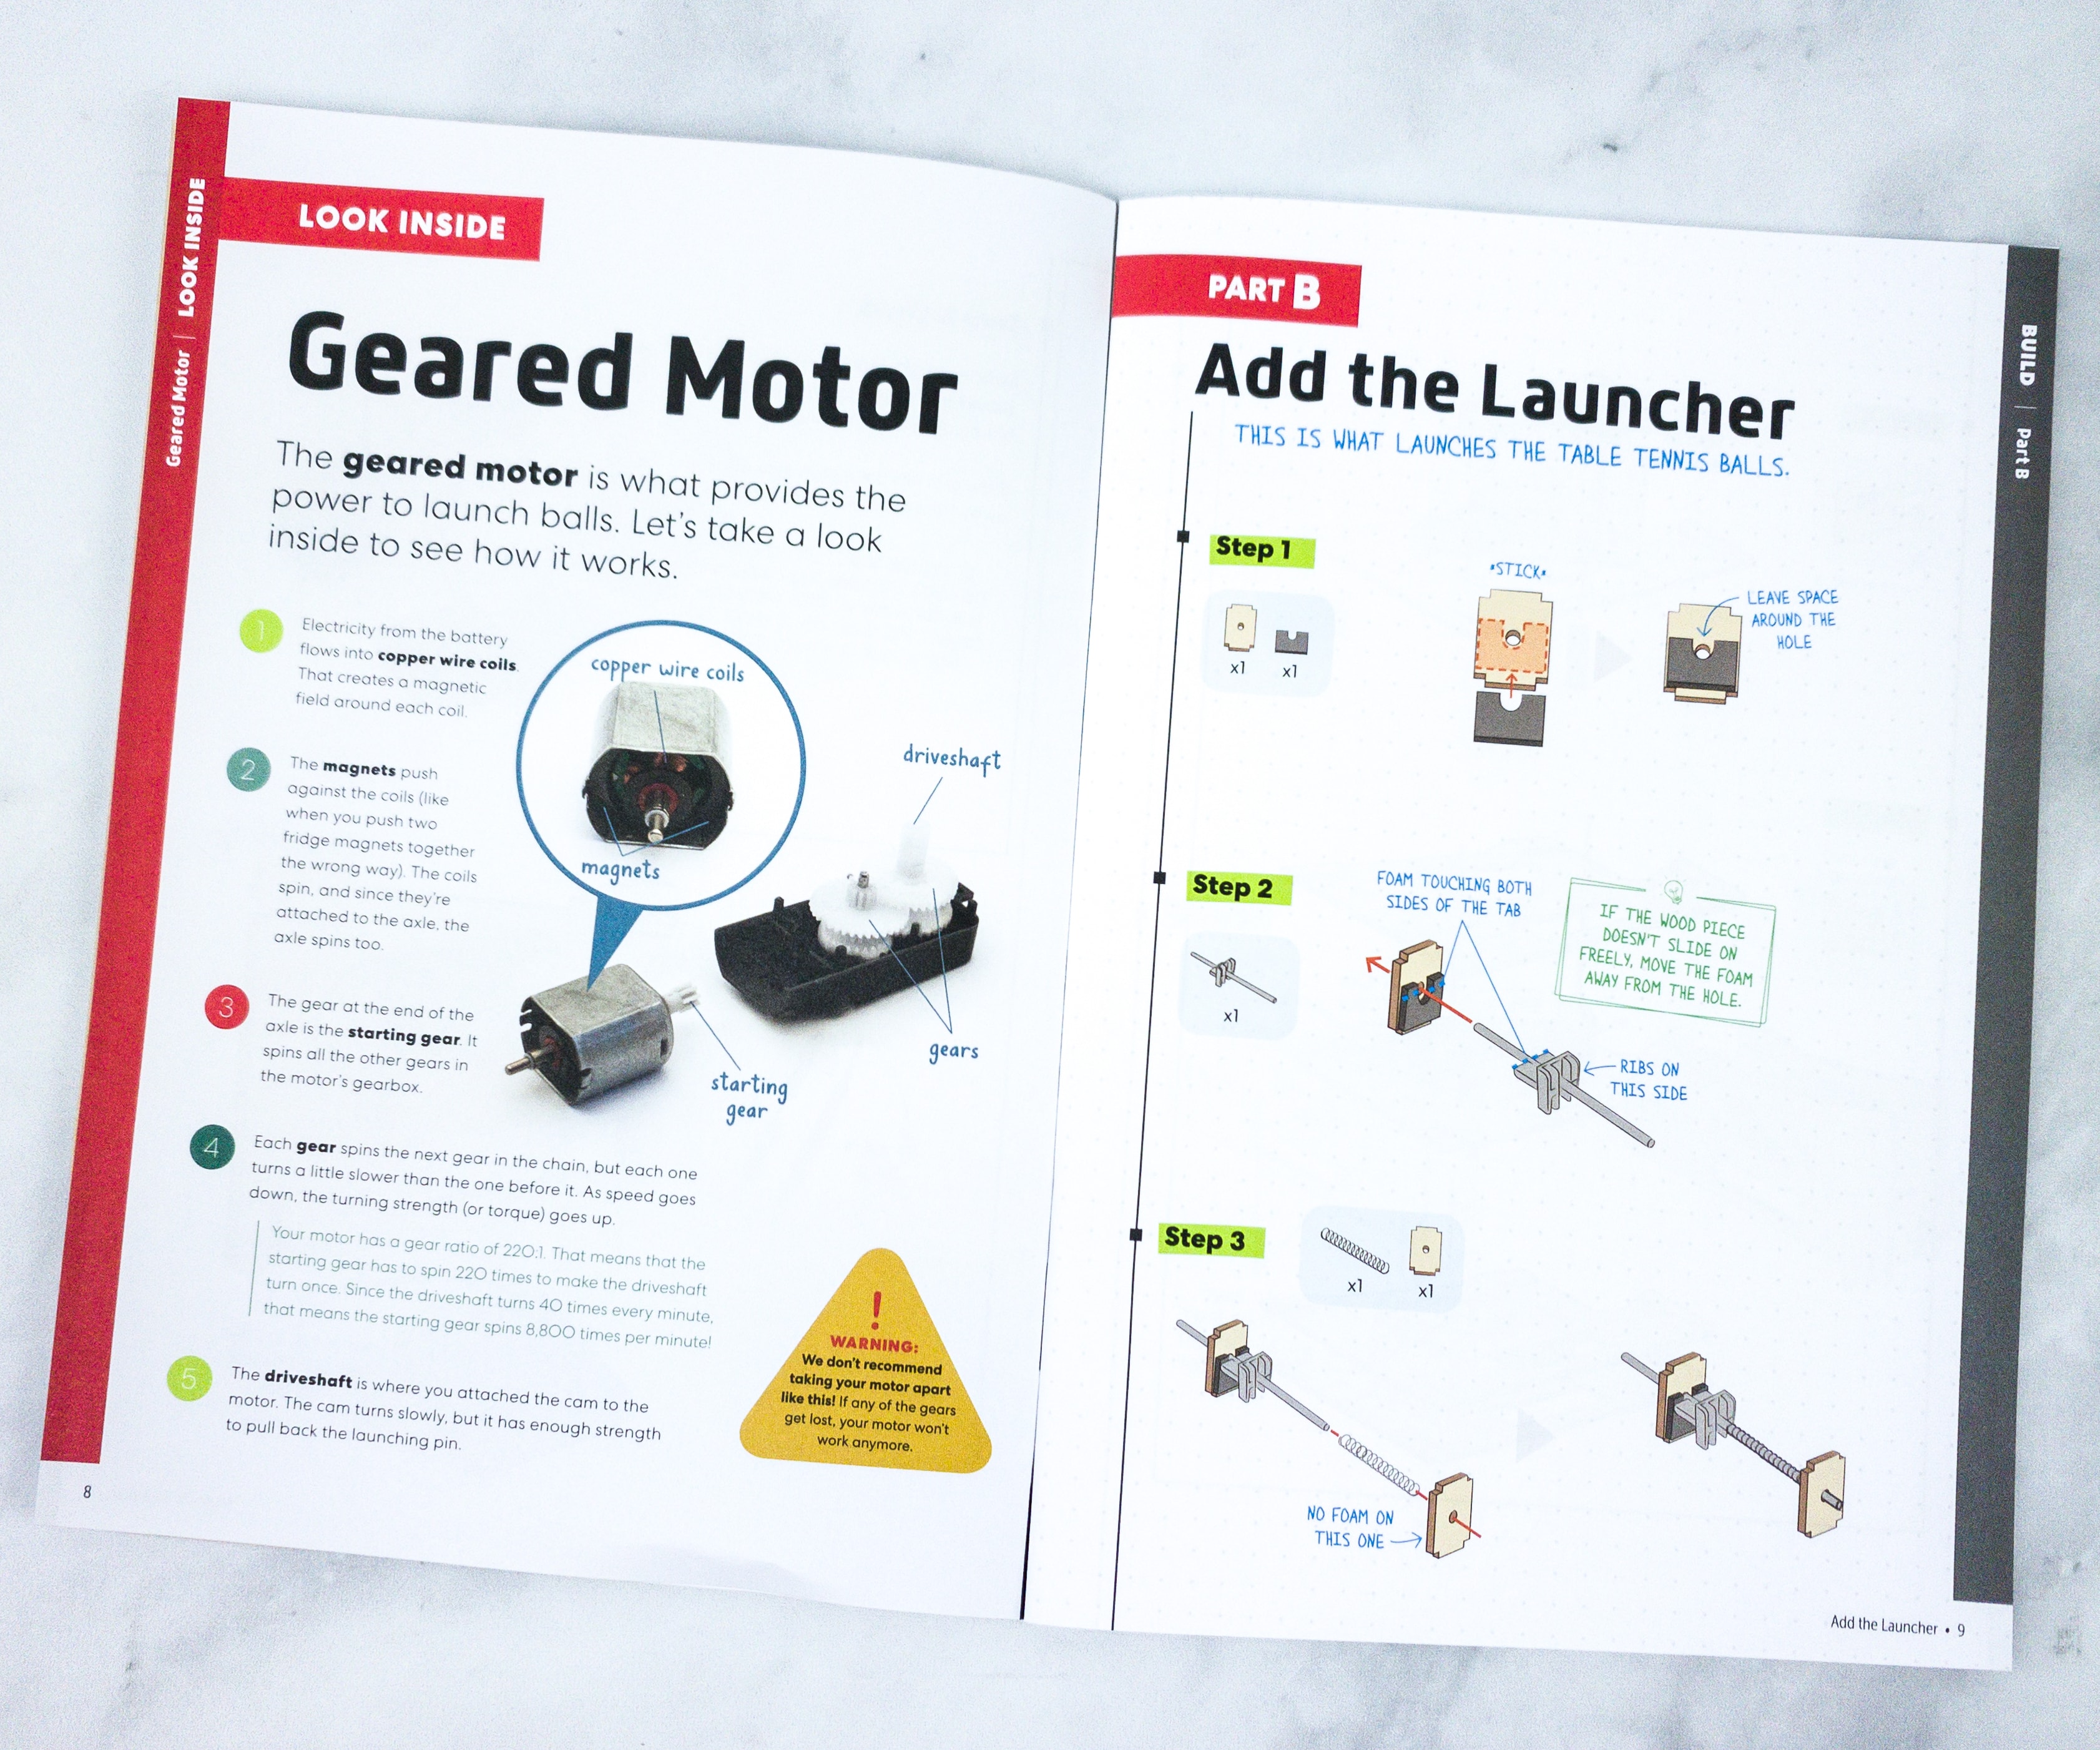
The second part of the project is the addition of the launcher!
After building the motor, we can now add the launcher, the mechanism that launches the tennis balls.
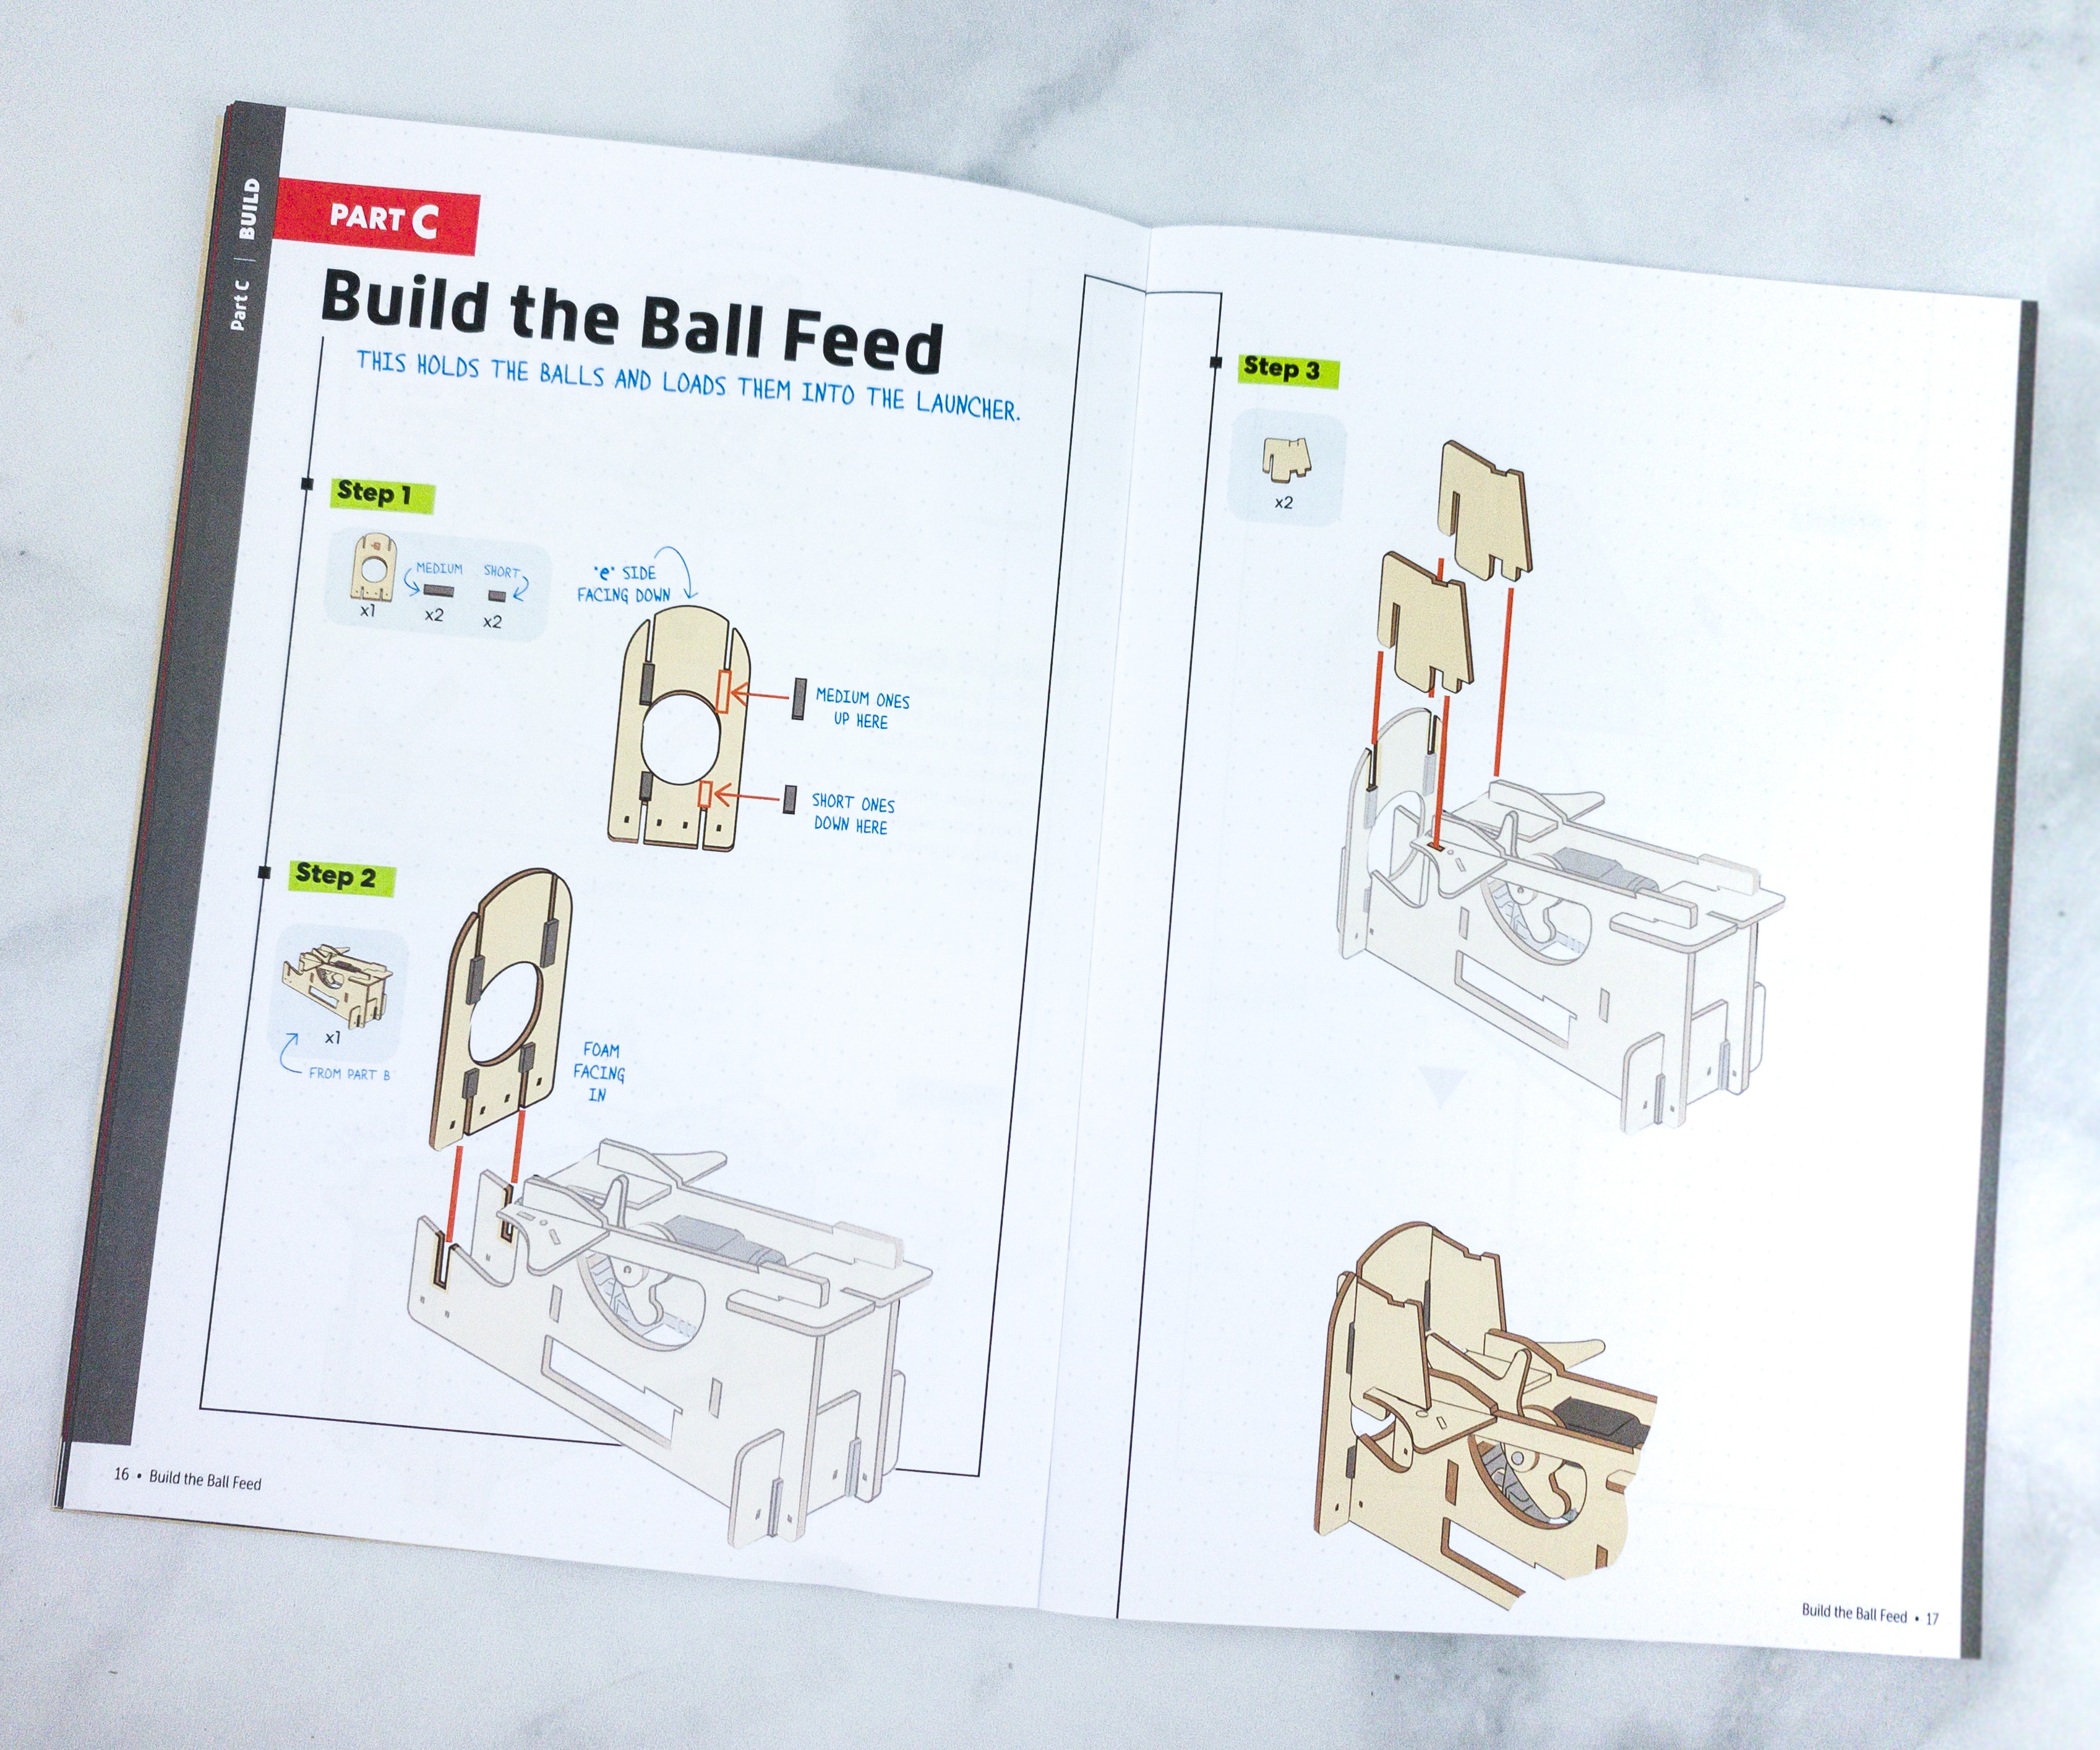
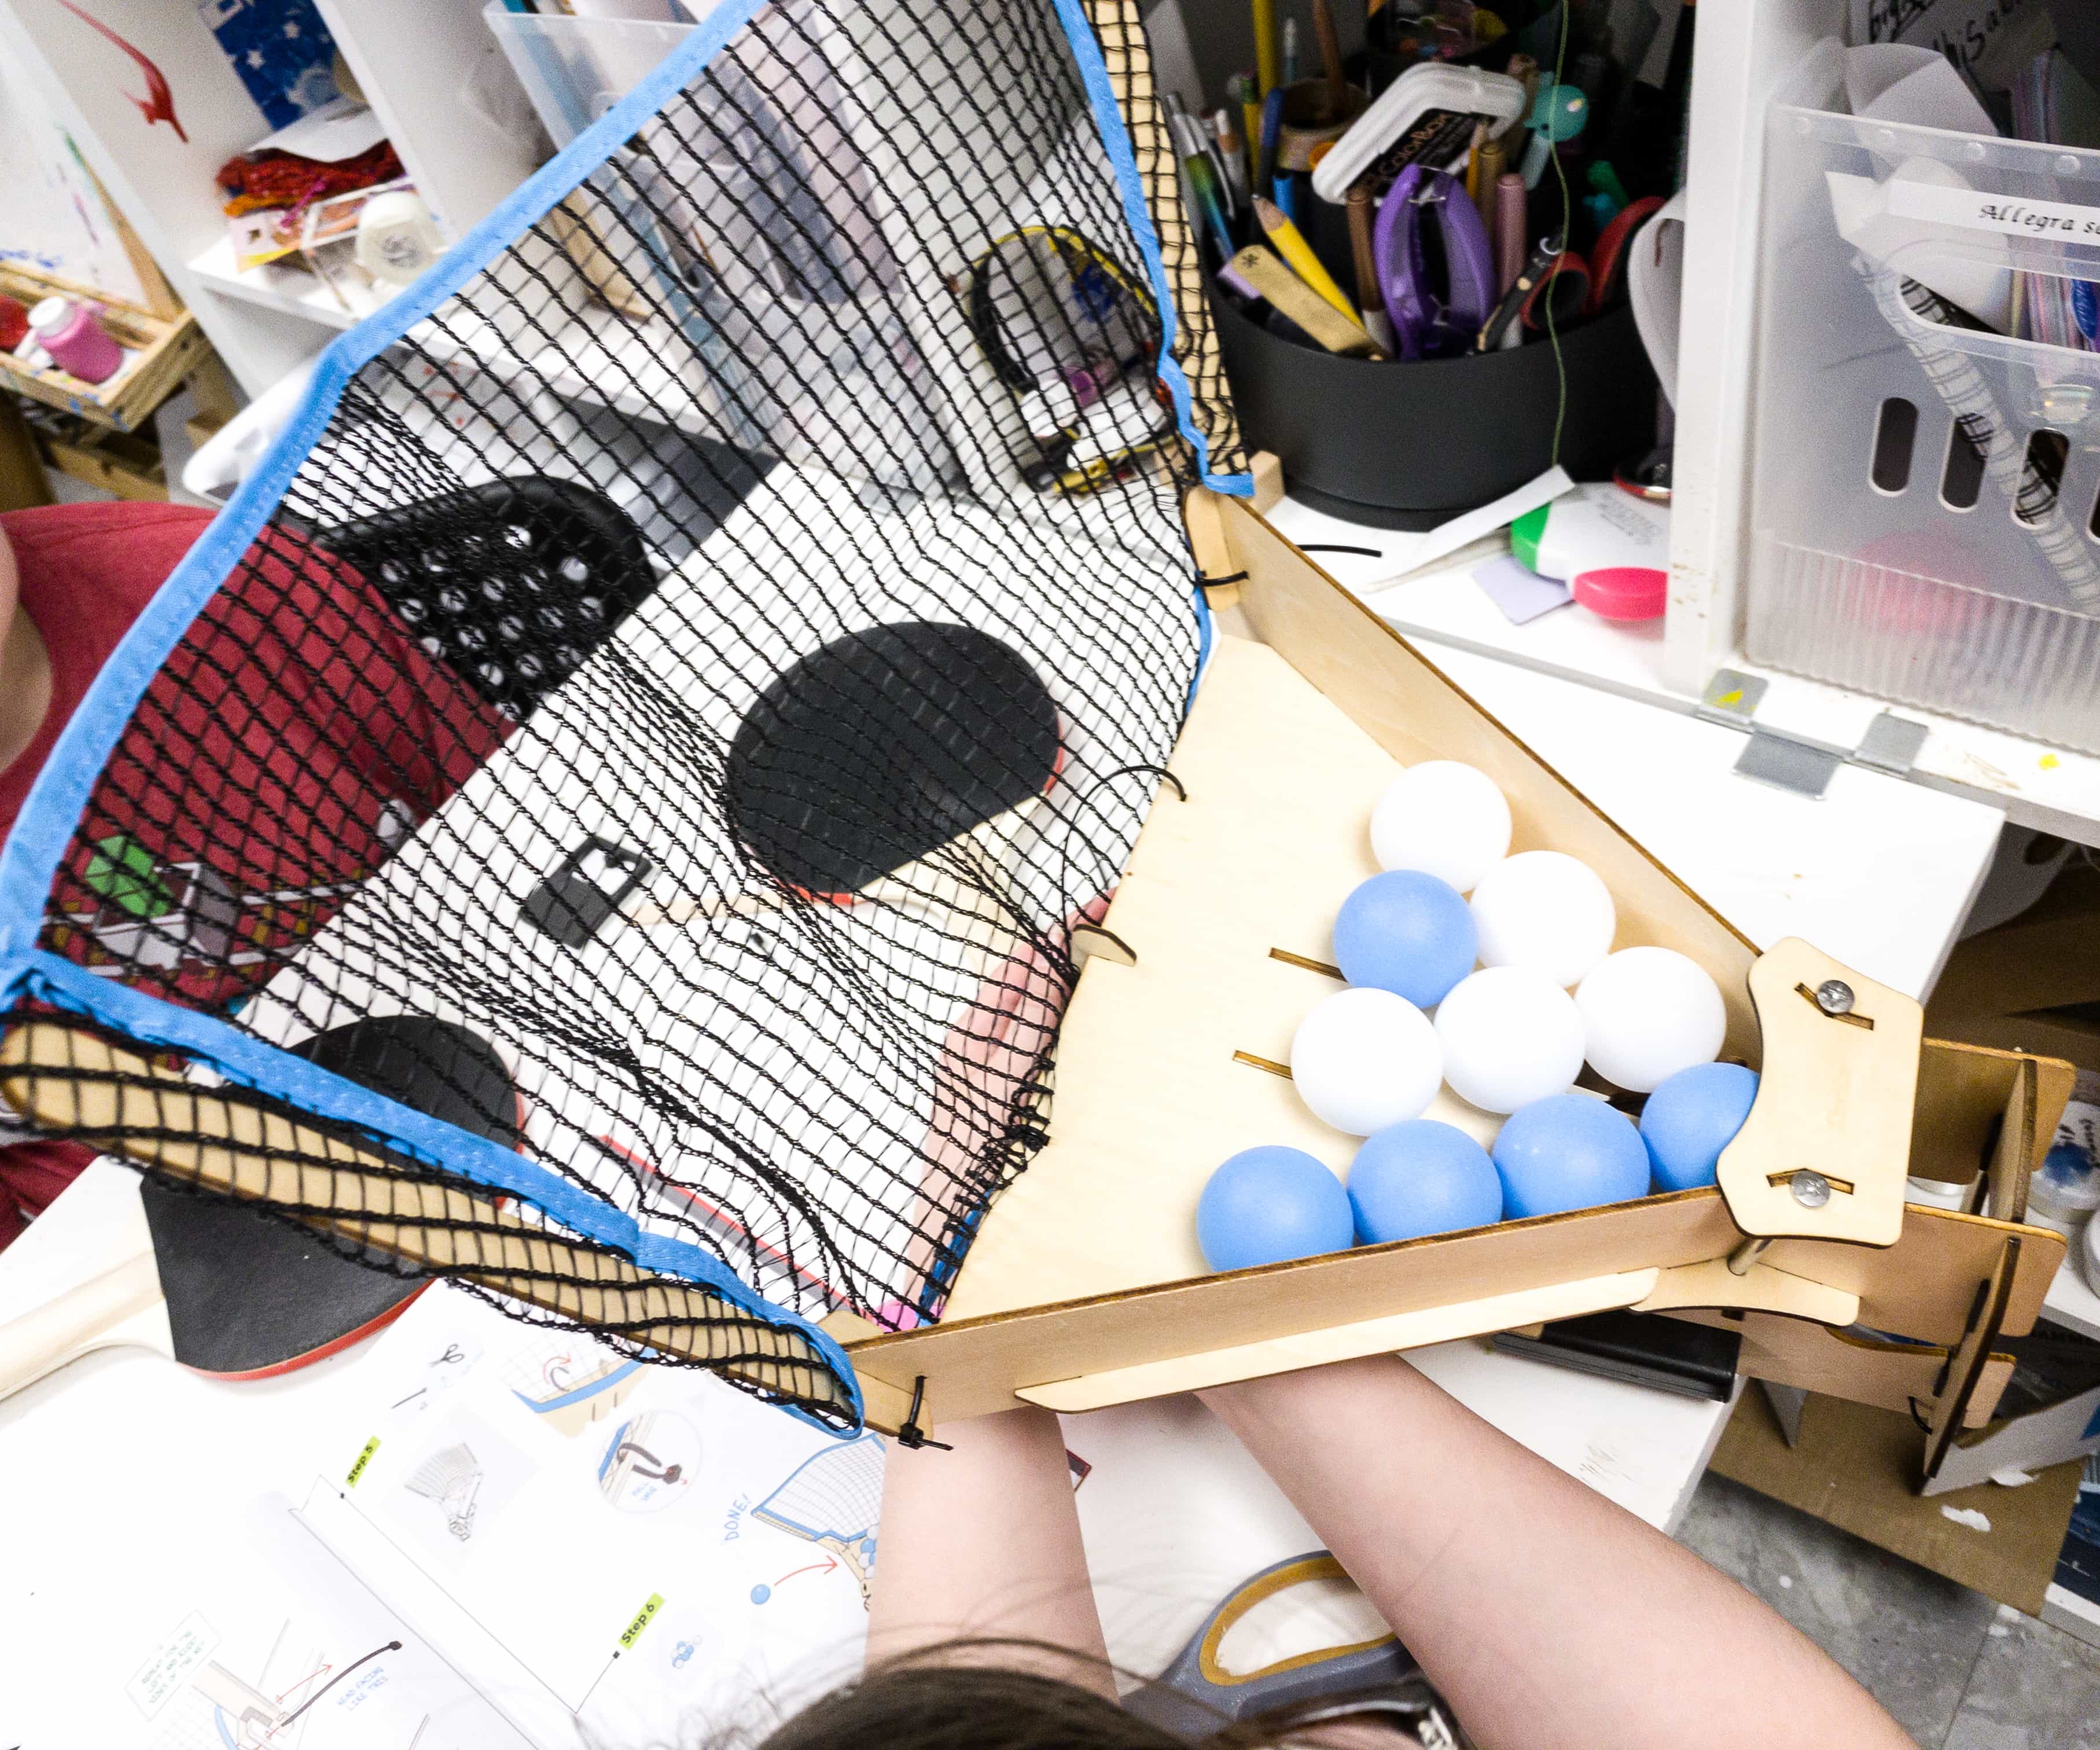
The third part of the project is building the ball feed. It is the one that holds the balls and loads them into the launcher.
For this part, we used the different types of wooden pieces, o-rings, zip ties, and screws.
This is definitely the hardest part of the project, since it requires a lot of building, assessing, and assembling!
My daughter loved building this one!
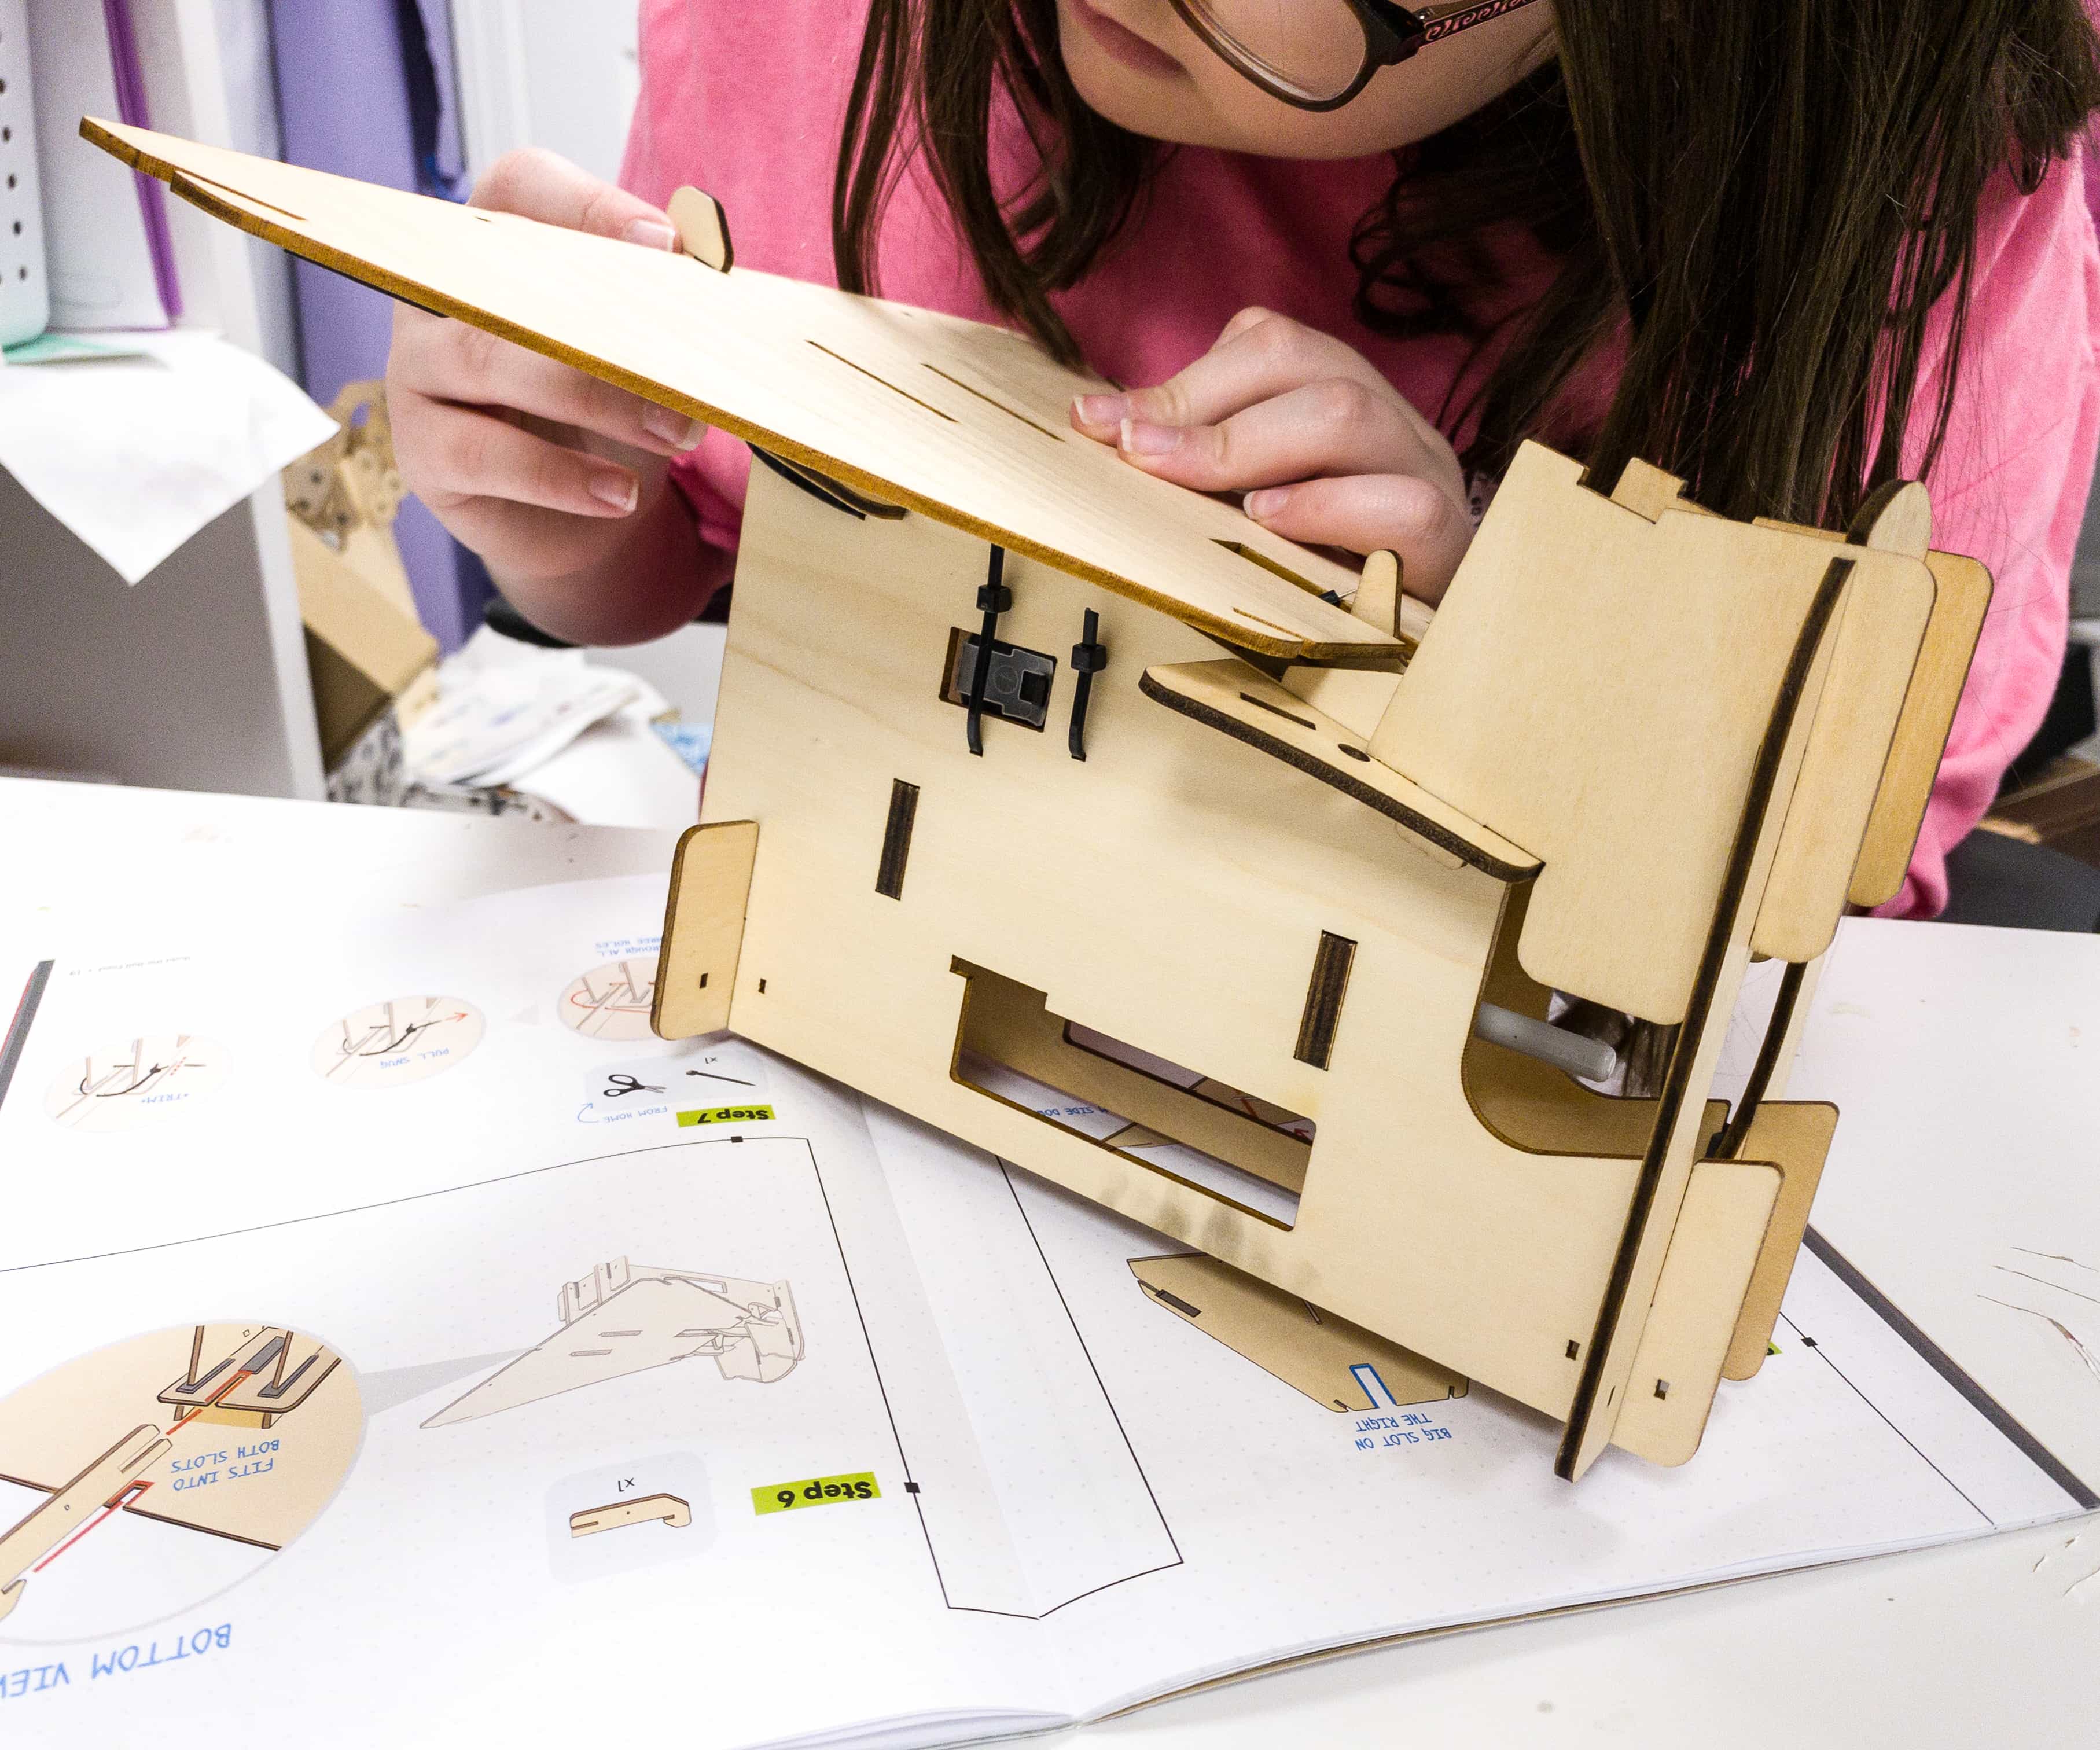
She’s so keen with all the details, making sure that every part is locked and held in place.

The fourth part of the project involves wiring it up to give power to the machine.
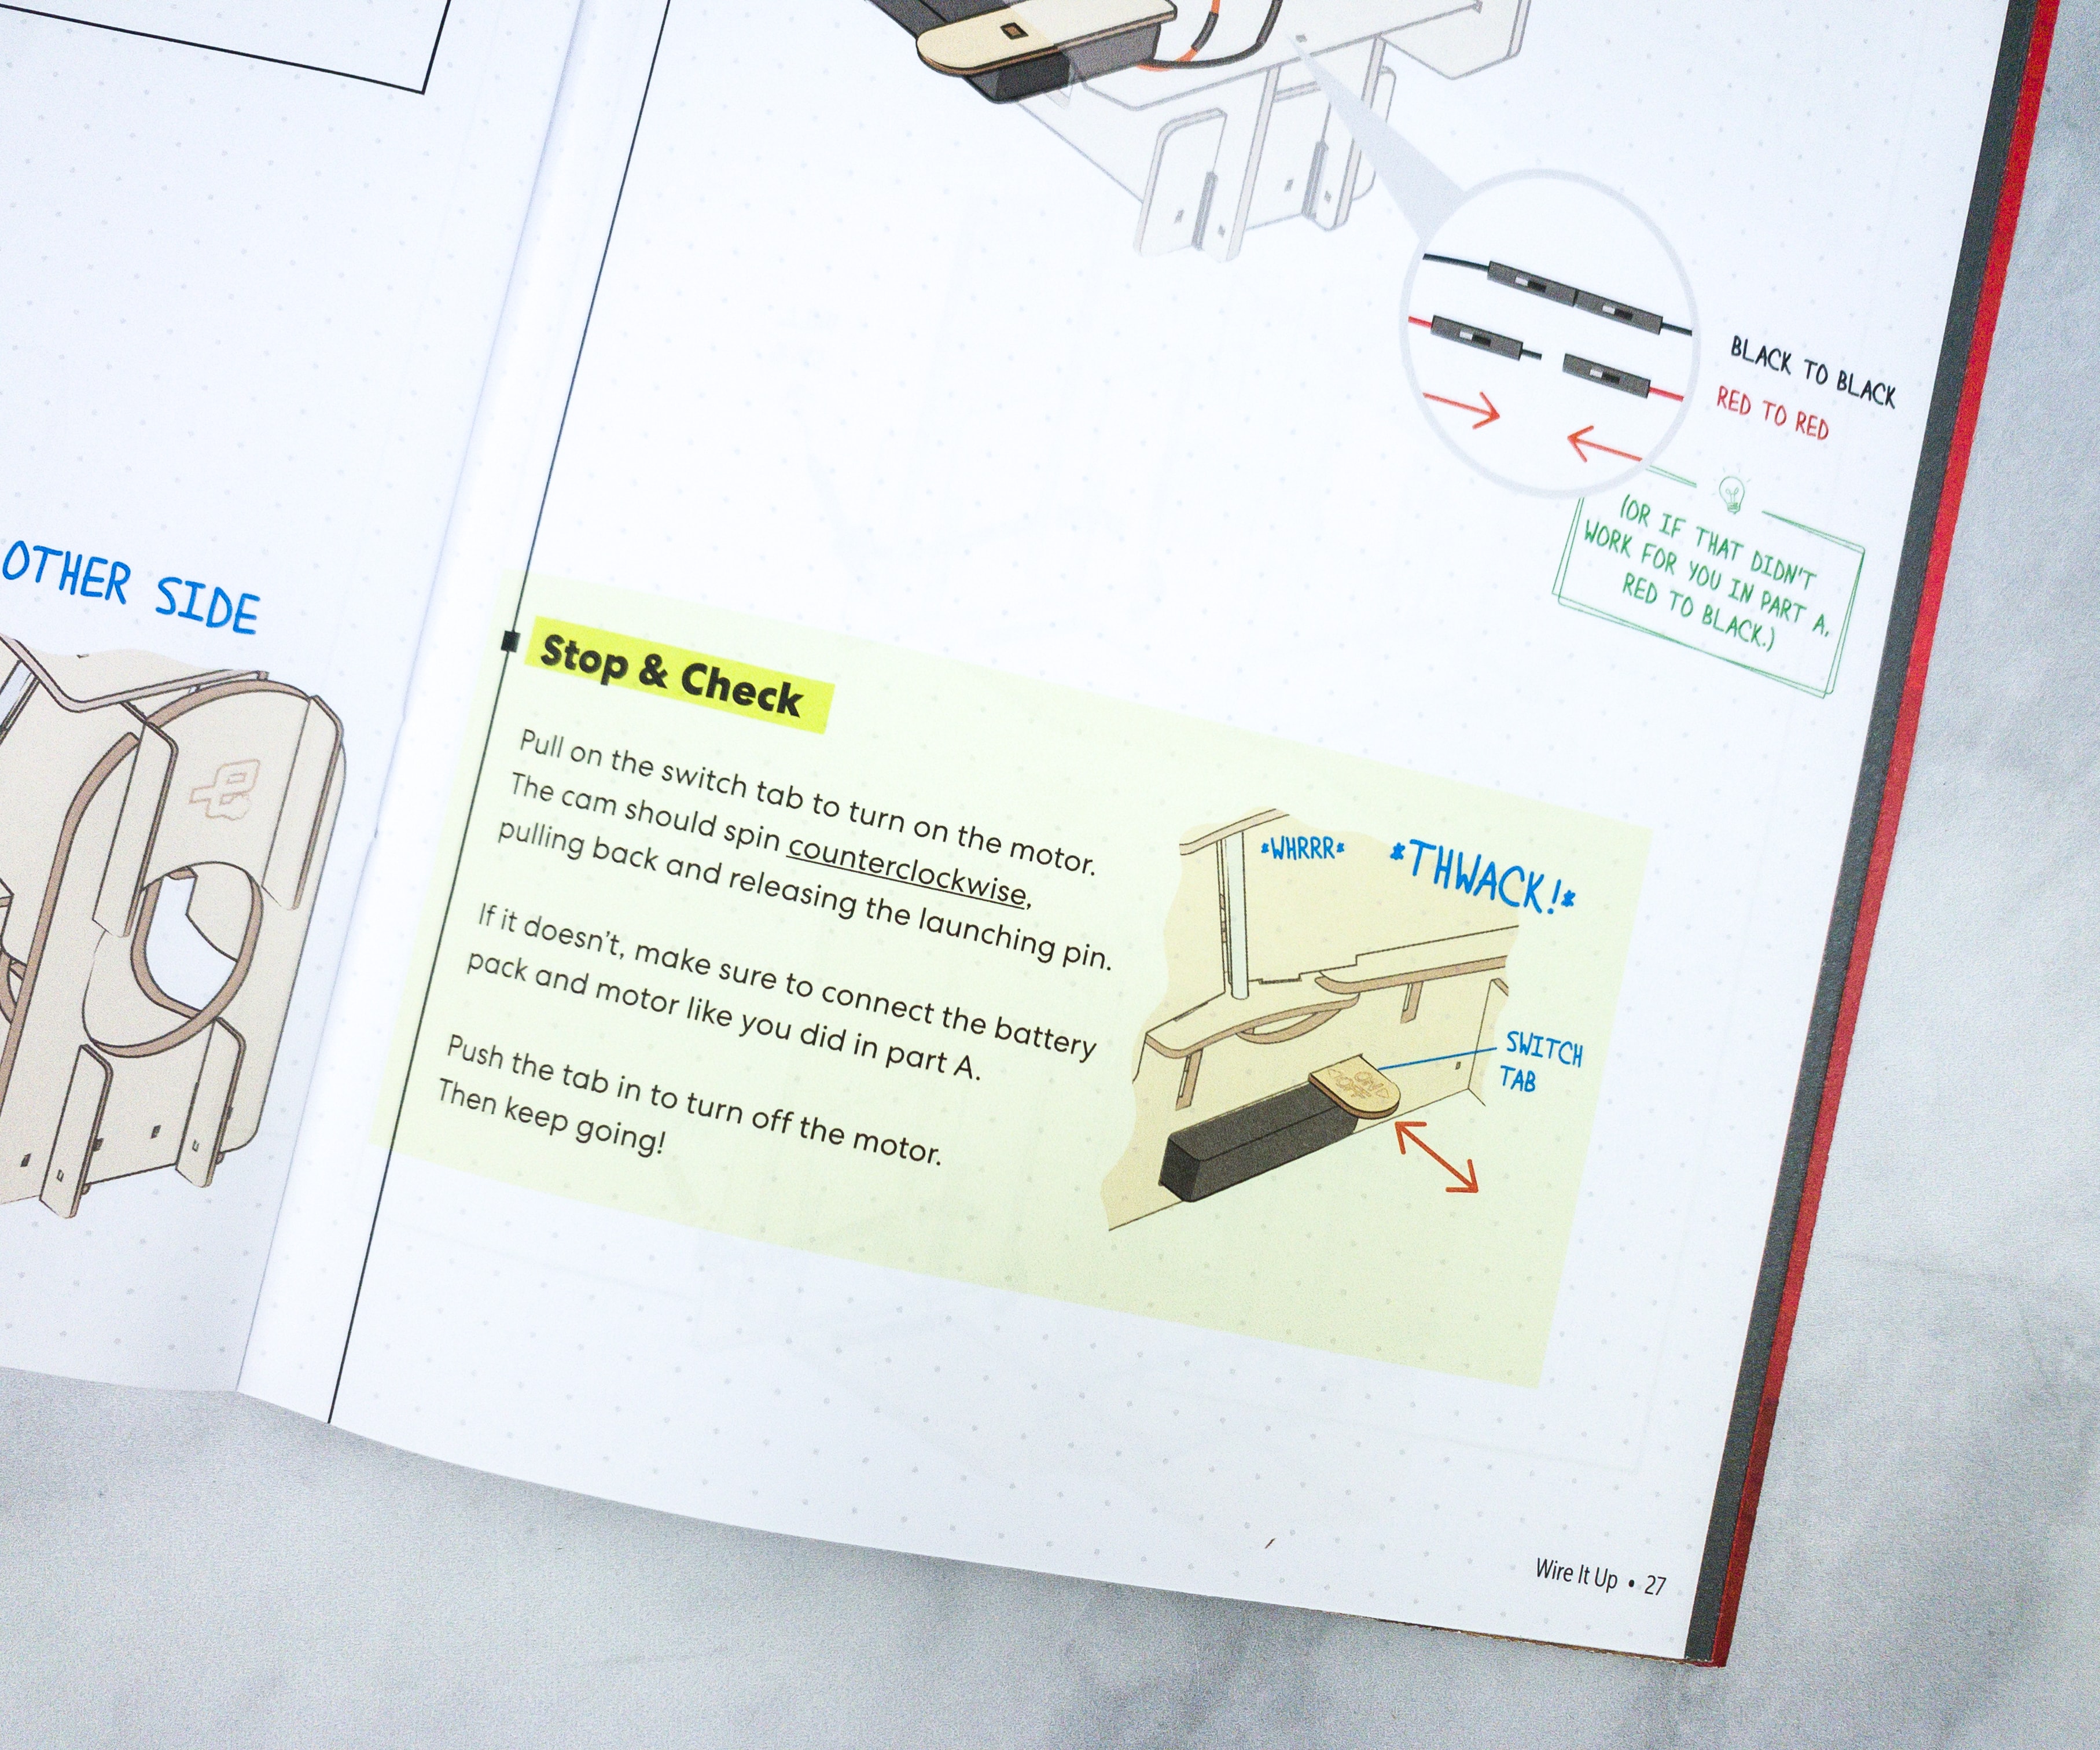
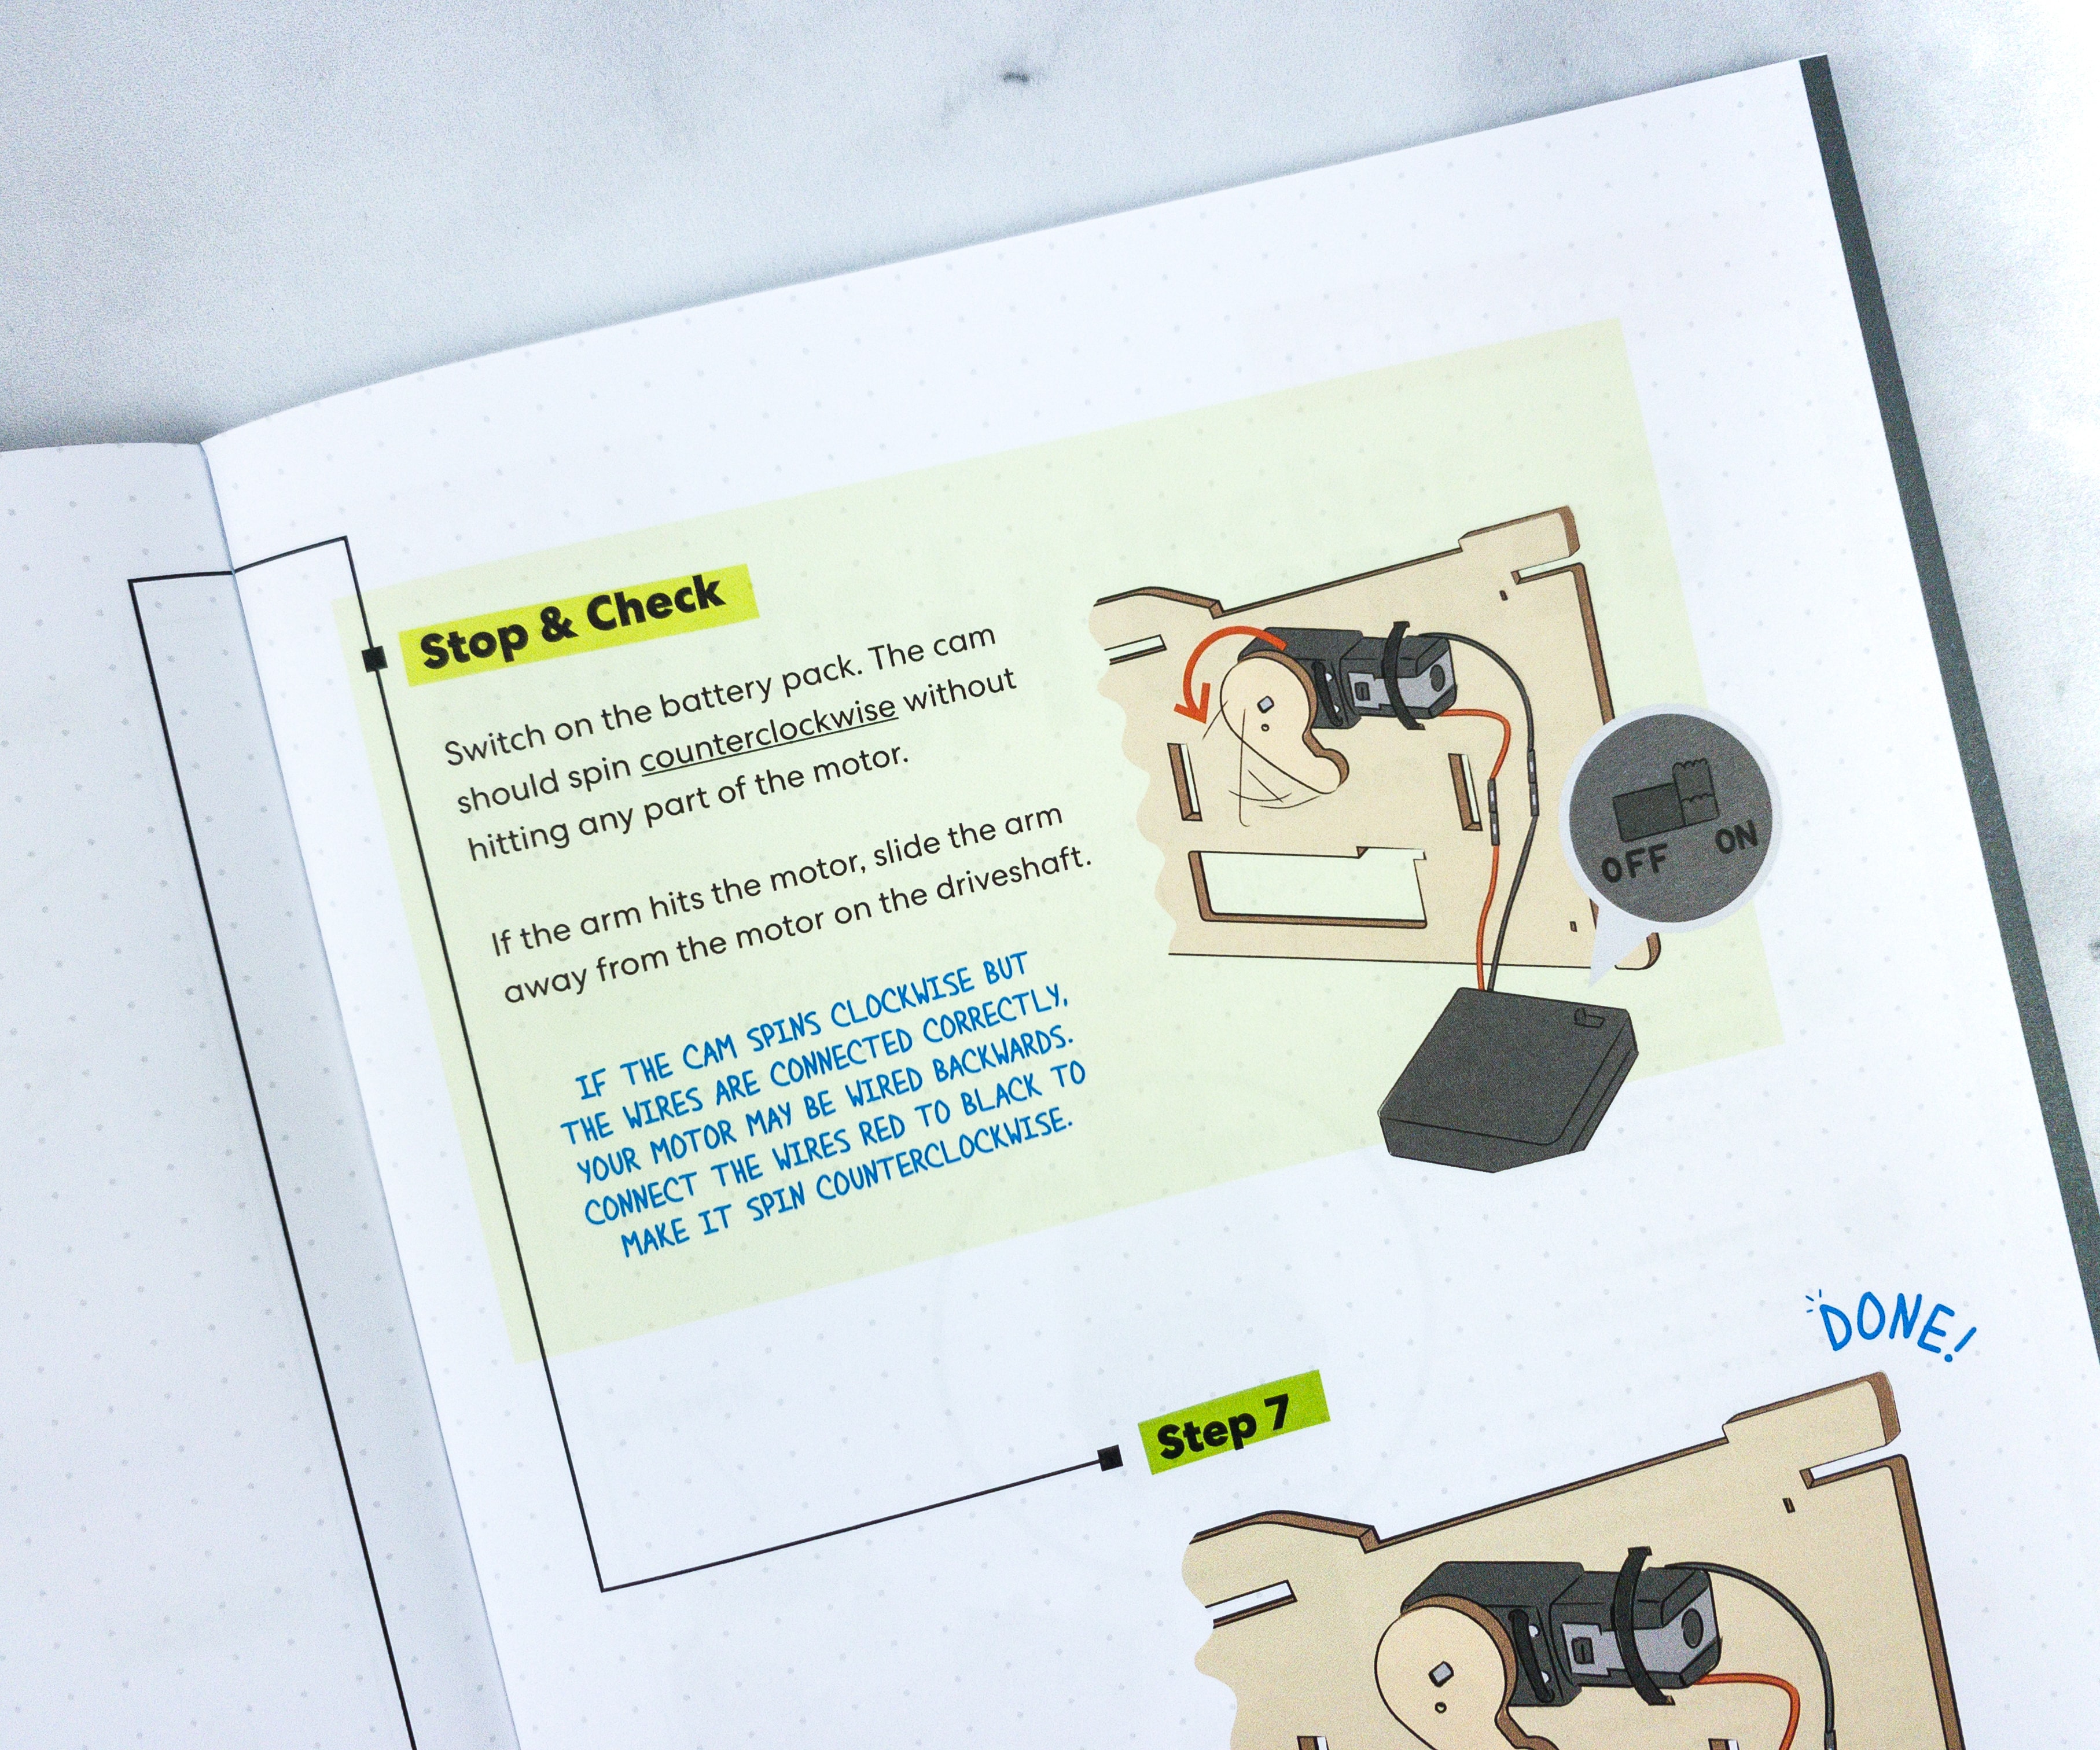
For our stop and check section, we made sure that the cam spins counterclockwise. If it doesn’t work, connect the battery pack and motor like what was instructed on the first part.
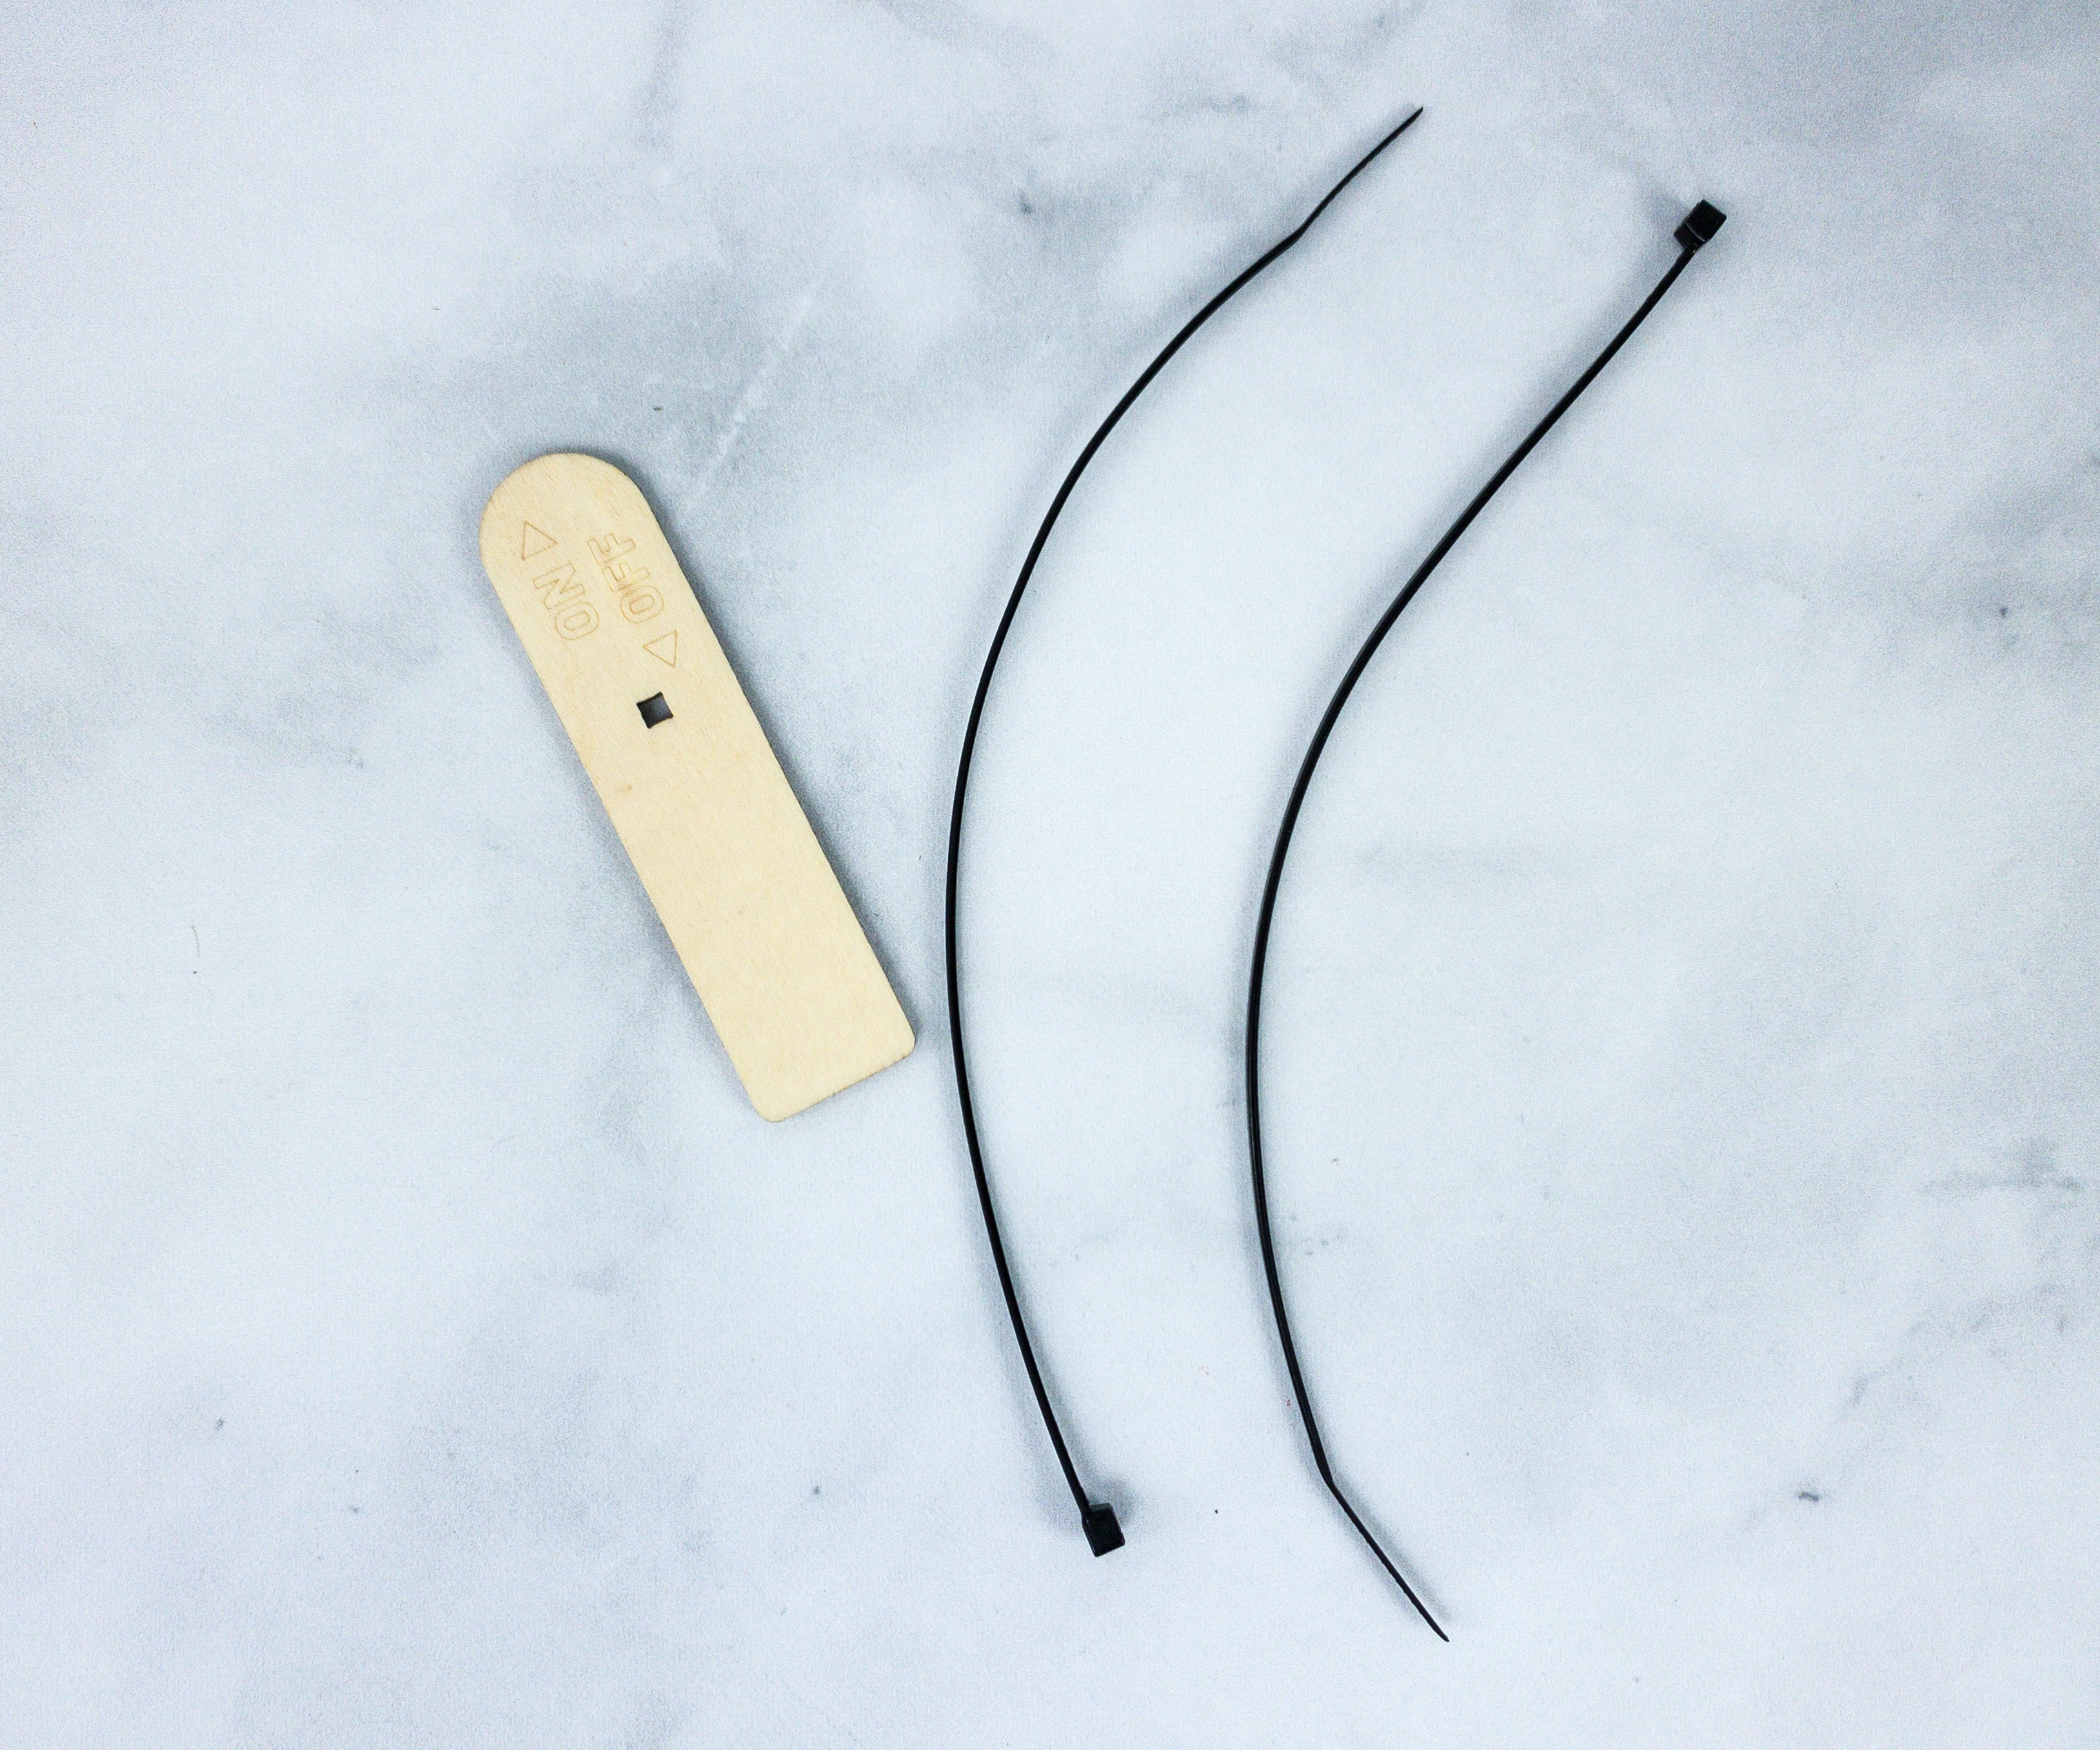
Here’s the on-off switch and another pair of zip ties!
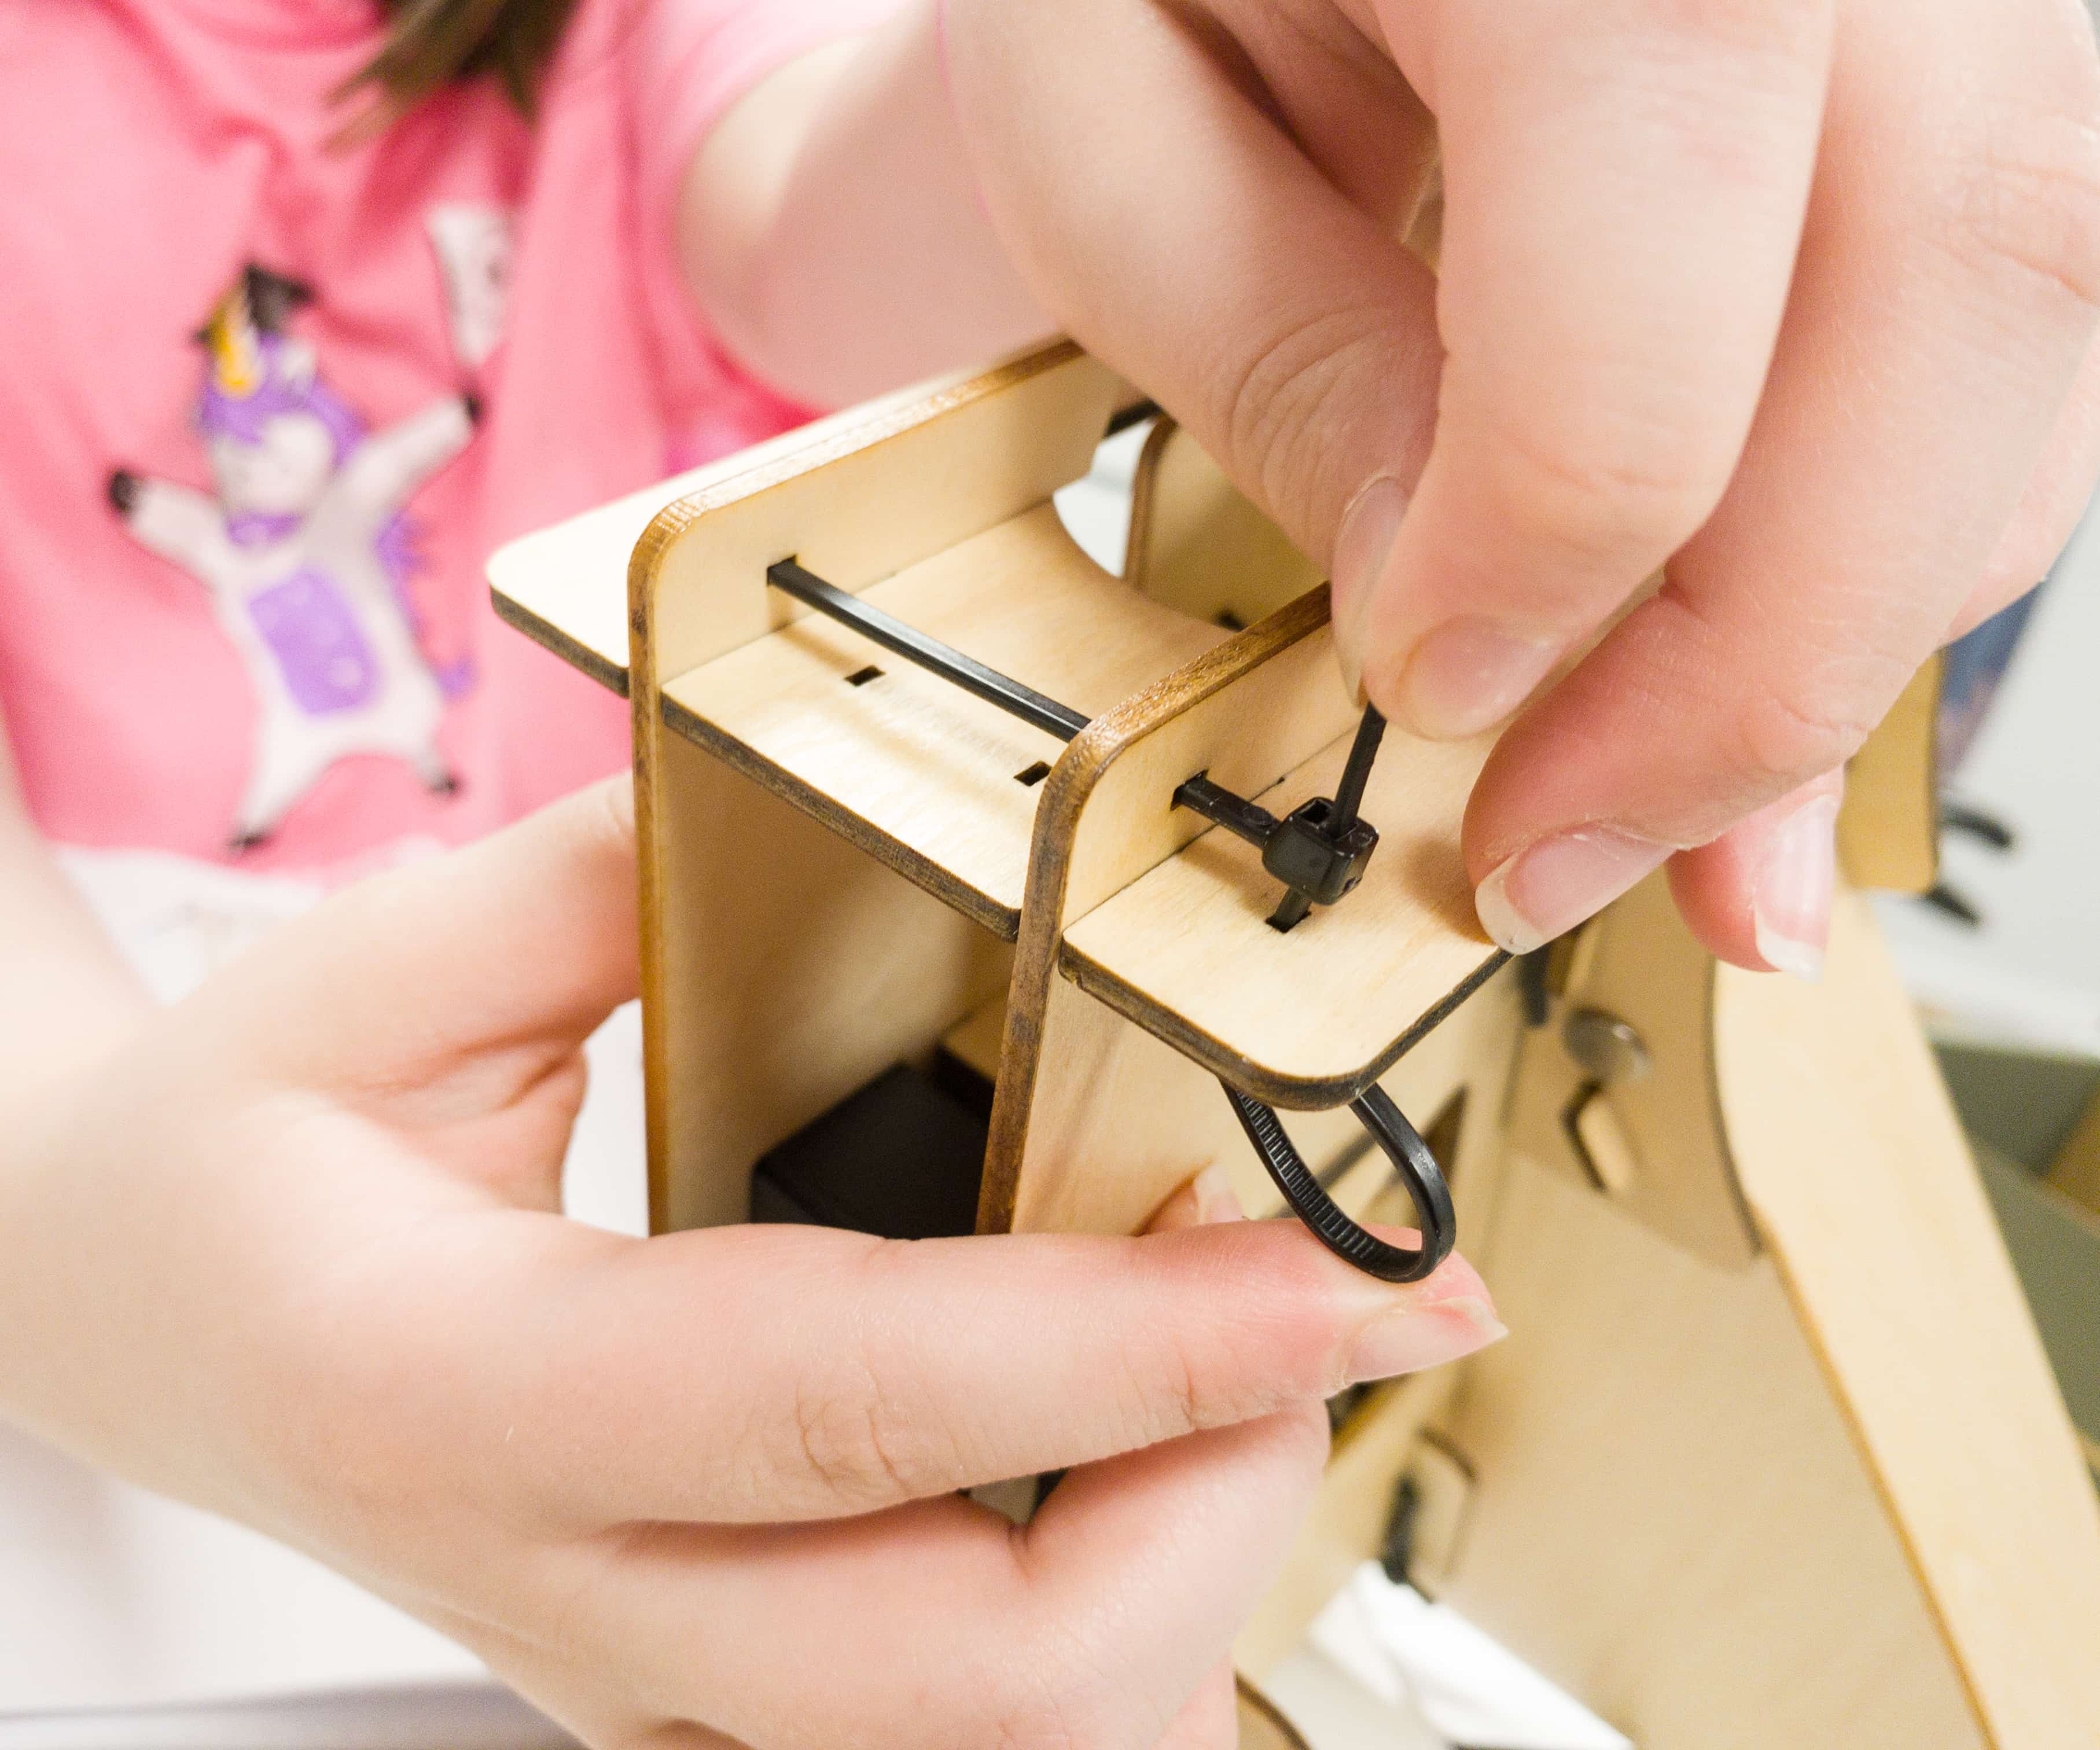
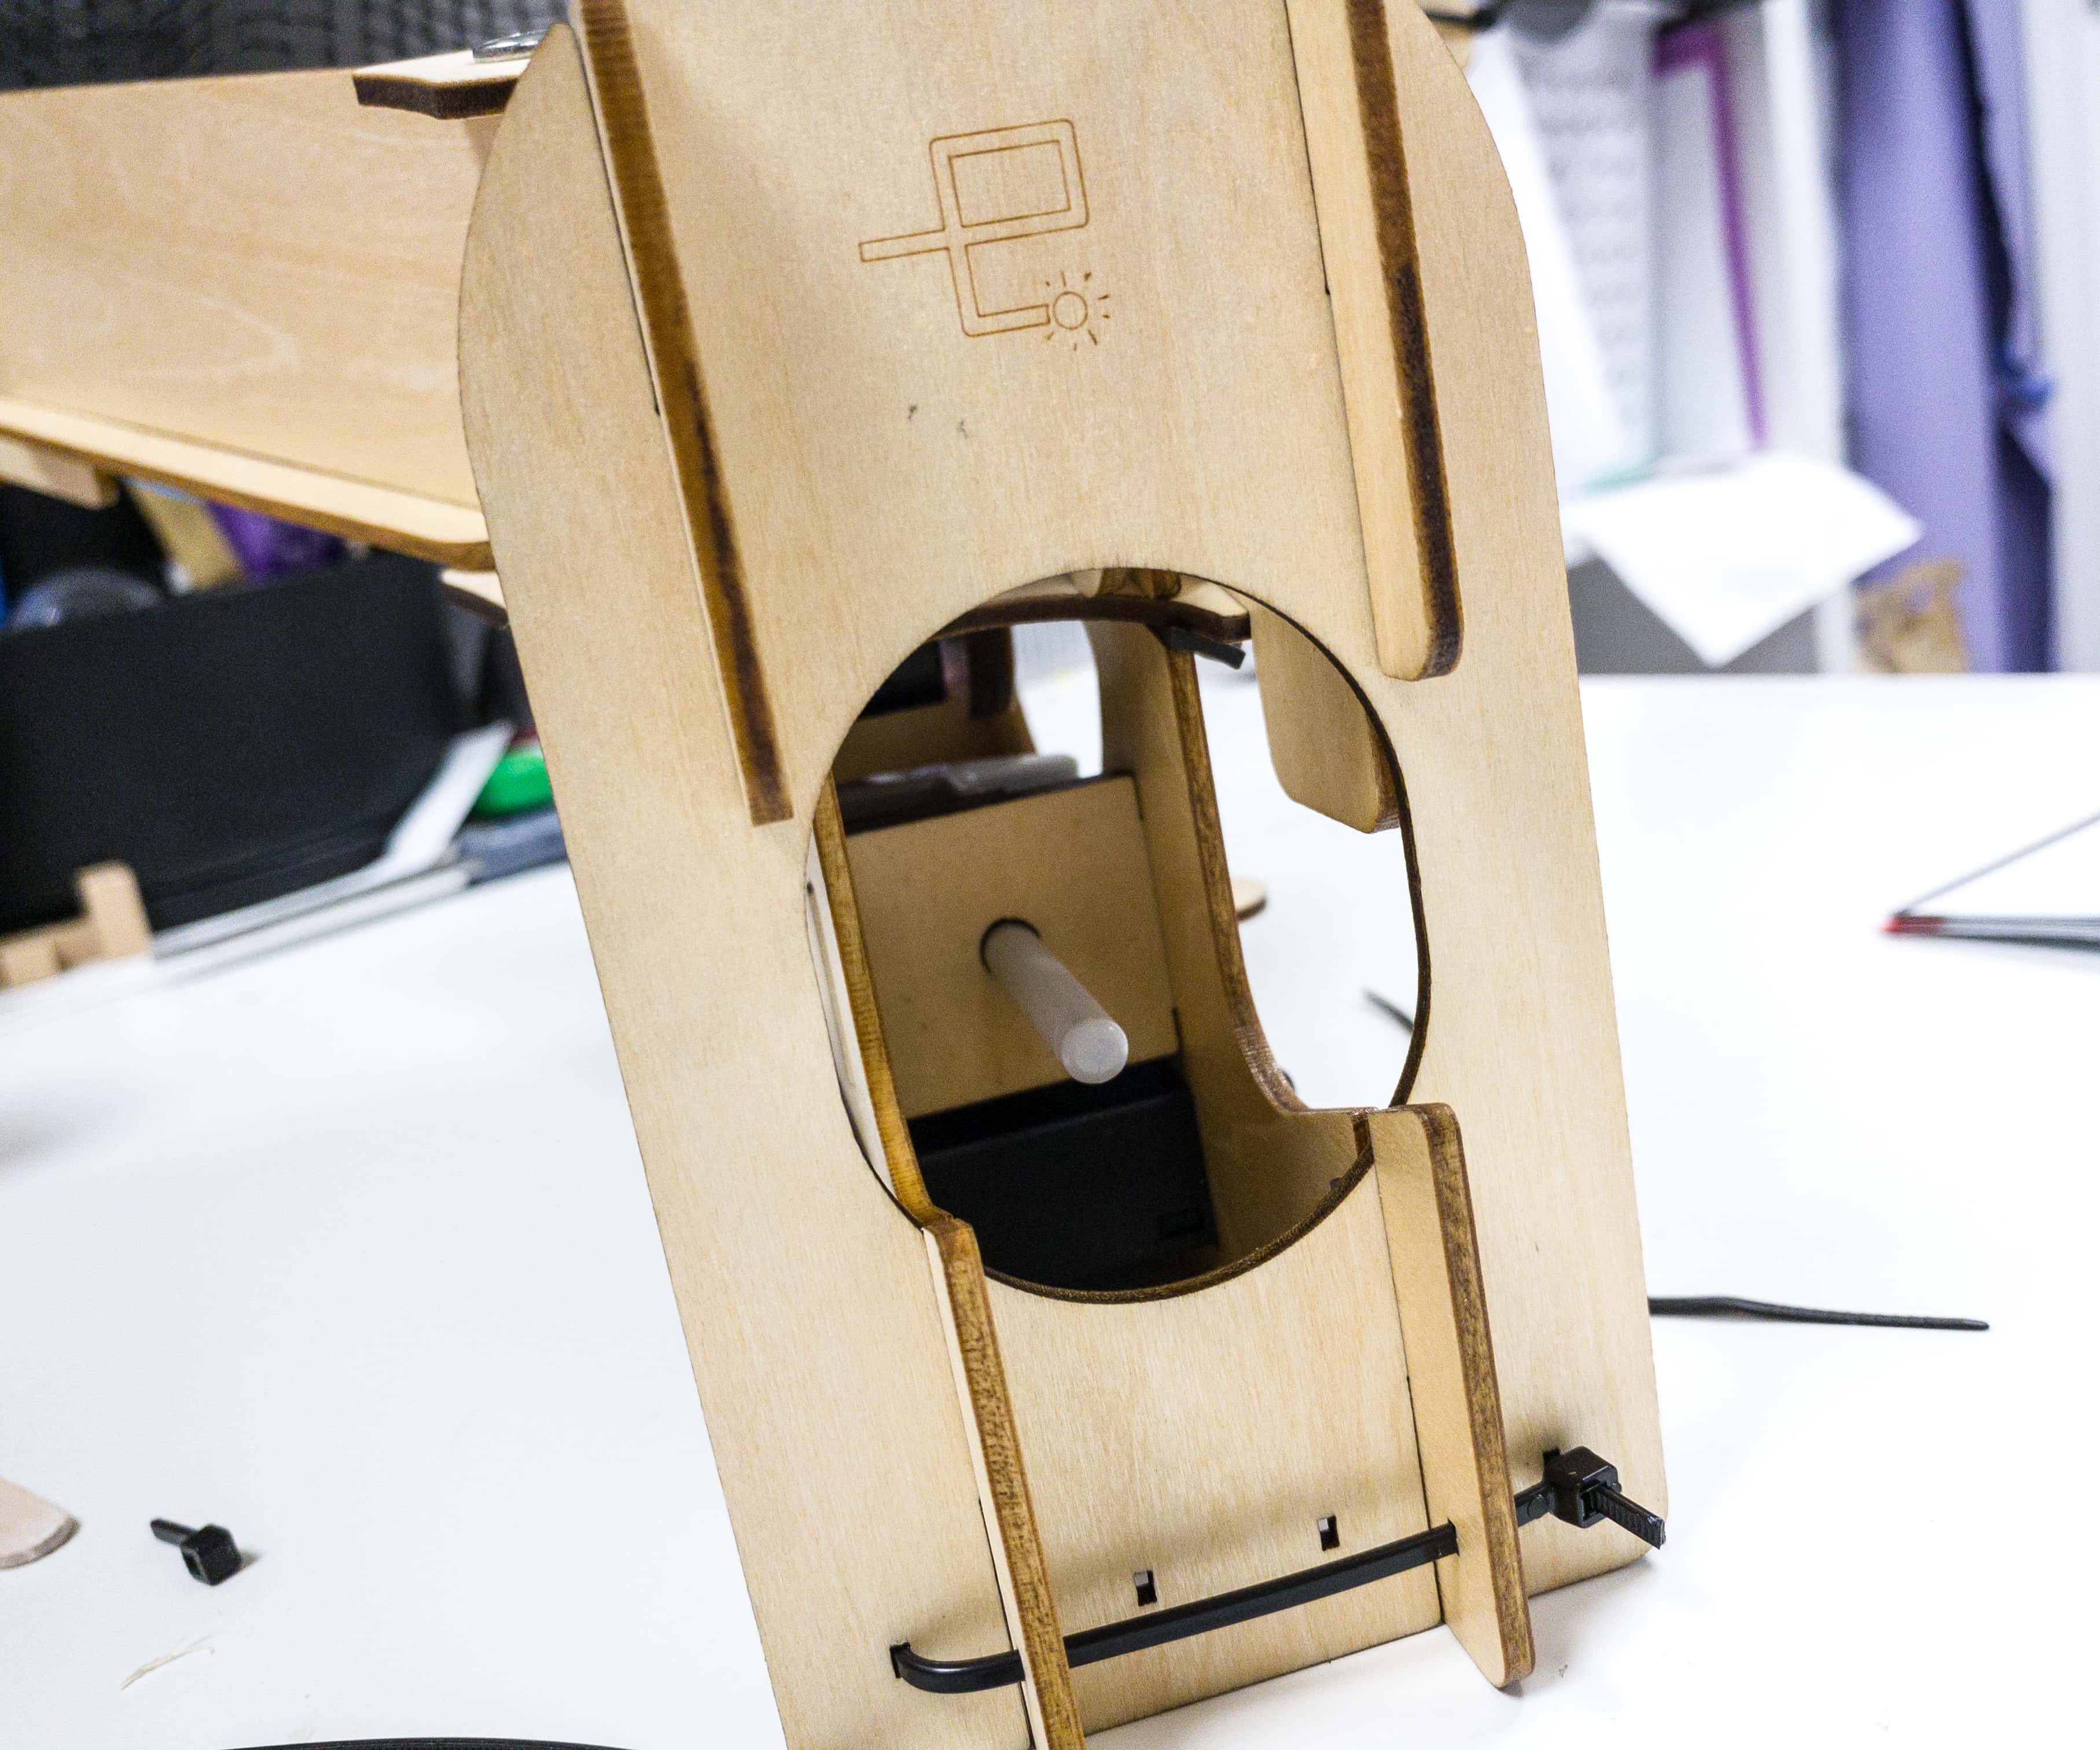
To secure the wooden pieces further, use the zip tie and thread it through the hole.
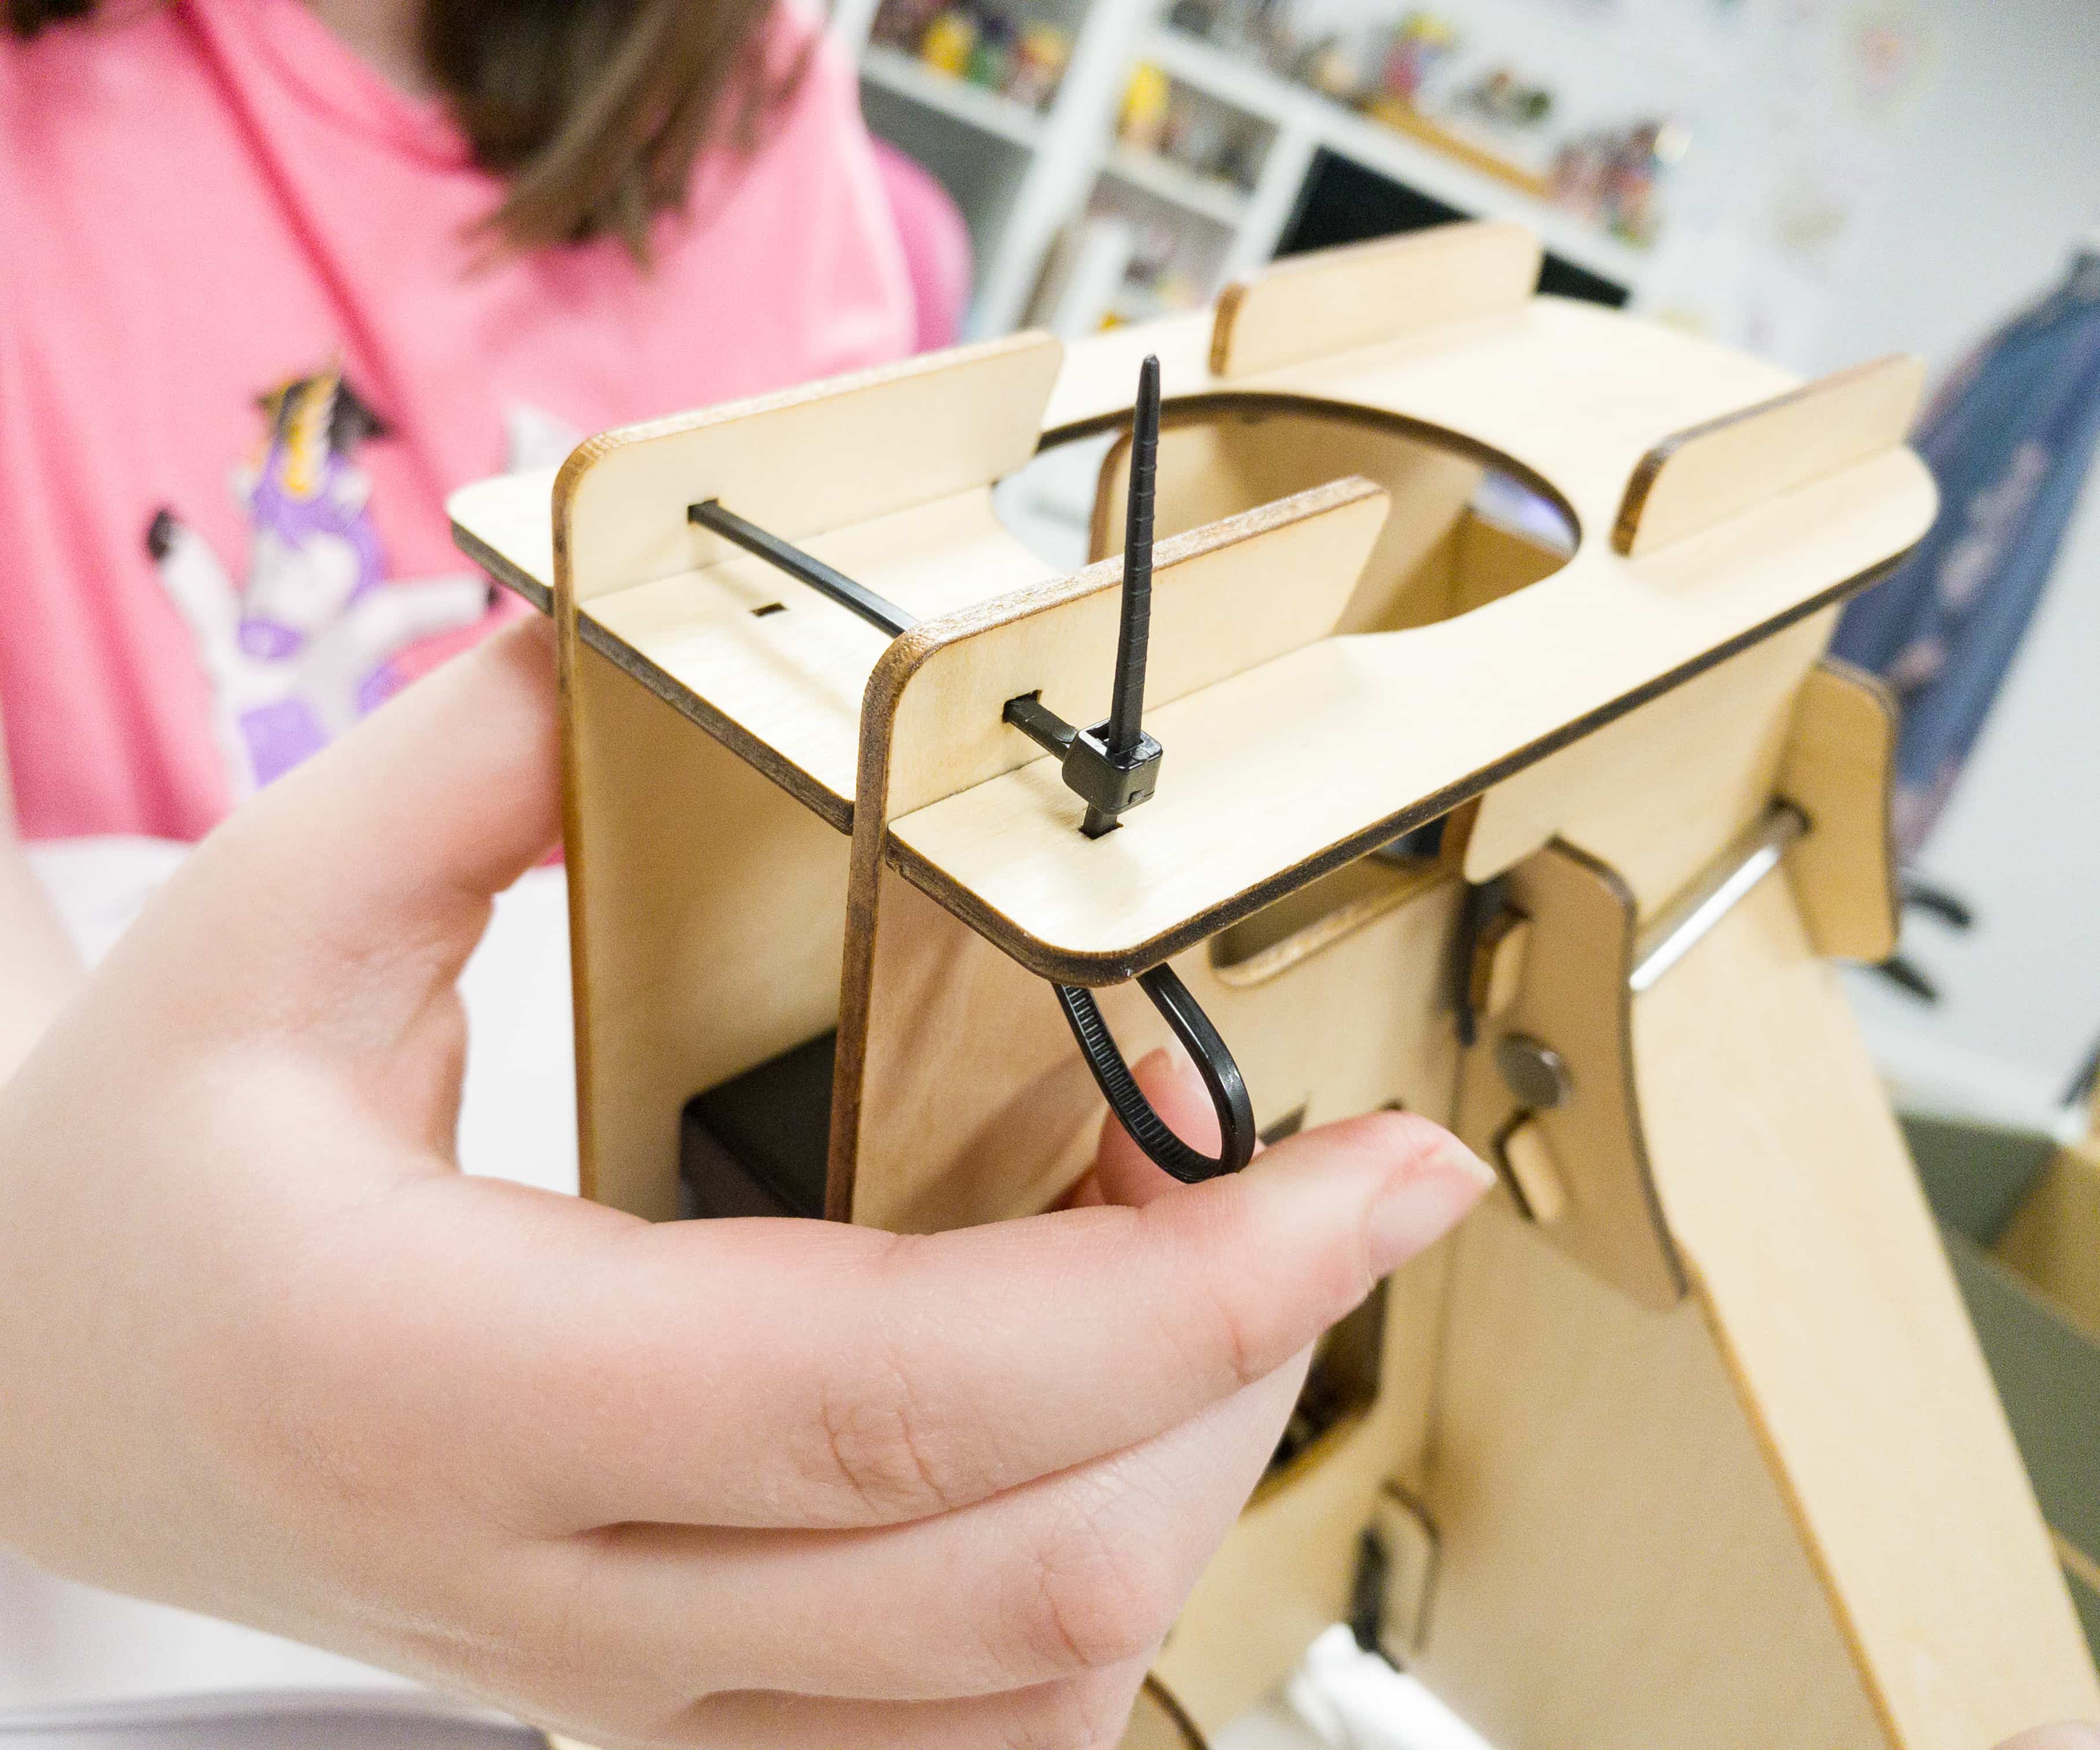
Lock it up by pulling the other end of the string tightly.
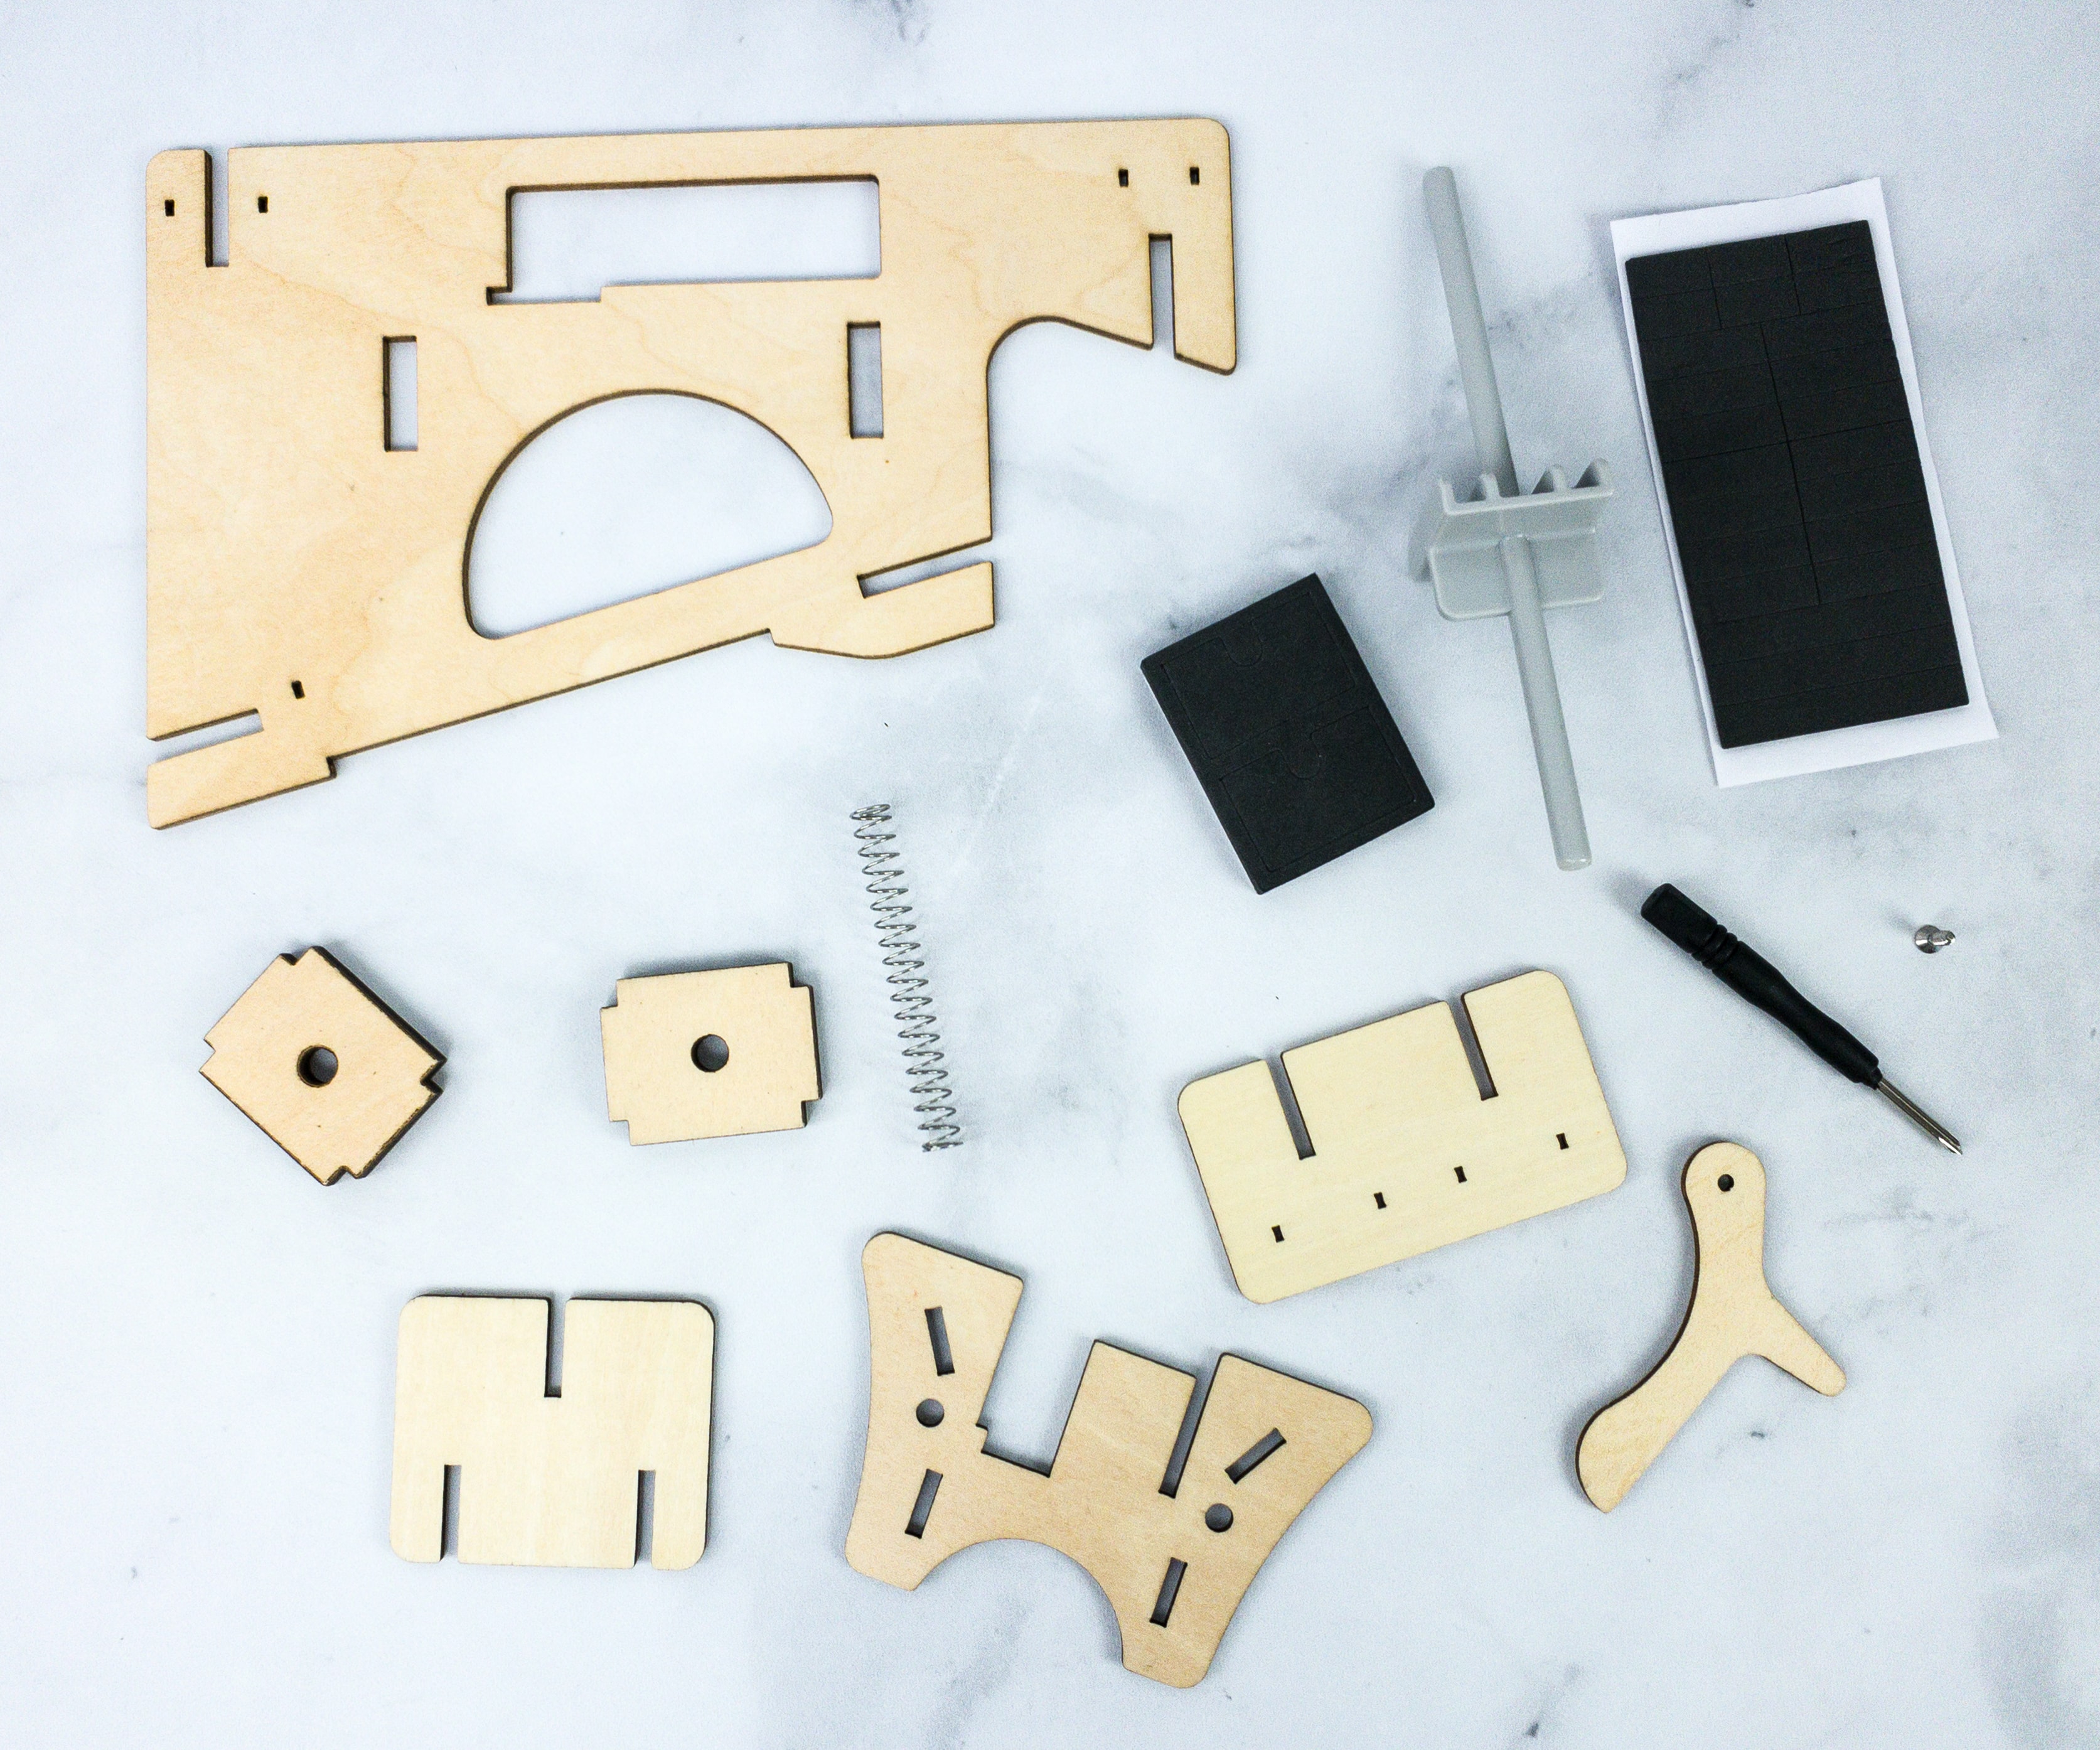
Once done with the motor, launcher, and ball feed we then built the base using the wooden pieces, small springs, foam stickers, screwdriver, and screws.
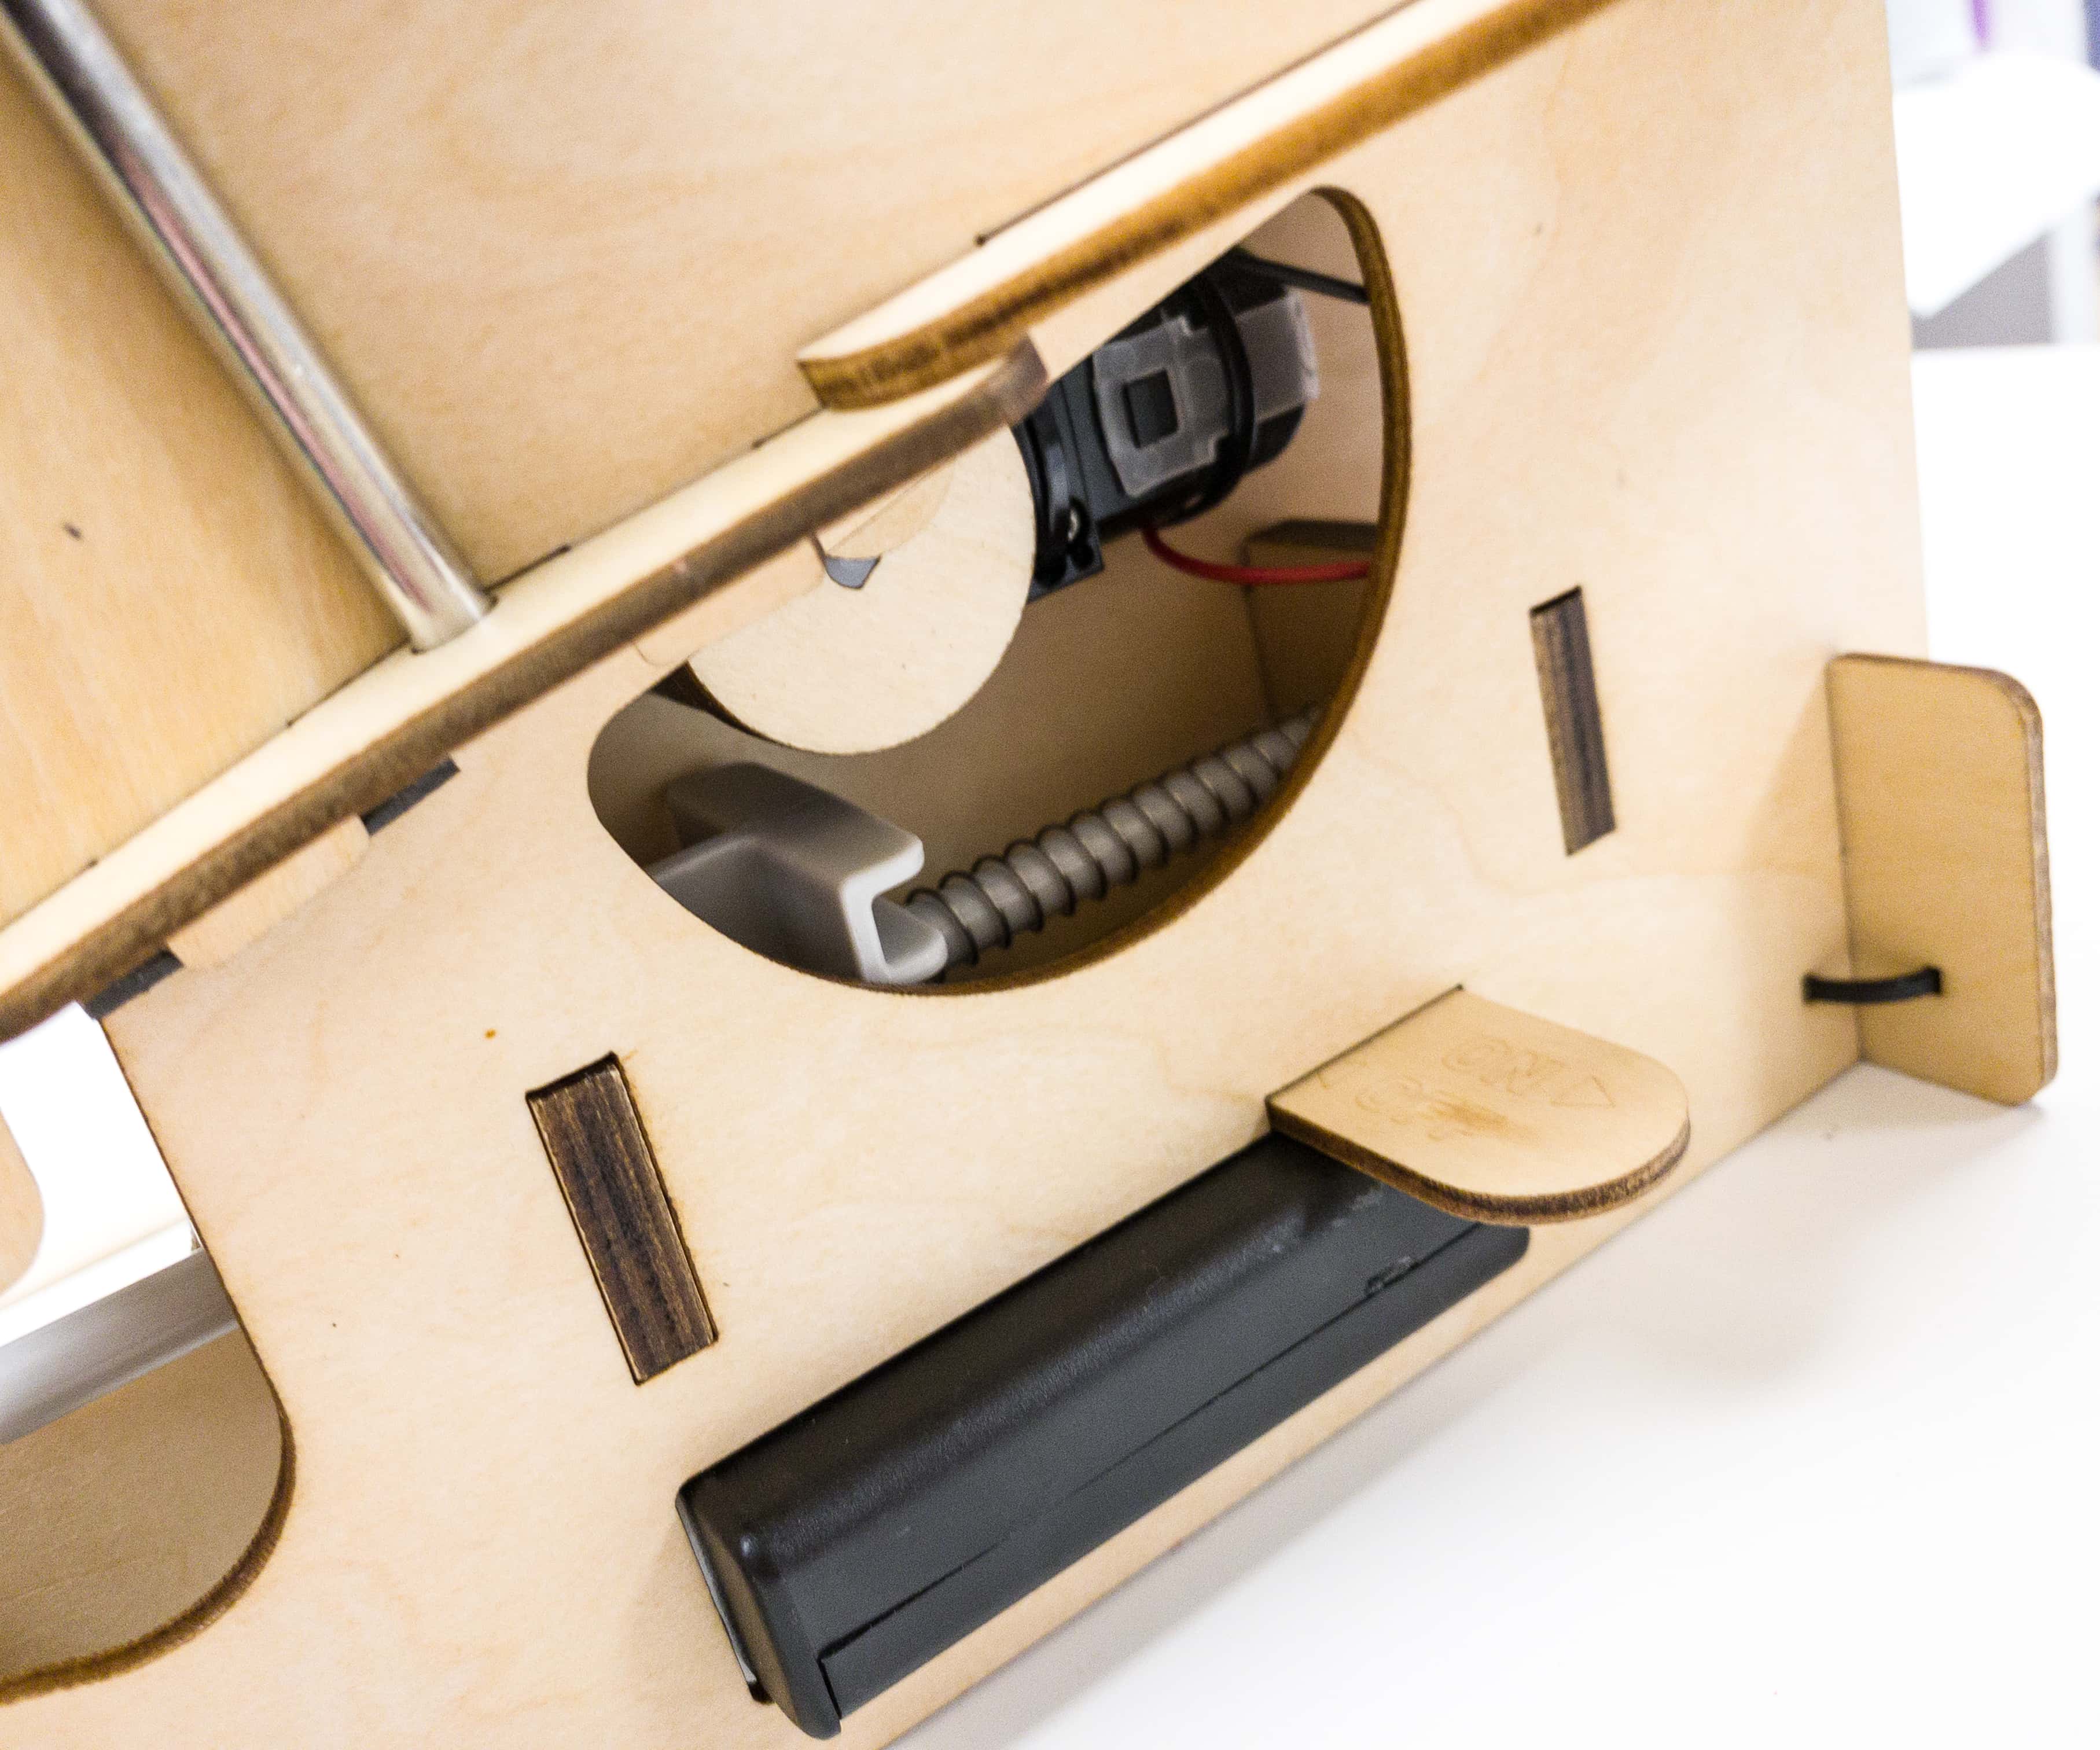
Install the motor, cam, and switch inside the base and make sure to lock it up using the zip ties.
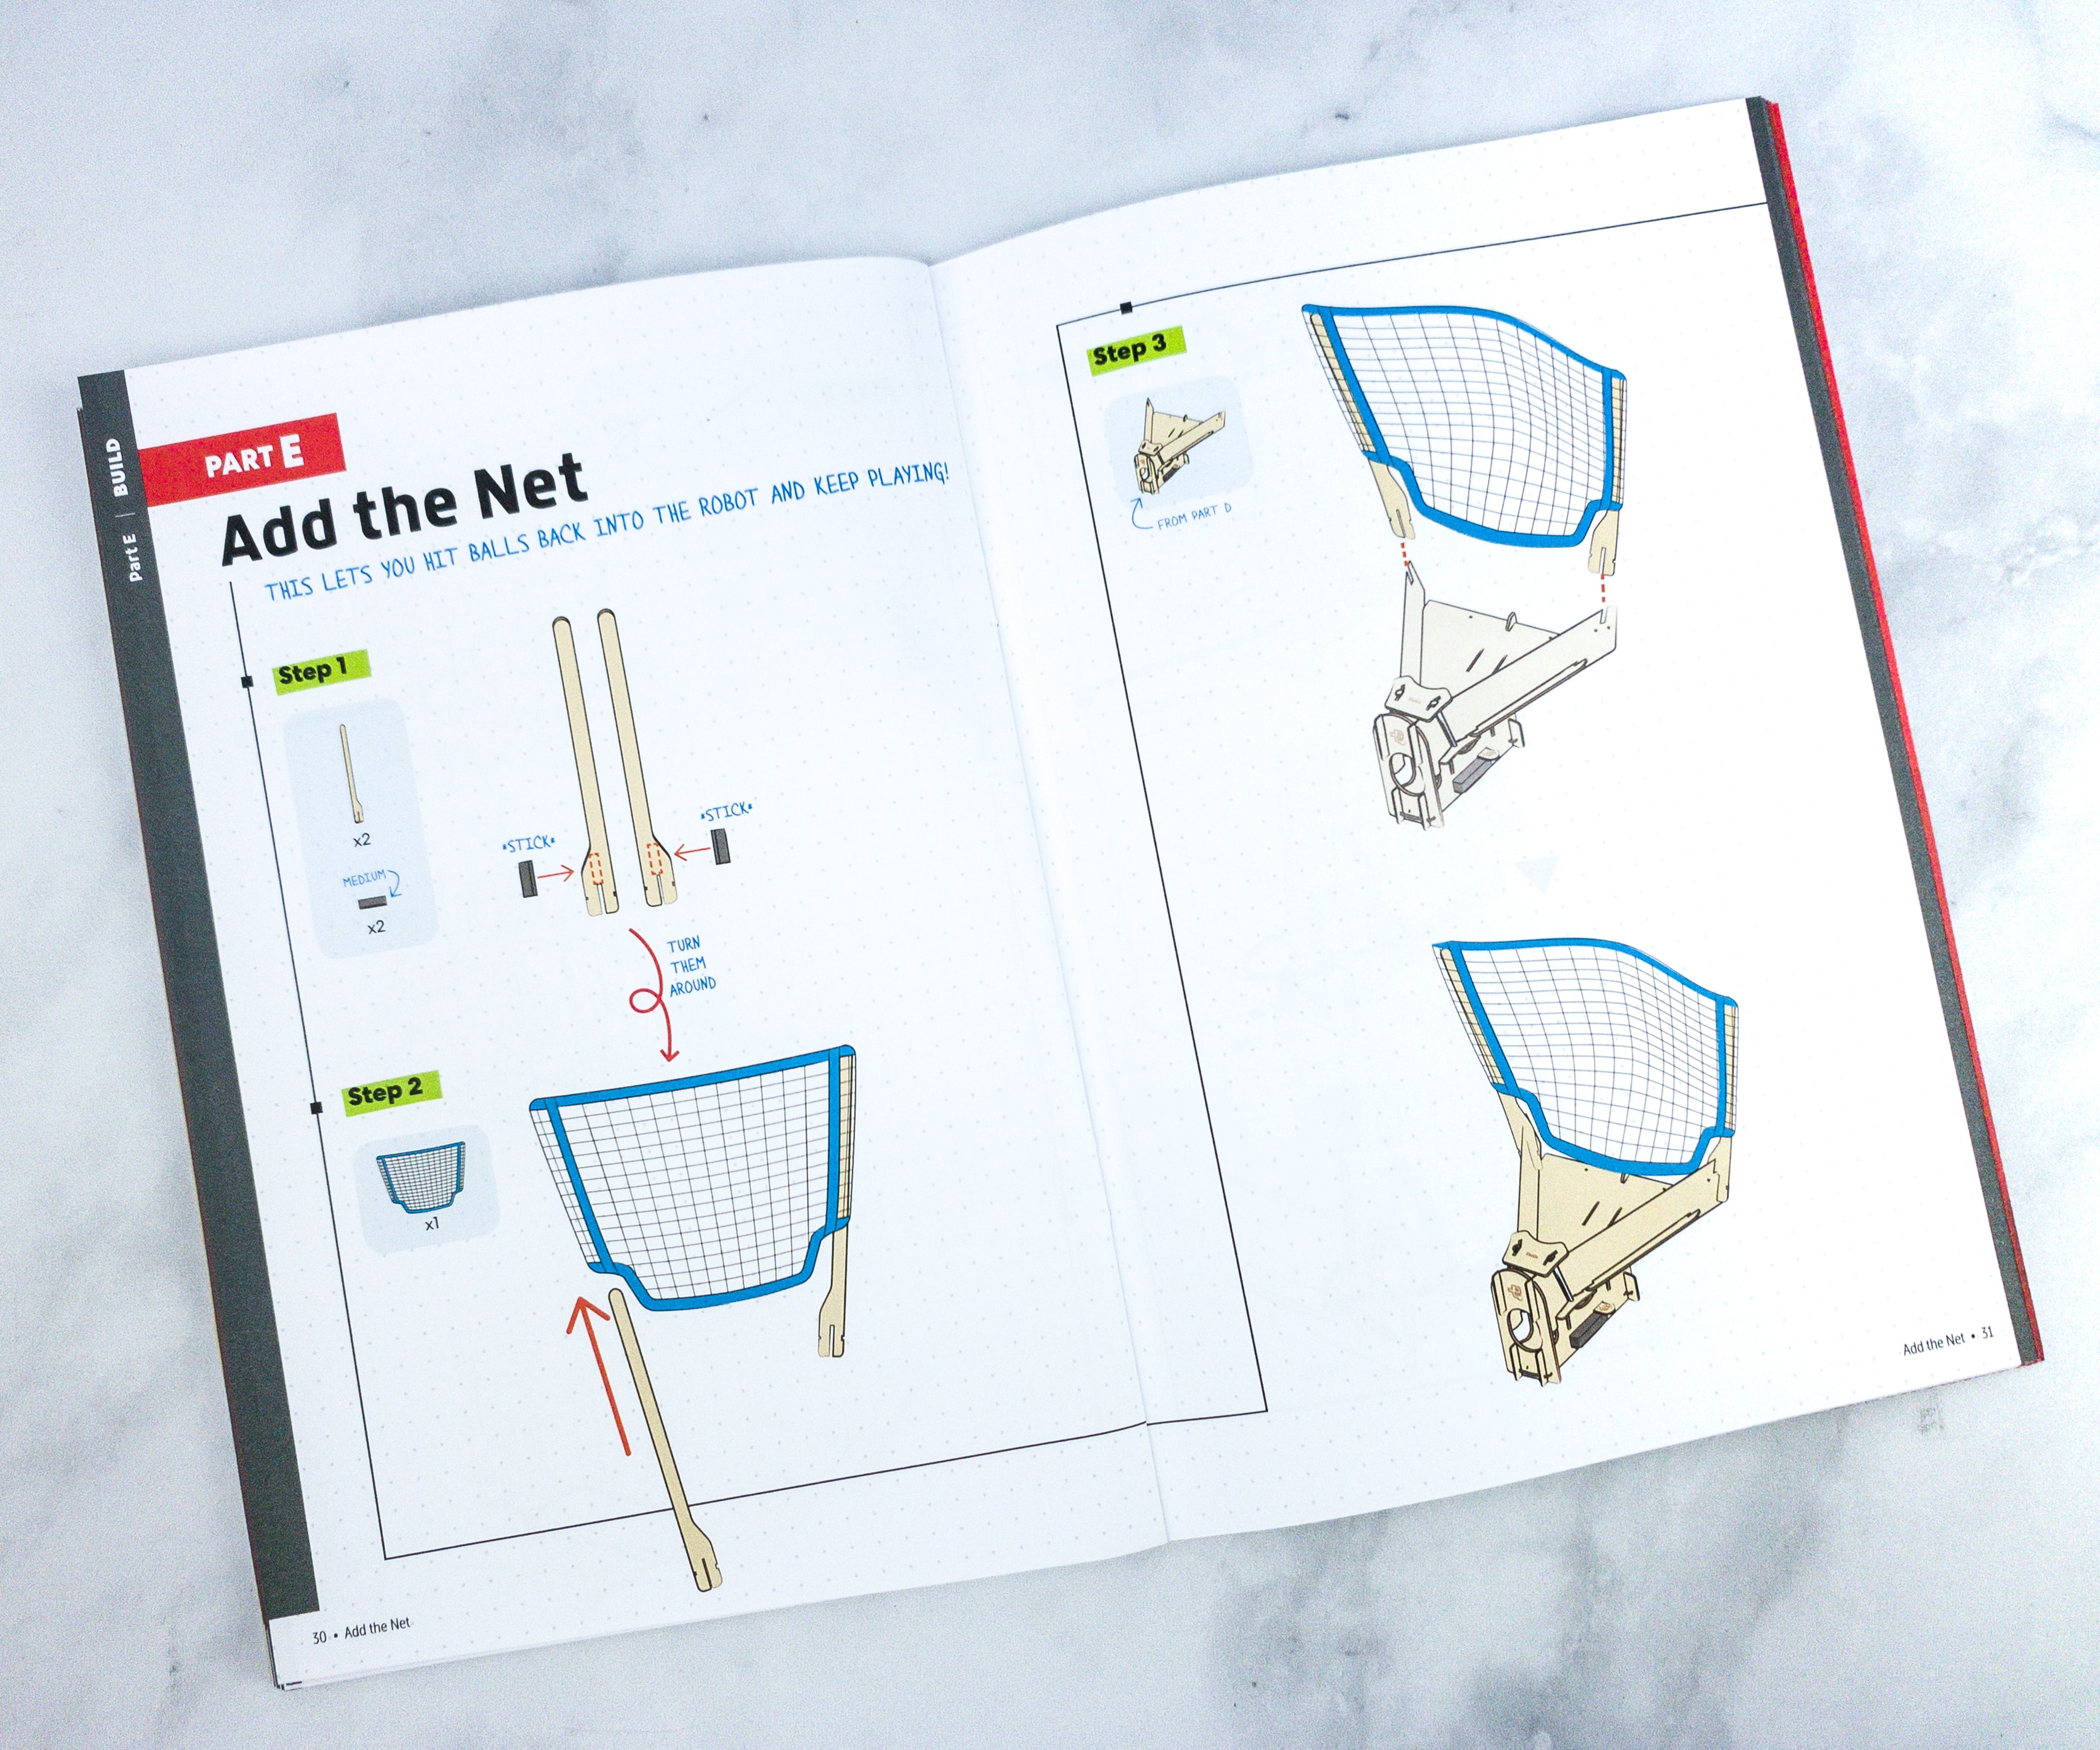
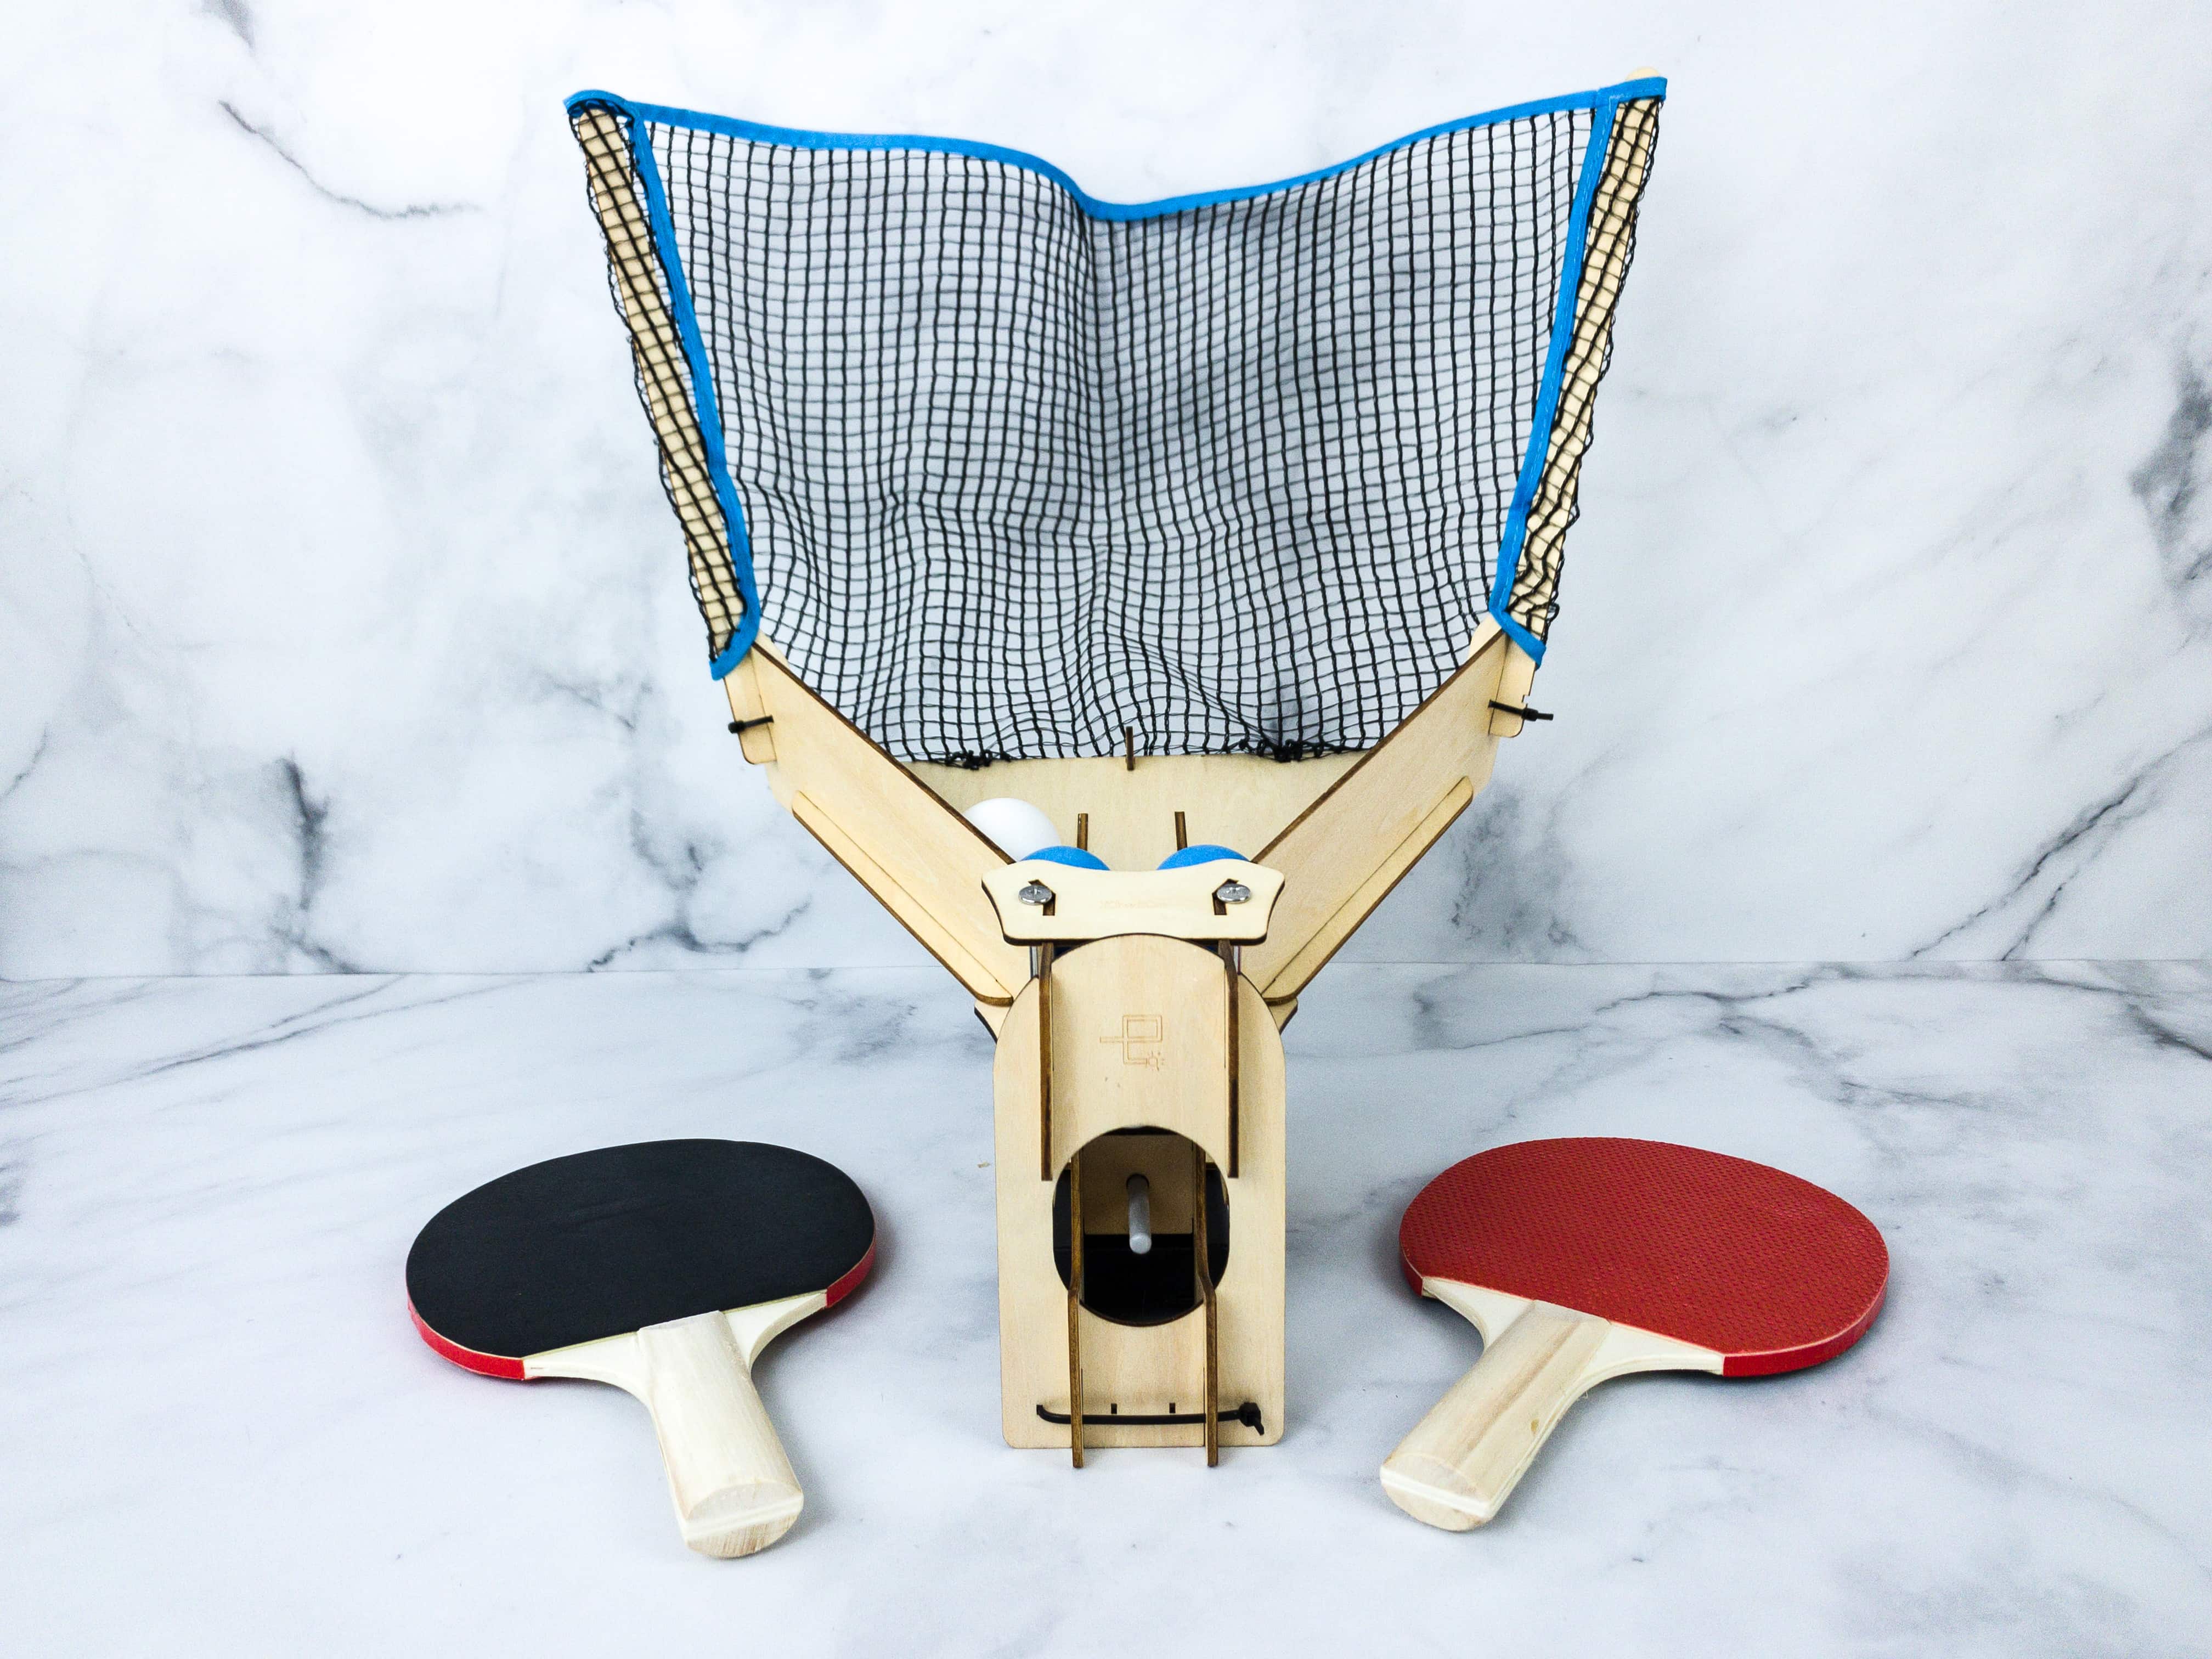
The fifth part of the project is the addition of the net. This part lets you hit the balls back into the robot and keep you playing.
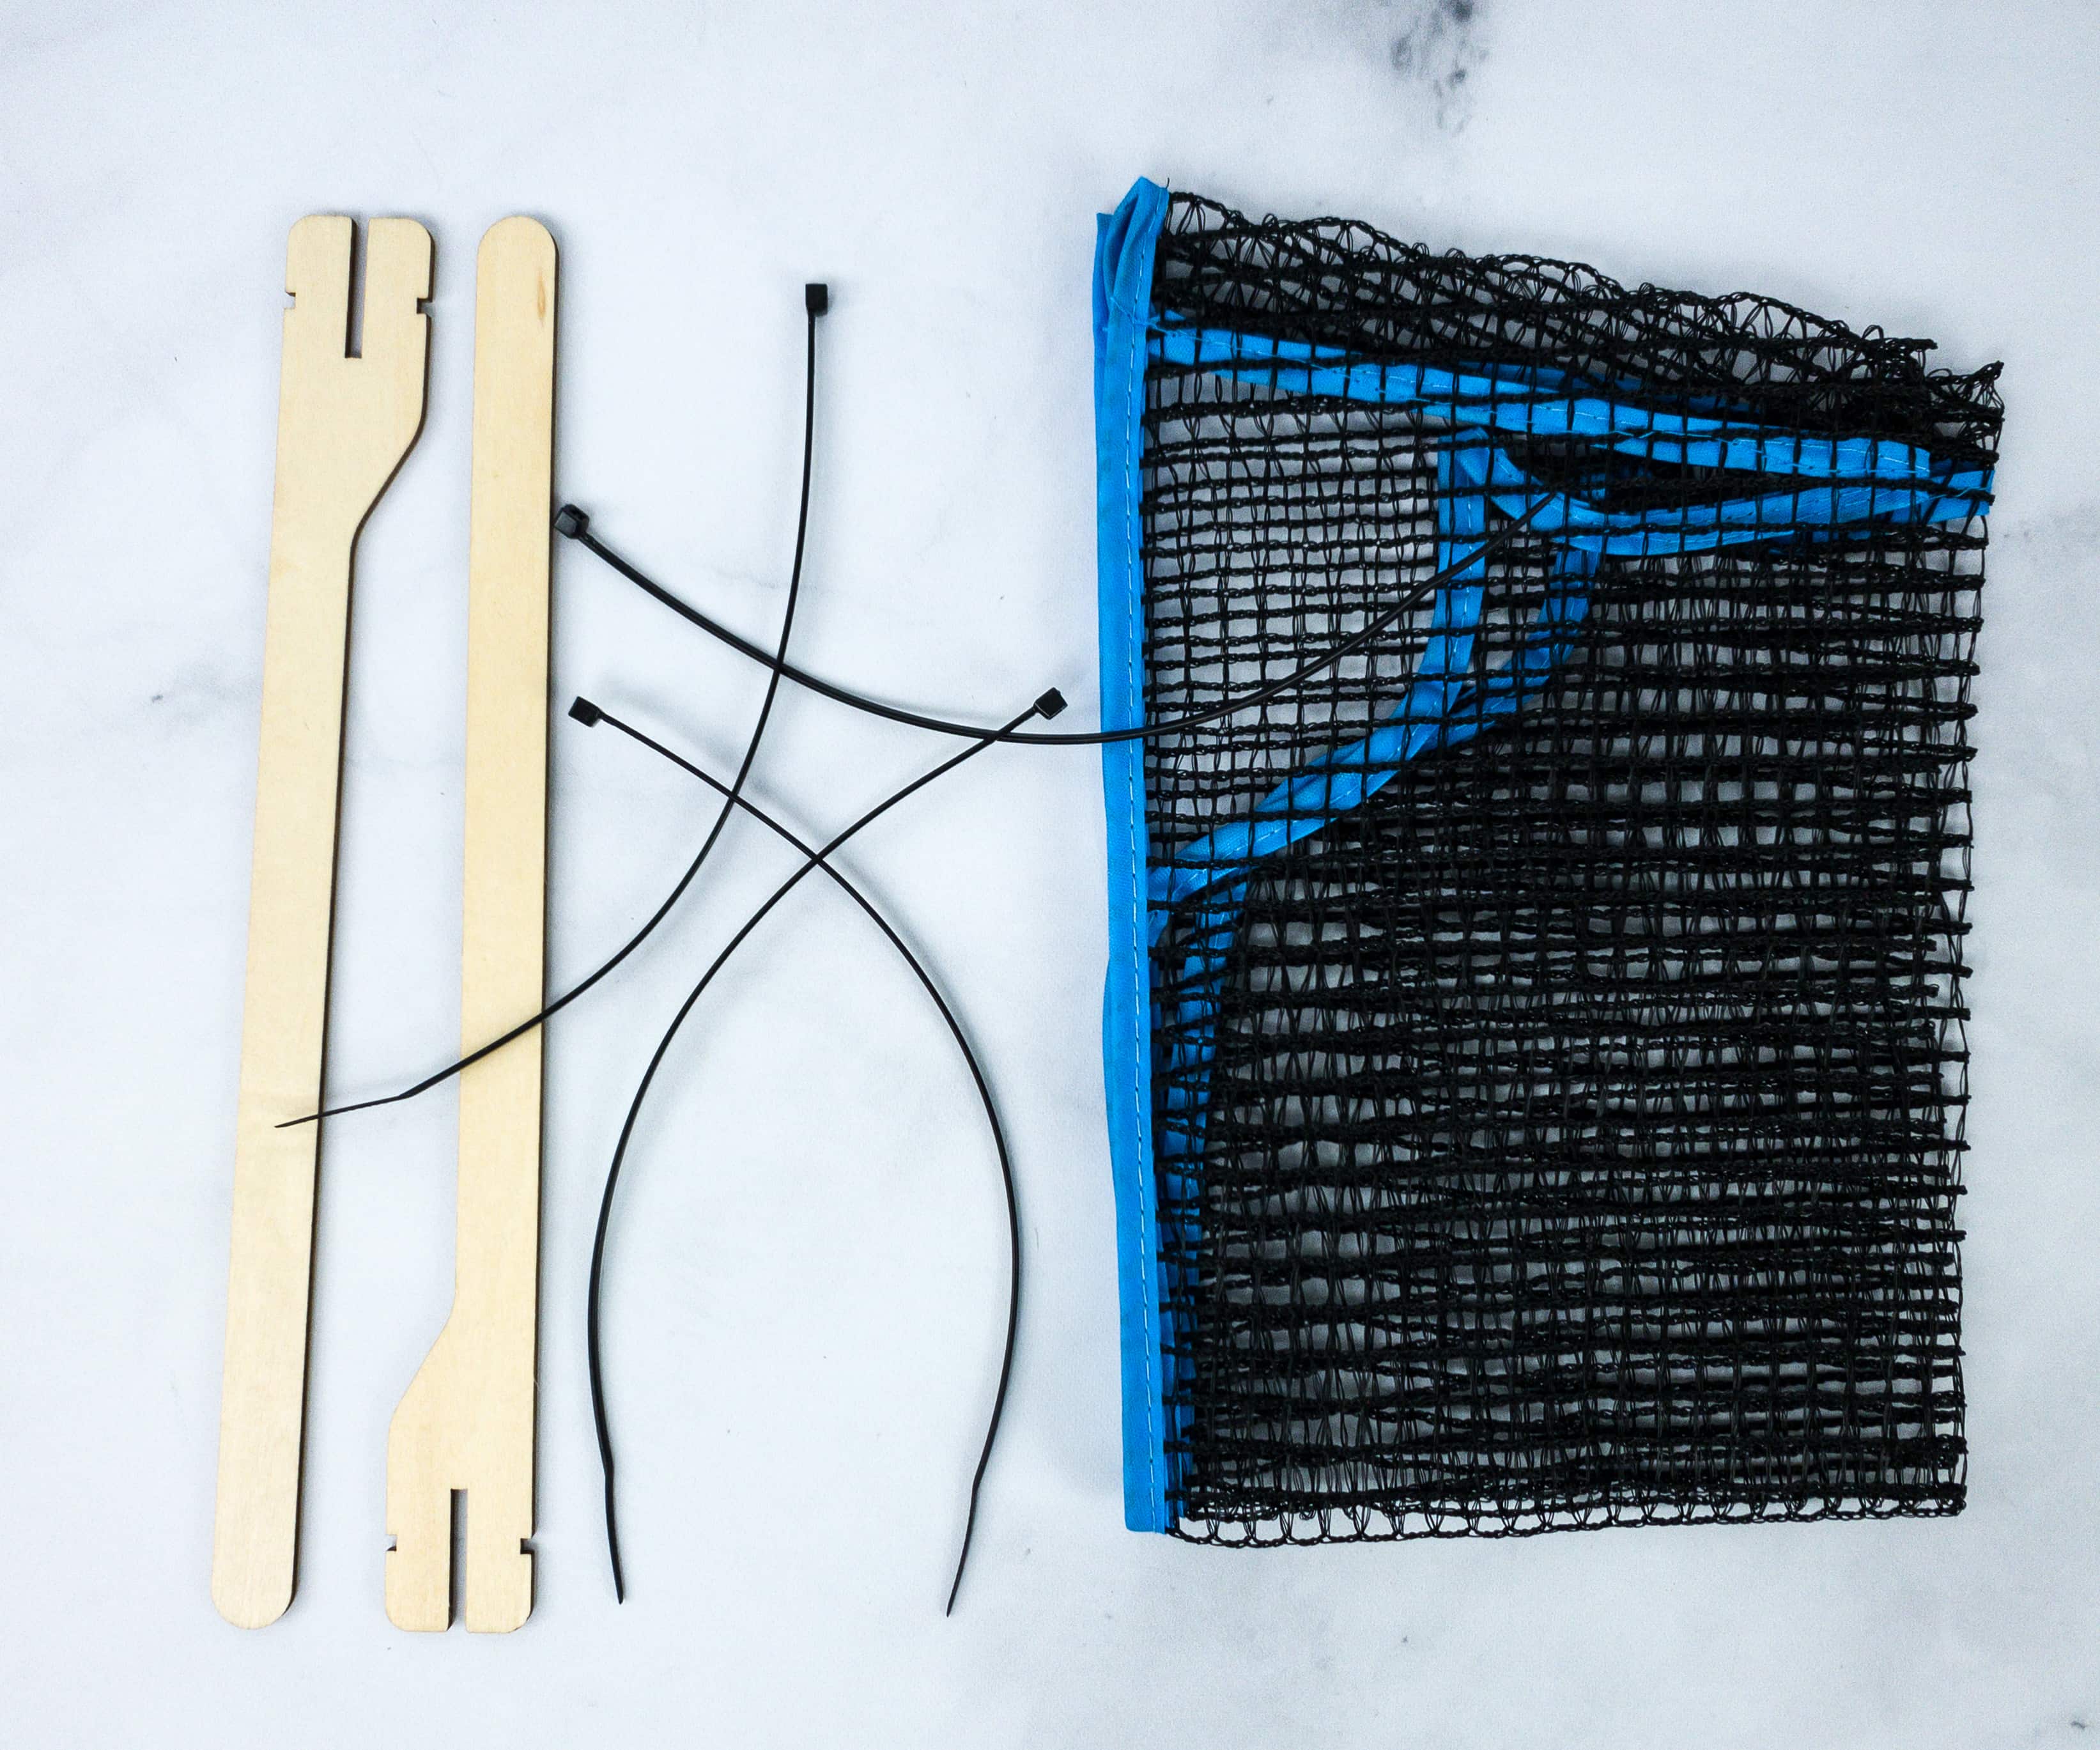
For this part, we used a pair of long wooden pieces, zip ties, foam stickers, and net.
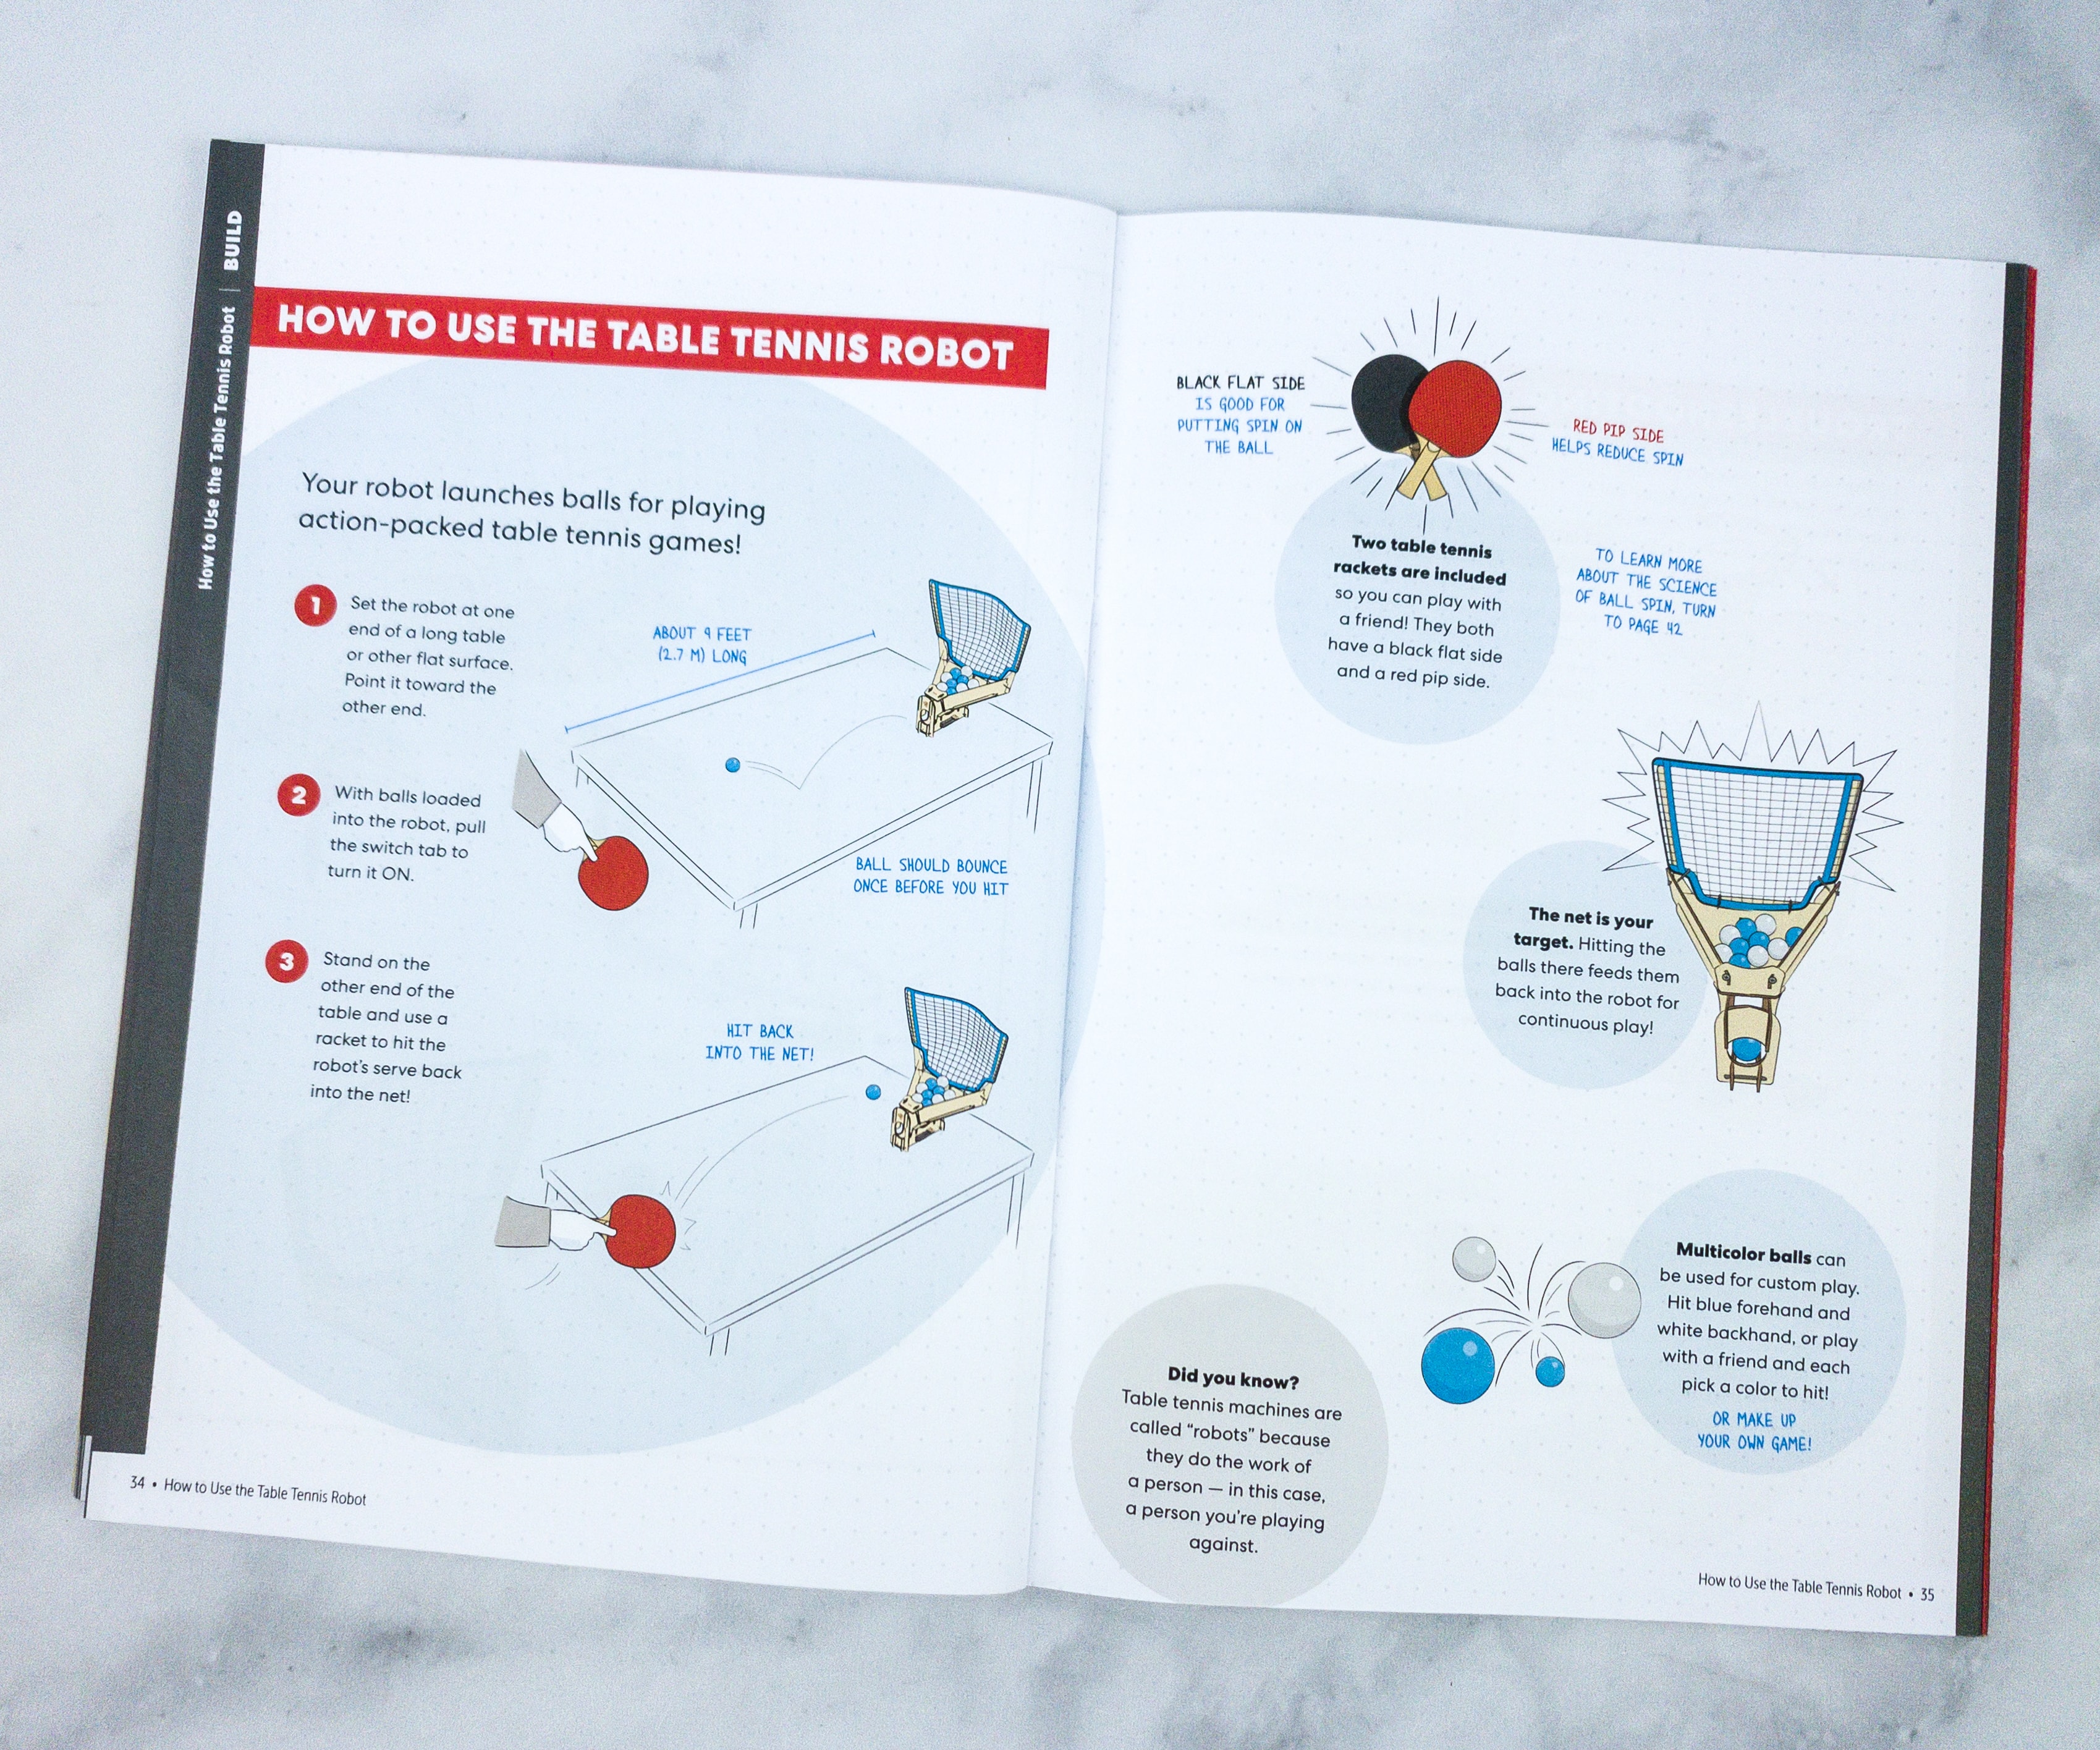
Featured on this part of the booklet is a detailed instruction manual on how the table tennis robot works.
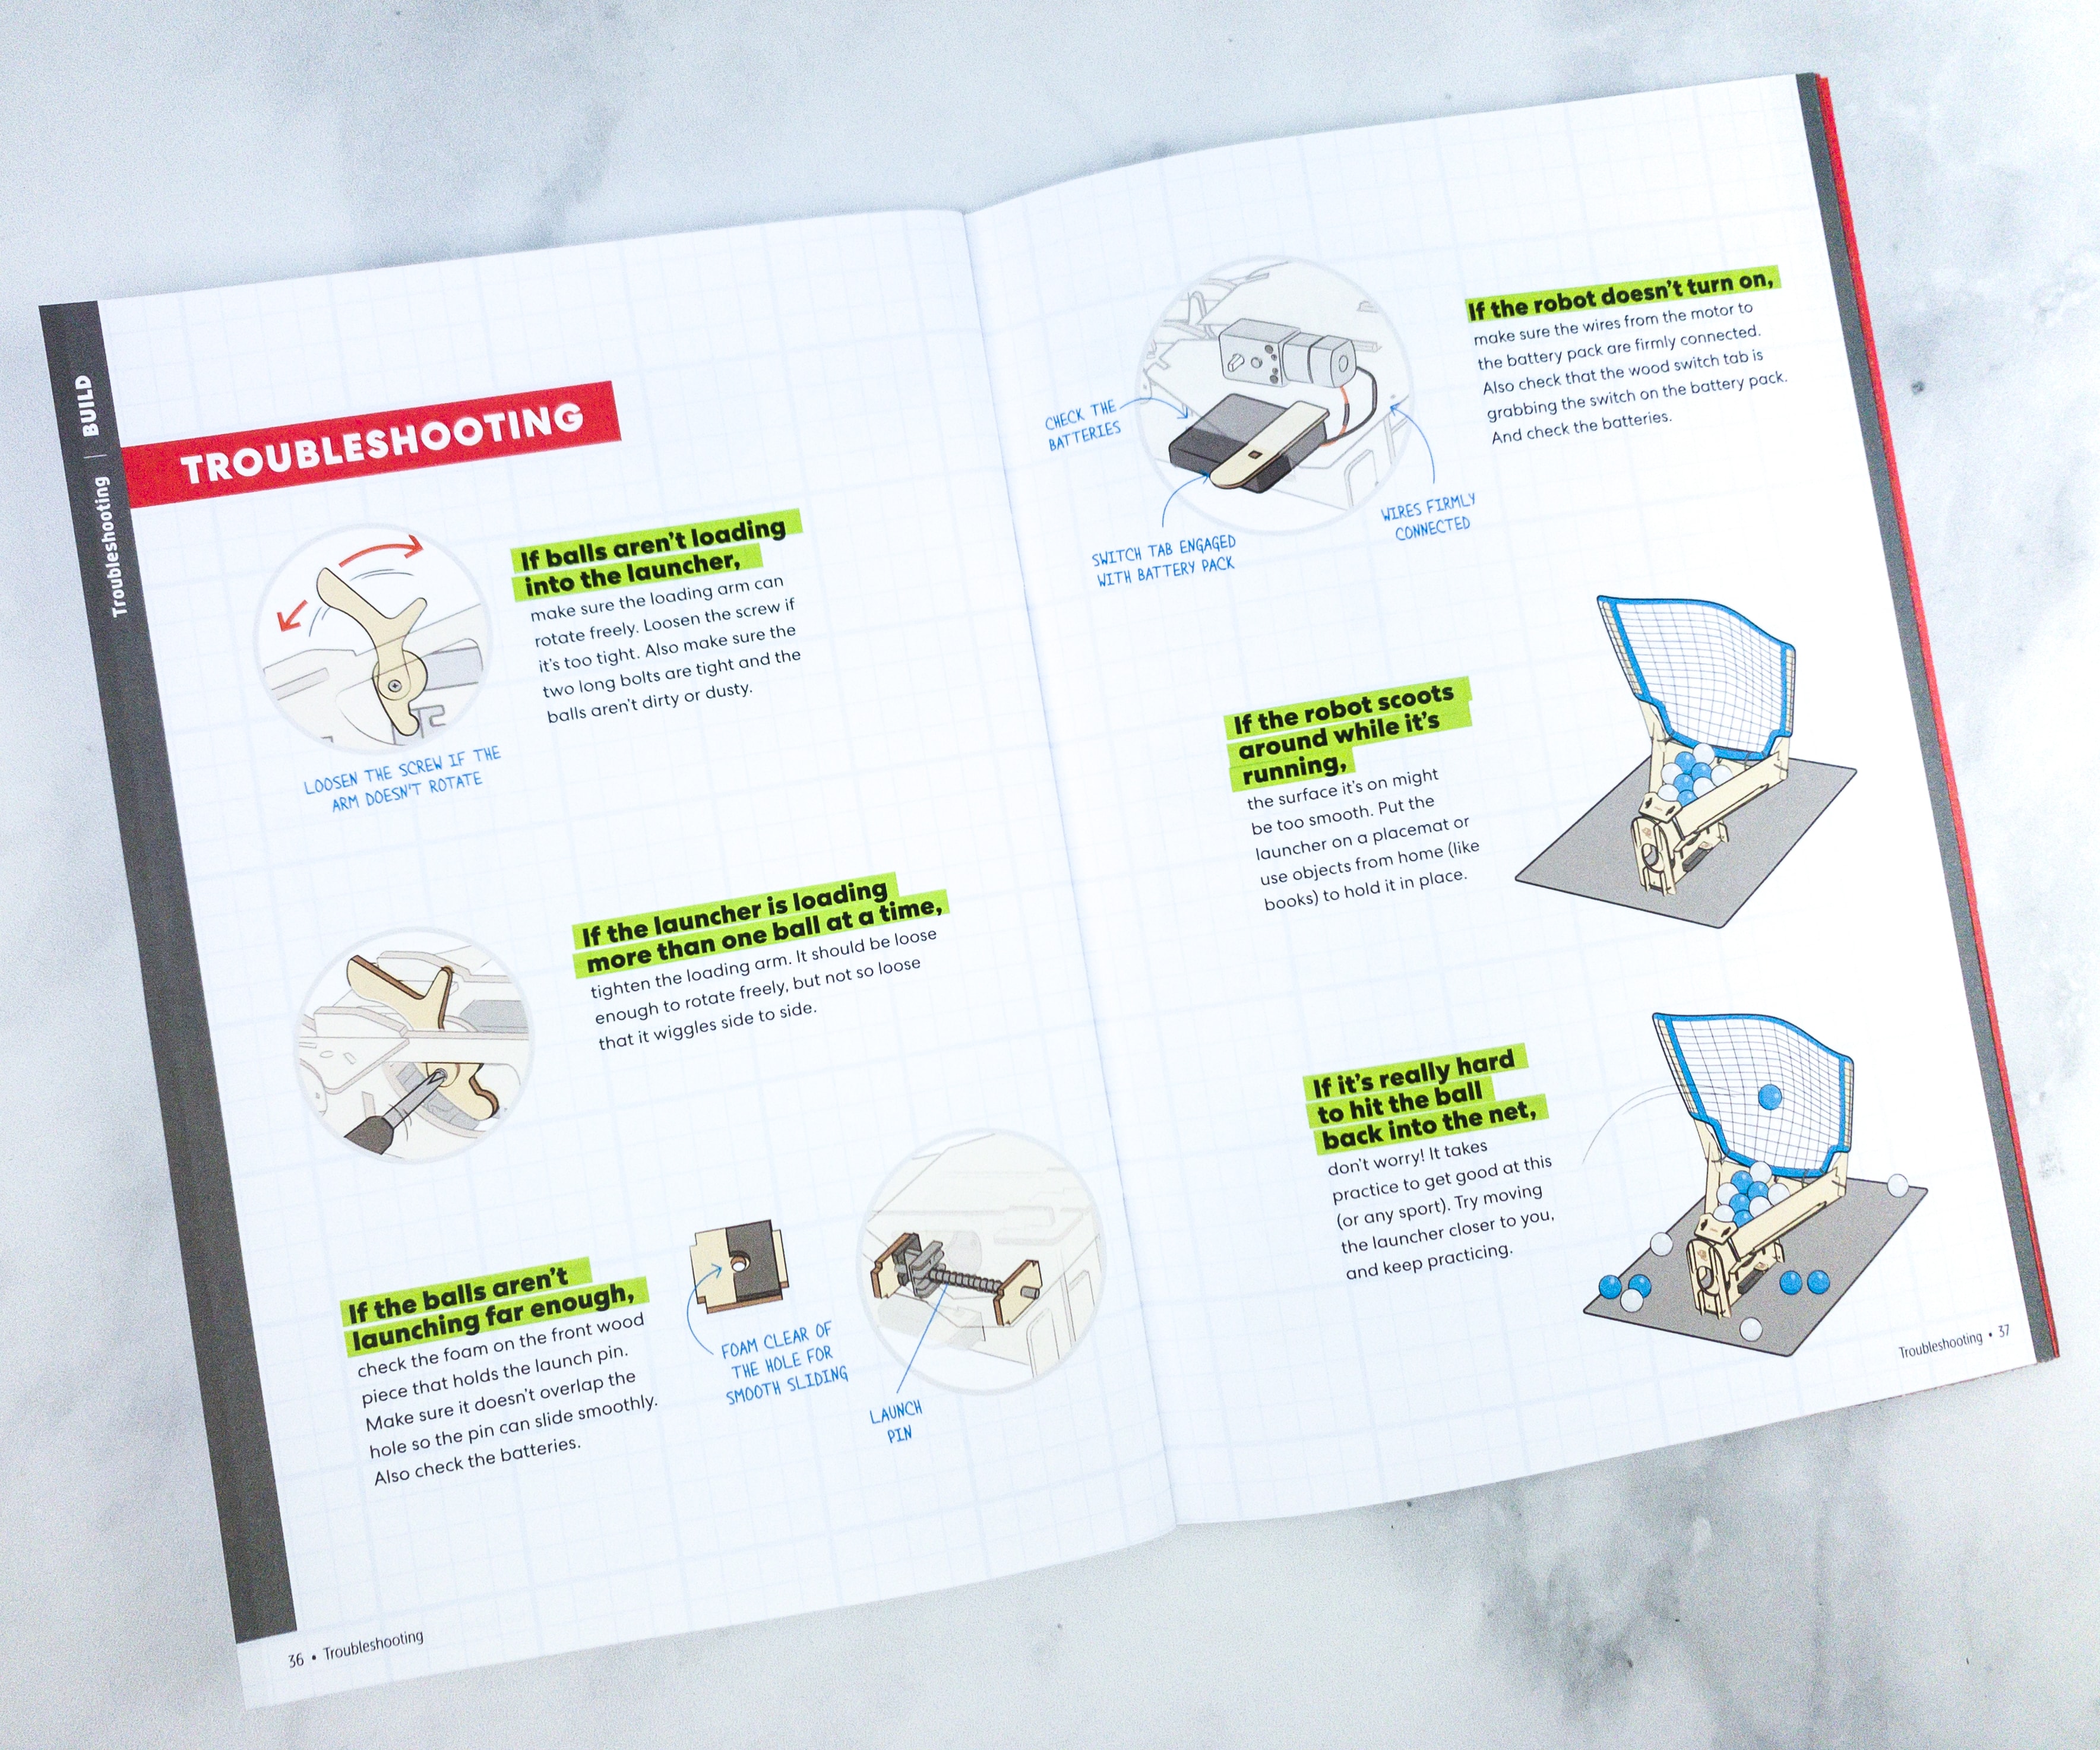
If you encounter any difficulties or malfunction on some of the procedures, you can turn to this page and see if its one of the featured problem you can easily troubleshoot!
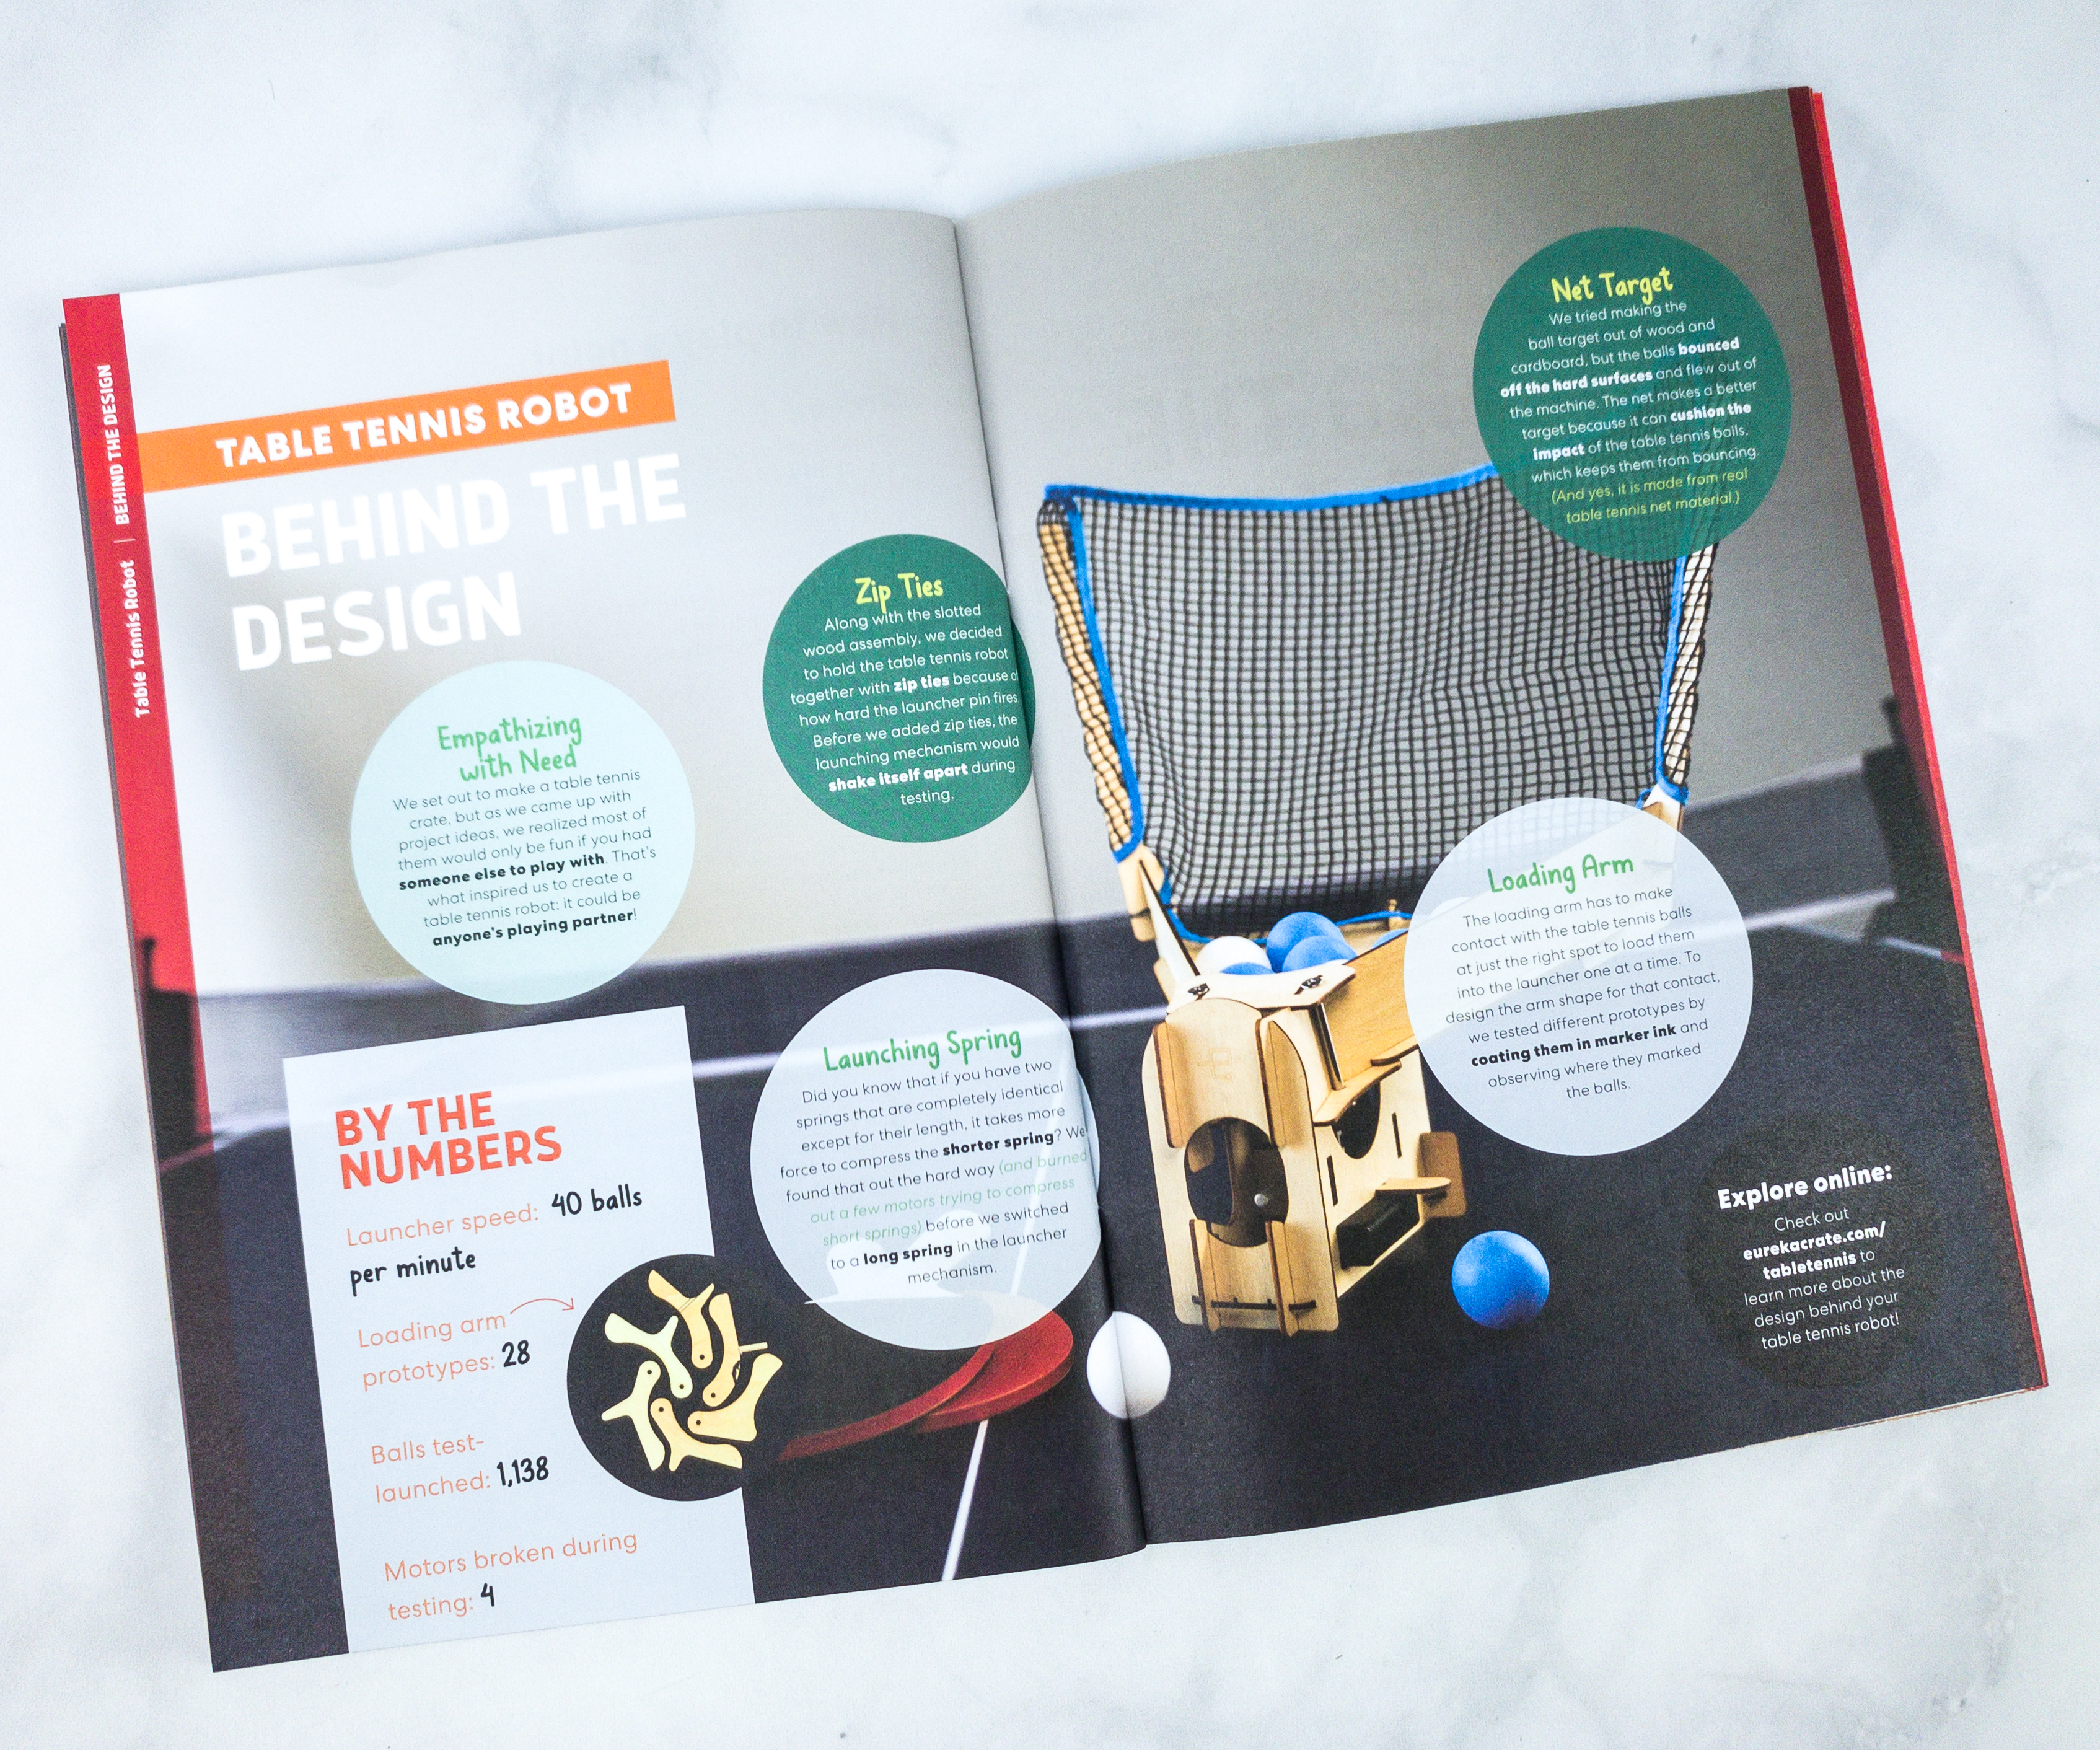
The booklet also provided us more information about this fun project, like the history behind the design.
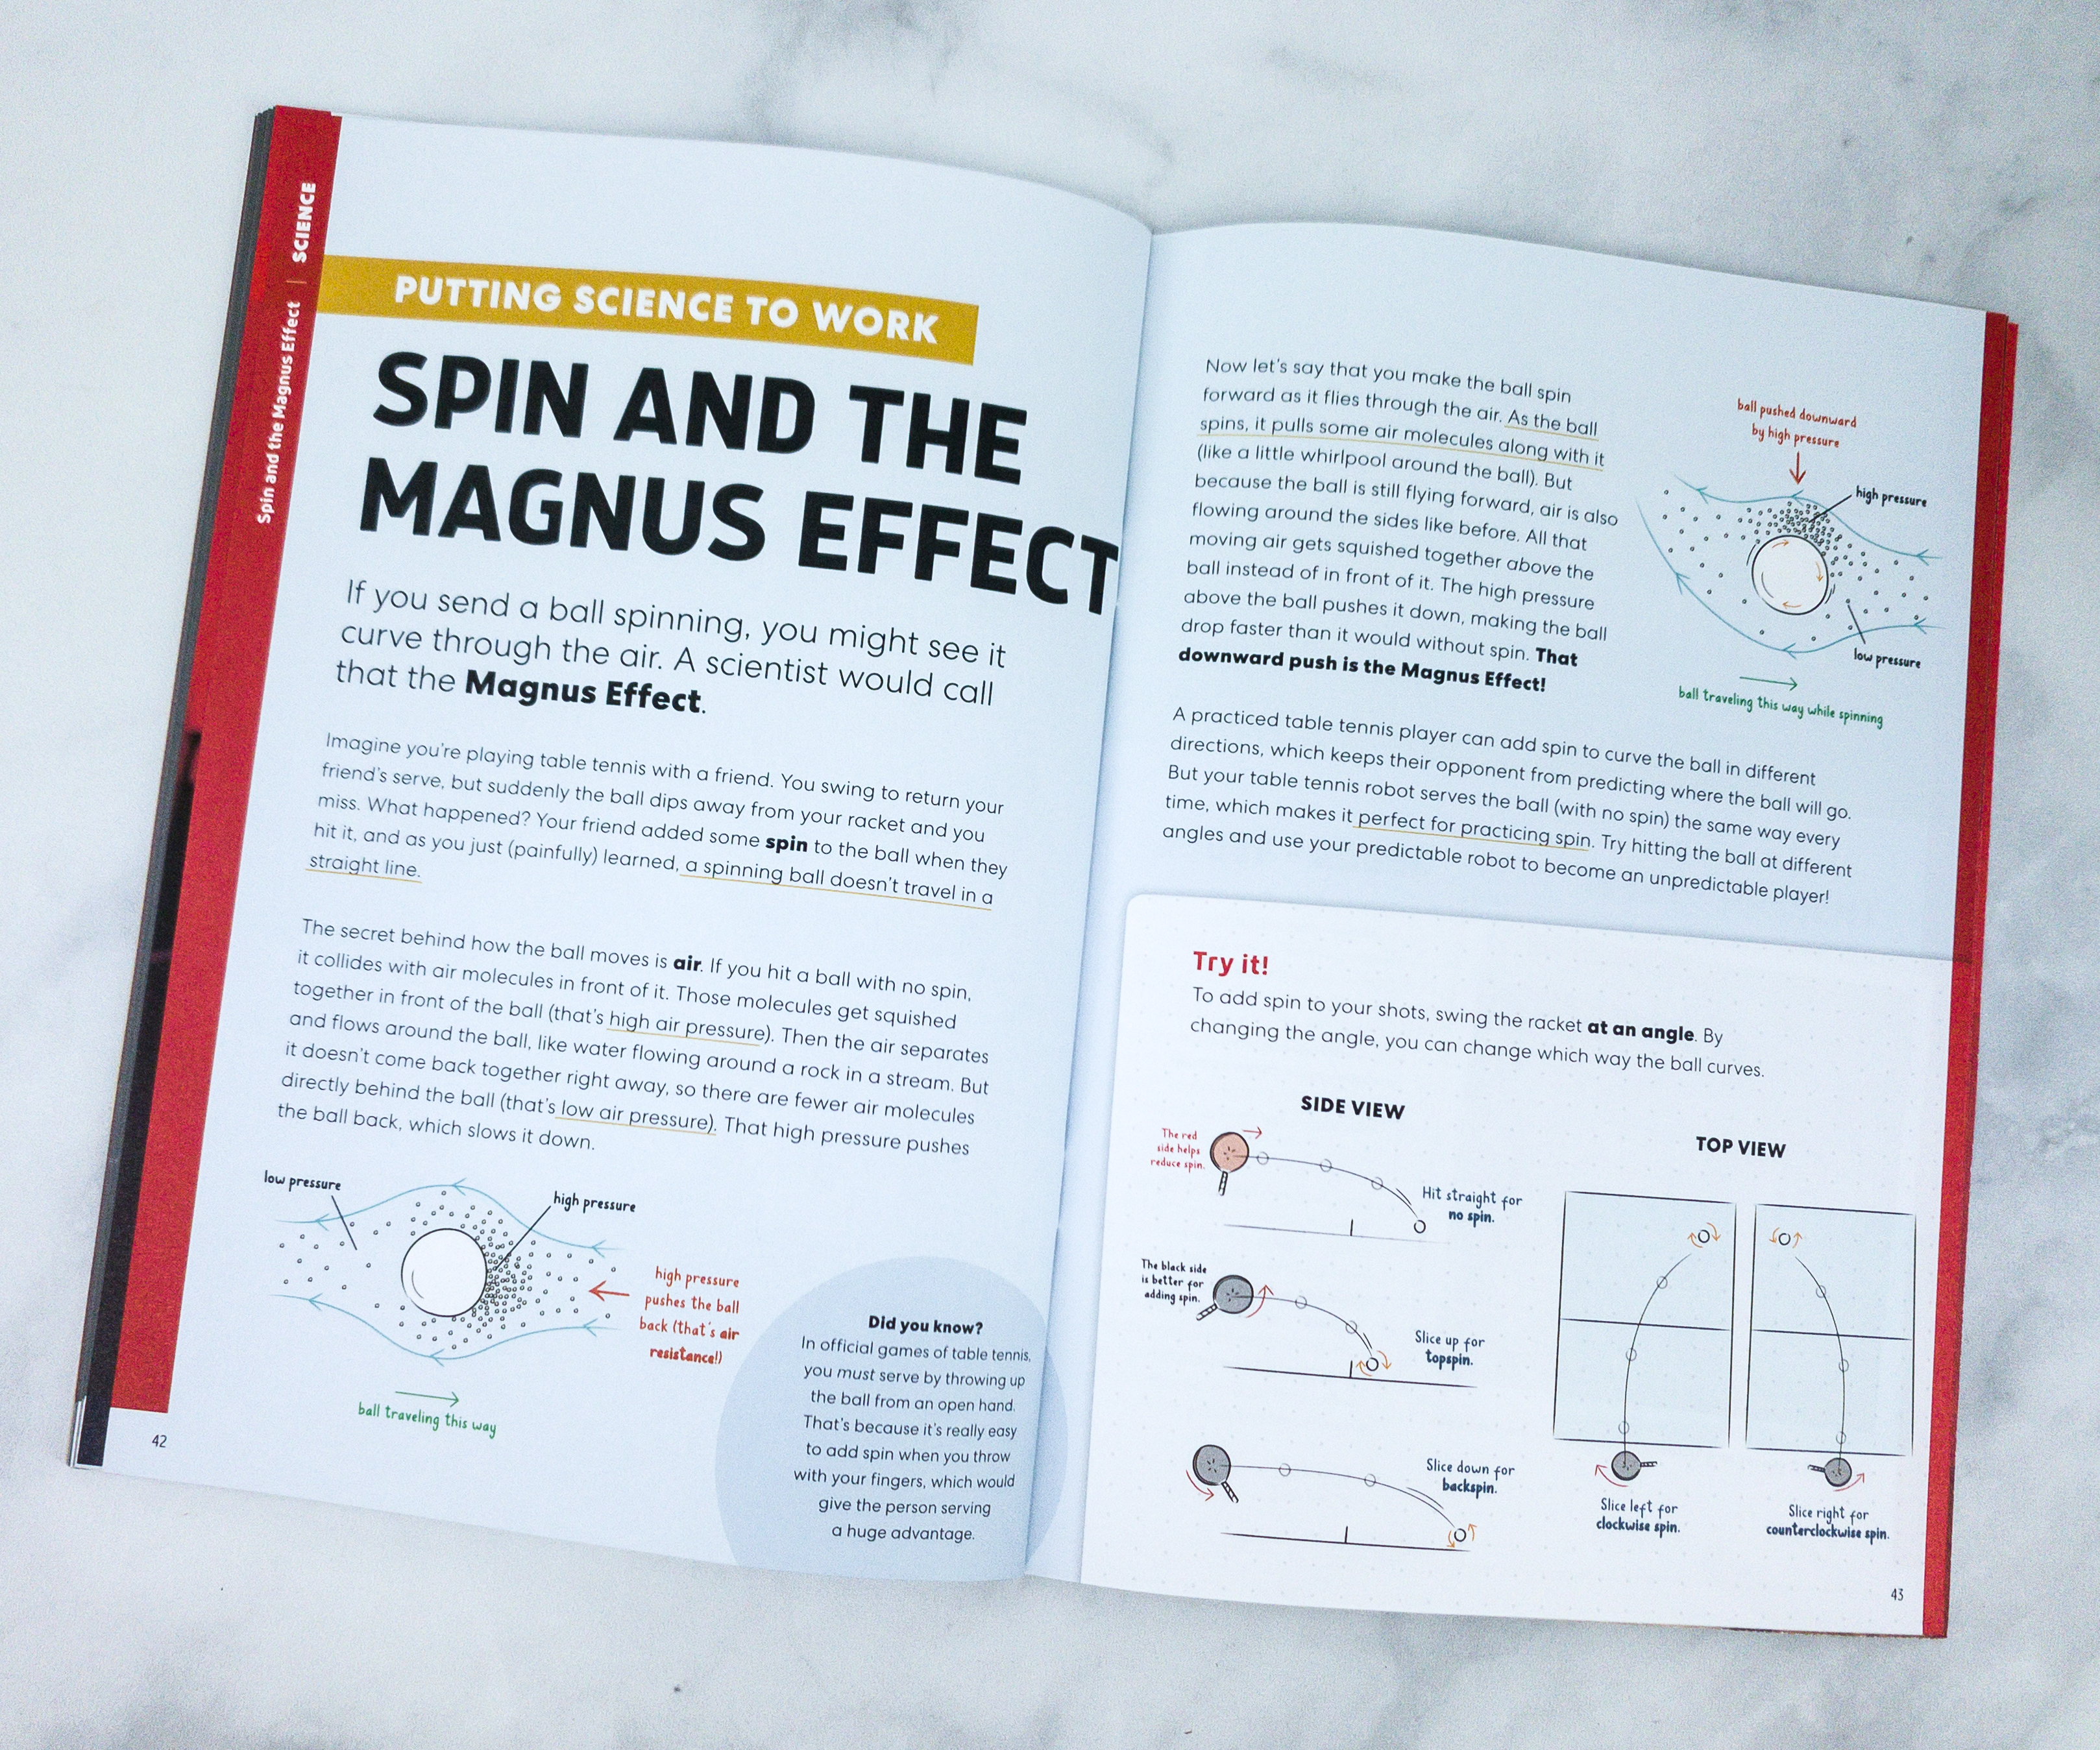
There’s a full article on how they put the science to work with The Spin and the Magnus Effect.
If you send a ball spinning, you might see it curve through the air. A scientist would call that the Magnus Effect.
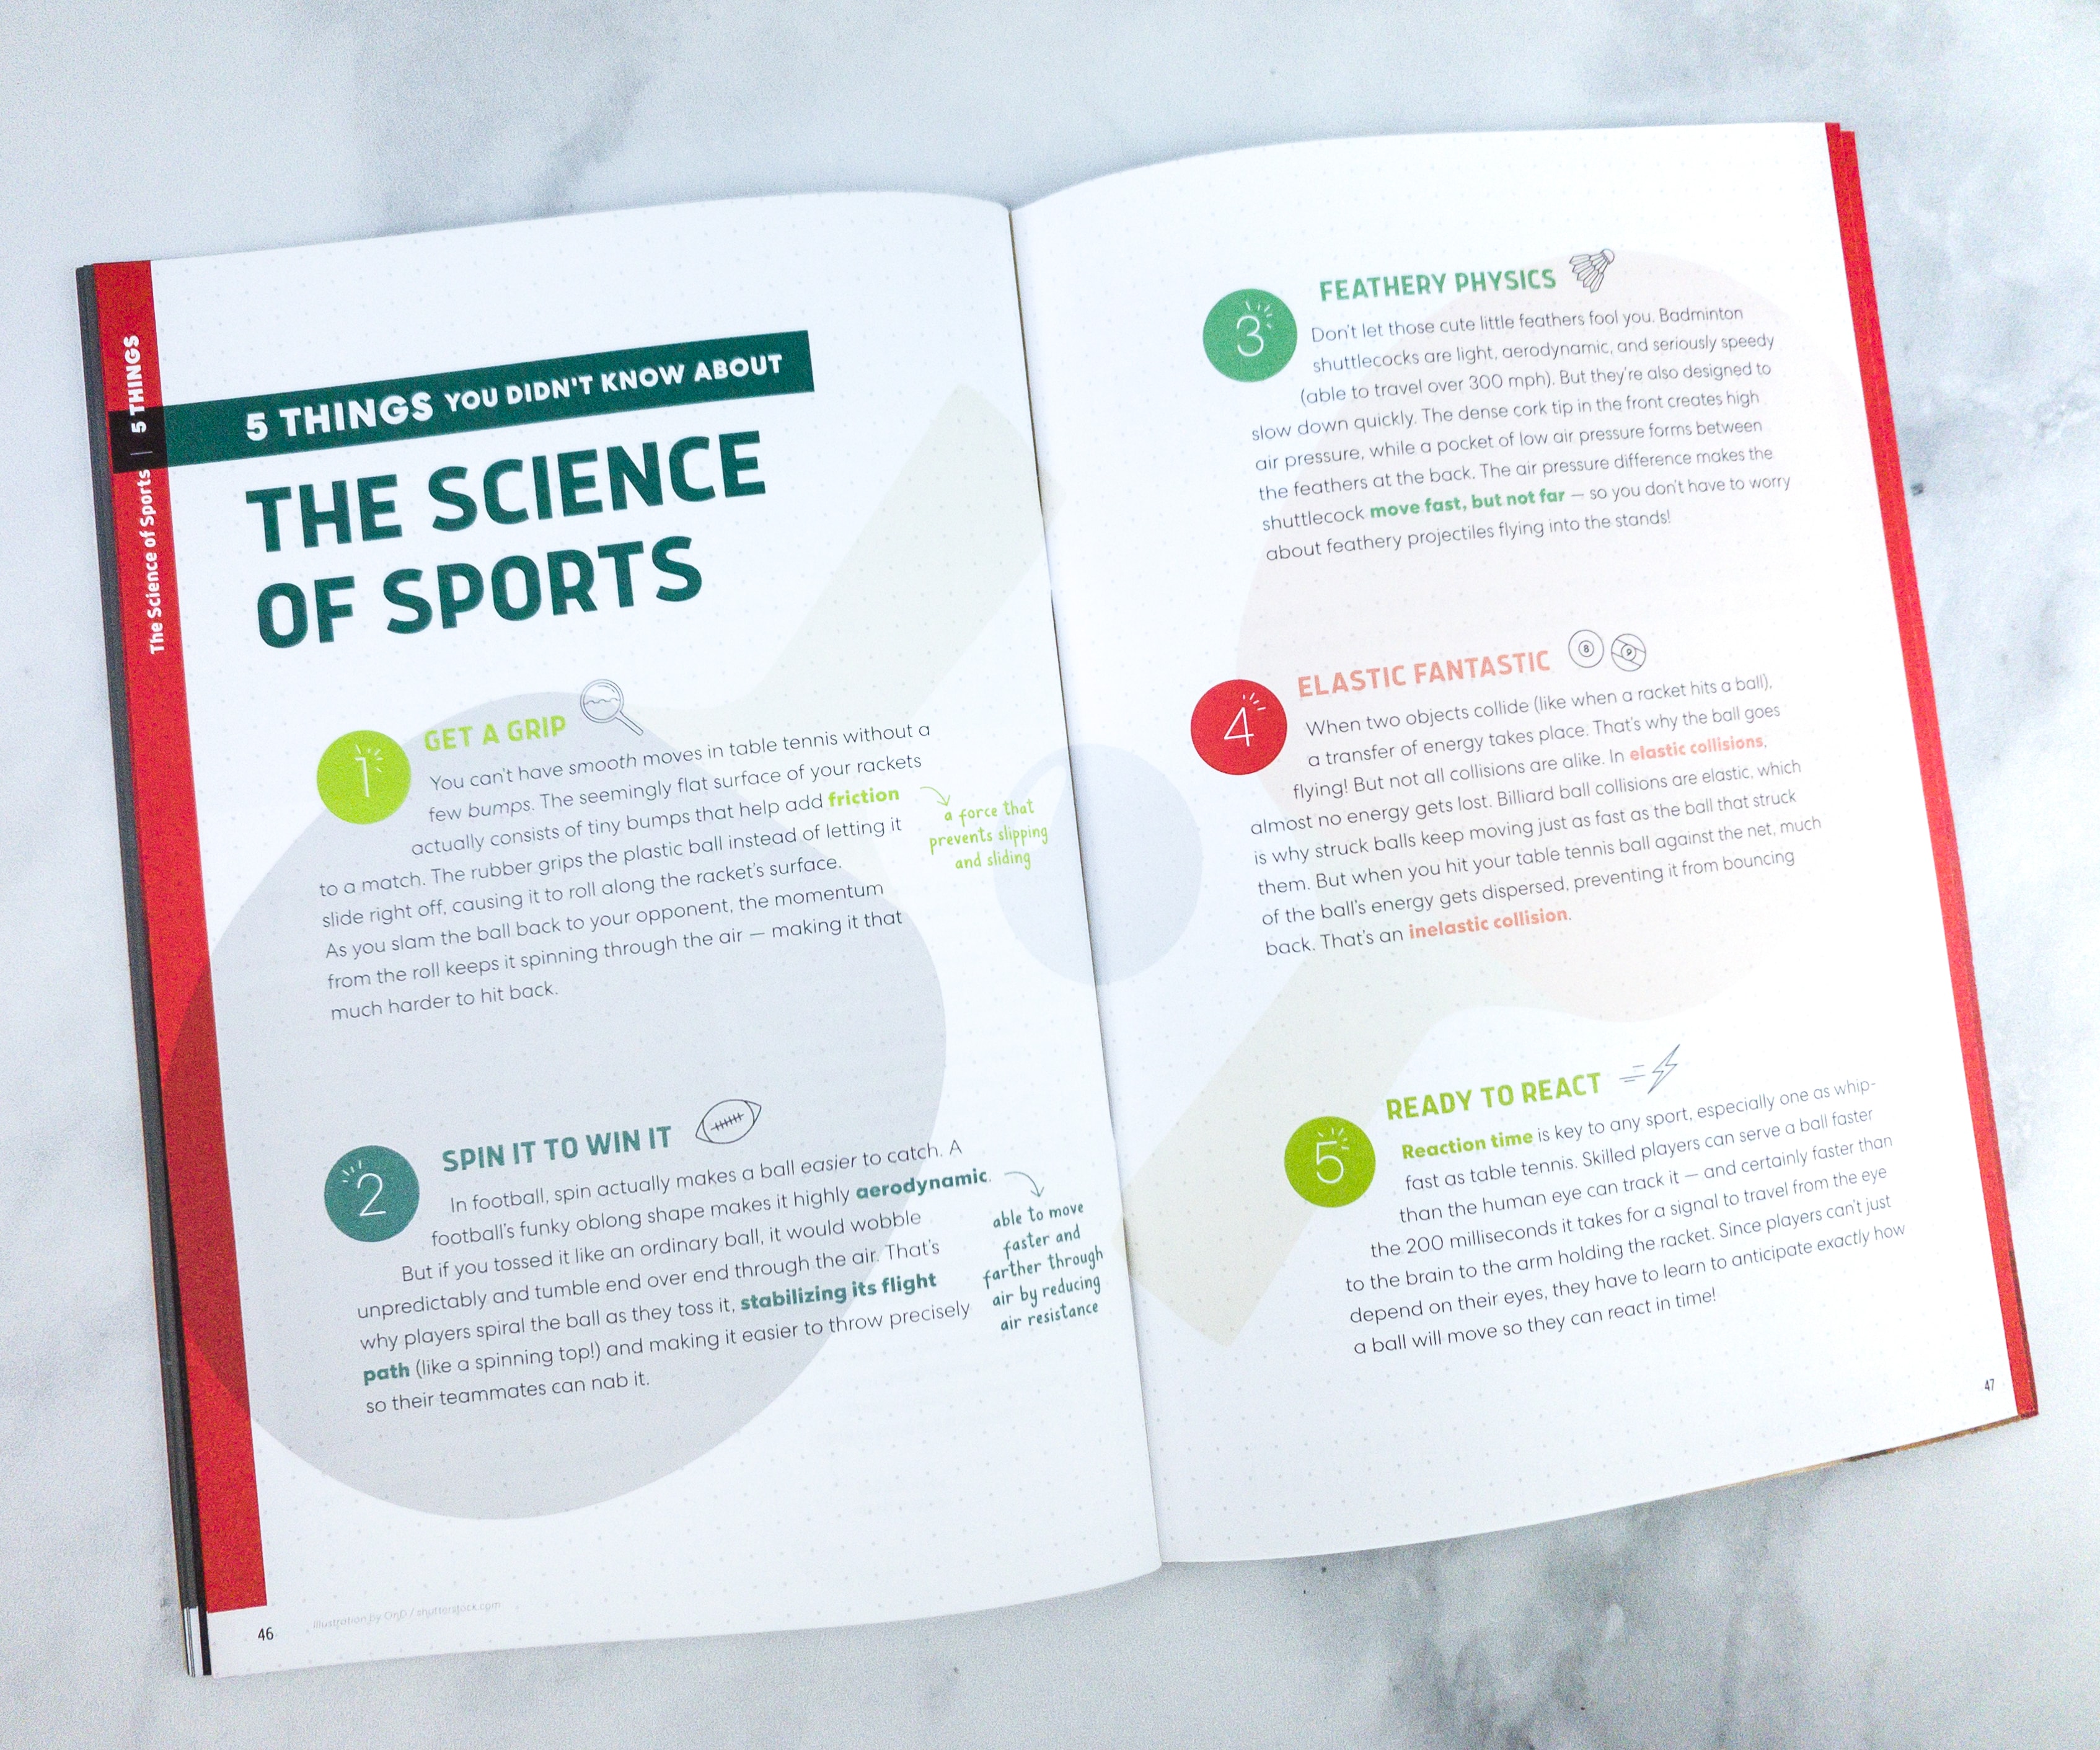
They even listed out the 5 things that we might not know about the science of table tennis!
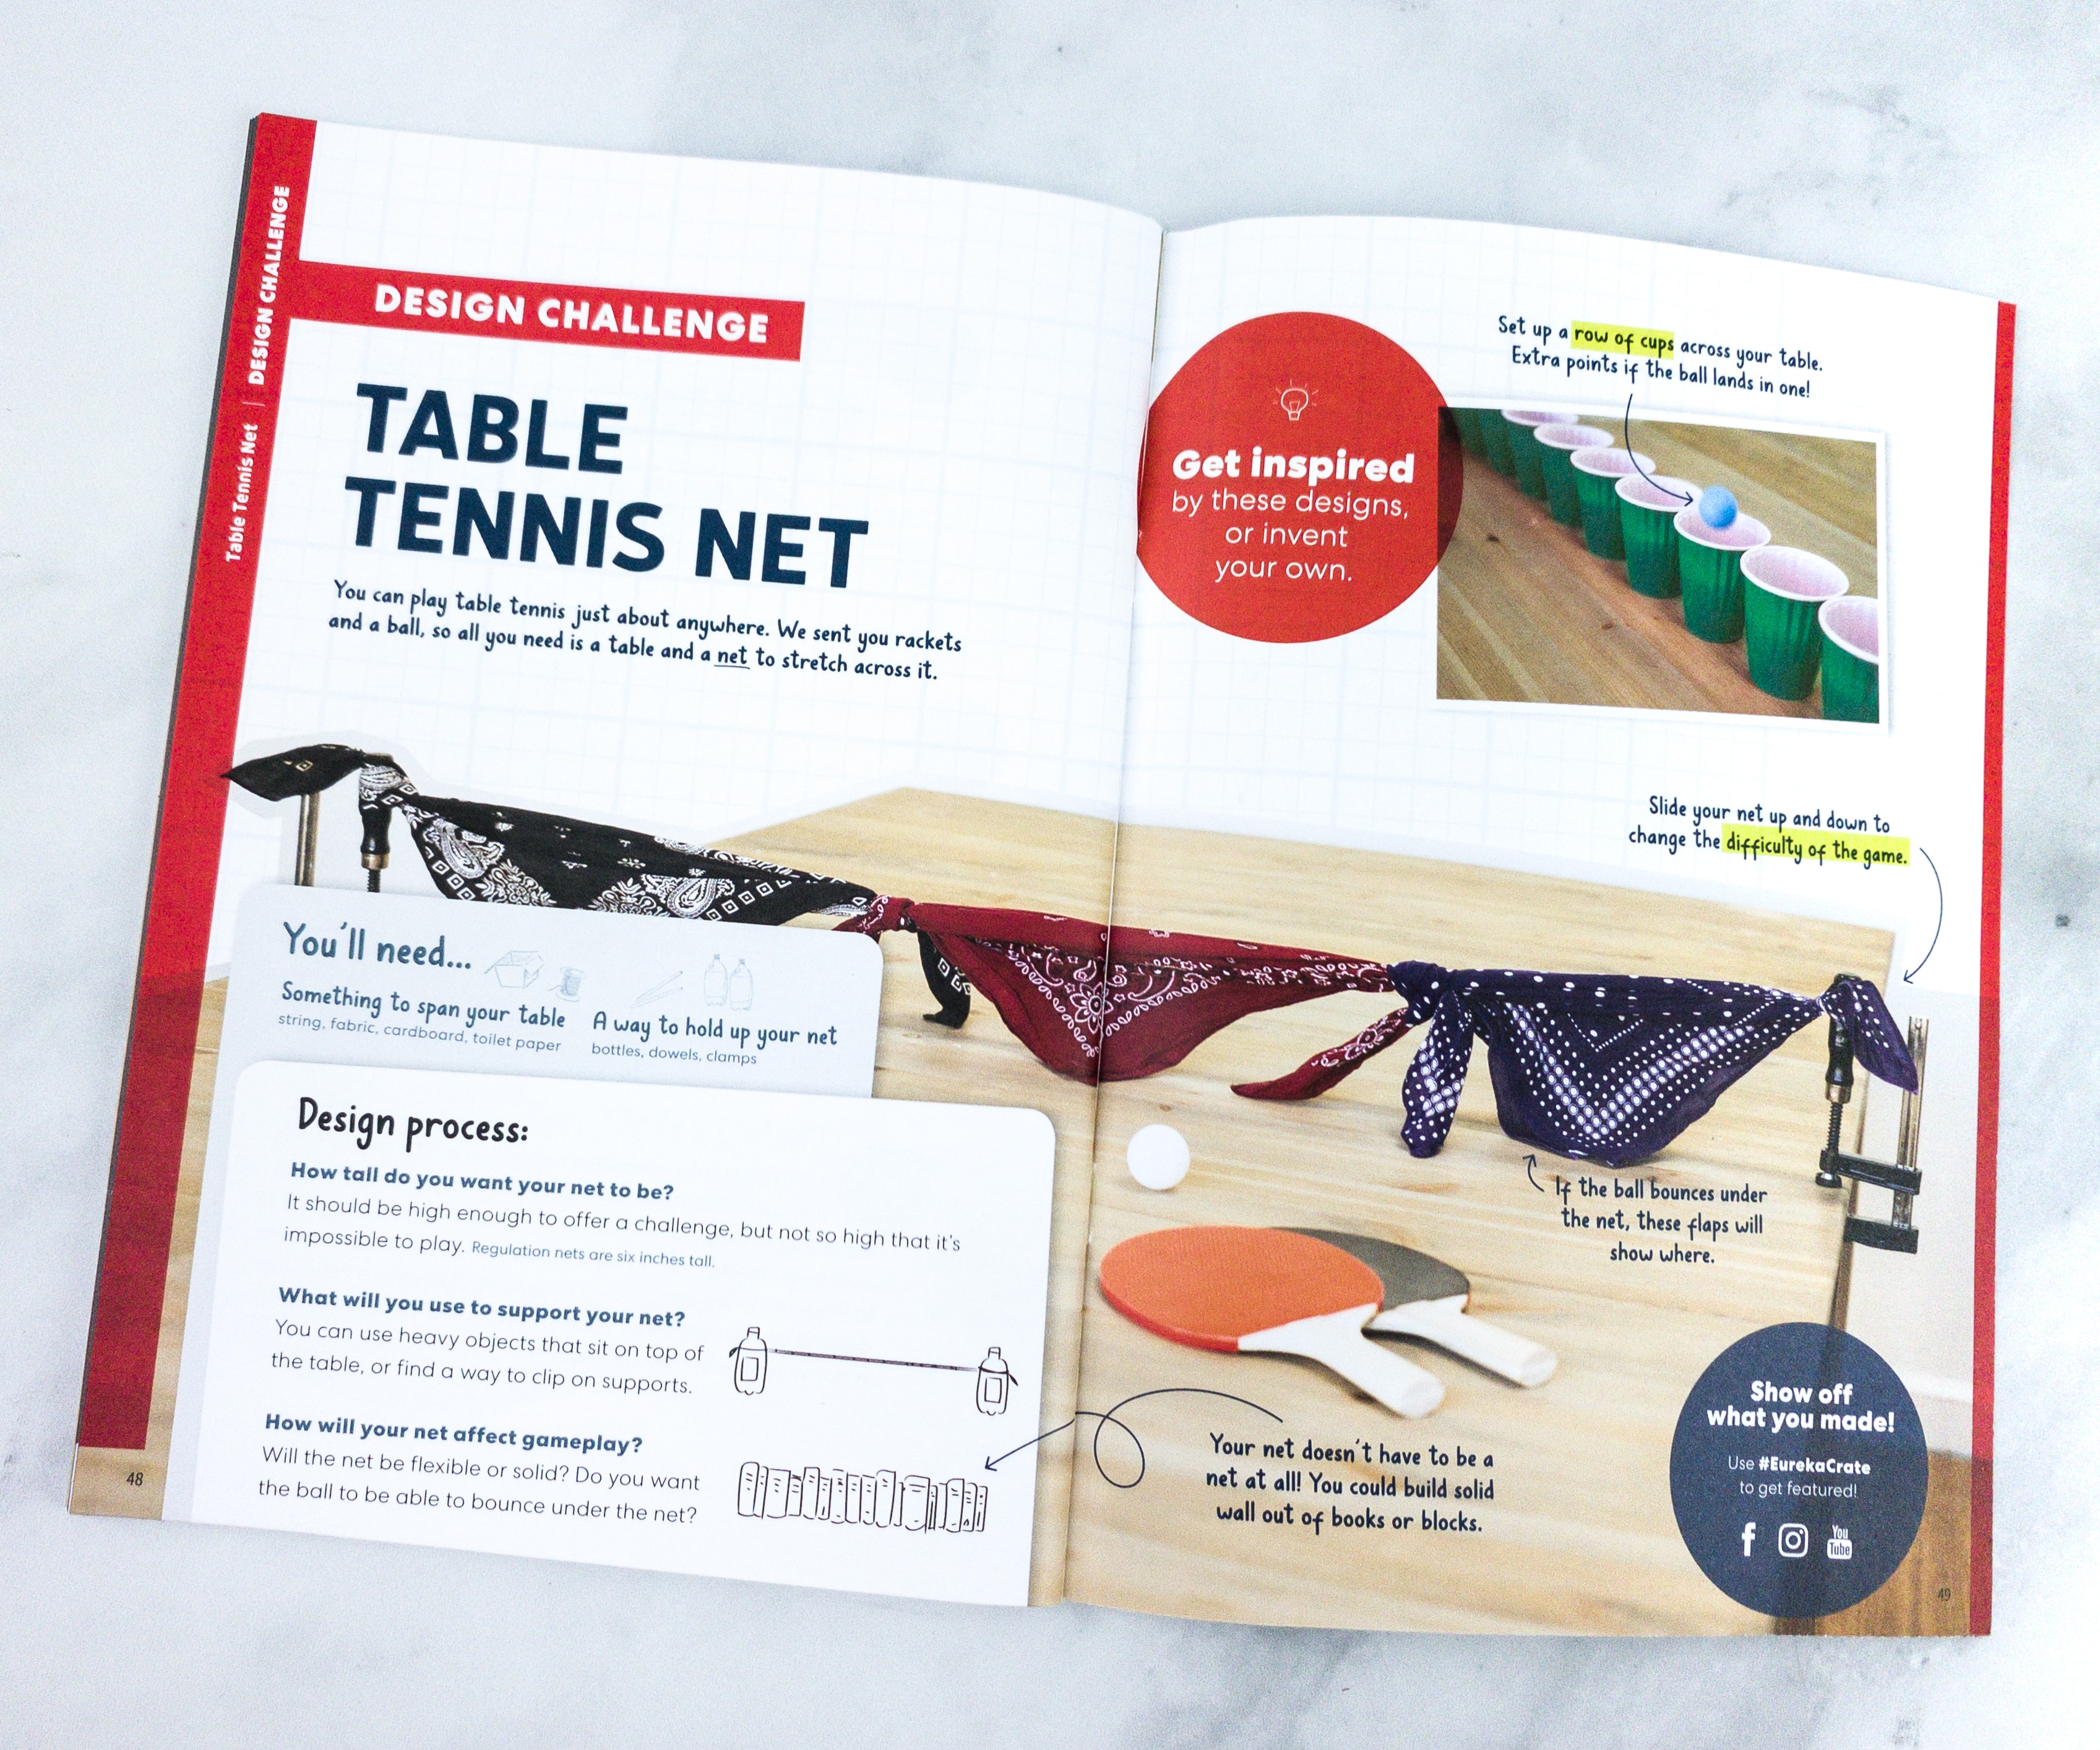
For the Design Challenge, we just have to add a net to make the game more exciting. We can make it by using some strings, cardboard, or even toilet paper and hold it up using bottles or clamps.
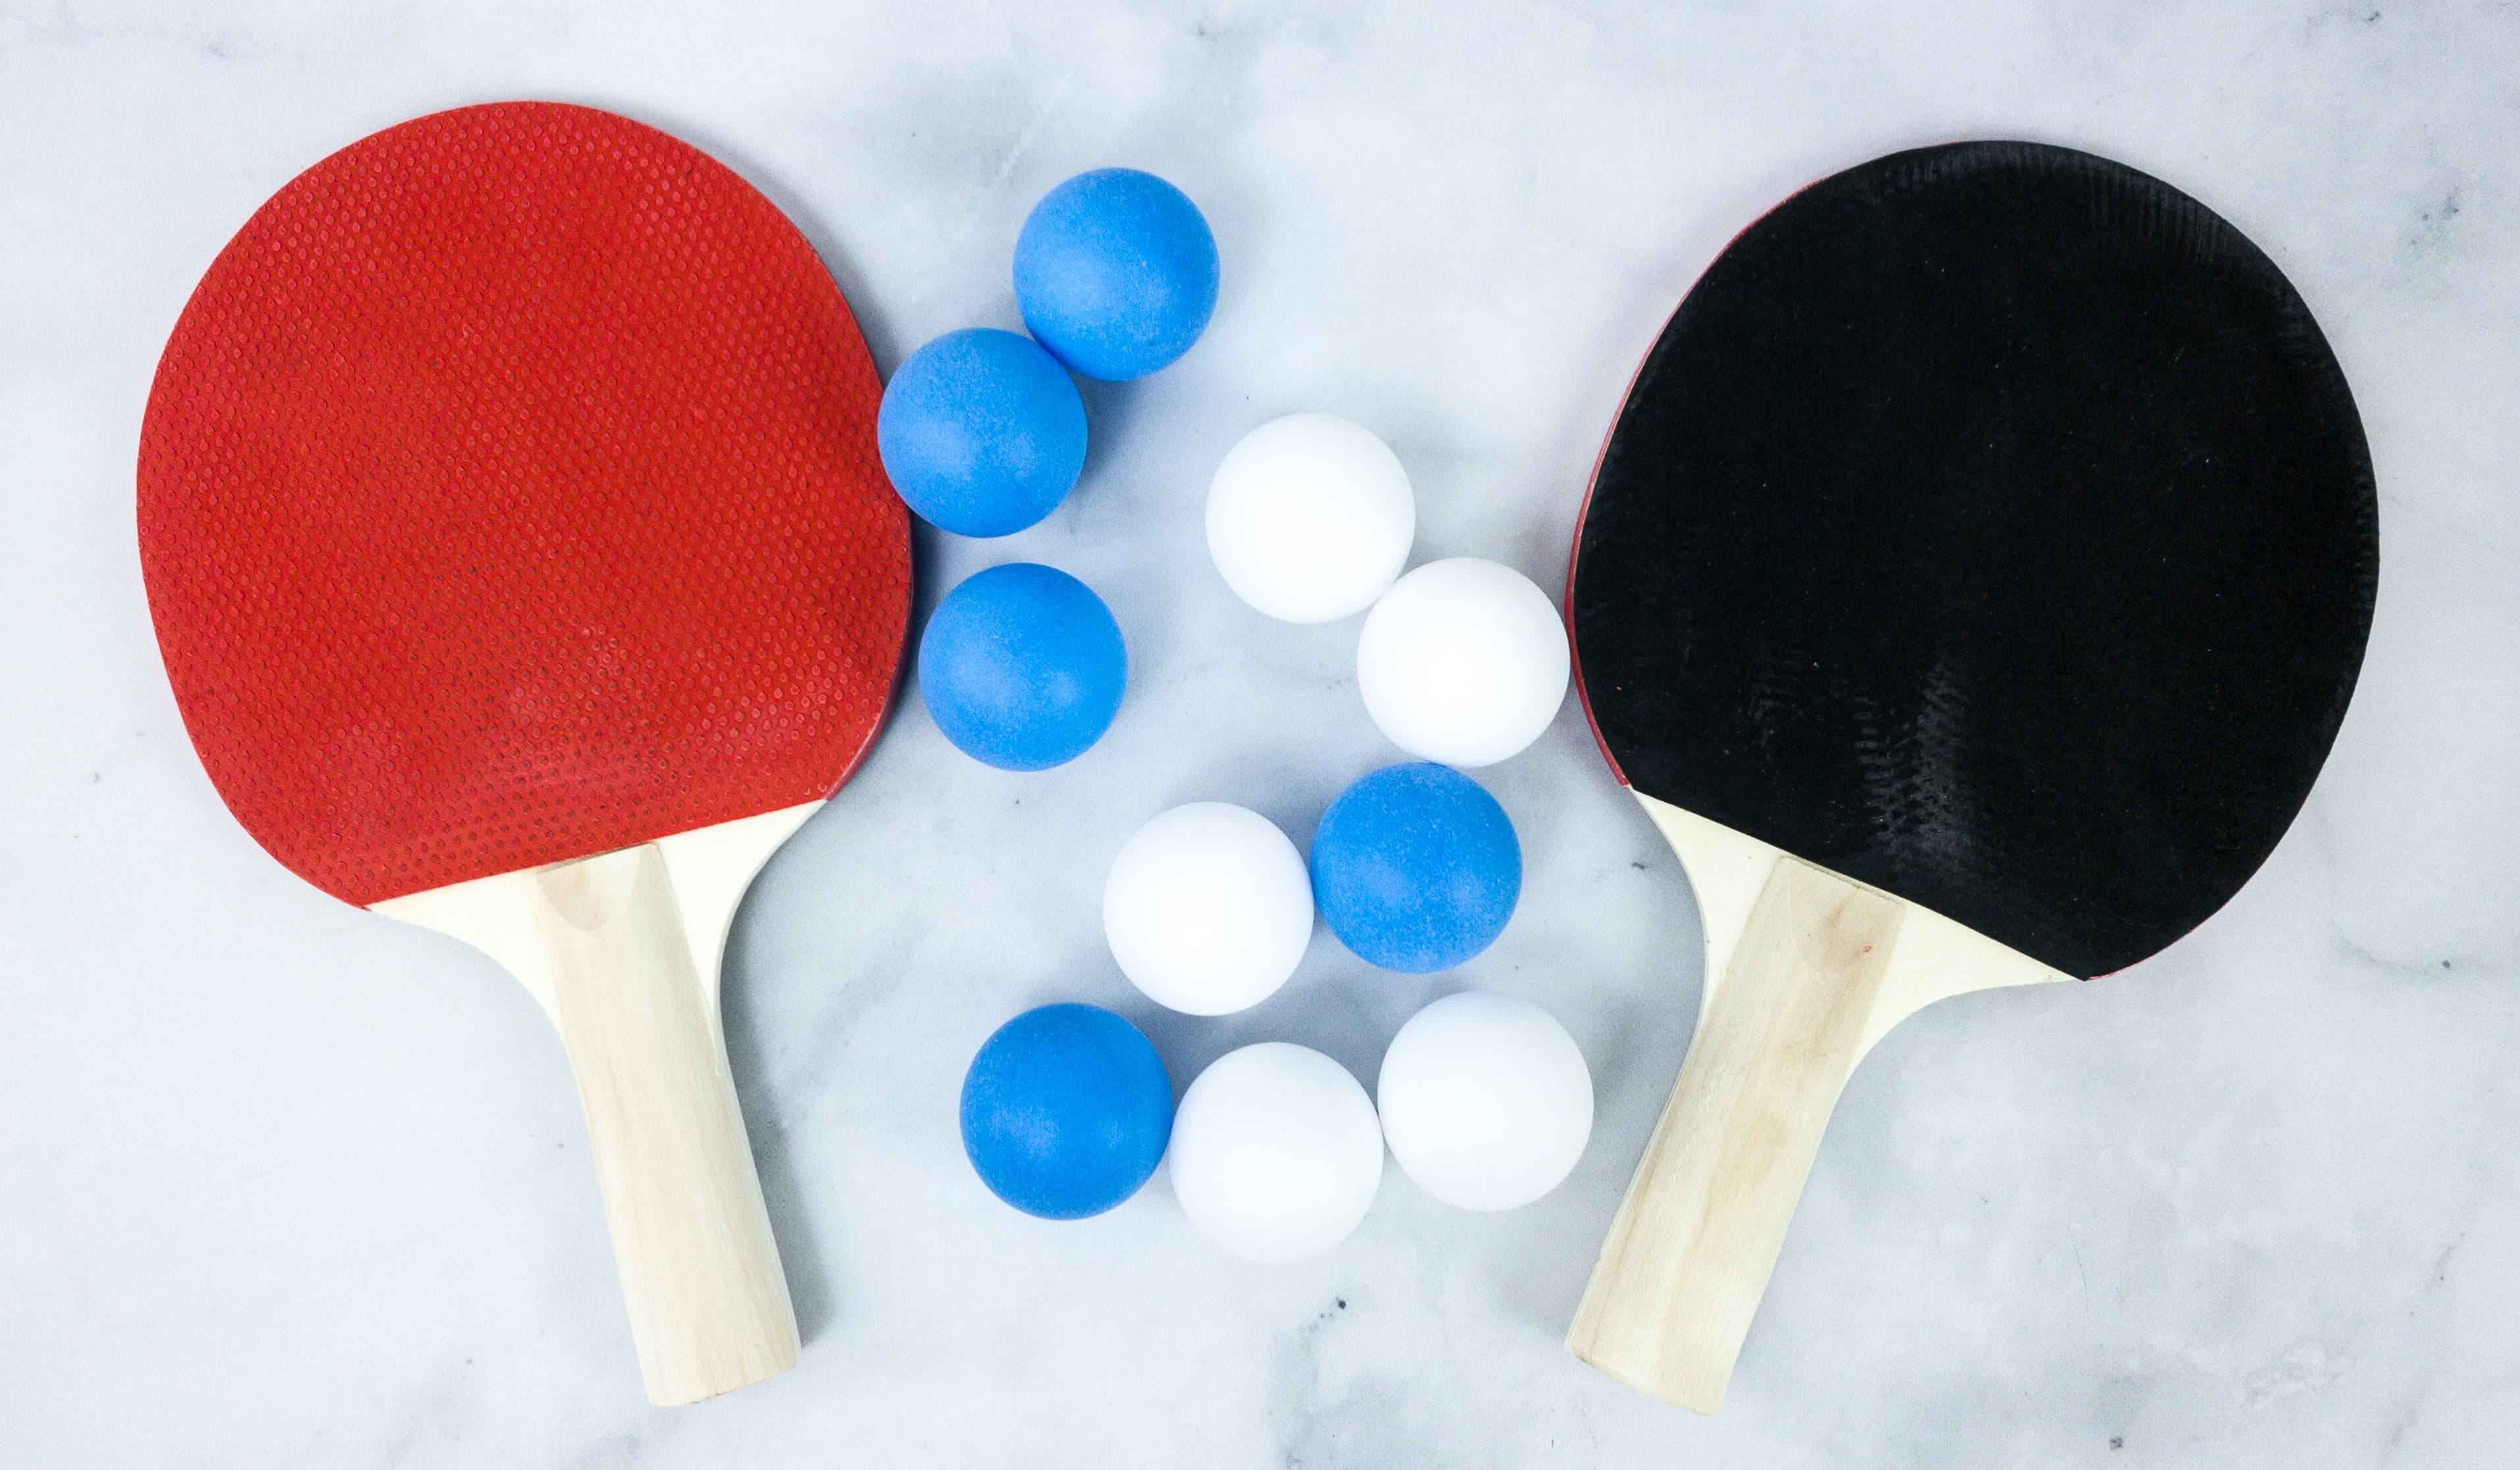
Included also in this month’s crate is a pair of rackets and 10 pieces of ping pong balls.
To start, put the ping pong balls in the launcher and set it up on top of the table.
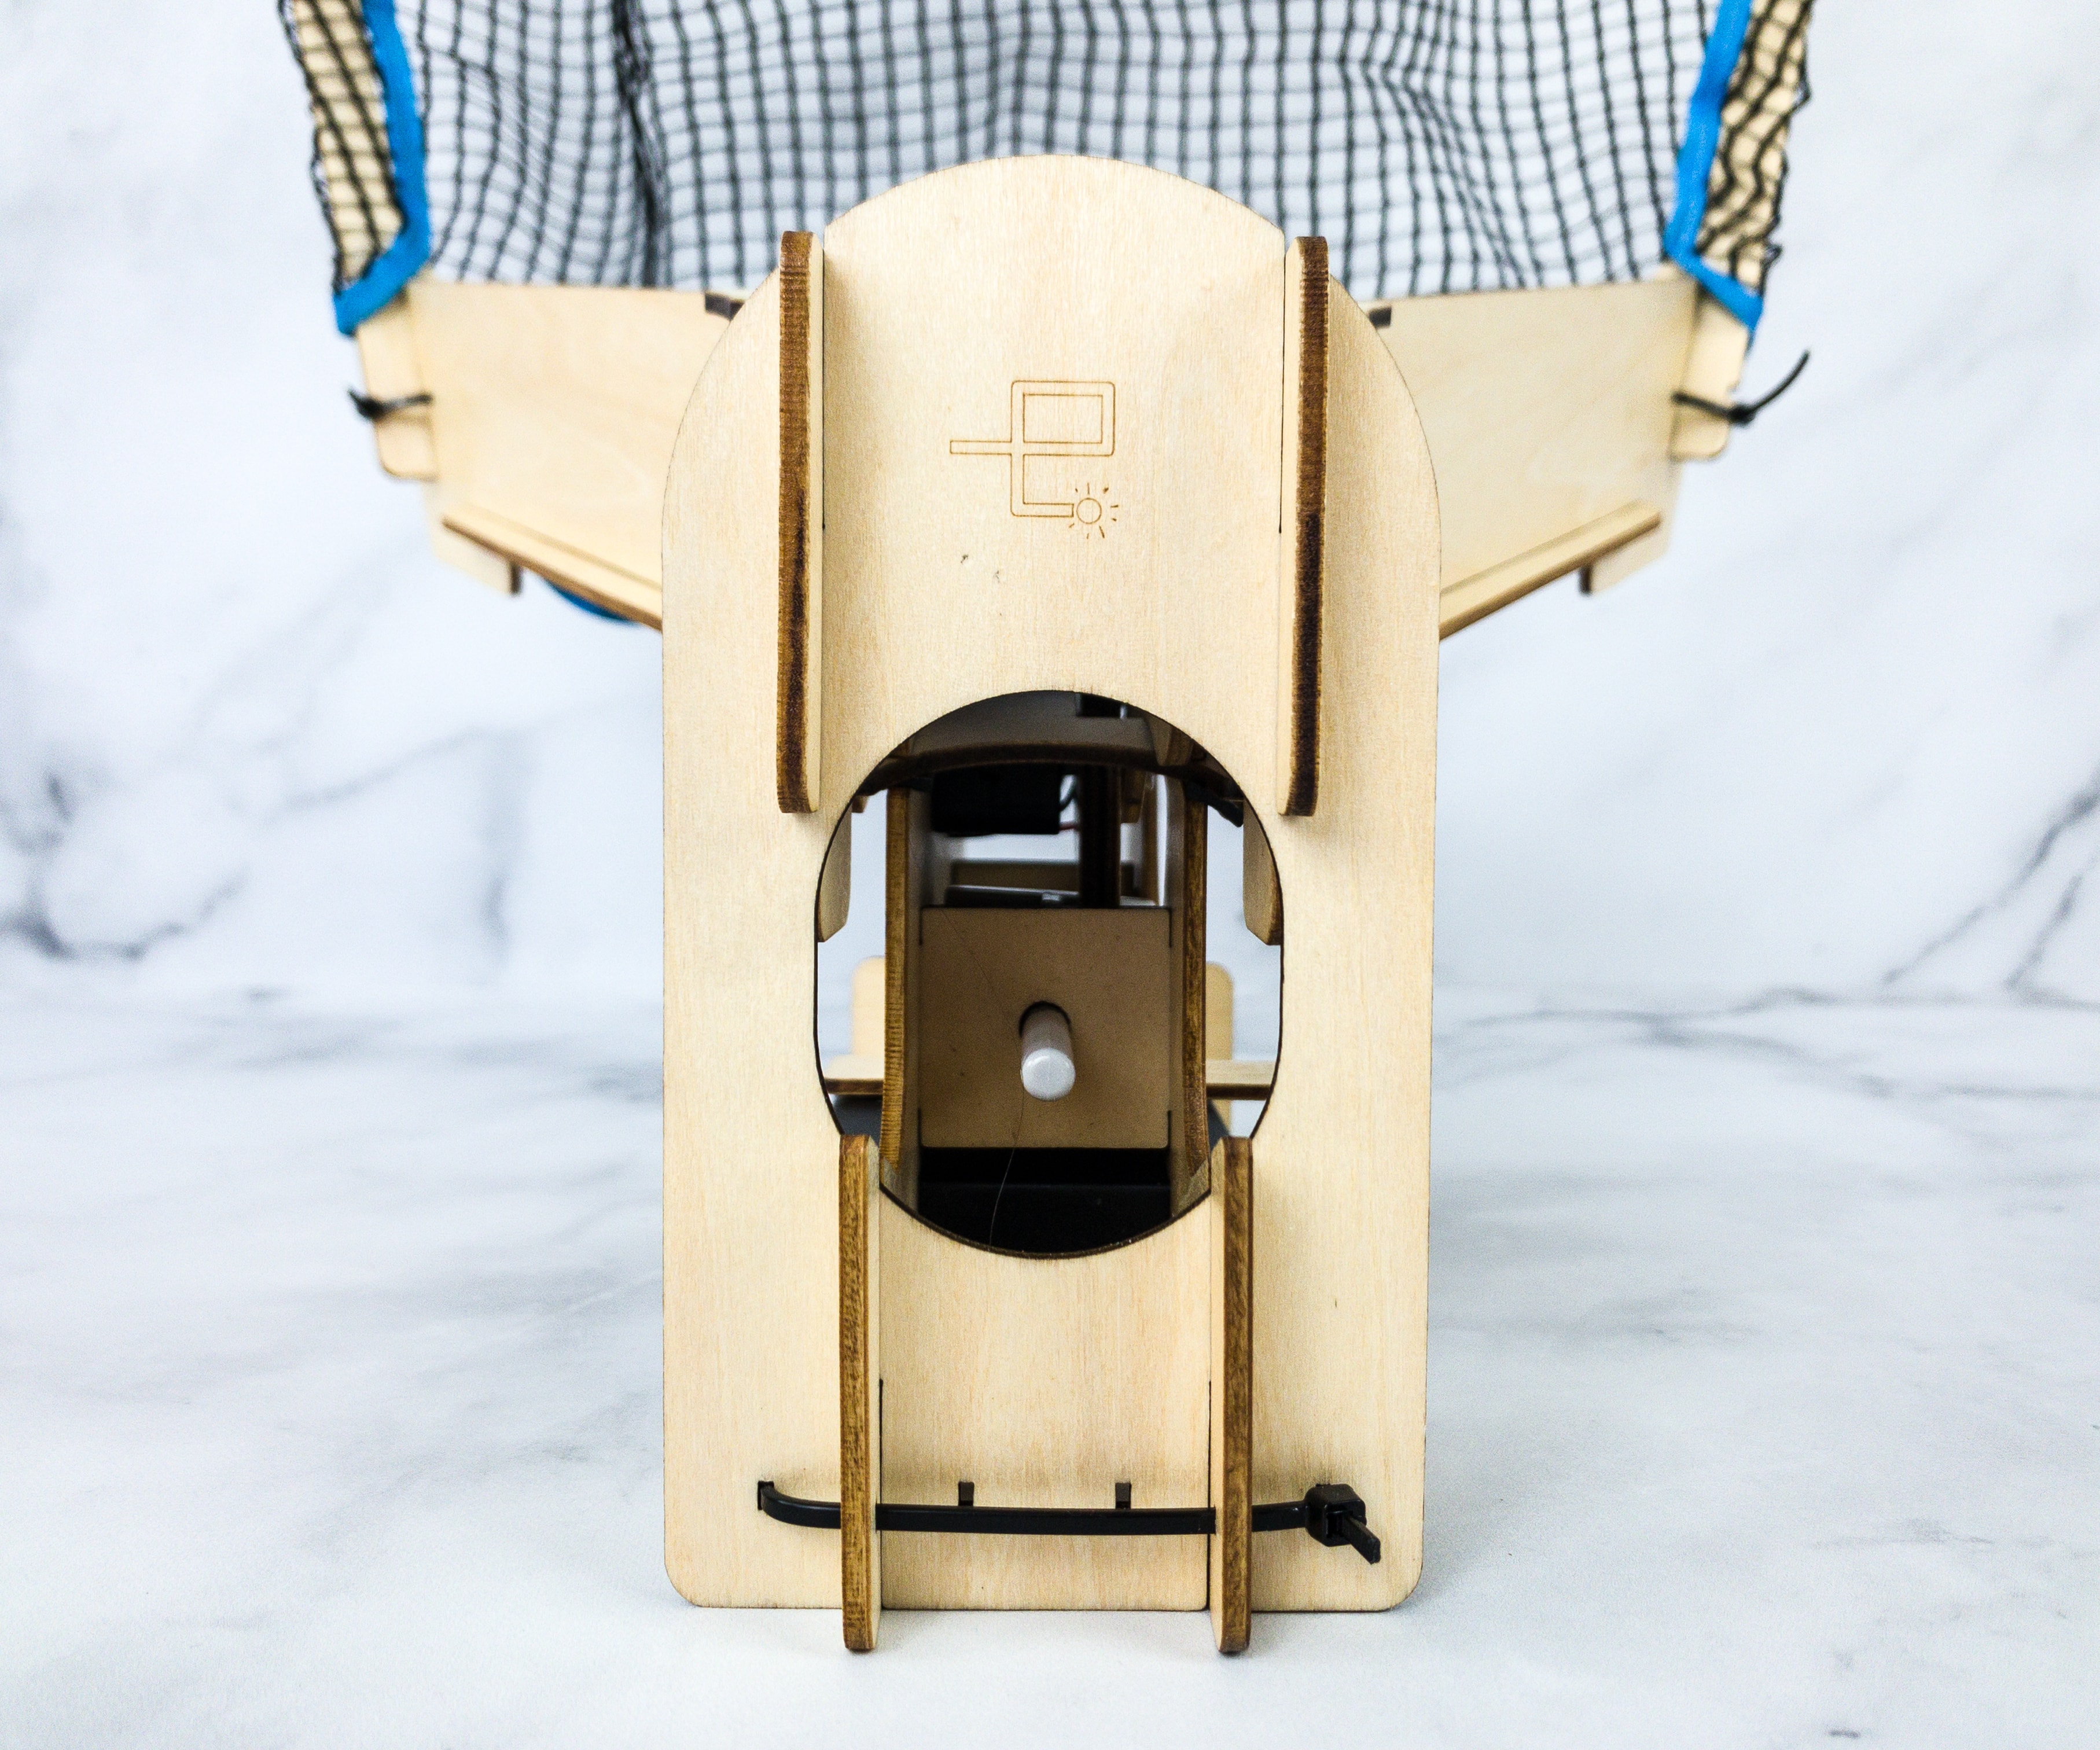
Etched on the upper part of the launching pad is the Eureka Crate logo.
Switch the launcher on and check if the ball launches as expected it to be.
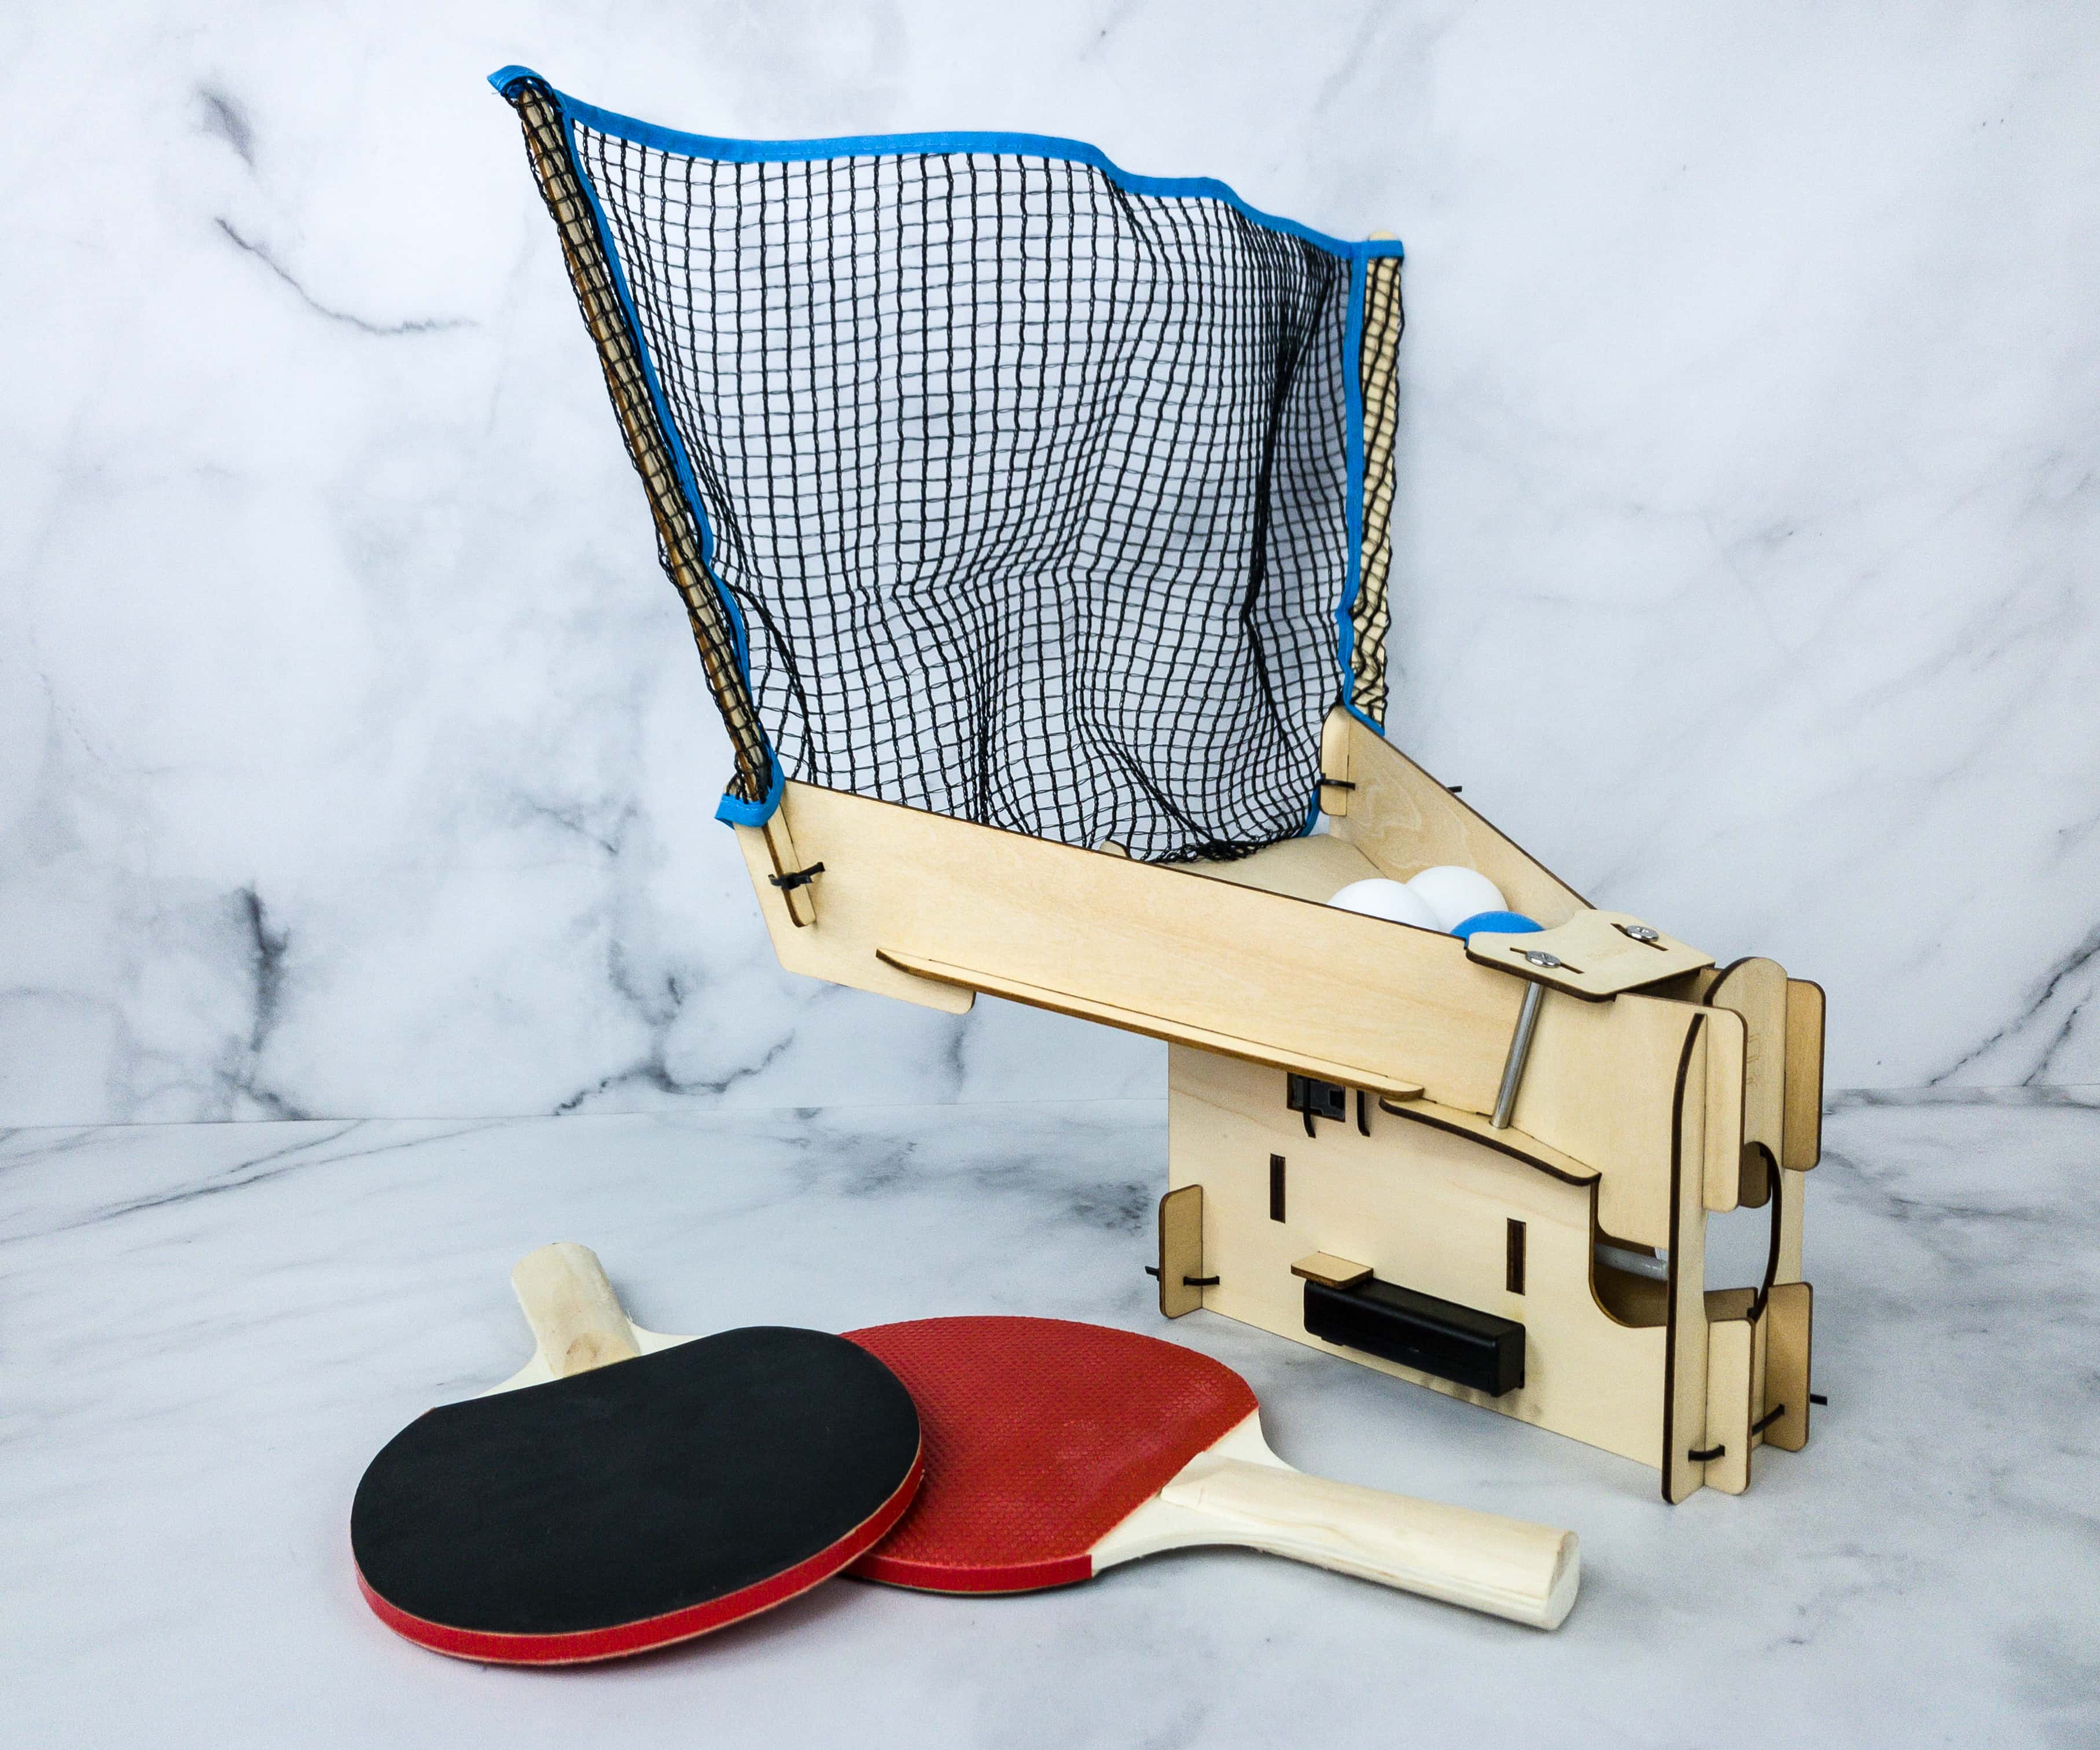
Here’s the complete set of the project, and it turned out to be a great one!
It looks so awesome! We’re so ready to play!
My kids really had a great fun building this machine, and I am so amused to see how they enjoyed working on it so much!
Every Eureka Crate project brings us new learning and an awesome end product that we can use even long after we’re done with the box. This Table Tennis Robot is definitely a fantastic project, as it teaches my kids a lot of things including engineering and robotics and also helps them appreciate the sport. The booklet, as always, is truly a helpful learning tool as it includes fun and useful facts, from the history of the item, up to the science behind each project, plus design challenges! This box is ideal for kids and adults alike!
What do you think of this month’s Eureka Crate?


Comments