
Eureka Crate is a monthly STEM and maker subscription box that teaches kids and adults how to apply principles of science and math to make awesome things you will love to use every day – from an articulated desk lamp to an electric pencil sharpener to a wooden ukulele. Every Eureka Crate includes an engineering project, detailed step-by-step instructions, everything you need to complete the project, a Maker’s Guide that explains all the design, process, and engineering behind the design, plus a design challenge to take your project knowledge to the next level!
DEAL: Save 30% on your first month! Just use this link to subscribe, no coupon code required!
Eureka Crate is KiwiCo’s latest subscription! Eureka Crate is designed for ages 14-104. If you’re ready to graduate from KiwiCo’s other boxes or just can’t get enough (or are just too old for their other subscriptions), you’ll love this box, which is designed to create a hands-on learning experience using everyday items to delve deeply into the science and math principles they embody, along with the design process of the month’s project.
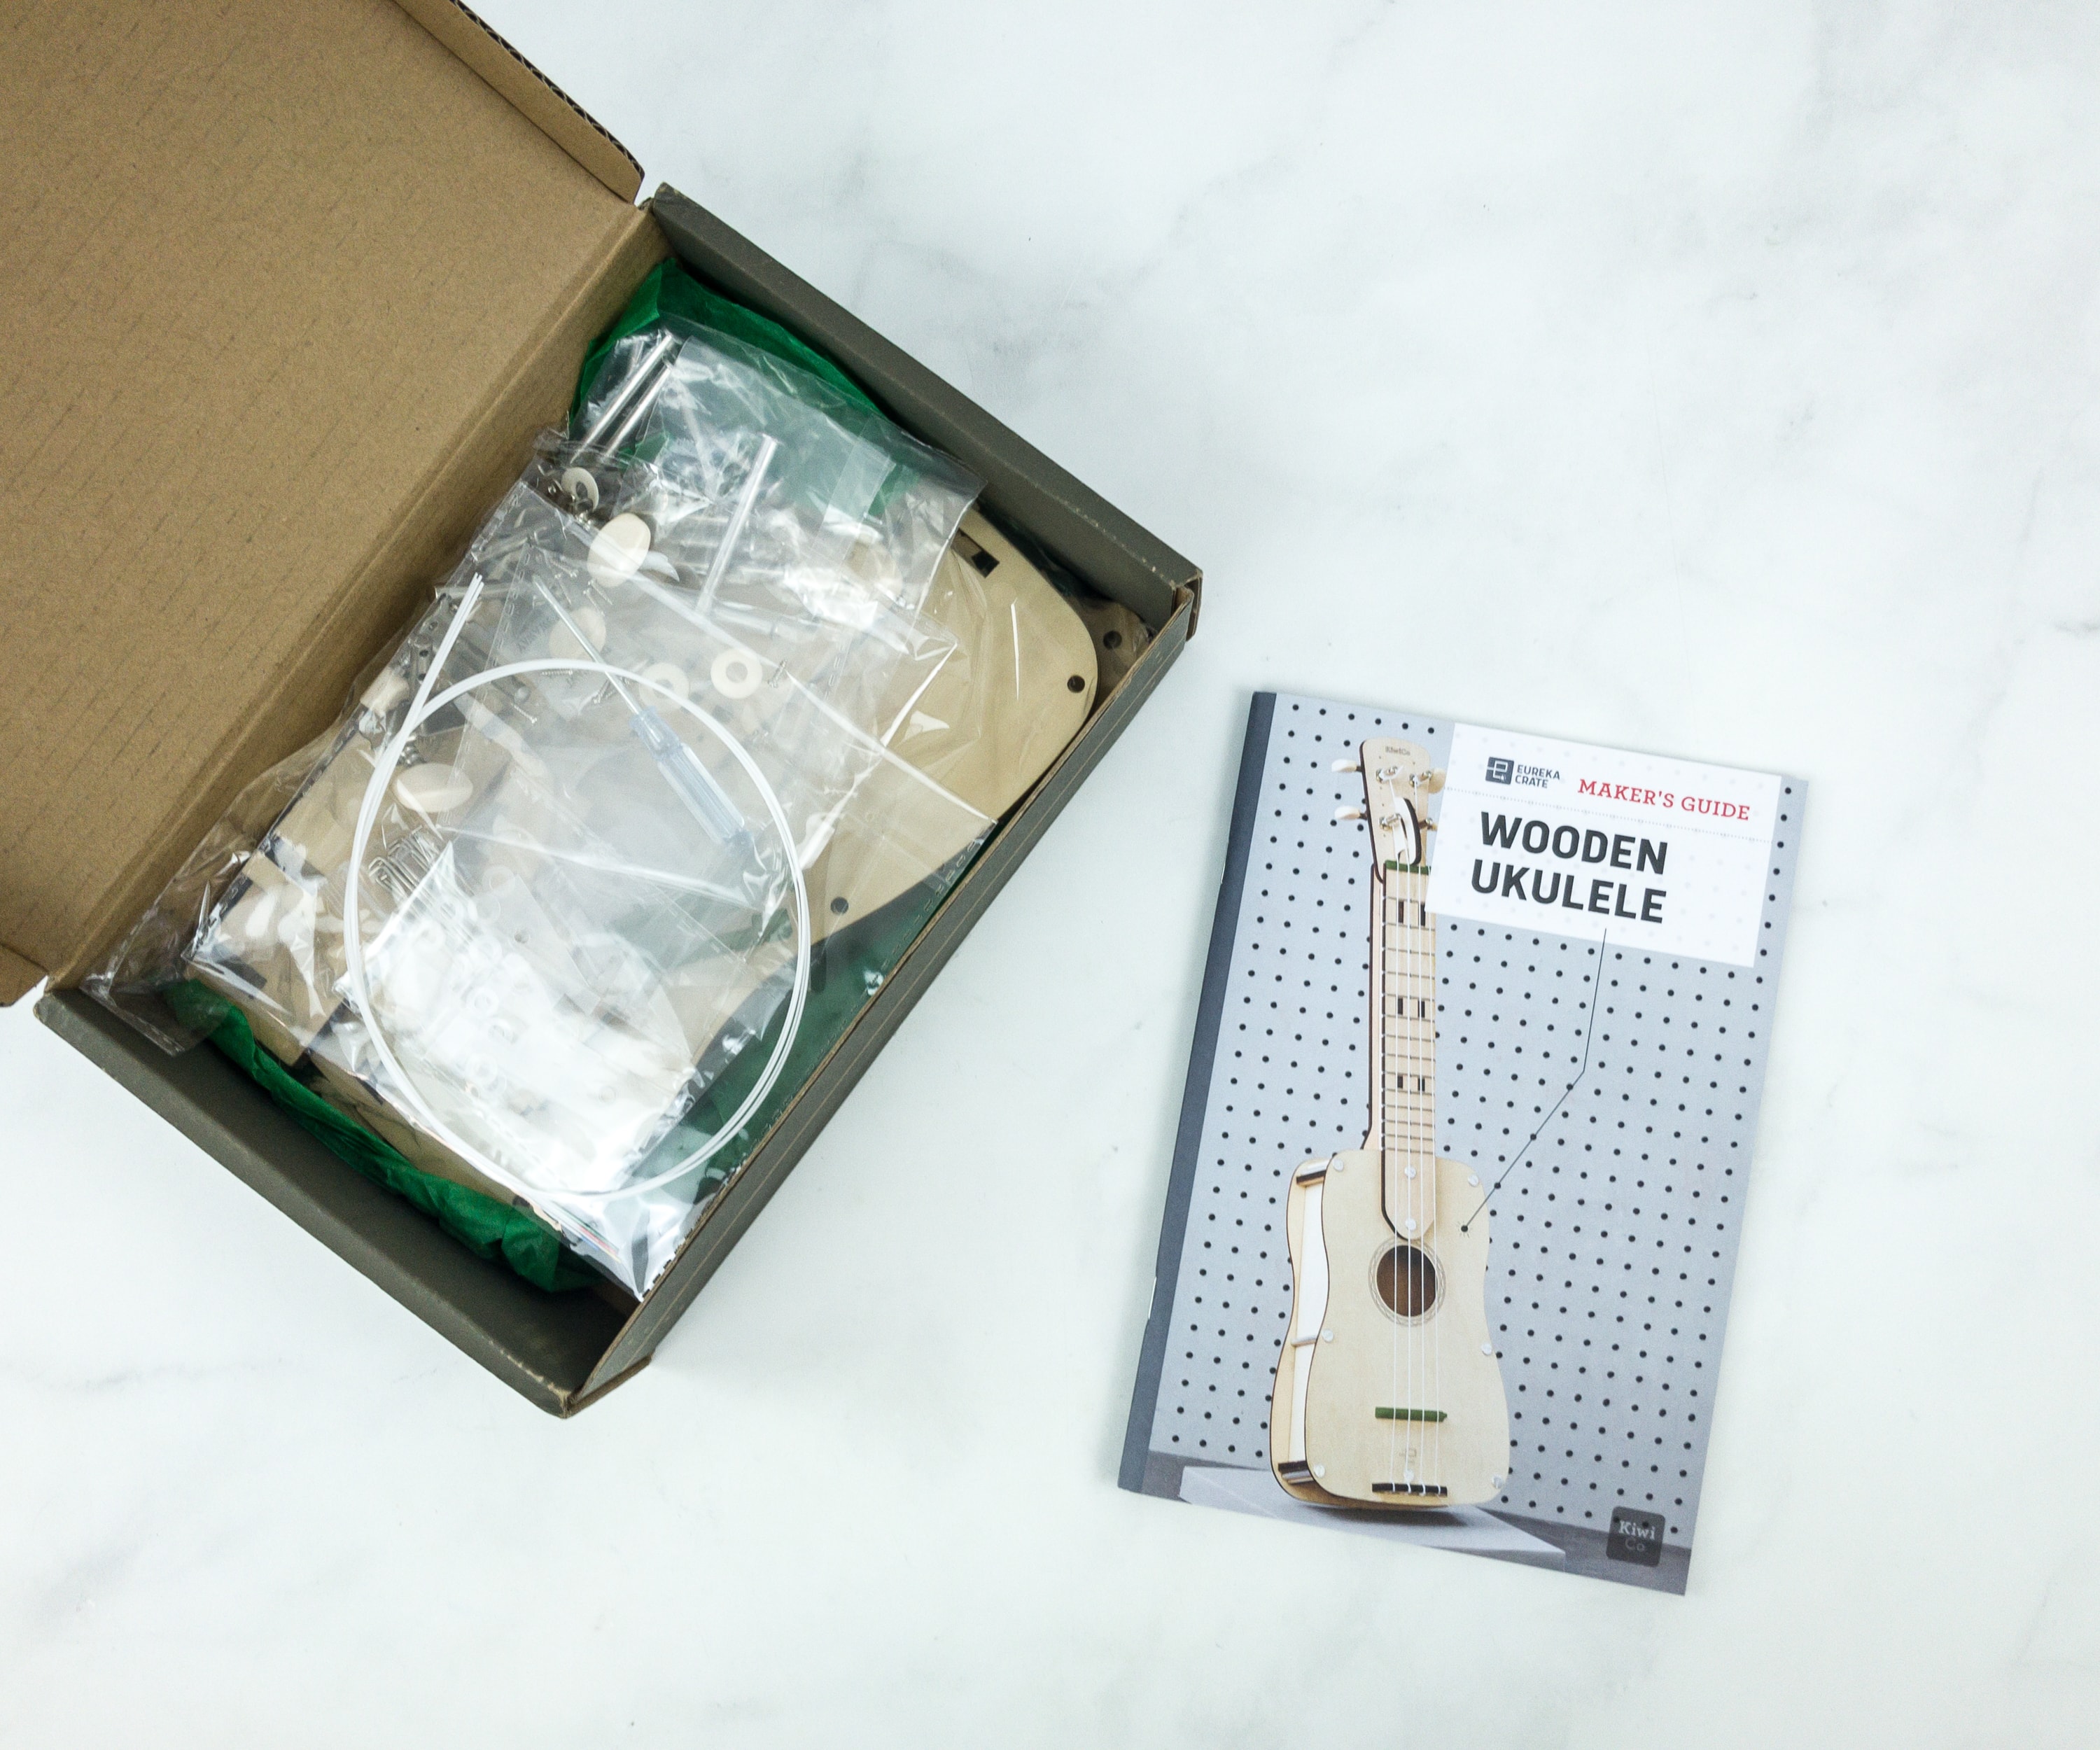
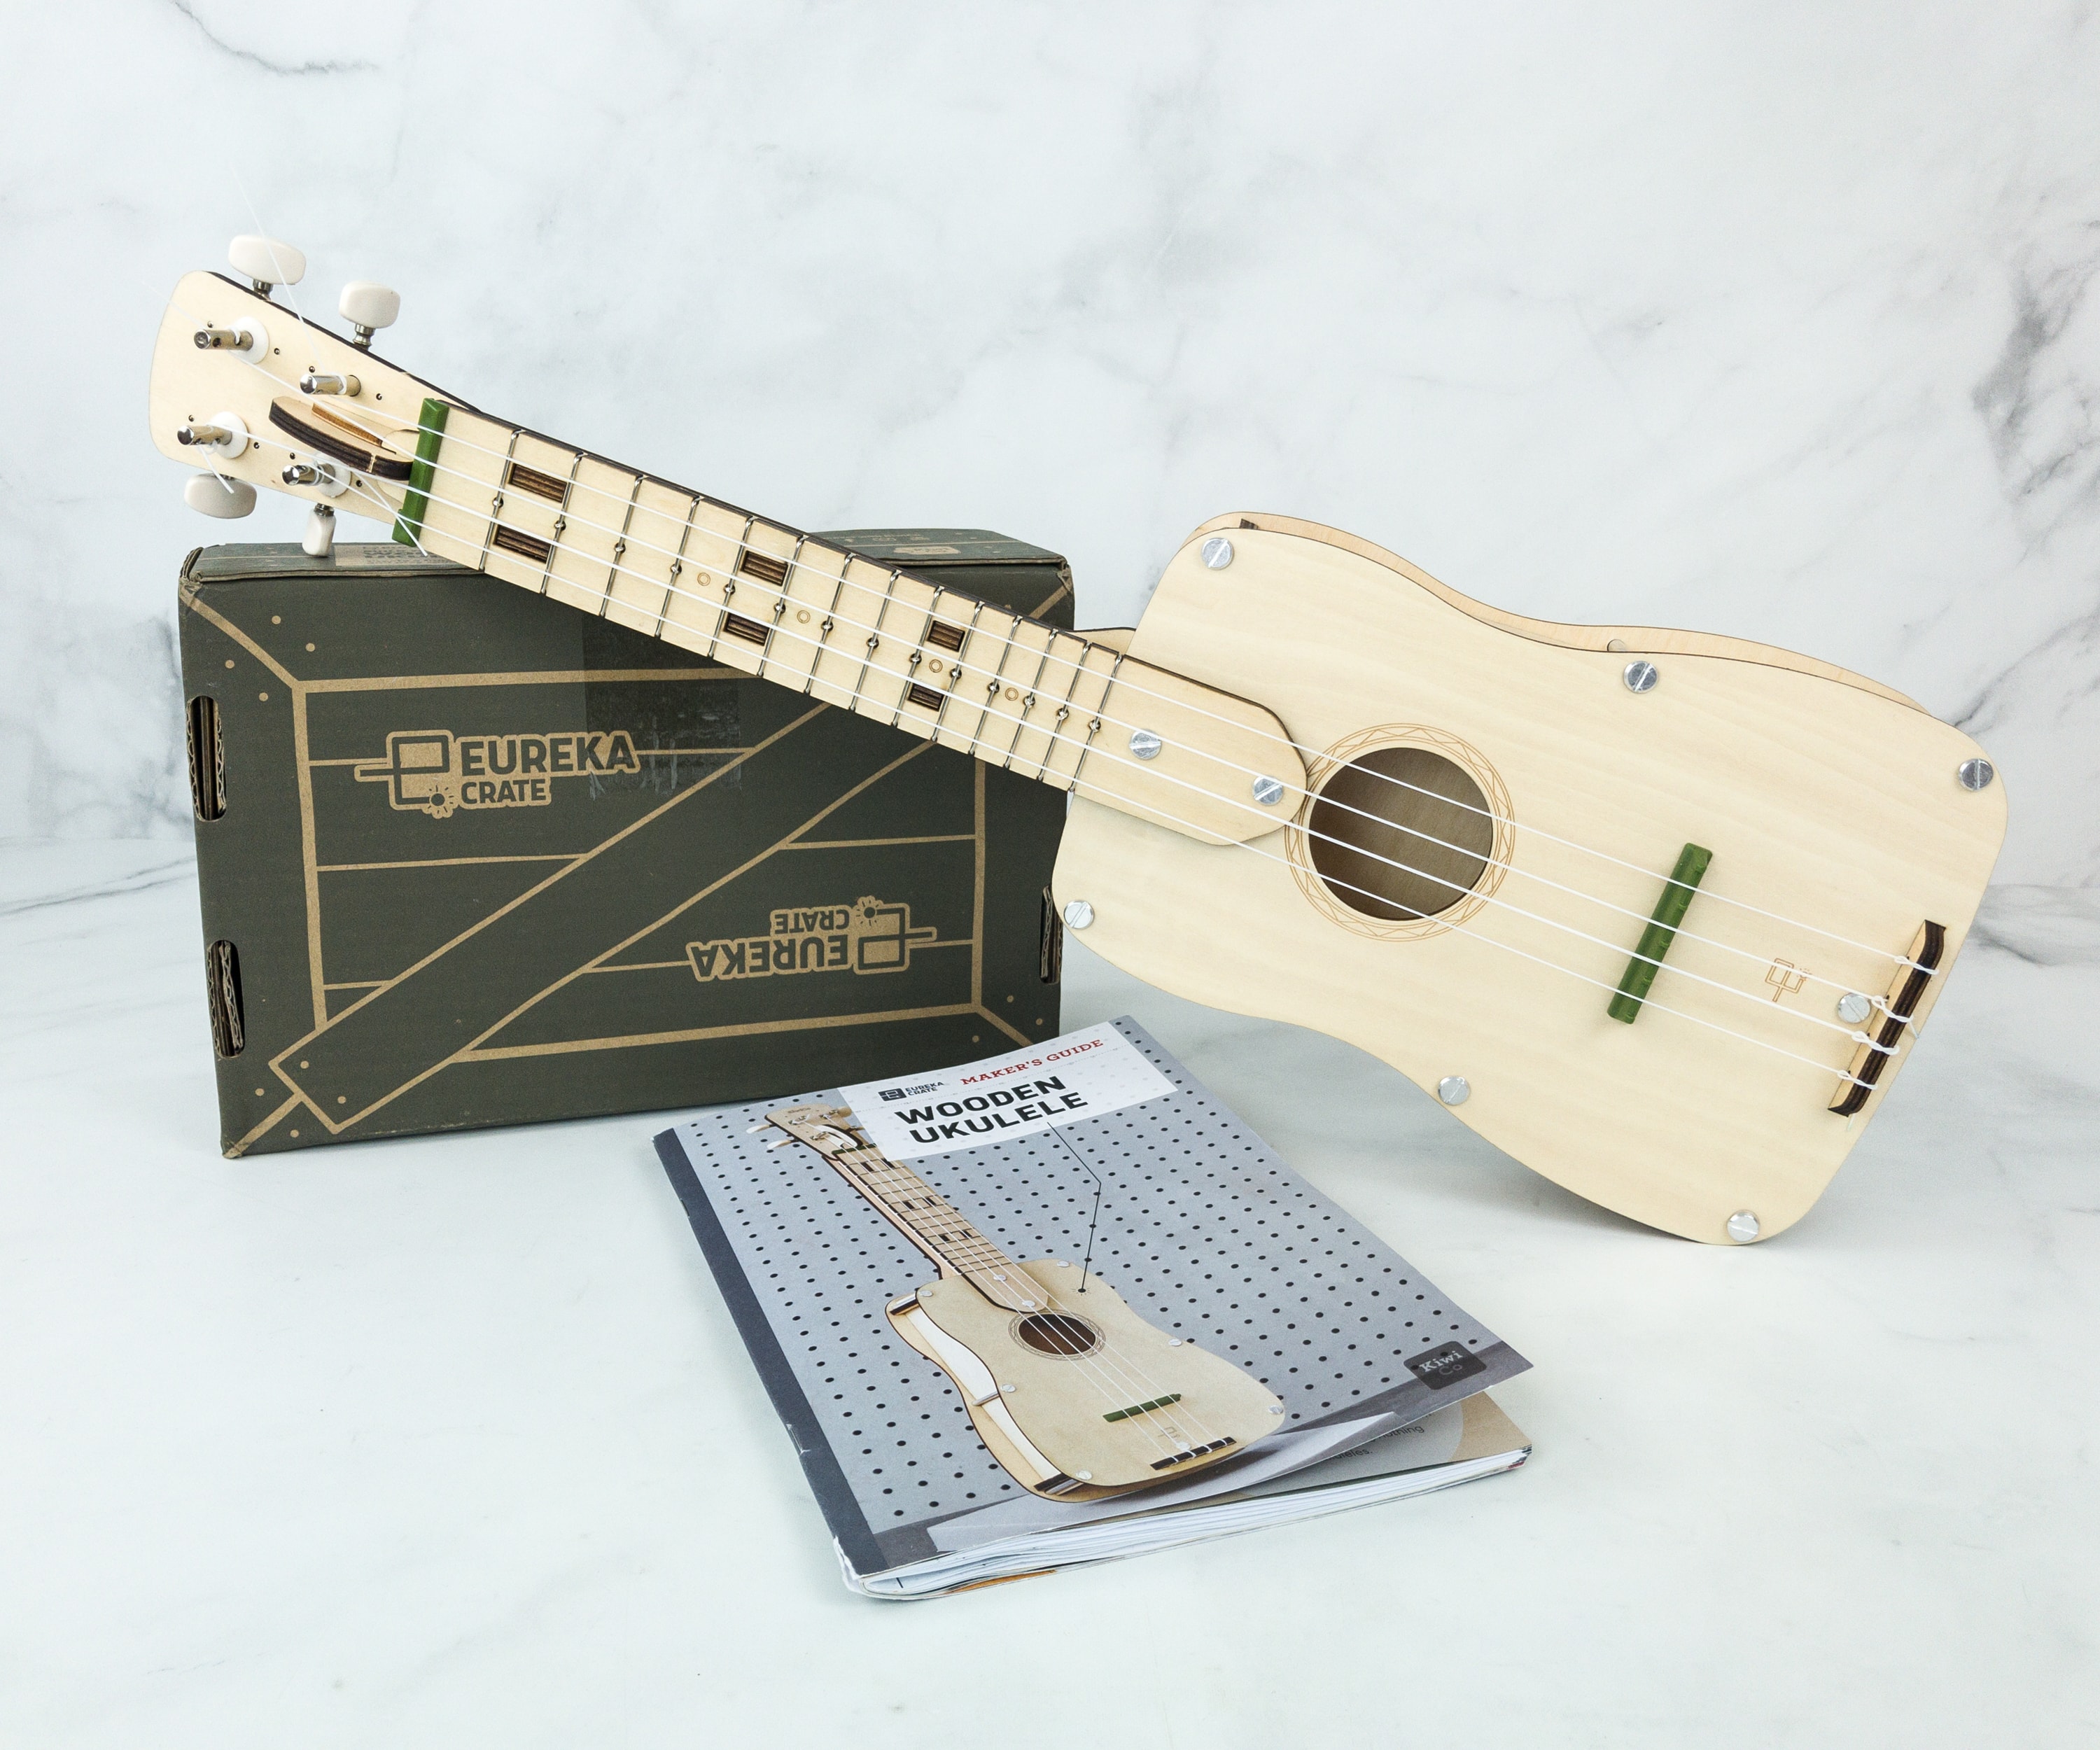
Eureka Crate Maker’s Guide
Like the other crates from KiwiCo, Eureka Crate includes a booklet.
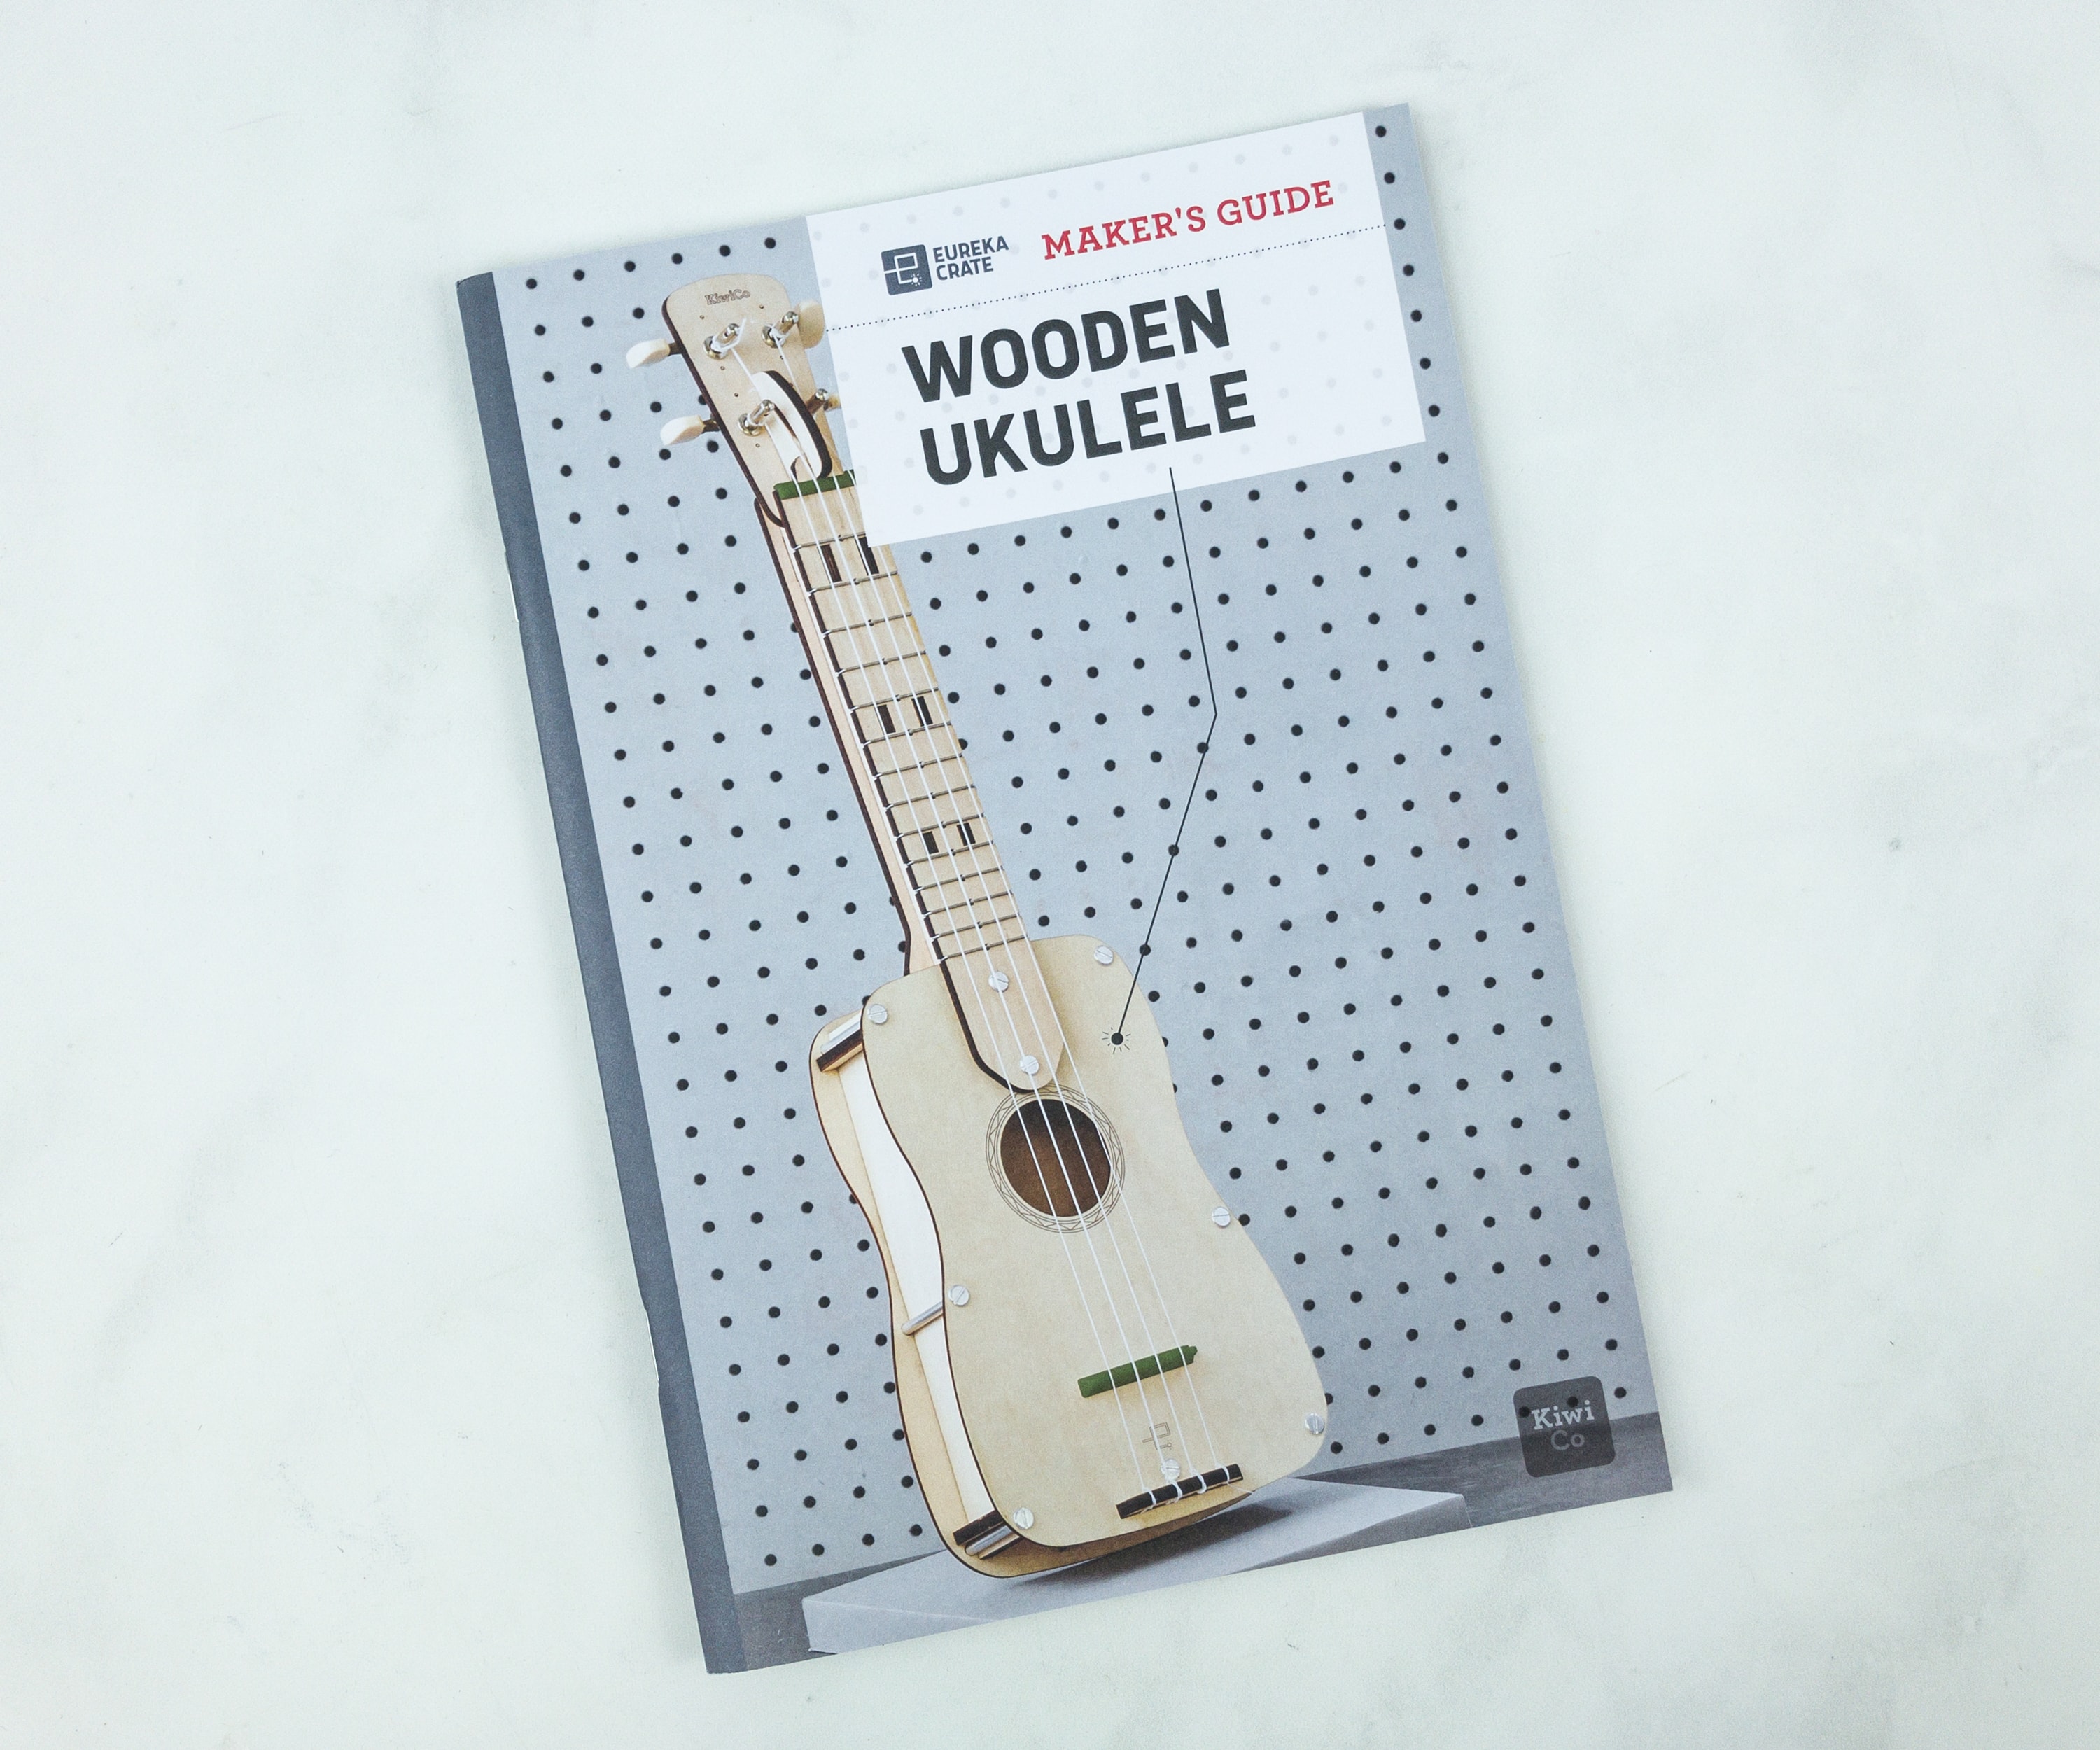
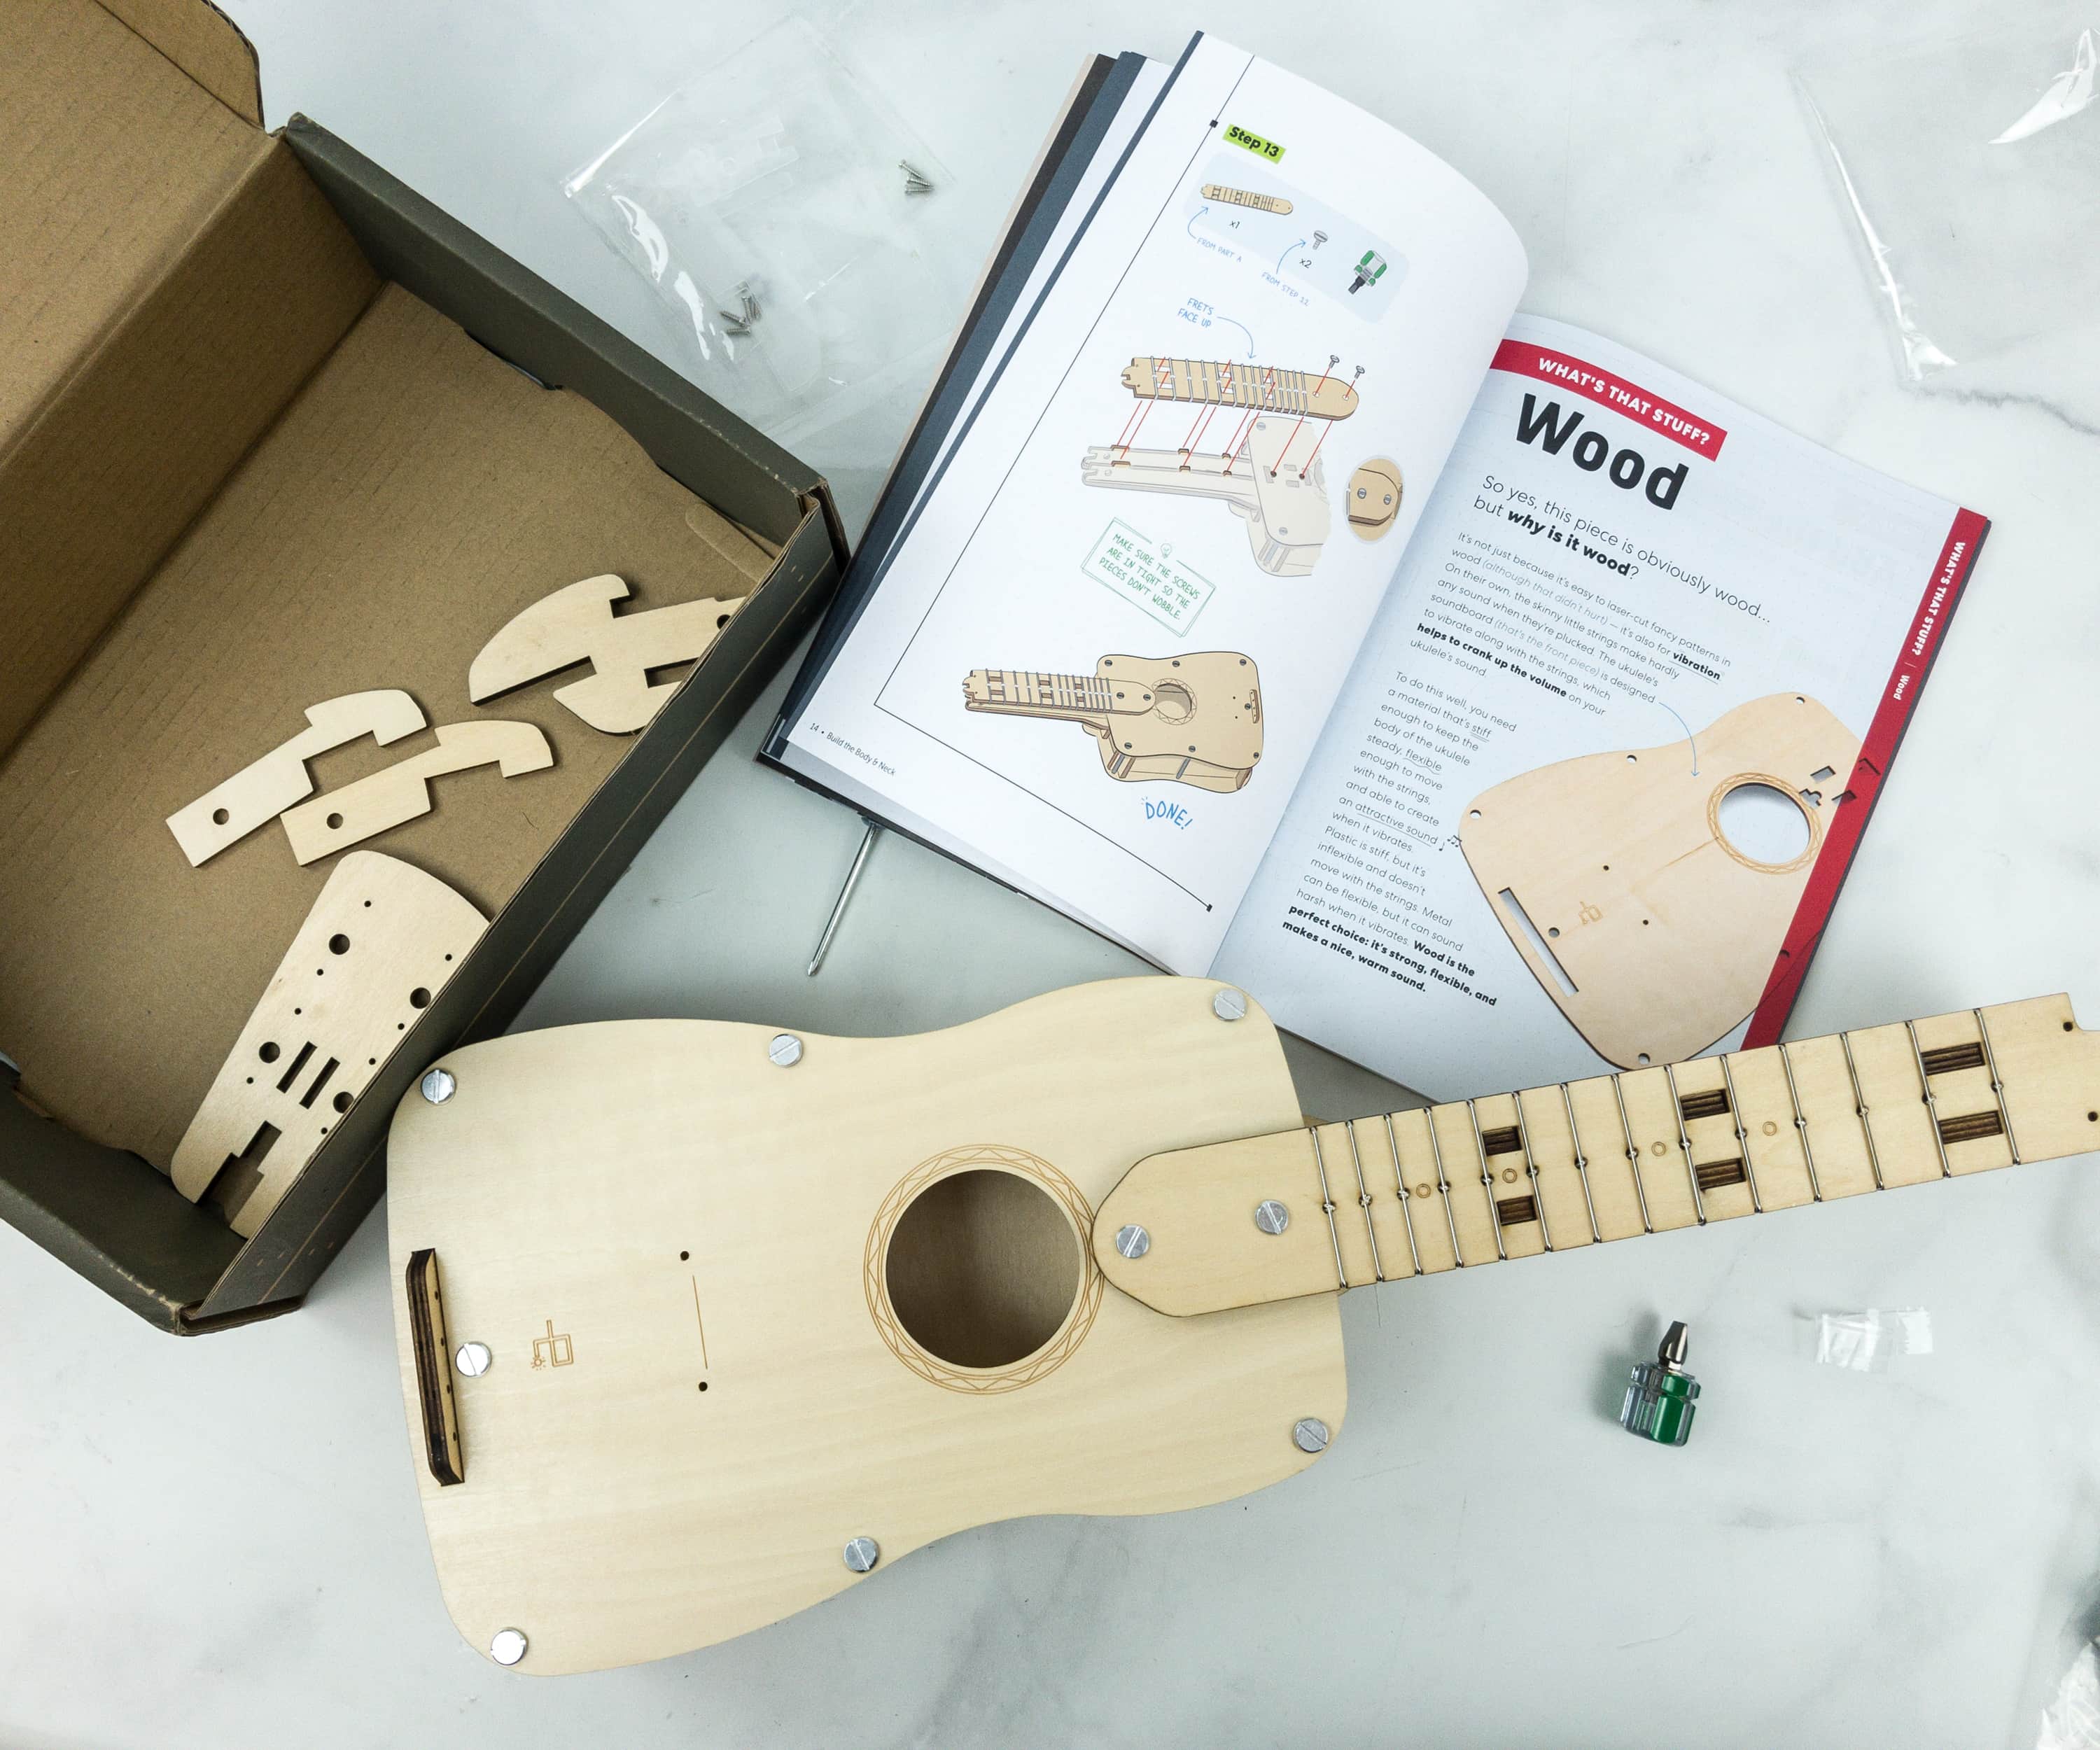
Wooden Ukulele
Build a real four-string concert ukulele and explore the science of sound waves. Discover the design history of this classic Hawaiian instrument and learn to play some sweet tunes

The booklet contains step-by-step instructions, plus explanations of the science, engineering, and history behind the design.
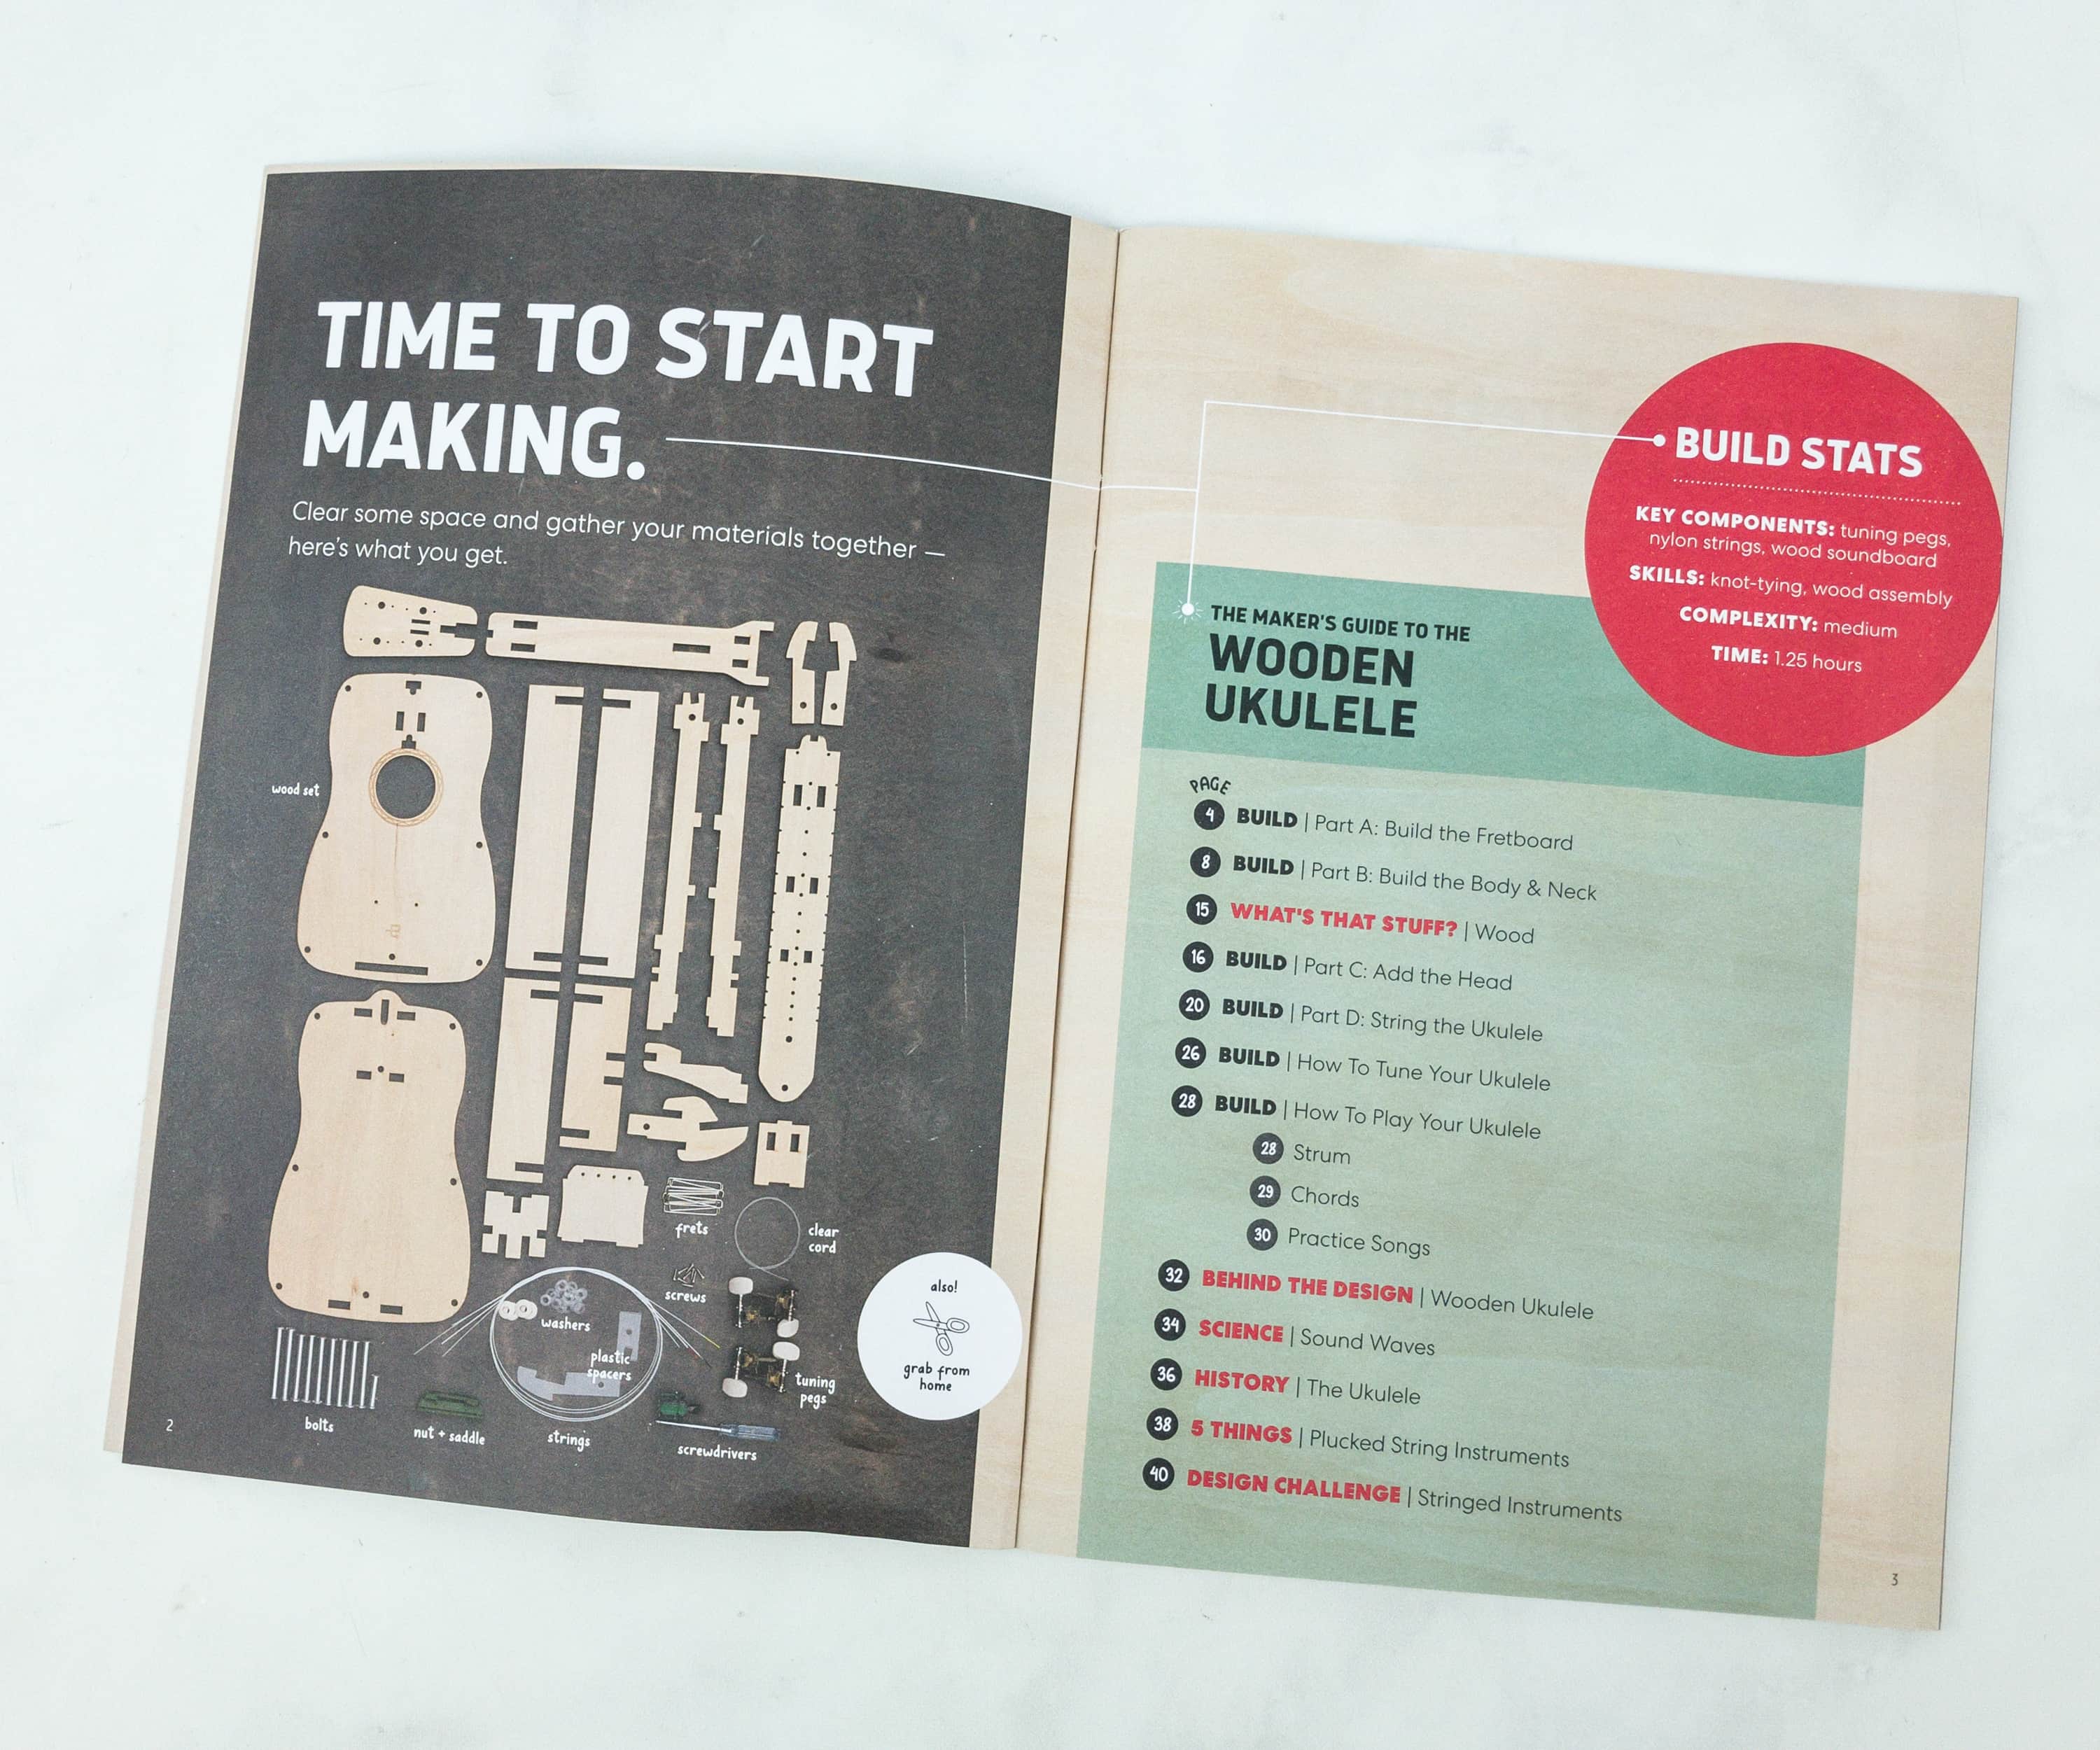
There’s a picture of all the parts included in the box. It’s helpful for checking if you got the correct items. On the other page is a table of contents.
Eureka Crate Materials
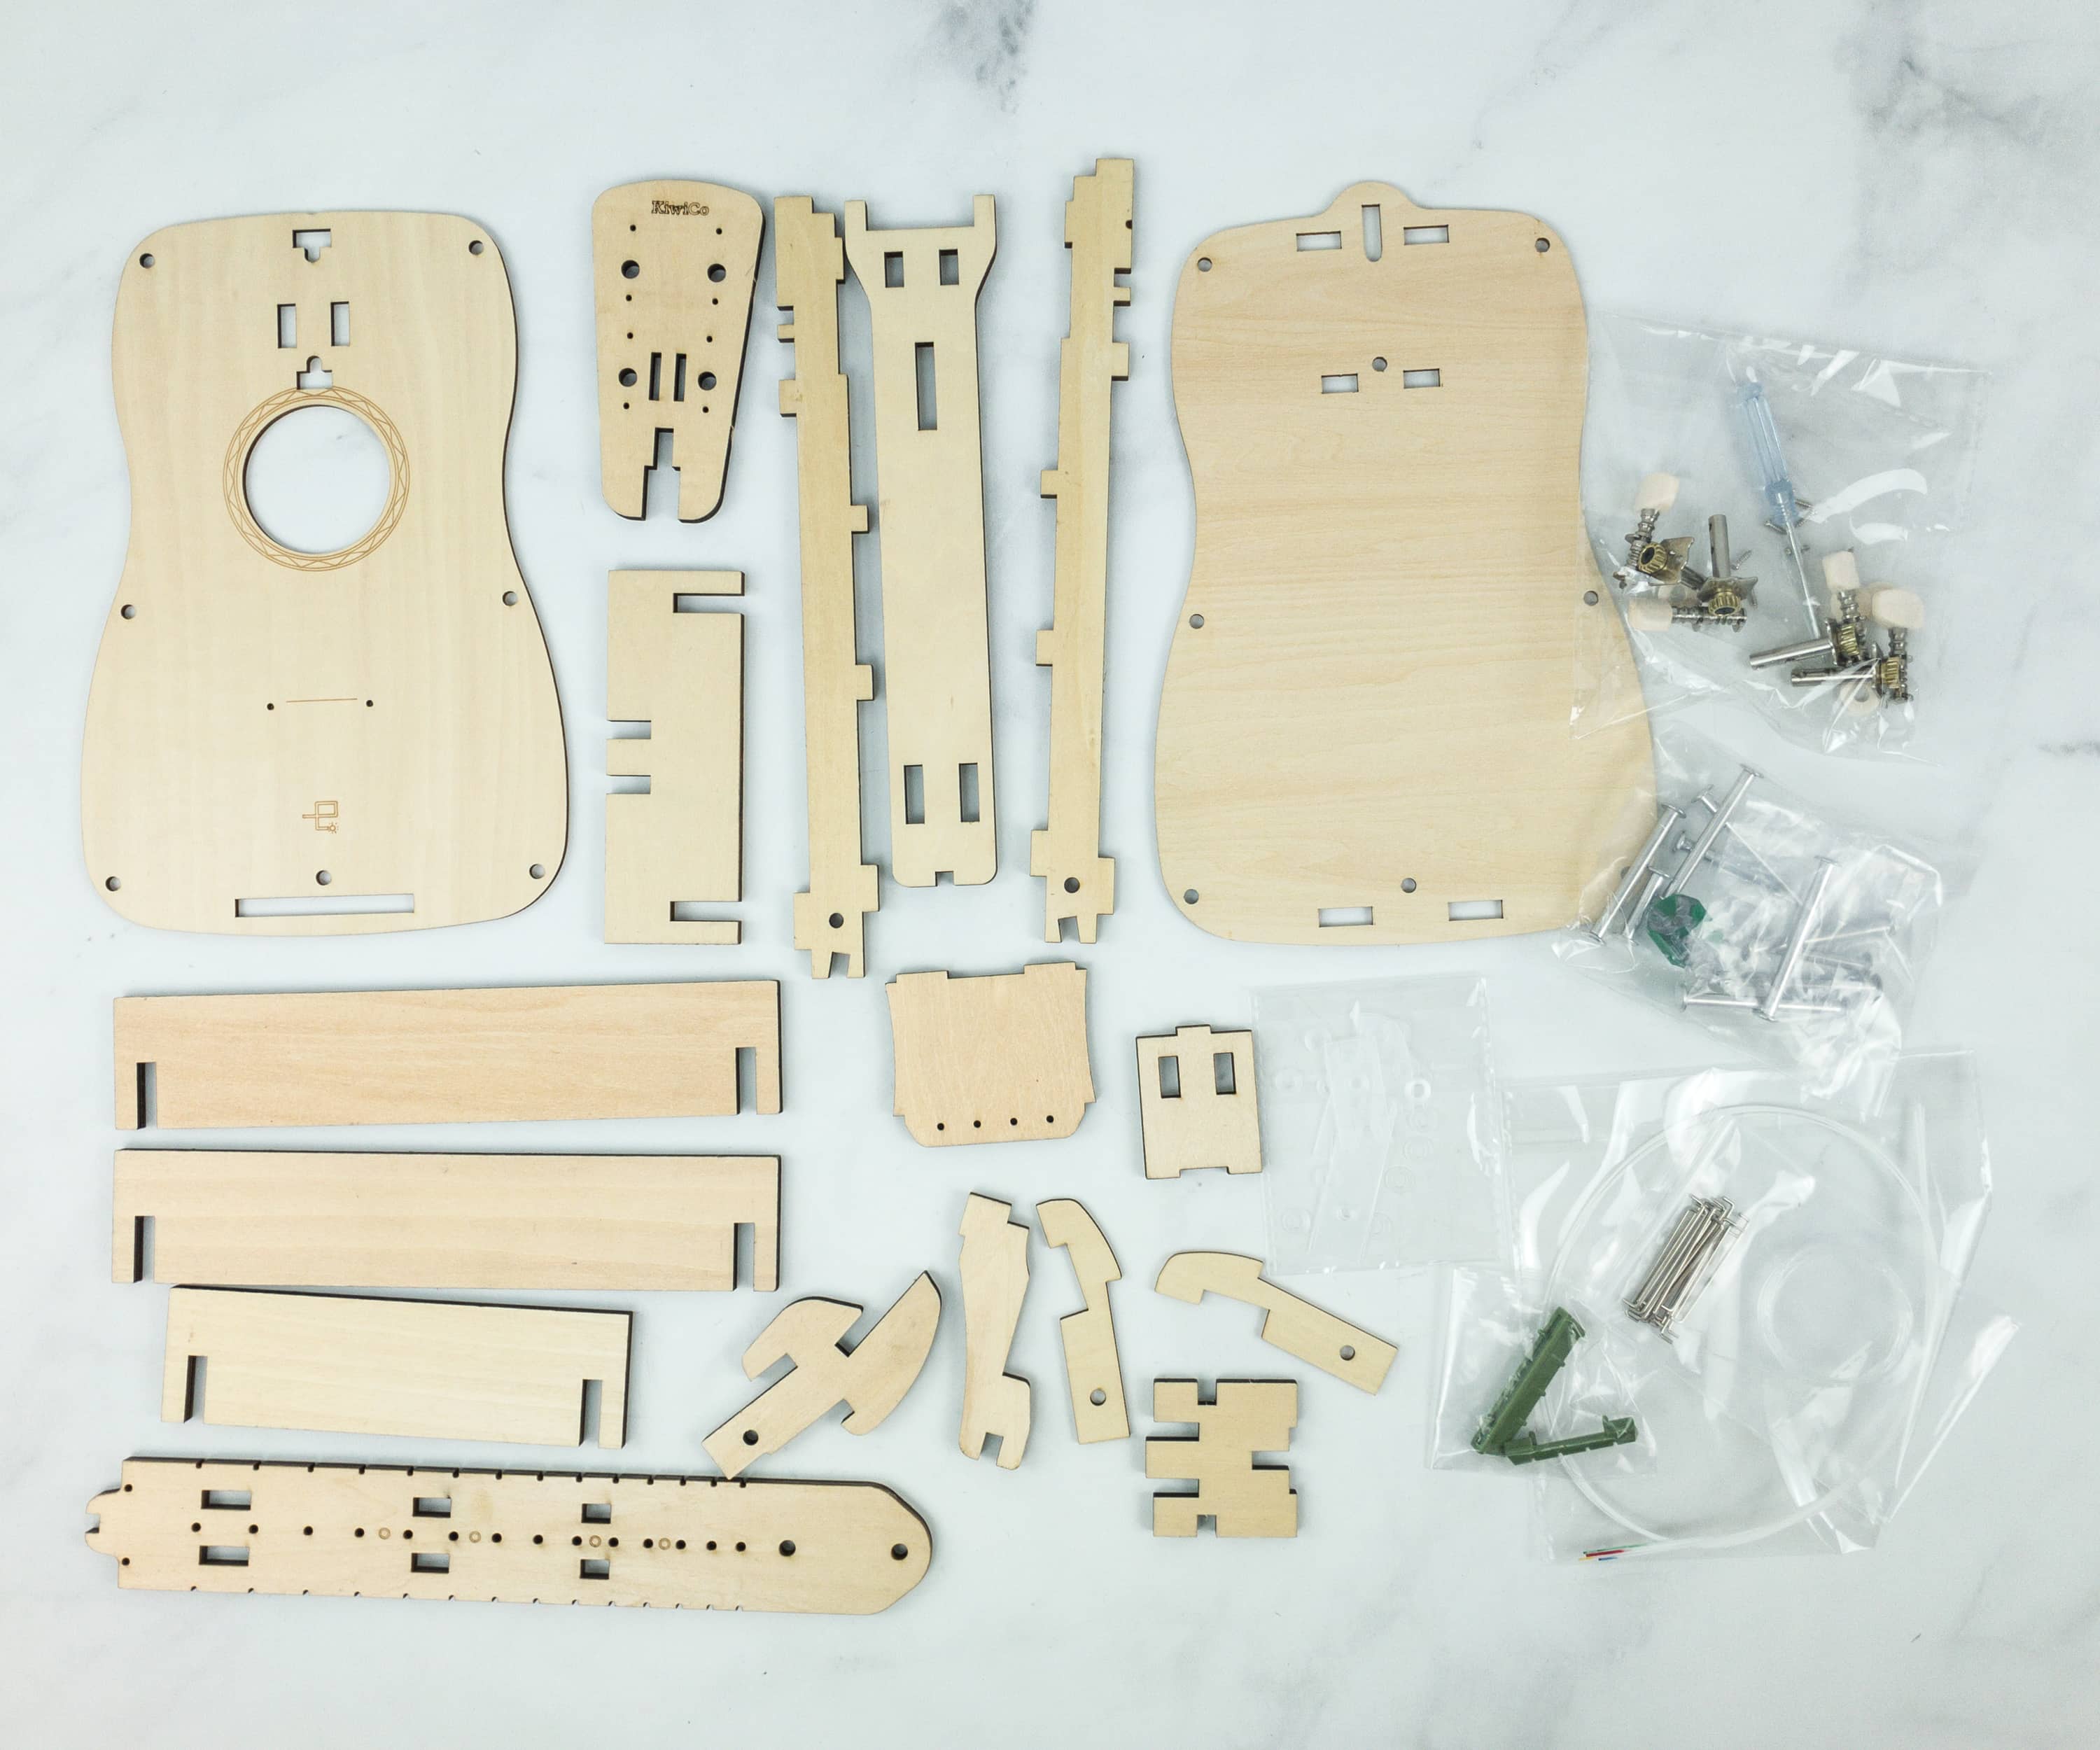
Here are all the materials!
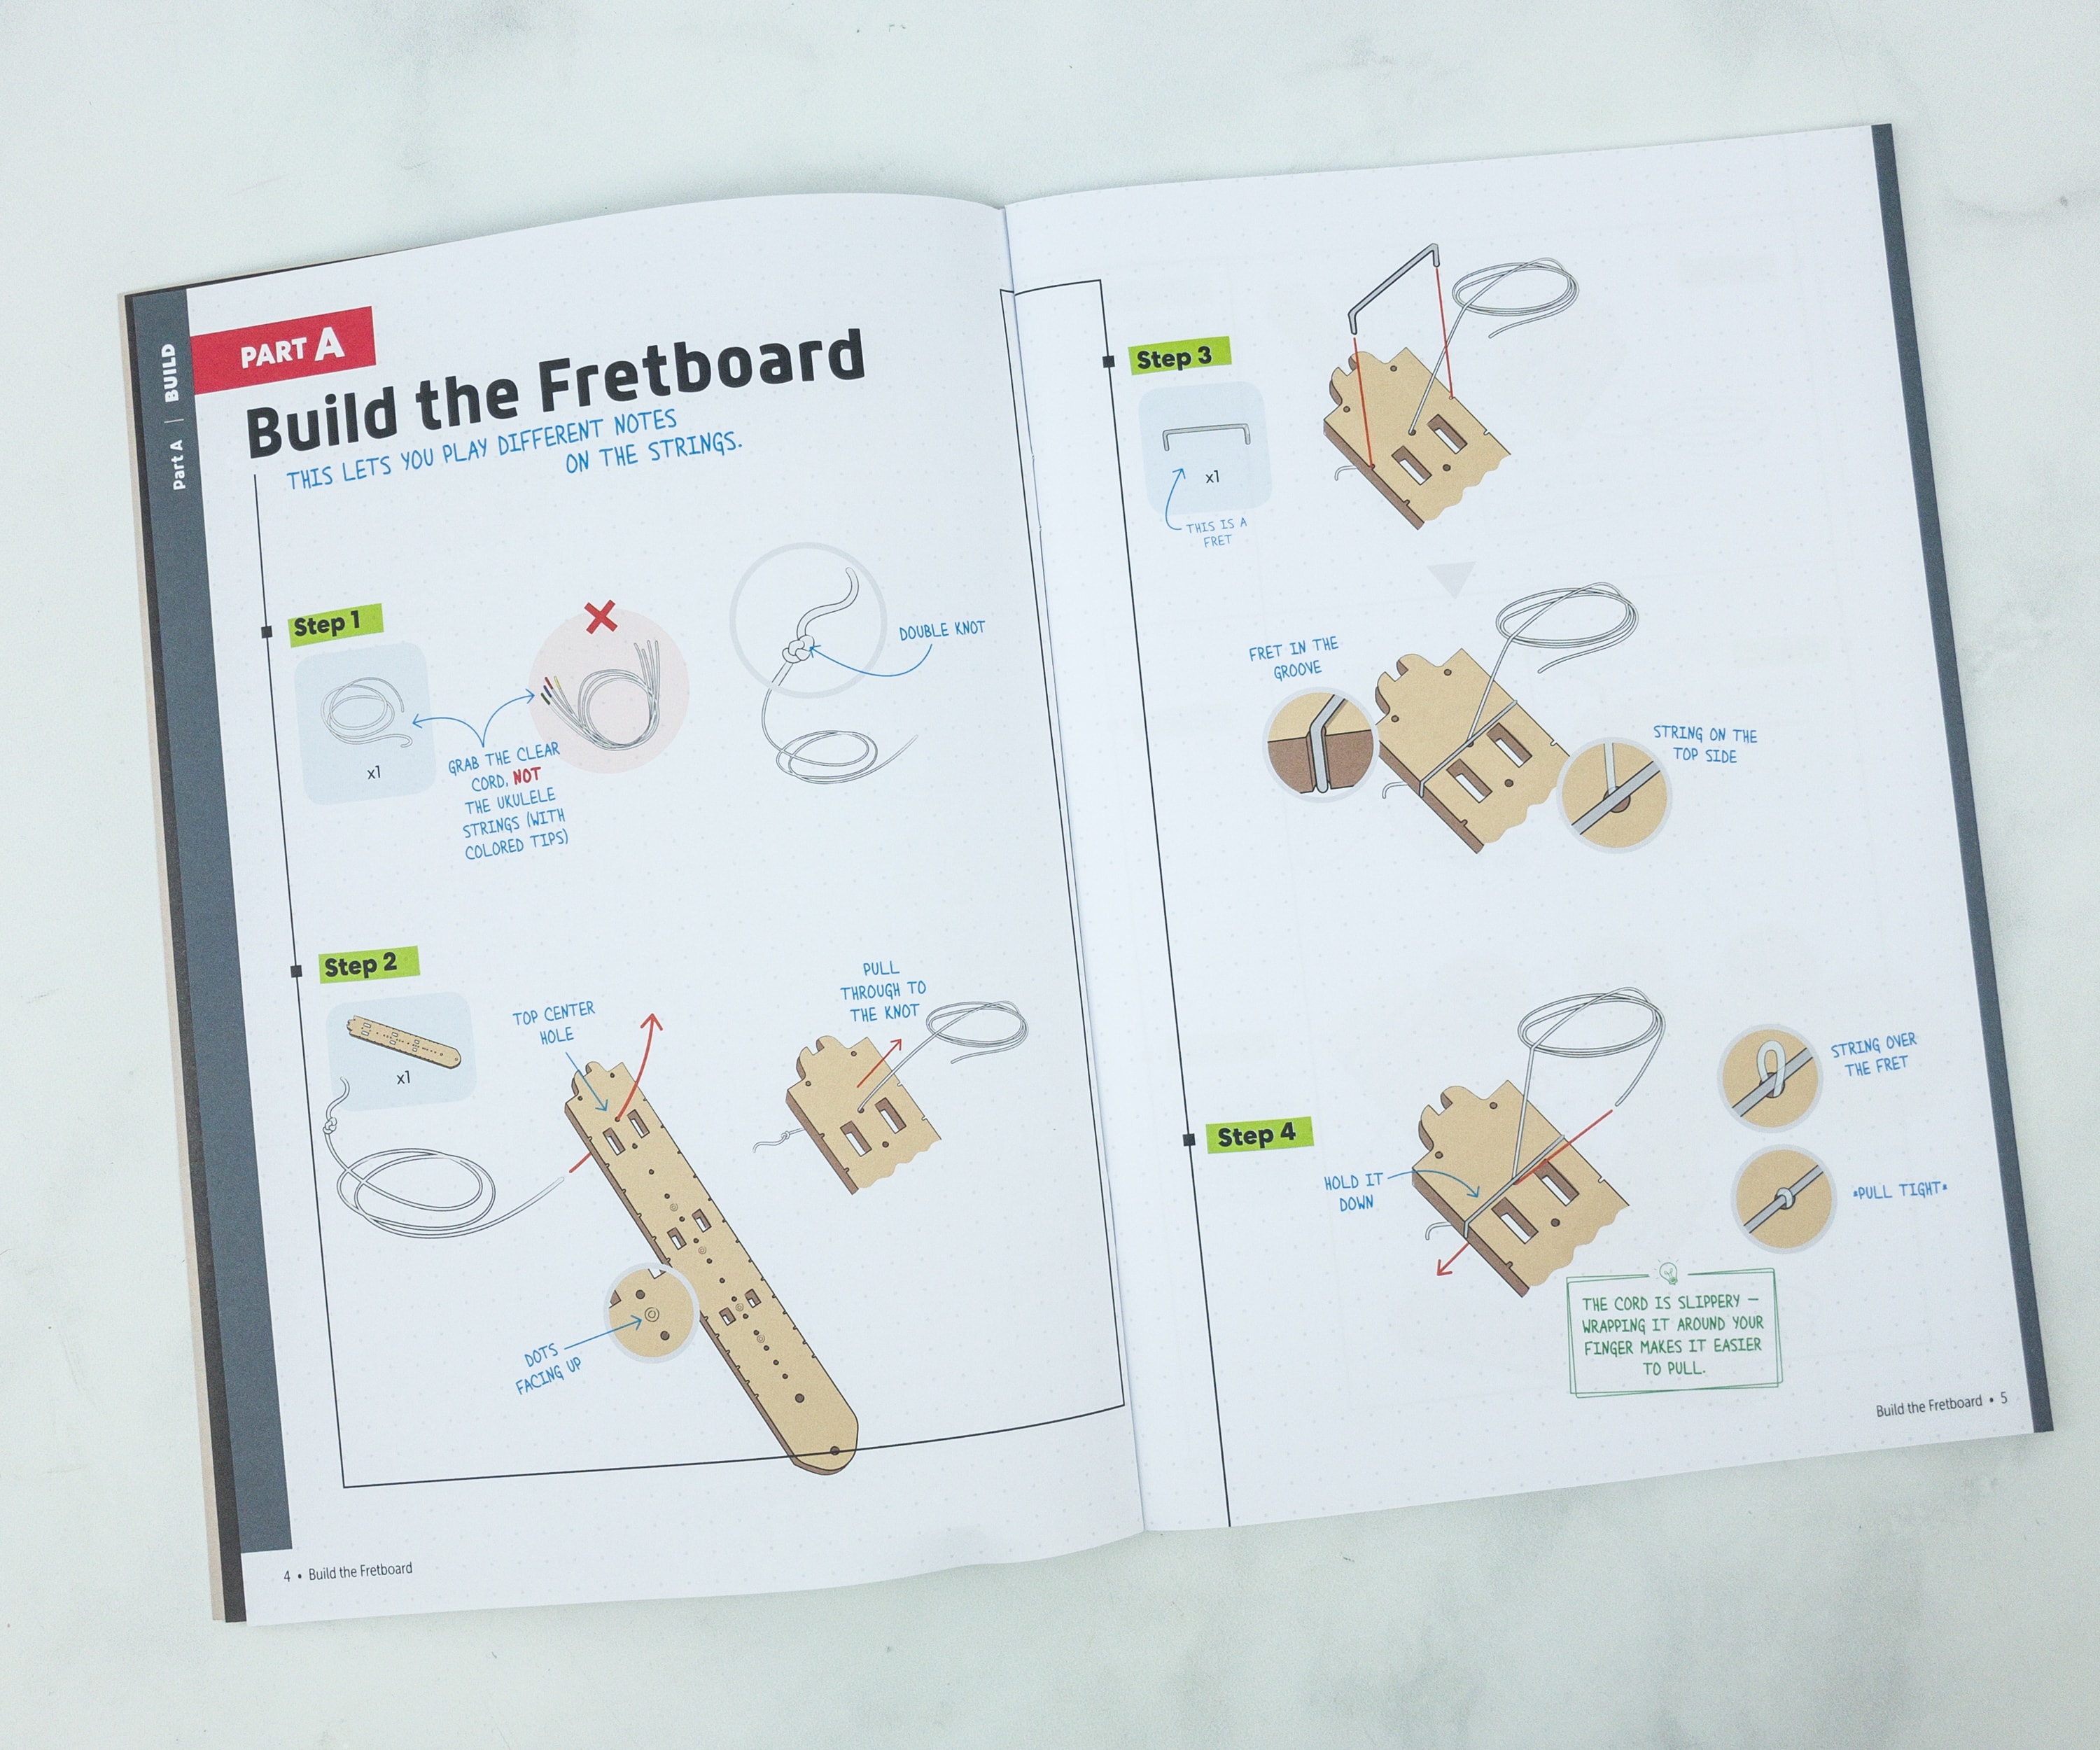
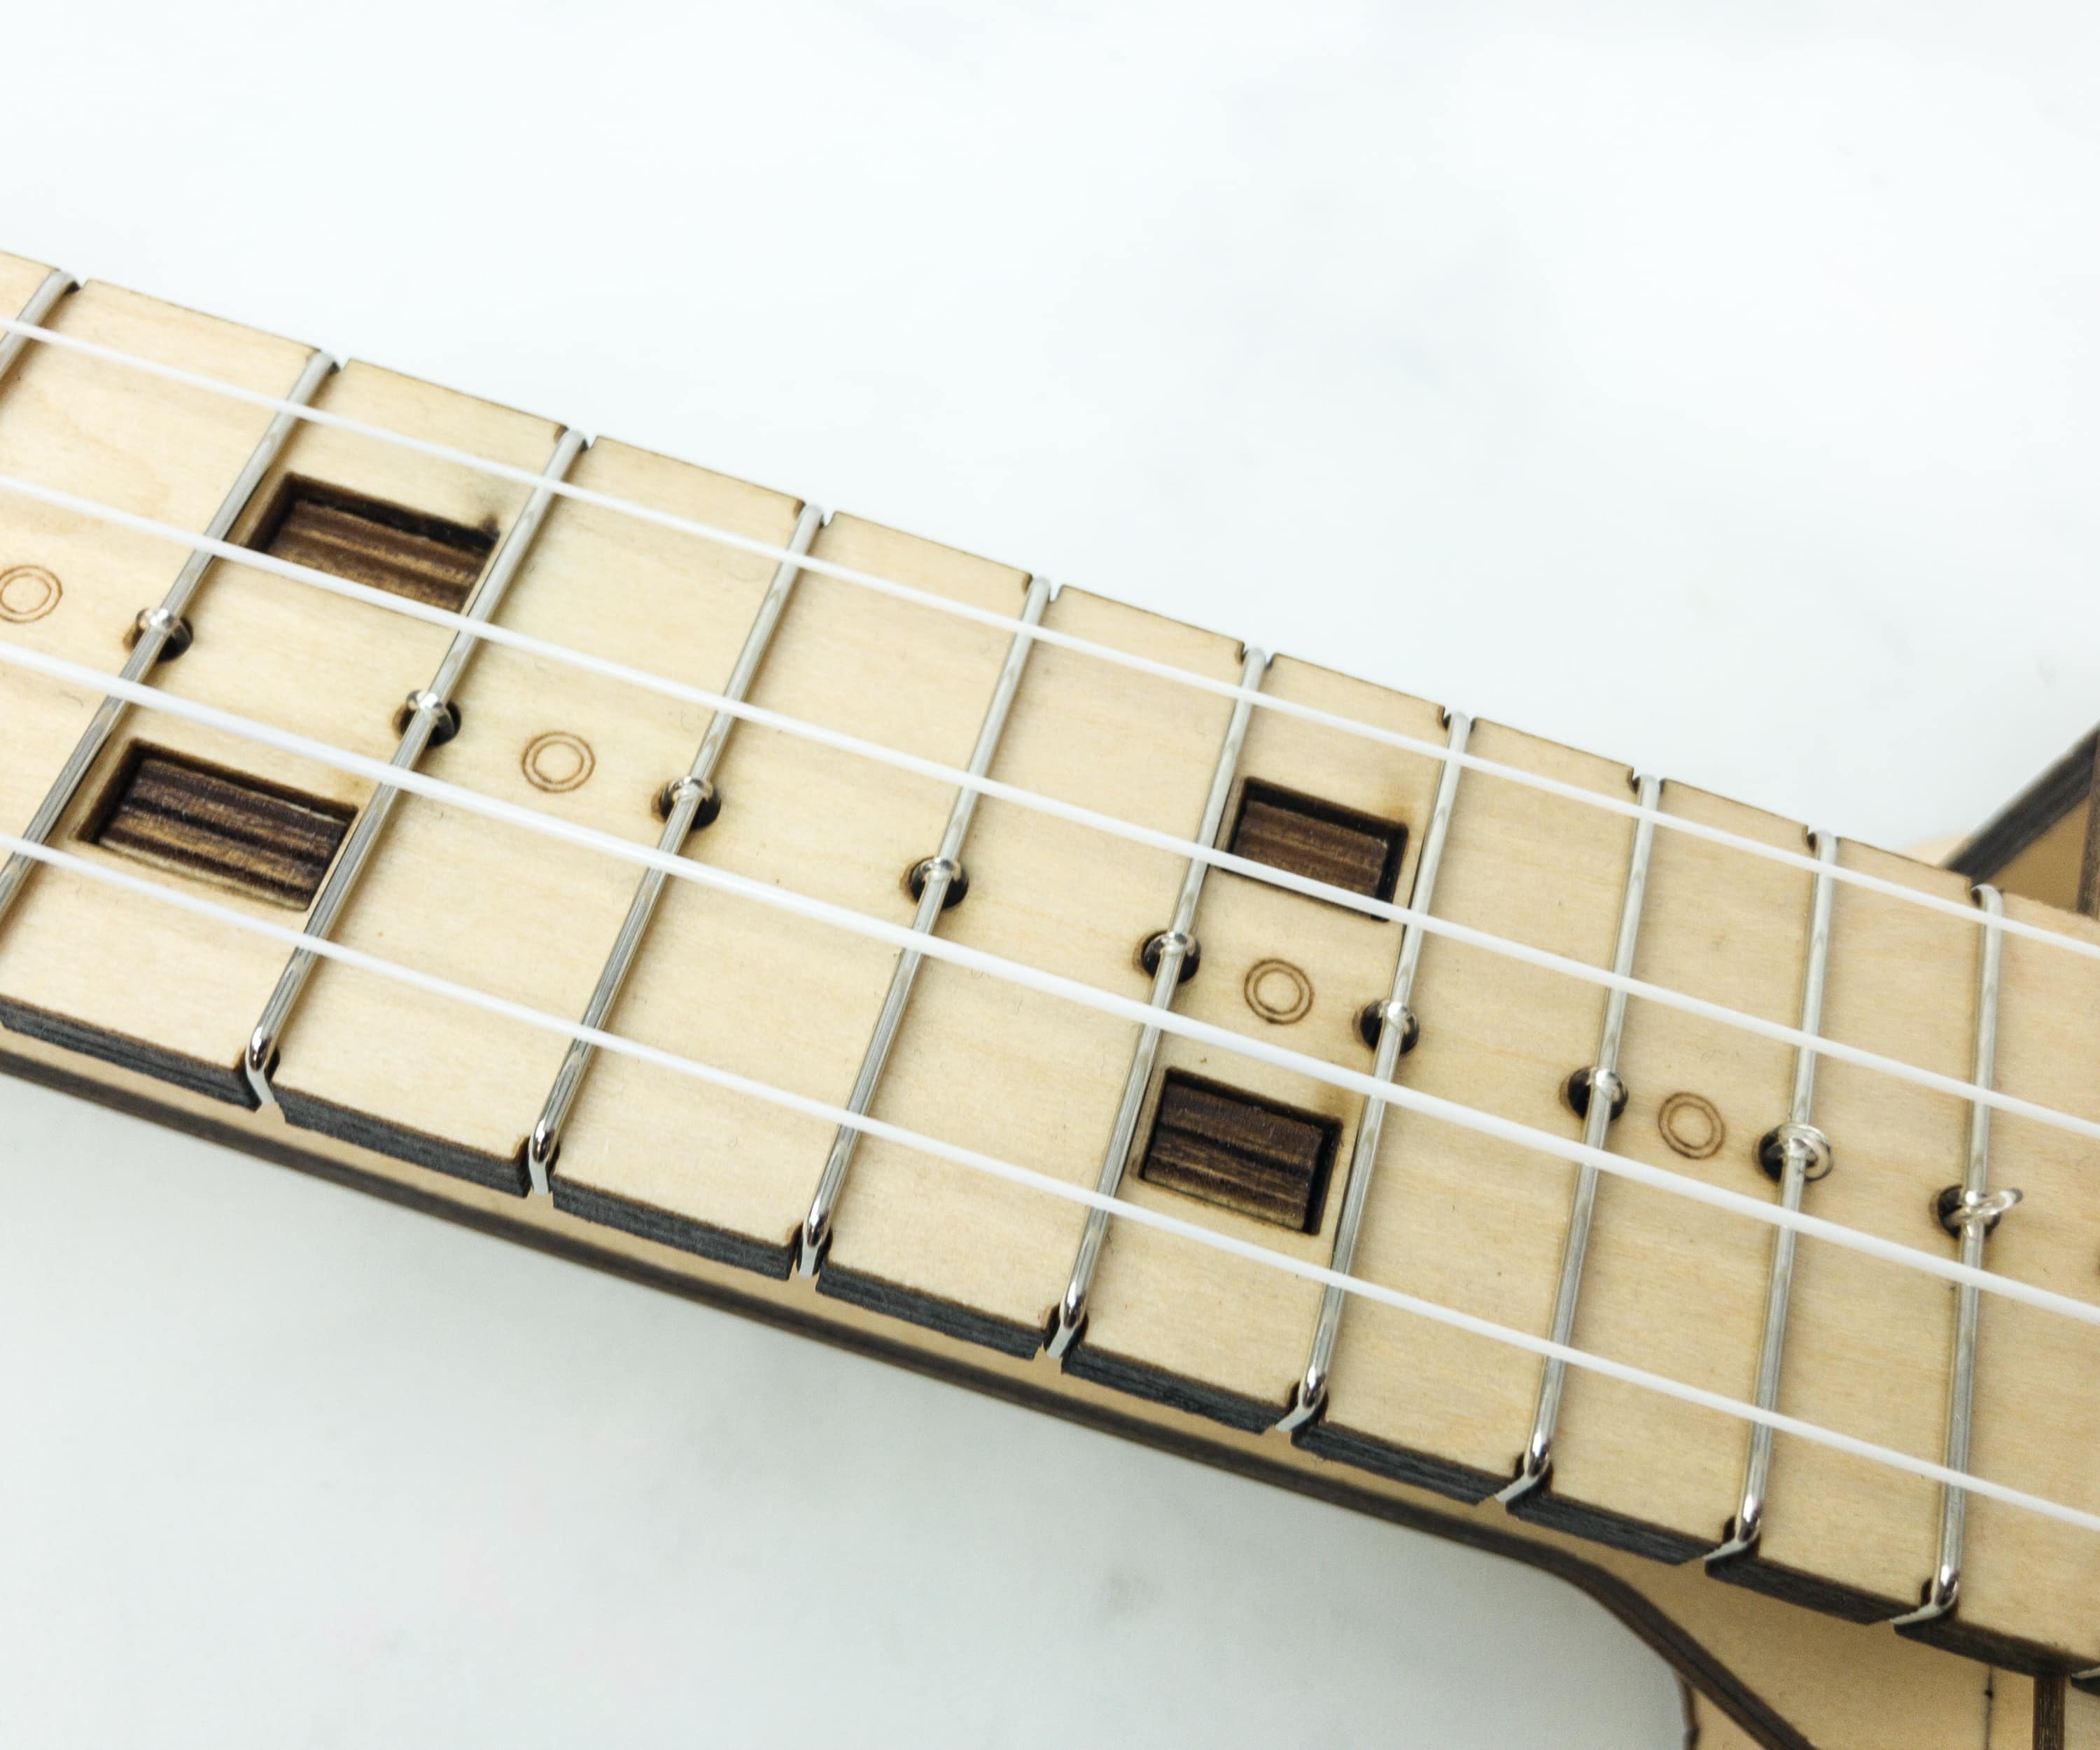
According to the booklet, we’ll start the project by building the fretboard! And as expected, the instructions are clear, well-detailed, and easy to comprehend.
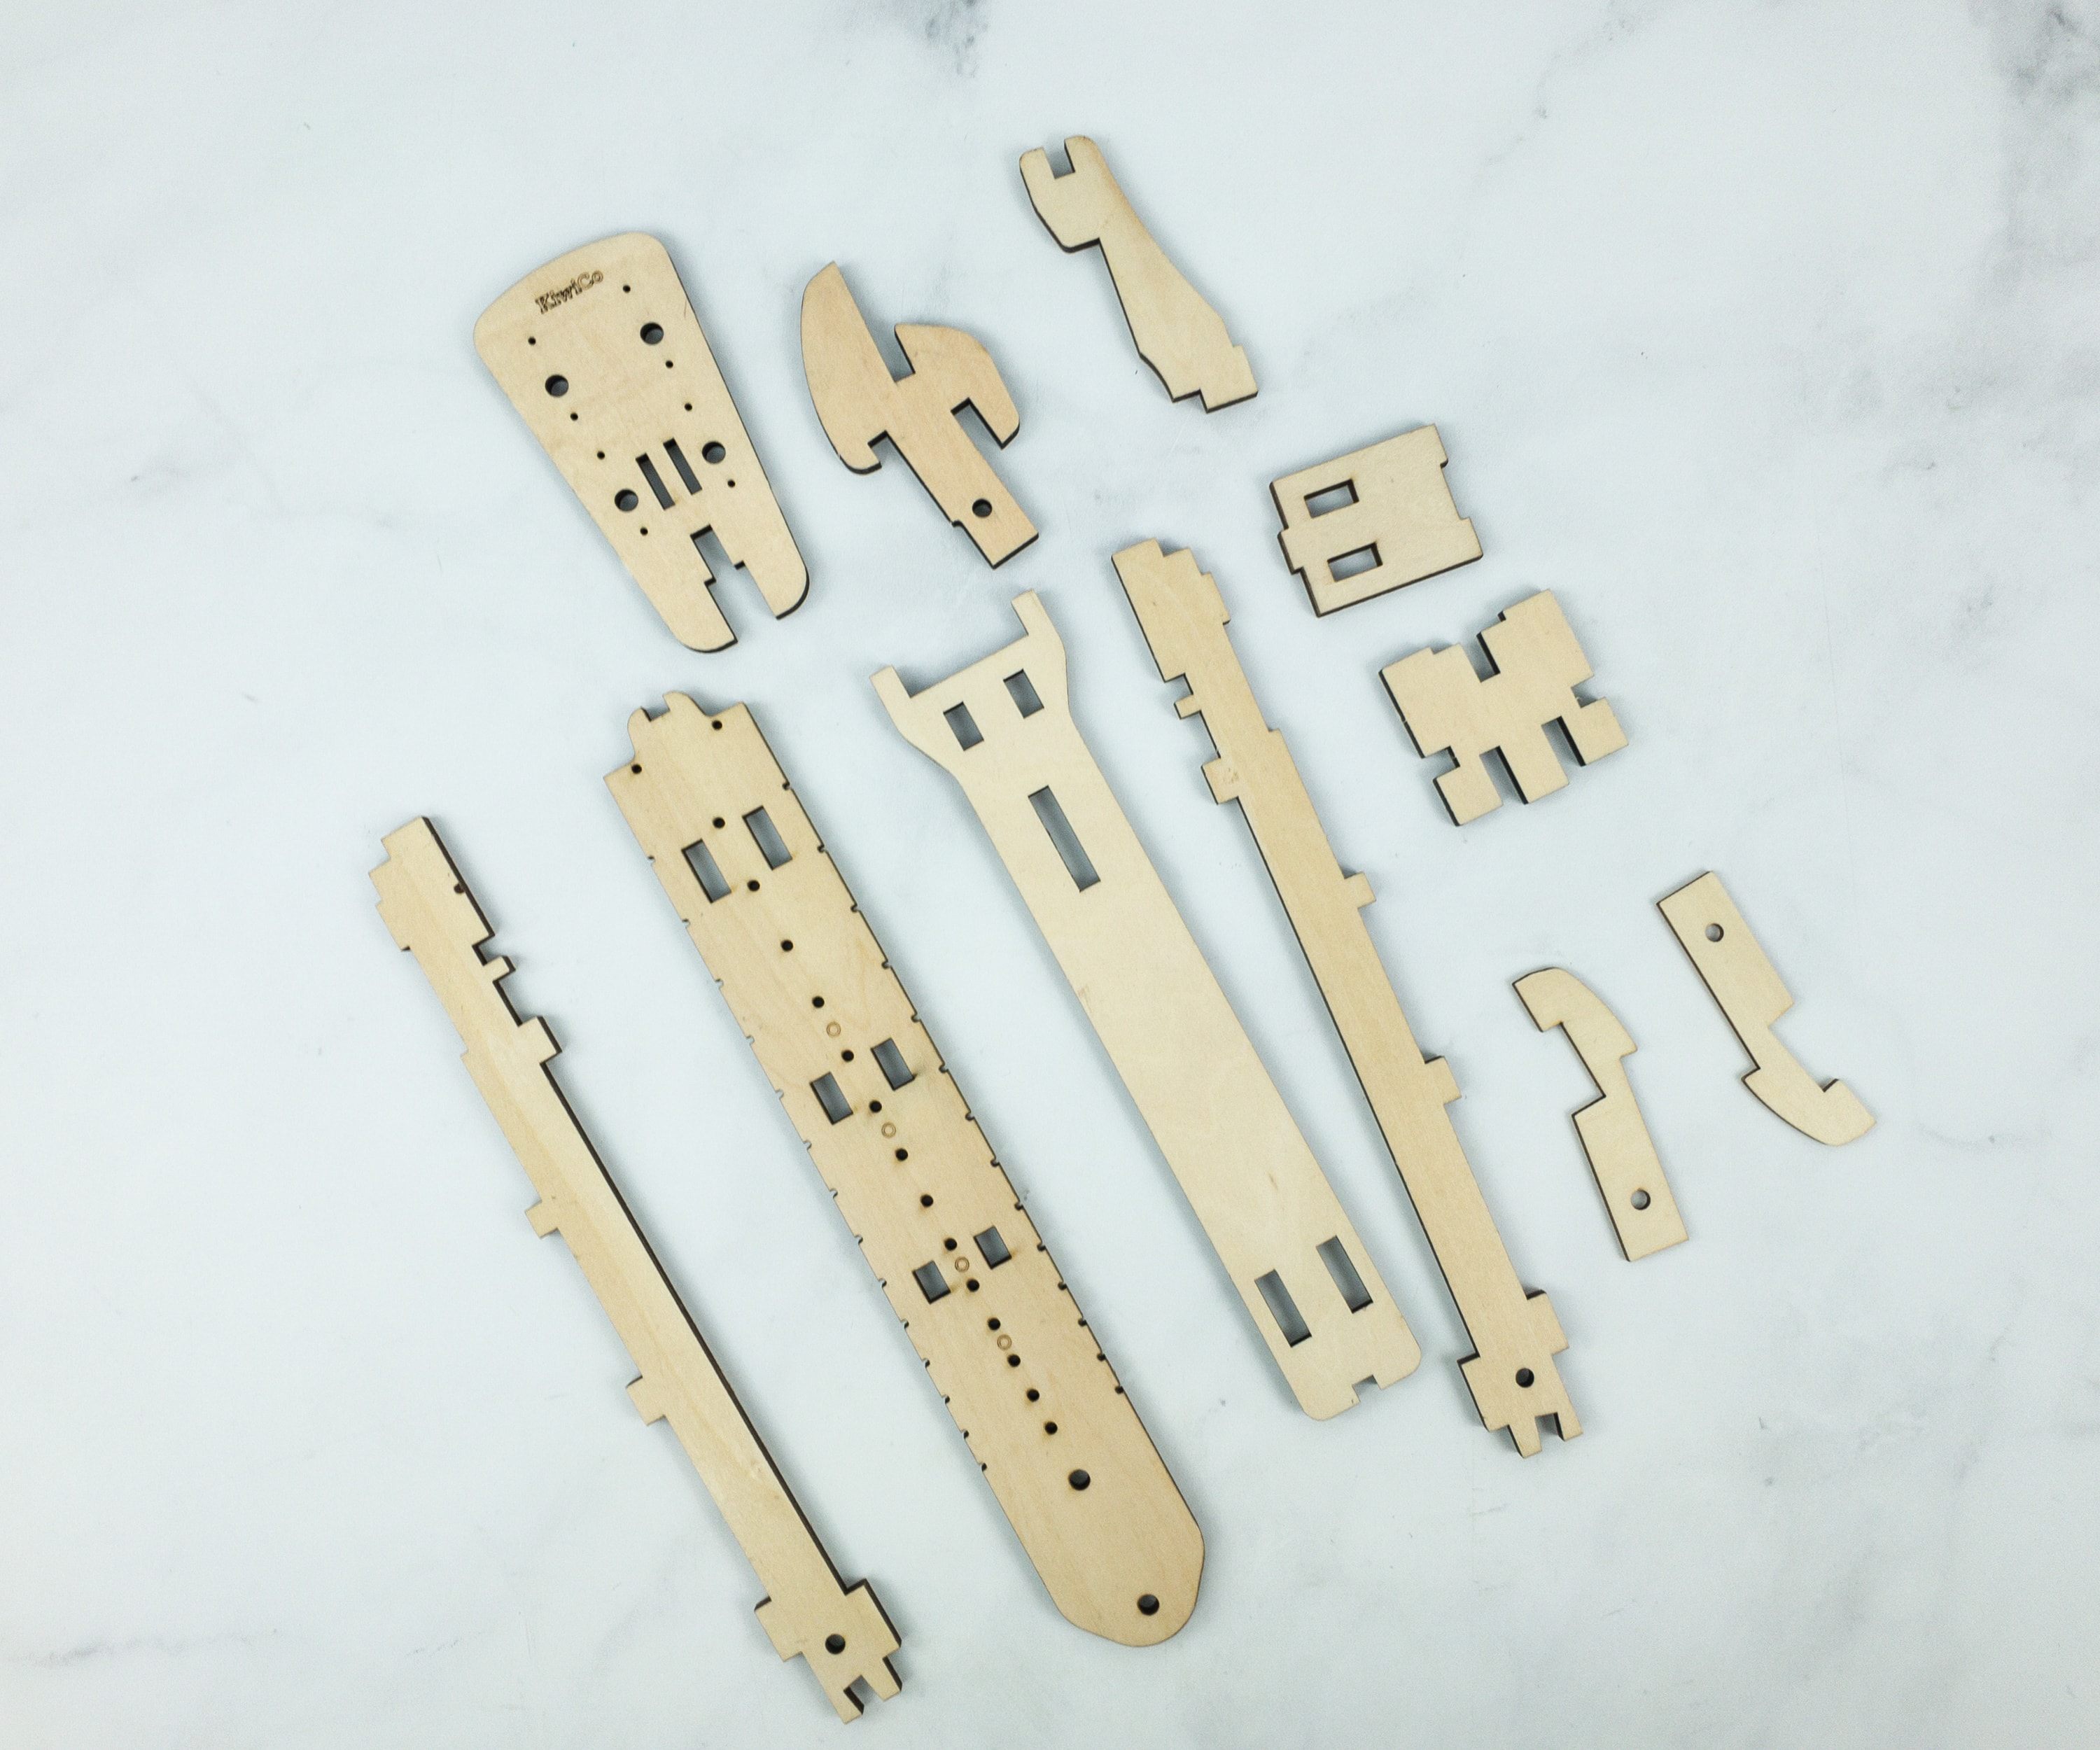
The fretboard is an essential element/part of the ukulele, as it allows you to play the notes and chords to form sounds. It is situated in the anterior side of the ukulele neck. These wood pieces will serve as the ukulele’s fretboard.
Preparing of the fretboard will definitely take time, it has no shortcuts and the fastest way is to follow the instruction carefully and properly.
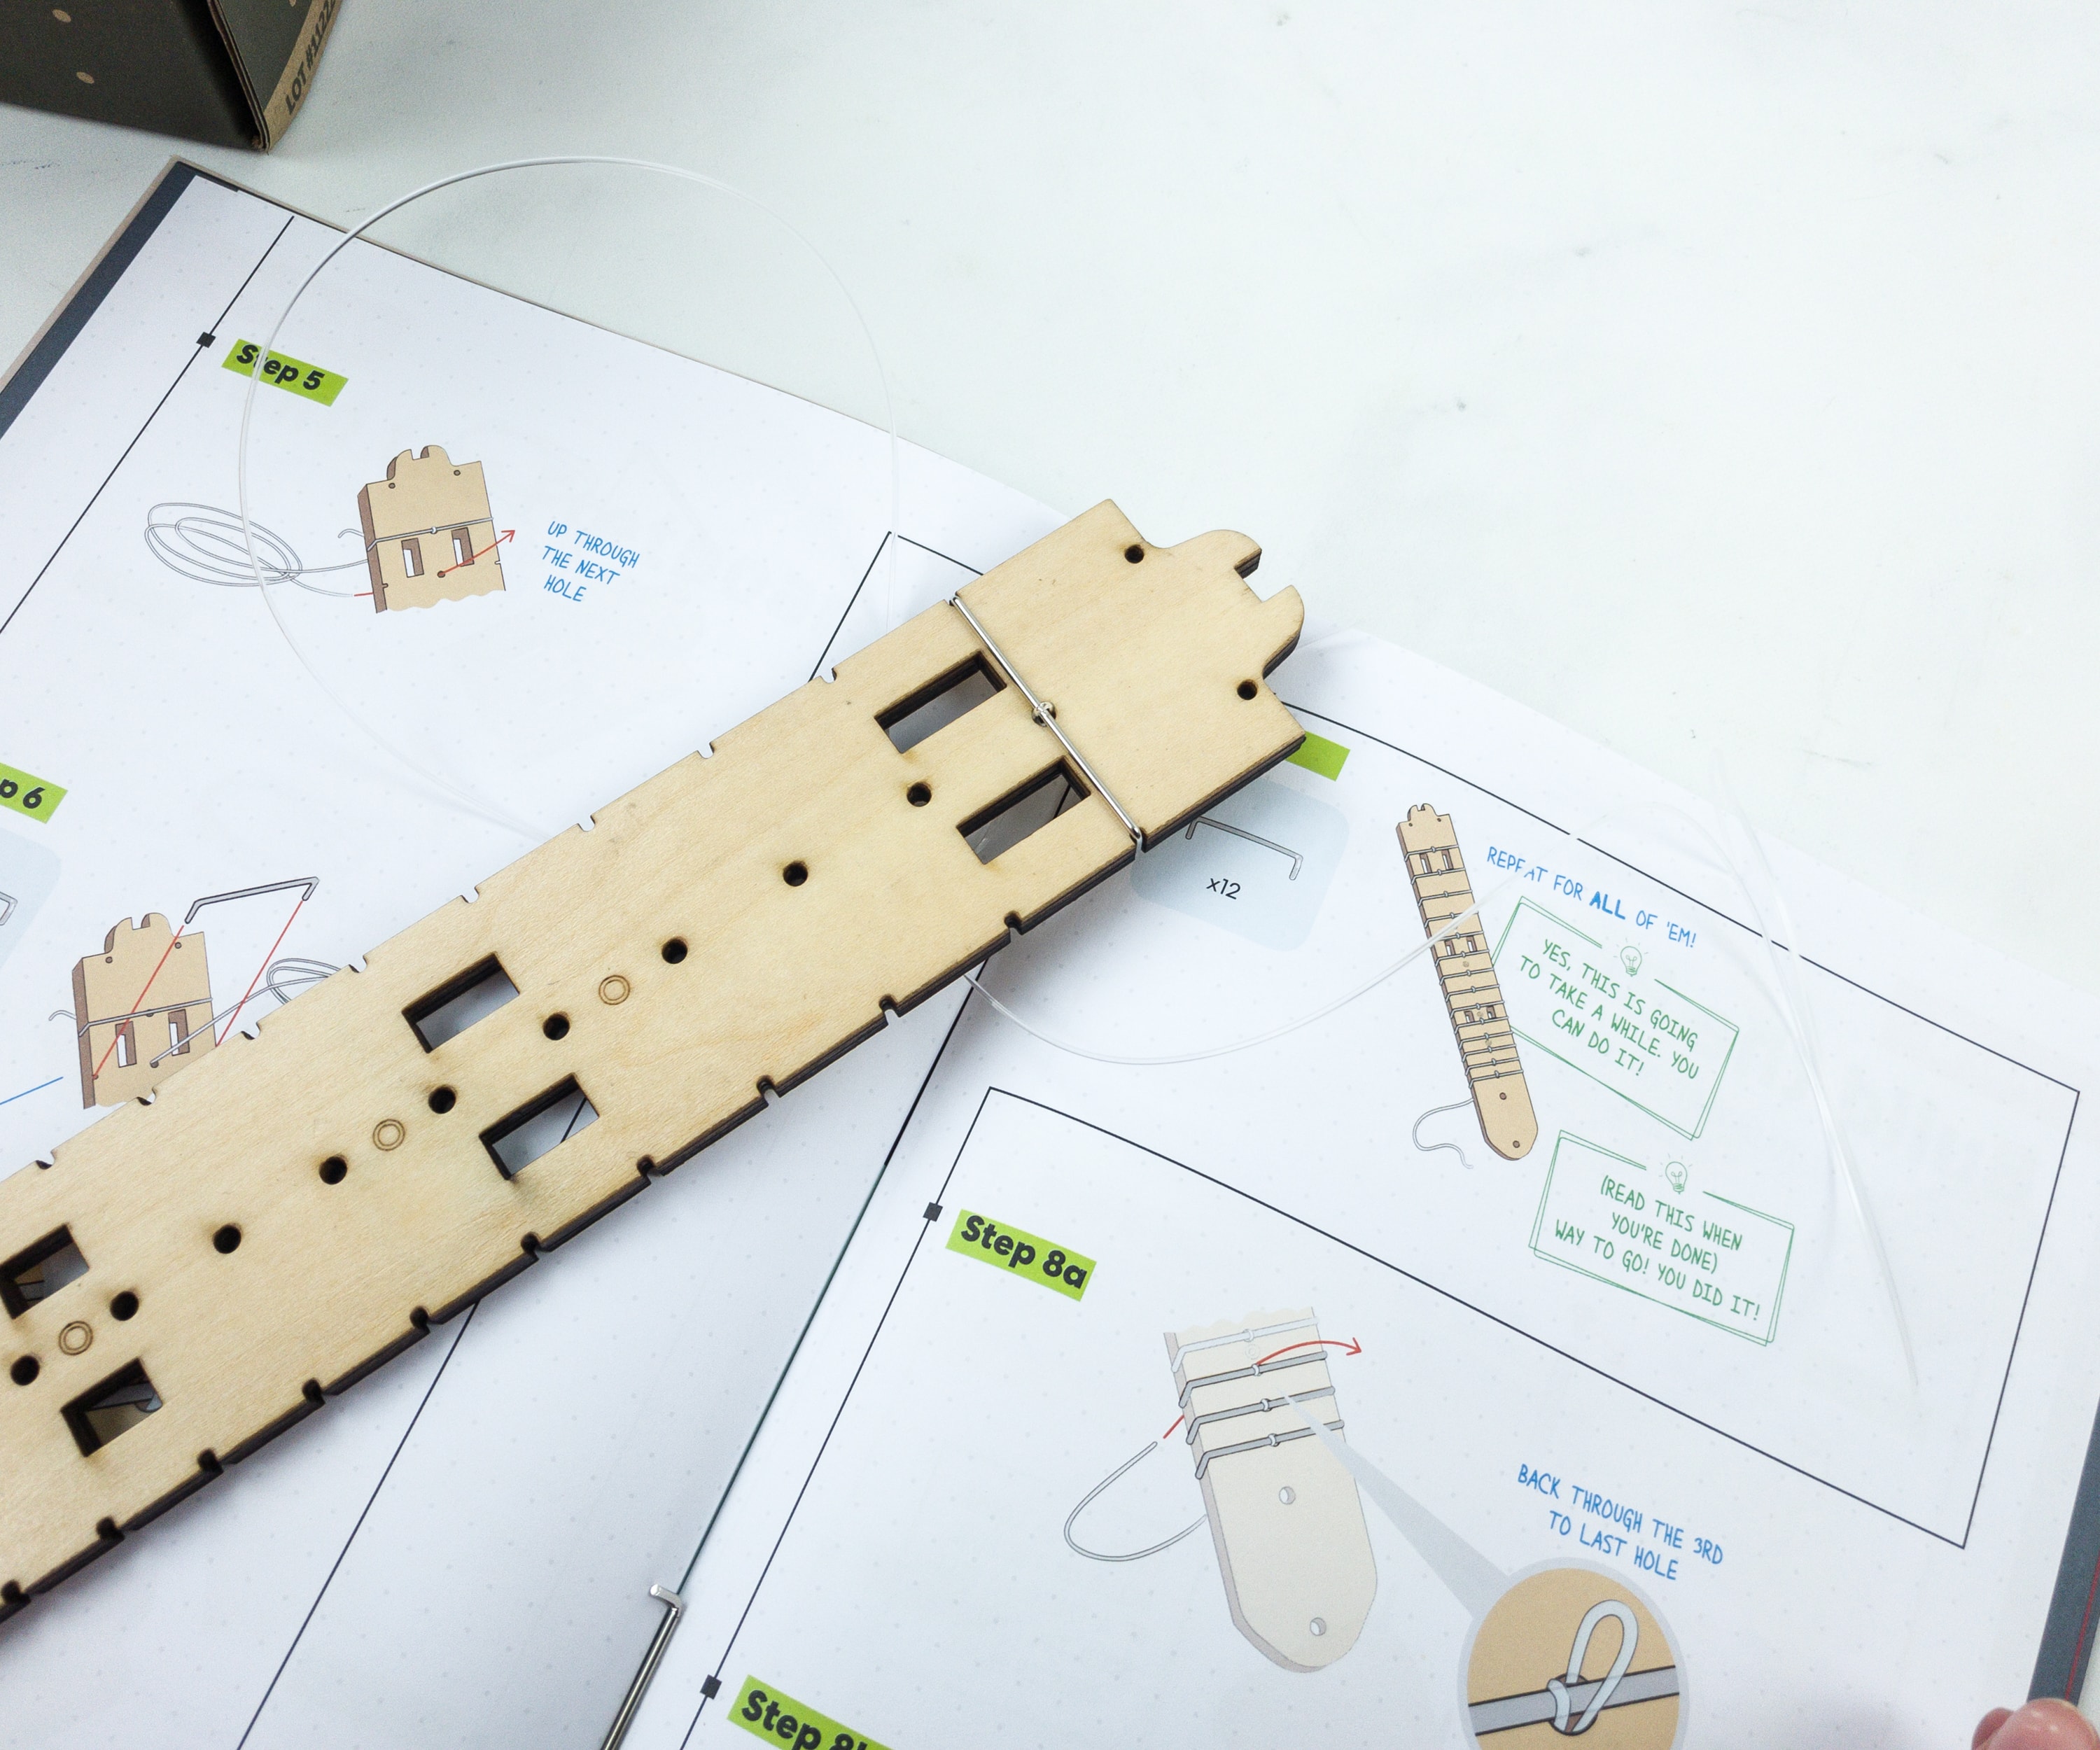
Put the fret bars on their designated places, knot it in the middle using the strings provided, and lock it in by pulling it tightly and connect to the other middle hole.
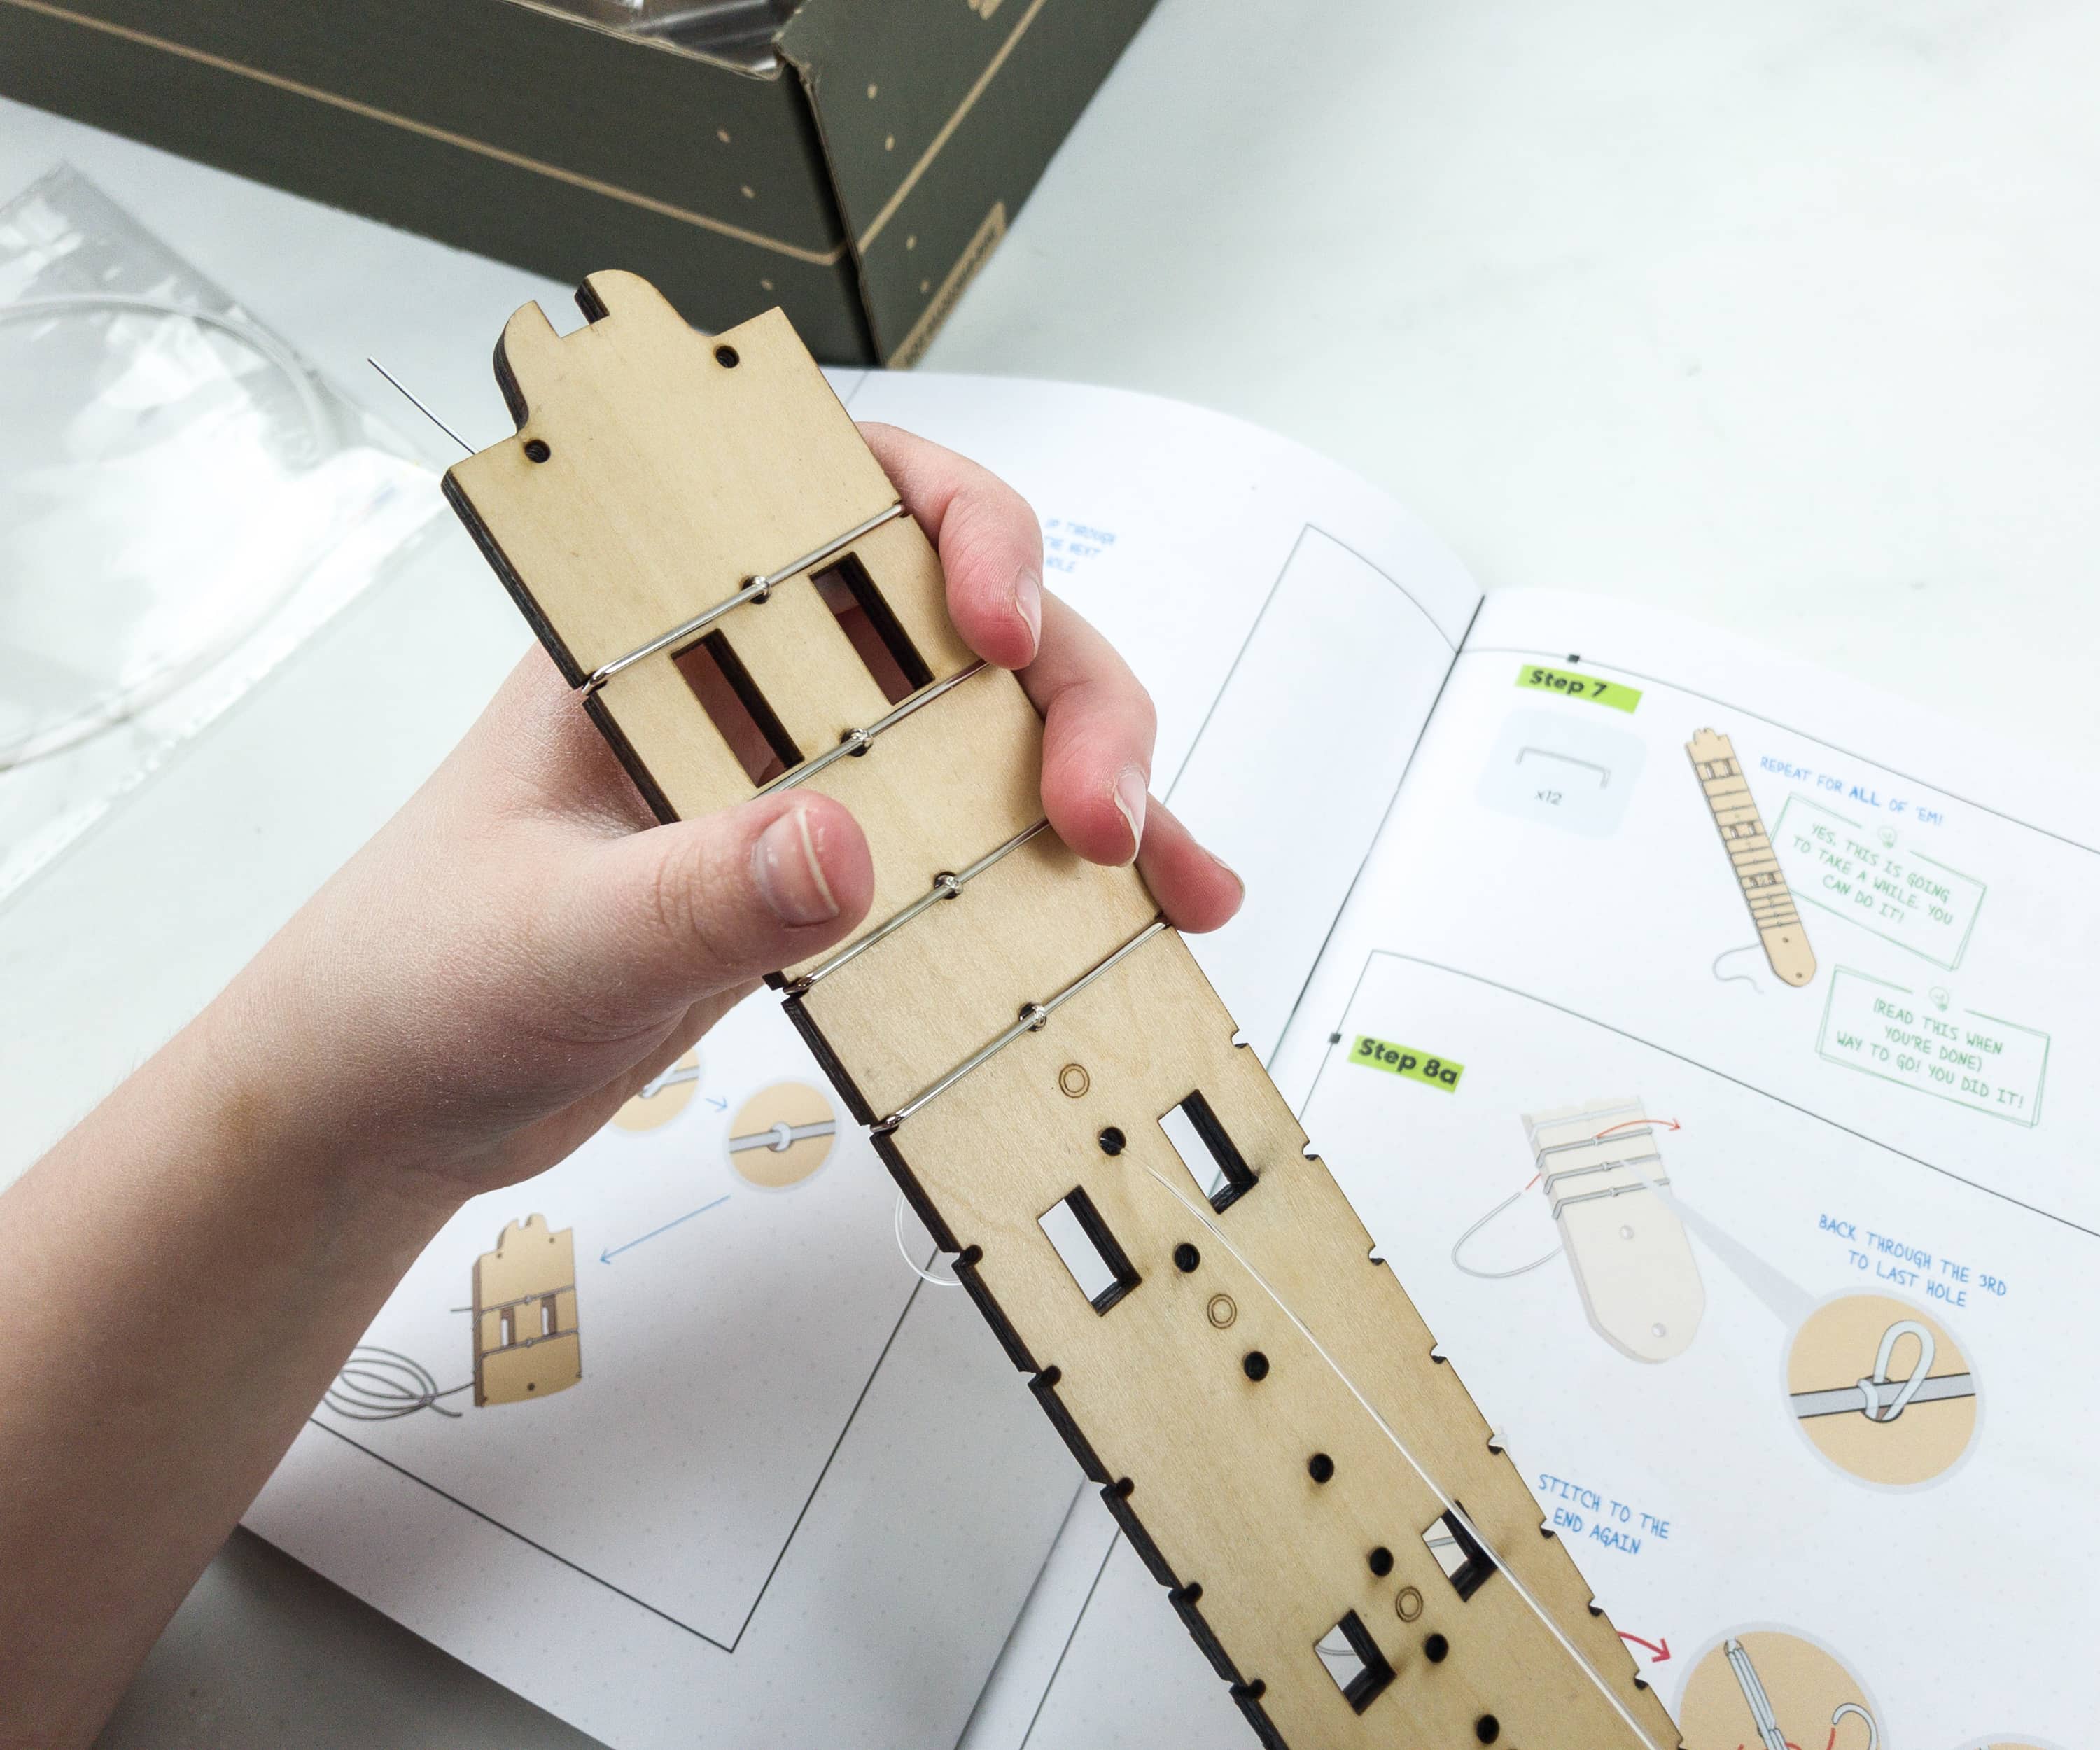
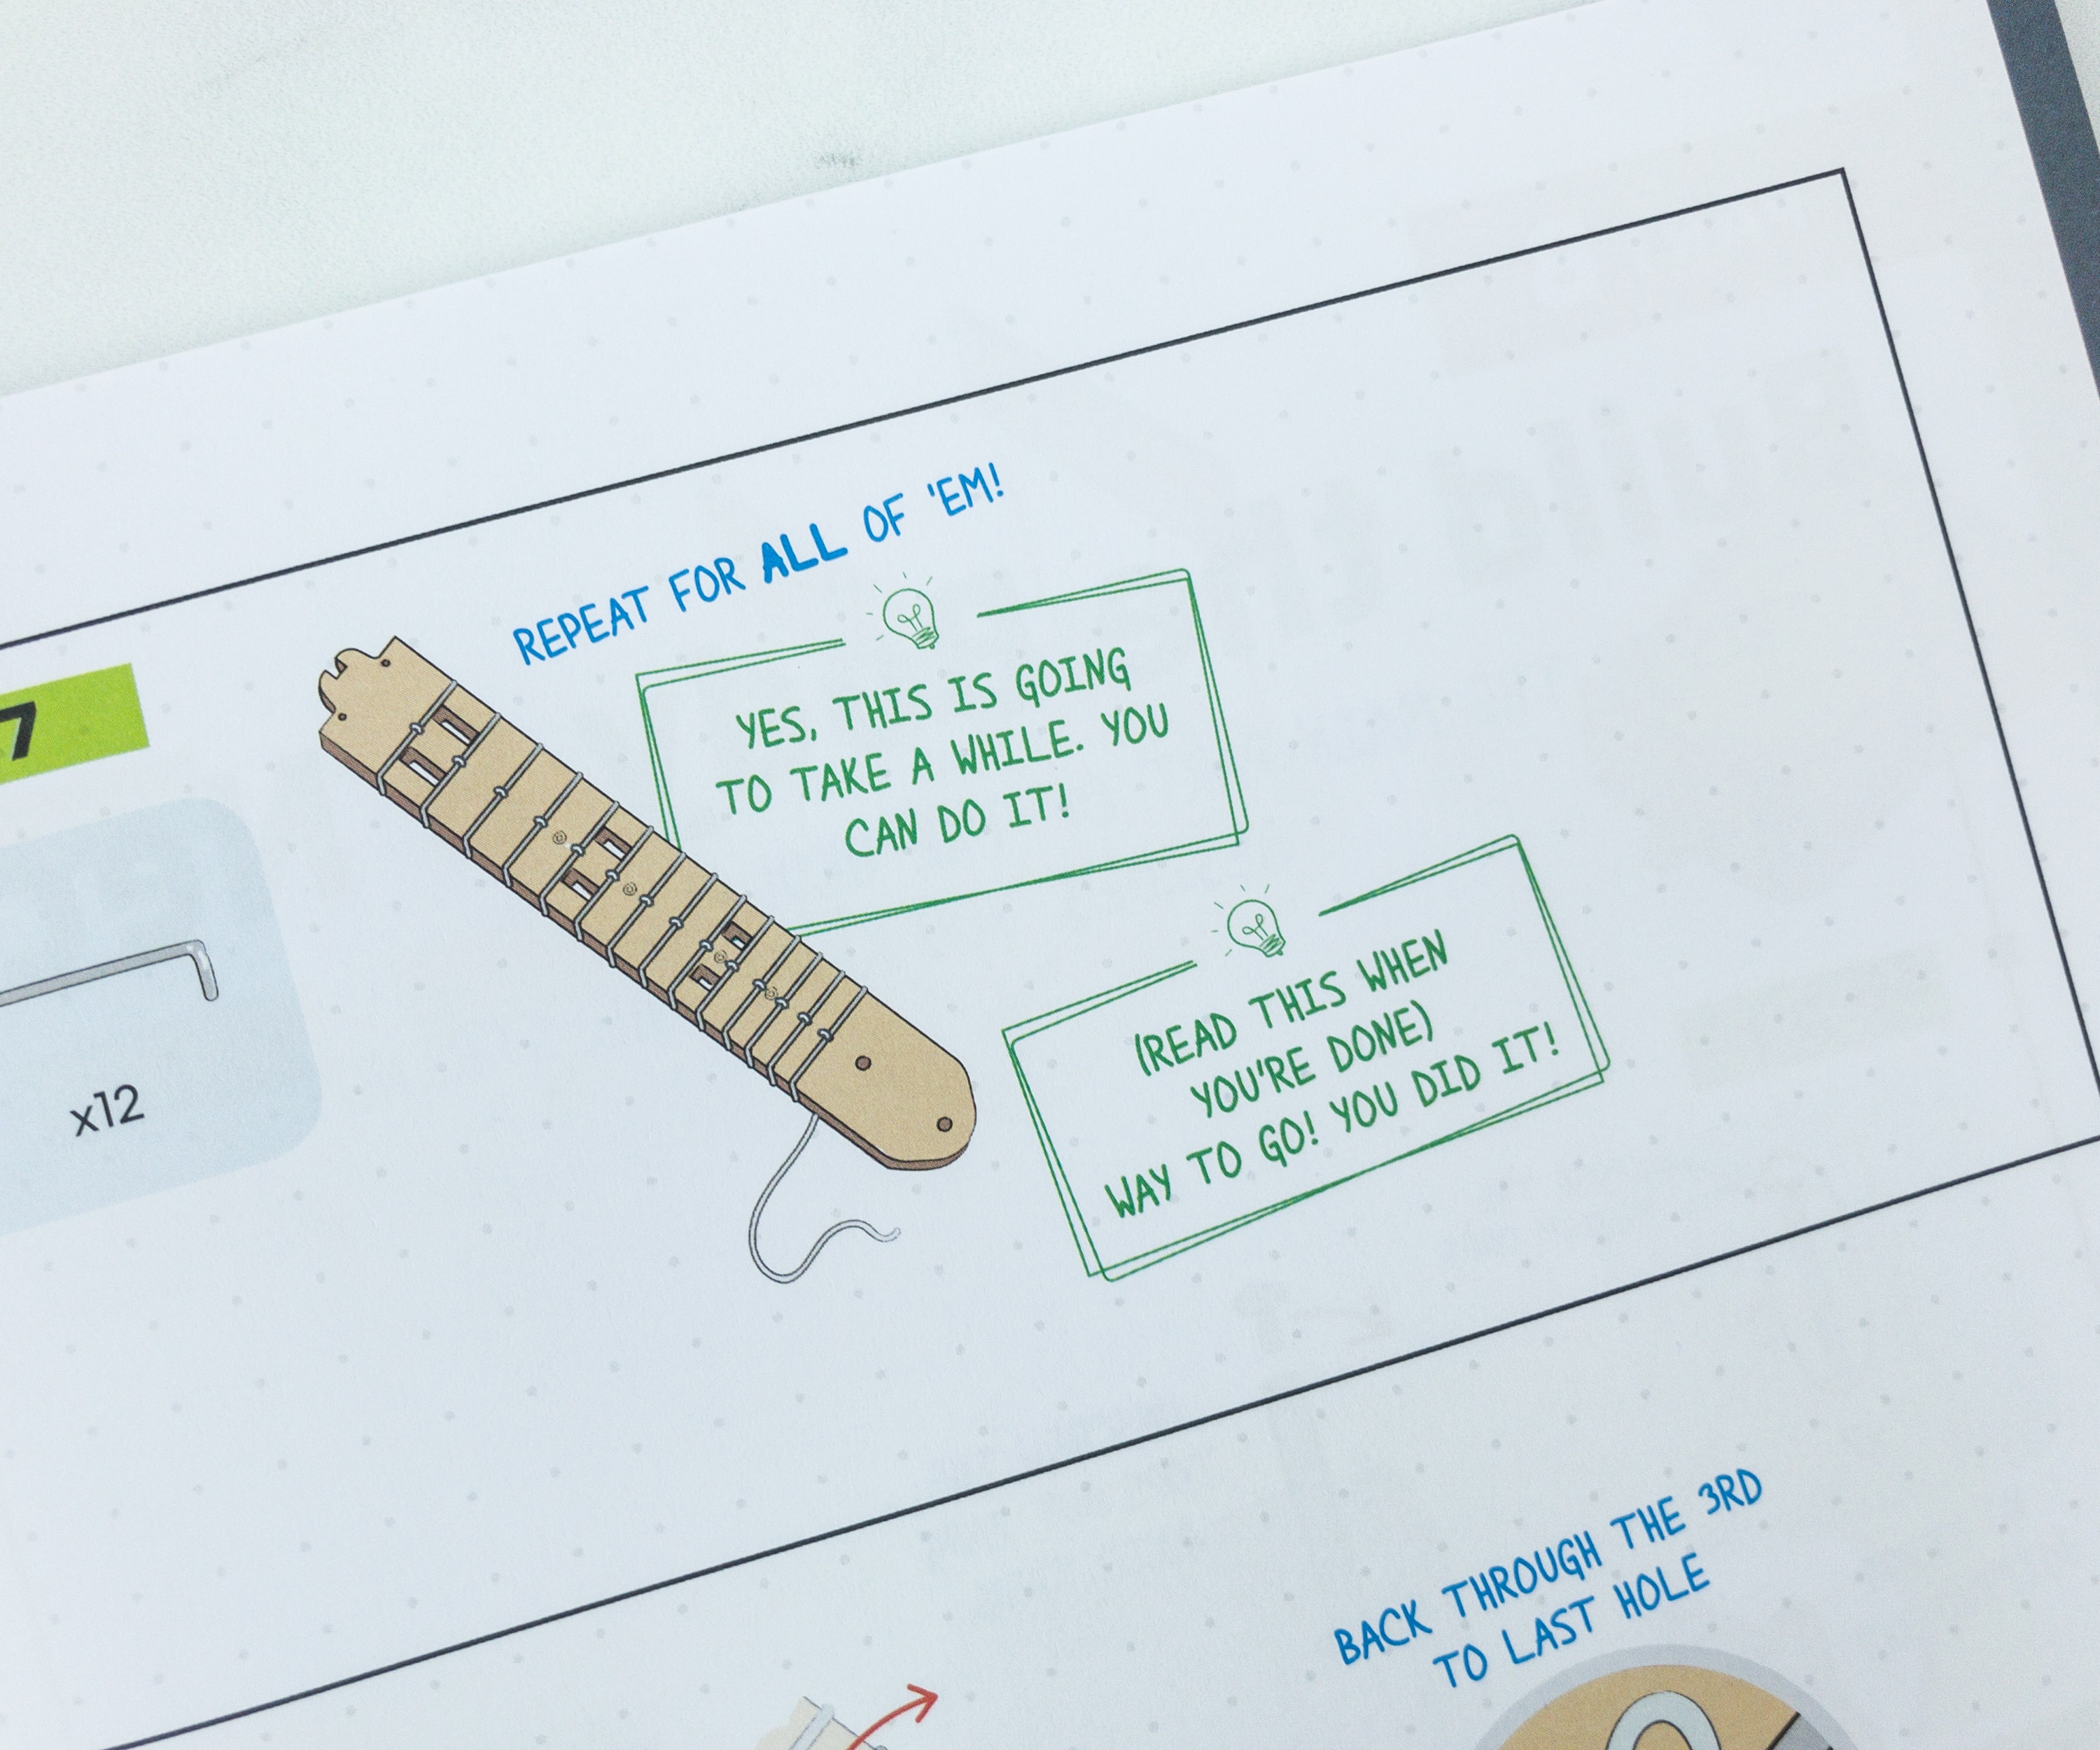
Repeat this procedure on every designated fret.
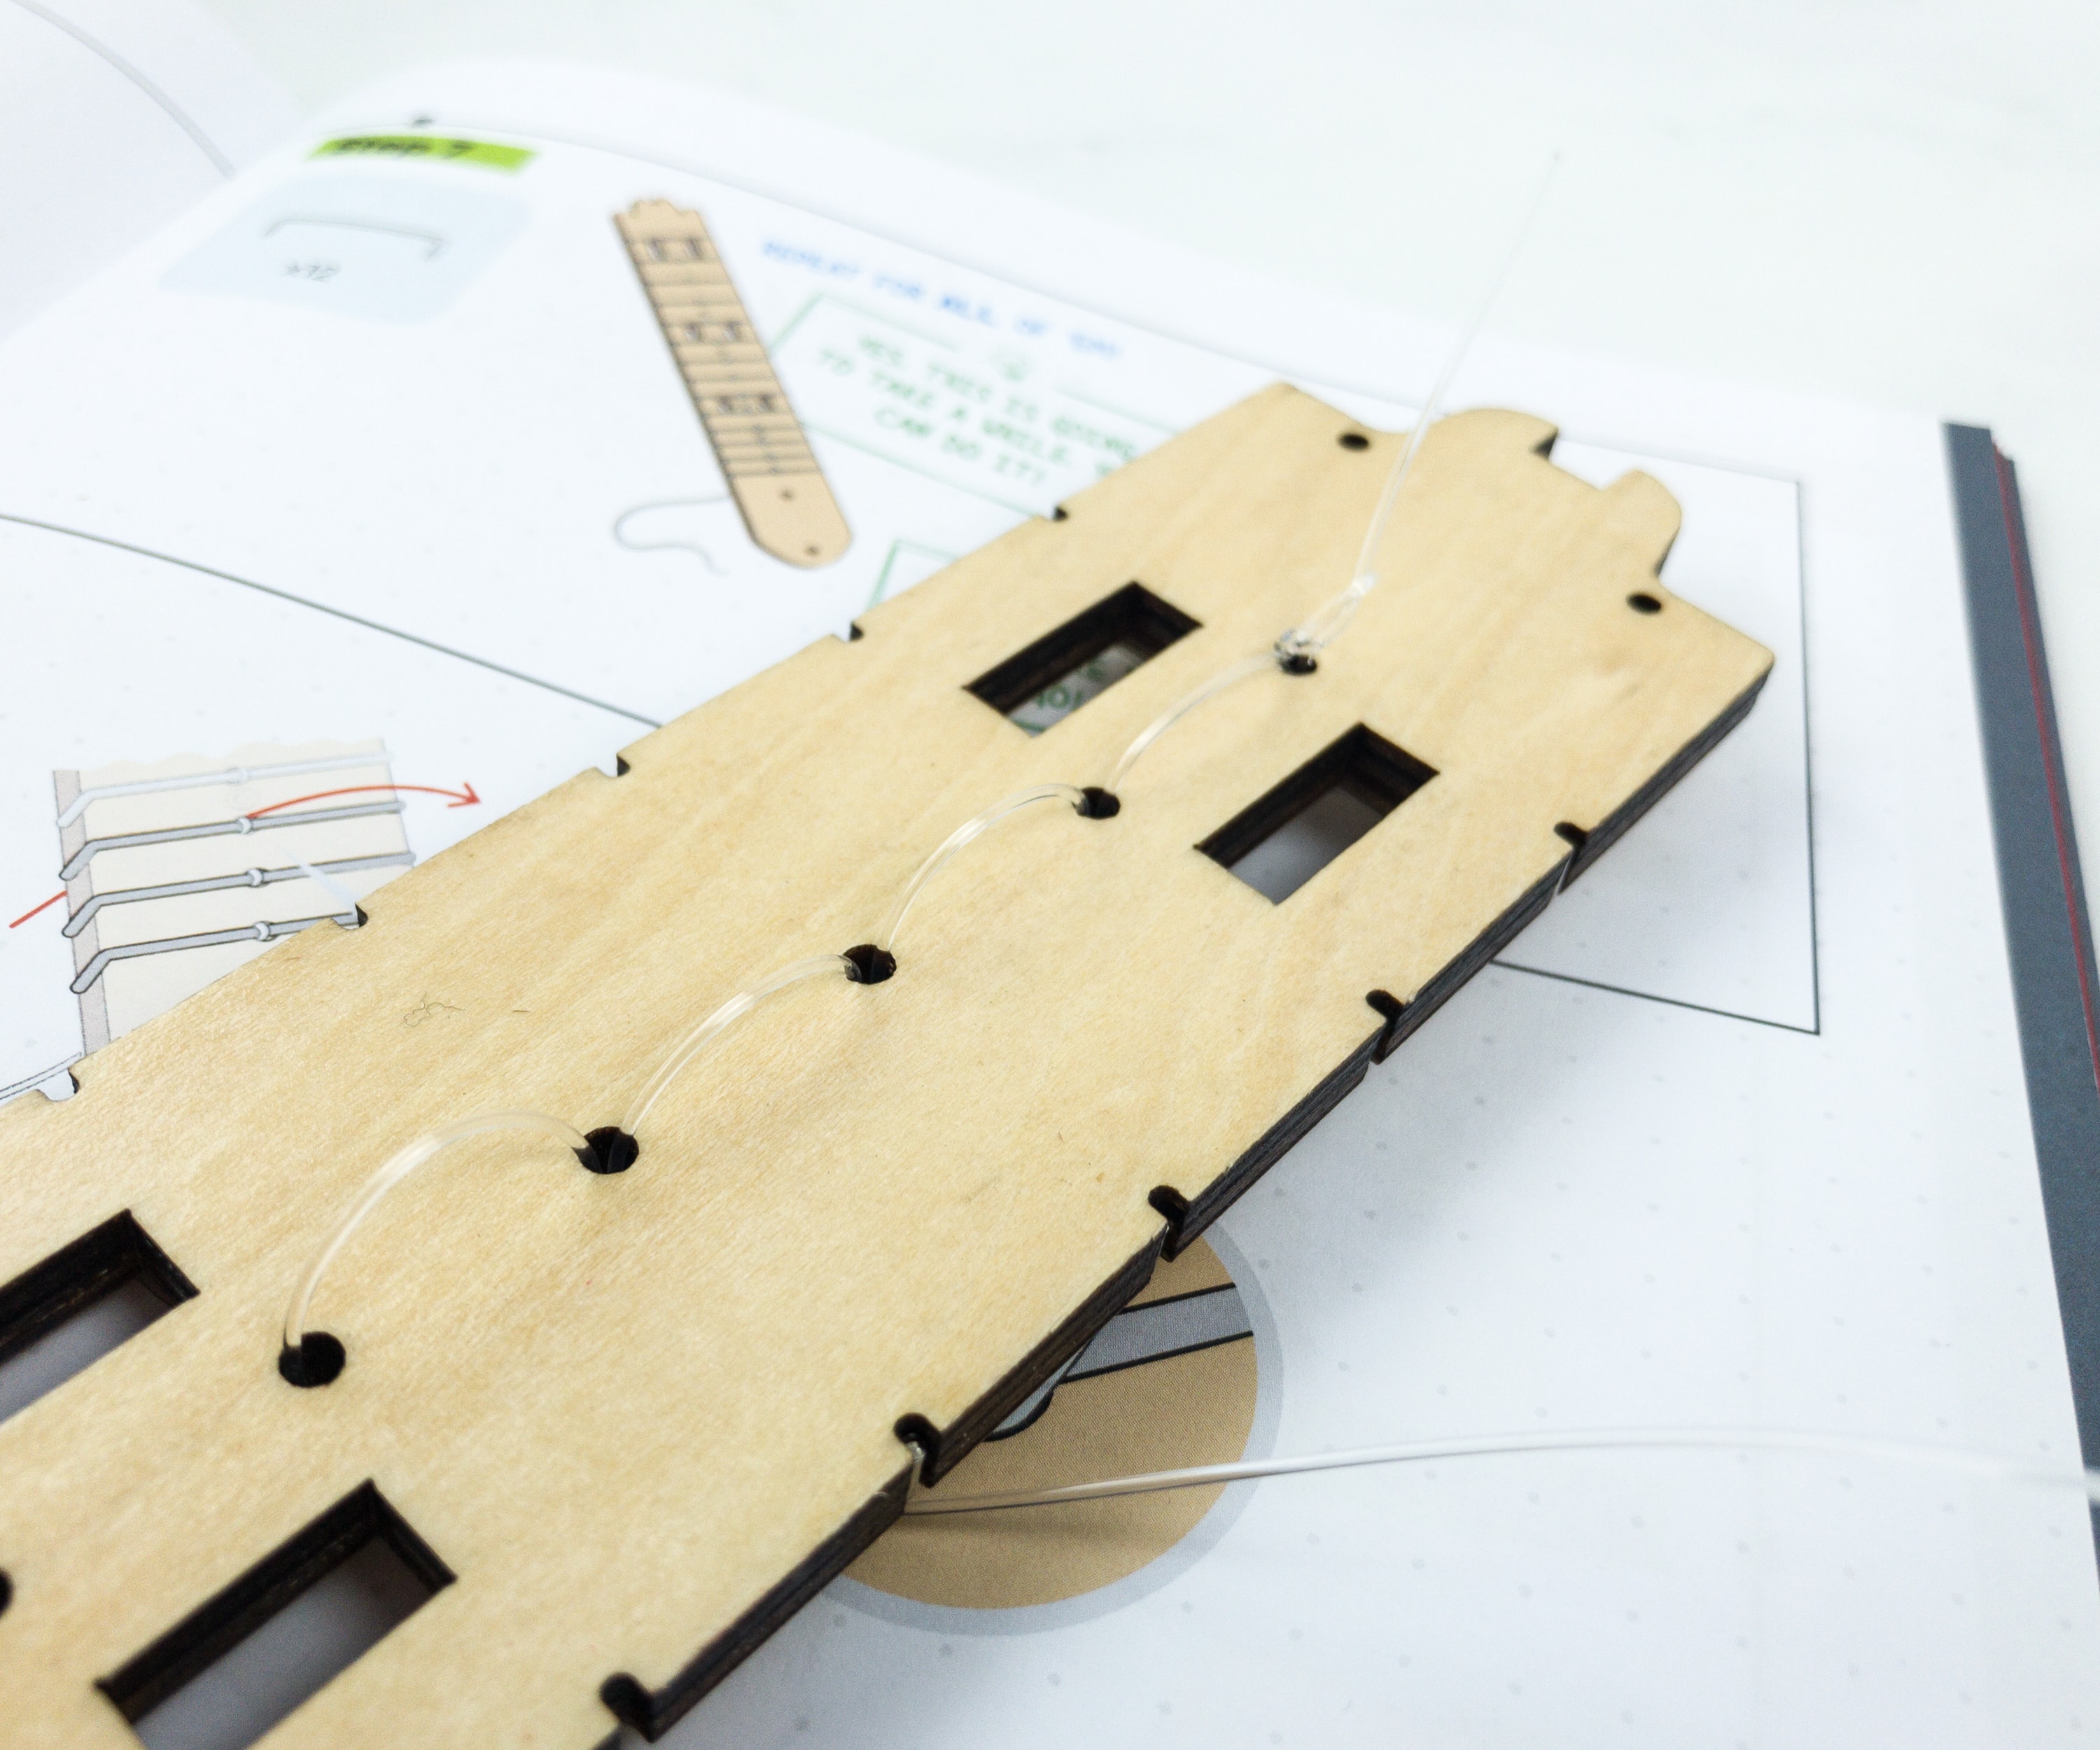
The cord is pretty slippery at times, especially if you have wet hands, wrapping it around your finger makes it easier to pull.
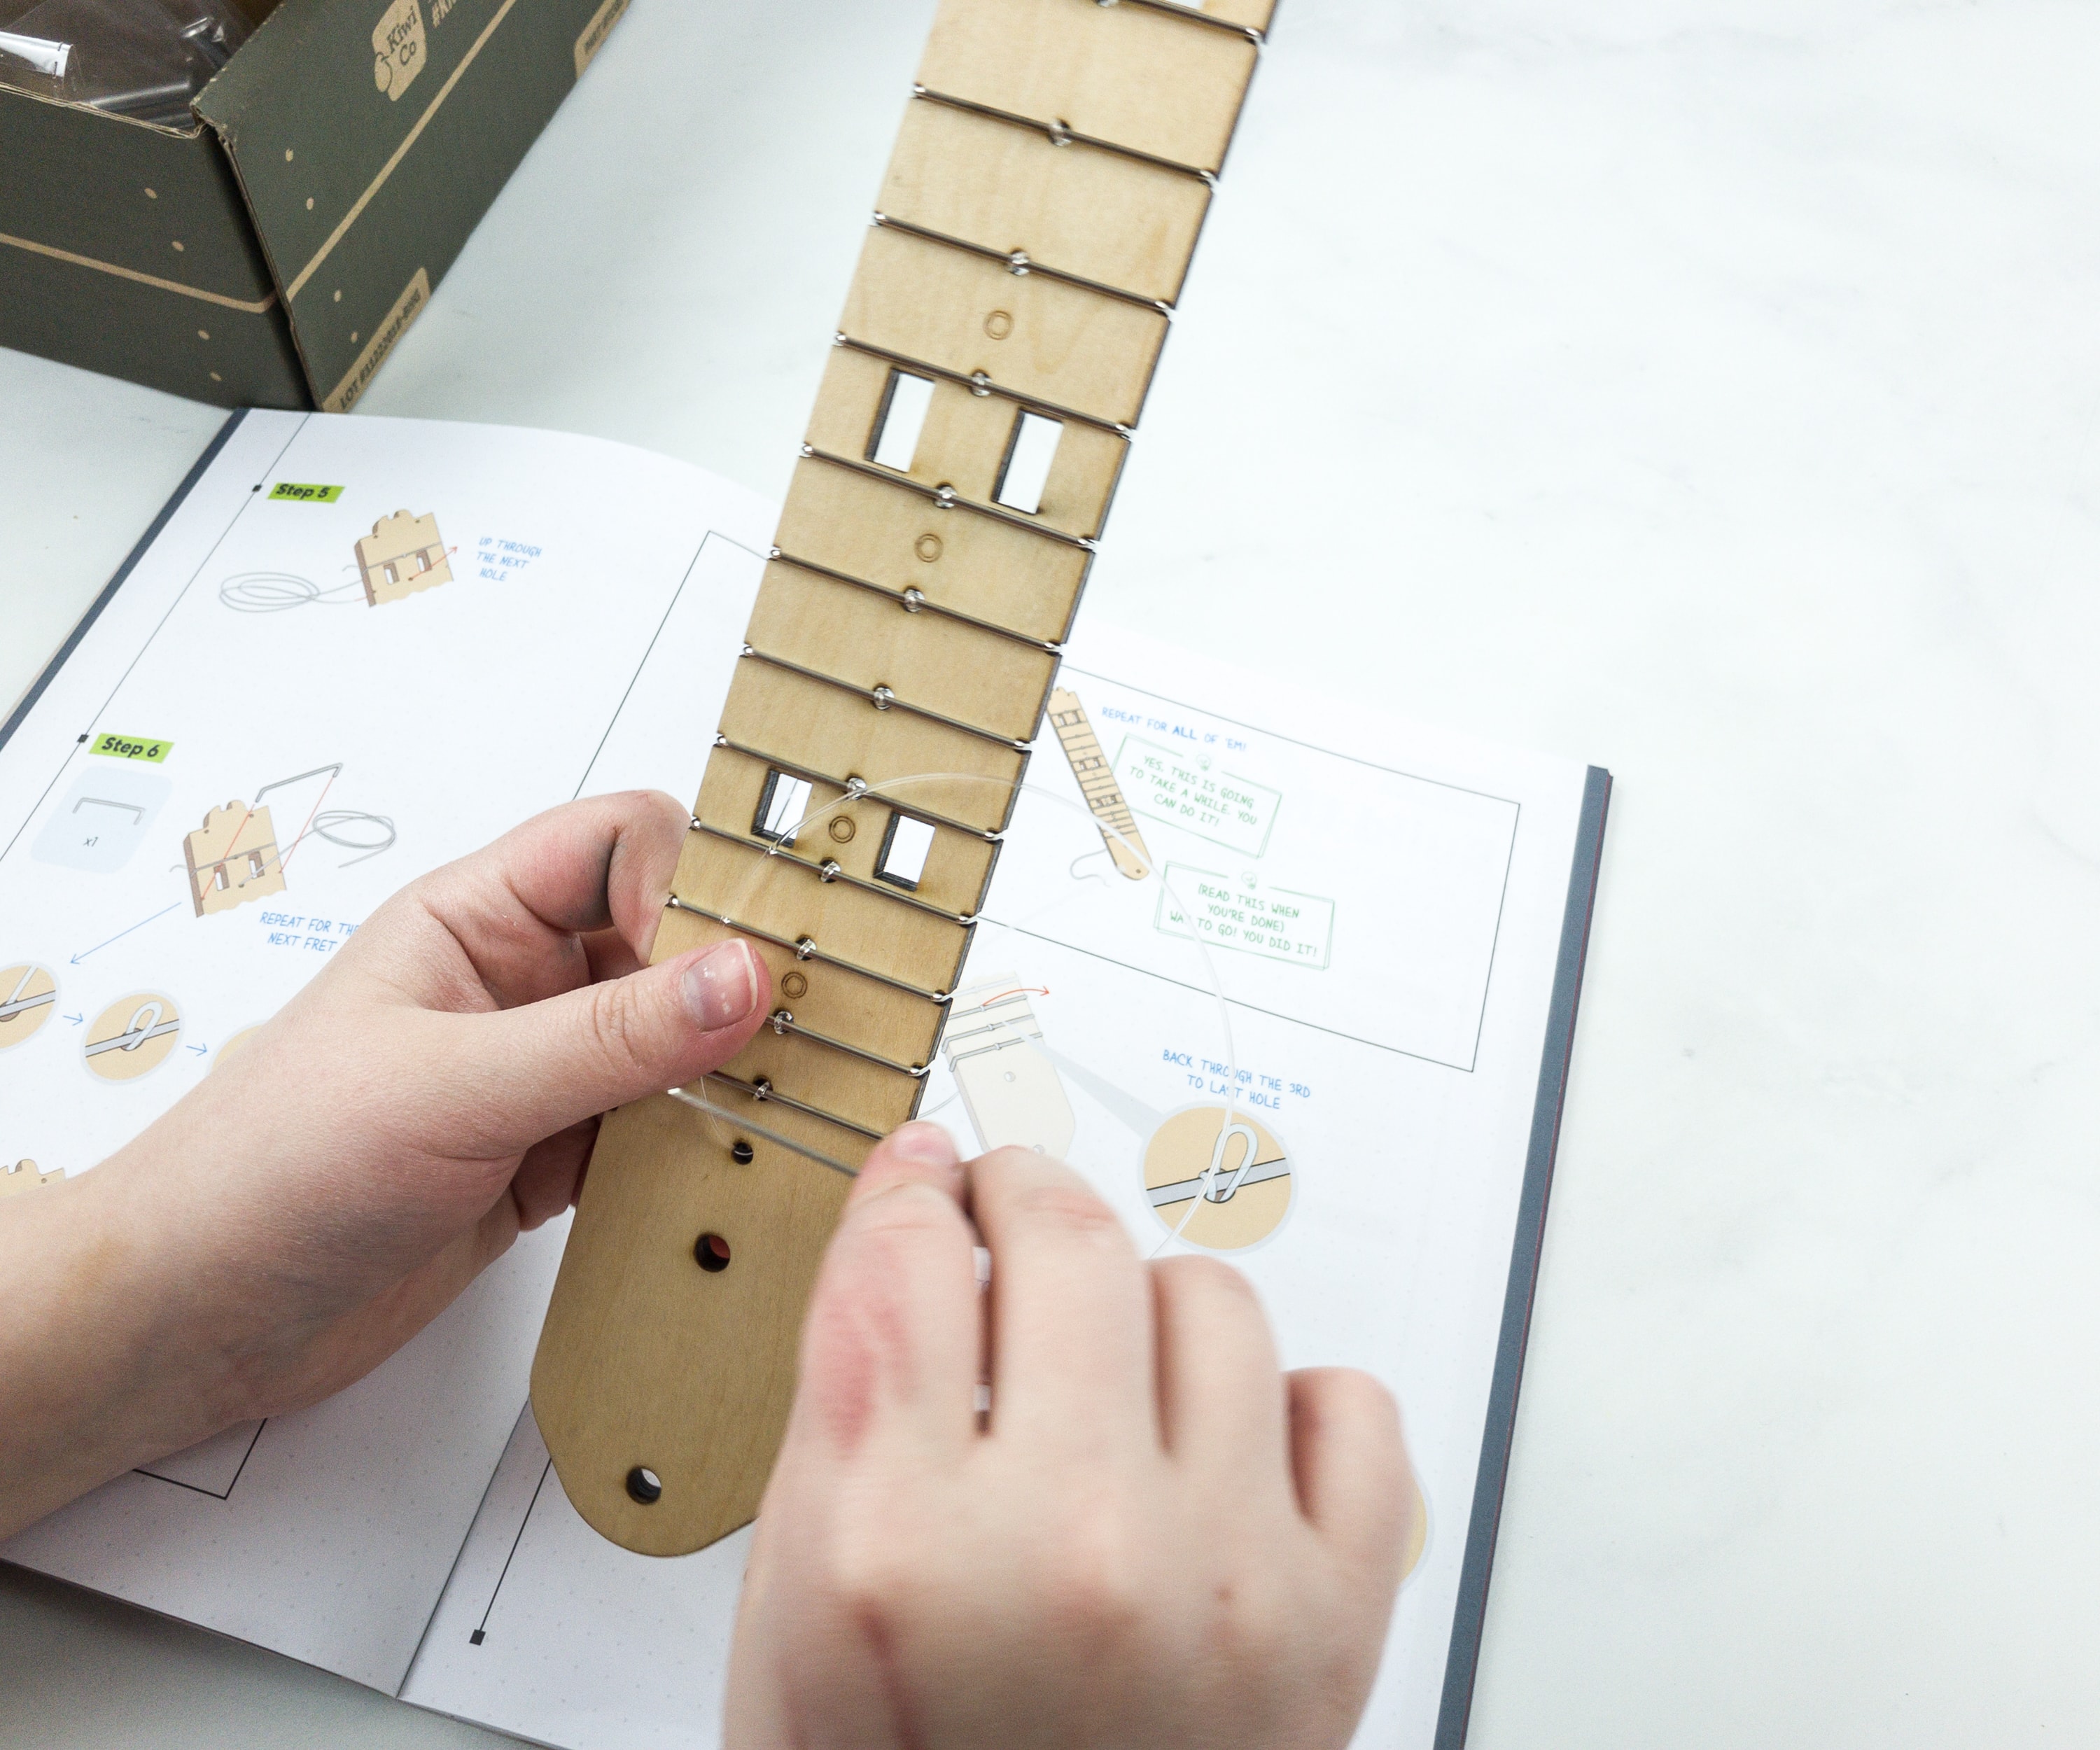
Once you arrive at the last fret, connect the string on the other end by knotting it tightly. Make sure that the strings are attached properly, I’m sure you wouldn’t want to play your ukulele with loosened frets!
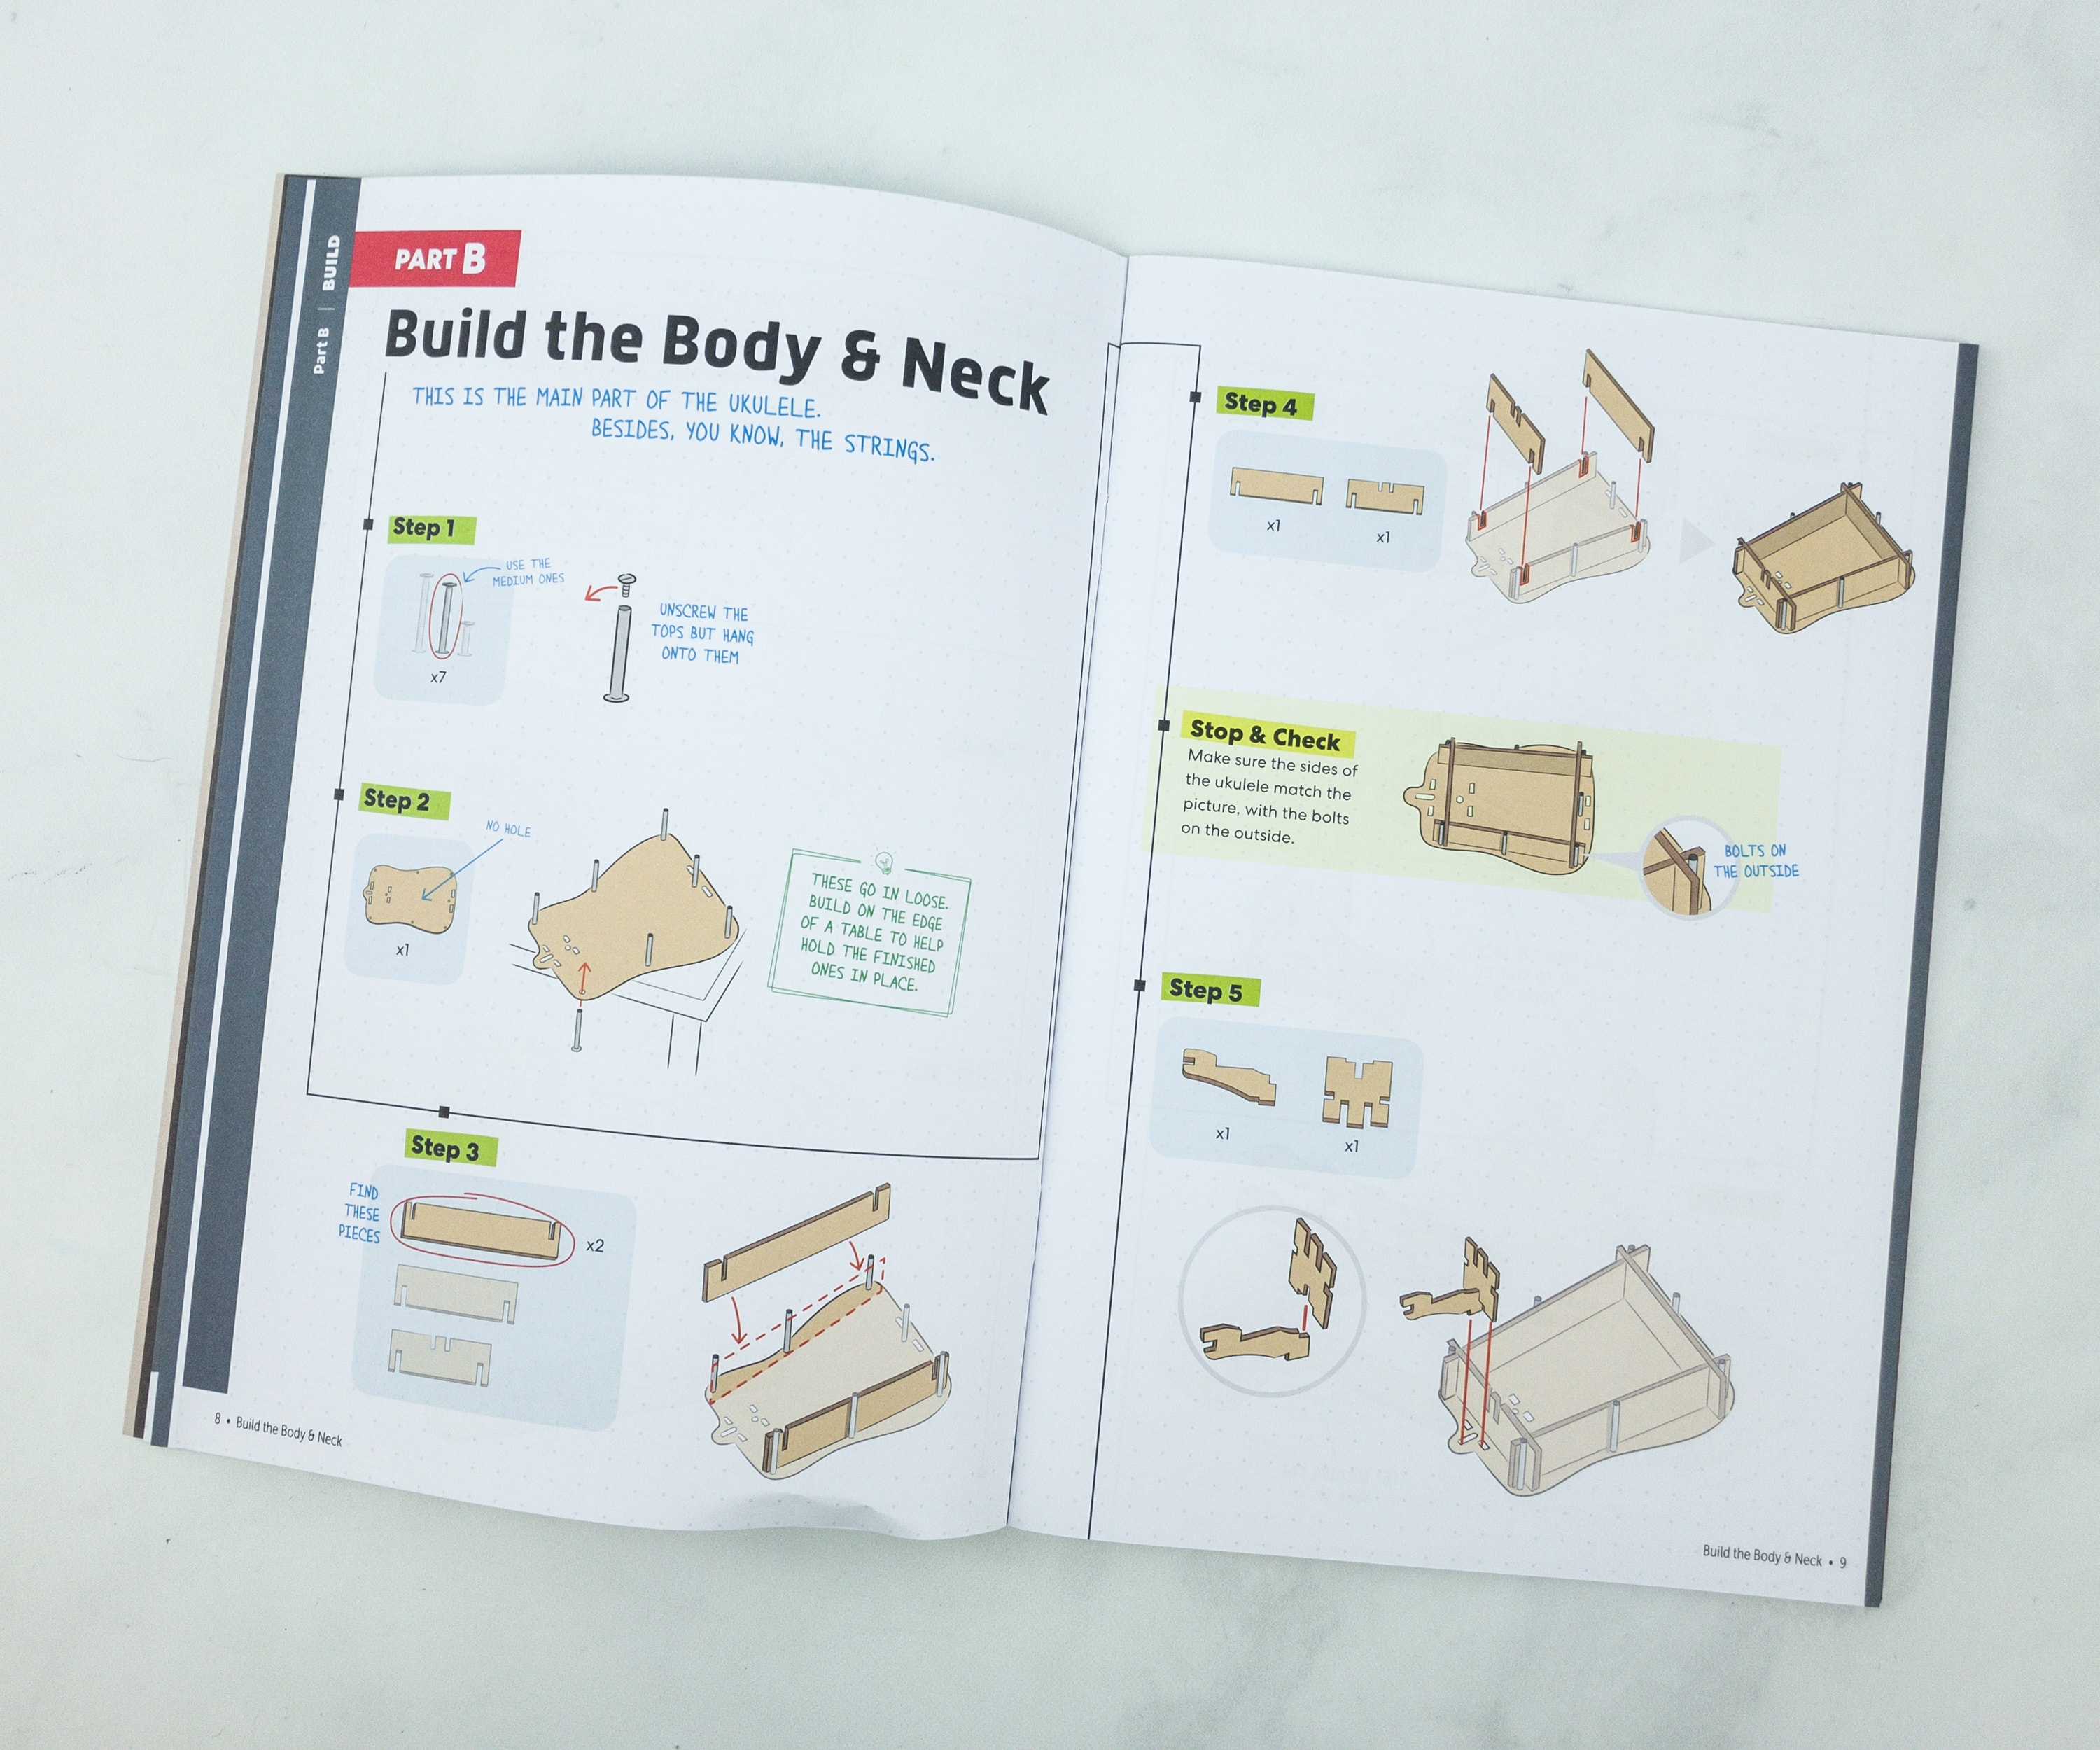
After making the fretboard, the next step is to build the body and neck.
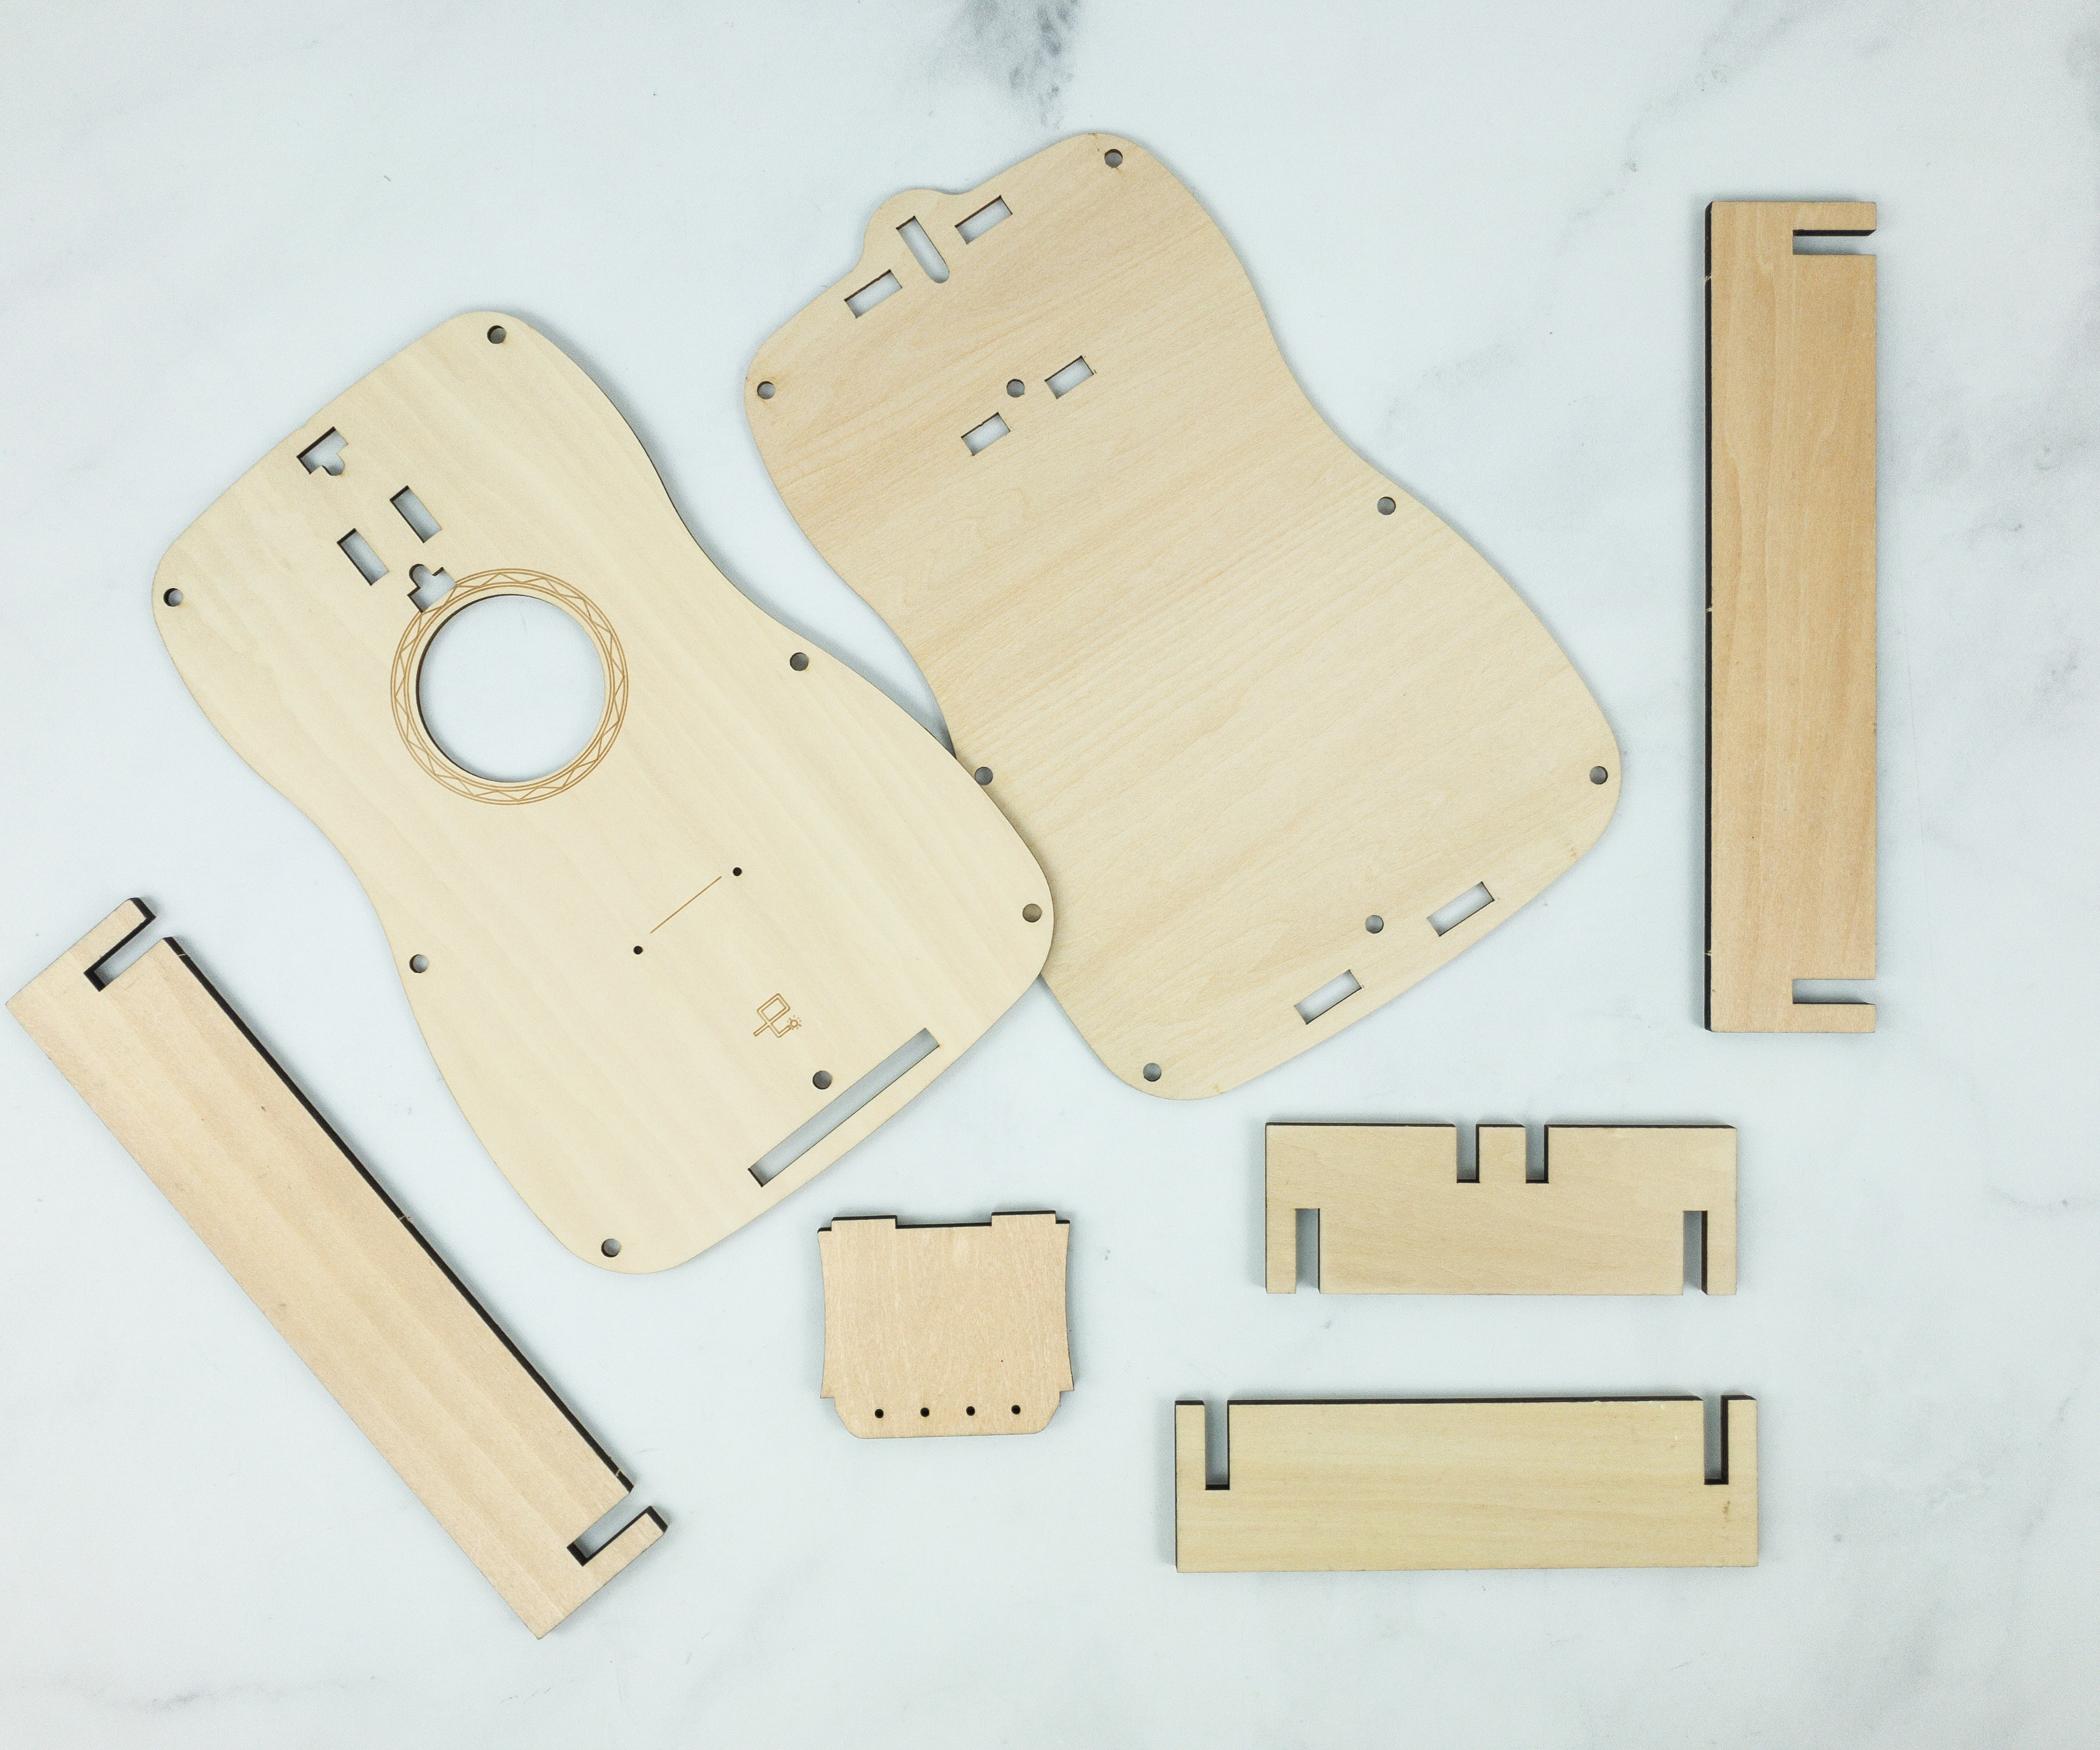
The body is the main part of the ukulele. It’s normally an enclosed casing with a bulk shape that effectively captures any noise or vibrations produced by the strings. Here are all the wooden pieces needed in creating our own body and neck.
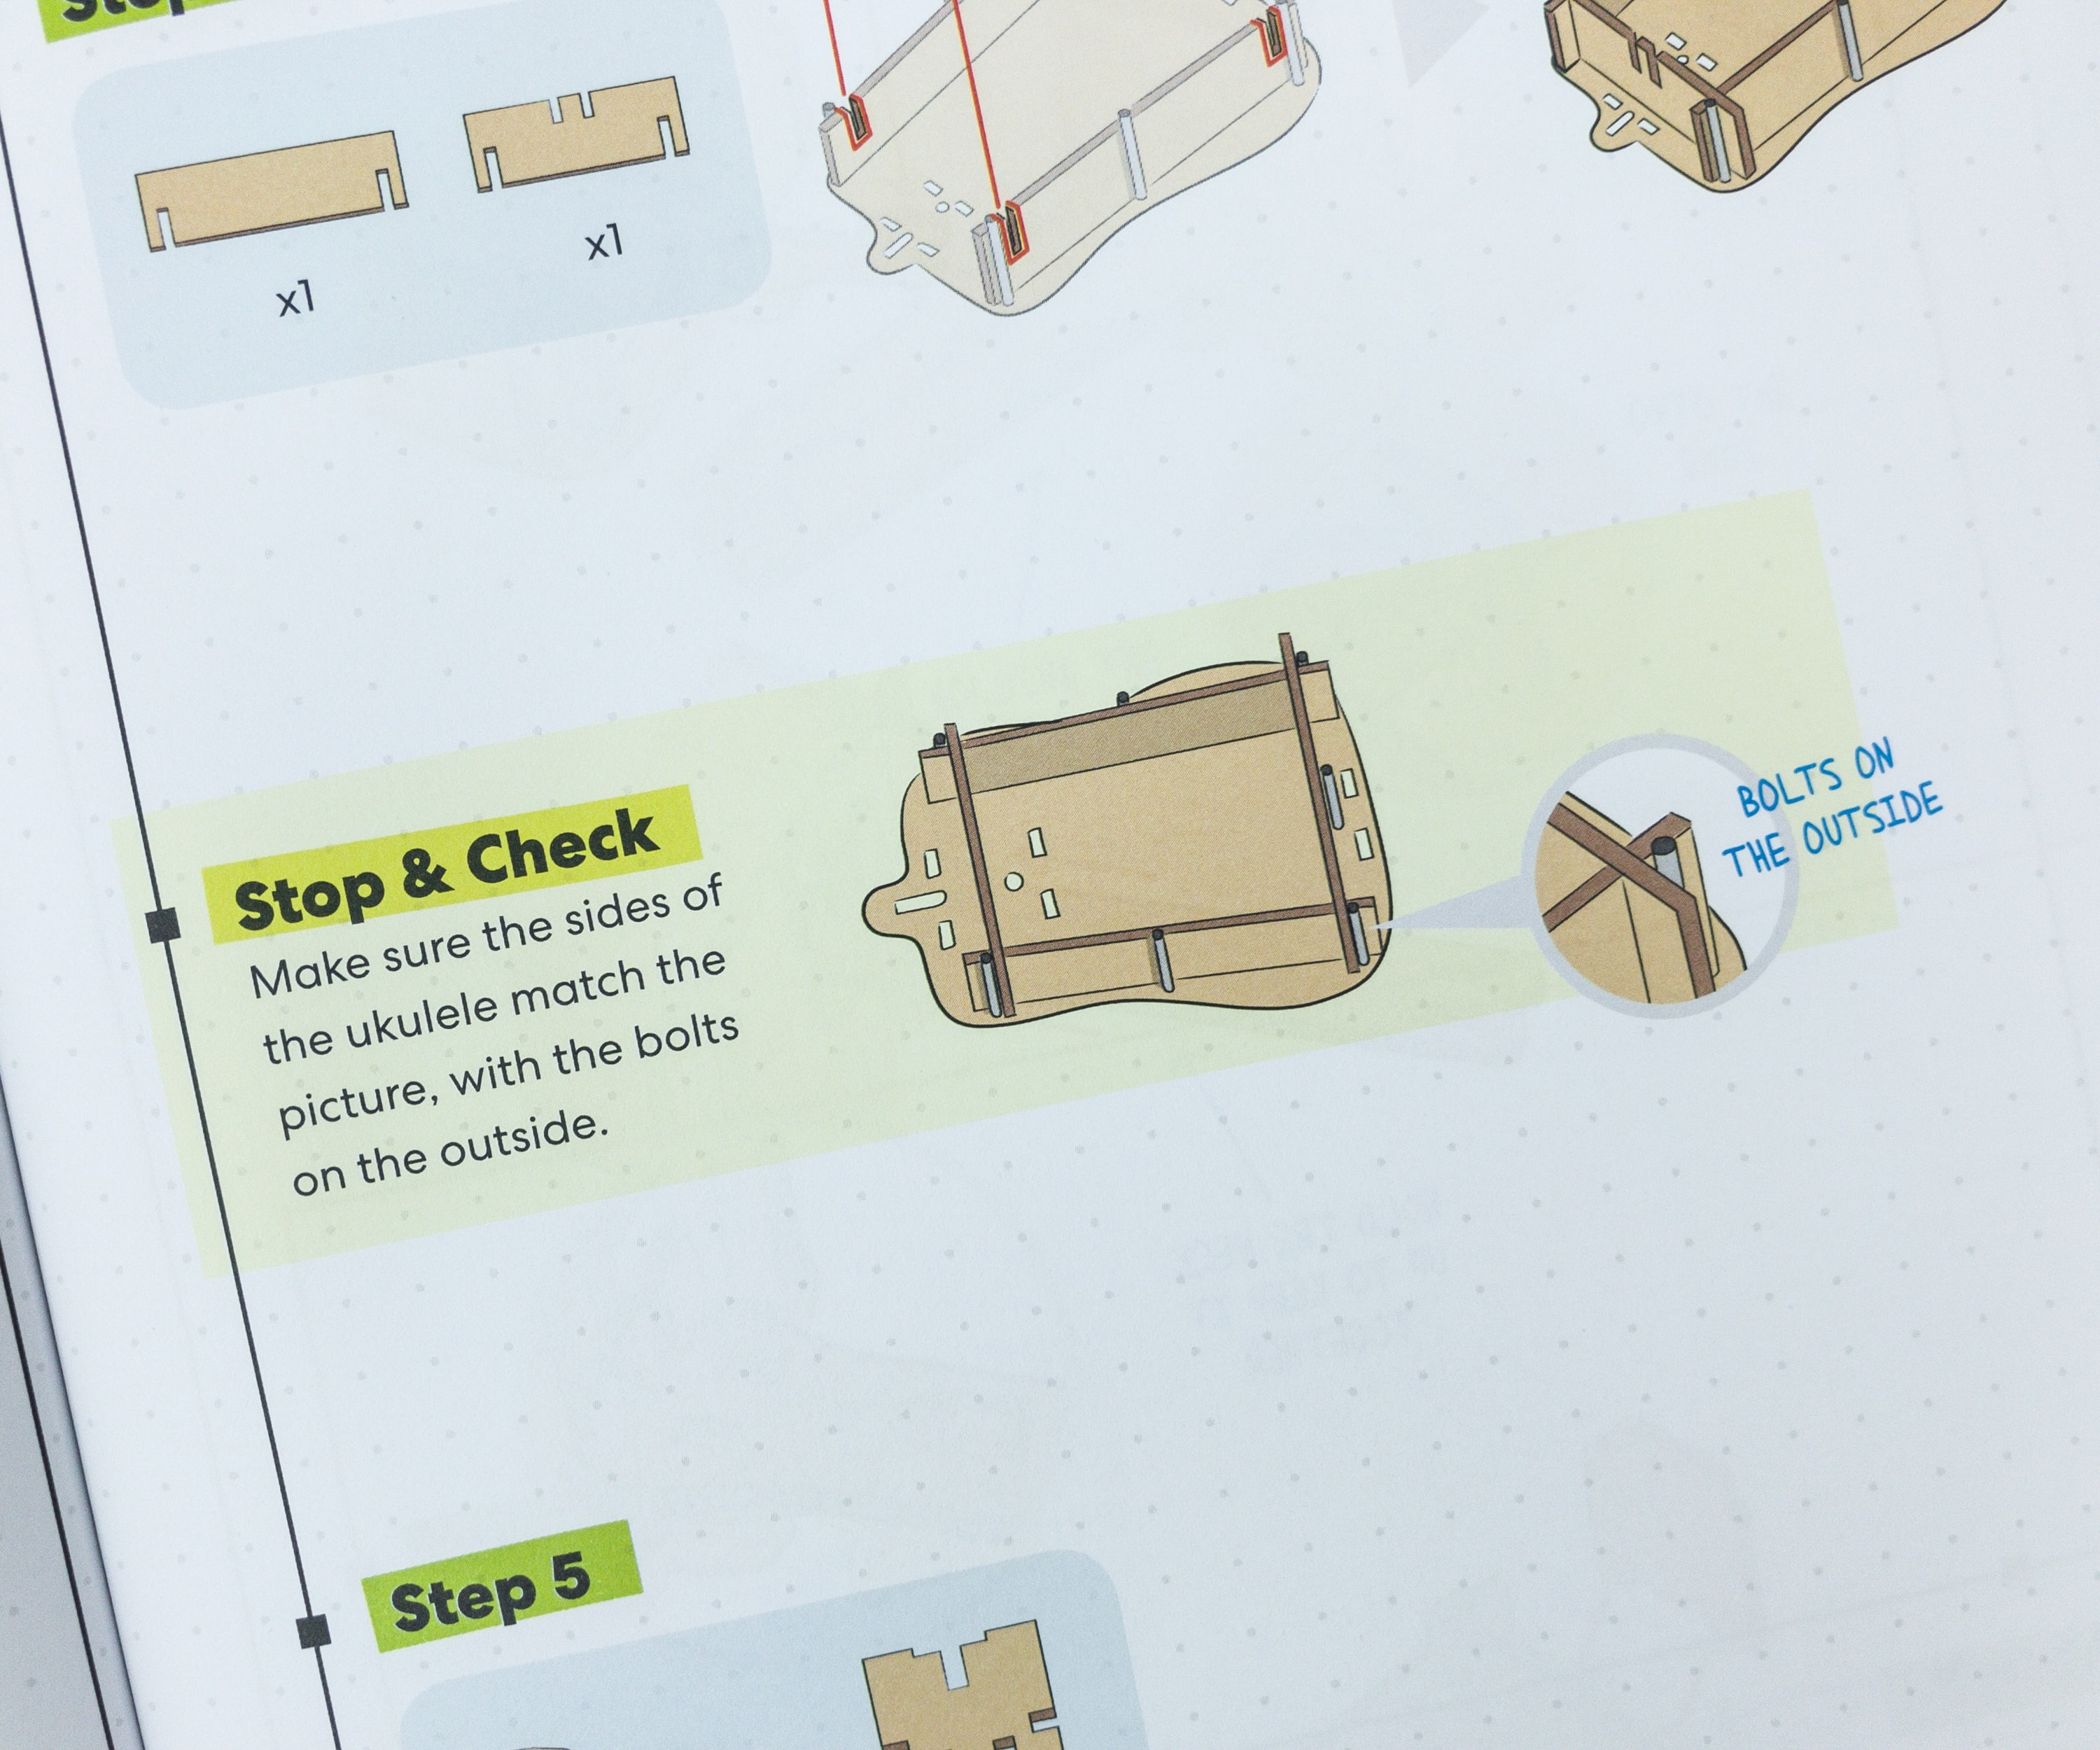
Aside from the detailed procedure provided on the book, it also contains a stop and check part, wherein you are asked to stop for a moment to double check if you have followed the instruction properly.
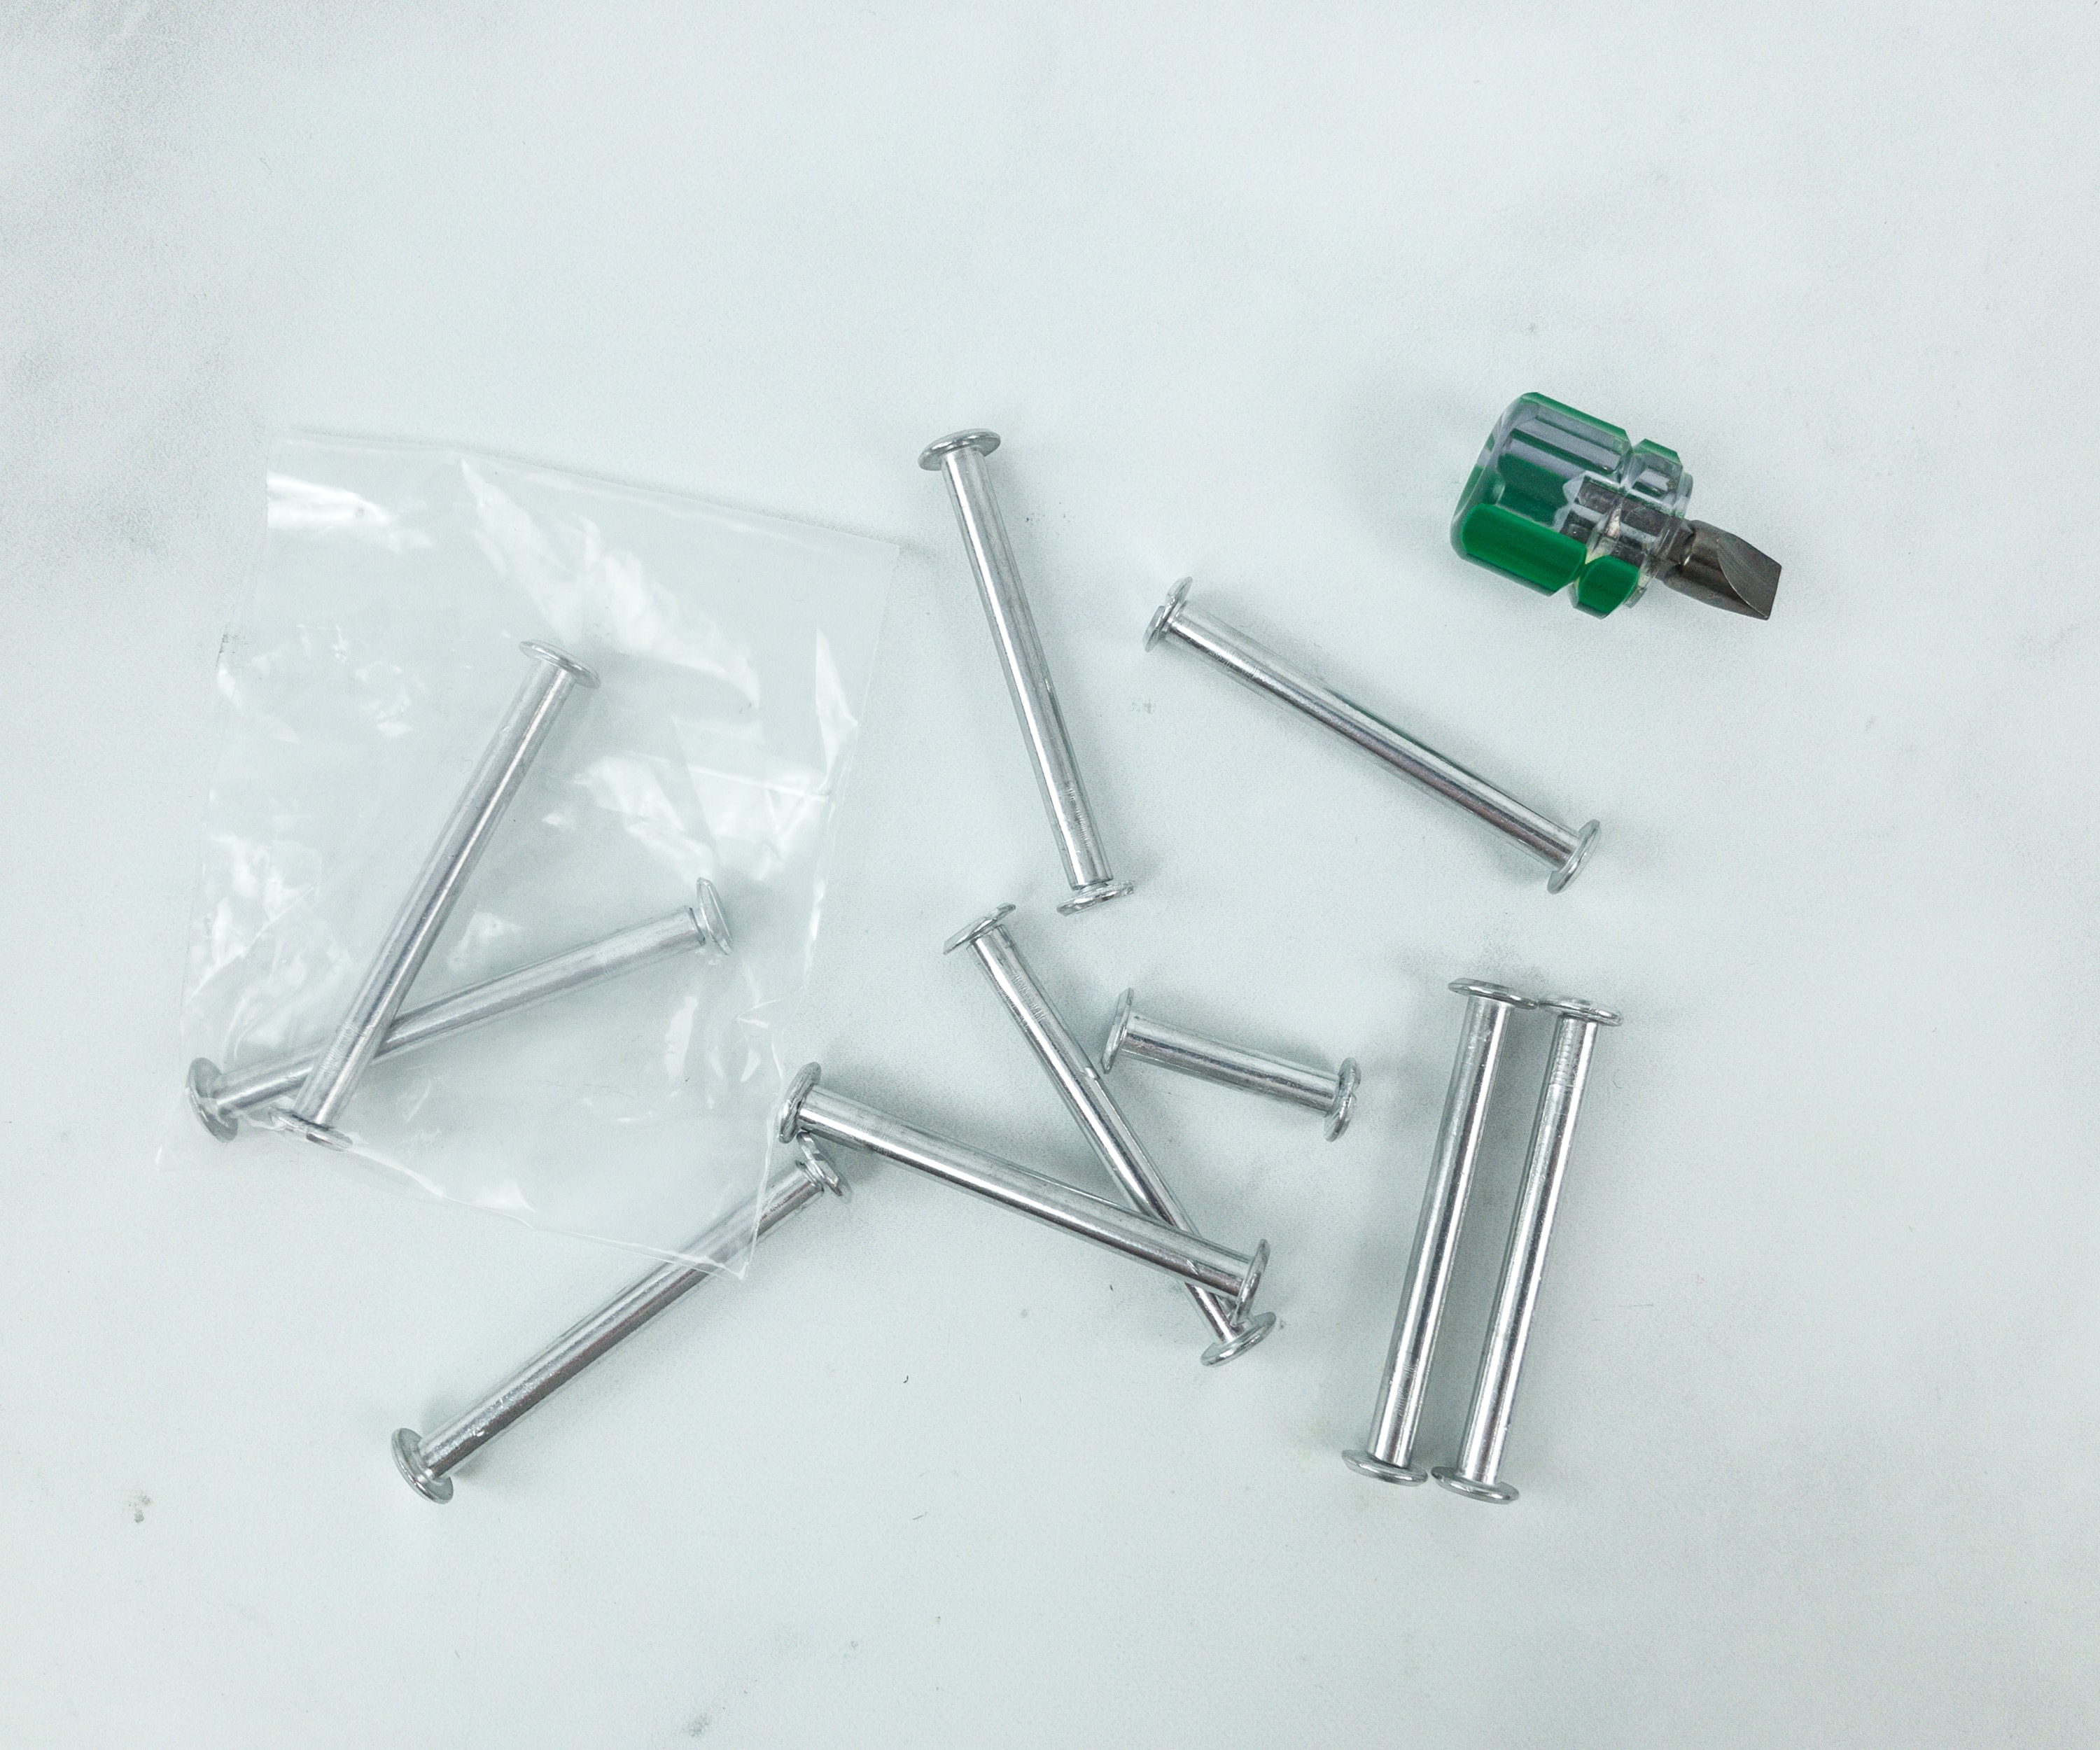
Other materials included small, medium, and large sized screws and a flat screwdriver.
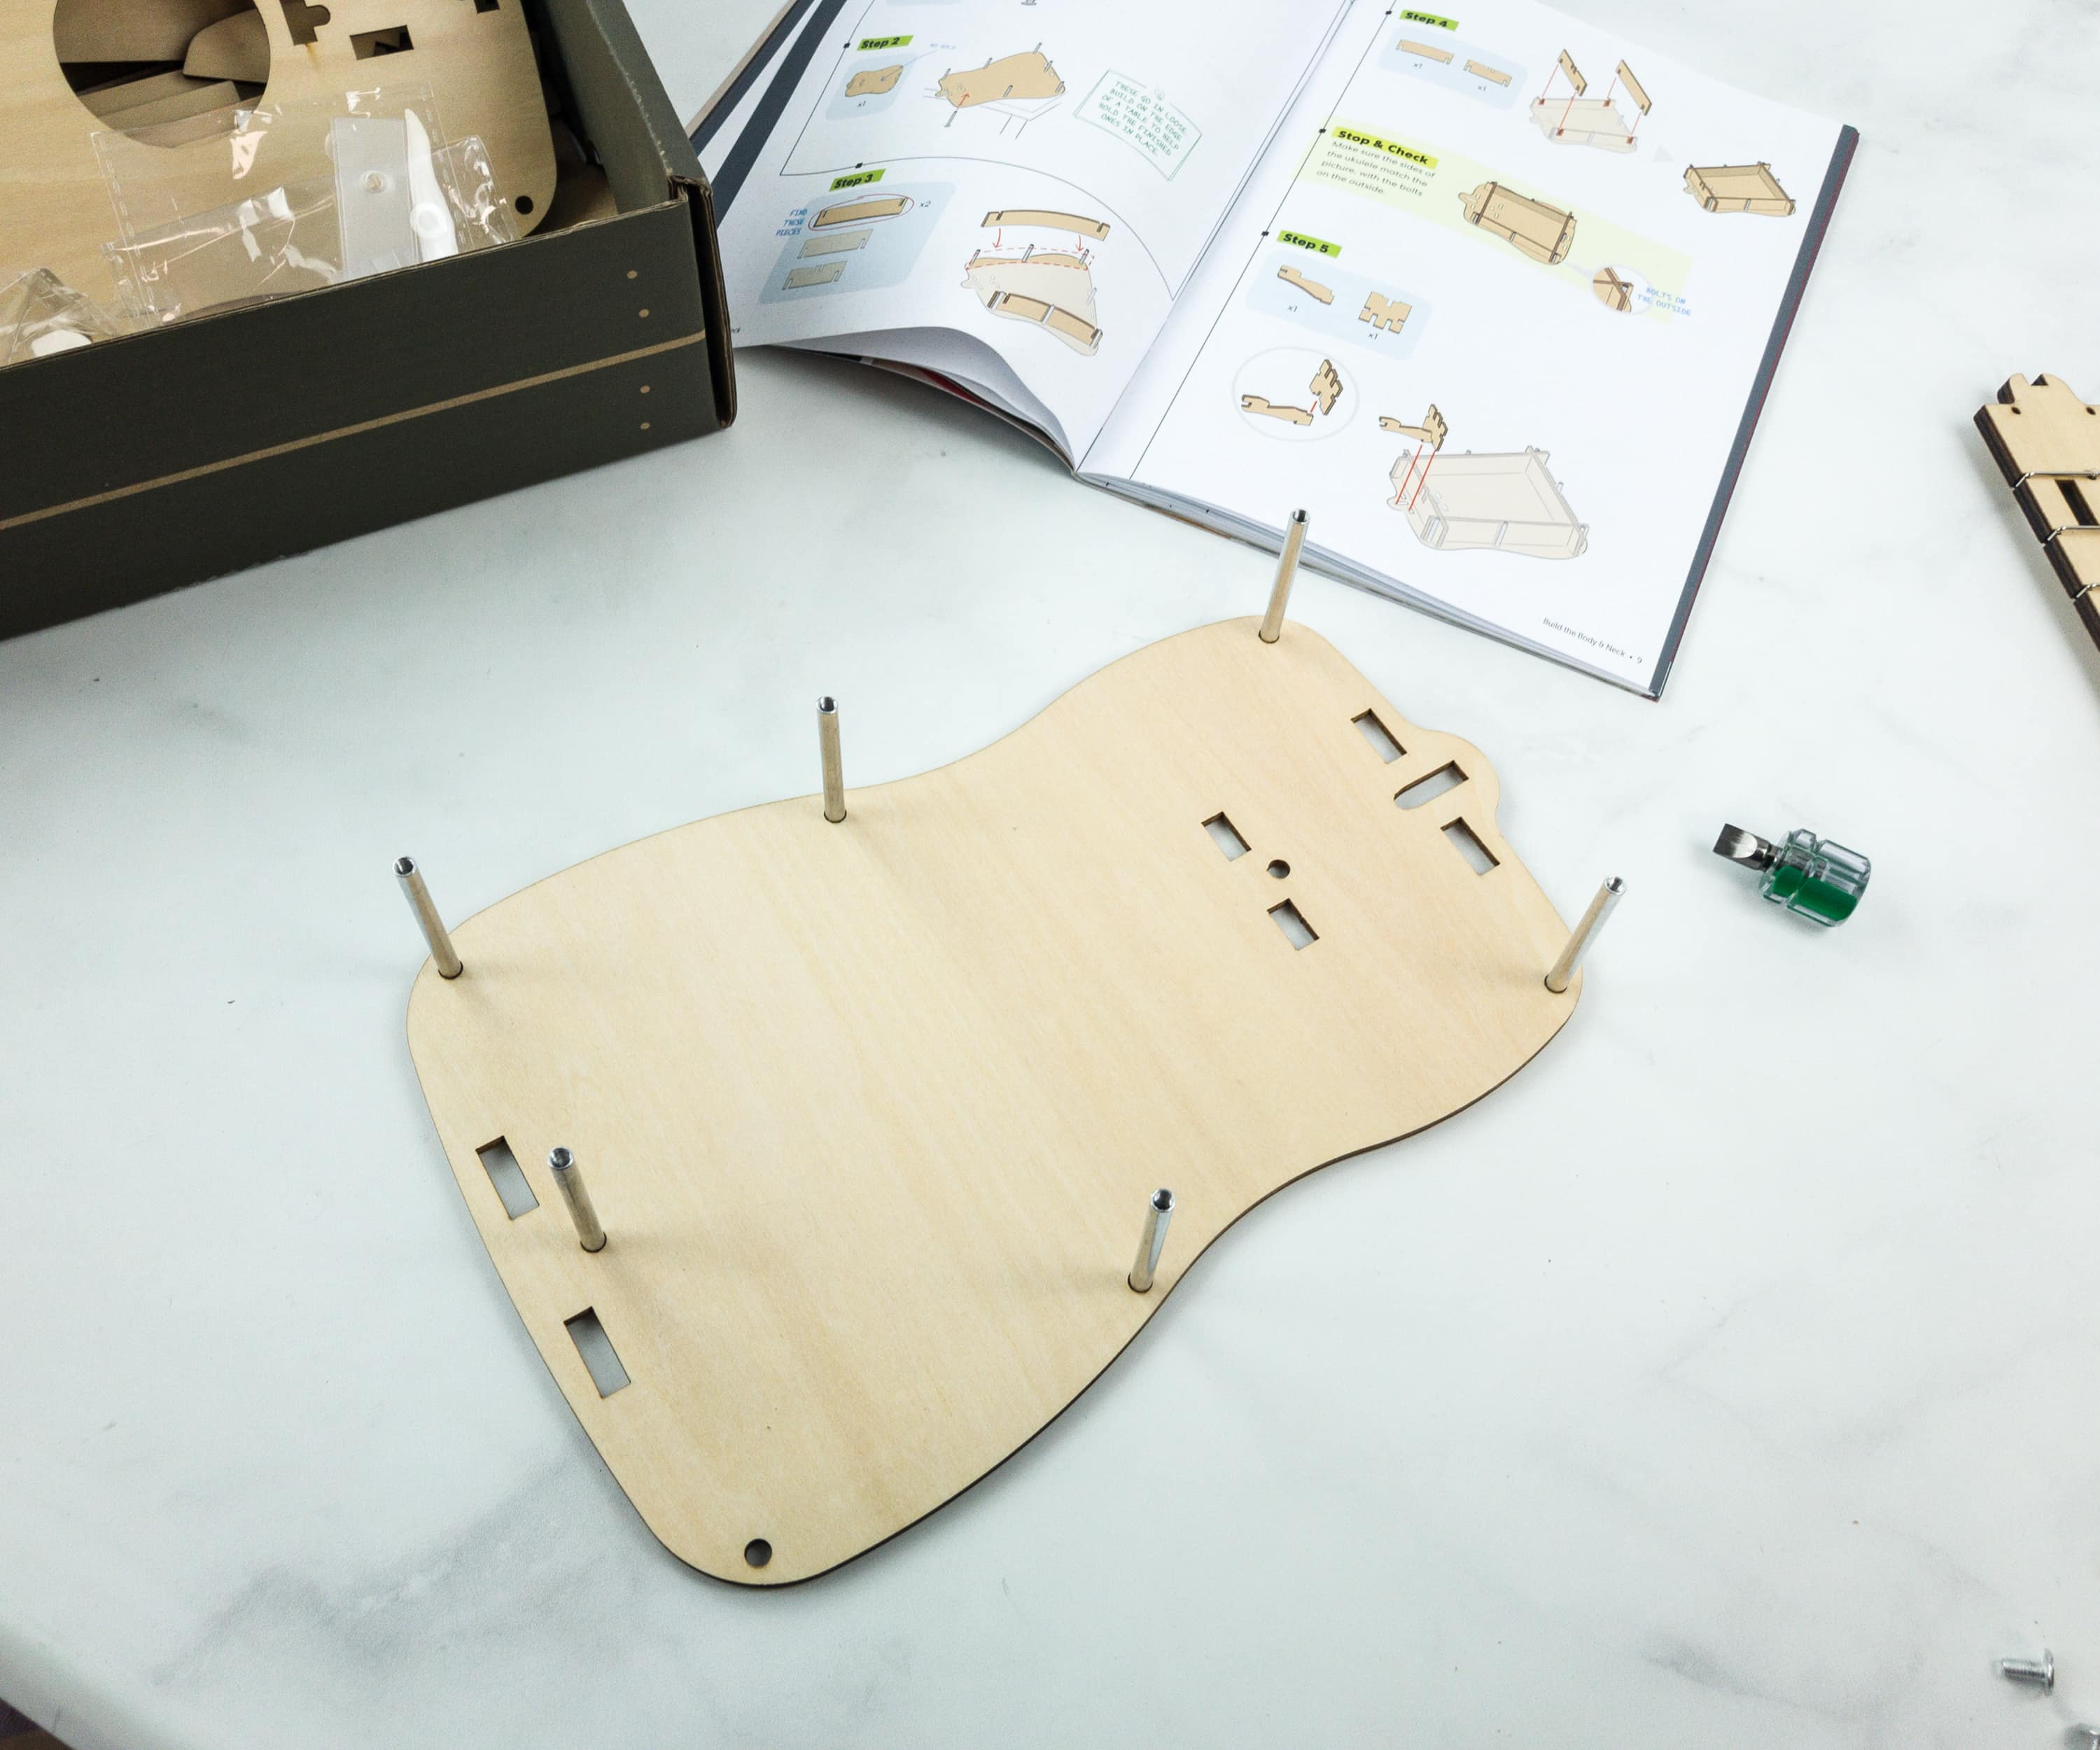
We’ll be starting up by putting the long screws on the holes located all every side of the wooden board.
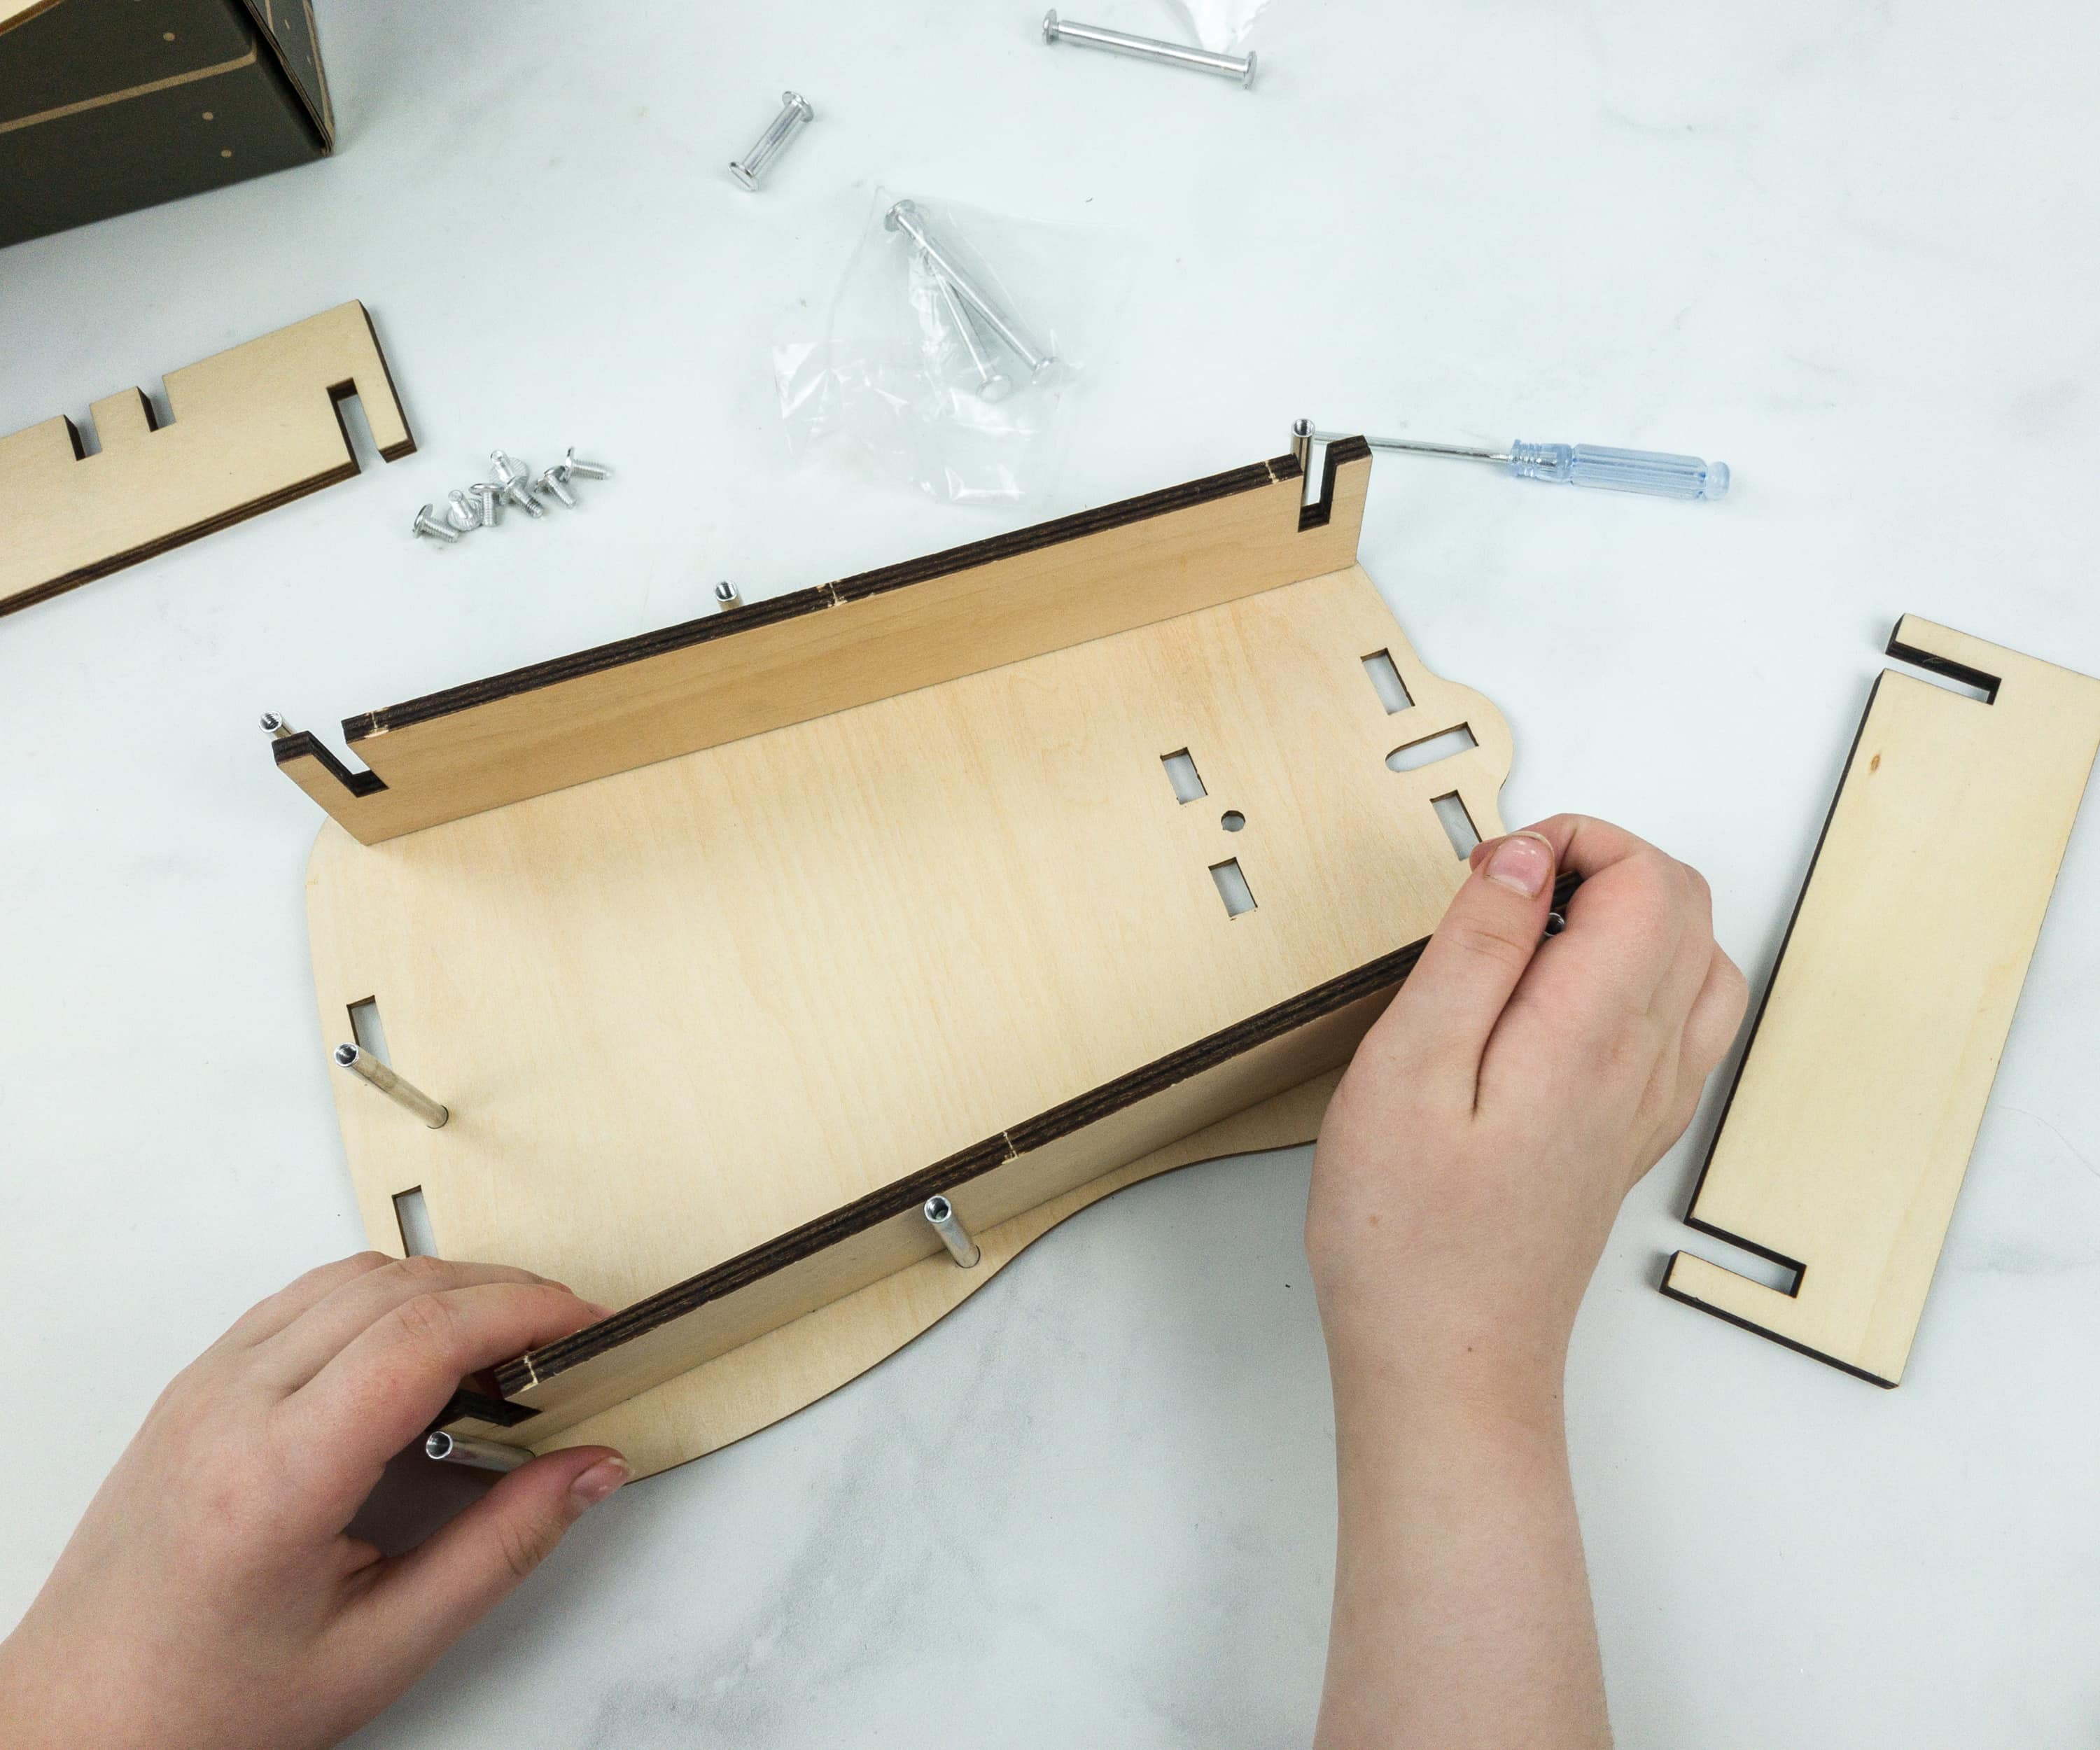
Once all the screws are properly arranged, place the wooden wall on every side of the board. The long screw will serve as it the guide for the wall to stand.
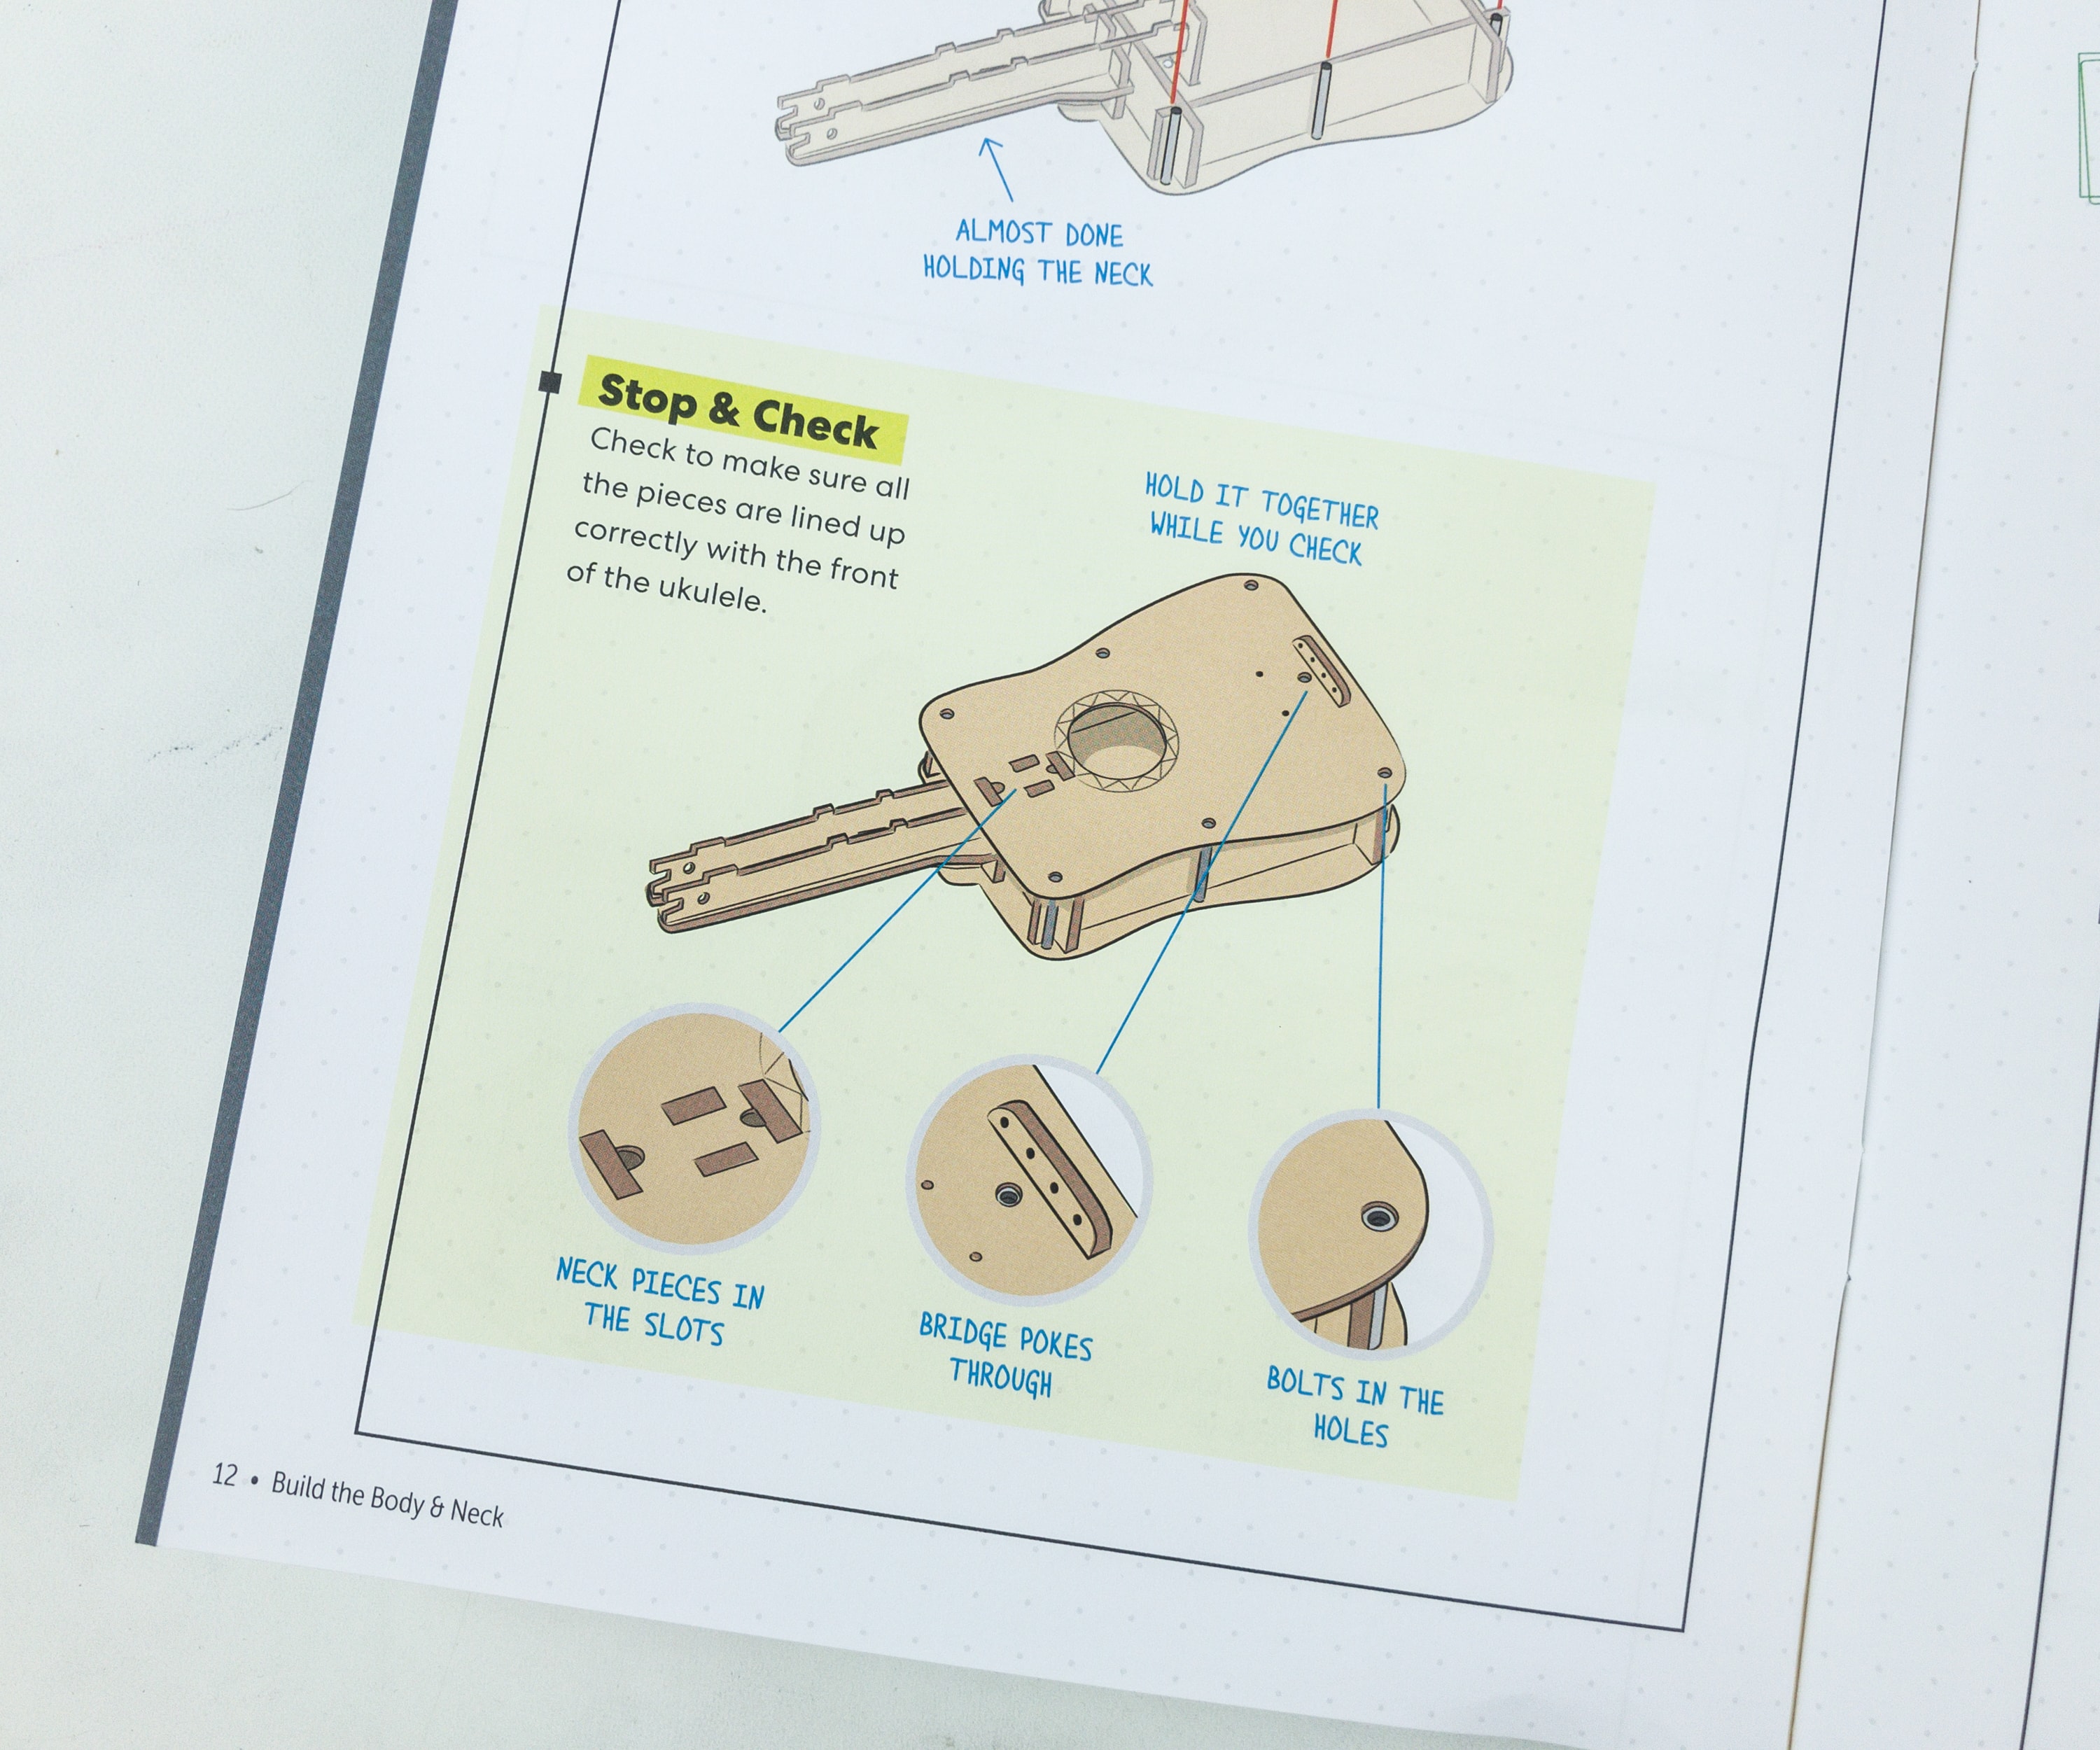
Always make sure that all the pieces are lined up correctly like the neck pieces should be in the slots, the bridge pokes through, and the bolts are in the holes.
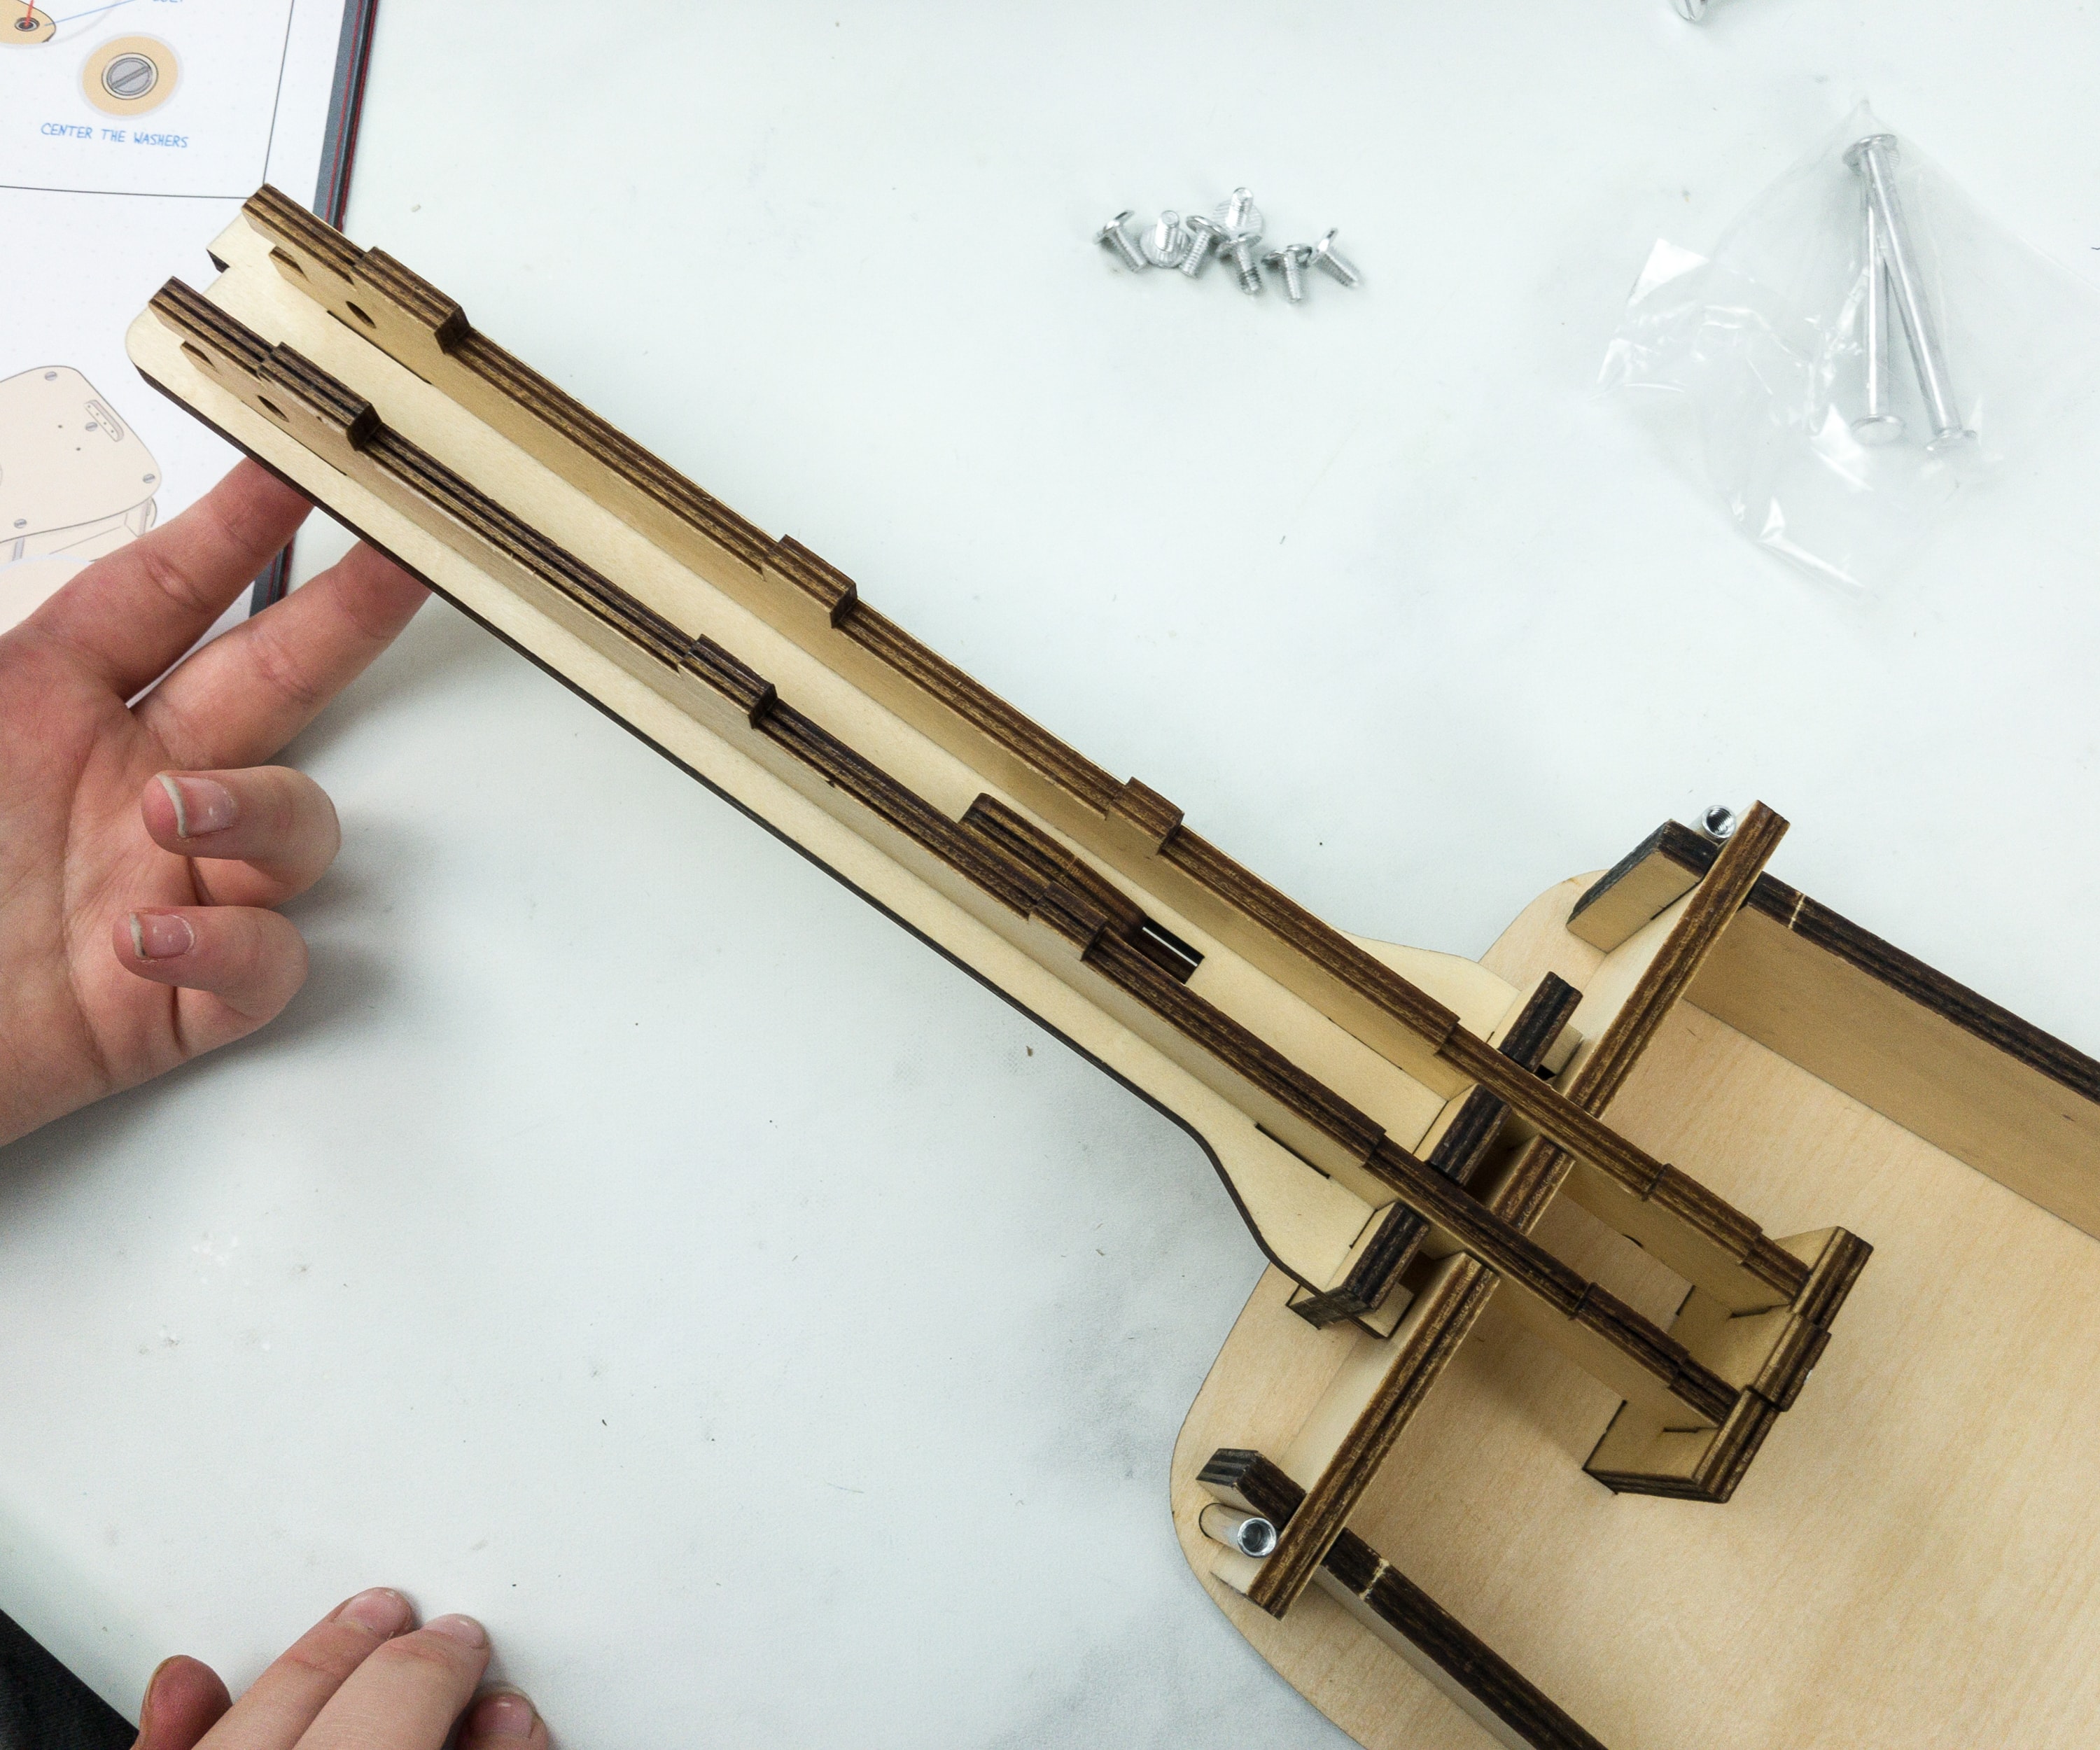
We’re done with the fretboard, and the same goes with the body and neck. The next thing to do is to connect them together.

Once connected, put the other board on top, it serves as the face of the ukulele.
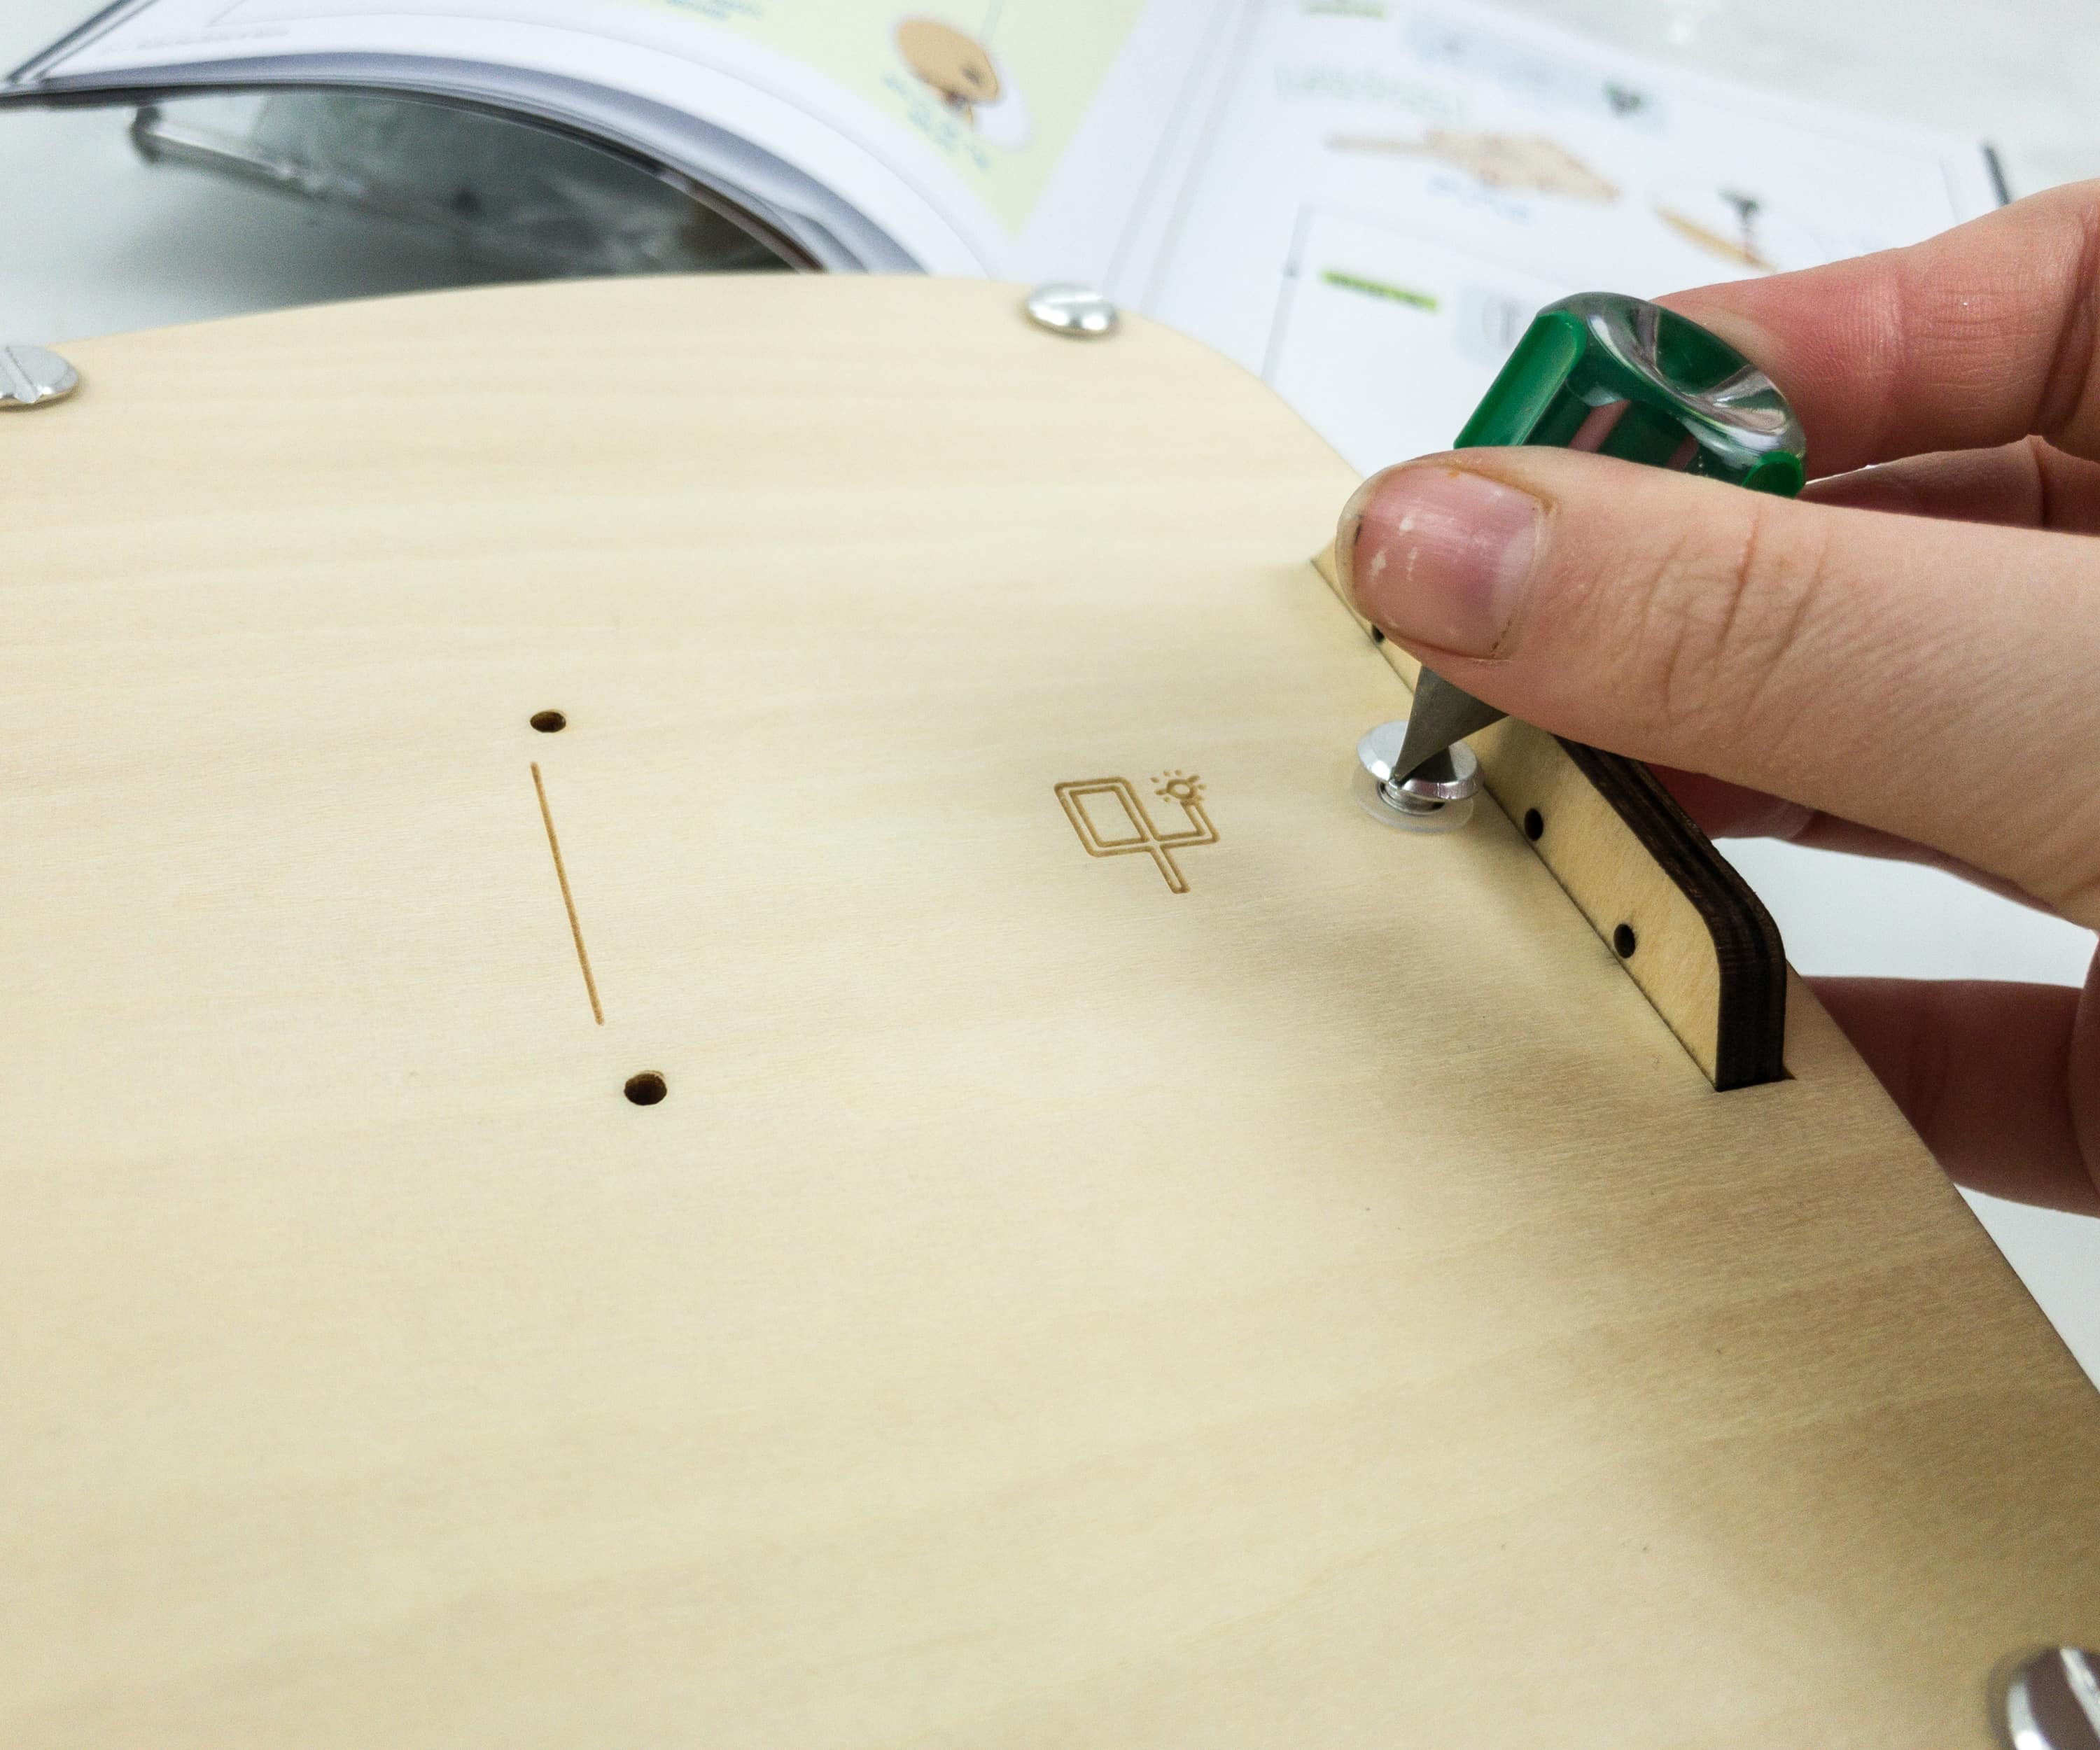
Put the remaining screw on the middle and start locking them all out using the flat screwdriver provided also inside the box.
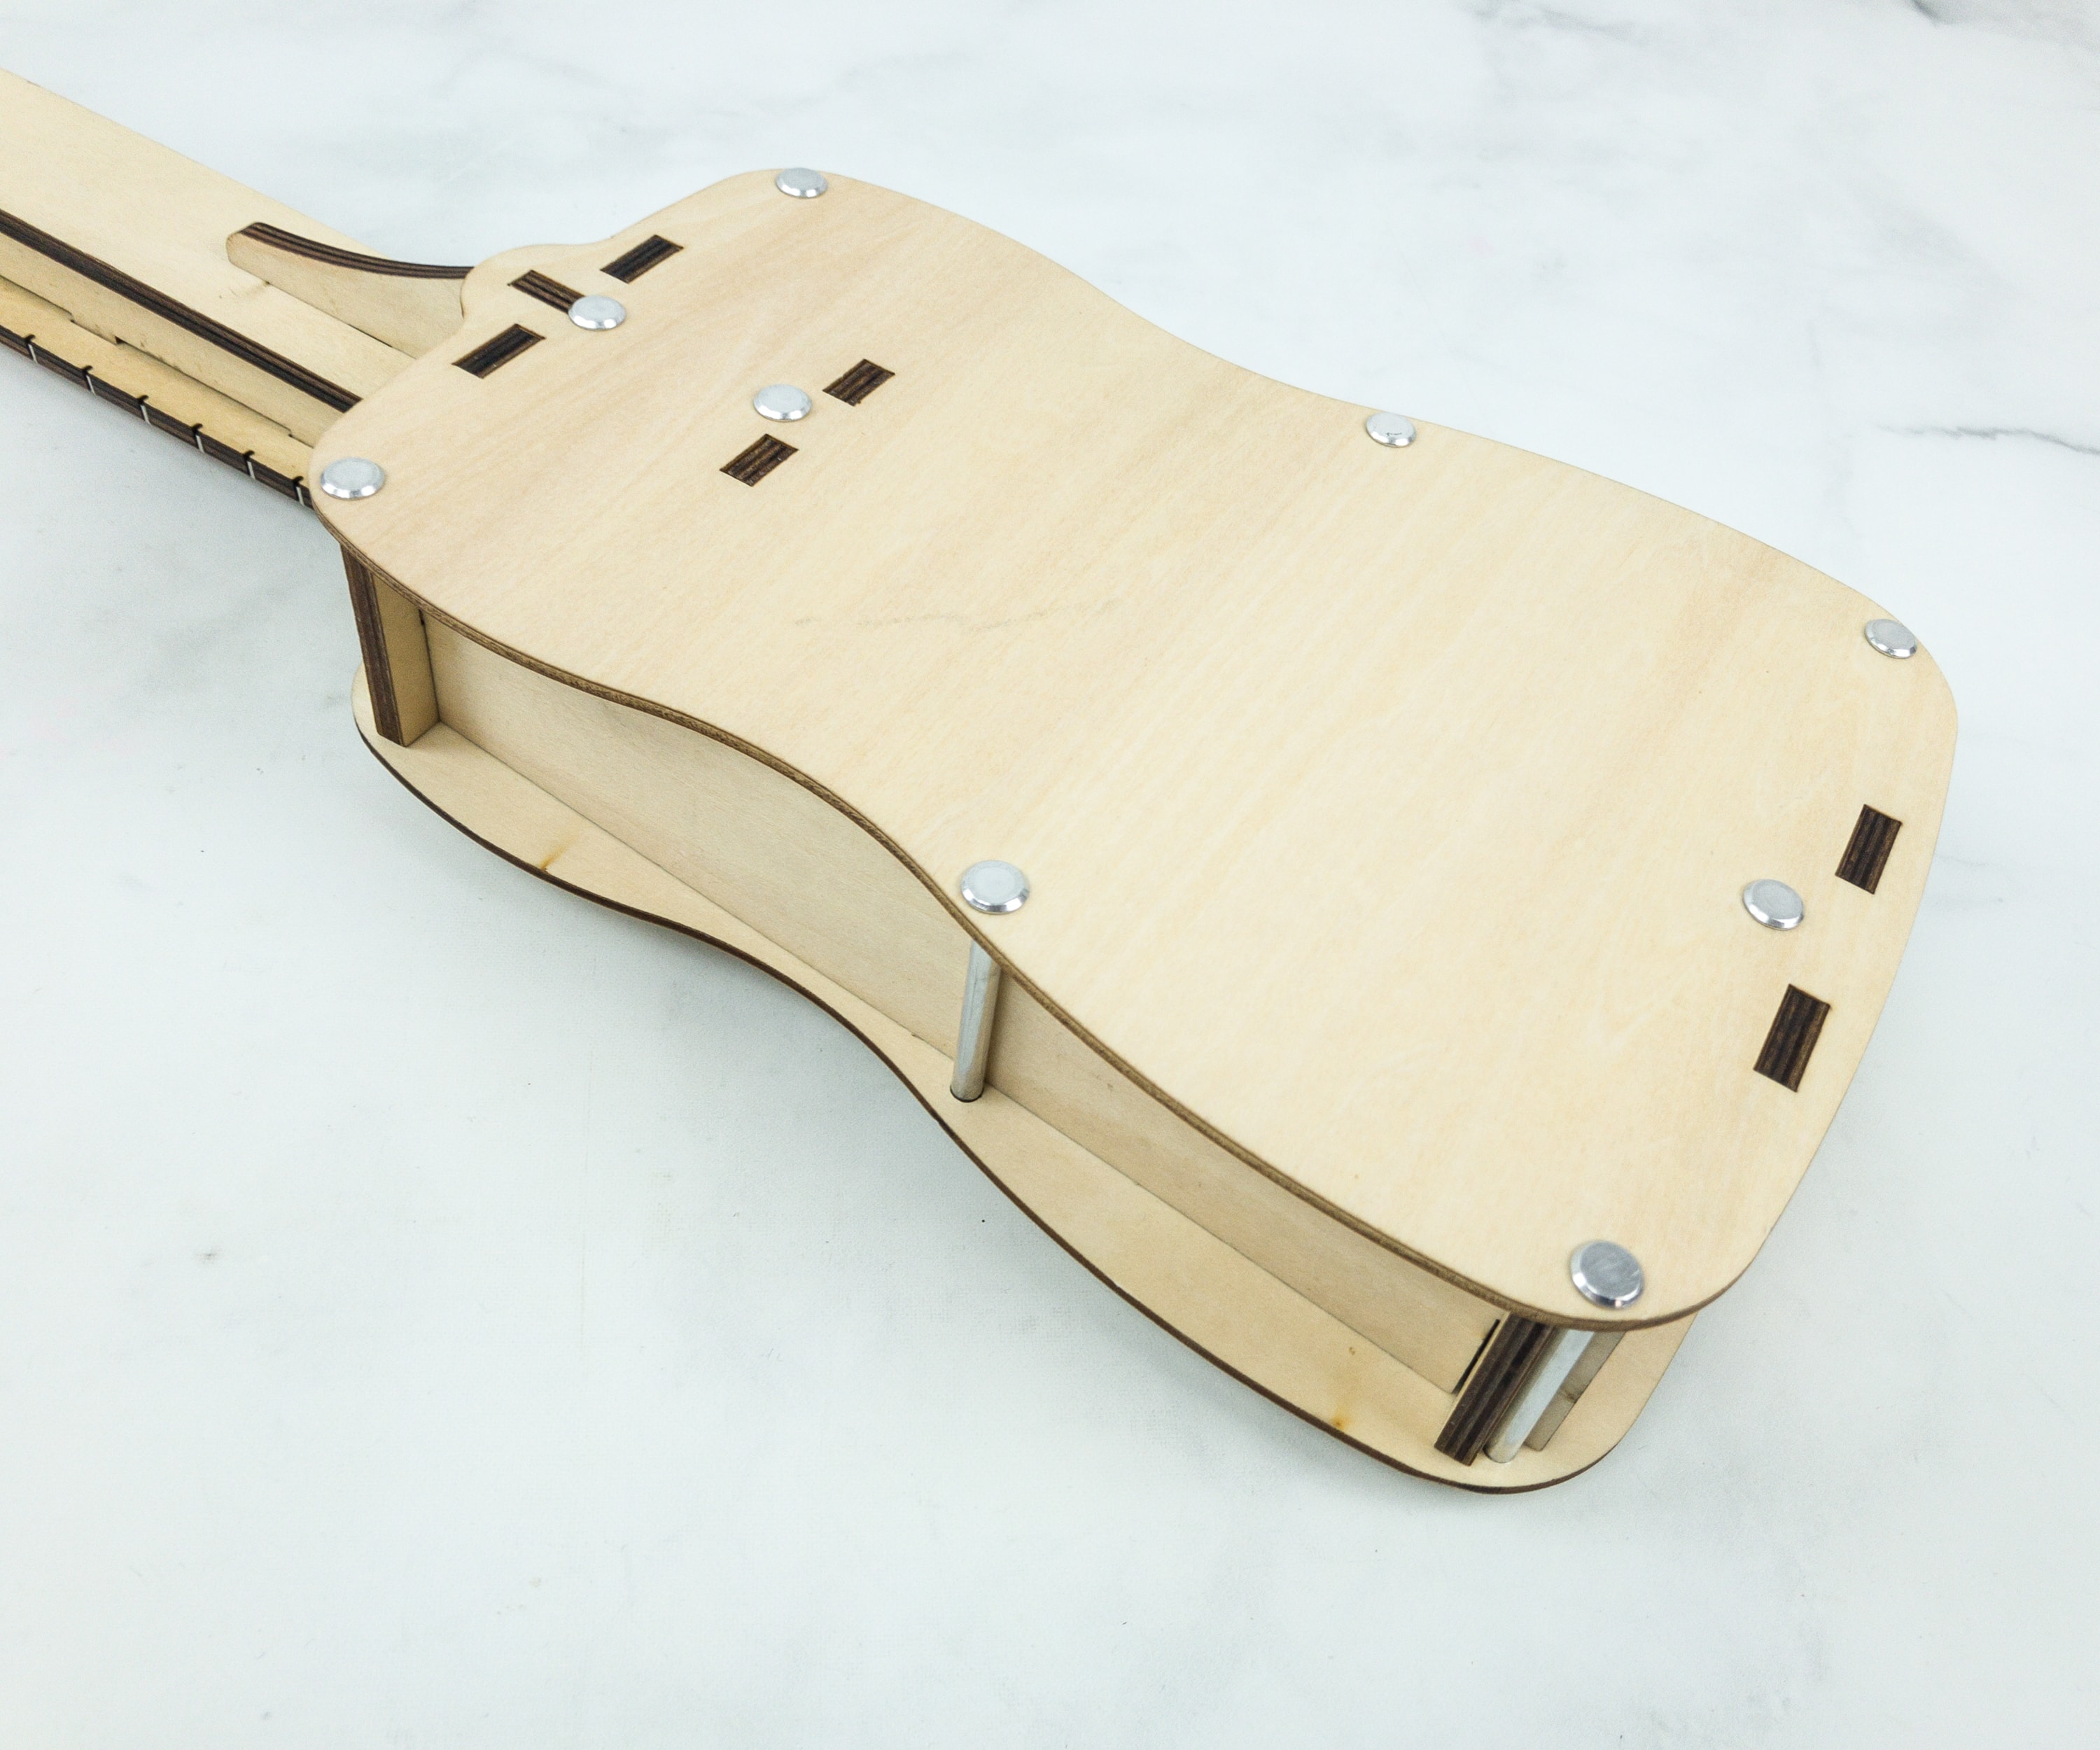
There we have the skeleton of our ukulele project.
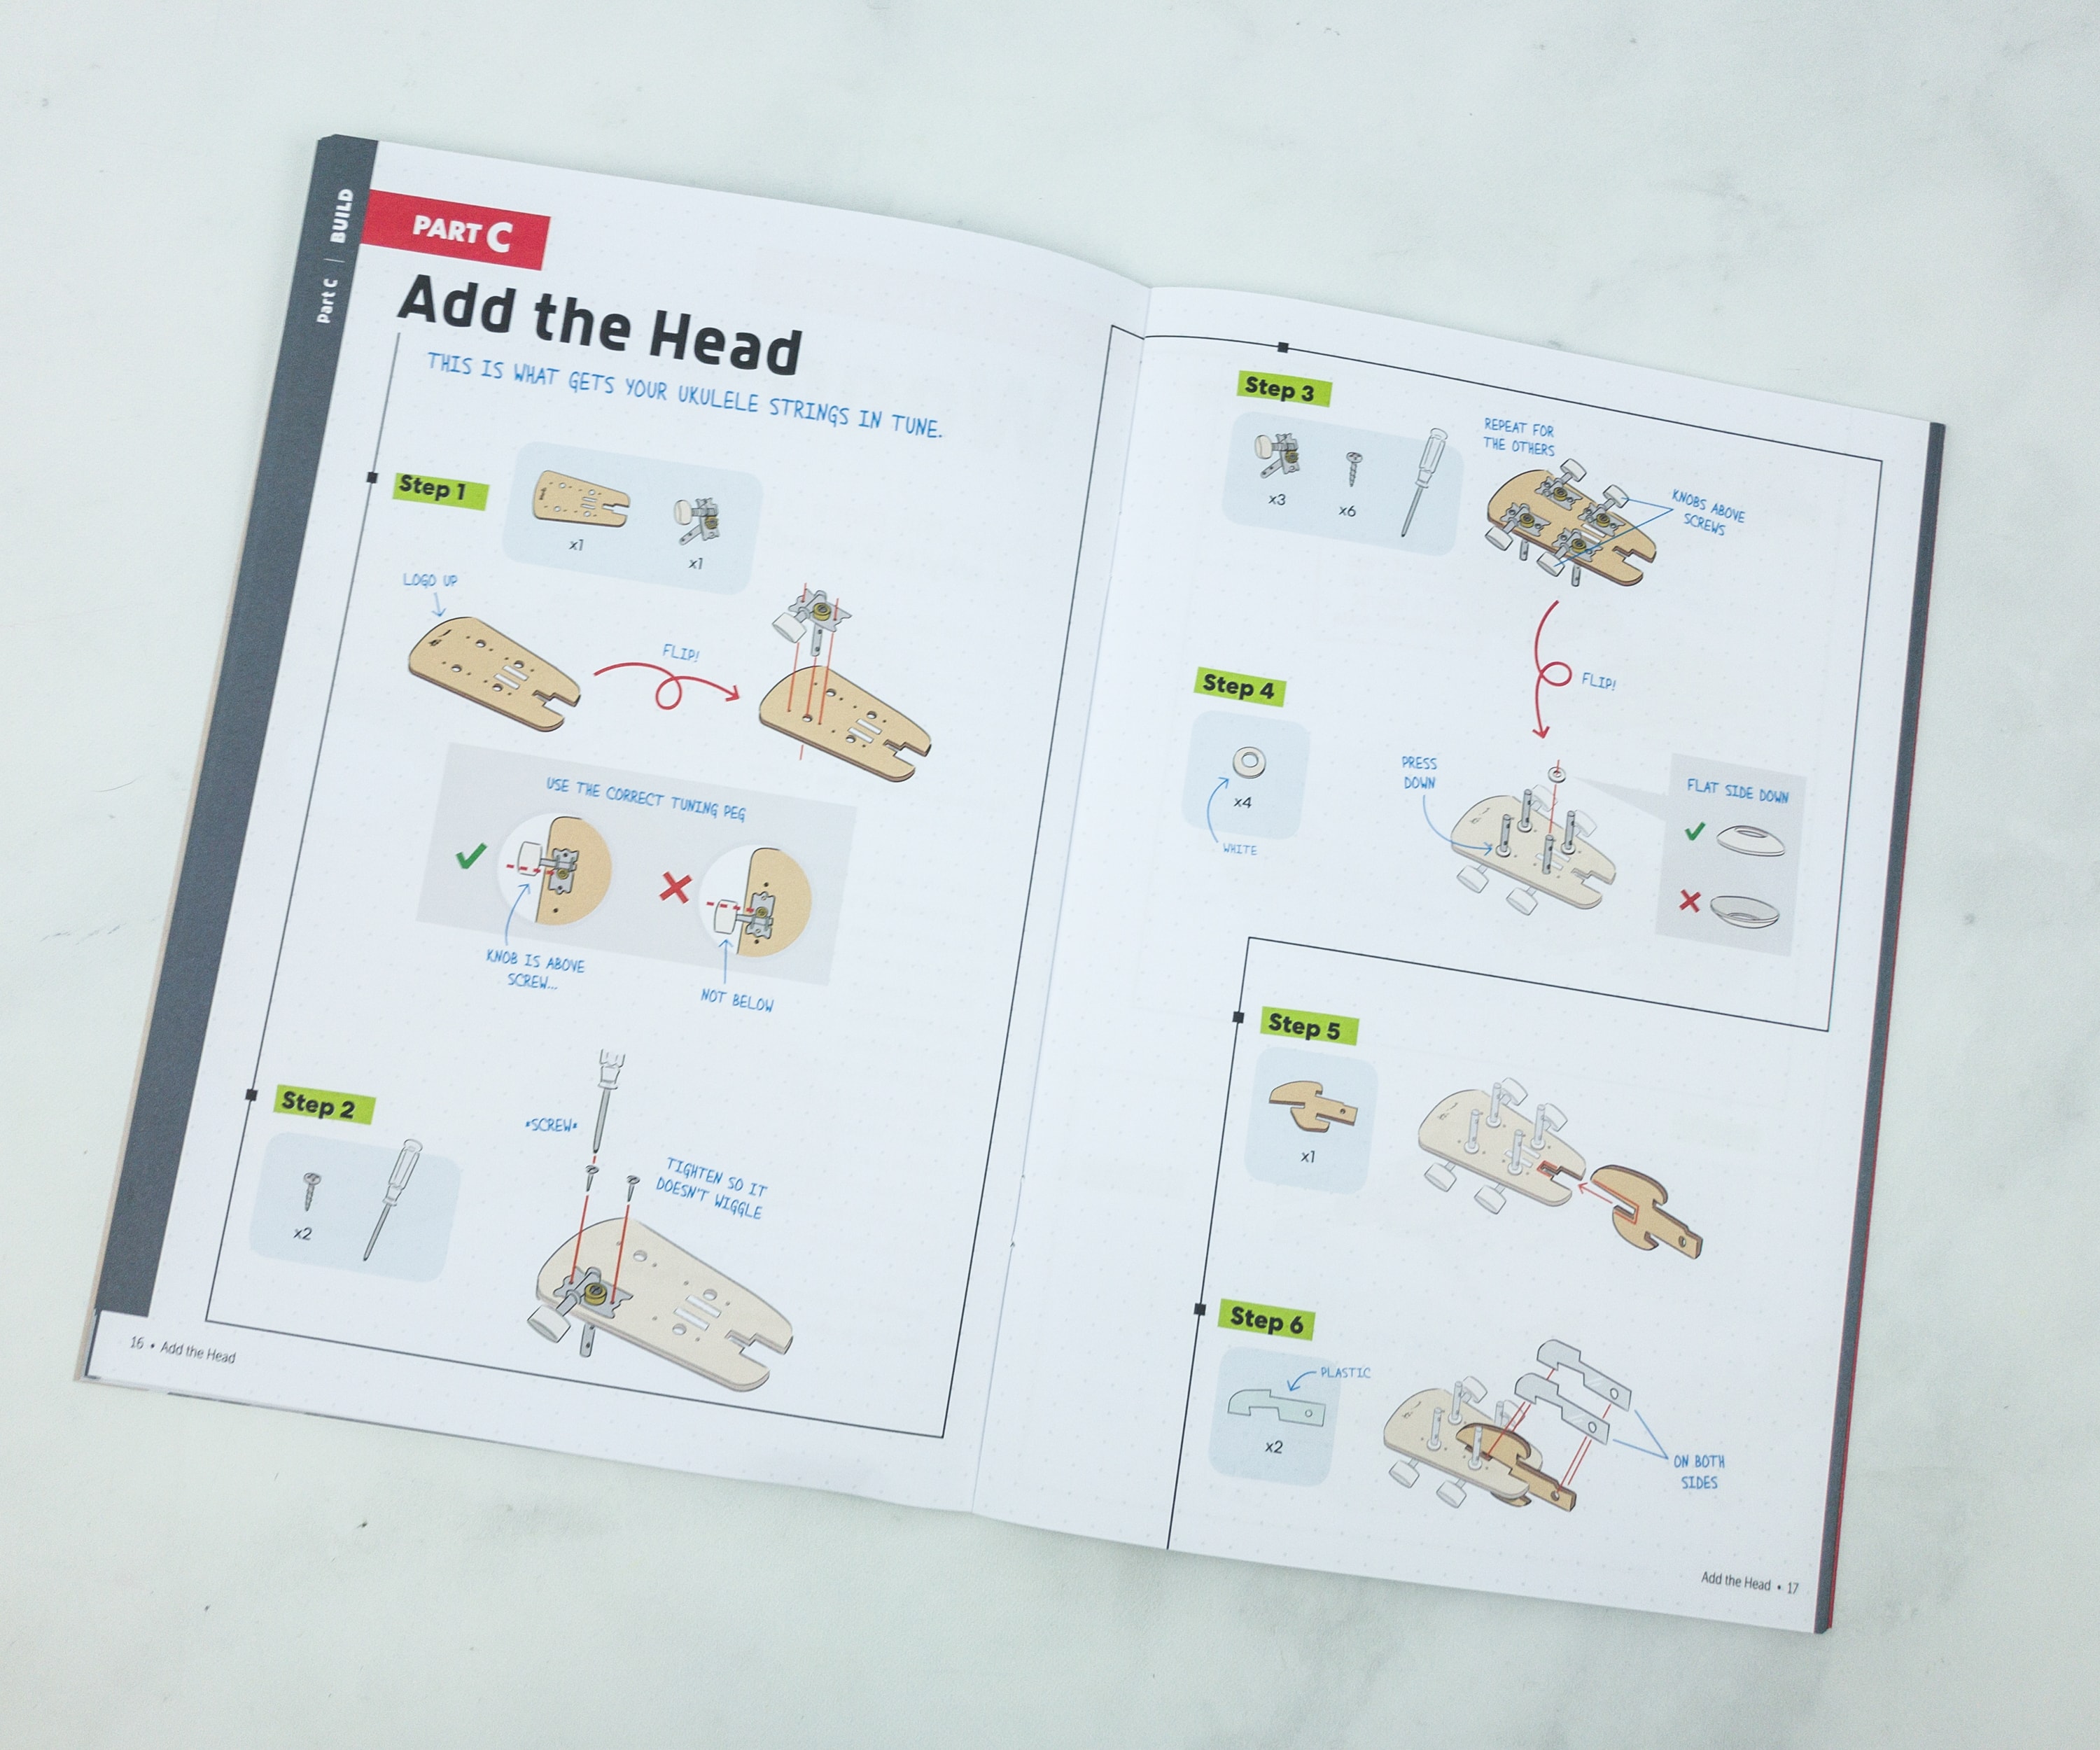
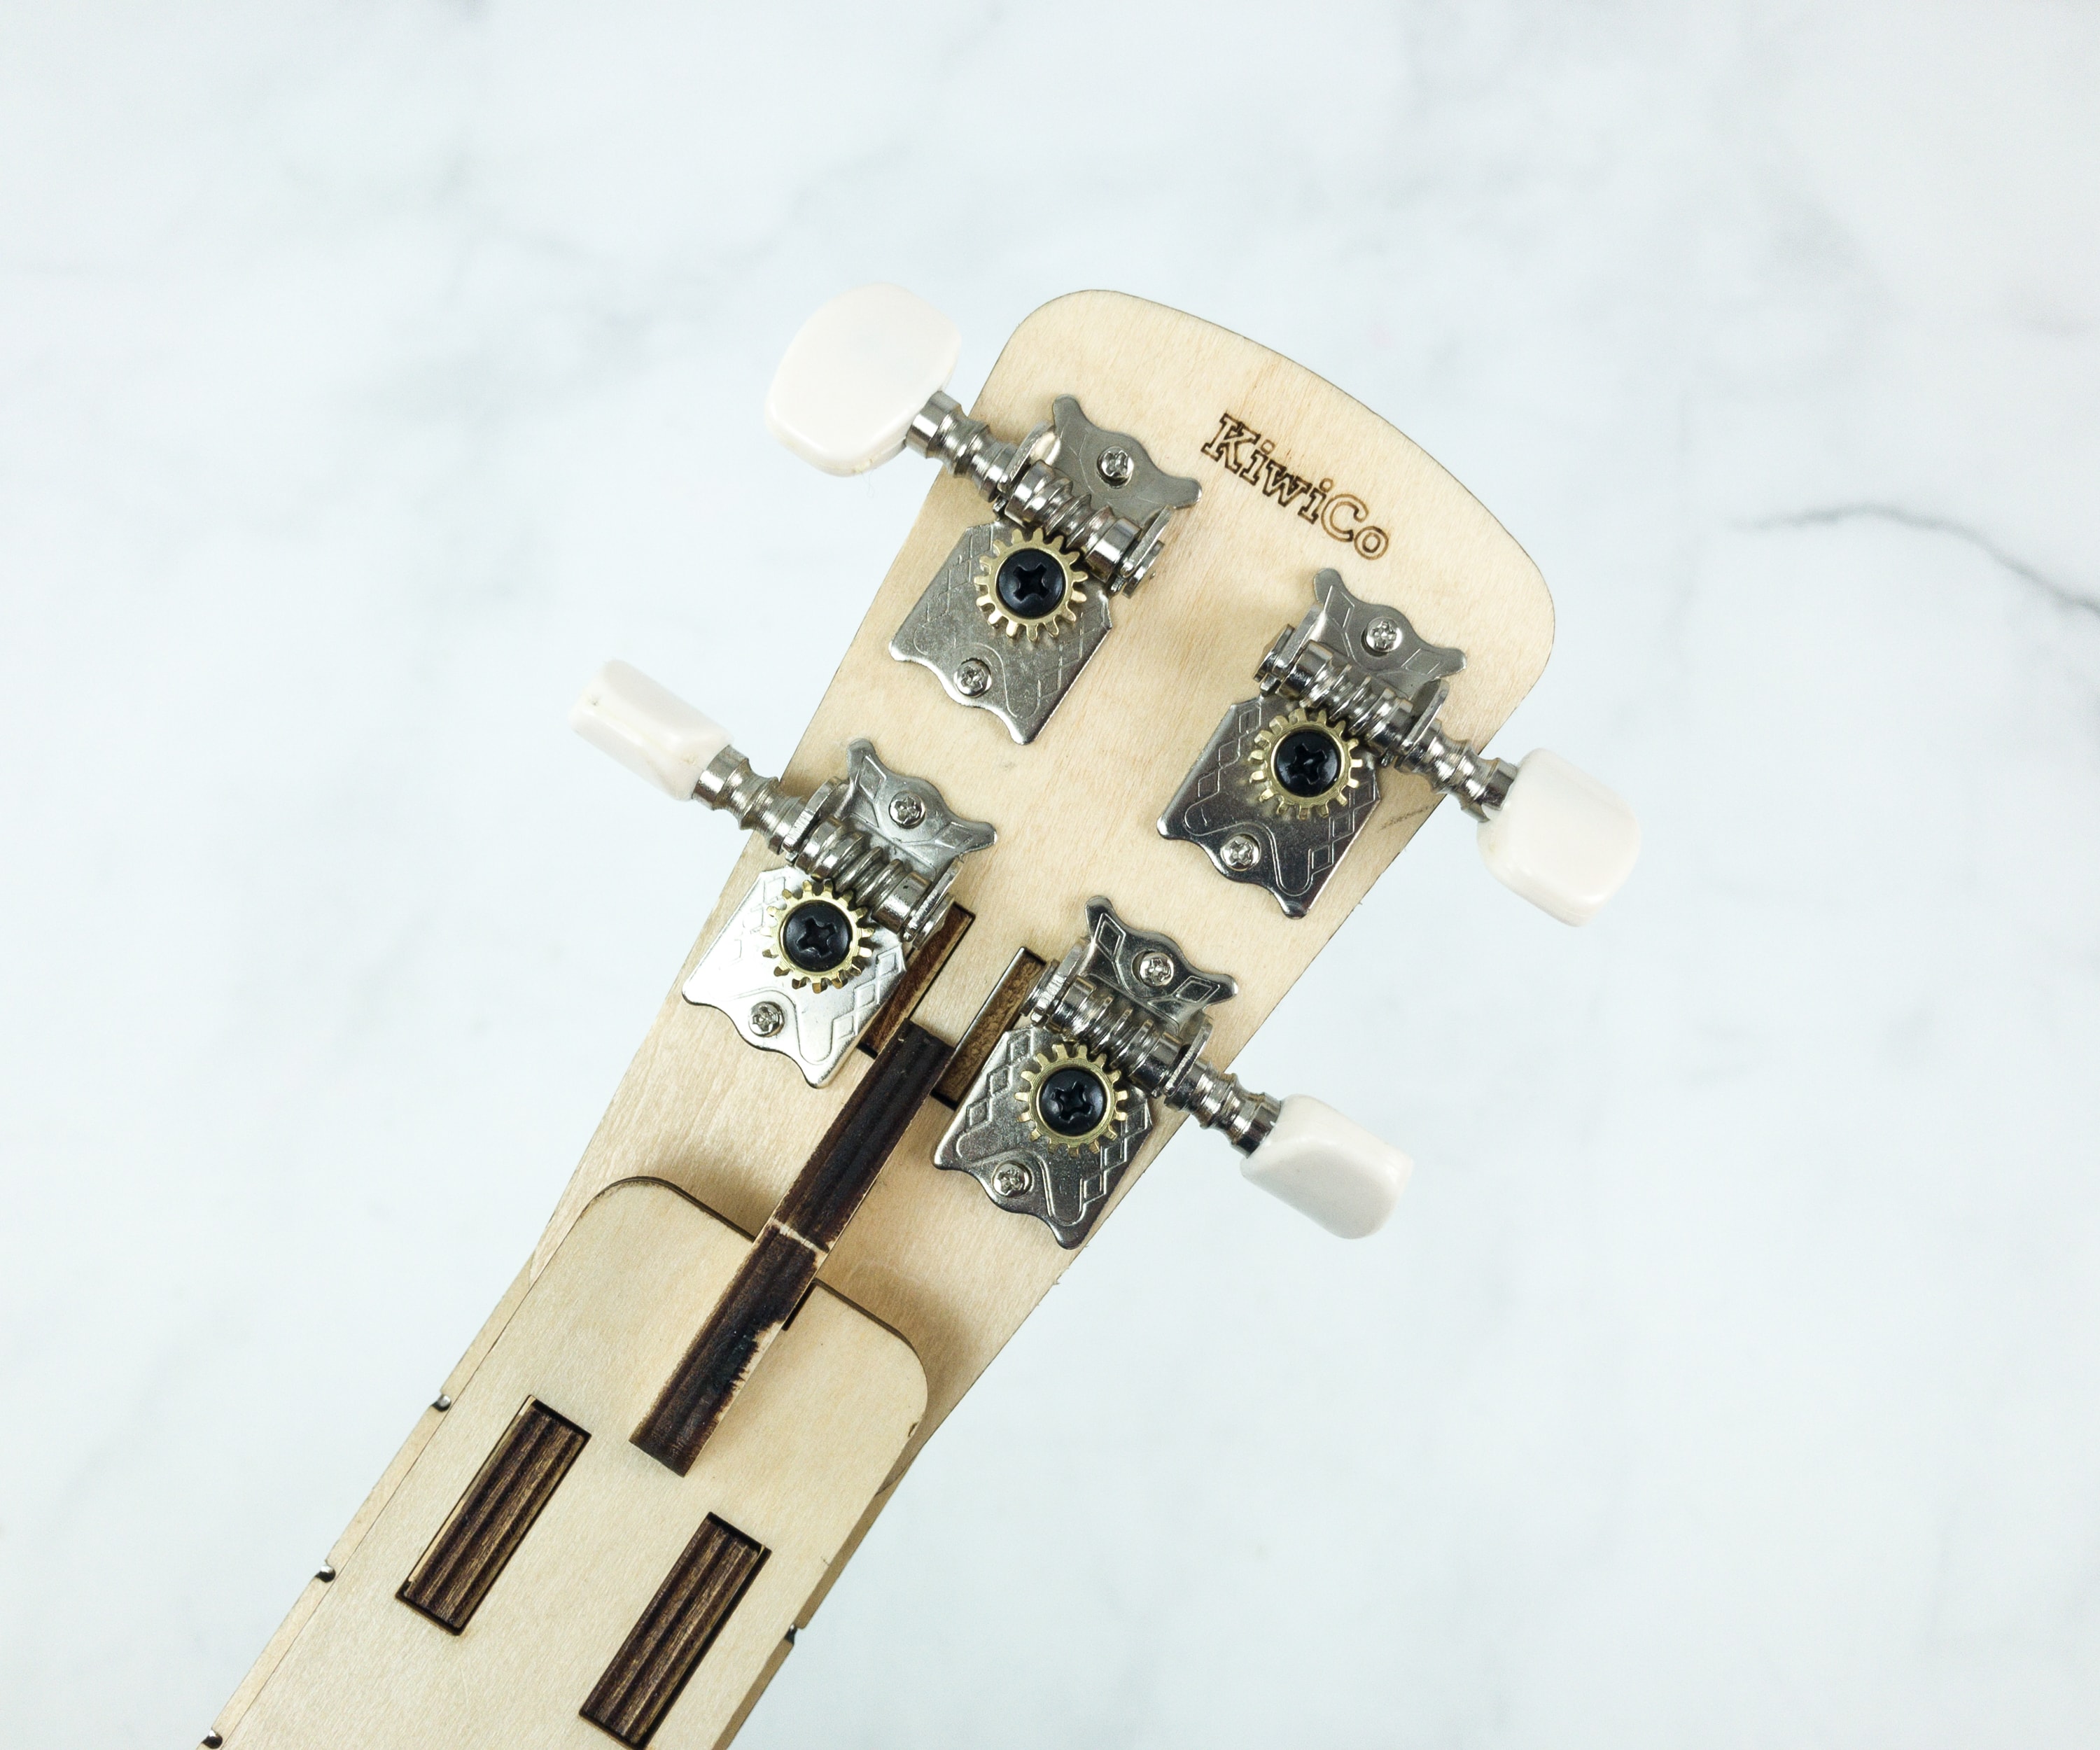
We’re done with the body, neck, and the fretboard. The next step is adding the head, it is where the ukulele’s string is attached and tuned.

Here’s everything we need in making our ukulele’s head. Most of them are ready-made, especially all we need to do is attach it.
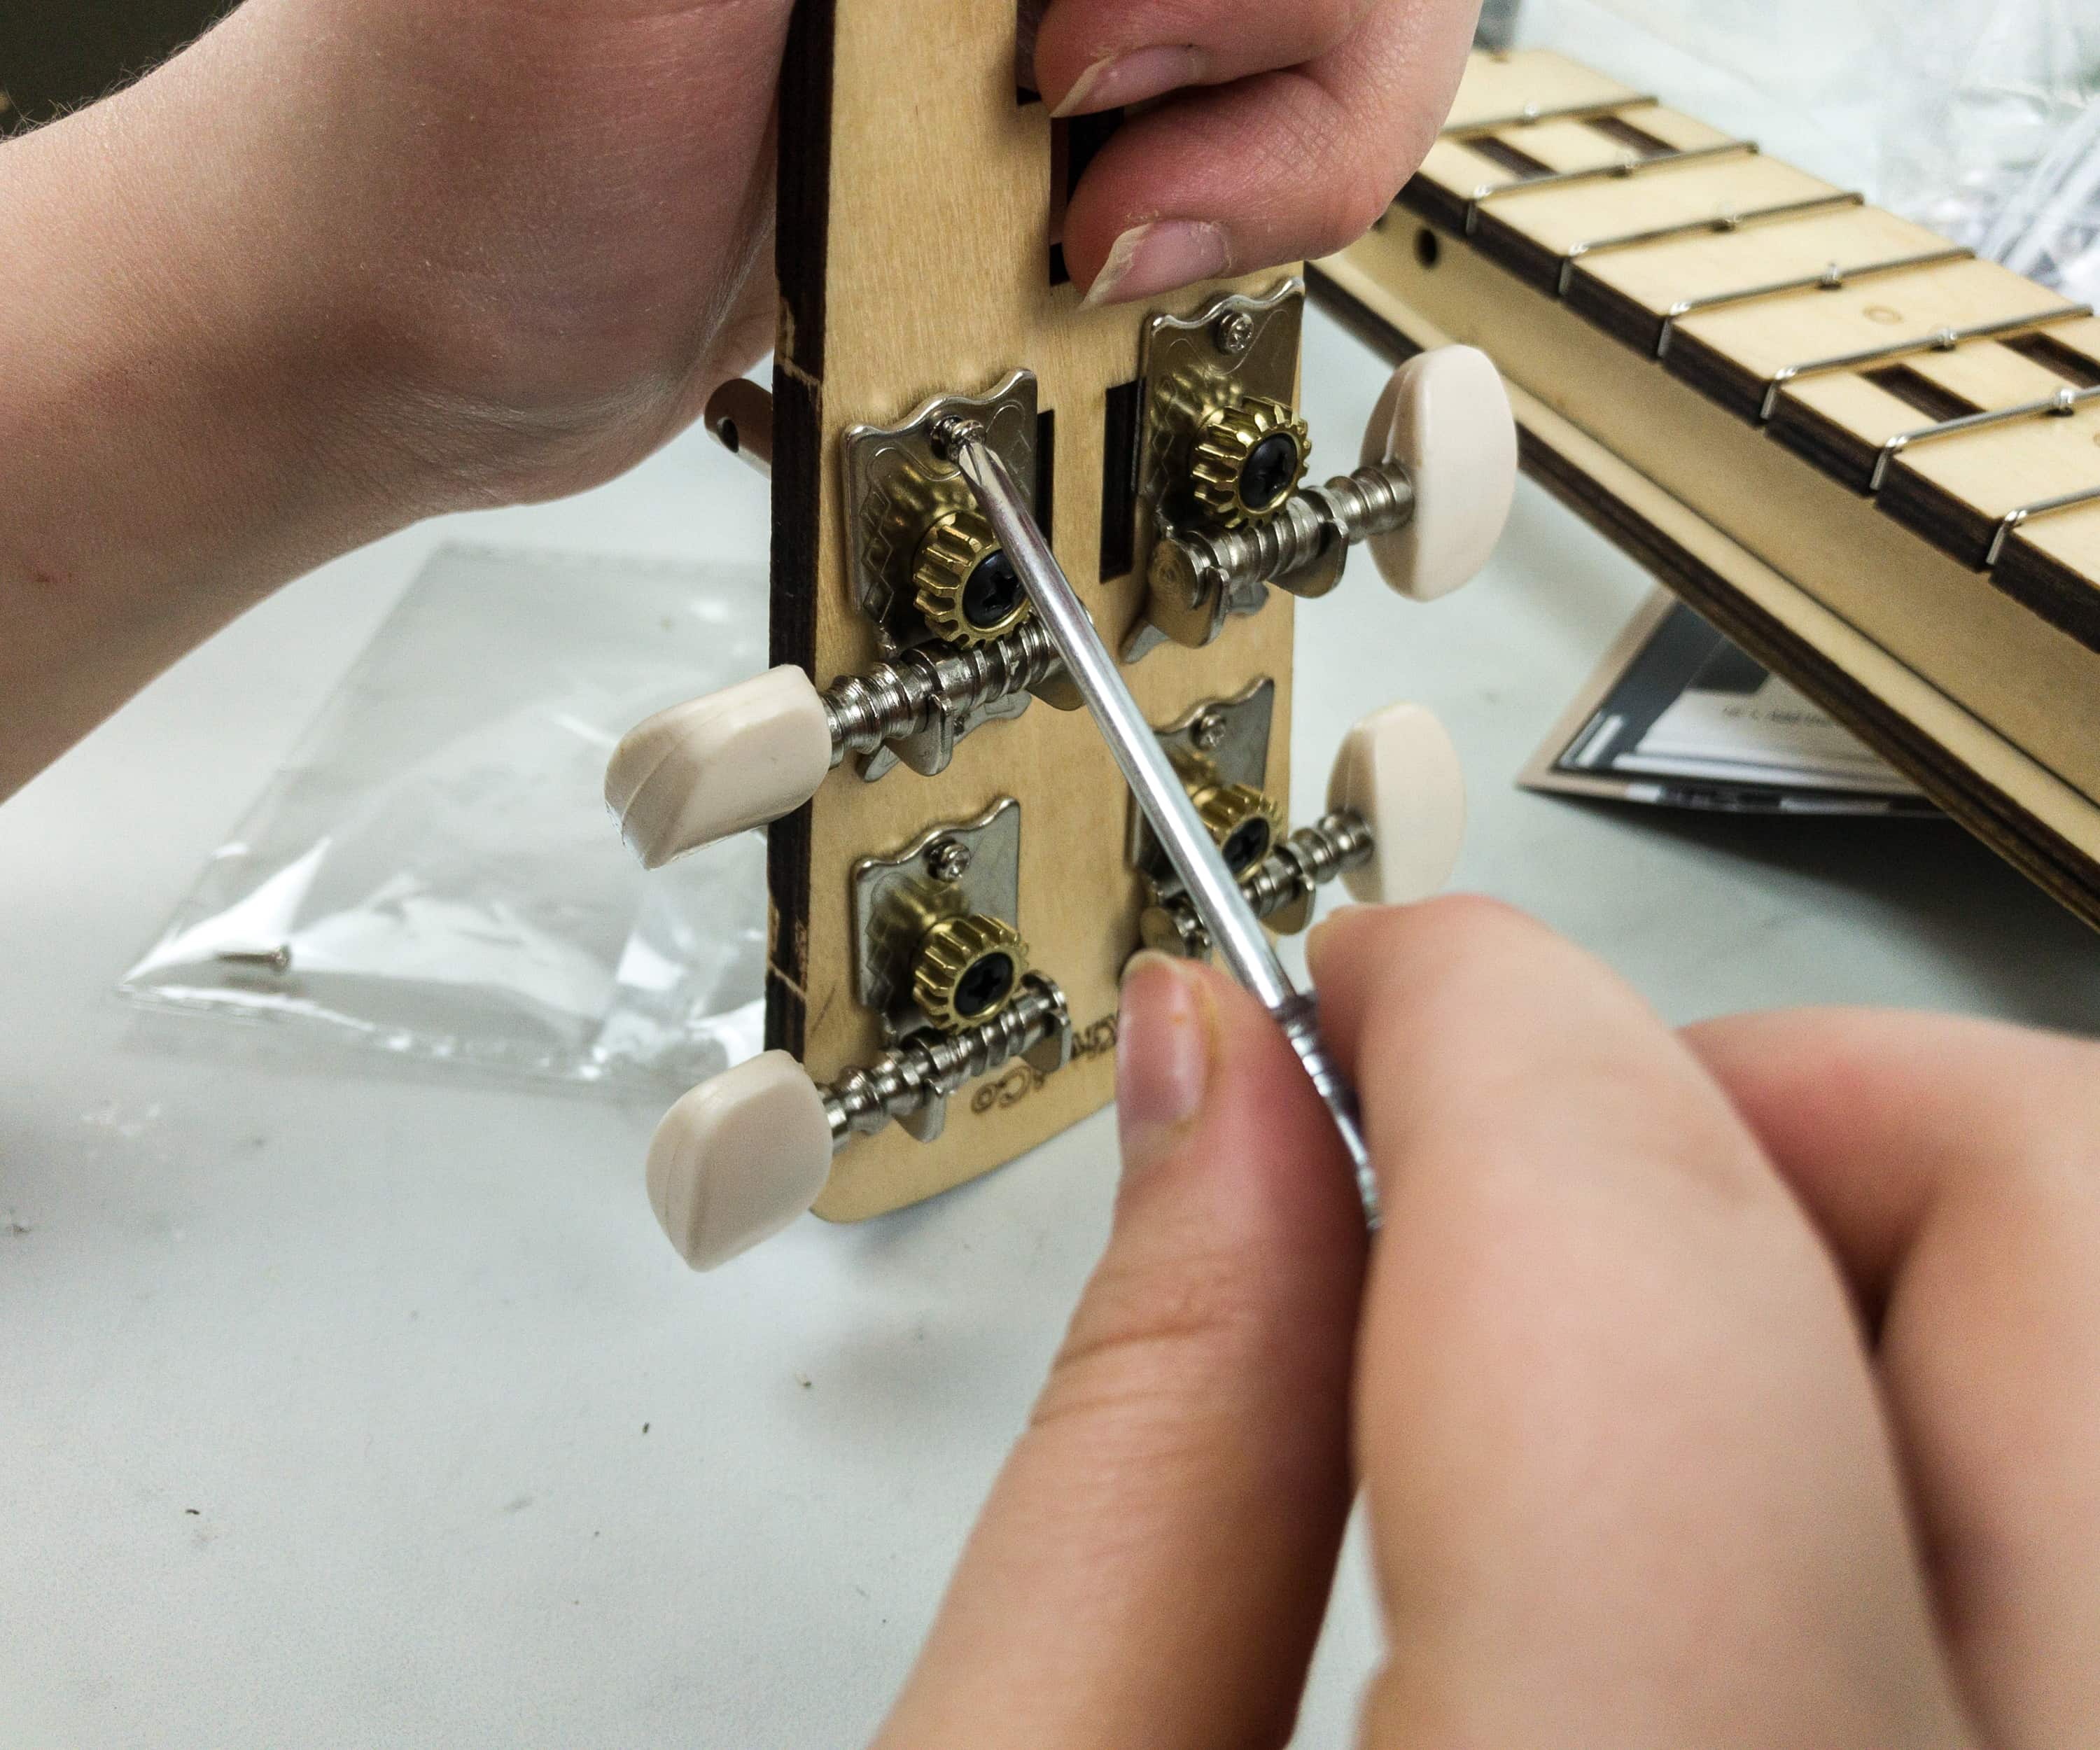
Insert the tuner on each hole, make sure that it is properly placed. Once done, screw each tuner tightly so it won’t wiggle.
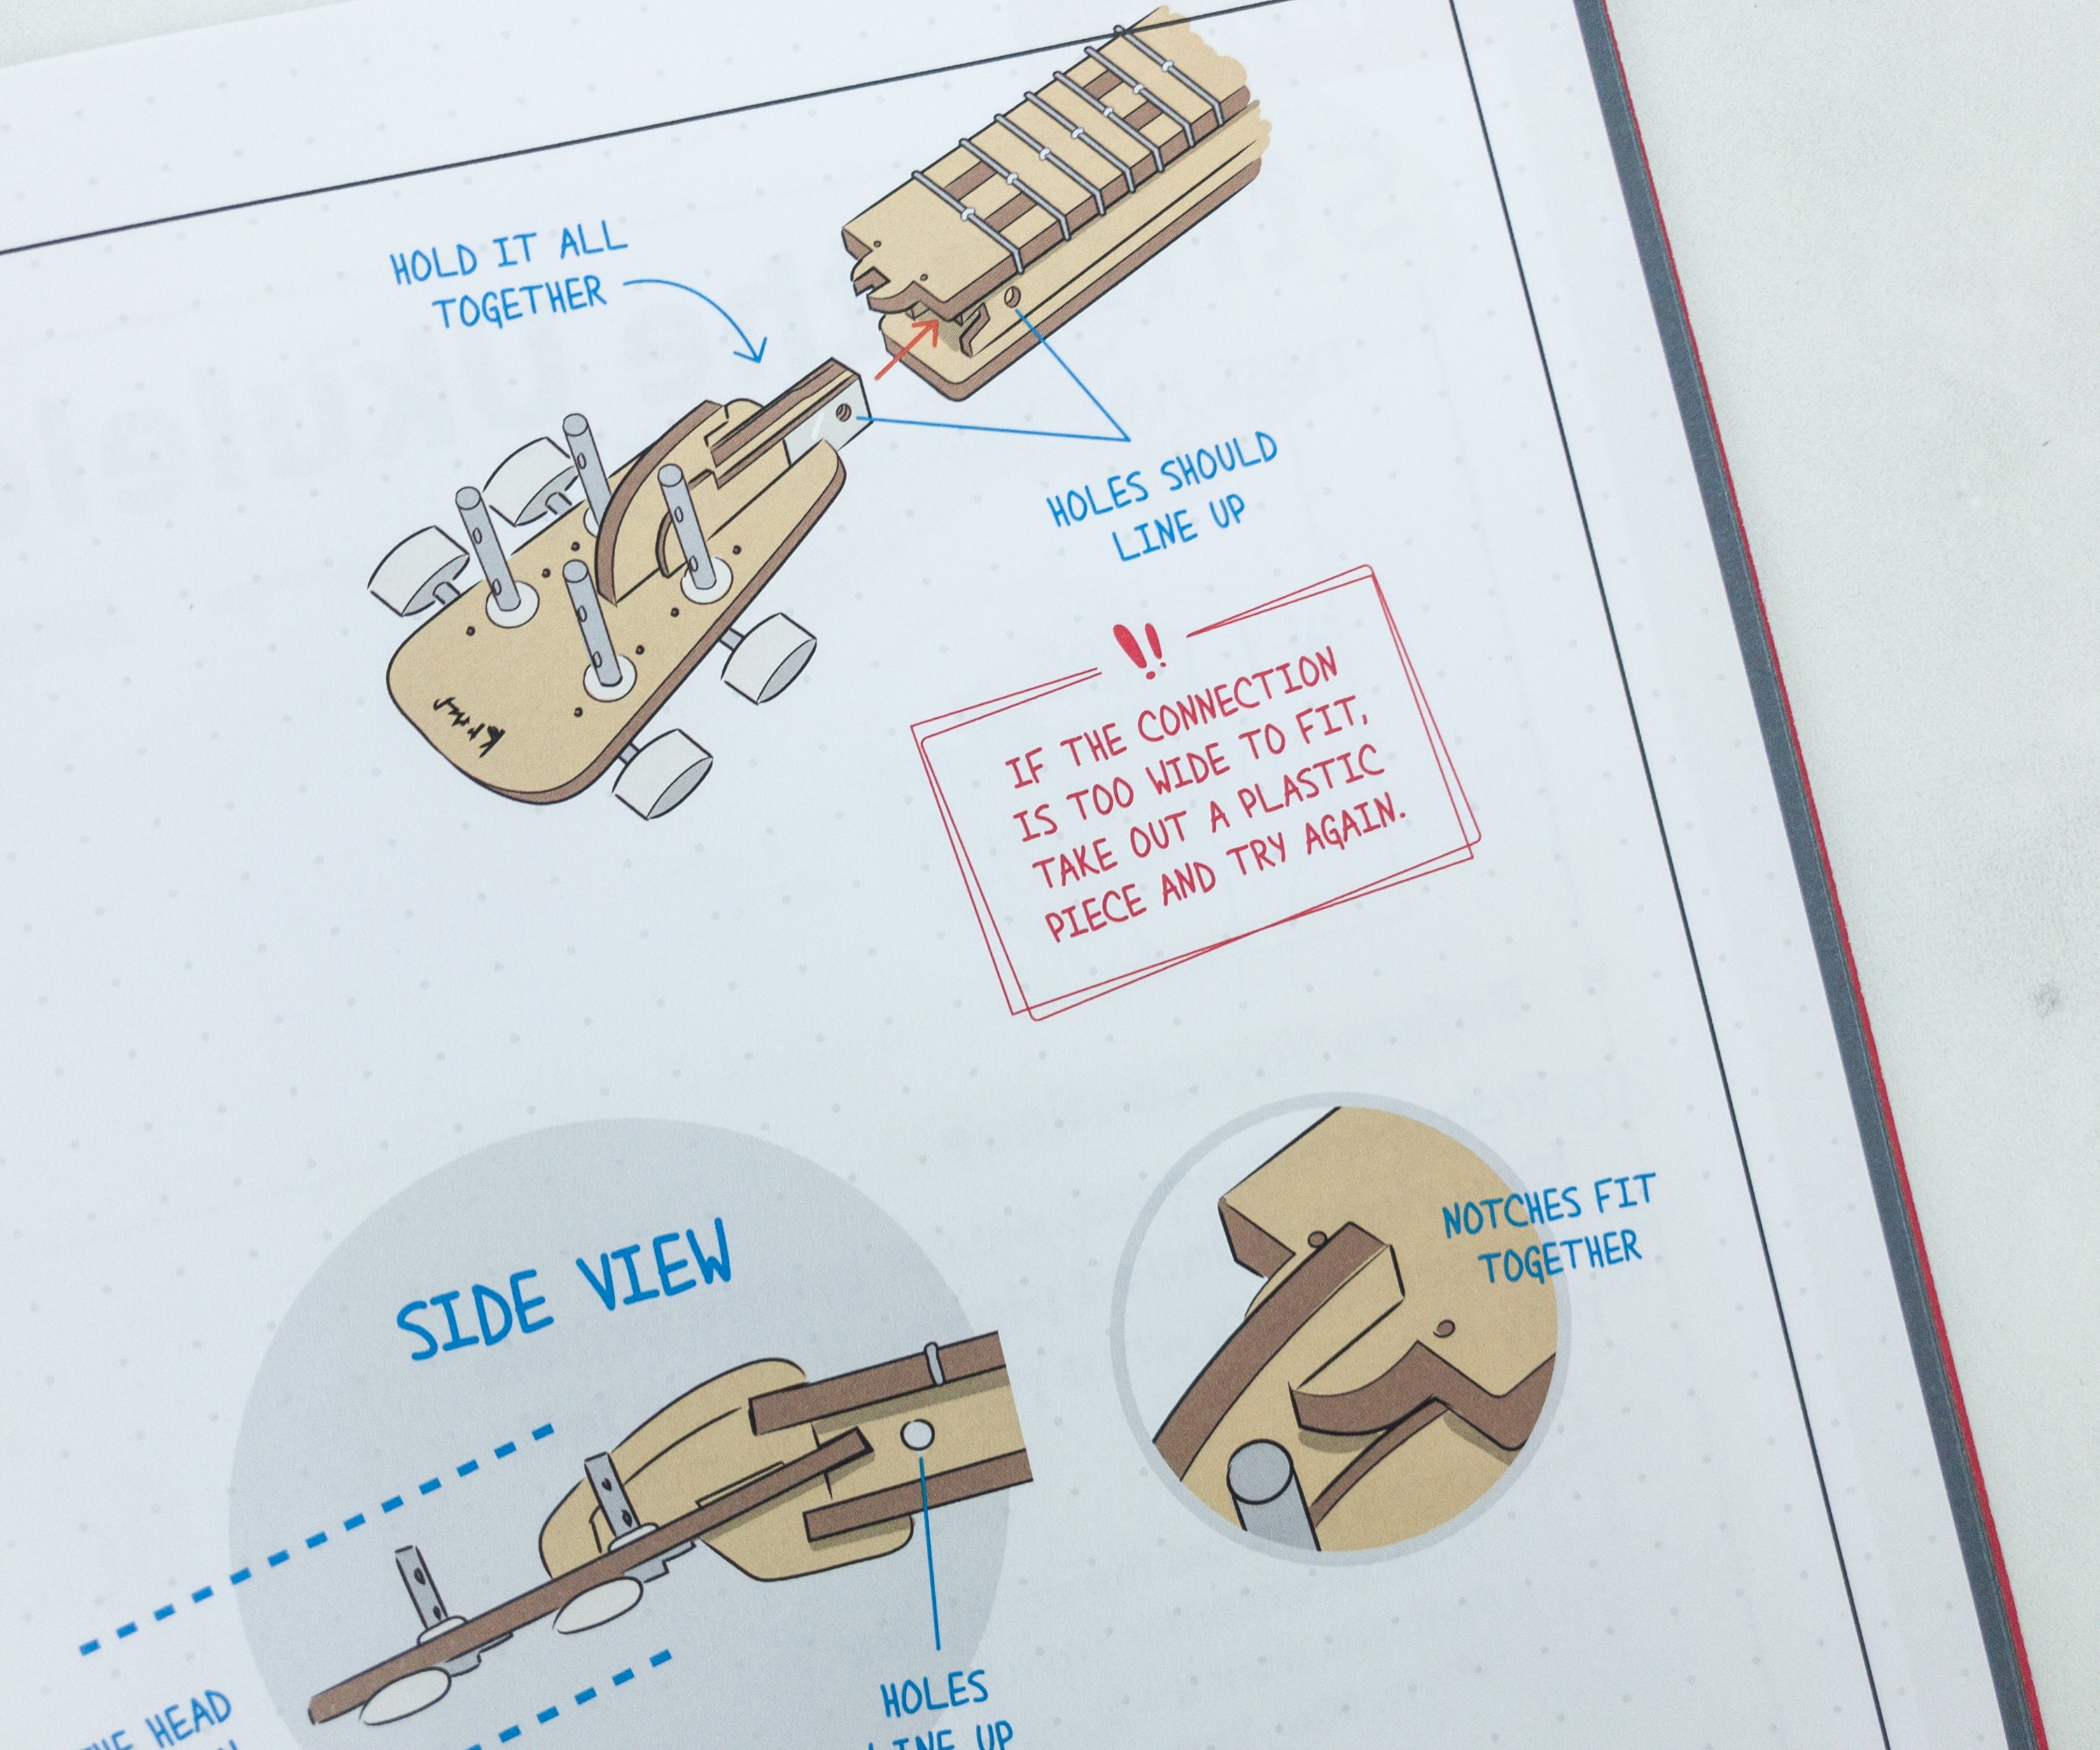
Featured on this part of the booklet is the right way of connecting the head to the fretboard.
This is what it should look like, one the head is fully attached.
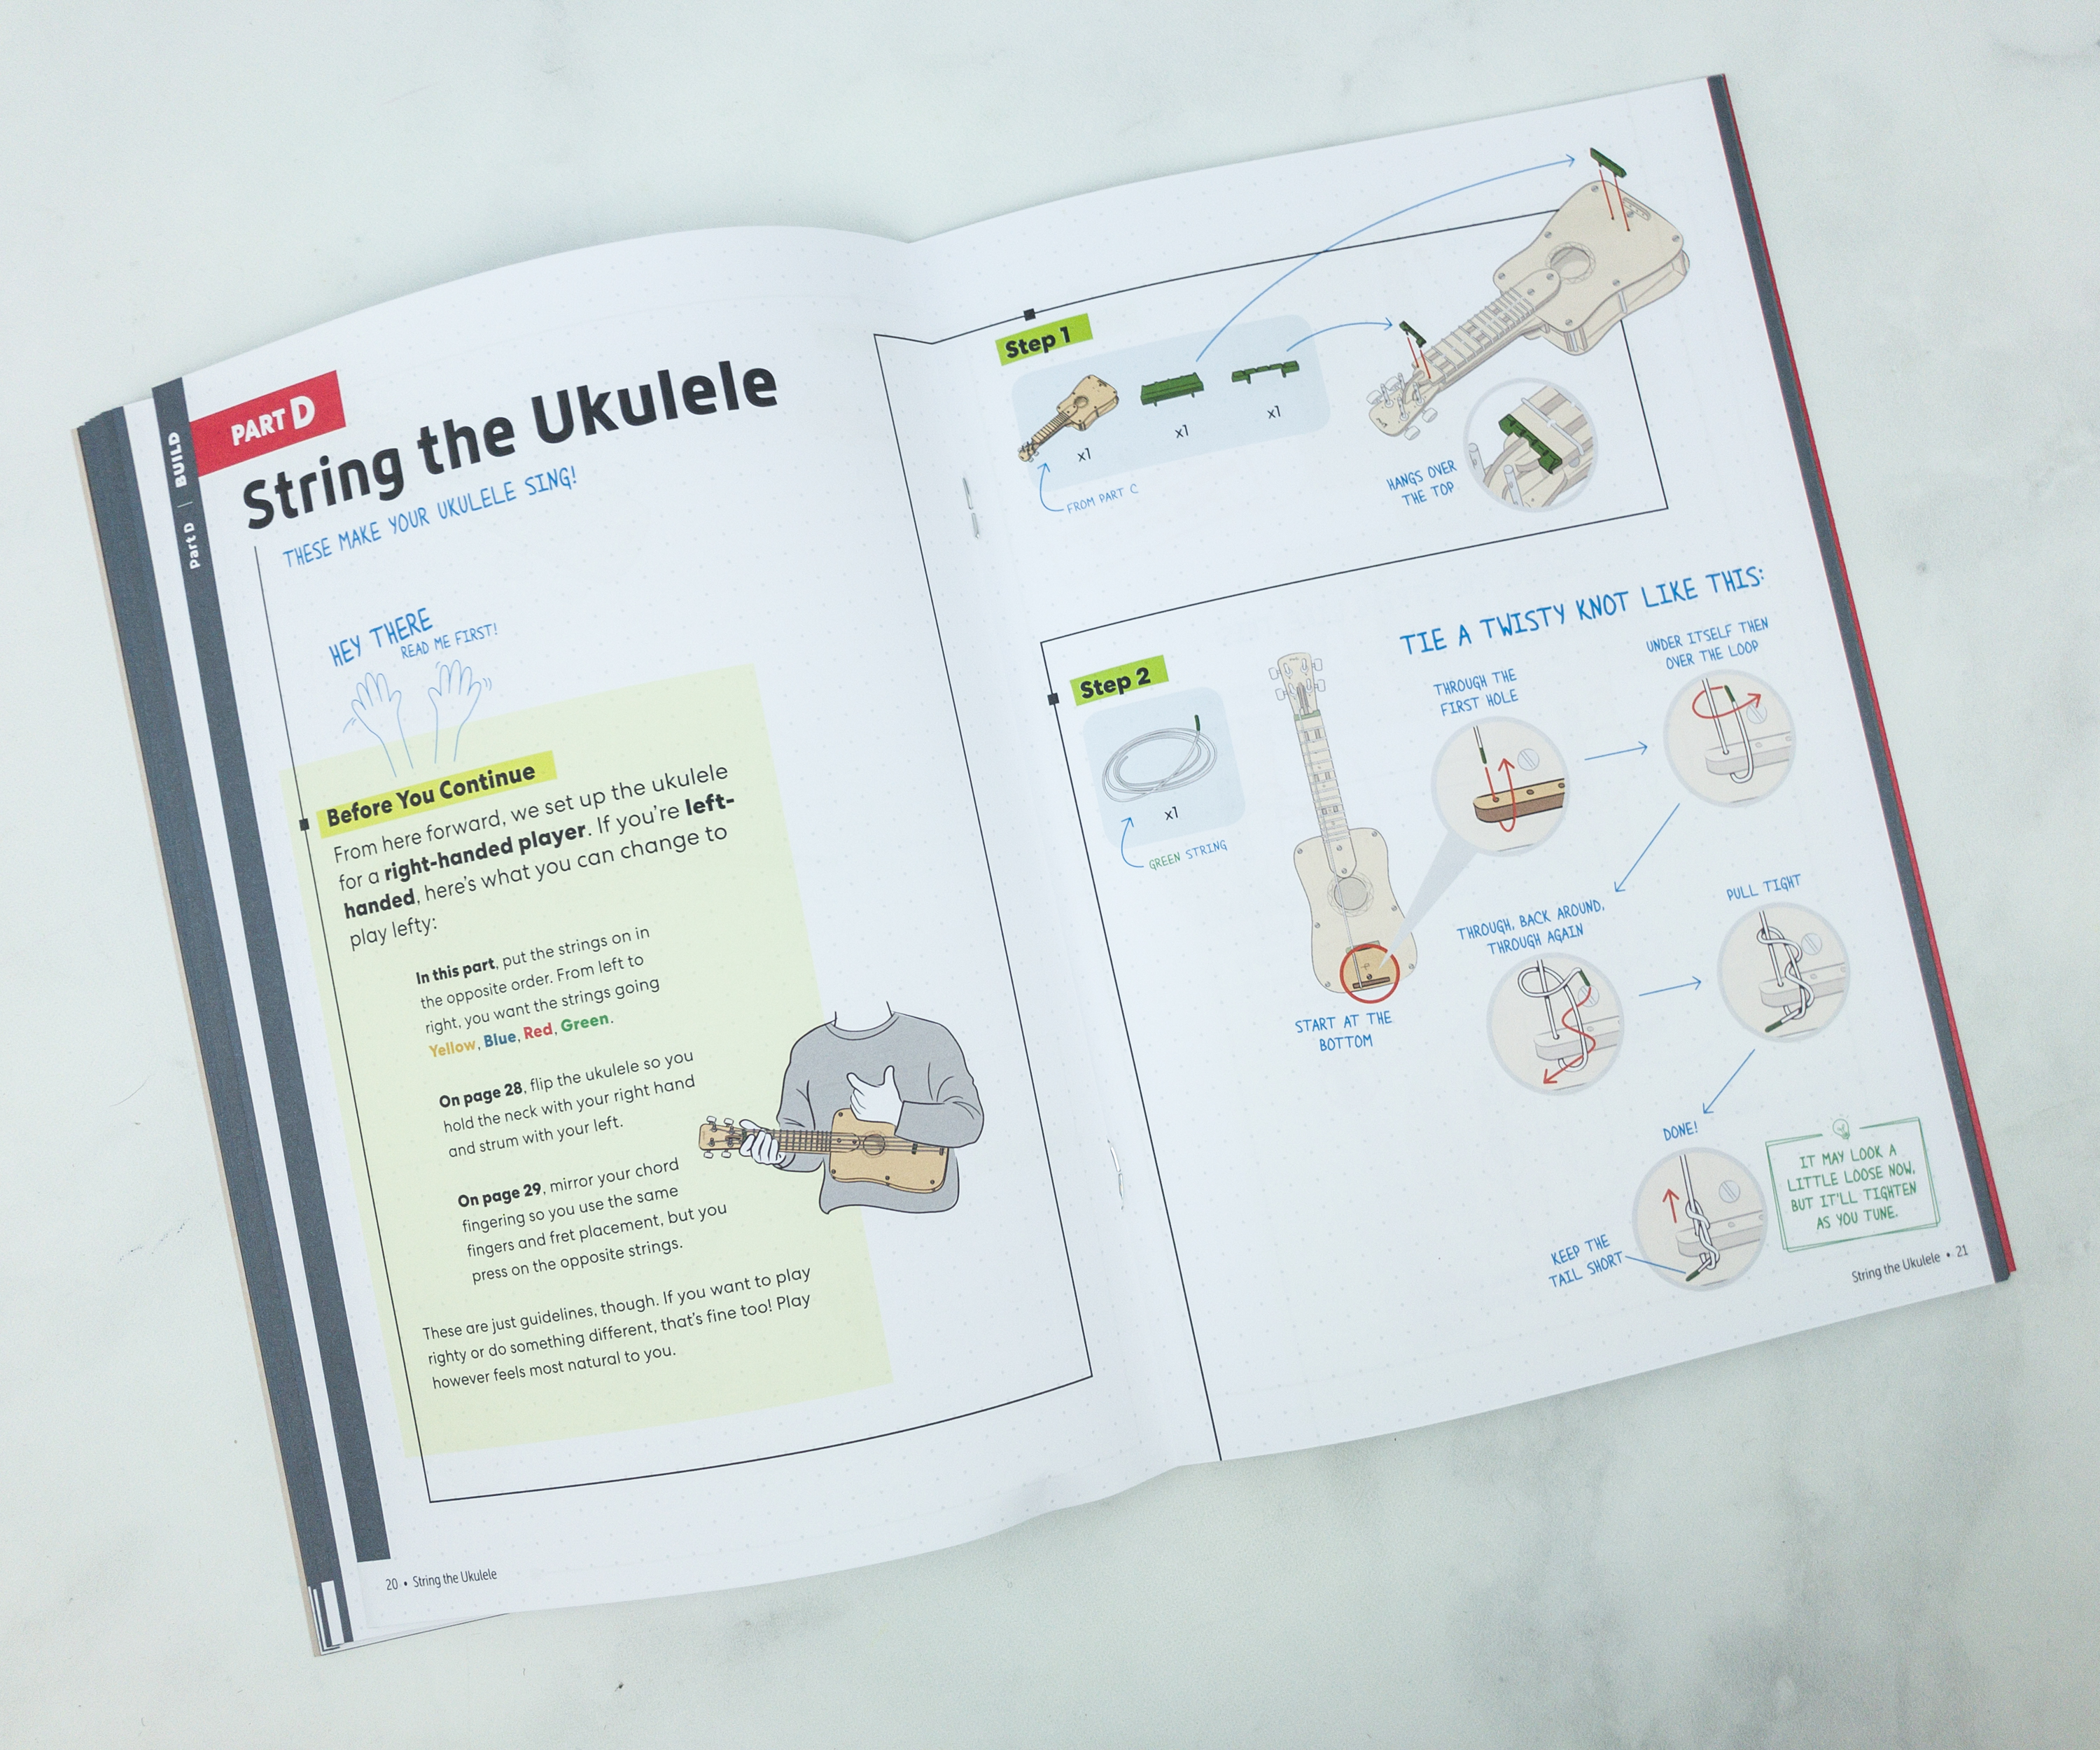
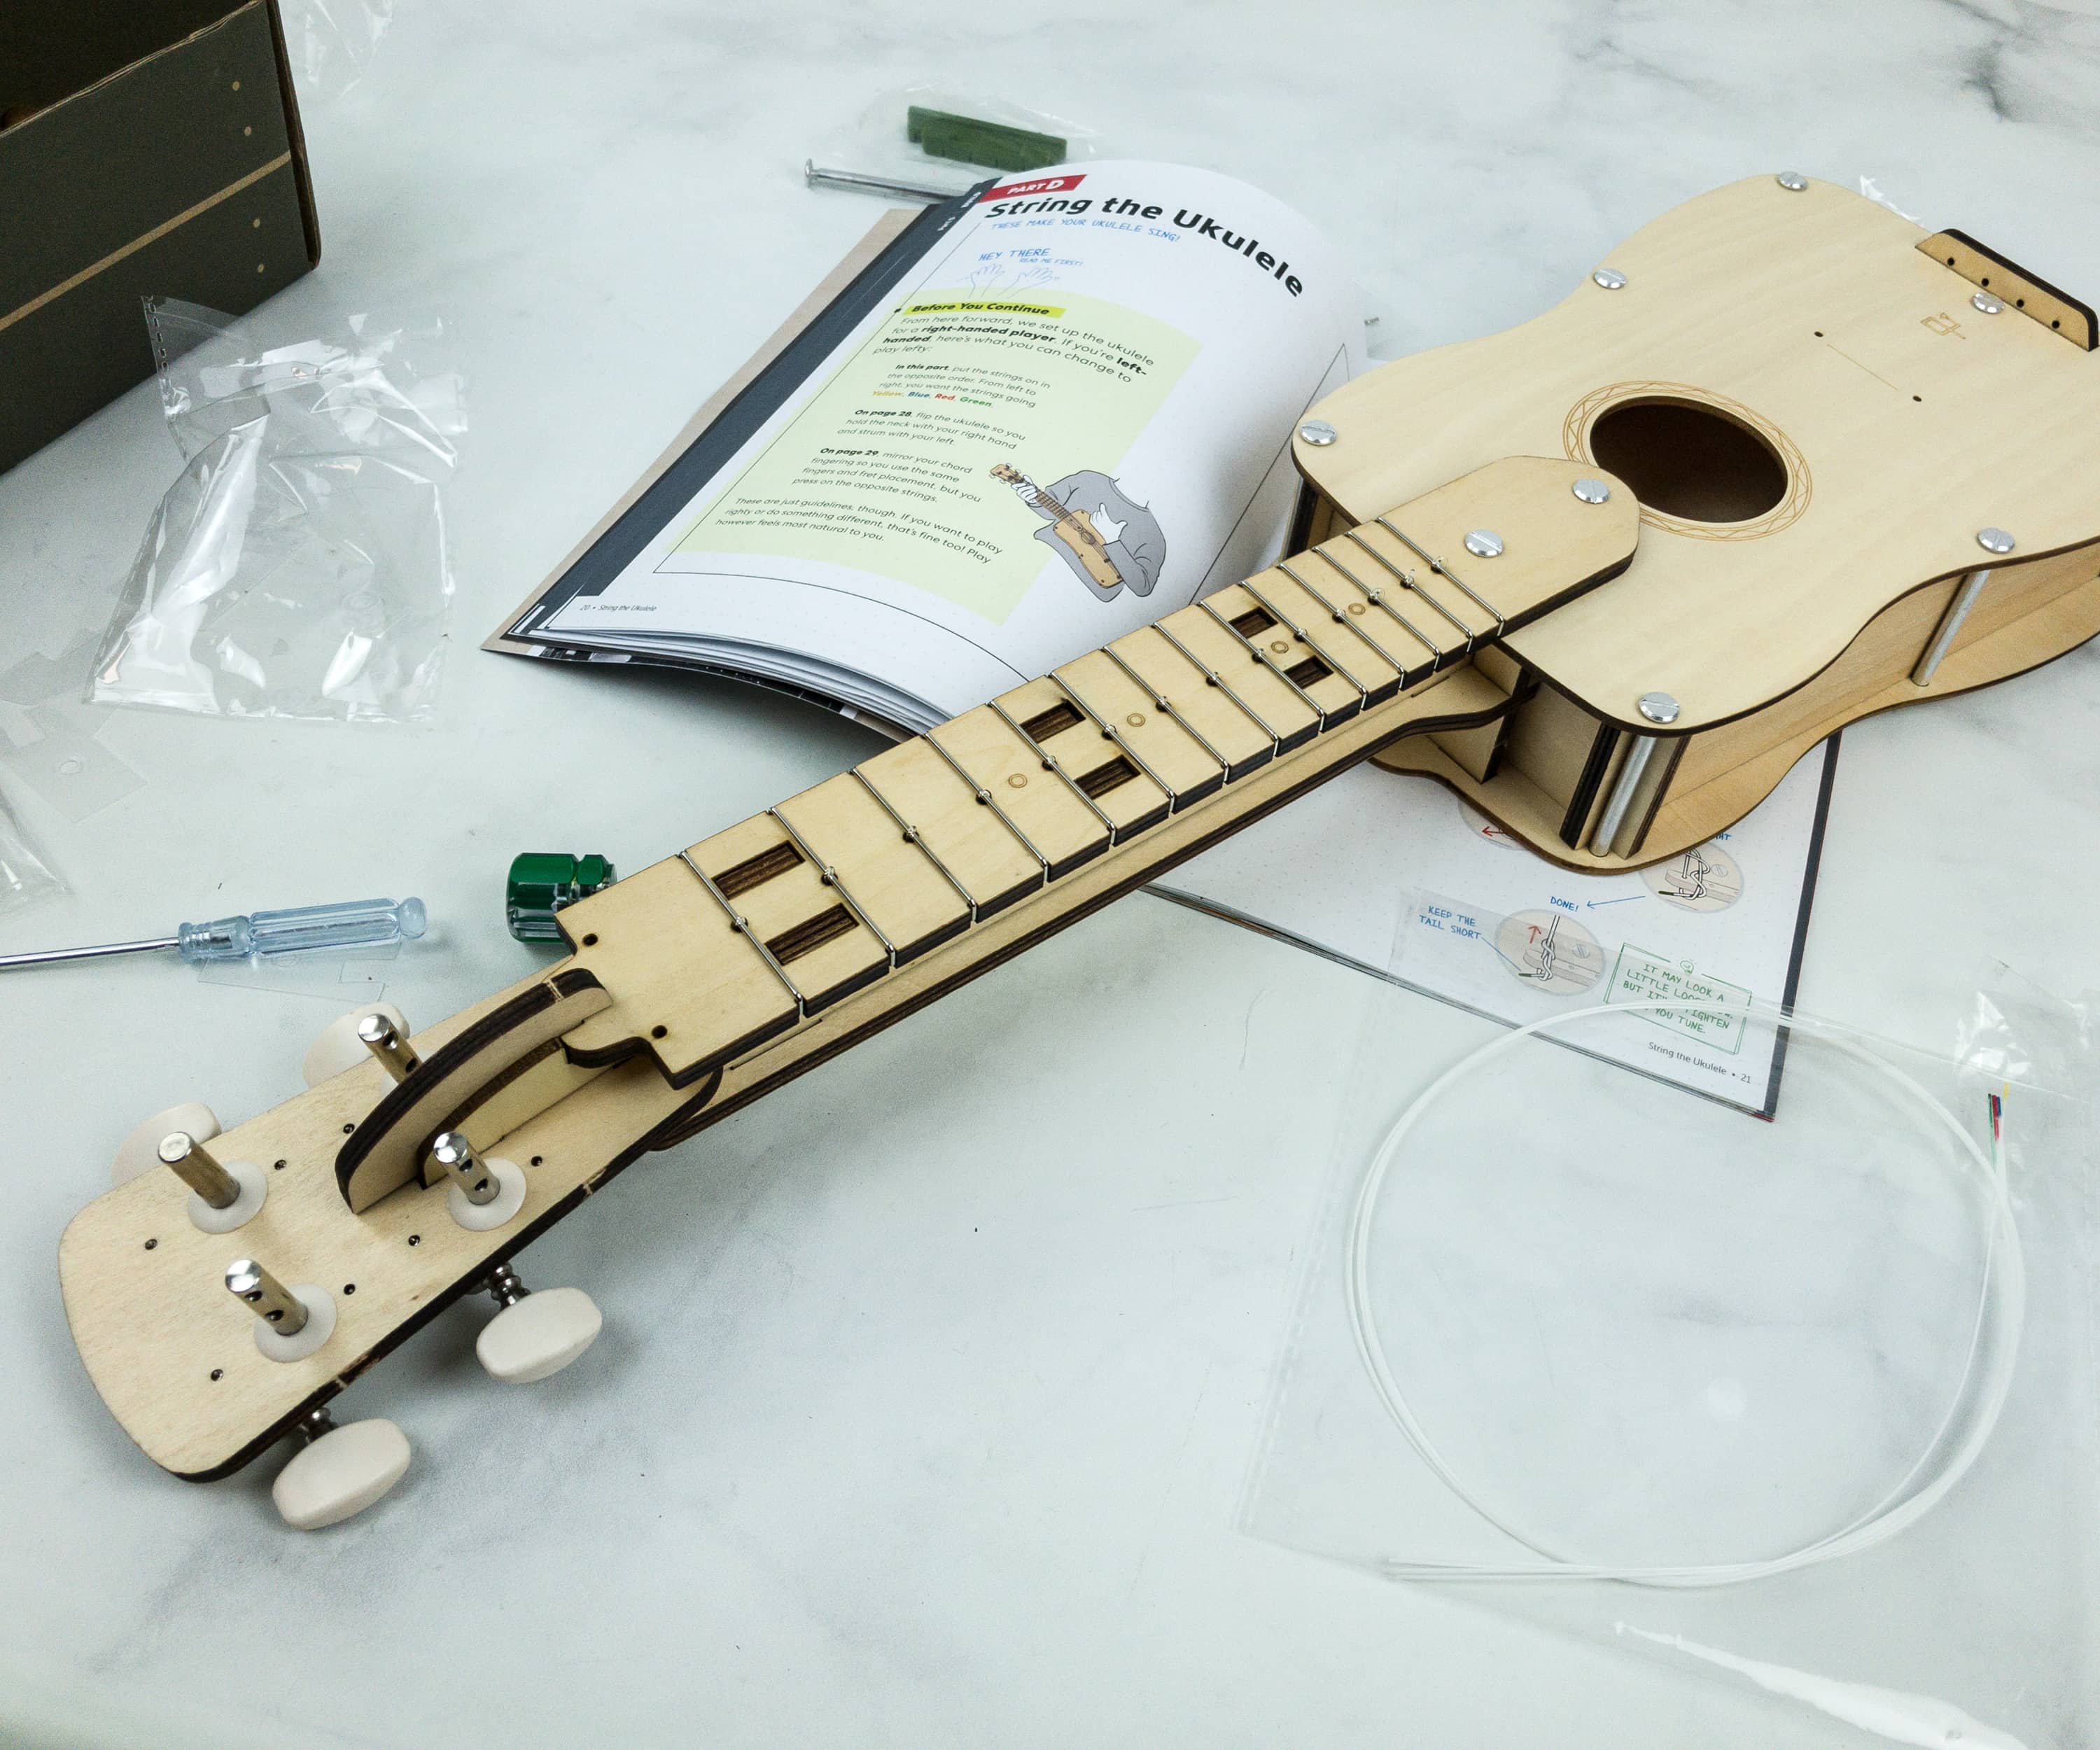
This part of the booklet teaches us the right way of installing the strings on our ukulele.
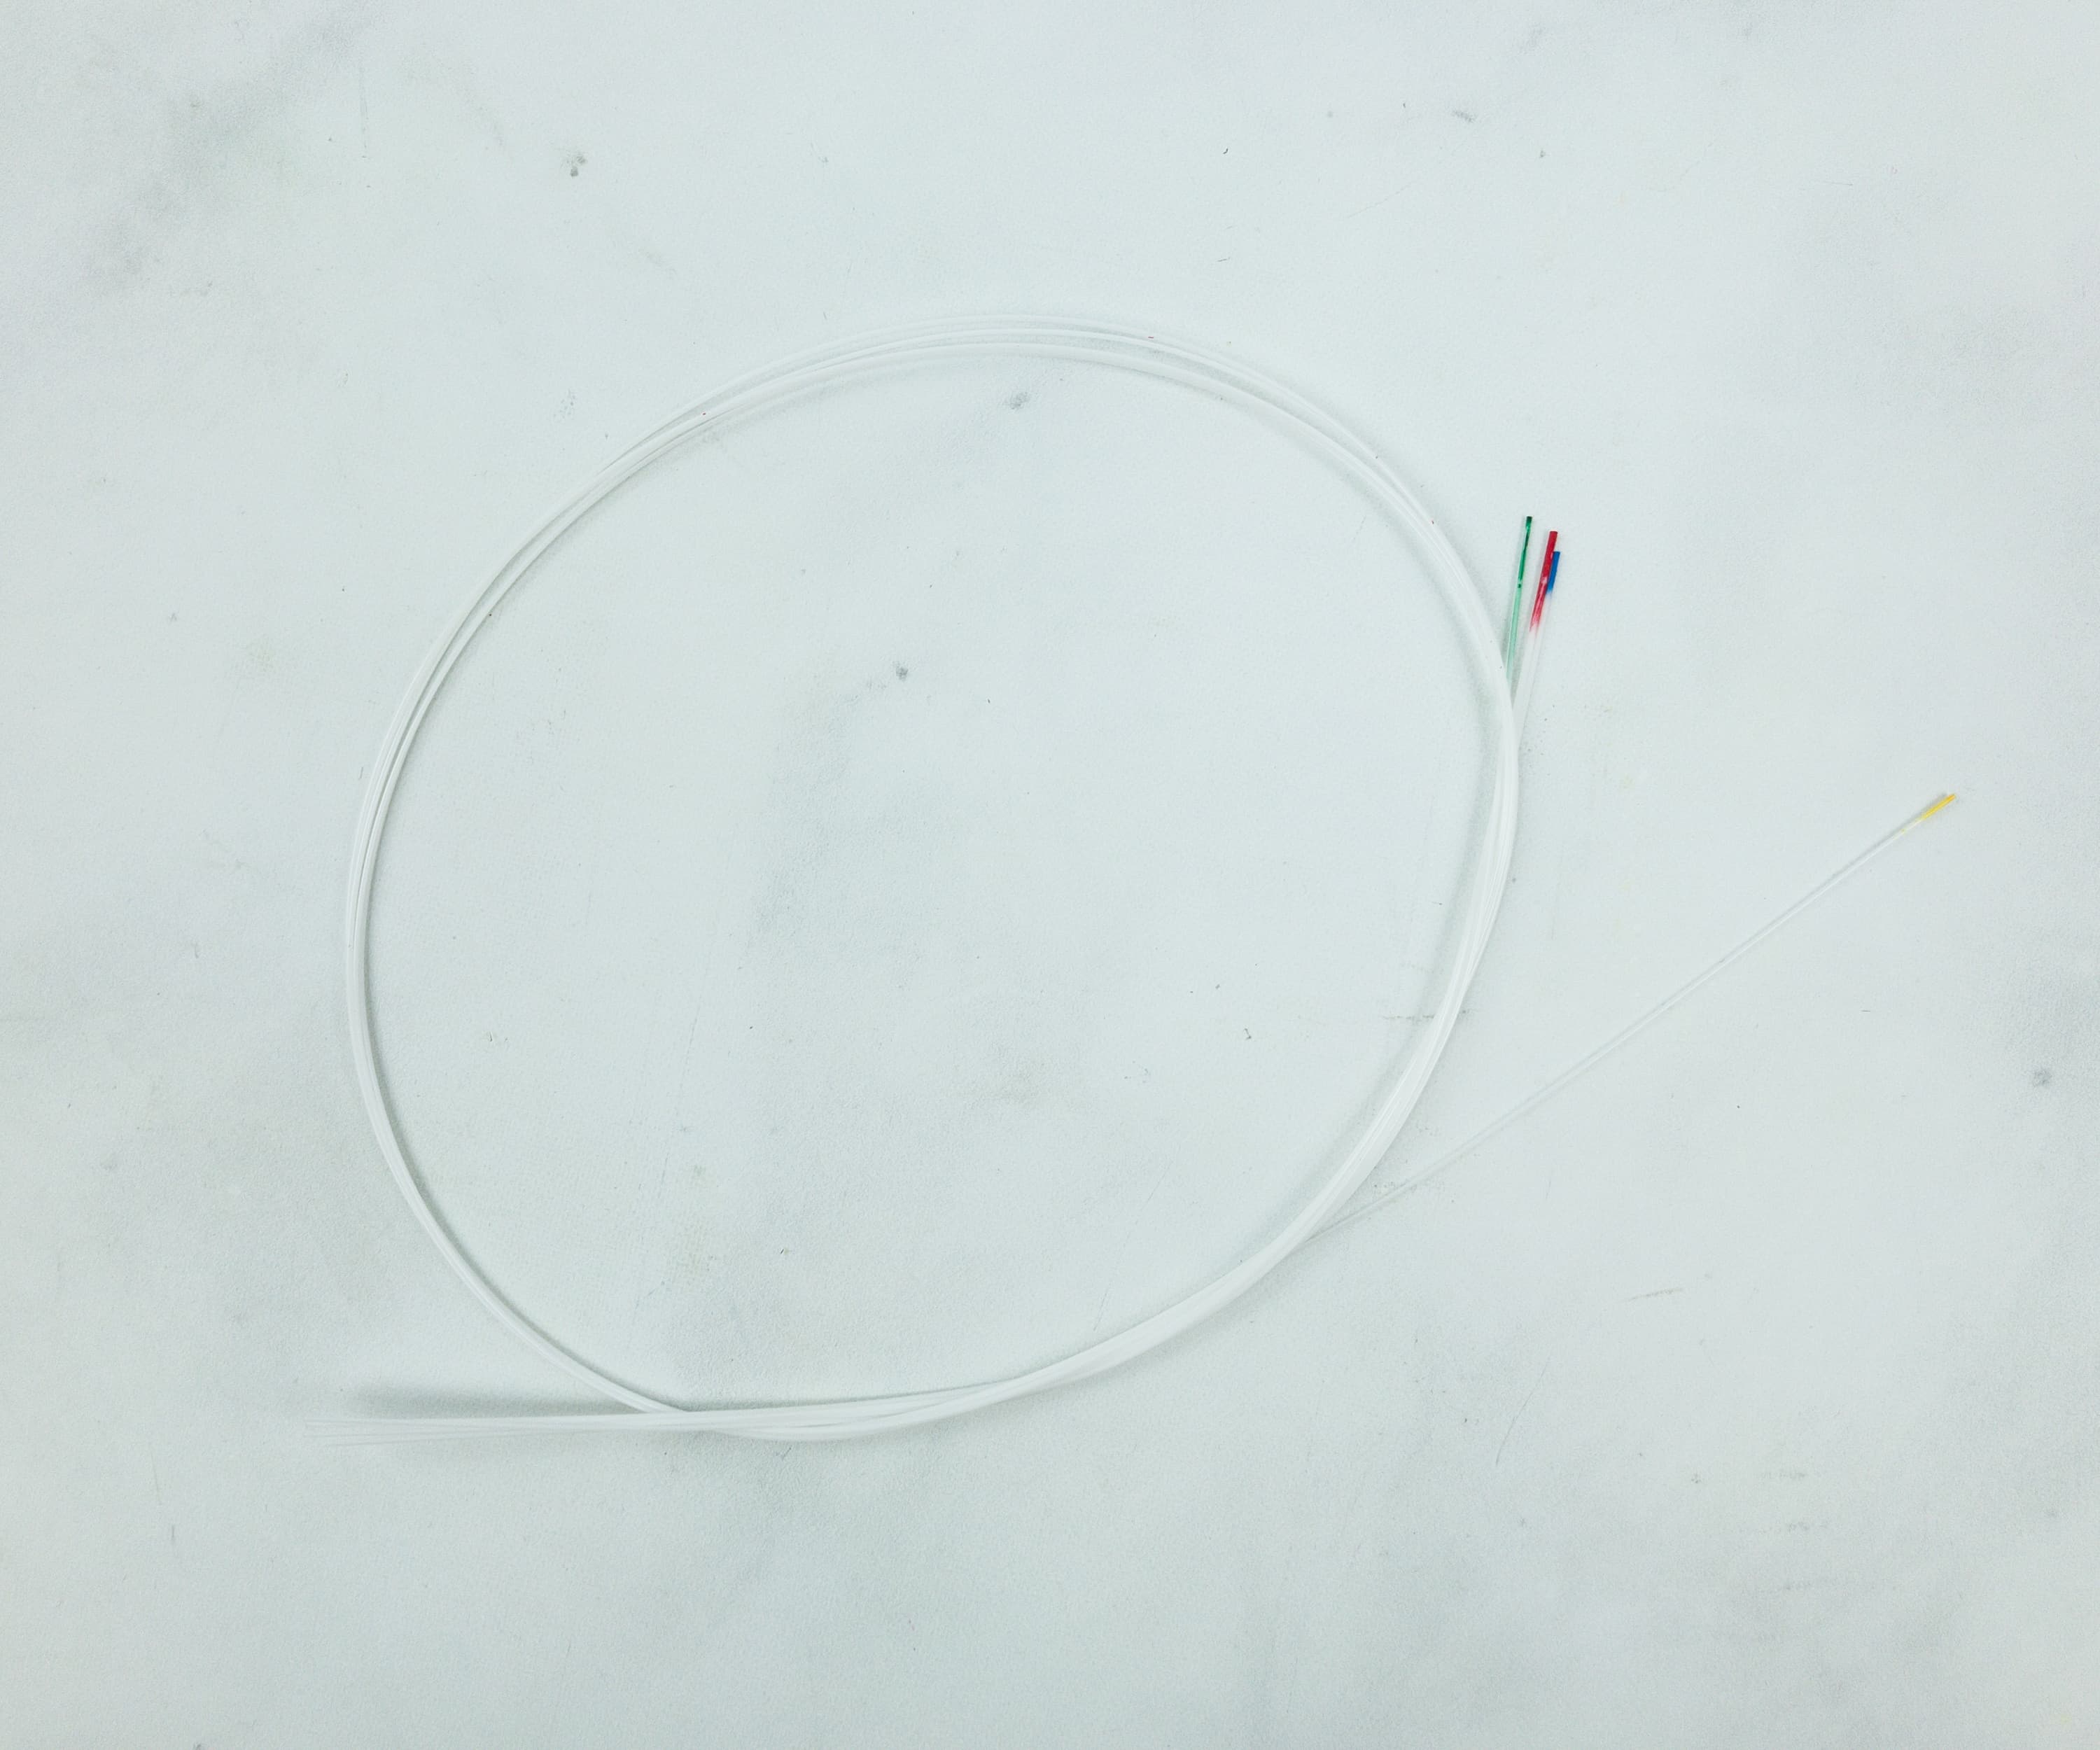
A ukulele is made with four strings, and each one of them features a variety of tune. It starts with the tune of G followed by C, then A, and E.
According to the booklet, the proper way of installing the string is by starting at the bottom part of the ukulele. Insert the string on the hole provided, then make a loop and make sure it’s tight enough.
Put the other end of the strings on the tuner and spin it to lock.
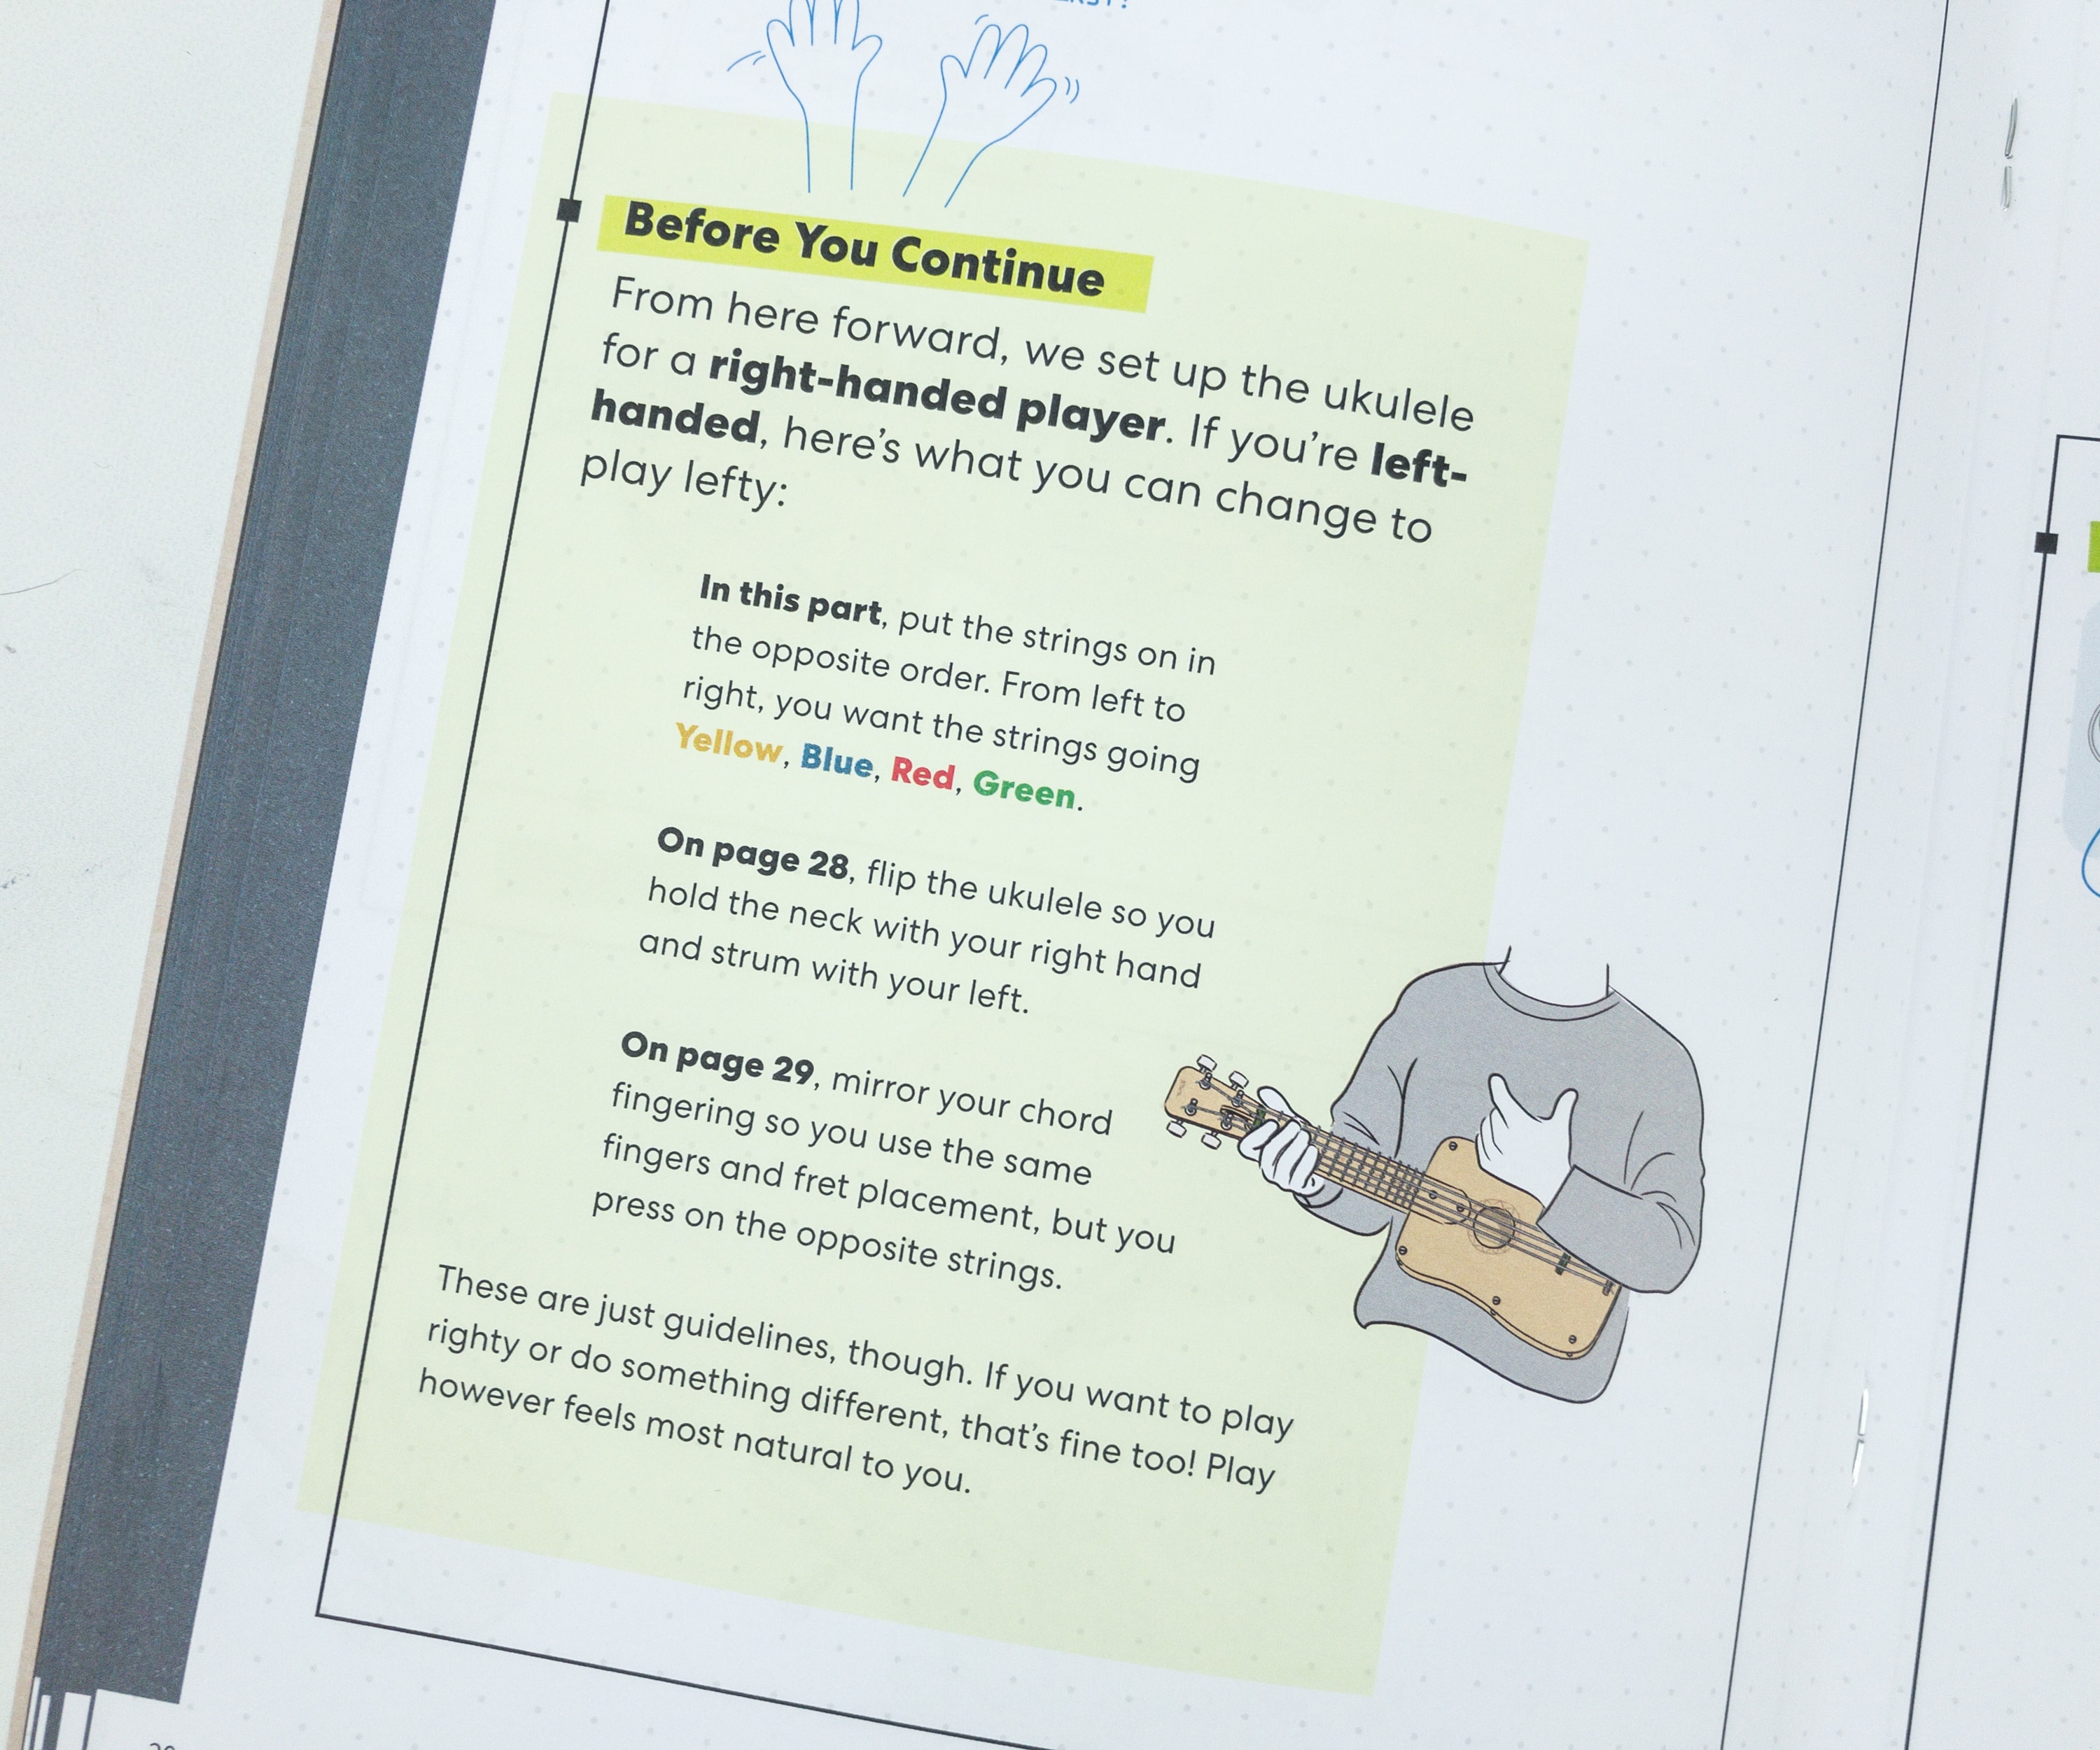
The set-up of the ukulele string in this booklet is for right-handed players. If you are left-handed then you should install the strings in the opposite order.
Using the tuner, you can tighten or loosen up the strings by rotating it clockwise or counterclockwise.
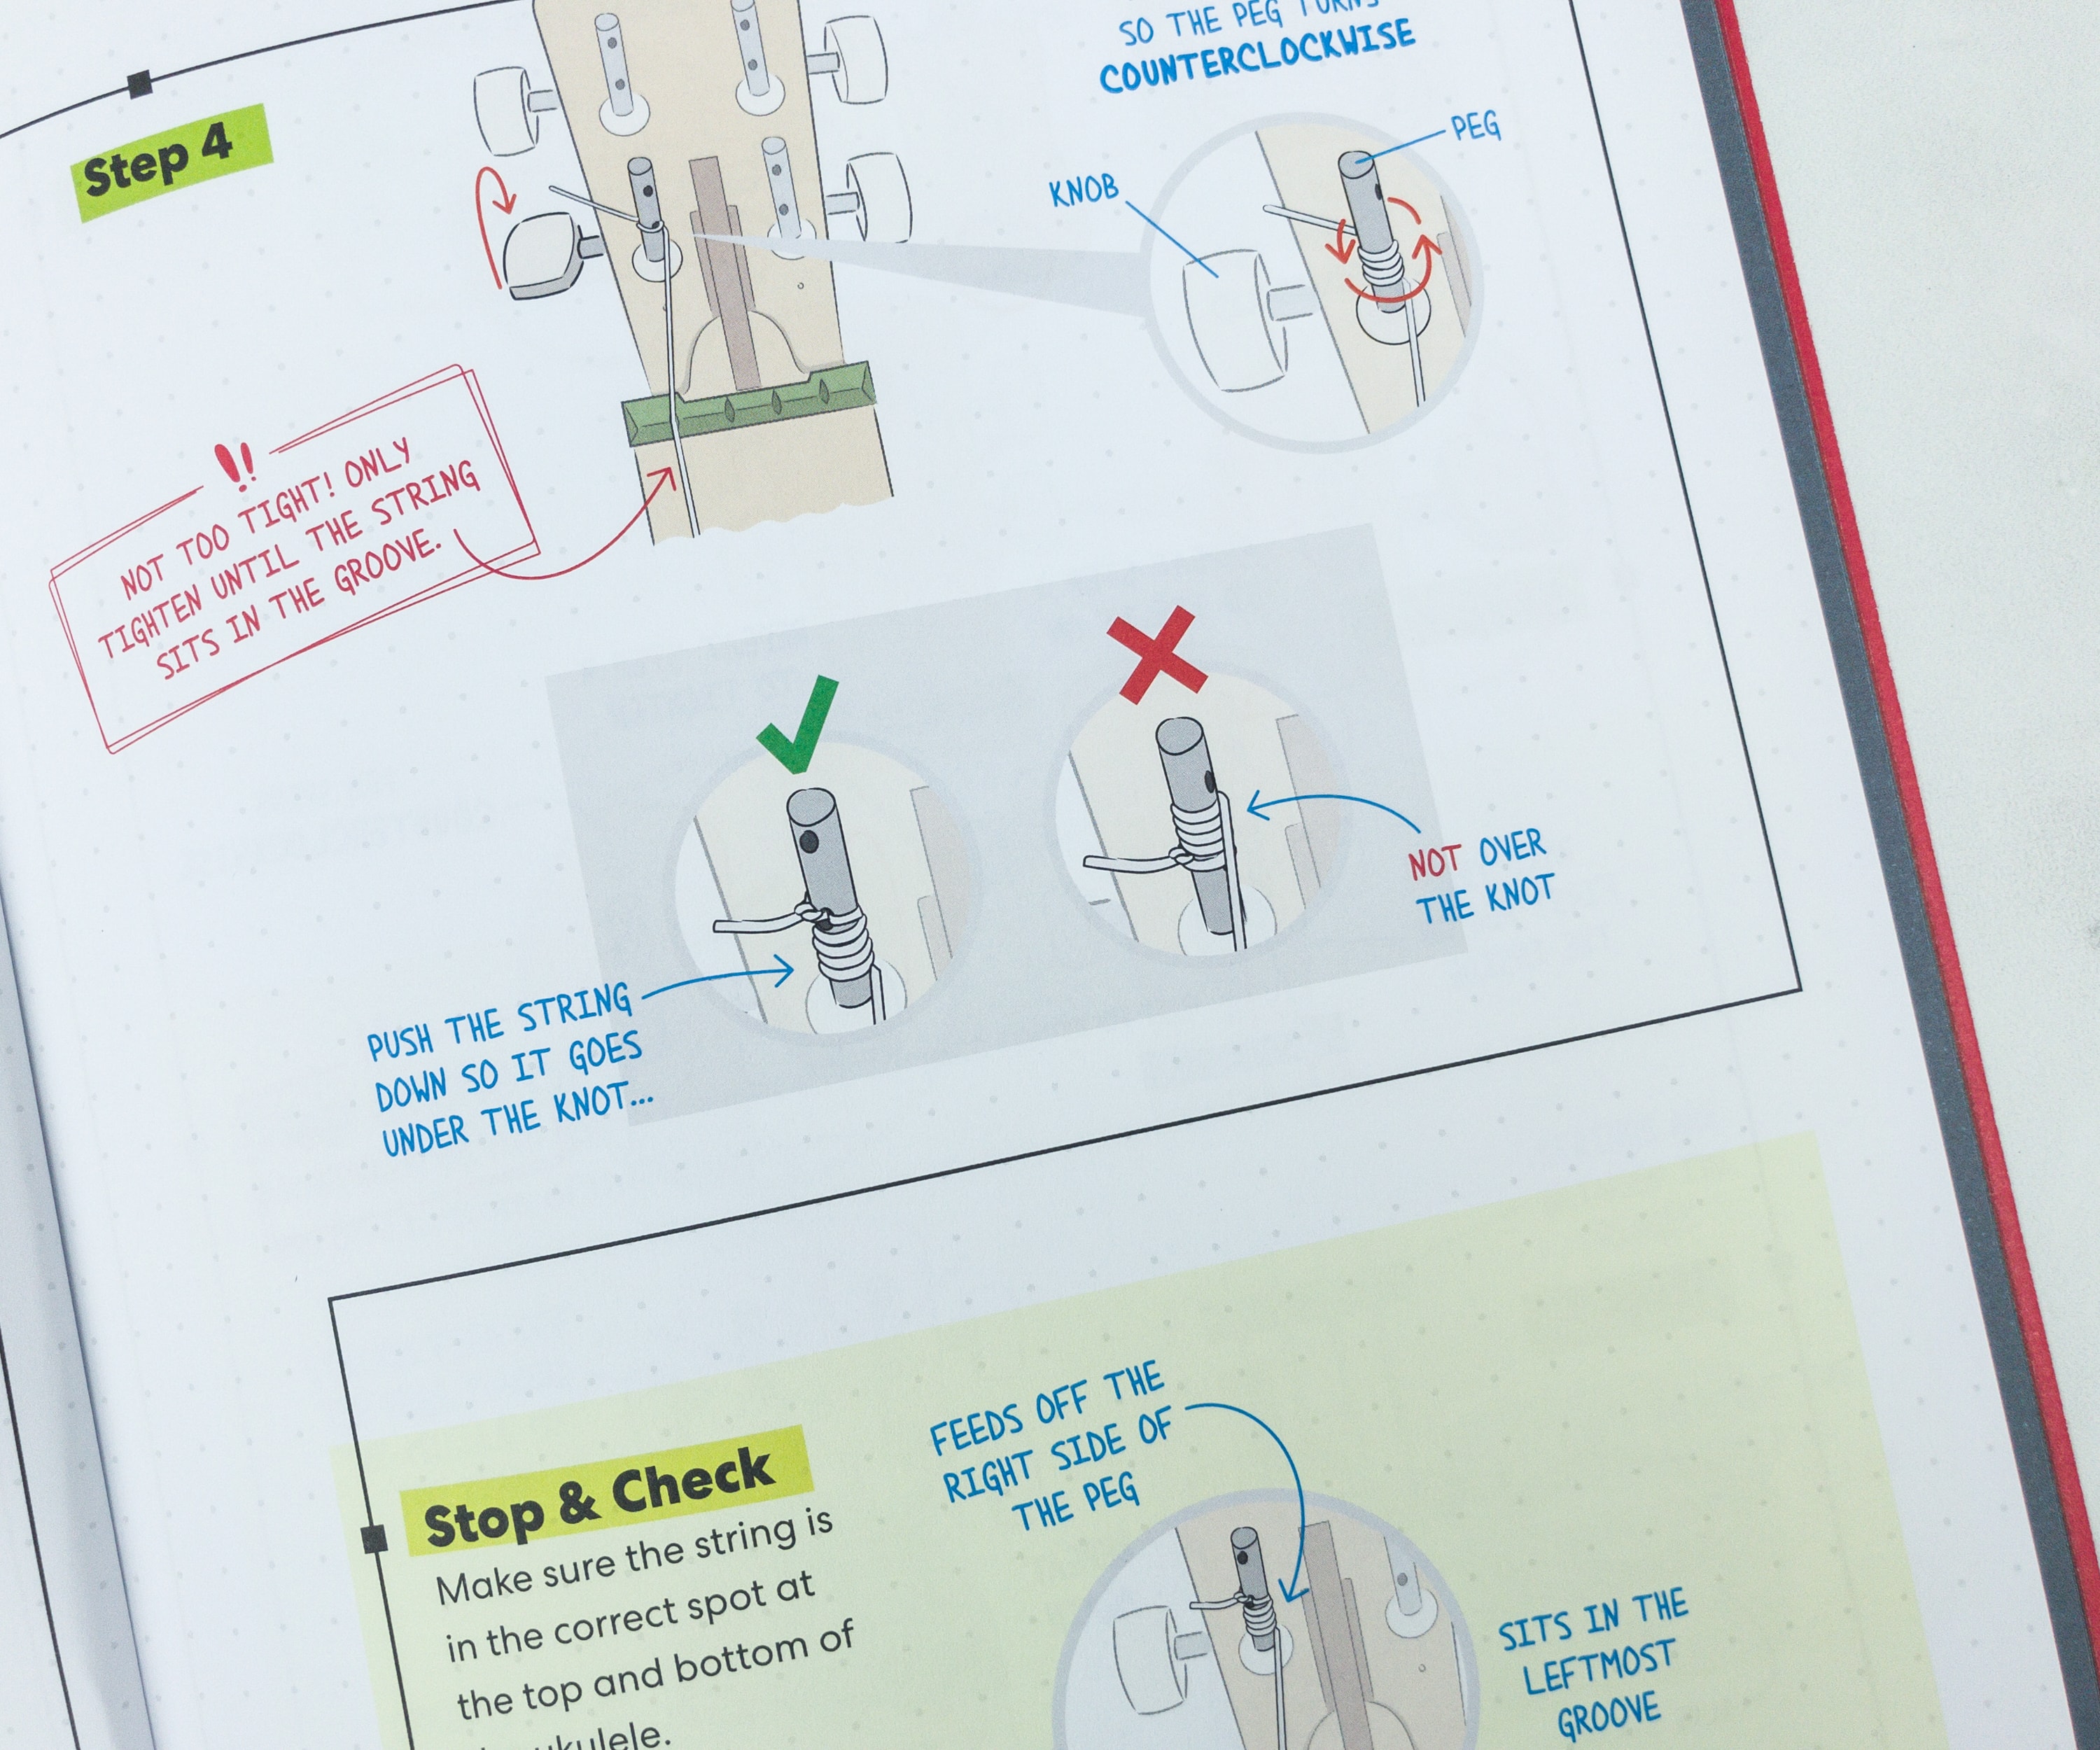
Warning: Too much spinning of the tuner might cause breakage of the string.
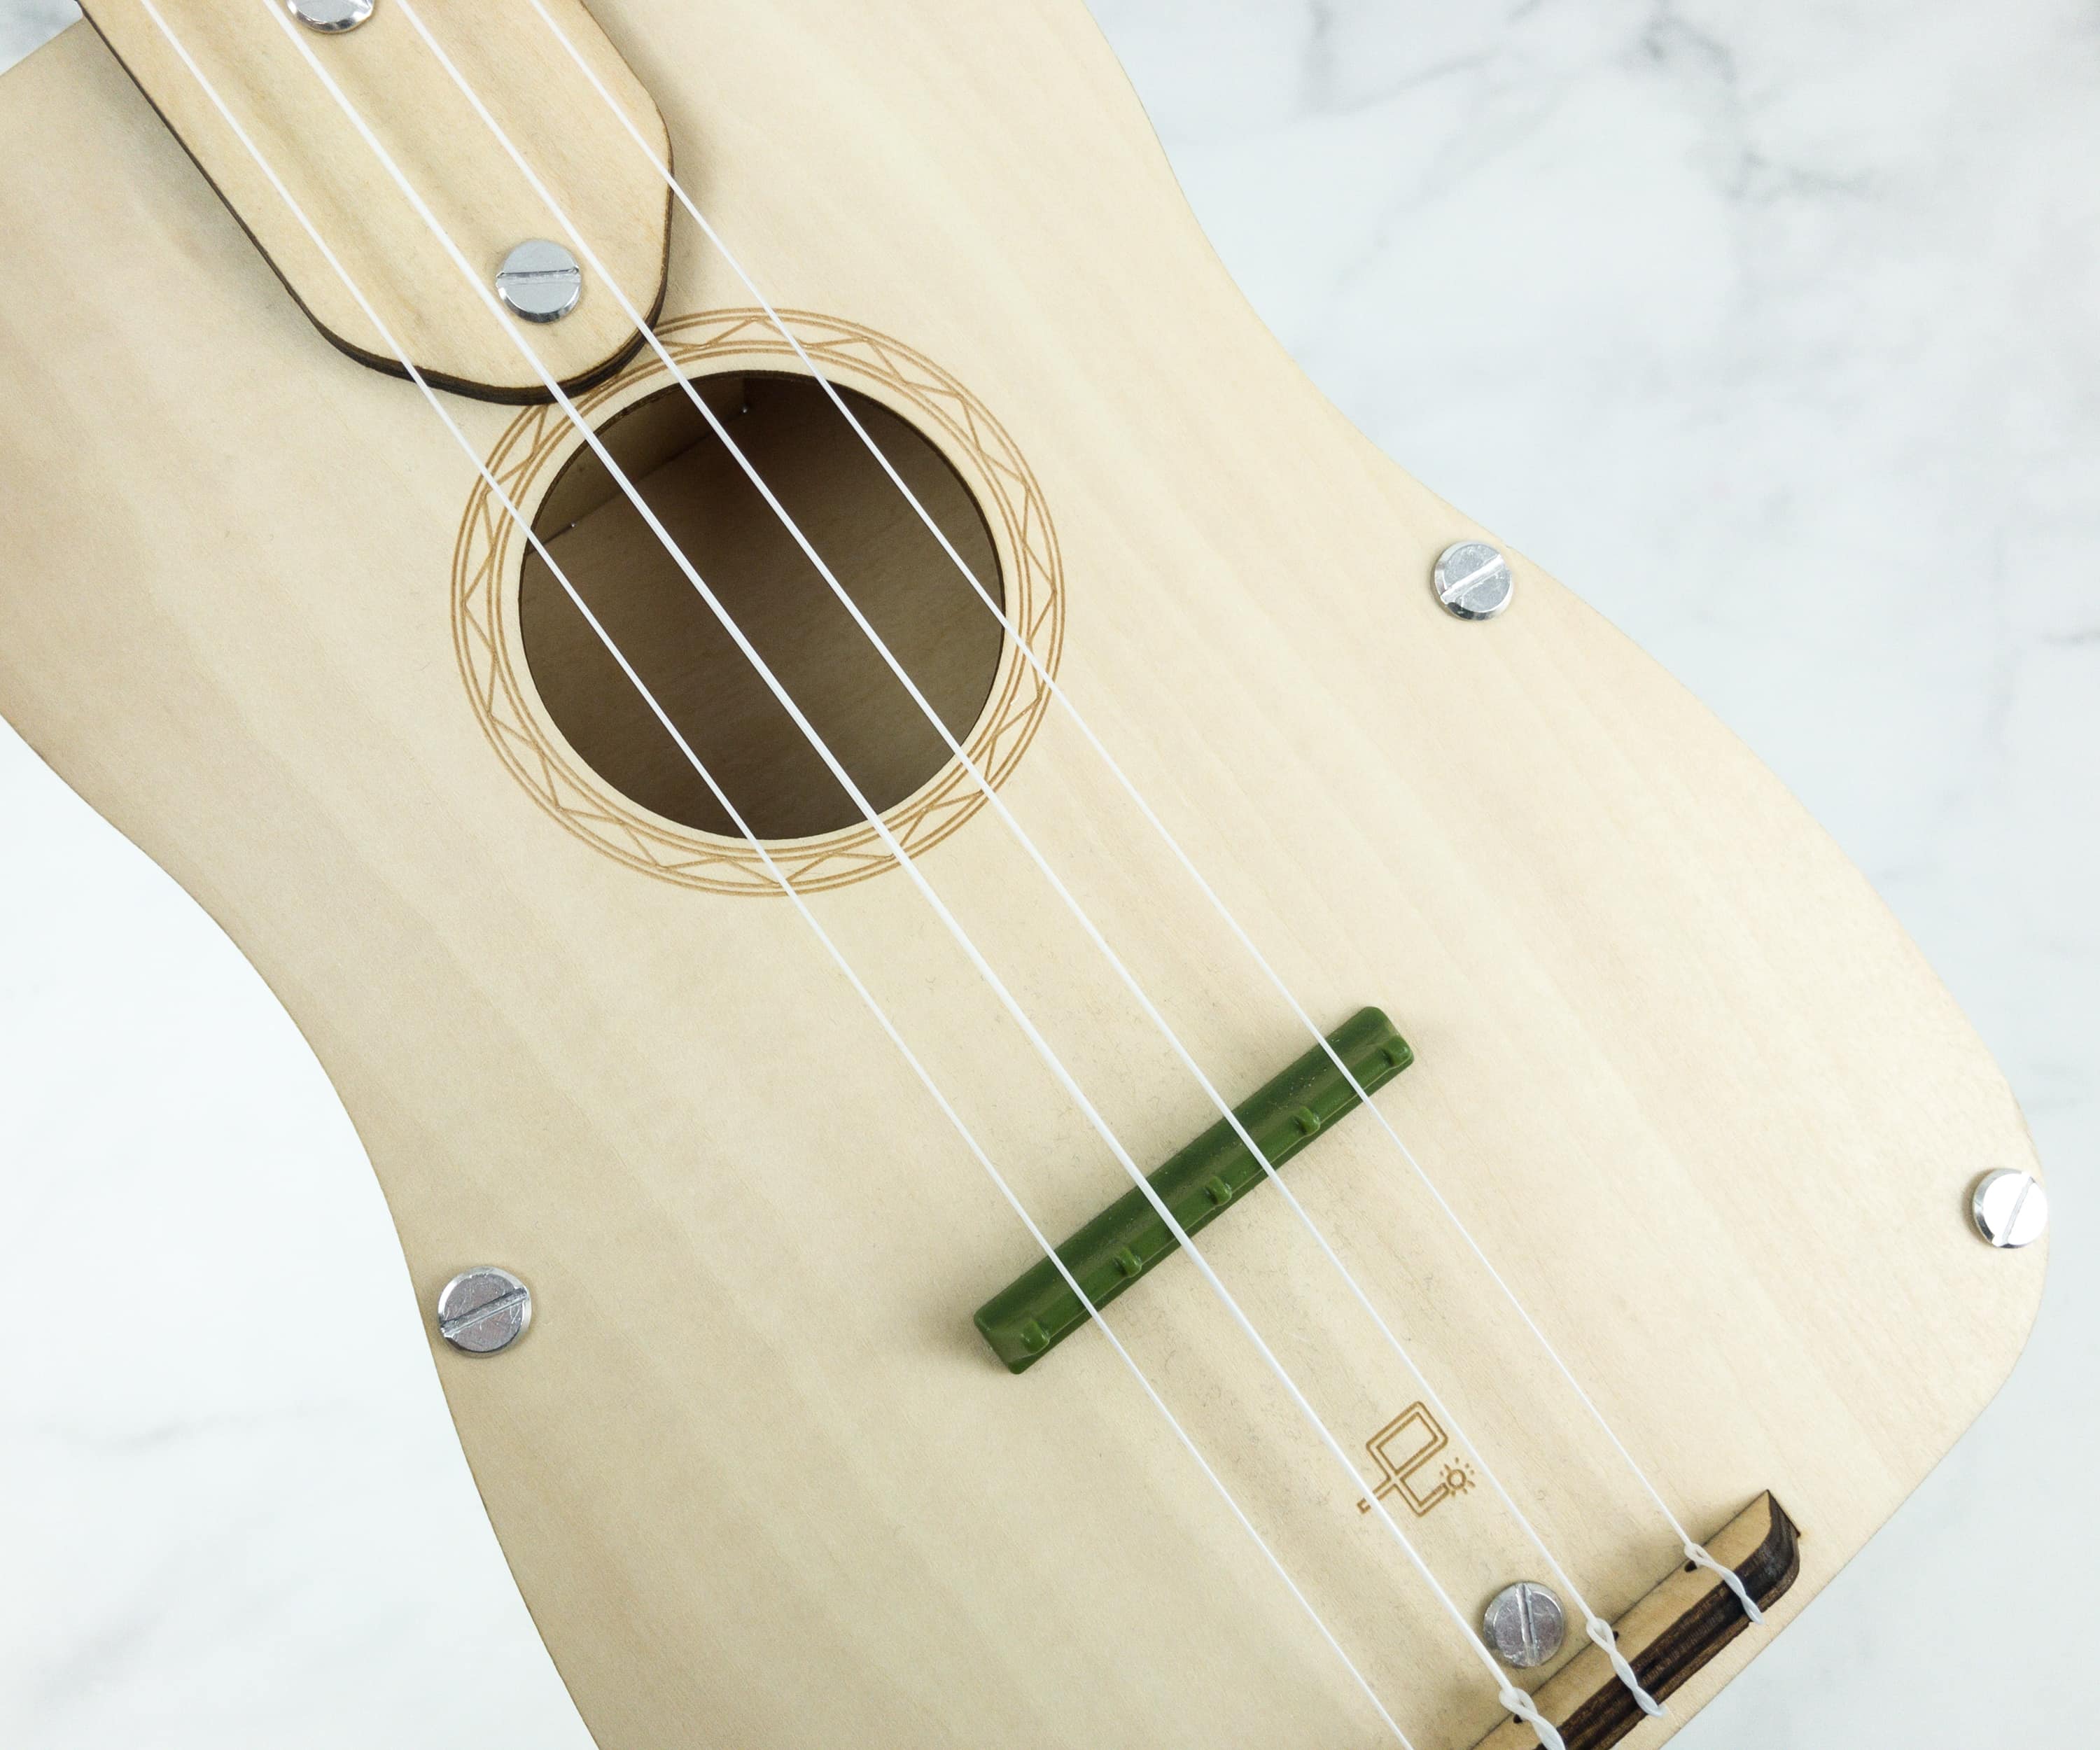
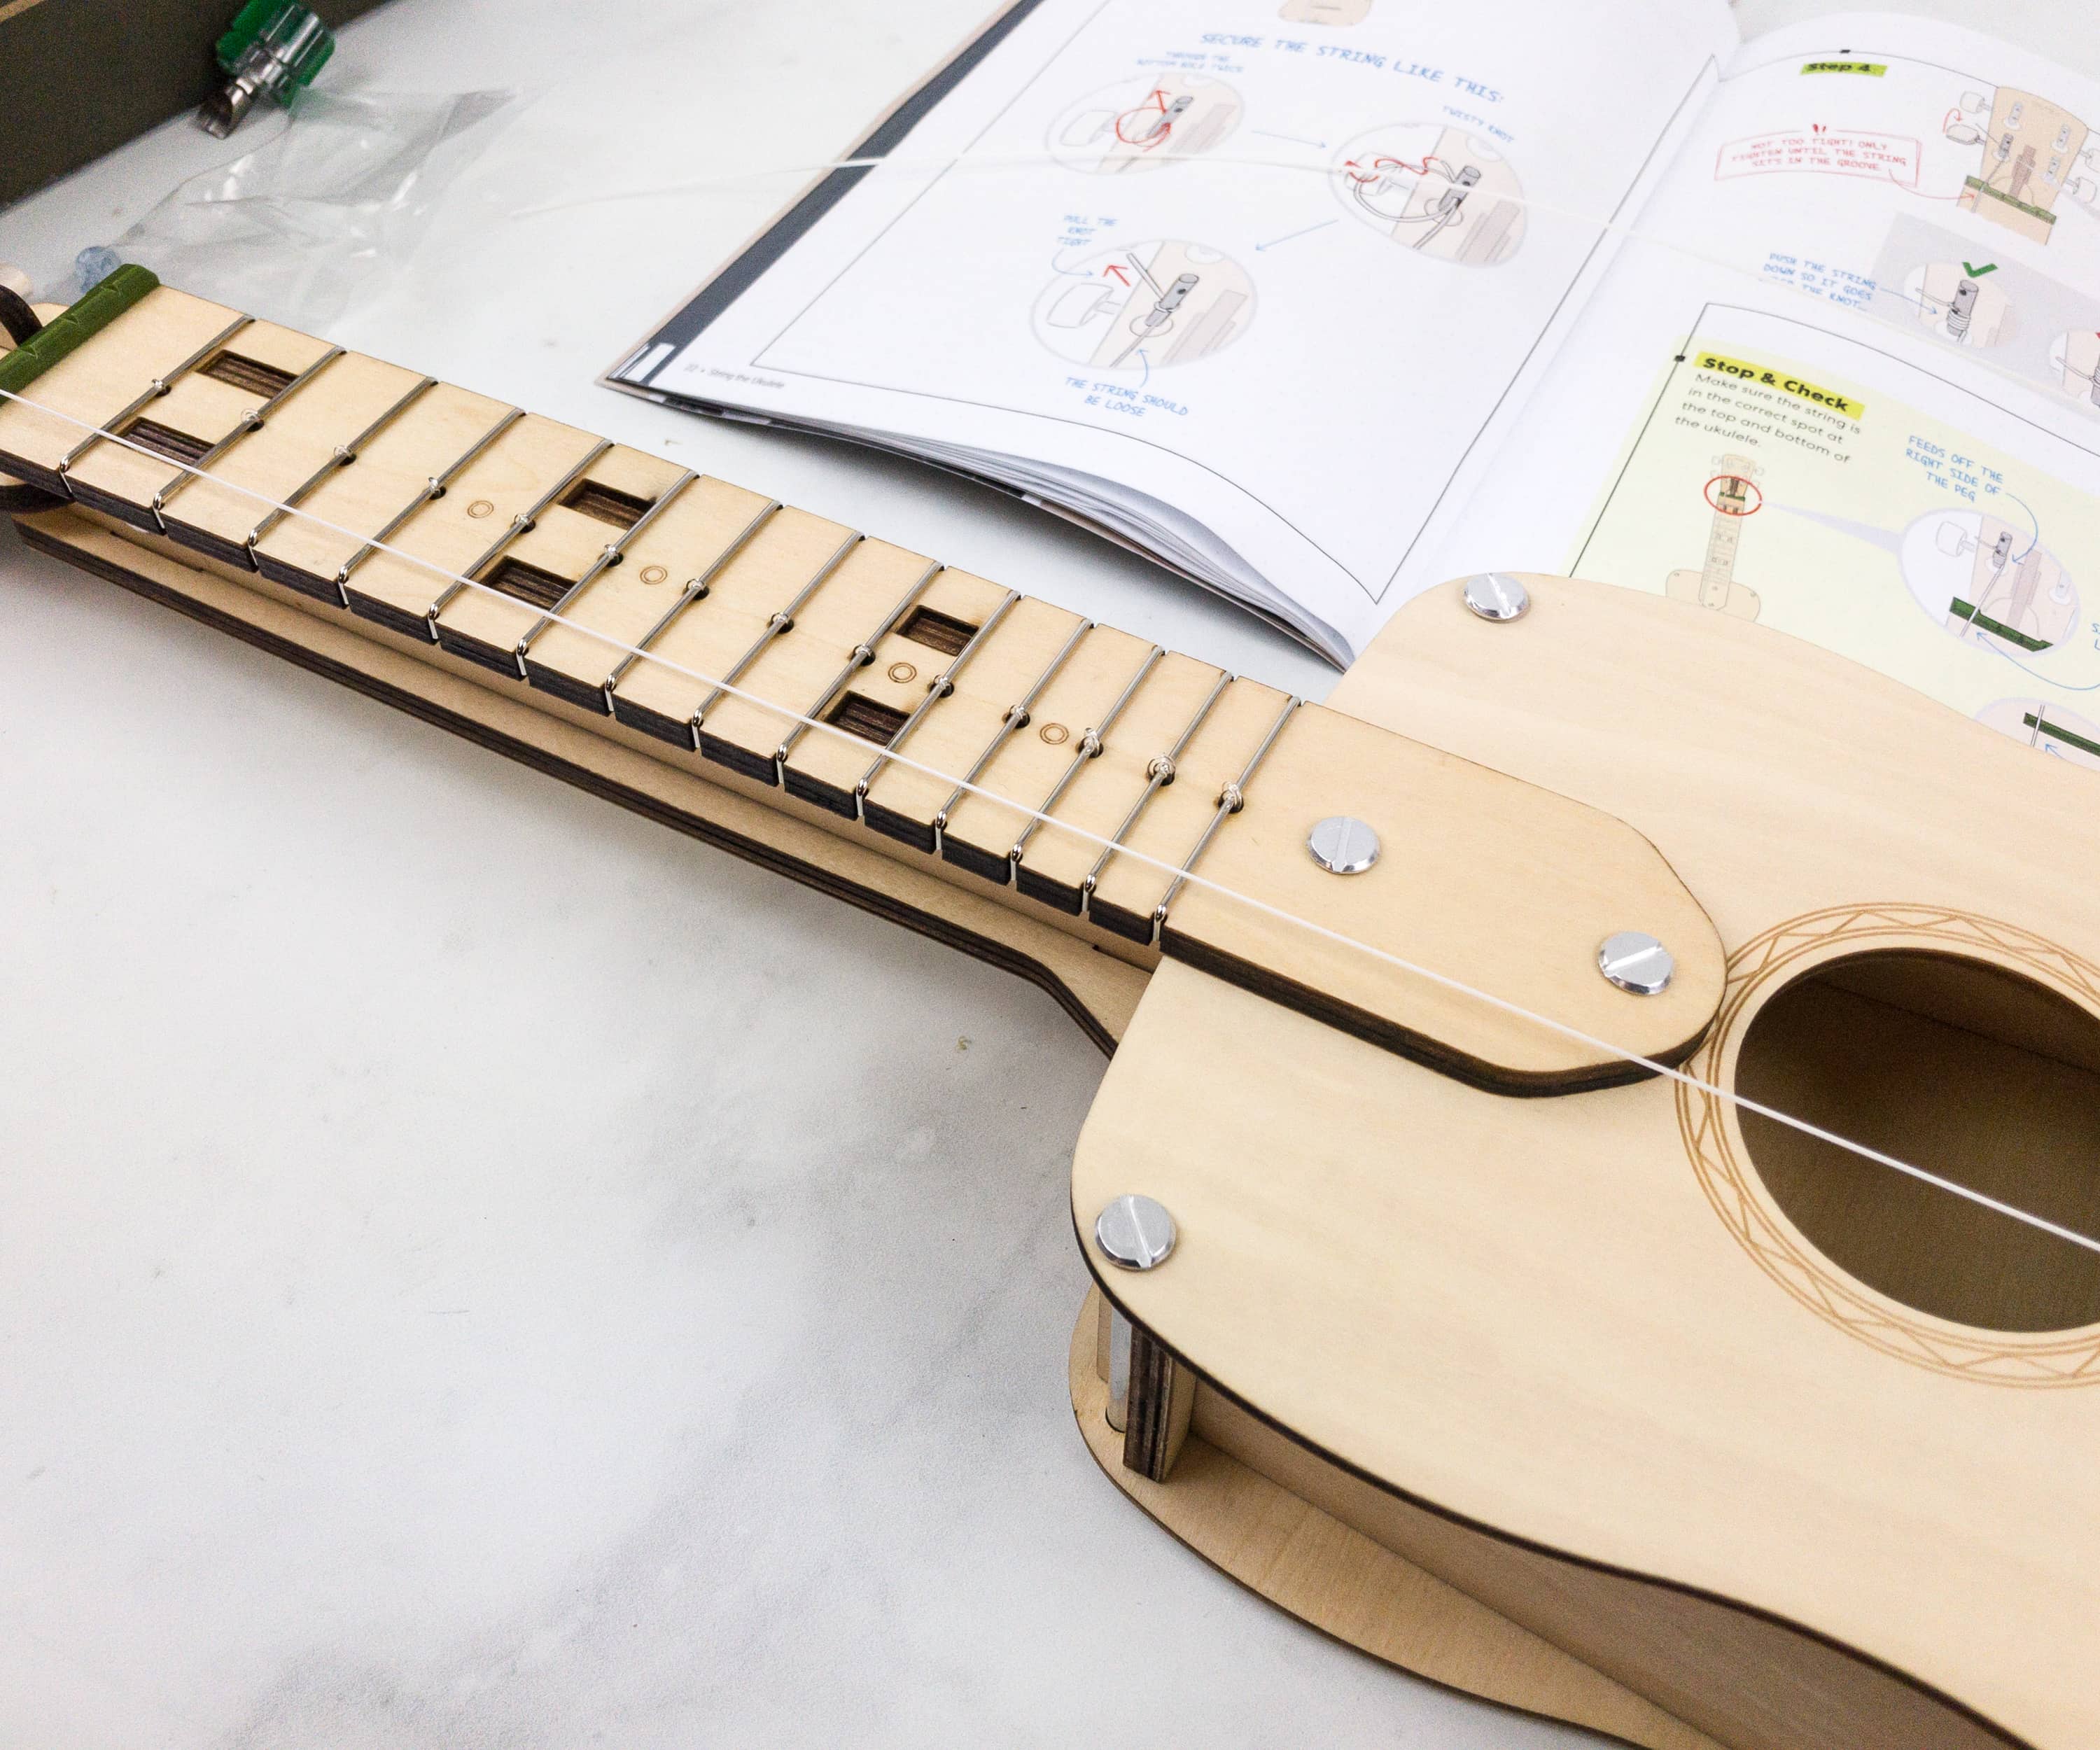
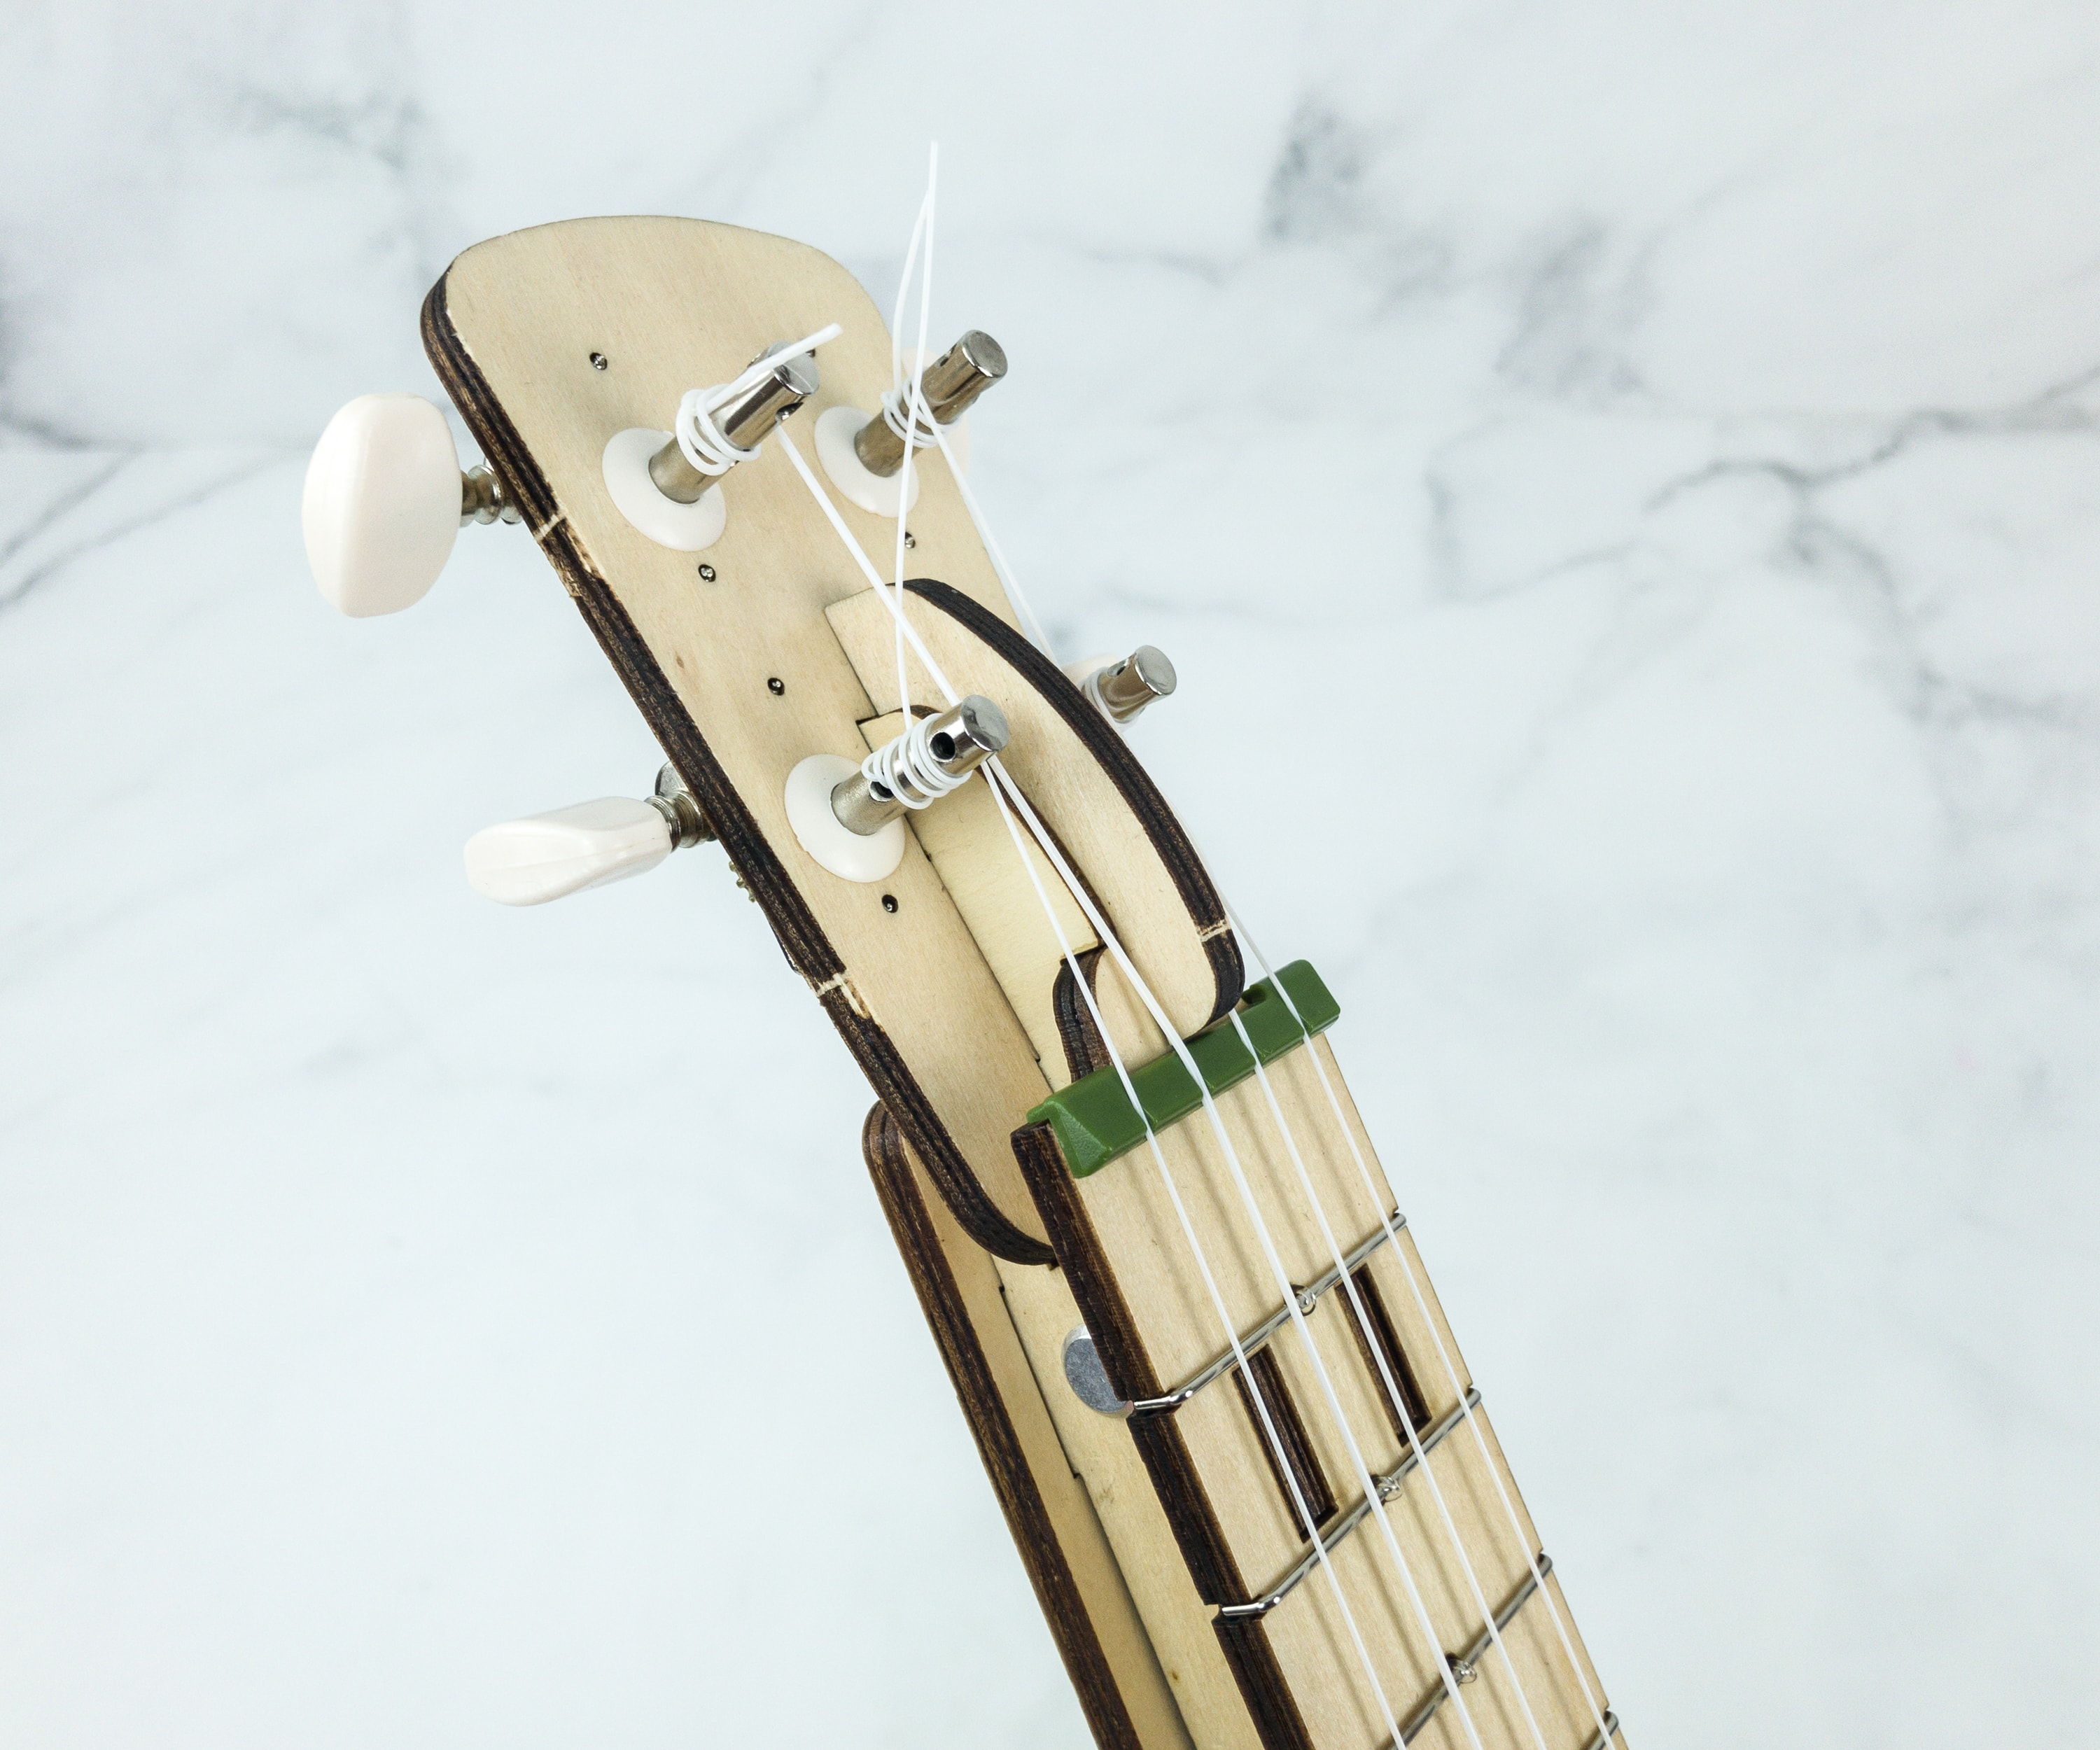
All the strings are installed!
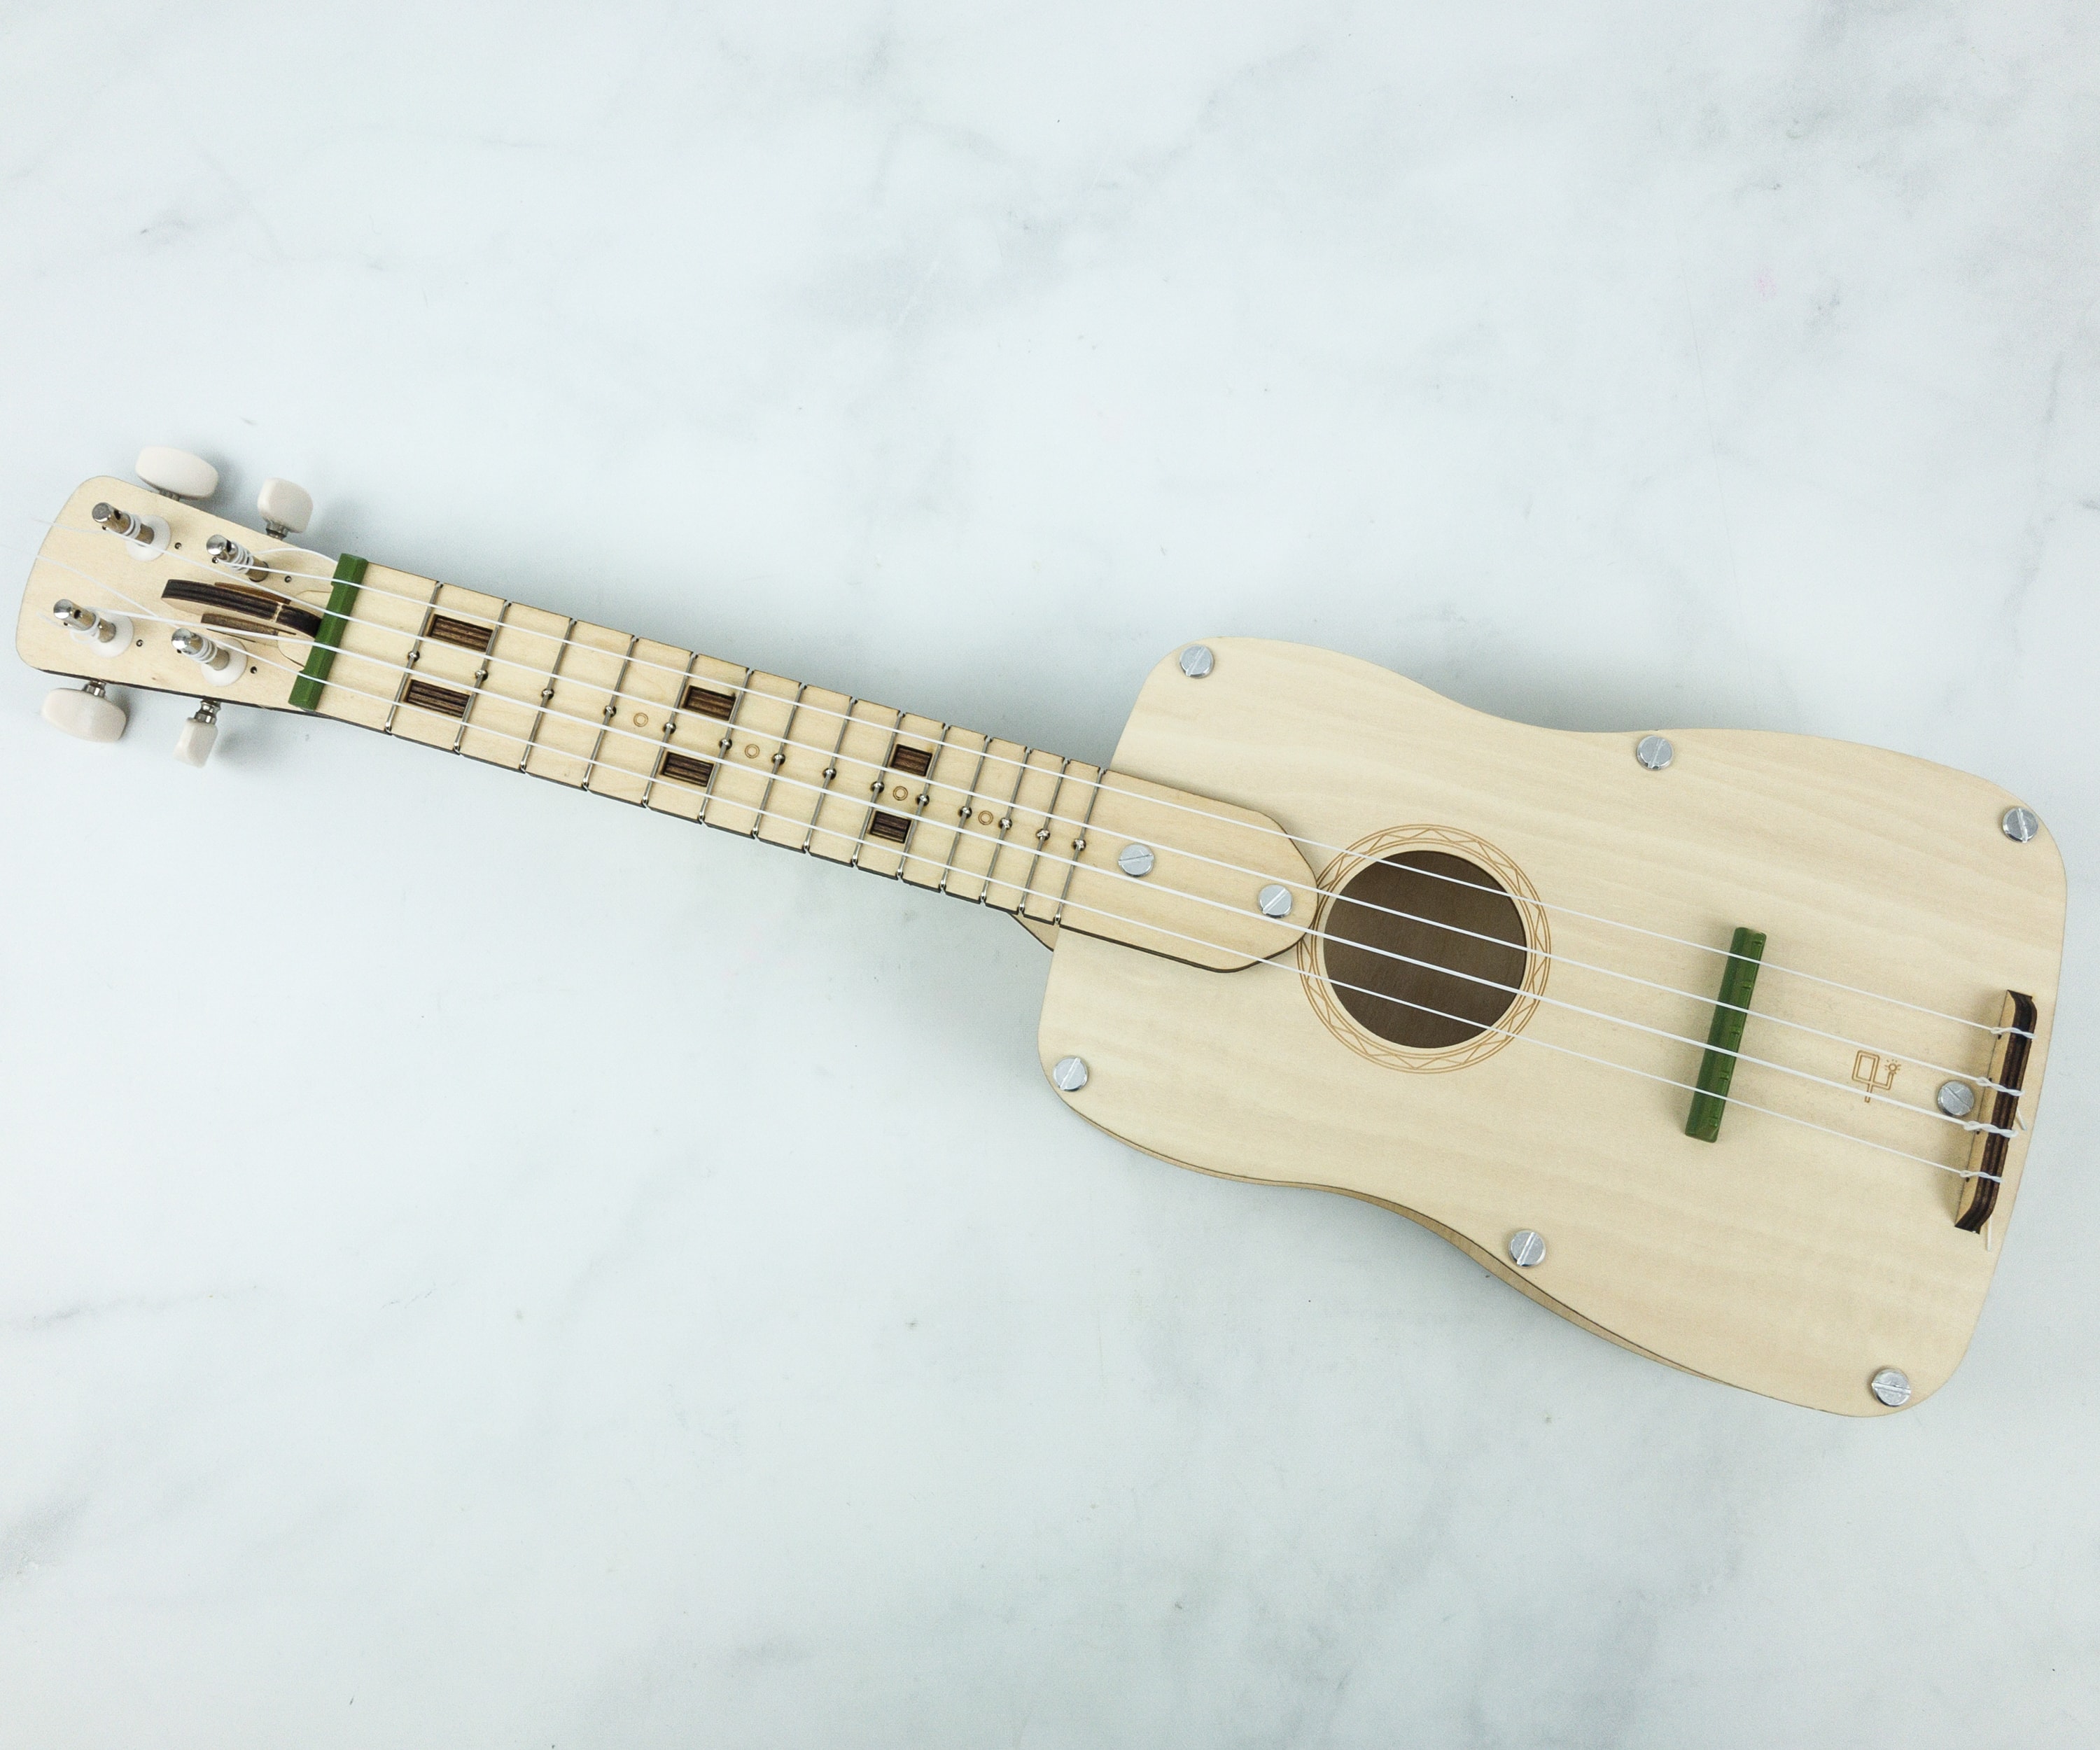
This is what it should look like once all the strings are installed.
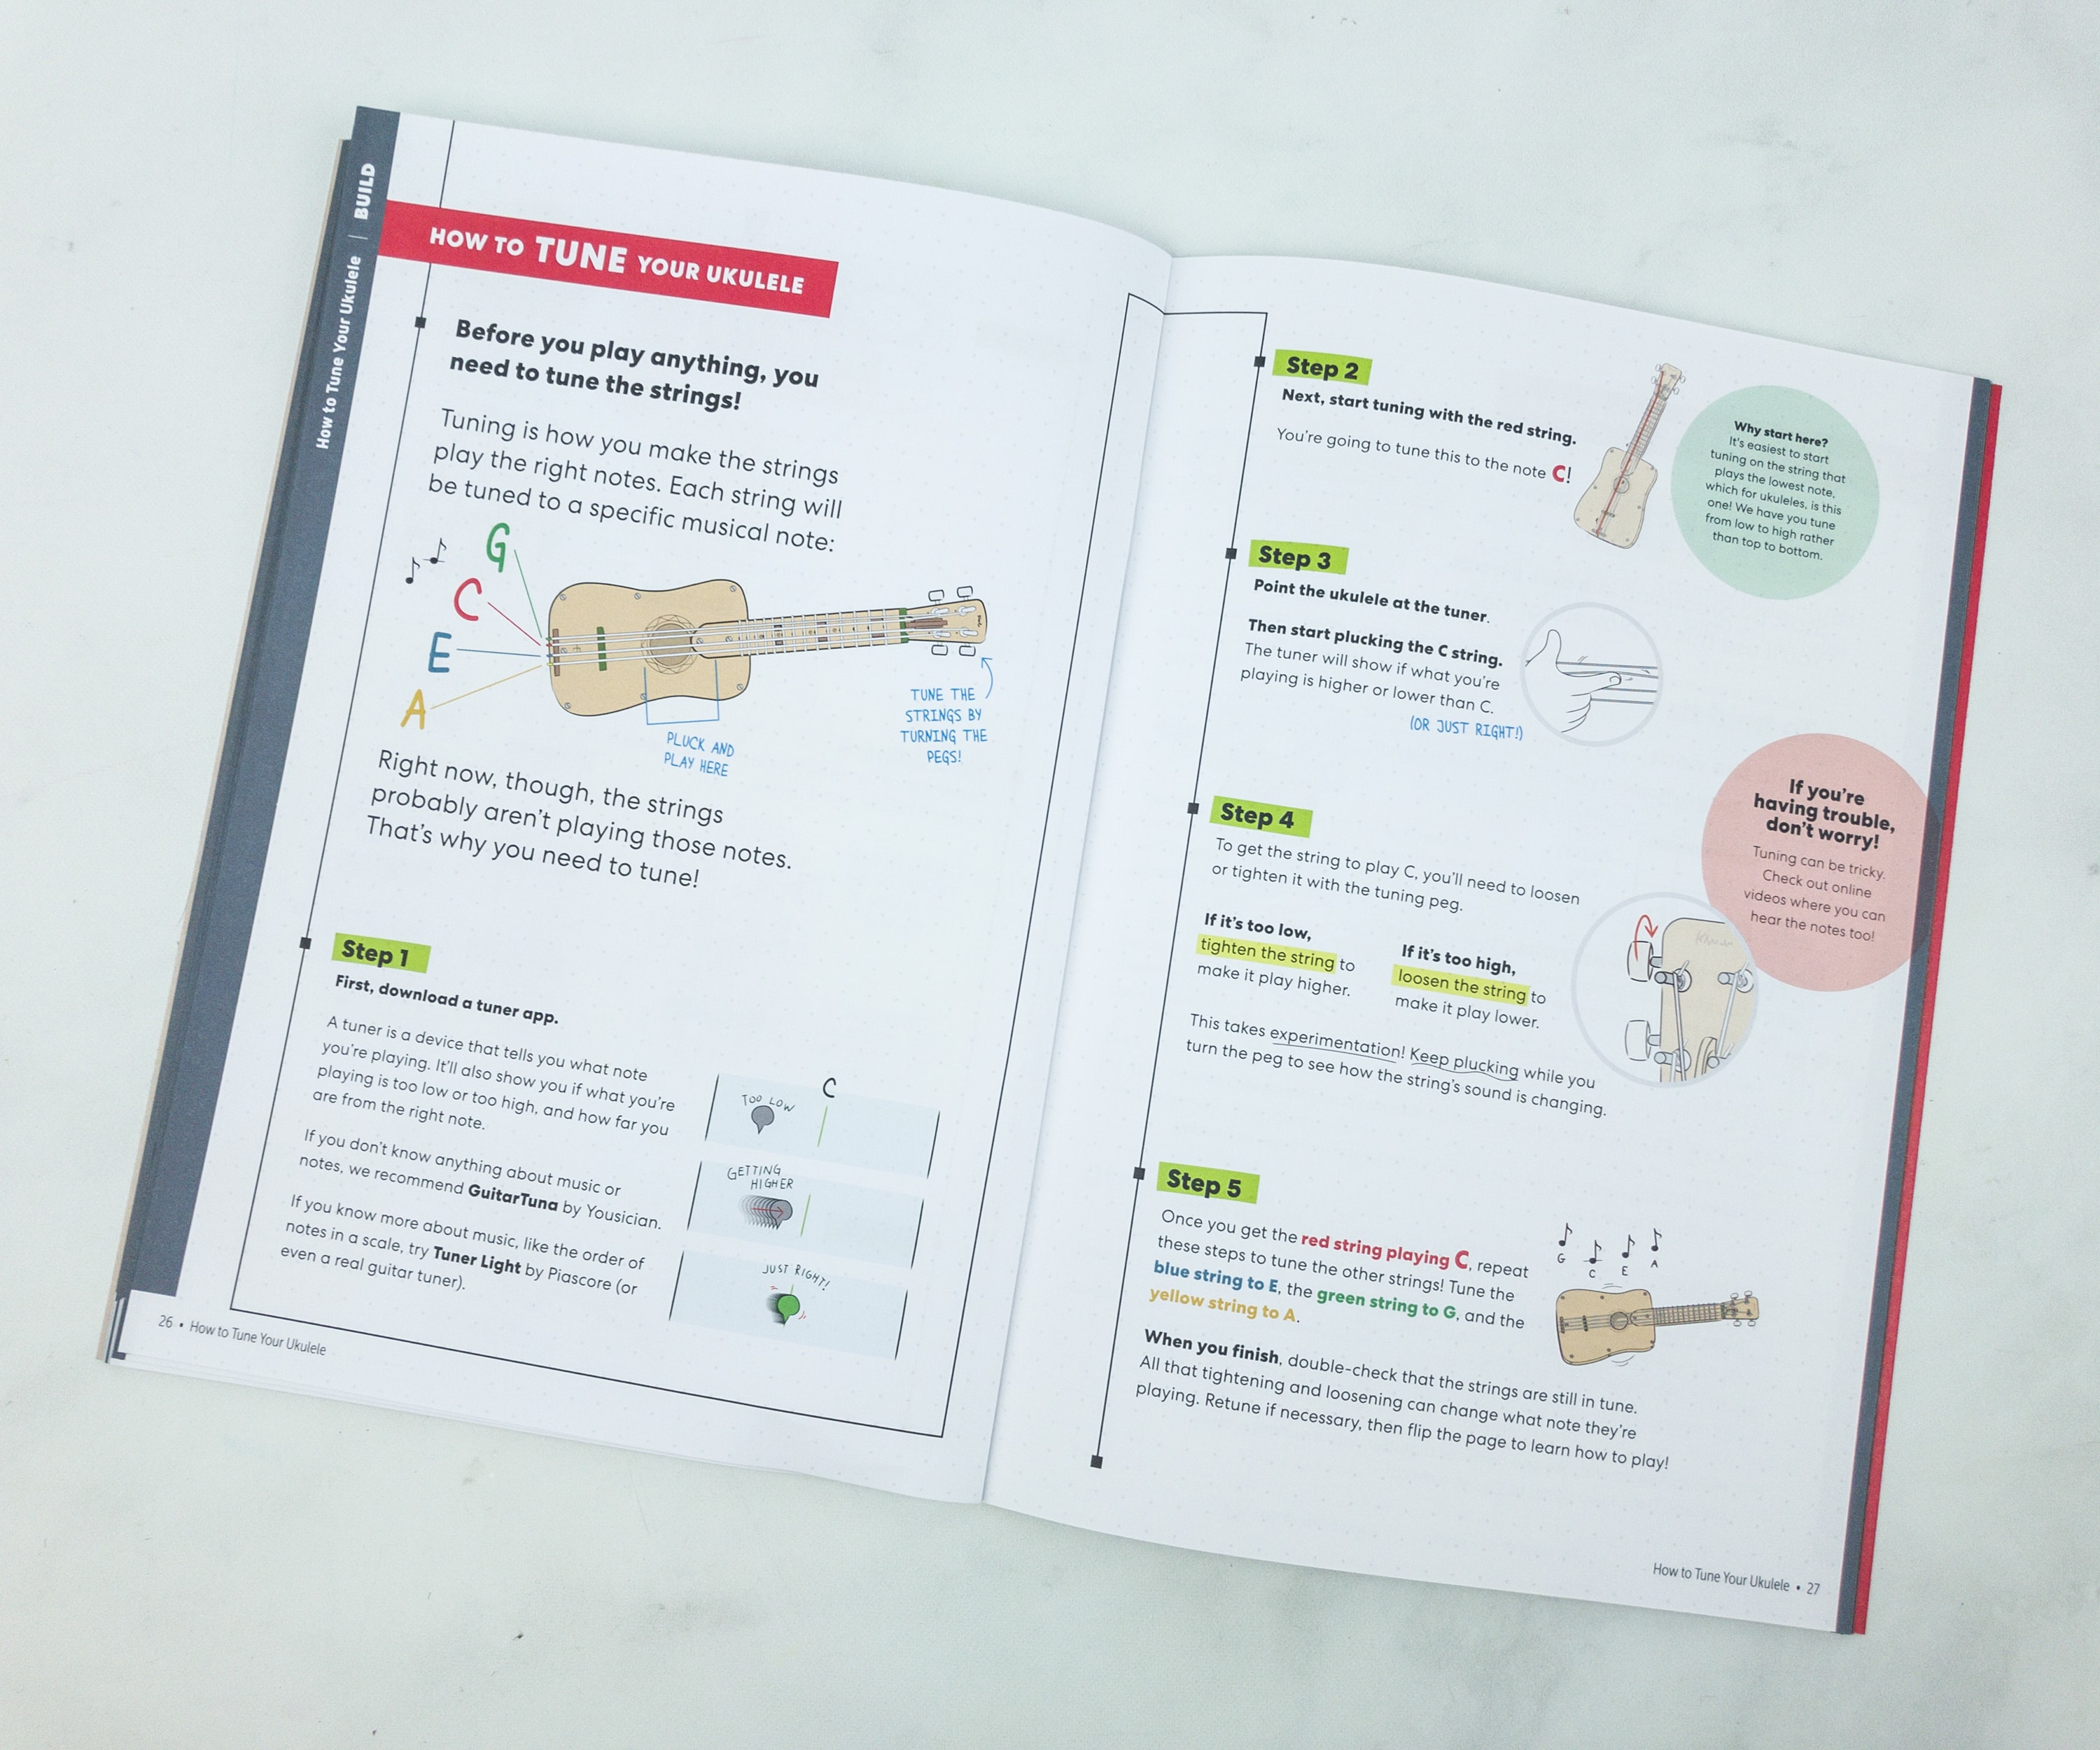
After the installation of the strings, the next thing to do is to tune it. Featured on this part of the booklet is the correct way of tuning the strings.
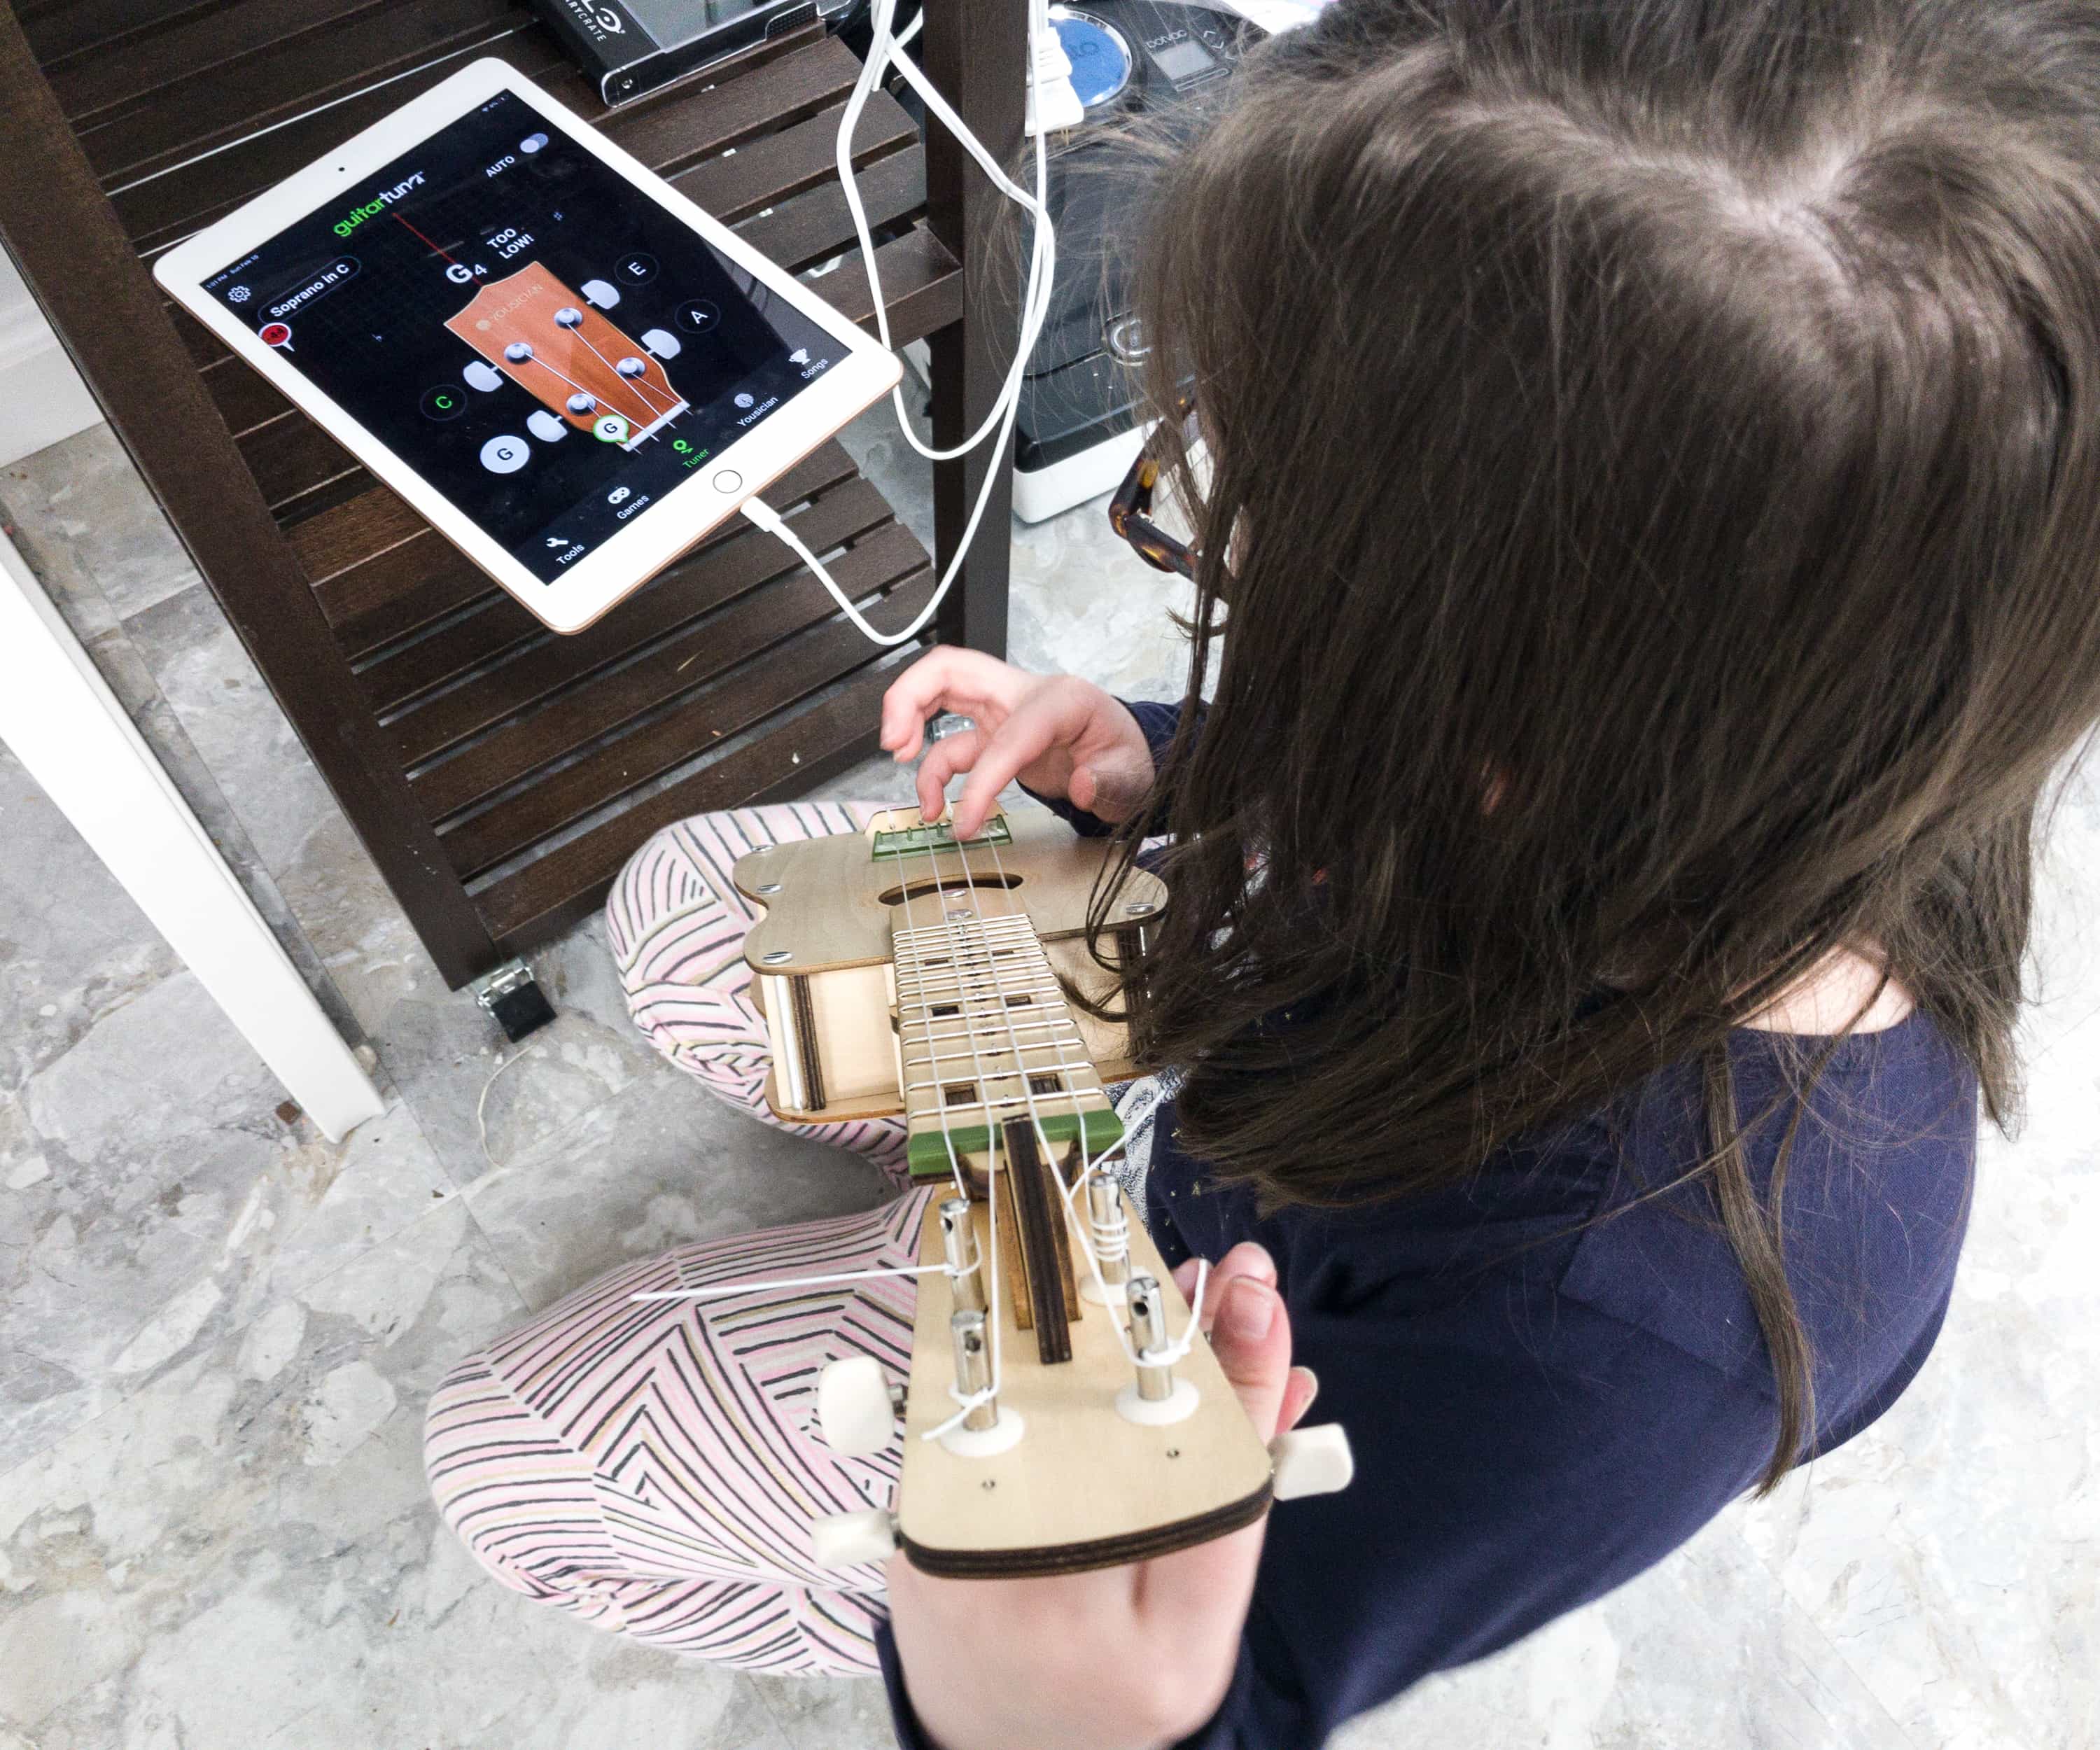
My daughter used the suggested app, Guitar Tuna, to tune her ukulele.
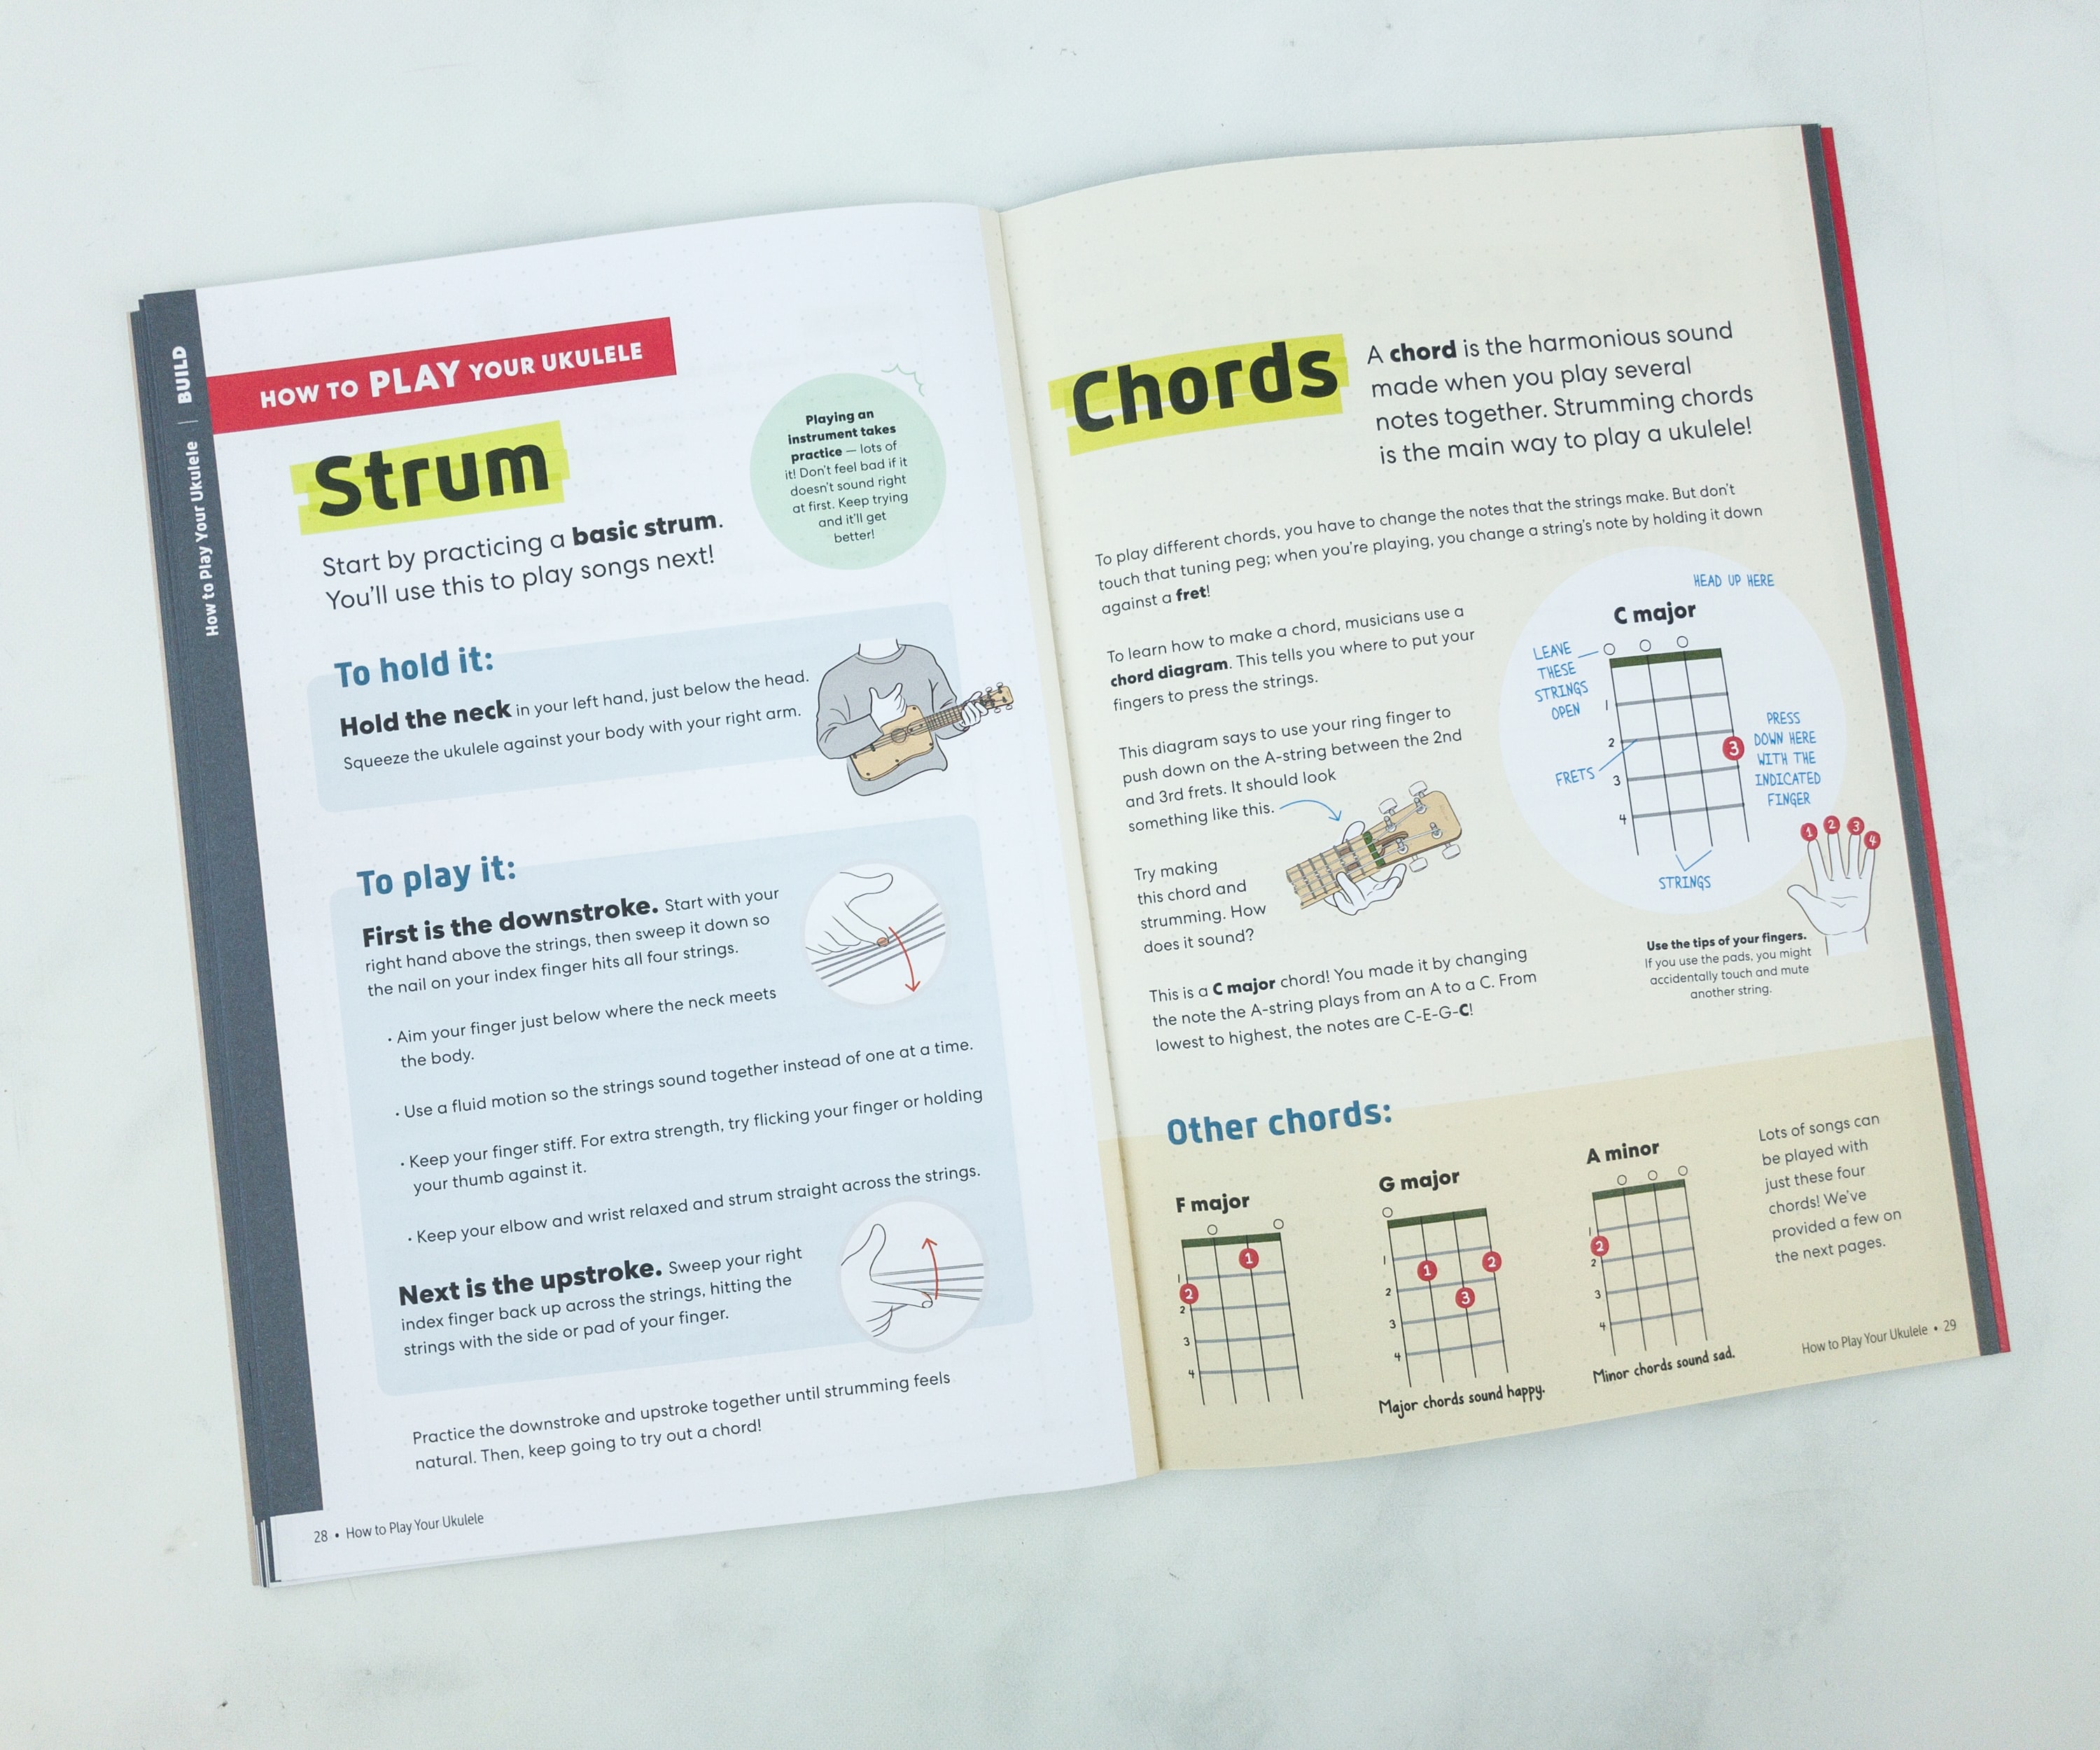
This part of the booklet teaches us the proper way of playing the ukulele. It features some basic strumming and even provides a chord diagram that helps us better understand the chords.
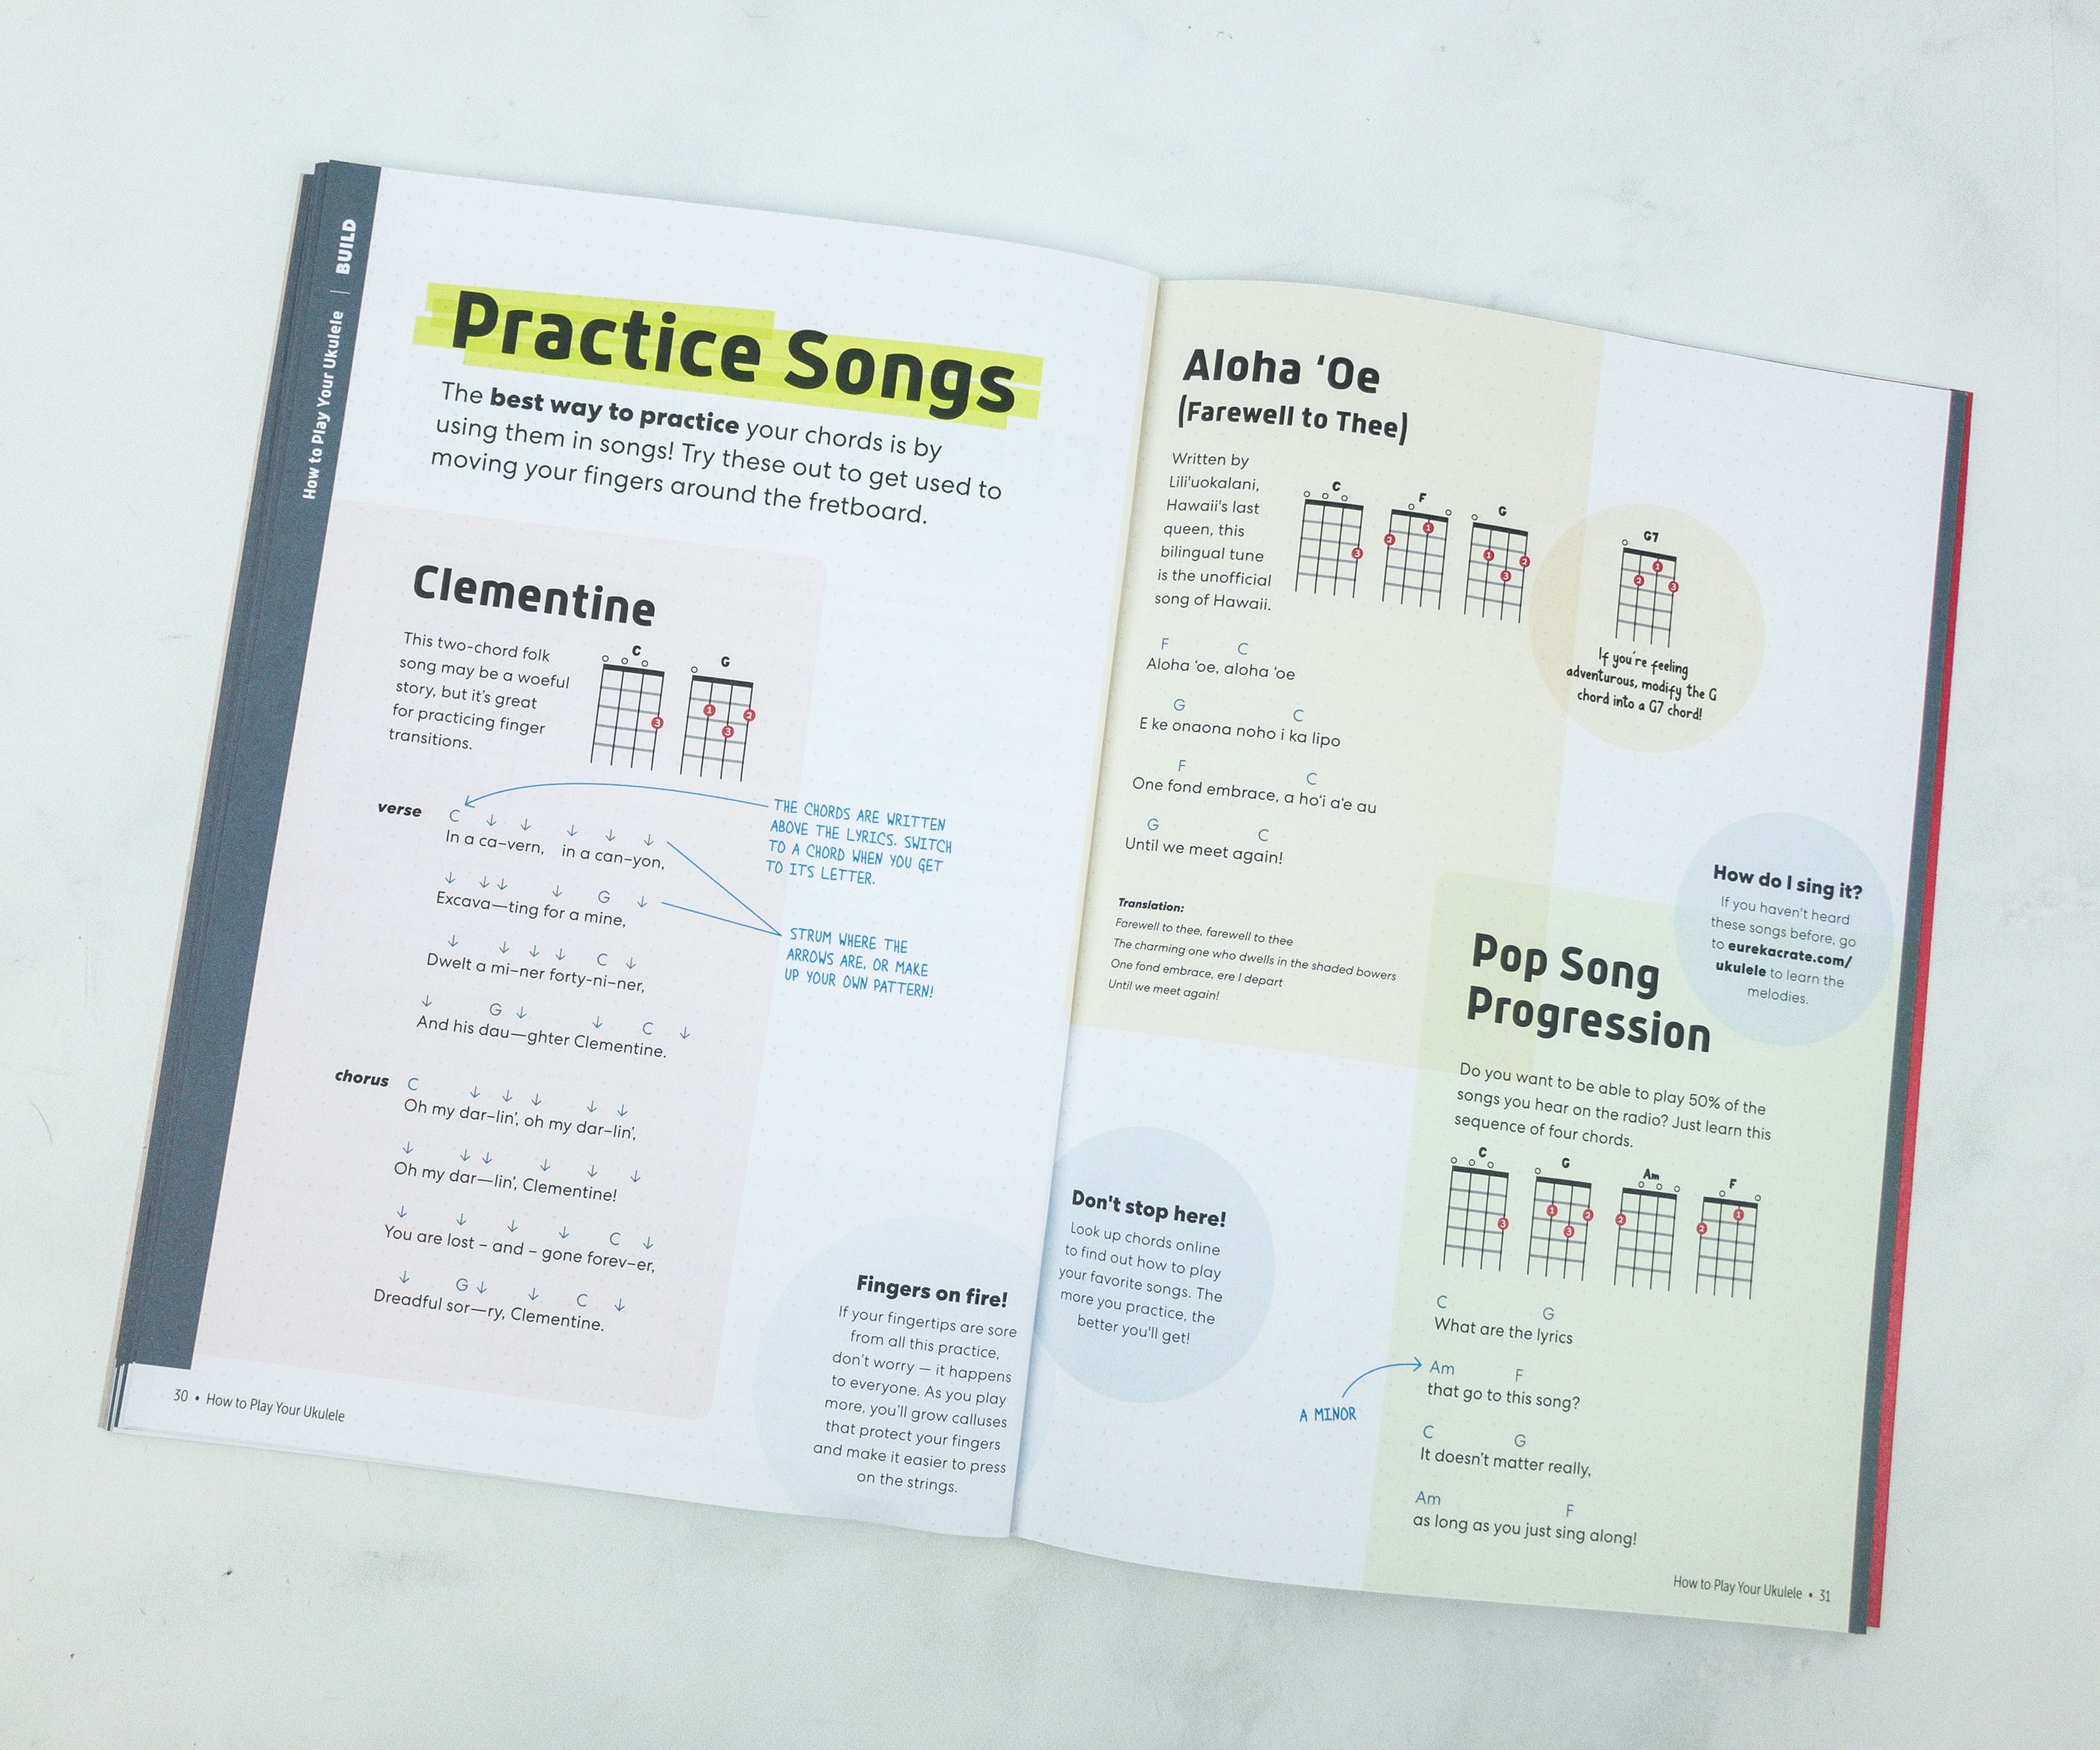
The best way to practice your chords is by using them in songs! Try these out to get used moving your fingers around the fretboard.
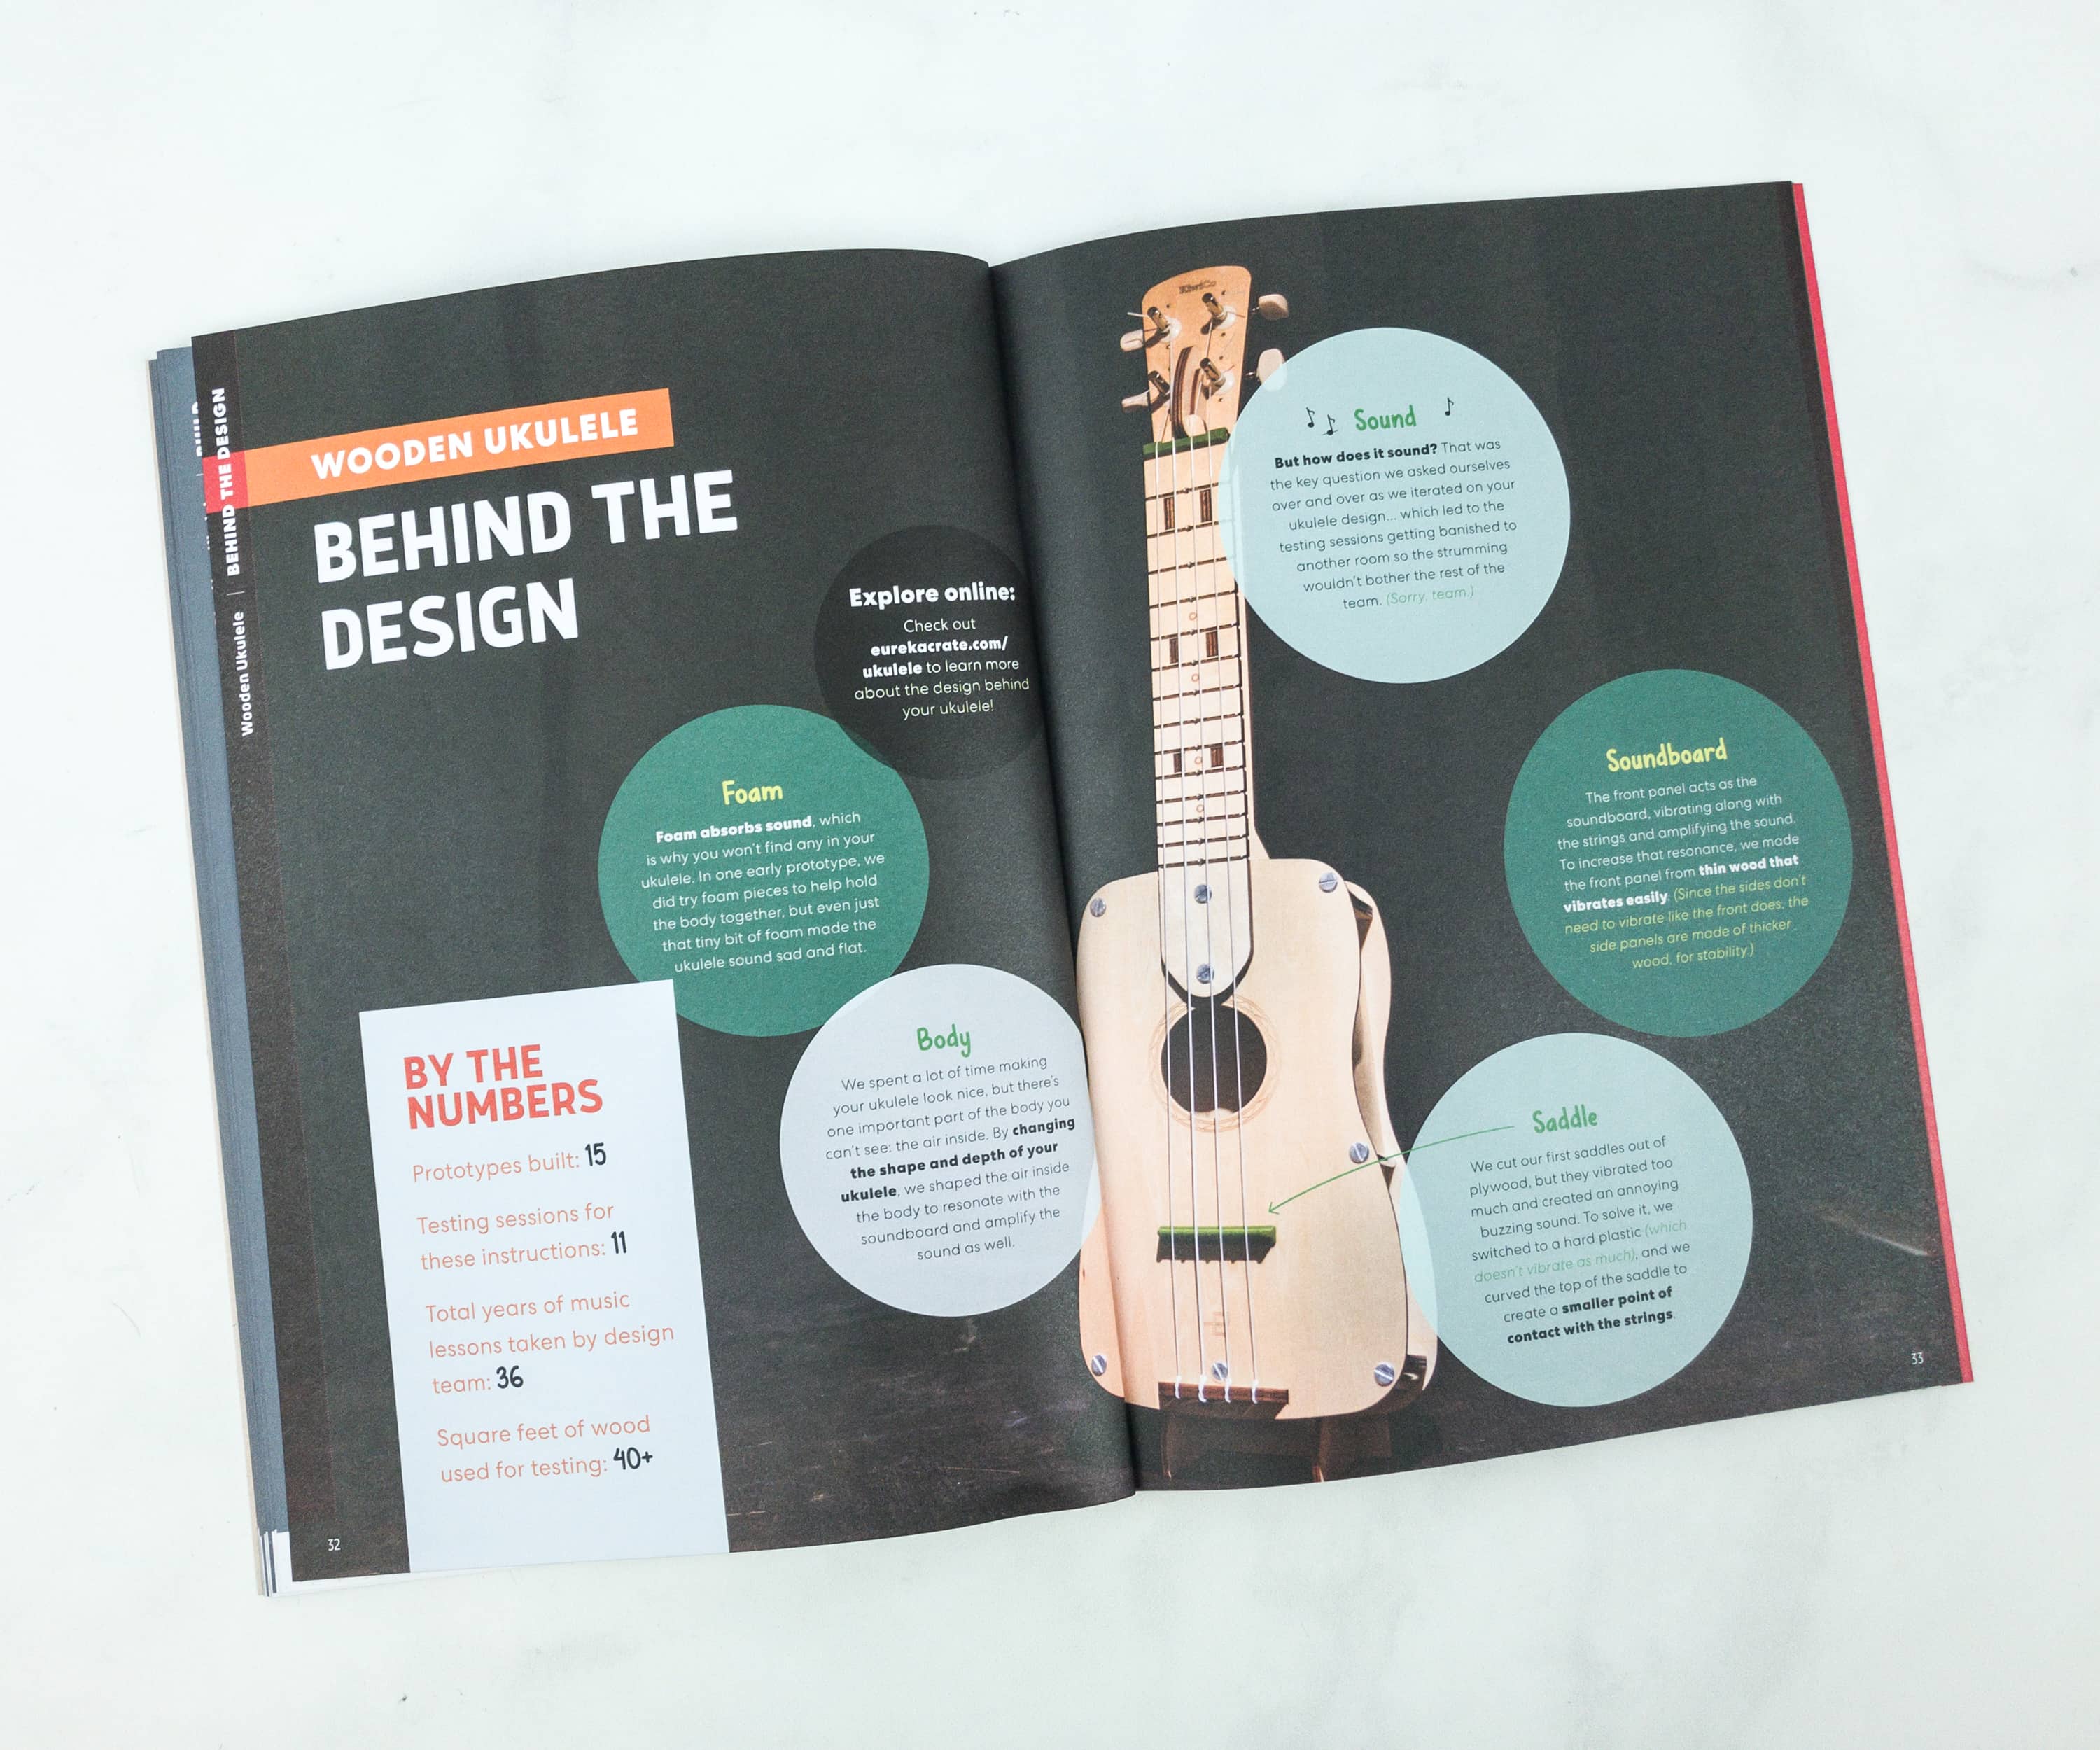
Revealed on this part of the booklet are the things behind the design of this beautiful prototype.
It’s really amazing that they we’re able to make this ukulele design without the need for glue!
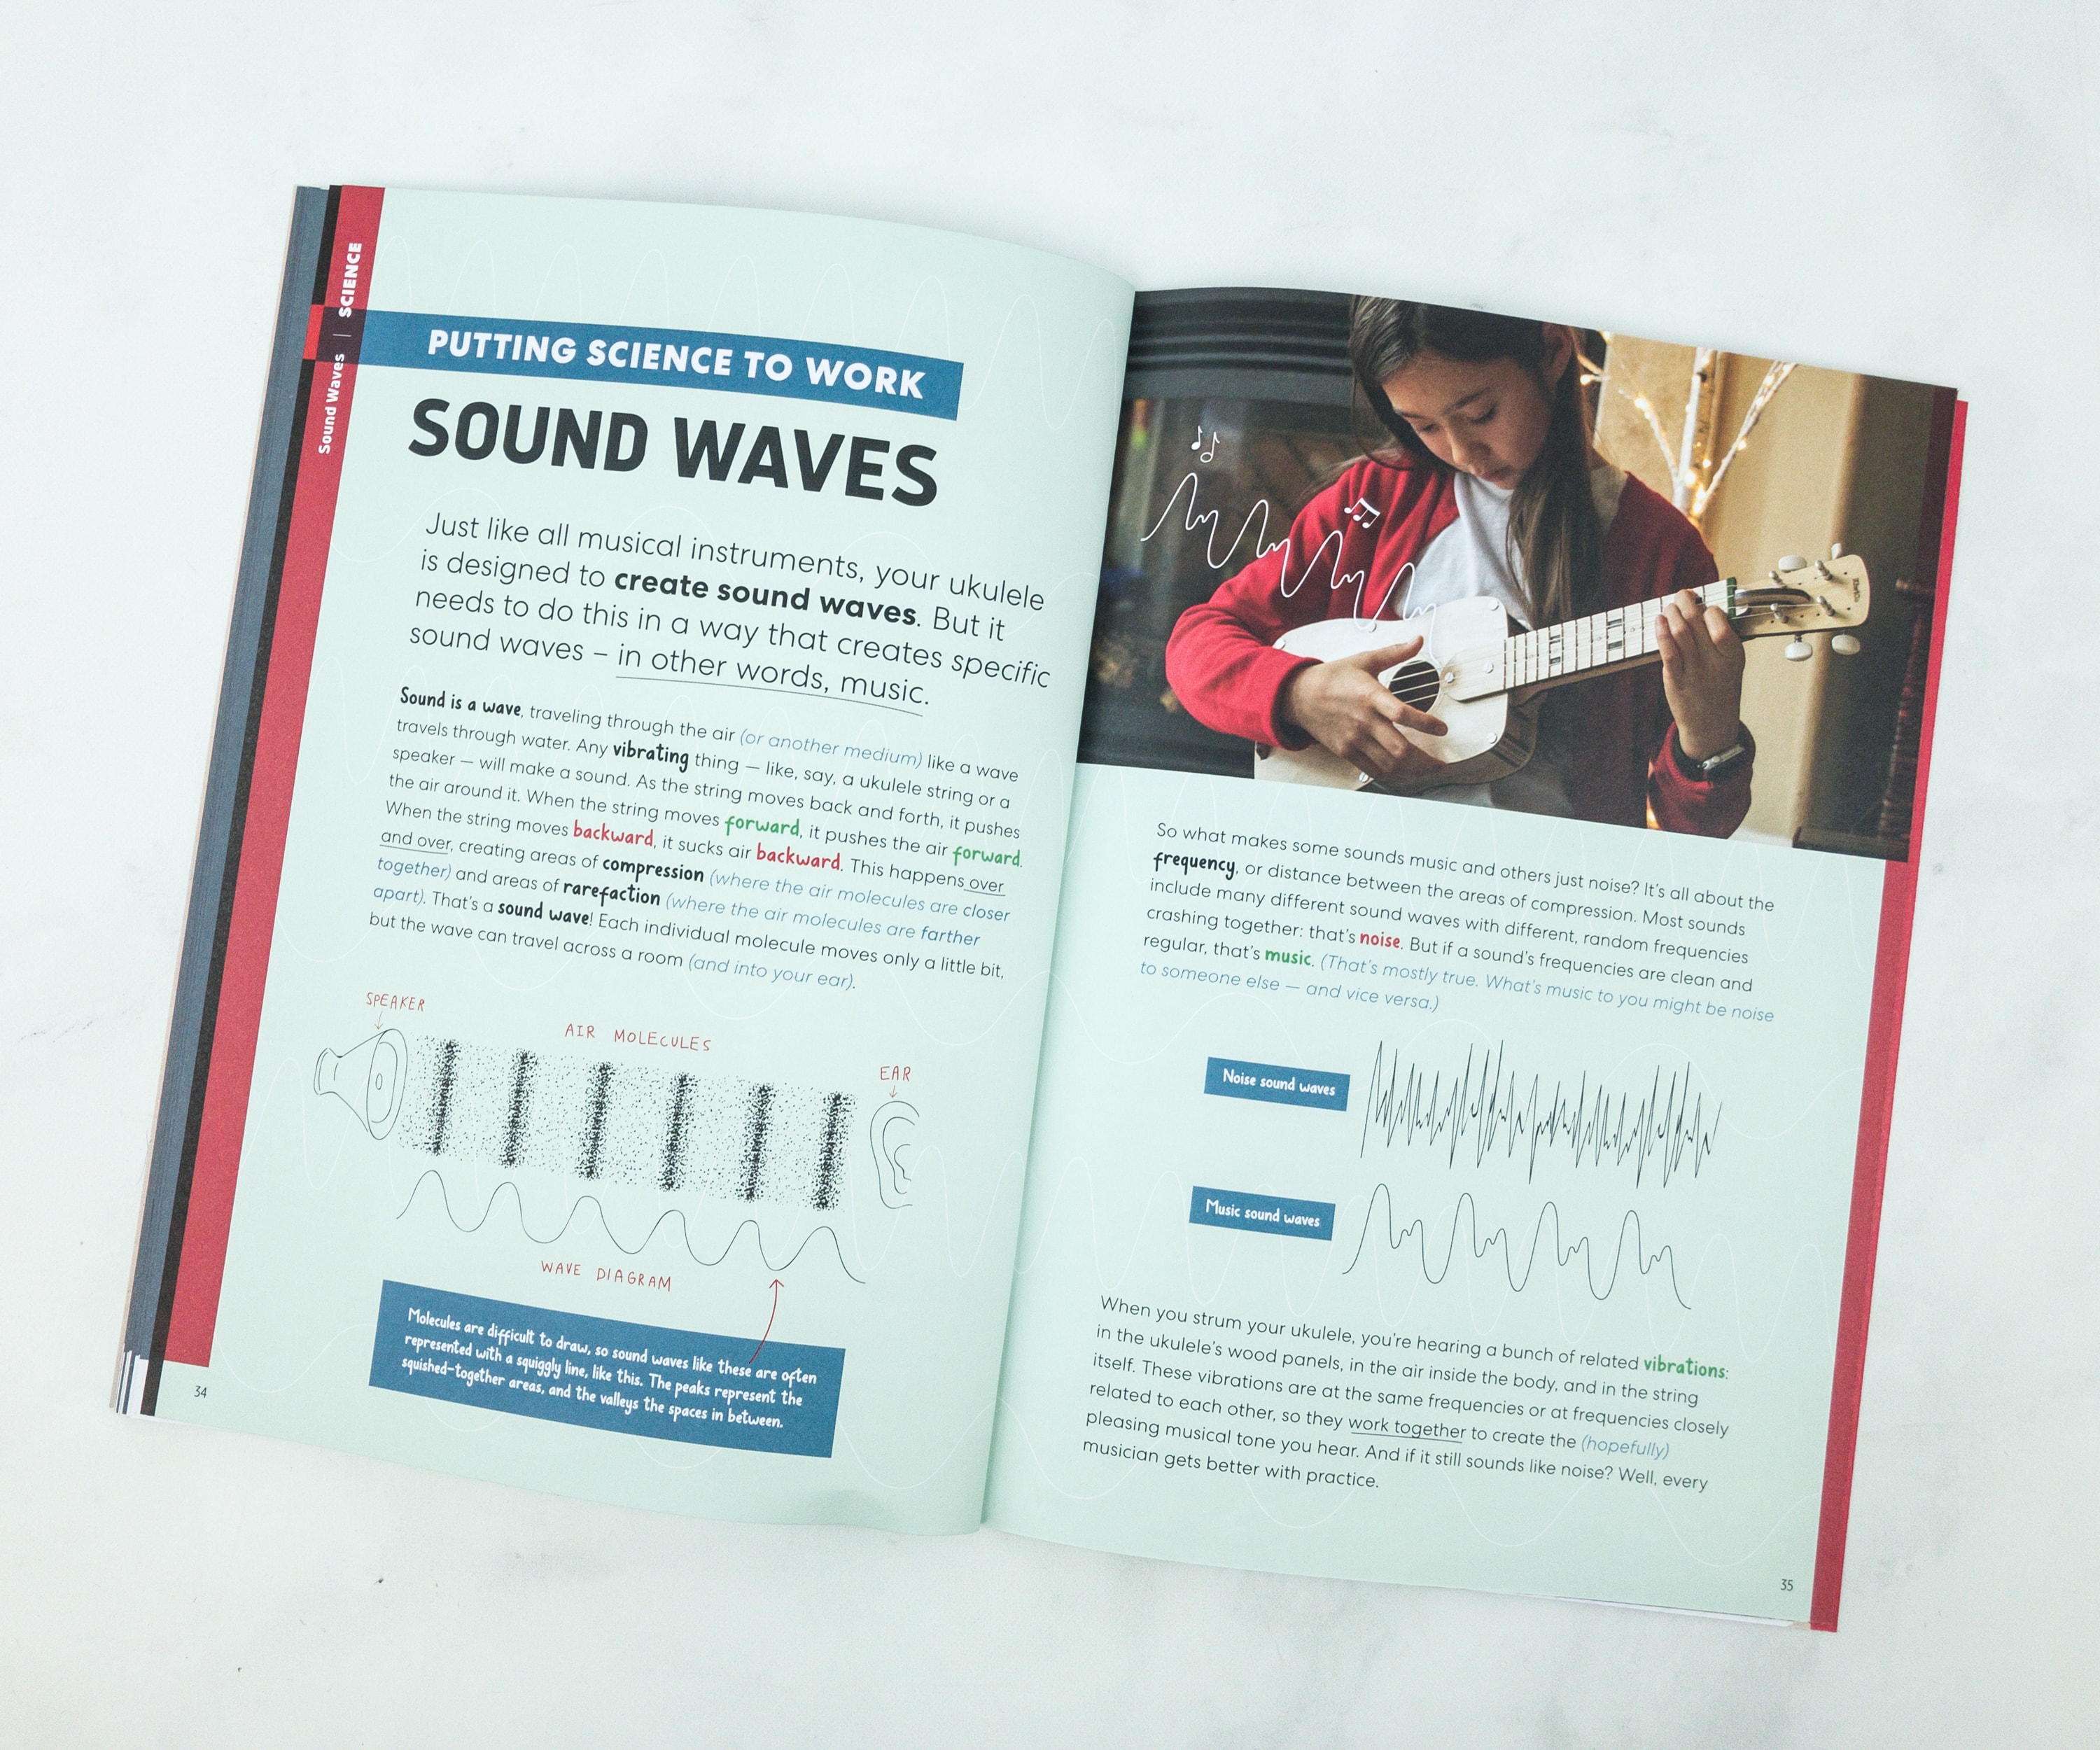
Sounds are waves caused by vibrations that travel in the air. You can learn more about the sound waves in this informative article.
When you strum your ukulele, you’re hearing a bunch of related vibrations: in the ukulele’s wood panels, in the air inside the body, and in the string itself. These vibrations are at the same frequencies or at frequencies closely related to each other, so they work together to create the (hopefully) pleasing musical tone you hear. And if it still sounds like noise? Well, every musician gets better with practice.
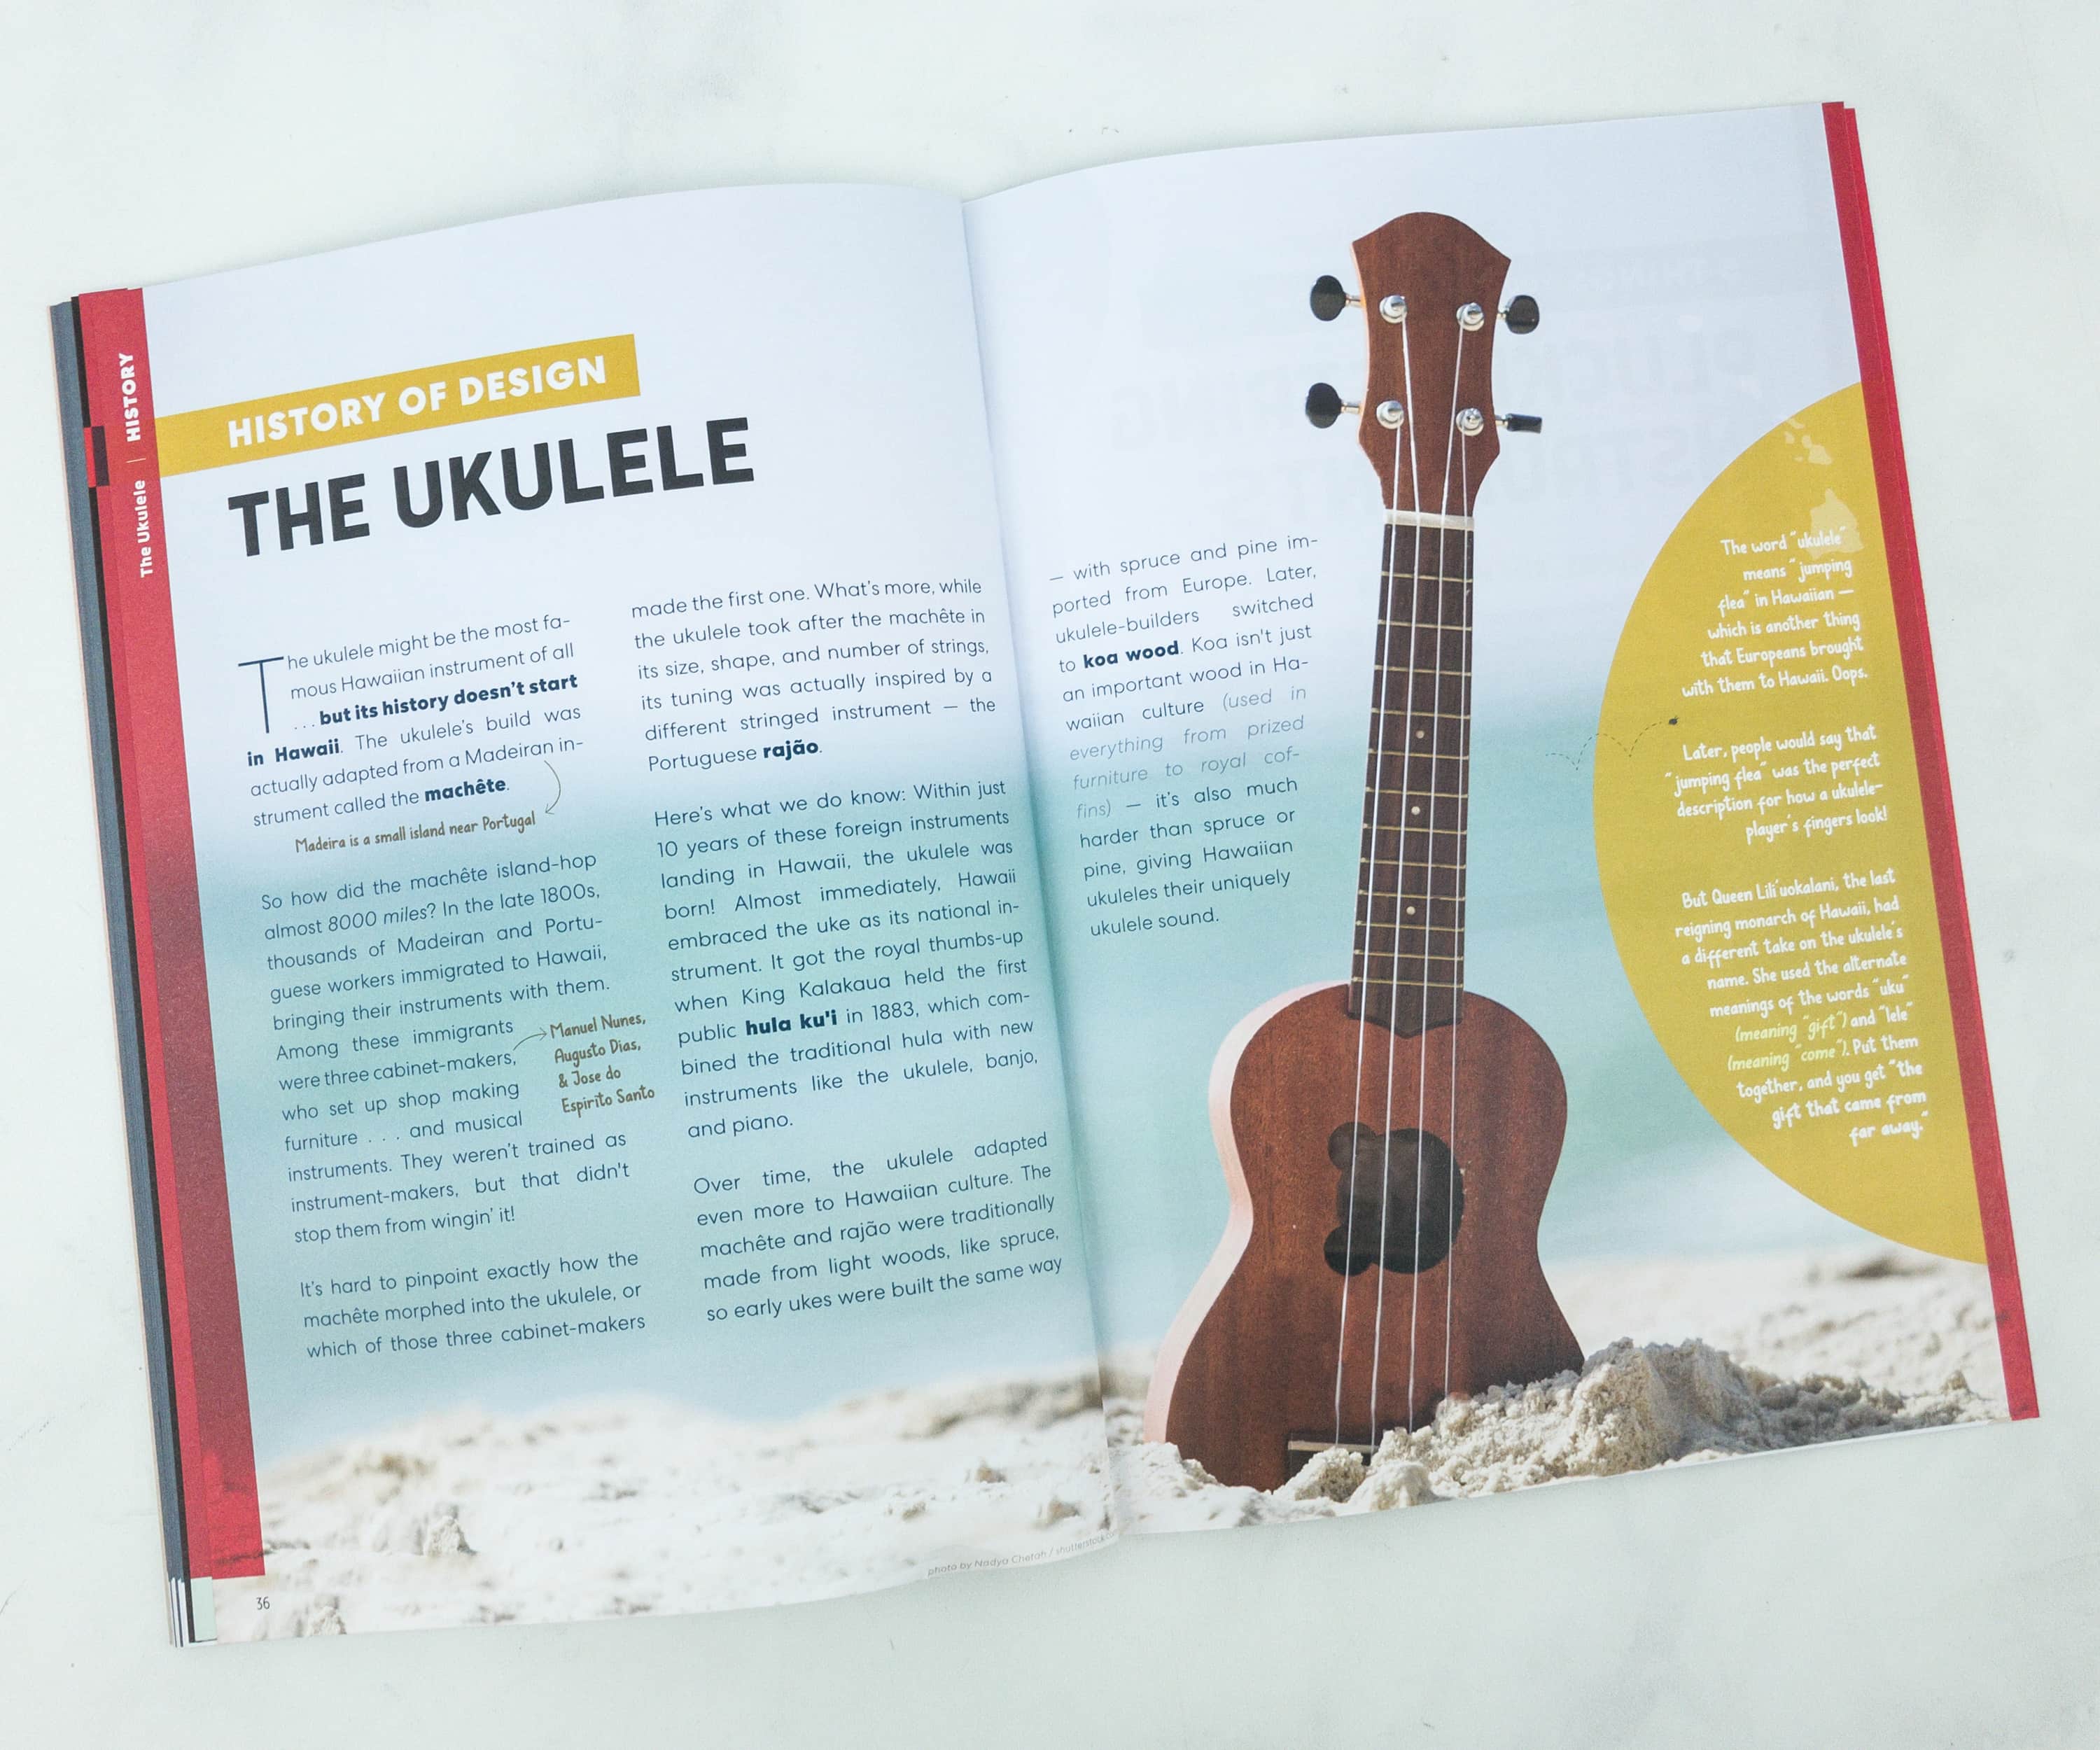
Ukulele is a Hawaiian word that means jumping flea. It’s also a small four-stringed guitar that originated in Hawaii.
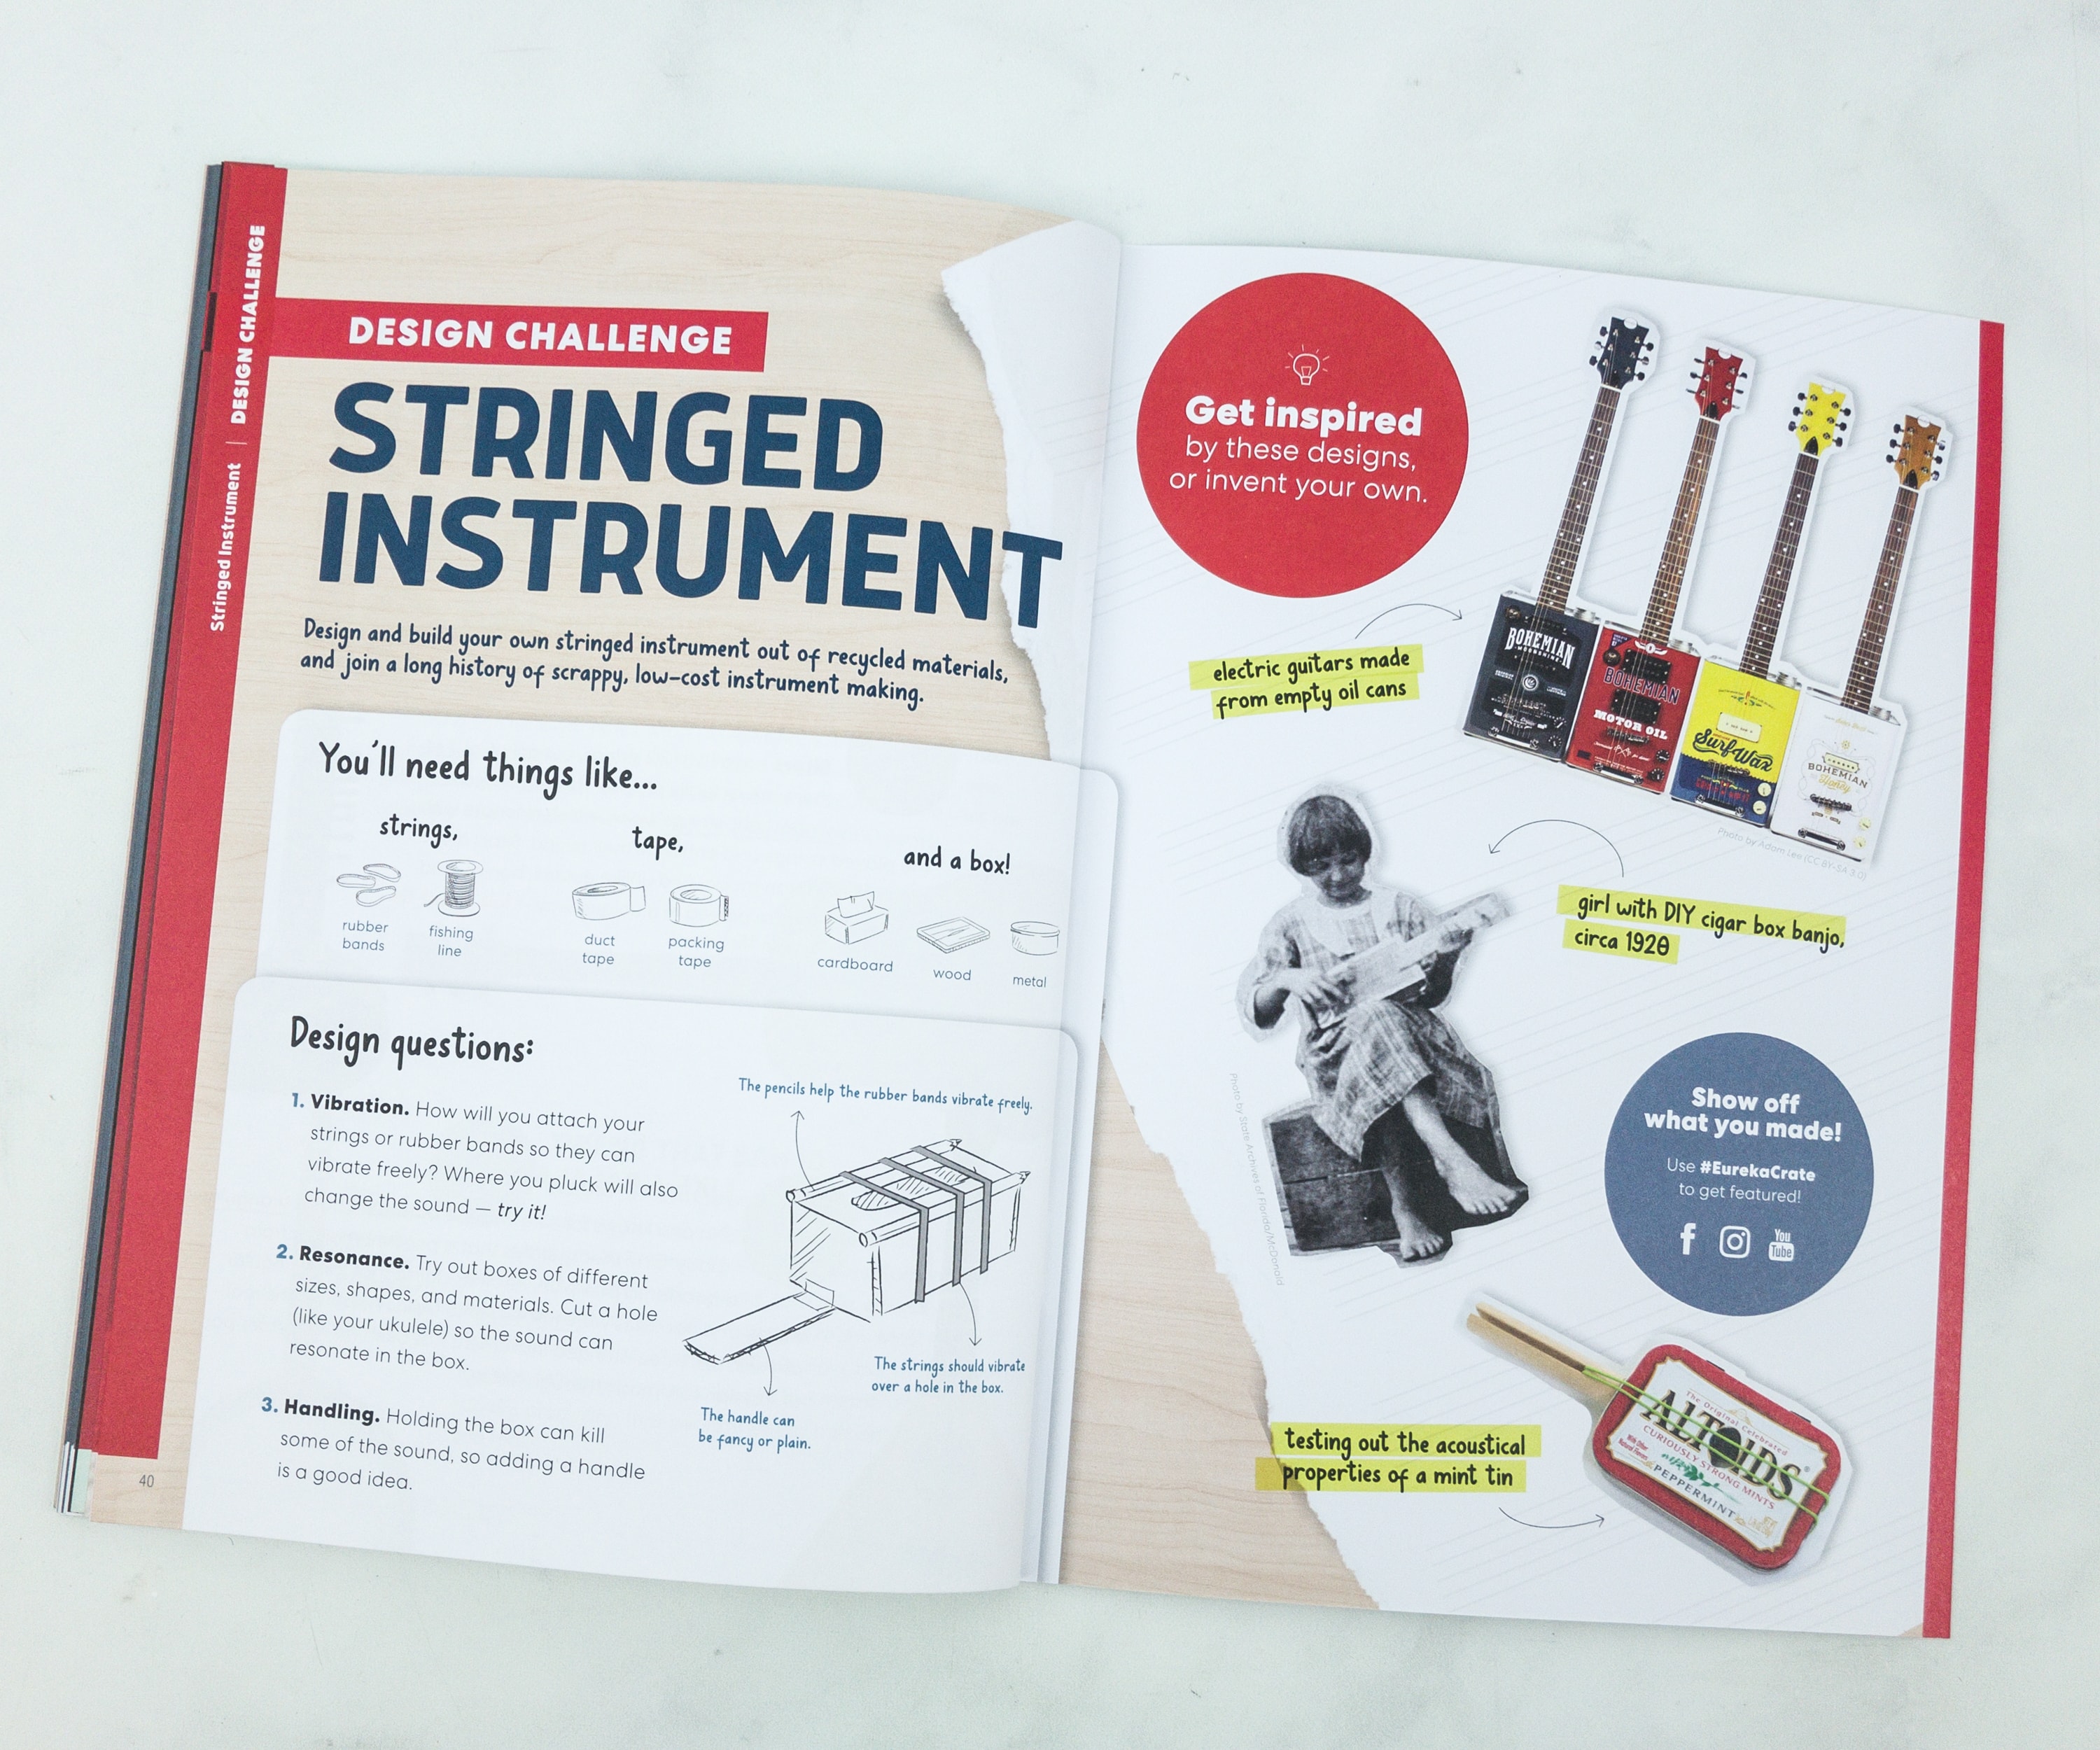
For the design challenge, they provided mechanics and design questions in making your own low-cost stringed instrument.
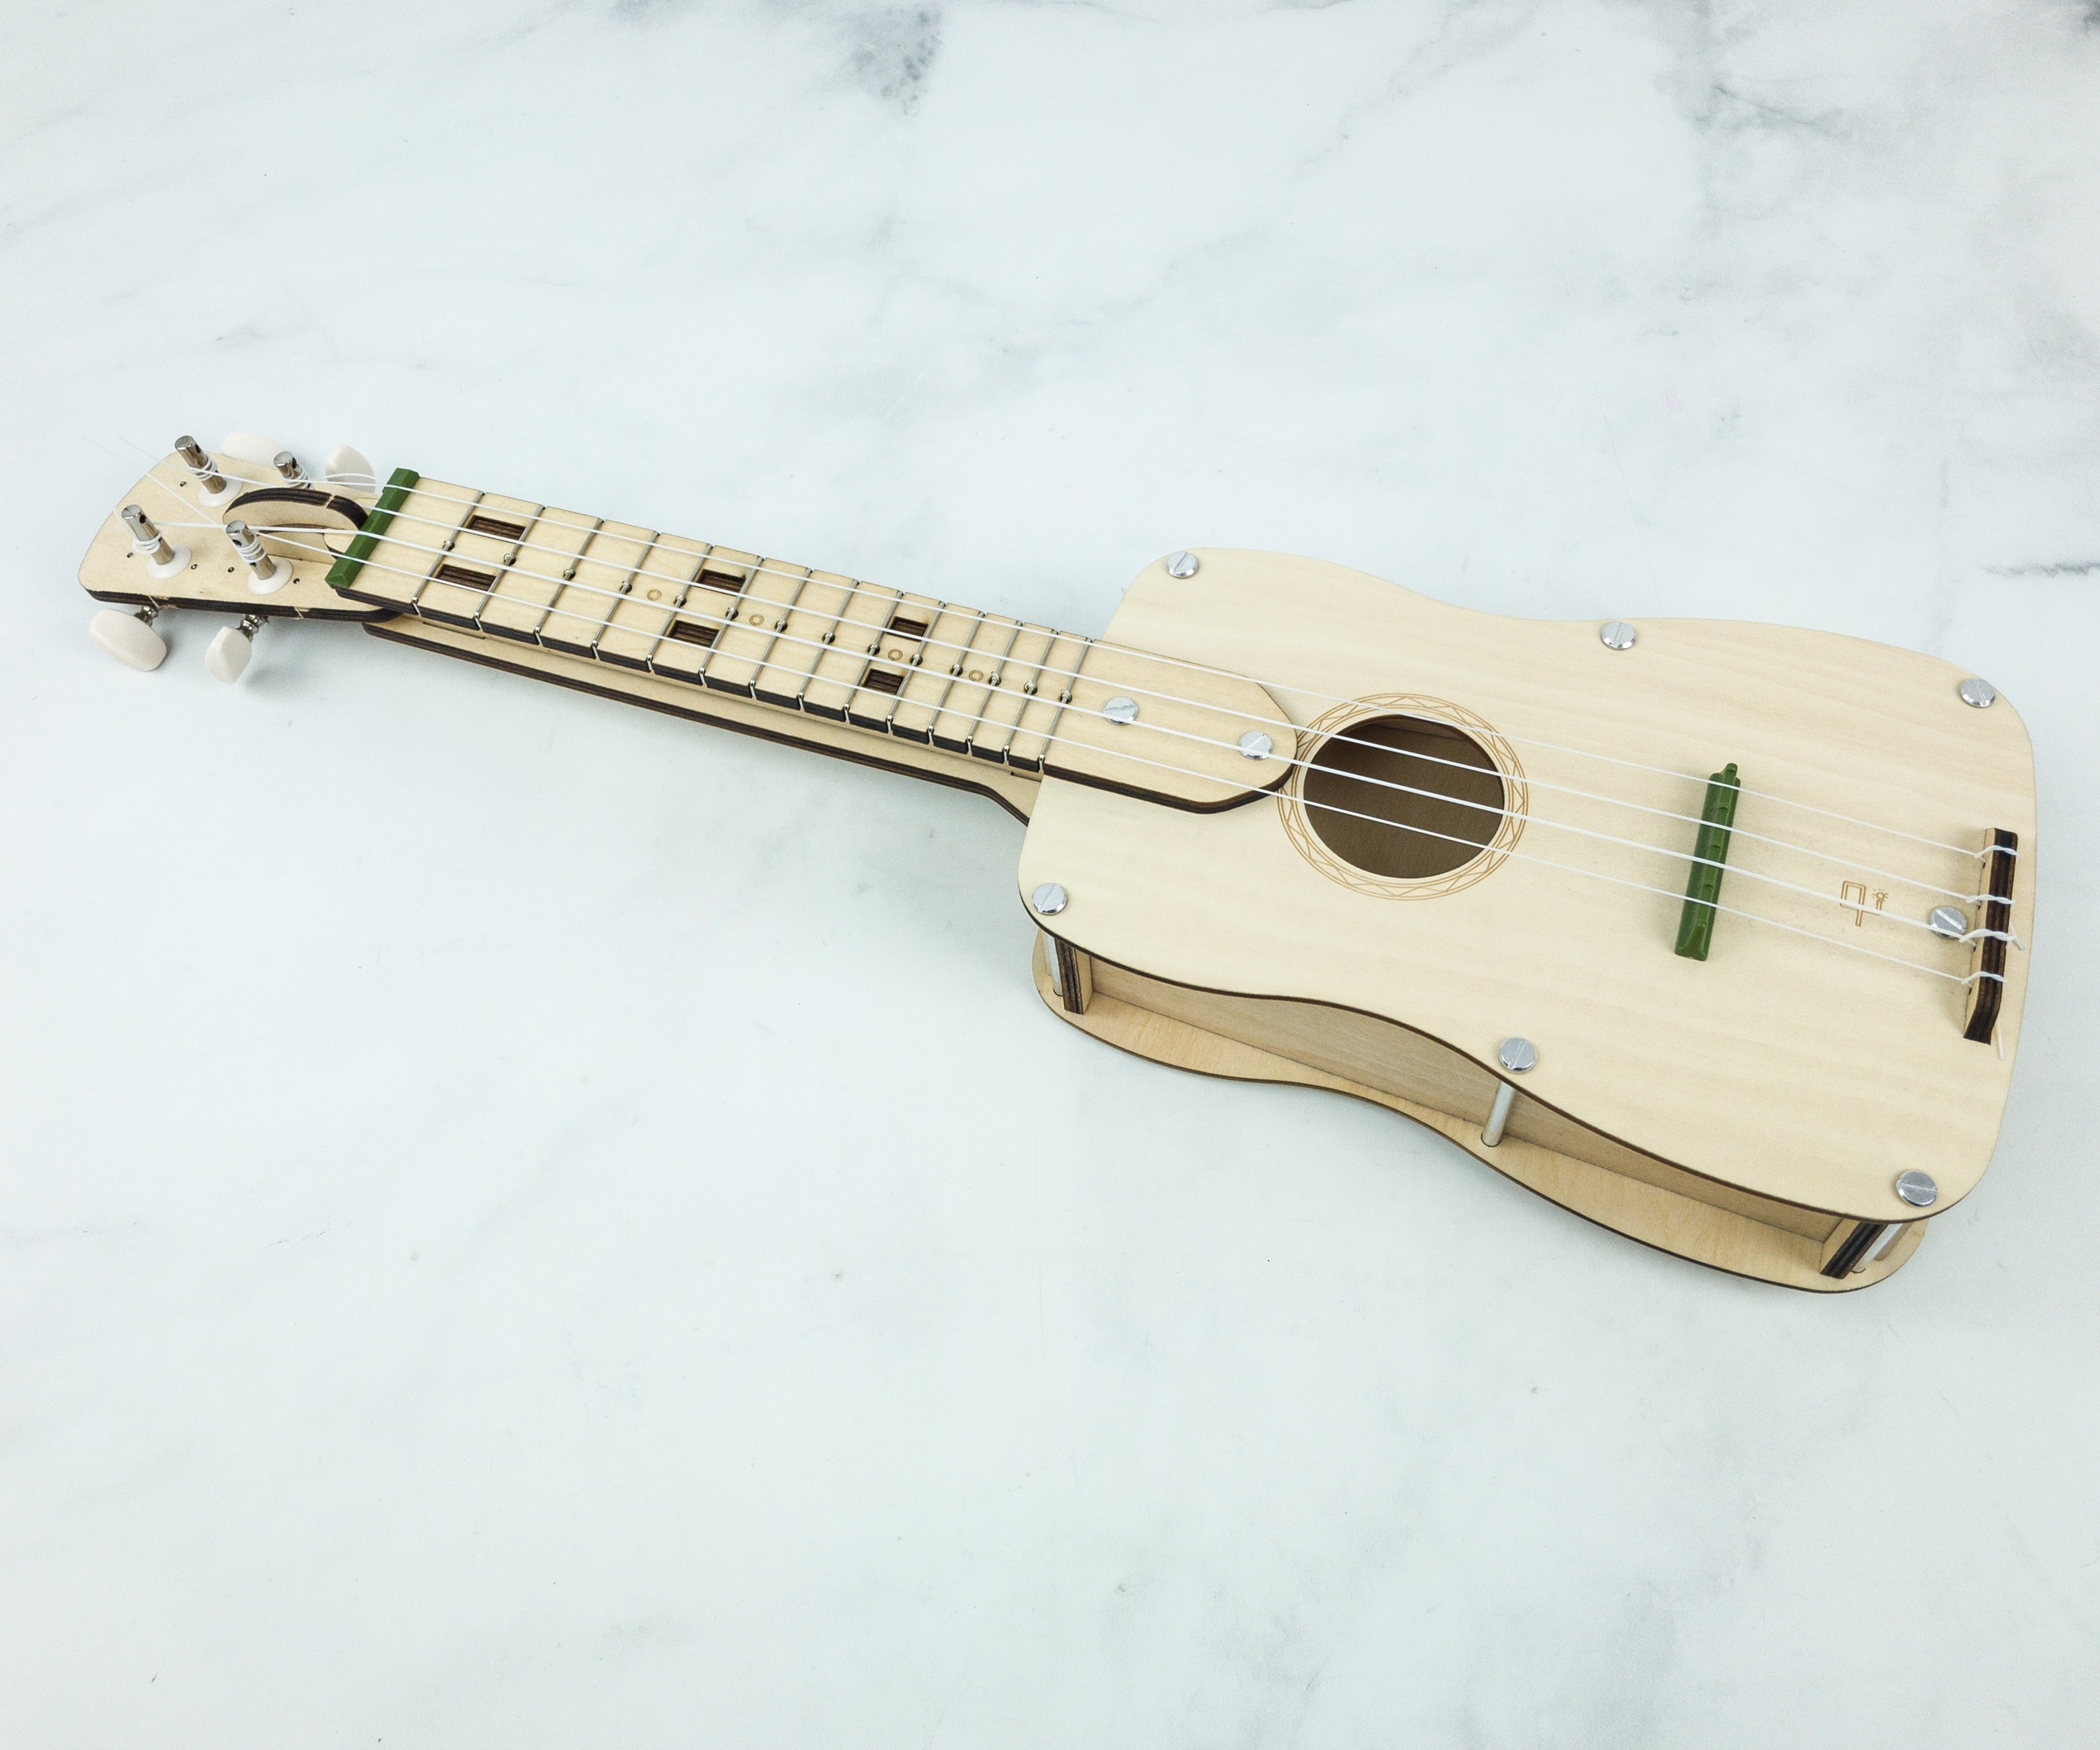
Our ukulele is ready, let the rock n’ roll begin!
For this month, we learned about the science of sound waves, history of the ukulele, and frequency and resonance! What a well-rounded box!
This month’s project from Eureka Crate helps enhance resourcefulness, problem-solving skills, and even knowledge about music. The steps a are more complicated compared to other crates from KiwiCo Family. Nevertheless, it was enjoyable and worthwhile. Everything you need to build the project is already provided and the booklet is always packed with a lot of information, trivia, and detailed step-by-step procedure to help us finish the project with ease. It’s really cool to have fun while learning to build our own musical instrument! Plus, we understand the design choices and design principles behind it, since we built it ourselves!
What do you think of this month’s Eureka Crate?


Comments