MEL Kids is a monthly AR‑powered STEM subscription box from MEL Science intended for kids ages 5-10. You can subscribe to the box for $34.90 each month and you’ll get science-themed projects plus a visual explanation of the underlying scientific principles. This subscription uses an app for an AR (augmented reality) science explanation. There are also online video lessons that go along with the box. They’re about 1 hour long and the kids can build the box along with the lesson, or use them if they need help. Each monthly kit contains hands-on experiments, activities, building sets, educational comics, and a unique piece of a great story!
DEAL: Get 25% off your first month! Use this link and coupon code HELLO25.
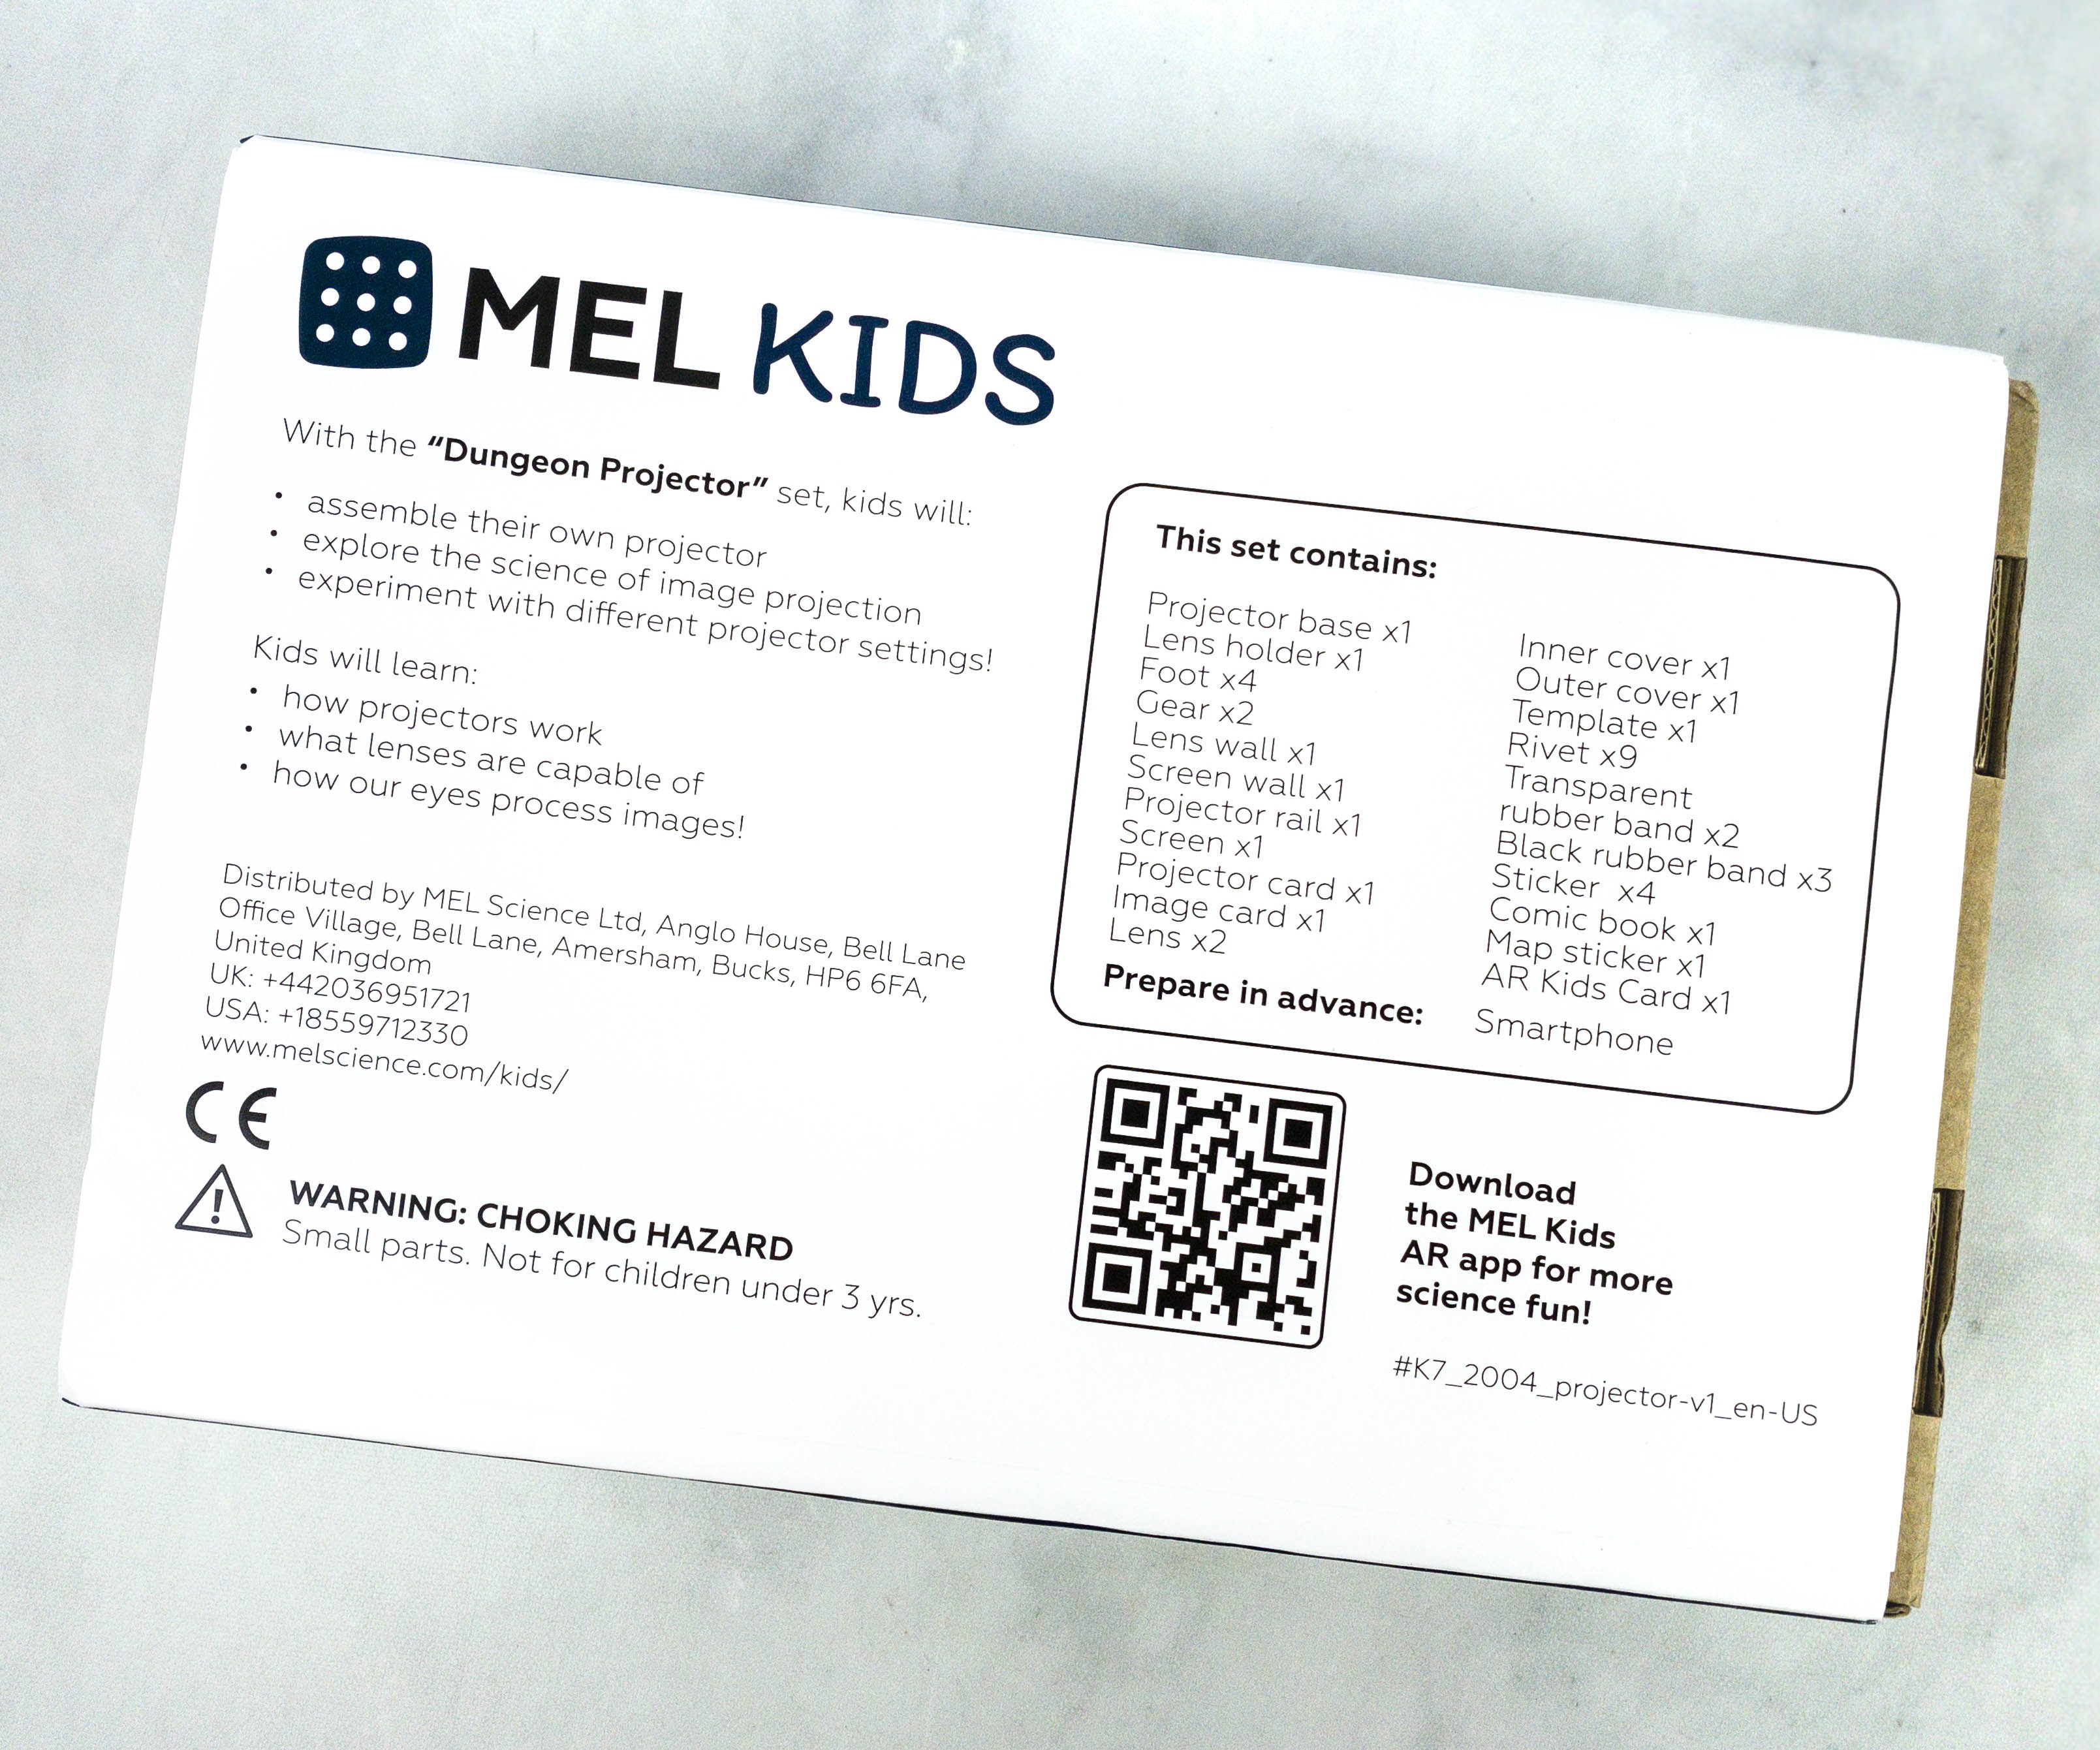
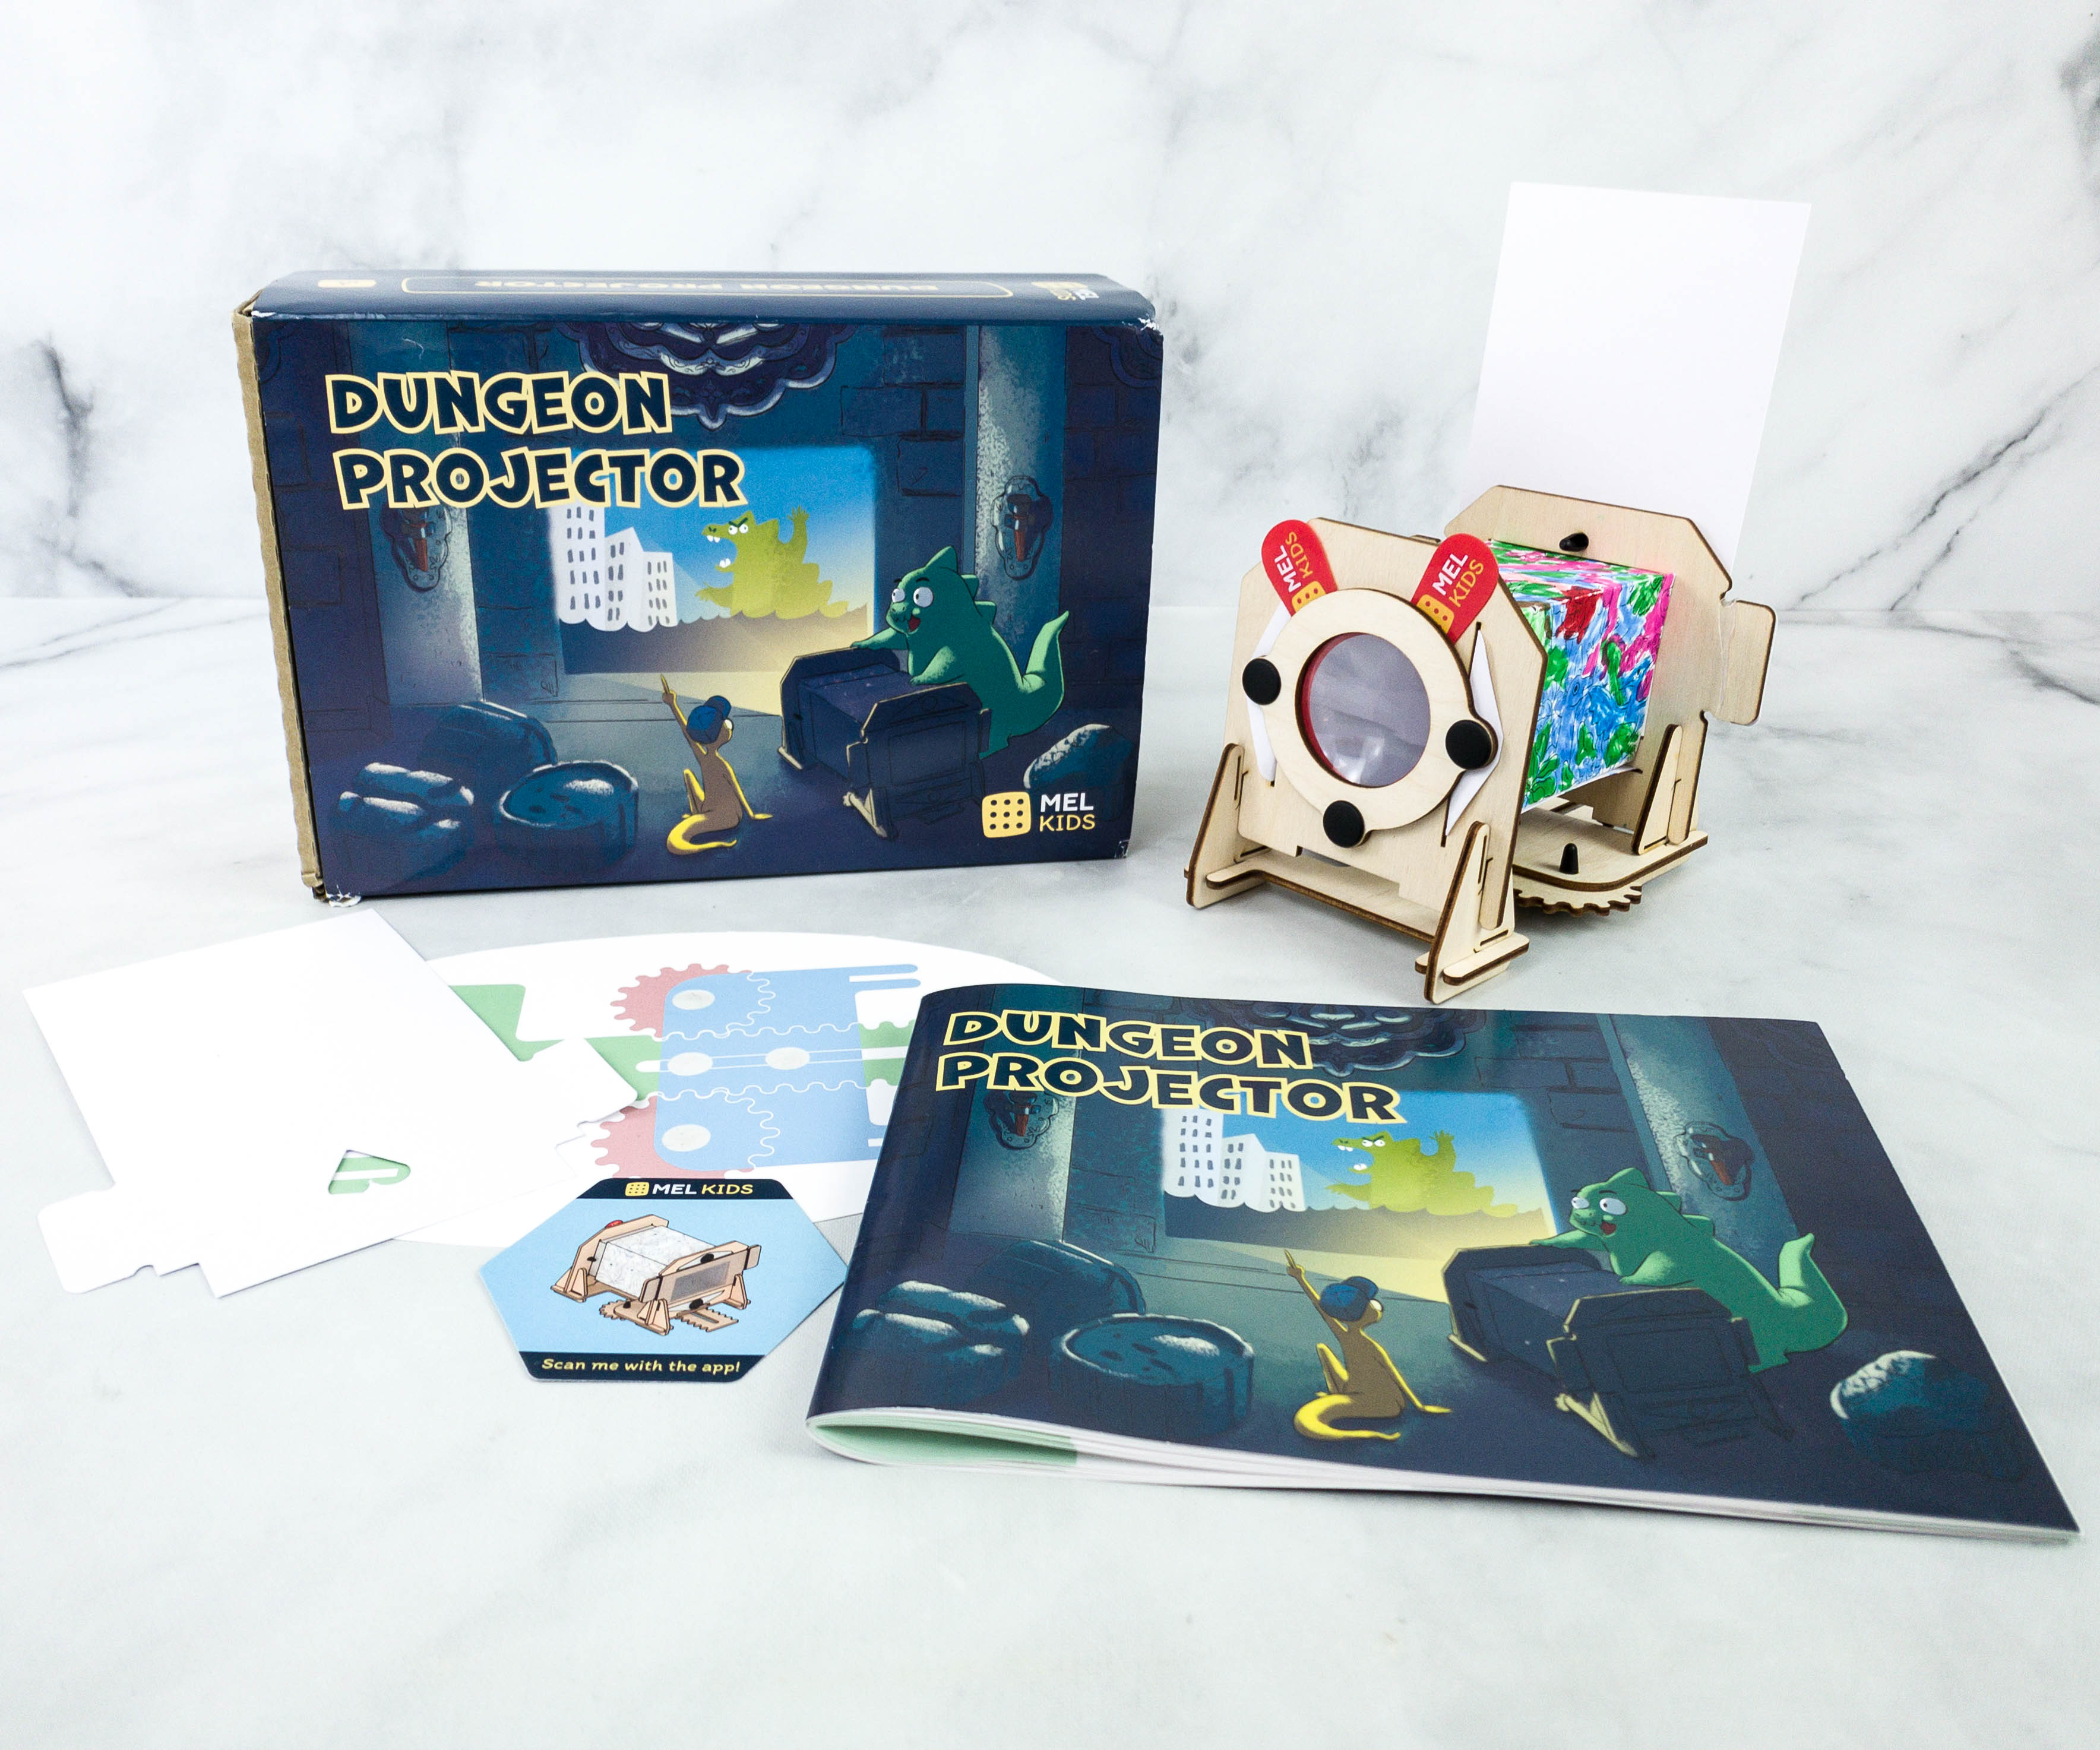
They also listed all the box contents and provided information on how it works.
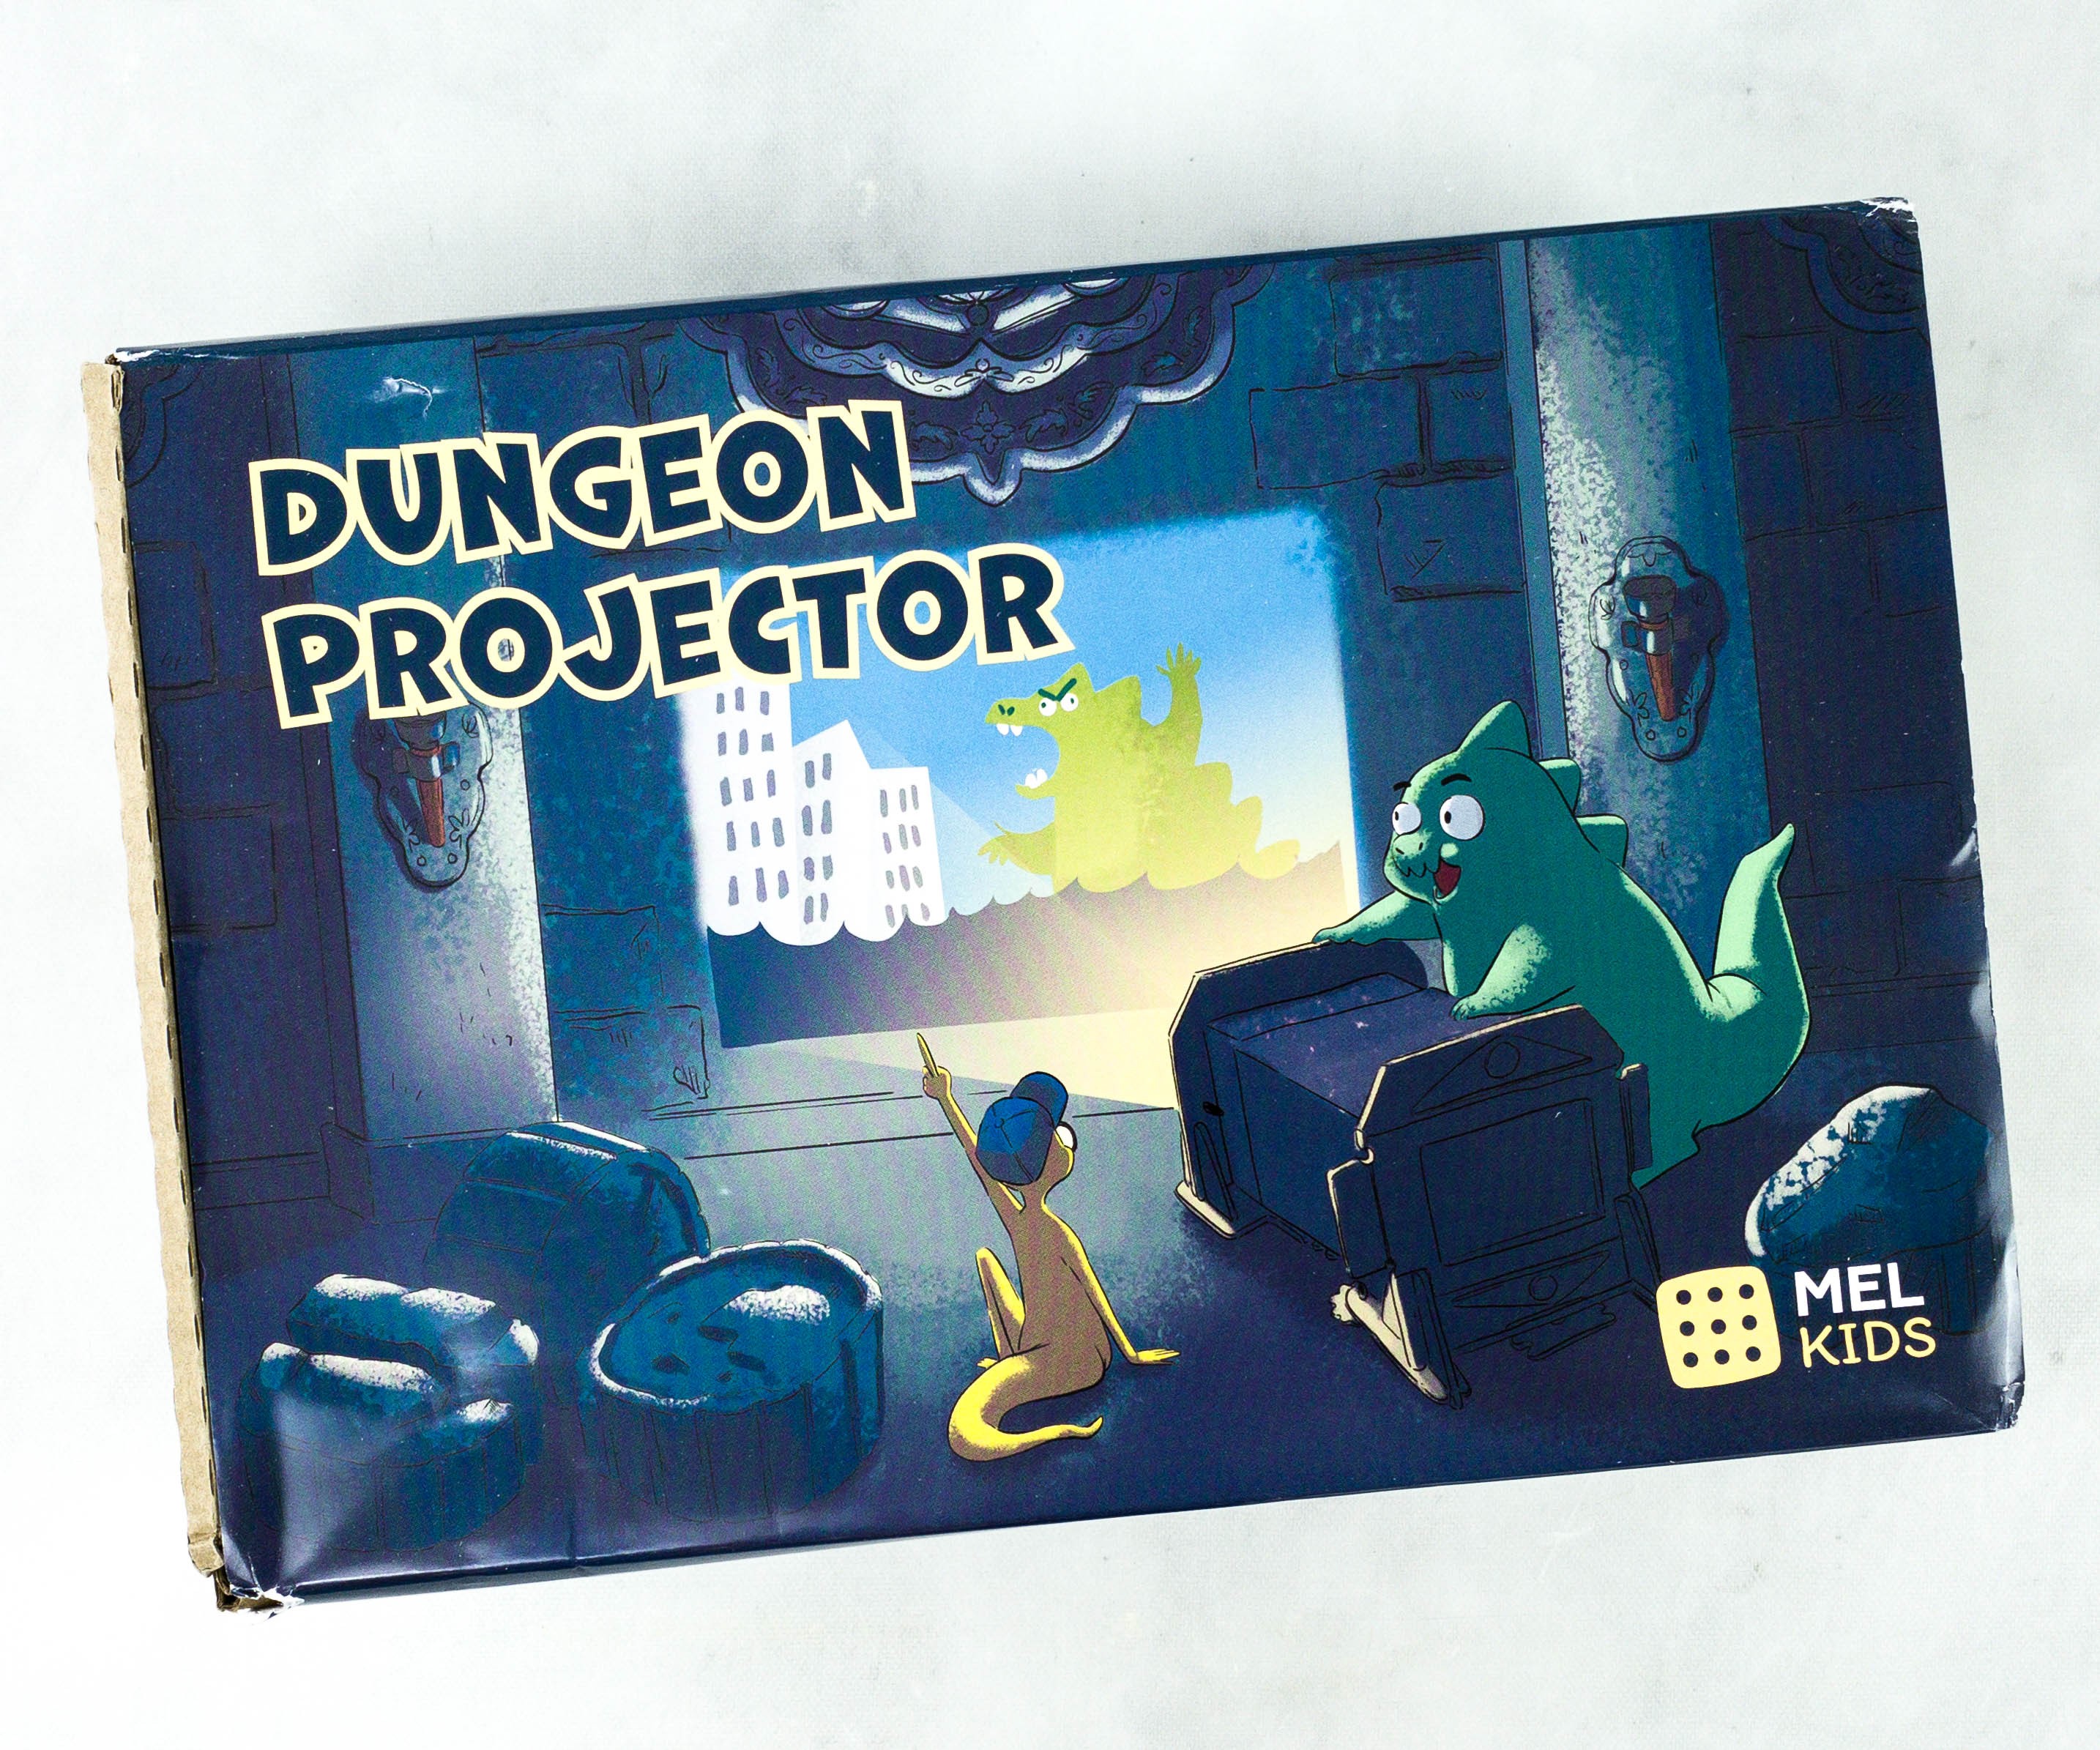
This is a review of the MEL Science Kids – Dungeon Protector box.
My kids were excited to finally open this box!
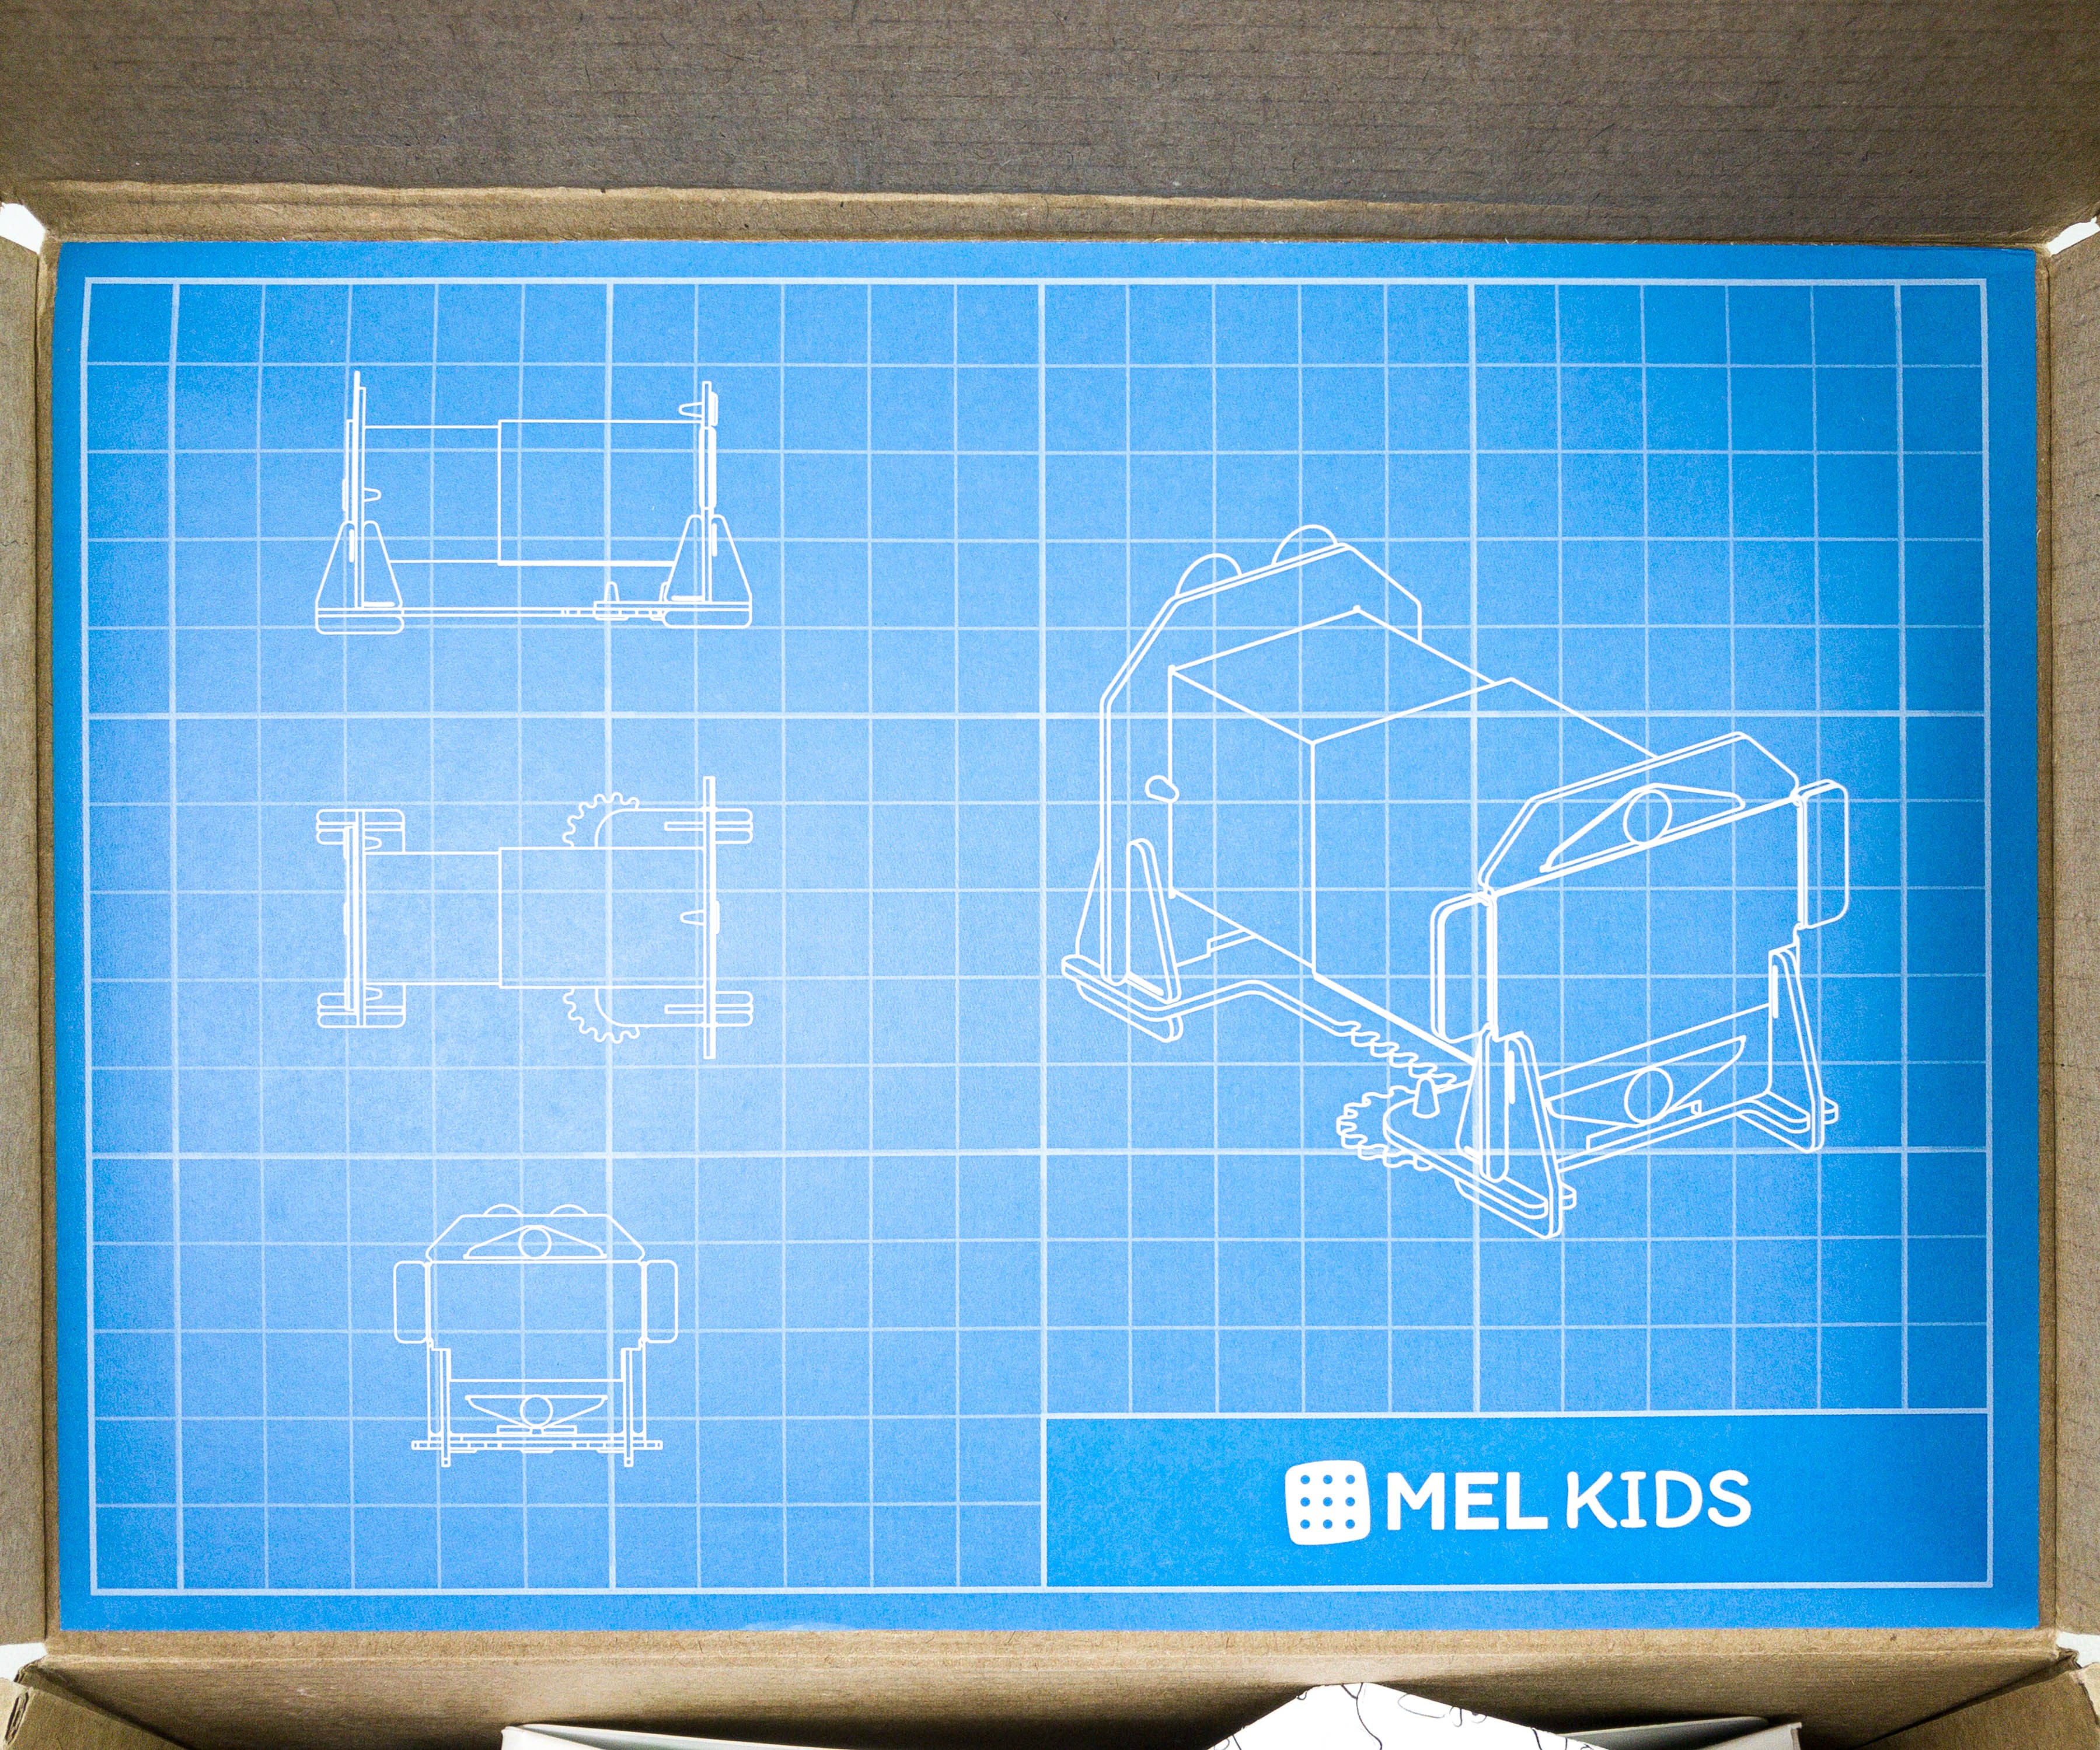
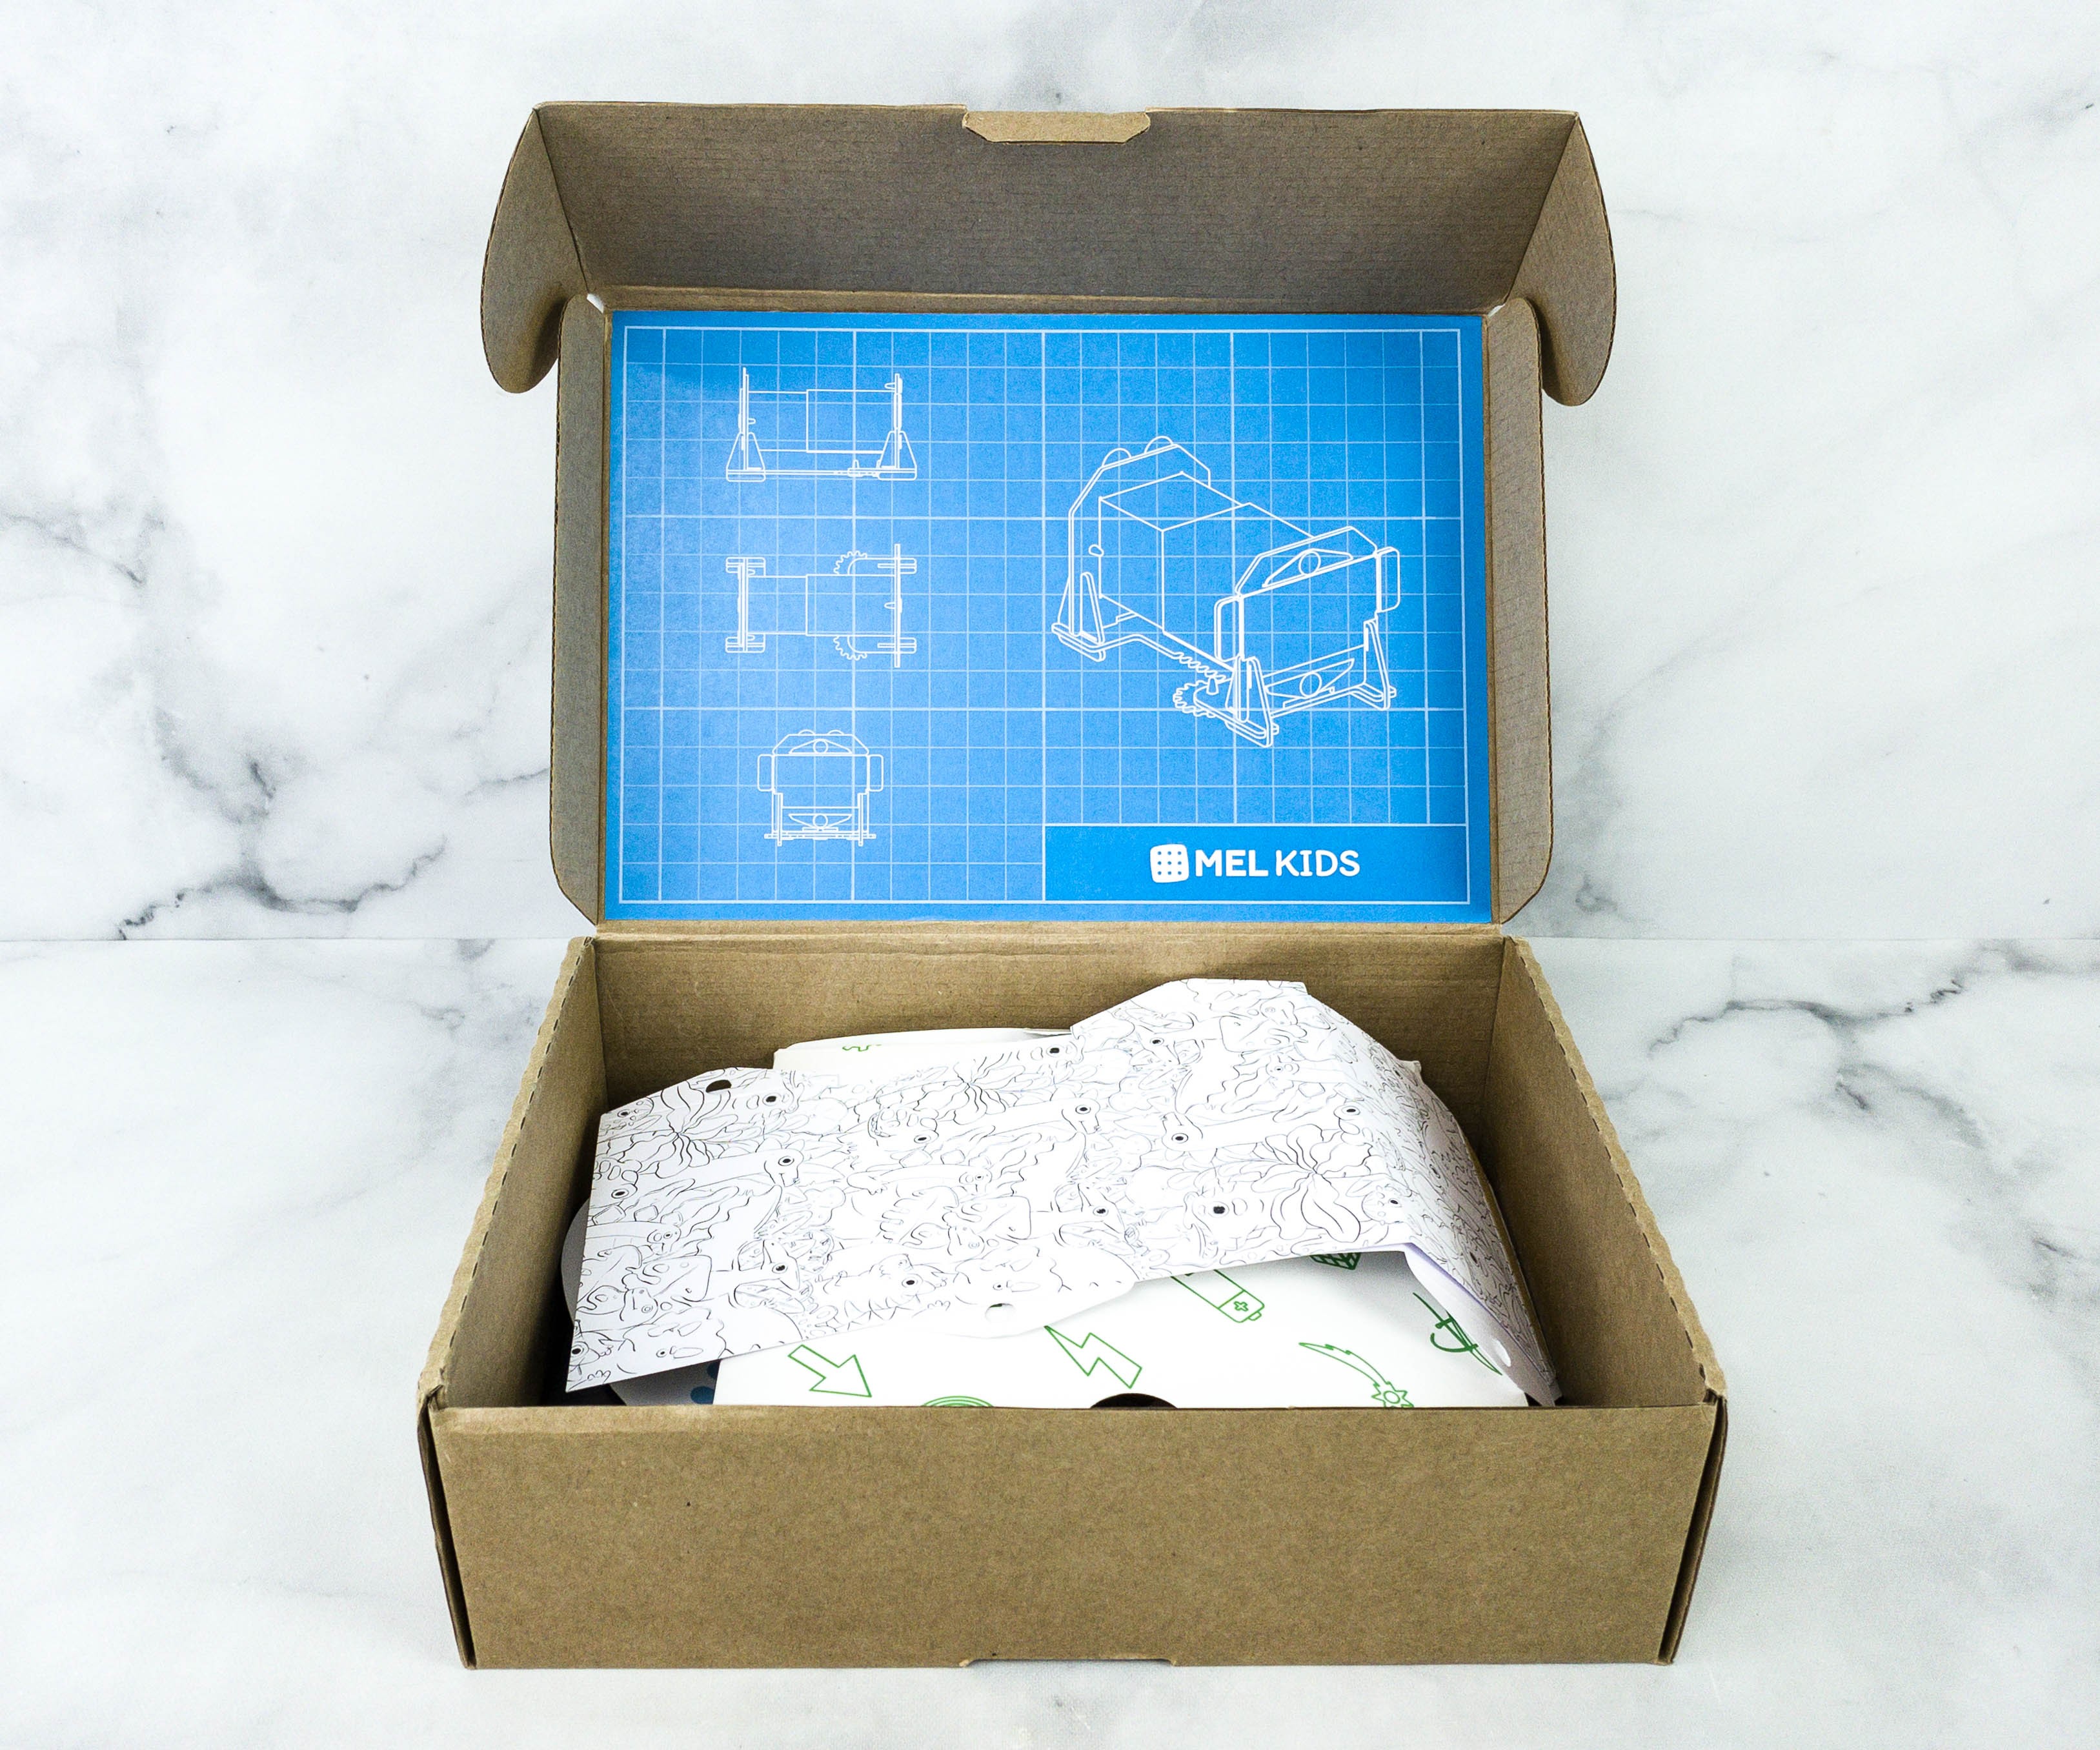
There’s a blueprint of the project inside the box’s top lid.
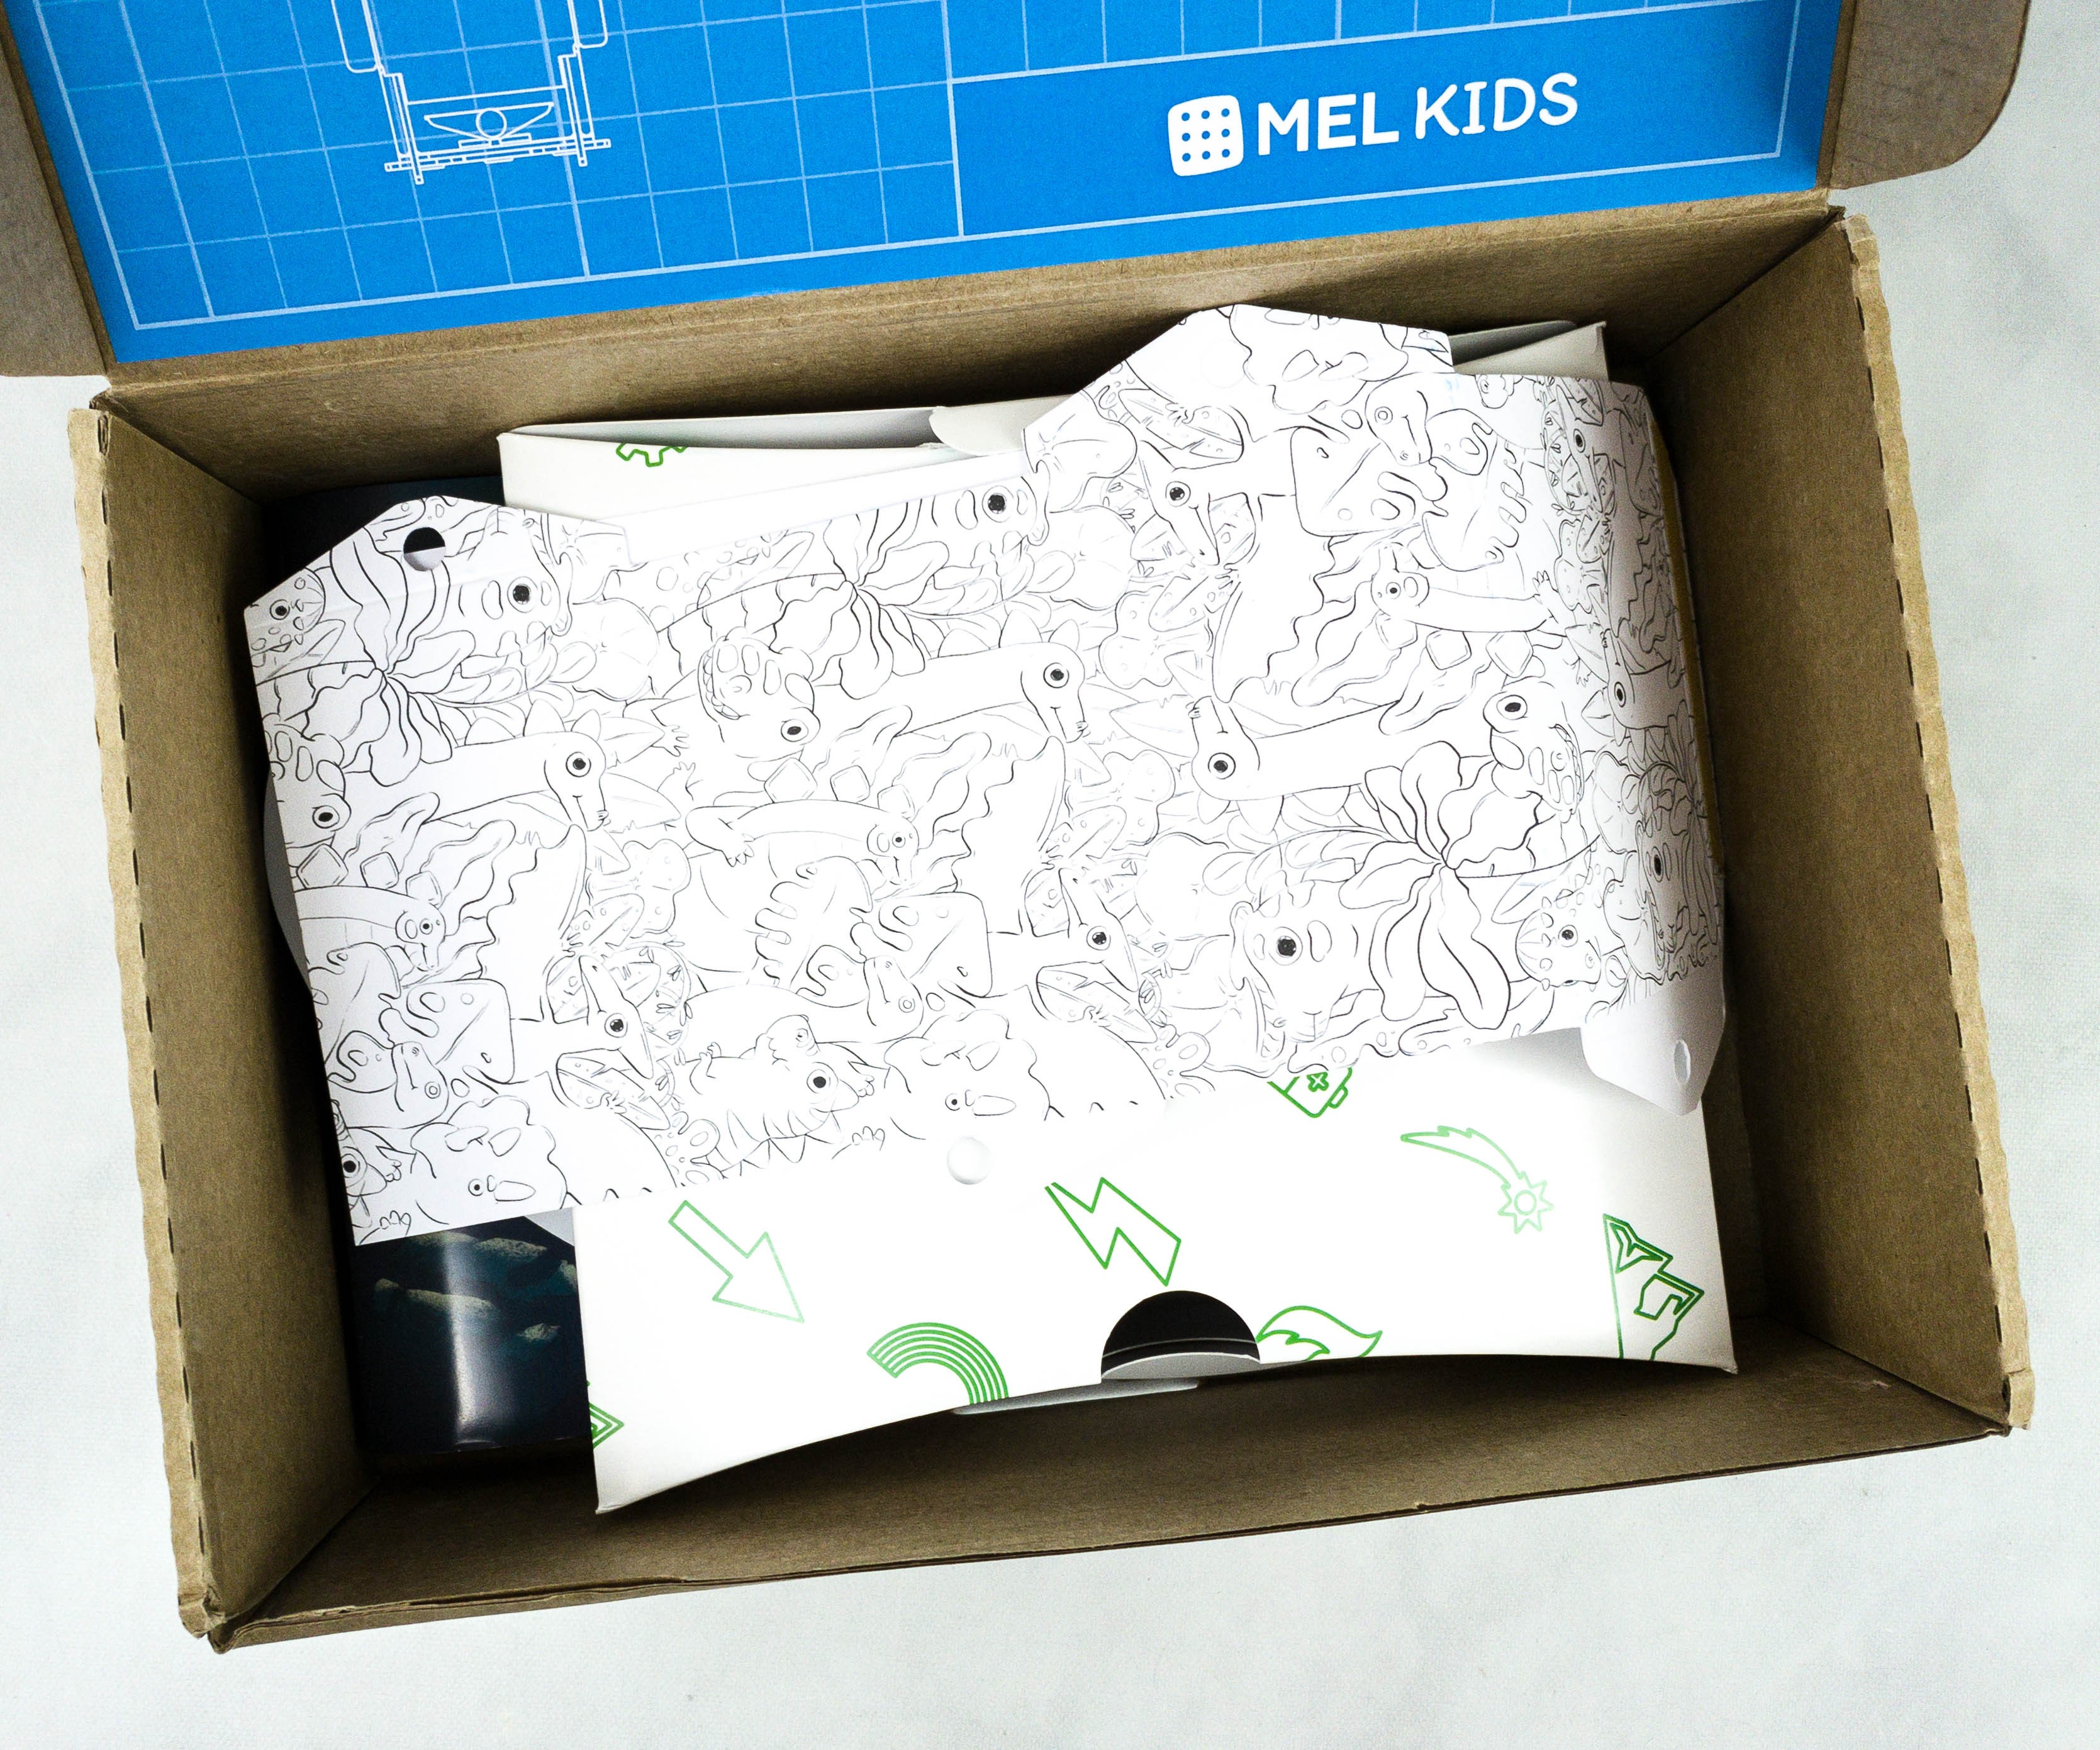
The materials for the project were packed in a cute patterned box!
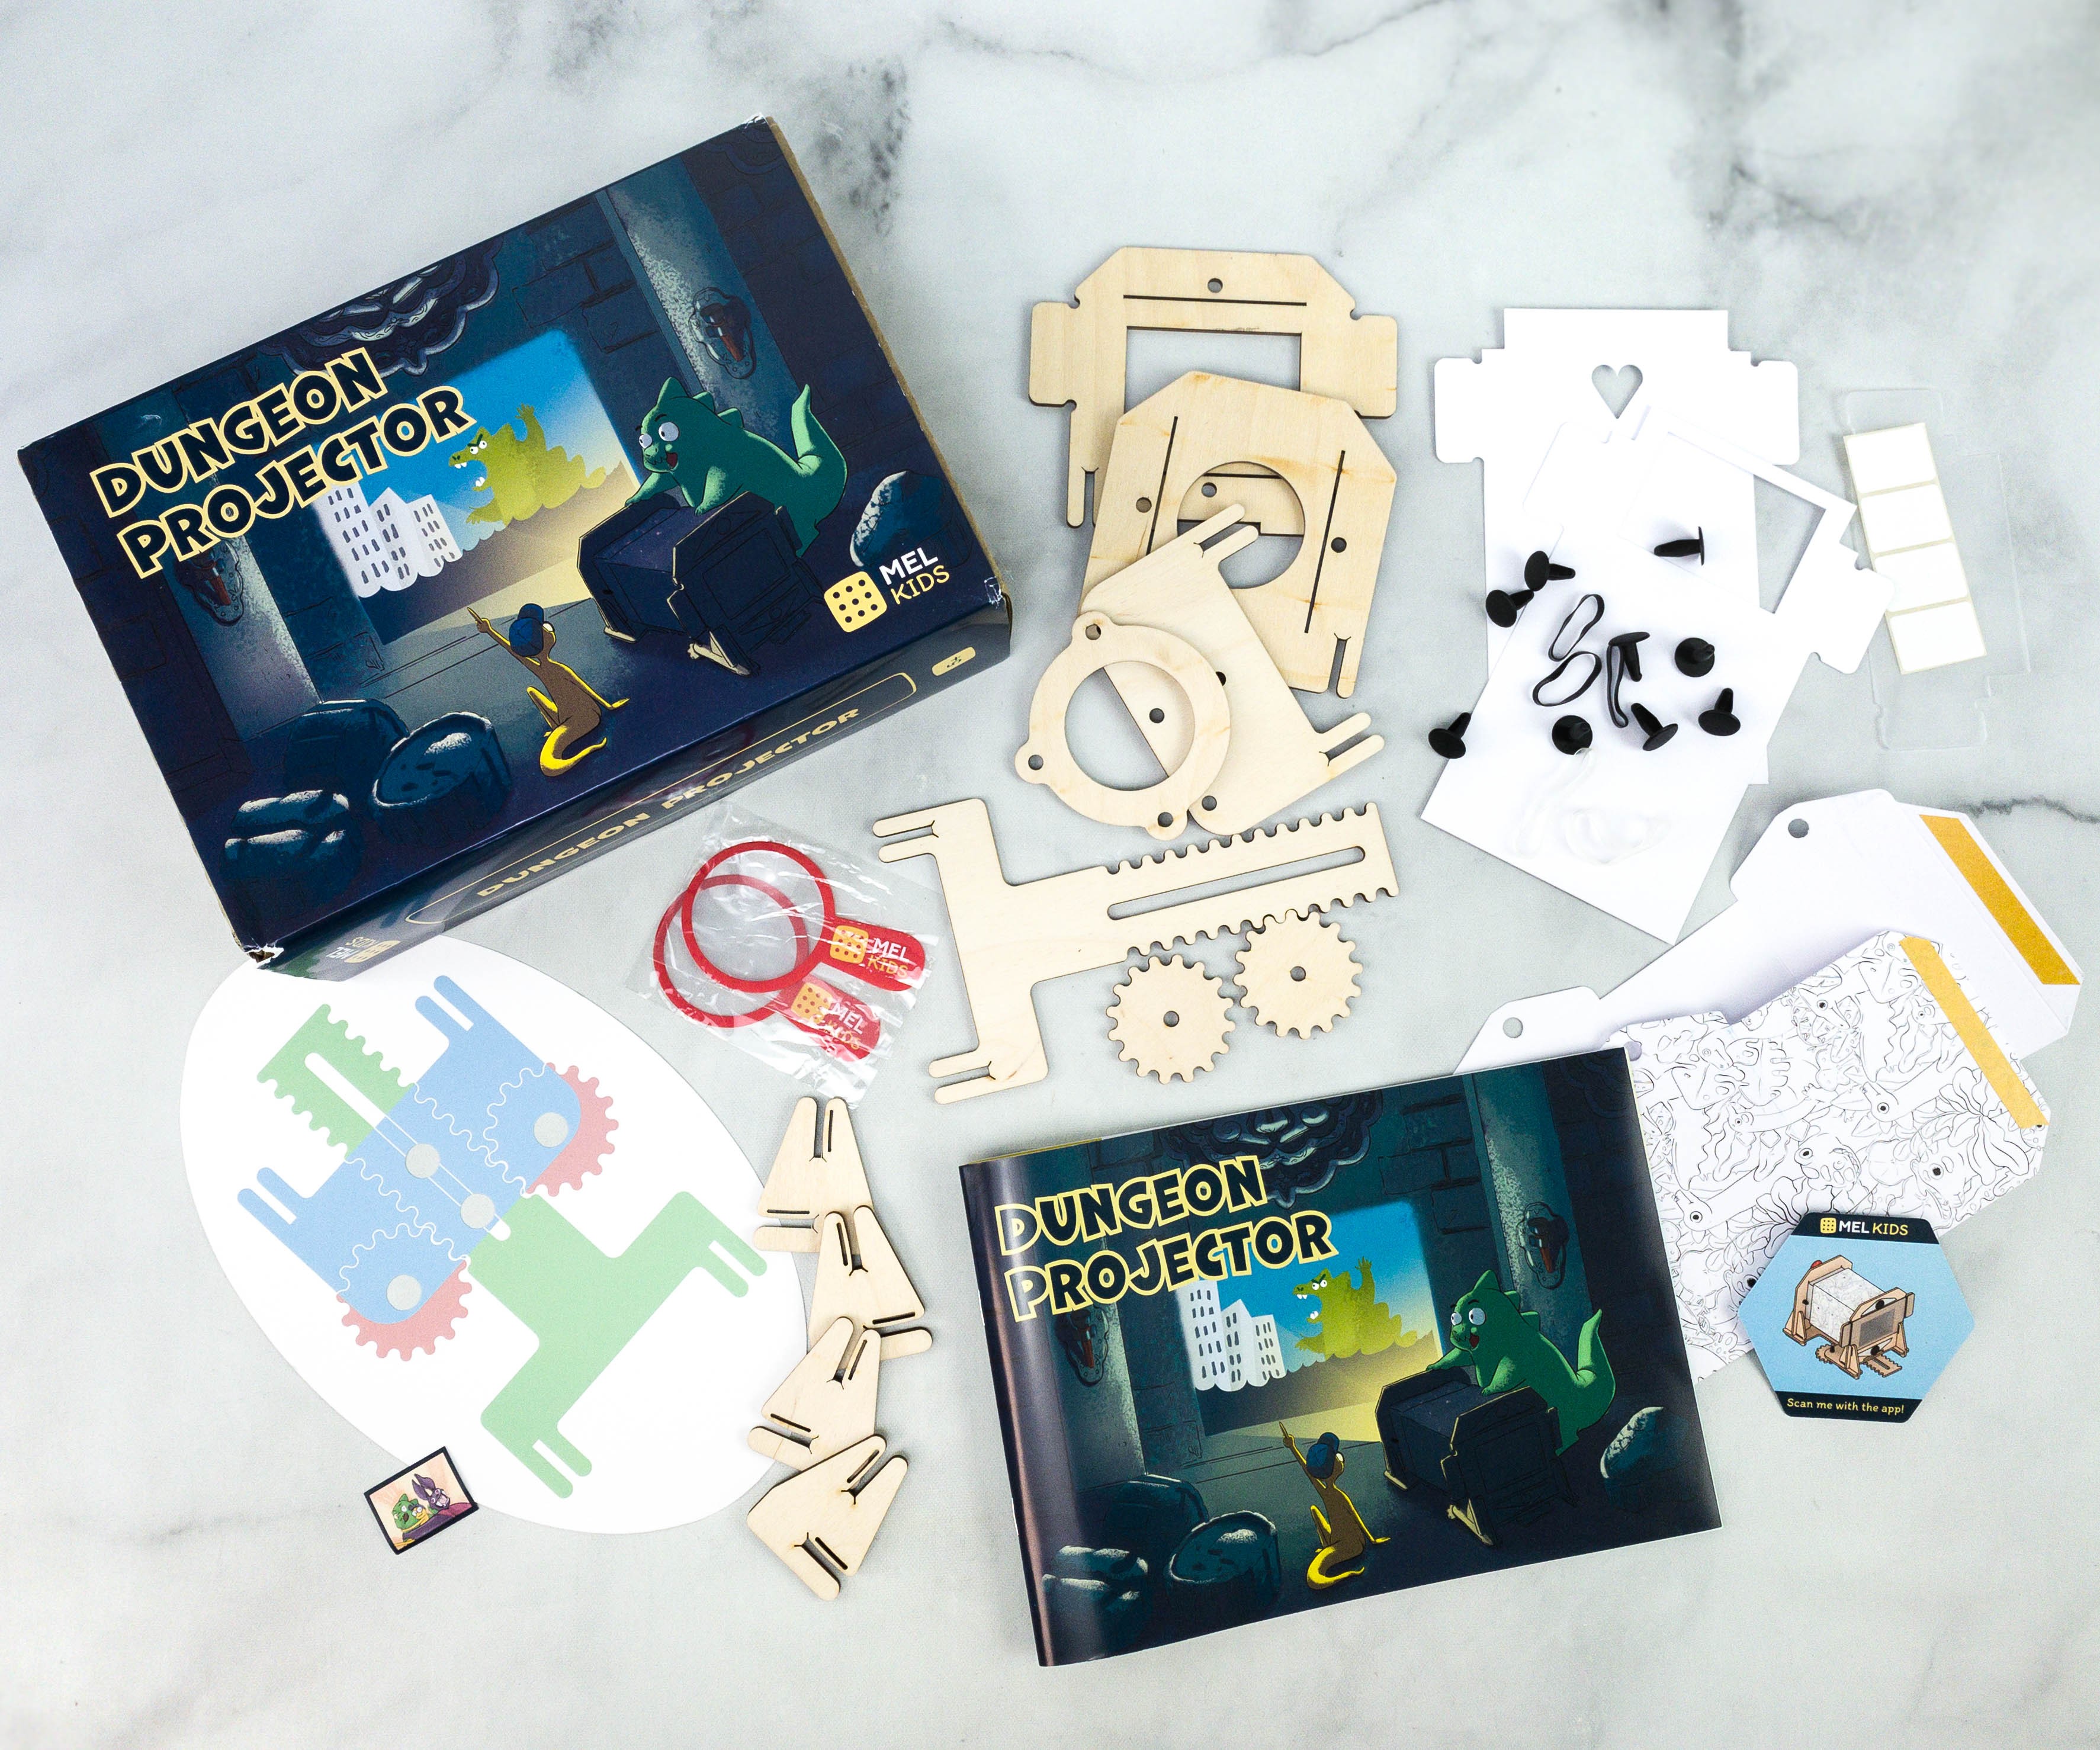
Everything in my box!

There’s a hexagonal card that you can scan using the app for the AR experience!
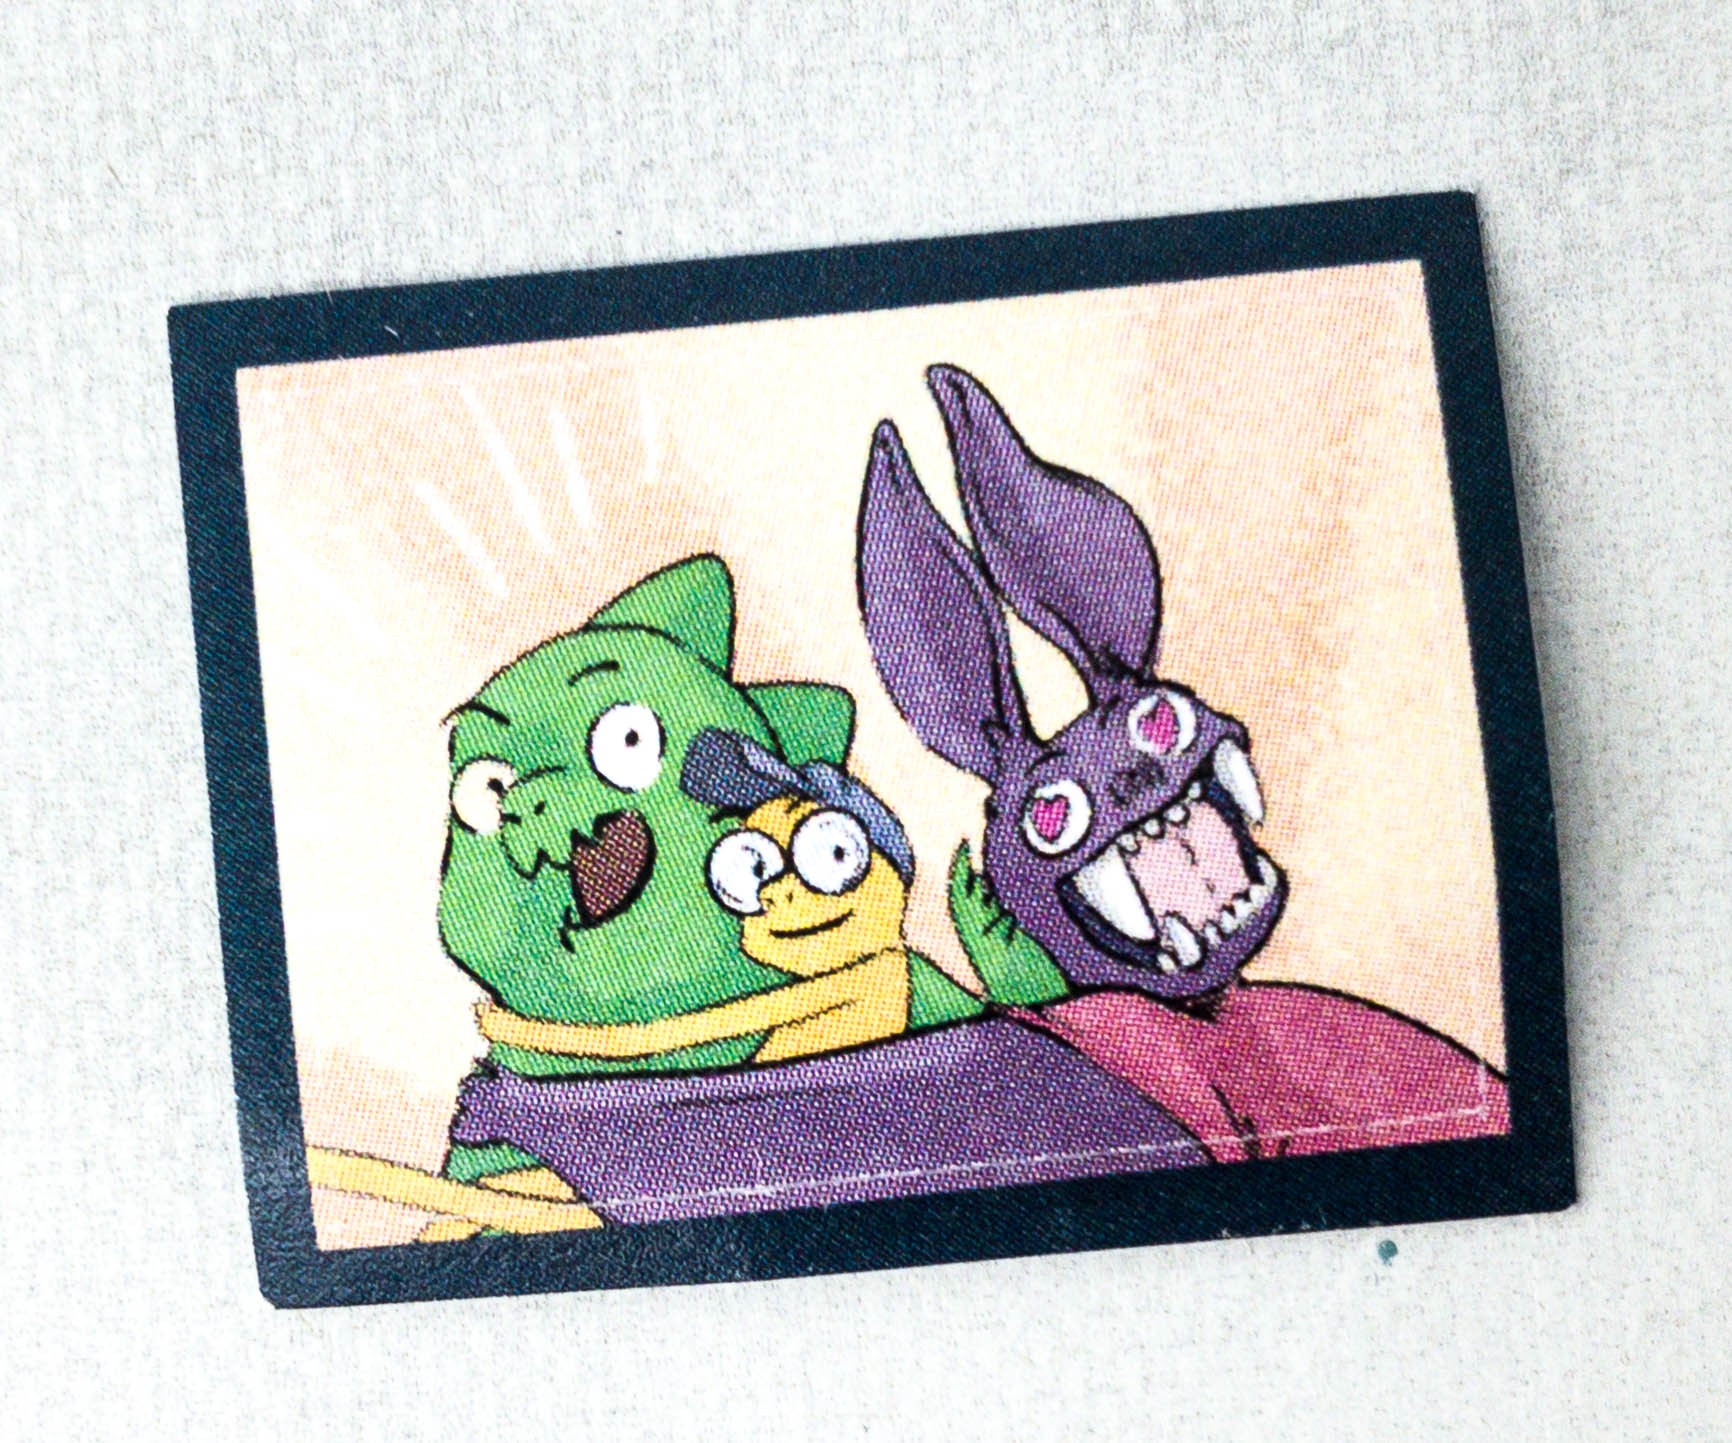
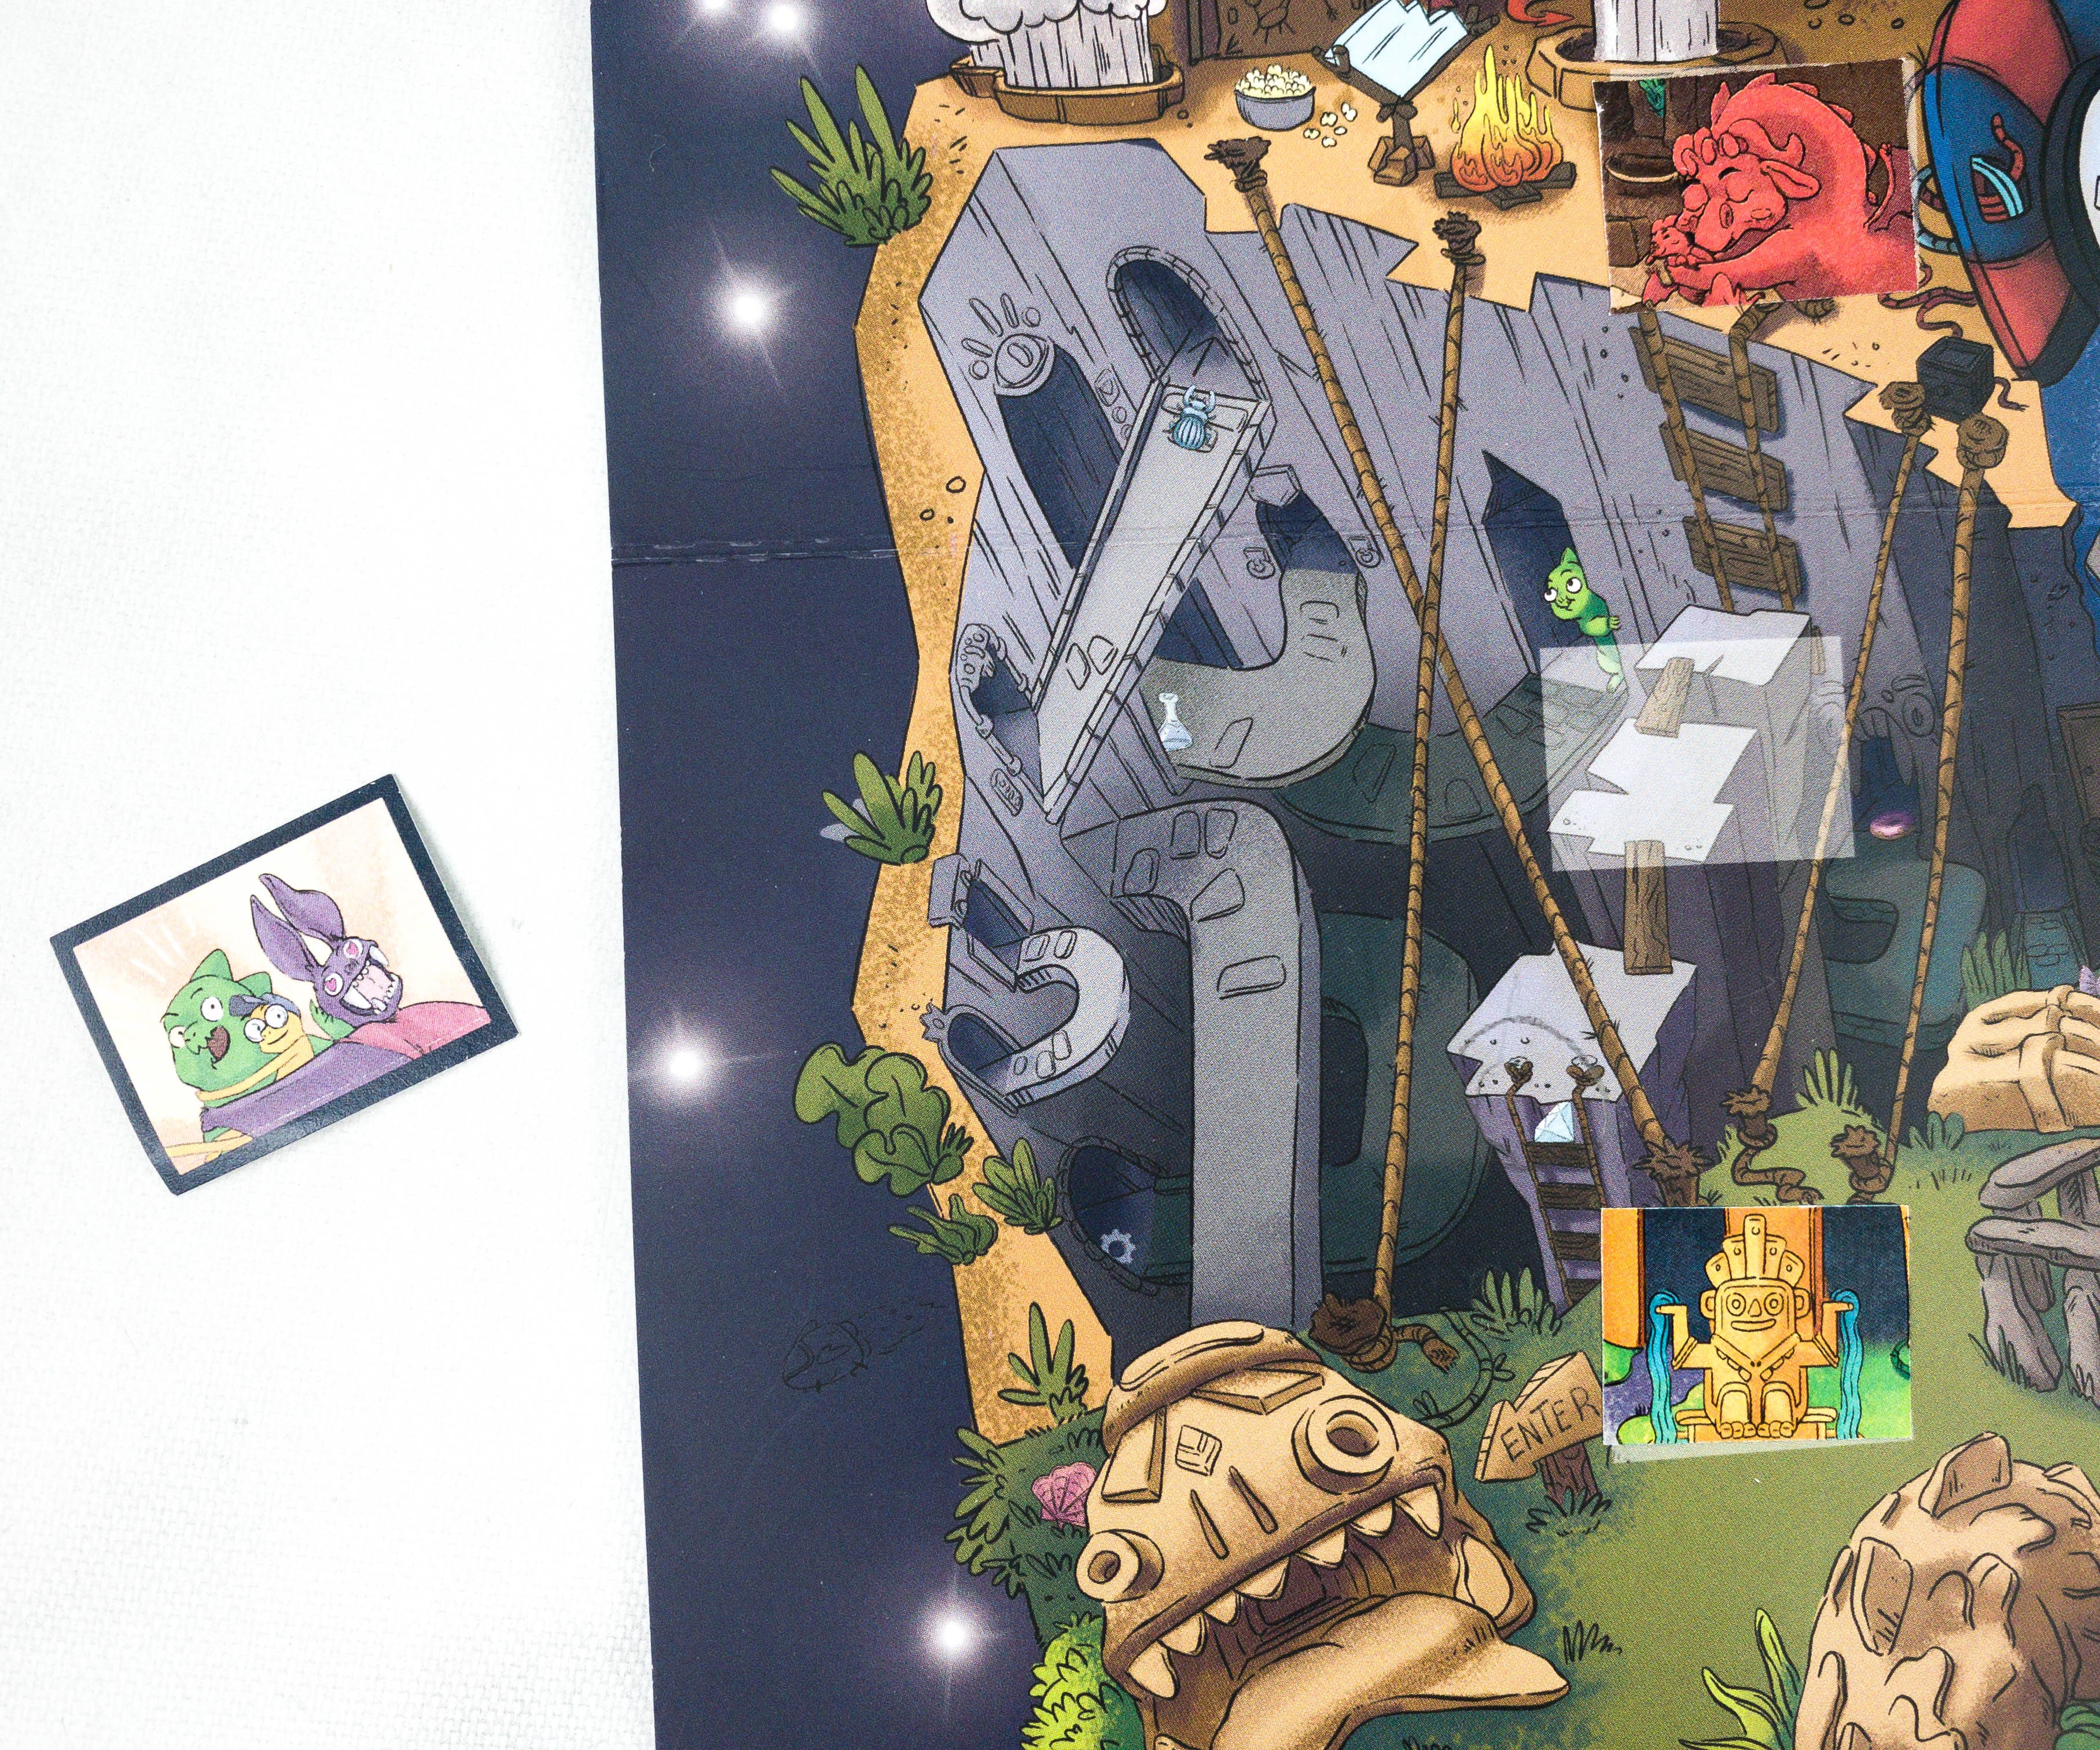
There’s also a new sticker from this month’s box to put on the map.
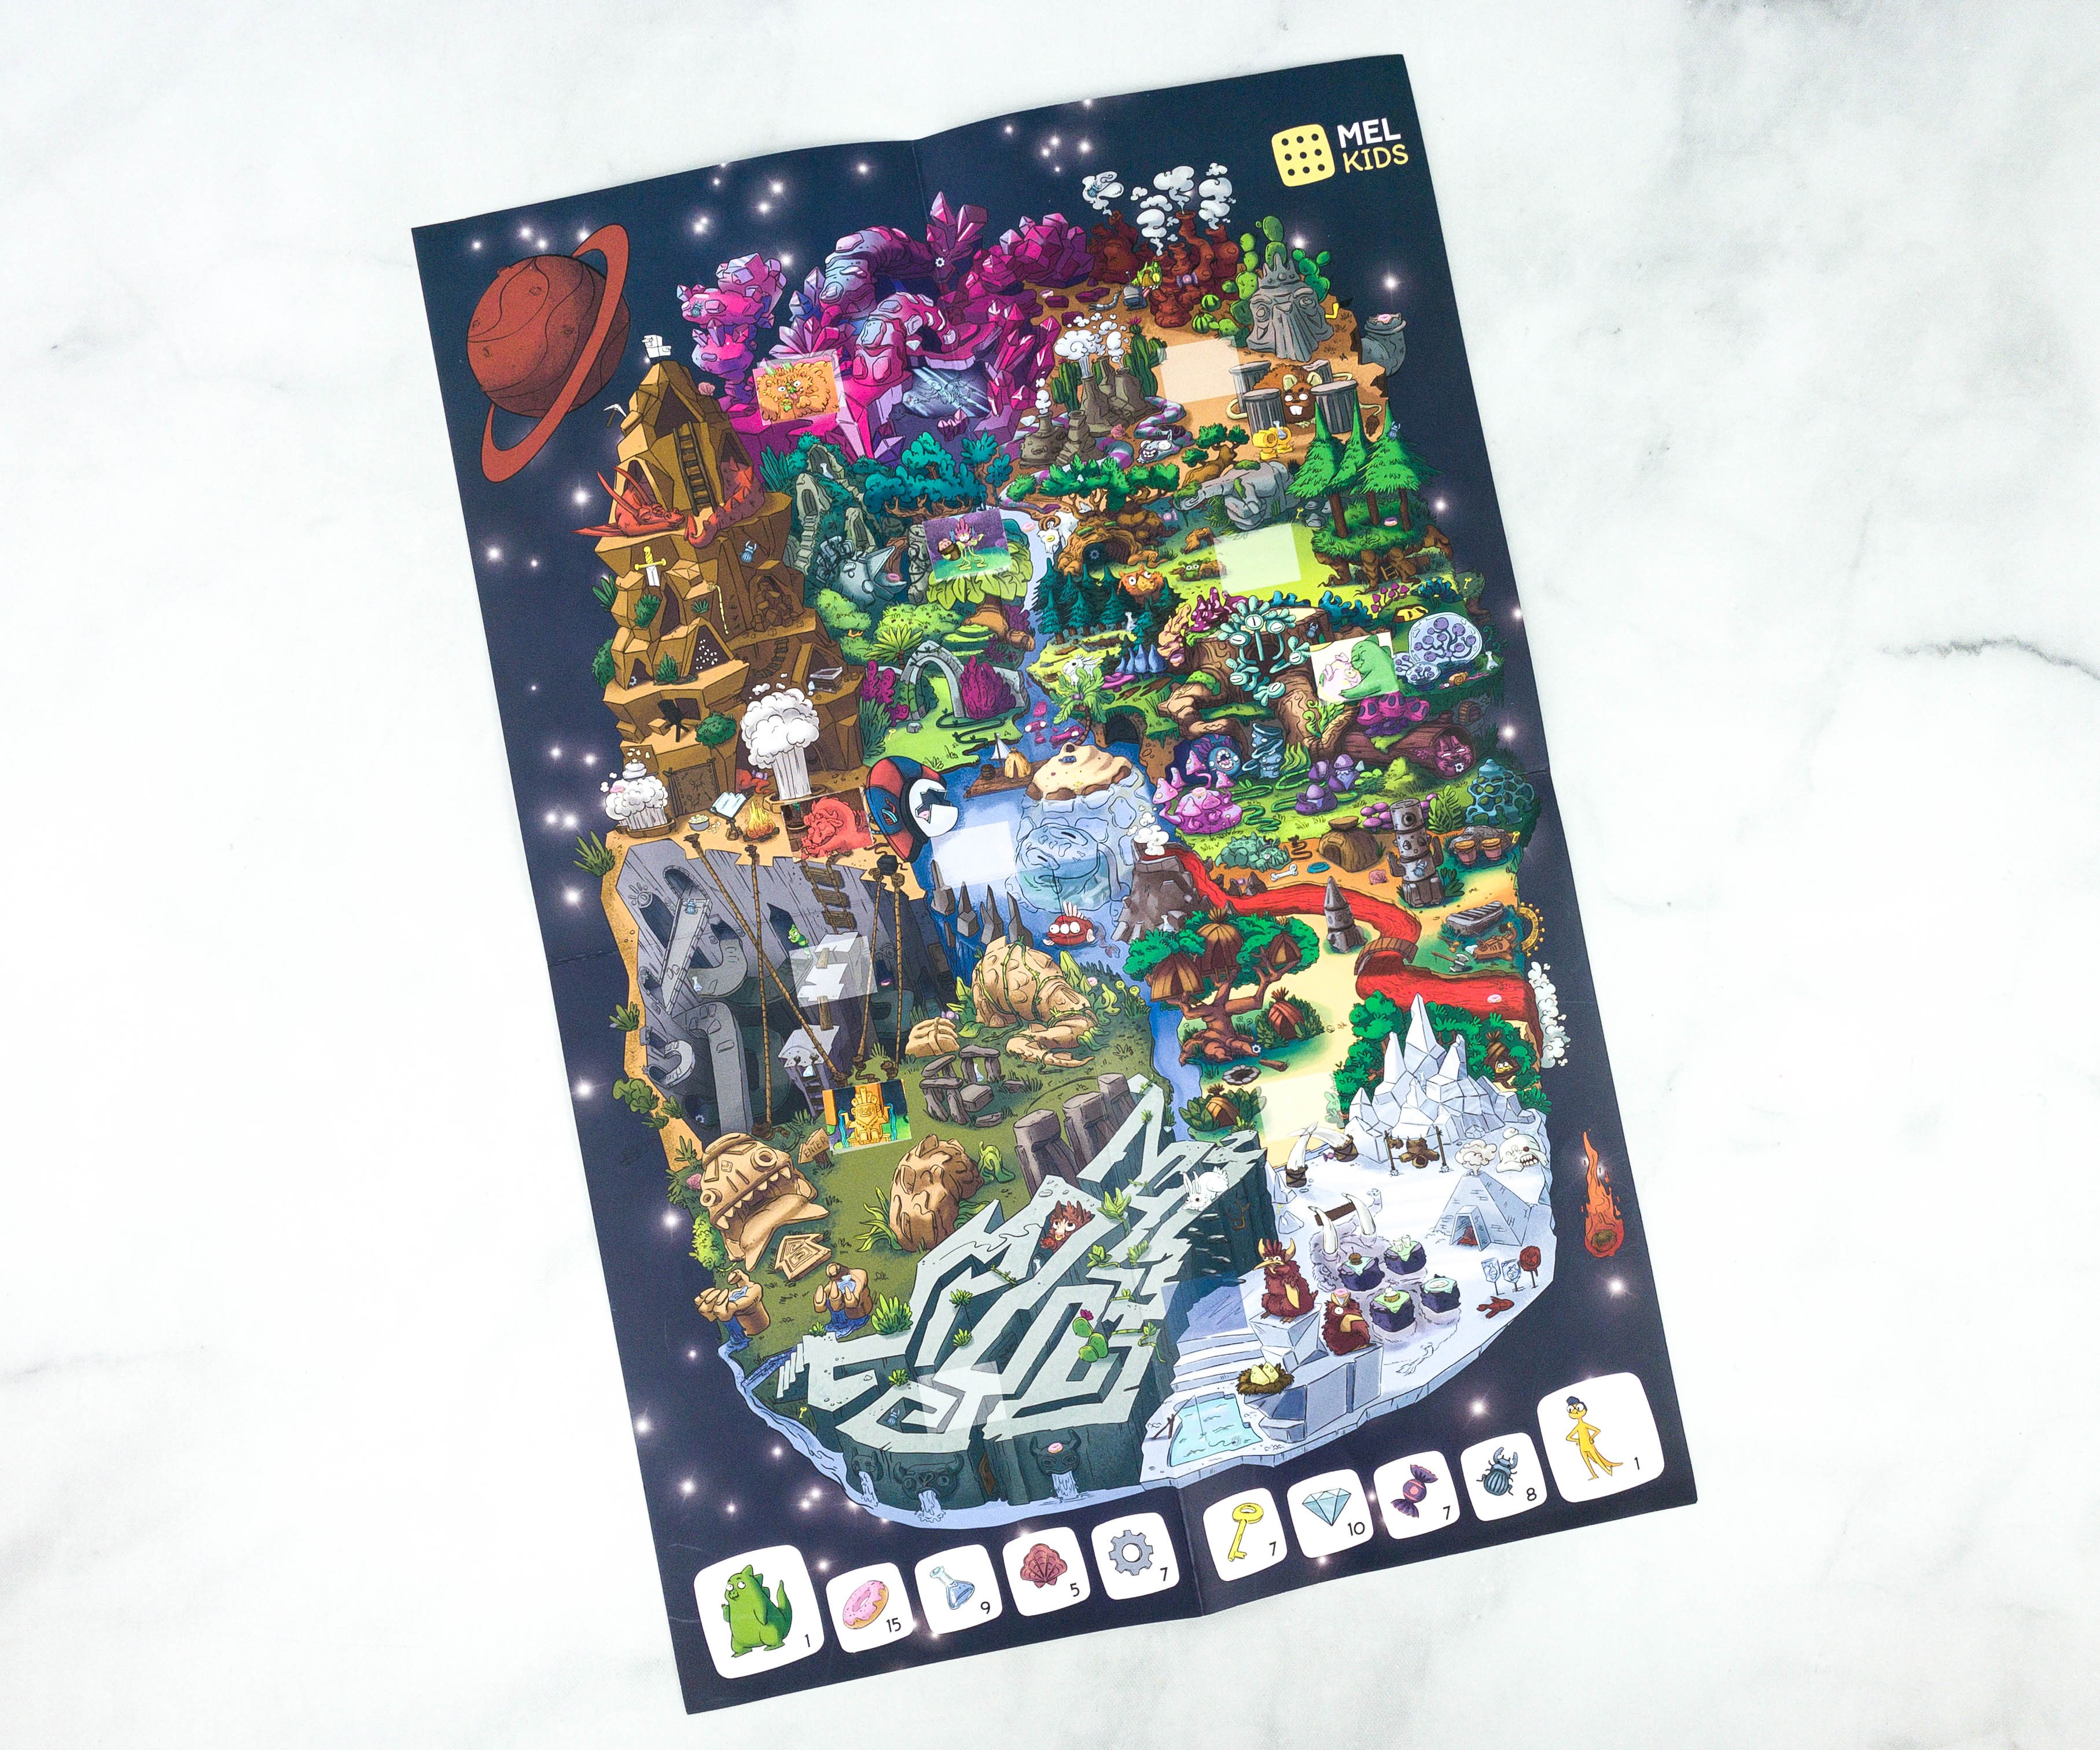
Here’s another look at the map!
You can refer to the booklet for the information about where to put the sticker for this month!
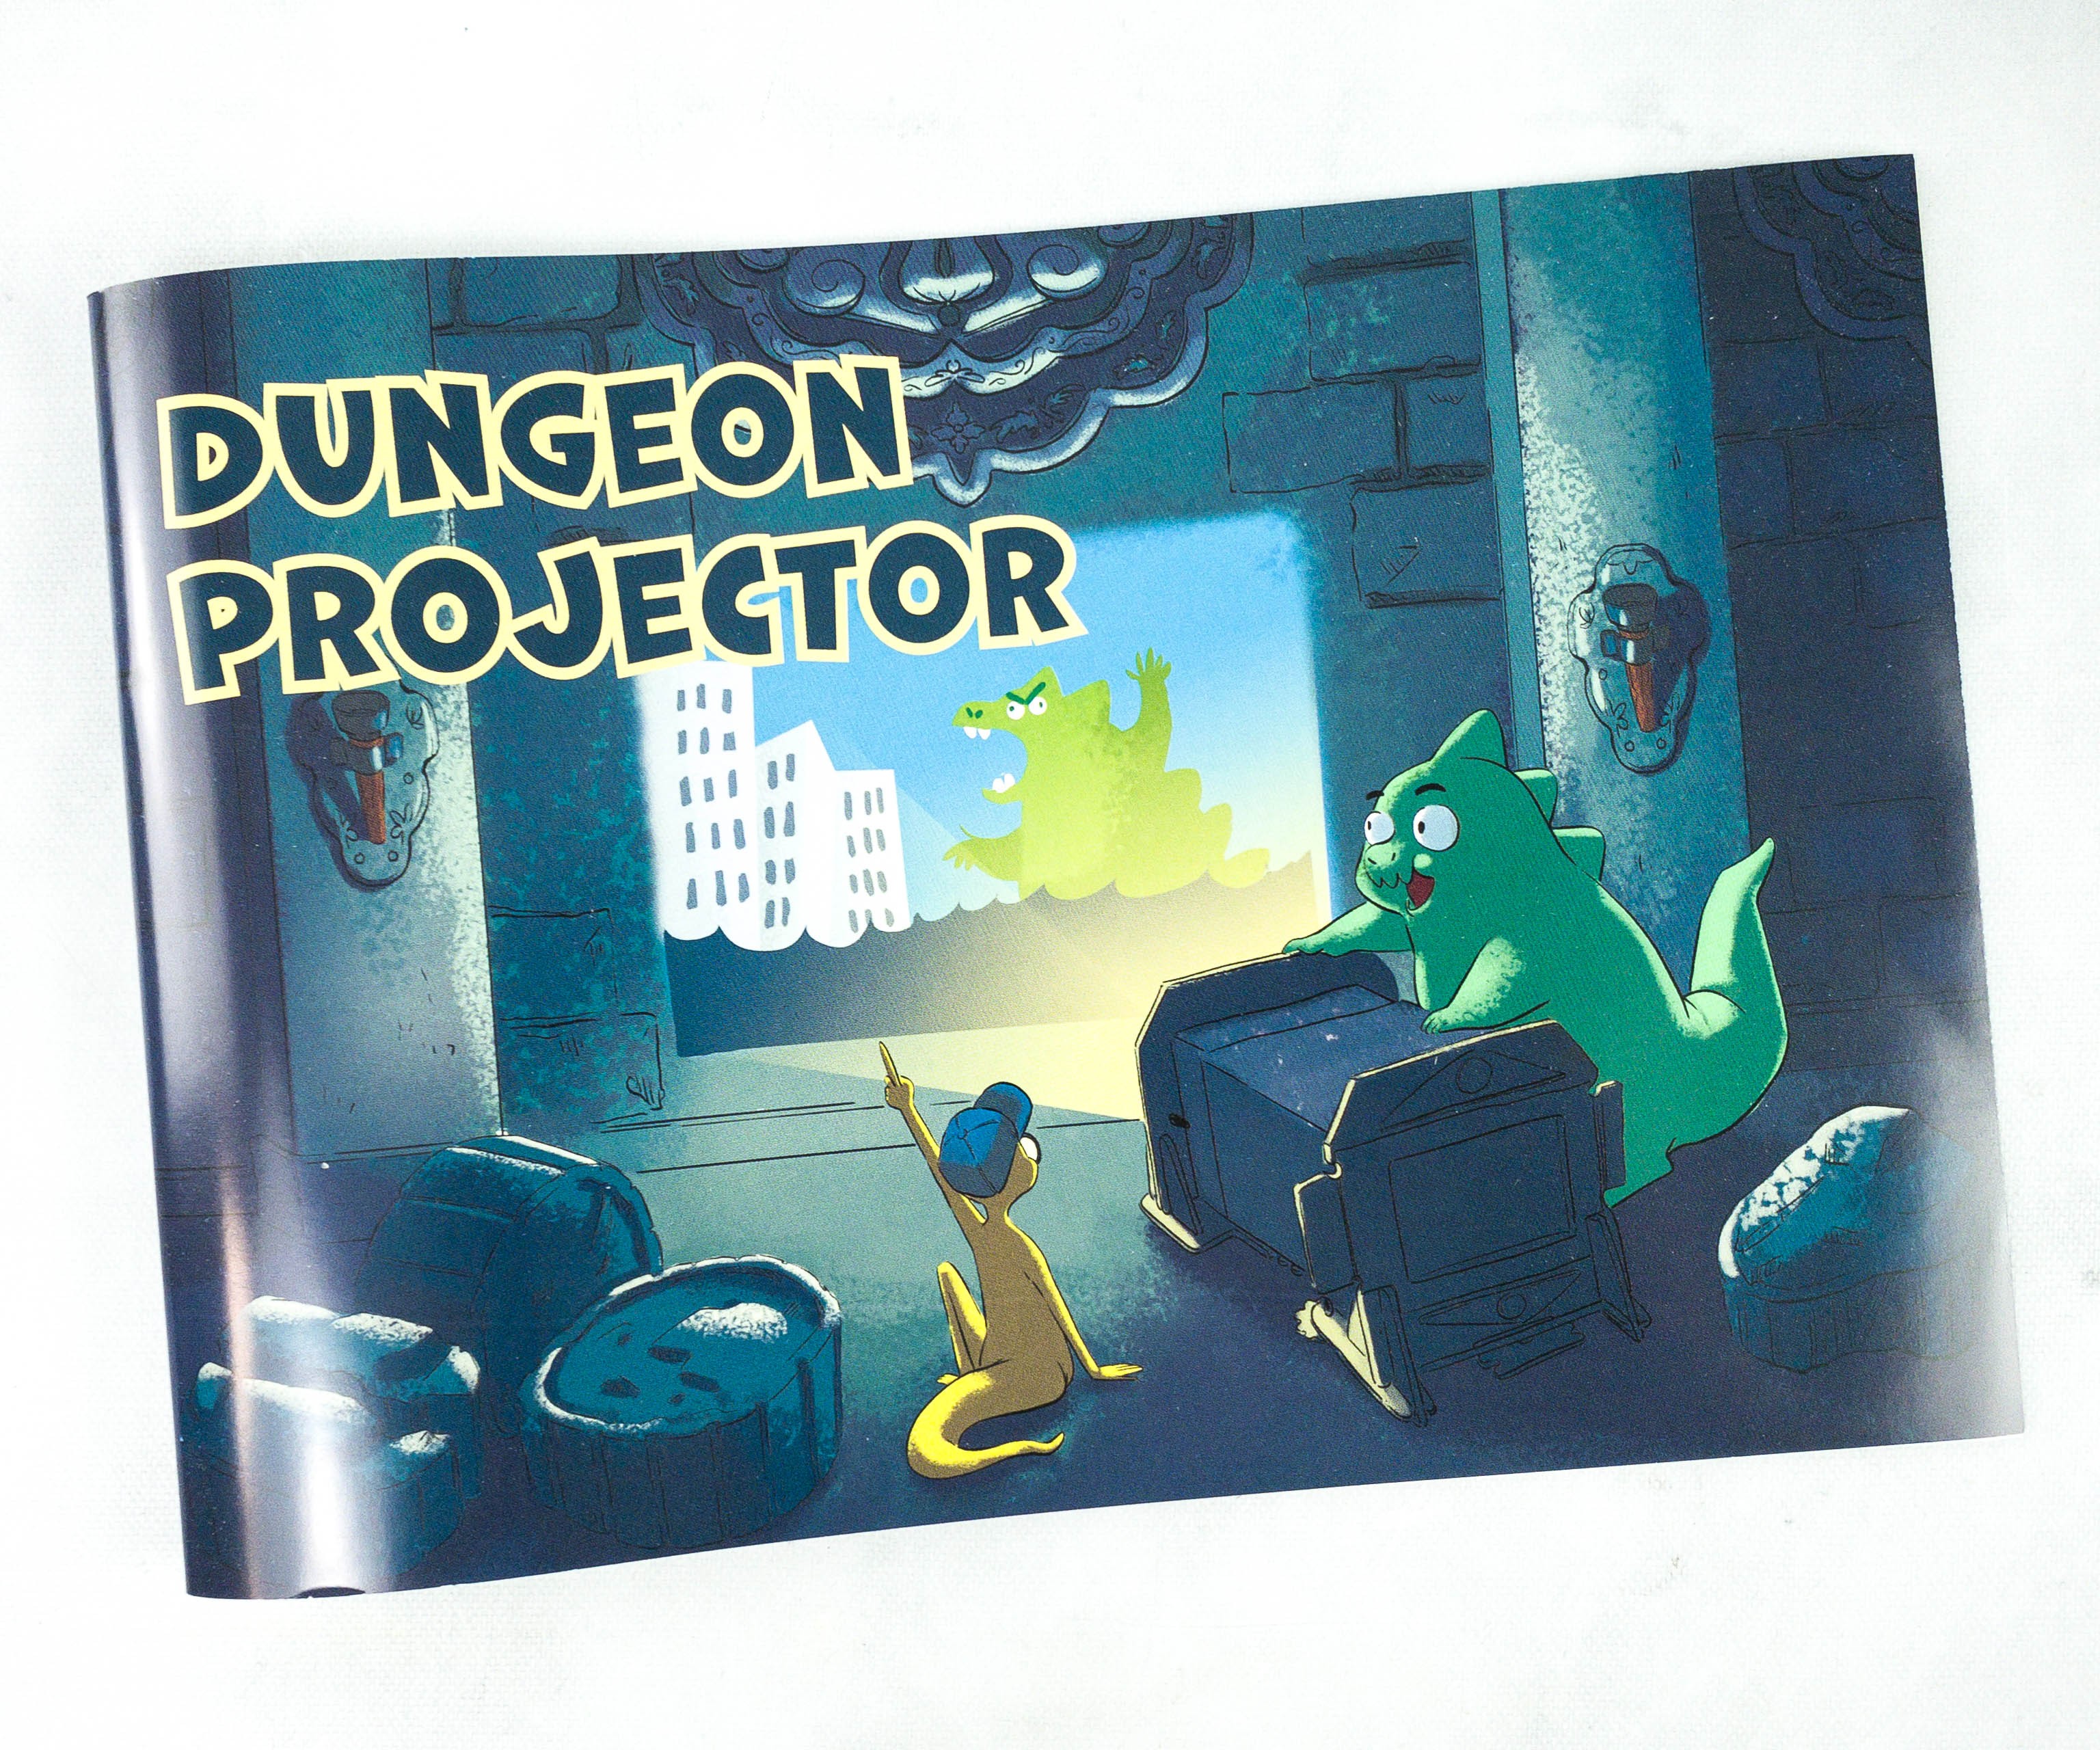
The cover of the booklet shows Zac and Newt using a projector.
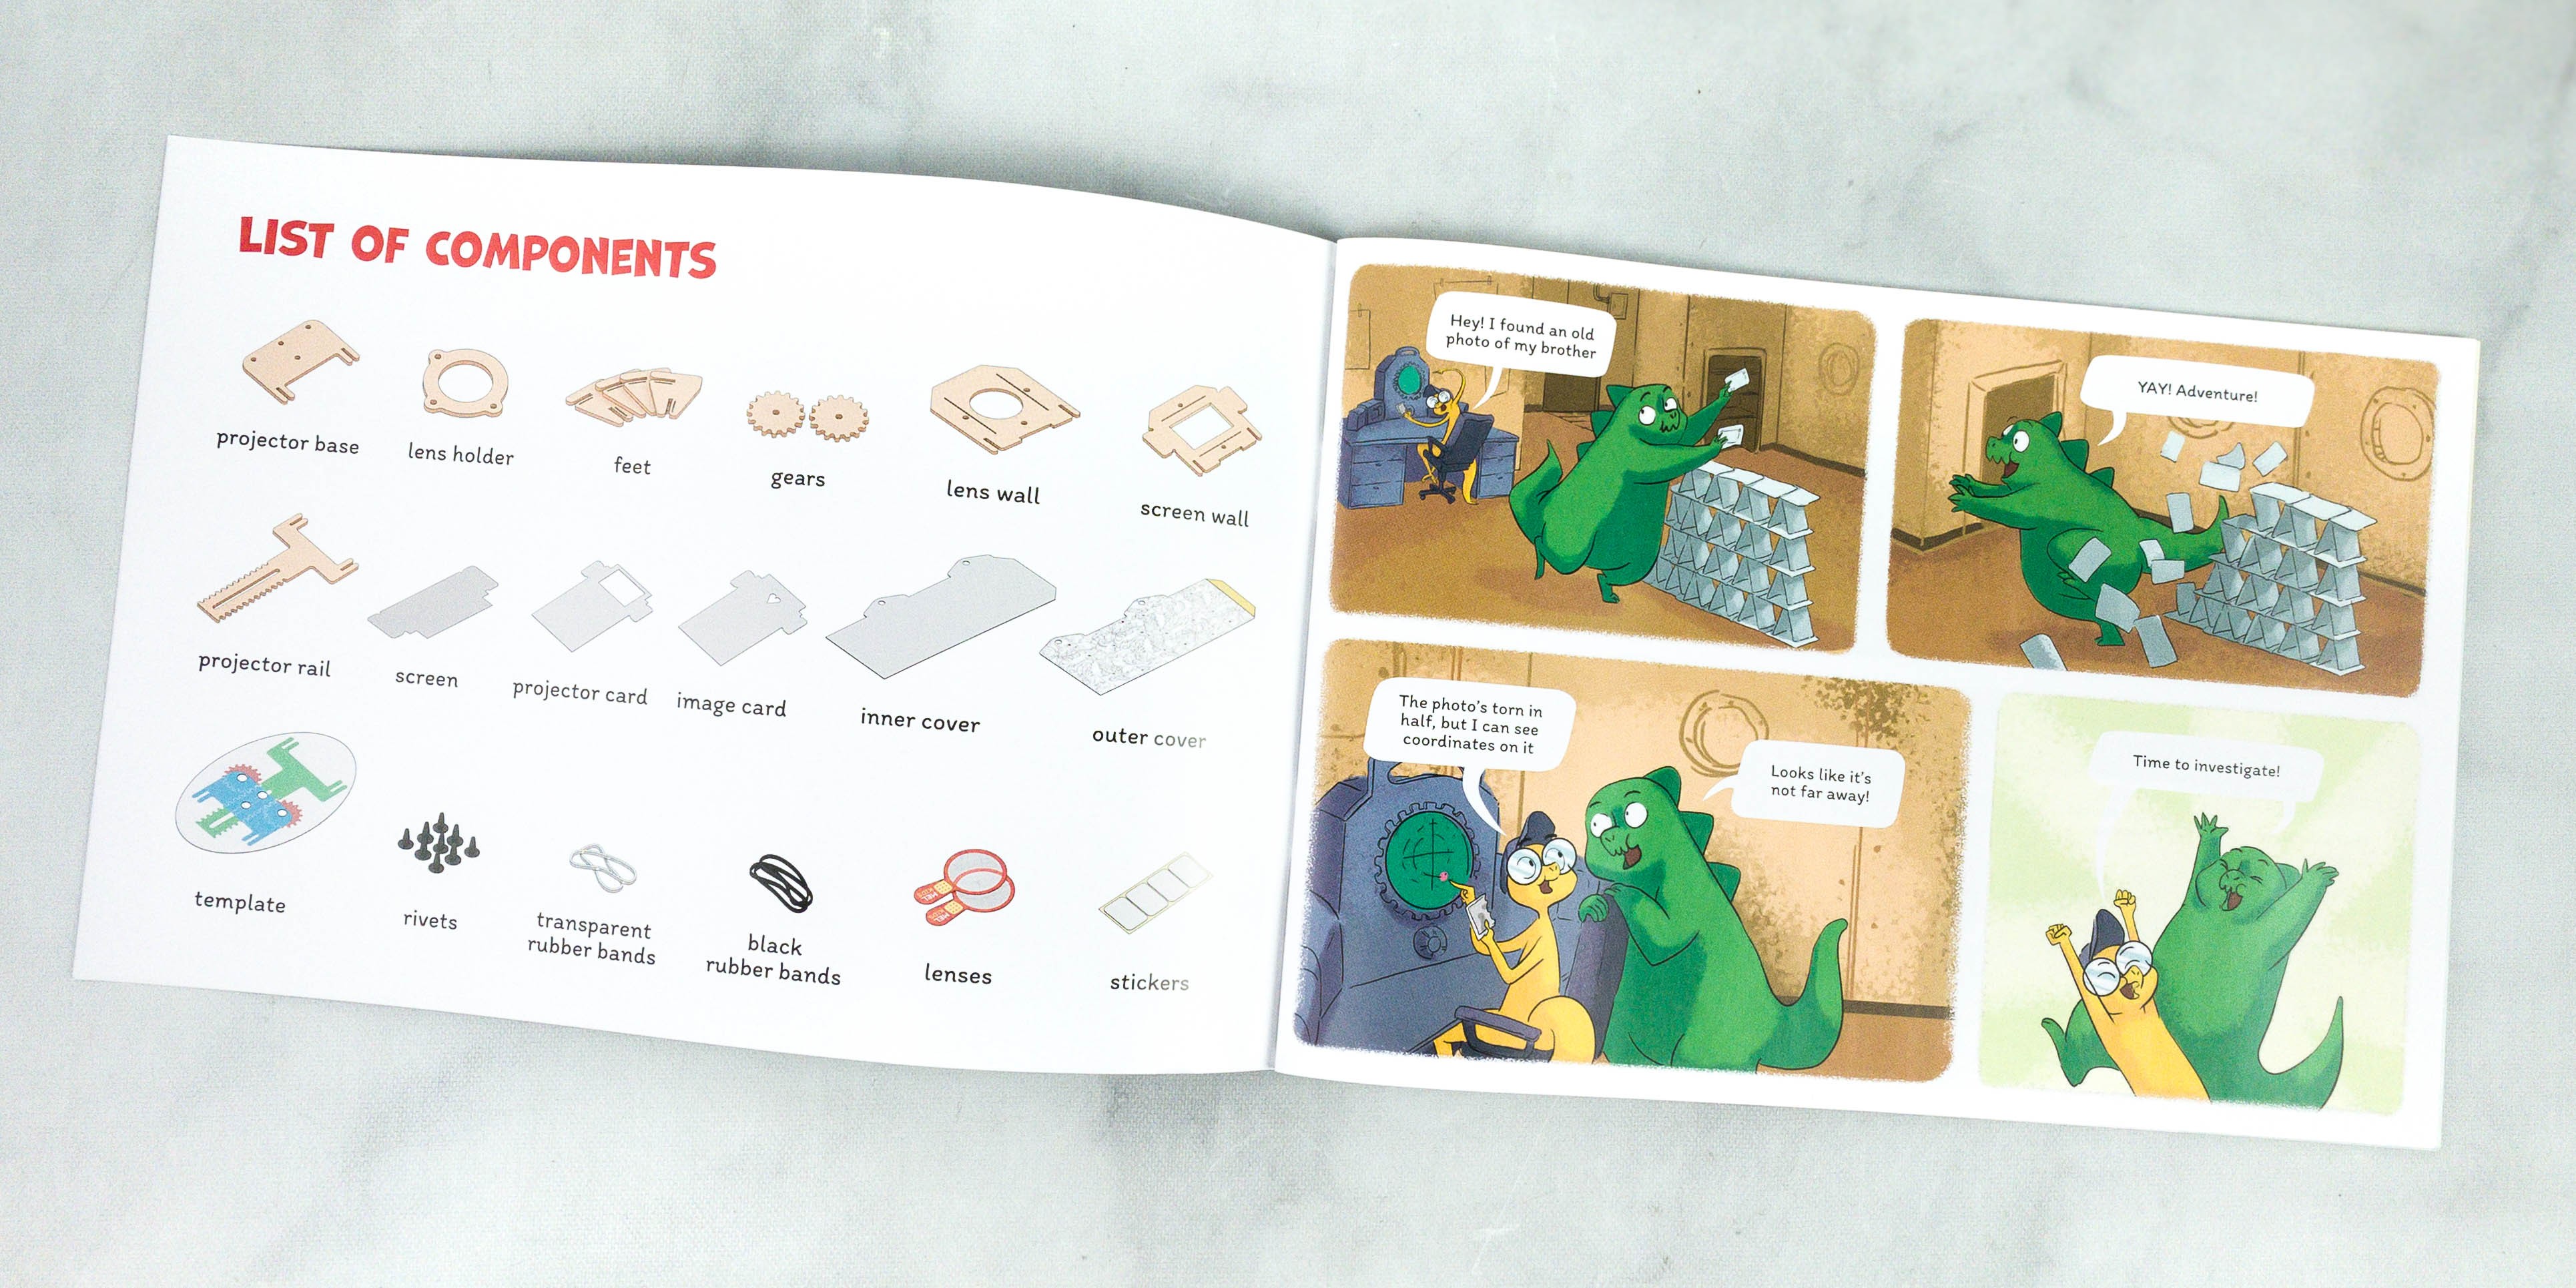
It also provided a list of components for easy reference. The components include projector base, lens holder, feet, gears, lens wall, screen wall, projector rail, screen, projector card, image card, inner cover, outer cover, template, rivets, transparent bands, black rubber bands, lenses, and stickers.
It’s time to open the box and start with the project!
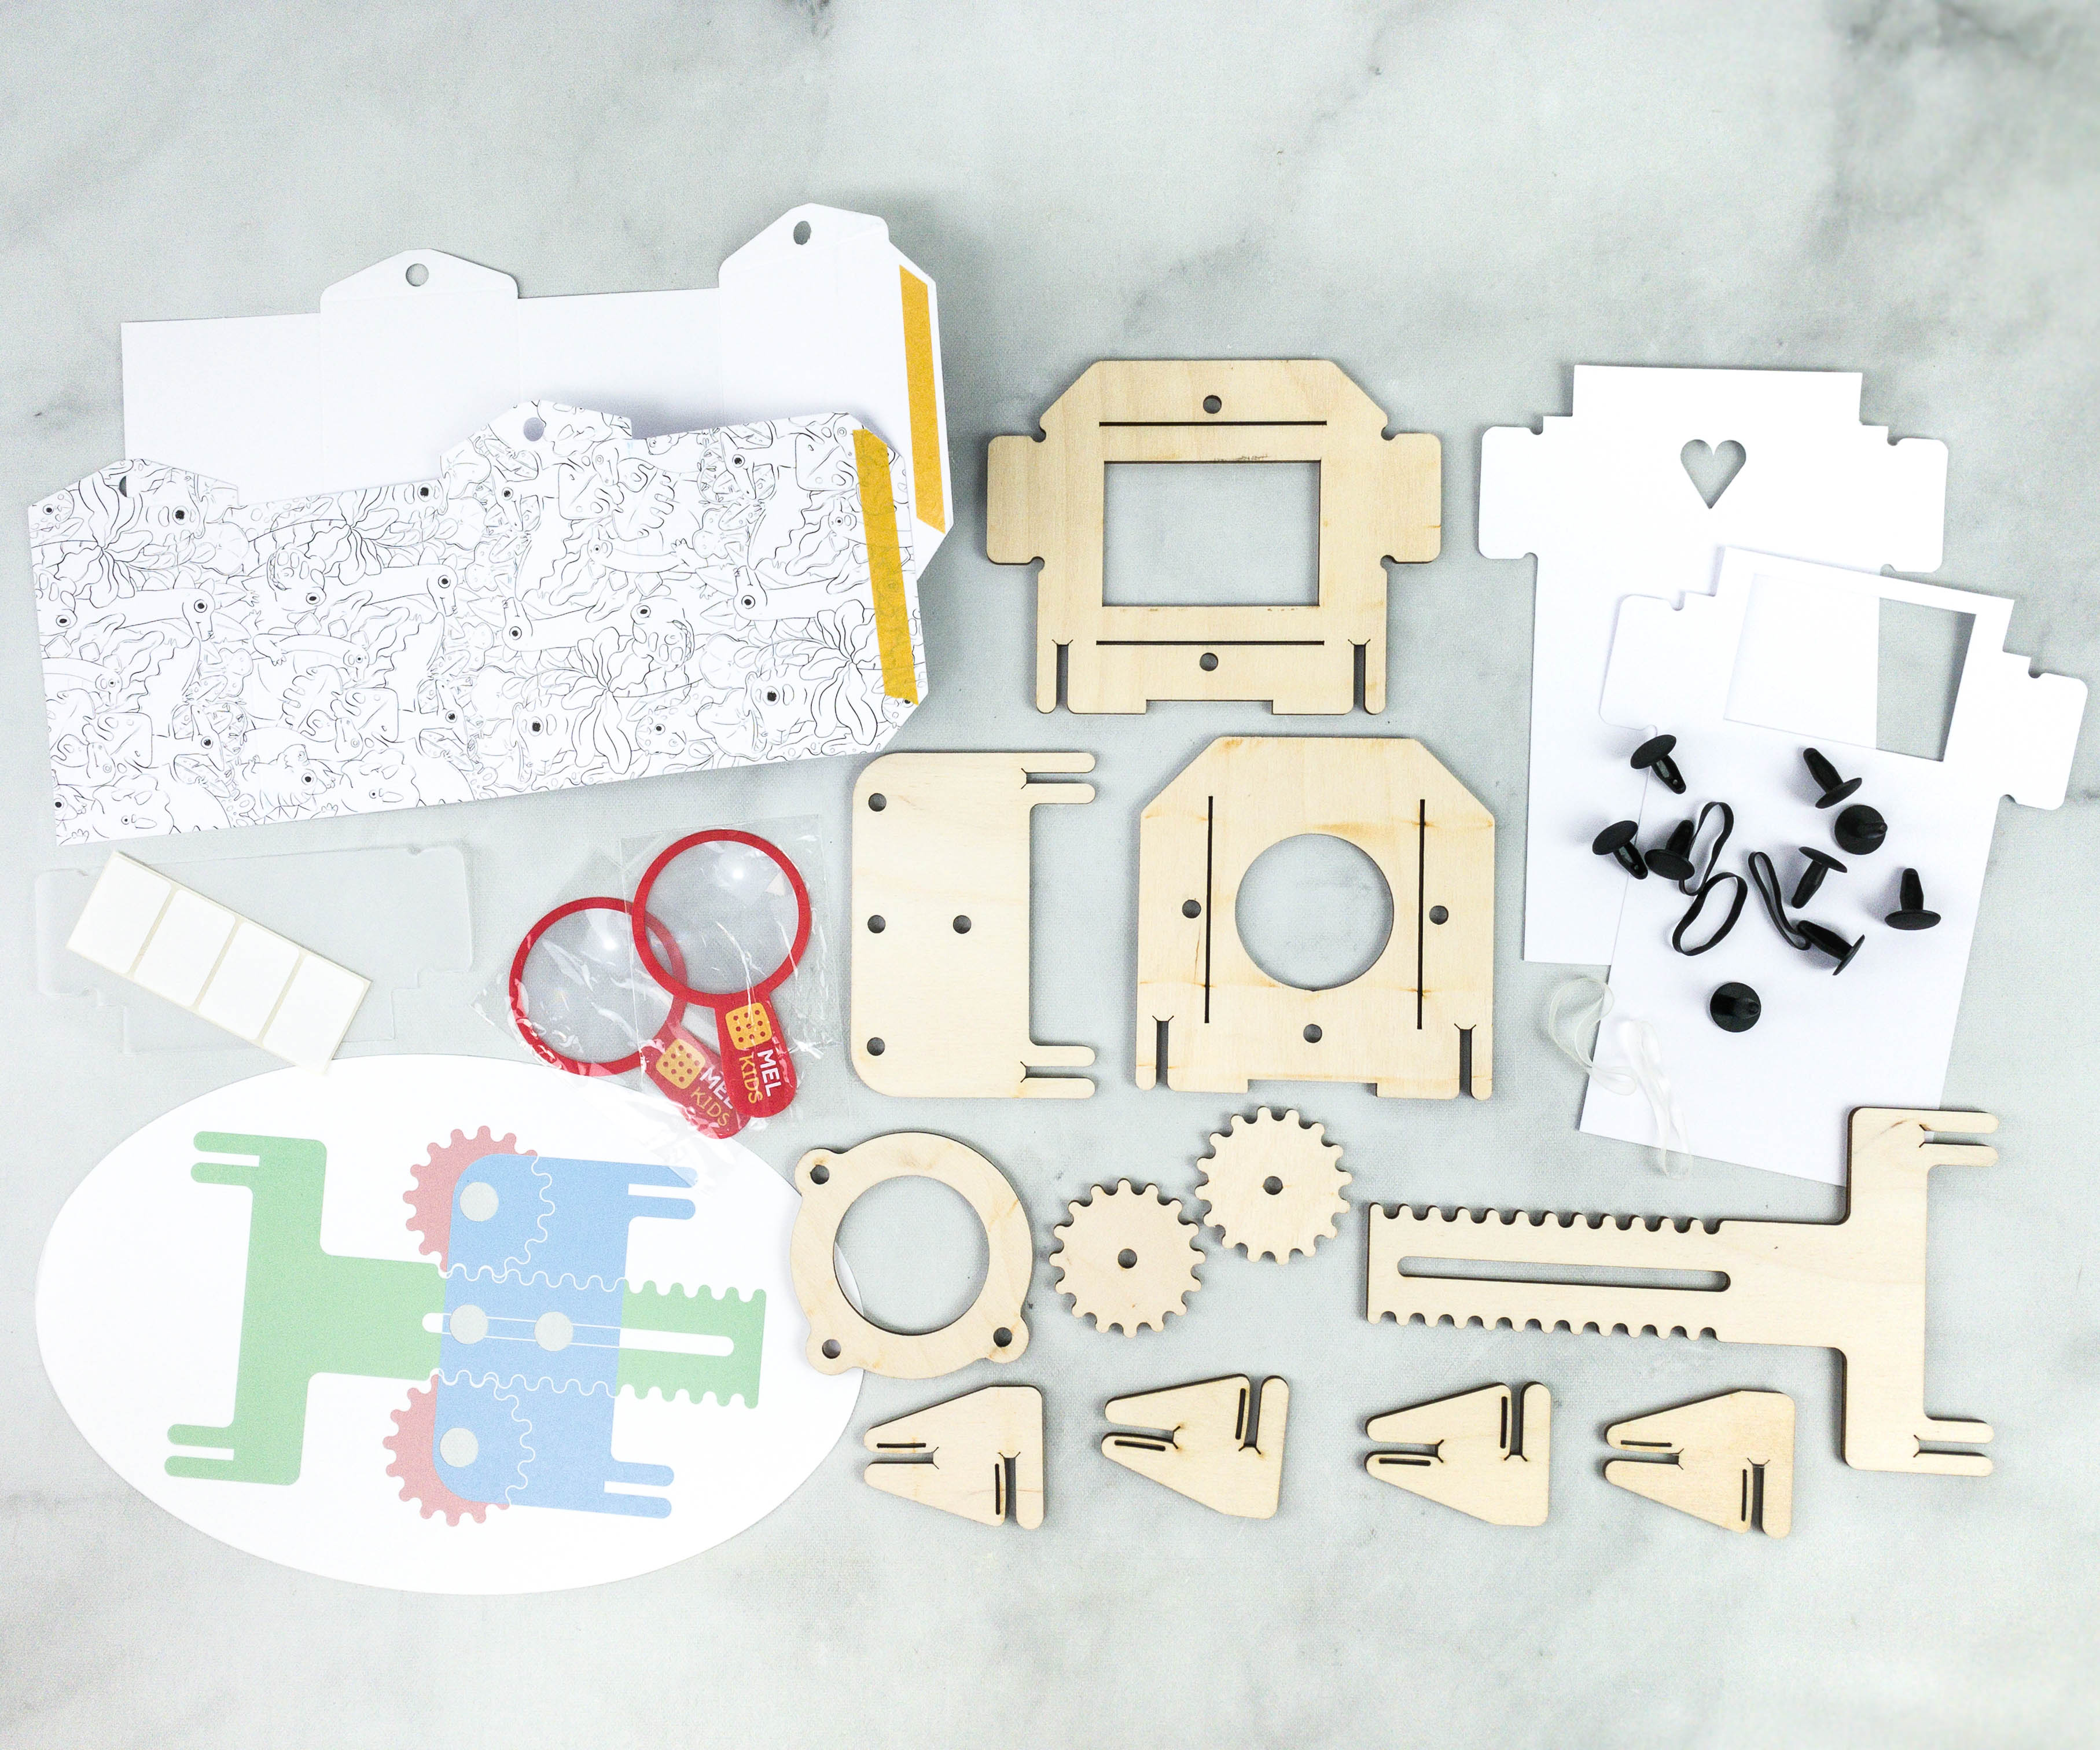
Here are the set of components that my kids needed to assemble.
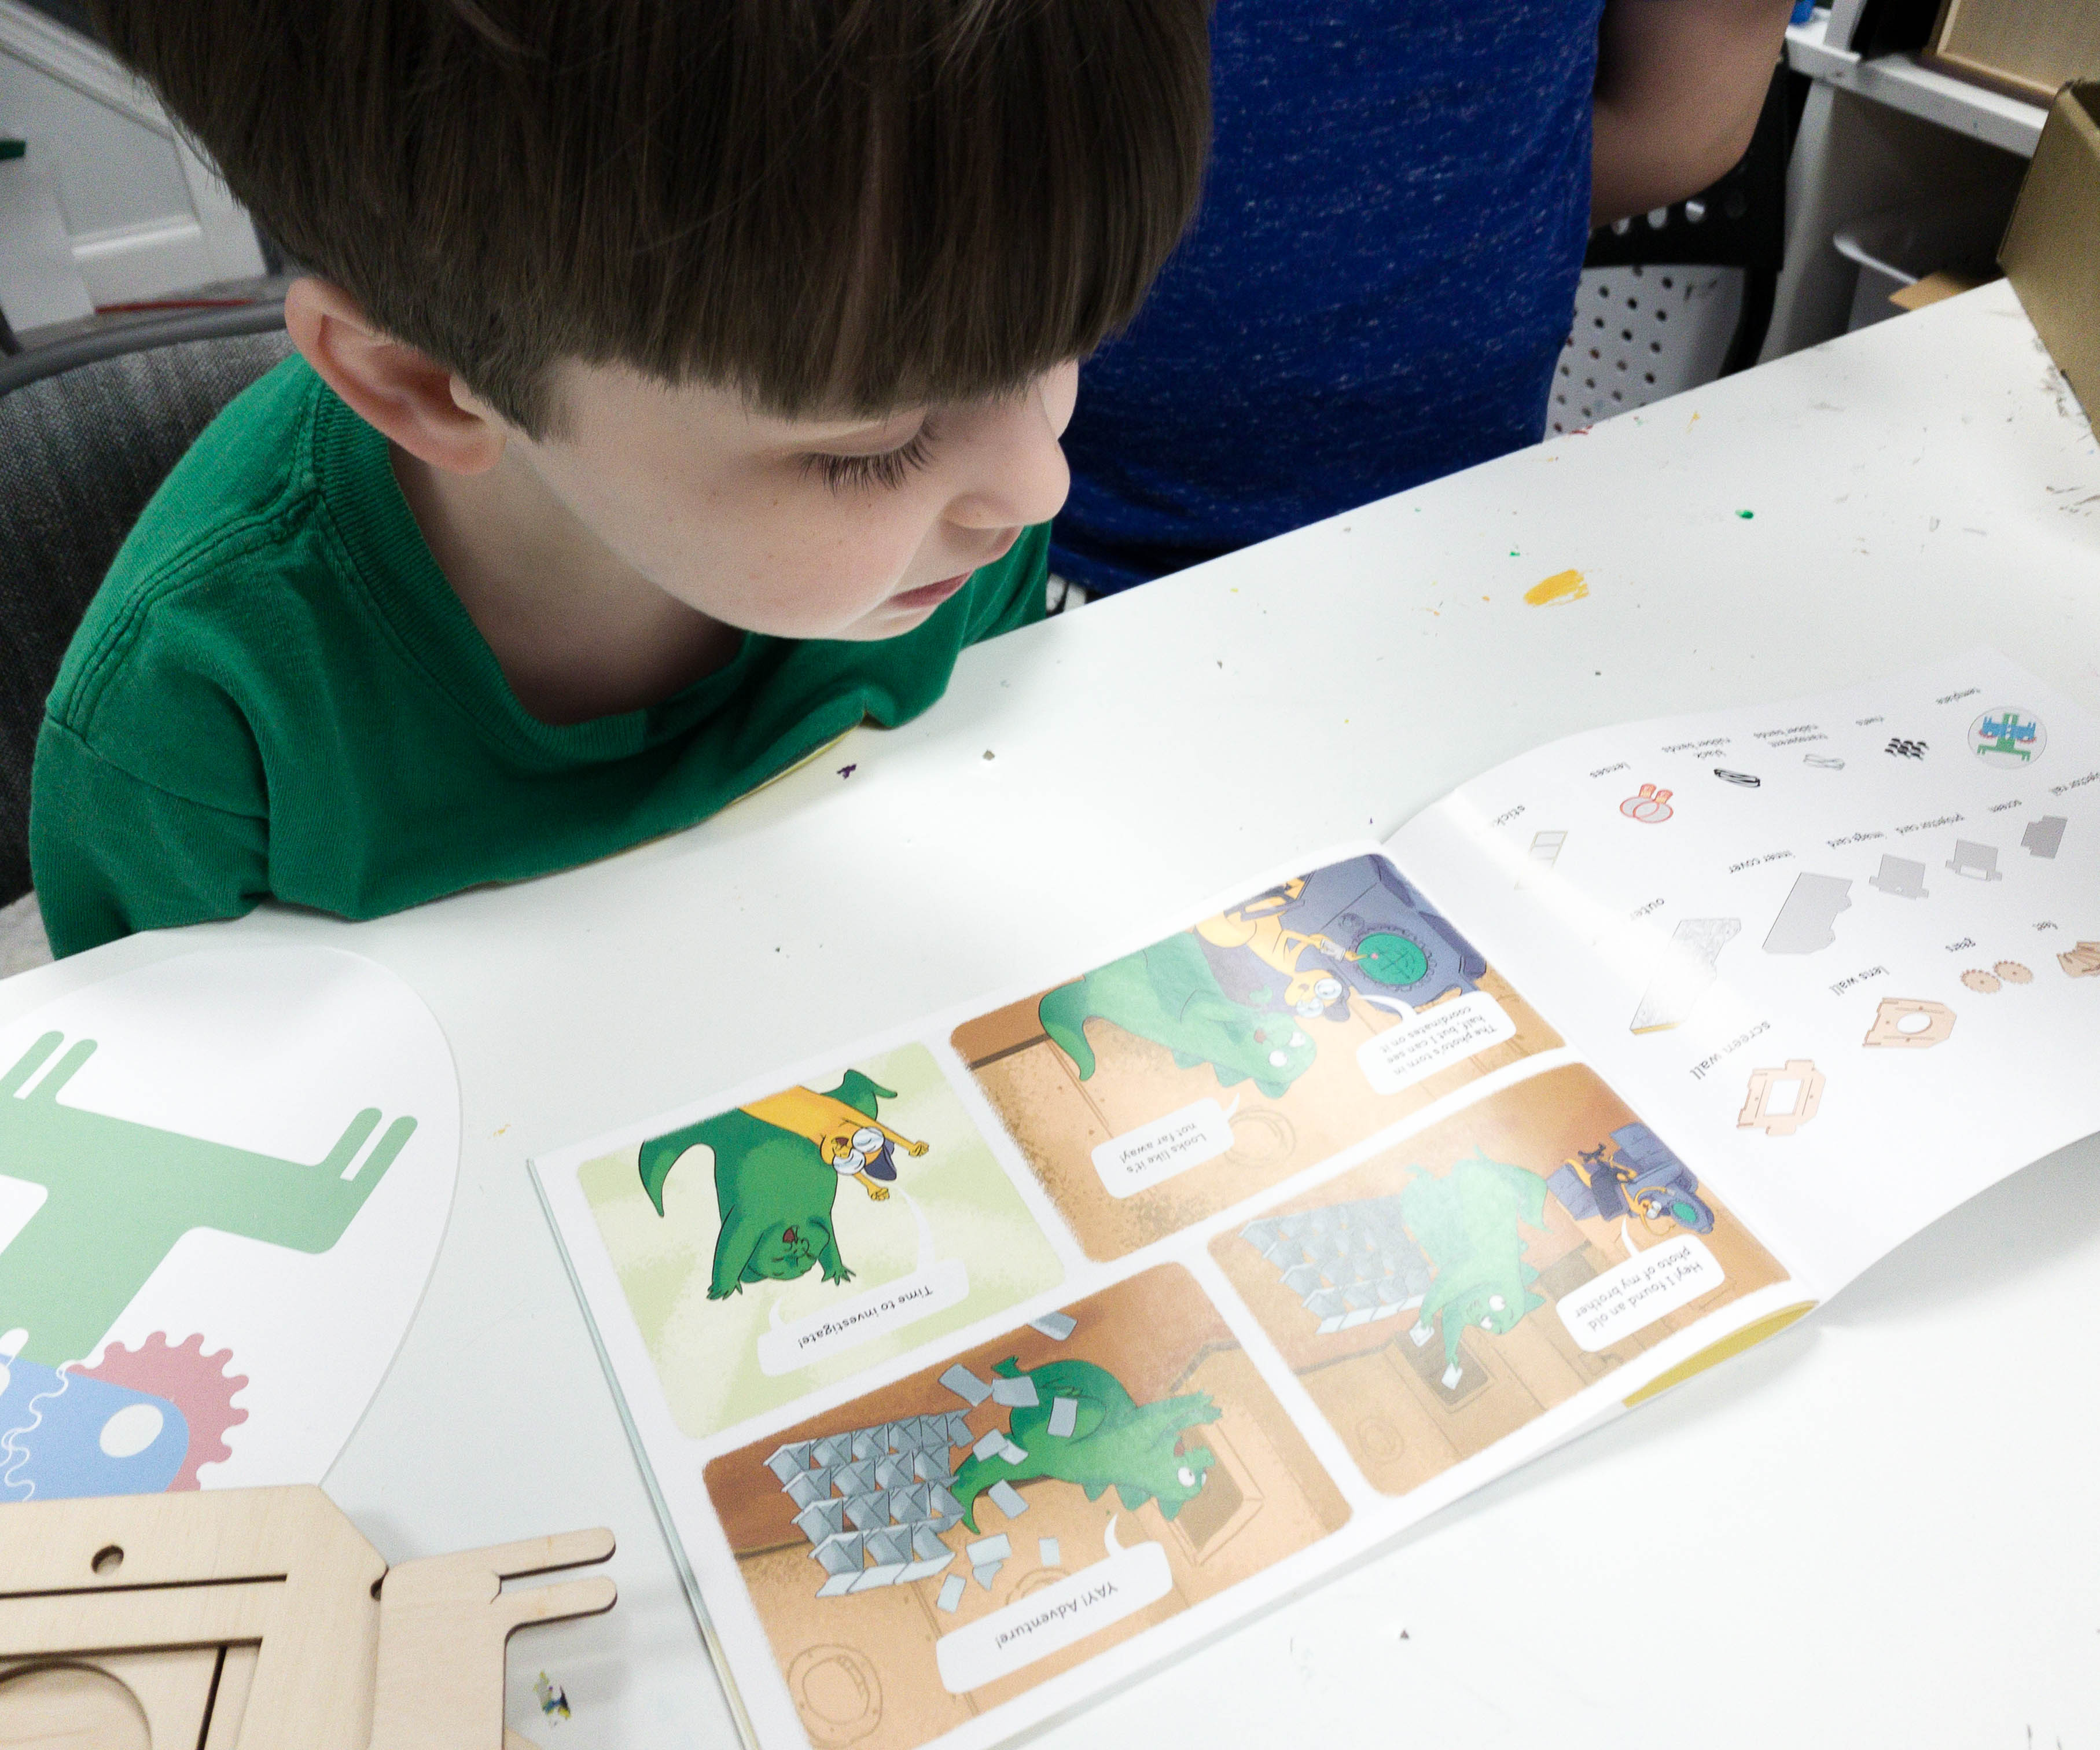
As always, my kids are very interested in the story that came along with their task.

They really love all the adventures of Zac and Newt!
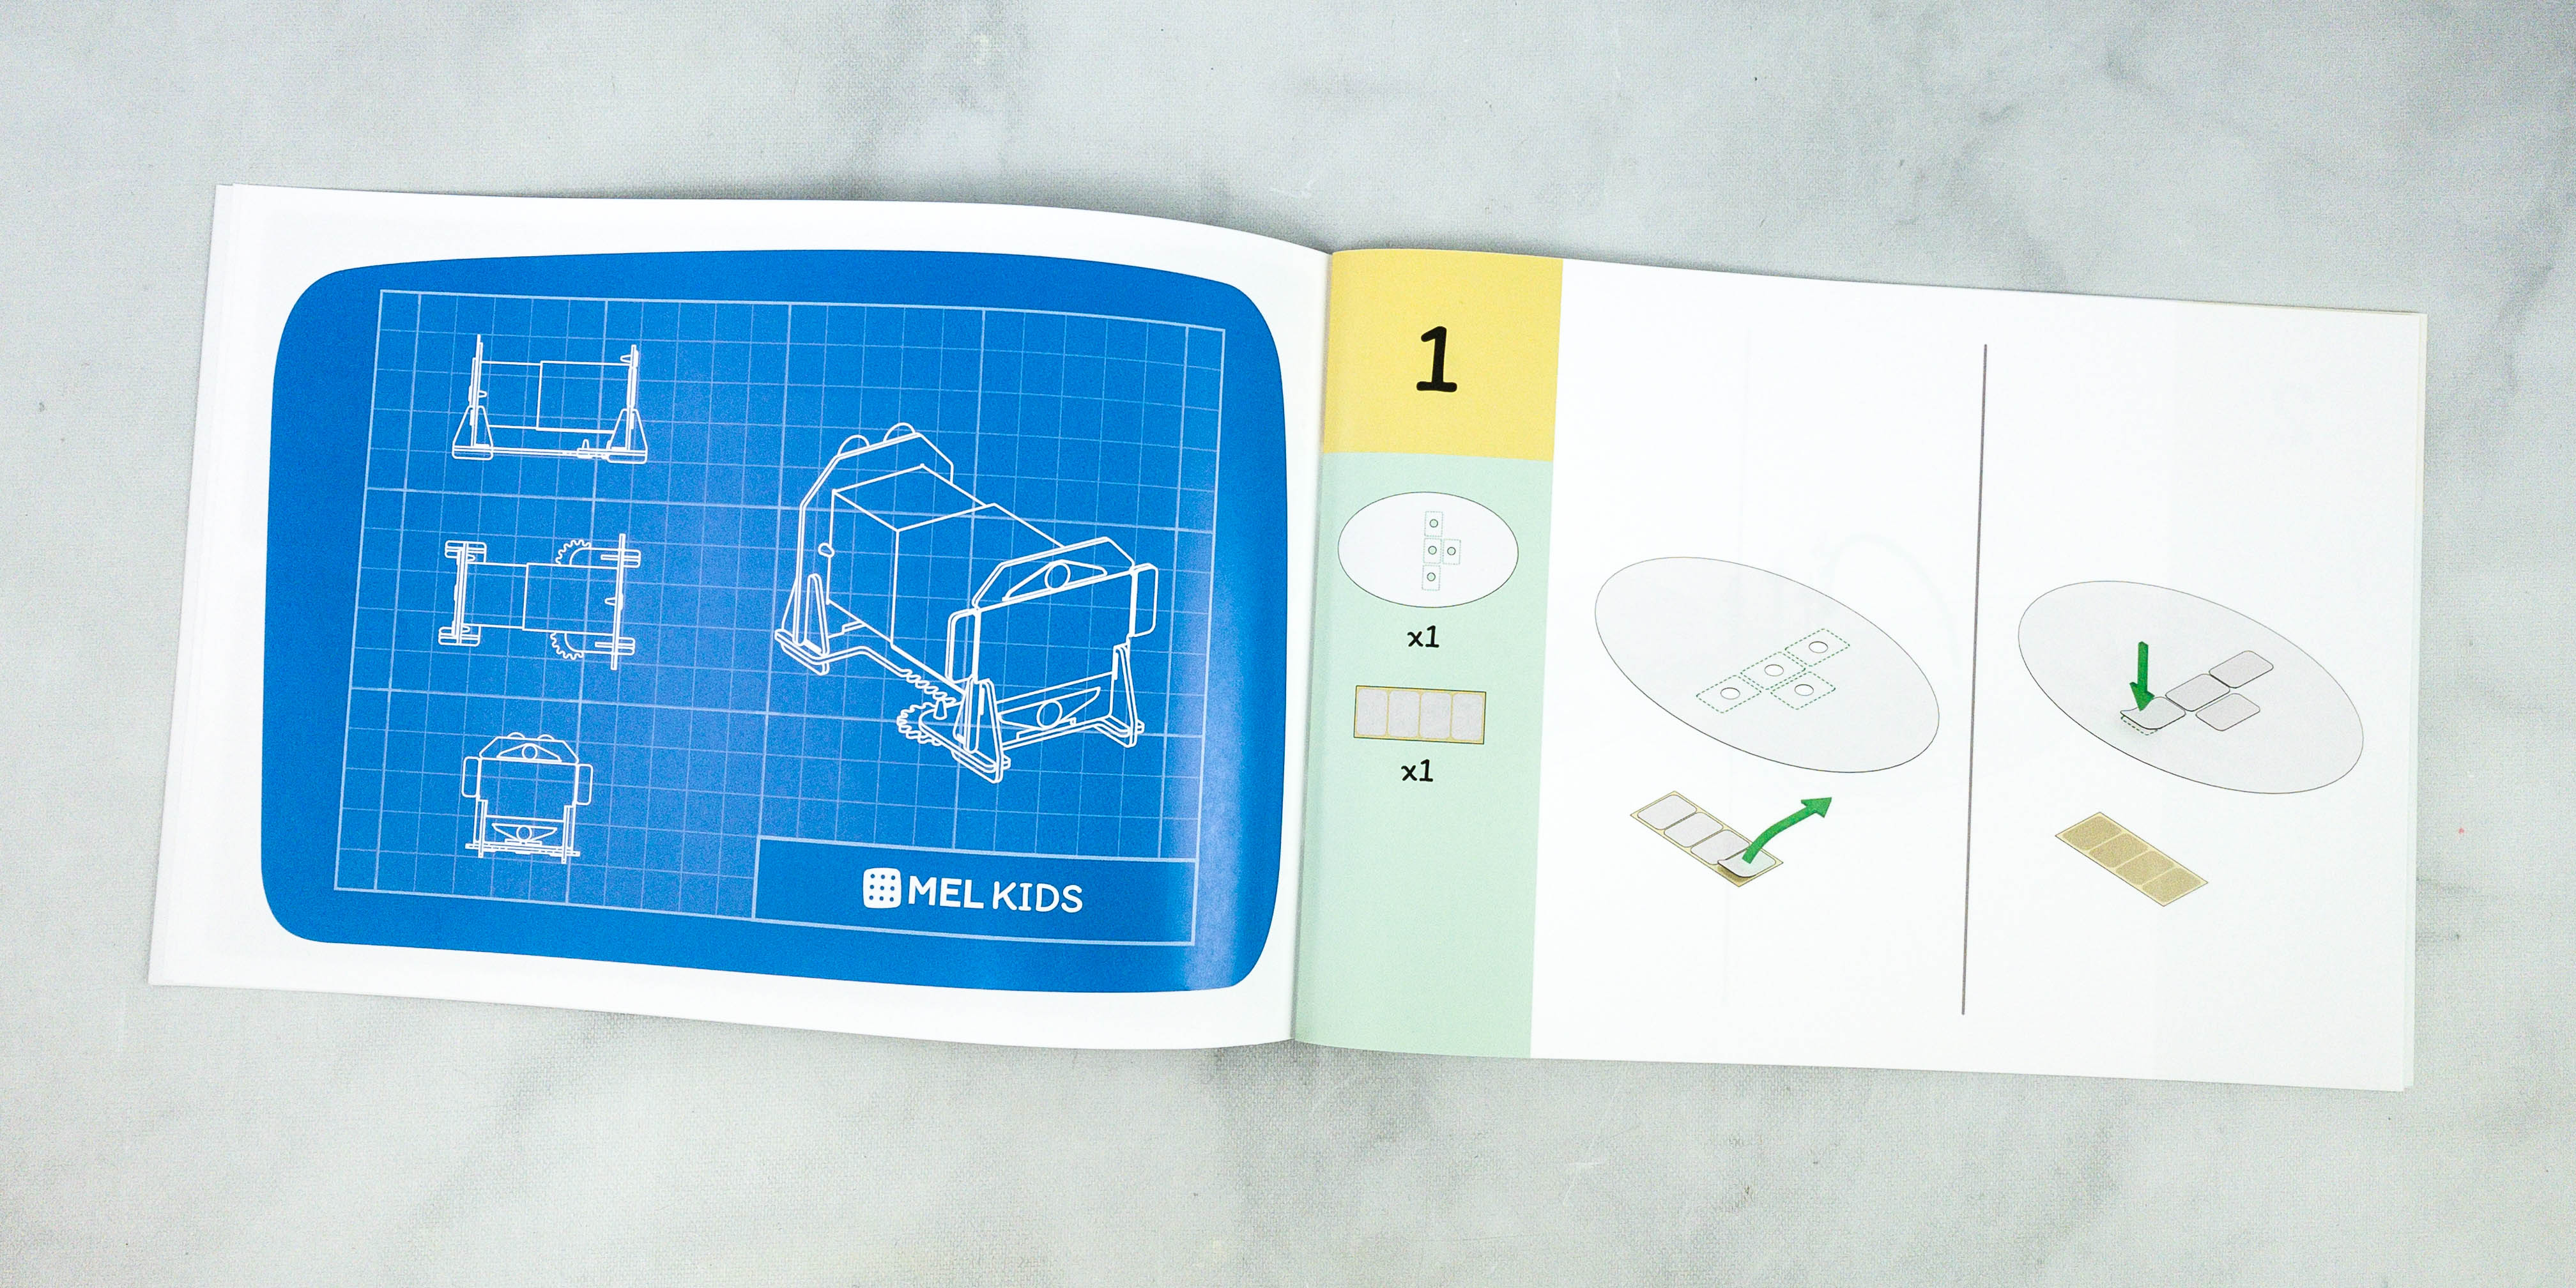
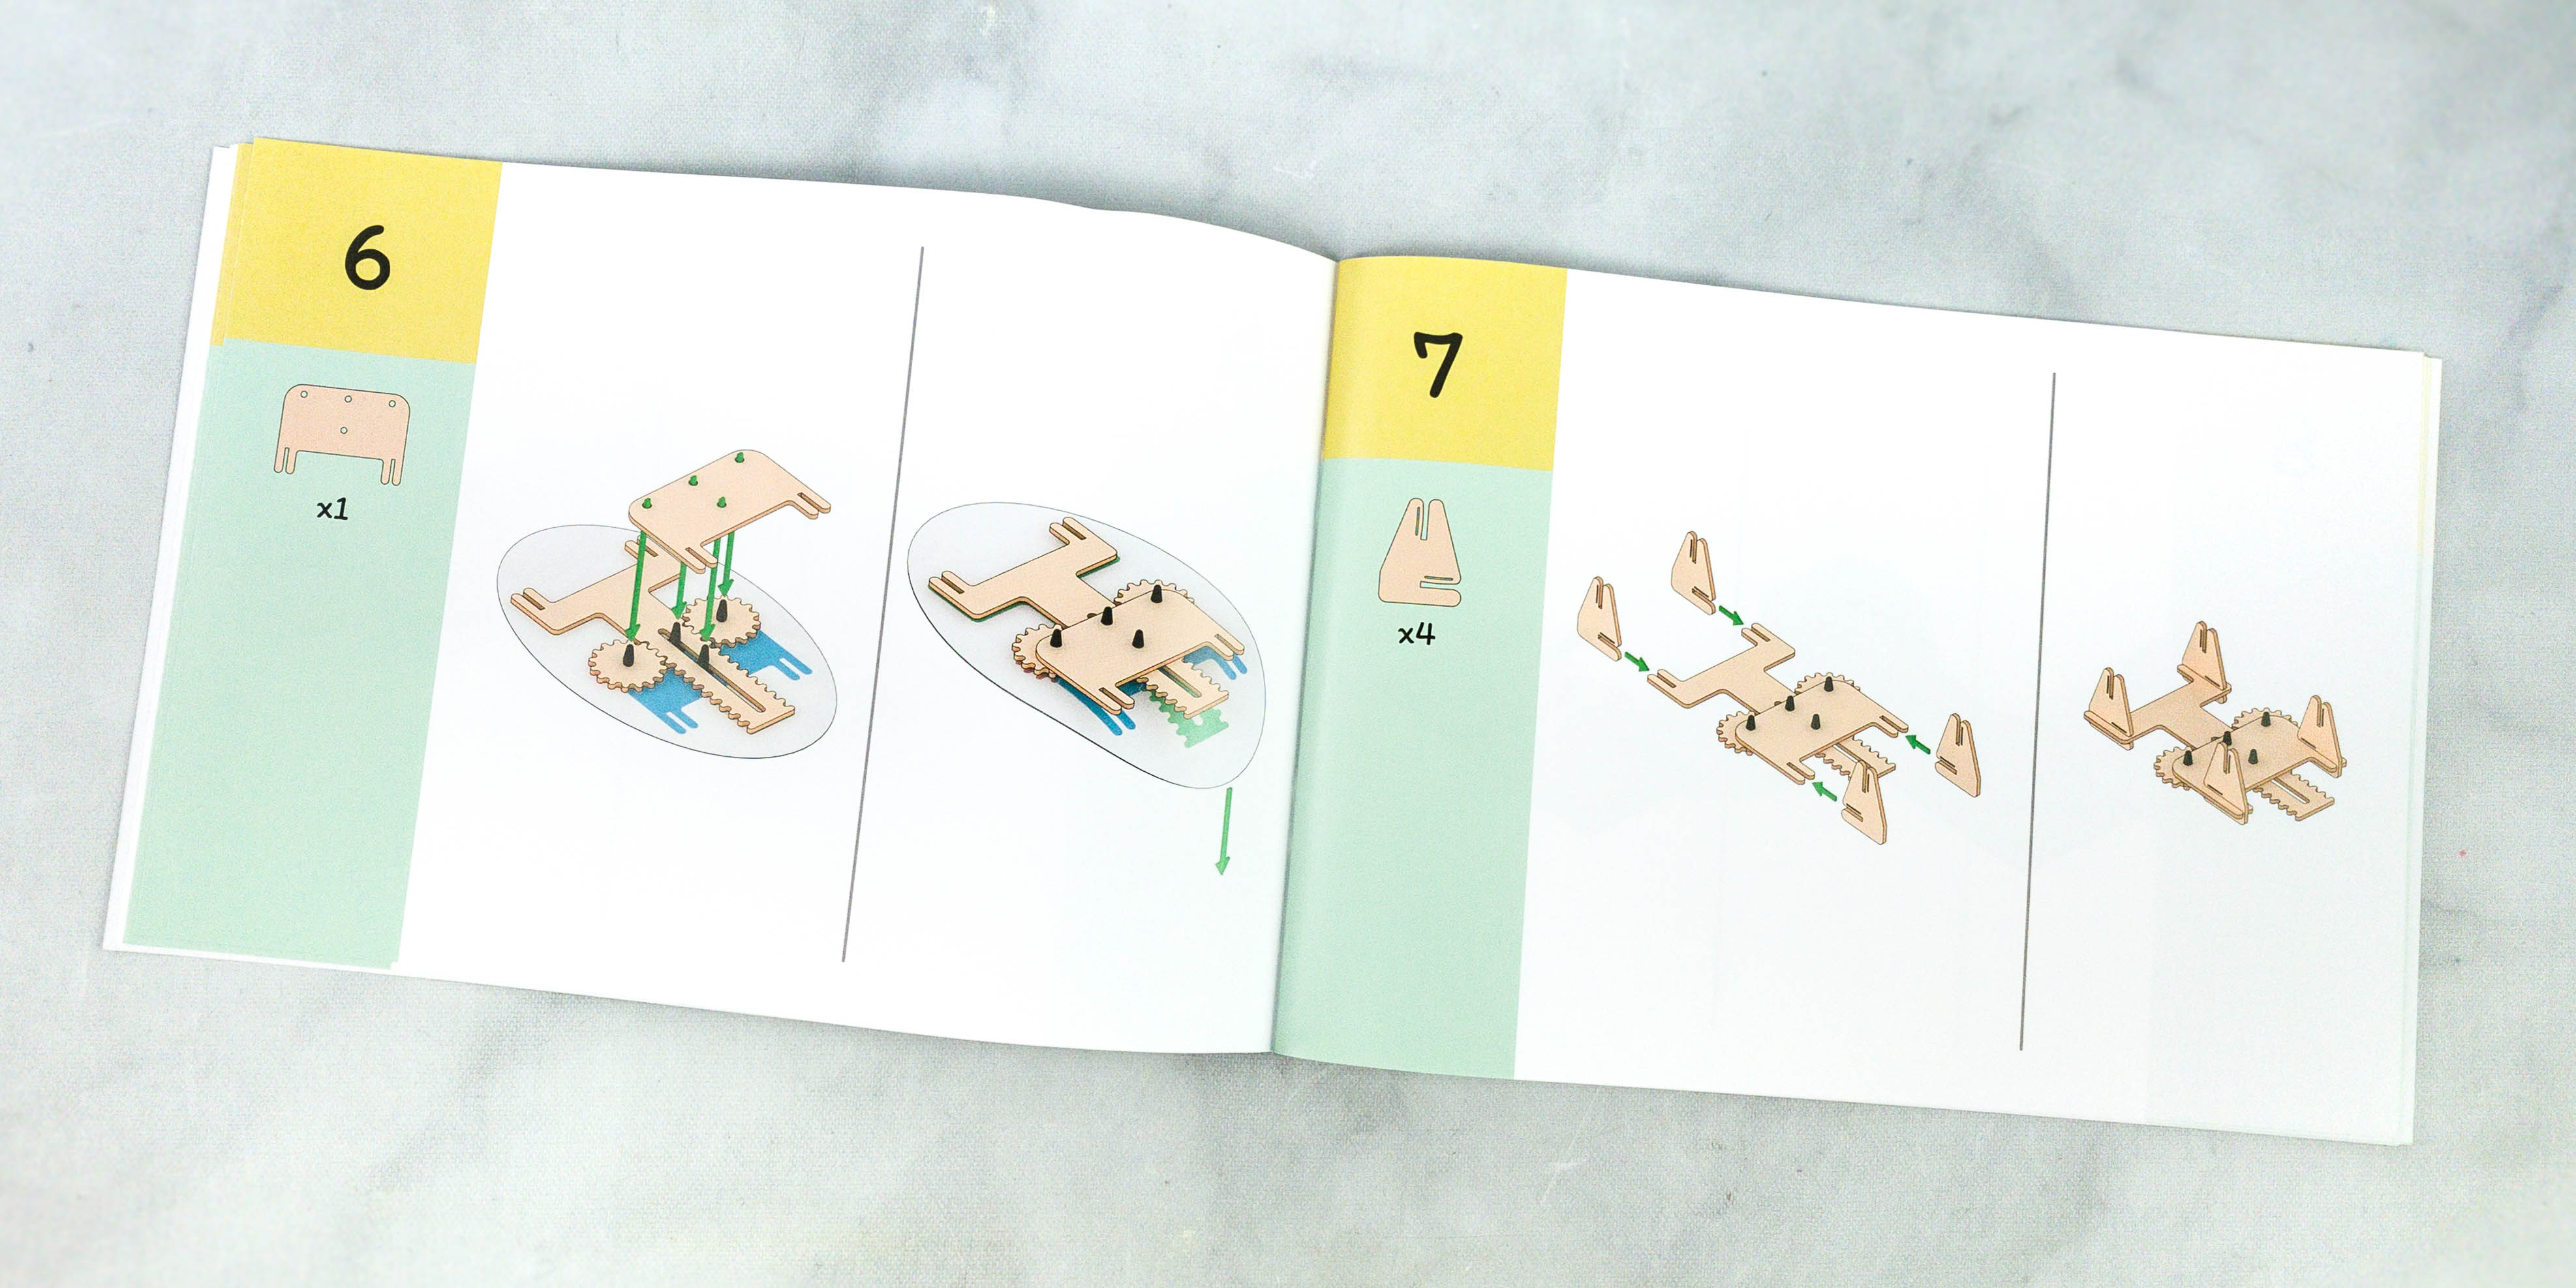
The booklet provided a blueprint for this month’s project, as well as step-by-step instructions.
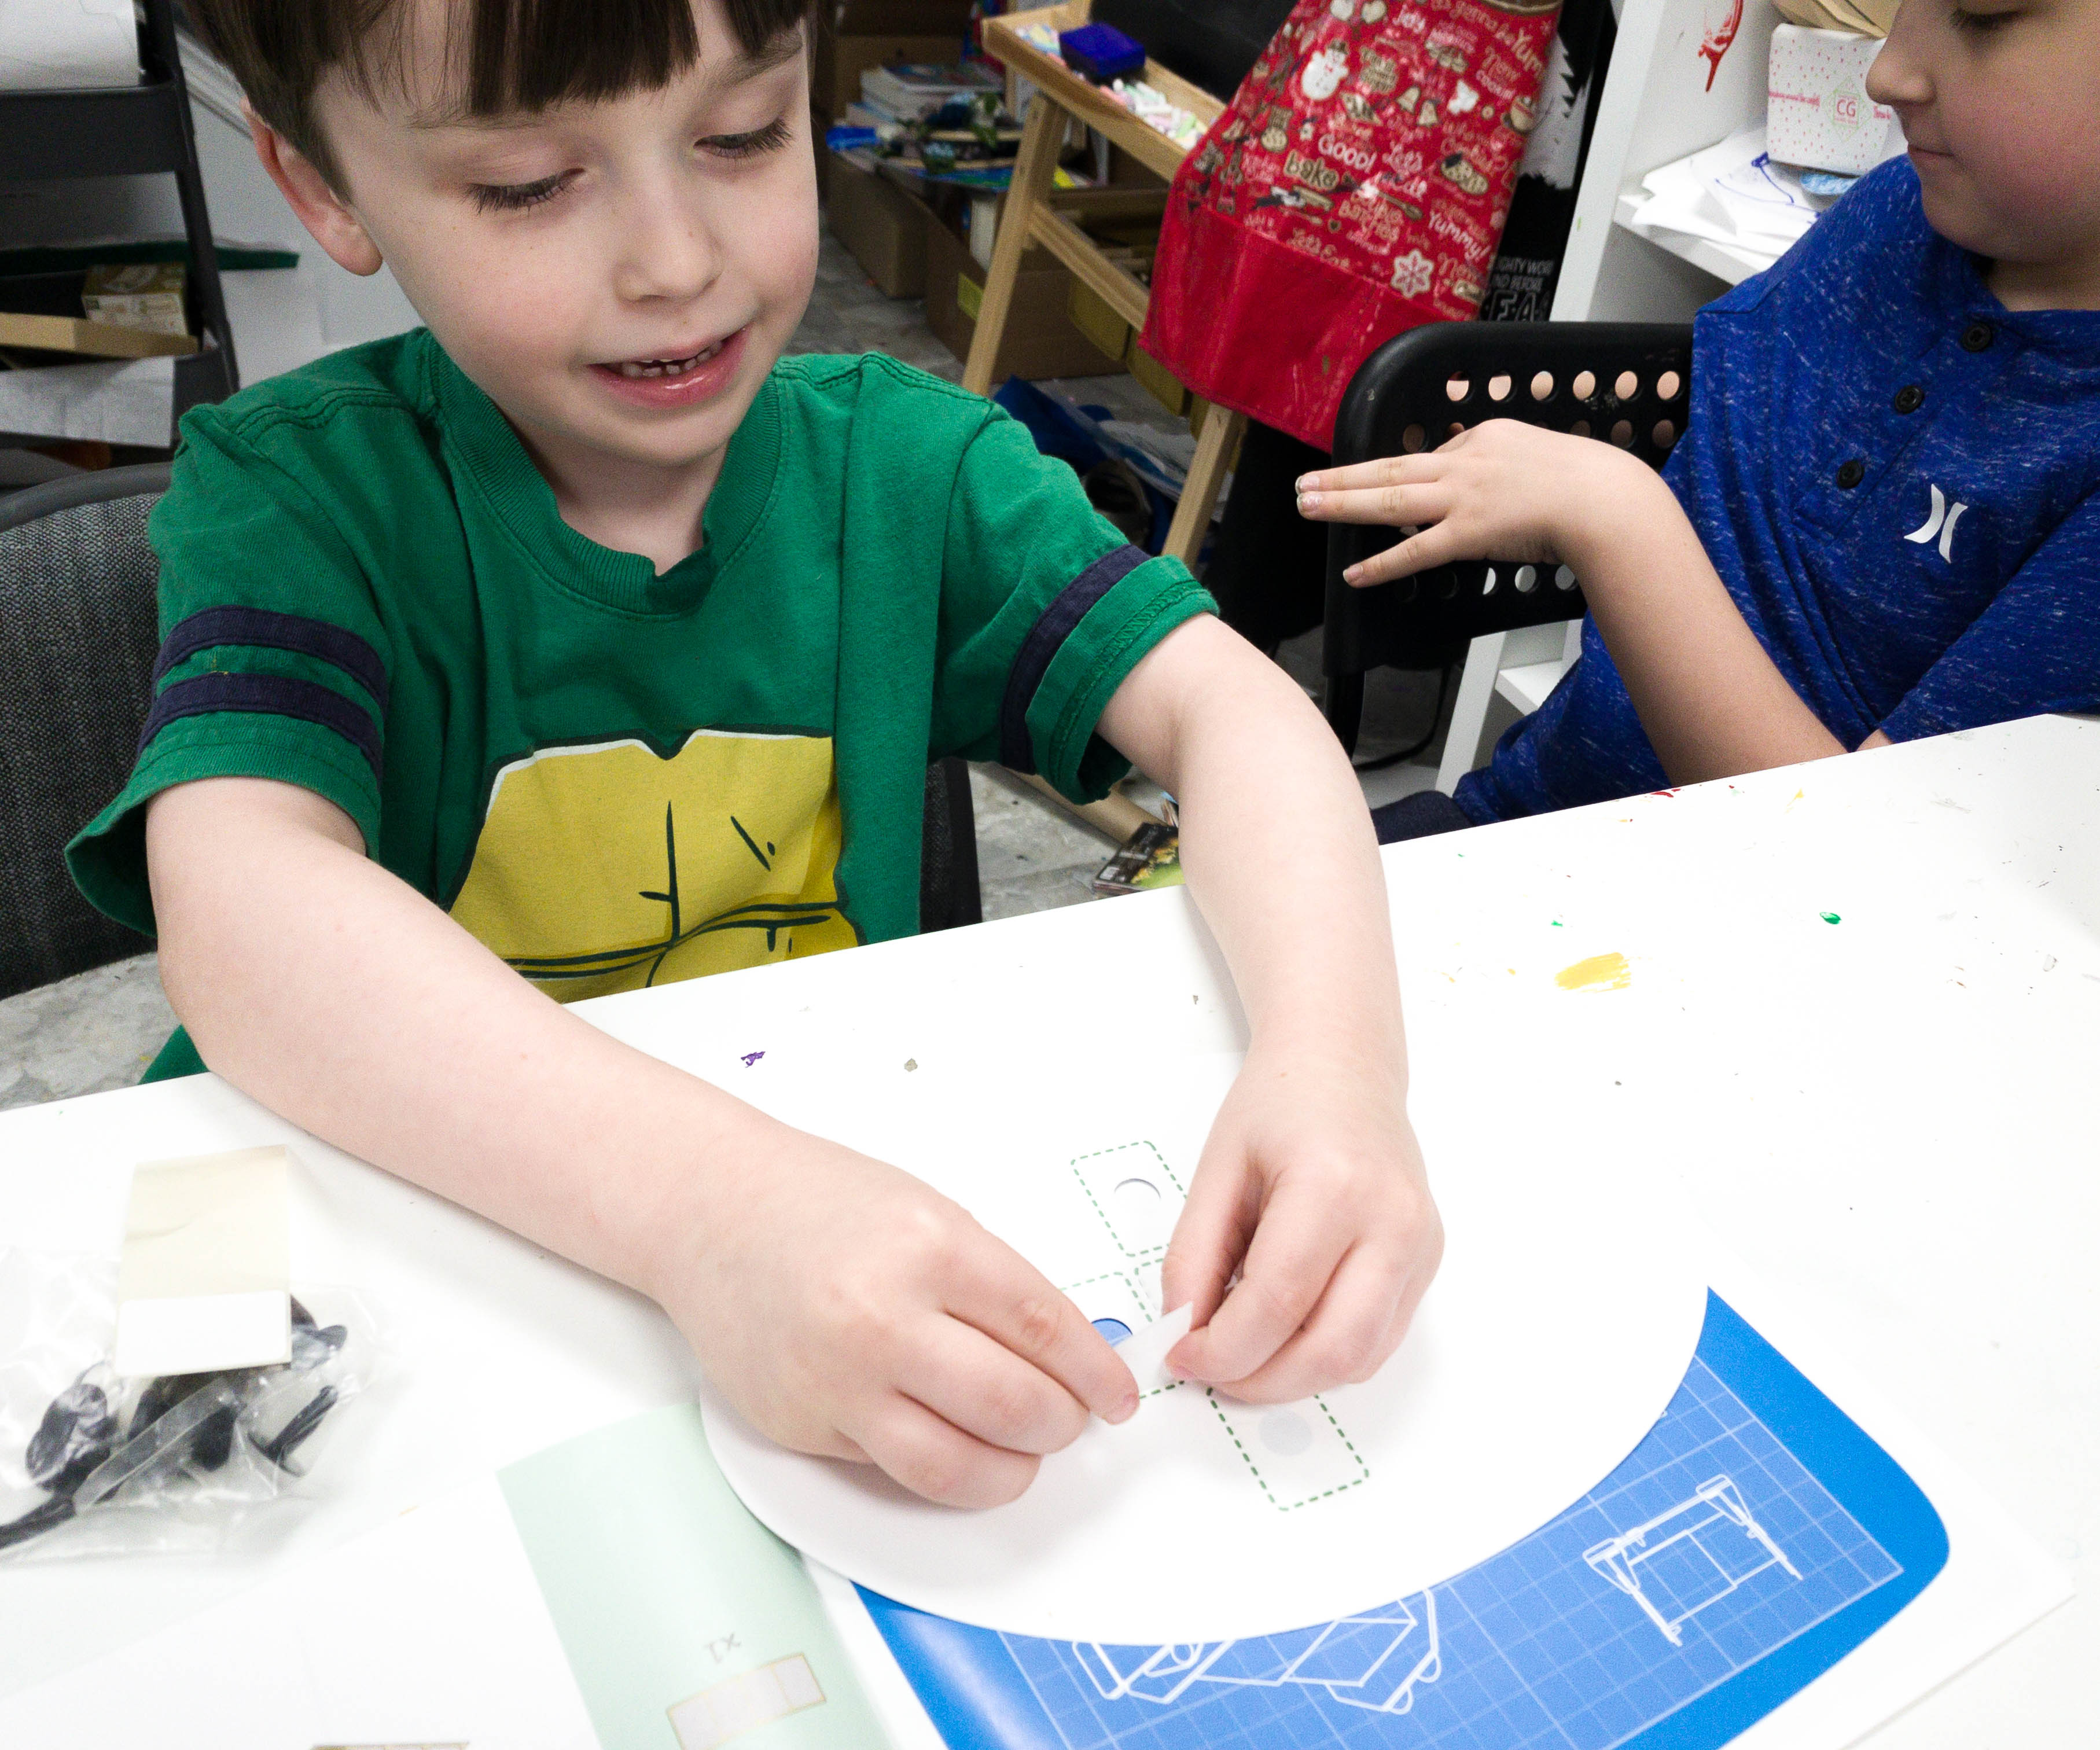
My son started by putting the base together by using the supplied jig.
The instructions indicate what part is needed and where to put it.
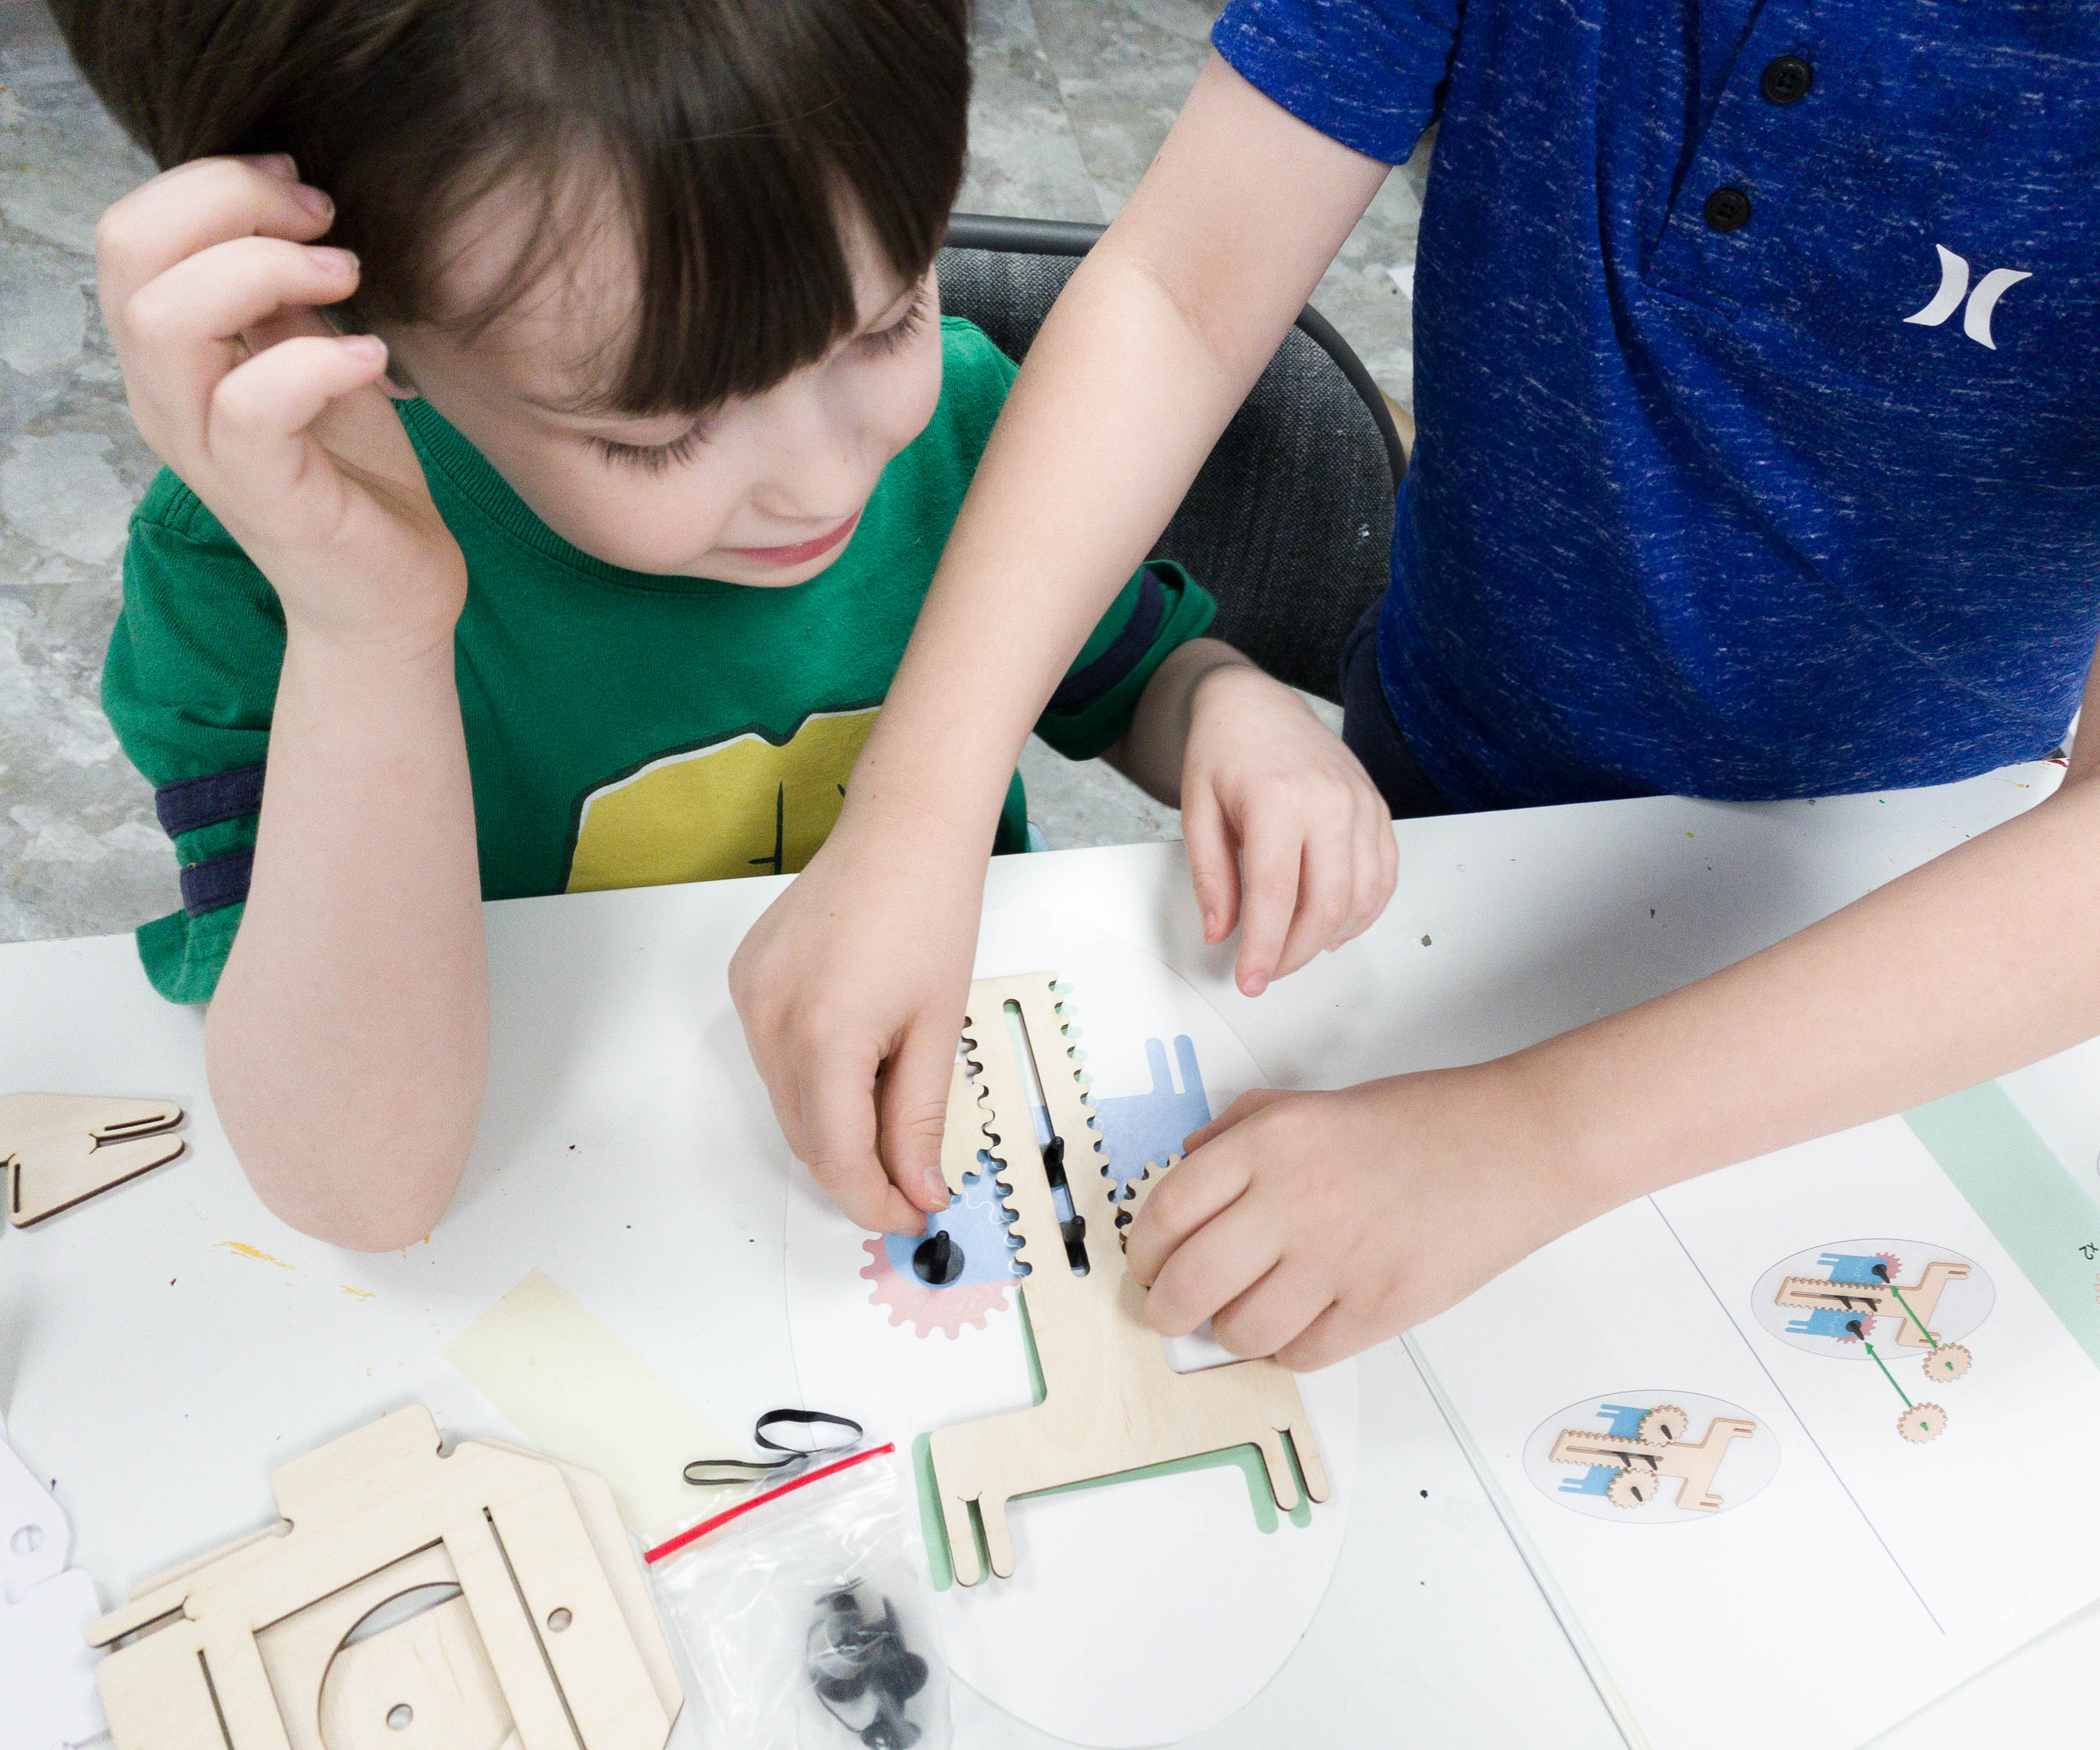
My kids put the projector rail and the gears together. It’s nice to see them helping each other!

Then, they added the projector base. They were able to assemble the first part in no time.
There are also numbers for every step so the kids are aware of what part of the activity they are on.
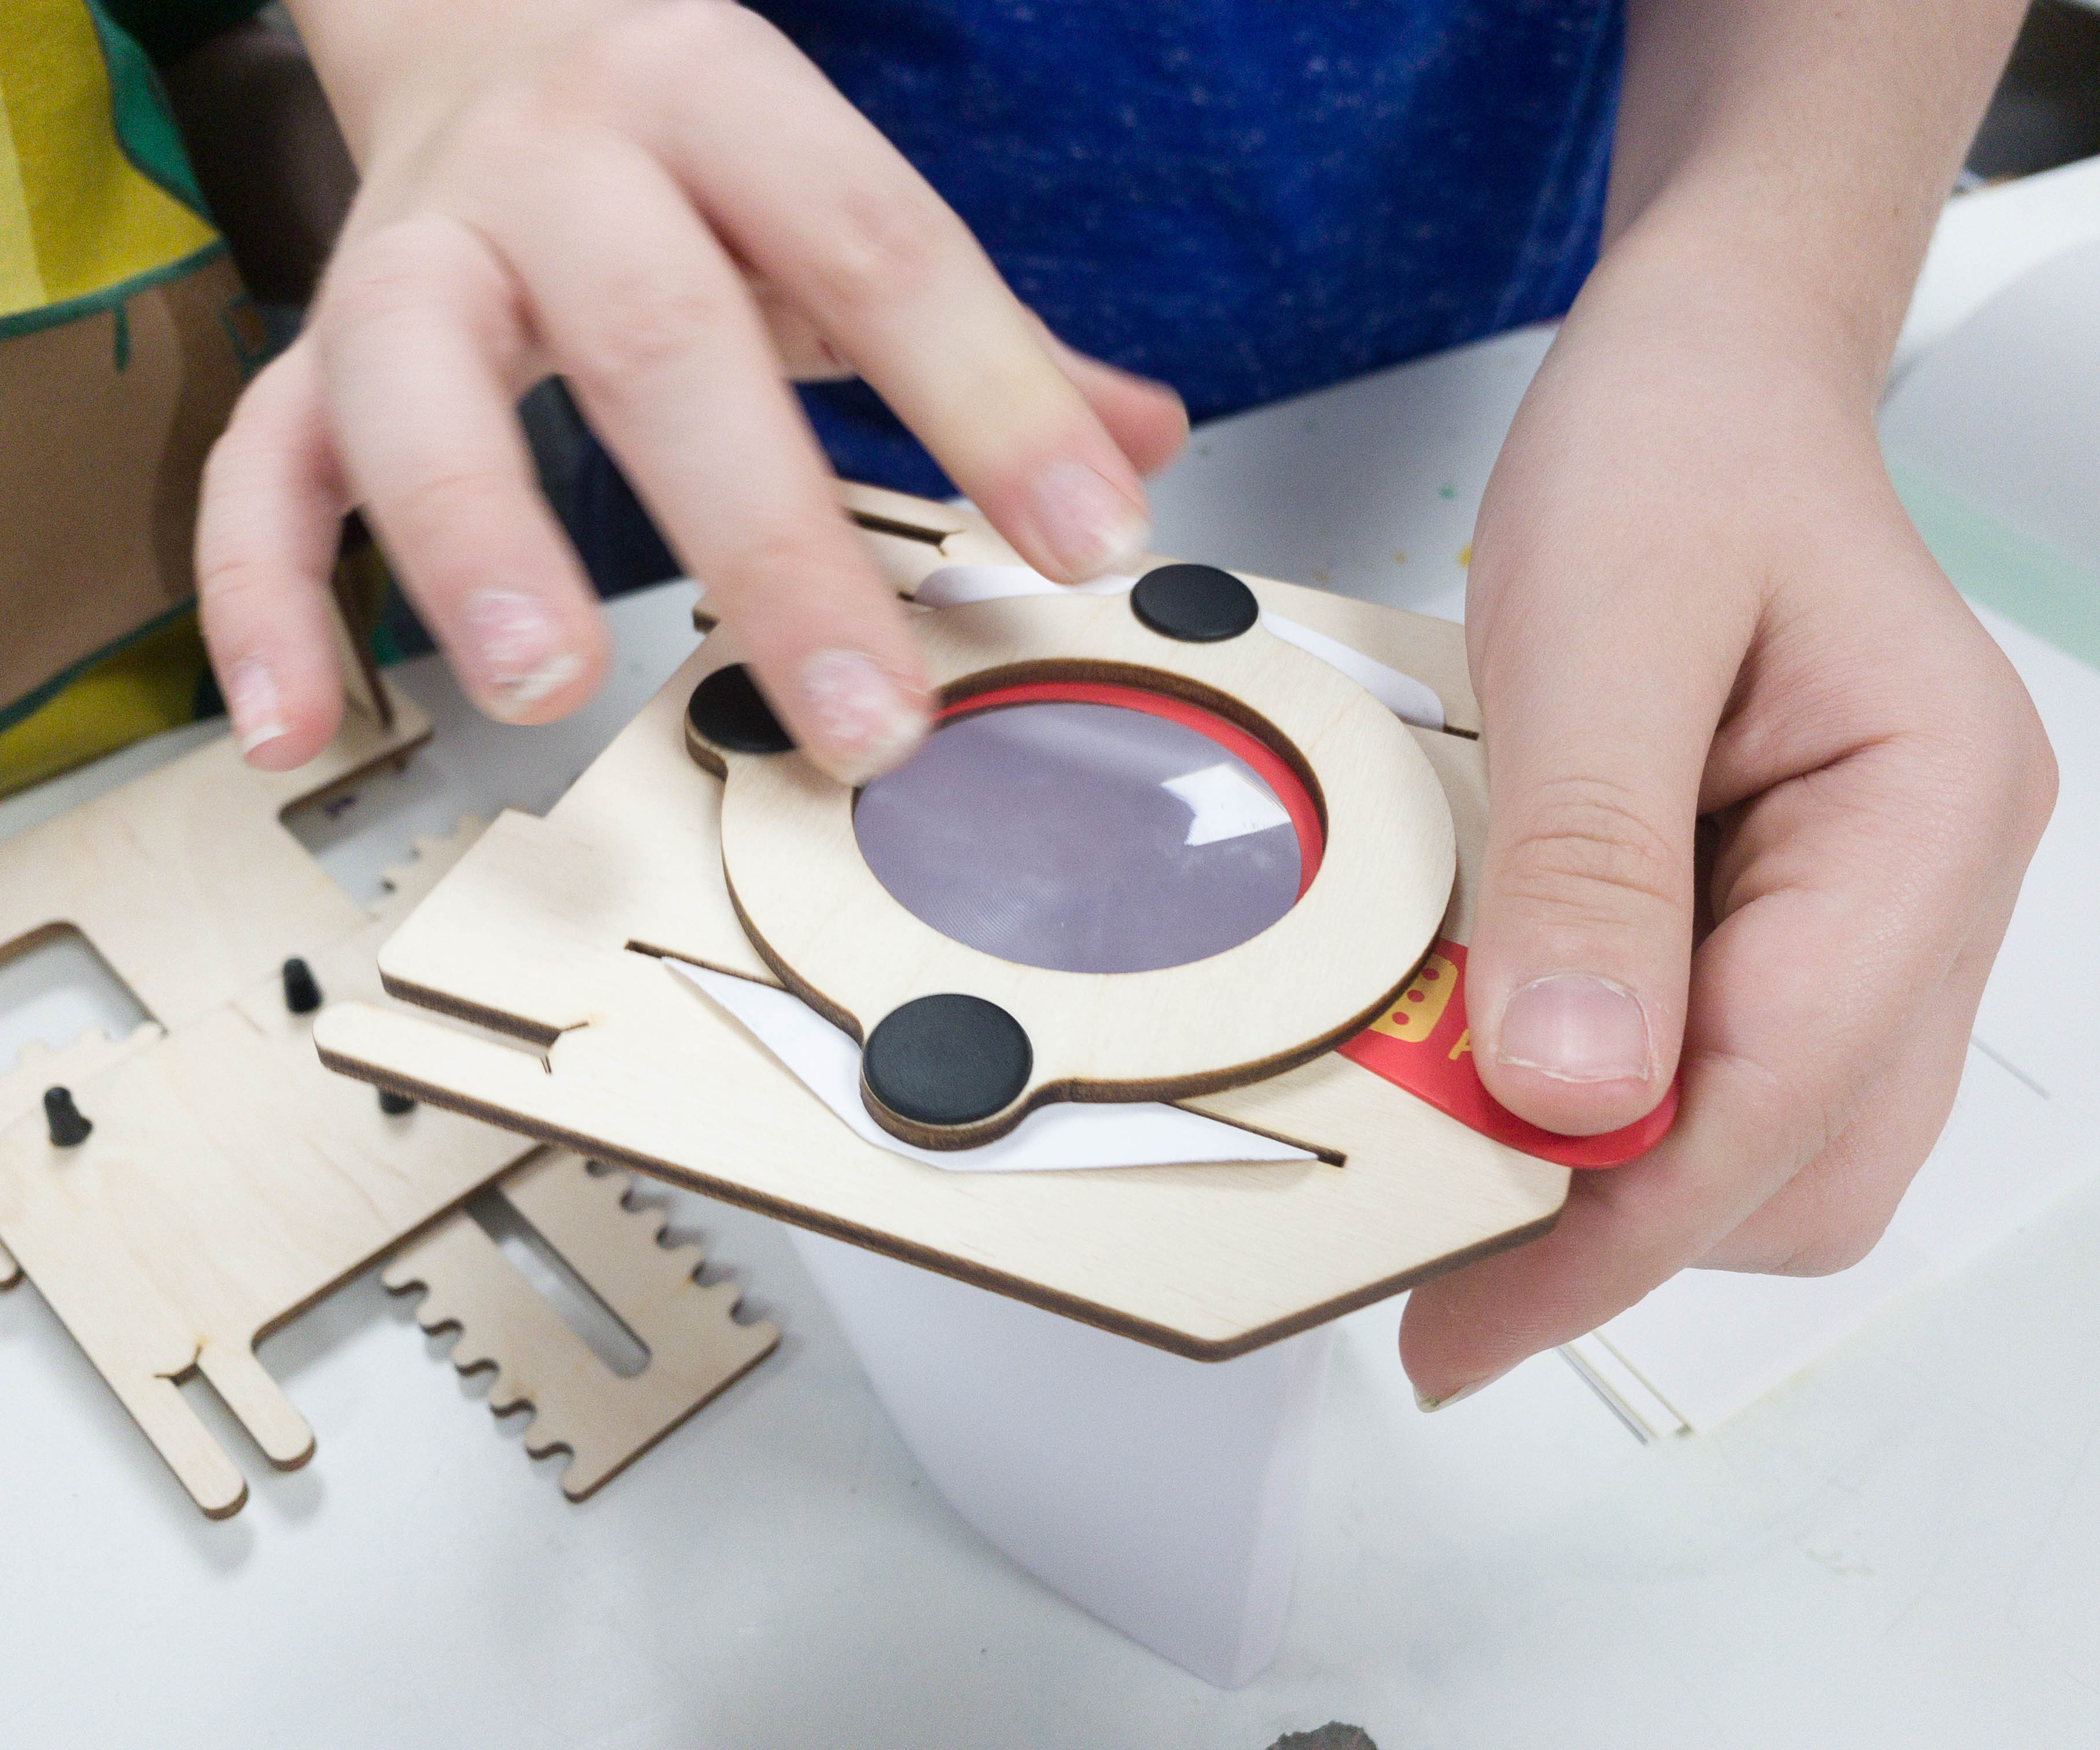
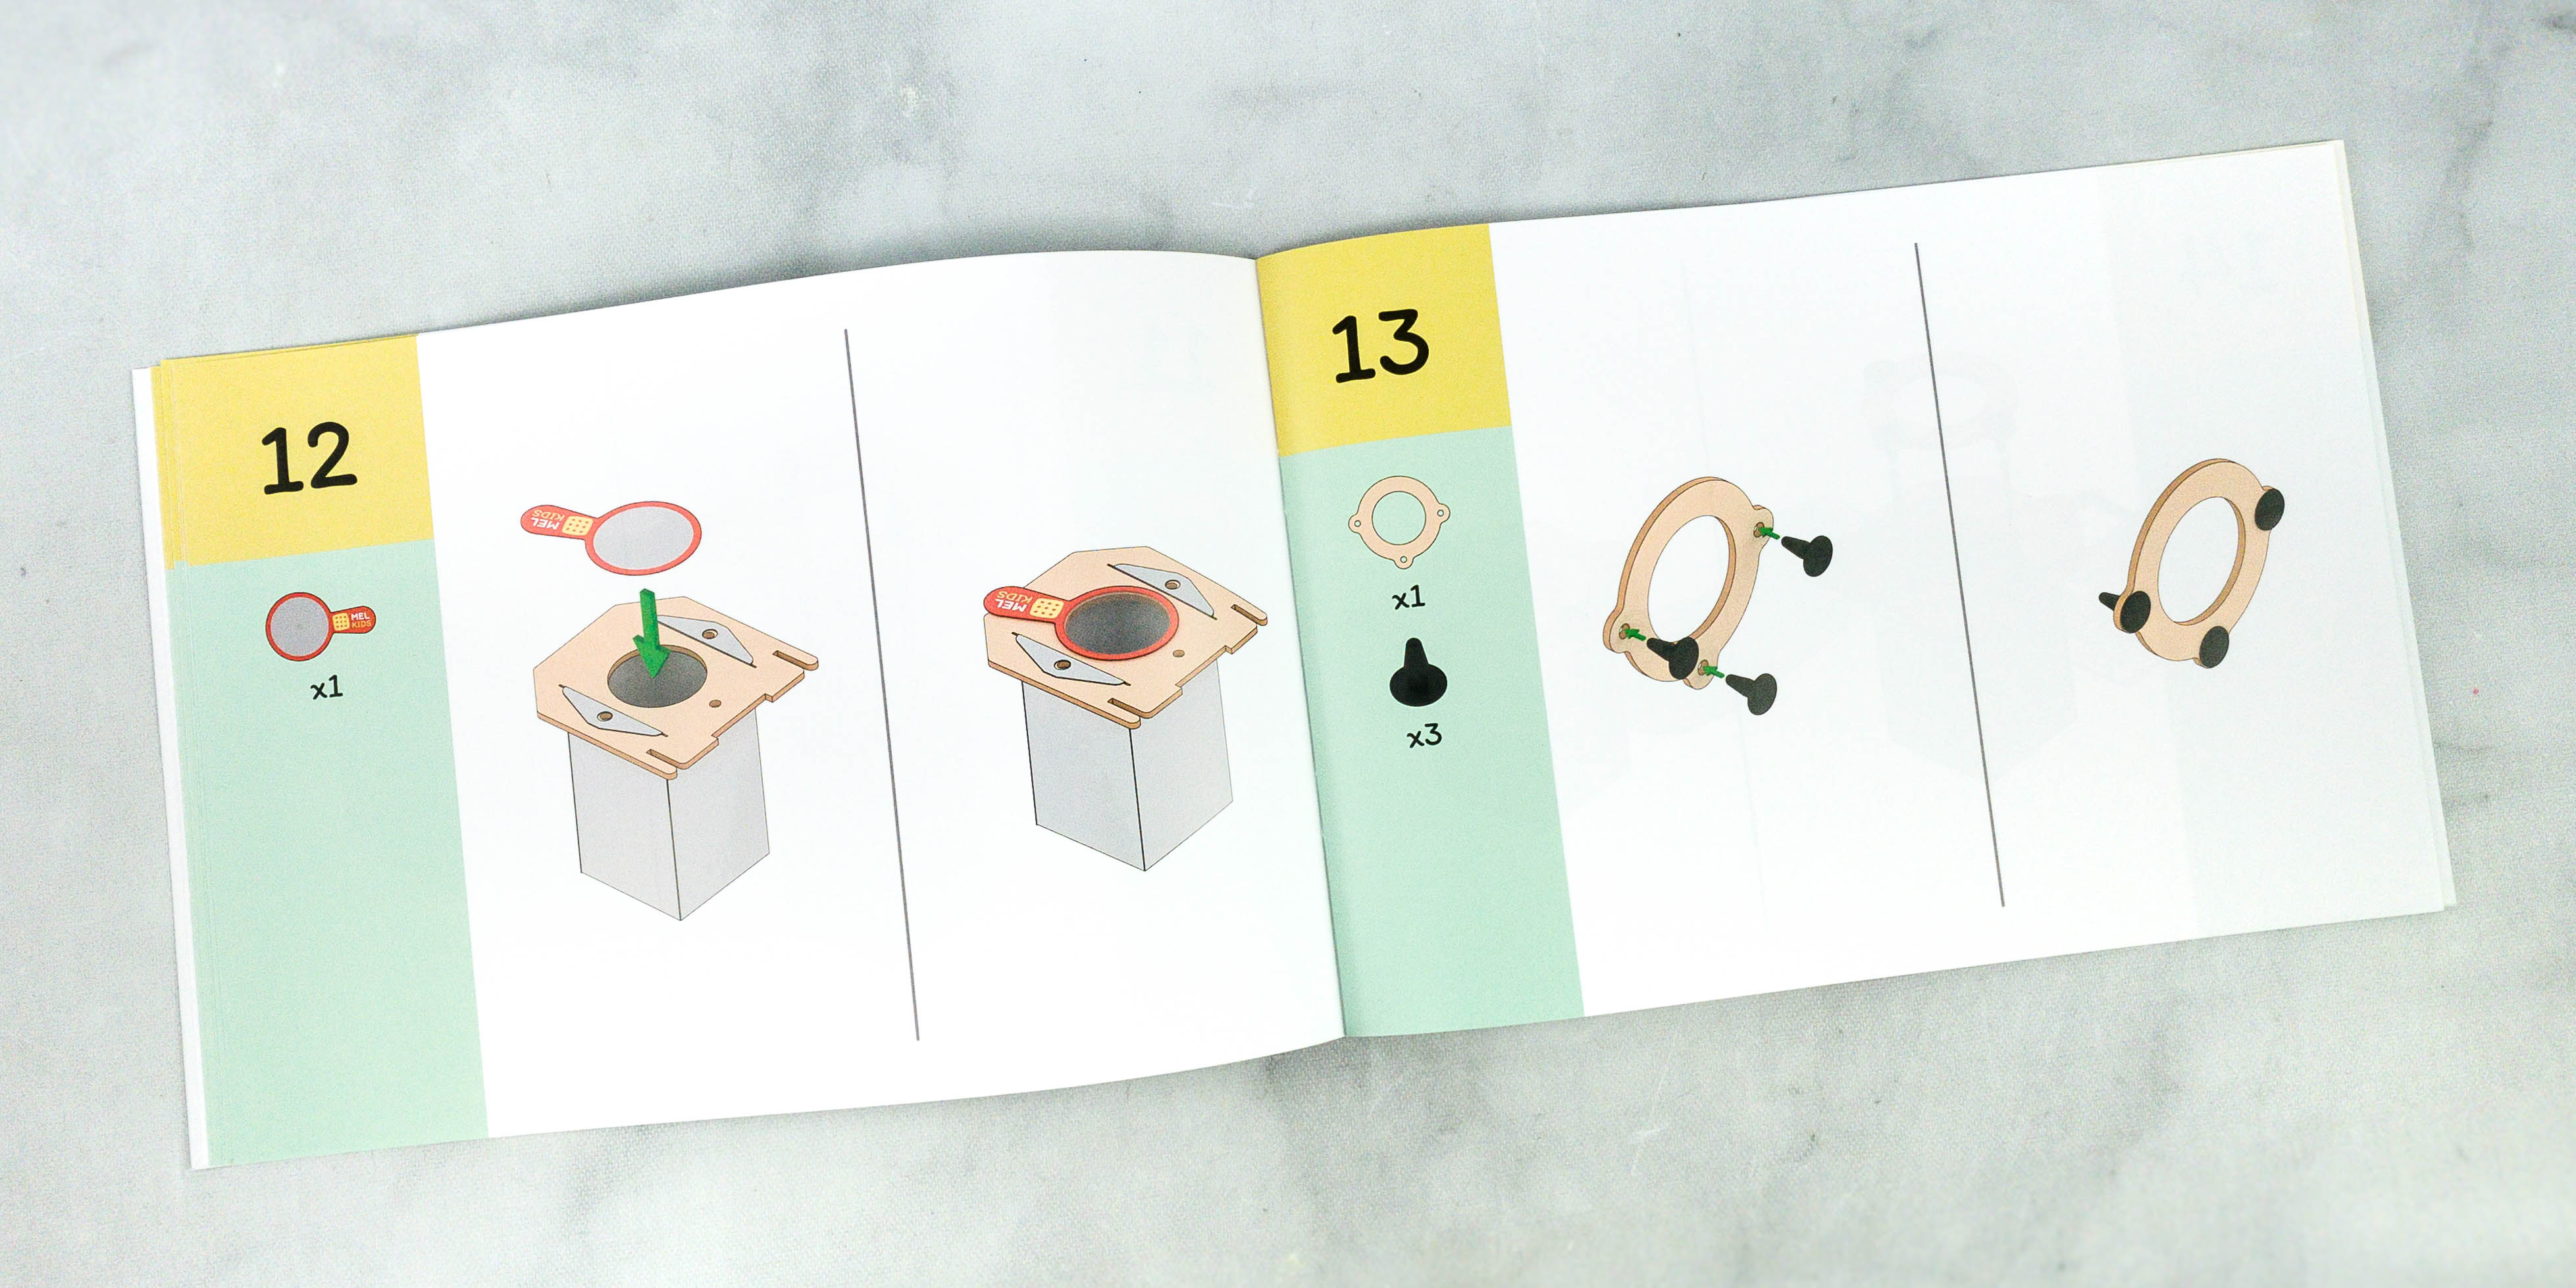
Now, it’s time to put the lens on the lens holder and lens wall. Combining the parts did not require any special tool. My kids were also able to do it with minimal adult supervision.
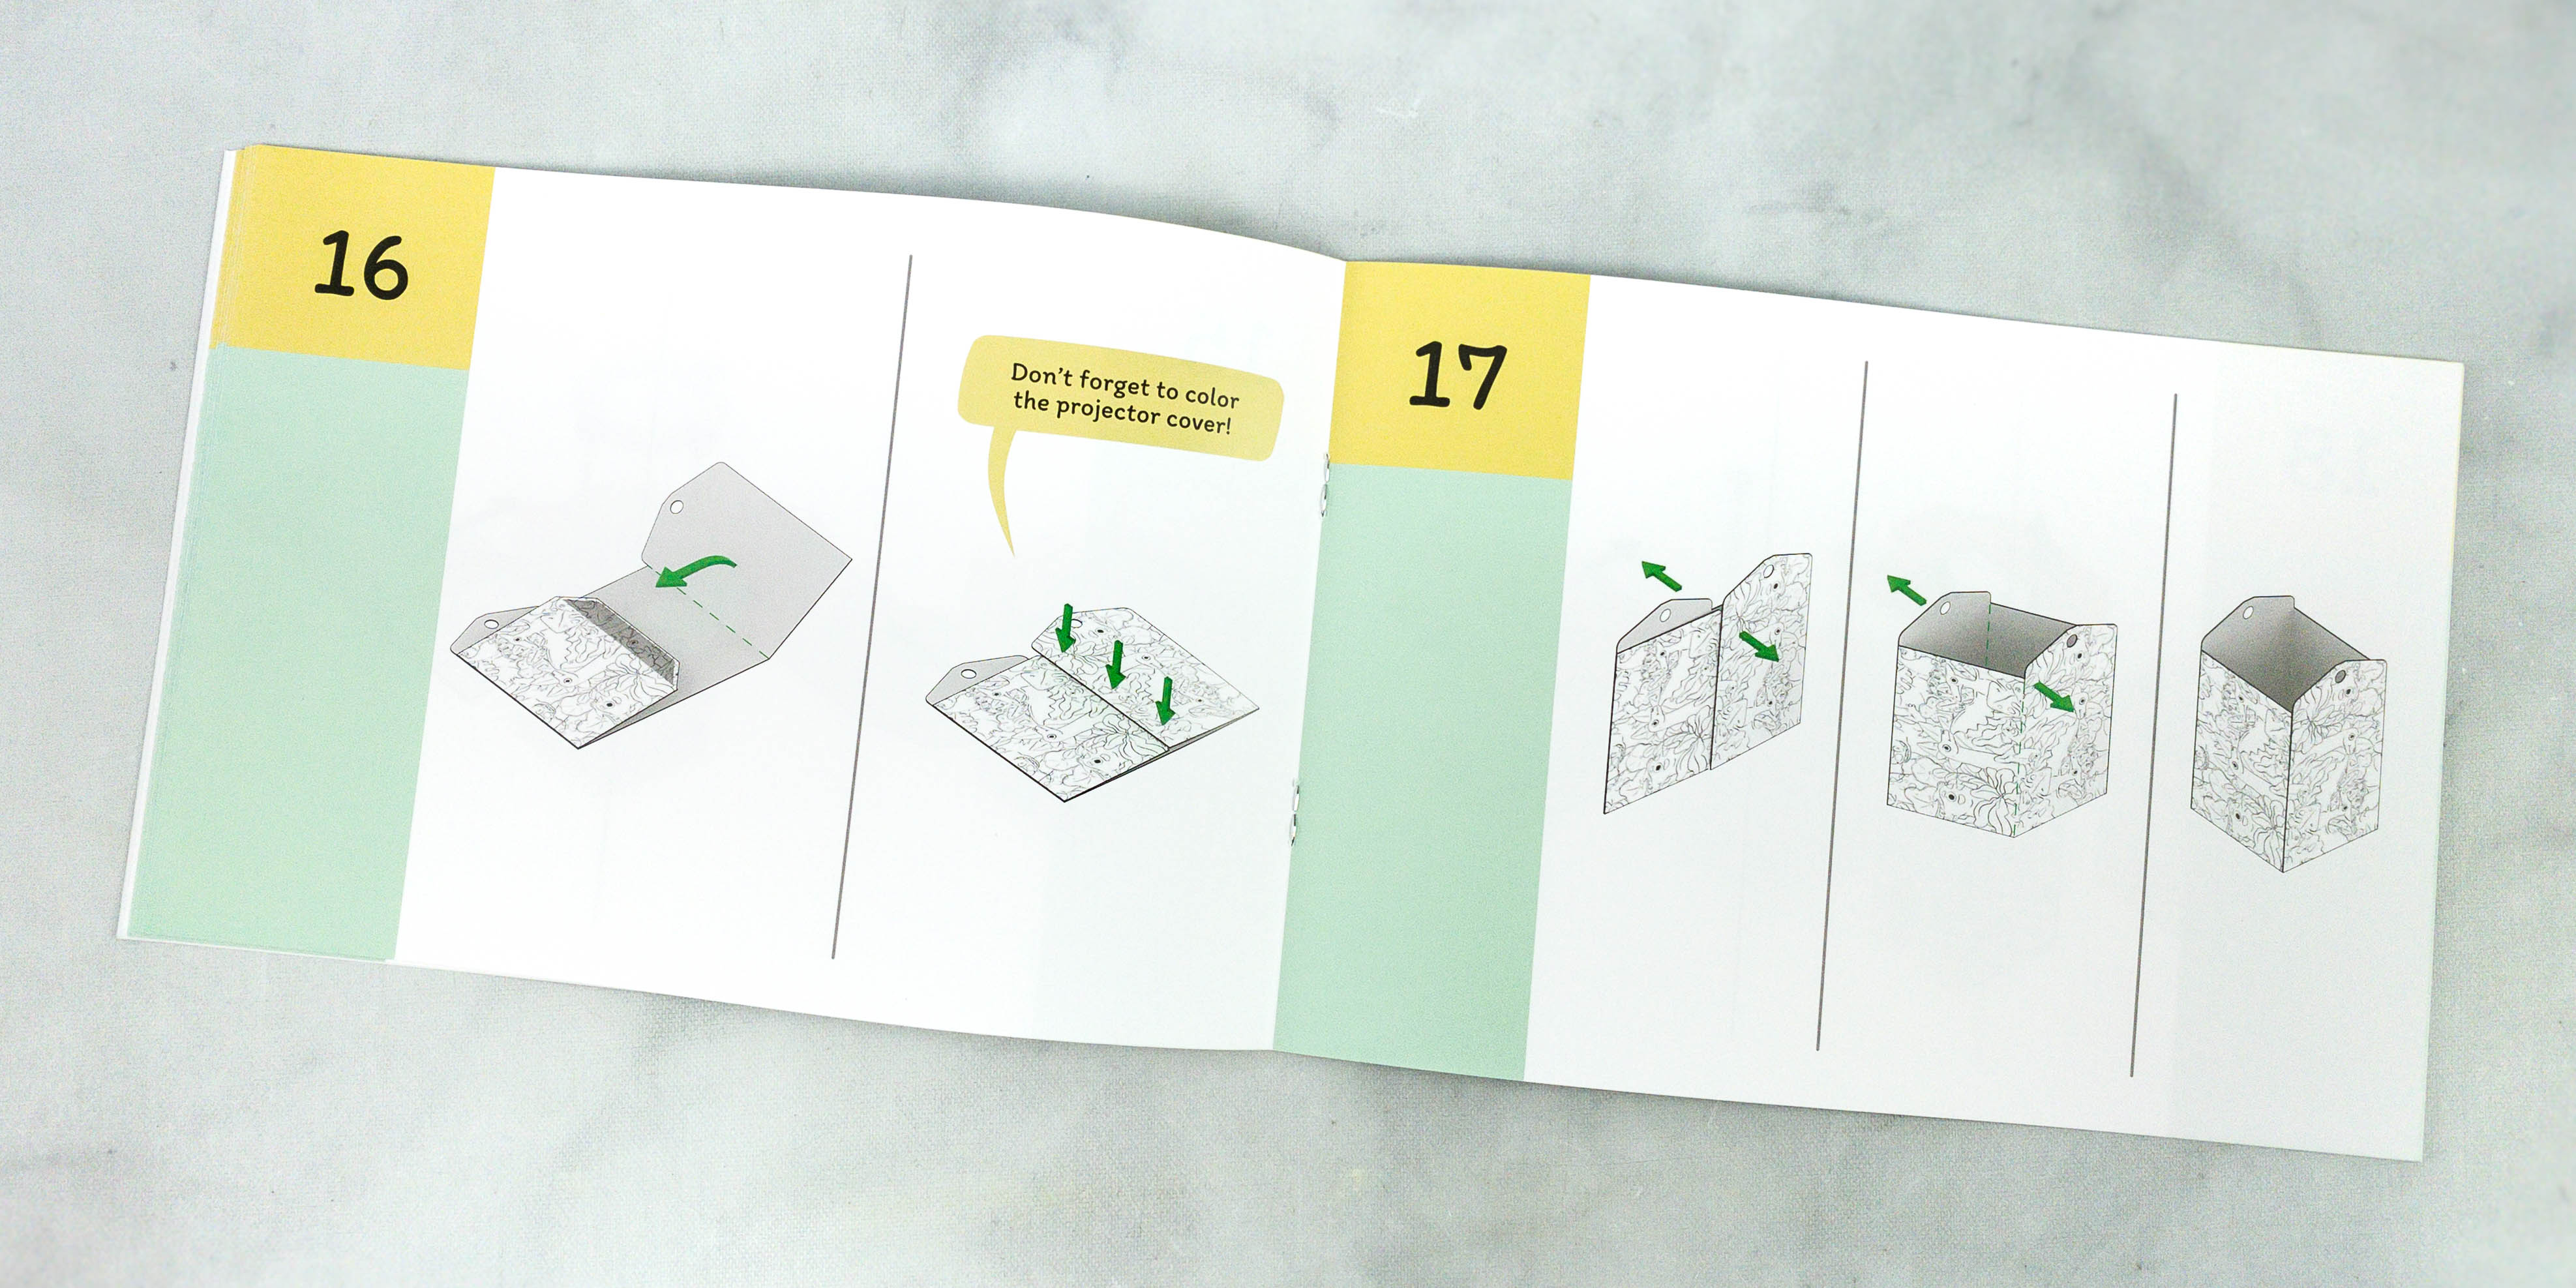
Kids can also do some artwork with the projector’s cover to customize it.
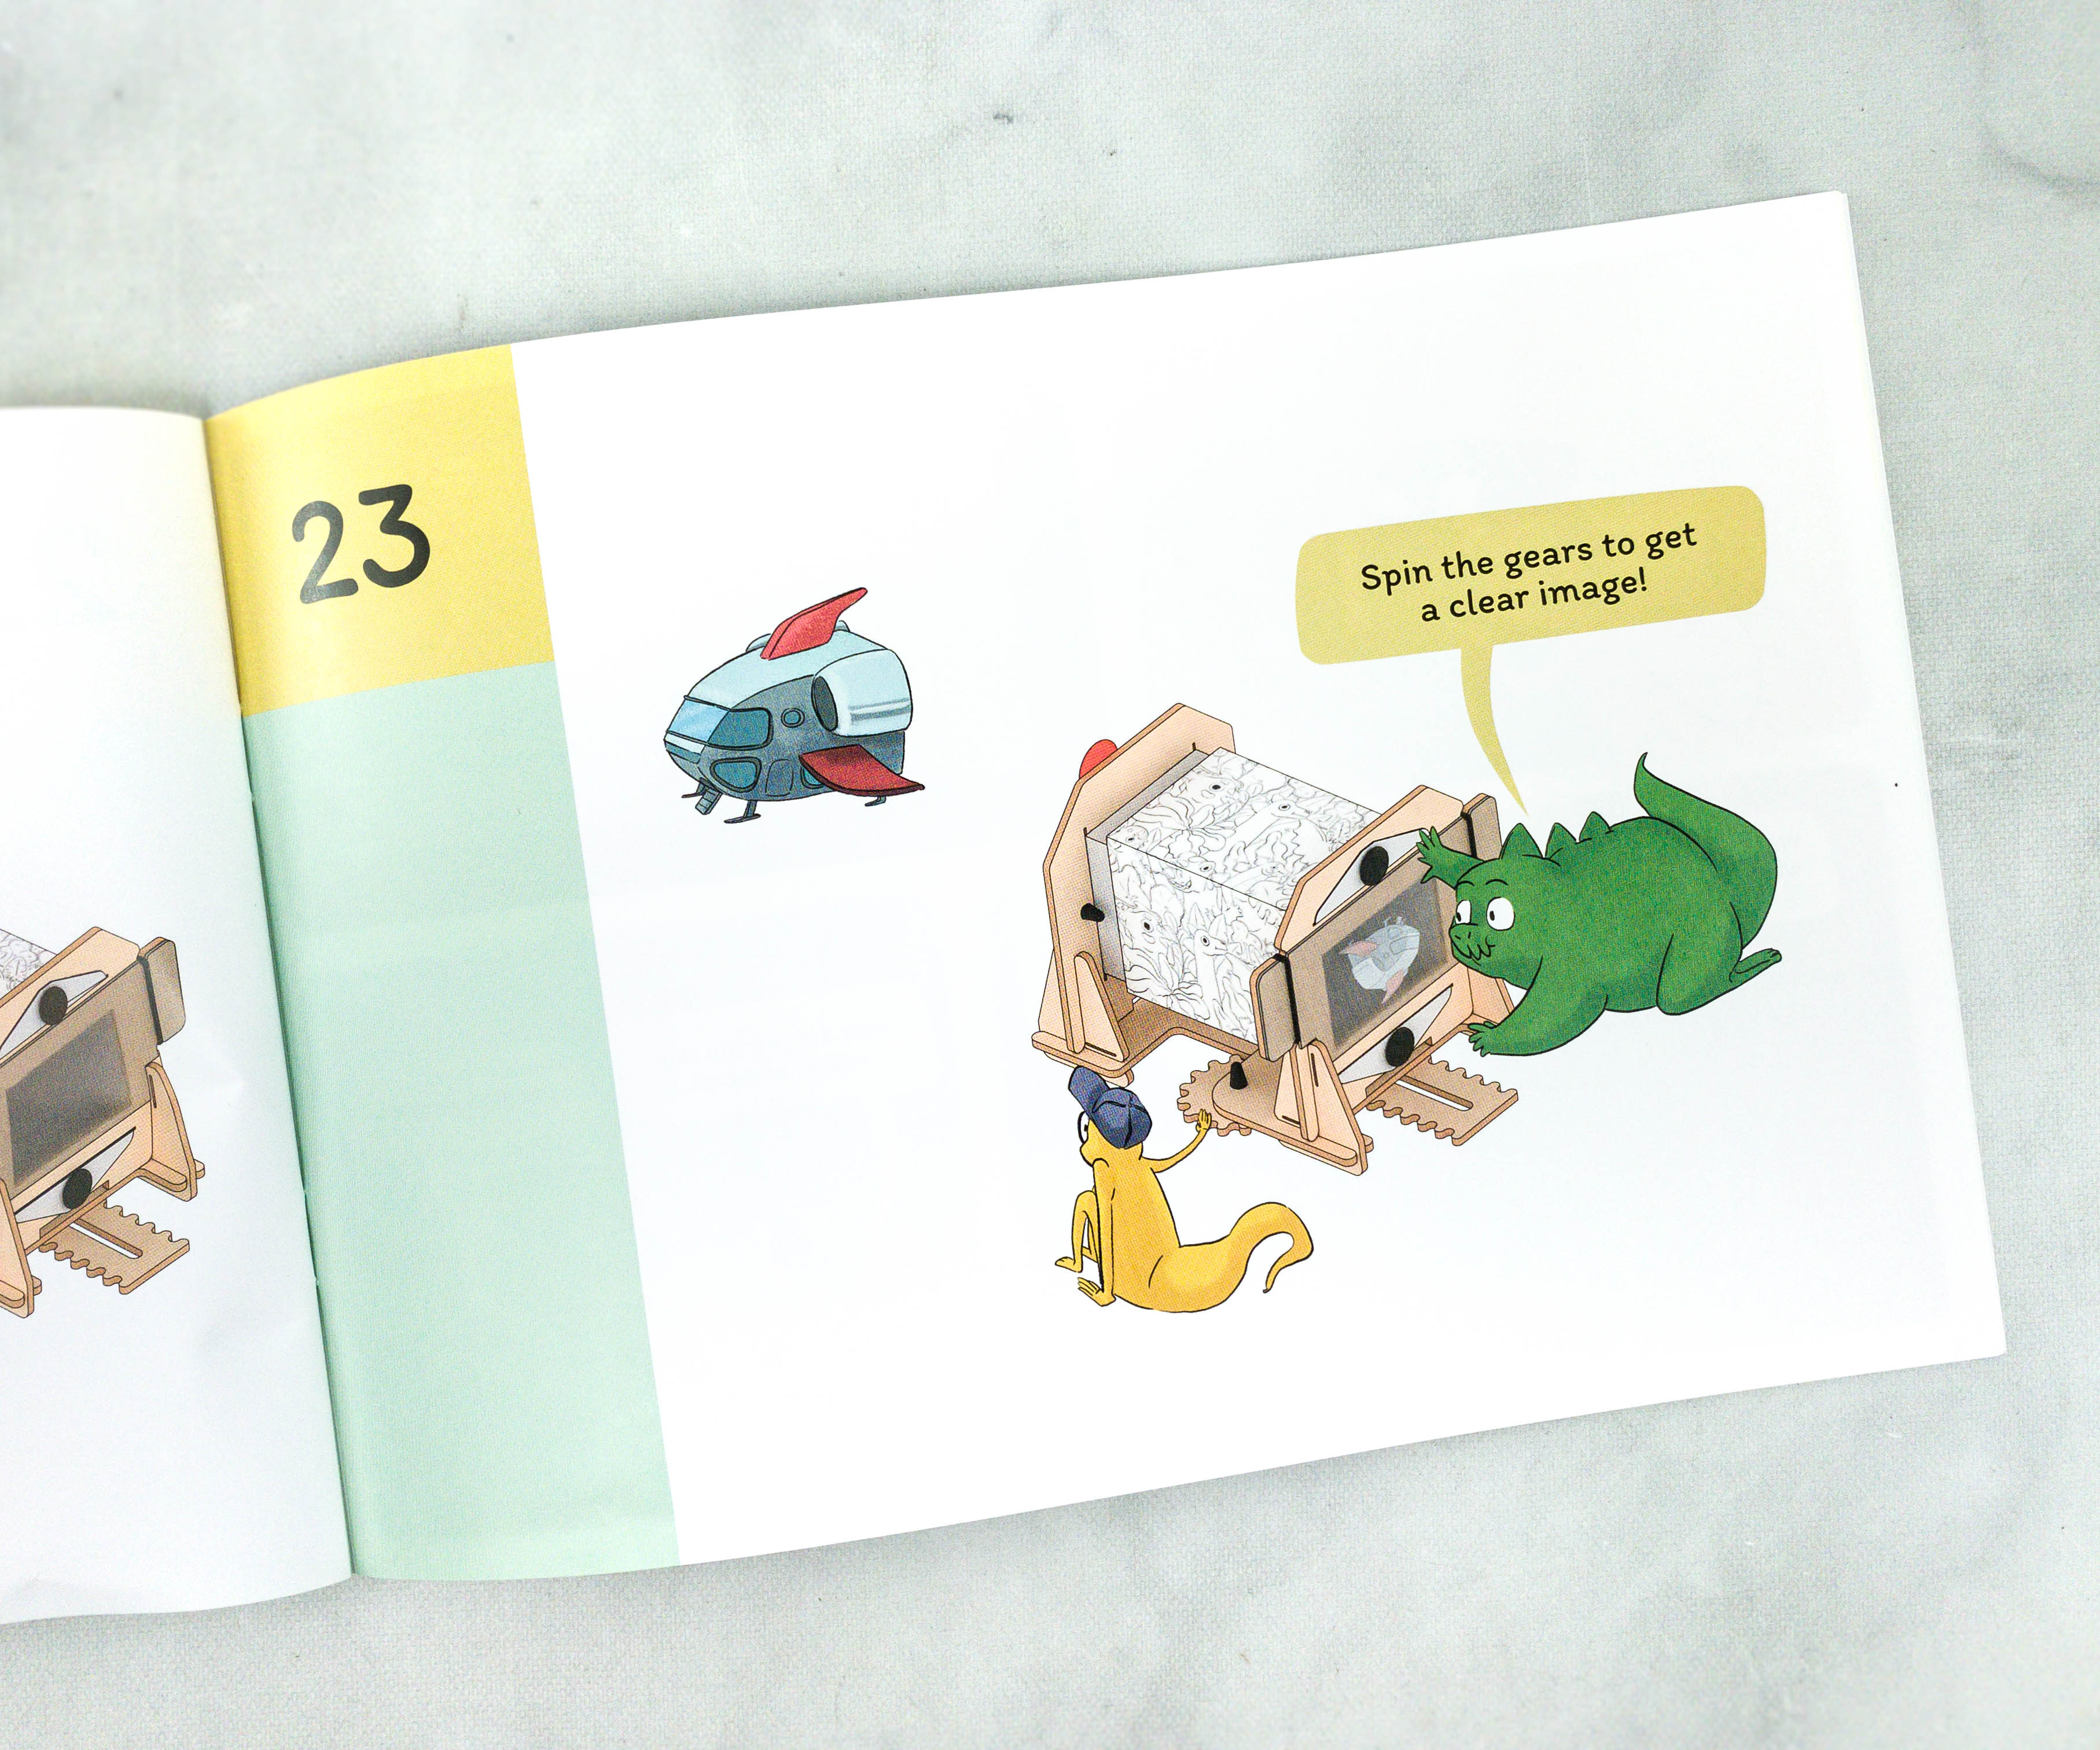
In this part of the booklet, Newt explains how the gears help improve the image on the projector.
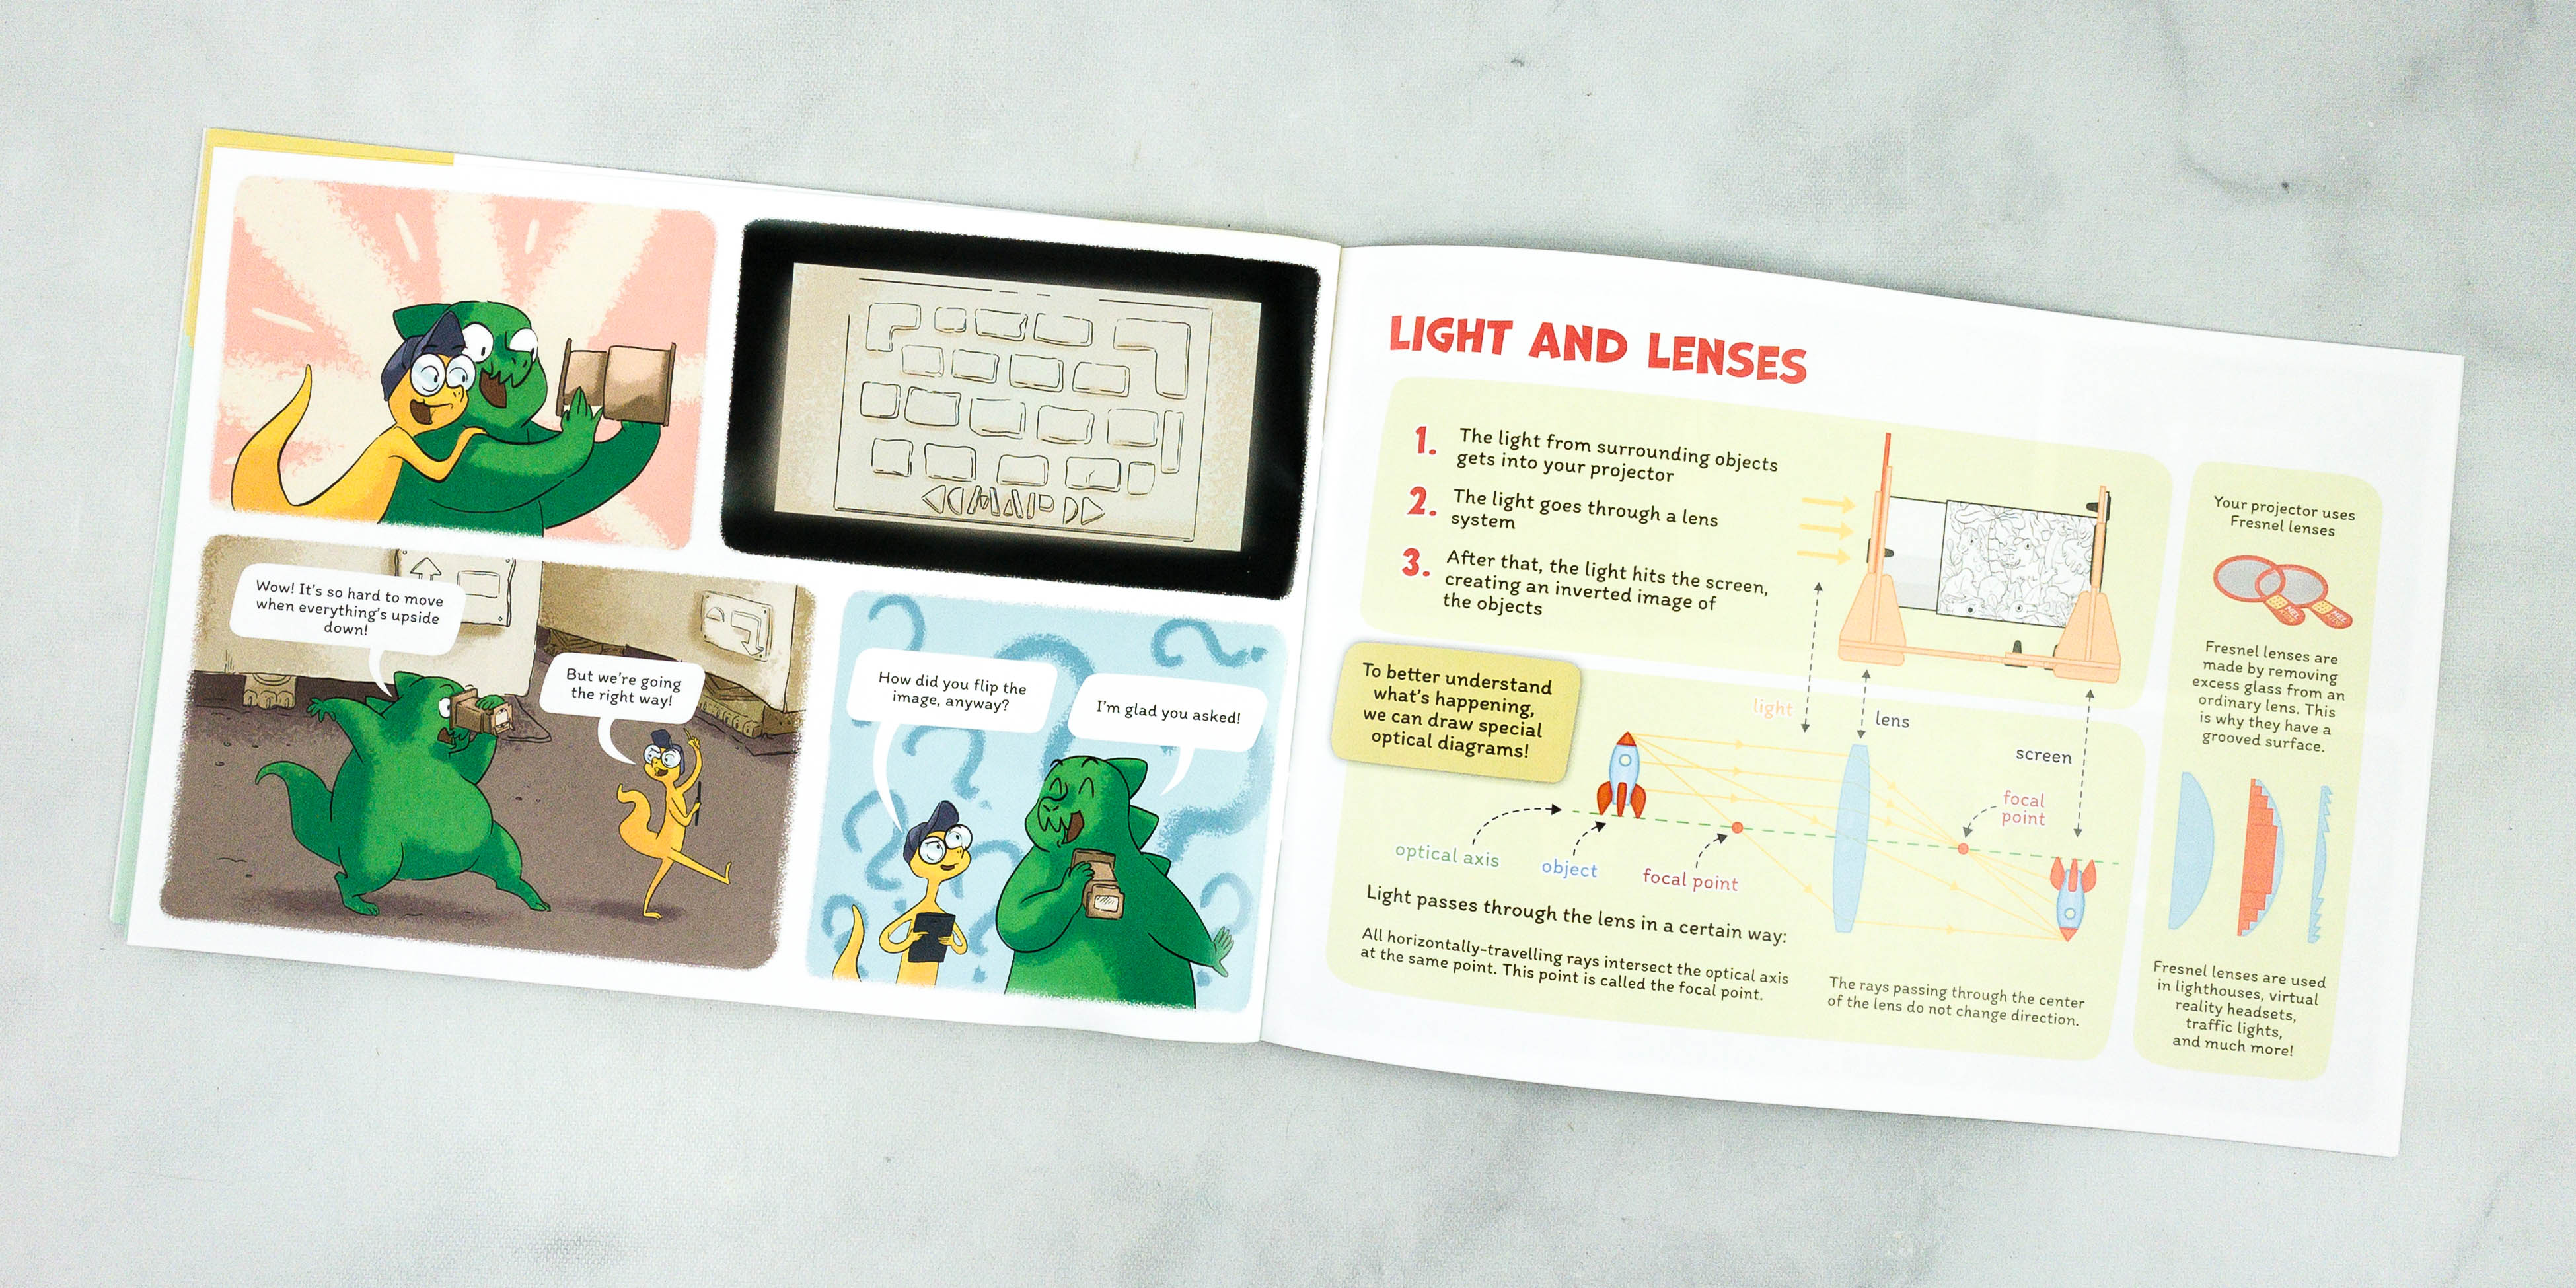
They also discussed light and lenses.
- The light from surrounding objects gets into your projector.
- The light goes through a lens system.
- After that, the light hits the screen, creating an inverted image of the objects.
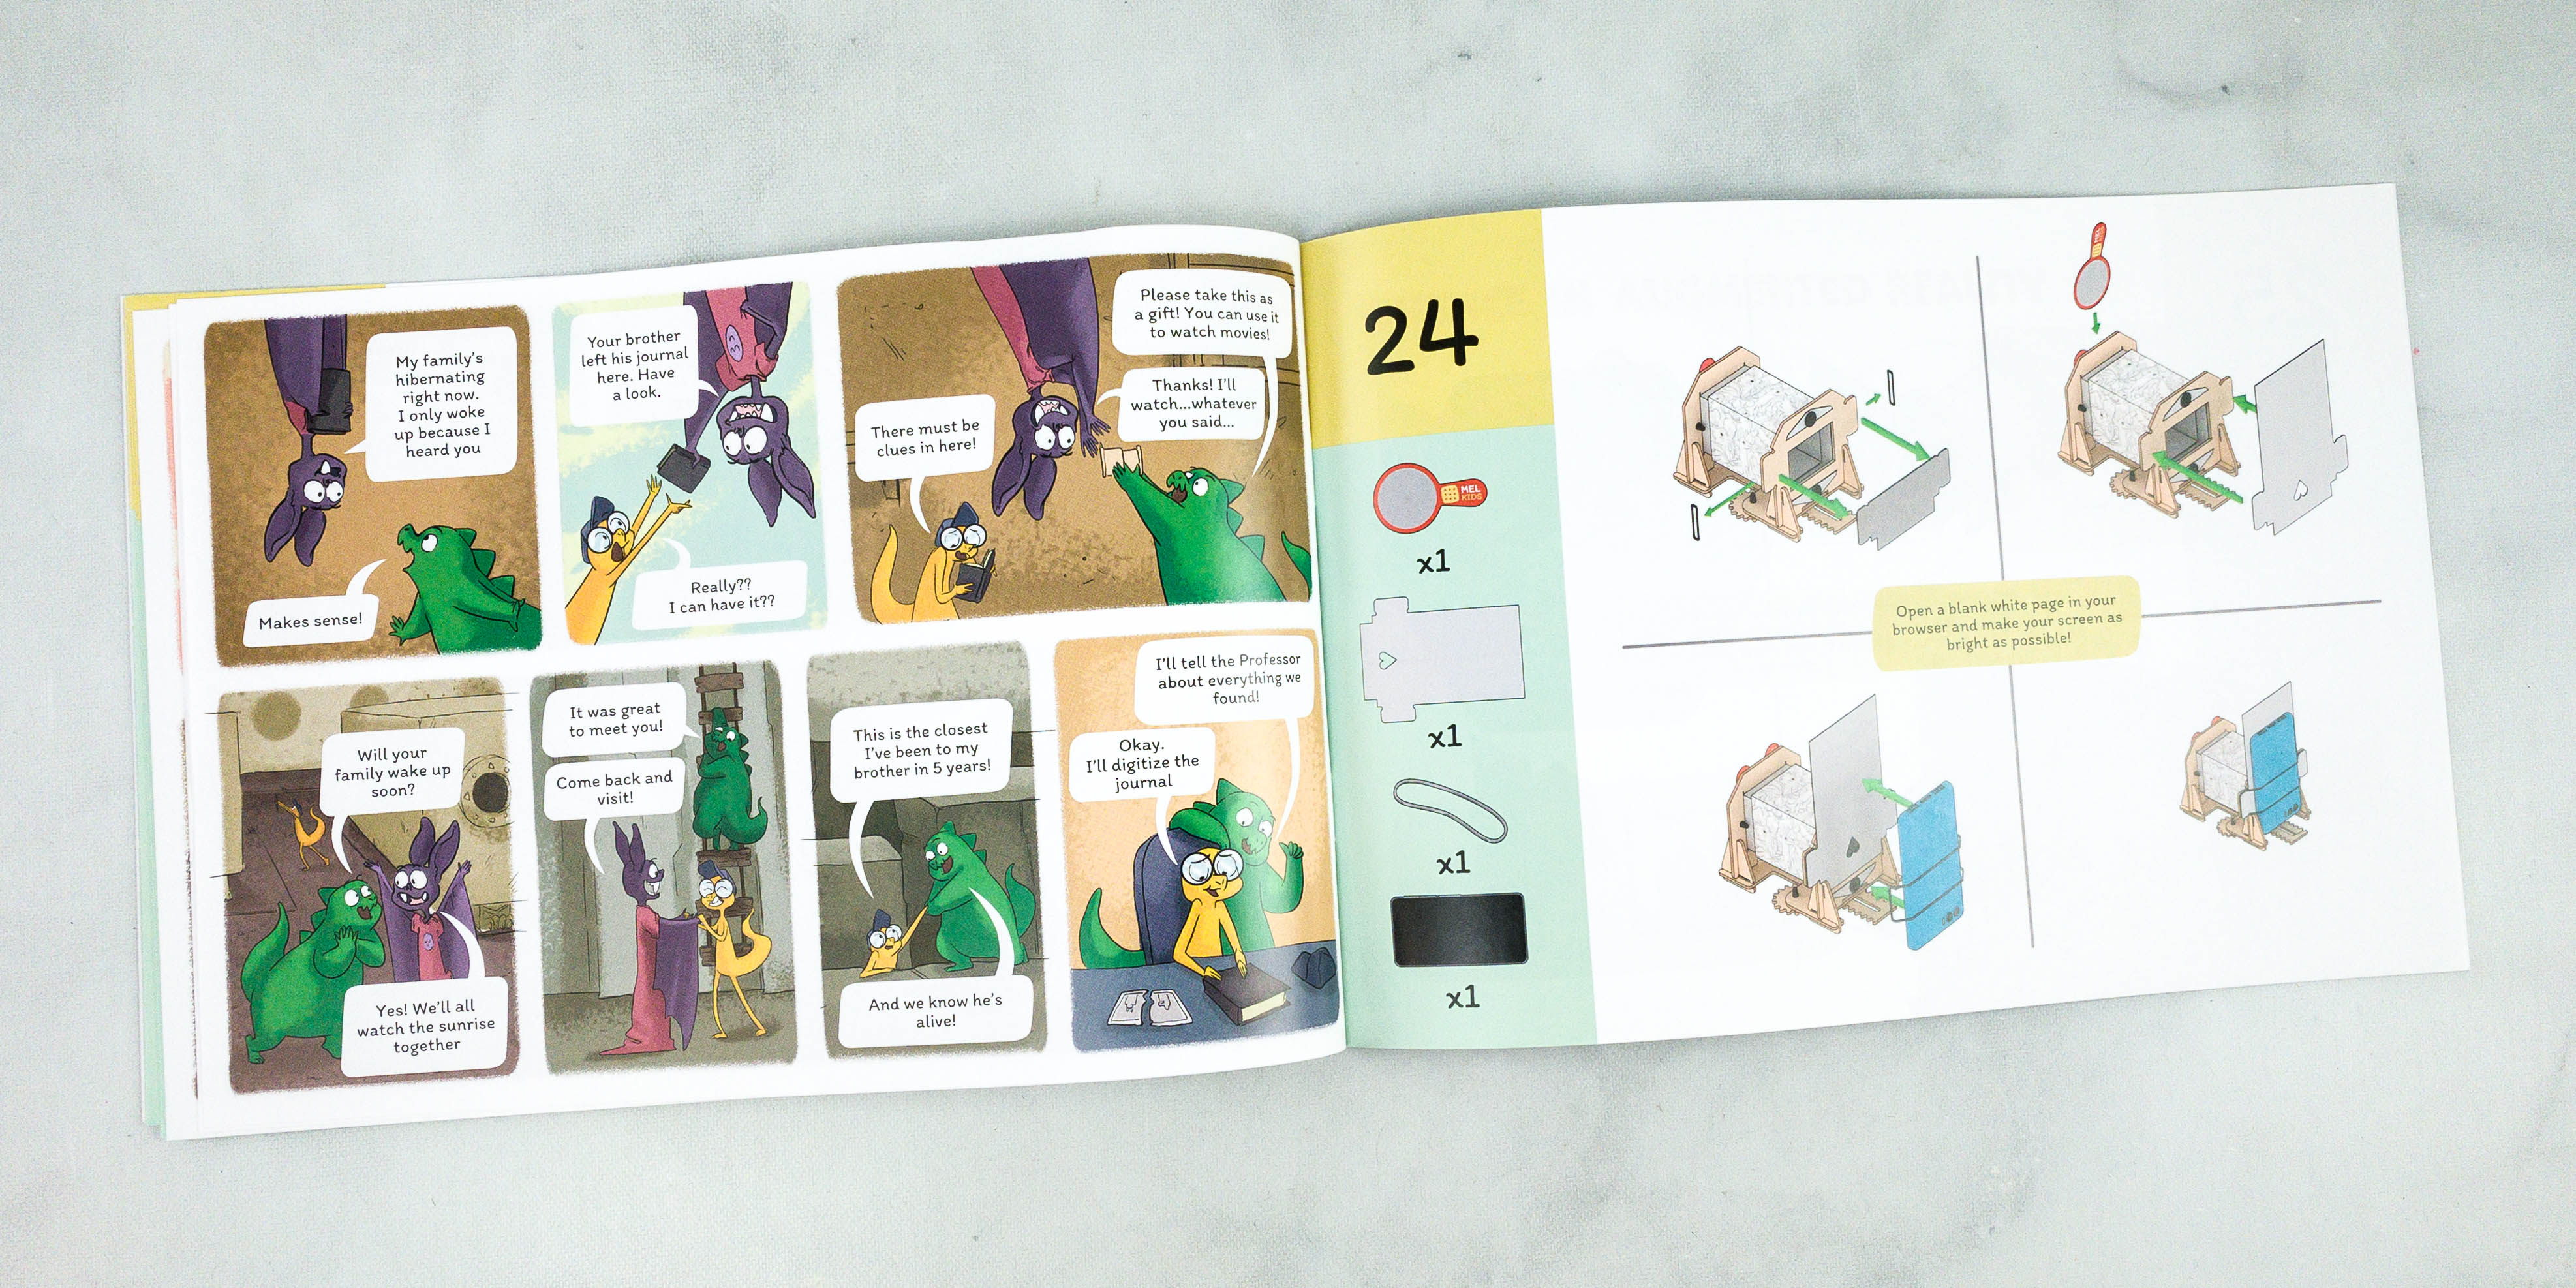
It’s almost done! To project the provided images, you just have to insert the lens and then use a smart phone with a bright screen light.
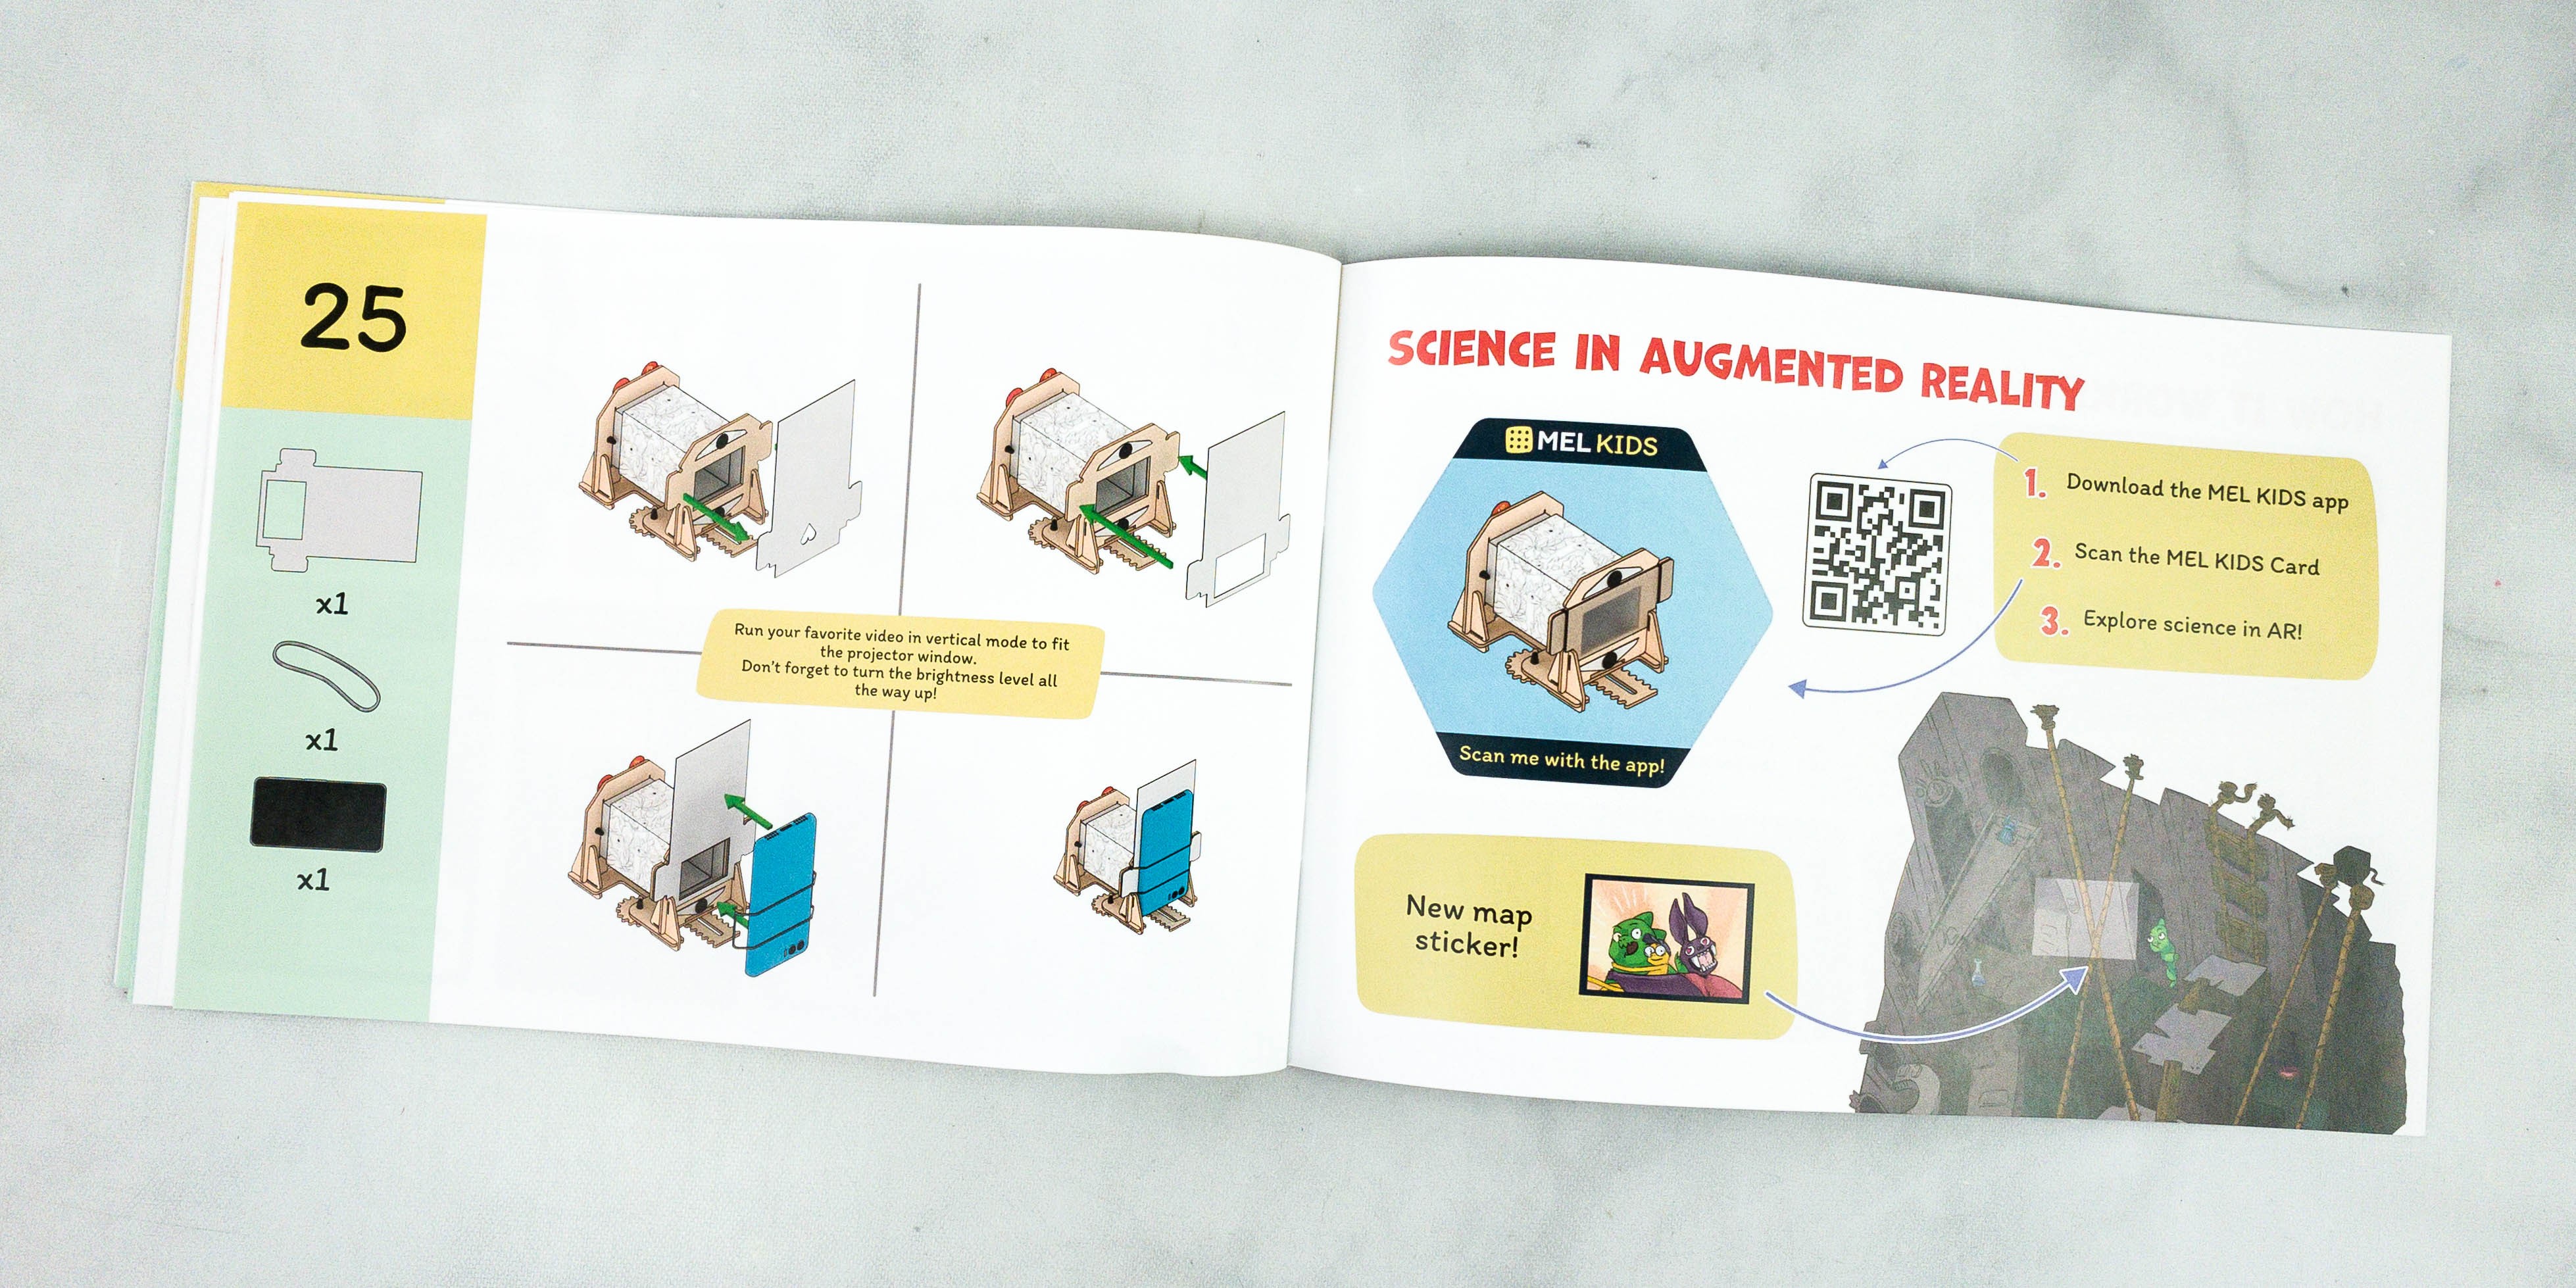
If you want to use the projector with a video on your phone, just run the video you want to watch in vertical mode so it’ll fit the projector window, and then turn the brightness up!
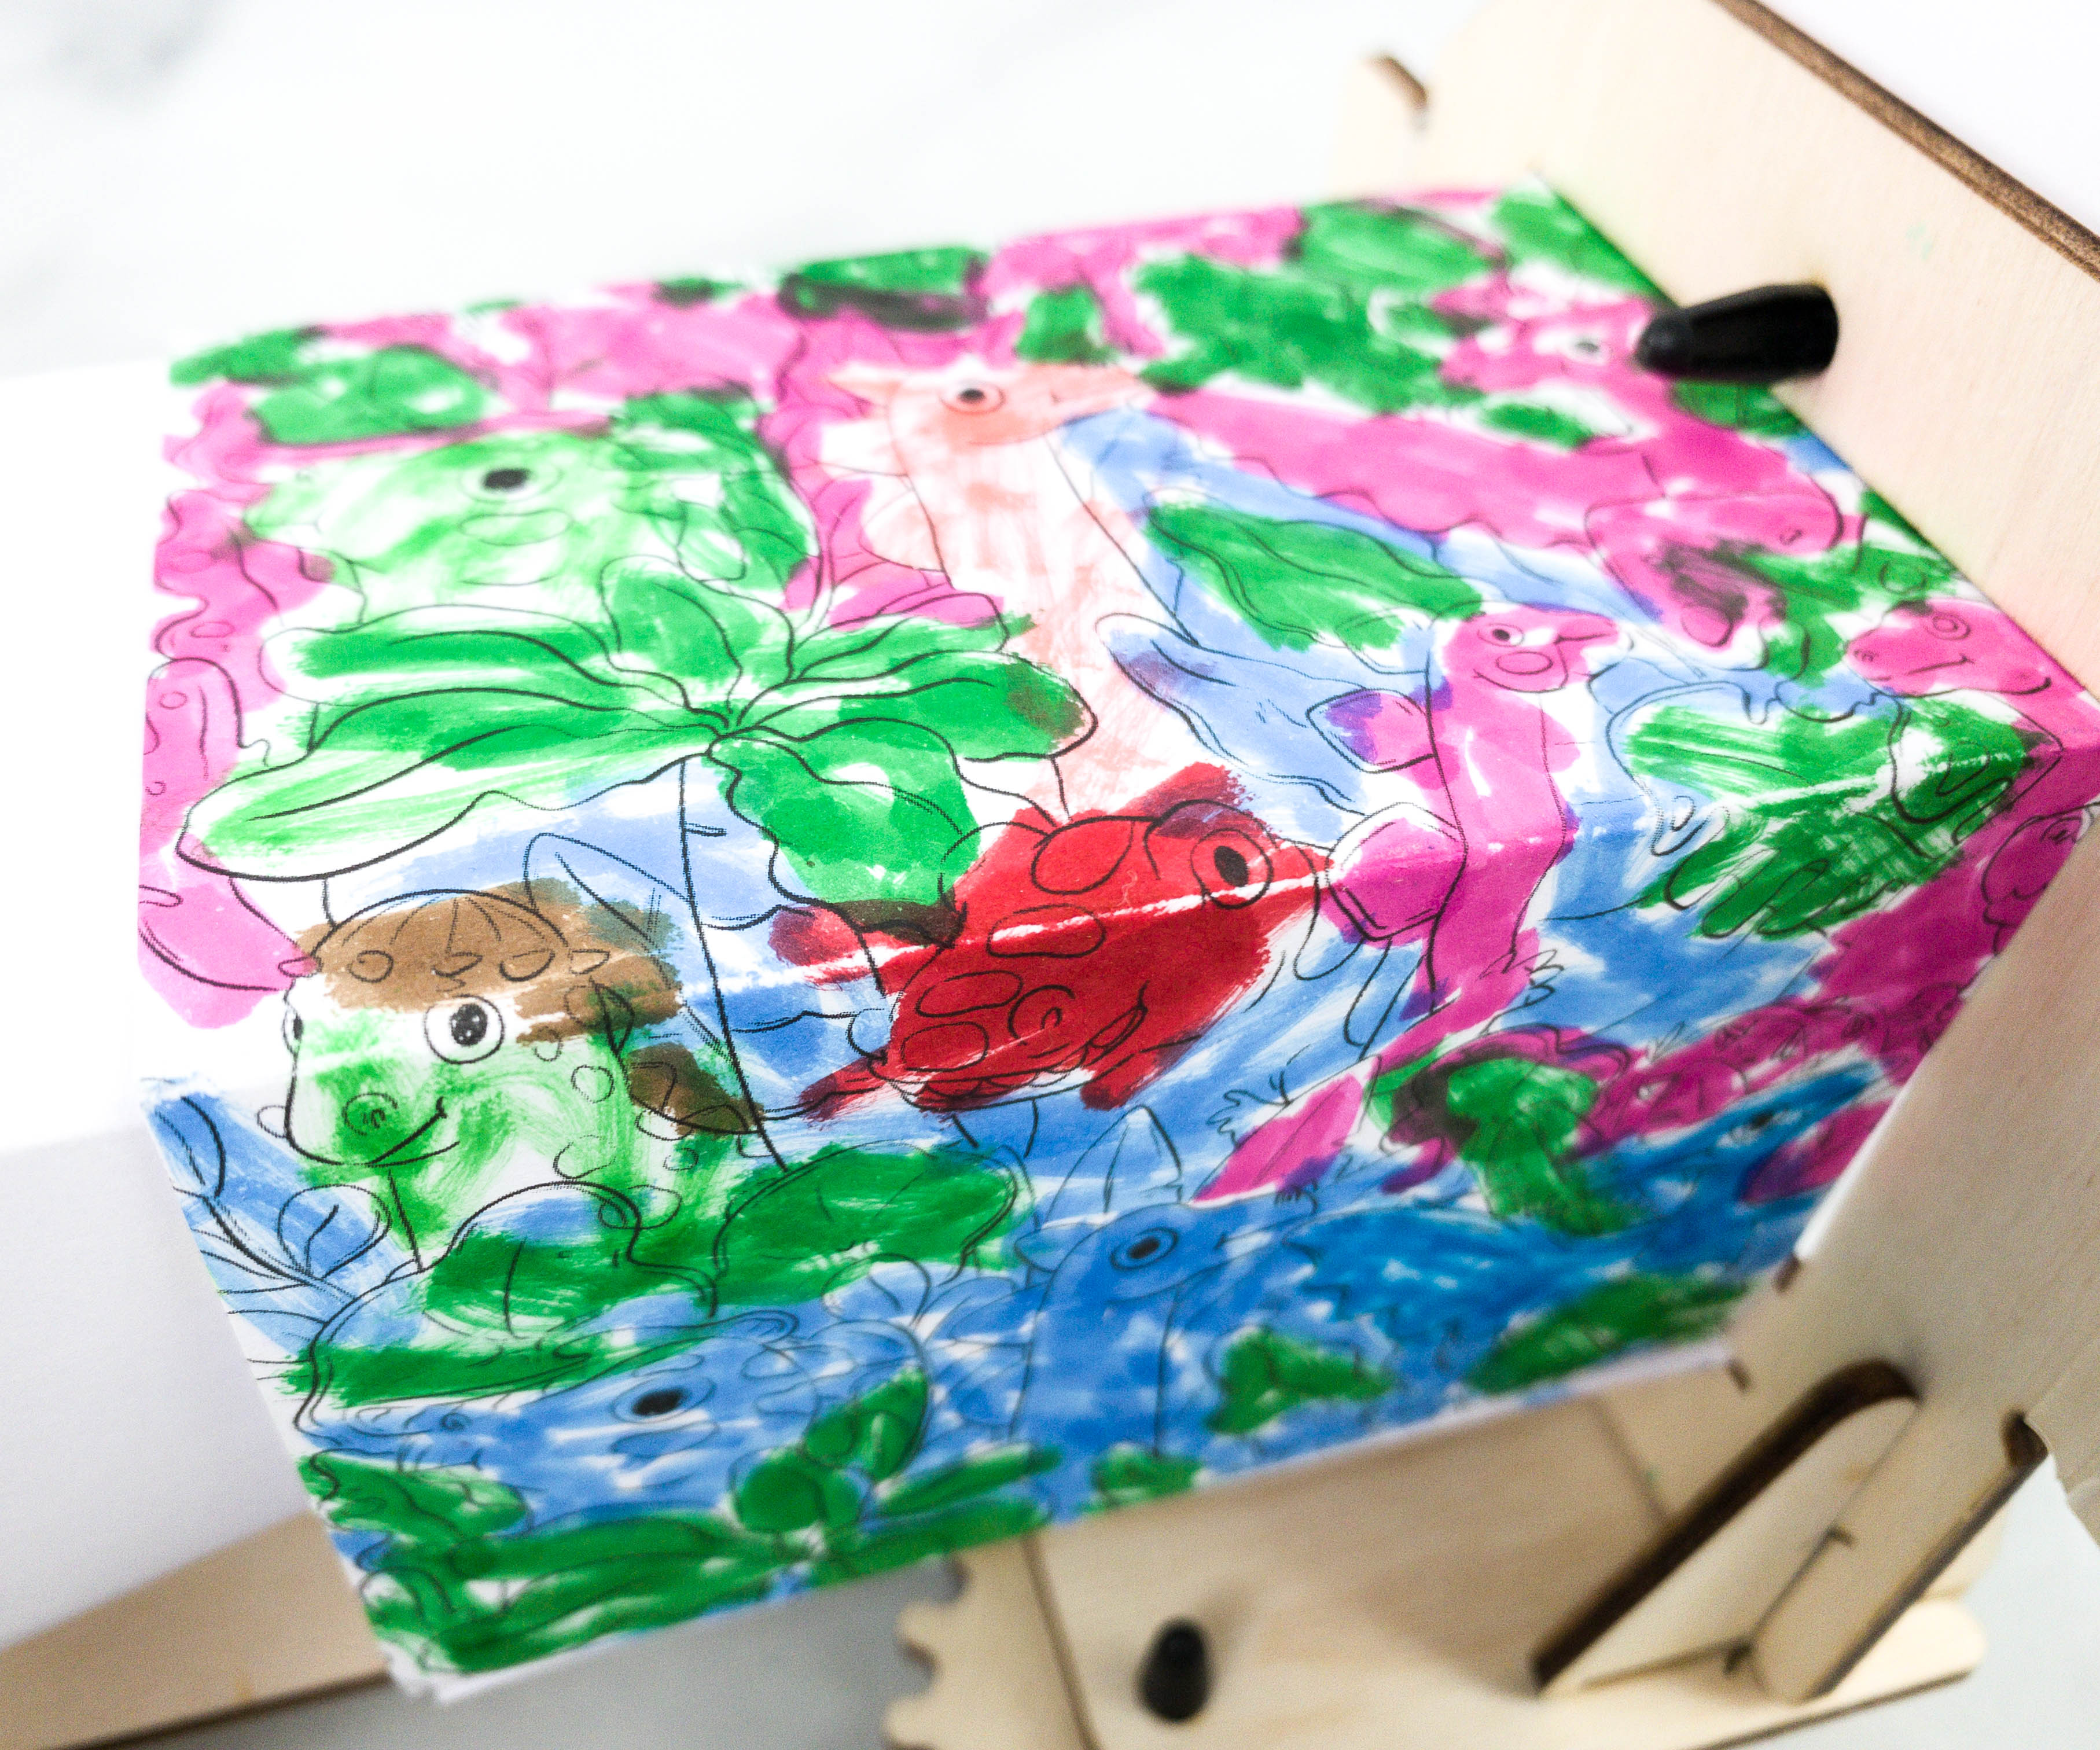
Here’s how the outside of the projector looked like when my kids finished coloring it!
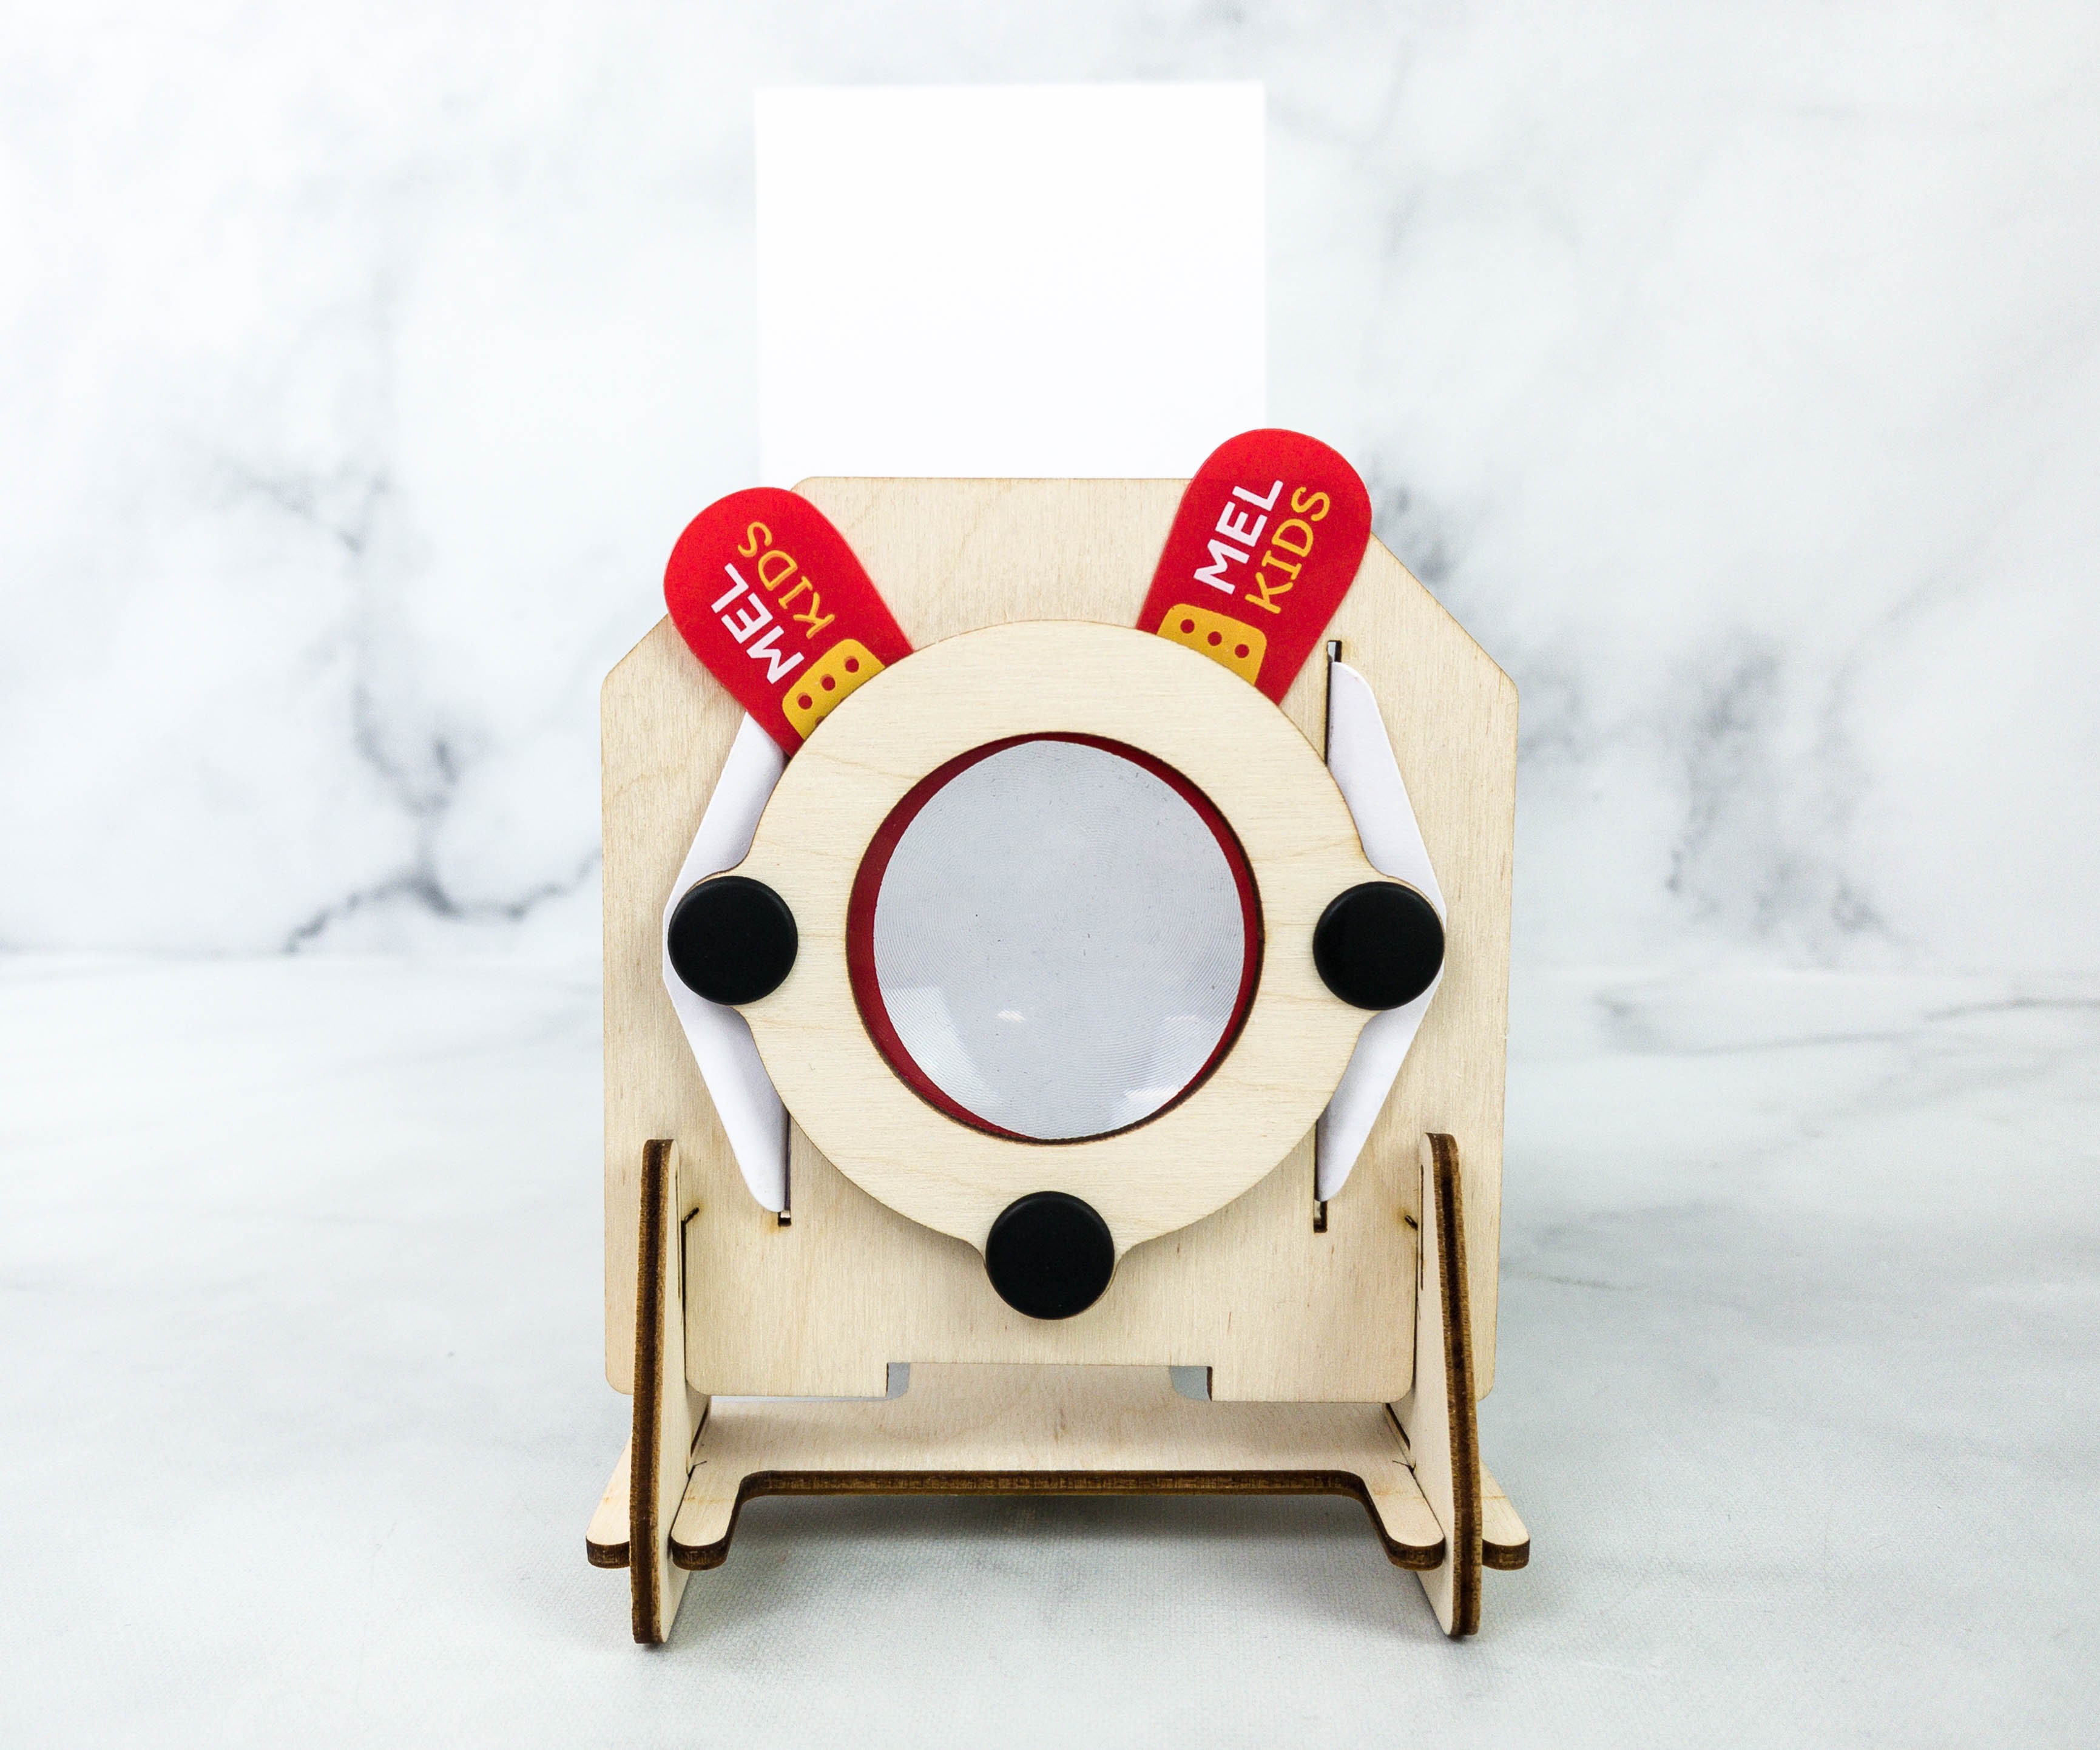
It looks like a bunny with those two lens handles on top!
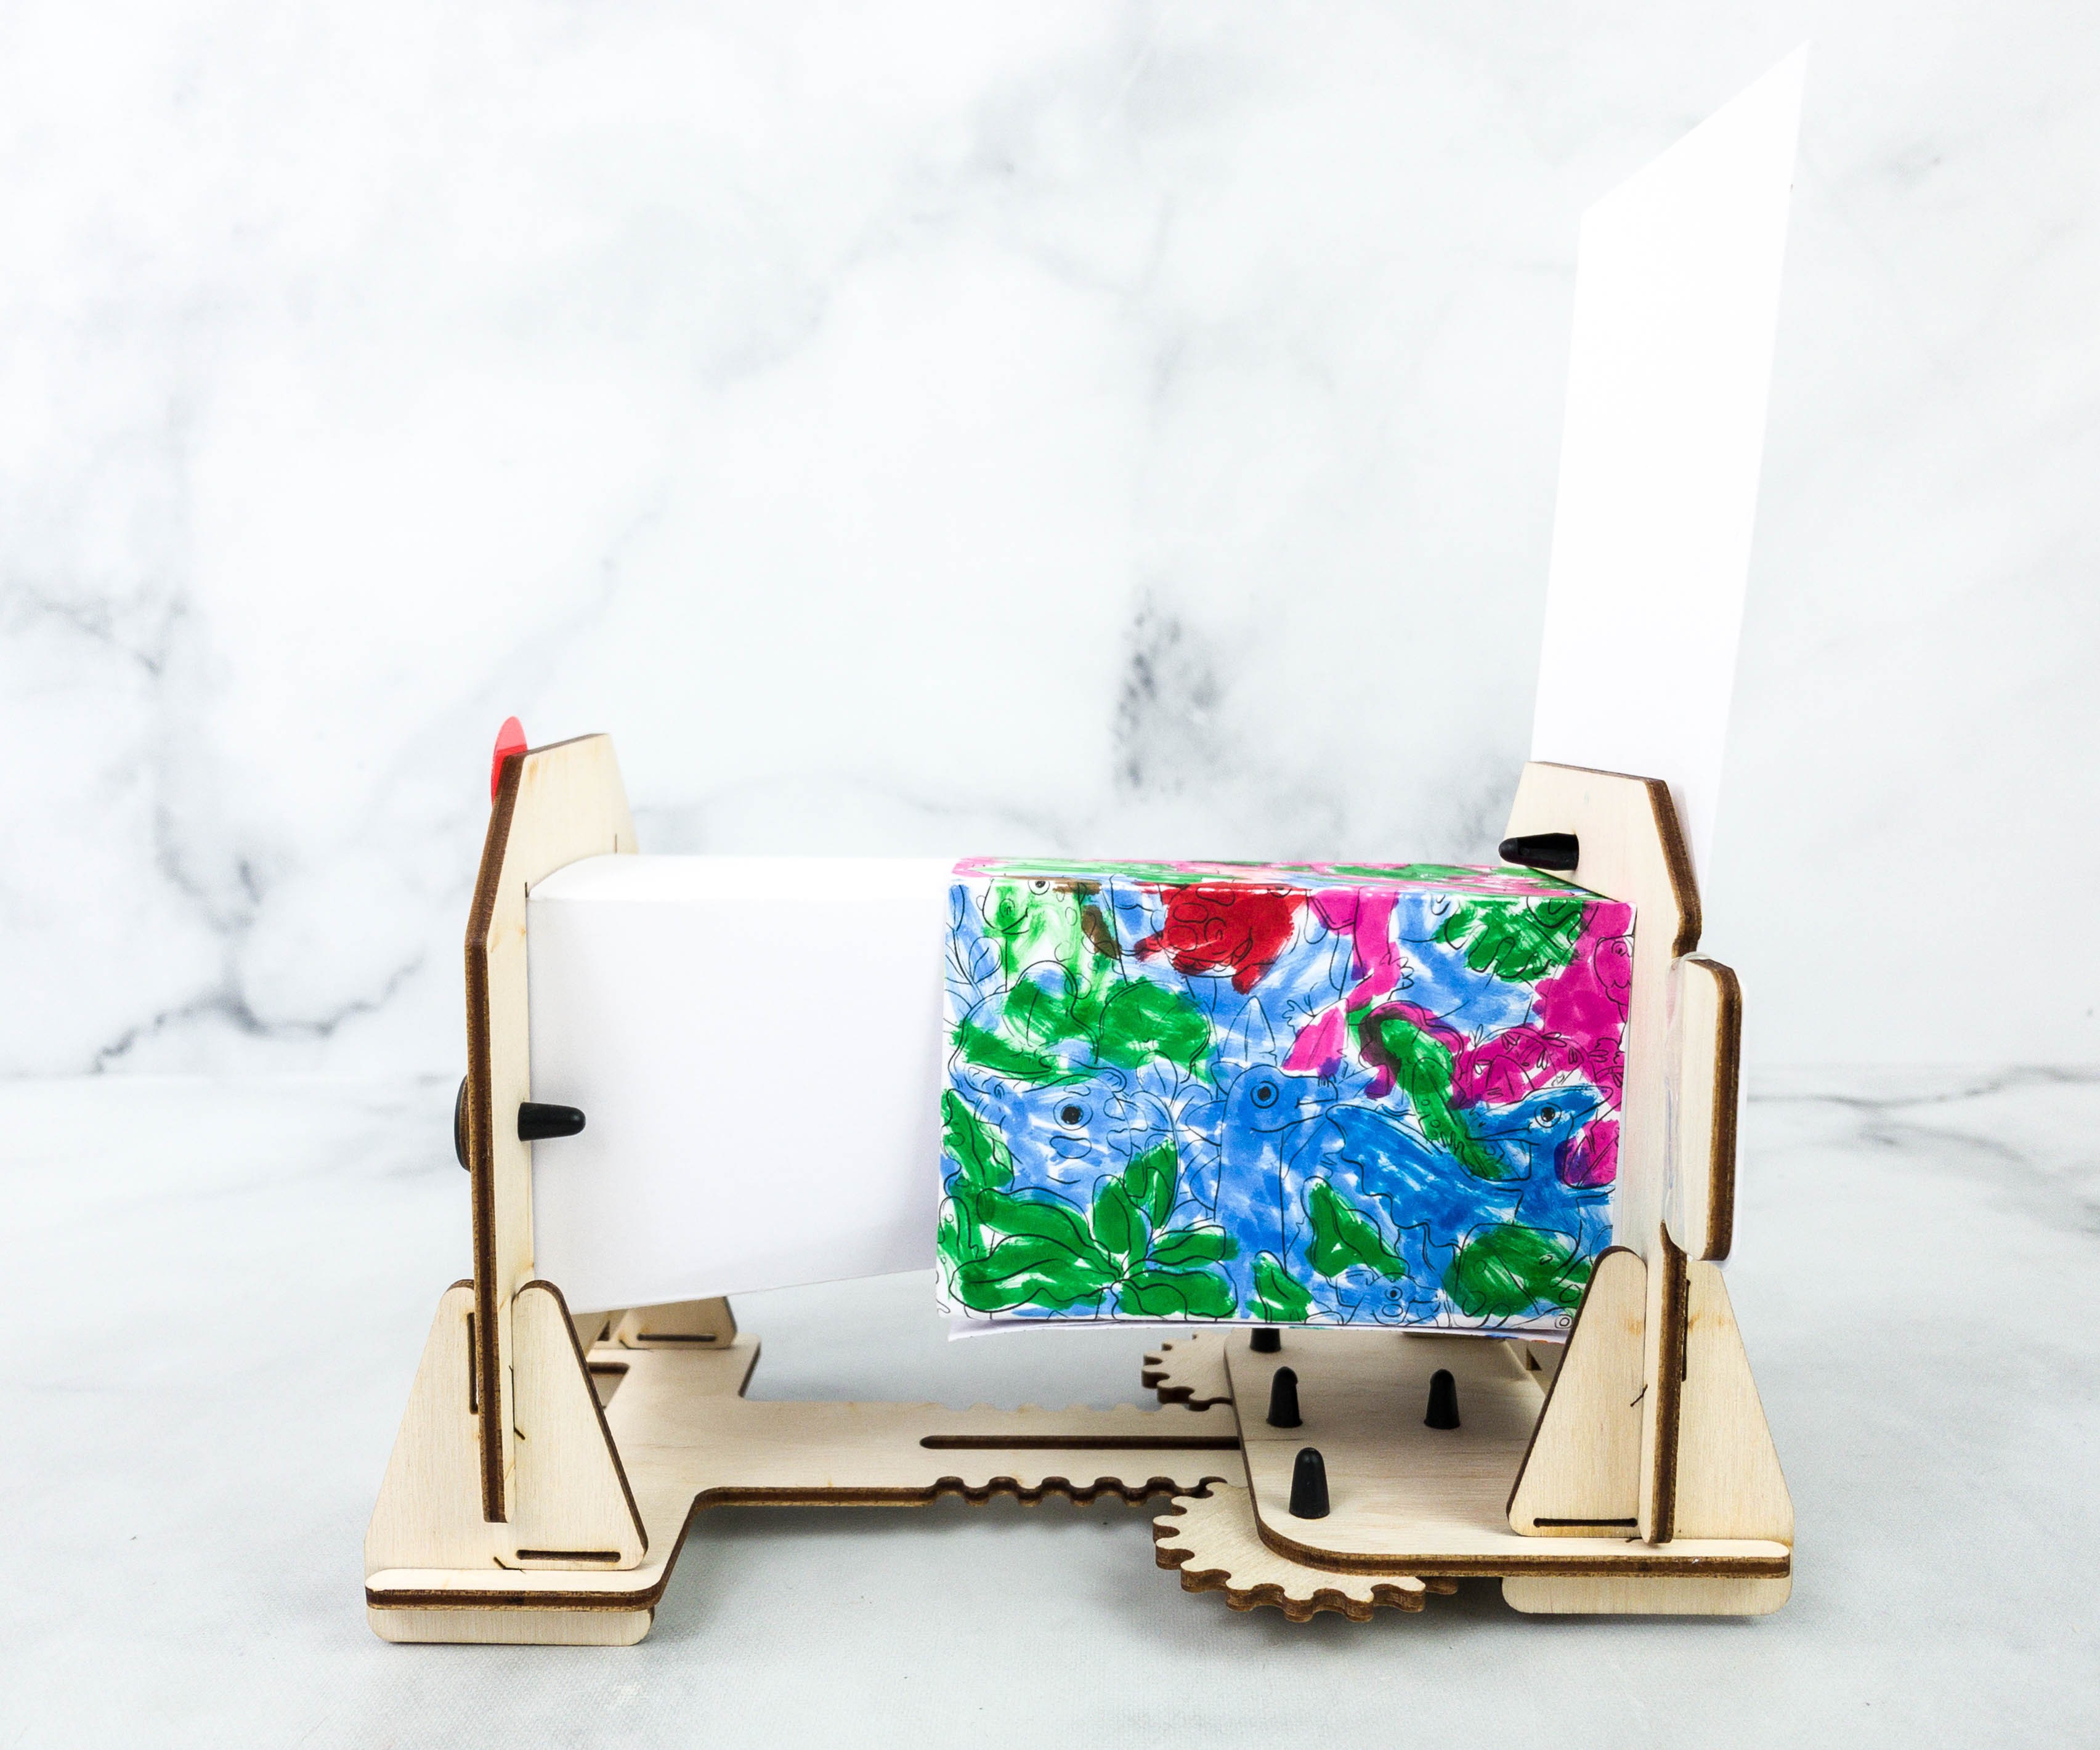
It’s sturdy as well!

It’s time to check if their project works. The smile on their faces tells me that it functions well.
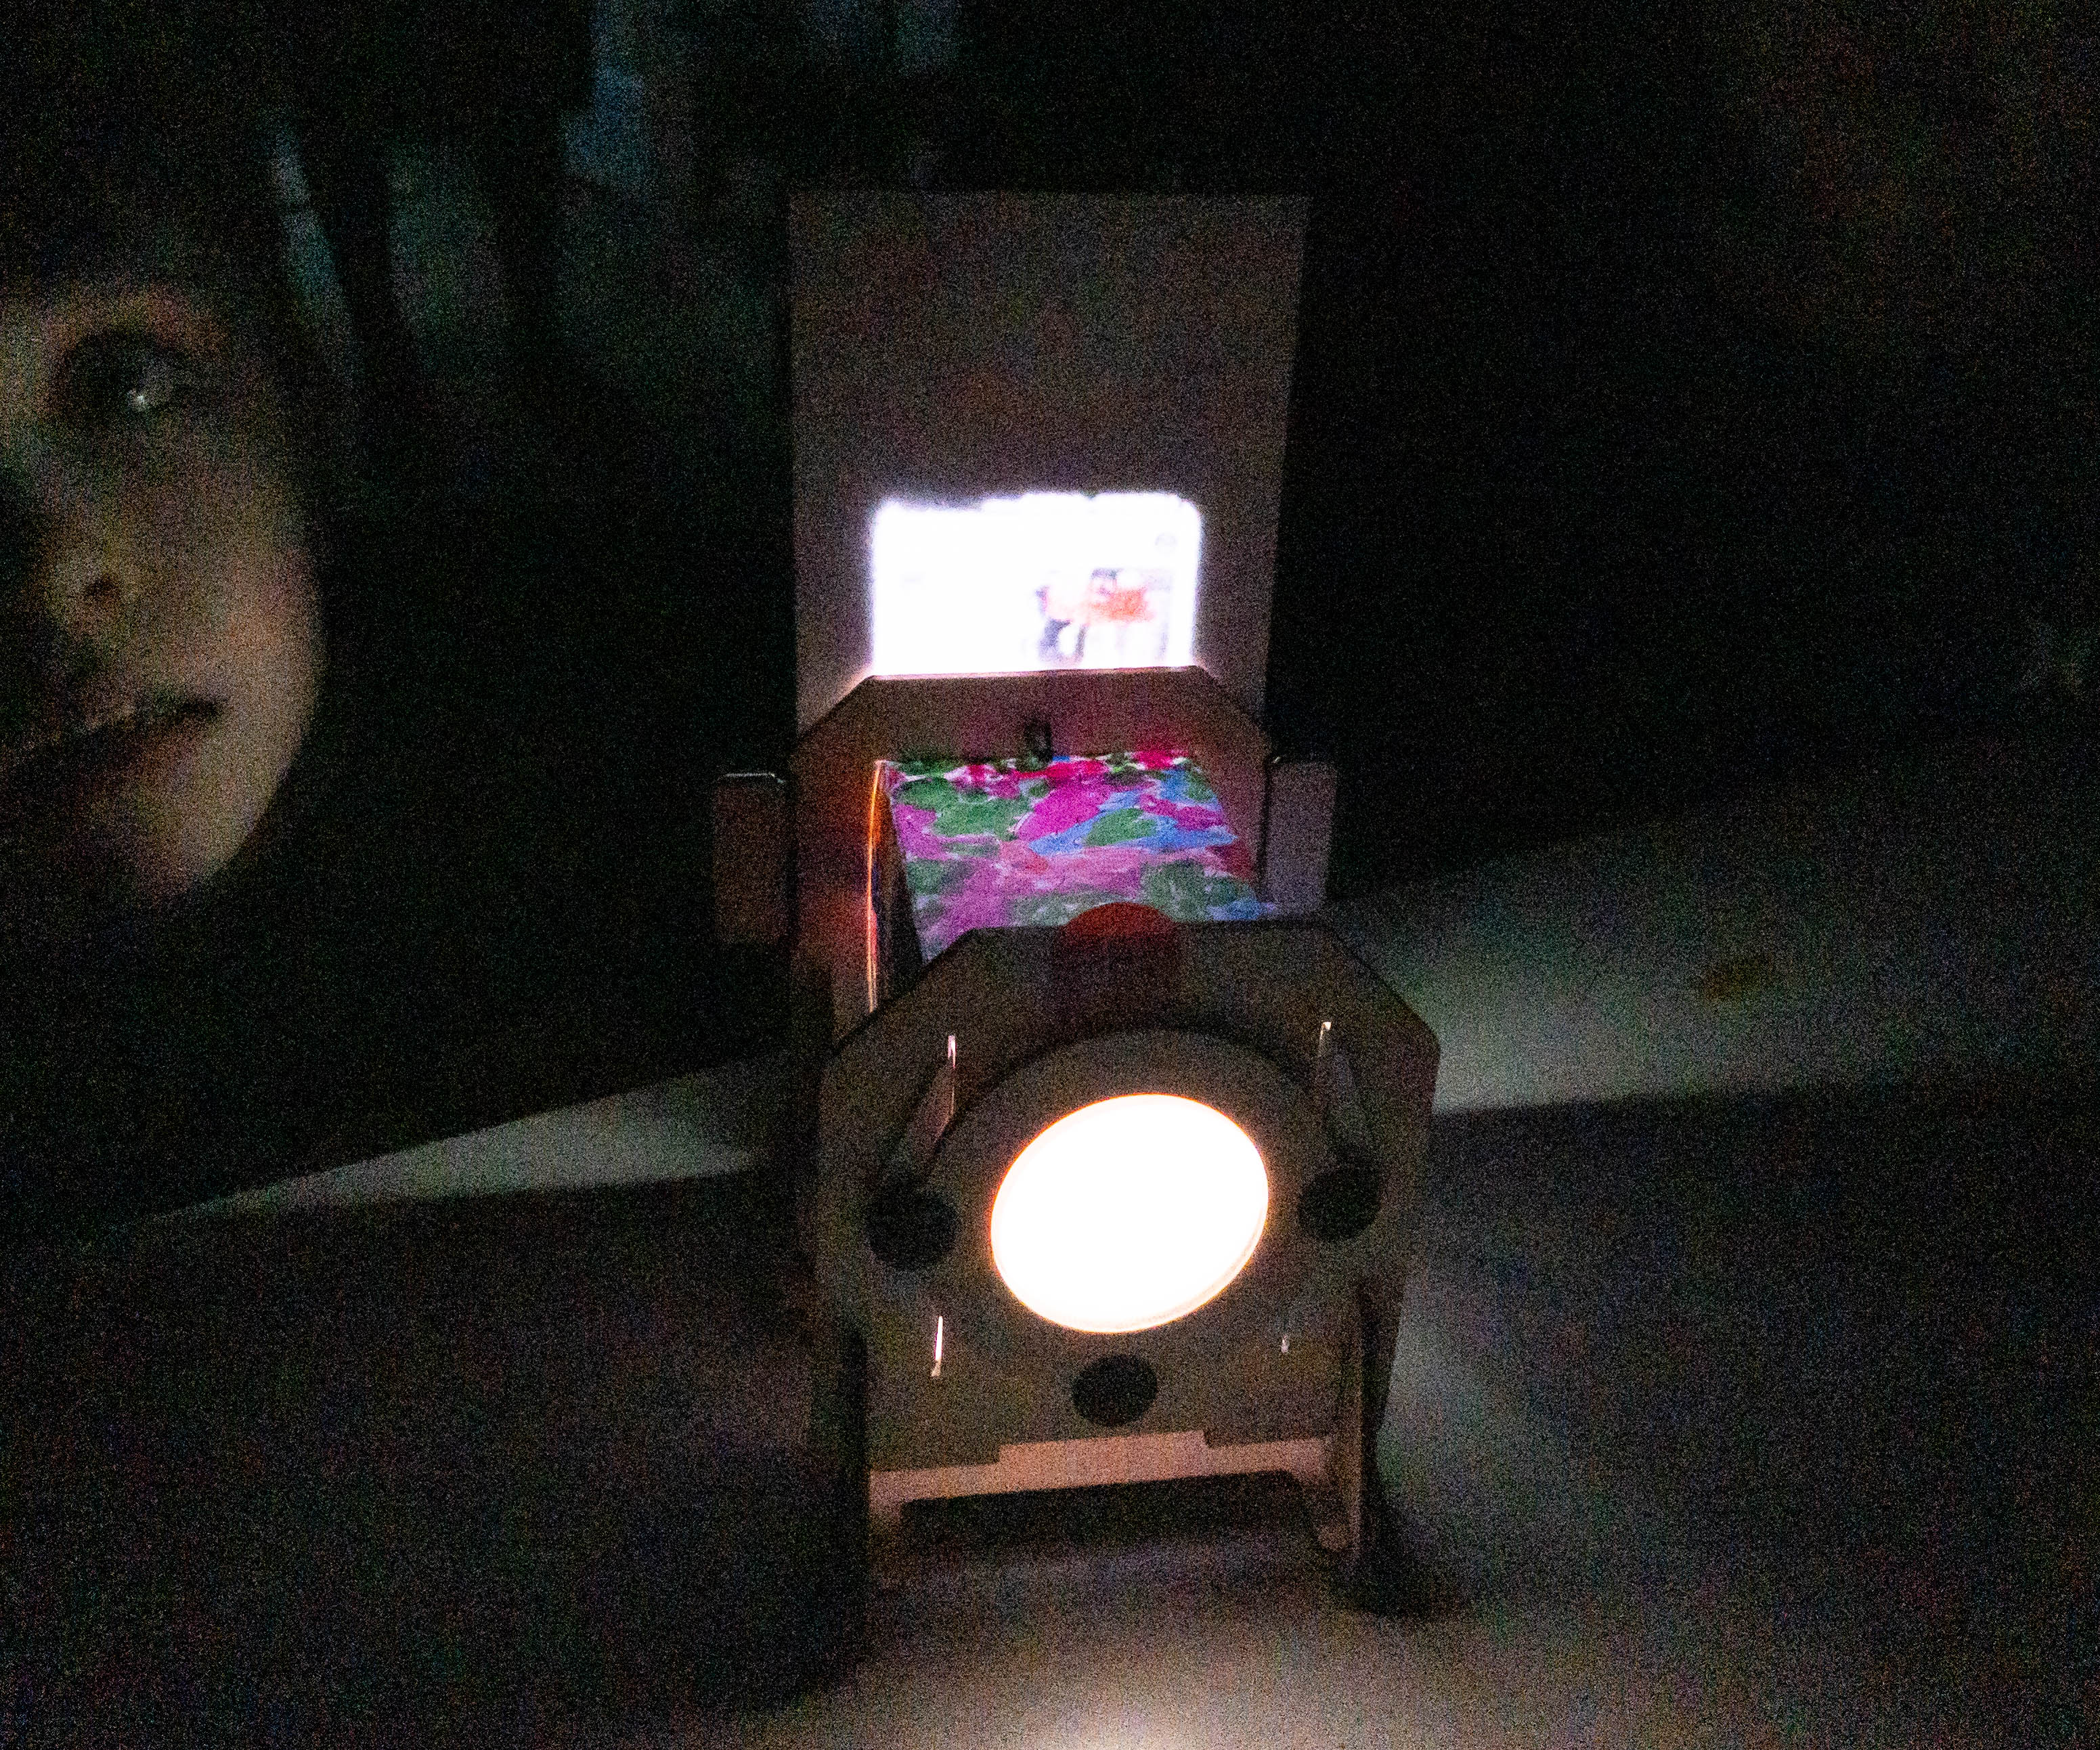
Of course, it works better in the dark.
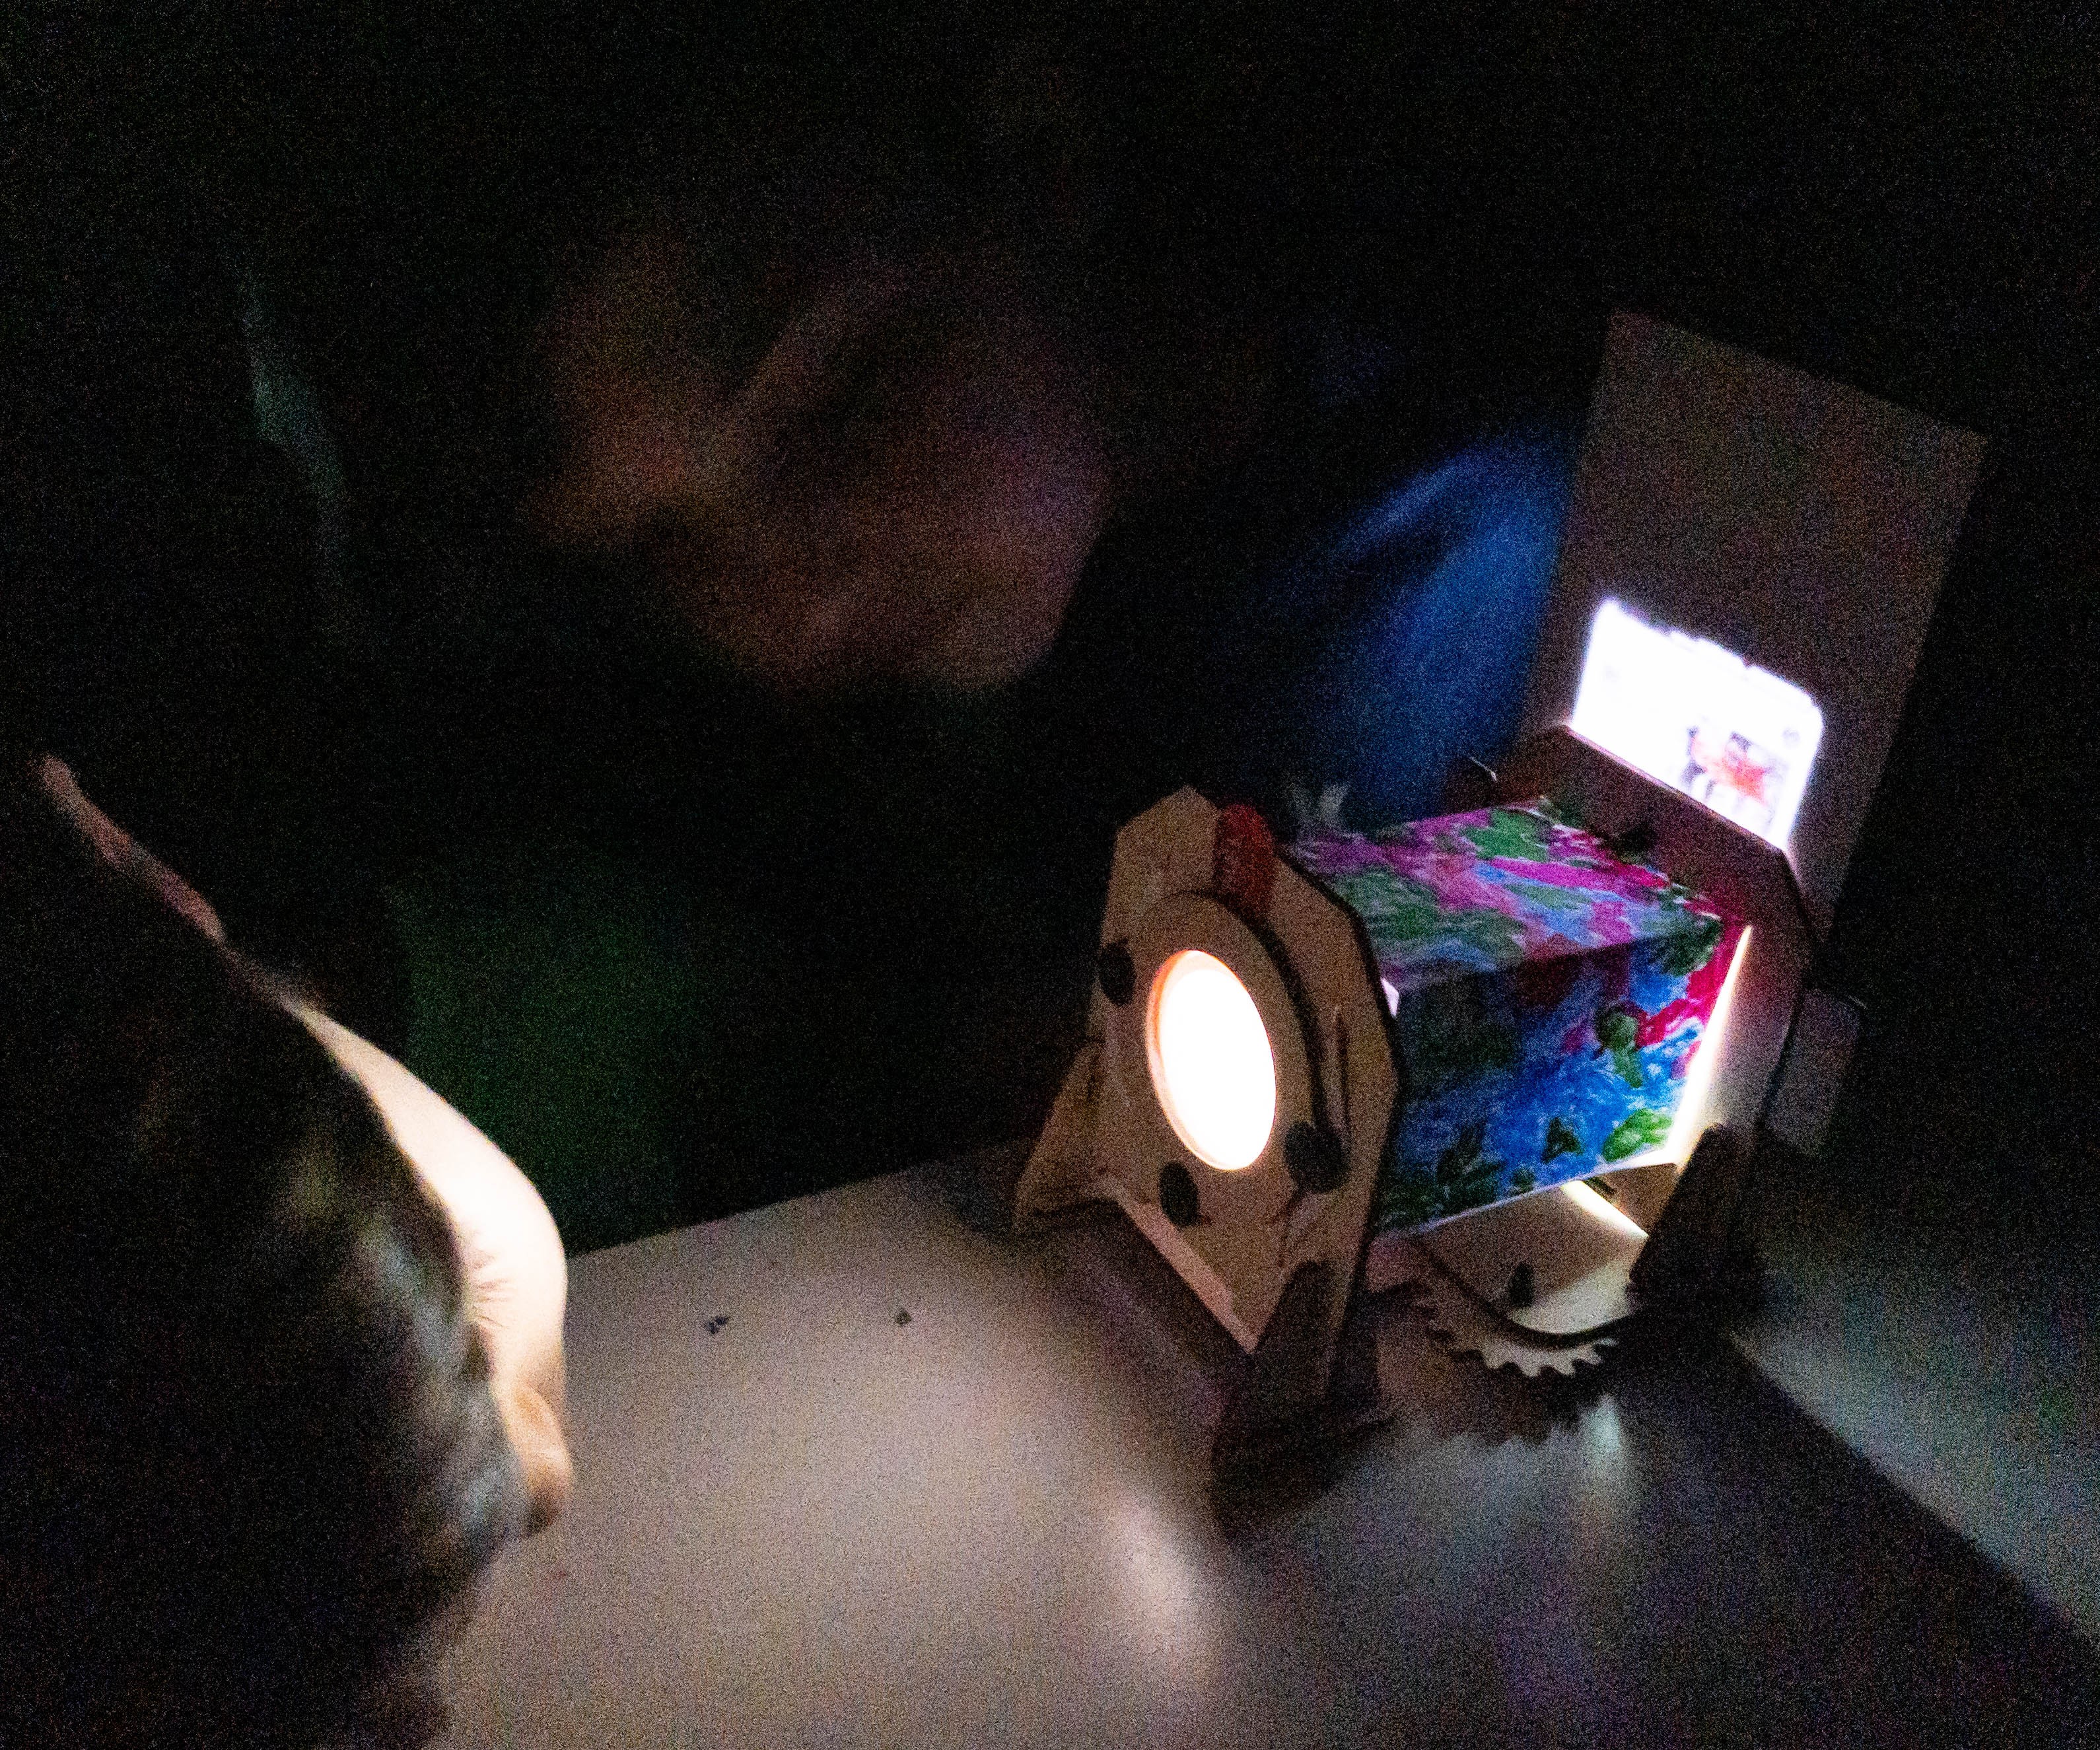
They had turns in trying the projector. They were amazed and happy with the result! You can adjust everything by expanding the sleeve out or compressing it in, and focus by turning the little magnifying glasses.
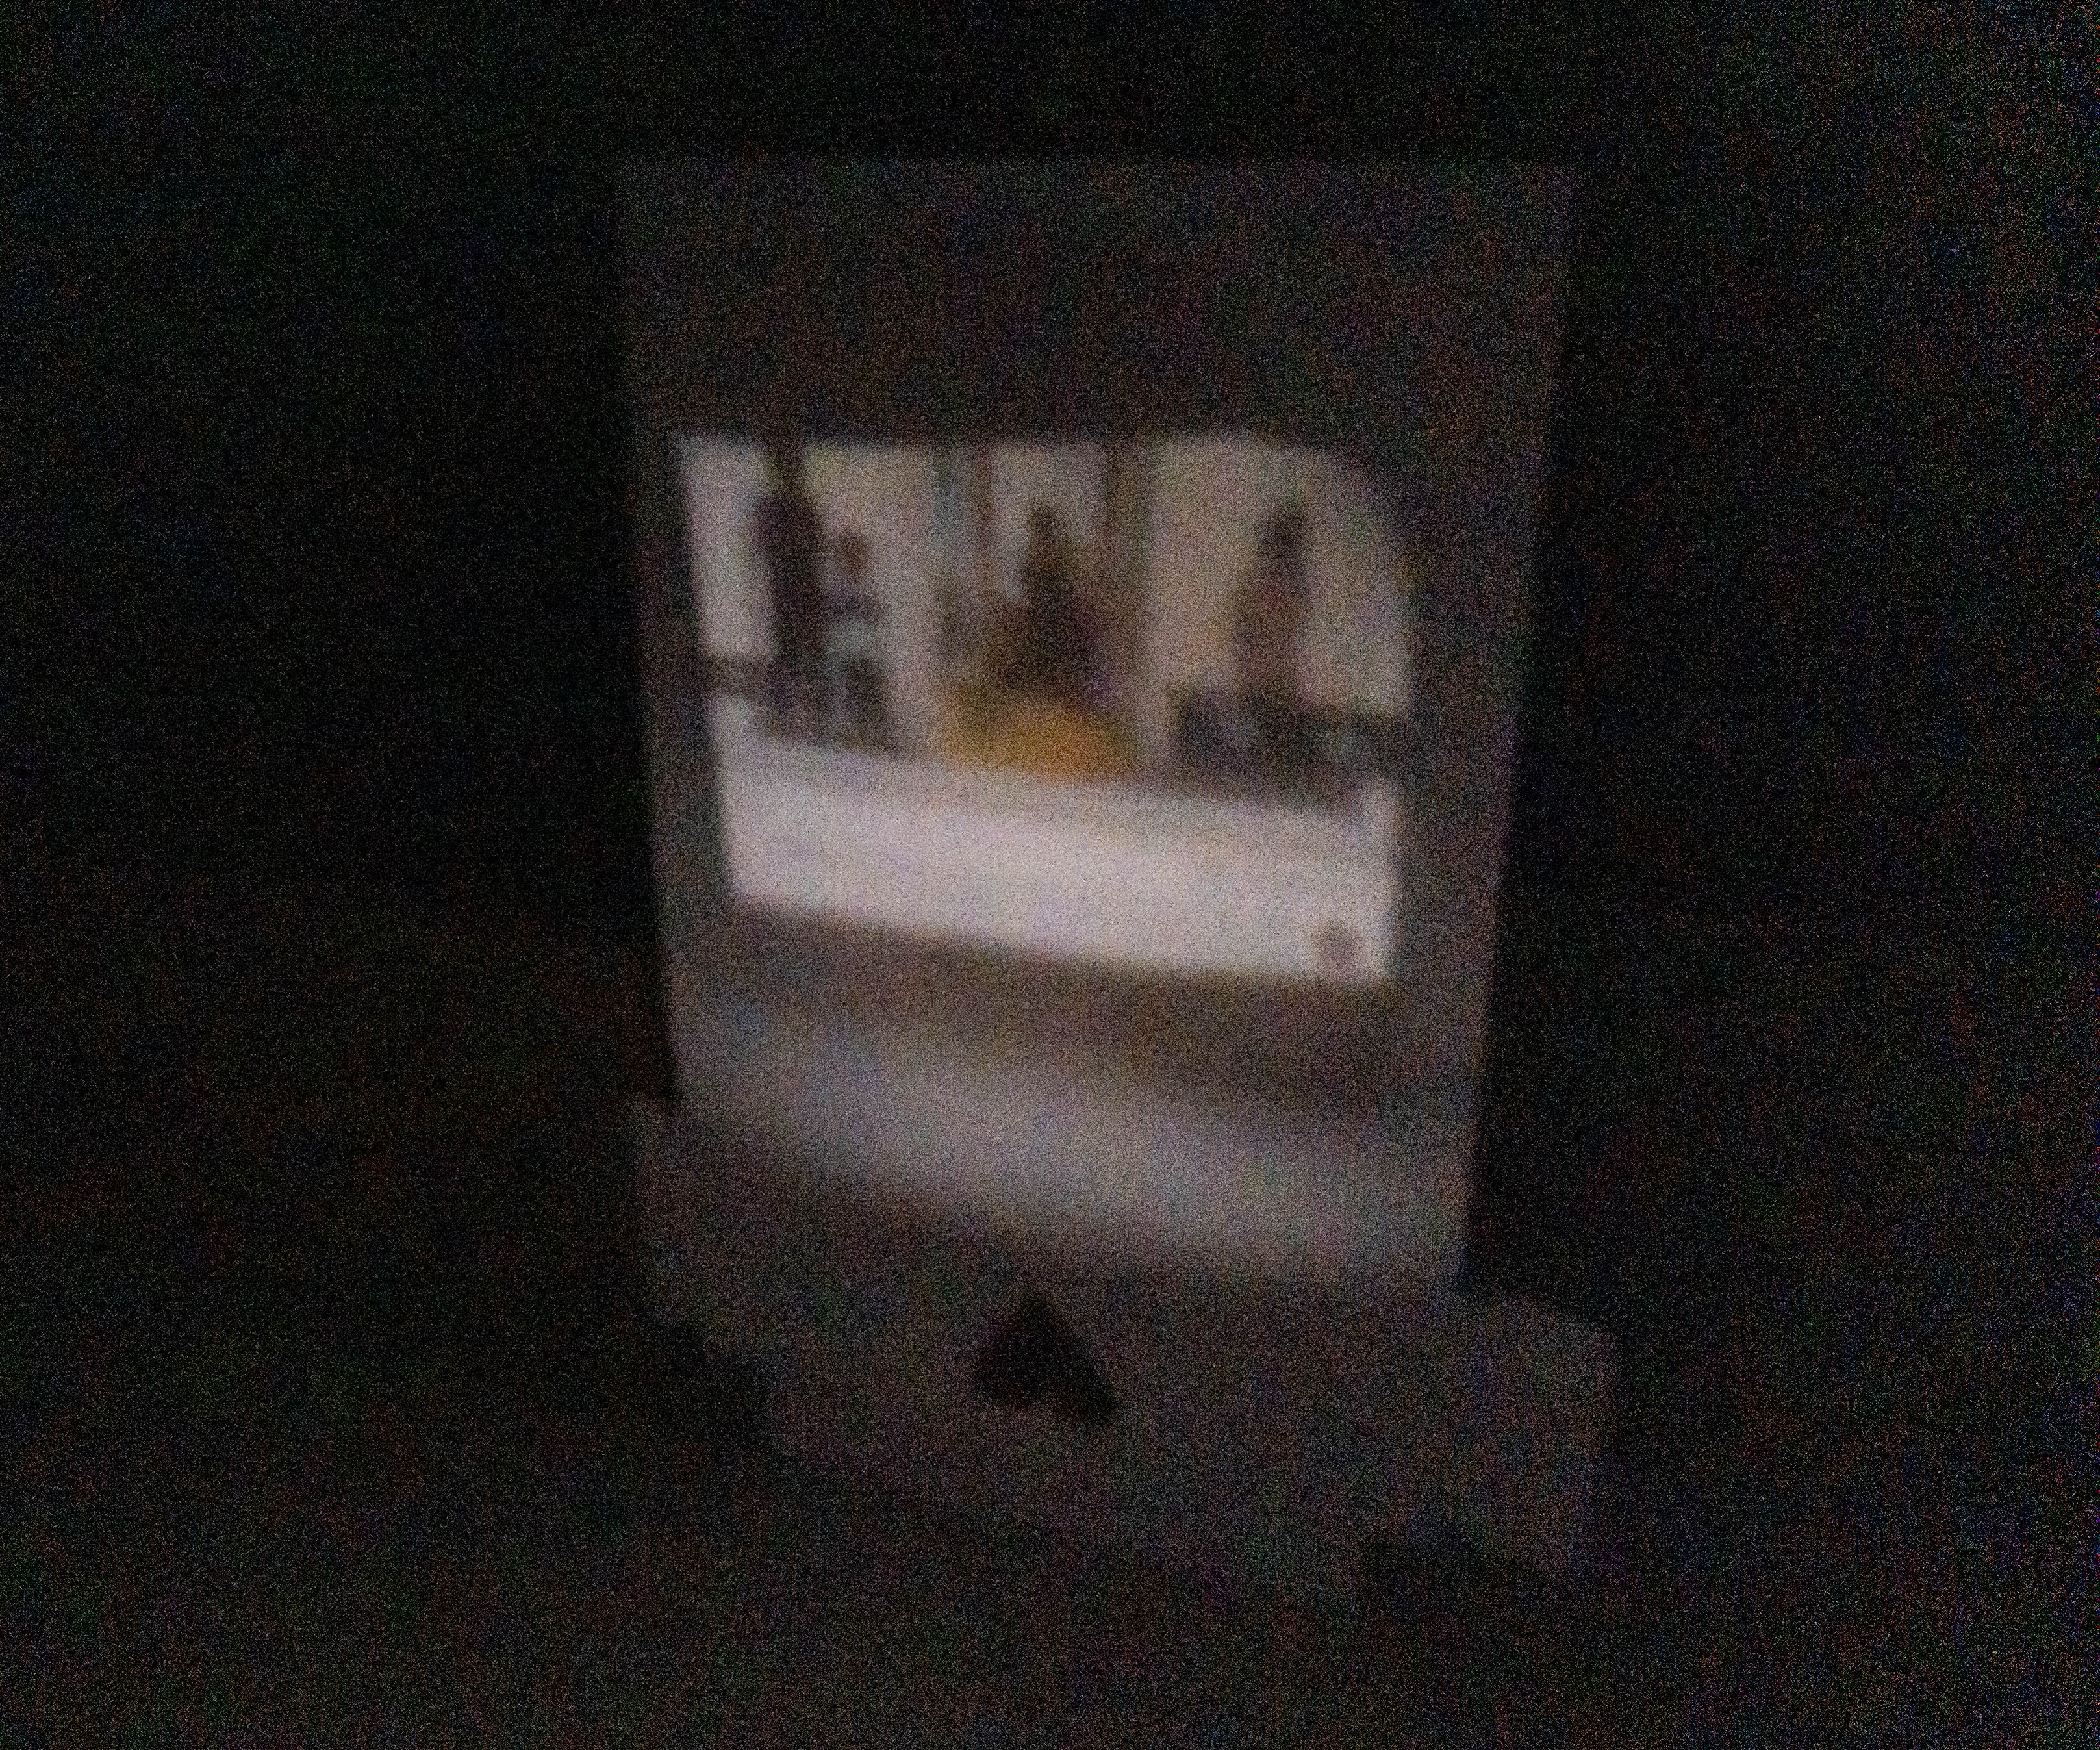
Here’s how the projected image looks like. It’s not really viewable, it’s more of a demonstration of the concept. Regardless, my kids have been playing with this nonstop. They’re really into it!
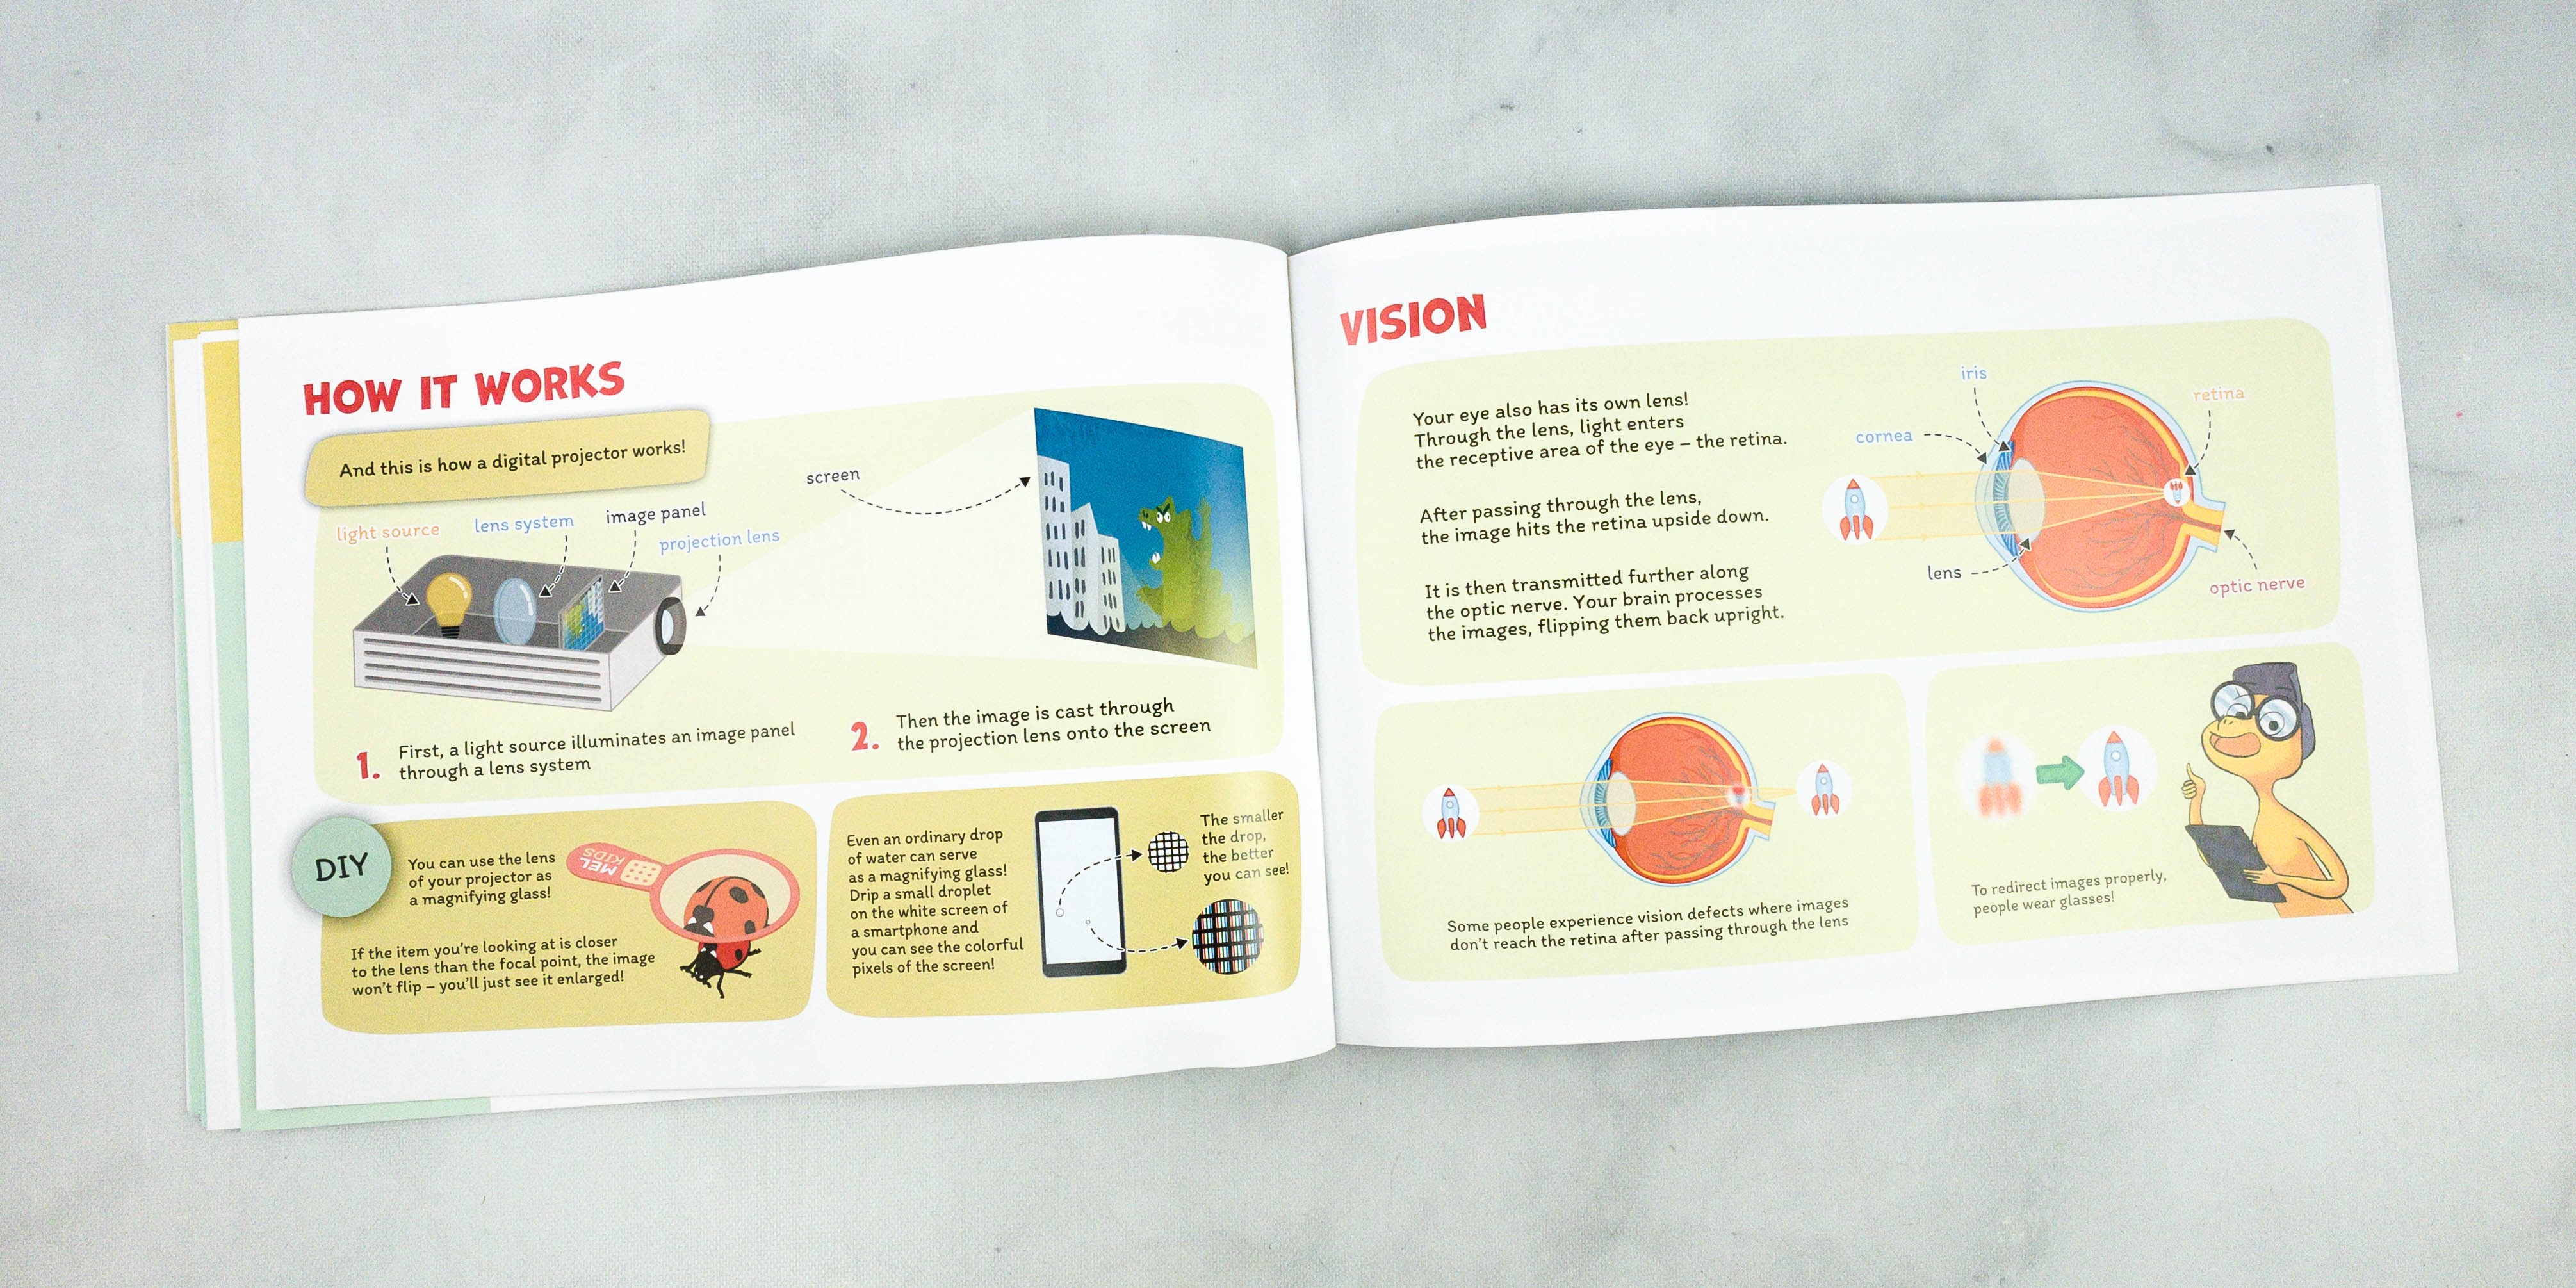
The booklet discussed how a digital projector works. It was also compared to how our eyes work using their own lens. The explanation was simple and it made it easier for my kids to understand the concept of this month’s activity.
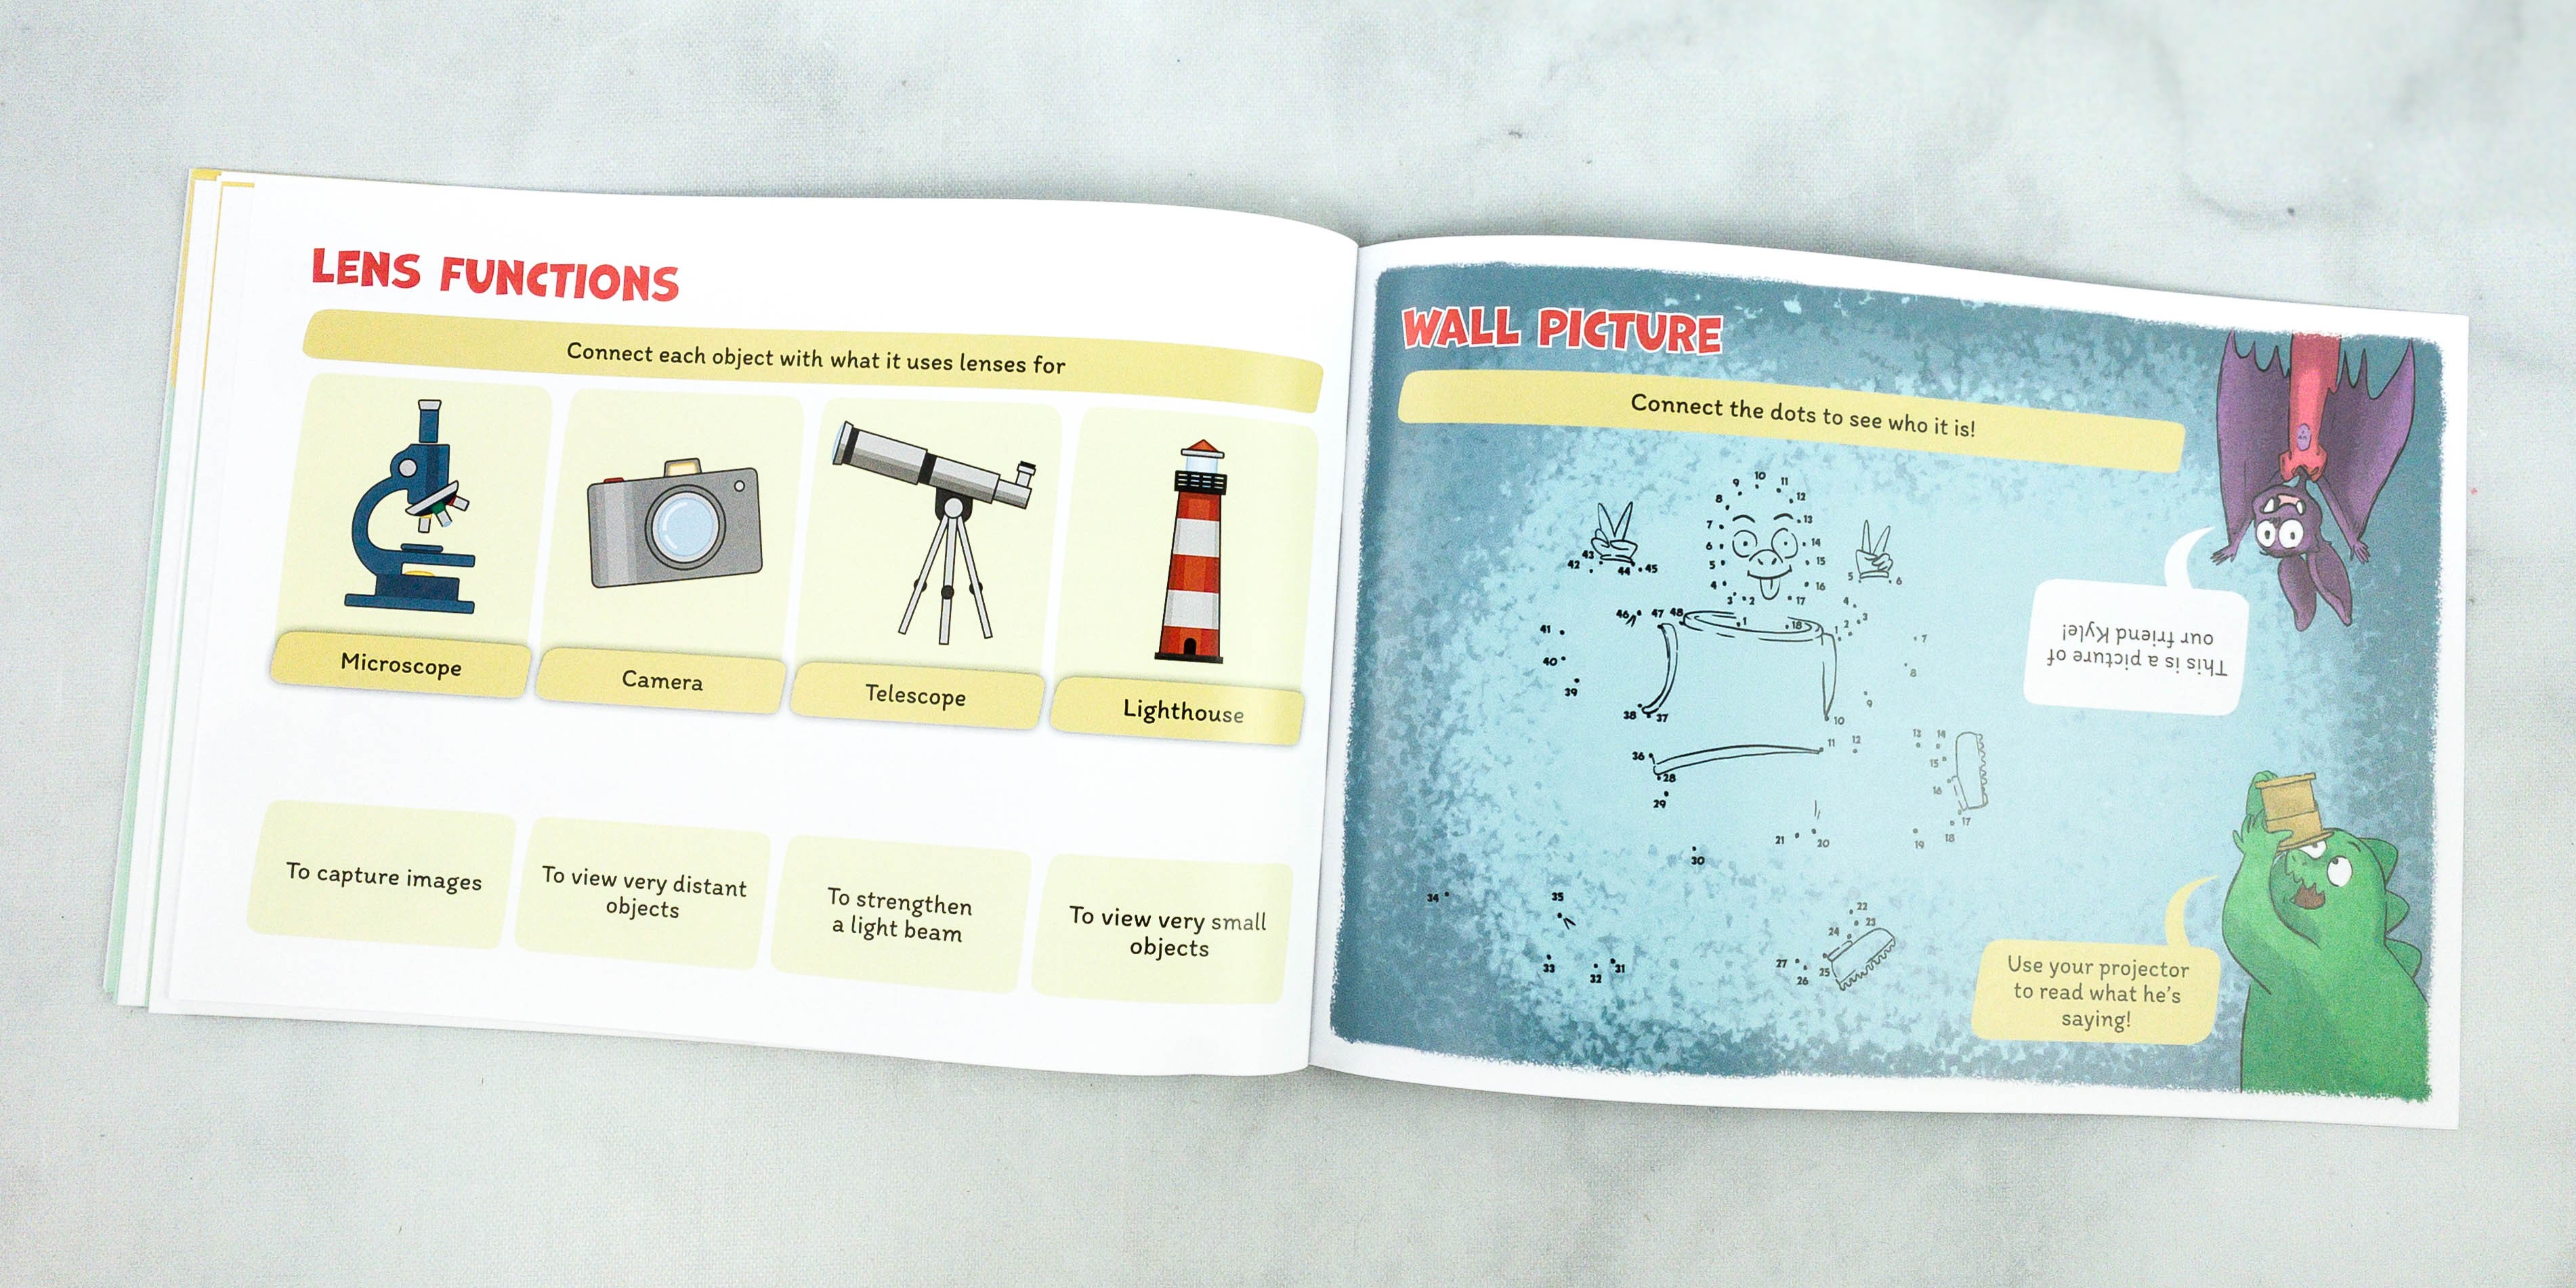
The booklet even listed some equipment that functions with the help of a lens. Even a lighthouse is known to use it too!
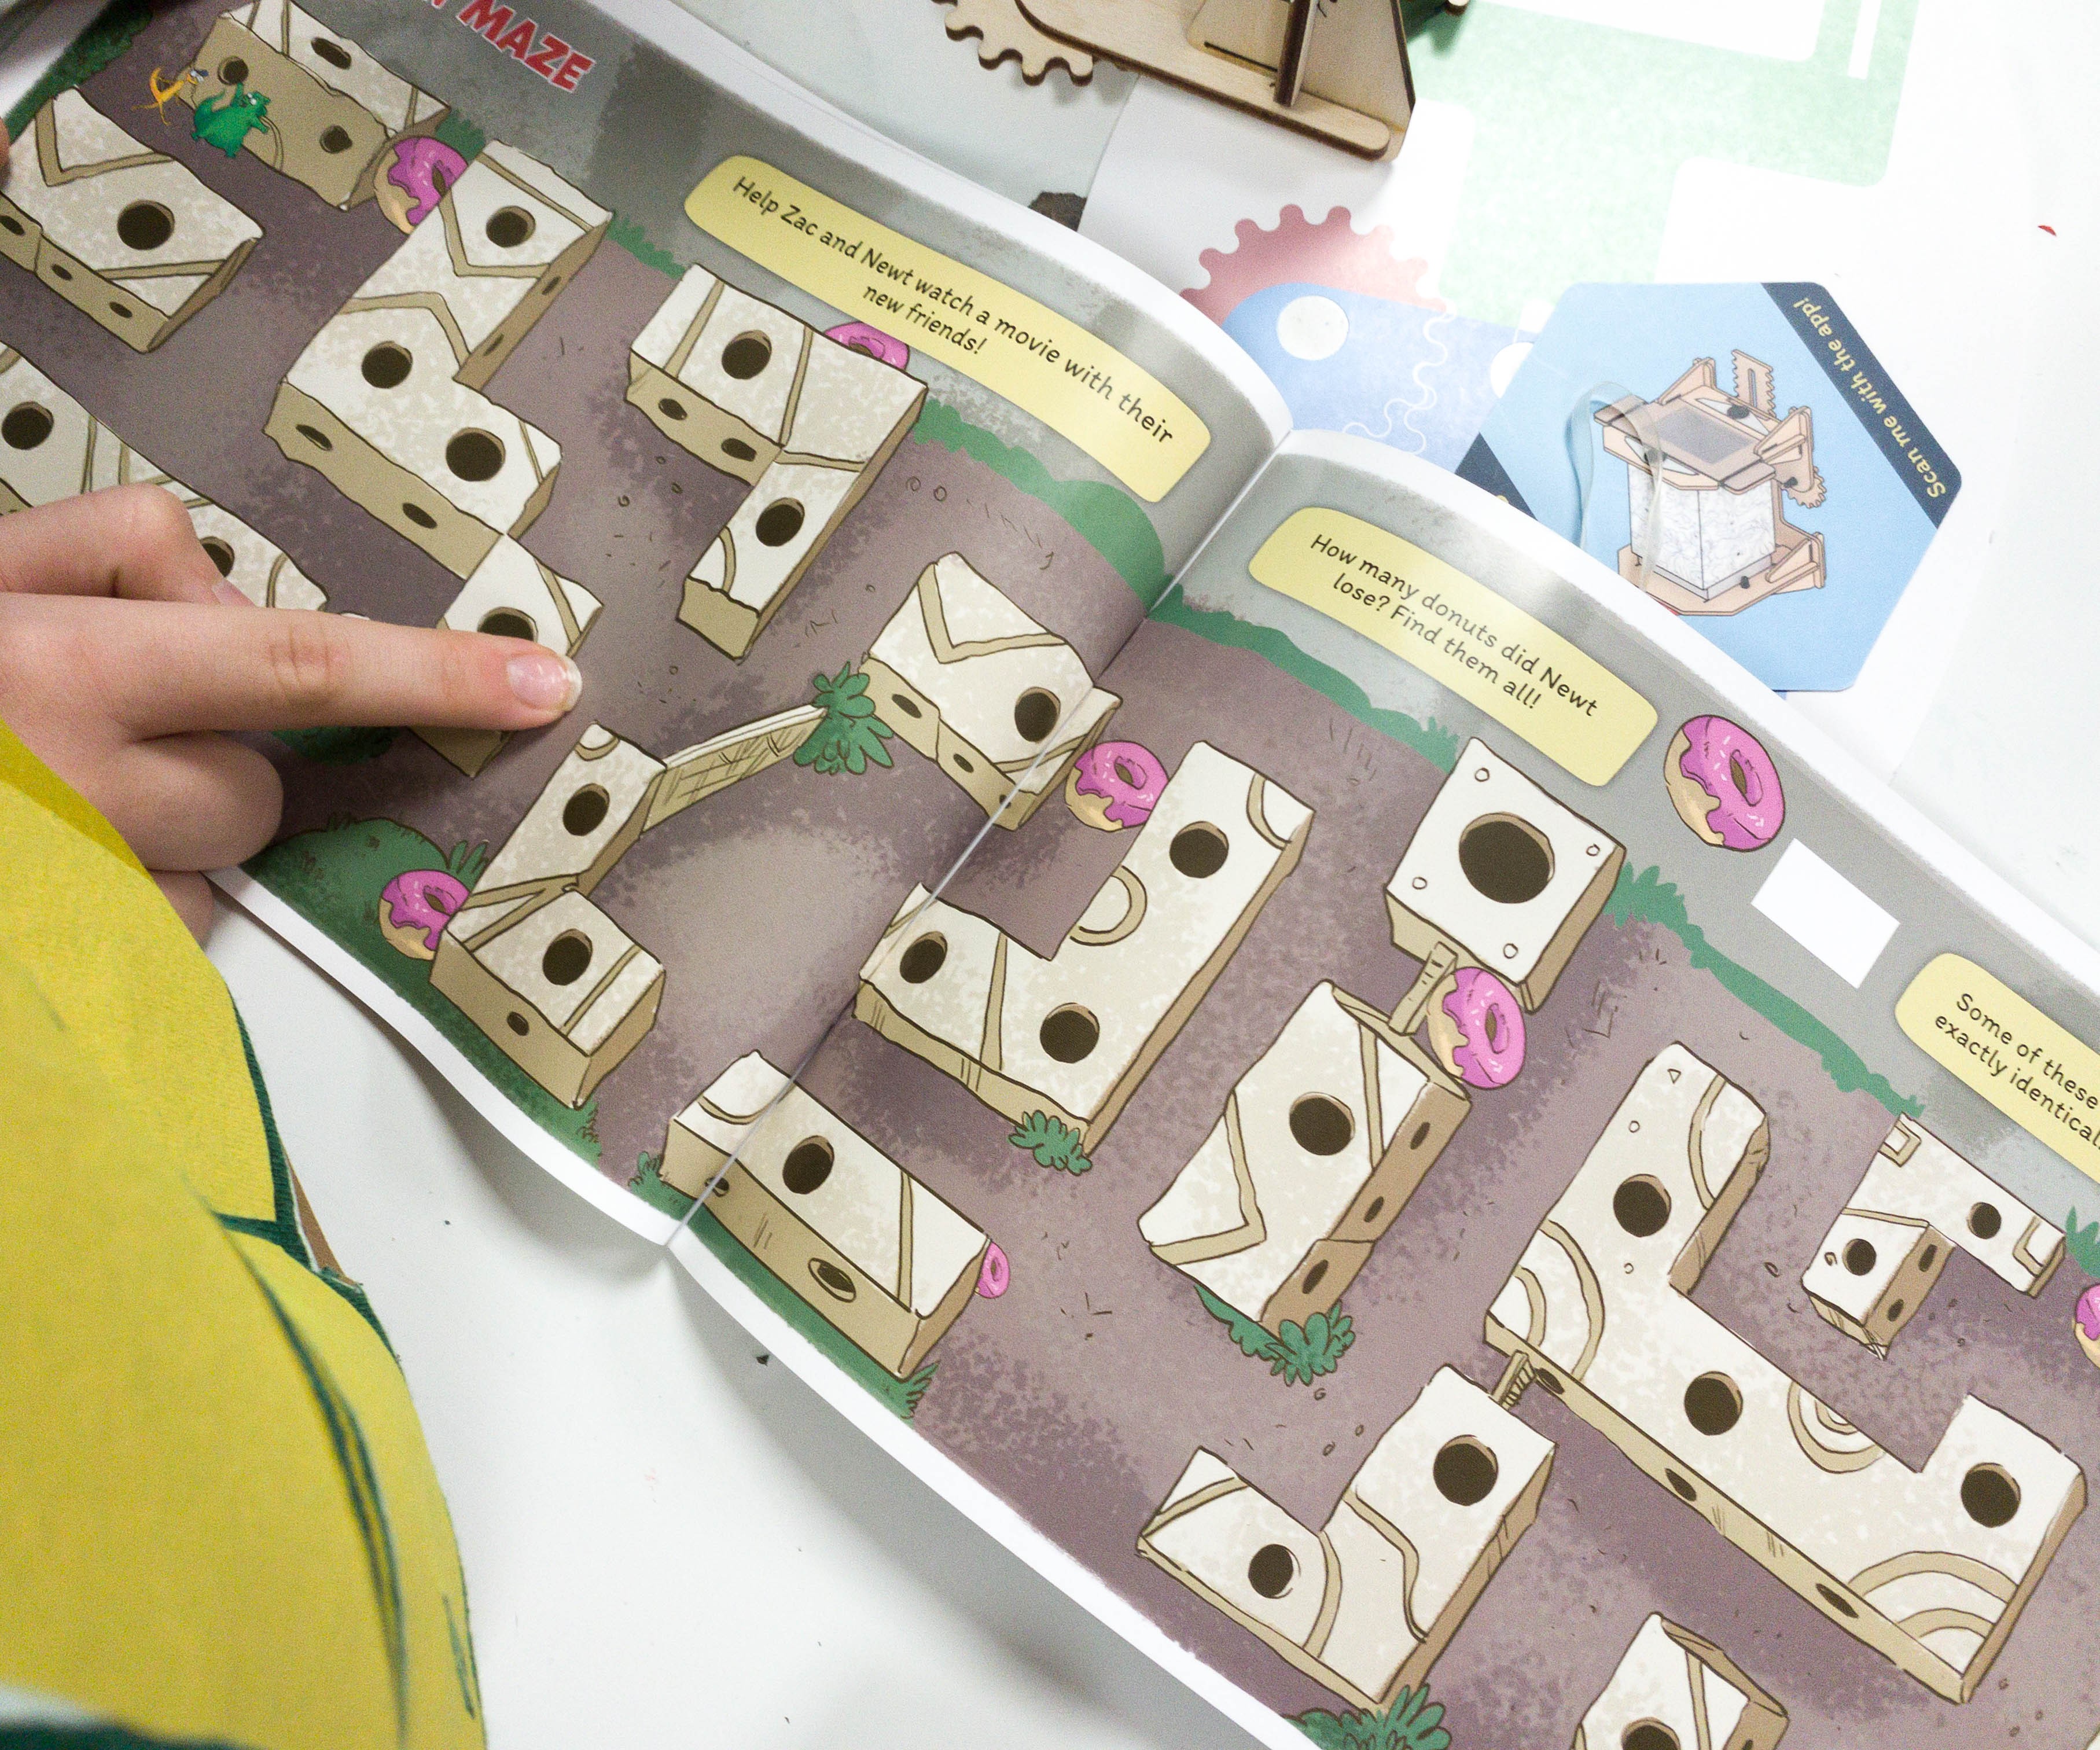
More activities are included on the next pages, like this dungeon maze.
My kids had fun with this month’s project as well as the activities in the booklet!
The new map sticker is now placed where it should be!
MEL Science Kids’ projects are always fun and well-put-together! As always, the box contains everything the kids need to accomplish it. The materials were kid-friendly and easy to assemble, and even the booklet is enjoyable and informative. Zac and Newt’s adventures never fail to make my kids laugh as well! This month’s project is about making a projector and my kids assembled it all independently. They are still experimenting with projecting and they’re pretty satisfied with the result. All in all, it’s really nice to see my kids learning new science concepts even when they’re just at home! This activity subscription box also proves that science is never a boring subject!
What do you think of MEL Science Kids?
Visit MEL STEM by MEL Science to subscribe or find out more!
Comments