Maker Crate is a monthly craft subscription box for teens and adults from KiwiCo. Maker Crate provides makers and crafters ages 14 to 104 with projects that introduce new craft techniques and design tools. Each box includes materials and tools for the project plus a booklet that shares the real-world applications and the history behind each art form or design. They also promise that the end product for each project is always fun and functional. Some of the skills you can learn through this subscription may include paper marbling, metal sculpture, dip-dye painting, macrame, loom knitting, hand lettering, embroidery, and more. The subscription is $24.95 a month, with free shipping in the US.
DEAL: Save 30% on your first month! No coupon code needed, just use this link to subscribe! (also valid on the other KiwiCo family subscriptions Kiwi Crate, Koala Crate, Panda Crate, Atlas Crate, Doodle Crate, Tinker Crate, and Eureka Crate).
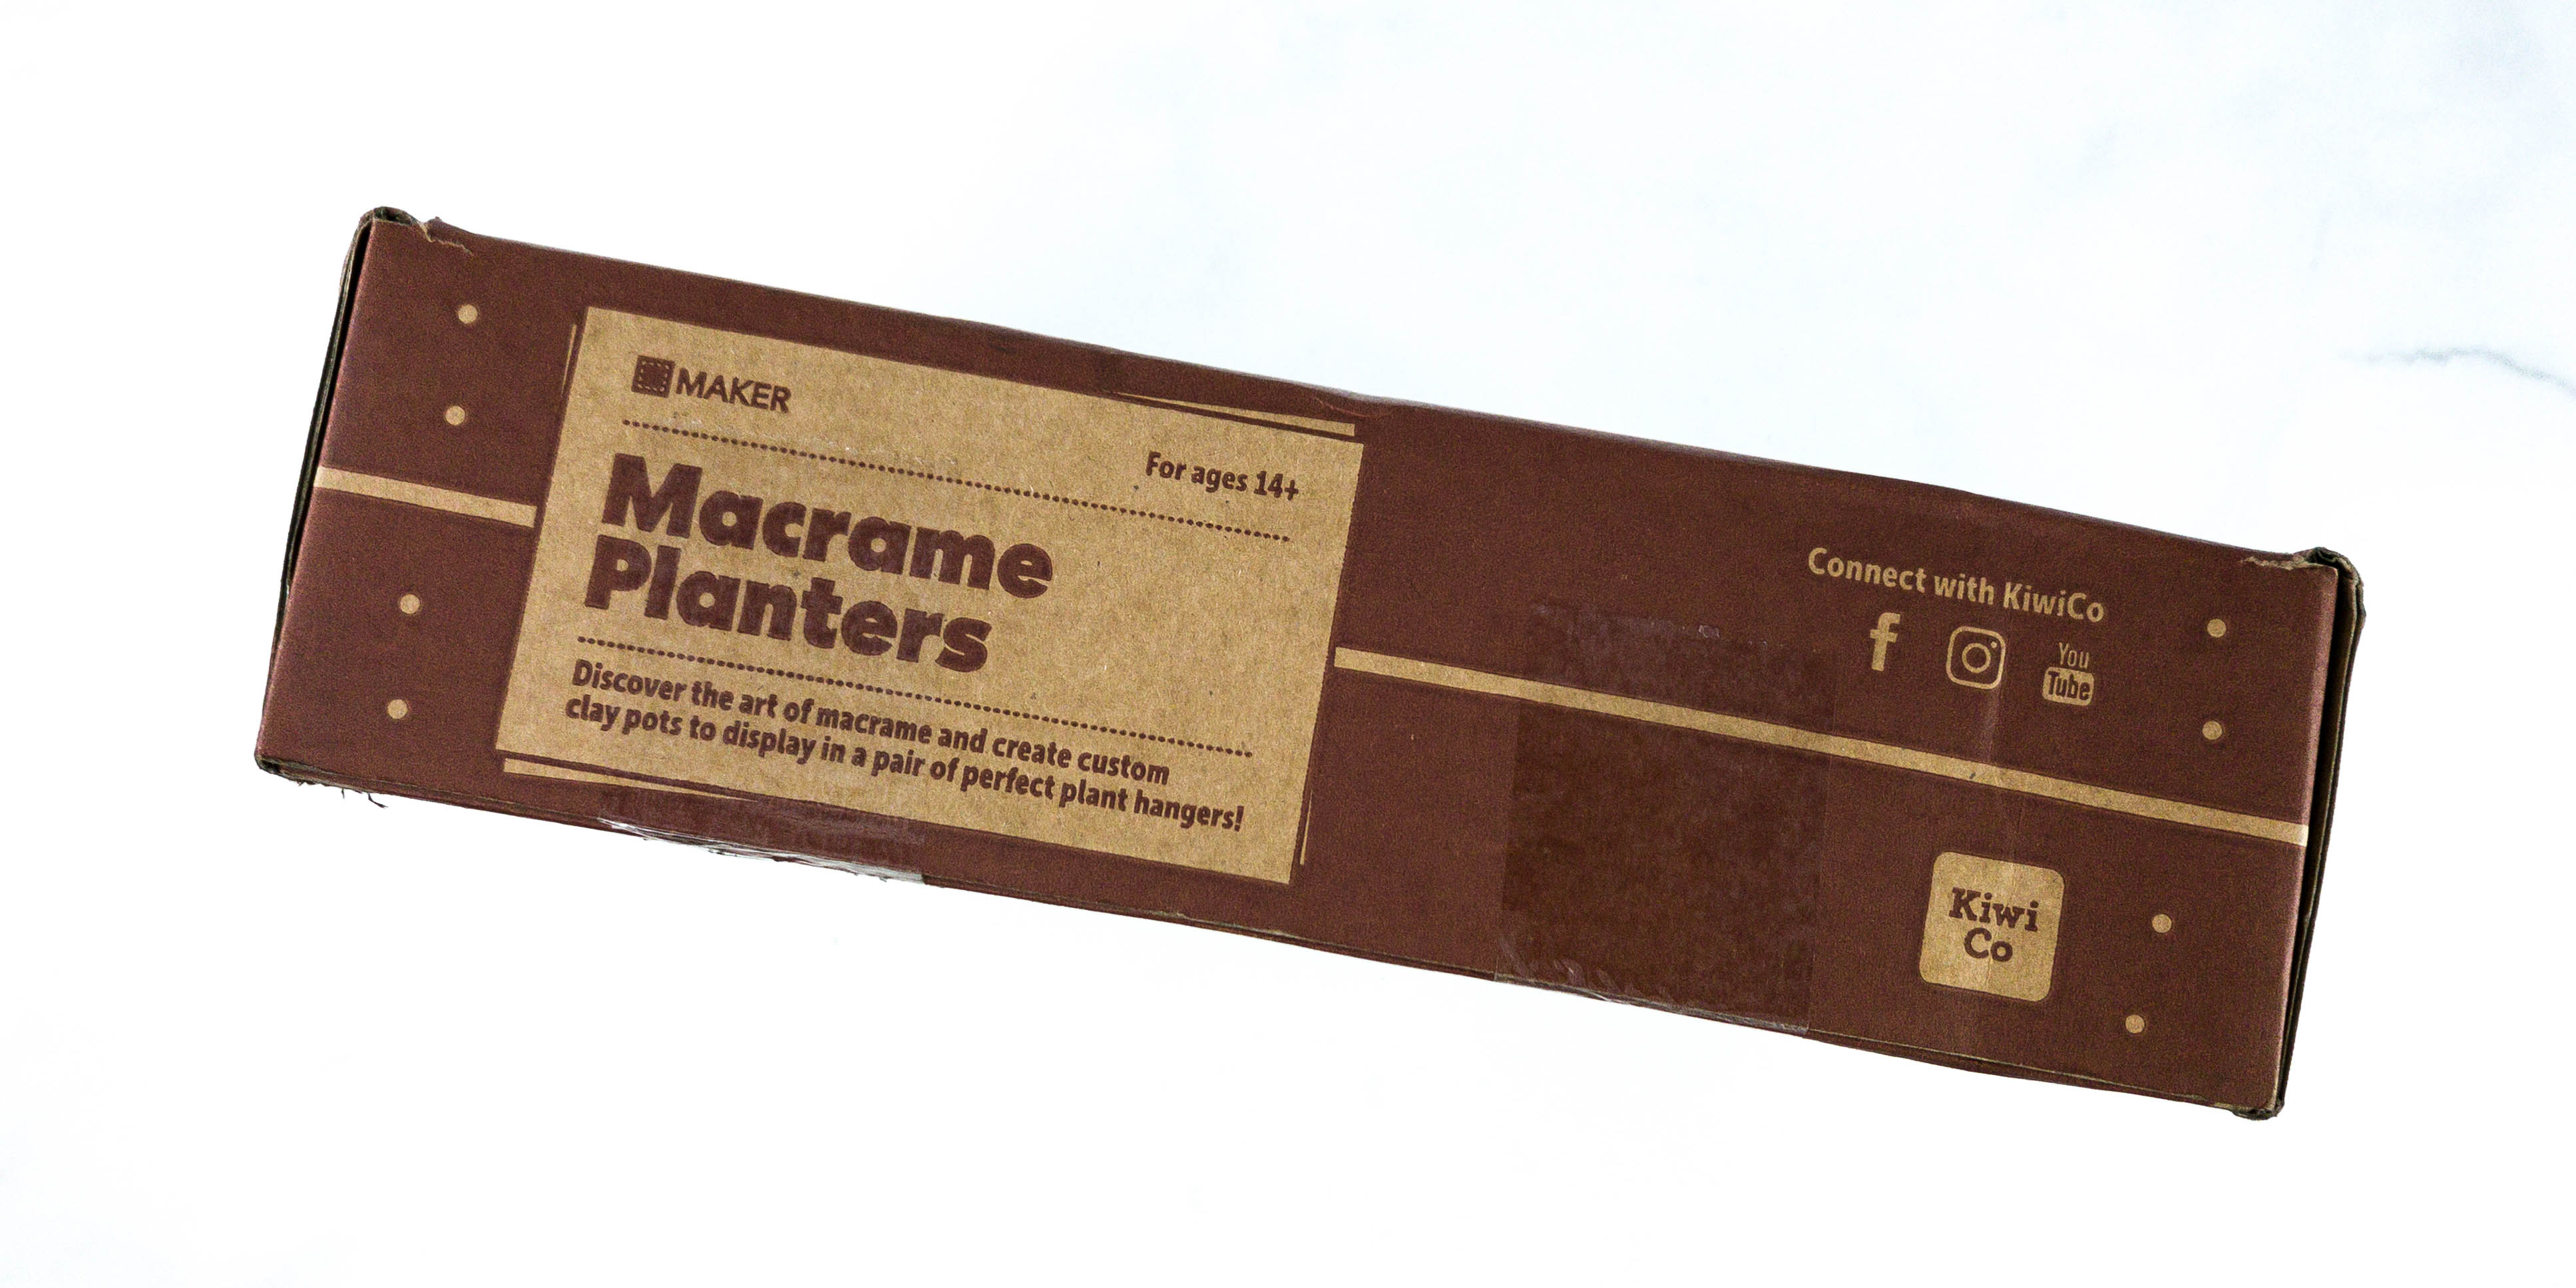
This month’s project is Macrame Planters!
Discover the art of macrame and create custom clay pots to display in a pair of perfect plan hangers!
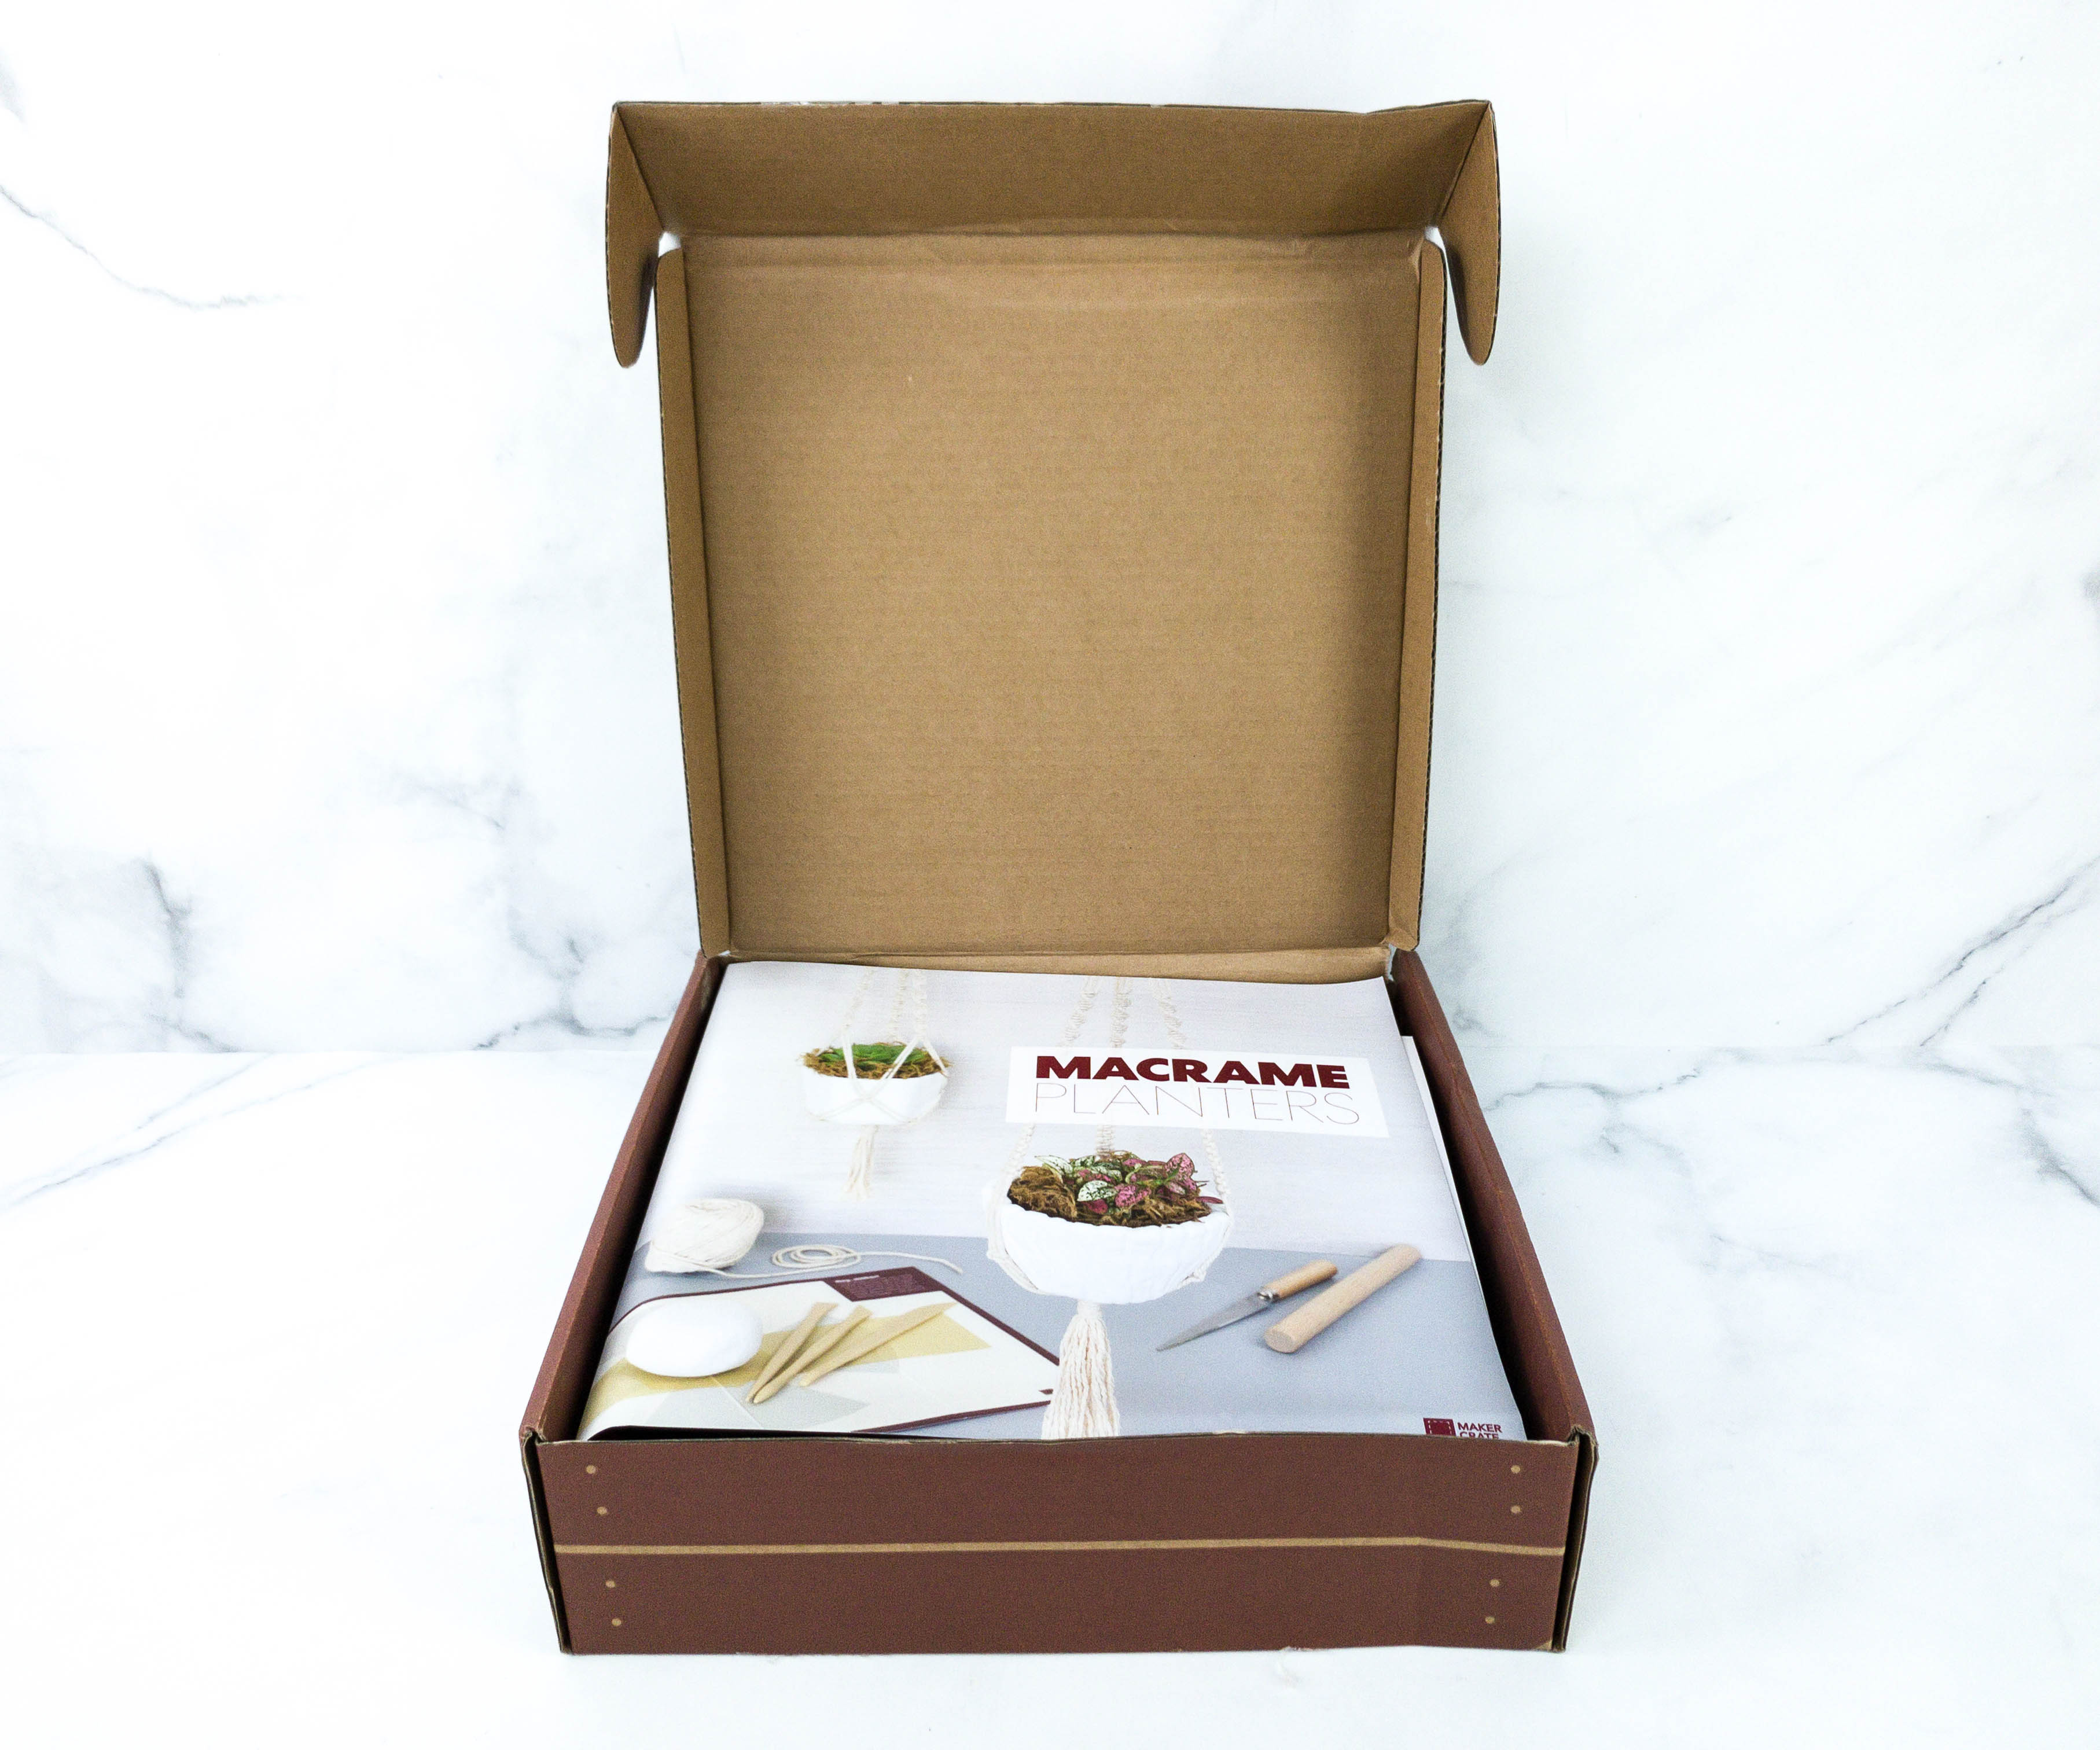
Everything is placed inside this sturdy red box!
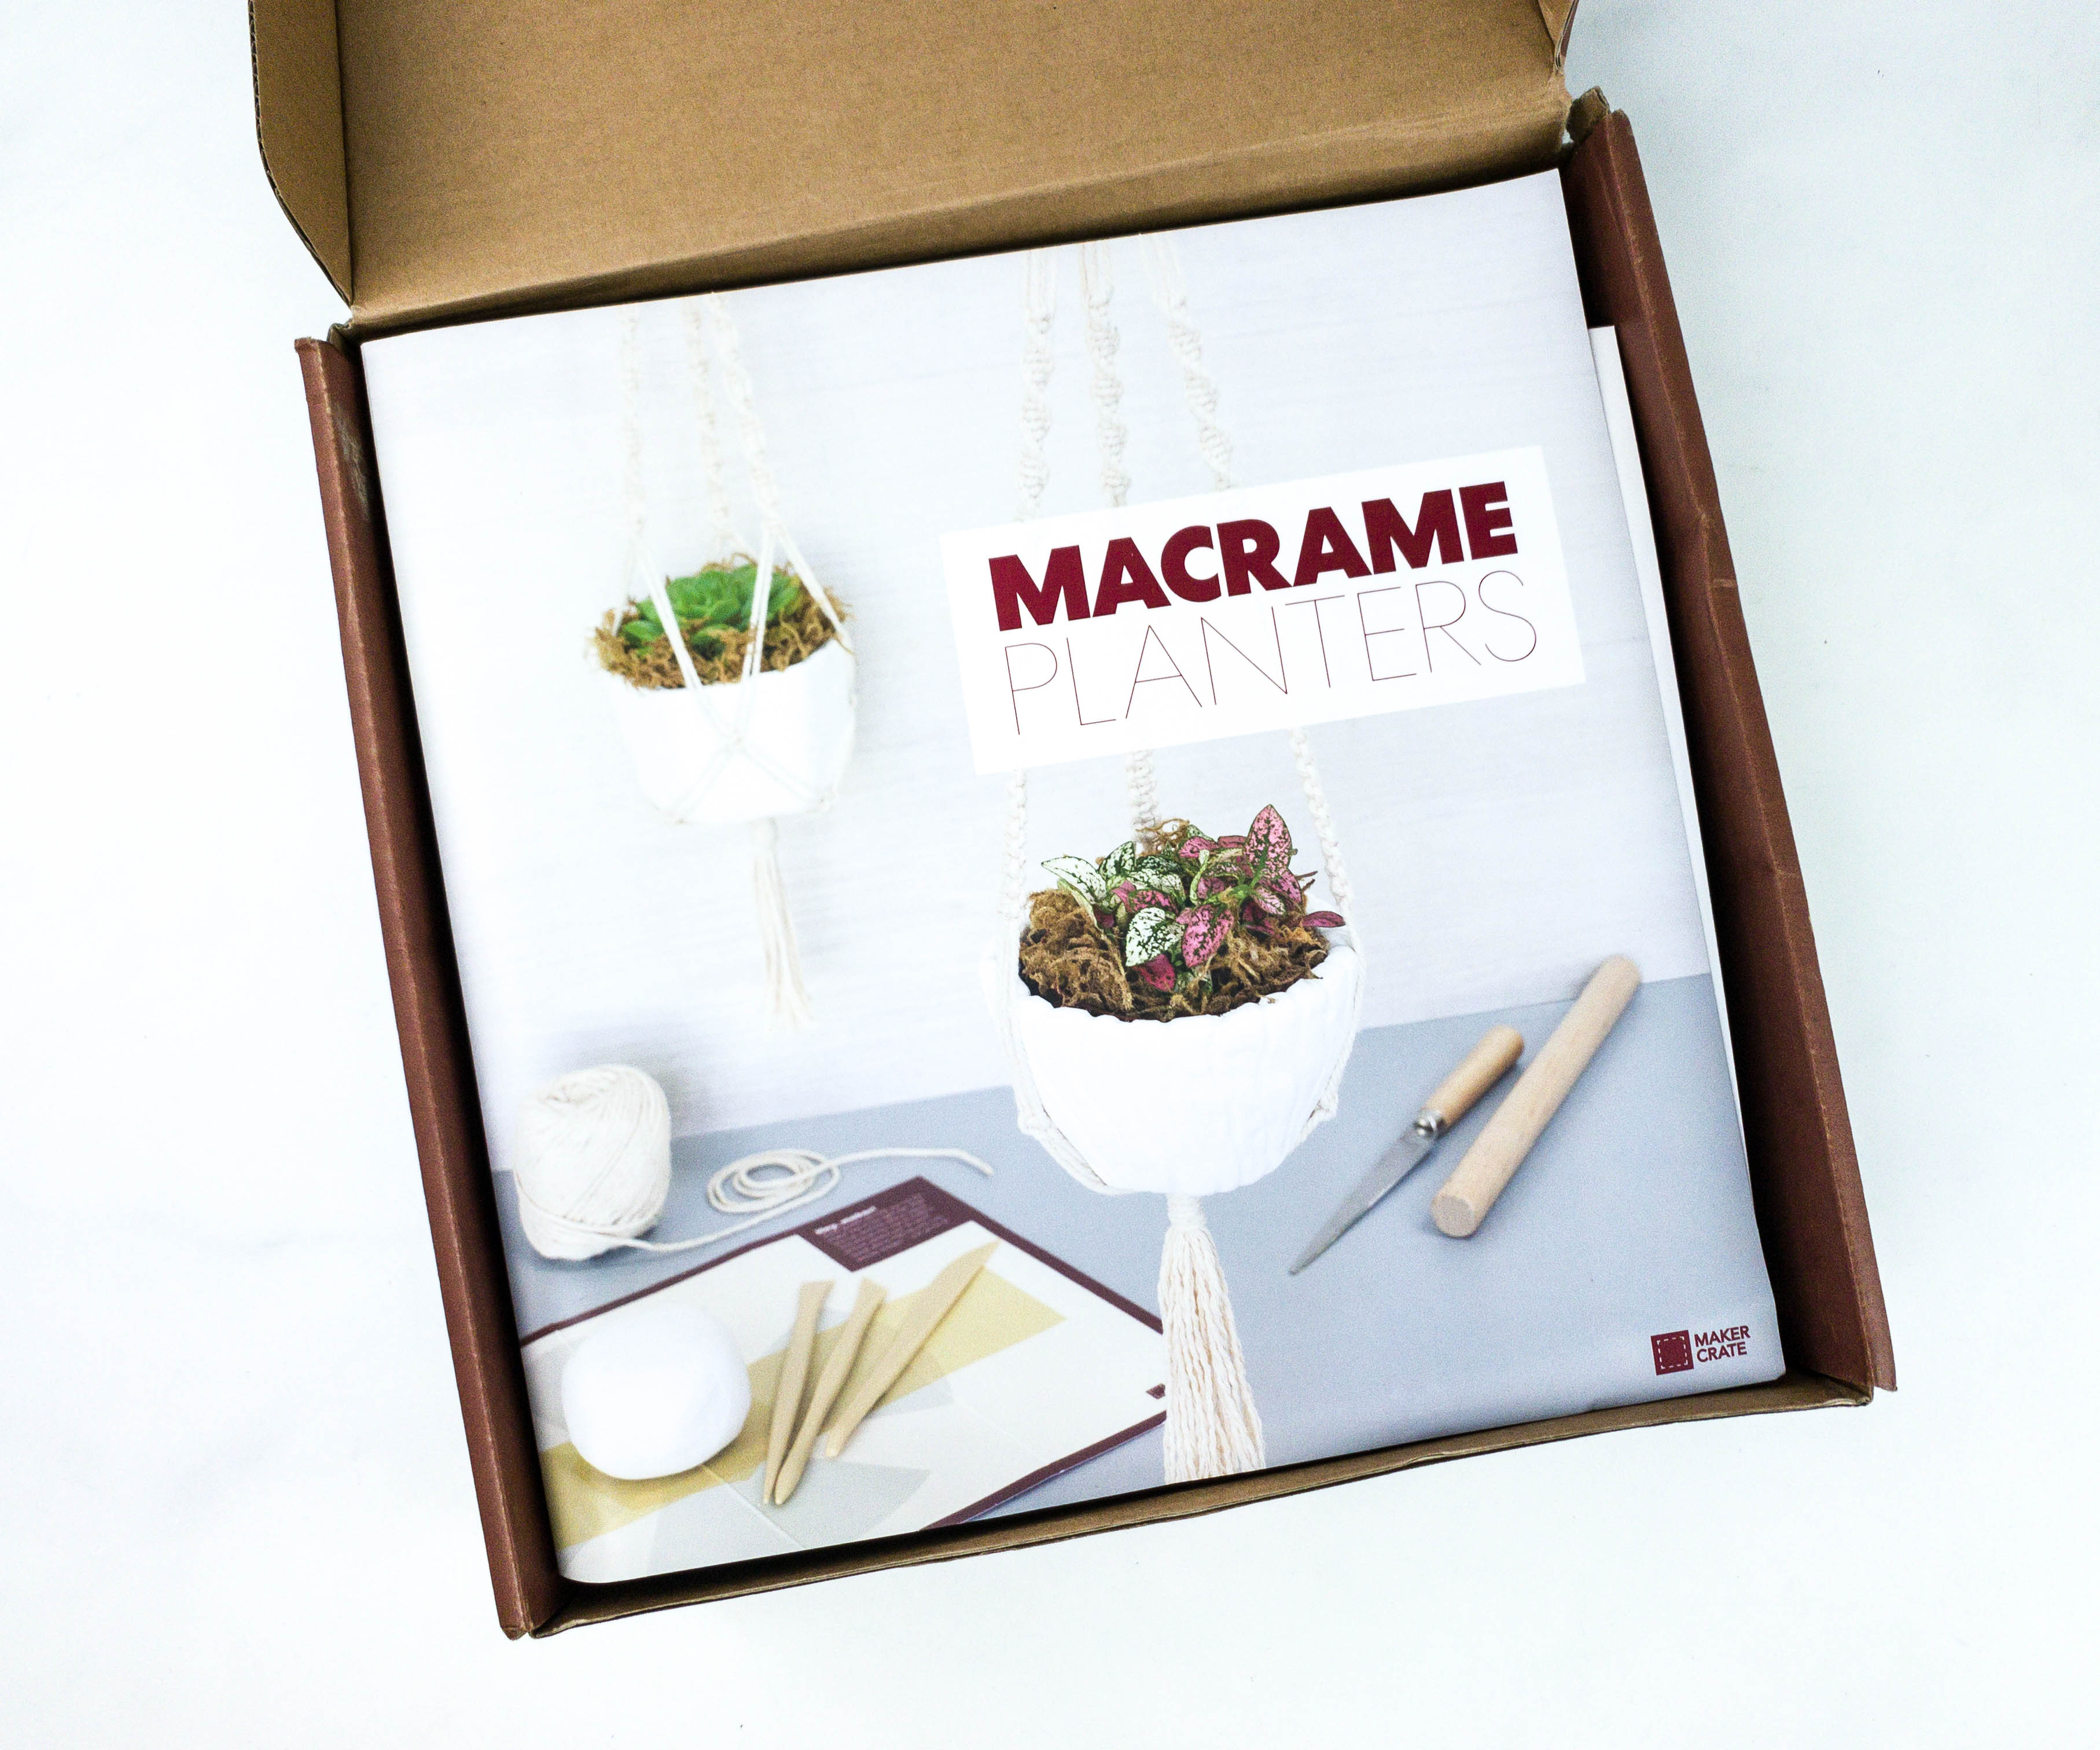
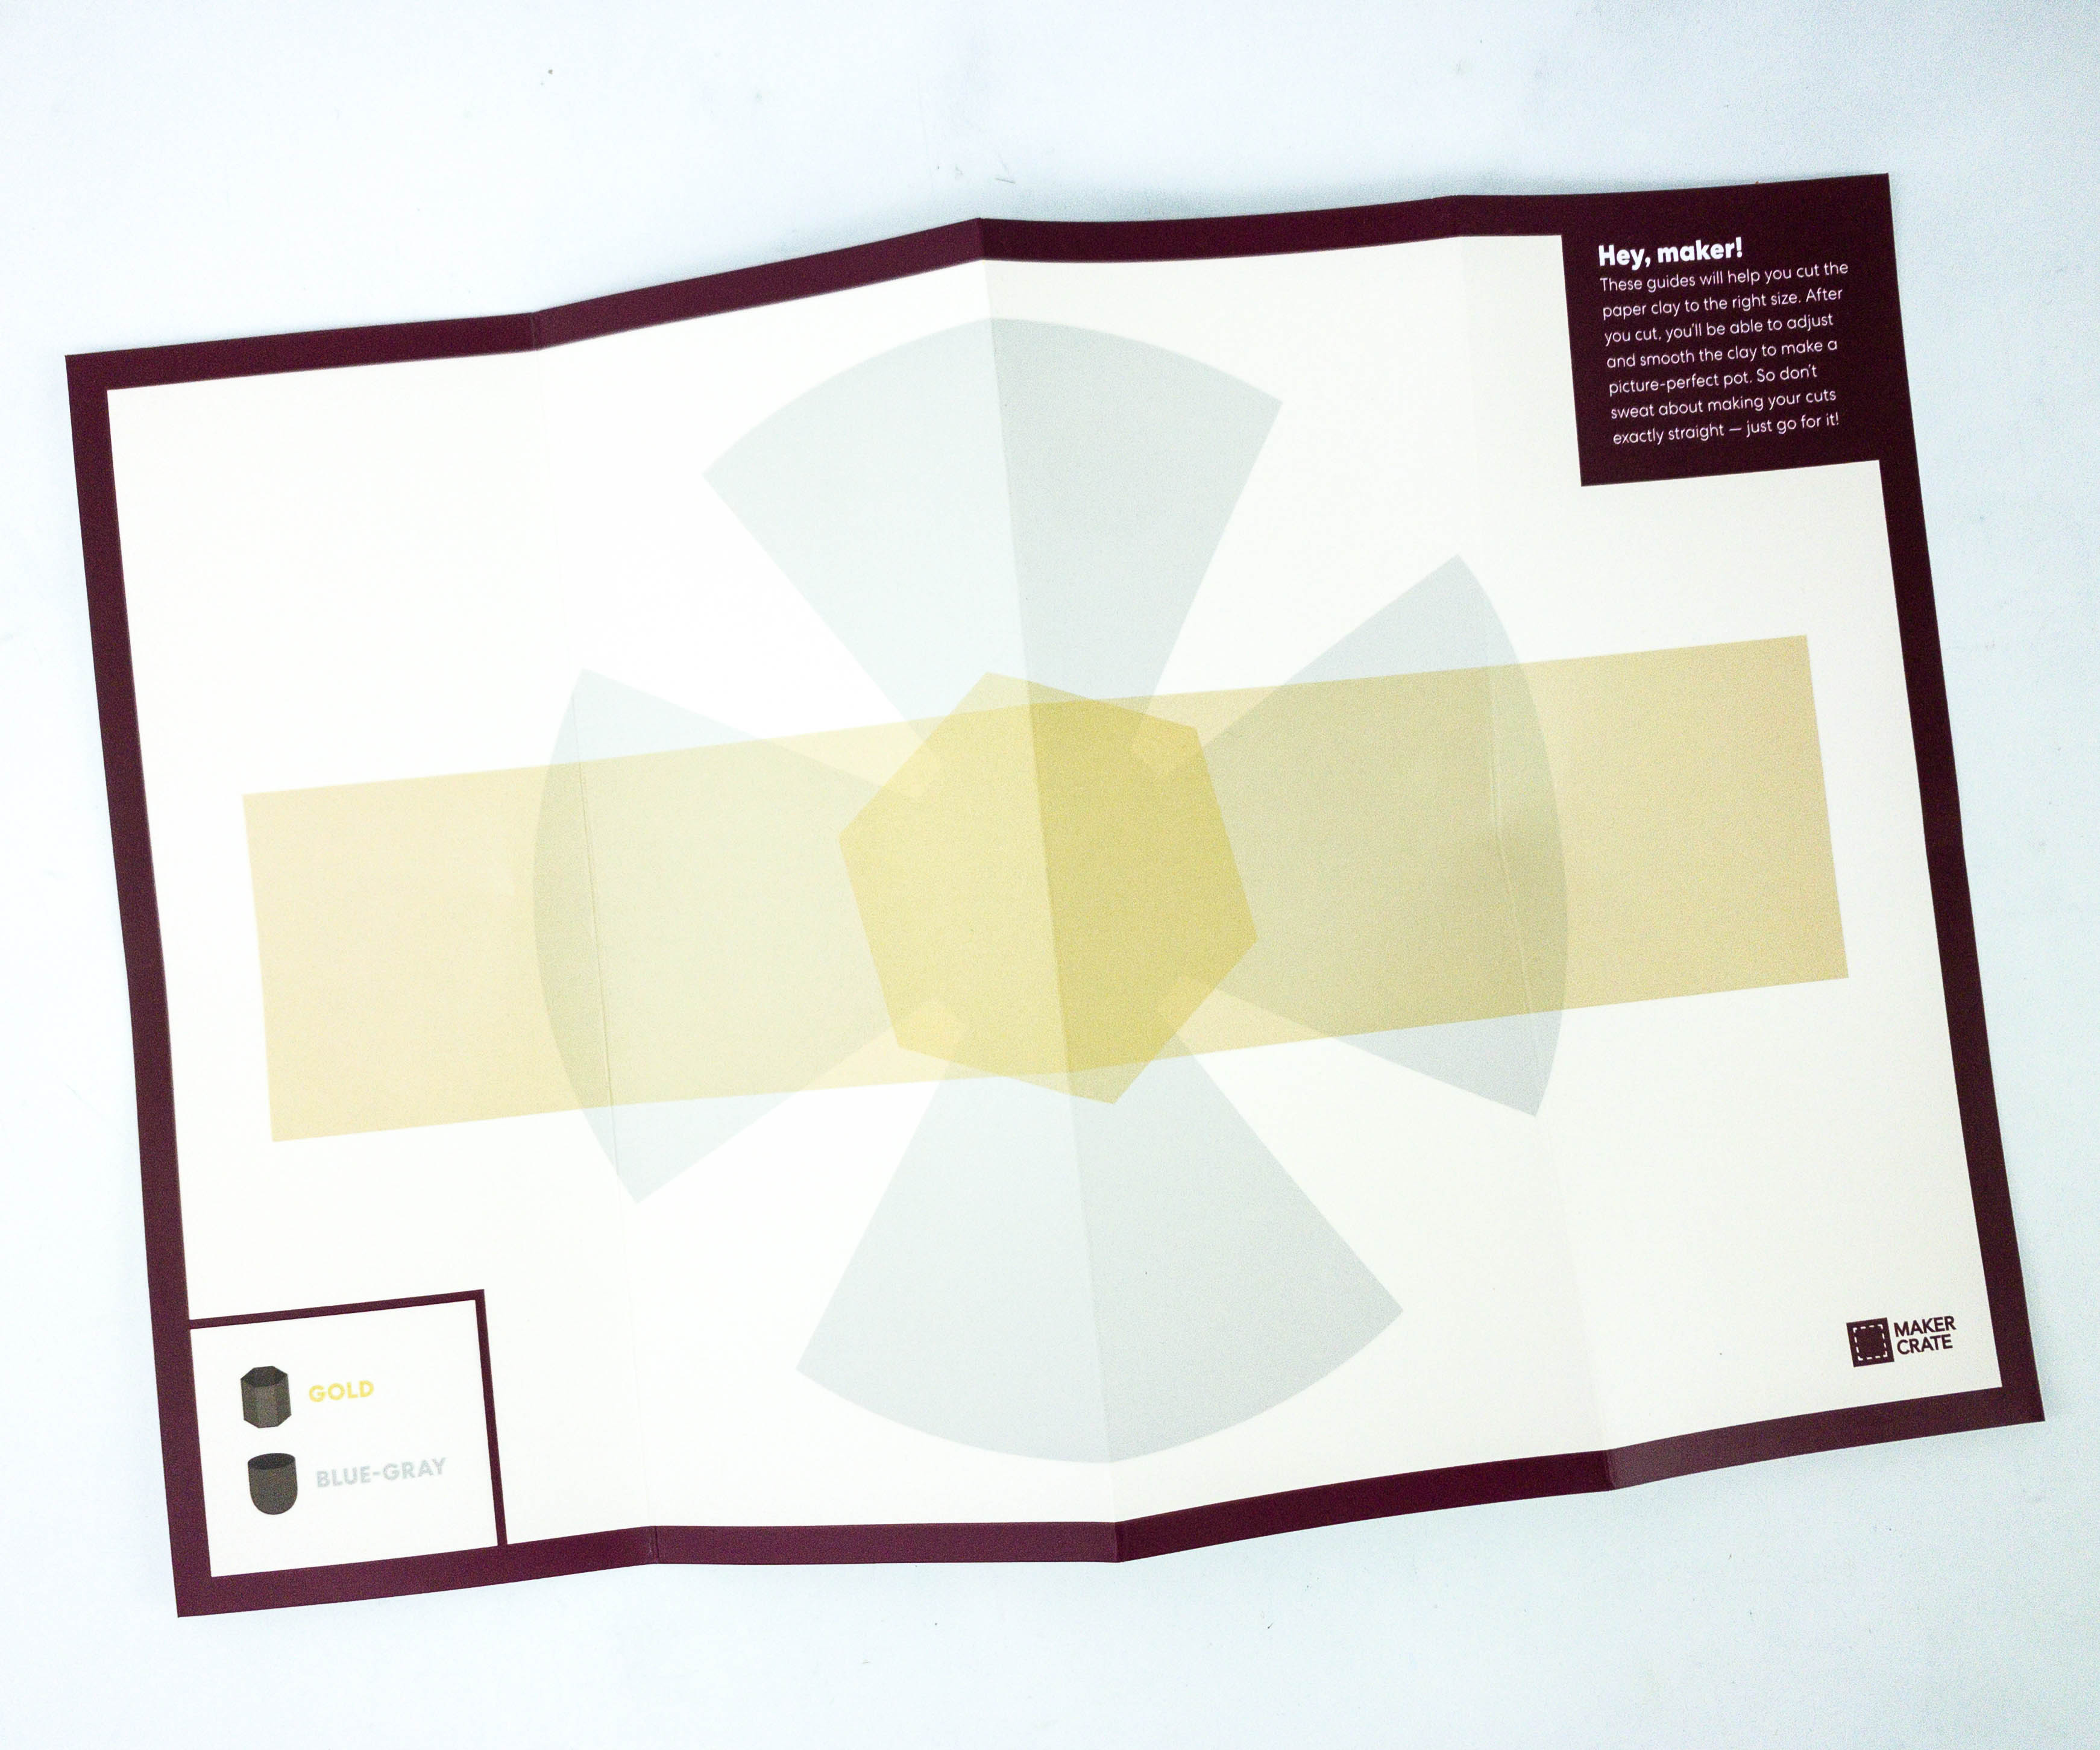
The box welcomes us with Maker Crate’s exclusive Maker’s Guide magazine and card.
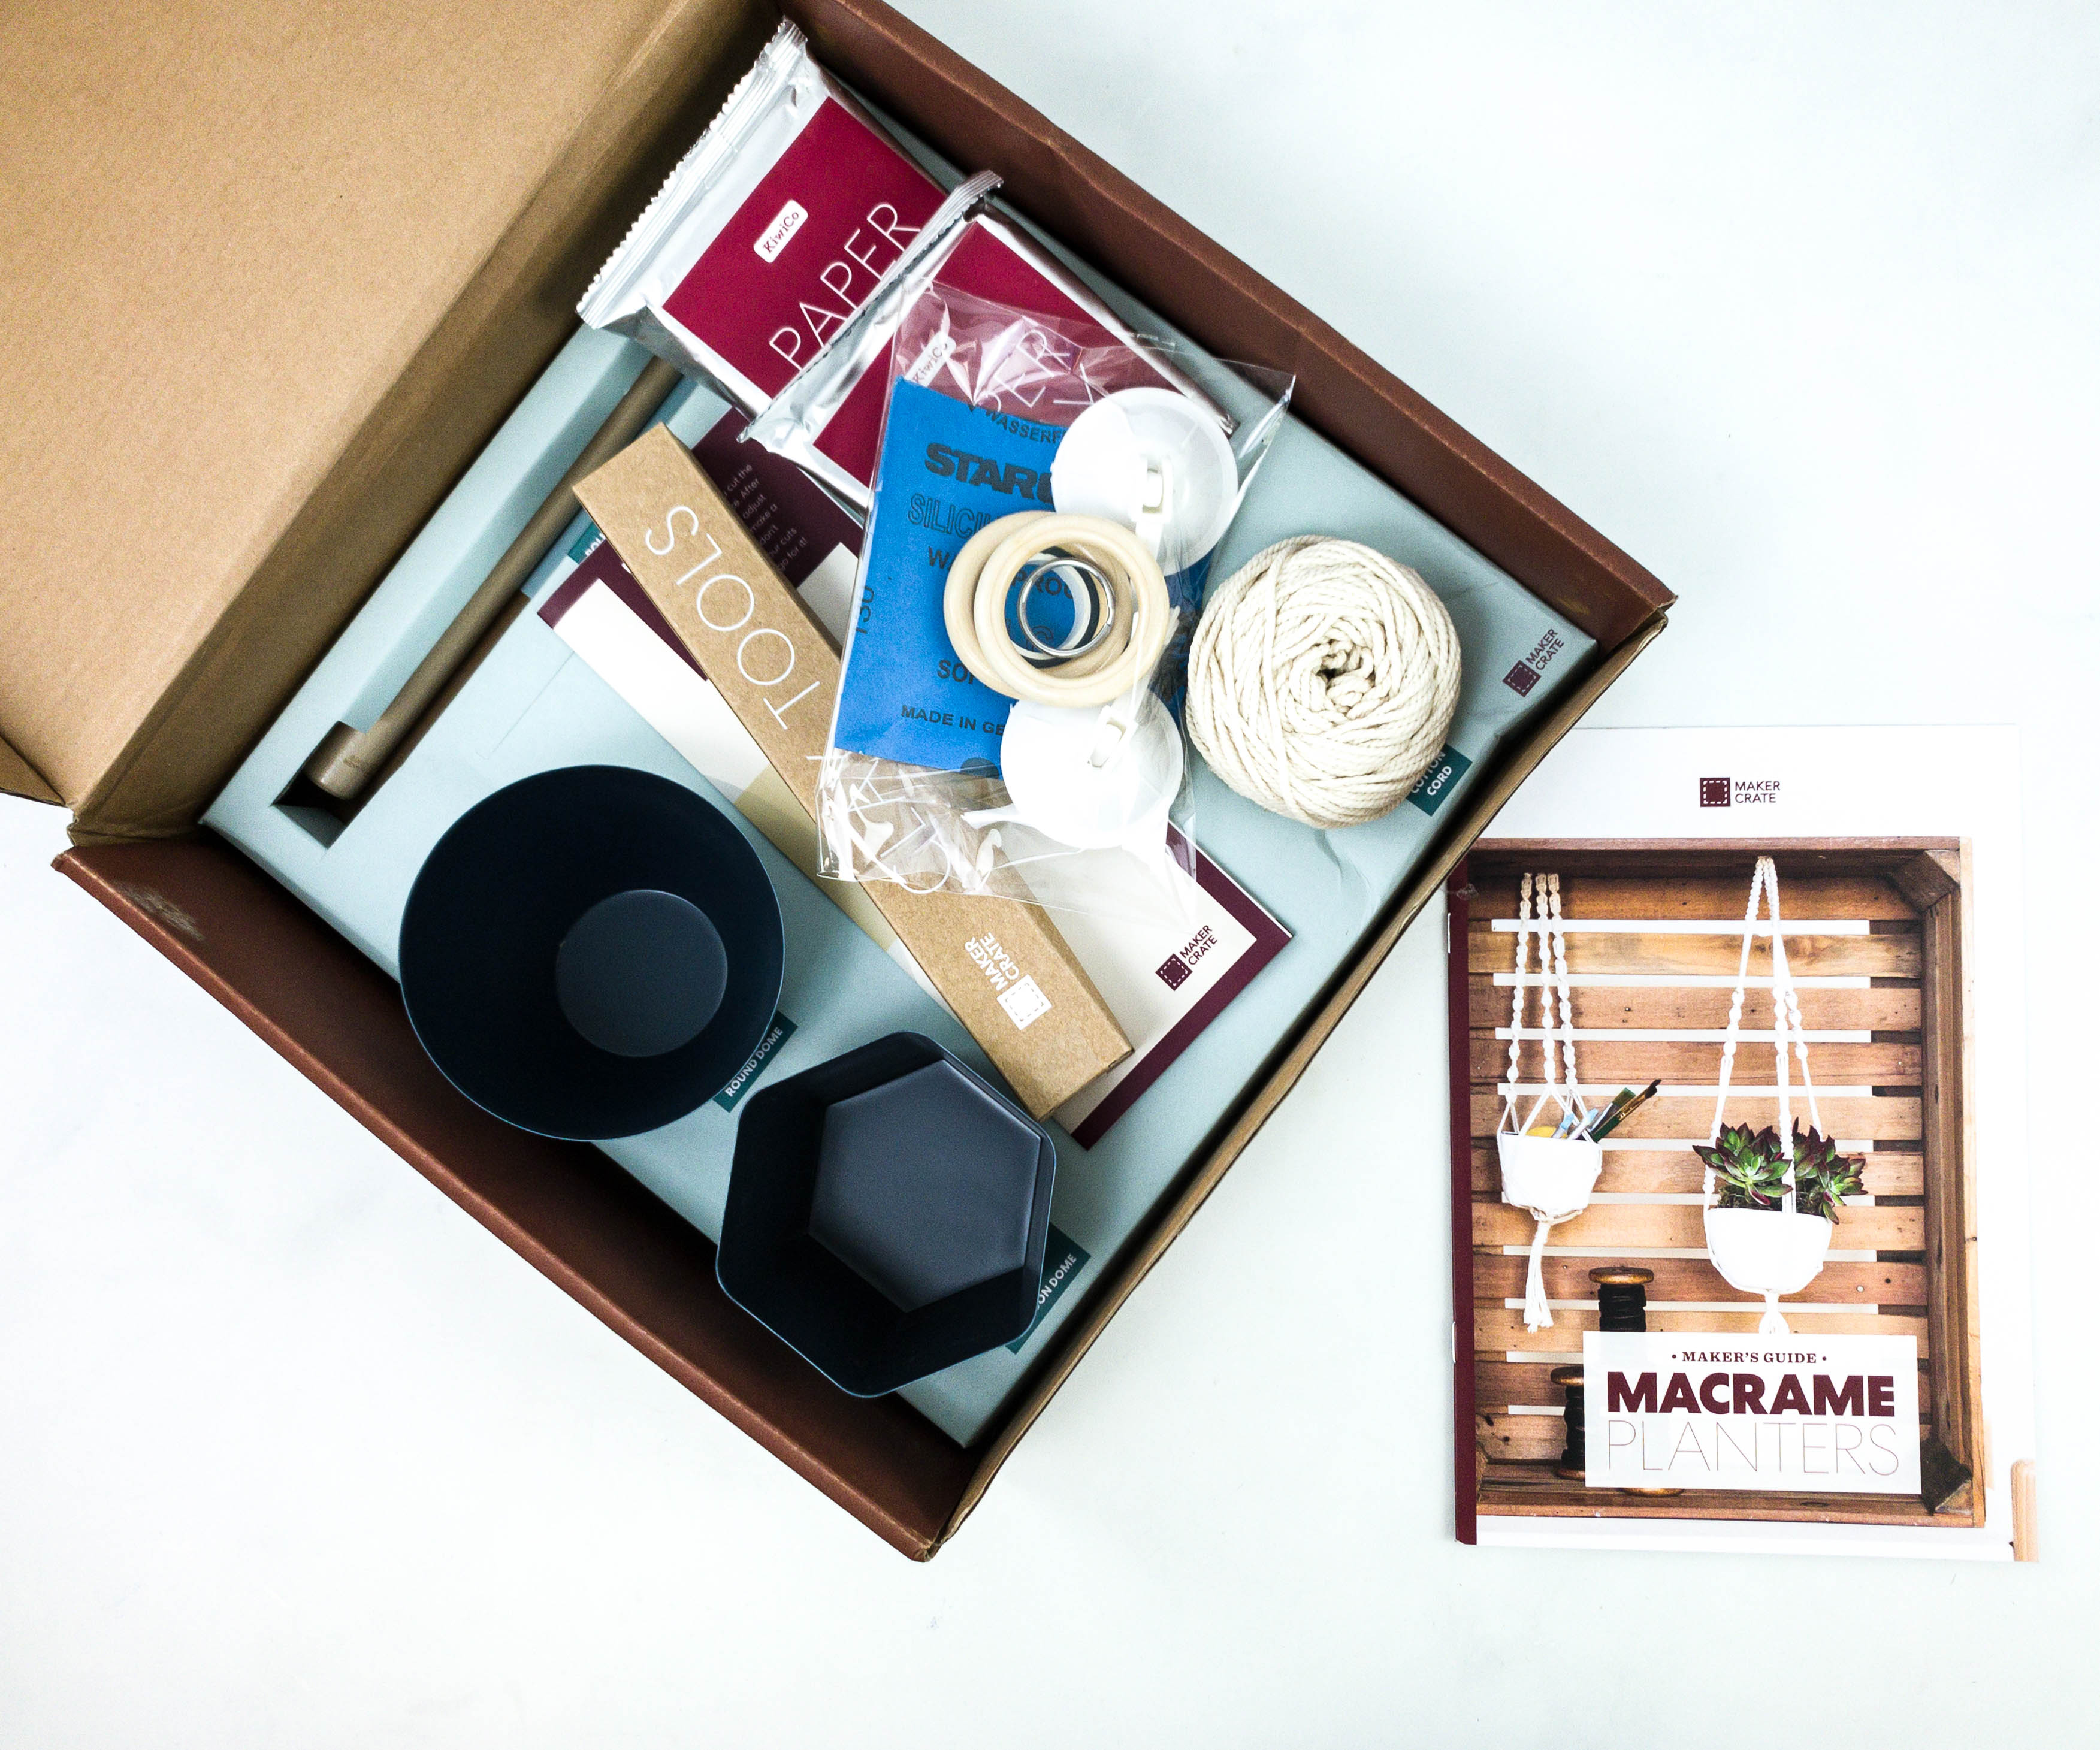
Kiwi Crate includes all the necessary supplies for the featured activities.
Some materials came in their own plastic packaging.
CREATIVITY TAKES COURAGE.
– Henri Matisse

Like the other crates from KiwiCo, Maker Crate also includes a booklet.
You can tag and share your KiwiCo projects on social media using the #KiwiCo and #MakerCrate!

The back of the magazine presents KiwiCo’s goals for the next generation of innovators!
KiwiCo, Inspiring young innovators with seriously fun and enriching hands-on experiences.
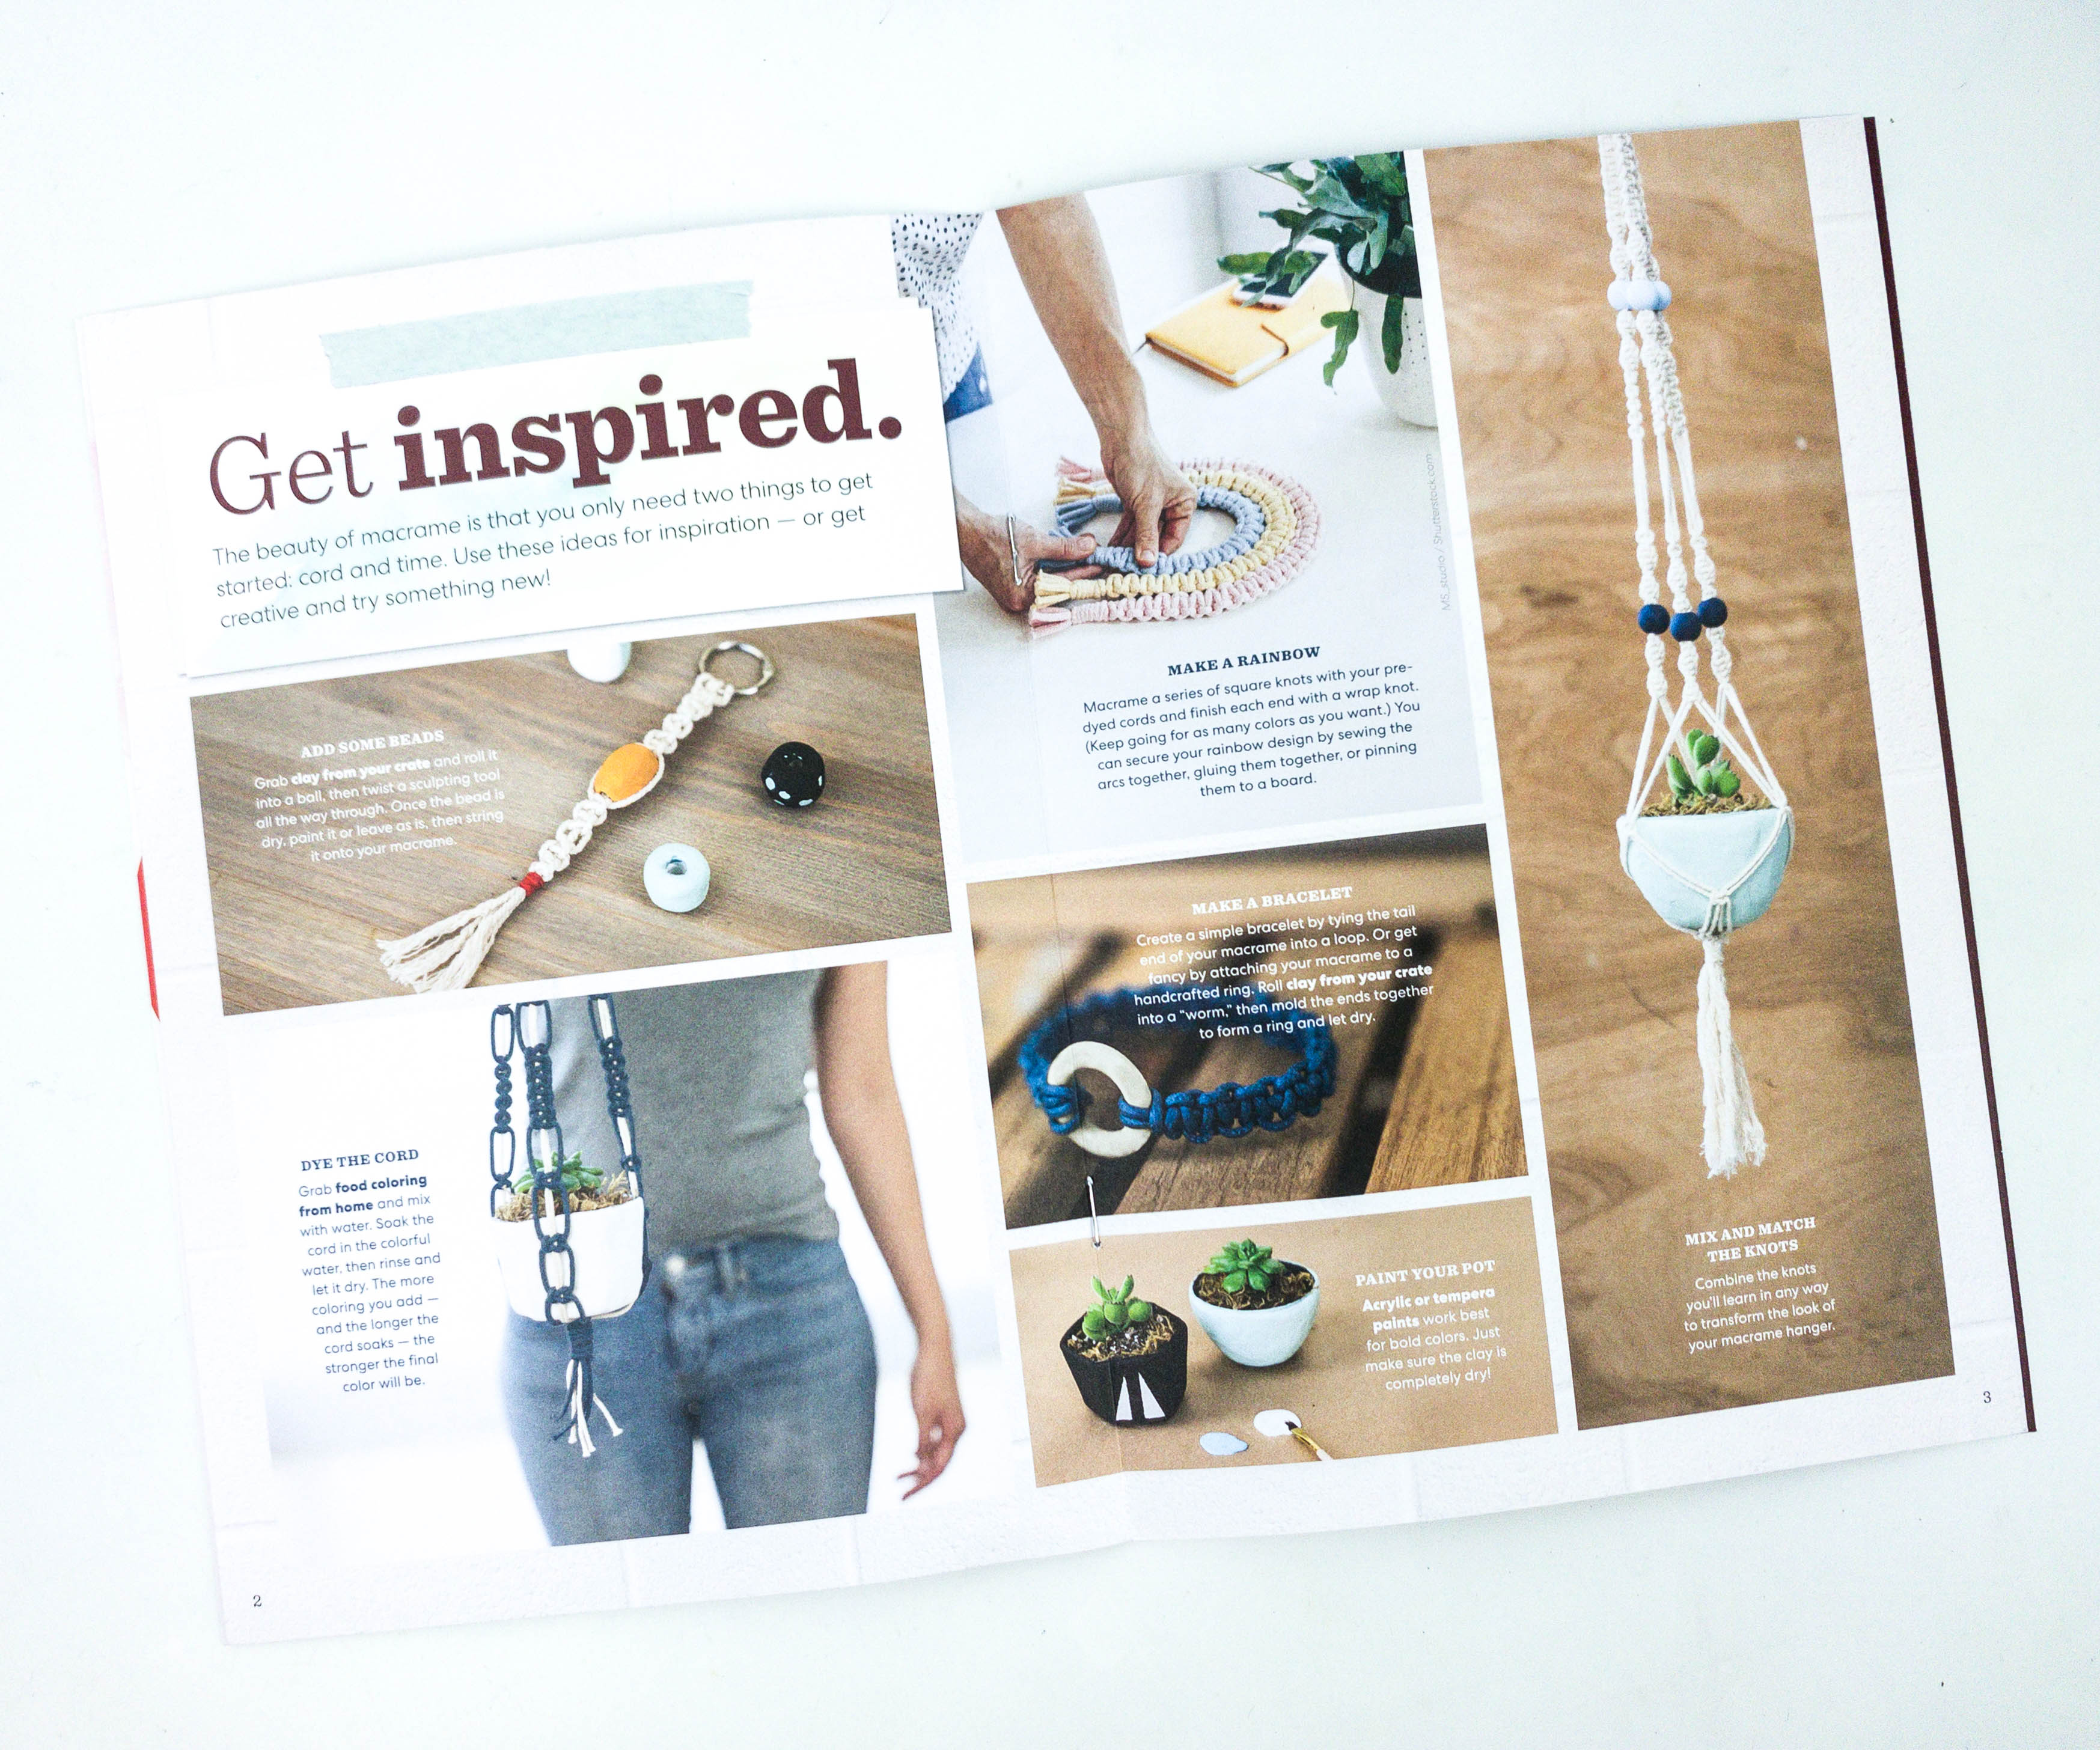
Featured on this part of the booklet are some of the macrame samples which you can use as an inspiration to create and try something new!

Here’s an article about the history of macrame! According to it, macrame came from the word makrama which means “fringe” in Arabic and refers to the art of cord knotting. The article even included some fun facts and trivia related to the project.
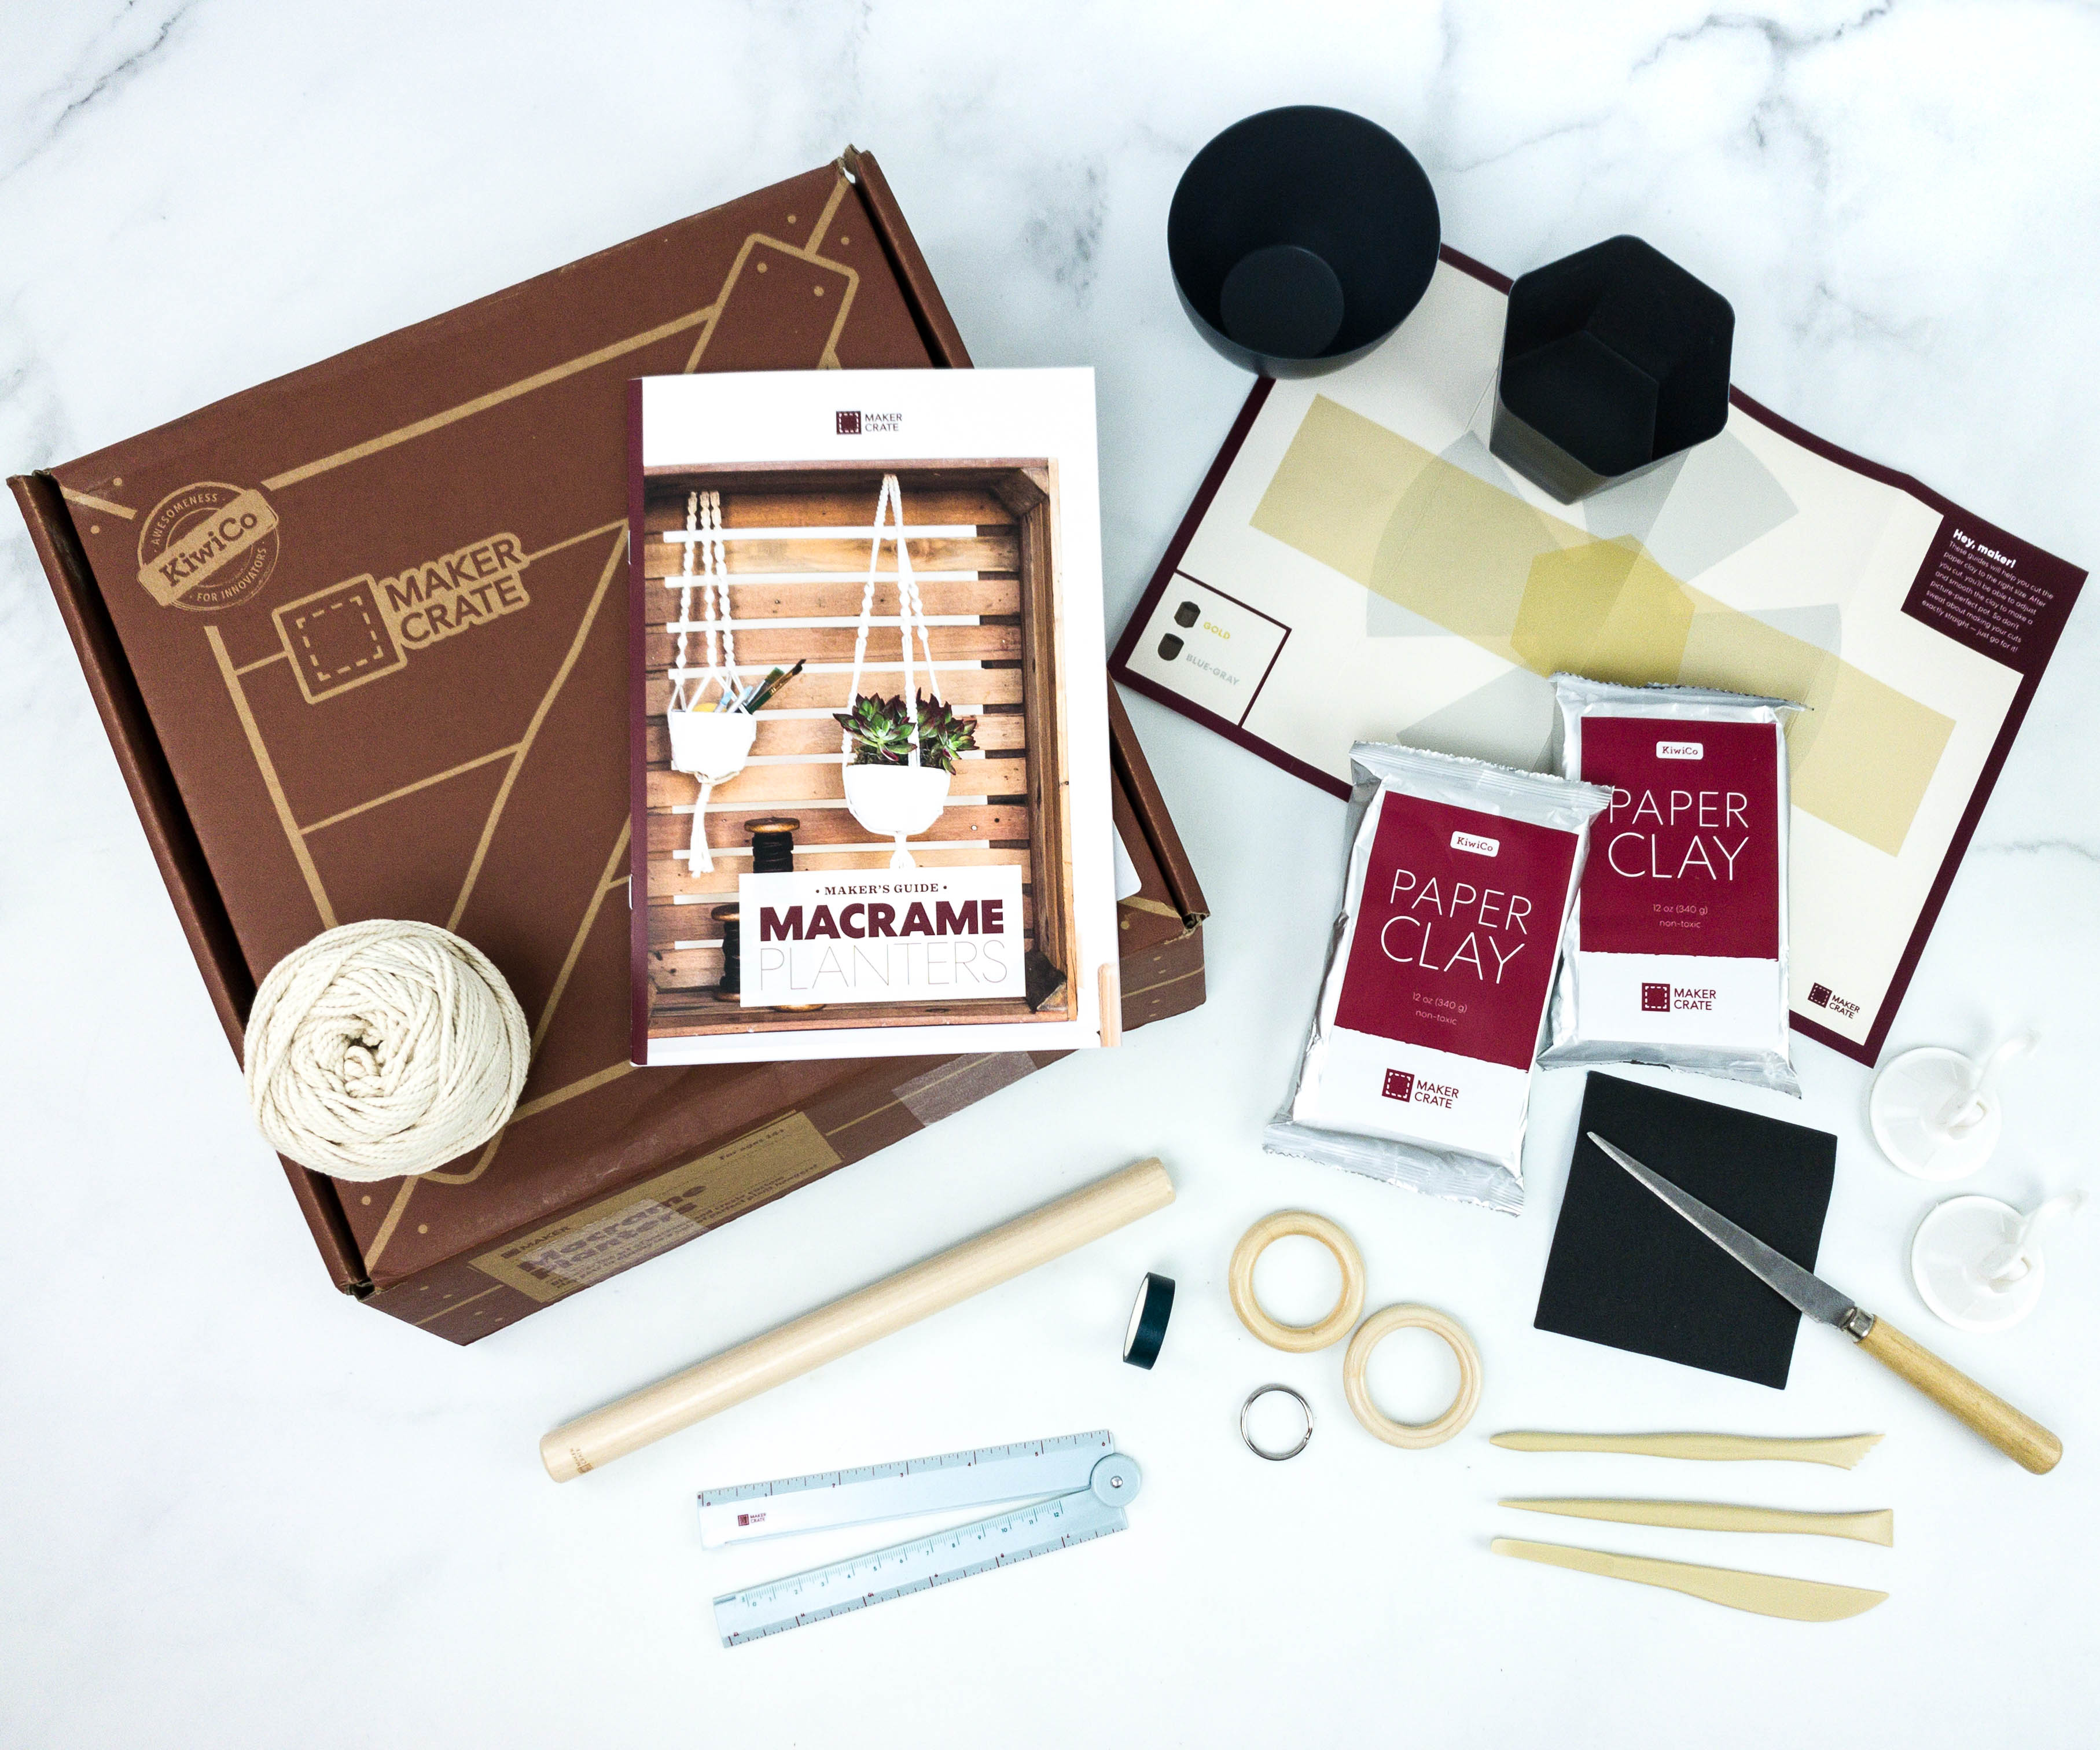
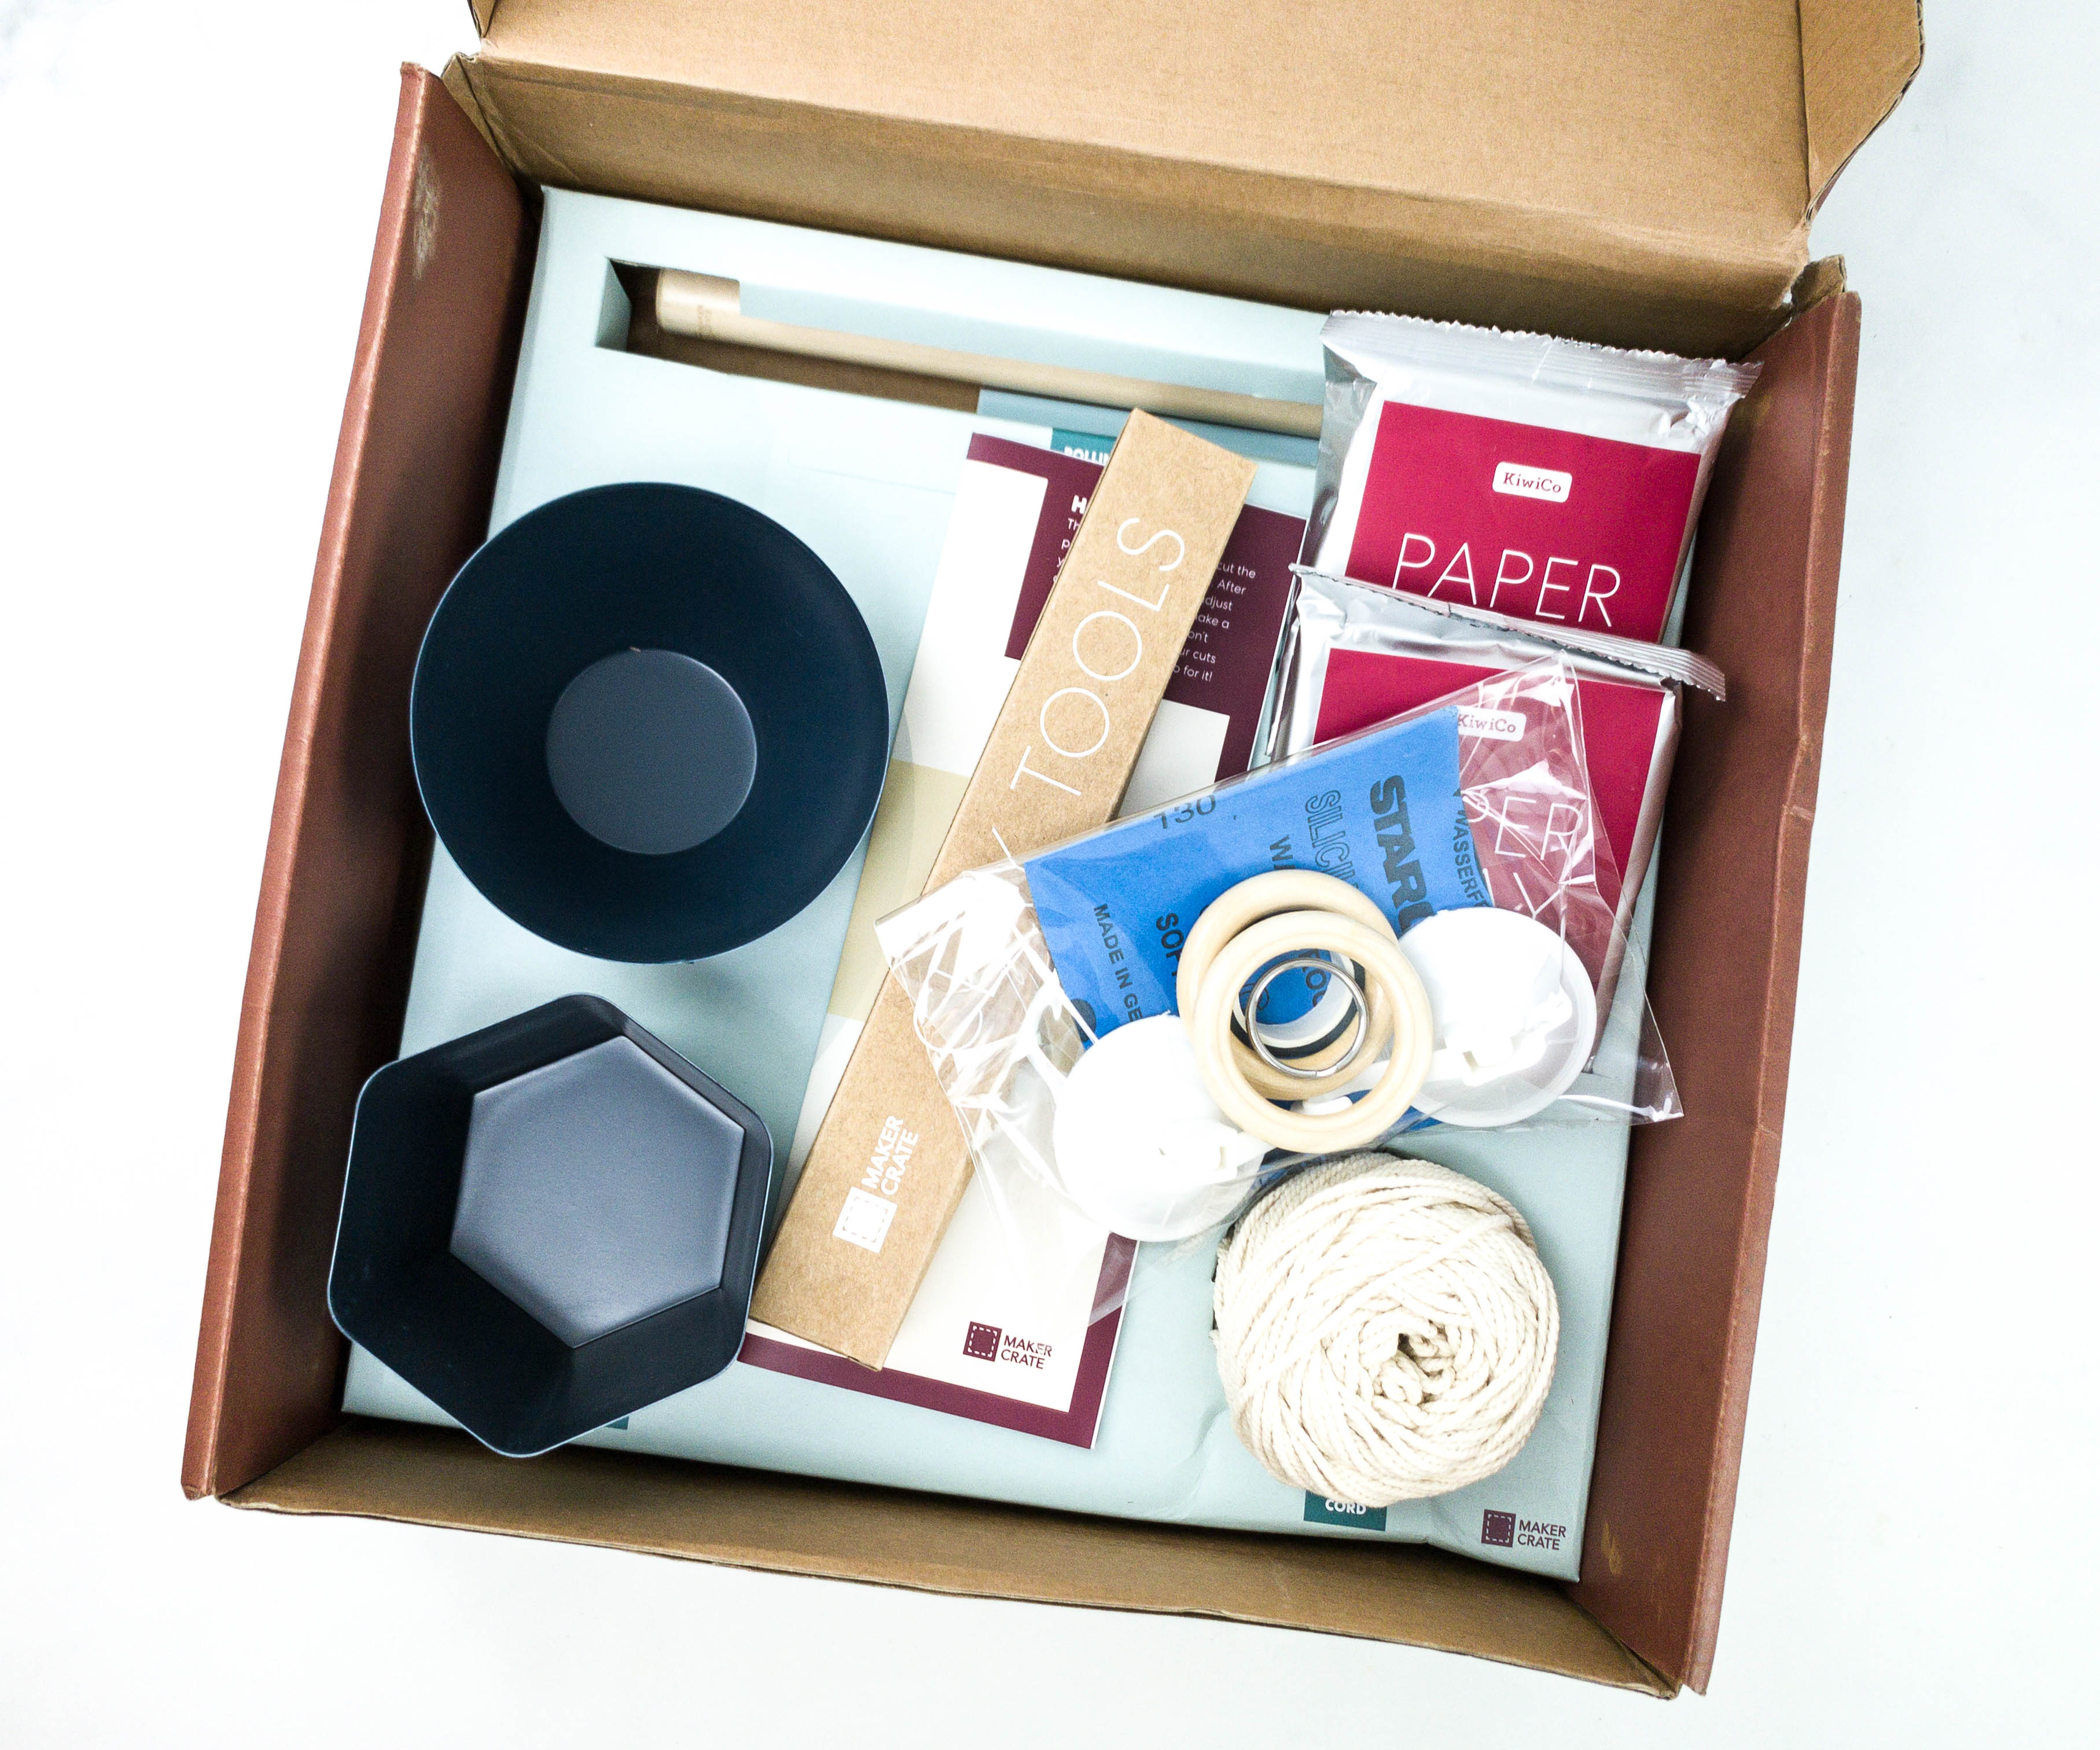
Here are all the materials for this month’s macrame project!
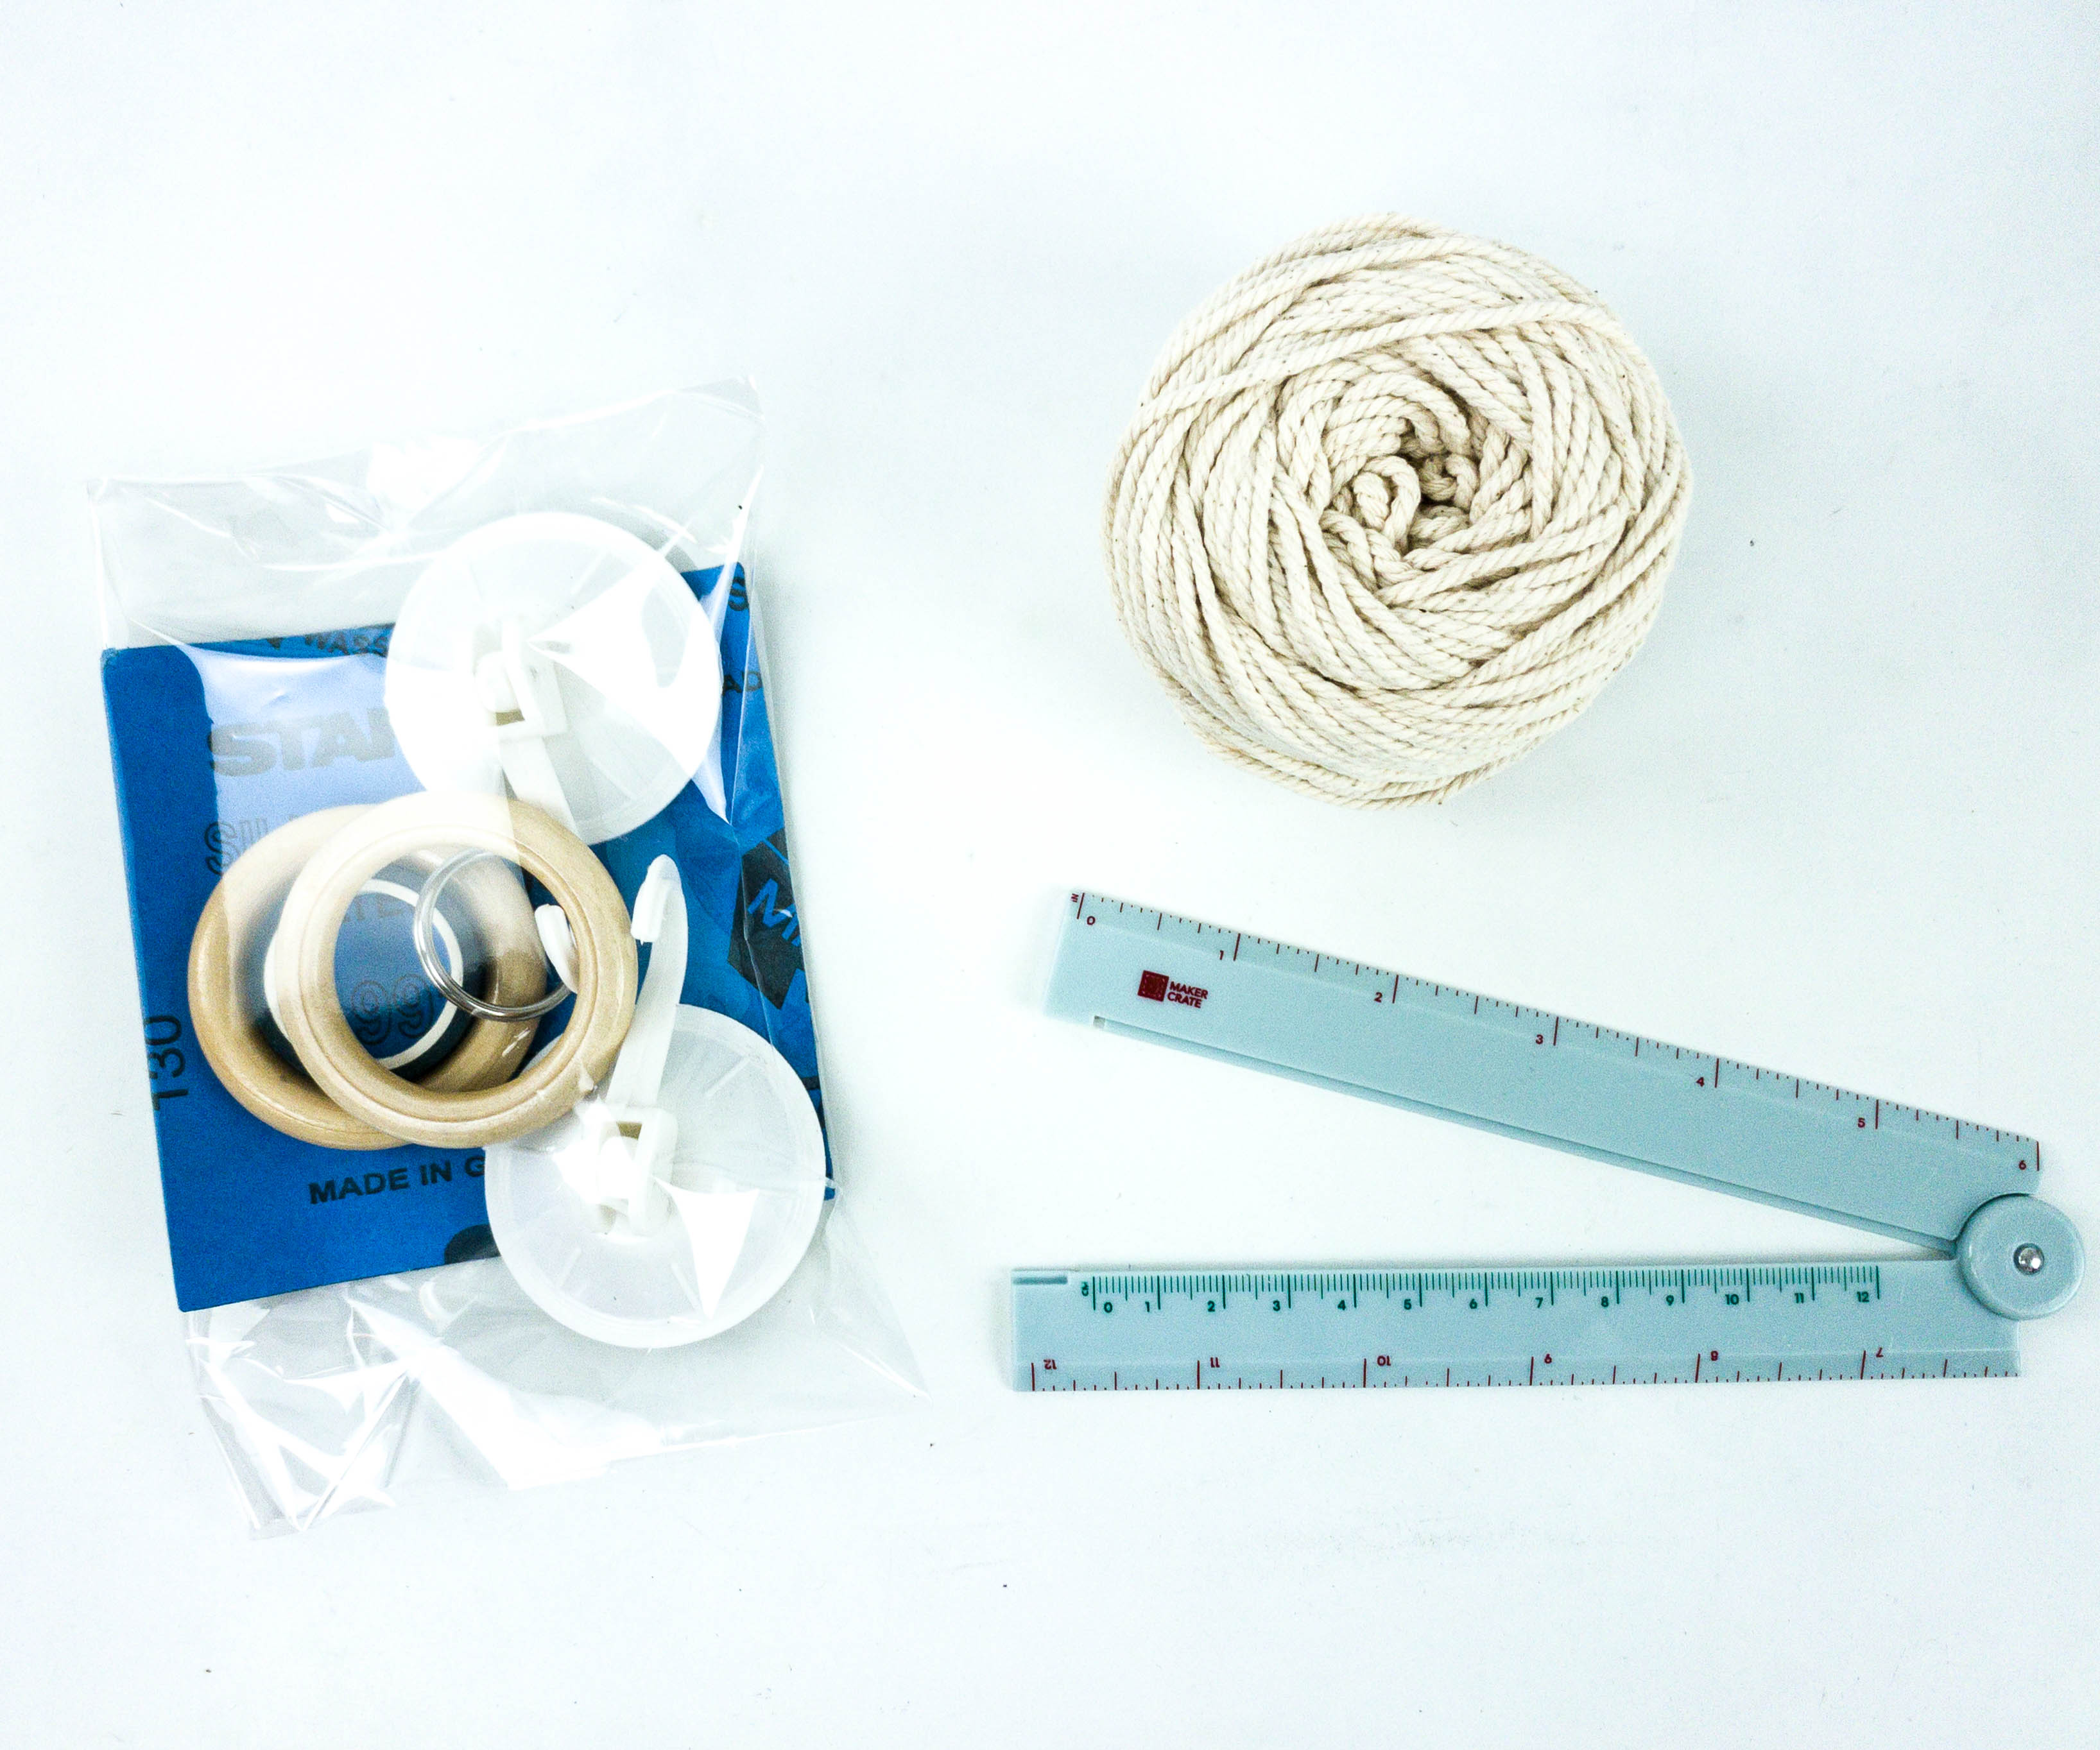
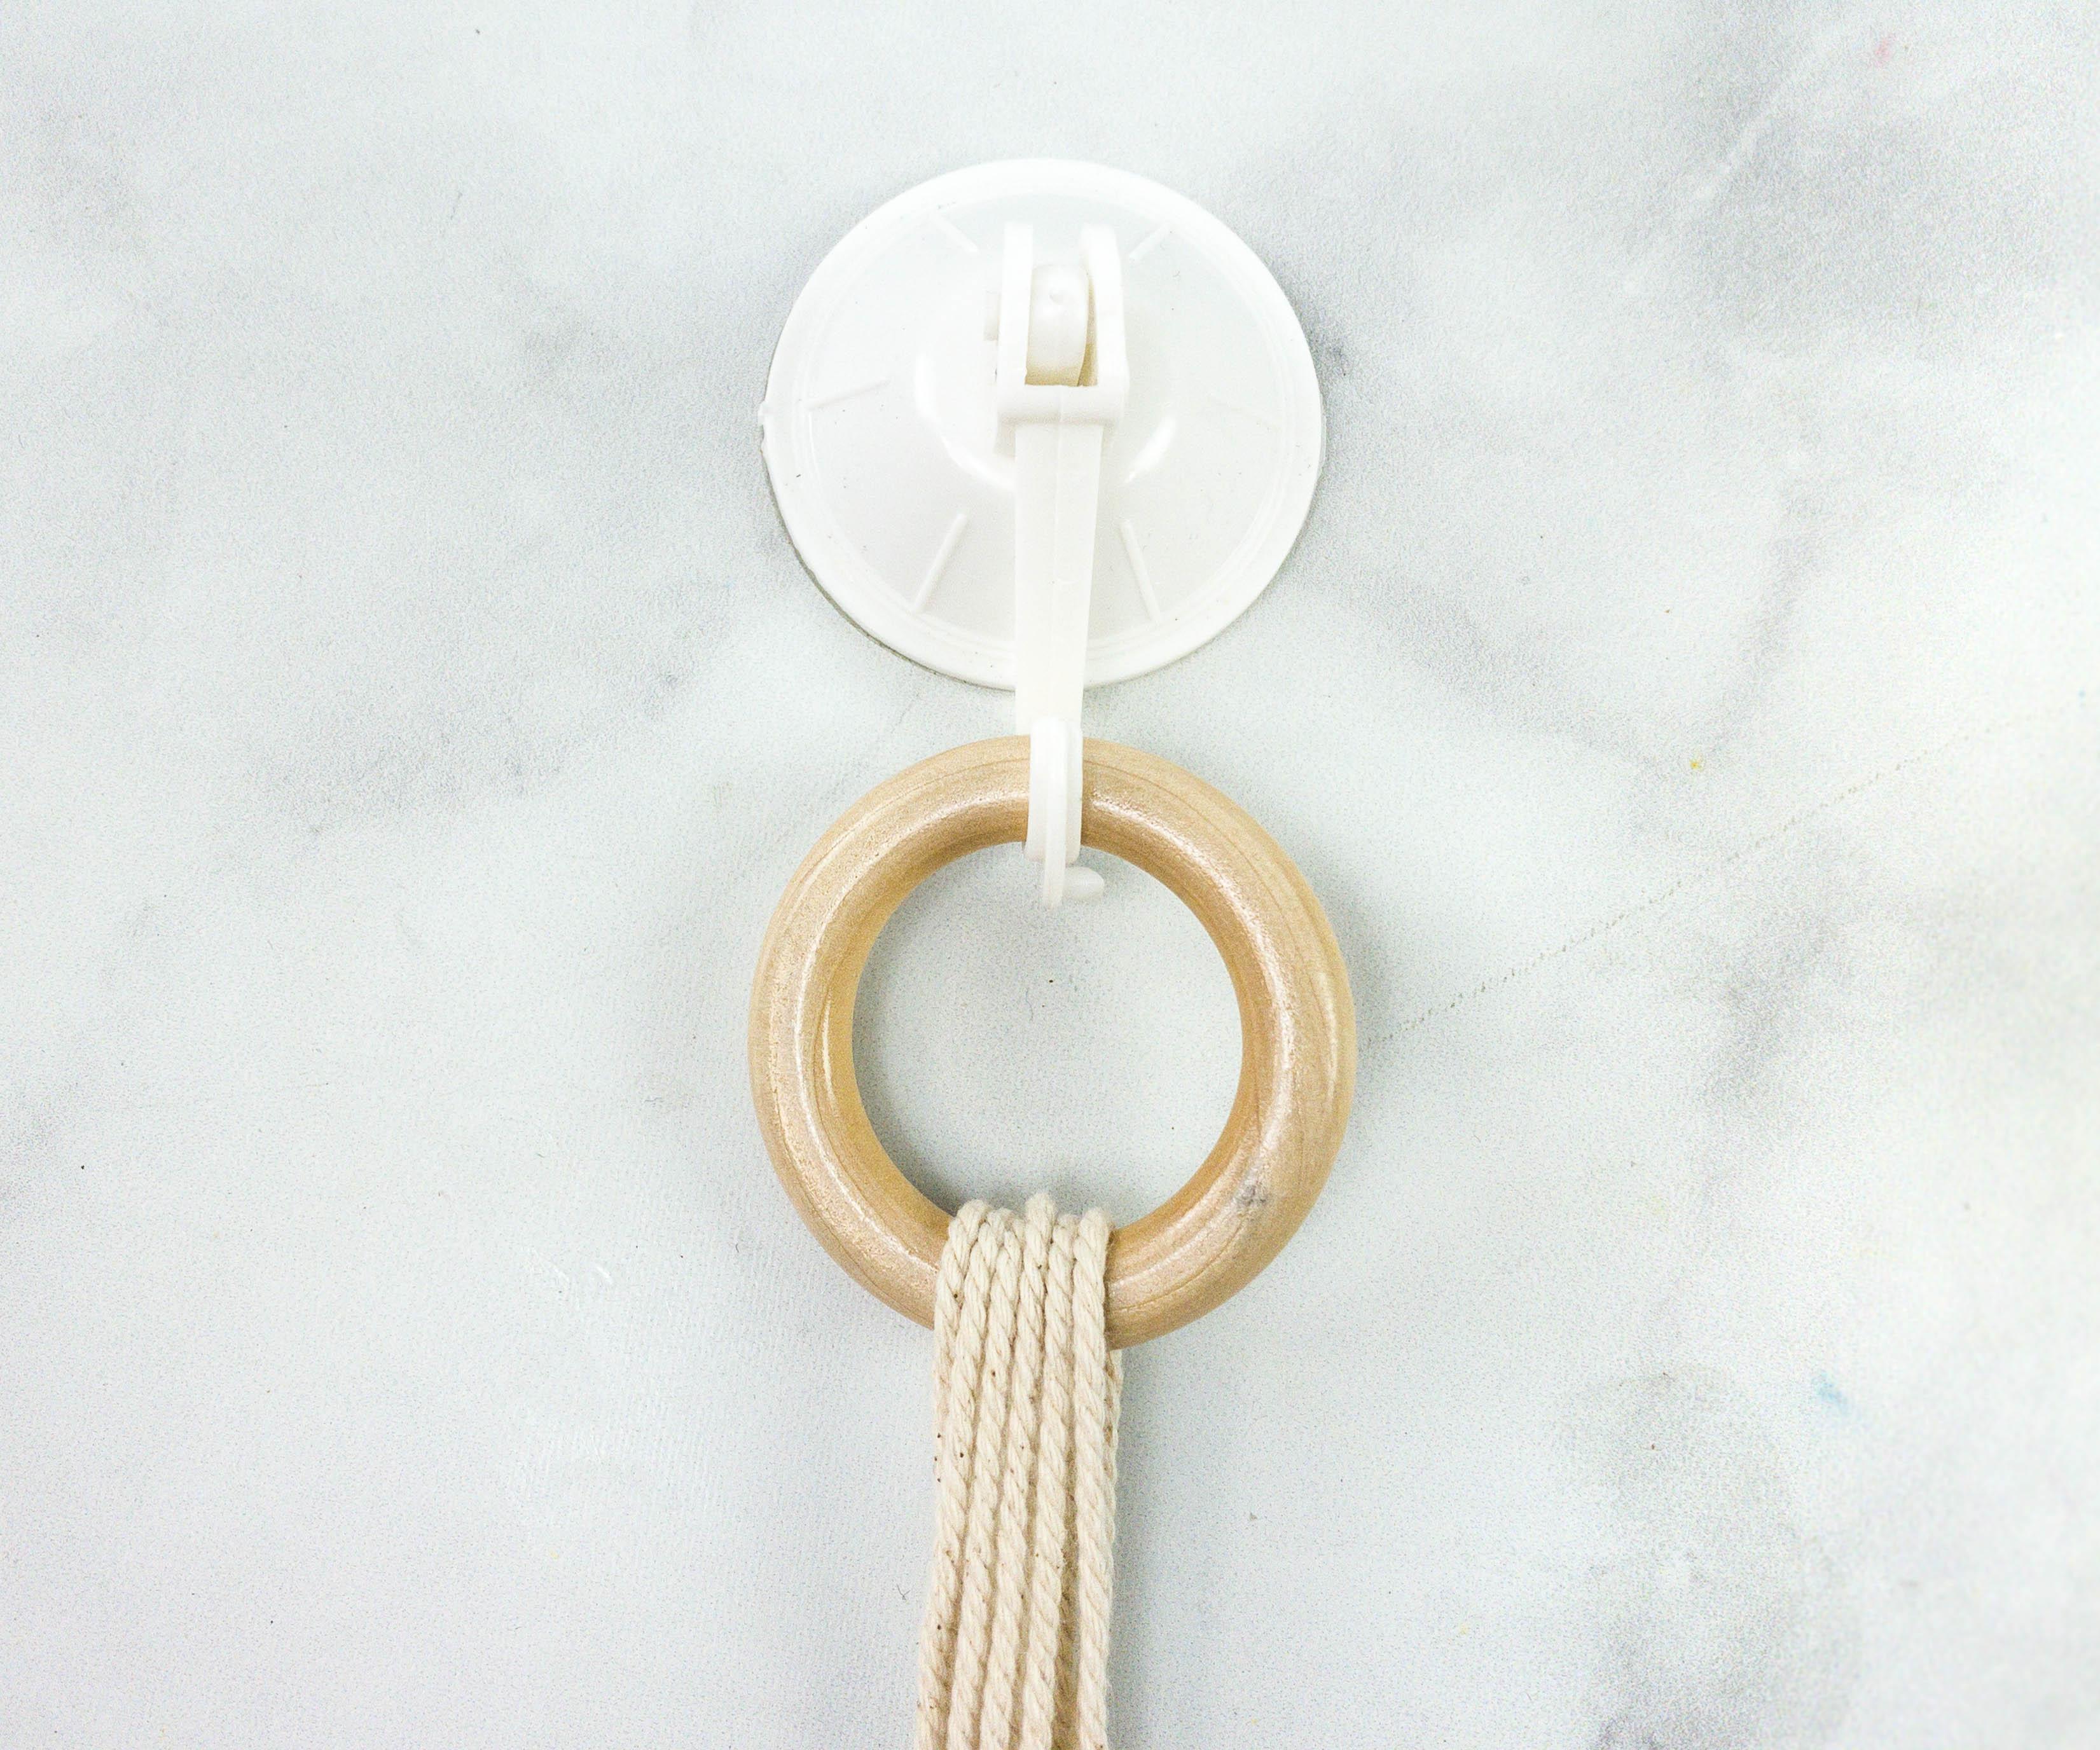
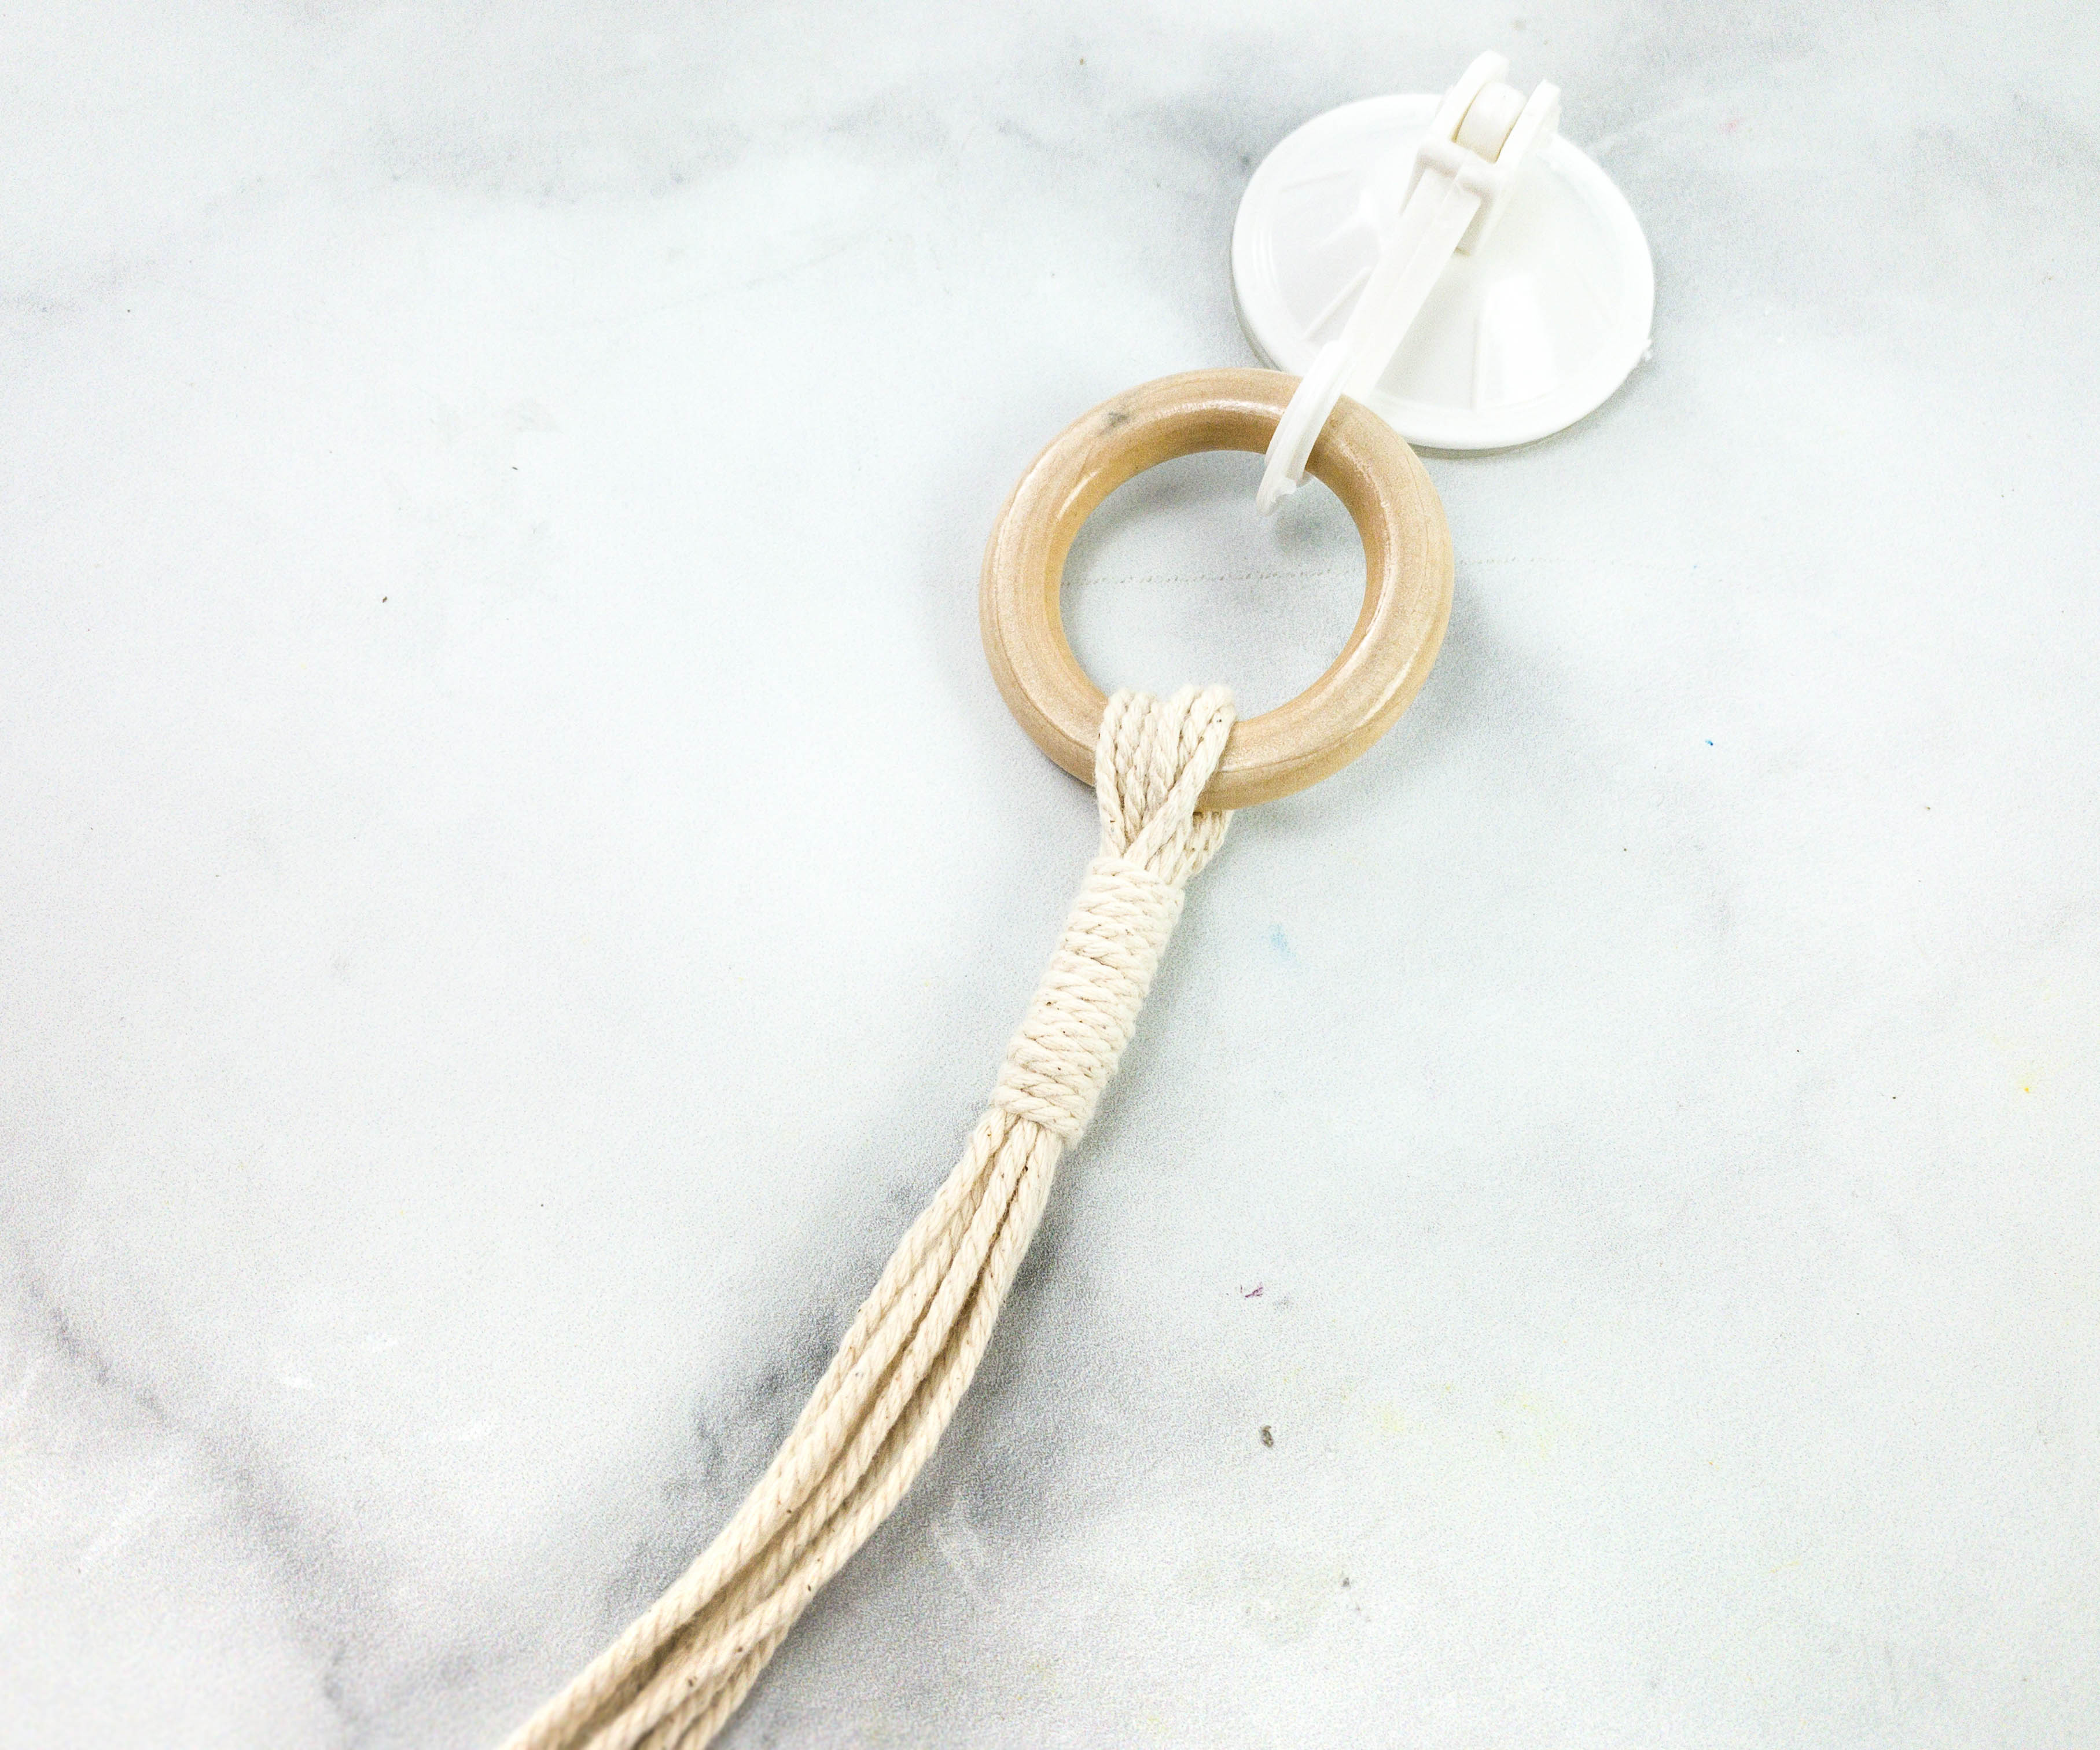
My daughter and I teamed up for this project! For the first part, we used the cotton cord, folding ruler, suction hooks, key ring, and wood rings.

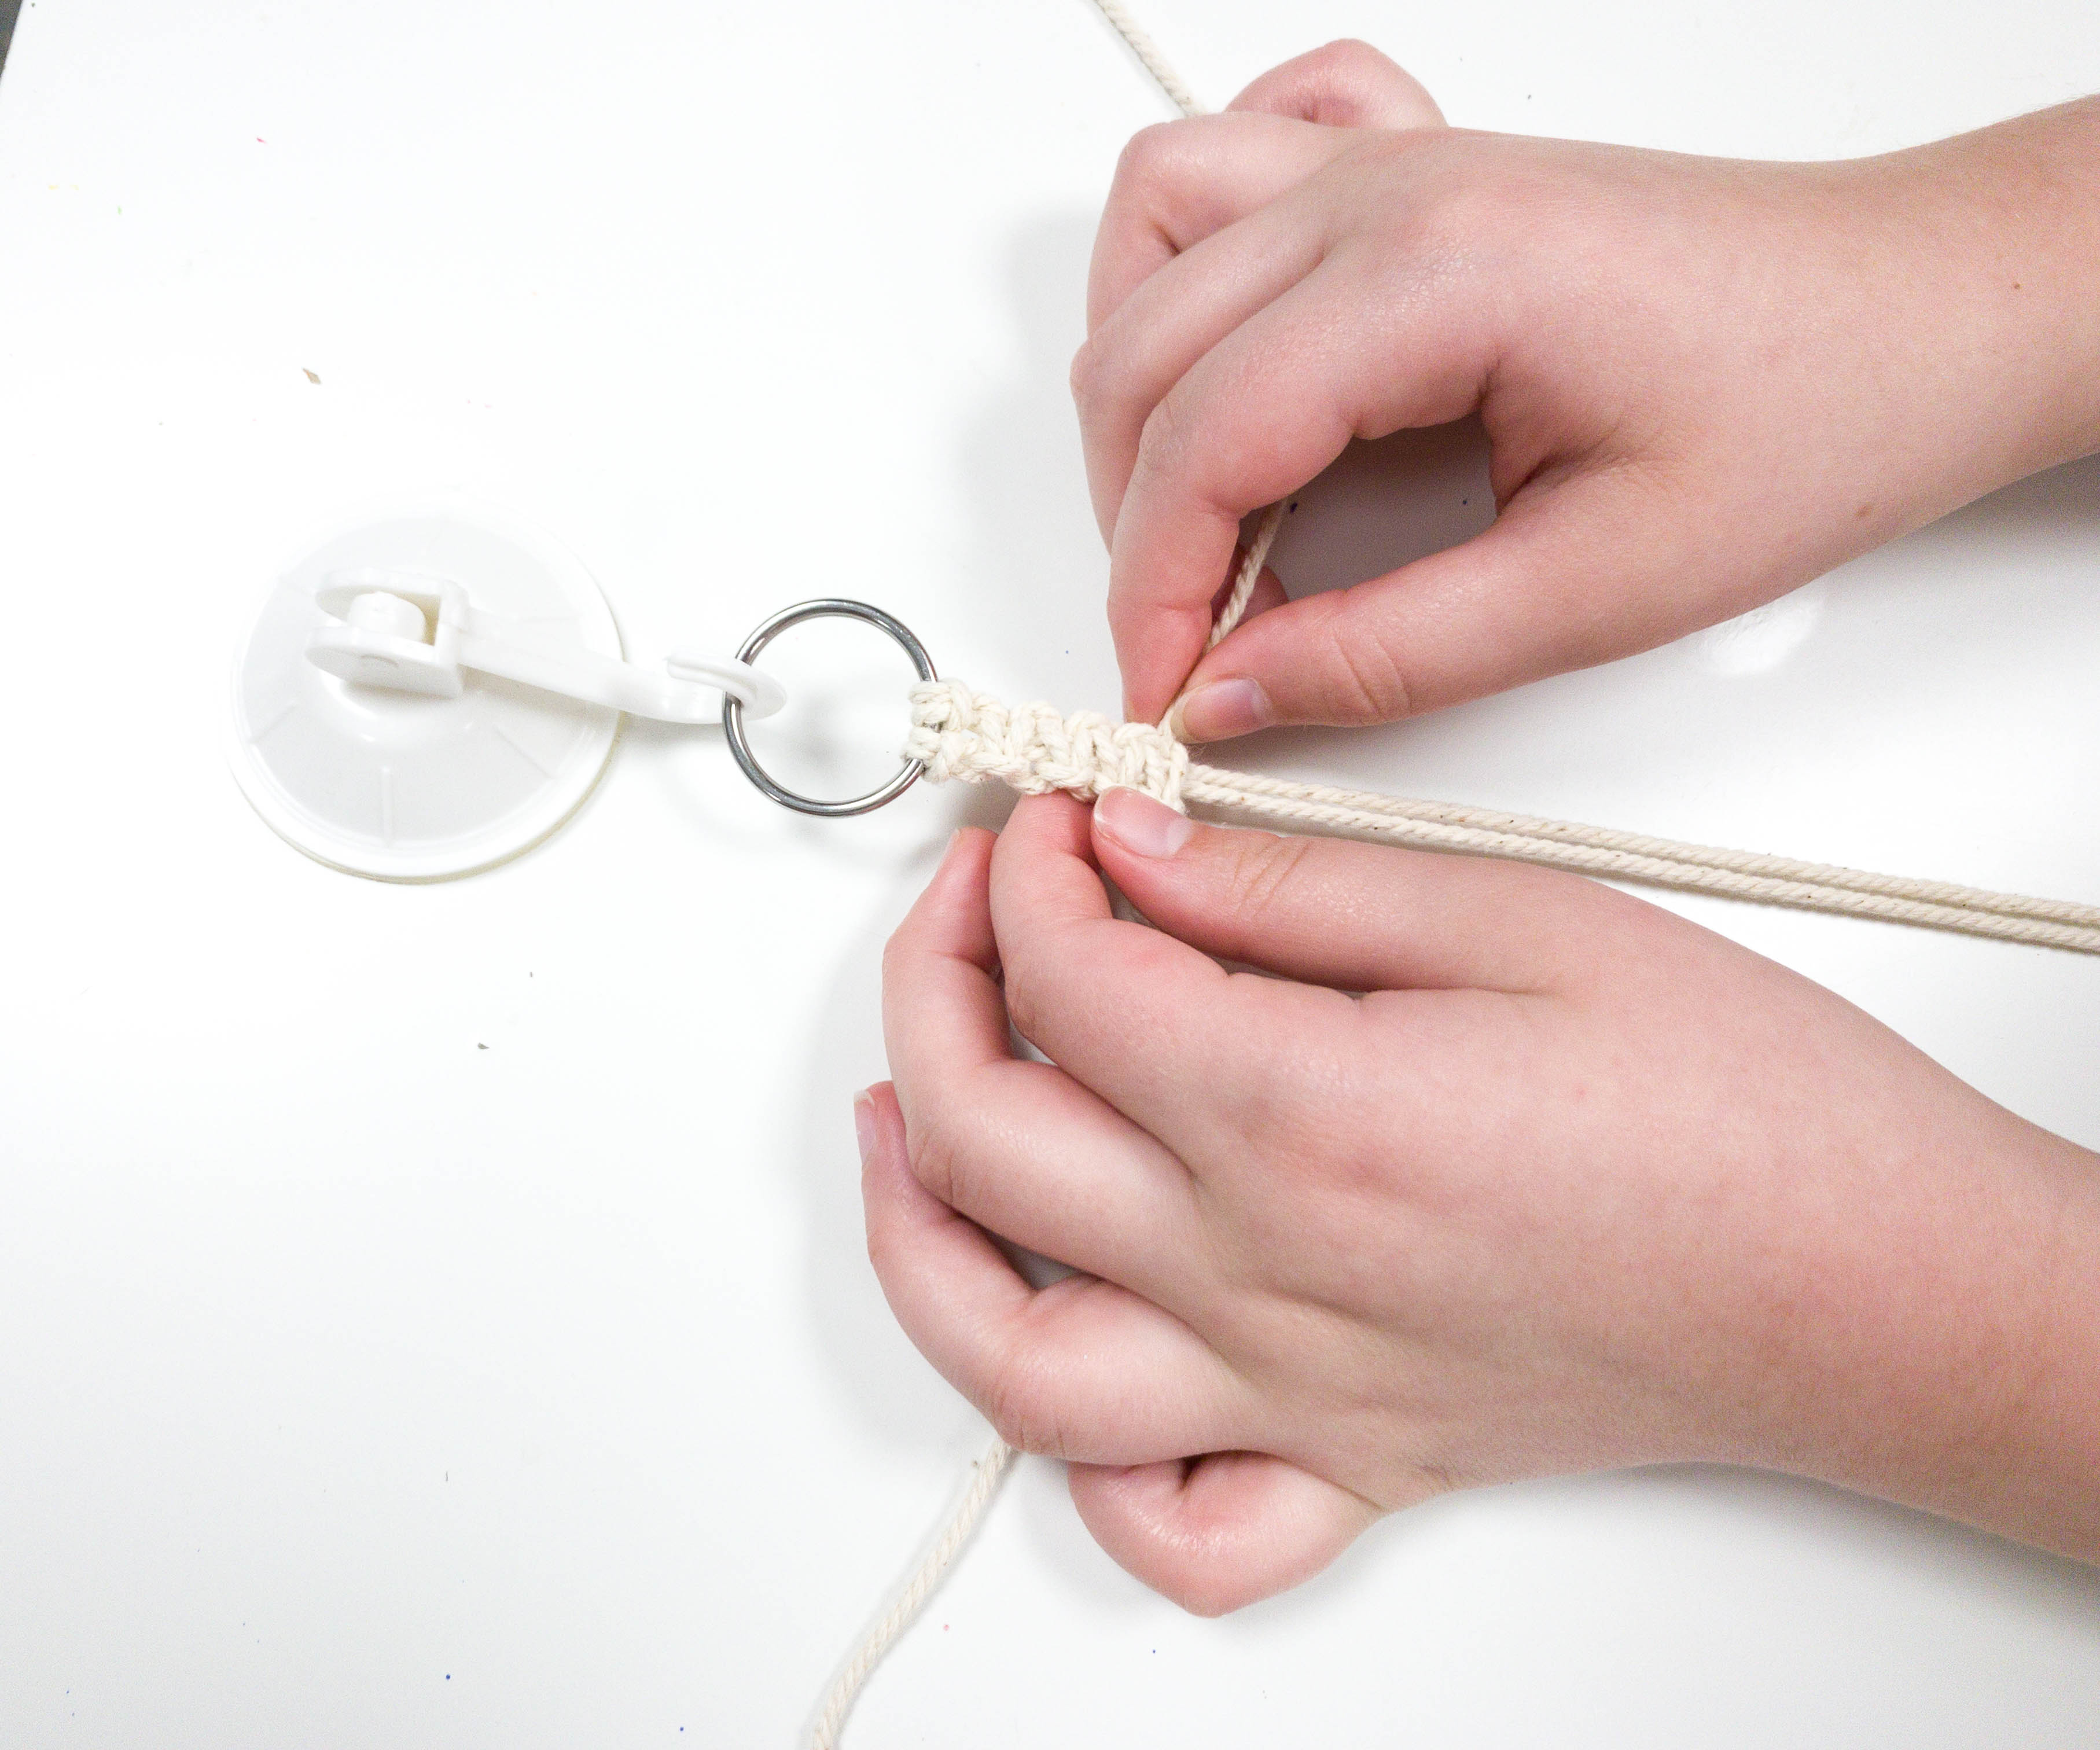
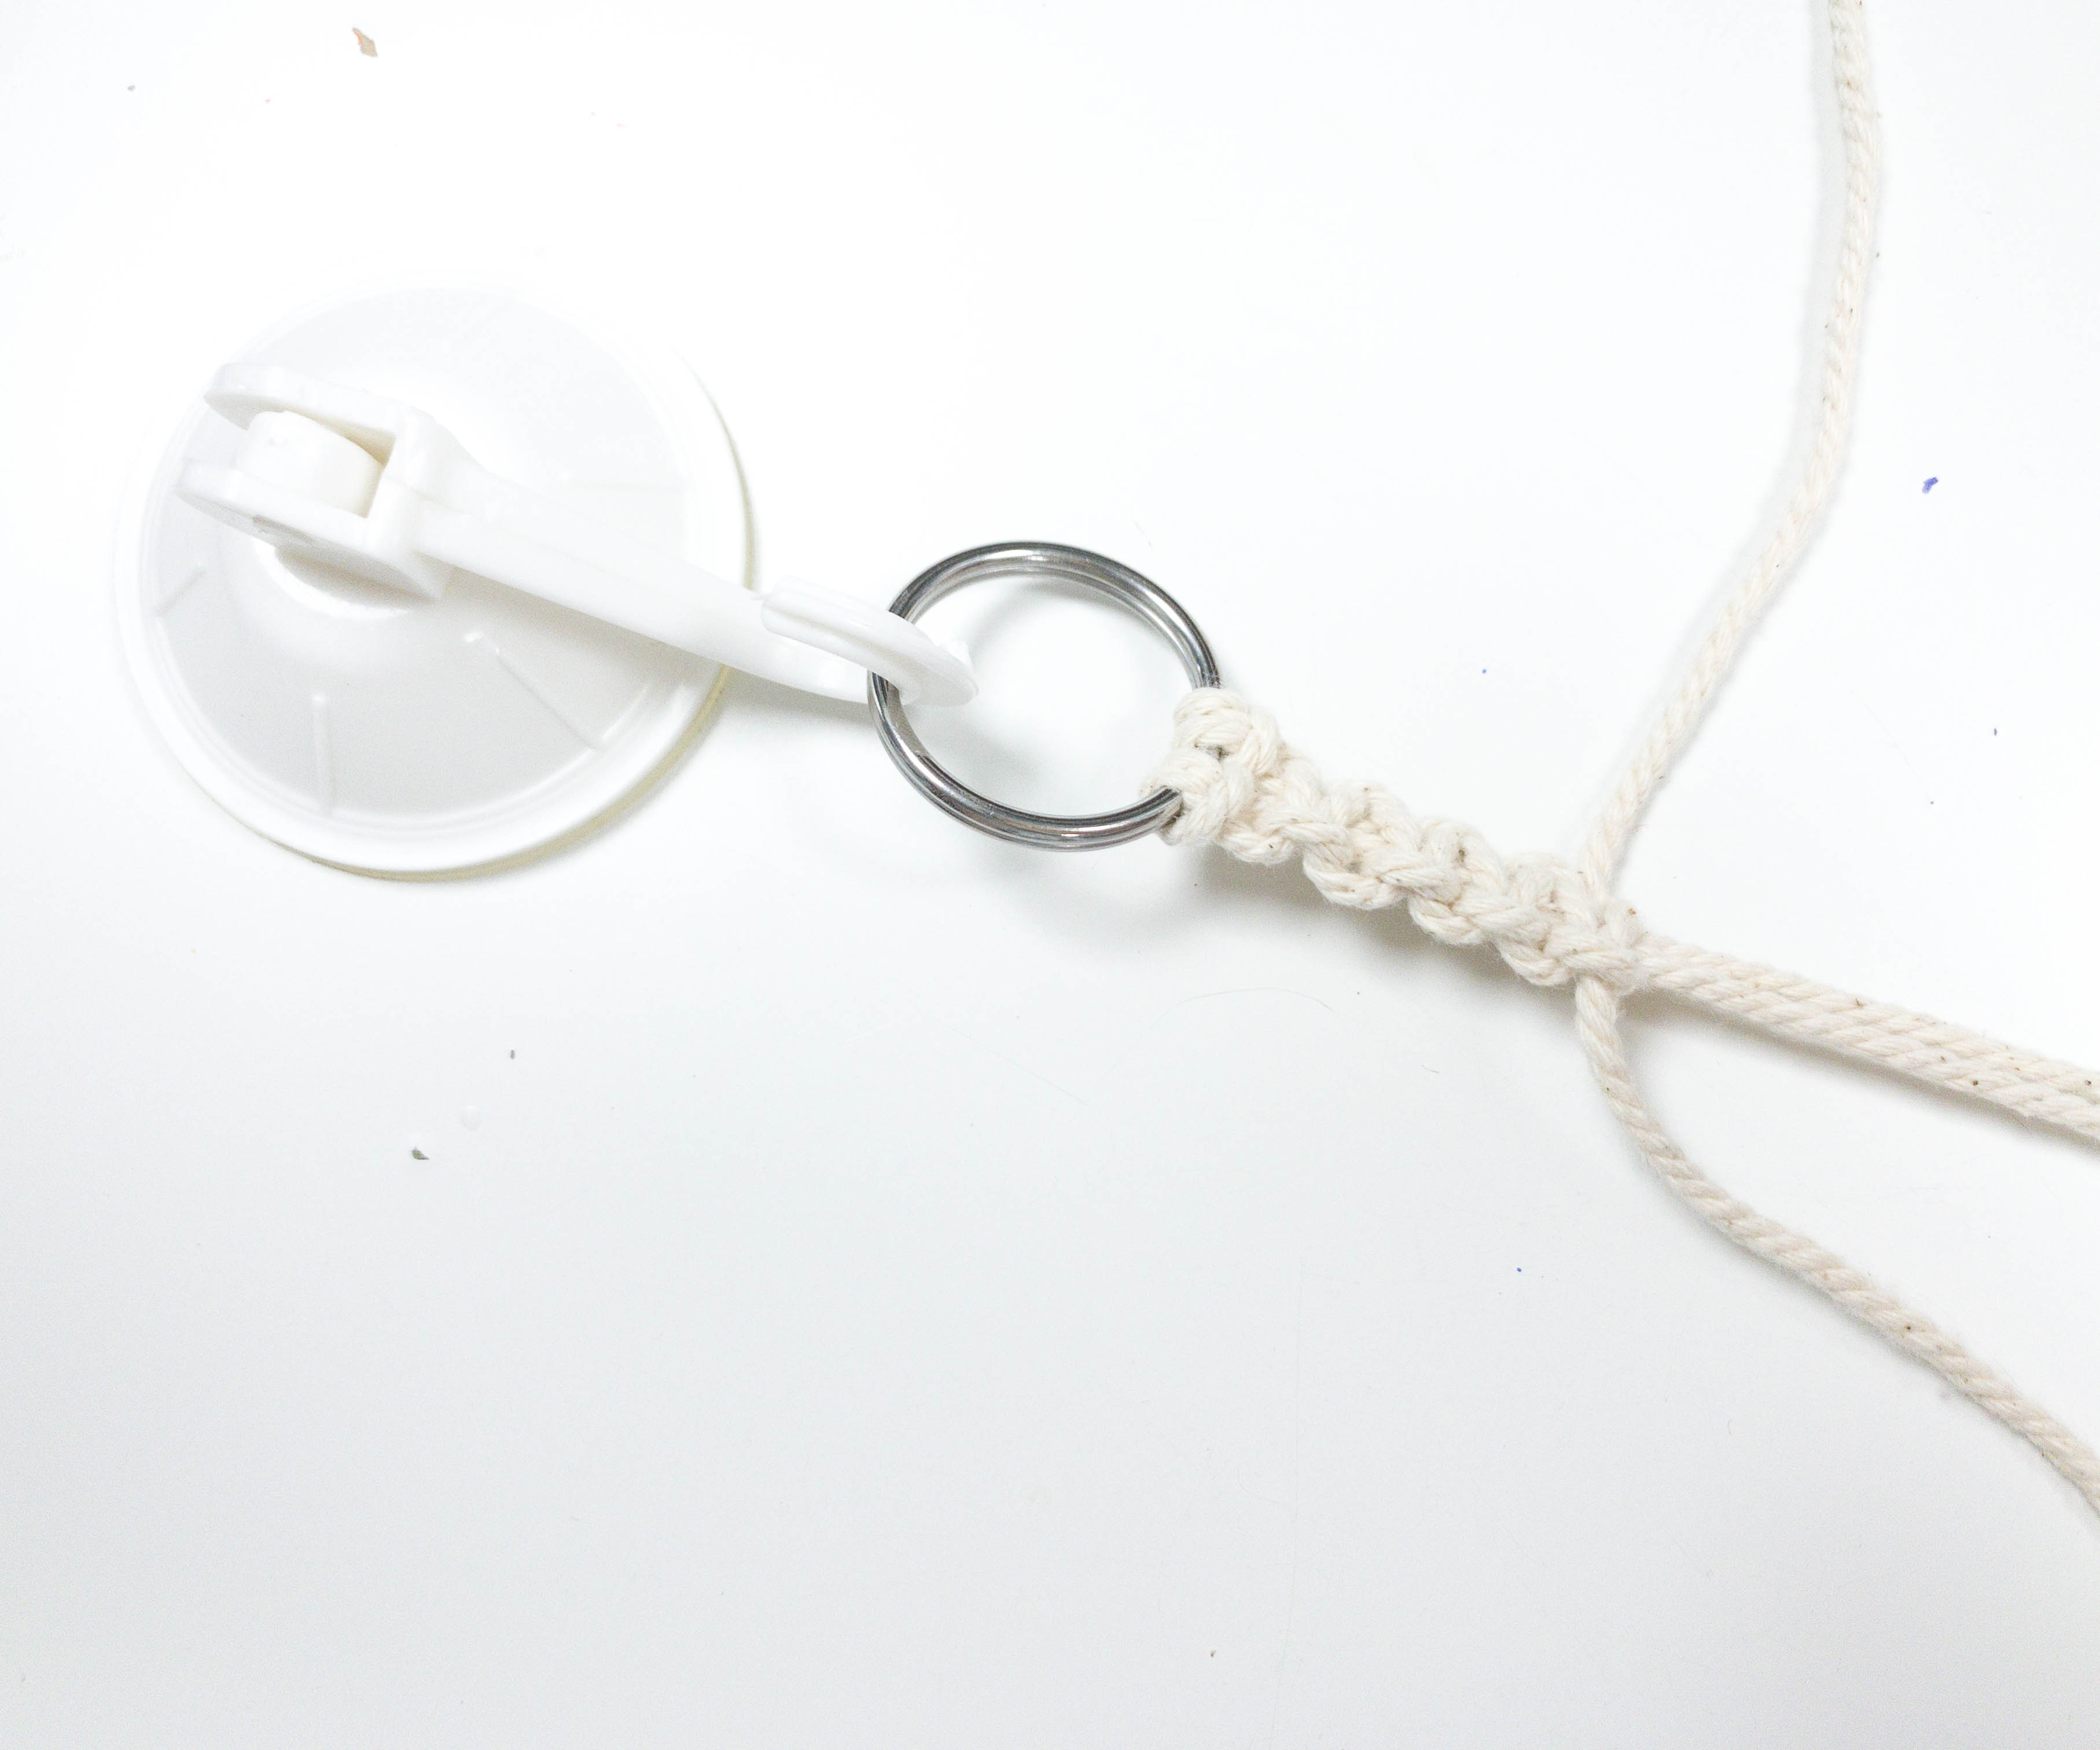
The first step is to stick the suction hook on a stable flat surface. Then, place the key ring on the hook, and knot the cotton cord in it.

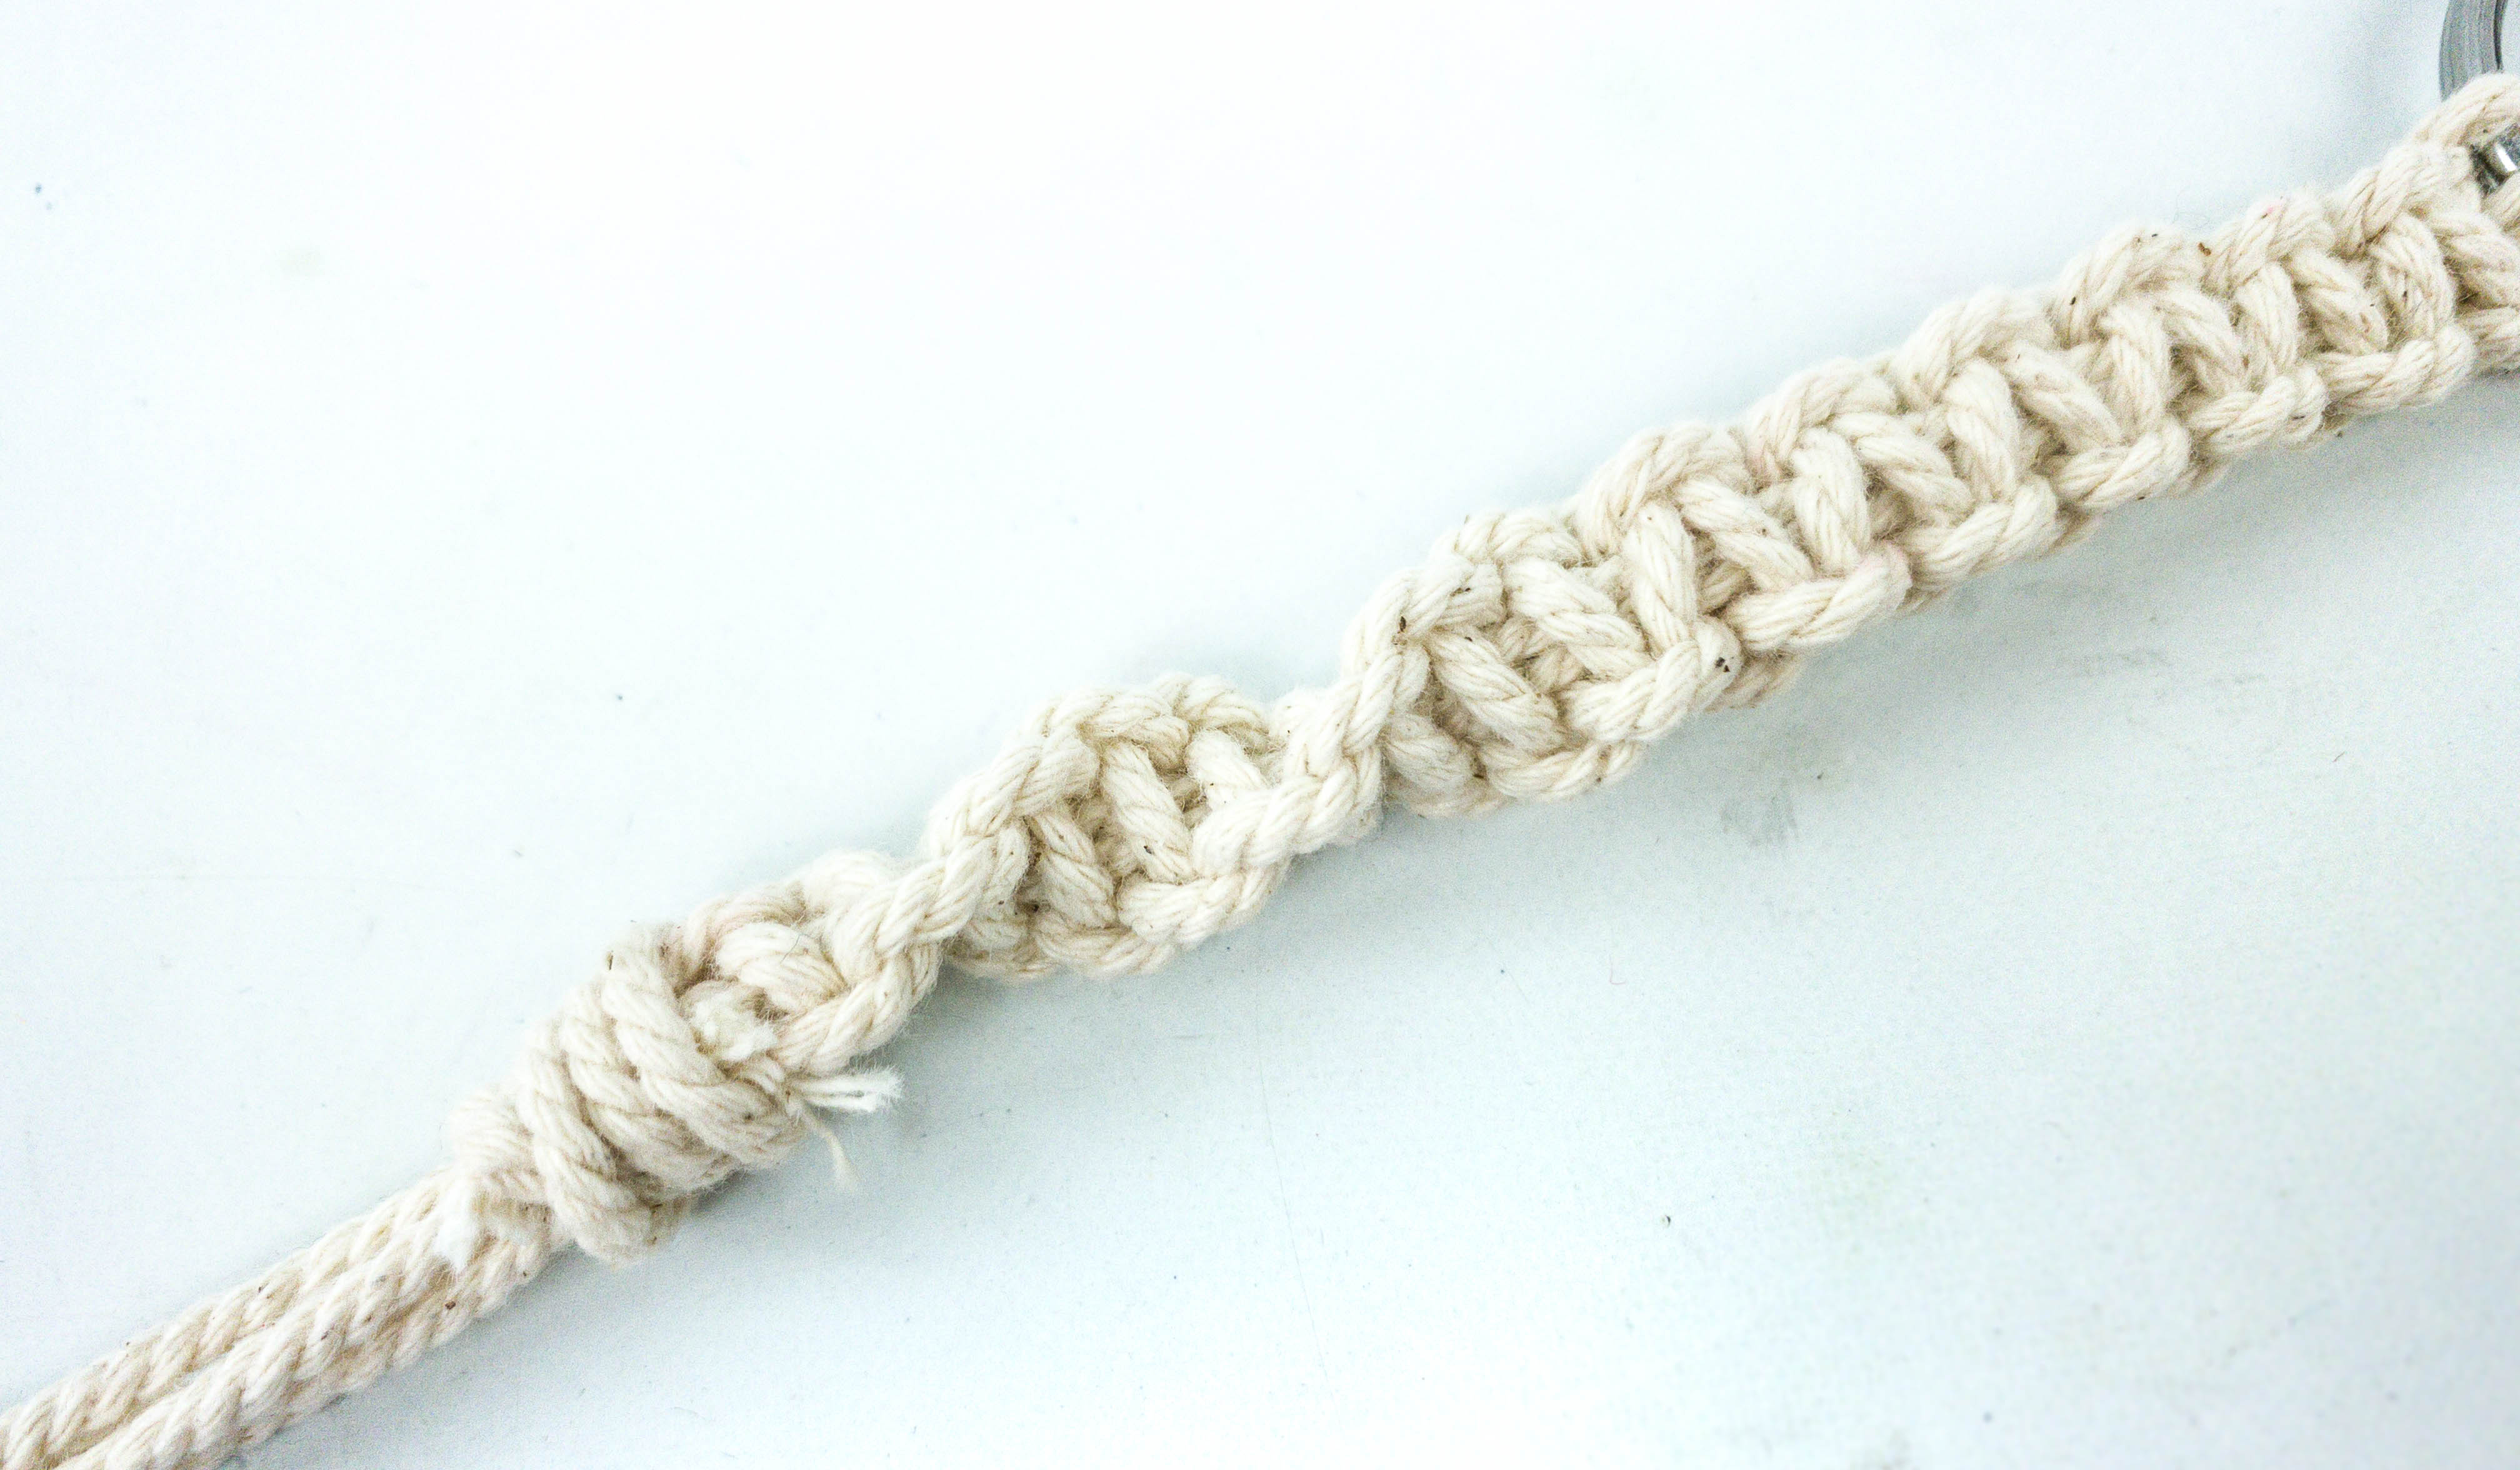
According to the Maker Crate’s instruction video, one of the easiest ways to knot these cords is by using the square knot technique. It is a back and forth pattern that forms a zigzag design.
My daughter began by grabbing the outer cord on the right and moving it under the first cord and over the second cord. Then, she took the other cord on the left, brought it over the filler, and slid it under the knotting cord on the right.
It’s important to pull the knotting cords so the knot is snug, but make sure not to pull it too tightly.
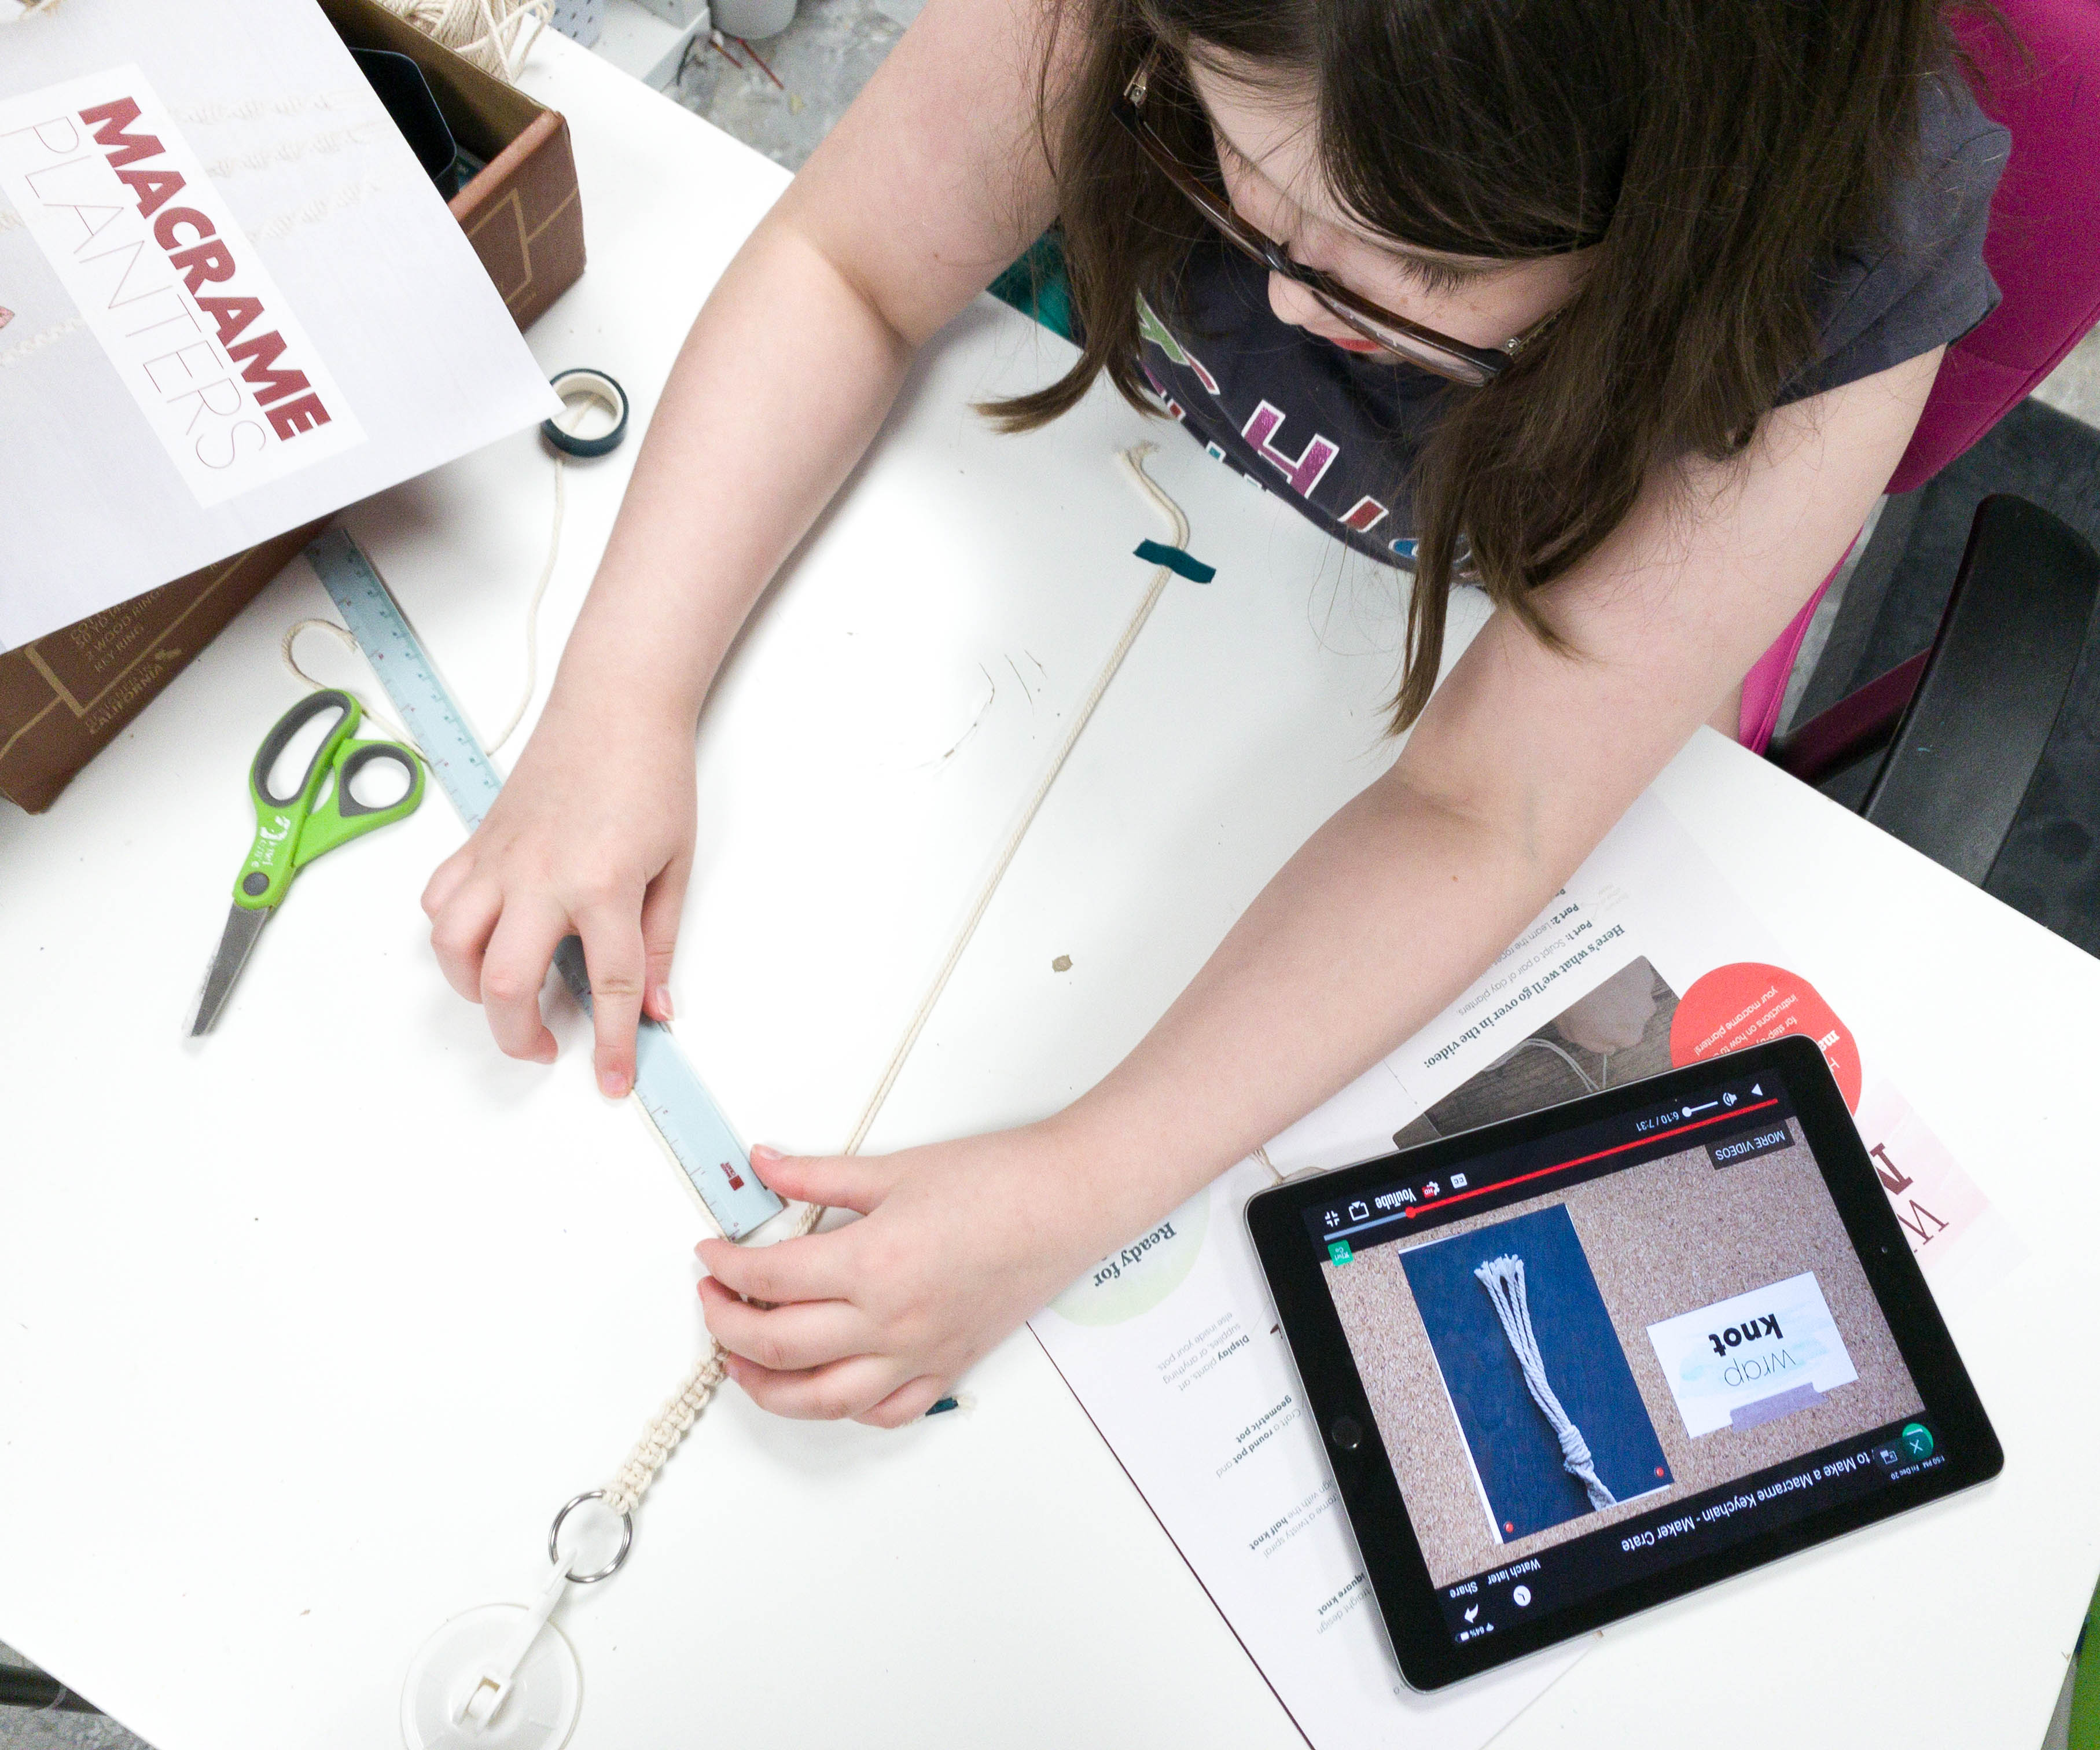
She repeated the same procedure until the knot was at least 3 inches long.
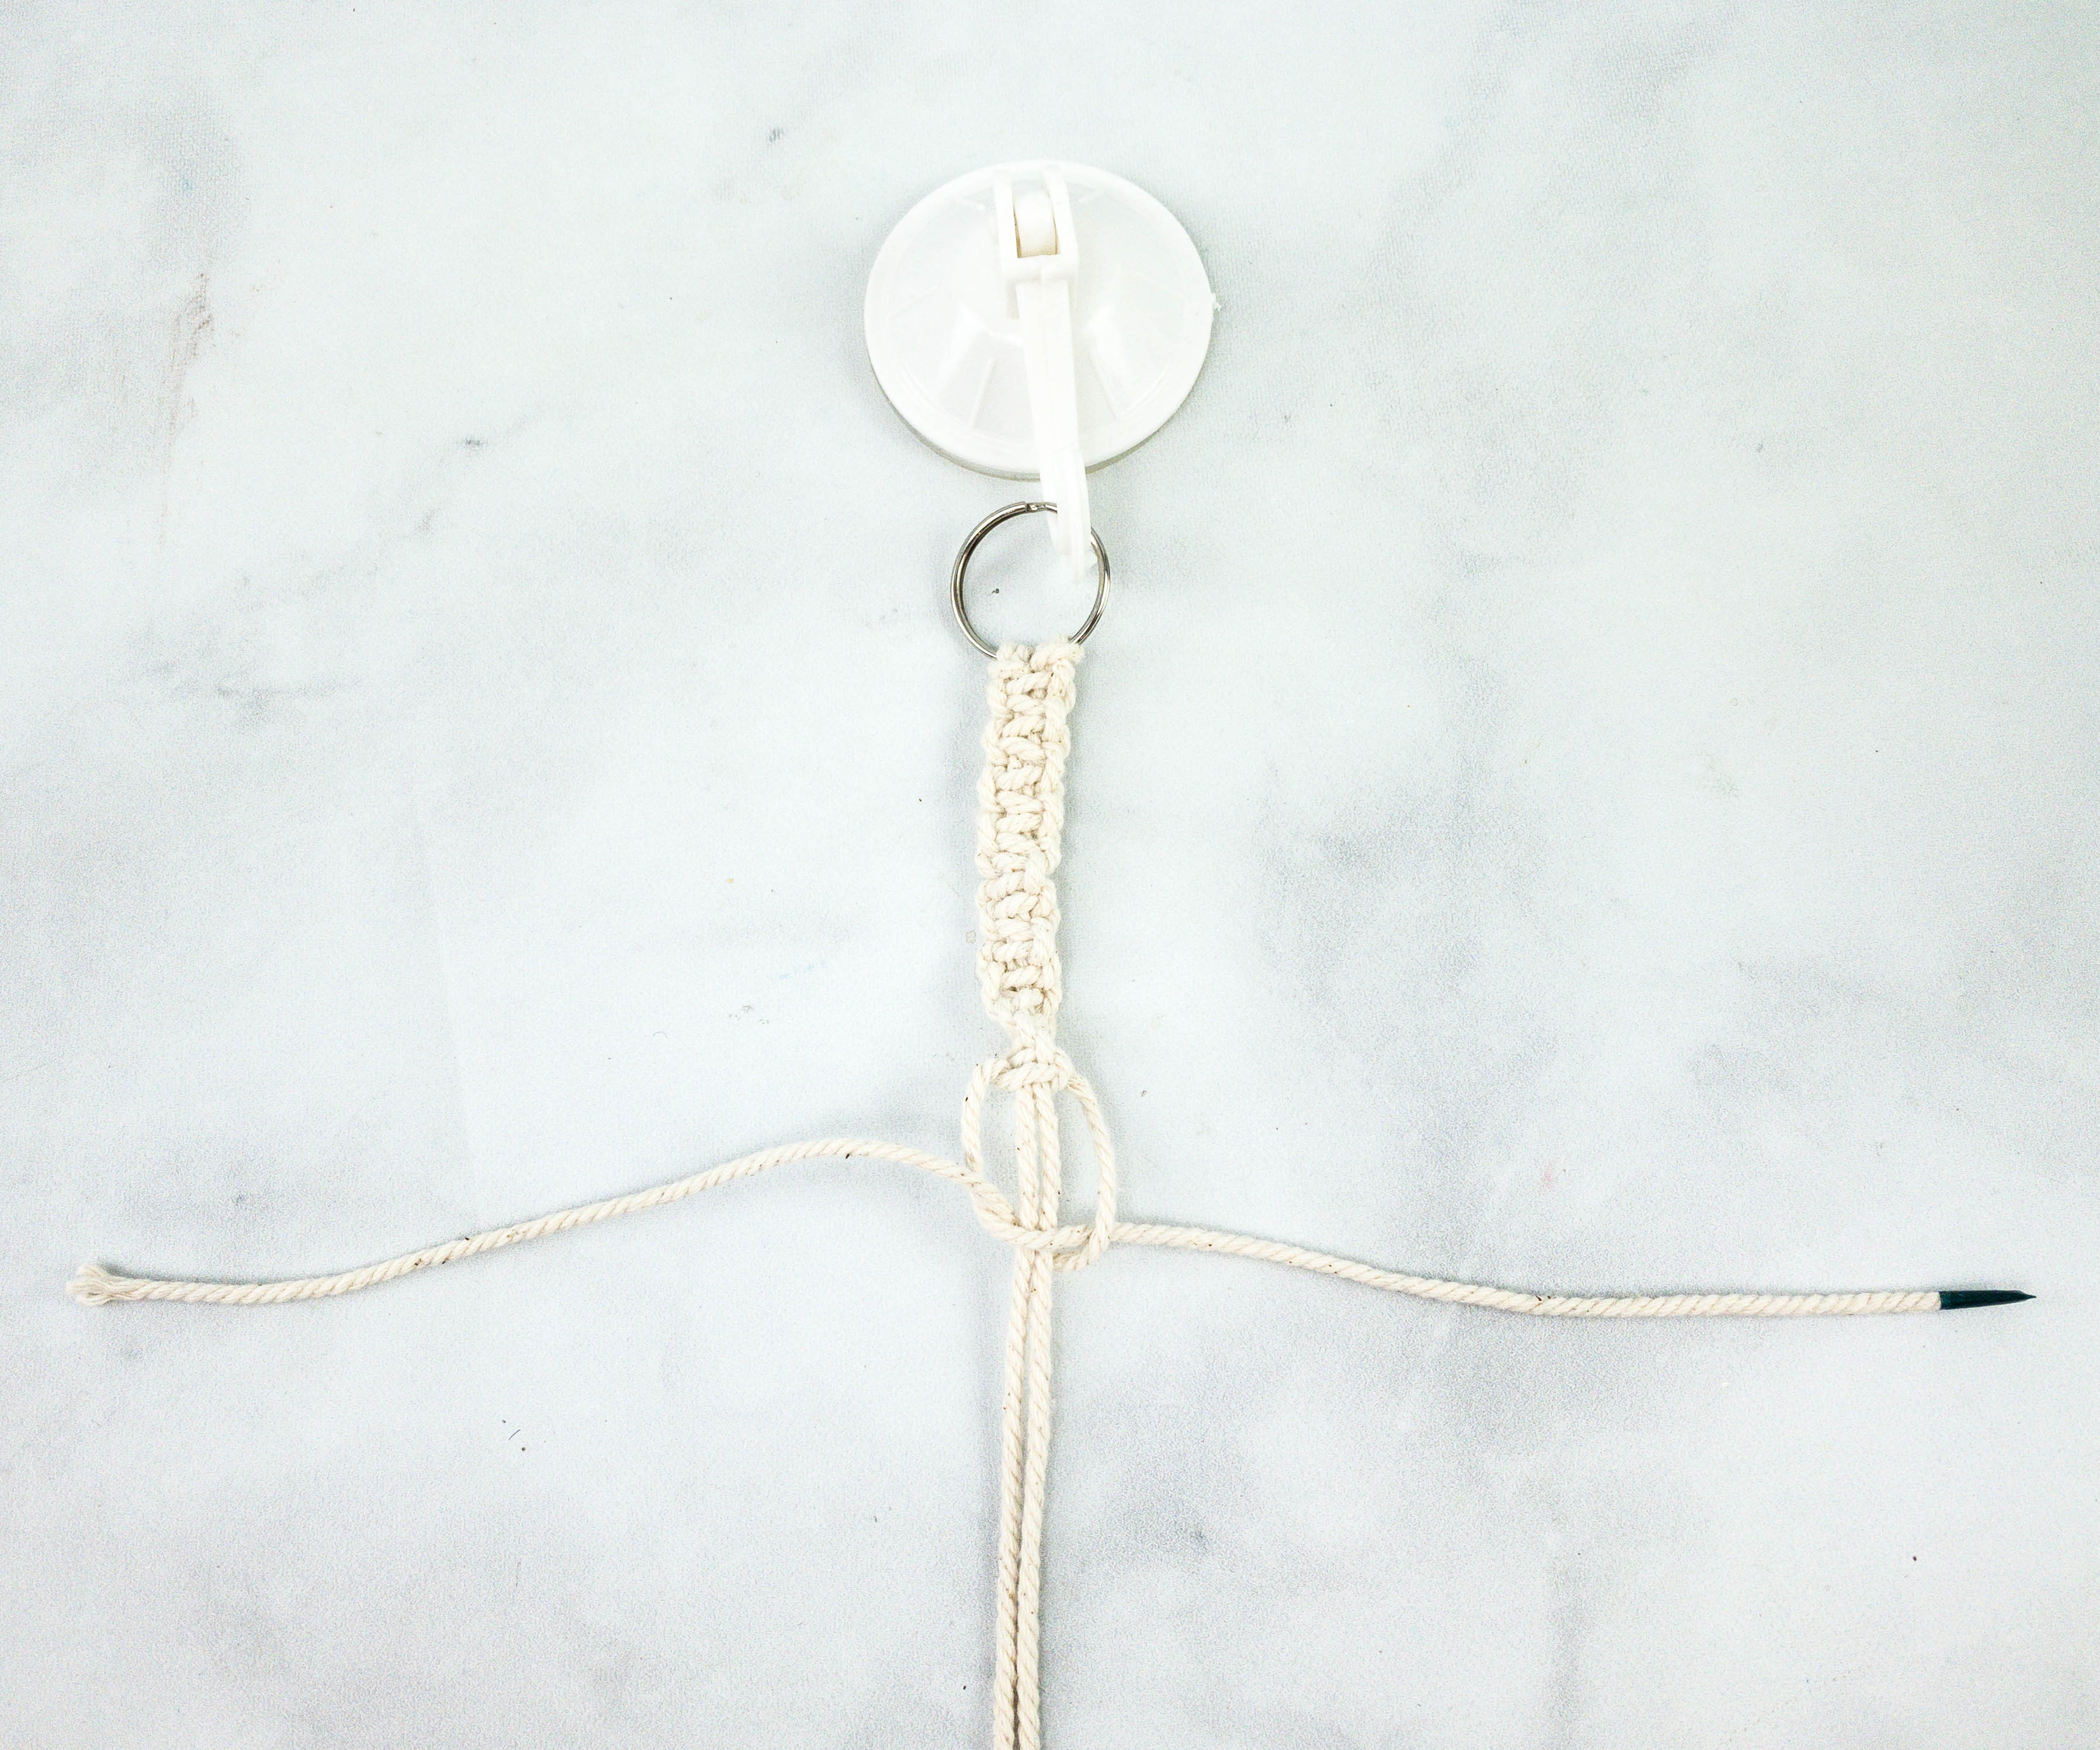
We also tried another wrapping technique known as the half knot, which is actually half of the square knot.
This knotting technique will end up making a spiral design that looks pretty much like a double helix.
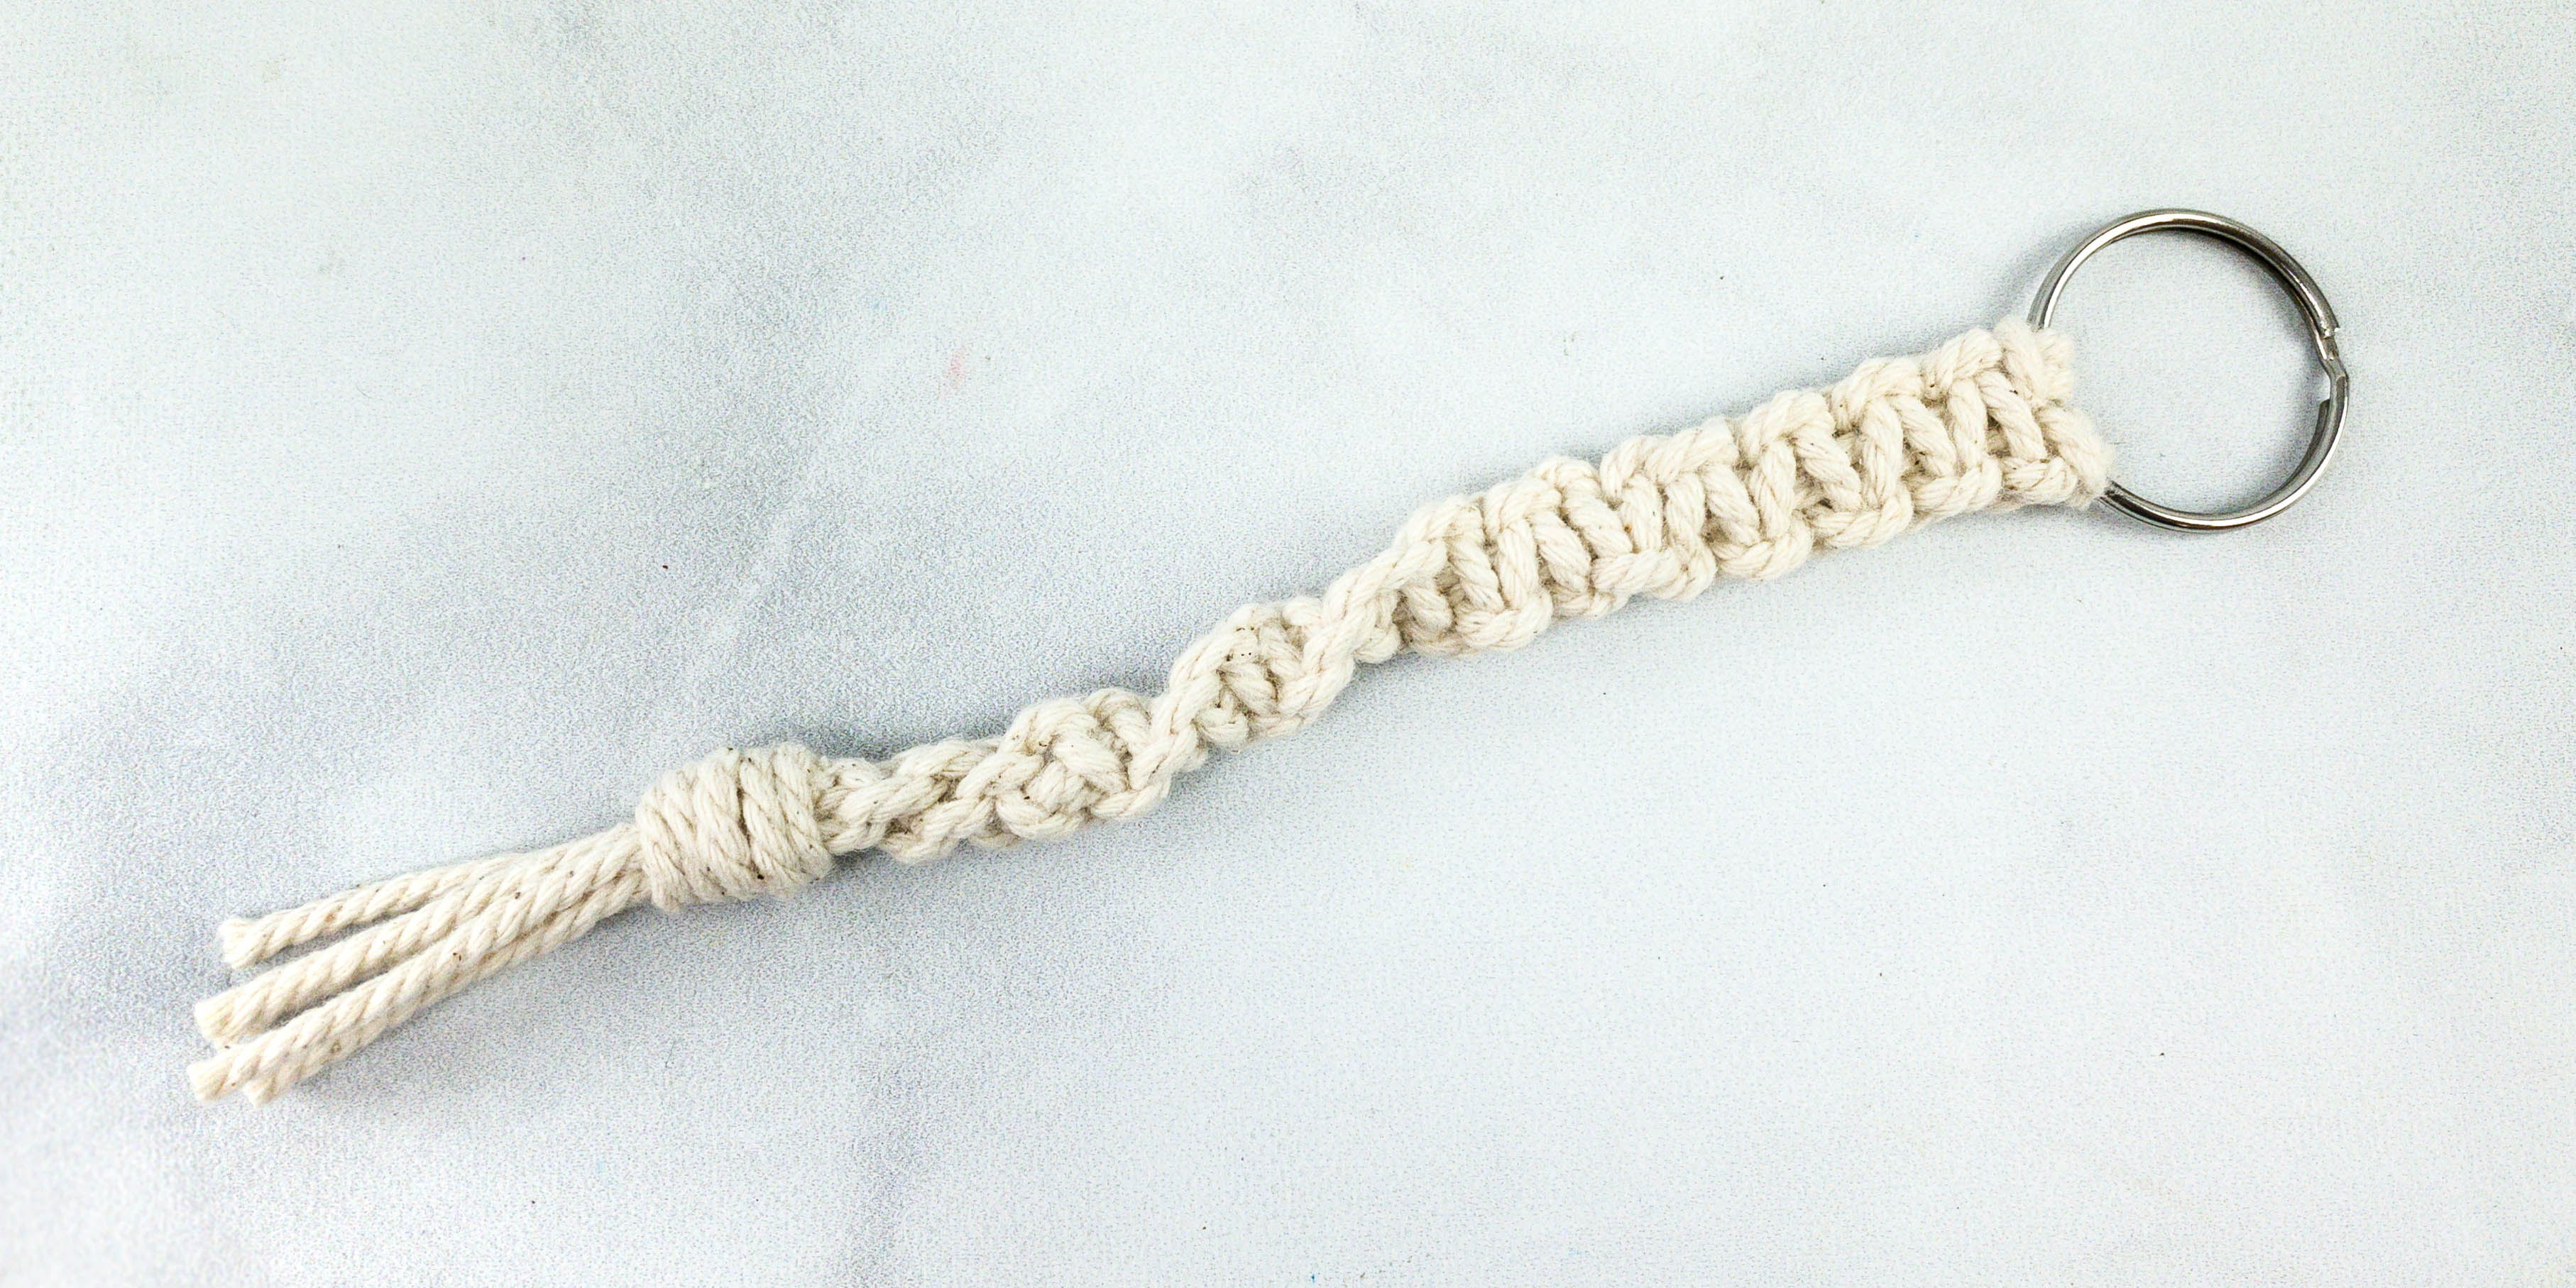
Once done, I proceeded to the final step which is the wrap knot.
This wrap knot will keep the macrame from unraveling.
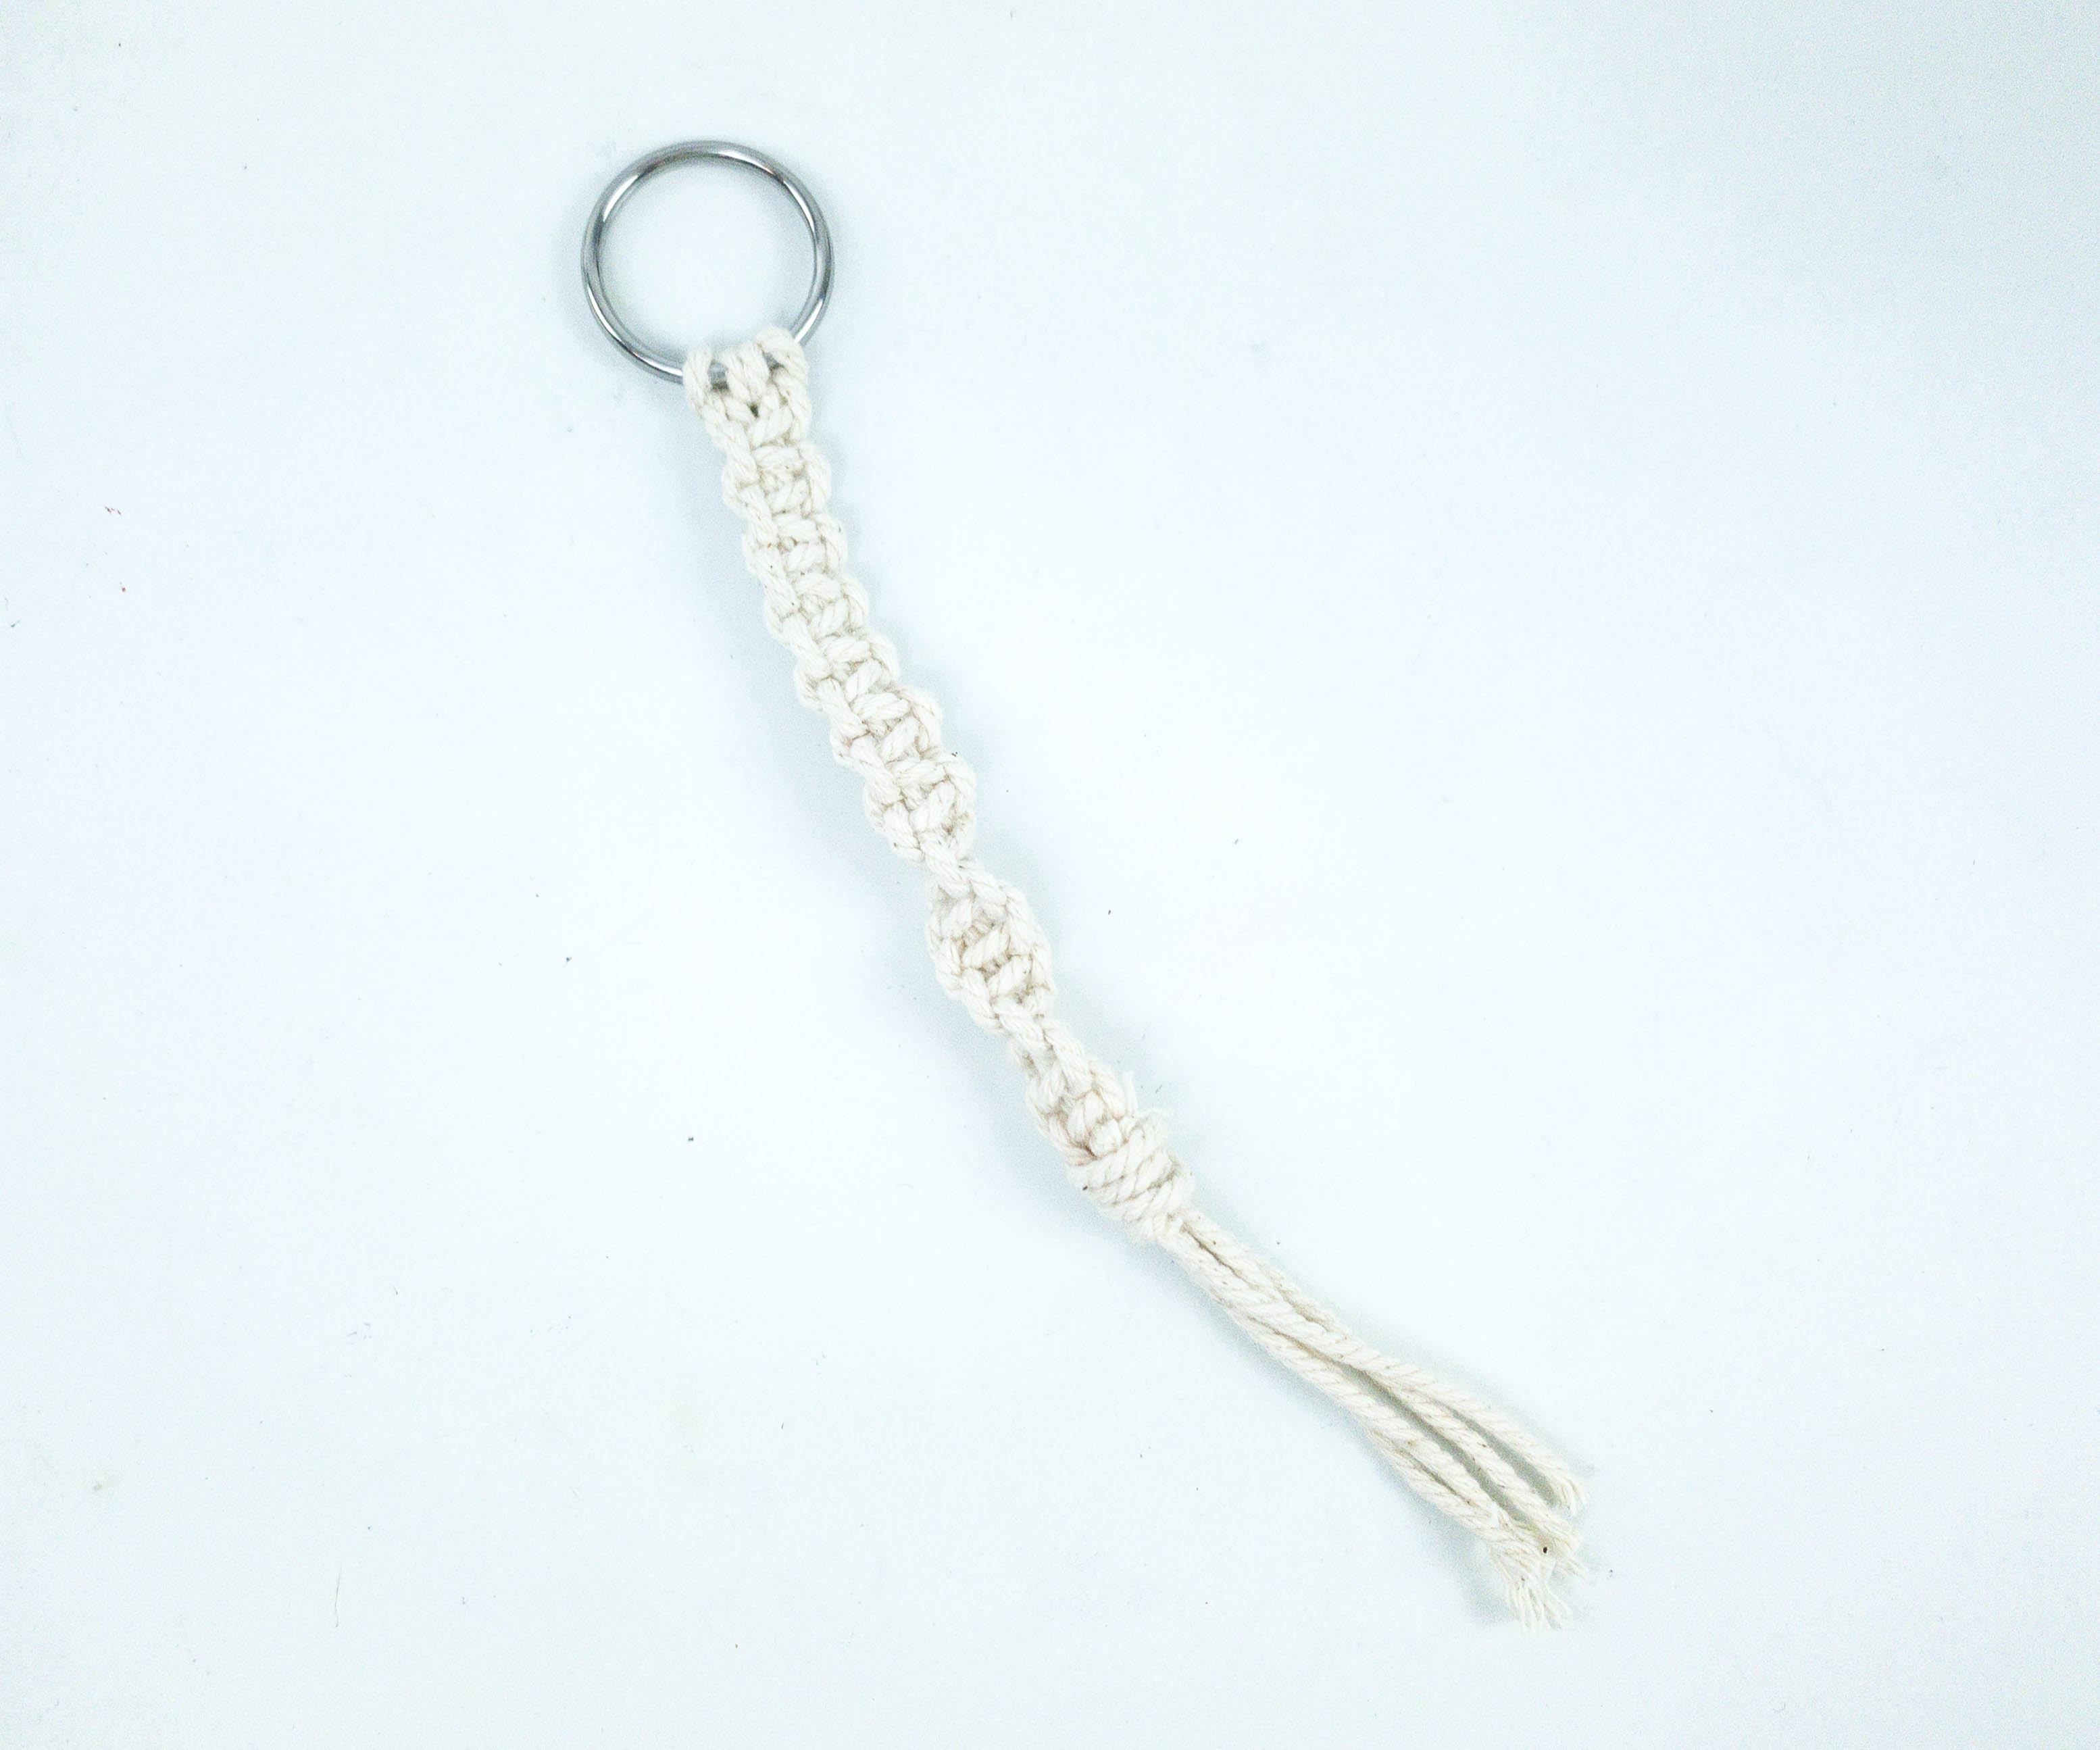
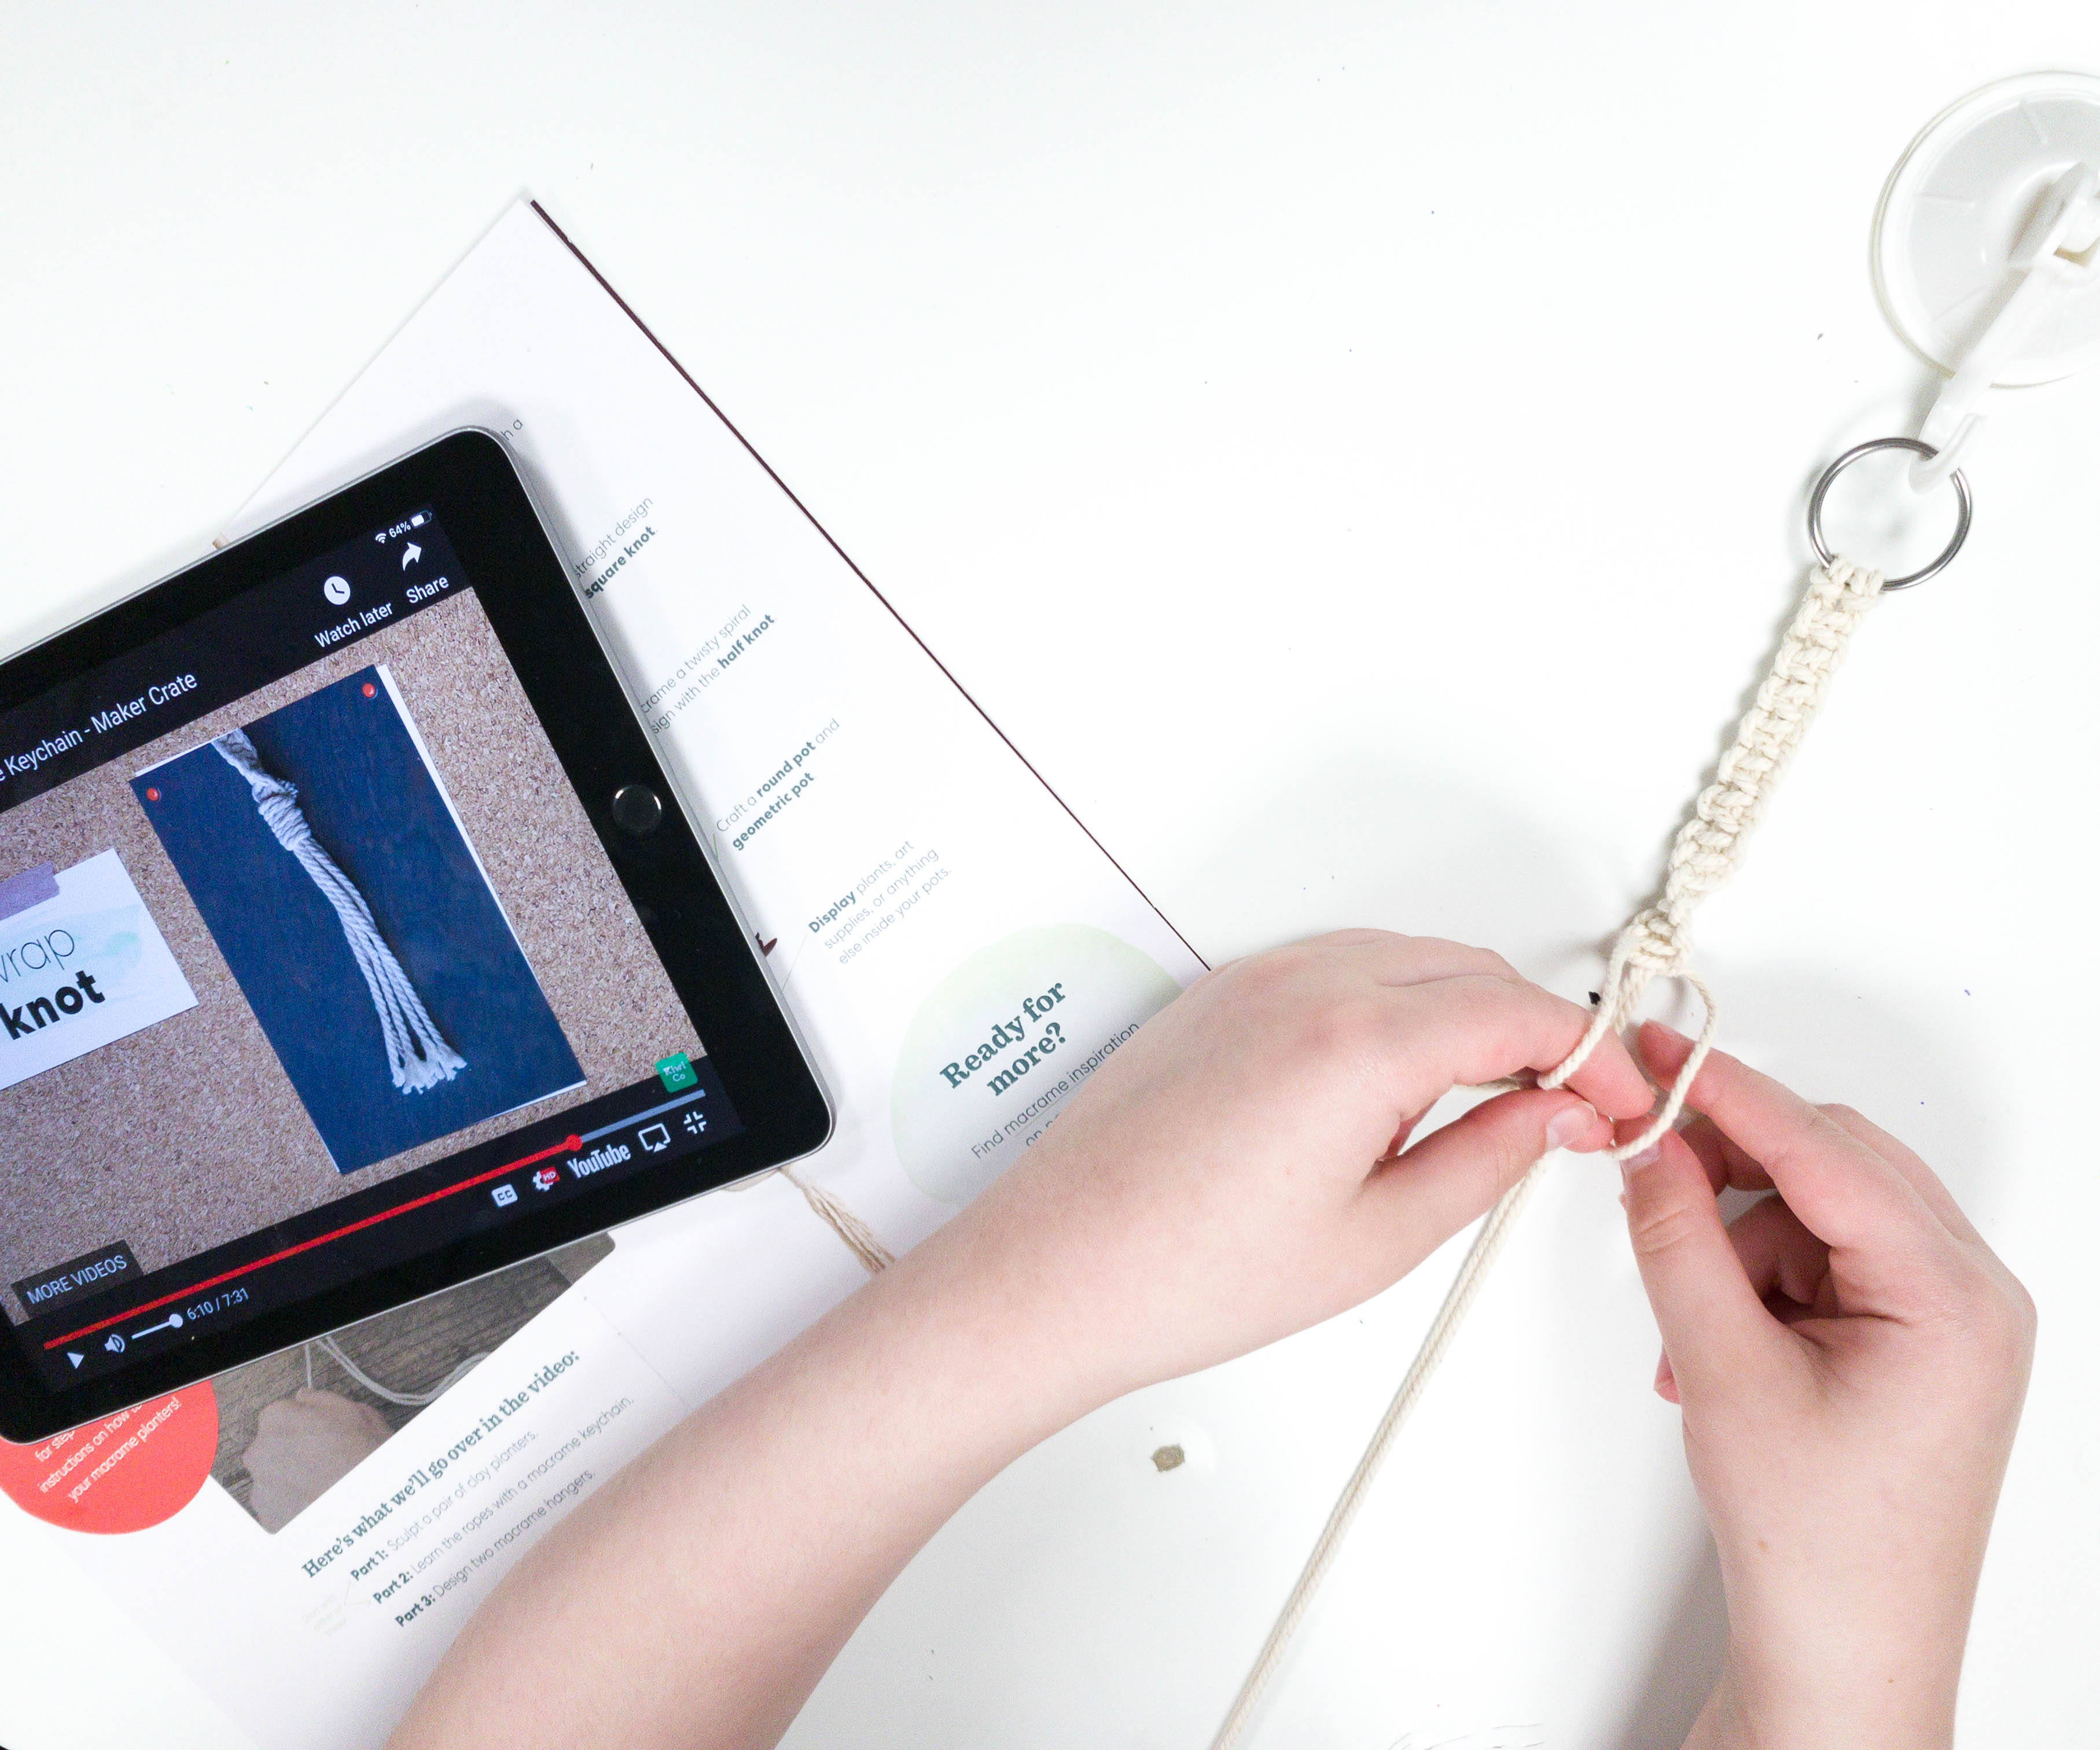
For the final touch, trim the end of the cords depending on your desired length using the scissors.
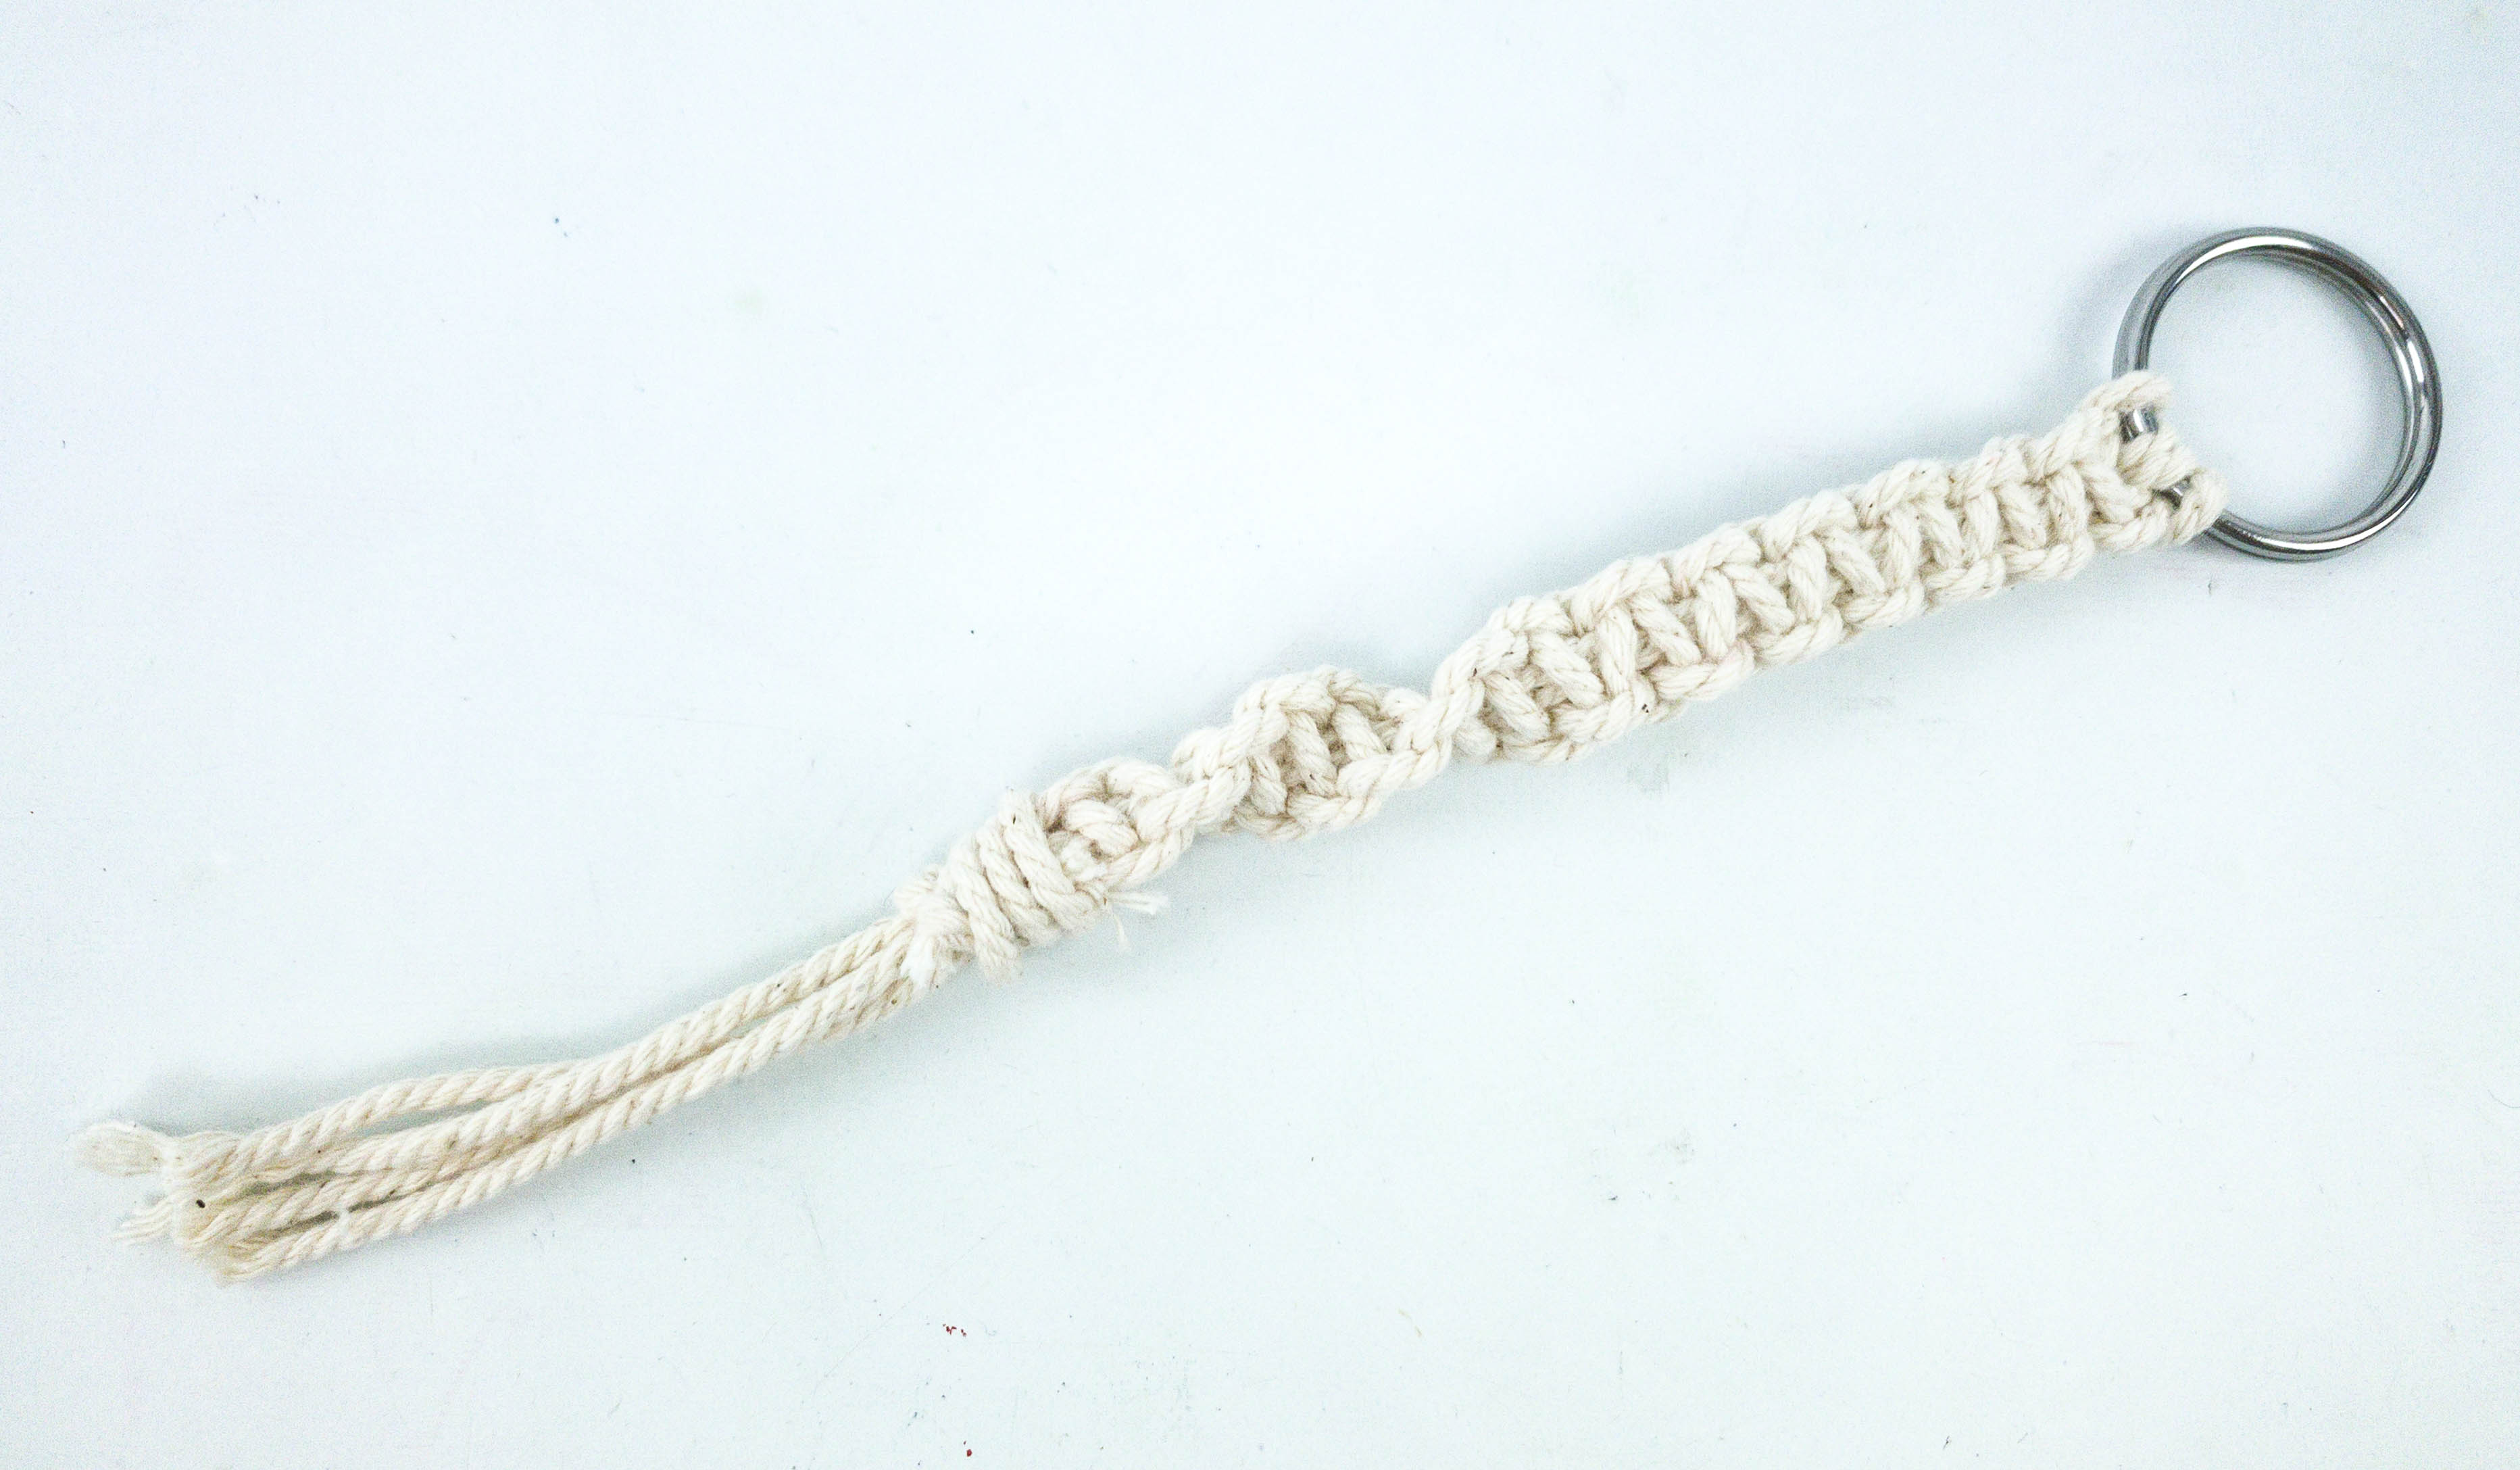
Here’s my completed Macrame keychain!
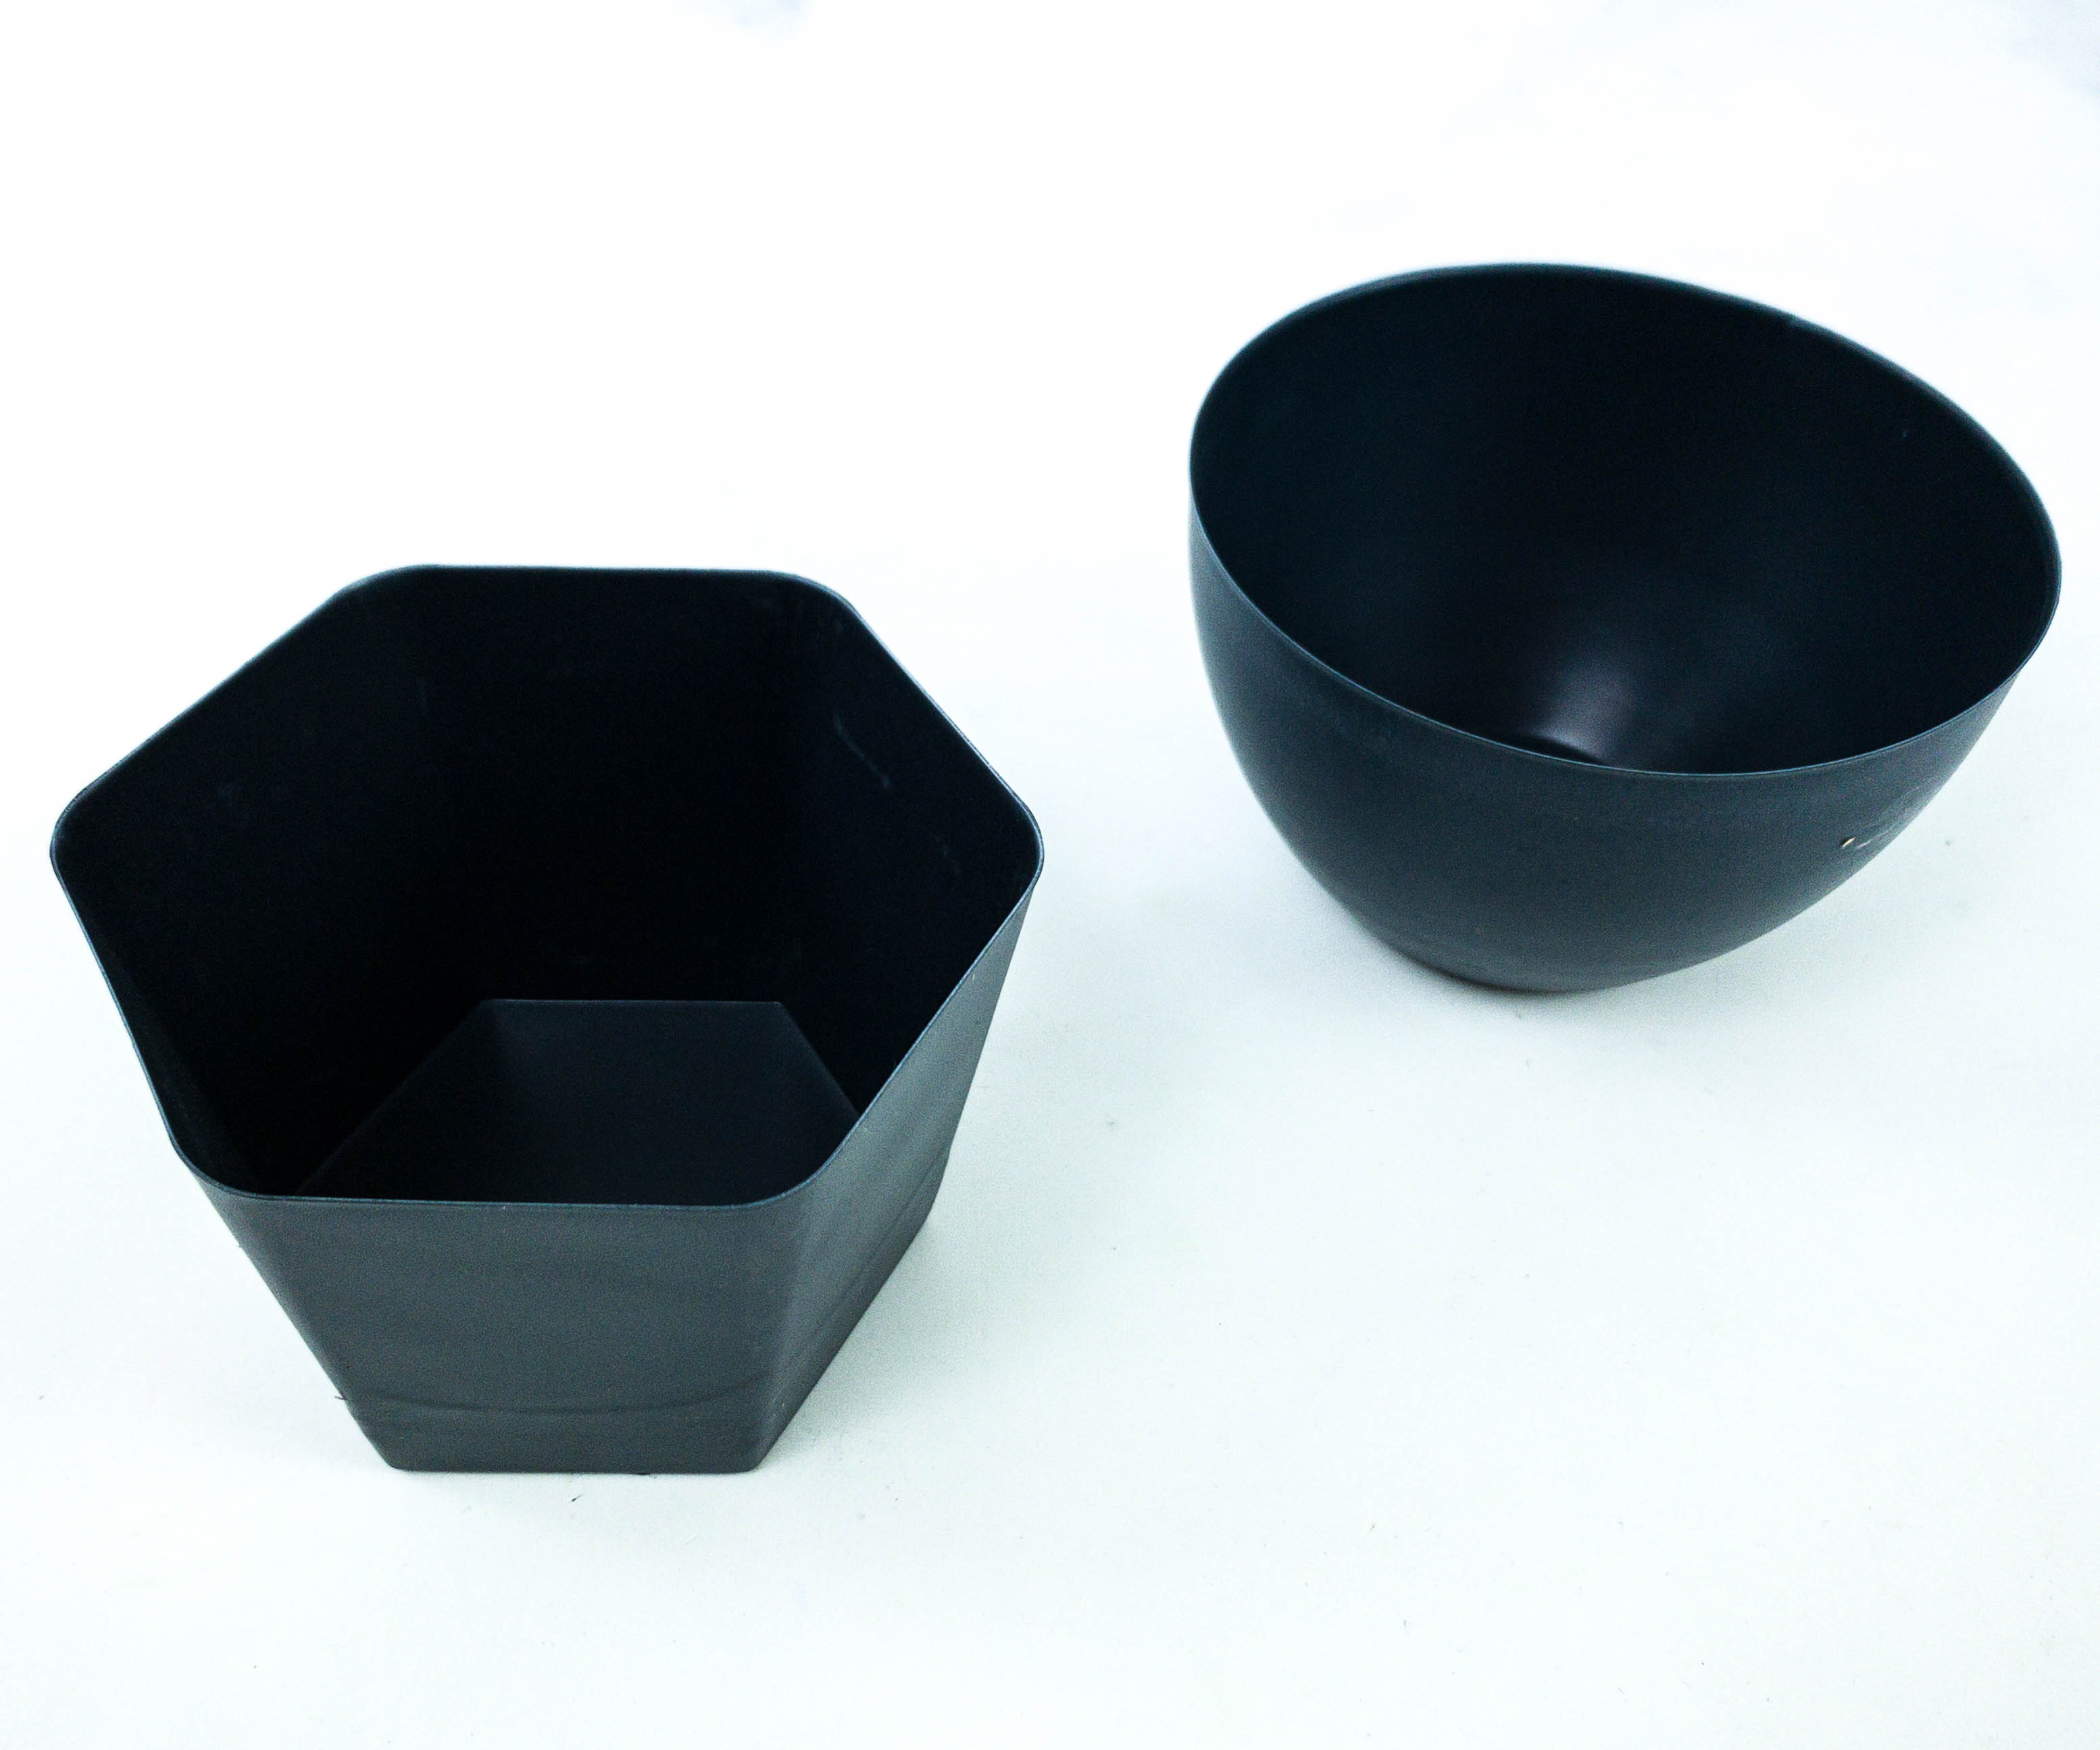
For the next part of the project, the crate provided hexagon and round domes.

There are also two packs of non-toxic paper clay.
To protect the working area from possible scratches, dents, or any possible damage, they also sent this specially designed rolling mat.
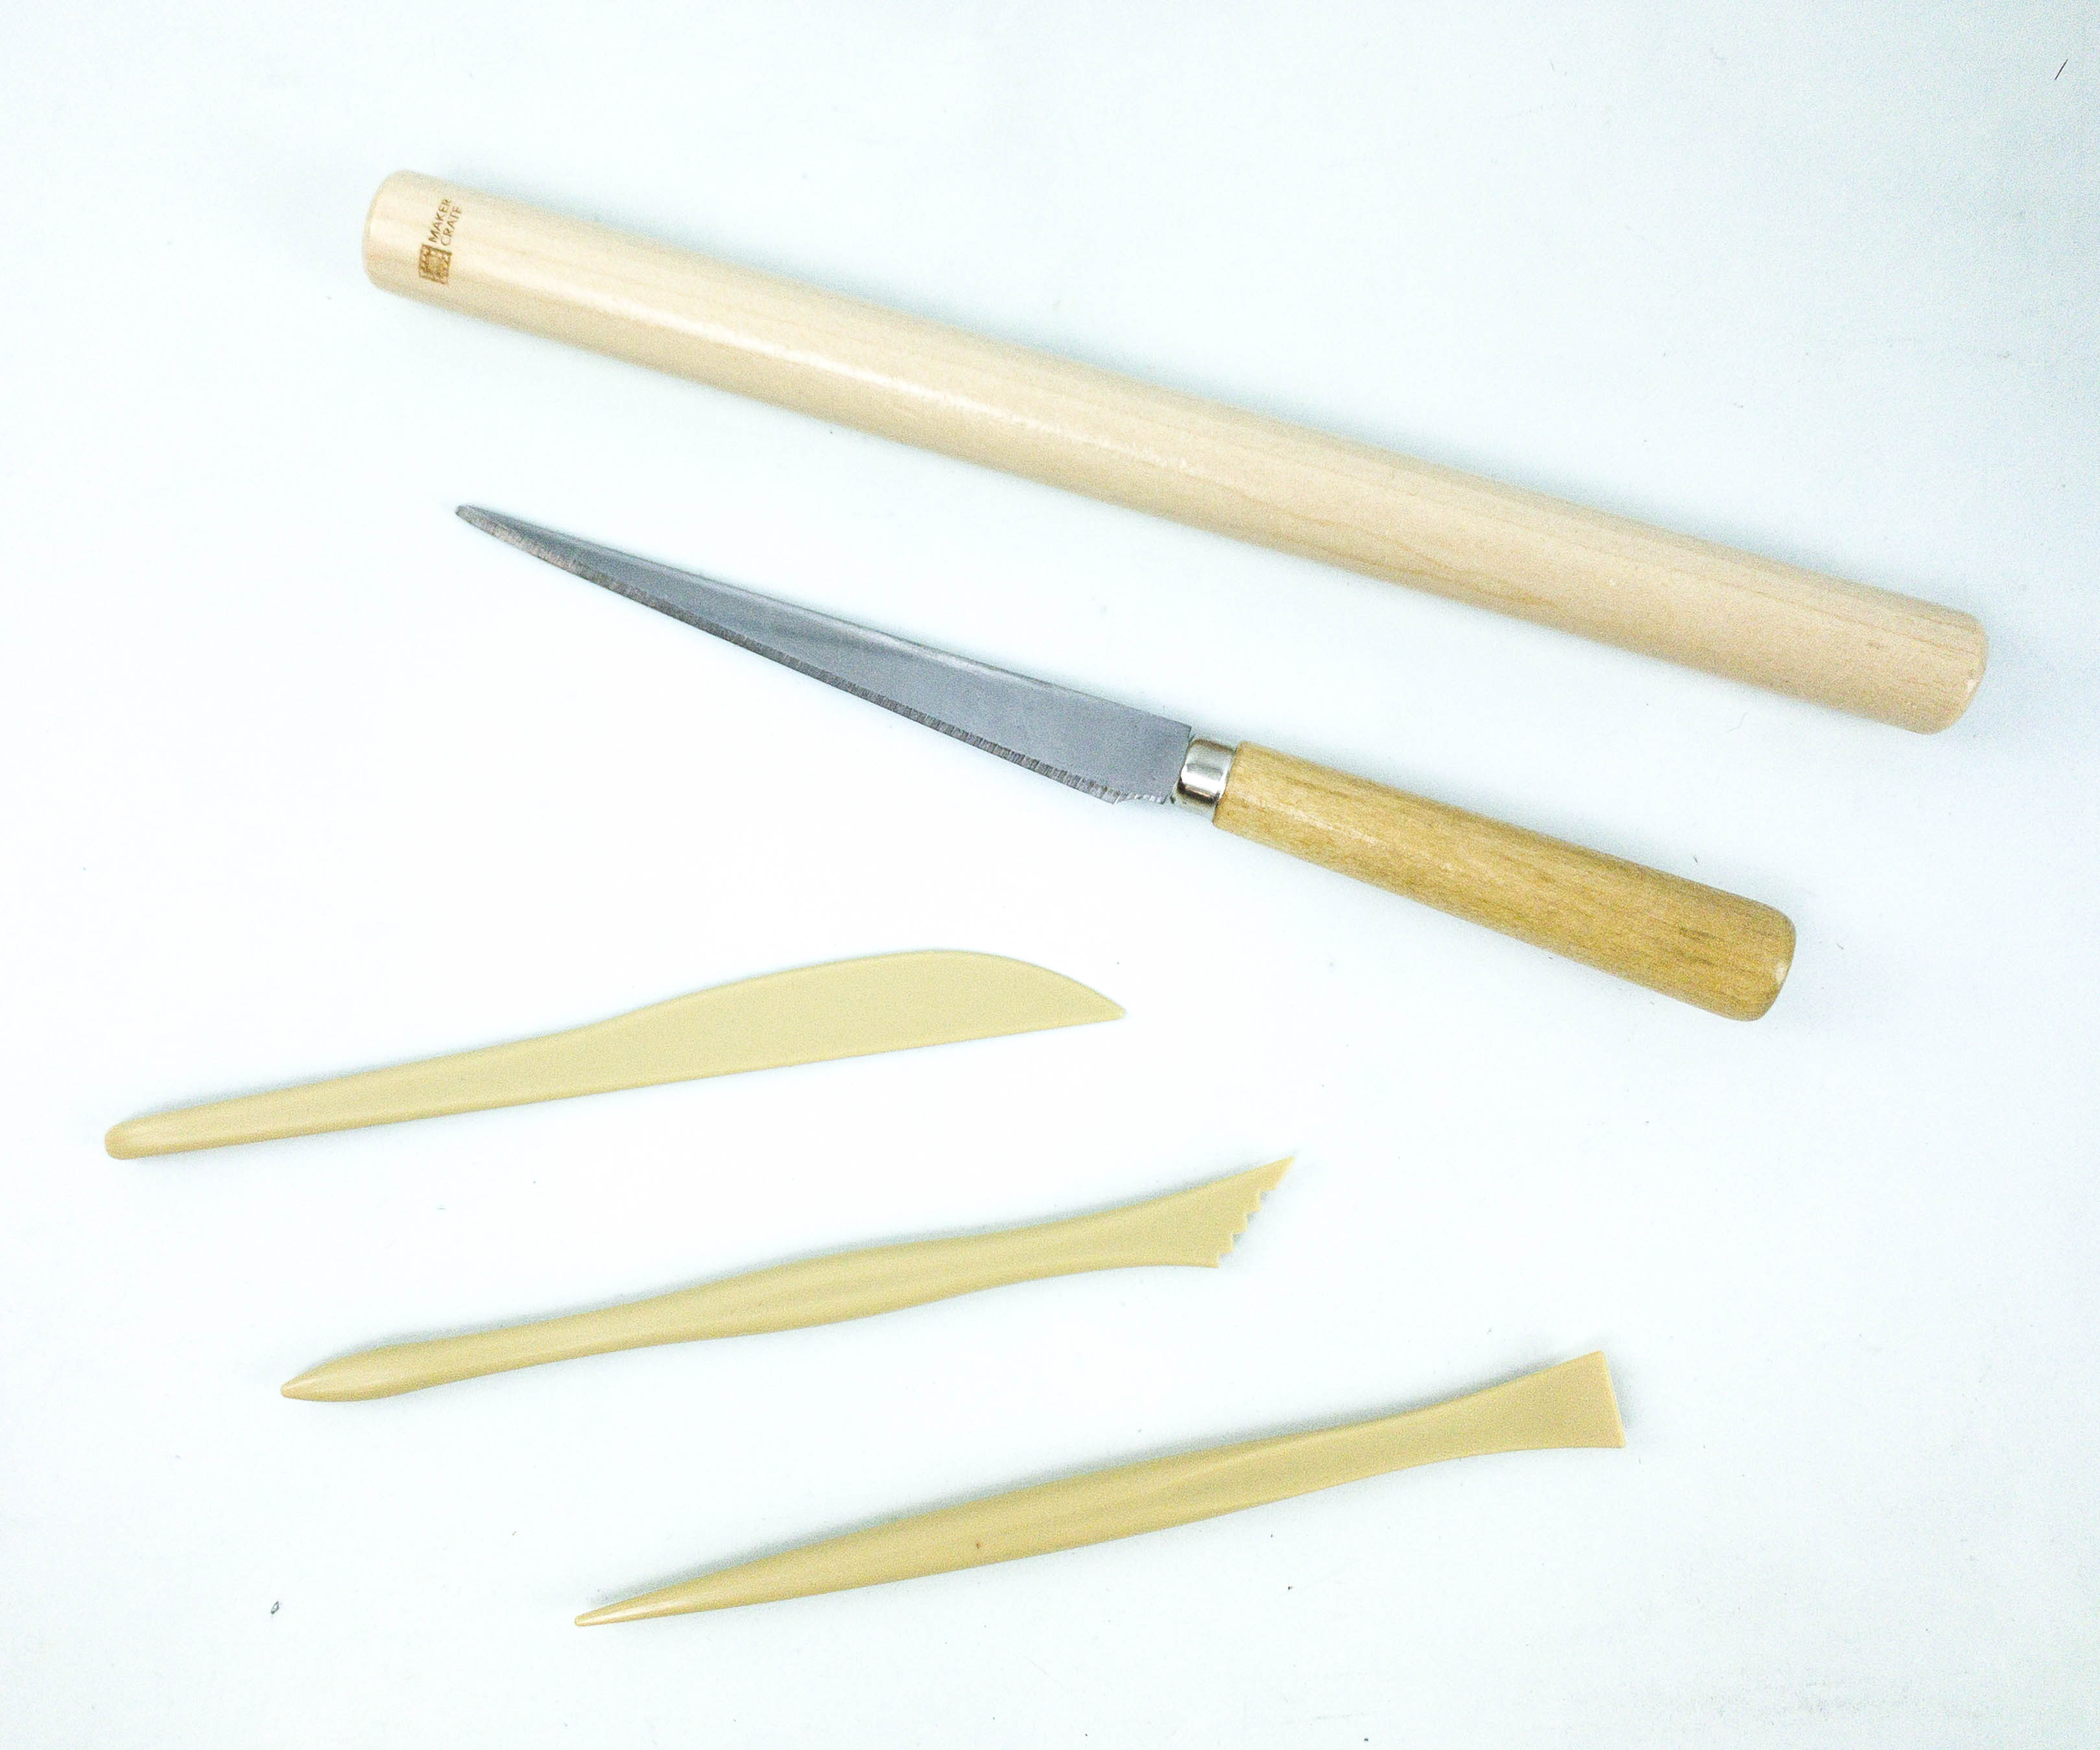
For the cutting and designing, here’s a sculpting knife, rolling pin, and clay tools.
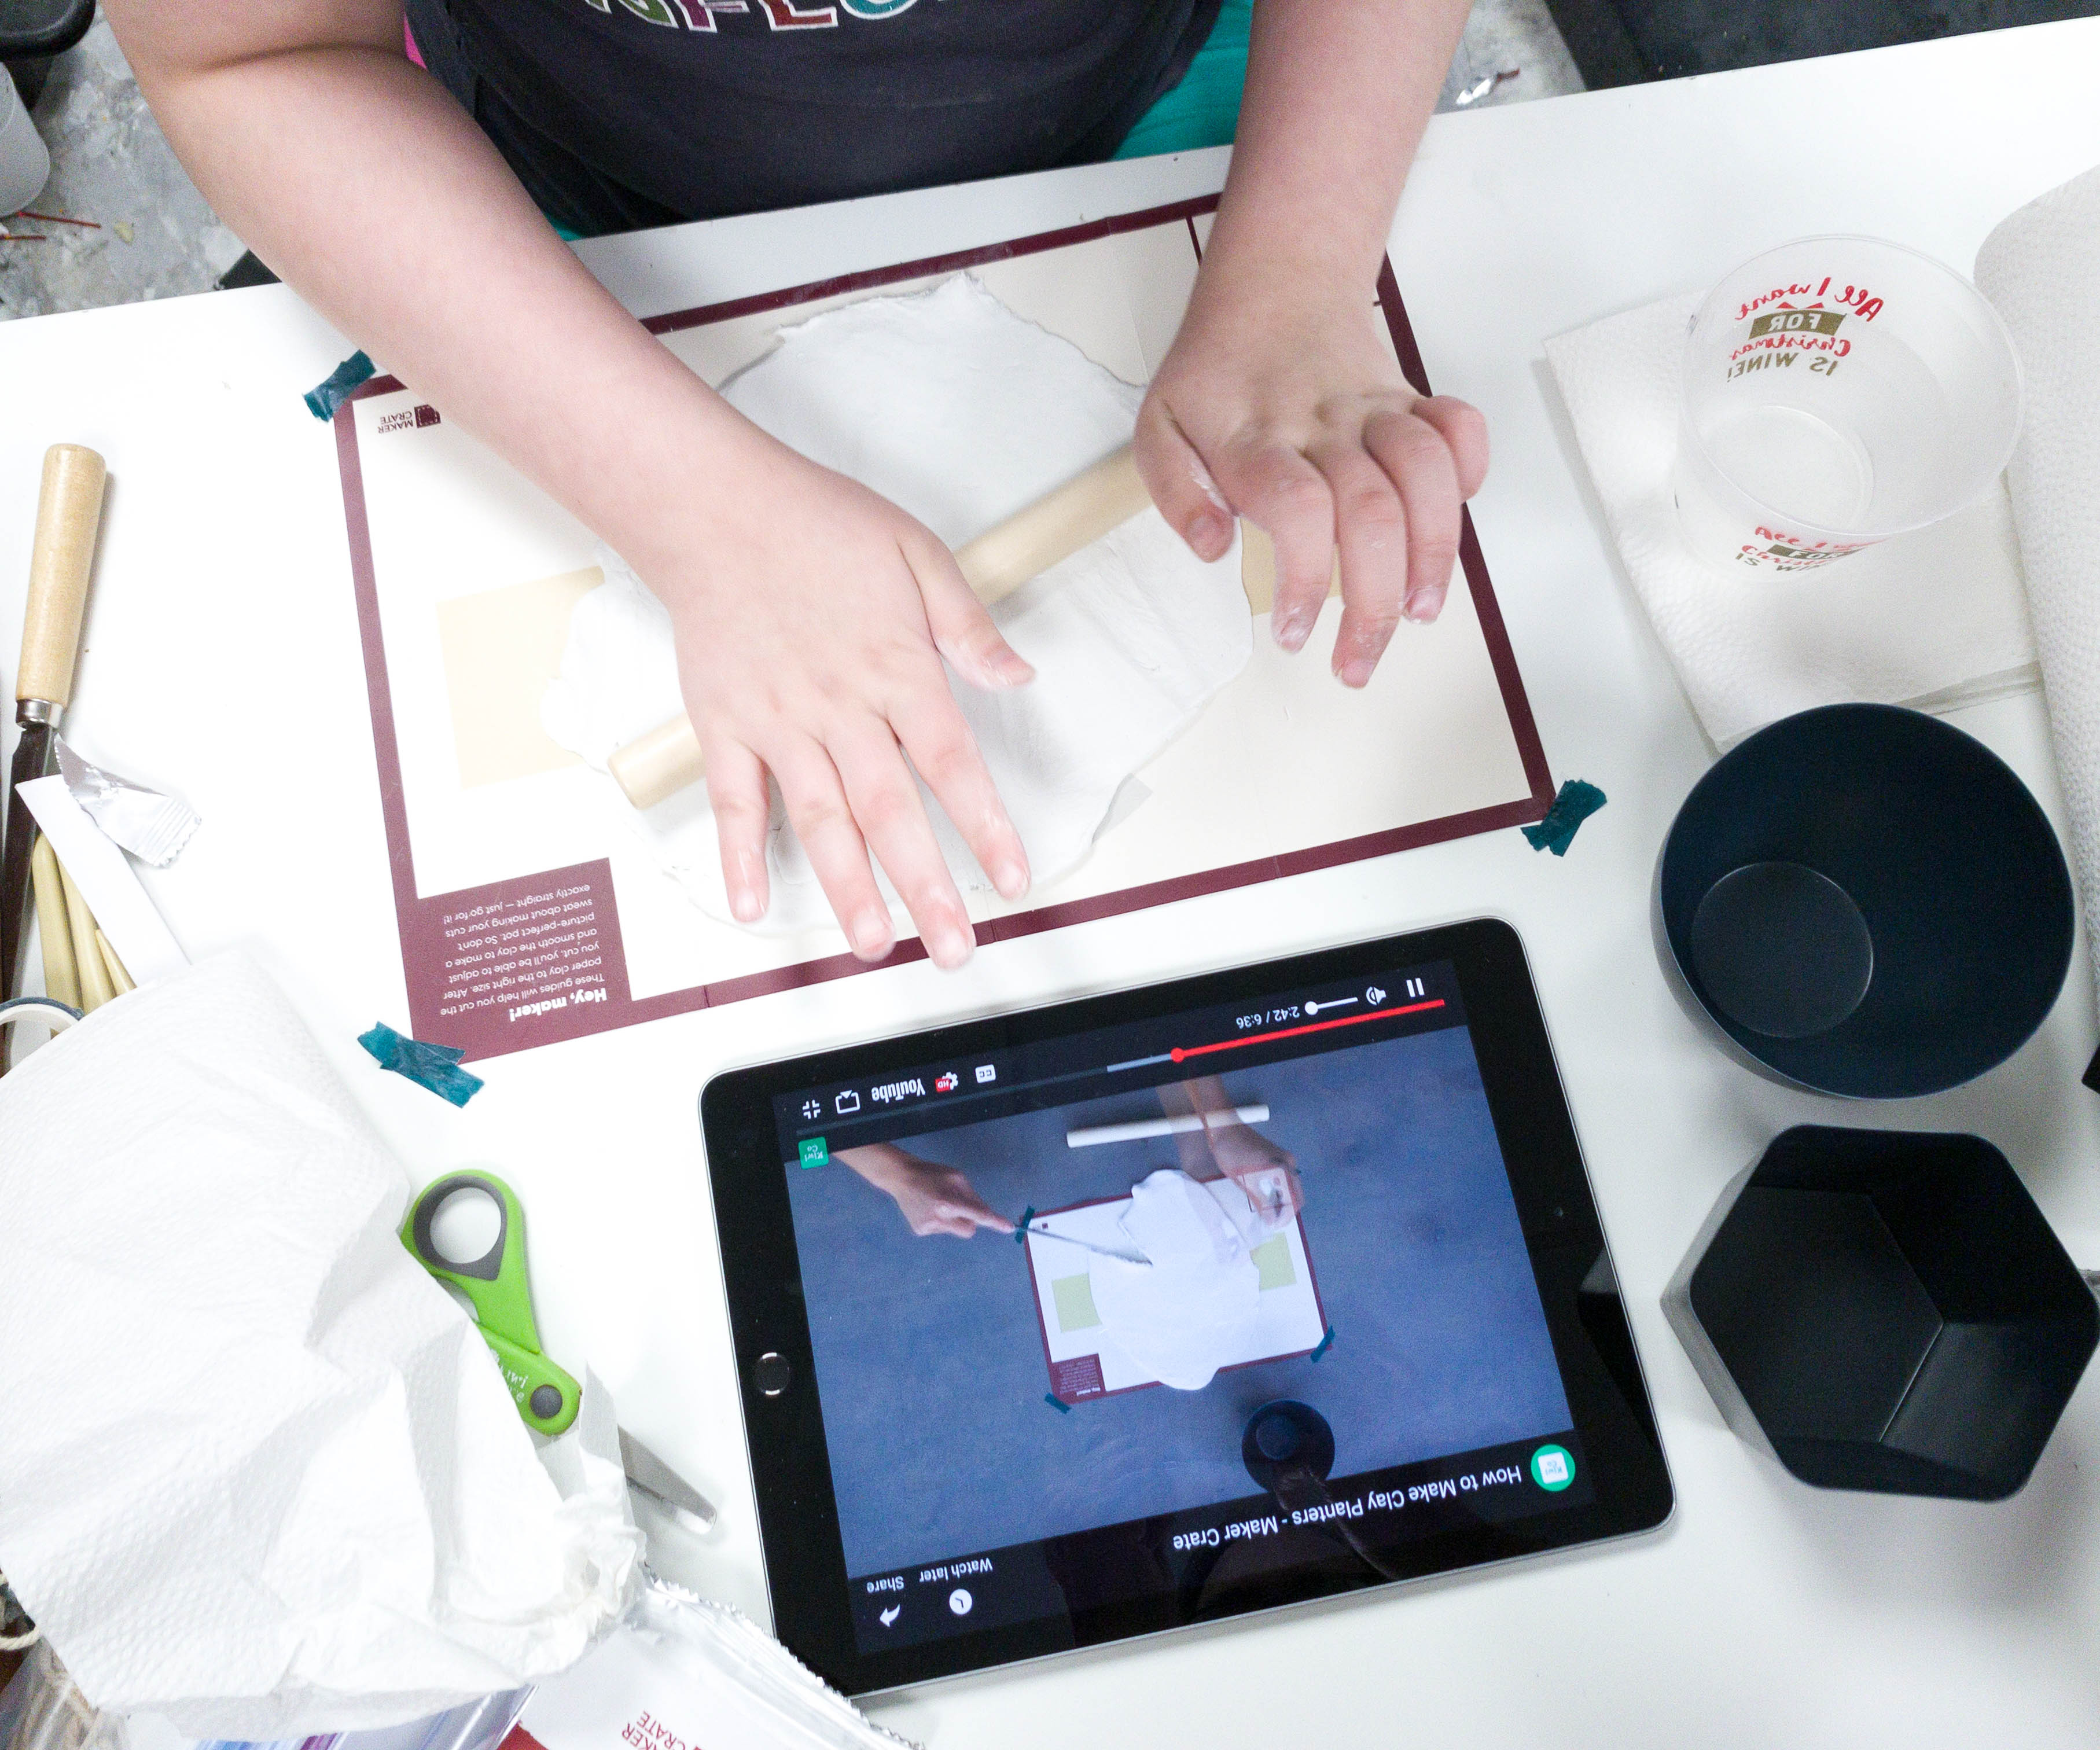
After watching the instruction video, my daughter laid the rolling mat, grabbed the rolling pin, and flattened the paper clay.
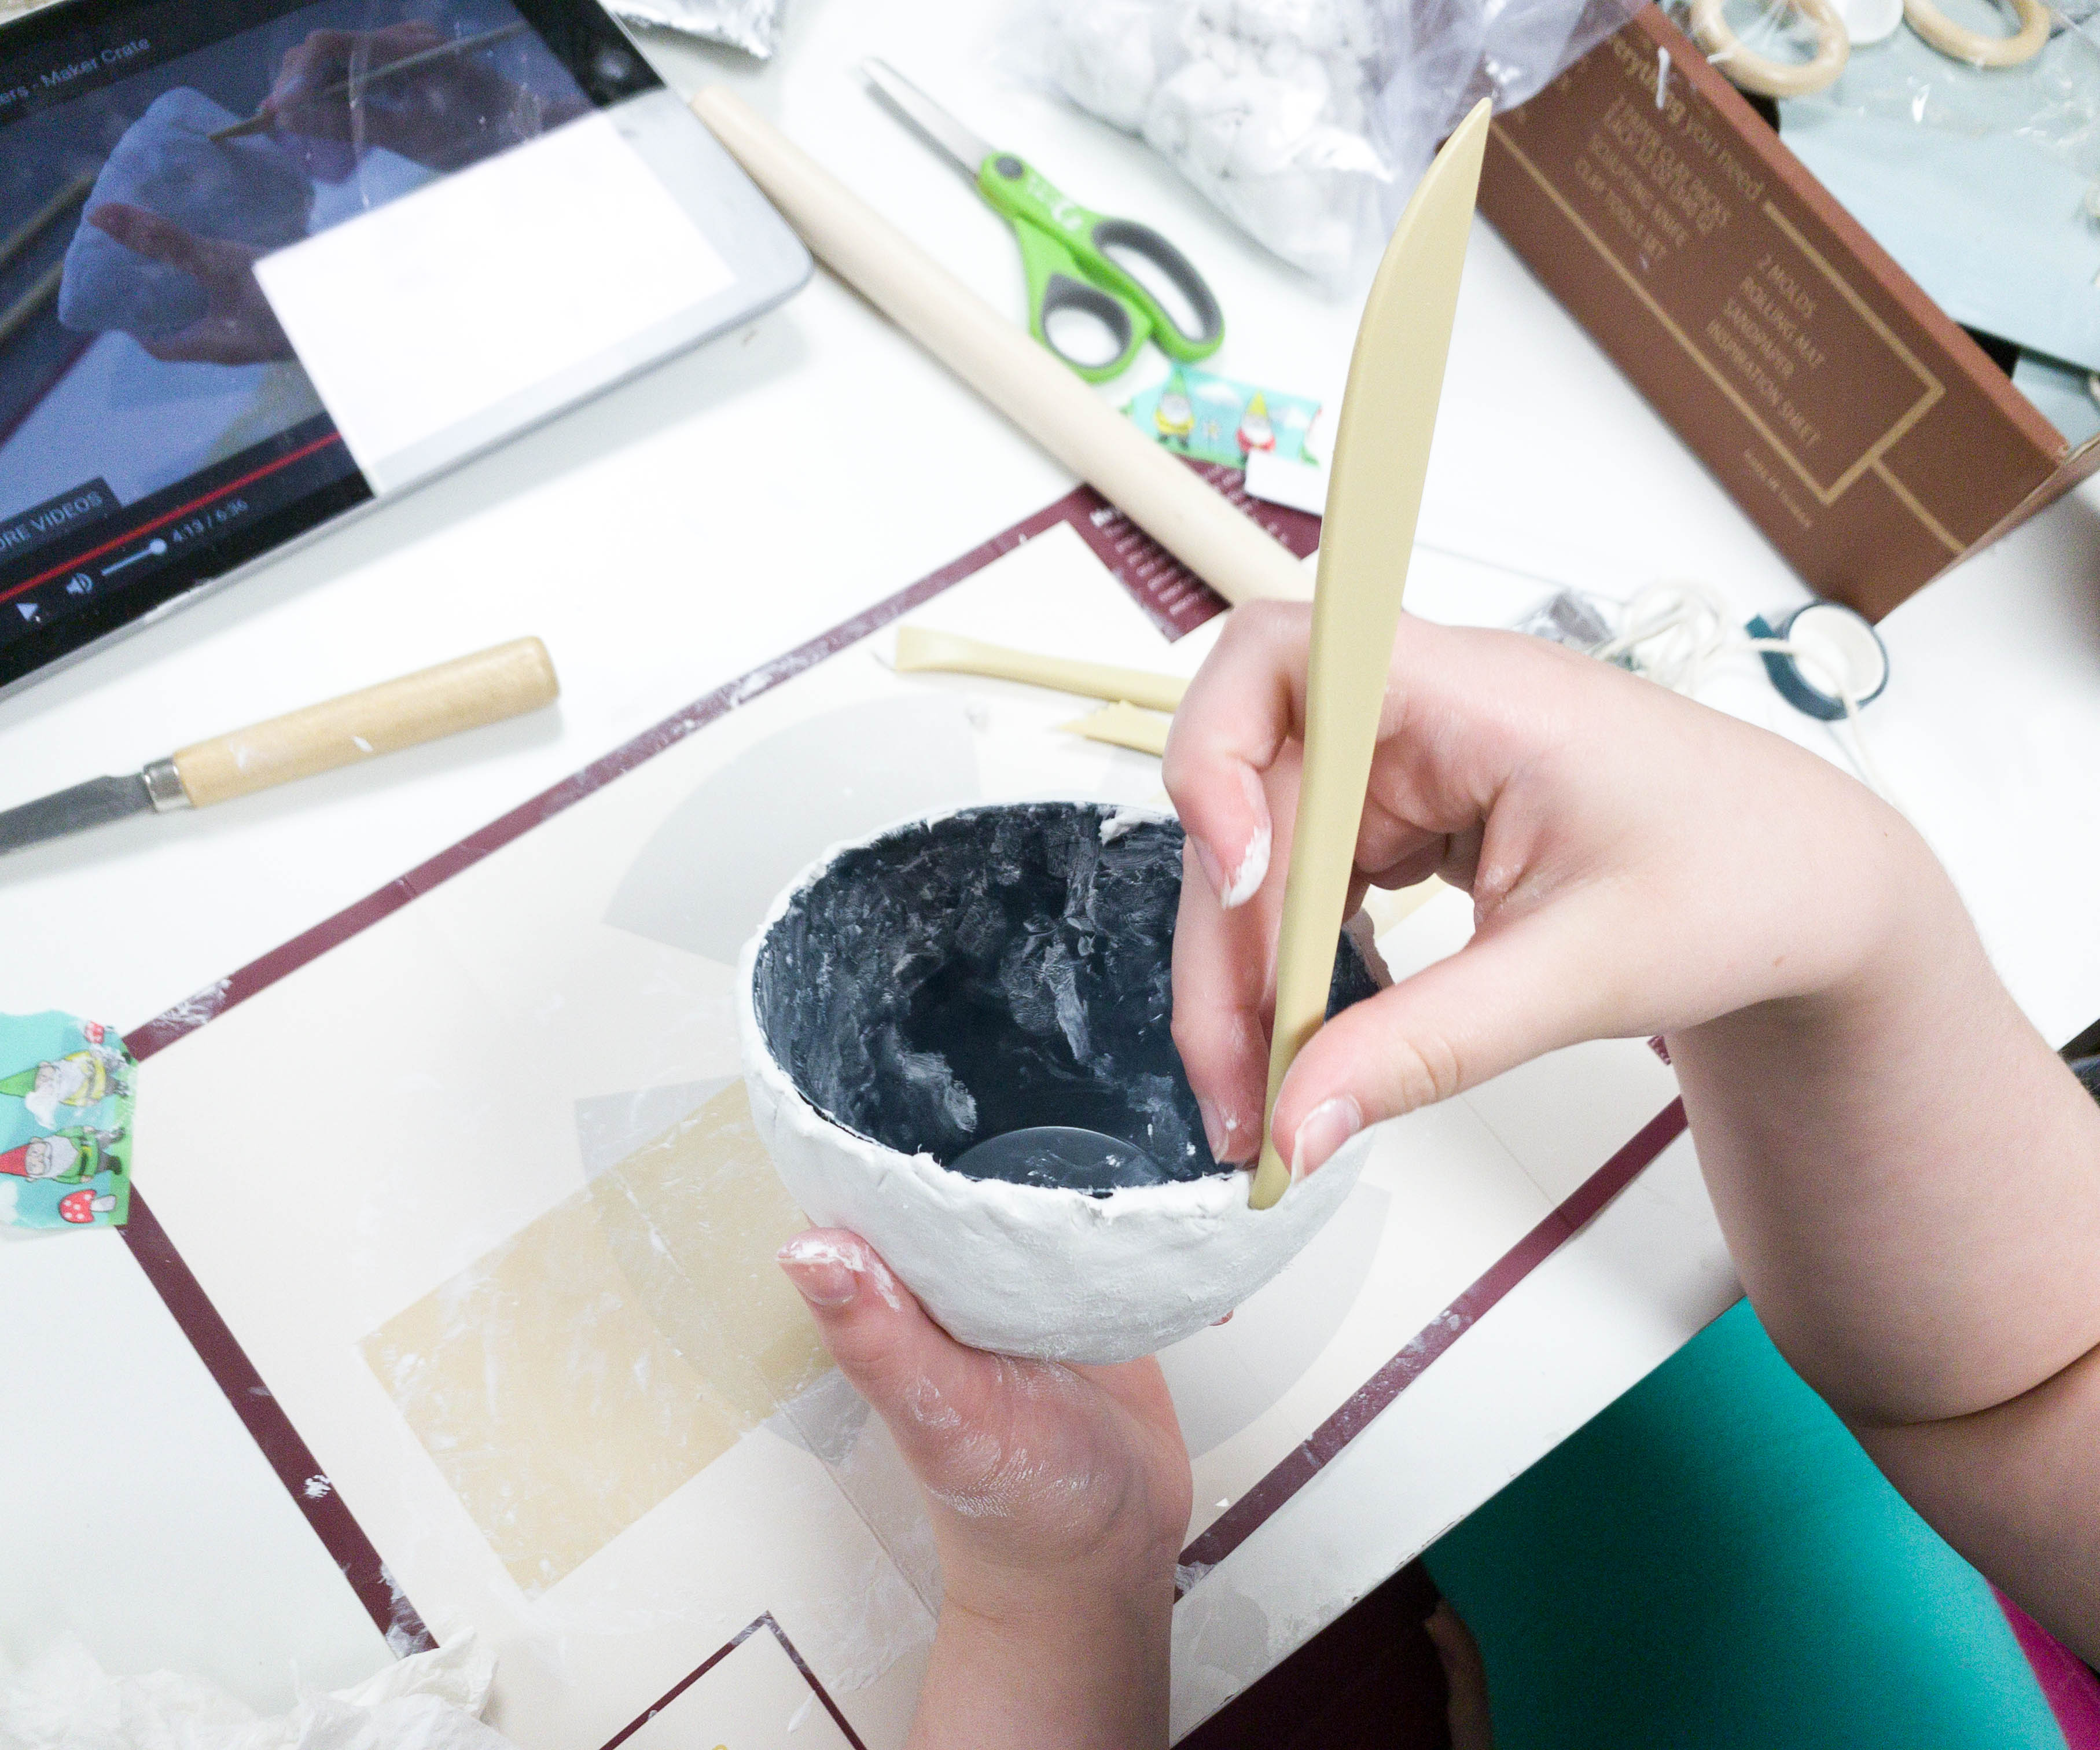
Then, she covered the round dome with the flattened paper clay and molded it accordingly.
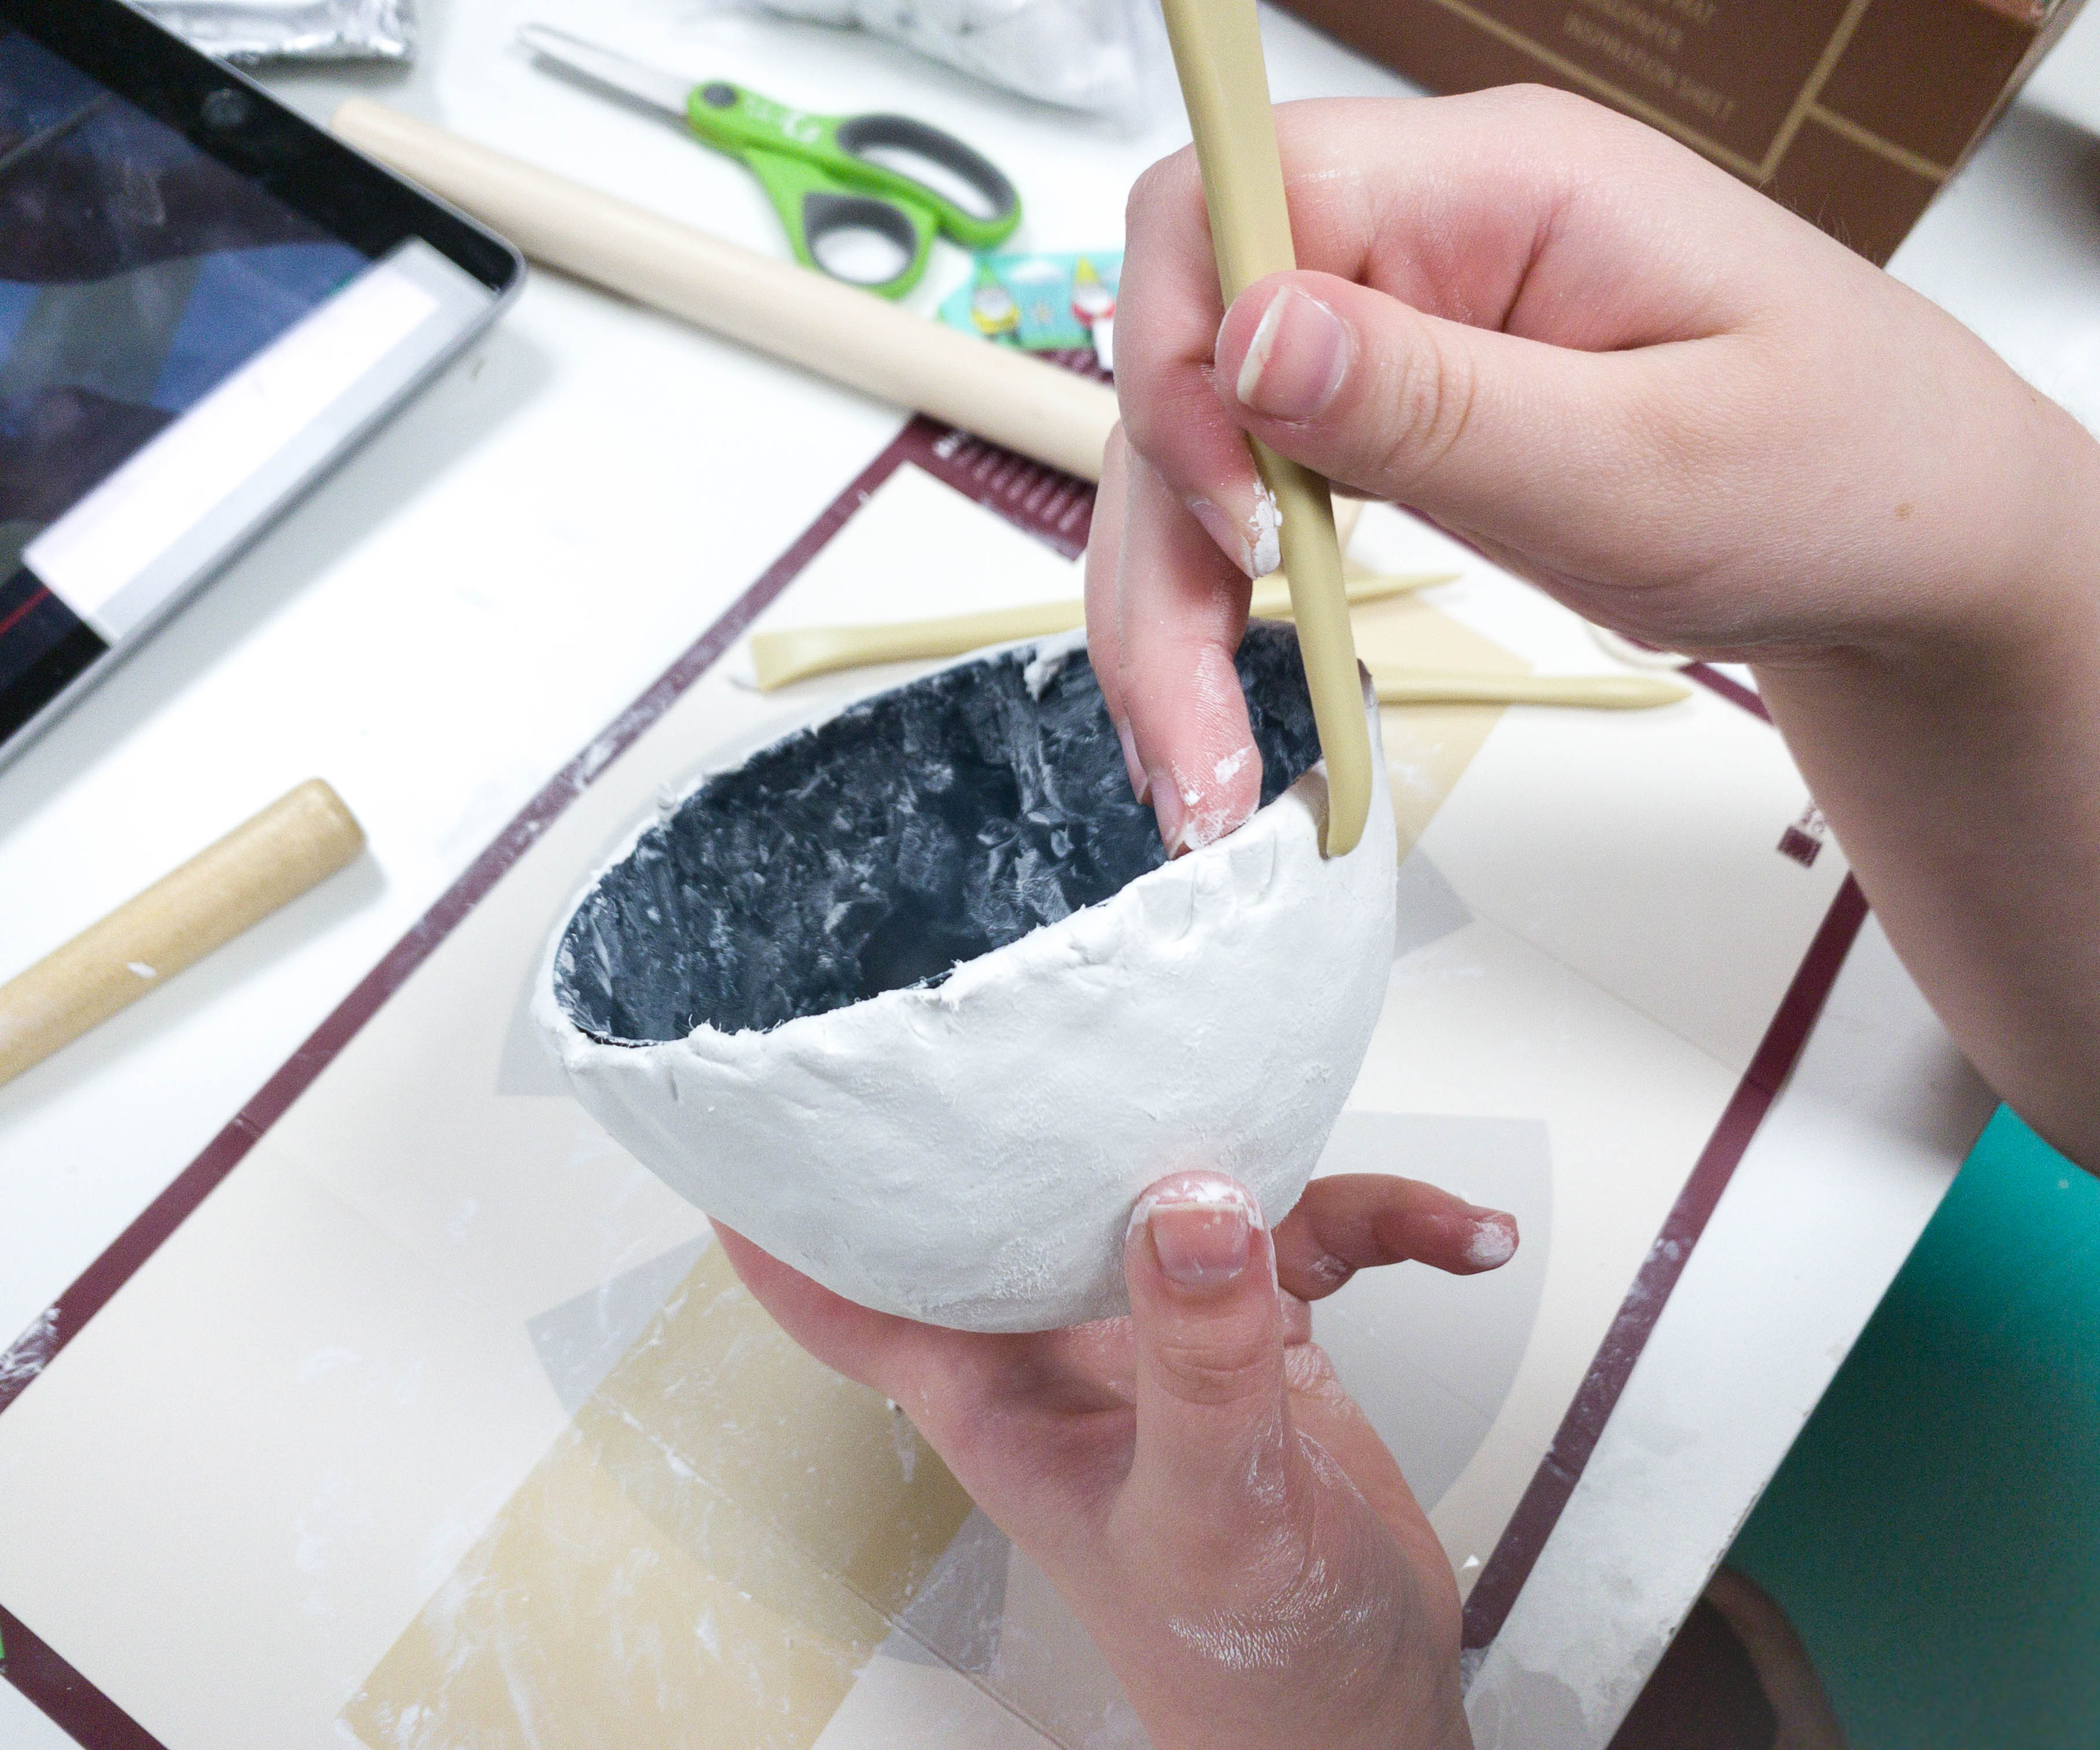
She also added design to the pot using the clay tools!
She repeated the same steps for the hexagon pot!
You can also carve your design using the sculpting knife and add accent using the clay tools.
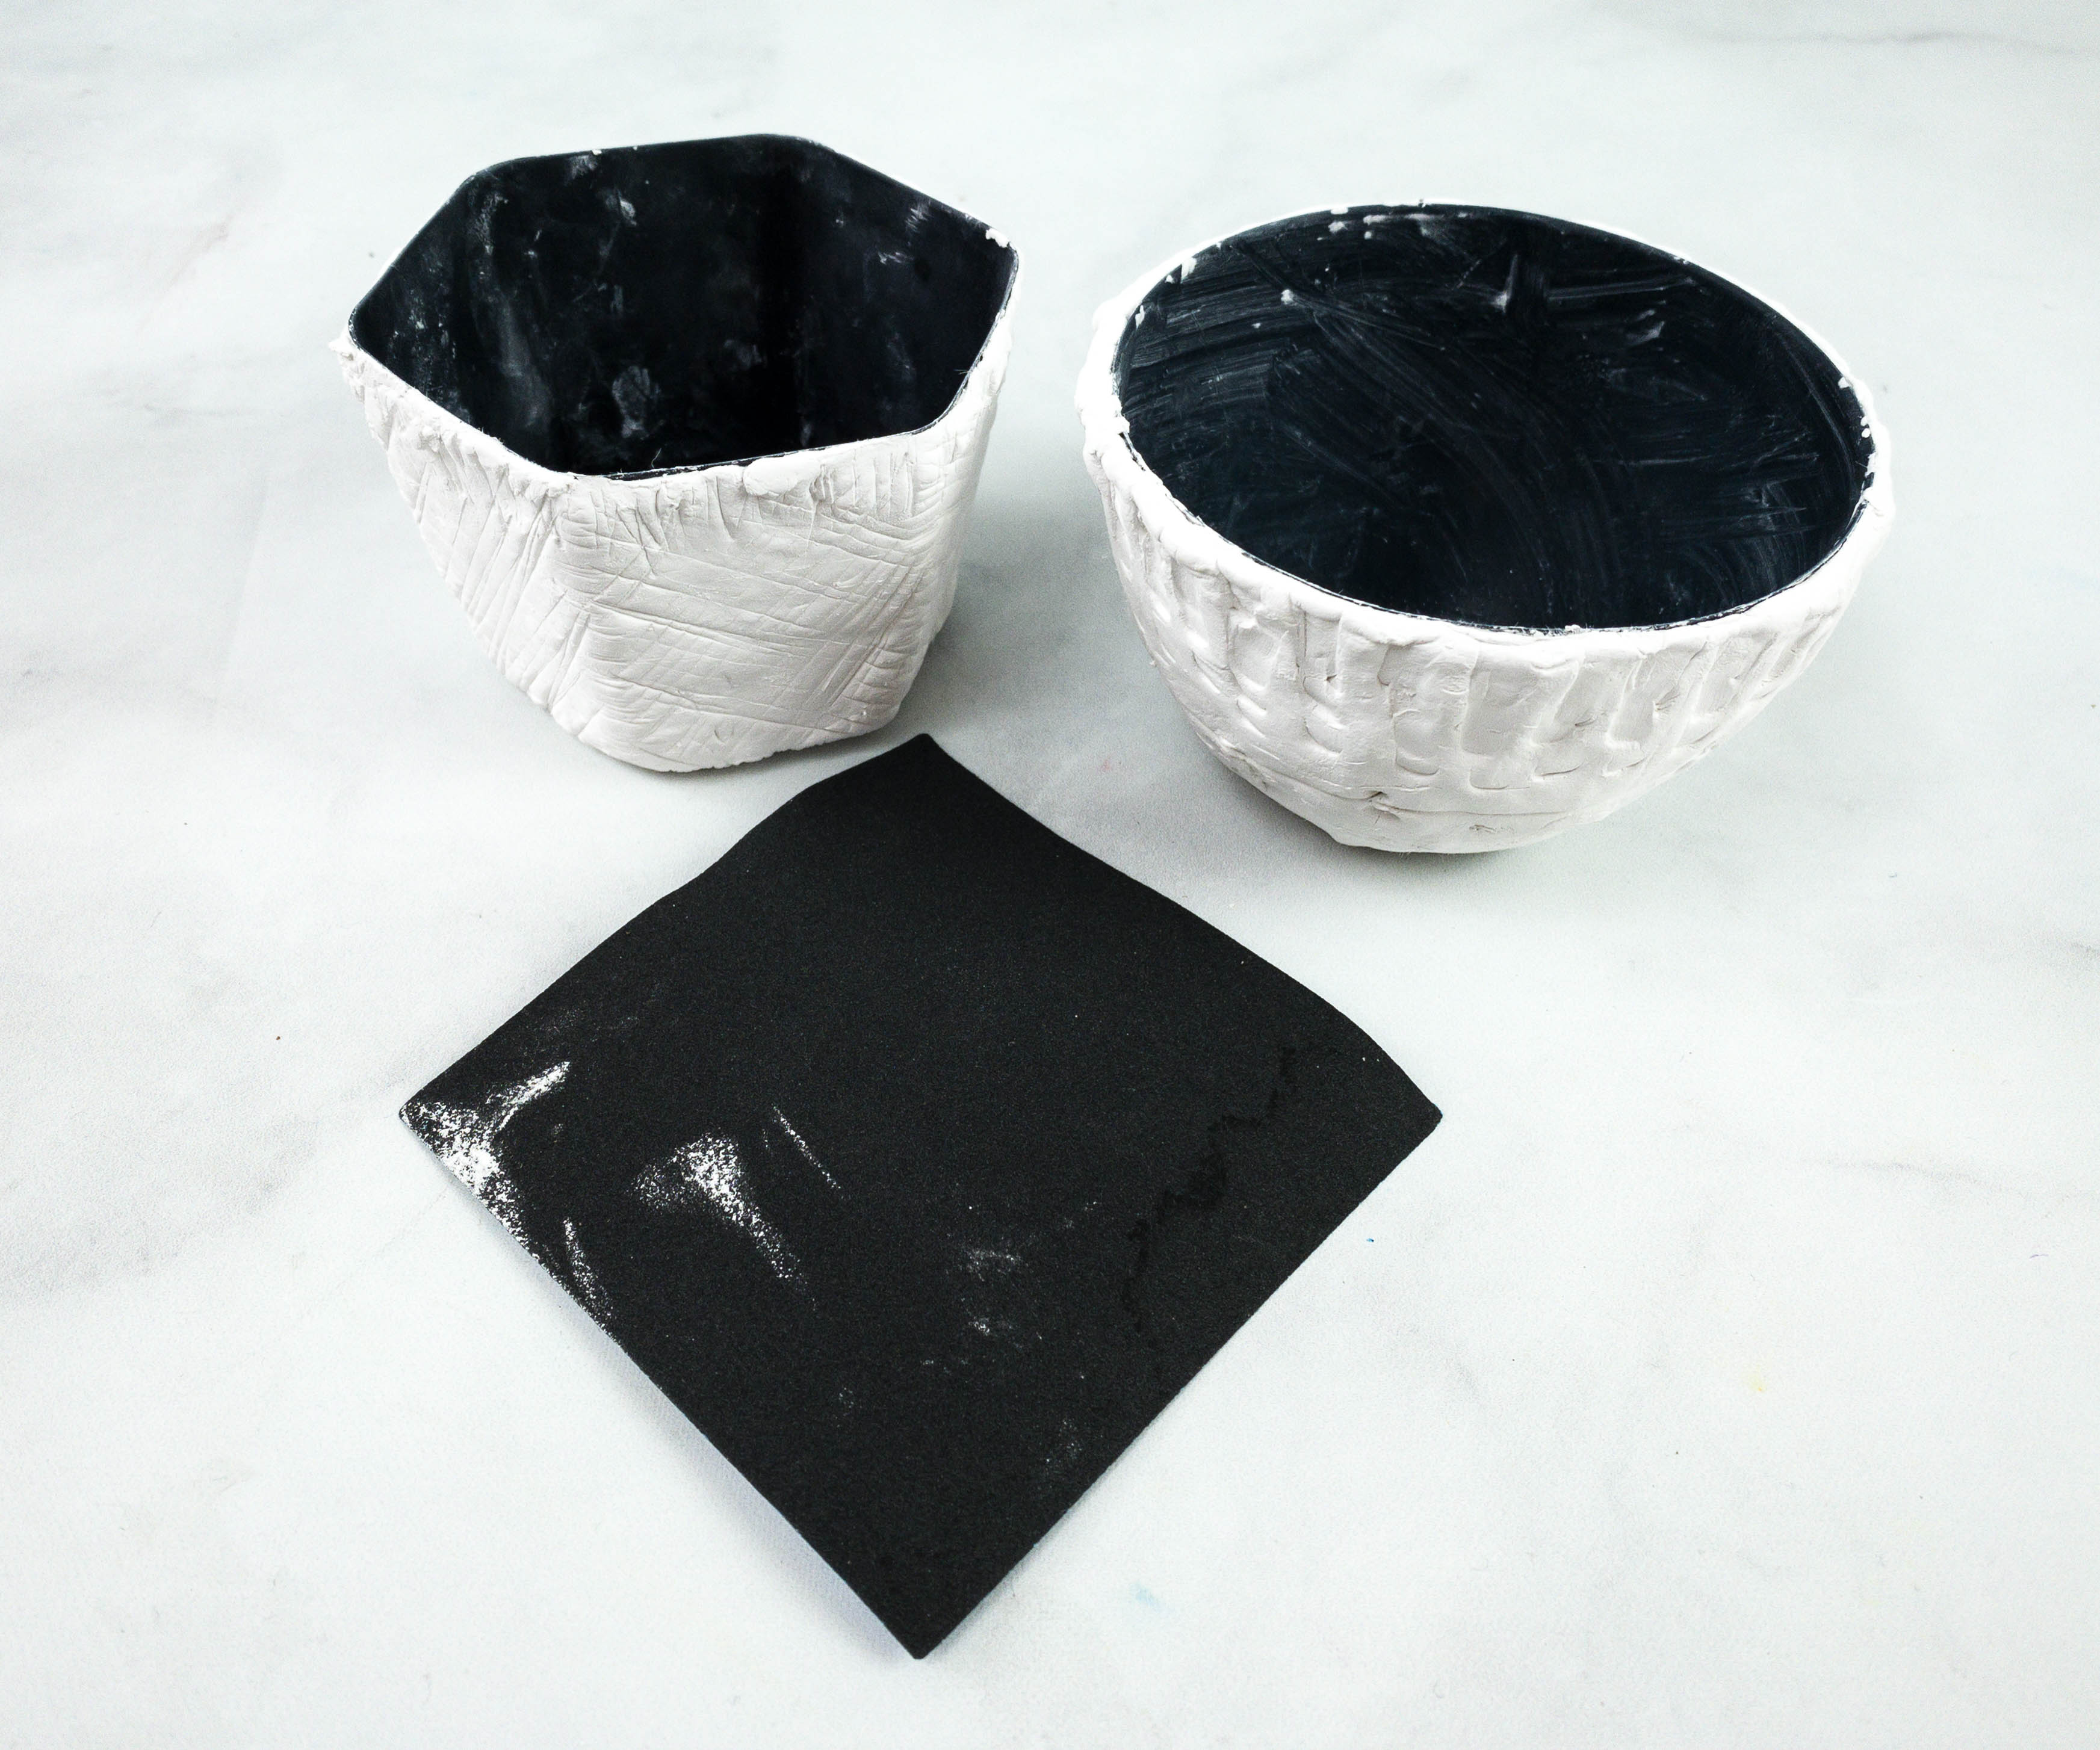
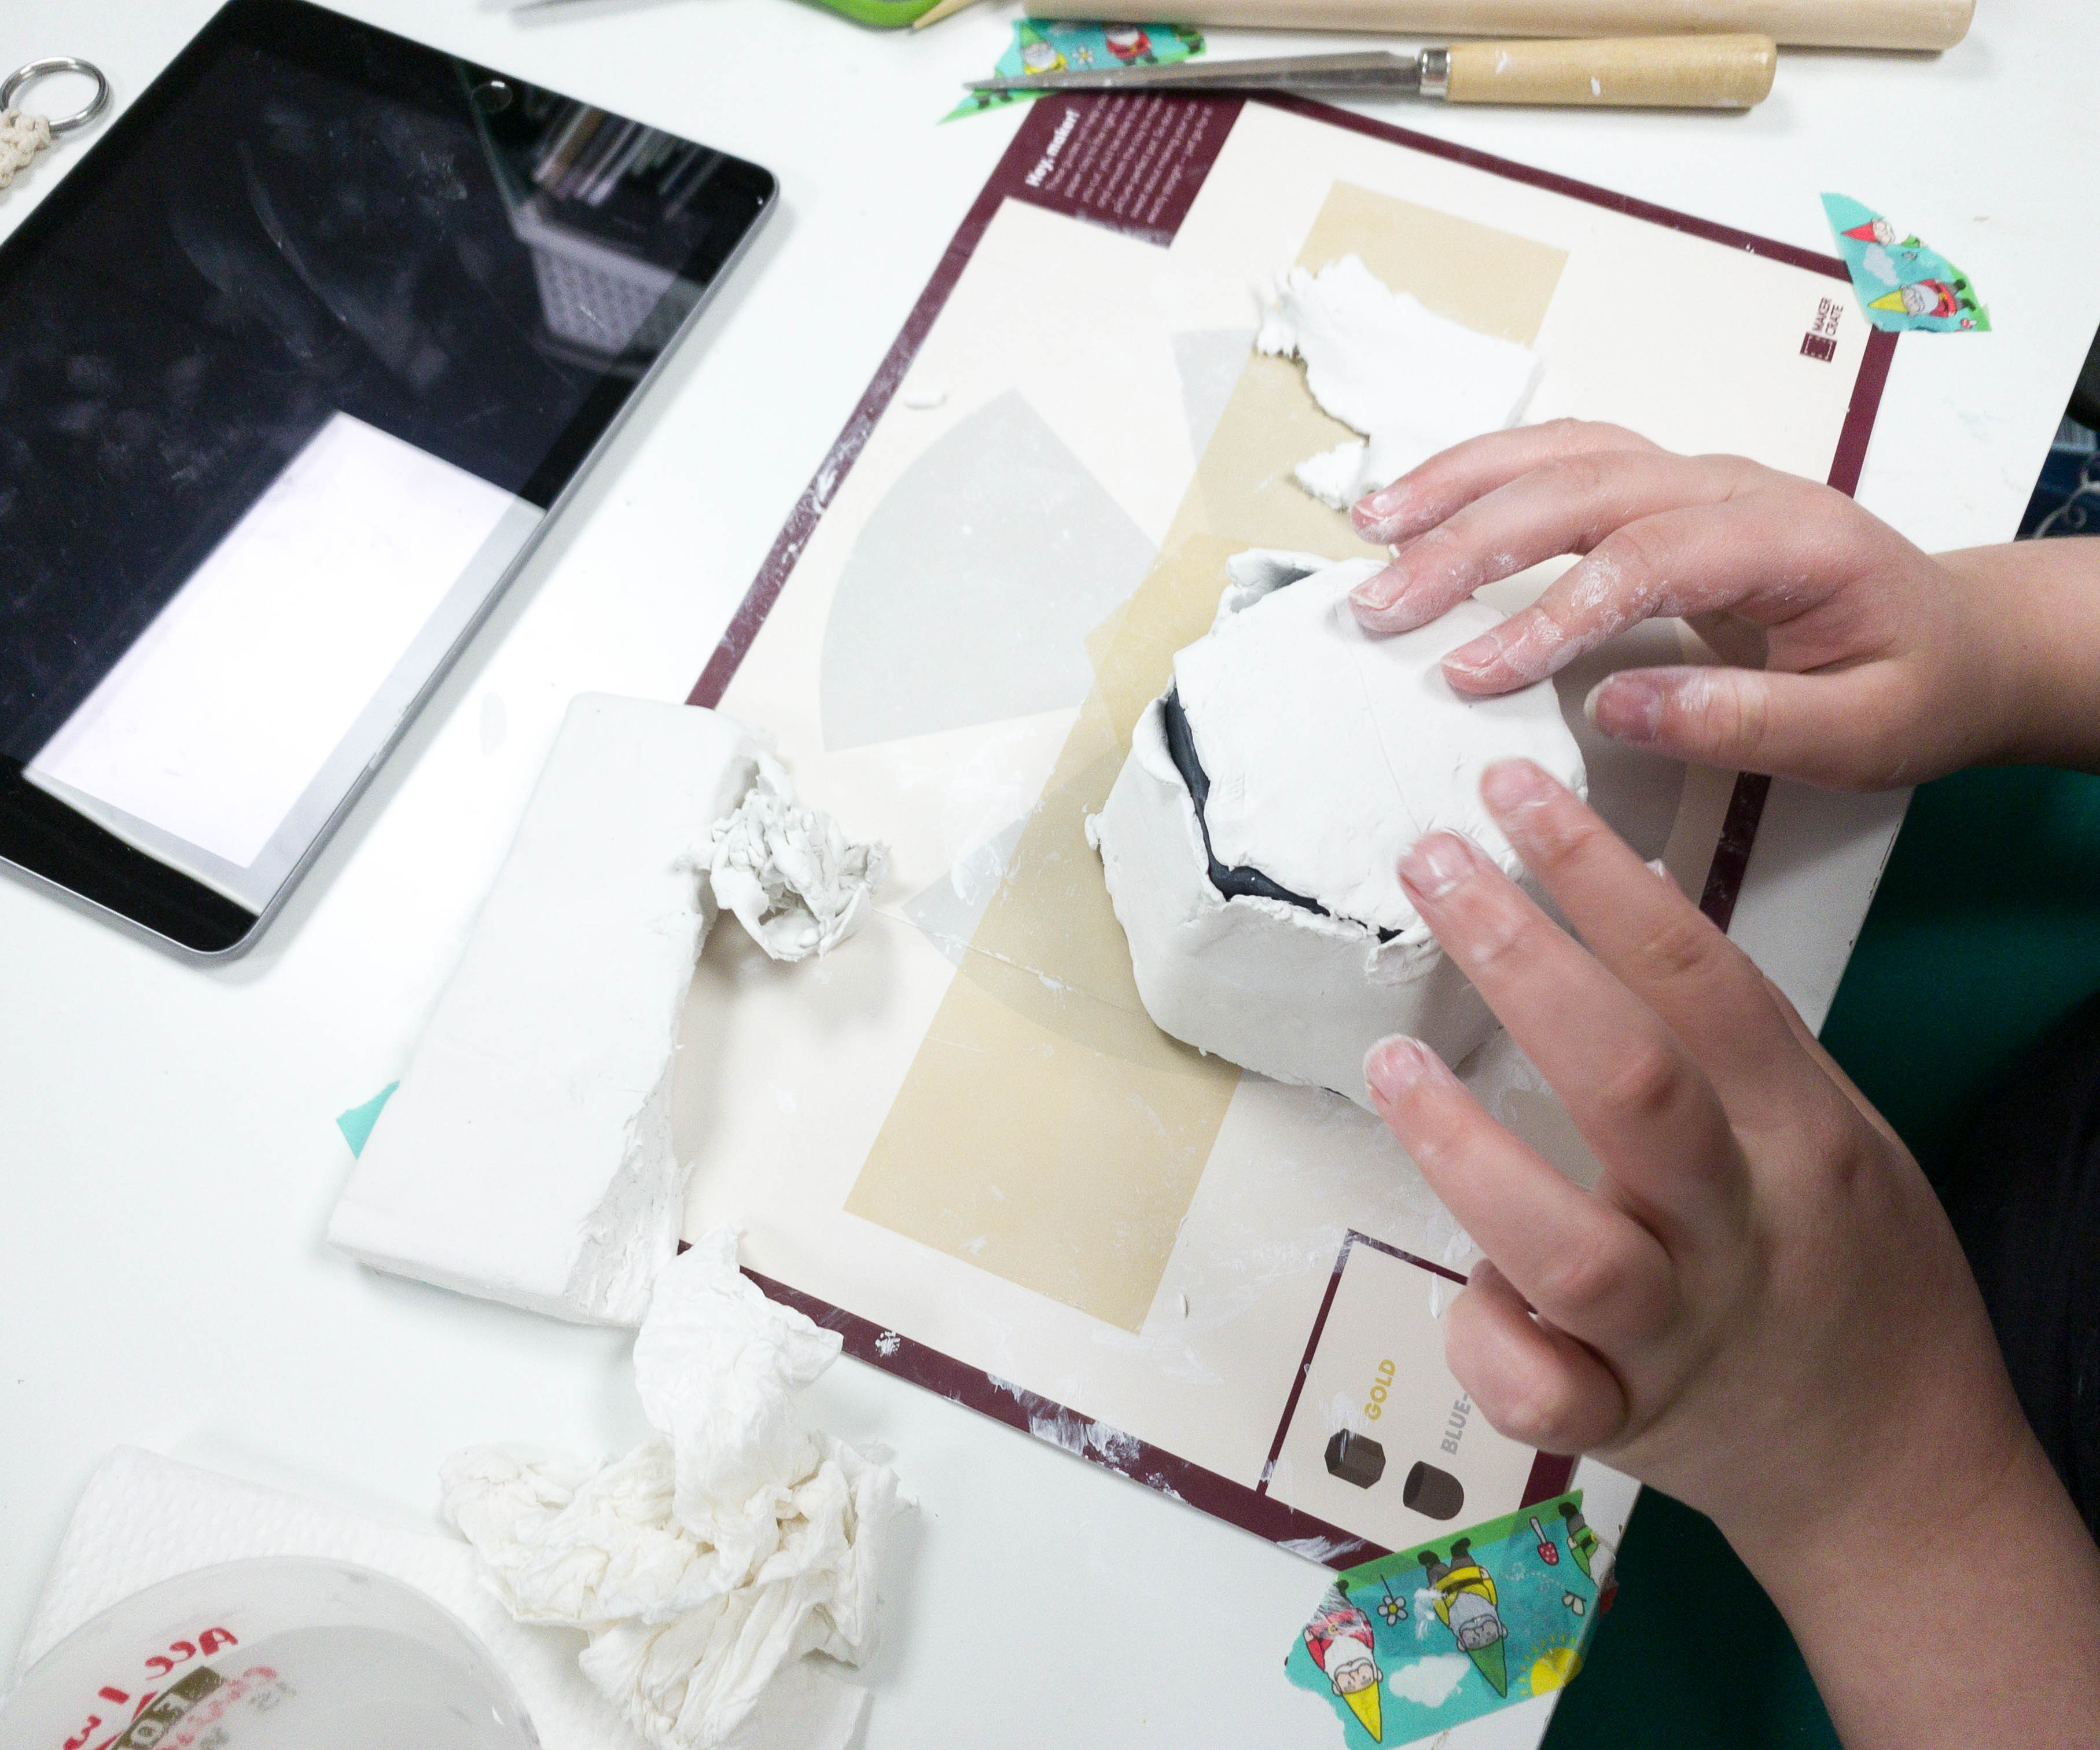
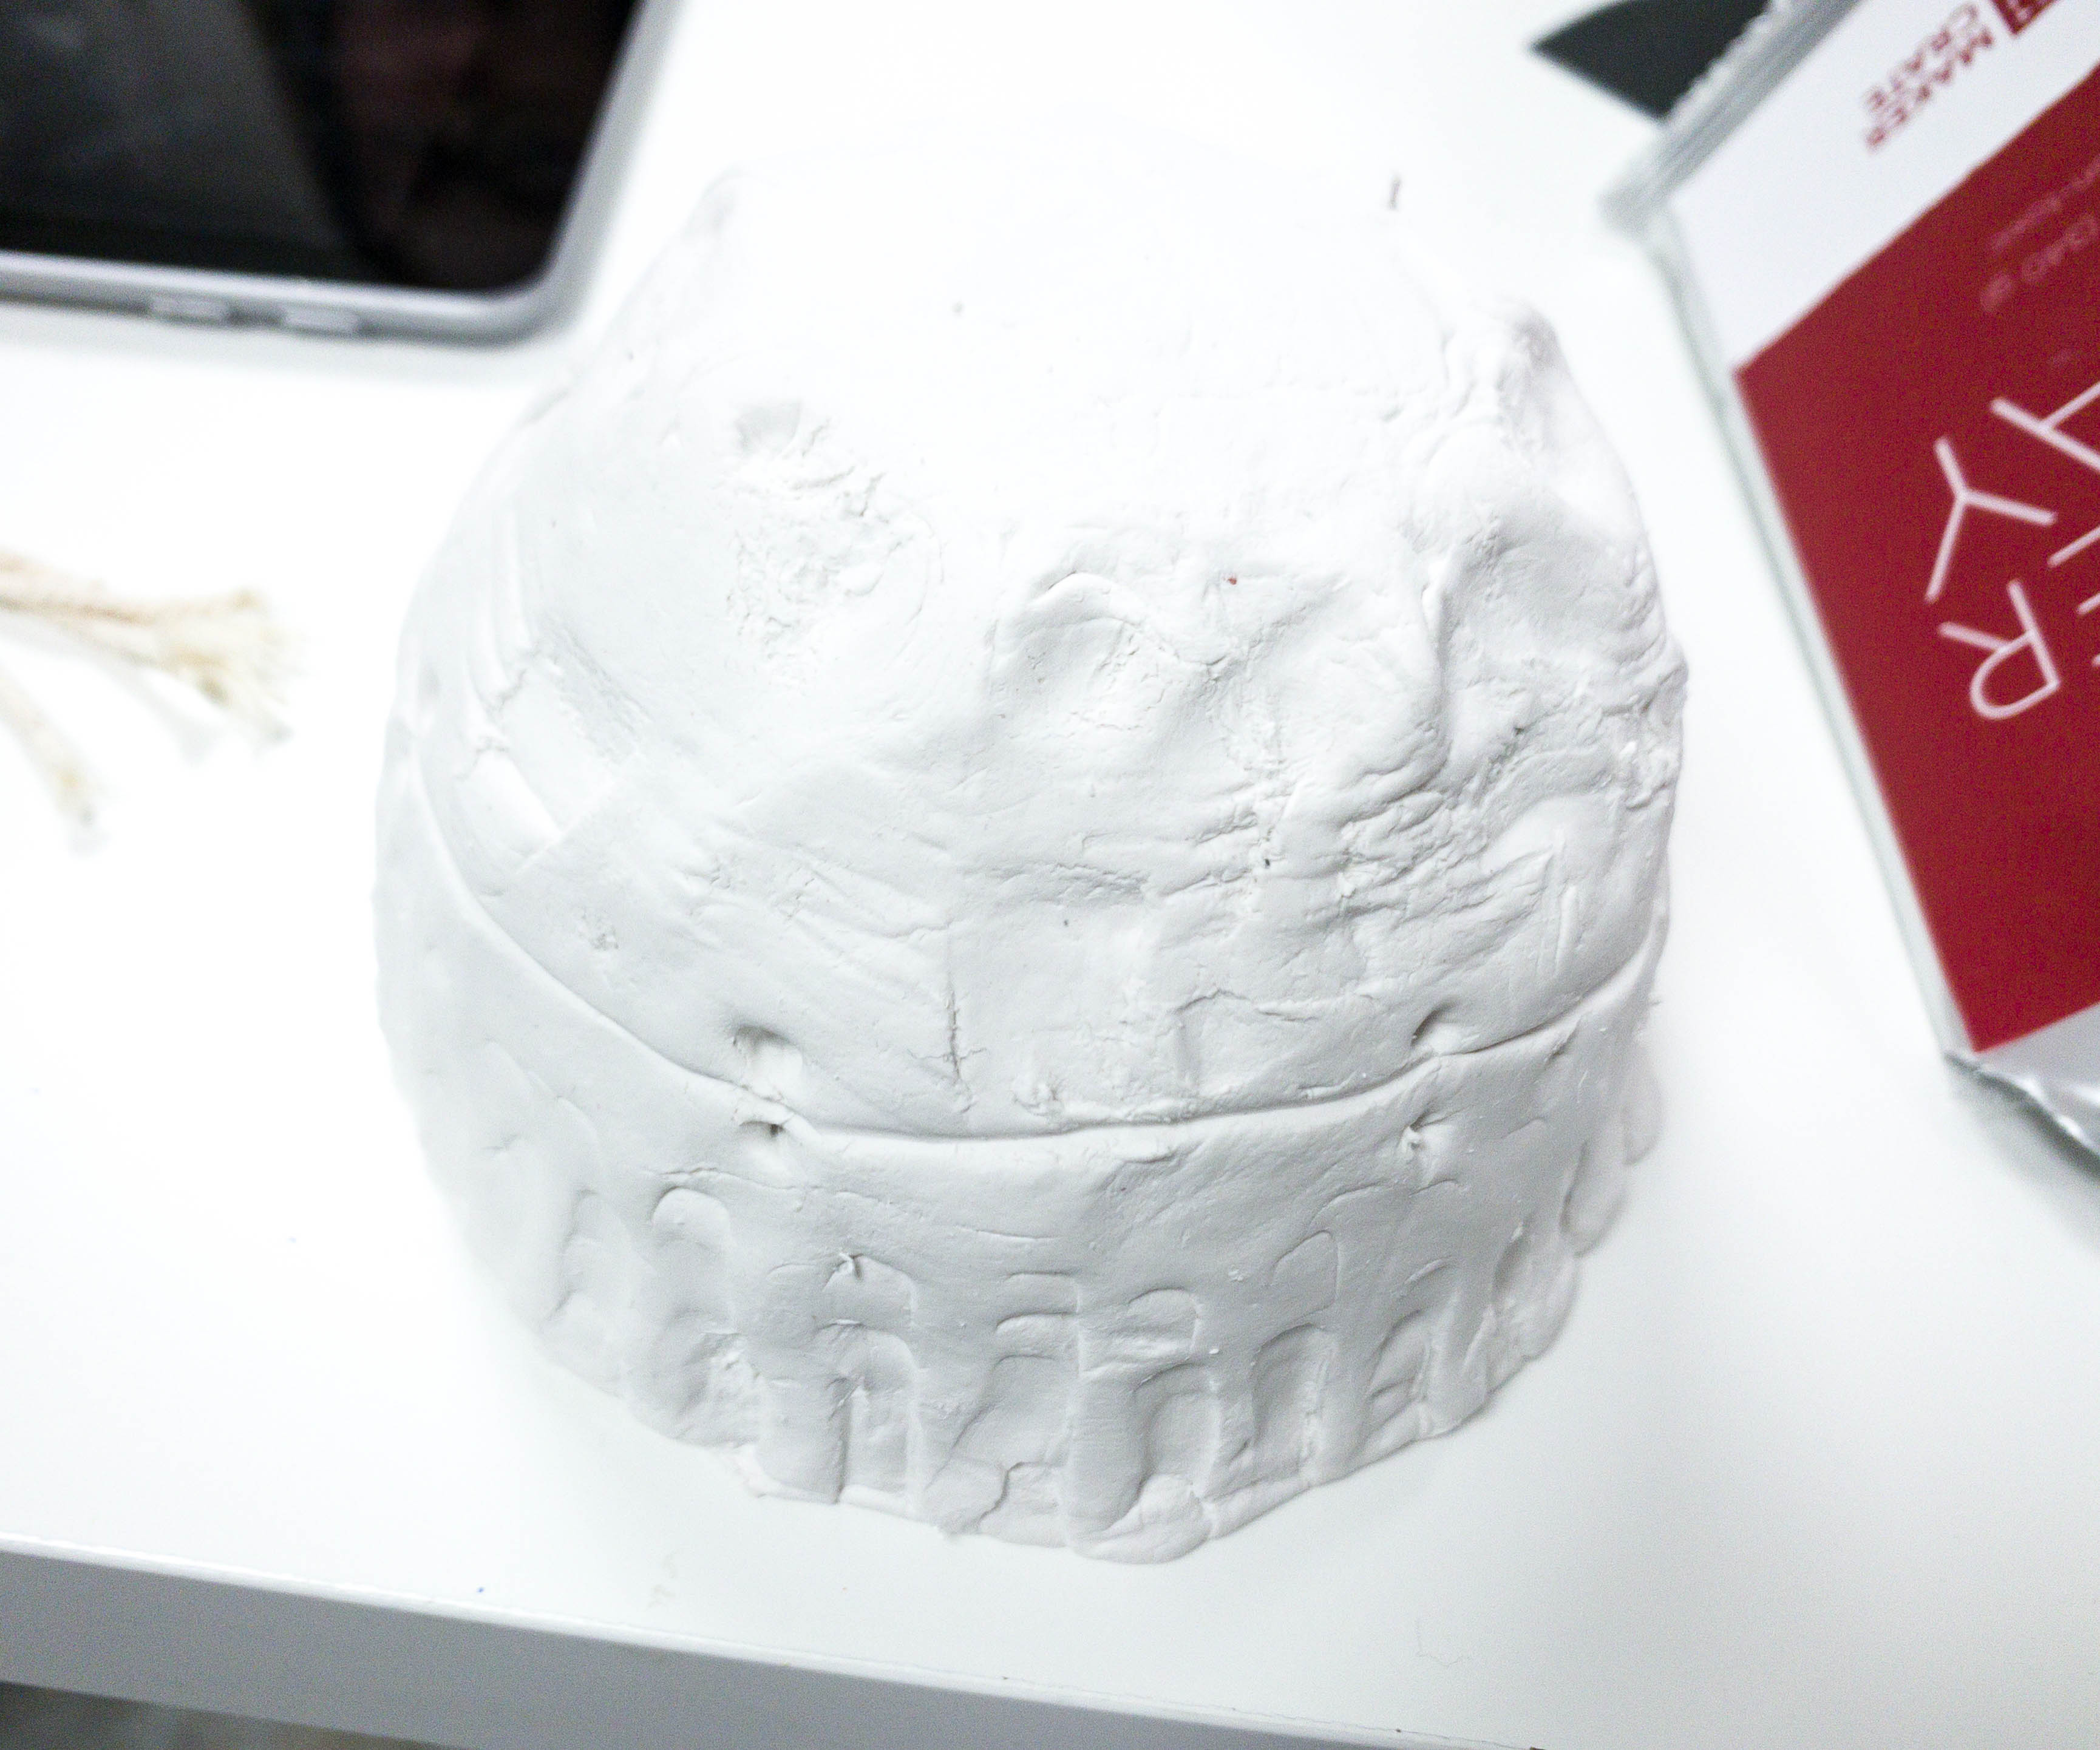
When you’re satisfied with the design, let the pots dry overnight and then gently smoothen its surface using the sandpaper.

For the finishing touch, we painted the pots using acrylic paints. We painted them with really loud colors for the review, so you can see them and so they contrast with the macrame, but my wife has suggested that we brush on some metallics to soften them up.
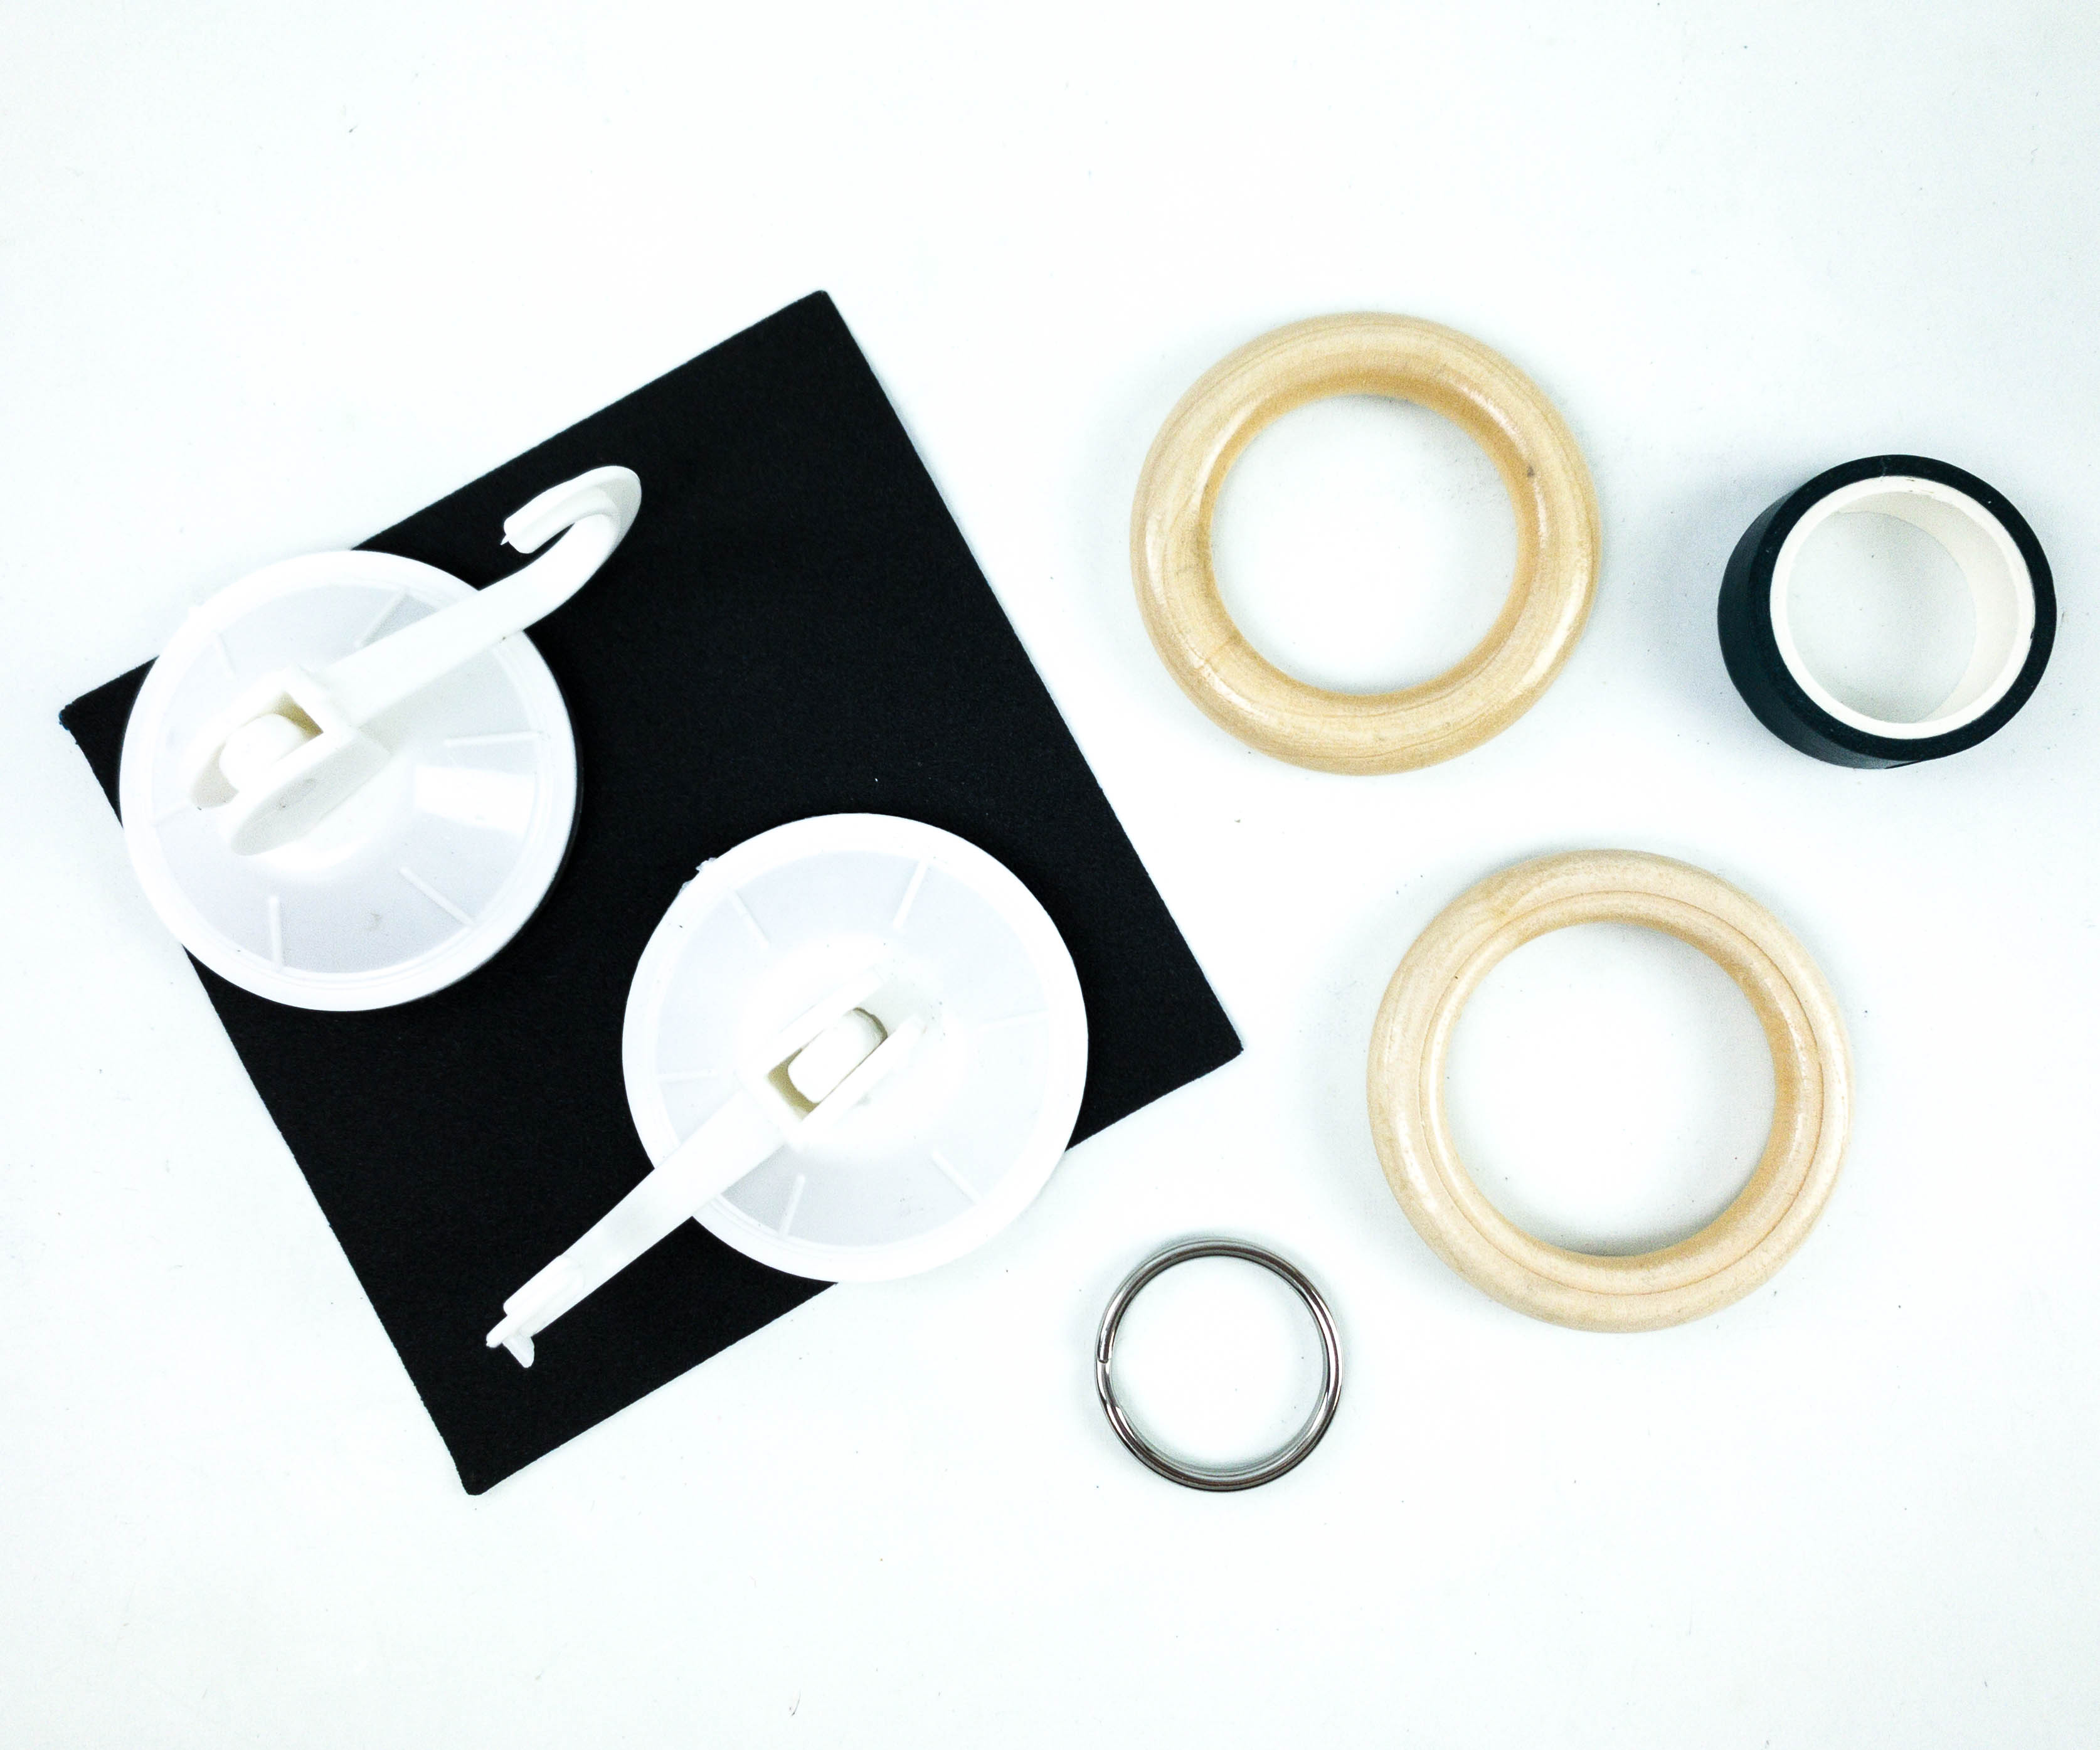
The third and last part is about making the macrame hangers. For this, the crate provided suction hooks, key ring, wood rings, and washi tape.
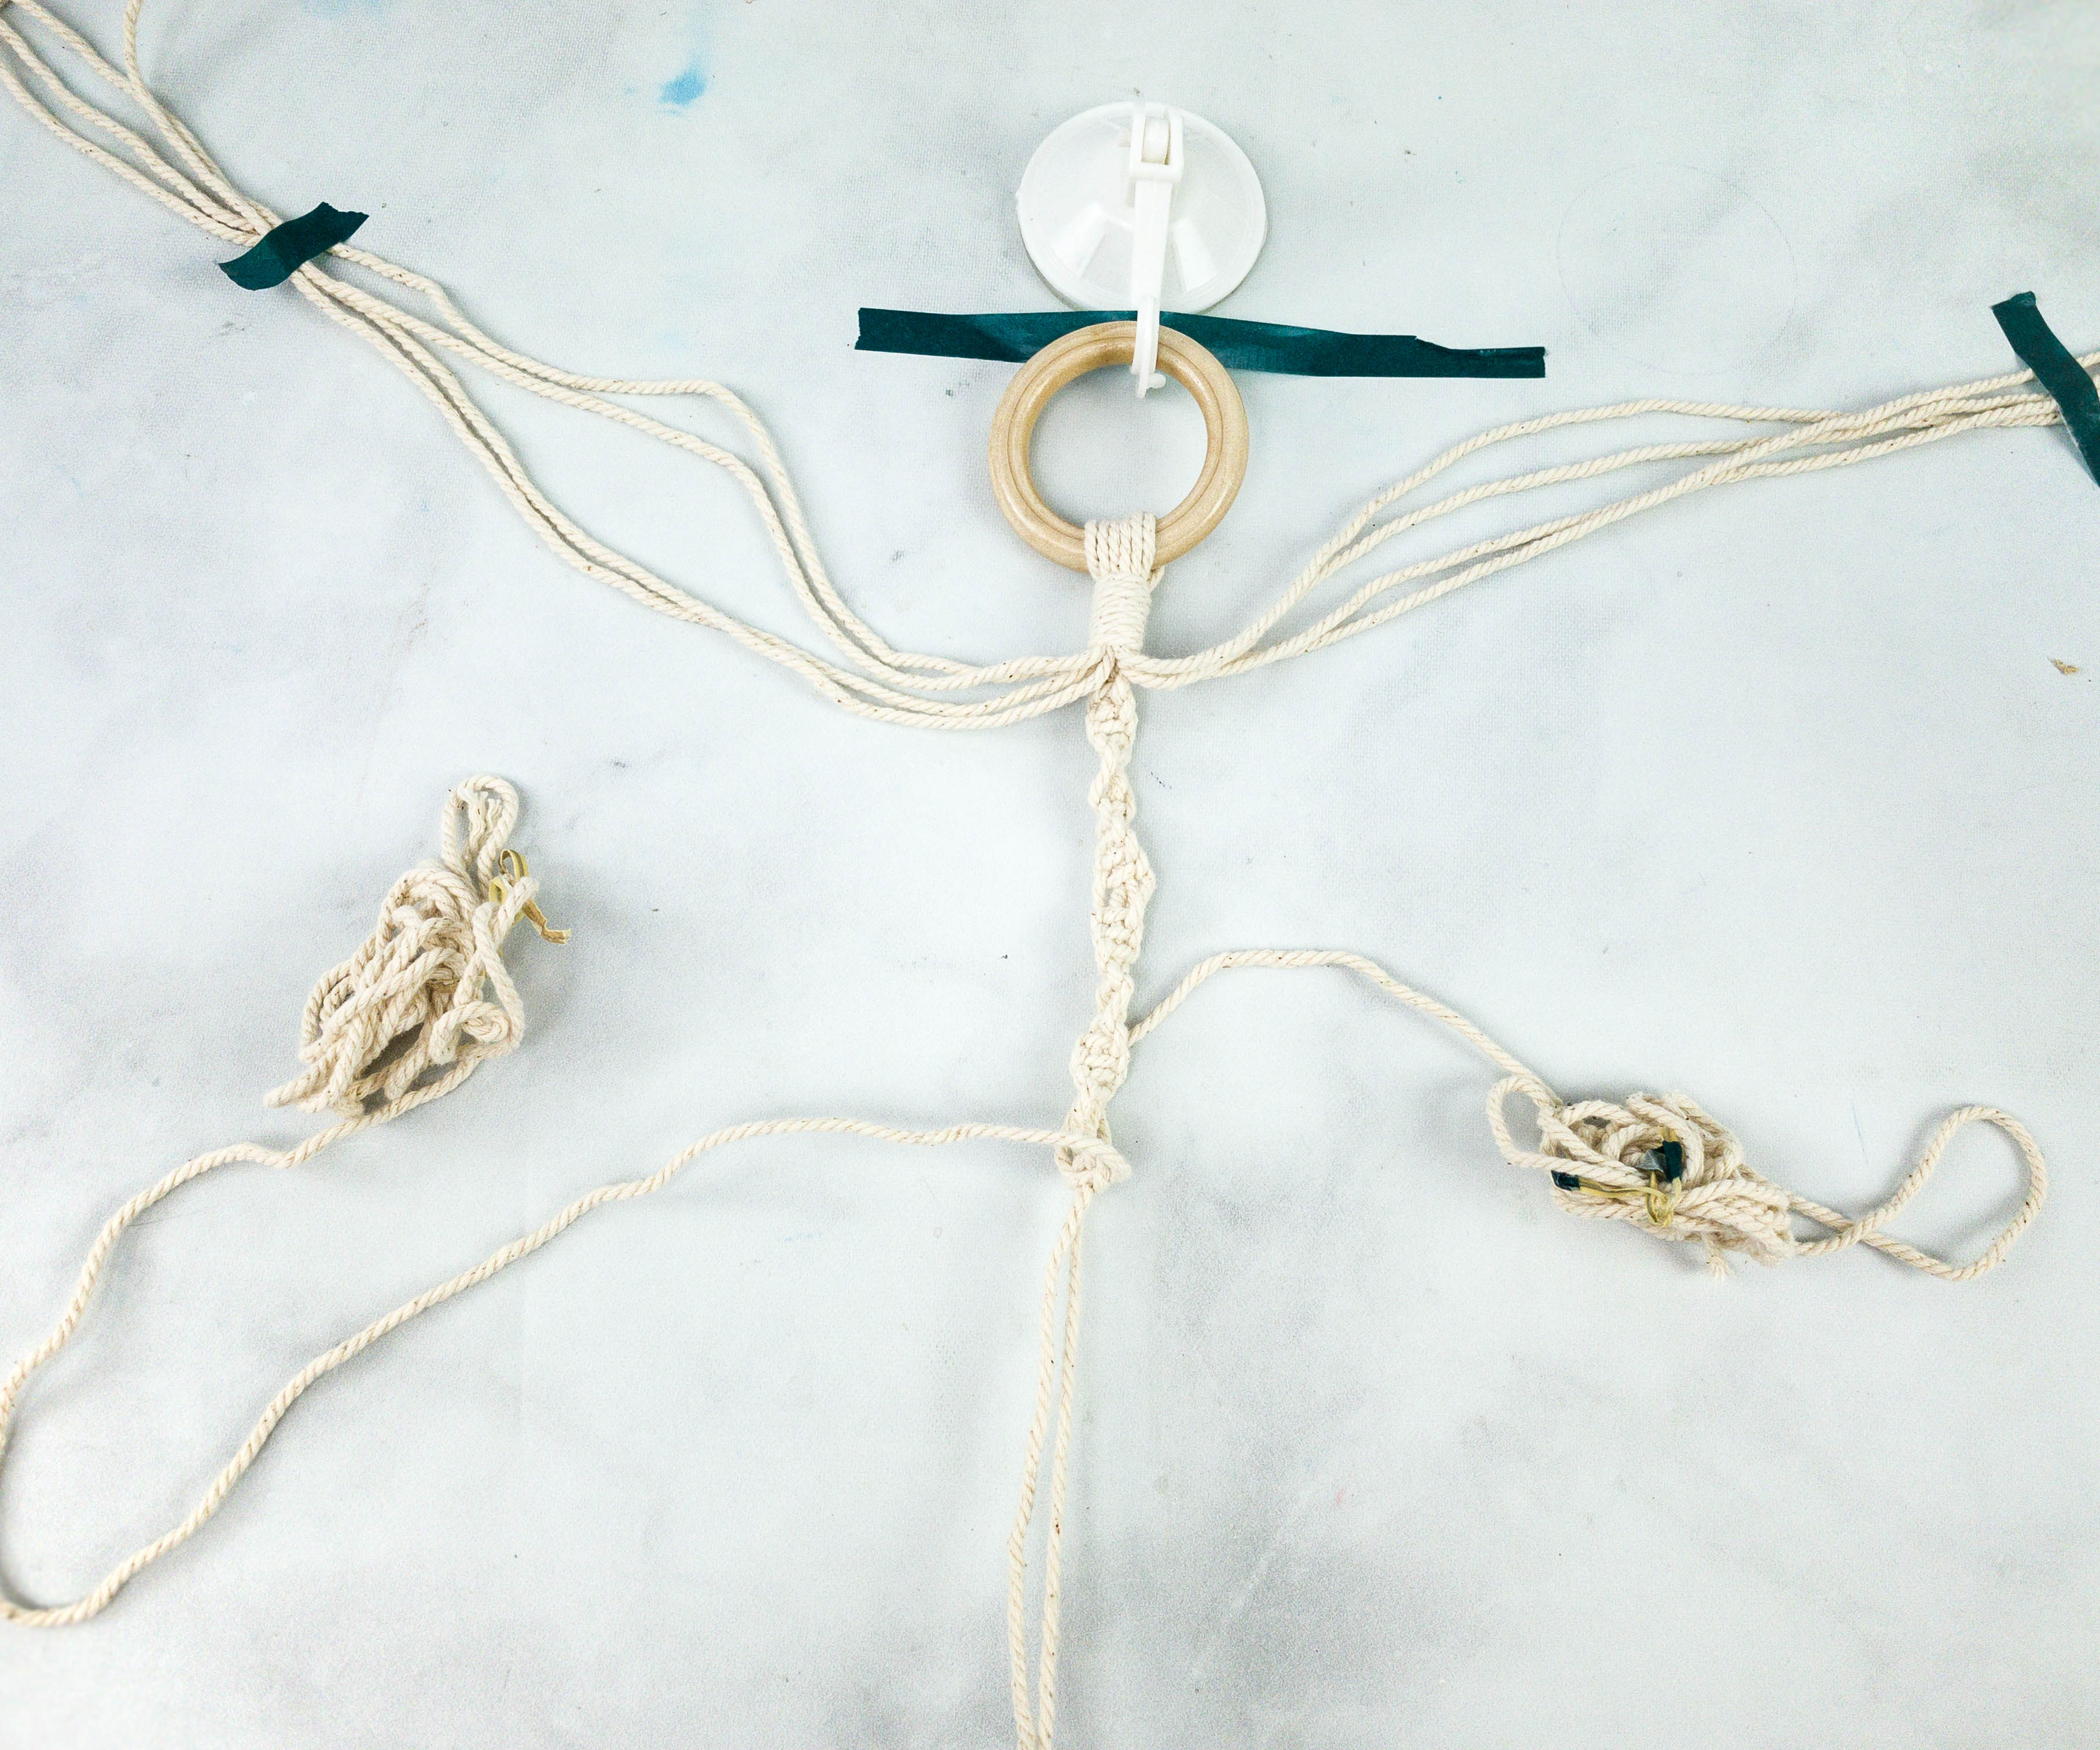
I put the wooden ring on the suction hooks and placed 6 pieces of 11-feet long cotton cord through it.
For the next step, an 18-inch long cord is needed for a wrap knot right below the wooden ring.
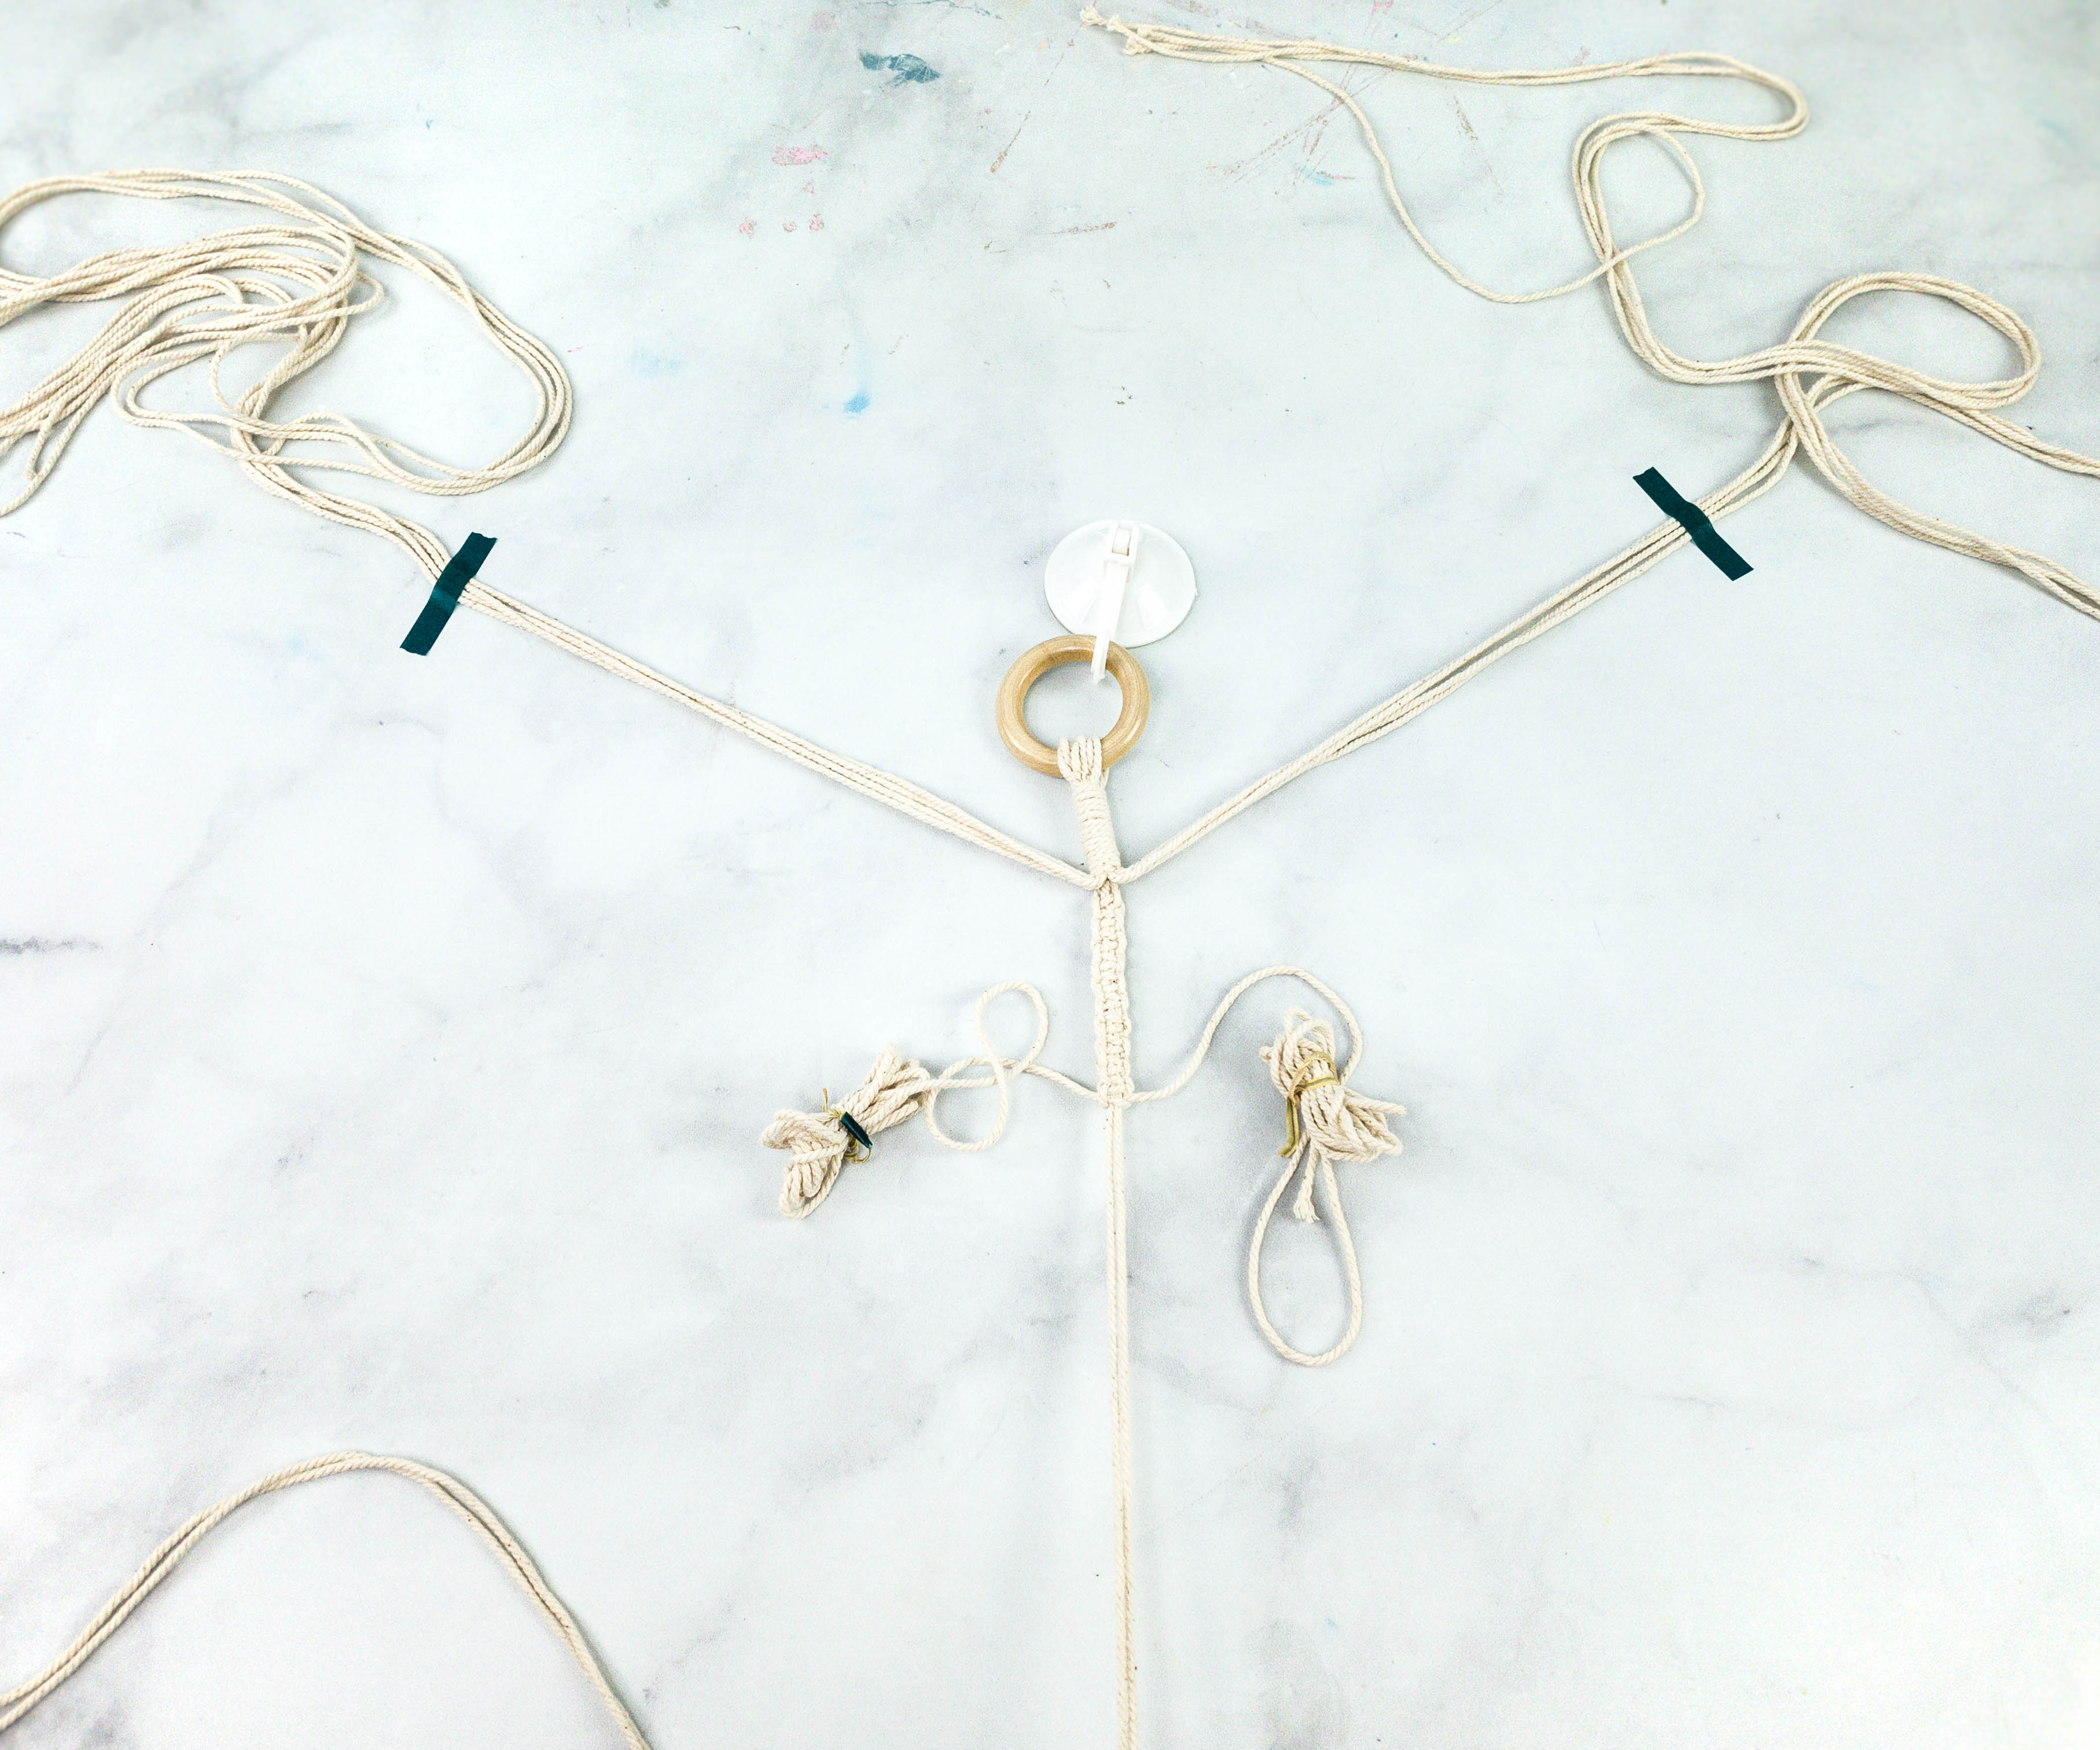
Once done, I gathered the cords in three groups of four.
For more convenience, you can make the cord shorter by tying it and taping its ends.
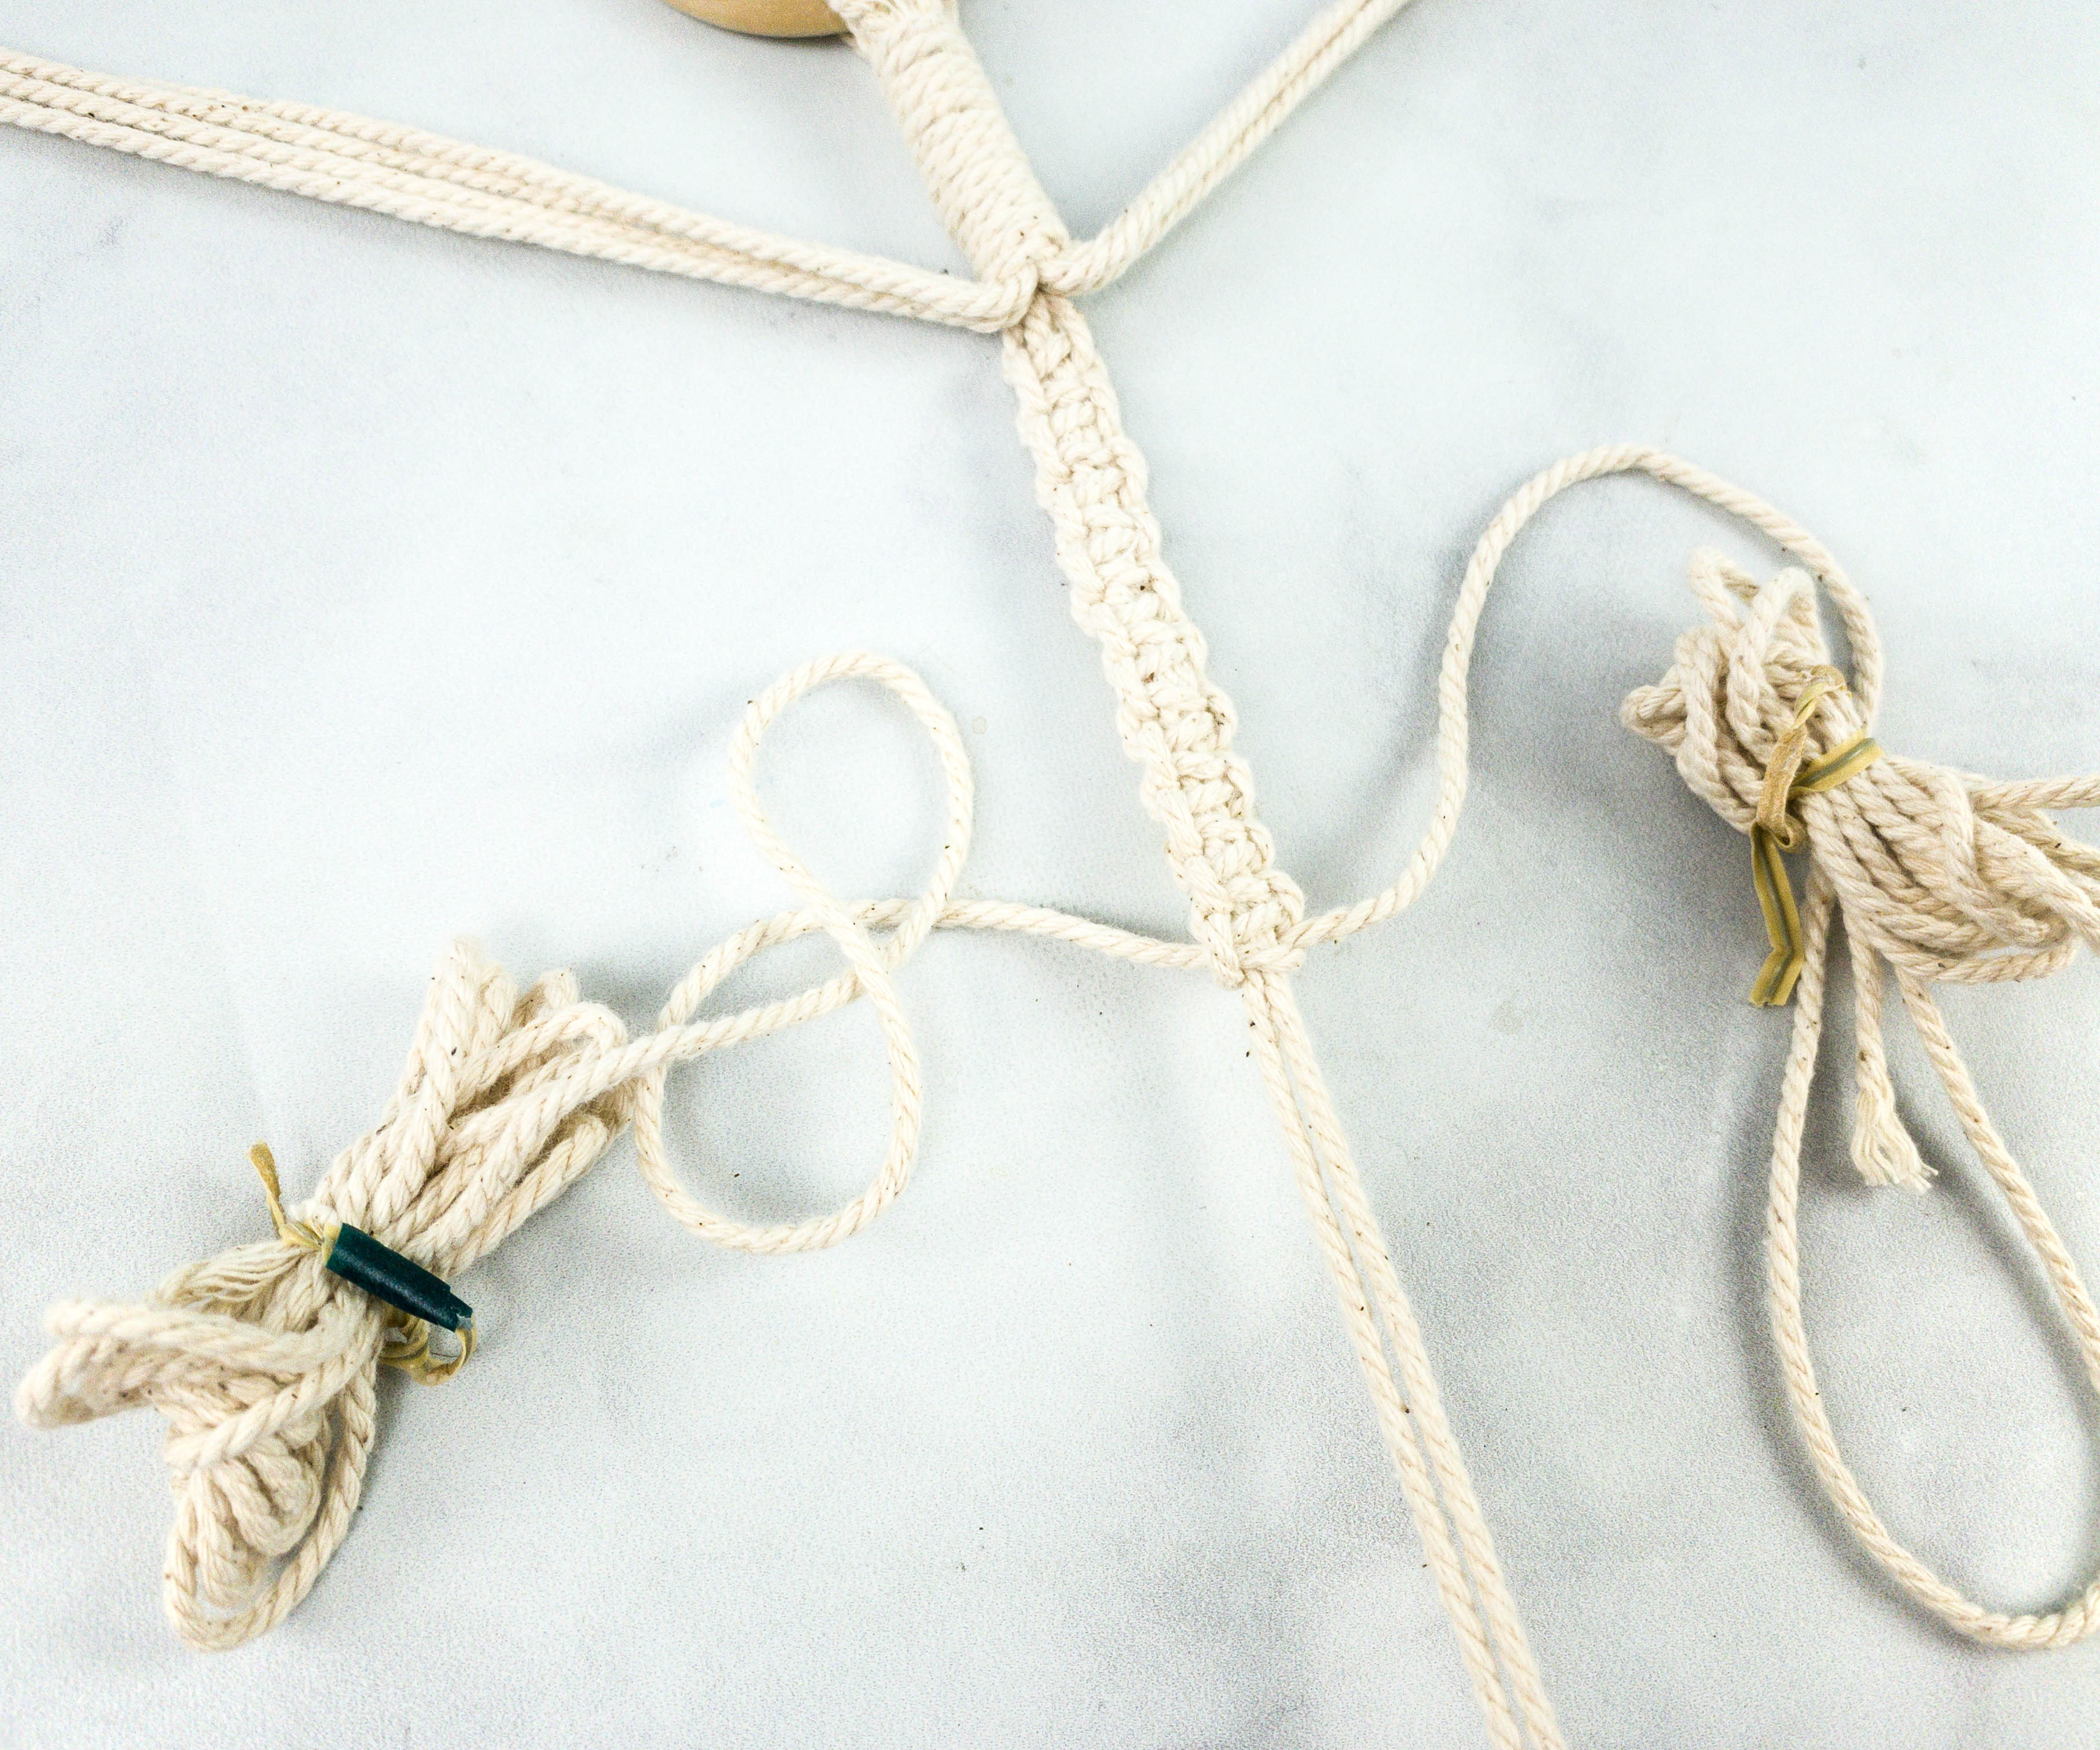
For the macrame hanger, I initially did the square knot pattern on the upper part of the cord and a half knot pattern on the lower end.
This half knot looks really awesome!
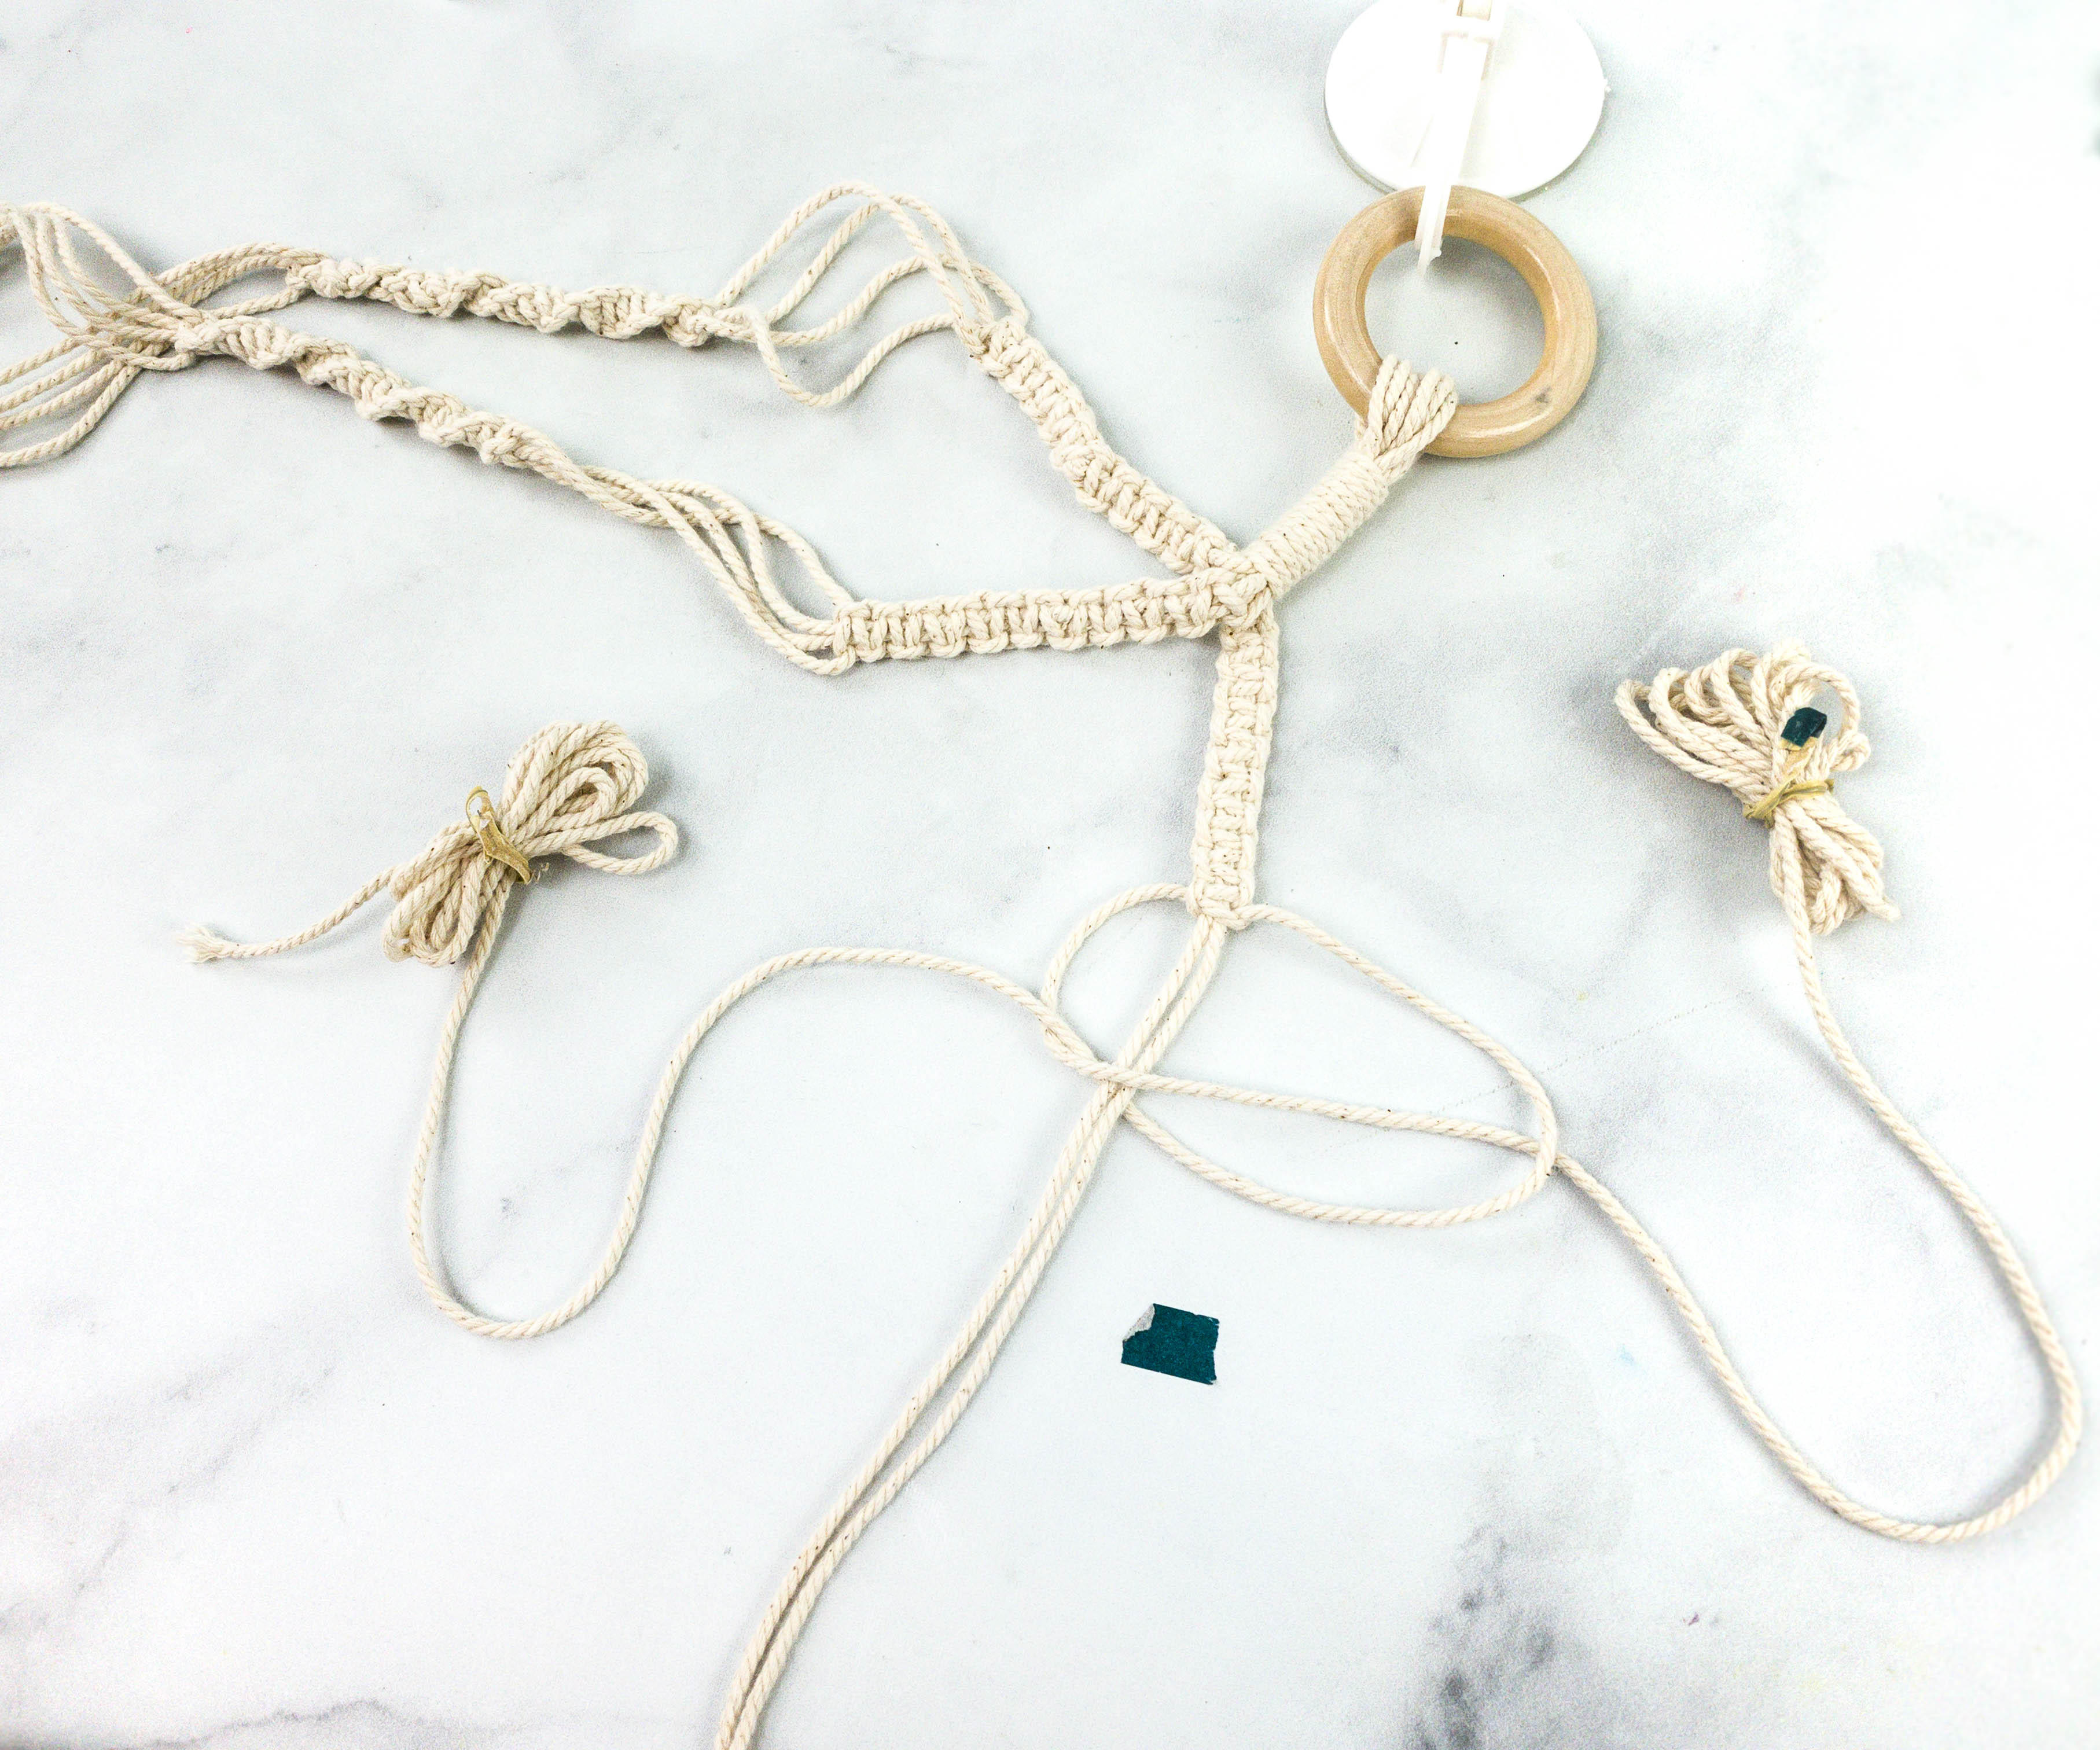
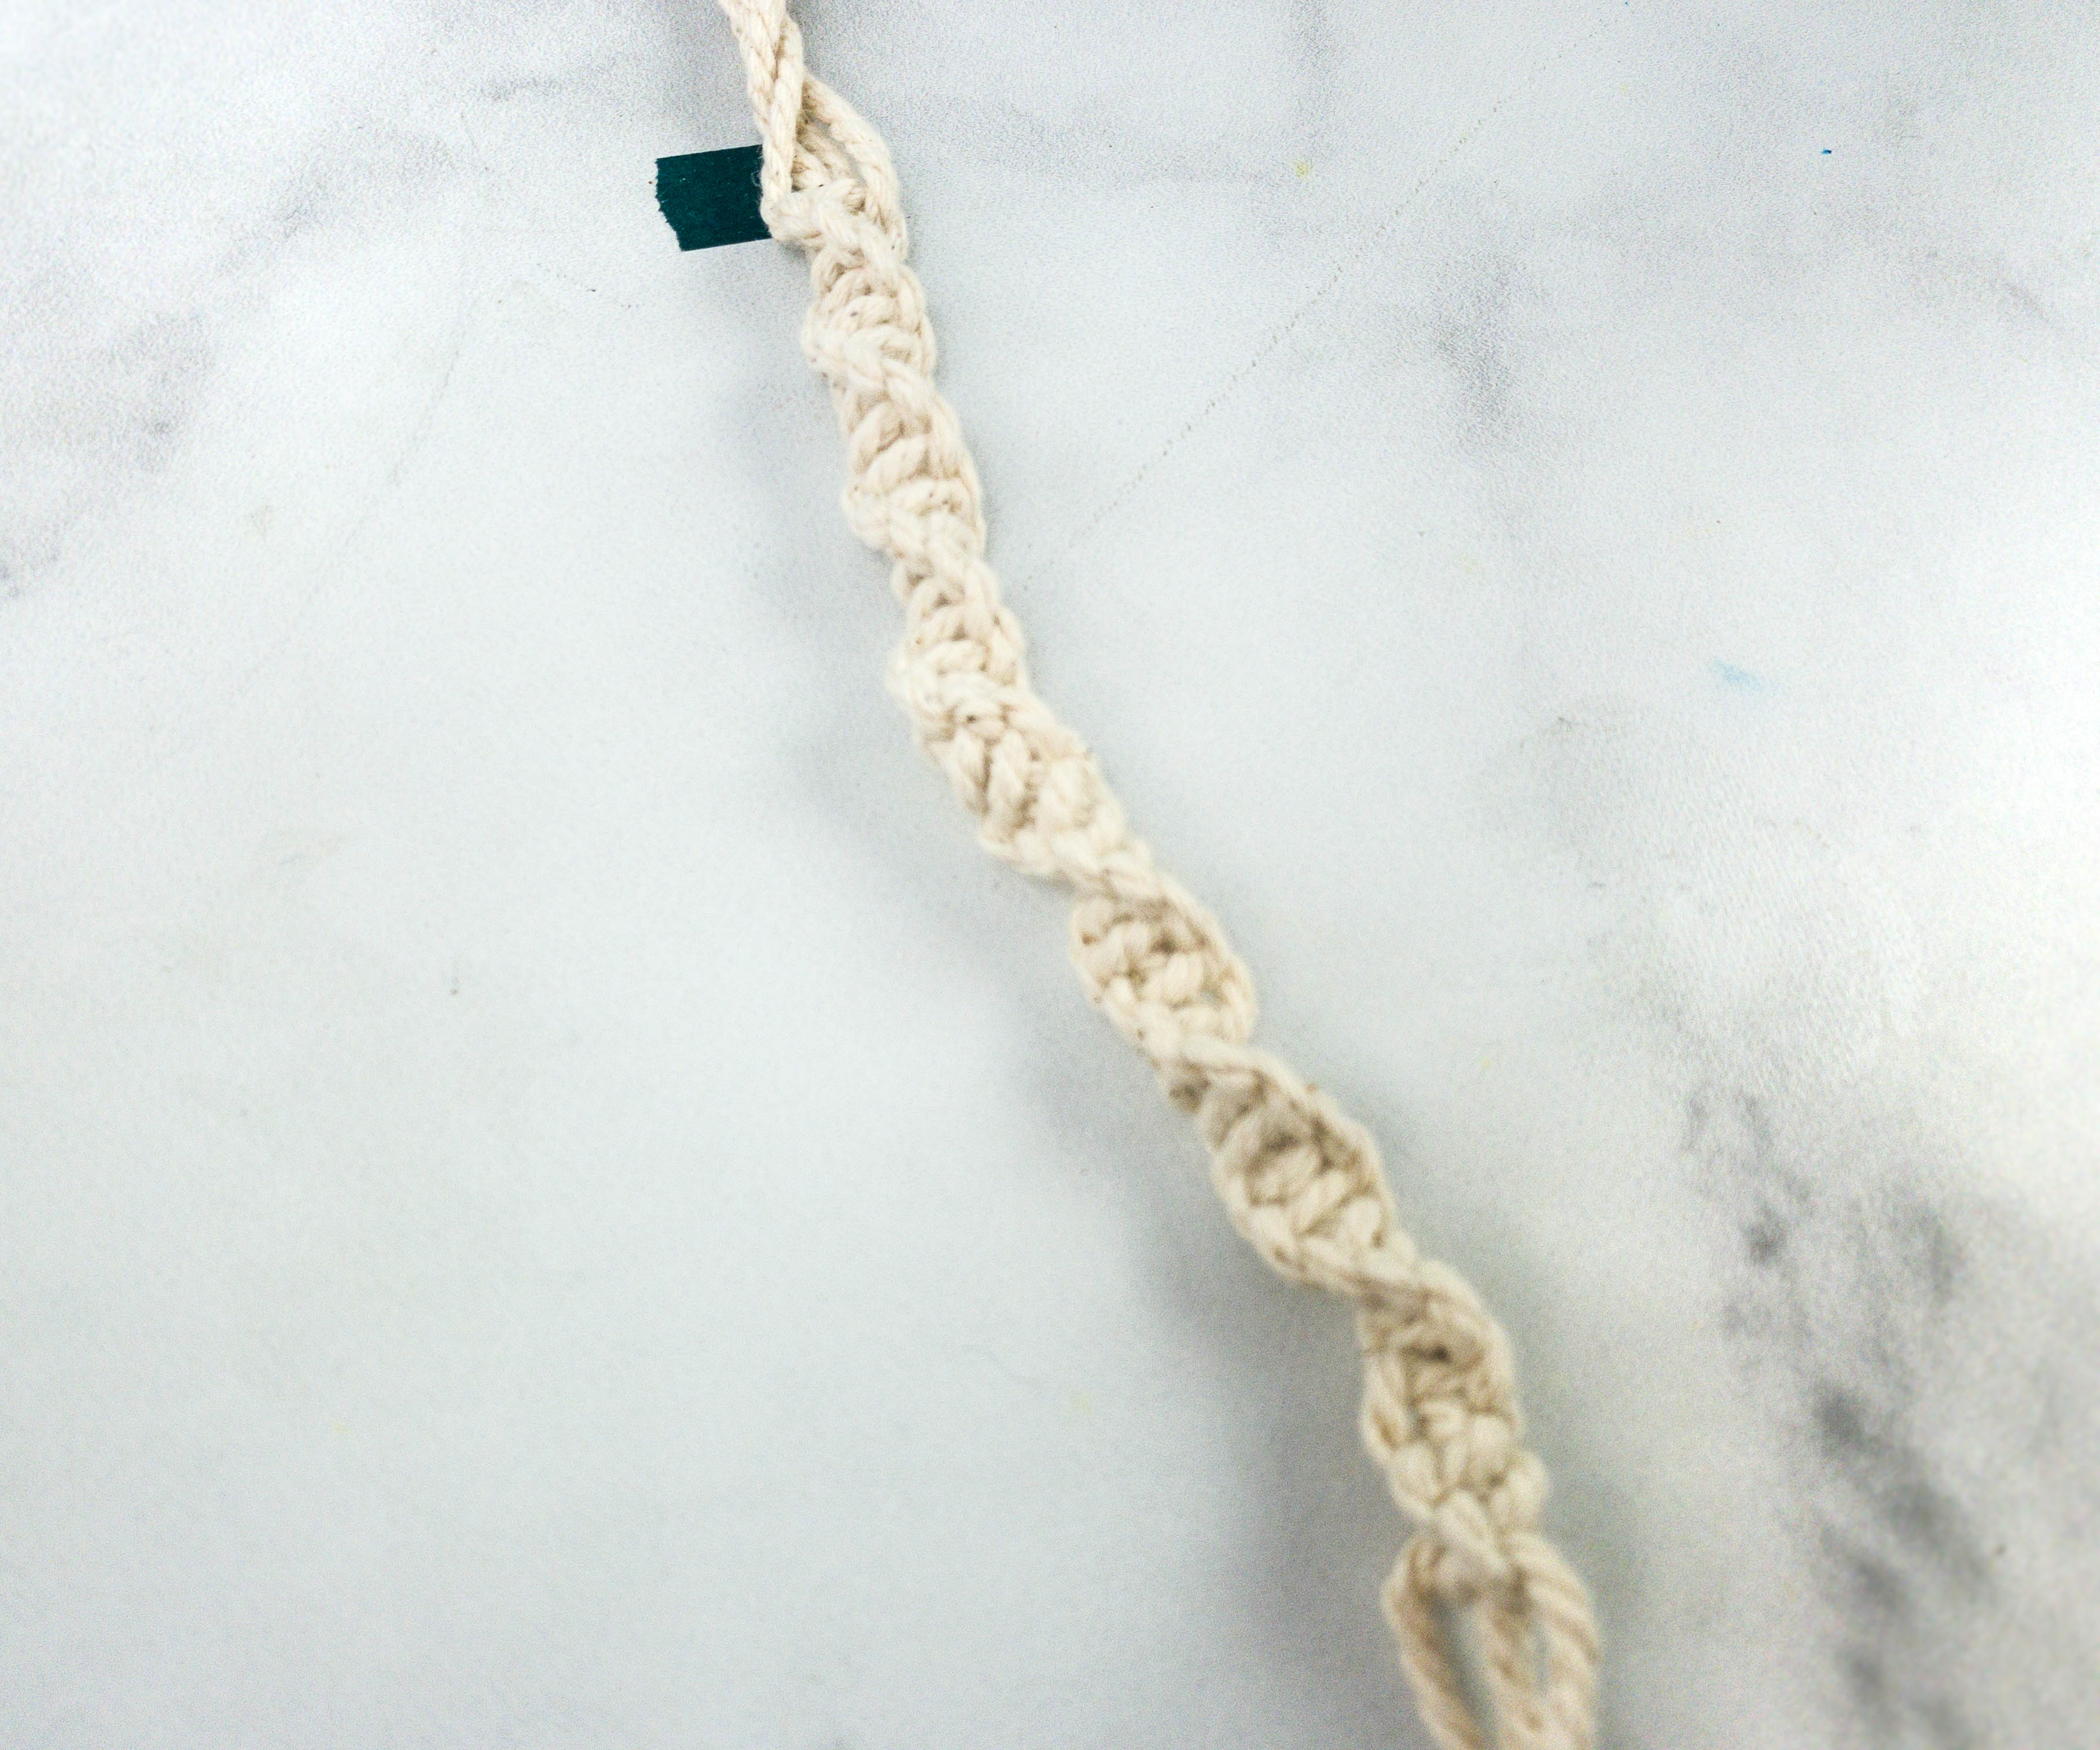
For the second hanger, I also used the half knot design, but this time it comes with a small gap between each to make a unique twisty pattern.
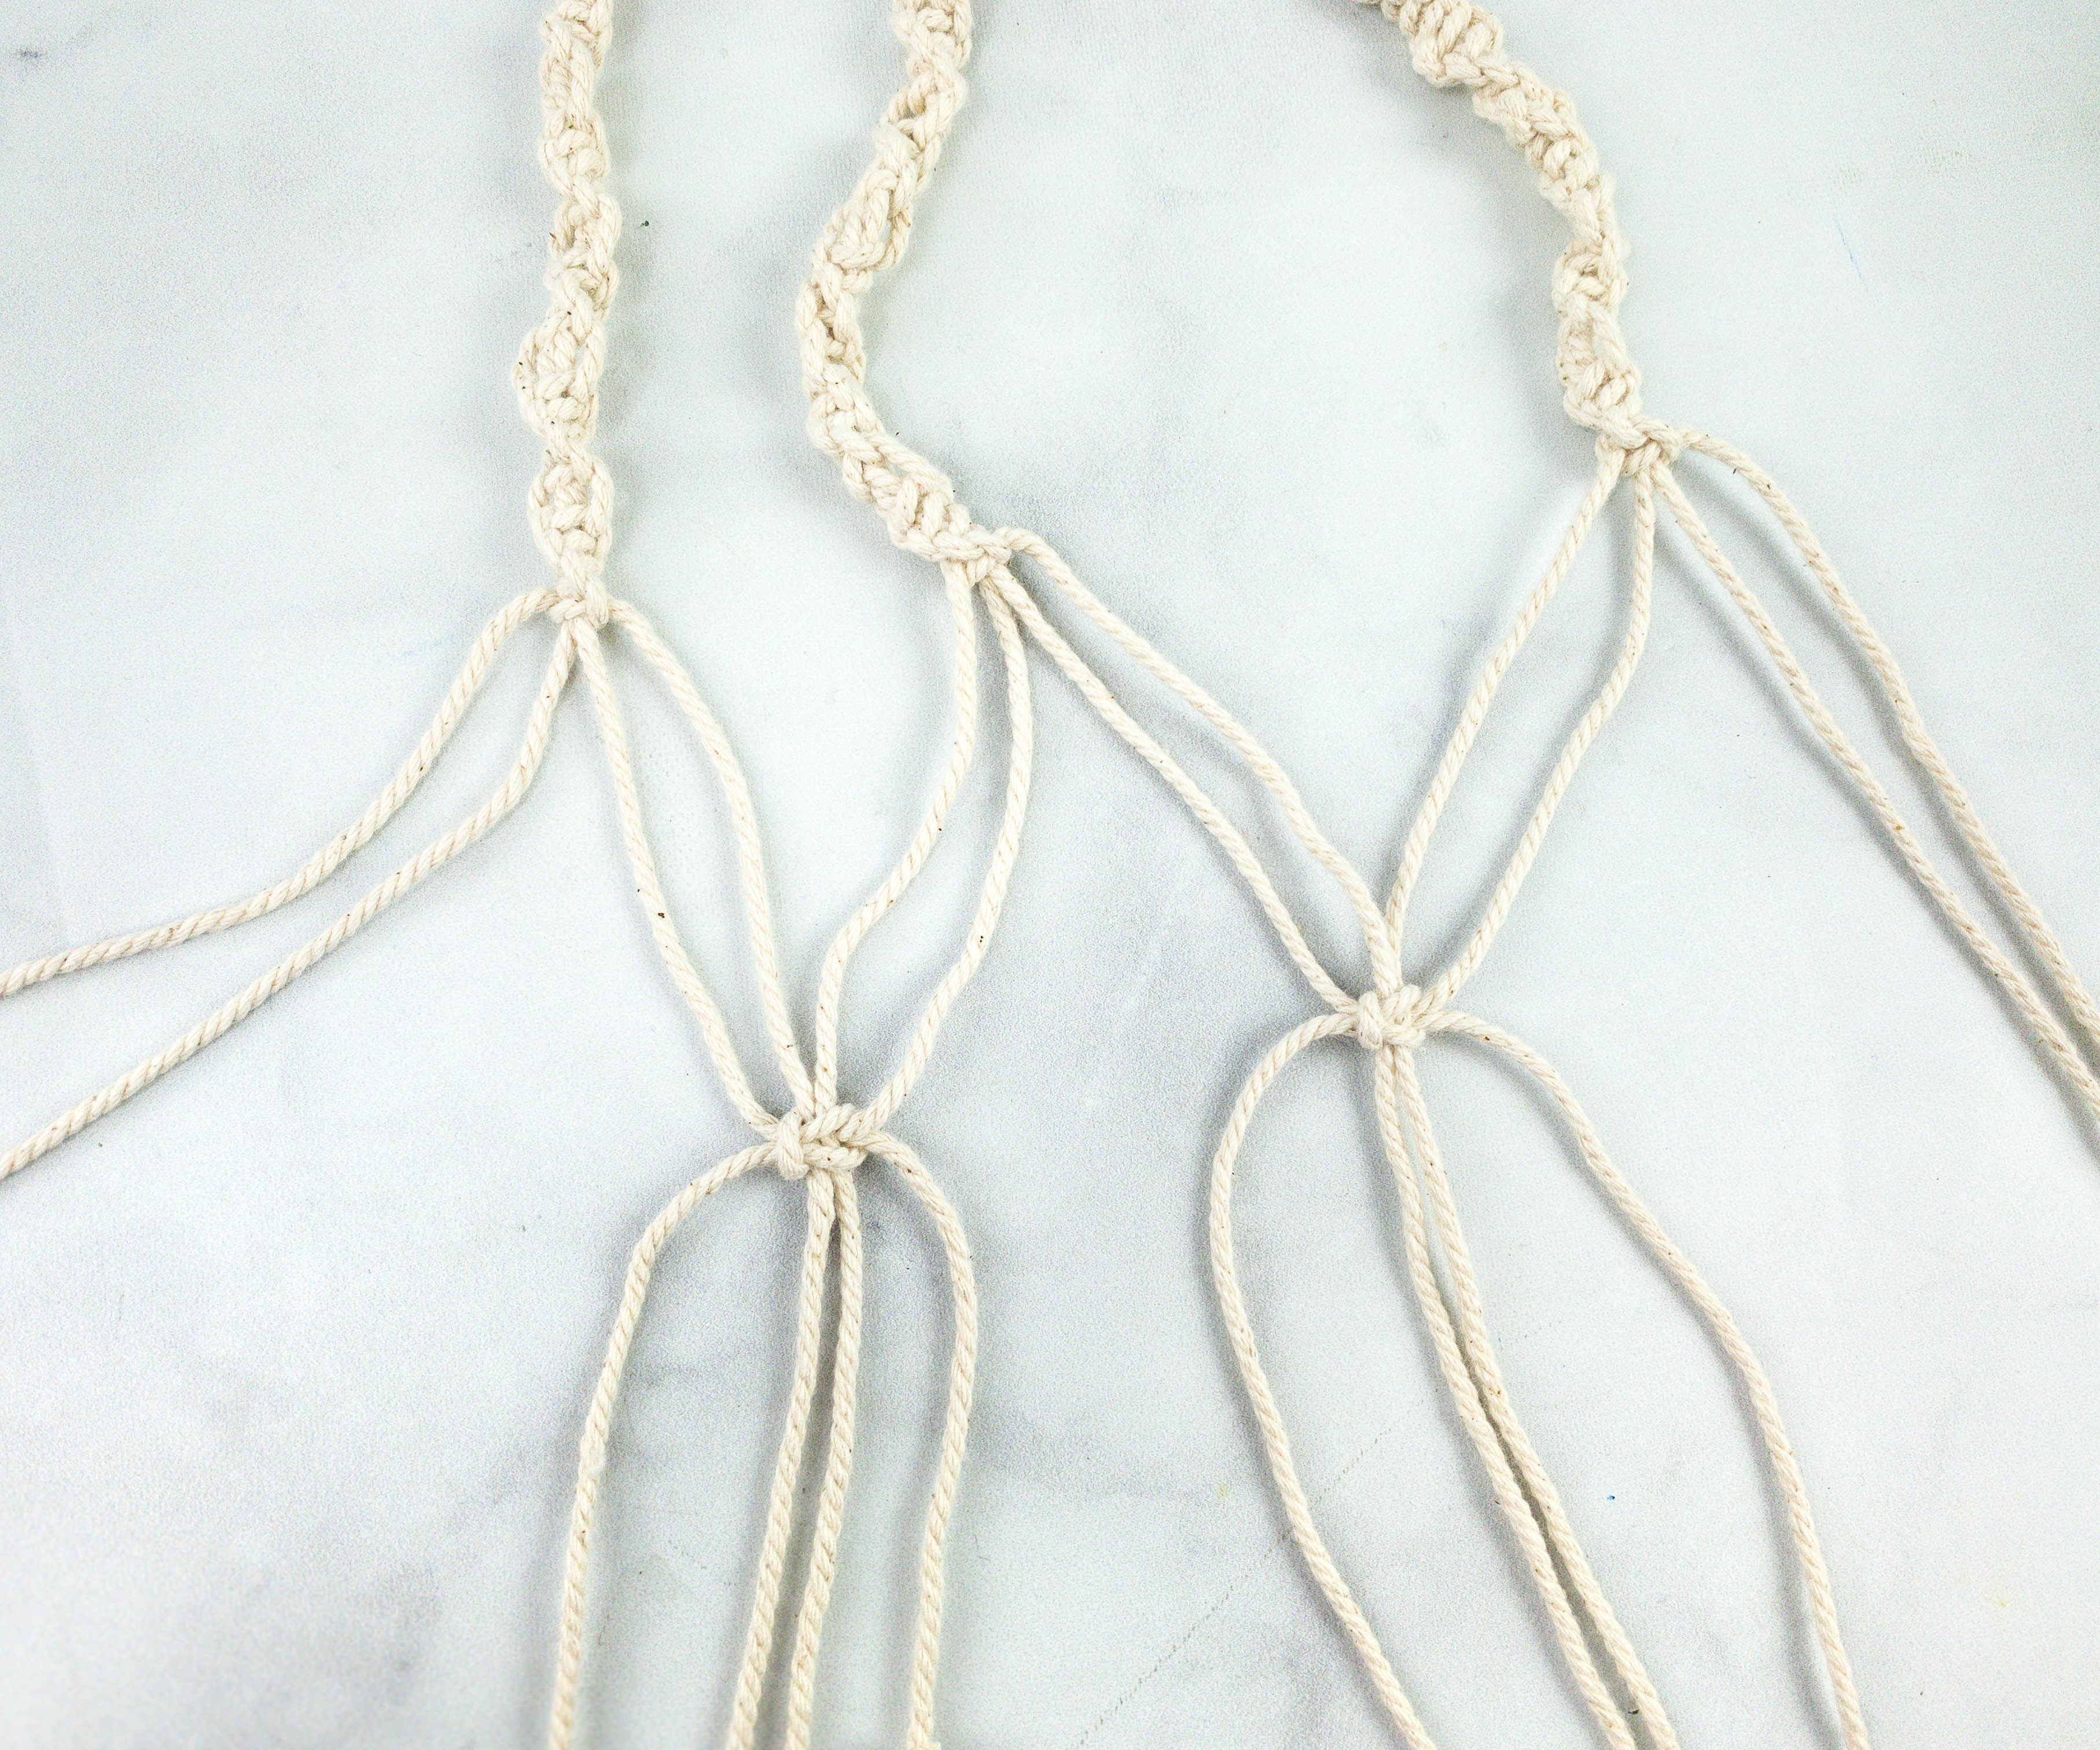
Once done, take the untied part of the cord and knot it together with the other cords to form a net that holds the clay planters.
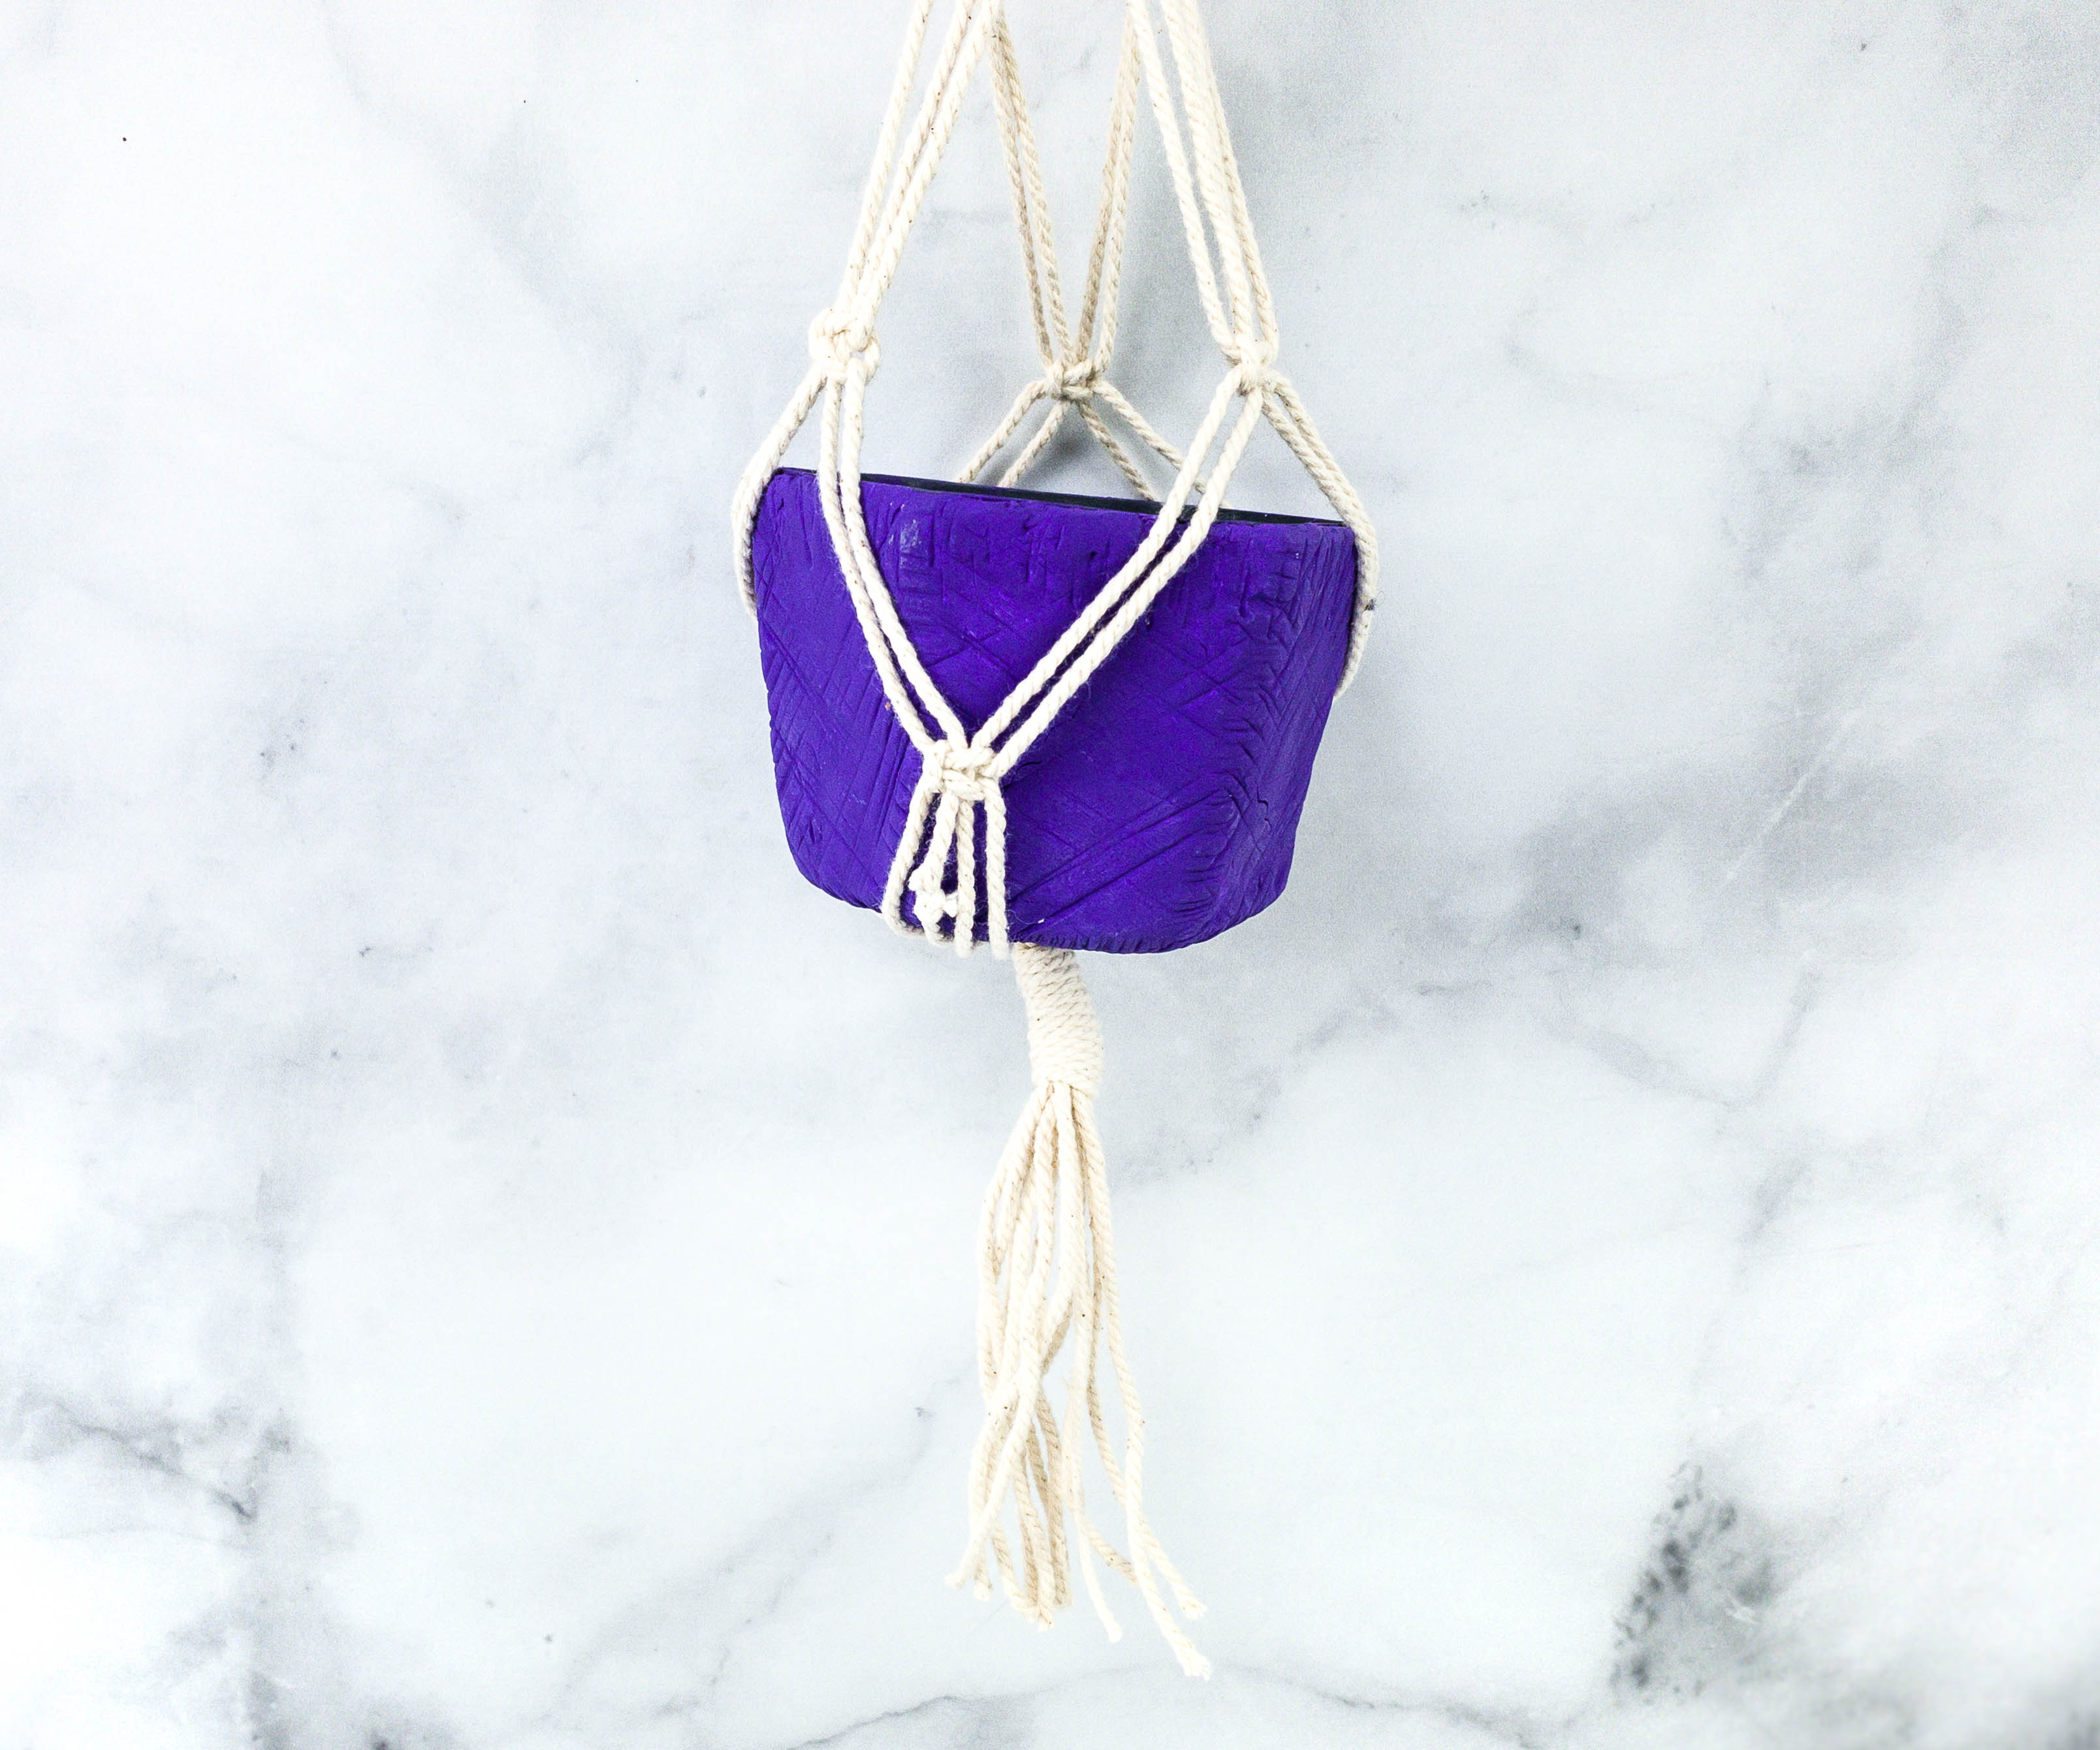
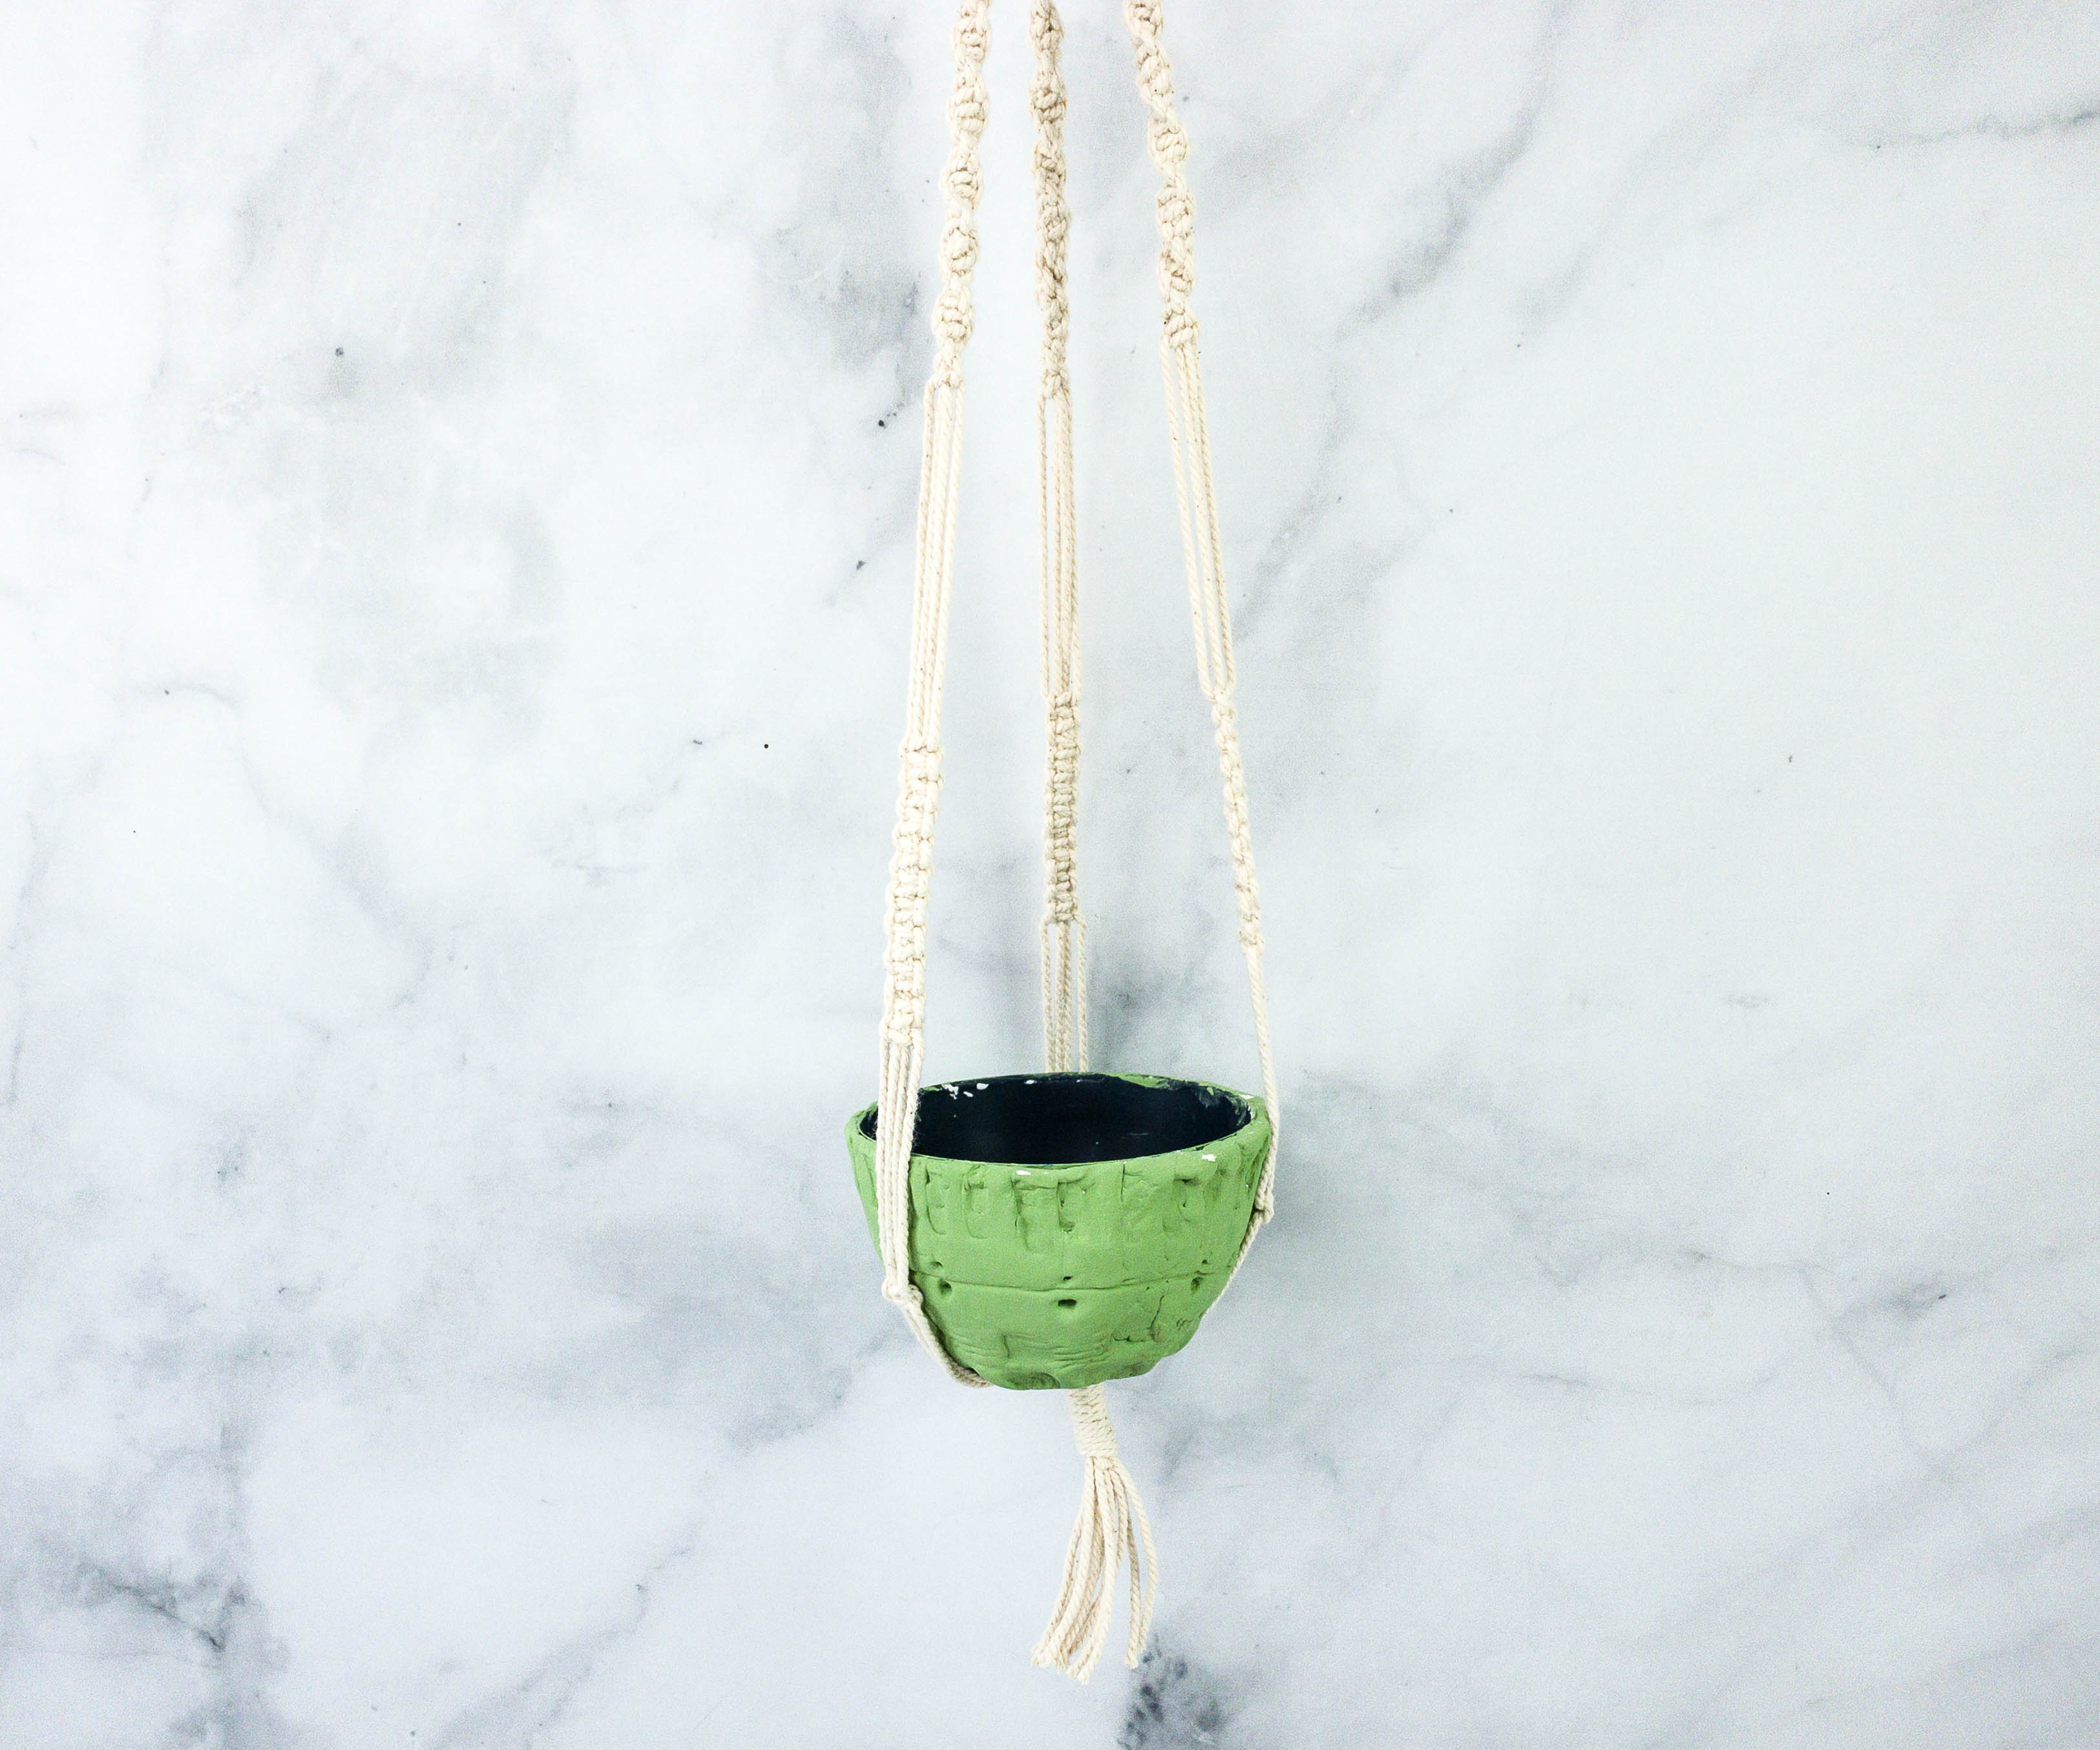
Now, it’s time to test the macrame hanger by placing the clay planters on the net holder and checking its balance.
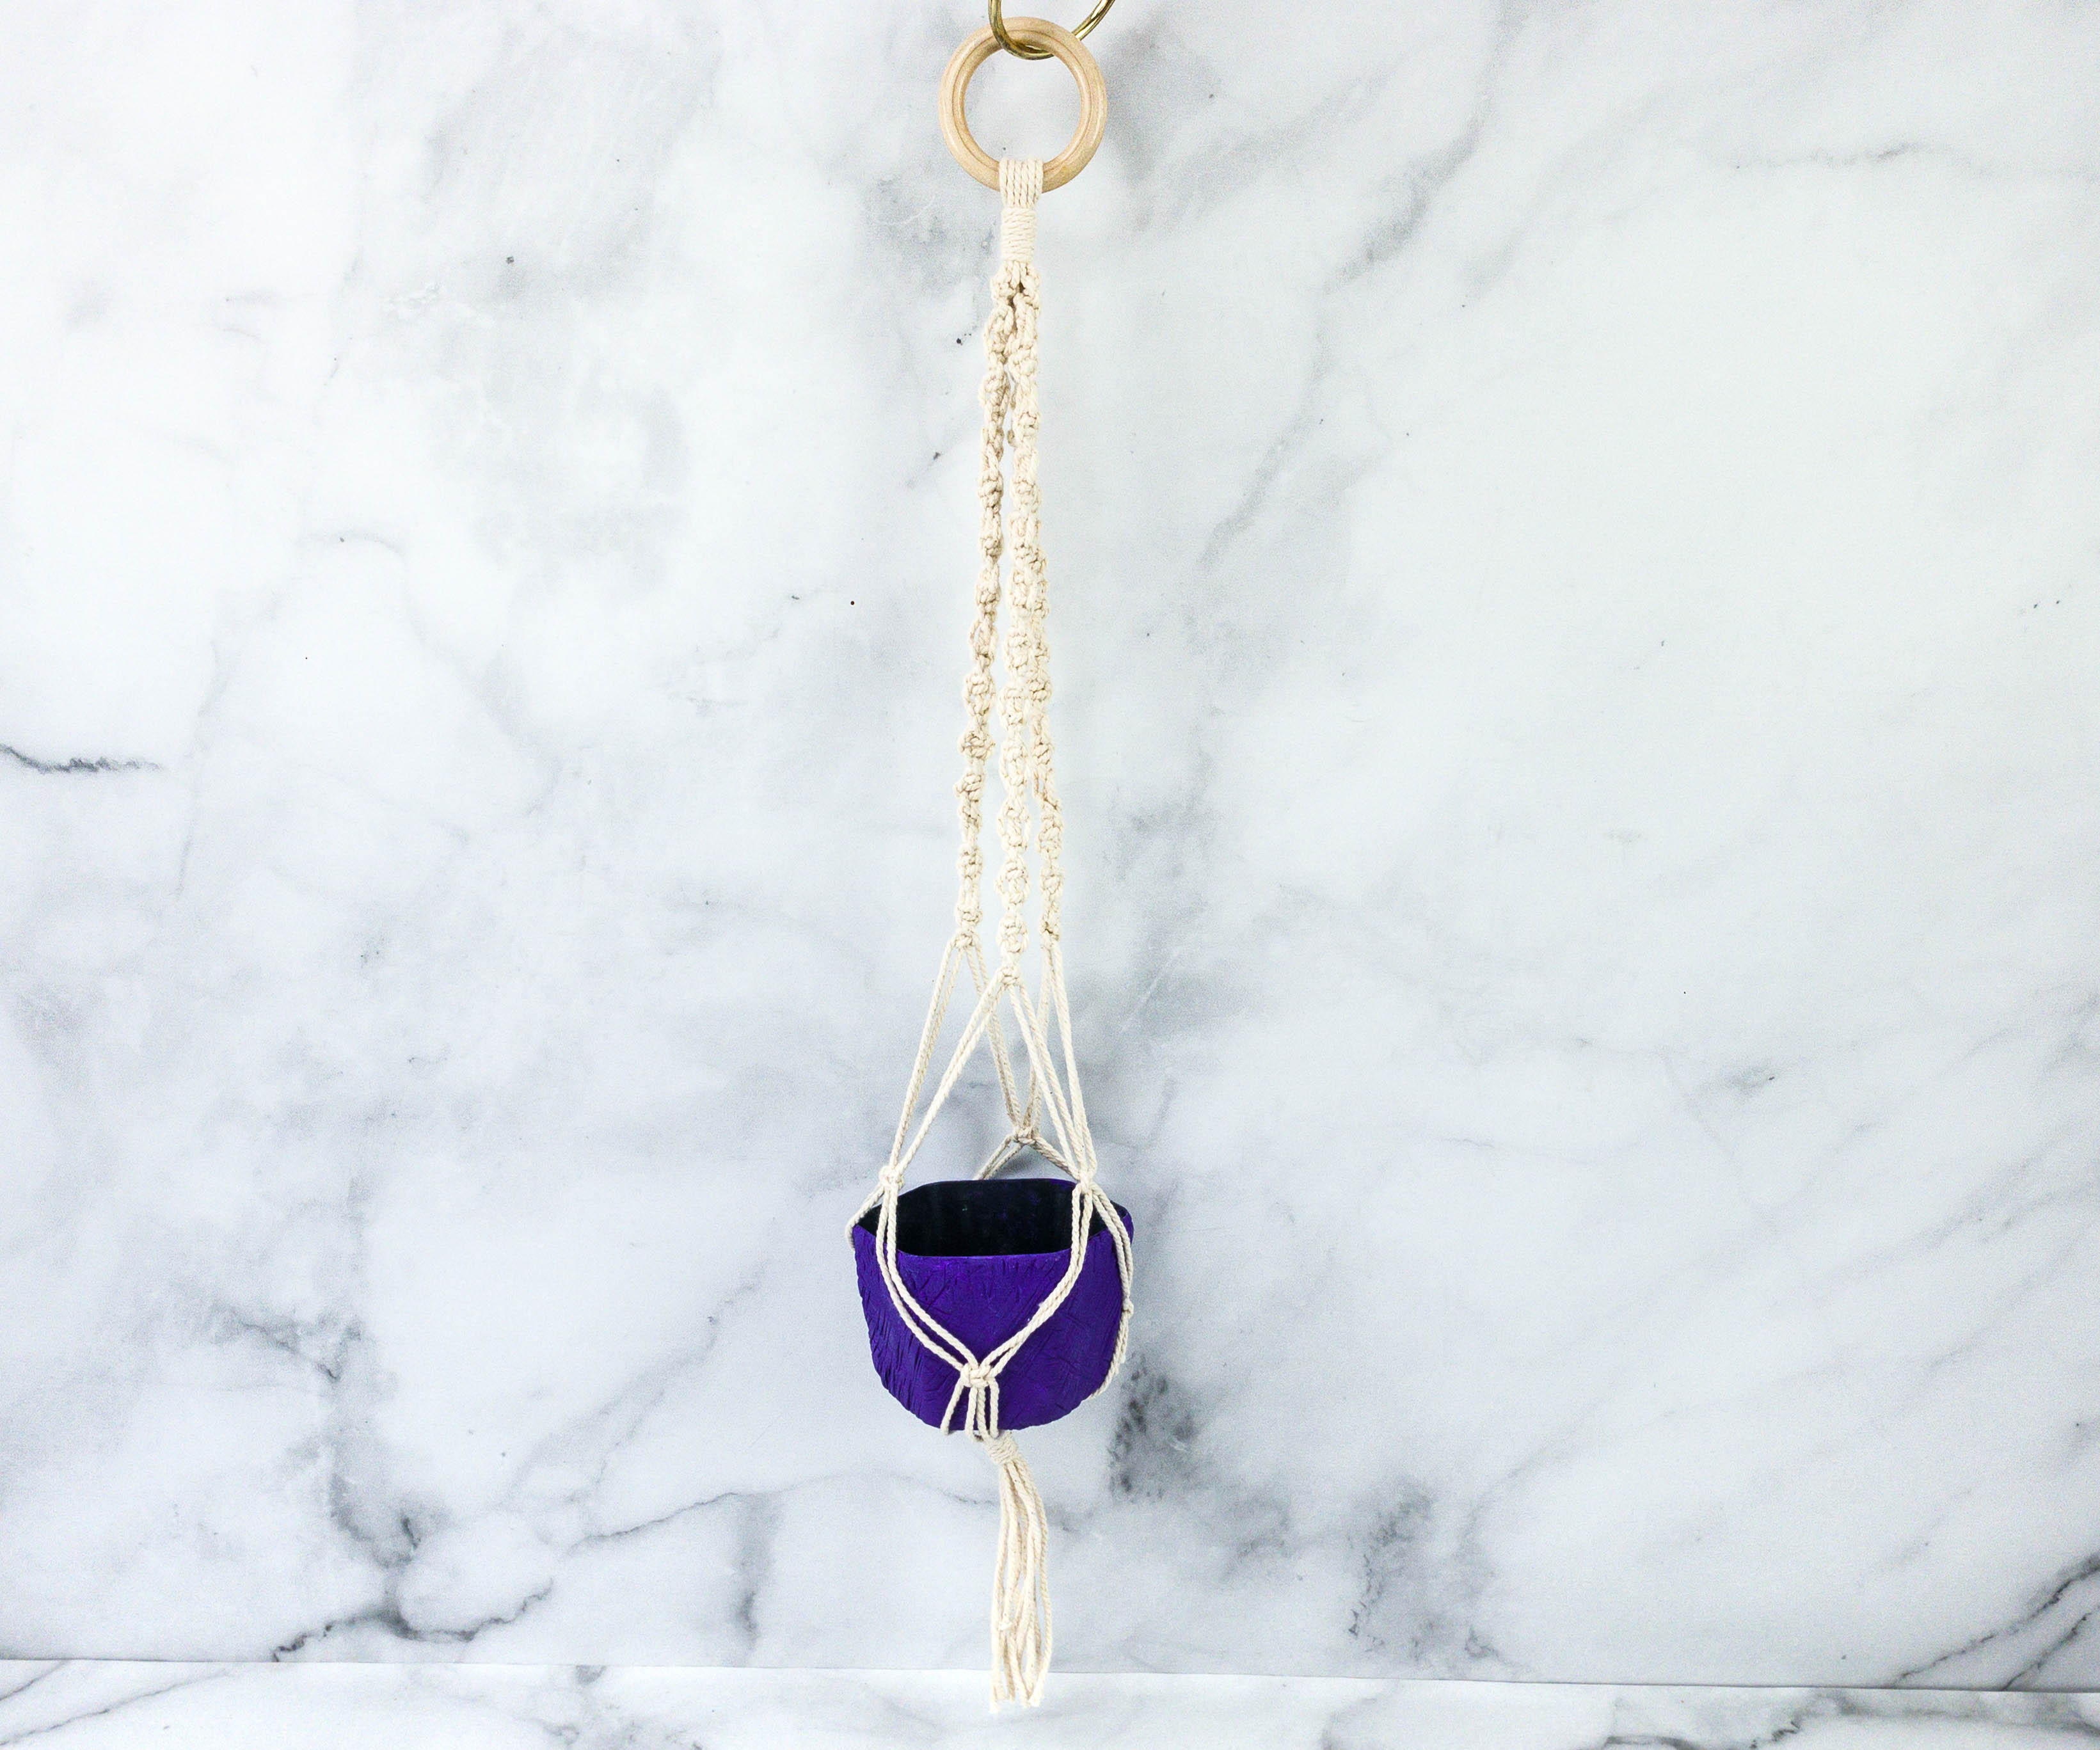
There’s the completed macrame hanger!
Here’s another way to finish the macrame hanger.
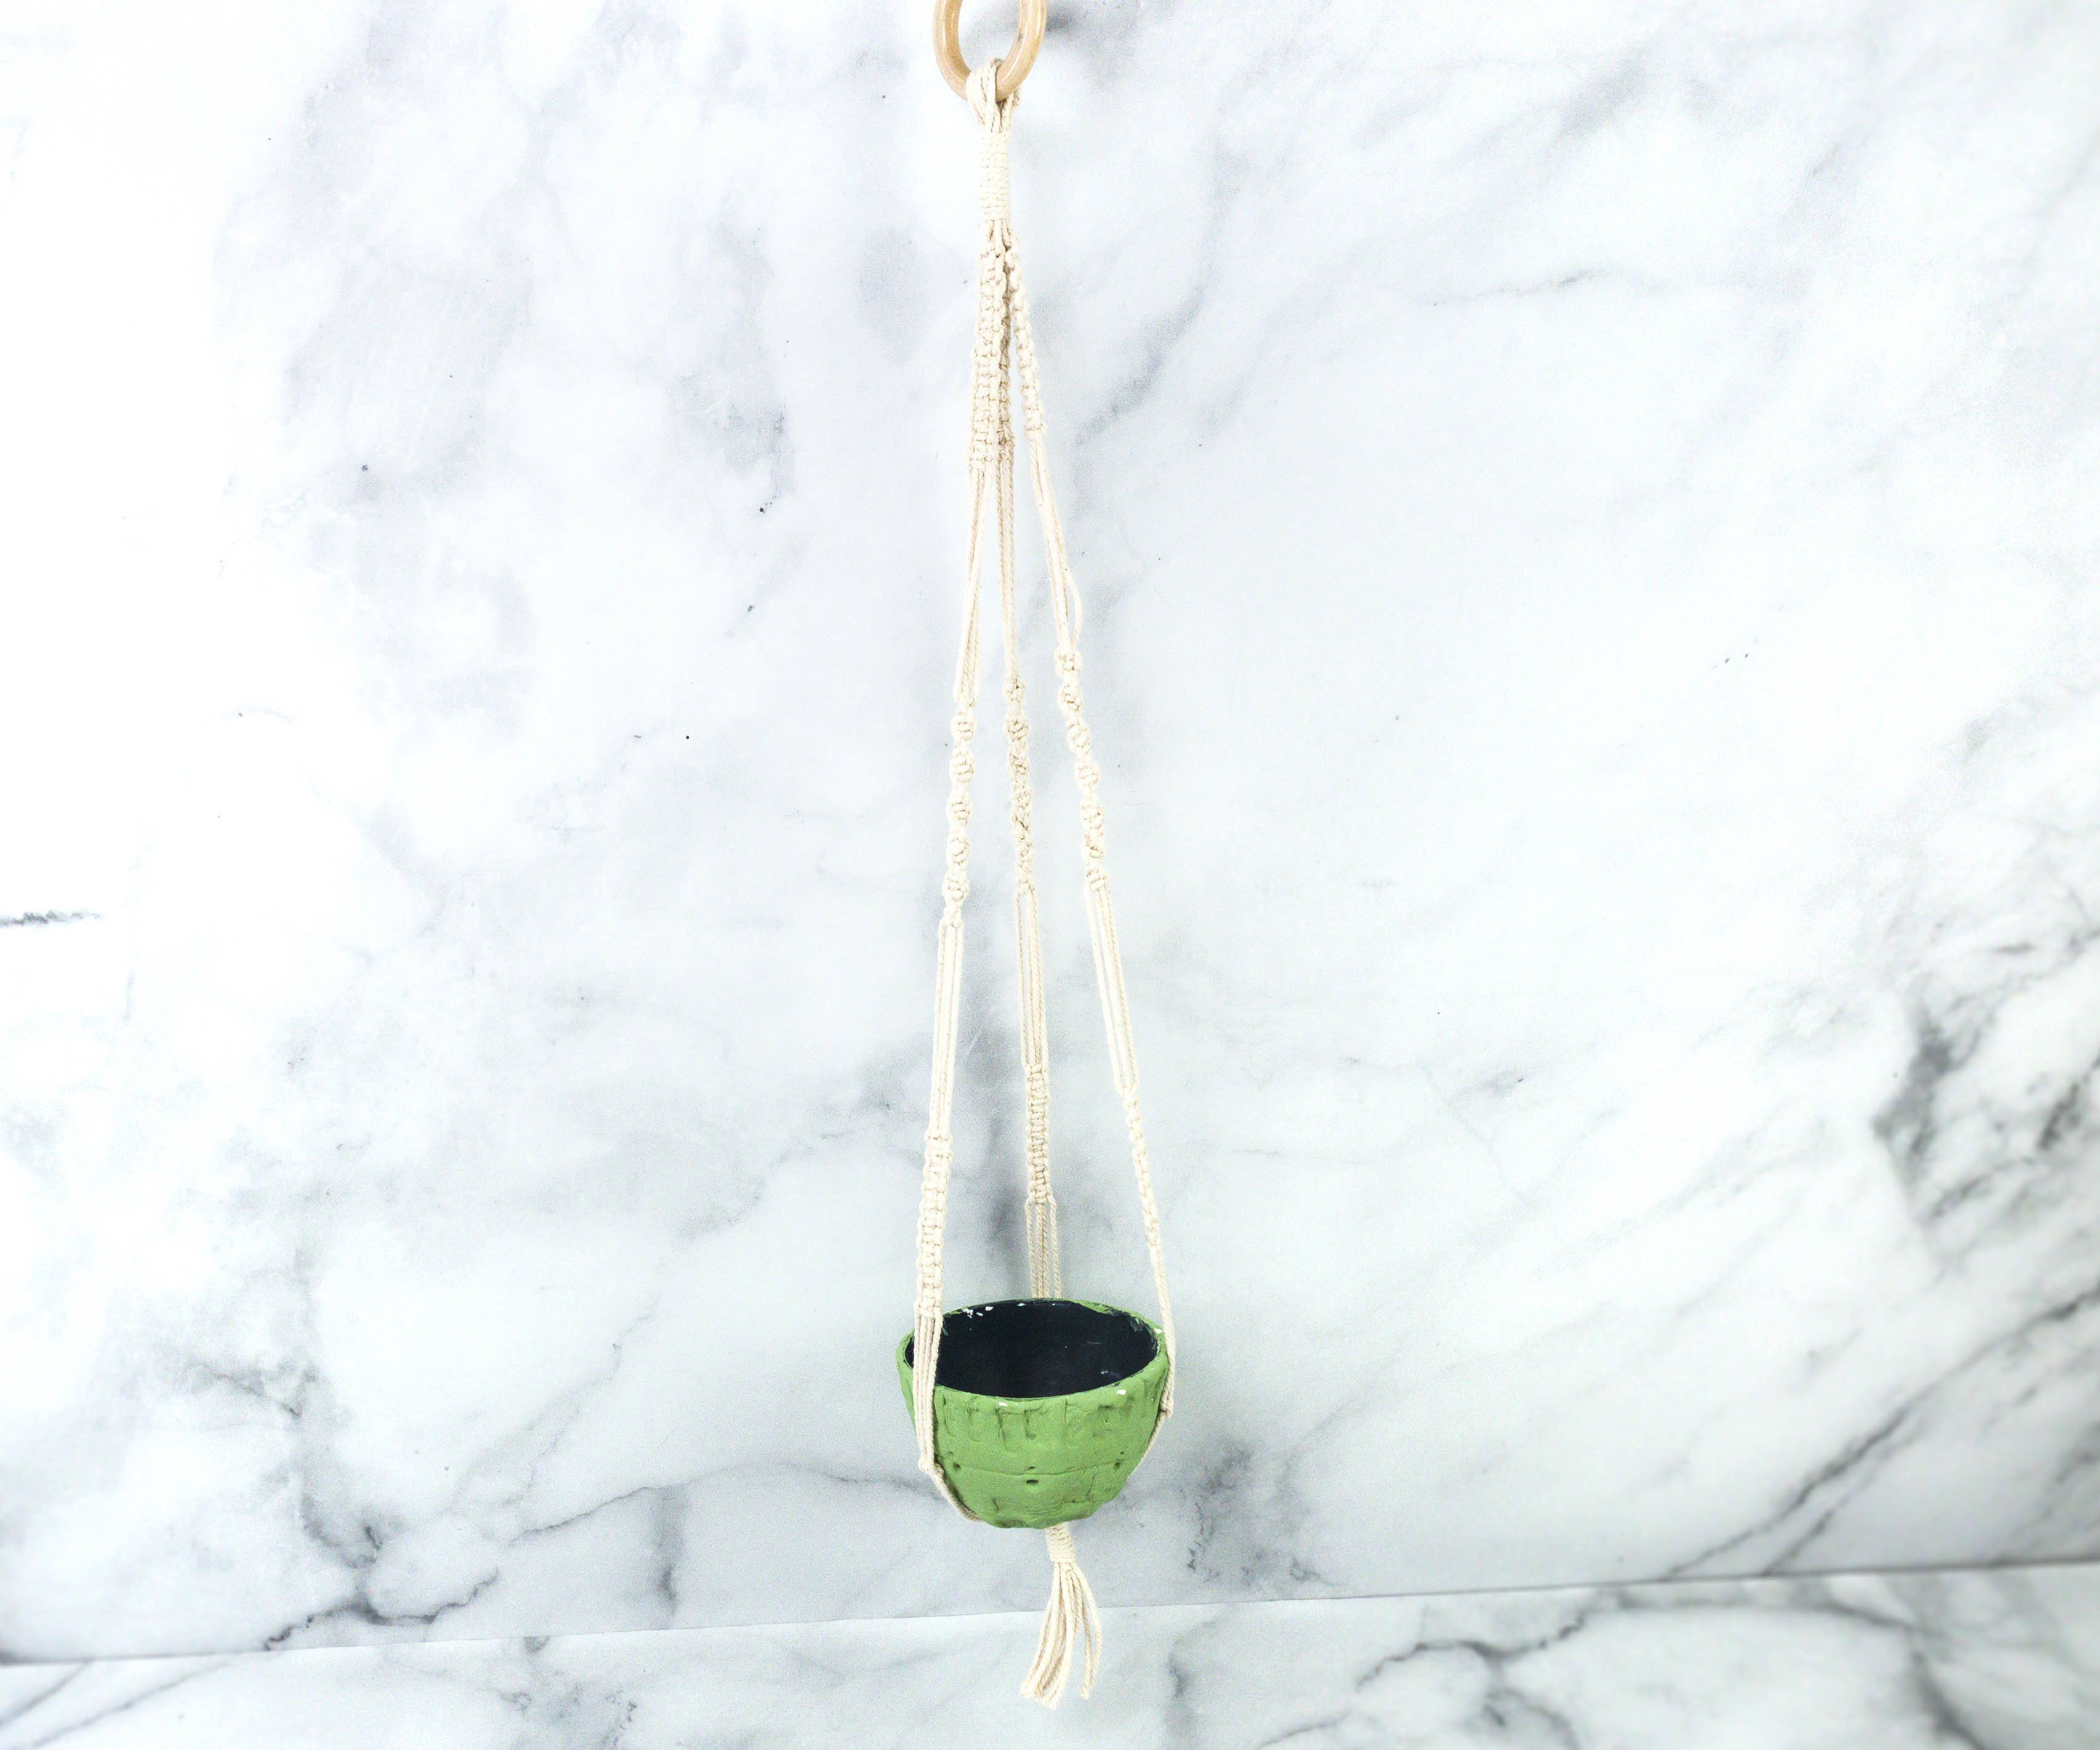
It’s easier to put the pot in the holder while it is hanging. All you need to do is just spread the holder cords apart and place the pot on the wrap knot.
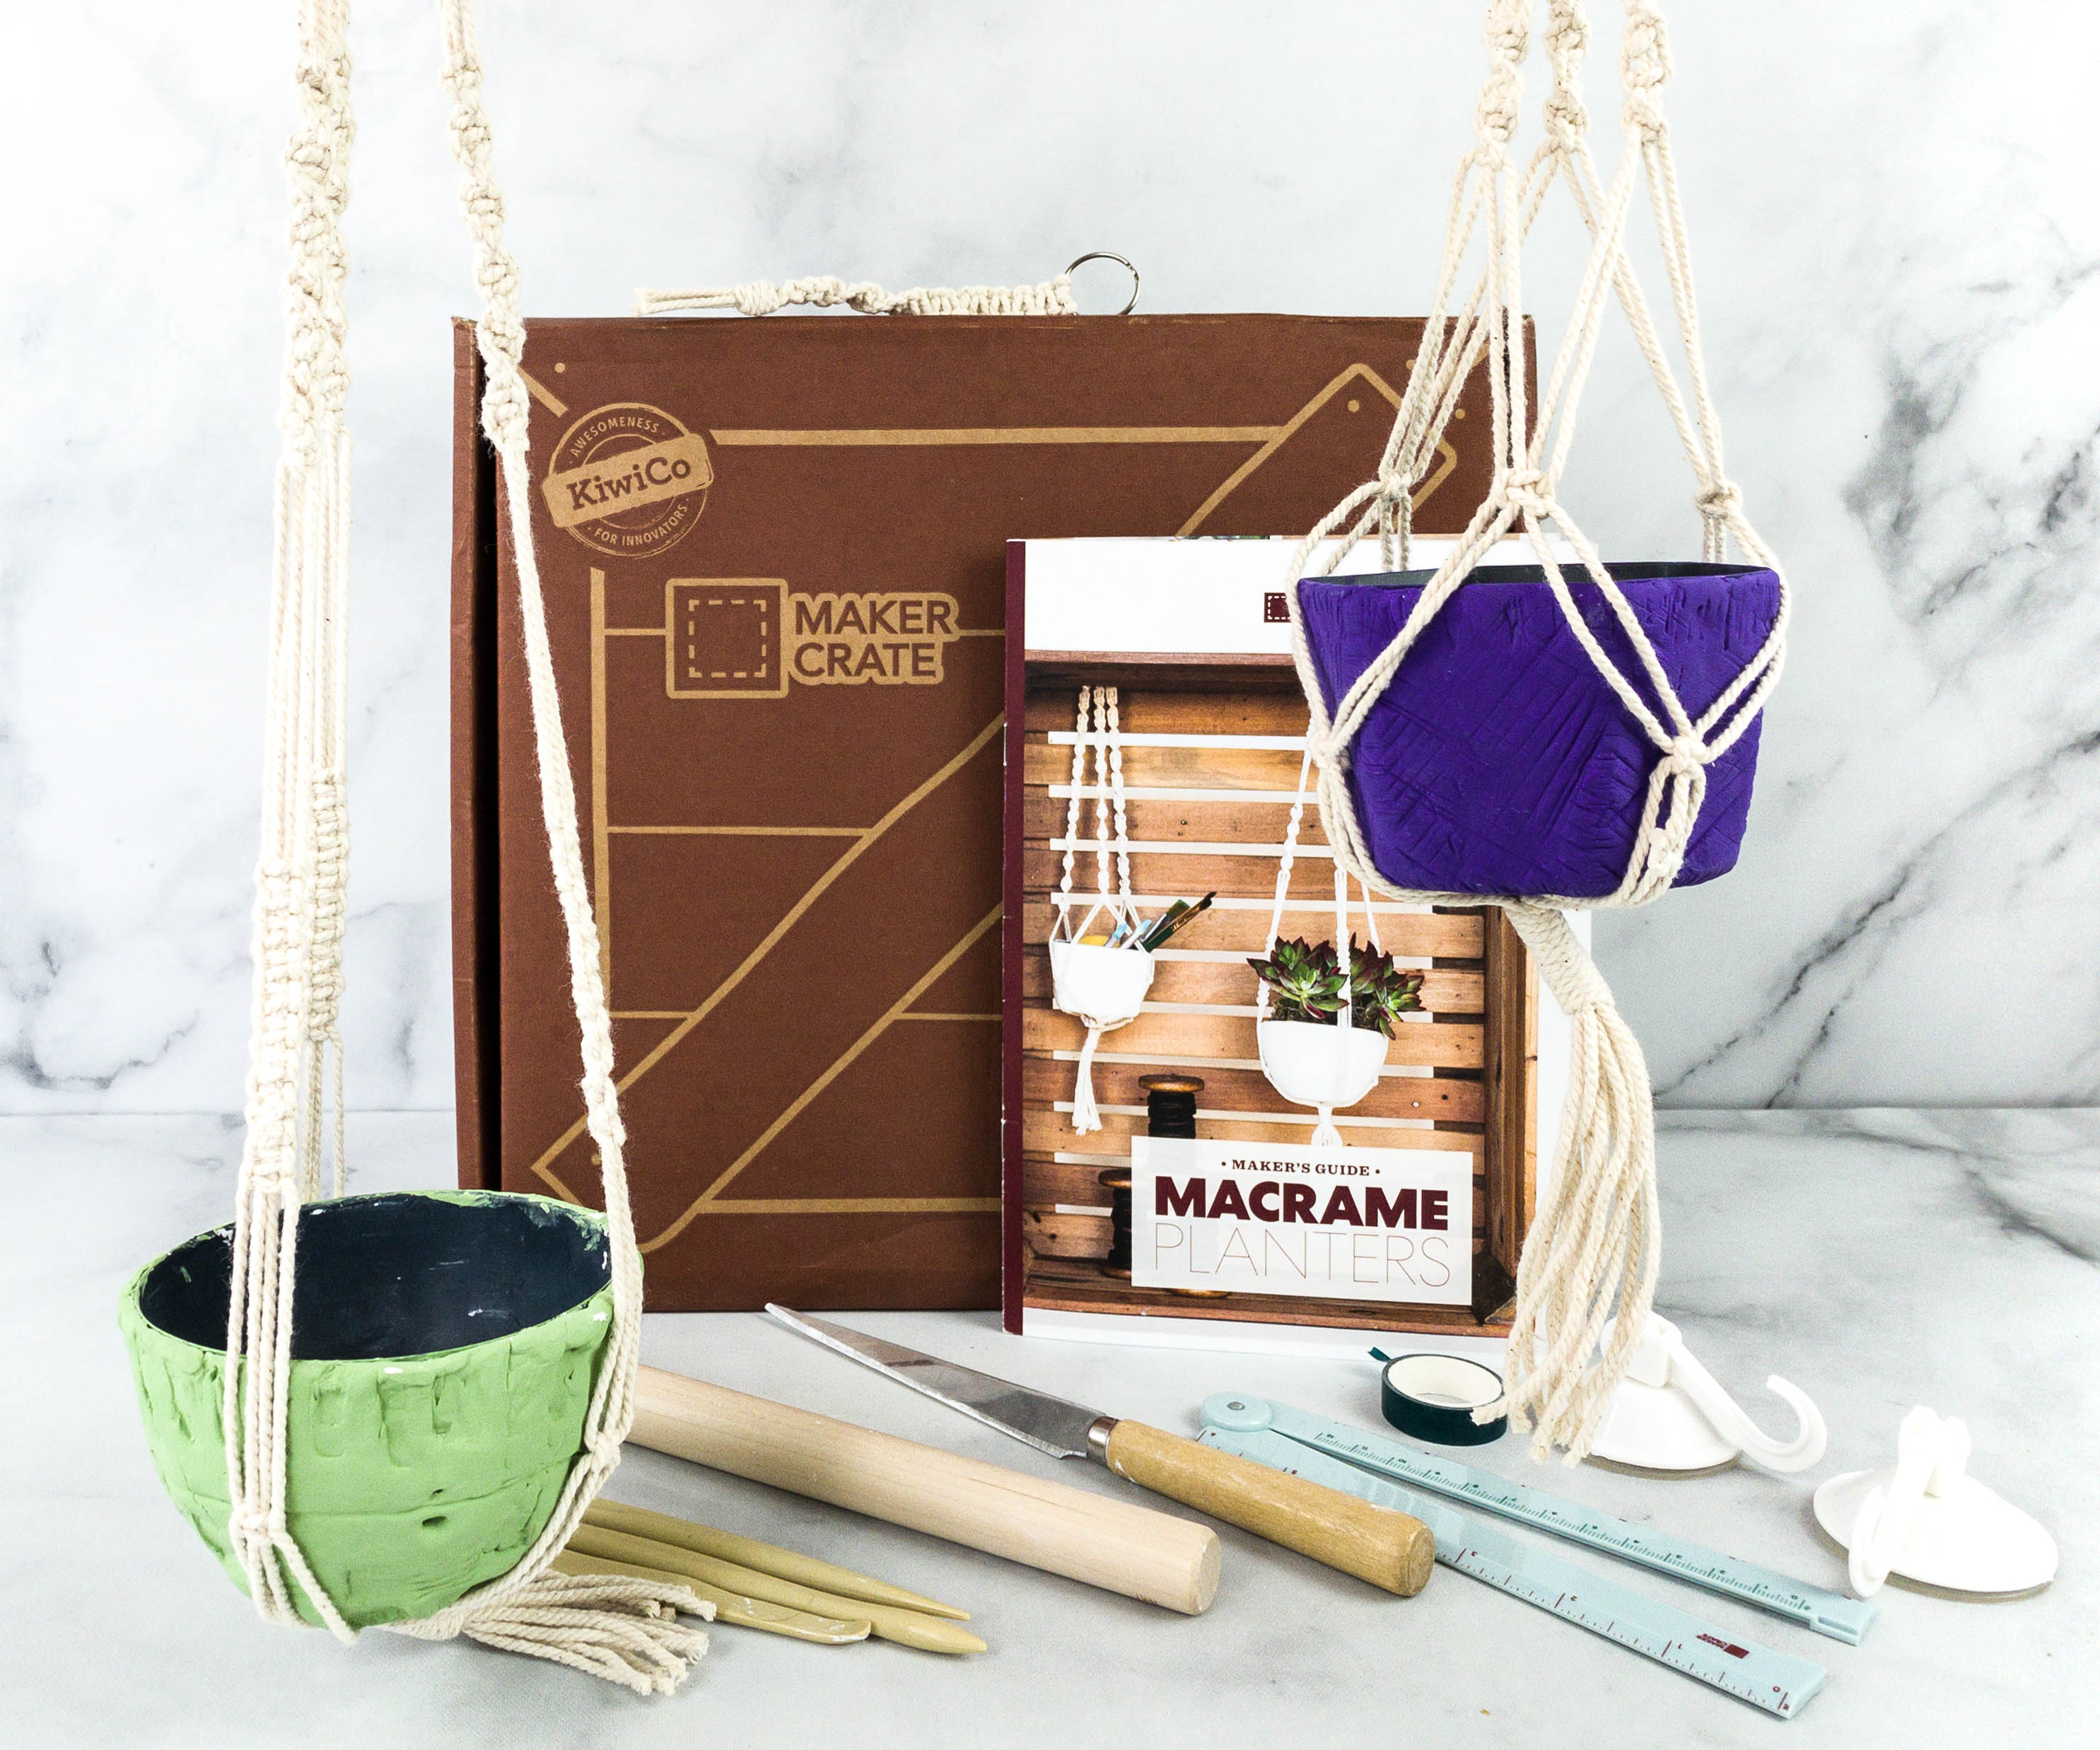
It’s another fun and exciting Maker Crate box! This month, I was able to create three amazing projects that include a clay planter, macrame keychain, and macrame hangers. These projects are pretty long and have lots of steps. It took us more than a day to complete them all, but it was totally worth it! My daughter enjoyed working on the macrame pattern. You really need to be keen to details, and working the knots improves patience, concentration, and perseverance to complete it. As always, we got everything we needed for the project, so all we need to do is read the booklet, watch the instruction video, and follow it thoroughly. Maker Crate is a fantastic box and definitely goes down as one of my favorite craft subscriptions!
What do you think of this Maker Crate project?


Comments