Annie’s Simply Beads Kit-of-the-Month Club sends one-of-a-kind, convenient beading kits right to your door. The first kit comes with an illustrated beading guide, a thick velour beading mat, and a 4-in-1 beading tool. On the following kits, you will receive all the beads and jewelry findings needed for the project, along with step-by-step instructions and close-up how-to photos. It’s ideal even for beginners, teaching you new skills and techniques while creating stunning, signature pieces of jewelry. The subscription starts at $19.99 per month, and shipping is $5.95 ($6.95 in Canada).
DEAL: Get 50% off your first month! Use coupon code HELLO.
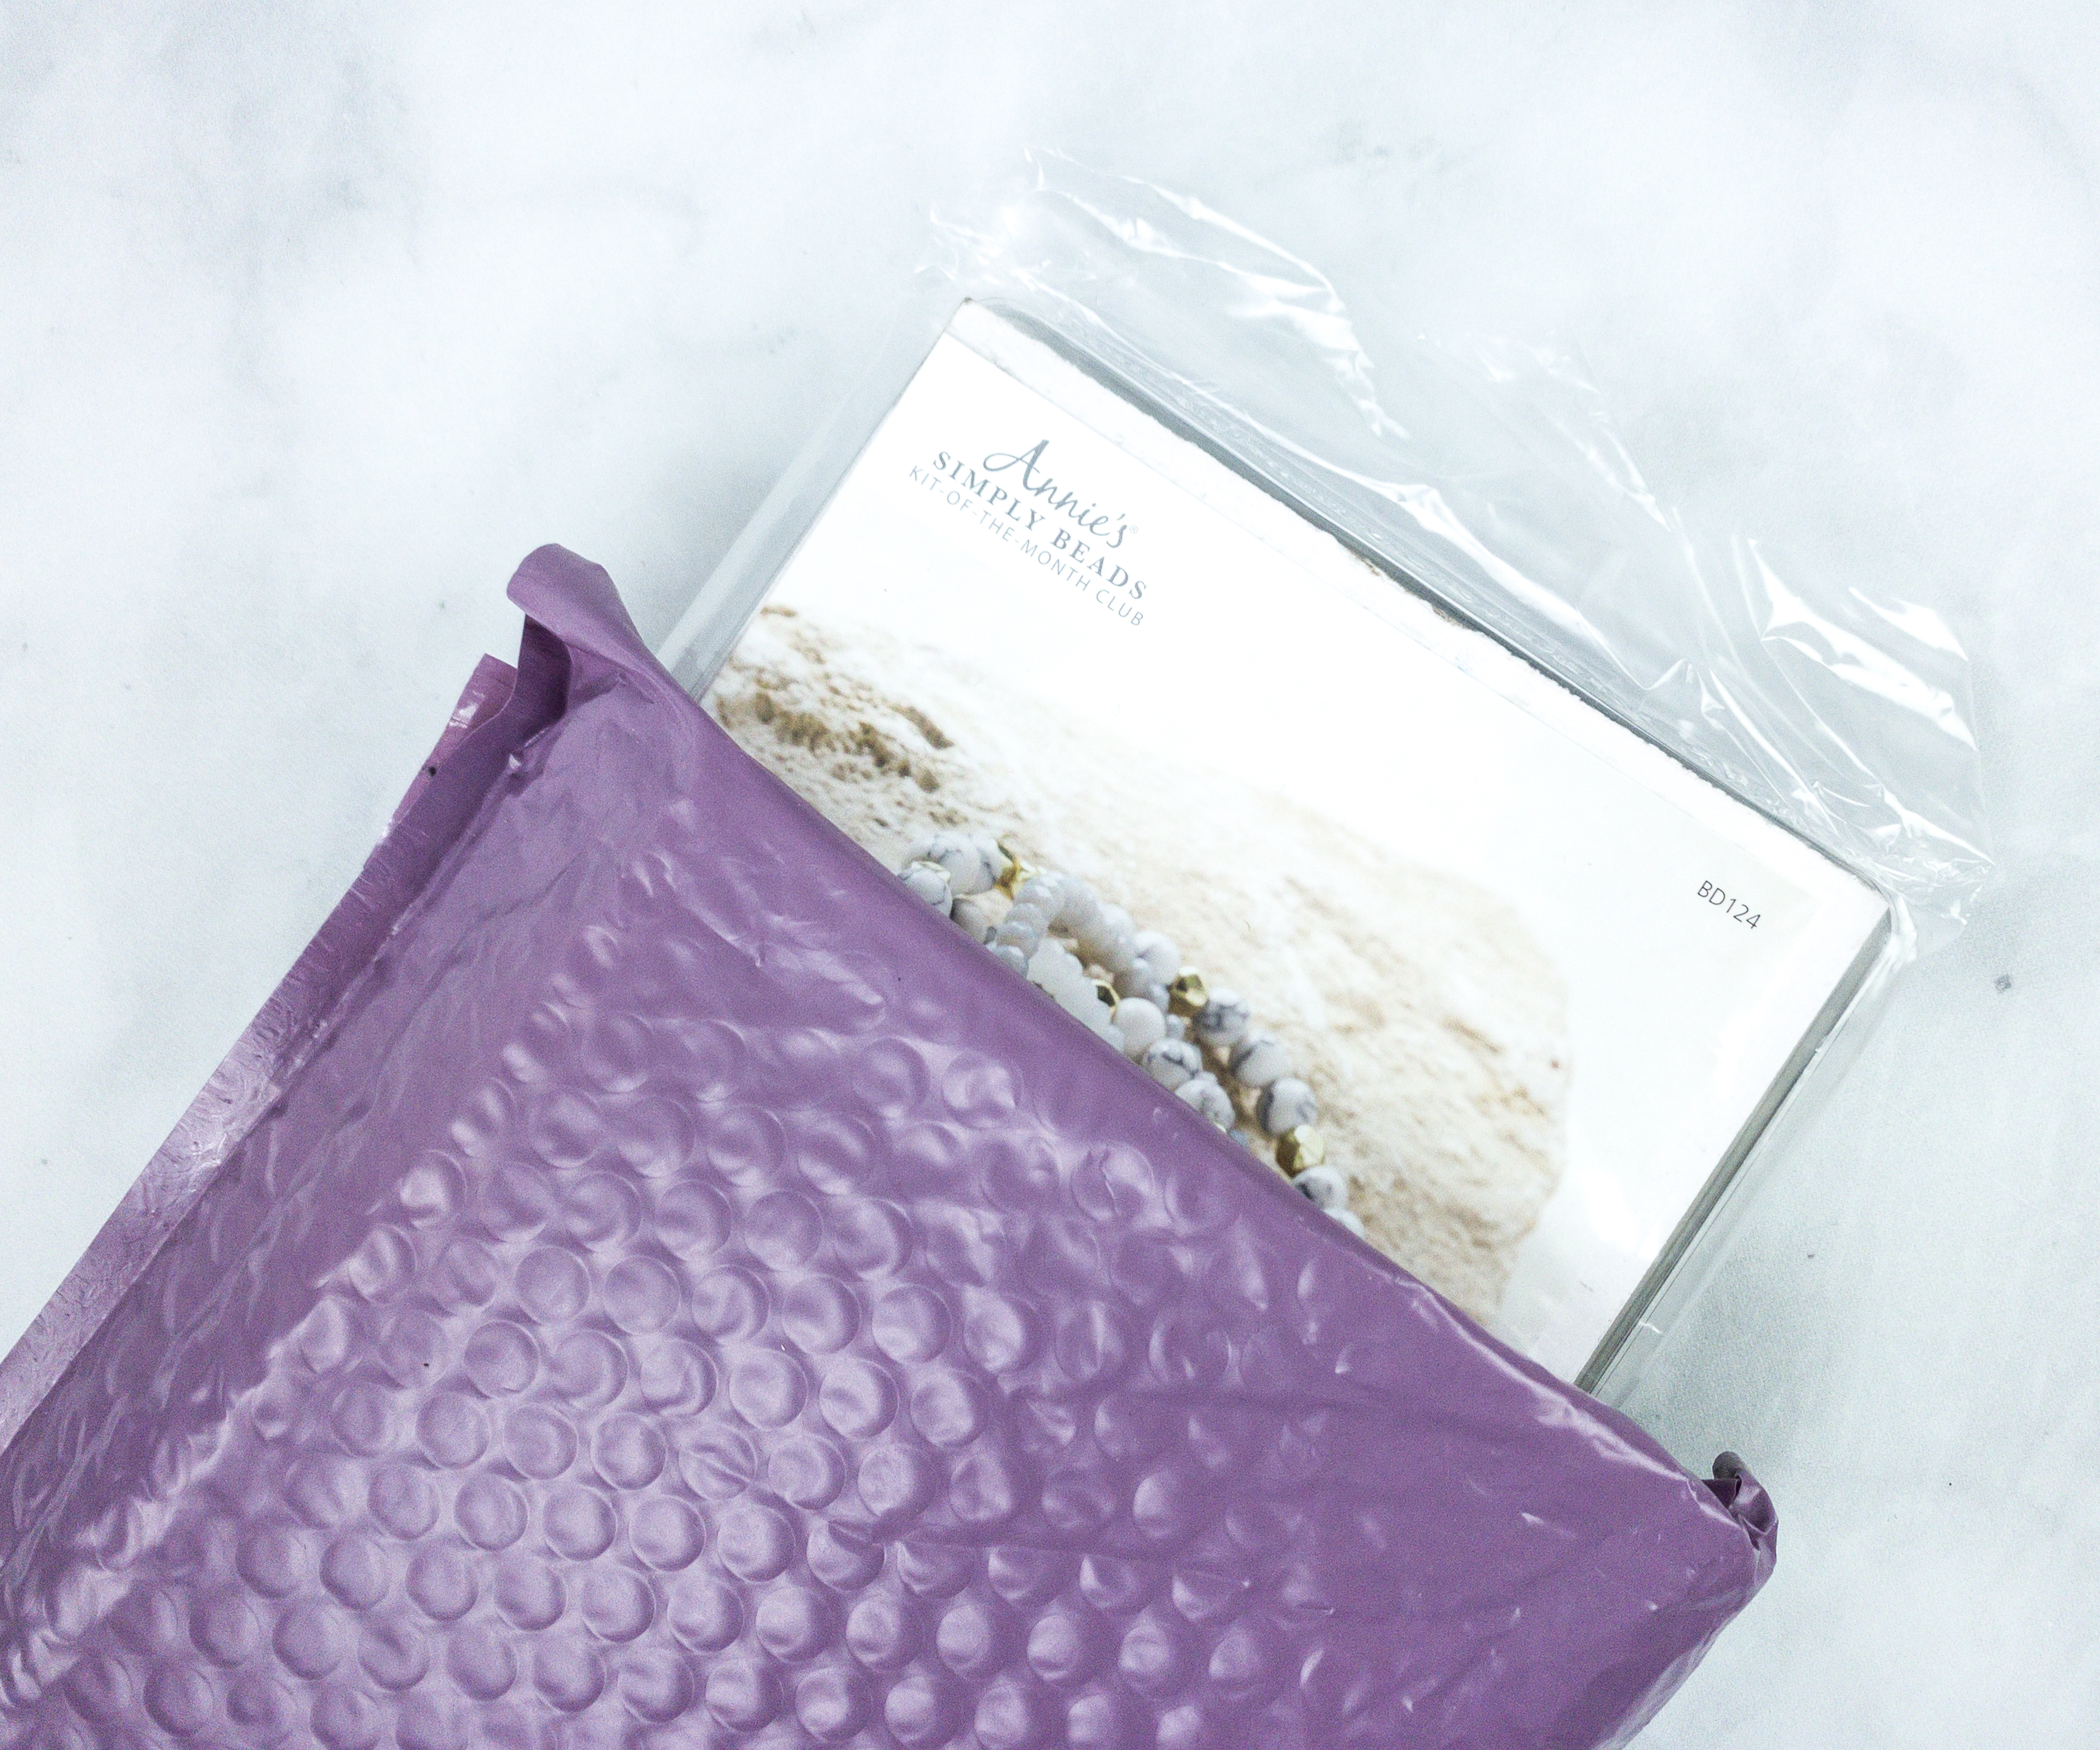
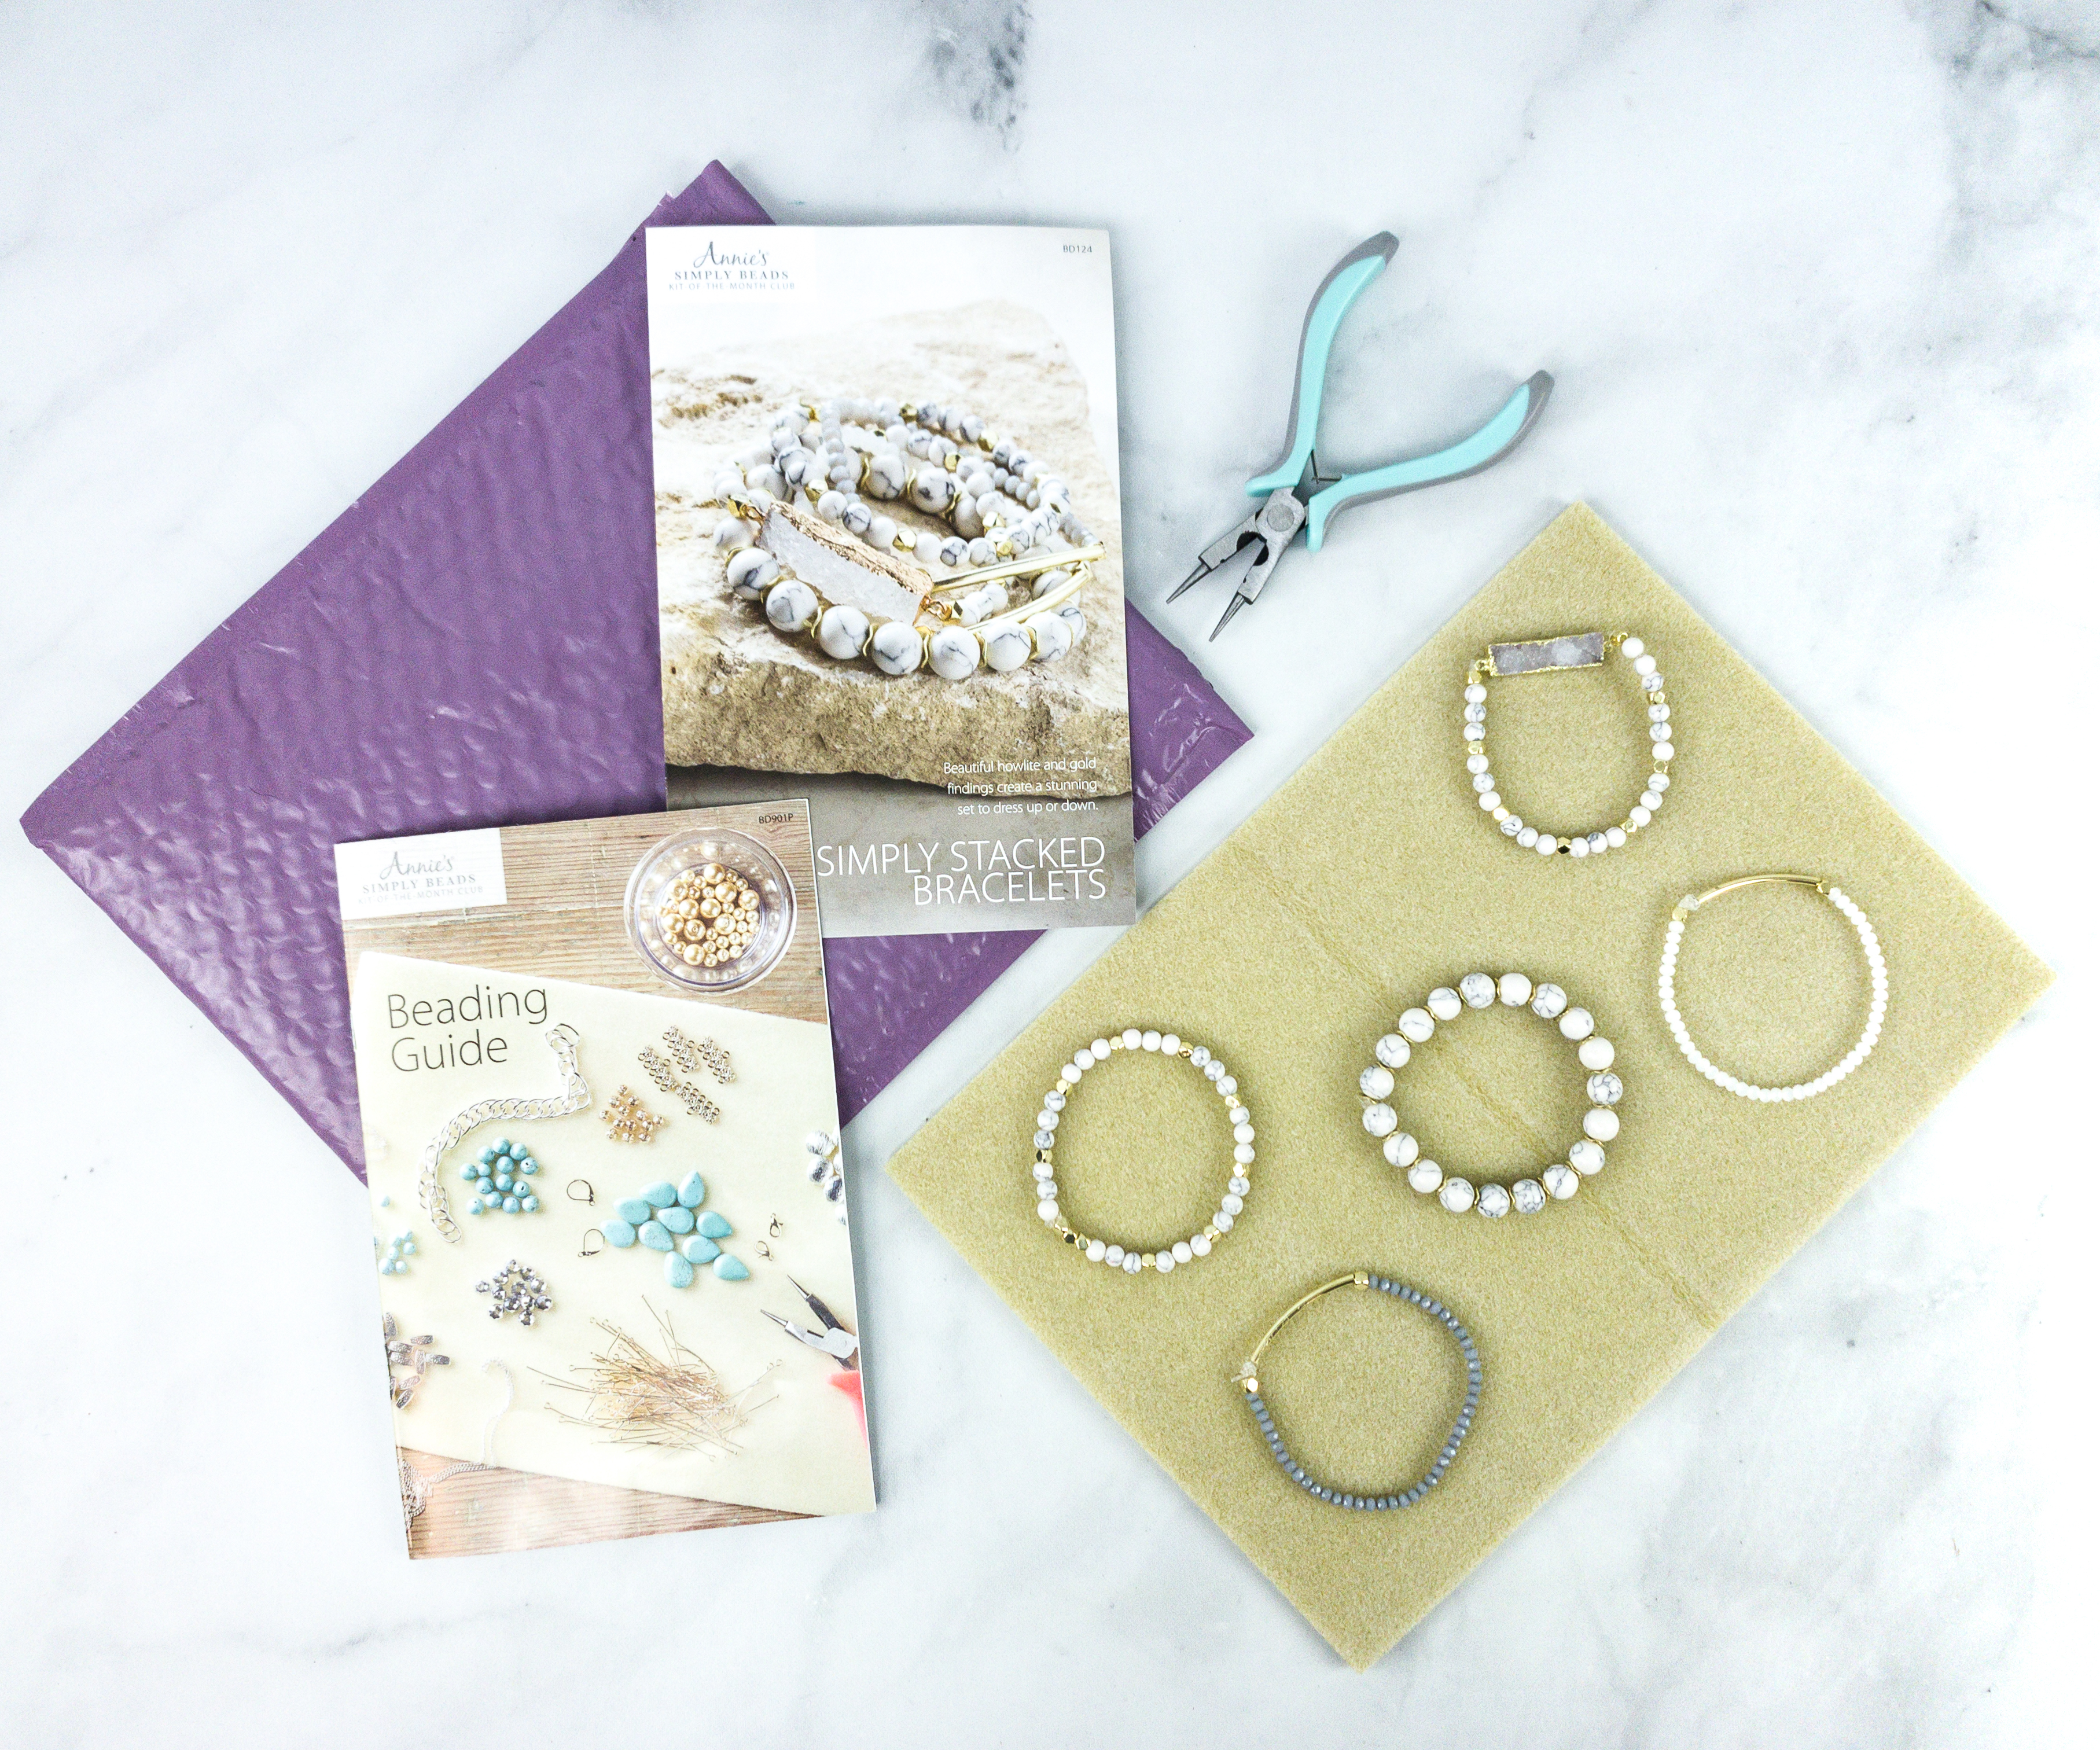
The items came in a purple padded mailer.
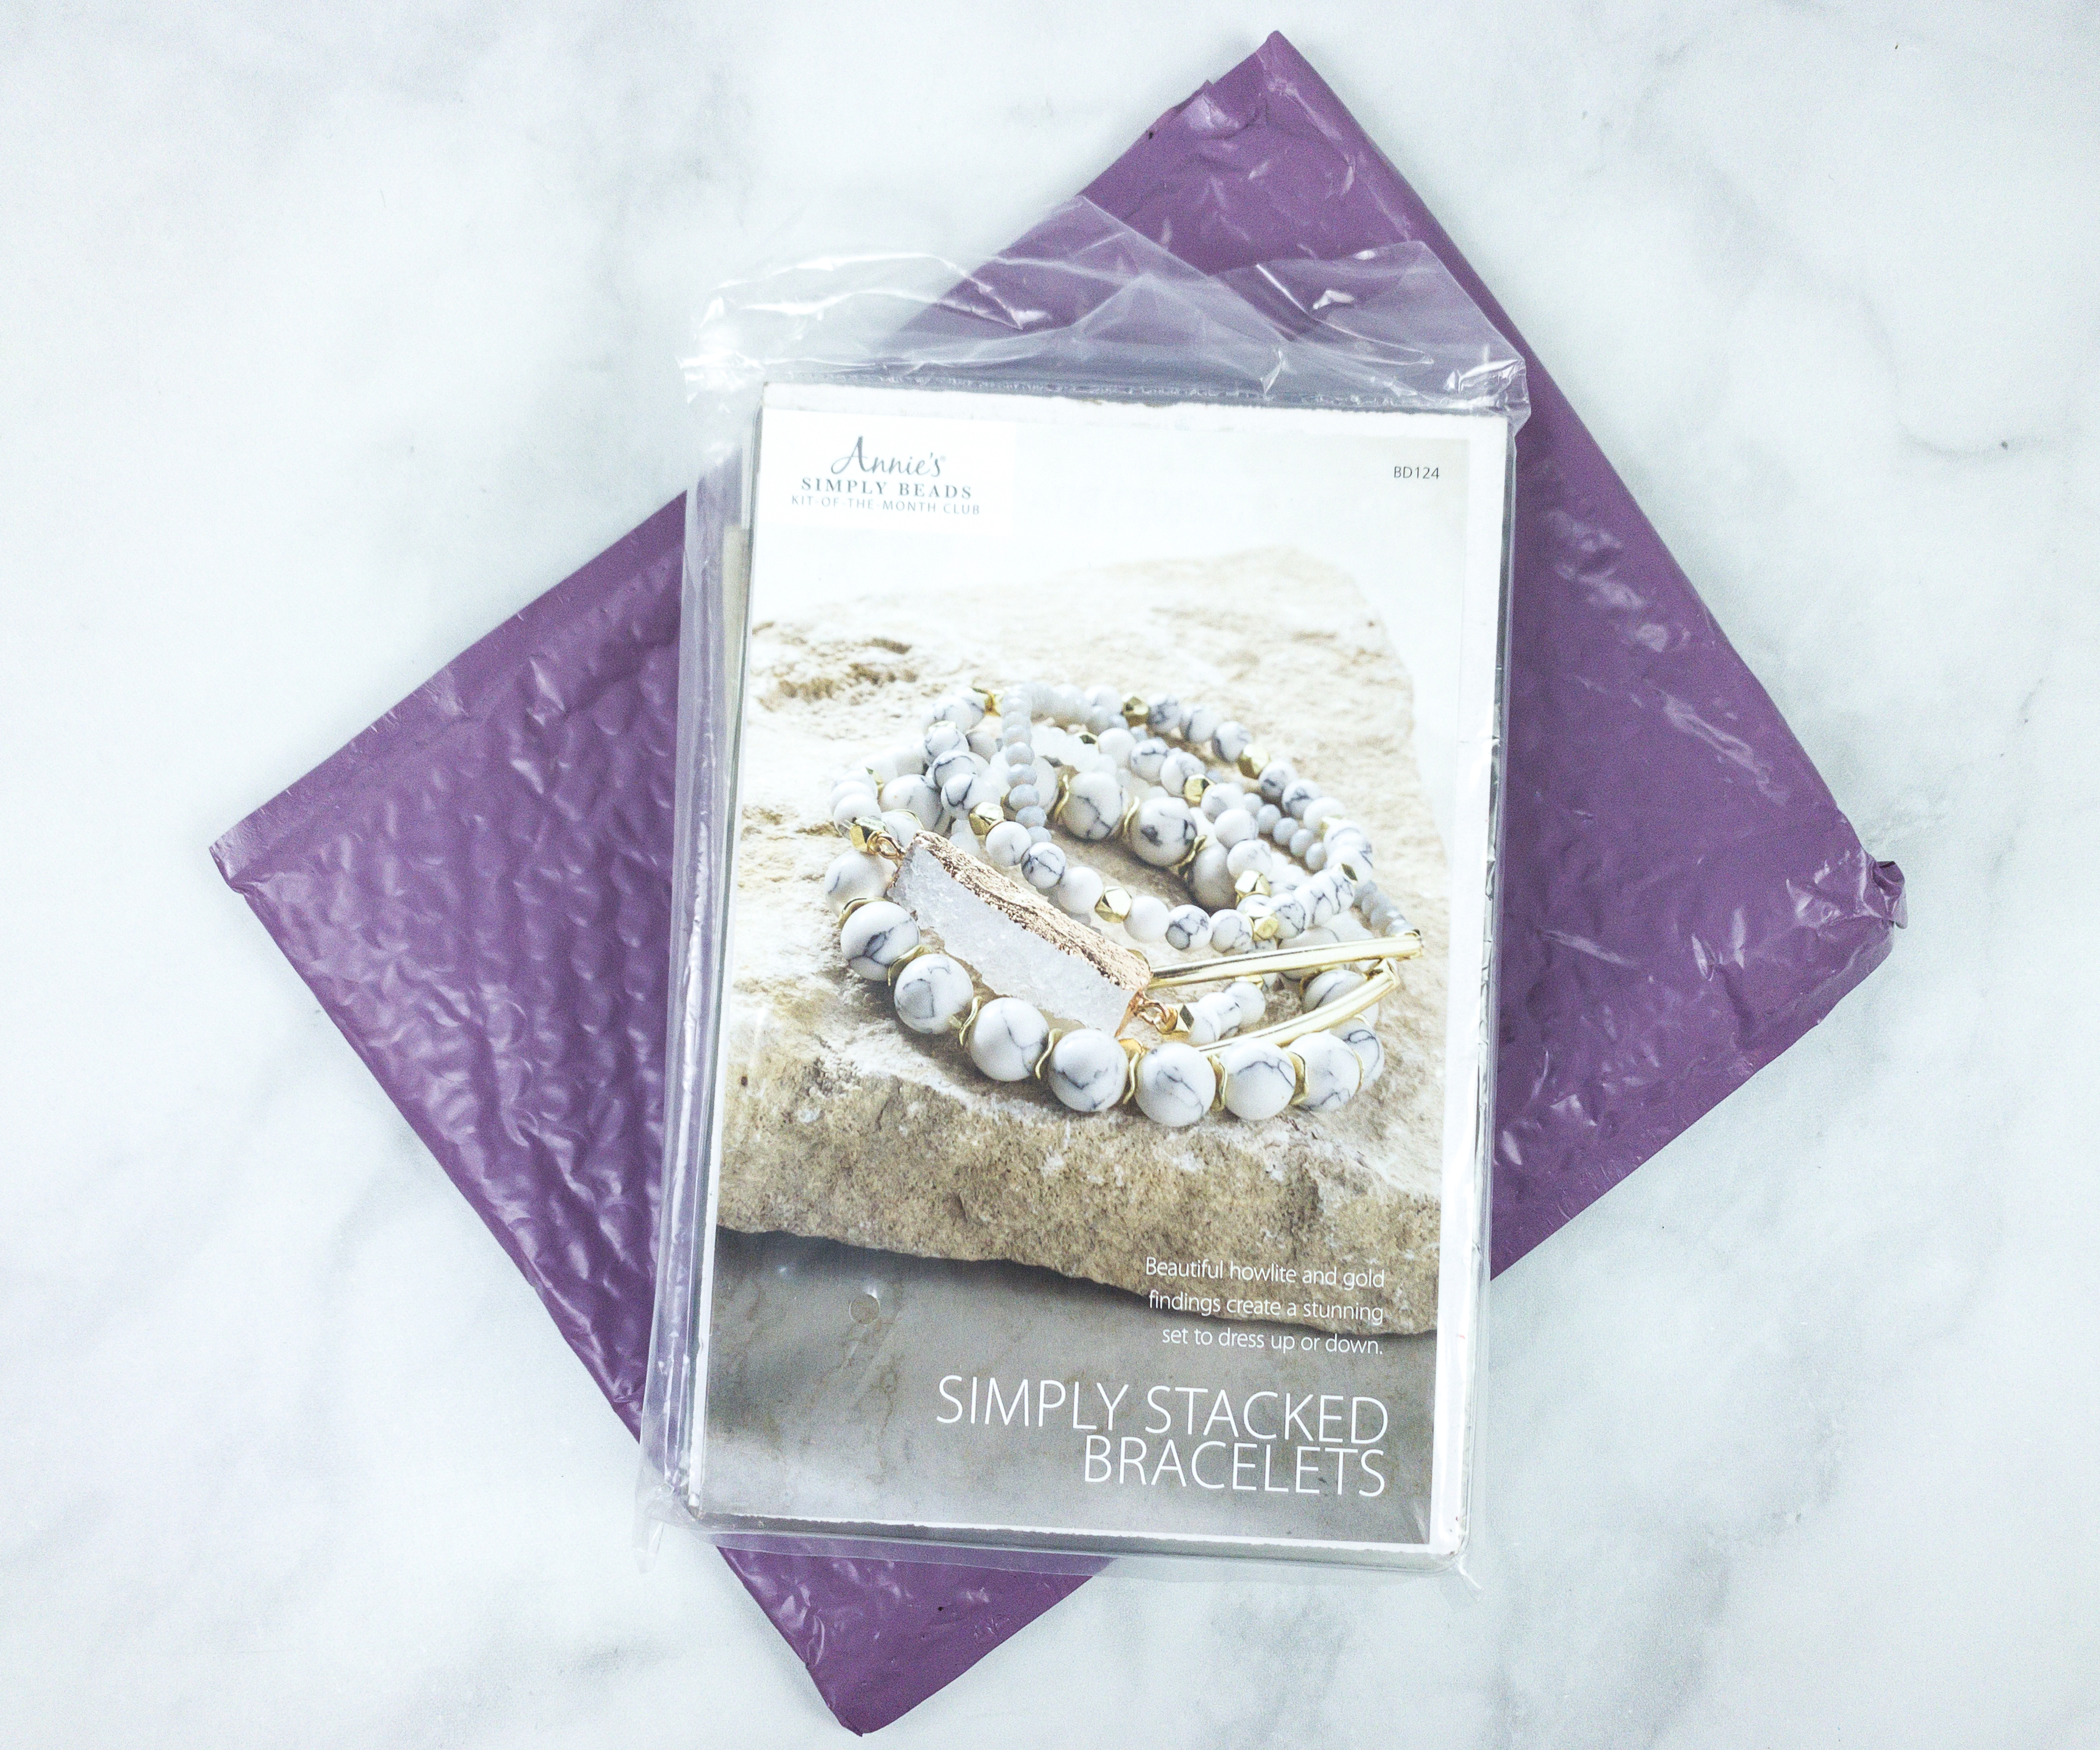
The photos of the finished product looks stunning!
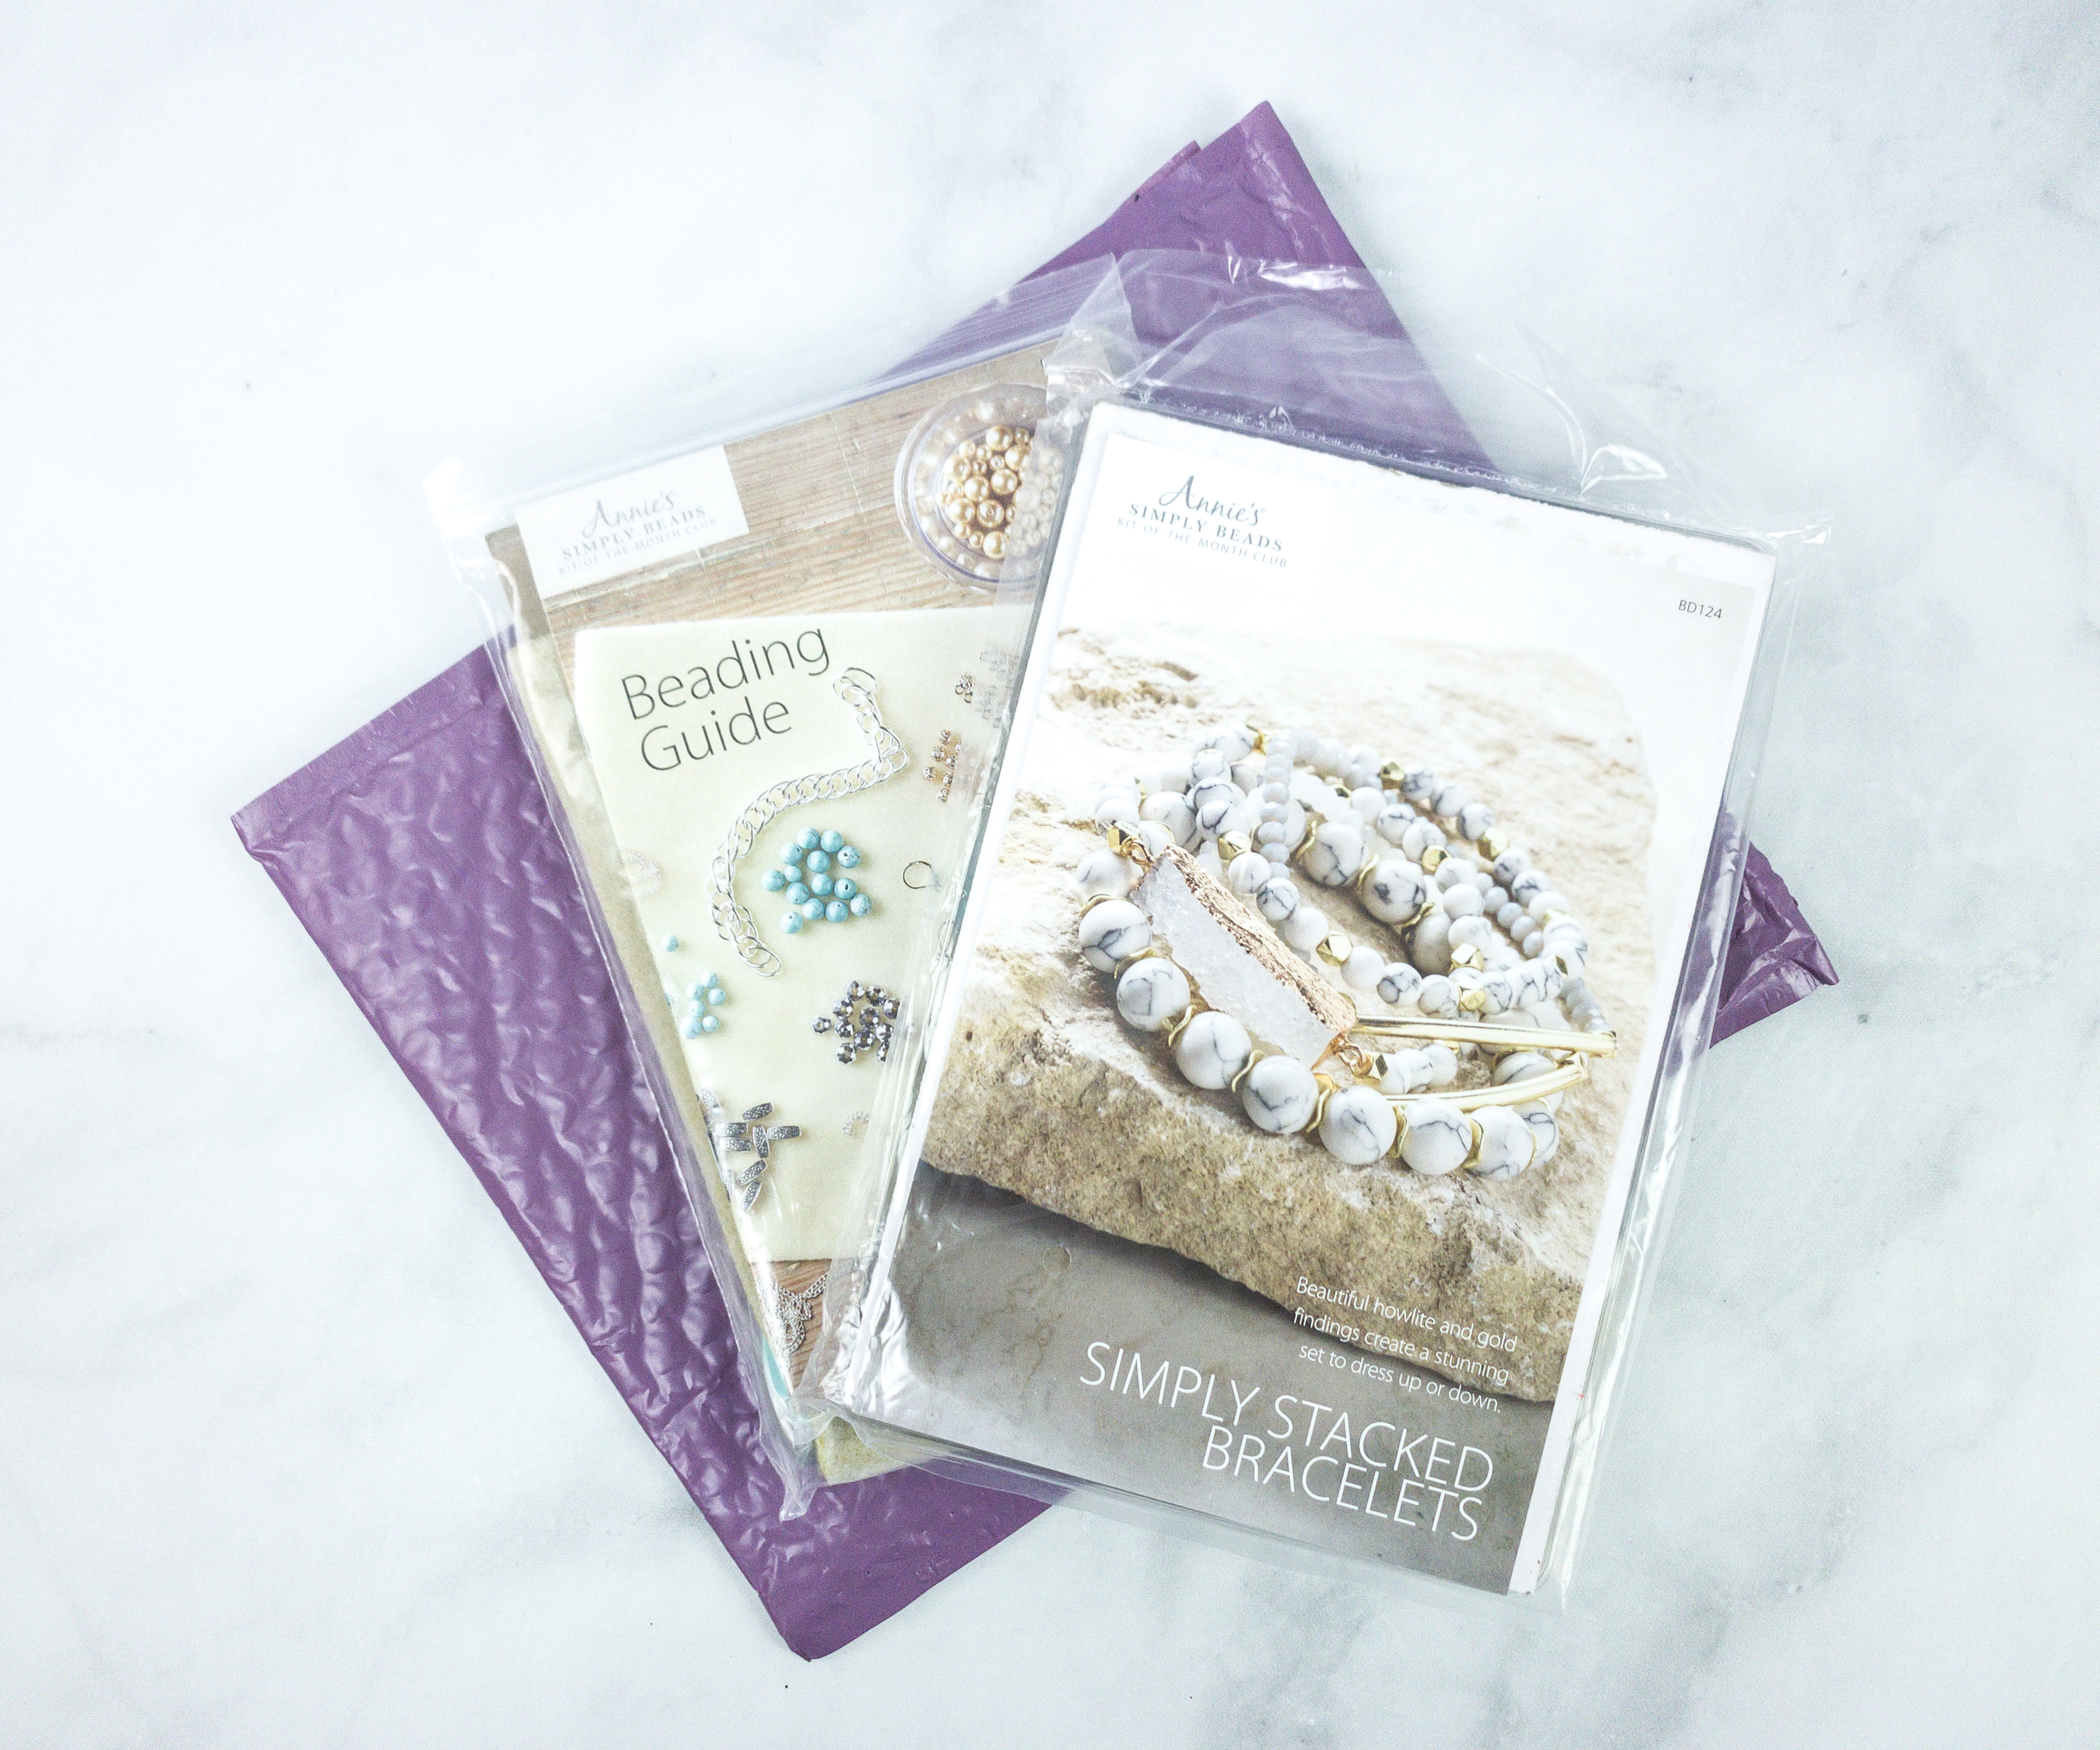
We got two kits inside this package!
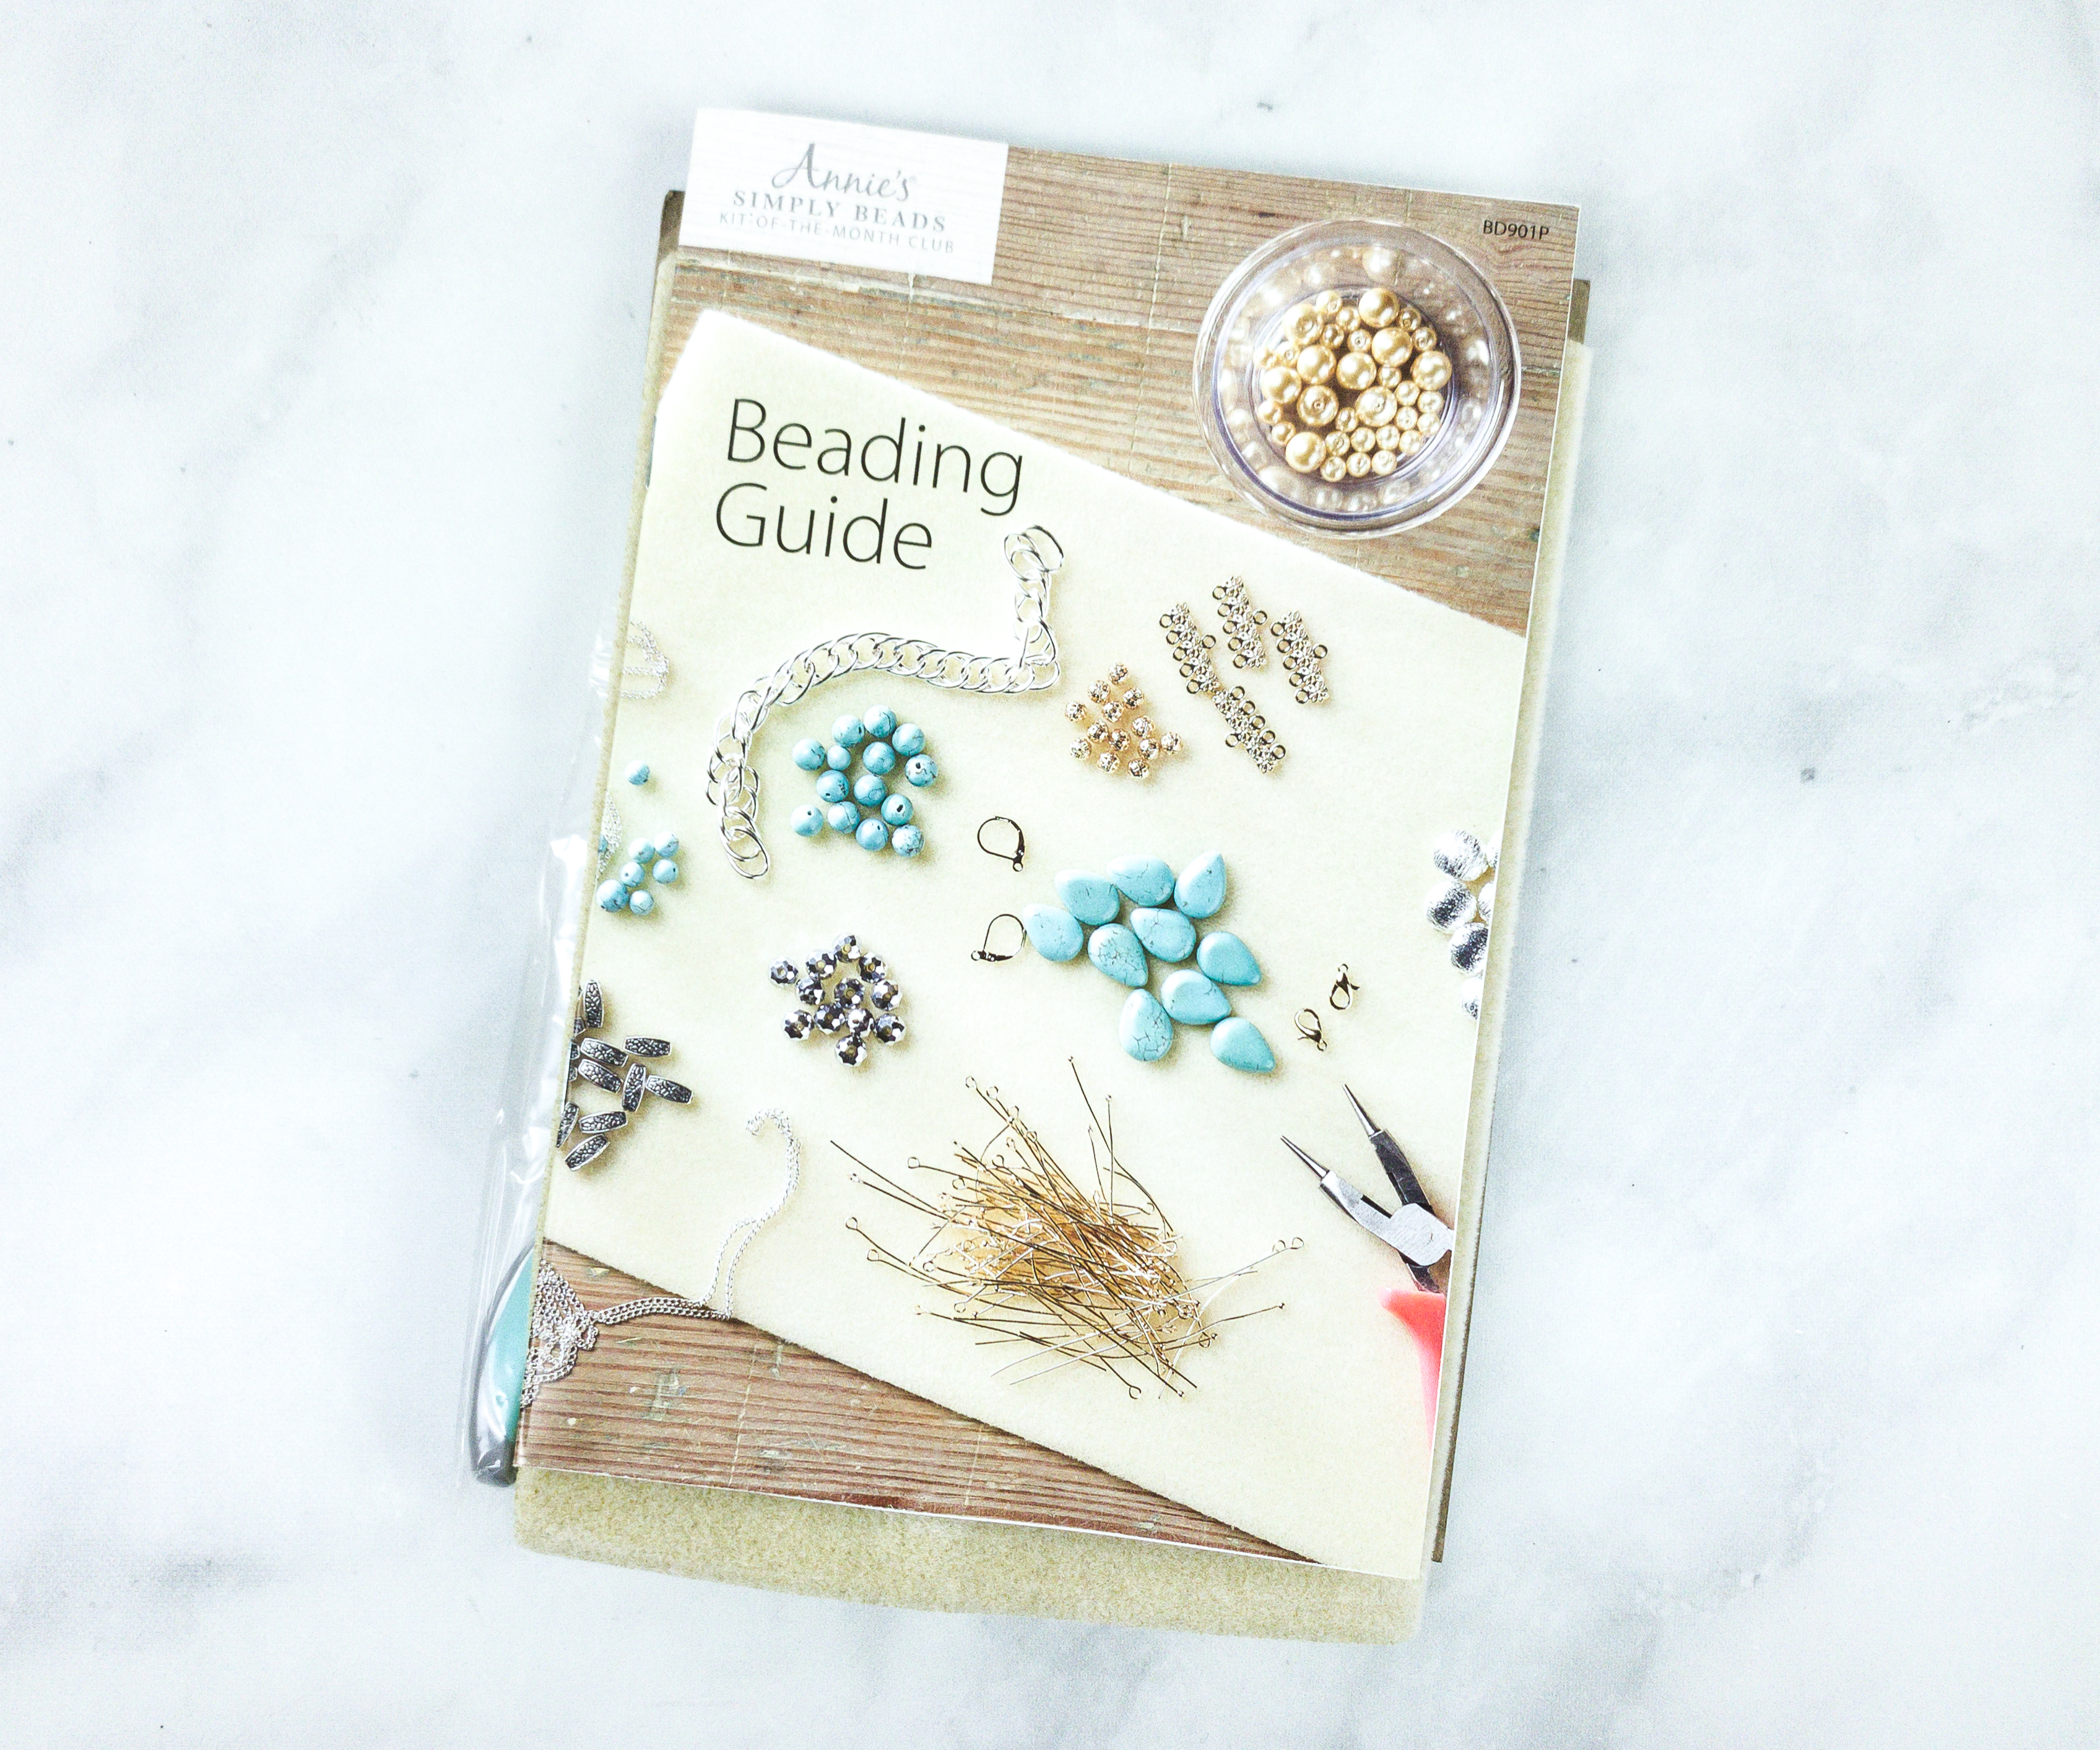
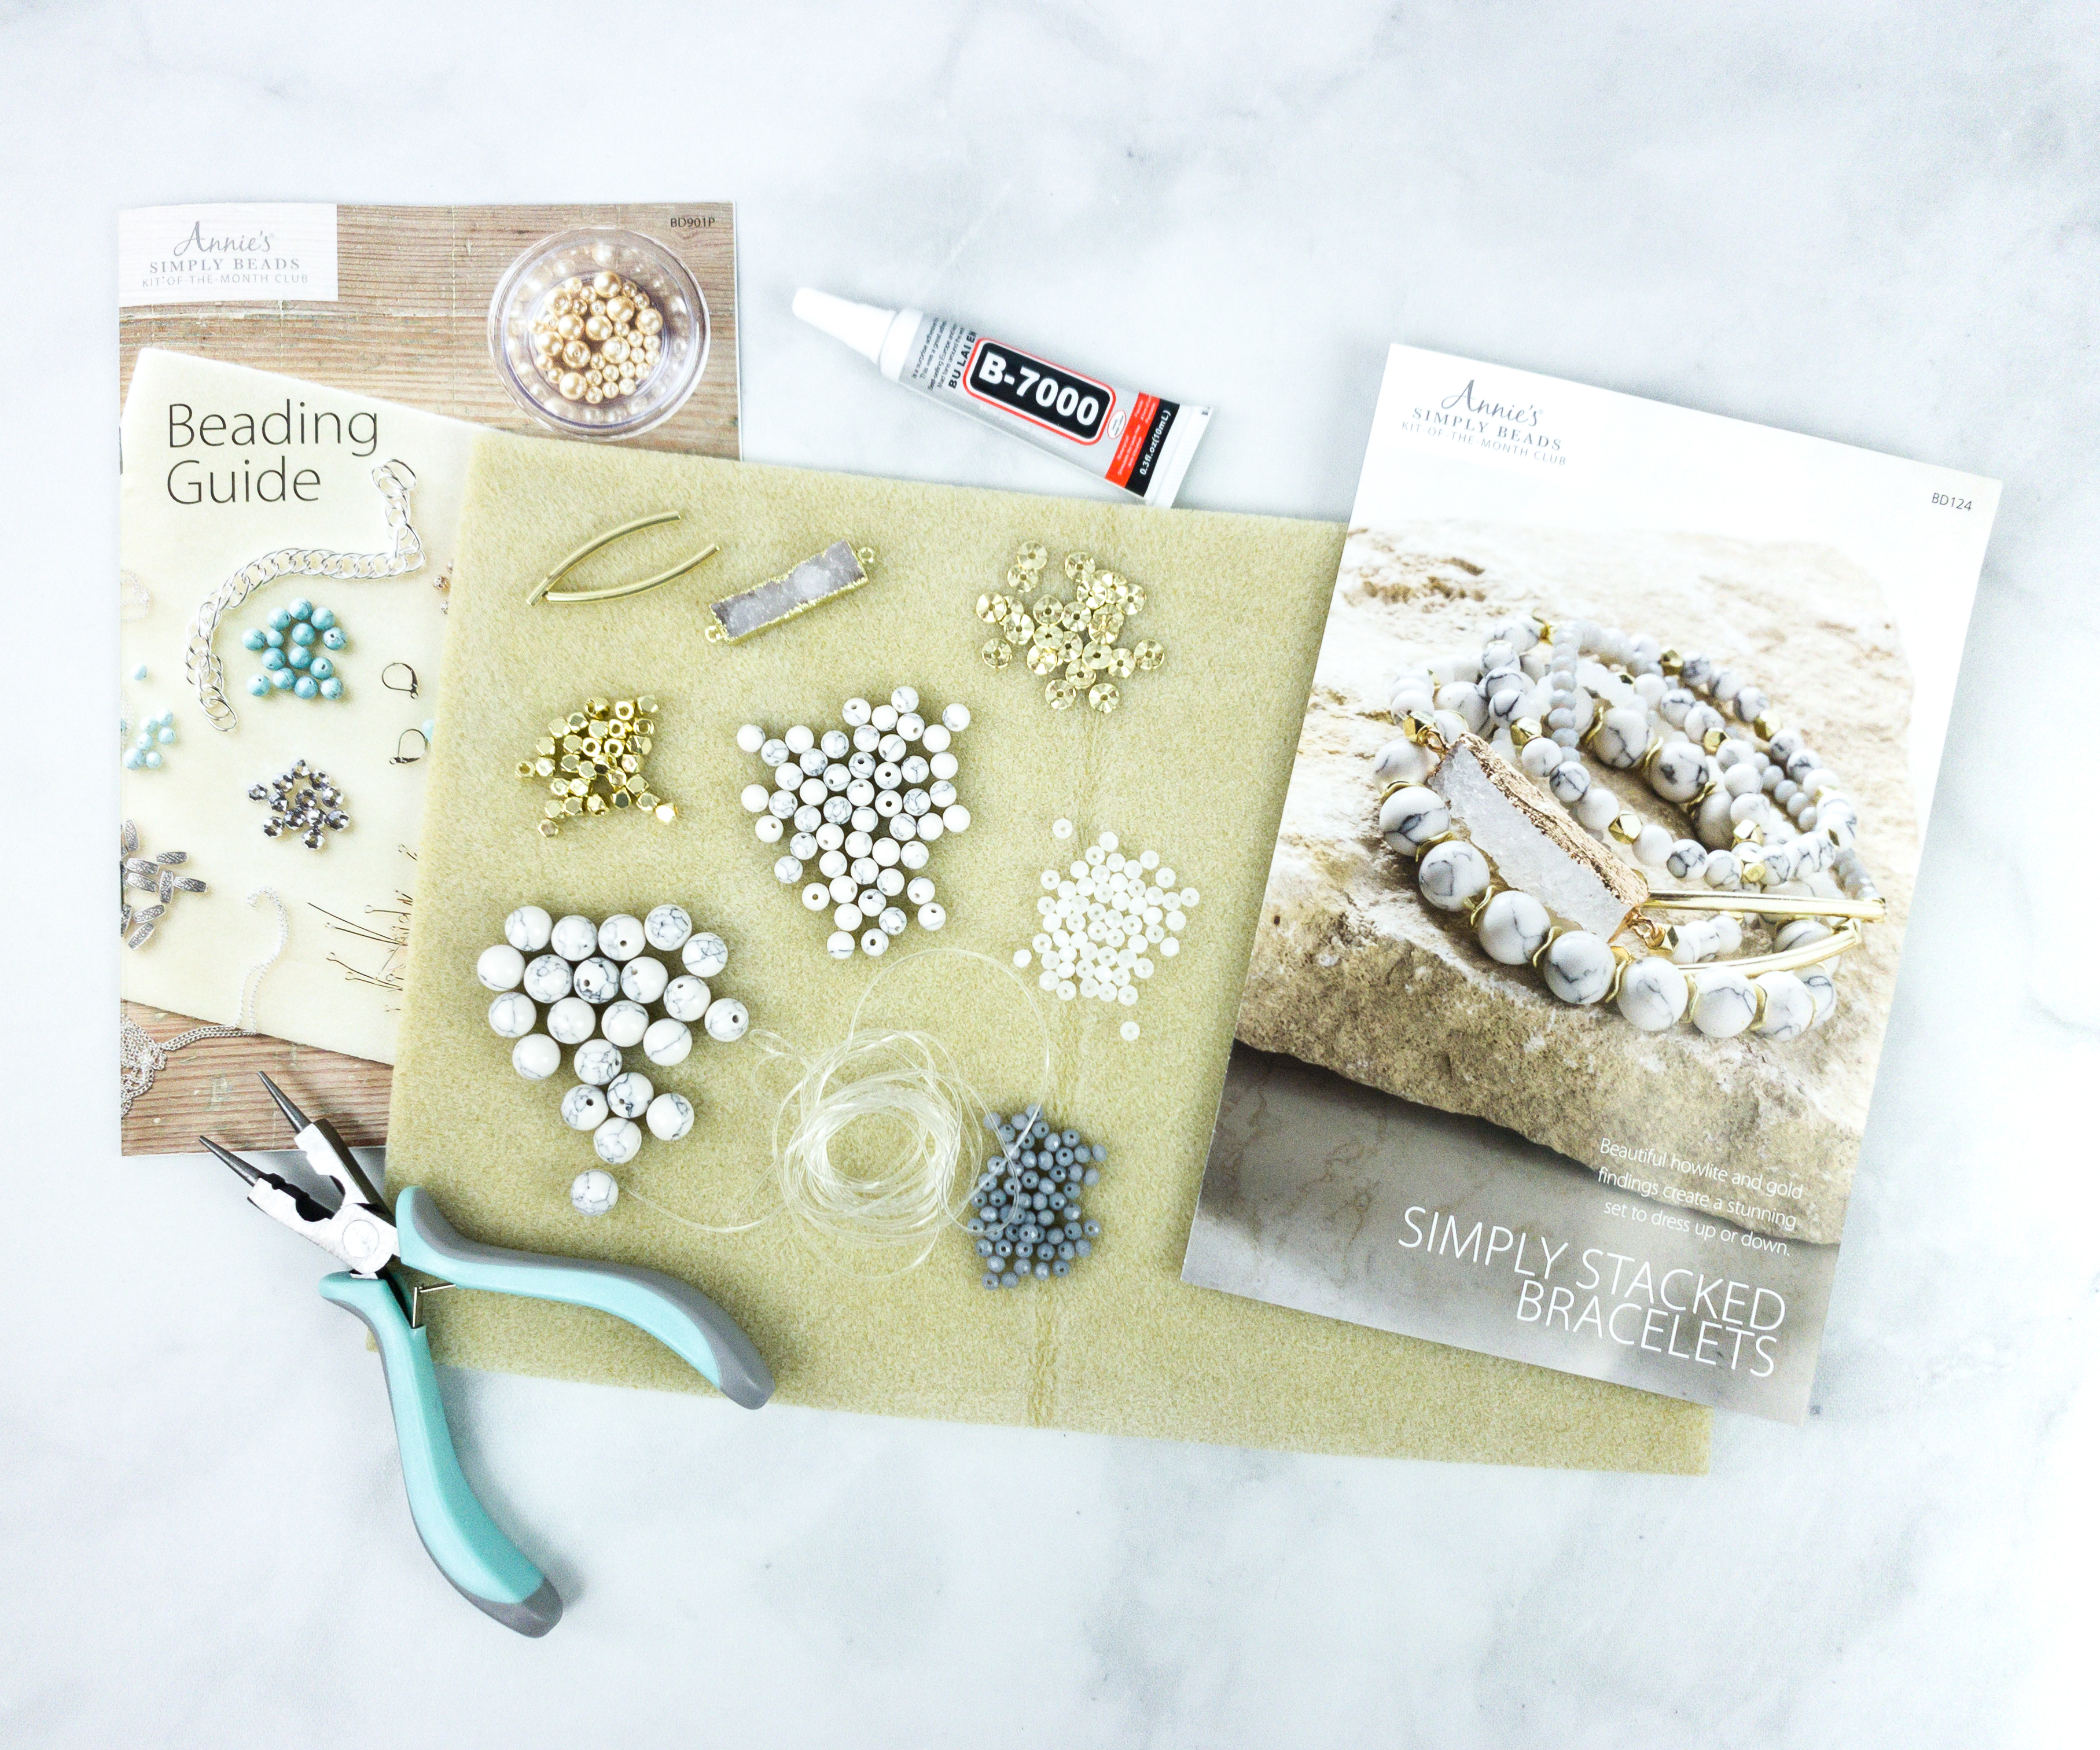
Since this is my first kit, I received a beading guide booklet. It tells us about the proper ways to handle the beads.
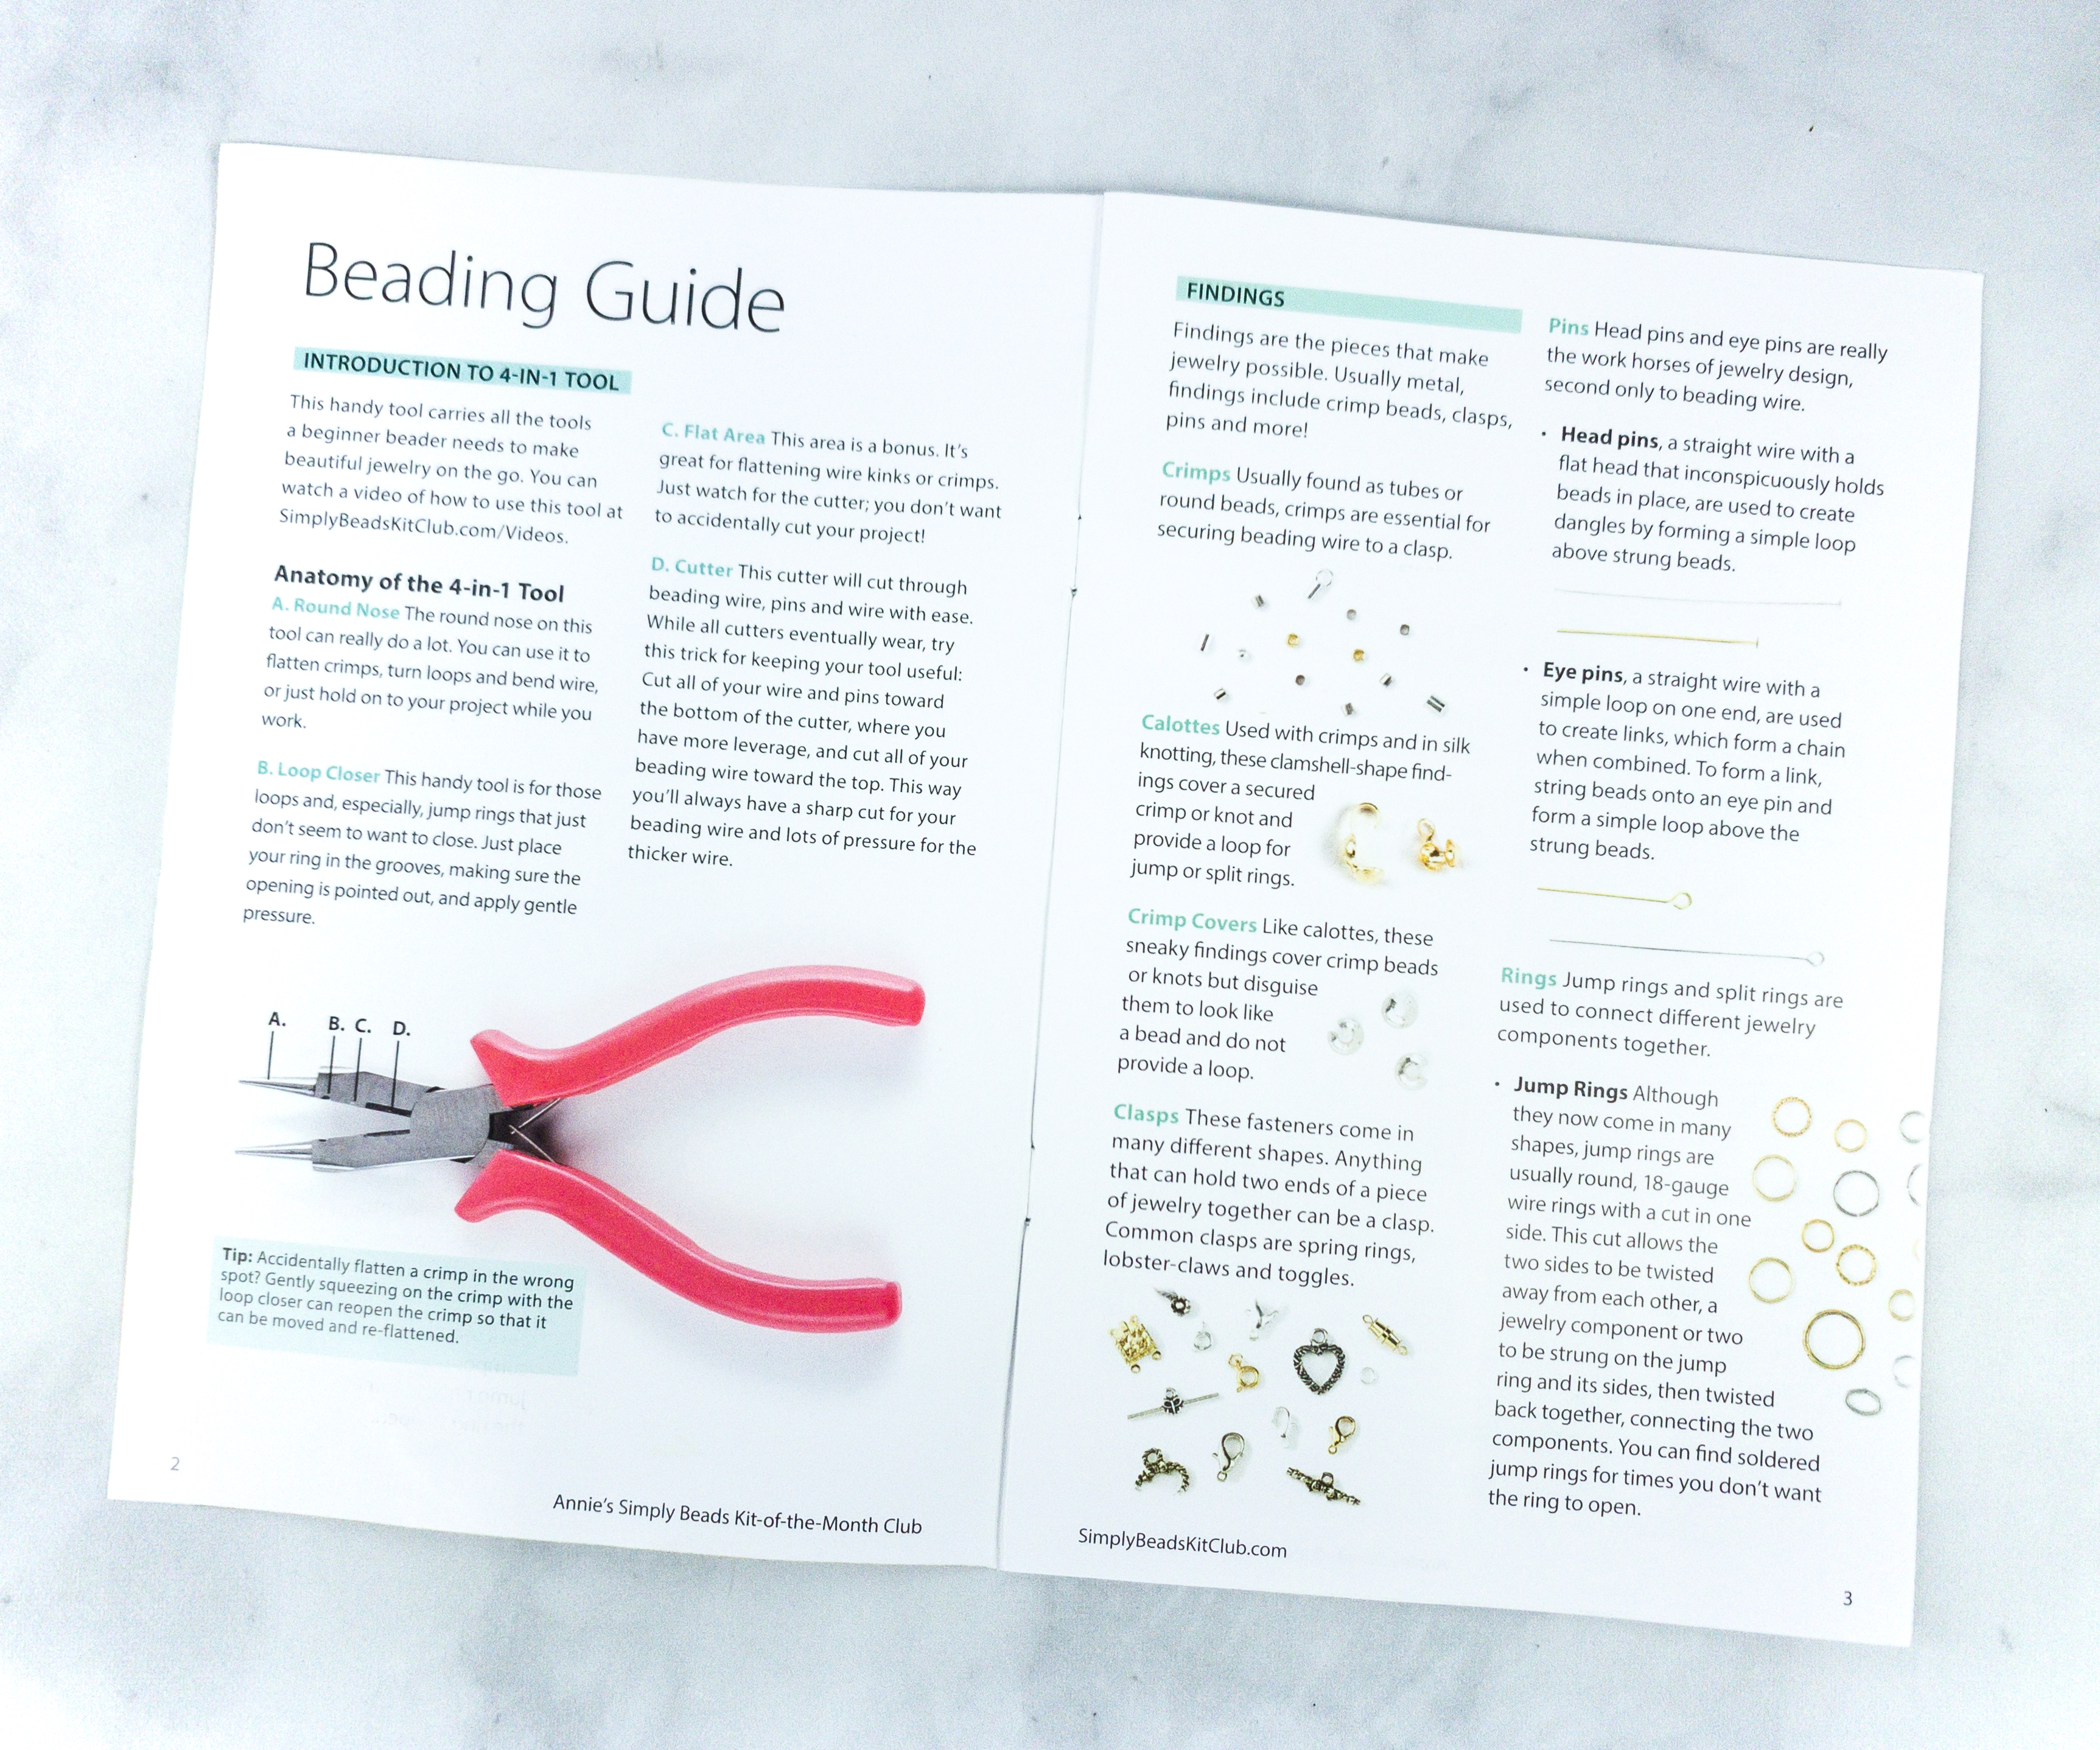
Inside, it gives an in depth explanation of how we can properly use the 4-in-1 tool.
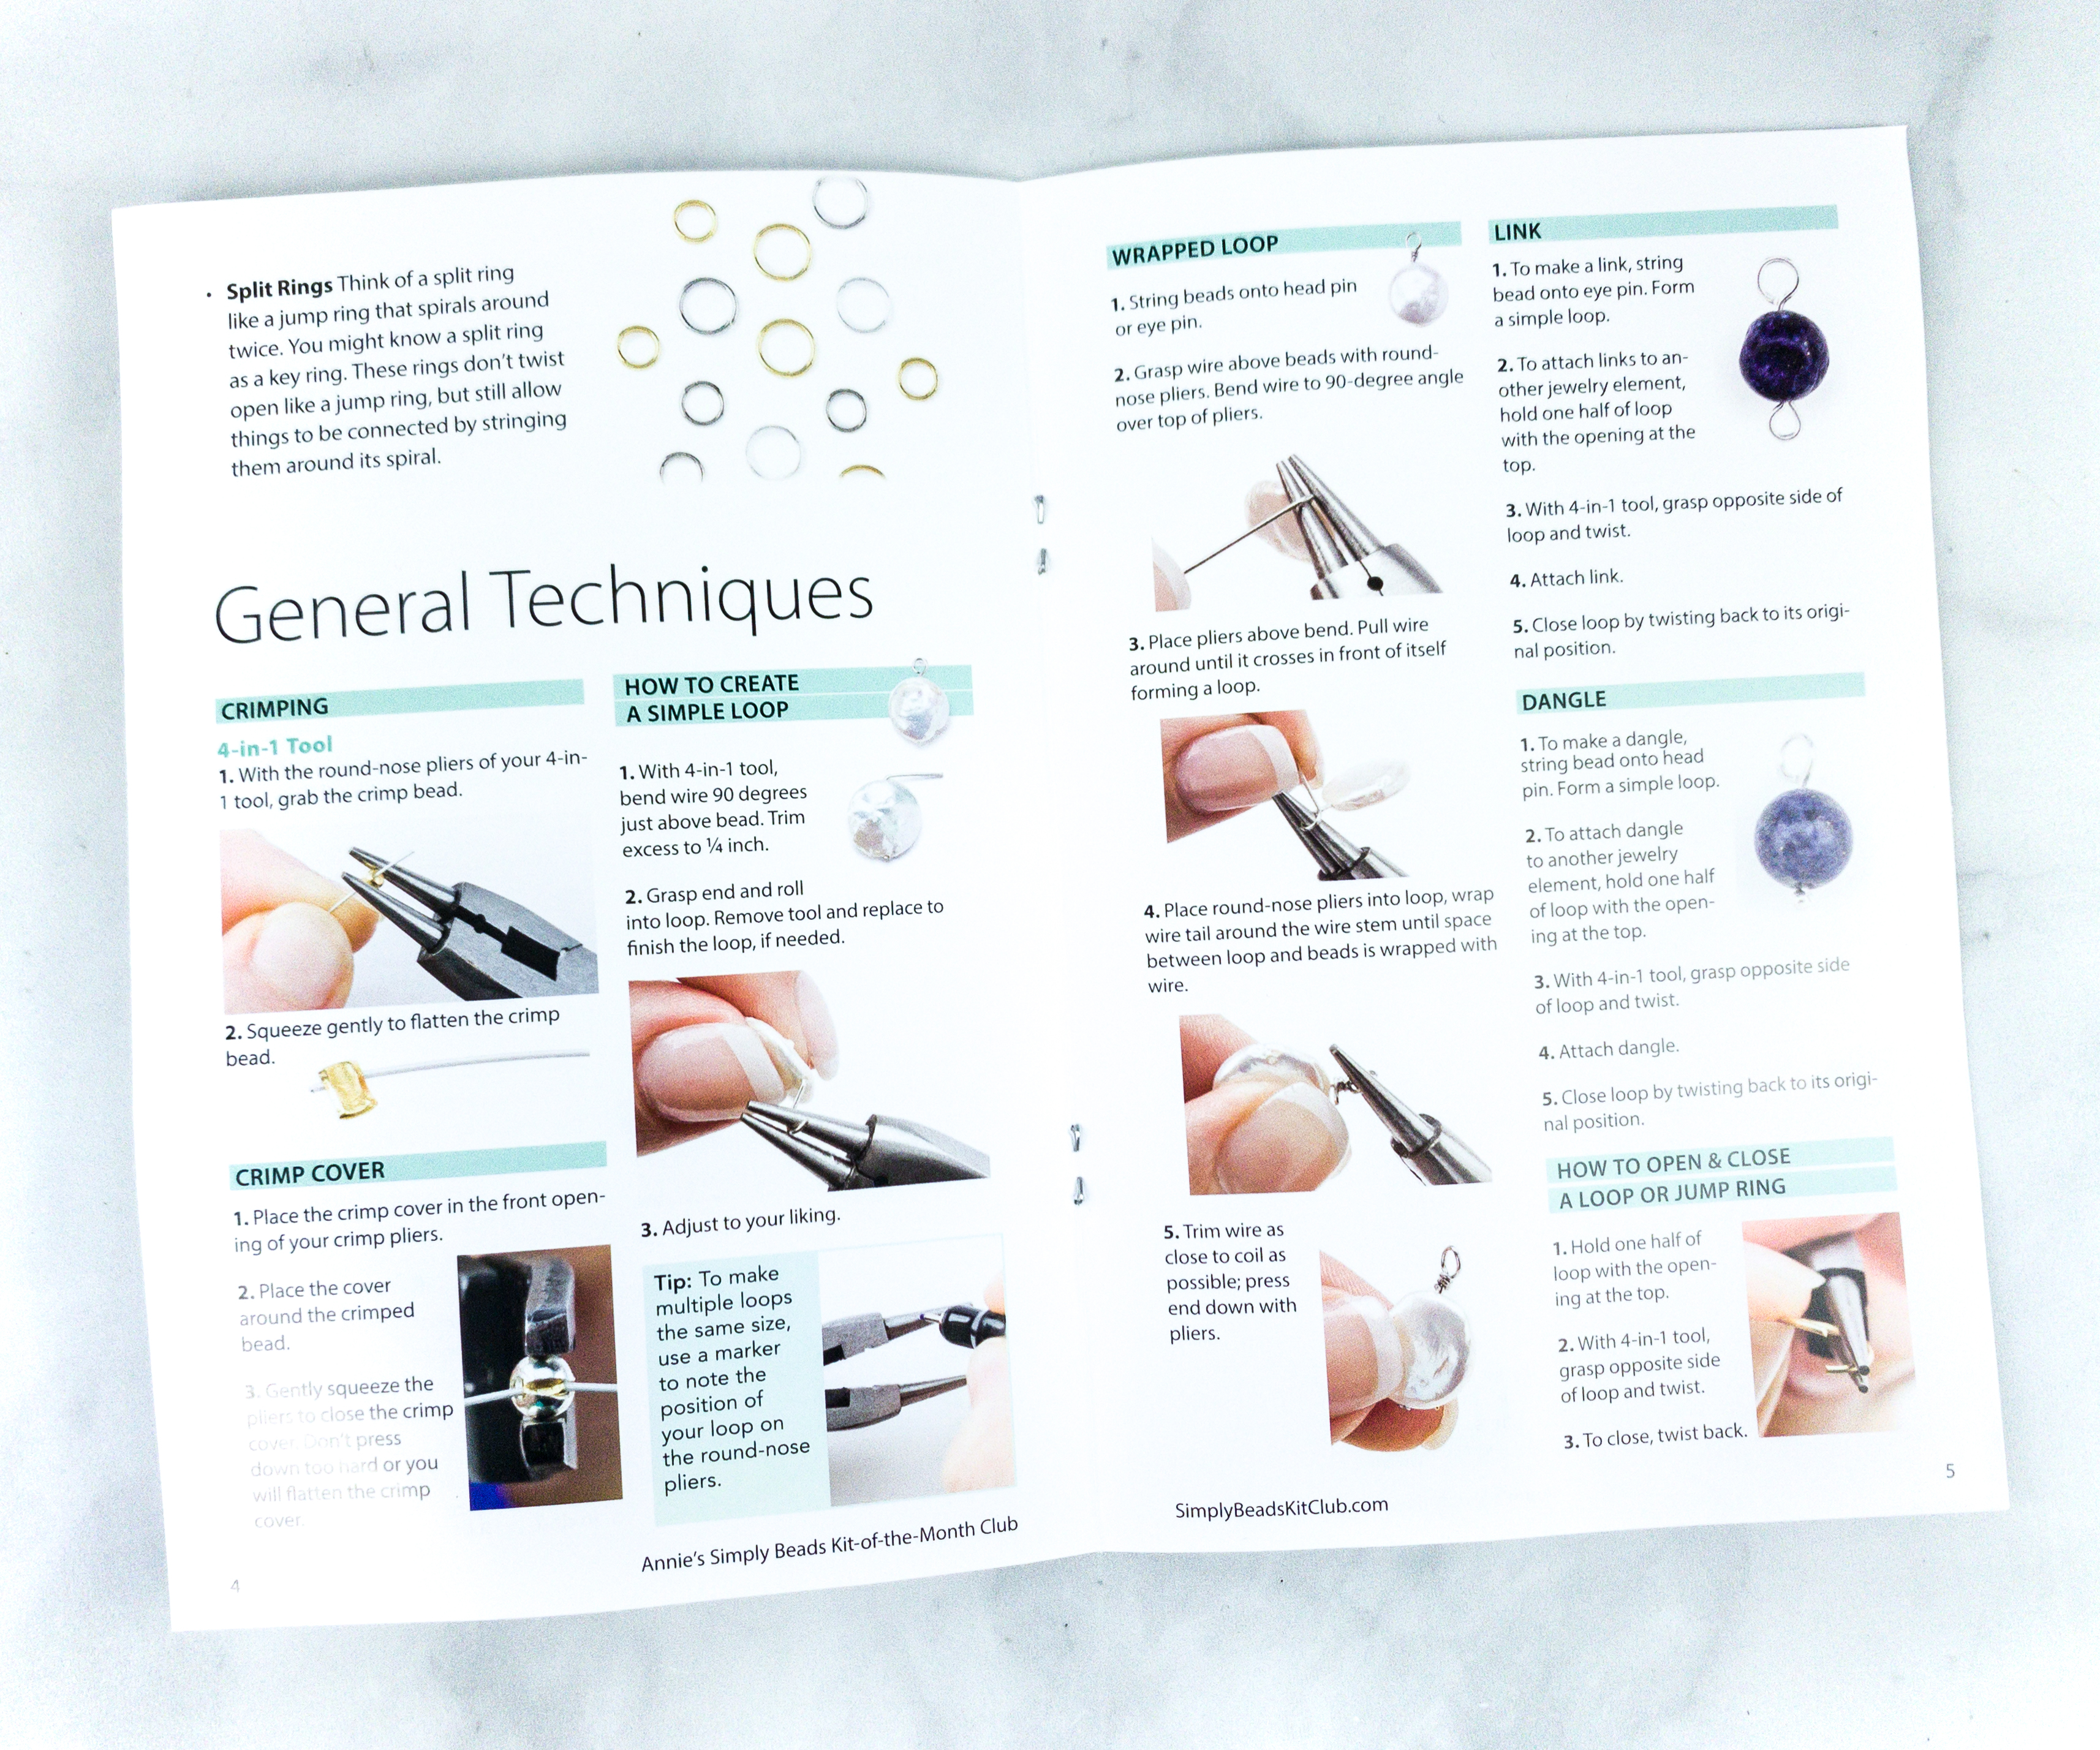
They also put in general techniques that will come handy when we’re making this project!
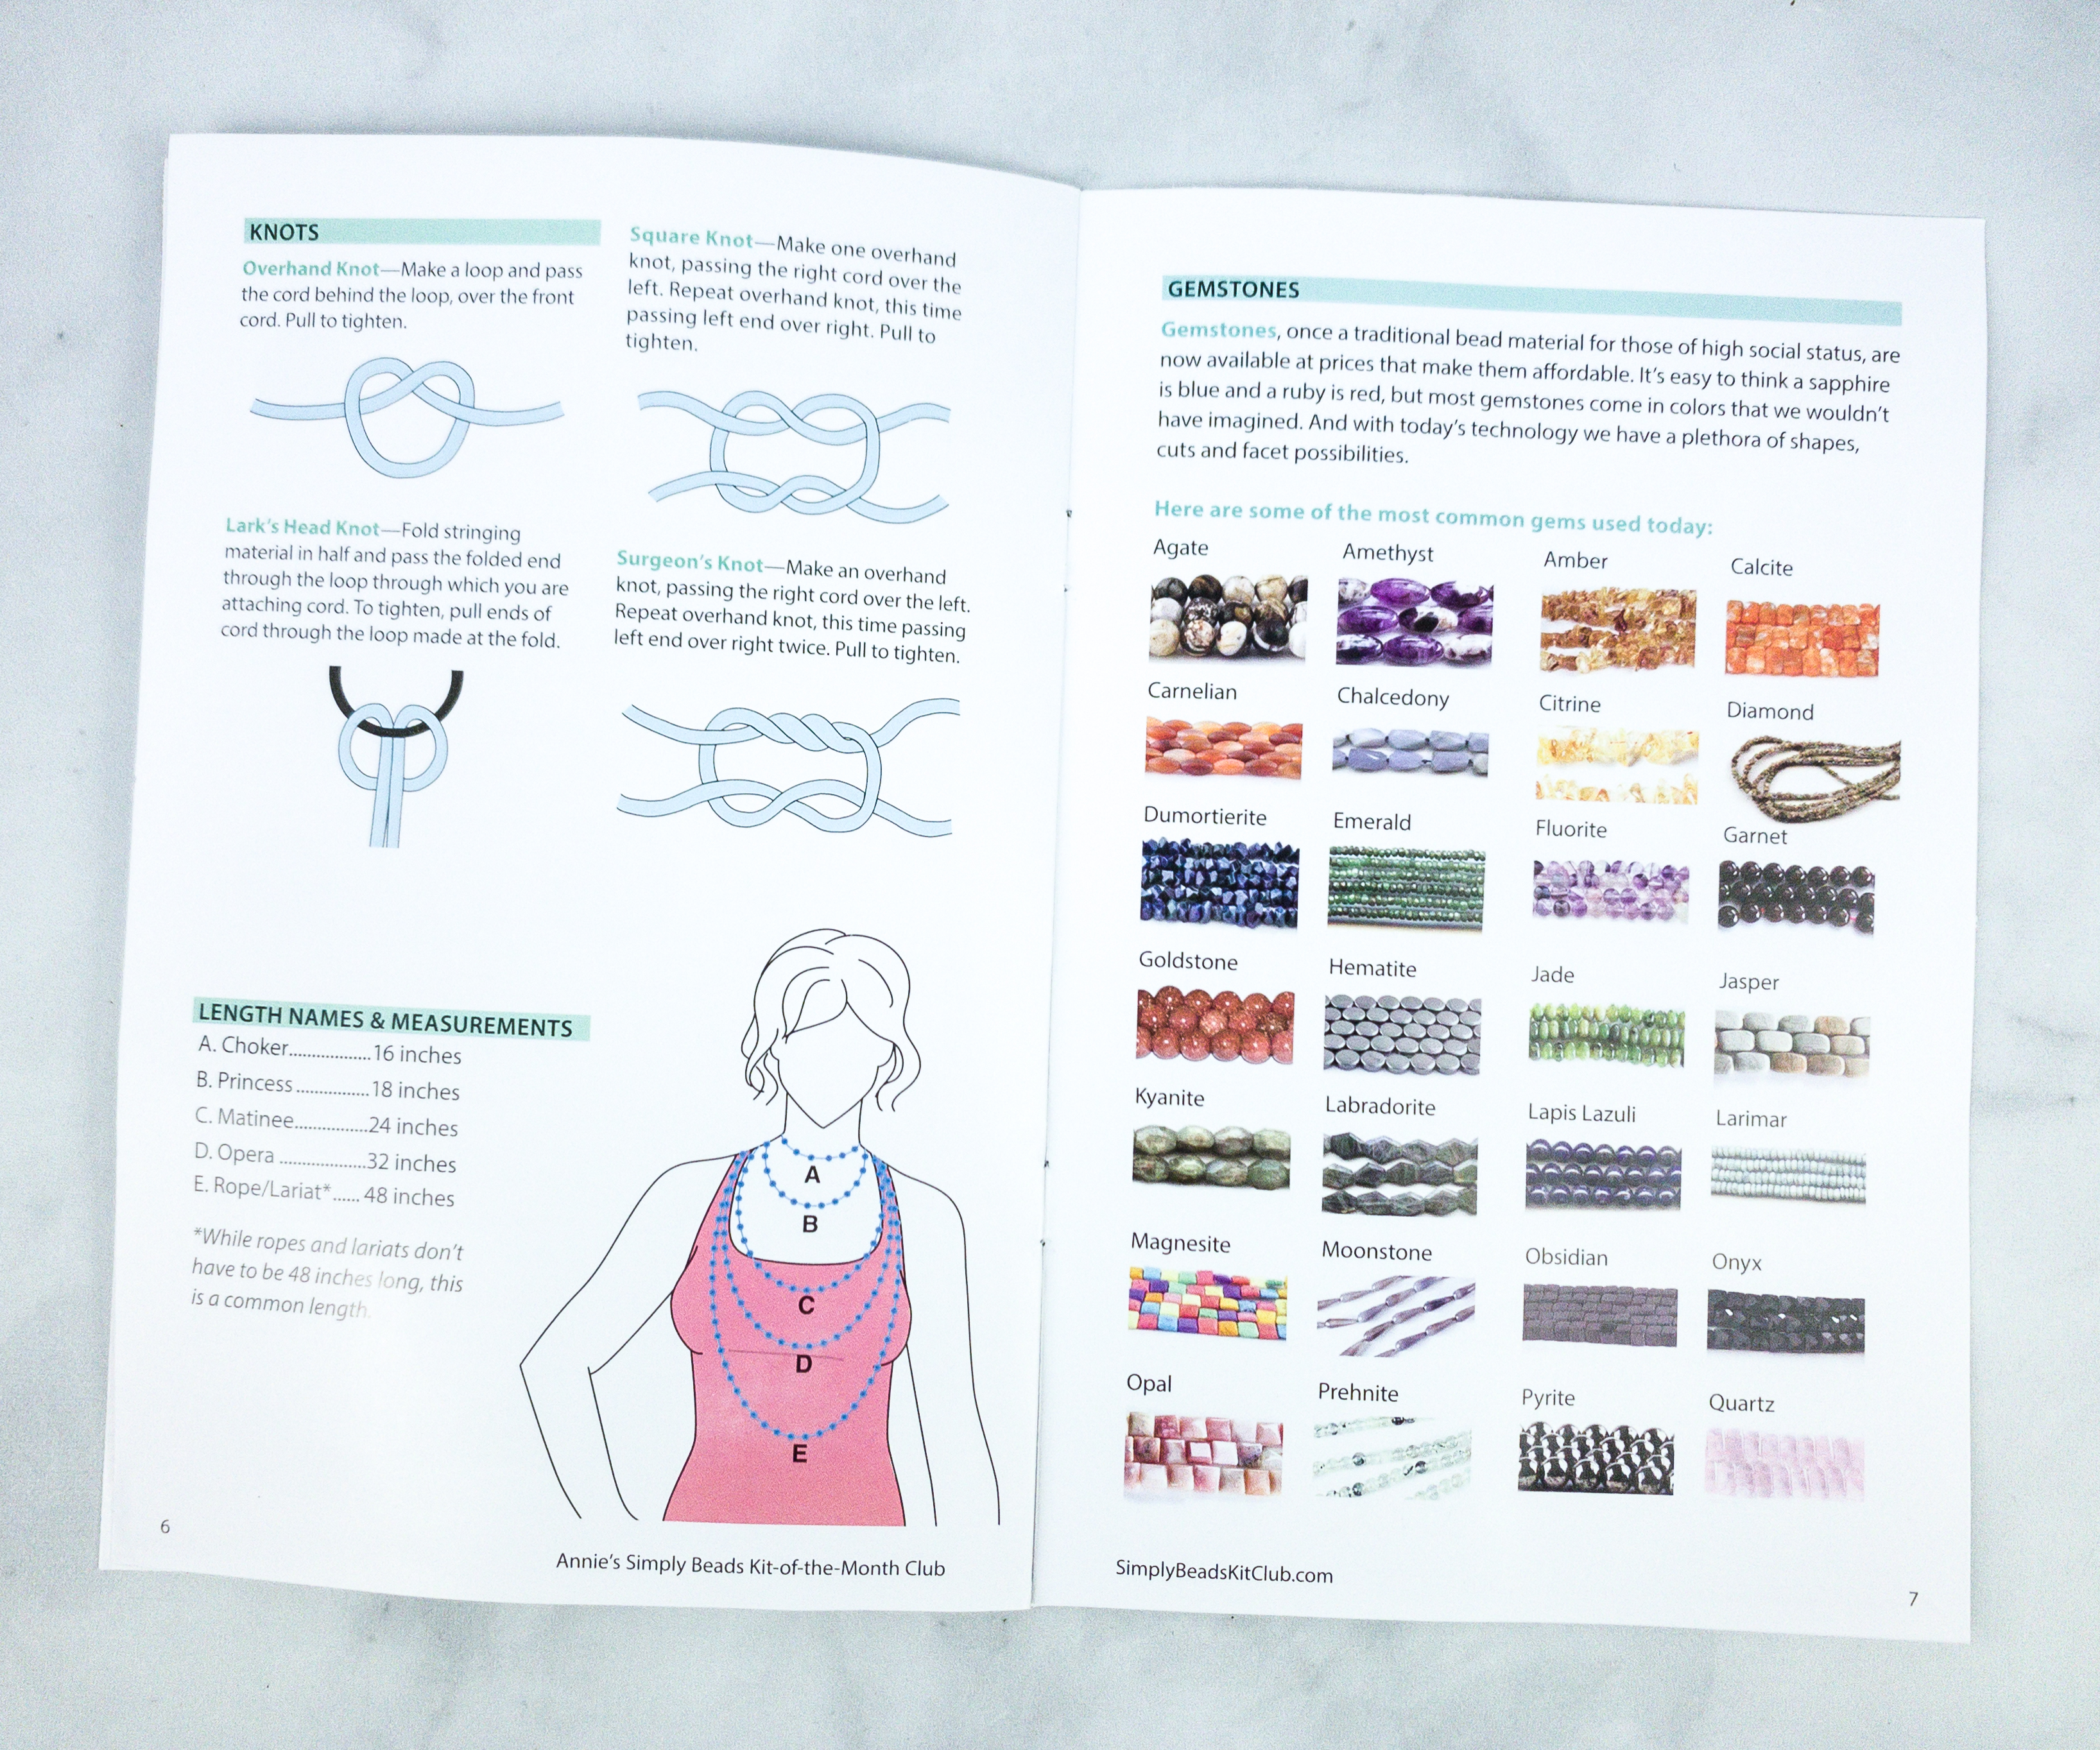
I love that they included other information that we can use for future projects like the length names and measurements of necklaces, different knots as well as different gemstones!
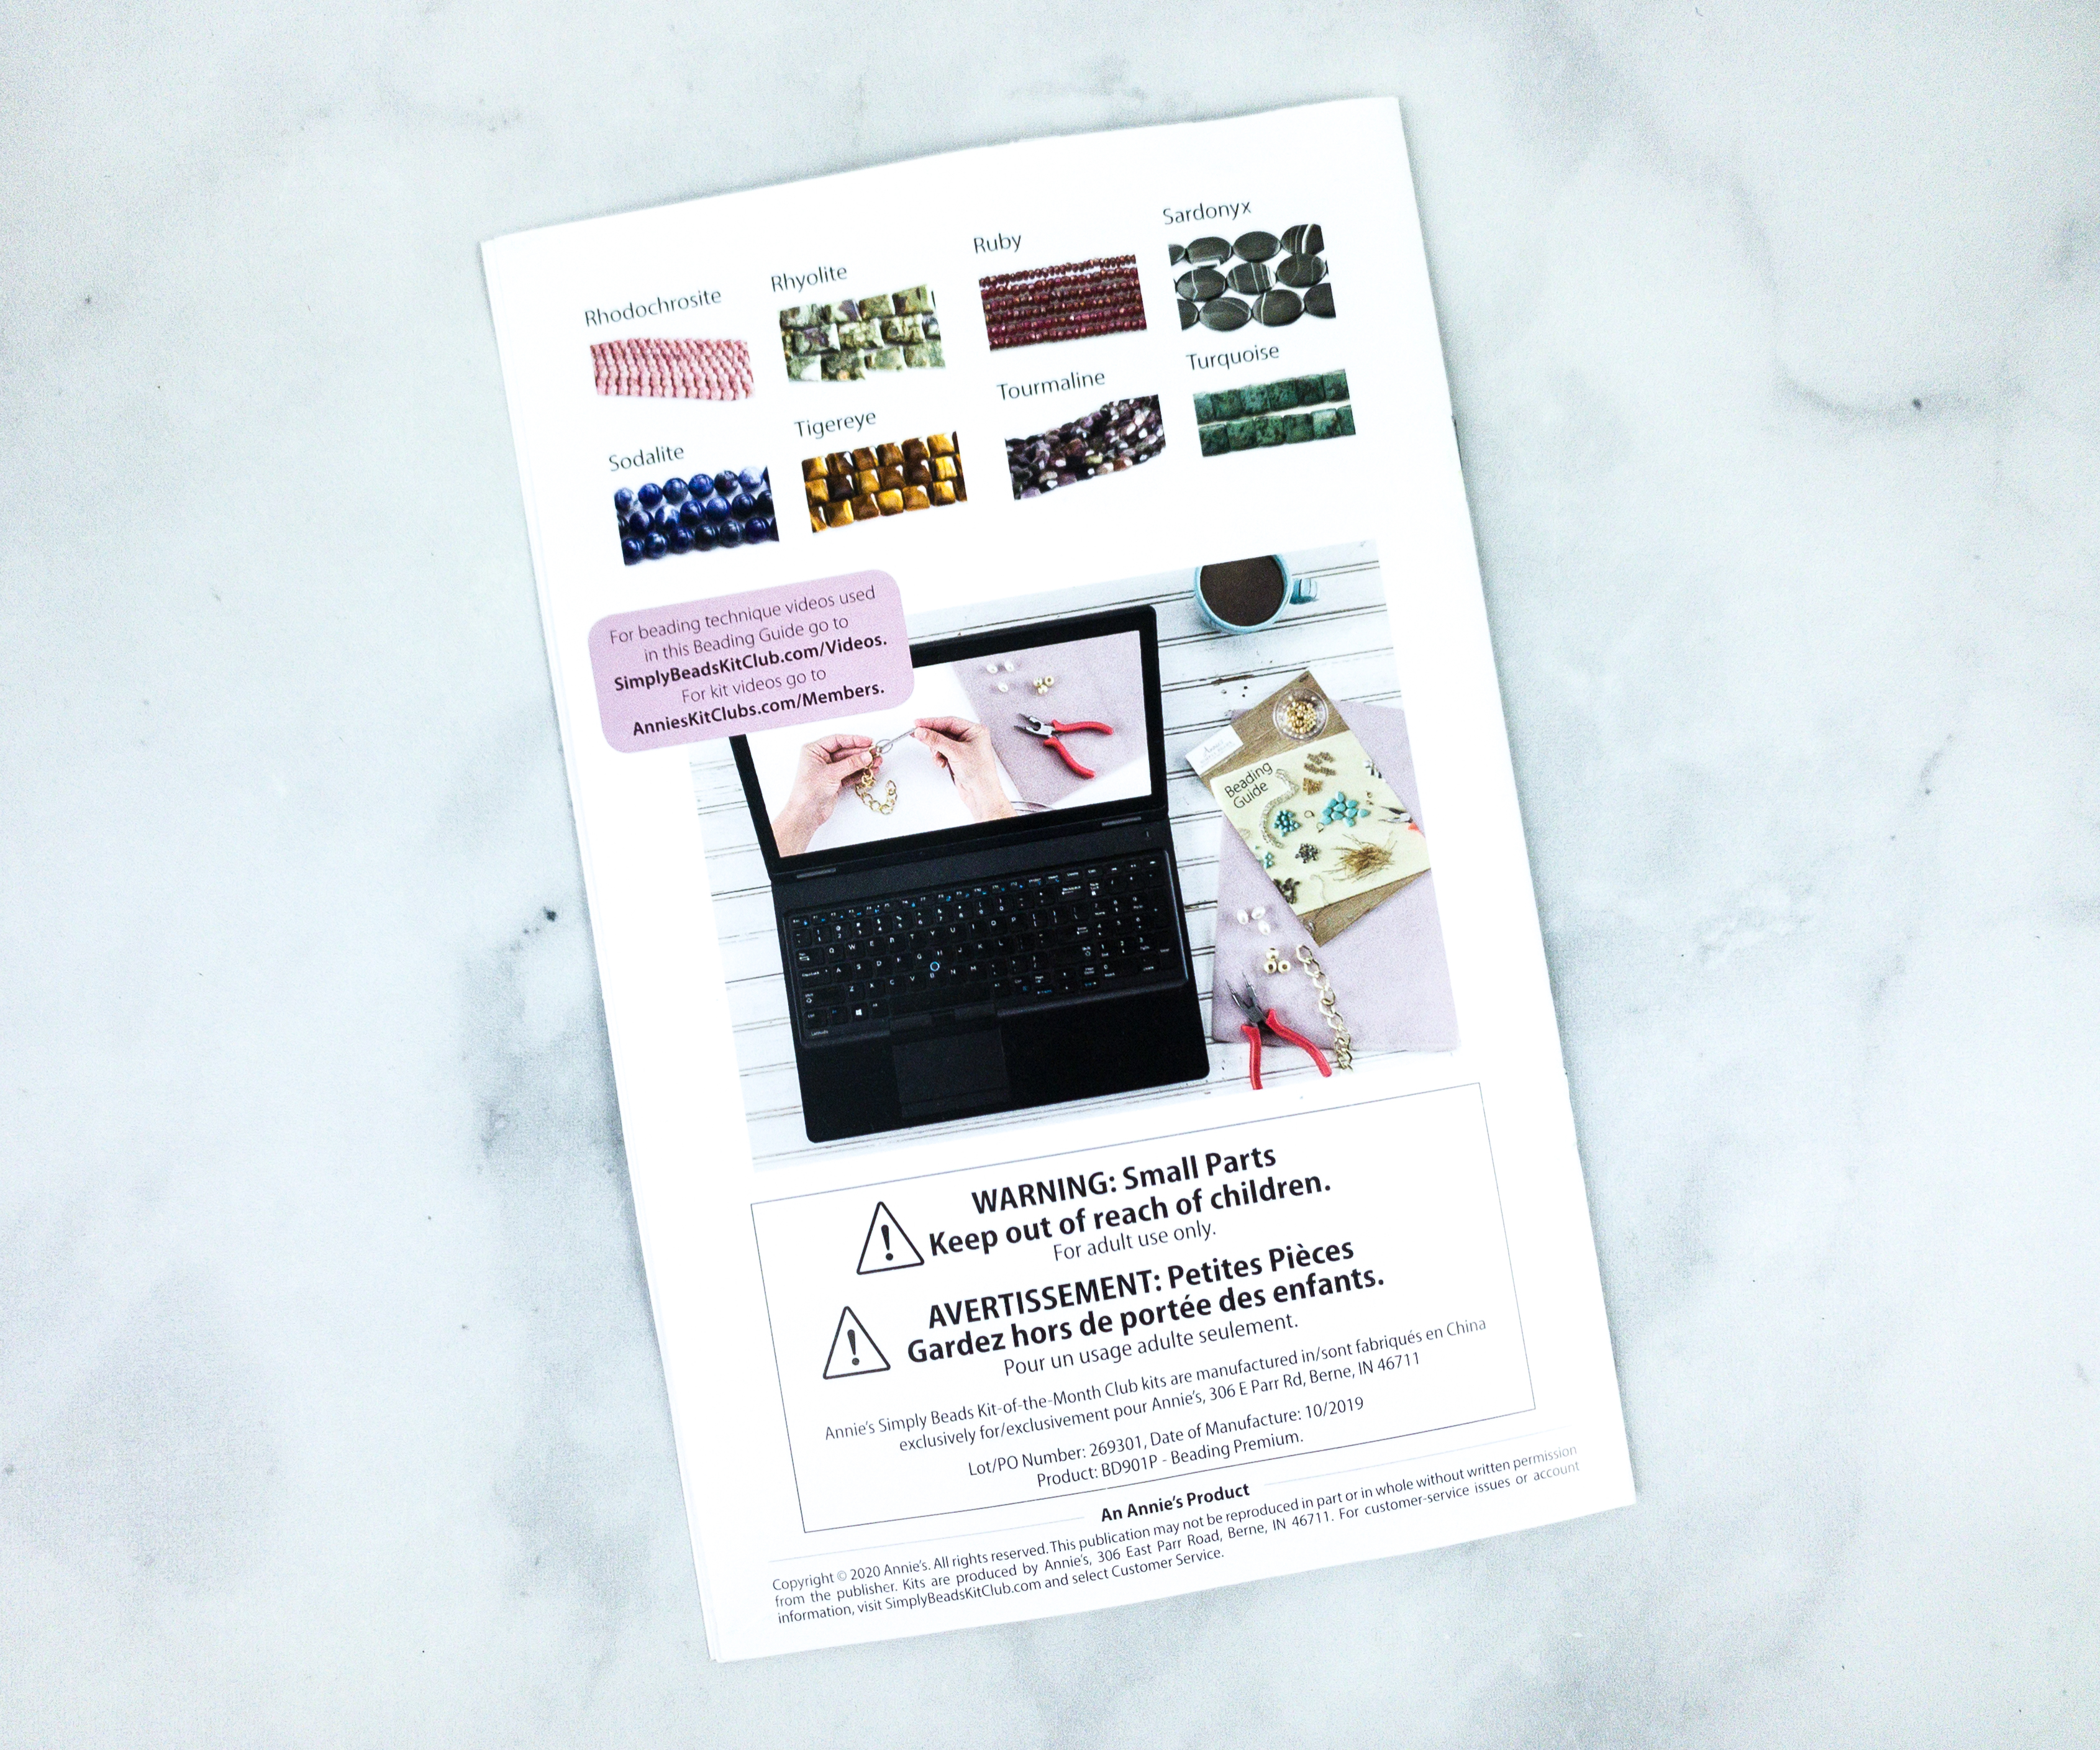
You can also visit the link that they included if you want to watch more video tutorials!
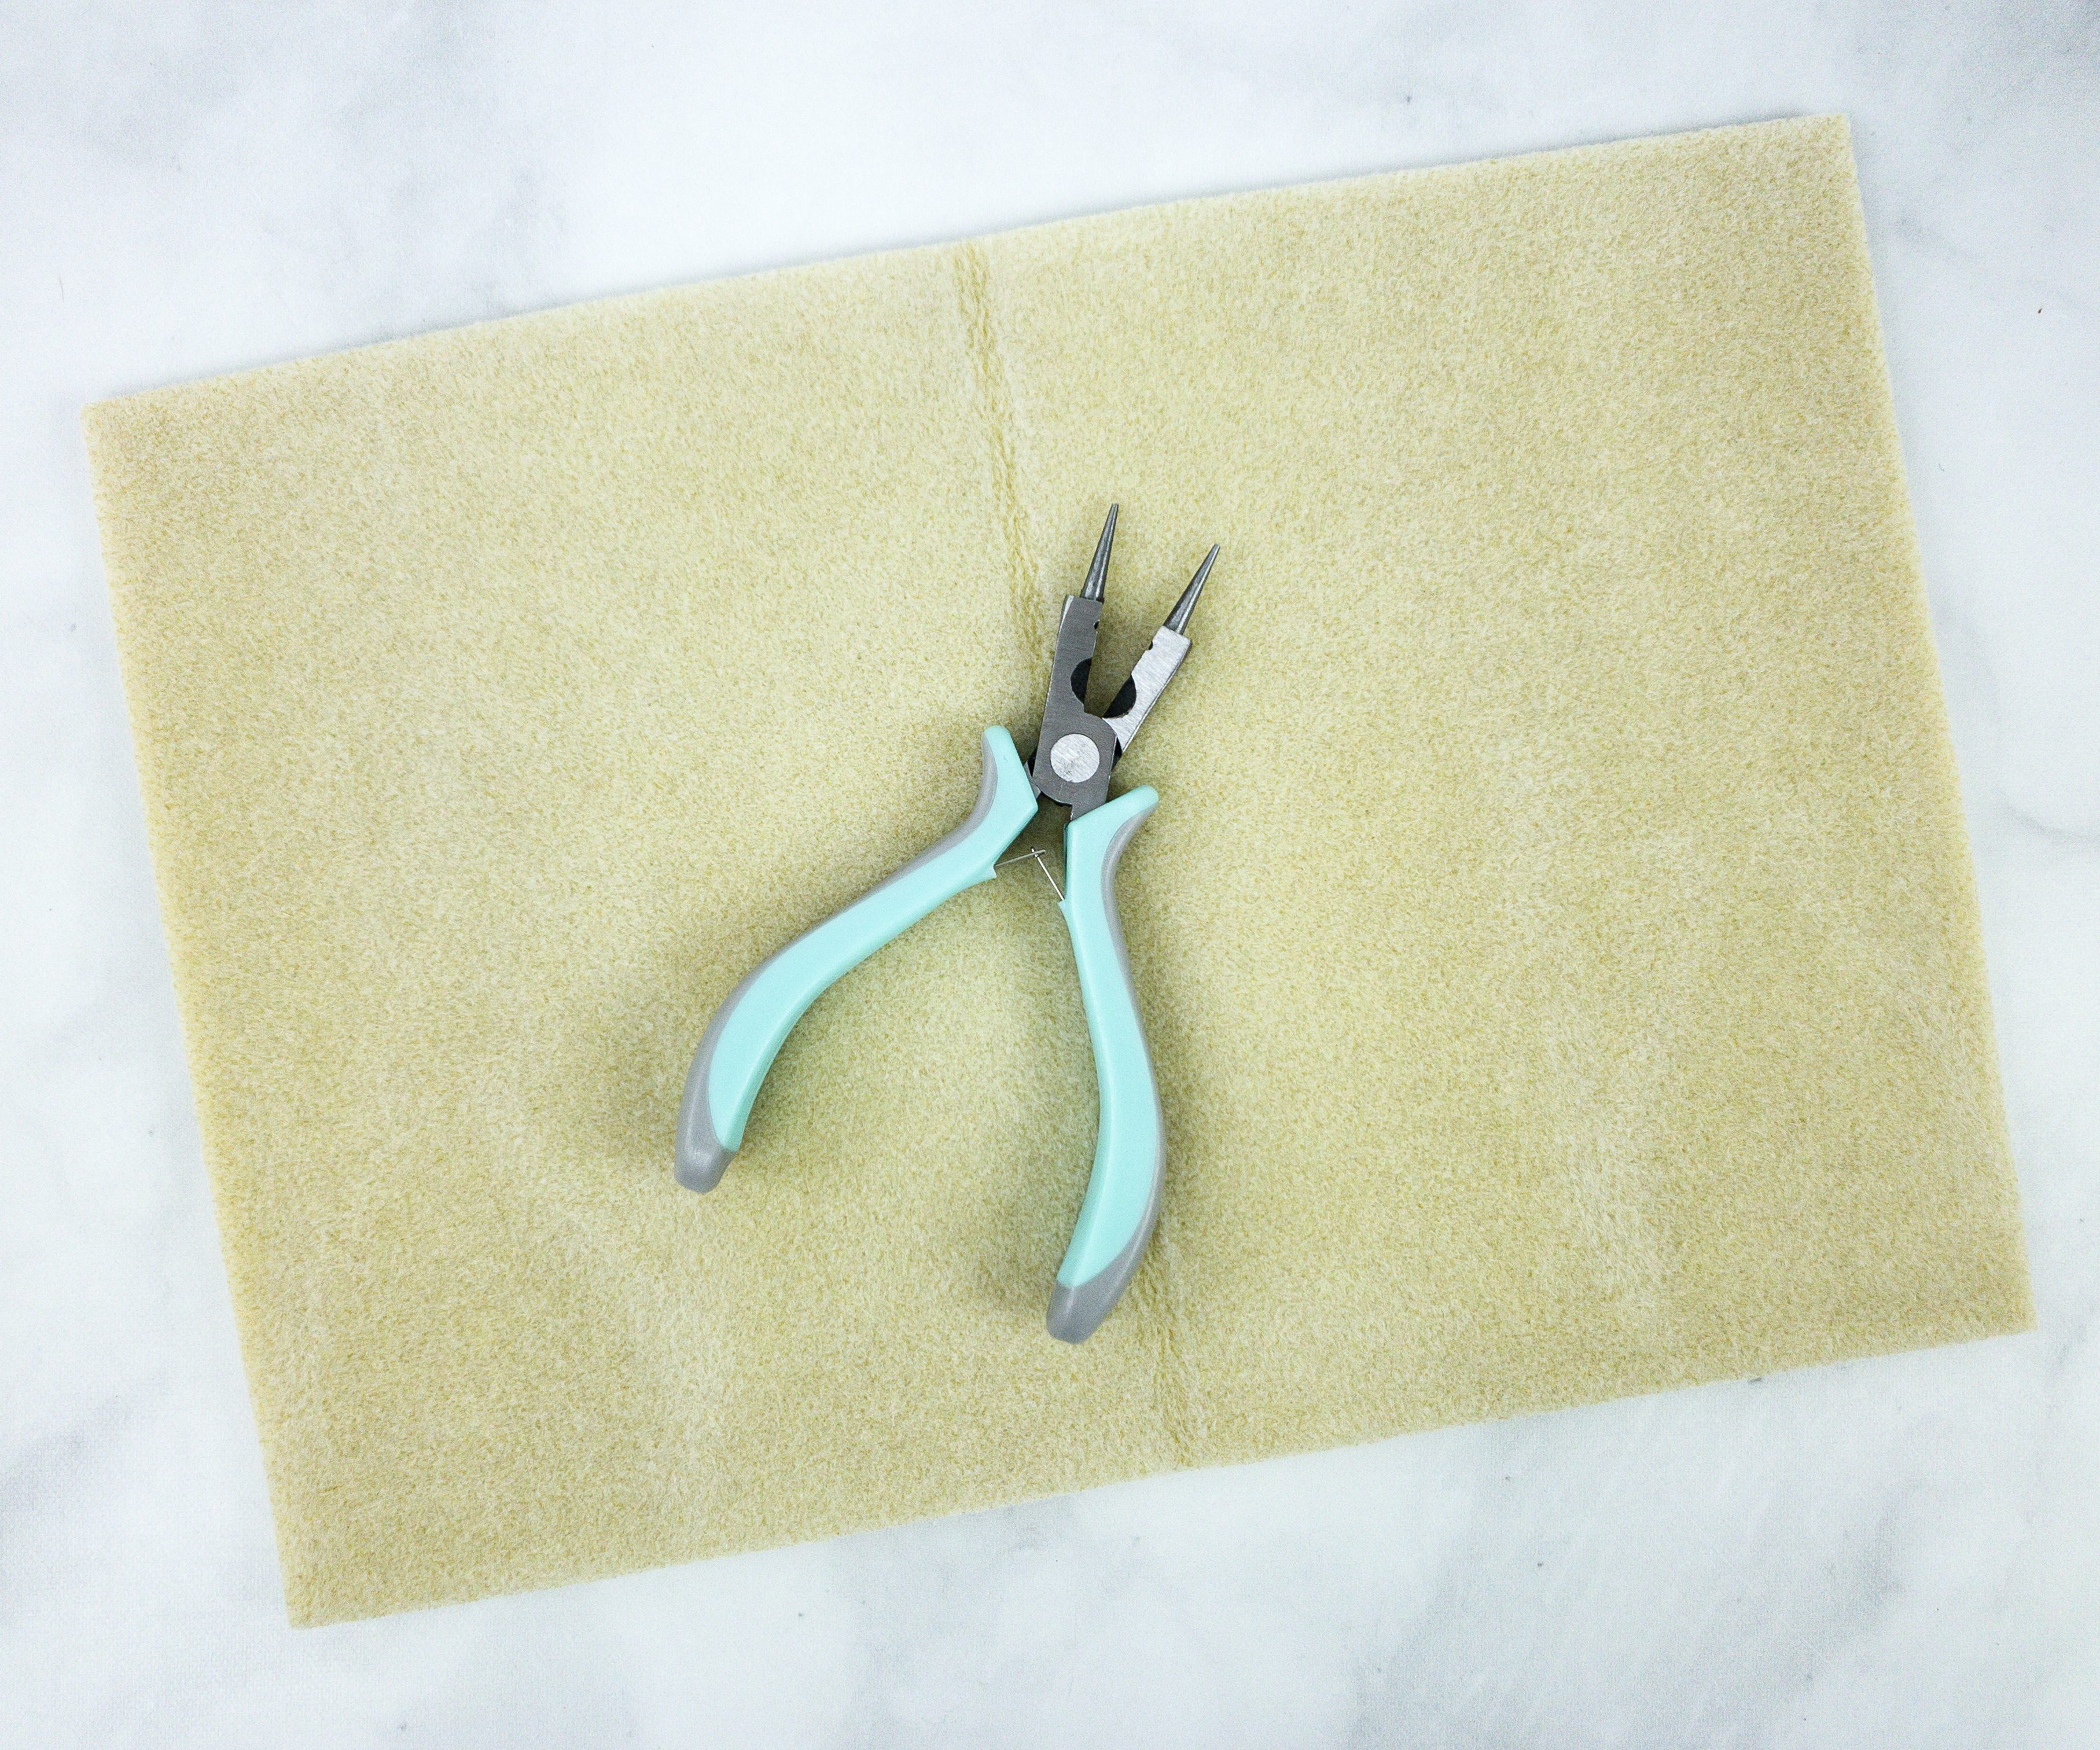
A velour beading mat and a 4-in-1 tool is also included in my first kit!
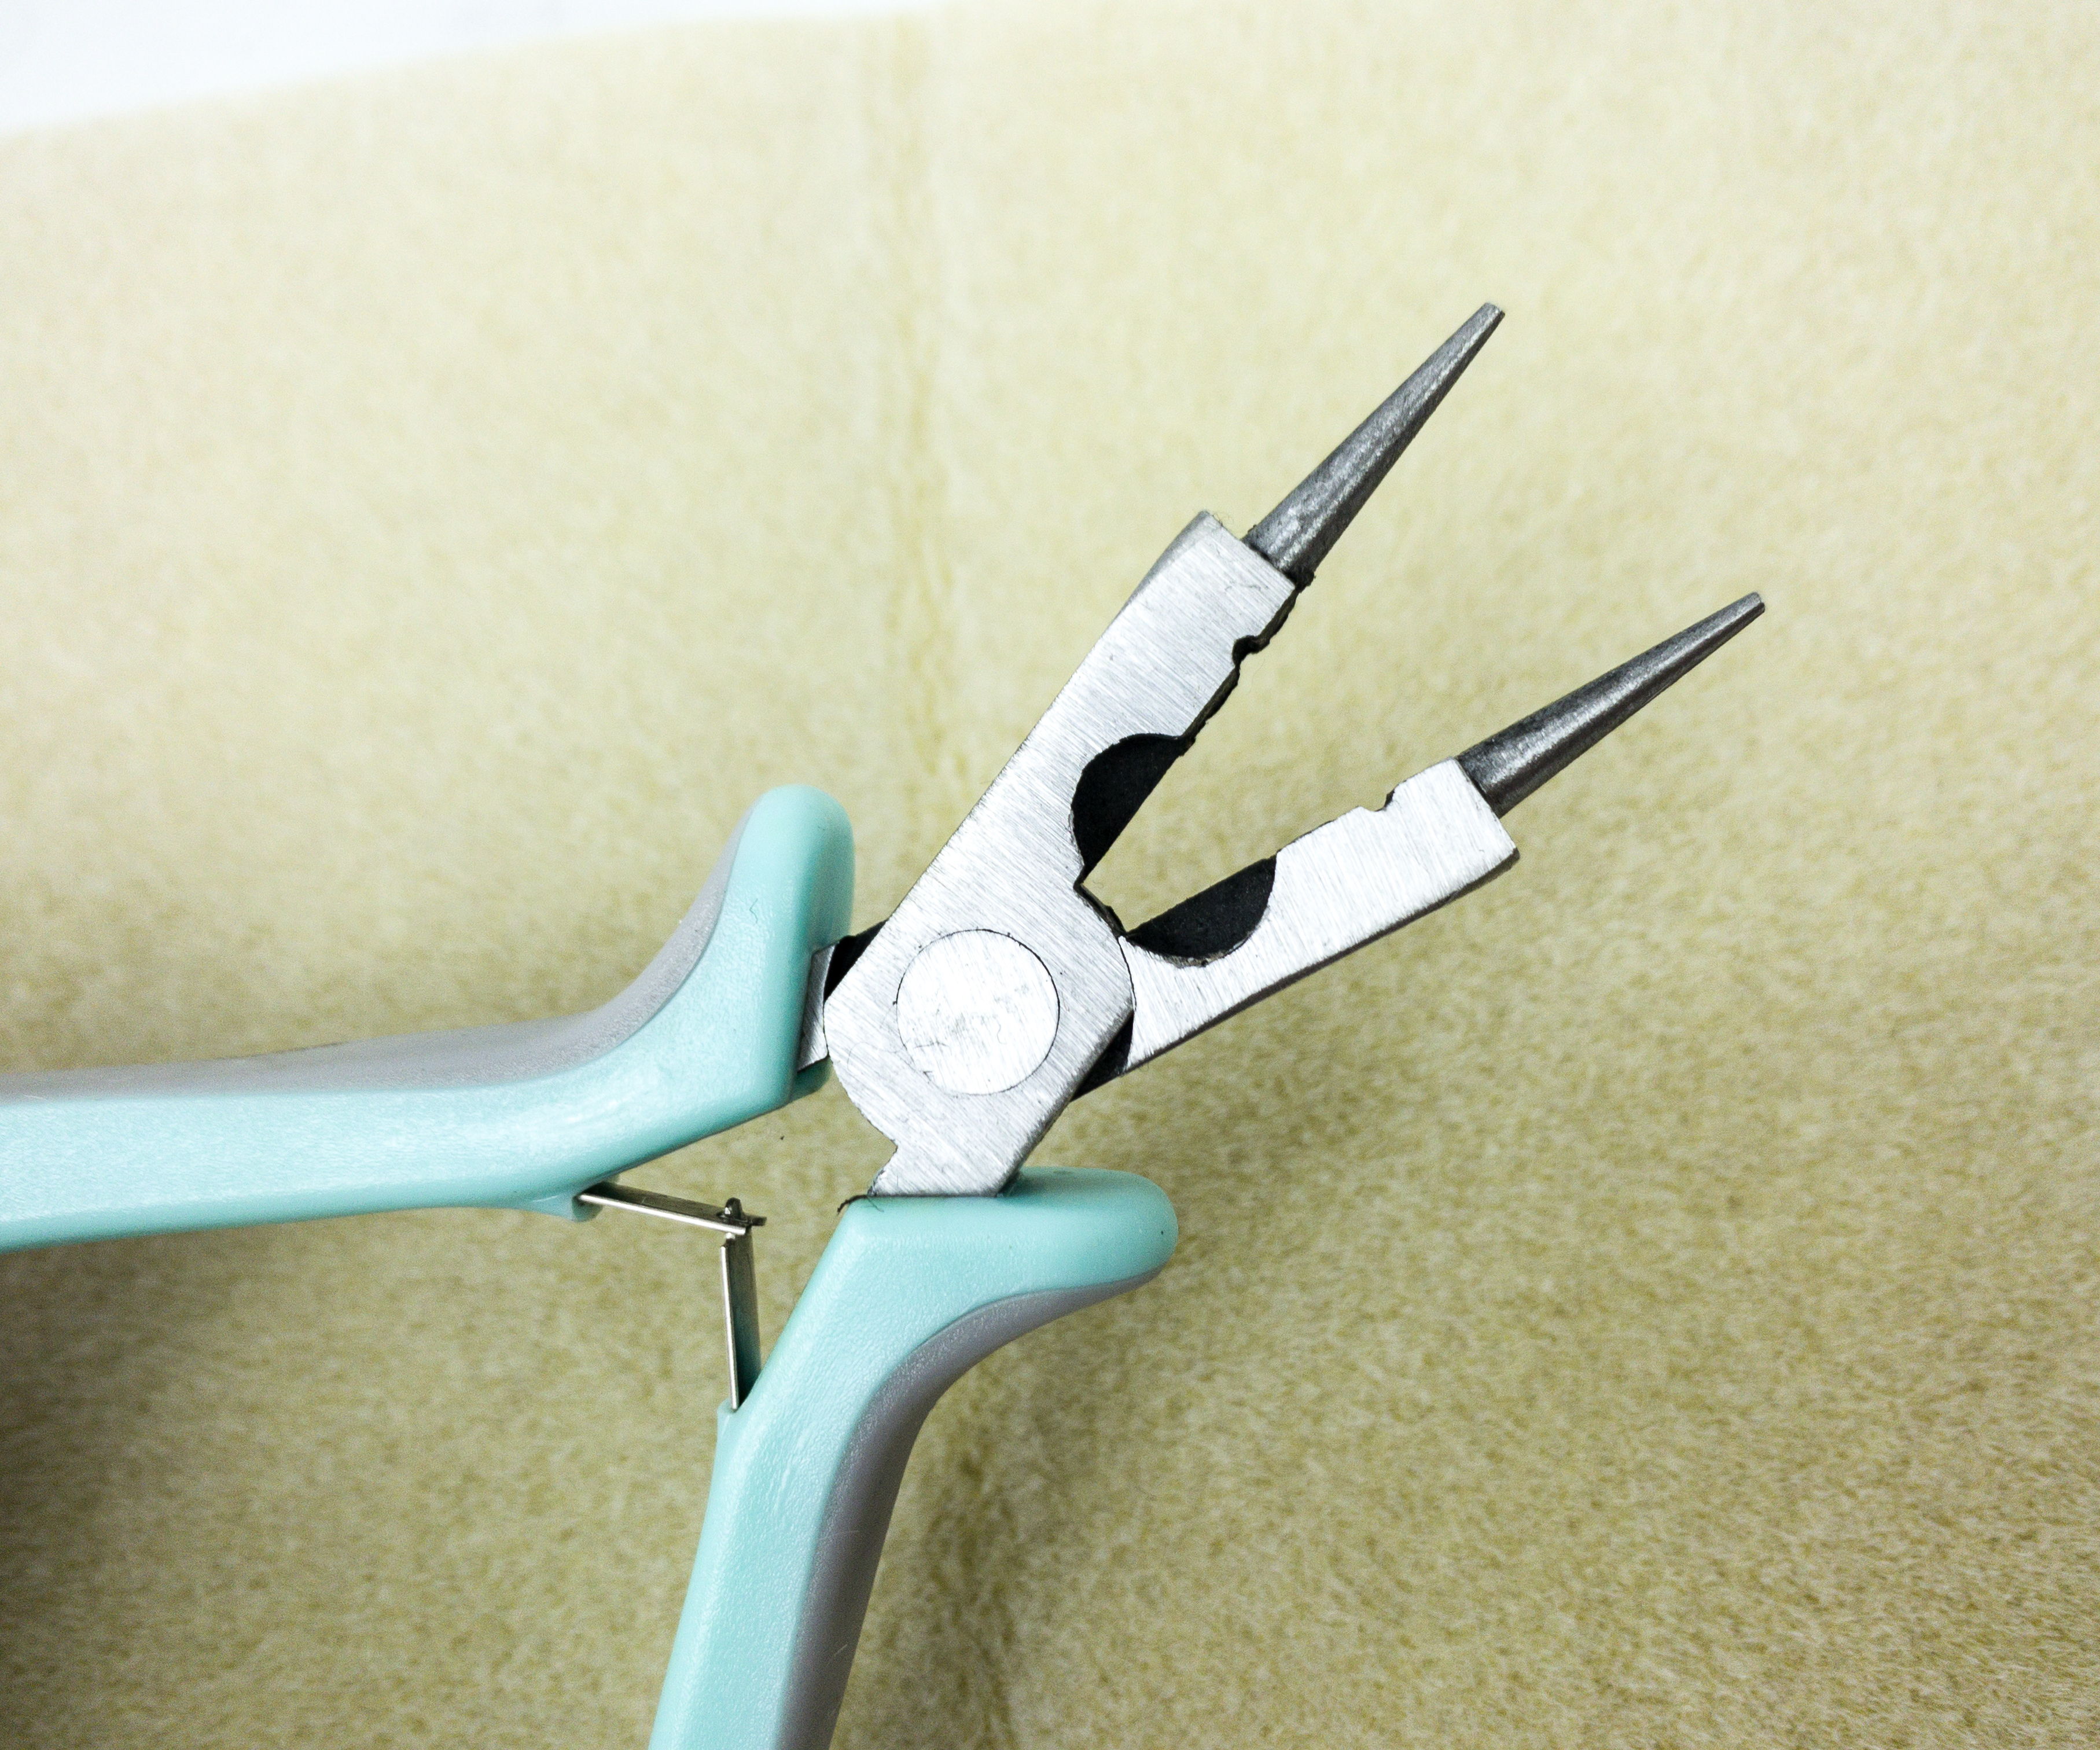
This tool is easy to use. It can be used not only for this month’s project but also for future projects!
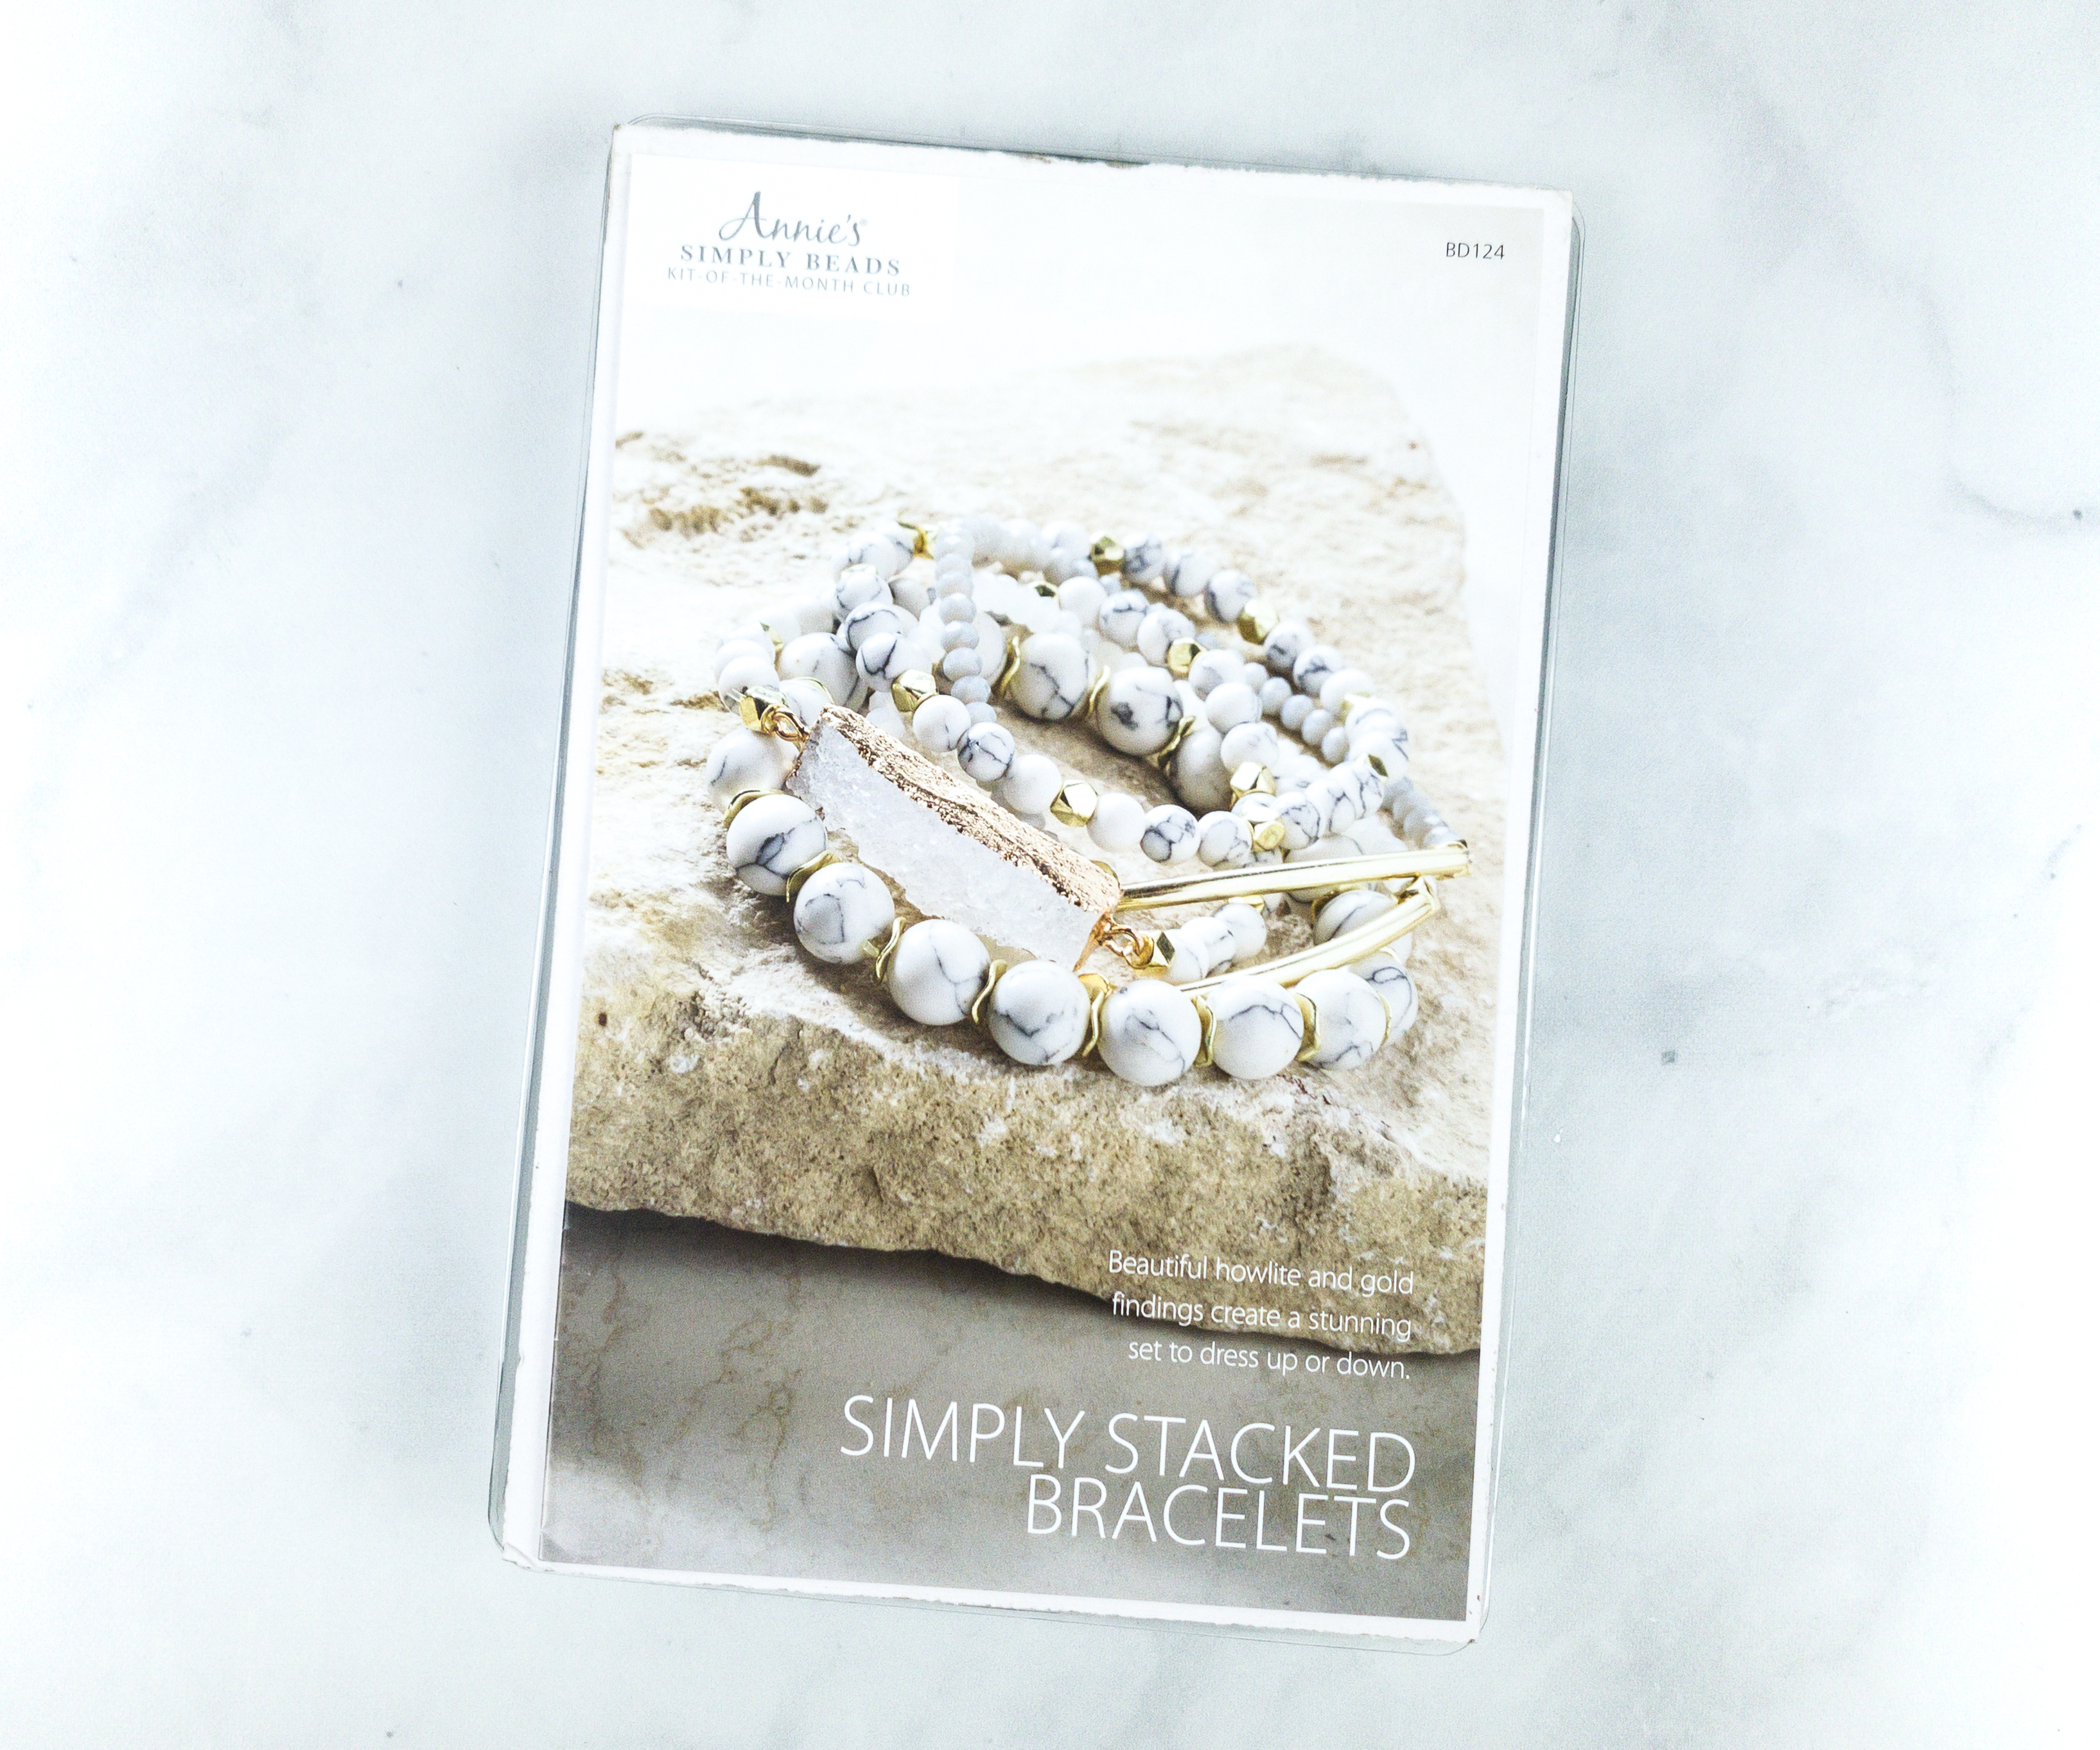
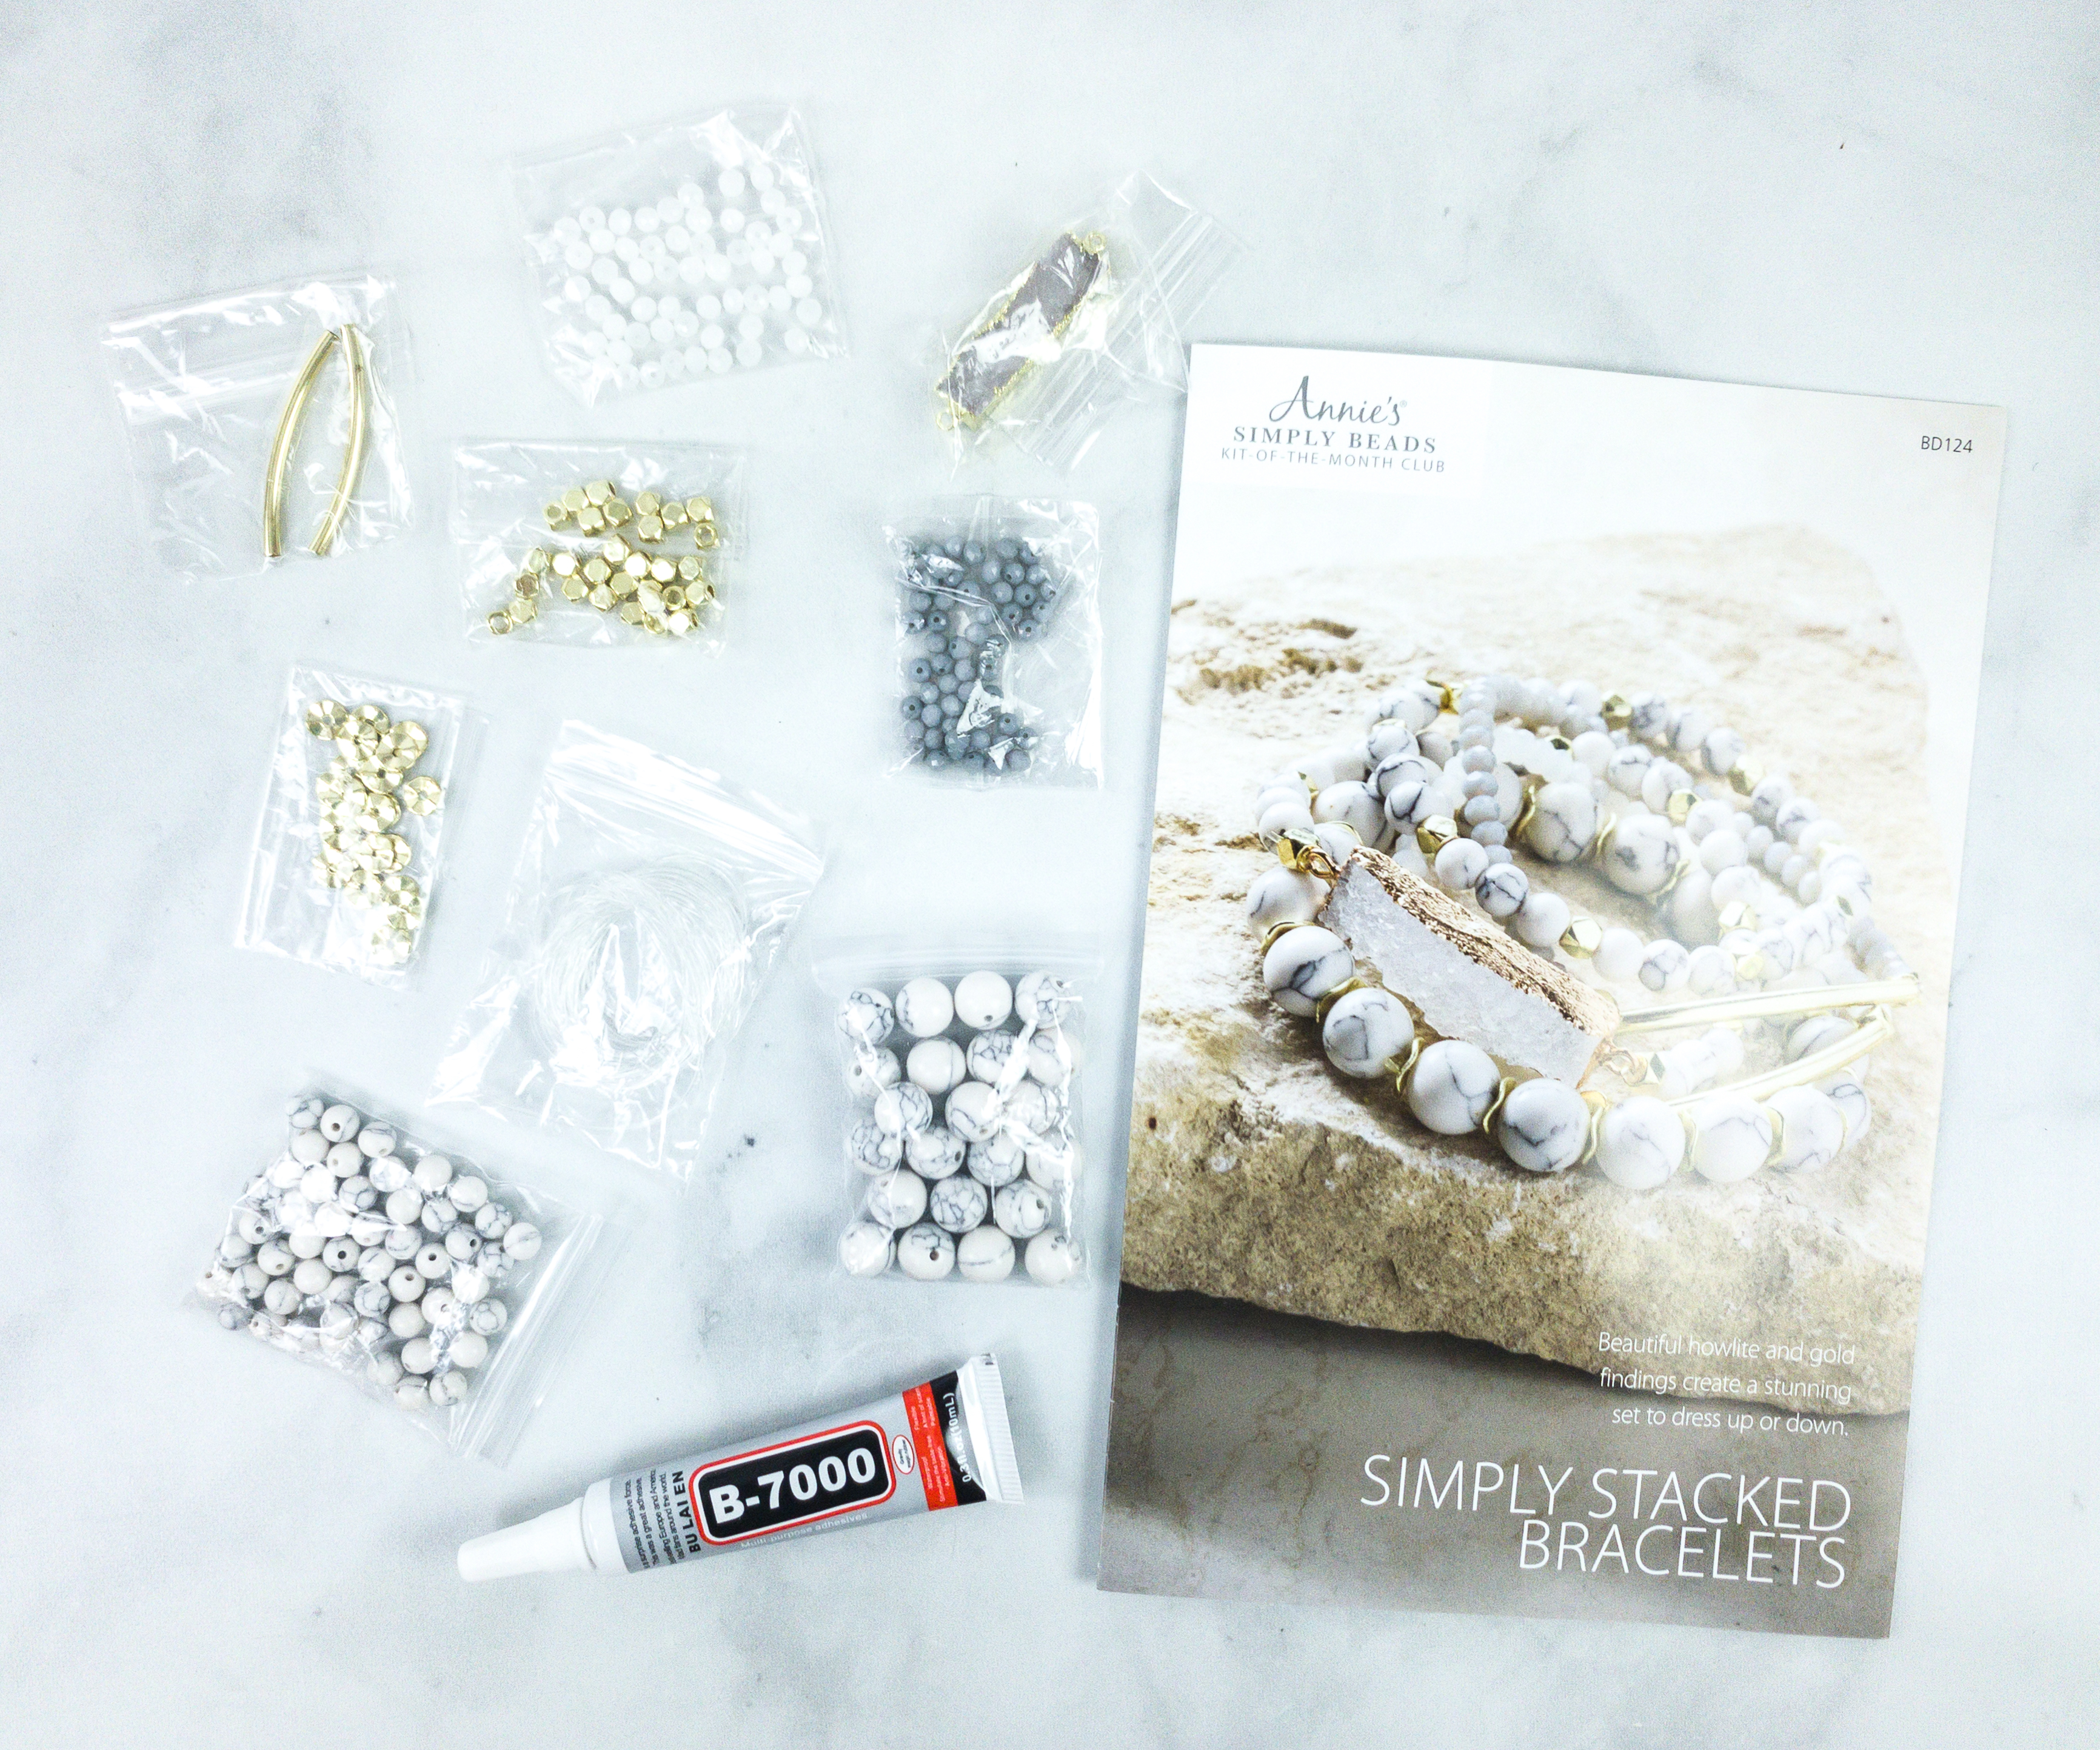
Now, here’s the featured kit for this month, Simply Stacked Bracelets!
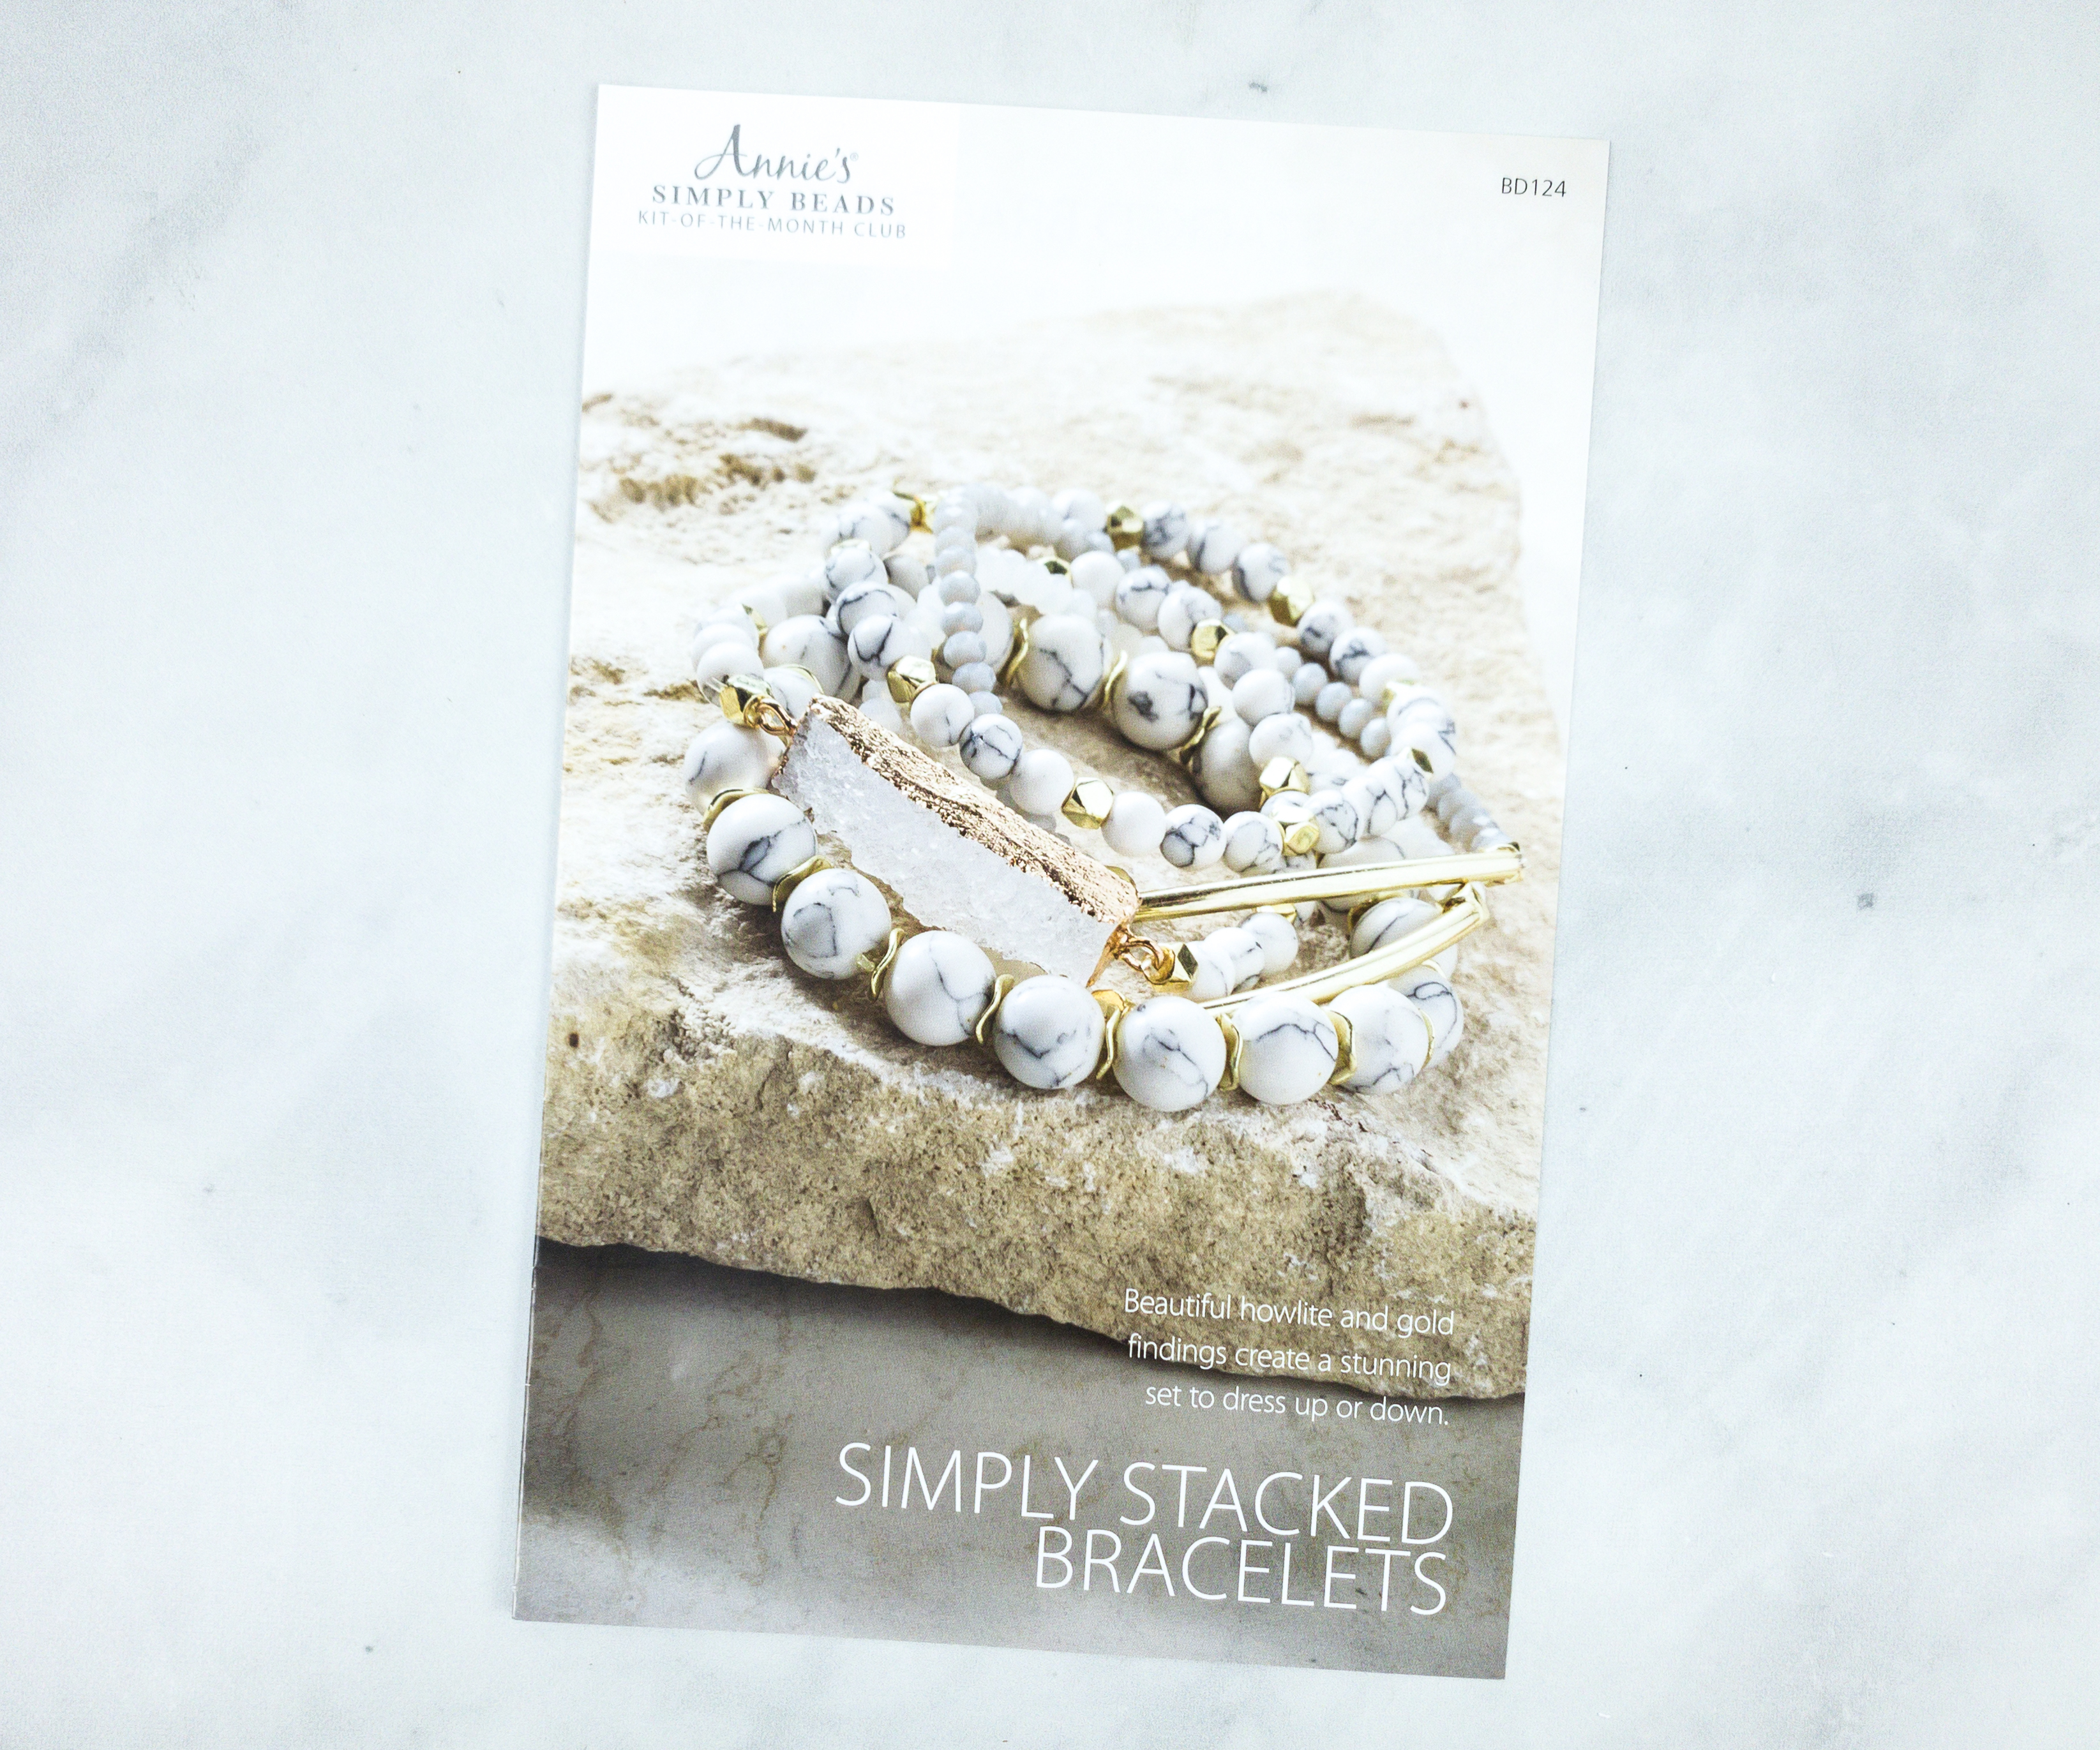
Beautiful howlite and gold
findings create a stunning
set to dress up or down.
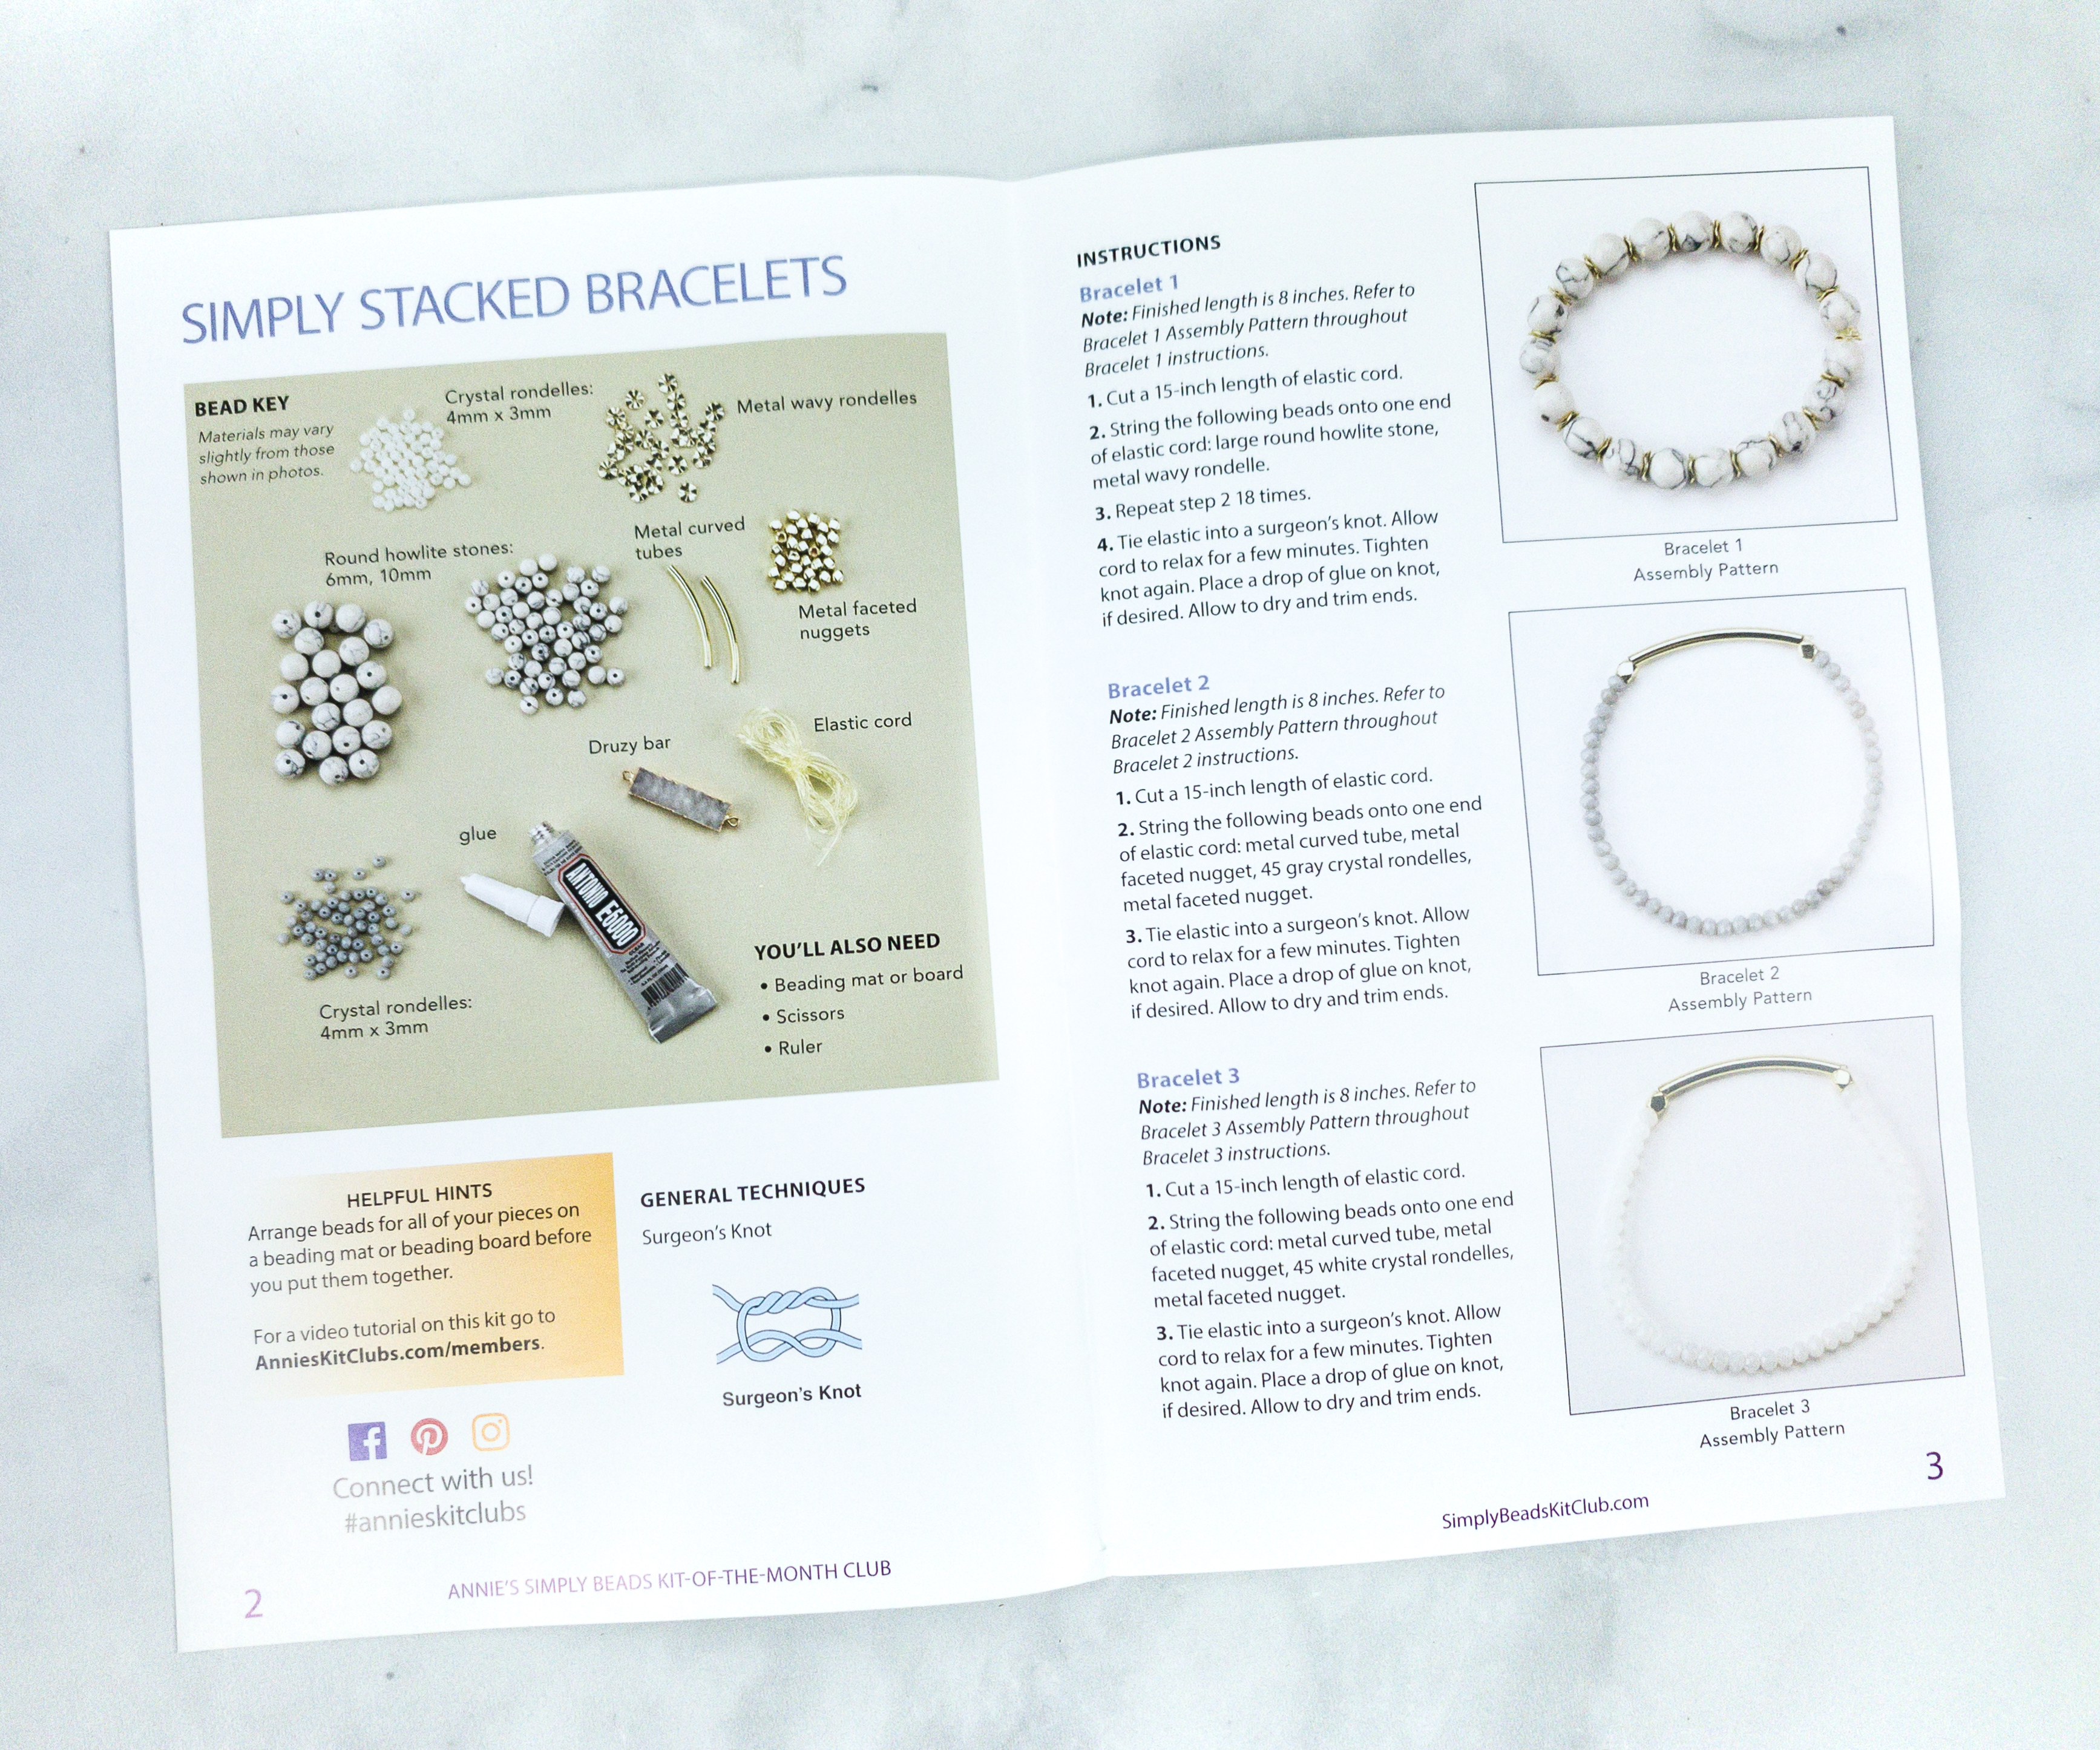
Inside the booklet is a list of all the materials for this project, the general beading technique to be used, as well as helpful hints and instructions.
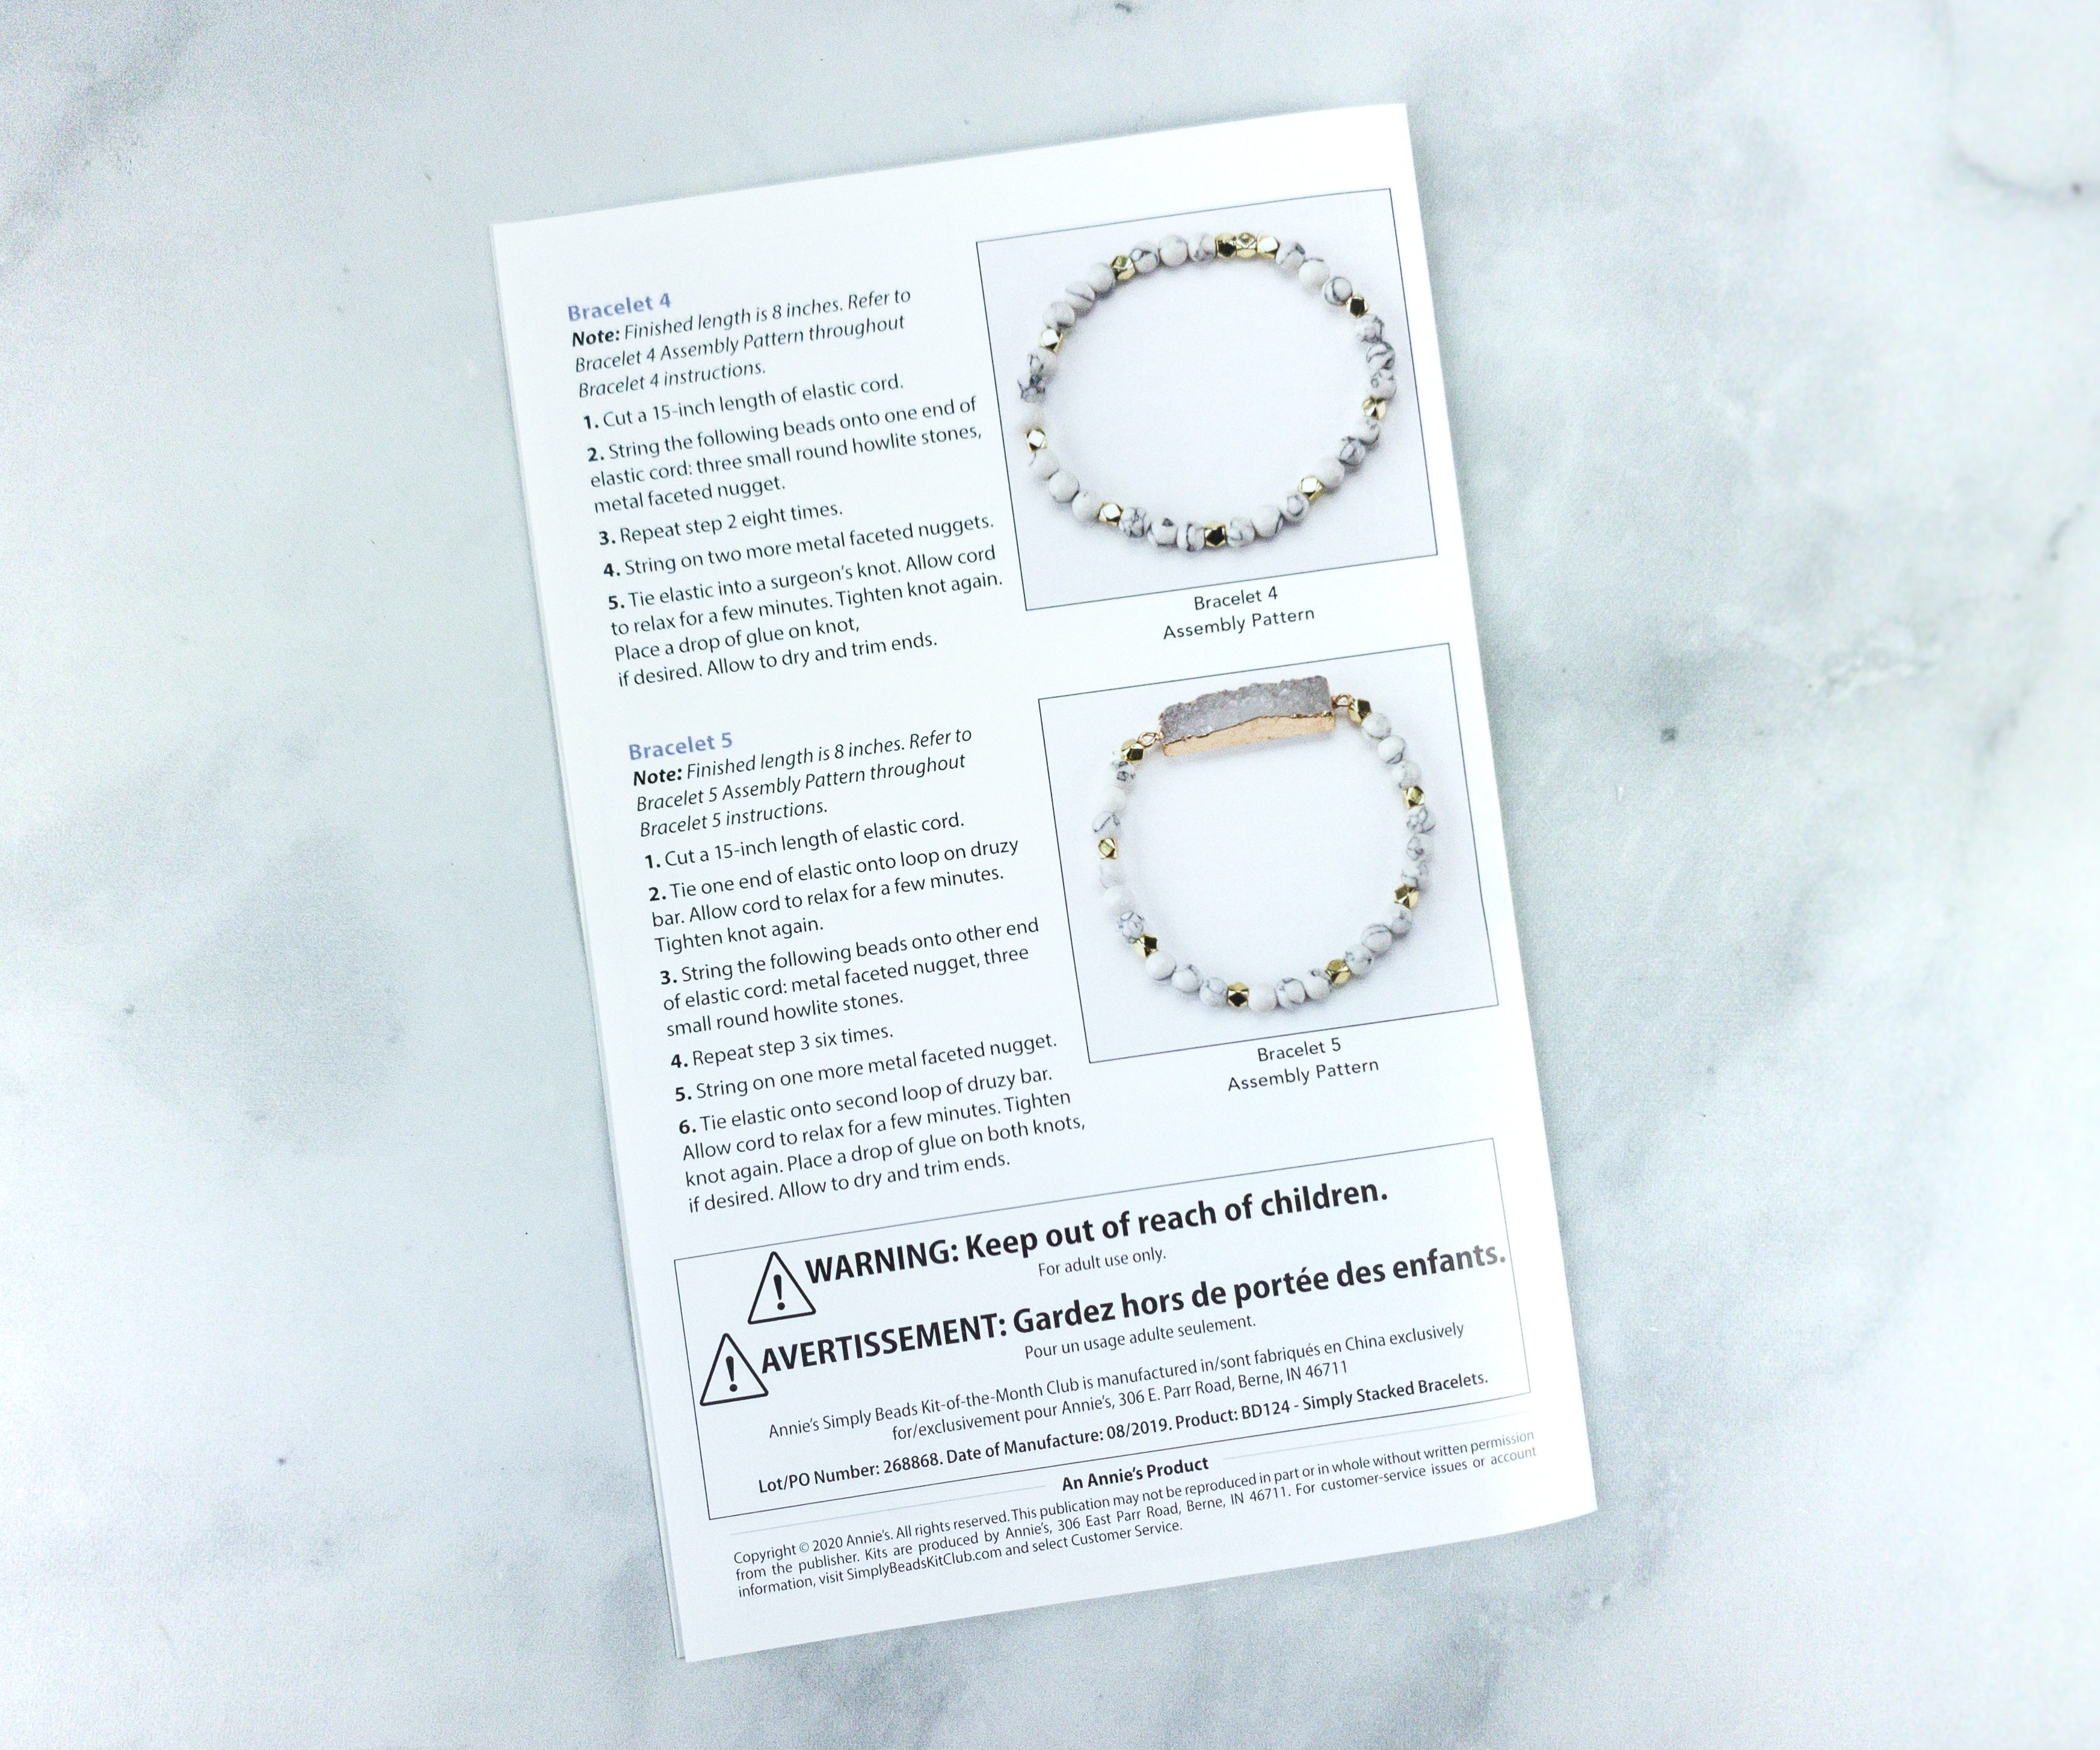
The instructions come with a photo for reference! This way, it’s easier to check if you’re doing the right thing!
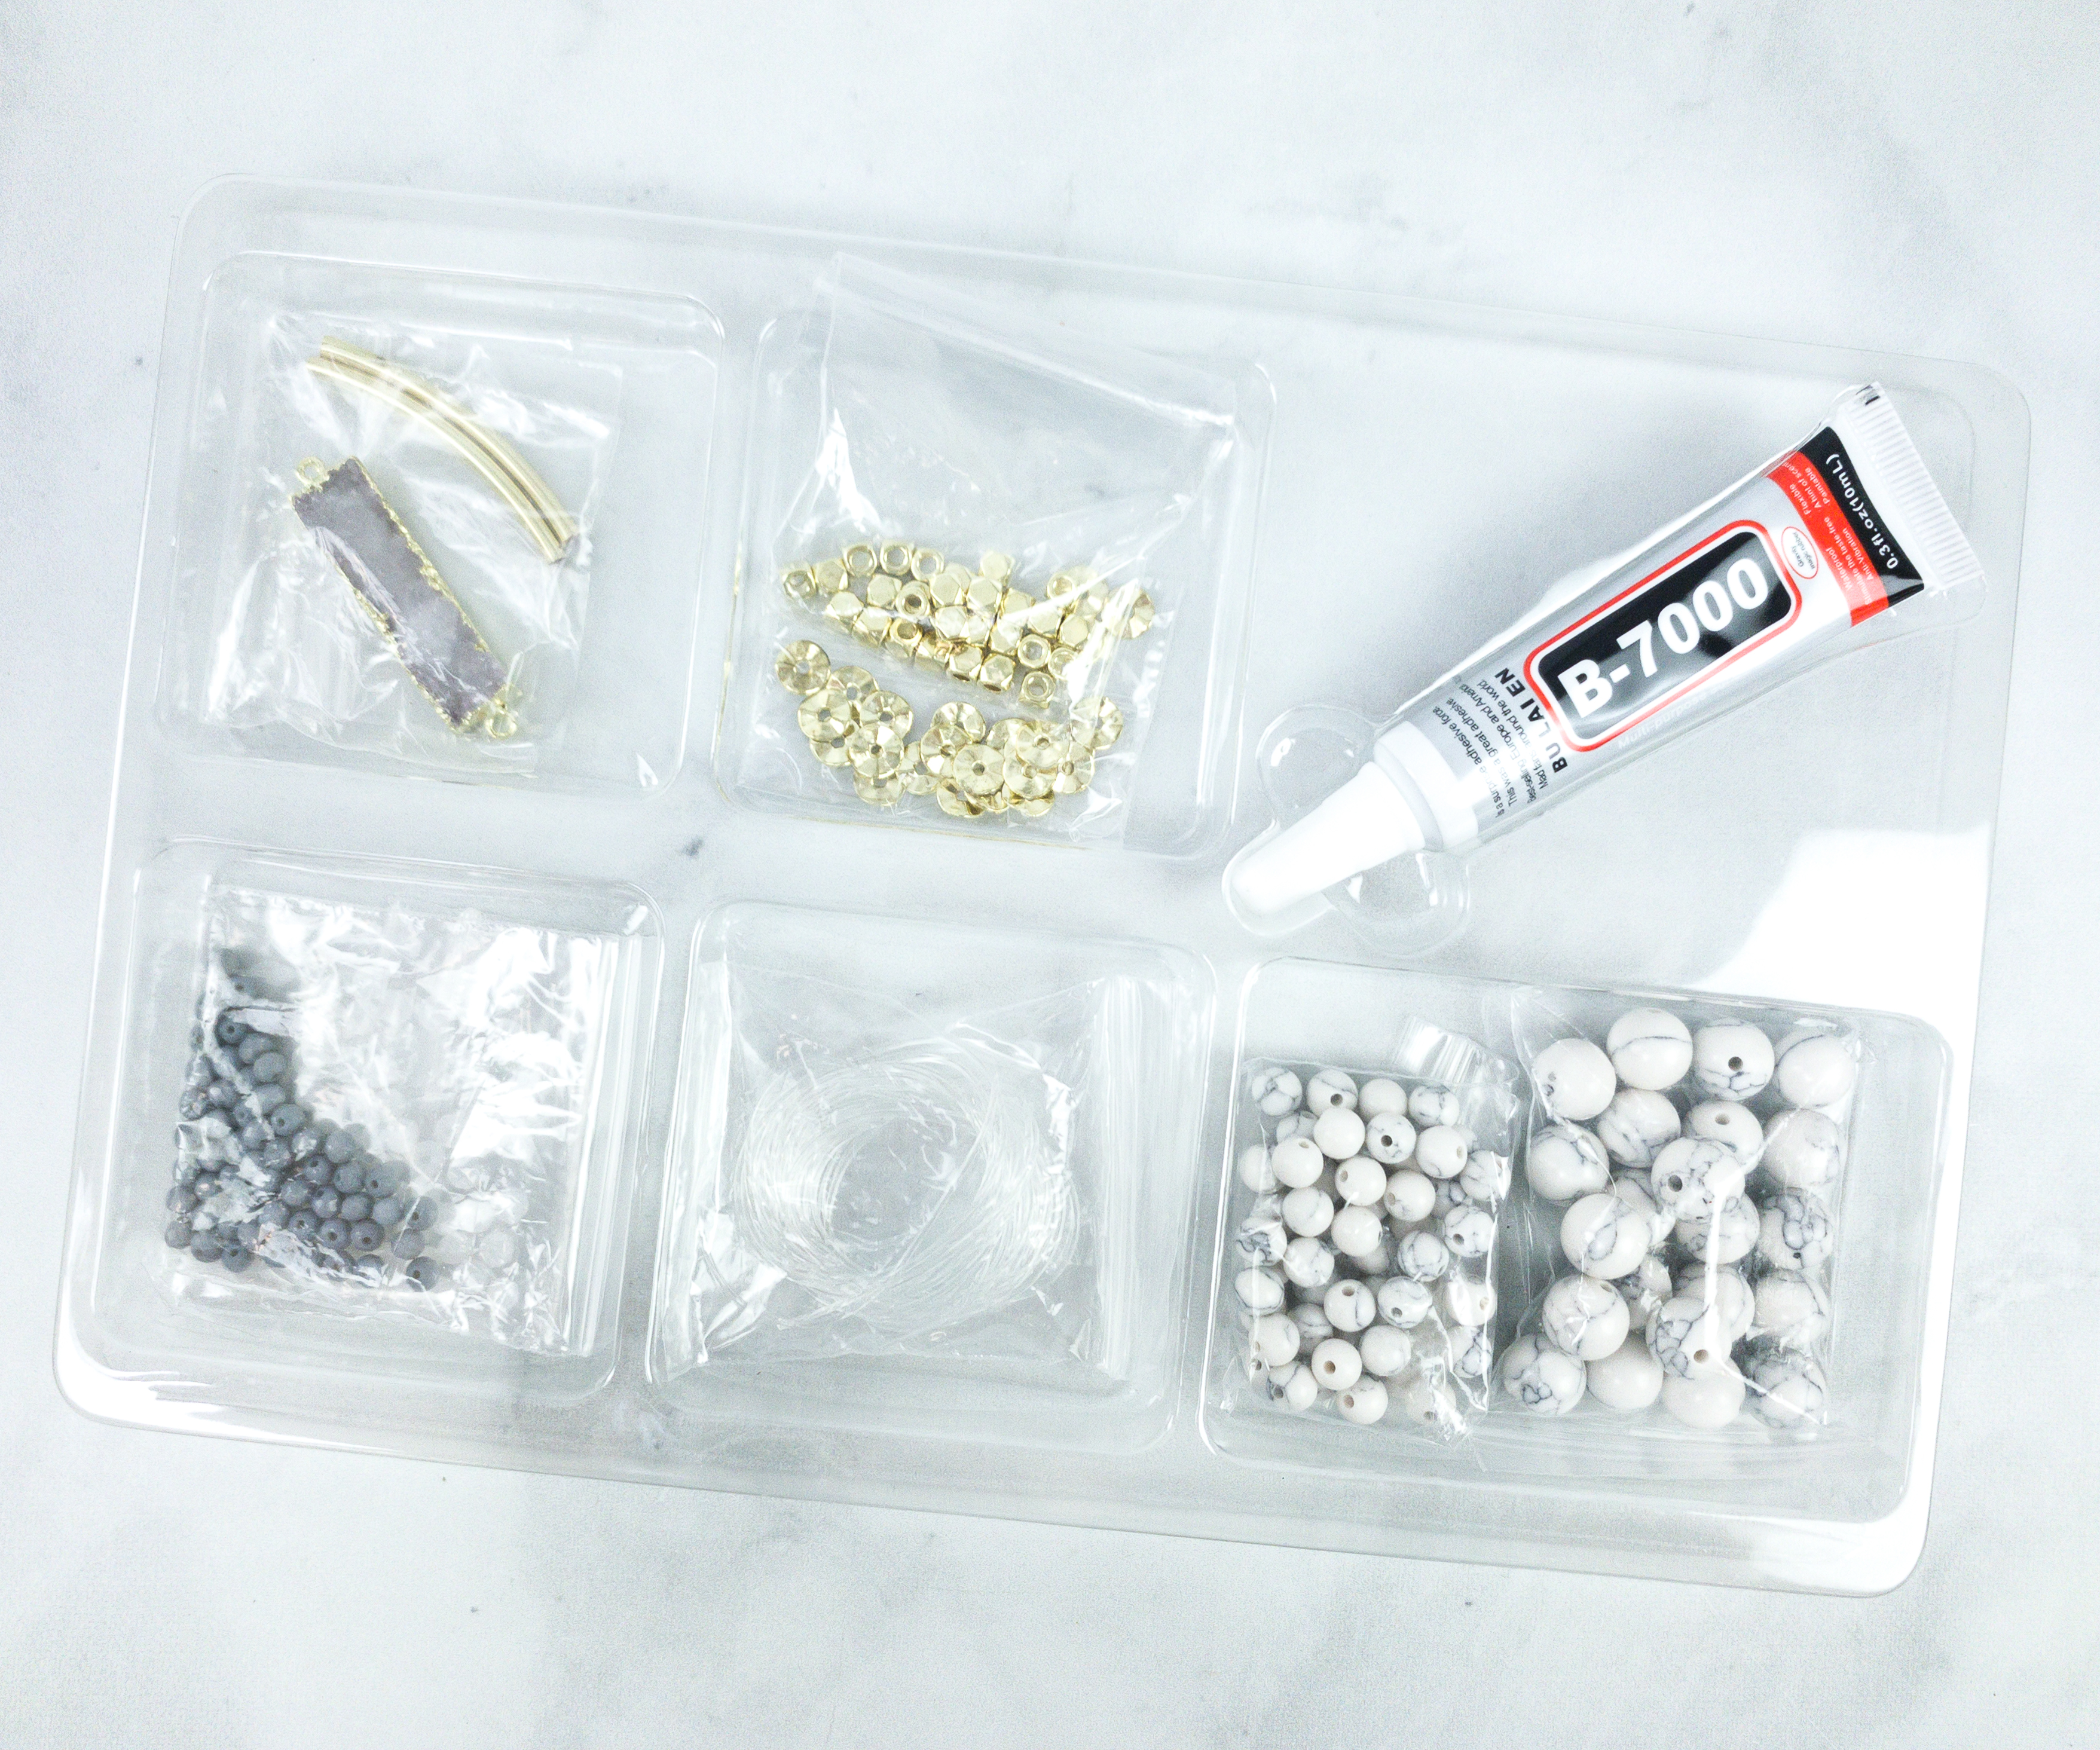
The materials came individually packed in a clear container.
Aside from the clear container, the materials were also packed in plastic pouches.
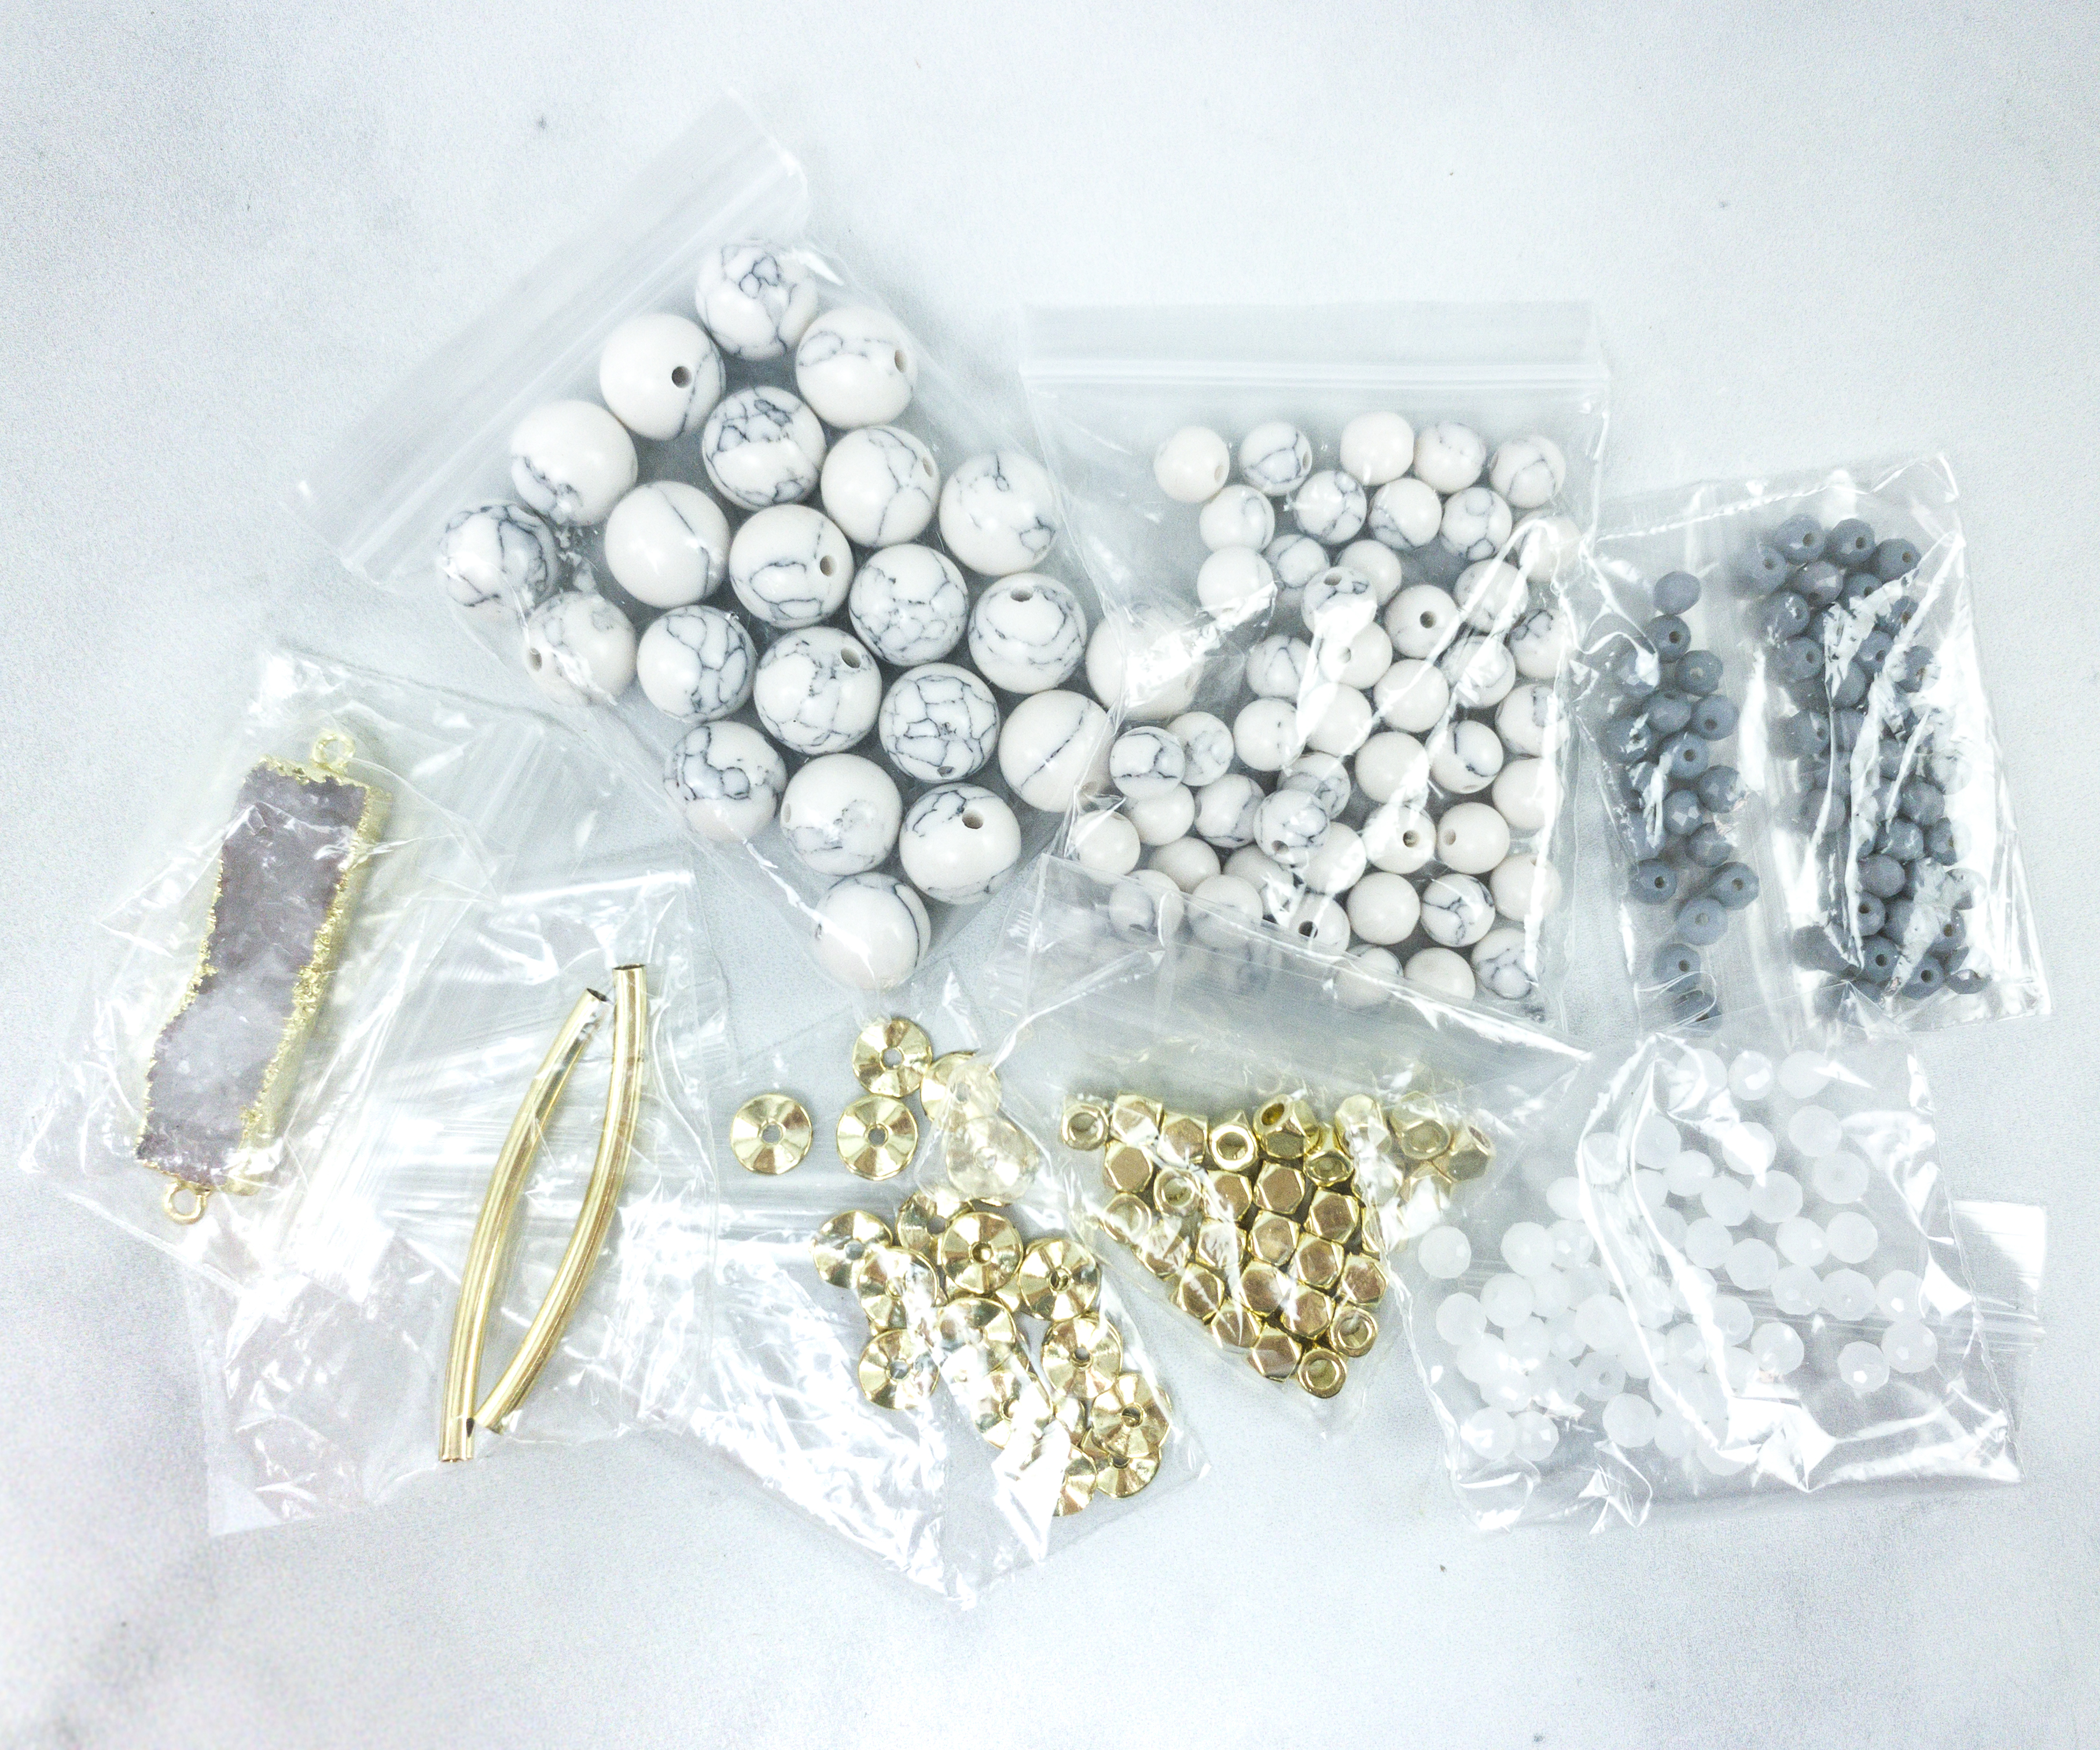
This bead kit can make up to 5 bracelets!
We have crystal rondelles, metal wavy rondelles, round howlite stones, metal curved tubes, metal faceted nuggets, elastic cord, and druzy bar.
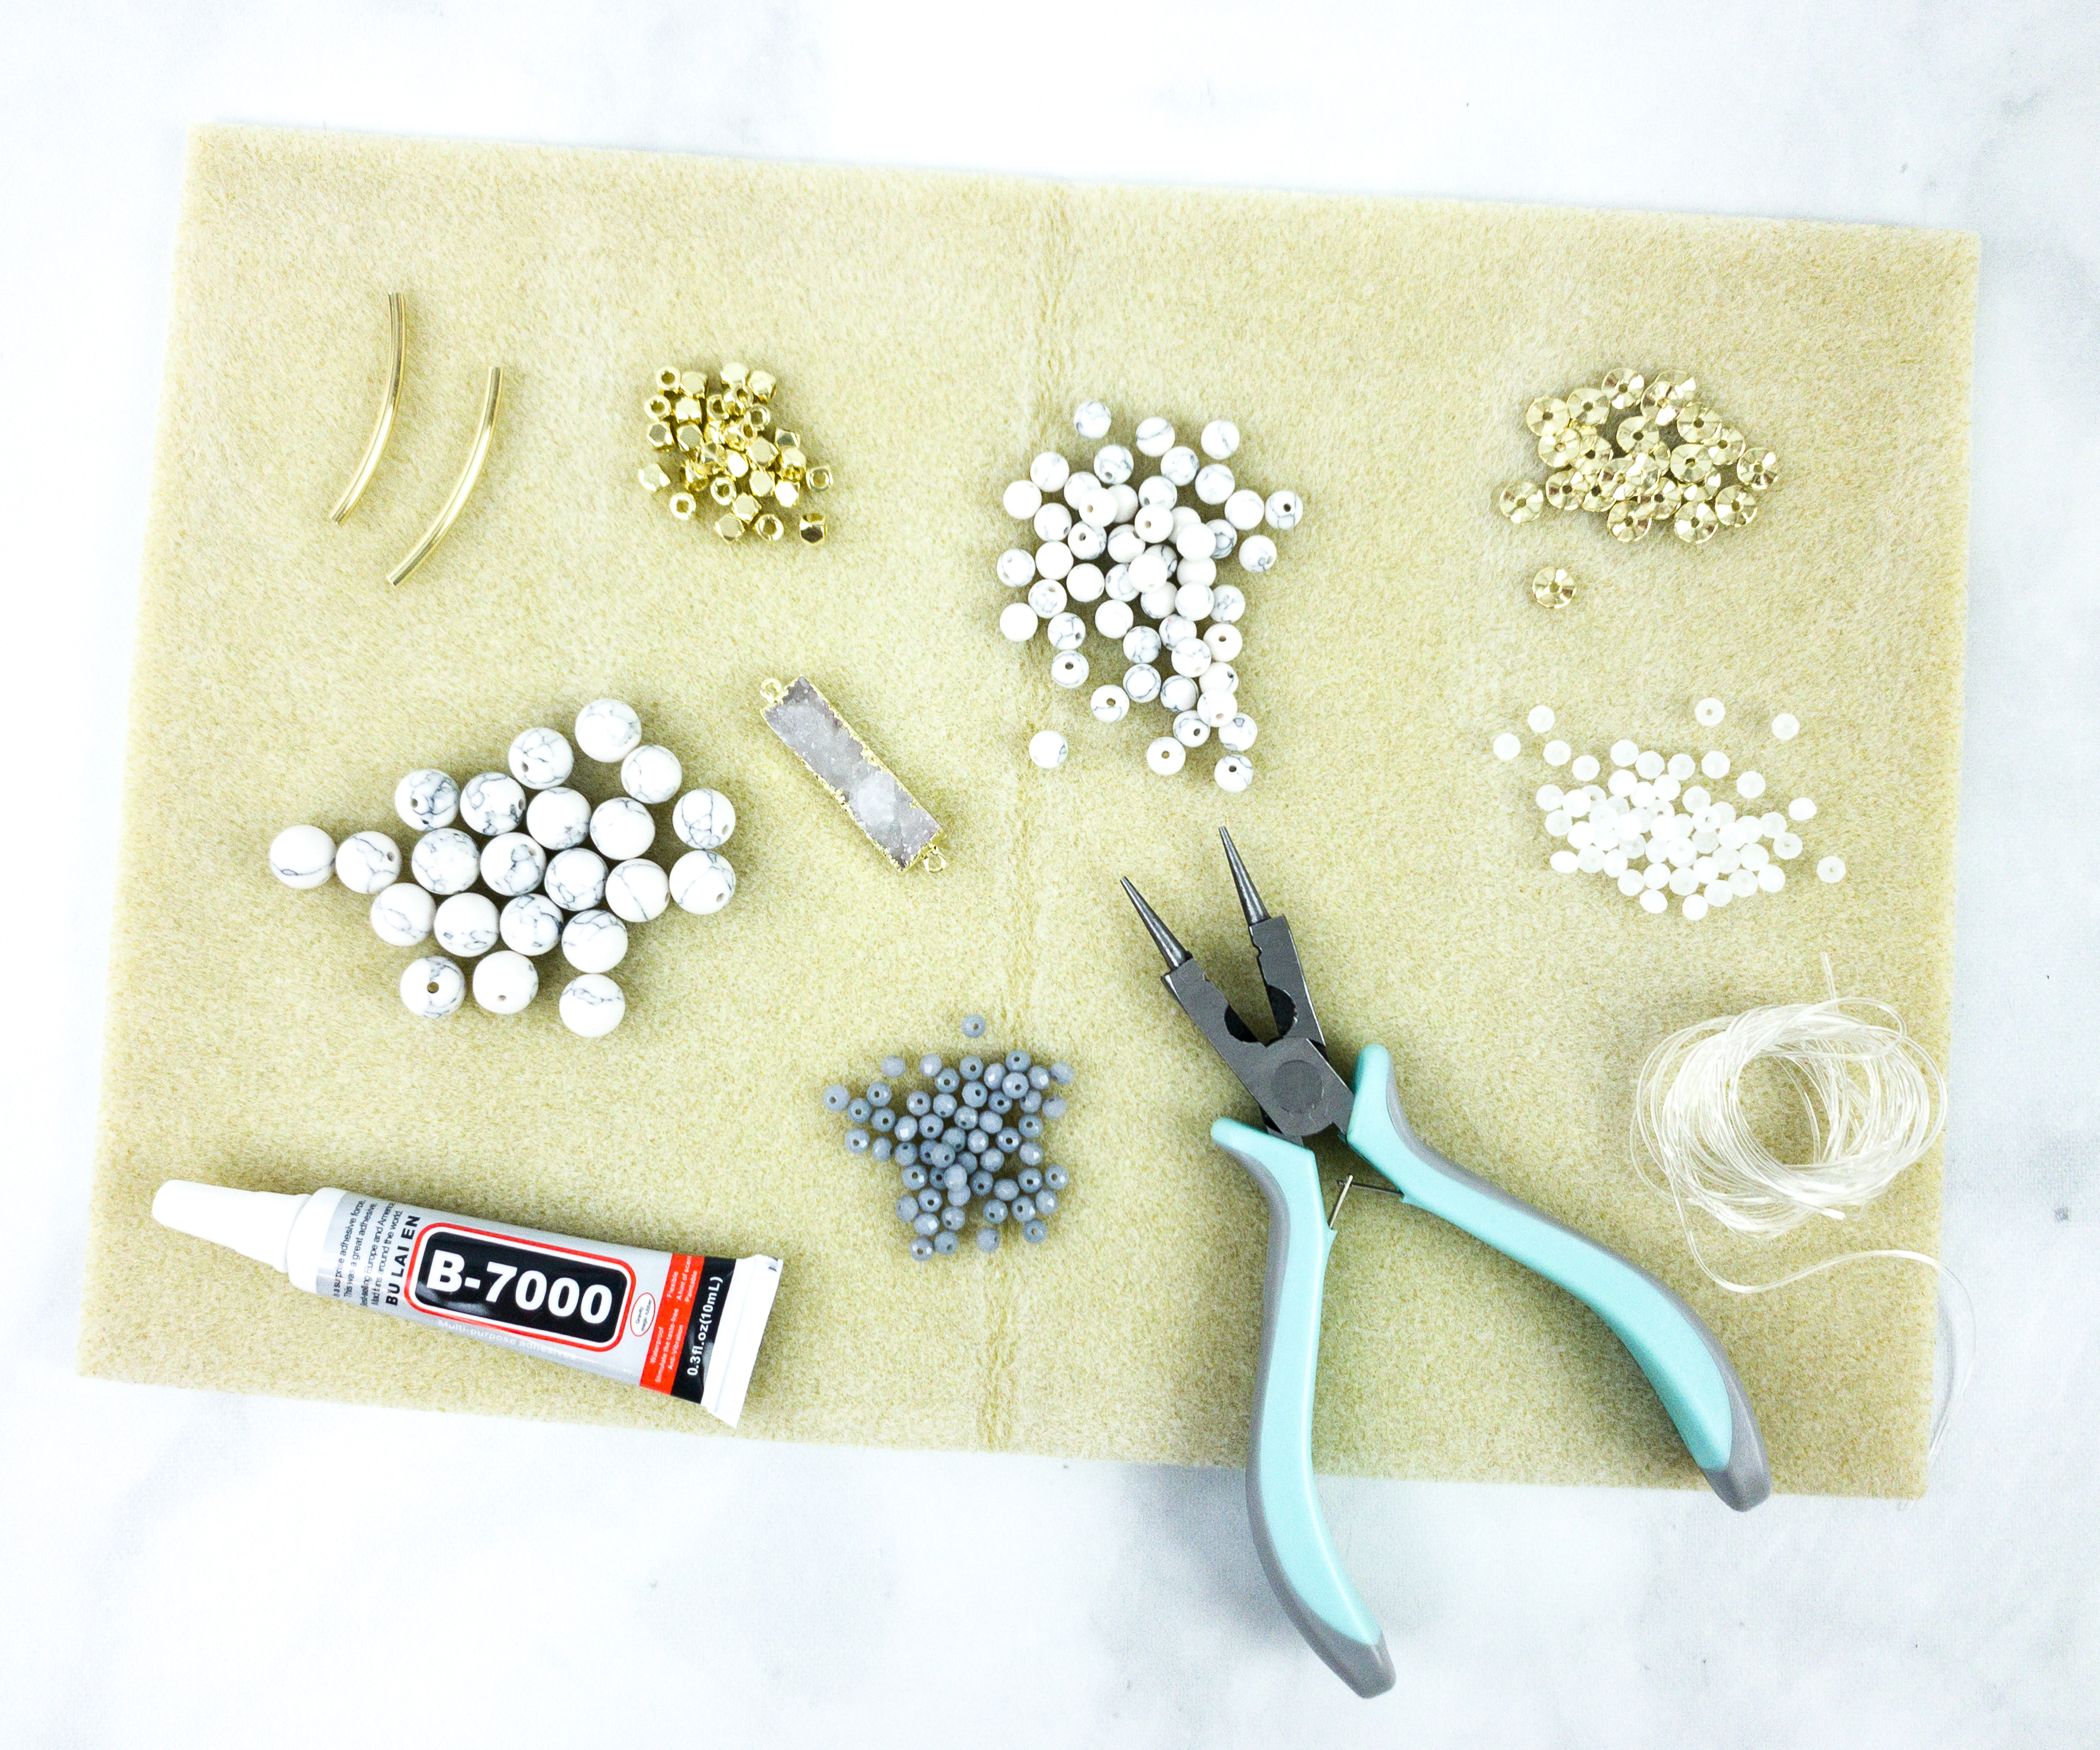
I put the beads on the bead mat to prevent them from rolling around.
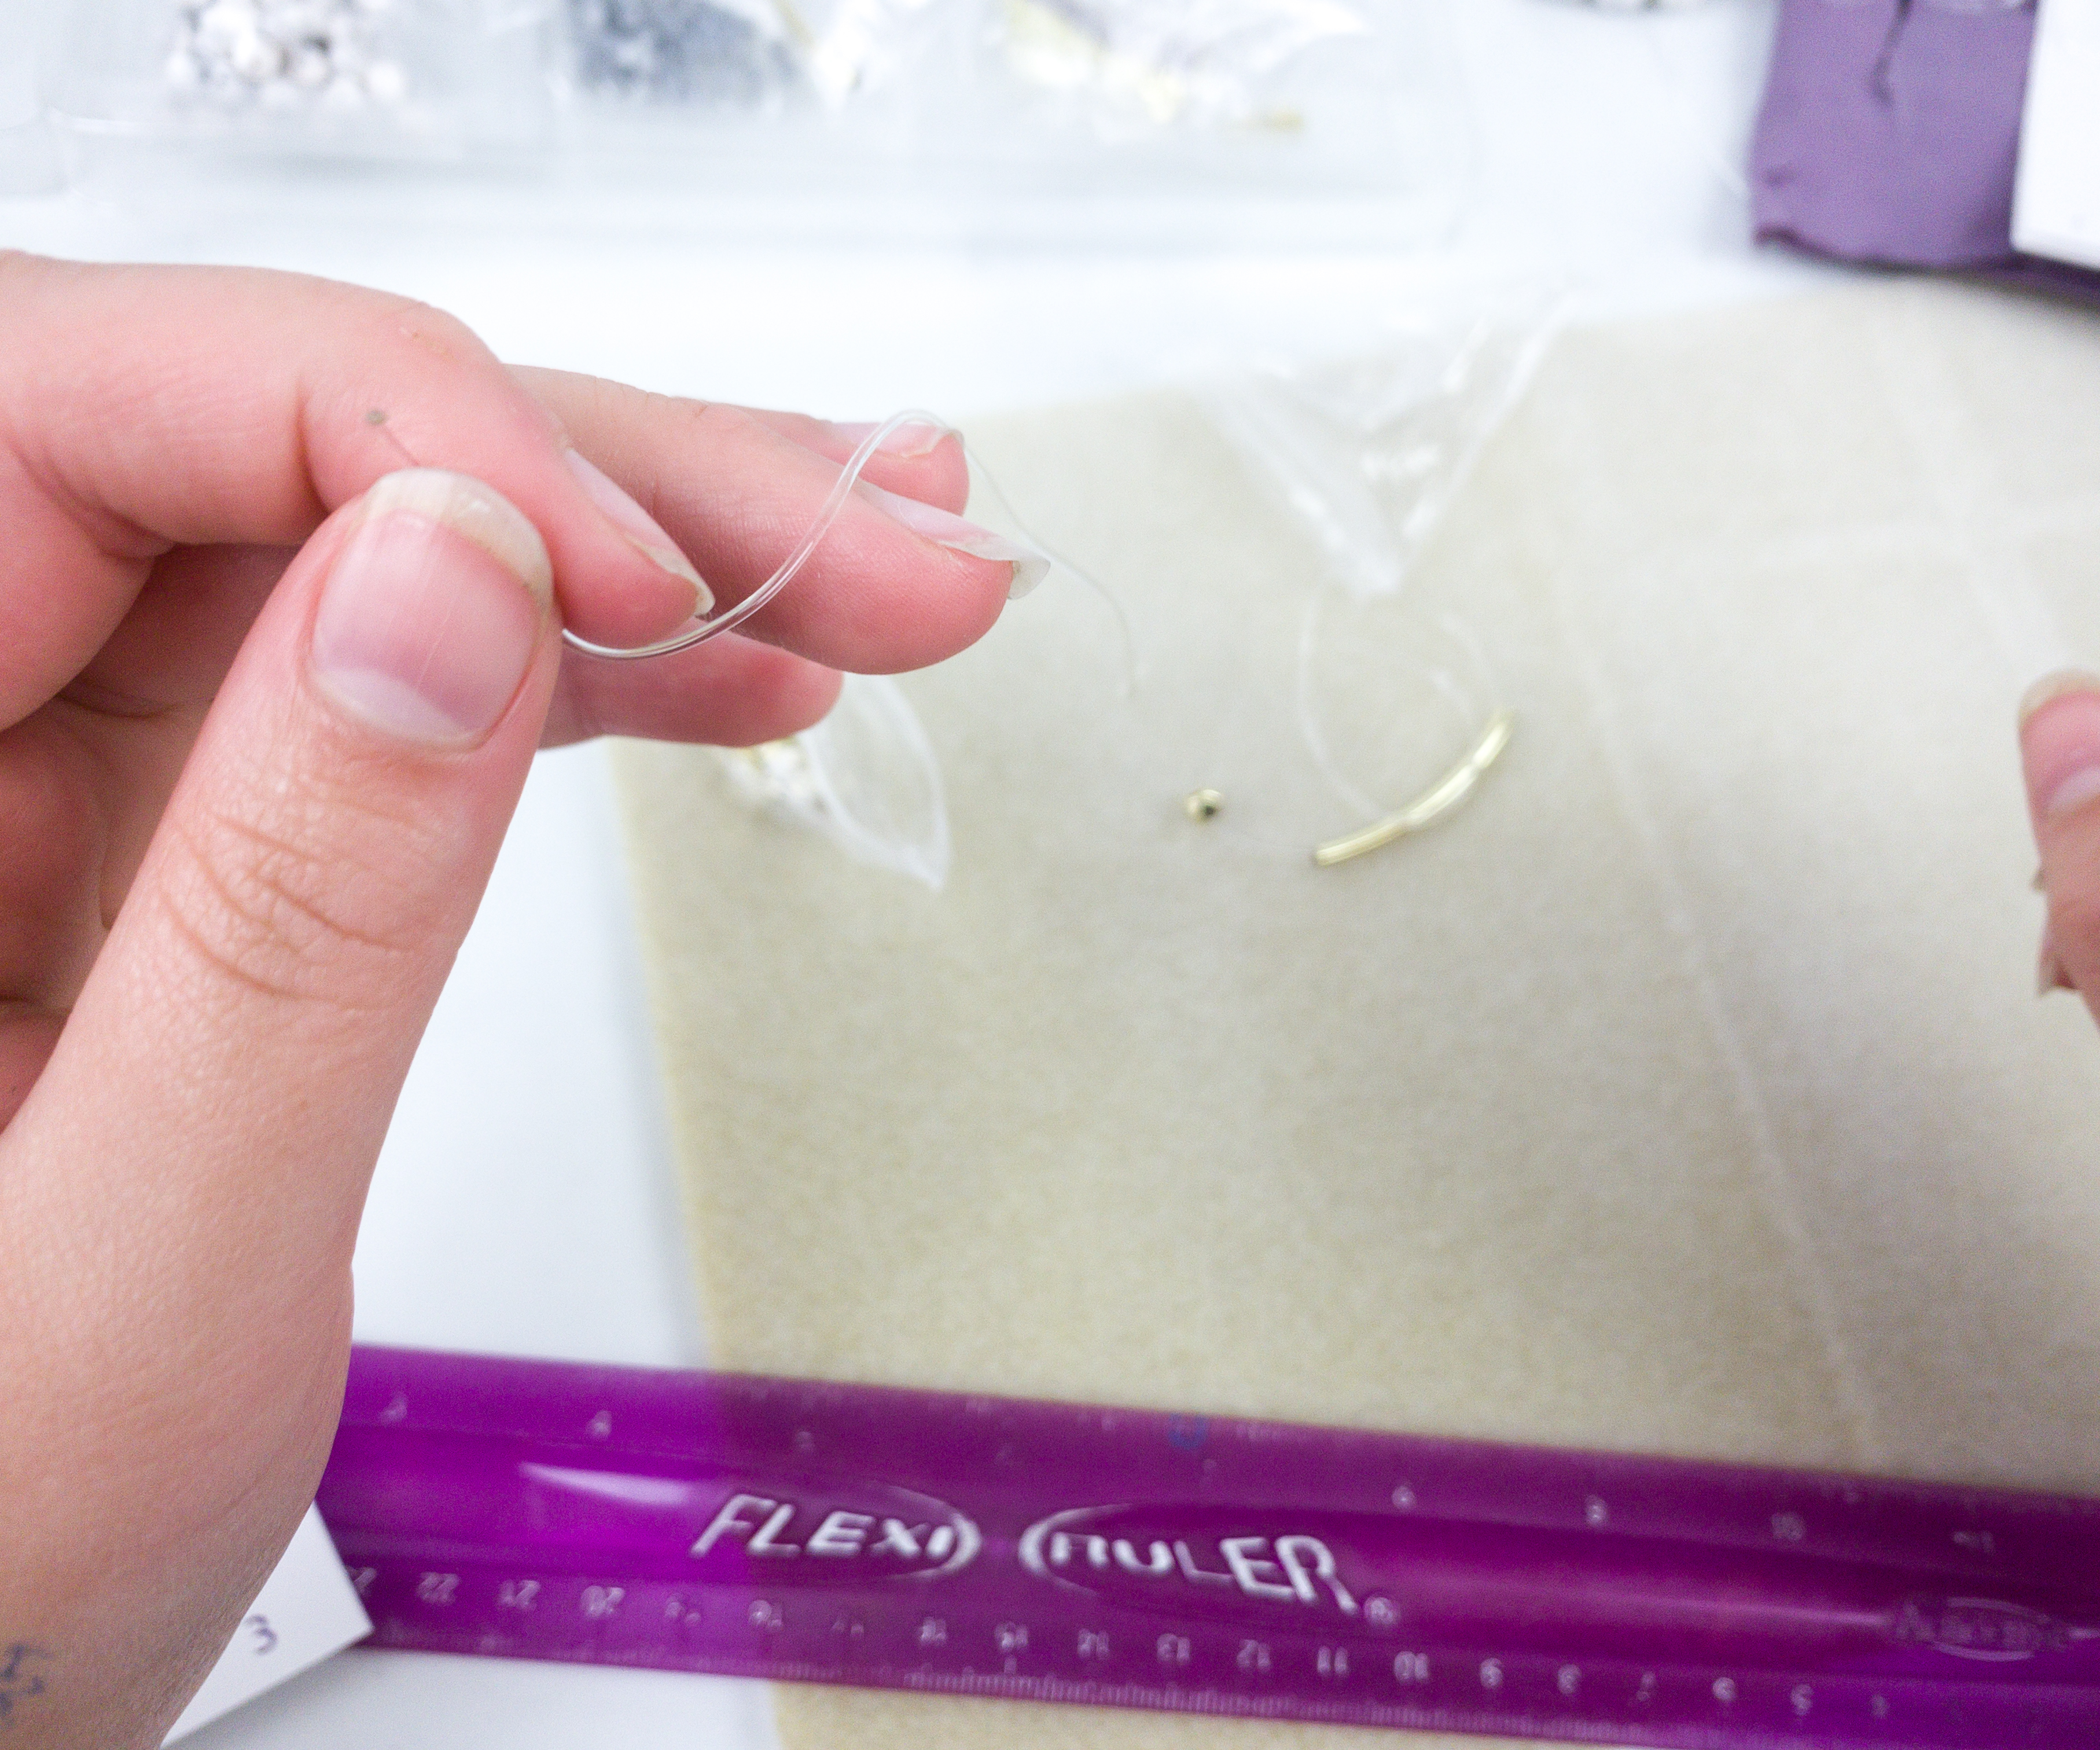
First, we cut the elastic cord! All bracelets need a 15-inch elastic cord. We also tied a knot at the end of the cord to make sure that the beads won’t go off the end.
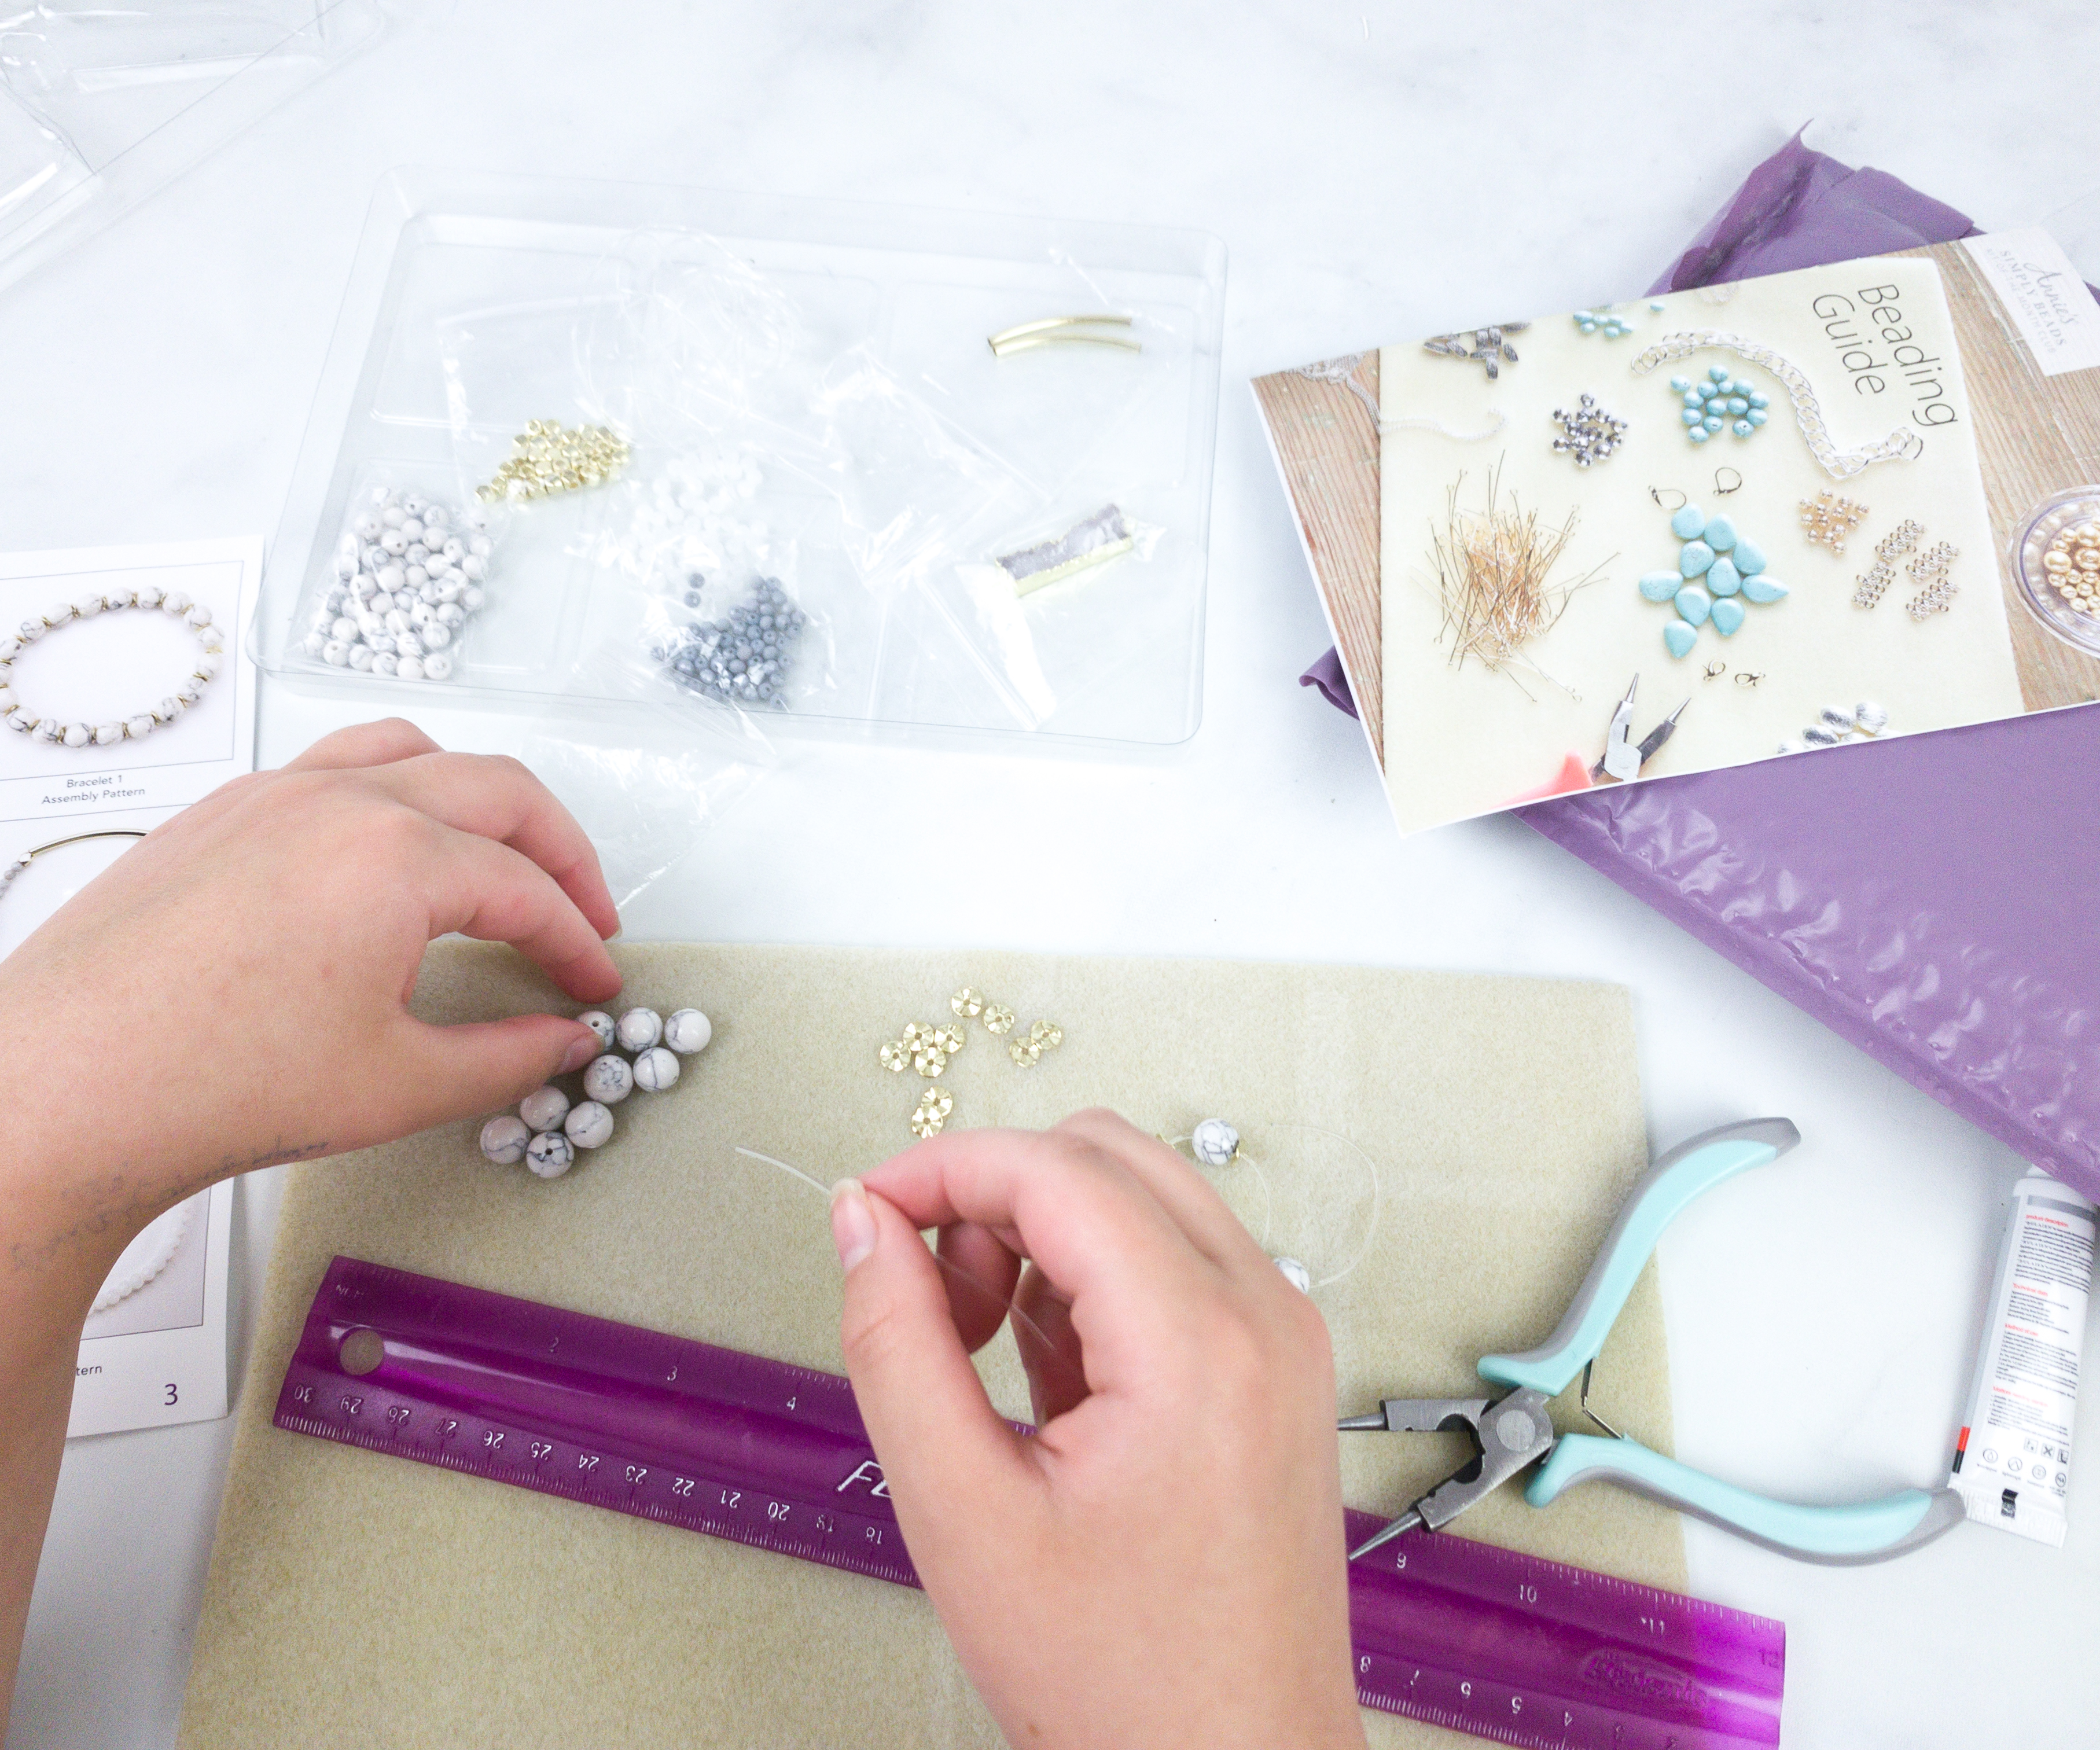
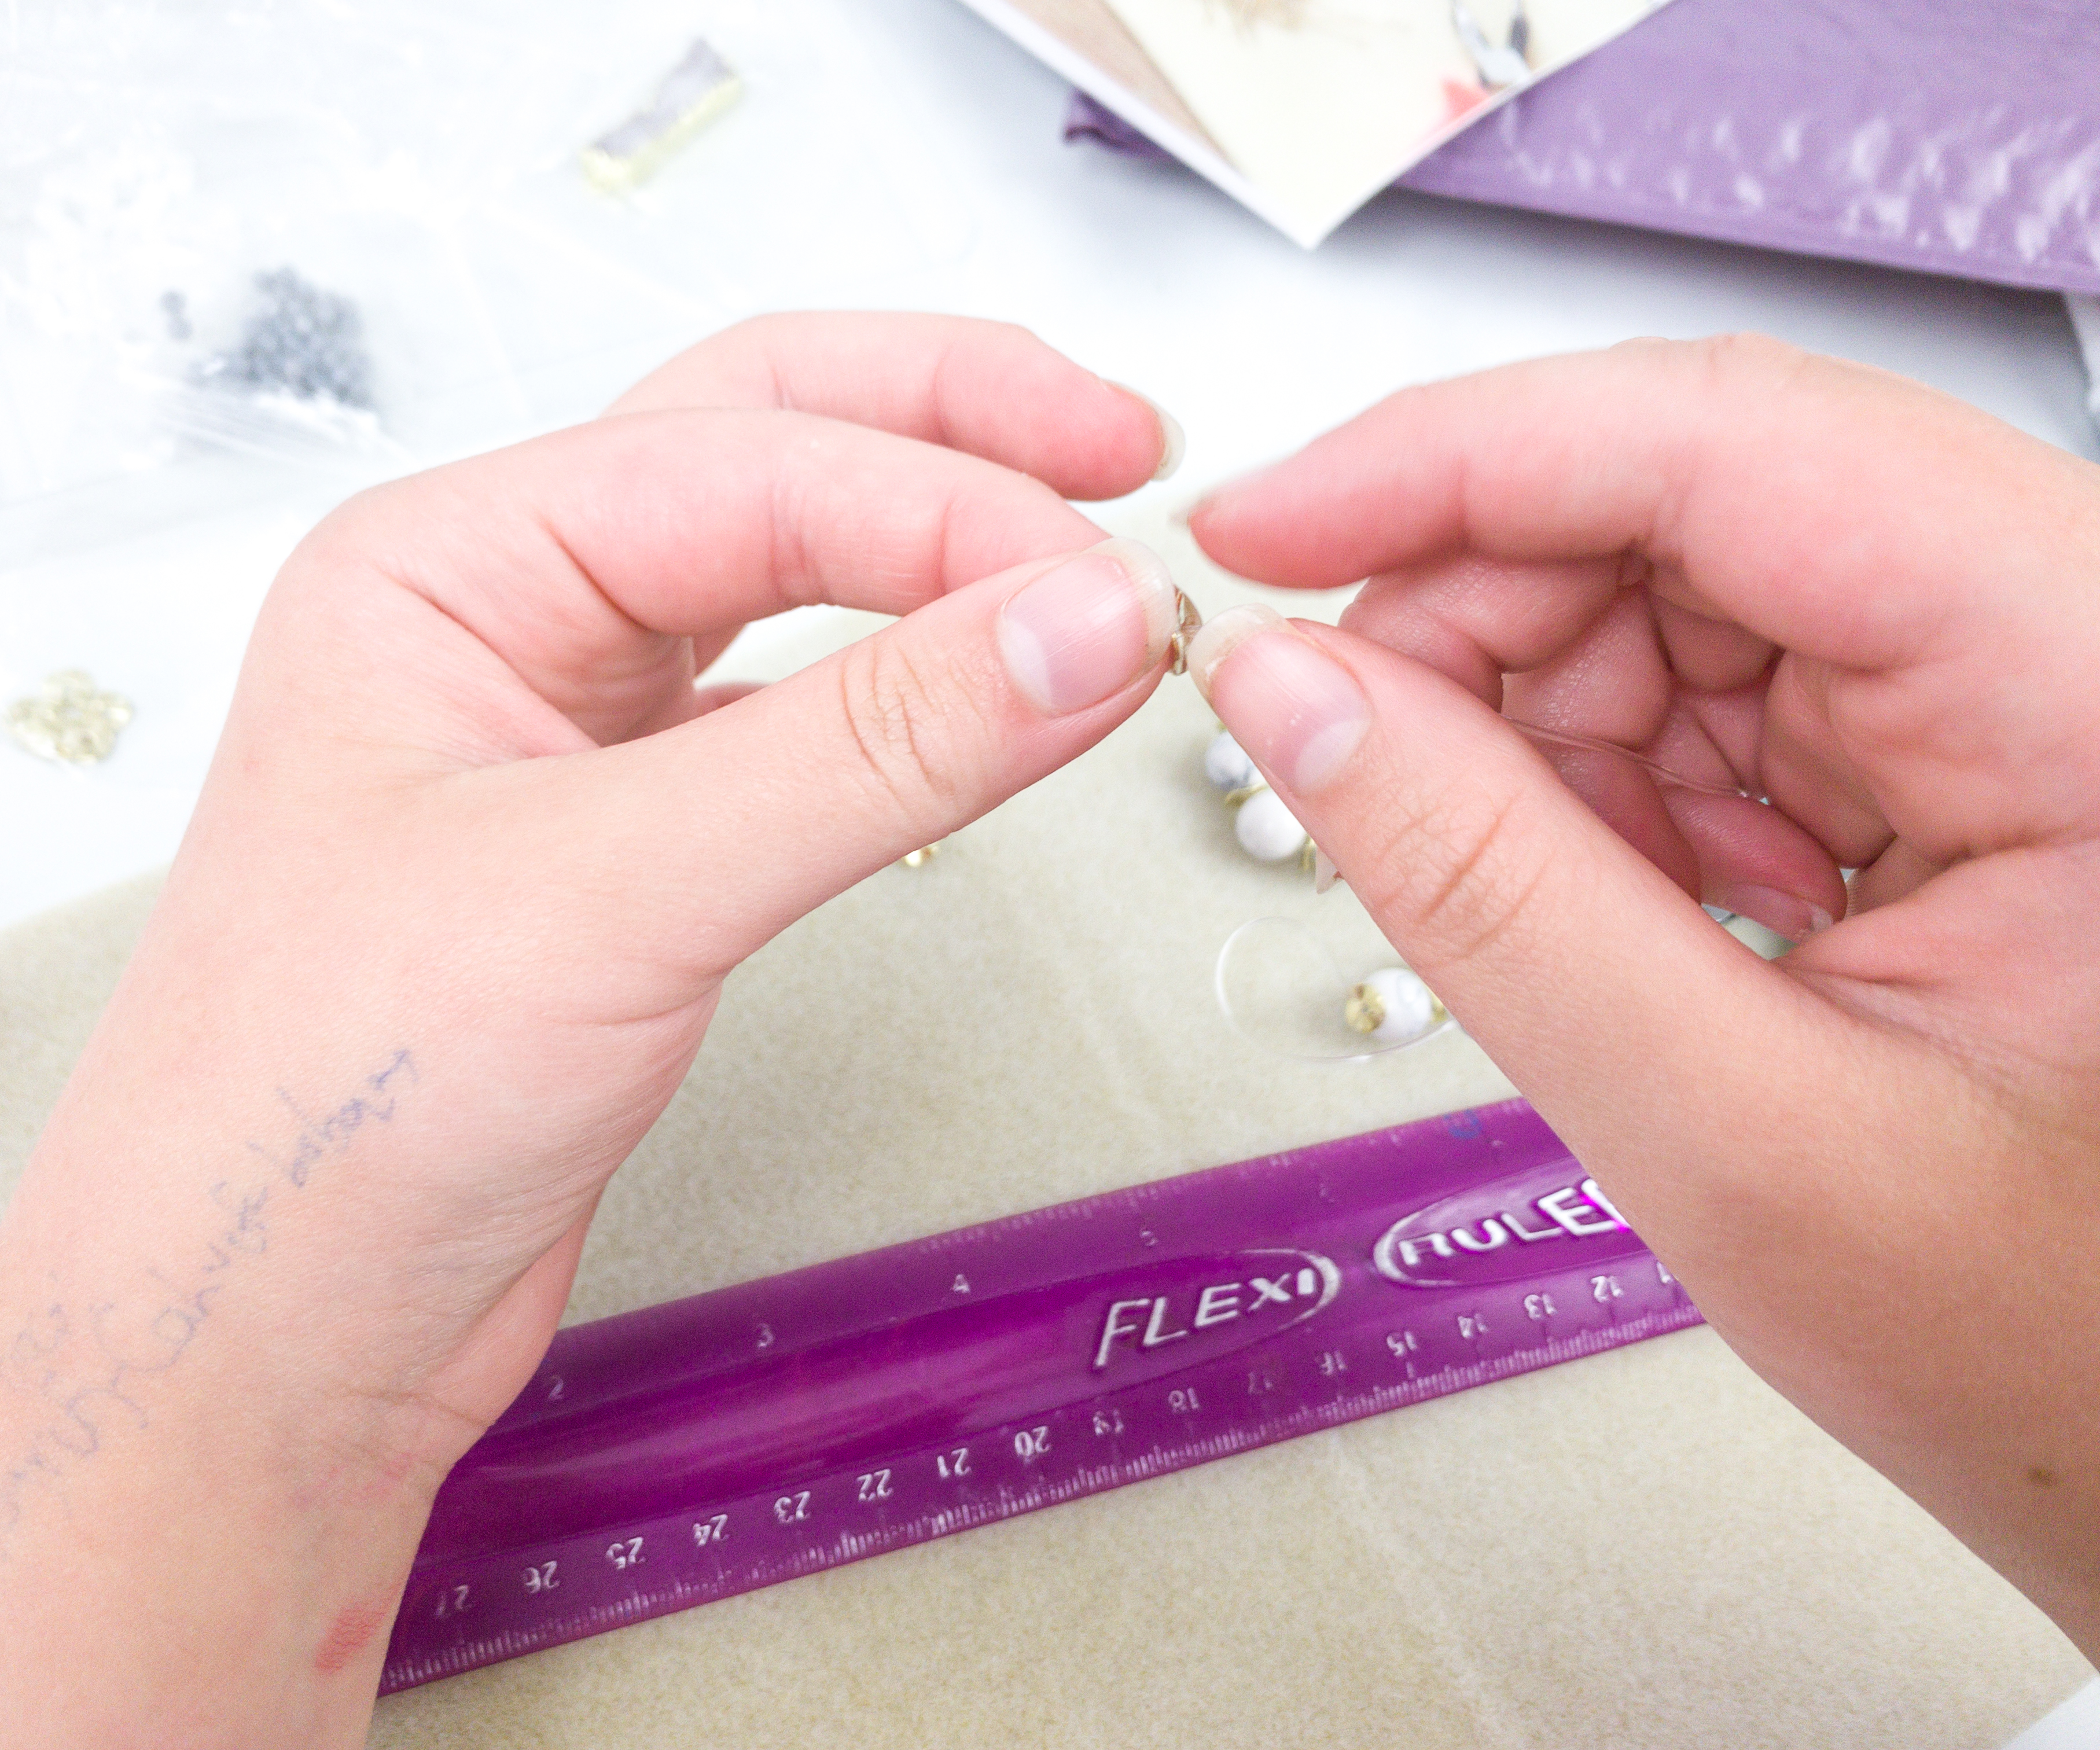
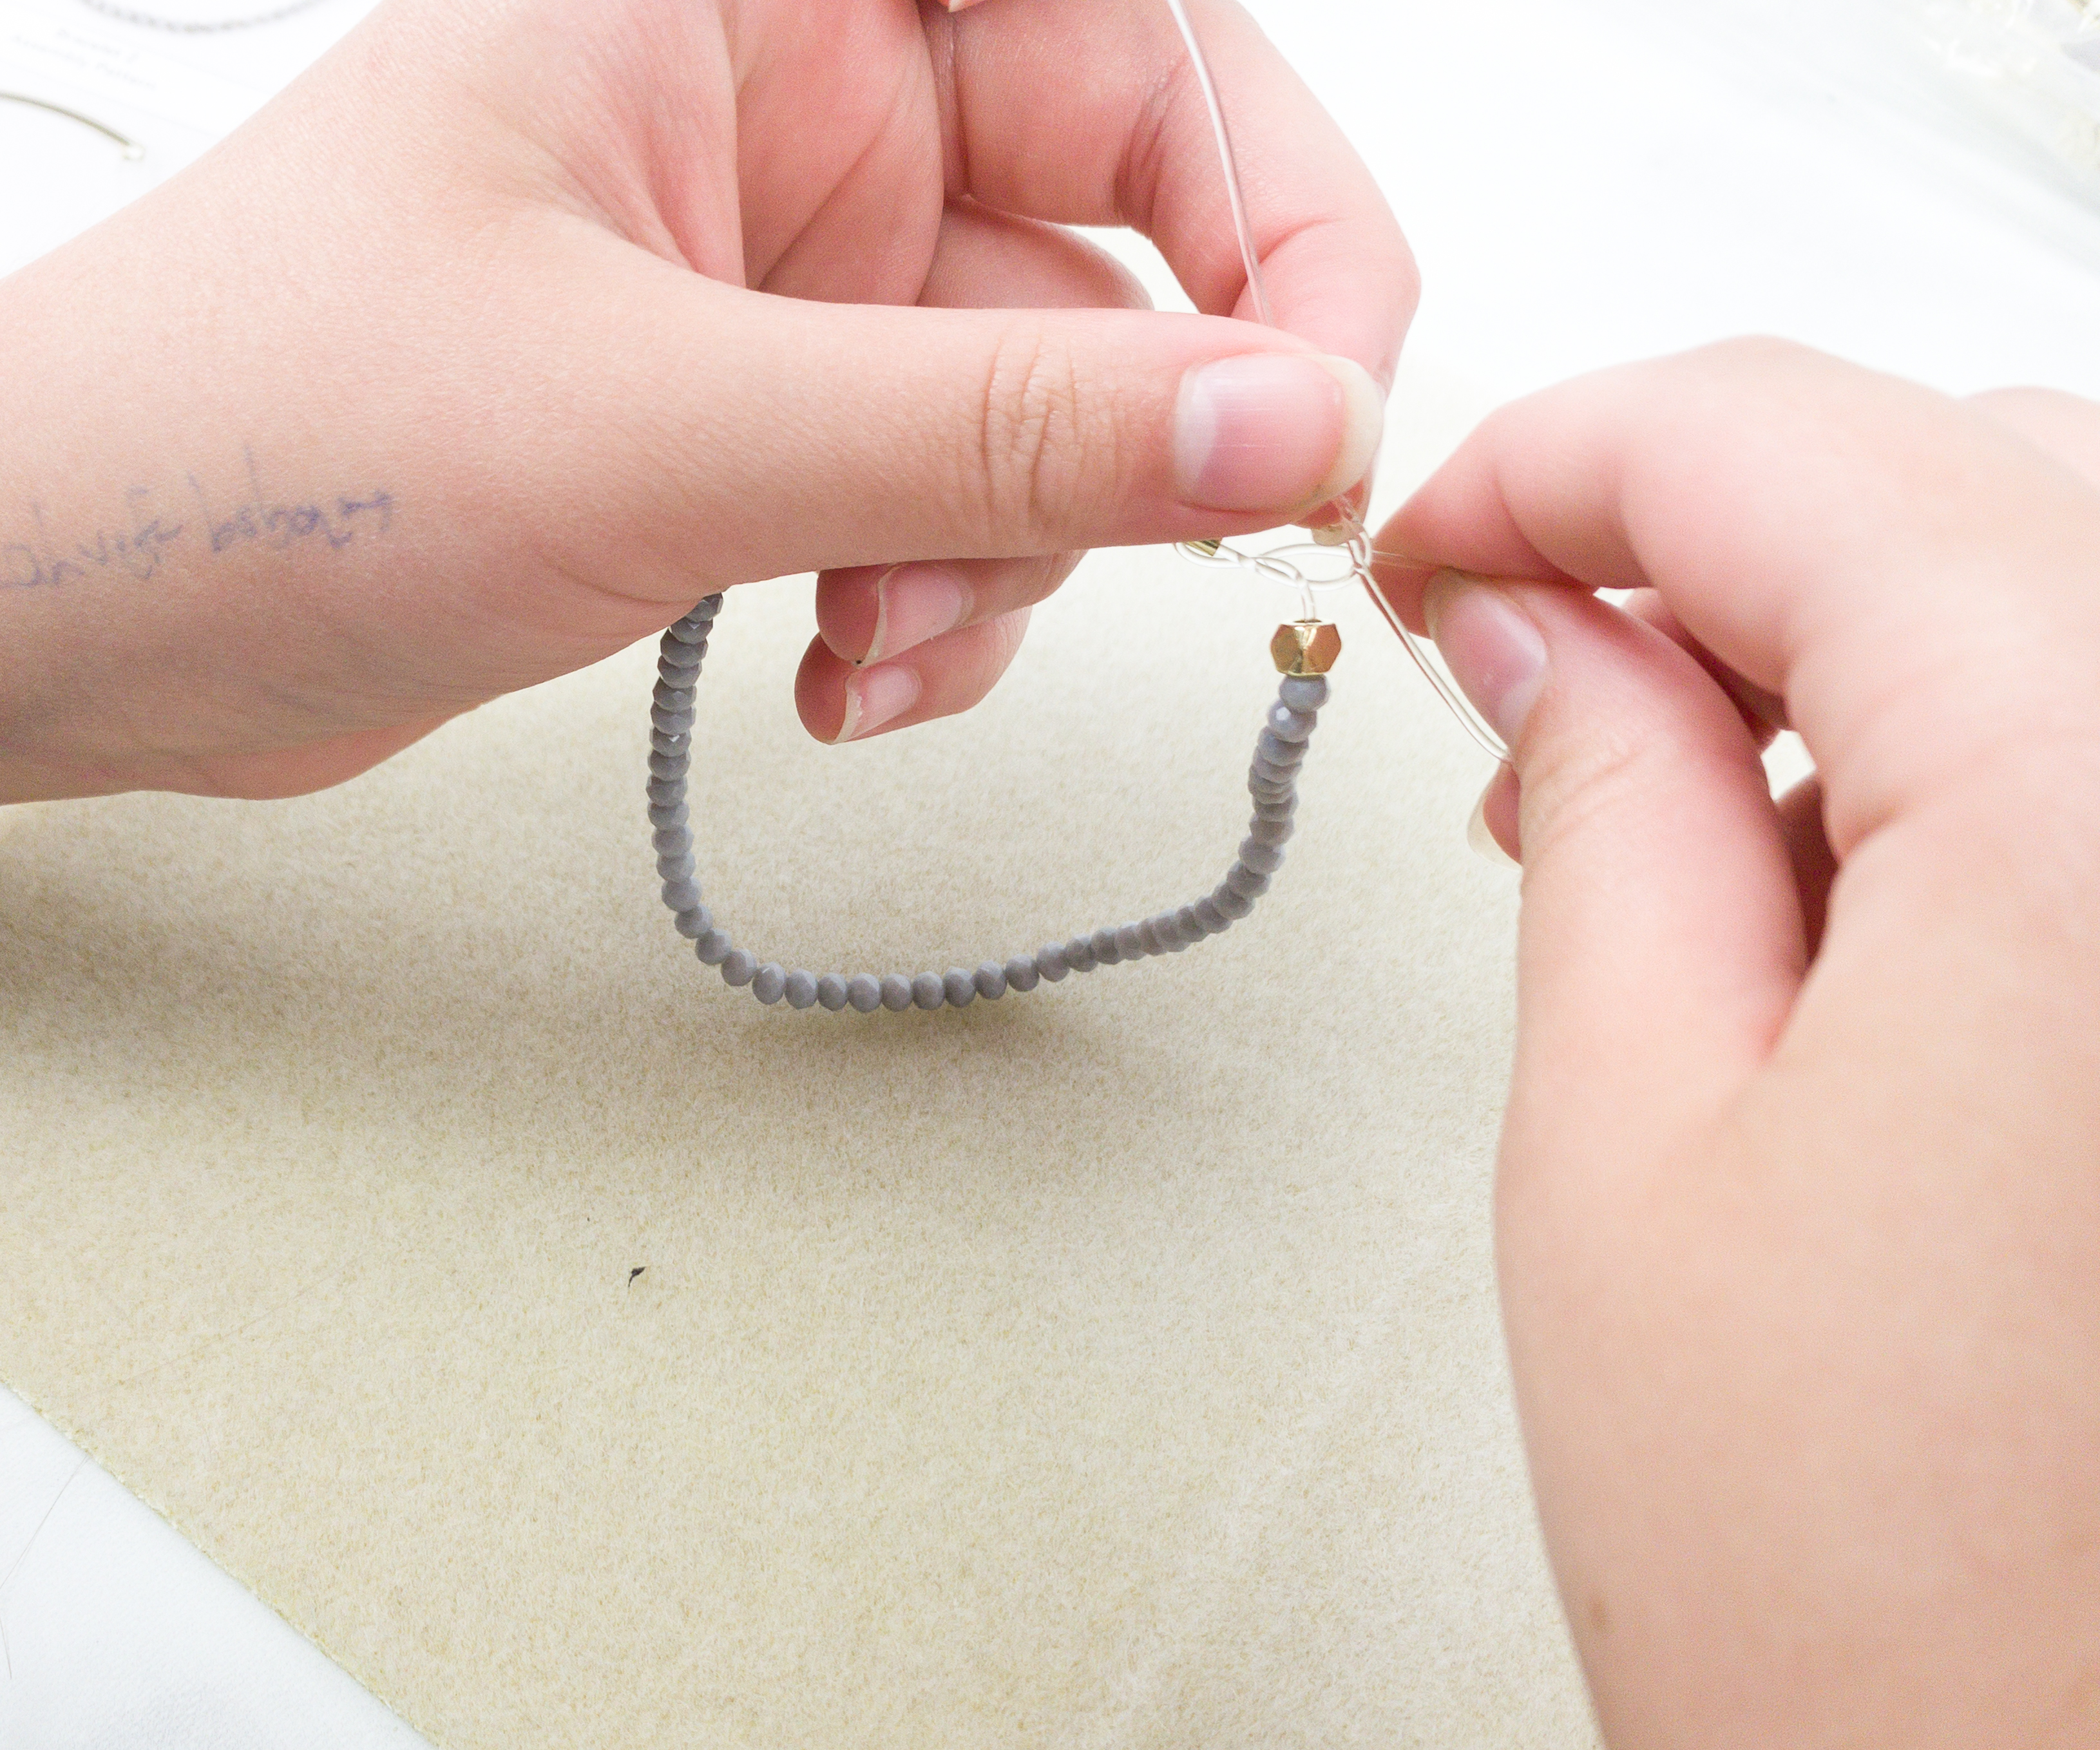
Now, it’s time for beading! There’s a specific order for the beads, depending on the pattern provided in the booklet.
When done putting the beads through the cord, it’s now time to tie the cord into a surgeon’s knot.
The nylon string is quite stretchy which makes it the perfect base for our bracelet!
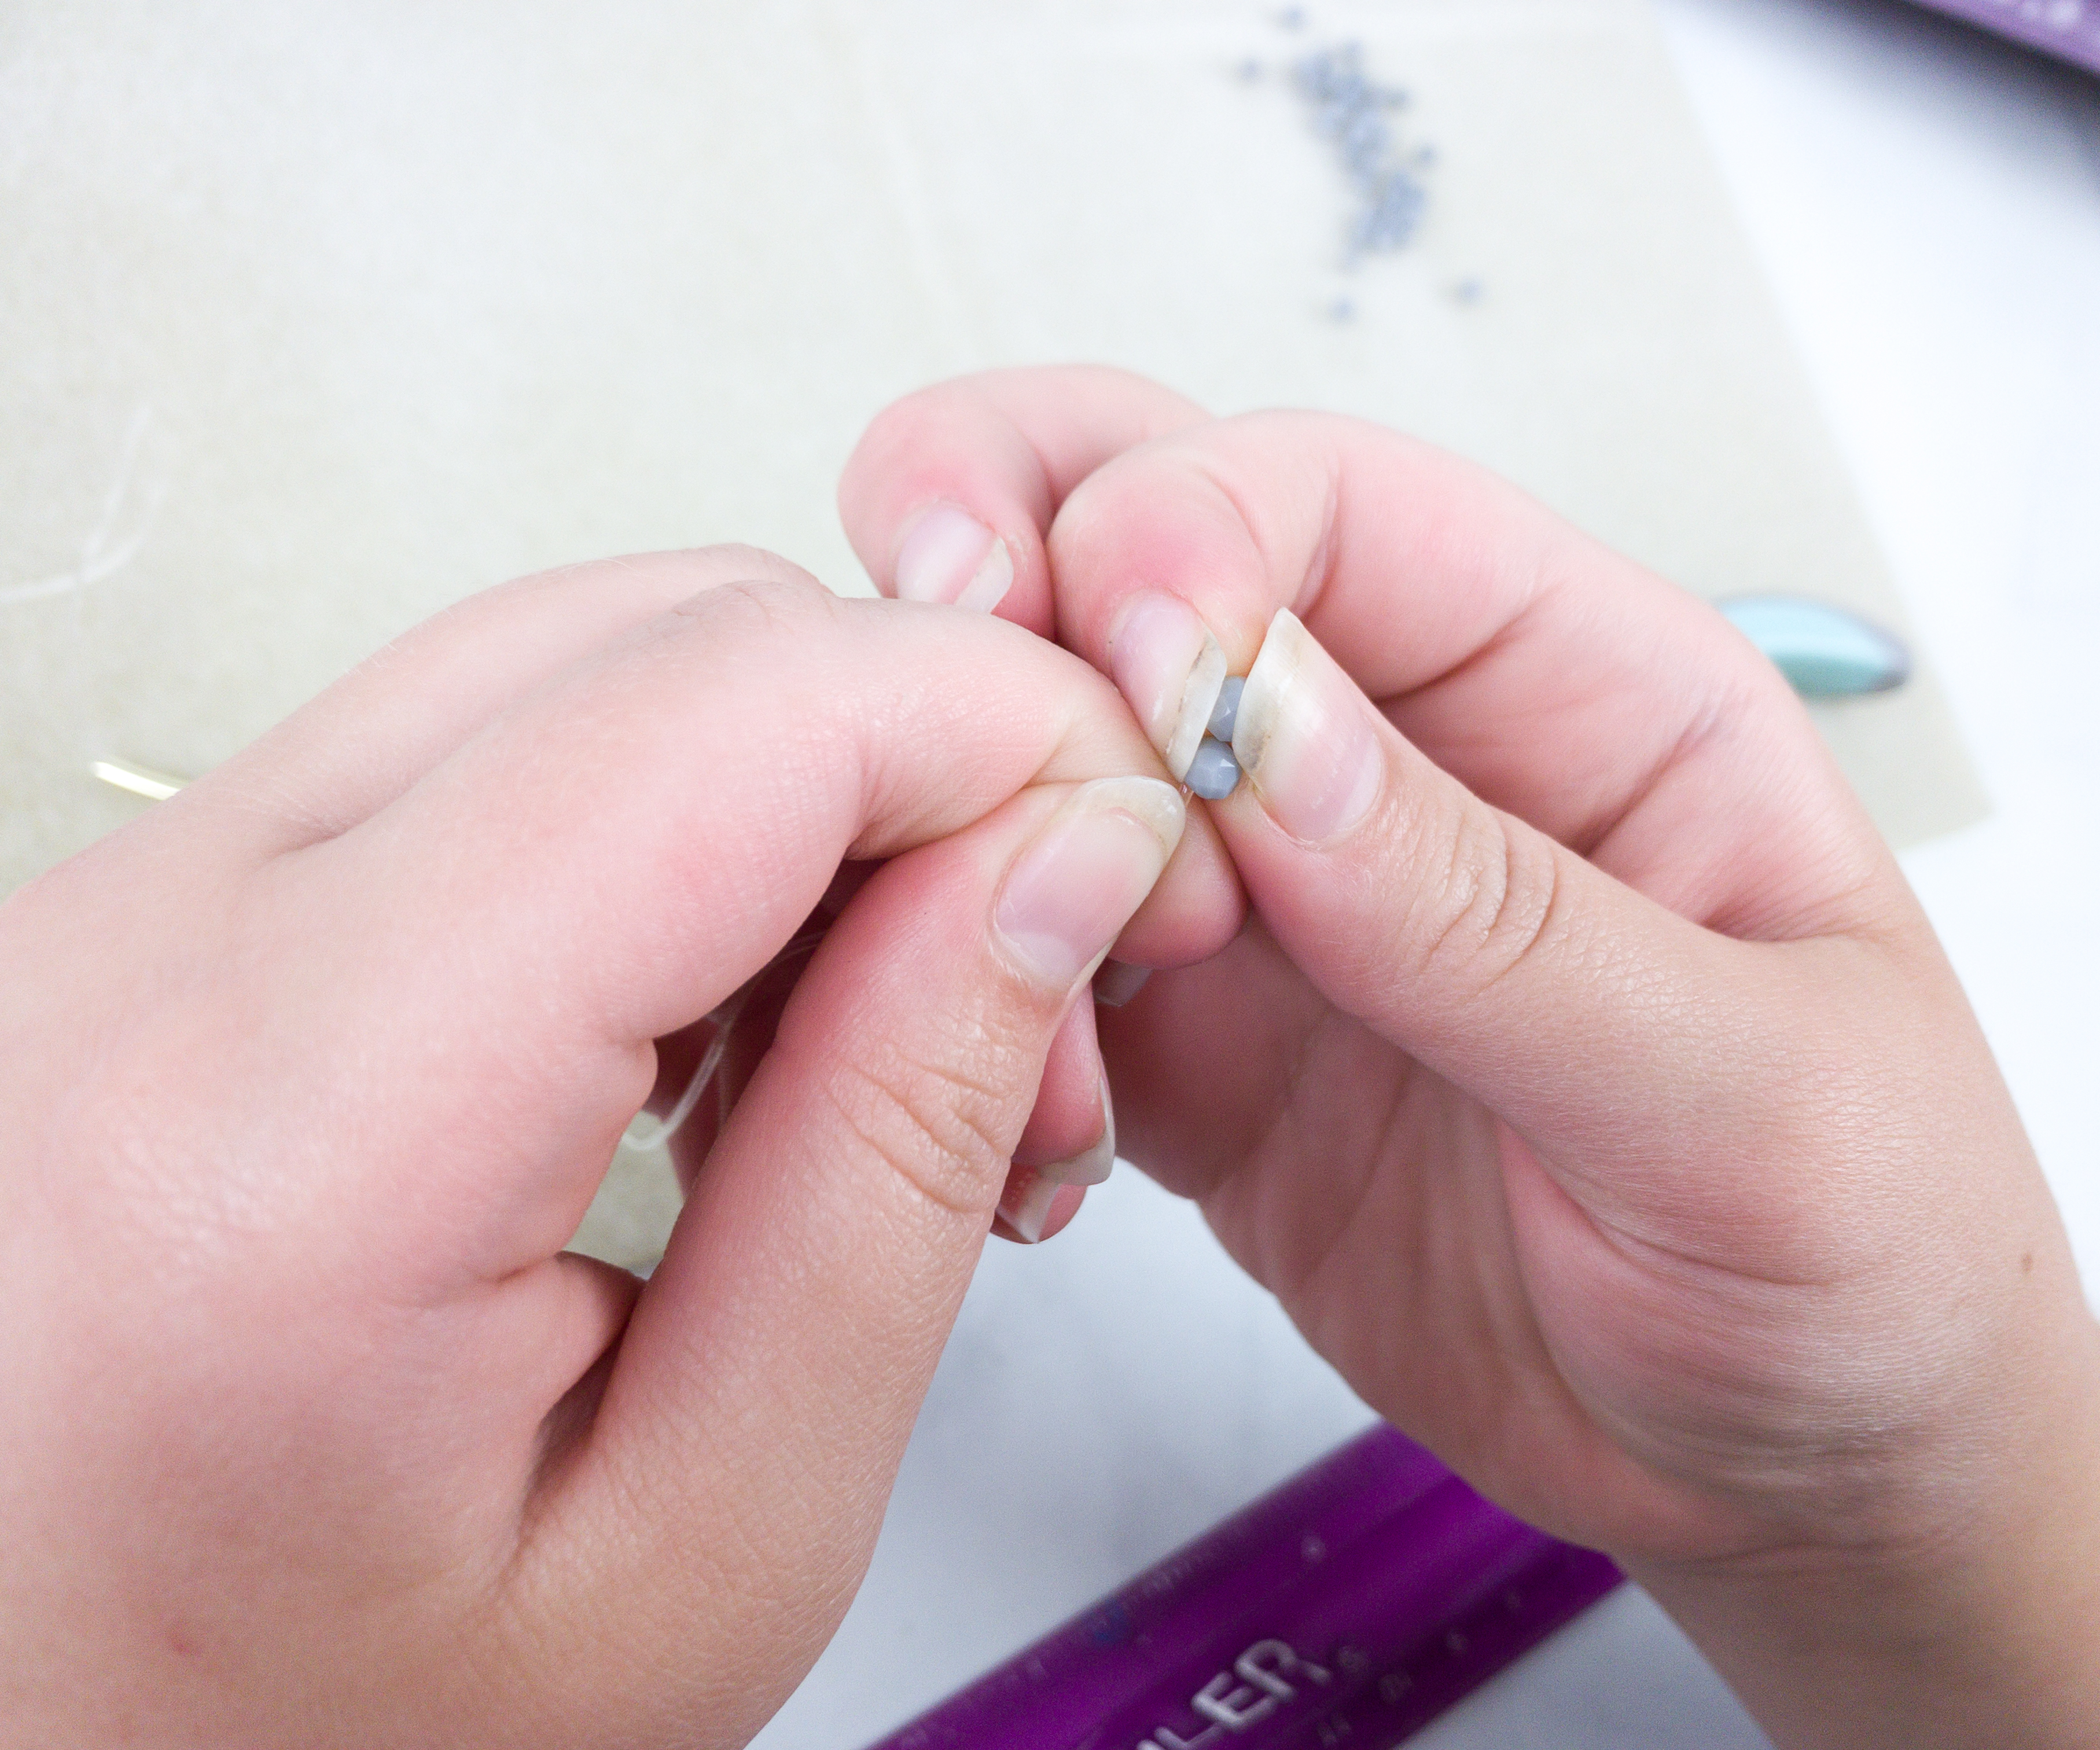
The smaller beads are more challenging to put through the cord.
After doing the surgeon’s knot, you may also put a drop of glue on the knot to secure it.
This is such a fun activity!
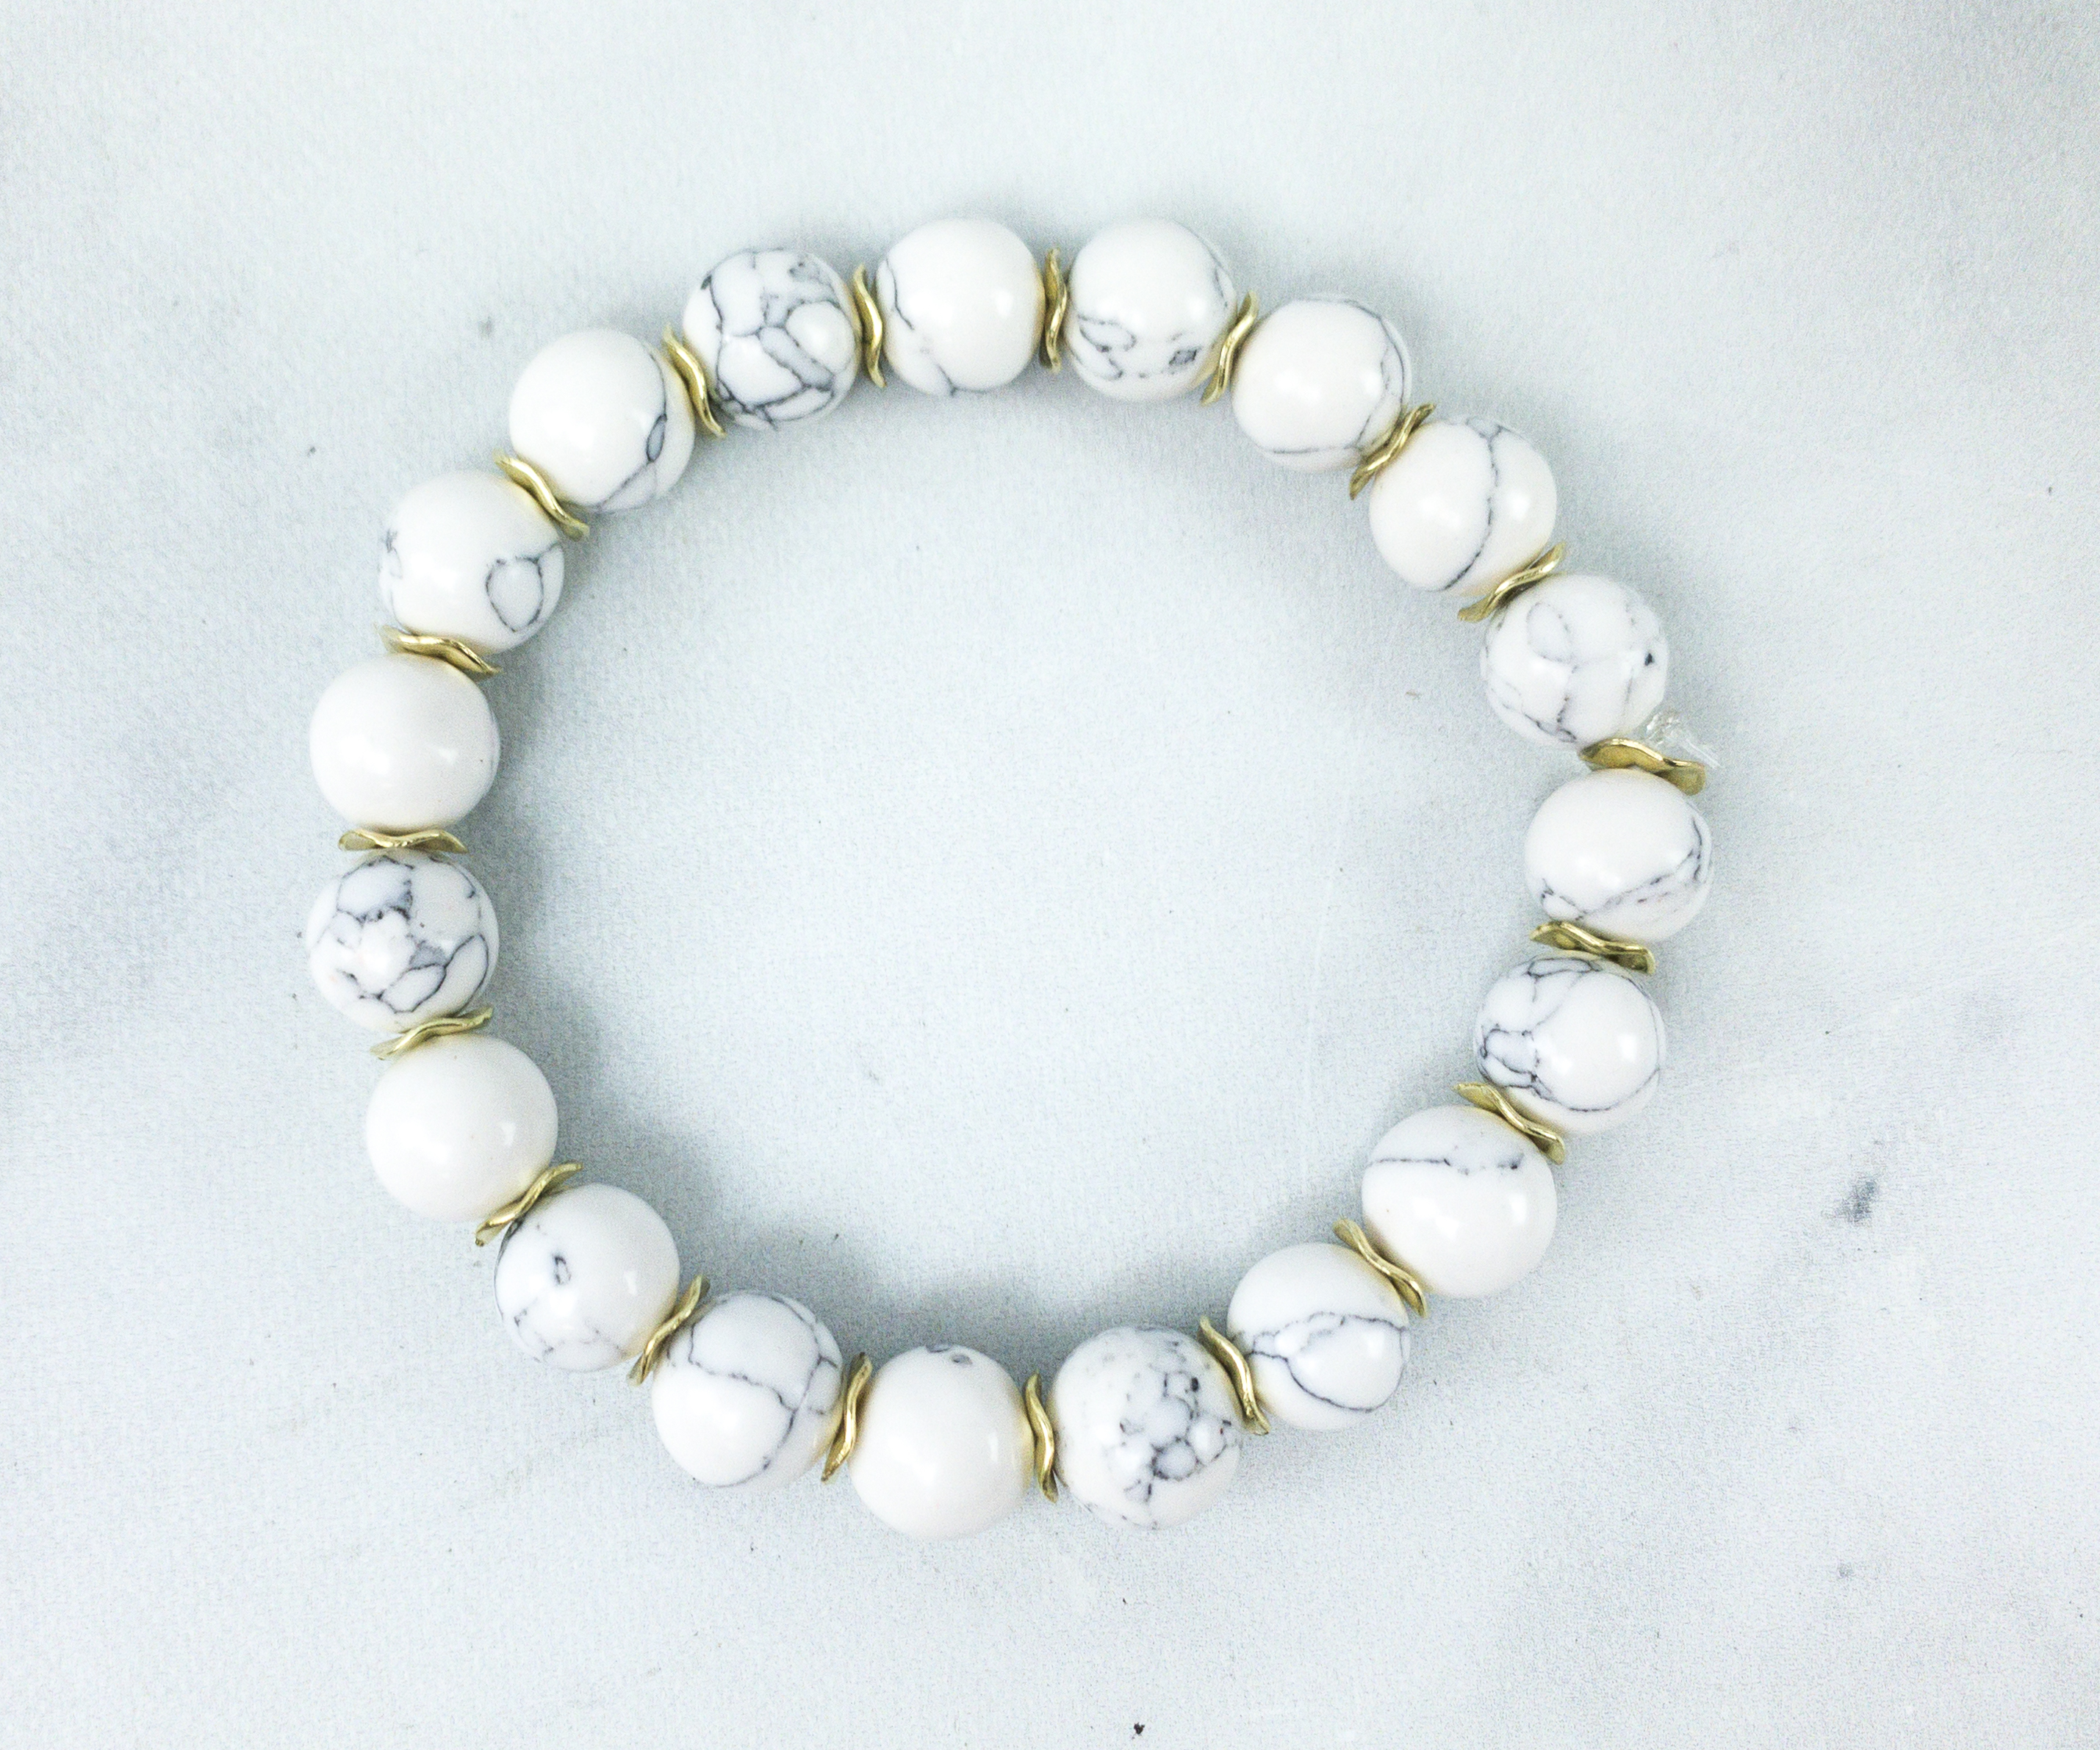
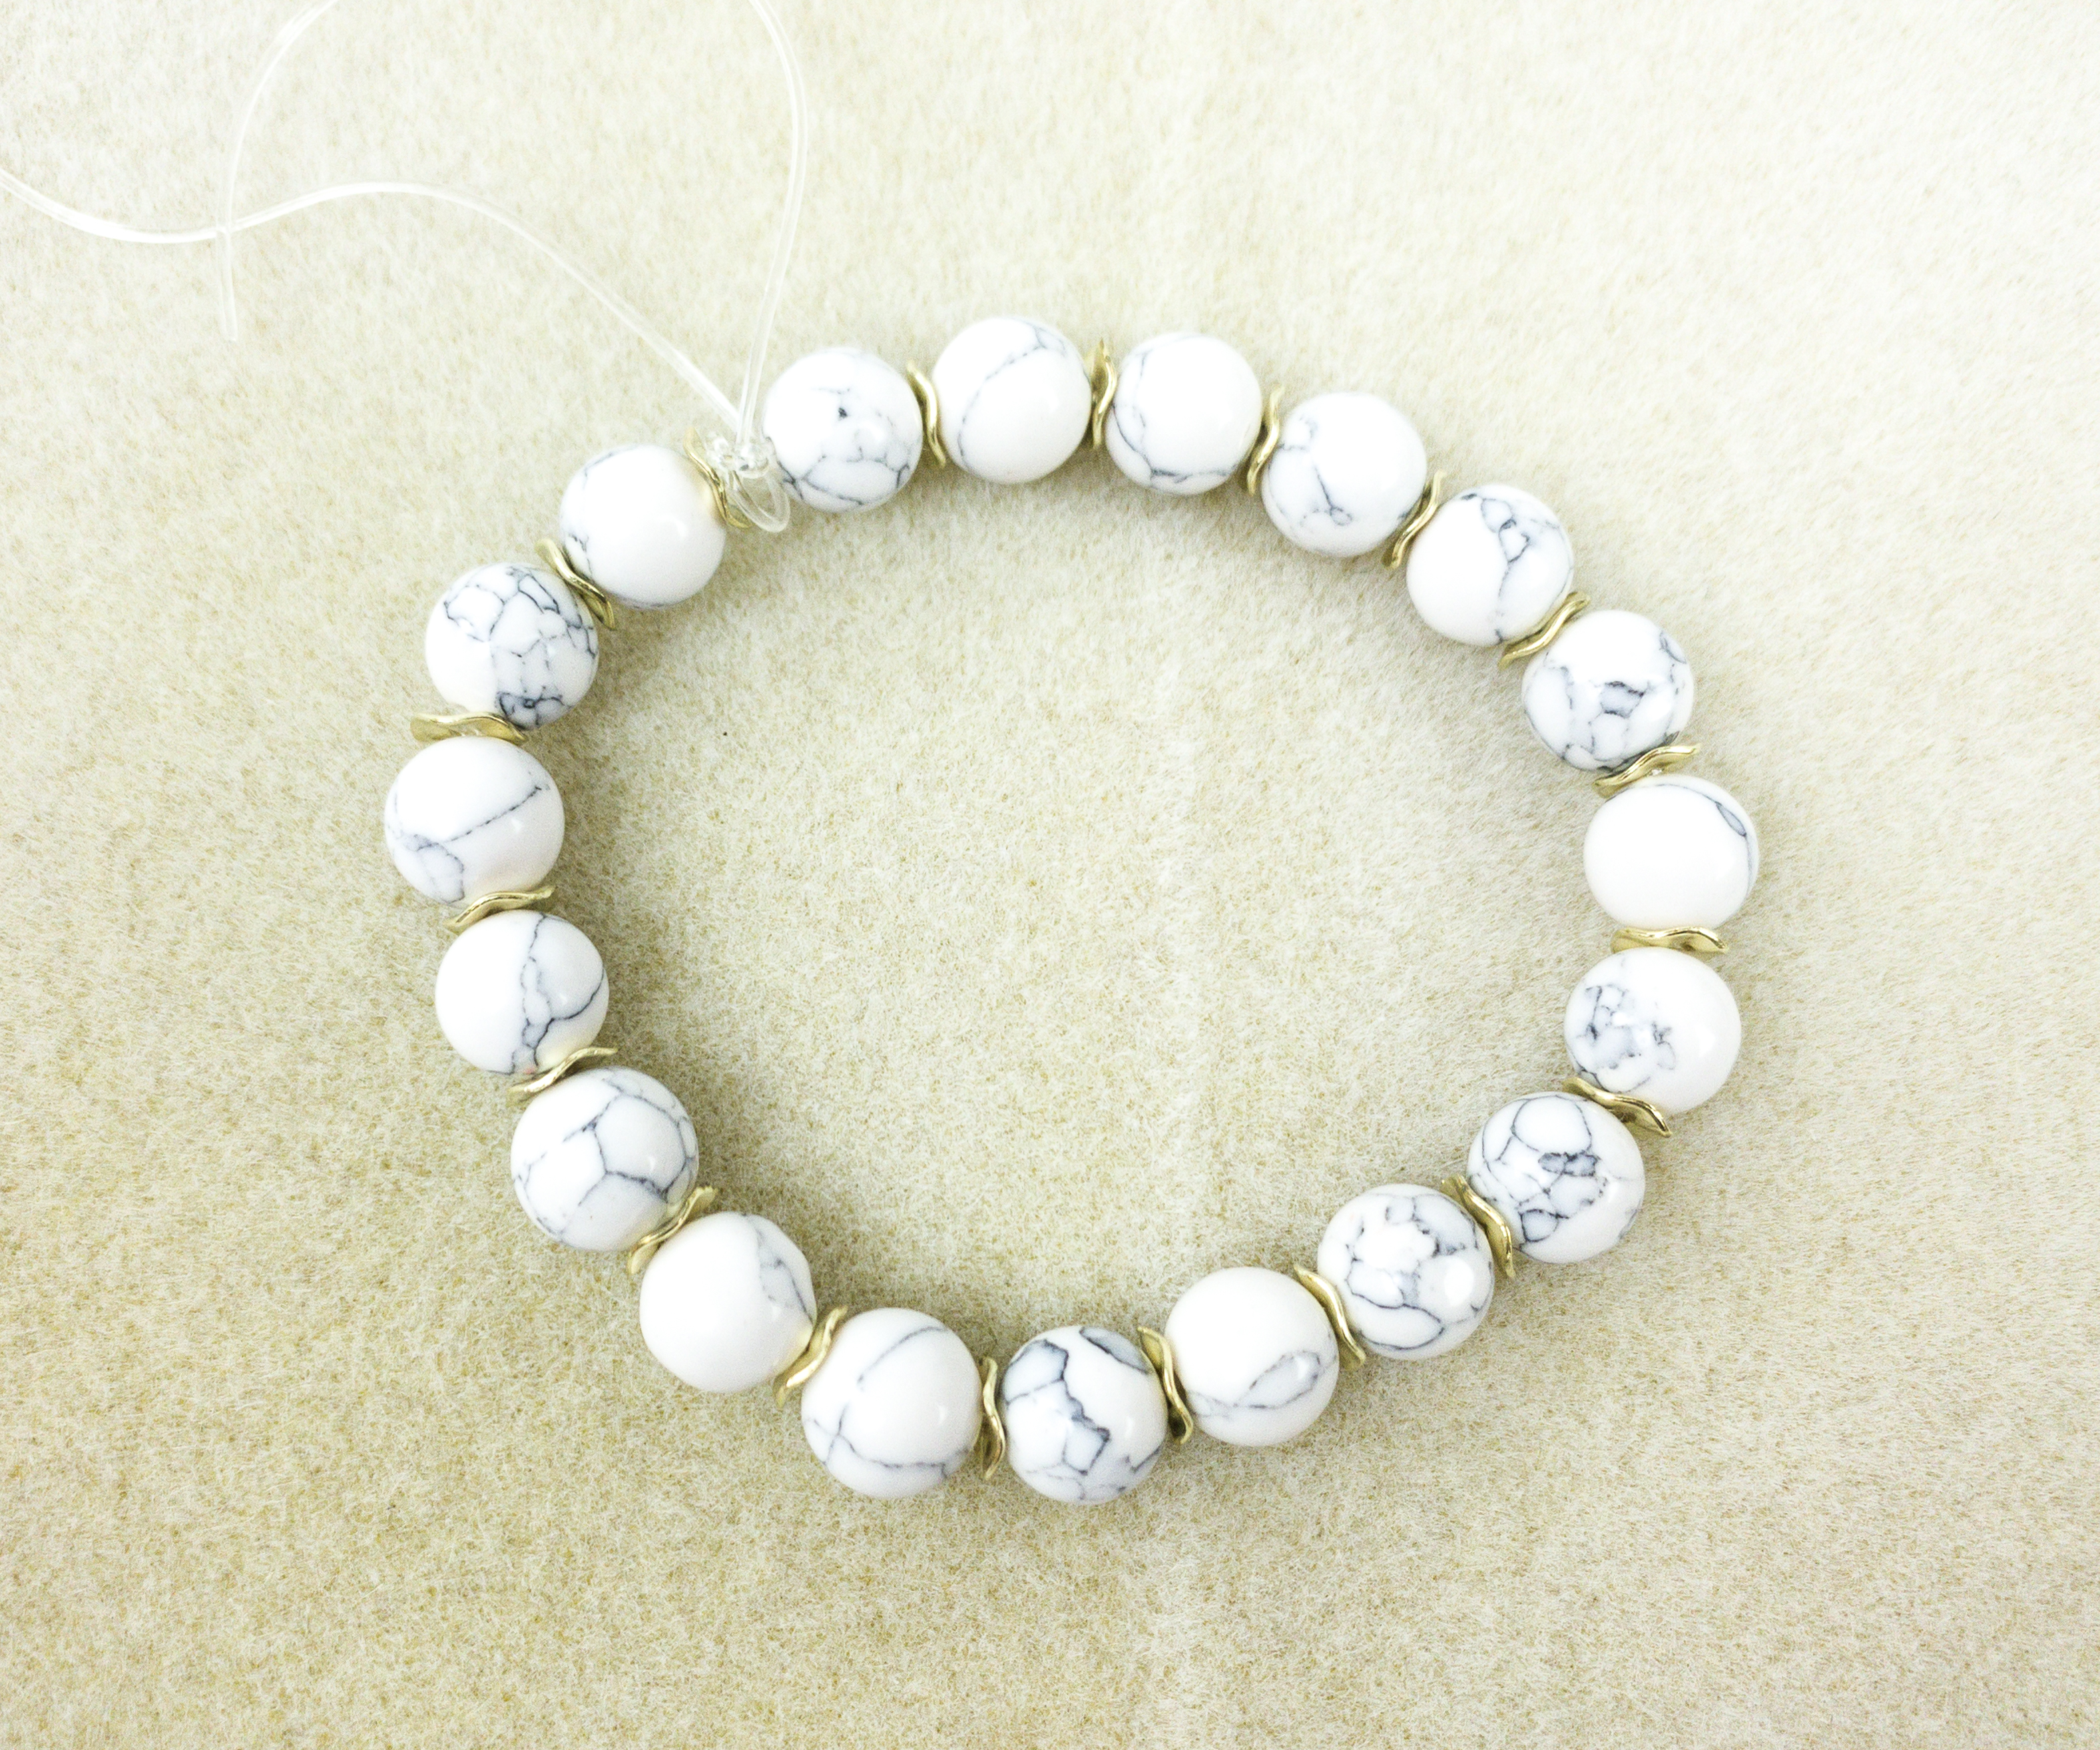
Here’s how the first bracelet looks like! It’s so elegant with those howlite beads and gold-colored spacers!
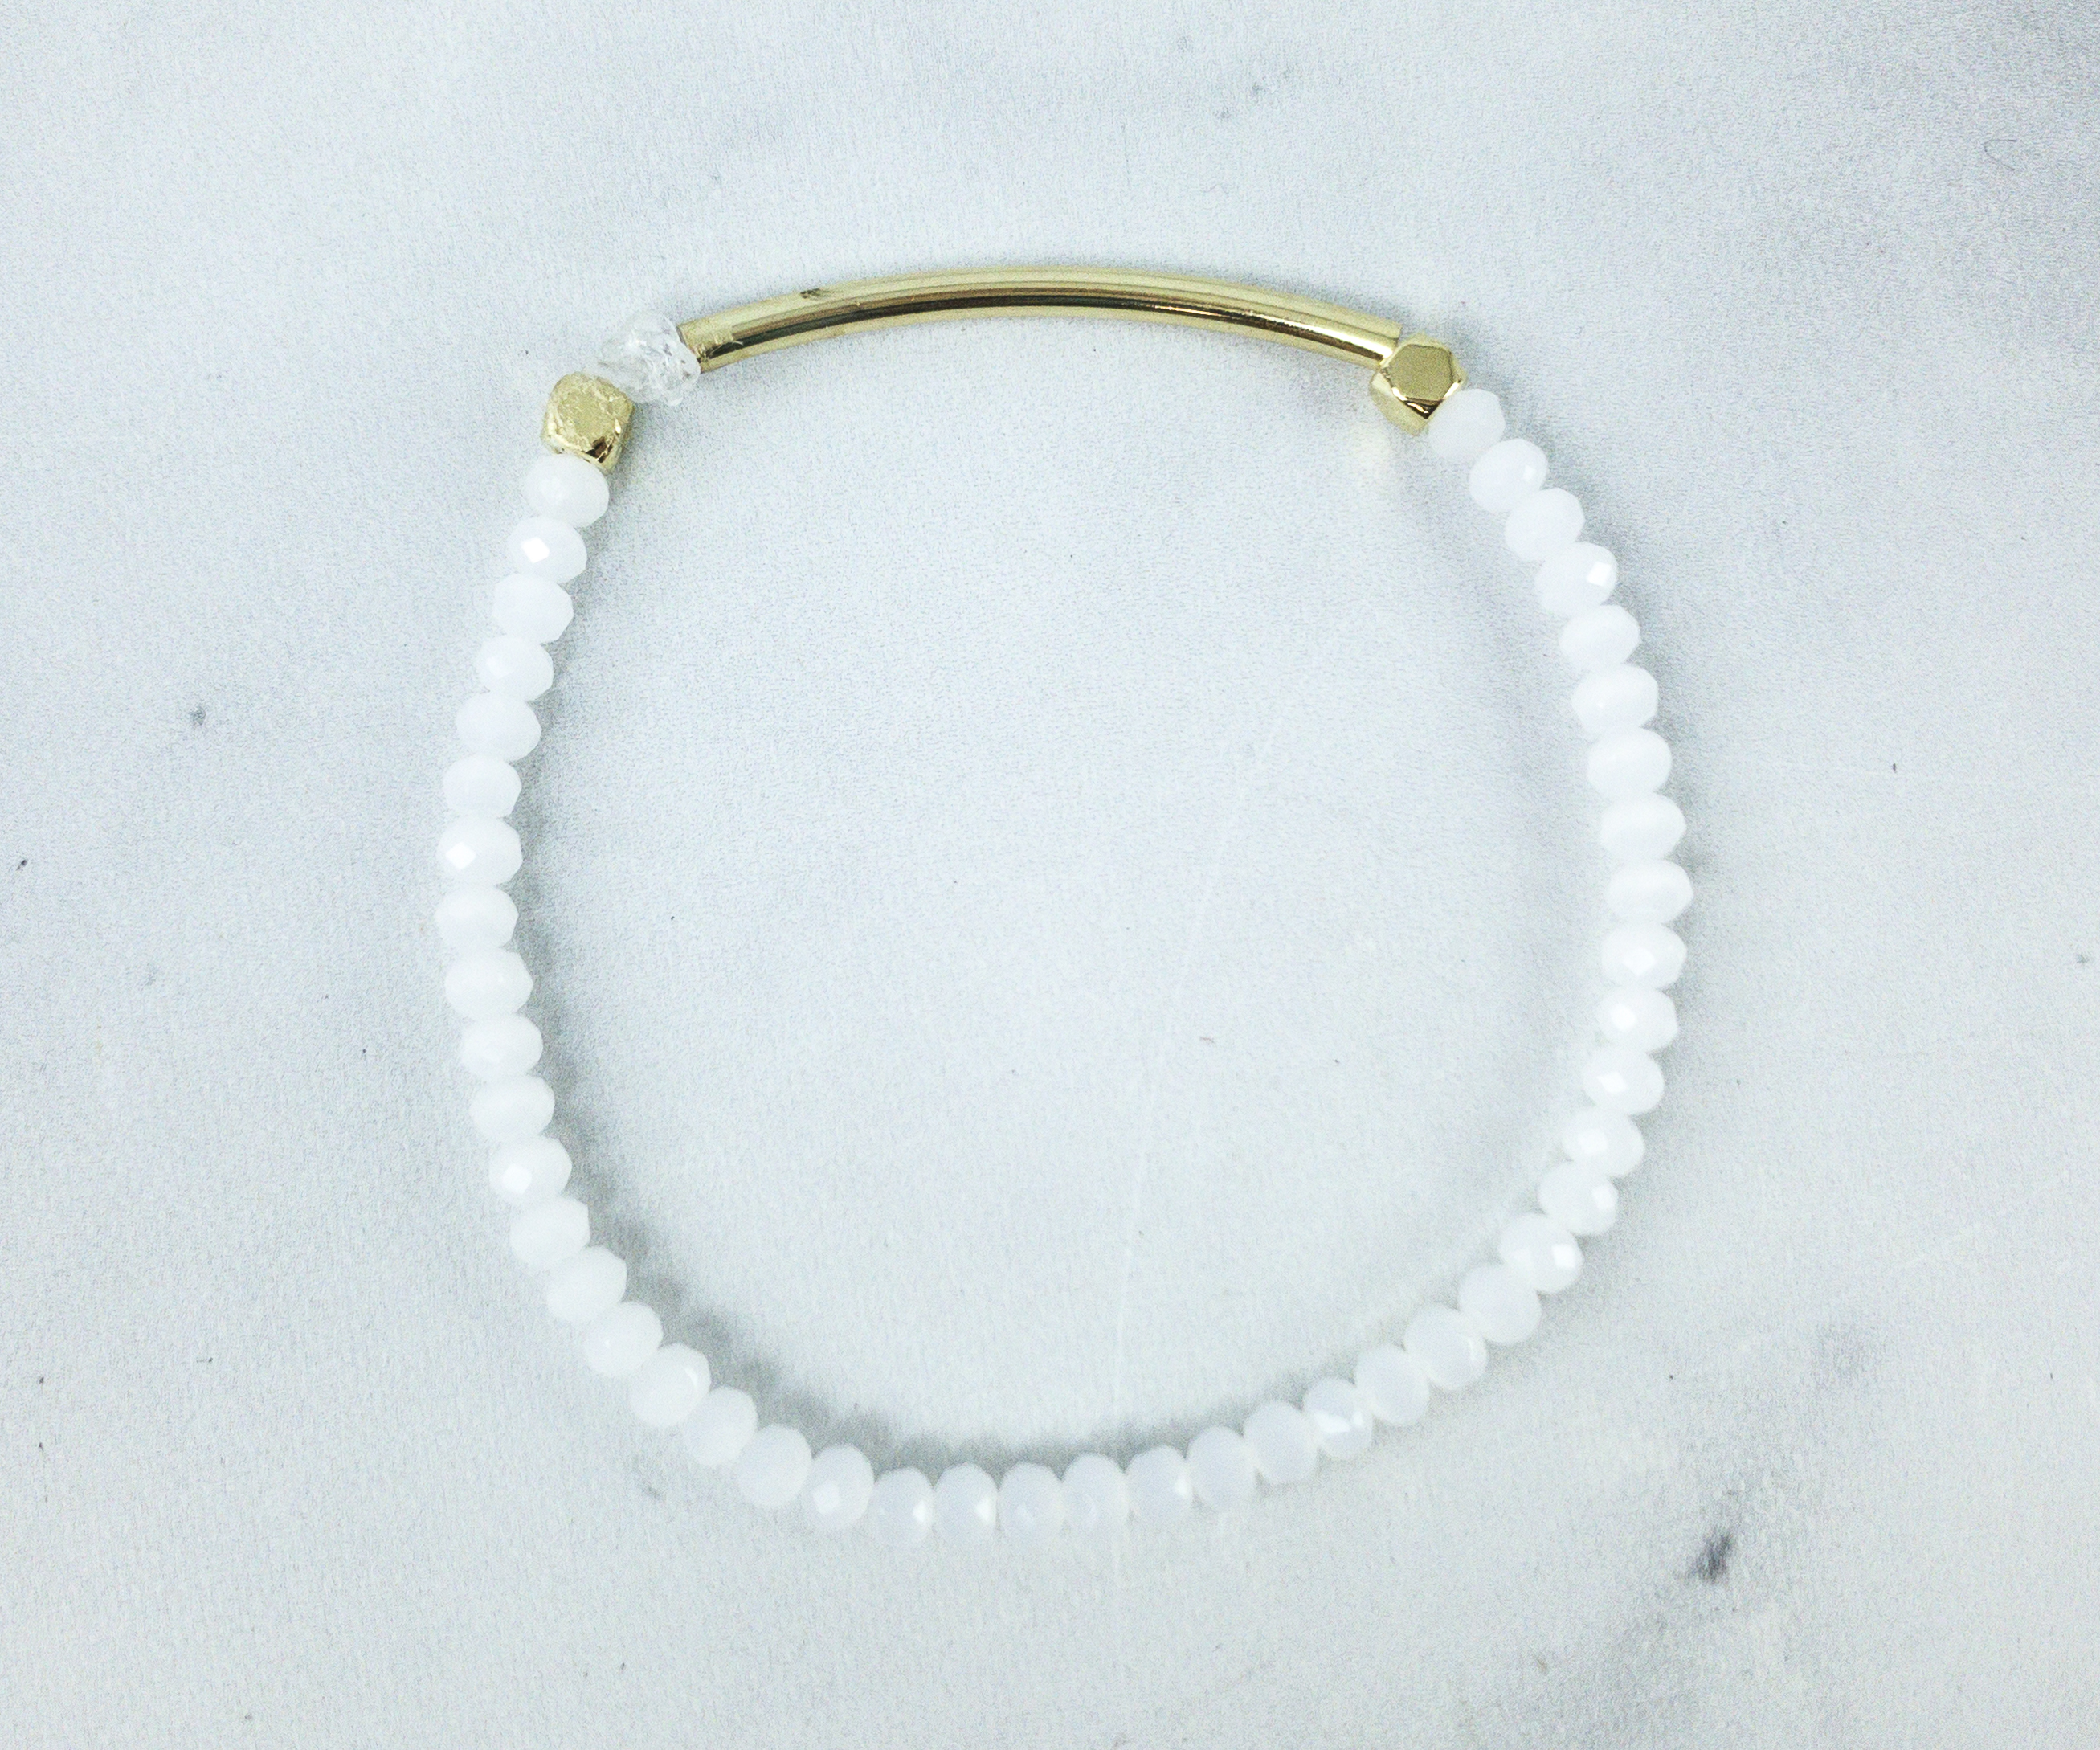
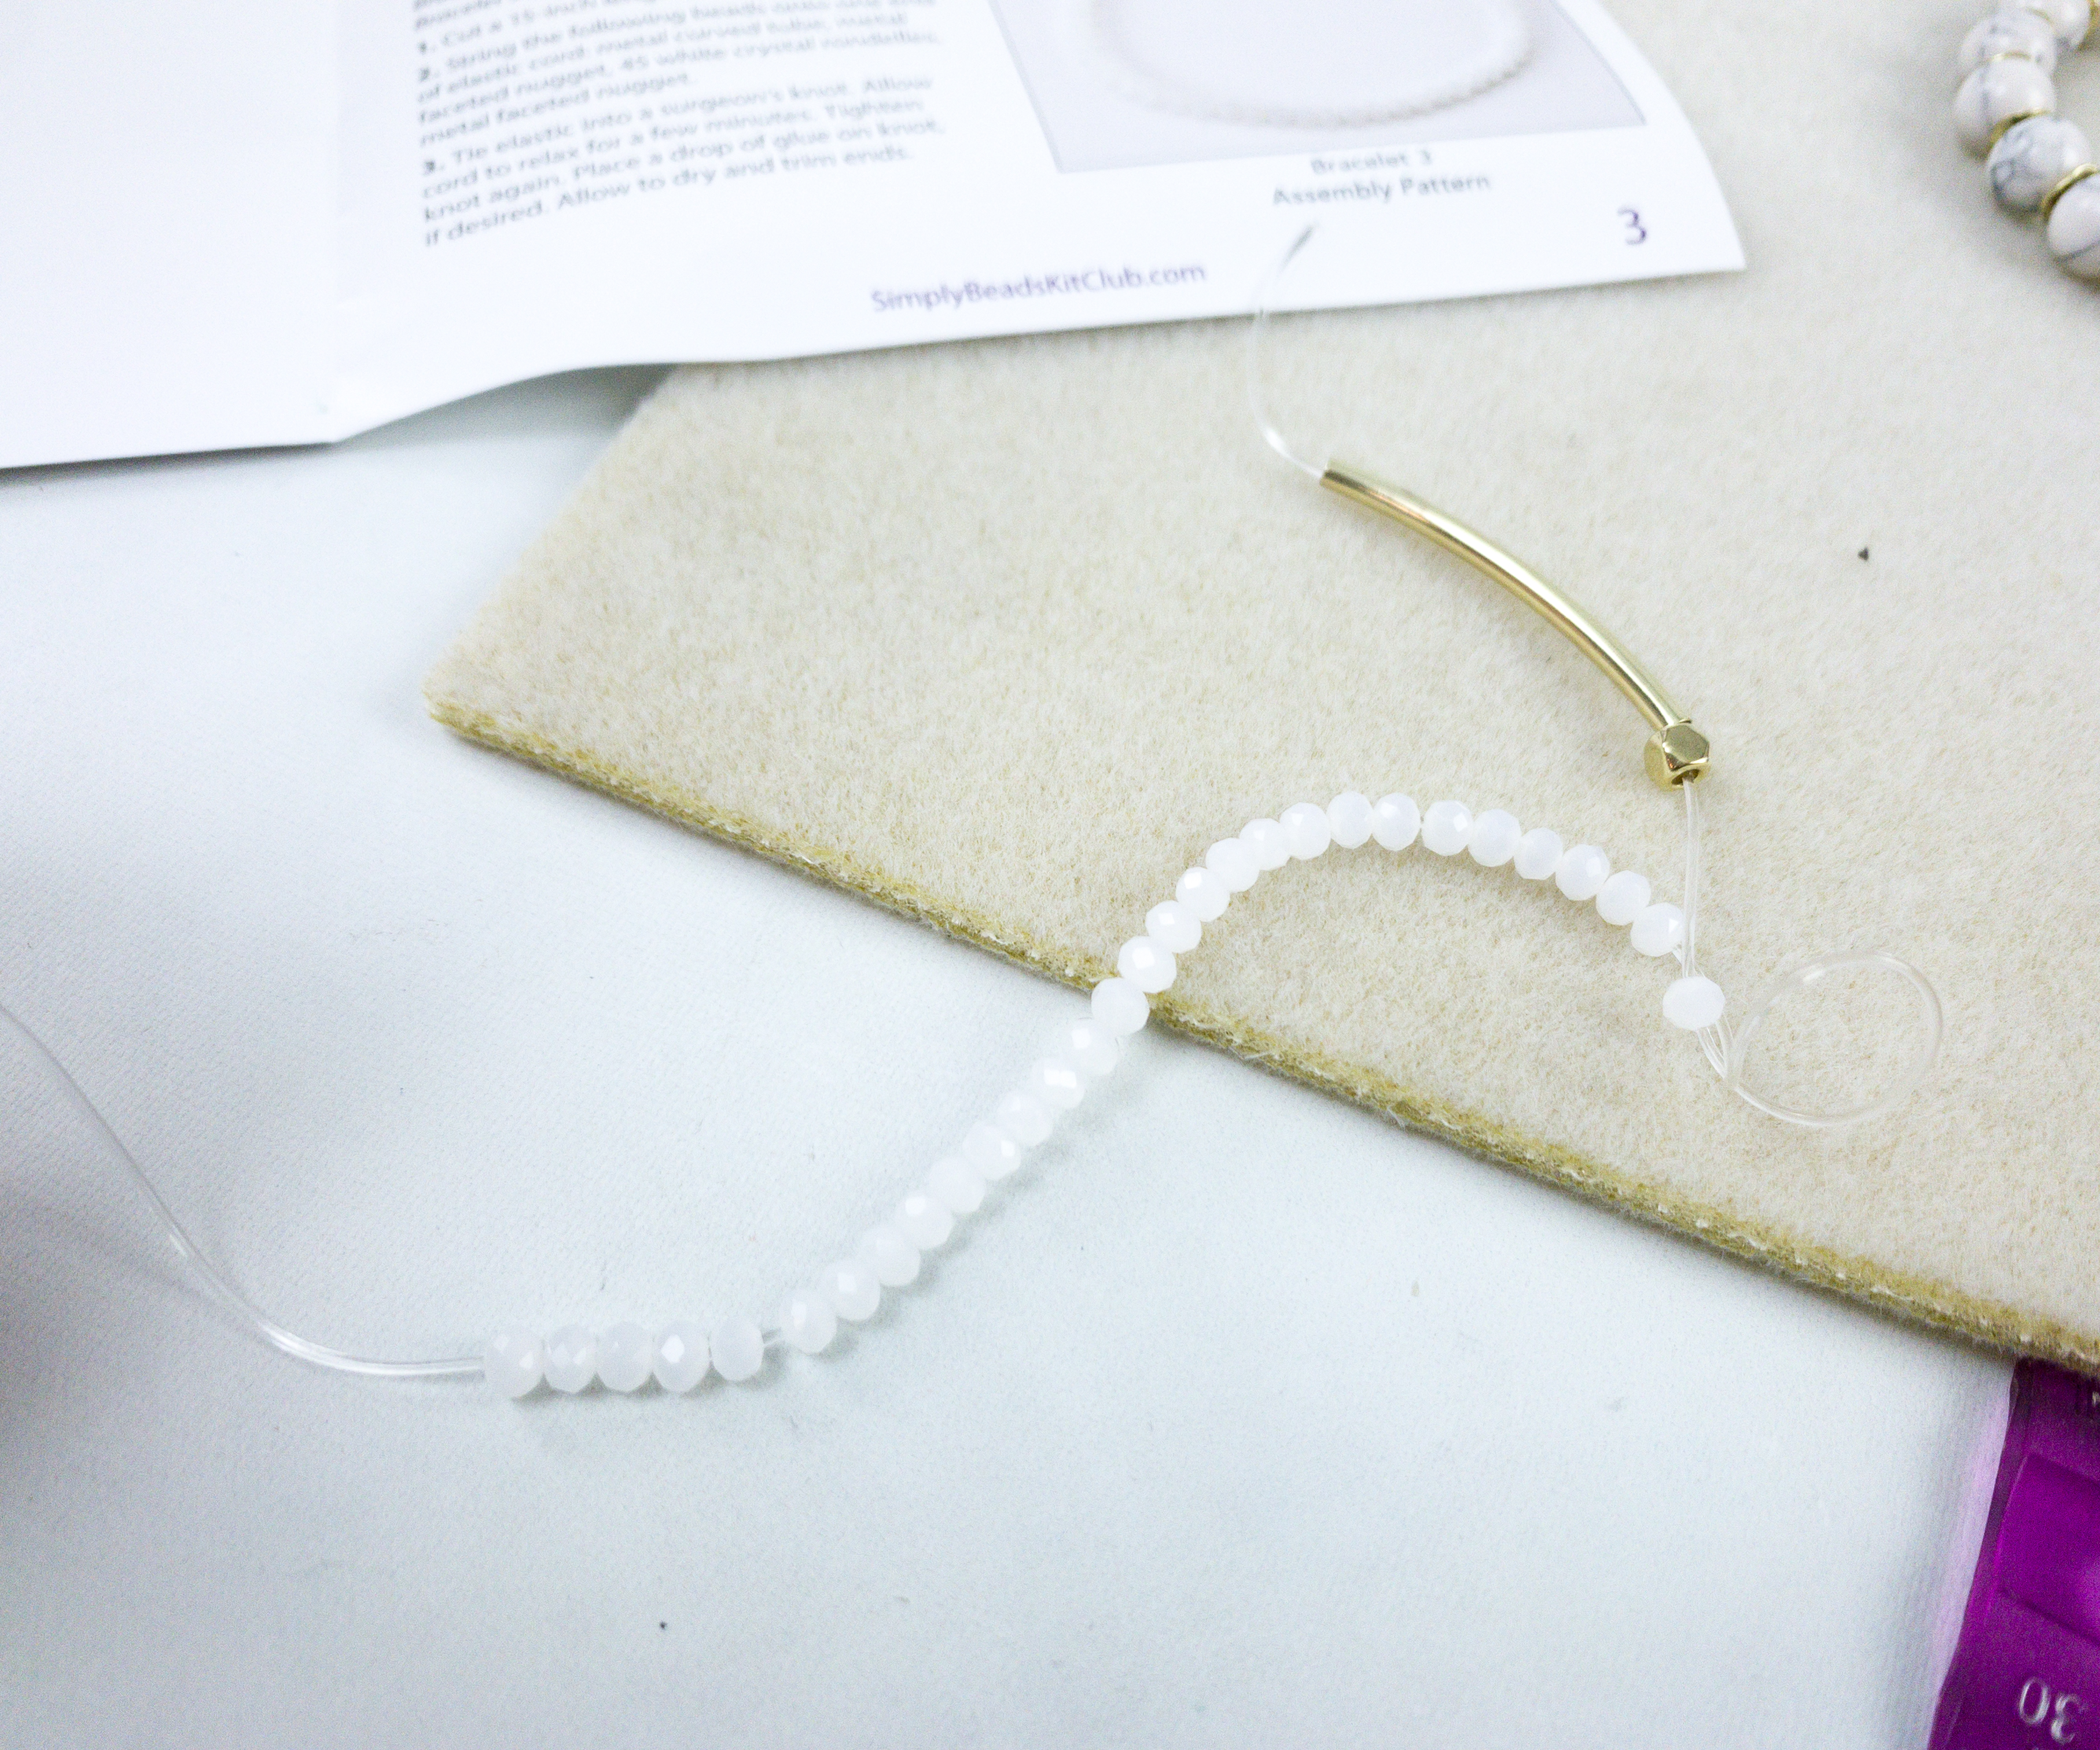
The second bracelet is made up of small white rondelles, with a gold-colored nuggets on each side, and gold-colored carved tube.
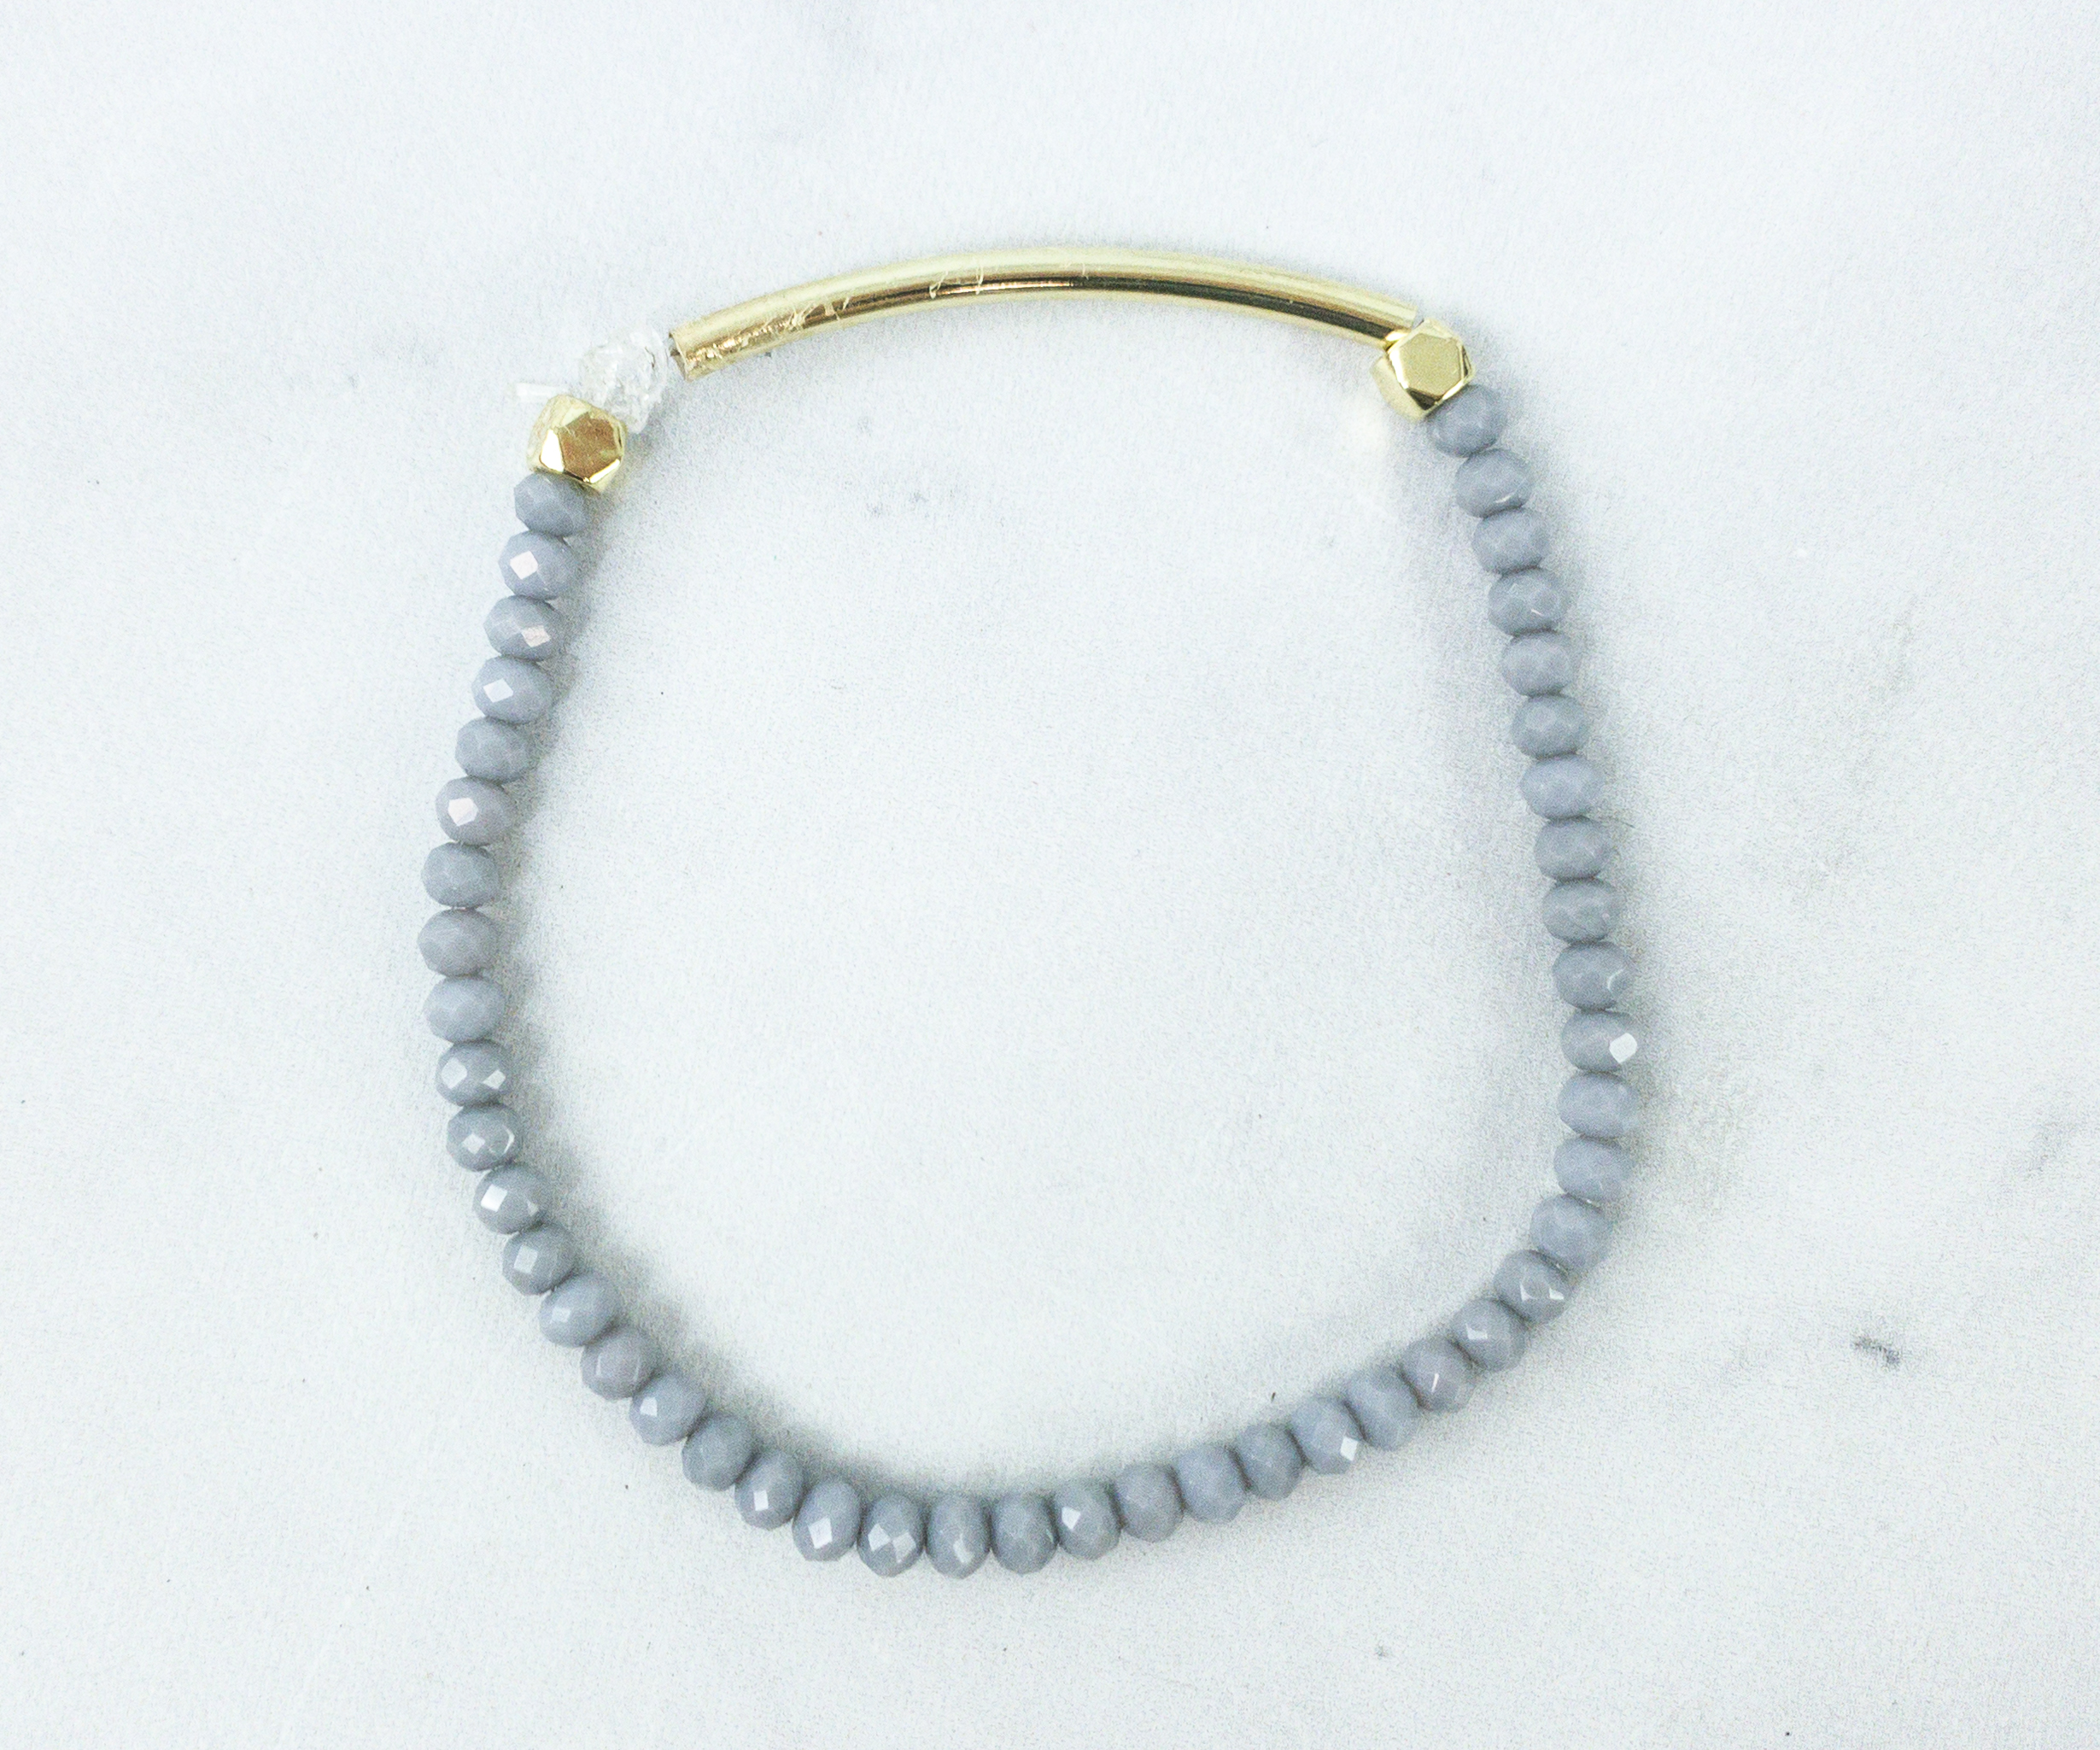
The third bracelet is almost the same as the previous bracelet except that we used gray rondelles on it.
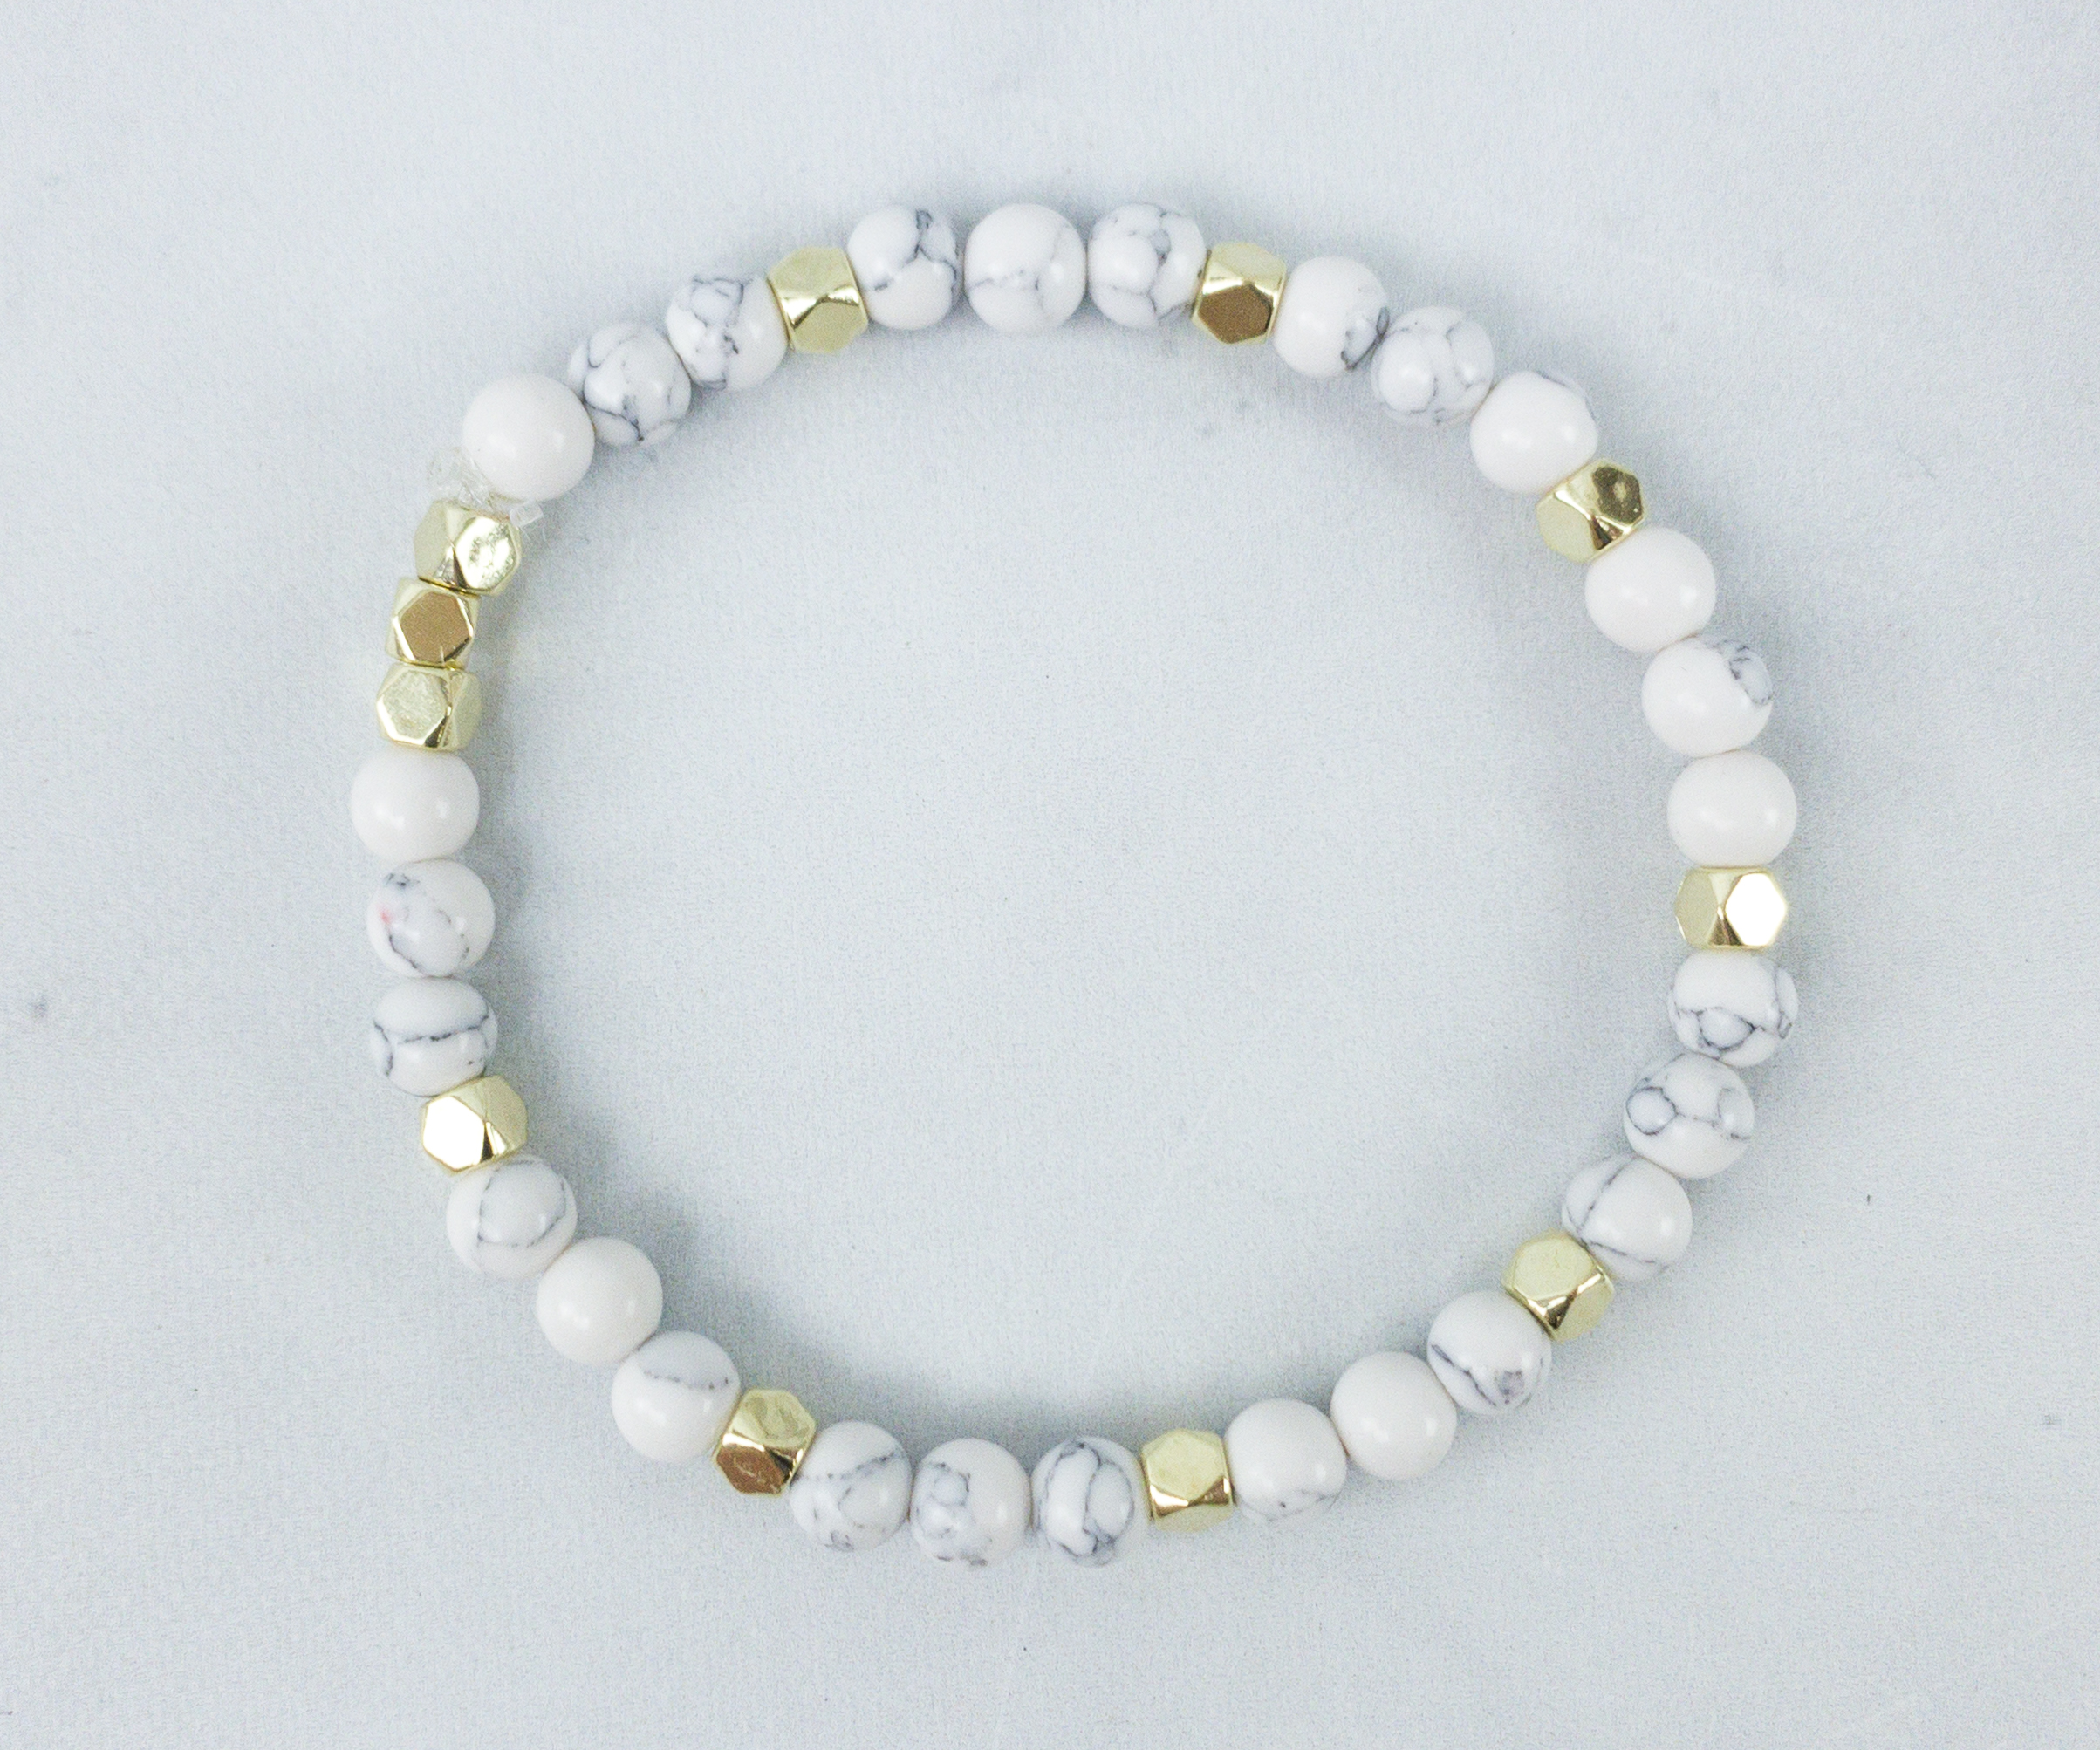
The fourth bracelet is made with howlite beads with gold-colored nuggets after every three of them. It looks pretty!
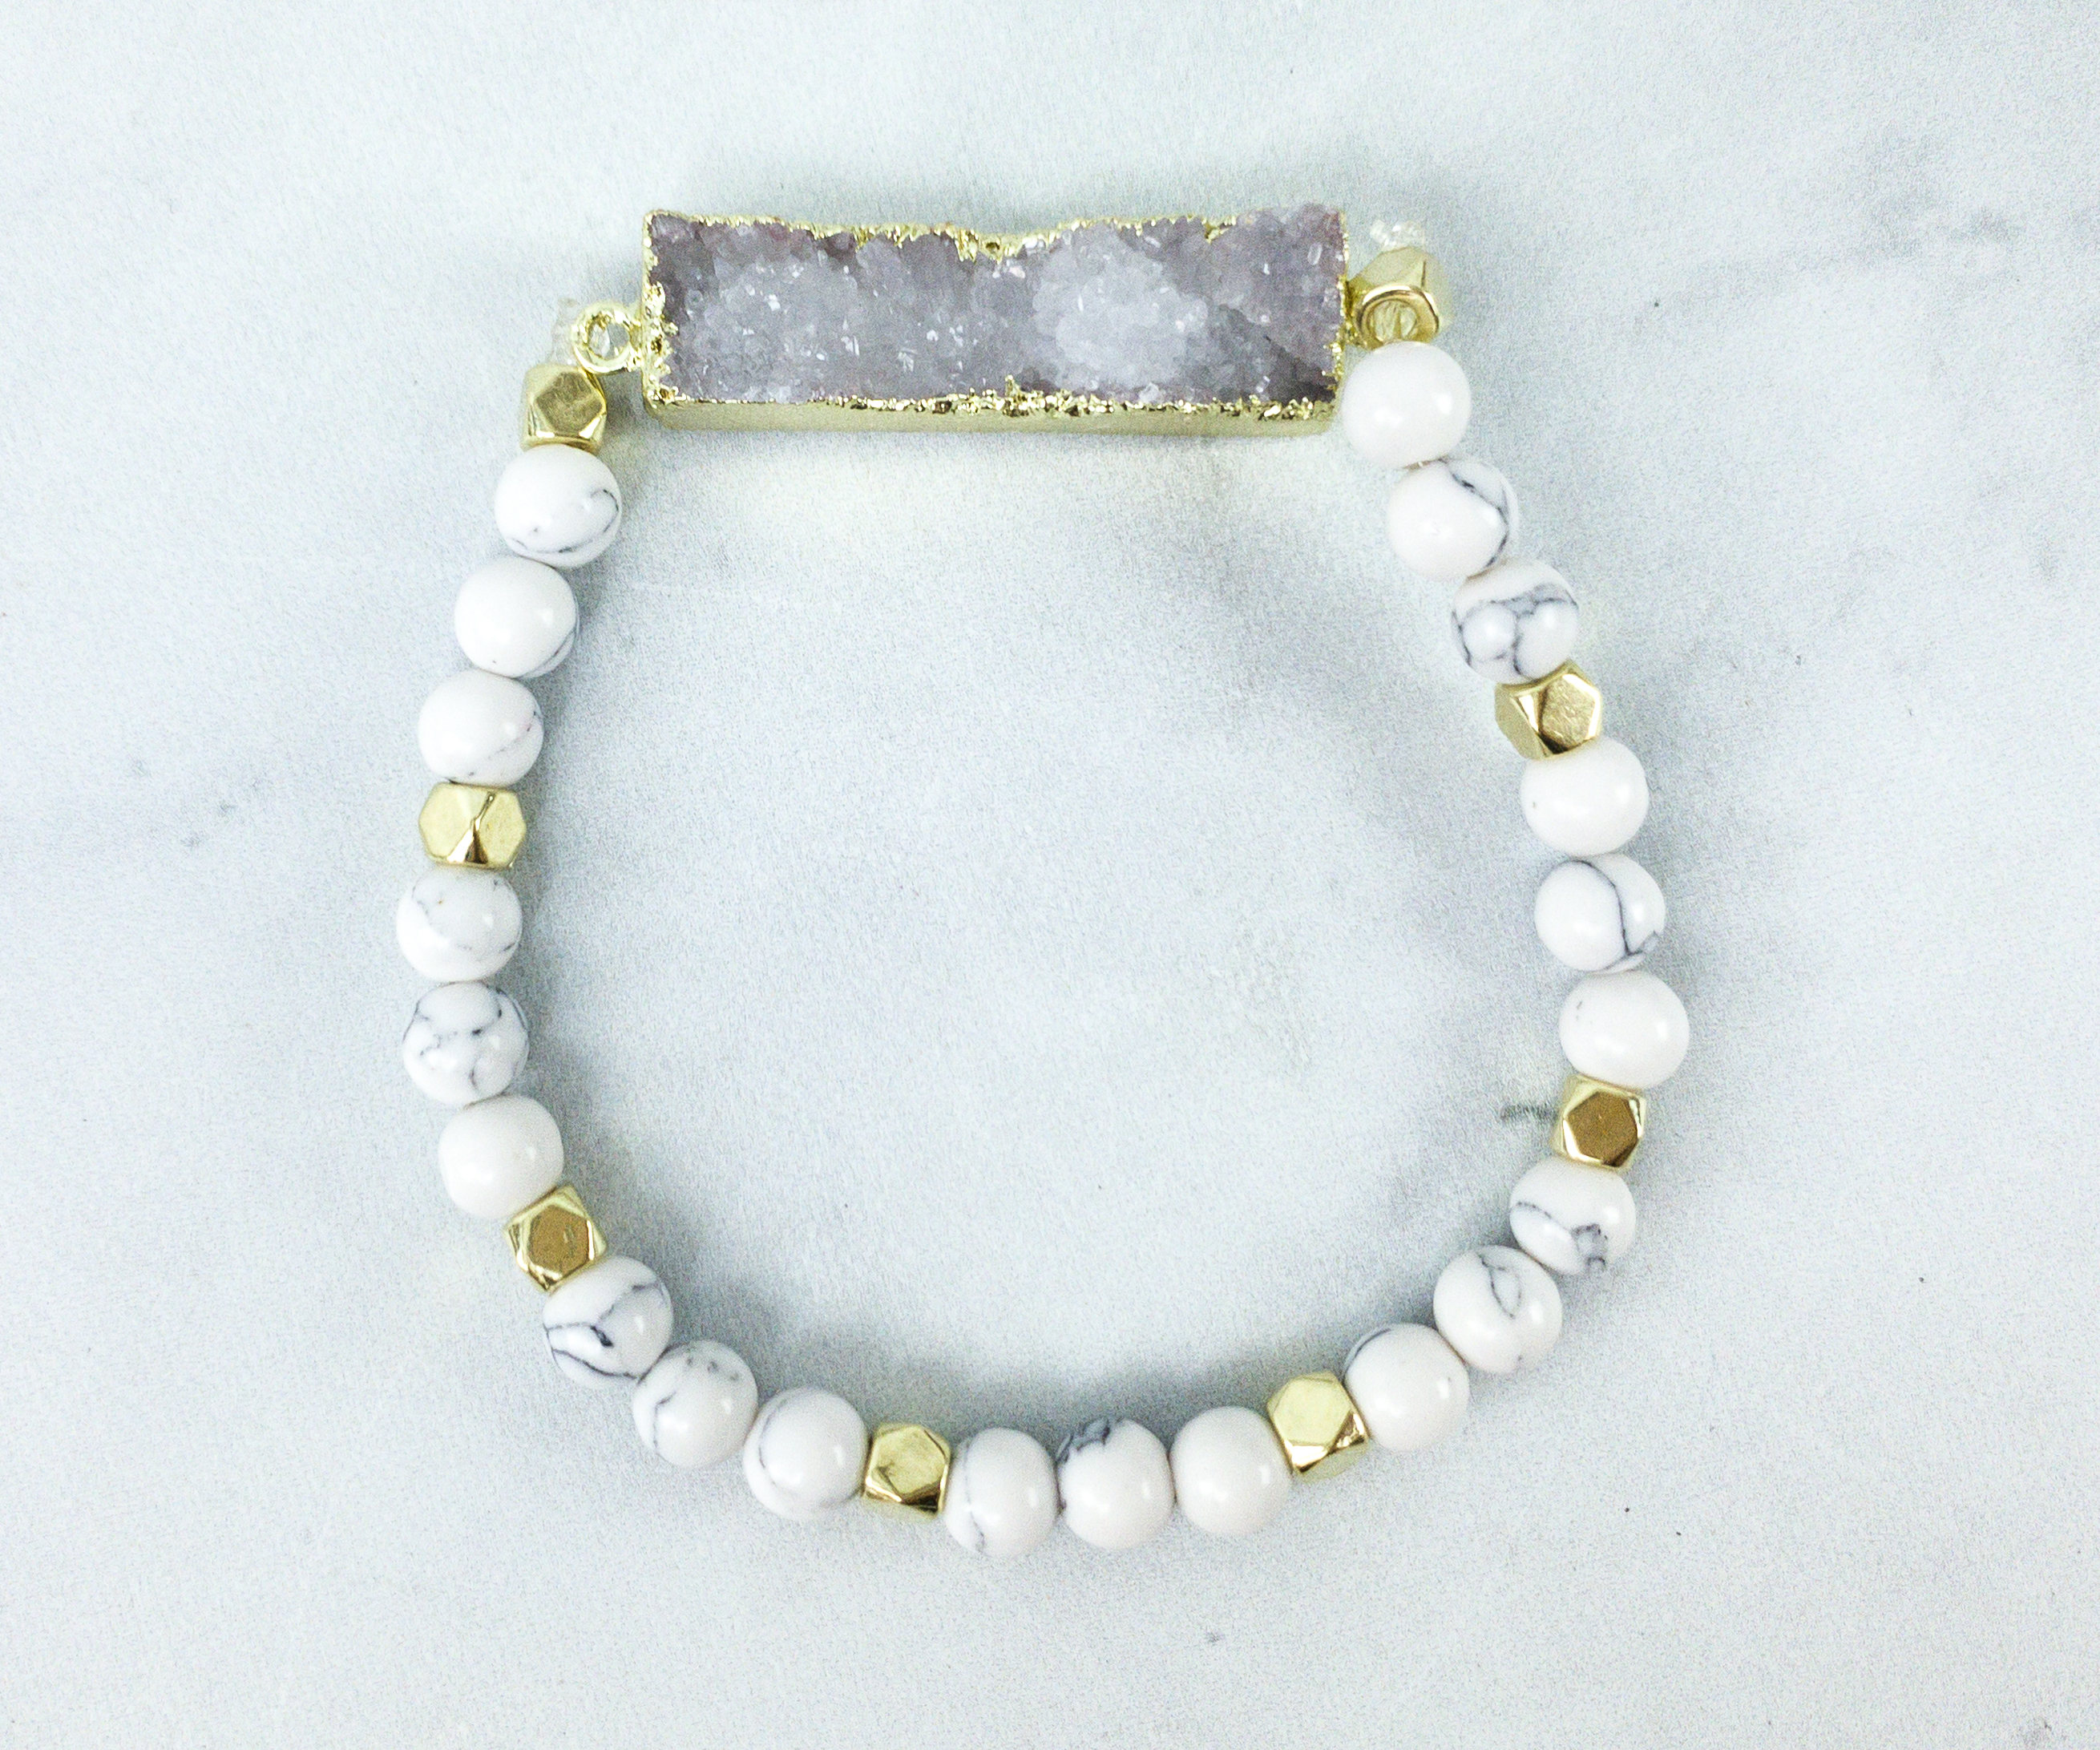
The last one is also a combination of howlite beads and gold-colored nuggets, but this one has a druzy bar that adds character to the whole bracelet! It’s a statement piece!

Here are all the bracelets we made! They all look so pretty!
Make sure you keep the 4-in-1 tool as well as the beading guide booklet as you can still re-use them for future projects!
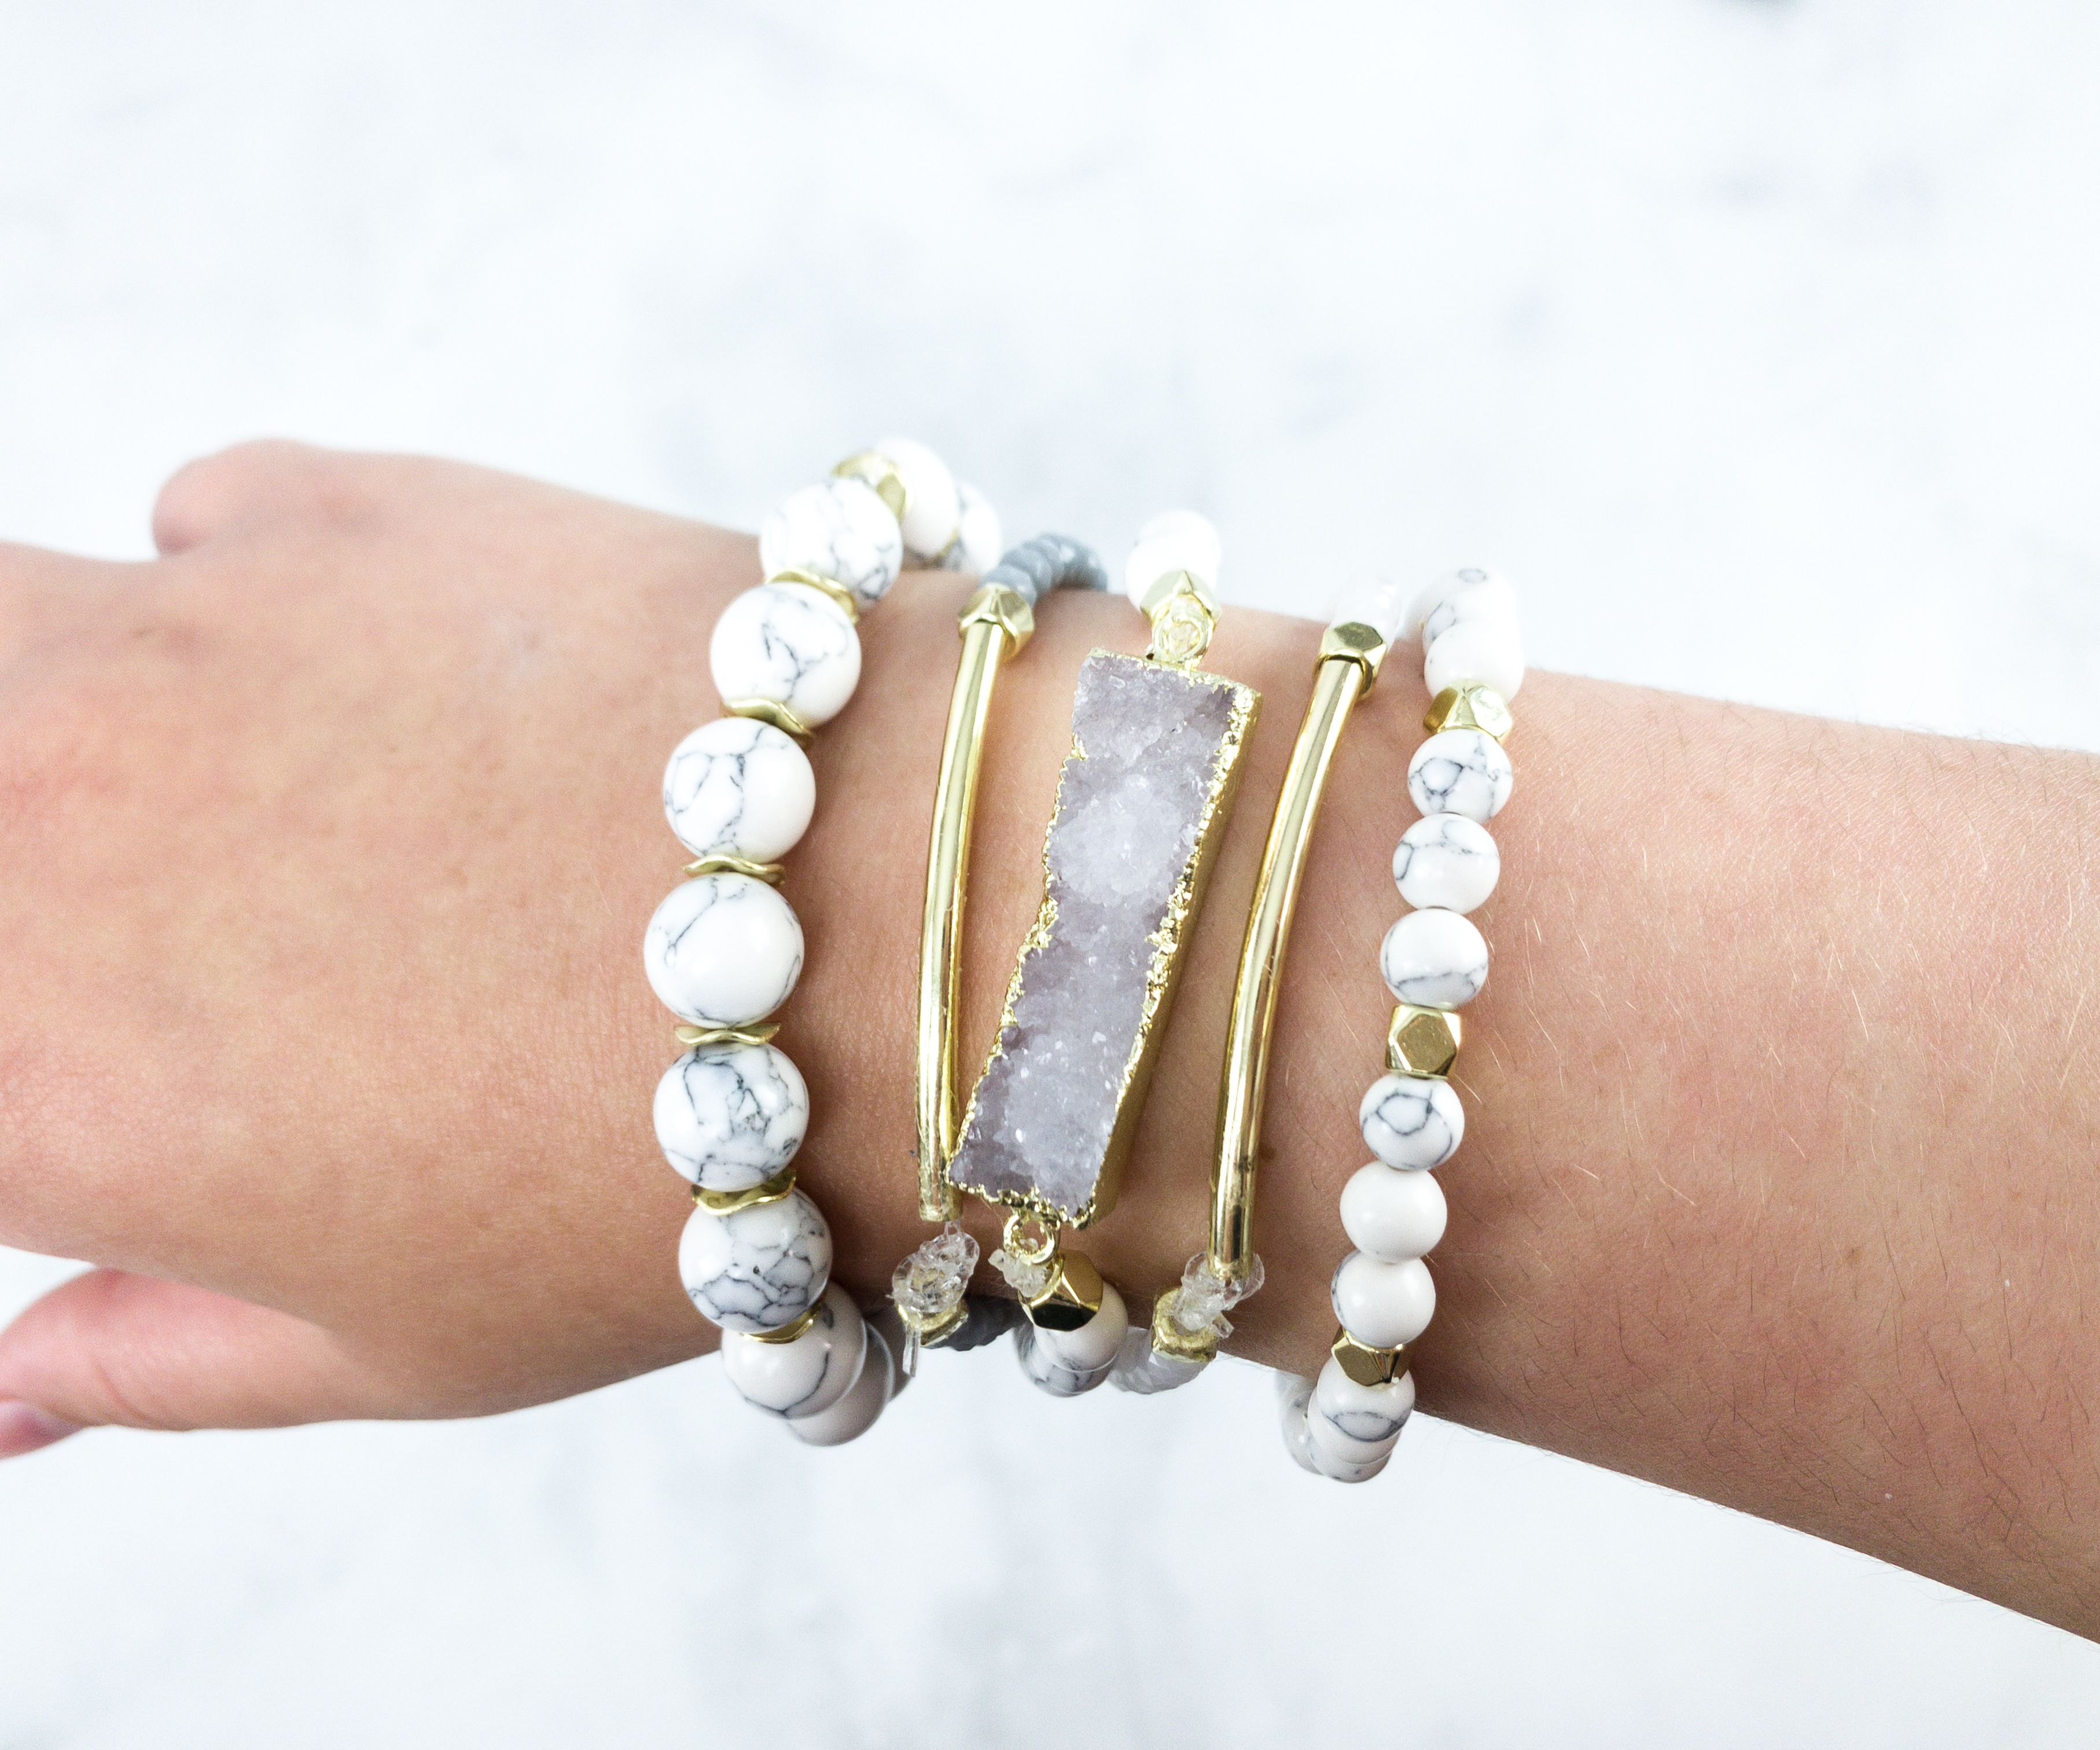
Here’s how the bracelets look like when worn!
I love this month’s project! All the bracelets are awesome! You can wear a piece at a time if you want to go for a dainty look, or even by twos or threes for a layered look! Of course, you can also wear all of them together at the same time for a stacked arm candy look. It was such an amazing project with a useful product as the final product! I love the color selection of the beads as they will work for both casual and formal wear! Plus, the fact that I can keep the tool and booklet I got for future personal projects make it all the more worth it!
What do you think of this box?
Visit Annie’s Simply Beads Kit of the Month Club to subscribe or find out more!


Comments
Thank you, Brandy, for this thorough review!