MEL Physics is a monthly subscription from MEL Science that sends Physics-related experiments for kids ages 9-14. You can subscribe to the box for $34.90 each month. Each monthly kit contains 2-3 science experiments with enough materials to try it twice, plus step-by-step instructions. All the experiments are designed for home use.
DEAL: Save 25% on your first month! Just use this link and coupon code HELLO25
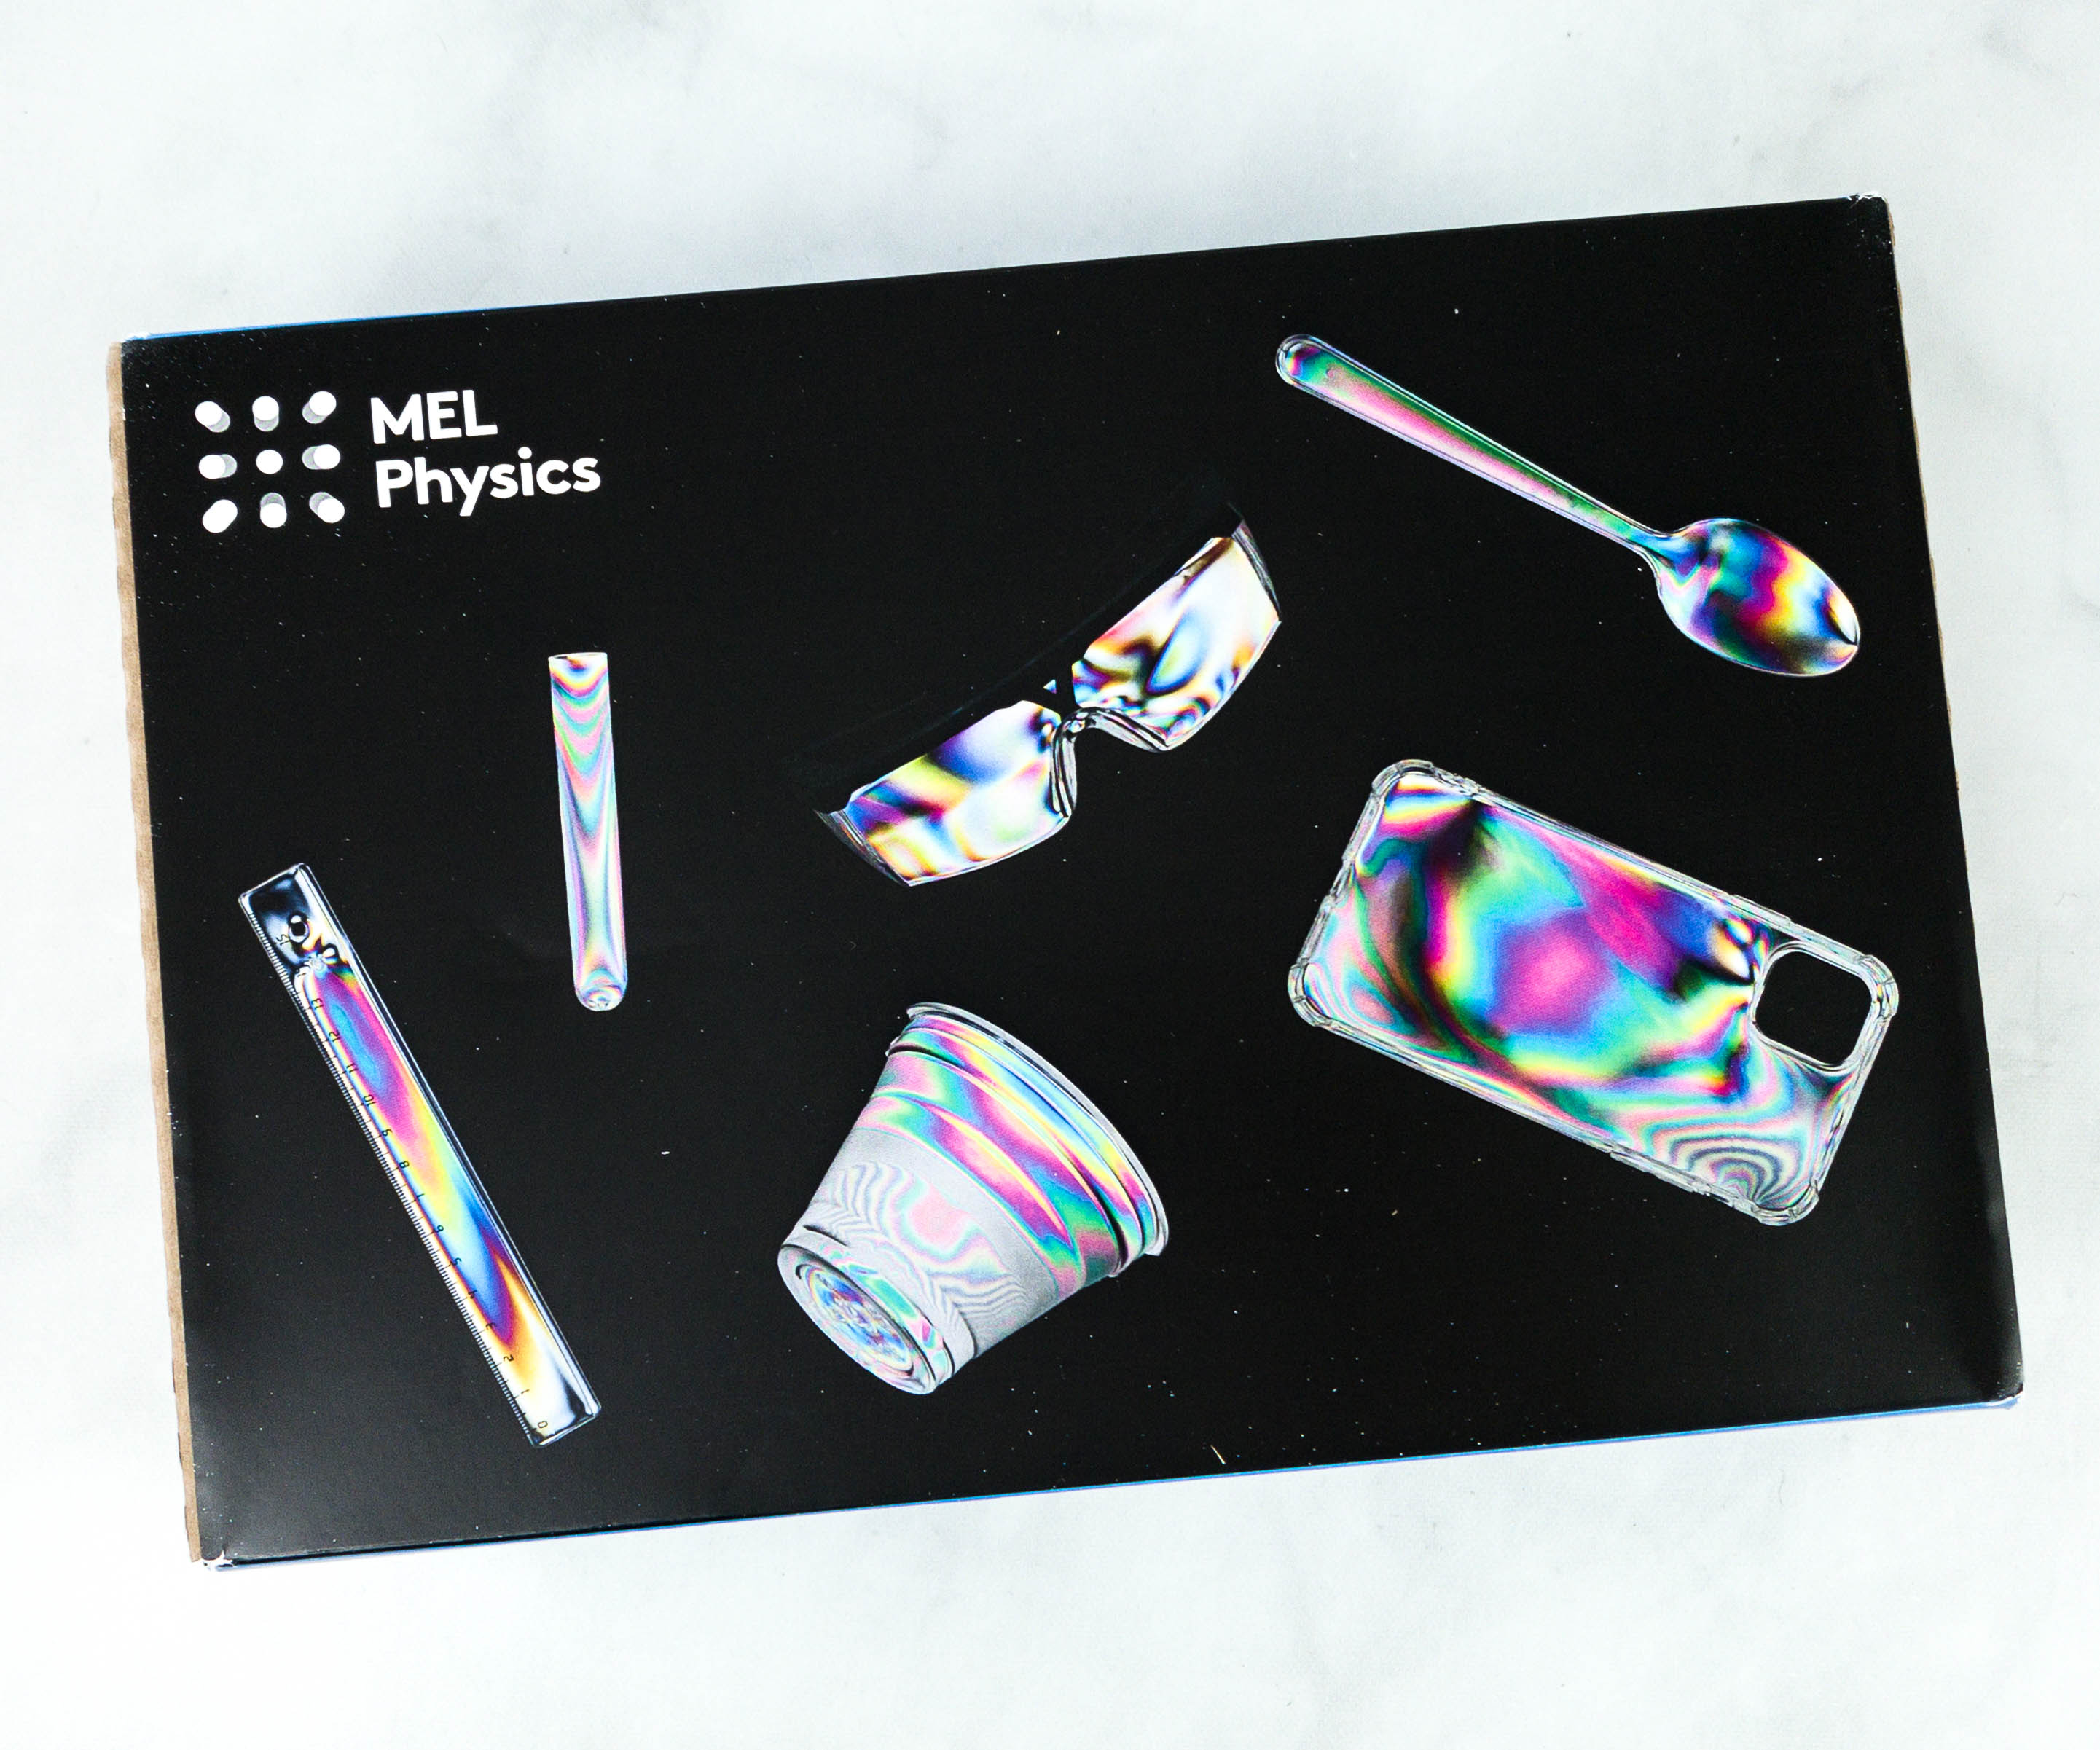
This is a review of the MEL Physics – Polarized light box.
This side of the box contains all the information you need to know about this month’s activities.
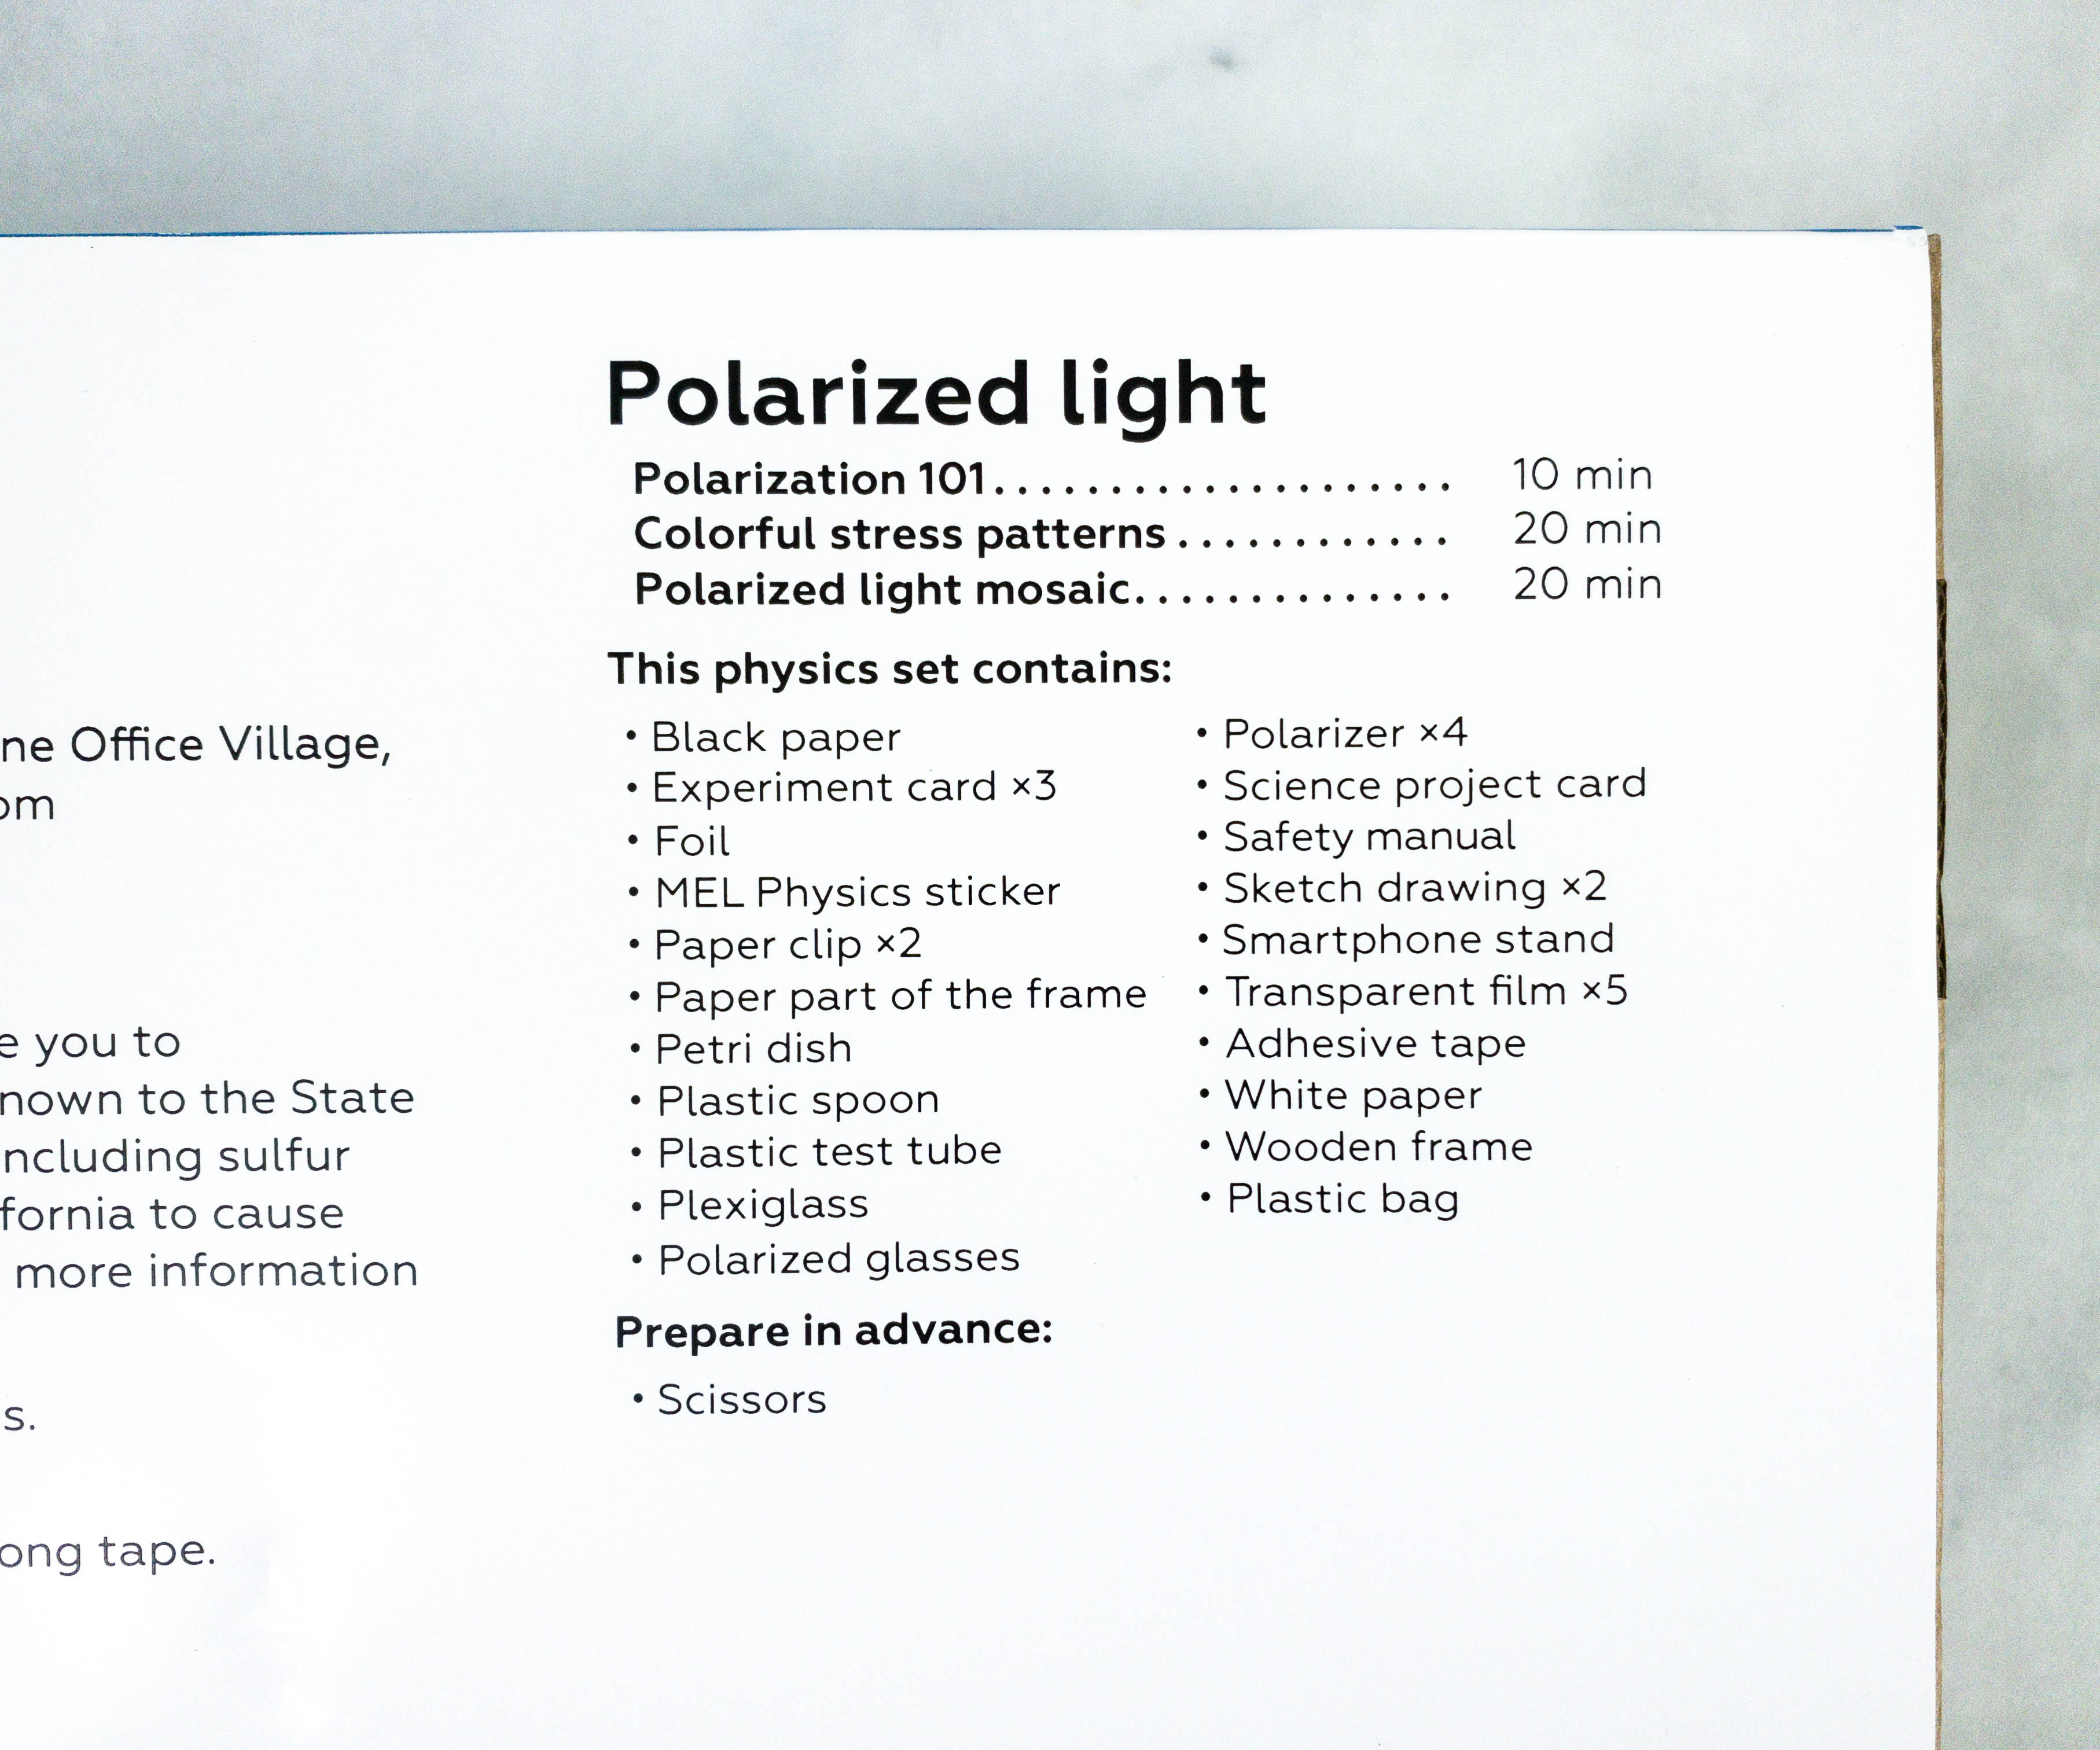
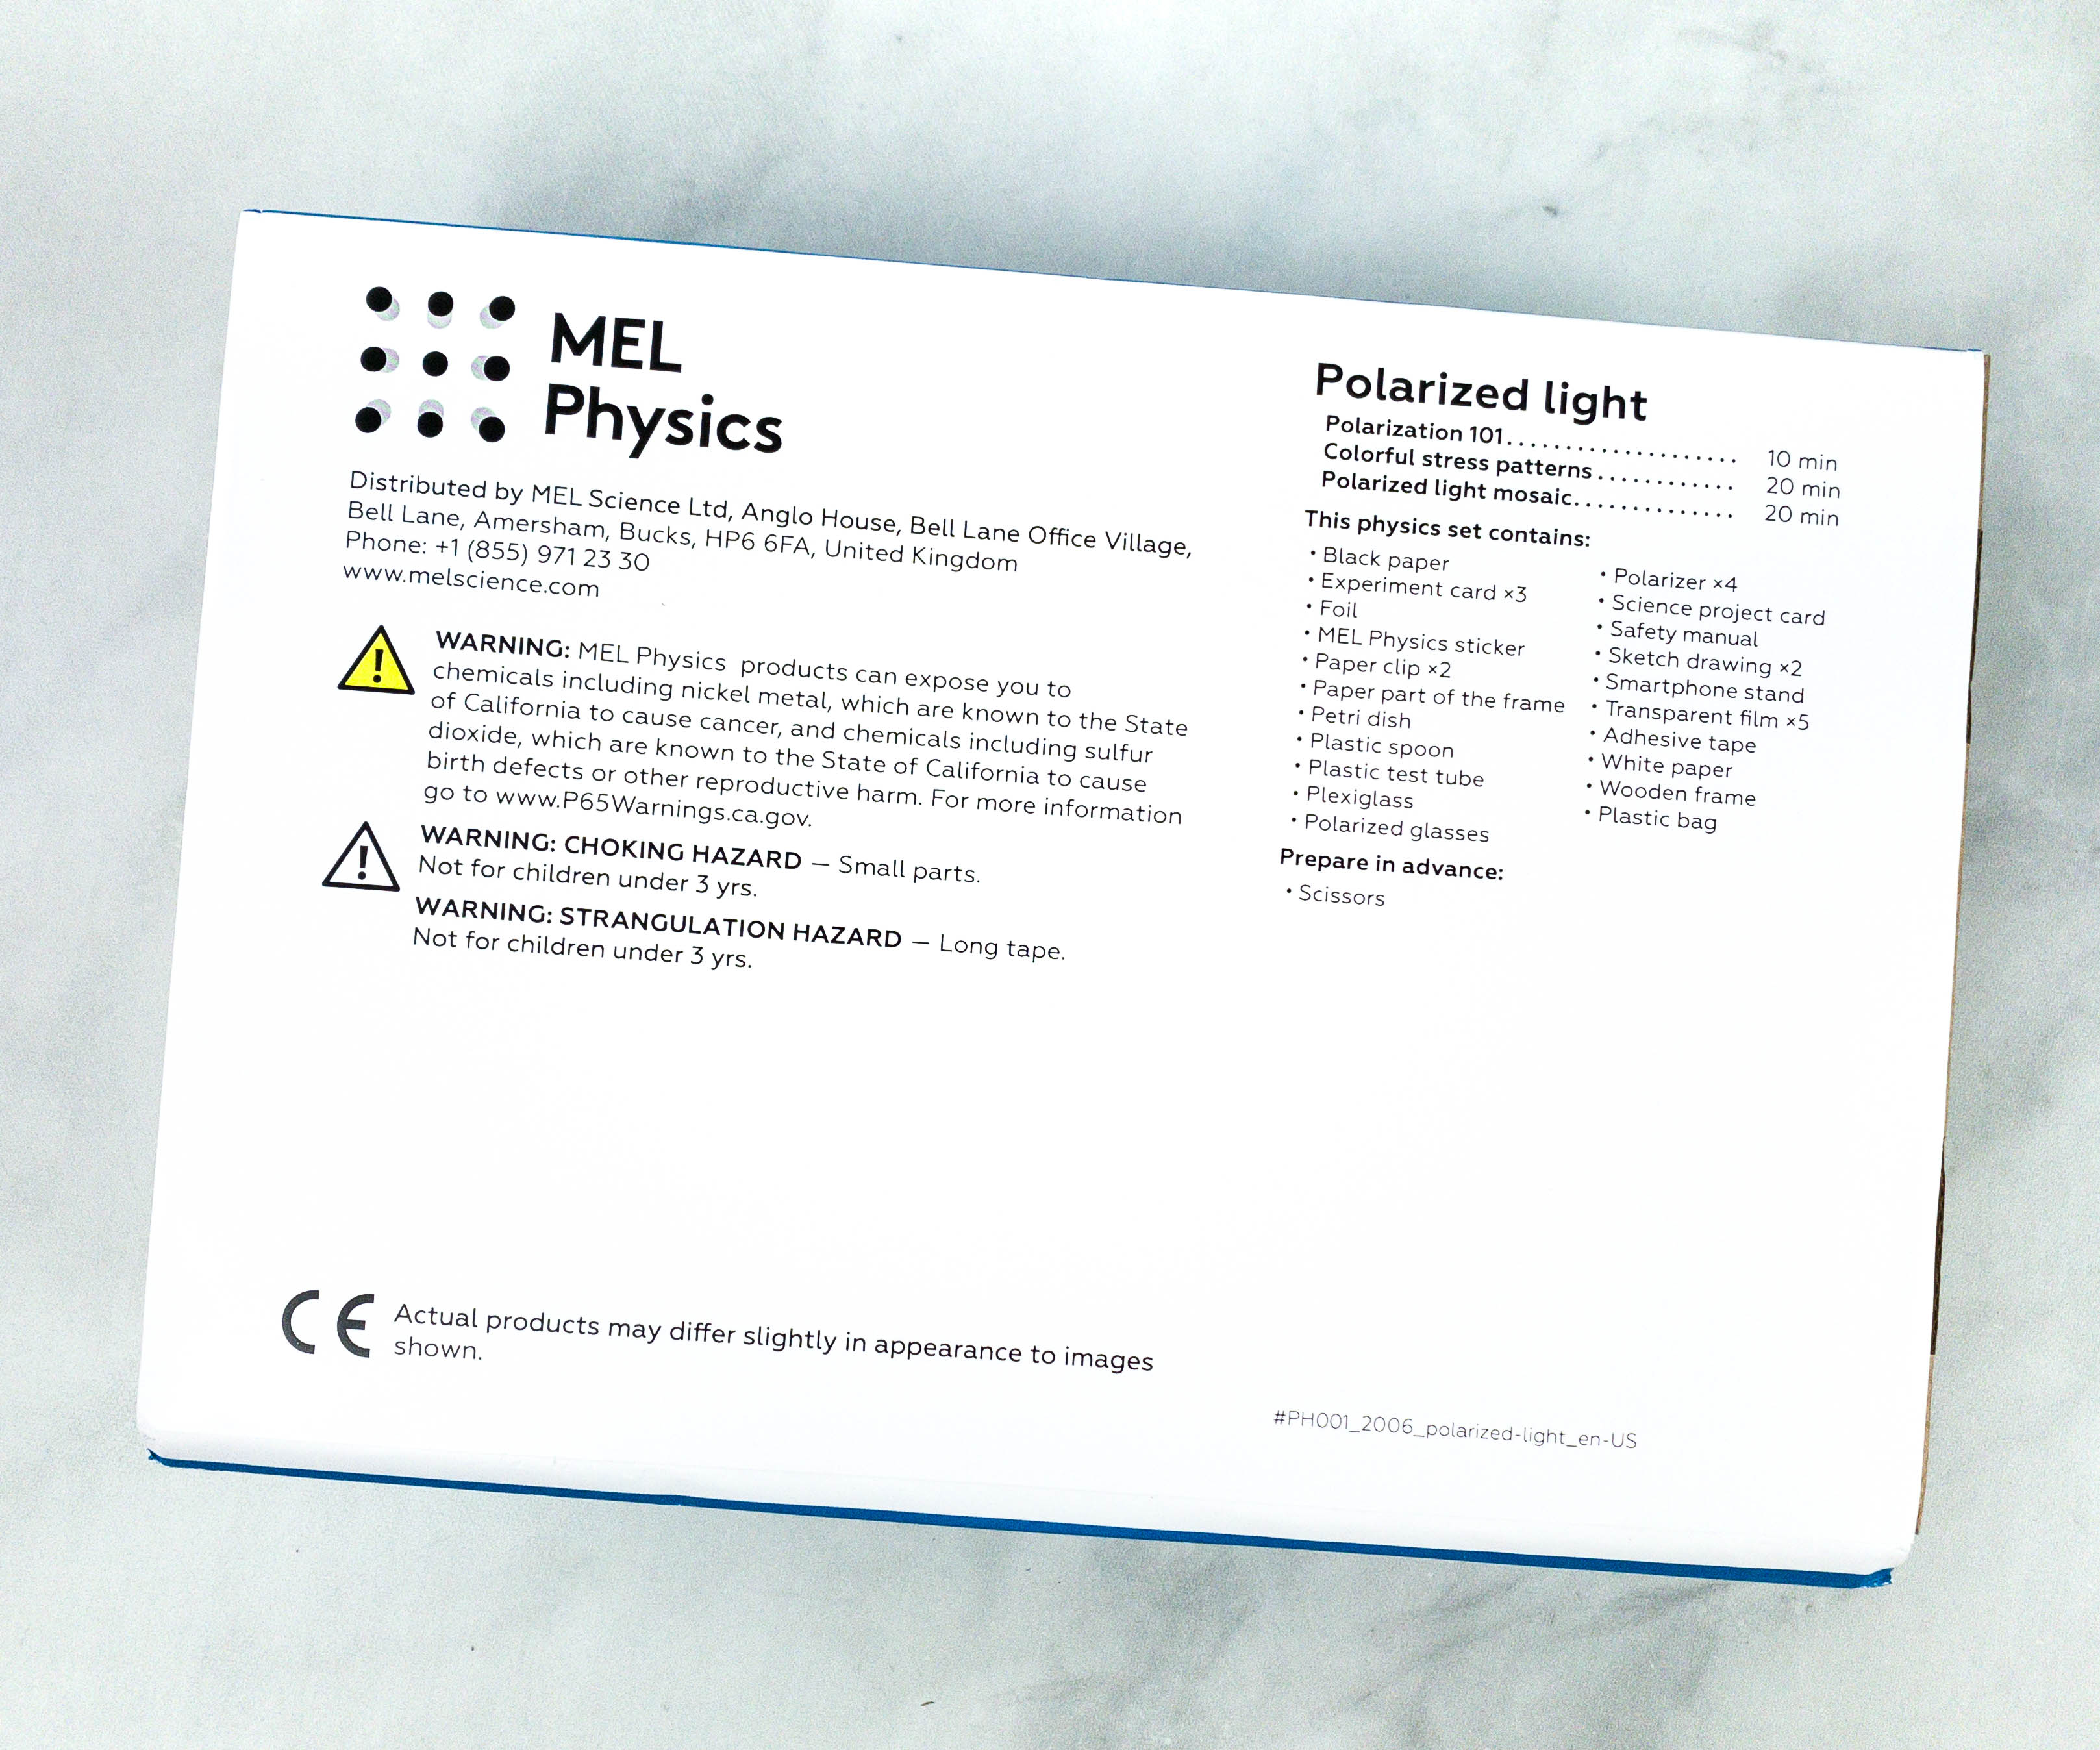
Featured on this portion are the three activities we need to complete and a list of the materials included plus what we need to prepare in advance.

Inside the box is a smaller brown box with MEL Science’s trademark logo.
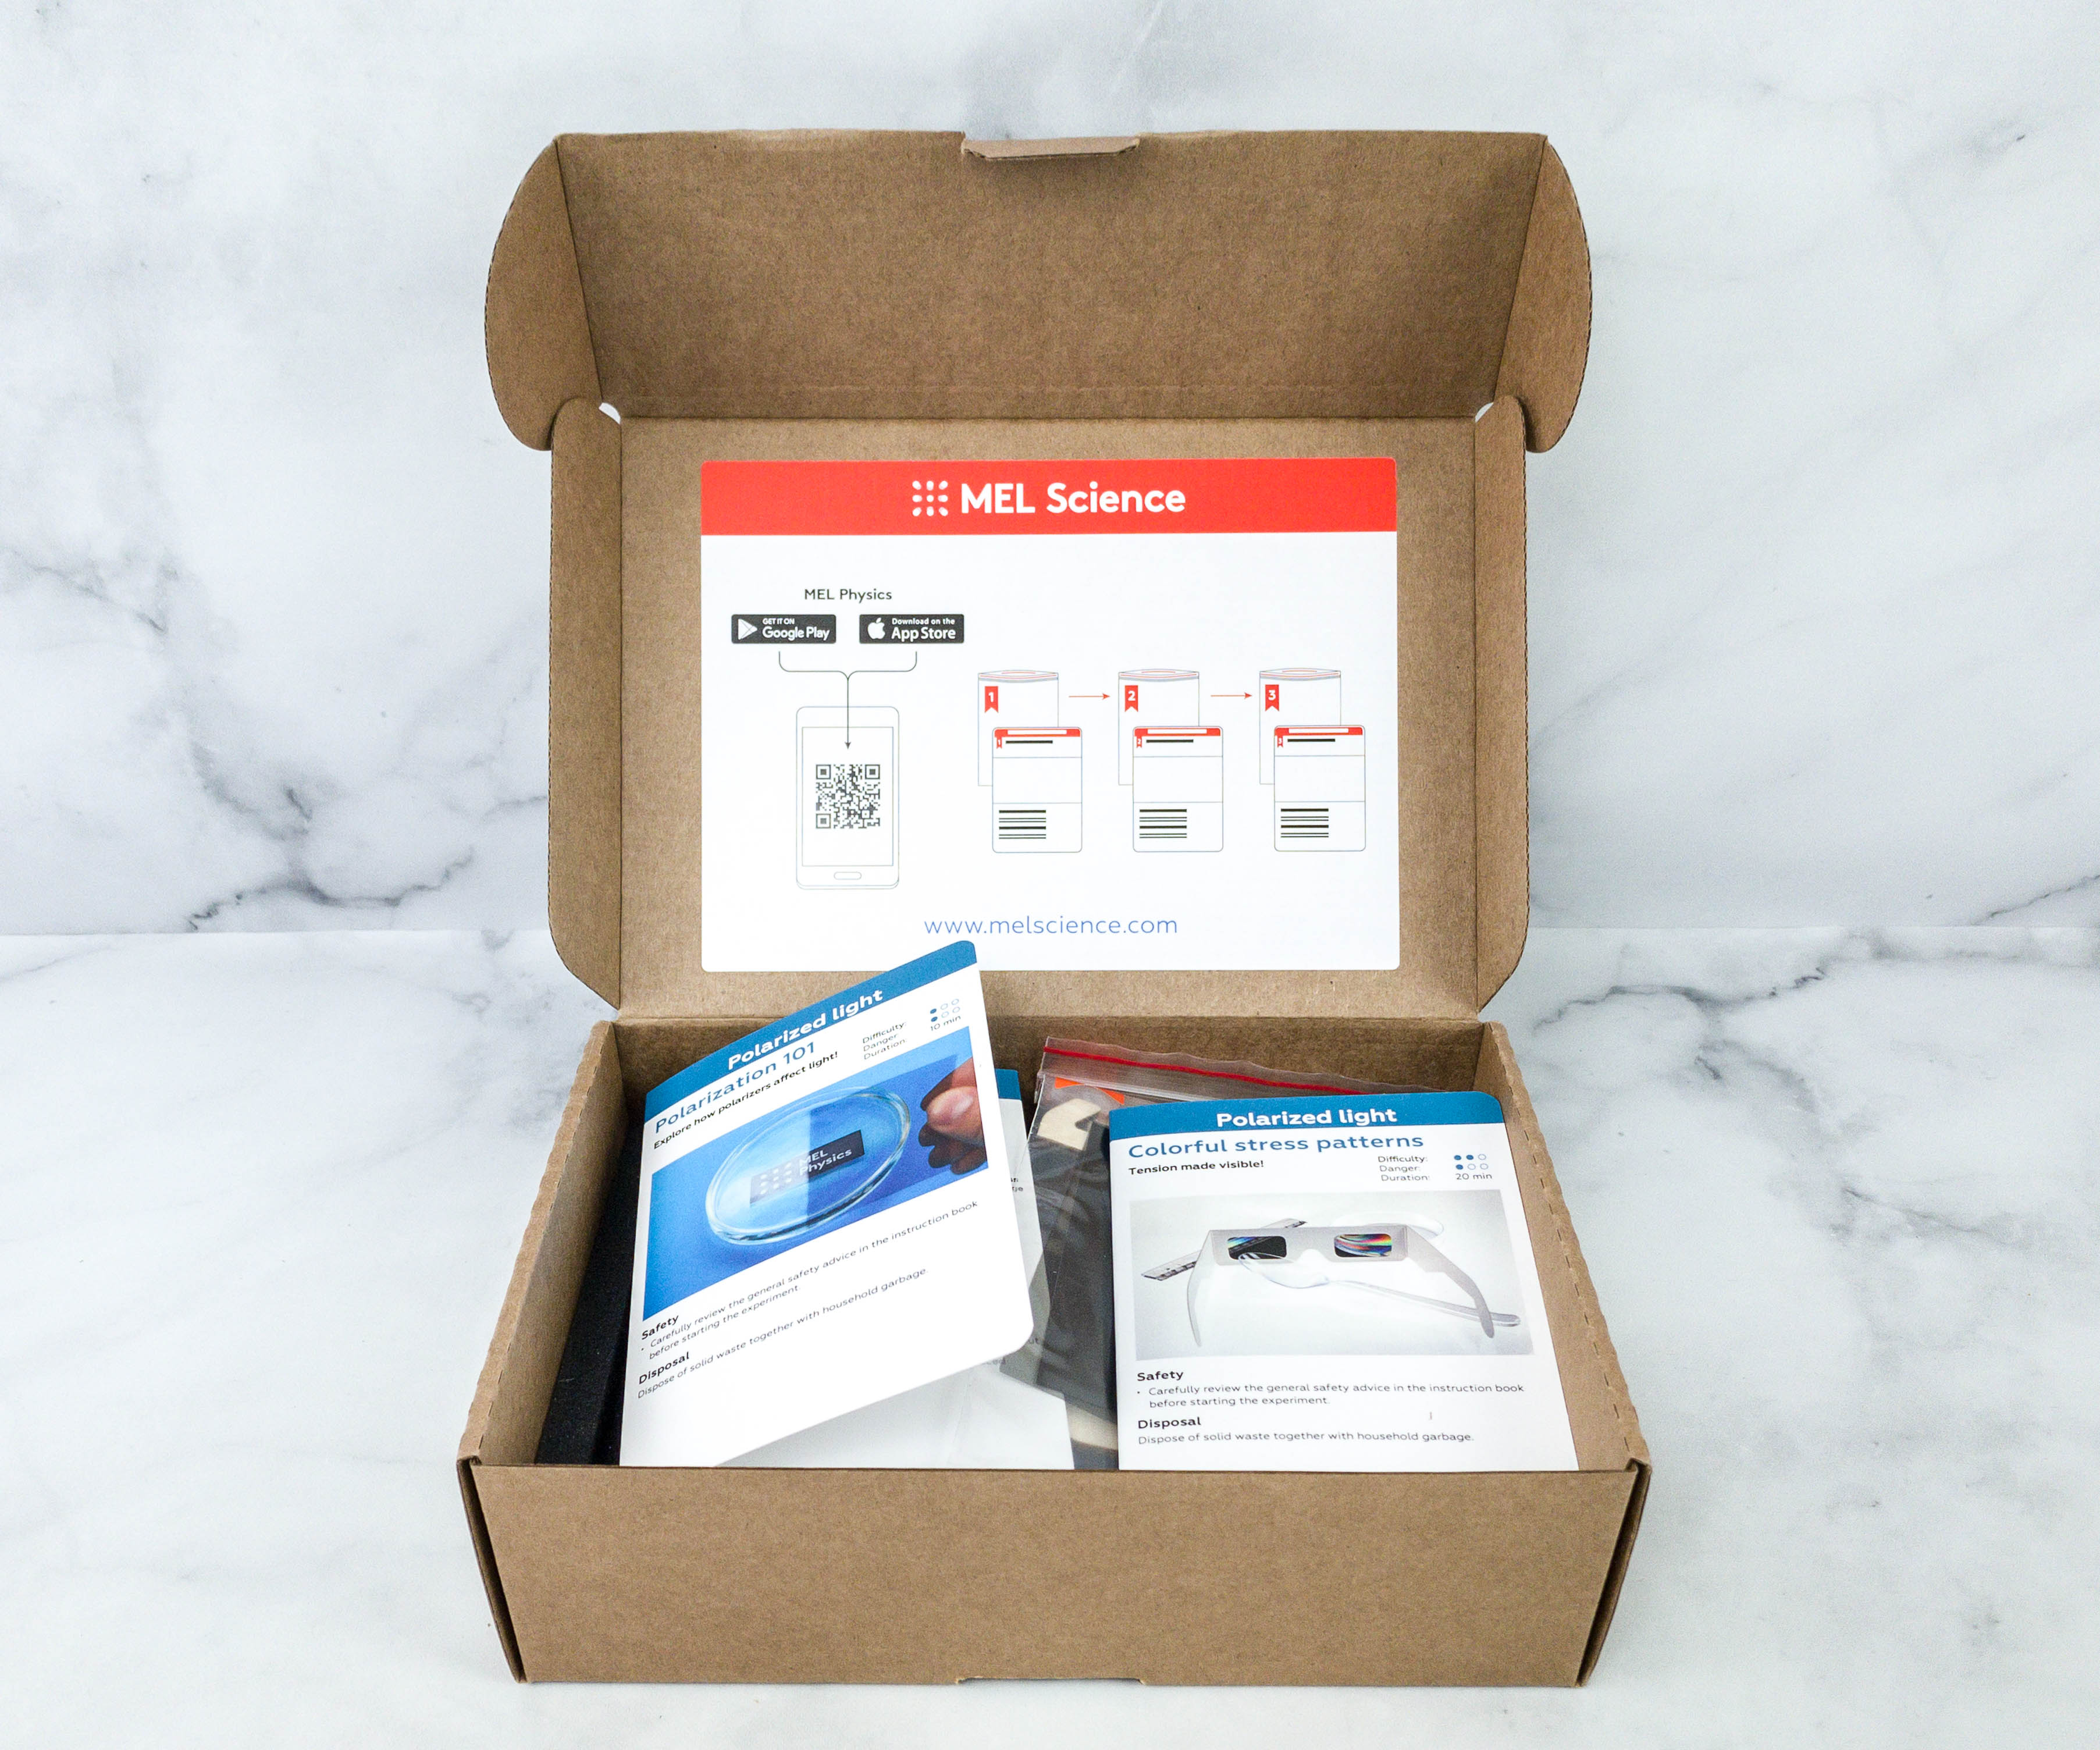
All the items are neatly packed inside!
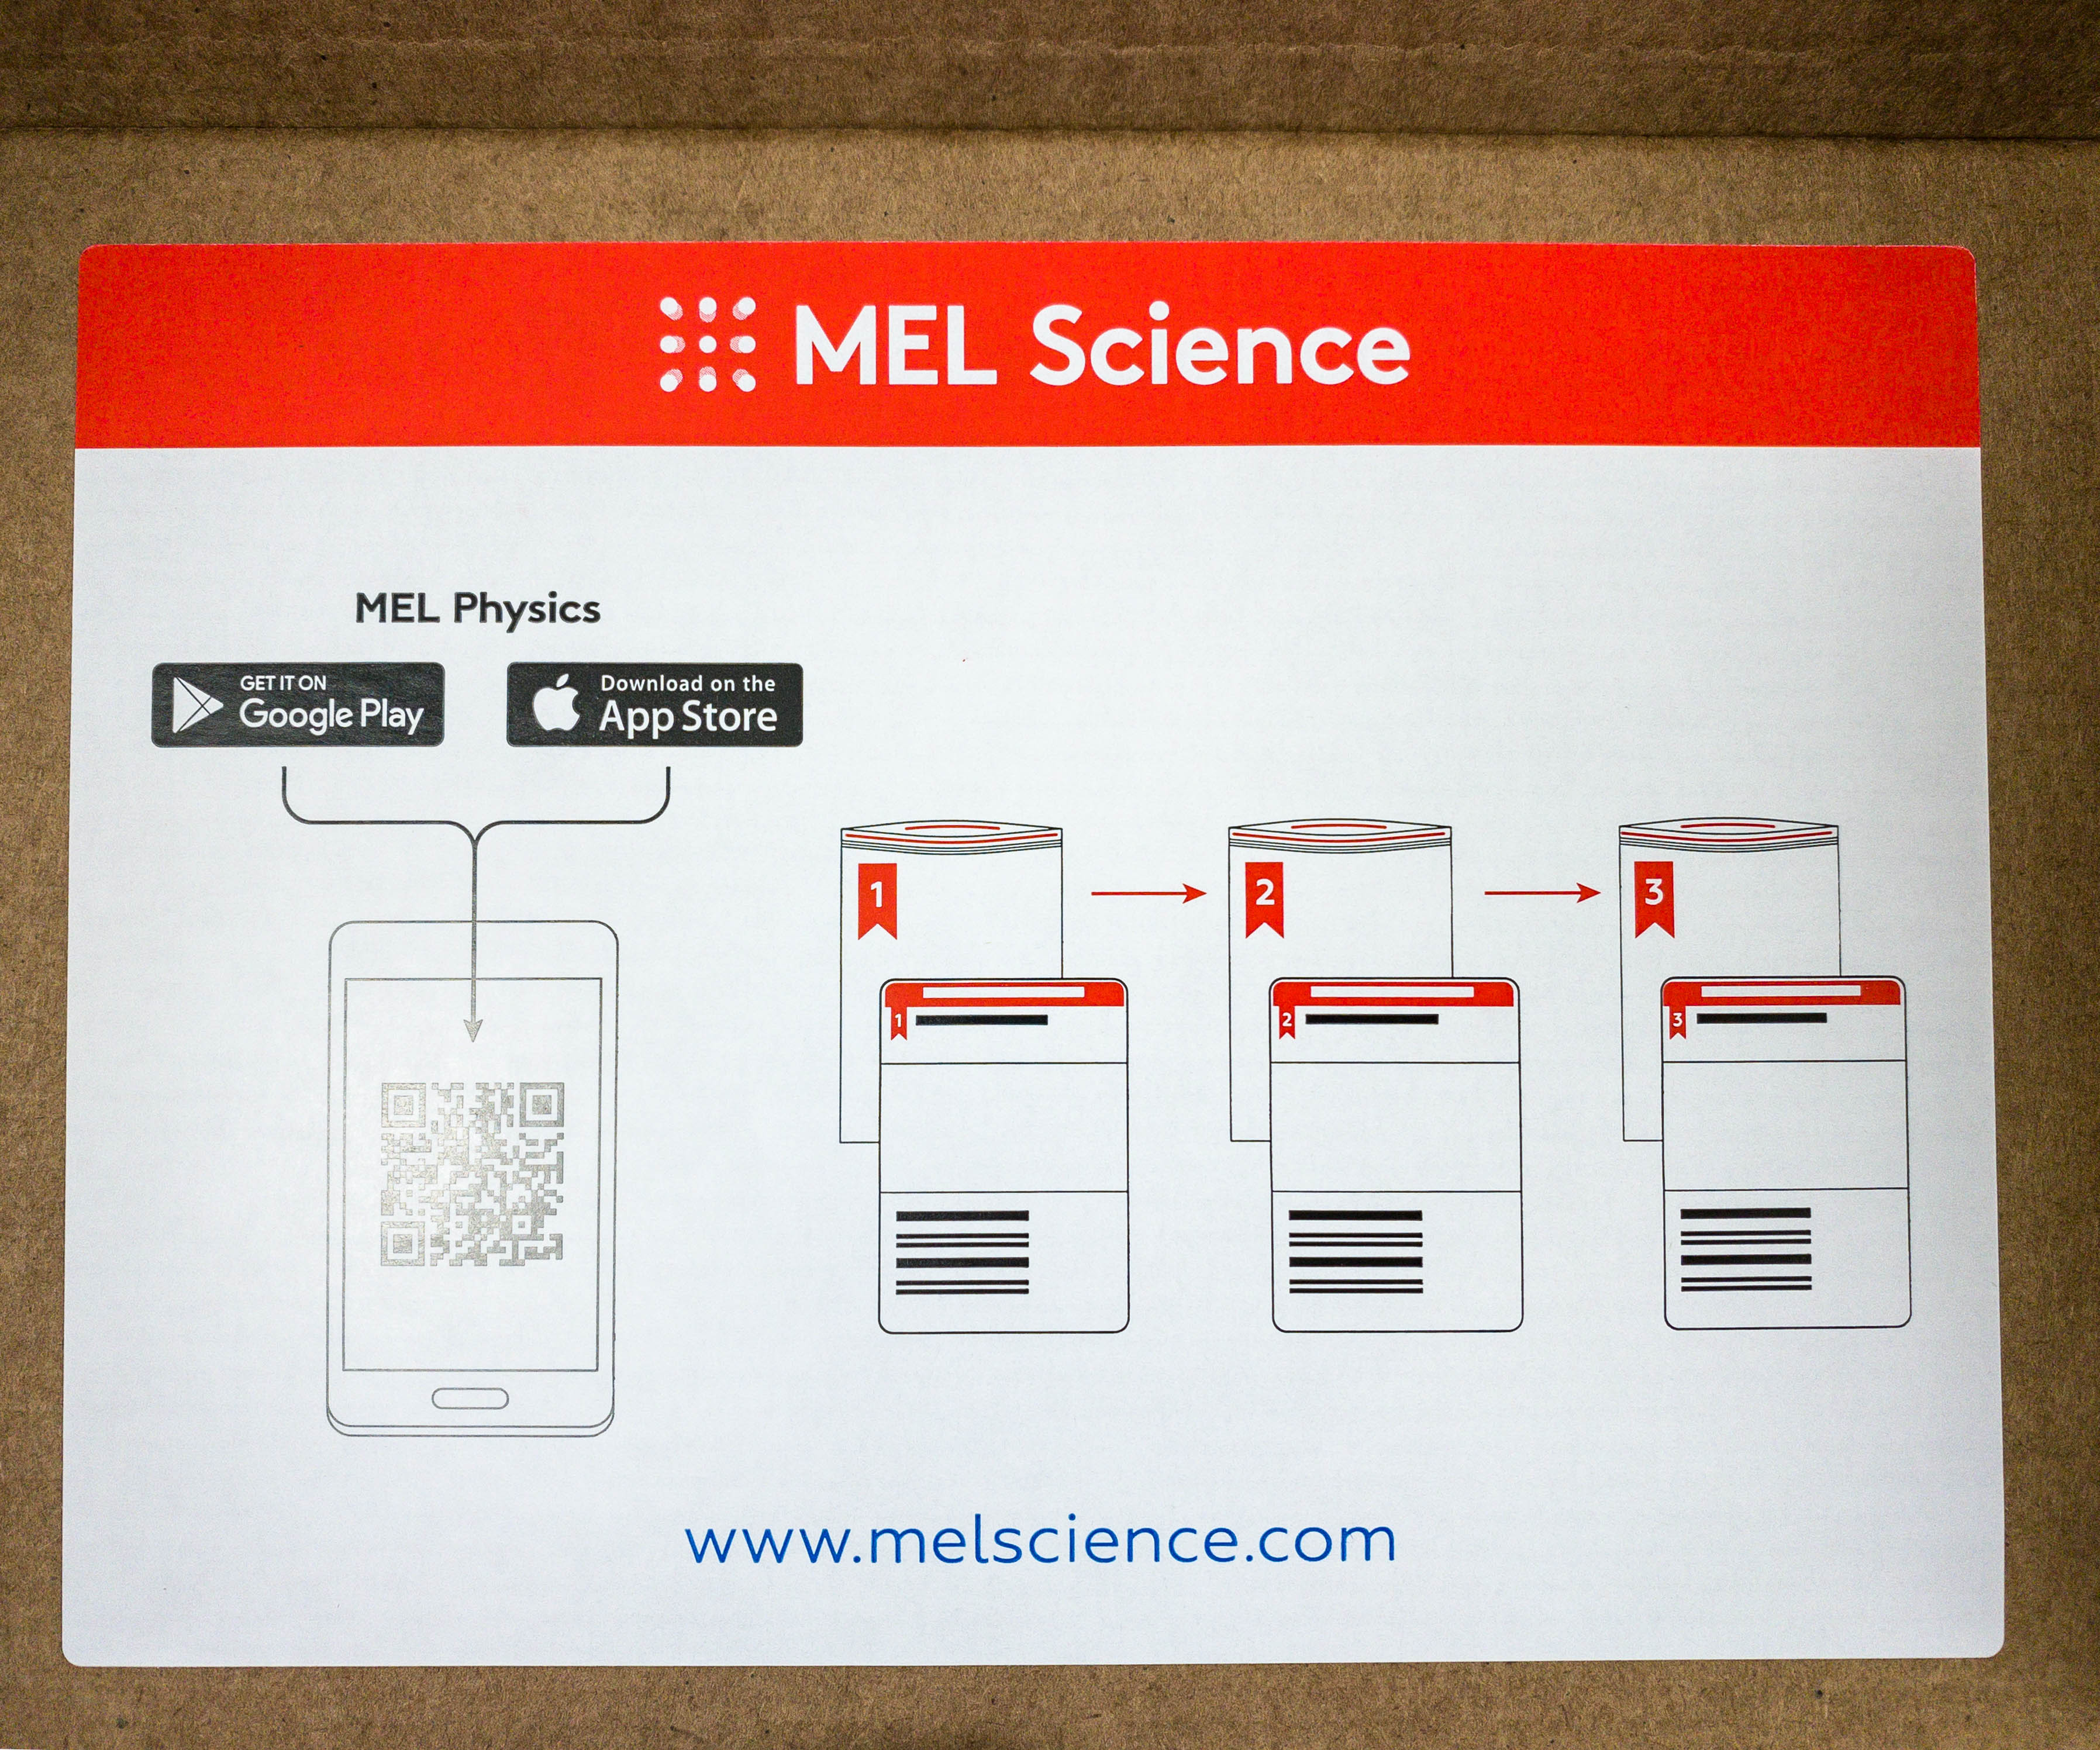
Featured on the box’s flap is a QR code for easy download of MEL Science app.
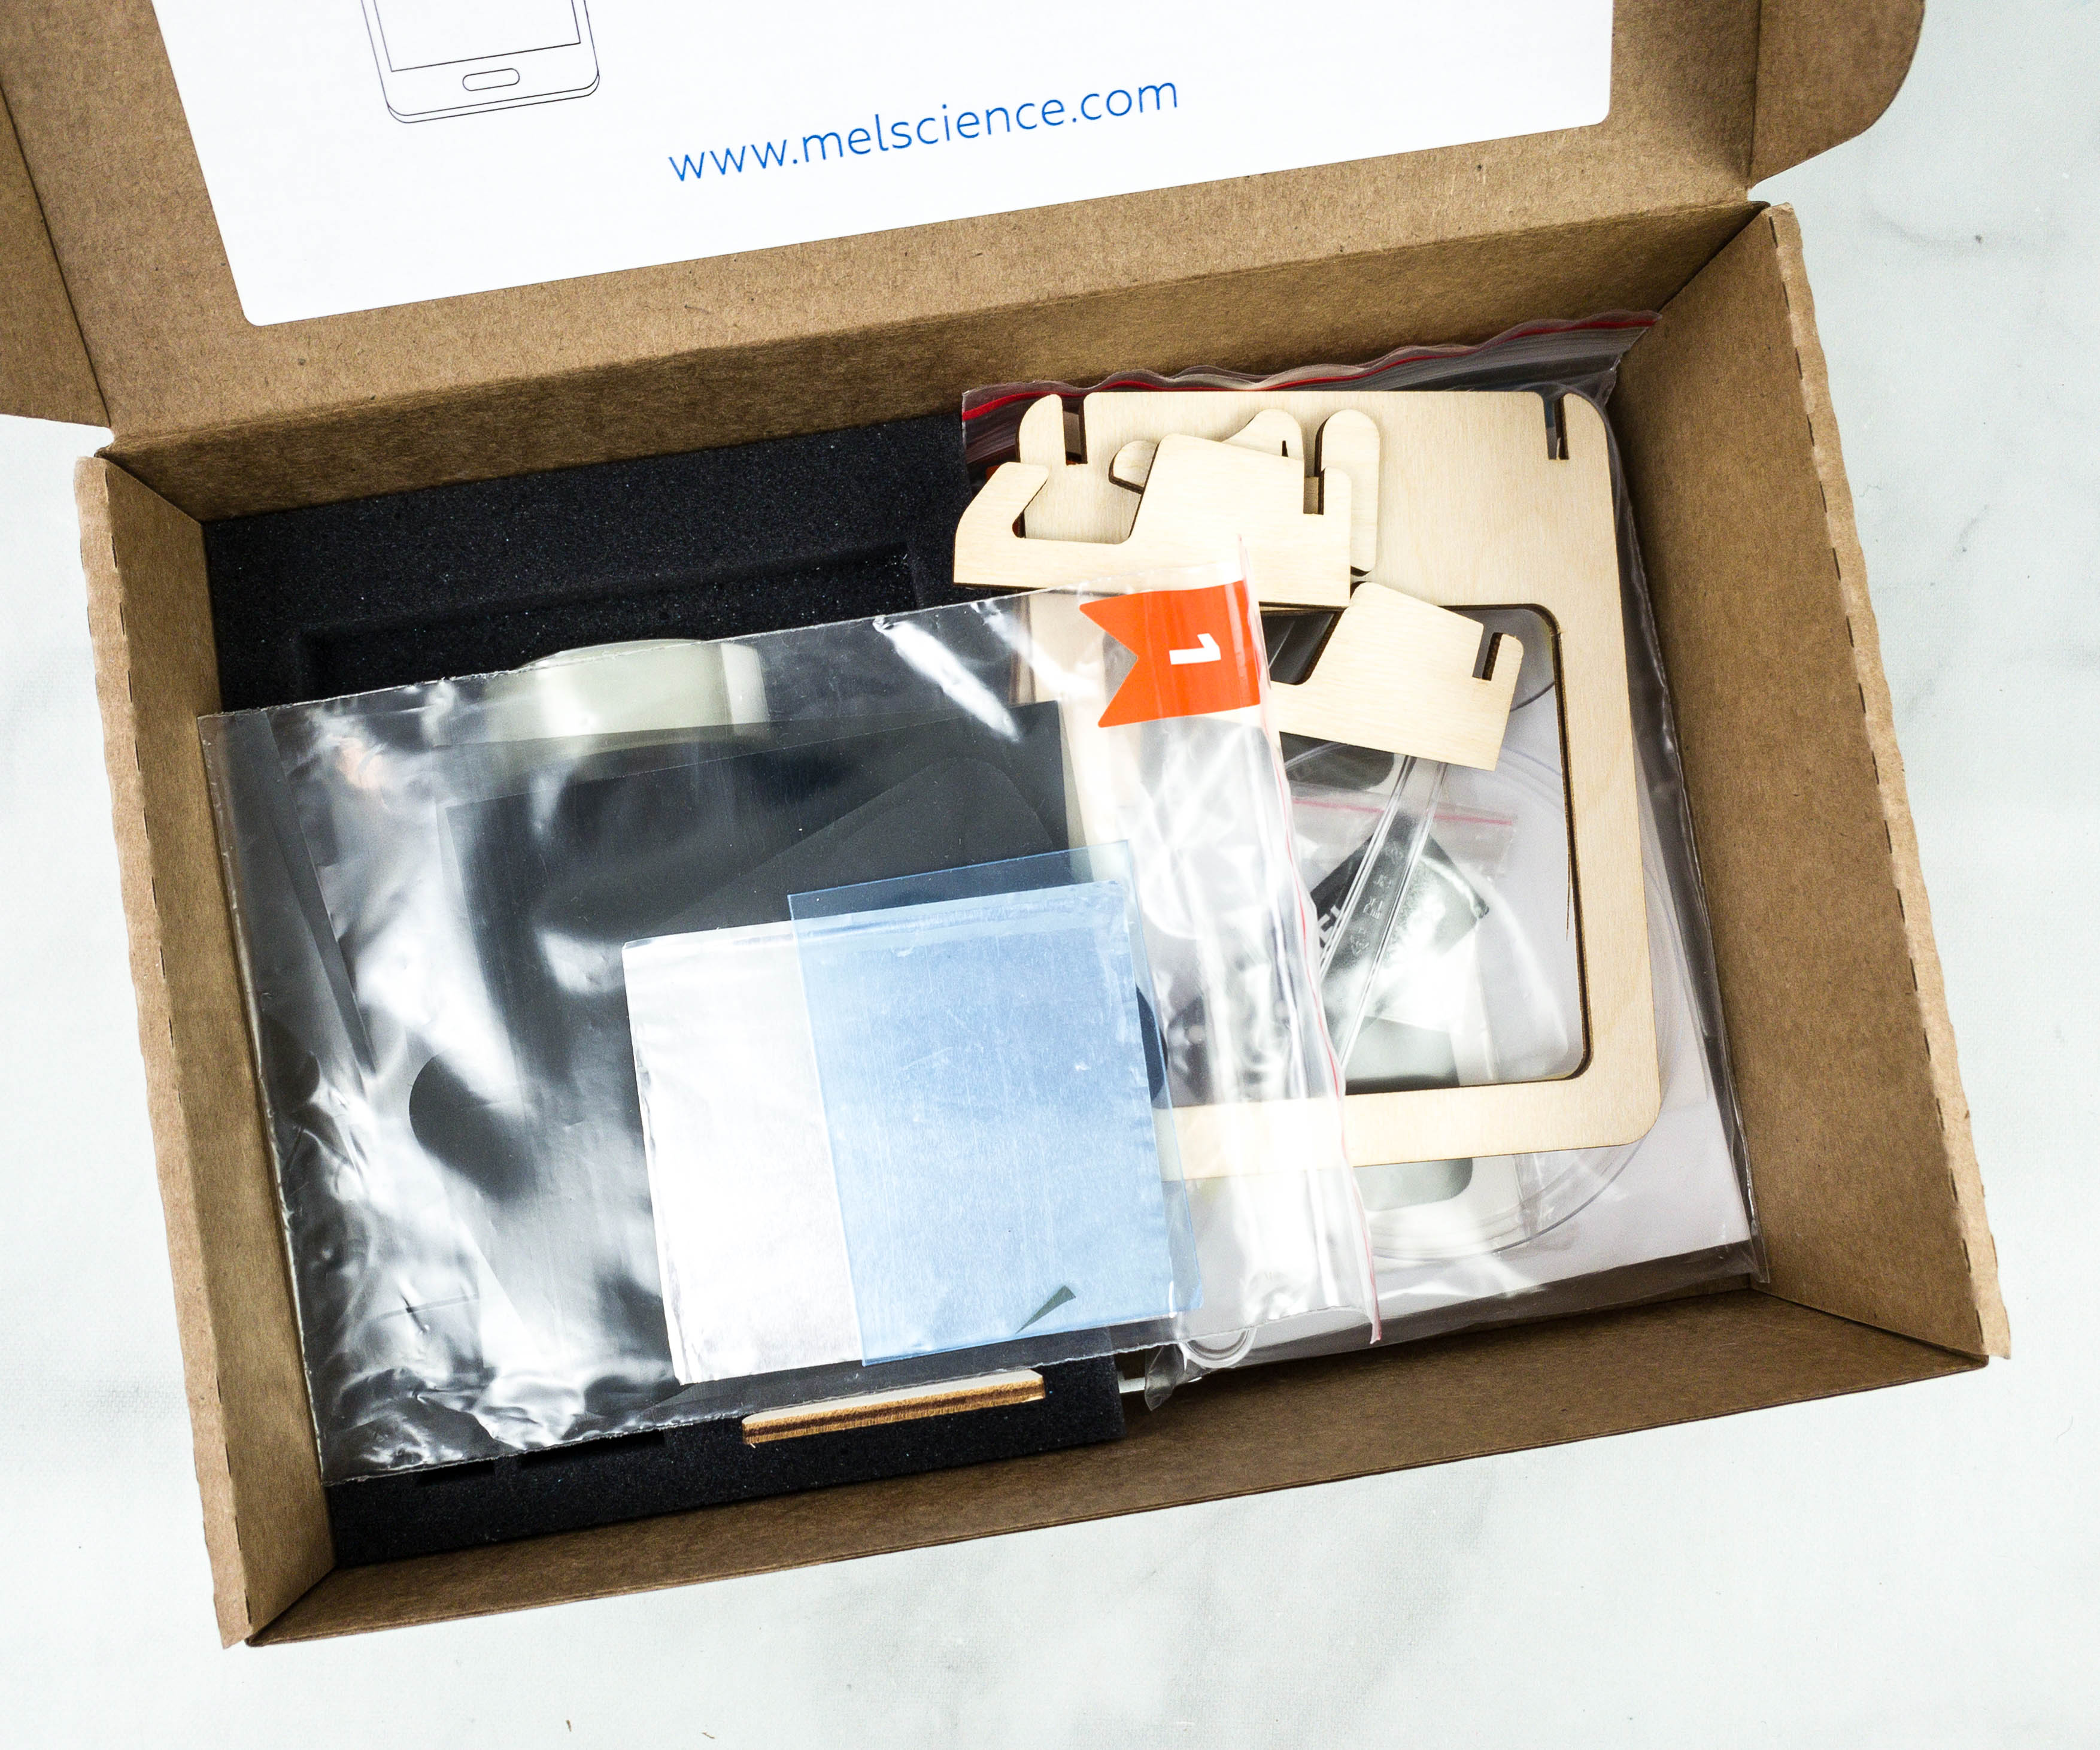
The materials are arranged and packed per activity.
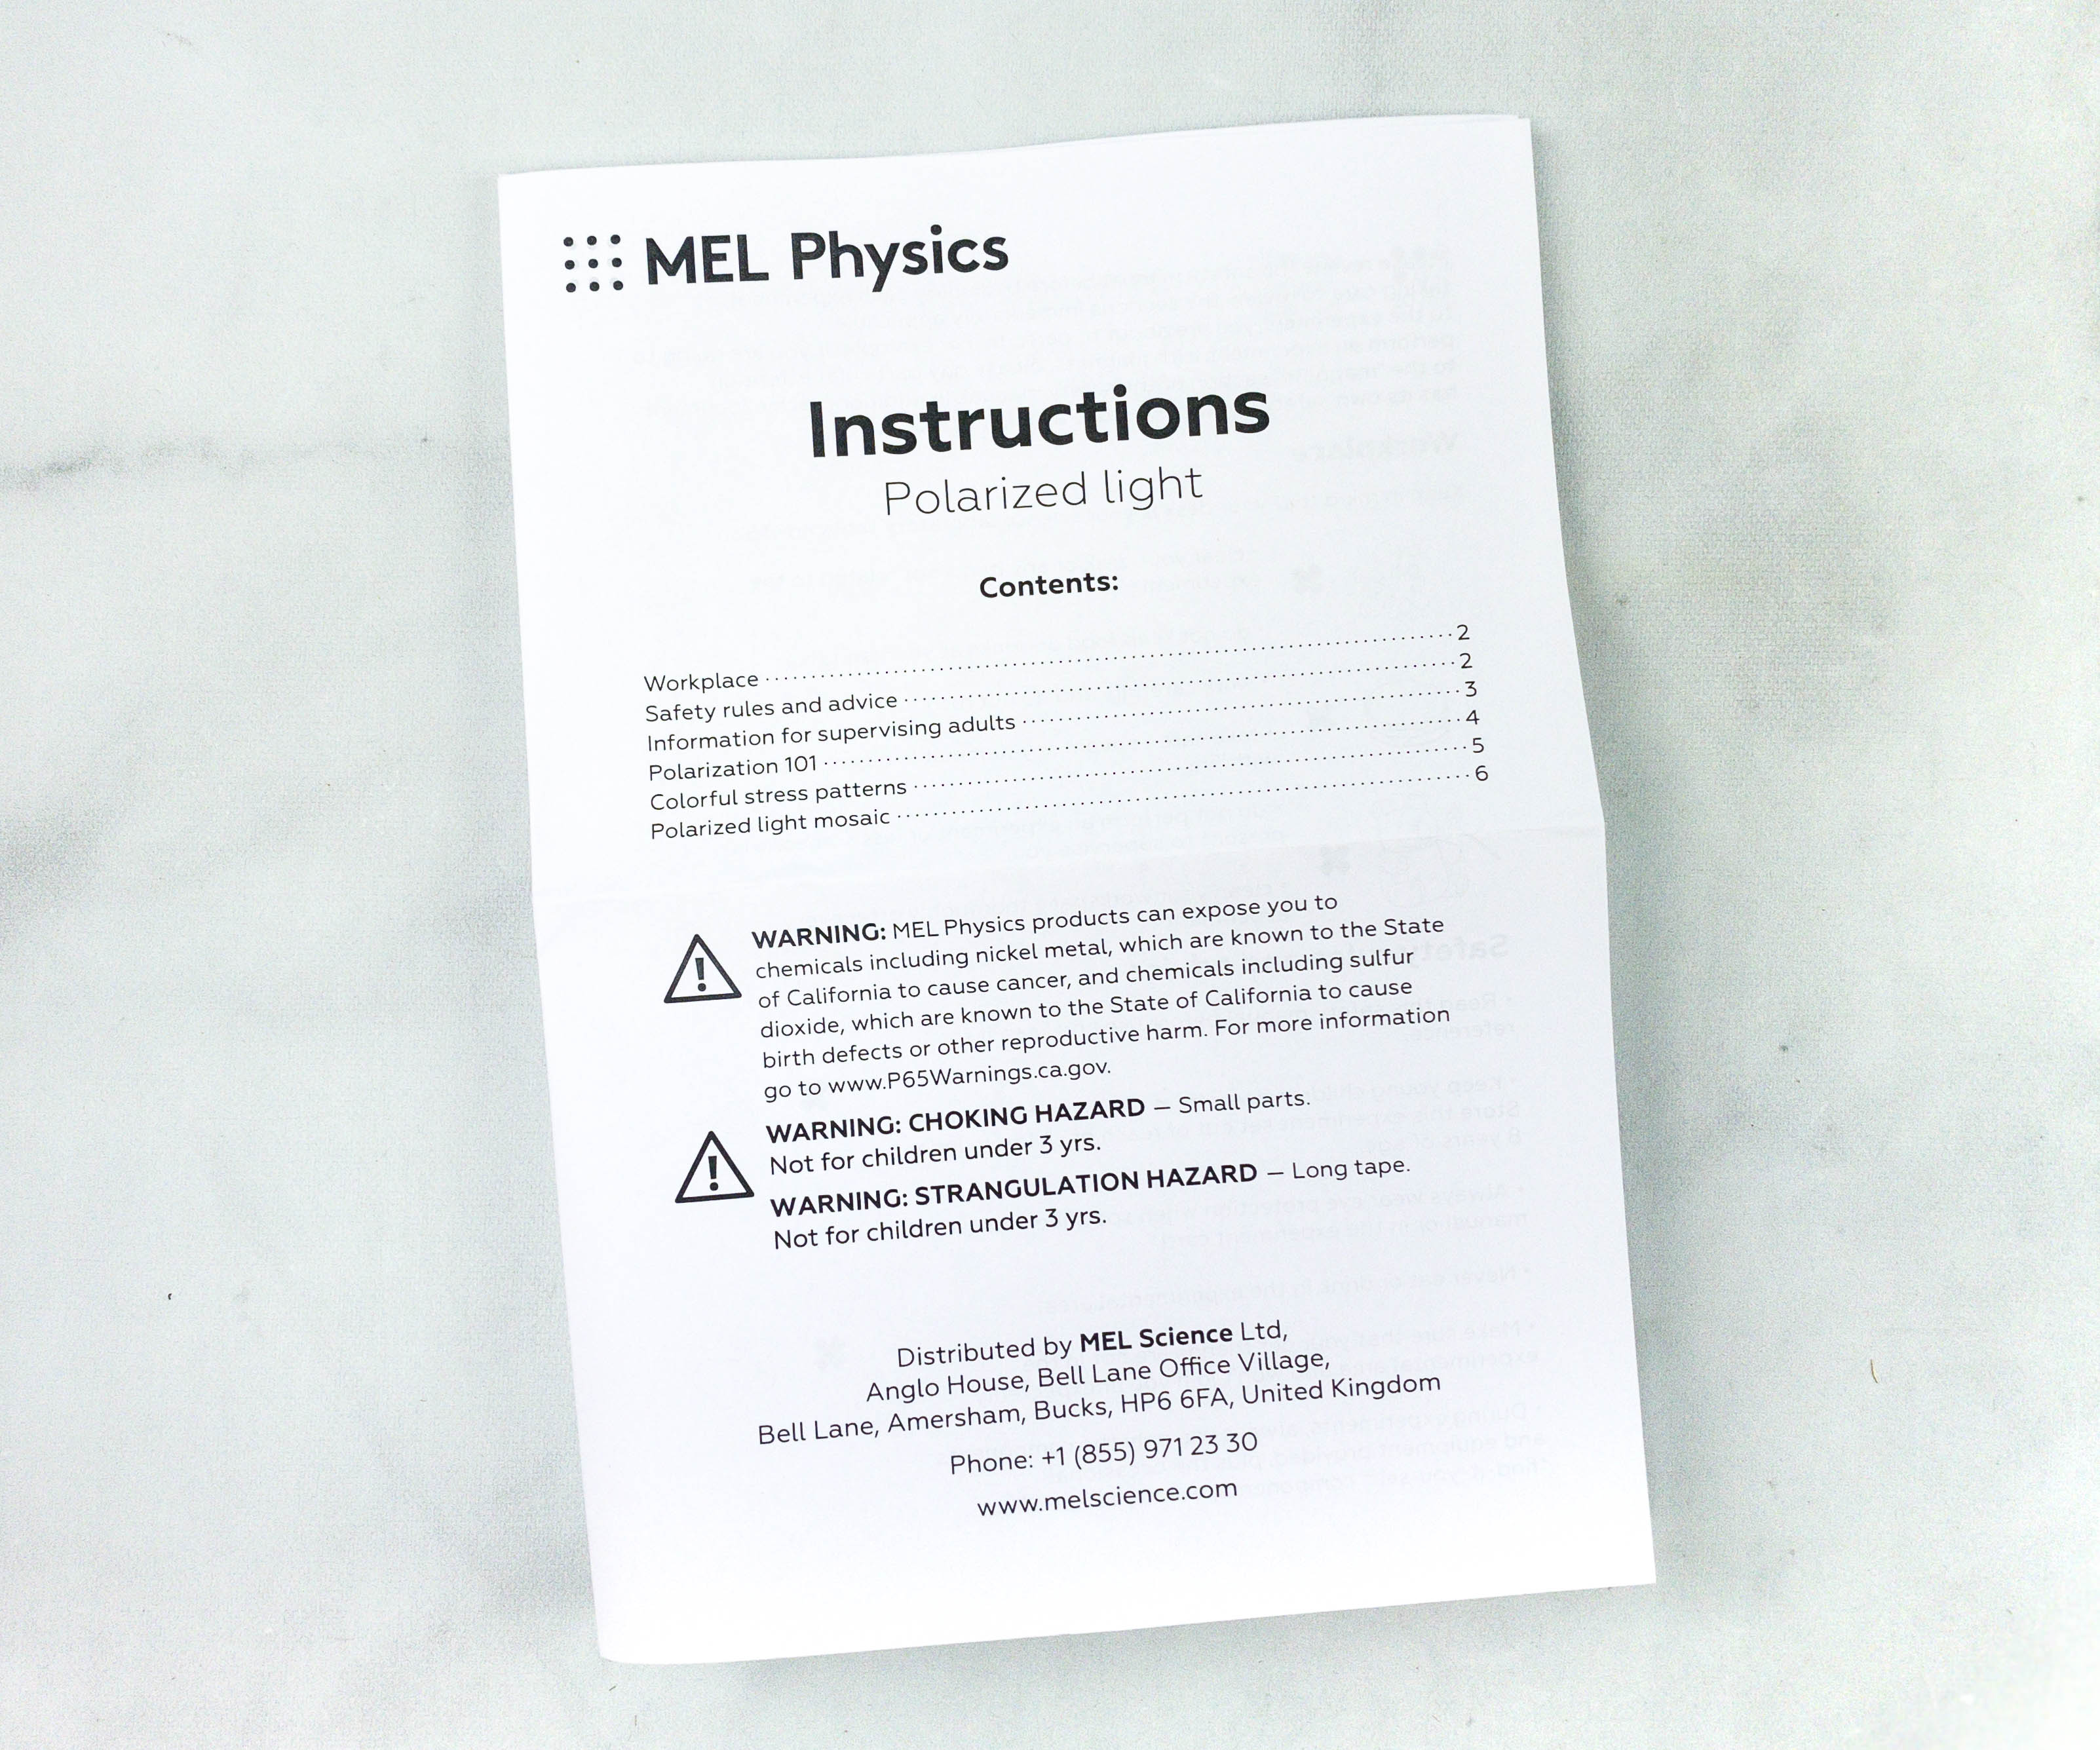
This month’s box comes with an information sheet.
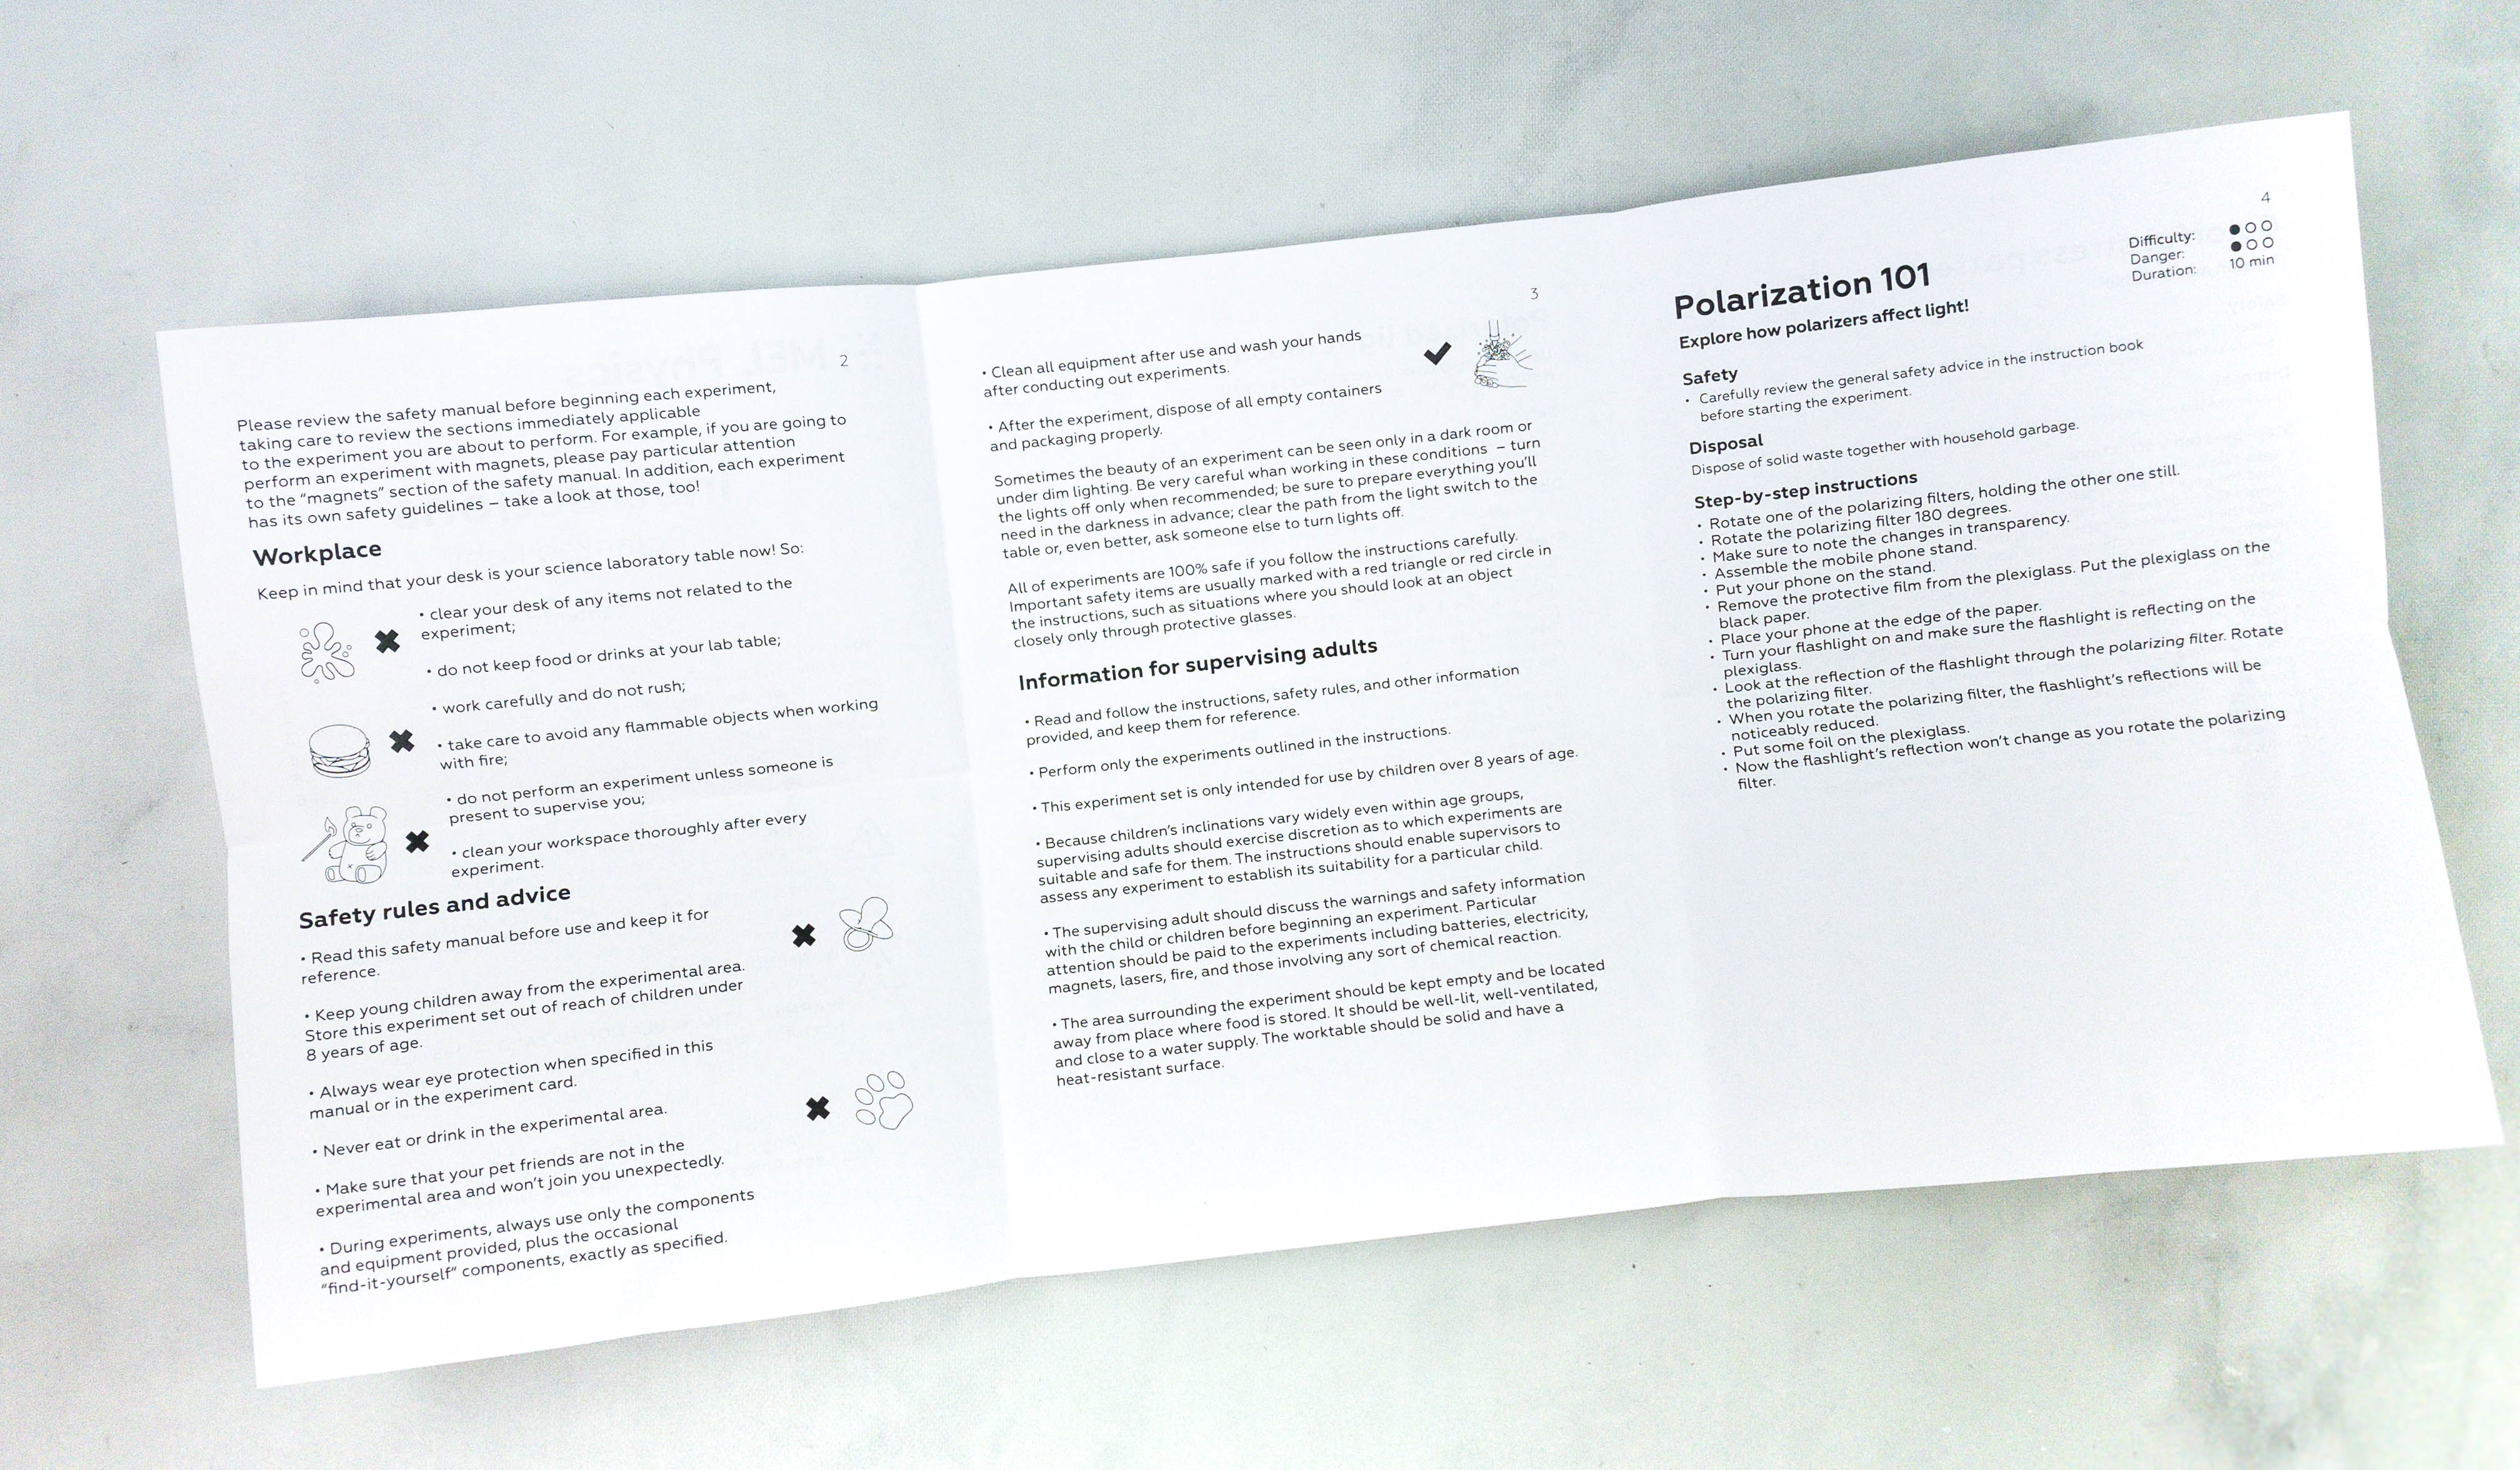
This sheet provided us with a few reminders regarding our workplace, safety rules and advice, and instruction for the supervising adults.
This portion of the sheet listed detailed instructions for each activity. It also includes reminders on how to properly dispose of the waste after every experiment!
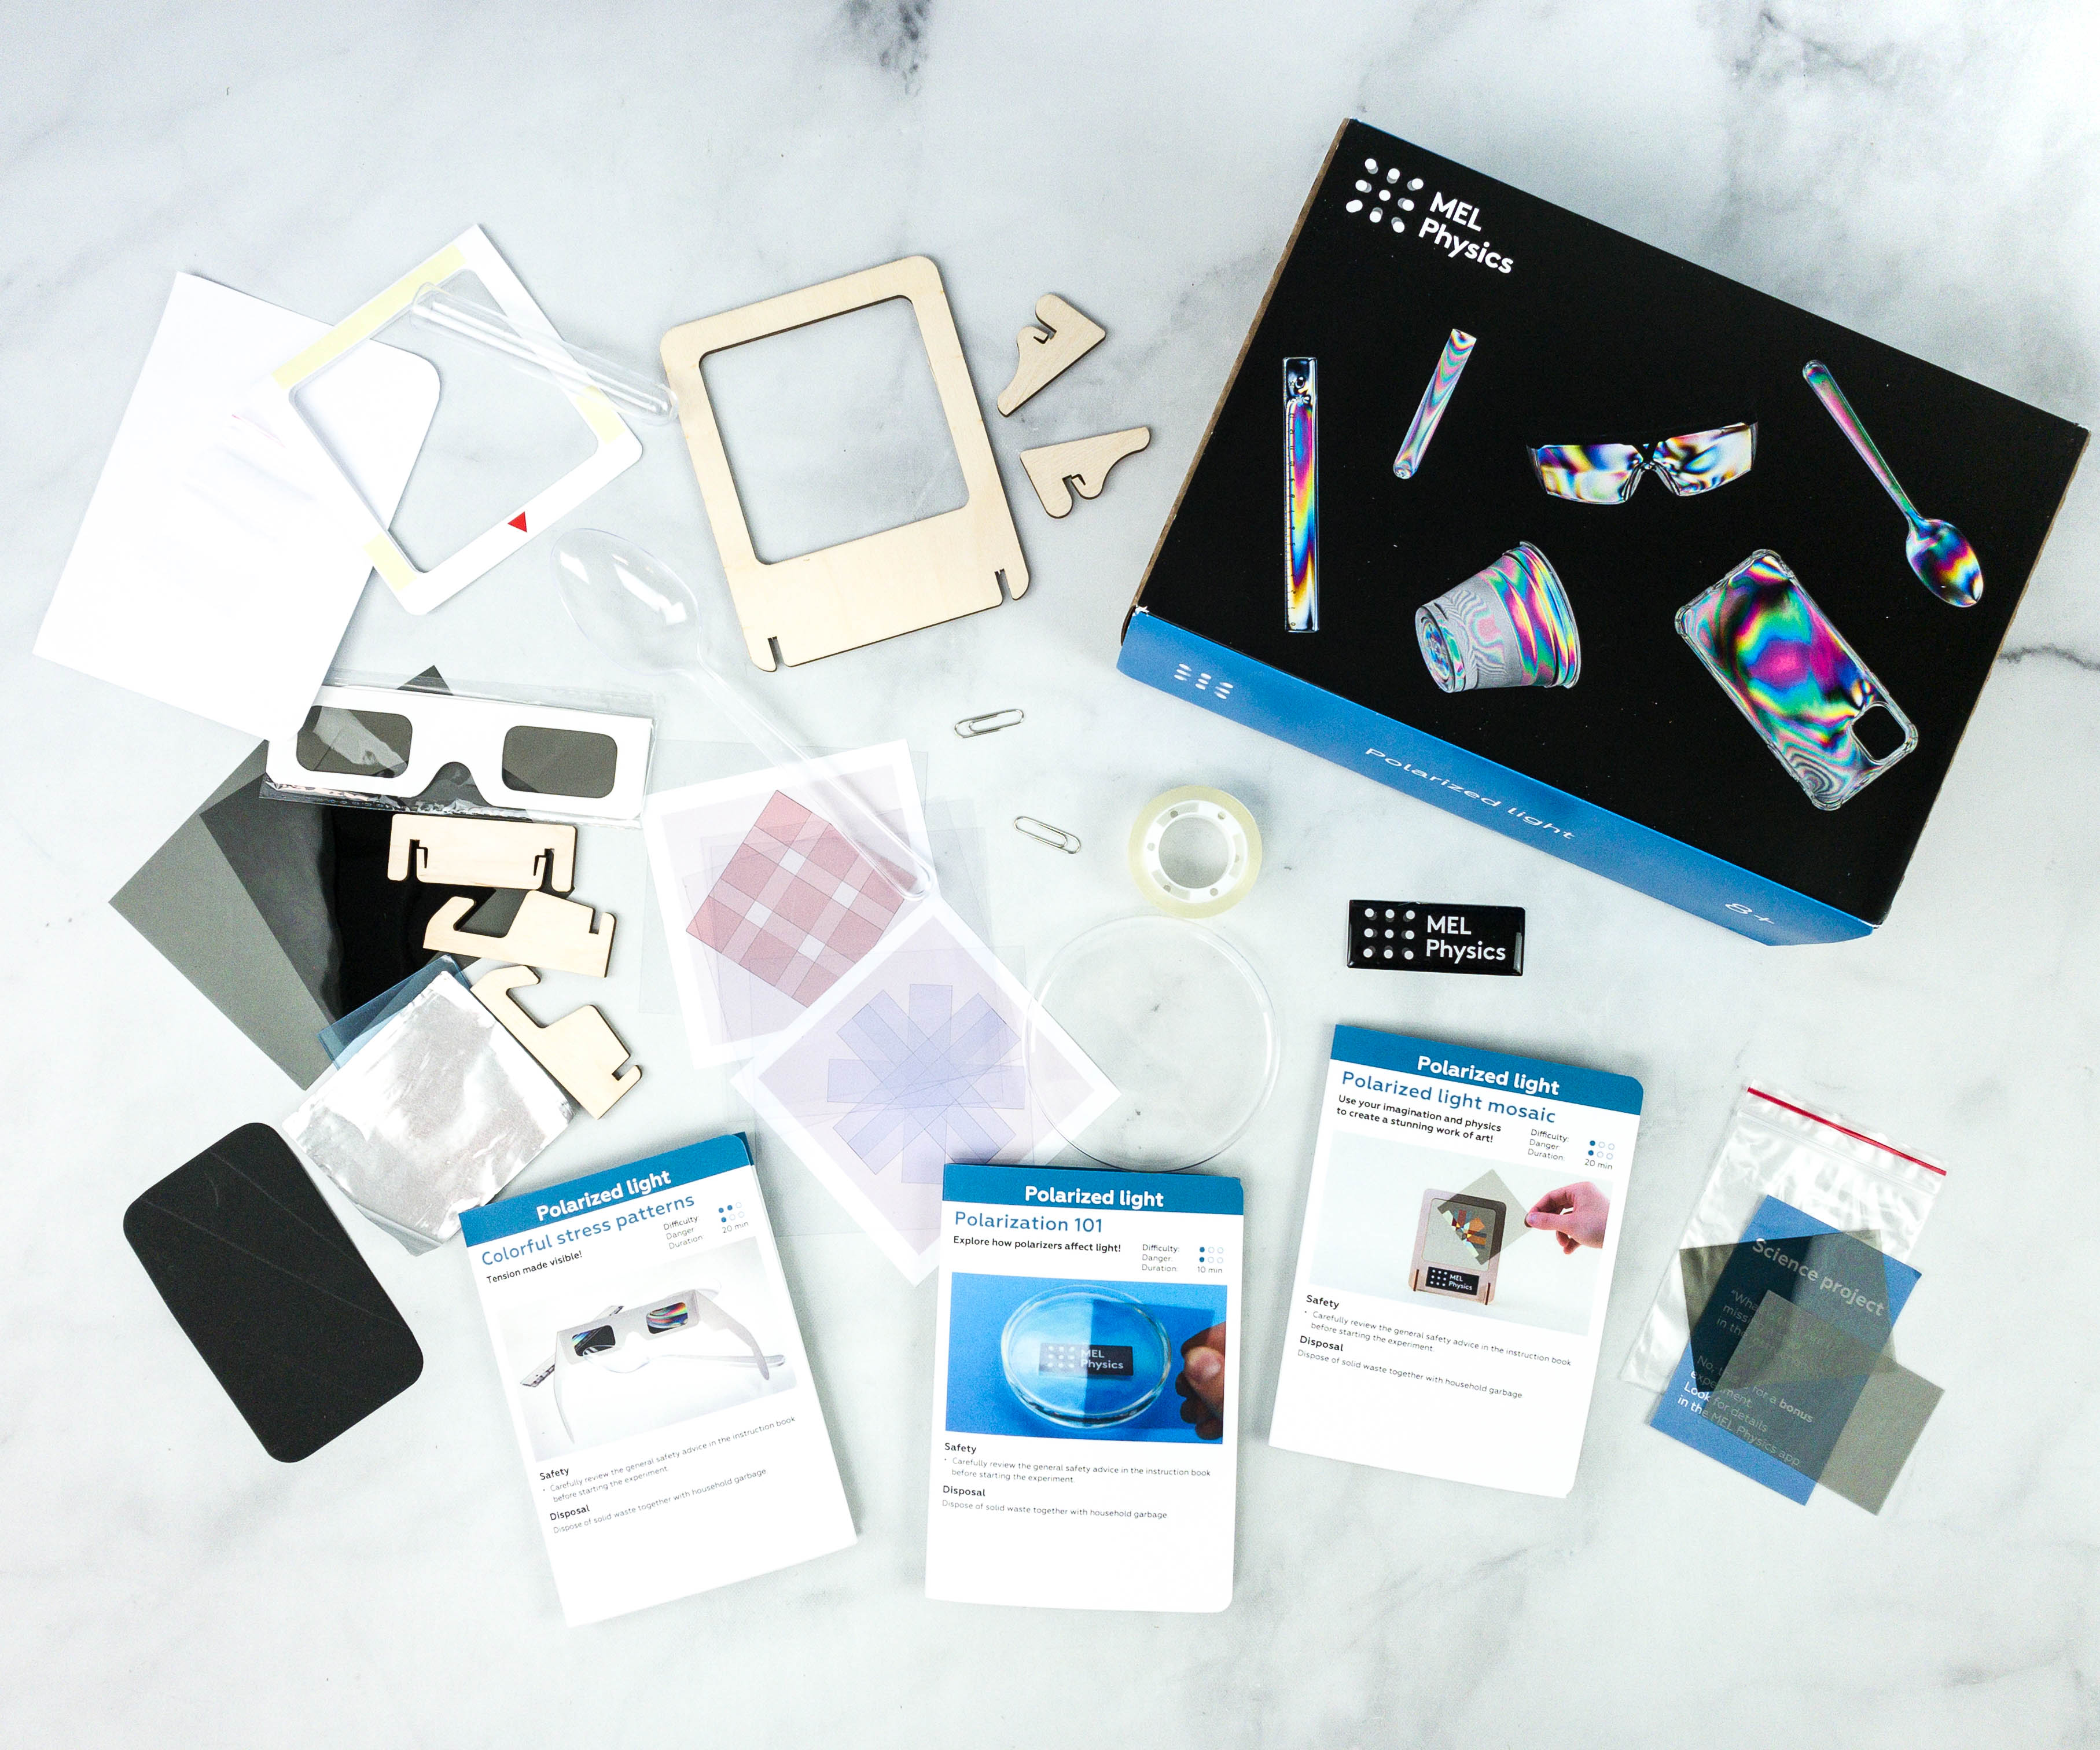
Everything in my box!
Here are this month’s activities: Polarization 101, Colorful Stress Patterns, and Polarized Light Mosaic.
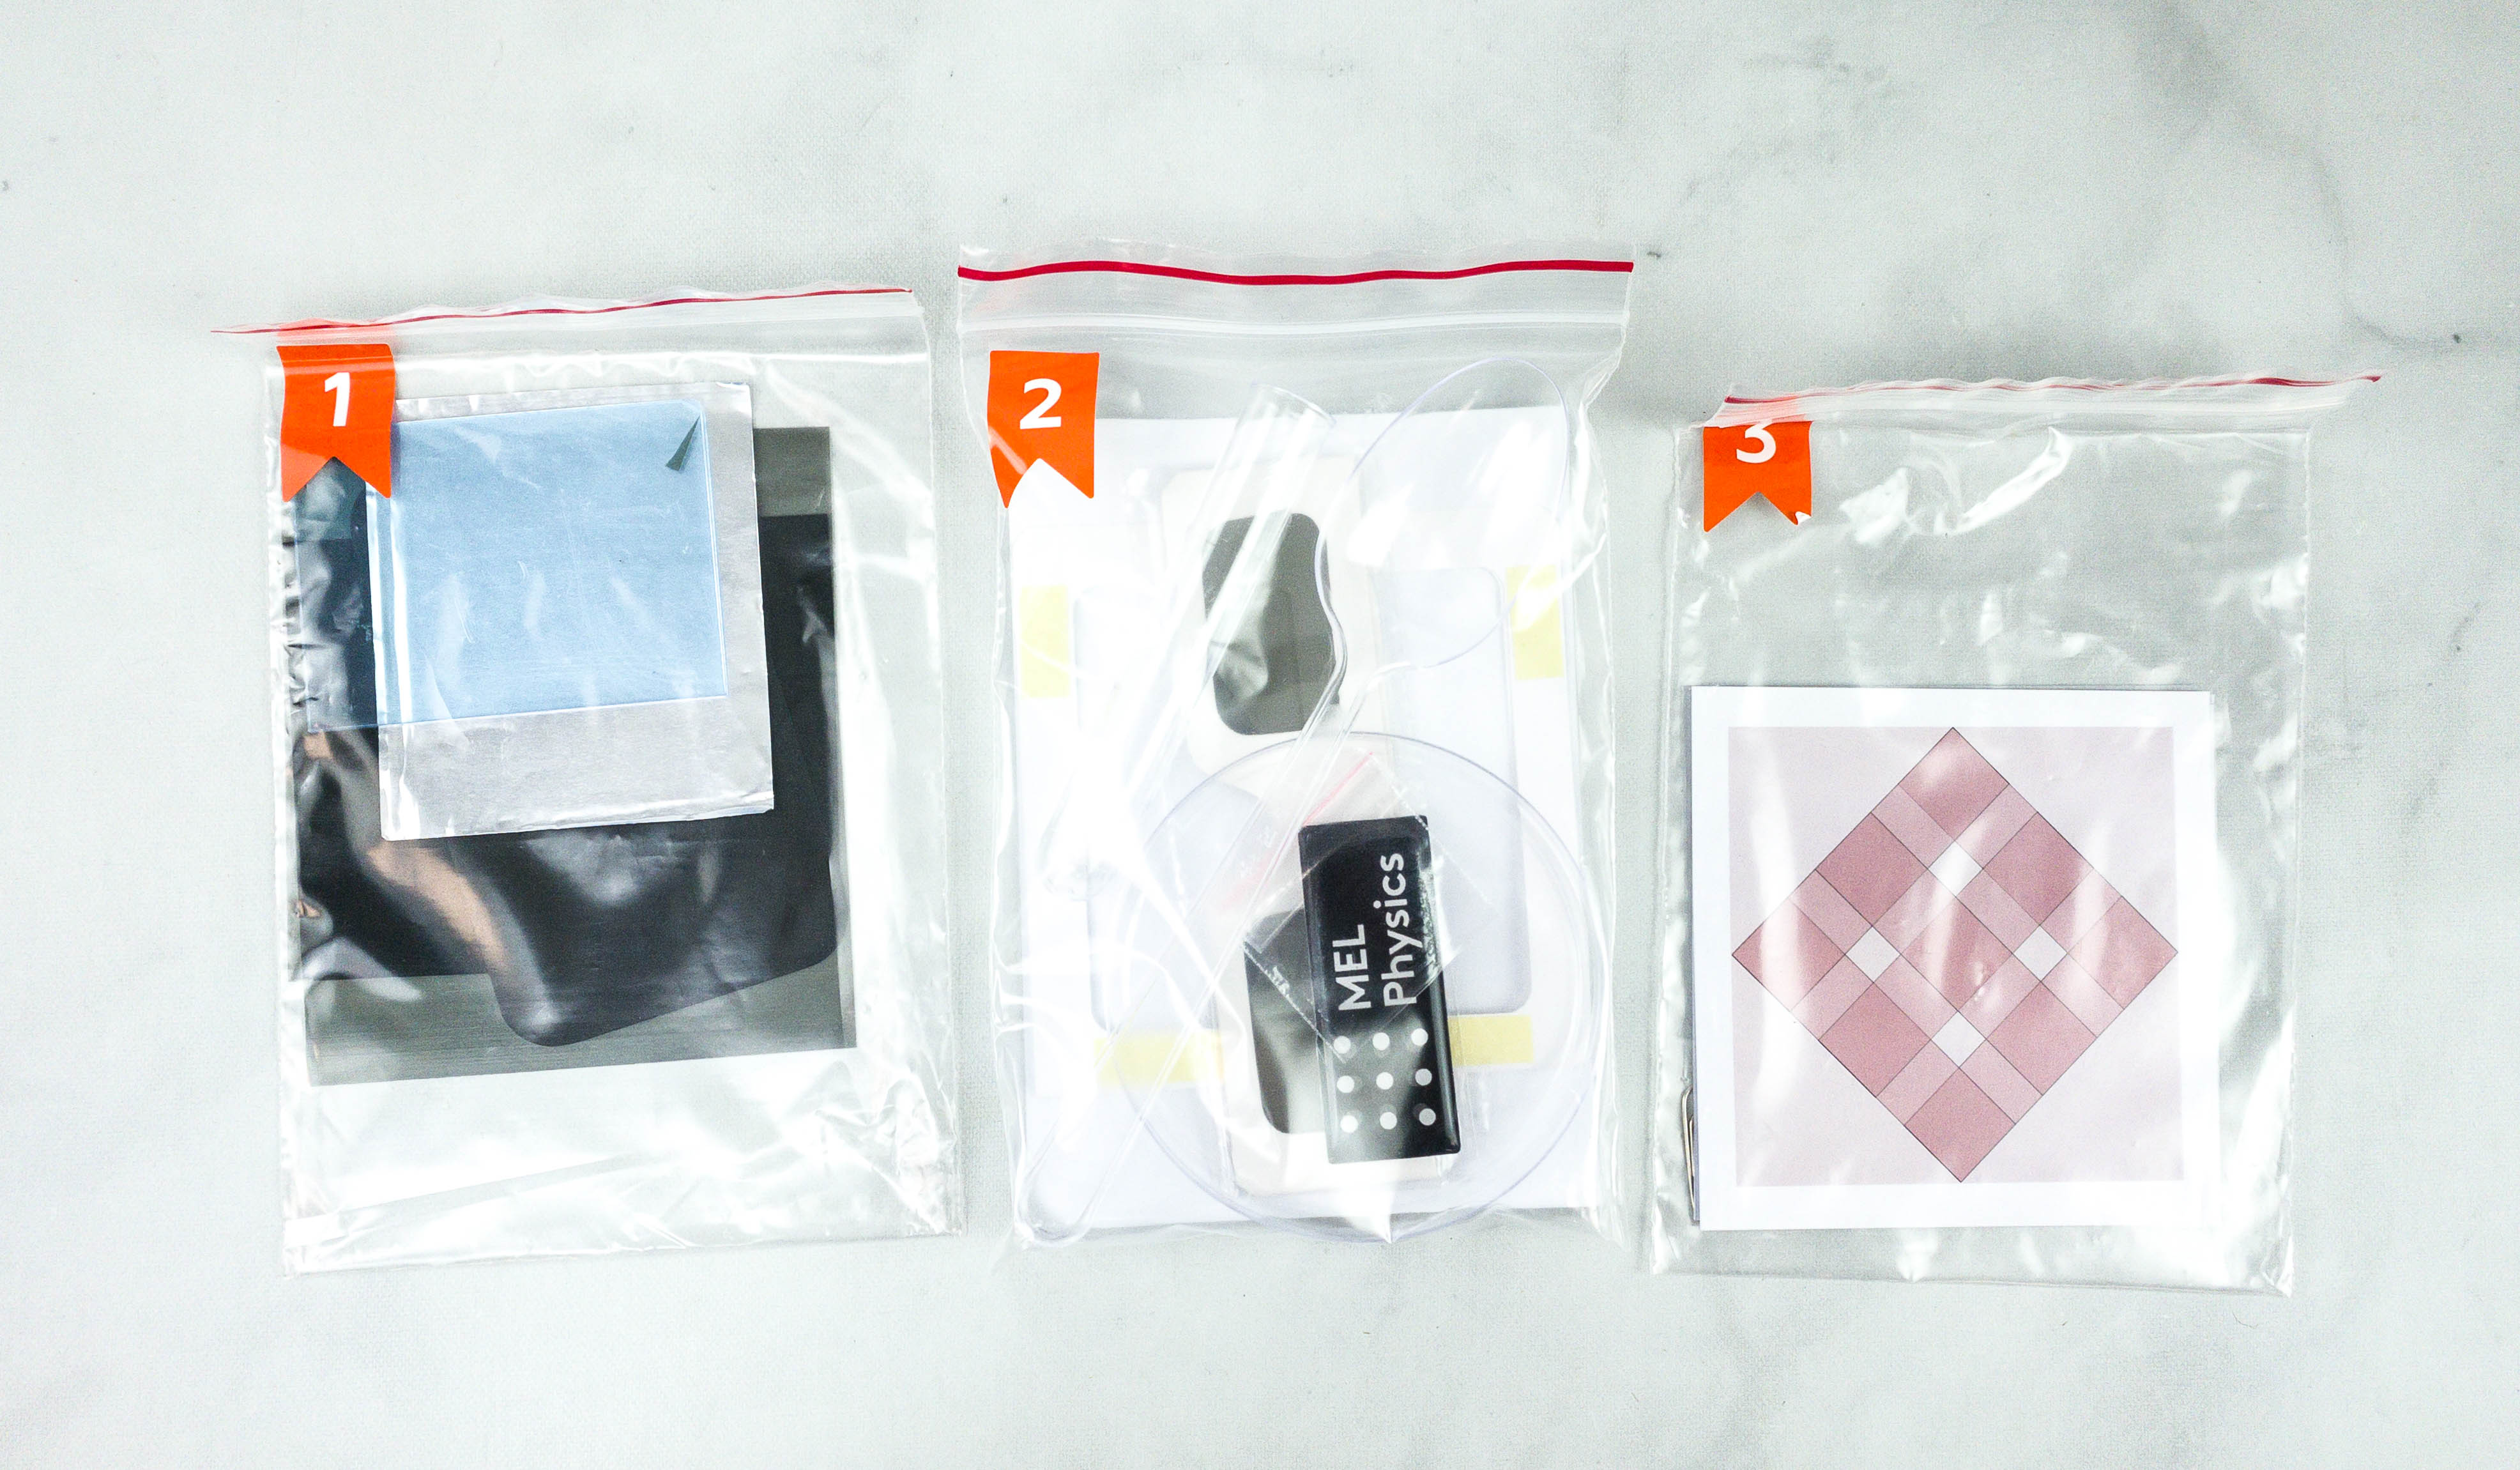
They all came with their own re-sealable plastic containers!
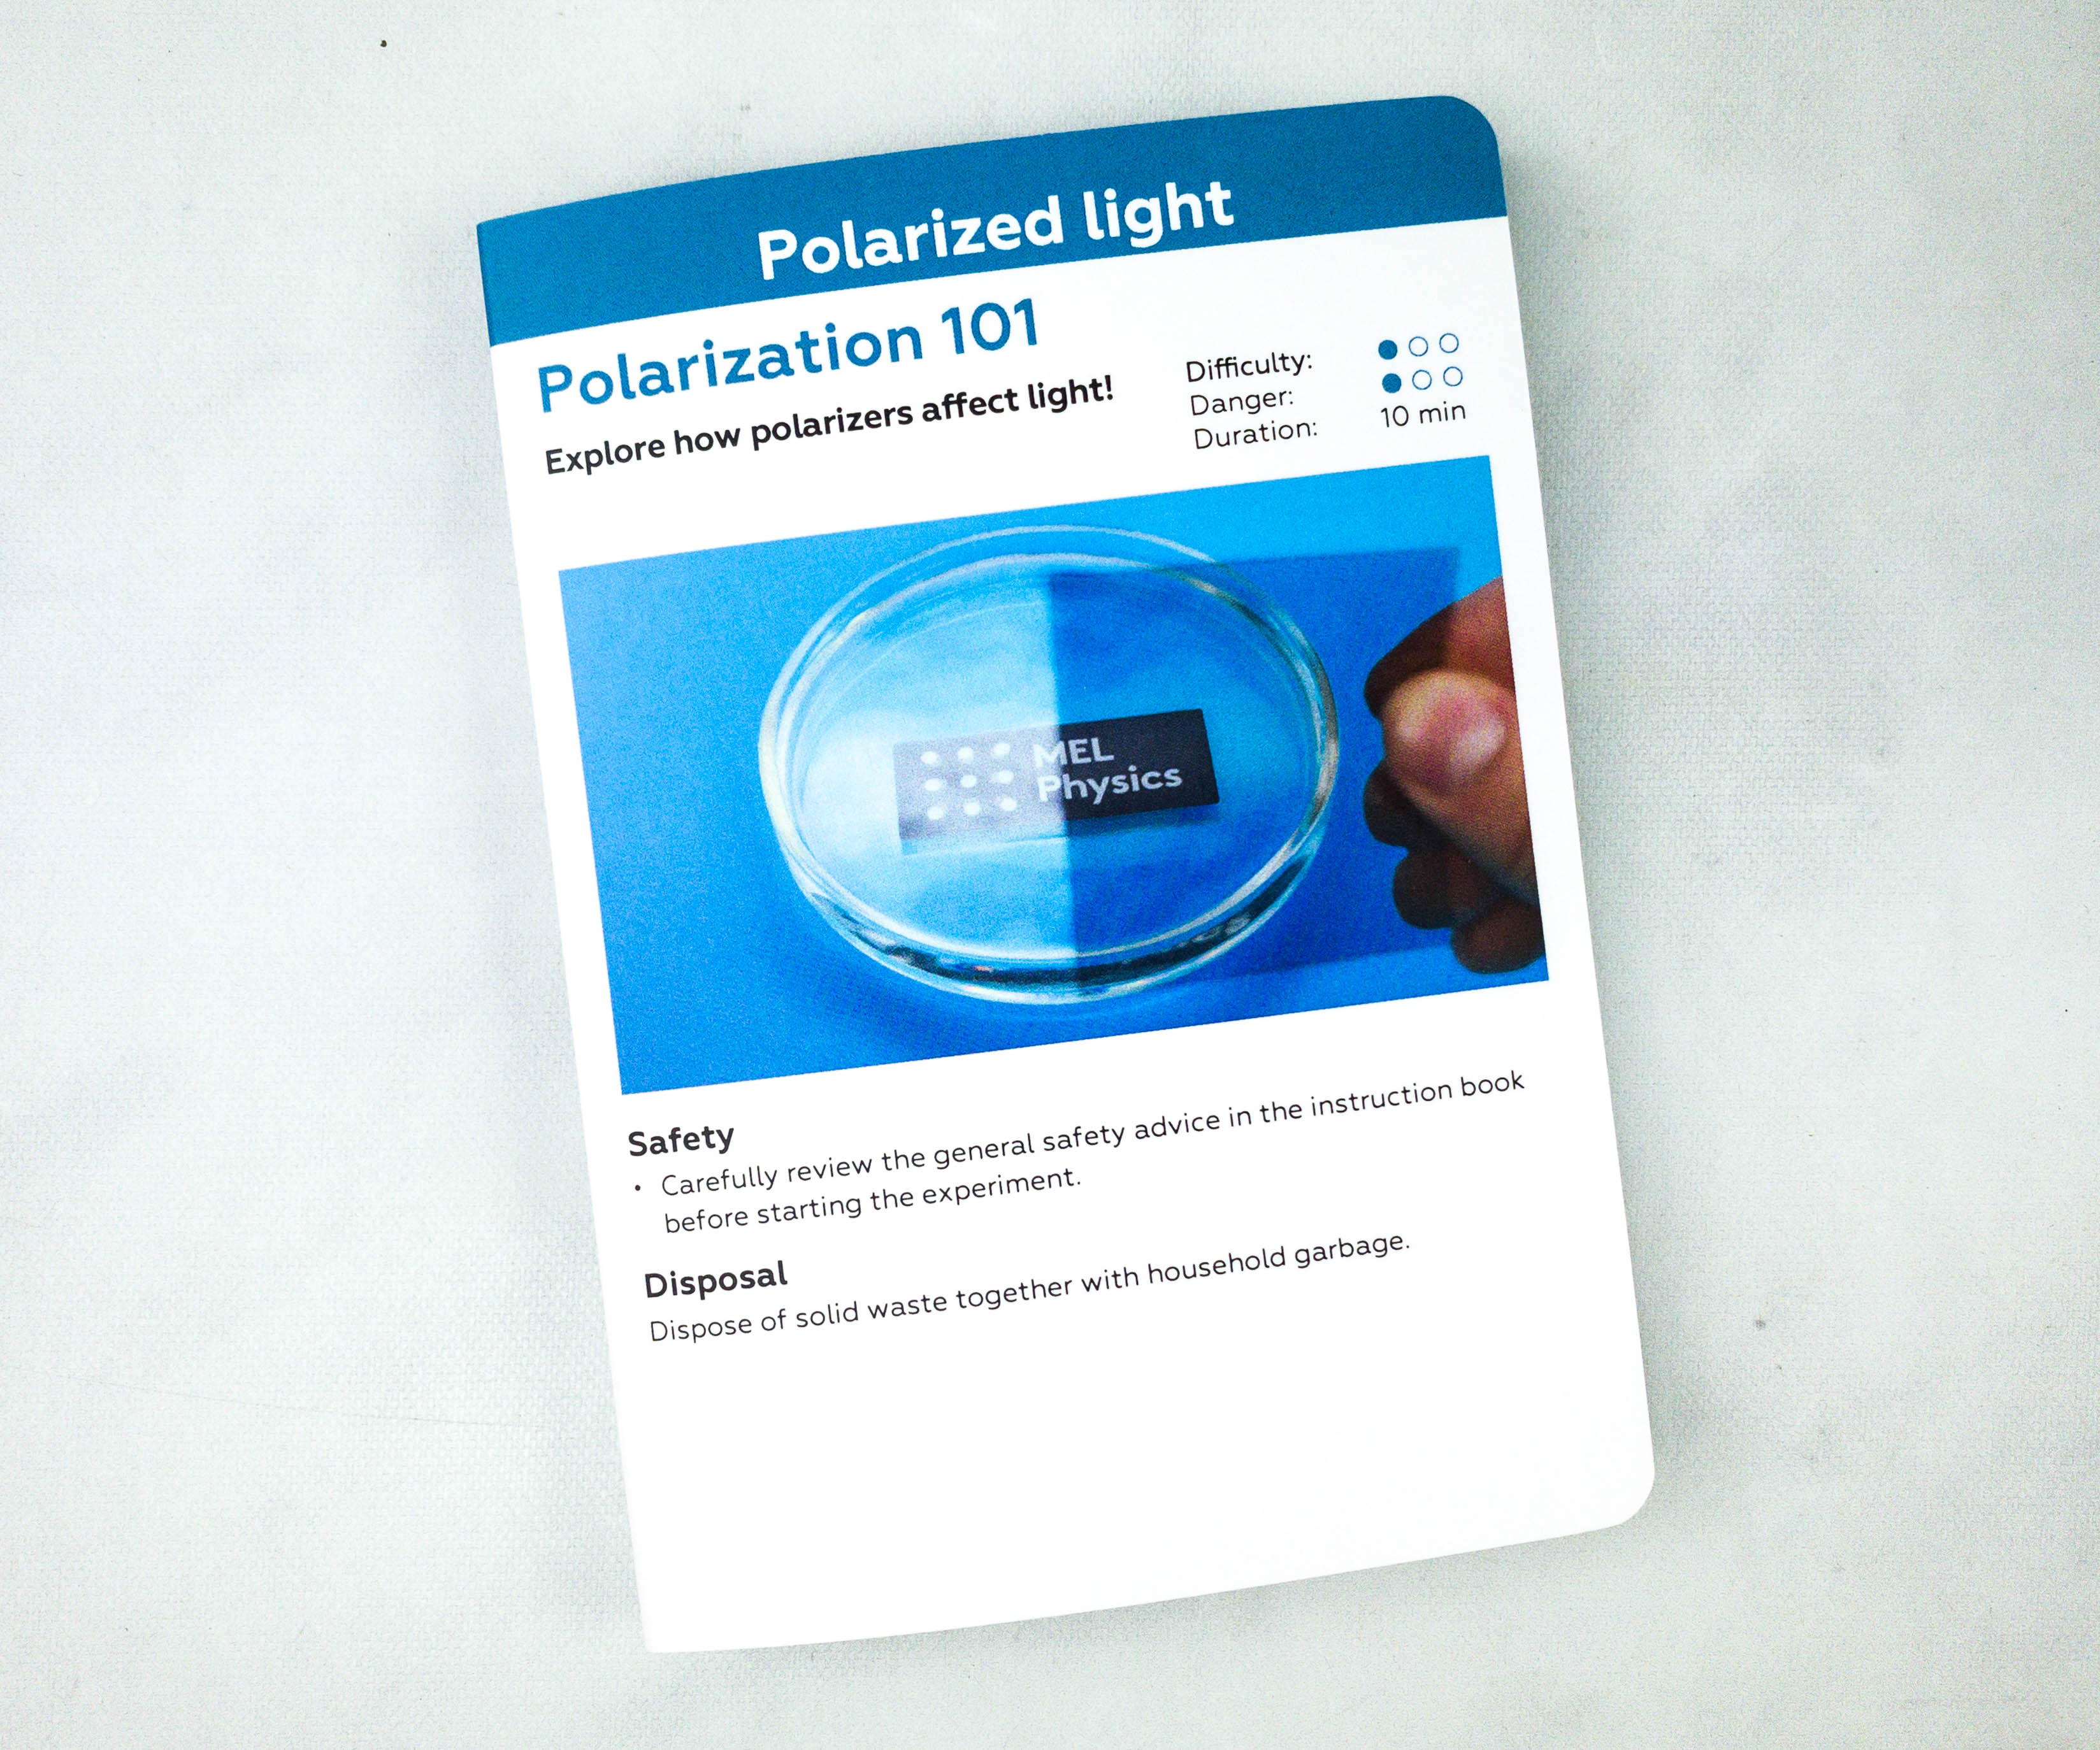
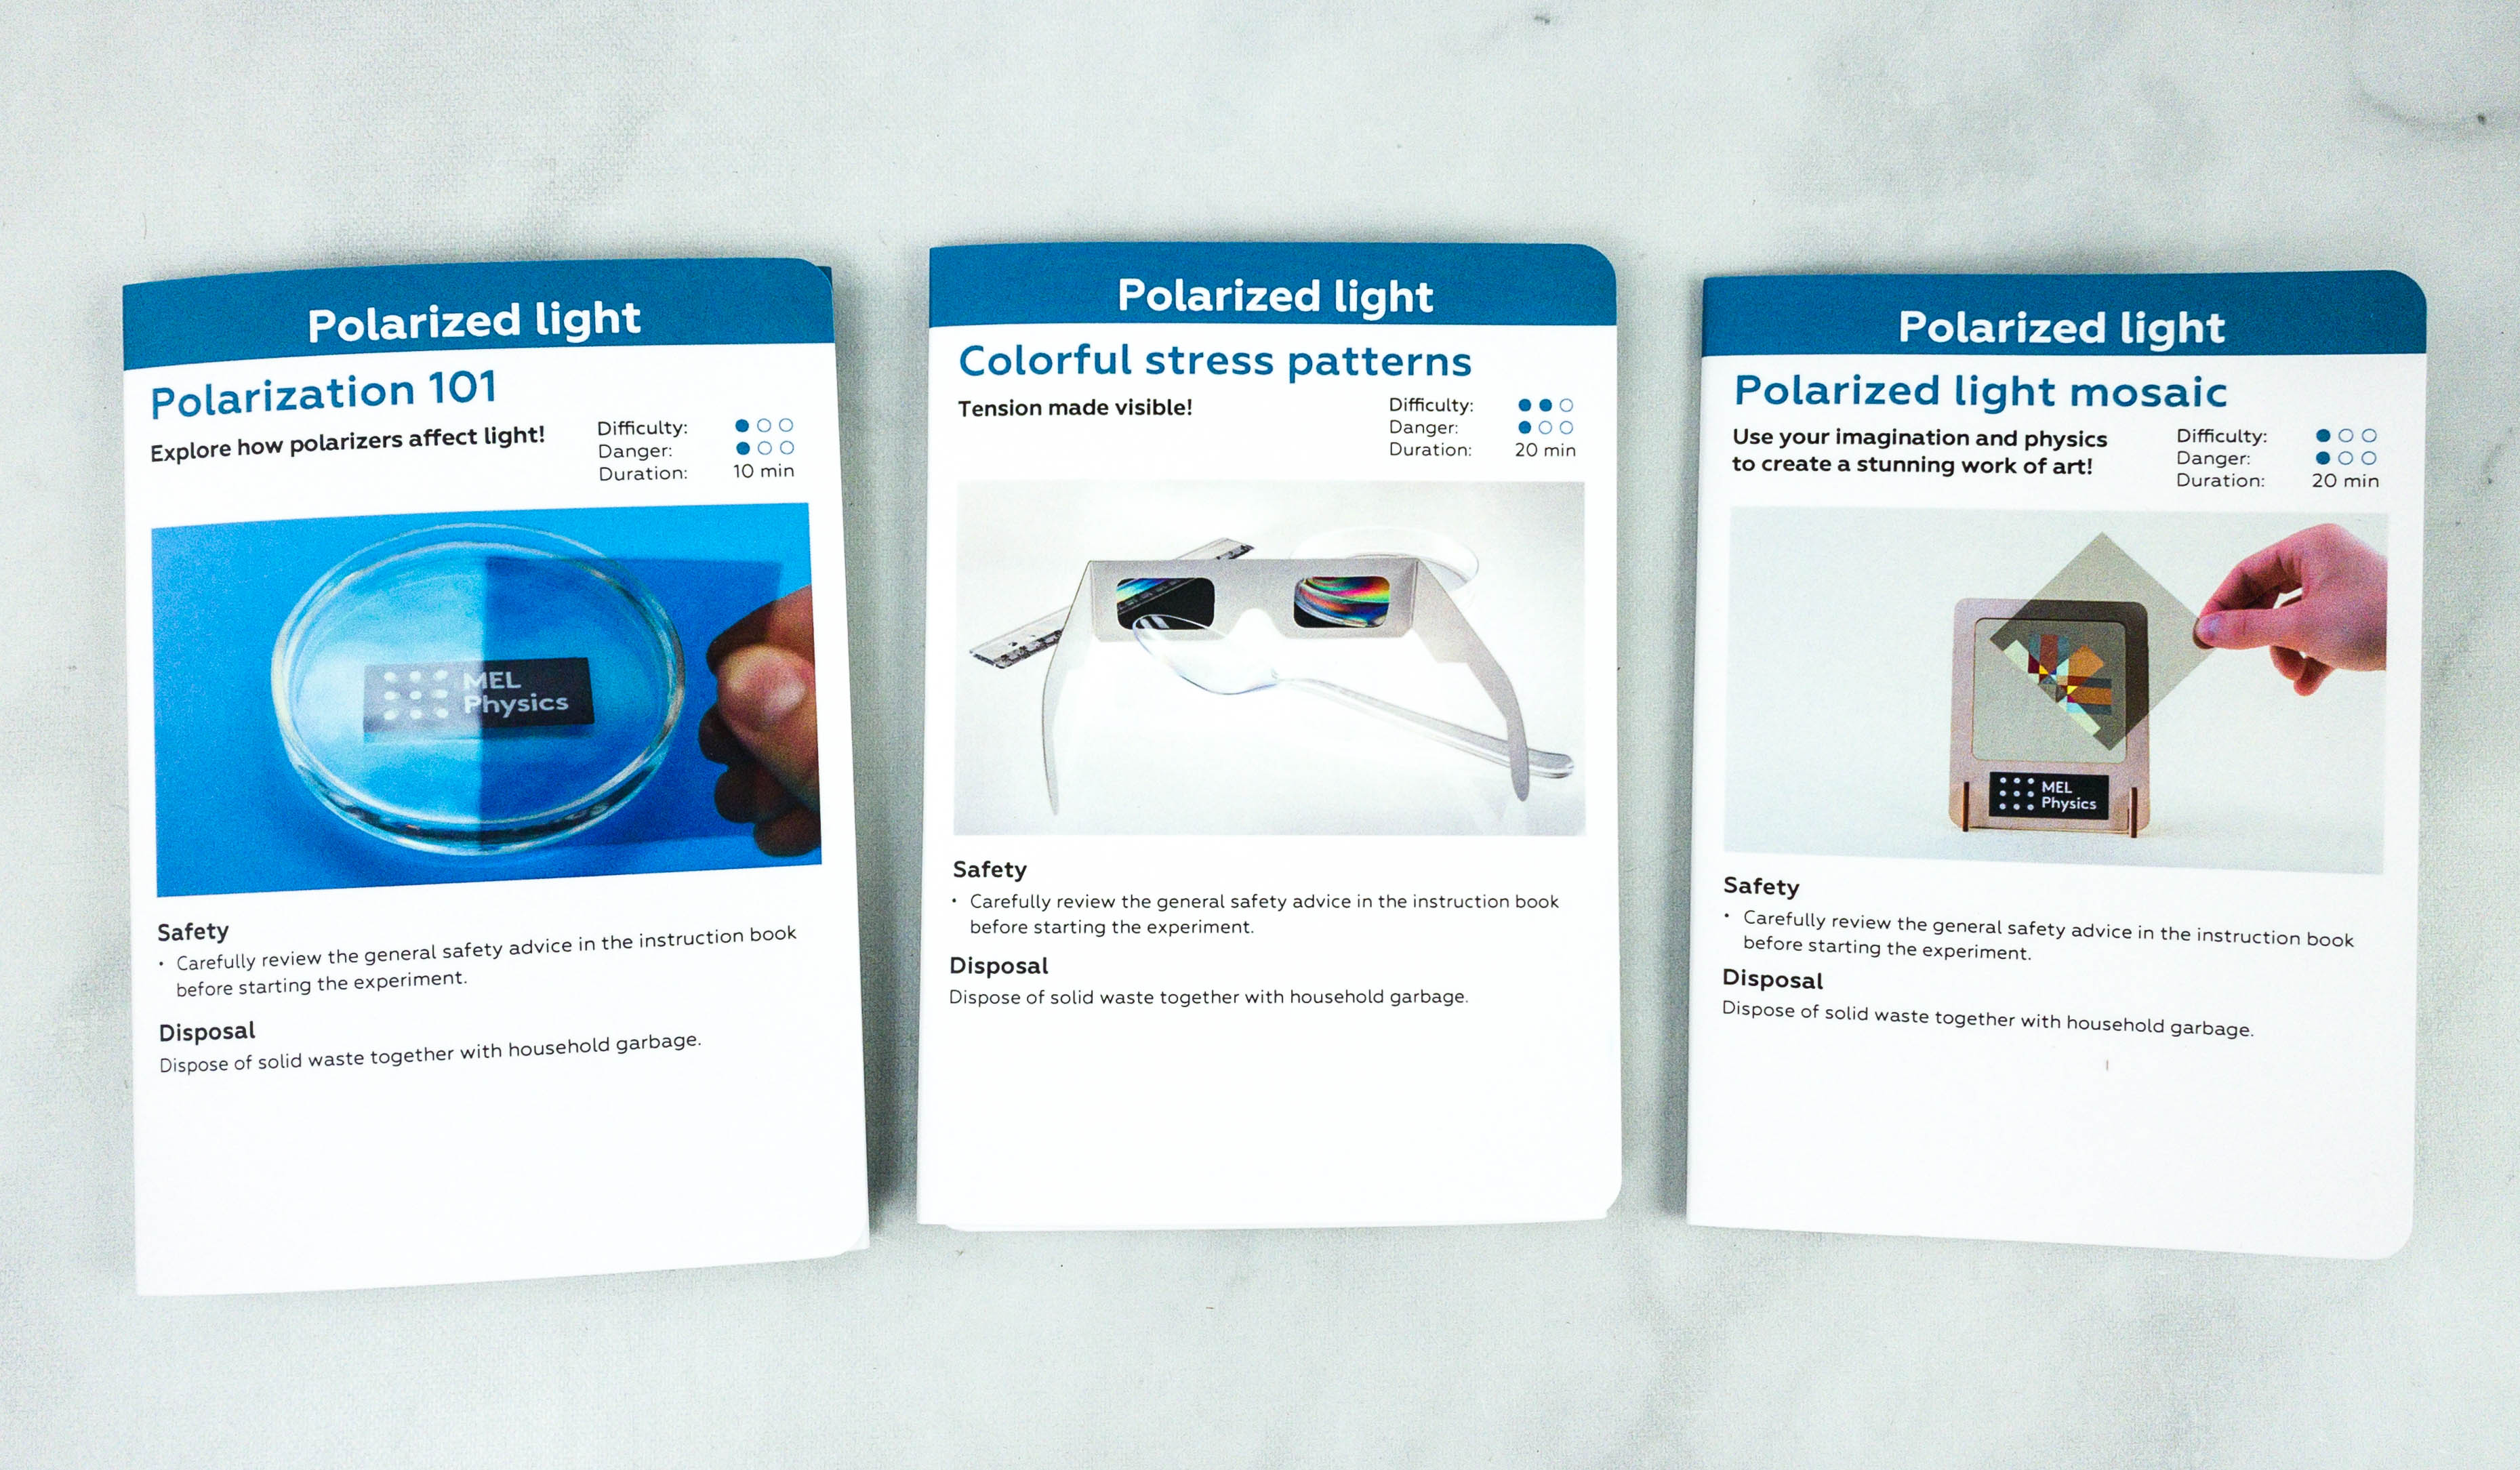
Activity #1: Polarization 101. This activity is about exploring how polarizers affect light. It’s a 10-minute activity with level 1 difficulty and danger level.

Inside the card is detailed step-by-step instructions with illustrations.
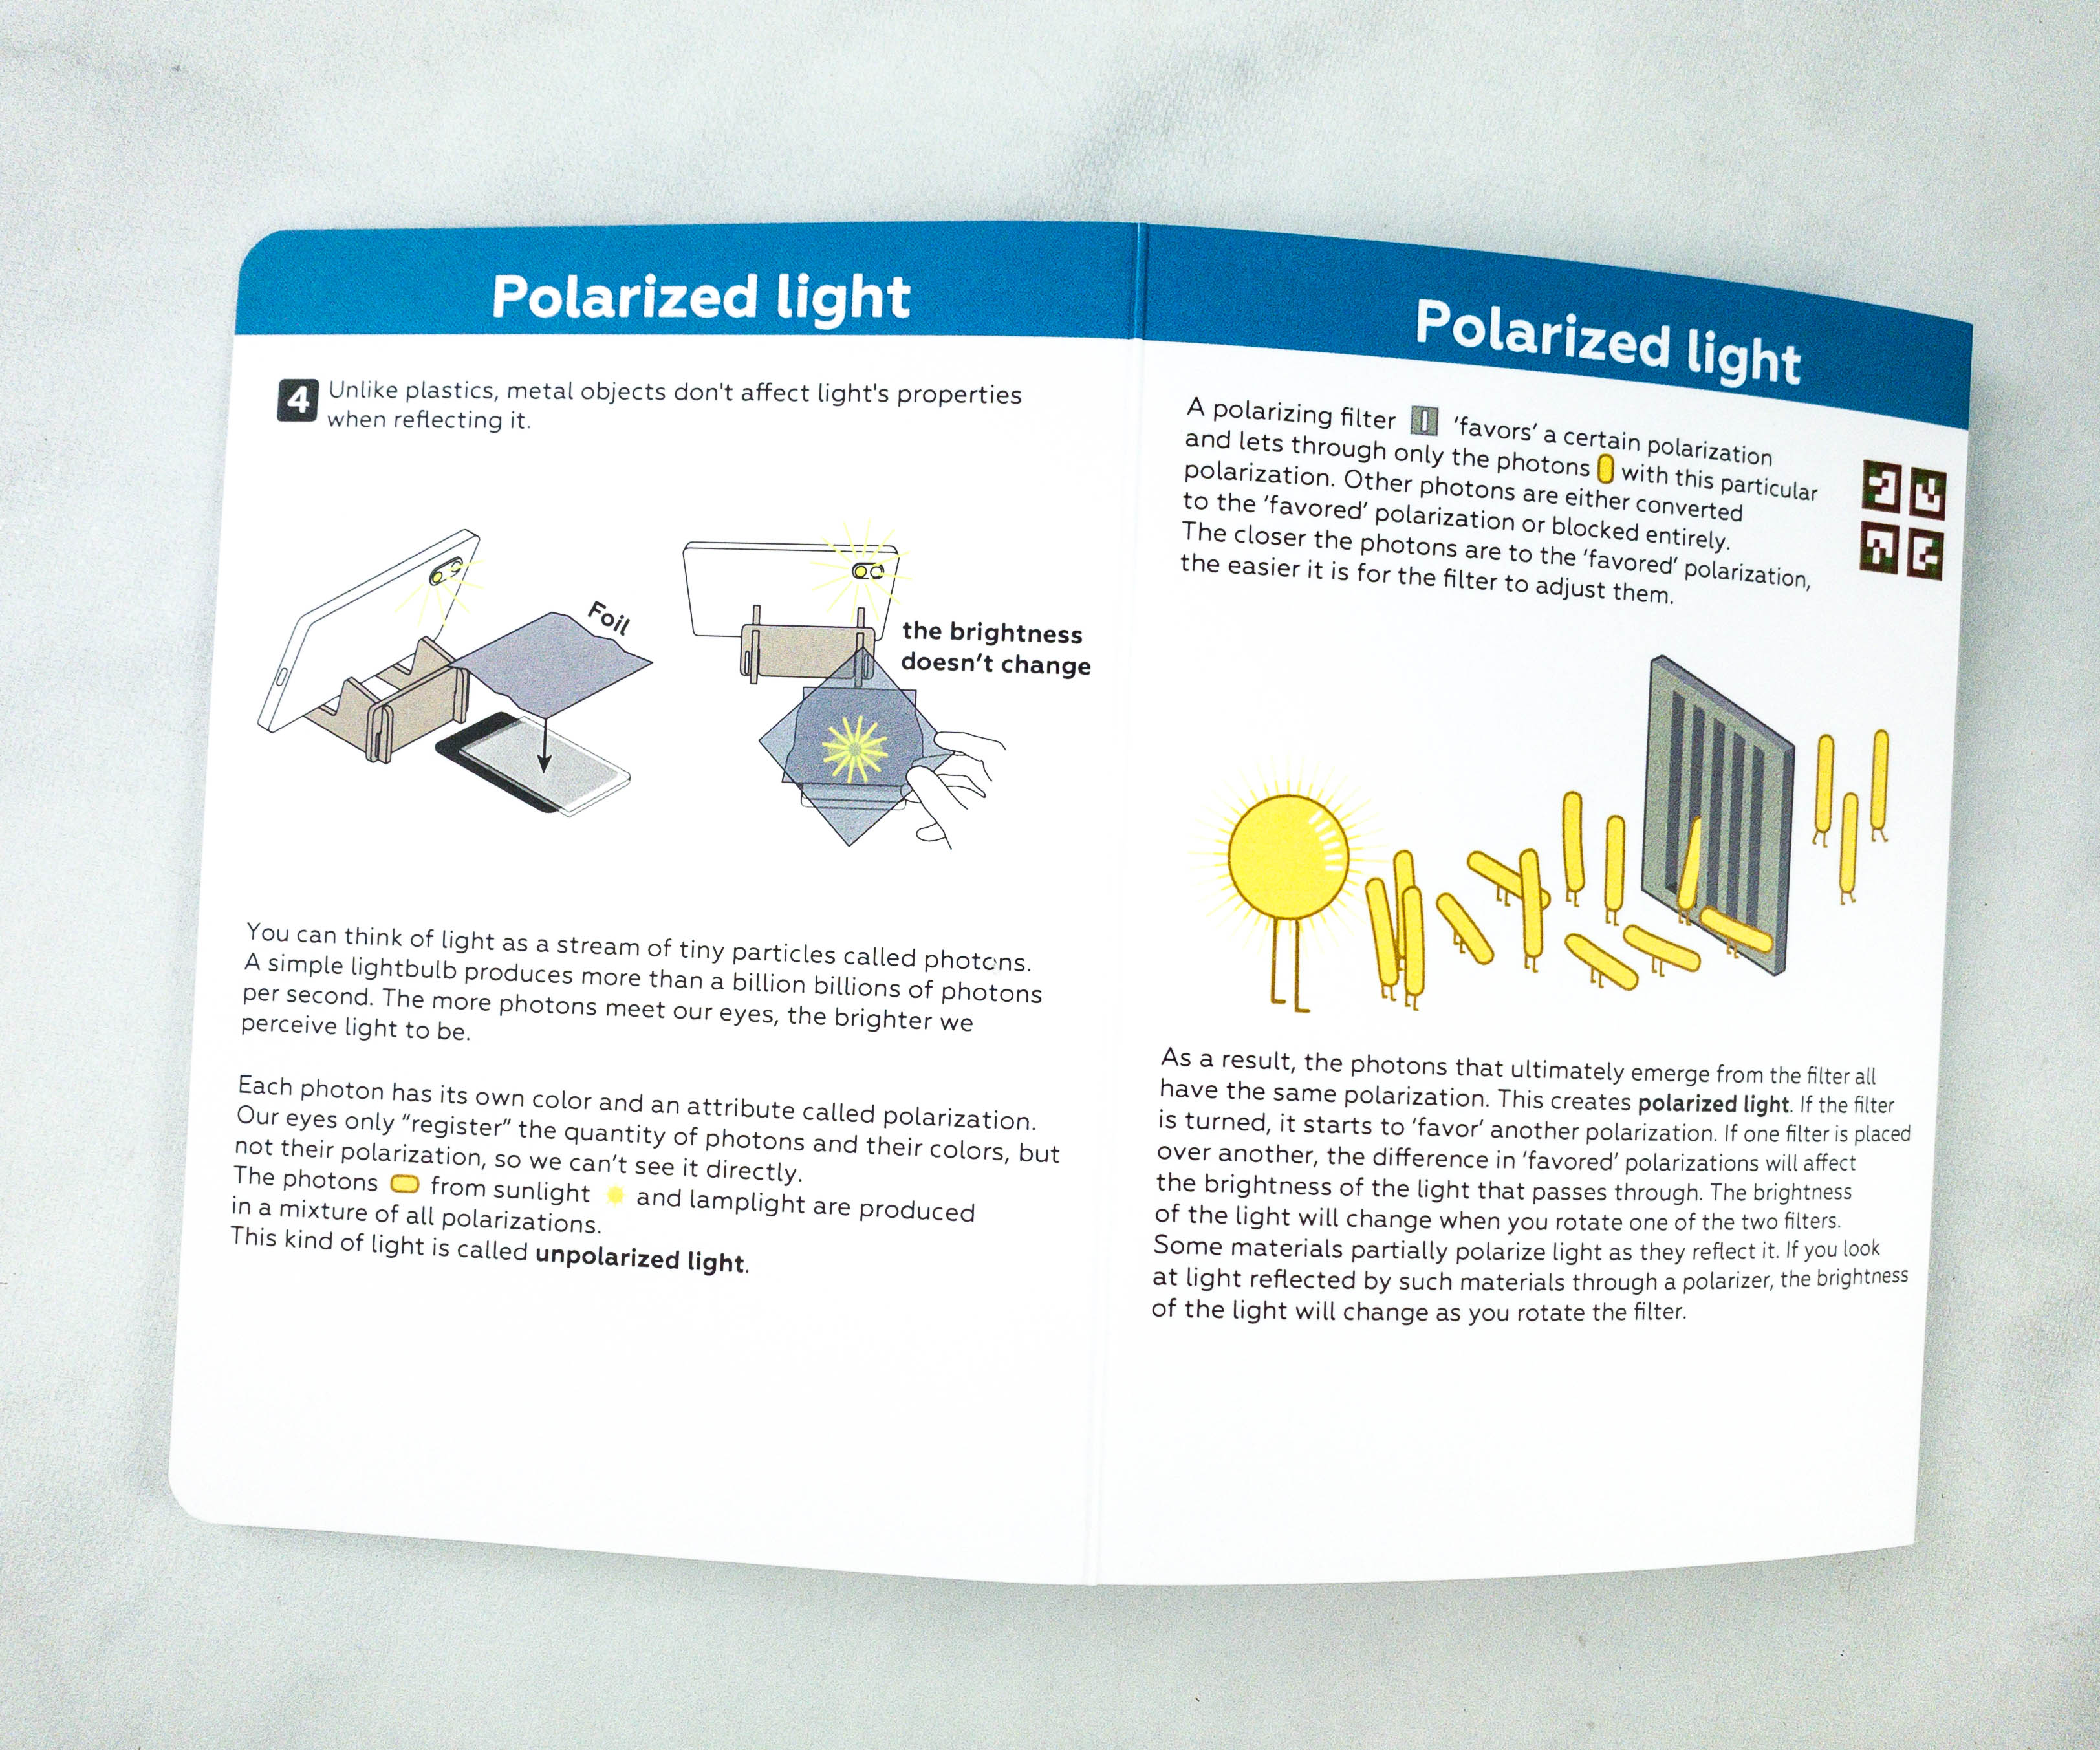
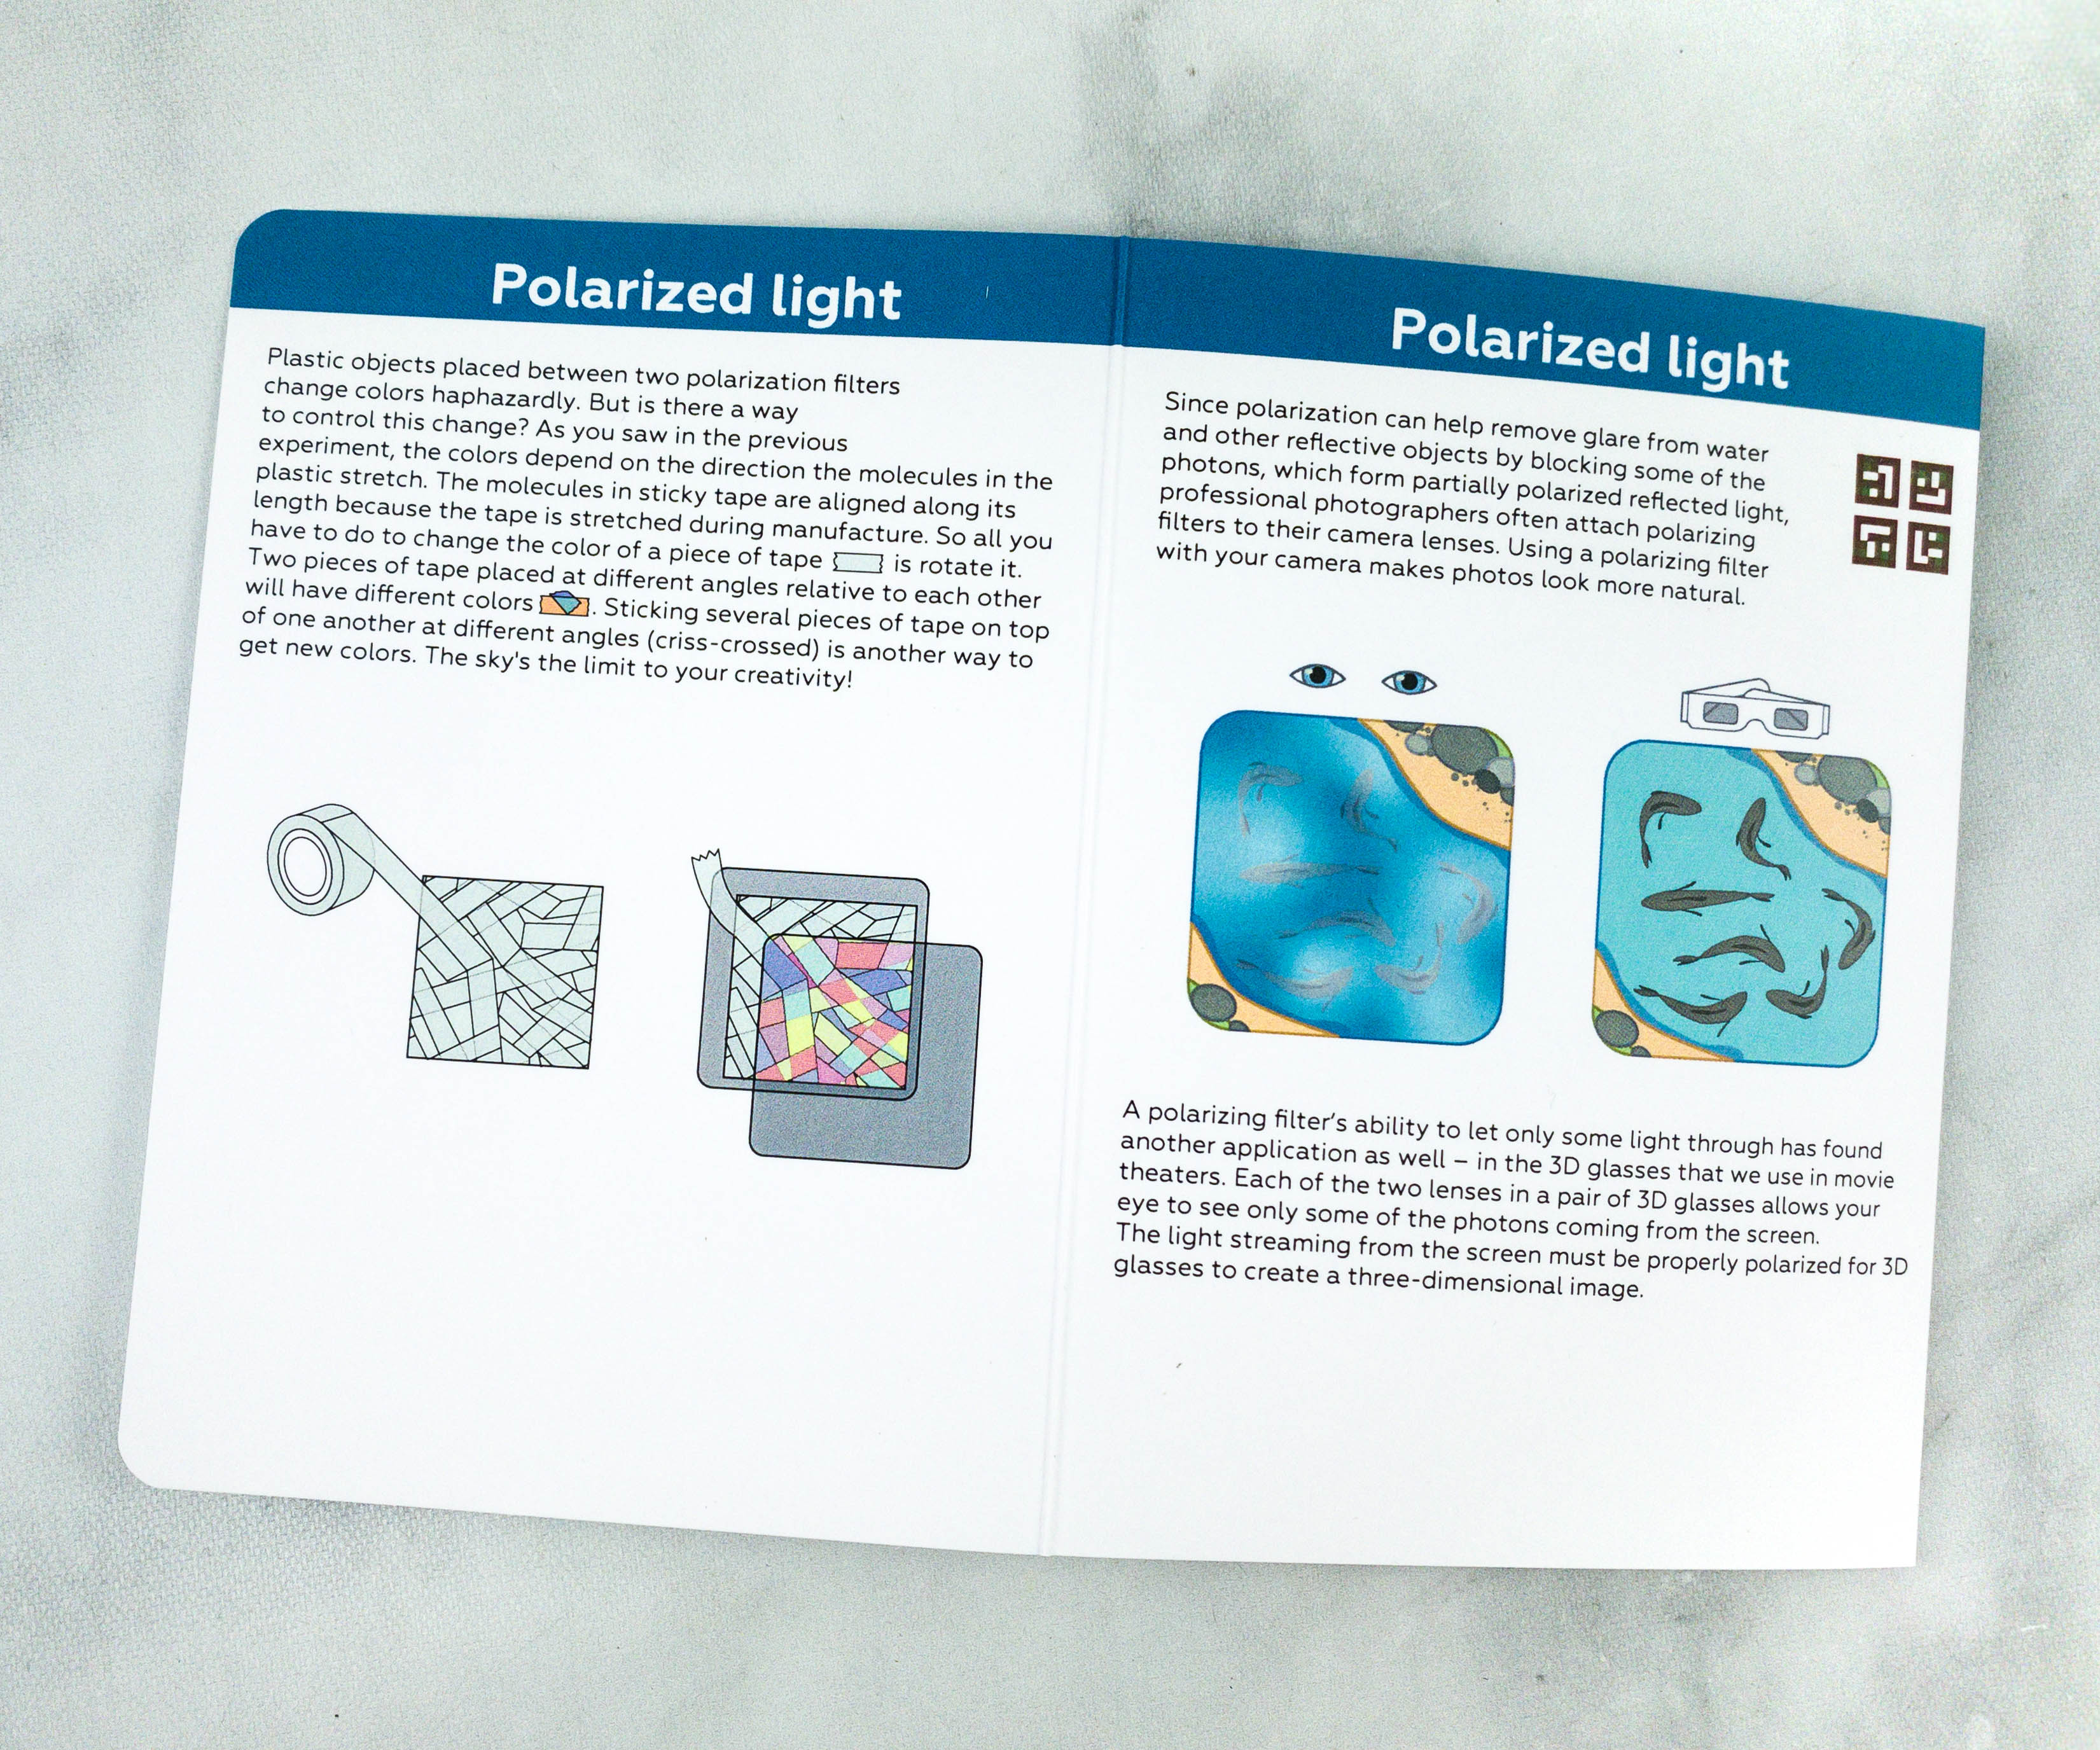
They also provided explanations at the end of each activity. Using the app, we gathered more information about this experiment! There’s a brief discussion about the process of polarization and how it creates a polarized light.
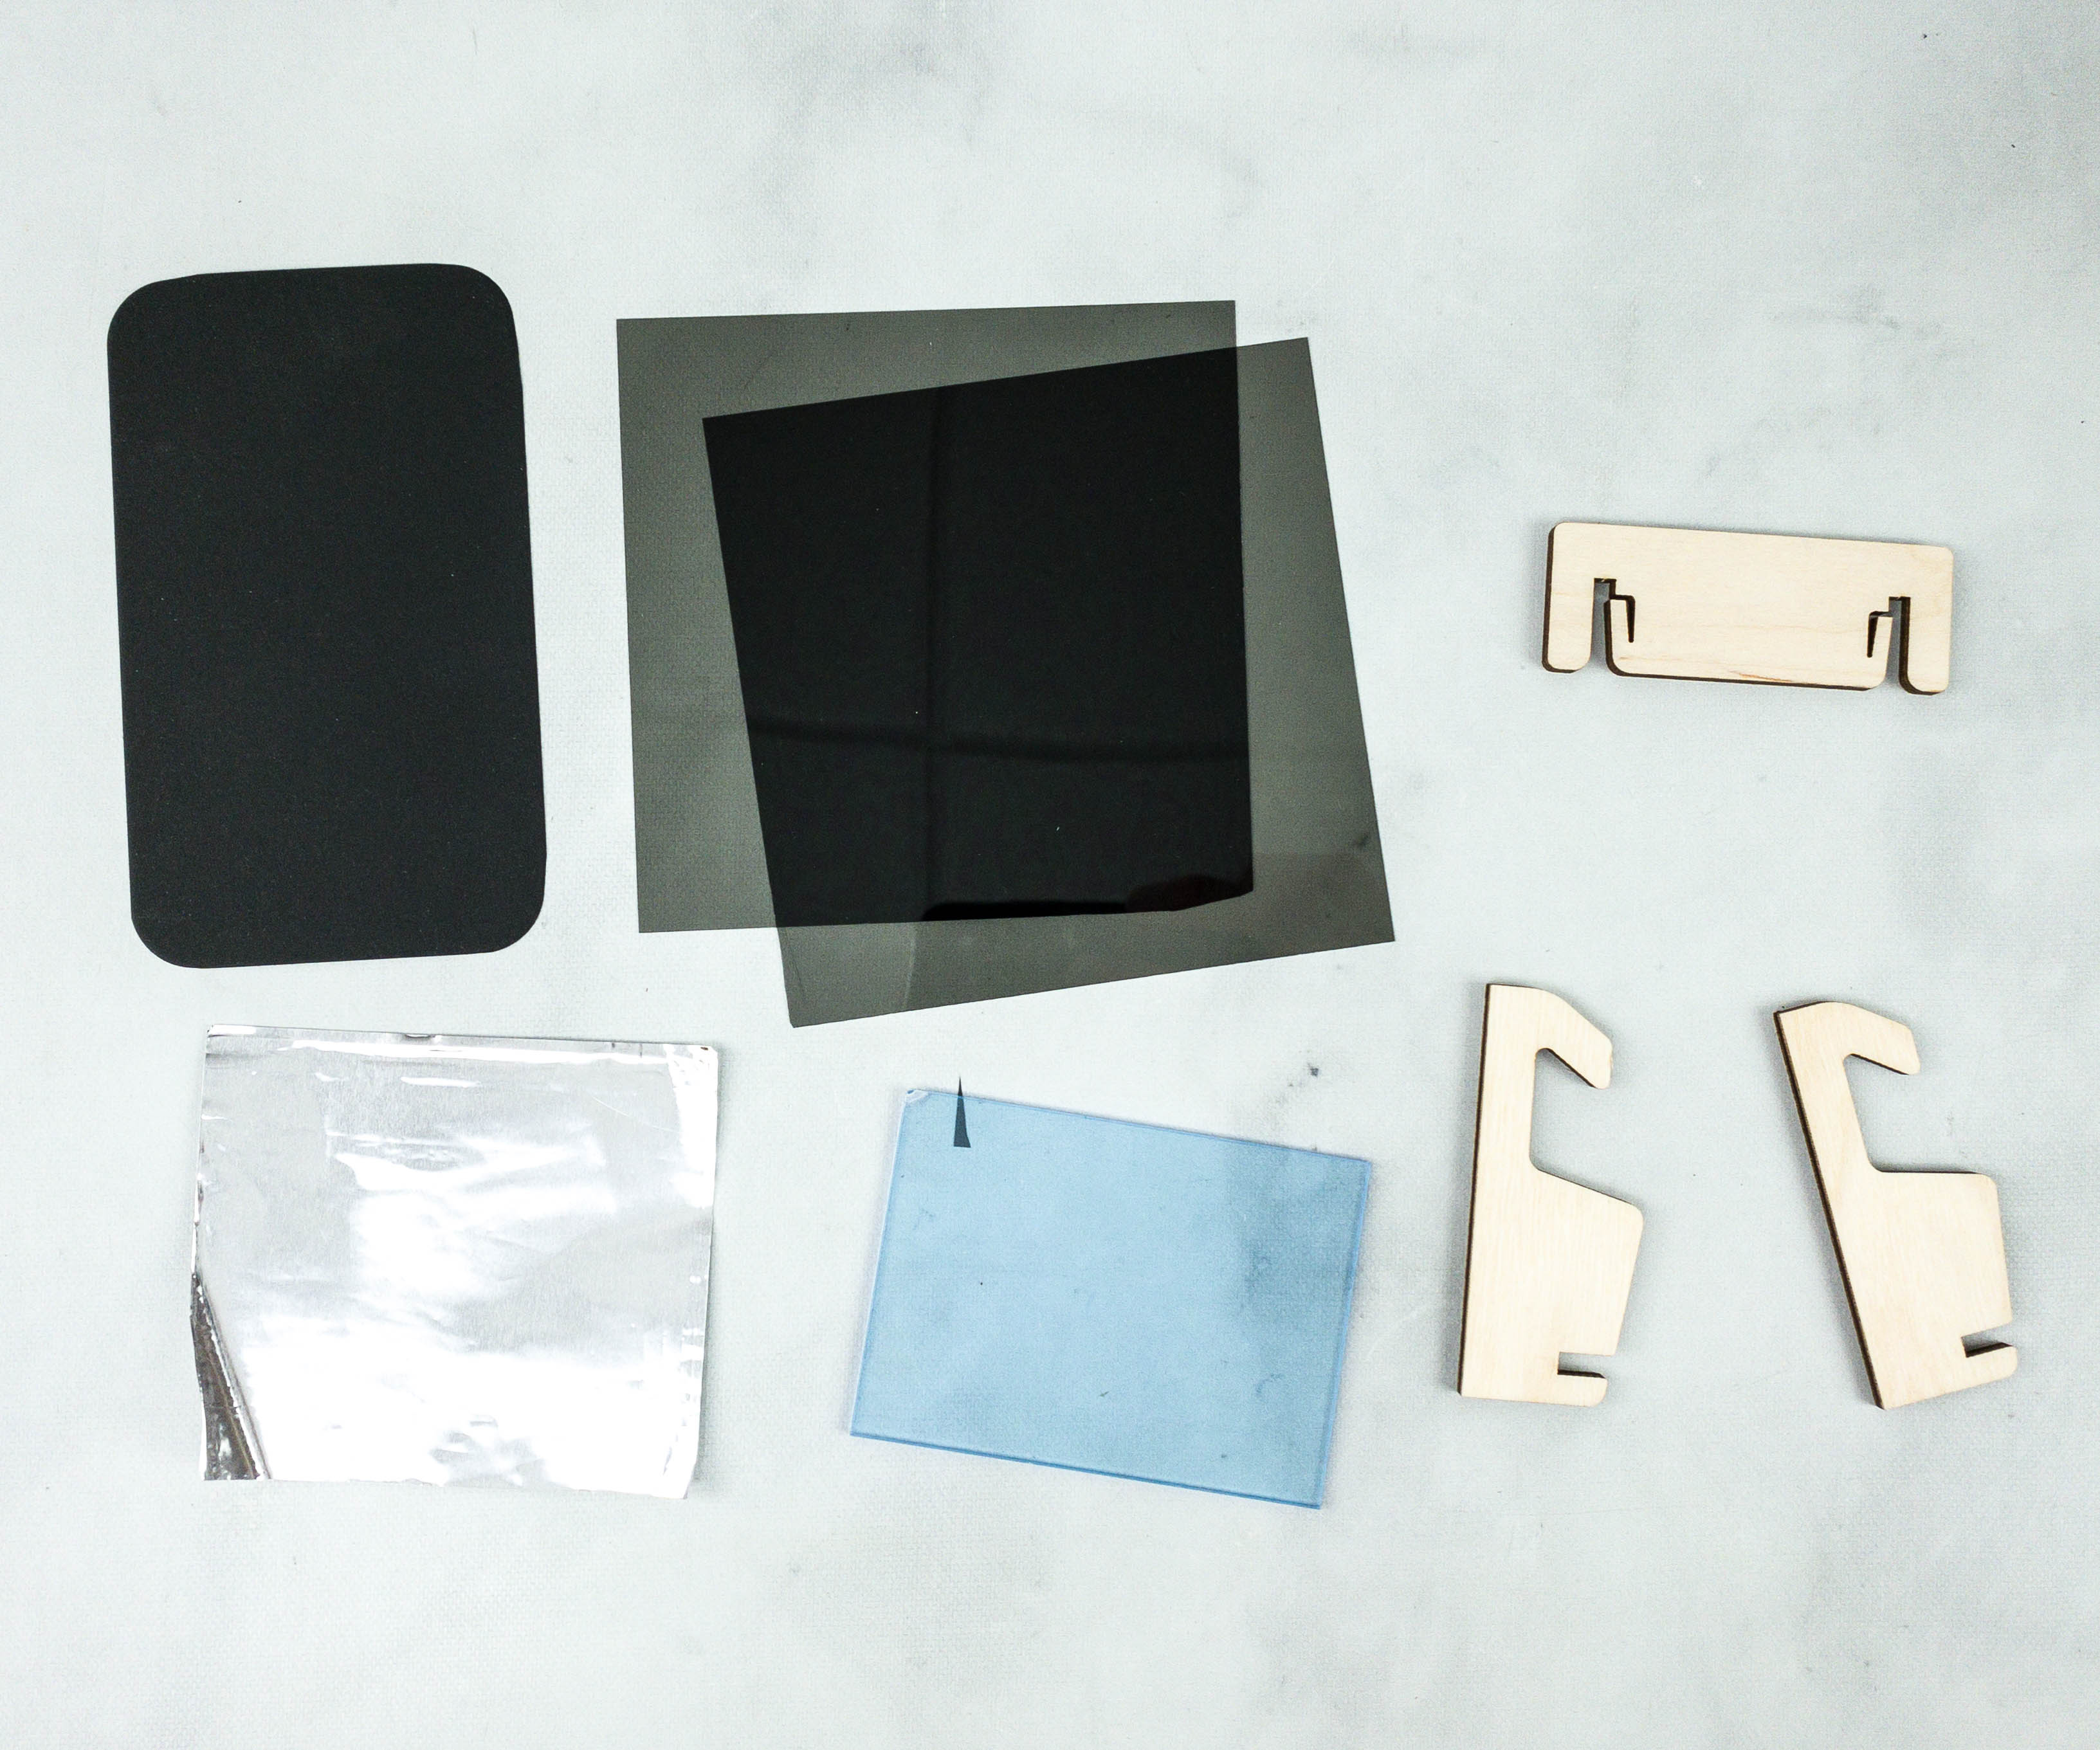
For the first project, we used a wooden stand, foil, polarizing film, glass, and a foil. We also used the flashlight from our cellphone.
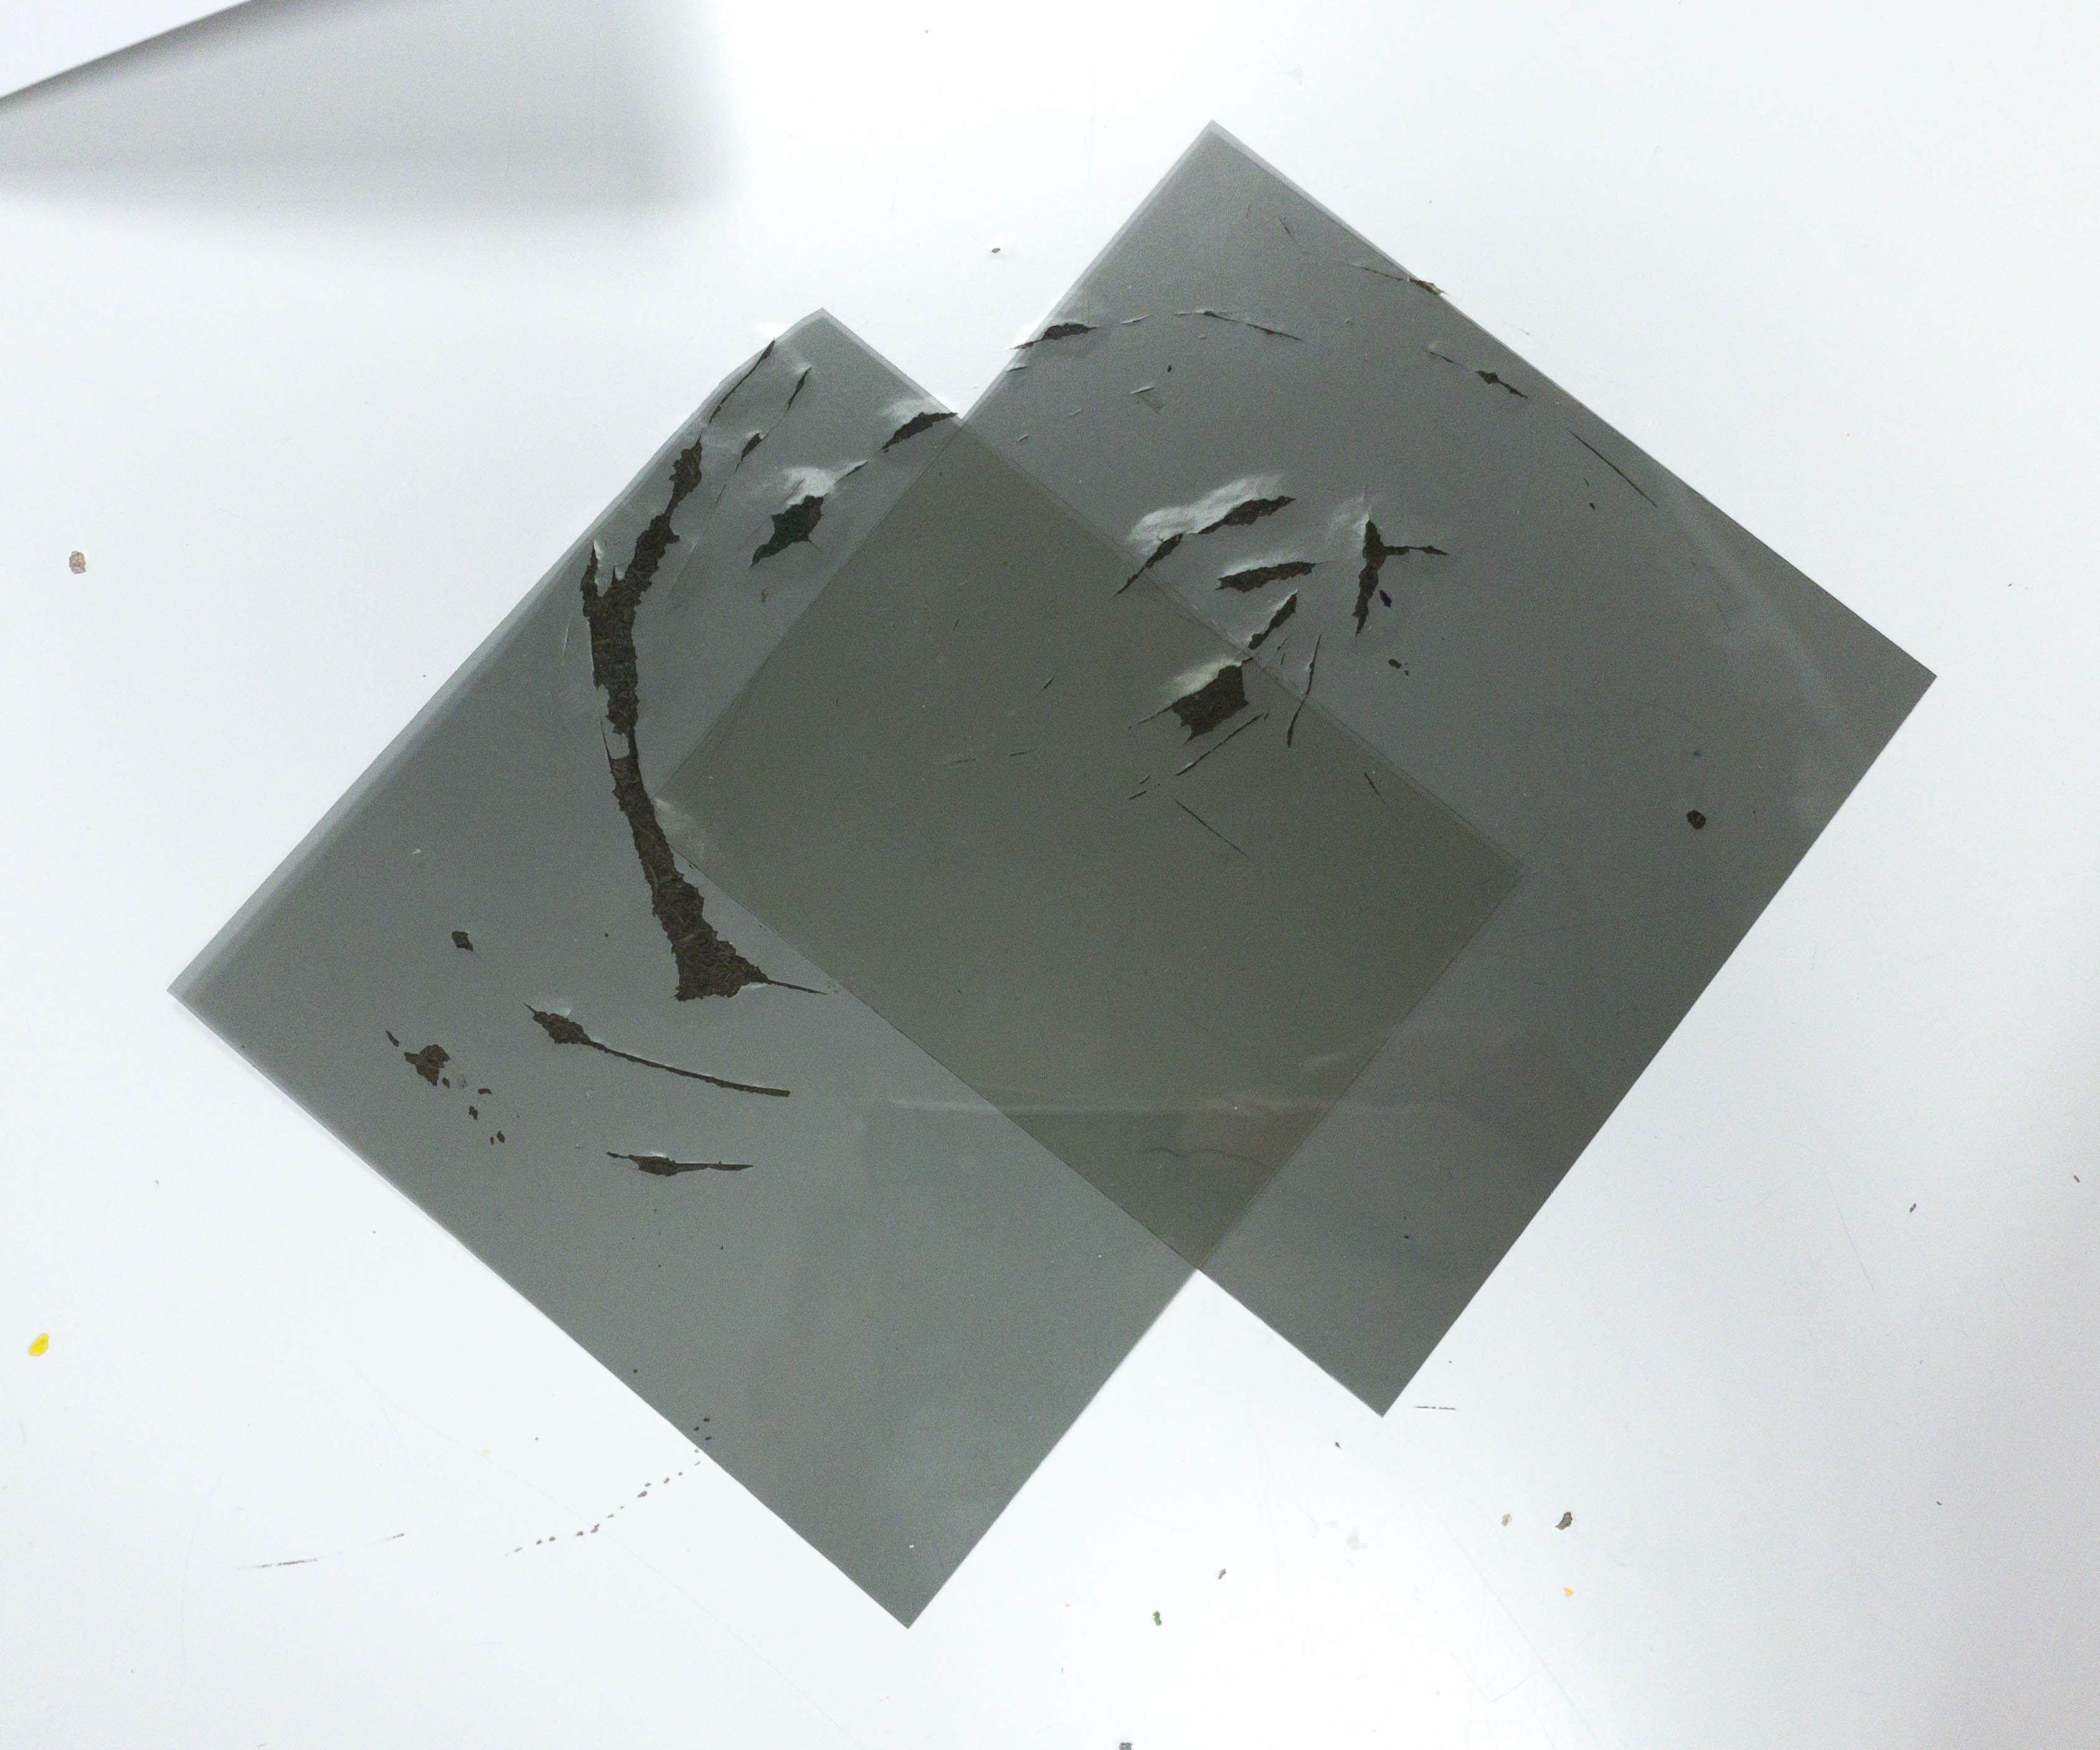
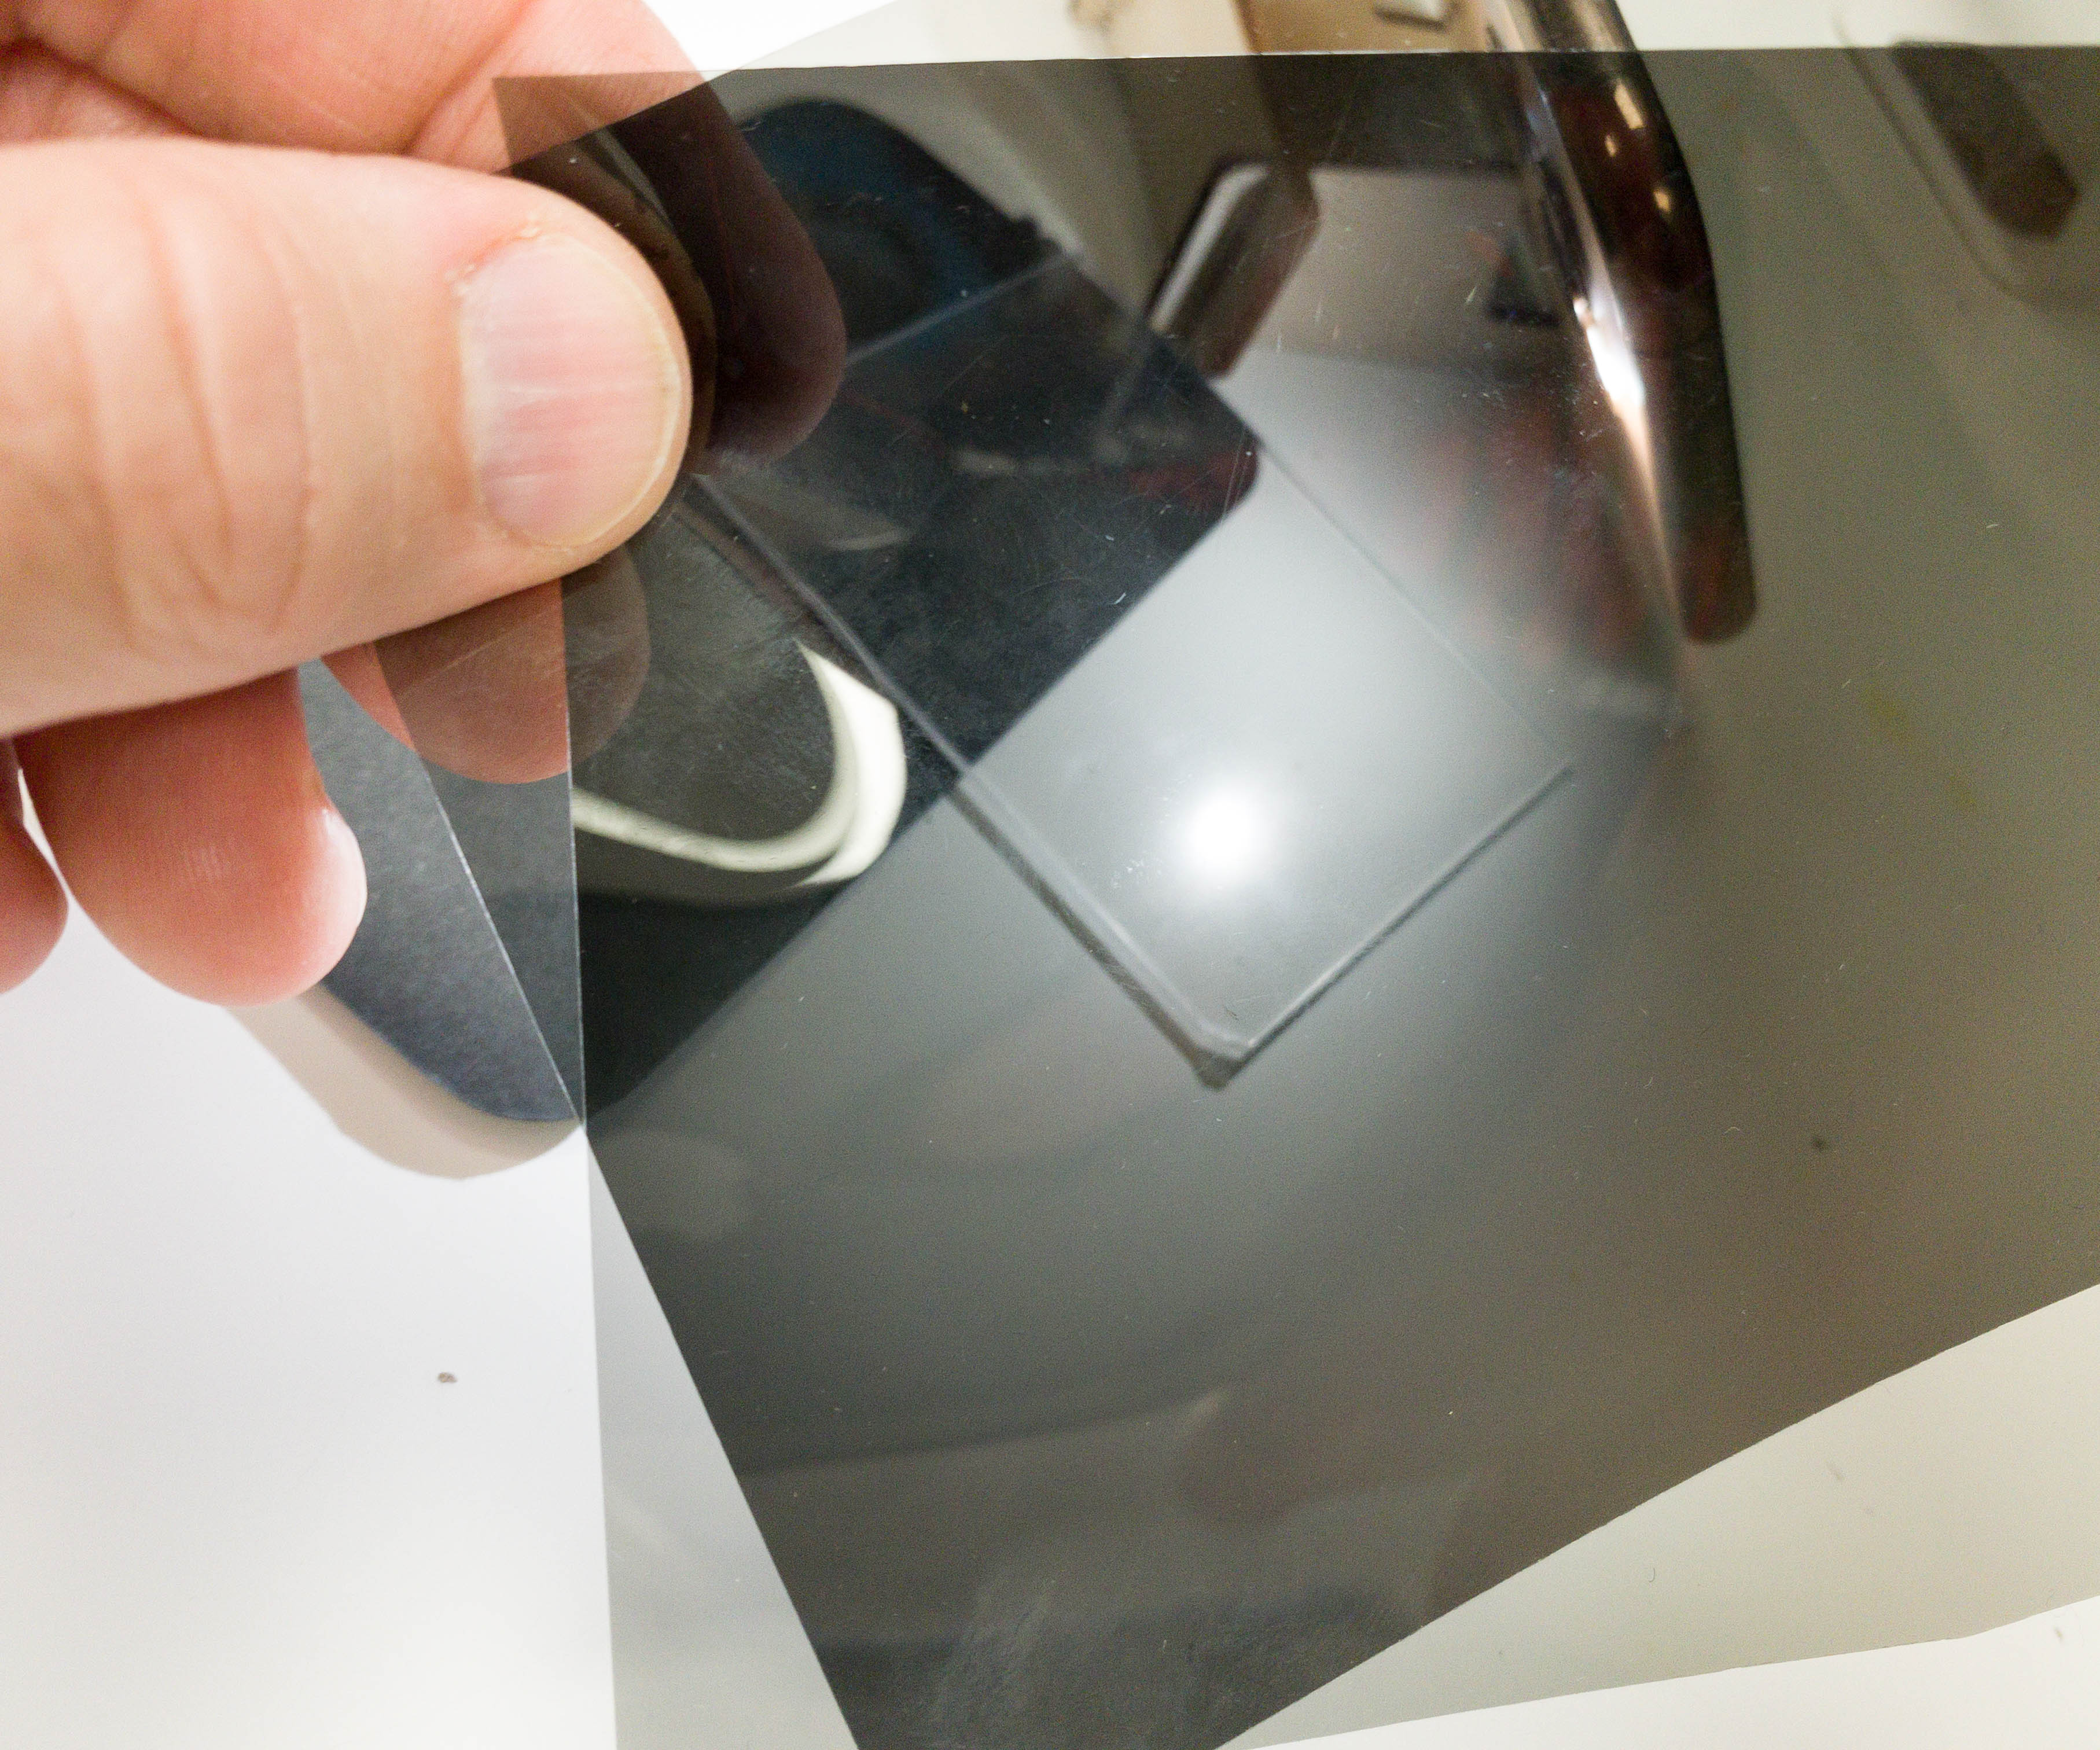
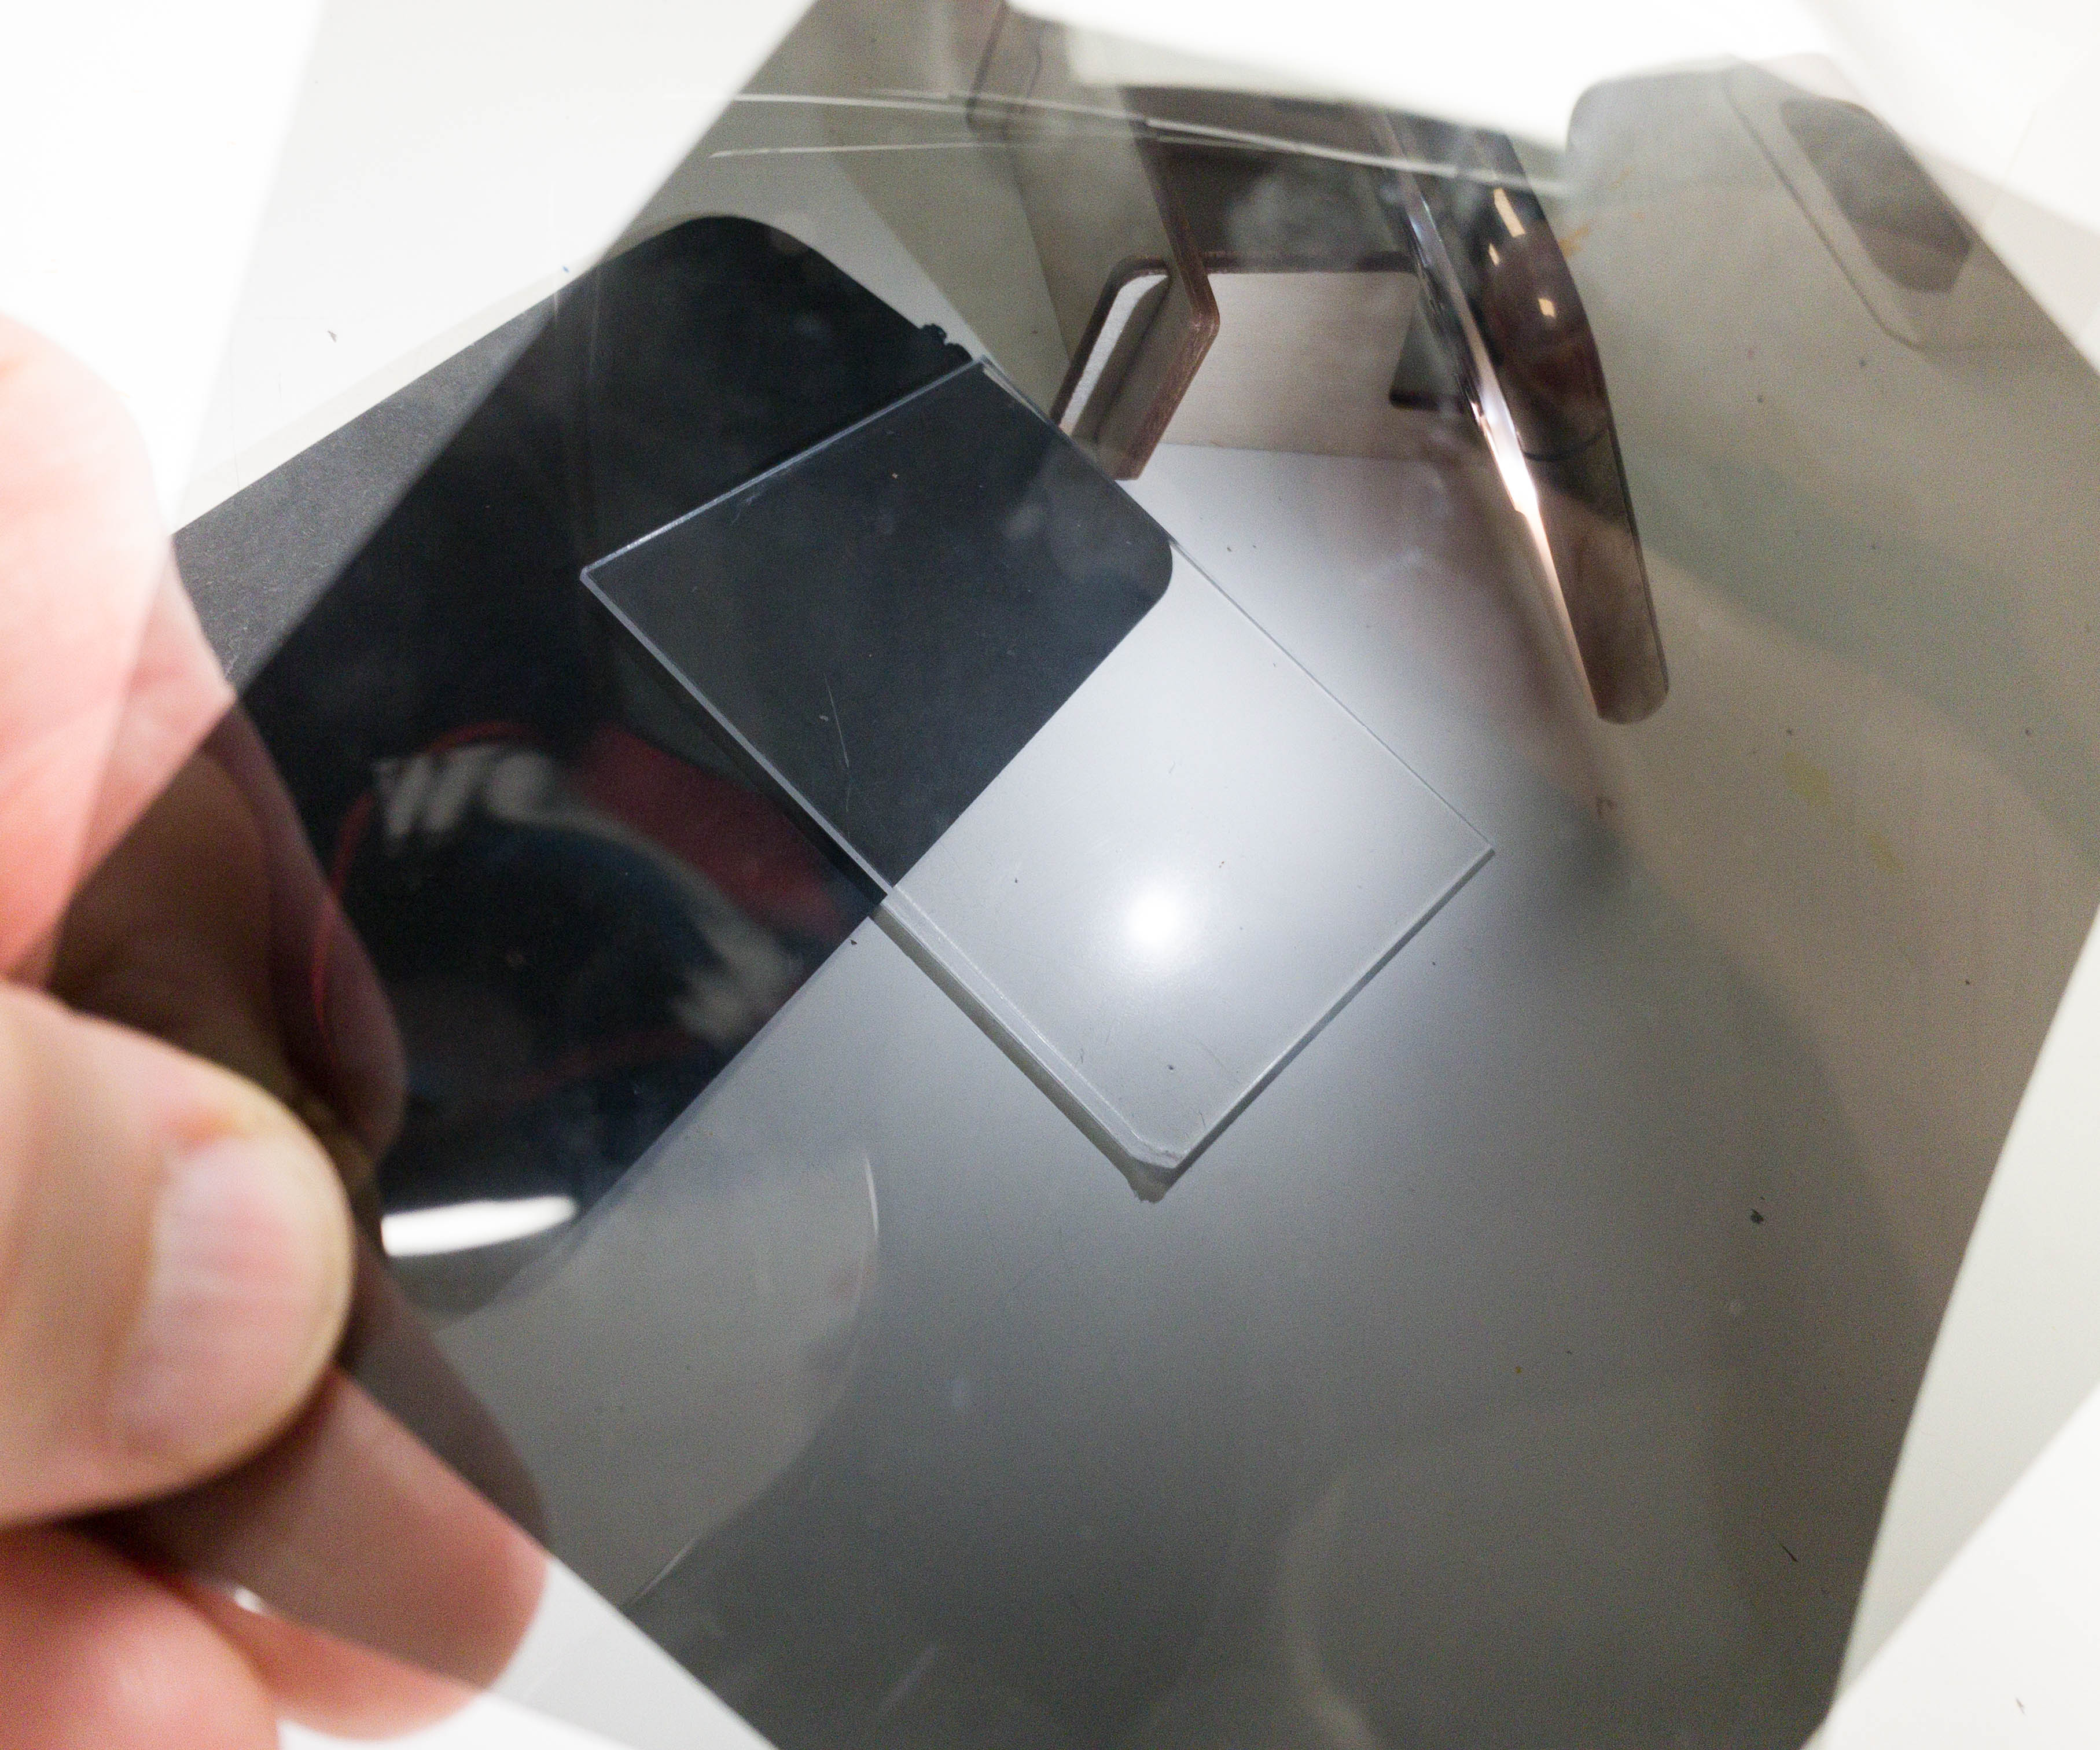
First, we grabbed two dark films and set them as polarizing films.
We crossed the two films from different angles and observed how the film changes its color as they find their parts crossed on each other.
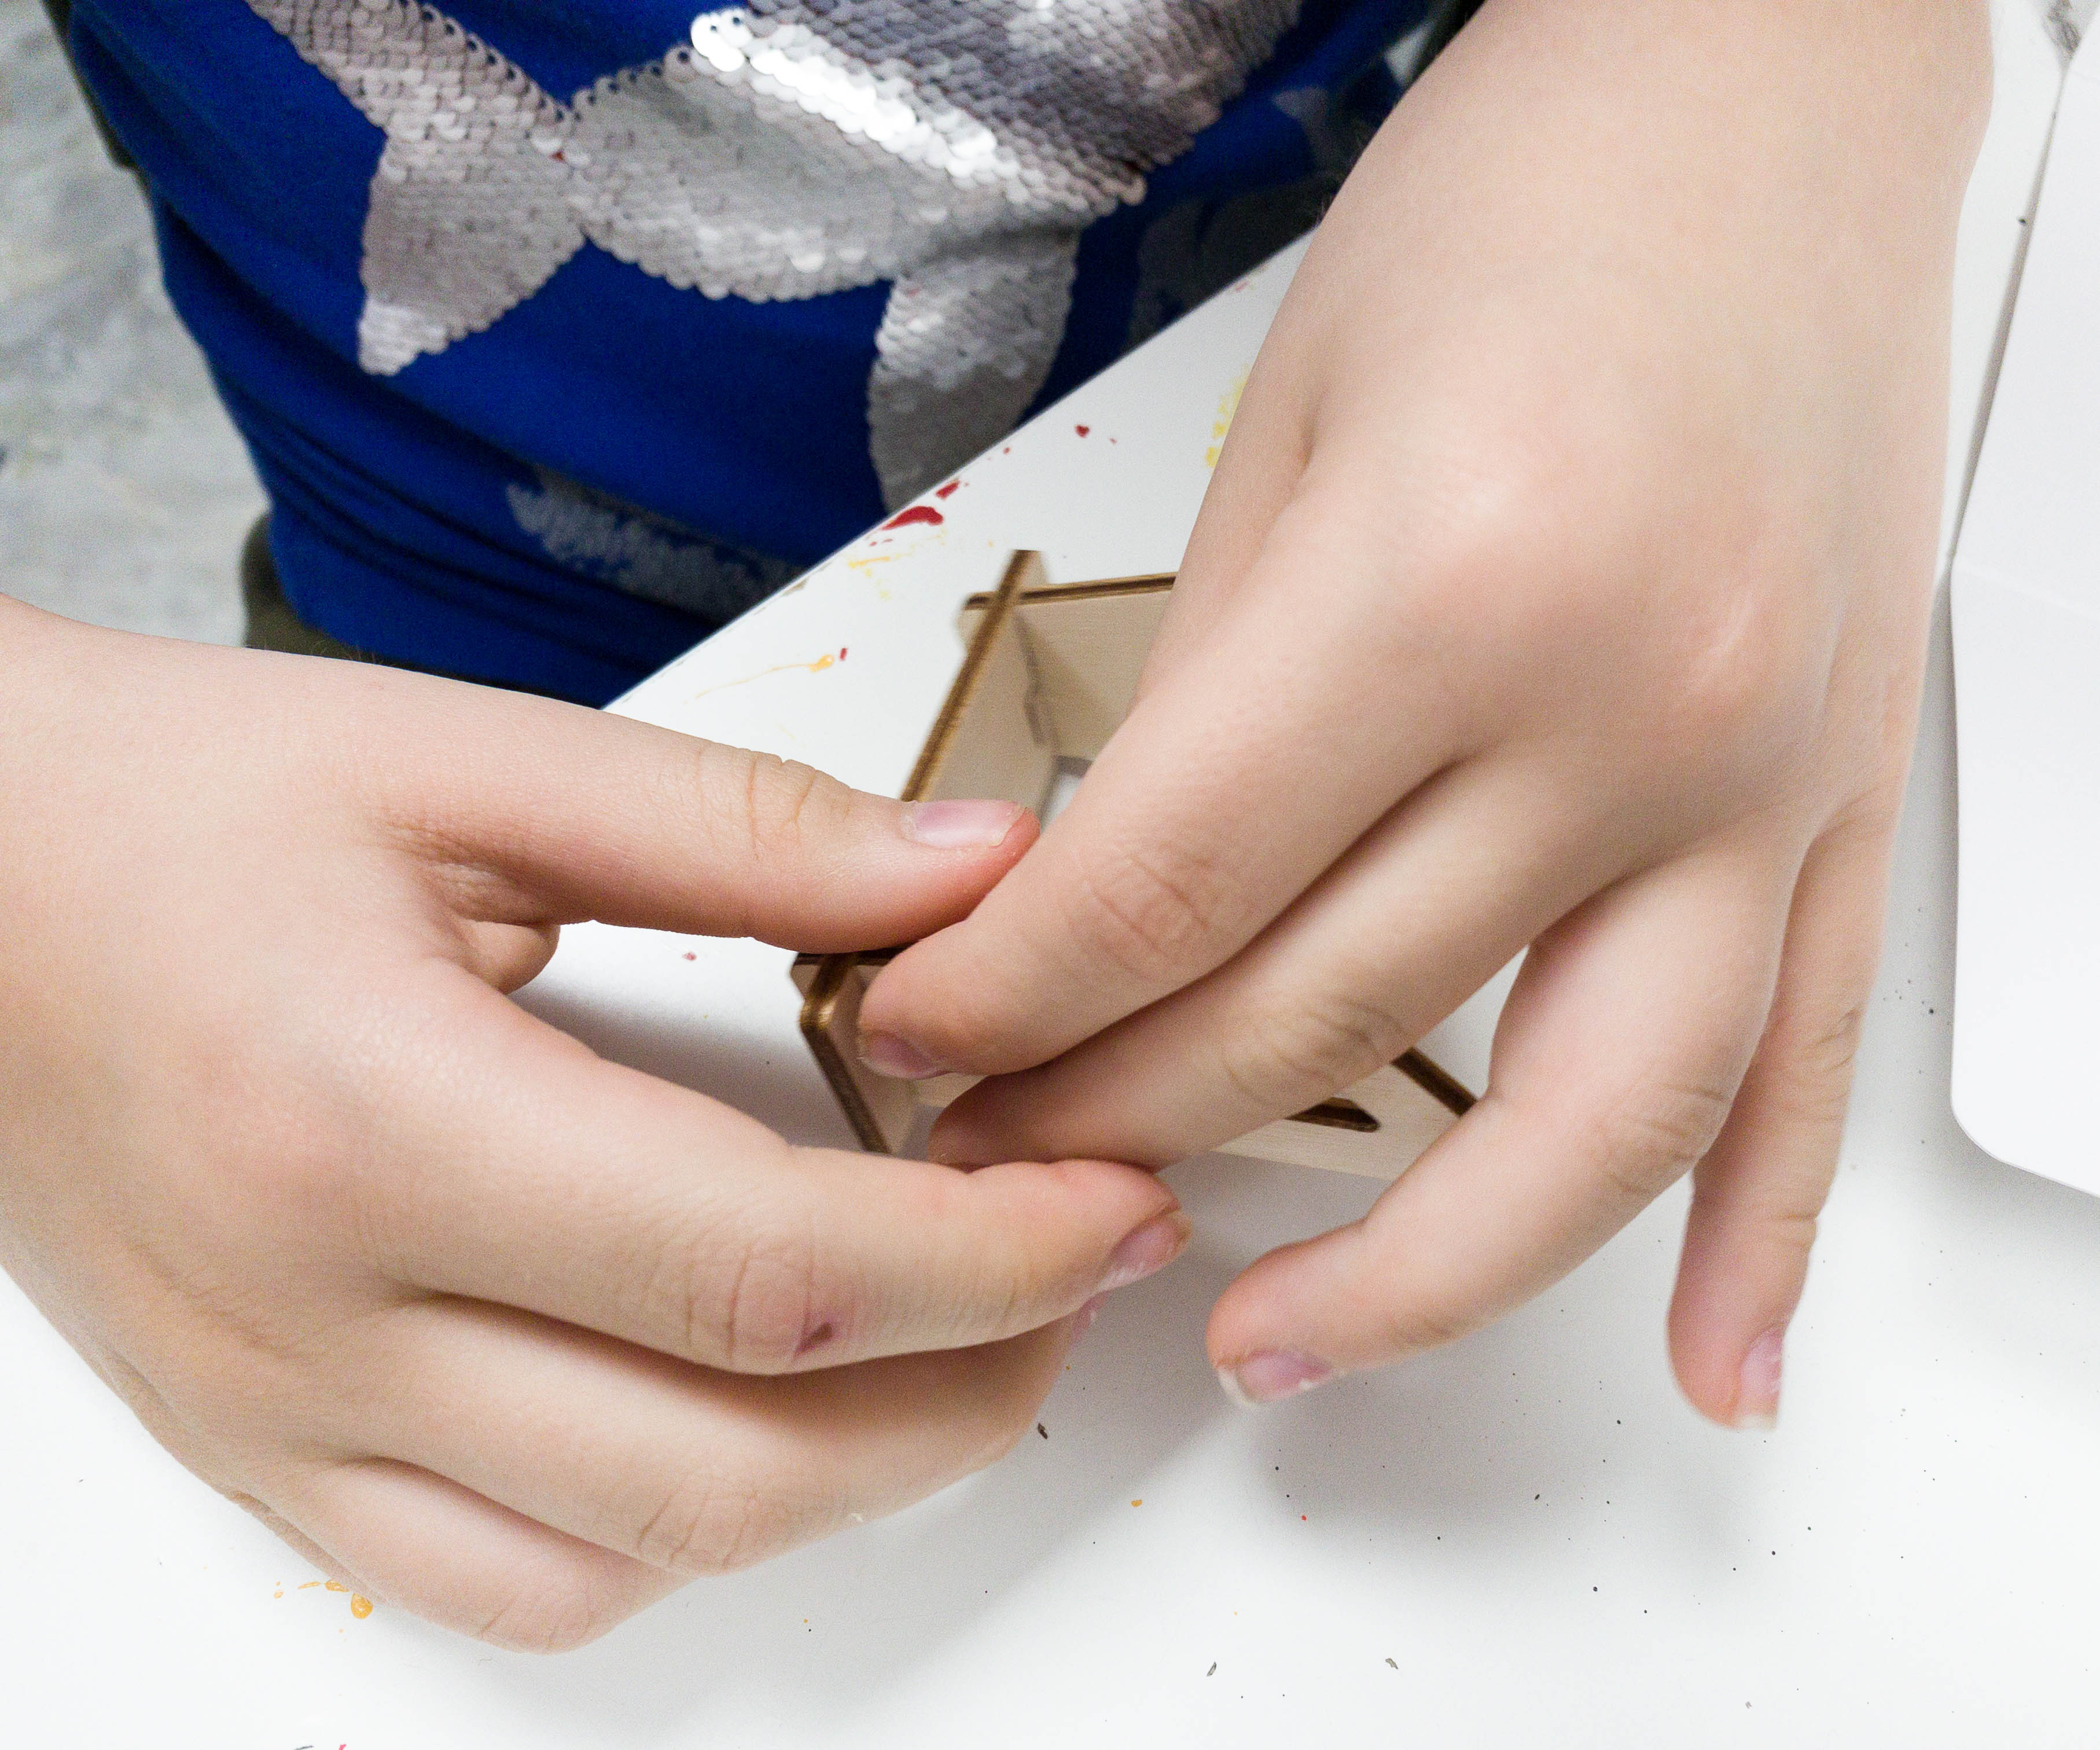
While doing that, my son started assembling the wooden stand.
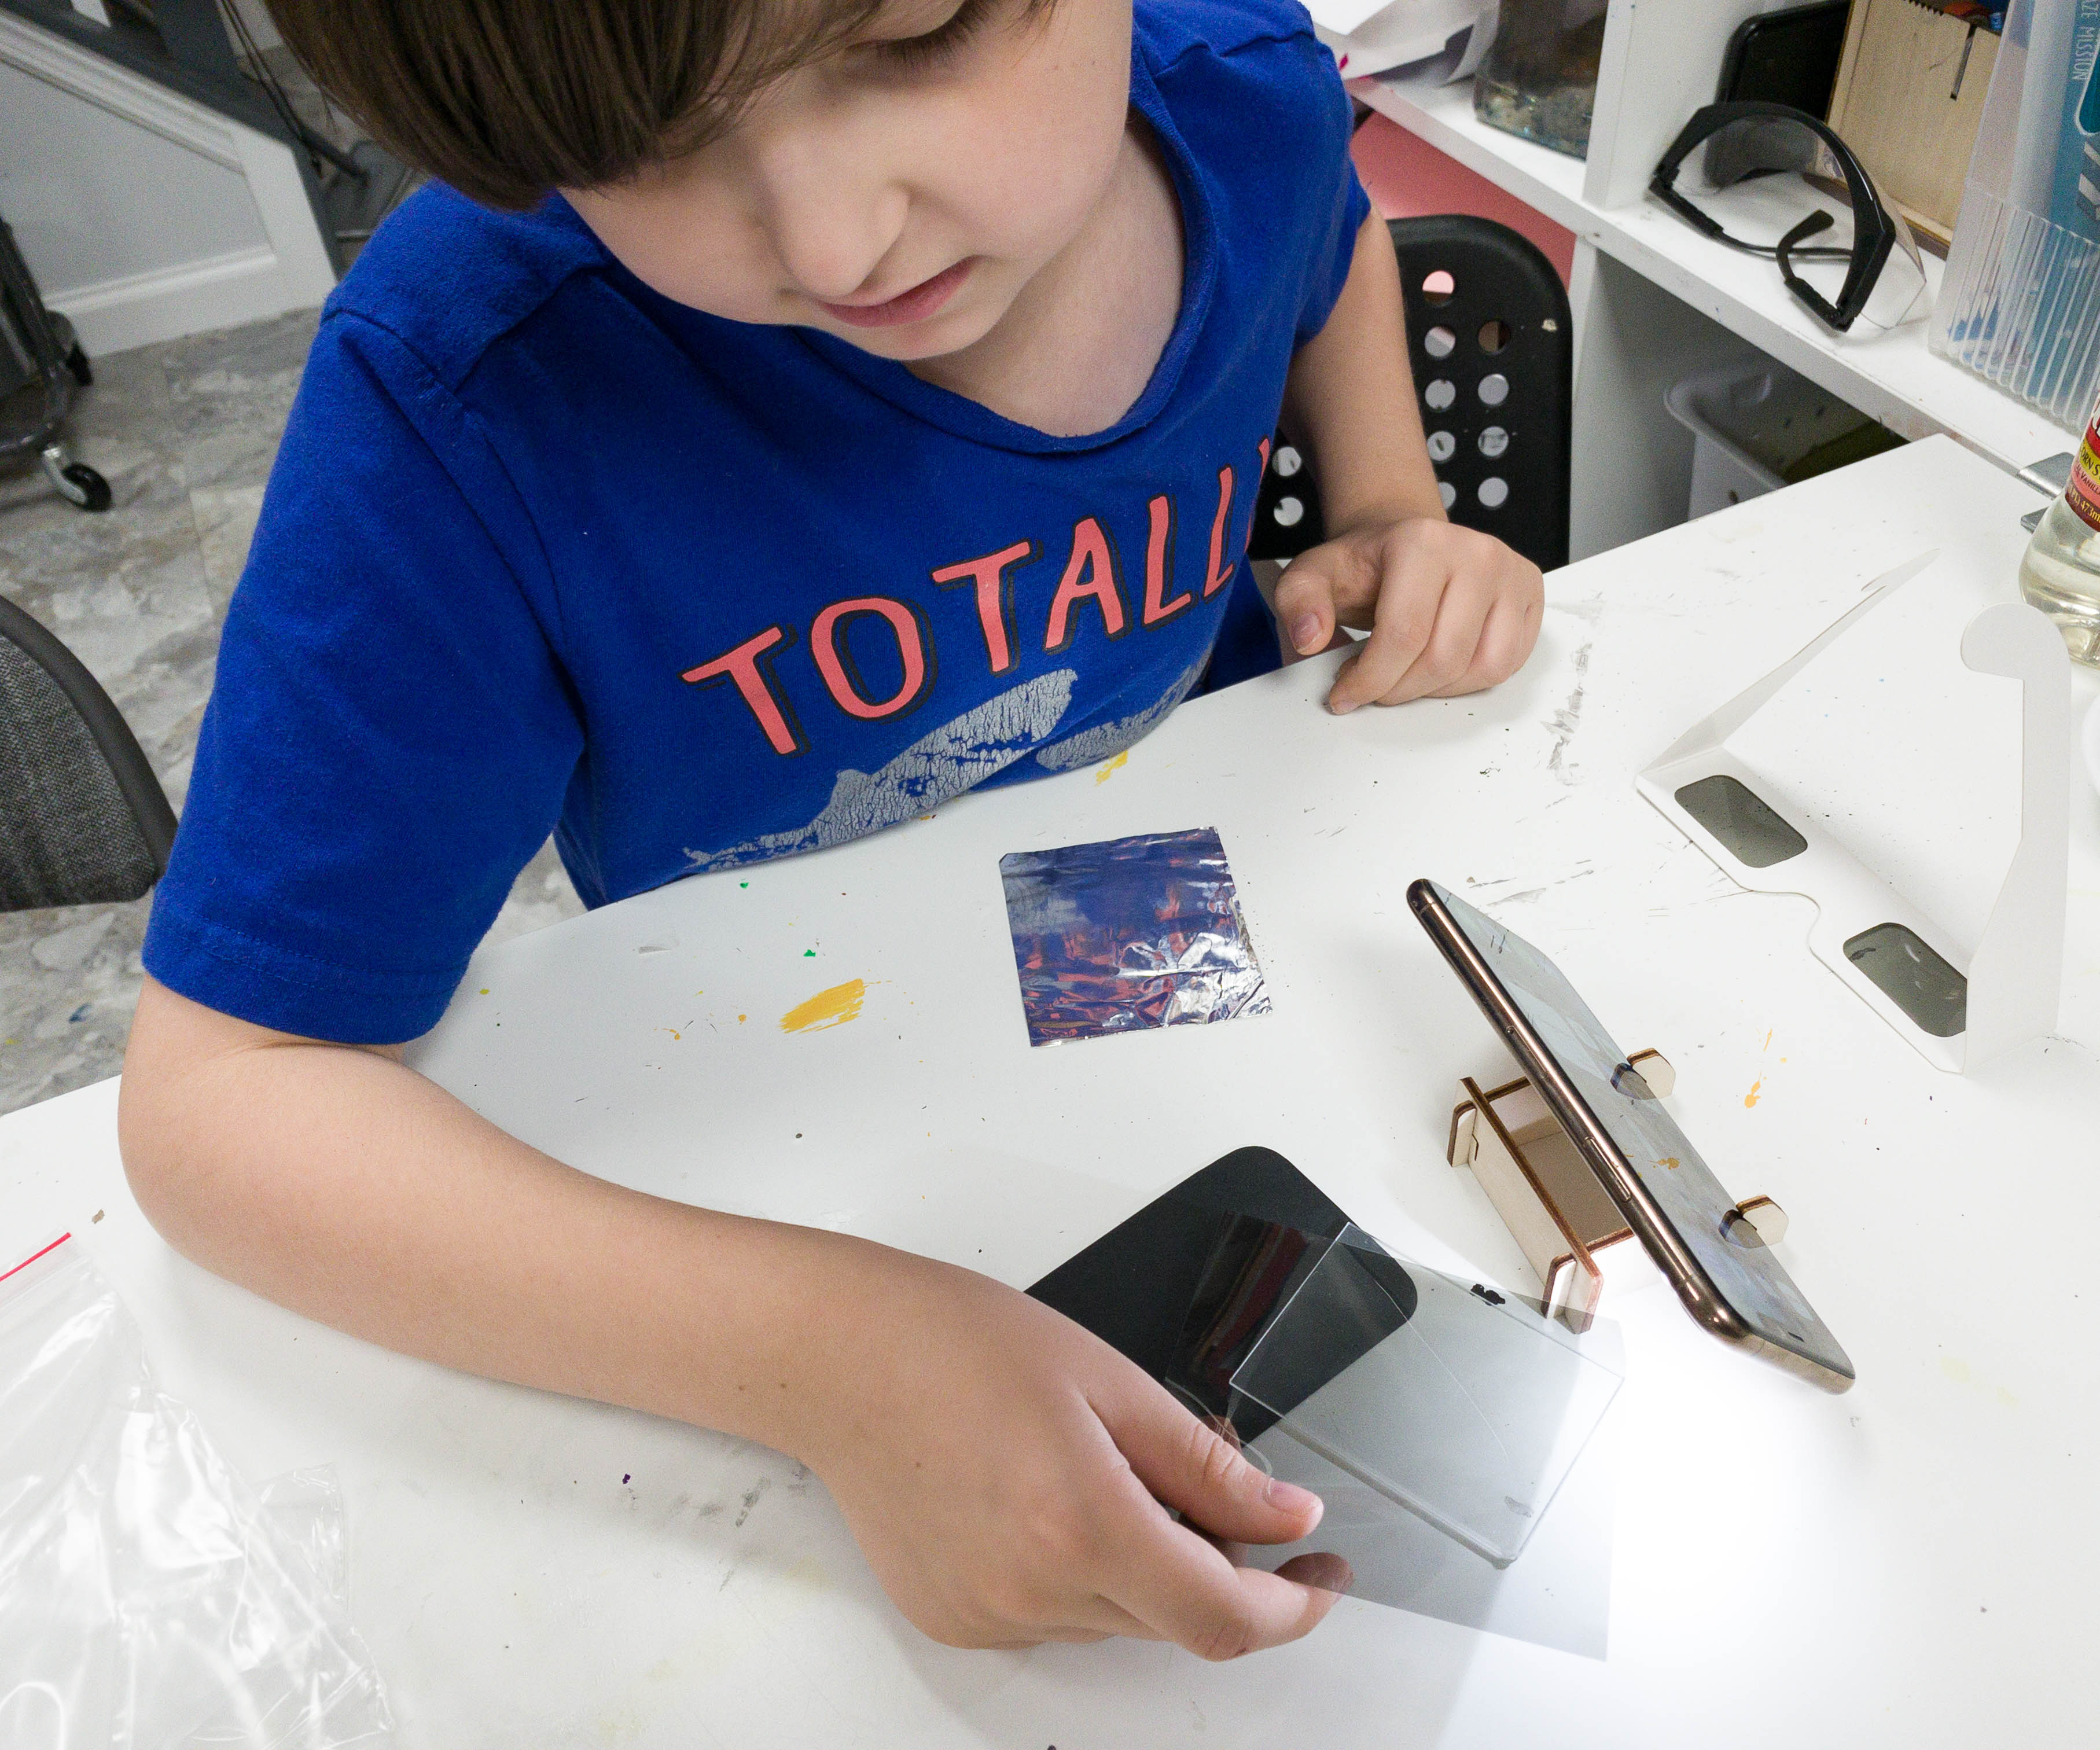
Once done, my son placed our smartphone on the stand and opened the flashlight. We also took the clear glass and put it in front of the light.
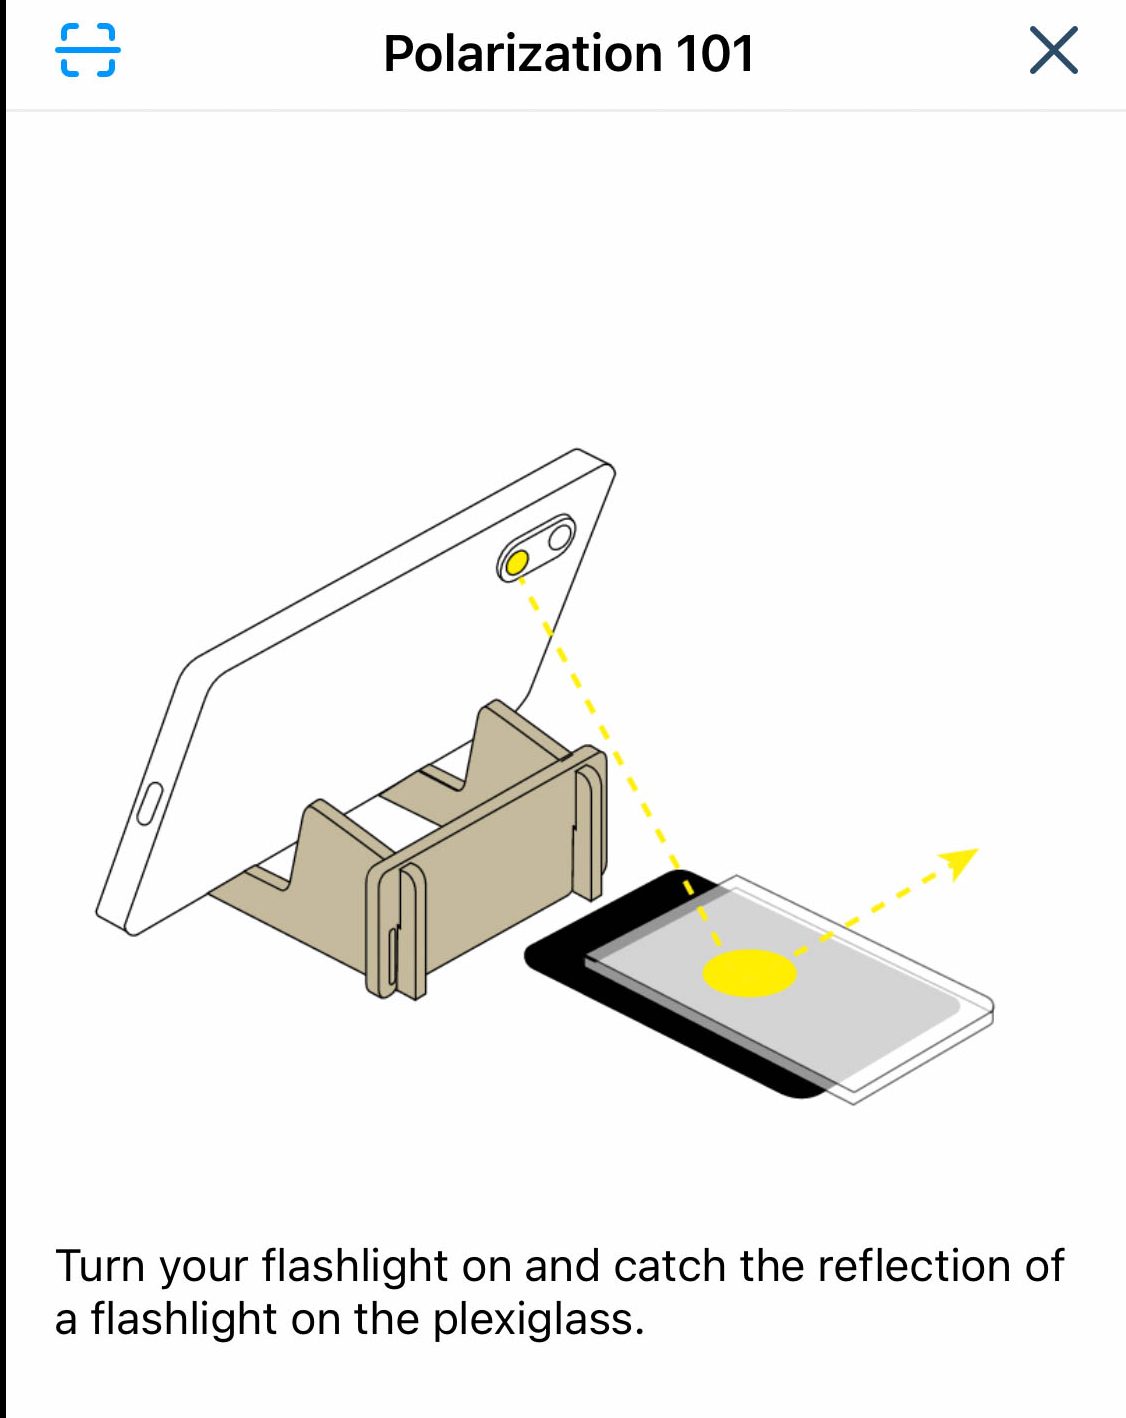
From the app, they showed us an illustration of a polarization experiment using the flashlight on our smartphone and plexiglass.
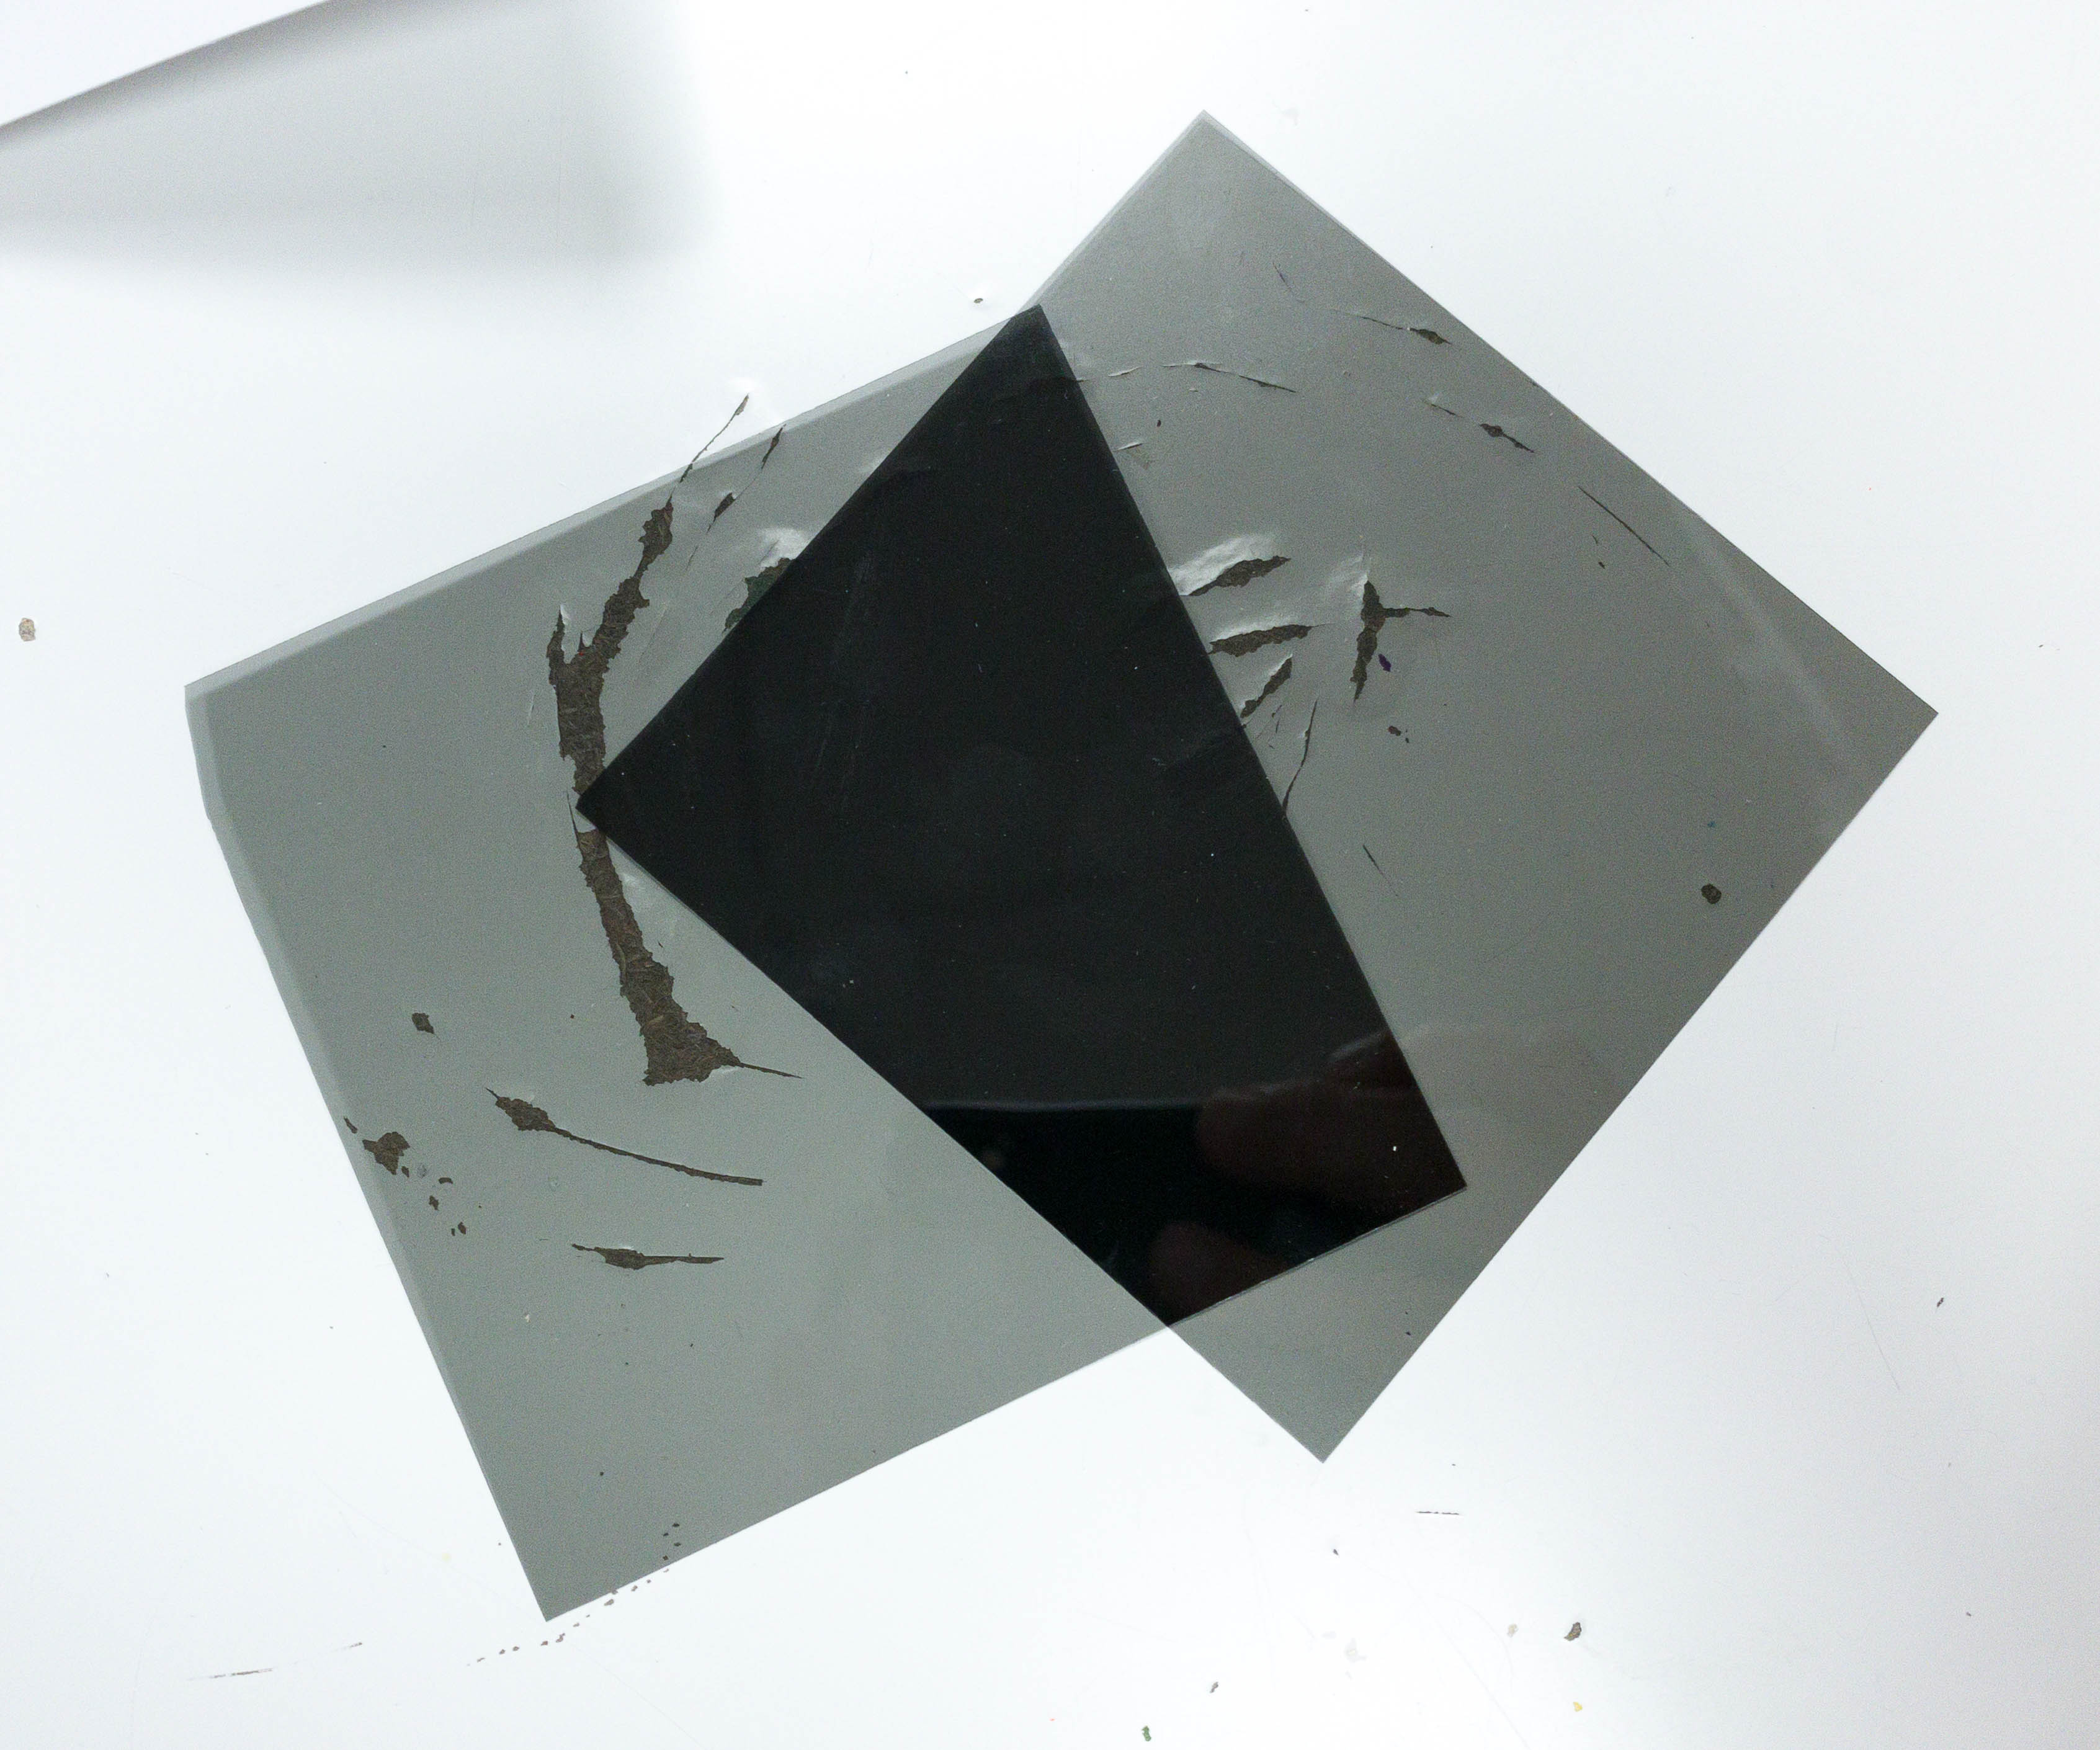
Next, we took the film and carefully slid it over the glass and observed the changes in the light’s brightness.
We also tried sliding it under the glass and observed the reaction of the light rays. There was actually a change in color, it became darker!
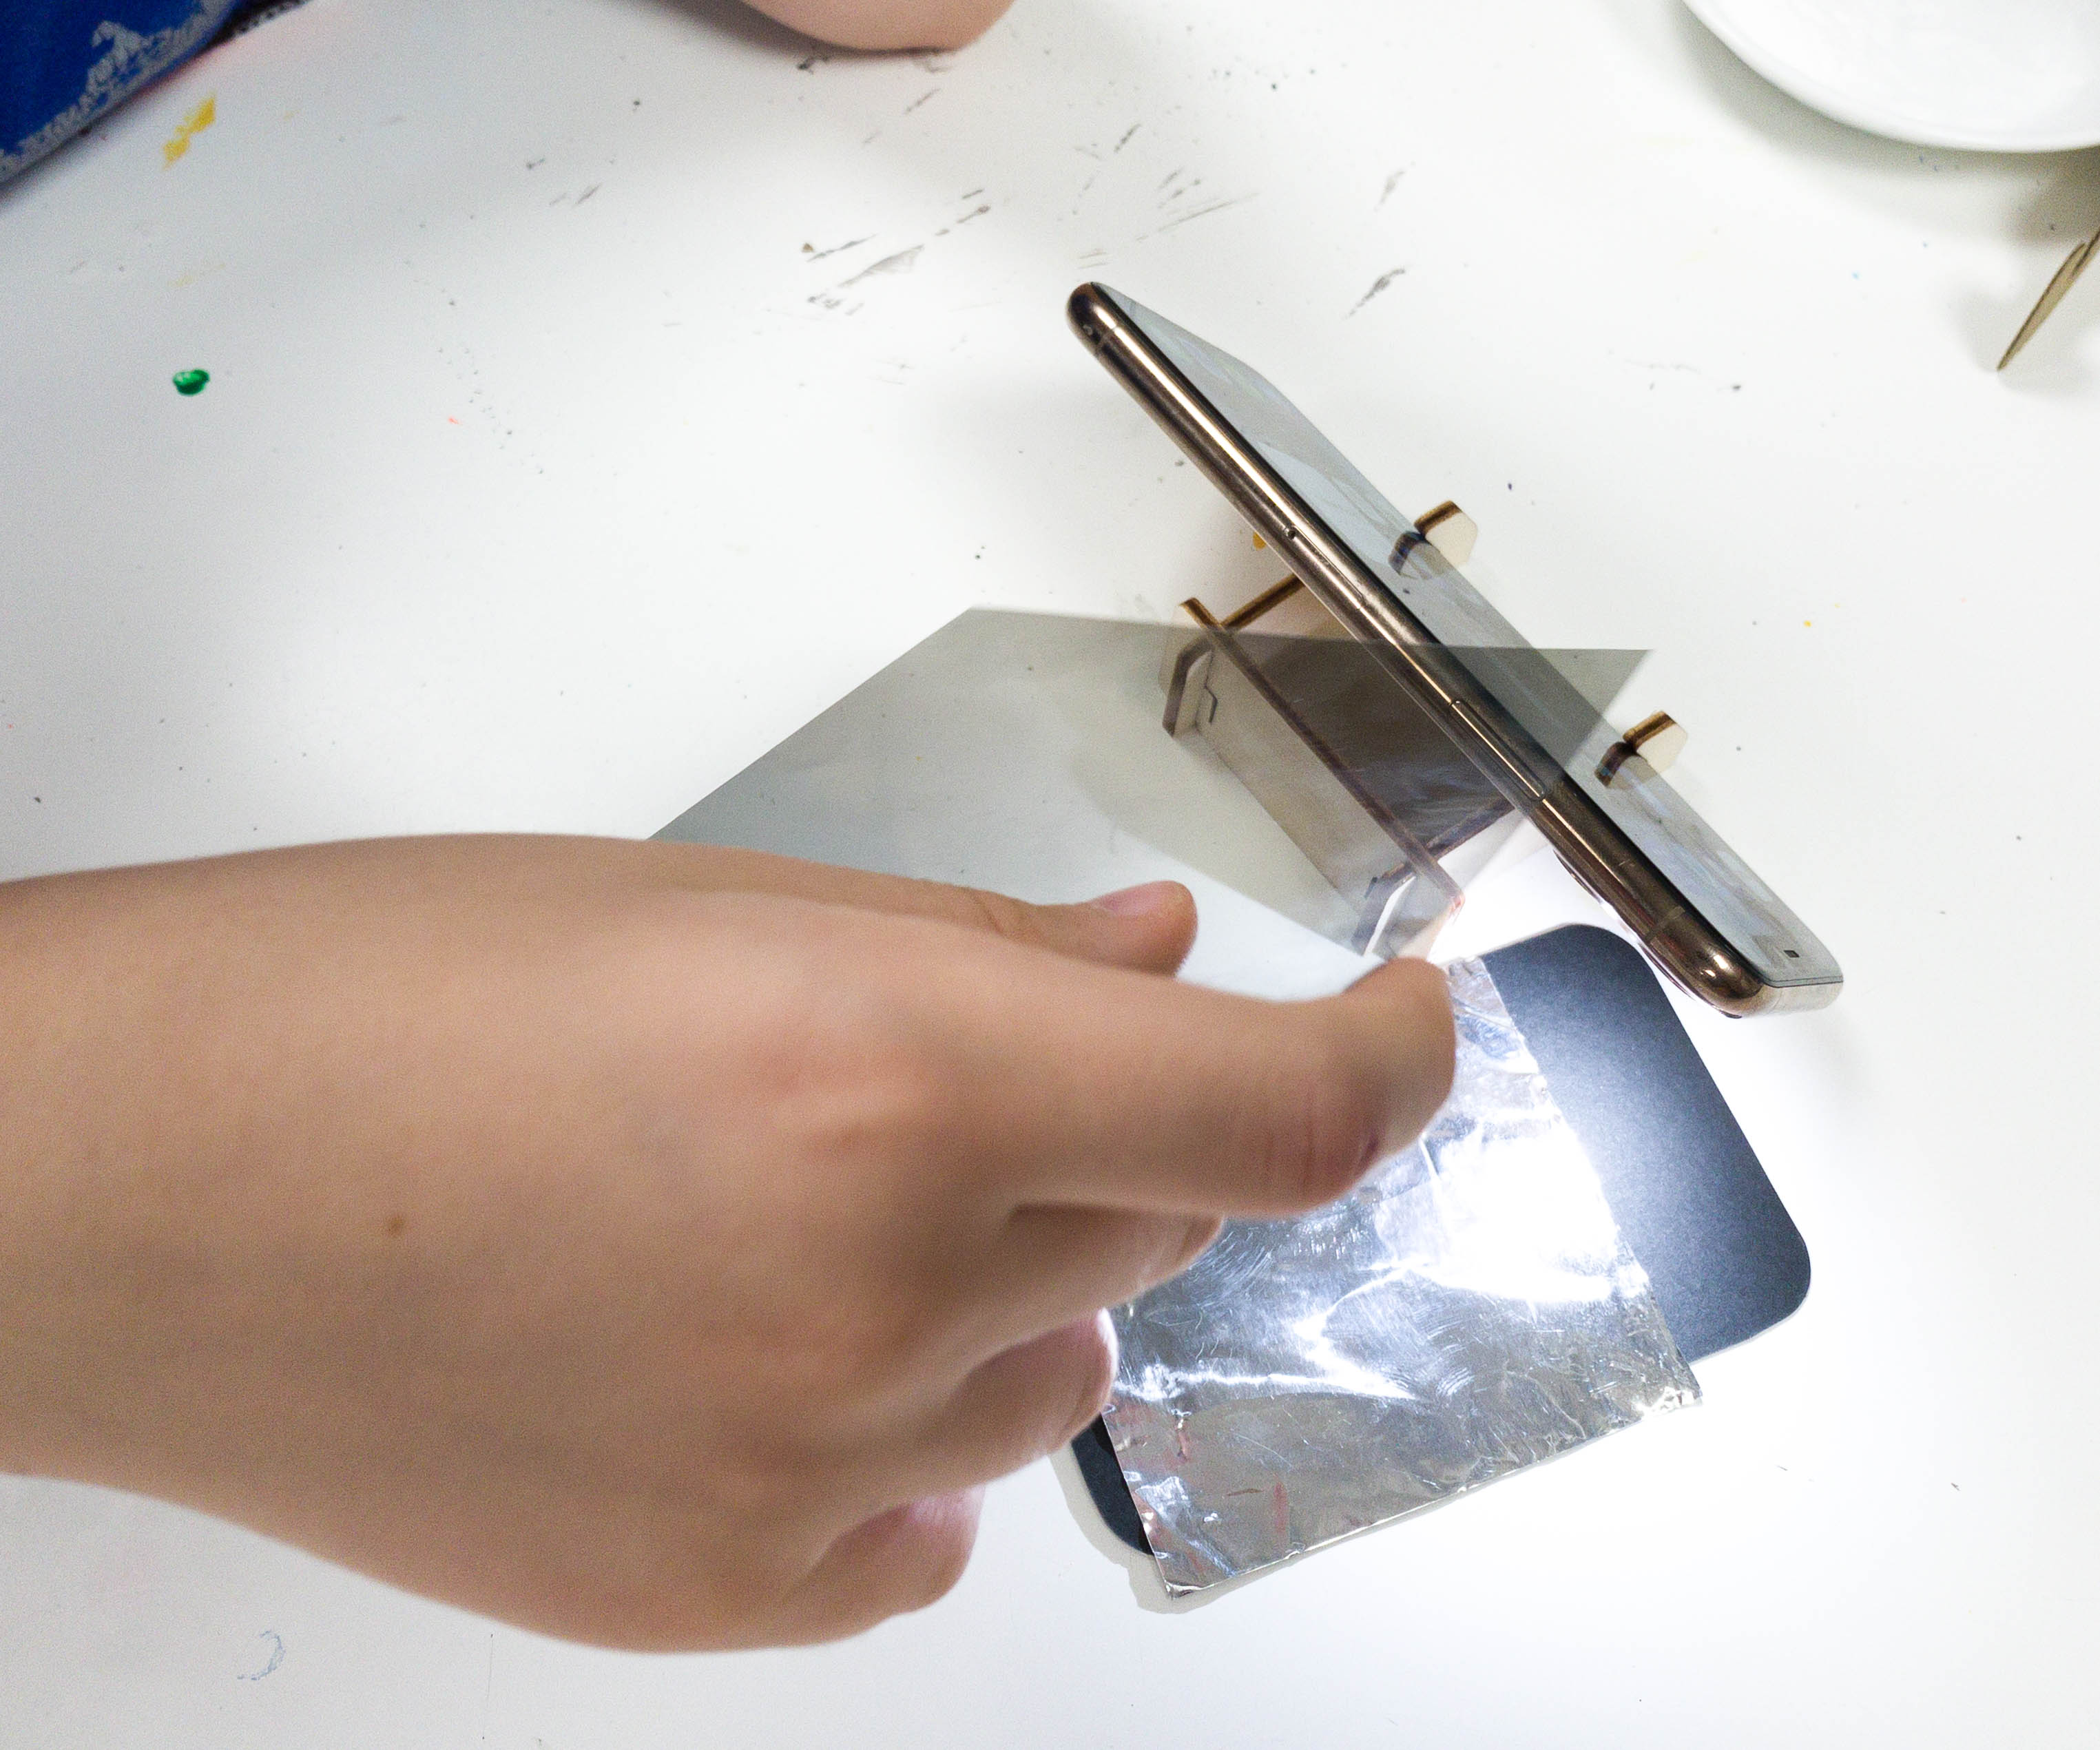
Next, we placed the foil on top of the glass. No light has passed through the foil, it just totally reflected the ray of light that hits the foil. This was totally amazing!
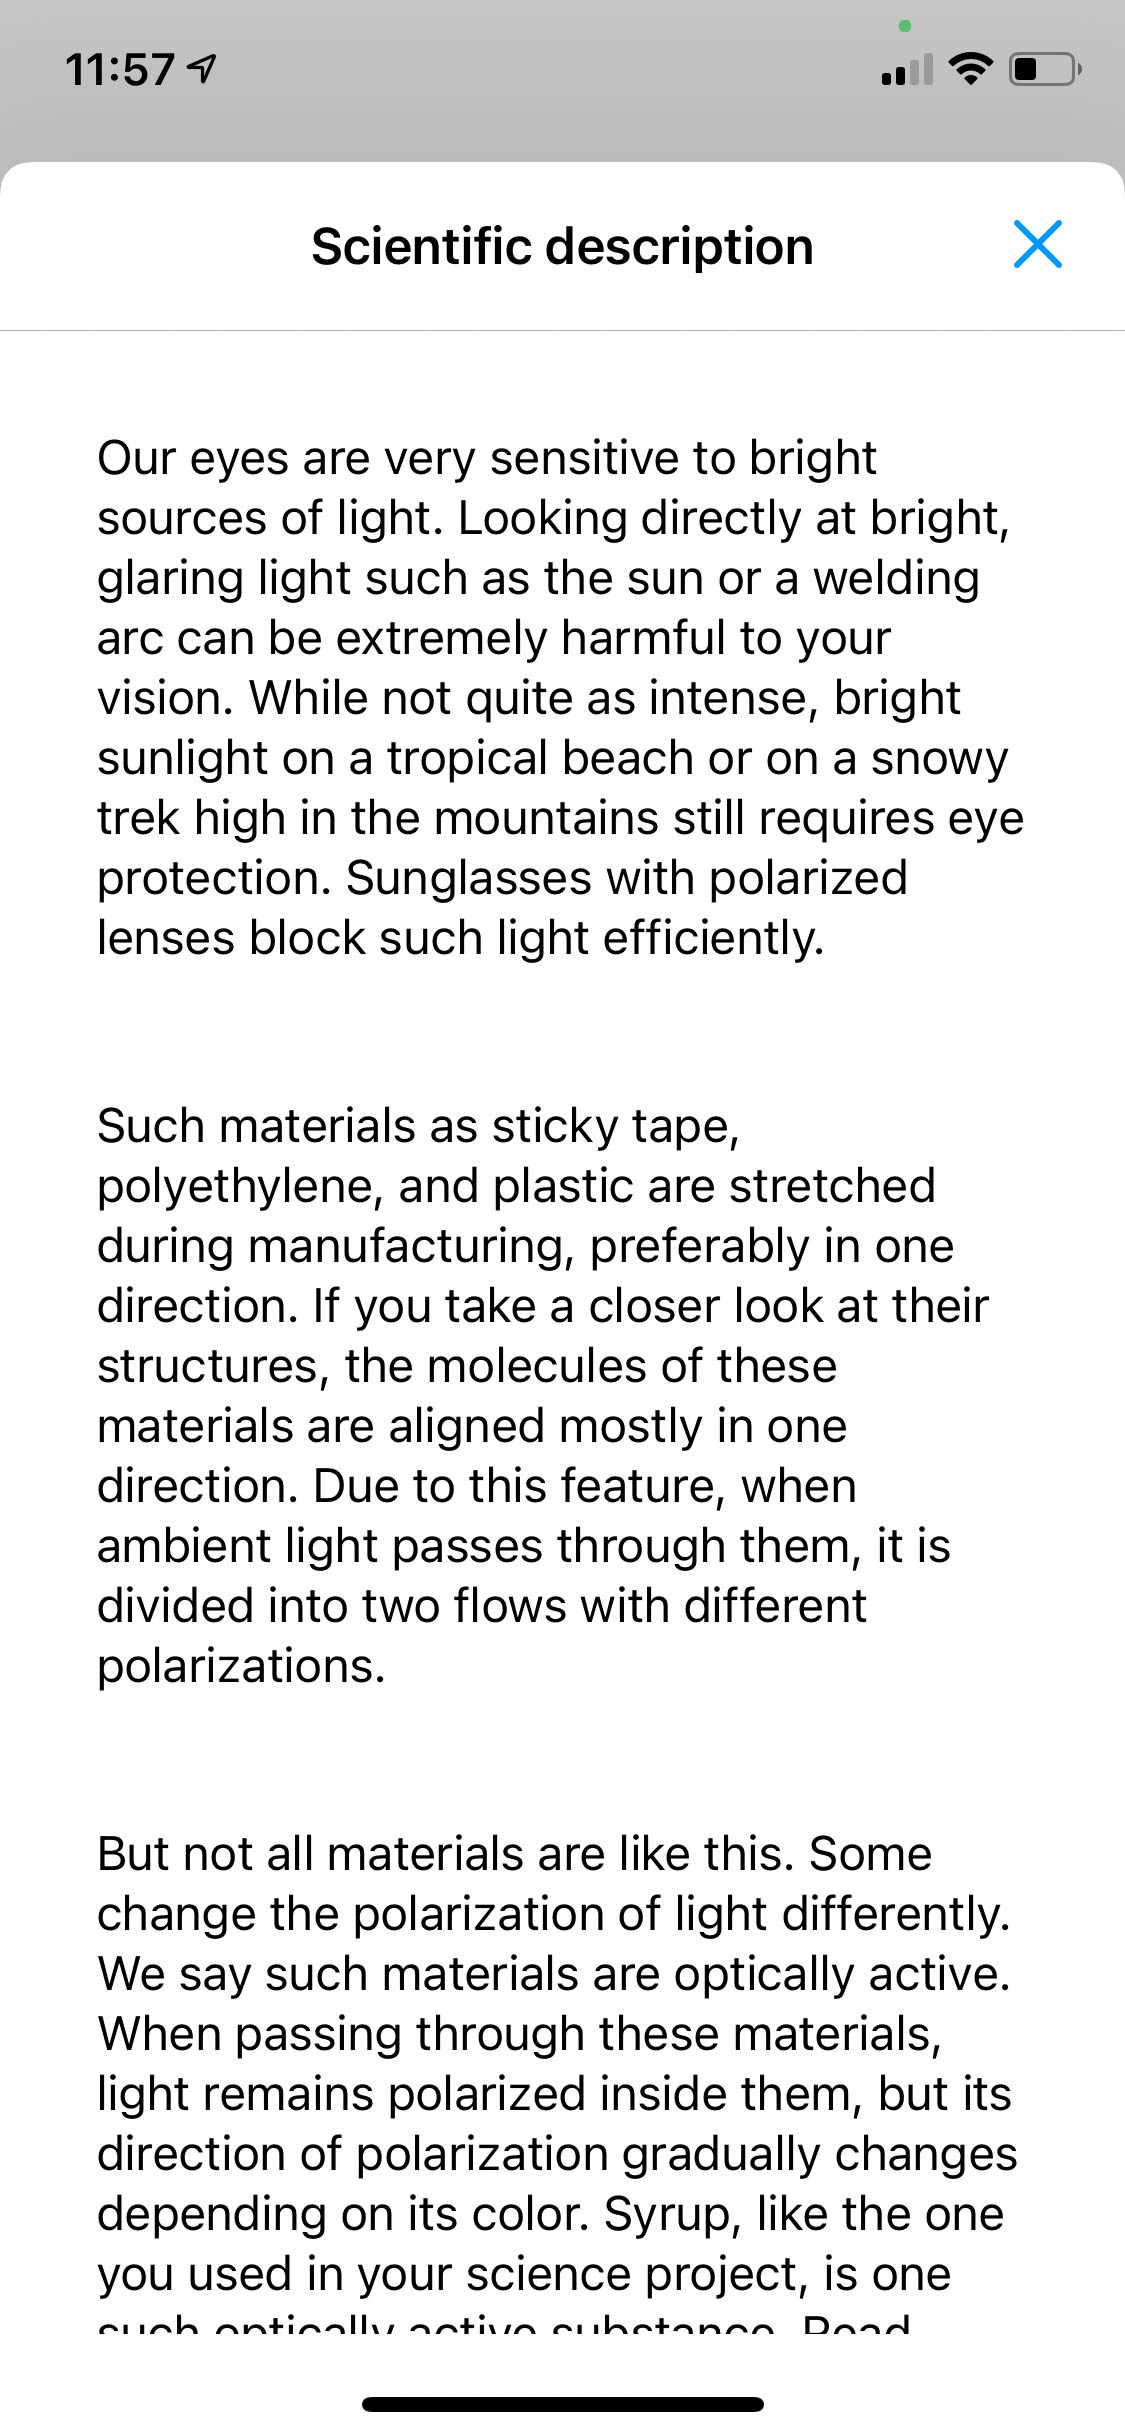
According to this part, the human eyes are very sensitive to bright lights, and looking directly at it may cause harmful effects to your vision.

There are different ways to use Polarizers! They are normally used on sunglasses, but they are also used in the production of 3D movies, and to eliminate glare in photography.
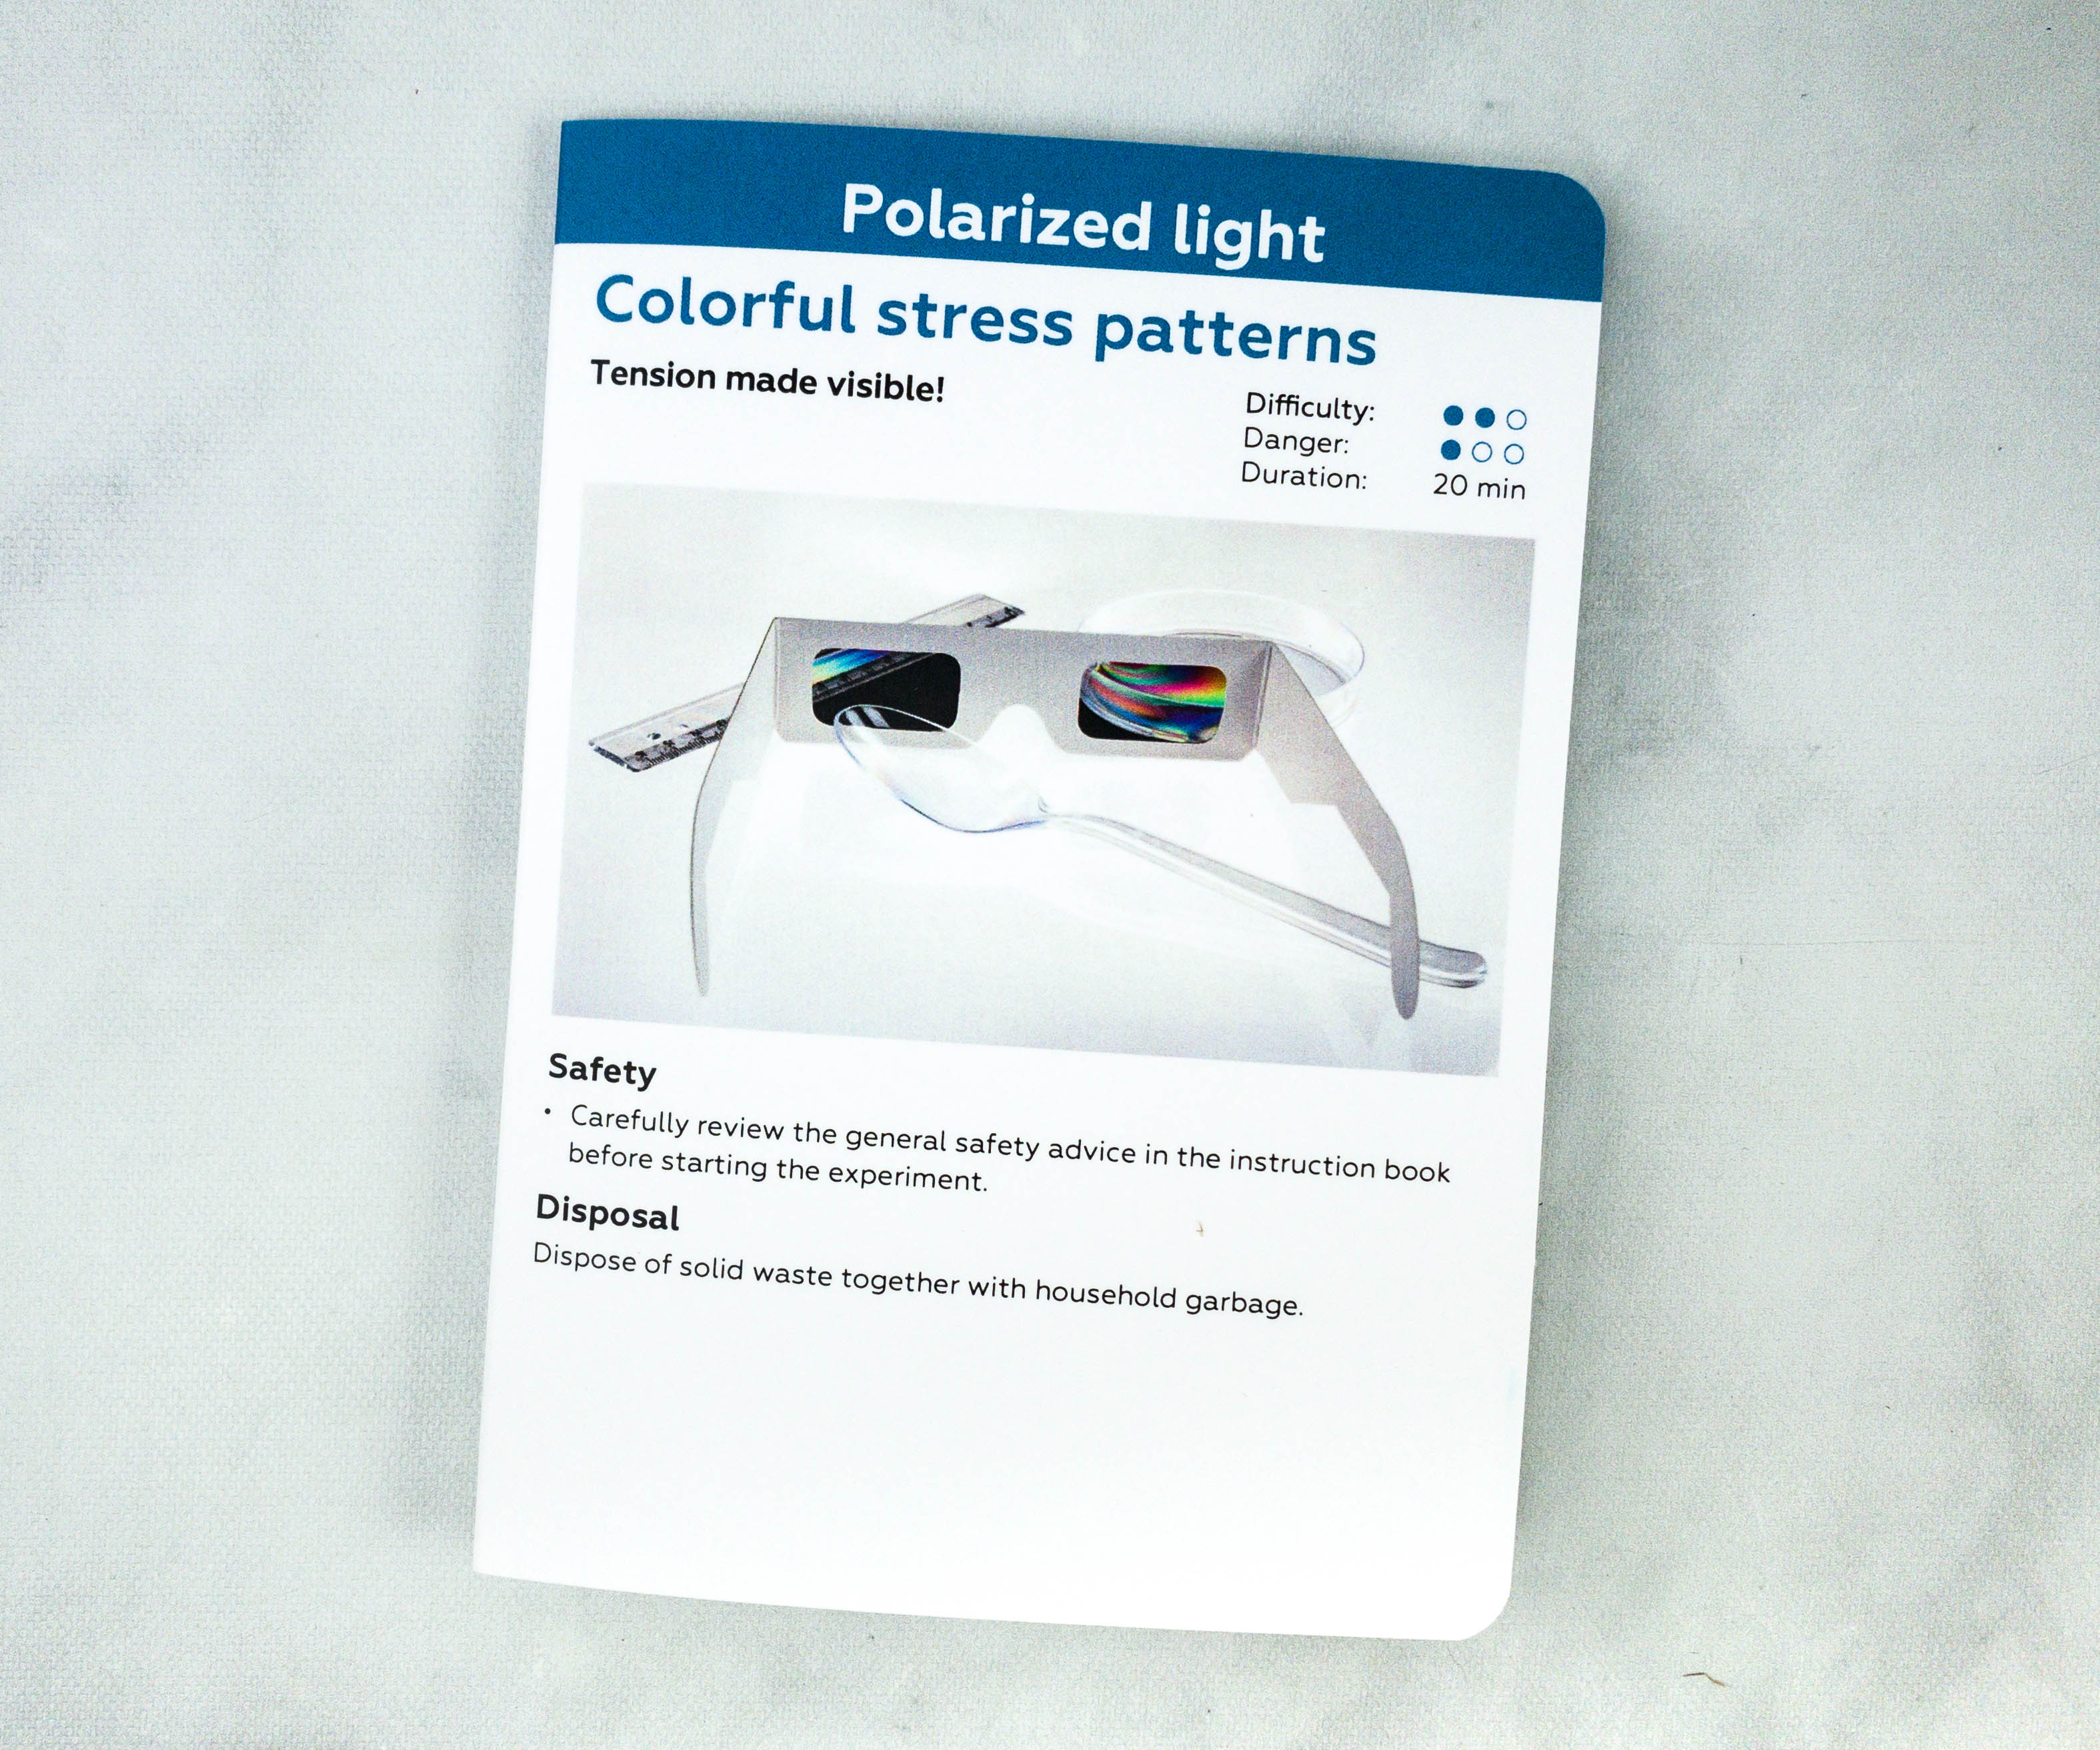
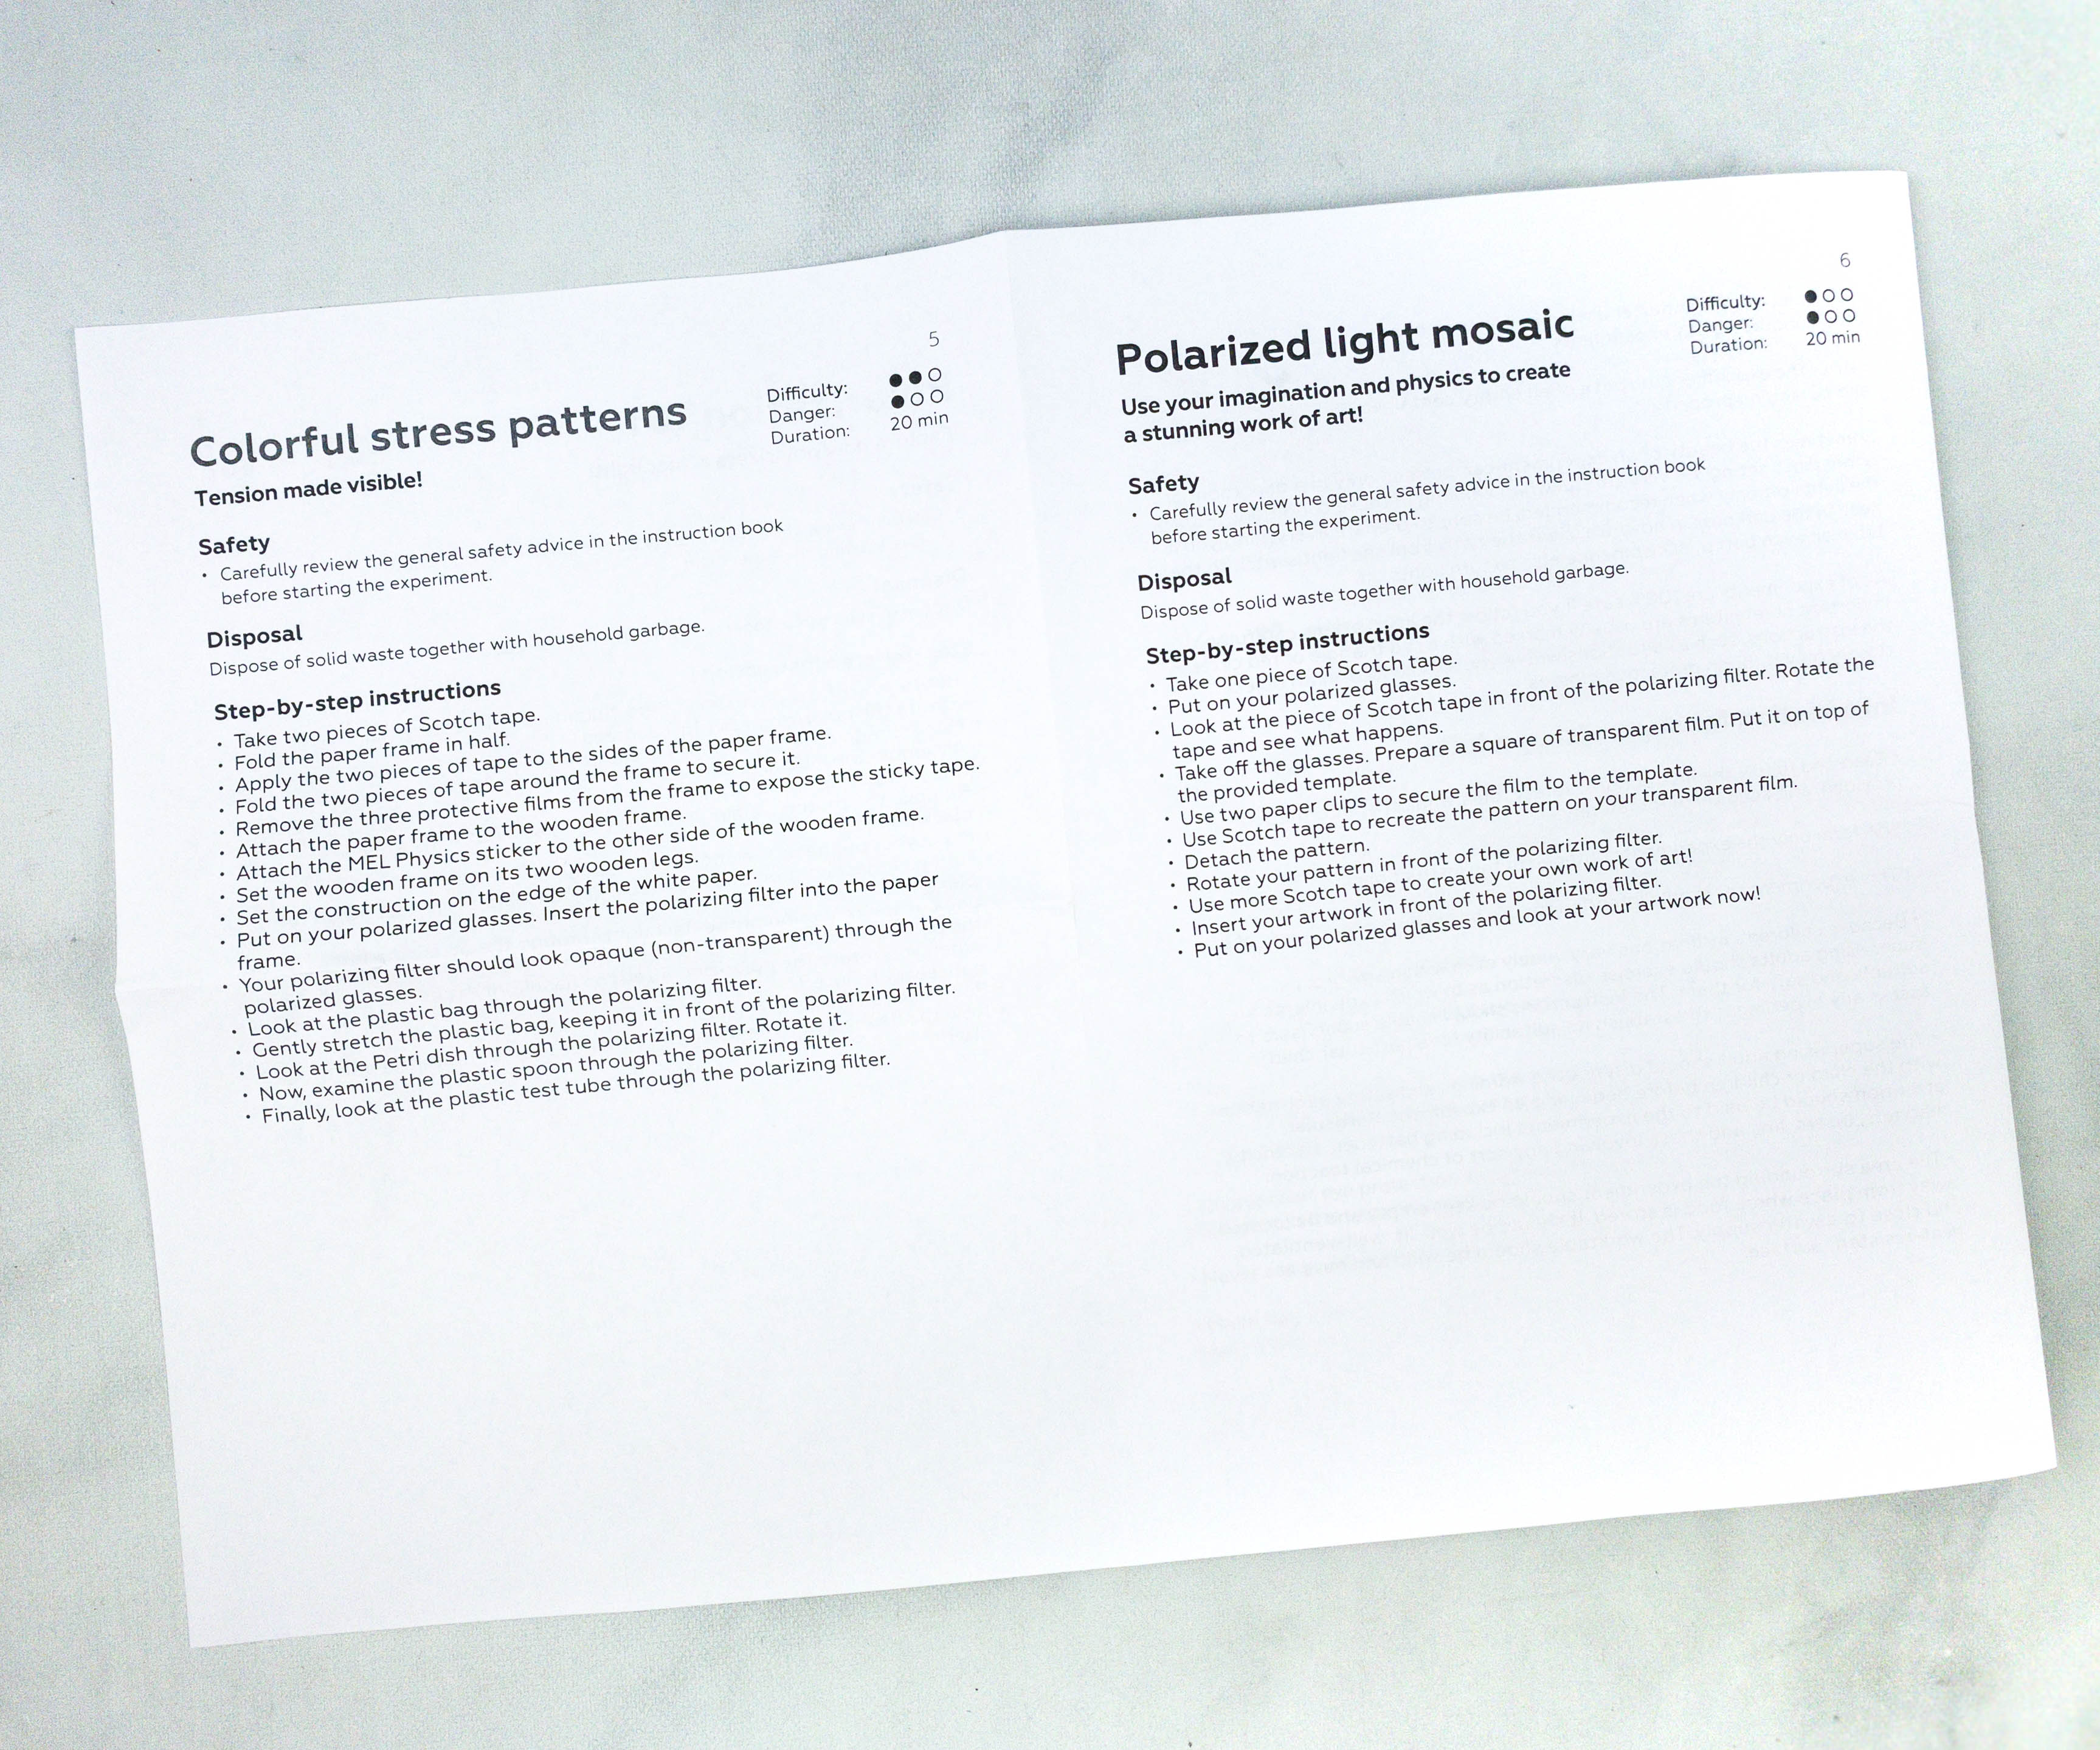
Activity #2: Colorful Stress Pattern. The second activity’s objective is to make the tension visible. This activity will take at least 20 minutes with a difficulty level 2 and level 1 danger.
Just like the first activity, this card also contains detailed instructions on how the project is to be done.
Reading this prior to the experiment is a great help!
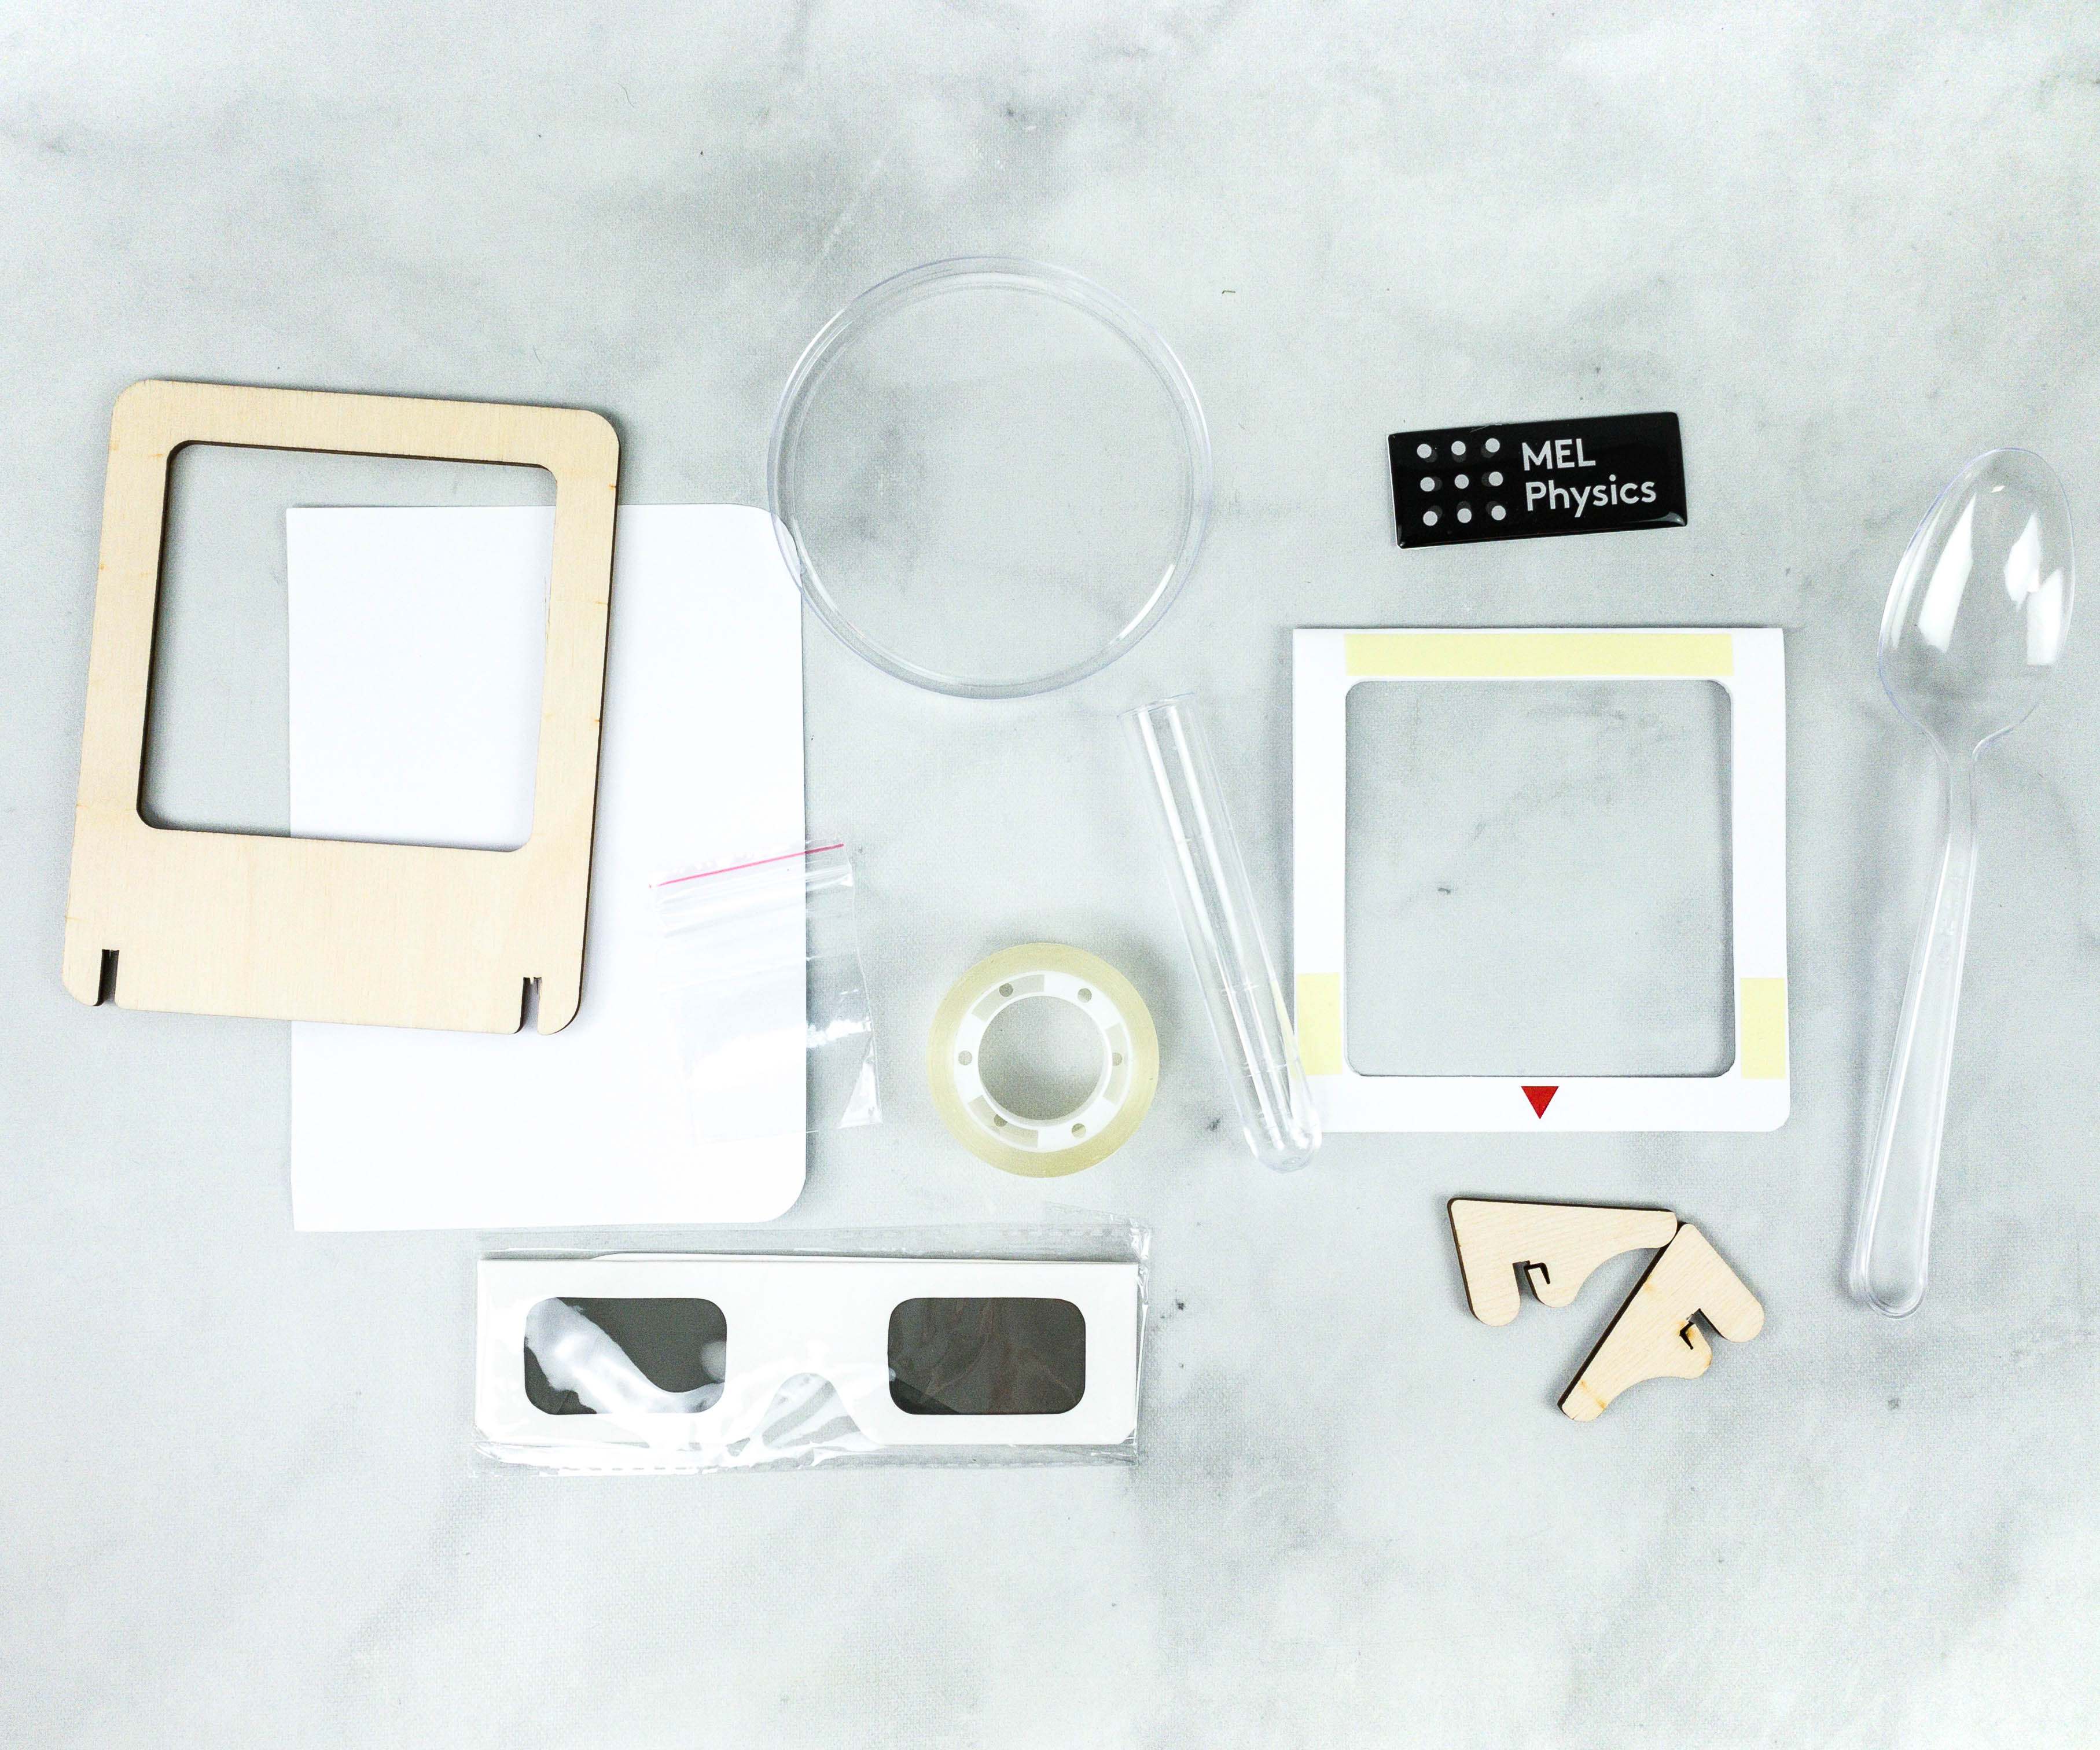
For this activity, we used a wooden frame, MEL Physics sticker, white paper, wooden stand, polarized glasses, tape, and polarizing filter. We also received a plastic test tube, wrapper, and a spoon.
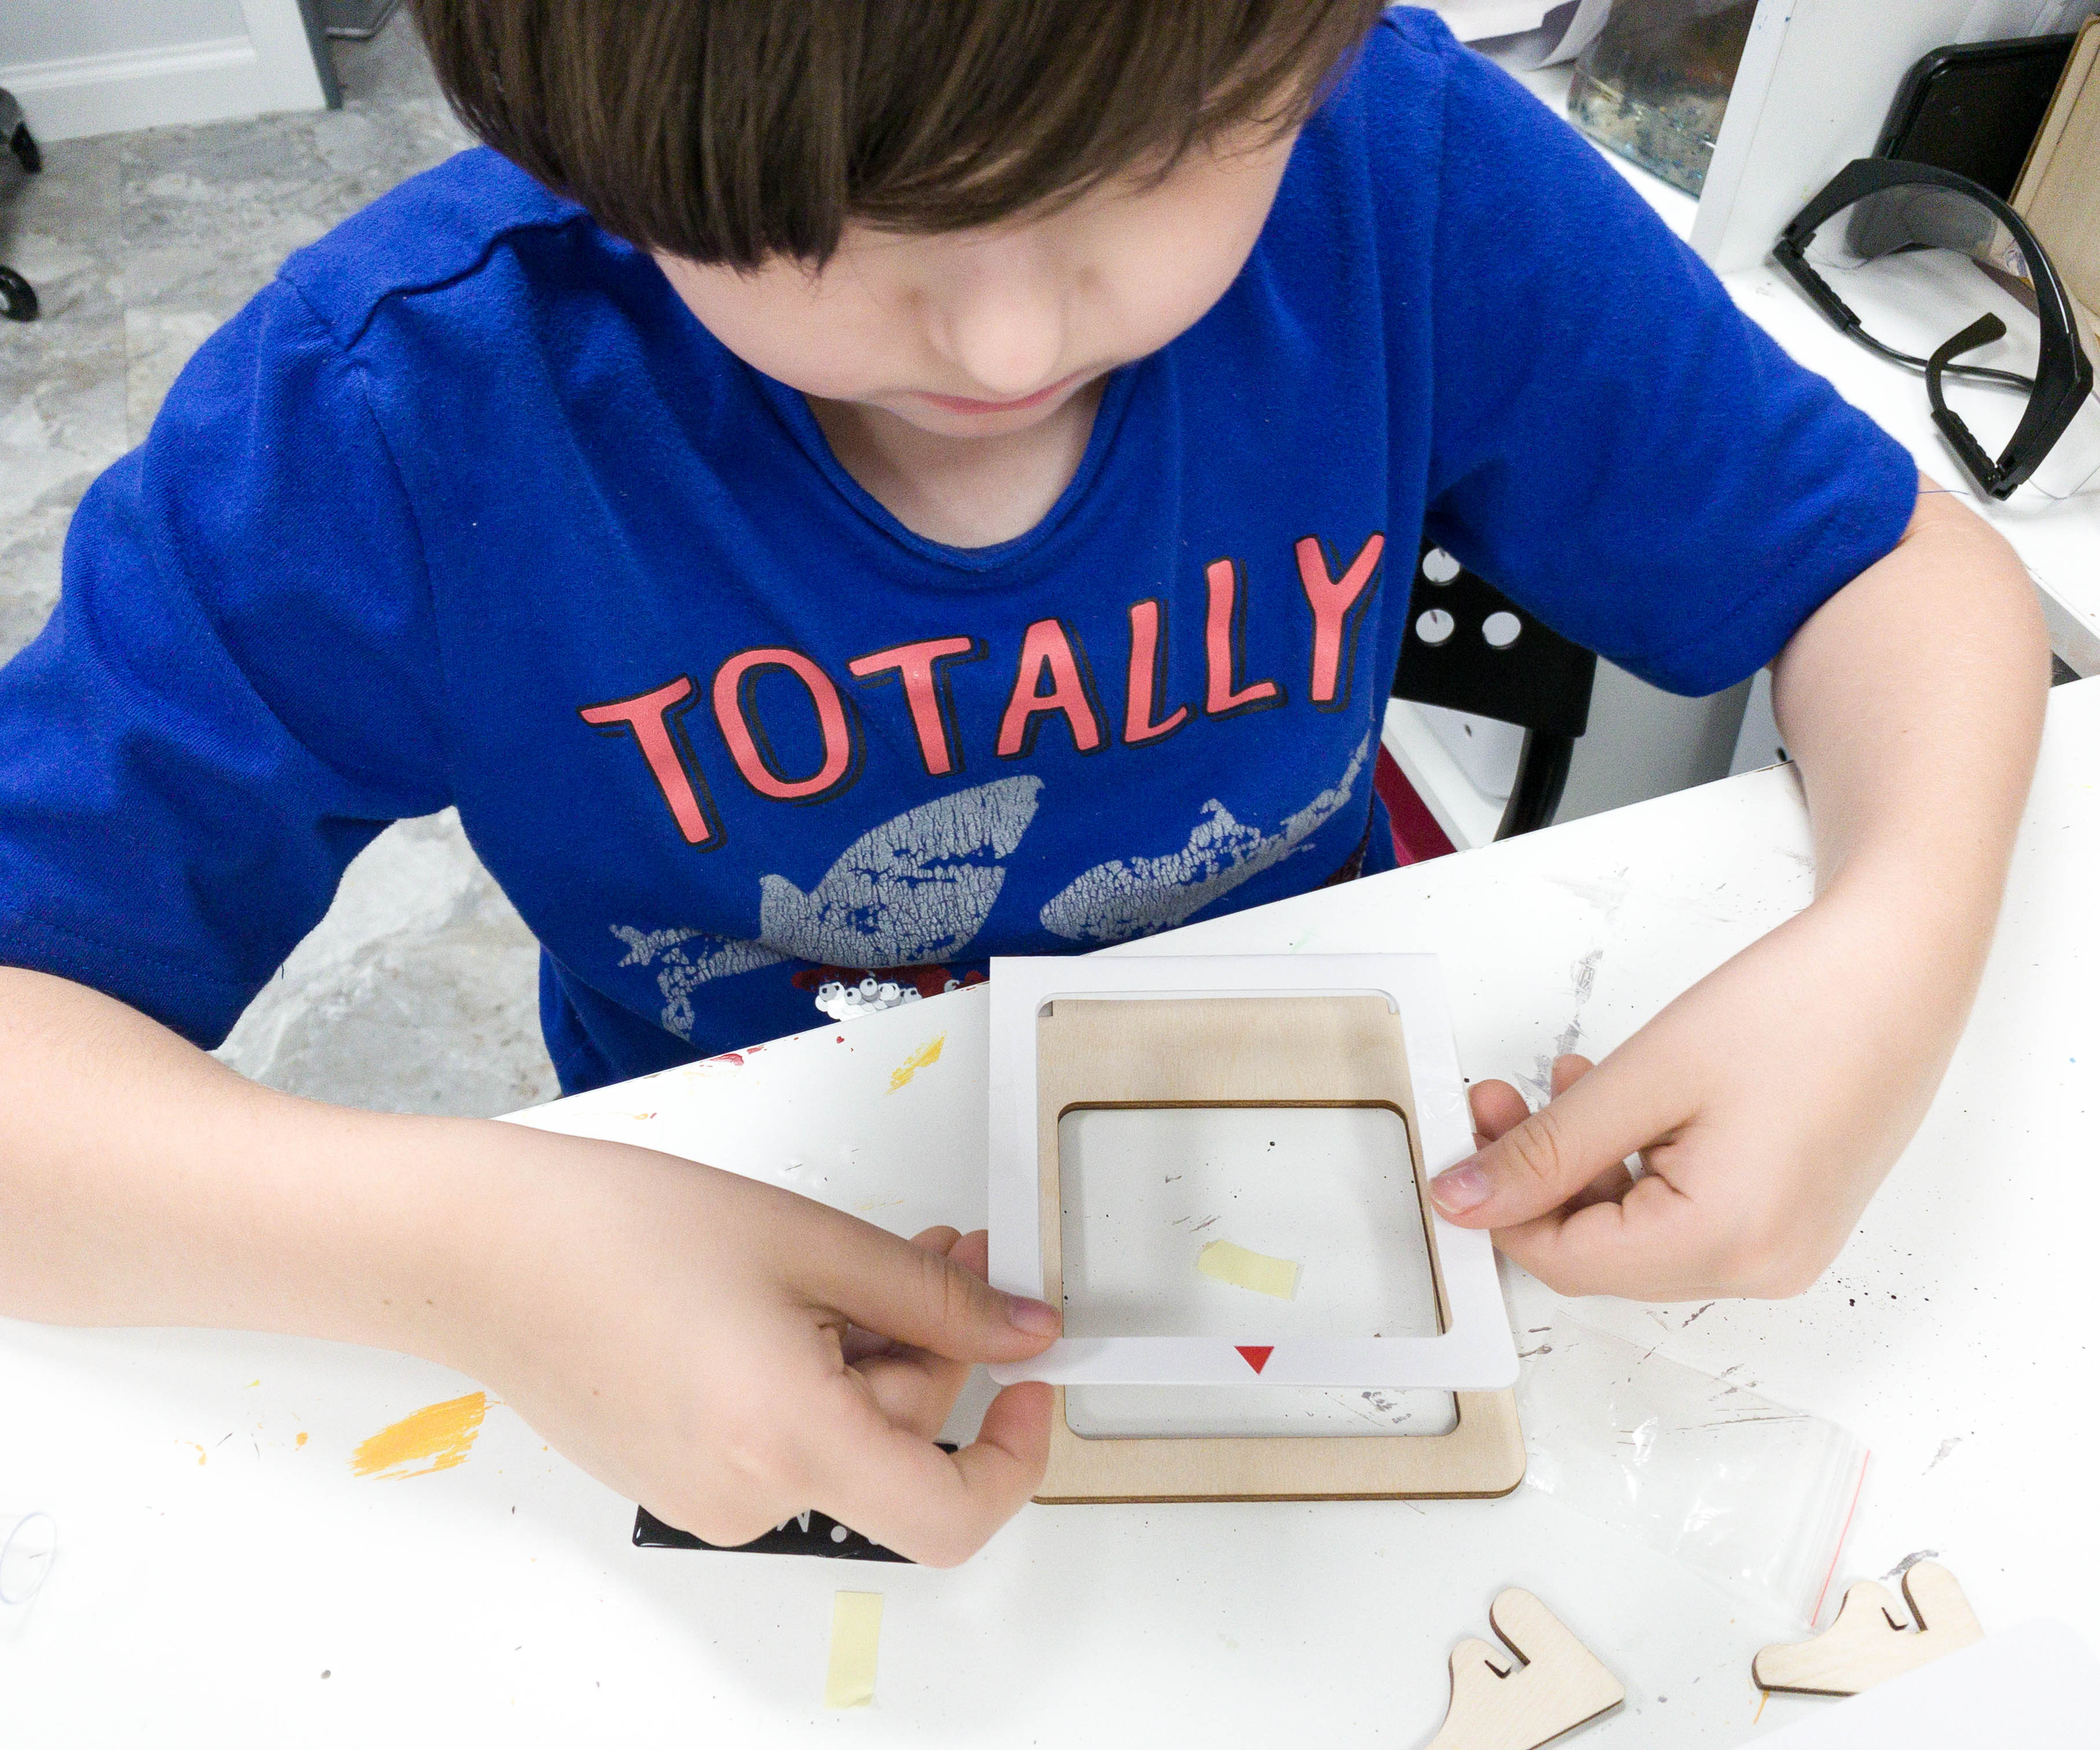
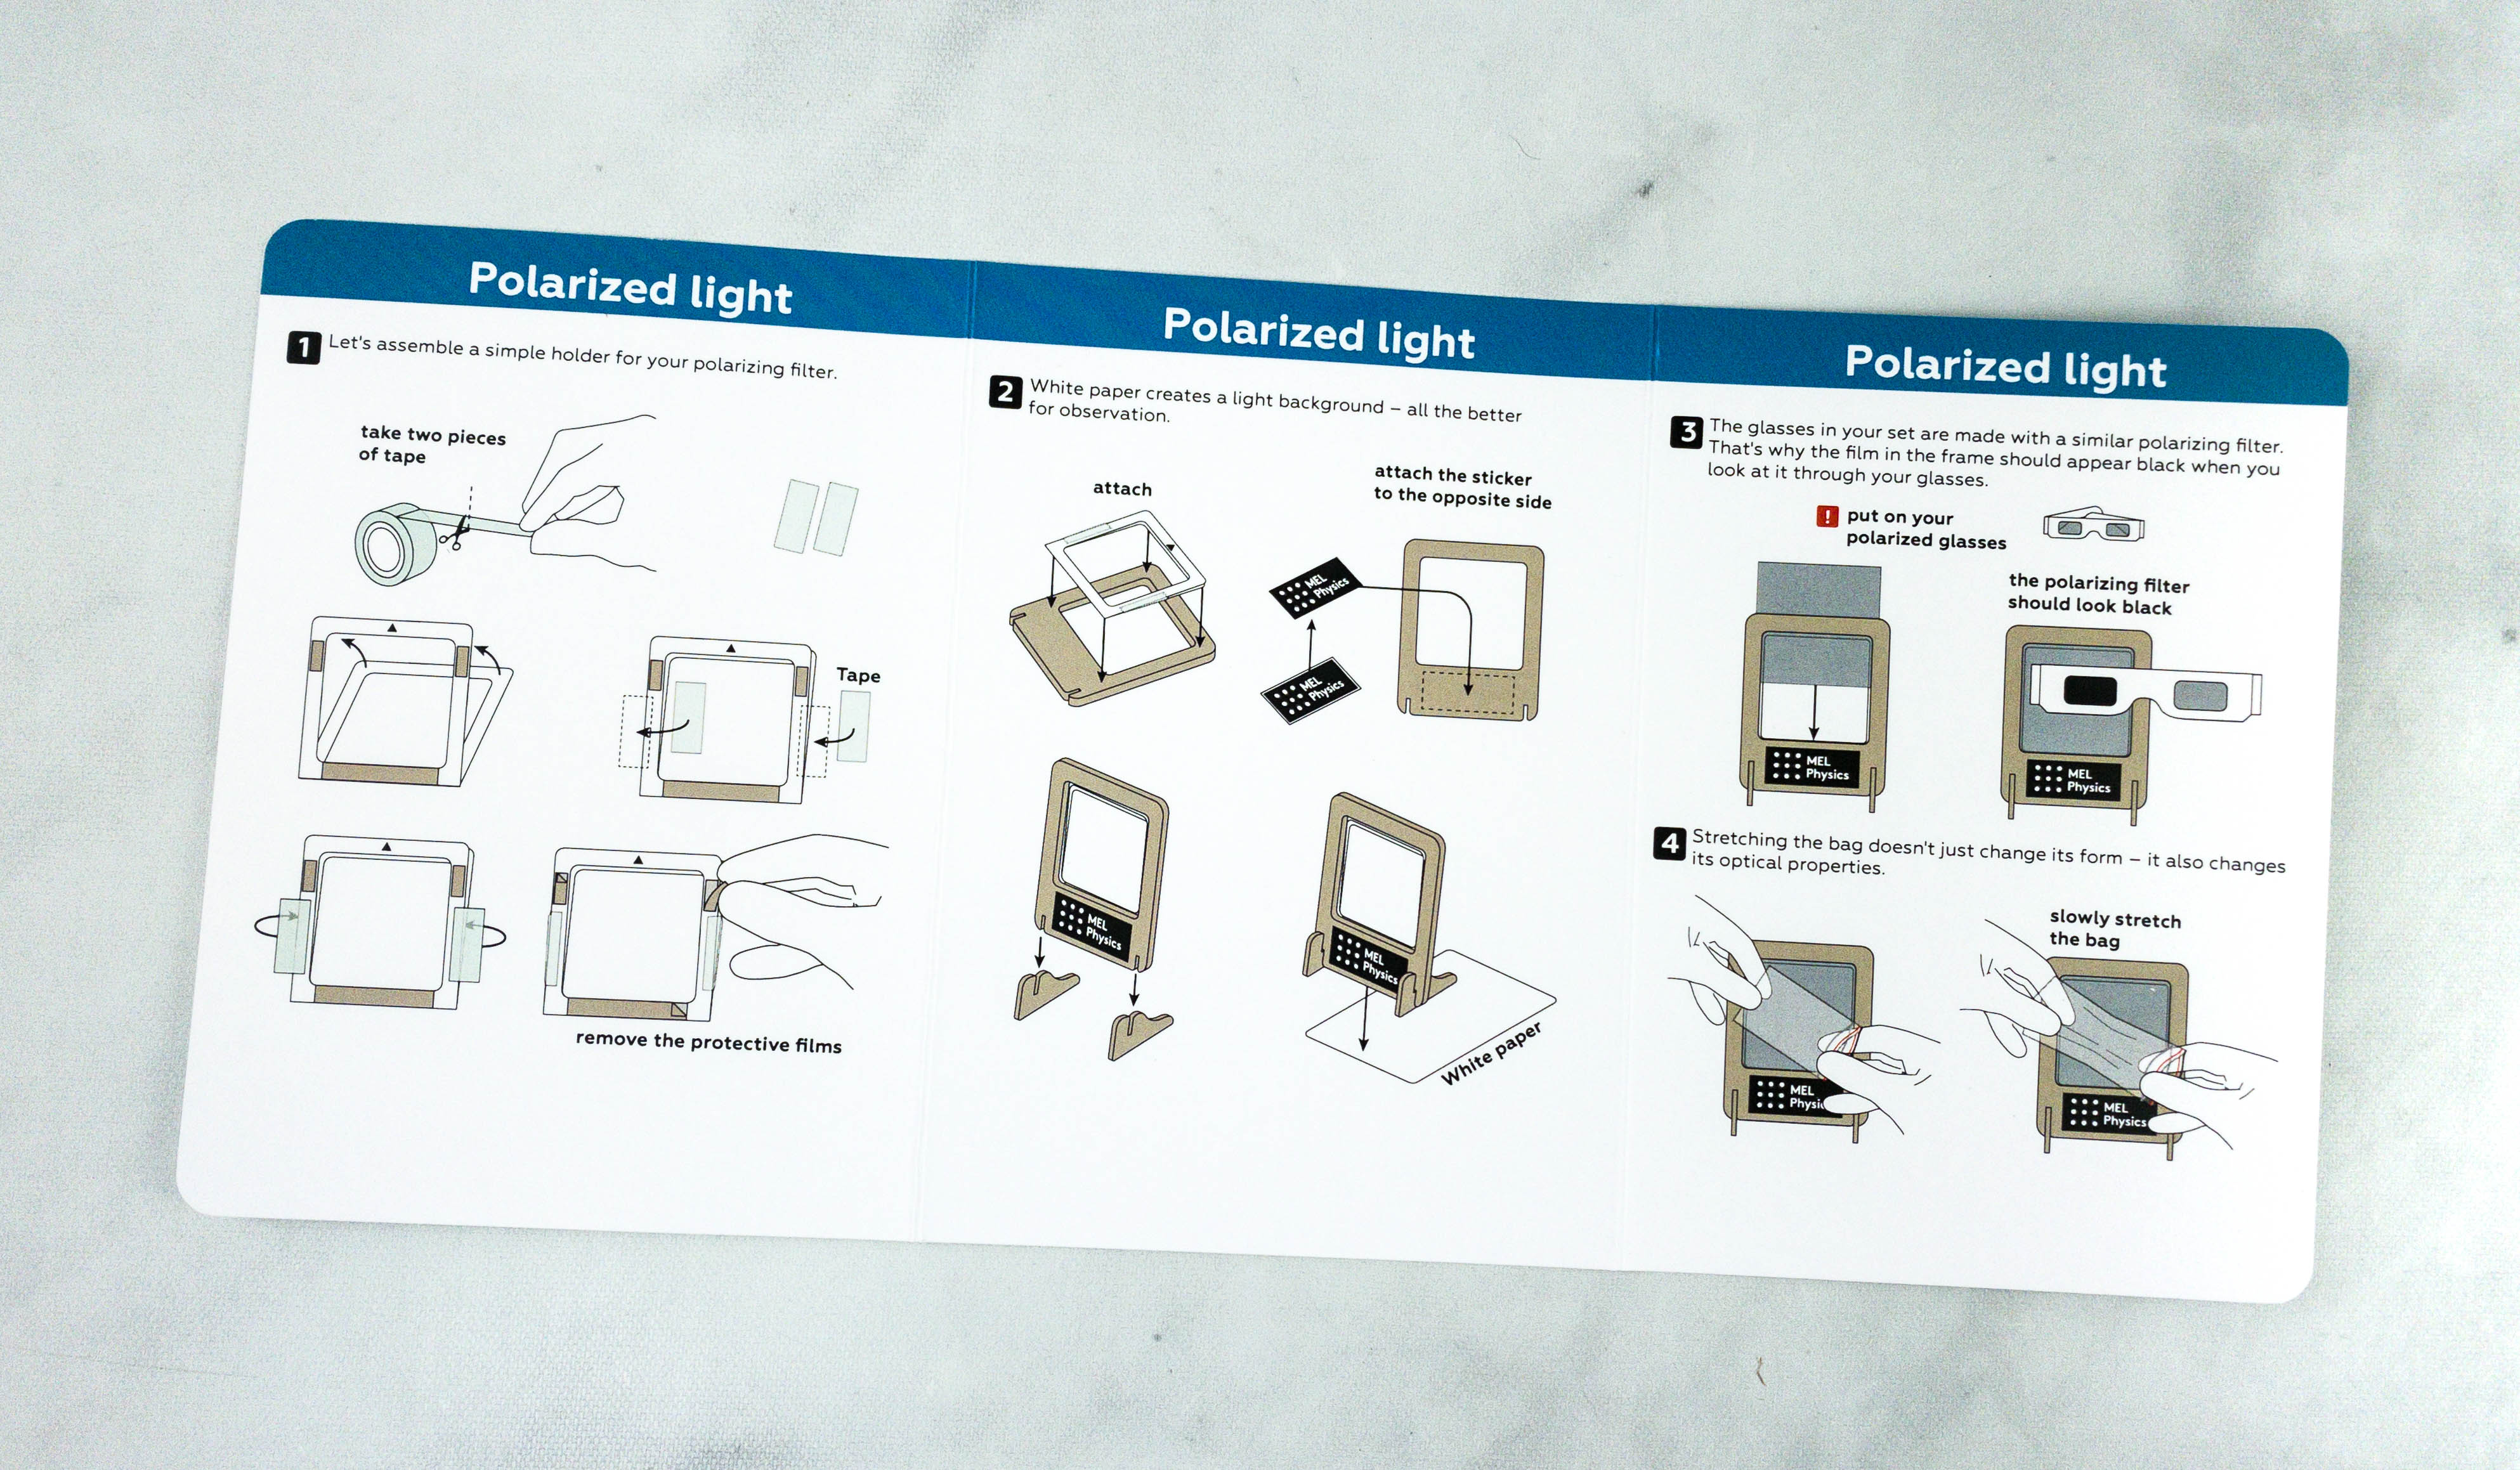
My son started by building the frame. He took the wooden frame, stuck the white paper on top, slid the filter in the middle, and installed the wooden stand at the bottom.
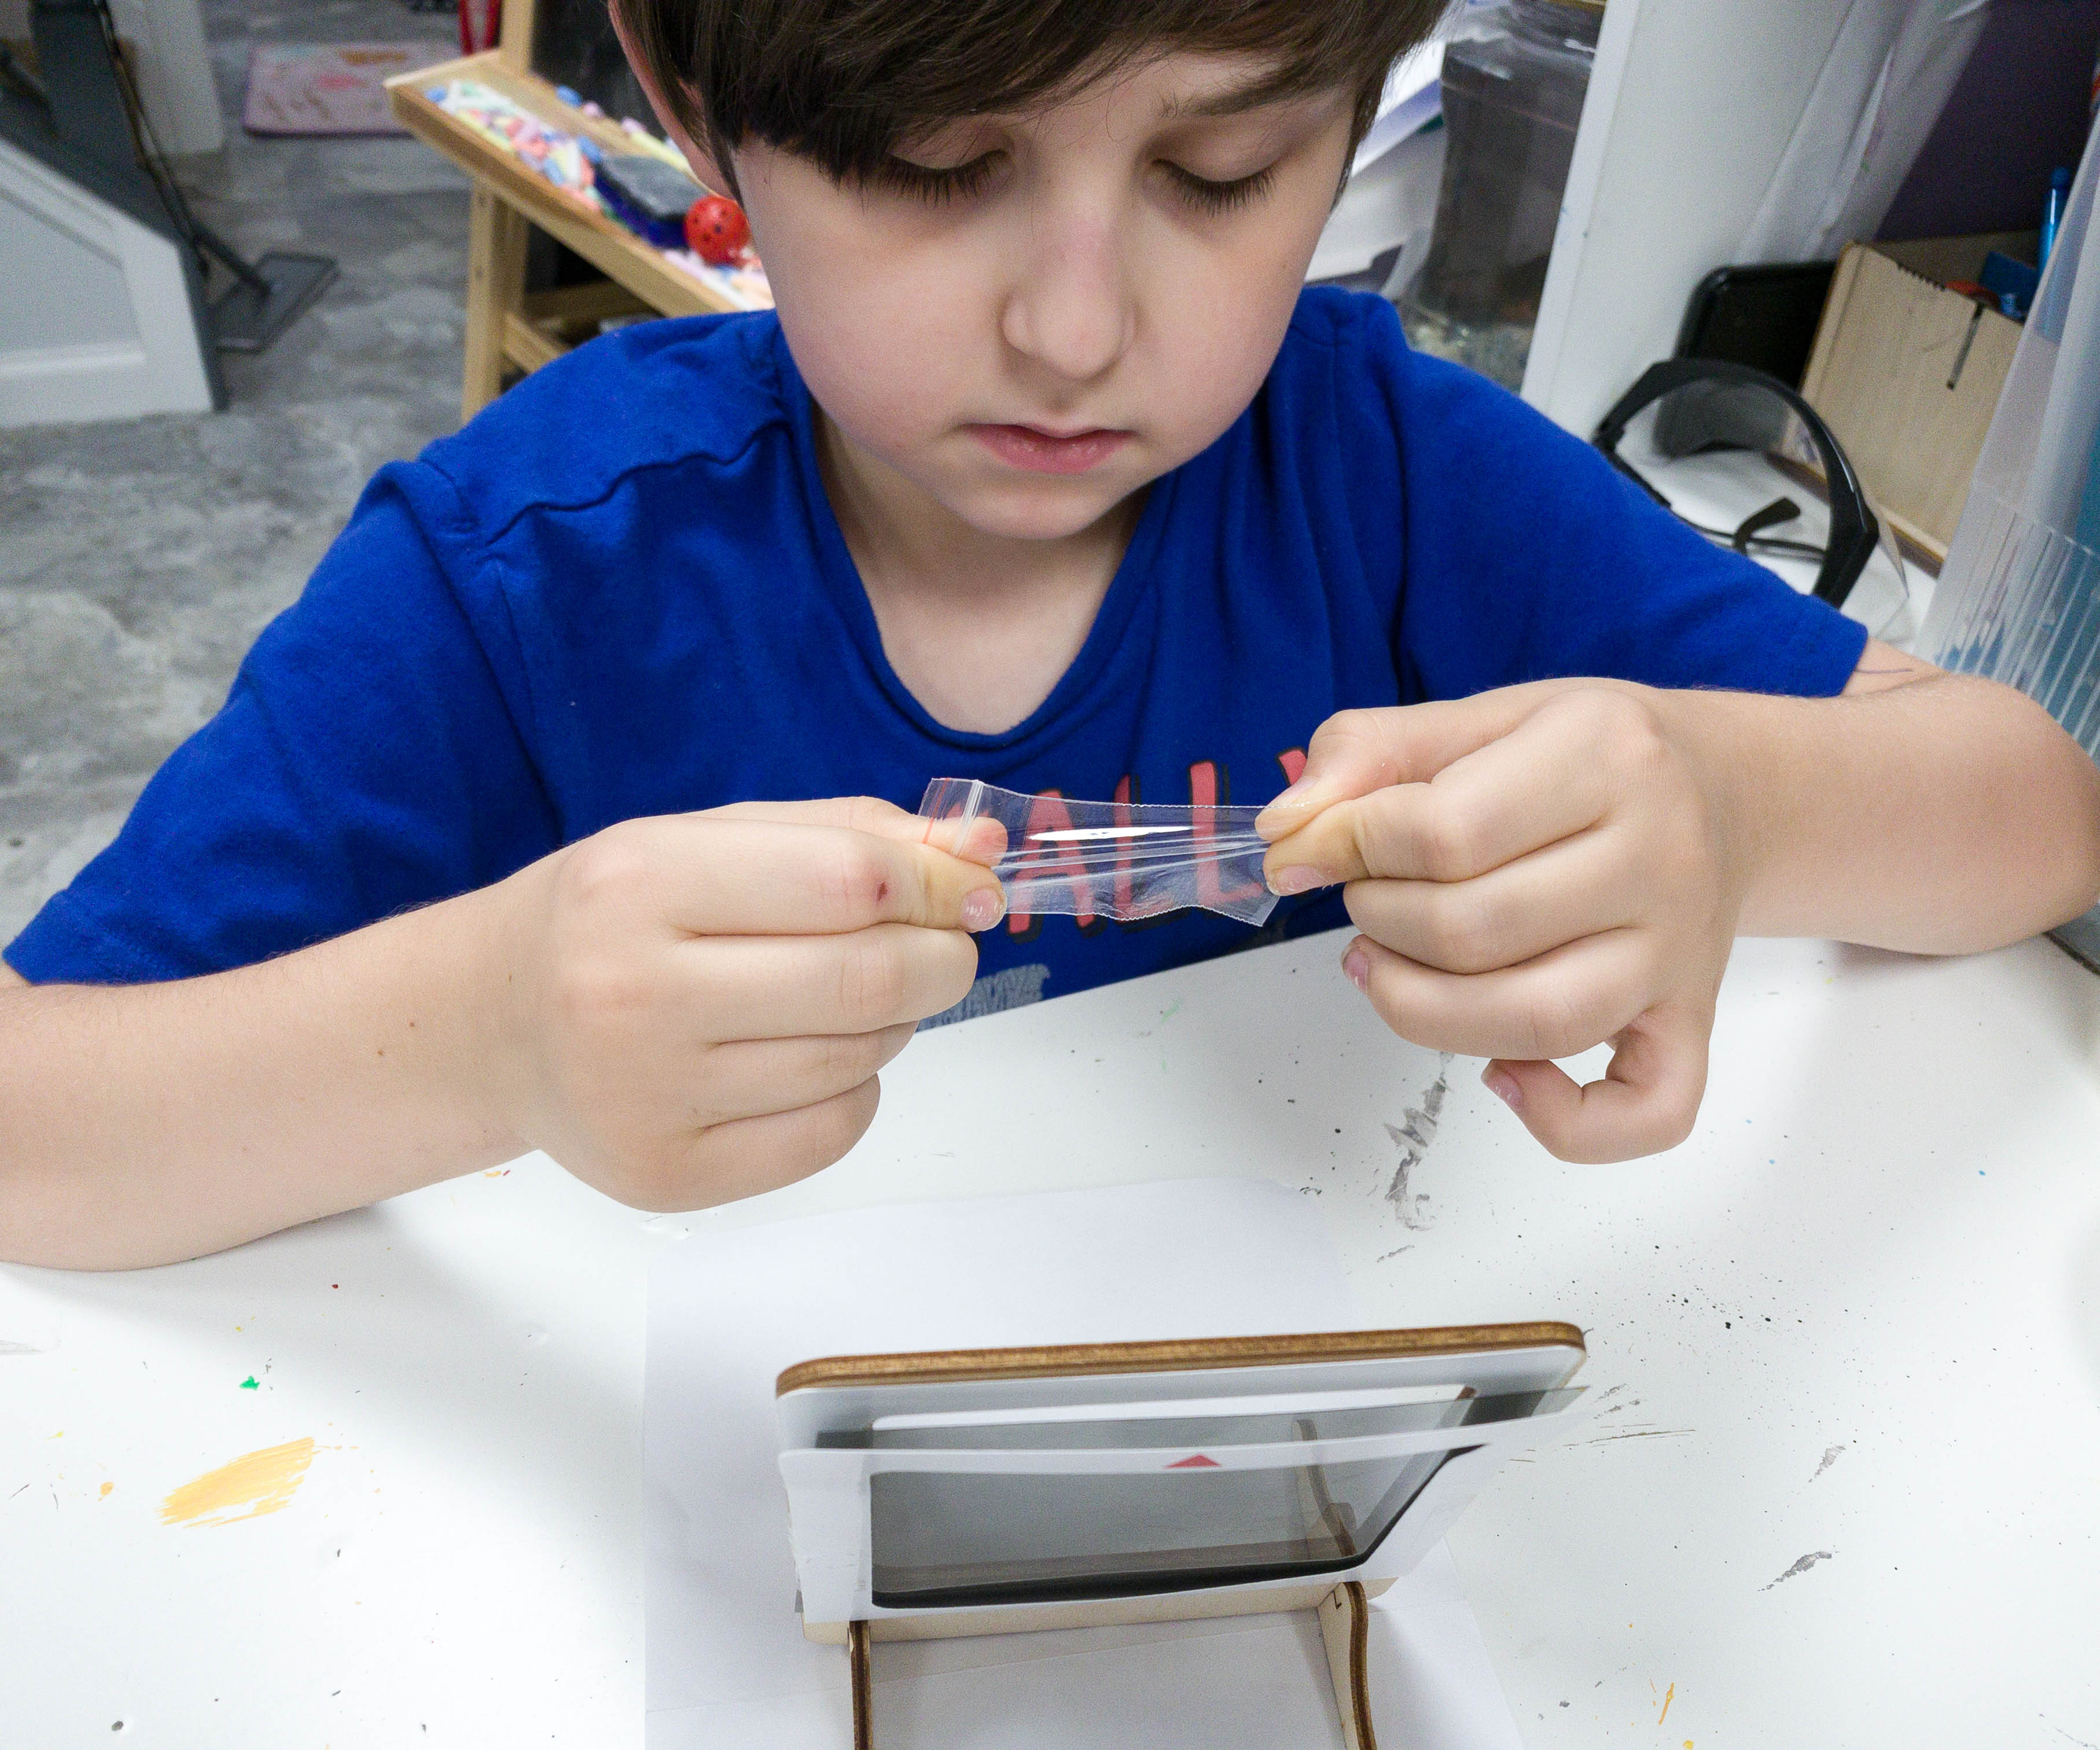
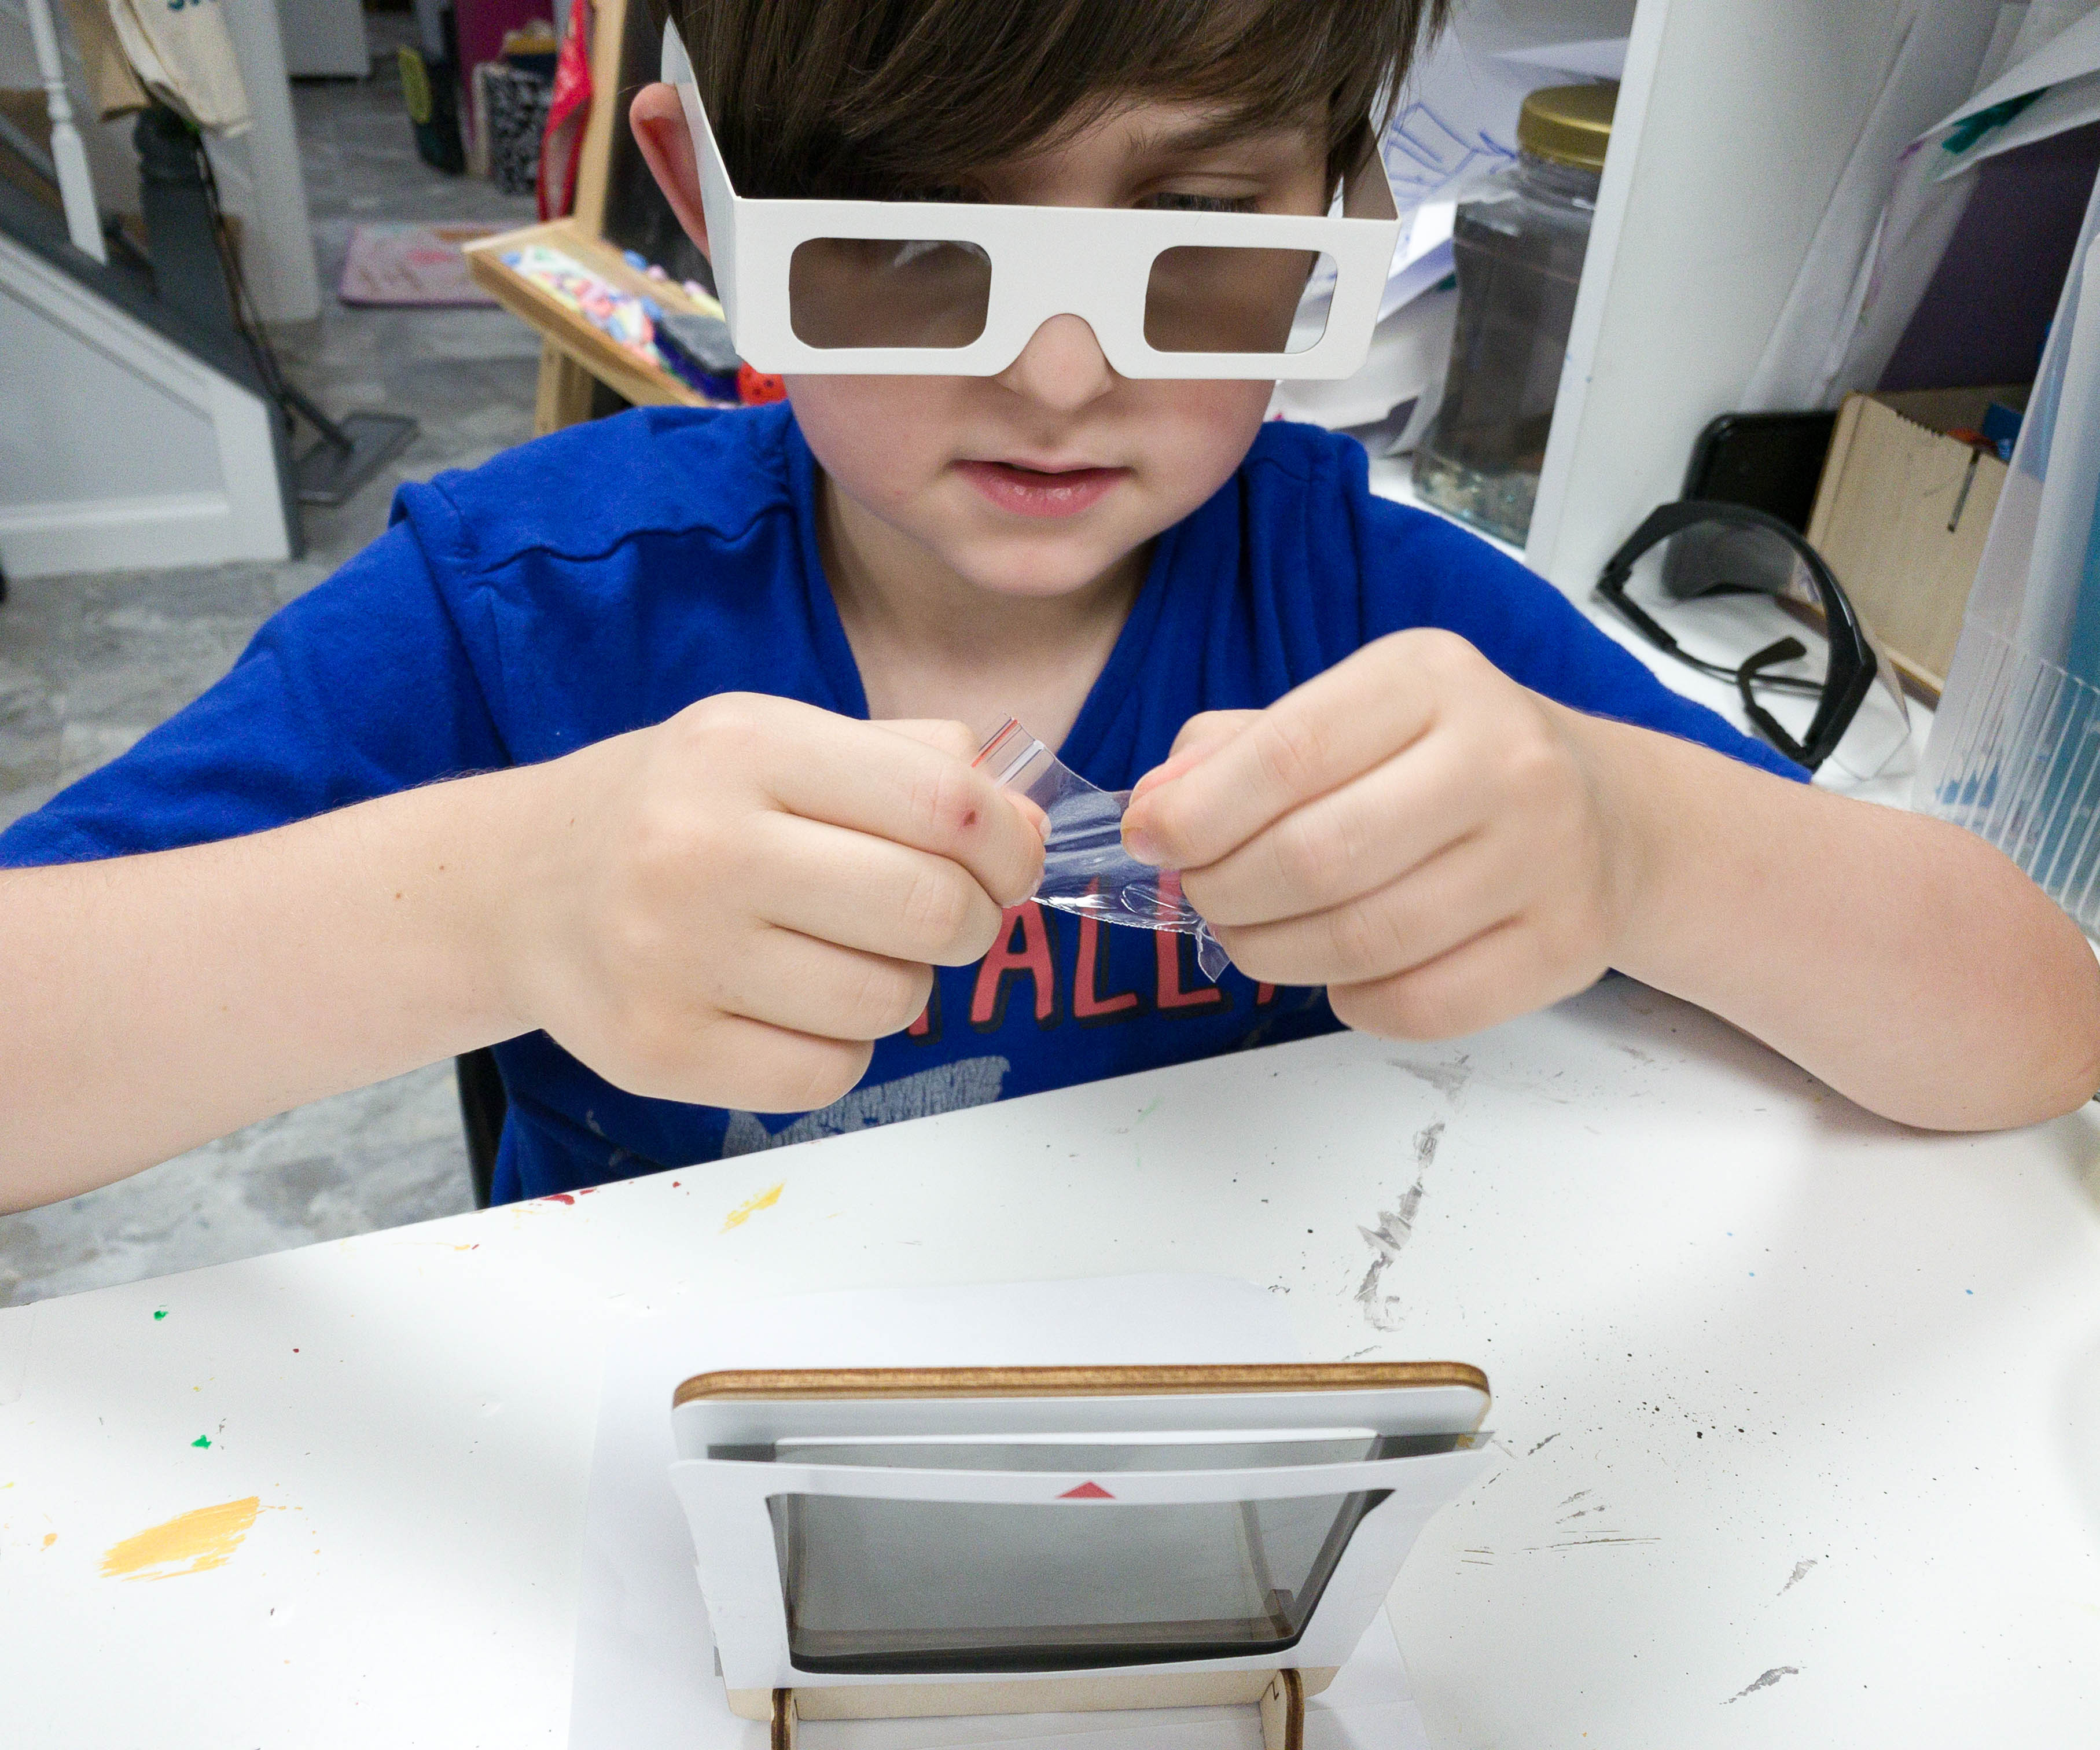
For our first subject, my son looked at the plastic wrapper.
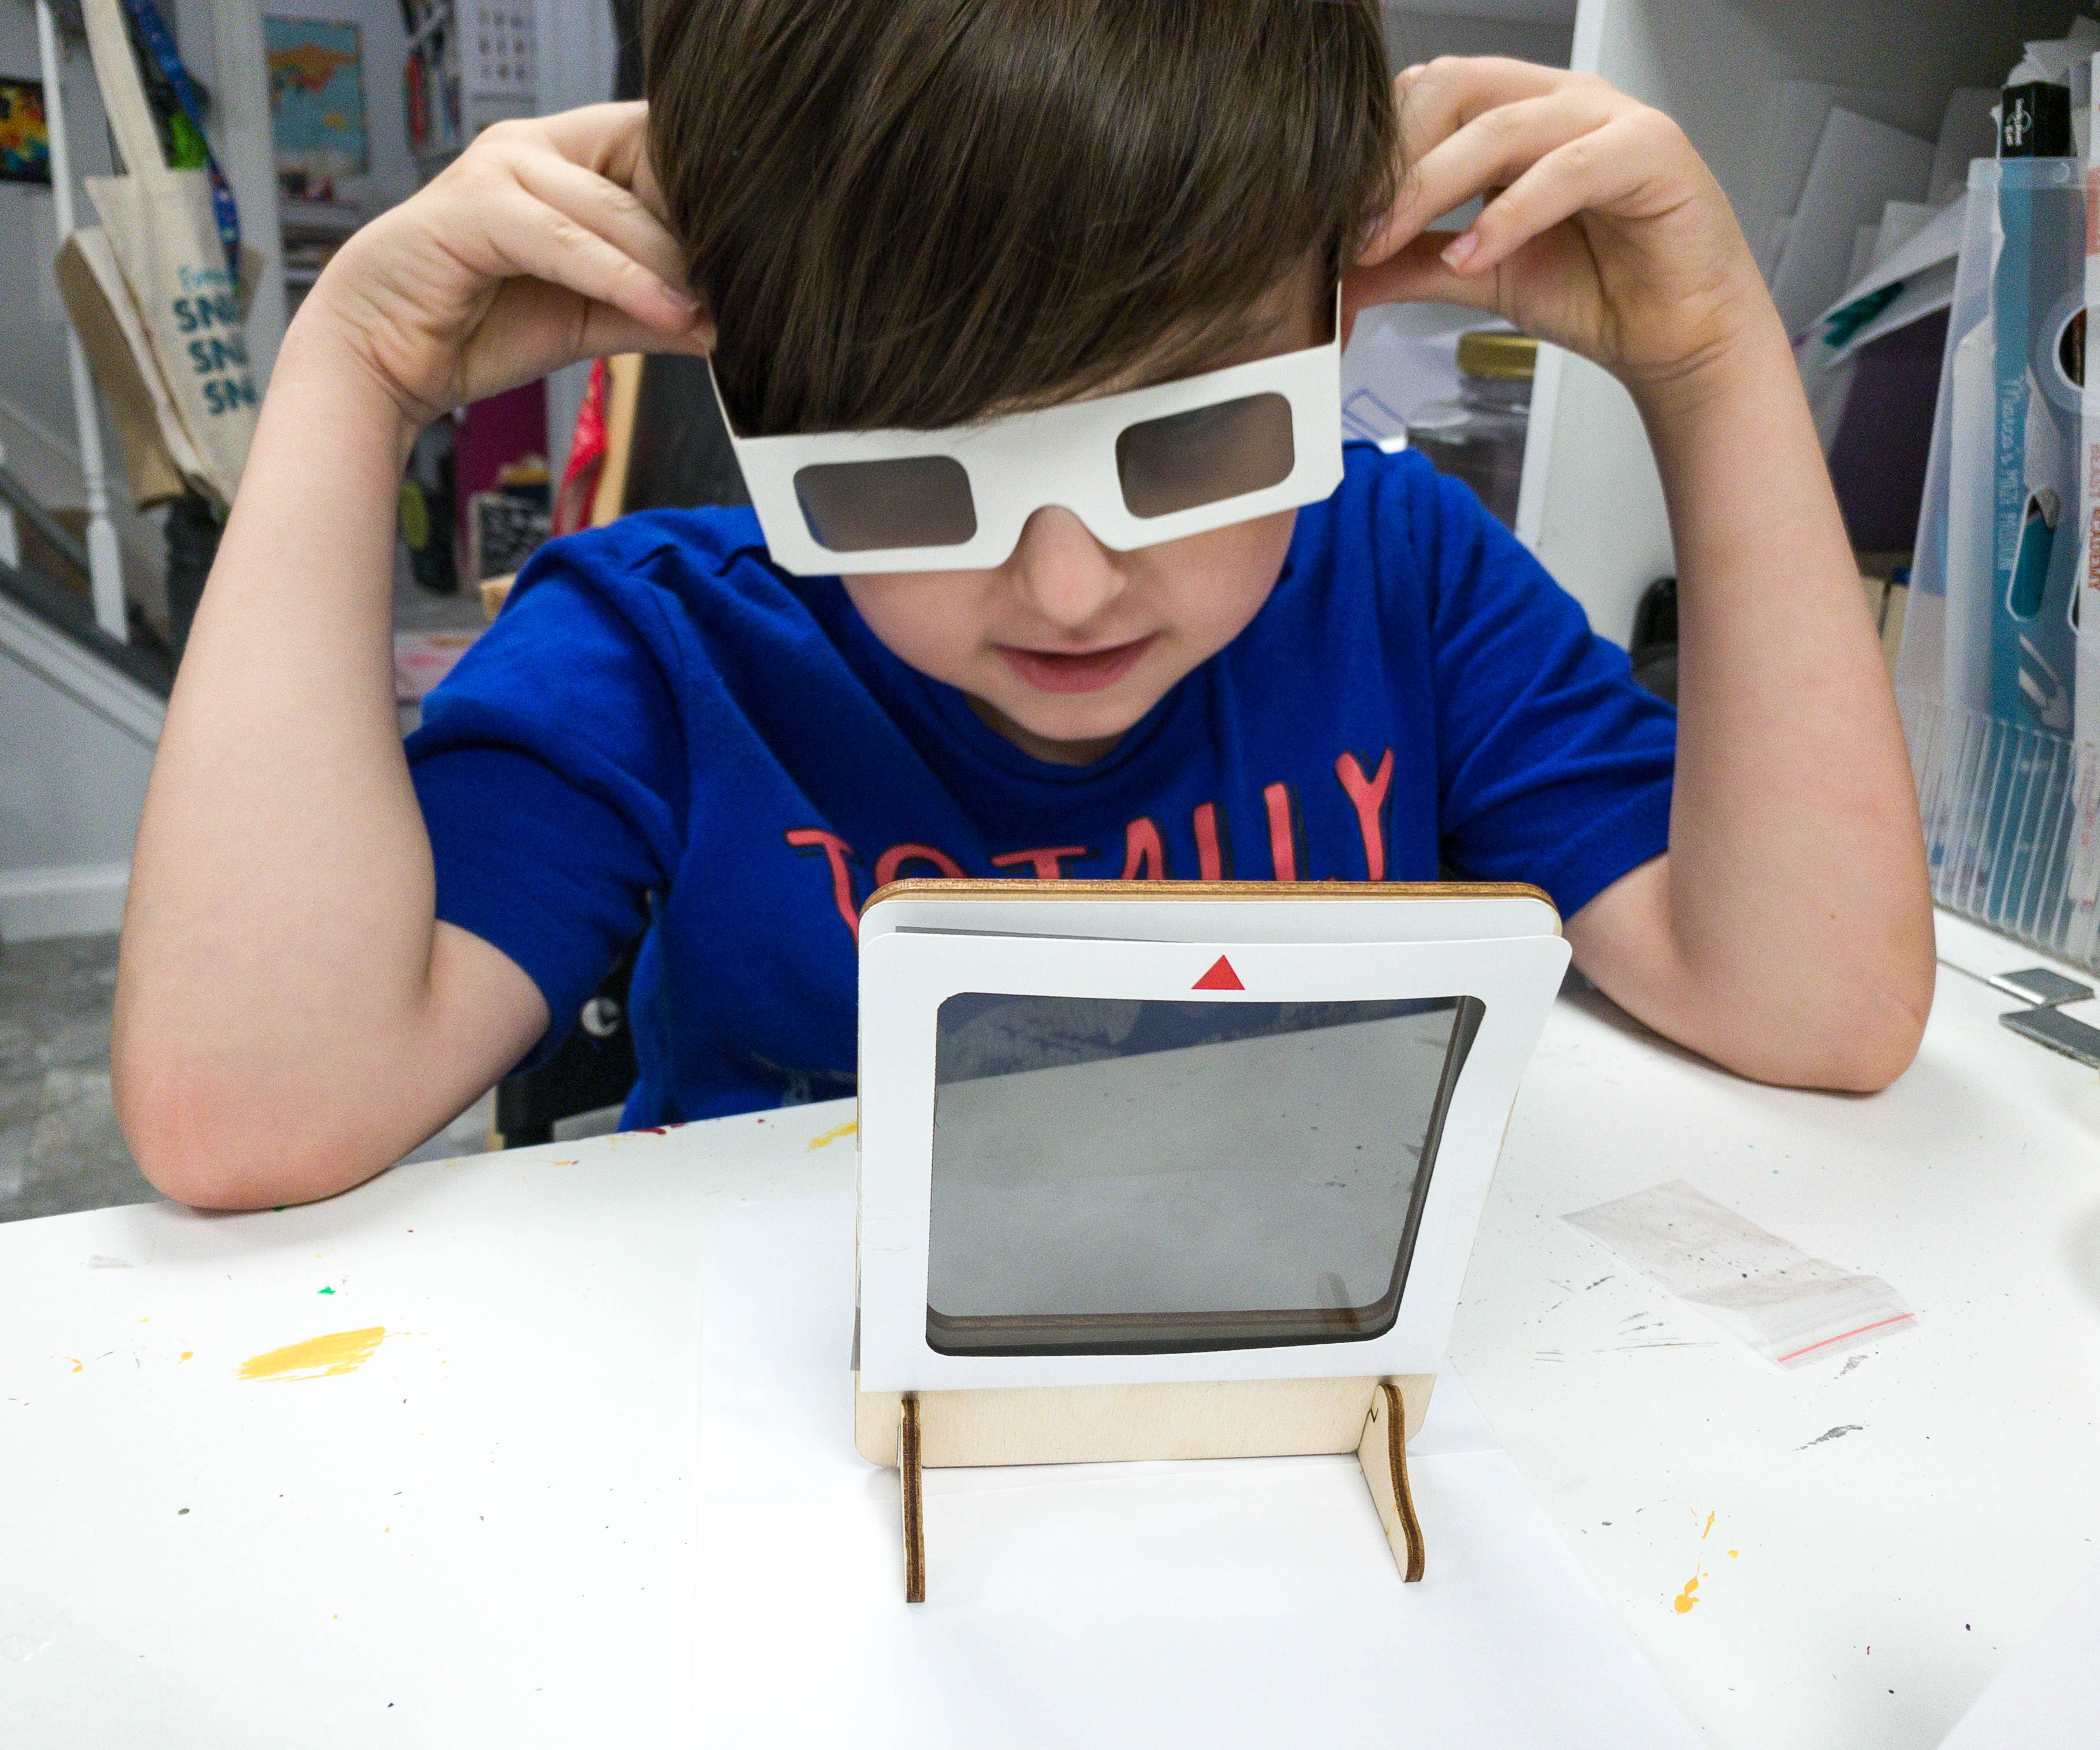
Before that, we need to put our polarized glass to see the stress pattern forms in each object.
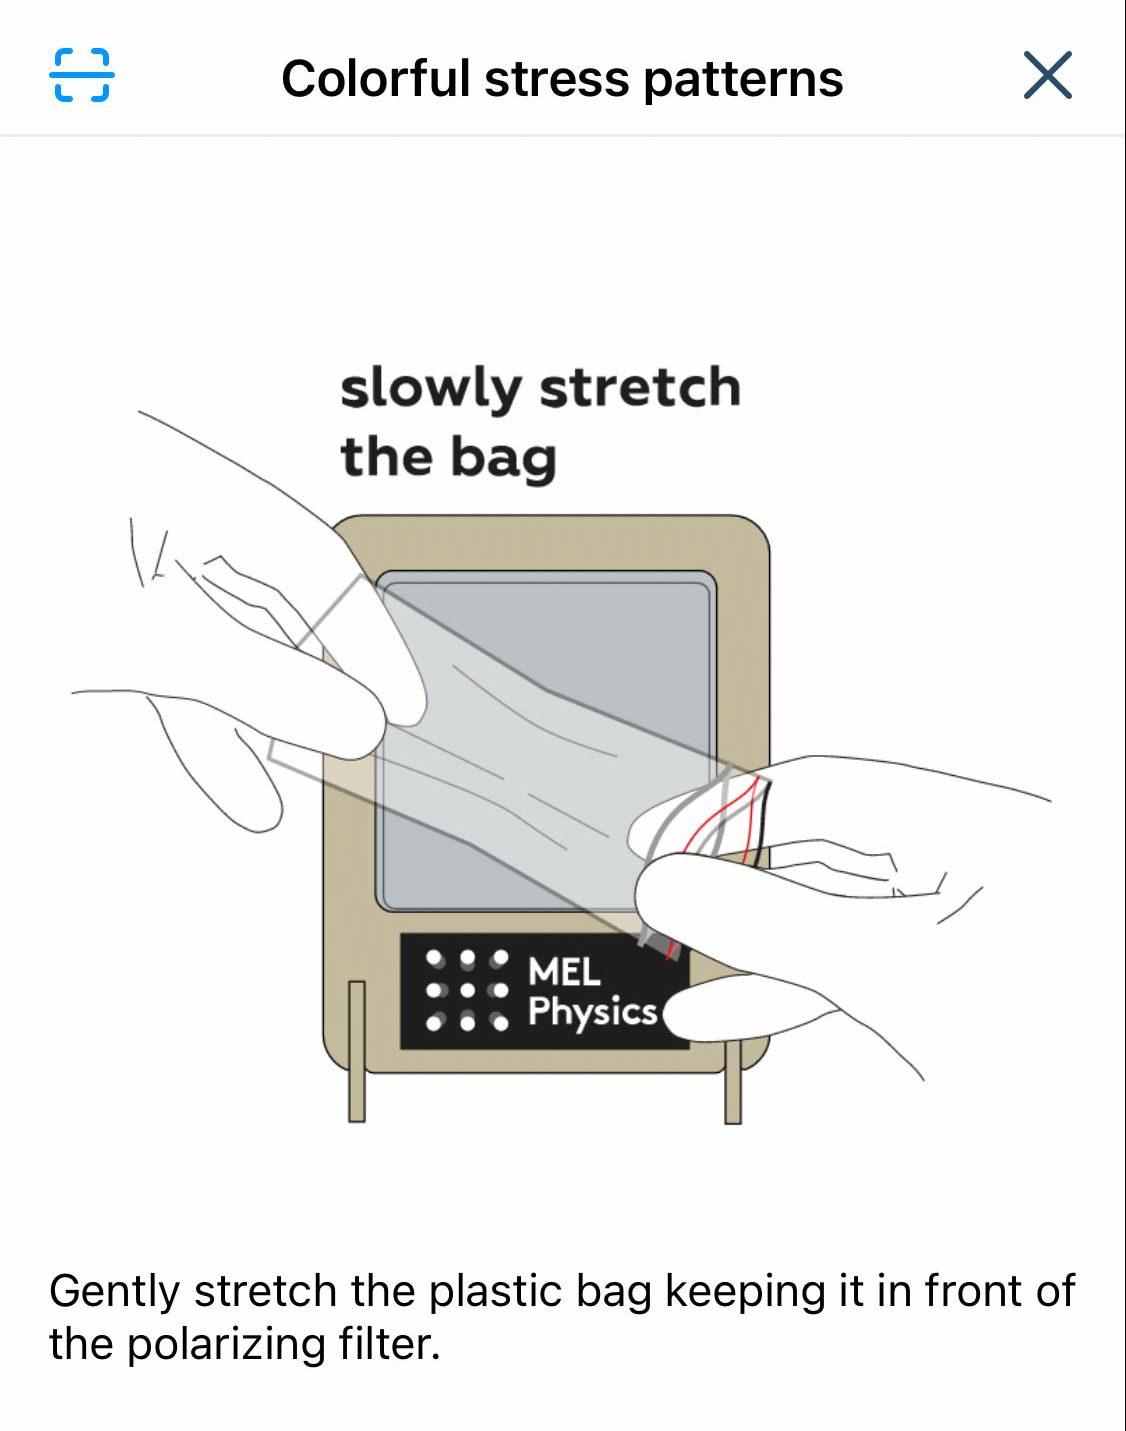
The app also provides additional instructions. As we stretch the plastic wrapper, we observed a different lines of stress forming on the plastic.
Since the plastic wrapper is soft, putting stress on it is way easier!
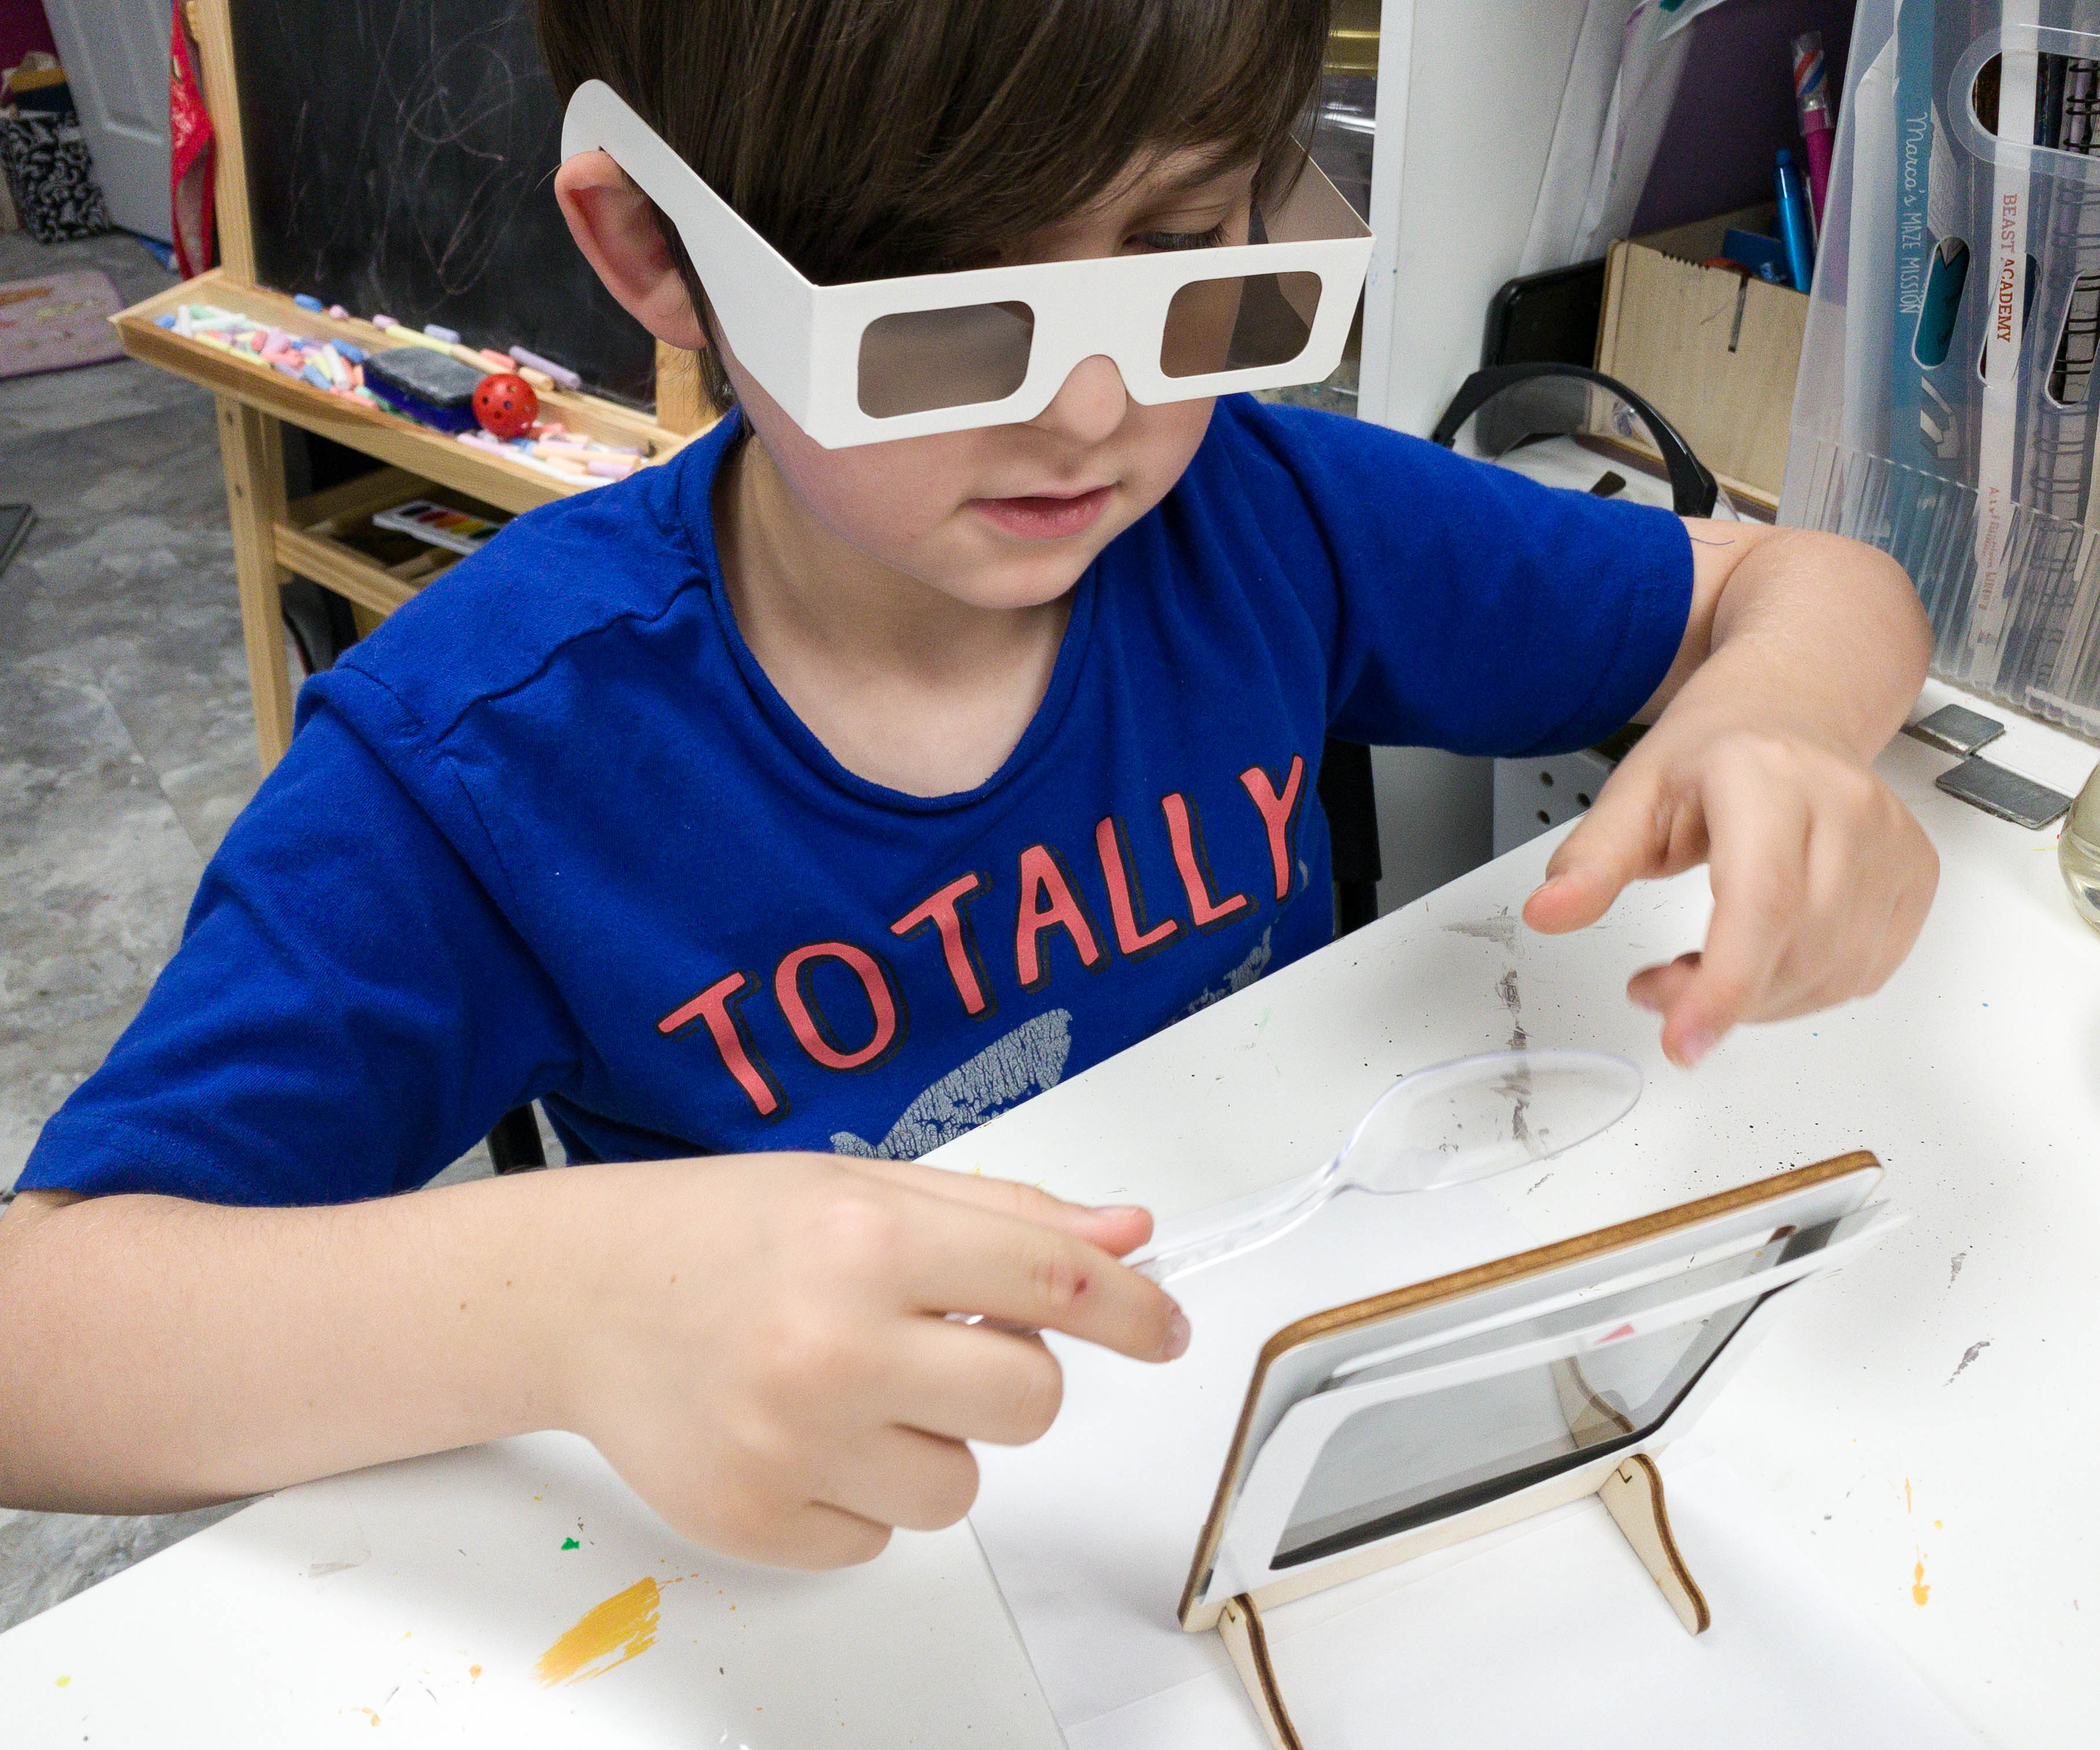
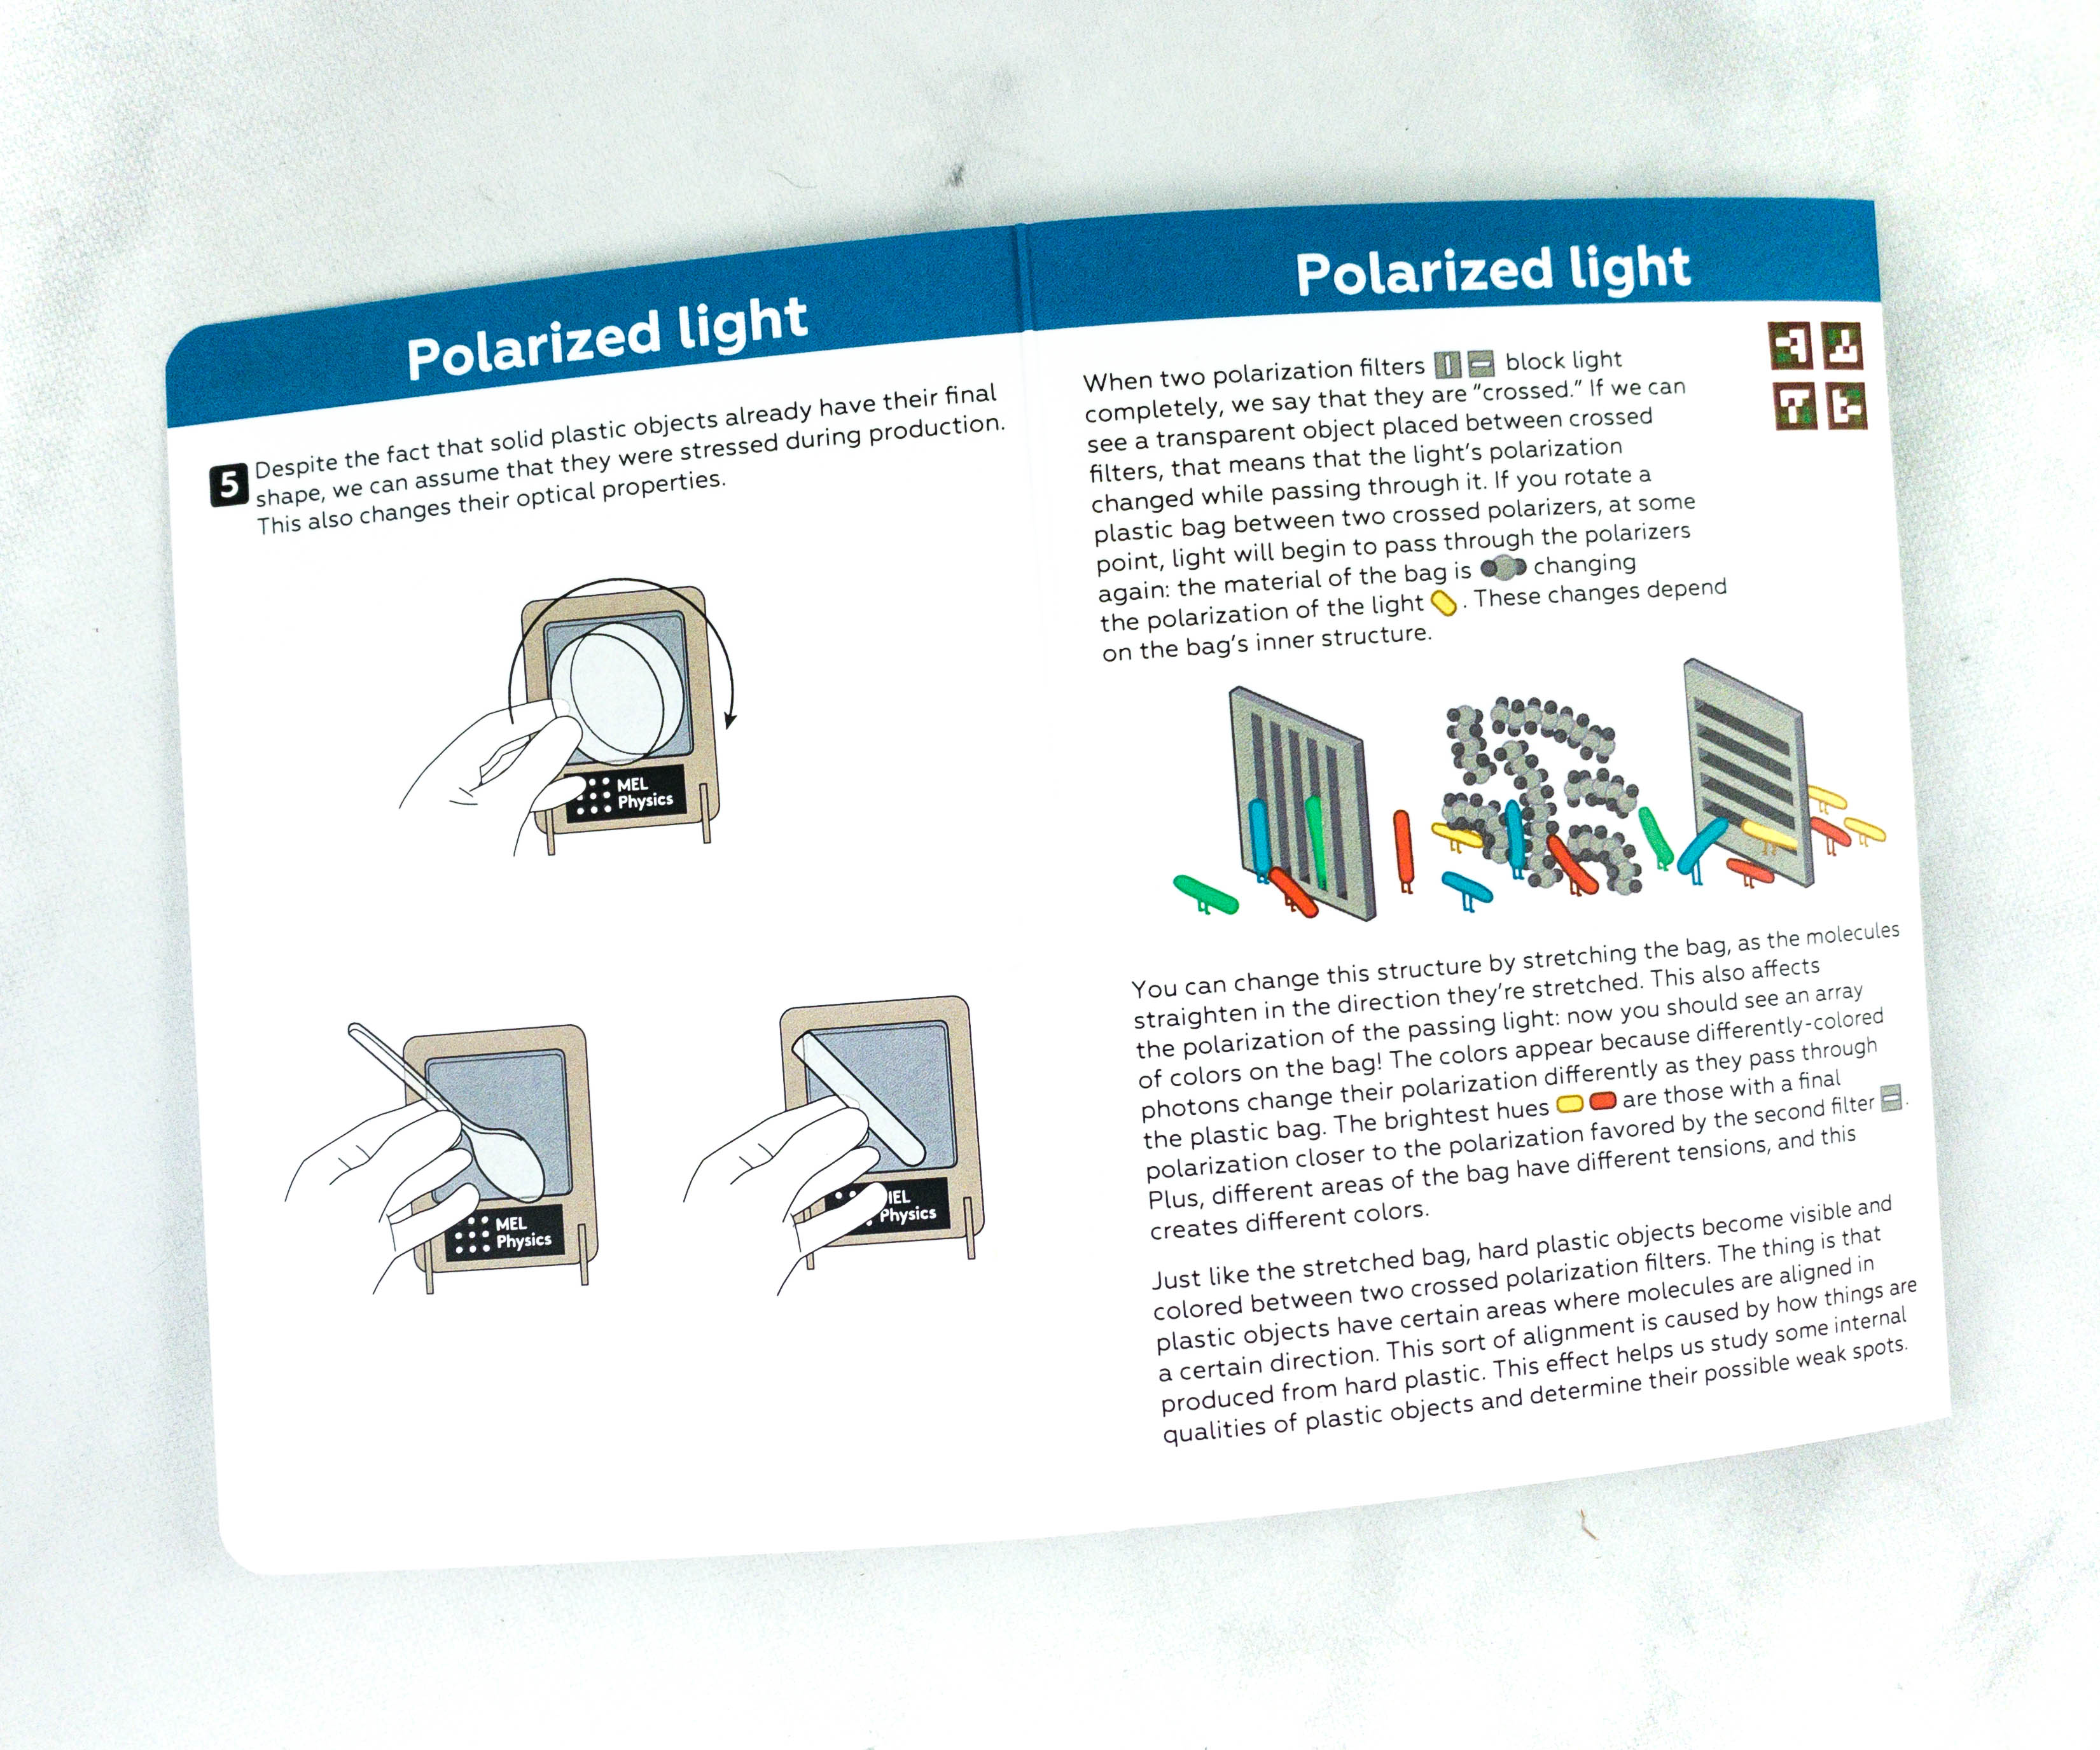
The second object we observed is the plastic spoon, and unlike the wrapper, this spoon is hard.
This spoon has already formed a variety of stress patterns. It is definitely due to the process it went through before turning into a plastic spoon.
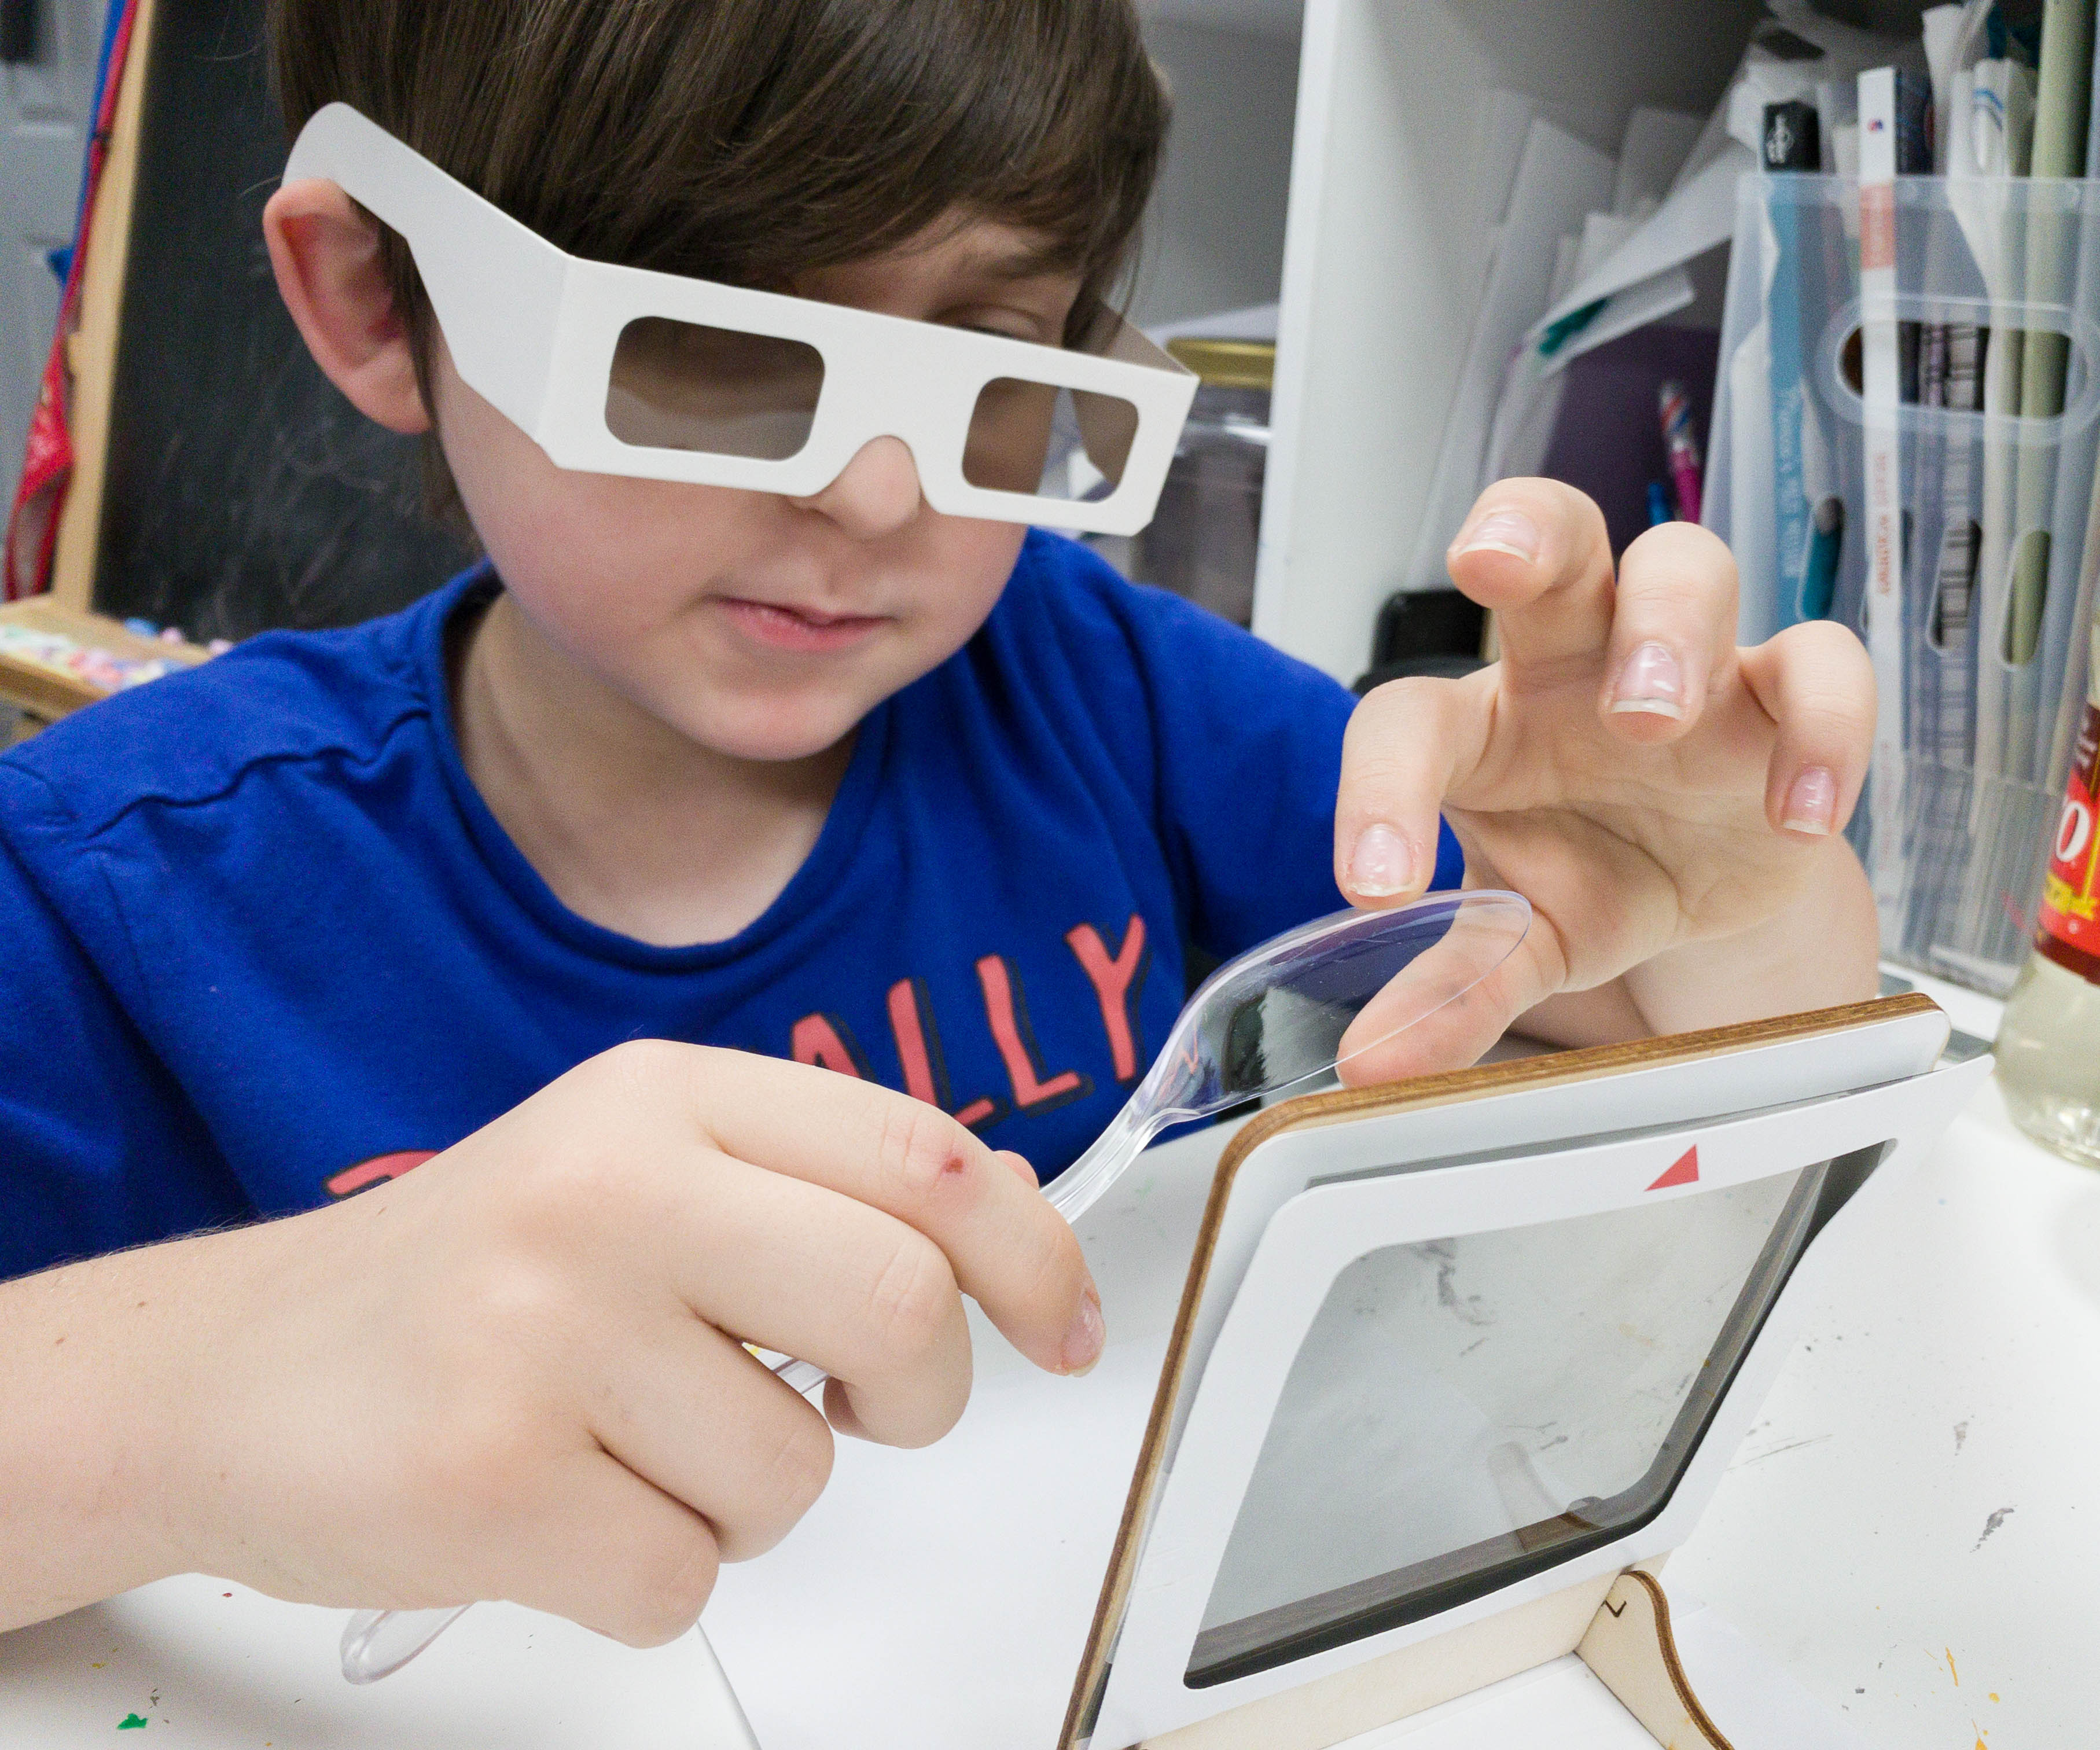
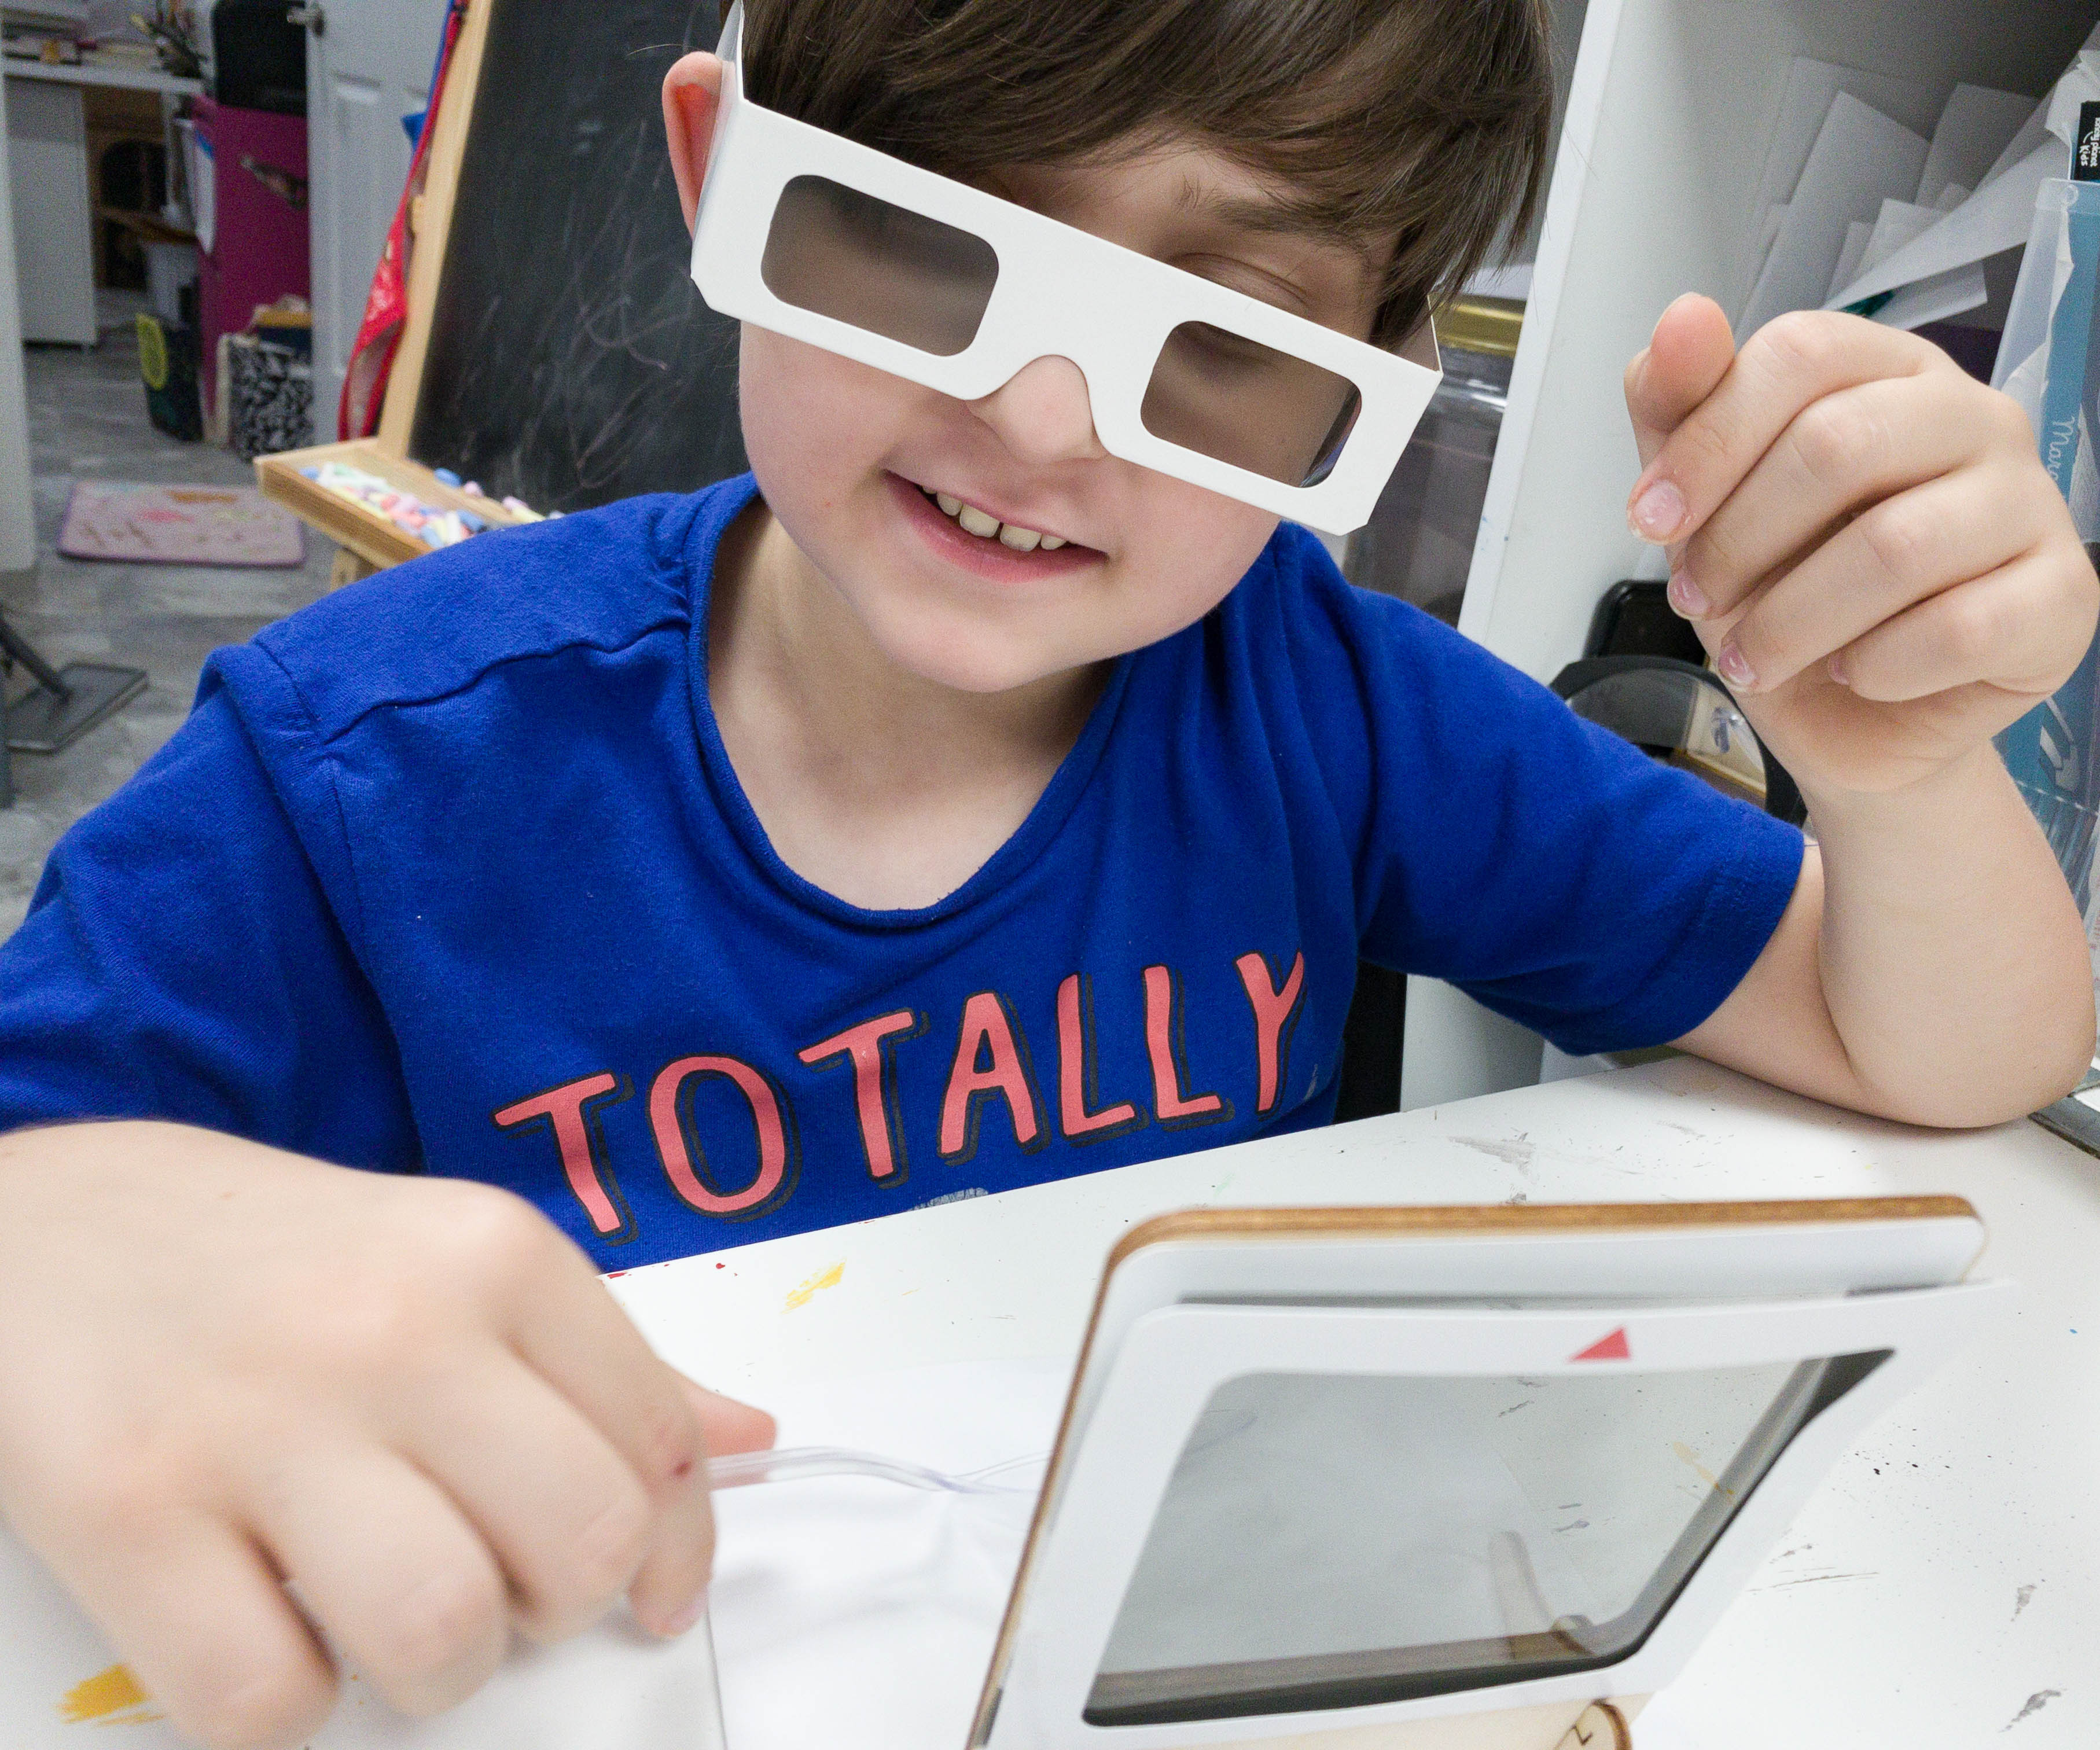
We put a bit of pressure on the head part of the spoon and observed a change in the stress pattern. The more we squeeze the head, the more we can see stress pattern building on the pressured area.
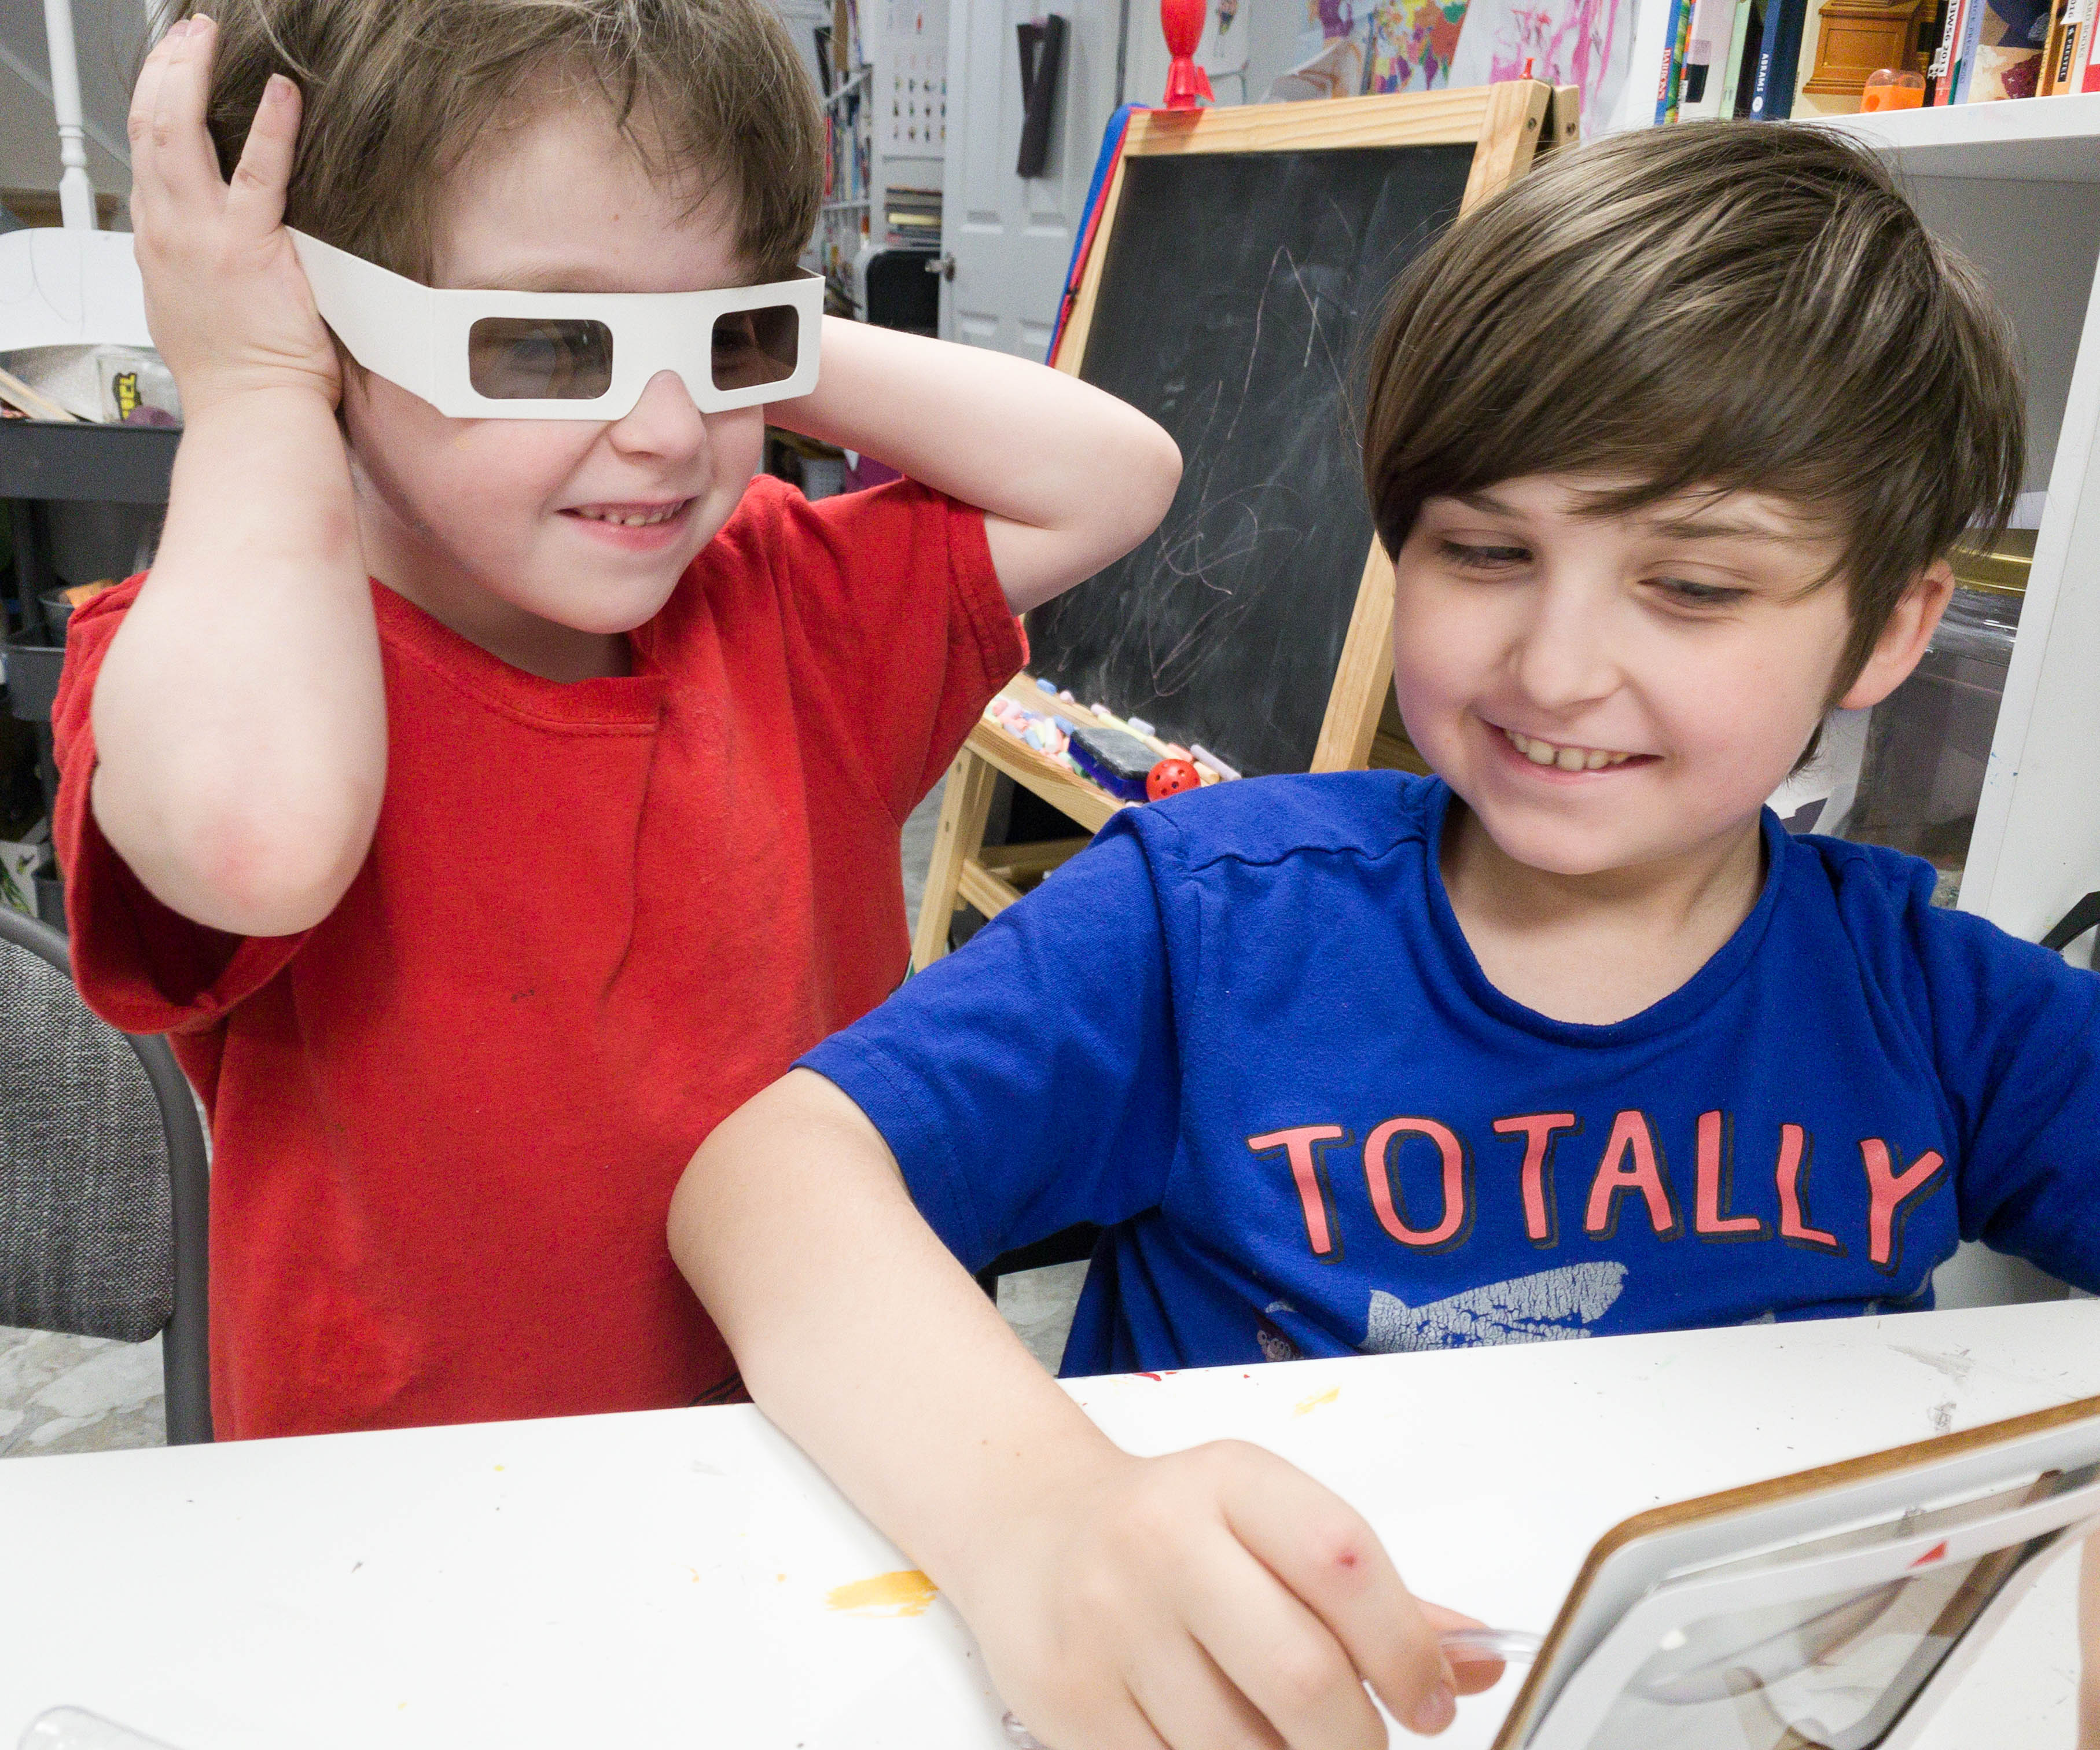
Both my sons enjoyed working on this experiment!
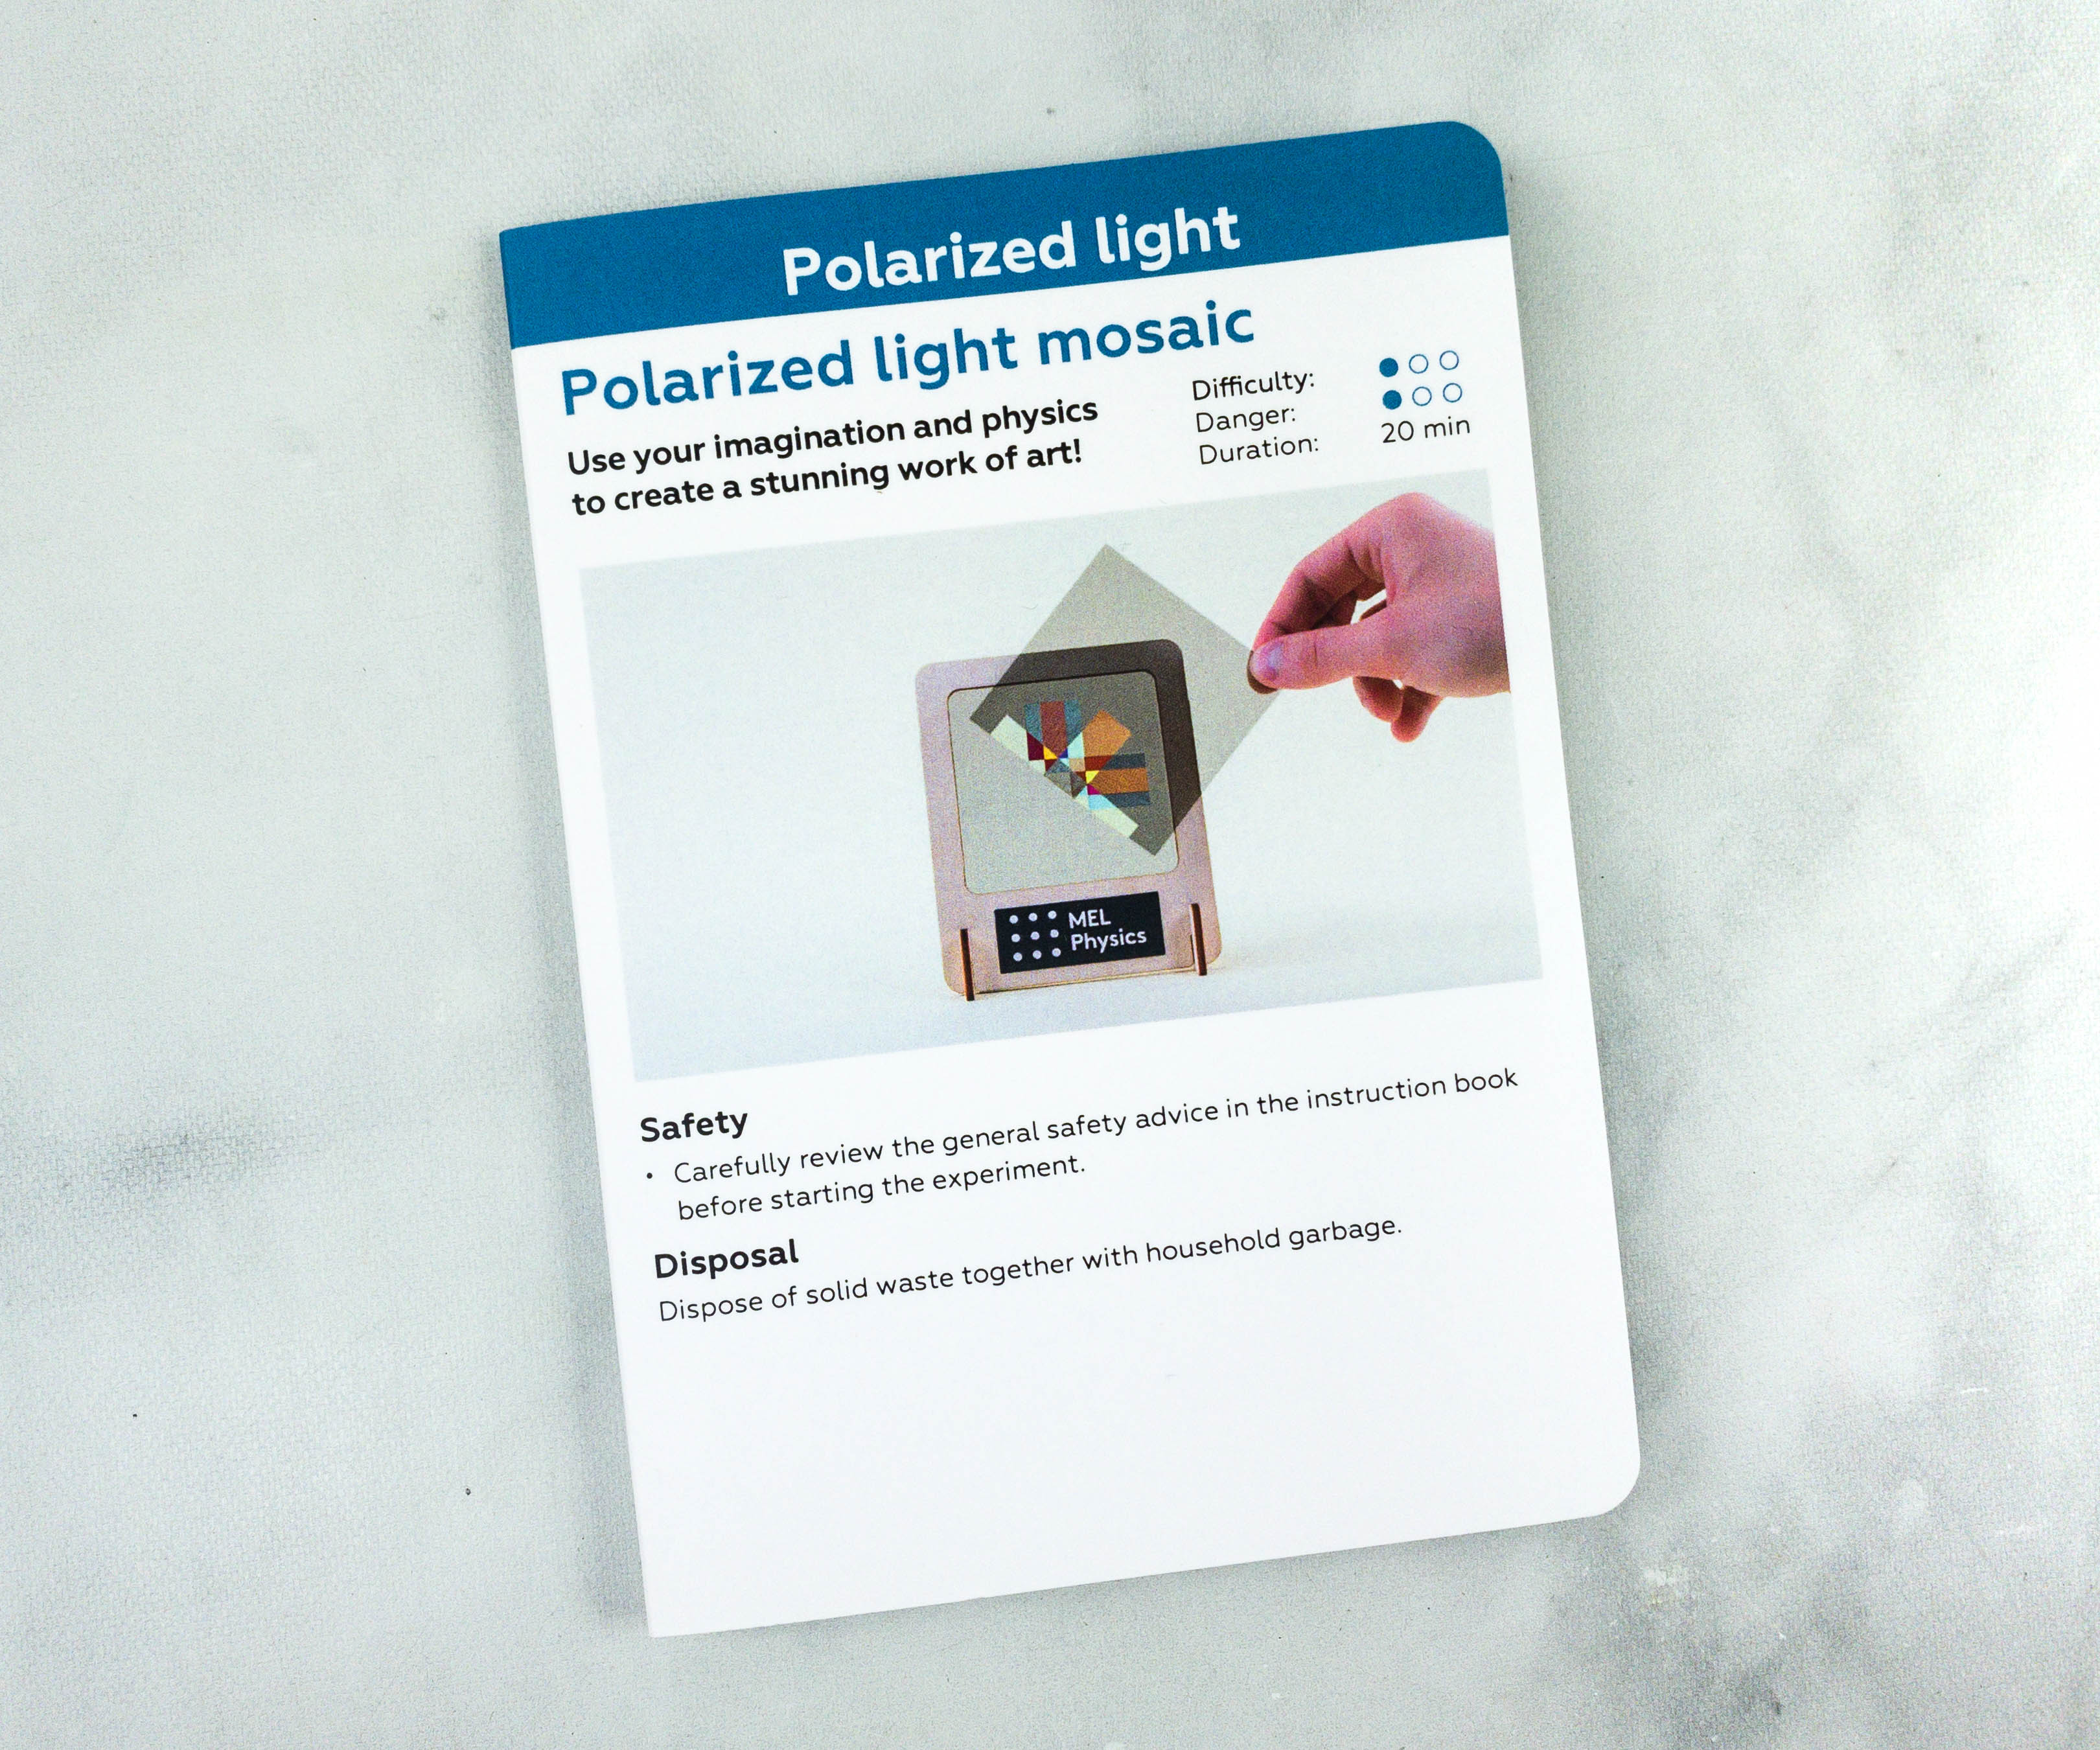
Activity #3: Polarized Light Mosaic. For the last activity, we combined Physics with our imagination to create a striking work of art. According to the booklet, this activity has a level 1 difficulty and danger, and we need at least 20 minutes to finish it.
The card shows that the activity is divided into 3 parts.
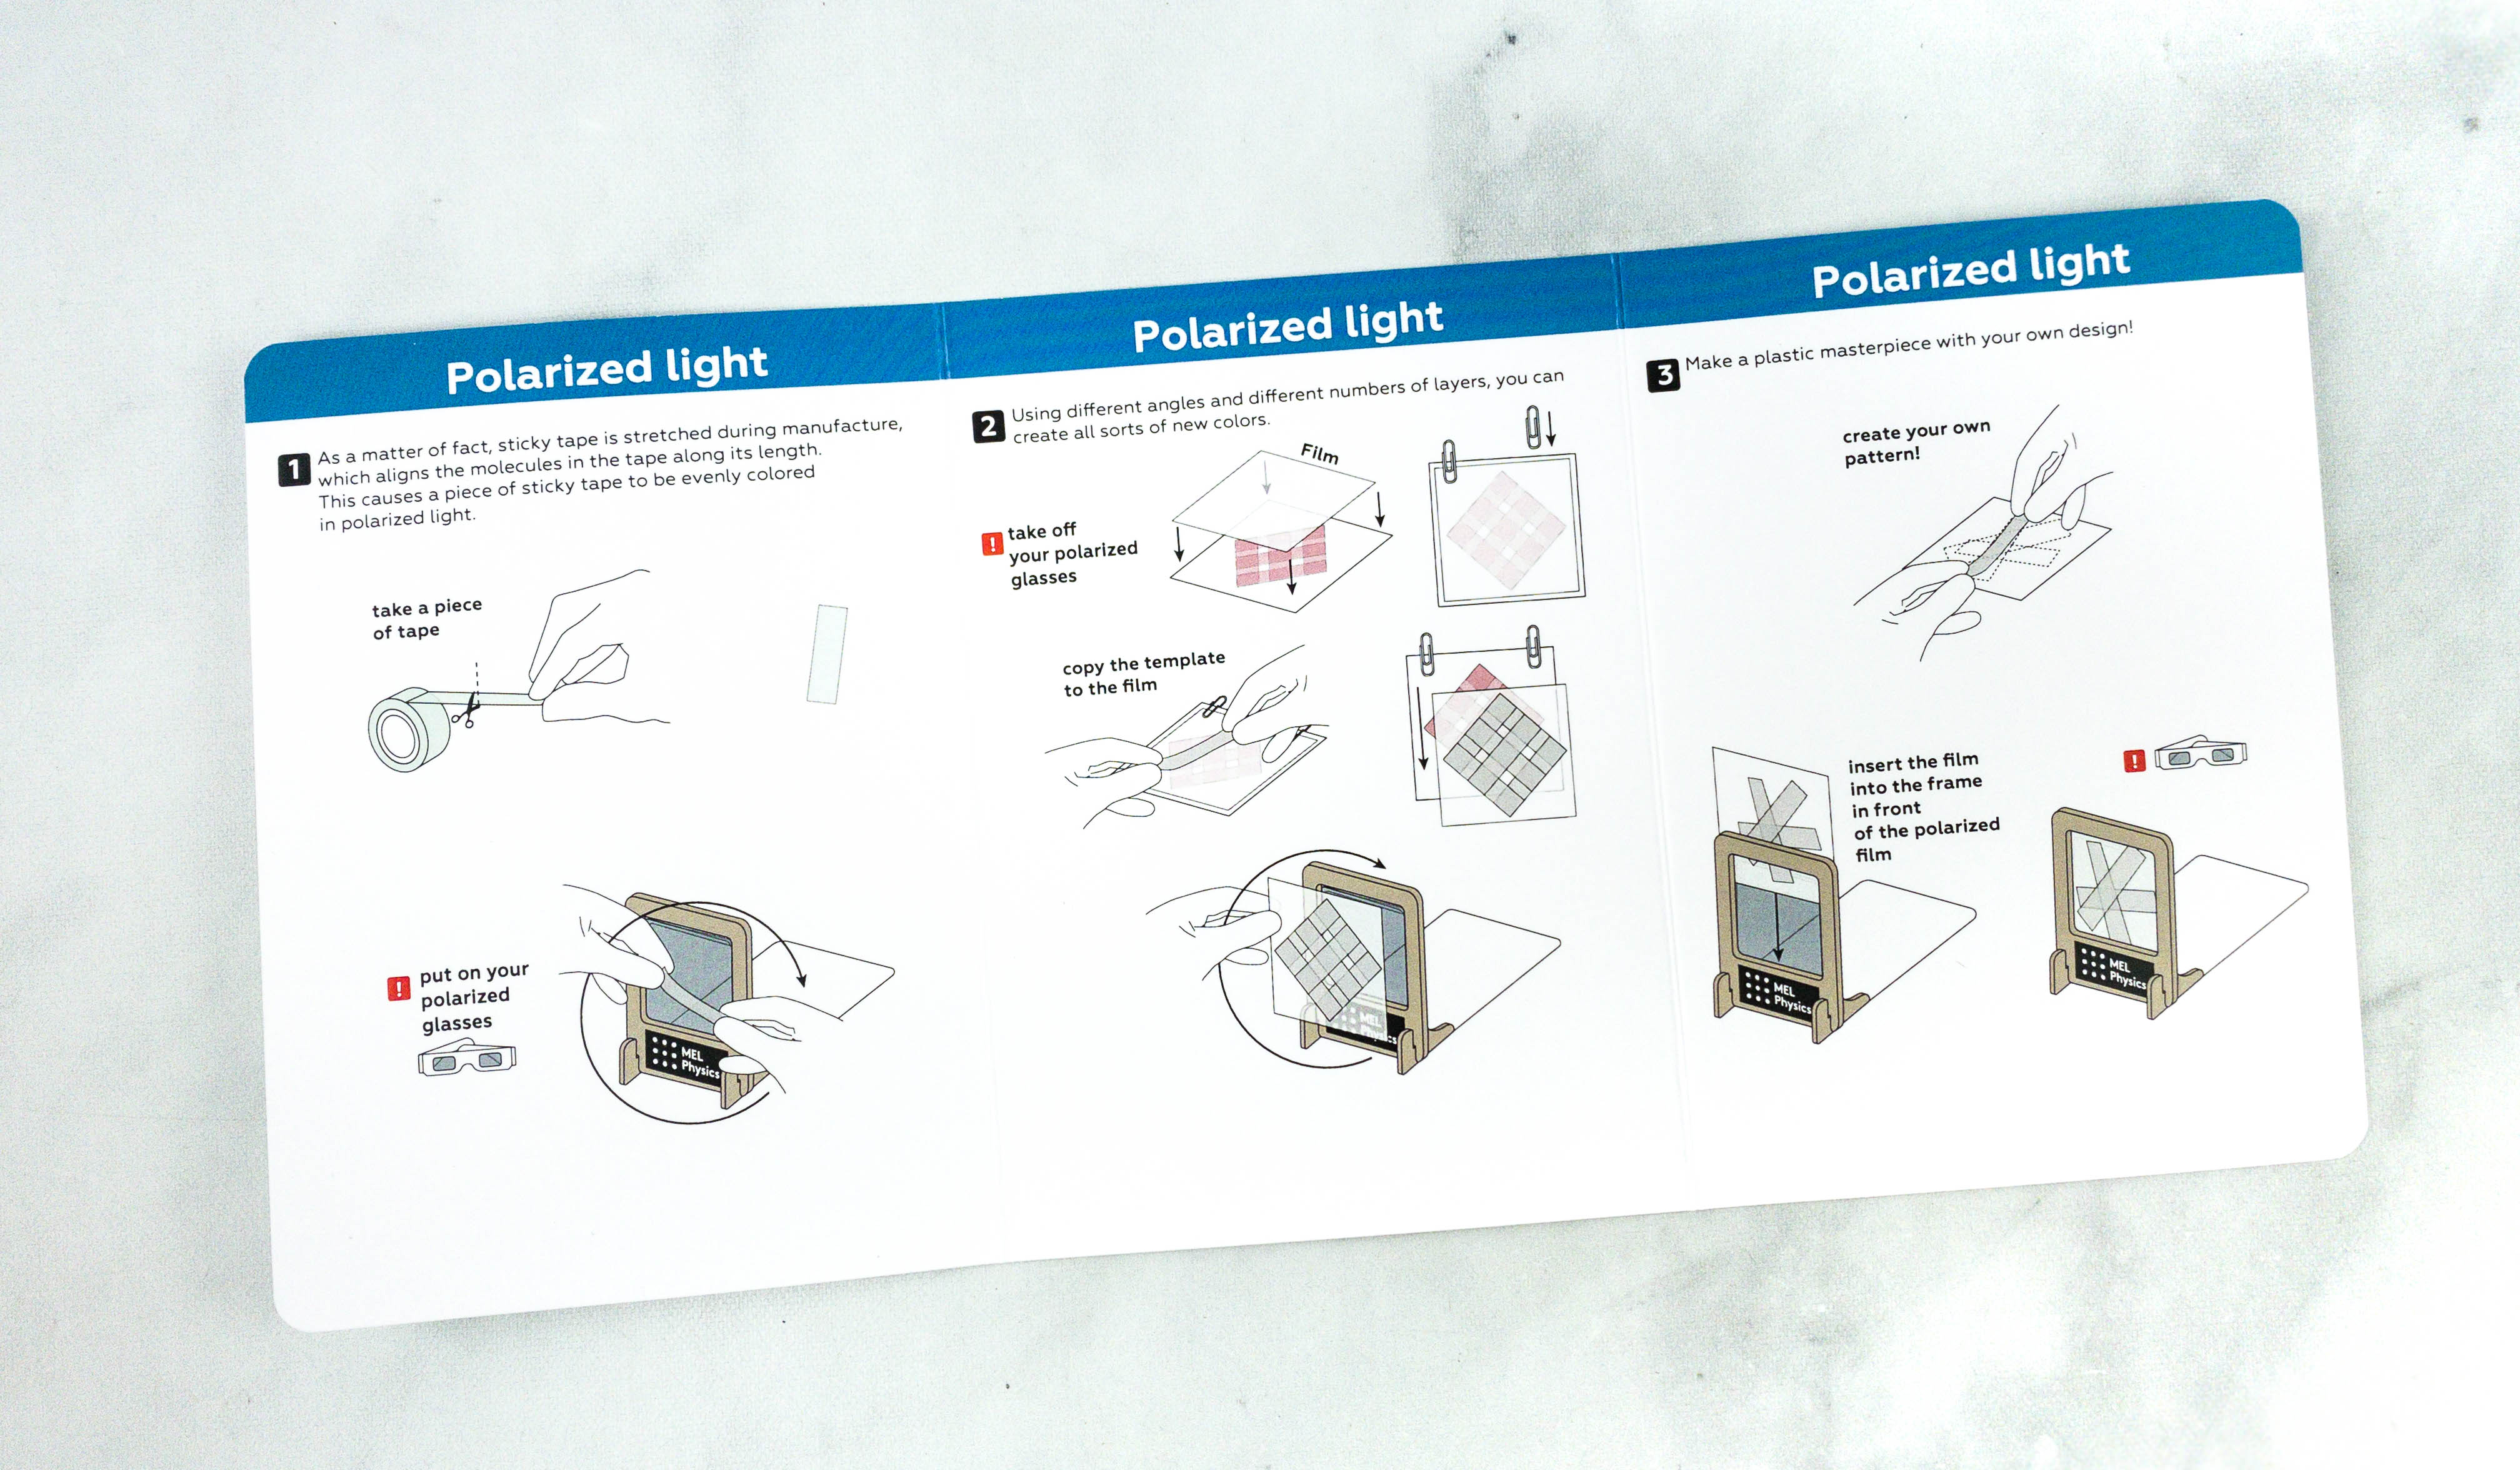
Aside from the step-by-step procedure, every booklet also comes with a brief explanation of how the experiments work.
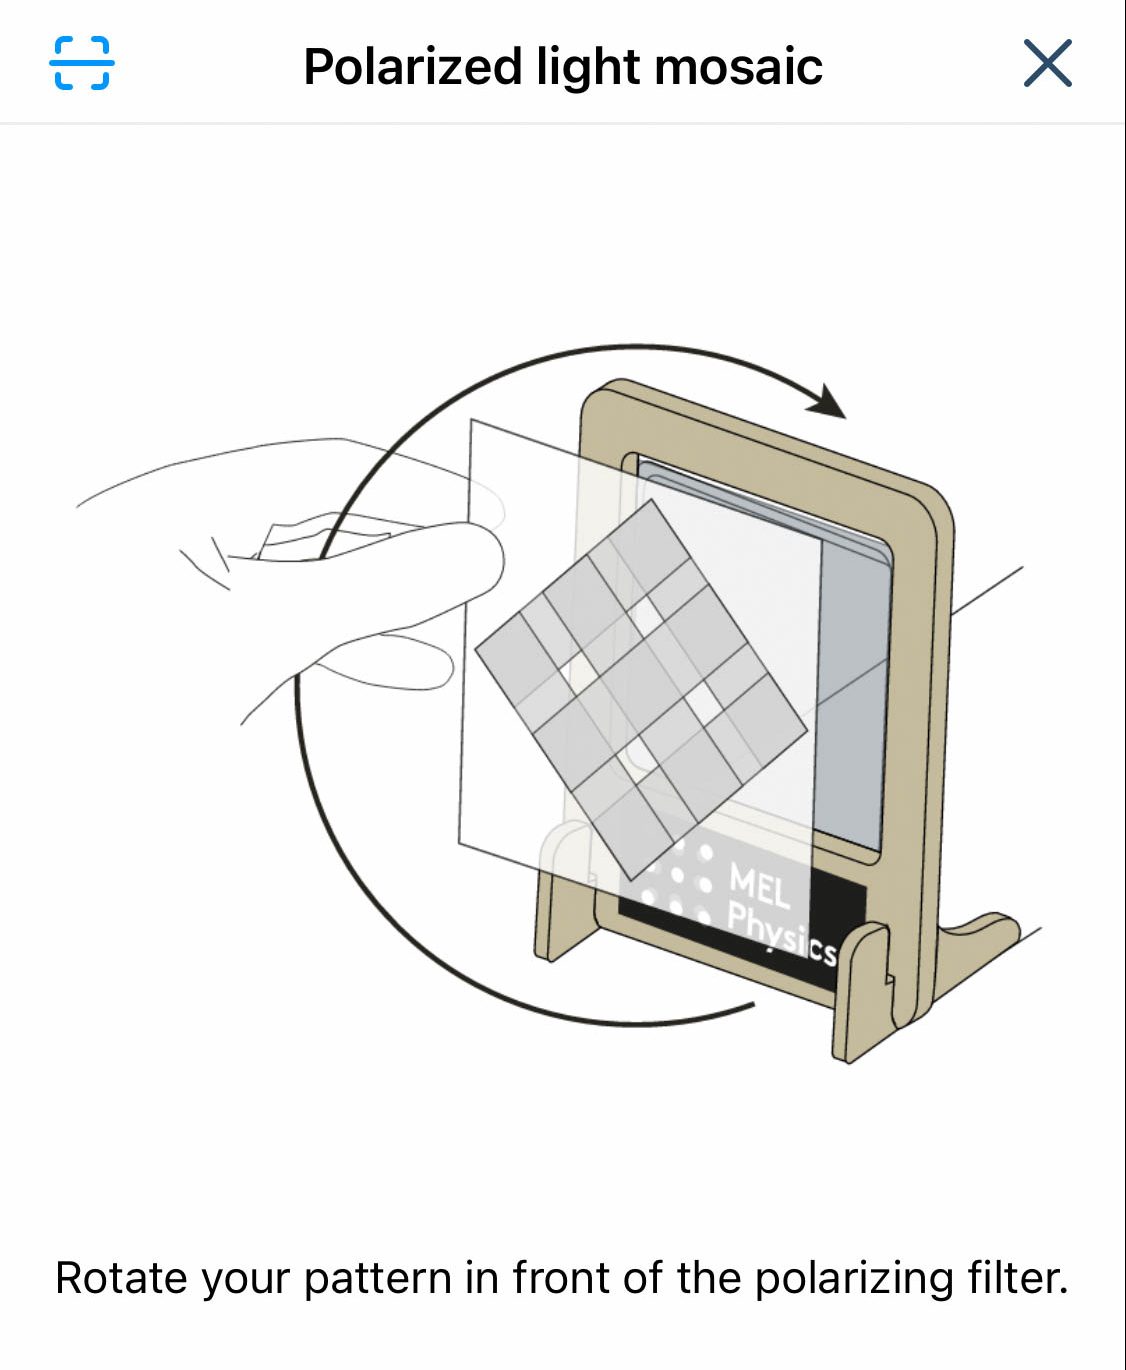
According to the app, the objective of this experiment is to search for defects in transparent plastic objects.
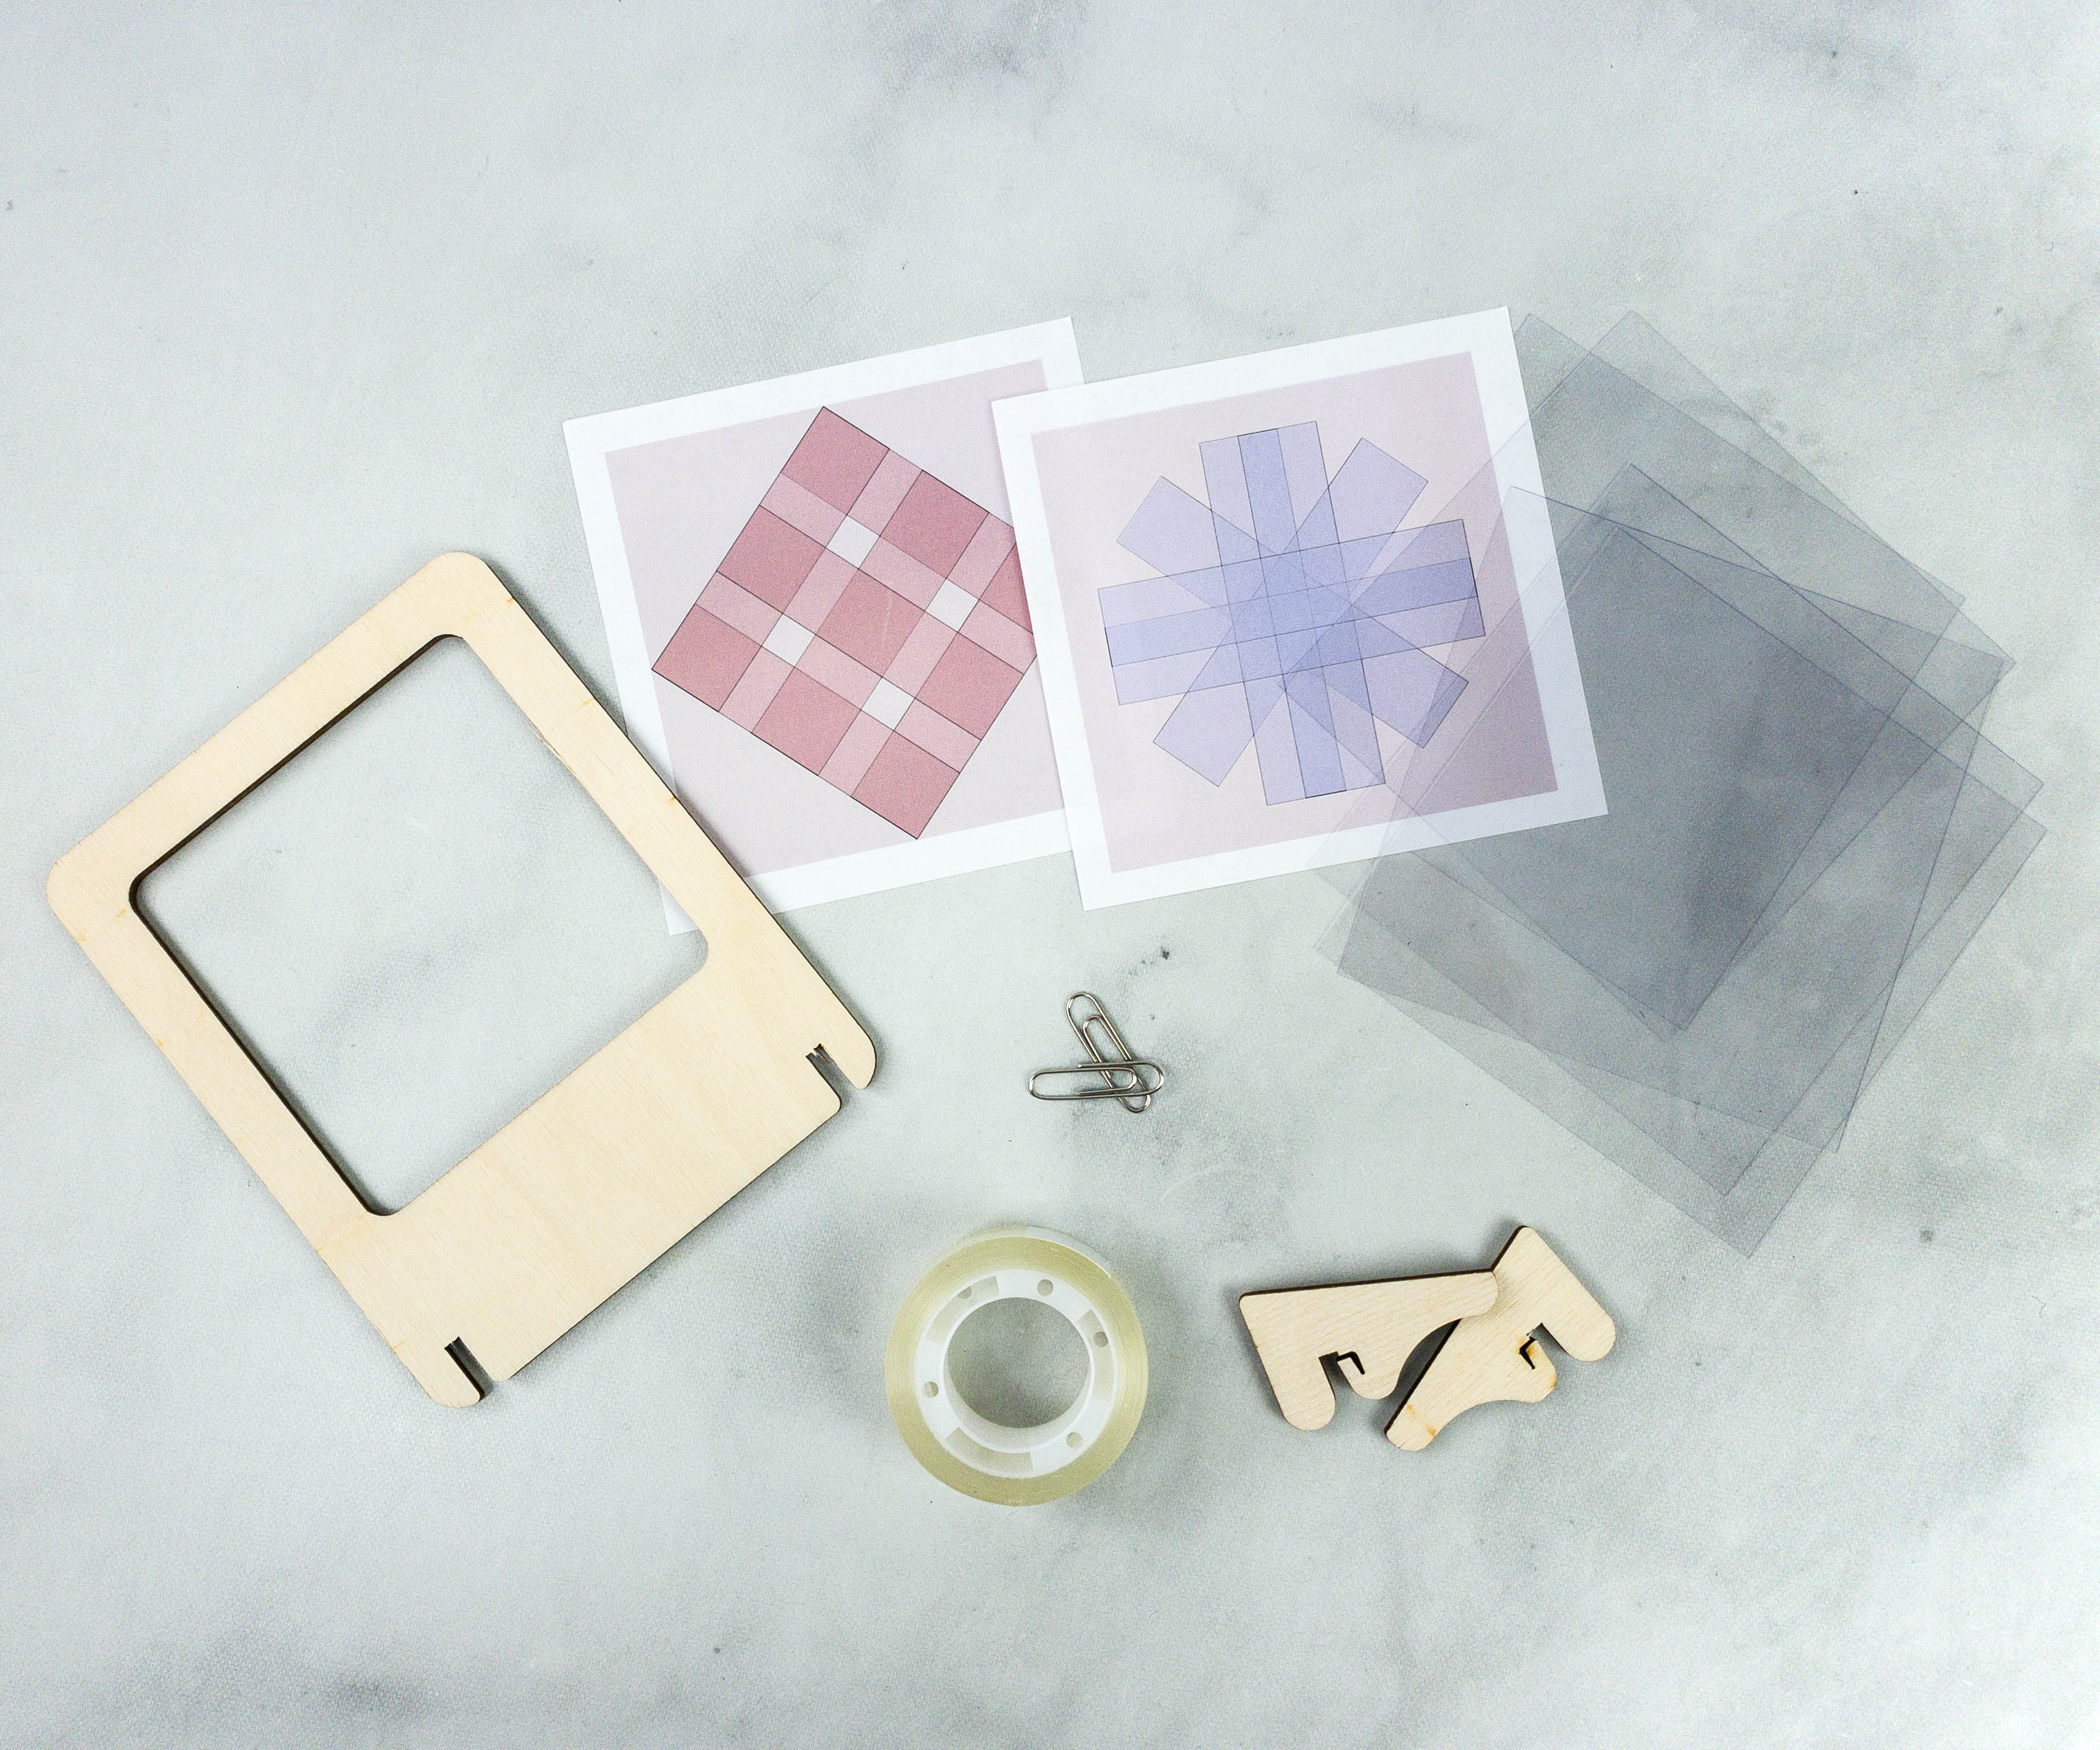
For the last project, we used a wooden frame, paper clip, tape, pattern, and polarized film.
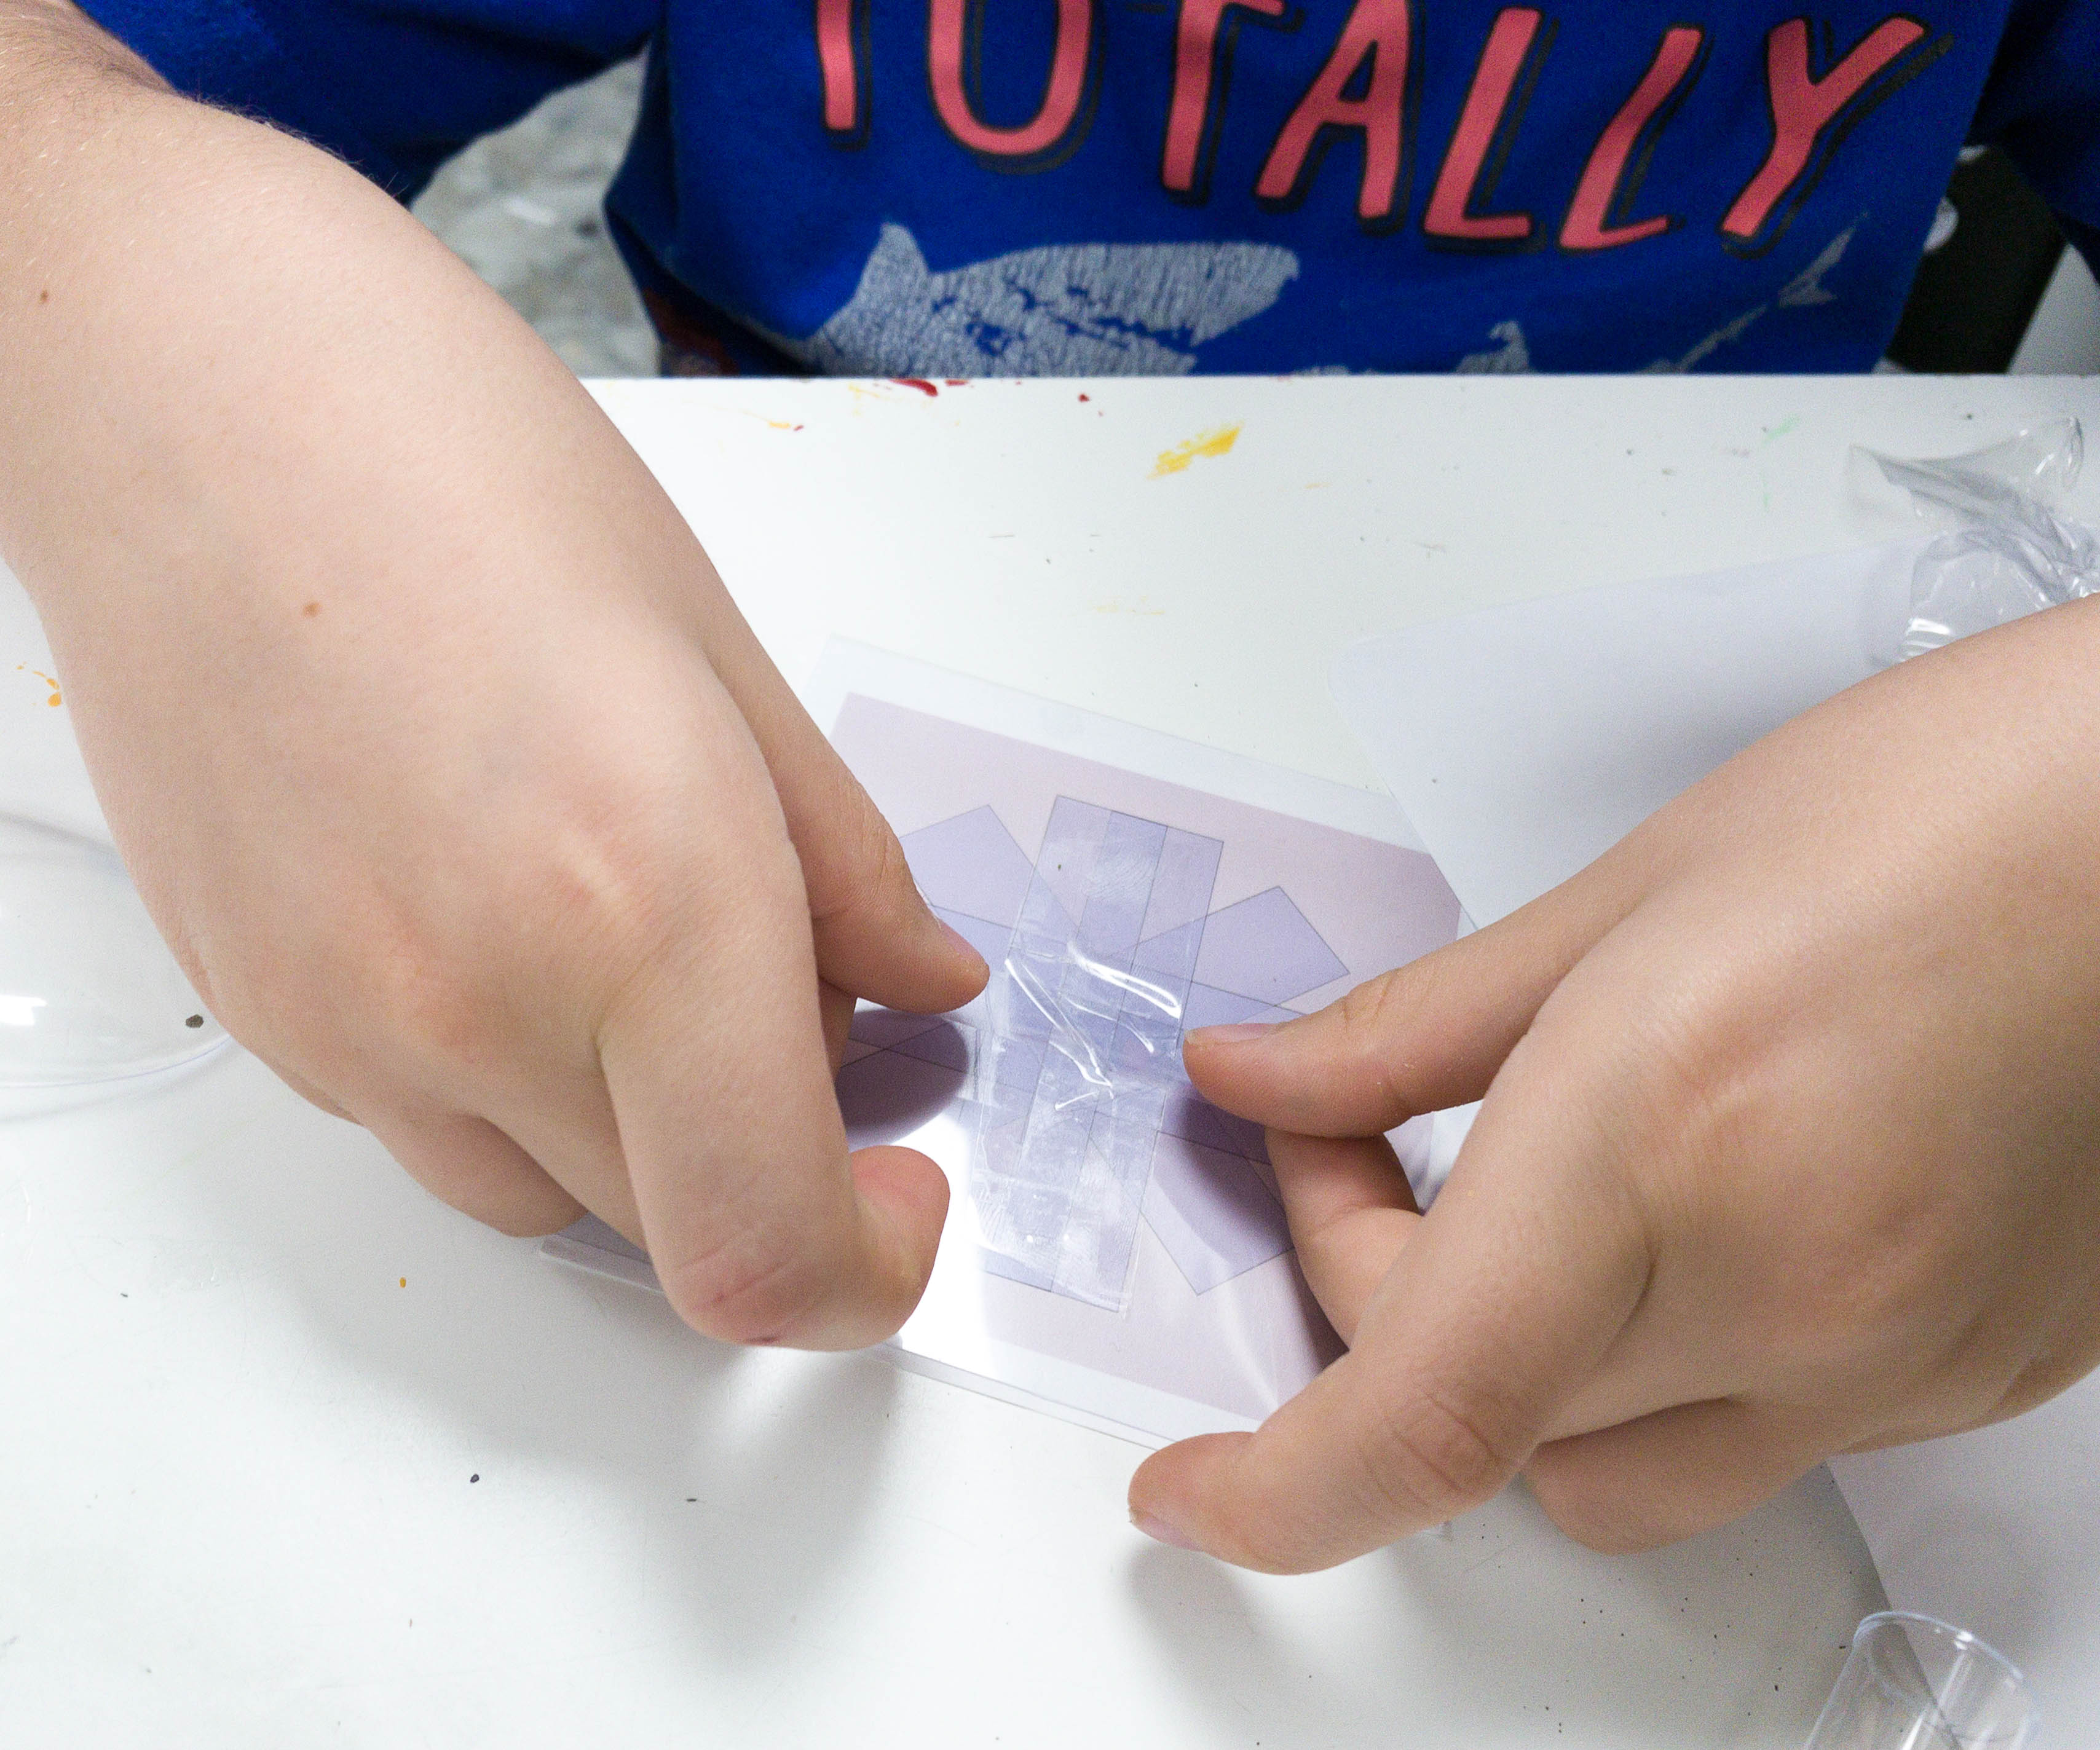
This project is easy, all we need to do is cut an adhesive tape and stick it to the pattern.
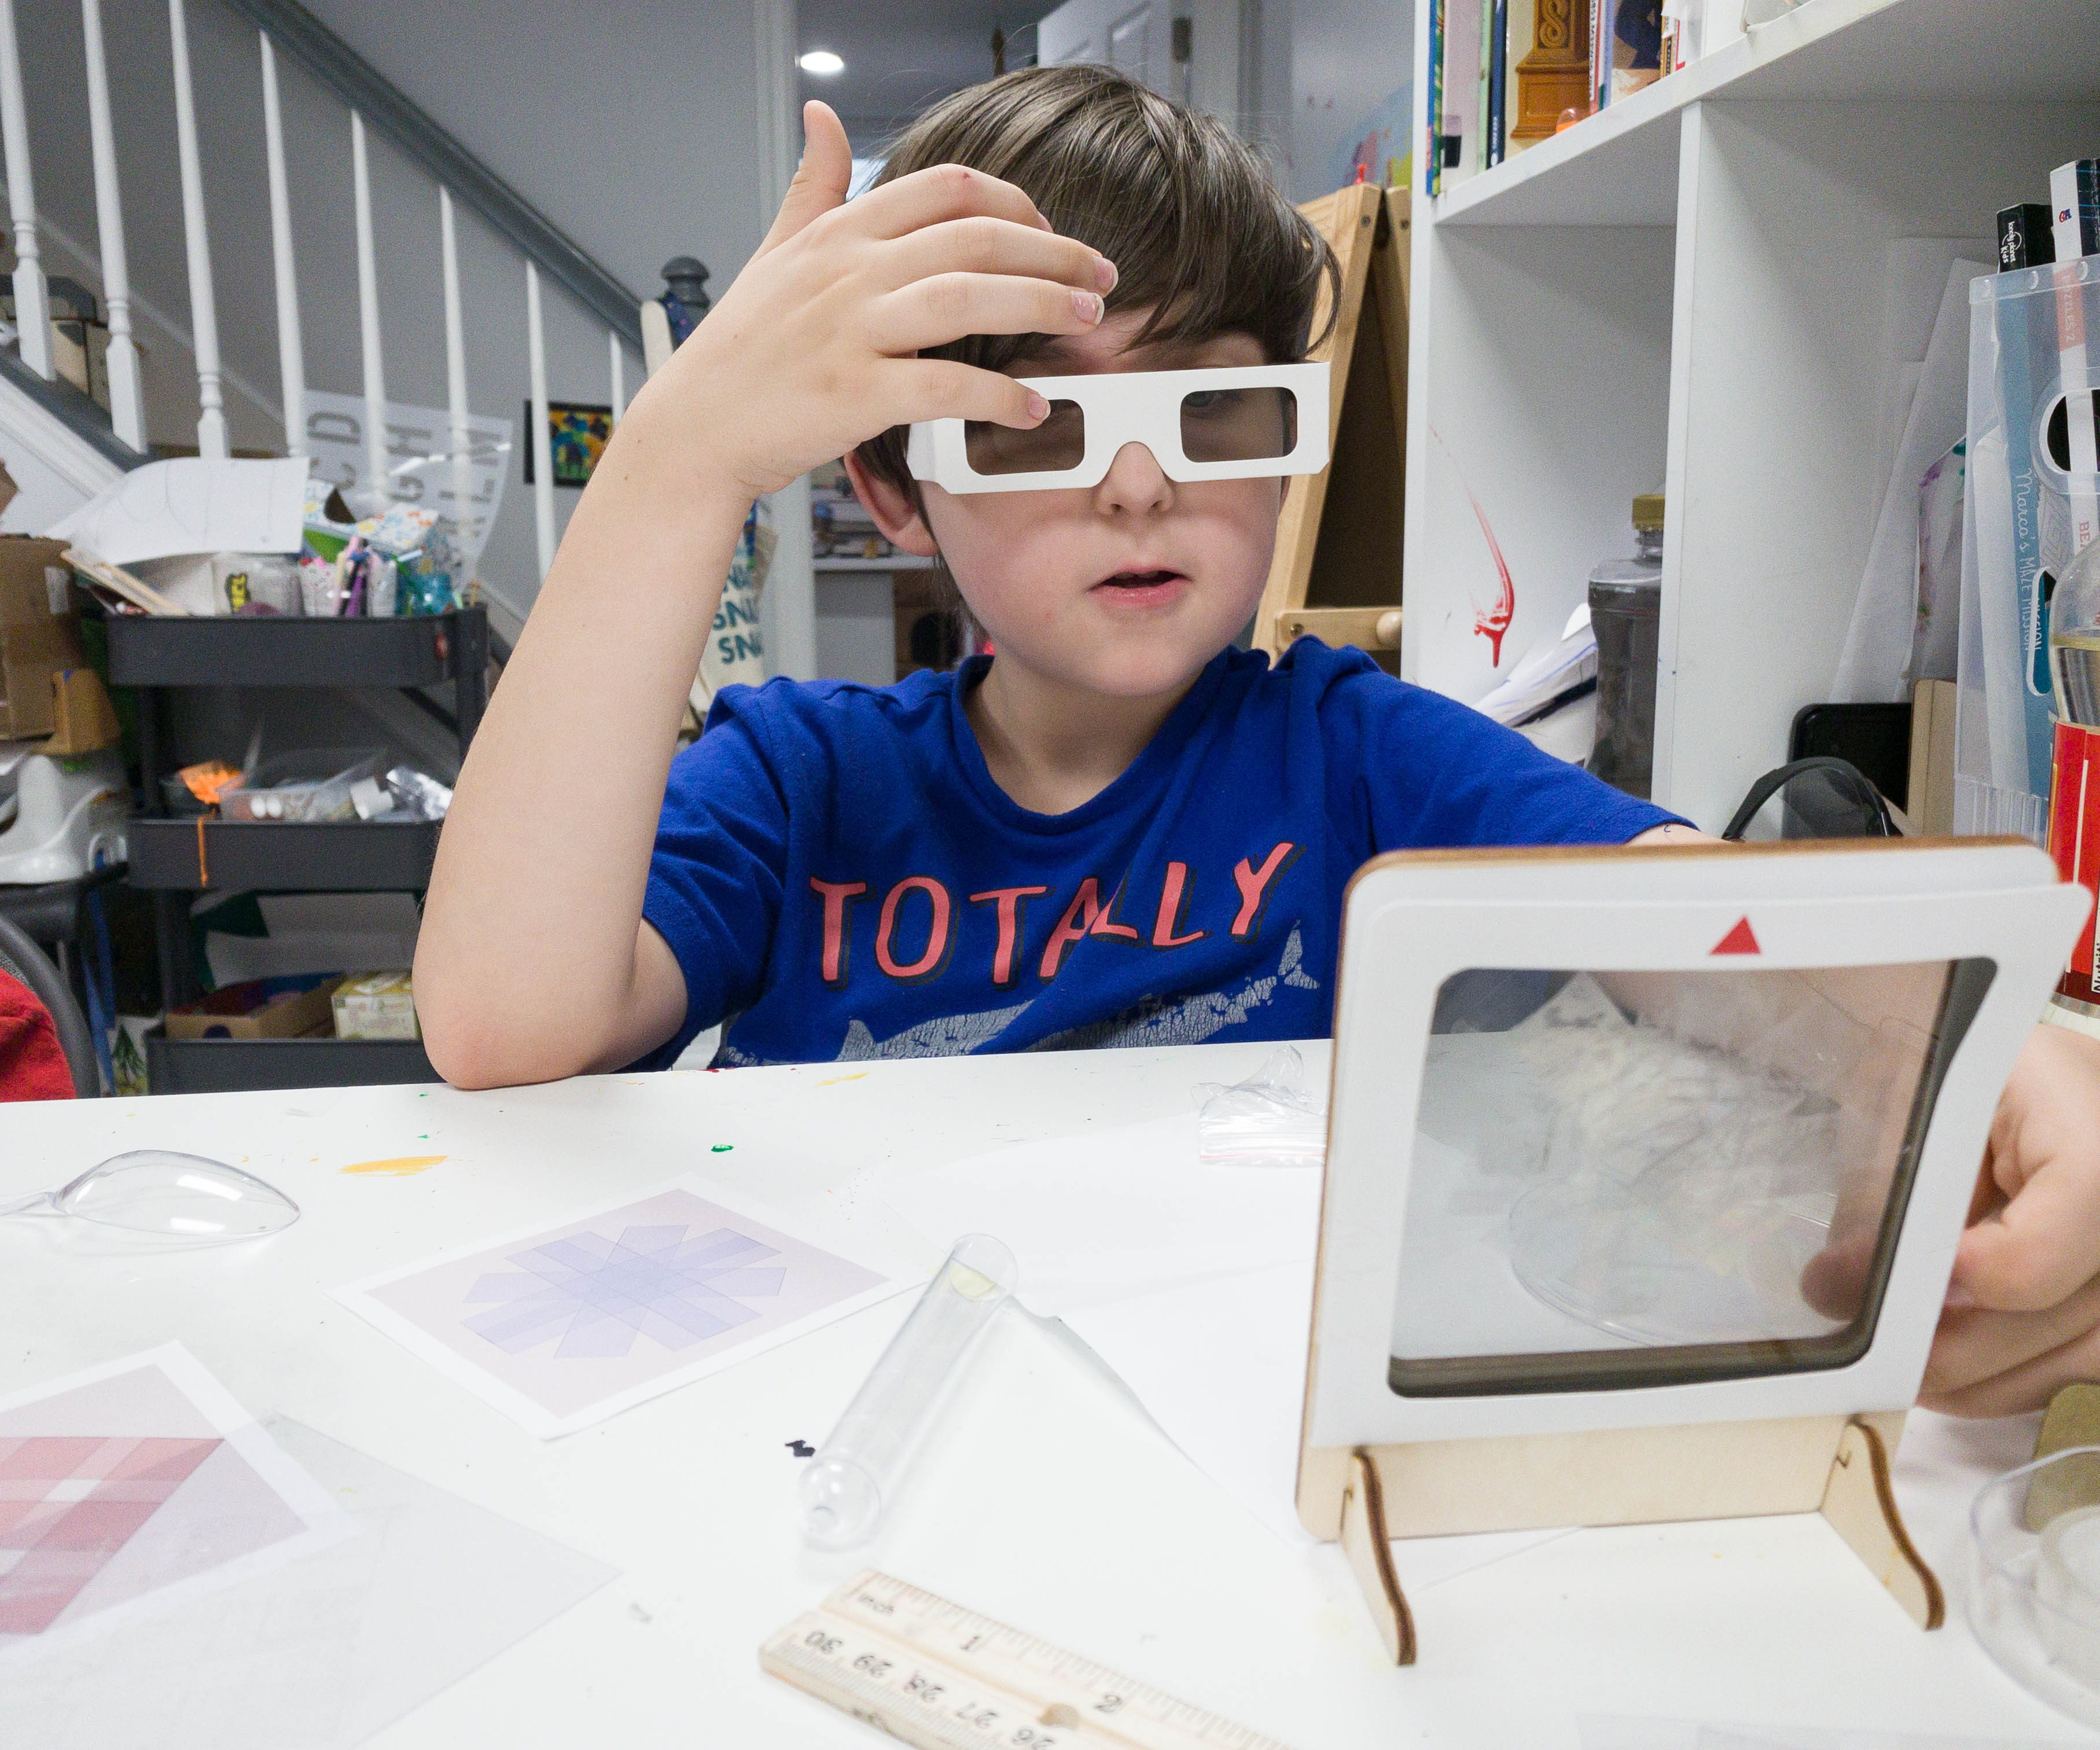
The next step is to slide the film on the frame and then wear the polarized glass. Then, check the glass for the pattern that we can’t see using our bare eyes!
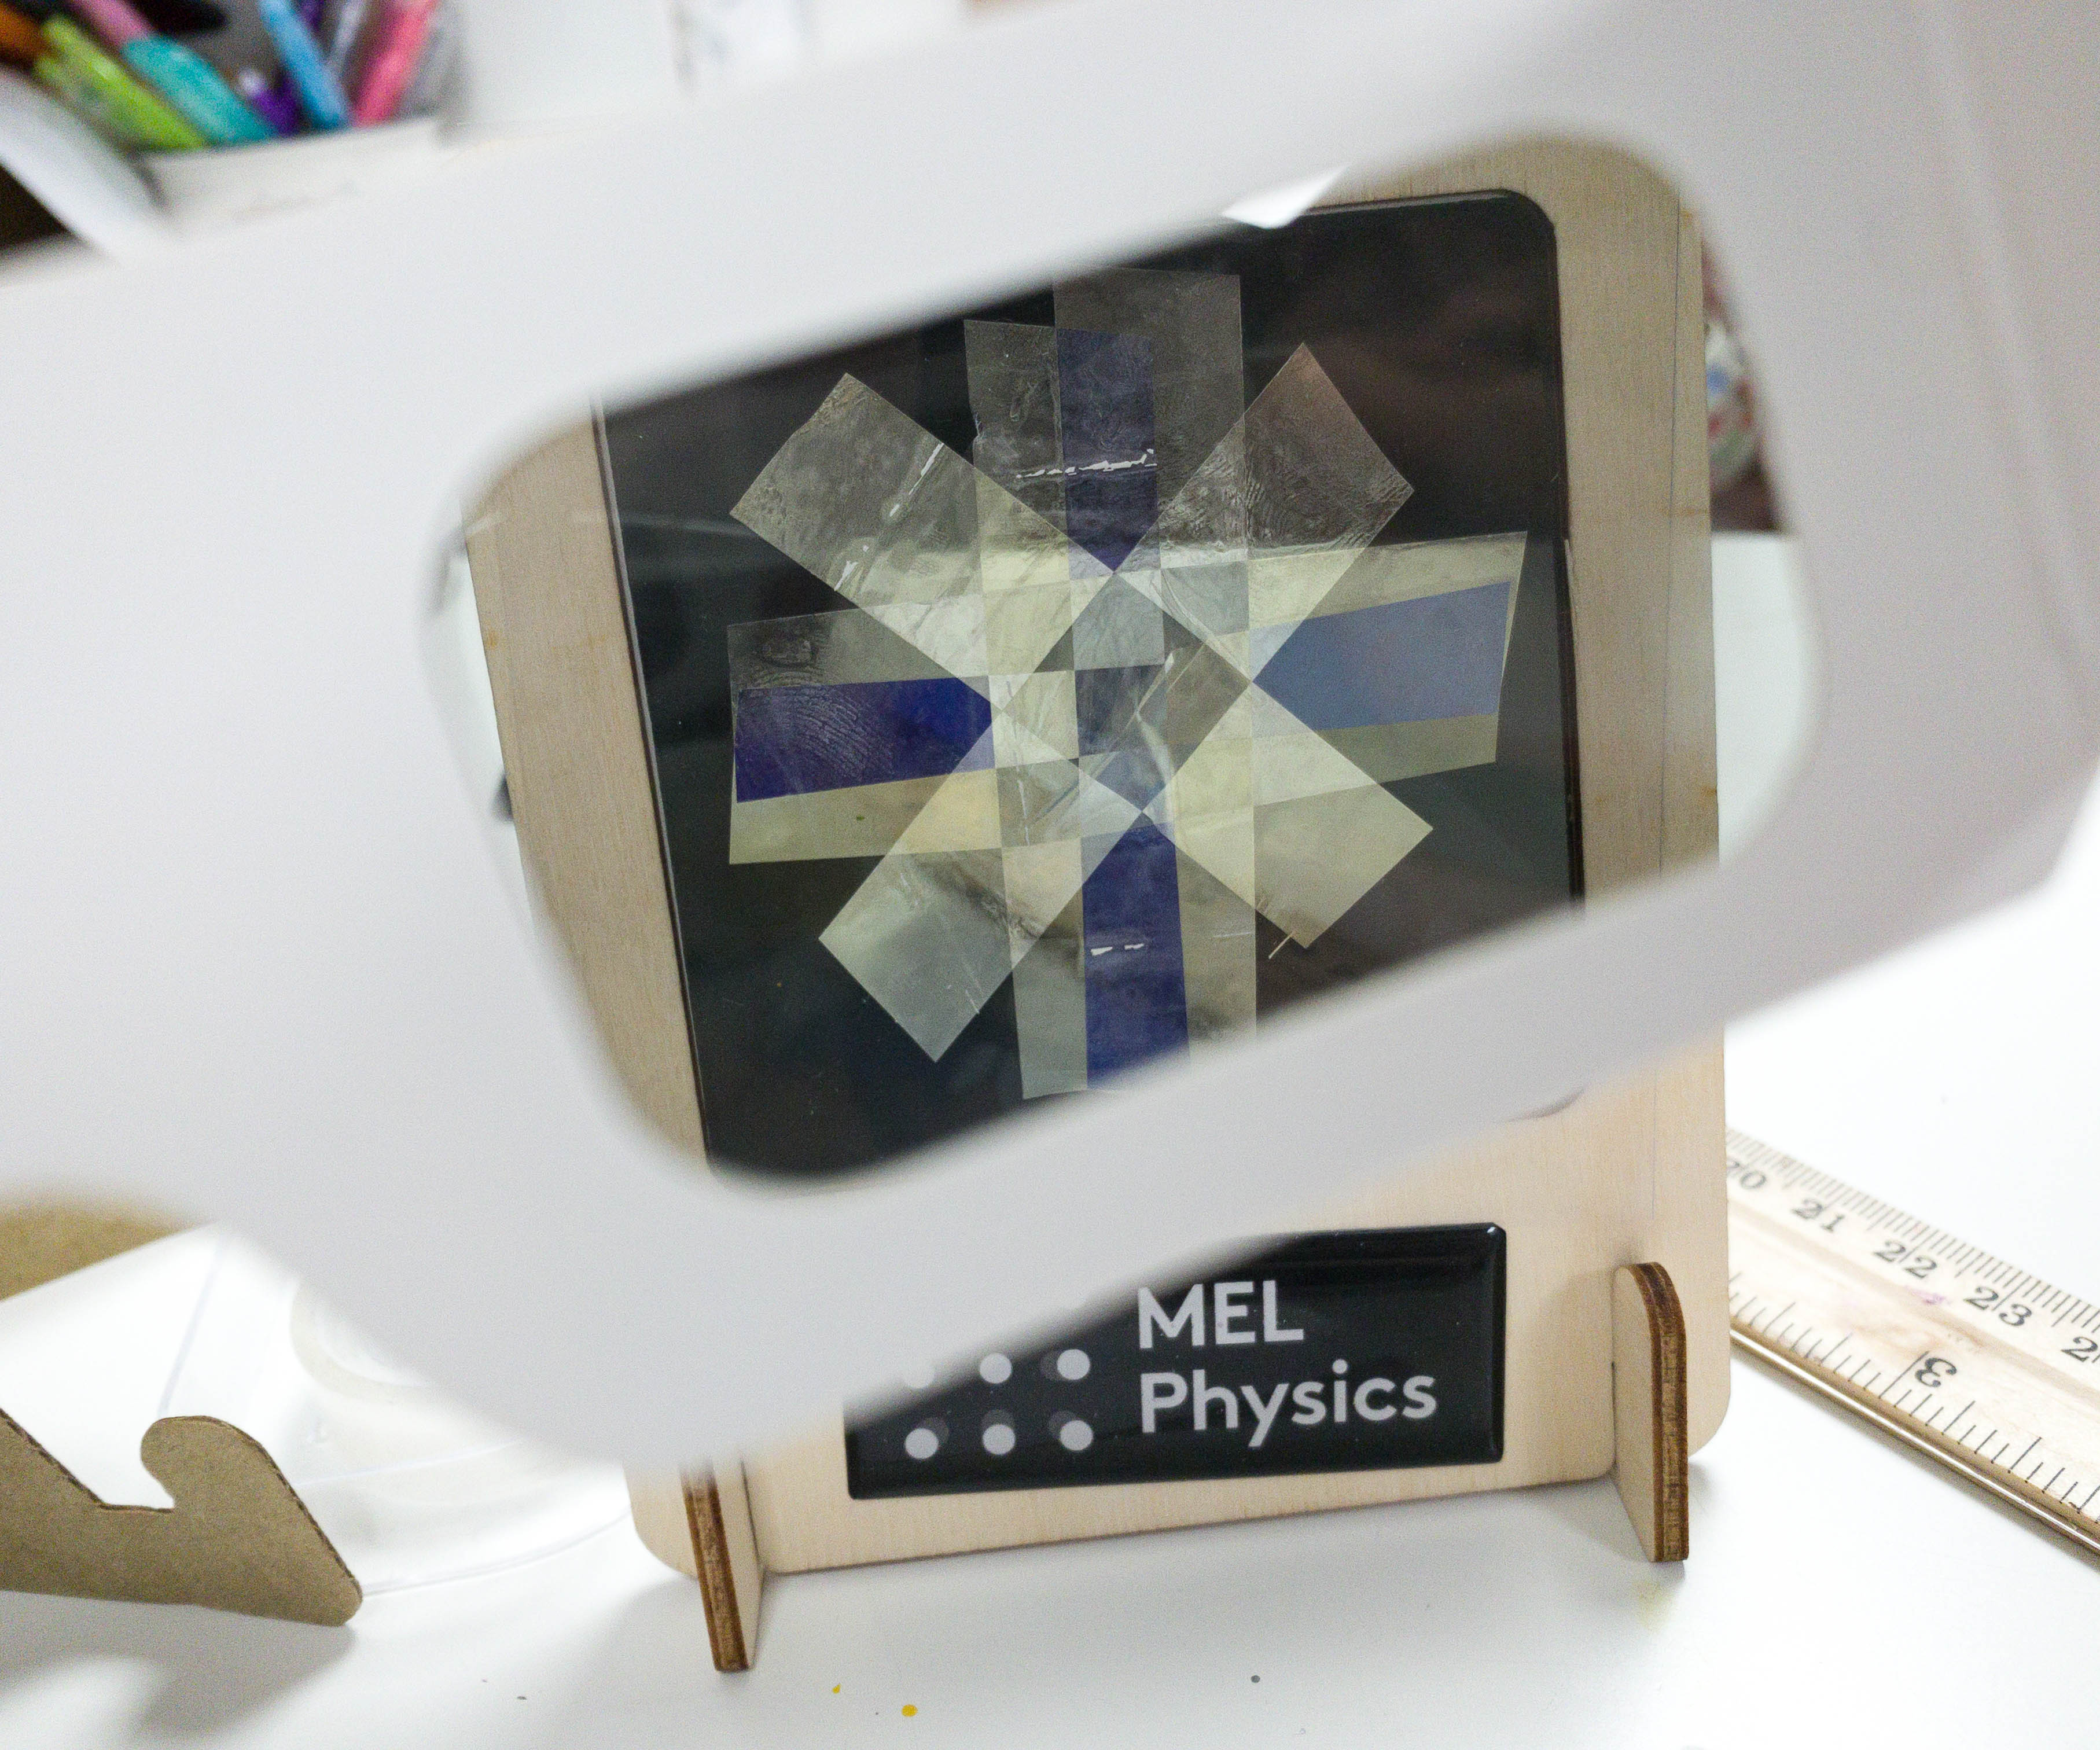
This is how the pattern looks like when you look at it using the polarized glass.
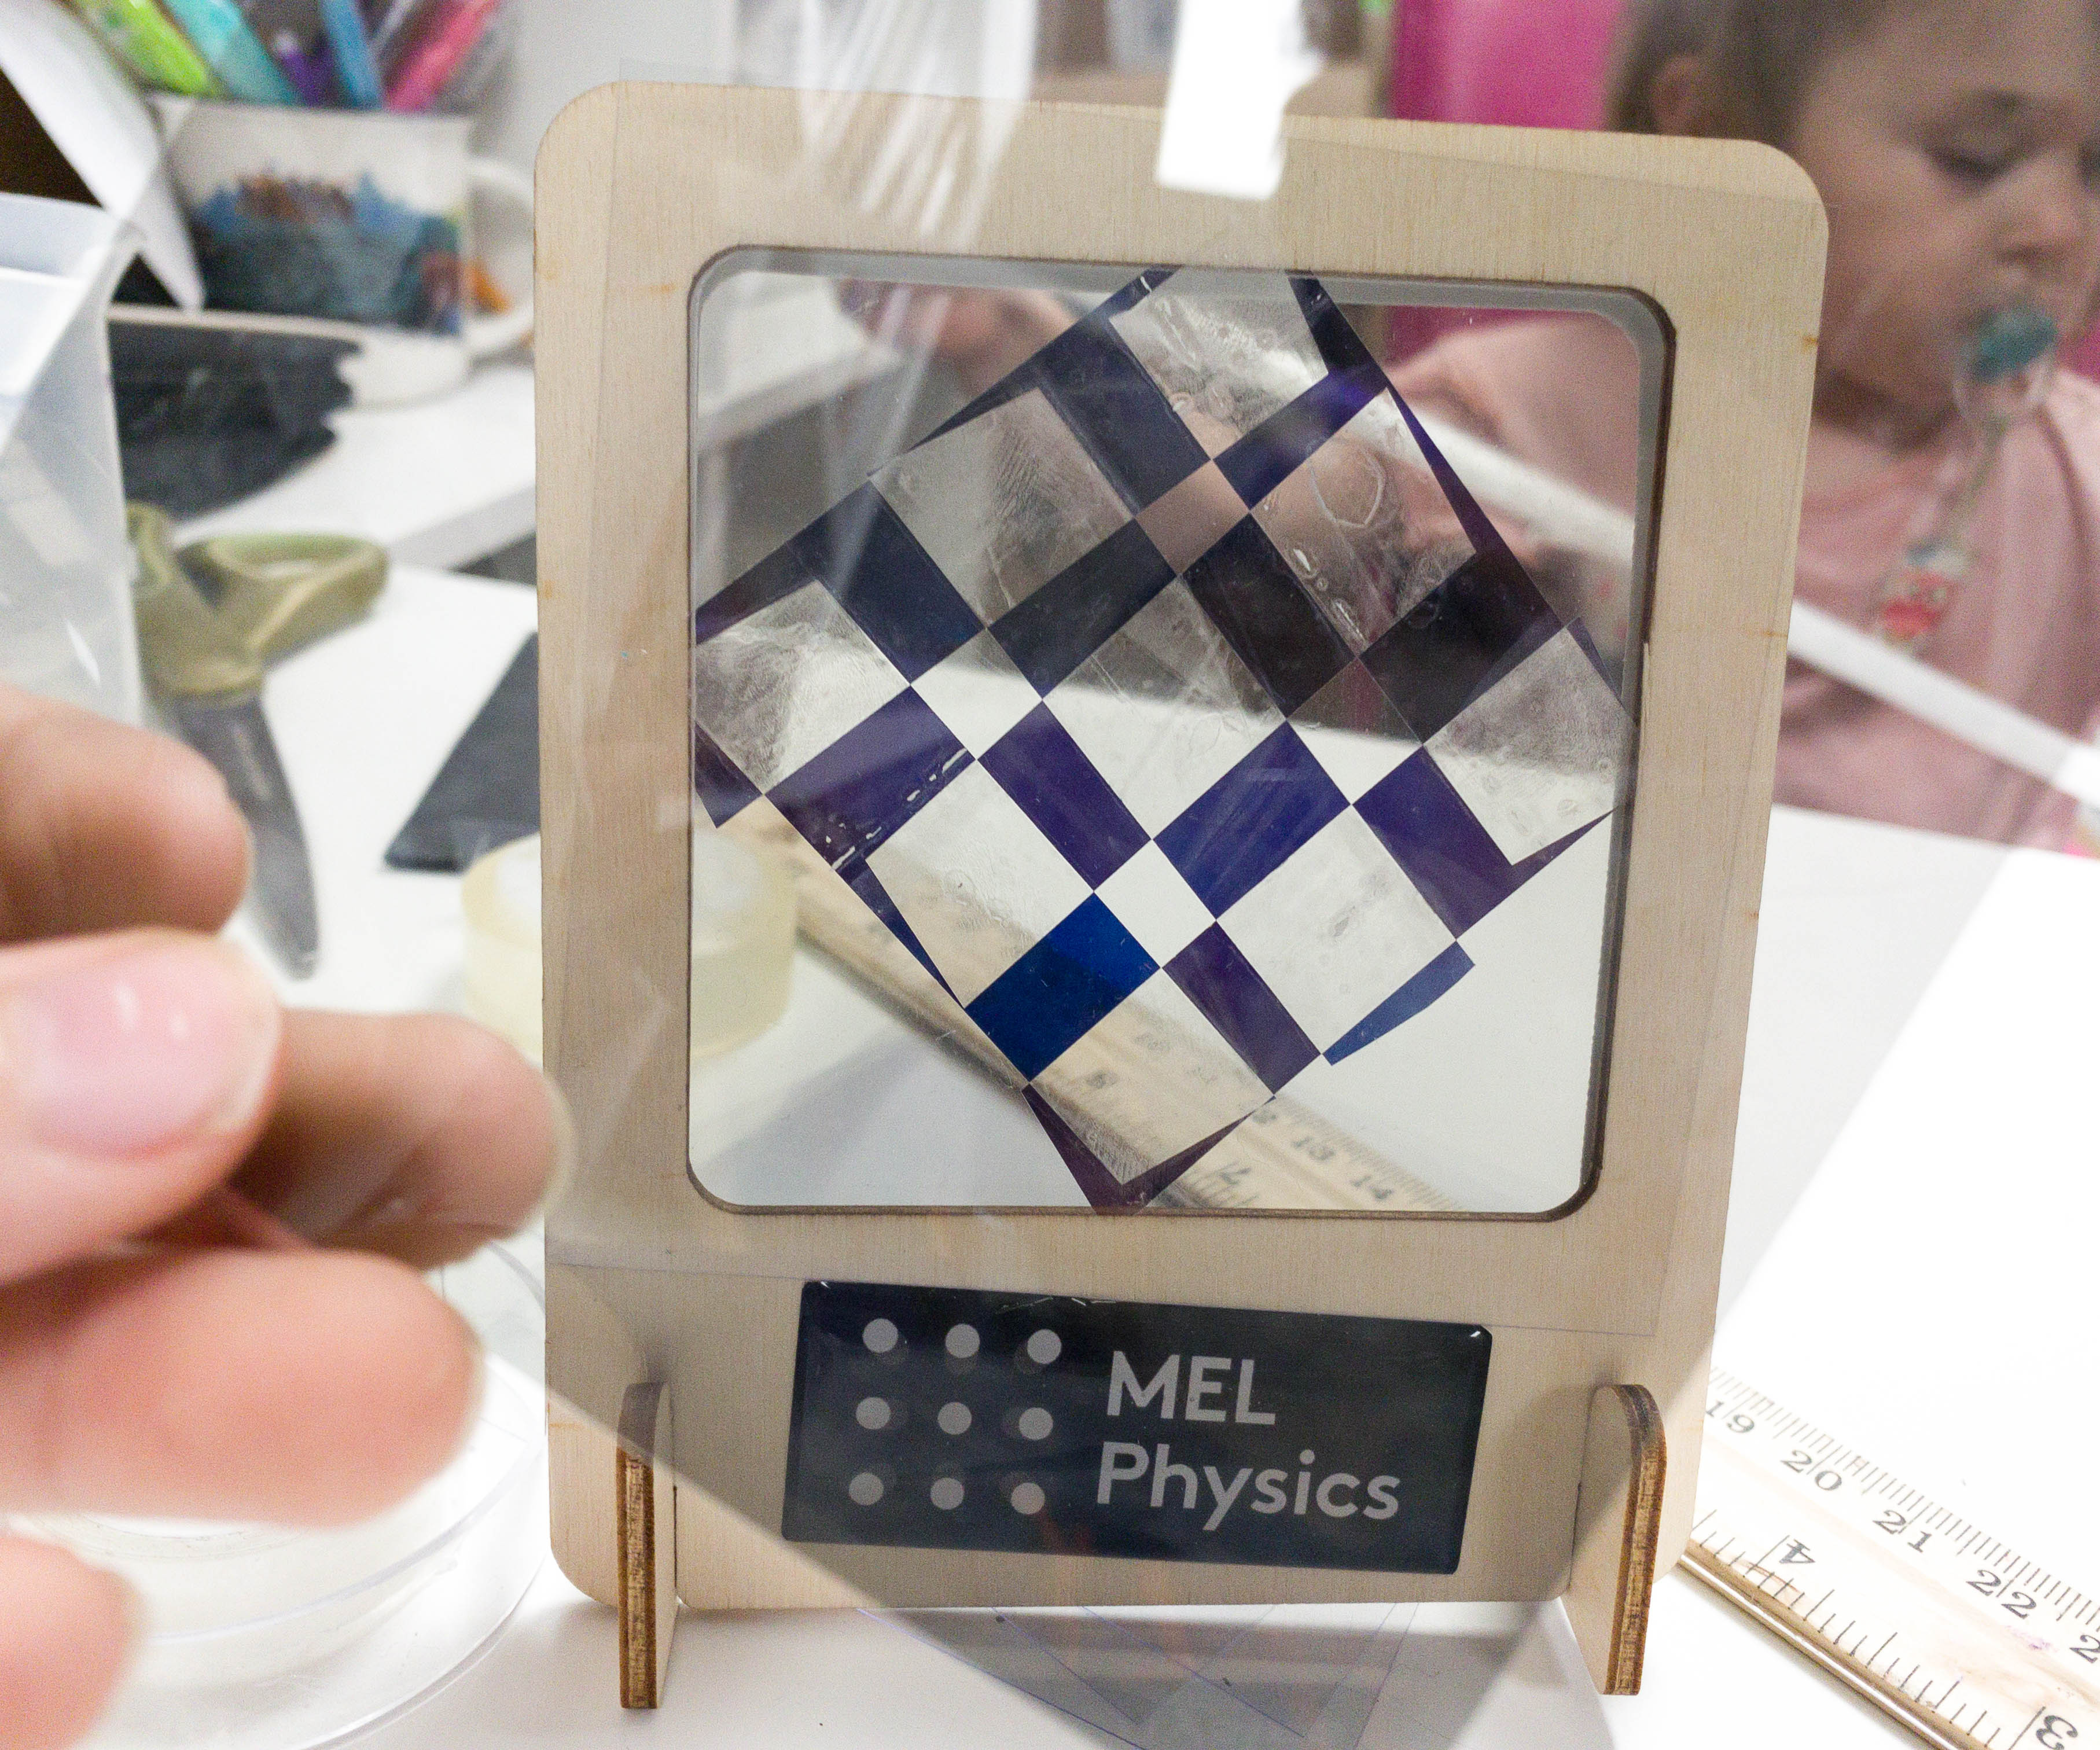
You can also use the extra polarized film to check your amazing polarizing mosaic.

This month, we also received a bonus experiment from our MEL Physics app.
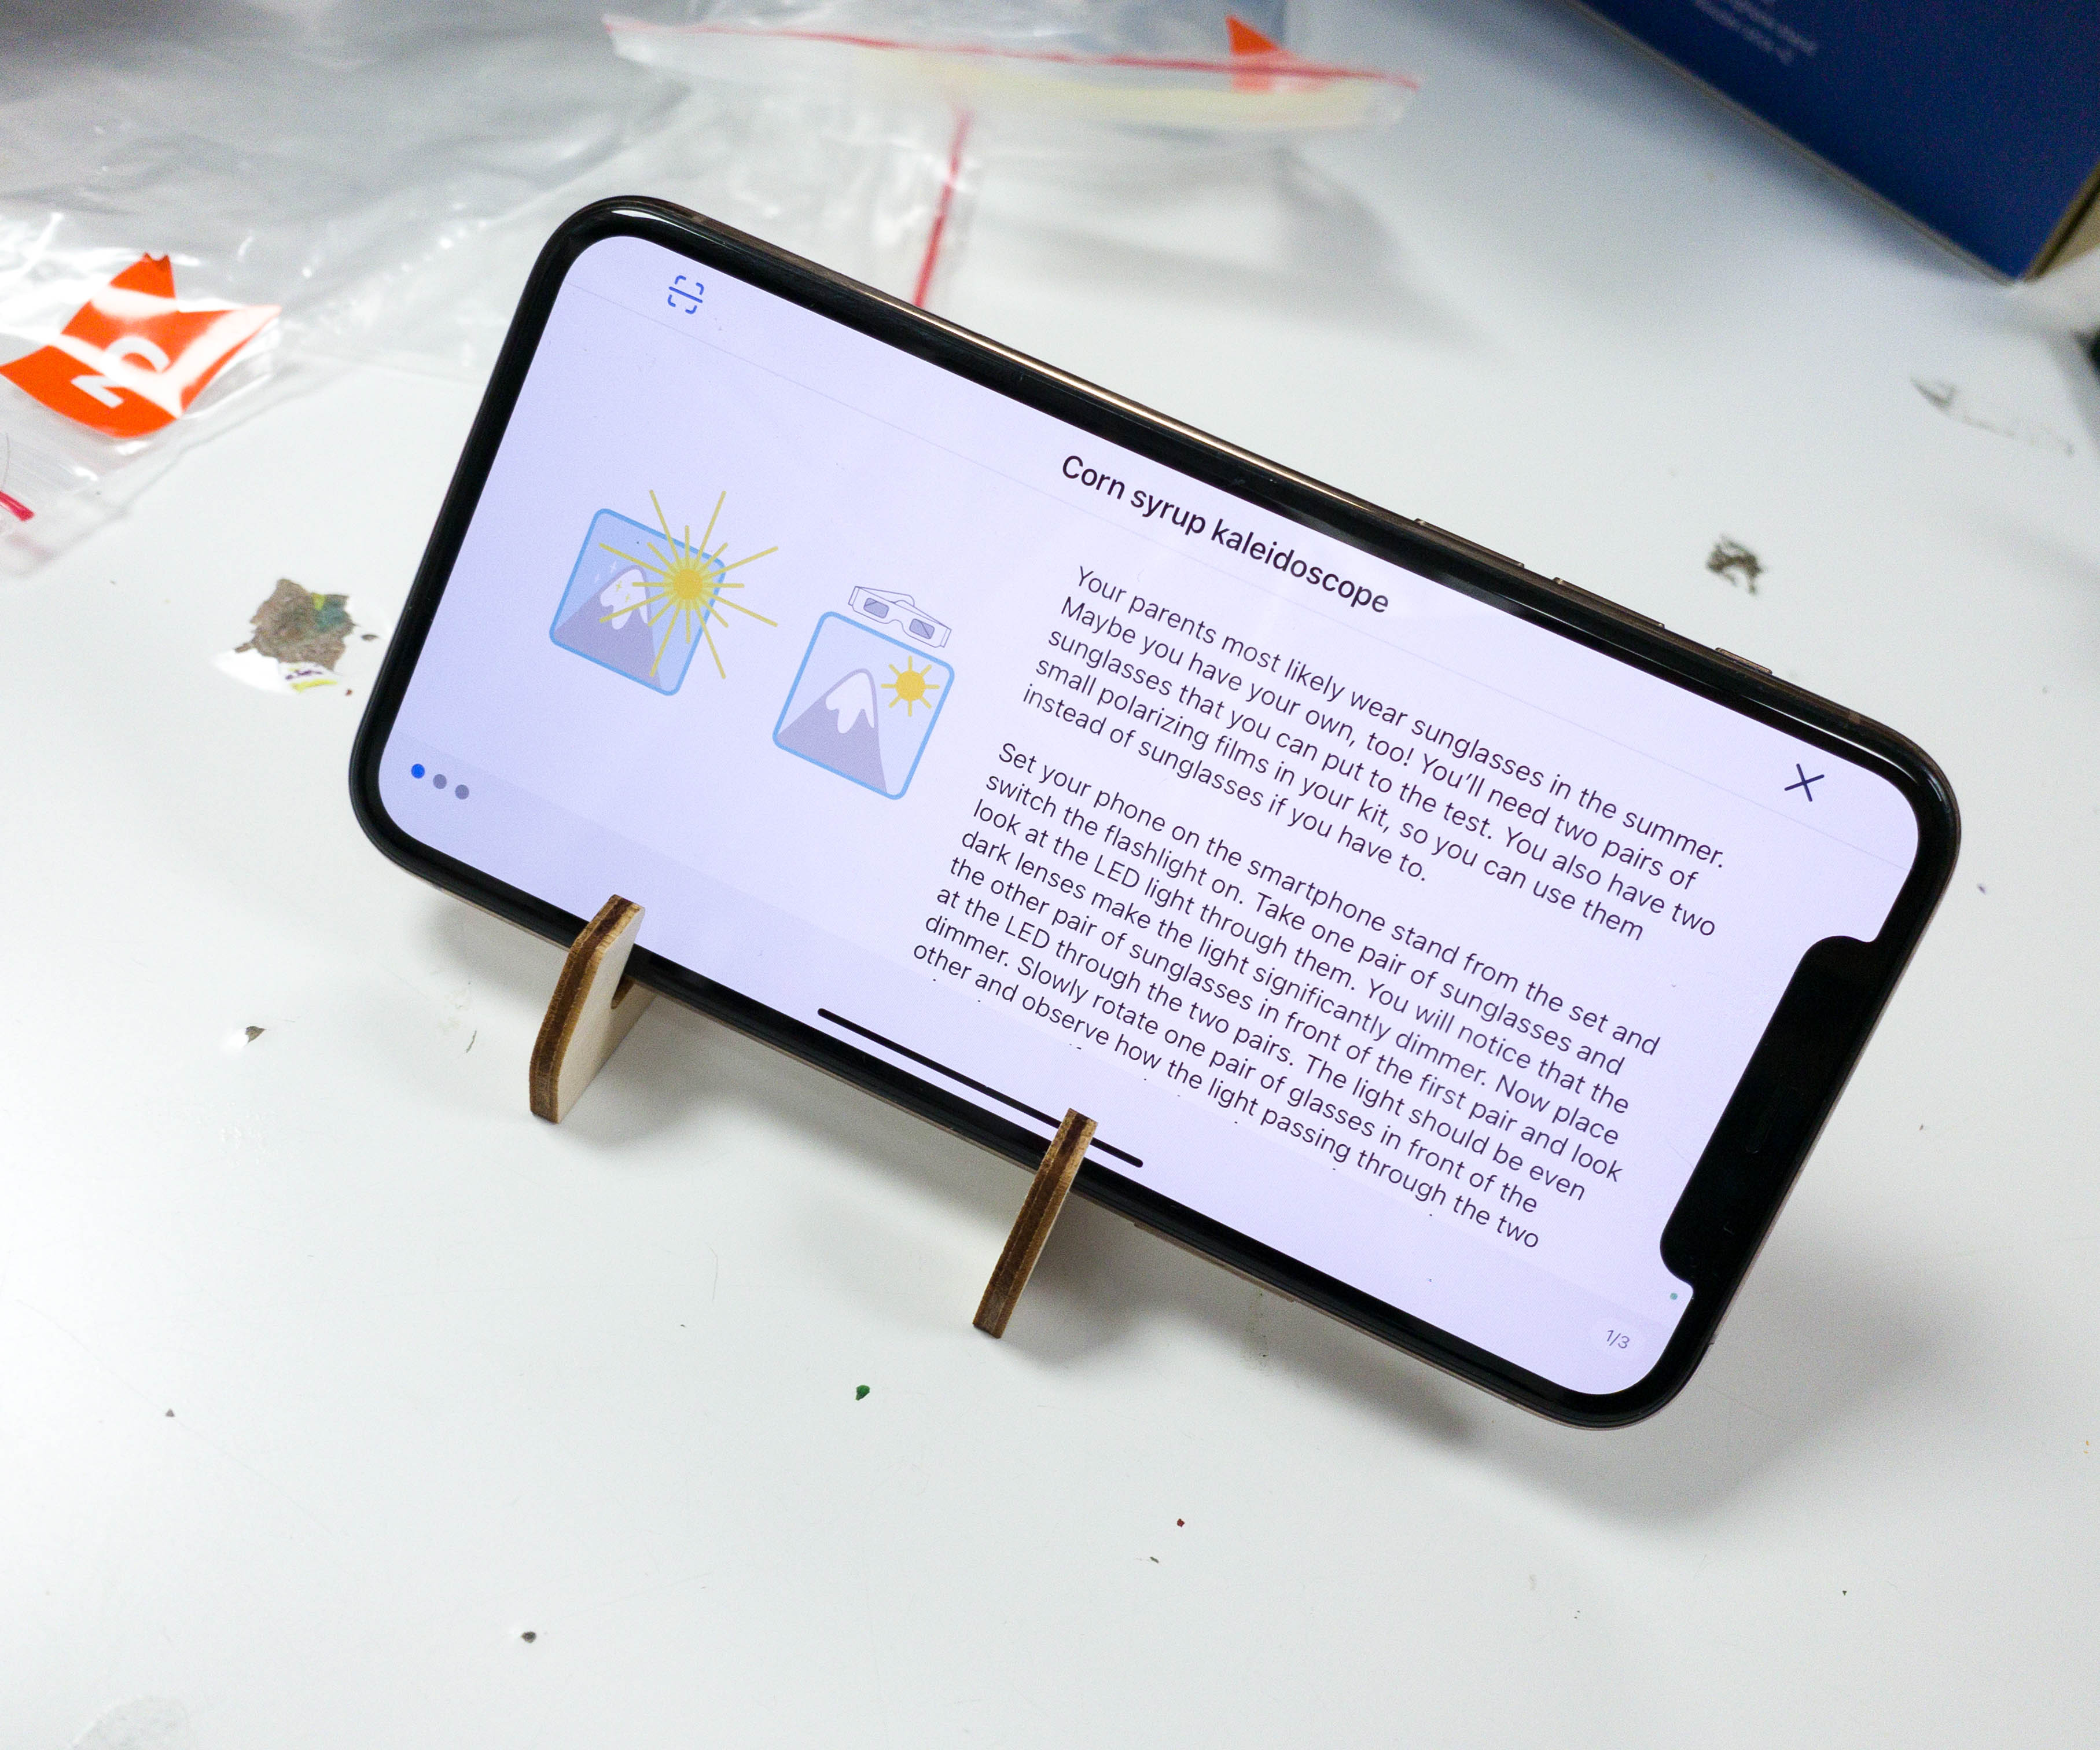
This experiment is called the Corn Syrup Kaleidoscope!
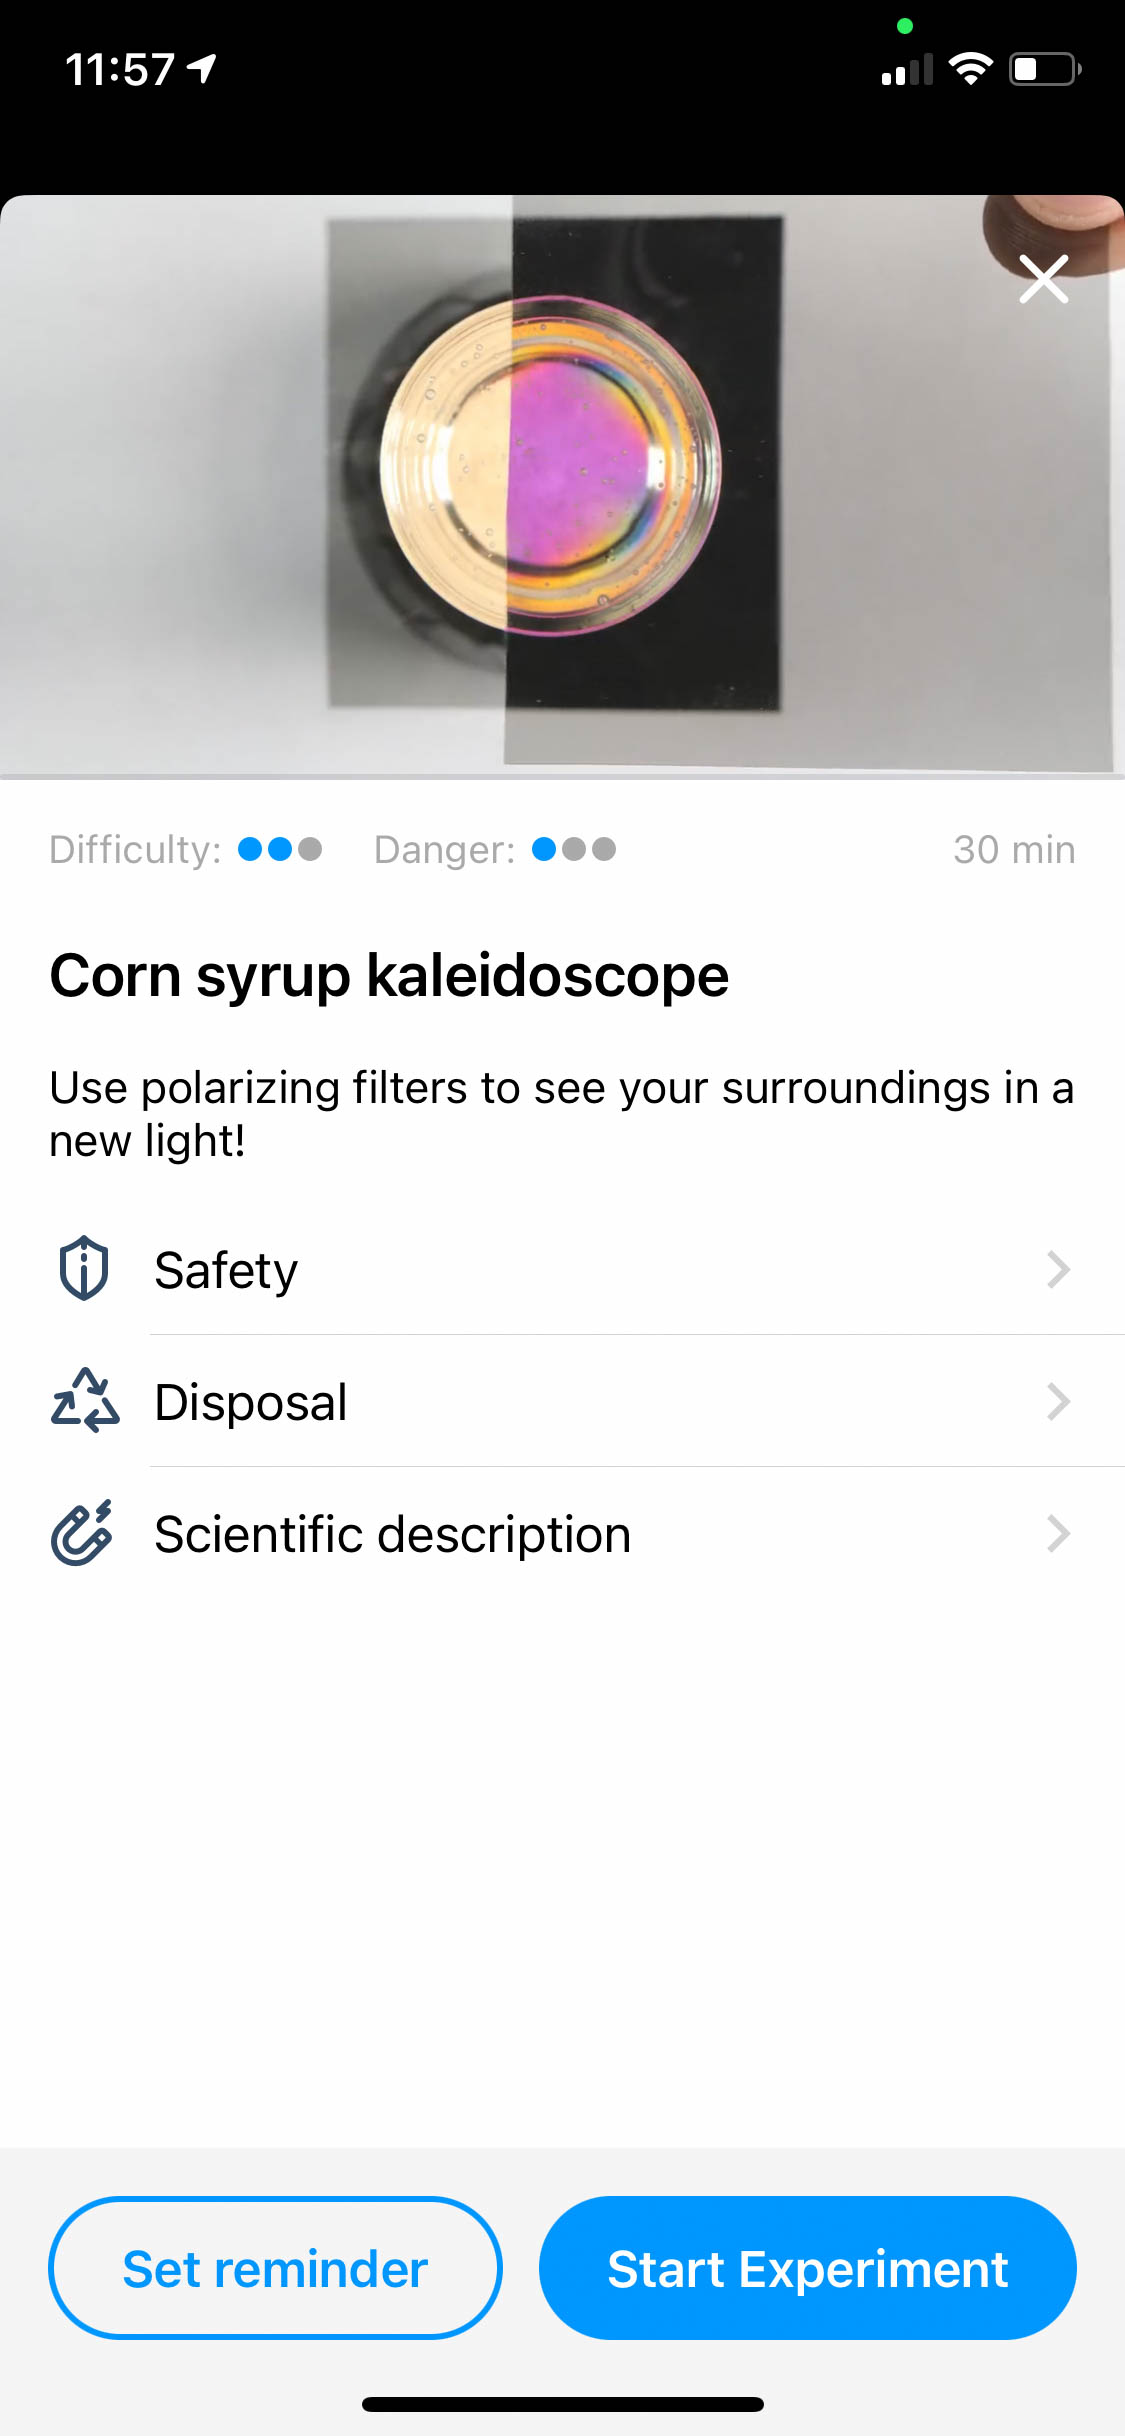
This experiment shows the effect of the polarizing filter as well. Safety and disposal instructions are on the app.

The instructions are very detailed and on point, all we just need to do was read and follow it accordingly.
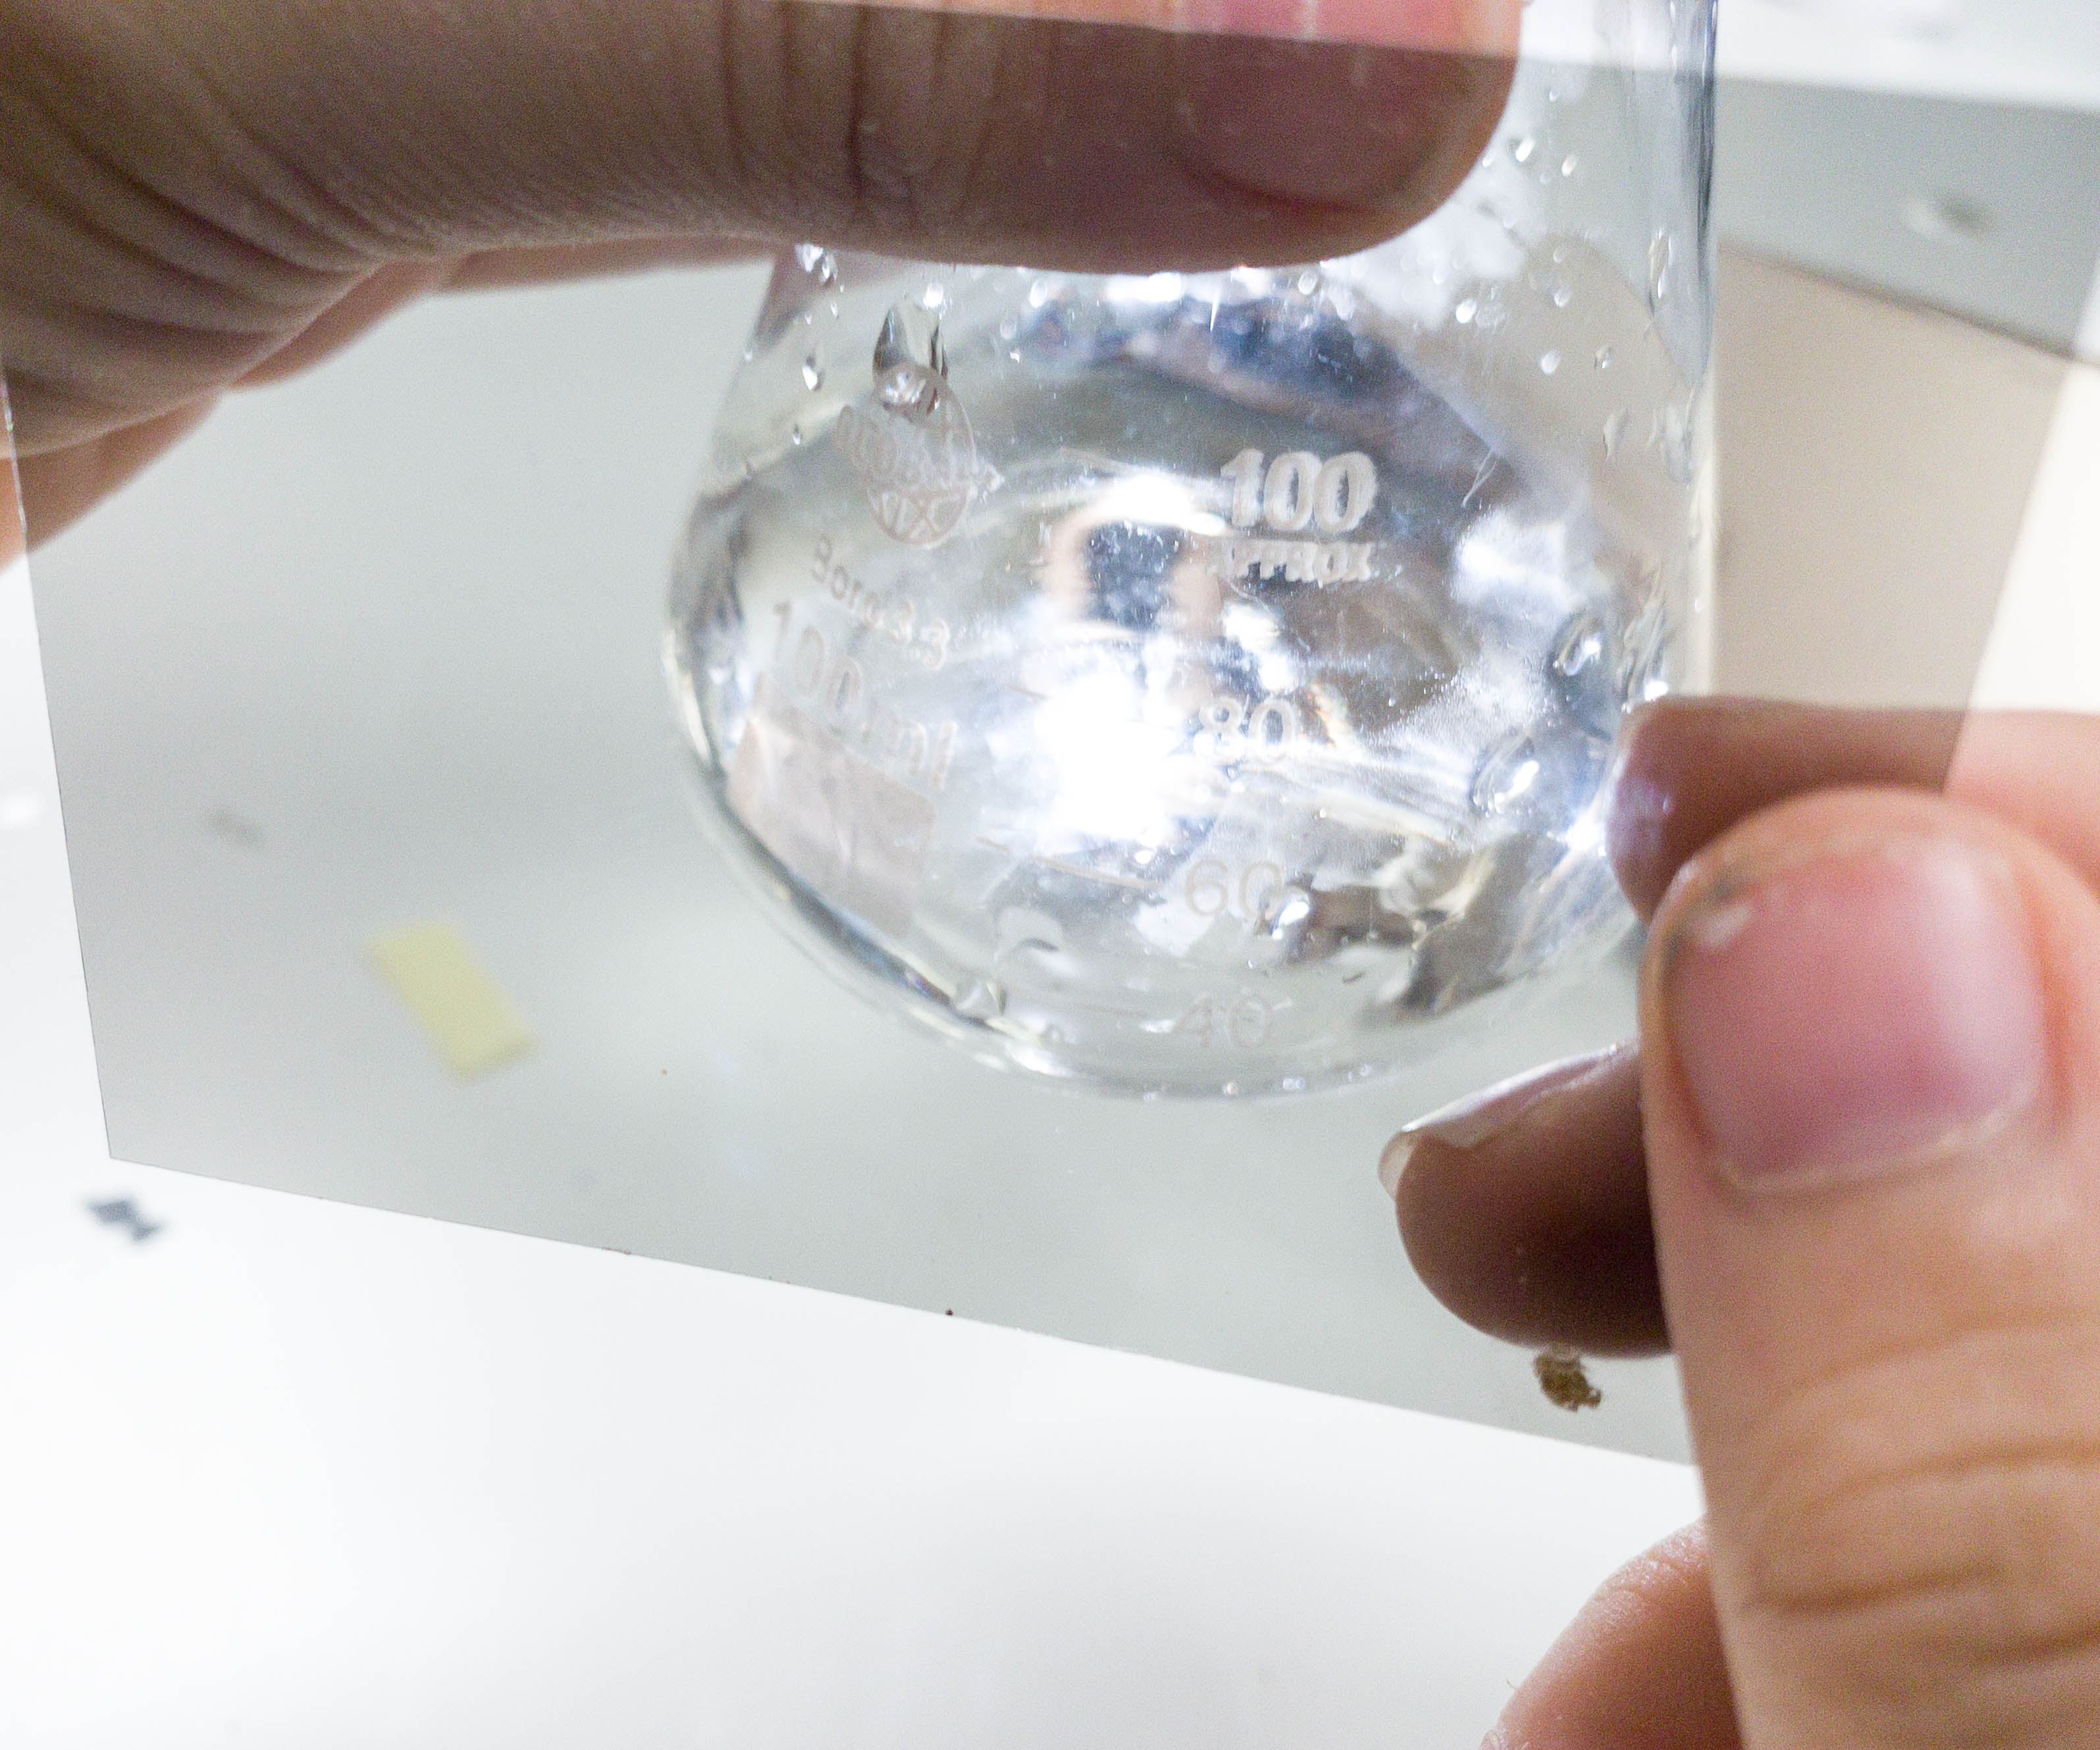
For this, we used a beaker, syrup, film, and a flashlight.
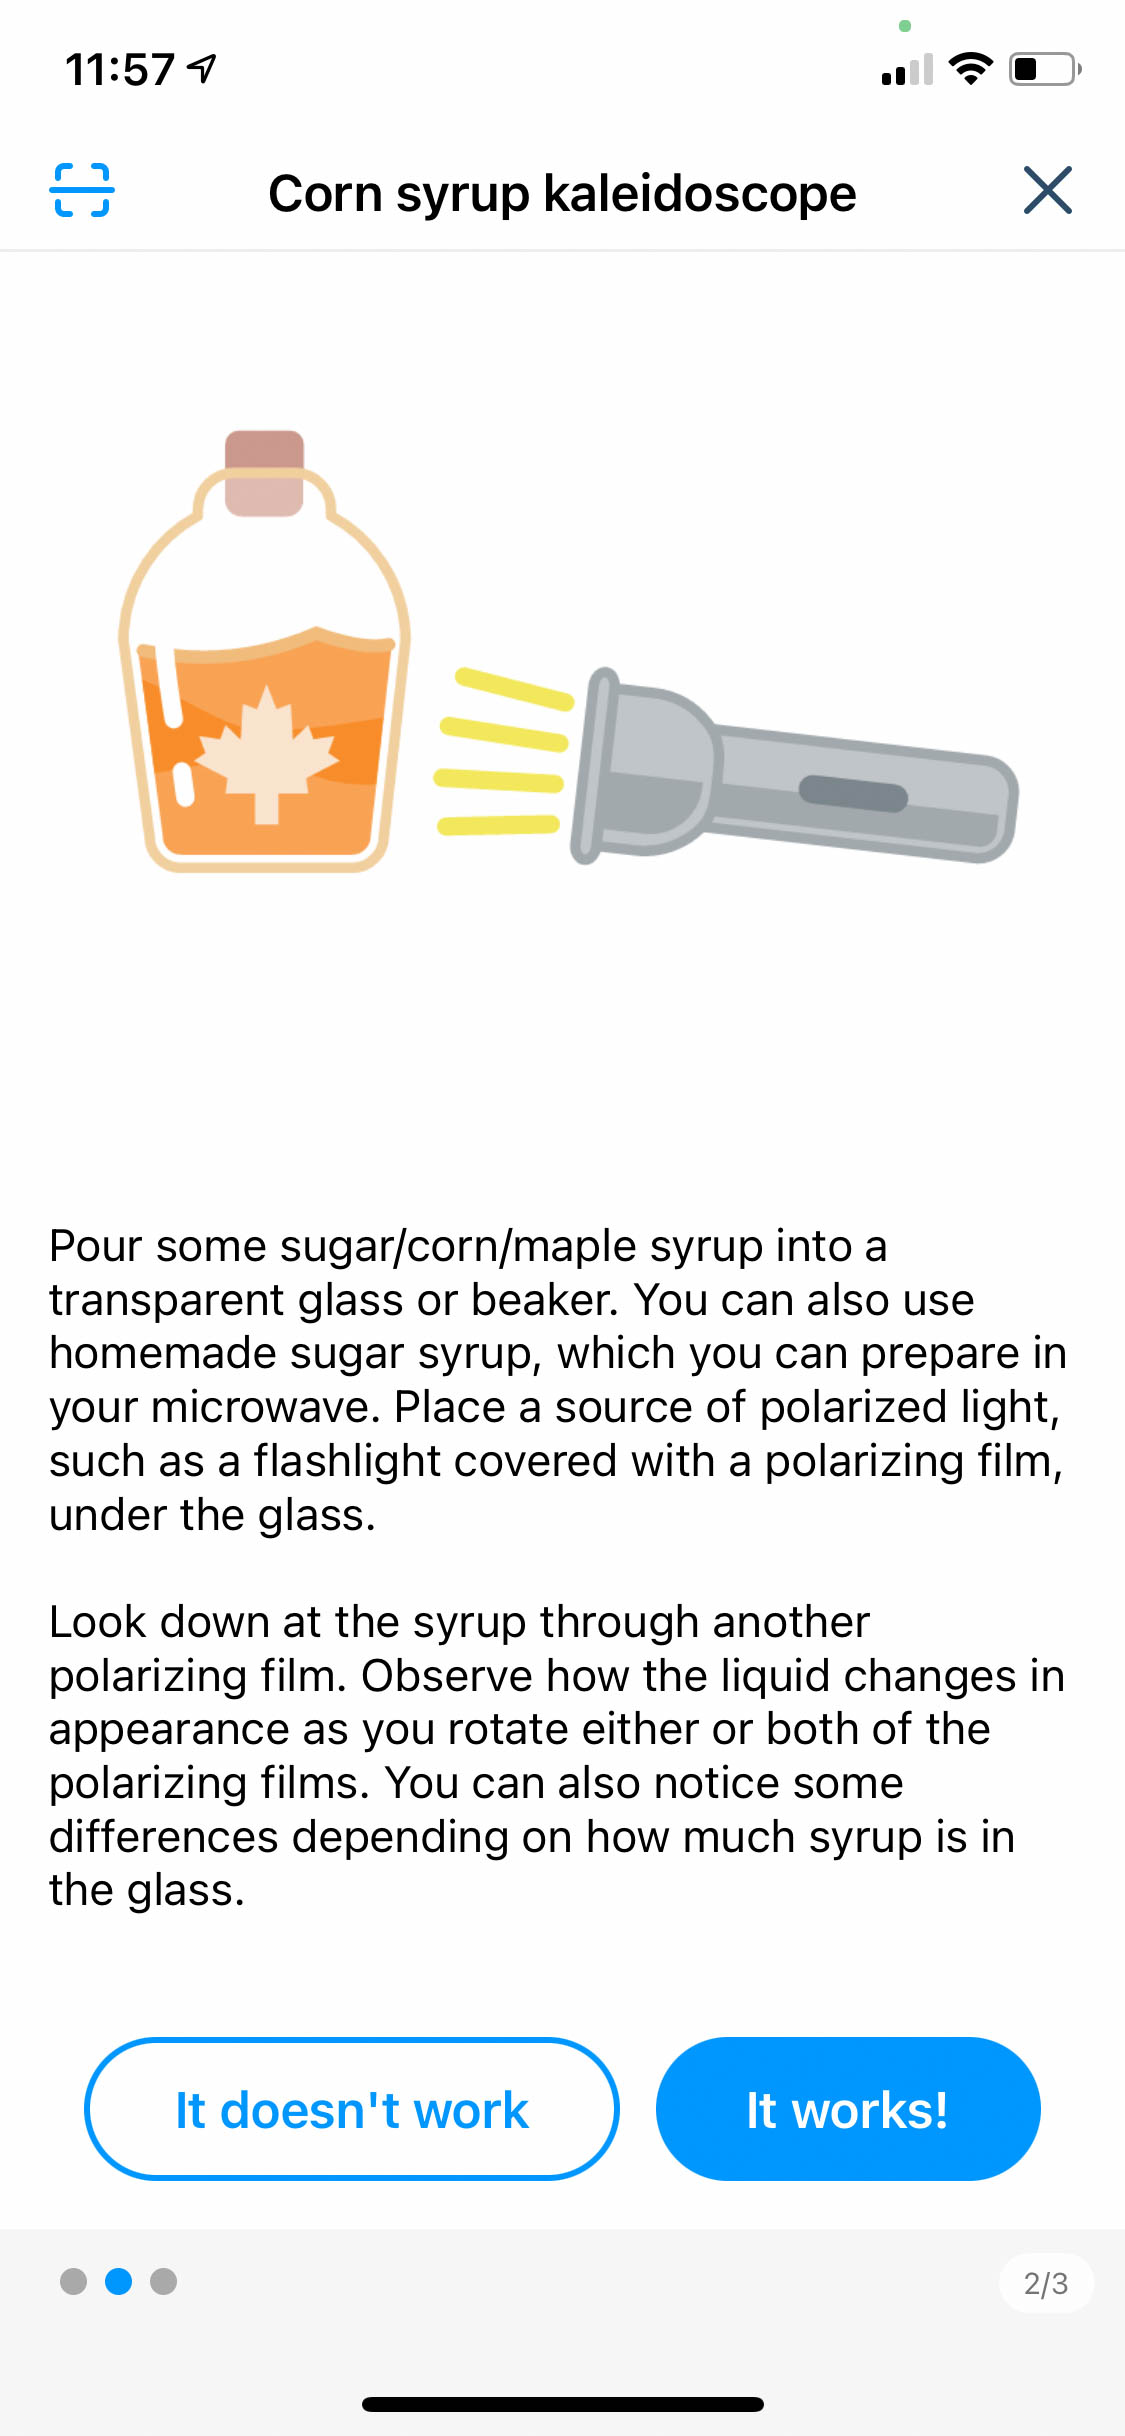
We put some syrup in the beaker then placed a source of polarized light under the glass.
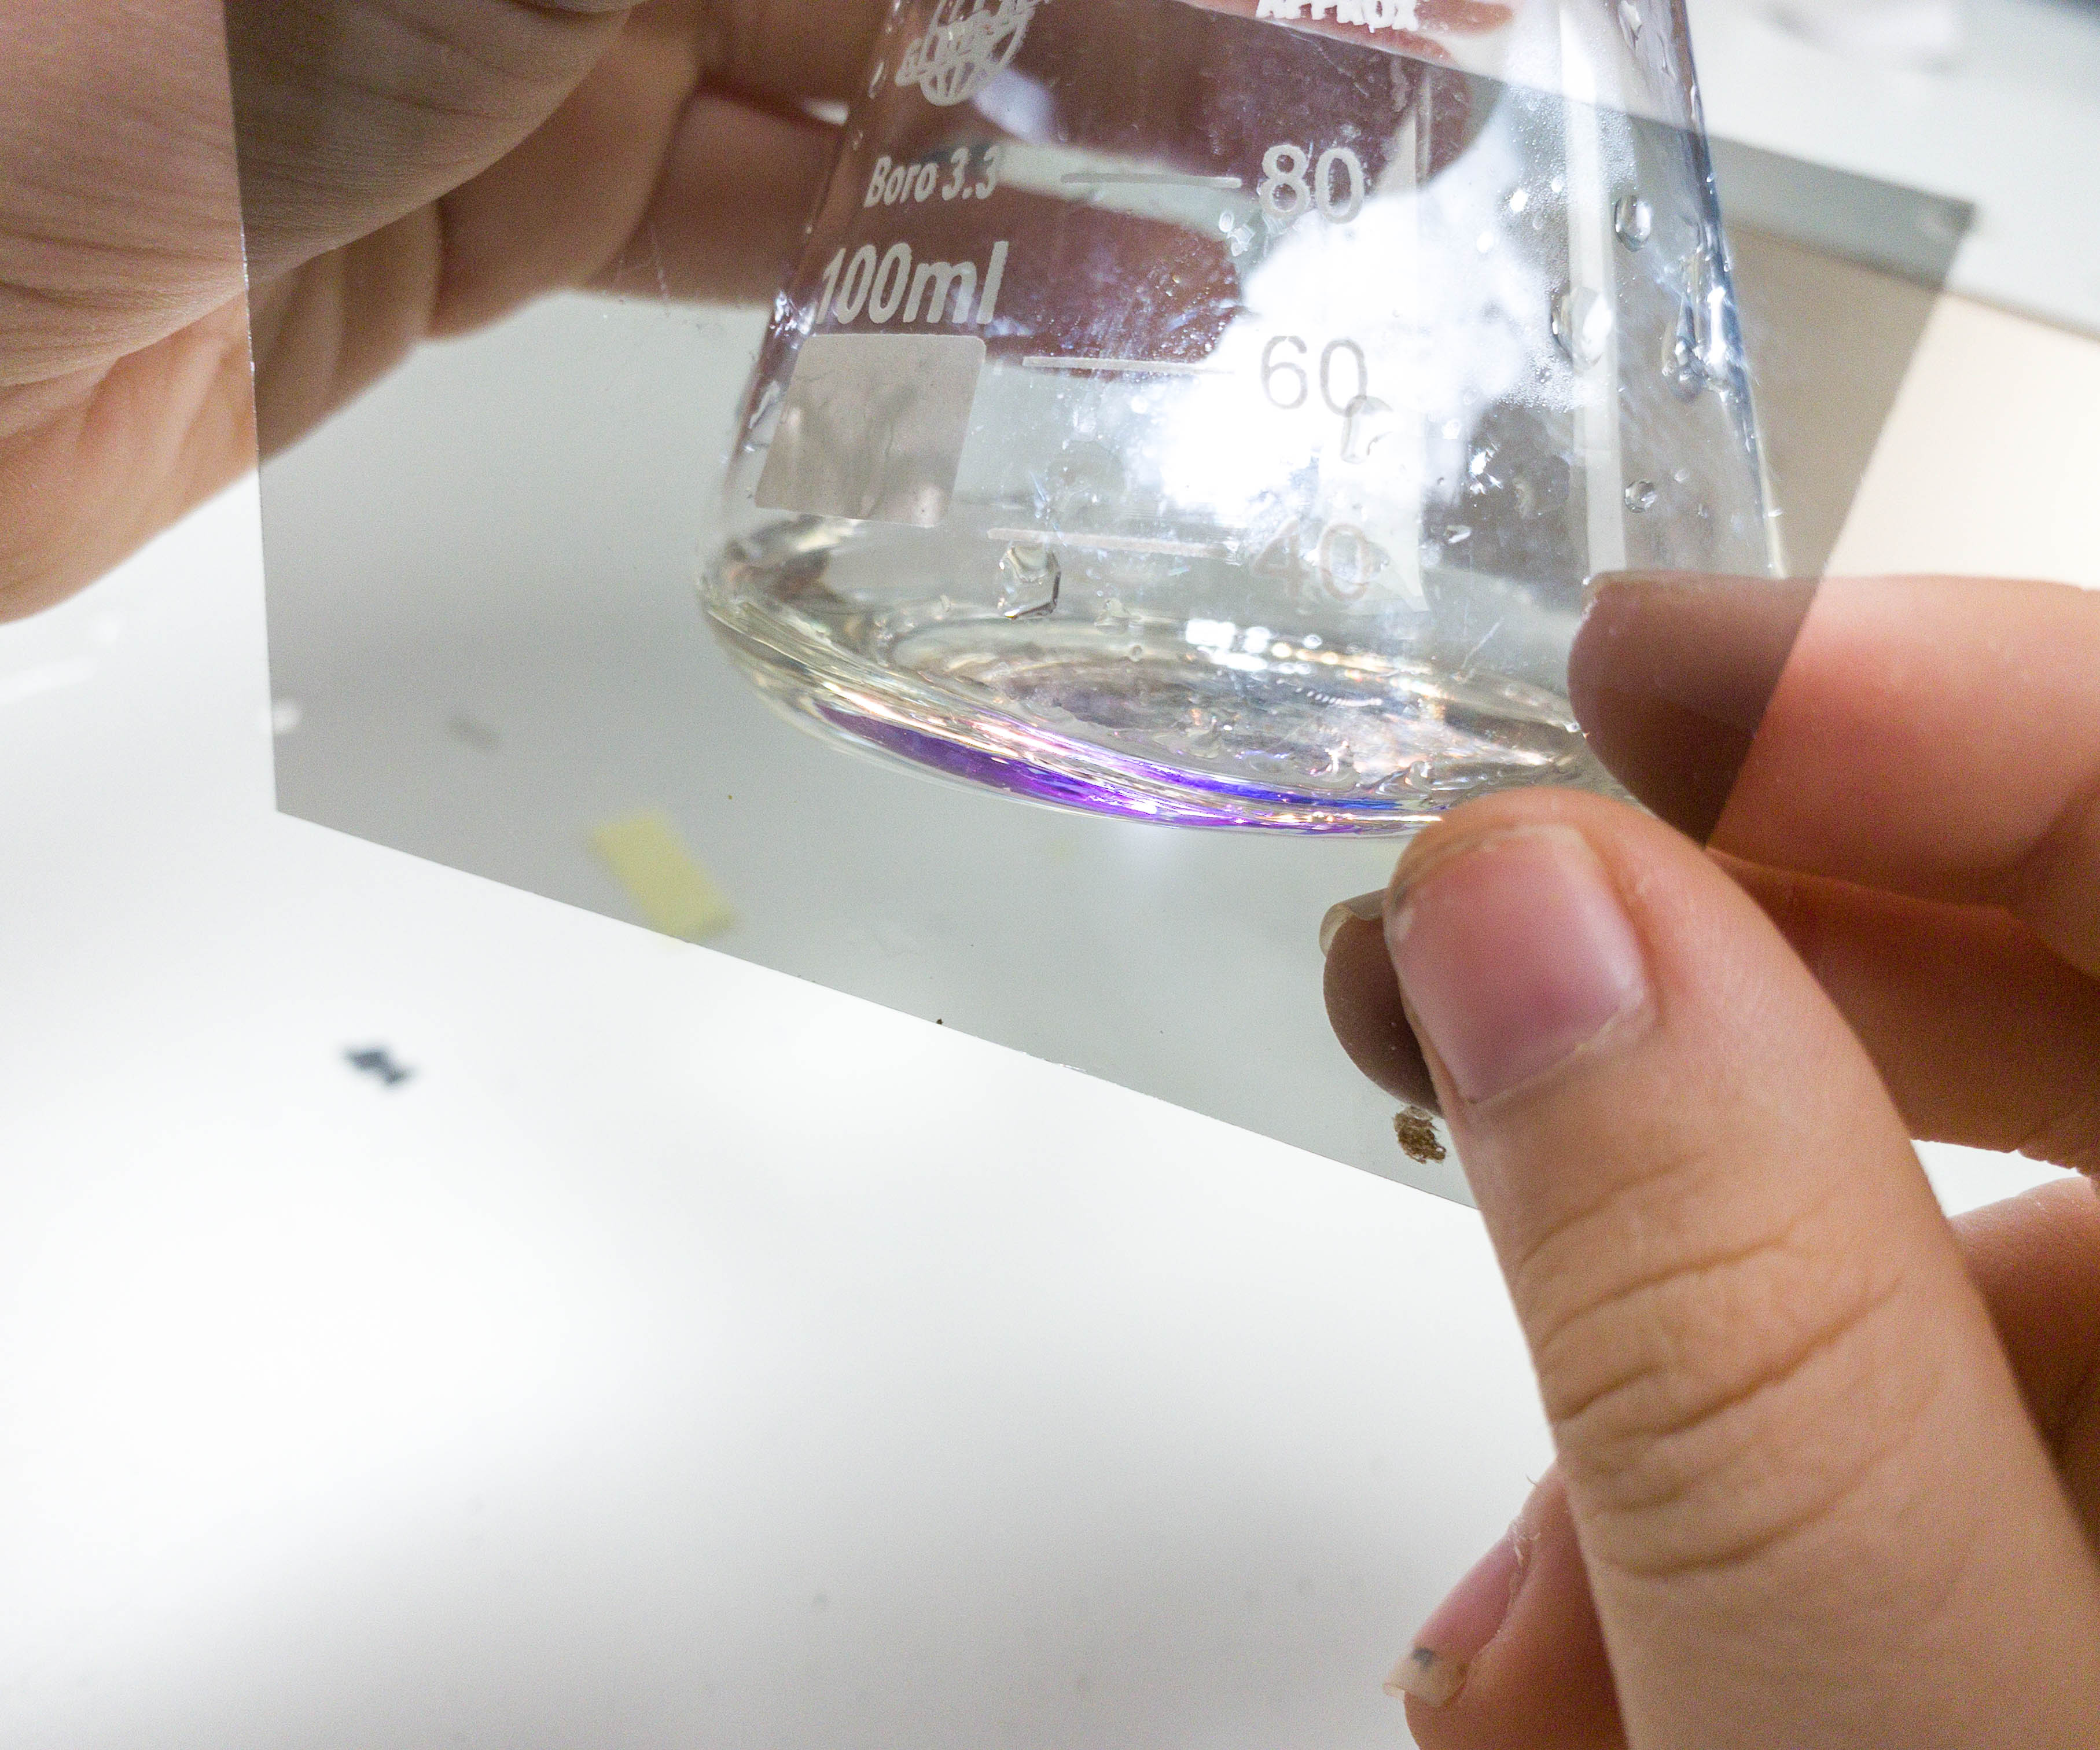
The liquid changed appearance as we rotated the polarizing films! It also depends on how much syrup is inside.
My kids learned so much about polarized light from this MEL Physics by MEL Science box. Knowing how a single polarized filter or glass works can really change the way one sees light! What we love about the experiments from this subscription is that they provide the necessary tools plus easy-to-follow instructions and explanations, which makes everything easy to understand for kids. Their app is also a great learning companion! This month, we even had a bonus activity provided in the app and it added value to my kids’ learning experience. These experiments are also safe and ideal for home use so we really couldn’t ask for more!
What do you think of the MEL Physics by MEL Science box?
Visit MEL Physics by MEL Science to subscribe or find out more!


Comments