Eureka Crate is a monthly STEM and maker subscription box that teaches kids and adults how to apply principles of science and math to make awesome things you will love to use every day – from an articulated desk lamp to an electric pencil sharpener to a wooden ukulele. Every Eureka Crate includes an engineering project, detailed step-by-step instructions, everything you need to complete the project, a Maker’s Guide that explains all the design, process, and engineering behind the design, plus a design challenge to take your project knowledge to the next level!
DEAL: Save 30% on your first month! Just use this link to subscribe, no coupon code required! You can also use the same link to save 30% on the first month of any other KiwiCo crate – just check out this page to discover which box is right for you.
Eureka Crate is KiwiCo’s latest subscription! Eureka Crate is designed for ages 14-104. If you’re ready to graduate from KiwiCo’s other boxes or just can’t get enough (or are just too old for their other subscriptions), you’ll love this box, which is designed to create a hands-on learning experience using everyday items to delve deeply into the science and math principles they embody, along with the design process of the month’s project.
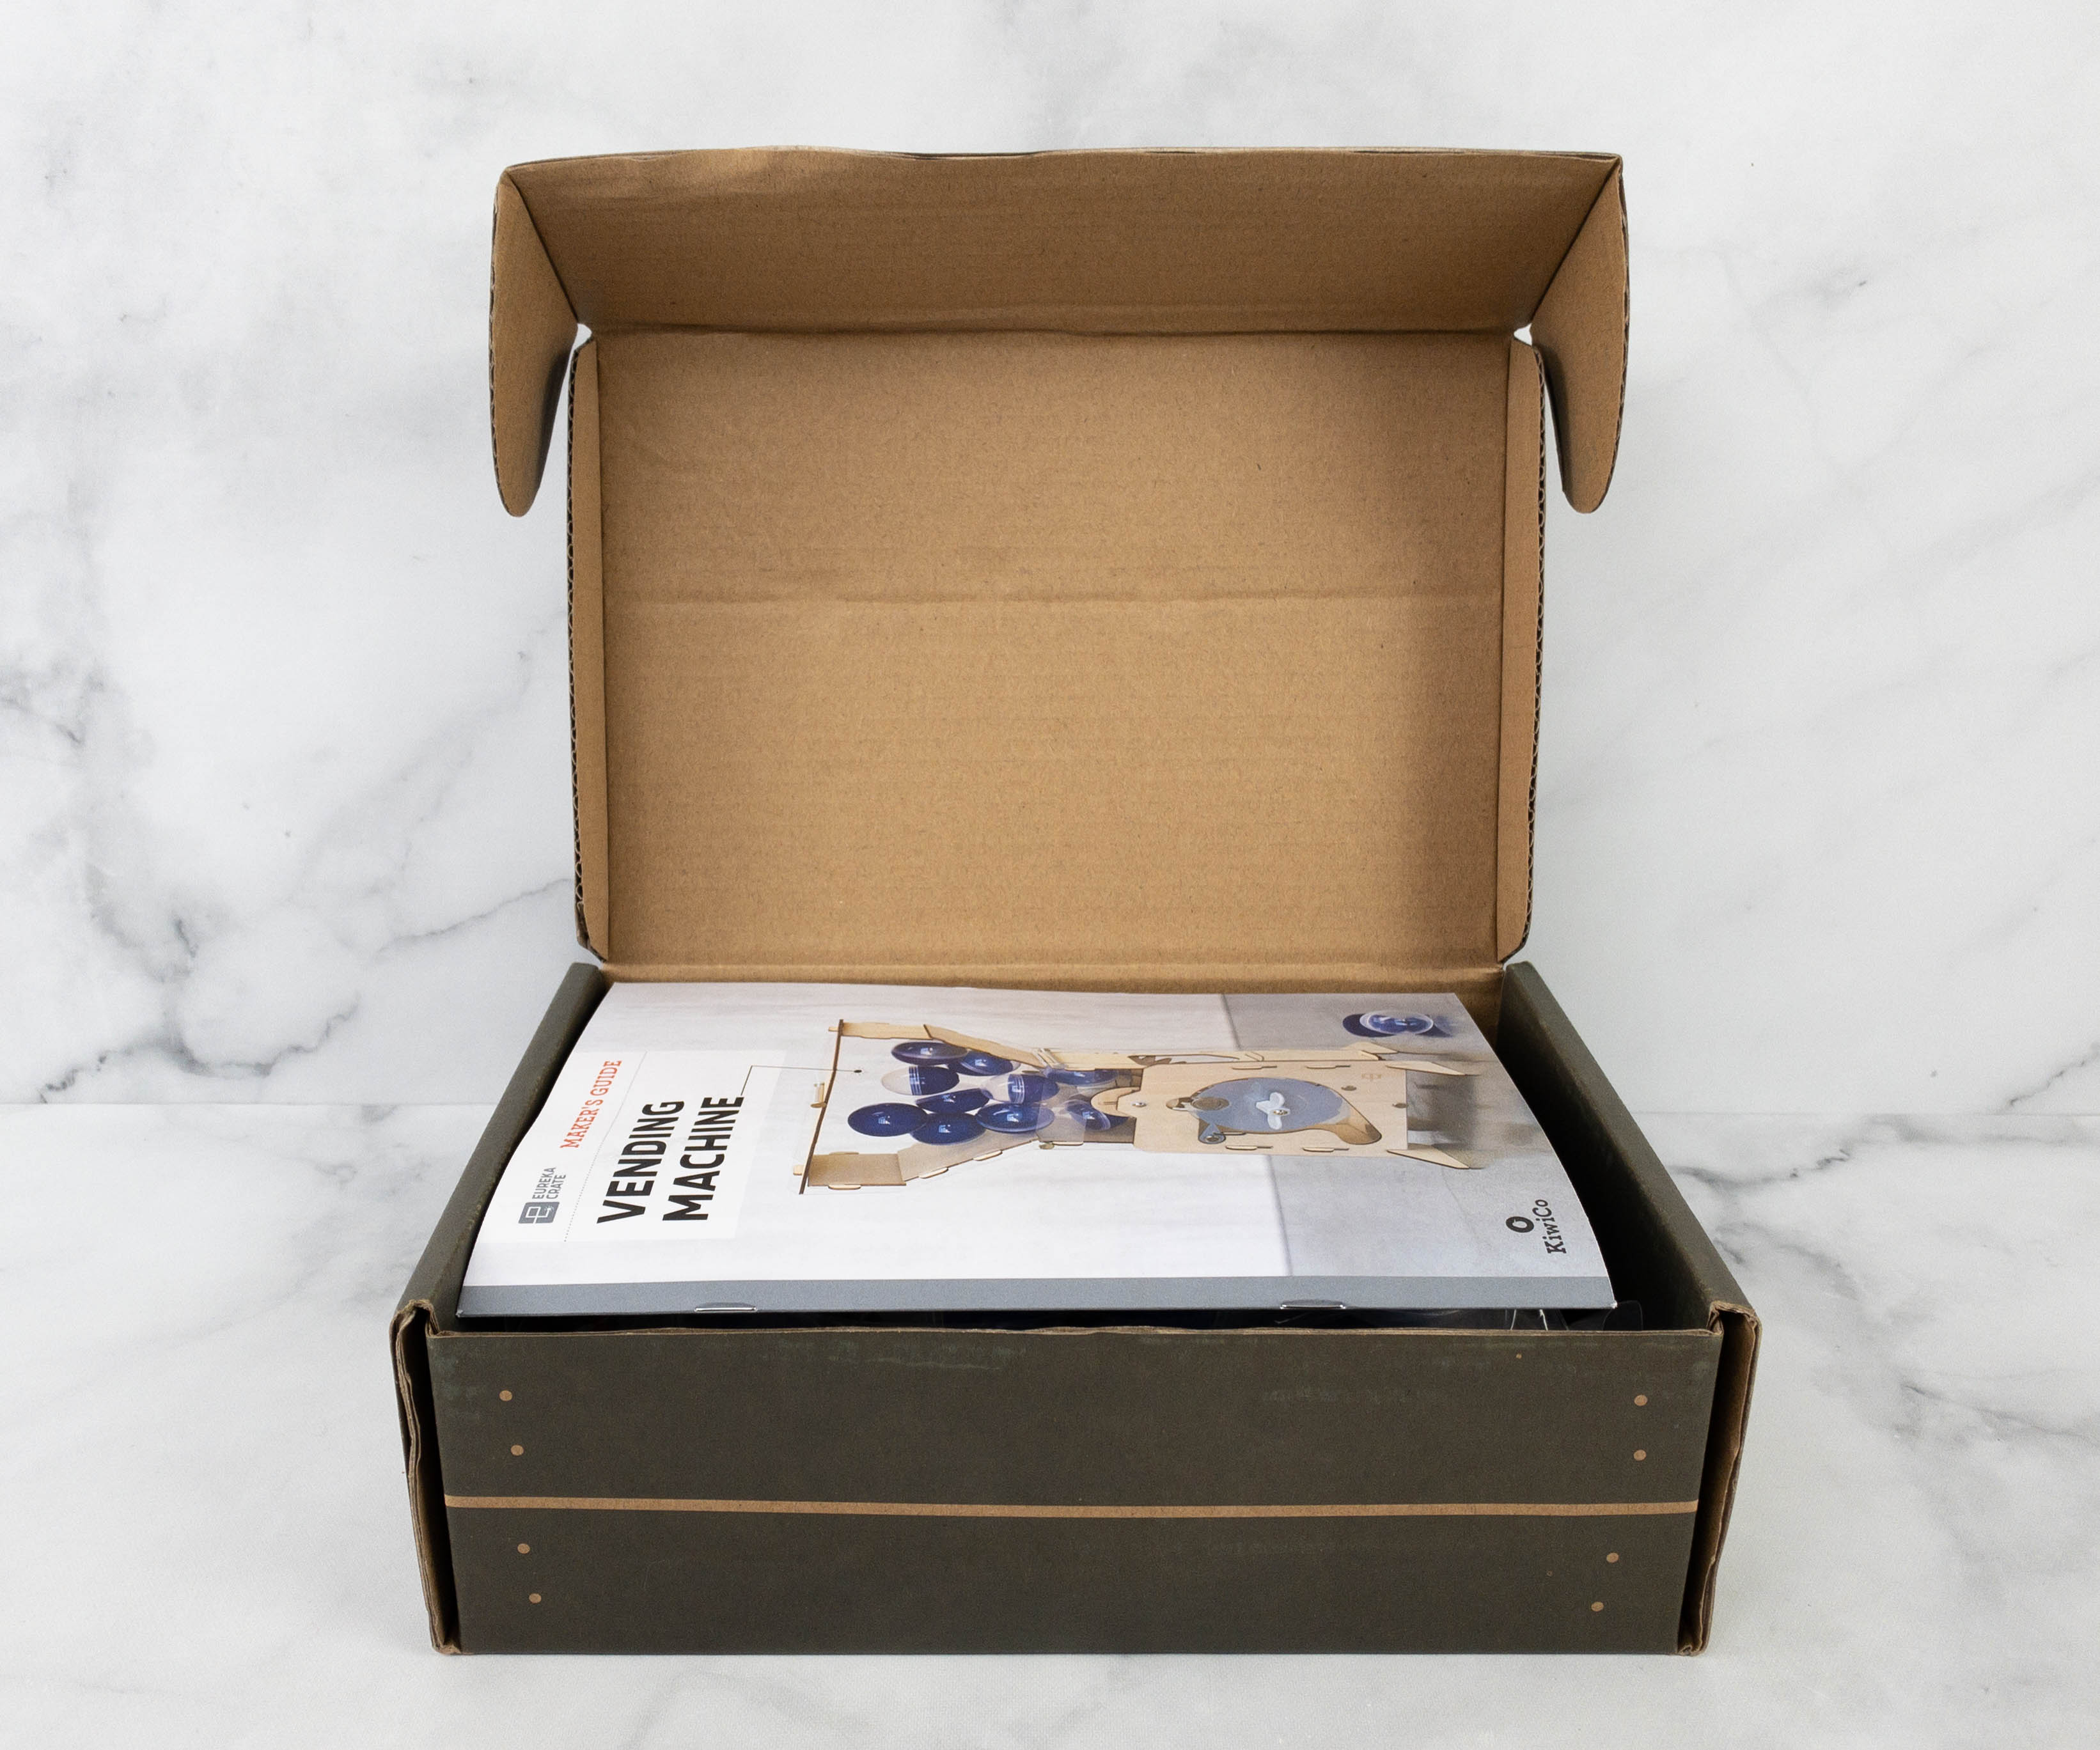
All the items were neatly packed inside the box.
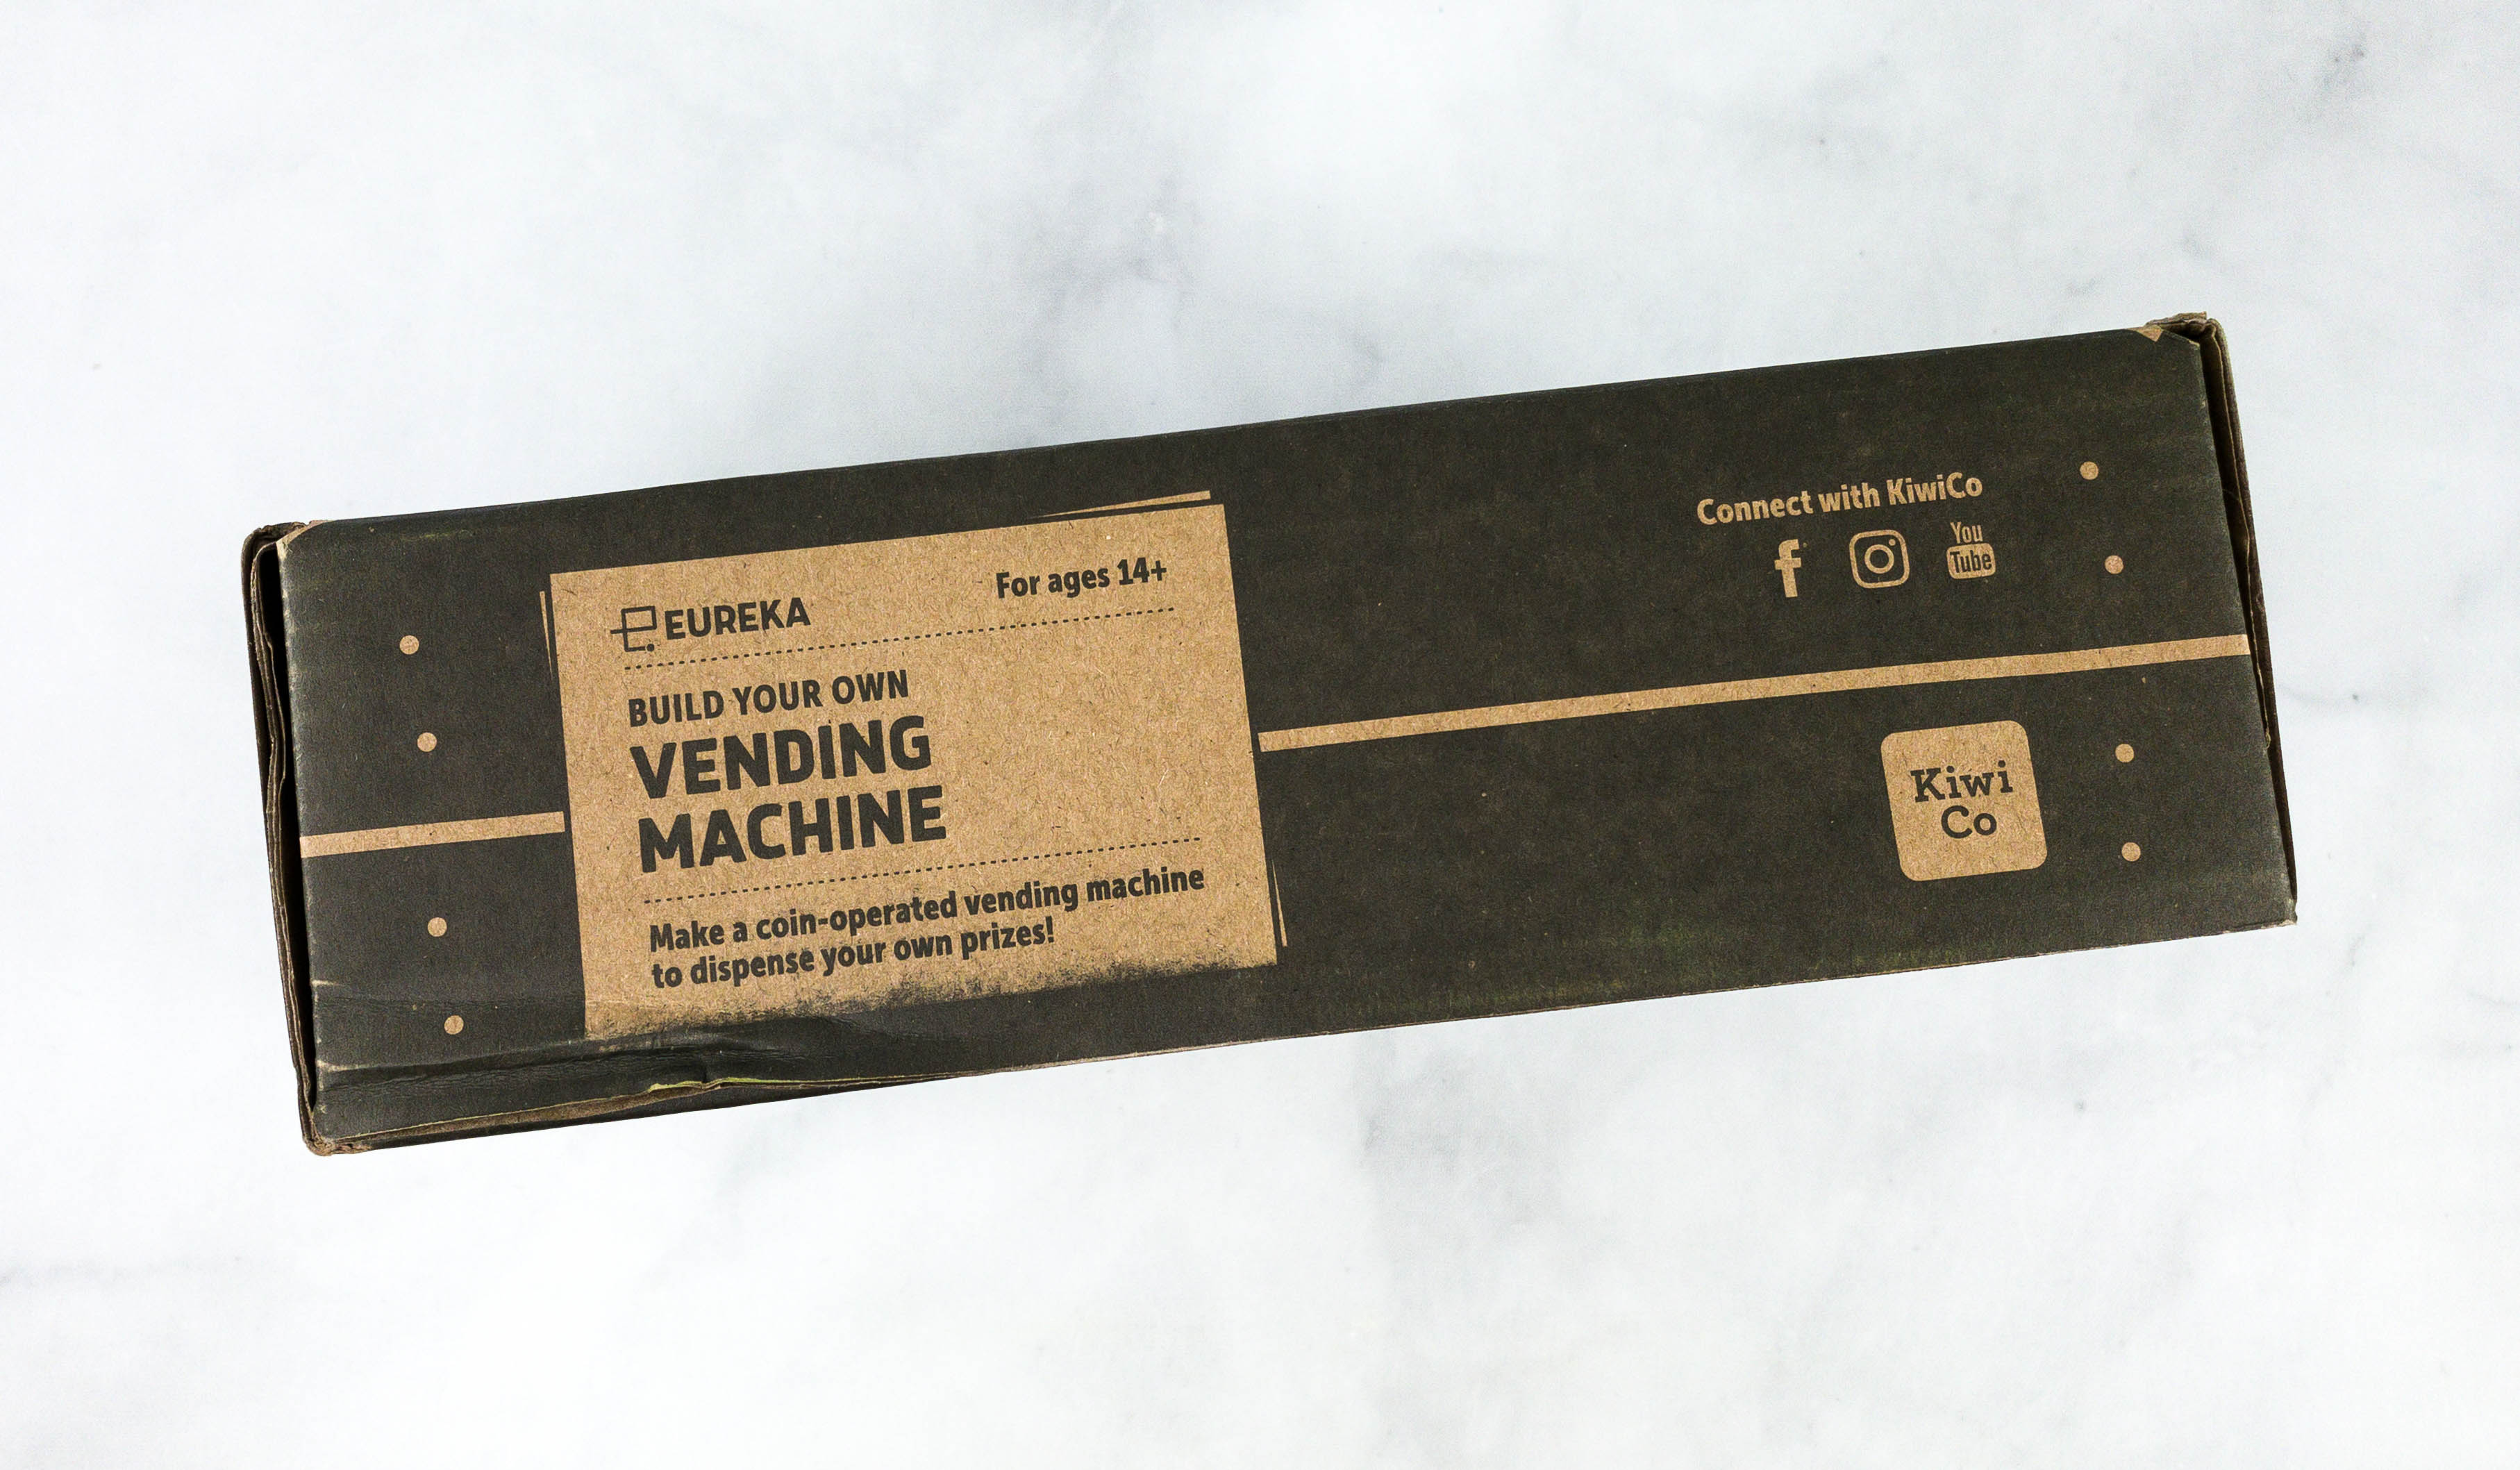
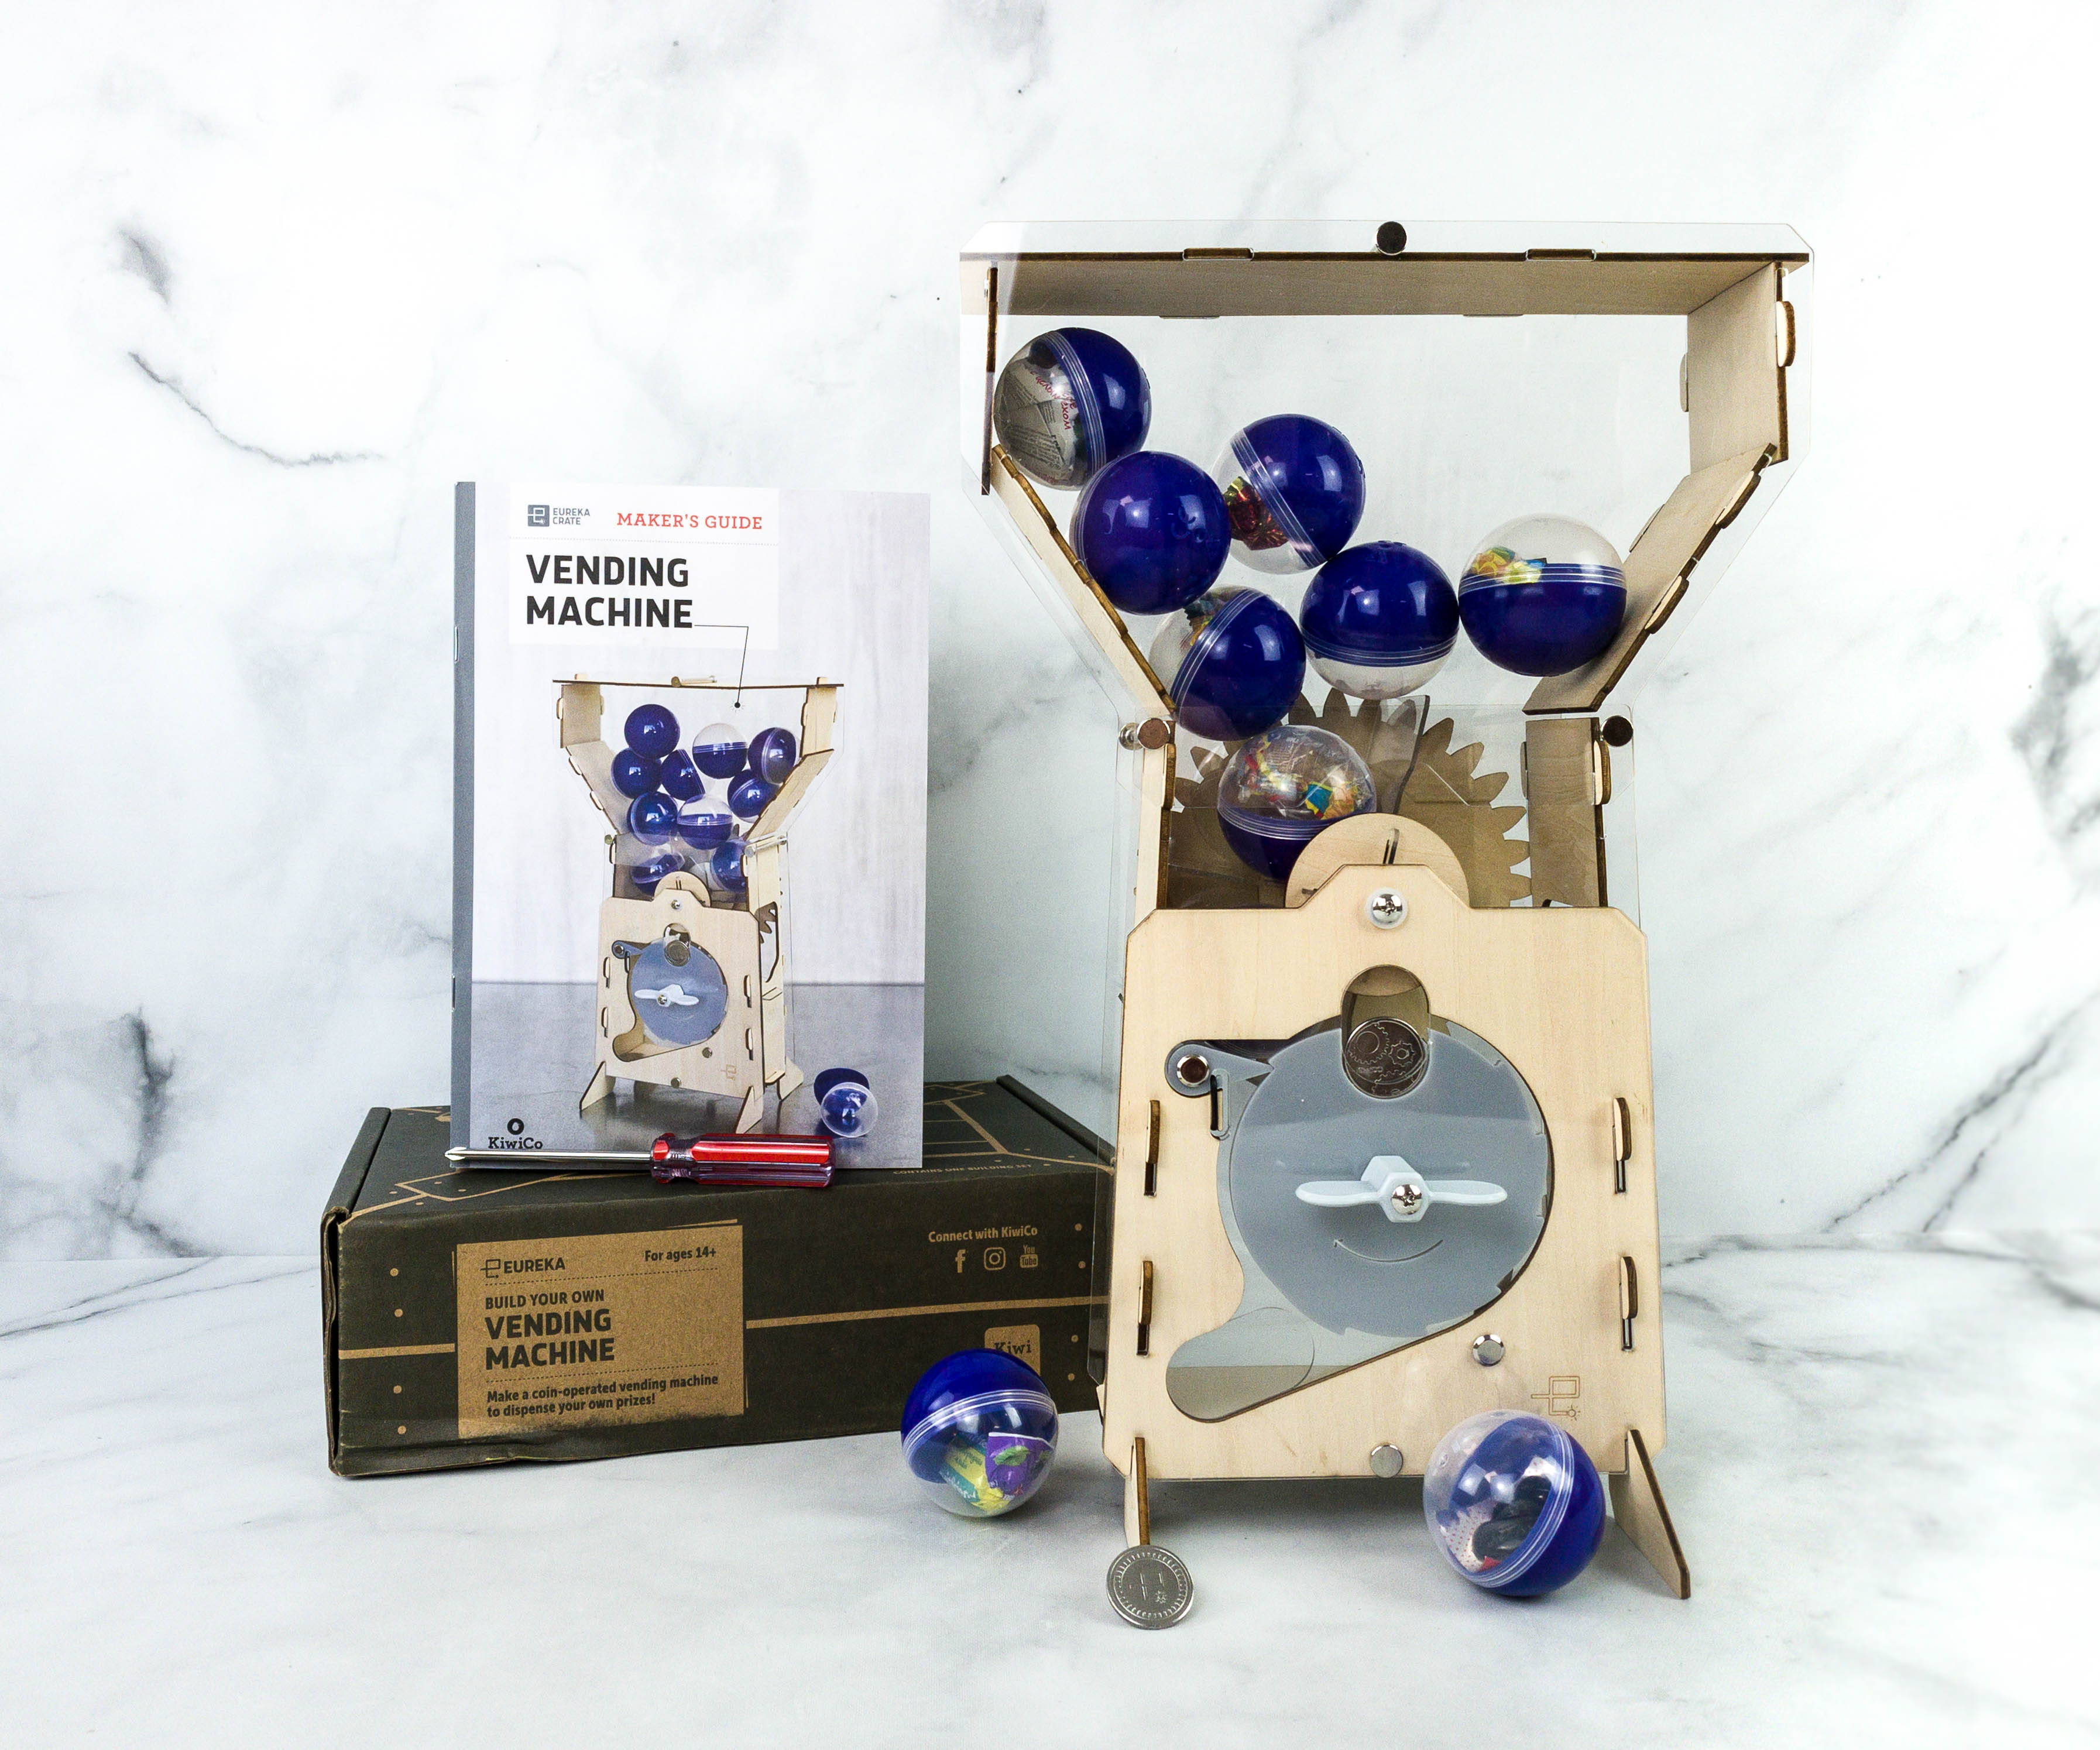
This month, we’re making a Vending Machine!
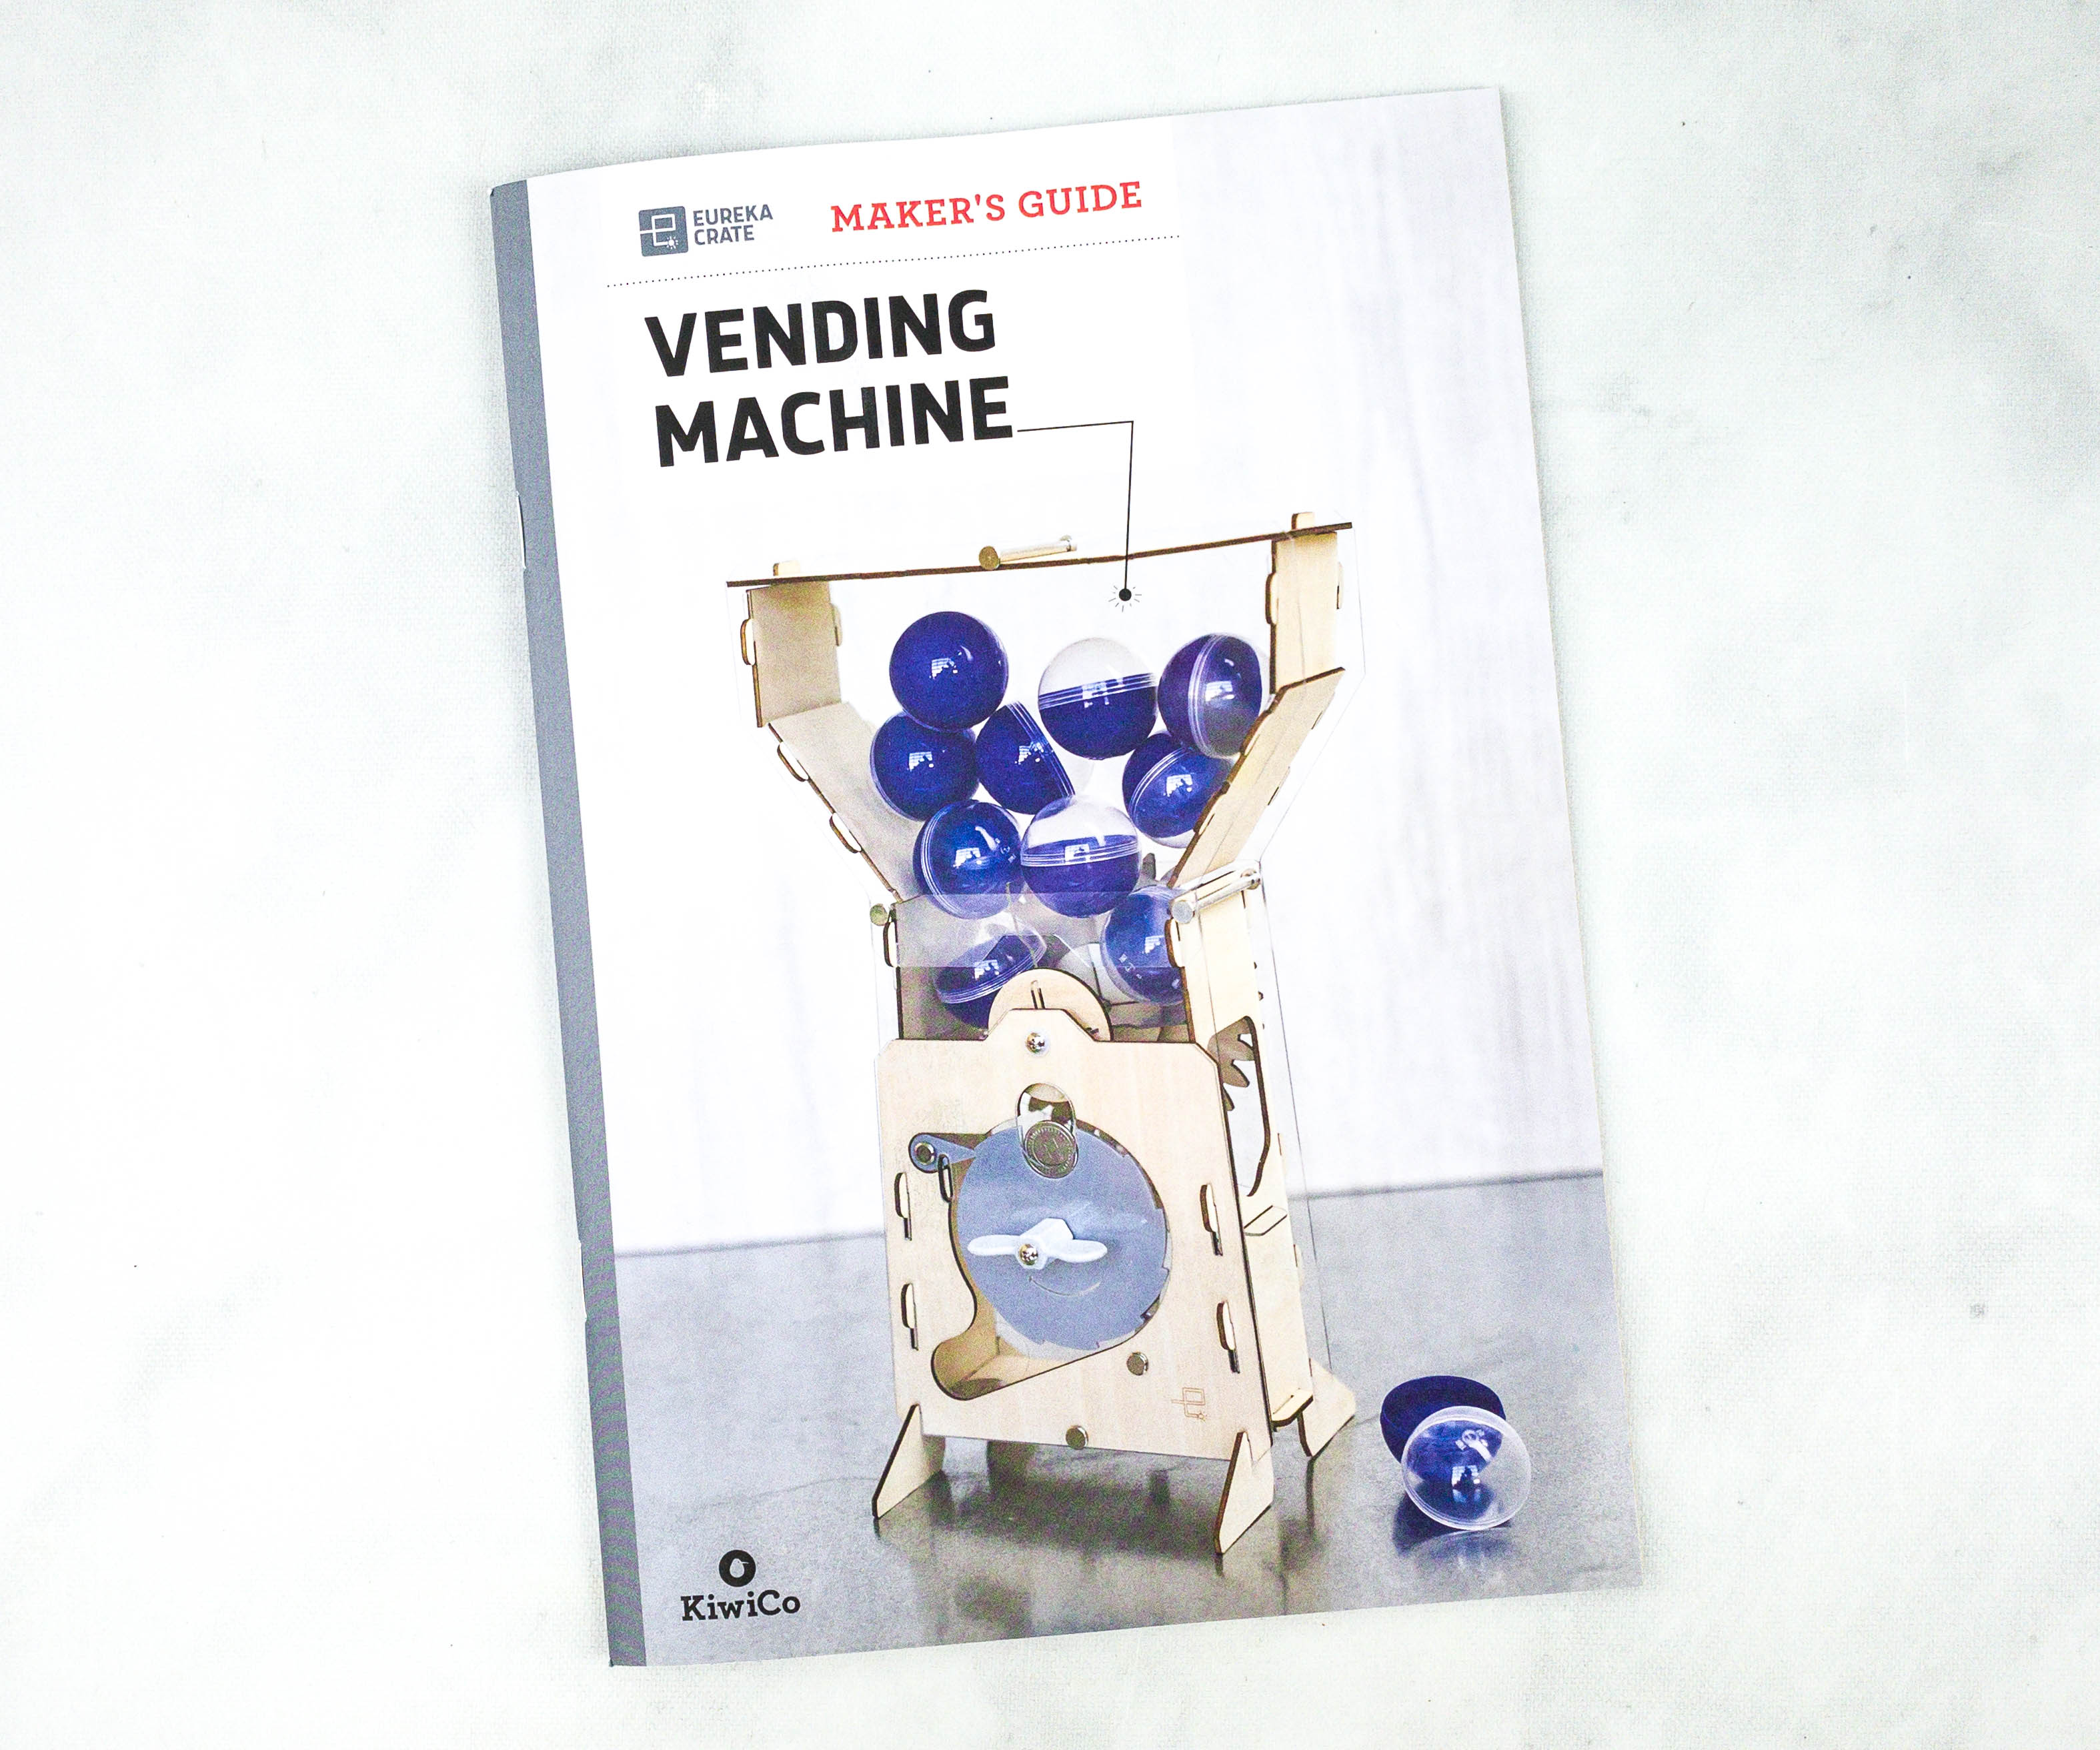
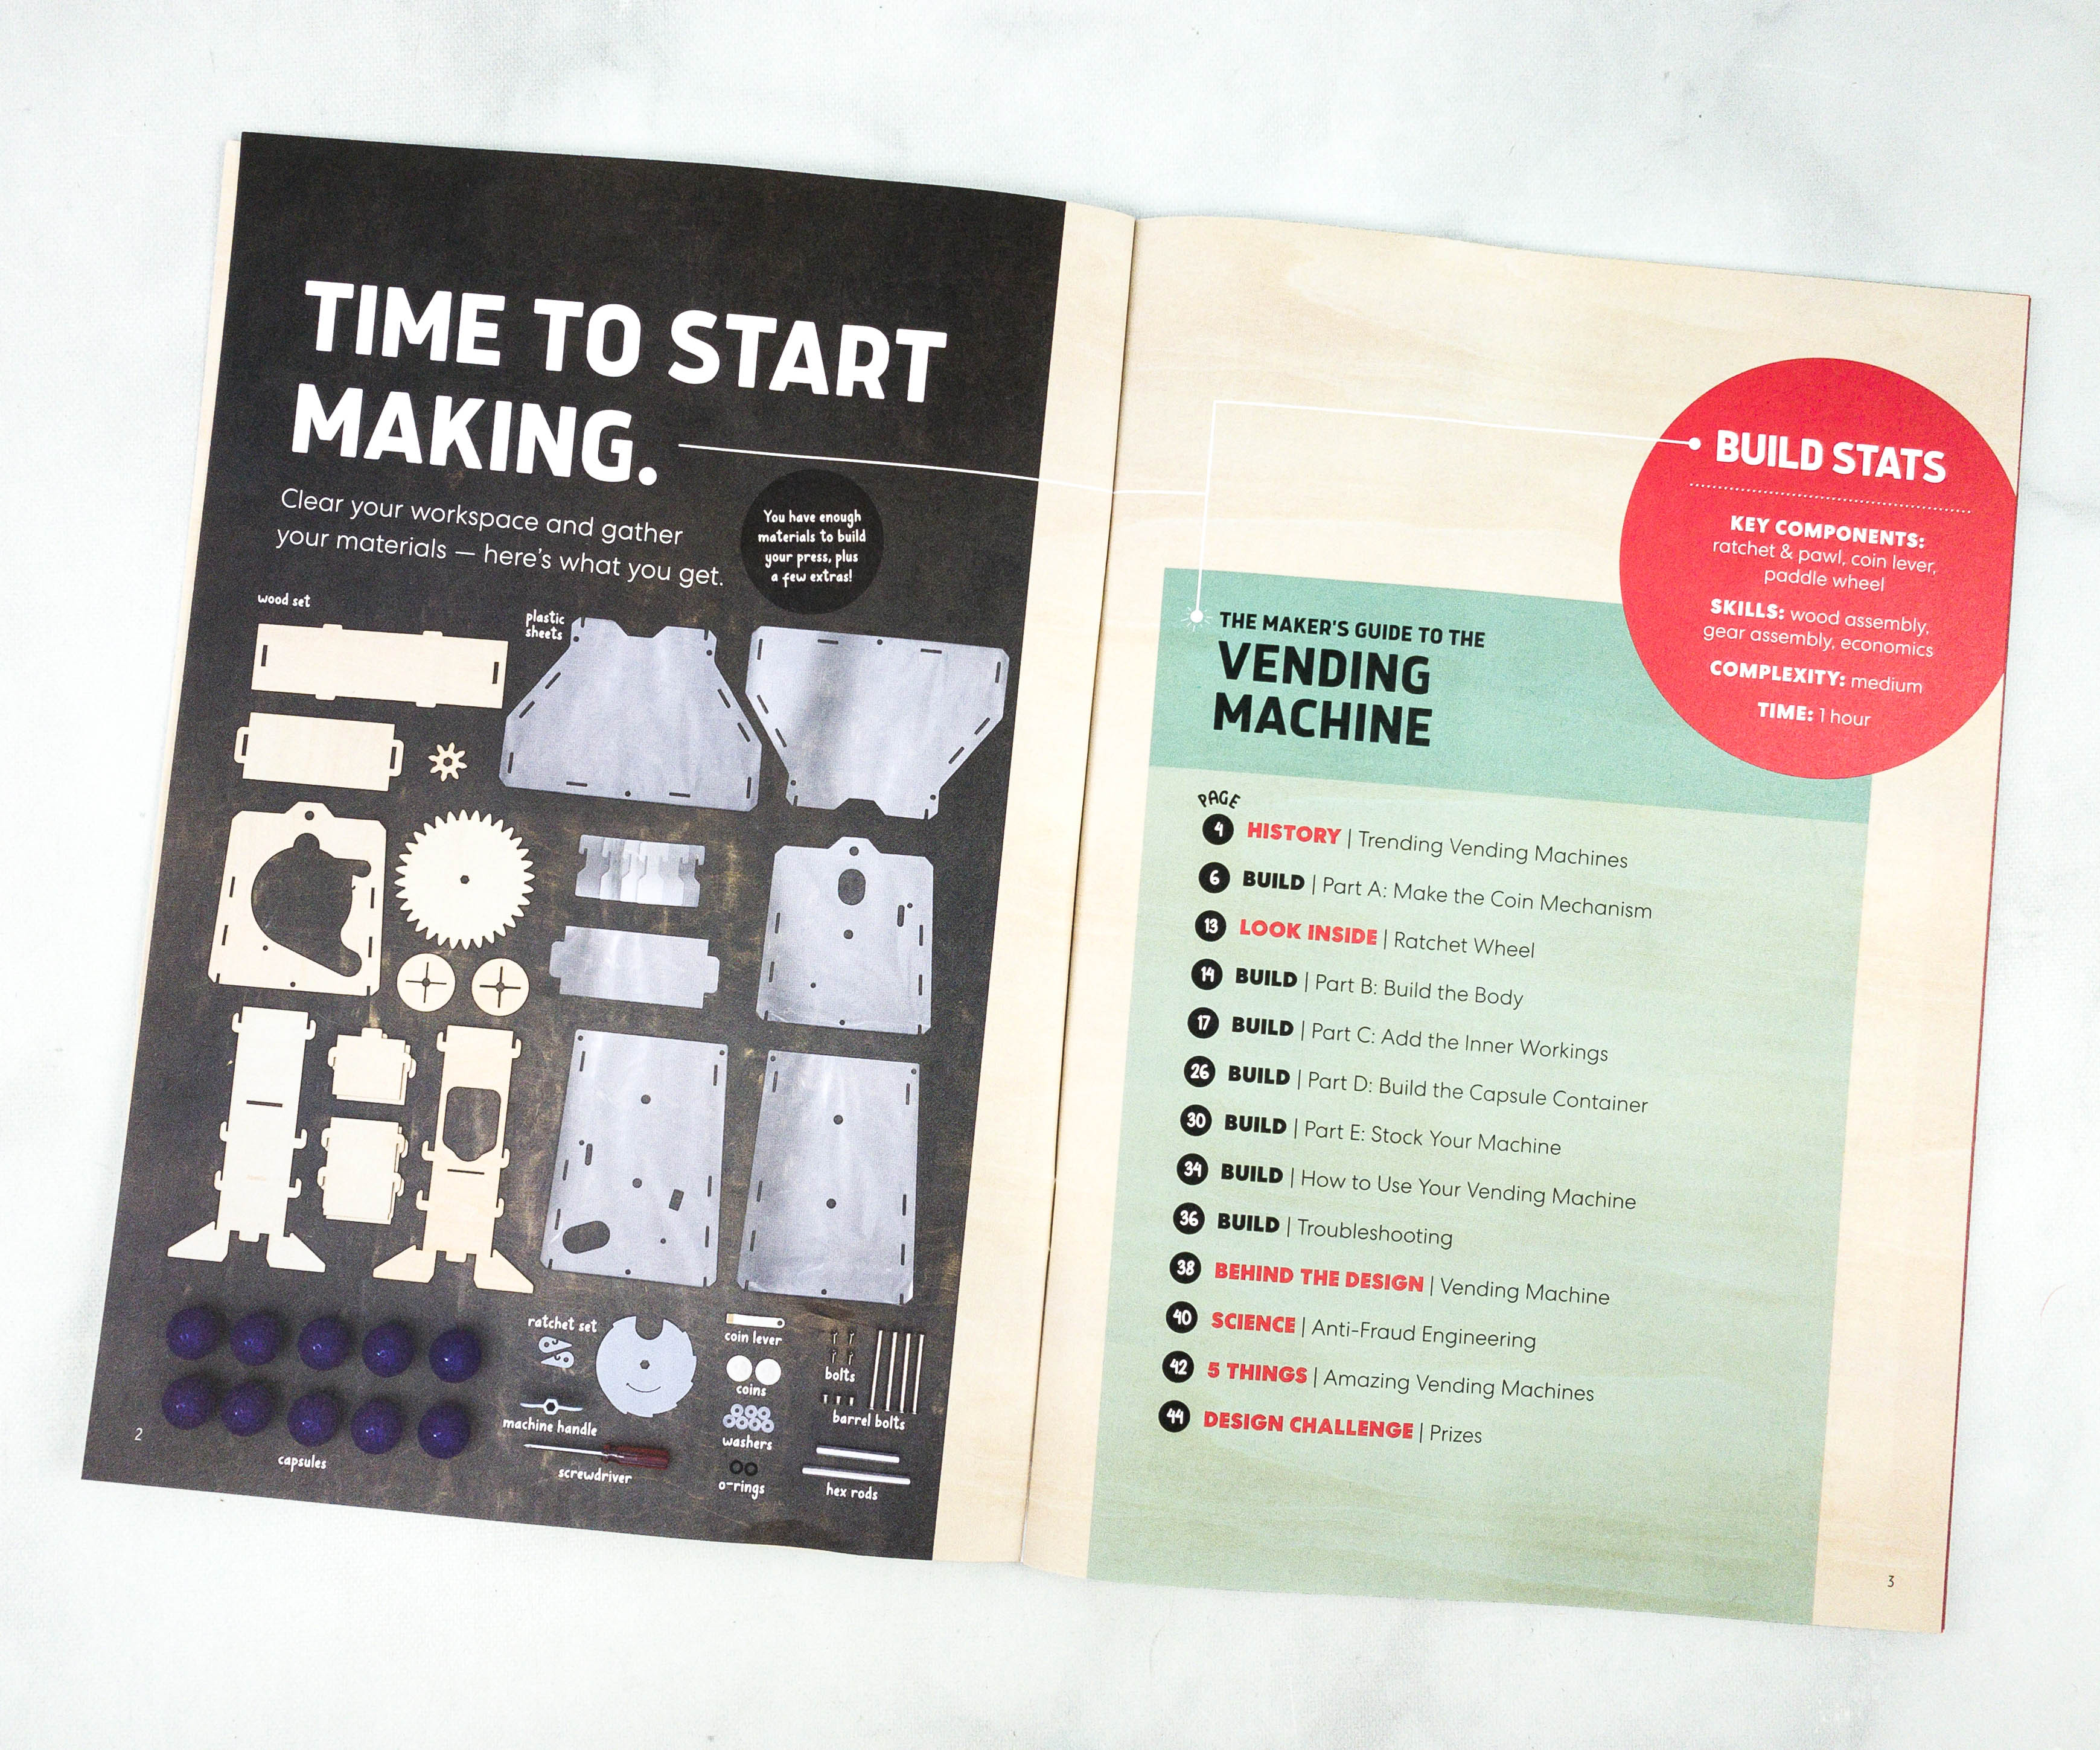
Like the other crates from KiwiCo, Eureka Crate includes a booklet.
One of KiwiCo’s goals is to equip the next generation of innovators with the tools and confidence for creative exploration and problem-solving.
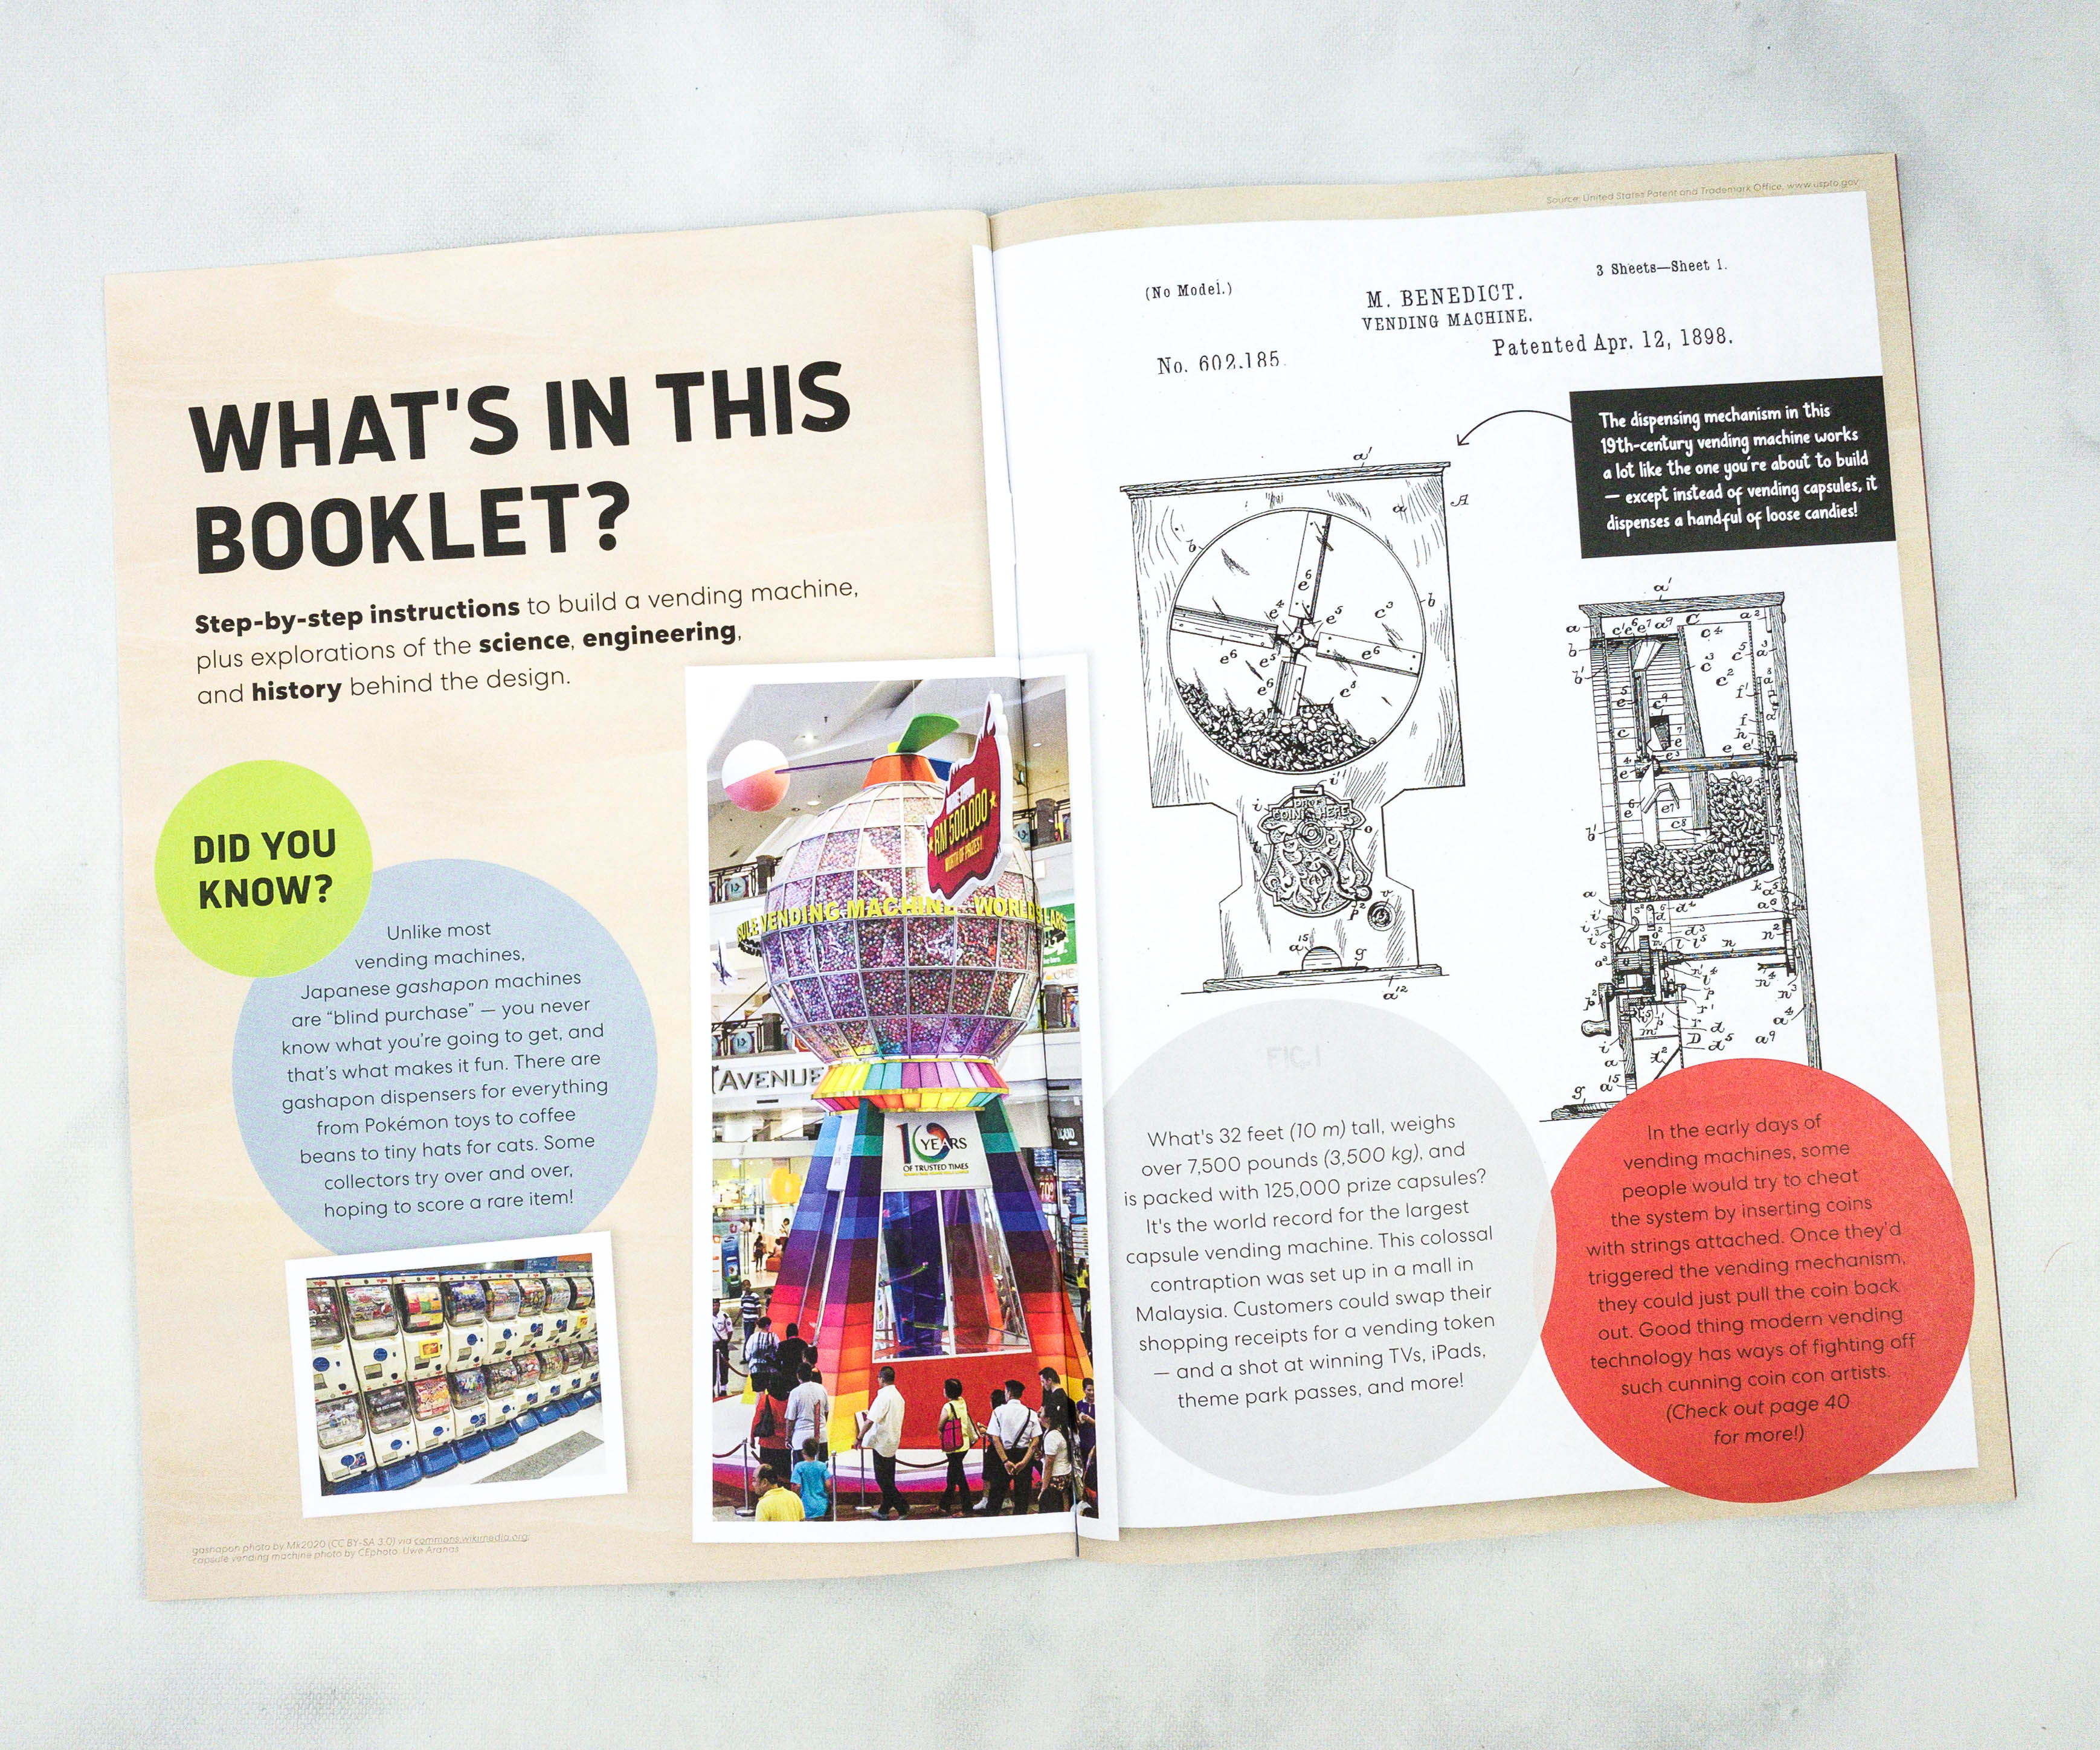
The booklet shares a complete history and details about this month’s project. They also included some fun facts and trivia related to the theme.
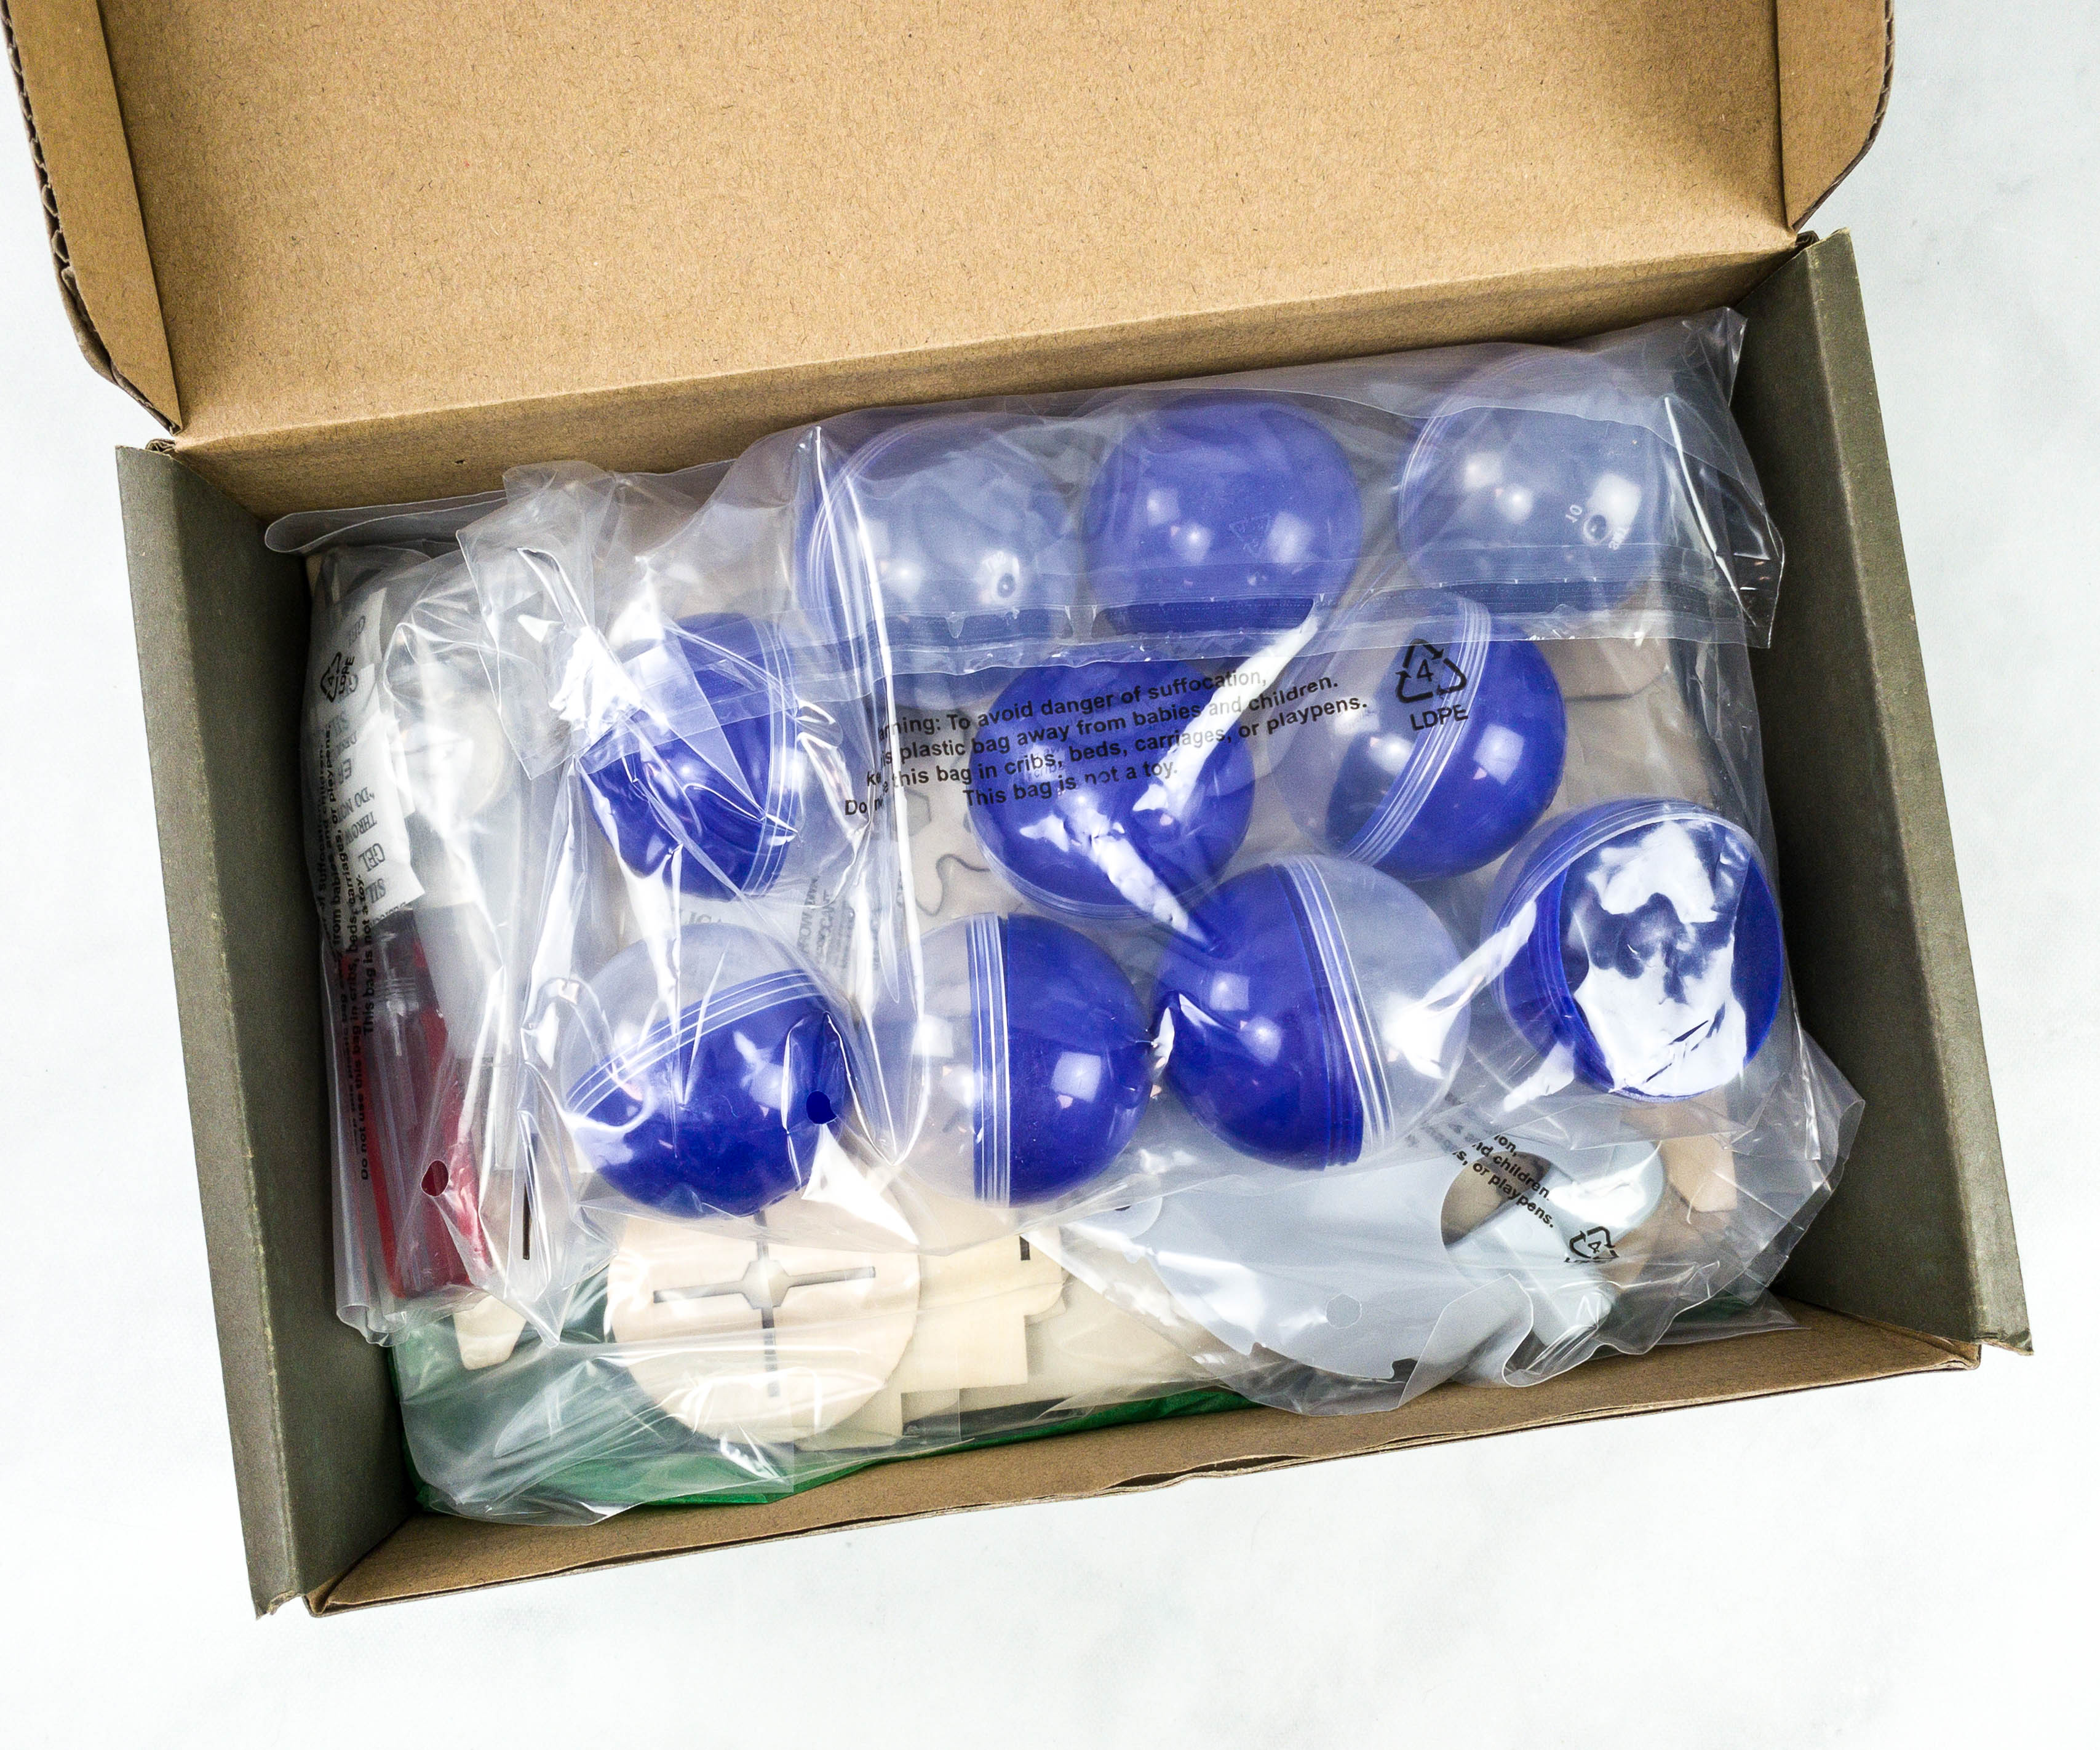
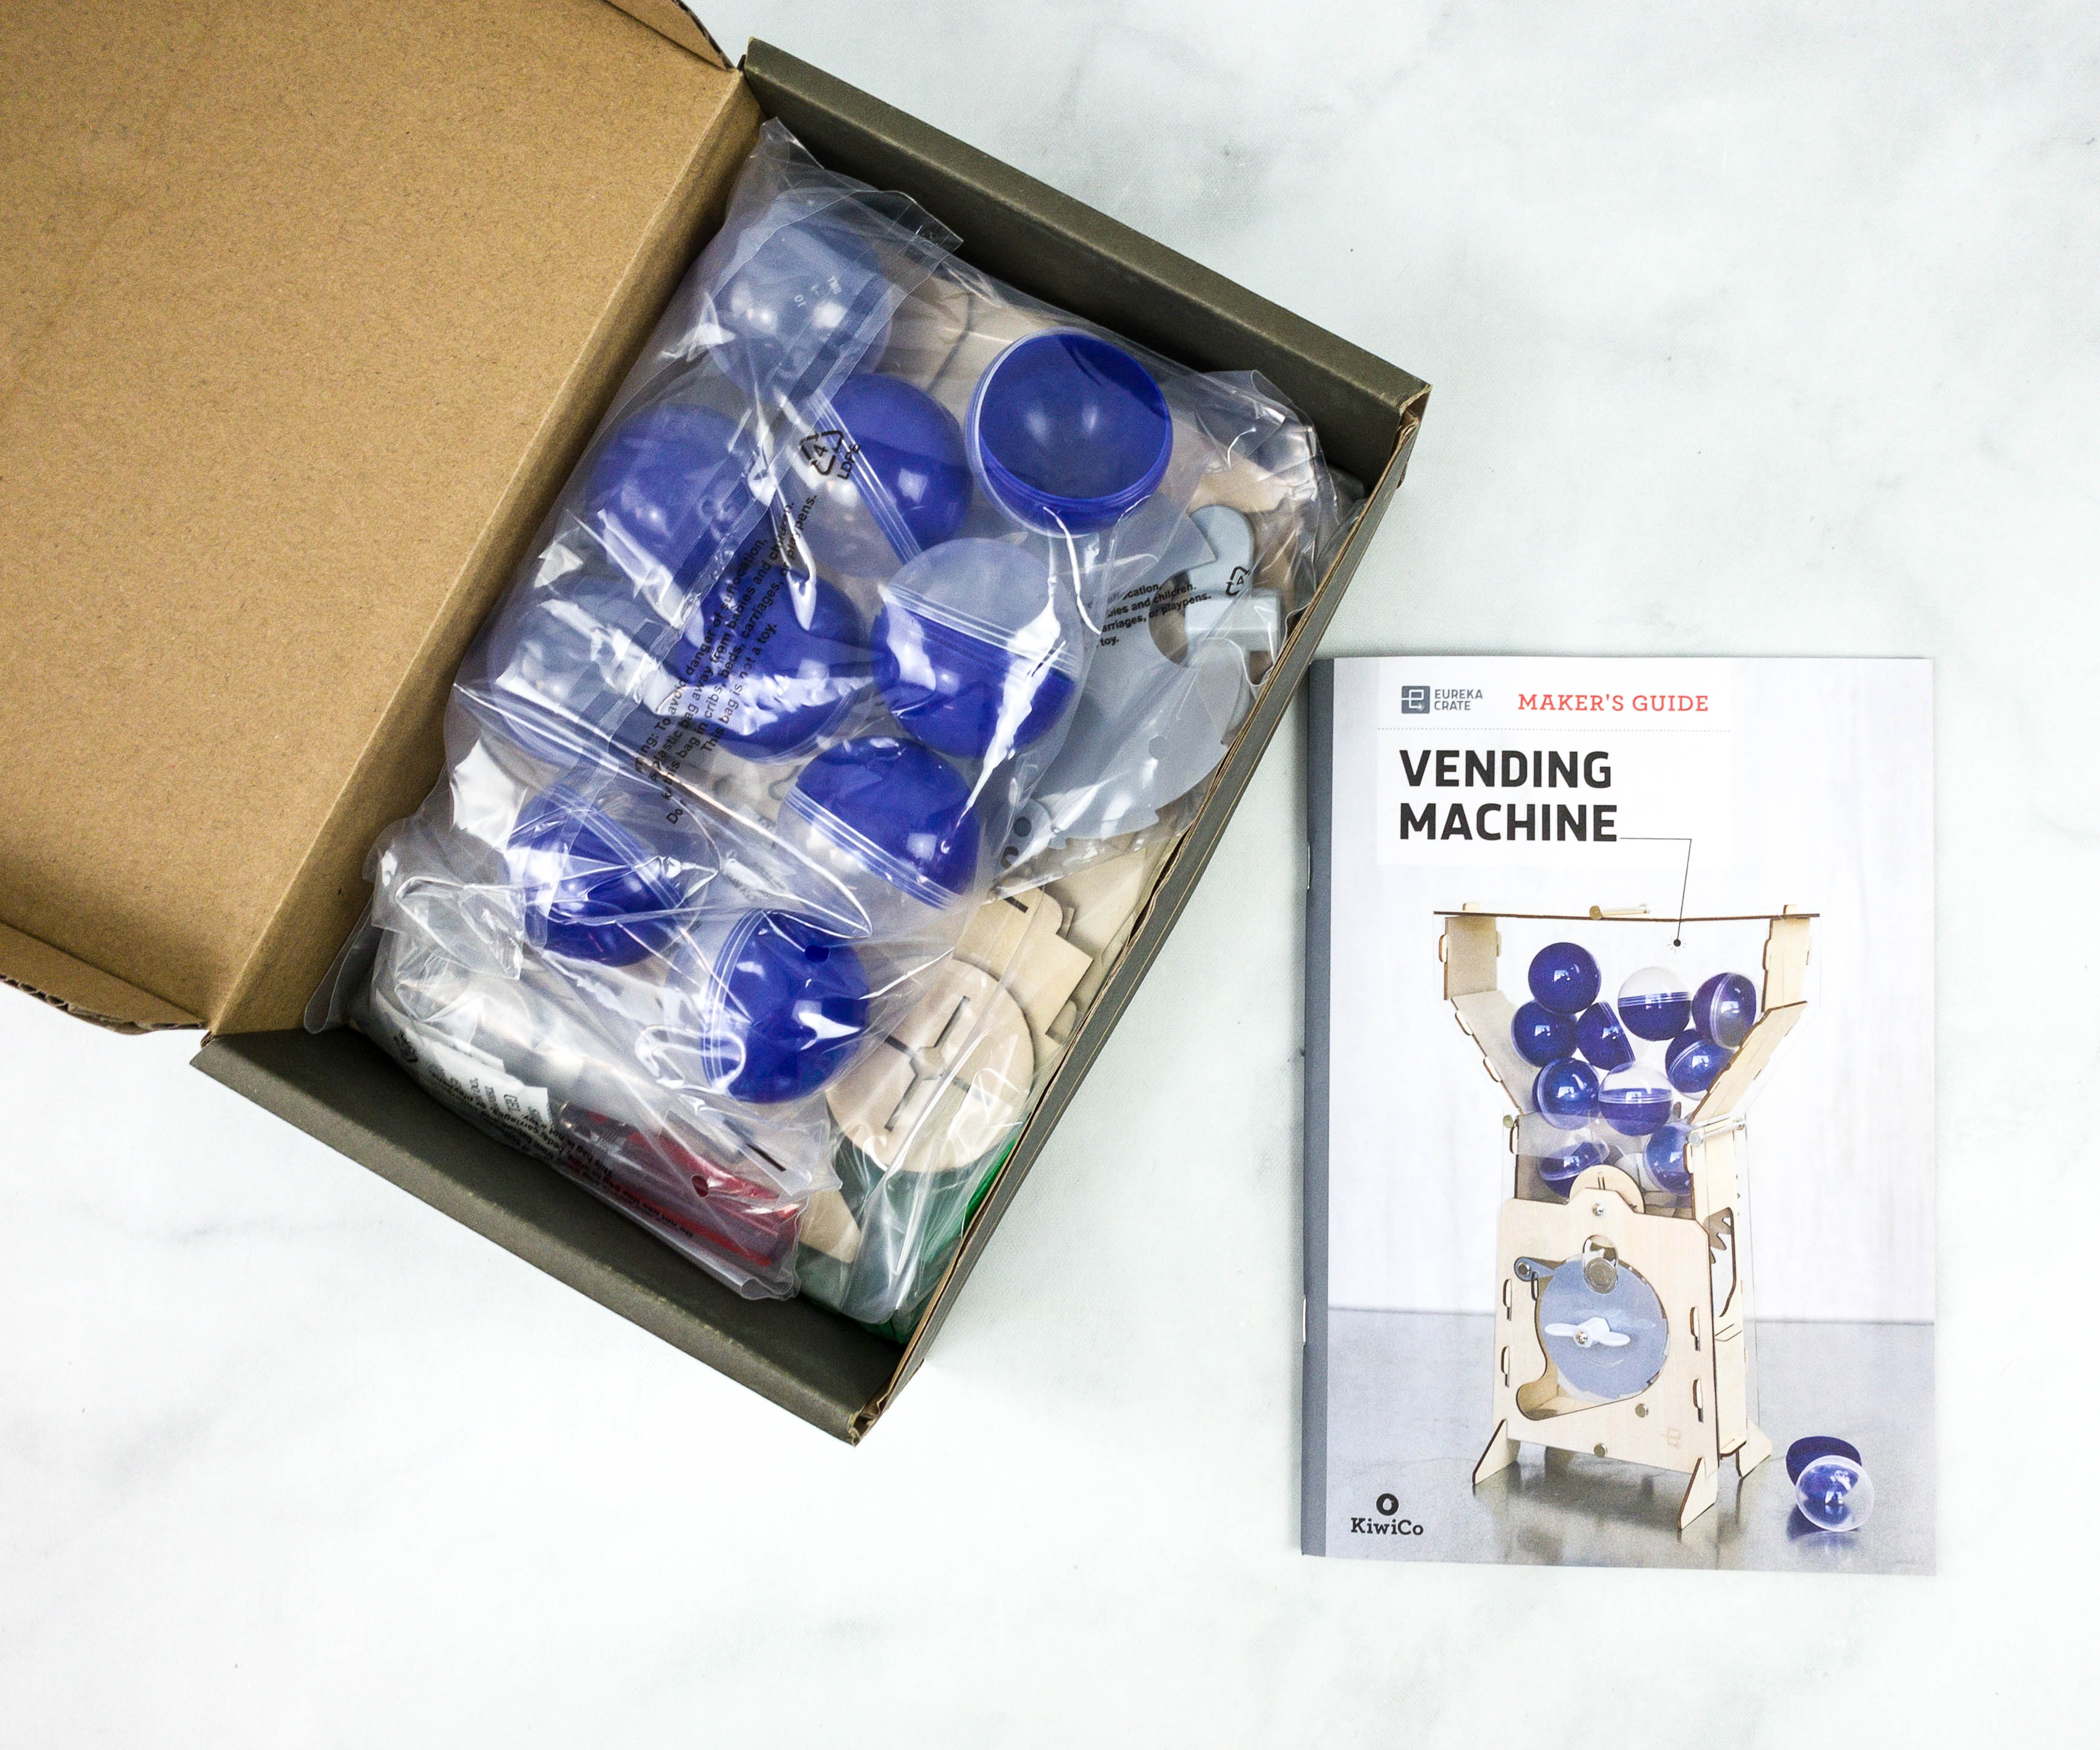
The materials were packed separately.
This booklet means business as it jumps right to the activity.
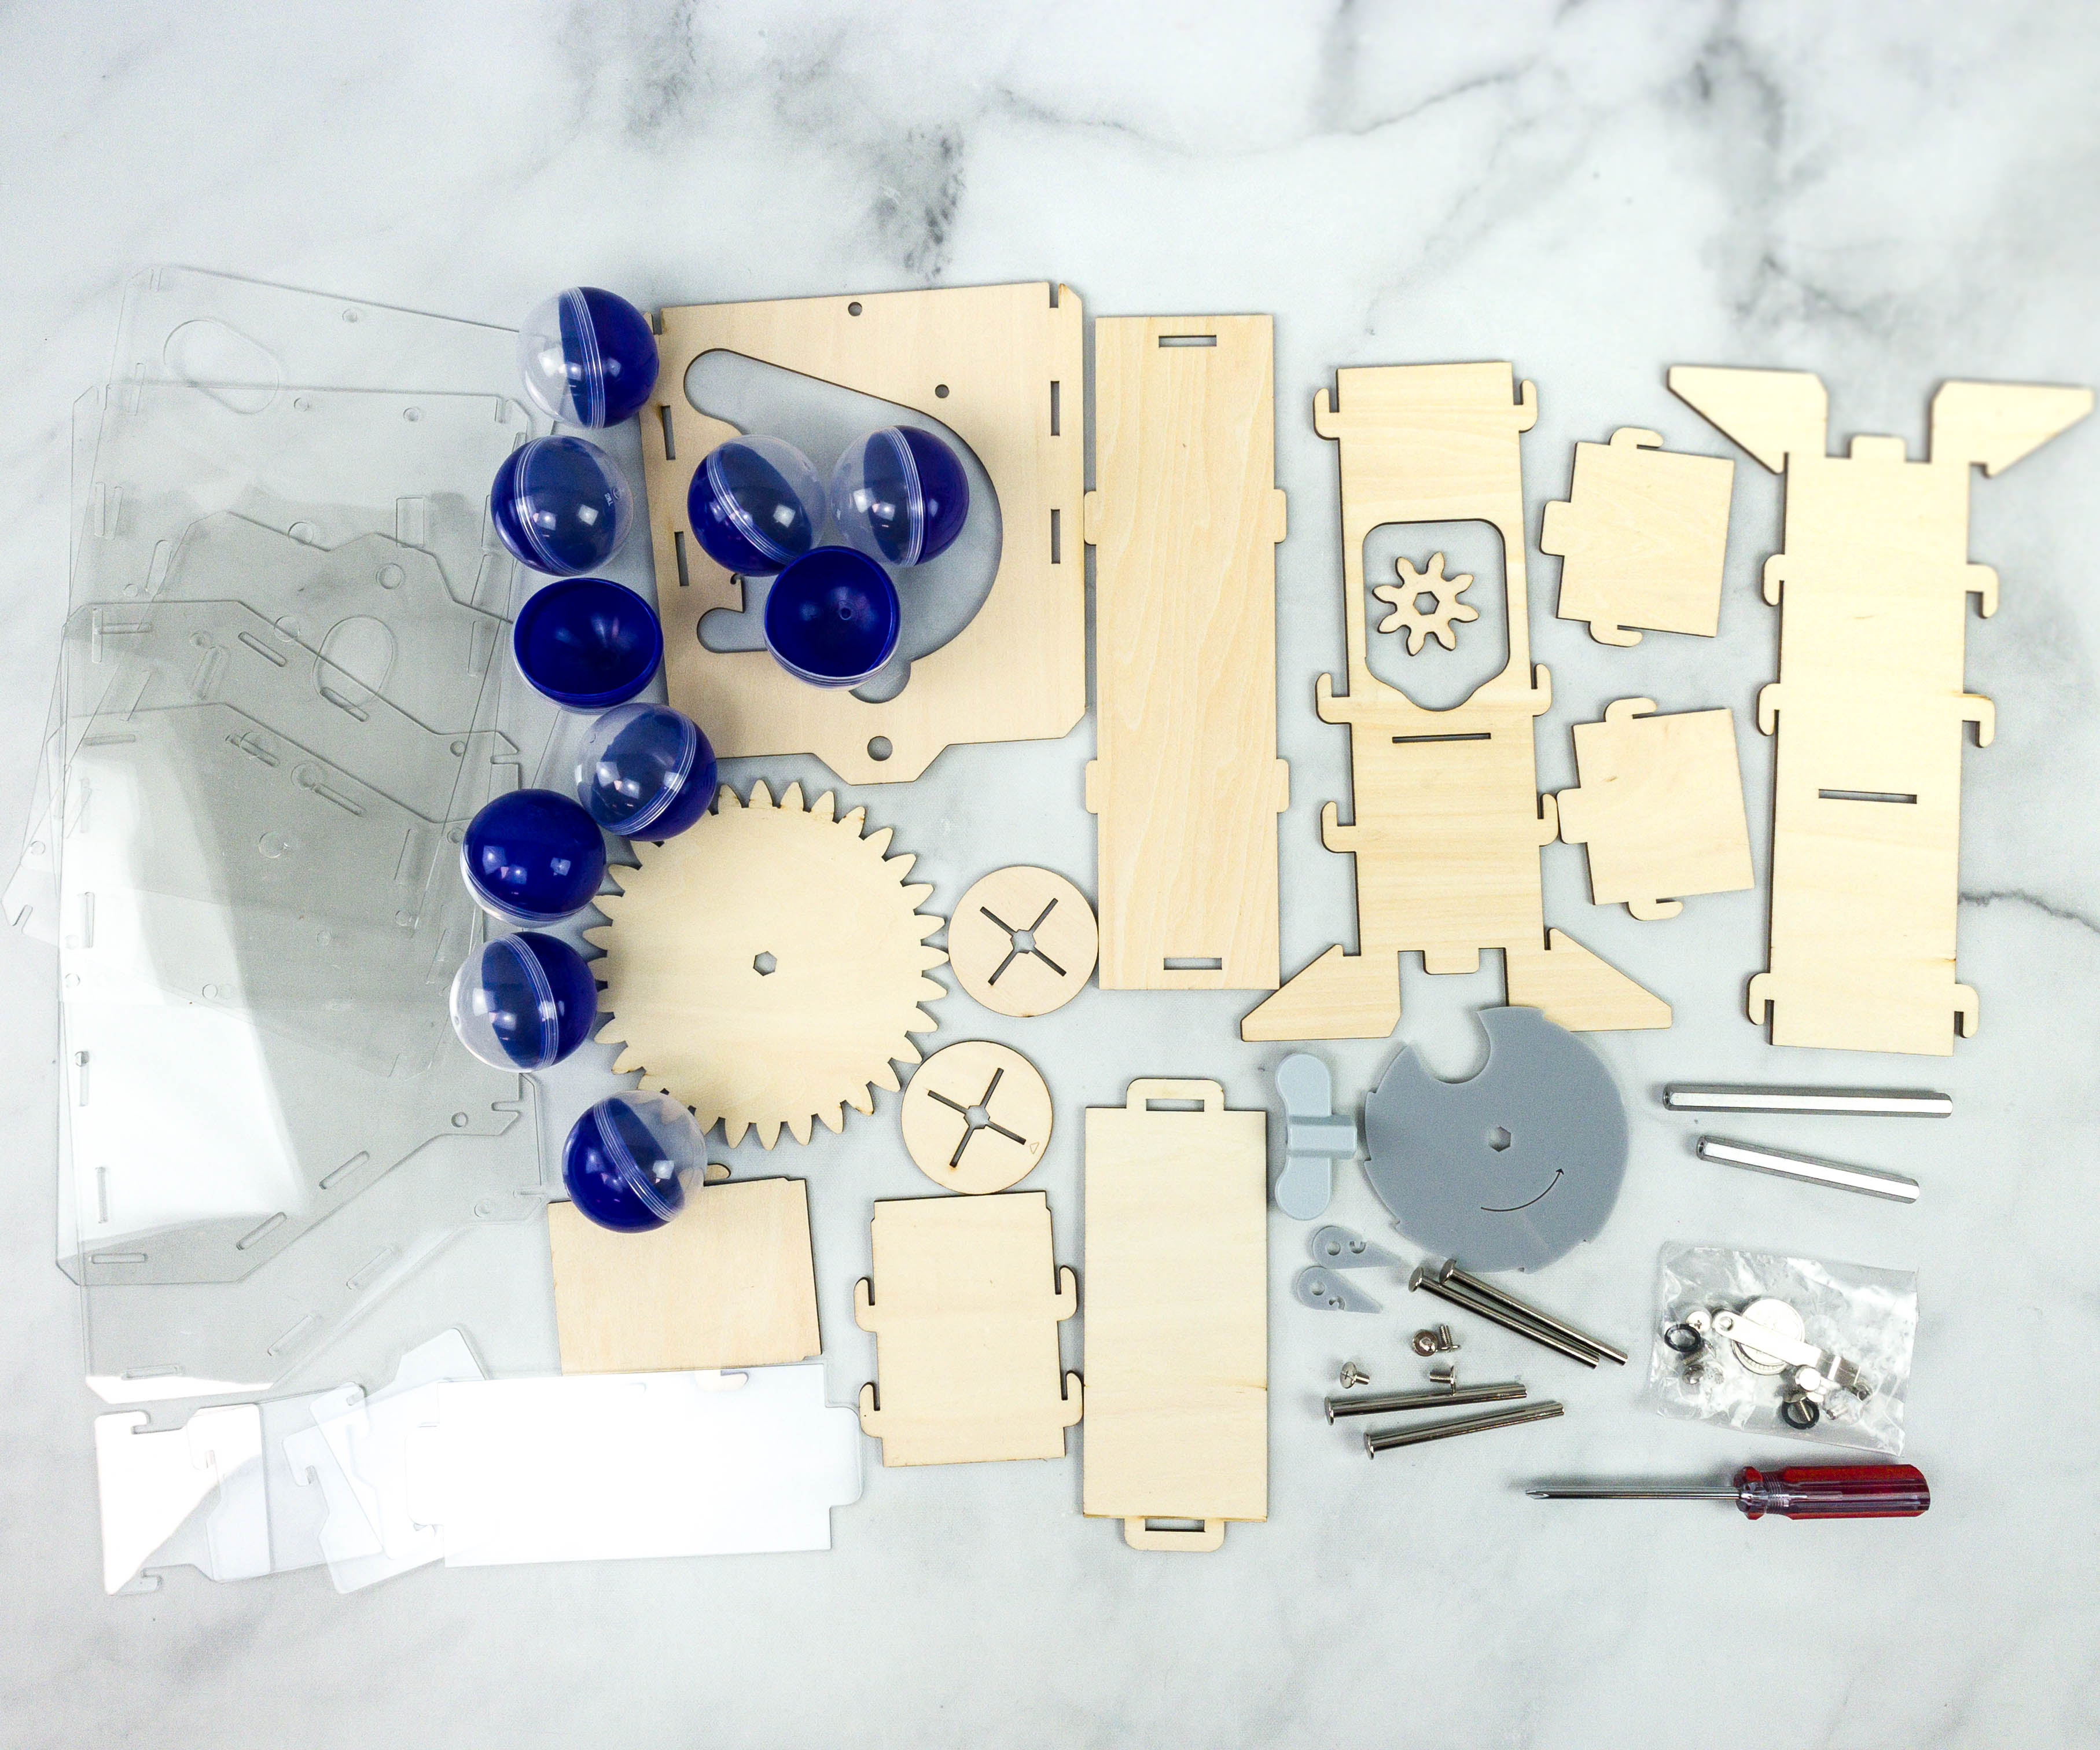
Everything in this month’s box!
Eureka Crate Maker’s Guide
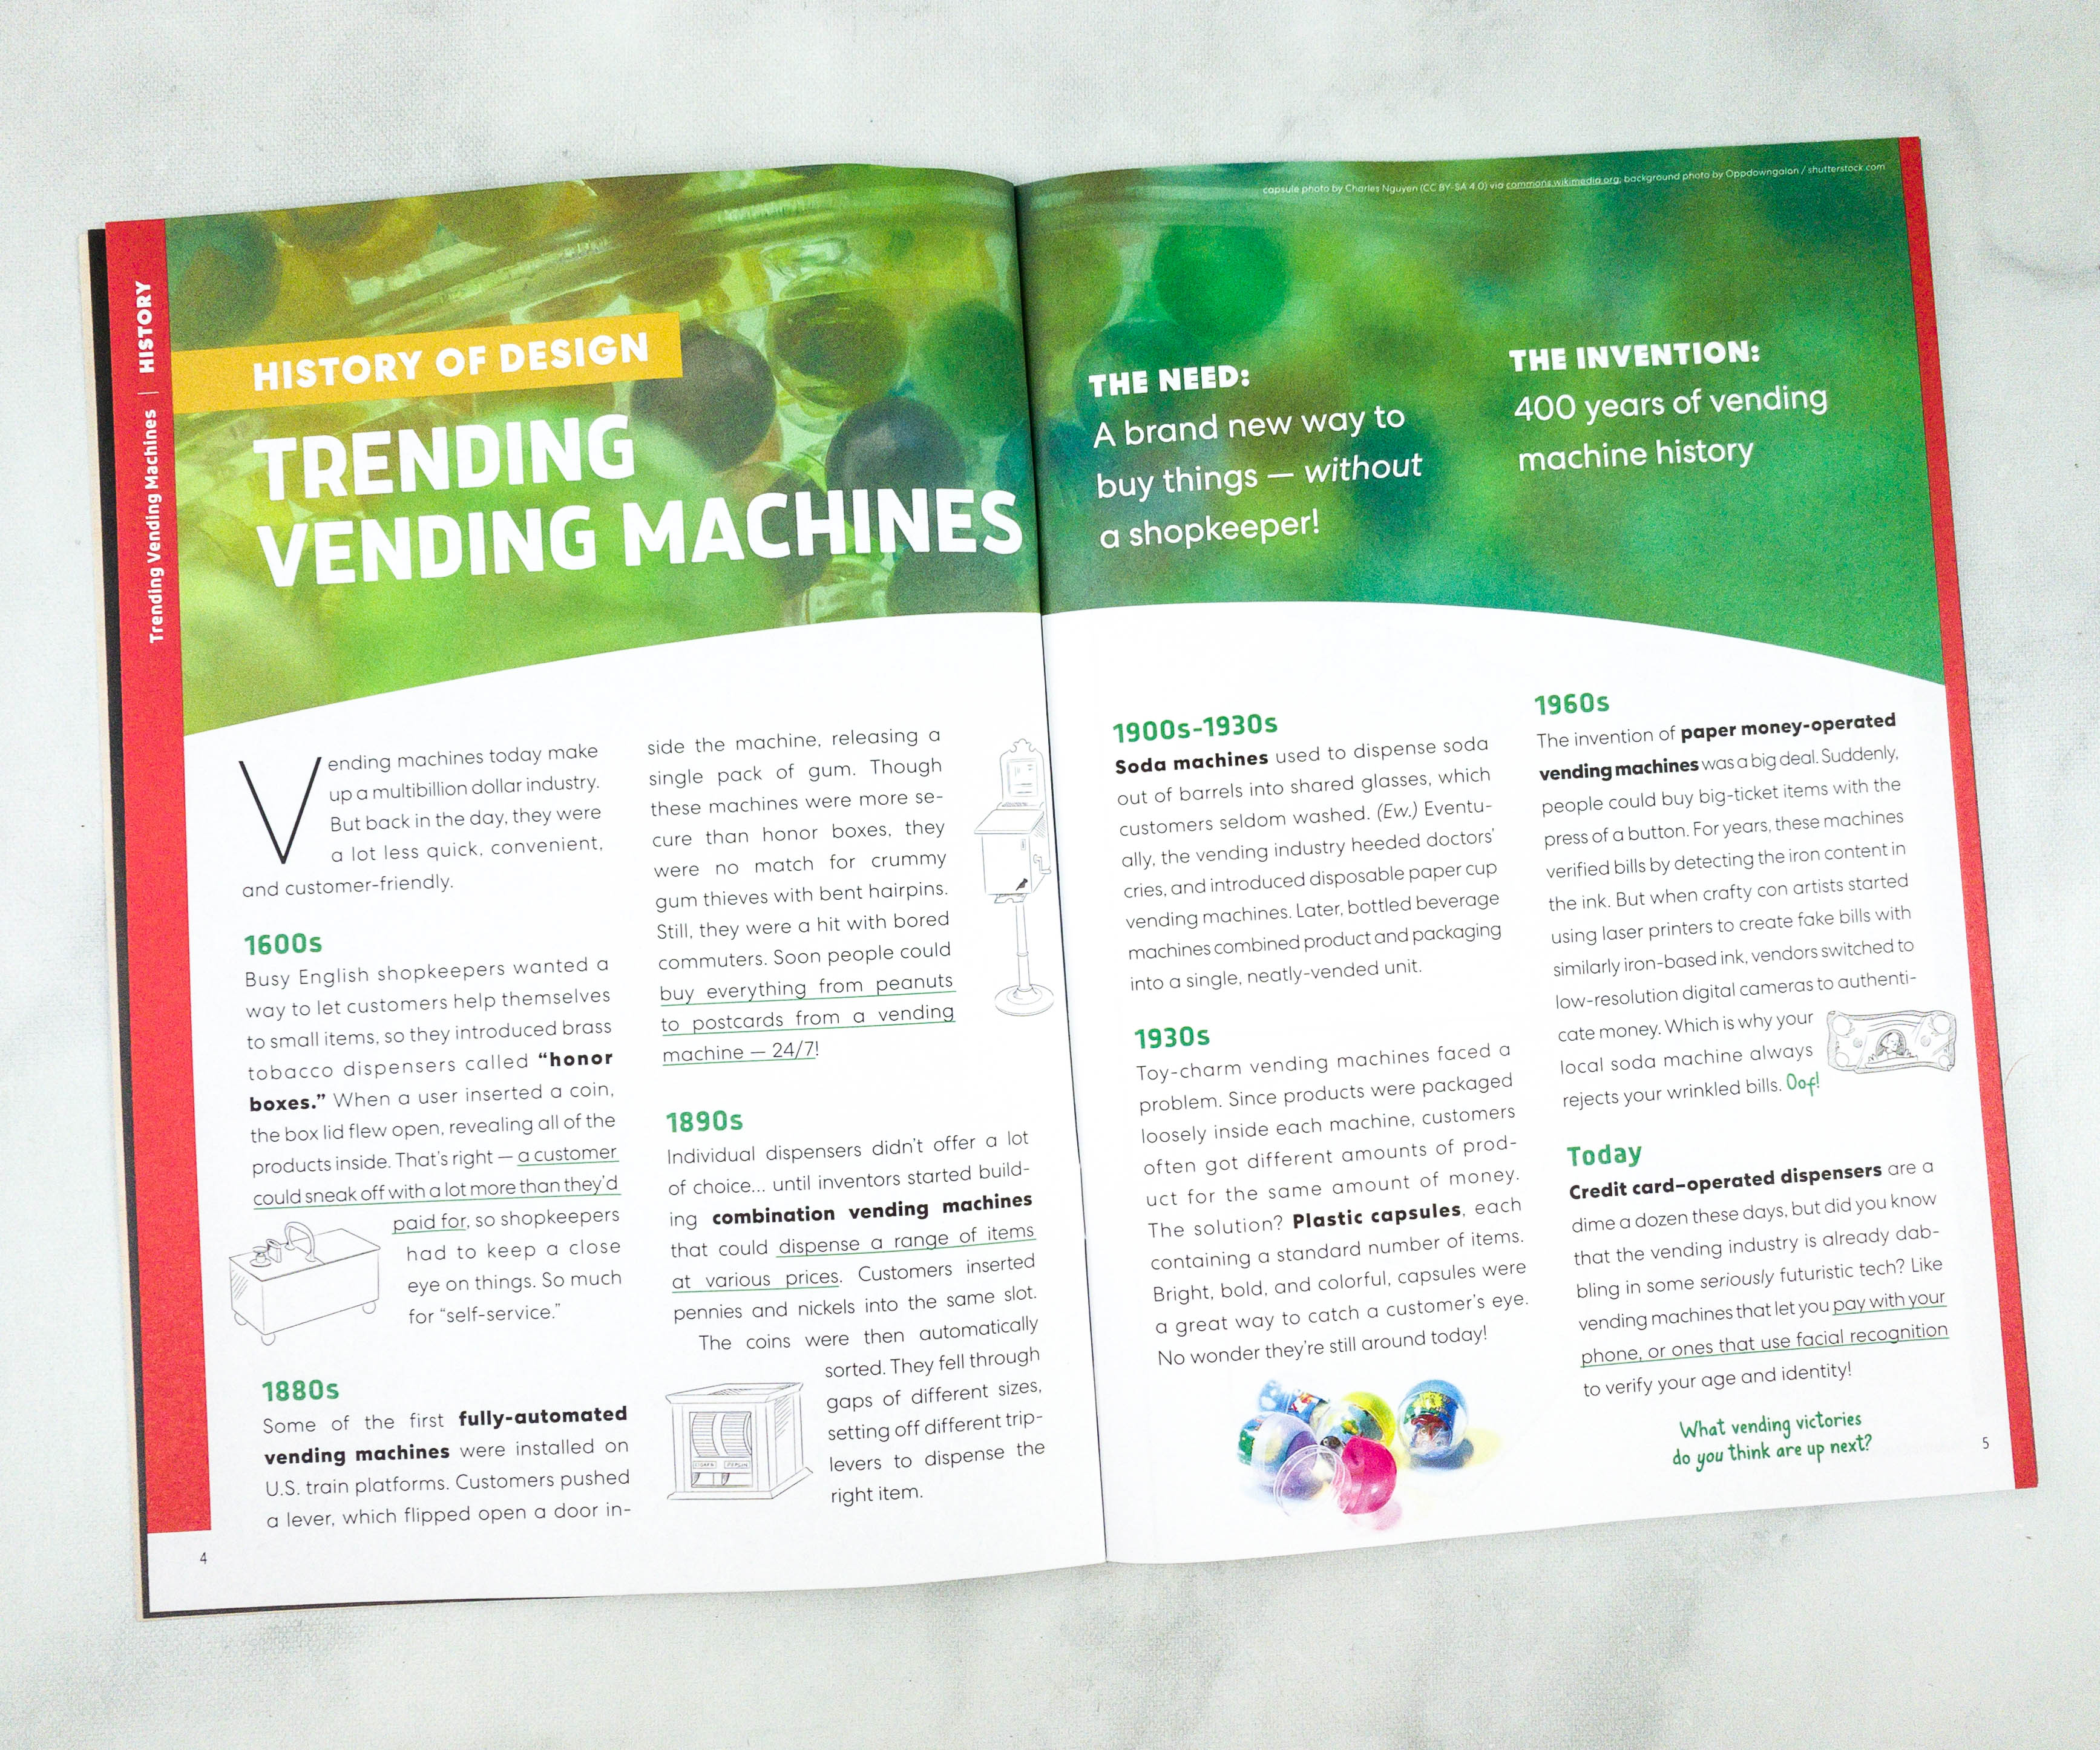
The booklet also provided us more information about this fun project, like the history behind the design. They even provided us a 2-full page article about the trending vending machines.
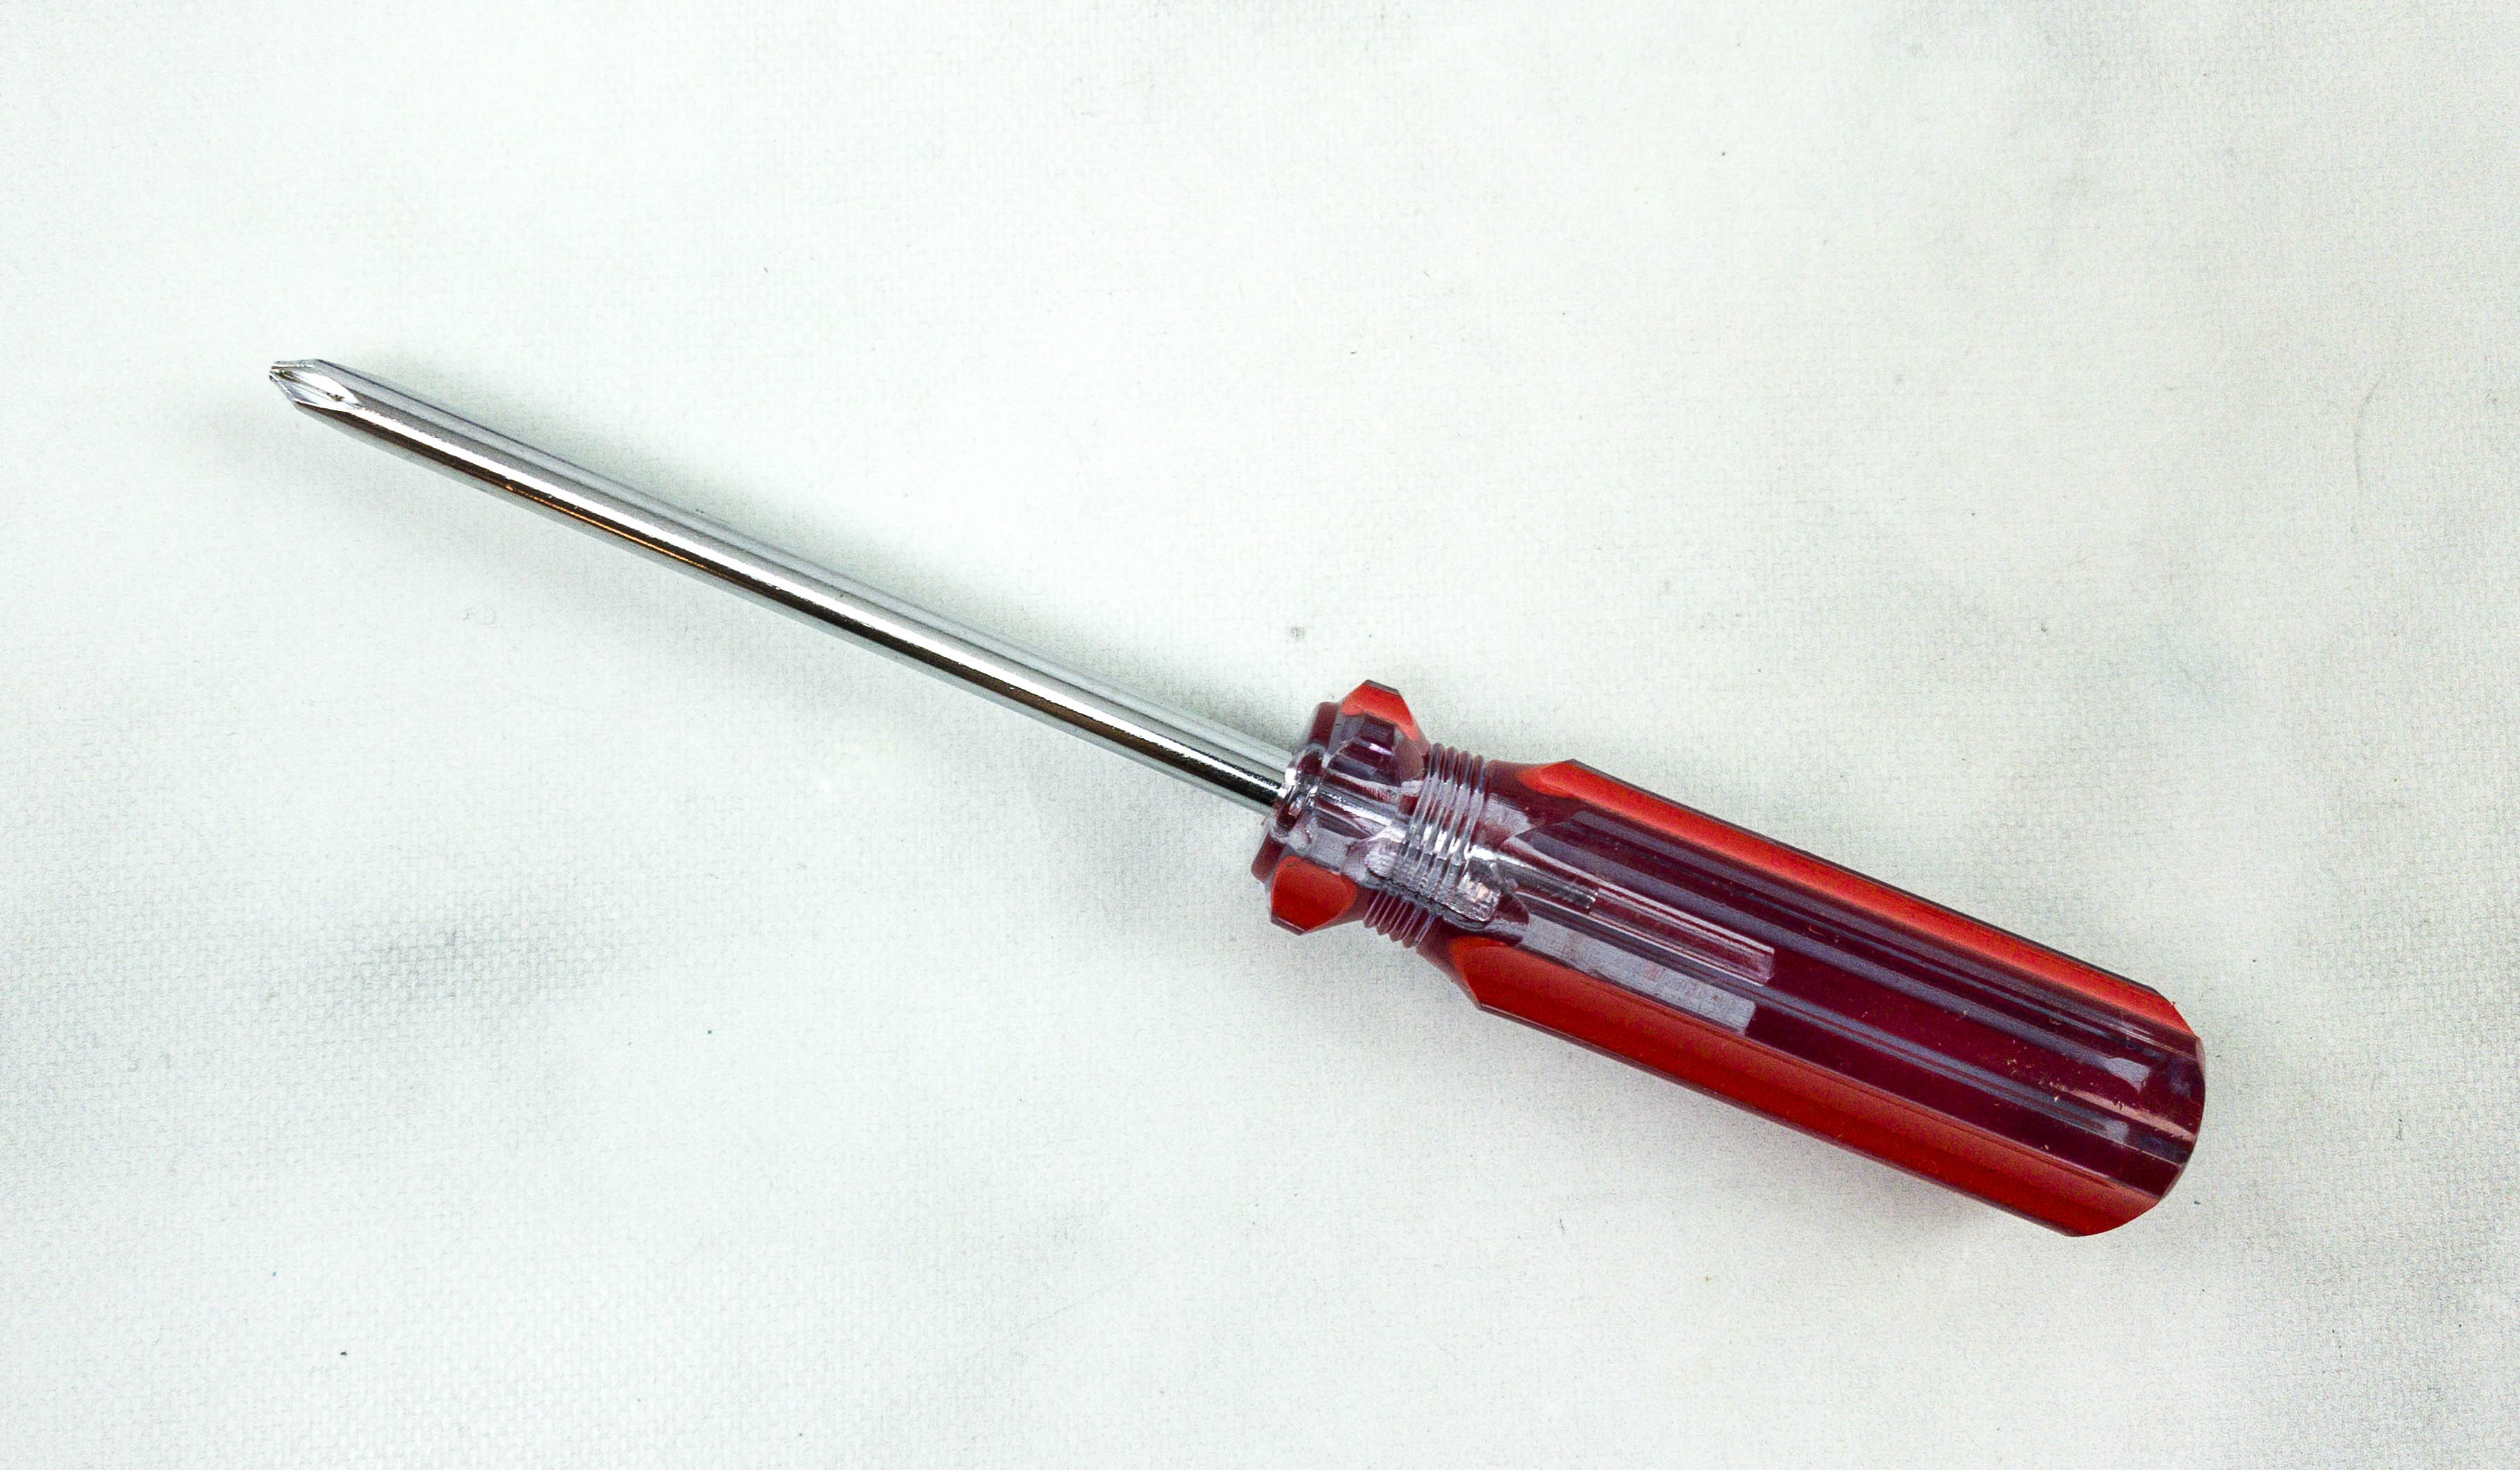
This month’s box includes a screwdriver!

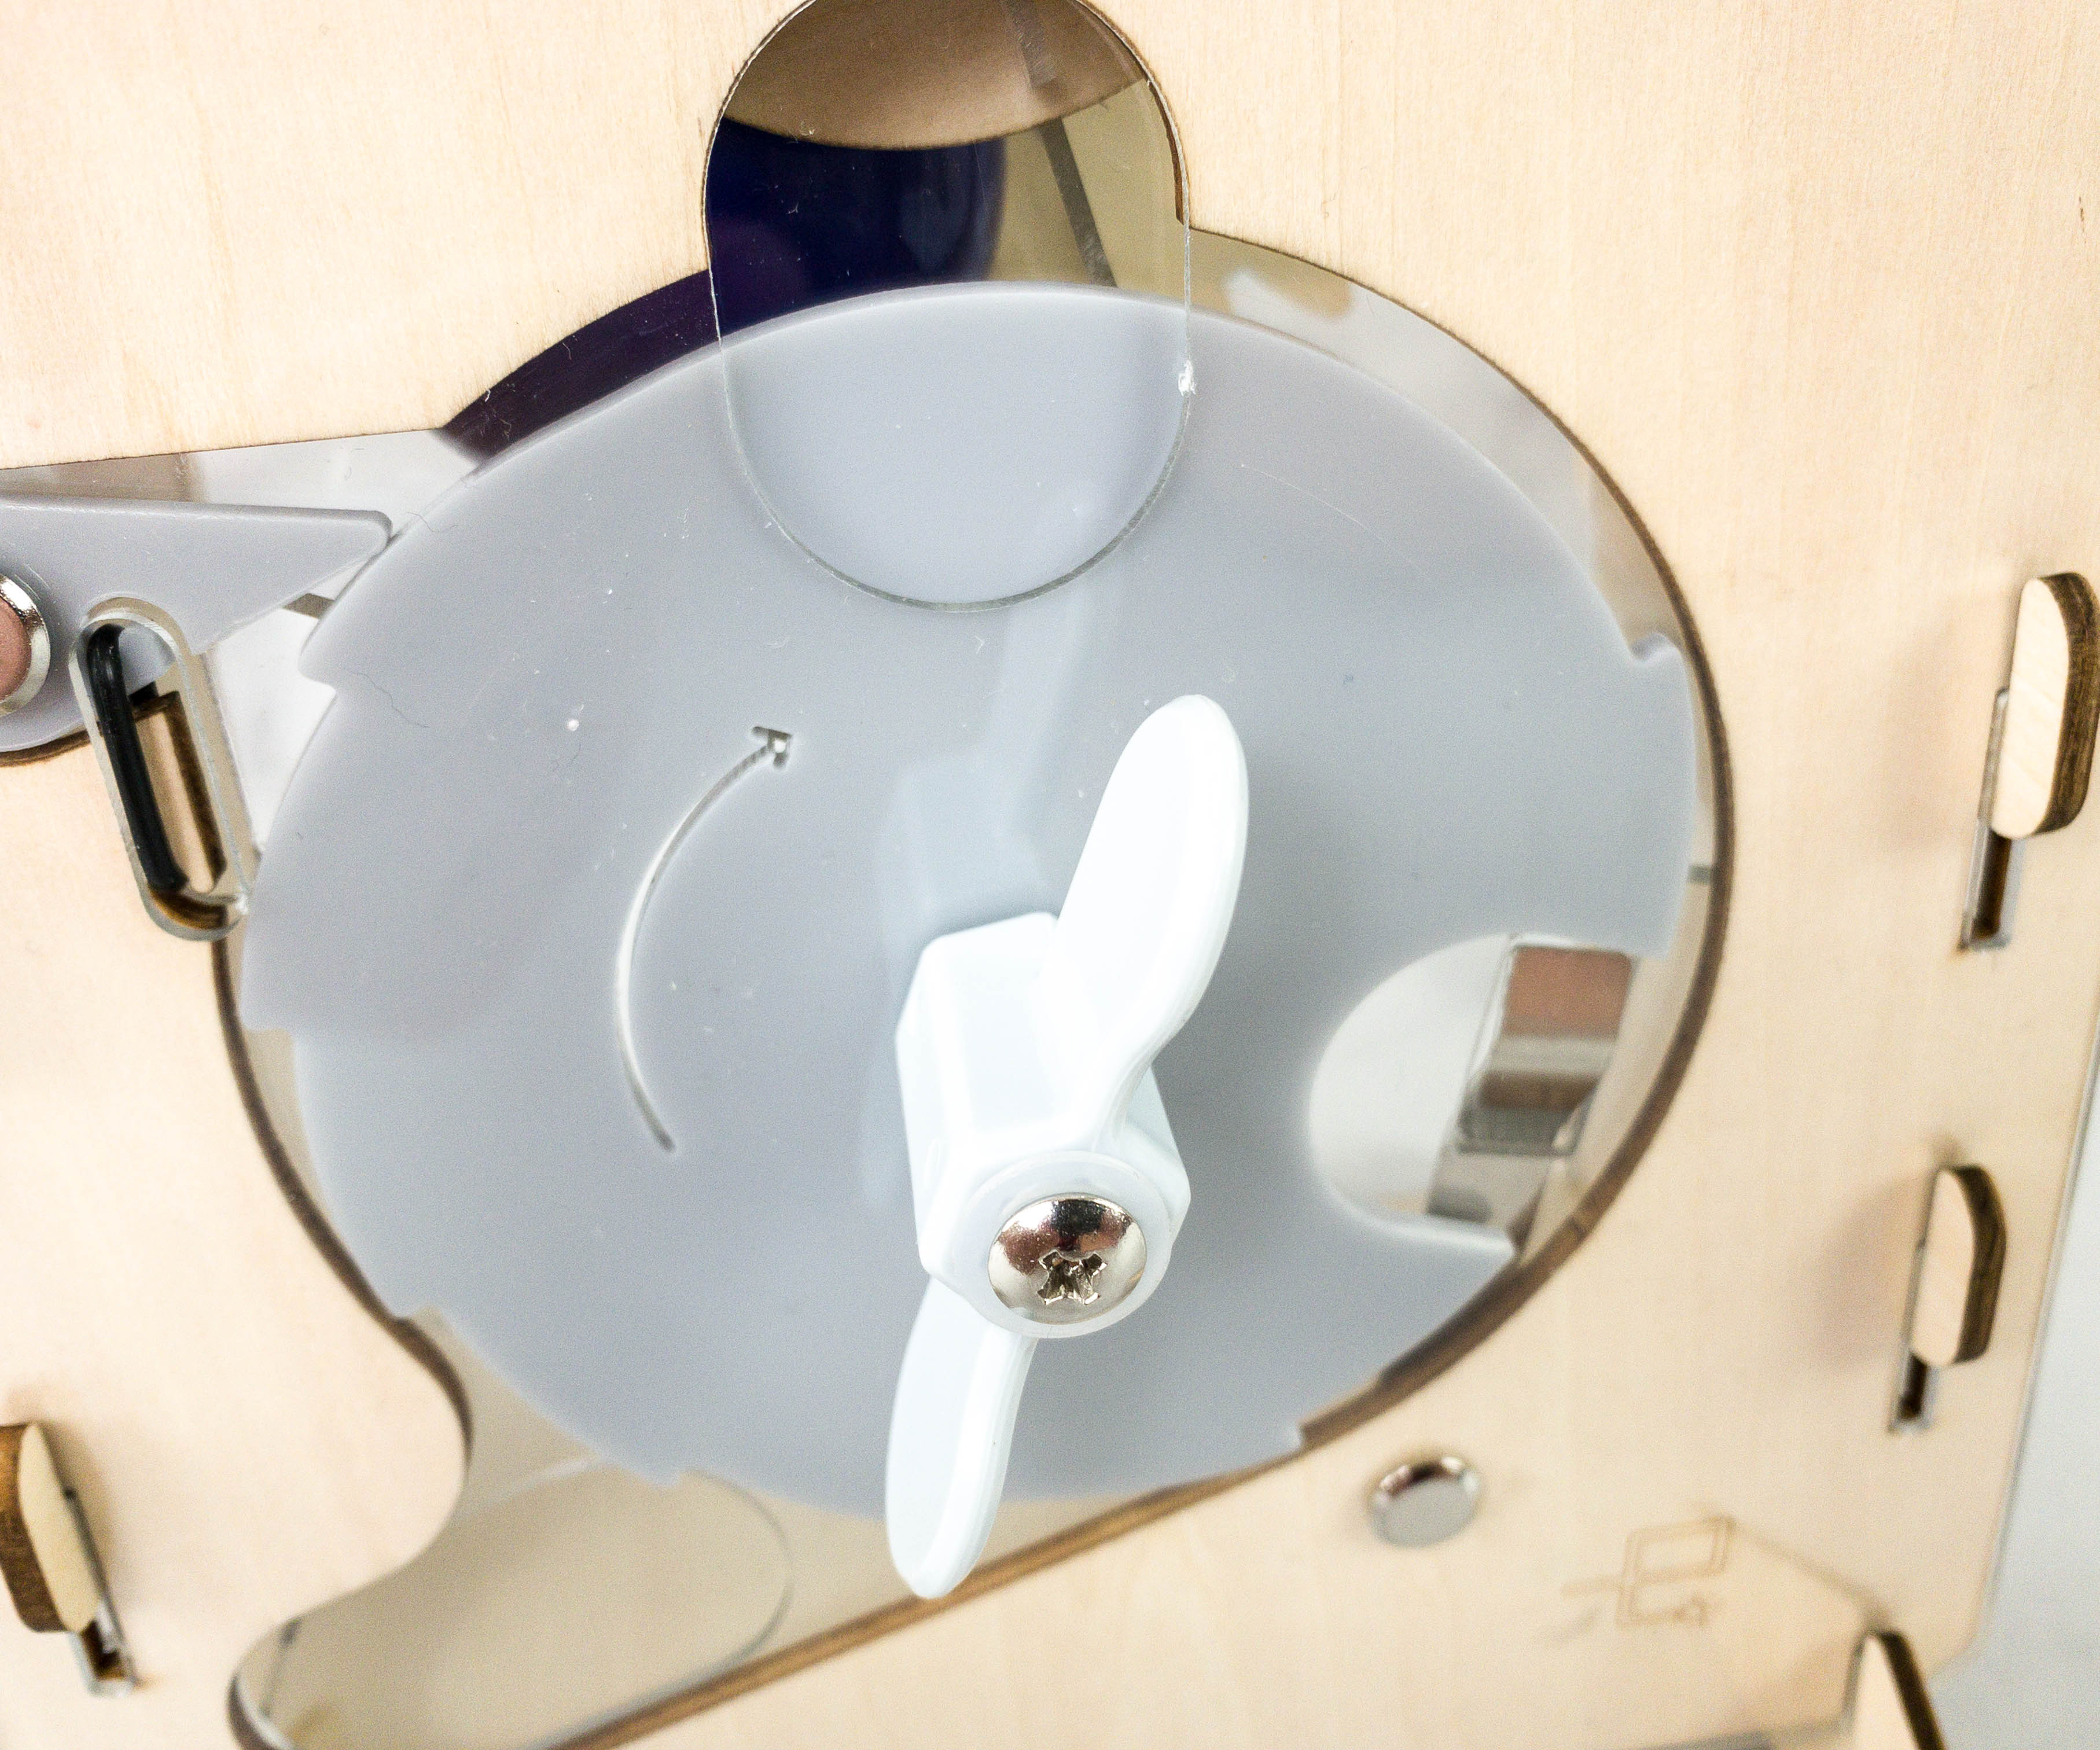
The first part of the project is about making the coin mechanism. This is what takes the payment in a vending machine.
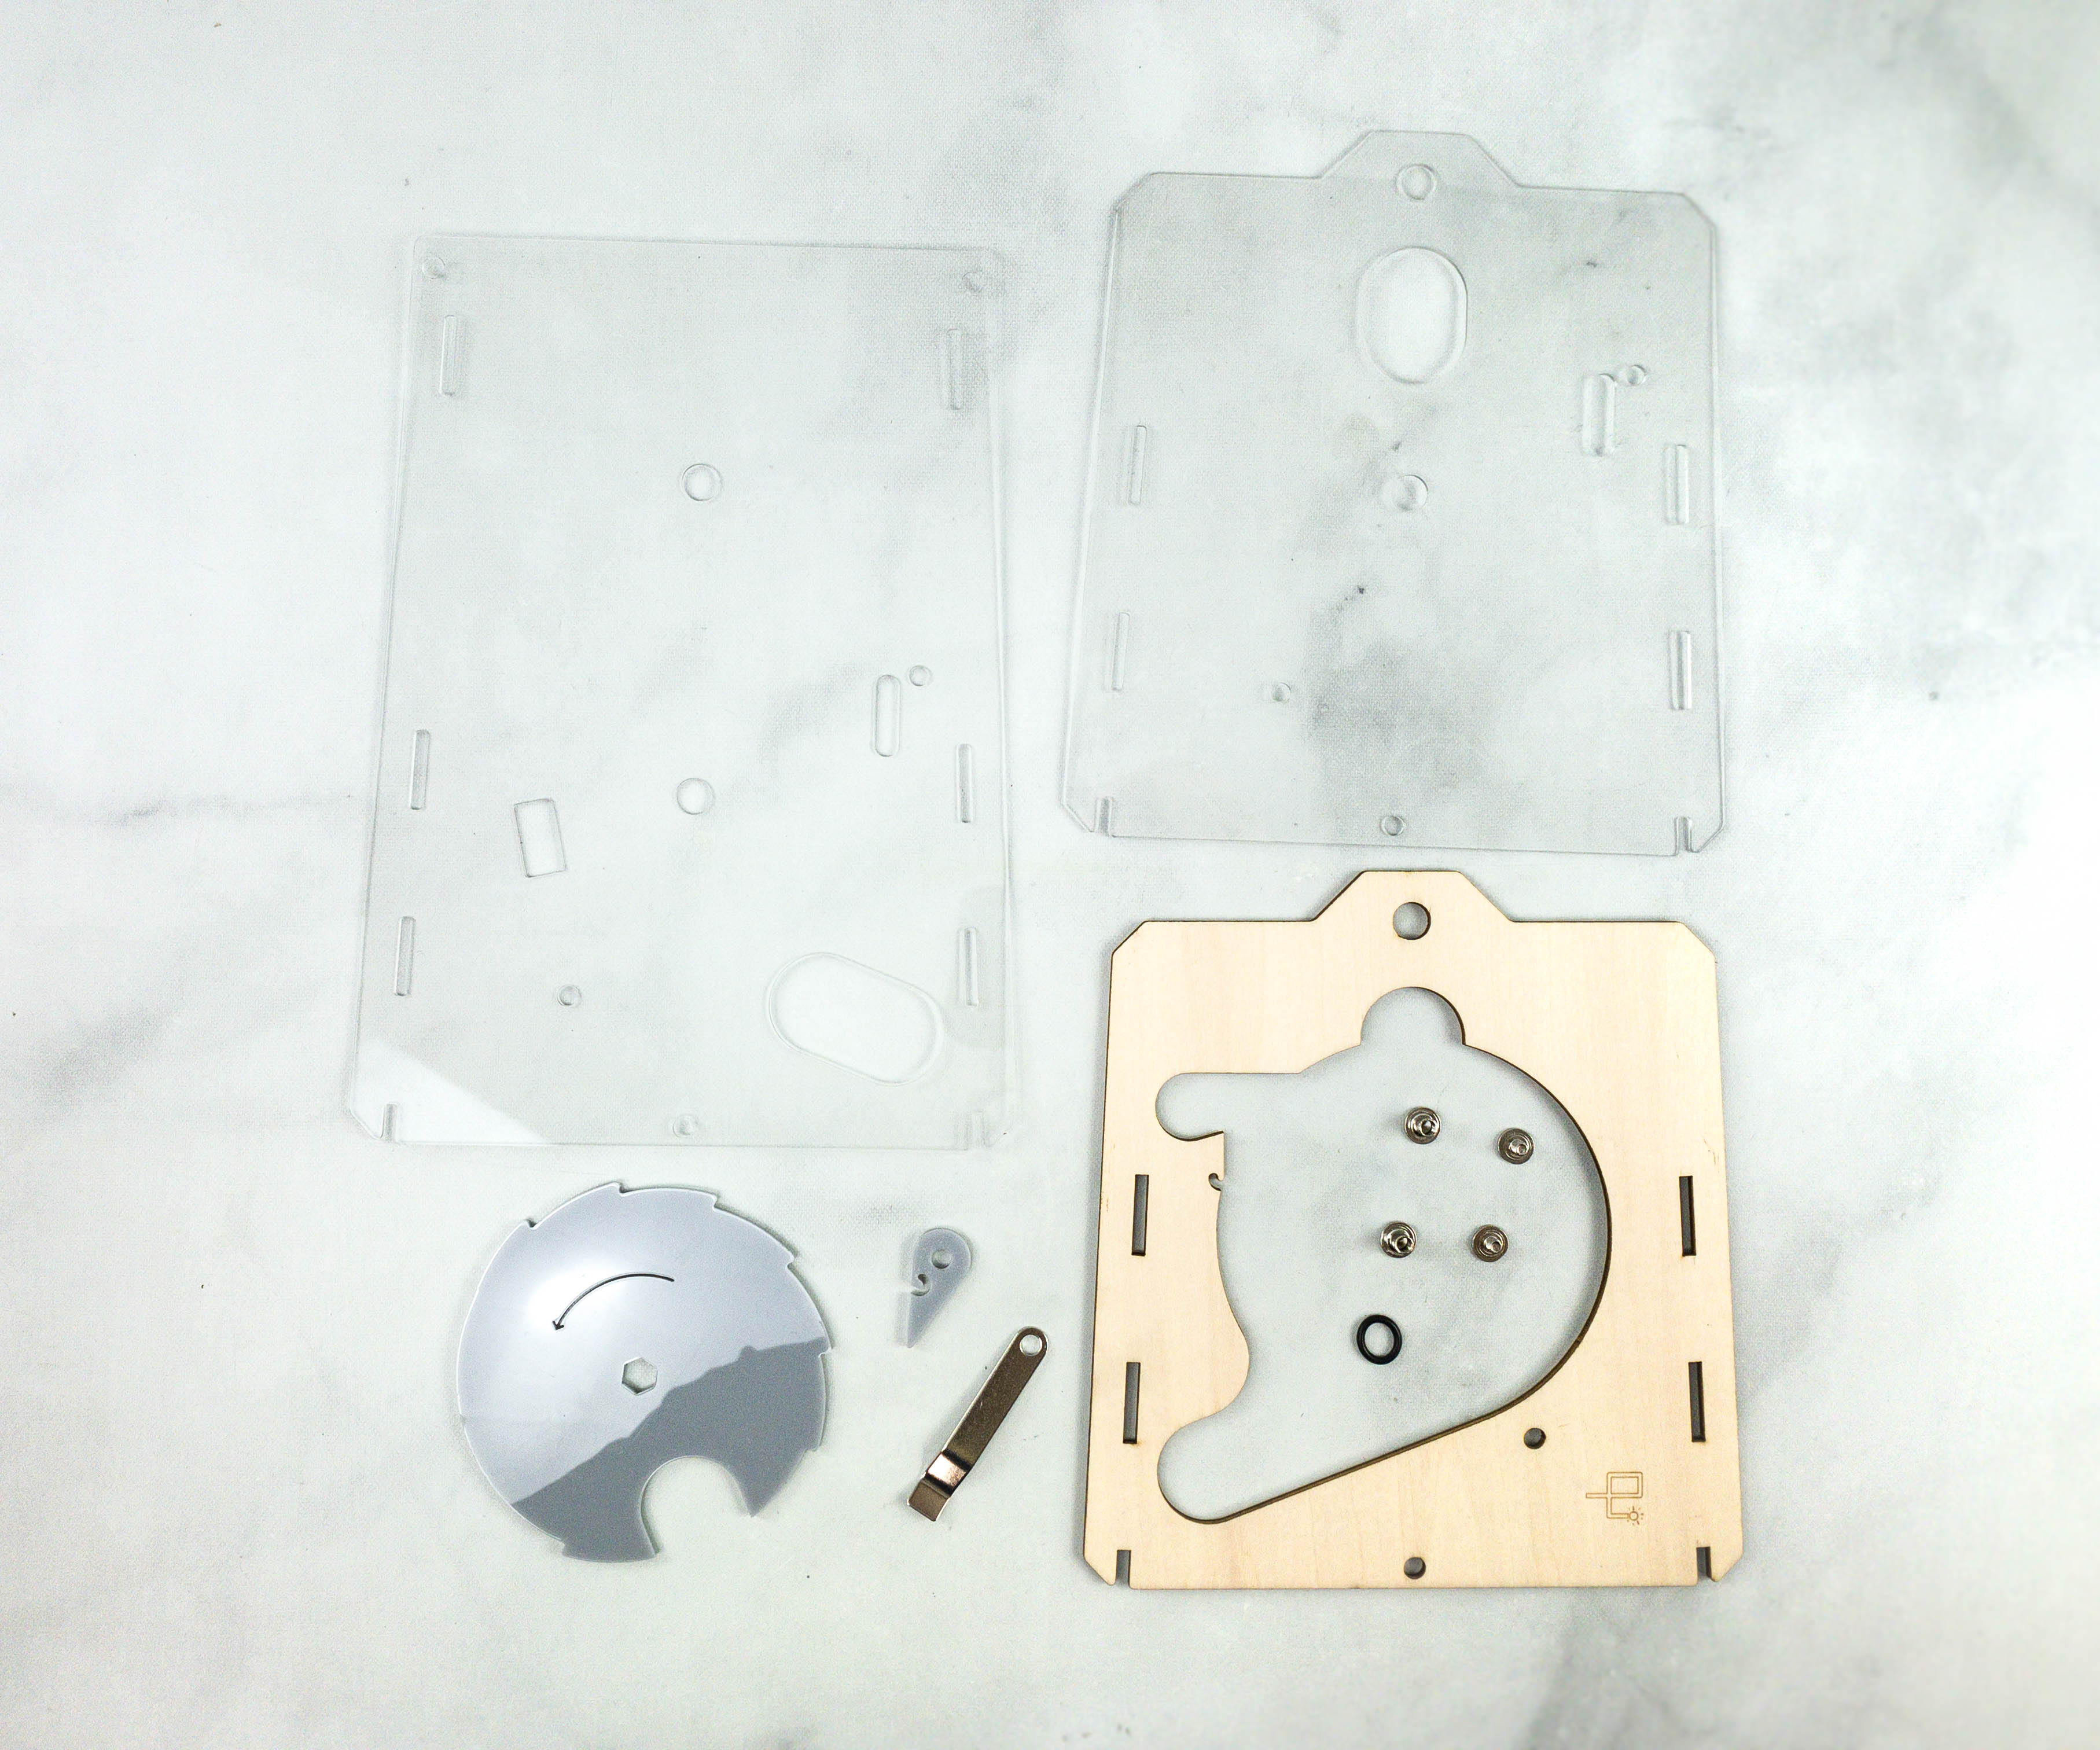
For this project, we used plastic pieces, wood set, a ratchet set, coin lever, O-rings, screws, and bolts.
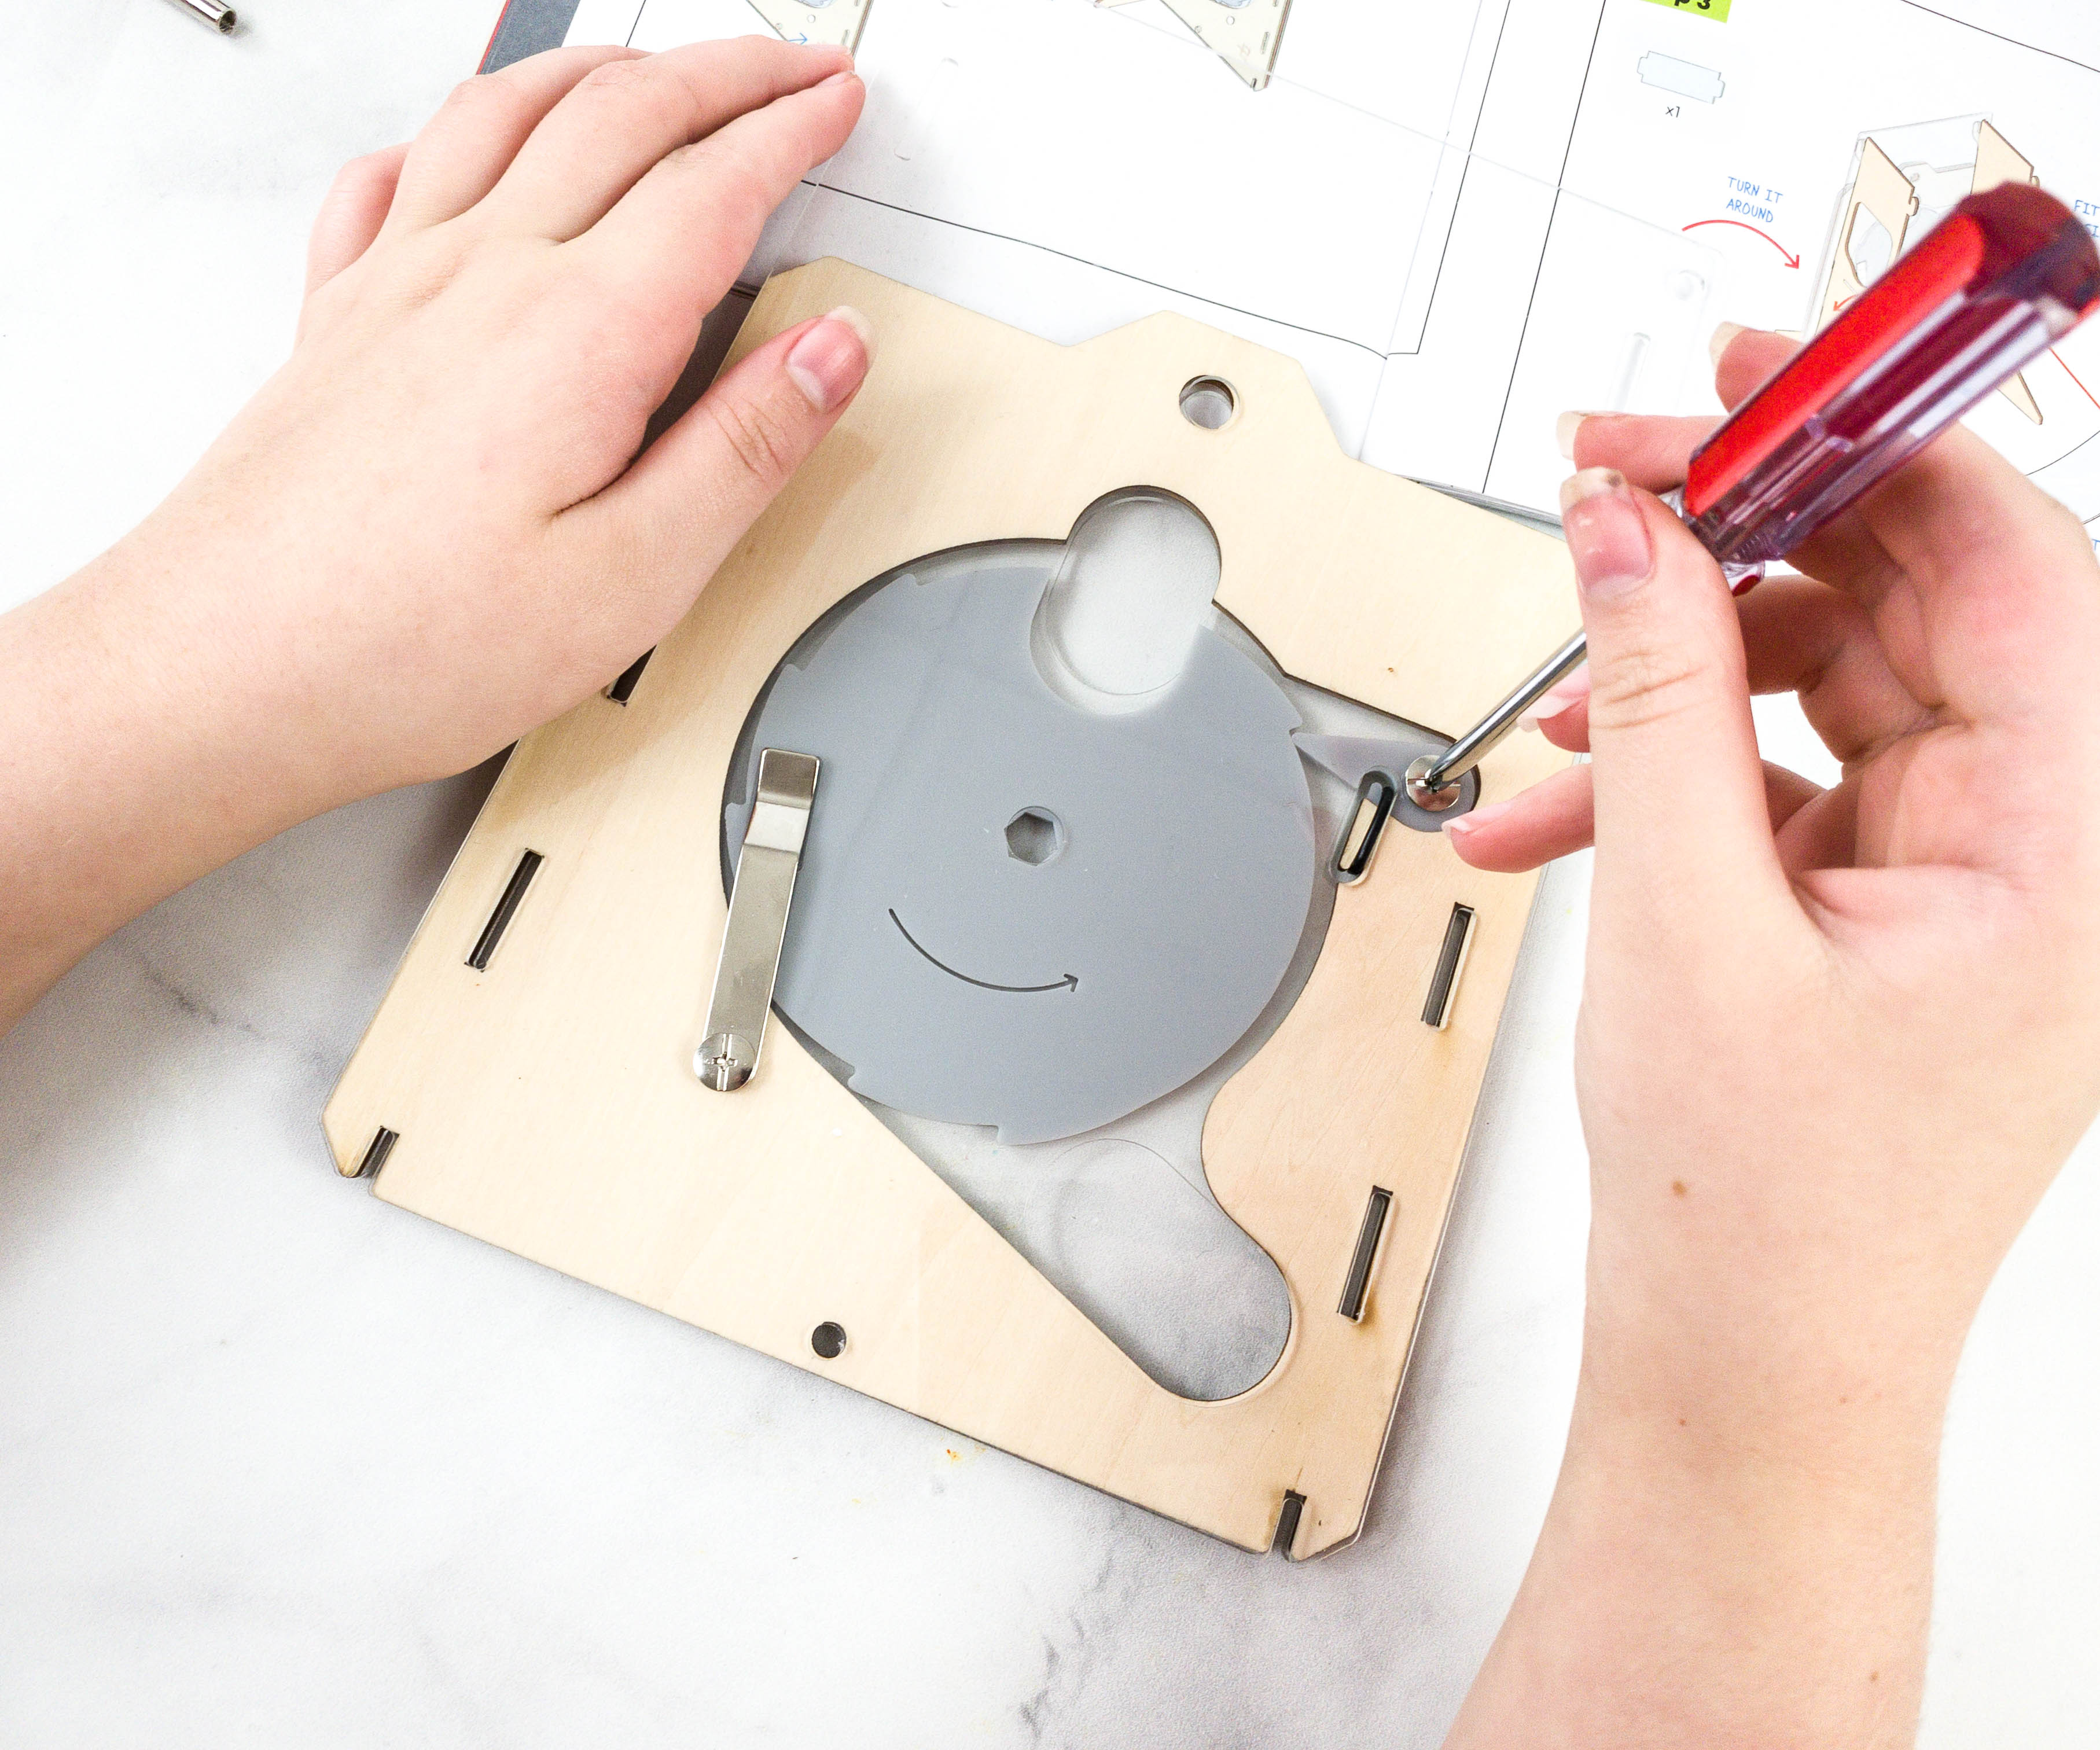
The first step is to lay the wood on top of the plastic sheet, place the coin wheel at the middle, and lock it using screw together with the coin lever and pawl.
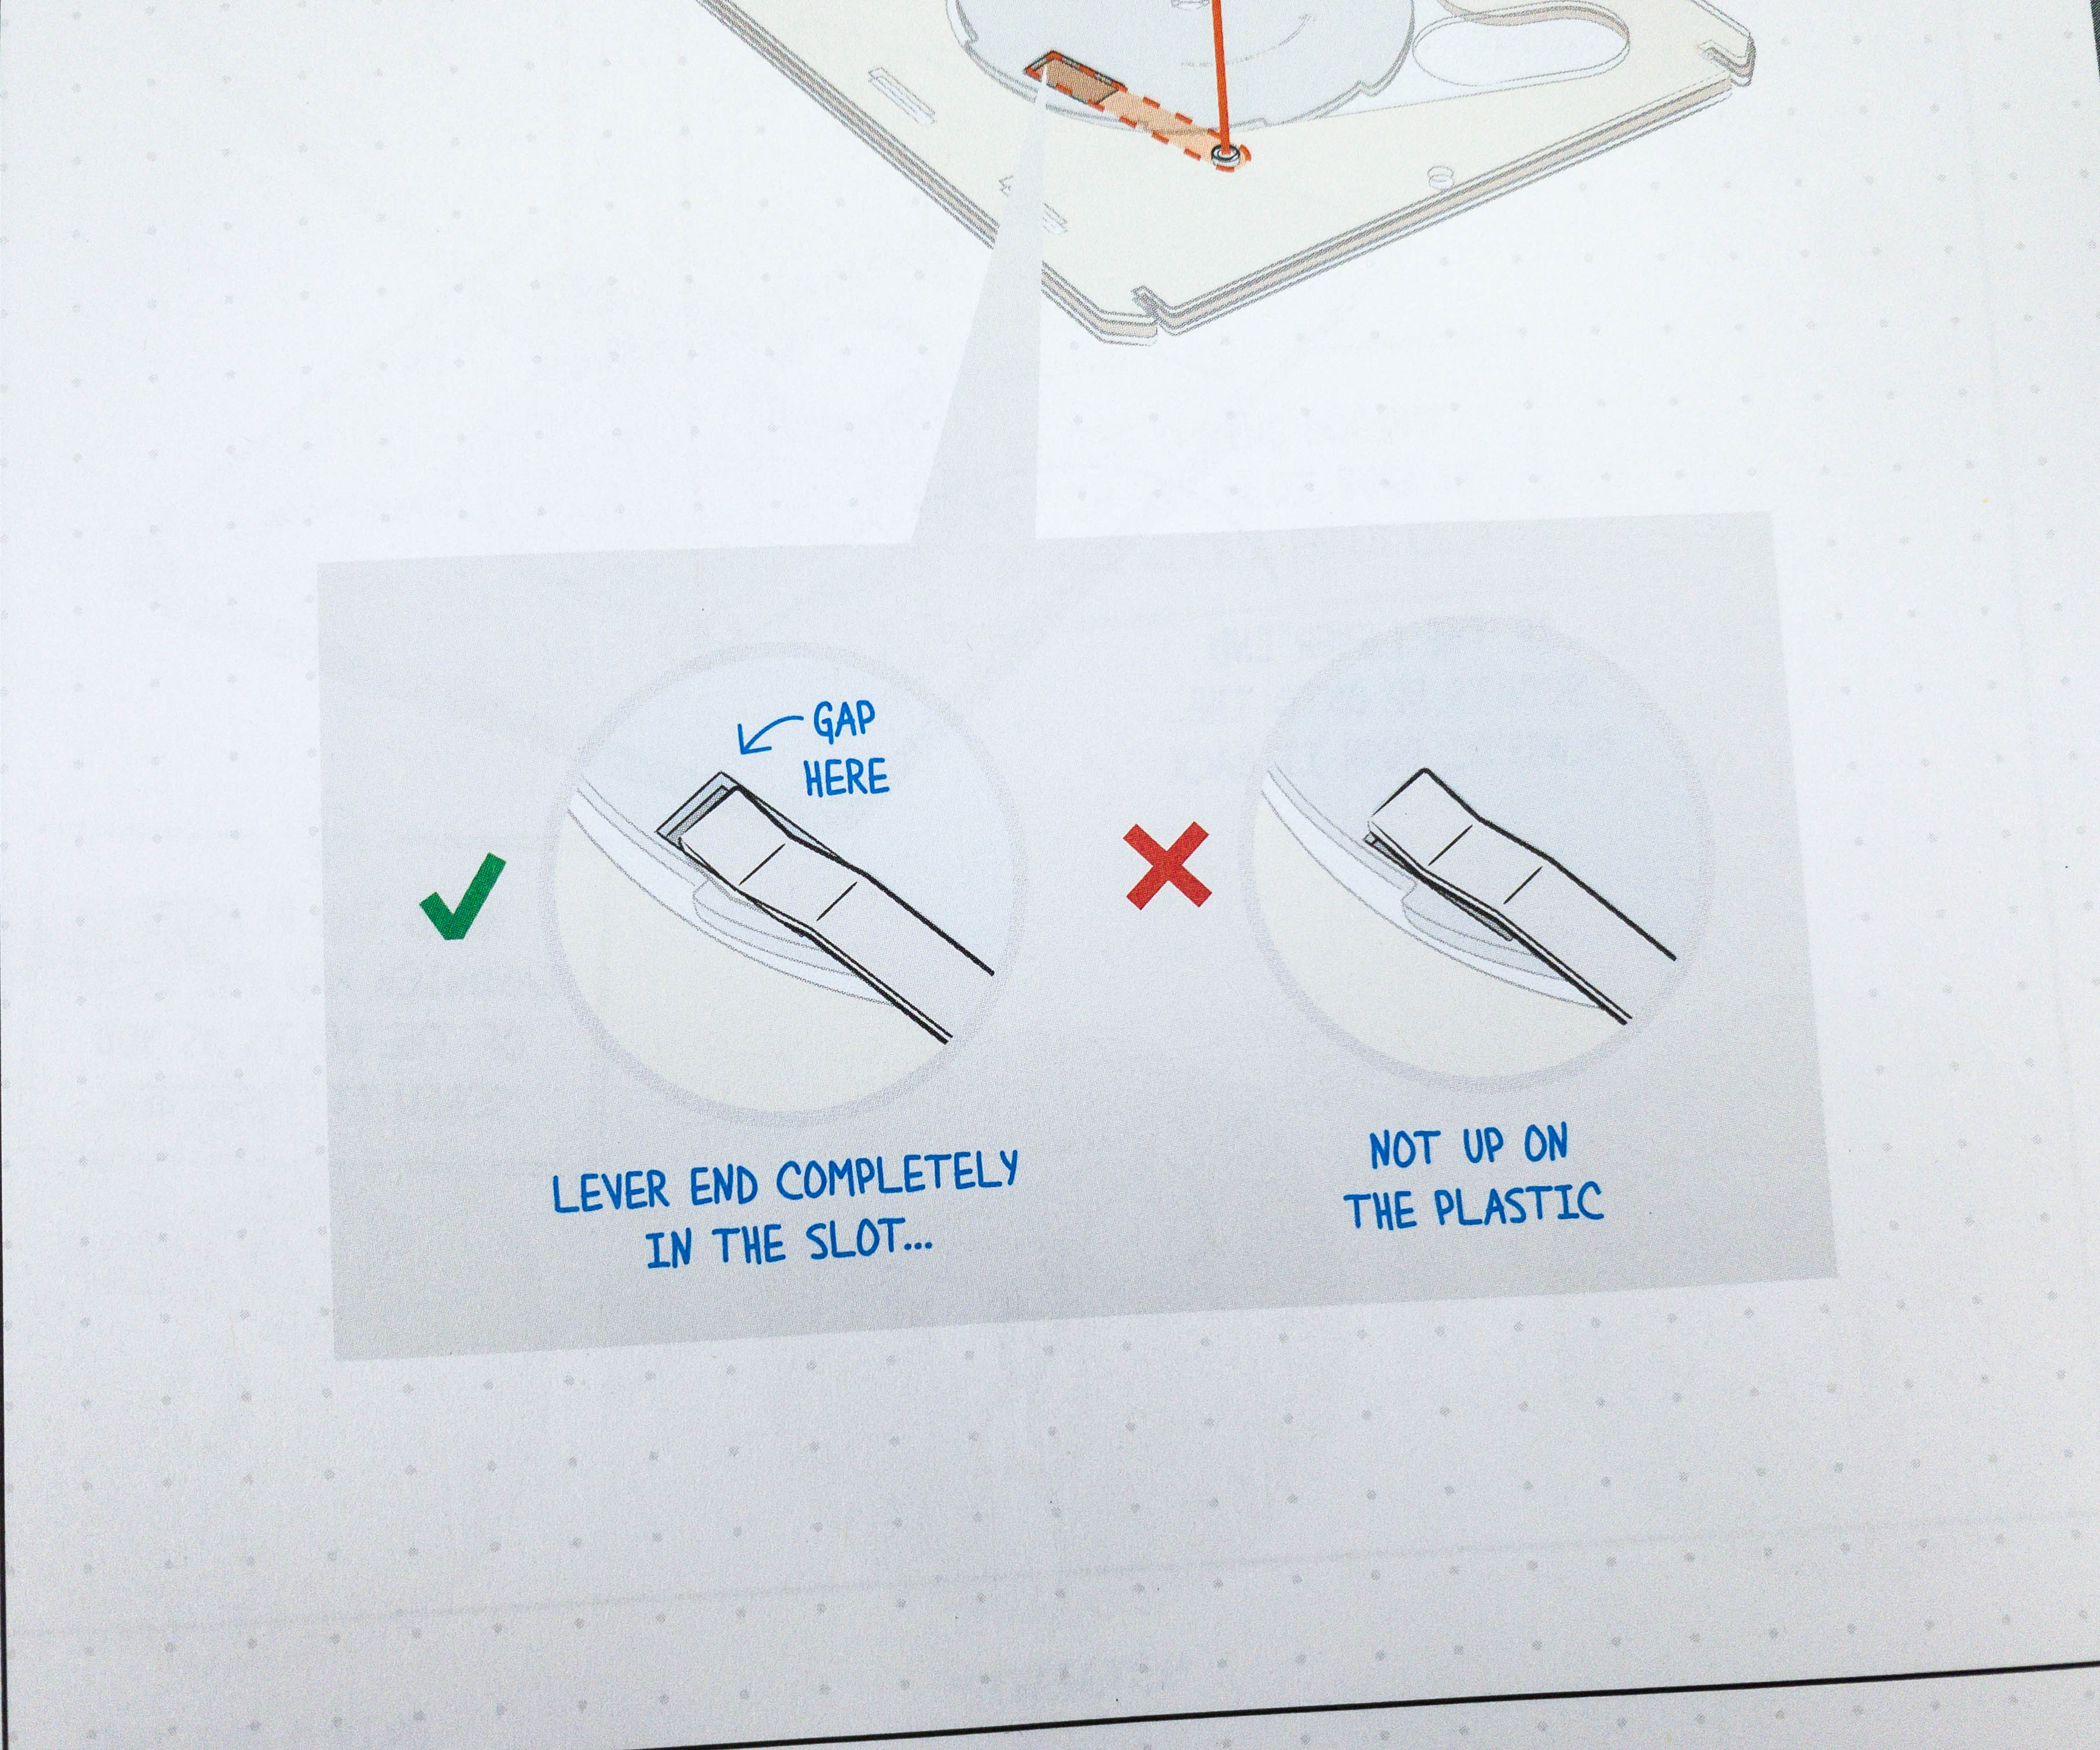
Here’s the first stop and check portion! According to the booklet, make sure that the coin lever’s end is laid completely in the slot and not up on the plastic.

This part of the booklet provides a detailed explanation for each and every part of the coin mechanism, including the coin lever, pawl, and ratchet wheel.
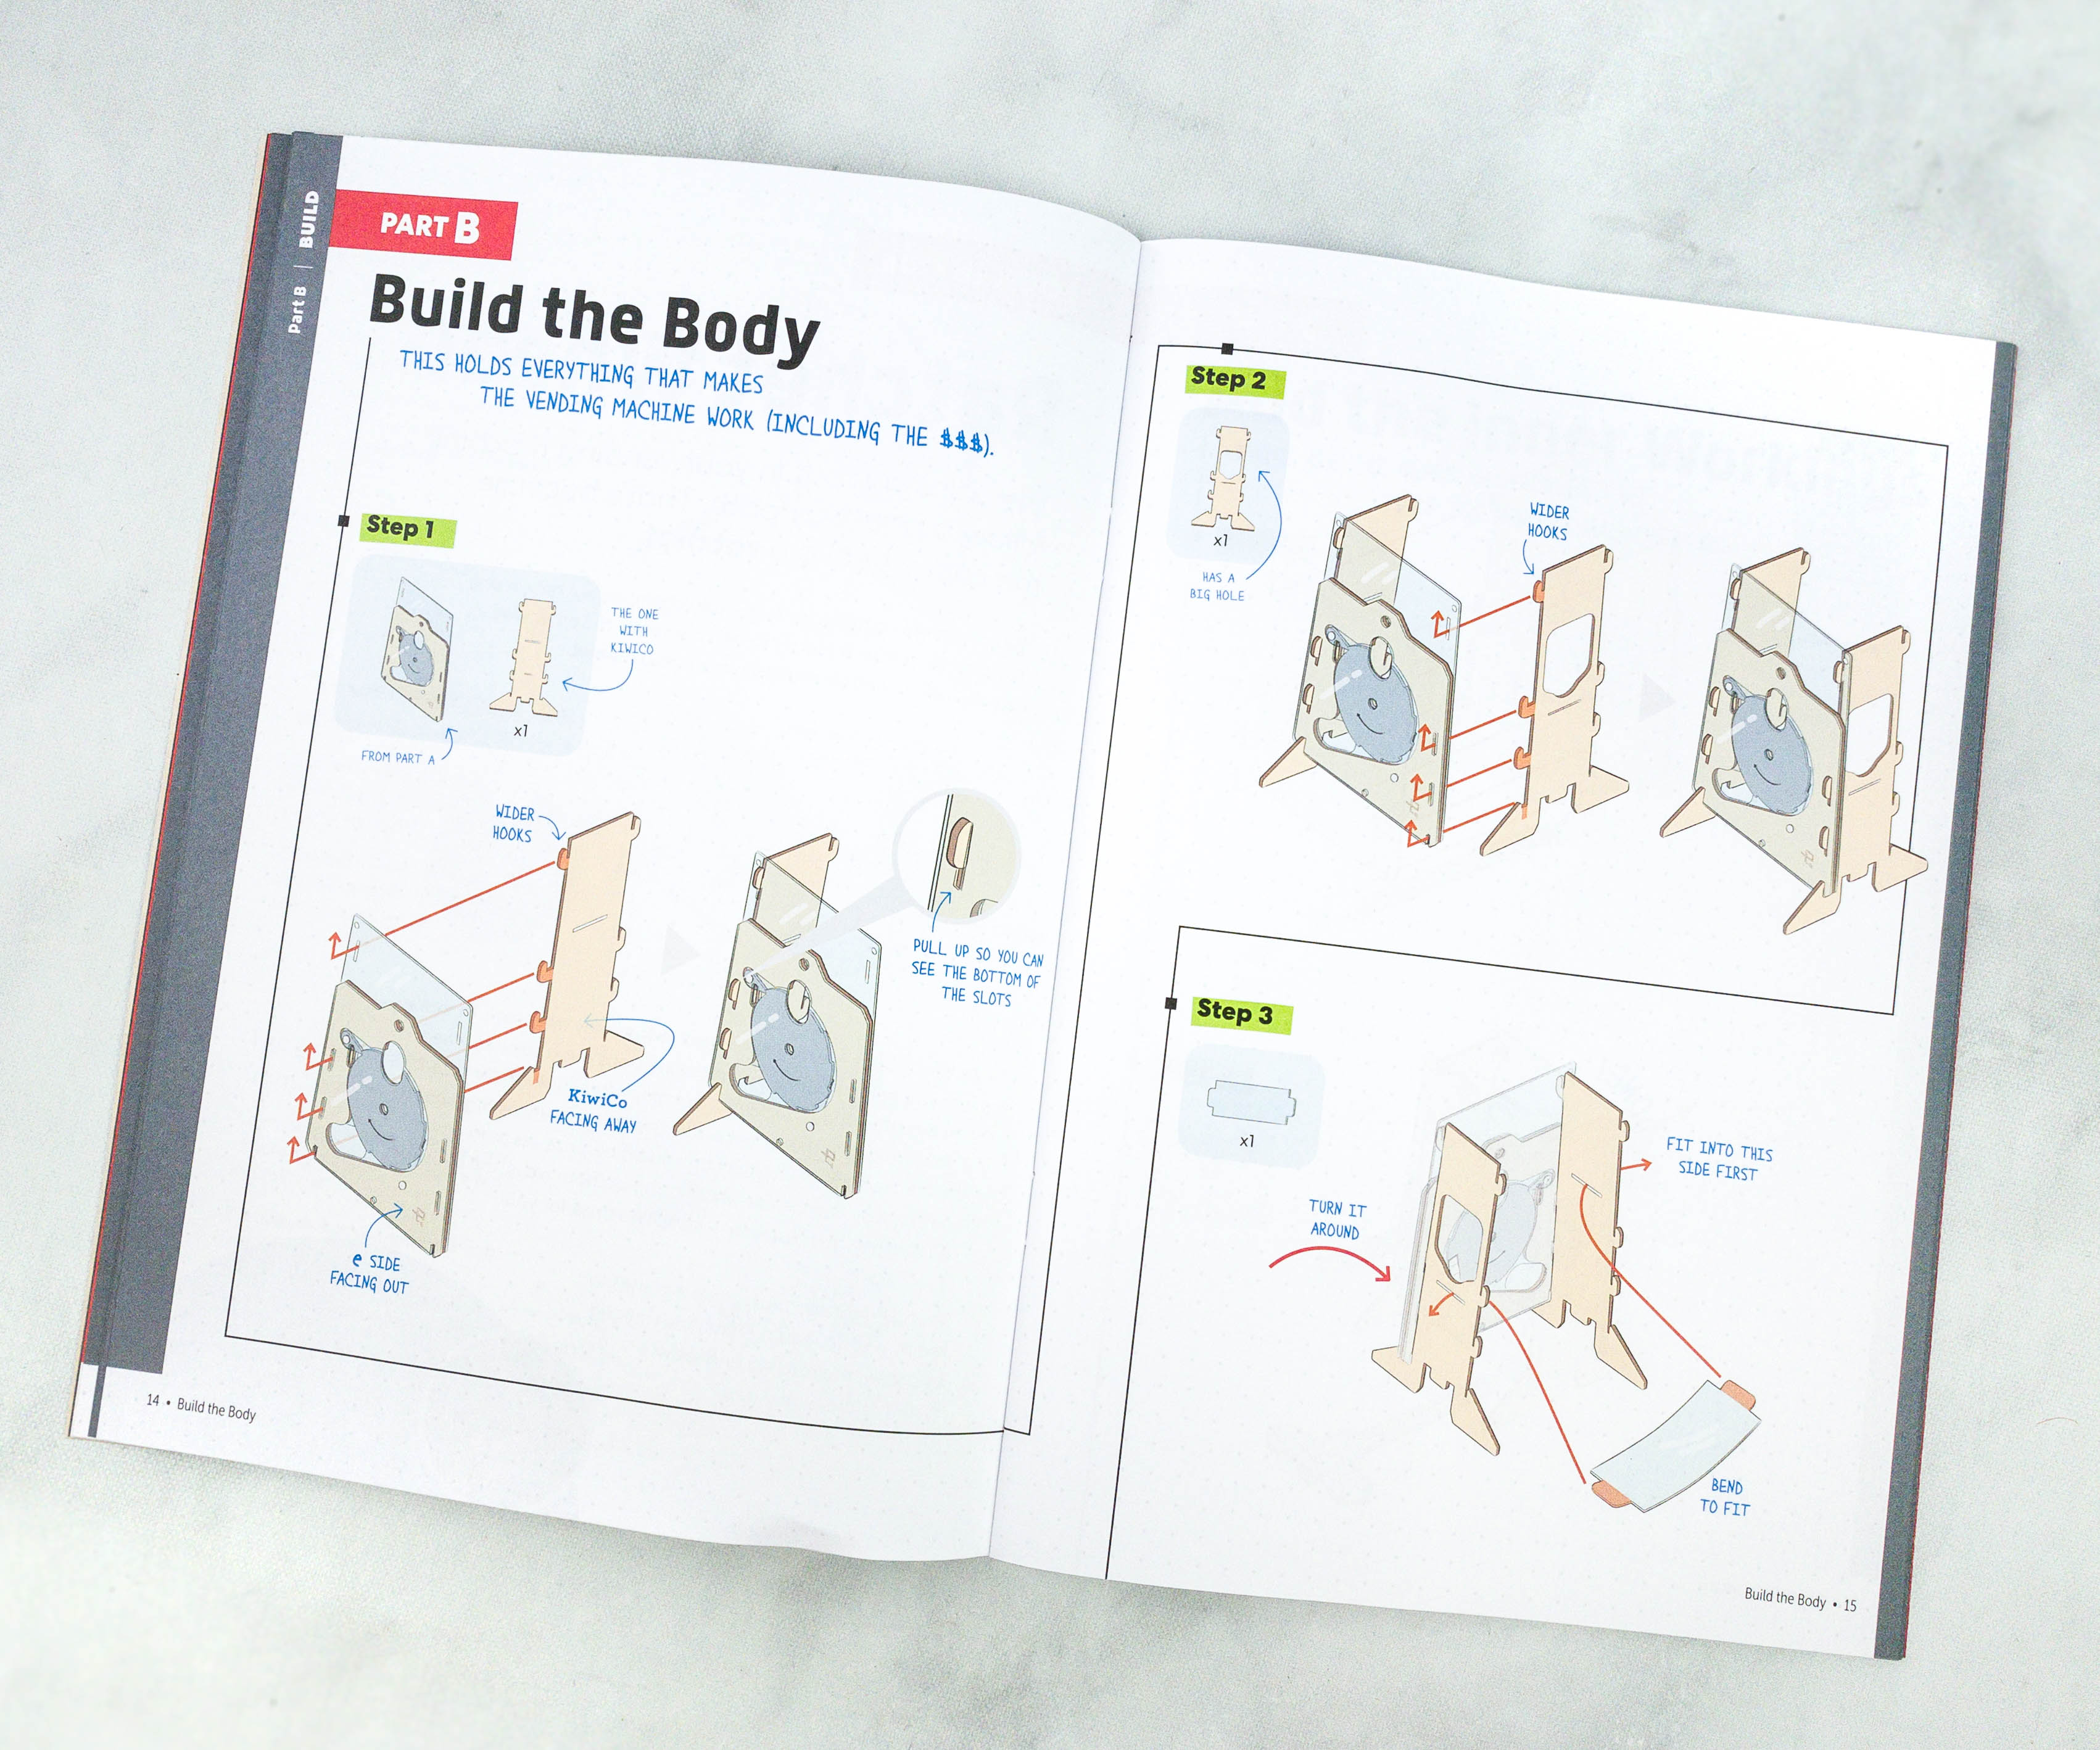
The second part of the project is building the body. This is what holds everything that makes the vending machine work!
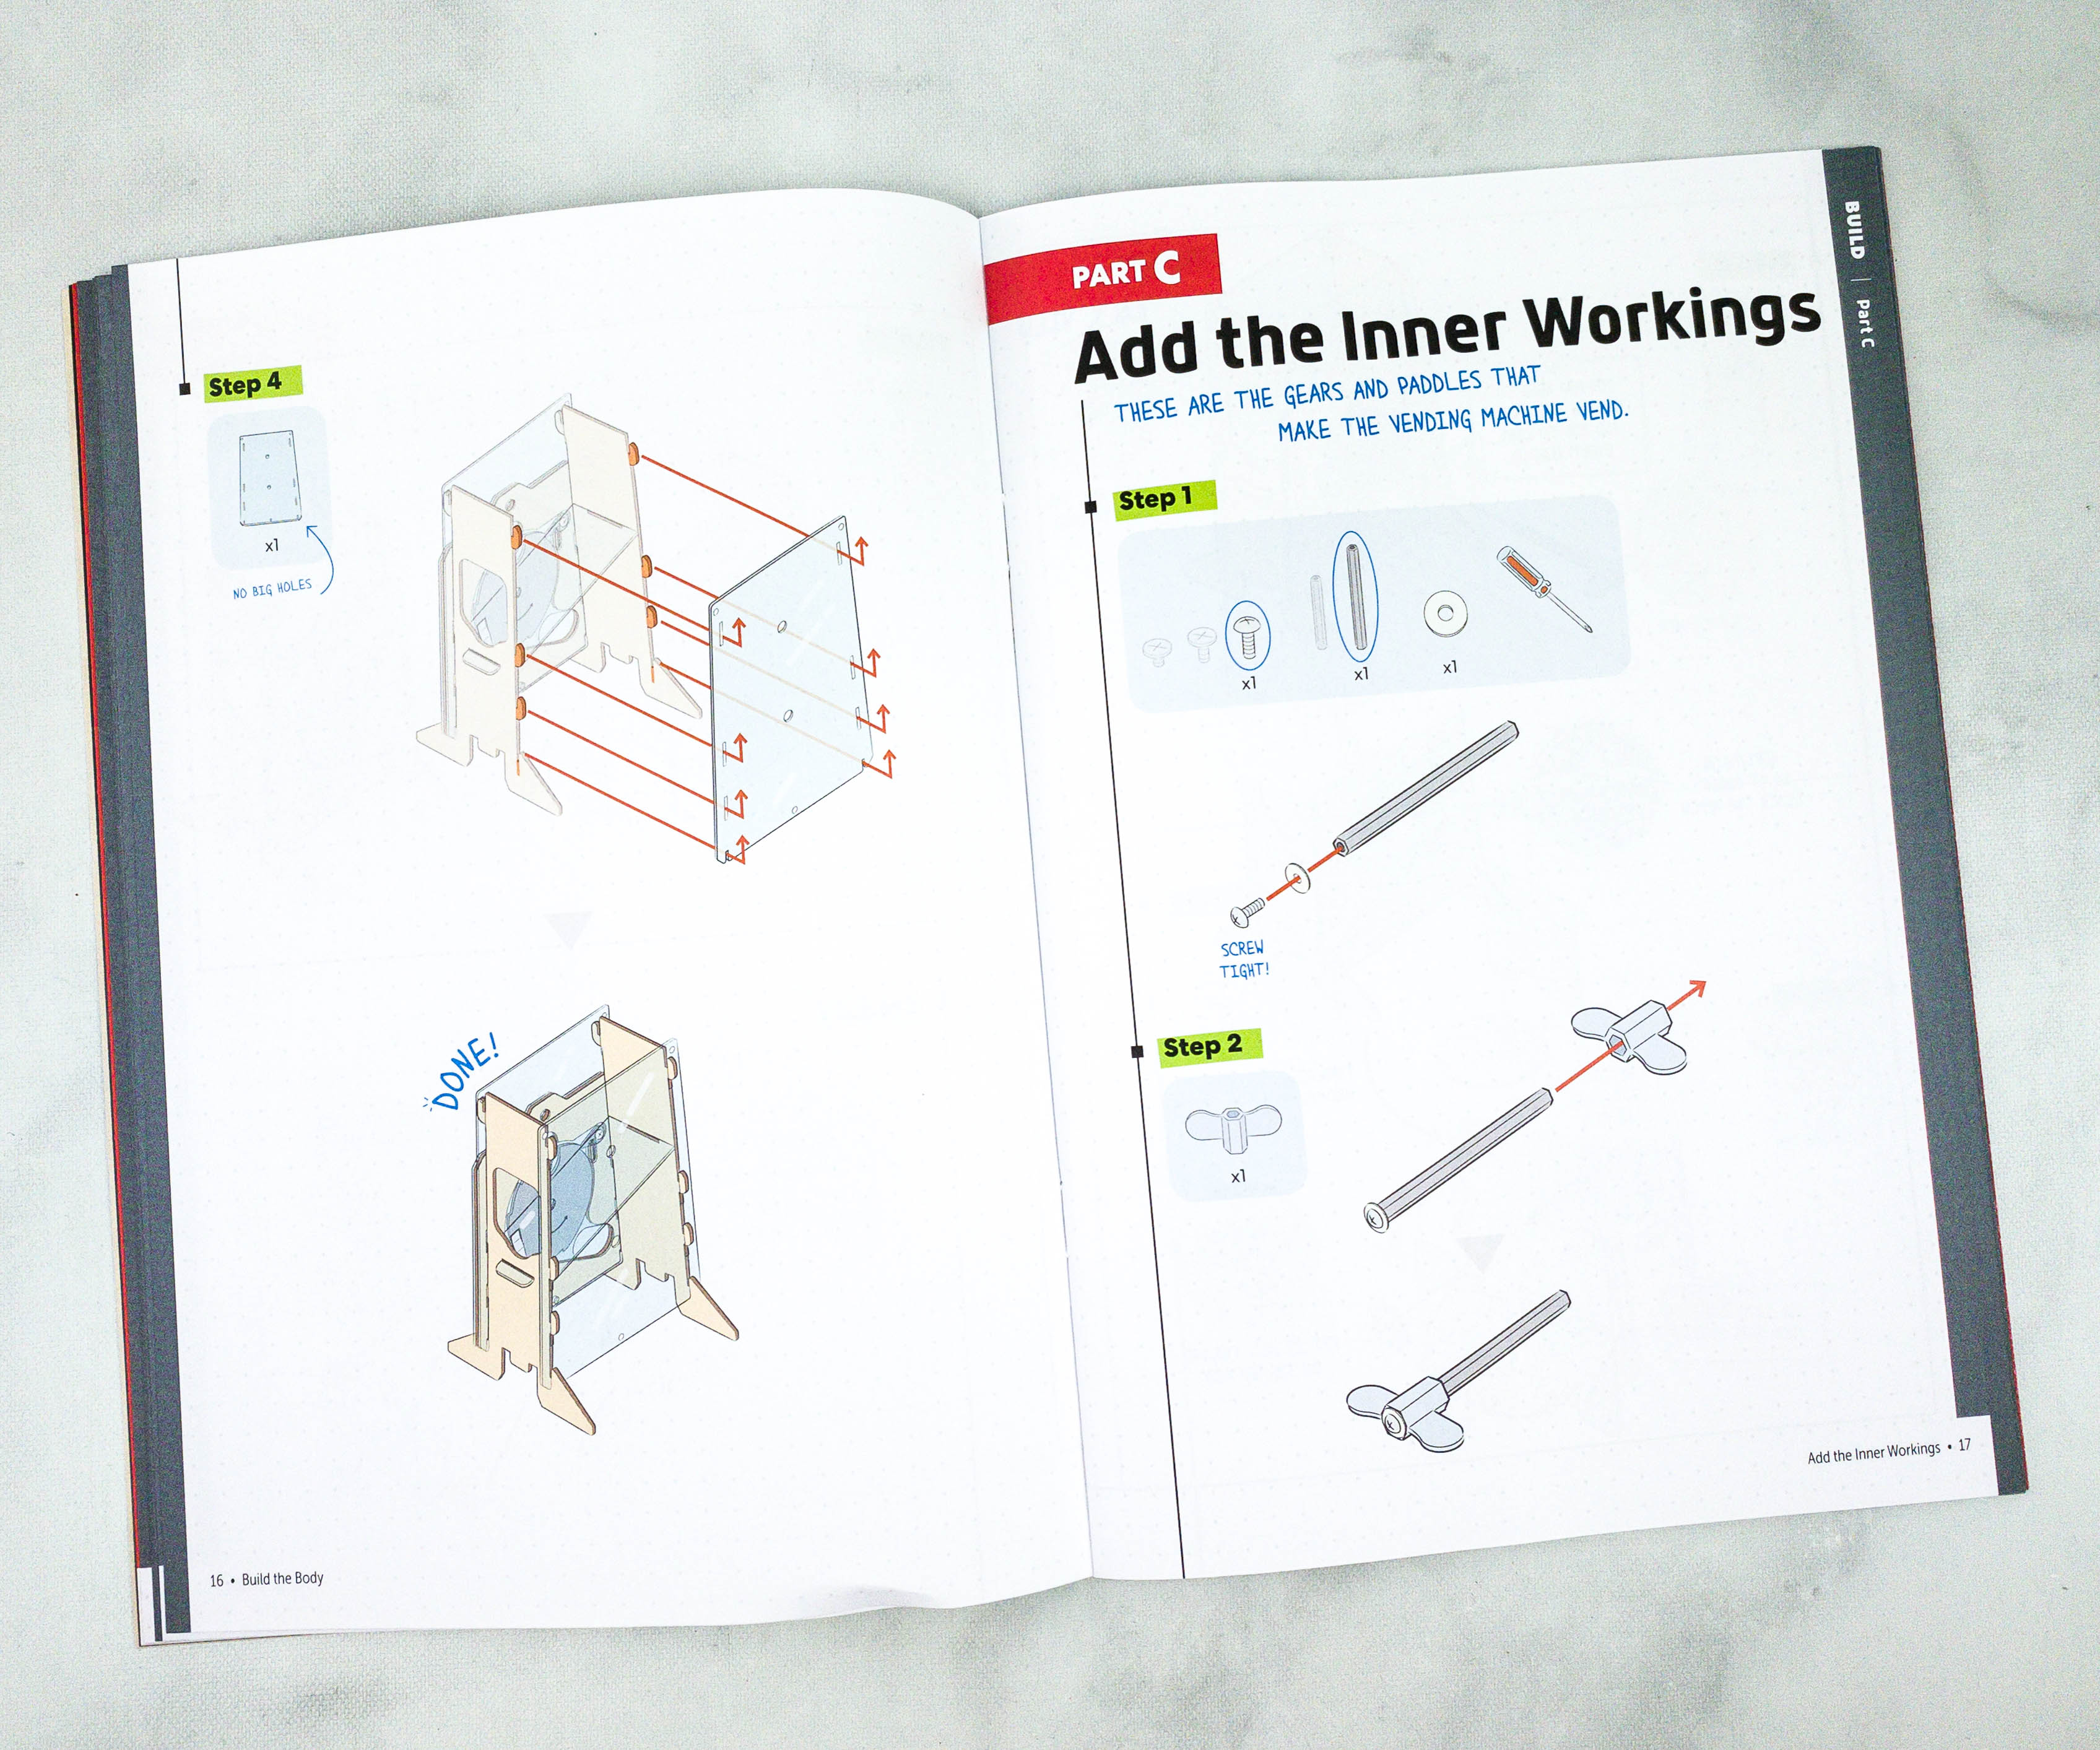
While doing that, we also added the inner workings, which includes the installation of gears and paddles that makes the vending machine vend.
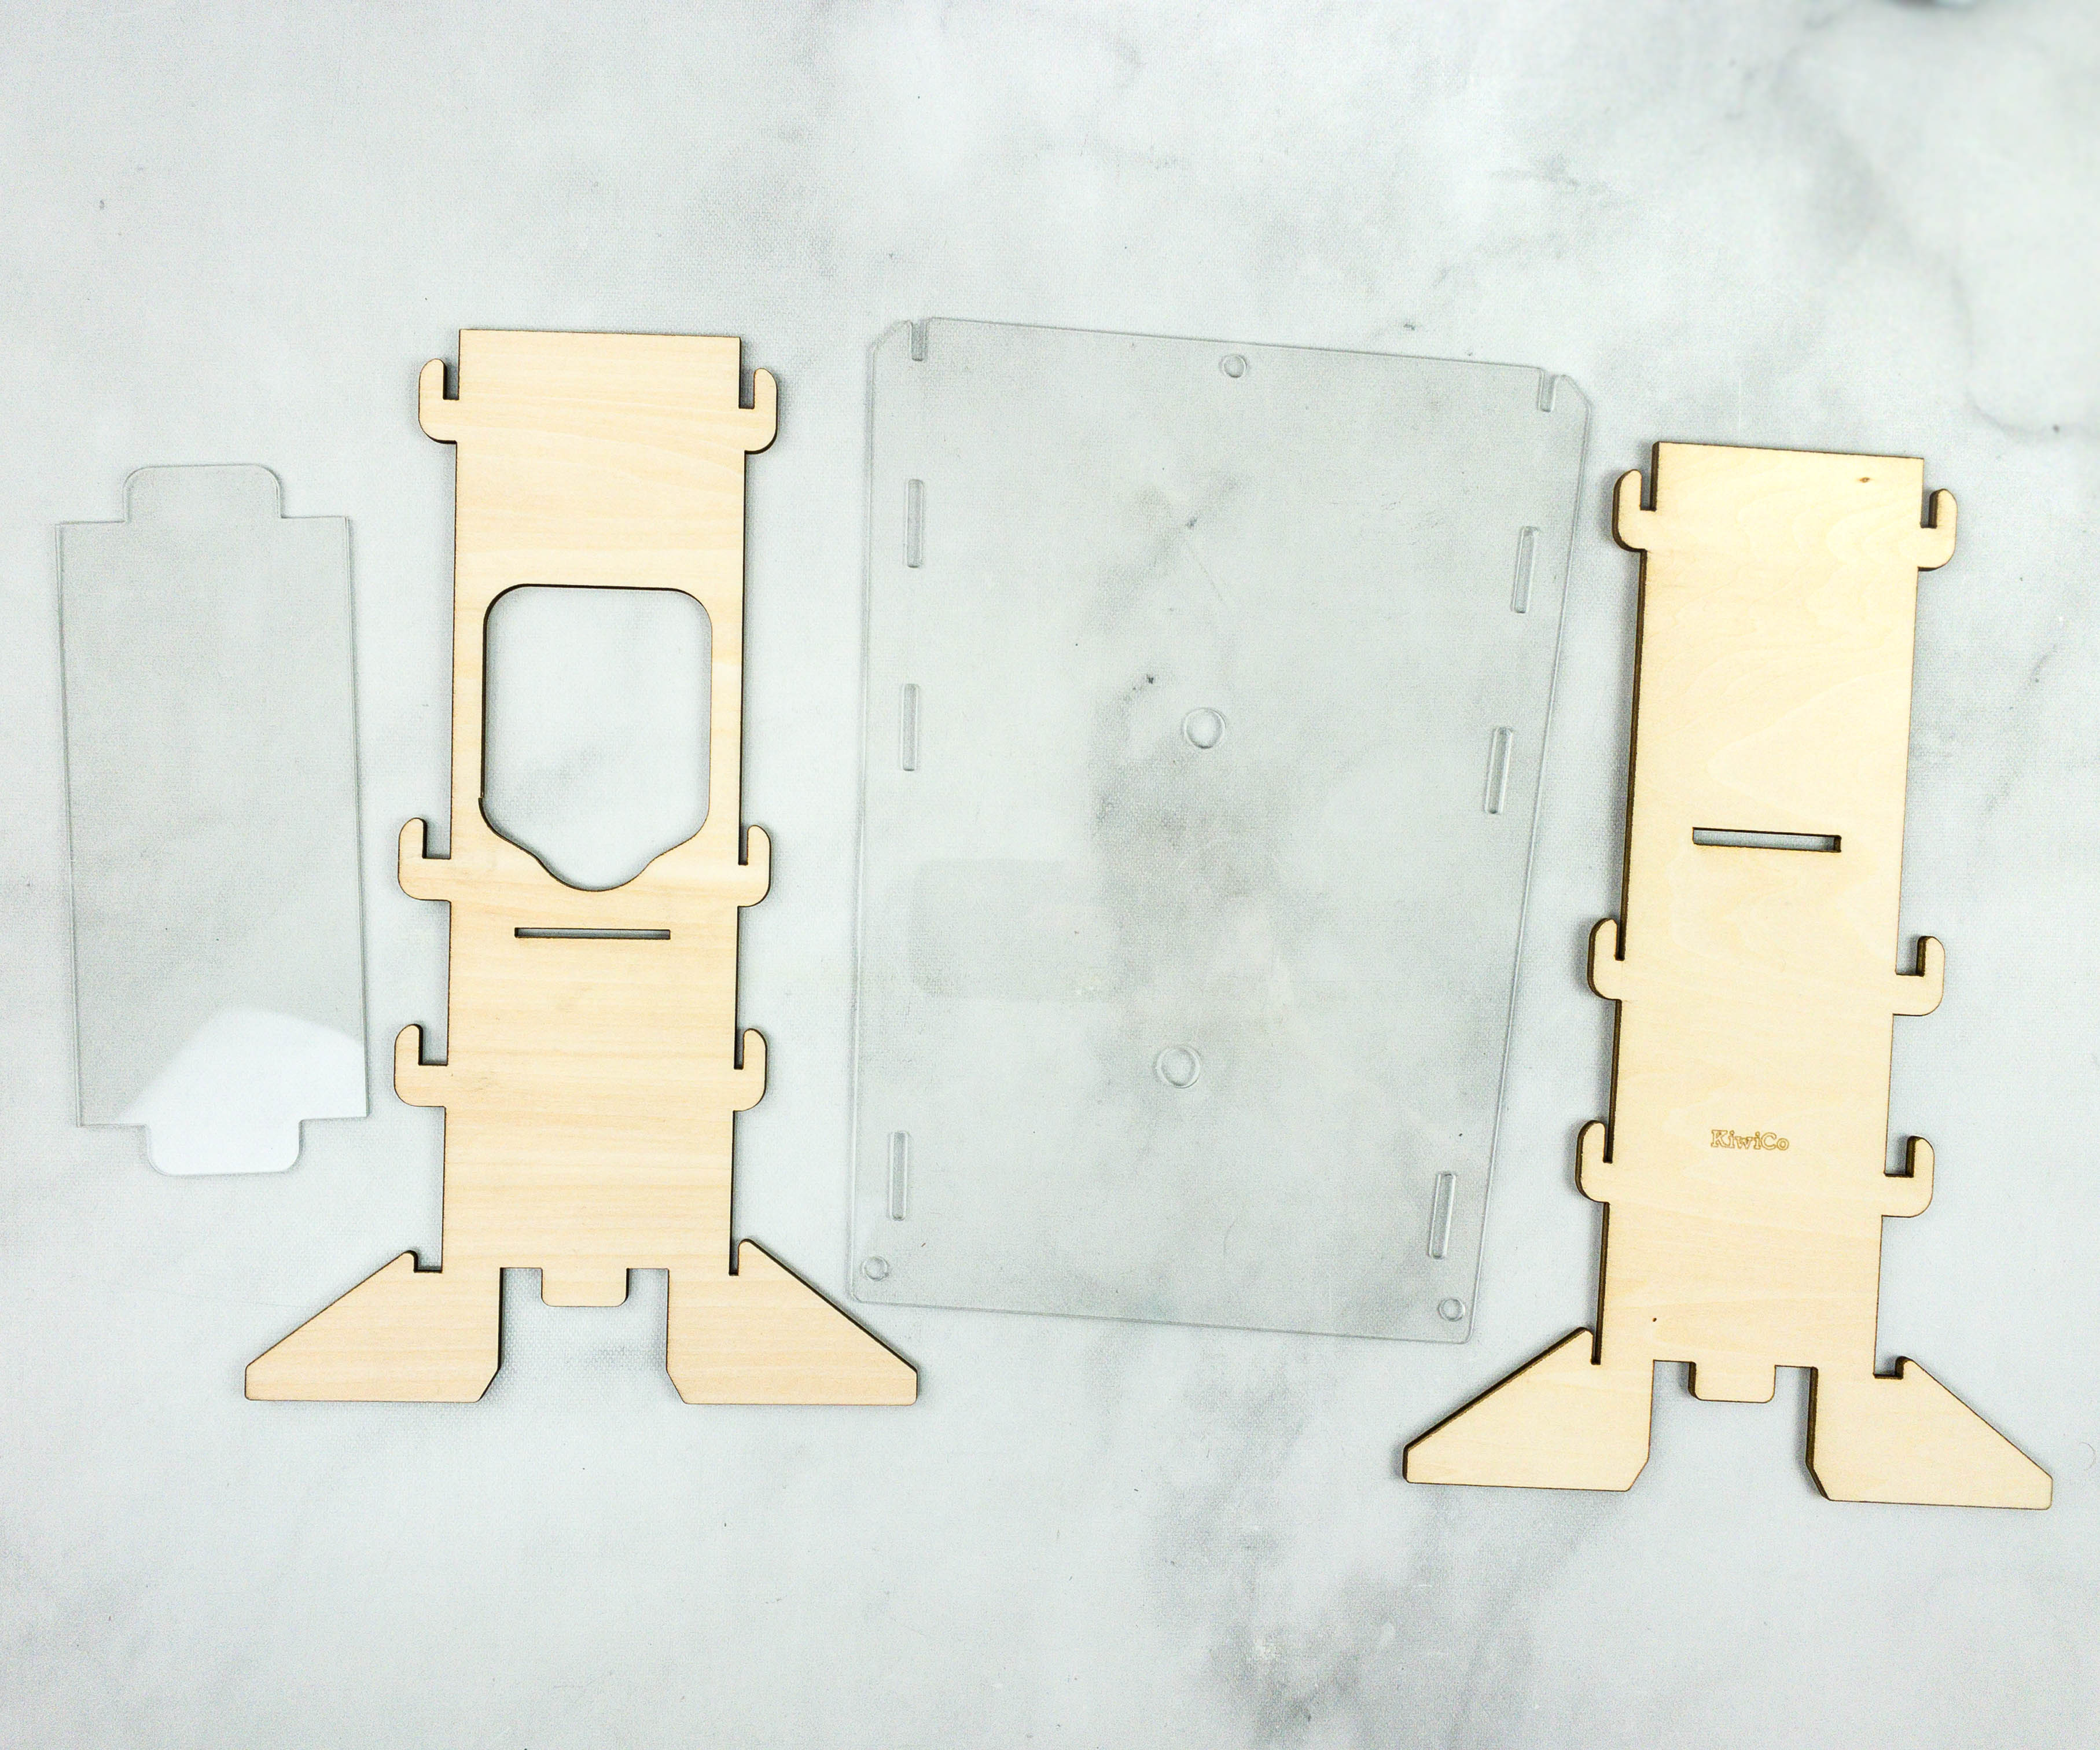
We used a pair of long wooden pieces and plastic sheets, plus the coin mechanism from the first part.

We also needed another long wood, long pair of bolts, and screws.
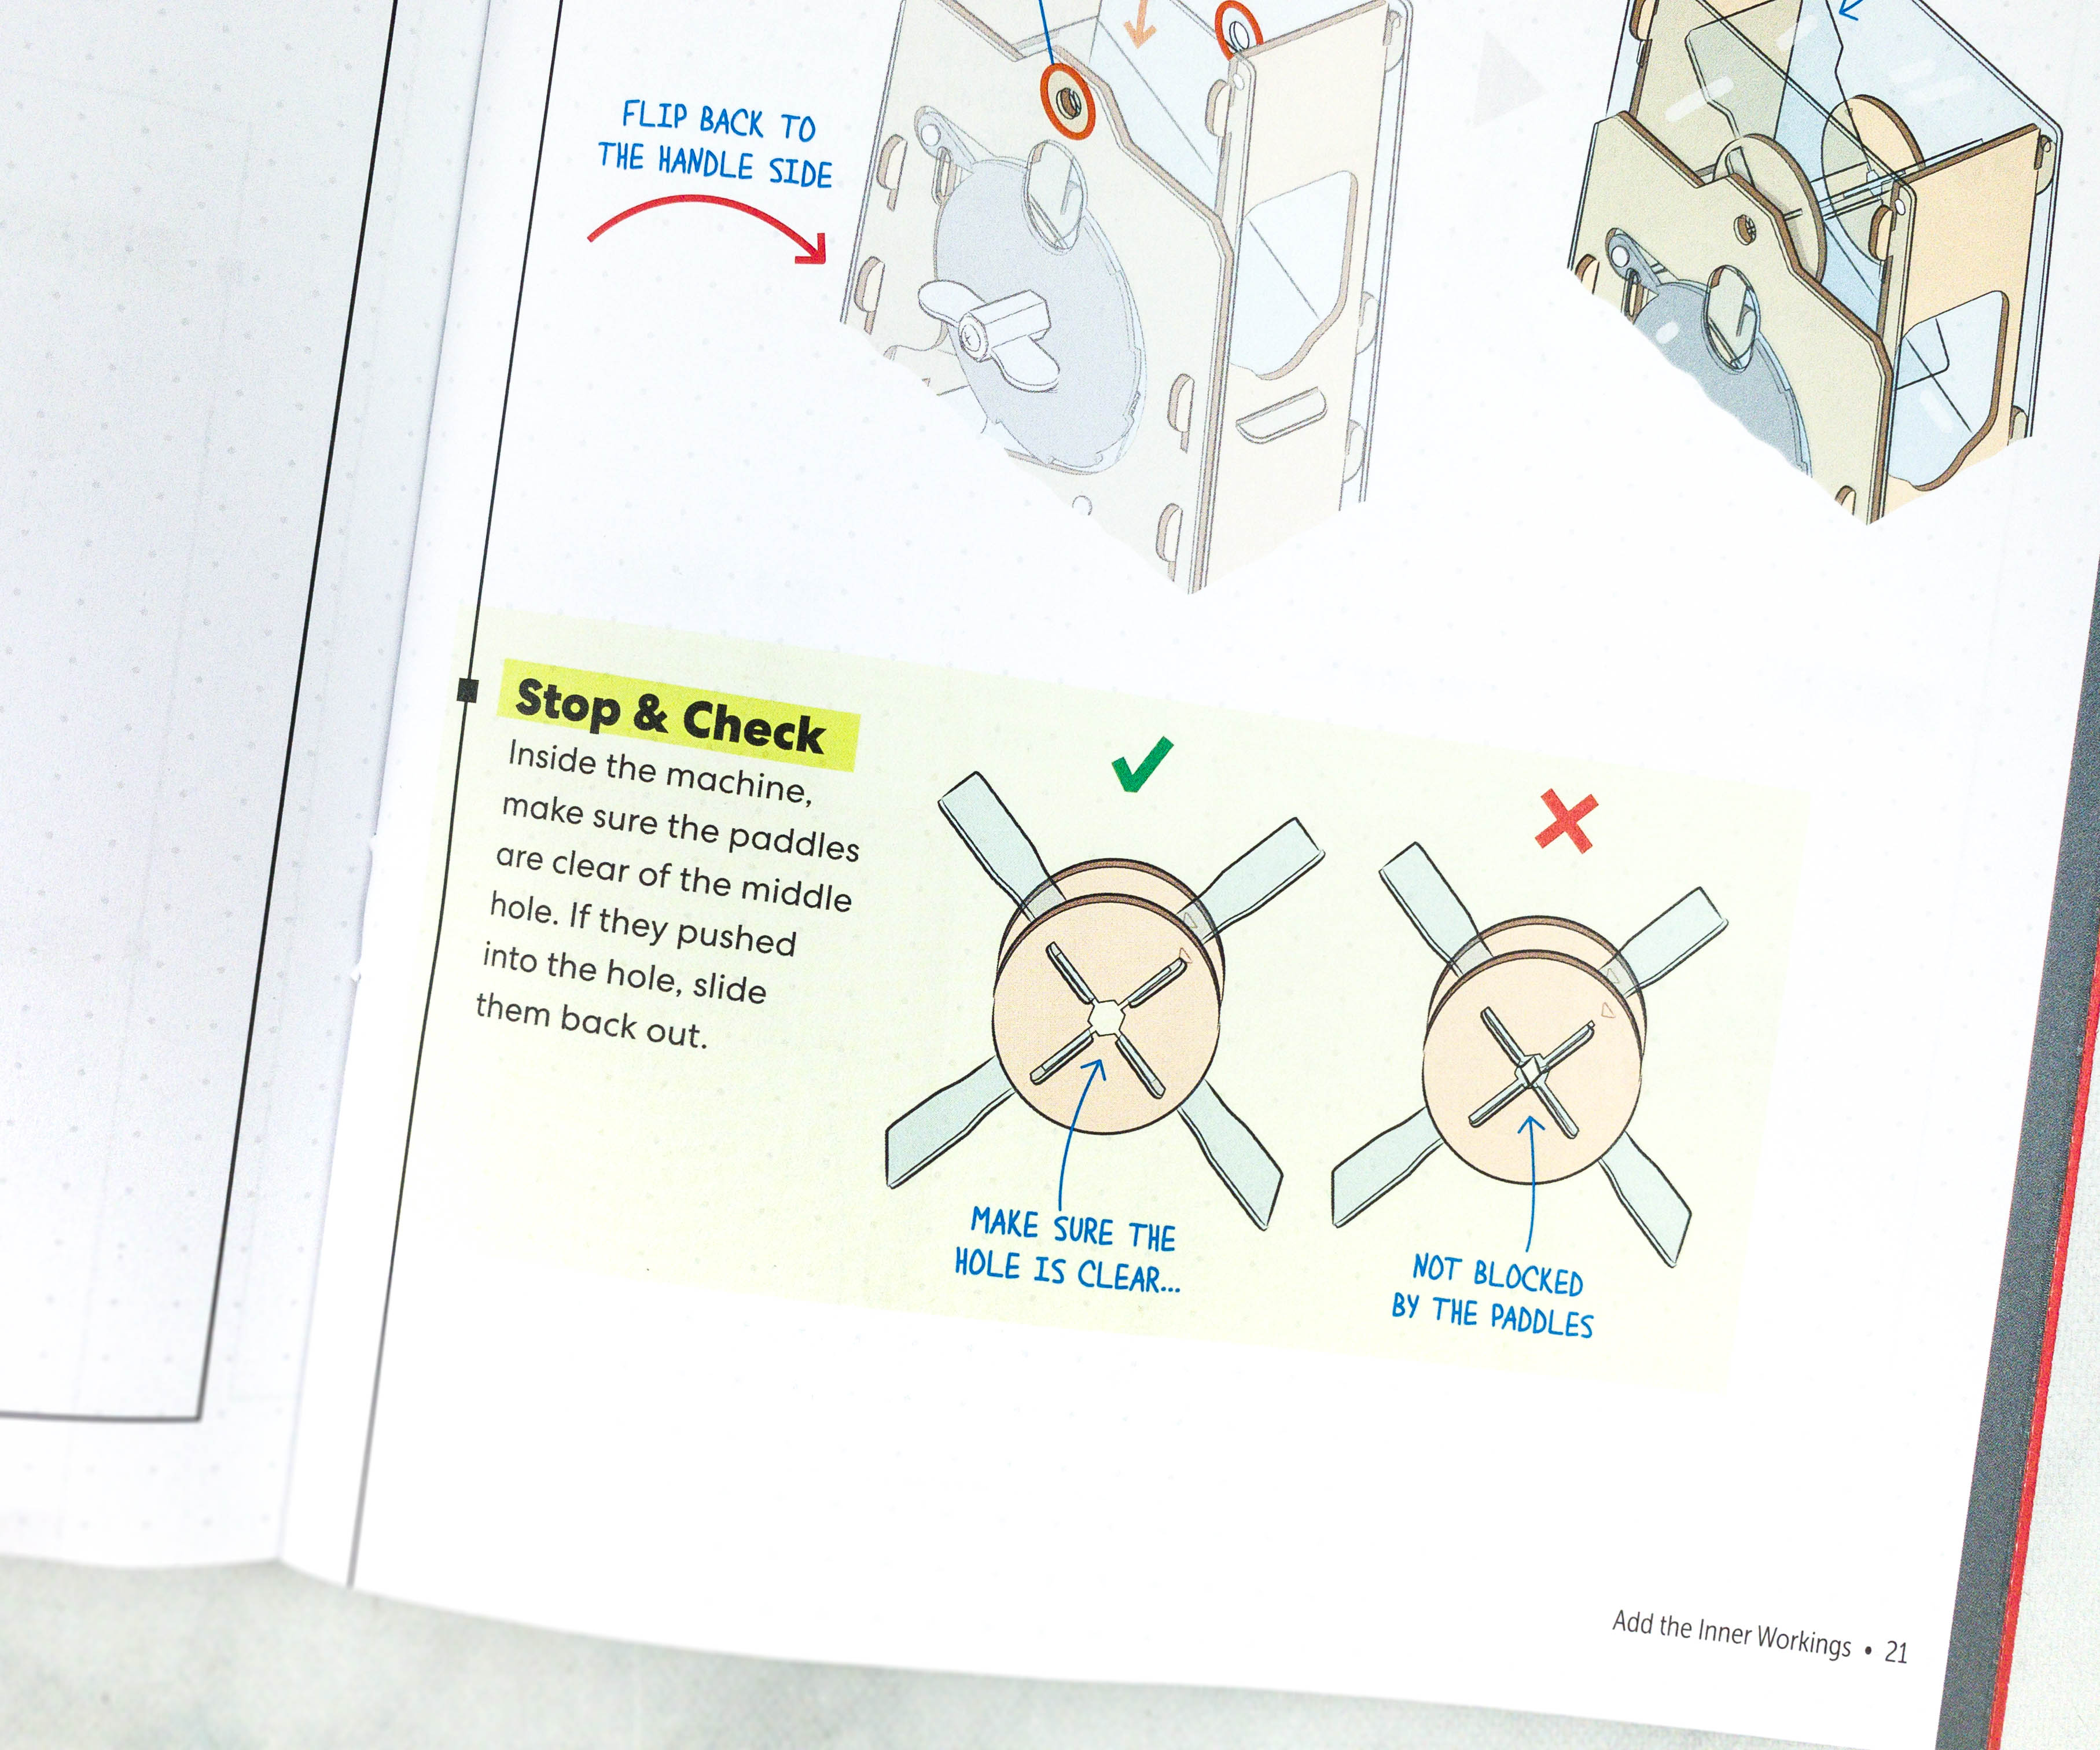
The second stop and check portion is about making sure that the paddles don’t block the hole.
This part of the booklet provides an illustration of how the machine works from the inside.
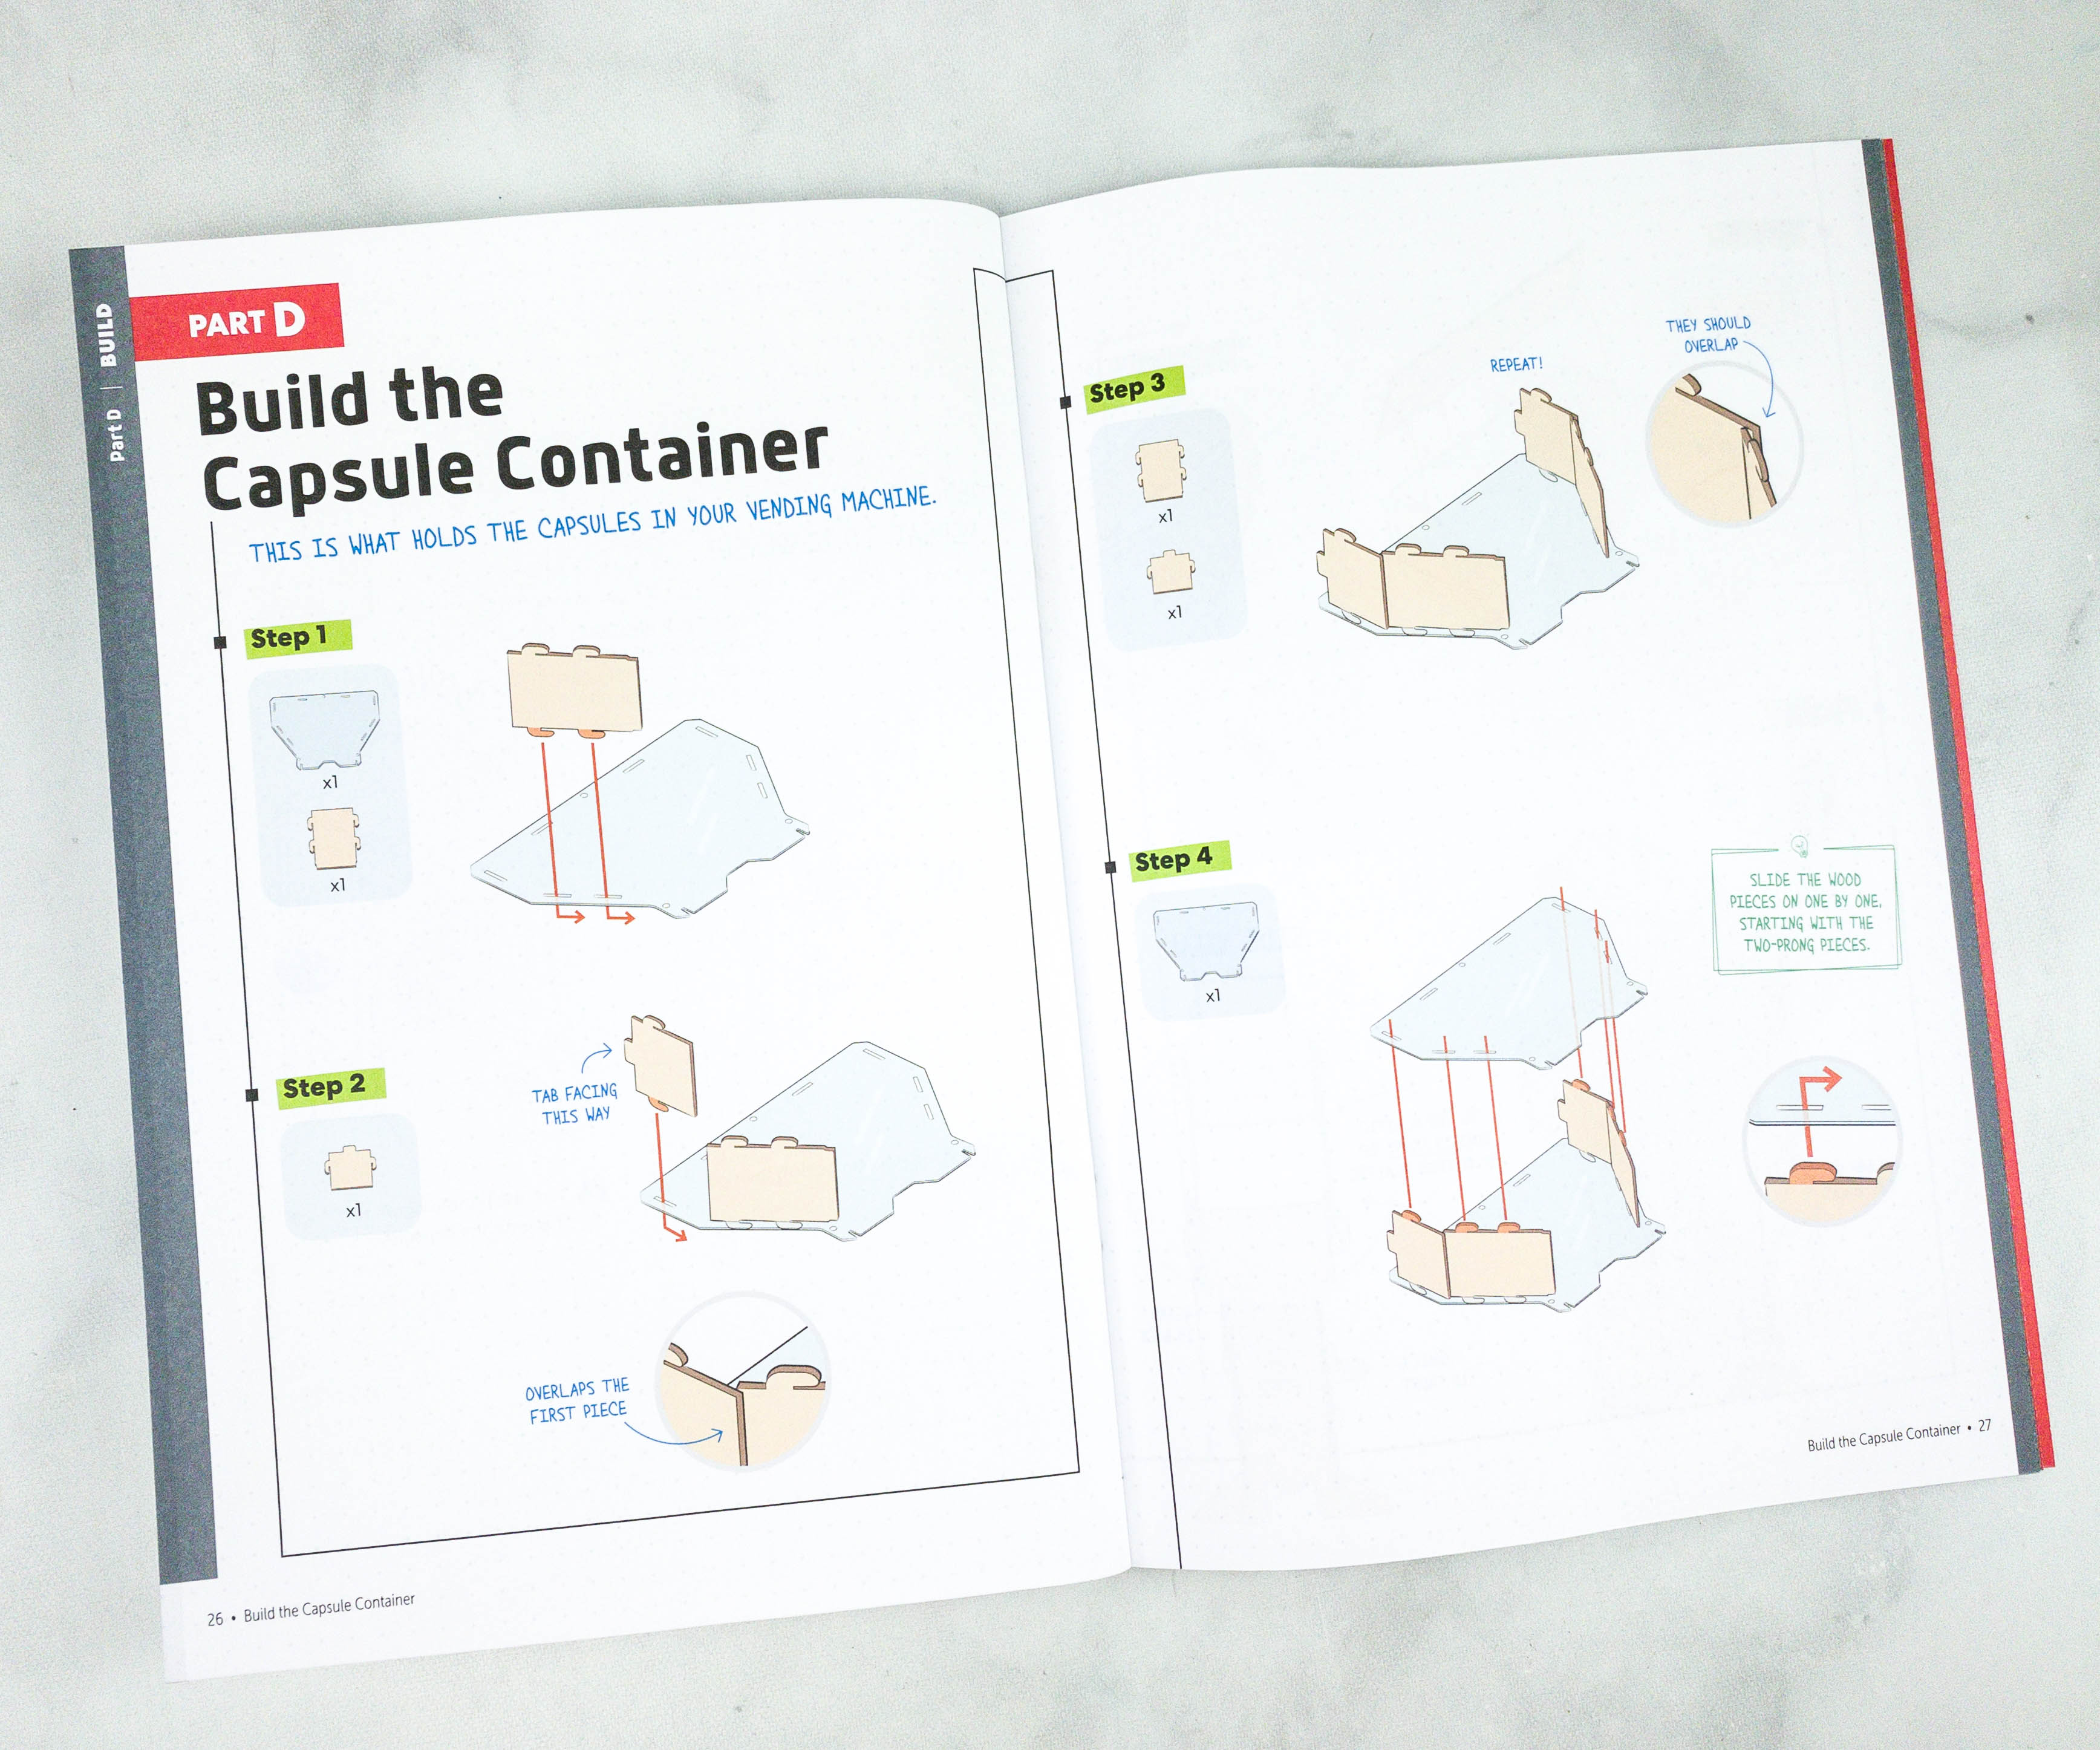
The fourth step is to build the capsule container. It’s what holds the capsule in the vending machine.
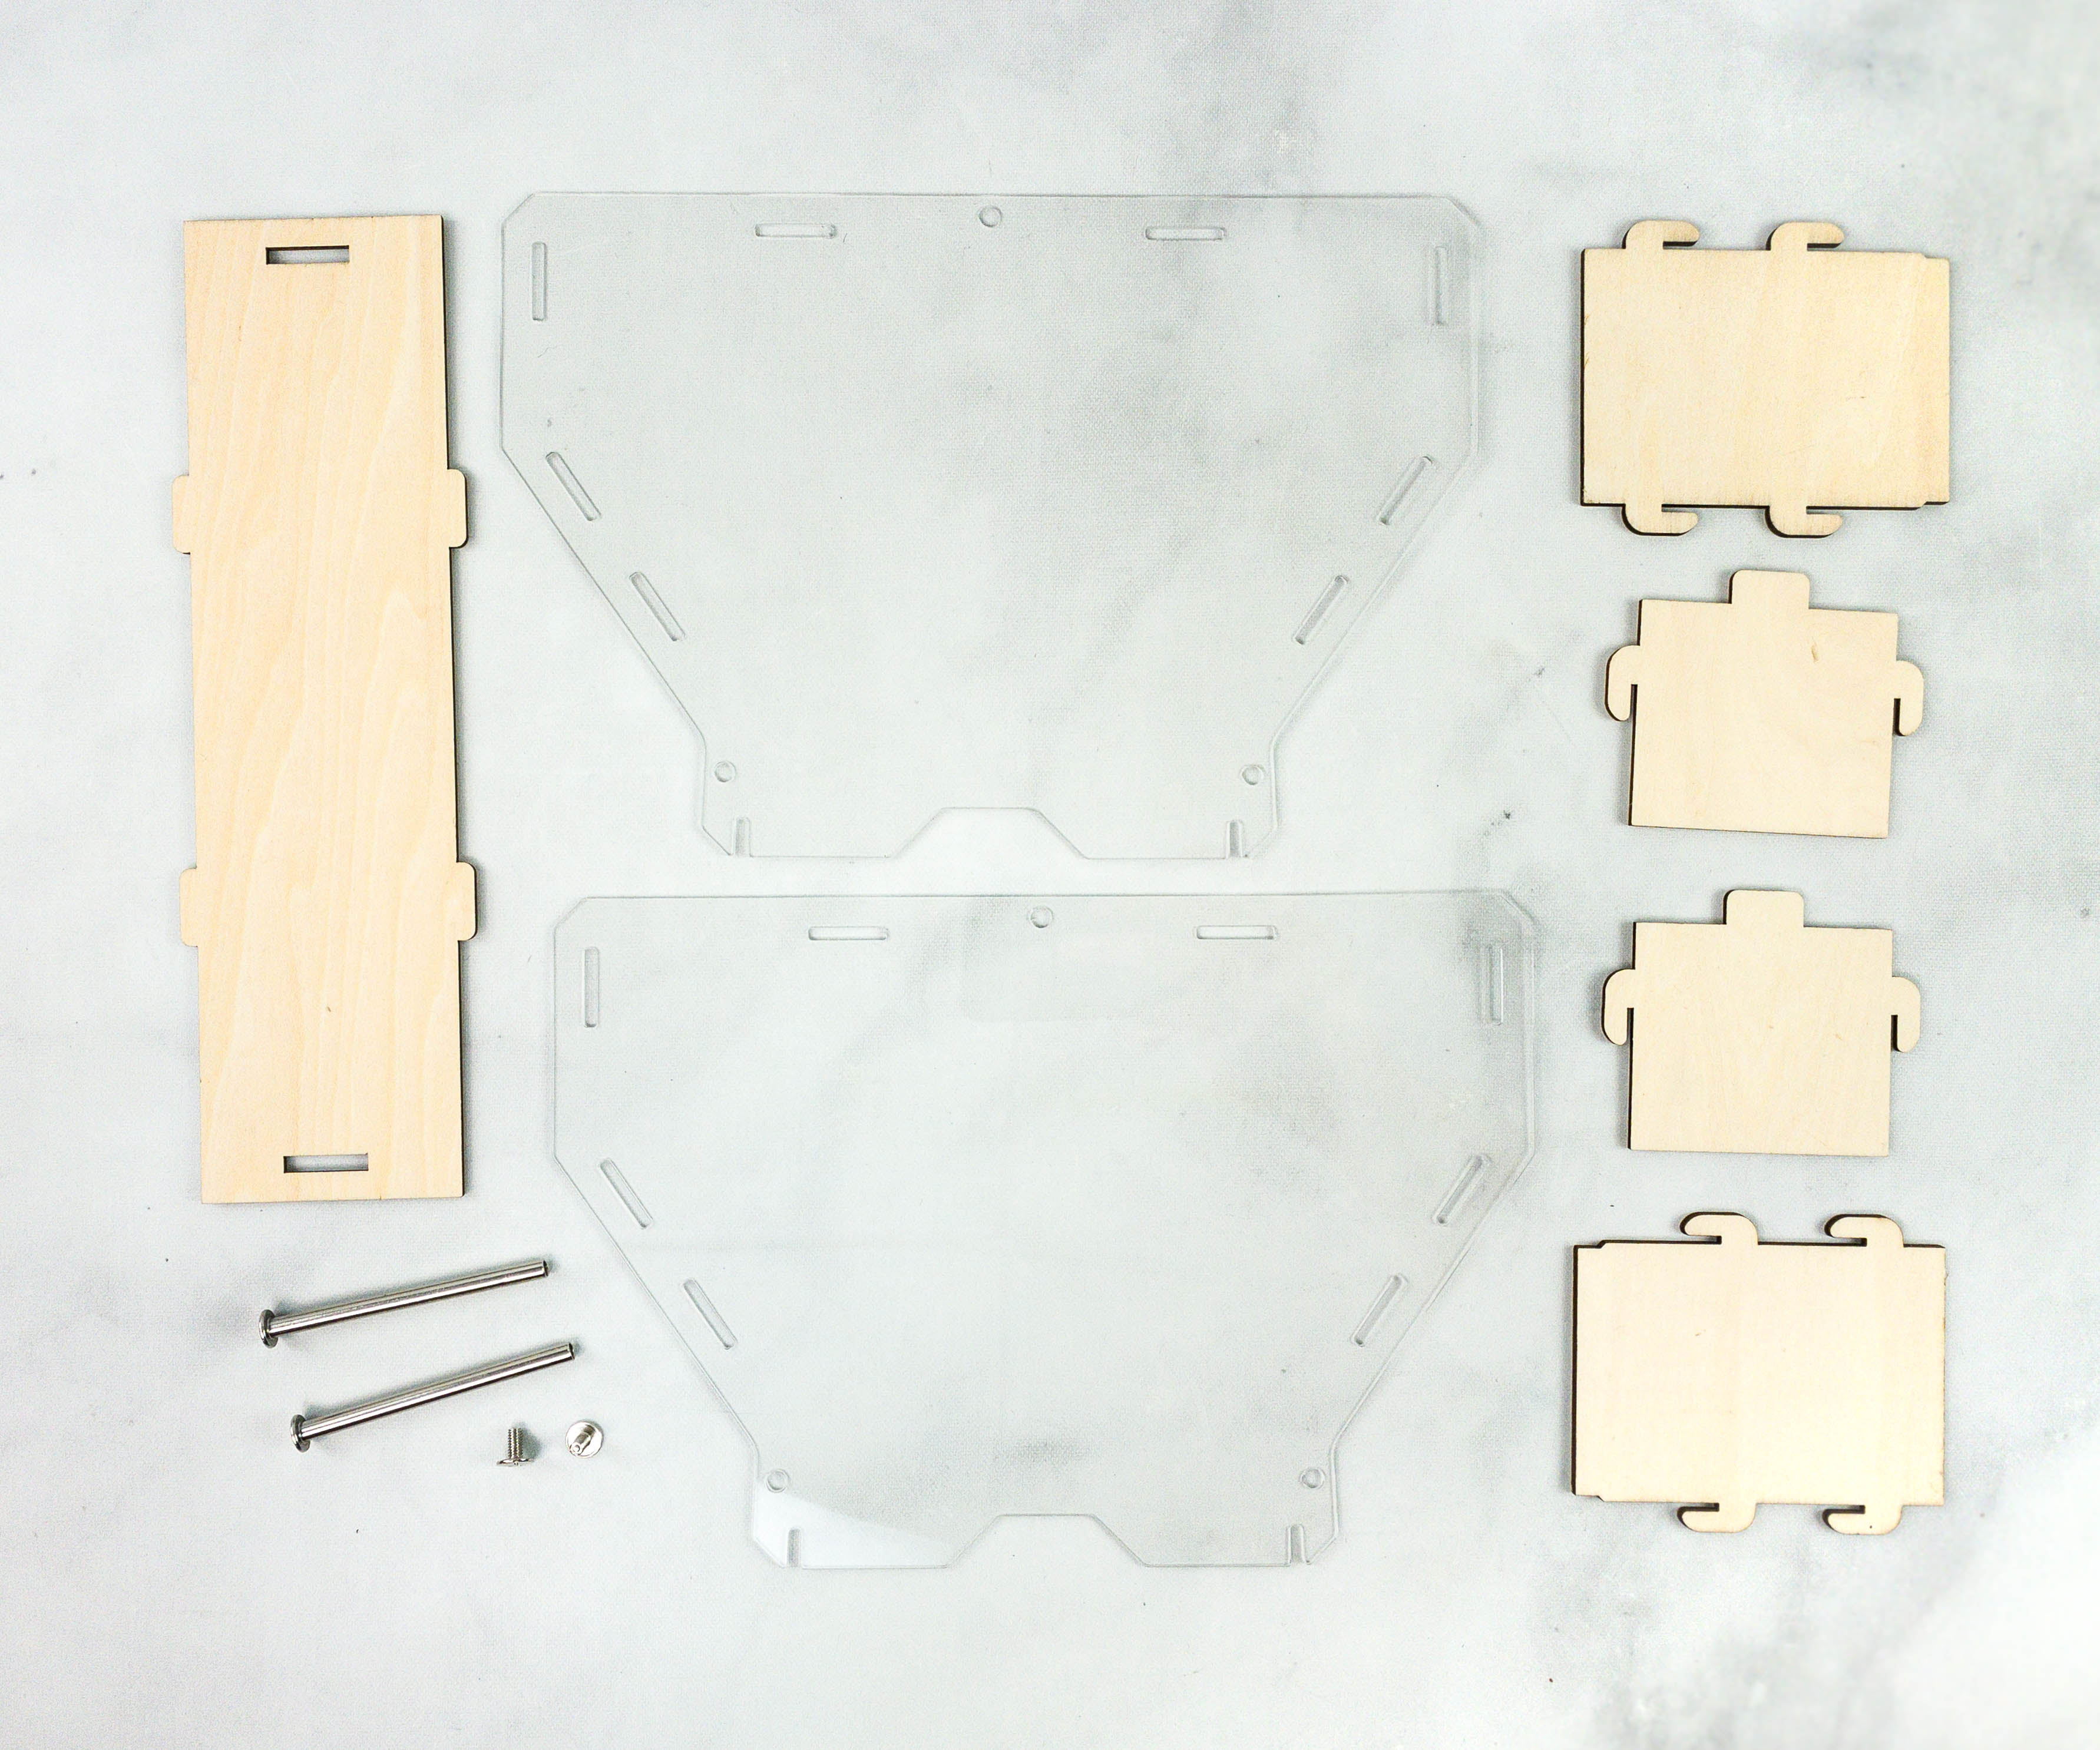
For this part, the crate provided a pair of plastic sheets, a wooden set, pair of long barrels, and screws.
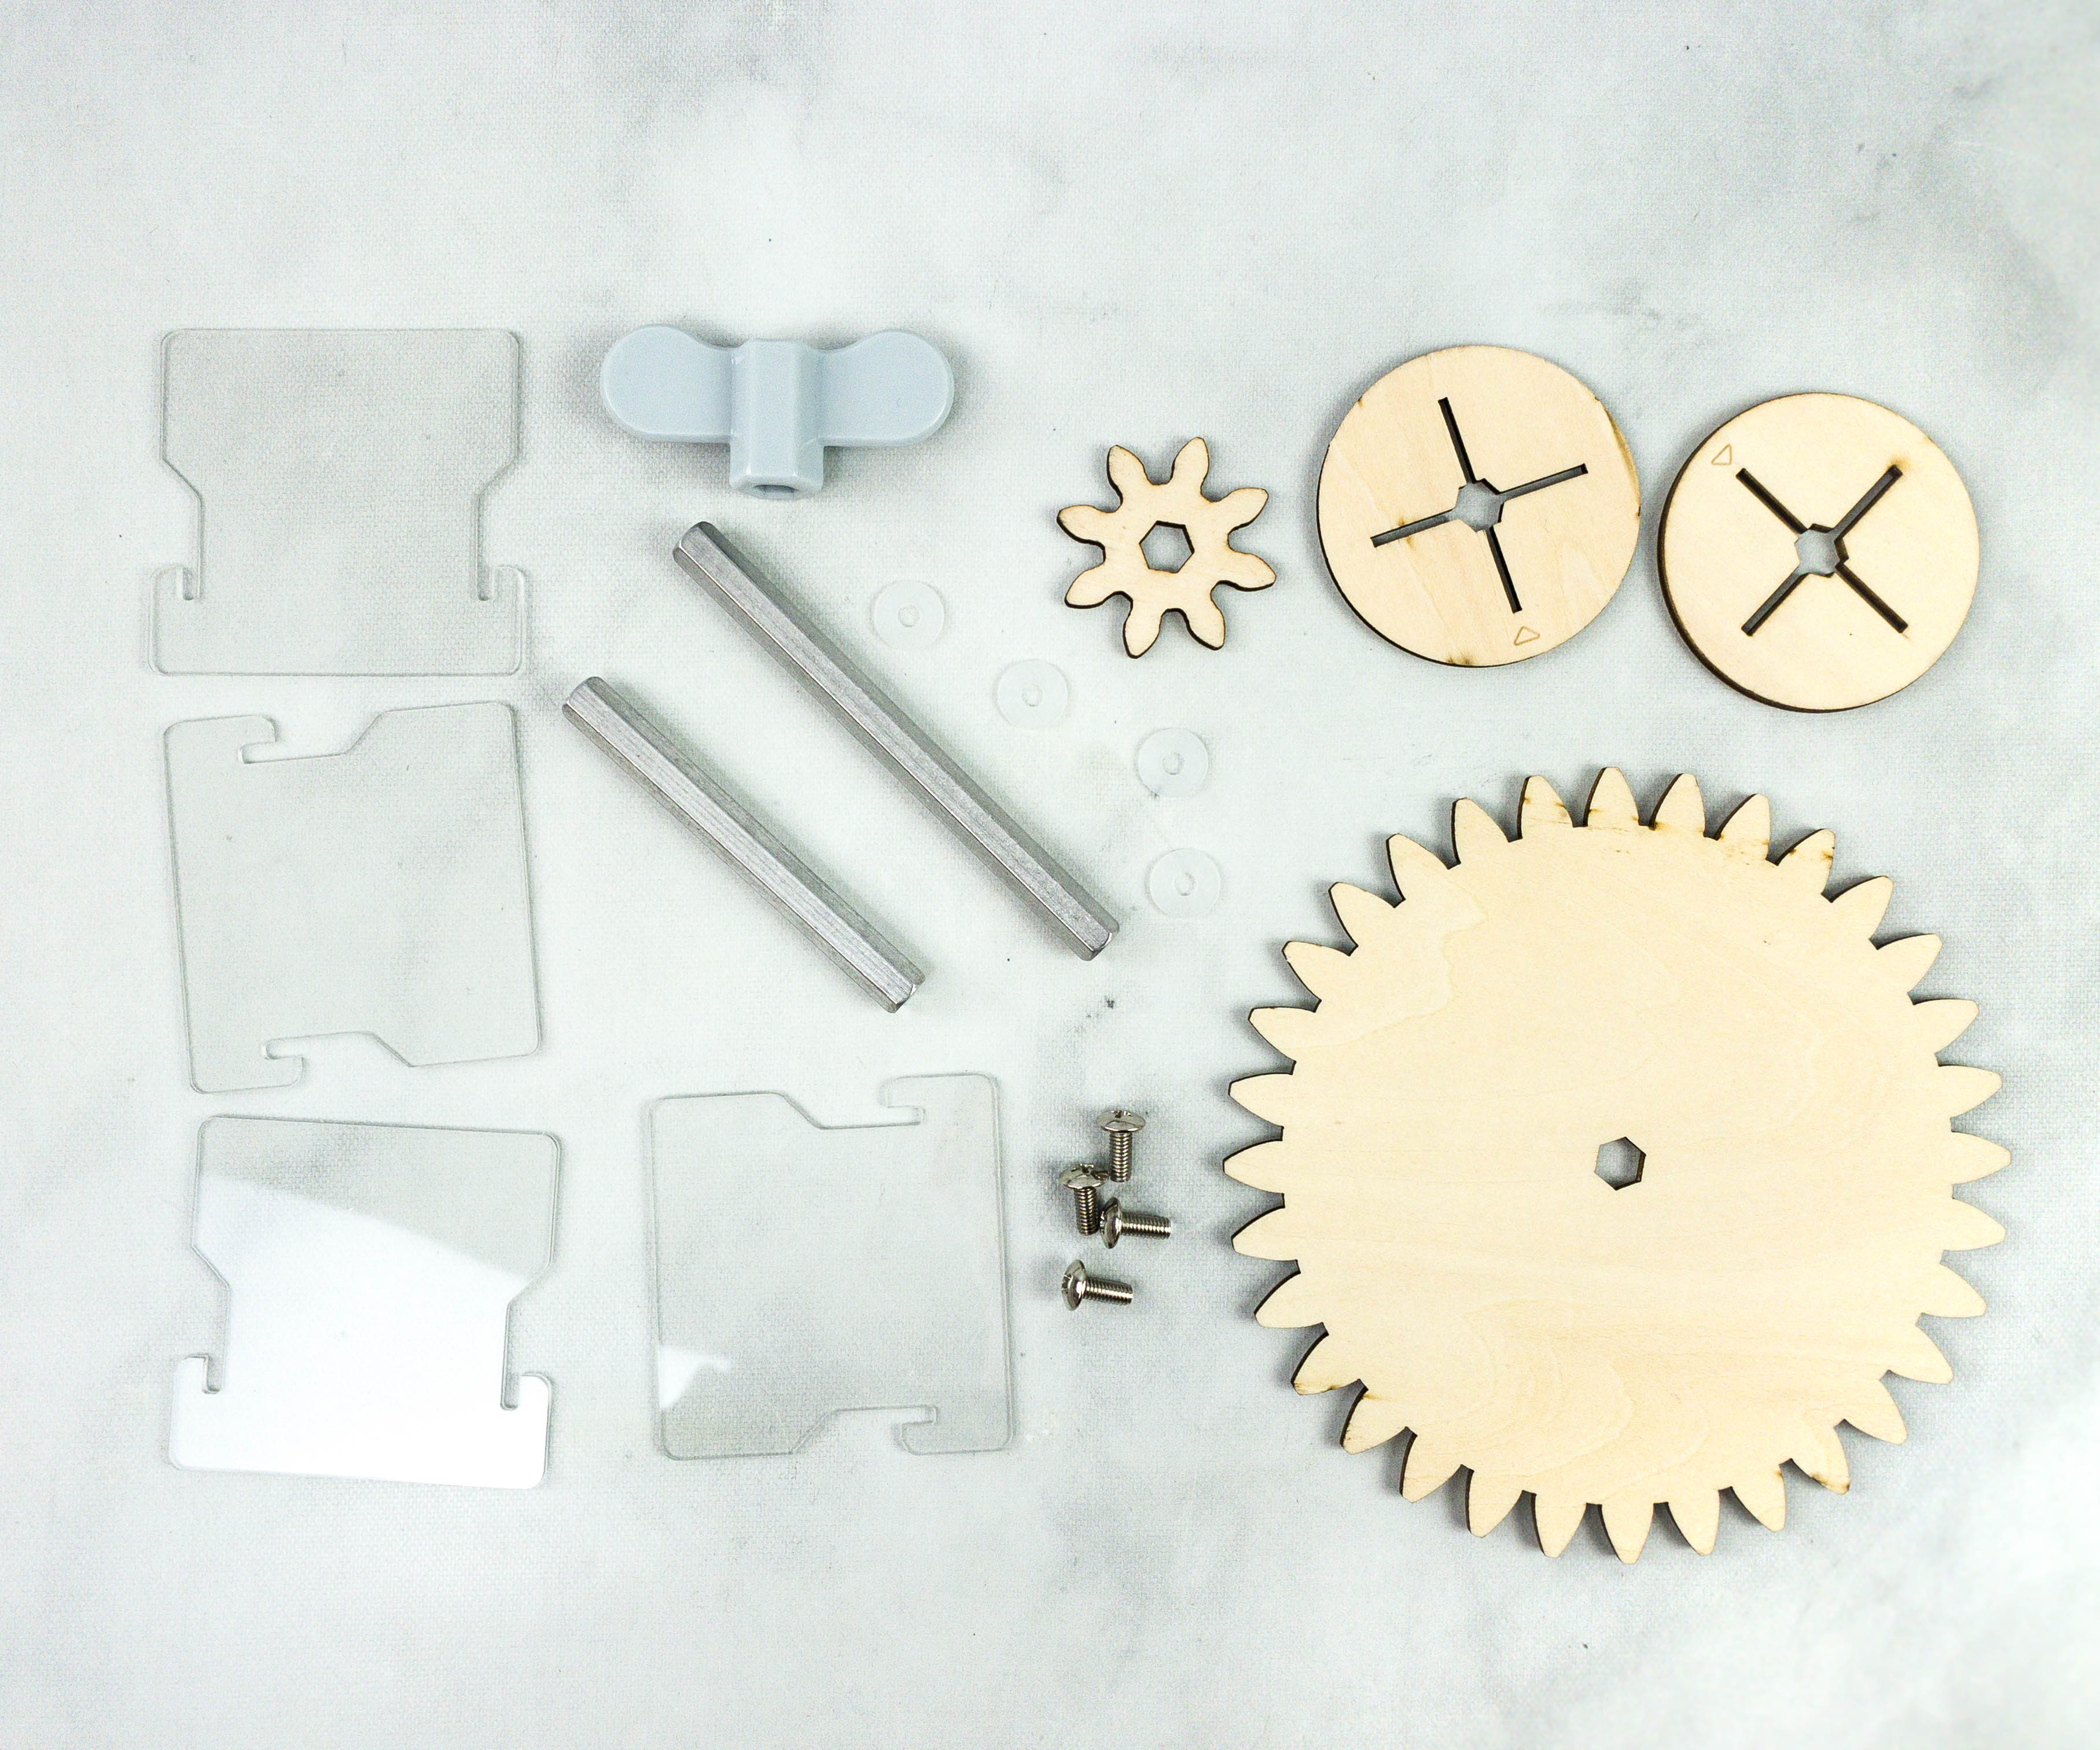
We also have plastic sheets, wooden pieces, washers, hex rods, machine handle, and screws.
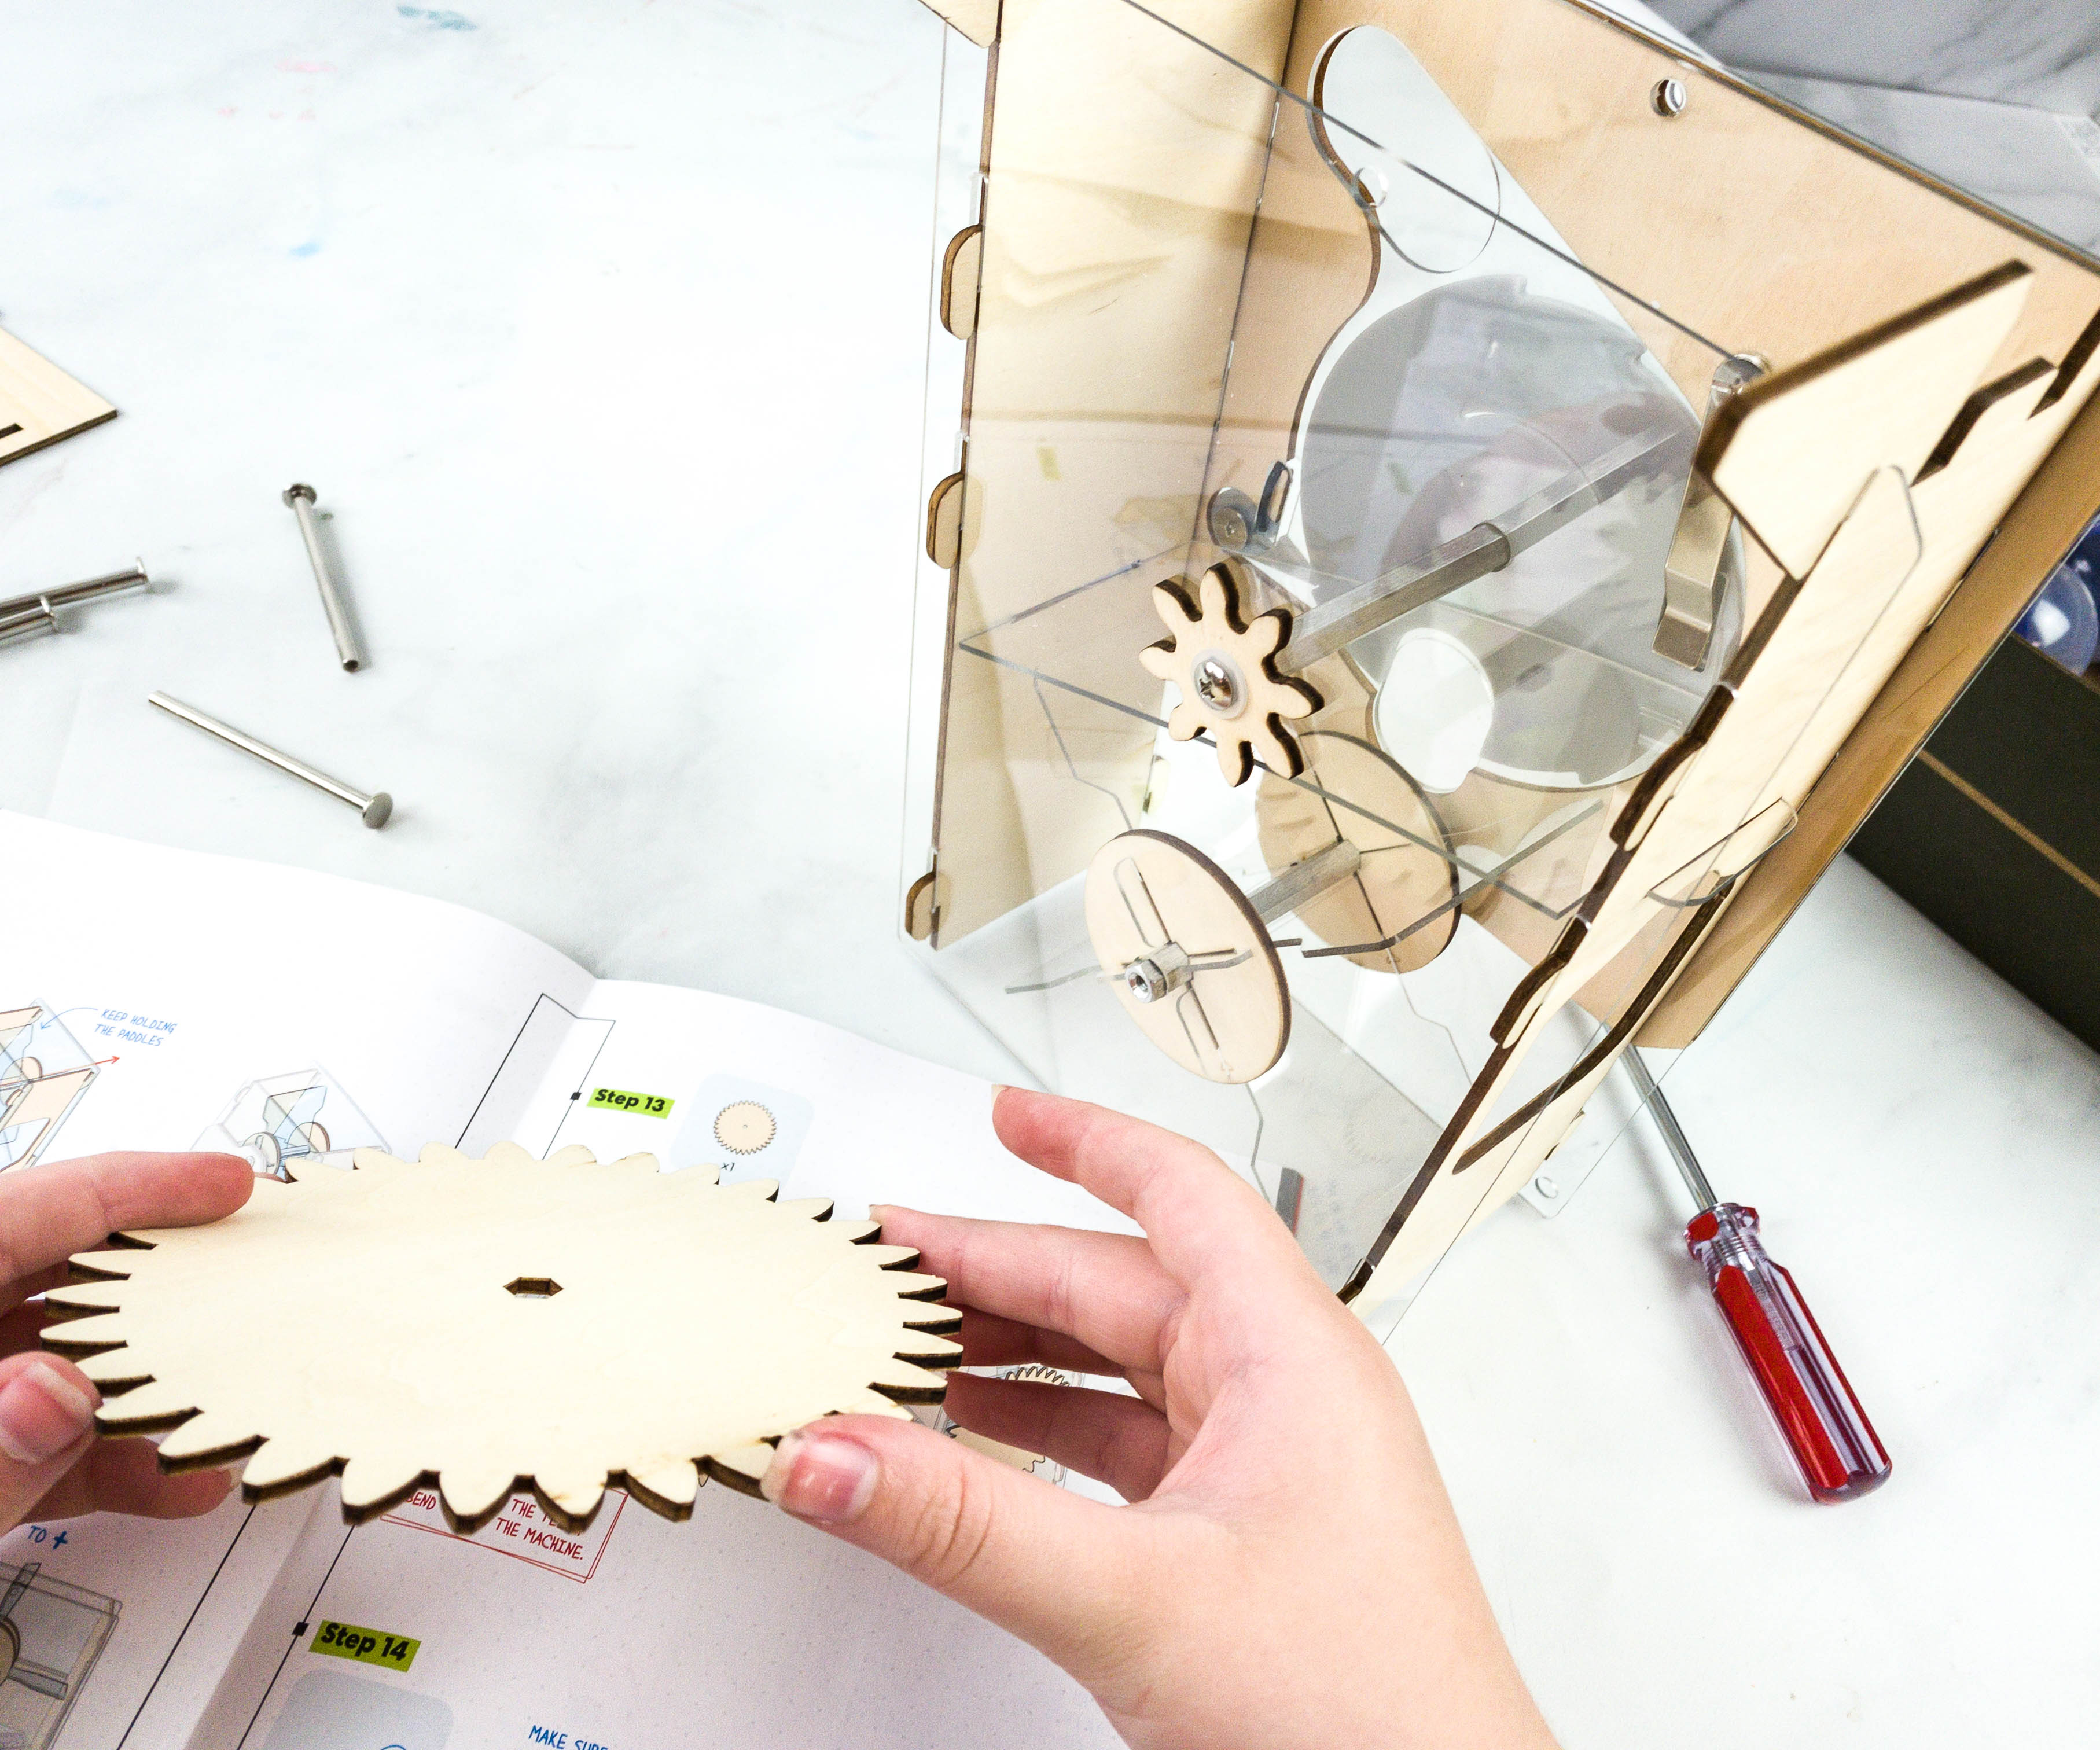
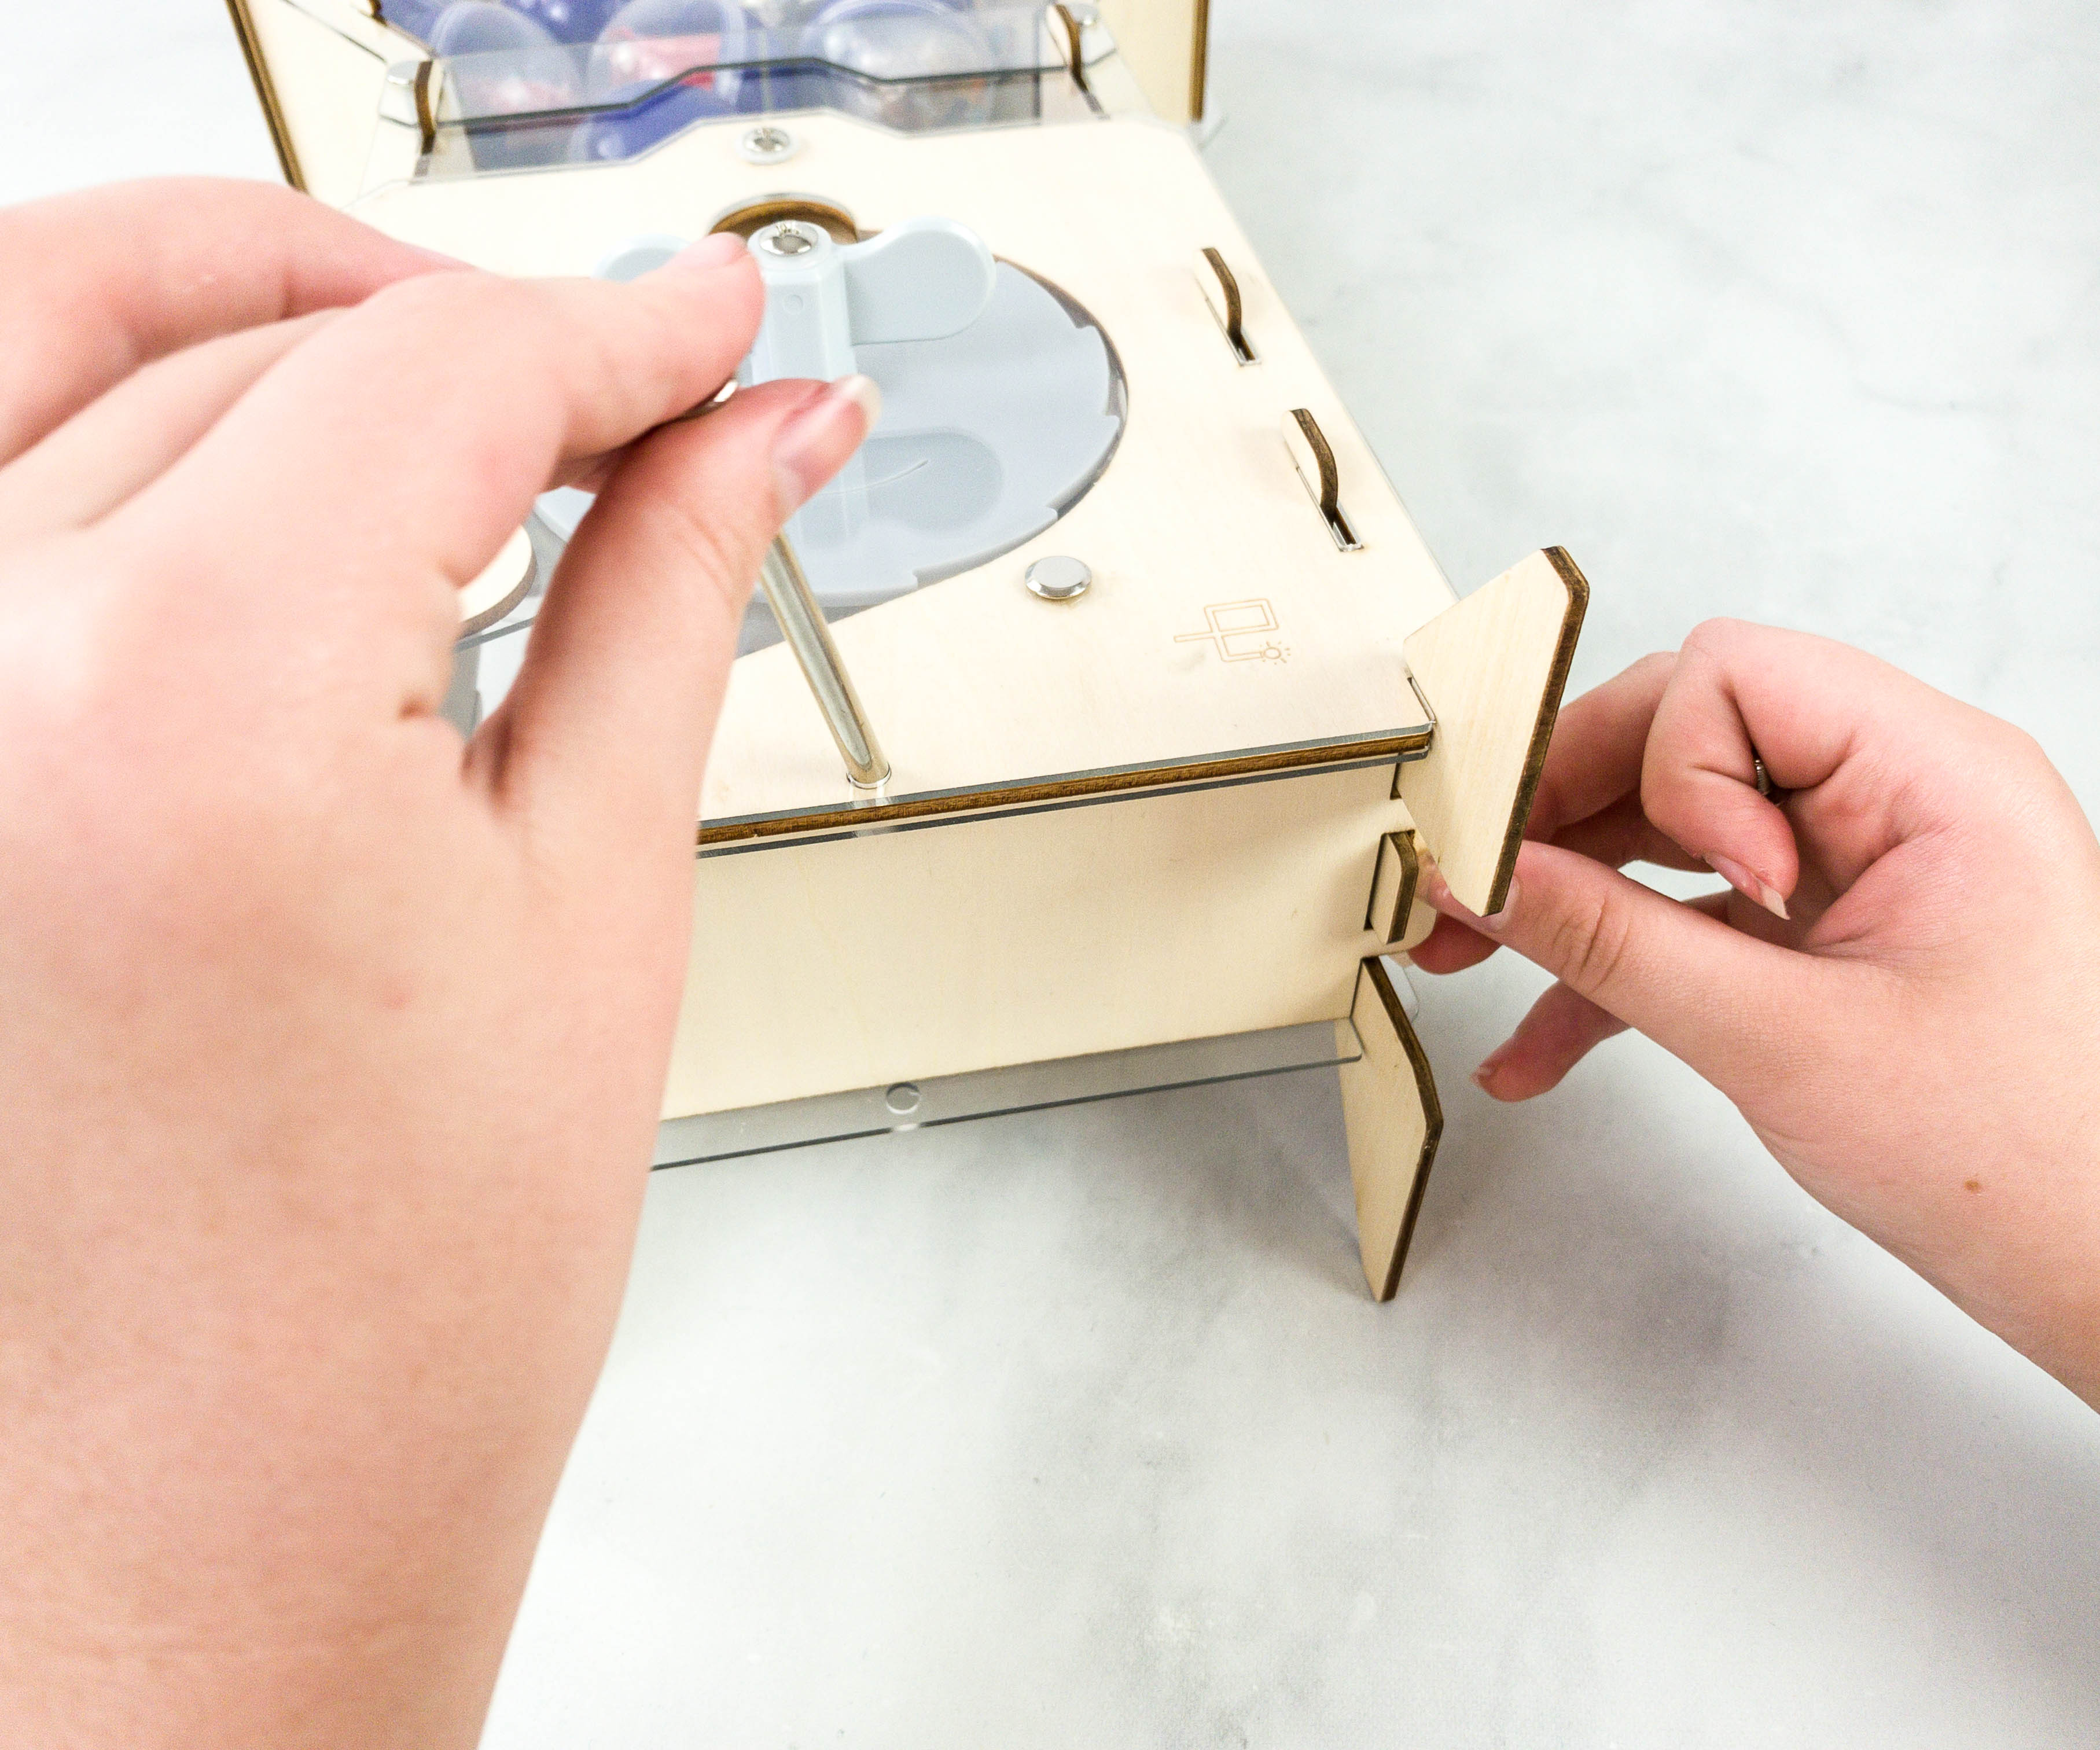
My daughter constructed the body of the vending machine accordingly. She placed every piece carefully and locked them using the bolts and screws.
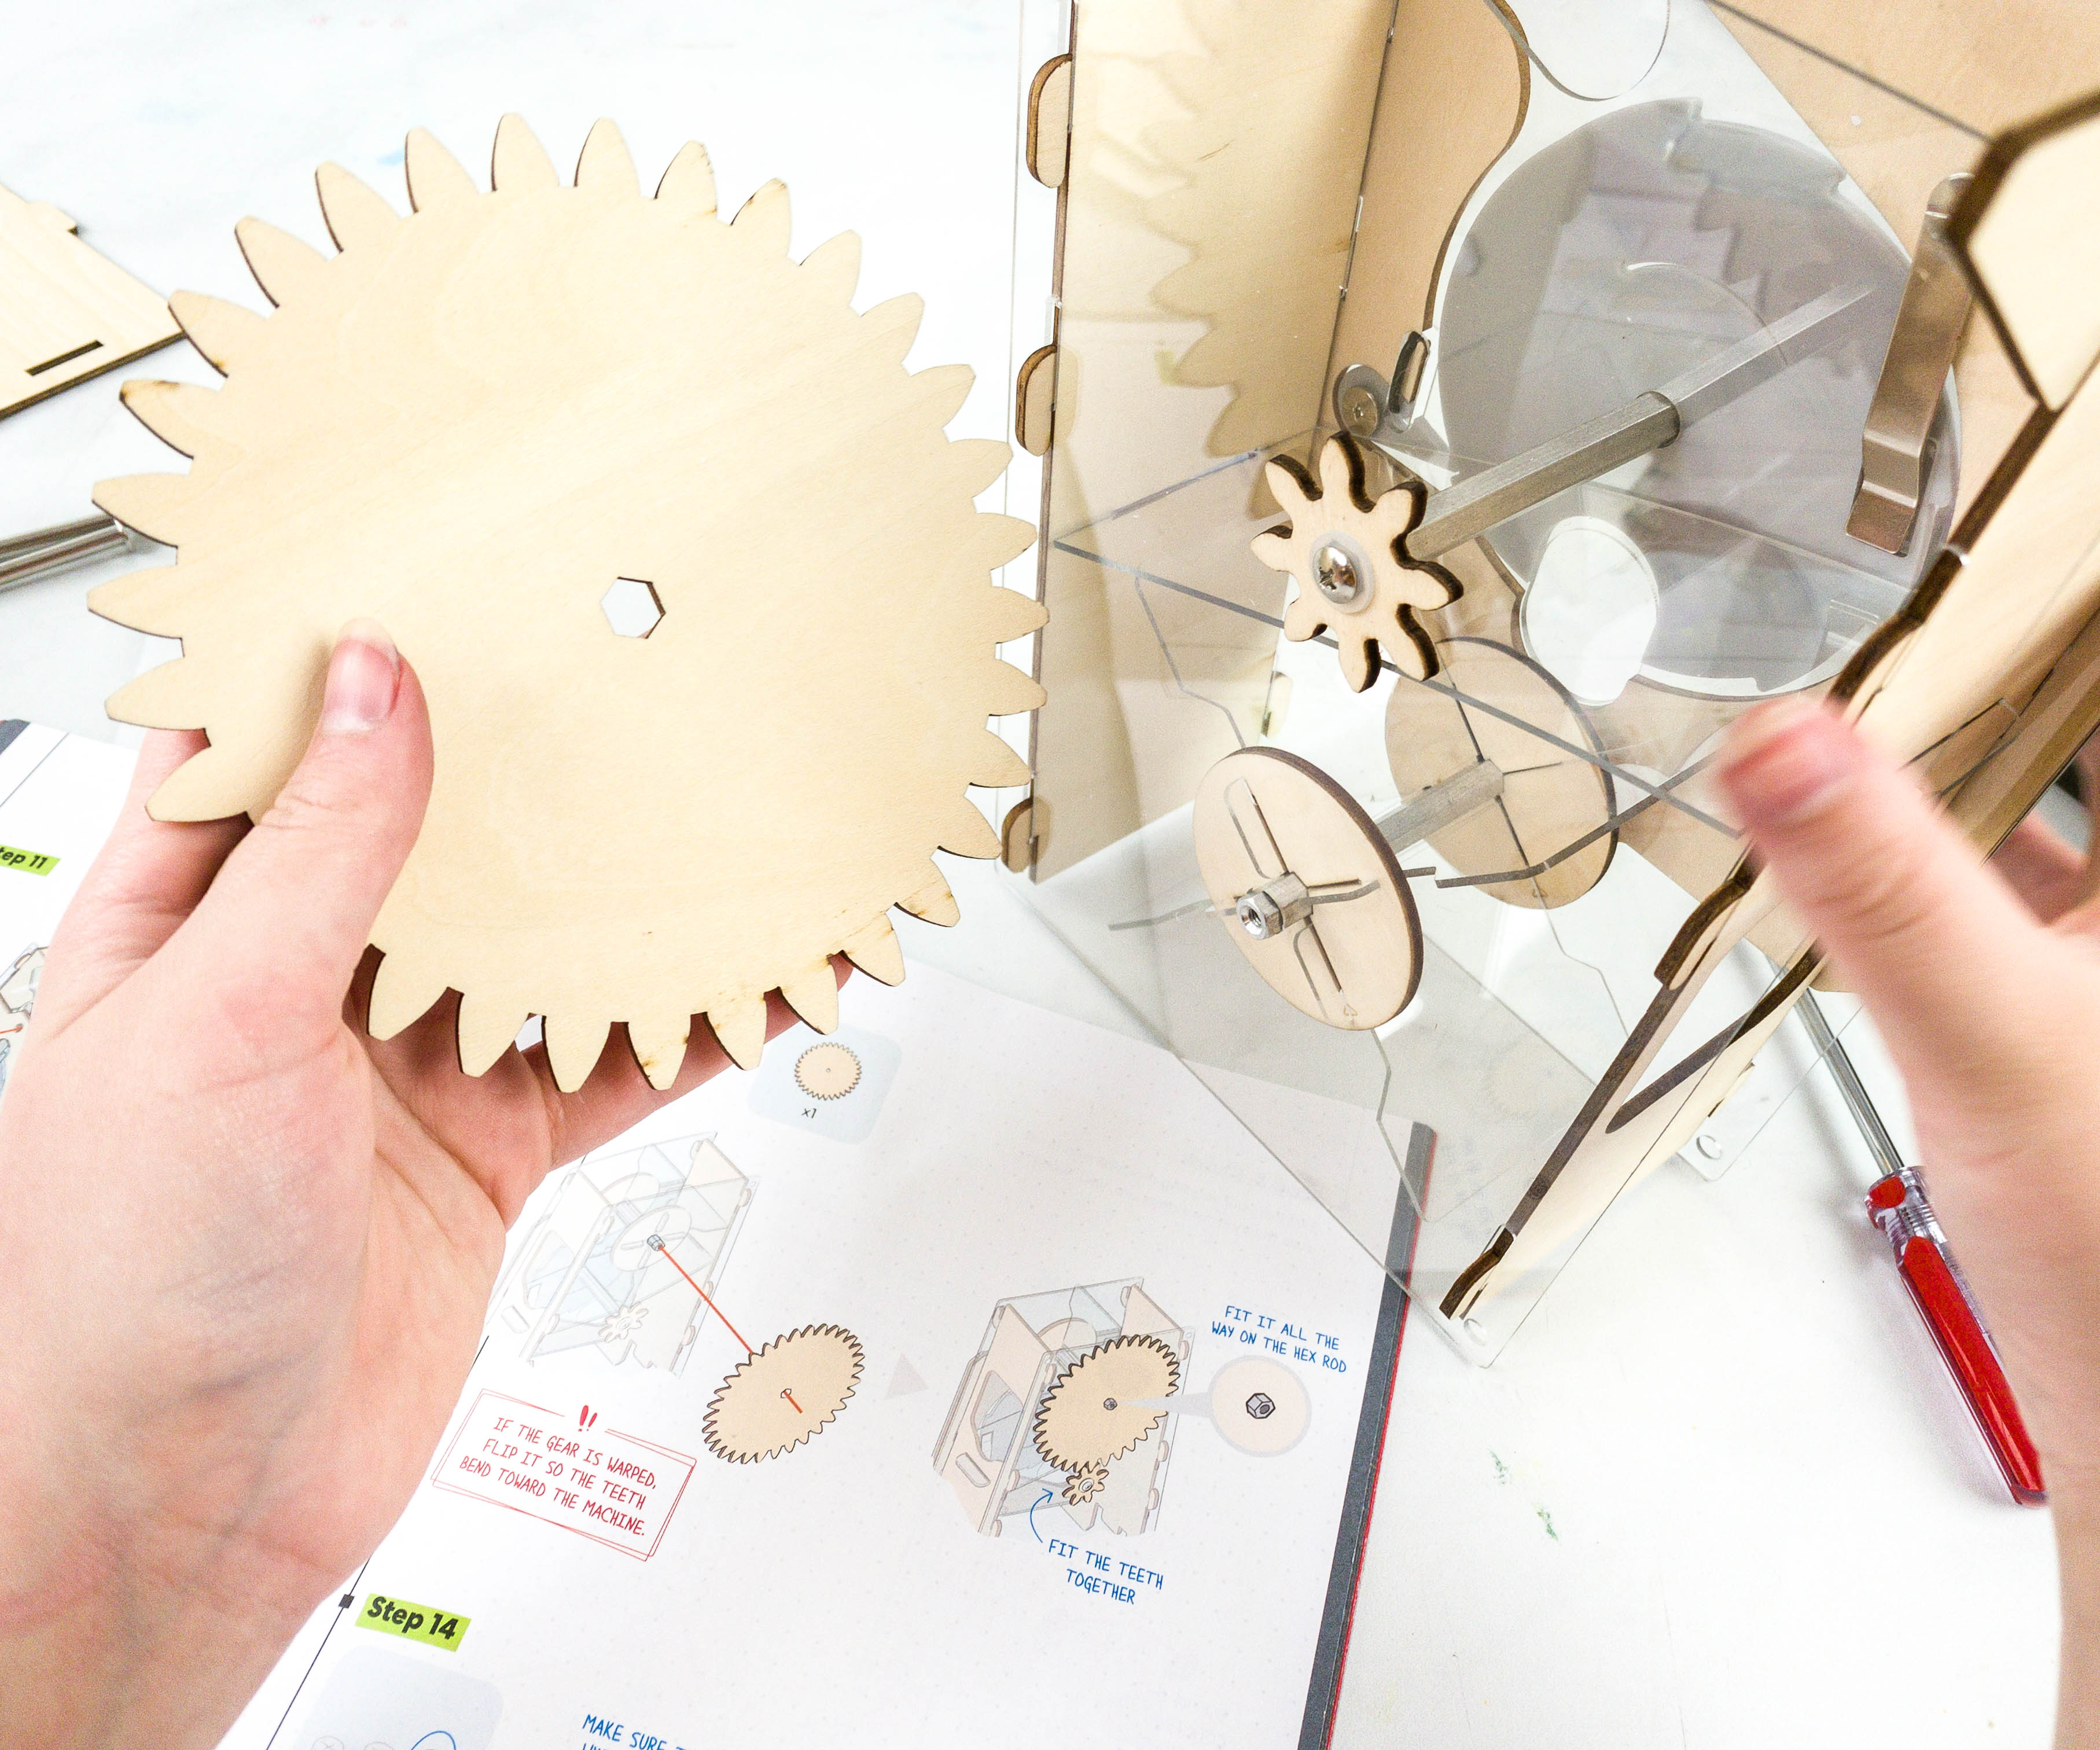
She also made sure that the big gear is properly installed on the hex rod and fits well with the smaller gear.
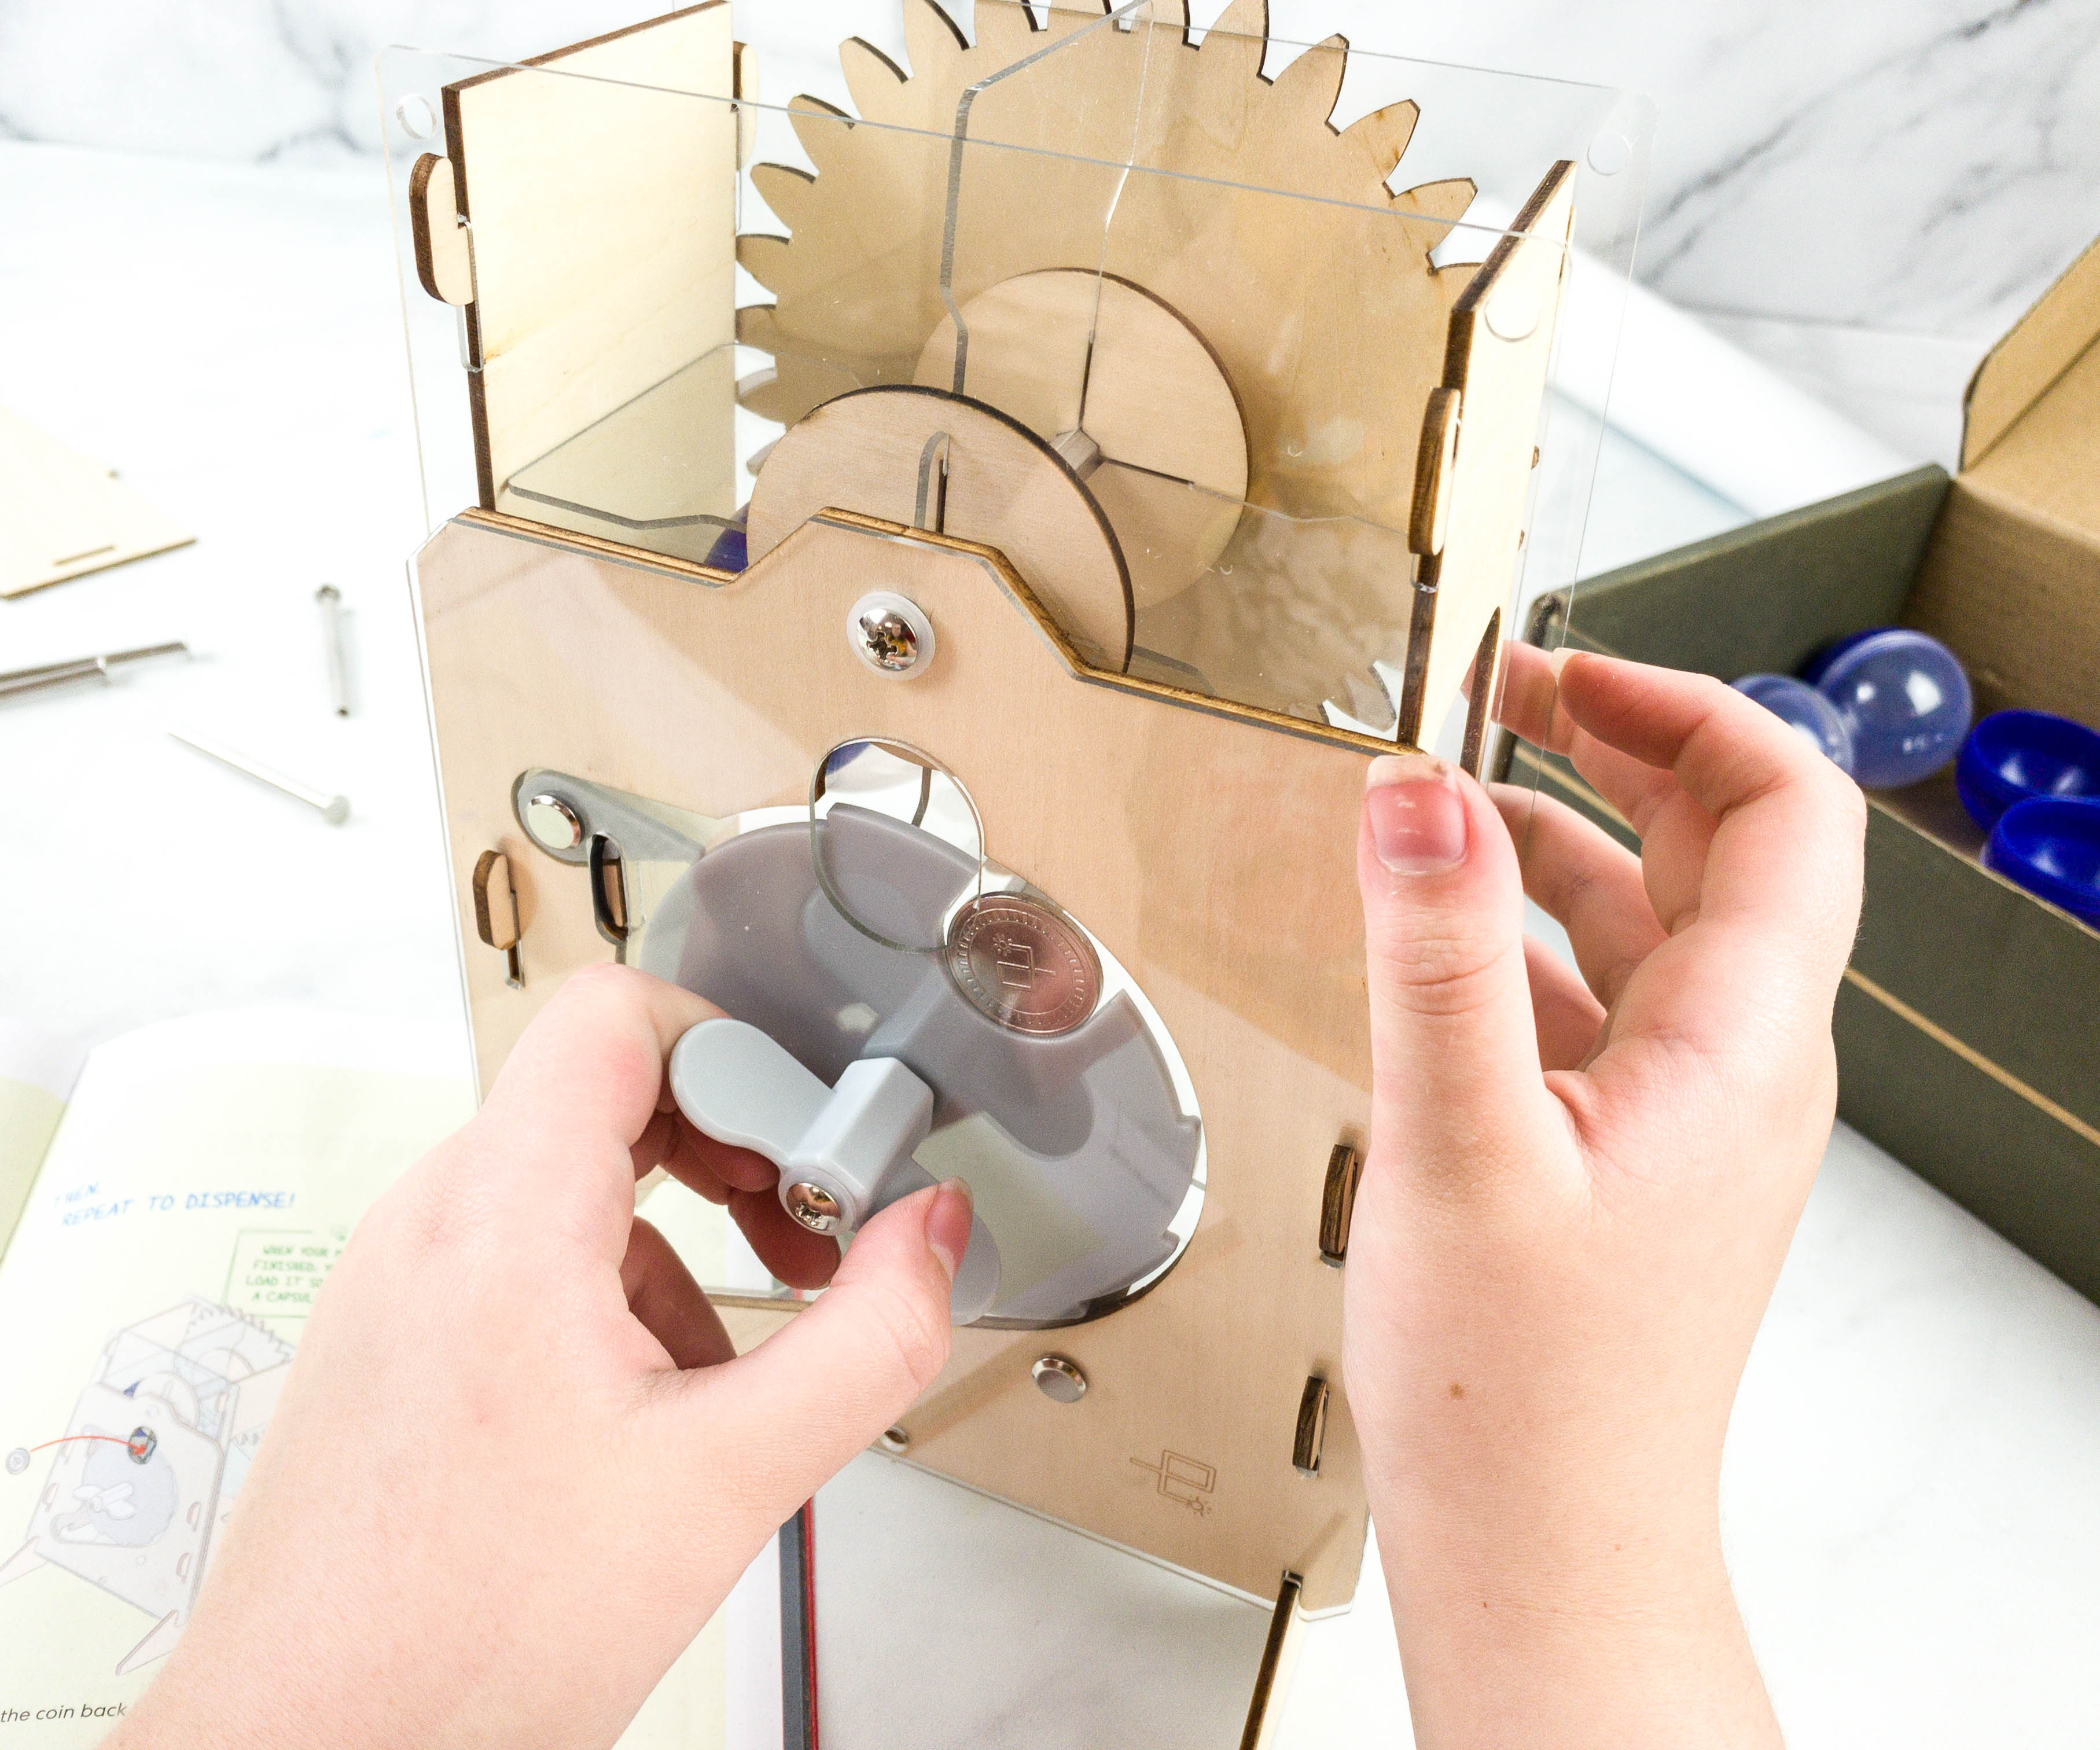
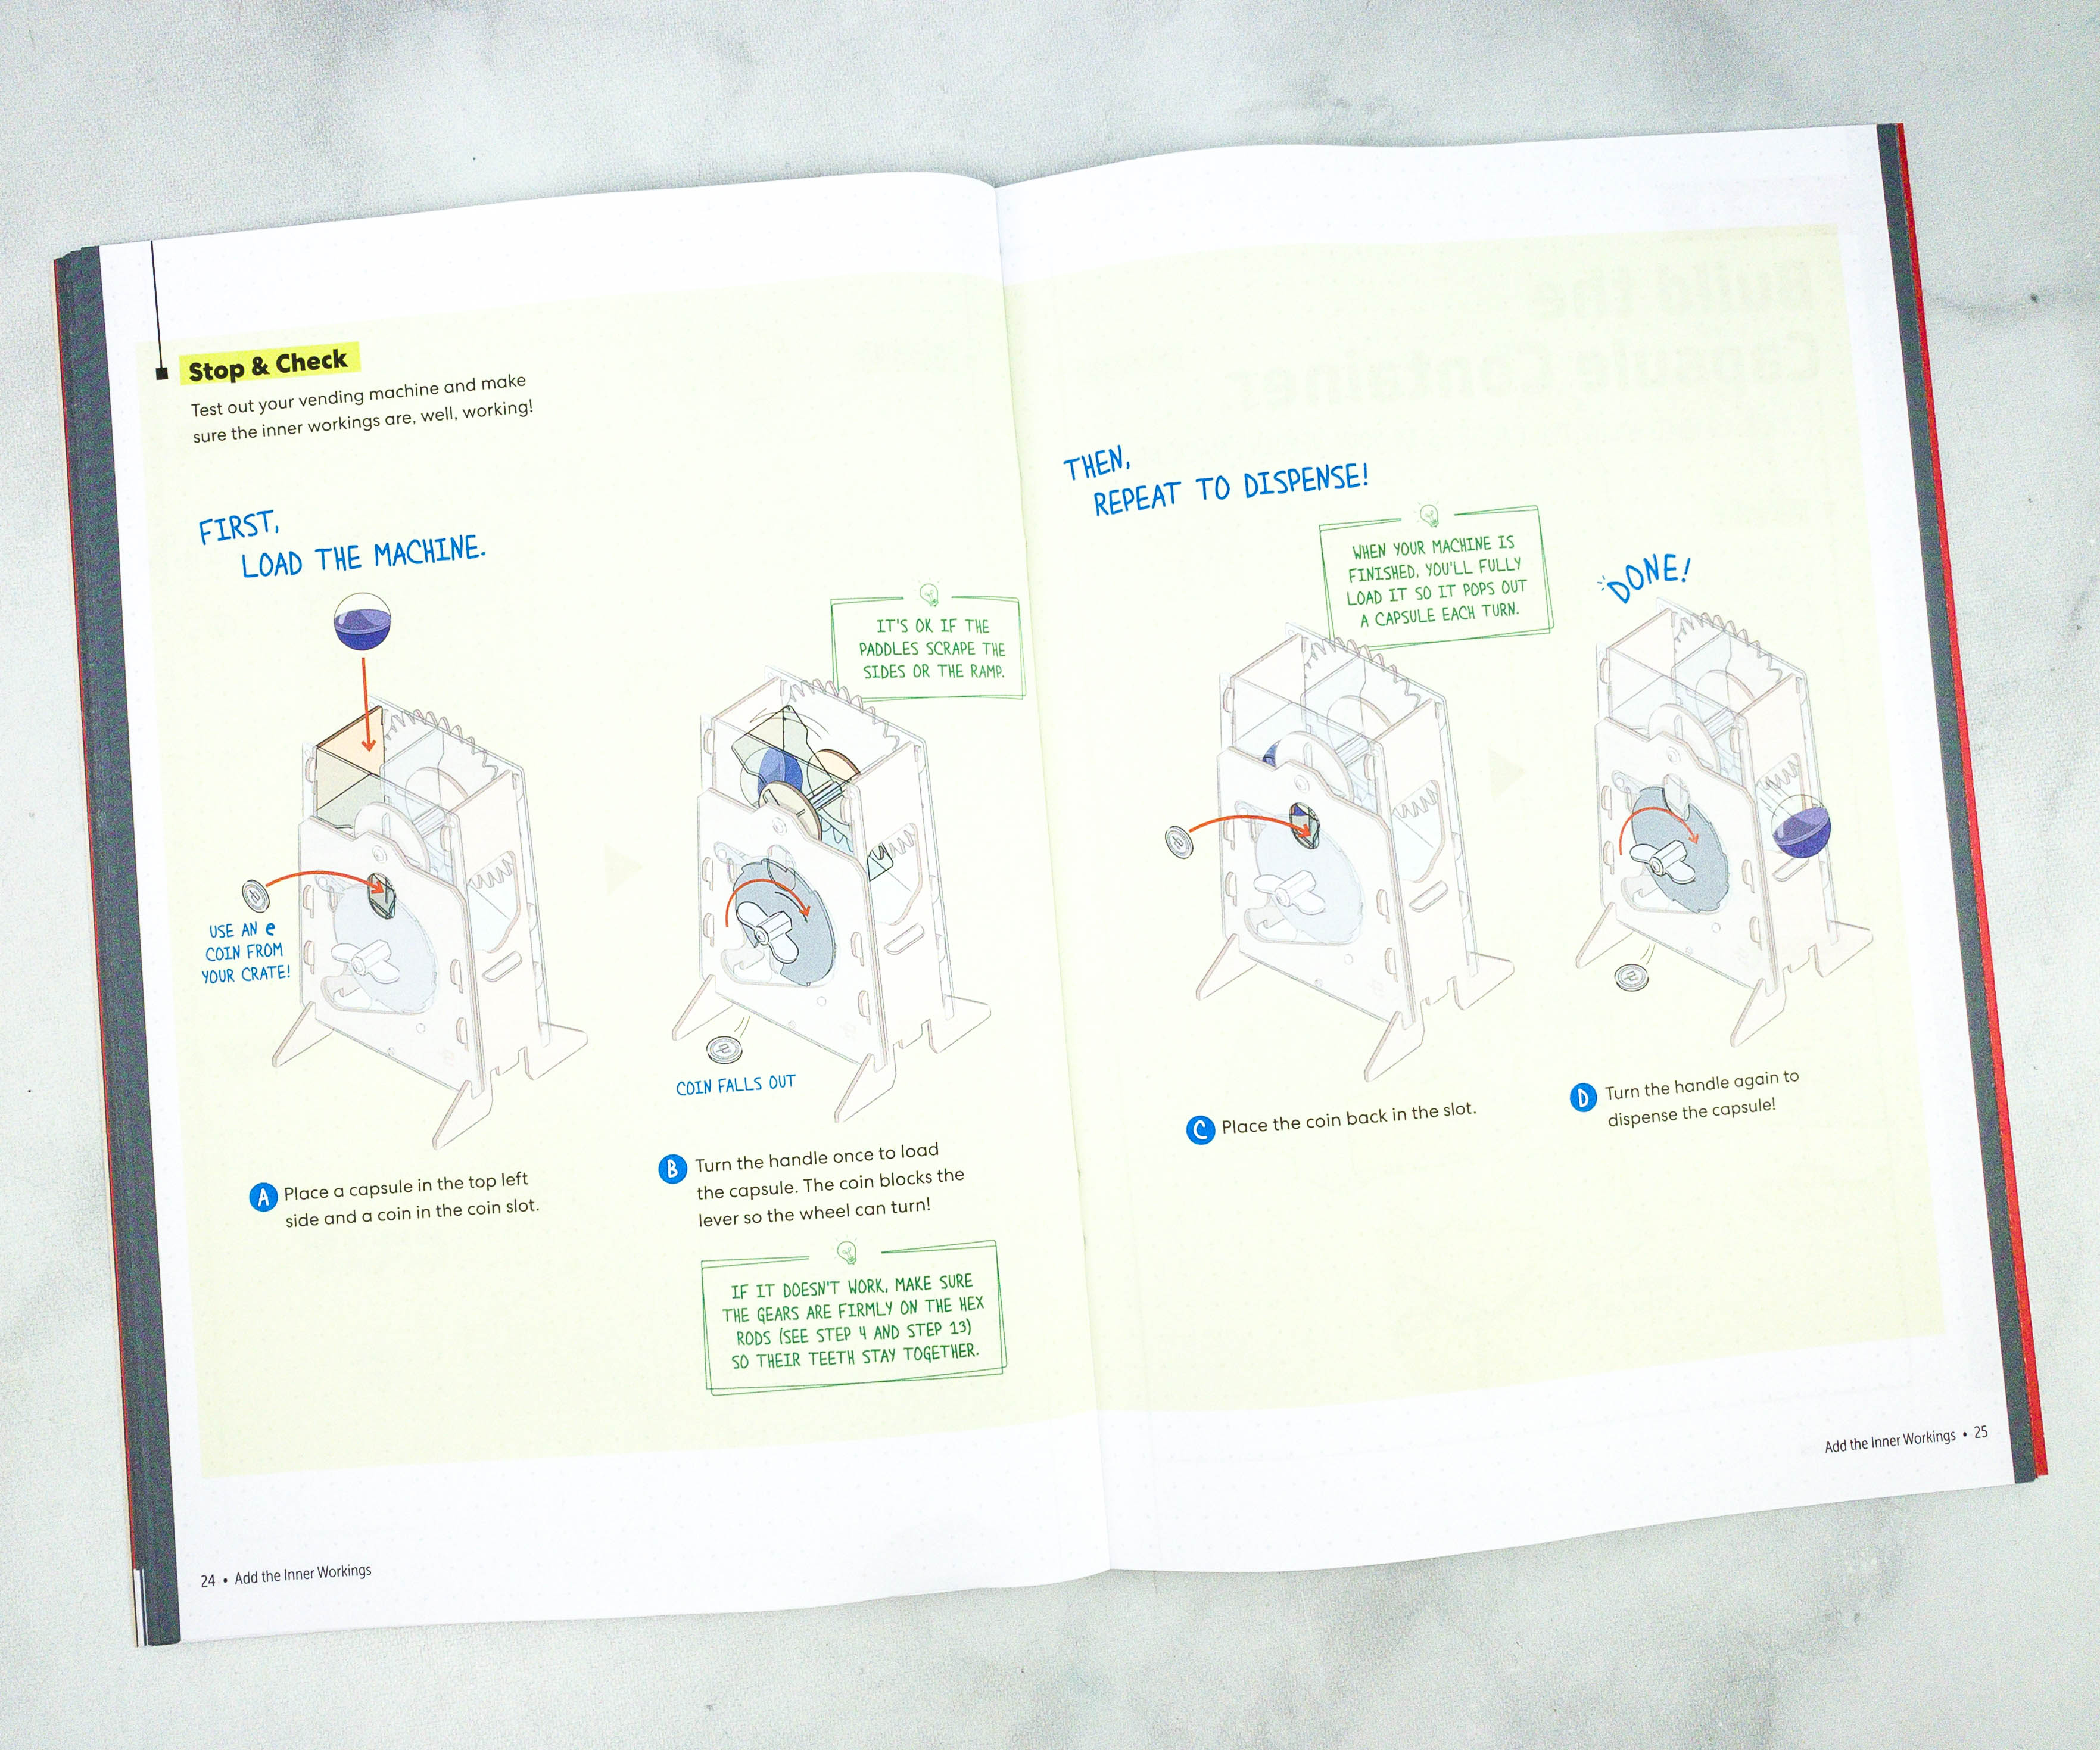
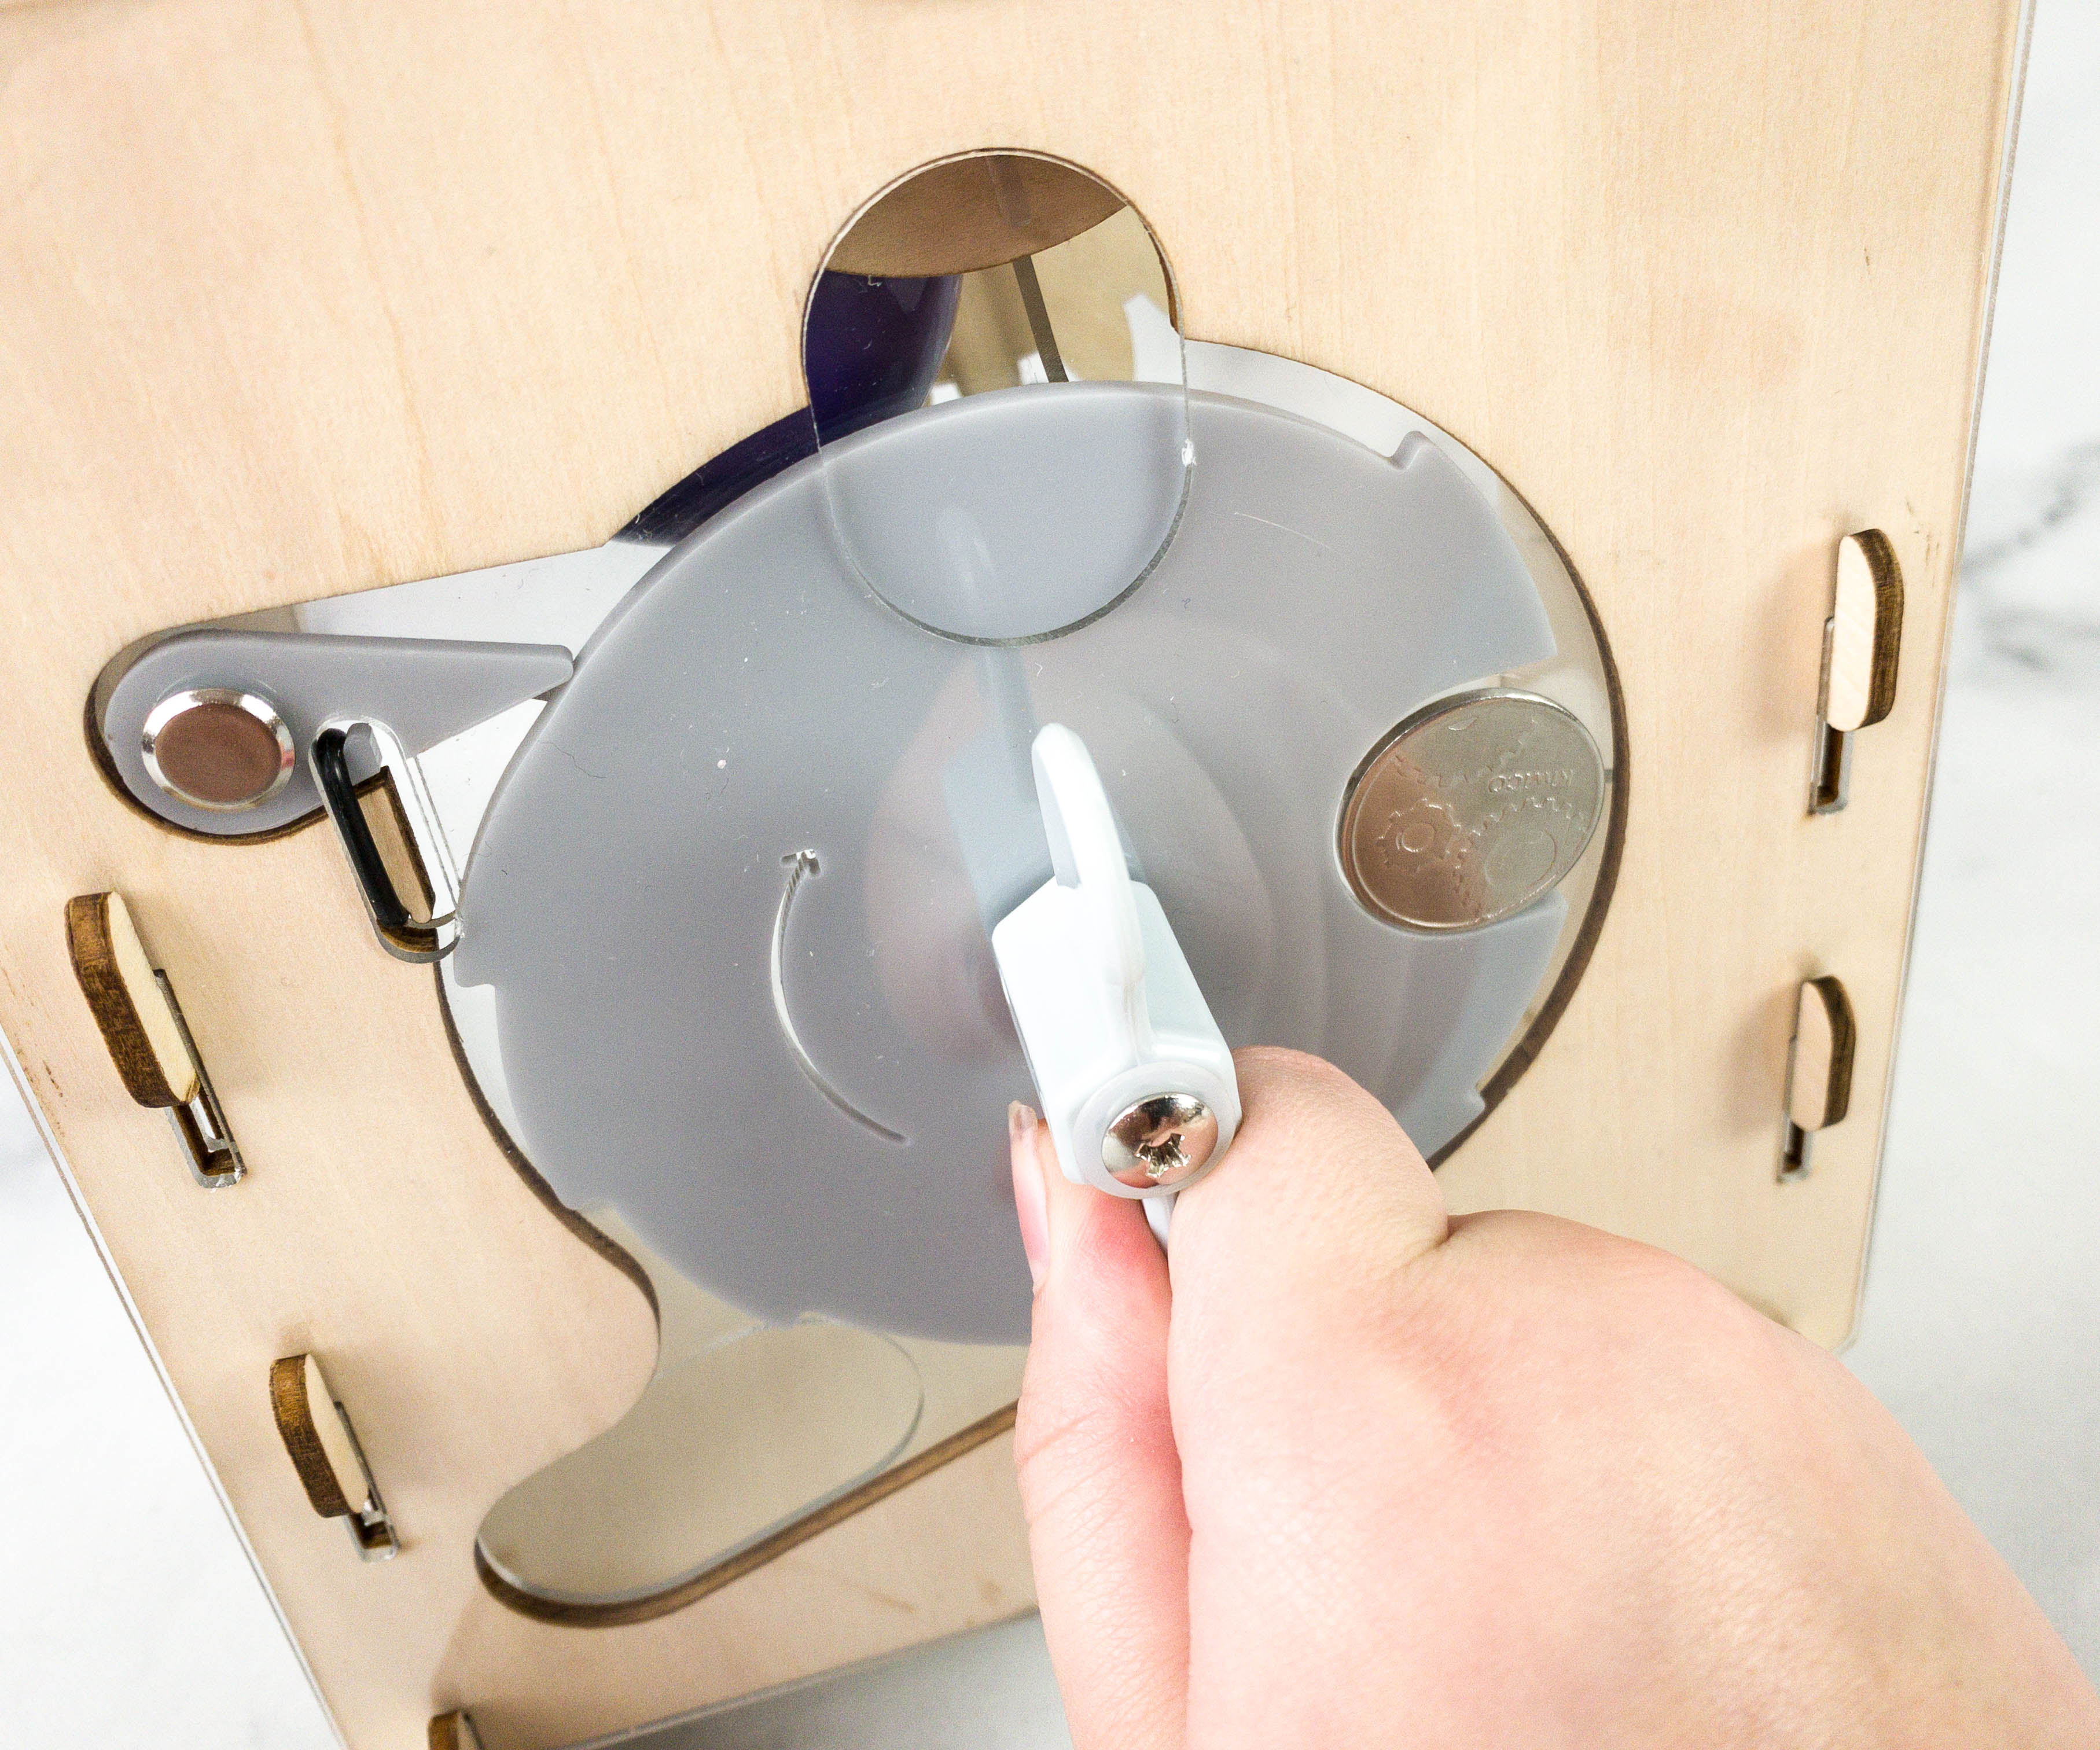
She rotated the vending machine, tested the switch by inserting the coin through the hole, and turned the handle clockwise.
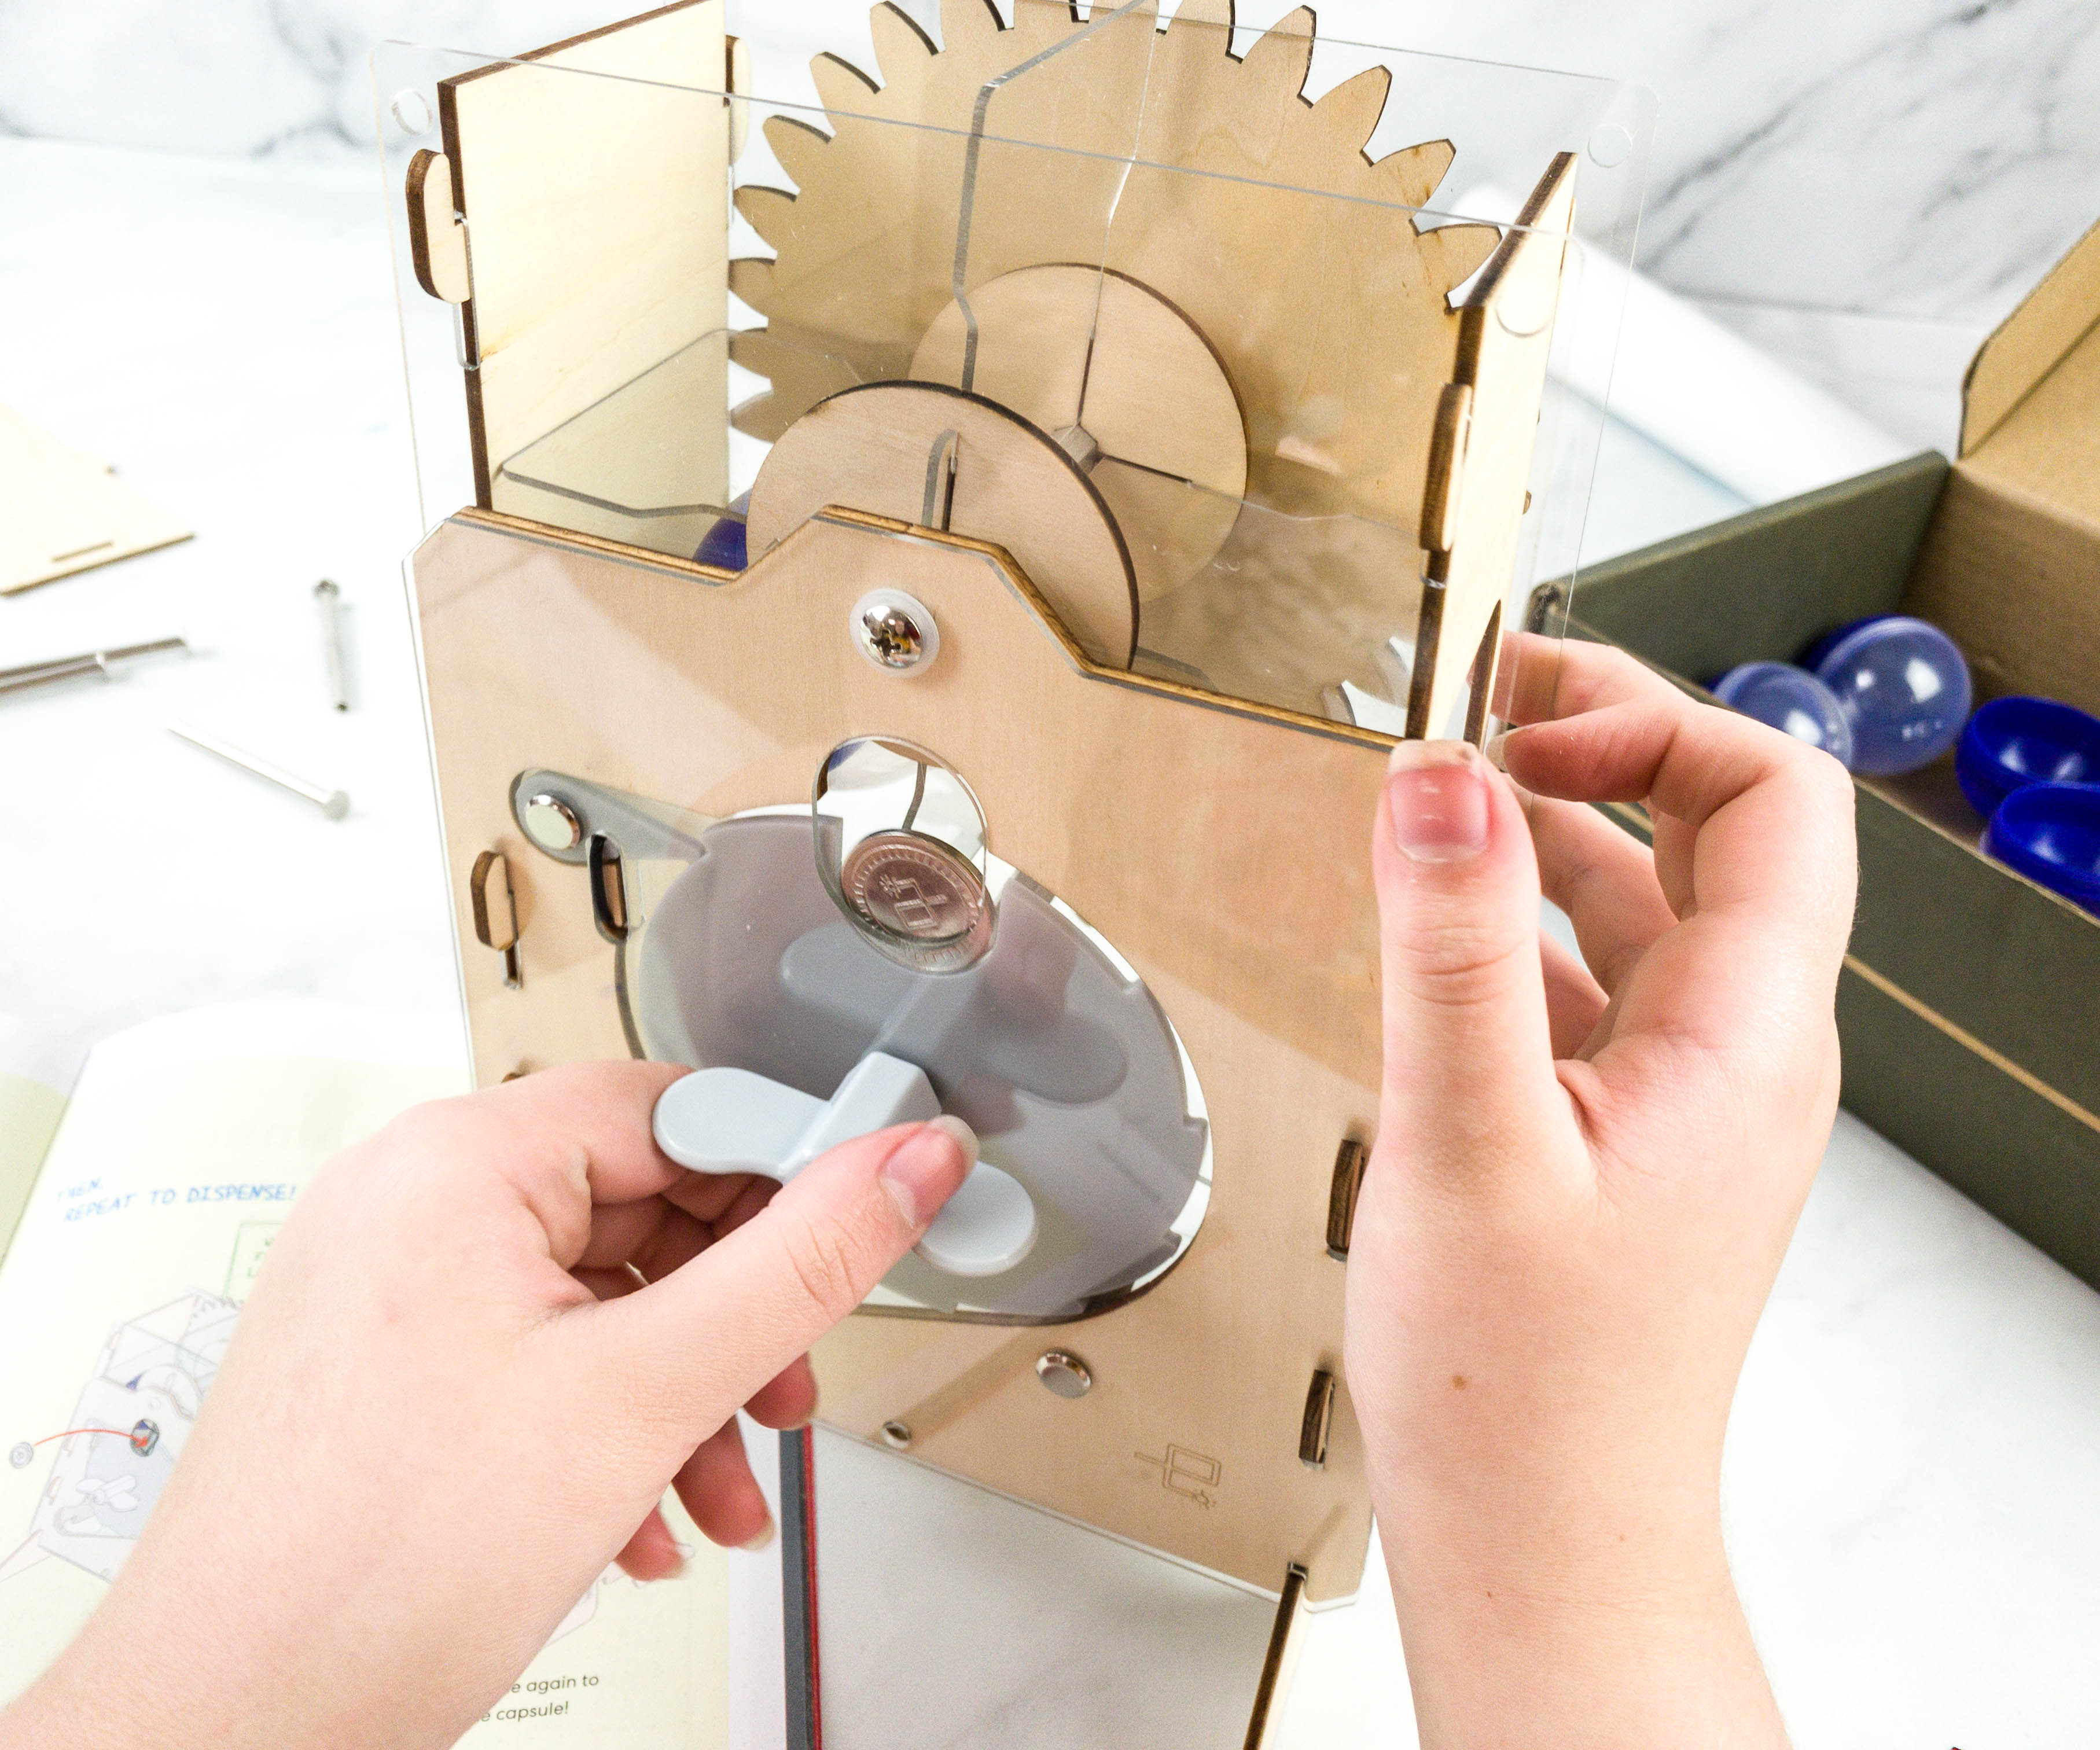
The coin rotated pretty smoothly. According to the stop and check portion, If you can hear some loud clicking while rotating the paddle, there is actually no problem, it was just contact between the wood and the plastic sheet.
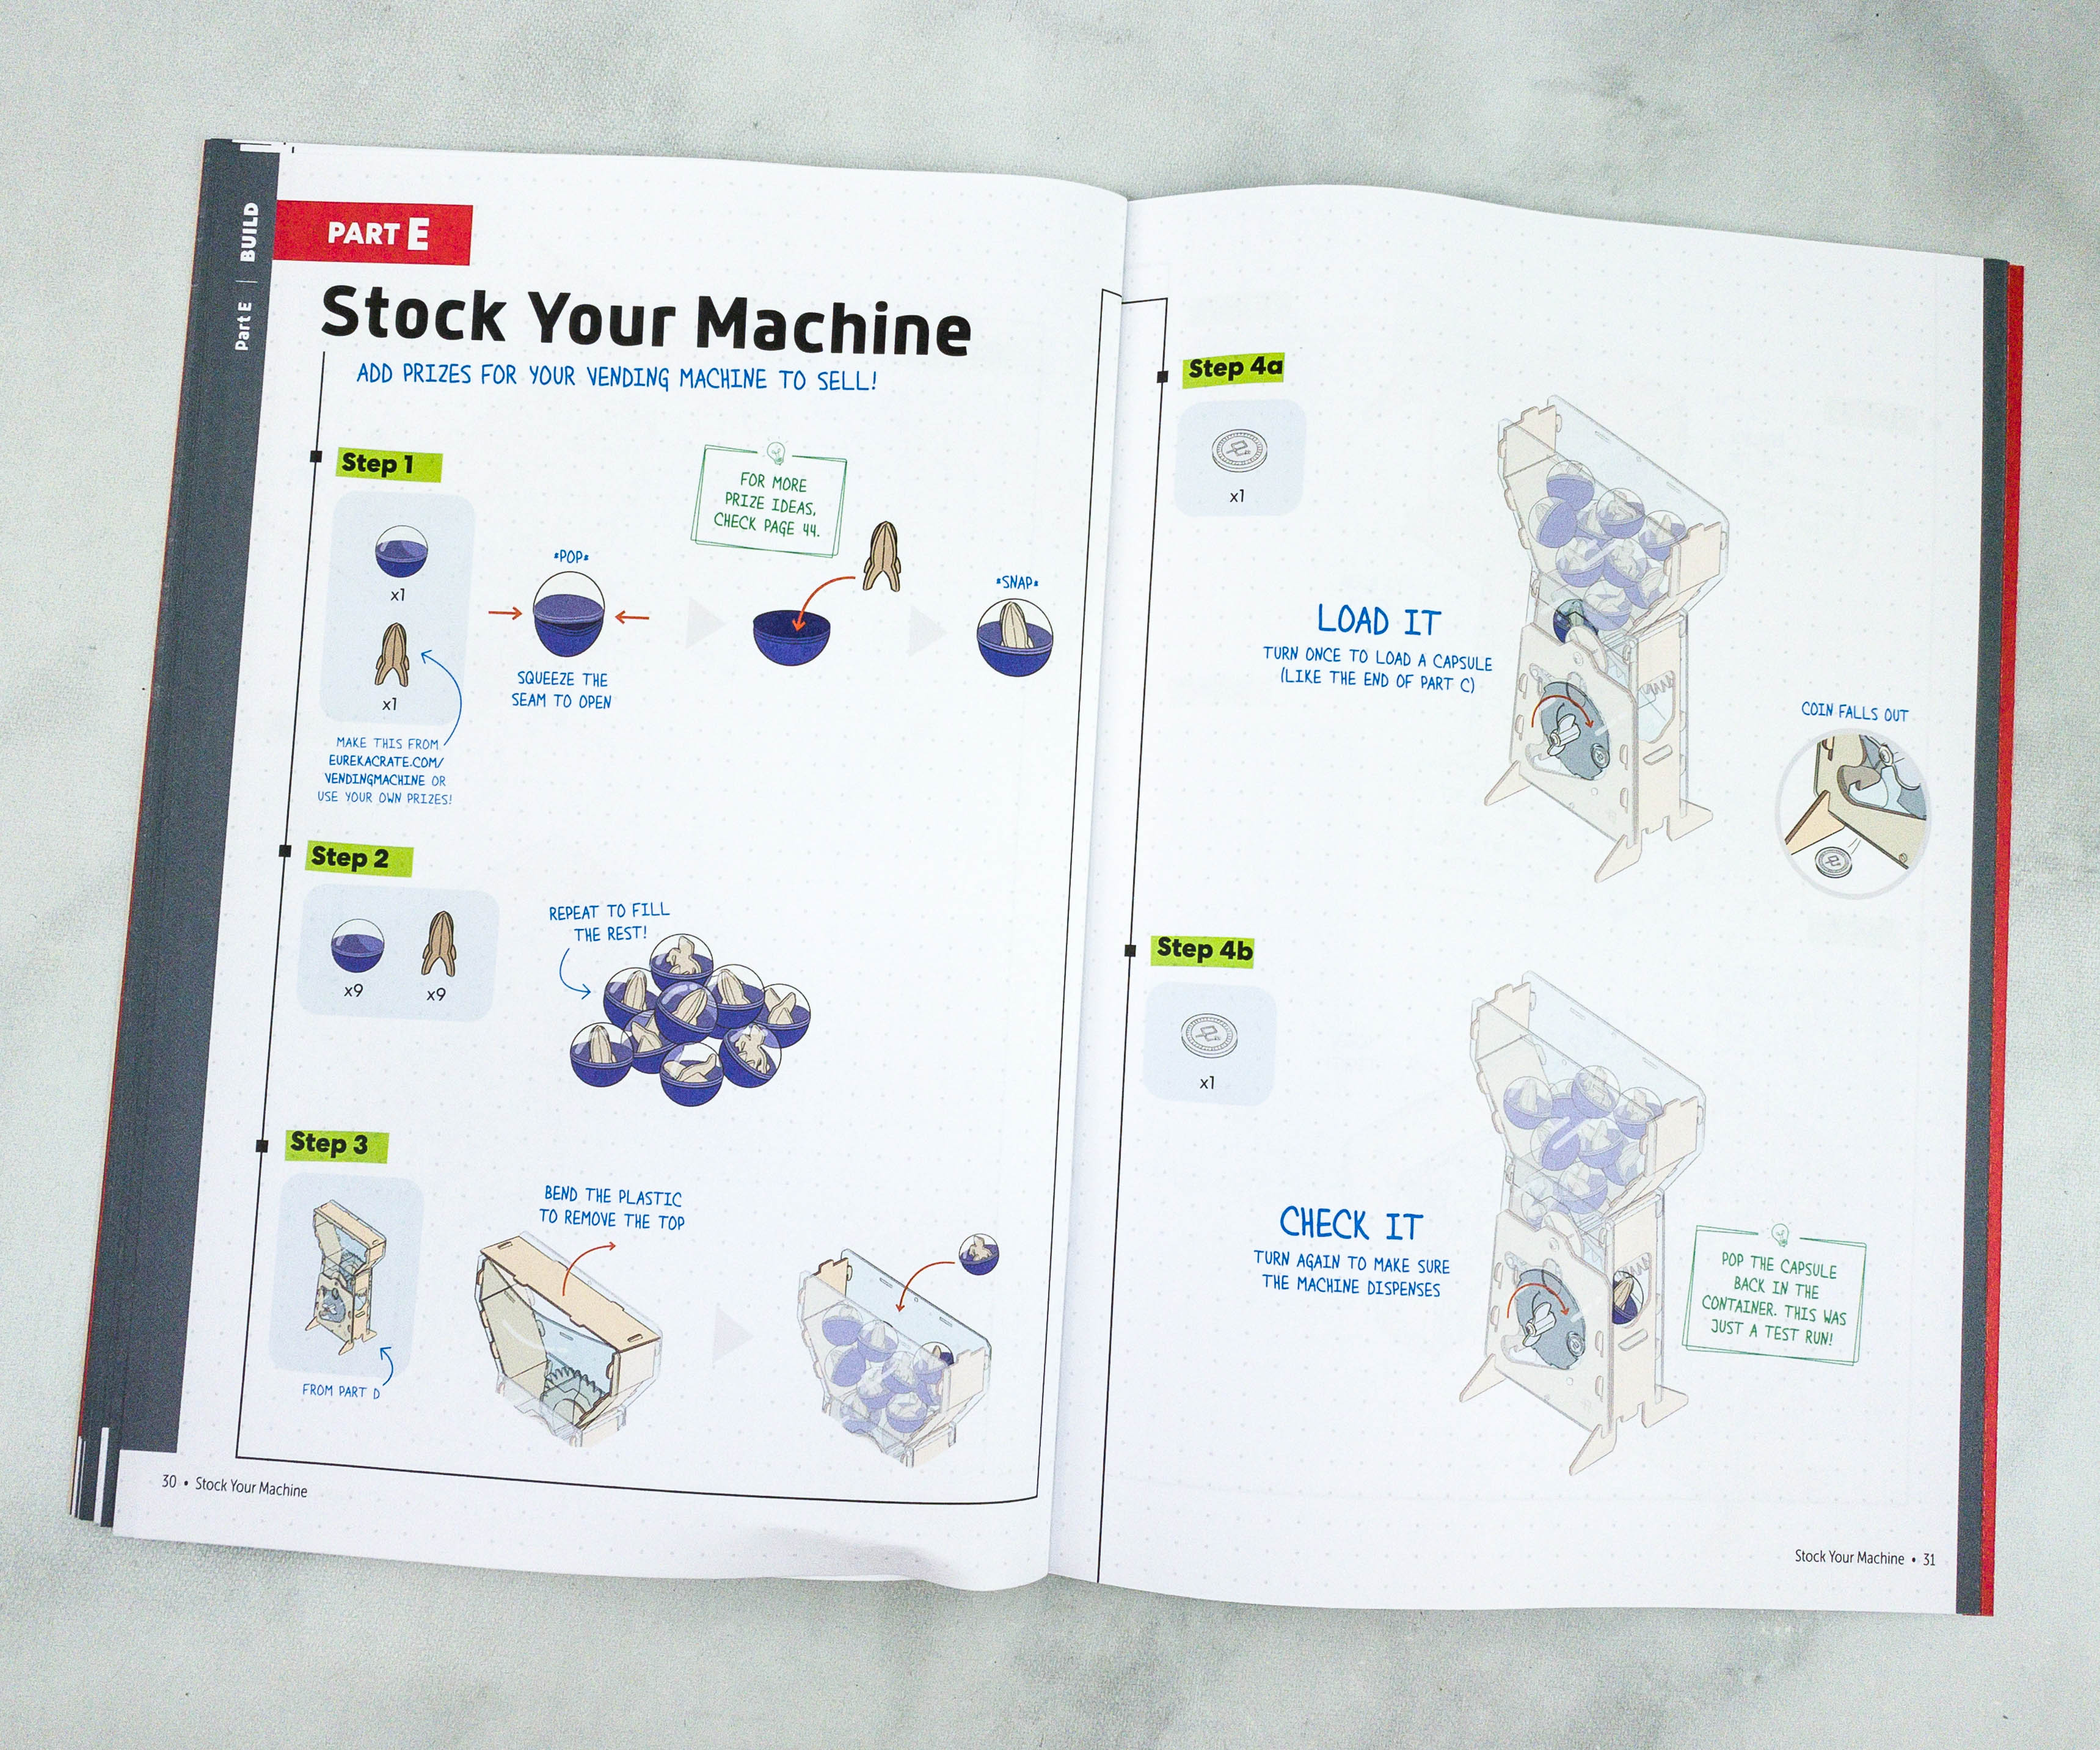
Once done, it’s time to load it with the capsule containers!

You can fill these capsules with treats or small toys before loading it on the vending machine!
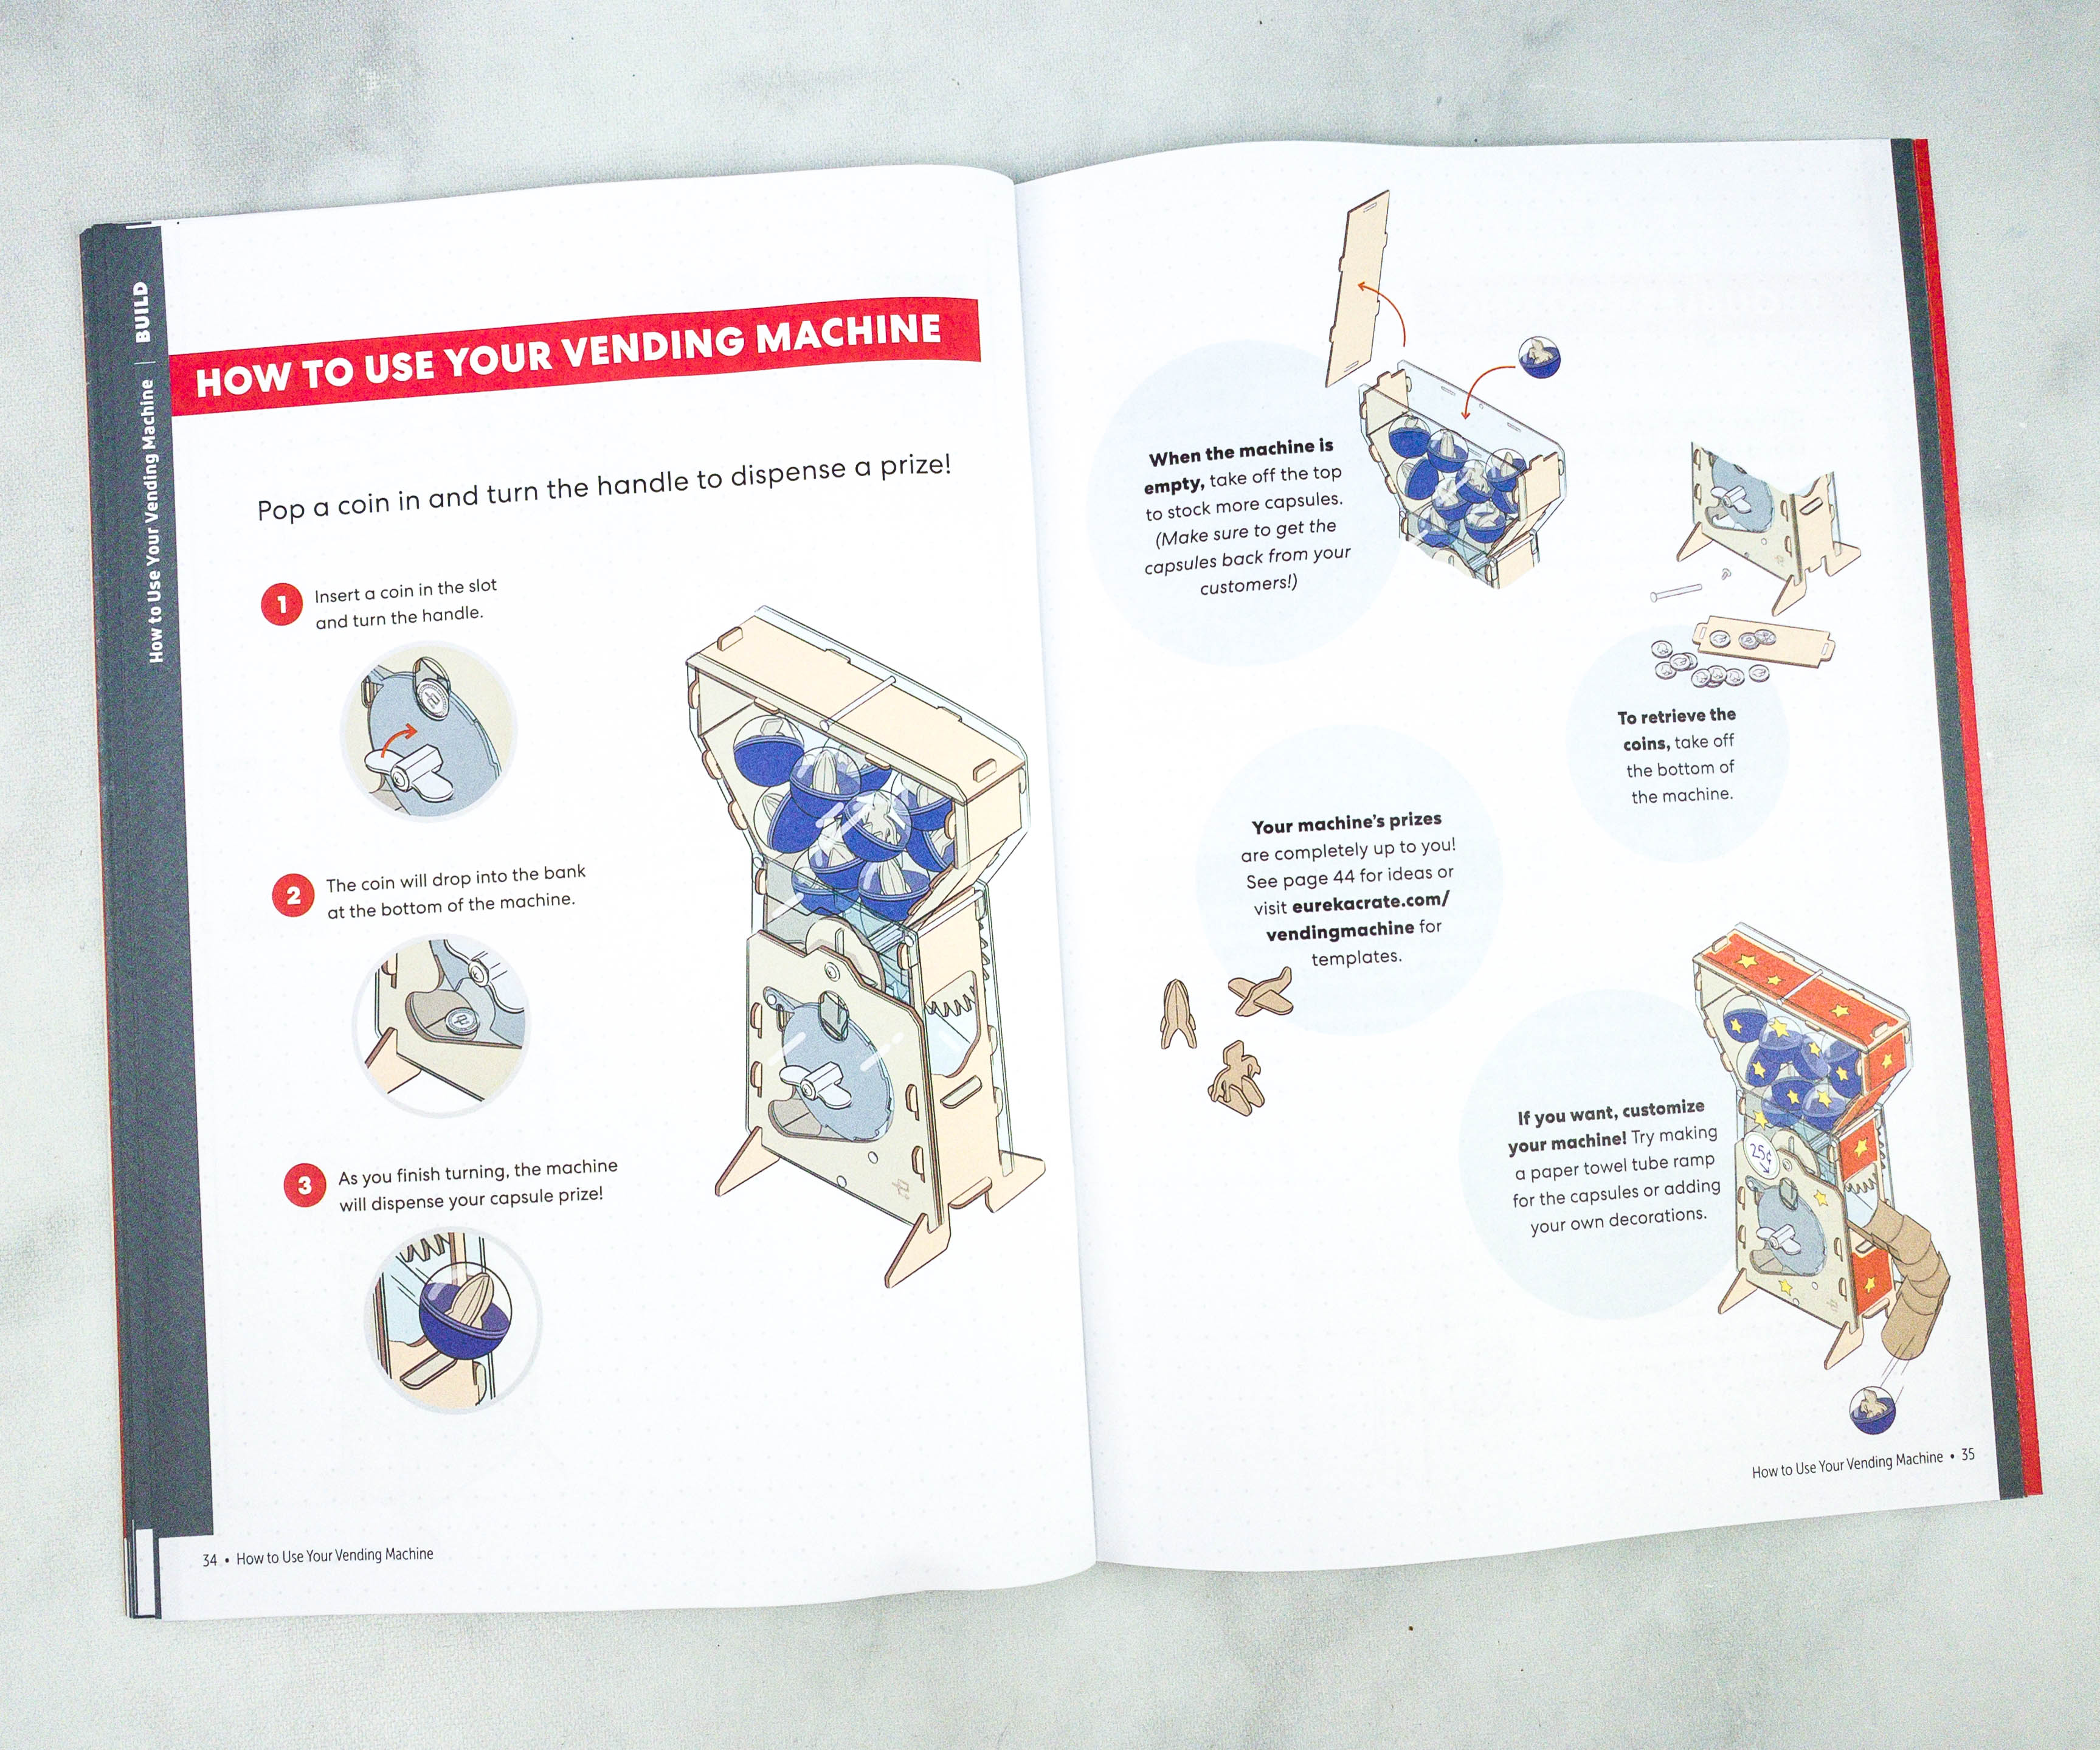
It’s so easy to use, all you just need to do is pop a coin in, turn the handle, and get the prize!
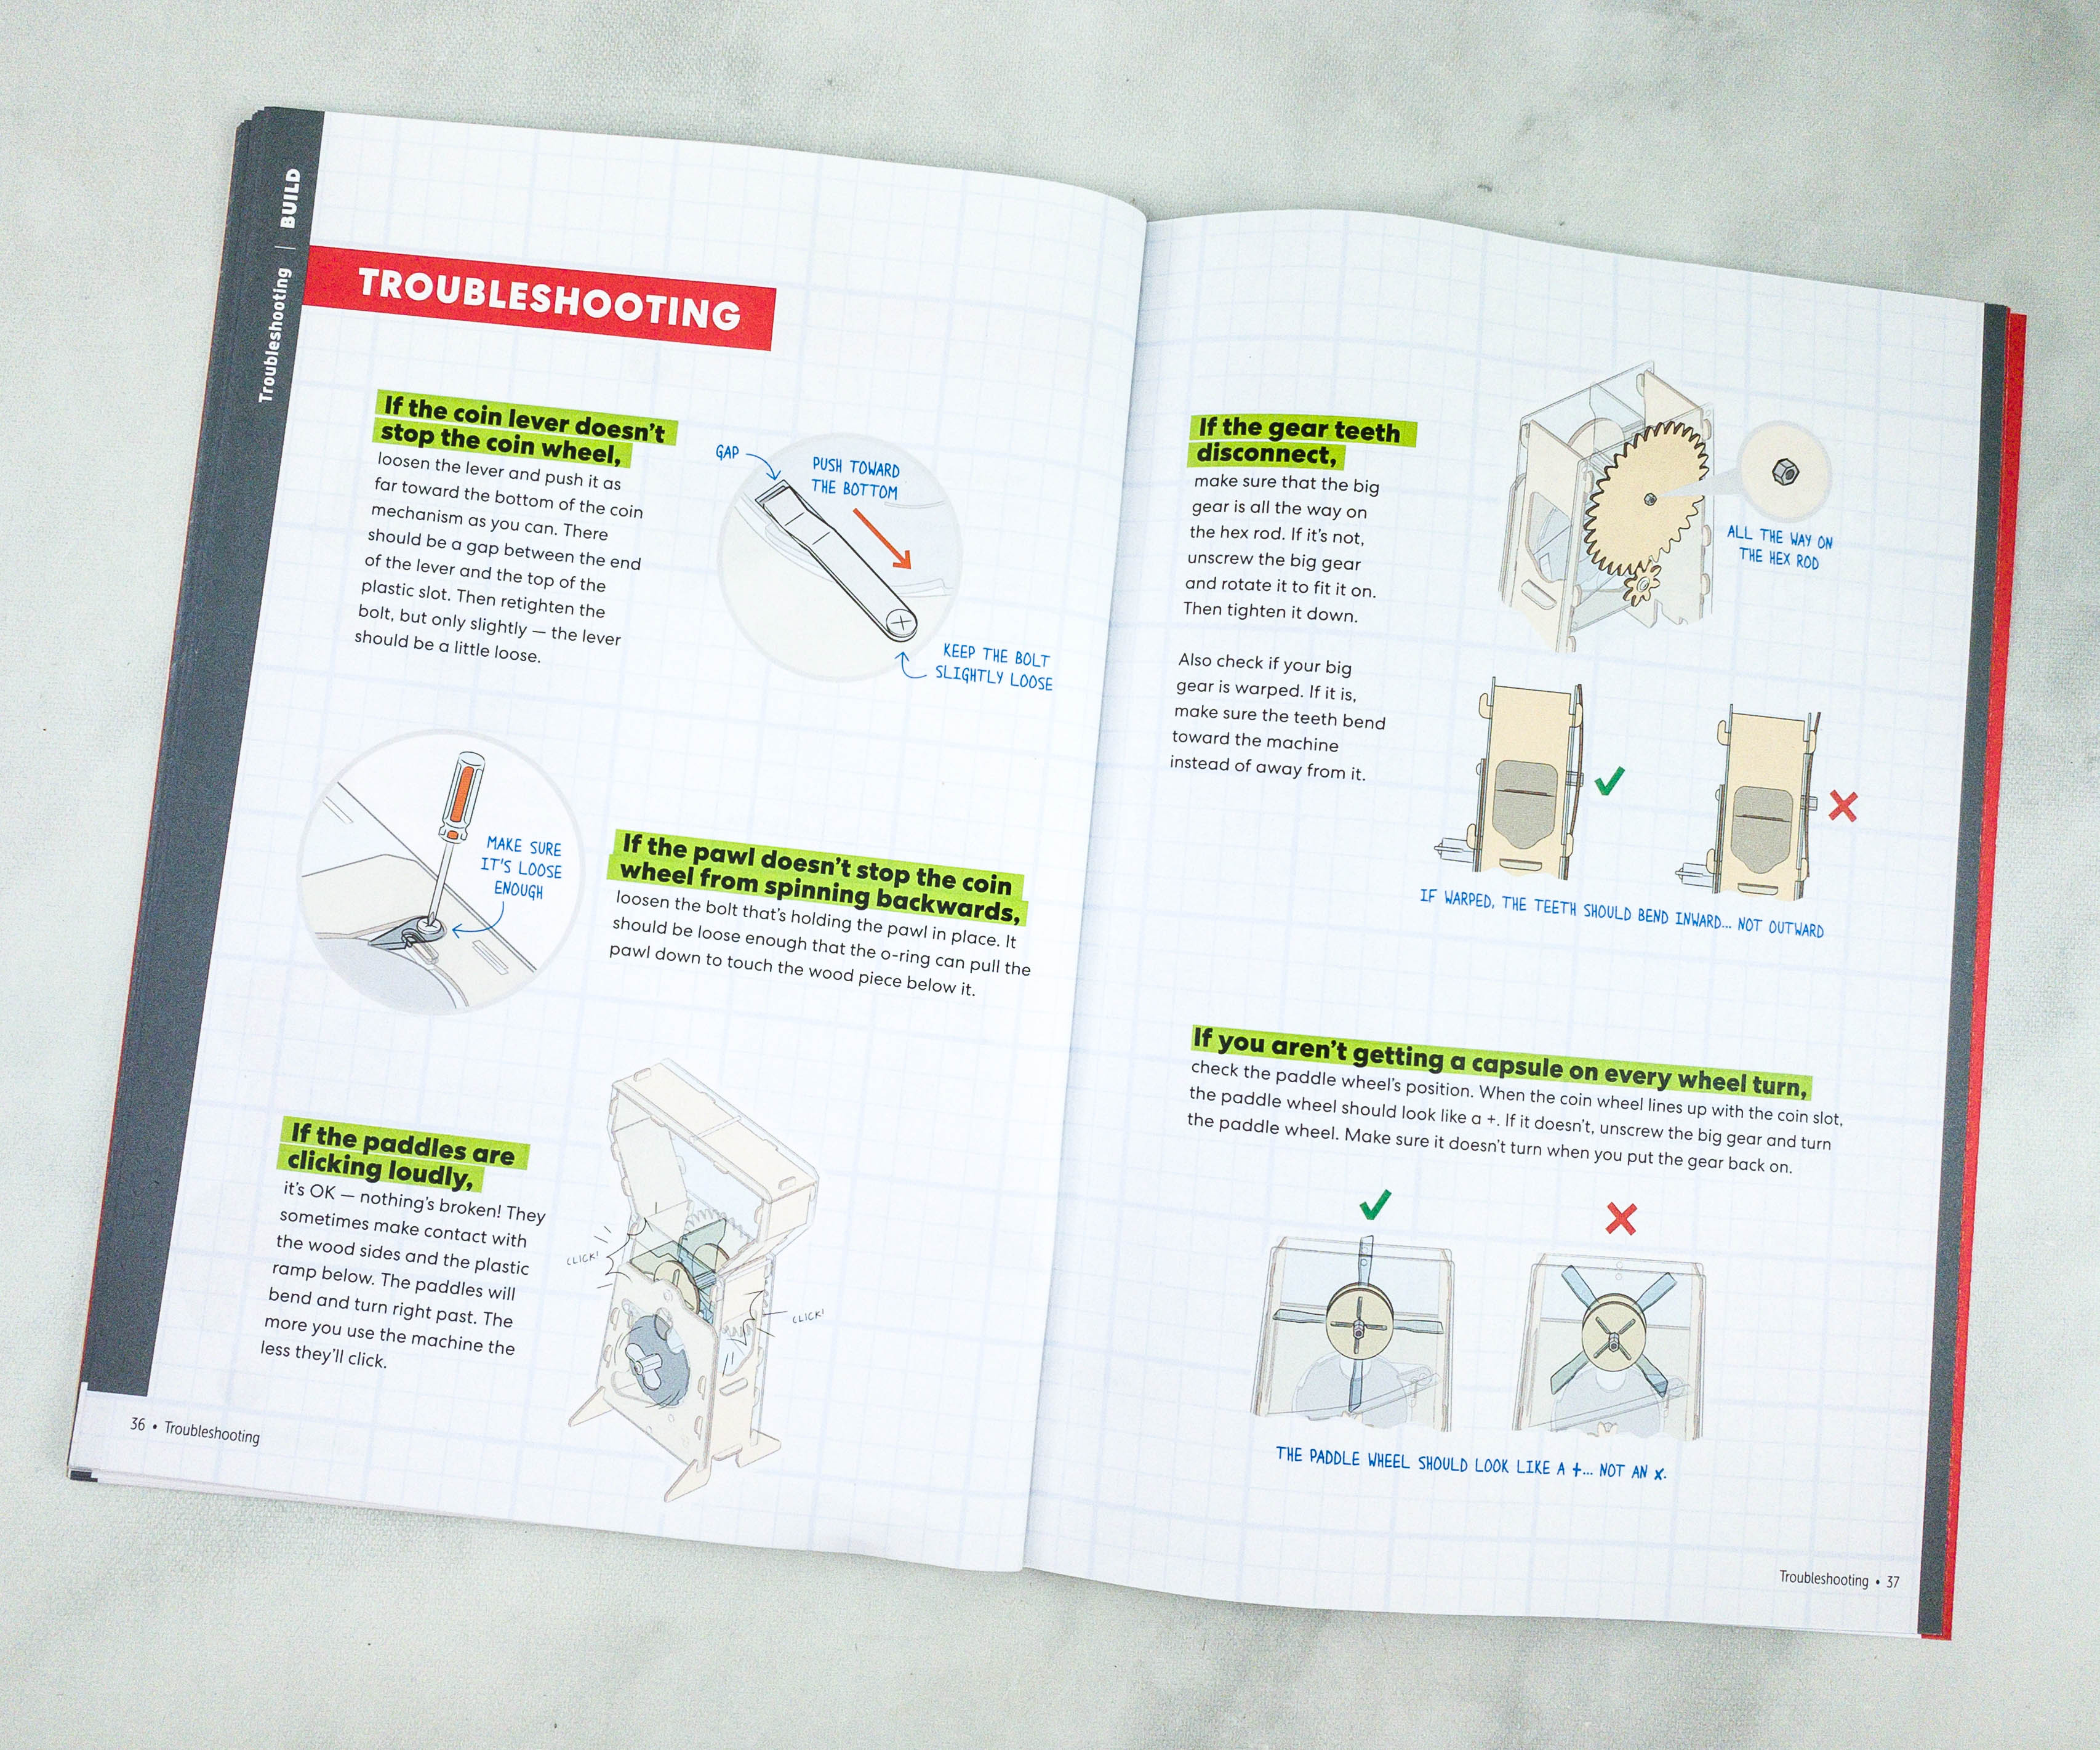
What I love about this booklet is that they provided us with some troubleshooting tips that are useful during the process.
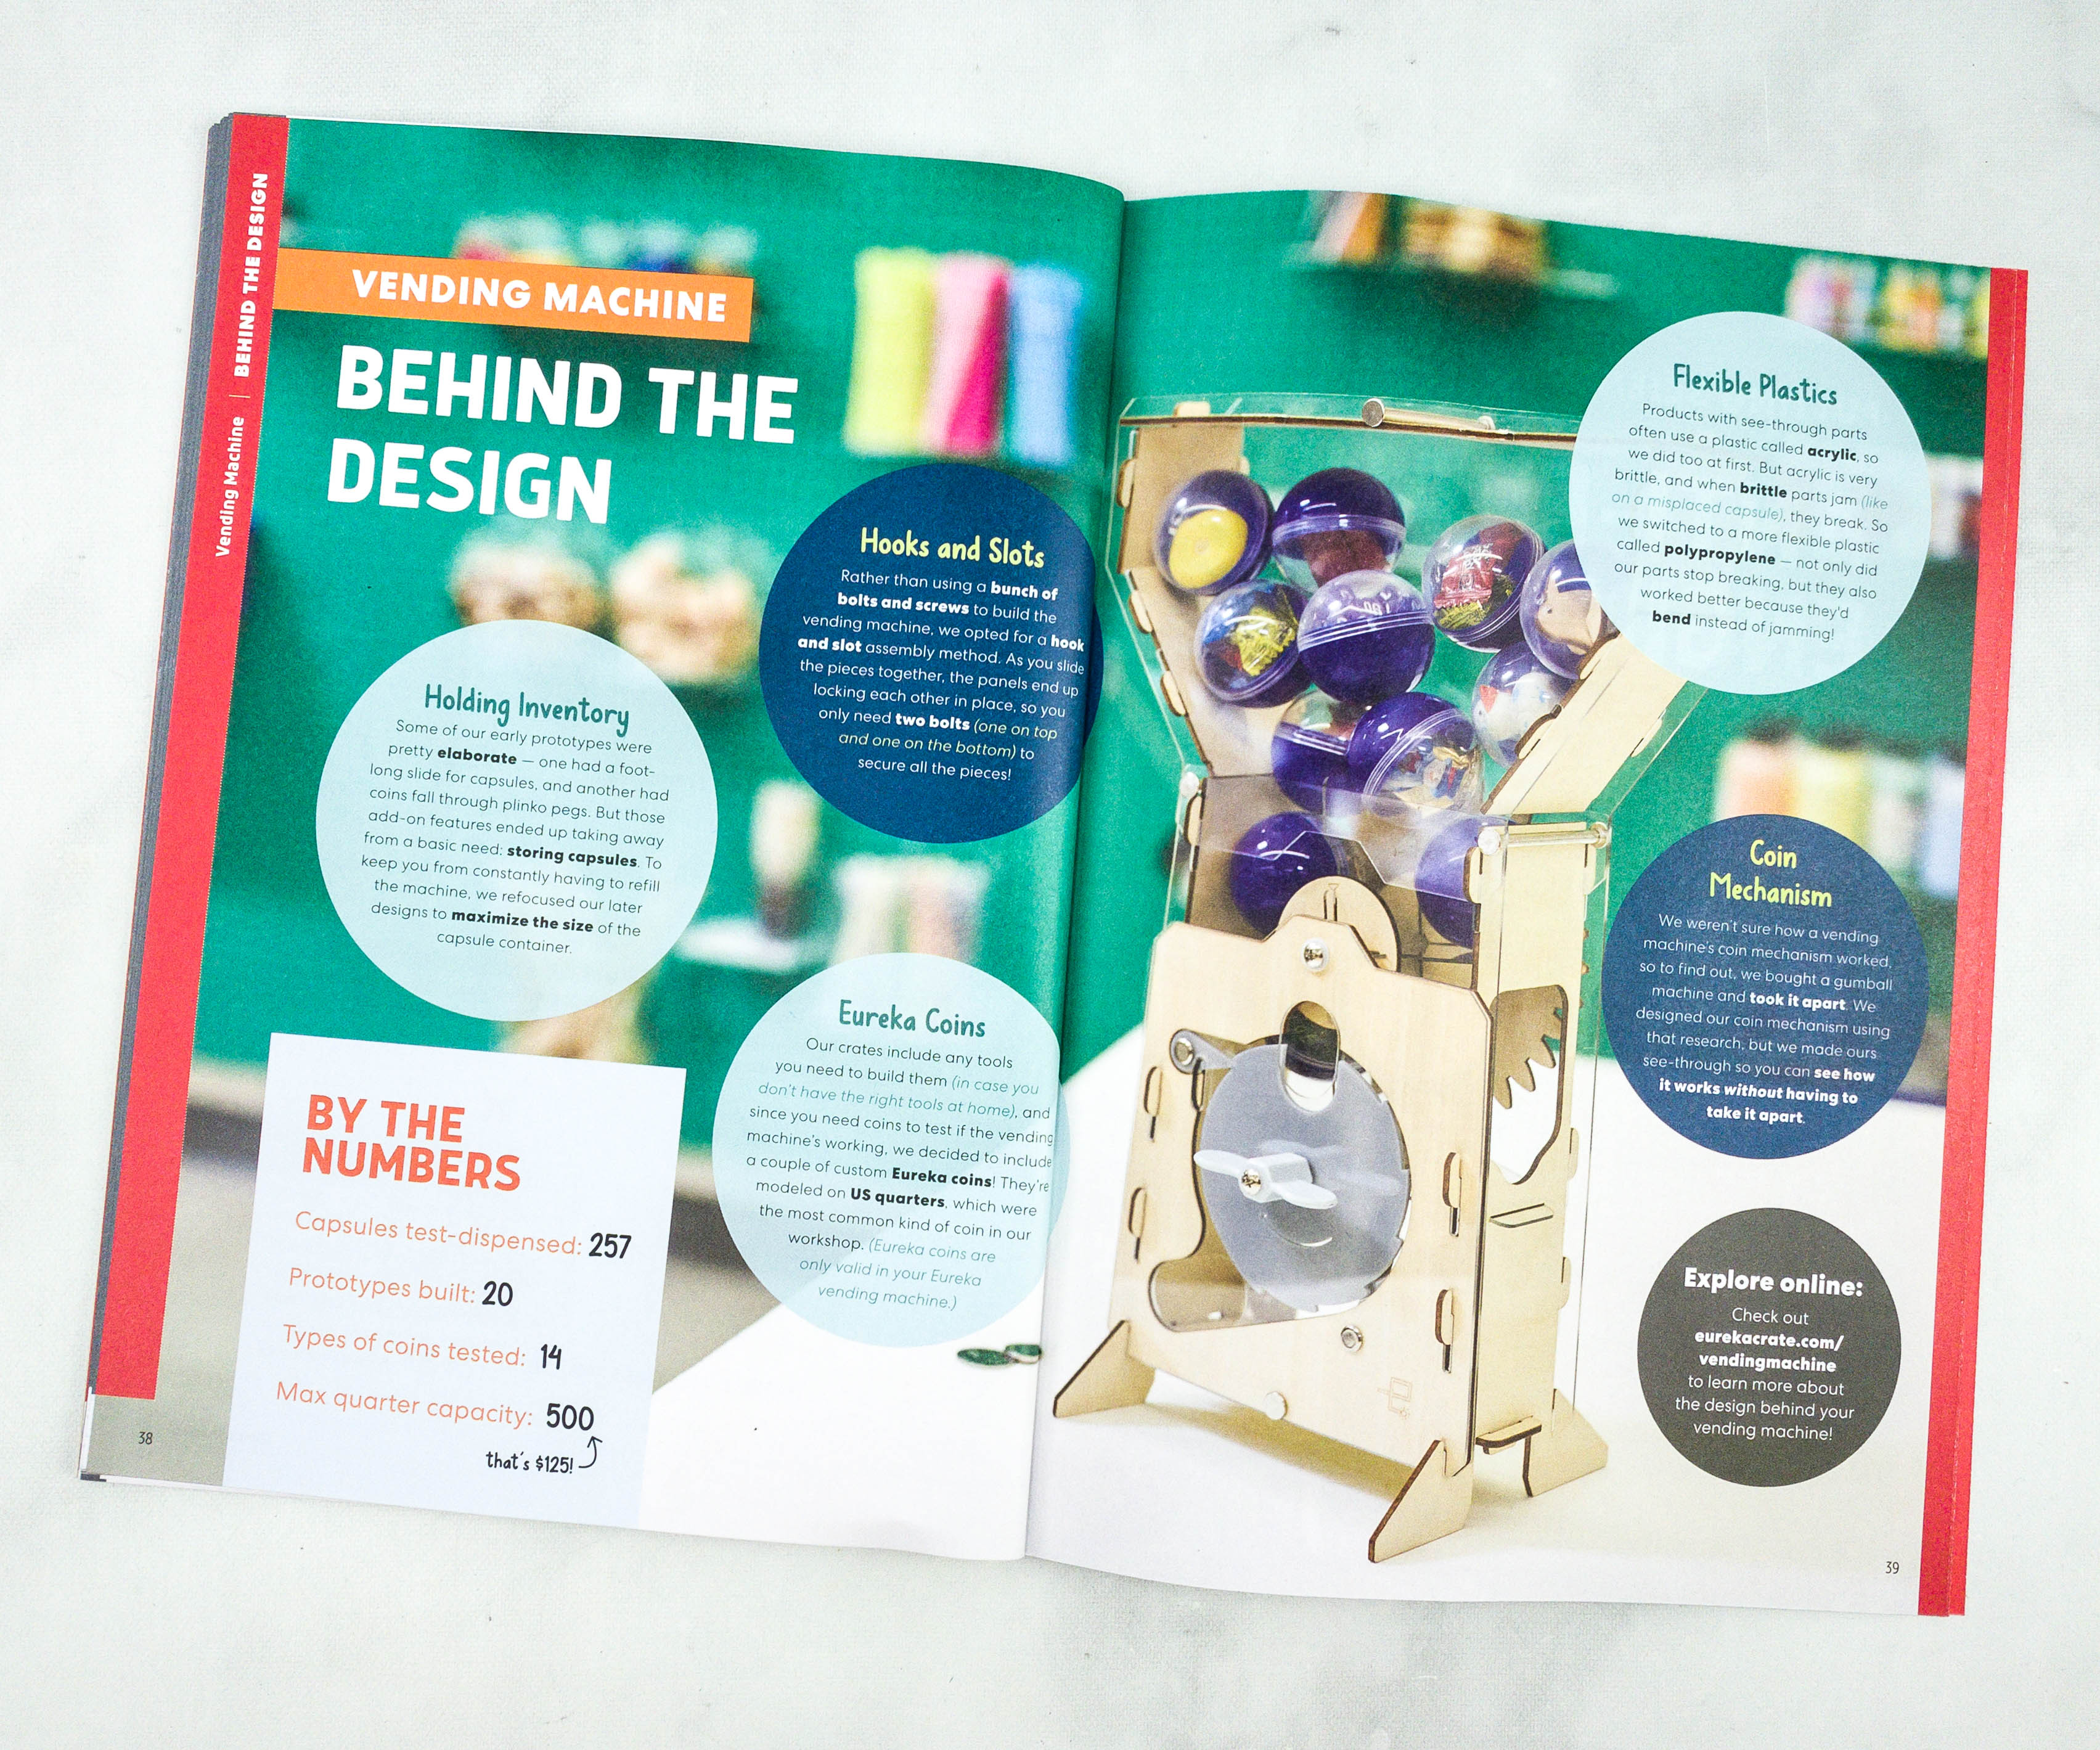
The booklet provided more information about this fun project, including everything behind the design of the vending machine.
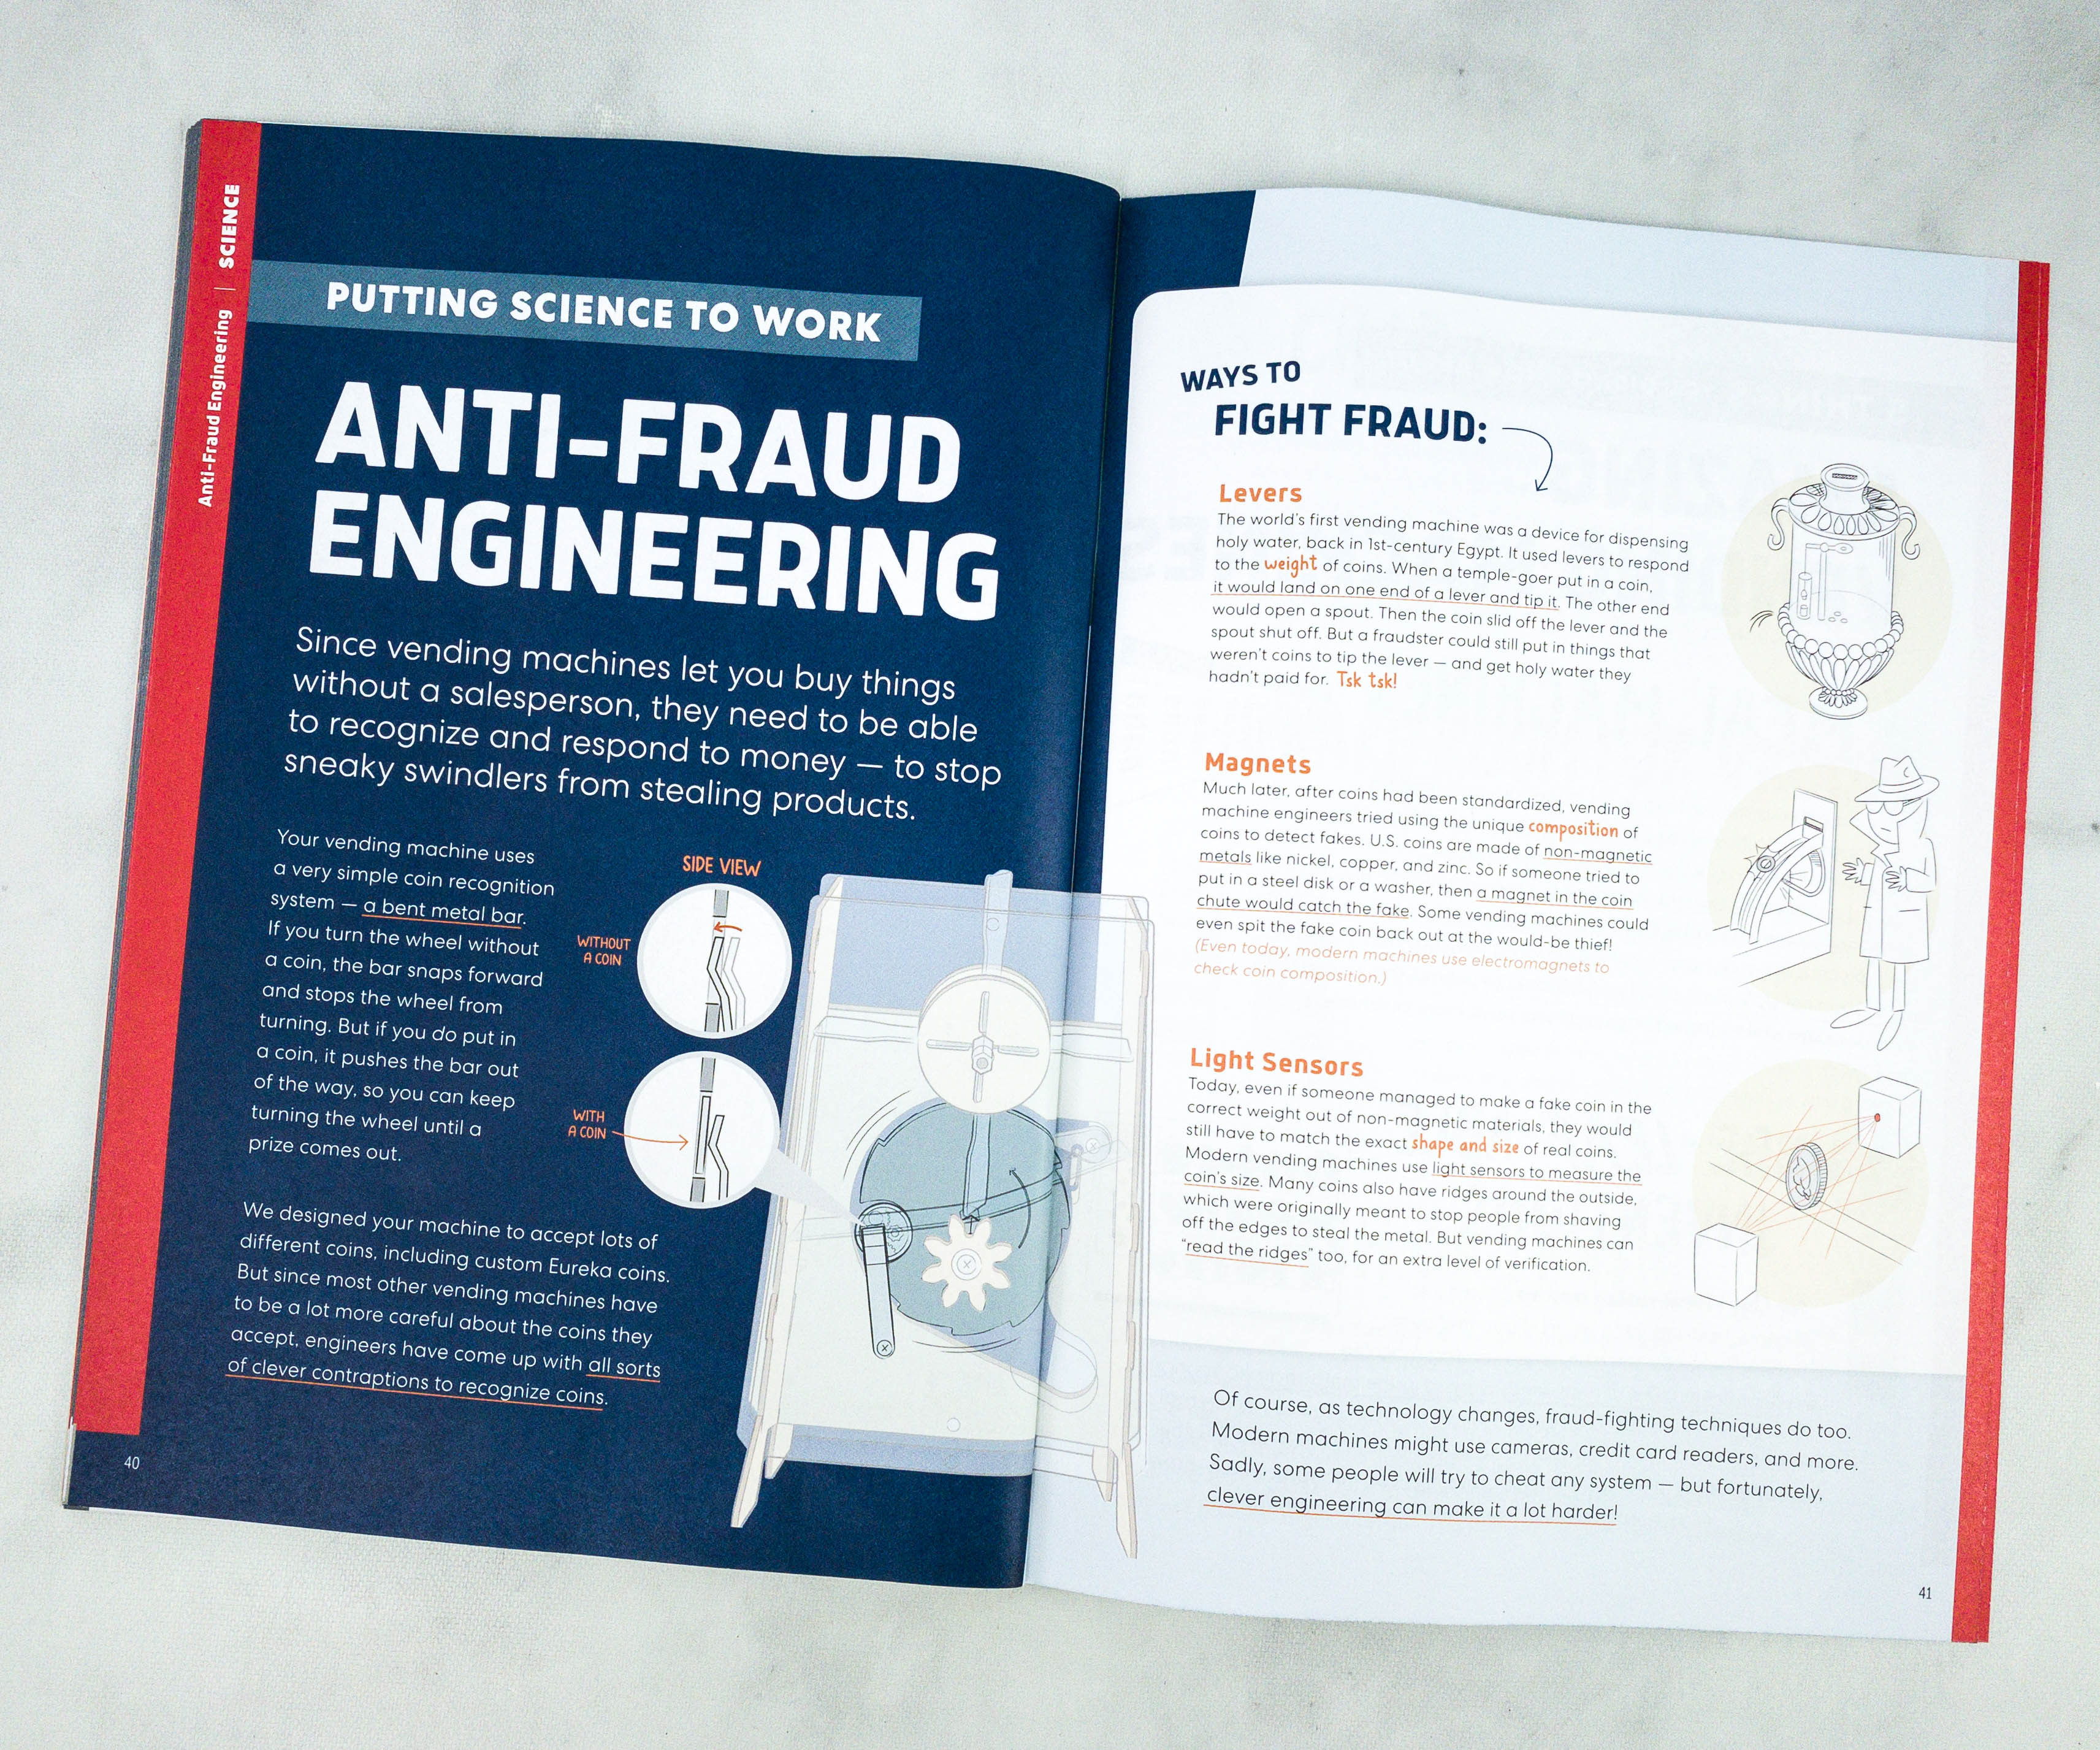
There’s also a full article about Anti-Fraud Engineering!
Since vending machines let you buy things without a salesperson, they need to be able to recognize and respond to money – to stop sneaky swindlers from stealing products.
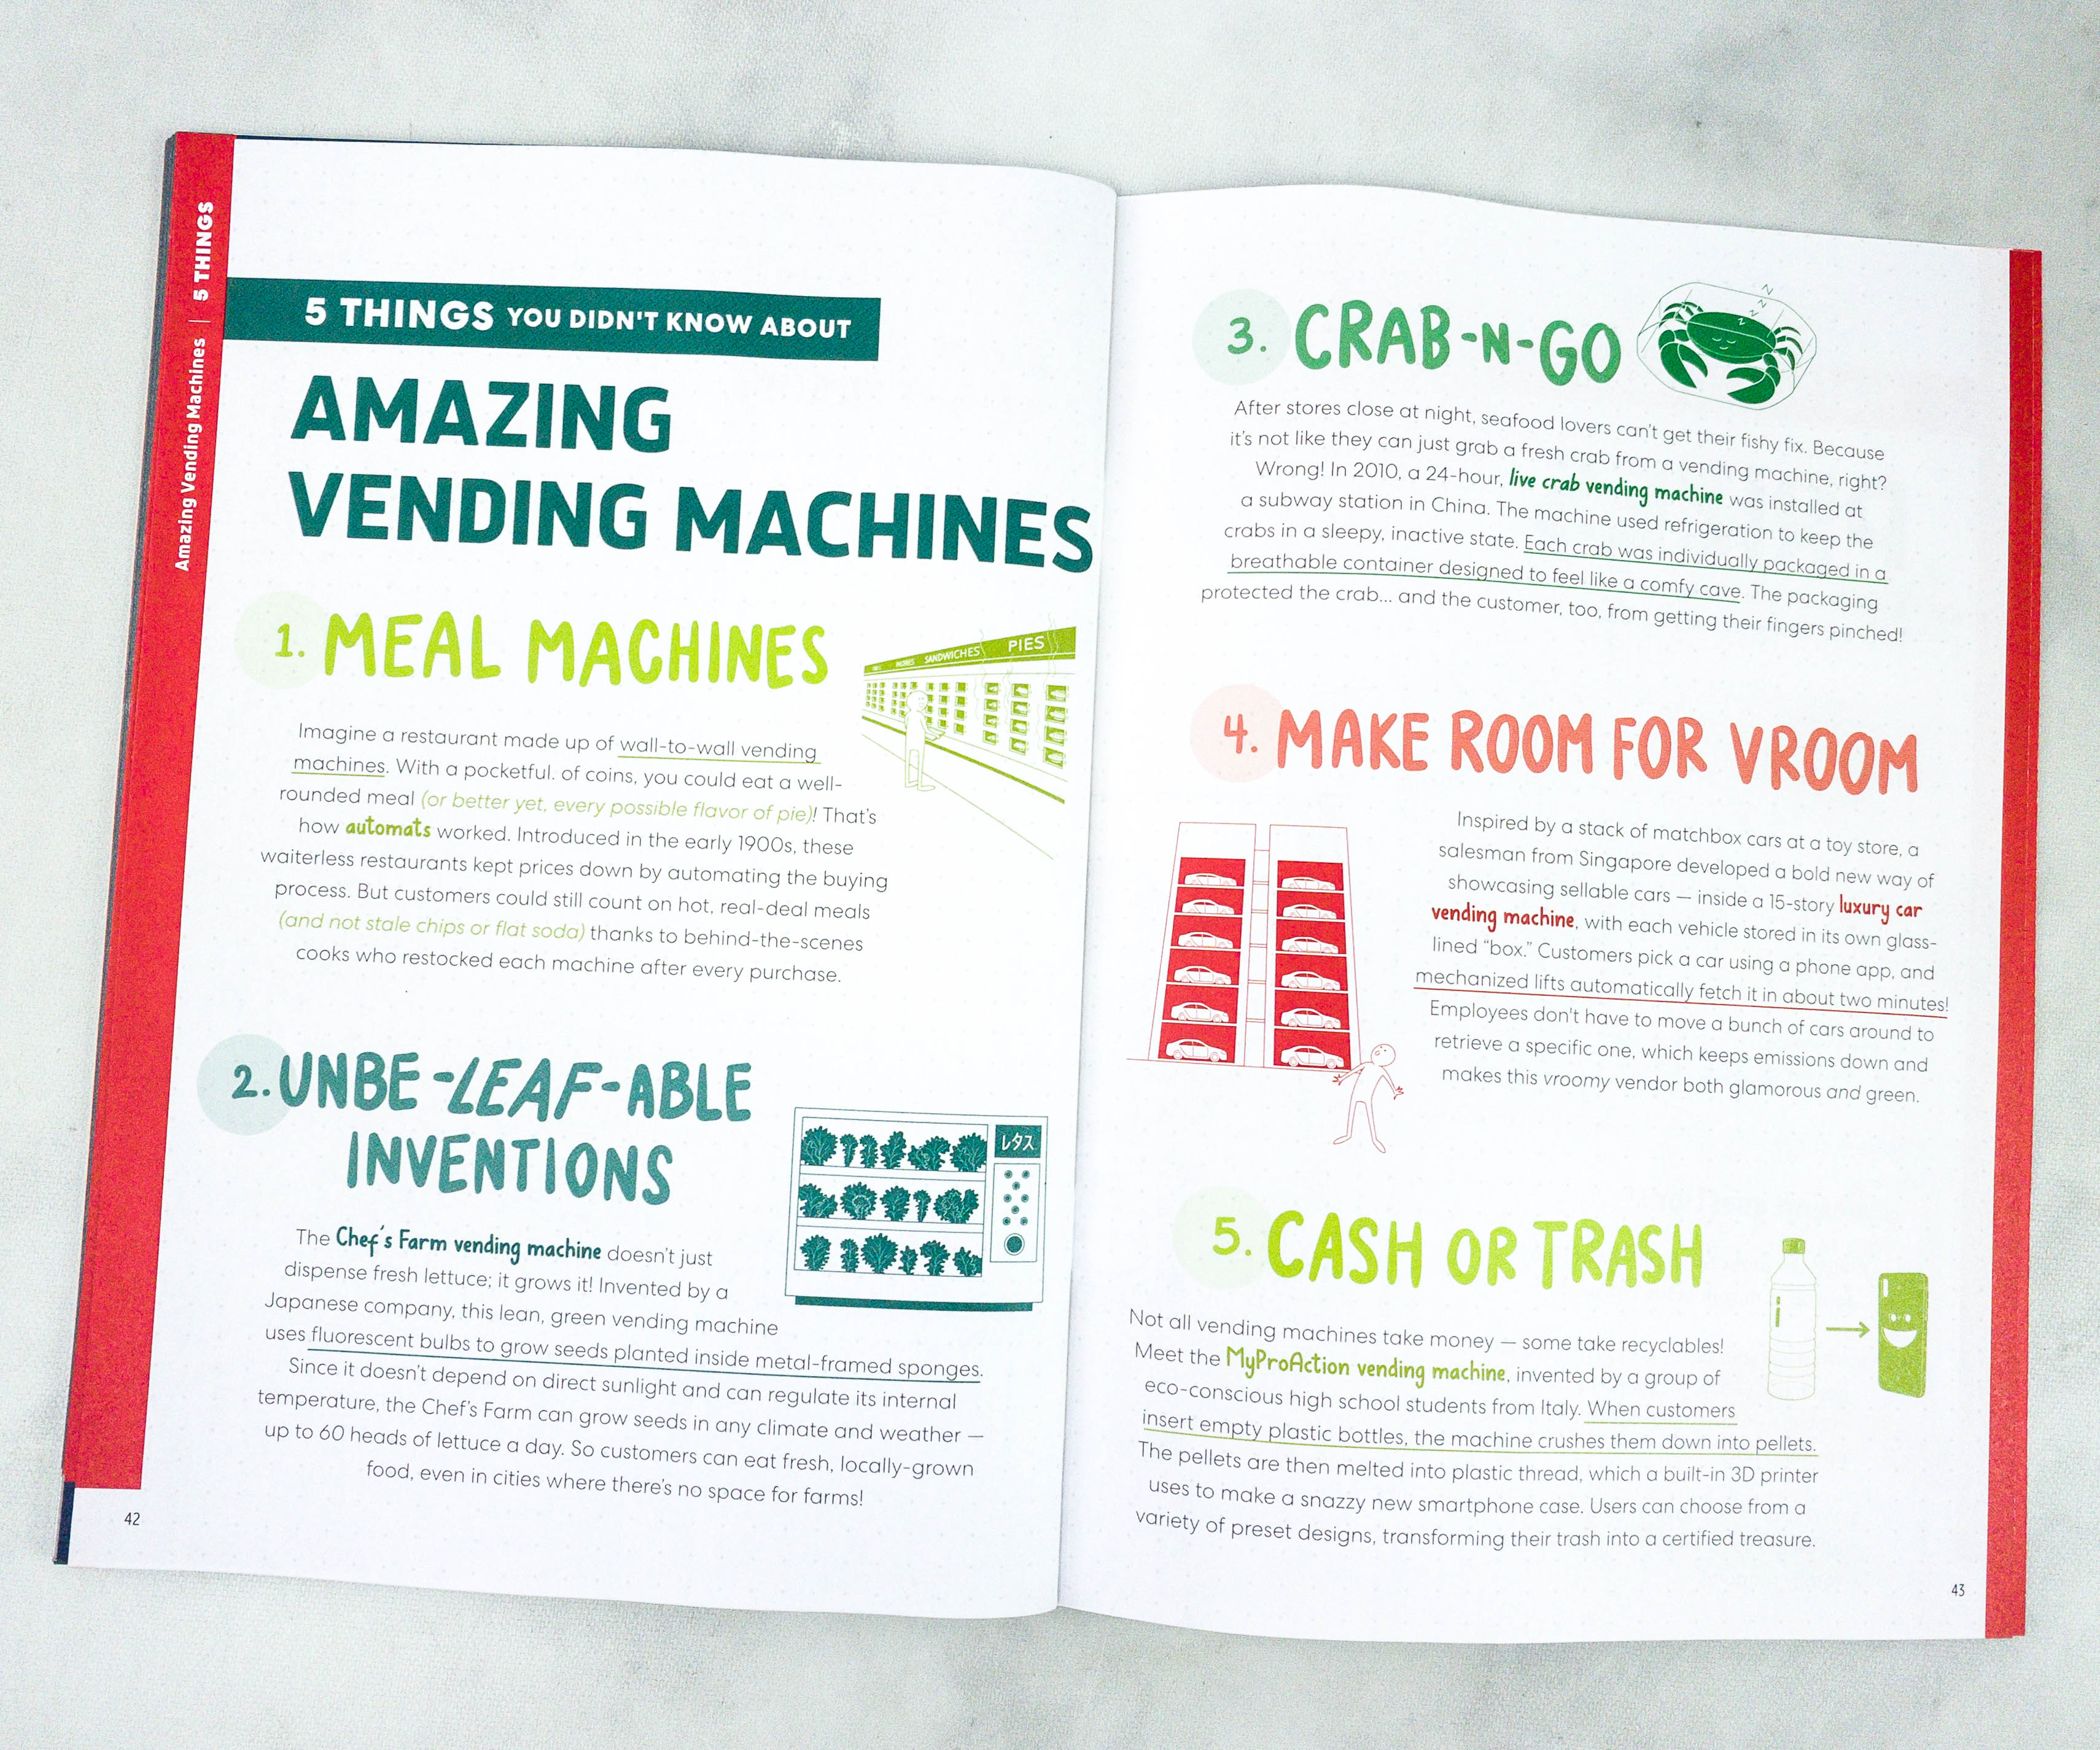
Another feature lists different kinds of vending machines!
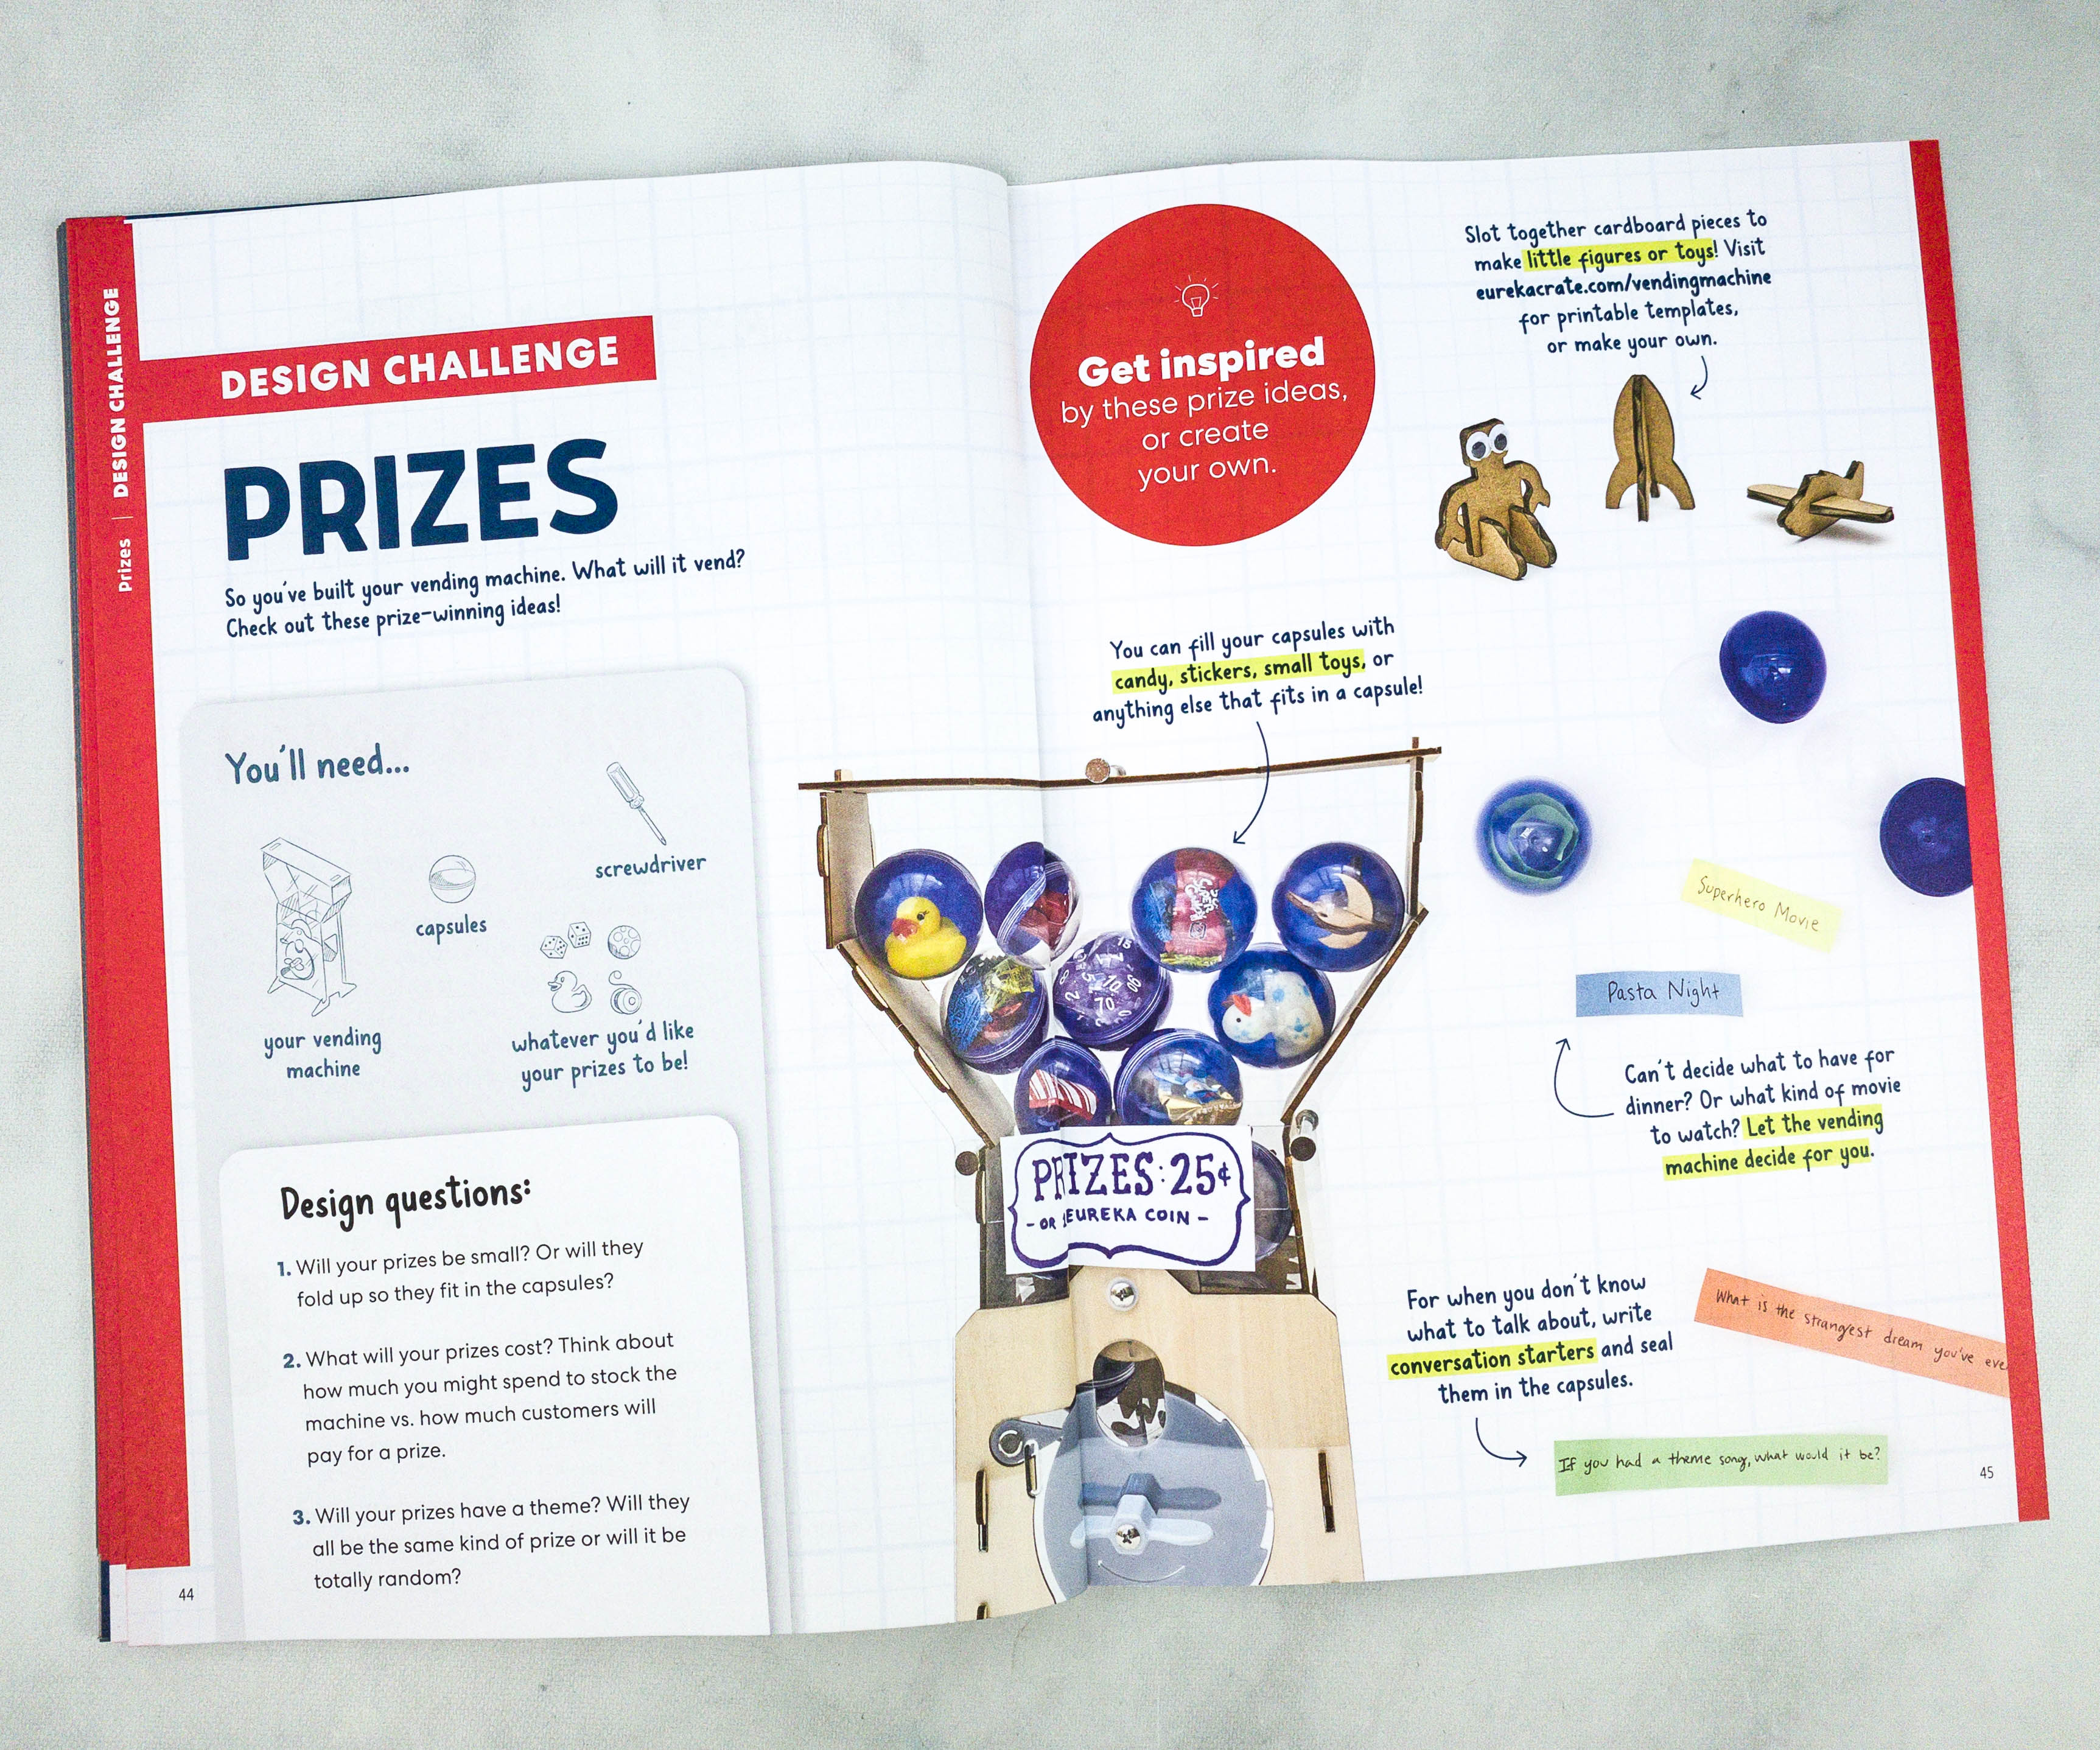
For the Design Challenge, they’re encouraging us to fill the capsules with candy, stickers, small toys, or anything else that can fit inside it!

Included inside the box is a pair of exclusive KiwiCo coins!
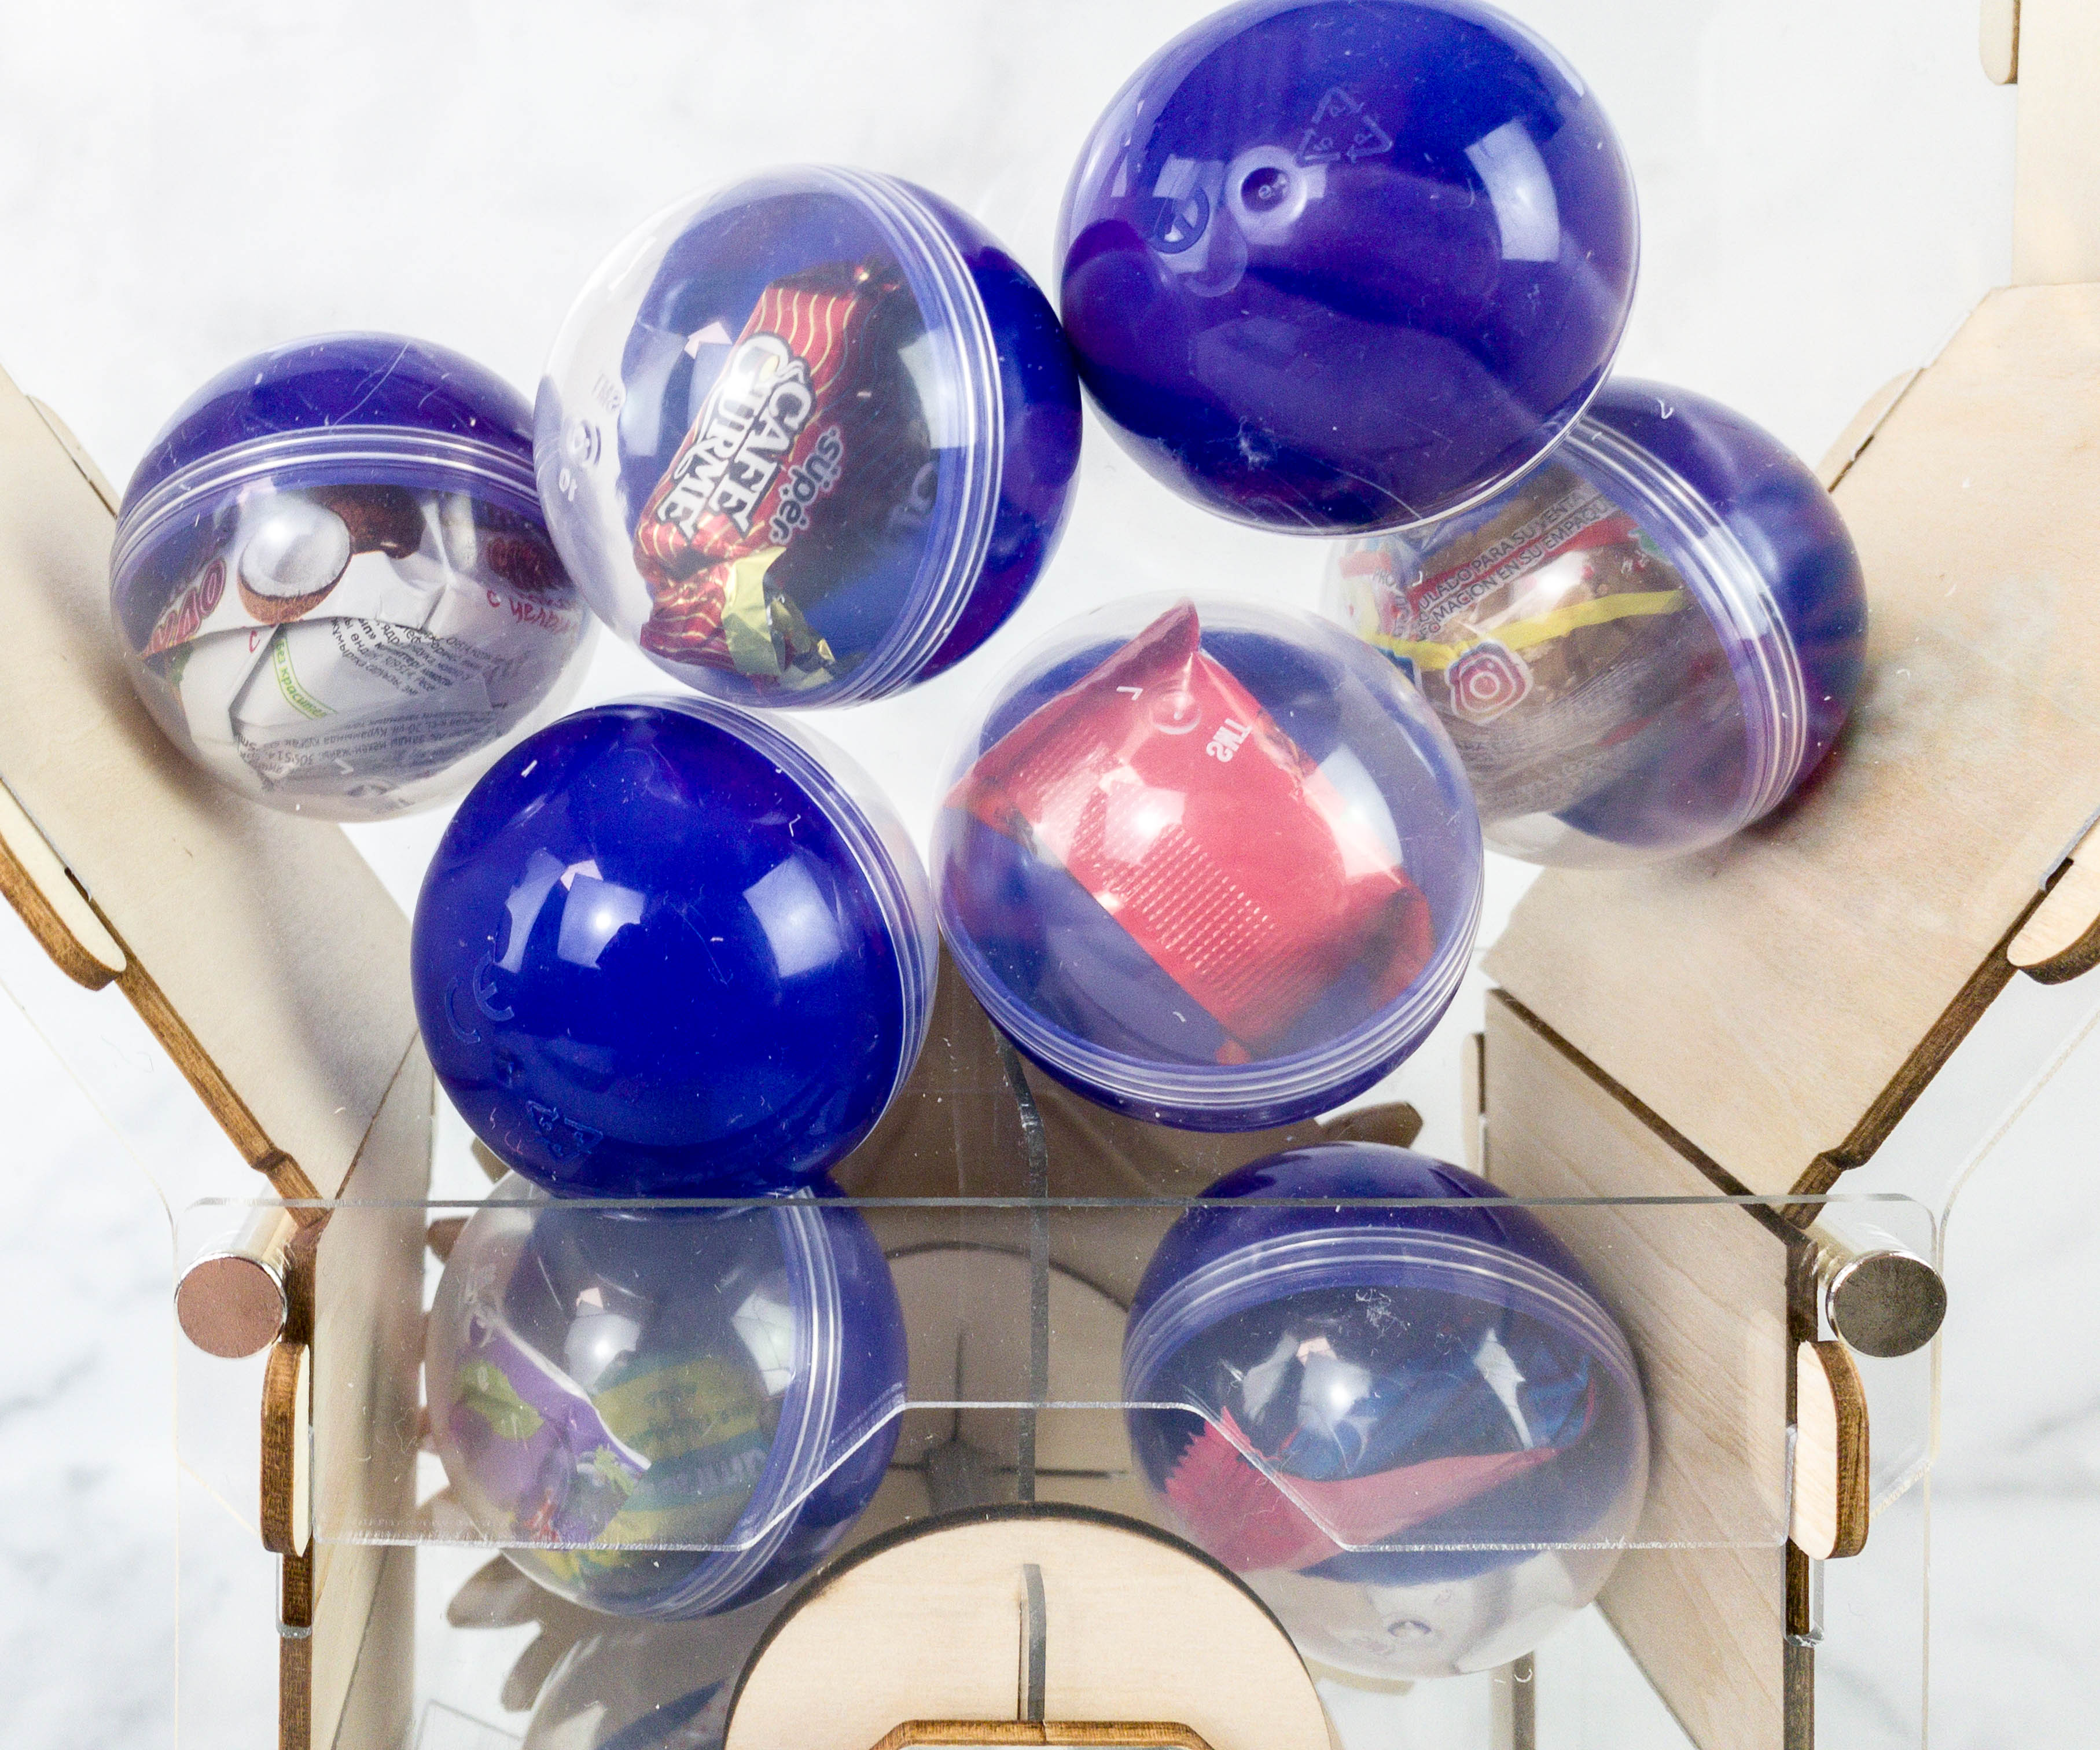
It’s time to fill the vending machine with yummy treats inside the capsules!
My daughter made some additional adjustments, including tightening screws and checking the stands.
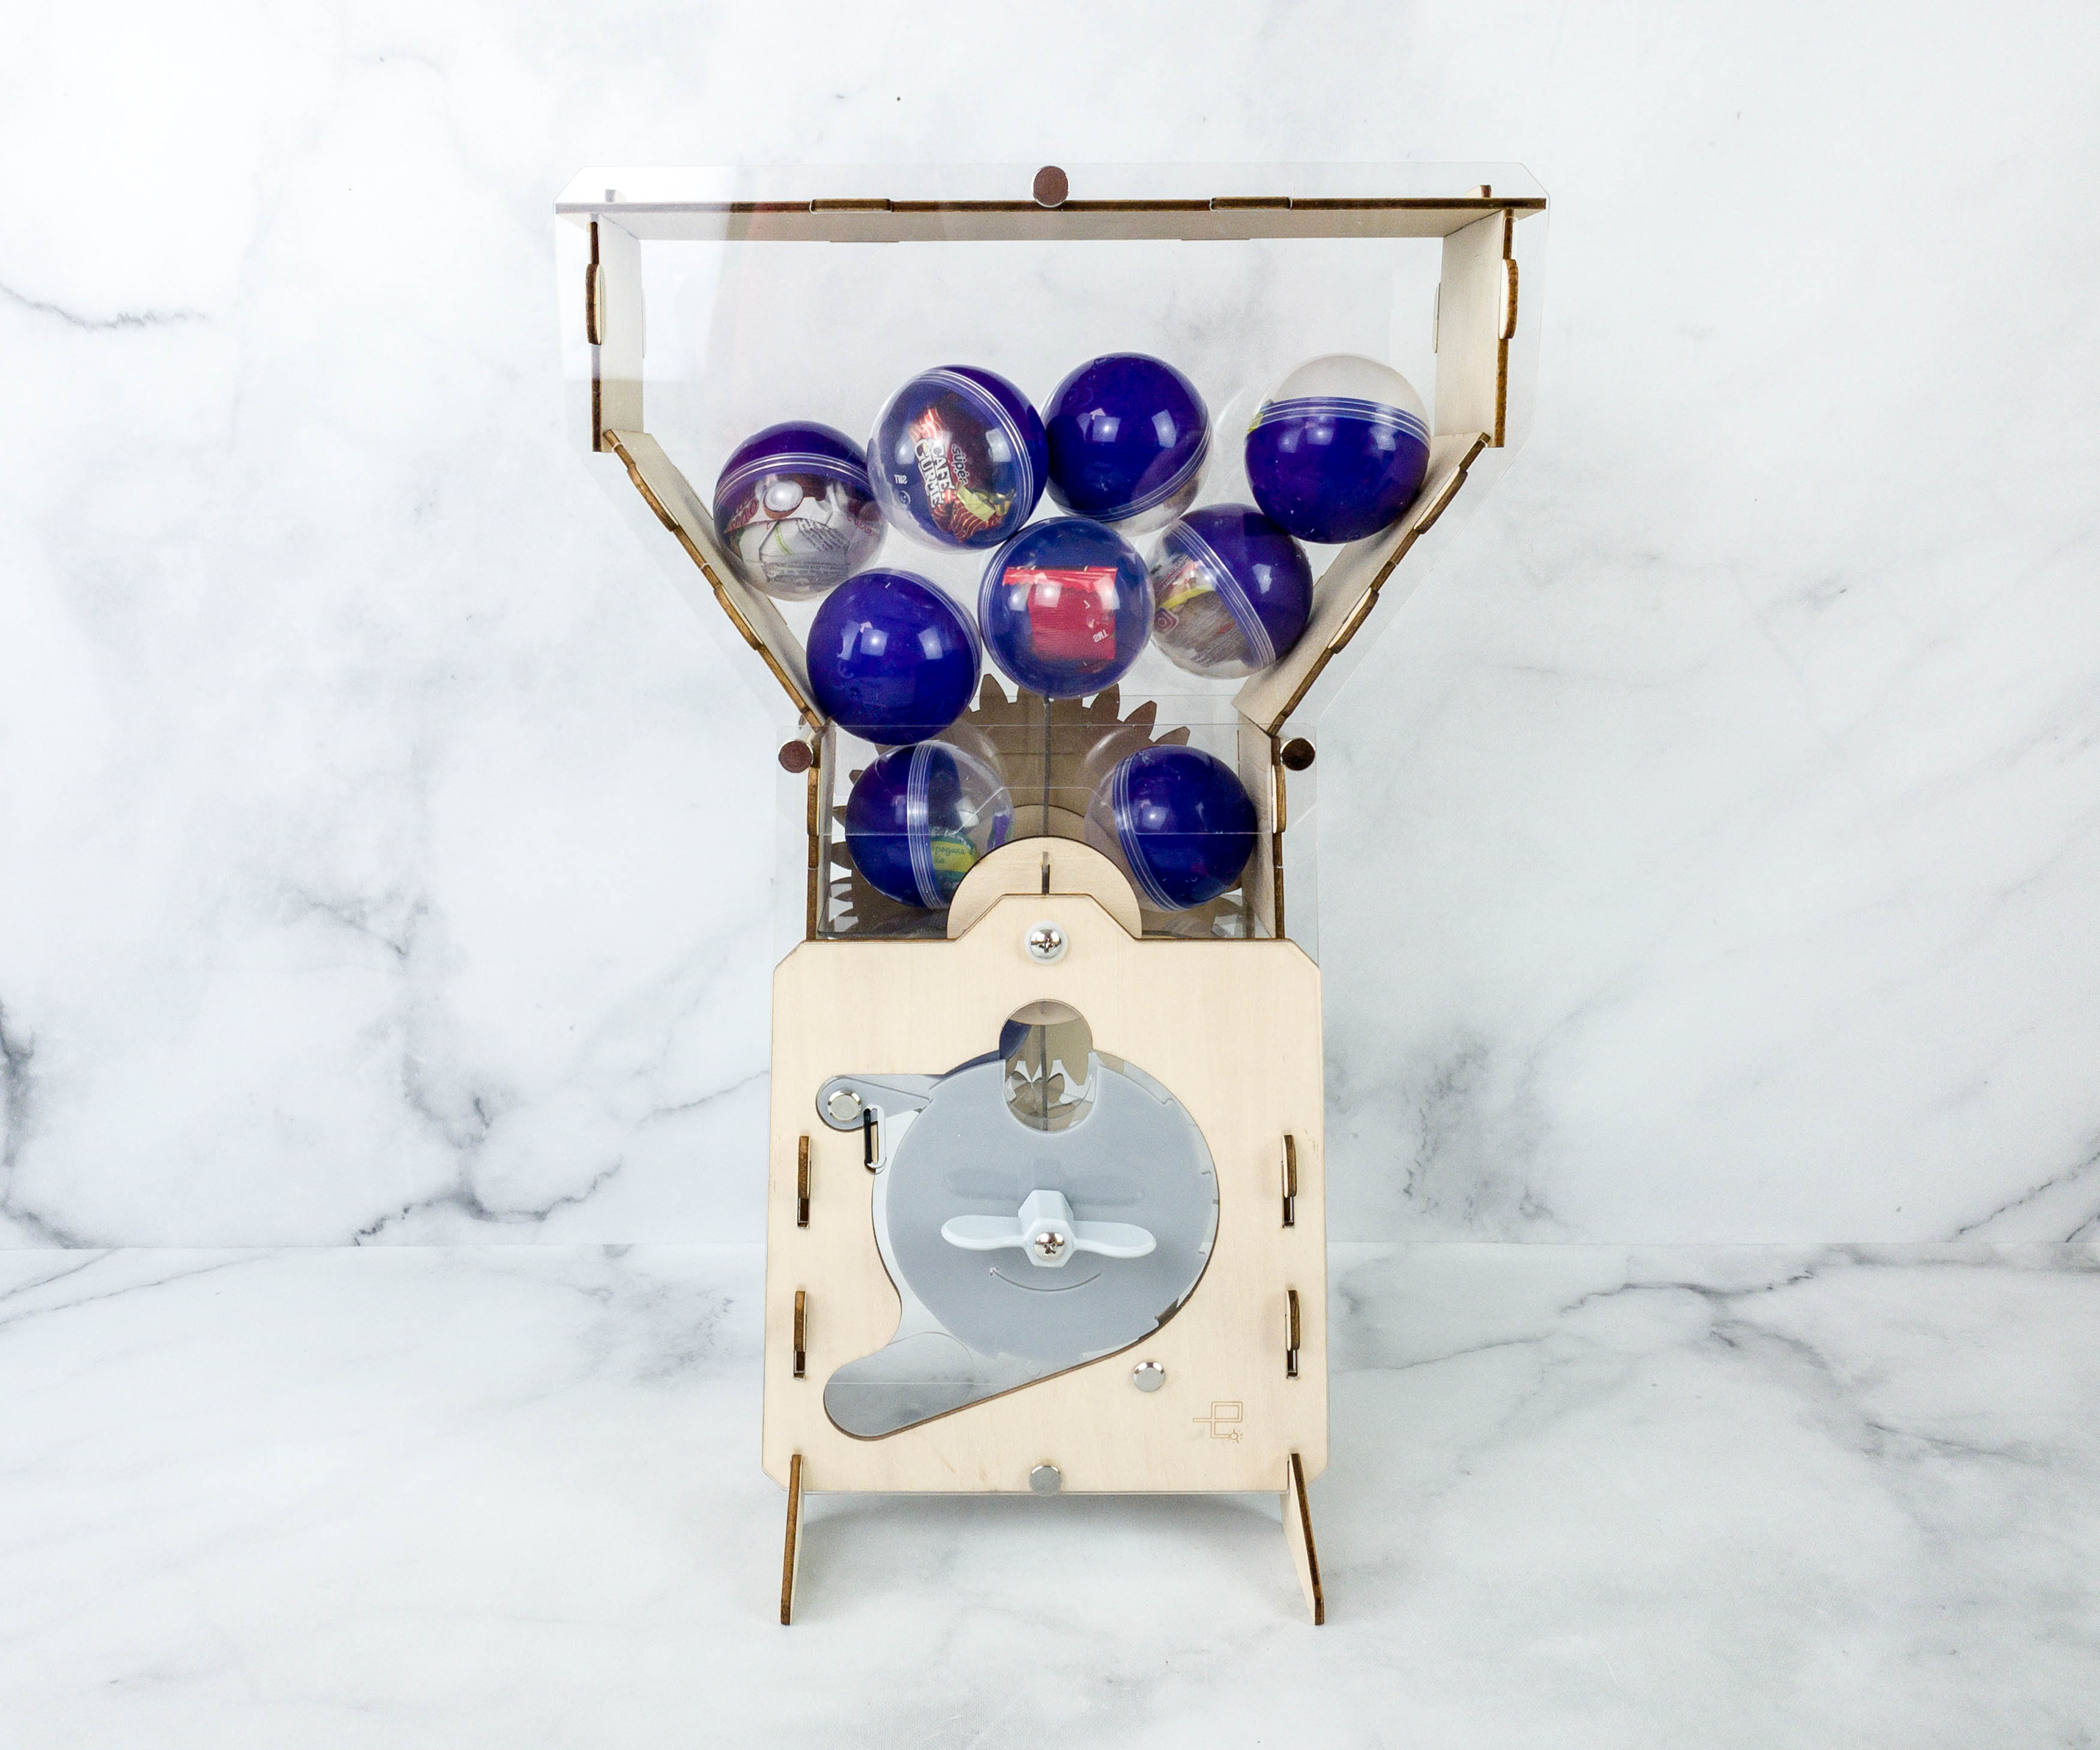
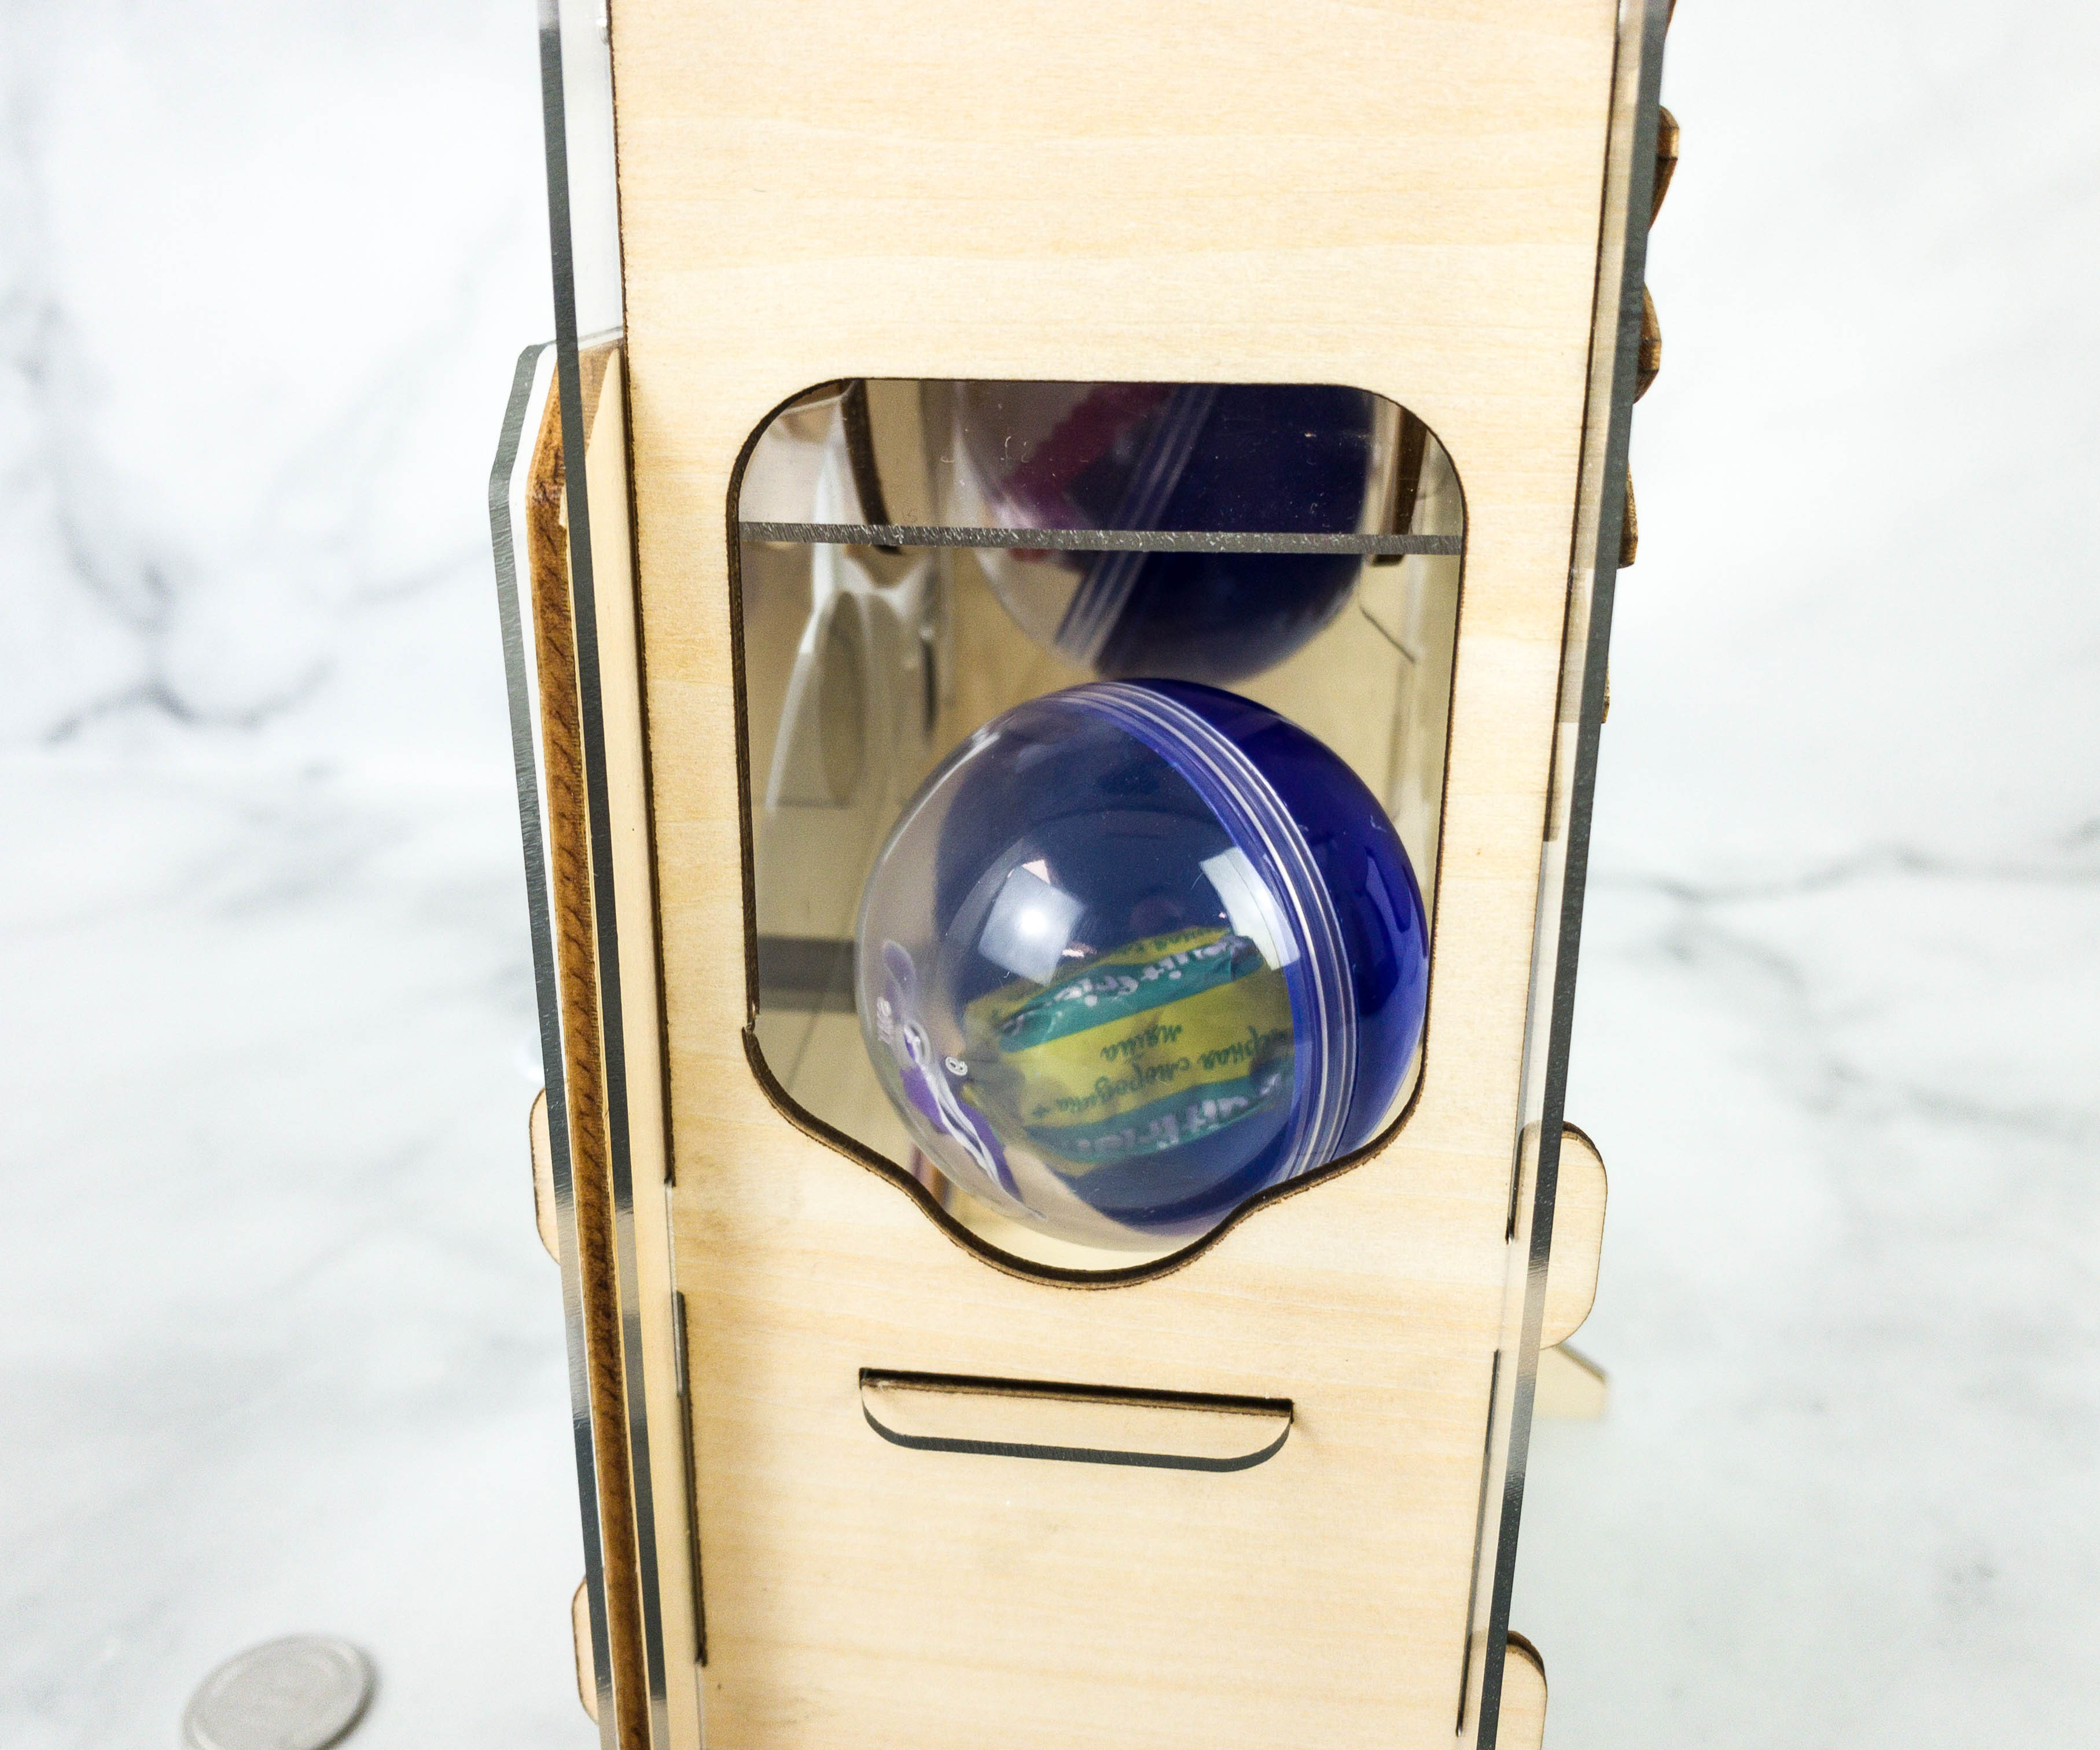
The vending machine is now done!
To use, twist the handle until the coin slot is perfectly aligned with the hole.
Then, put the KiwiCo coin on the slot and fully twist the handle!
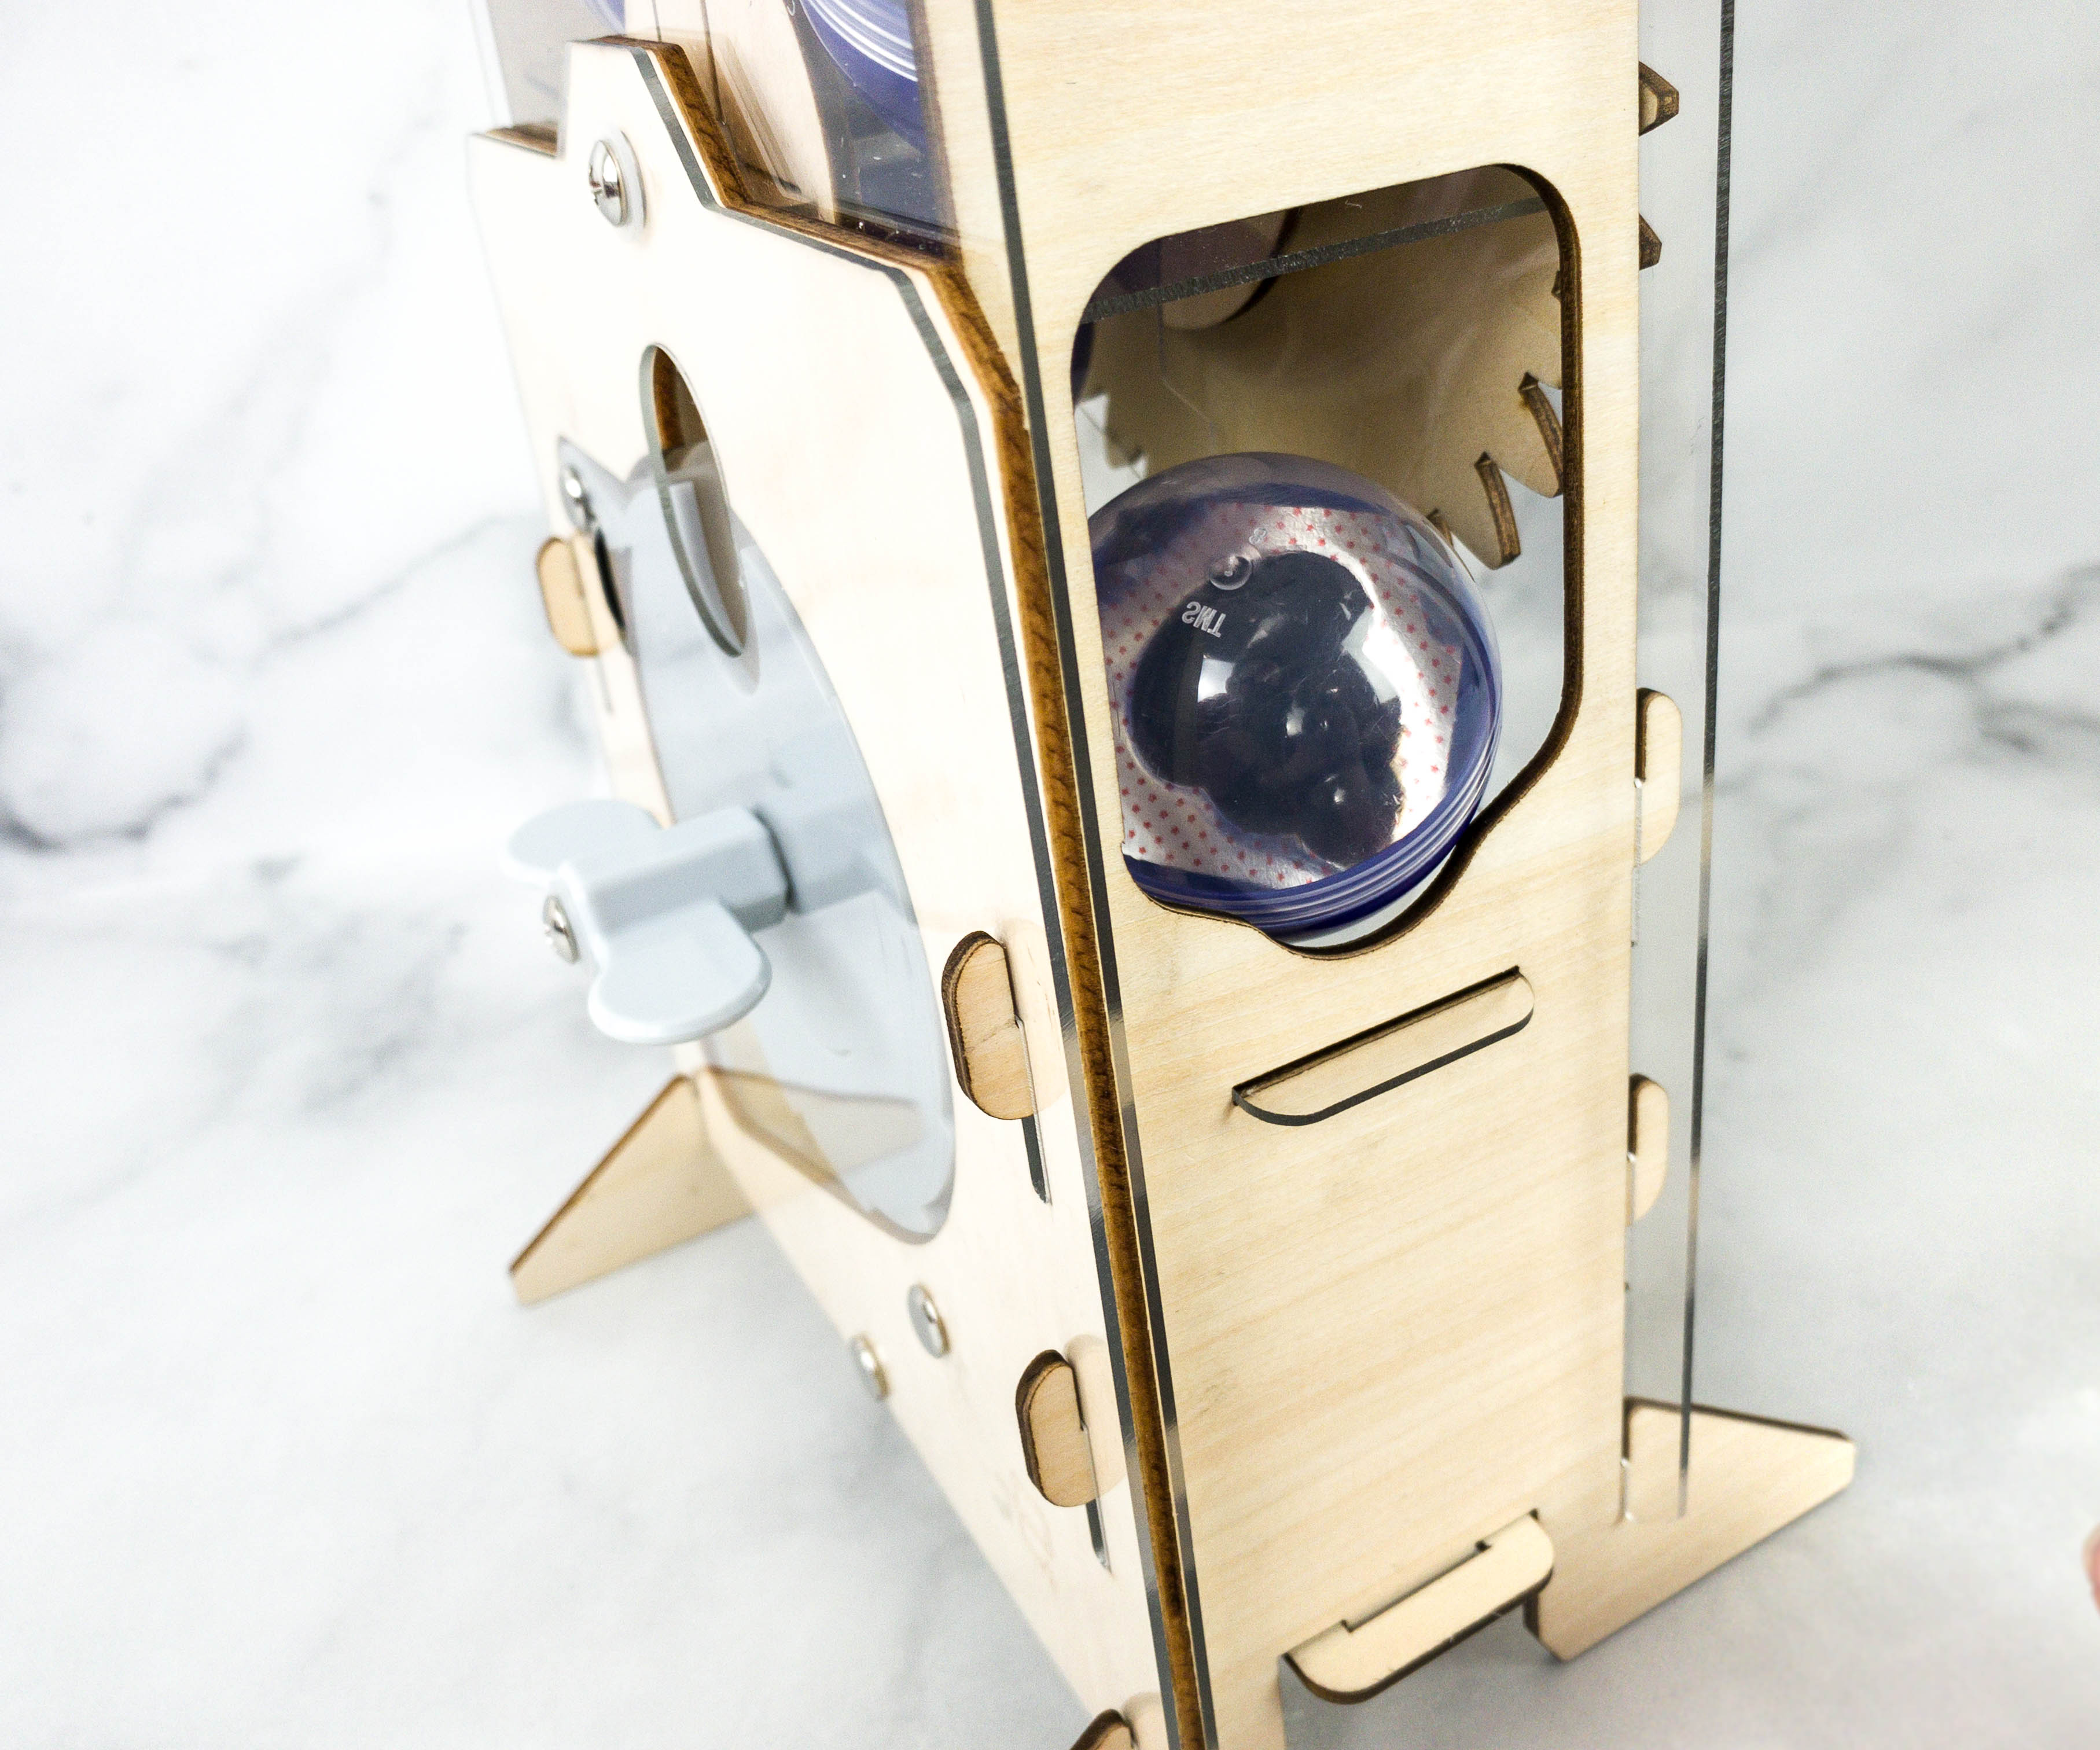
The bottom part of the container will open, and a capsule will slide over.
There goes the first capsule!
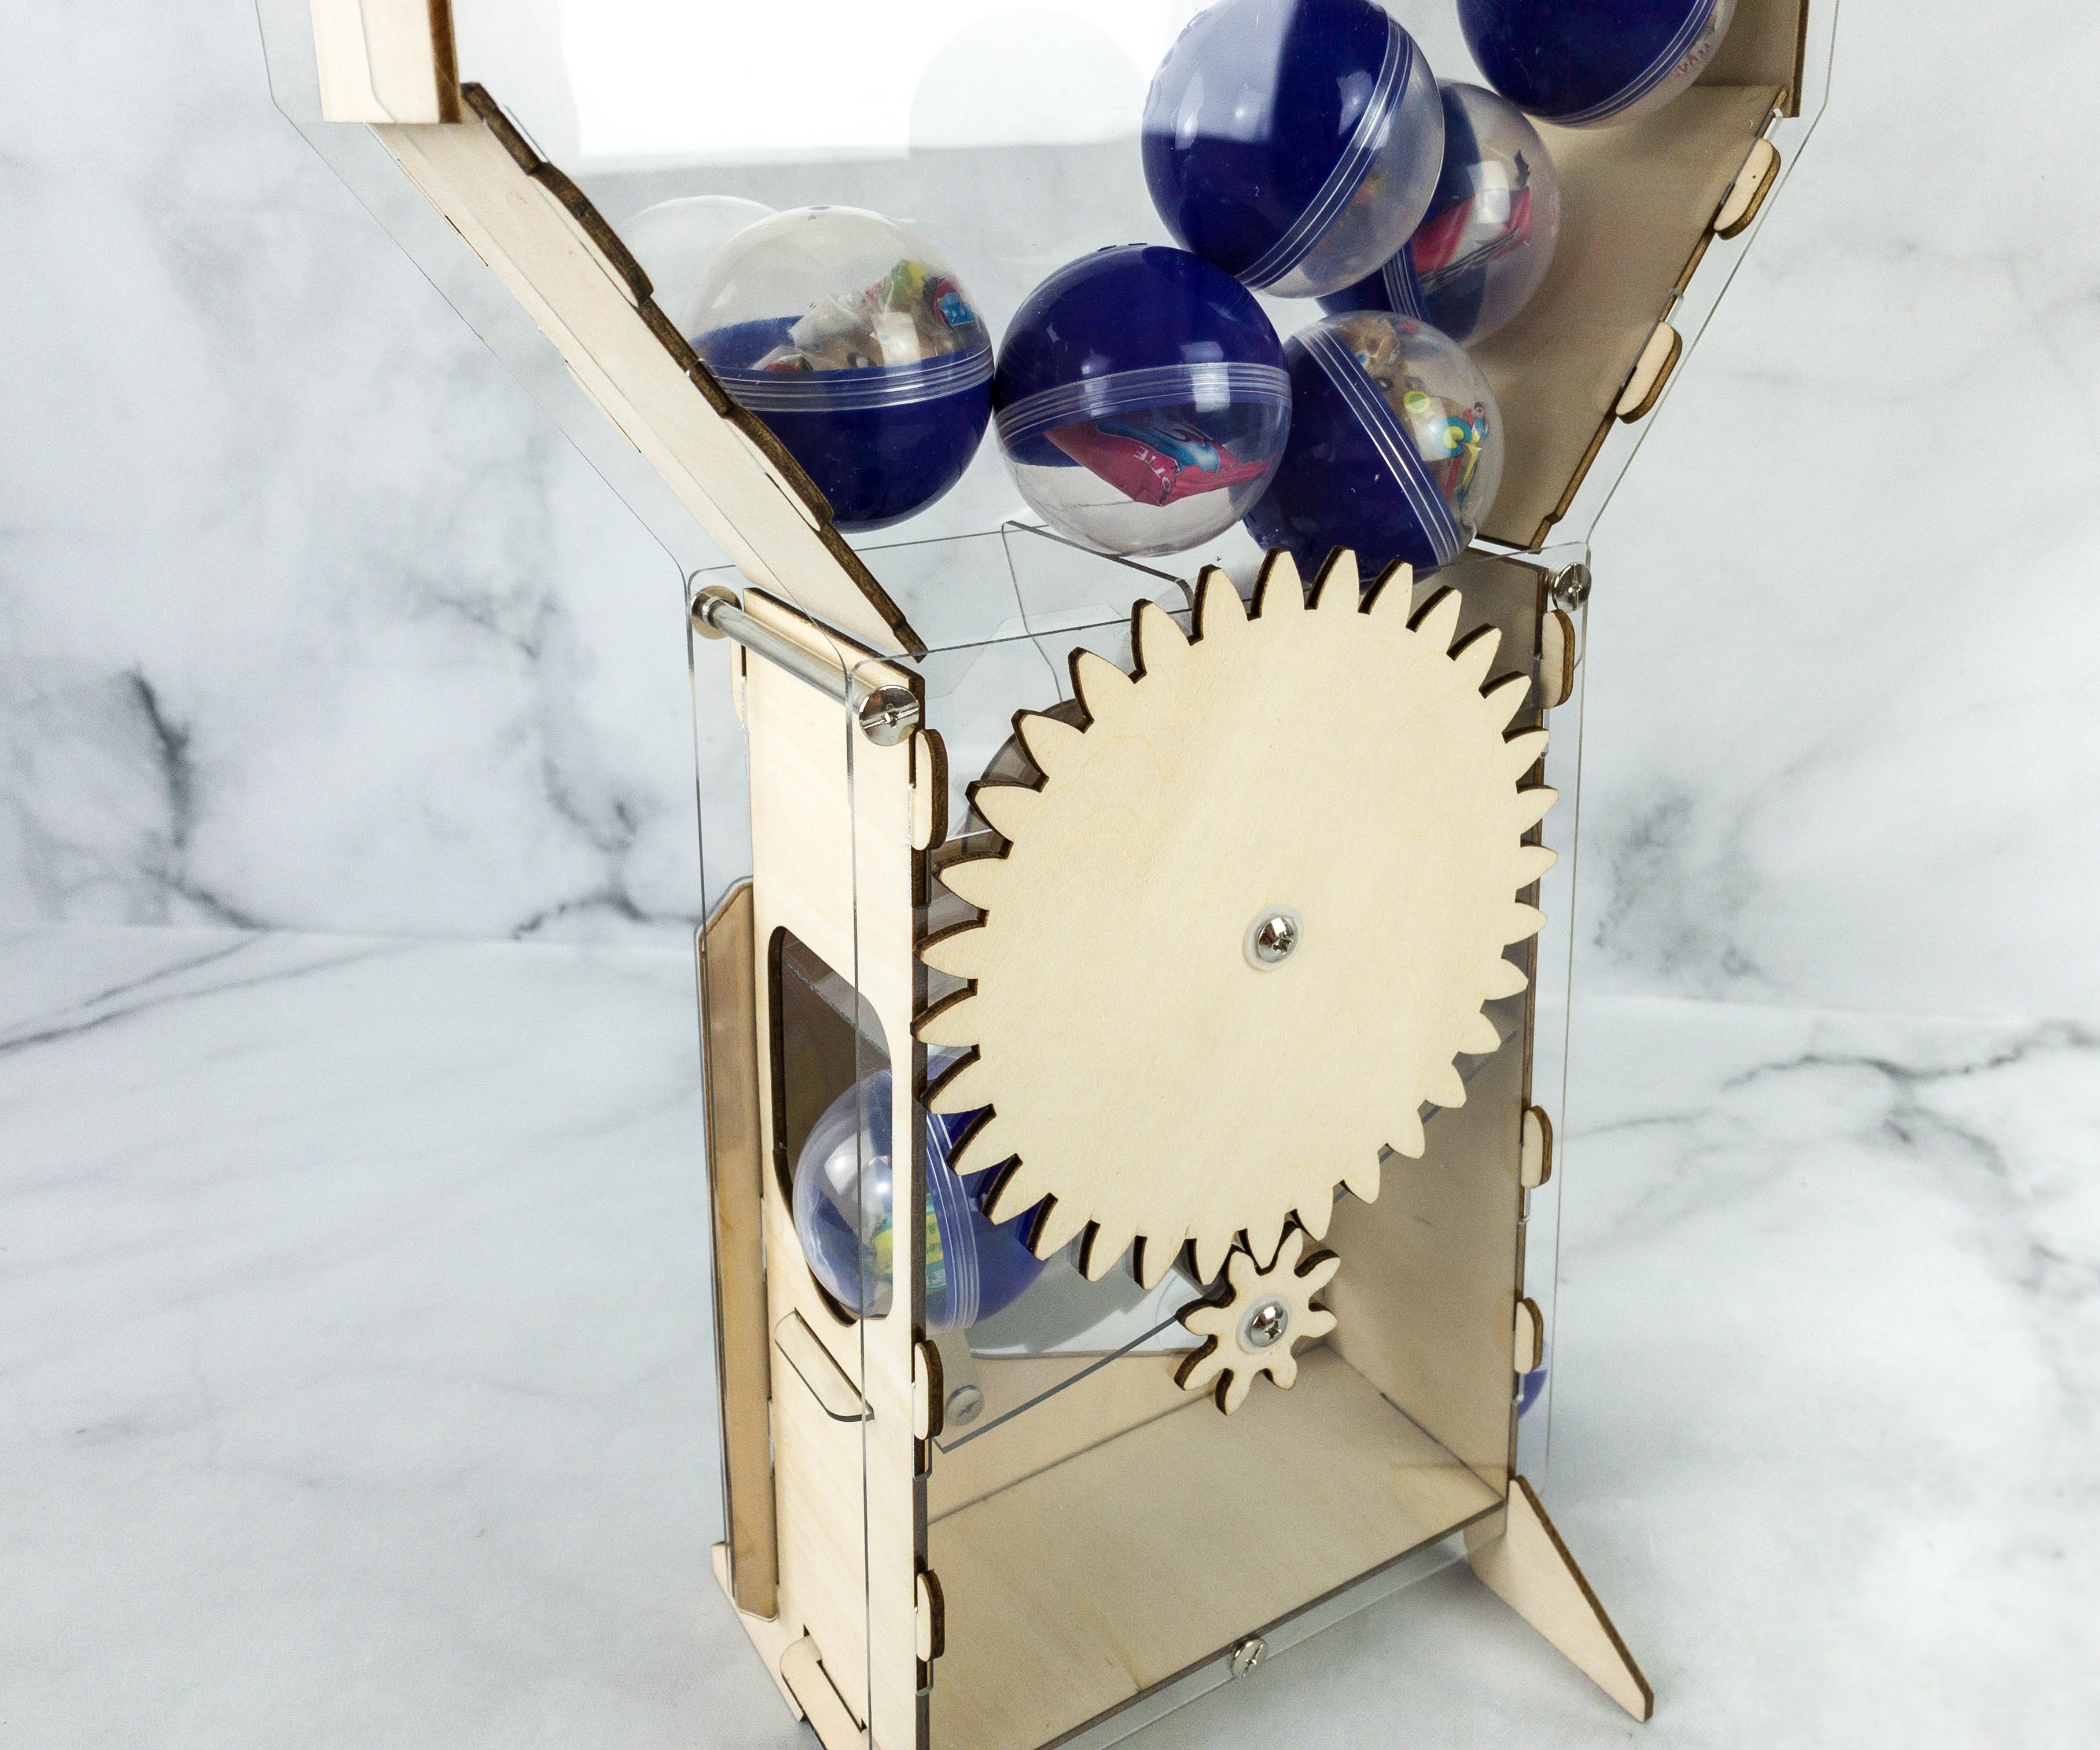
I really love the way the gears move, they’re perfectly in sync!
Eureka Crate projects are always interesting! This month, my daughter learned about the science and history behind the vending machine and she also had fun making one using the provided materials in the crate. The instructions were easy to follow and there are various portions when the guide reminds her to stop and check to make sure that she’s on the right track so that she doesn’t need to start over later. My kids also took turns in getting a capsule afterward and what’s great is that we can use the vending machine over and over (and I promise – they have used it OVER AND OVER). I don’t think they’ll ever get tired of it because we can put different kinds of items in the capsules aside from candies, like erasers, stickers, accessories, and more. If you’re looking for new projects to do at home, whether by yourself or with your family, this one is a good option. Their projects are ideal for teens and adults alike!
What do you think of this month’s Eureka Crate?


Comments