Eureka Crate is a monthly STEM and maker subscription box that teaches kids and adults how to apply principles of science and math to make awesome things you will love to use every day – from an articulated desk lamp to an electric pencil sharpener to a wooden ukulele. Every Eureka Crate includes an engineering project, detailed step-by-step instructions, everything you need to complete the project, a Maker’s Guide that explains all the design, process, and engineering behind the design, plus a design challenge to take your project knowledge to the next level!
DEAL: Save 30% on your first month! Just use this link to subscribe, no coupon code required! You can also use the same link to save 30% on the first month of any other KiwiCo crate – just check out this page to discover which box is right for you.
Eureka Crate is KiwiCo’s latest subscription! Eureka Crate is designed for ages 14-104. If you’re ready to graduate from KiwiCo’s other boxes or just can’t get enough (or are just too old for their other subscriptions), you’ll love this box, which is designed to create a hands-on learning experience using everyday items to delve deeply into the science and math principles they embody, along with the design process of the month’s project.
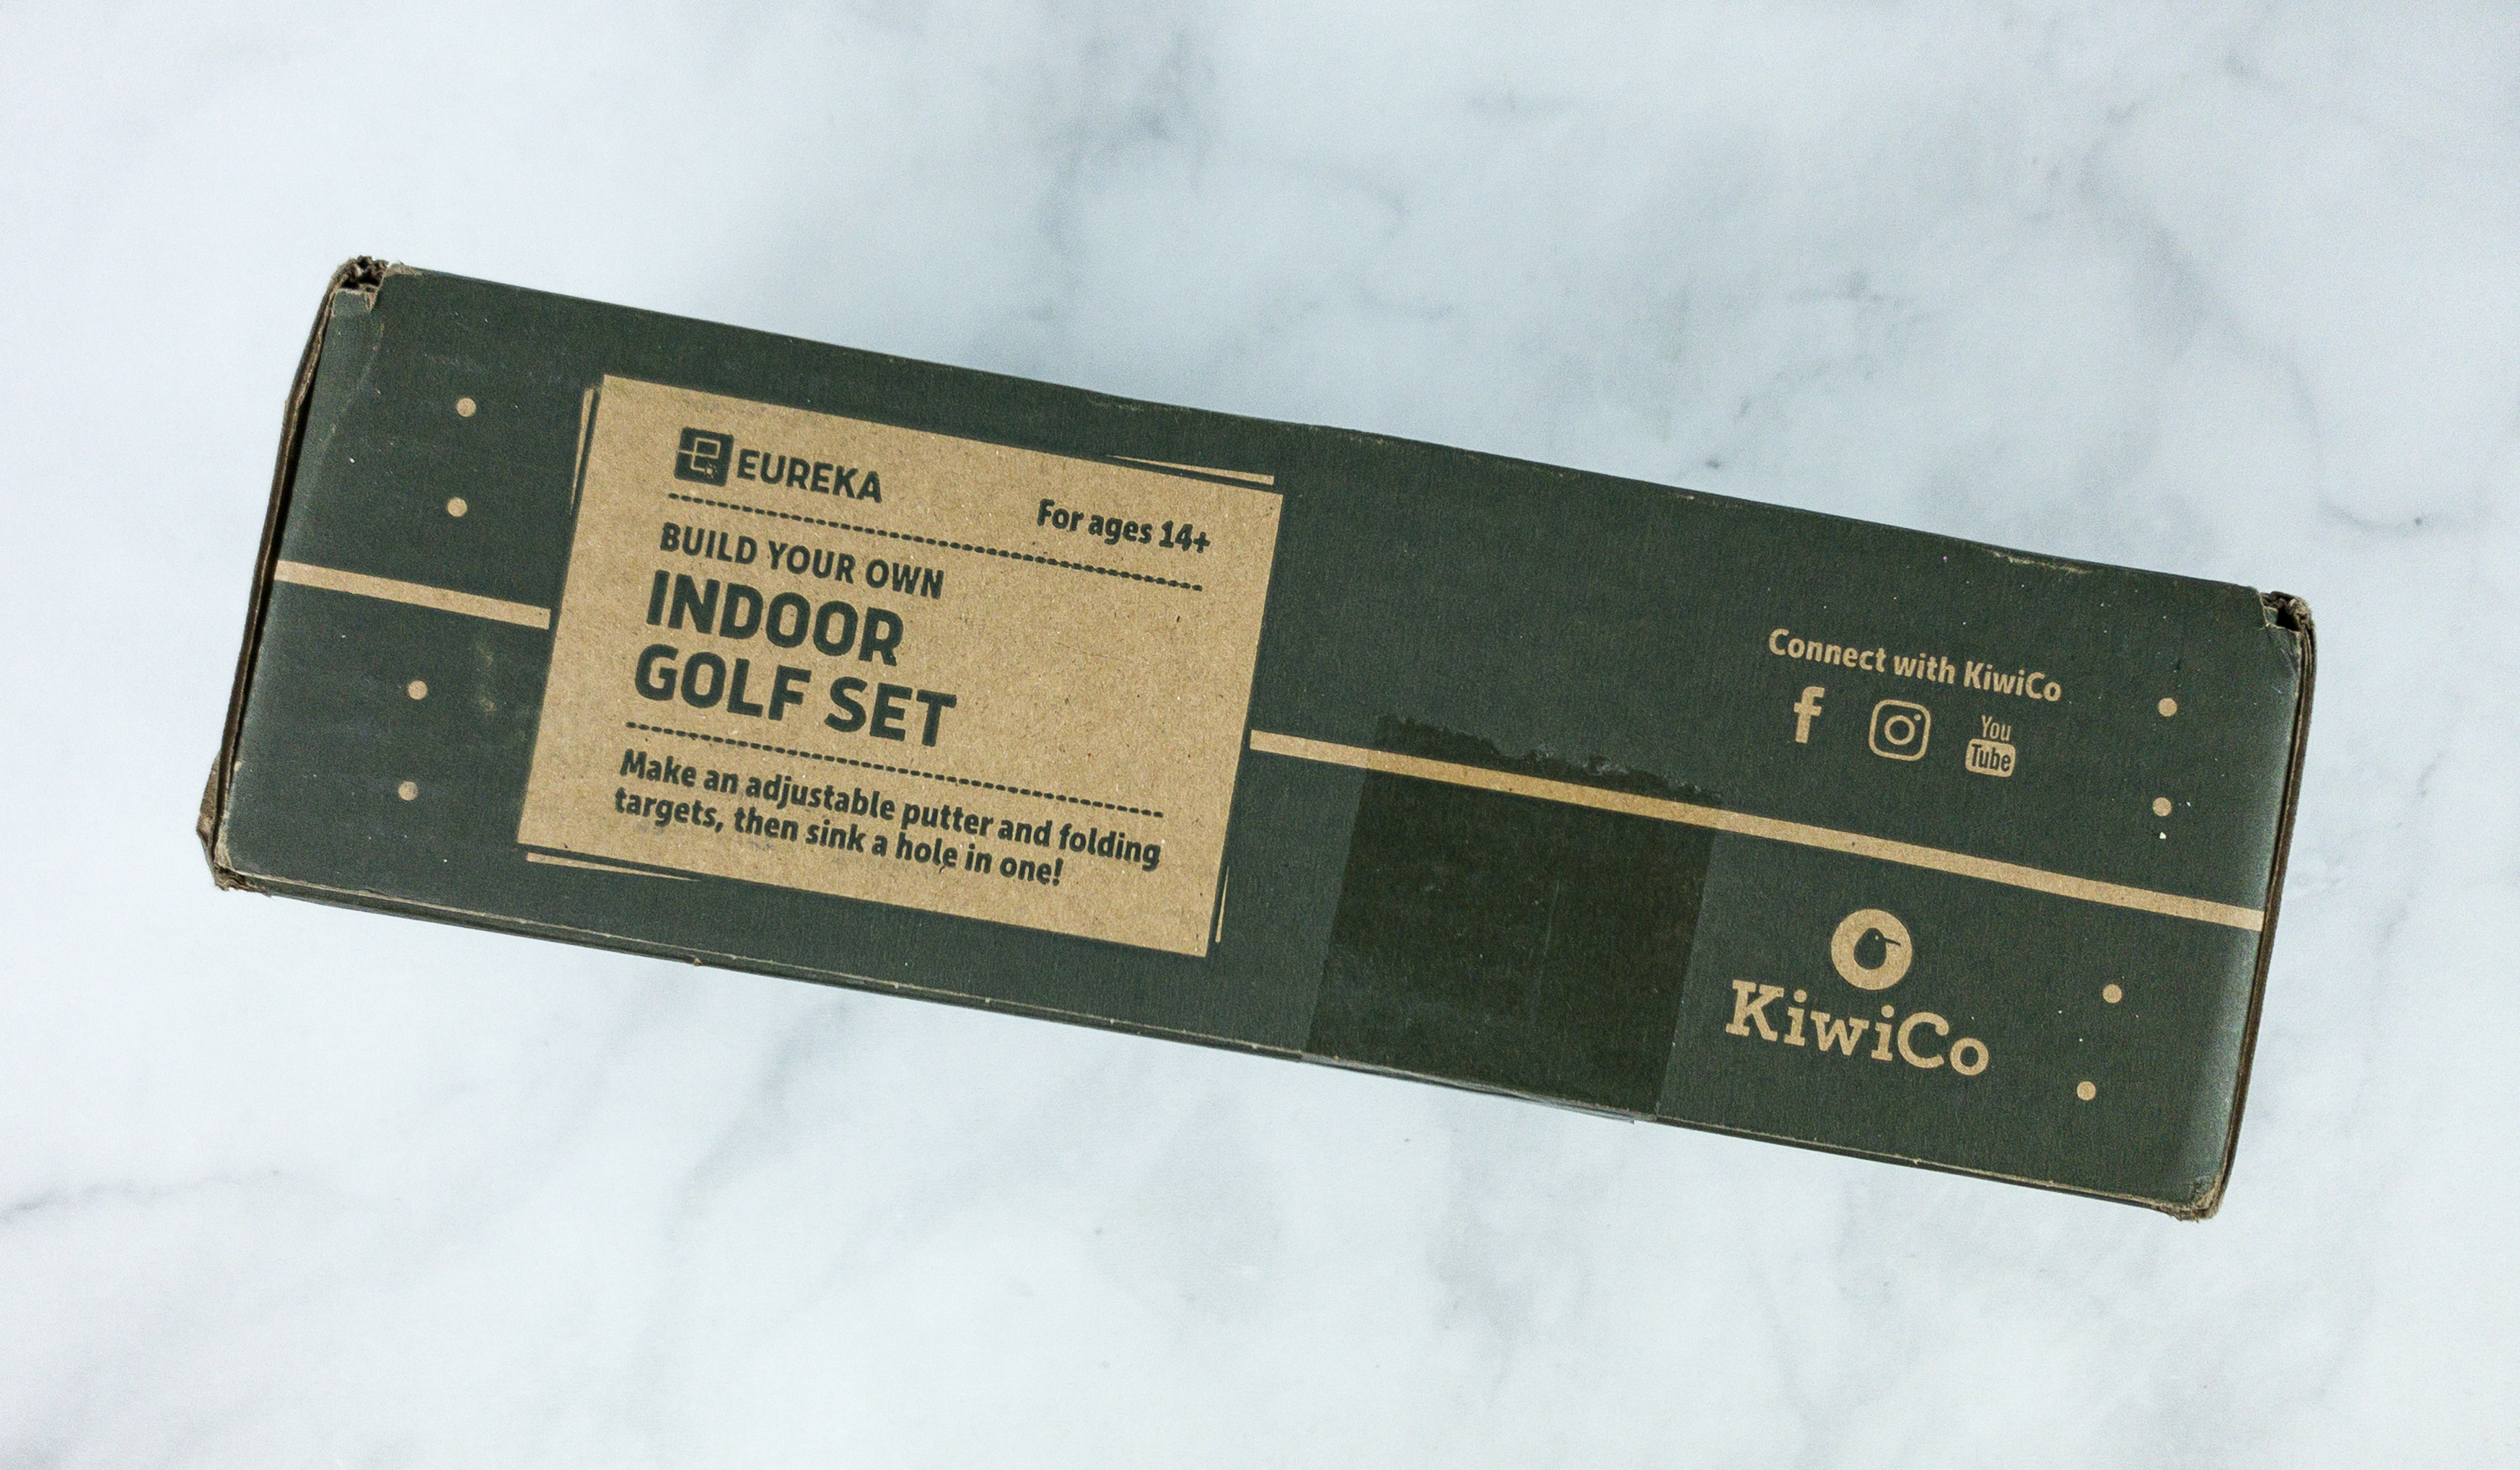
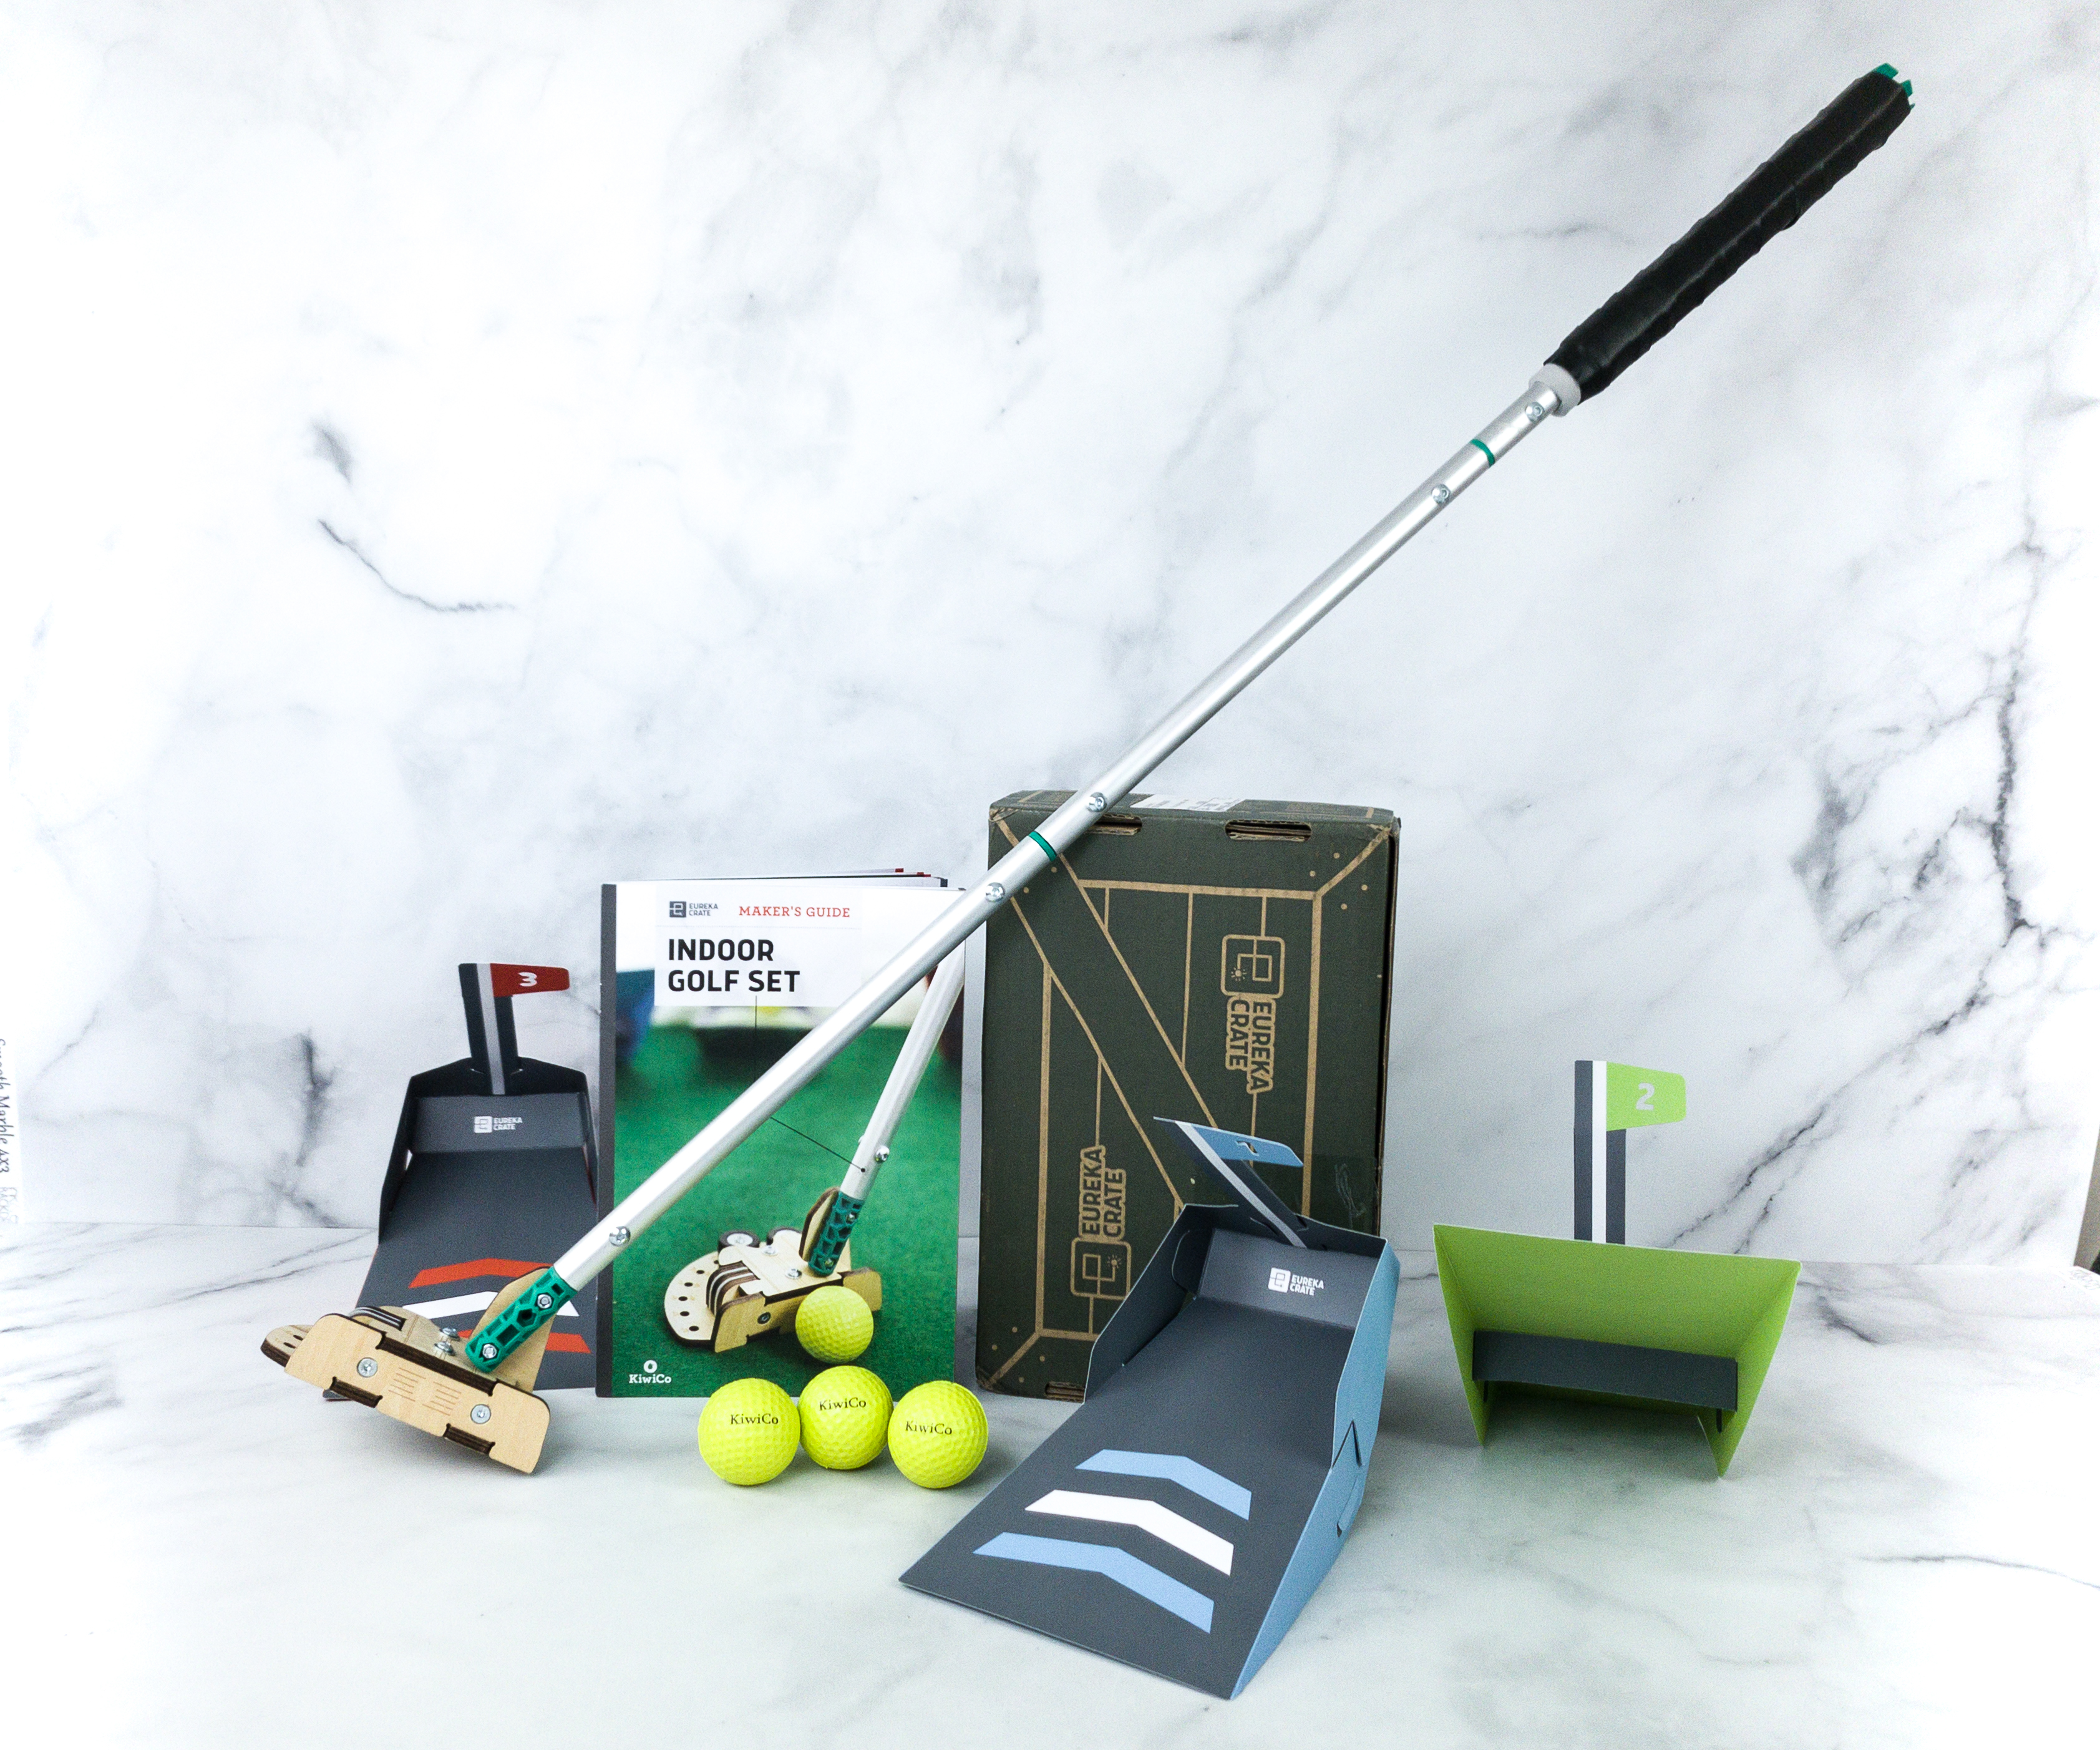
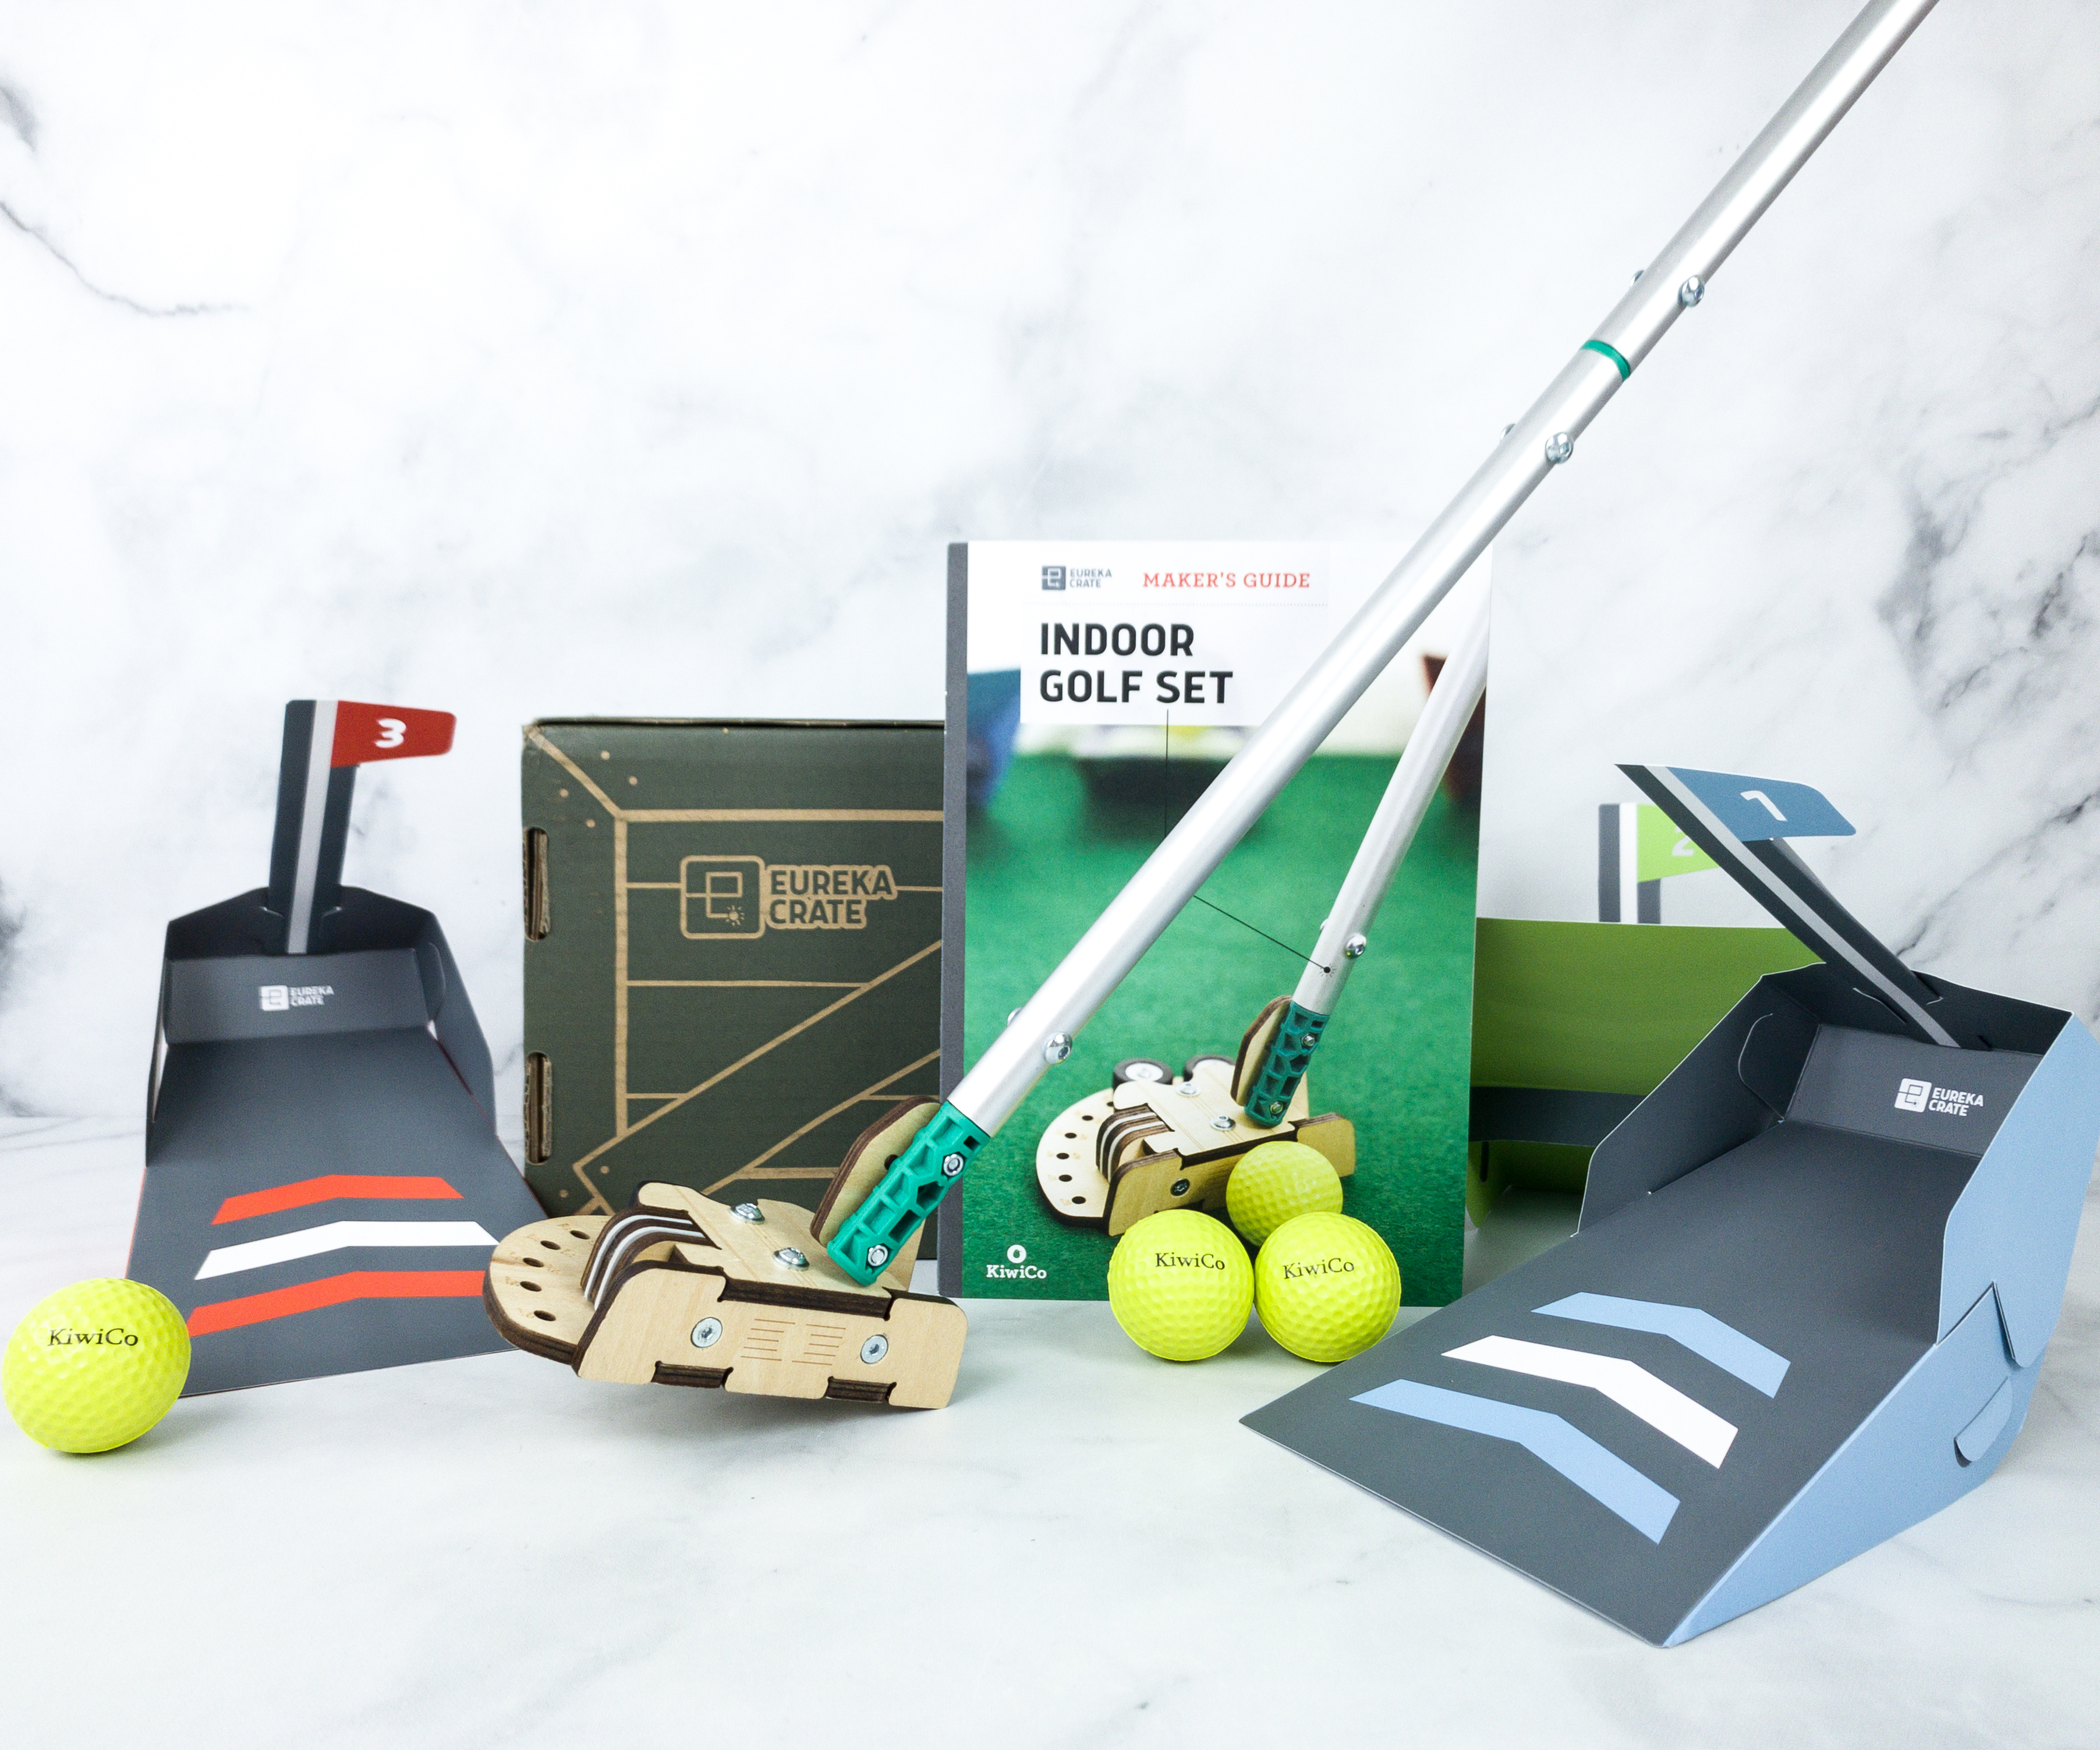
This month, we’re making an Indoor Golf Set!
Have a ball with an indoor golf set you build yourself — complete with an adjustable putter and a set of targets.
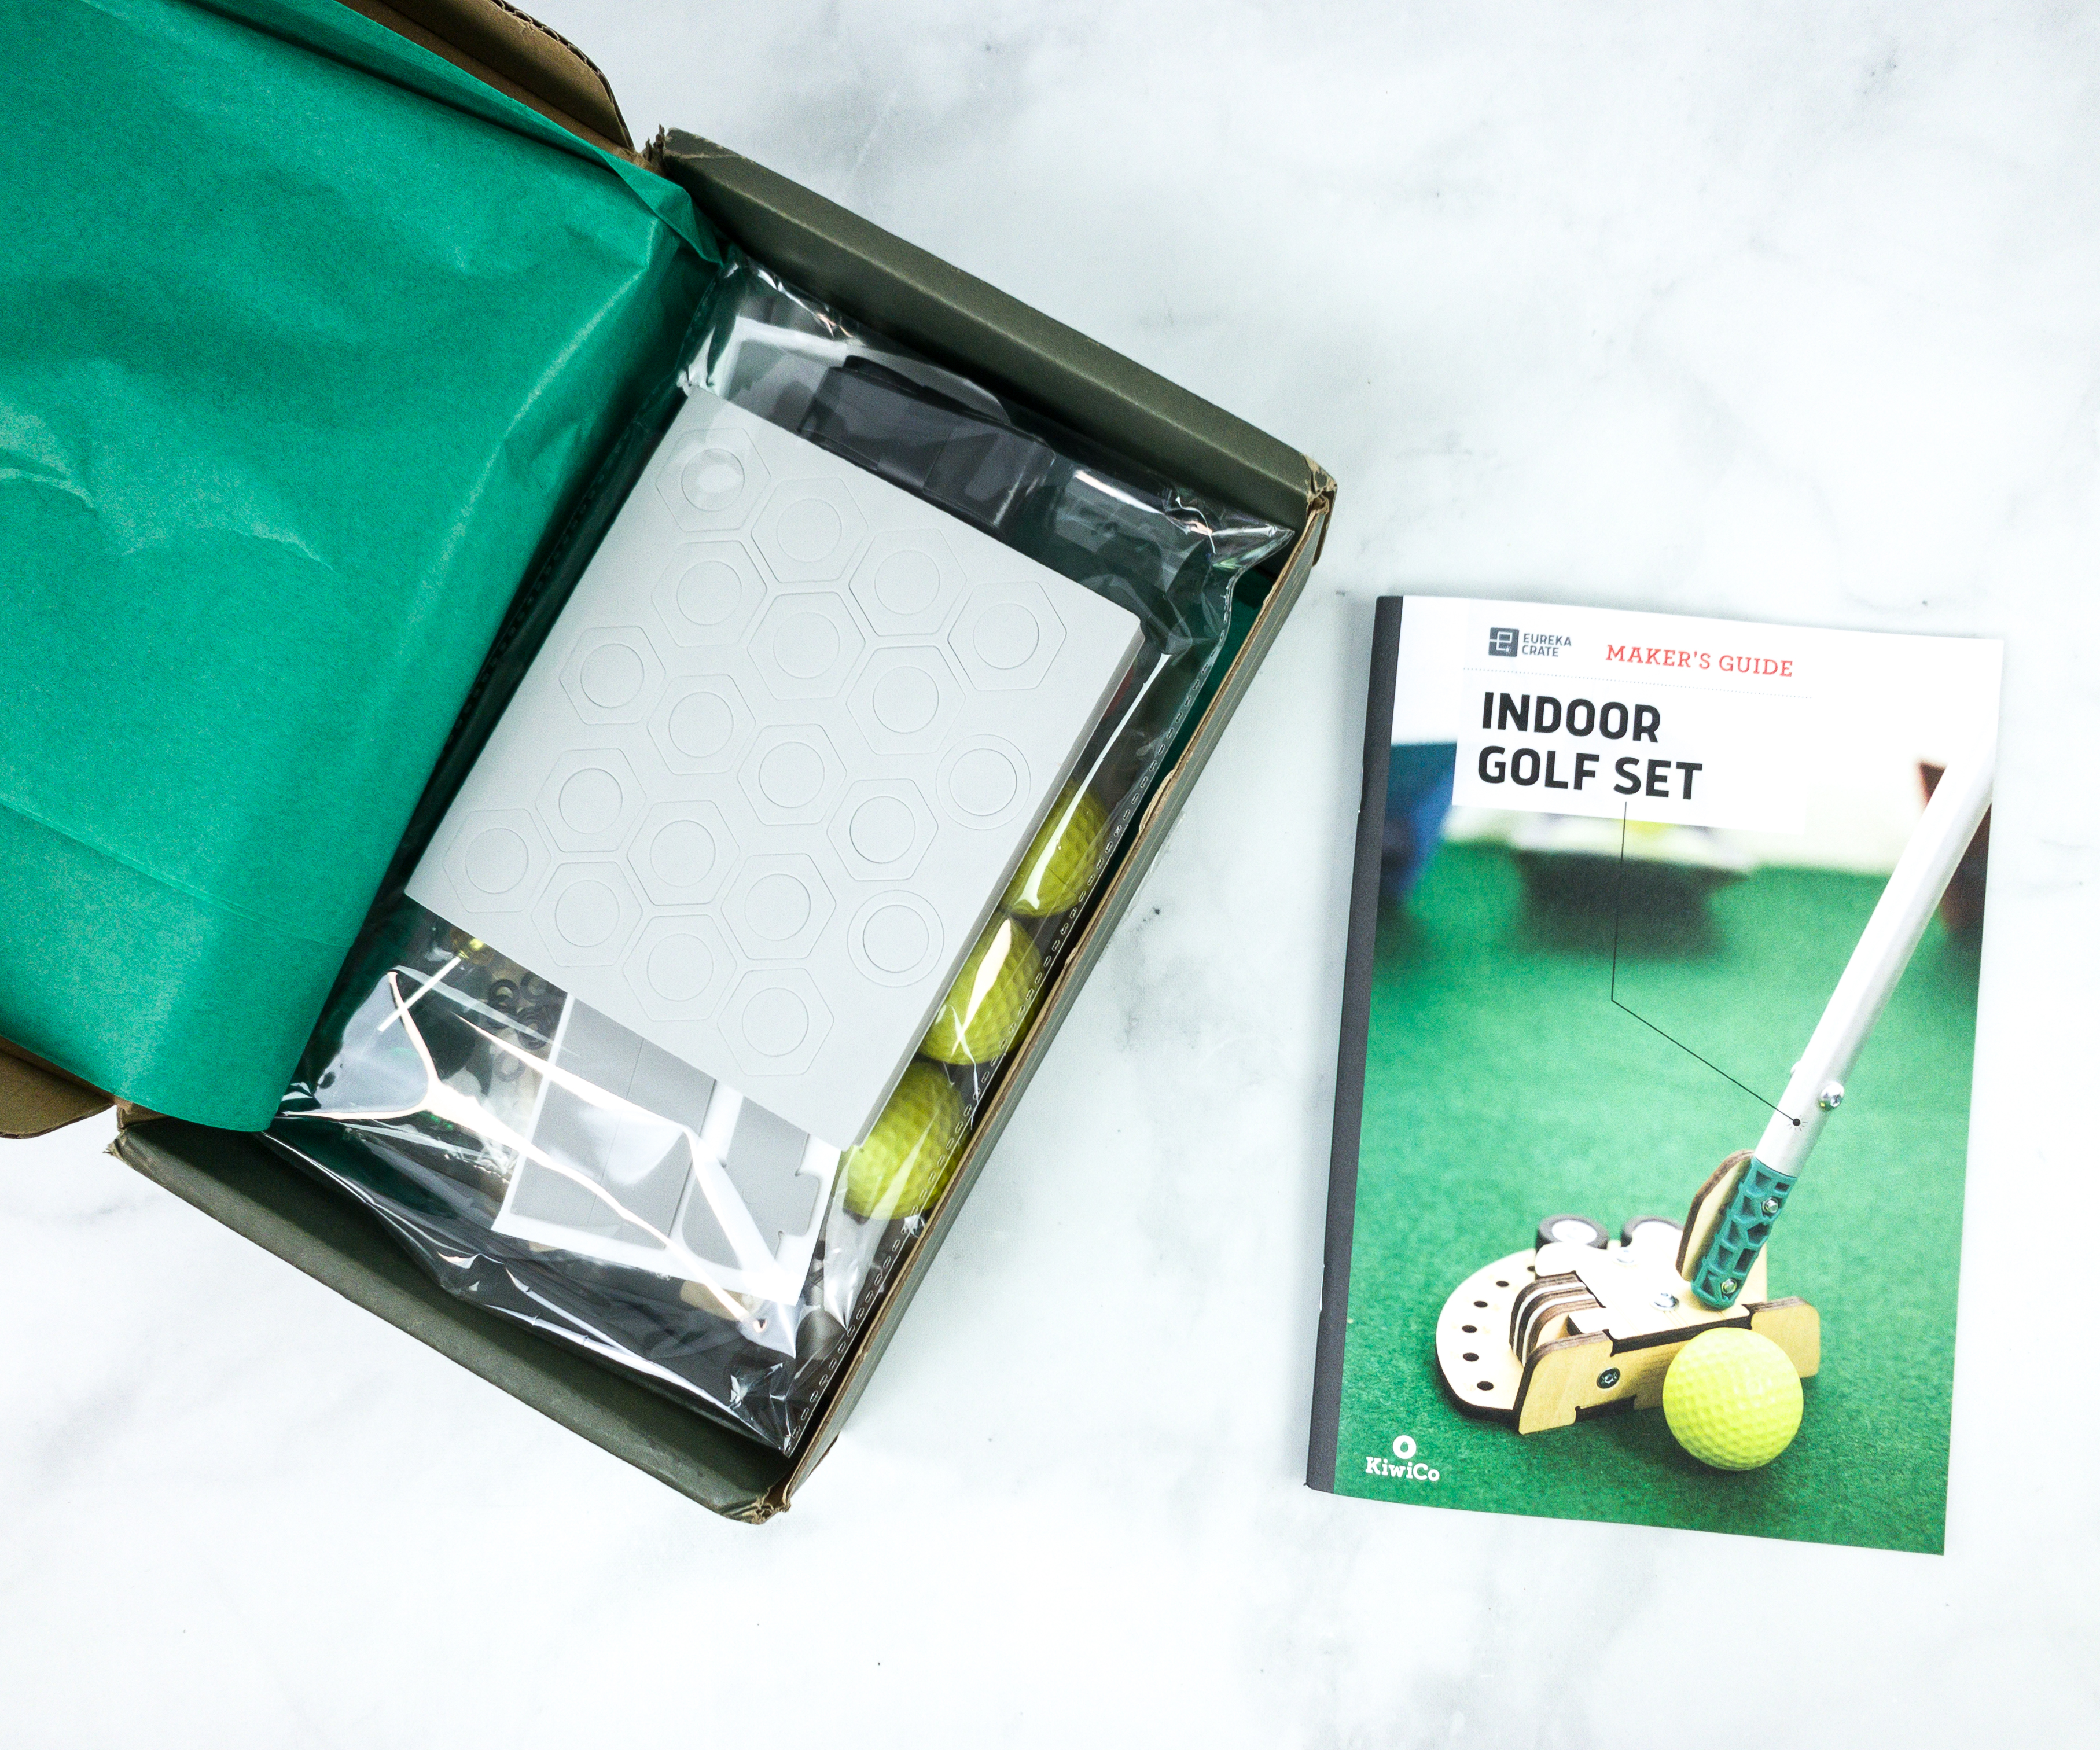
Like the other crates from KiwiCo, Eureka Crate includes a booklet.
One of KiwiCo’s goals is to equip the next generation of innovators with the tools and confidence for creative exploration and problem-solving.
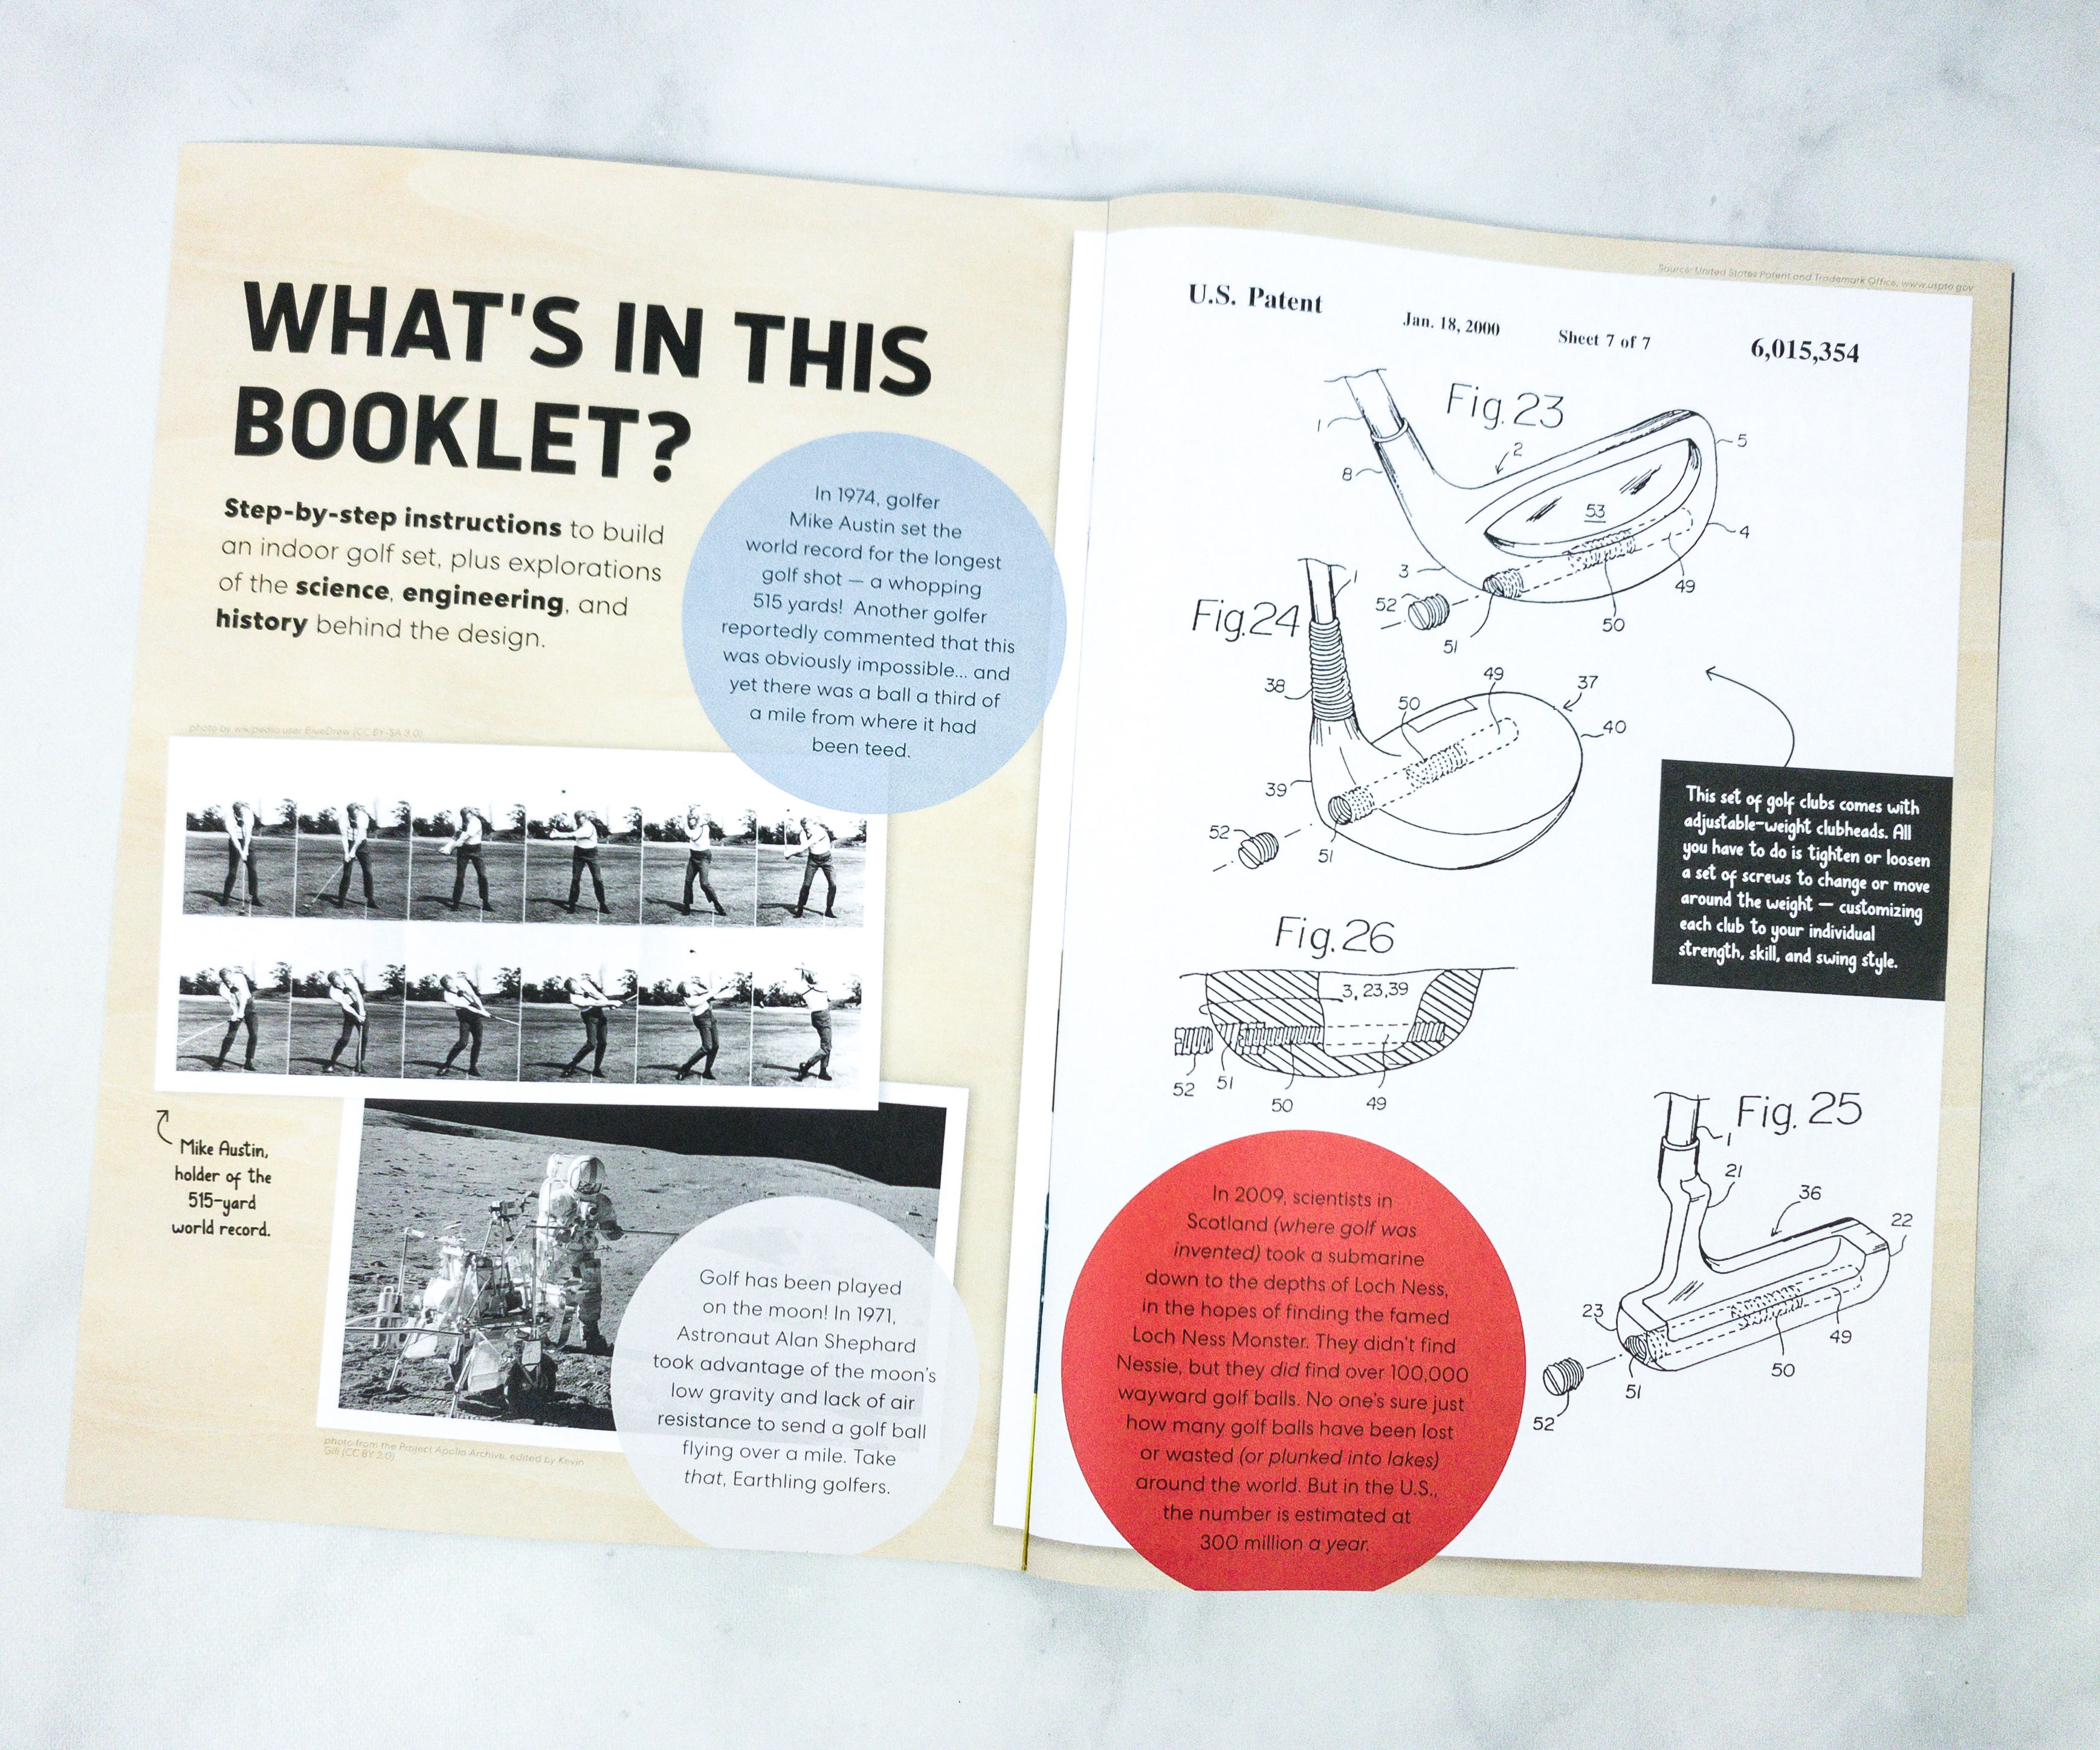
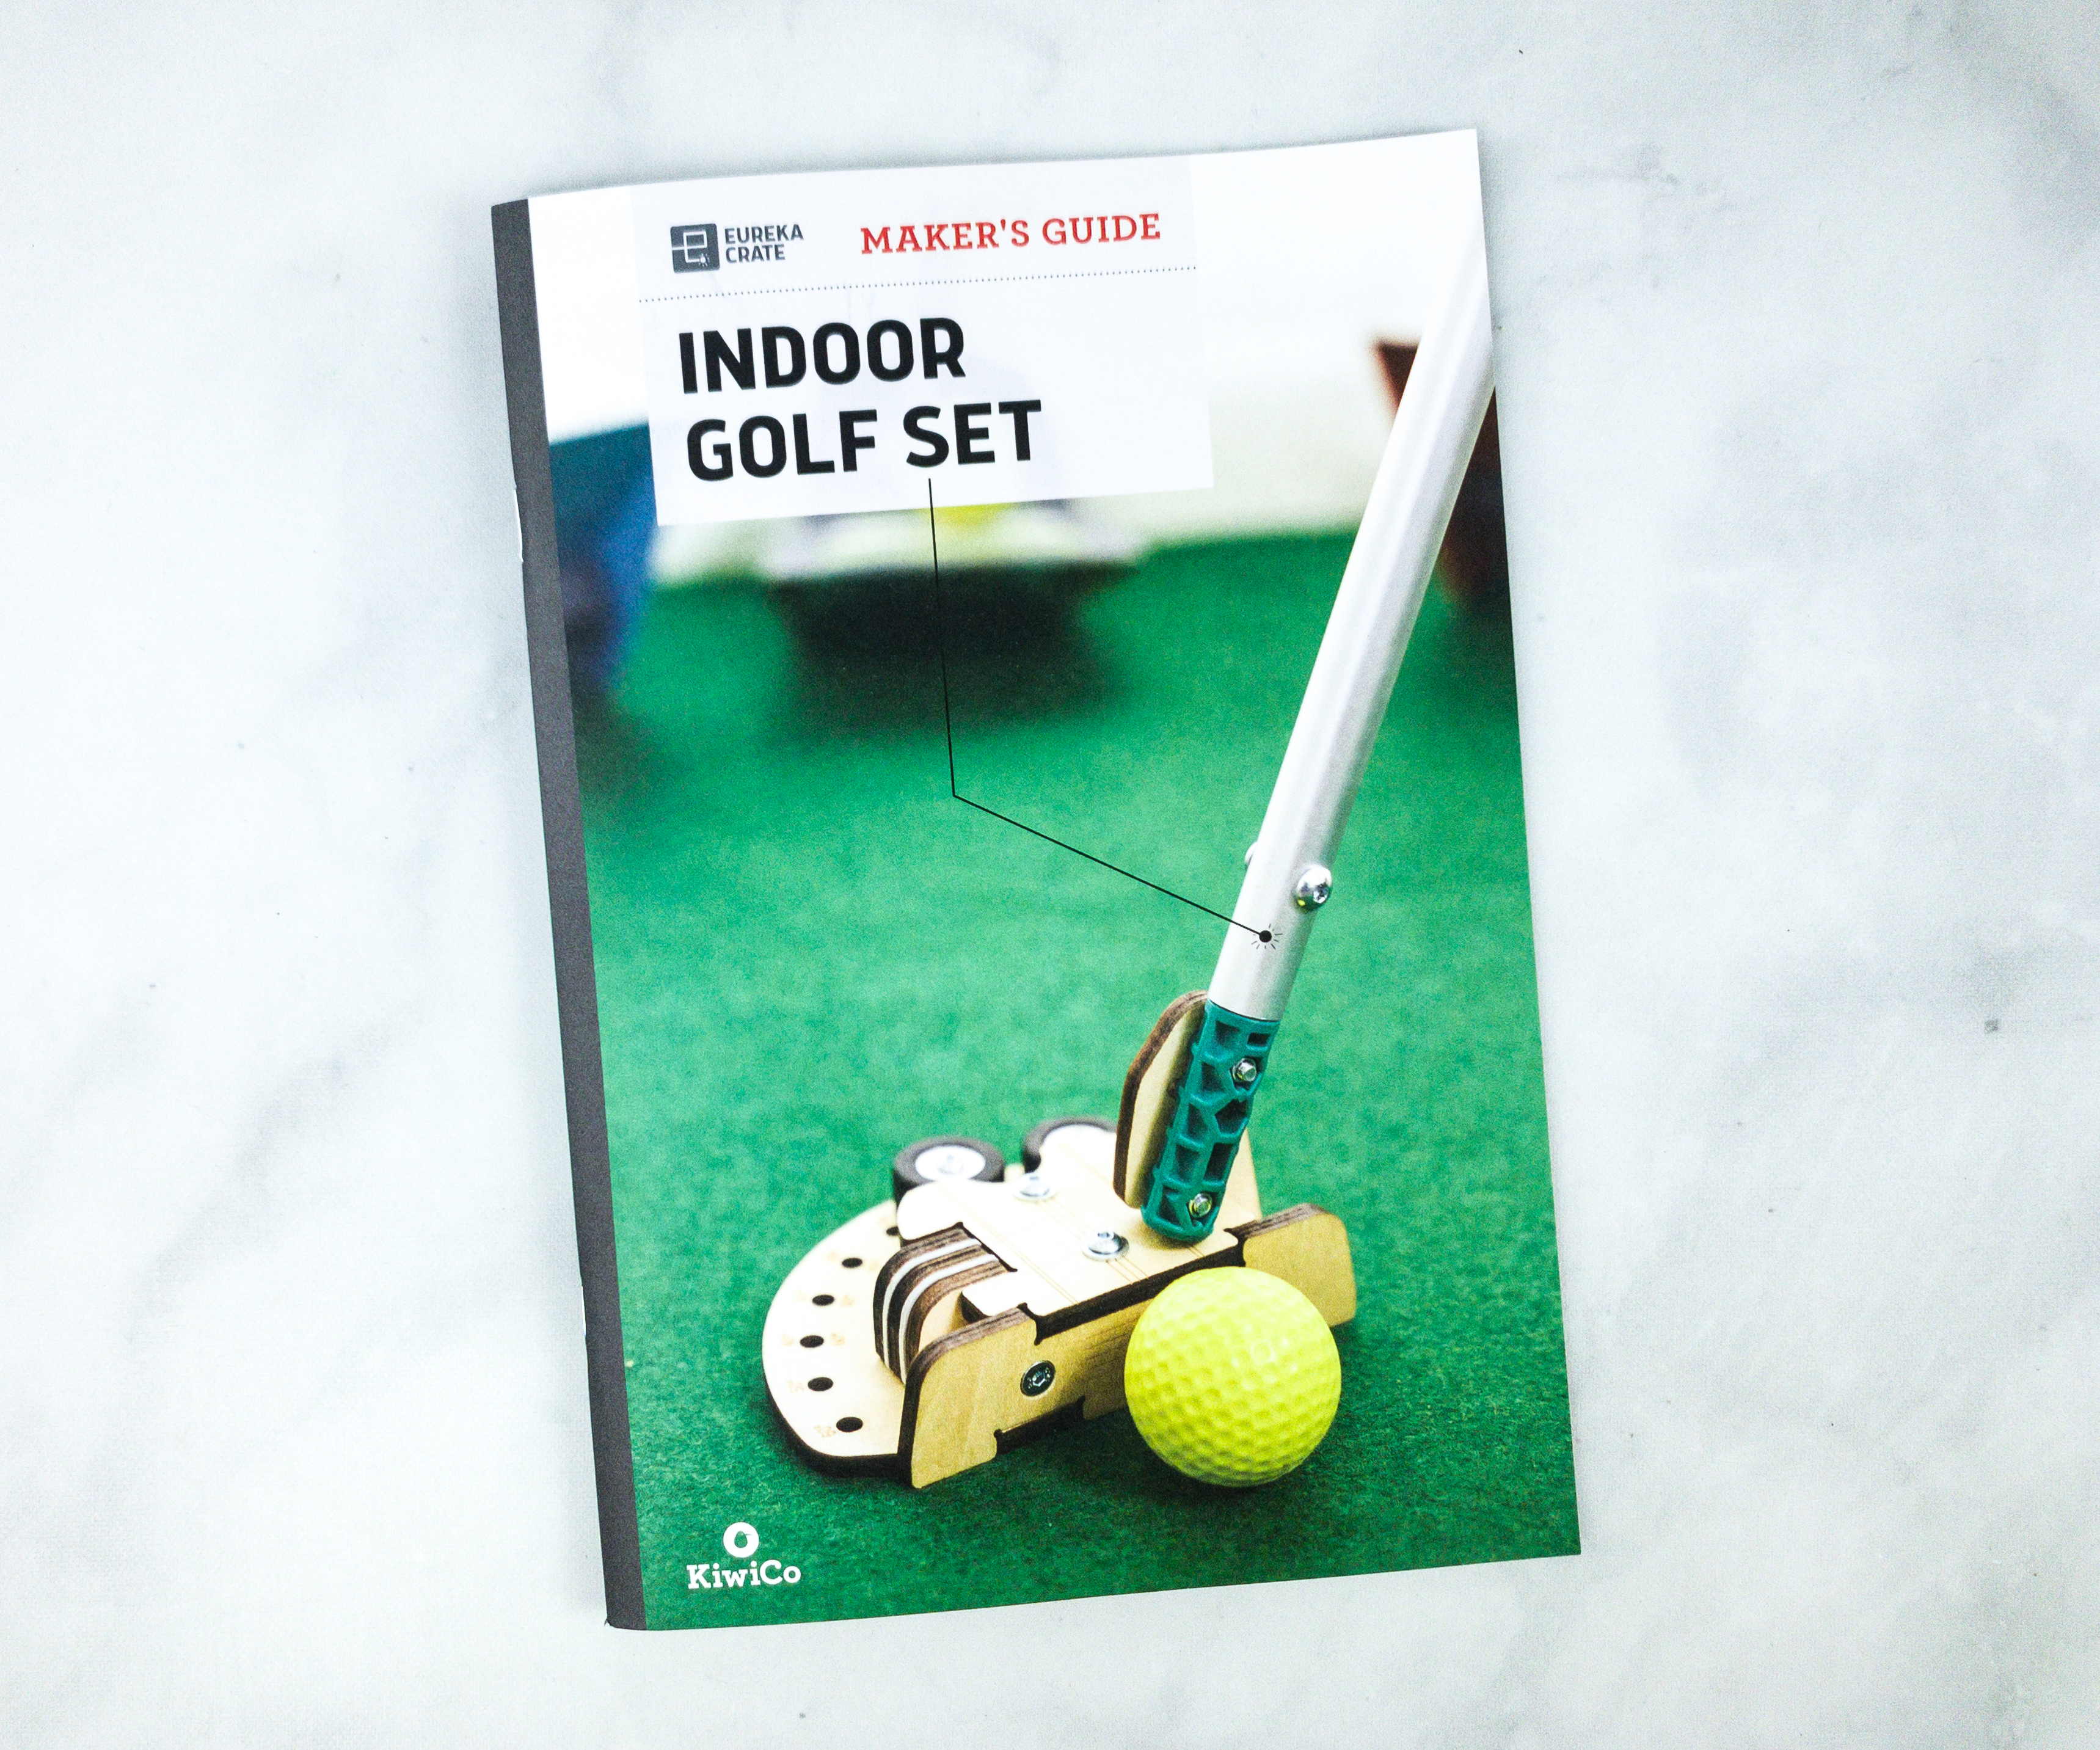
The booklet shares a complete history and details about this month’s project. They also included some fun facts and trivia related to the theme.
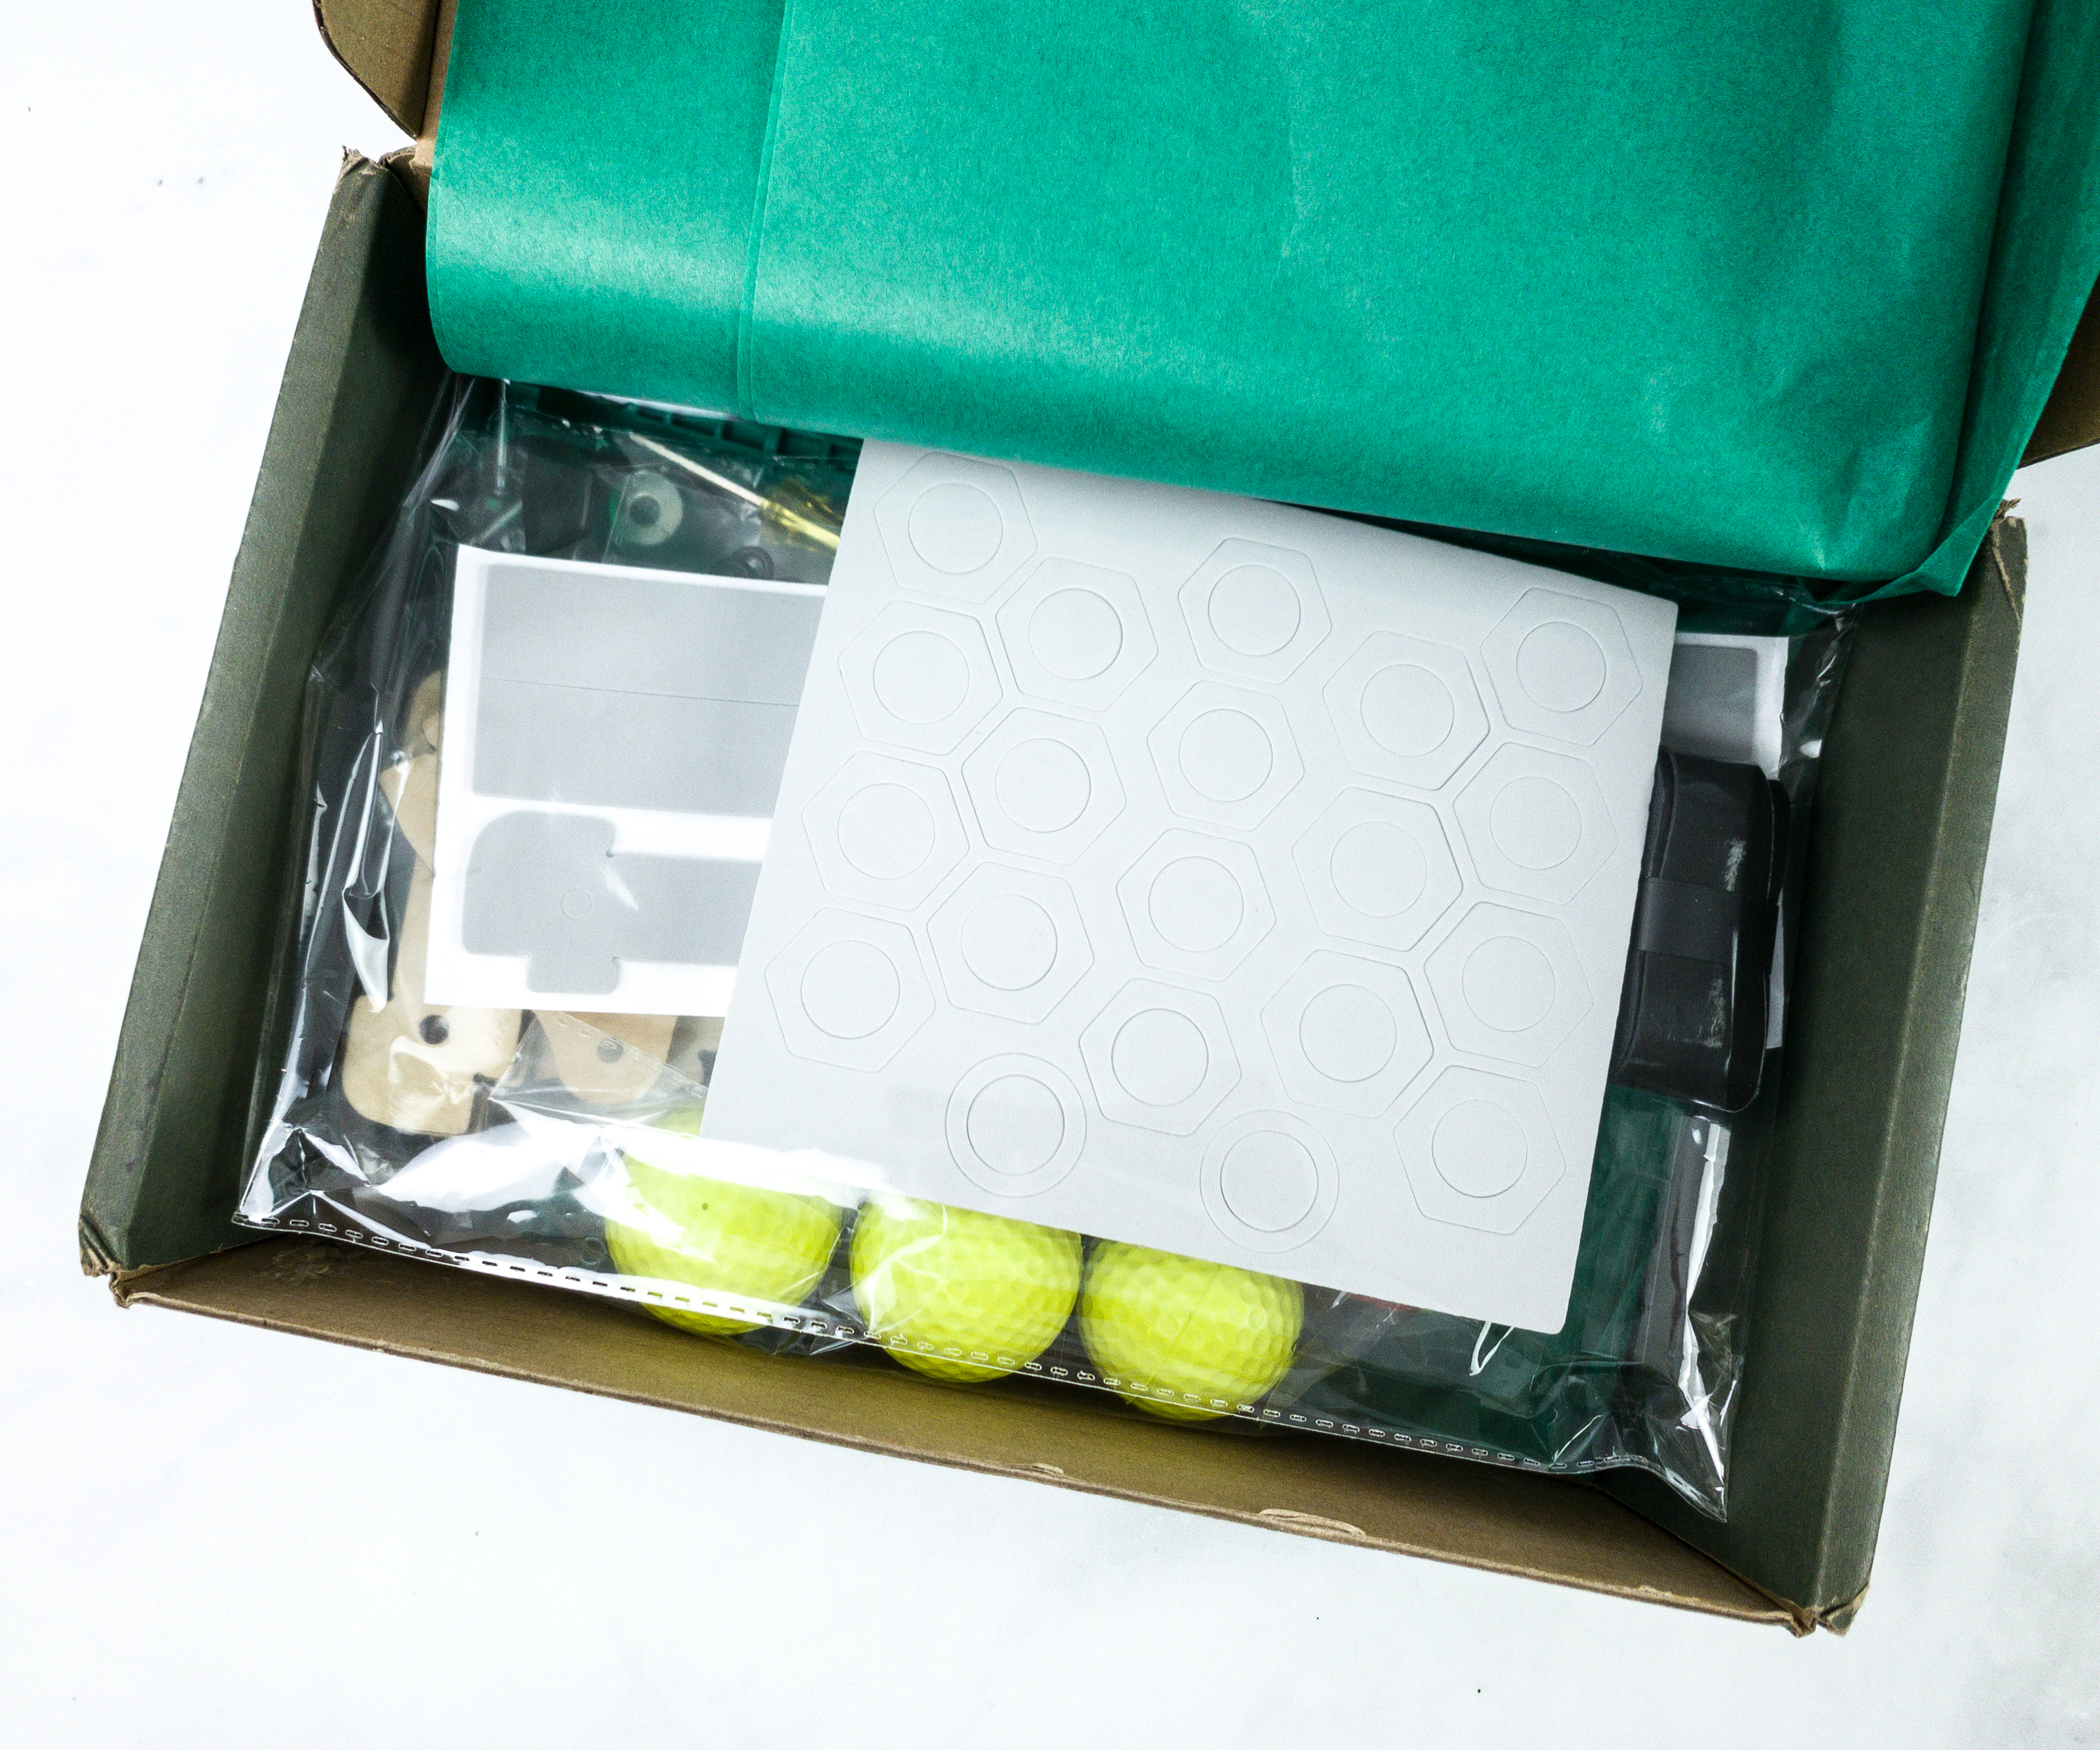
Most of the items inside the box are separately packaged.
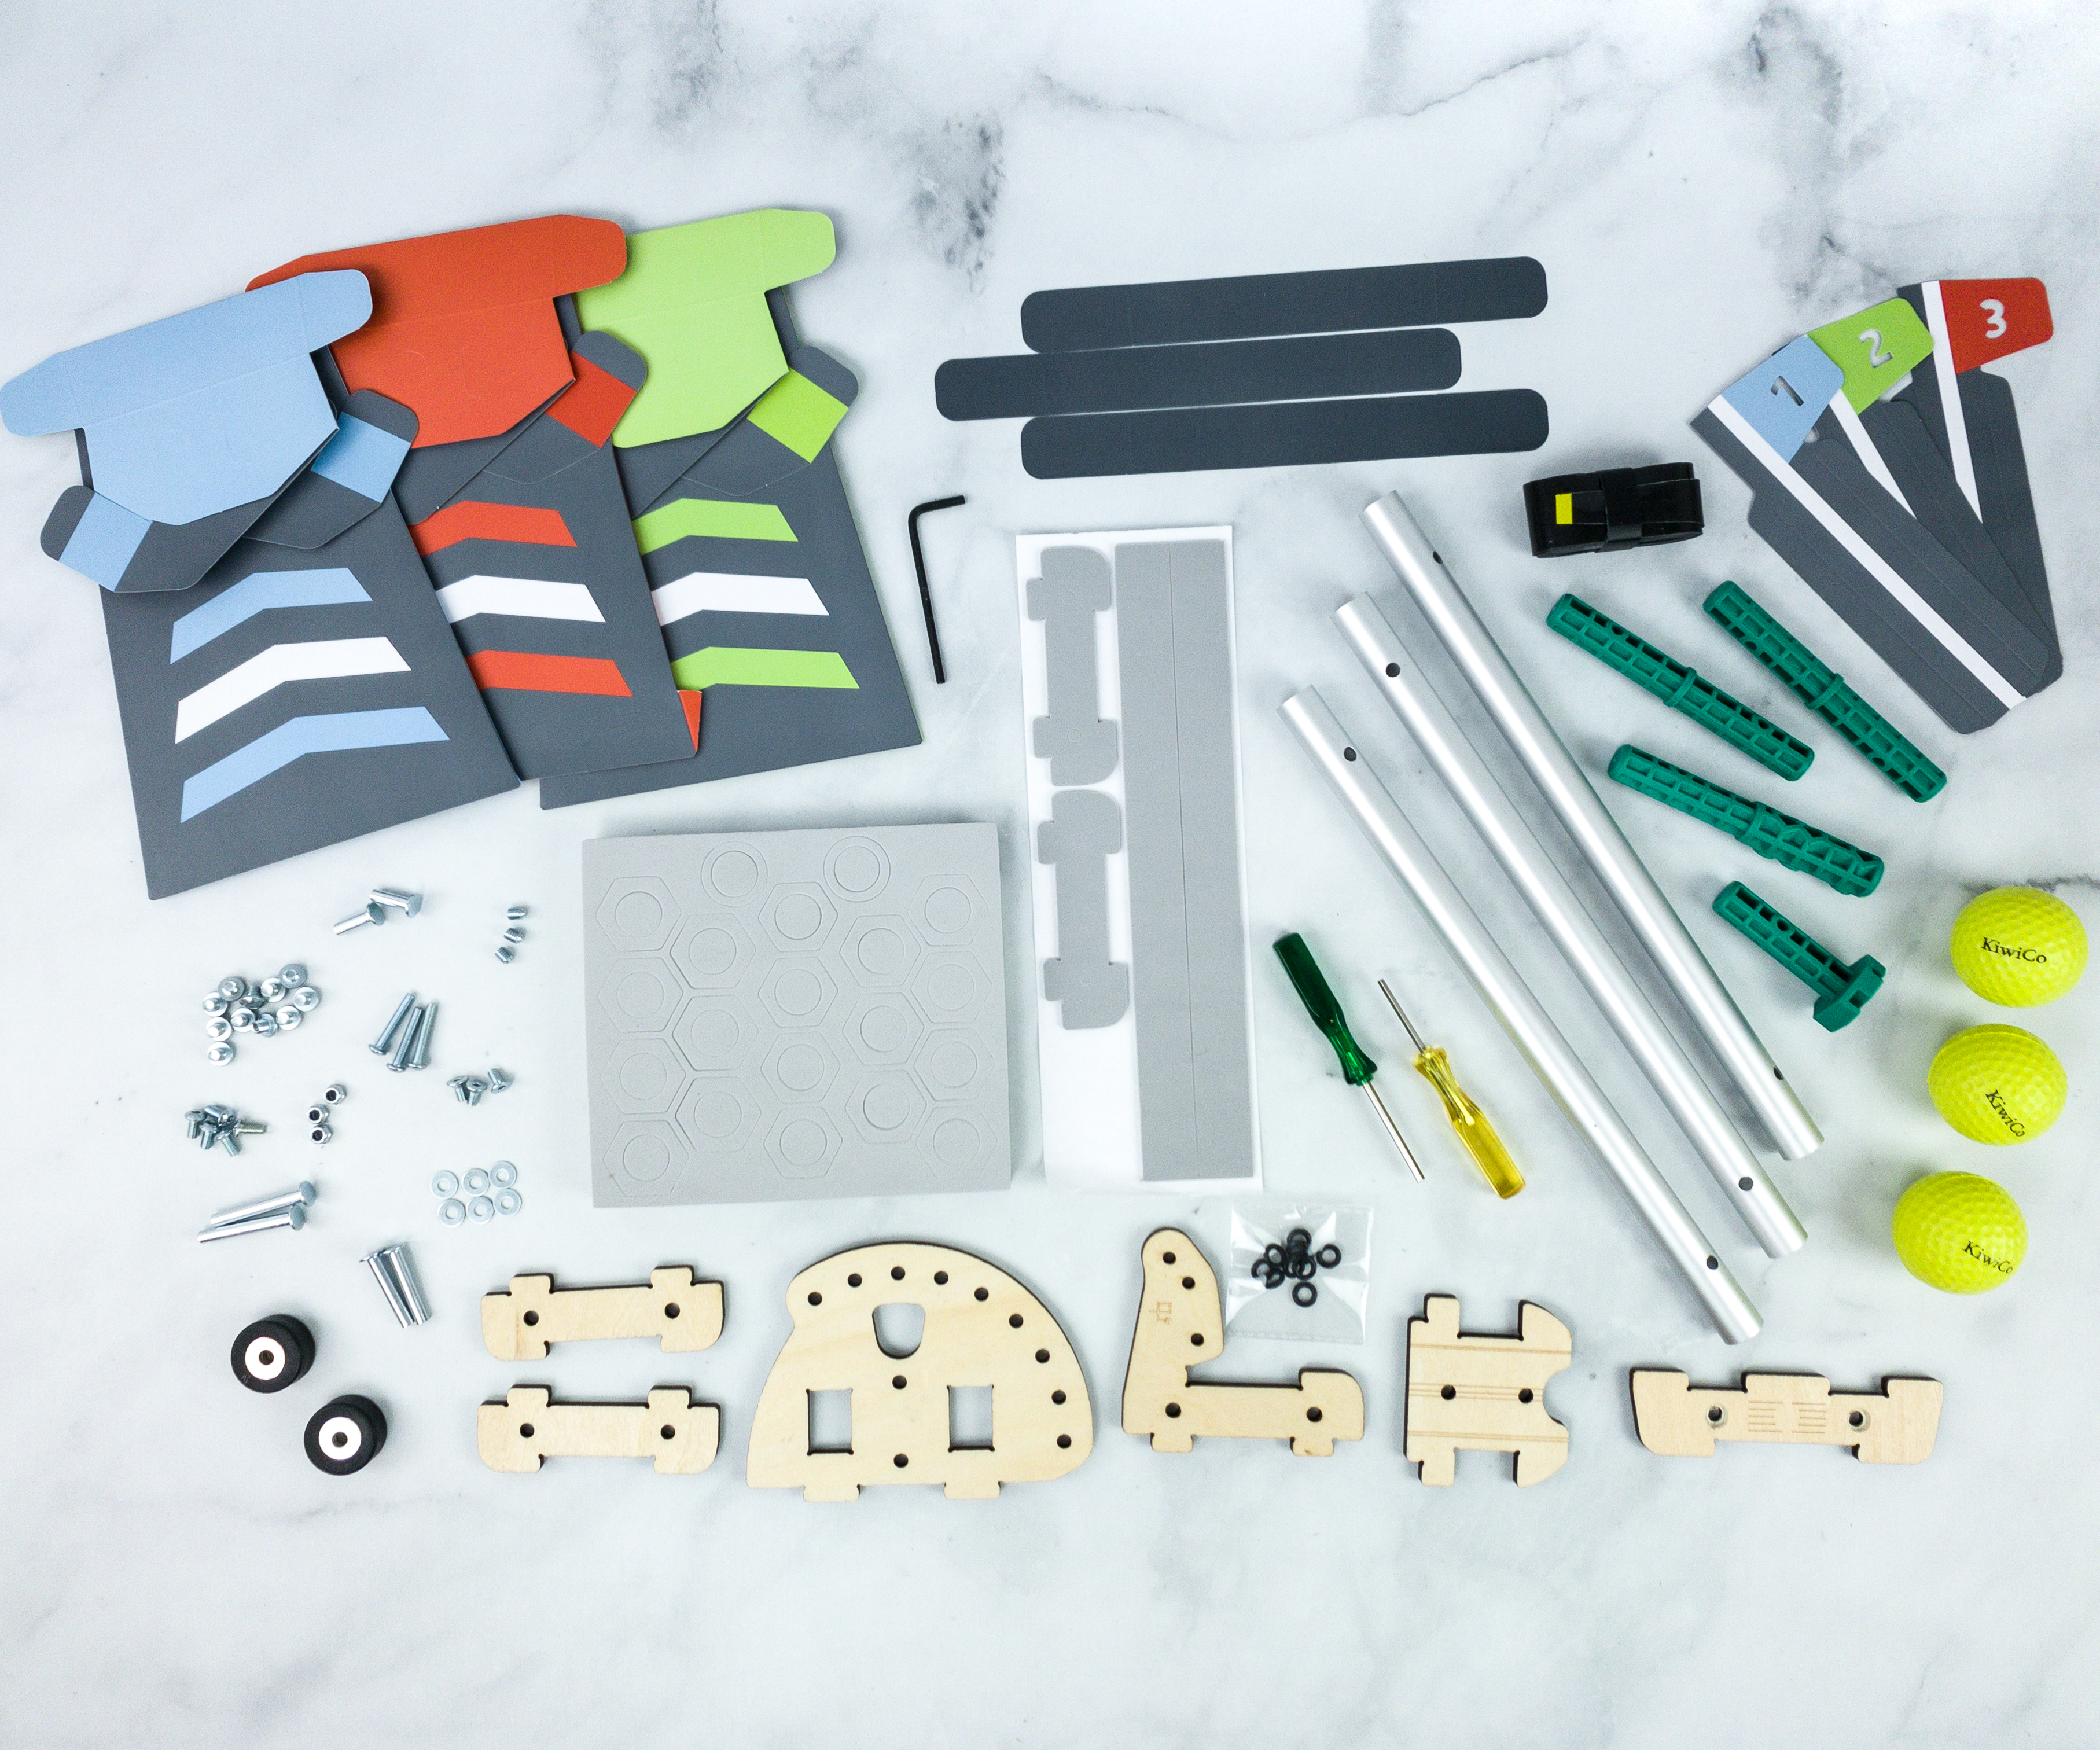
Everything in this month’s box!
Eureka Crate Maker’s Guide
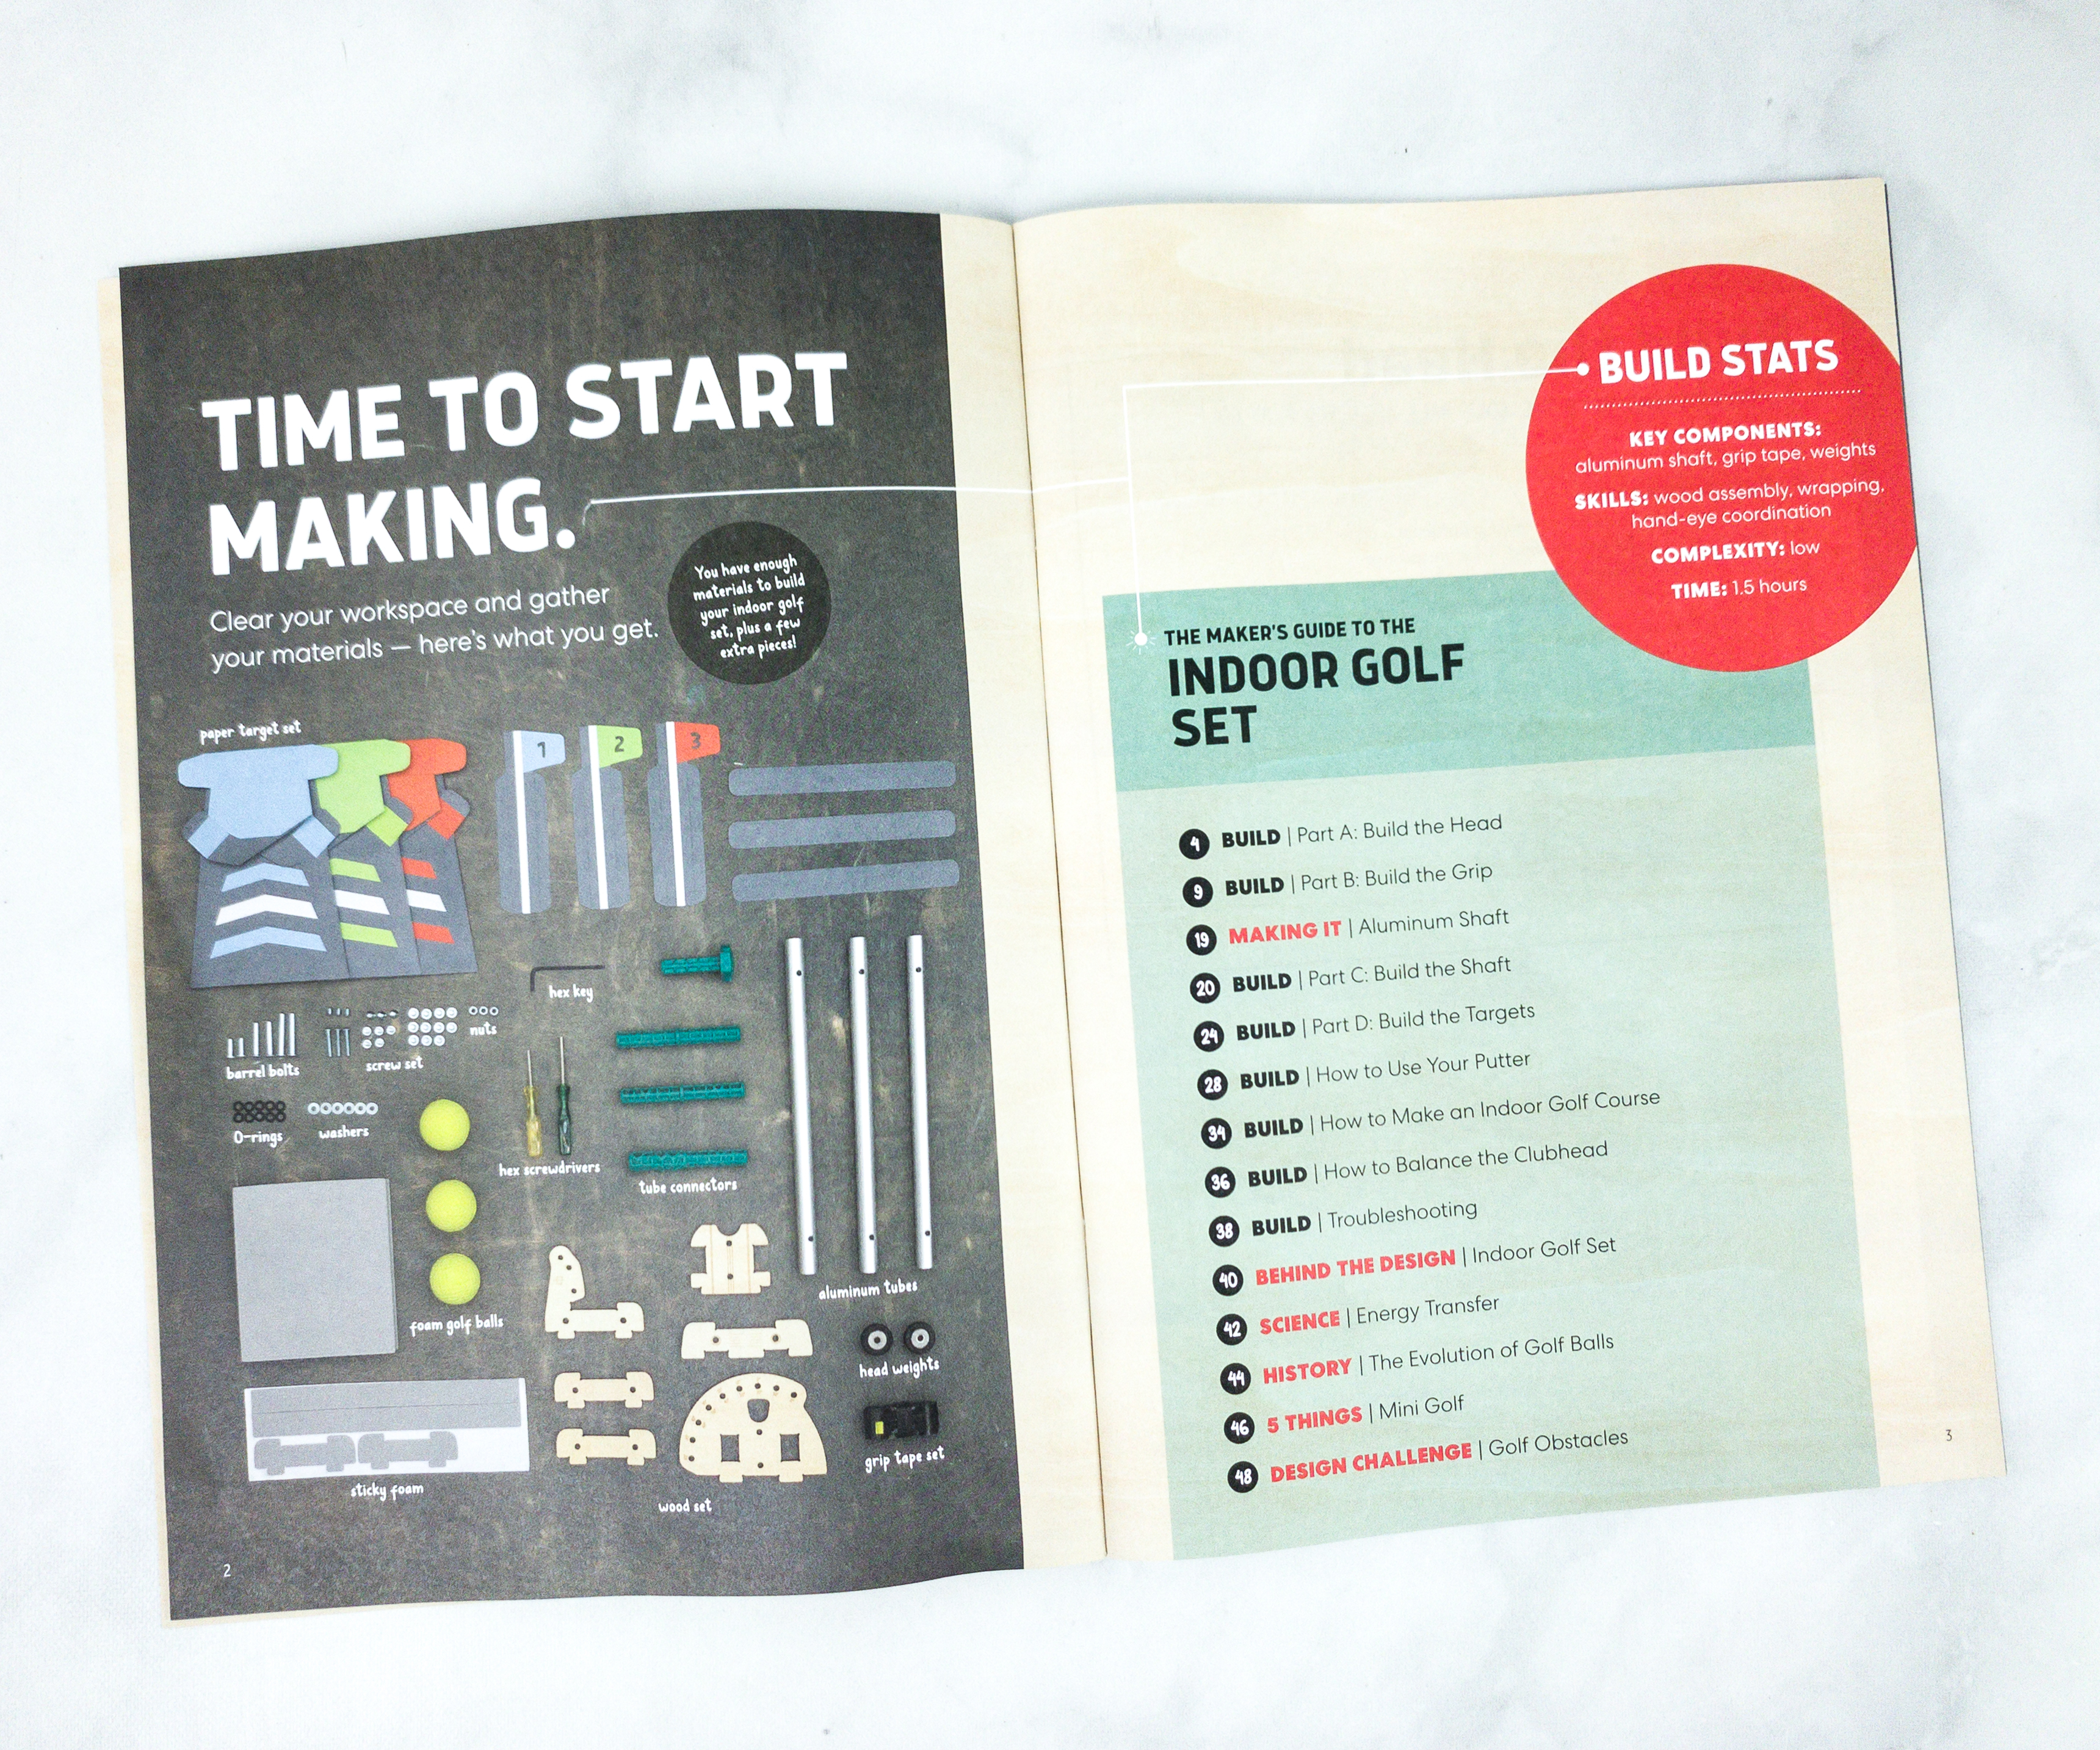
This booklet means business as it jumps right to the activity.
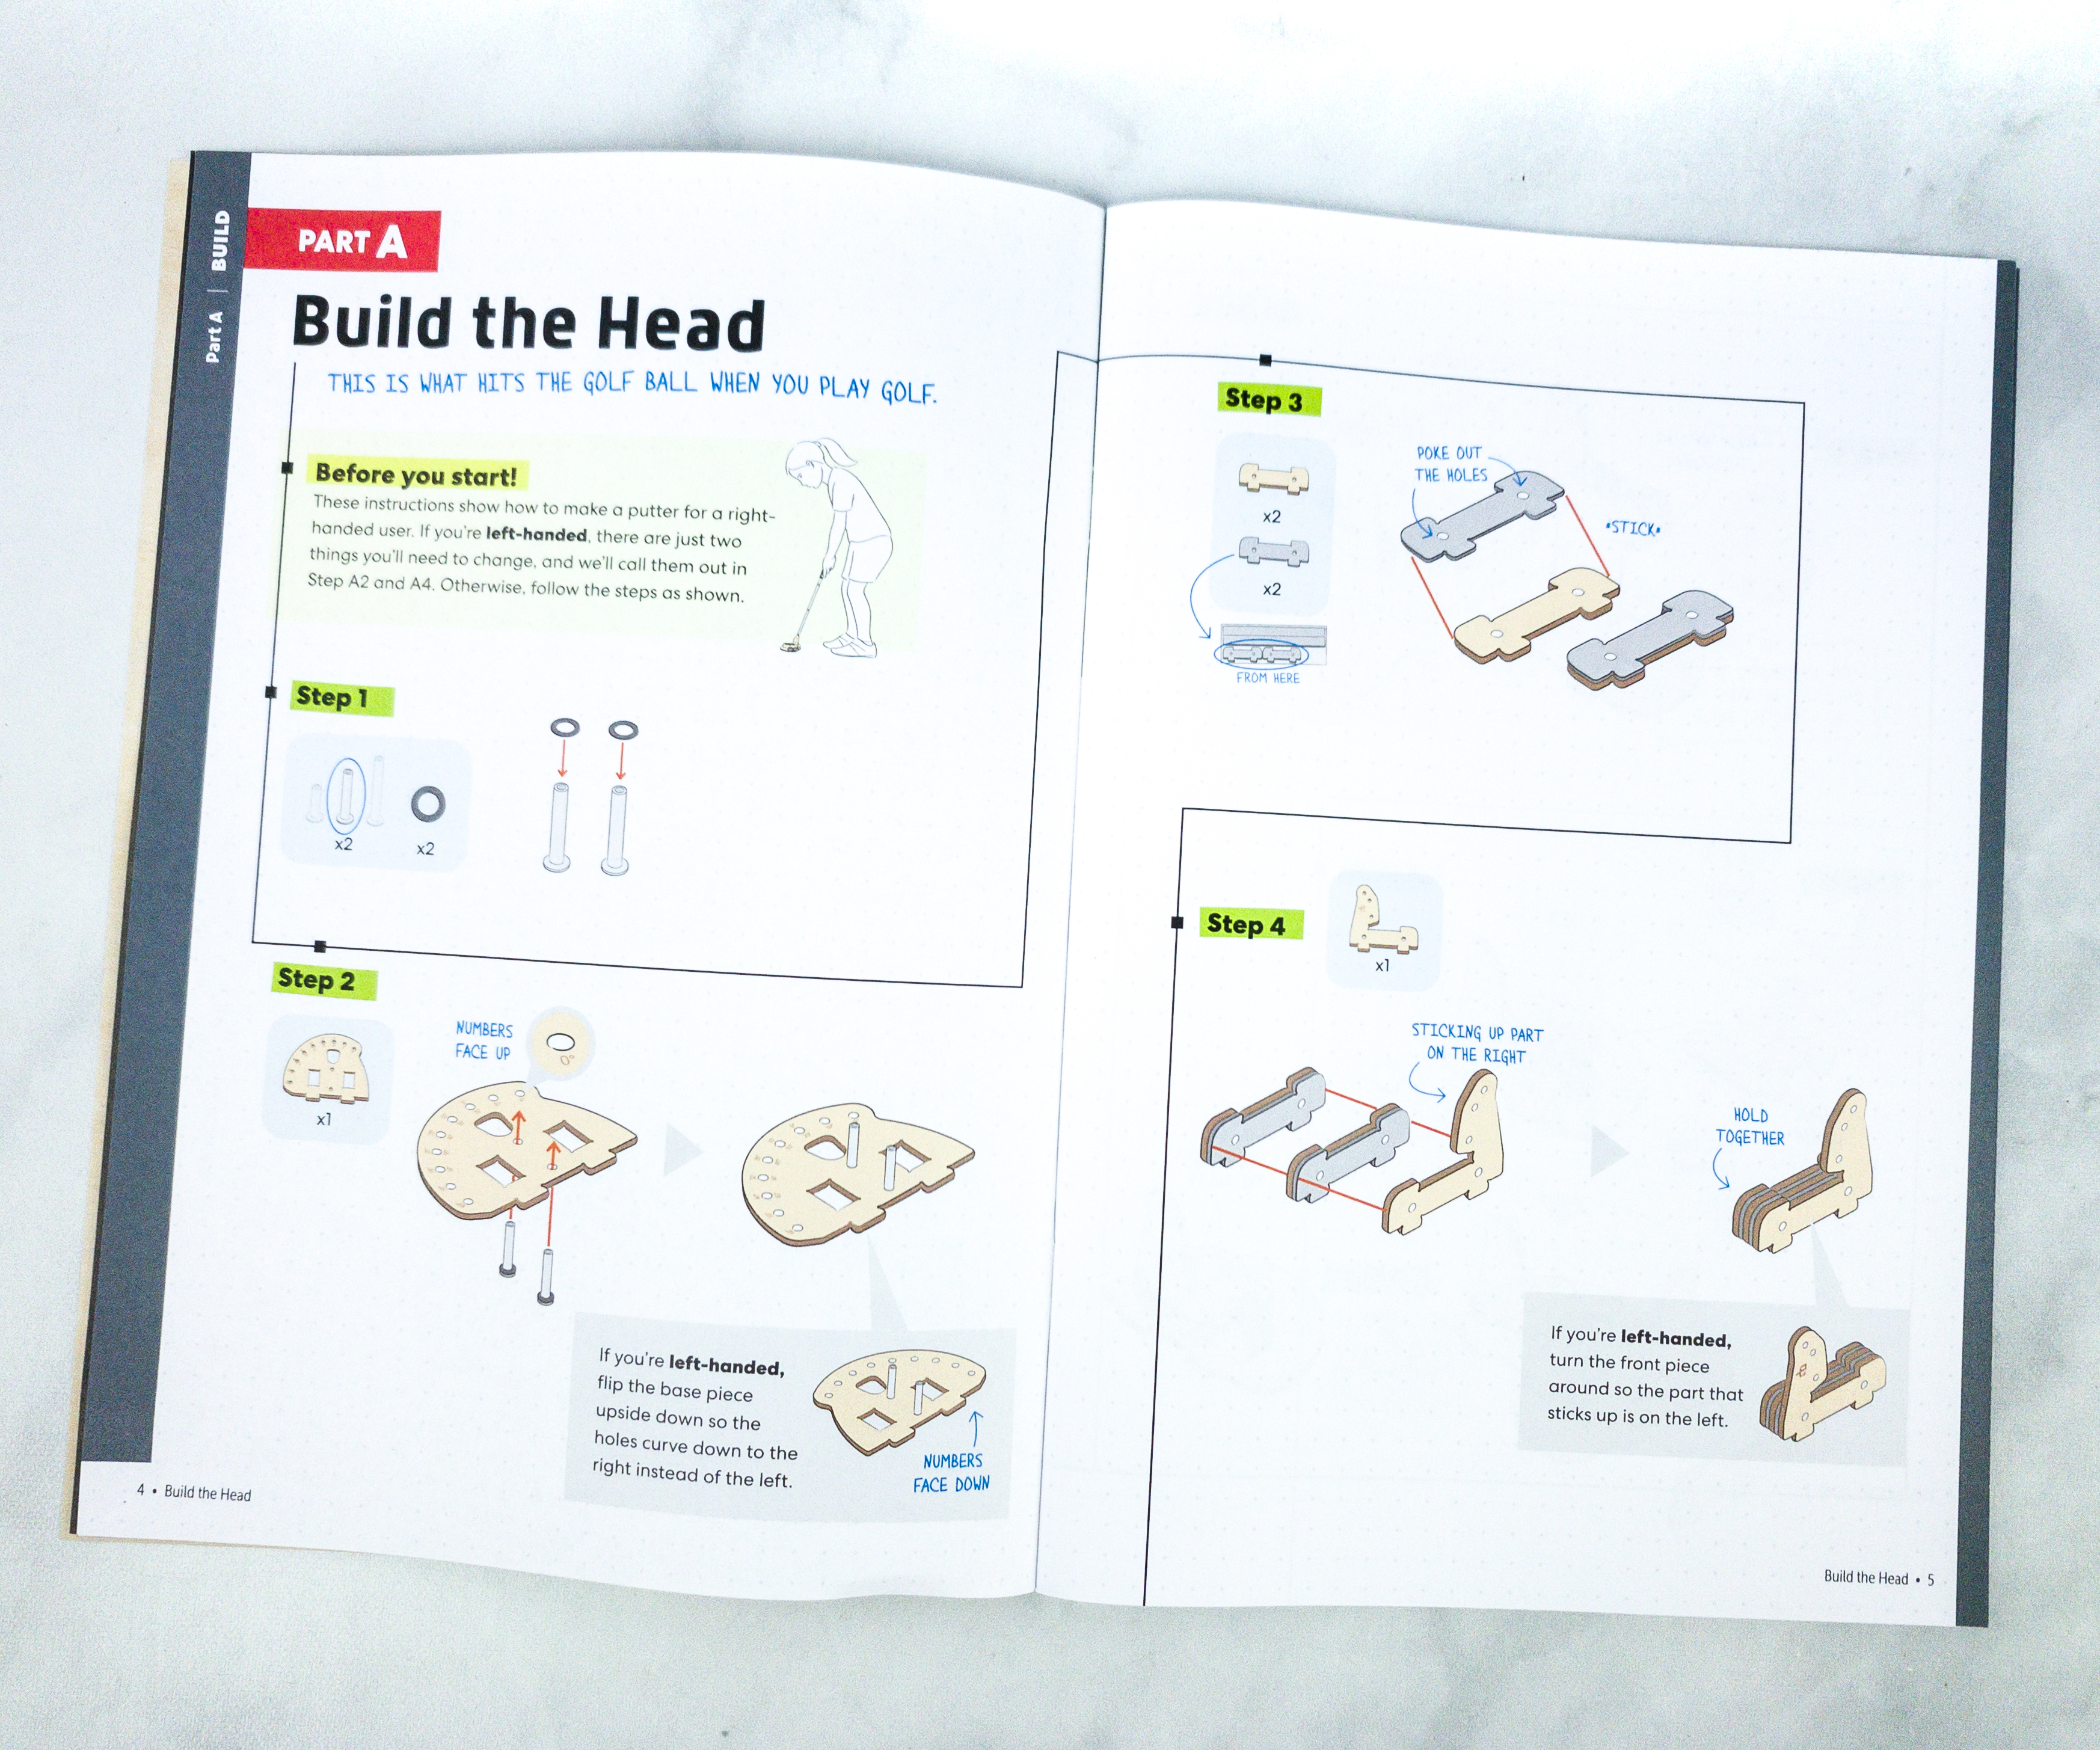
The first part is about building the club head, which will hit the golf ball when you play. You can also change some steps depending on if you’re a right- or left-handed user.
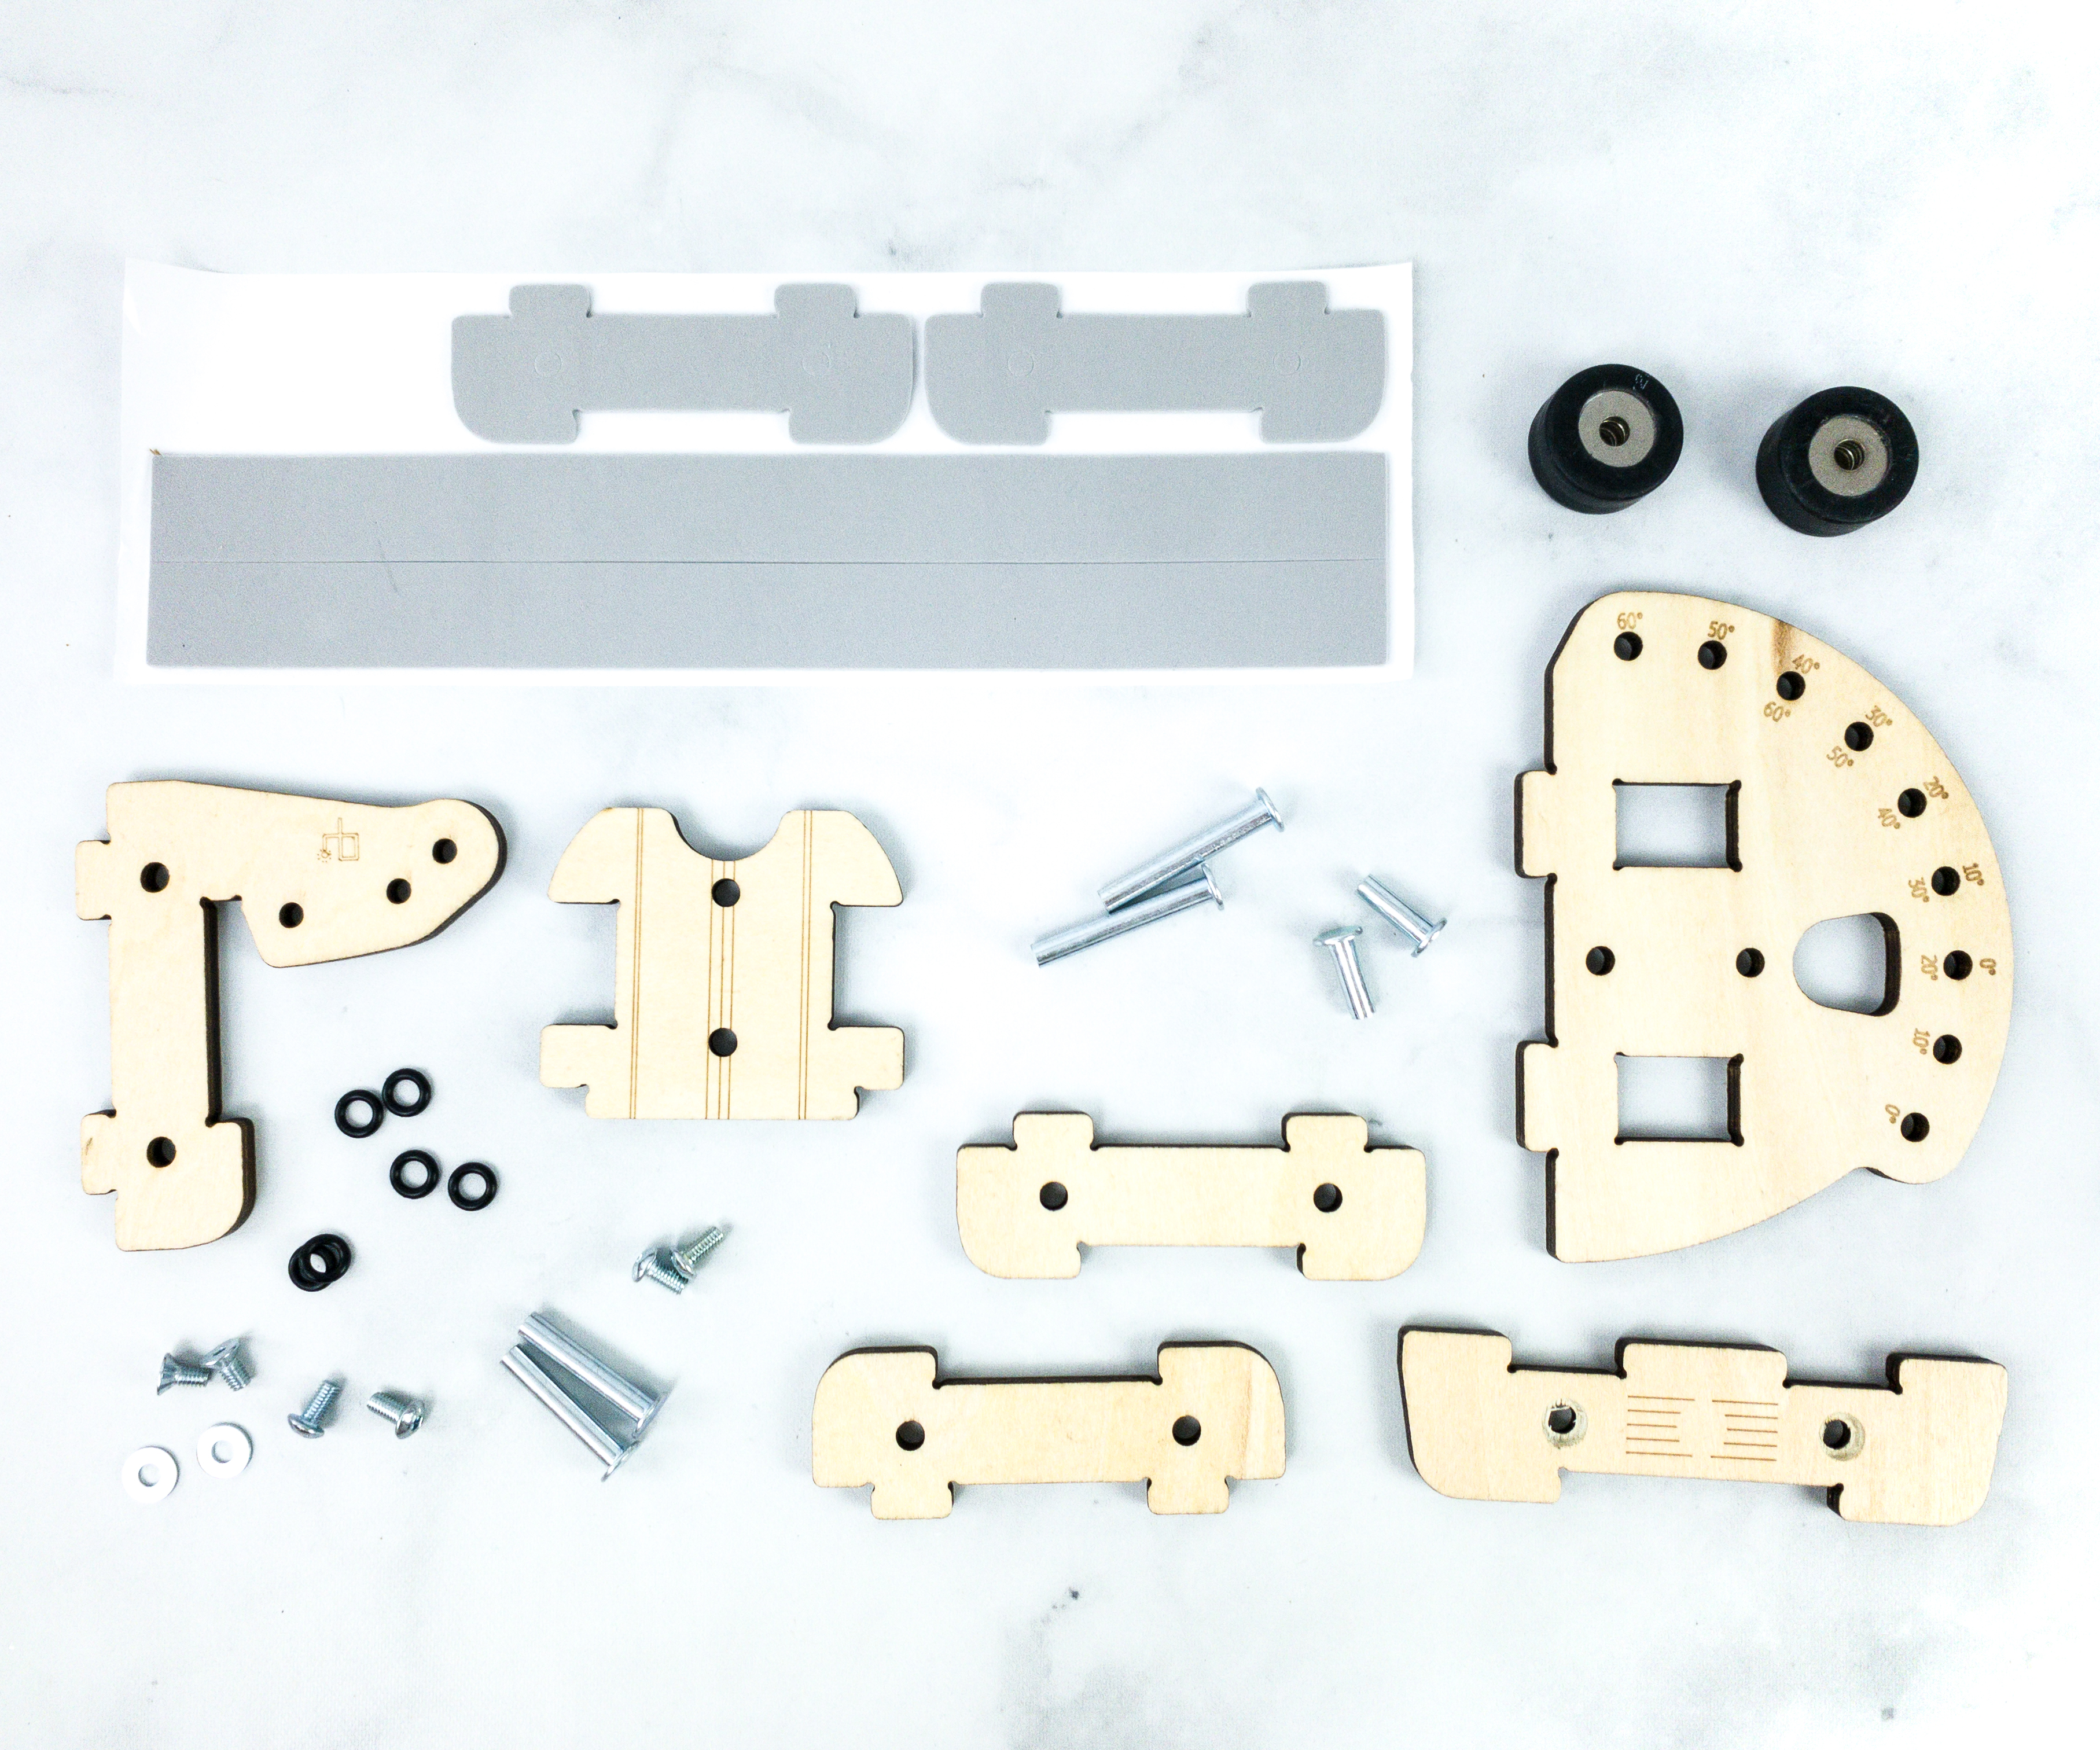
For this part, we used some of the wooden pieces from the wood set, washers, screw set, o-rings, barrel bolts, and head weights. Some of the parts look similar so it’s better to separate them first according to size and shape to avoid confusion.
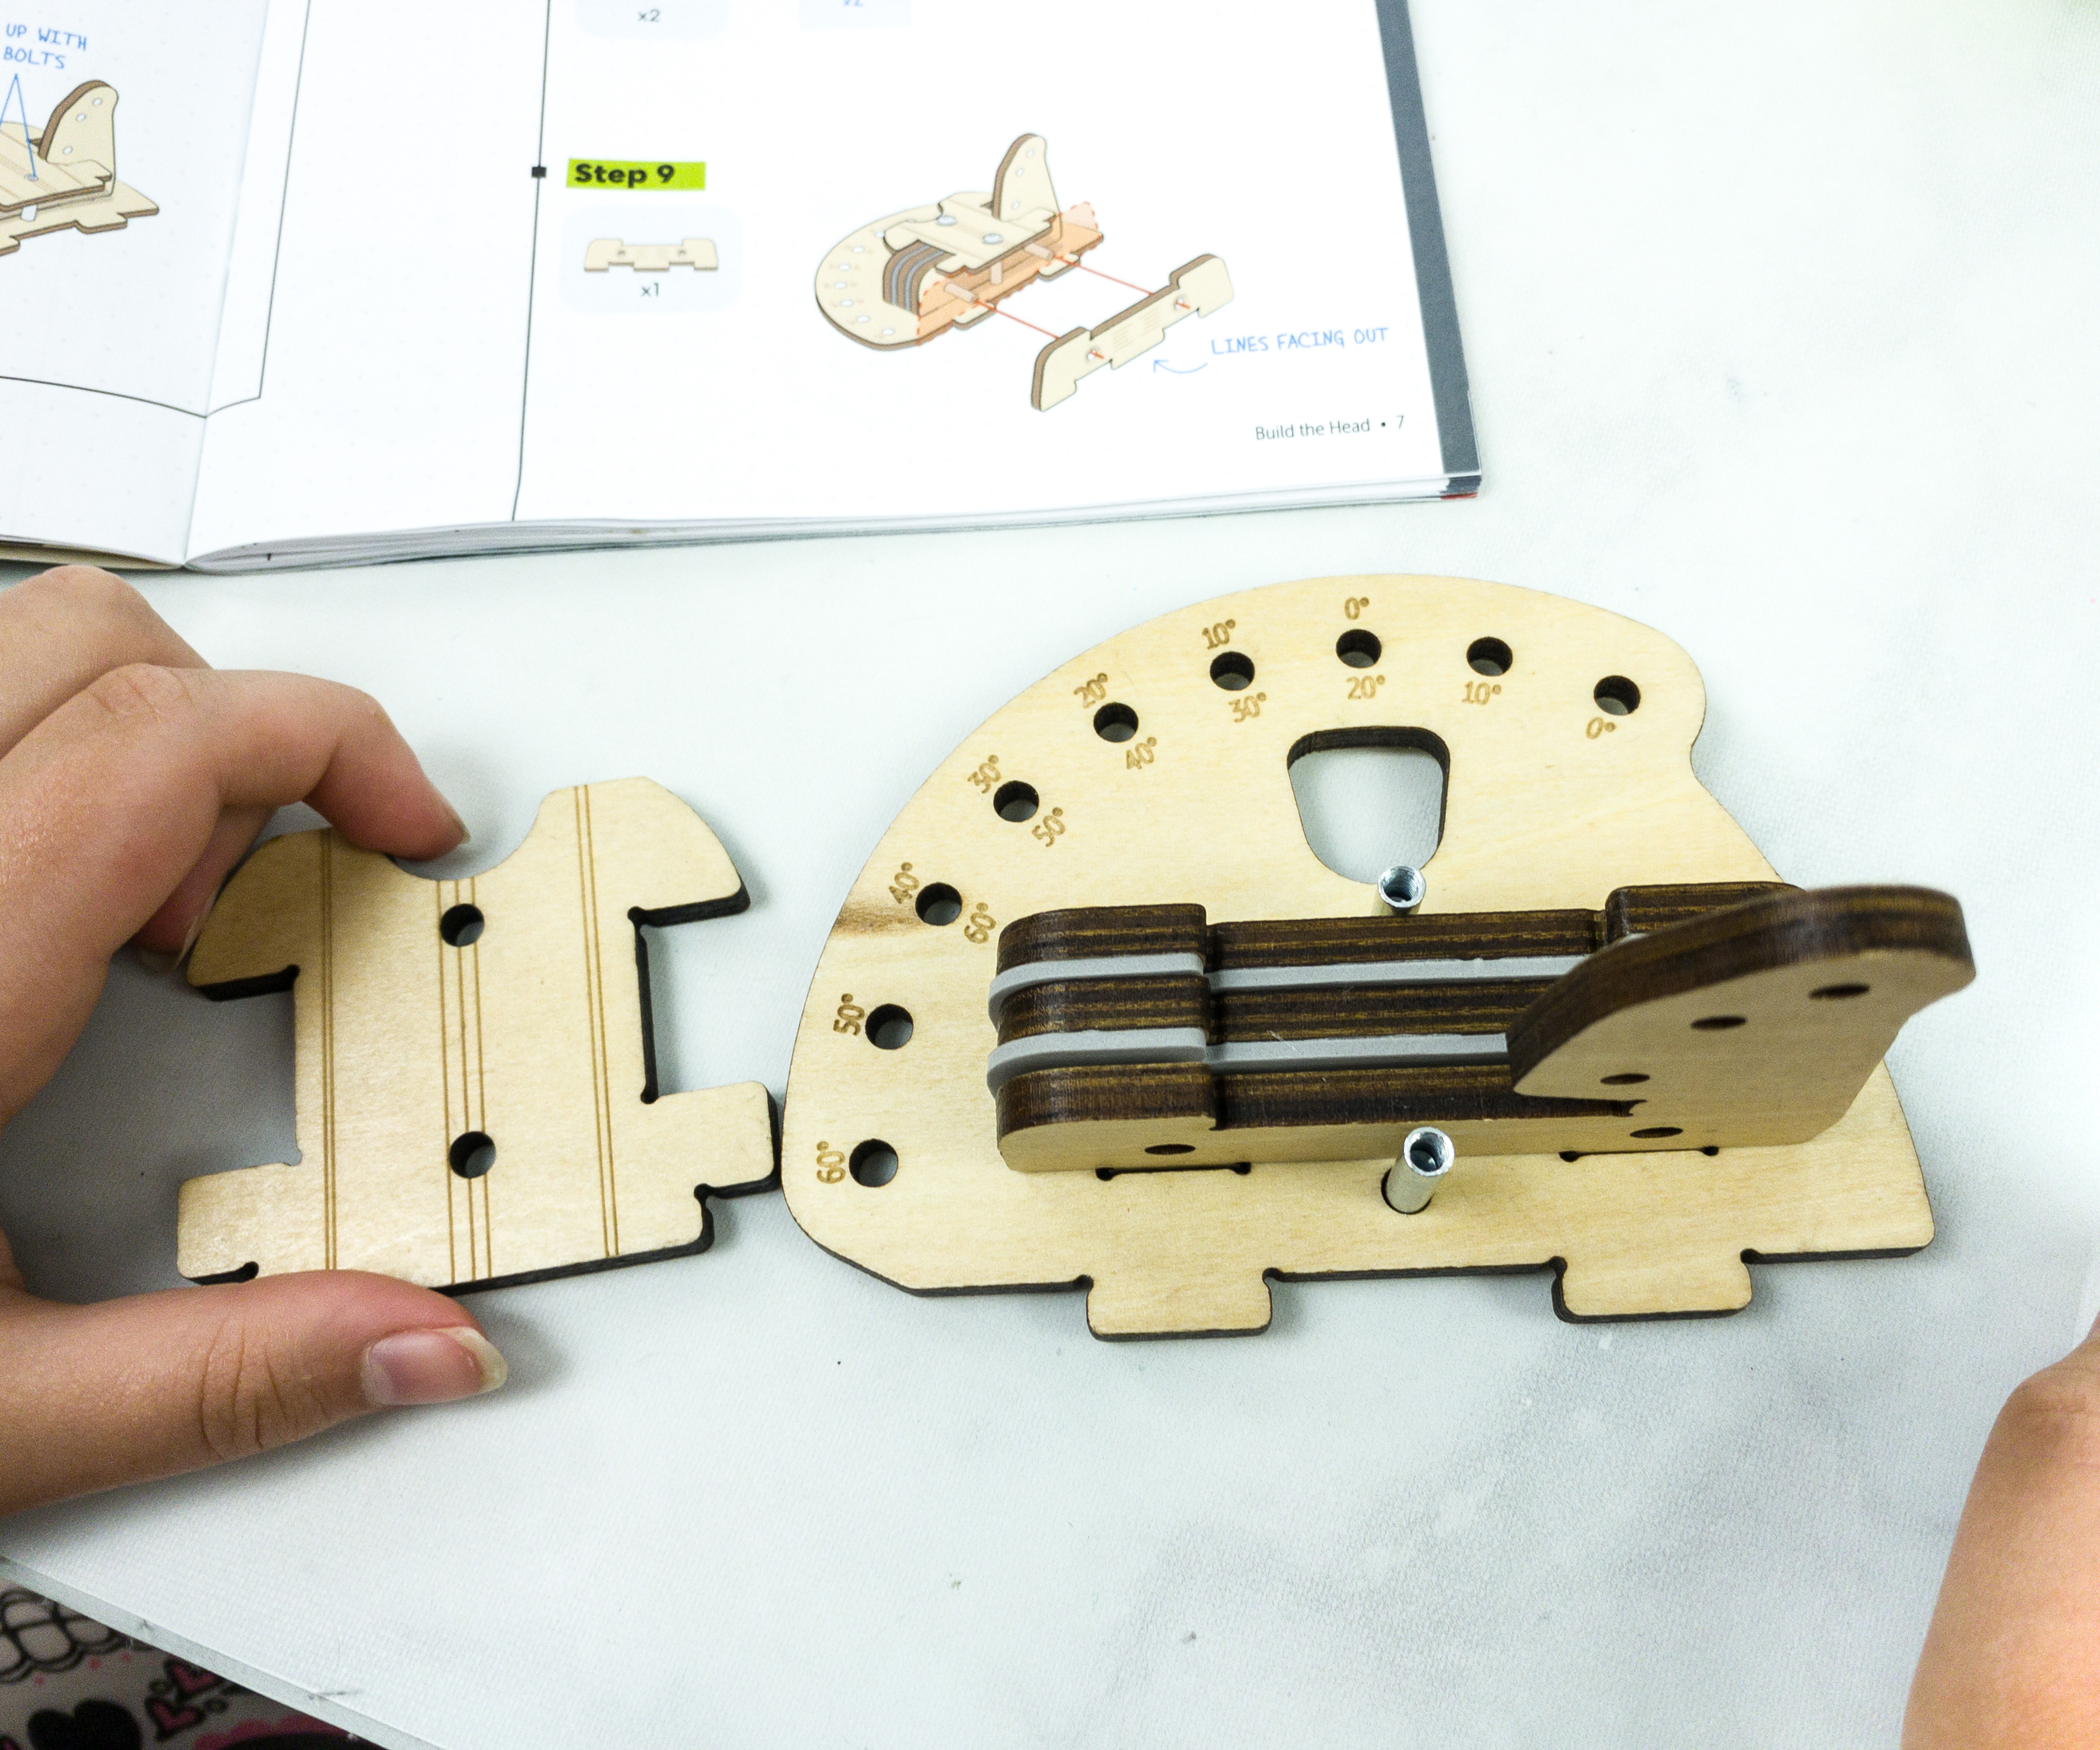
Here, my daughter is almost done with the head and she just needs to attach the wood piece and the head weights.
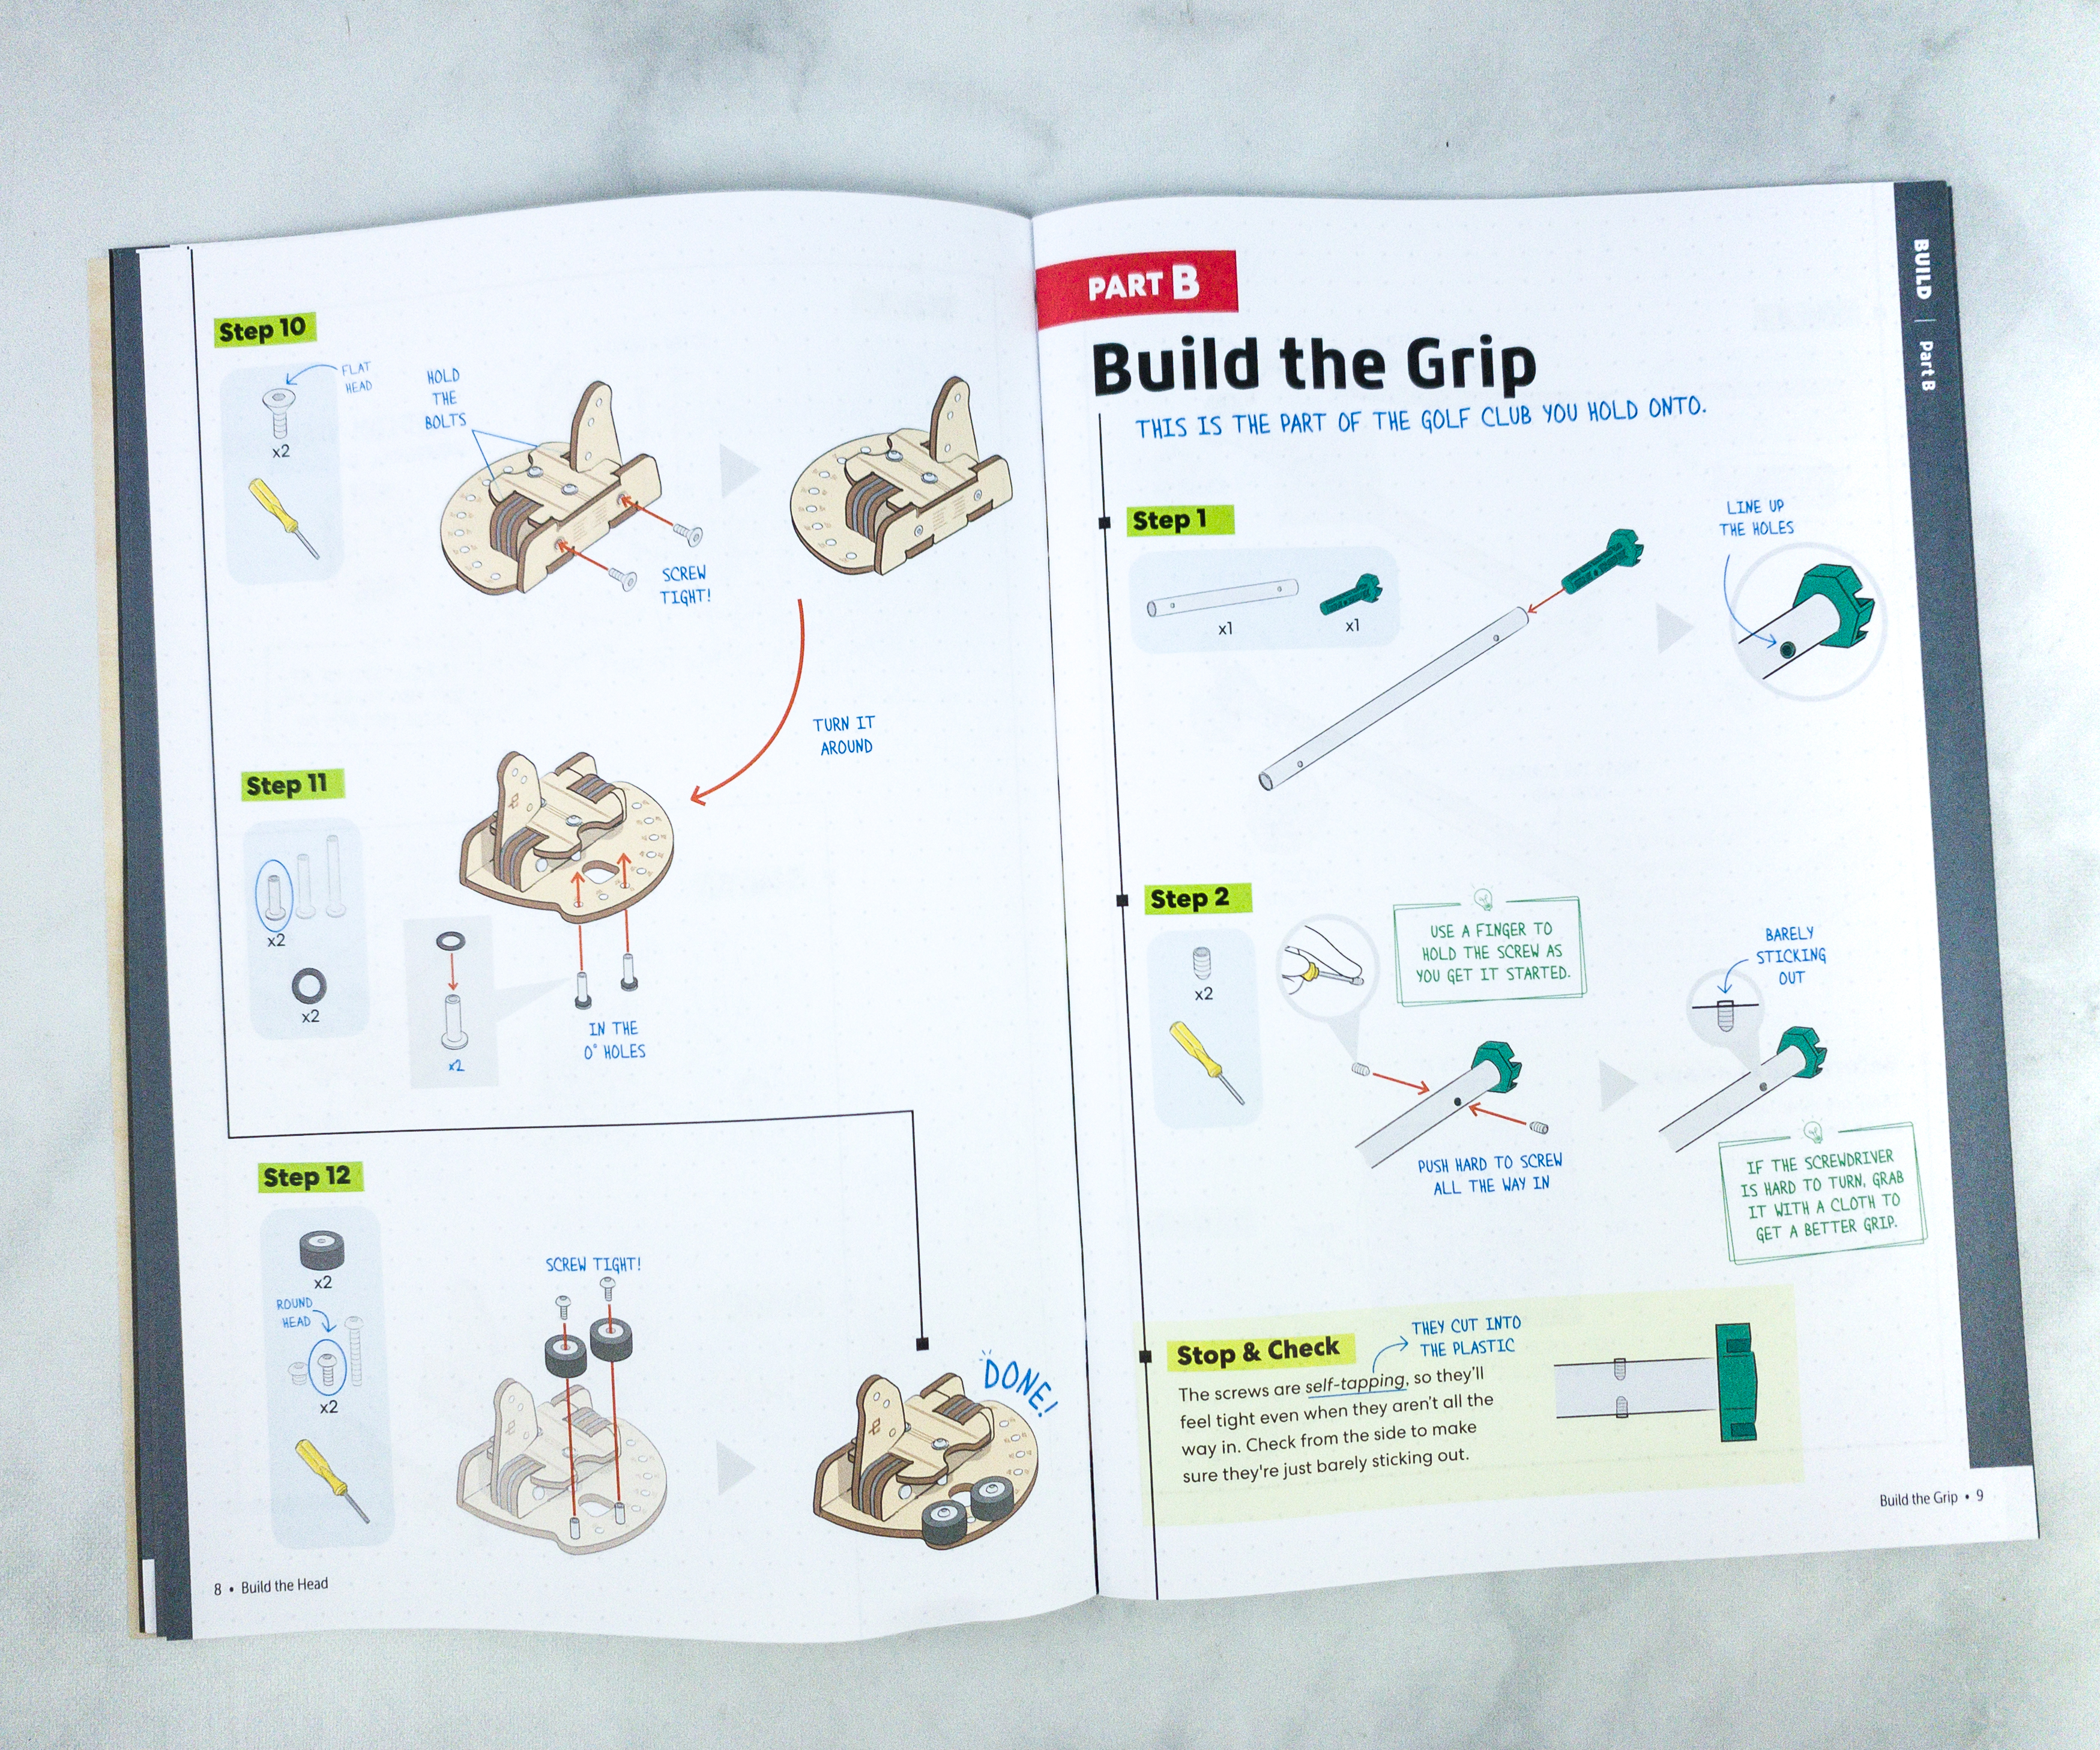
For the second part of the project, we built the golf club’s grip. This is the part of the golf club that the player will be holding.
Every now and then, there’s a stop and check reminder so you can be sure that you’re doing the right thing.
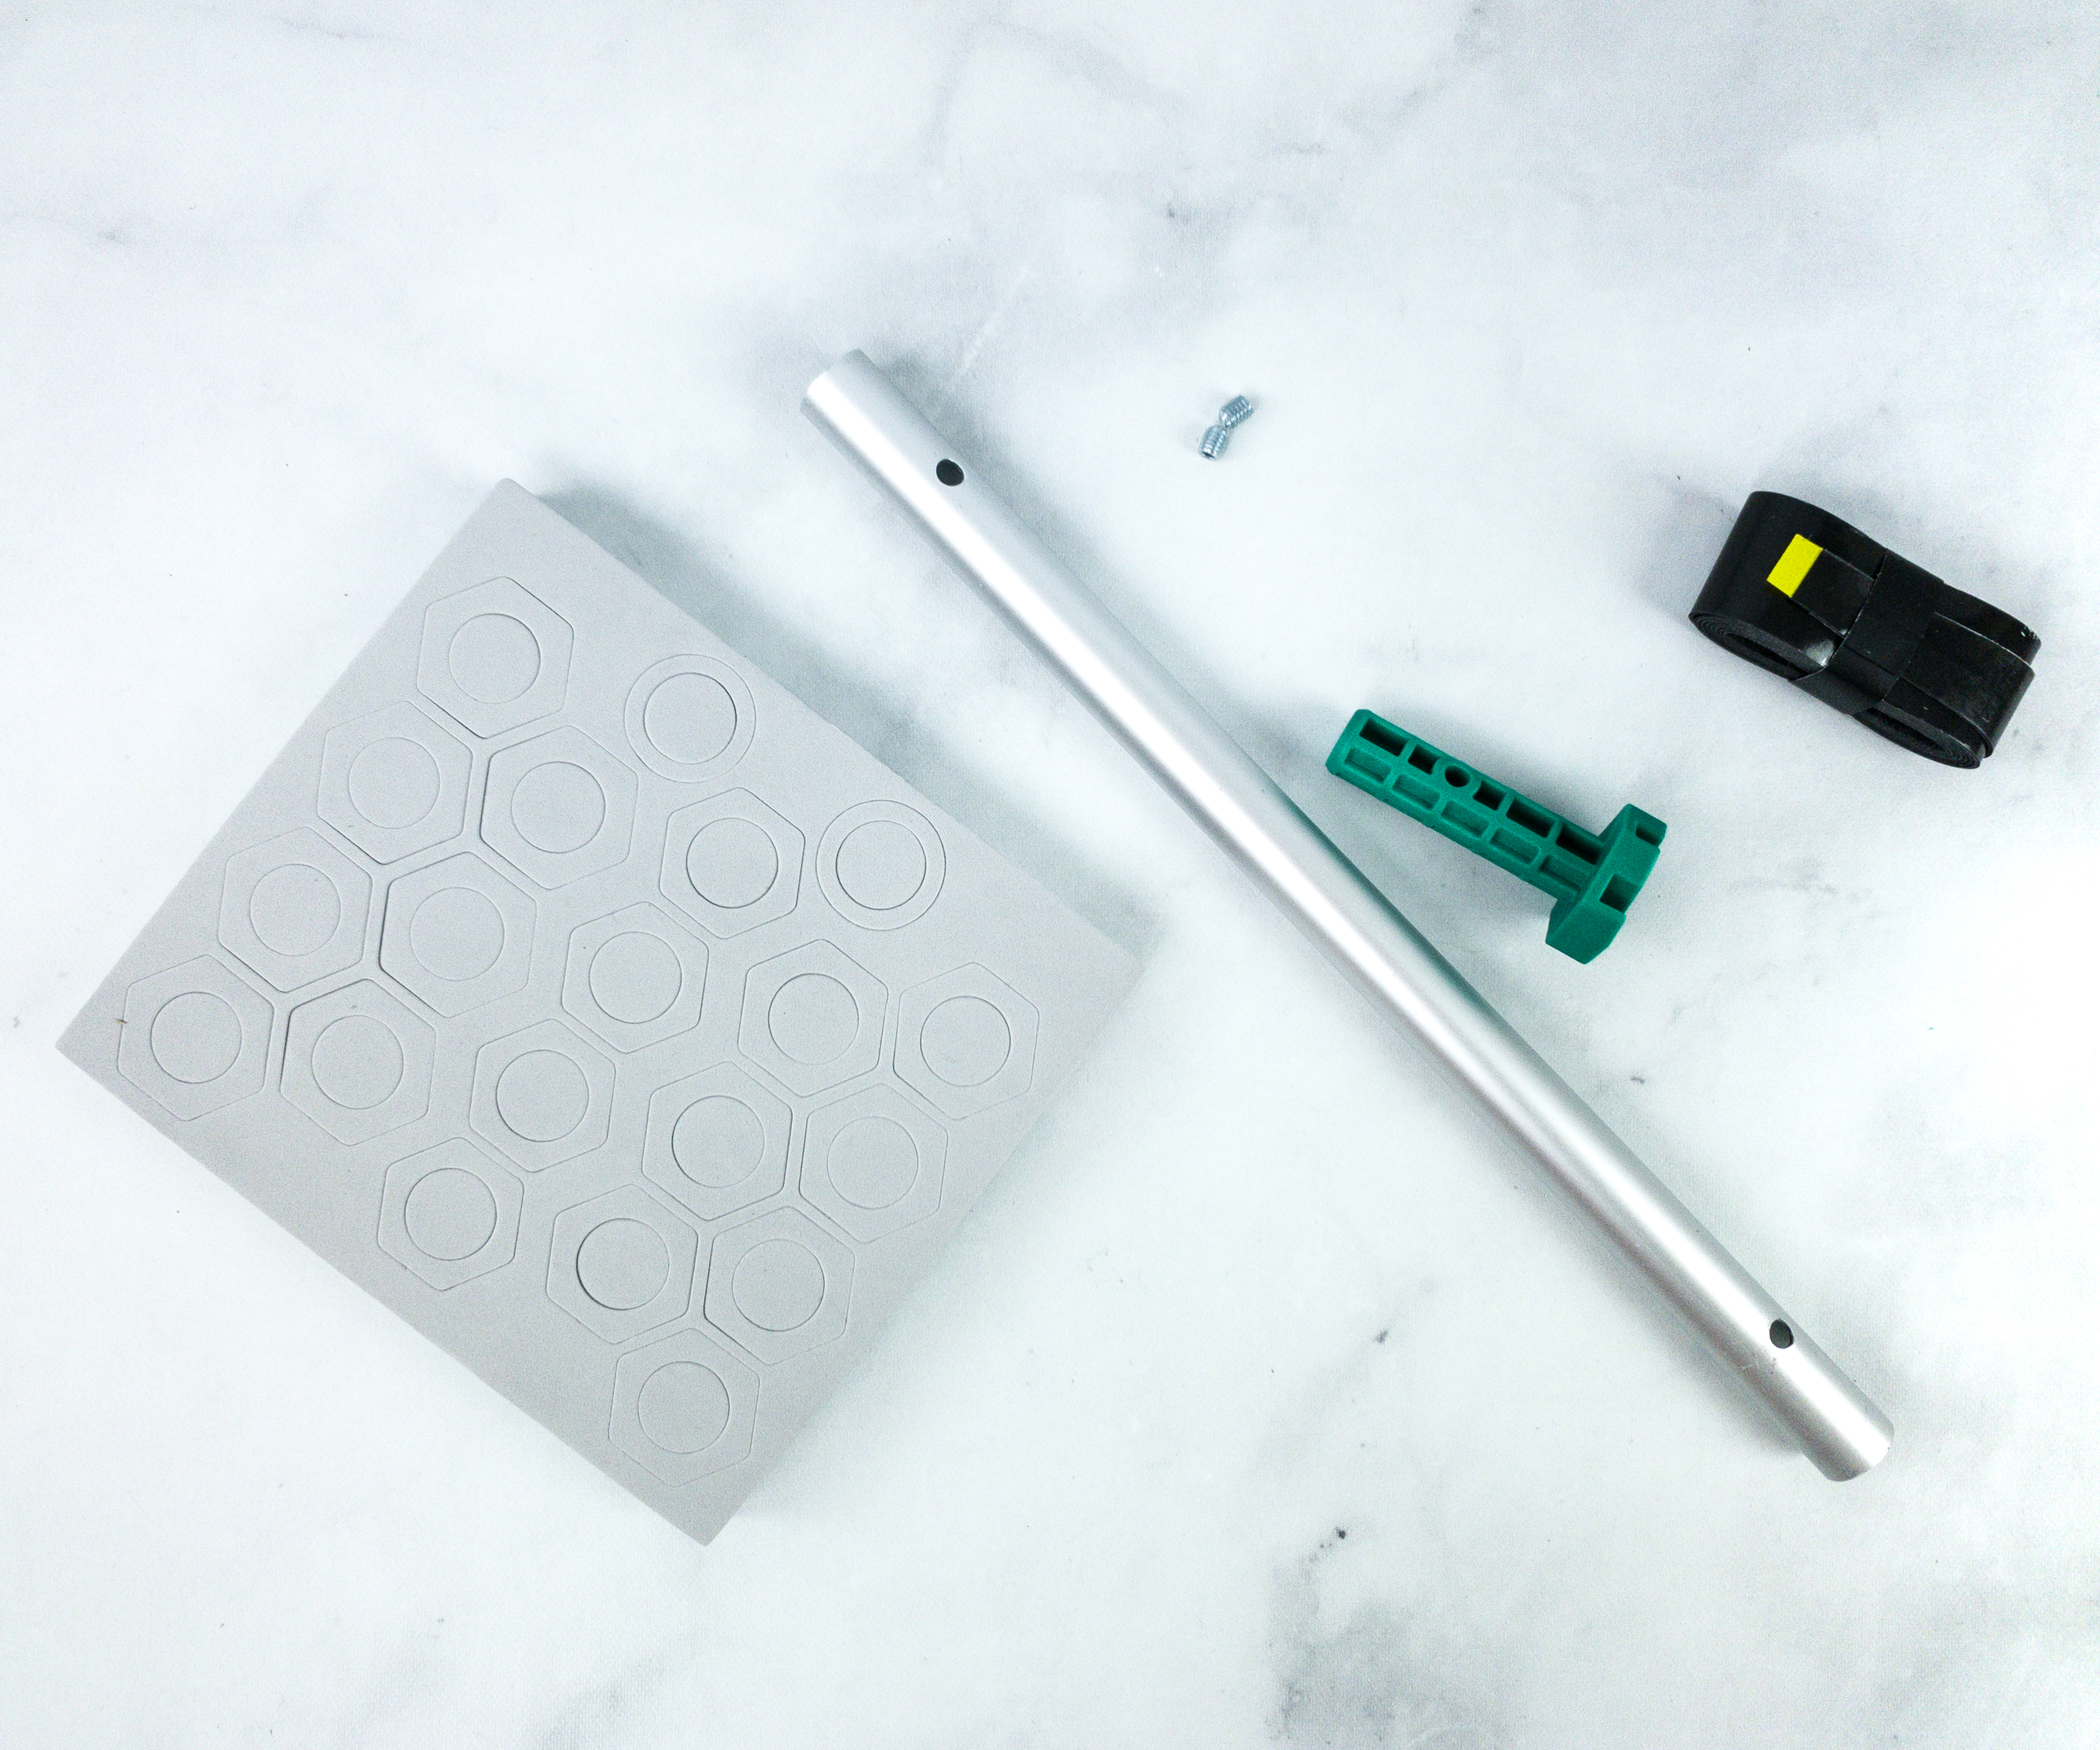
For this part, we used the sticky foam, aluminum tubes, tube connectors, barrel bolts, and the grip tape set.
The first step is to screw the aluminum tub and connector together. It’s a good thing that the booklet also explains some steps further, and it shows the correct assembly so that we can check every once in a while.
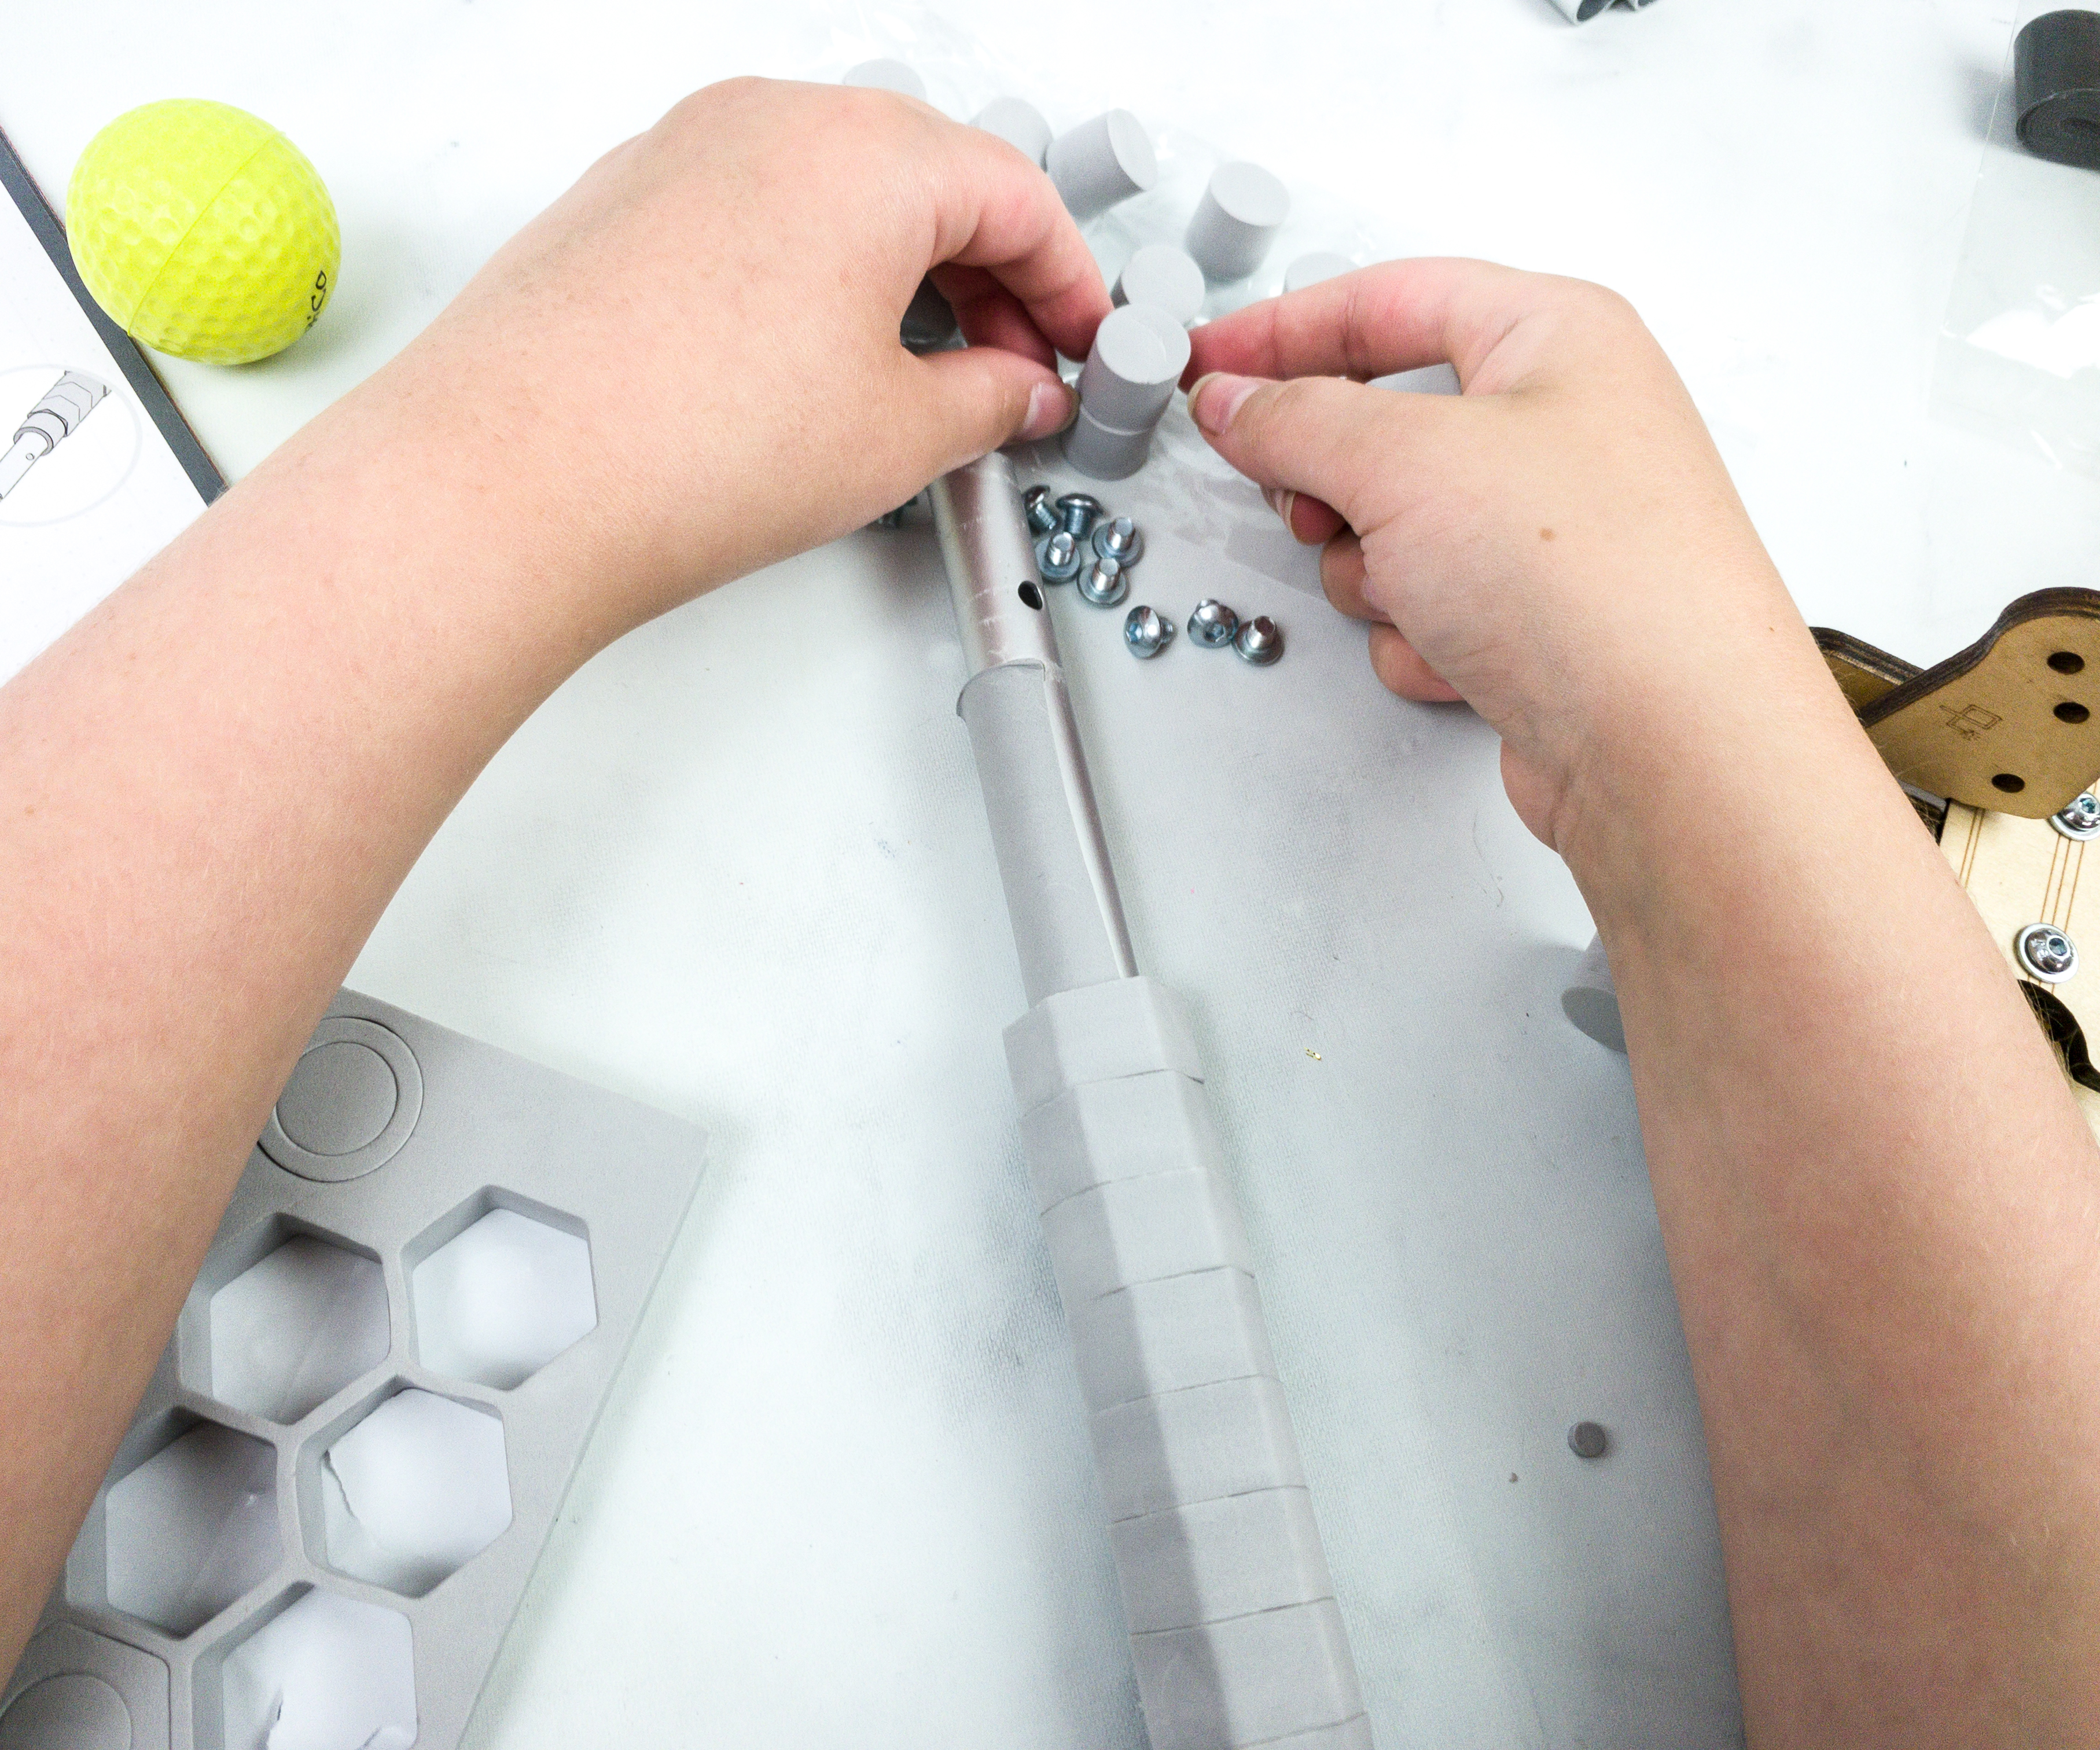
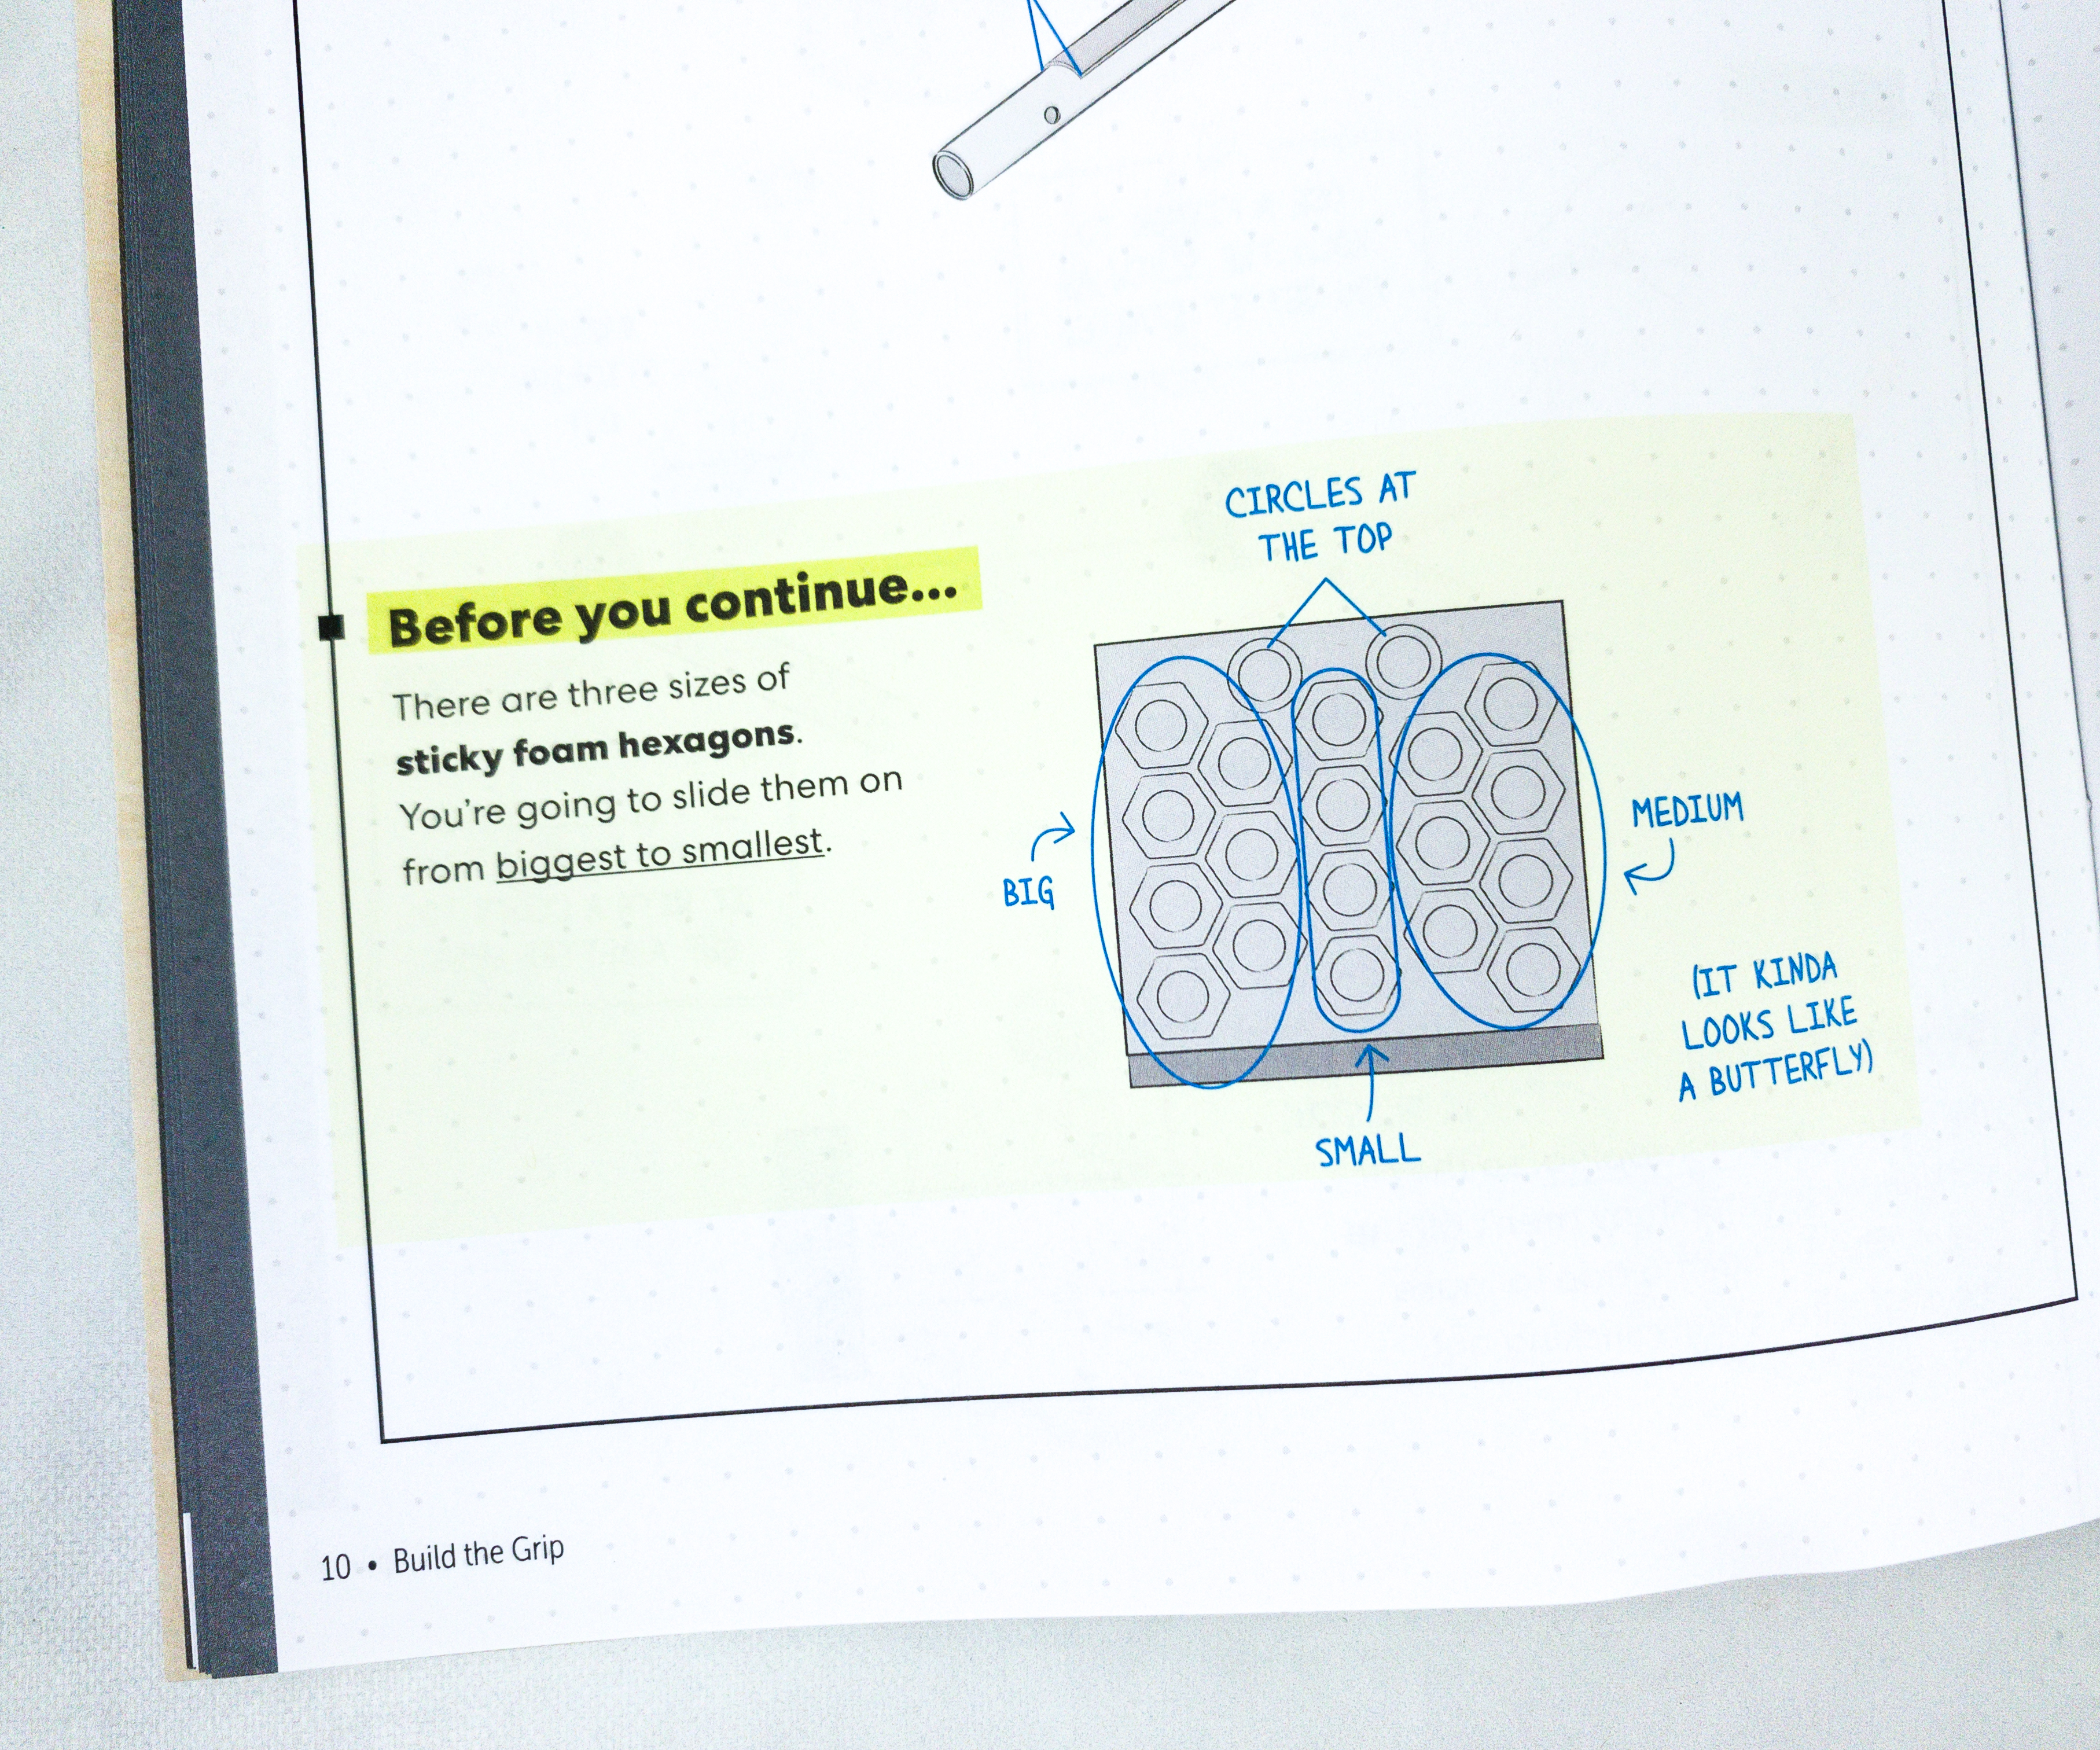
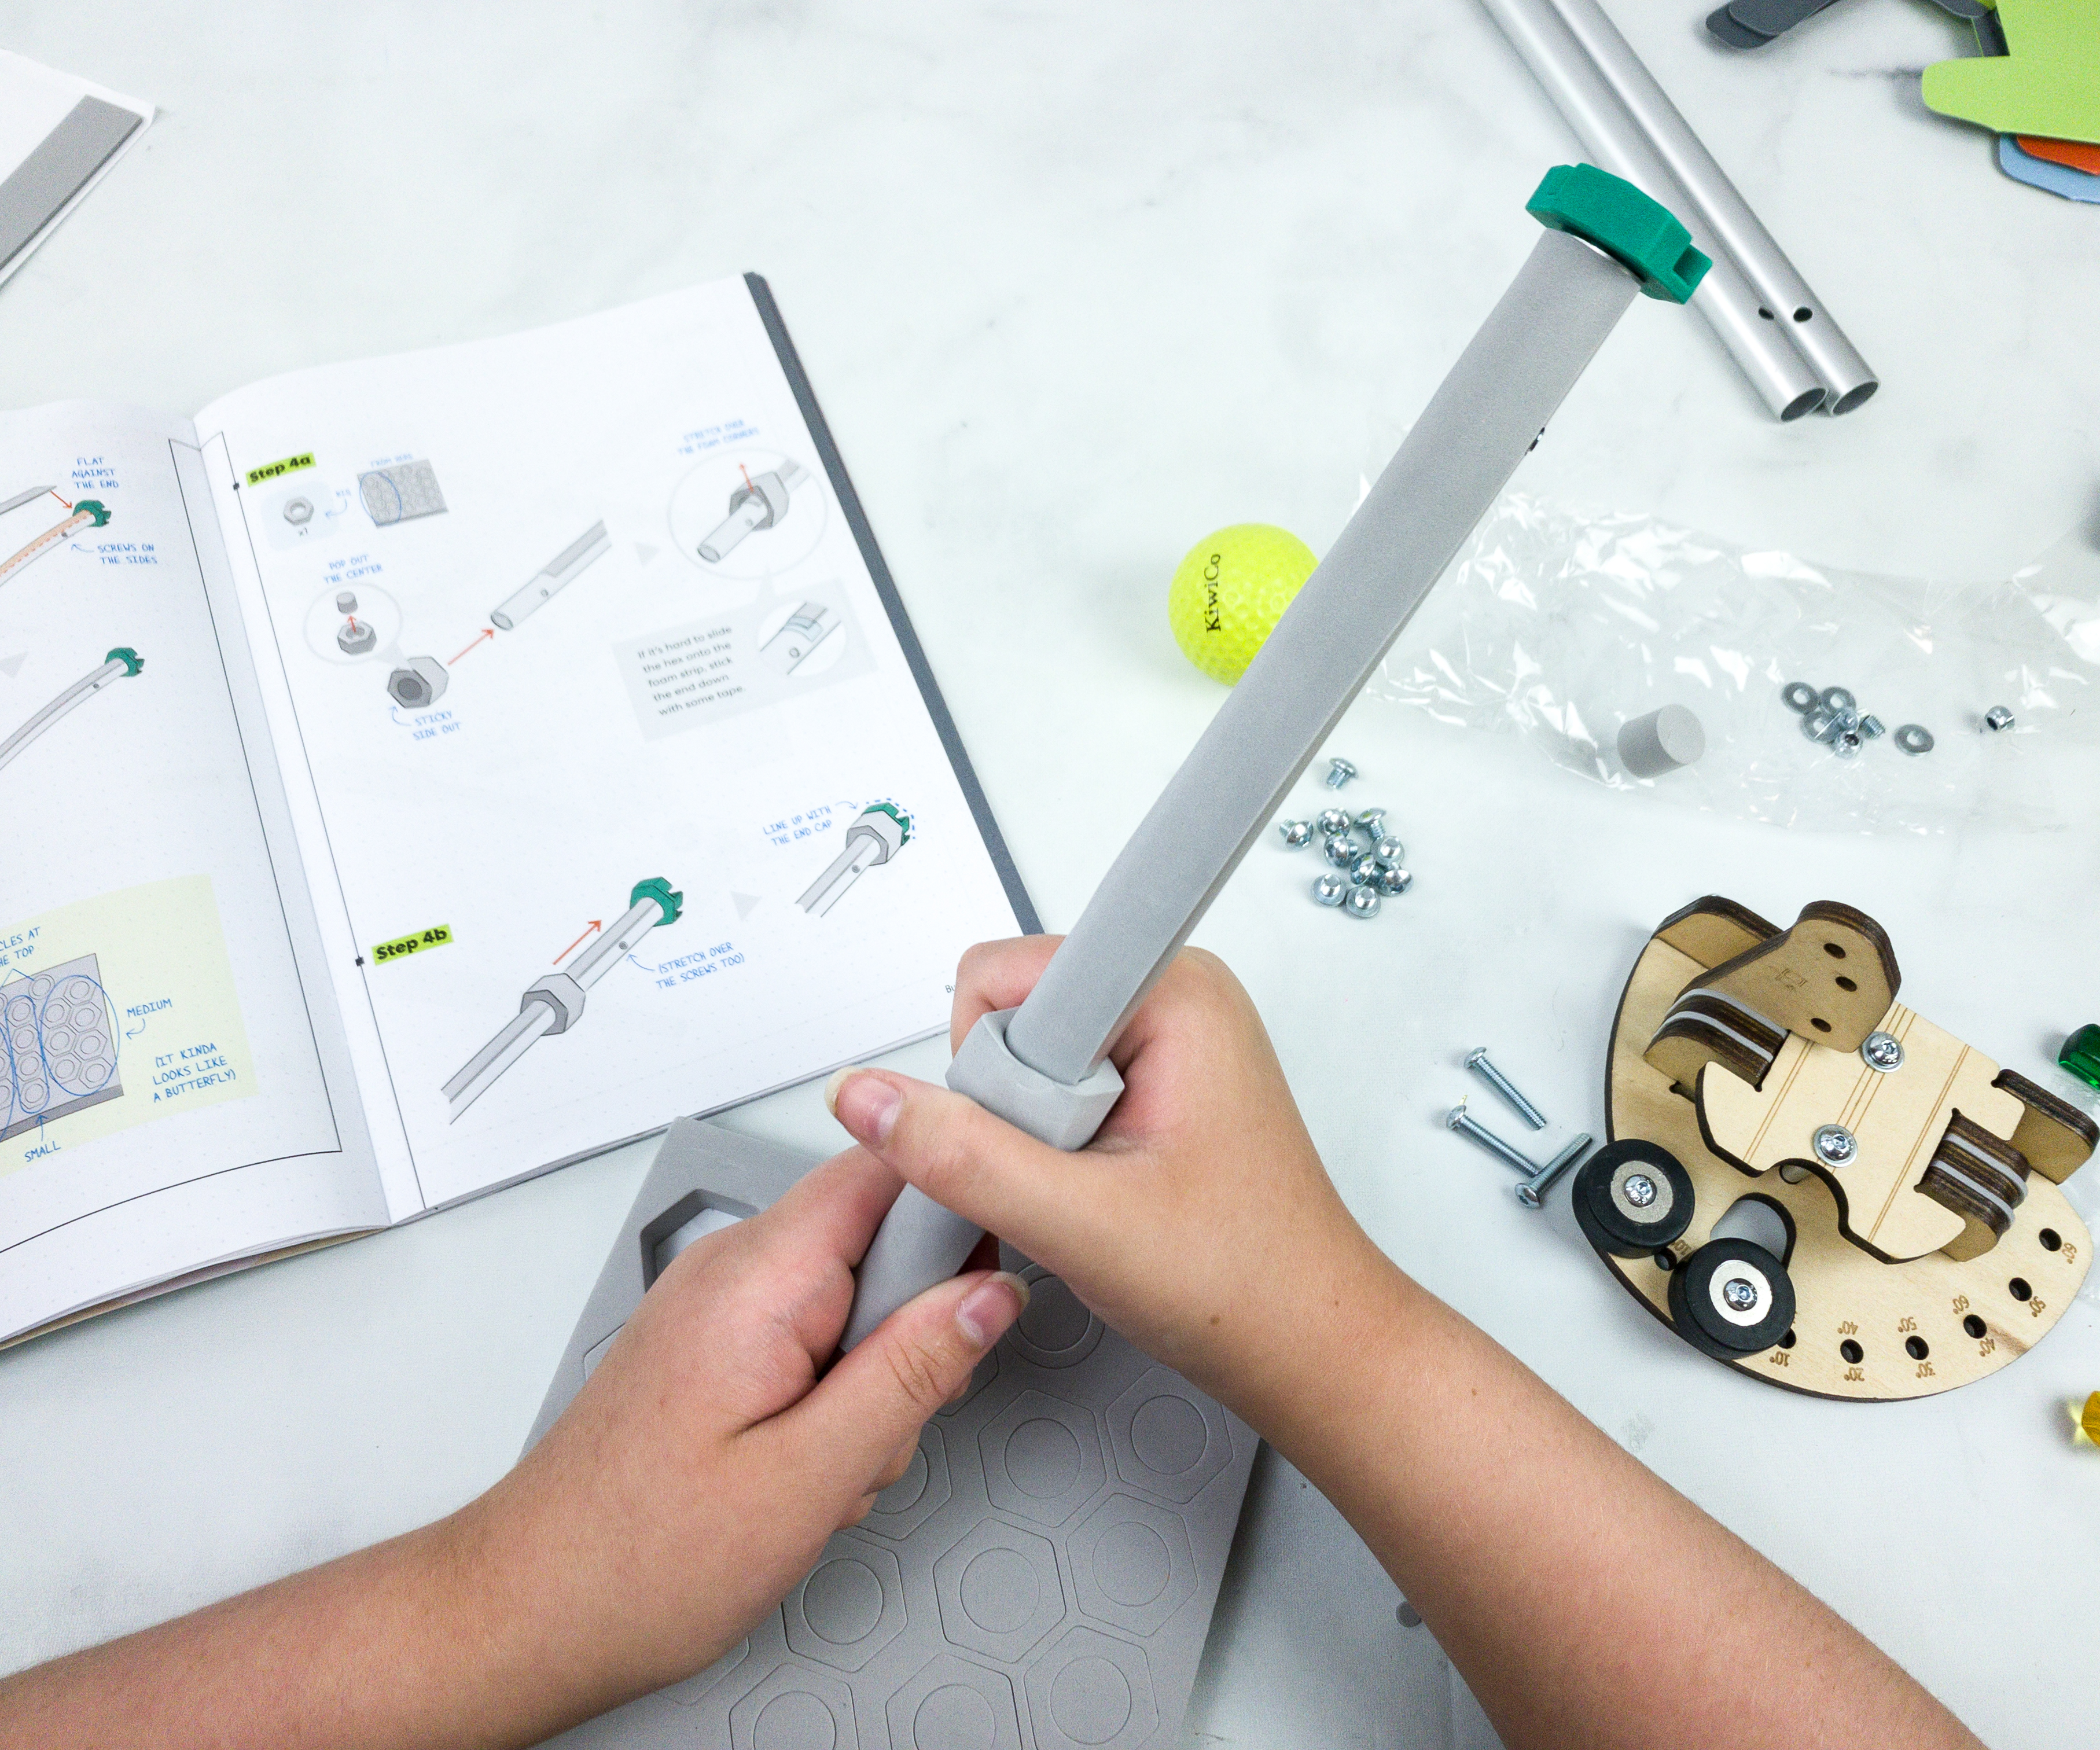
To make the grip easier to hold, sticky foams are needed to cover the aluminum tube.
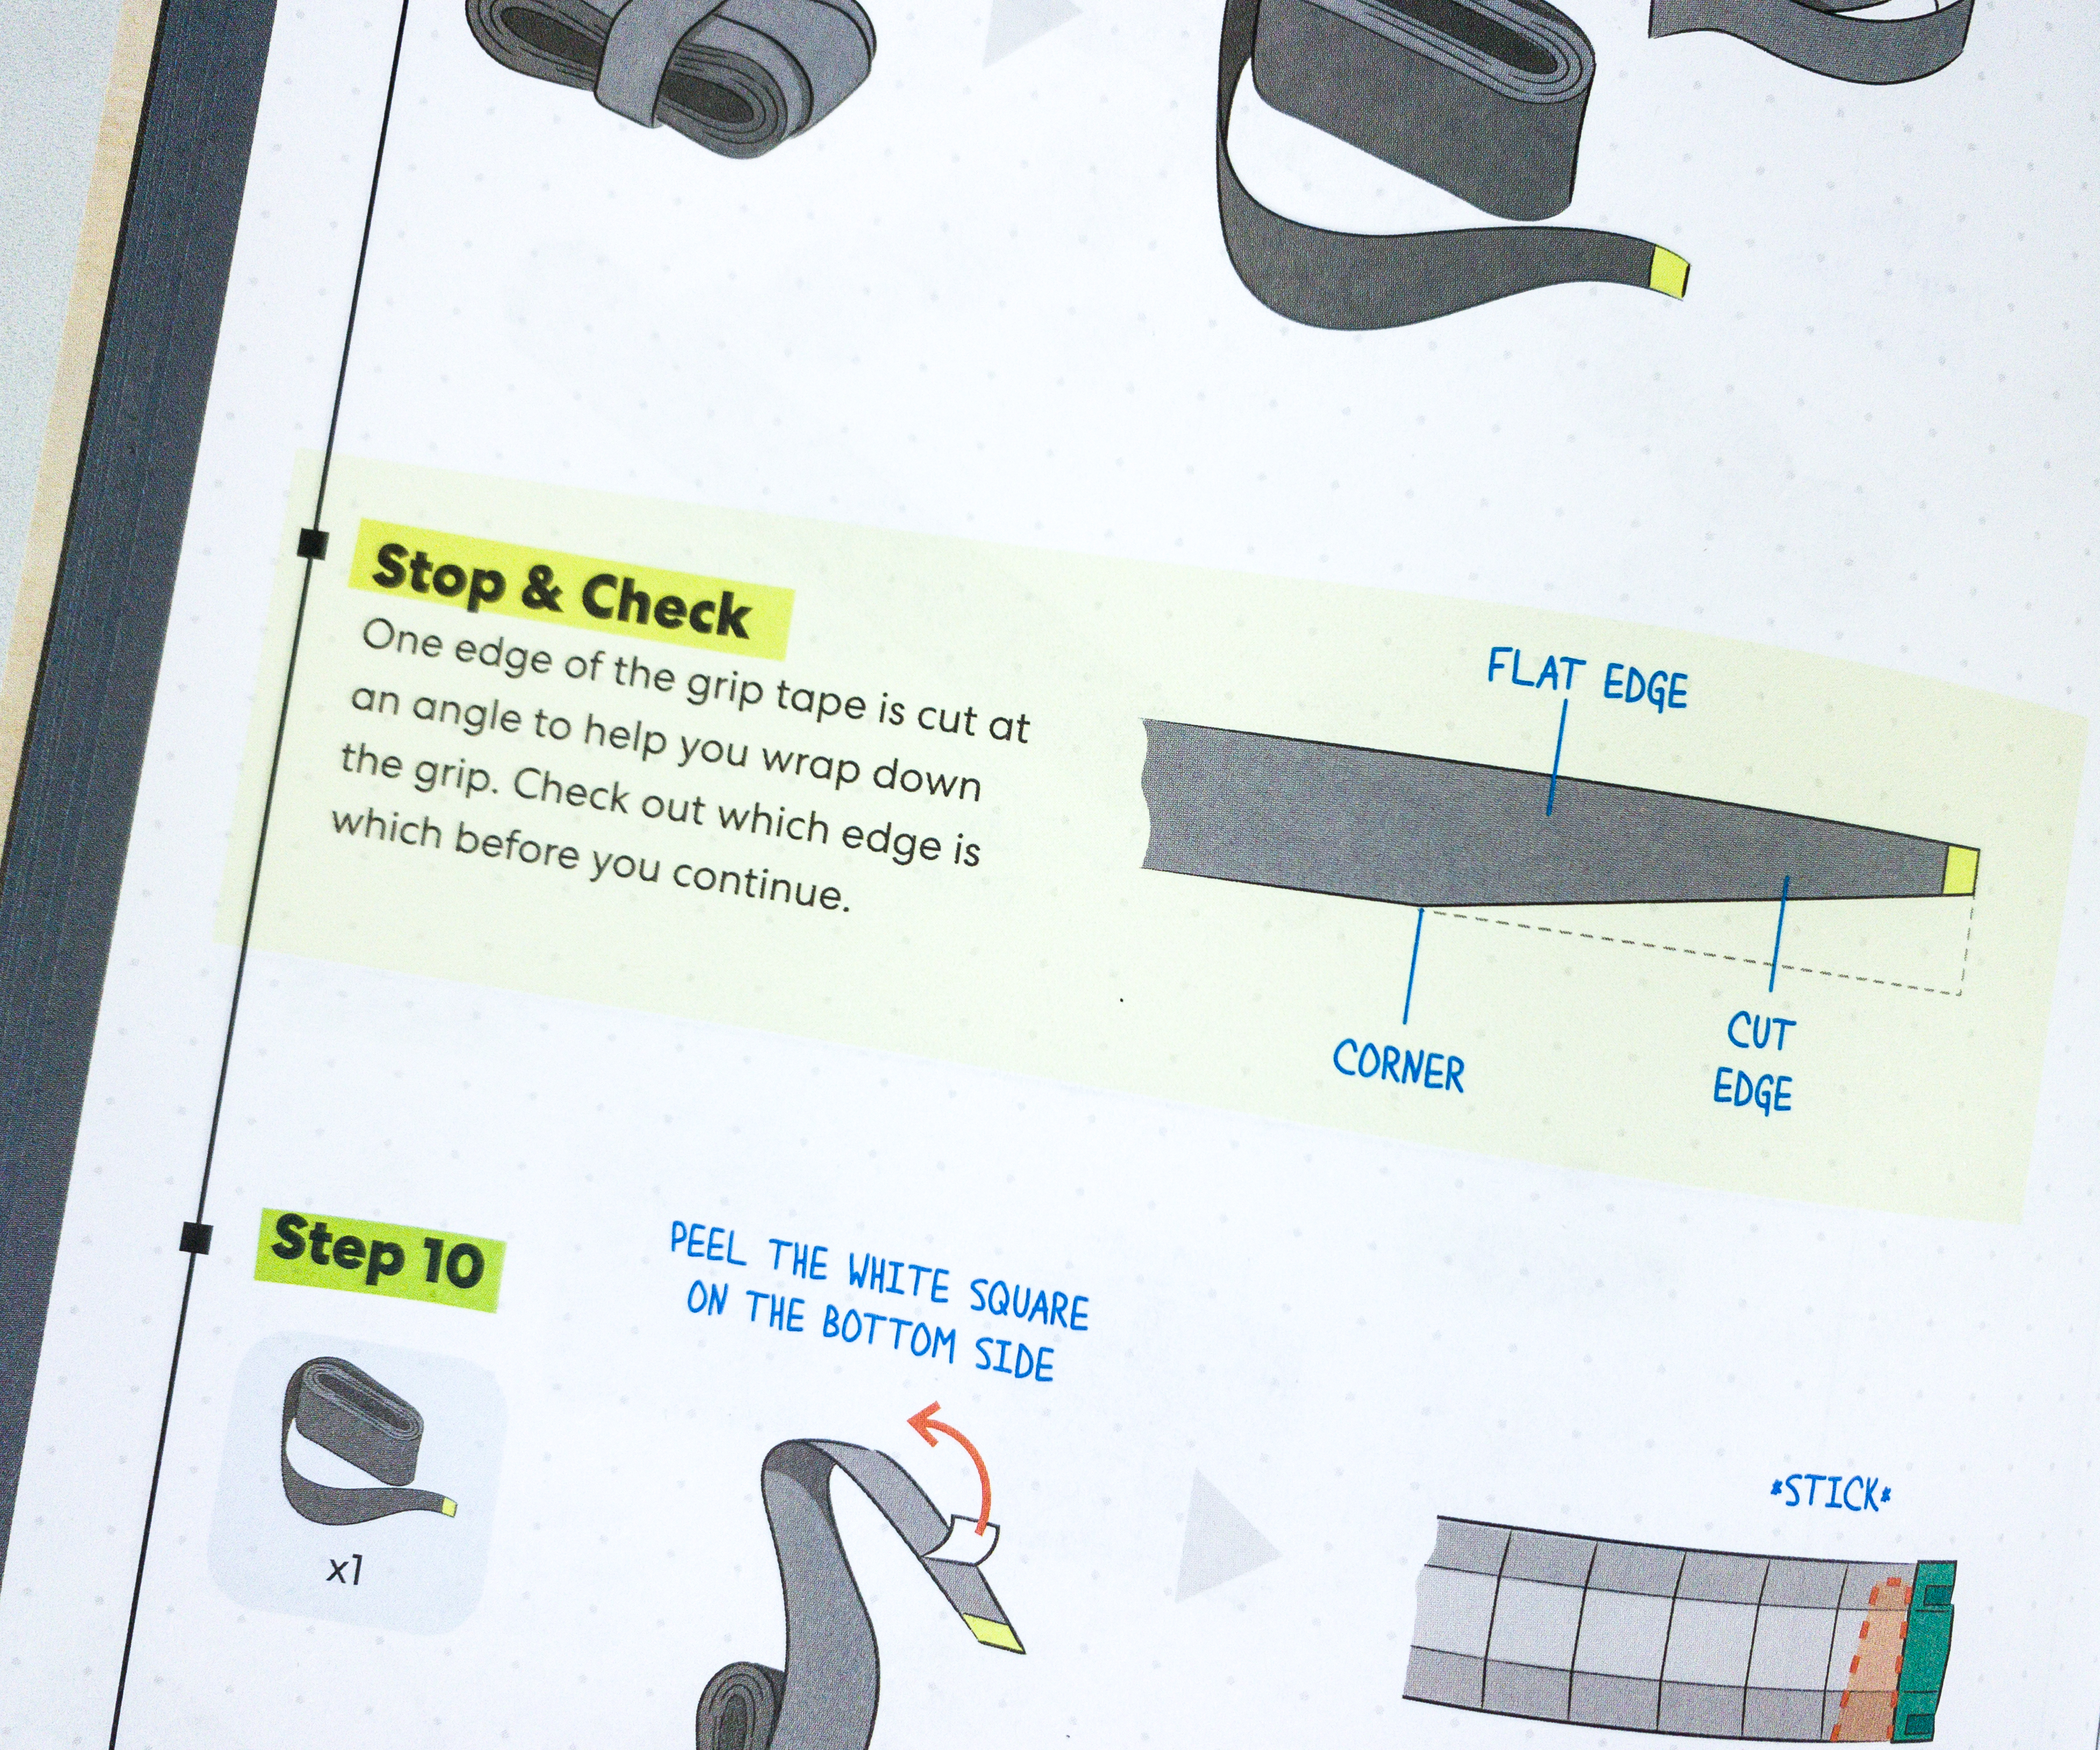
There are also instructions on how to correctly use the grip tape.
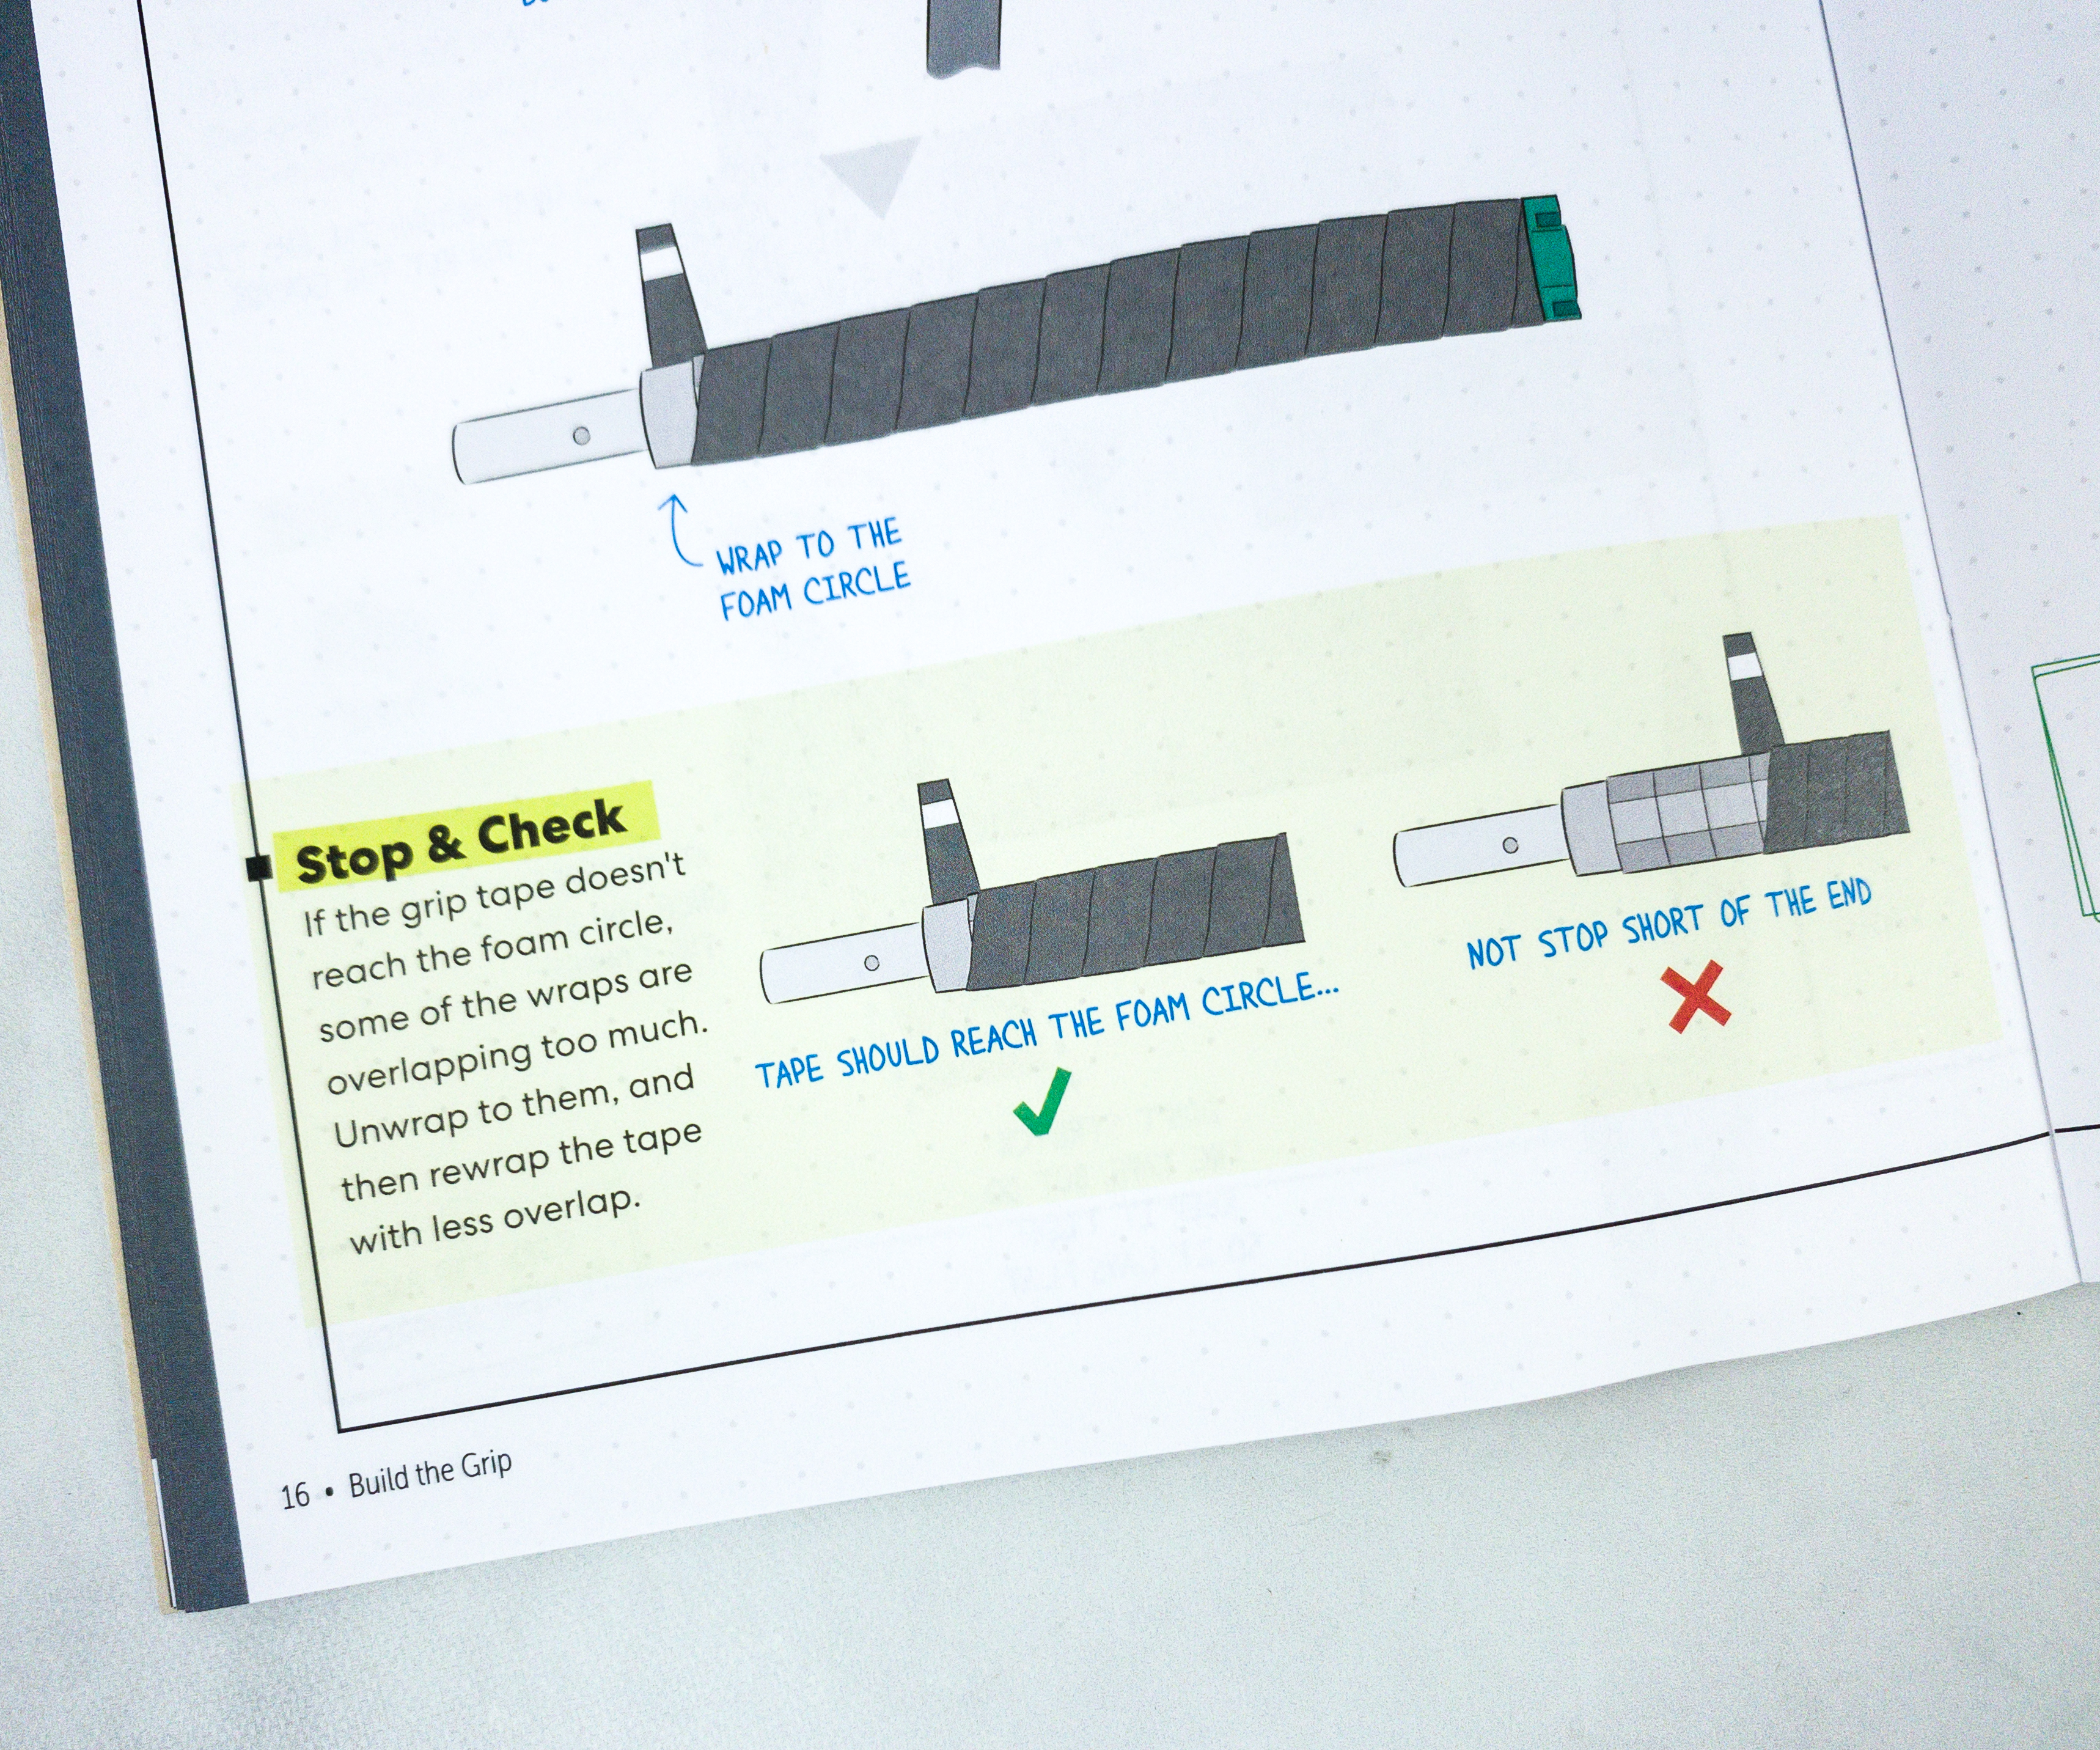
If the tape doesn’t reach the foam circle, some of the wraps may be overlapping too much. When this happens, just unwrap them and rewrap the tape around again with less overlap.
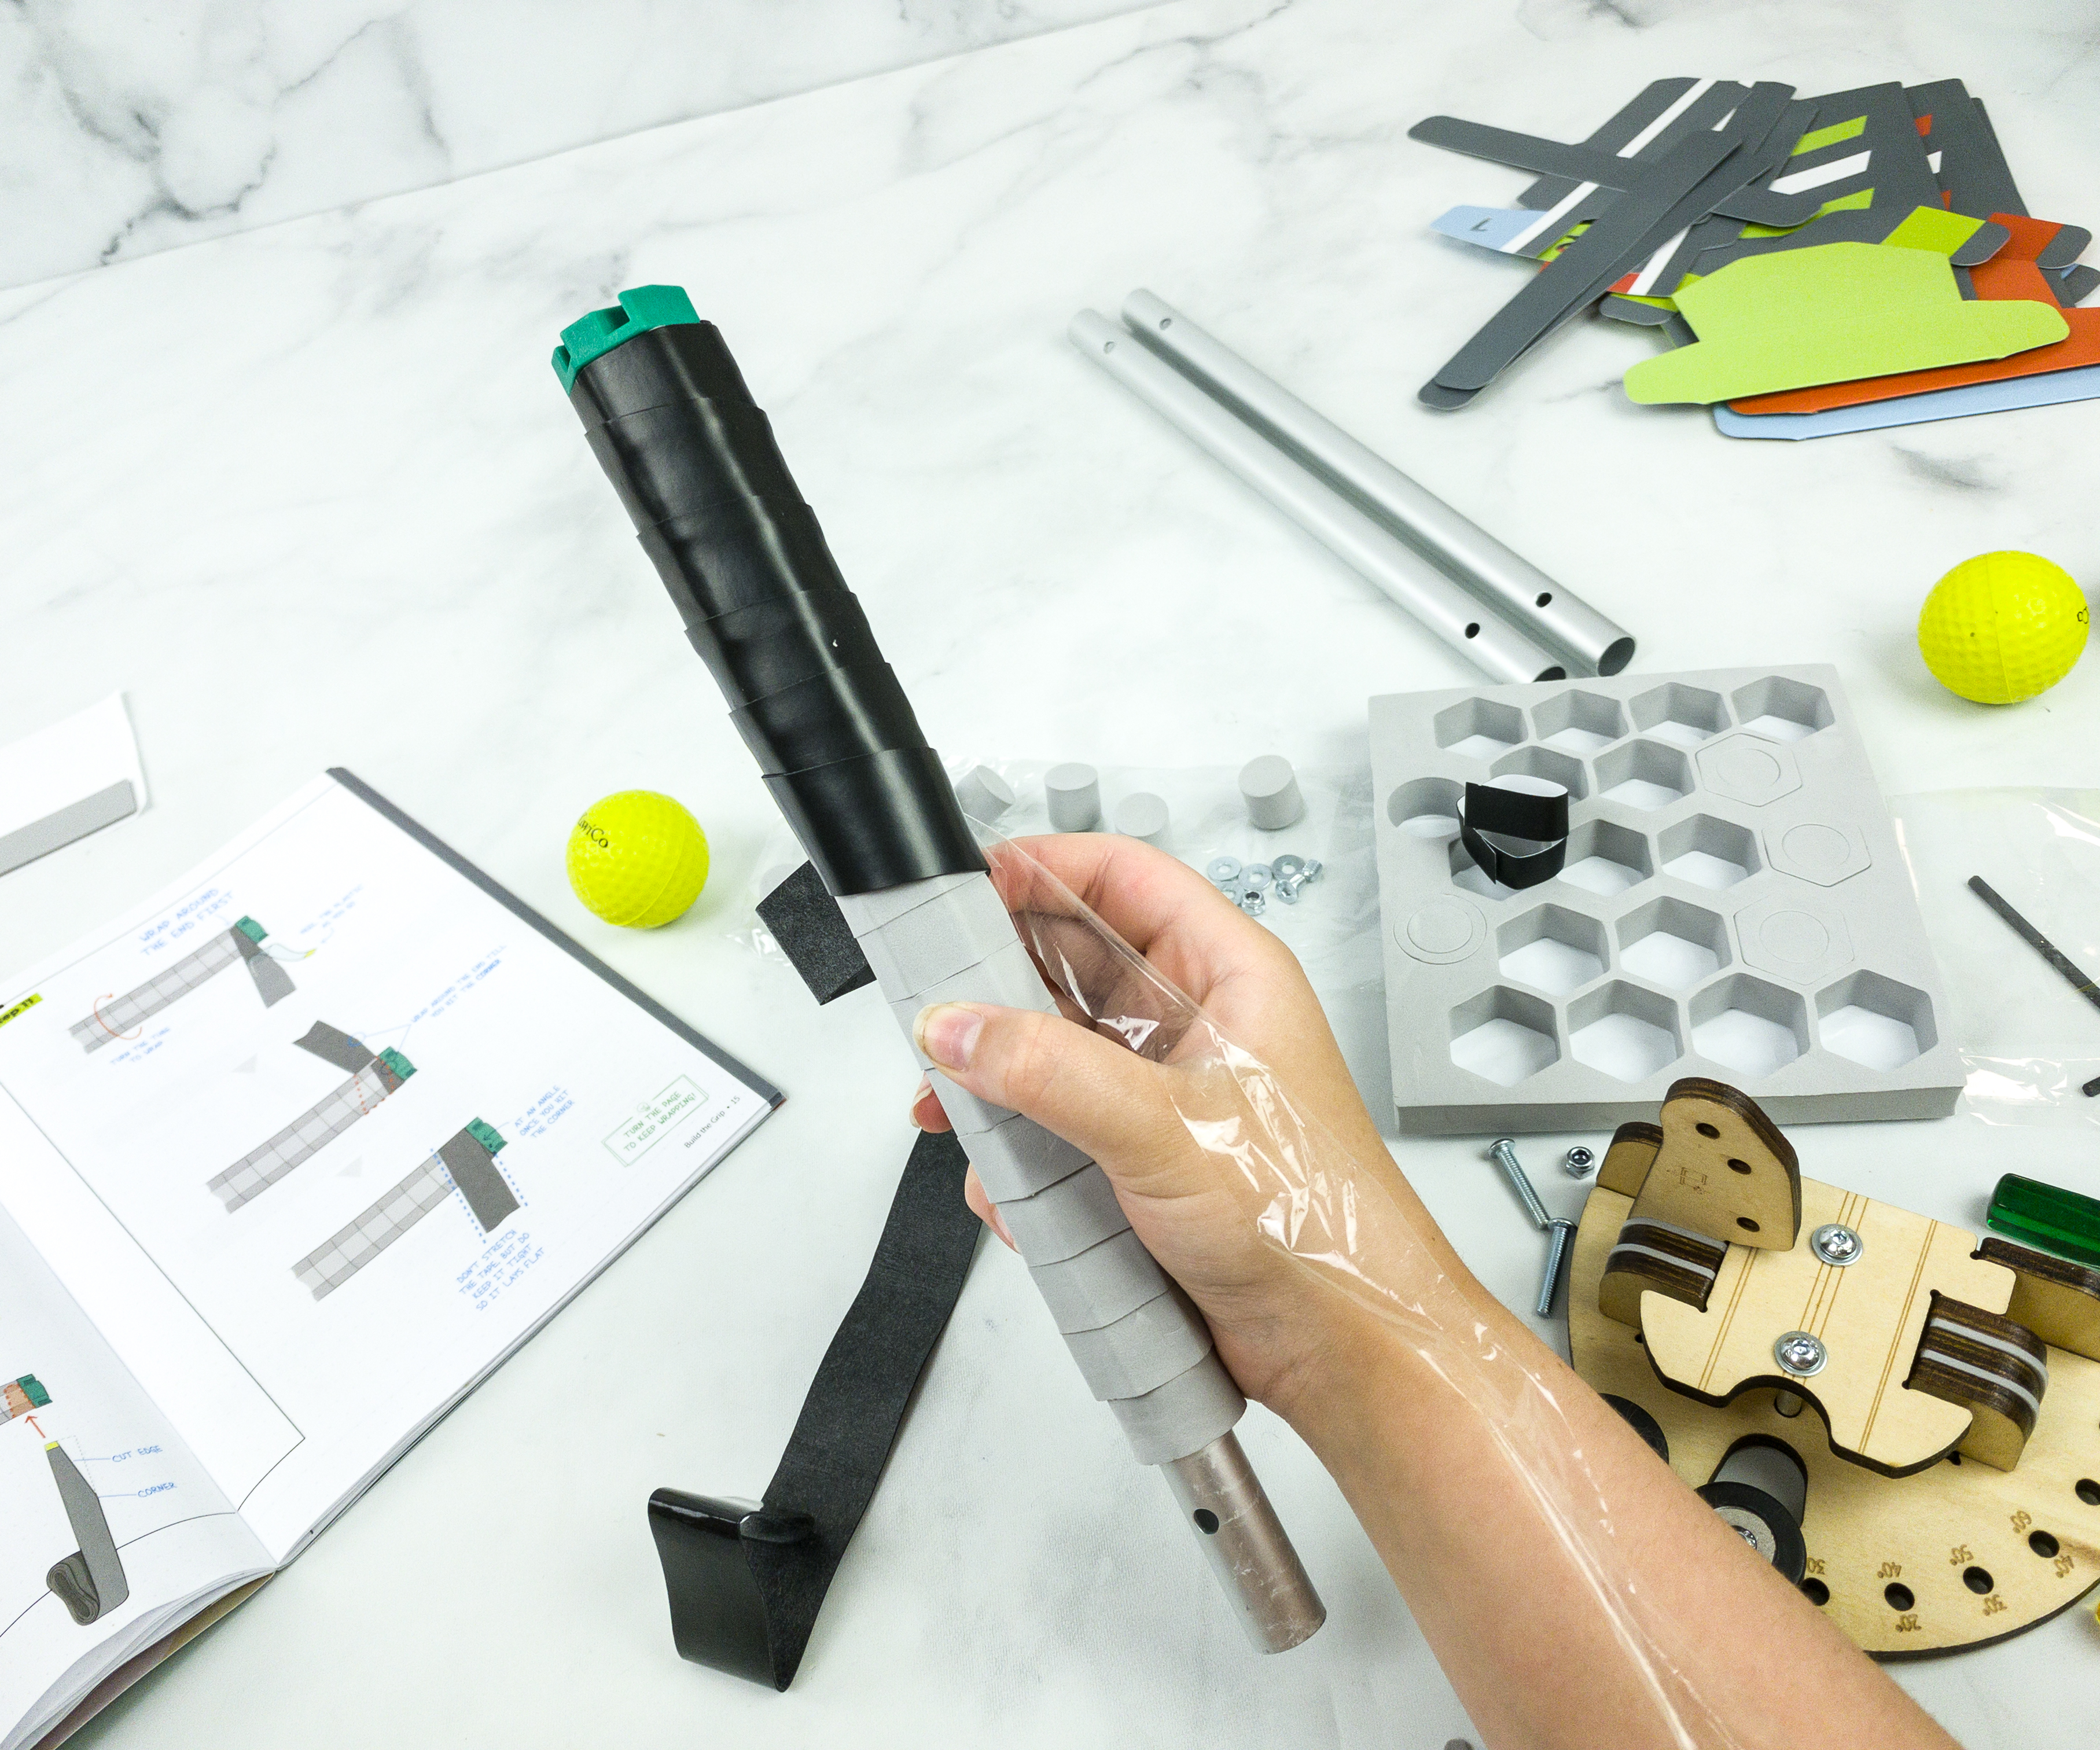
Here, my daughter was halfway through wrapping the foam with grip tape.
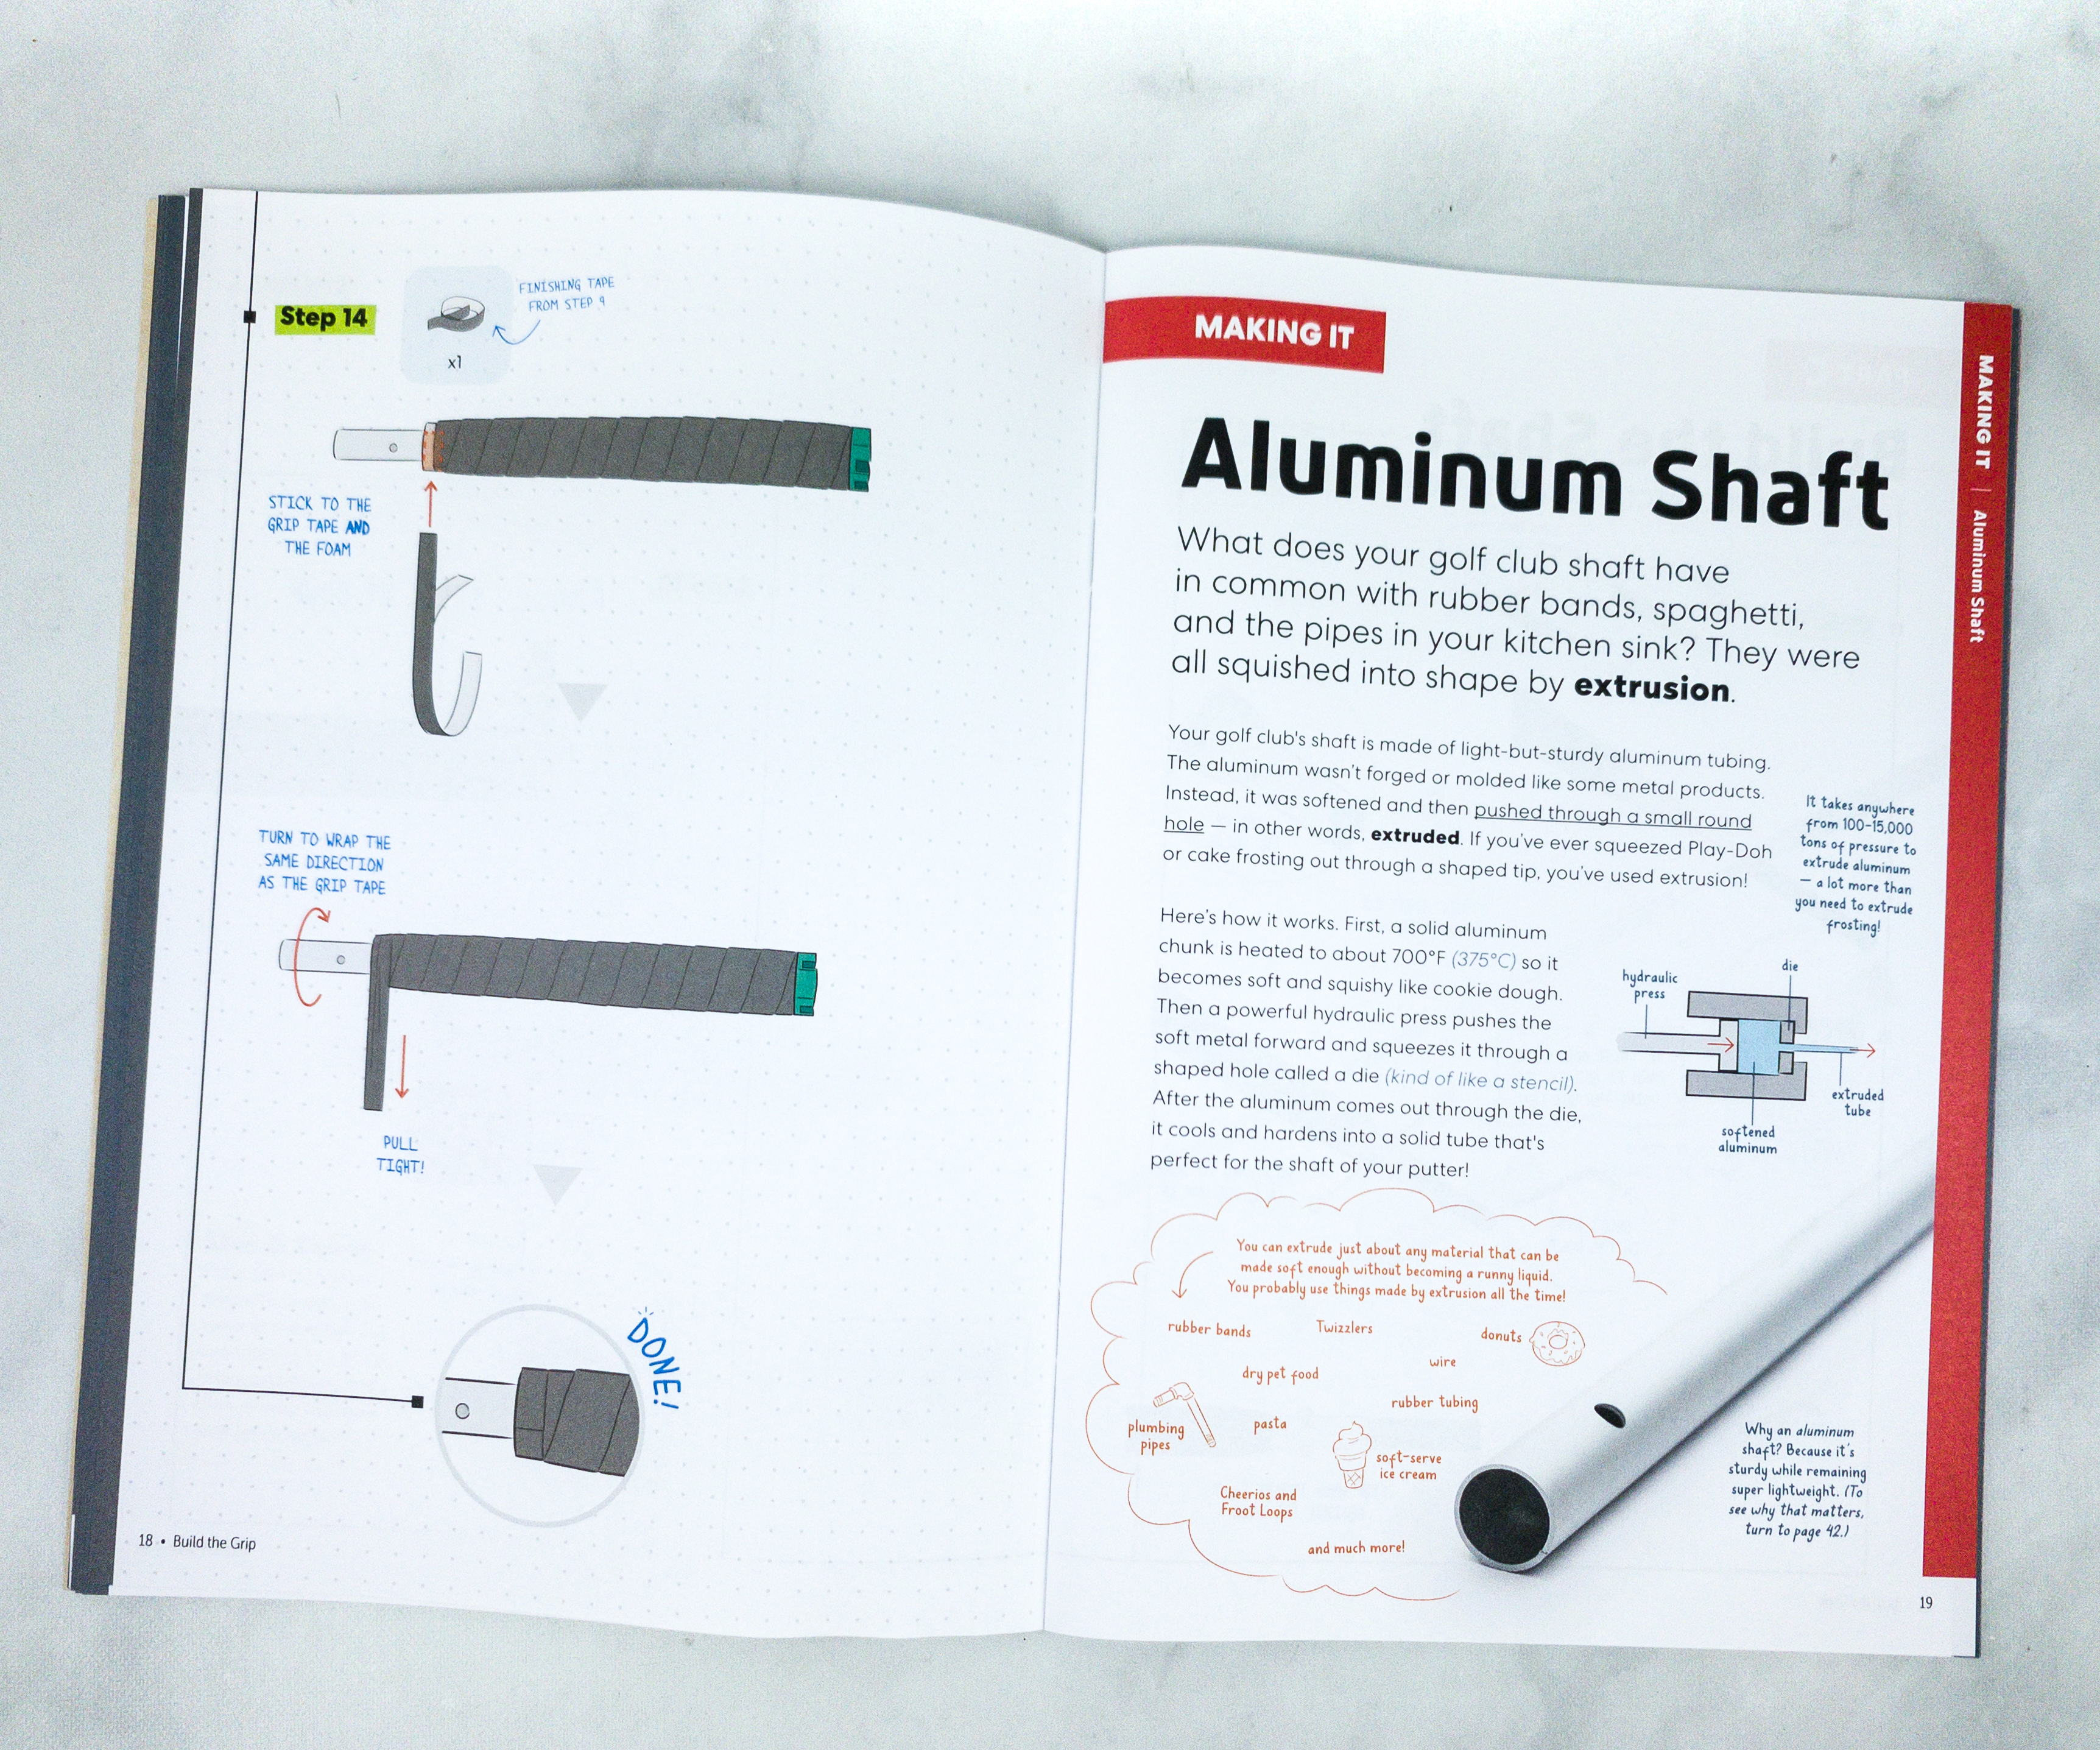
There’s an article that talks about the aluminum shaft that we used to make the golf club’s grip. It explains its similarities with a rubber band, spaghetti, and even with the pipe in the kitchen sink, which is they were all squished into shape by extrusion!
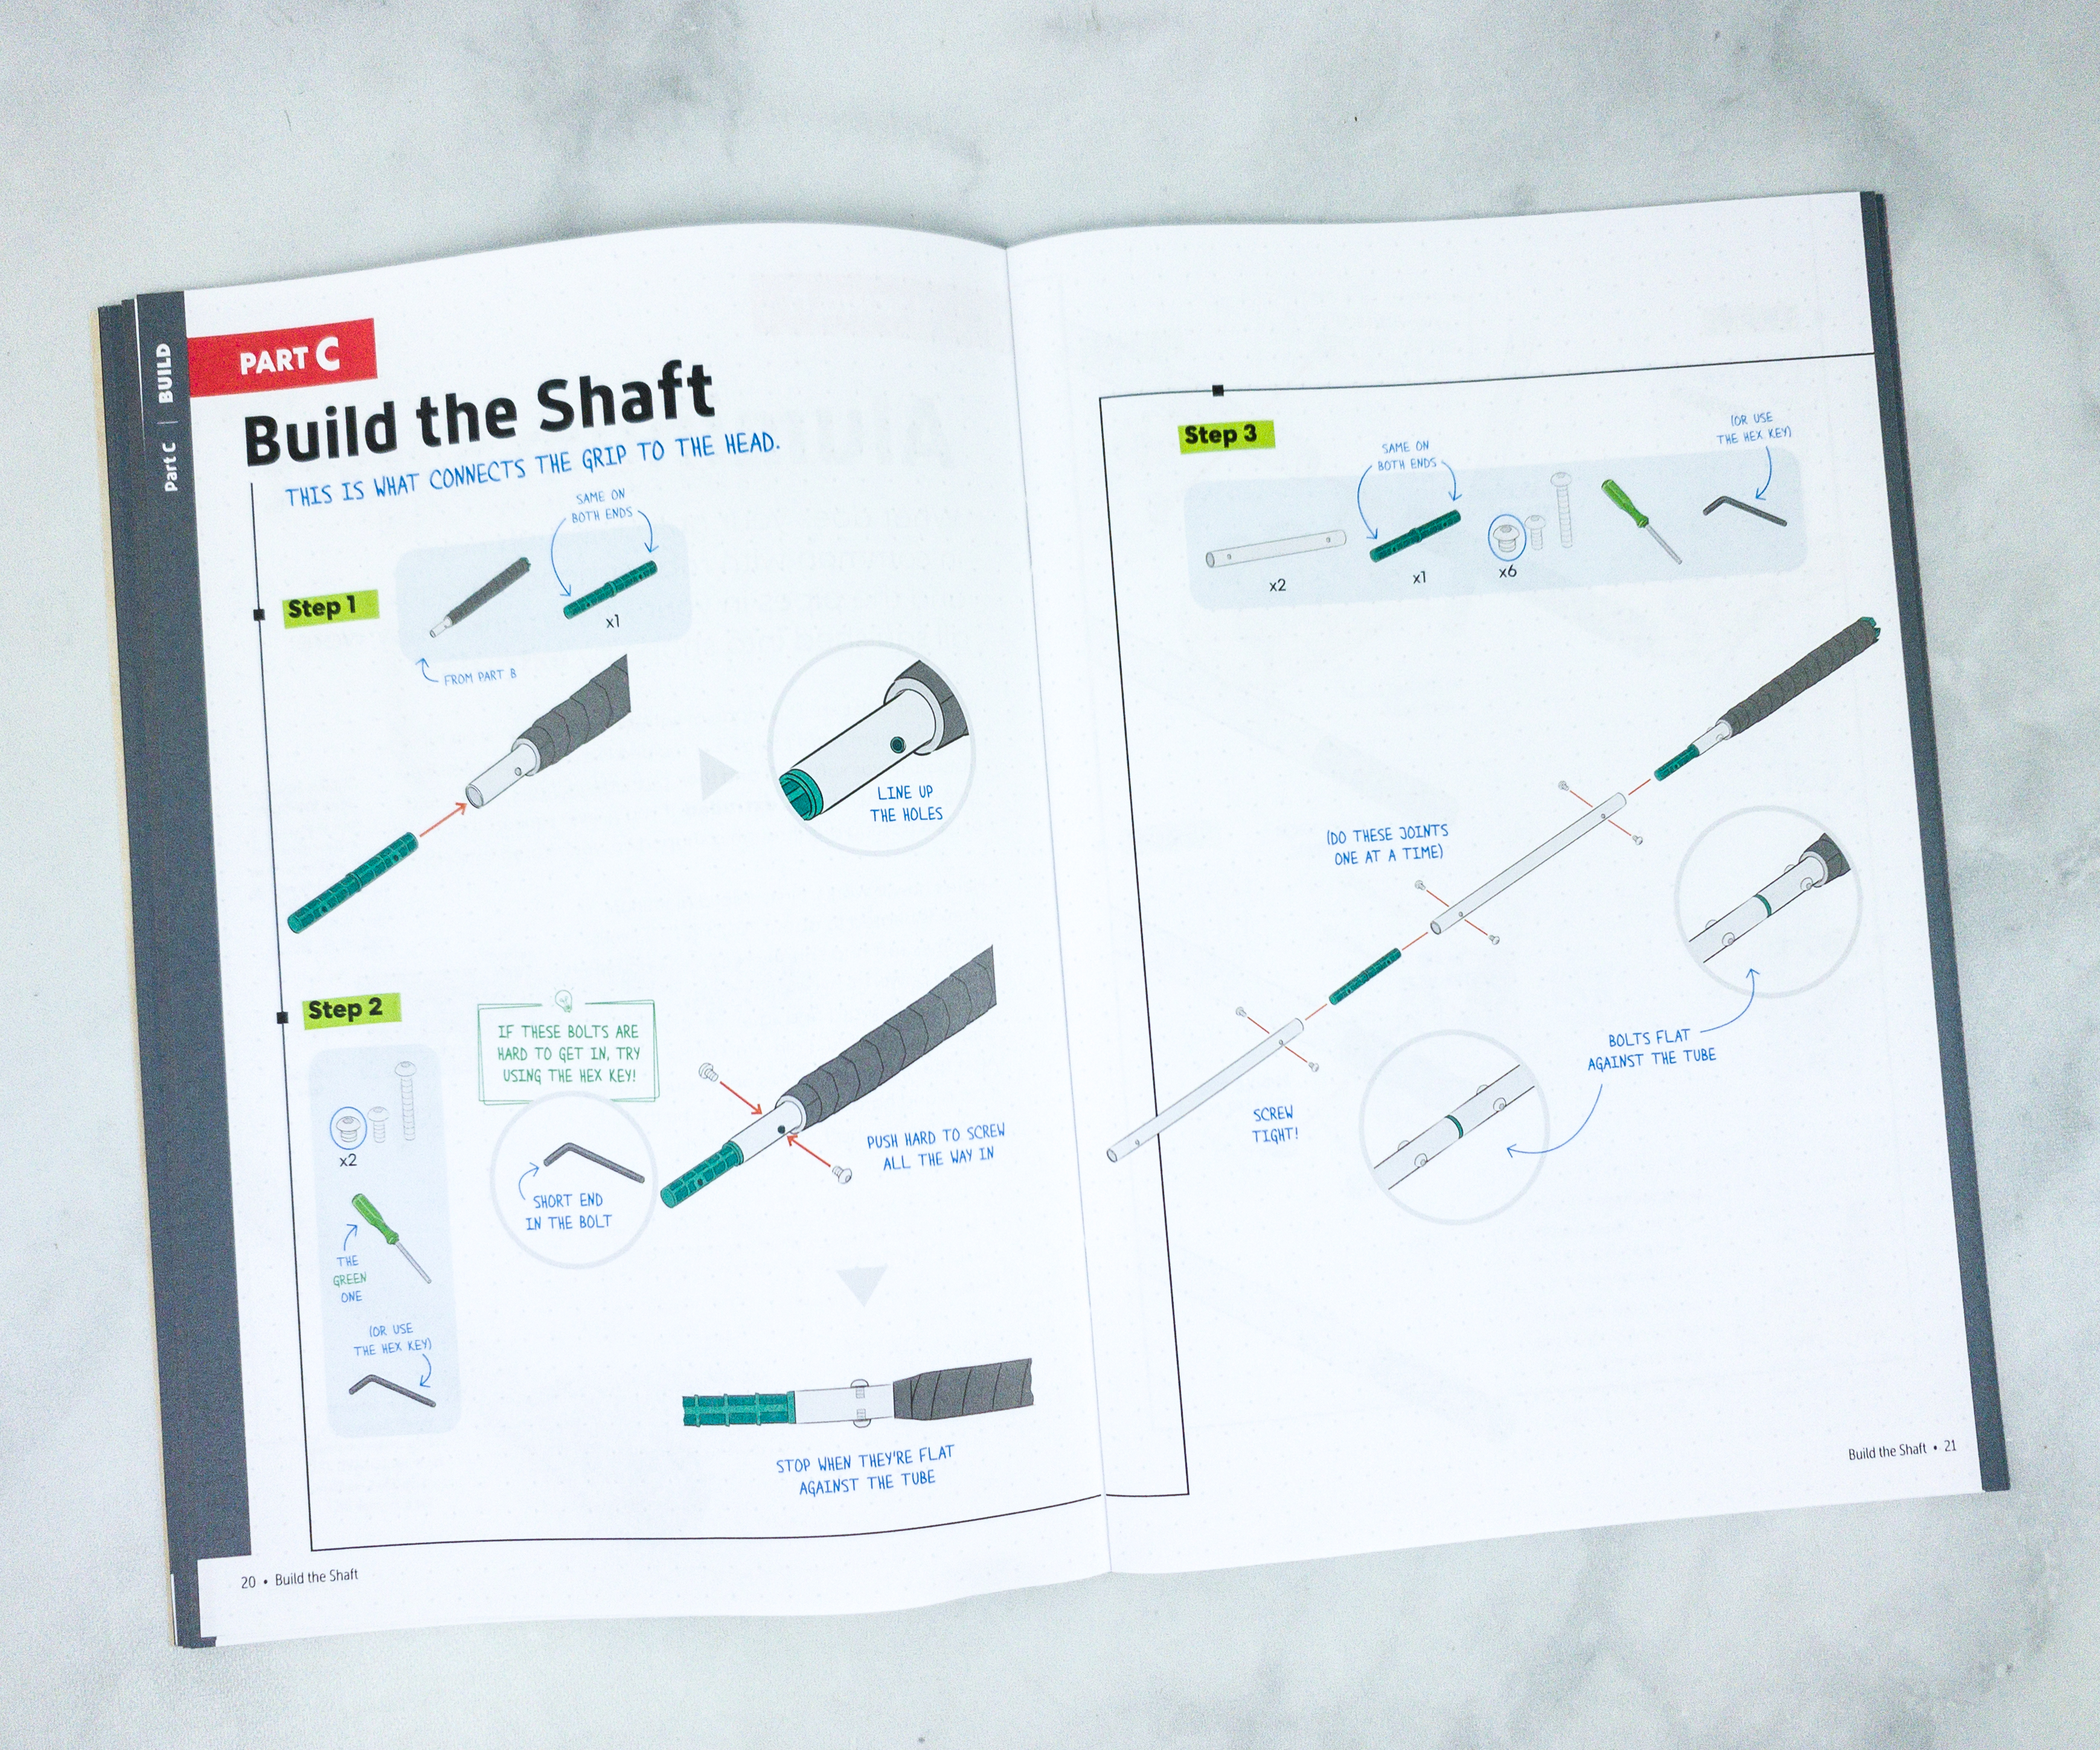
The next thing we need to do is to build the shaft. This is the part that connects the head to the grip.
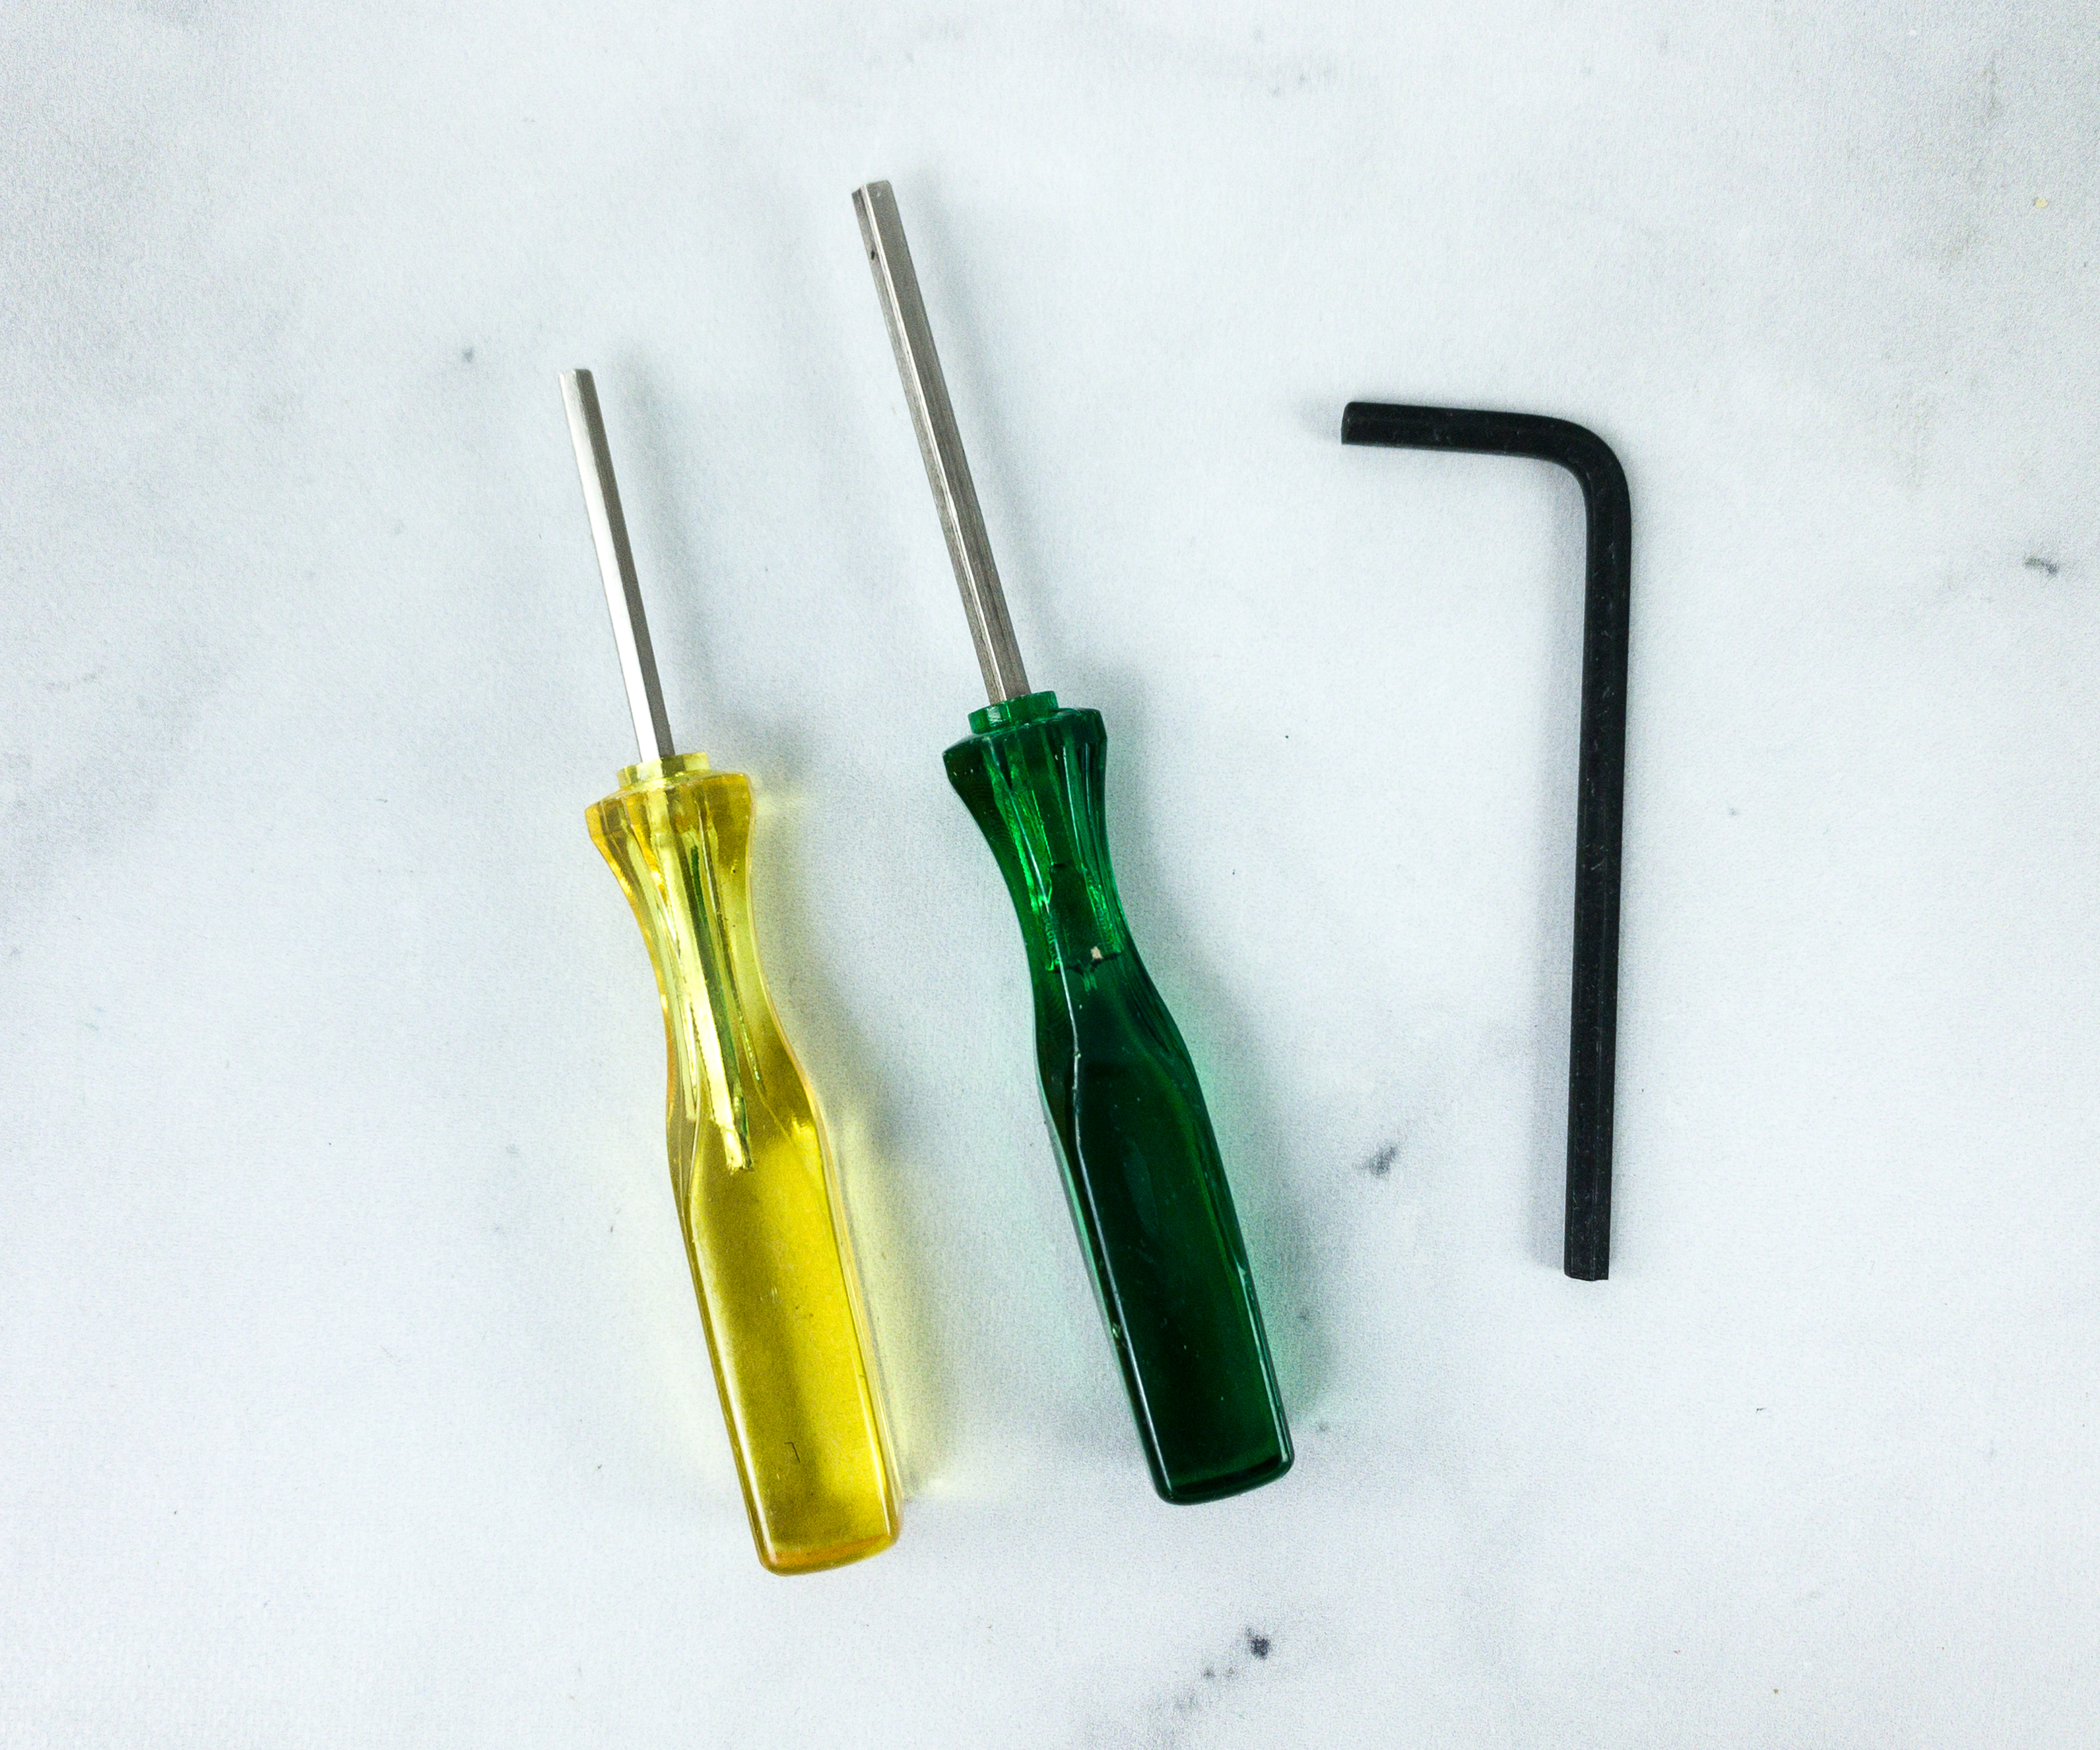
We used the hex screwdrivers and the bar key for this one.
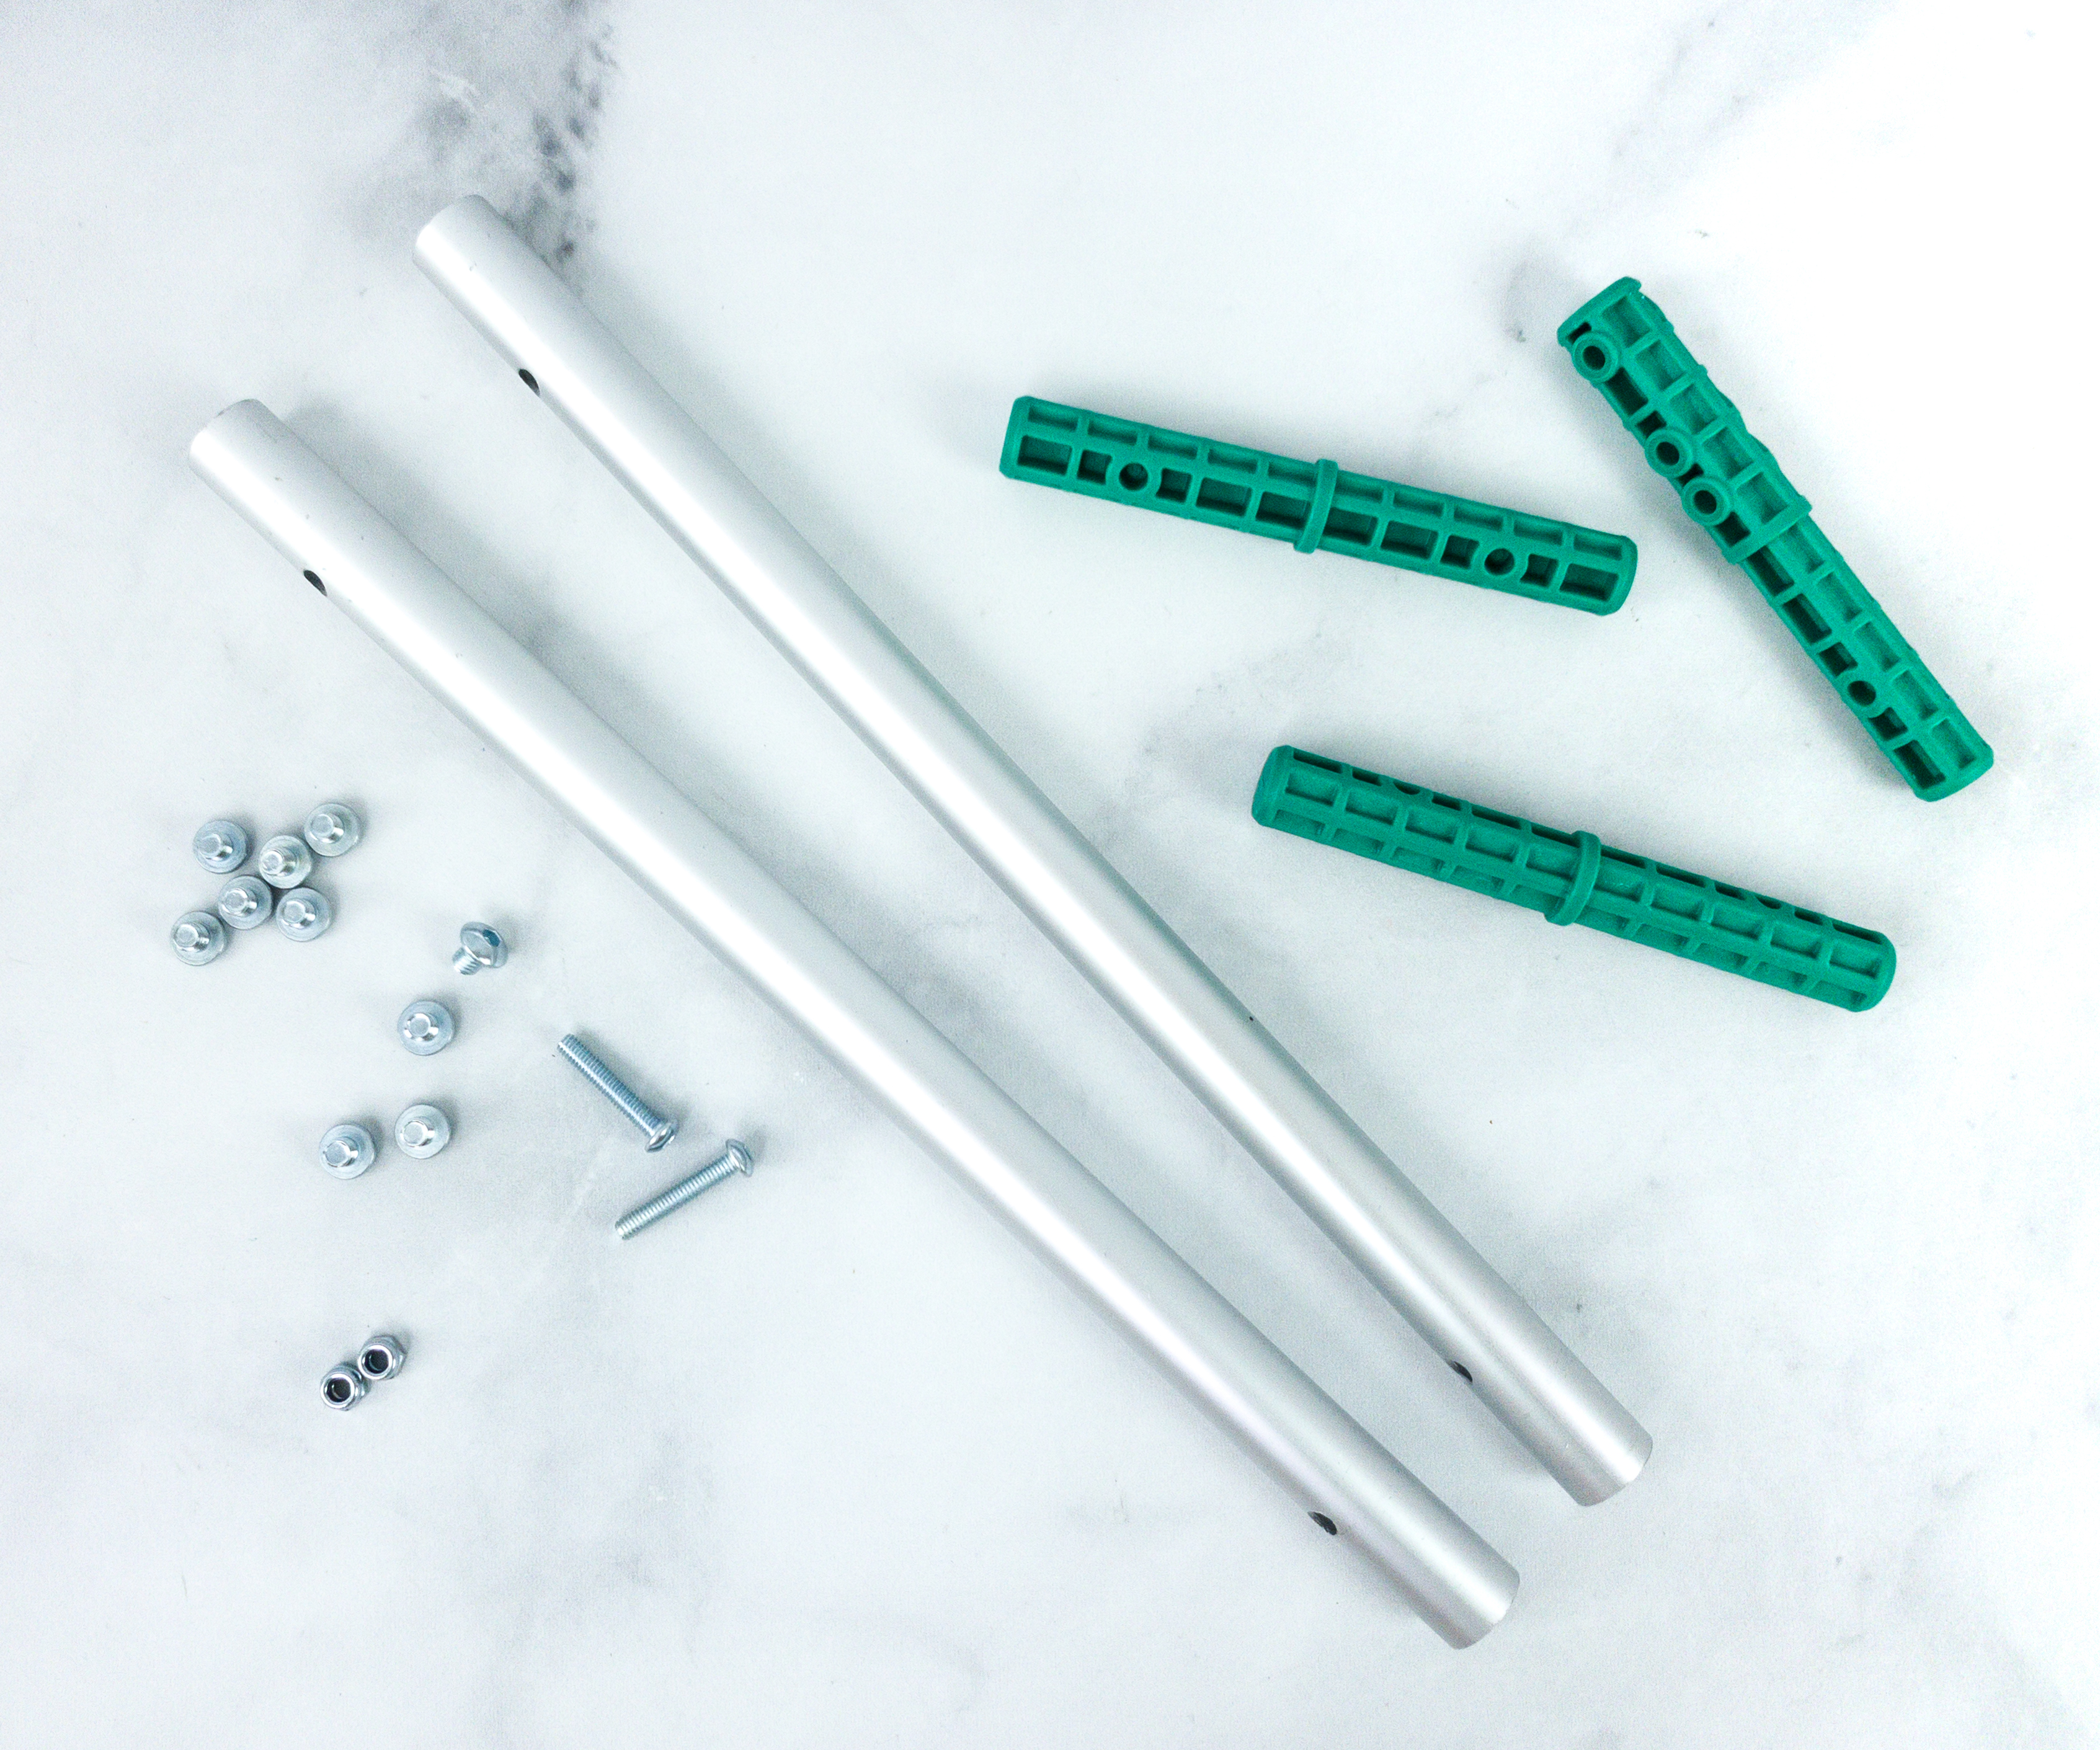
We also needed some screws, nuts, barrel bolts, aluminum tubes, and some tube connectors.
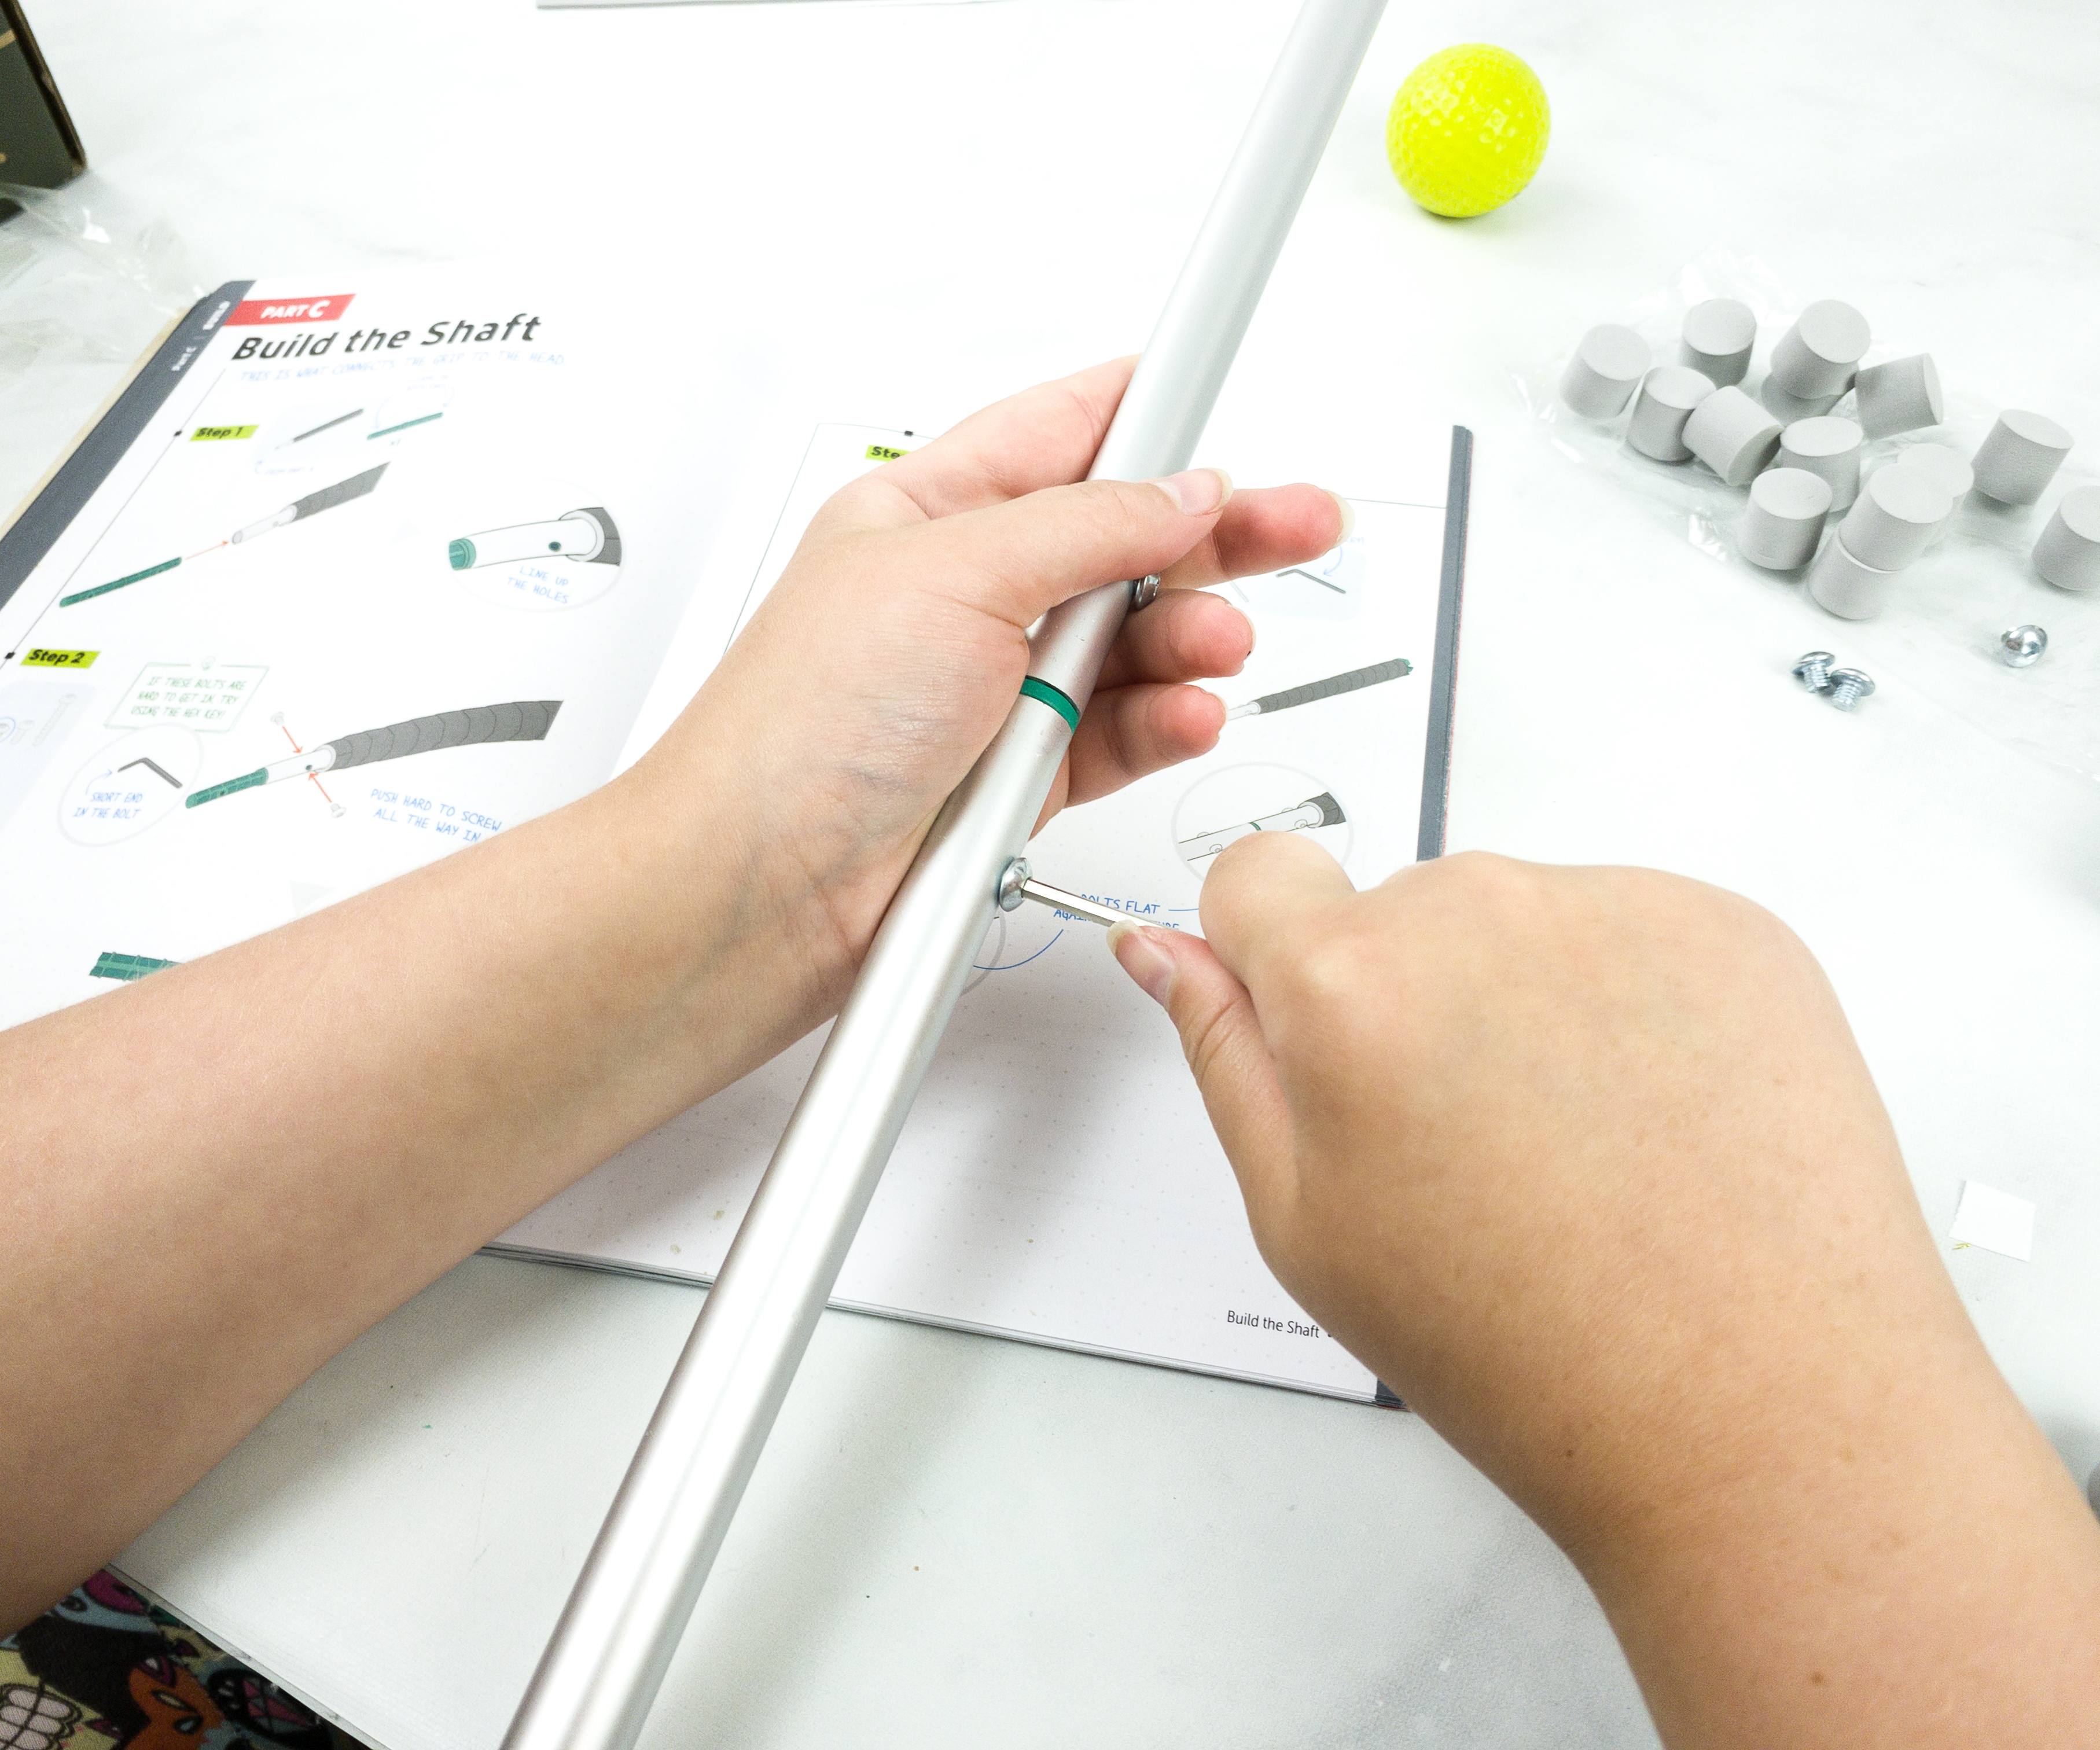
Using the hex screwdrivers, just secure the screw tightly so that the shaft won’t easily dismantle.
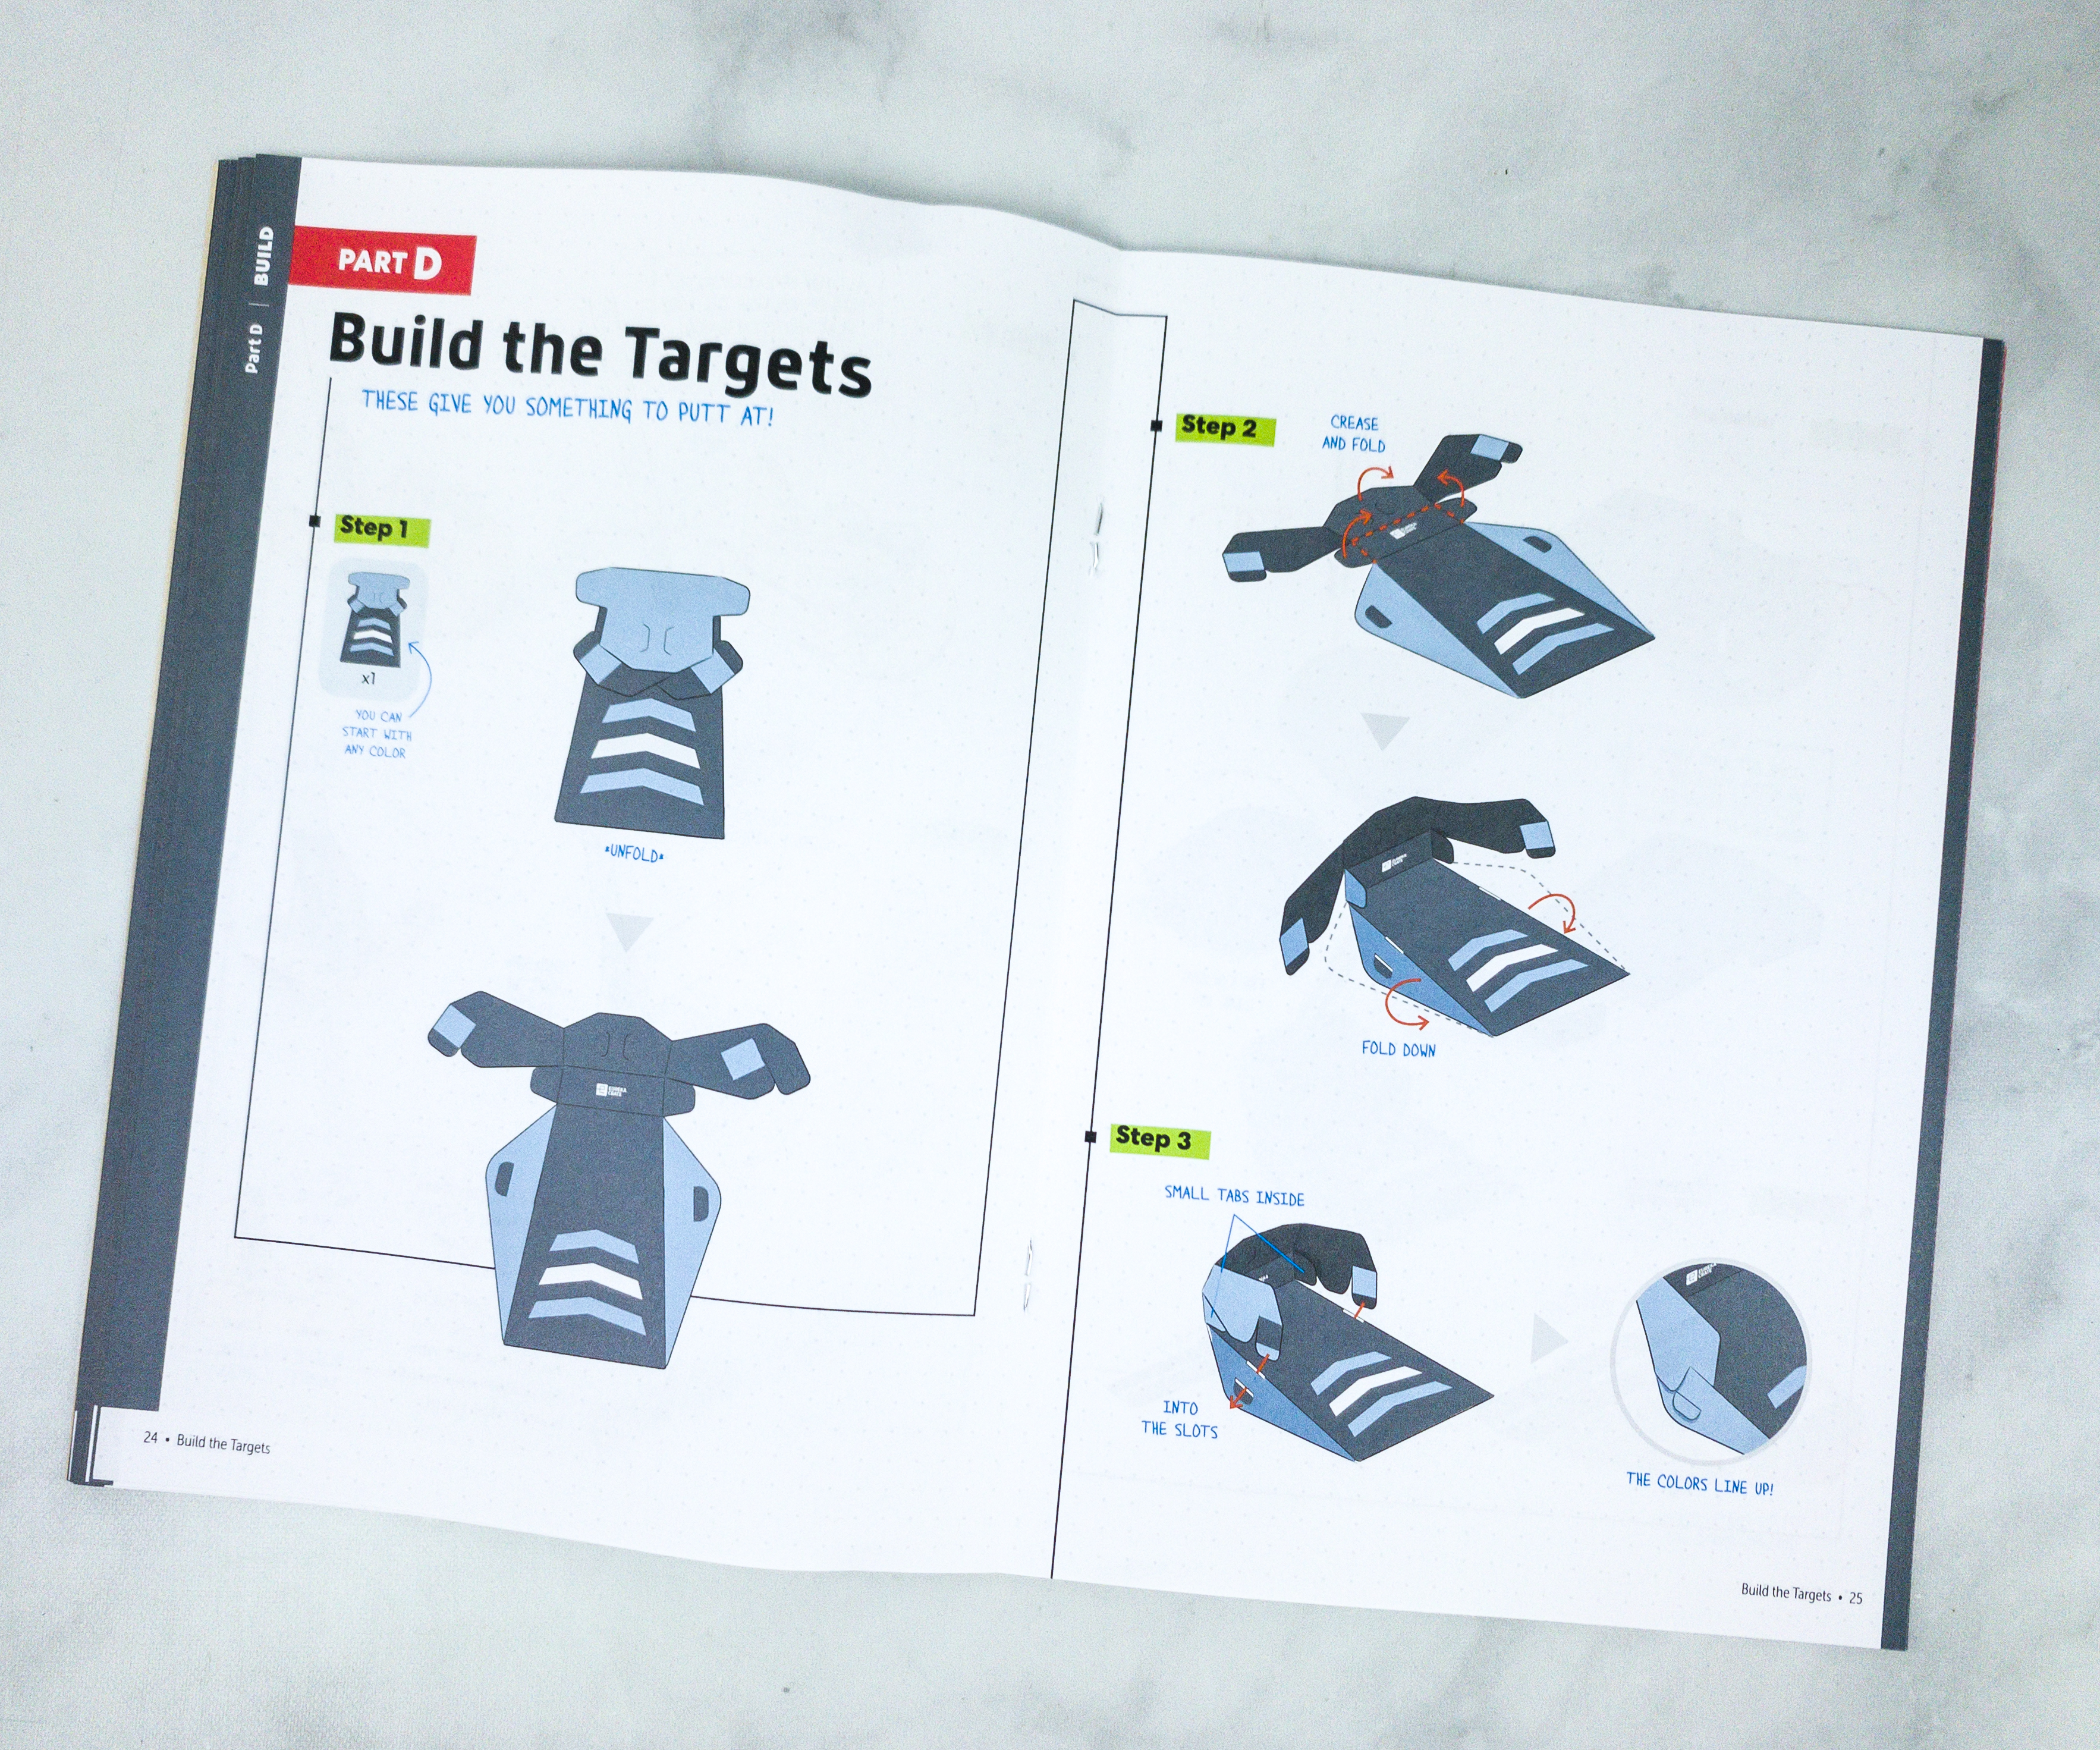
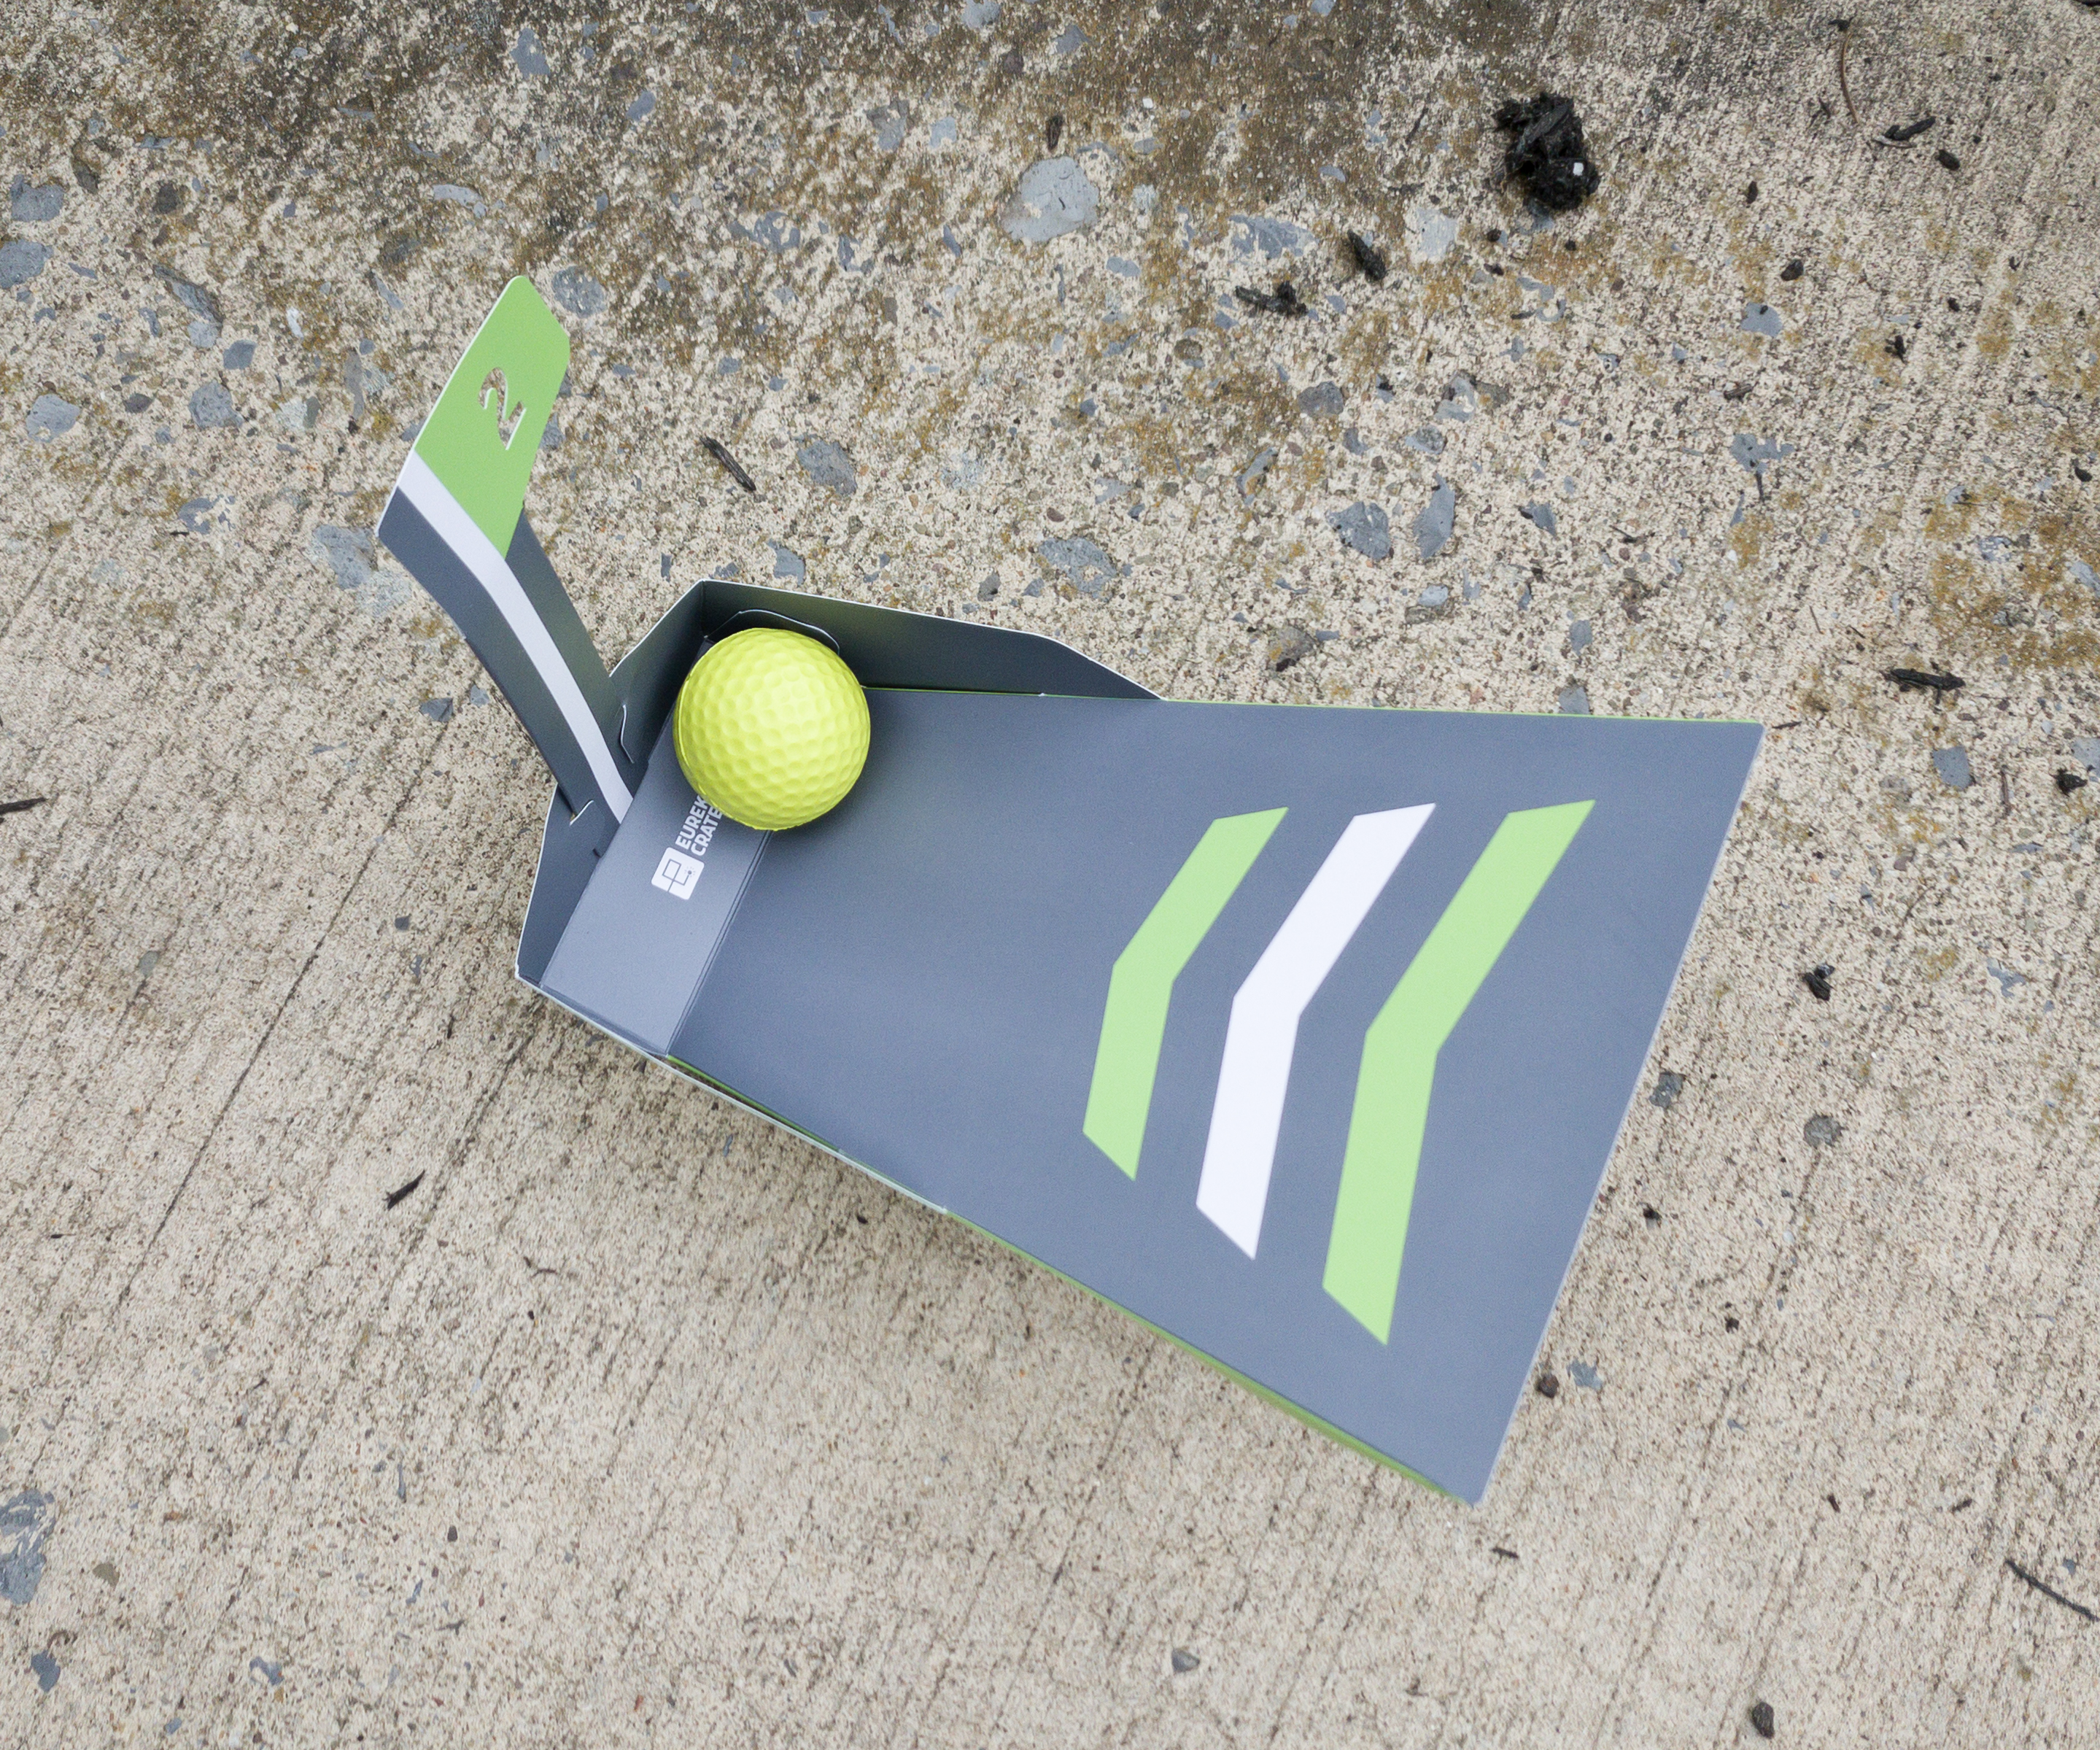
Of course, it’s a game of golf, so we’ll need the targets that we can putt at!
The crate provided the paper target set.
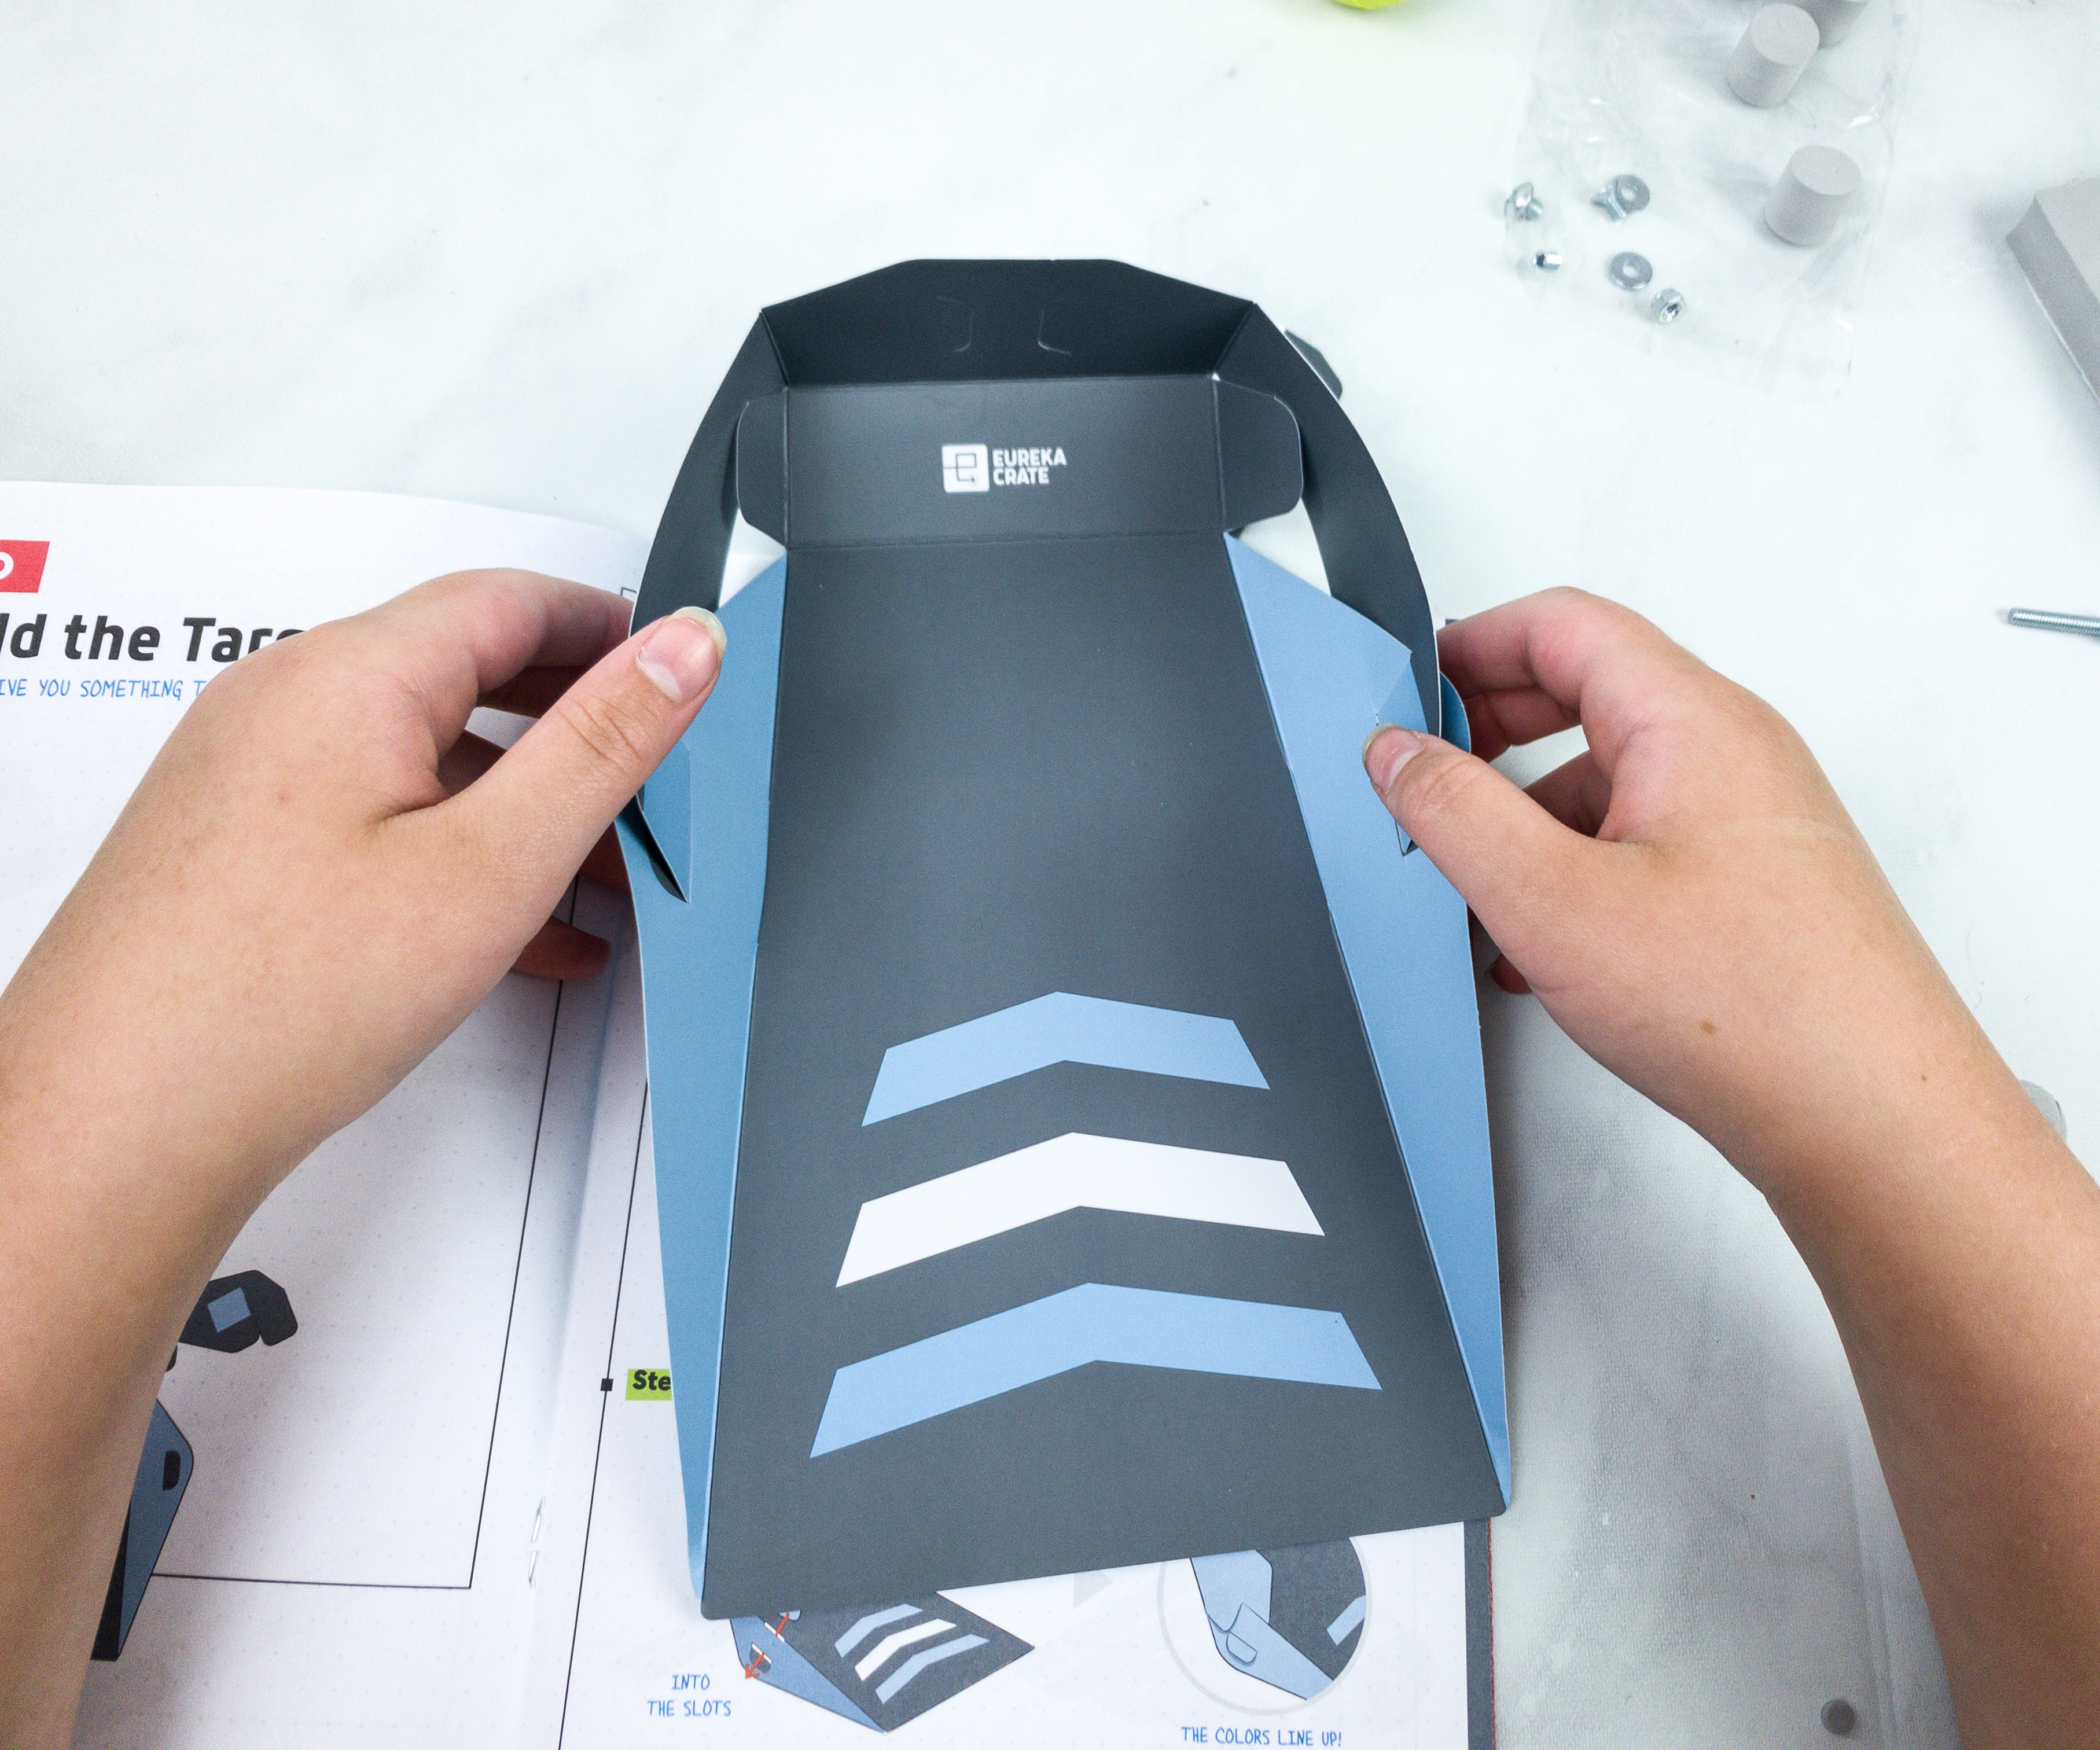
Setting the targets is as easy as folding and inserting some parts into designated slots!
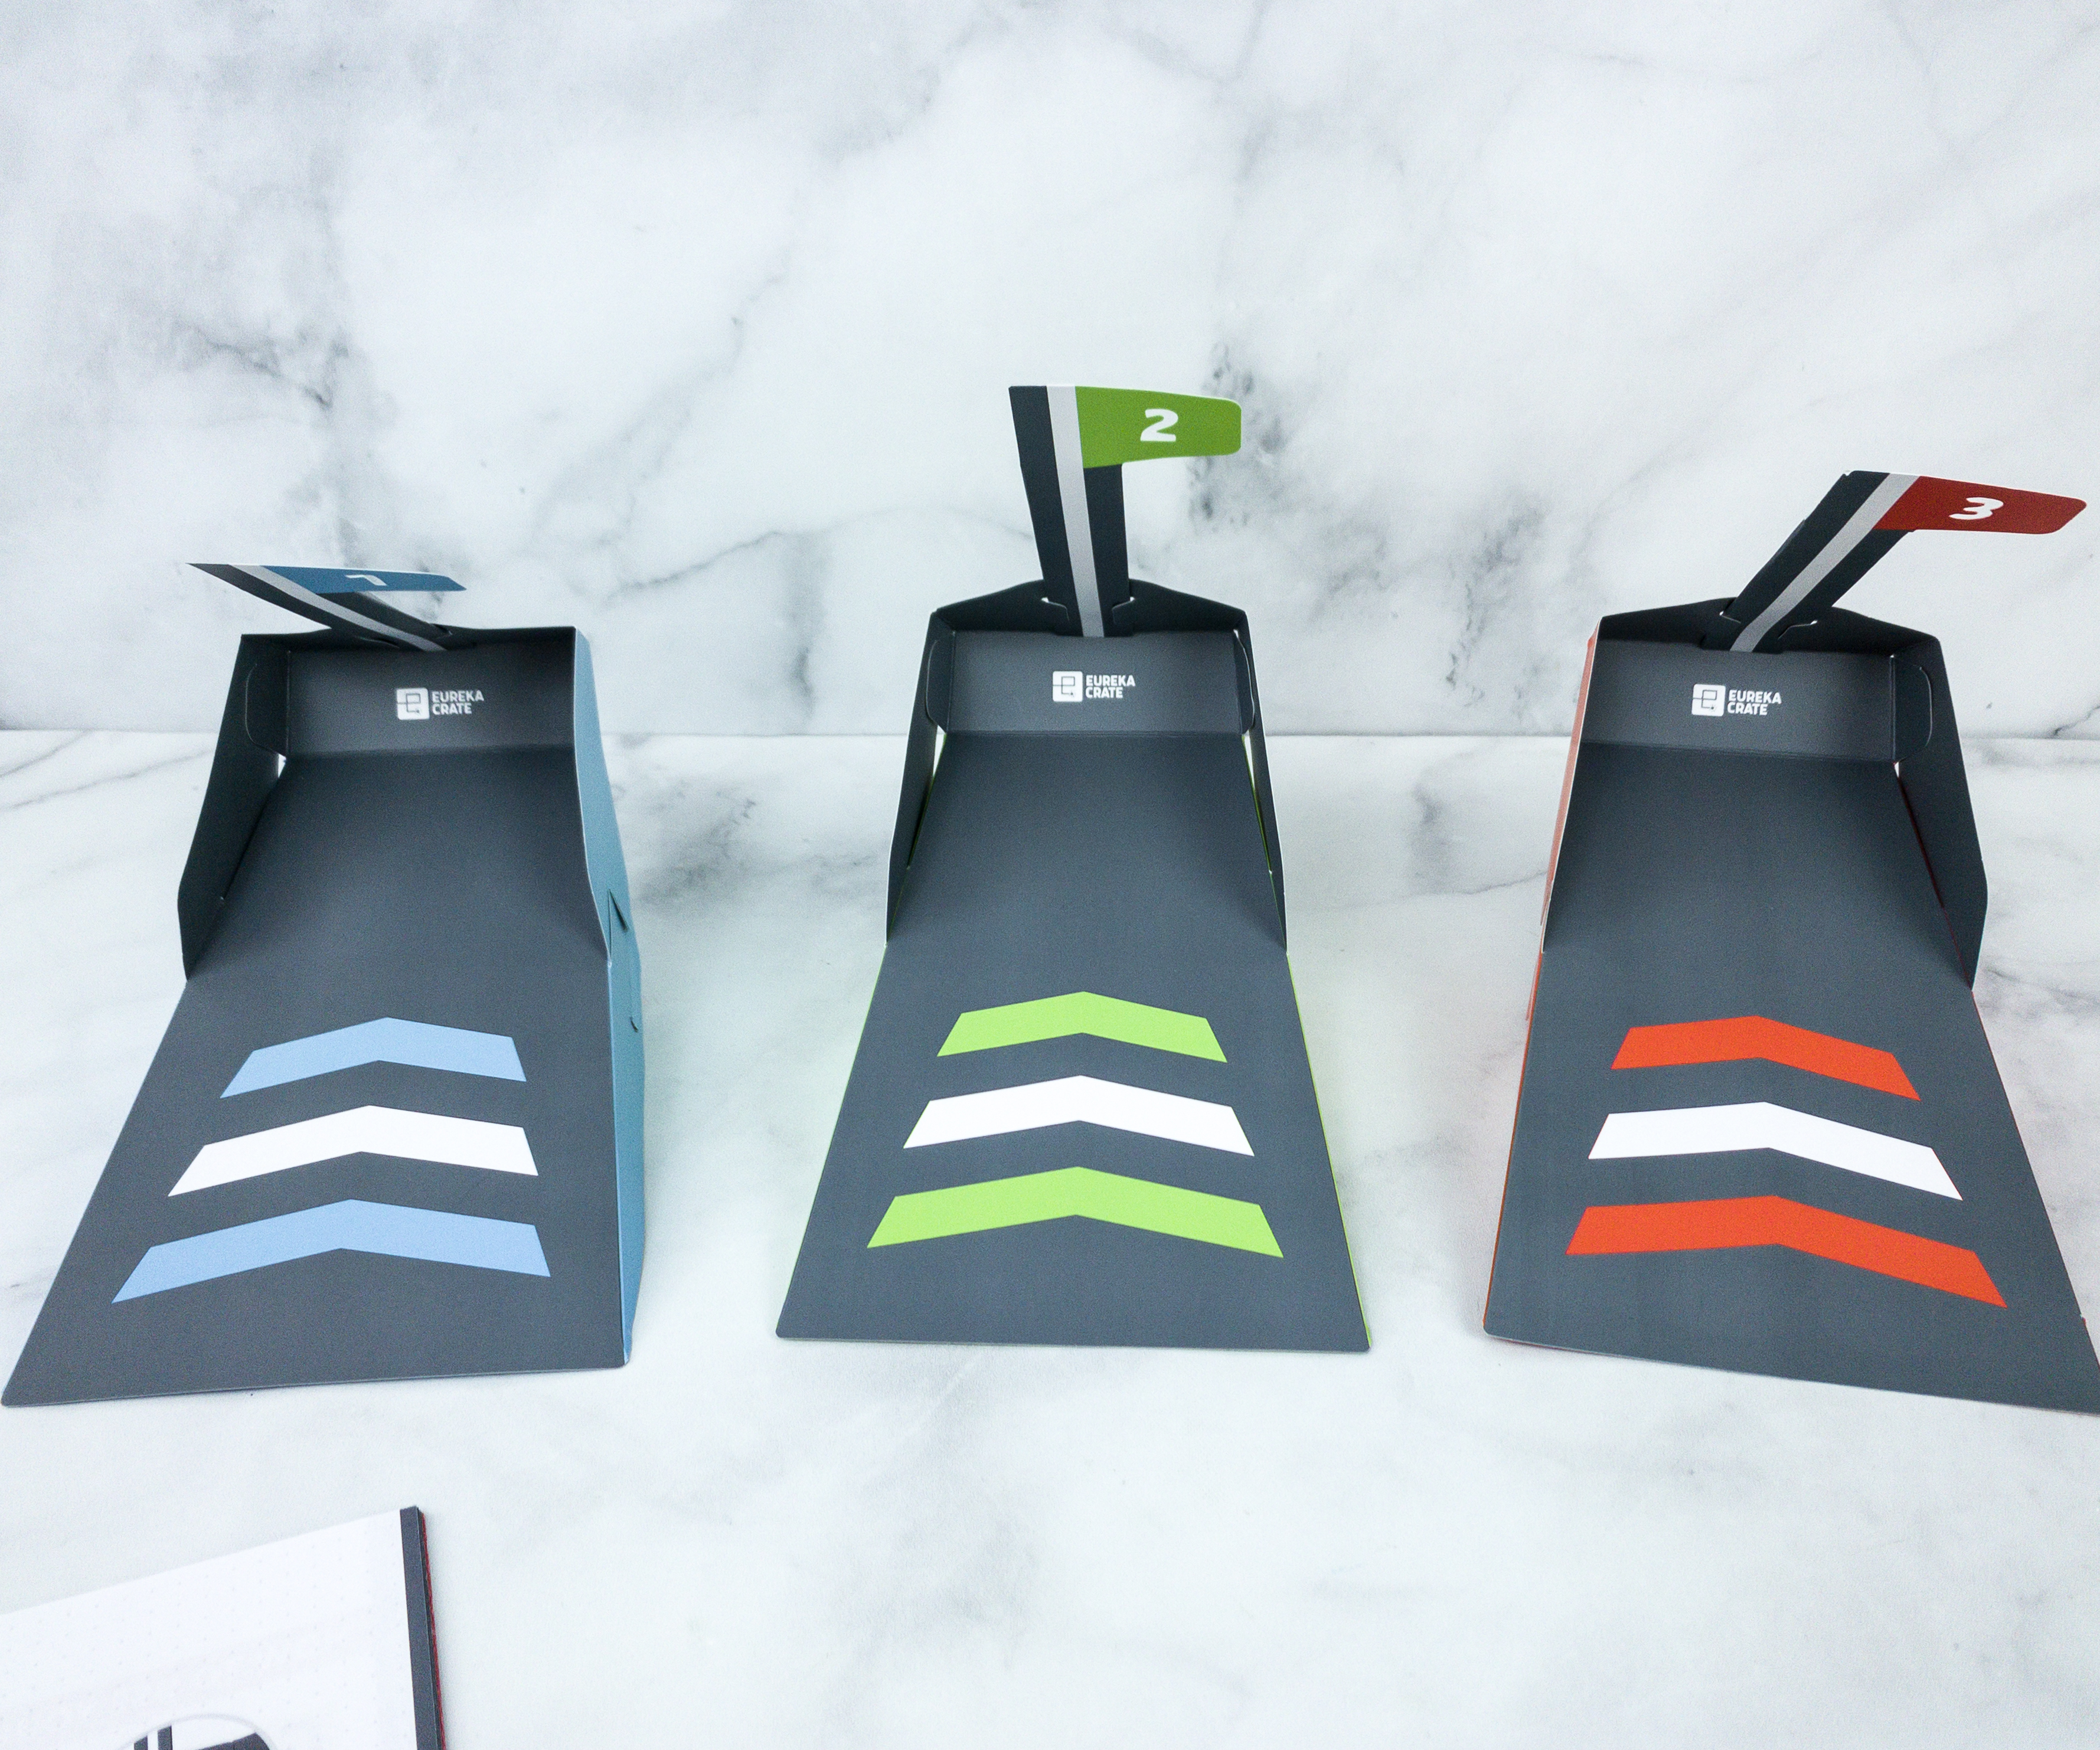
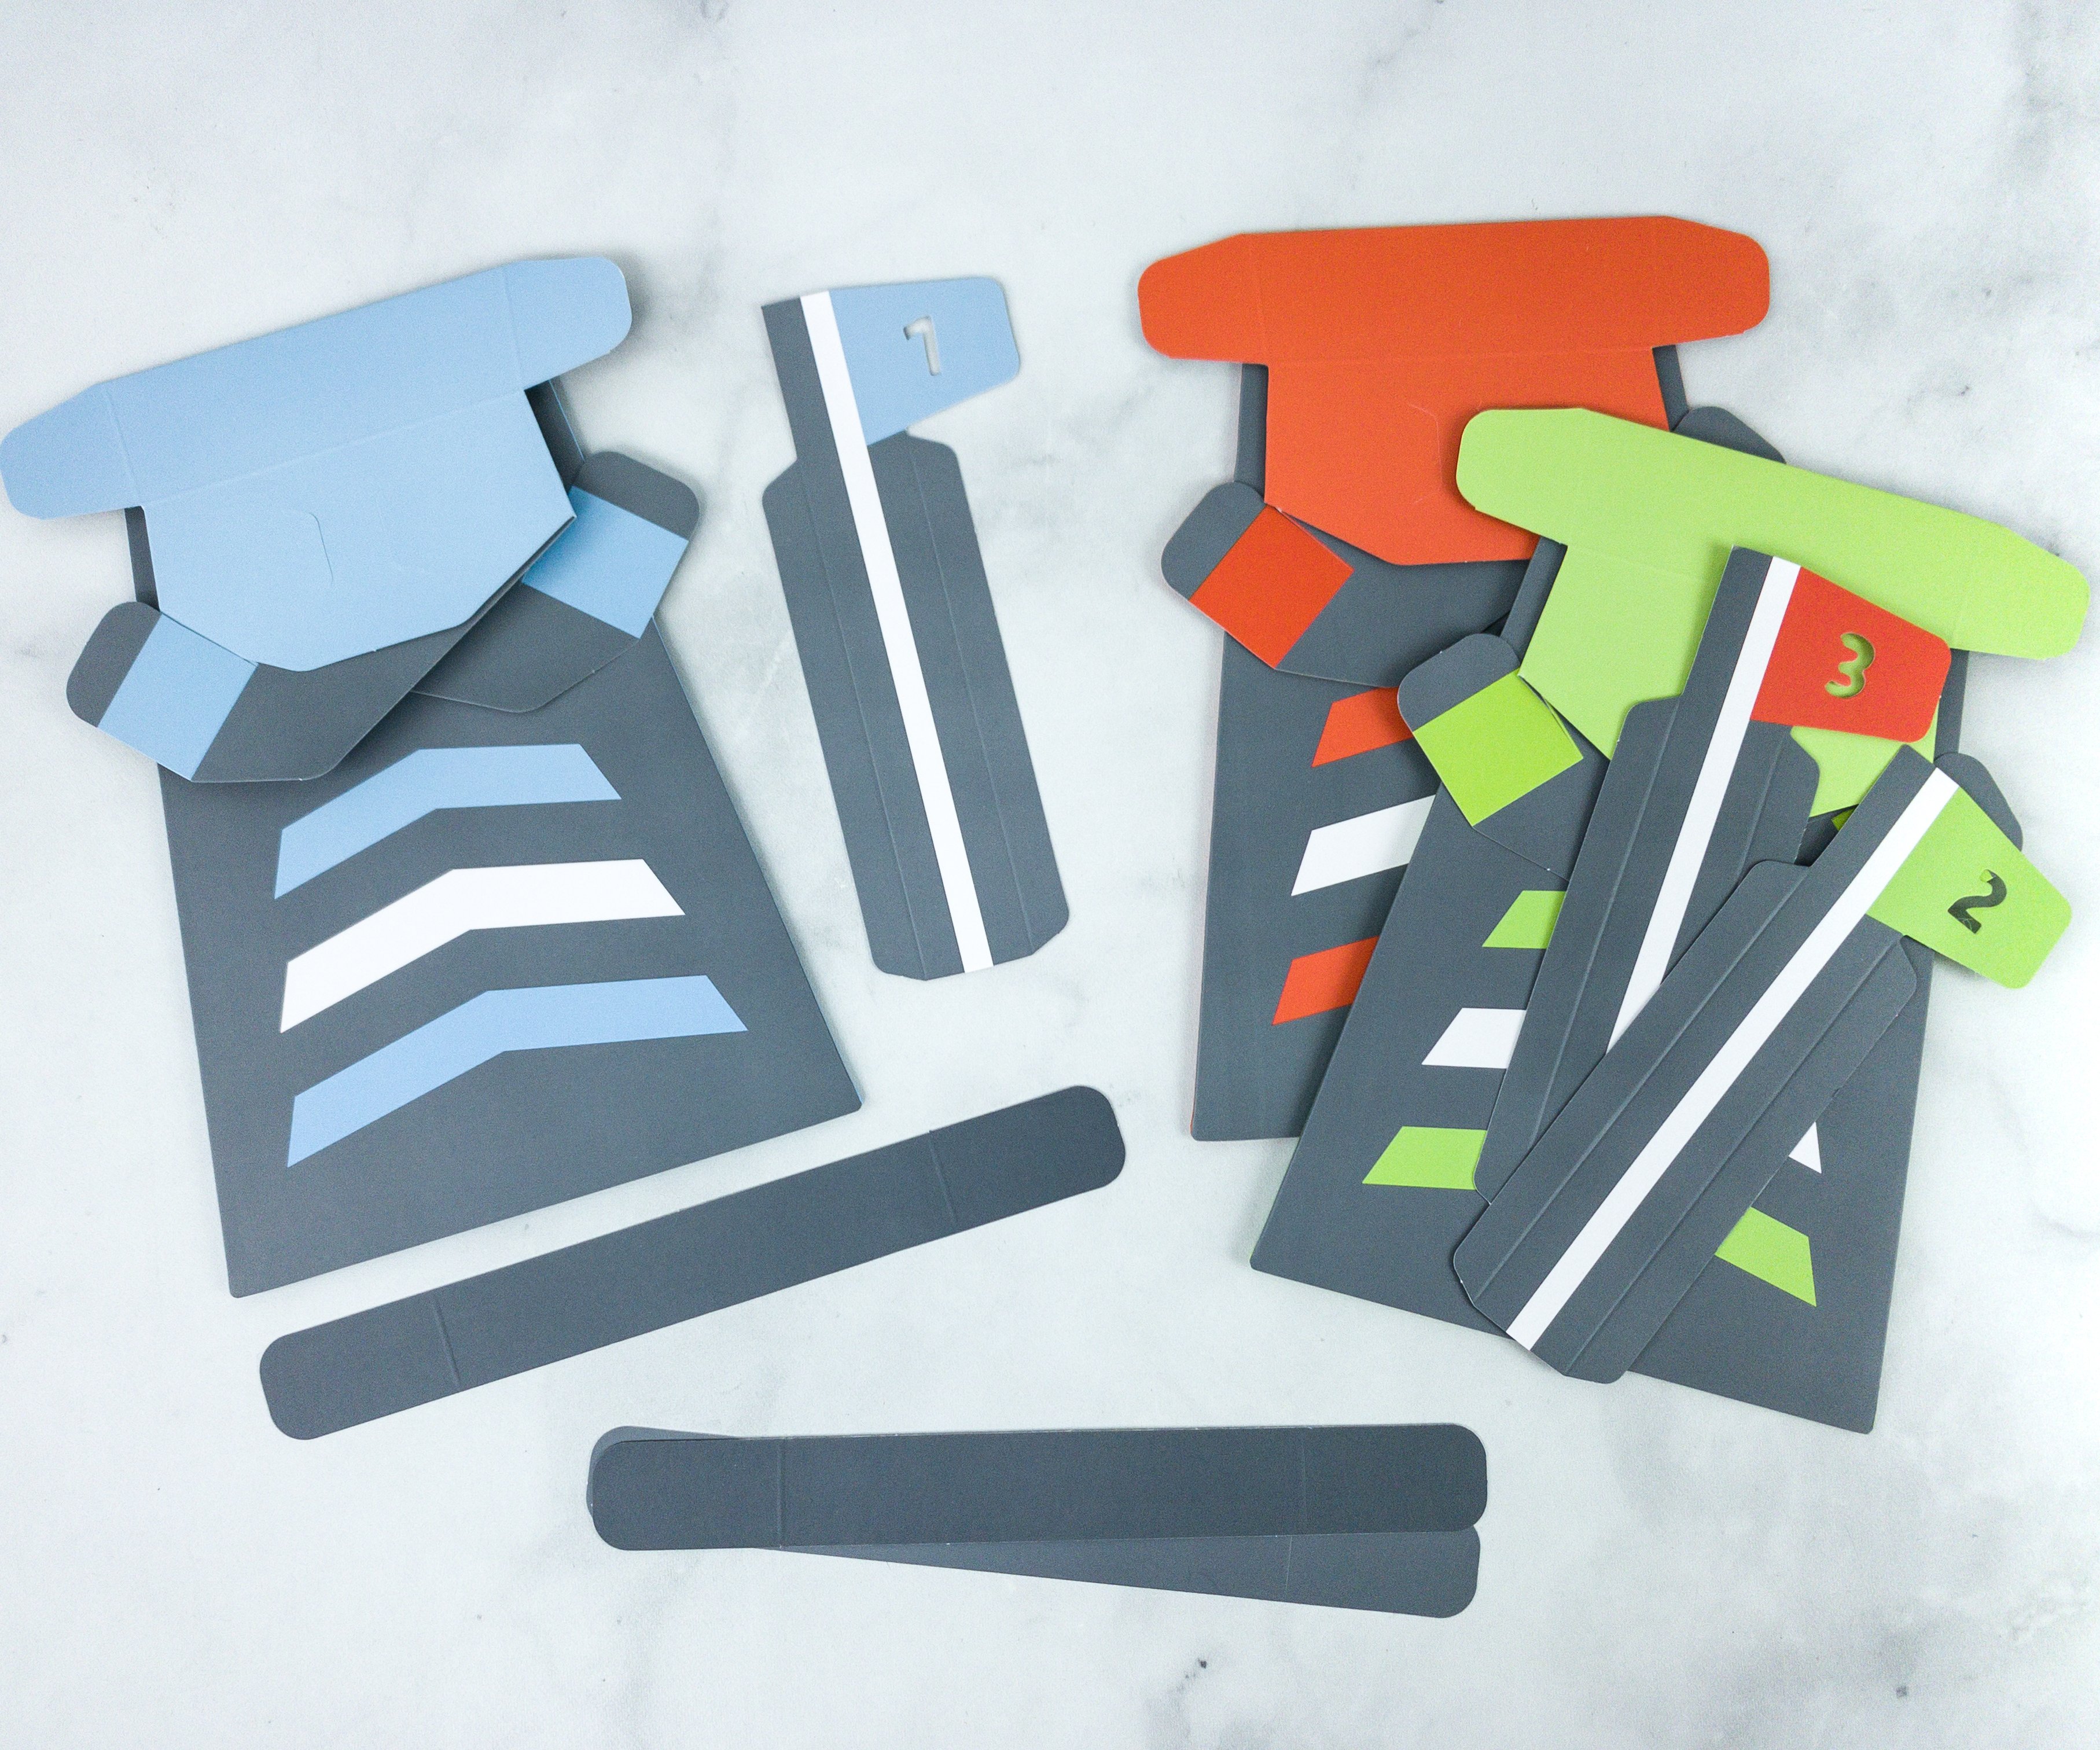
We have 3 targets, and each target is numbered!

The paper used for these targets is sturdy!
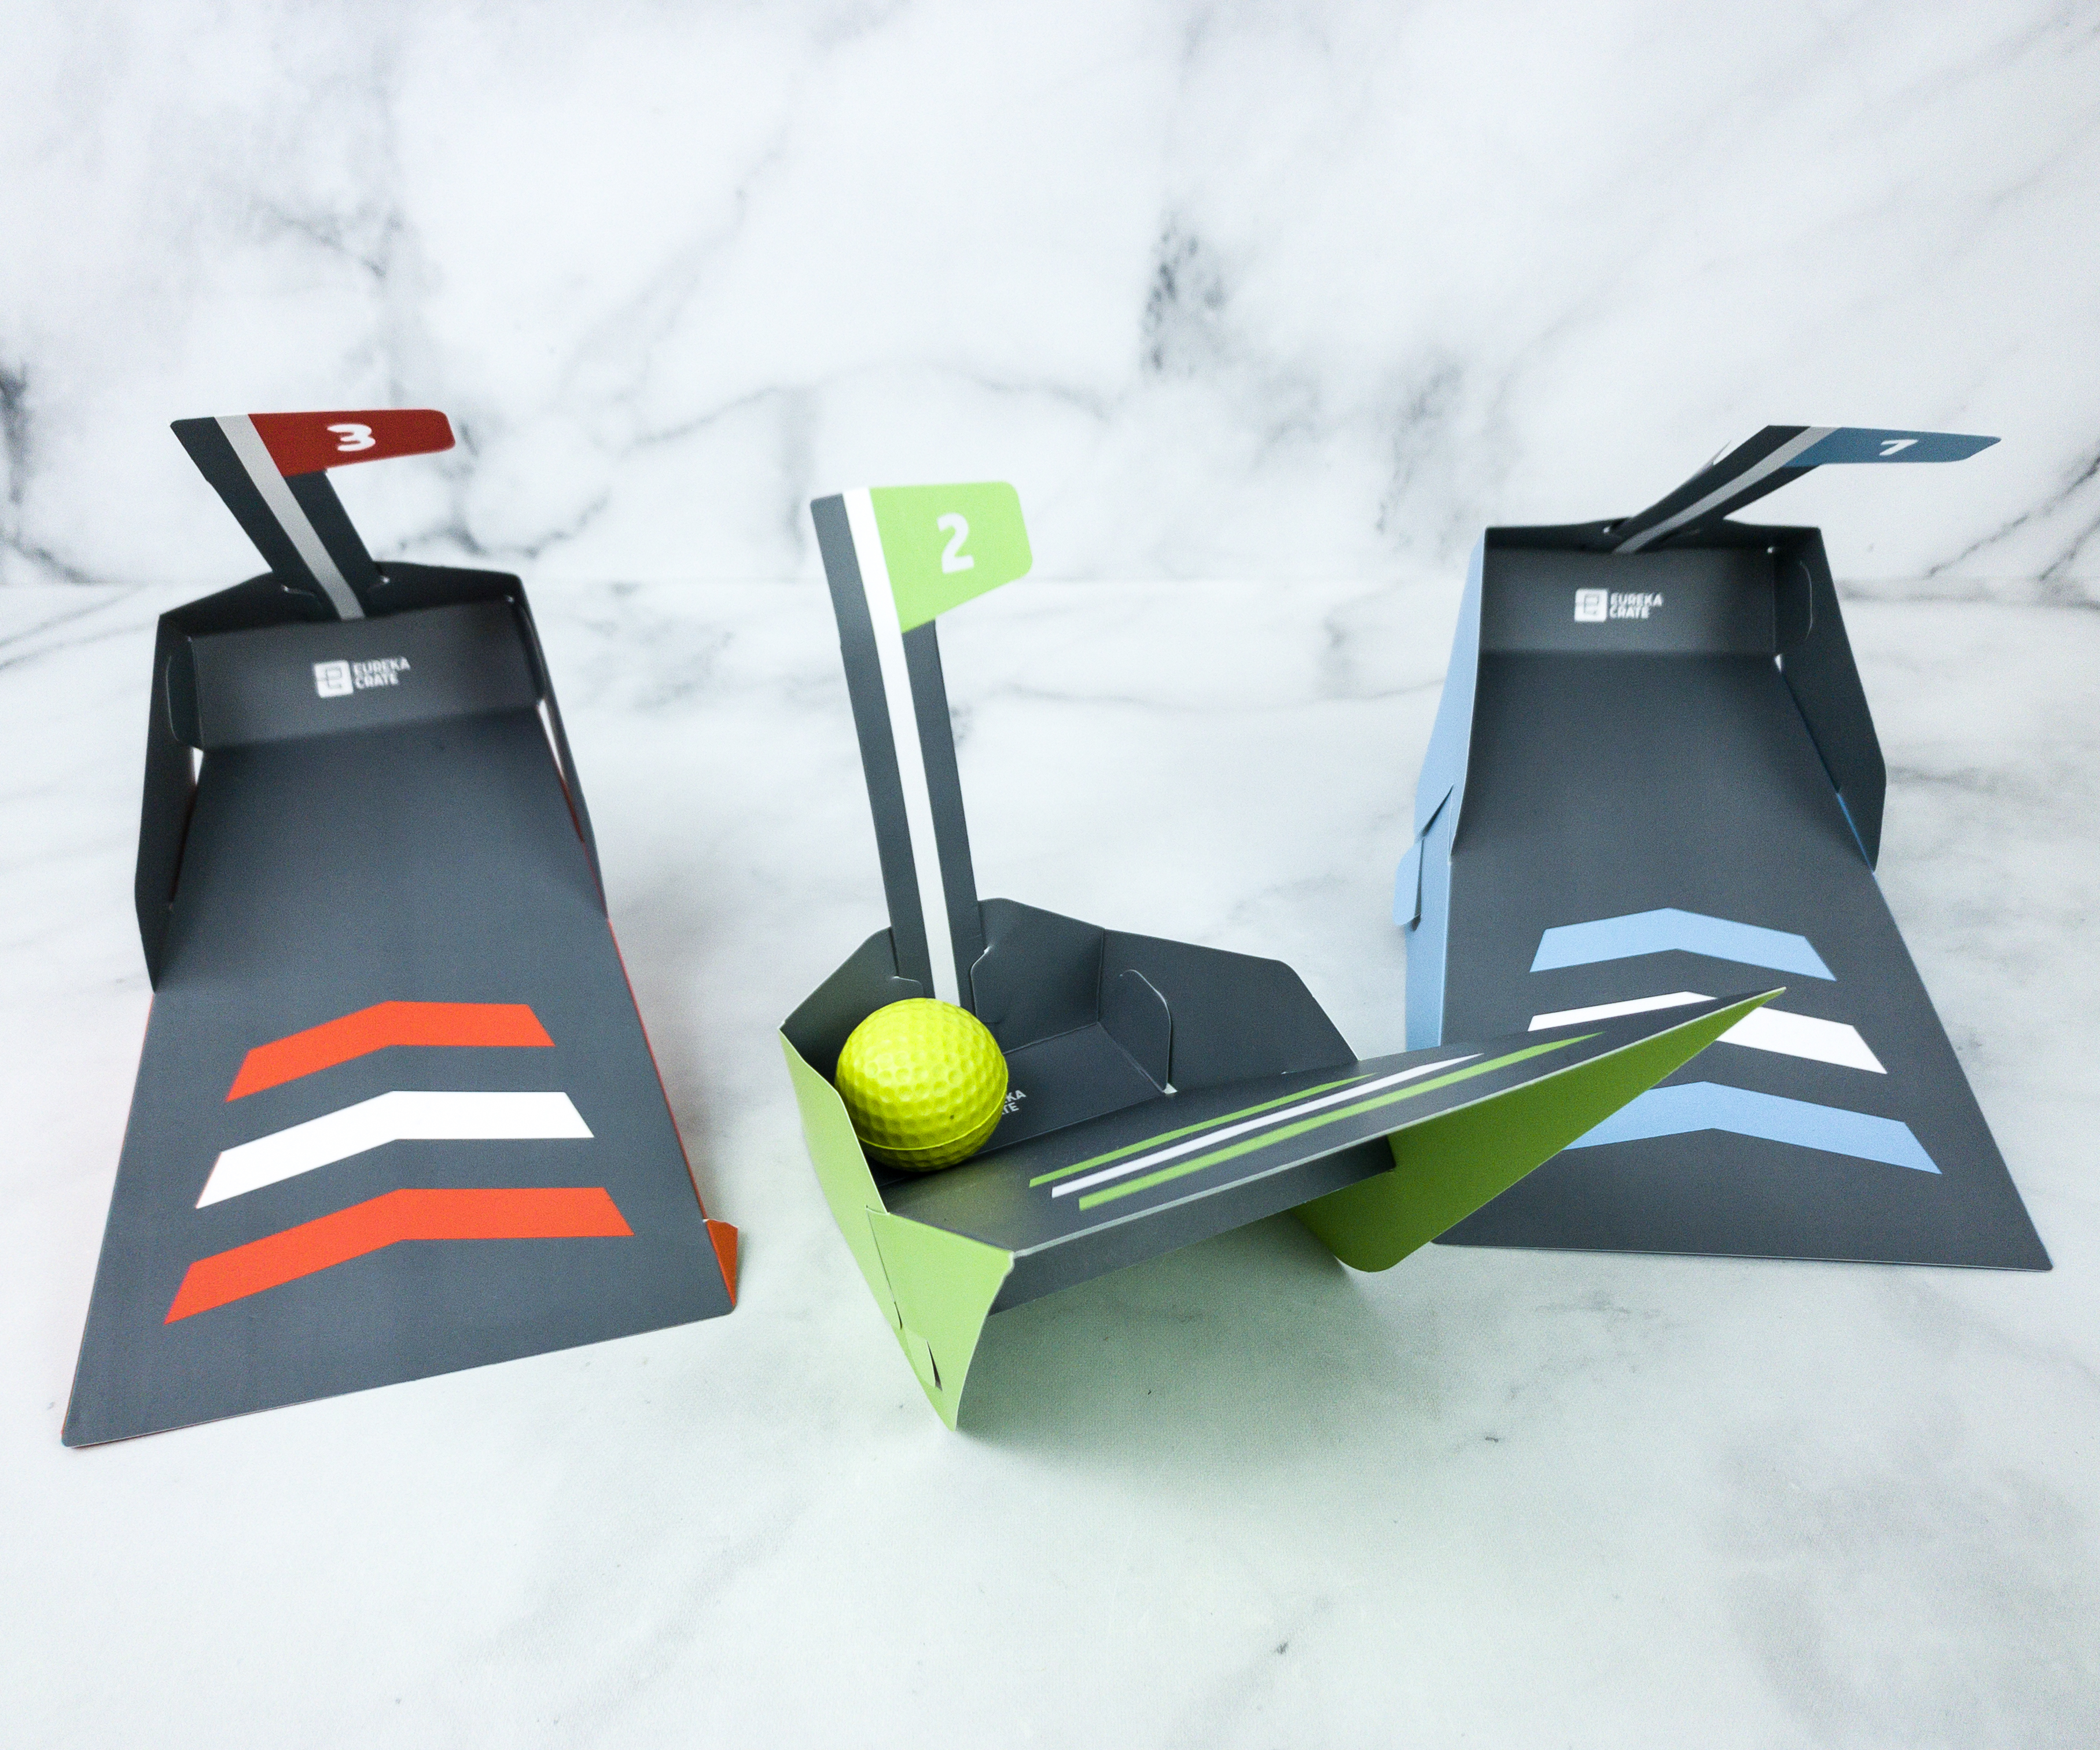
As the ball reaches the target, its weight also changes the position of the paper targets, which are lighter.
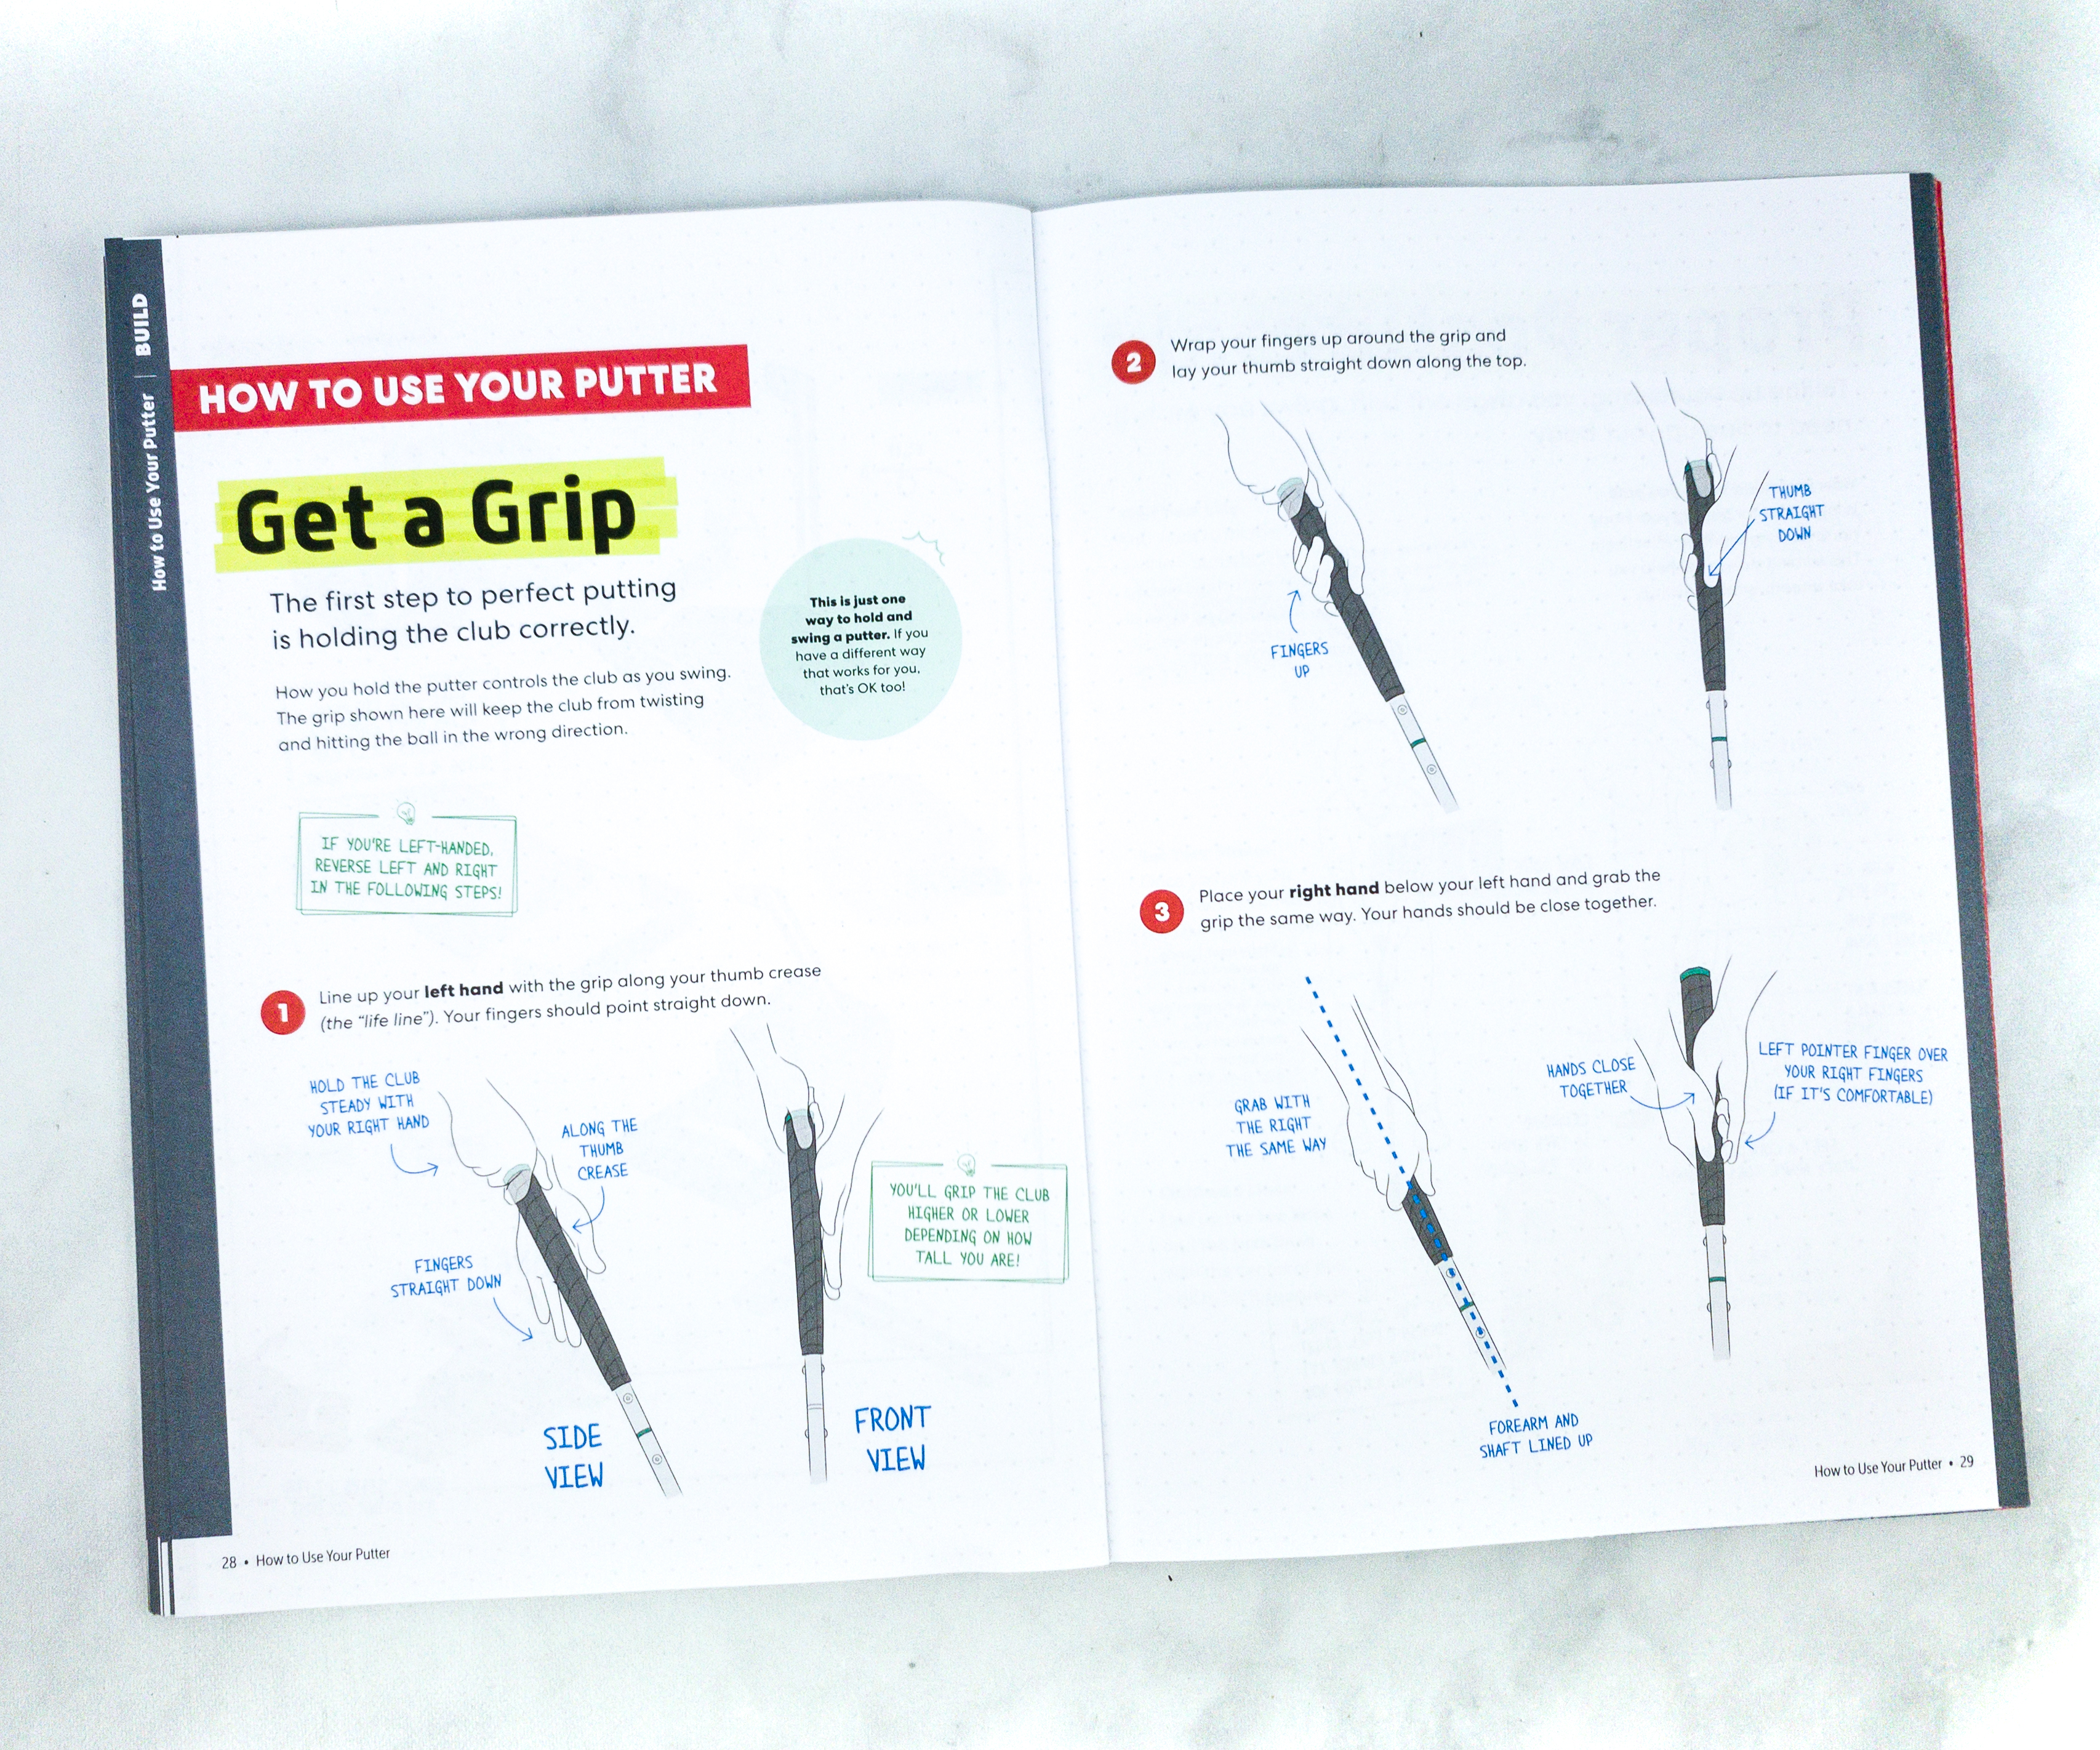
The booklet also included instructions on how to use the putter. This is important so that we can enjoy the indoor golf game. Also, it explains more about positioning if you’re left-handed!
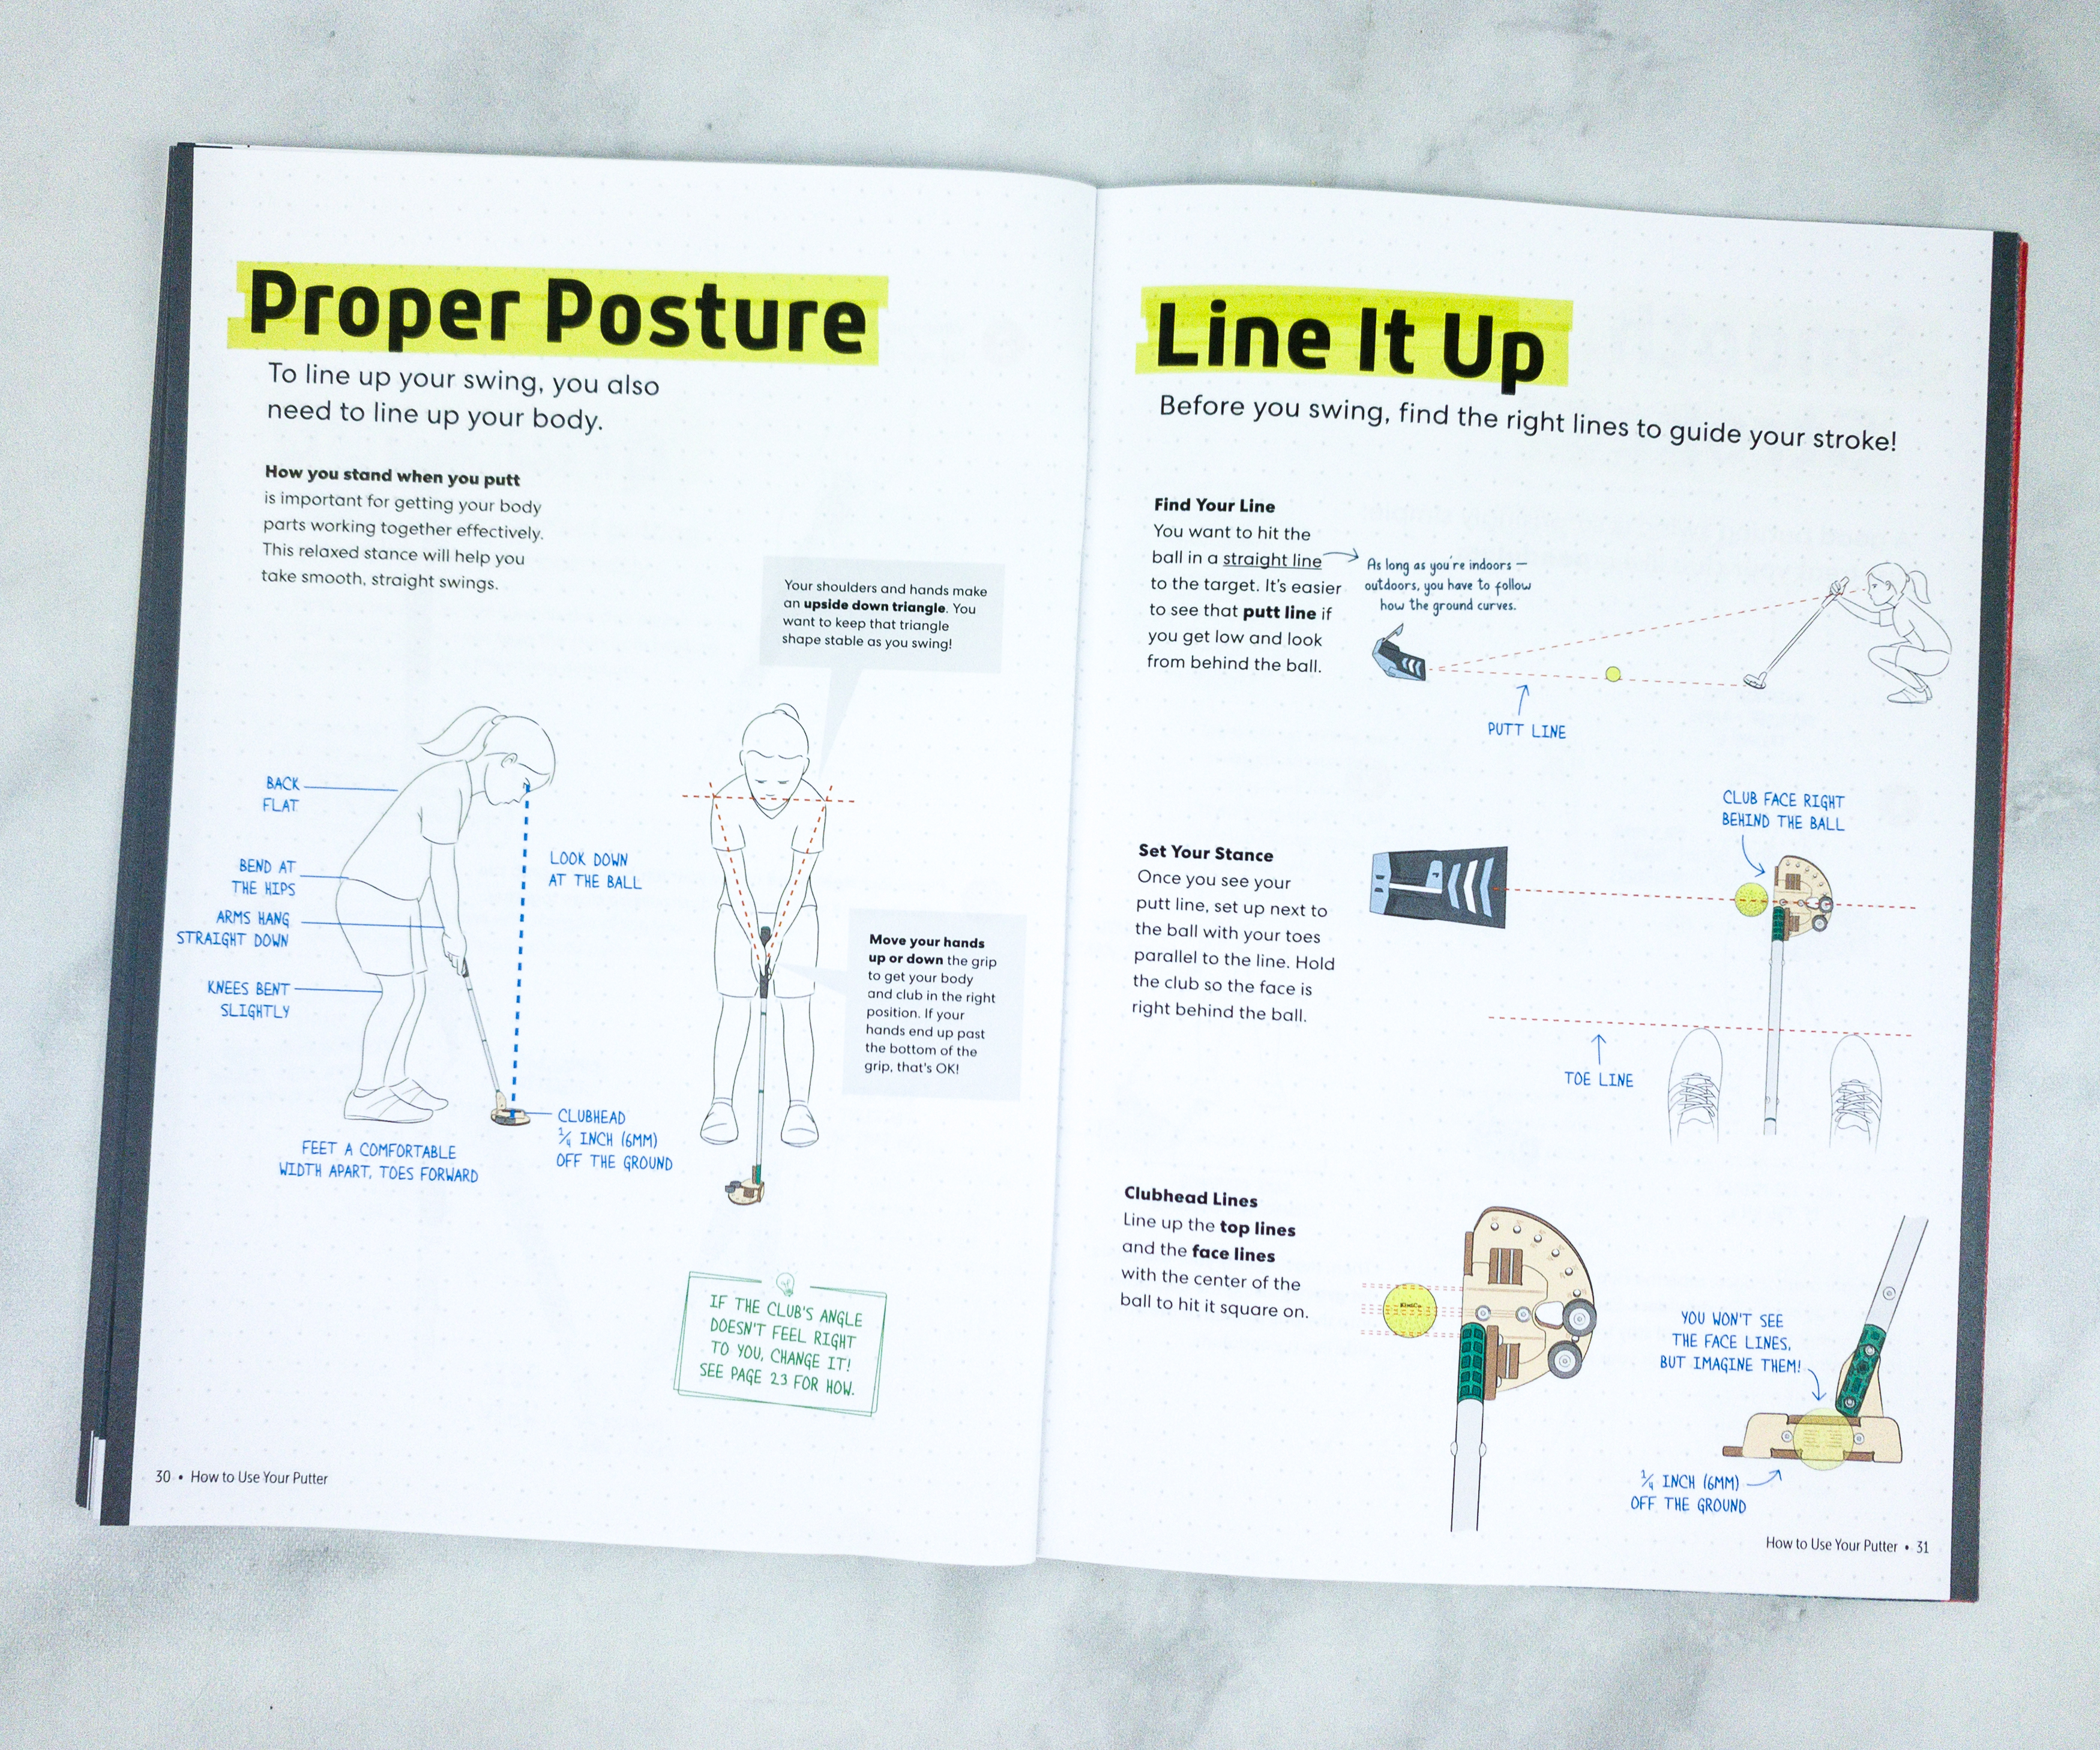
It also includes the proper posture, and of course, how to line it up so you can easily reach your target.
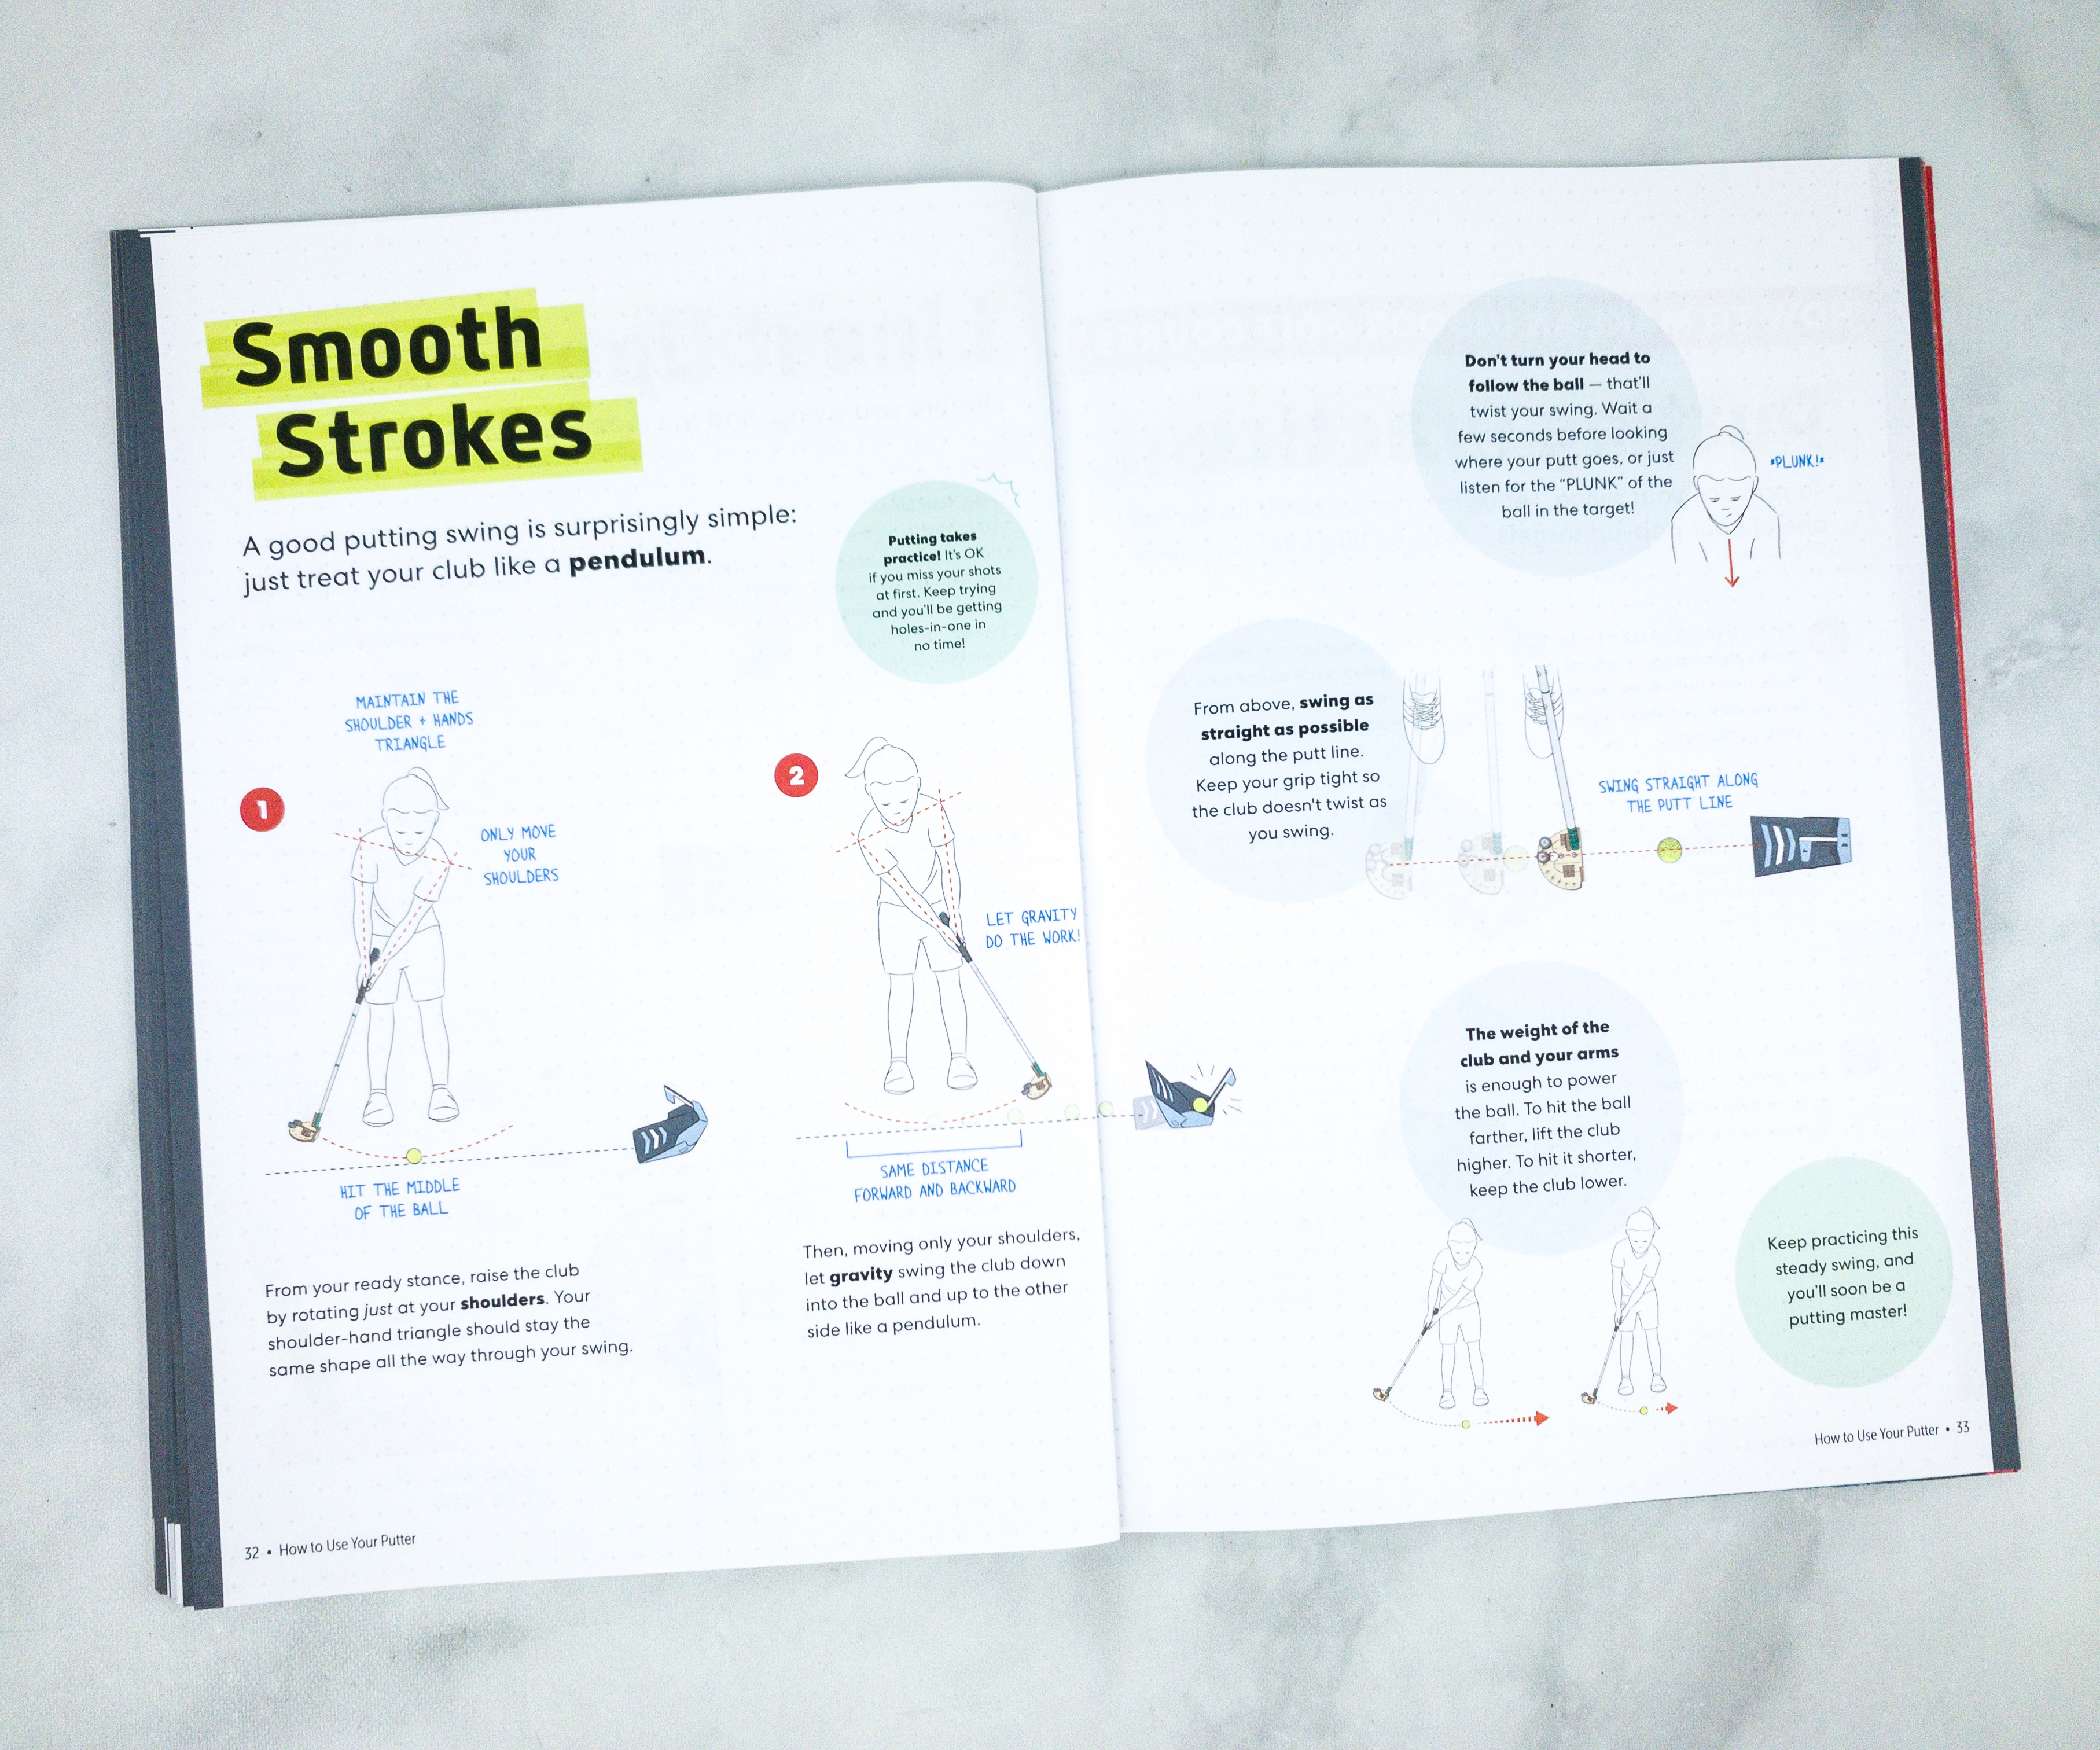
It even explains how you can do smooth strokes by treating your club like a pendulum.

After finishing the golf club and the targets, we can finally put together our own indoor golf course.
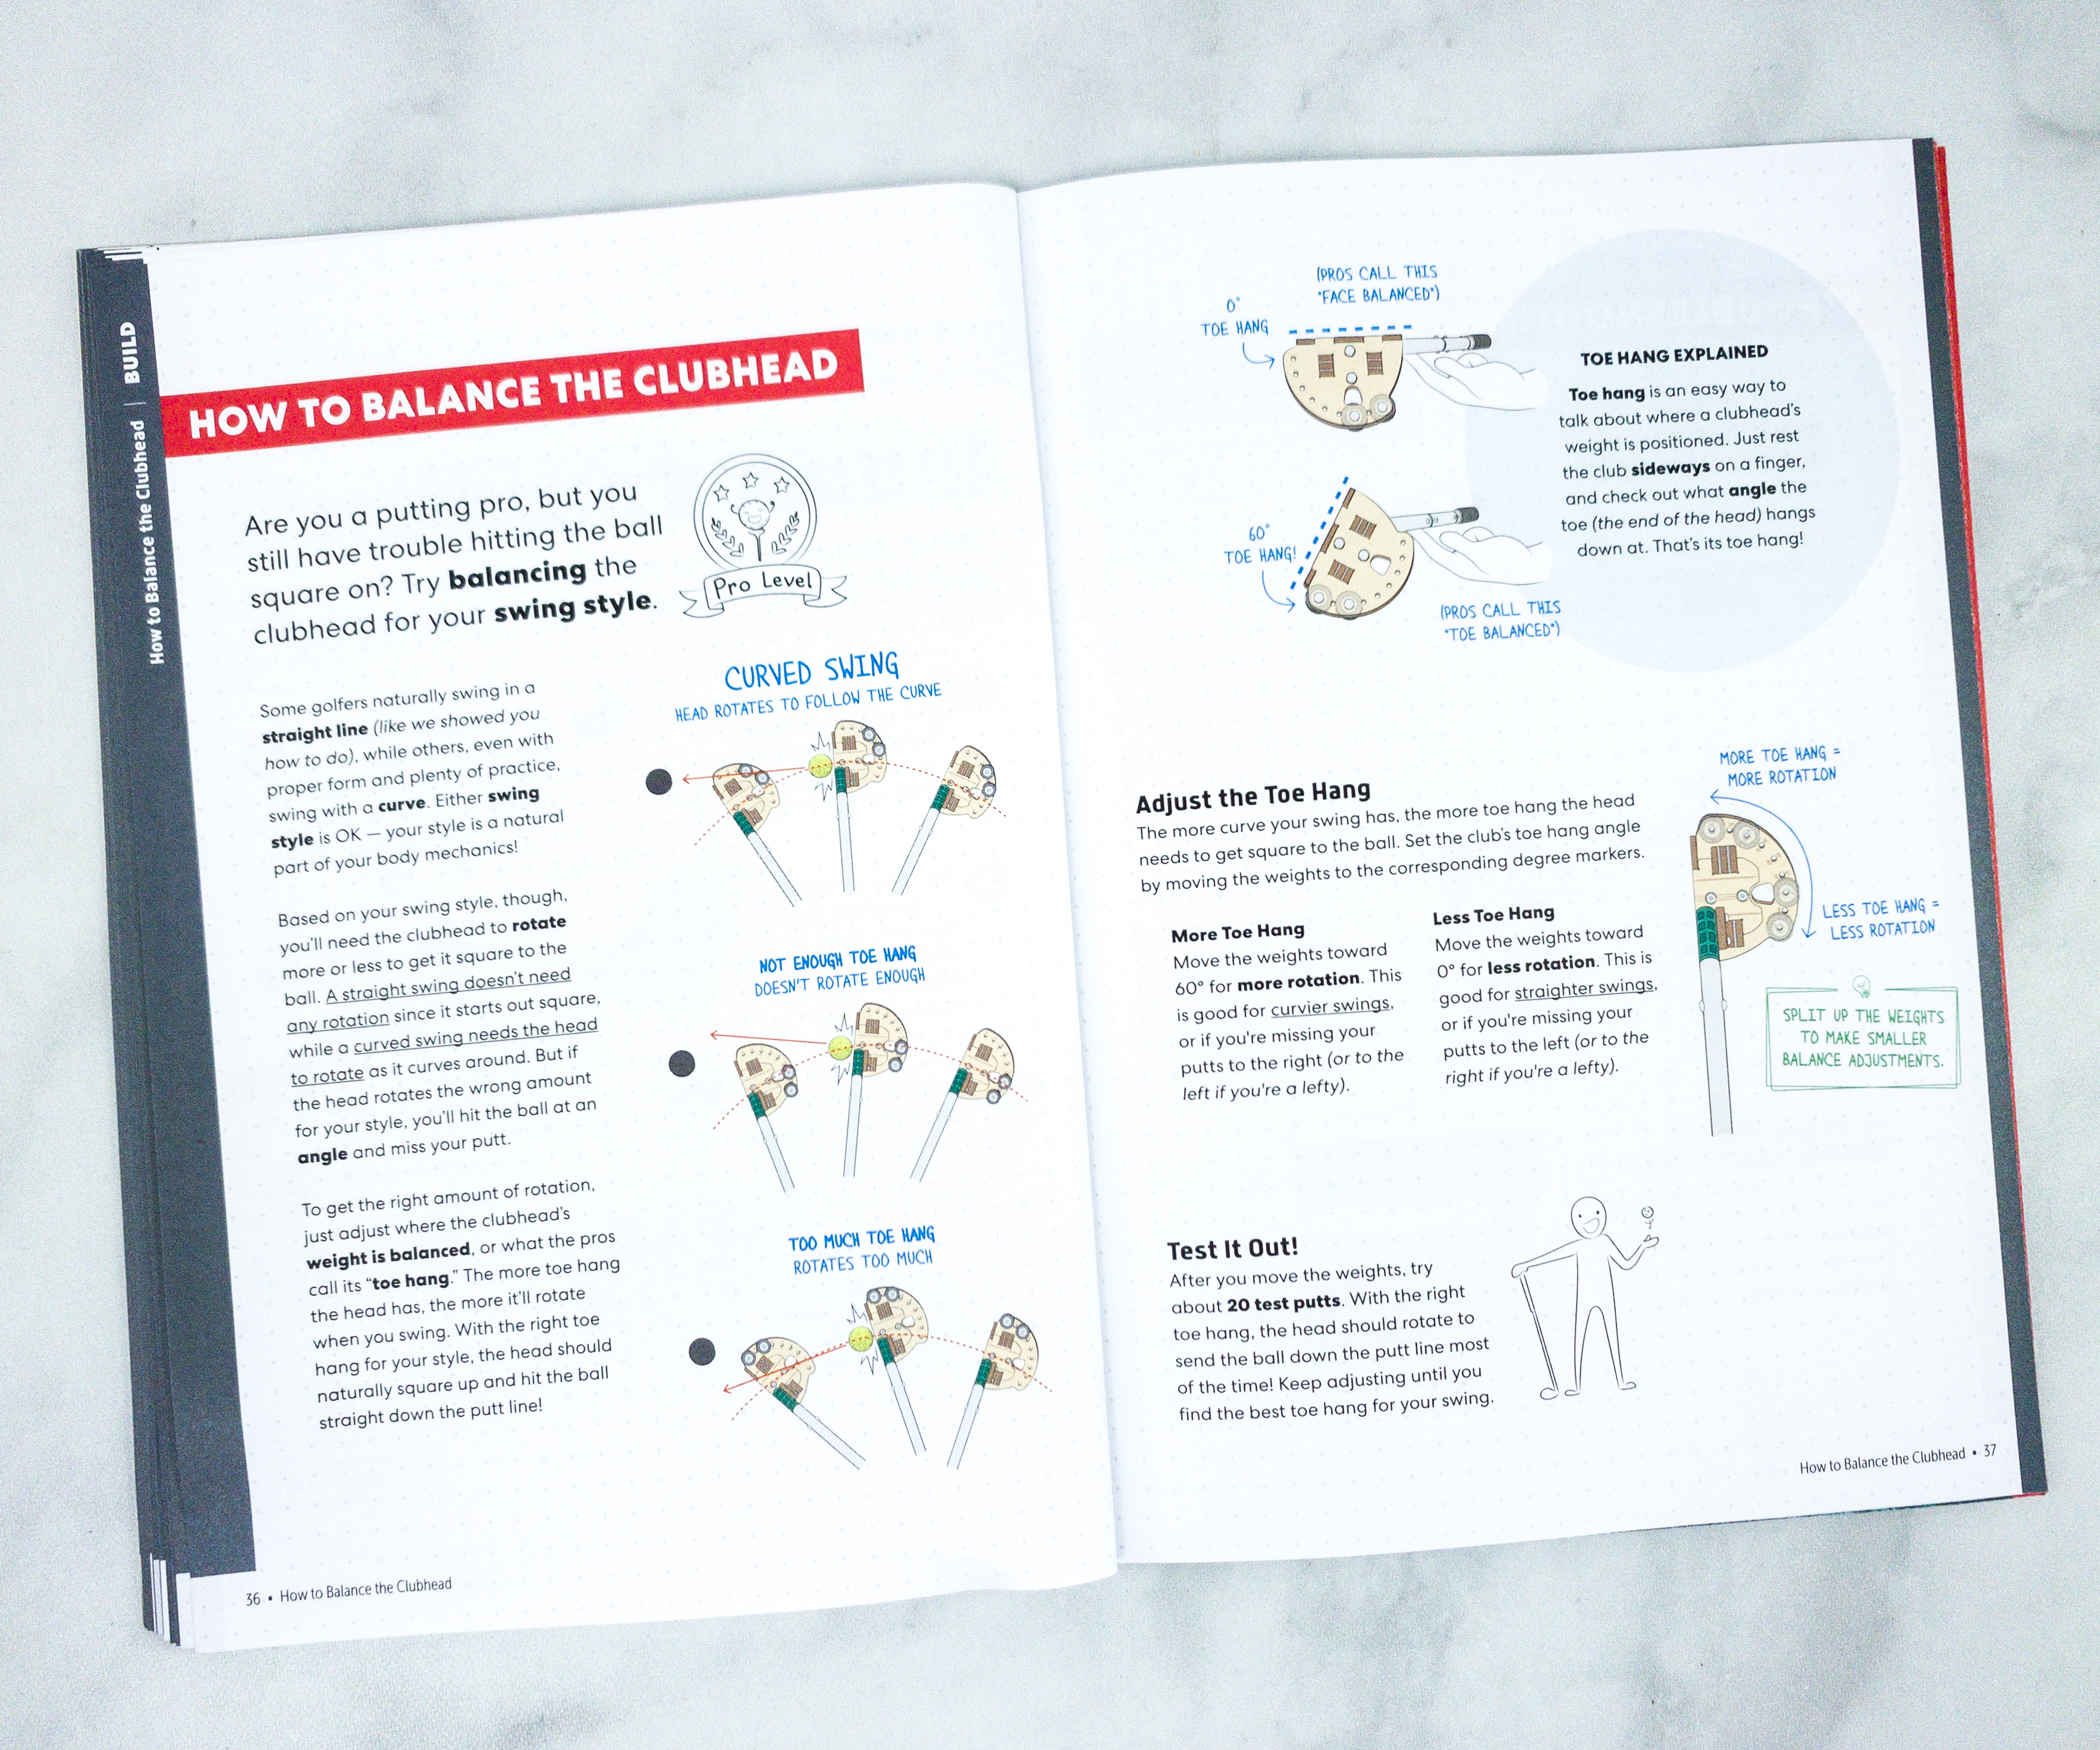
For those who have trouble hitting the ball, they also included some tips on how to balance the clubhead.

It’s unavoidable to encounter some difficulties and problems, so the booklet also included troubleshooting tips like if the shaft seems wiggly, or if you’re having trouble putting, or the grip tape is getting bunched up, and more!

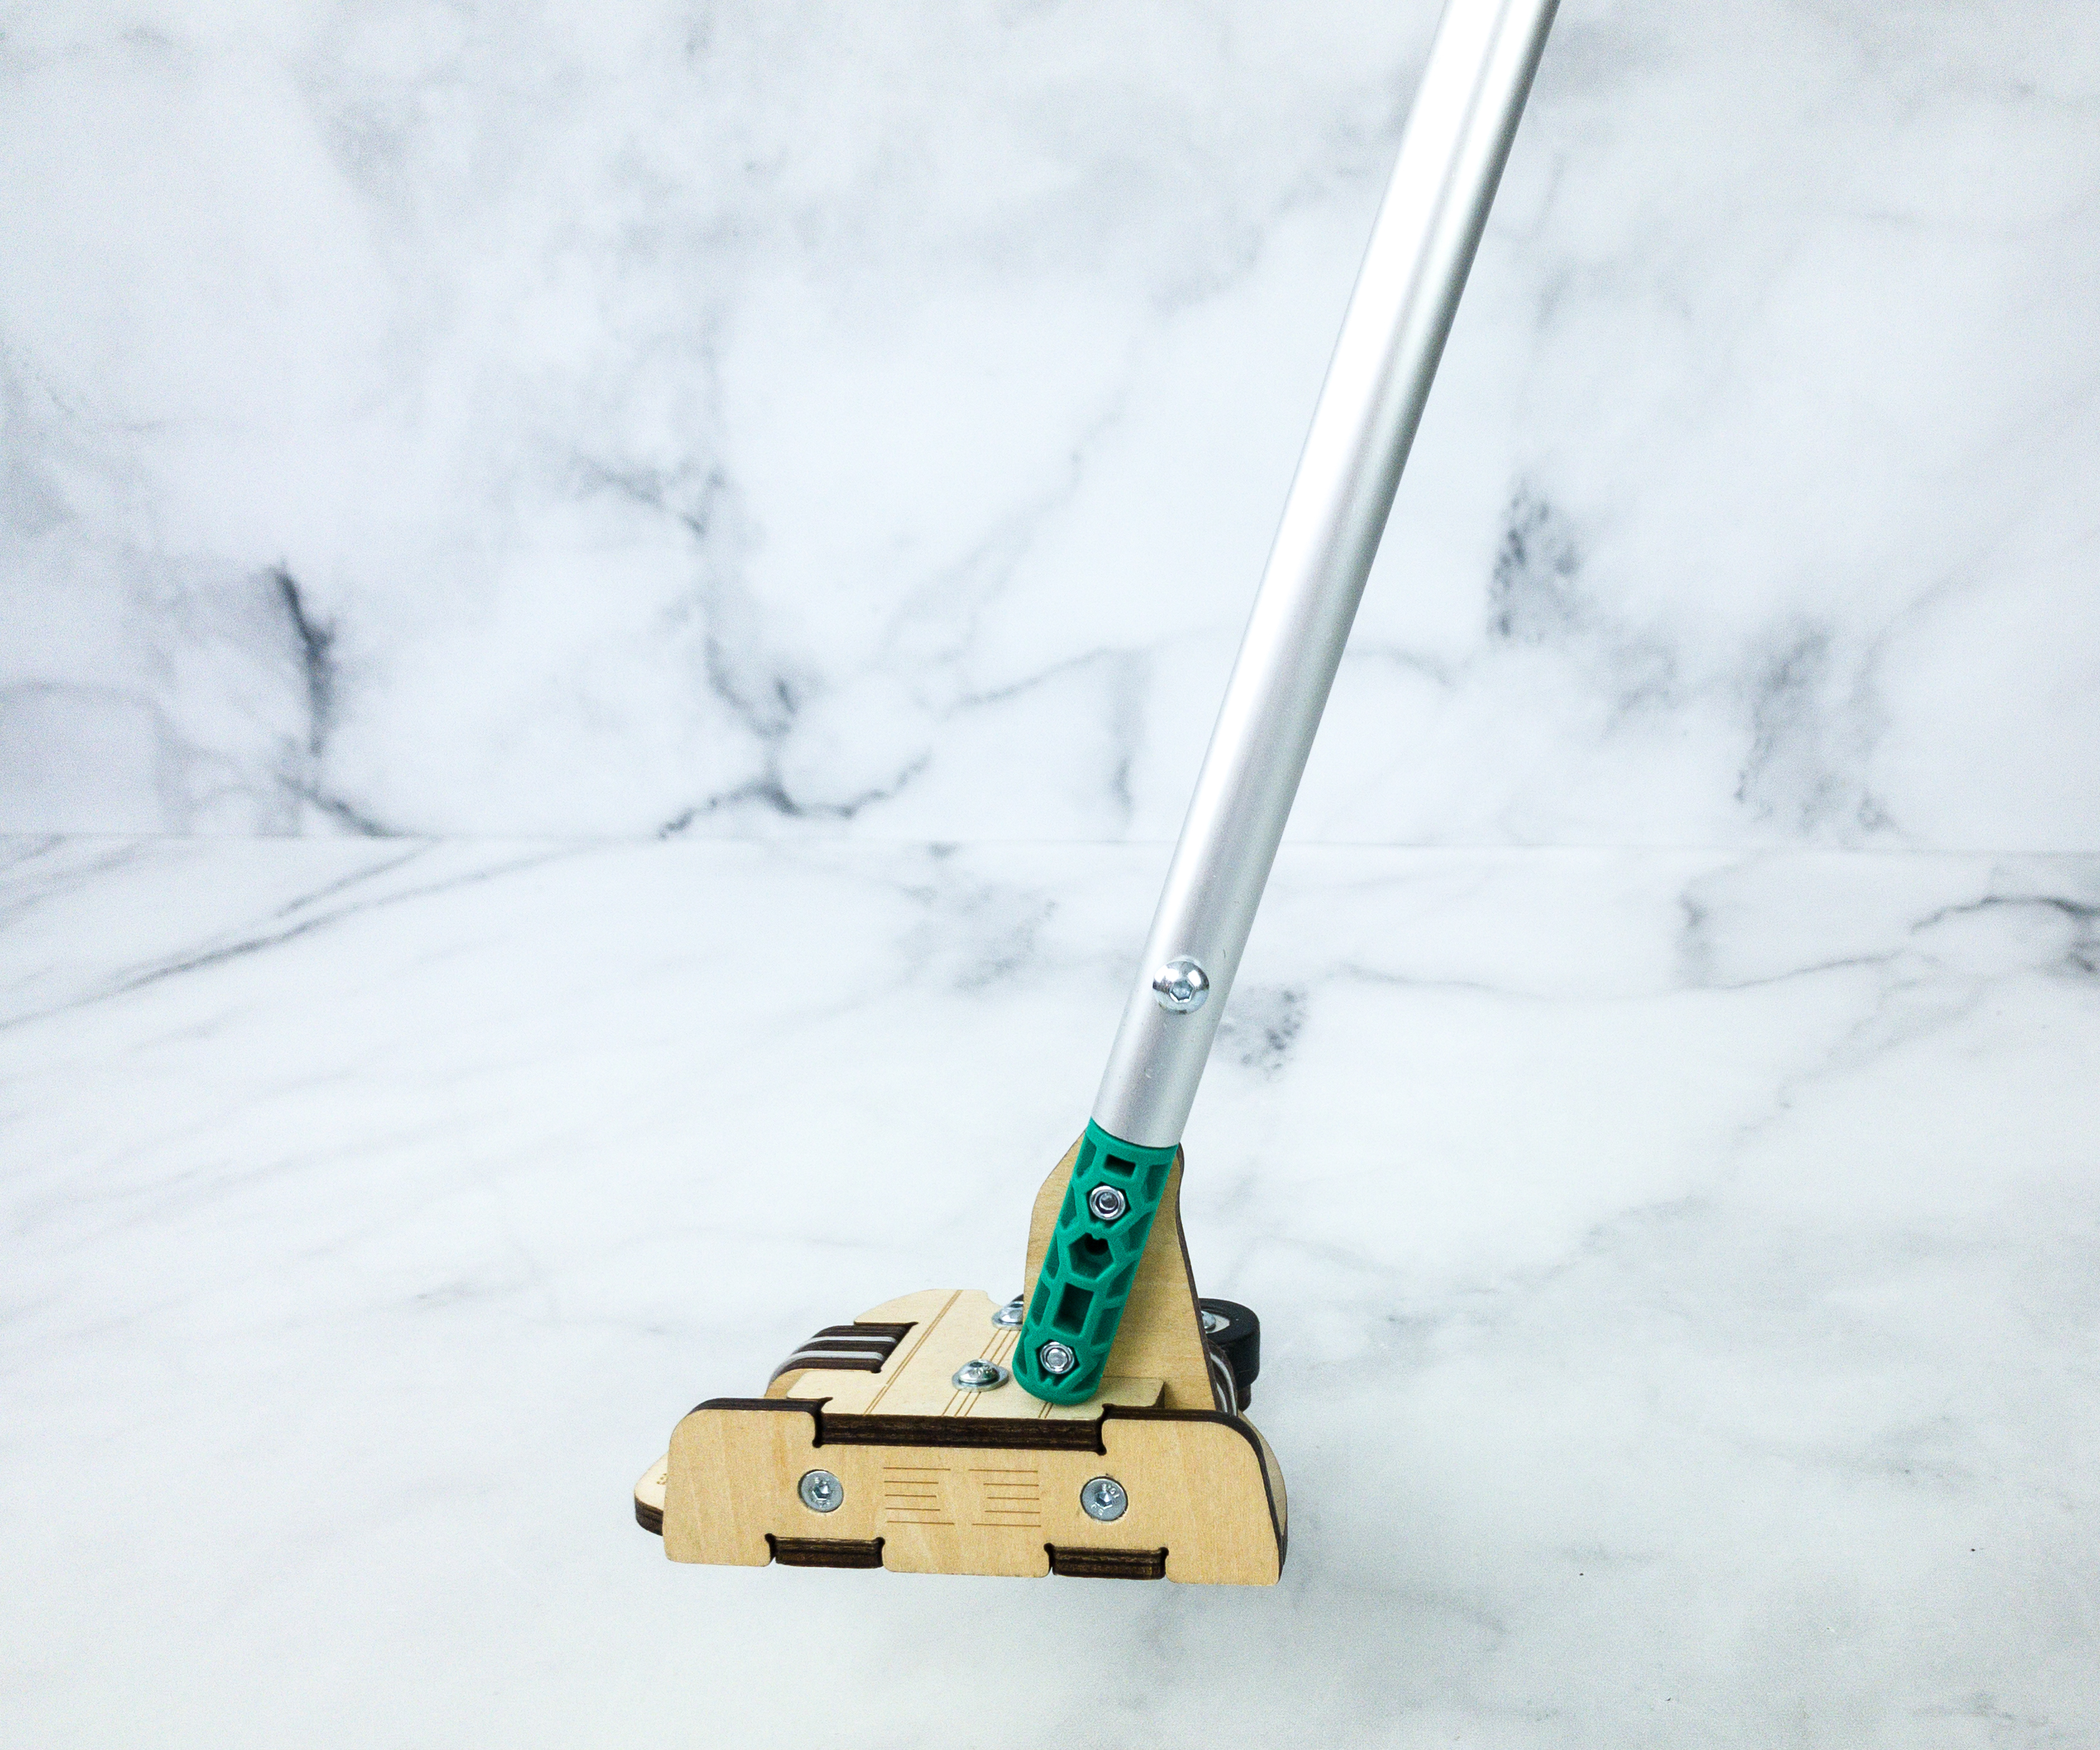
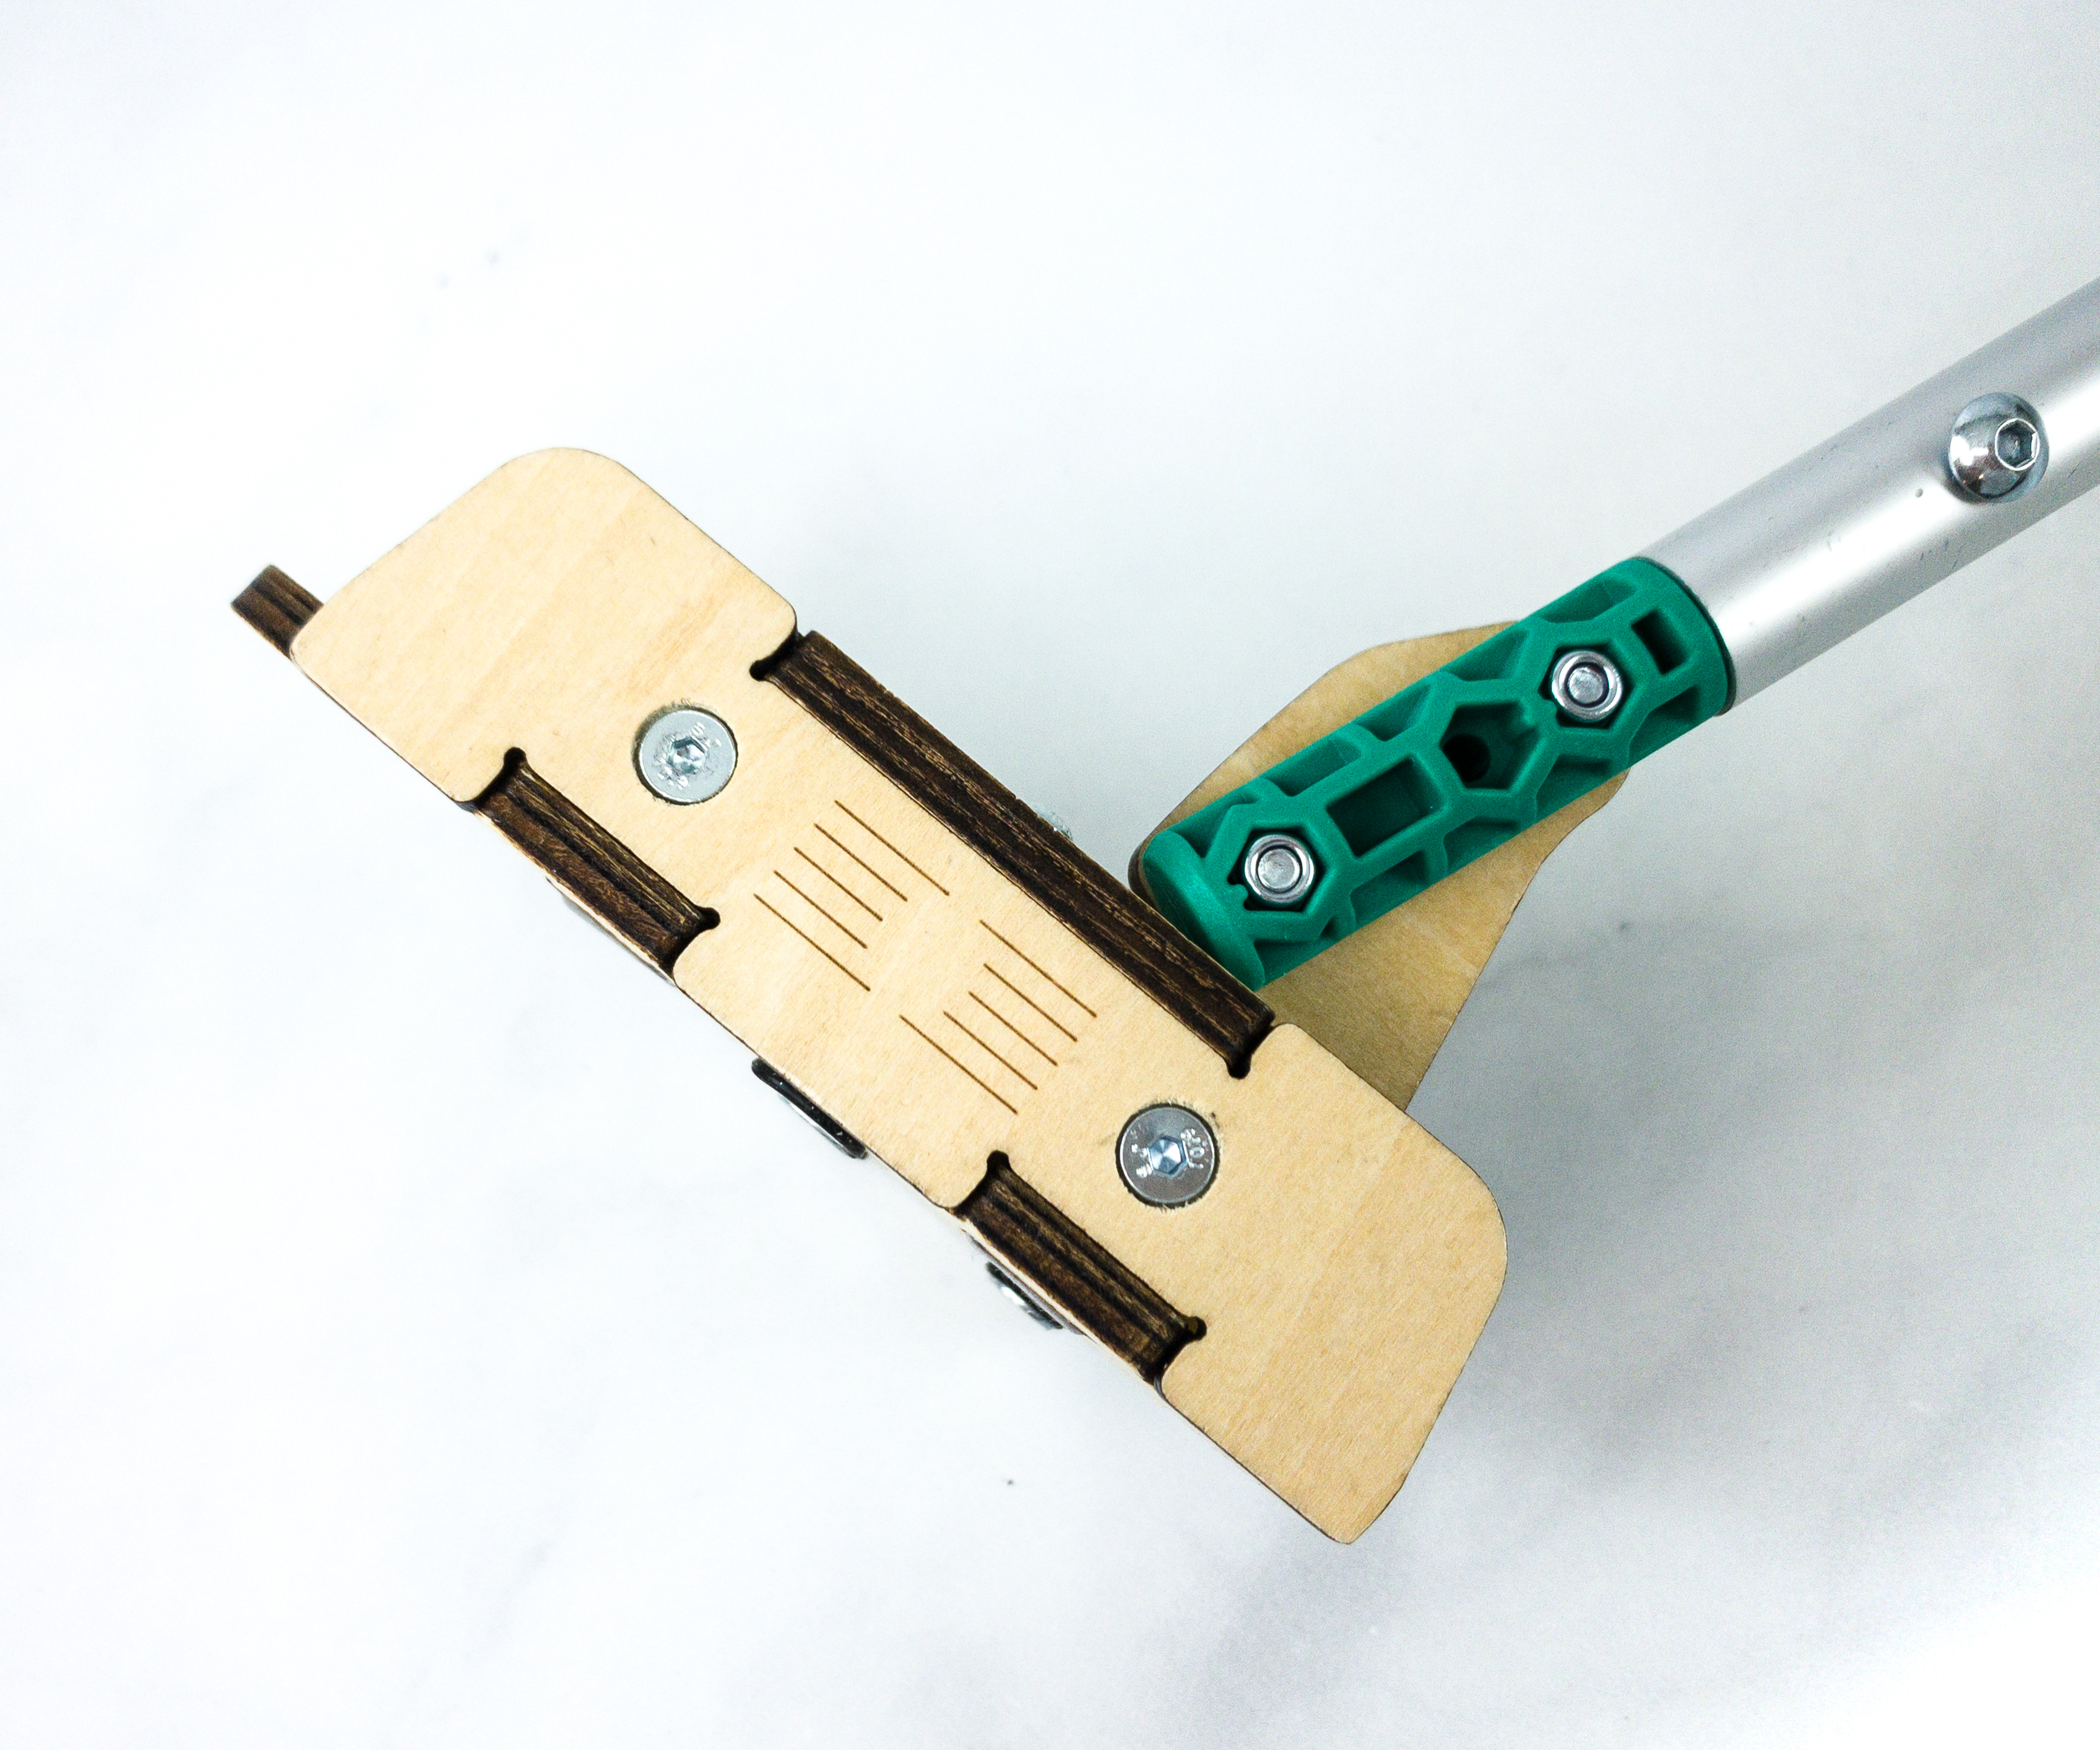
Here’s how the clubhead looks when it’s done!
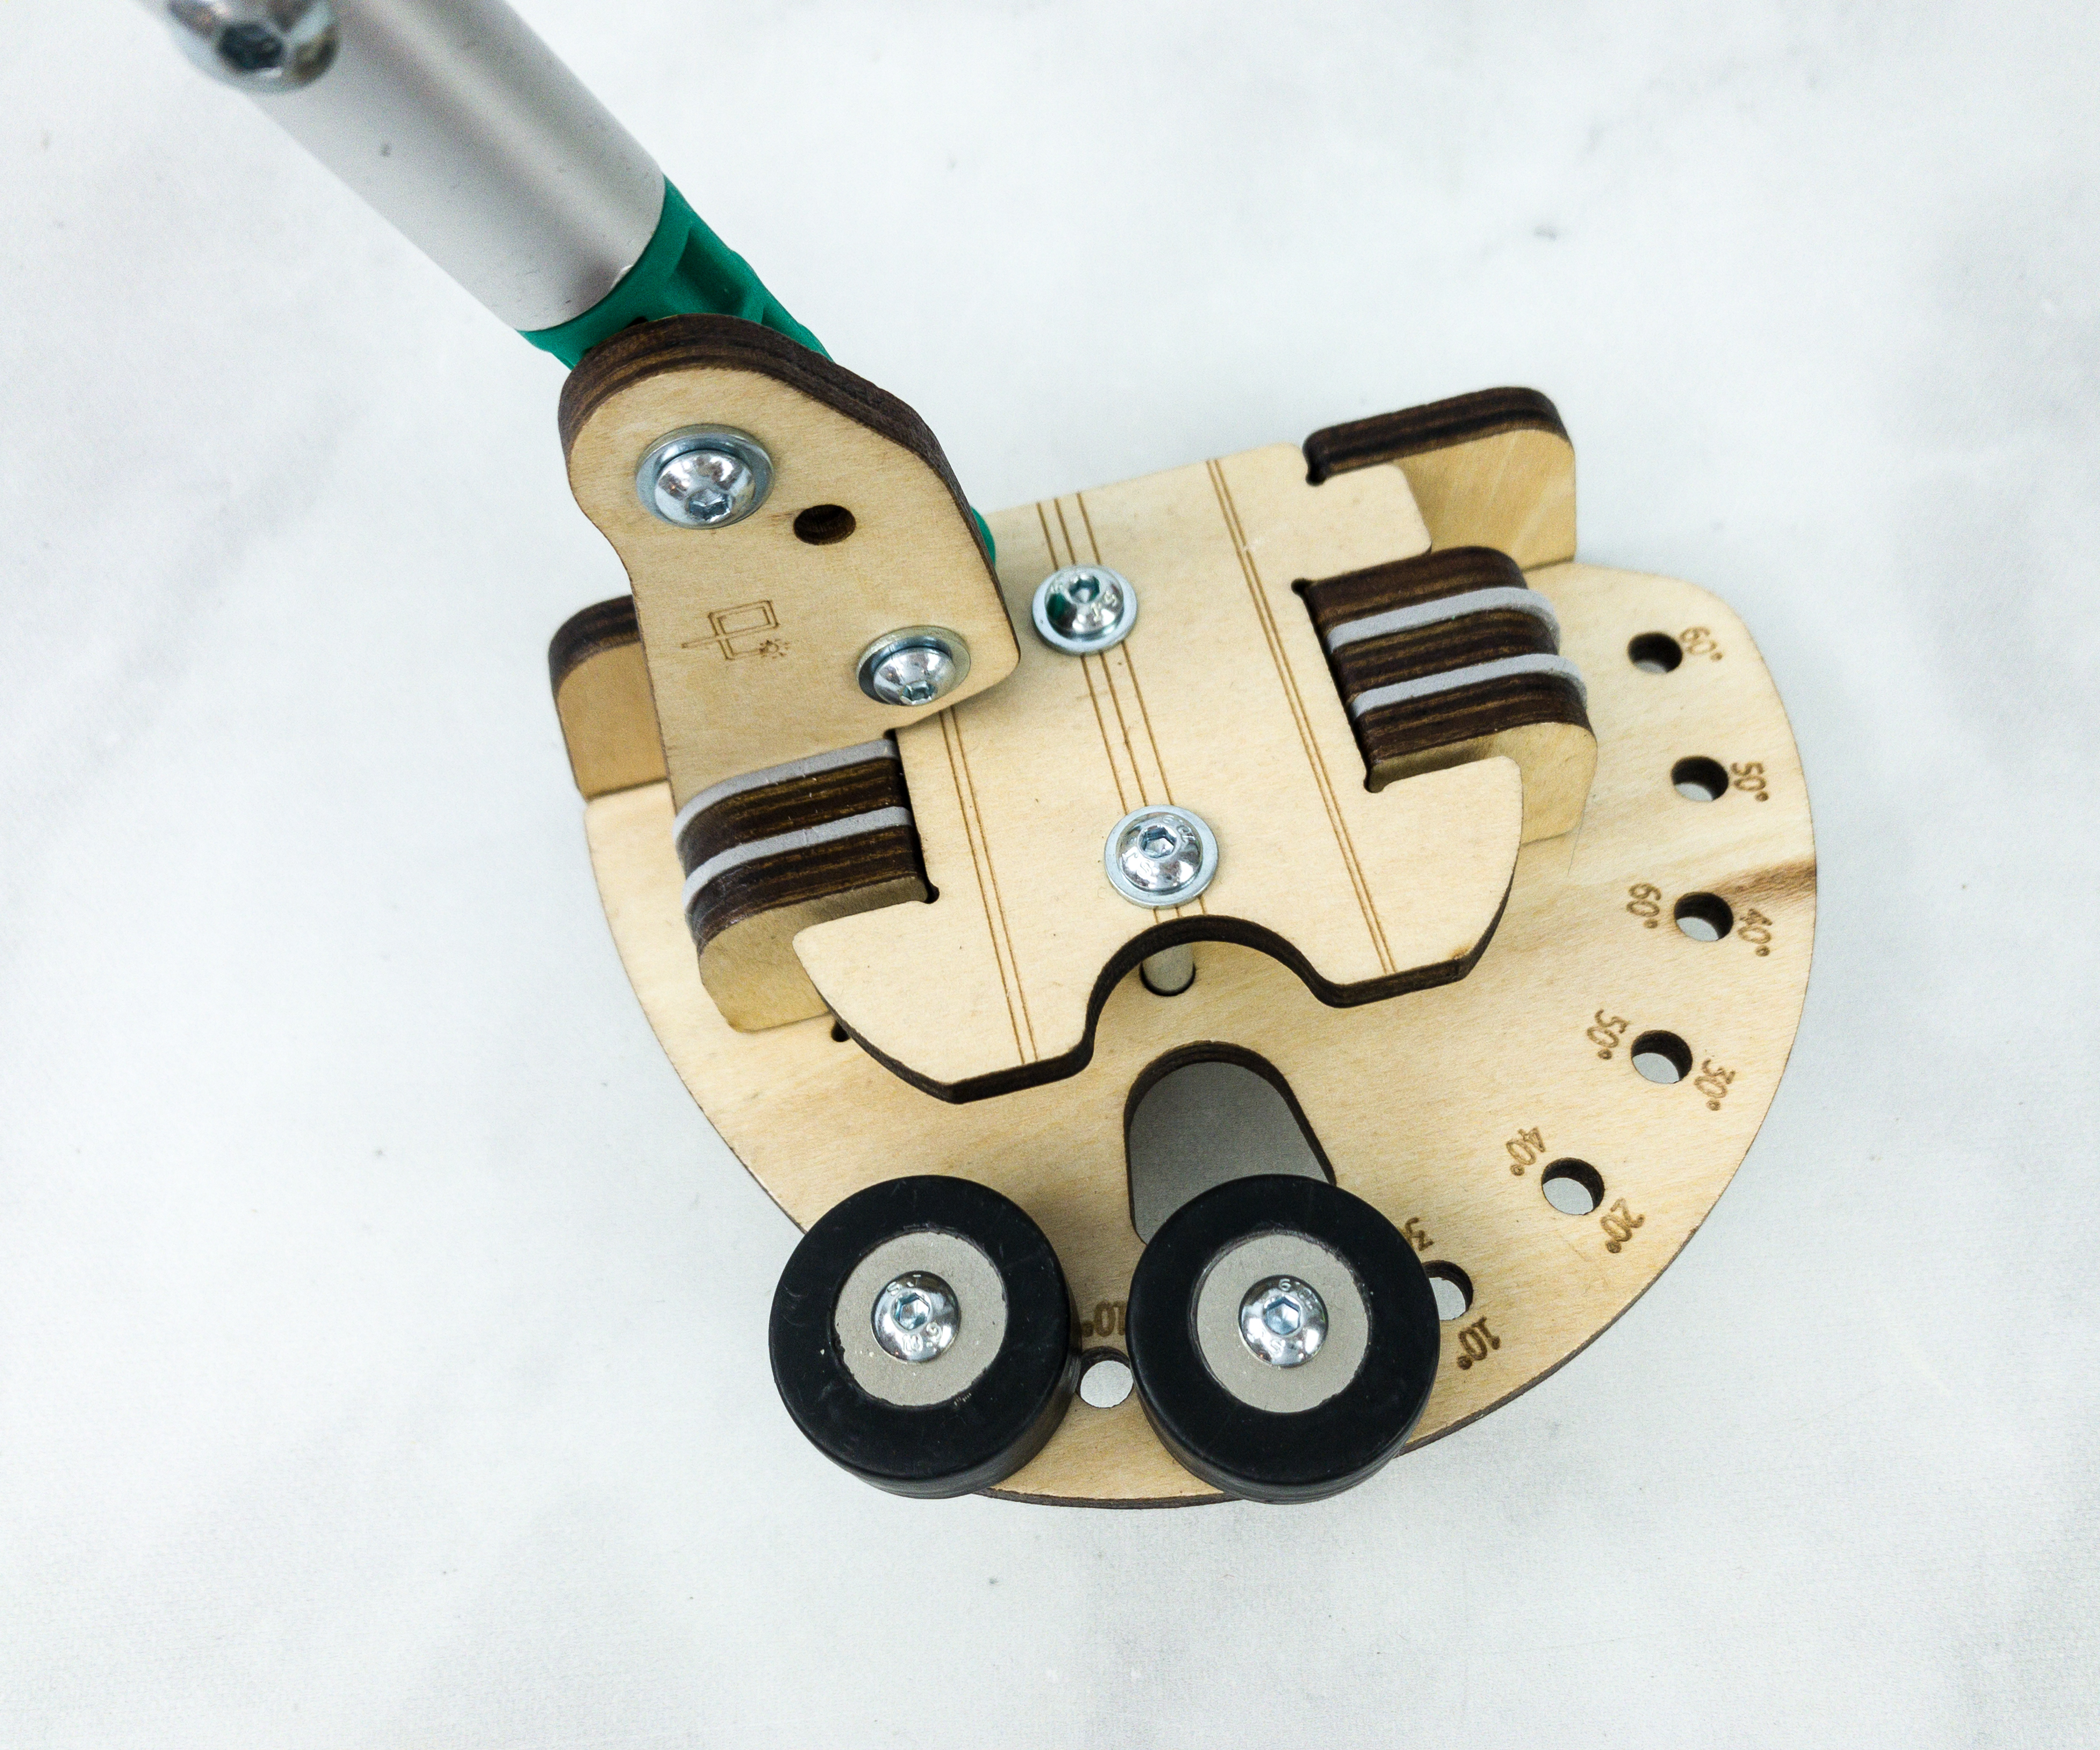
You can also move the head weight, depending on the position that will work for you.
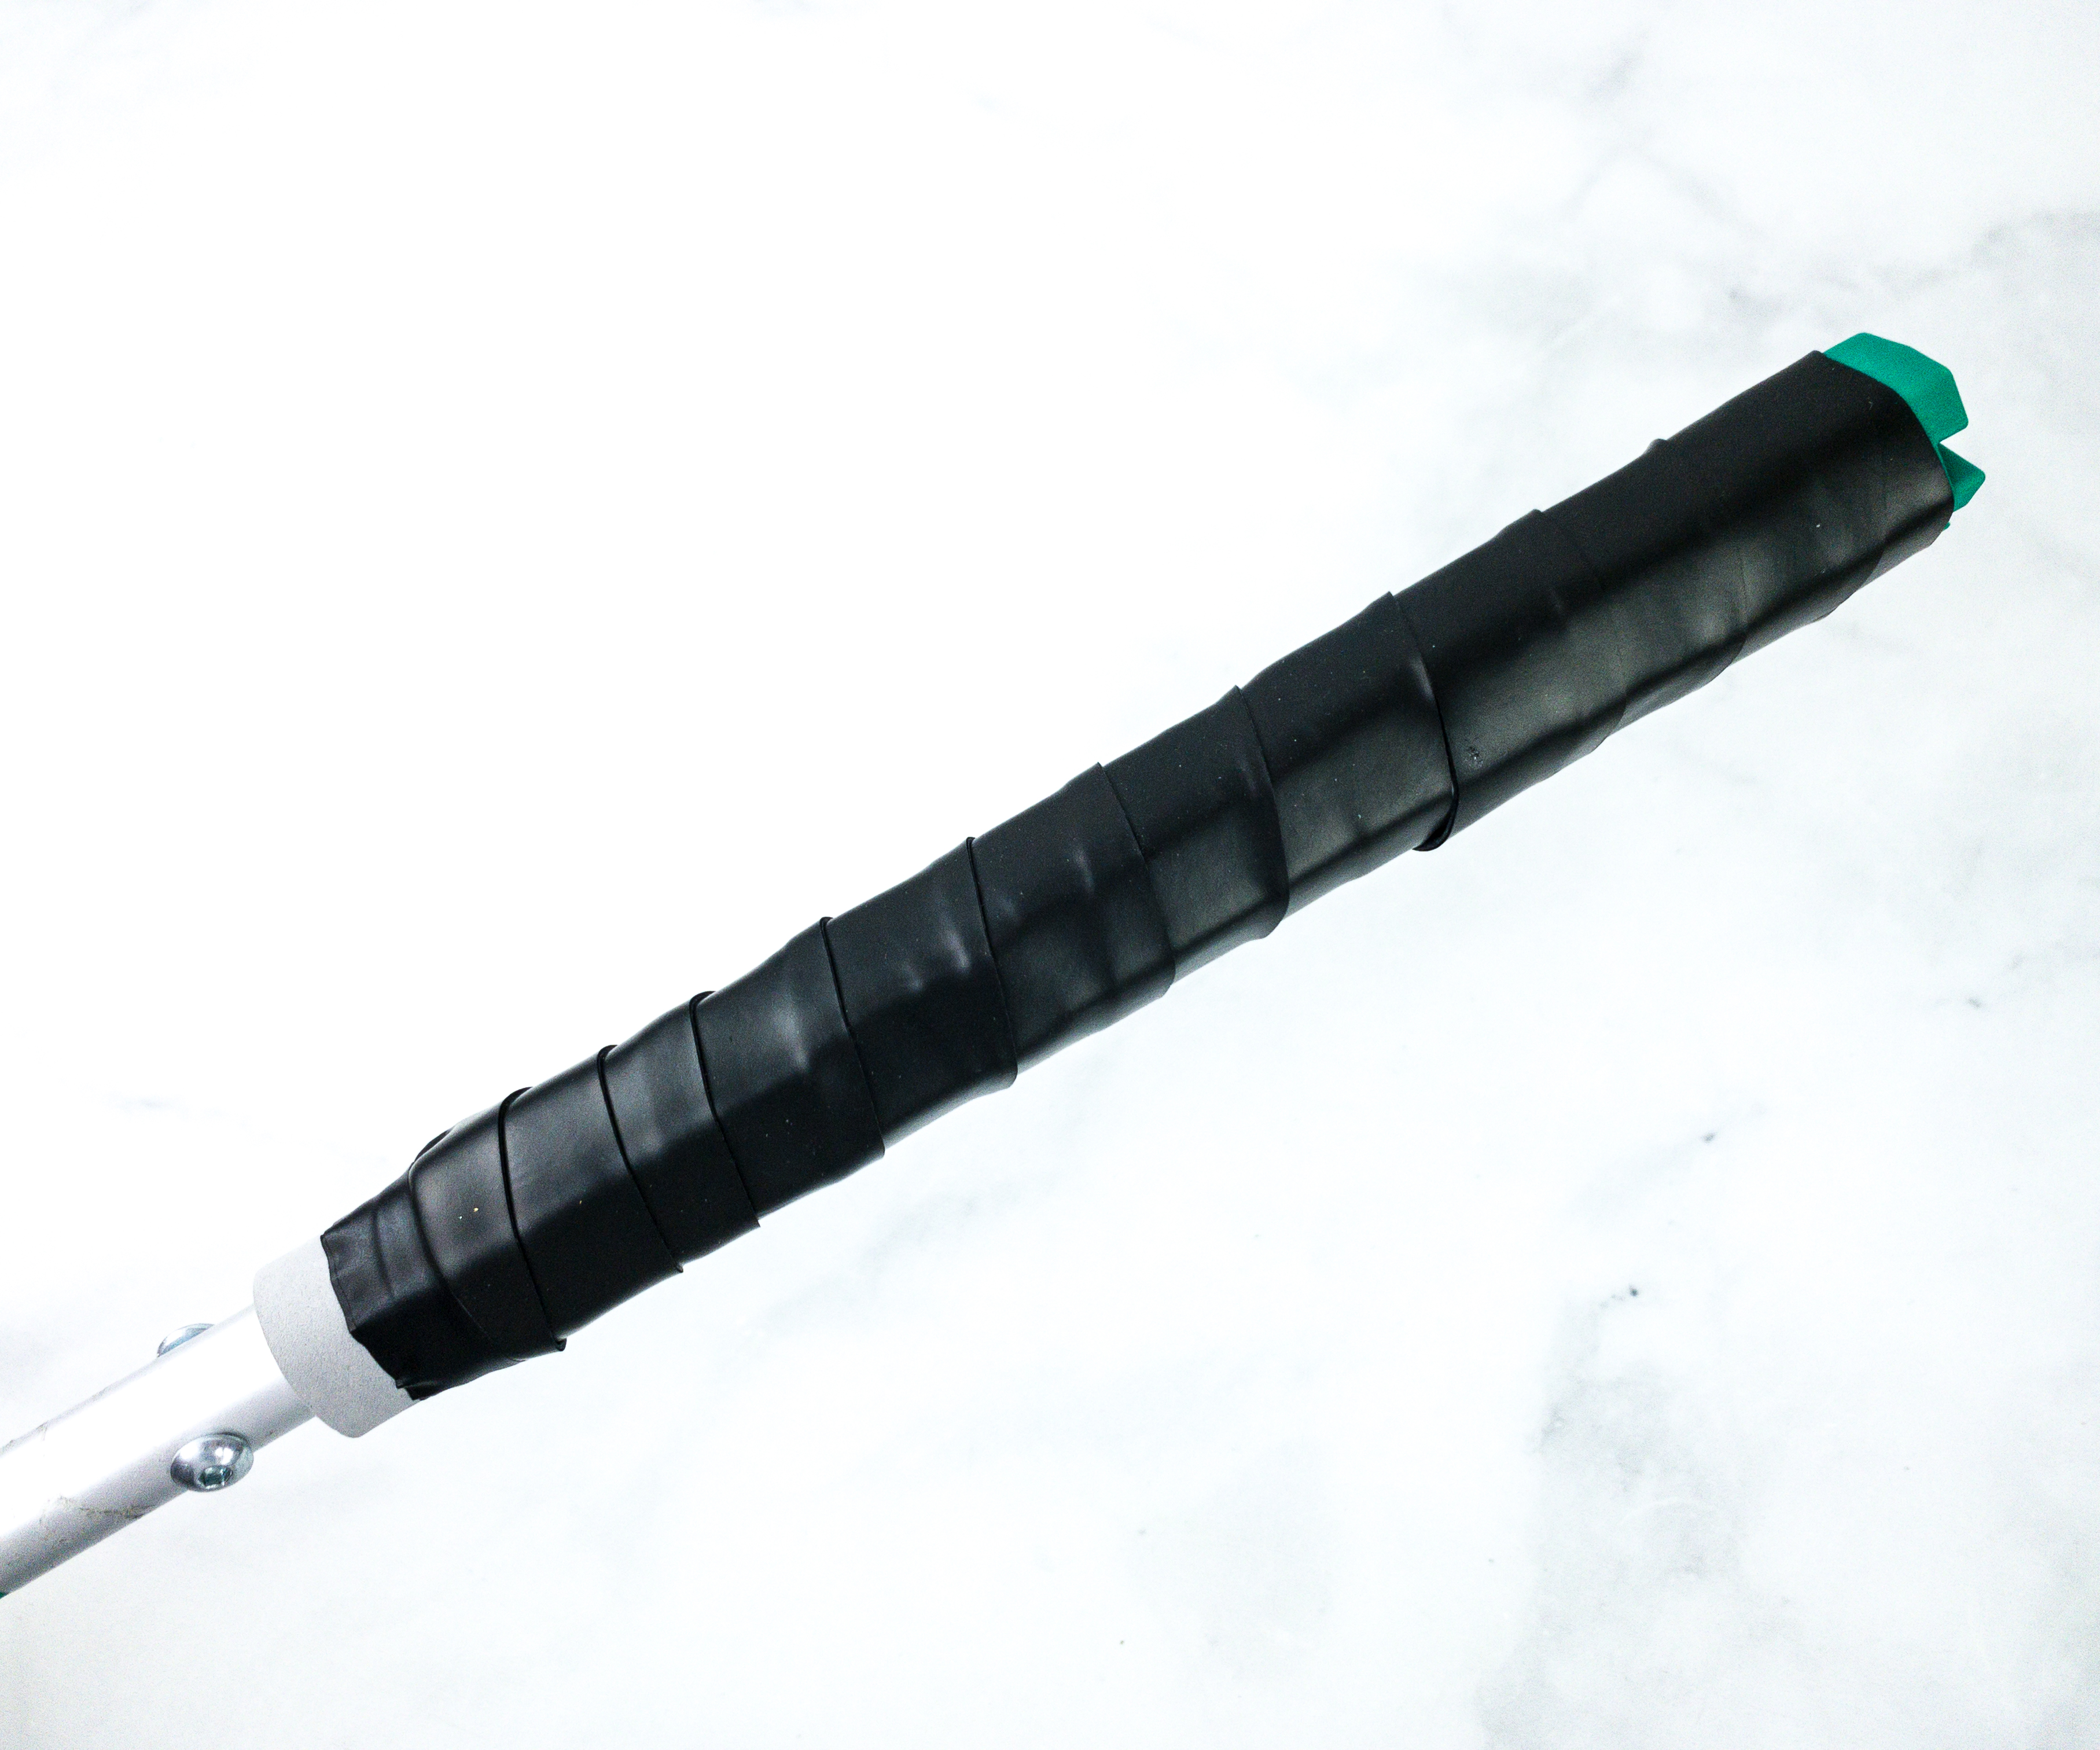
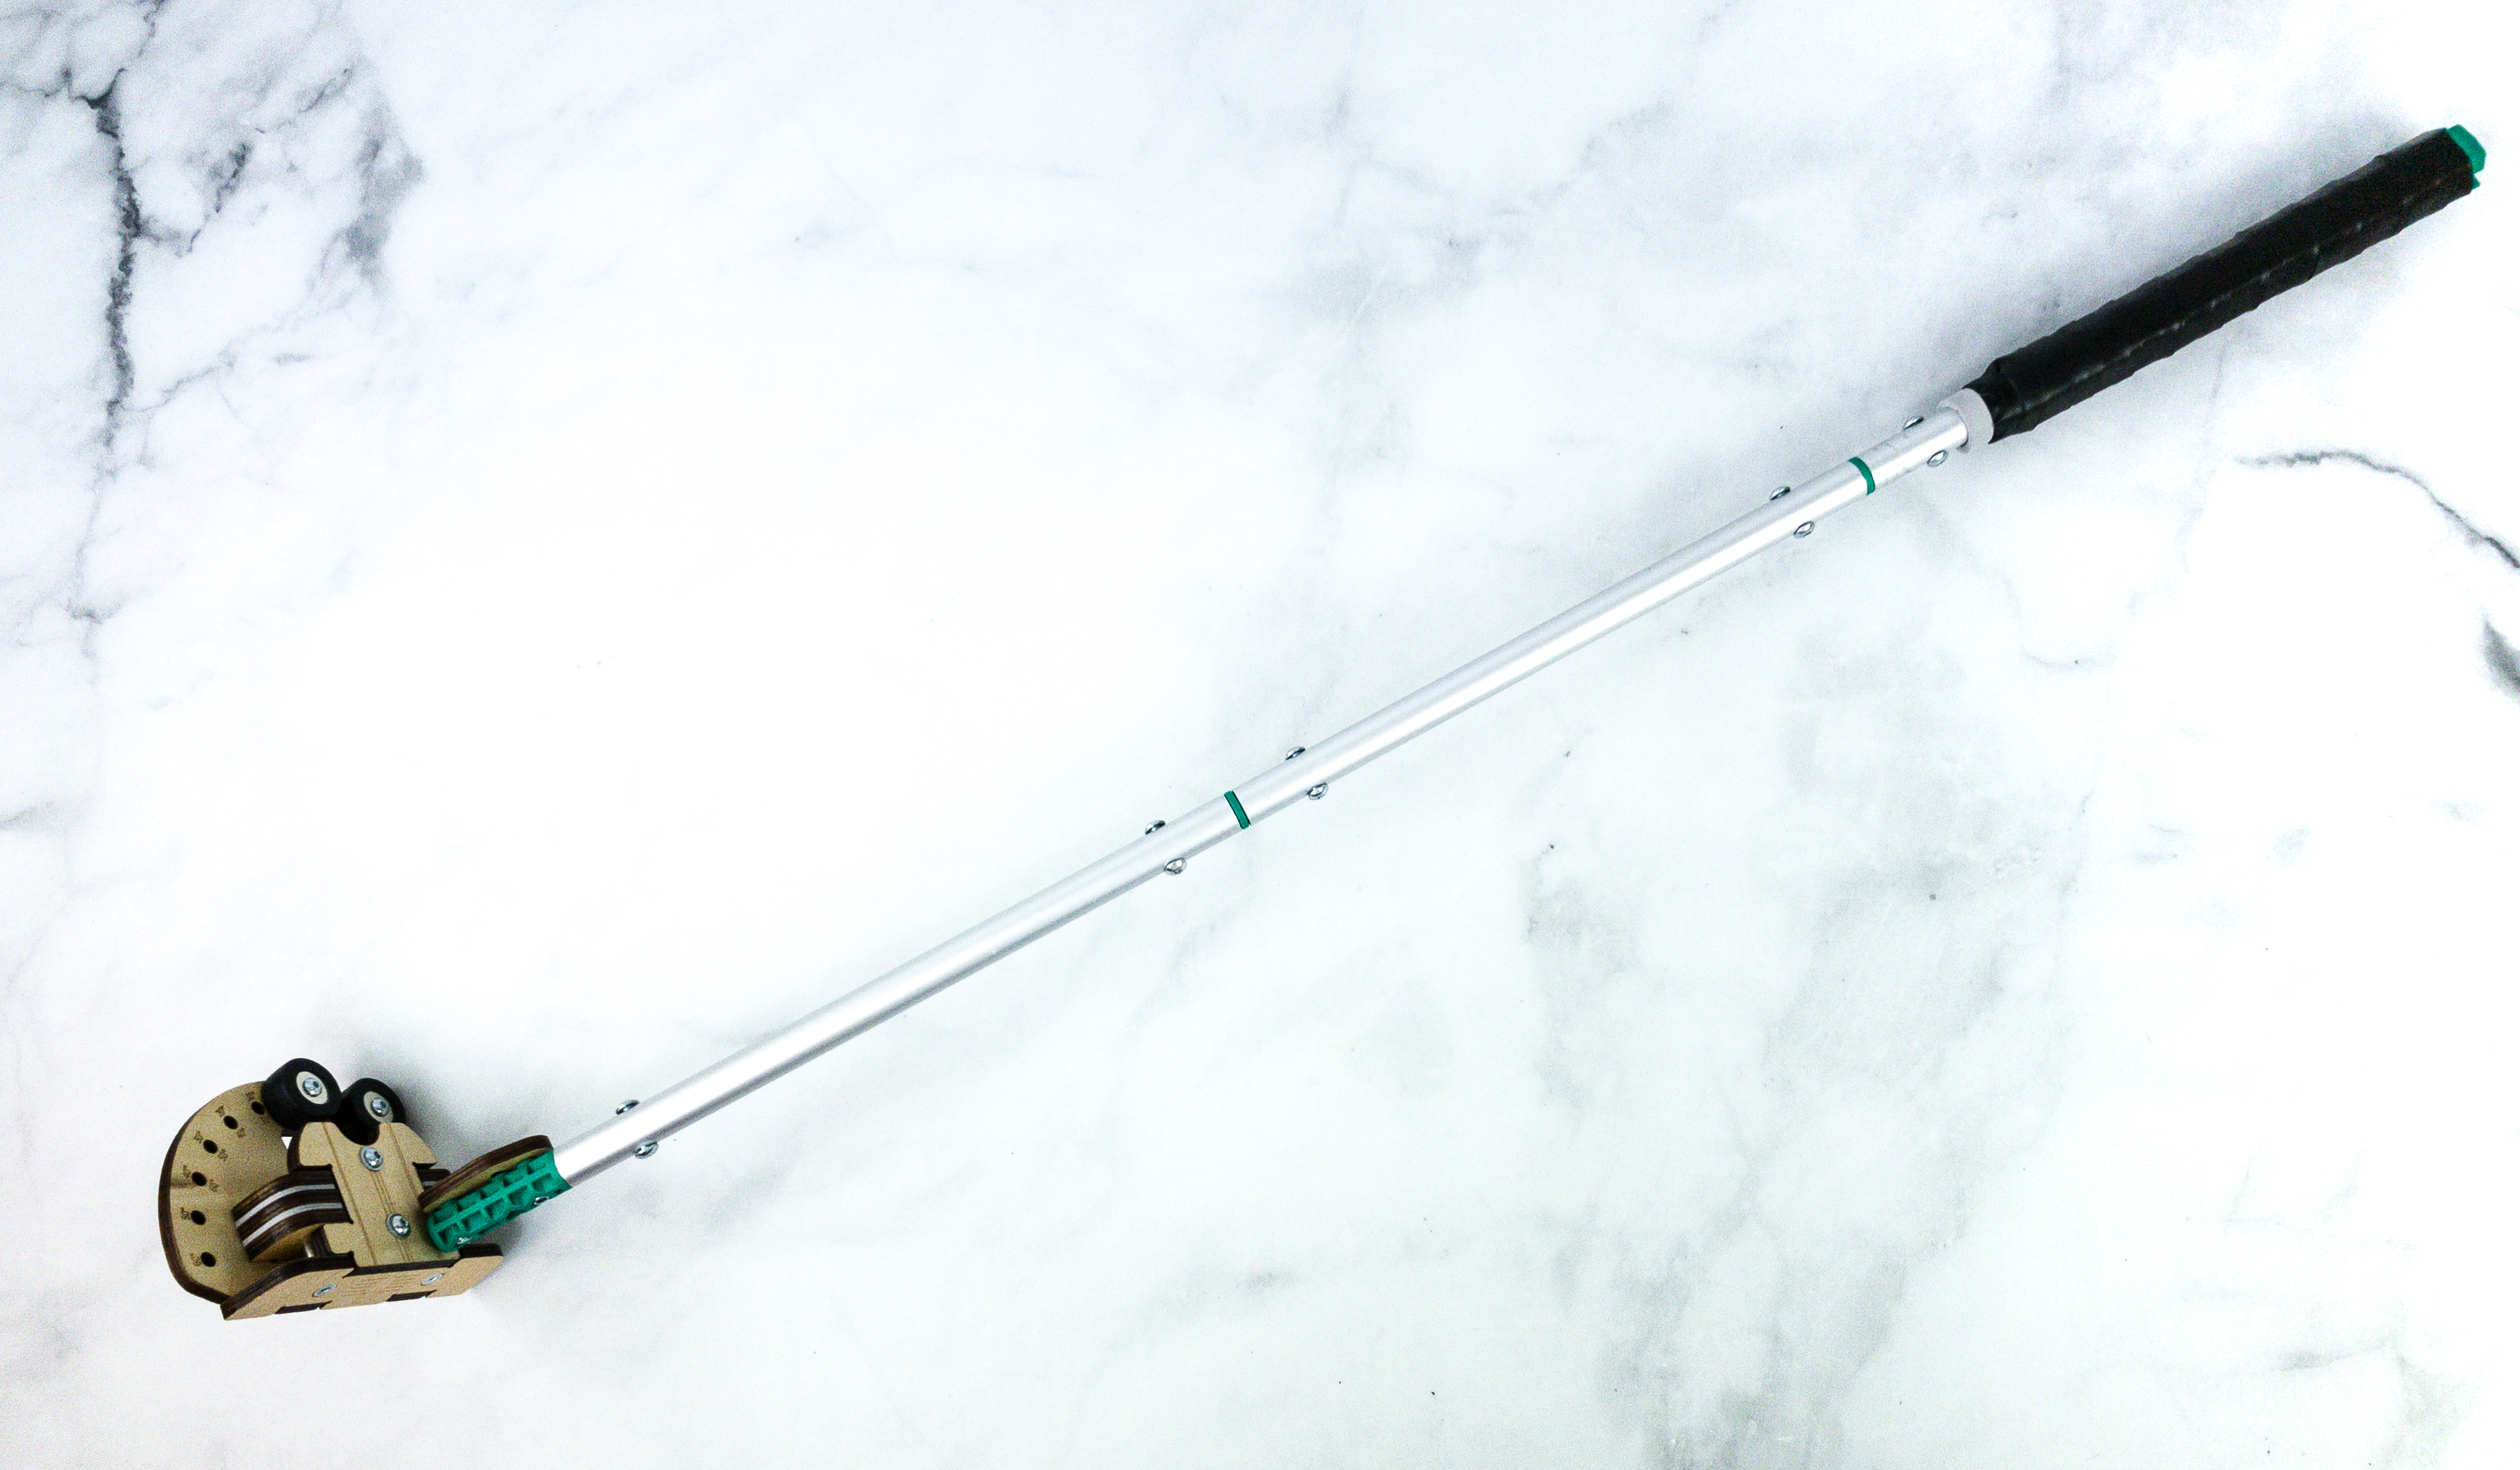
Here’s the finished grip of our golf club. It’s great because it doesn’t easily slip down!
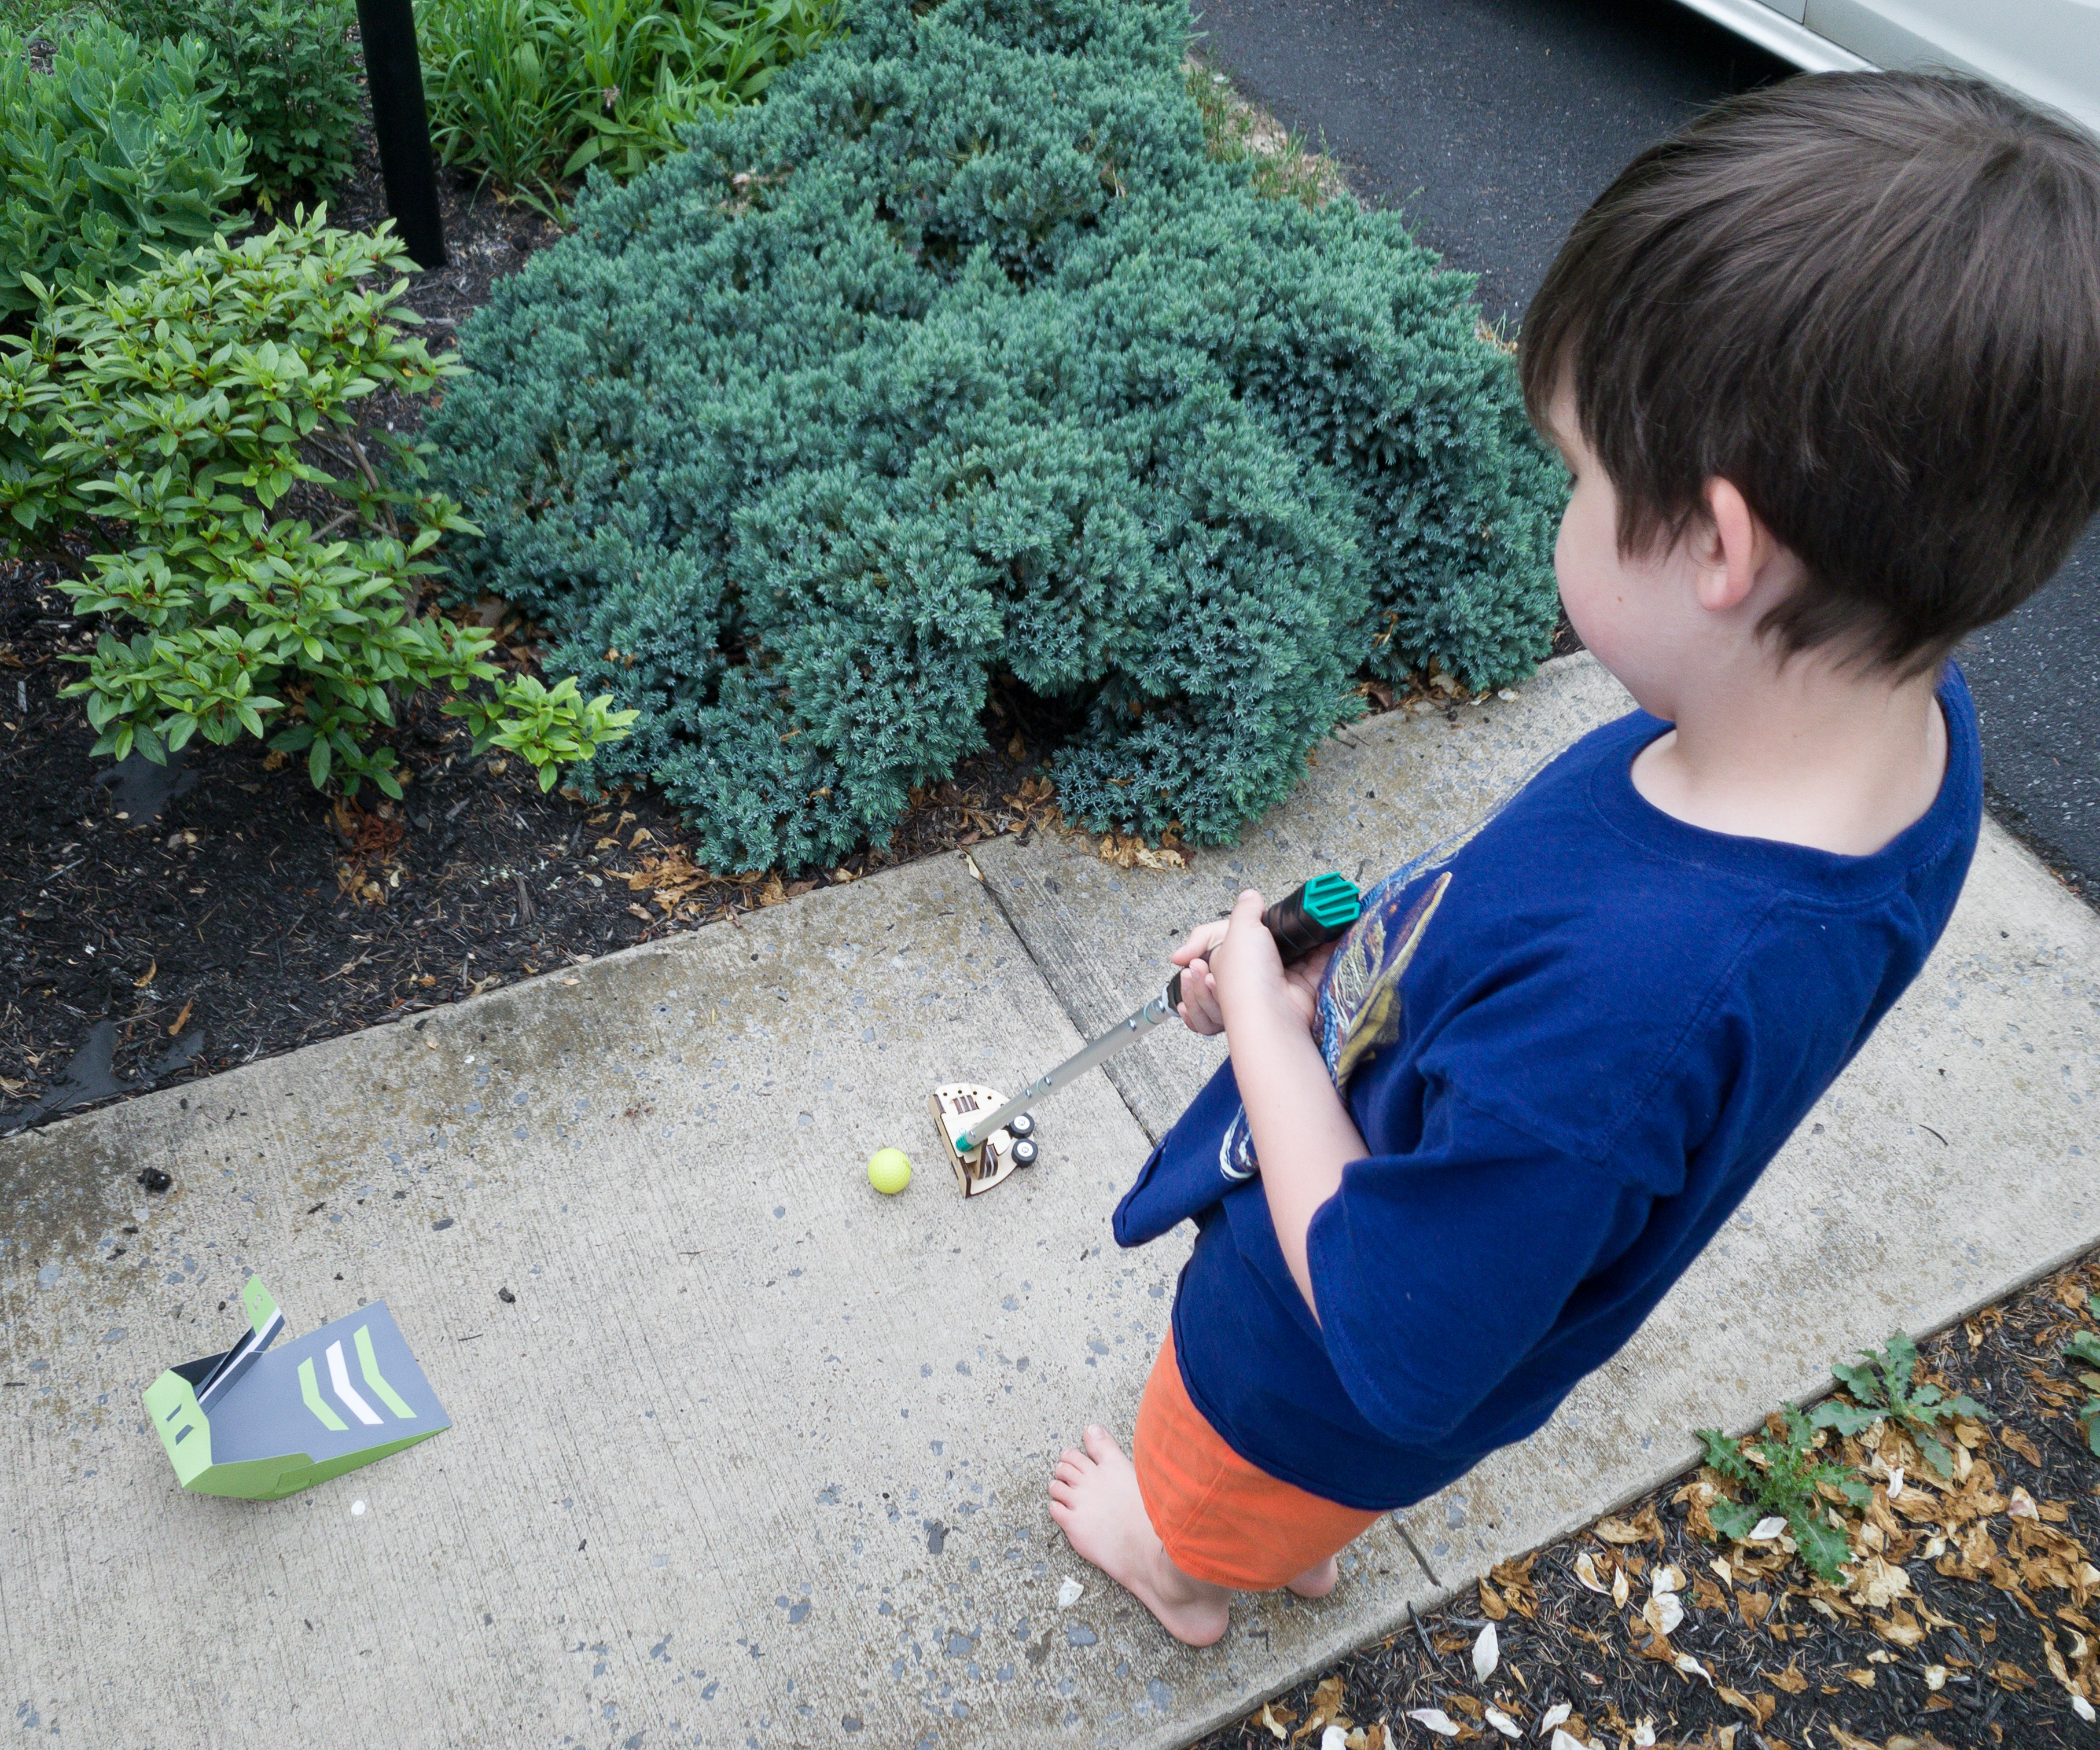
We’re ready to play golf inside our house!
According to the booklet, your fingers should point straight down when gripping the club. Line up your left hand with the grip first (or your right hand if you’re left-handed), then wrap your fingers around the grip with your thumb on top. The last step is to place your right hand below your left hand (or your left hand if you’re left-handed).
Another thing we learned from the booklet is about the toe hang. It refers to the part where a clubhead’s weight is positioned. The more toe hang means more rotation and the less toe hang means less rotation. To check the toe hang, just rest the club sideways on a finger and check what angle the end of the head hangs down.
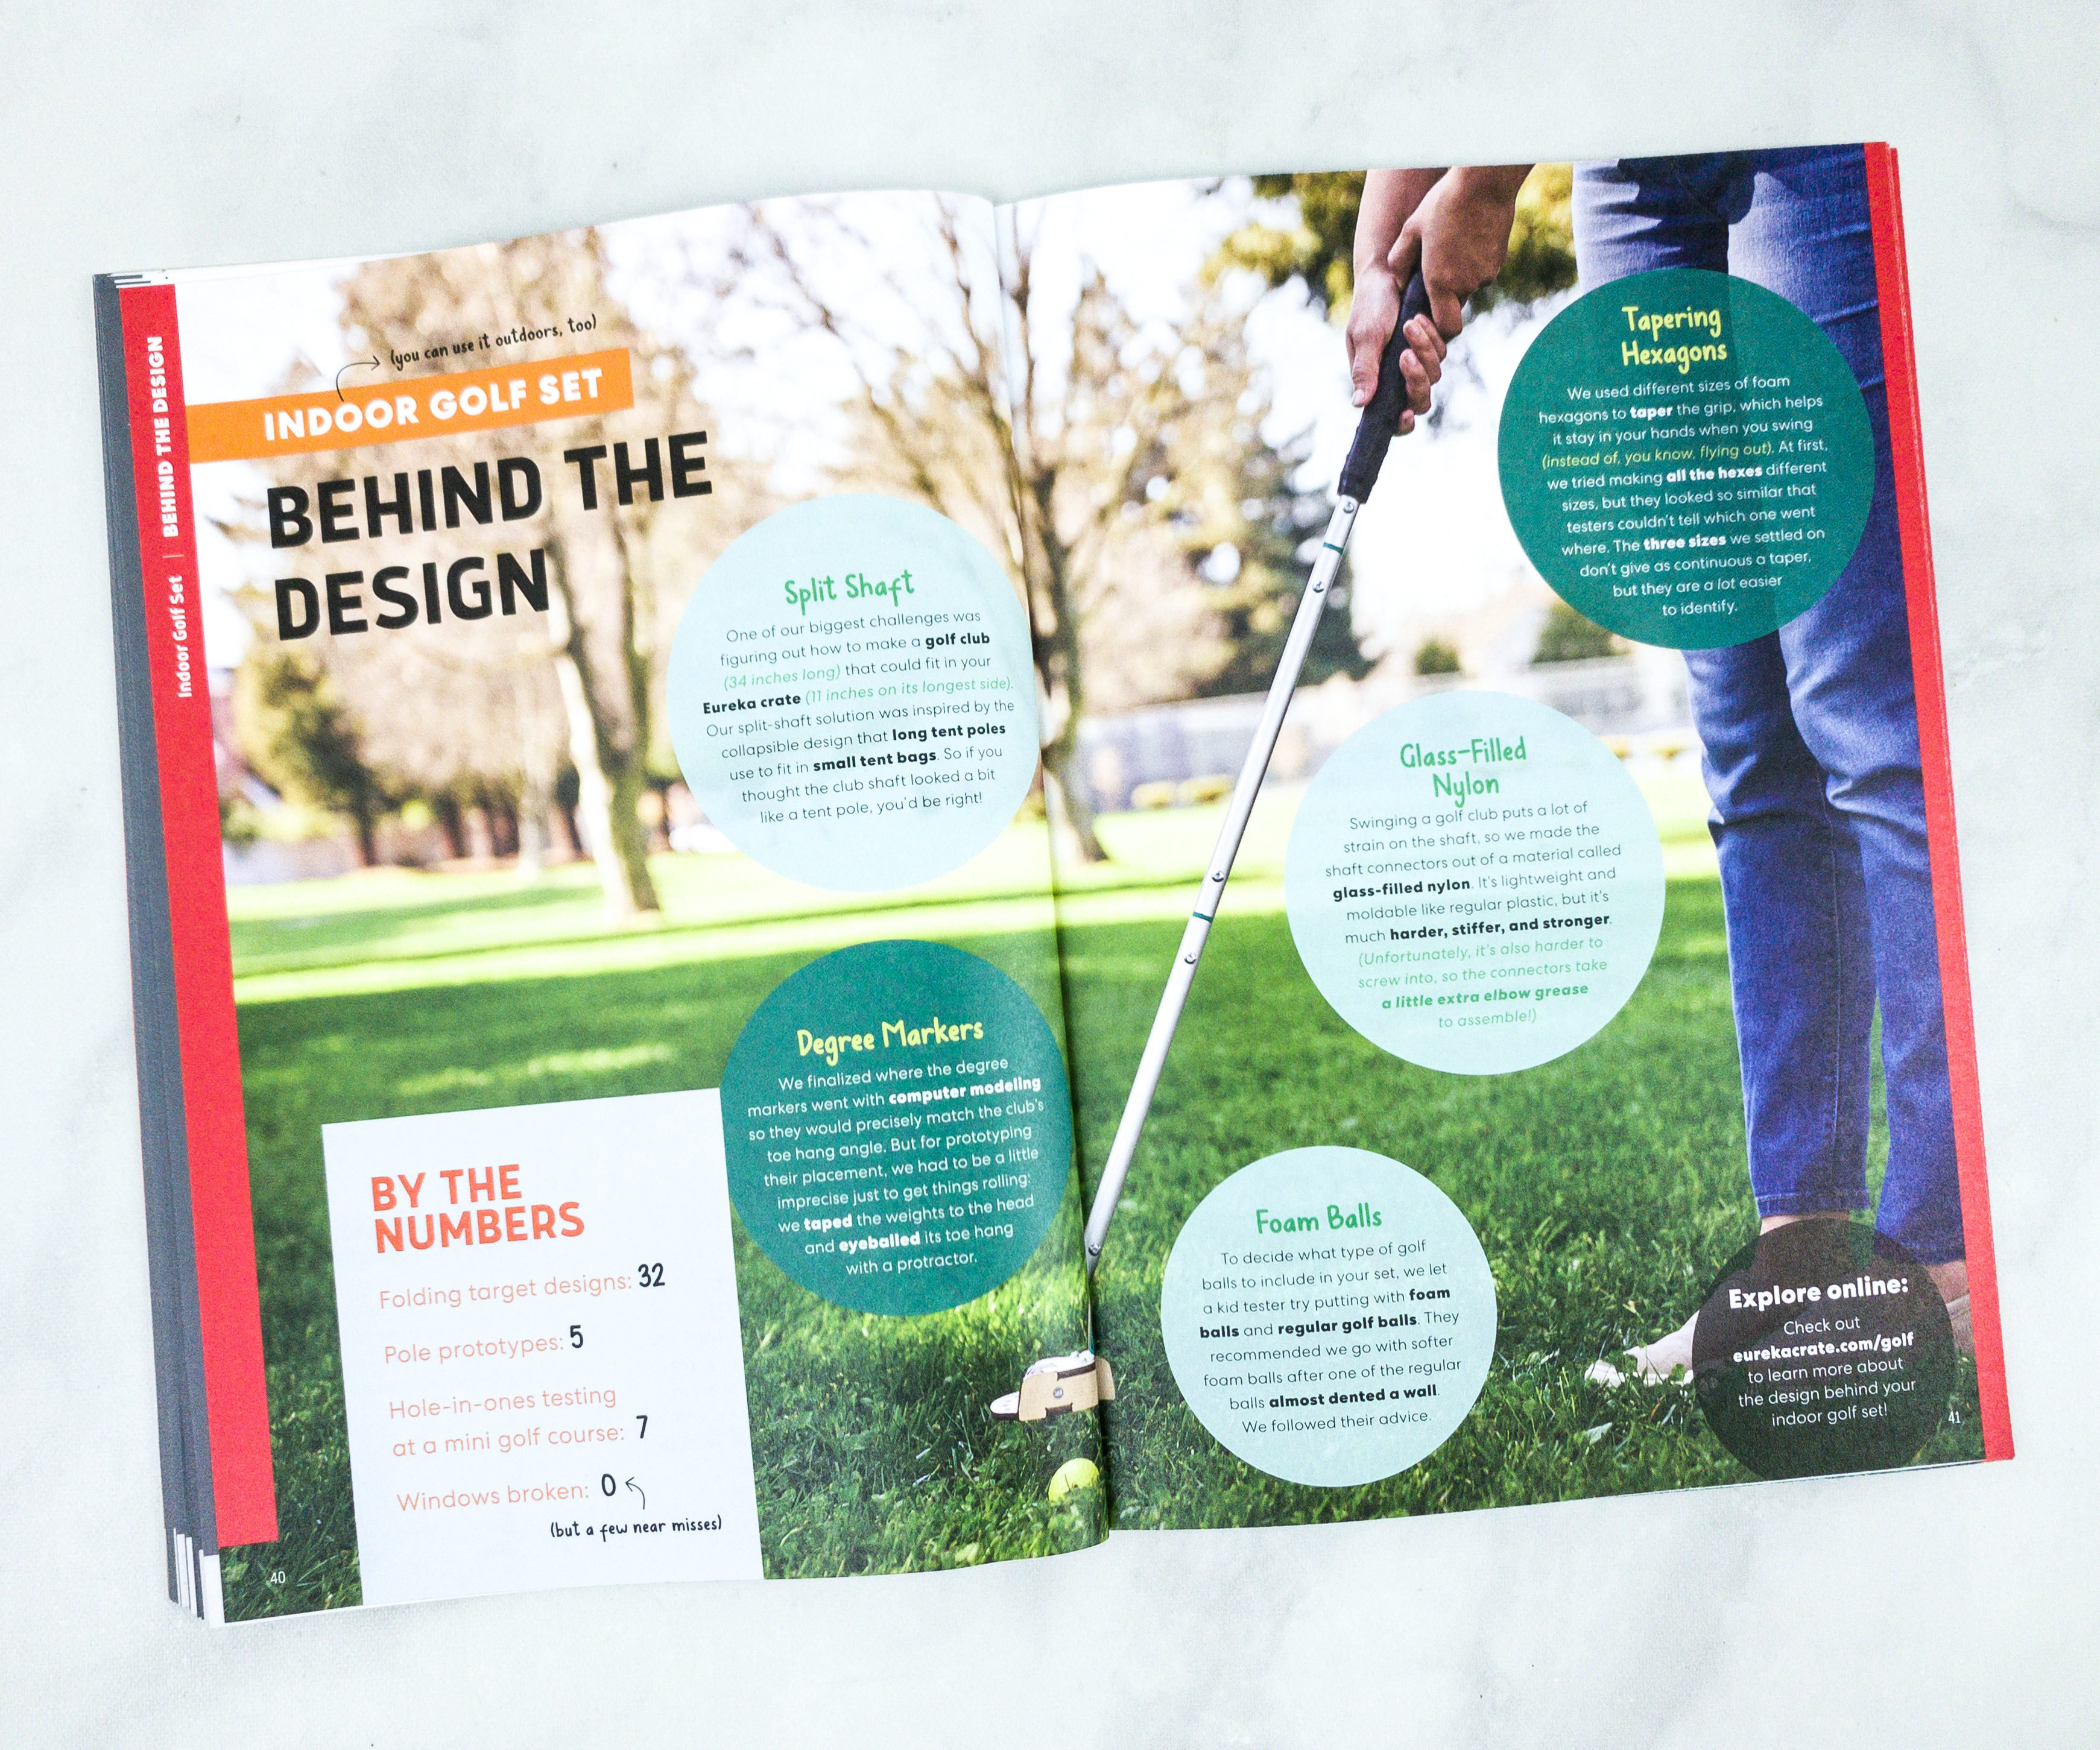
The booklet also provided more information about this fun project, like the history behind the design of this indoor golf set.

There’s a full article on how they put the science to work with Energy Transfer!
The goal of golf is to get the ball into the hole with the fewest swings possible… which you can do with the right club, a lot of practice, and some simple physics.
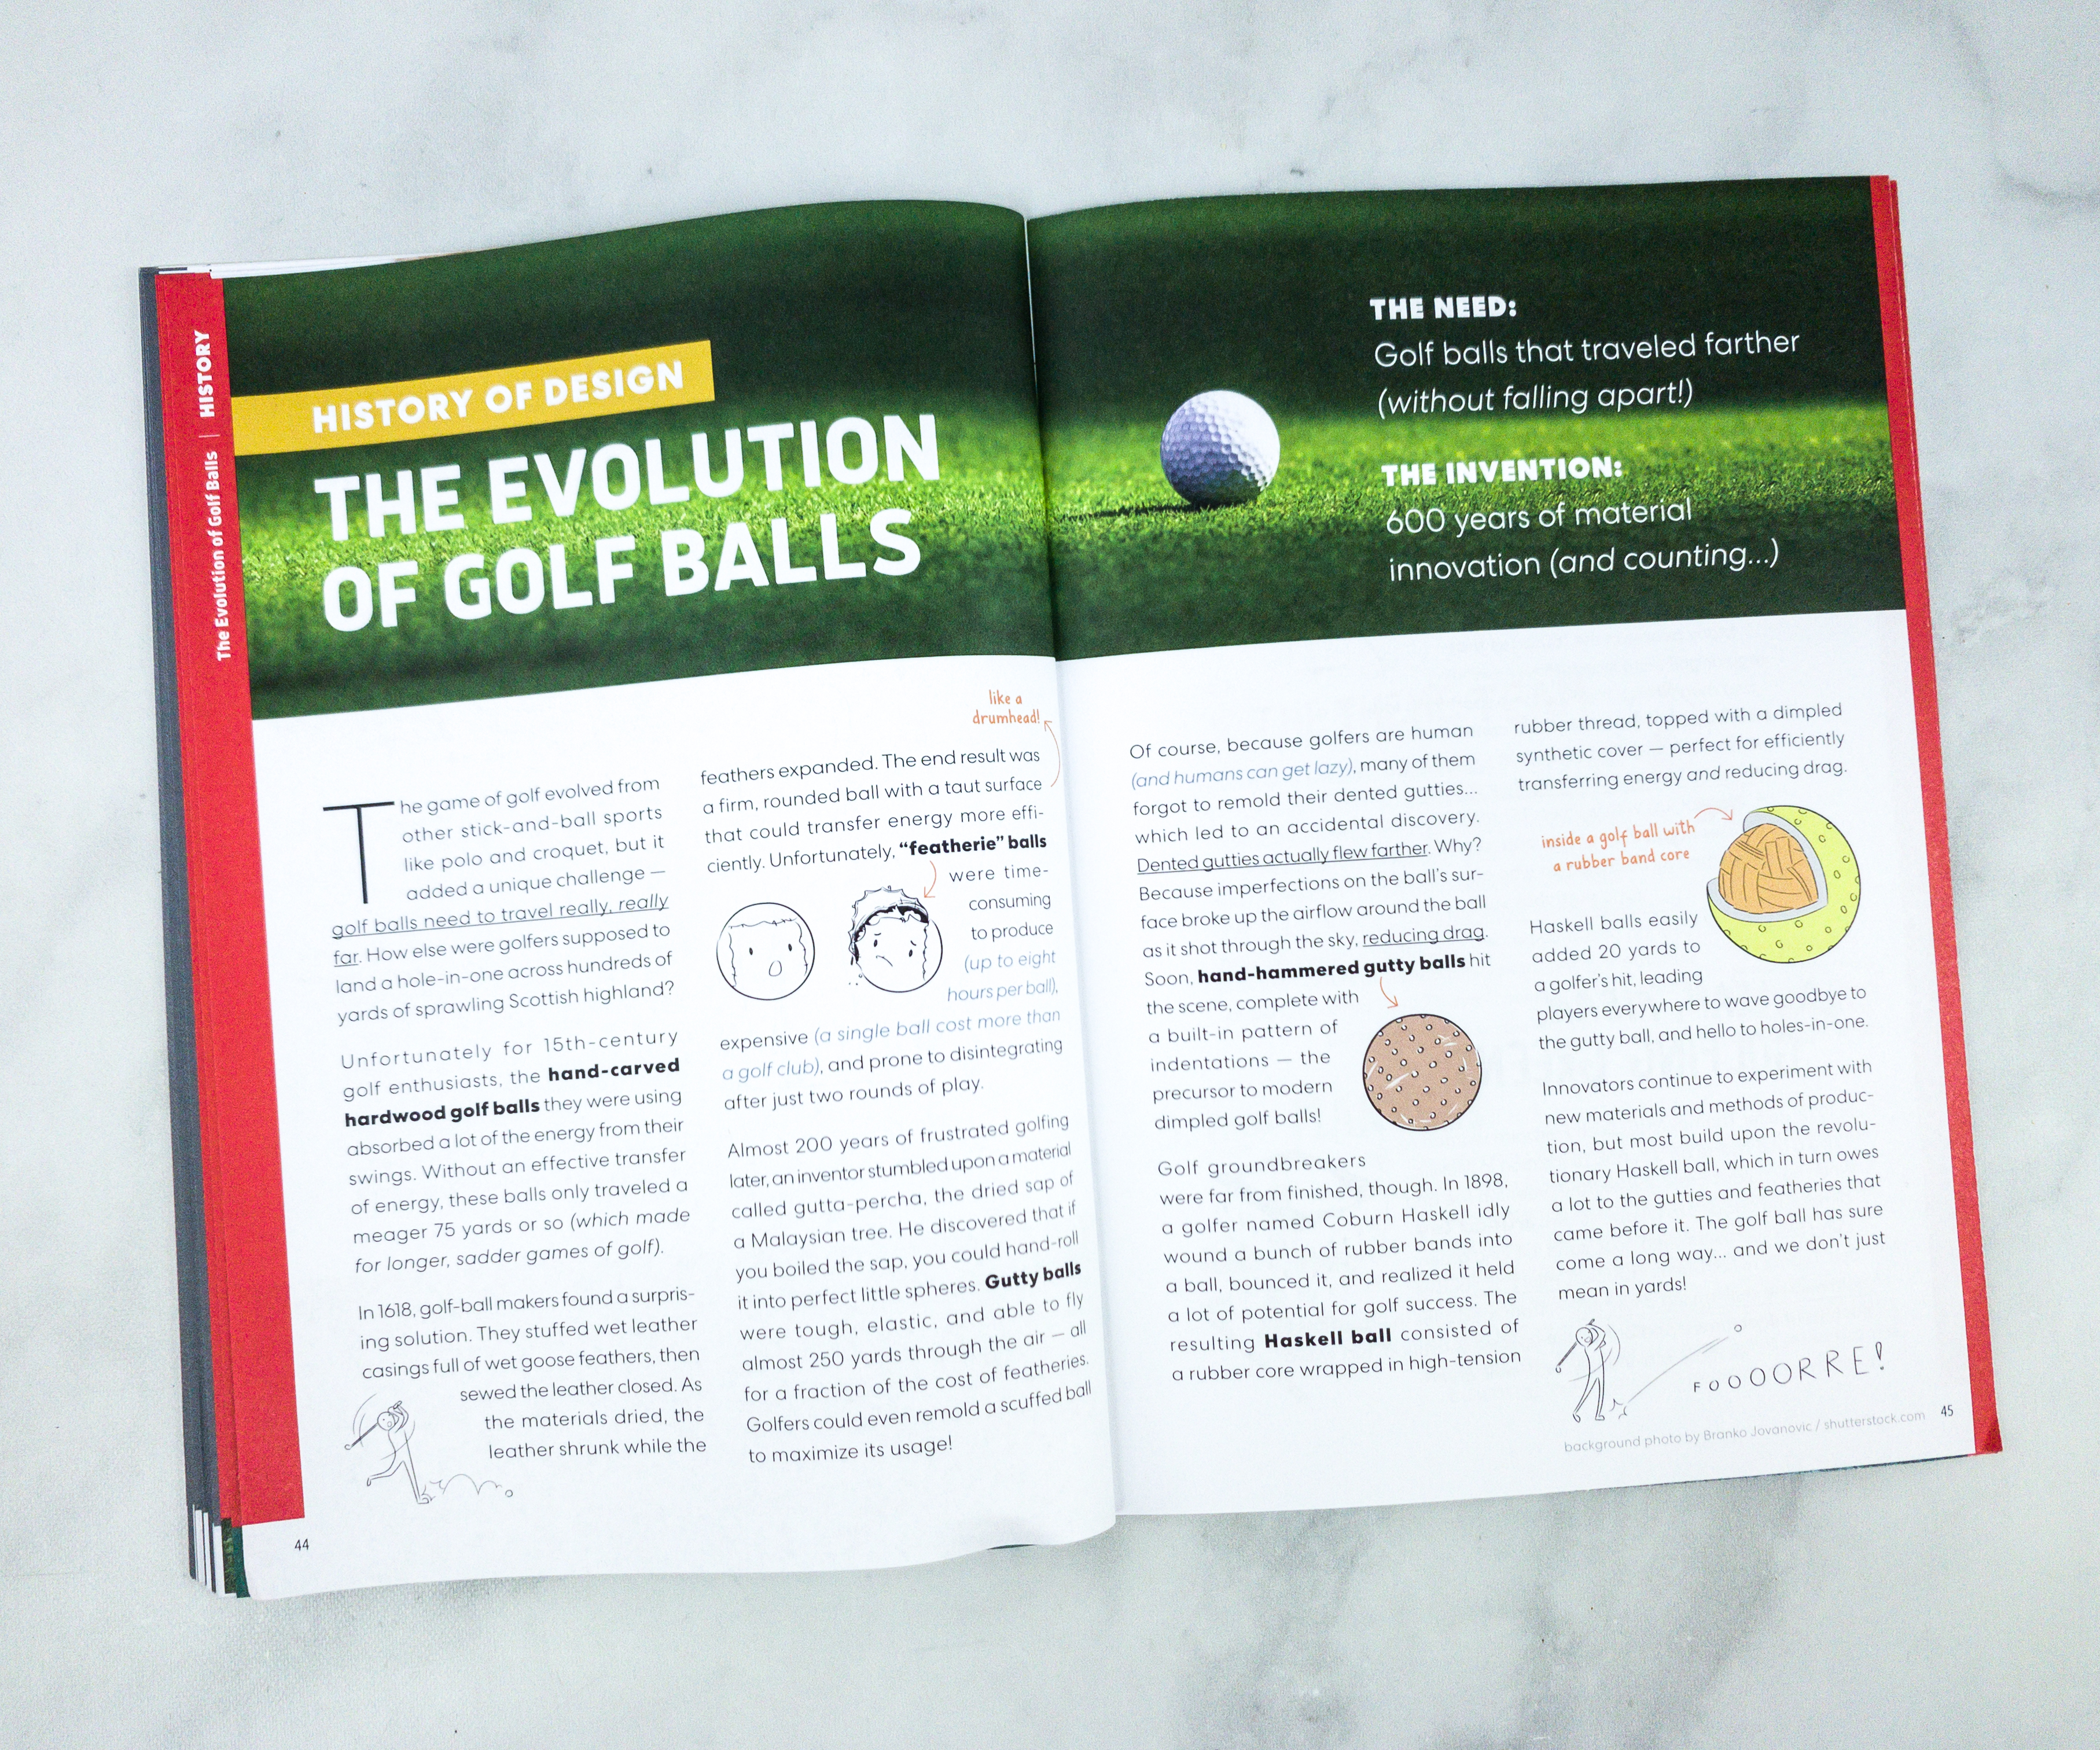
They also included the evolution of golf balls. It’s better to understand the project by knowing its origins before delving into making the project.
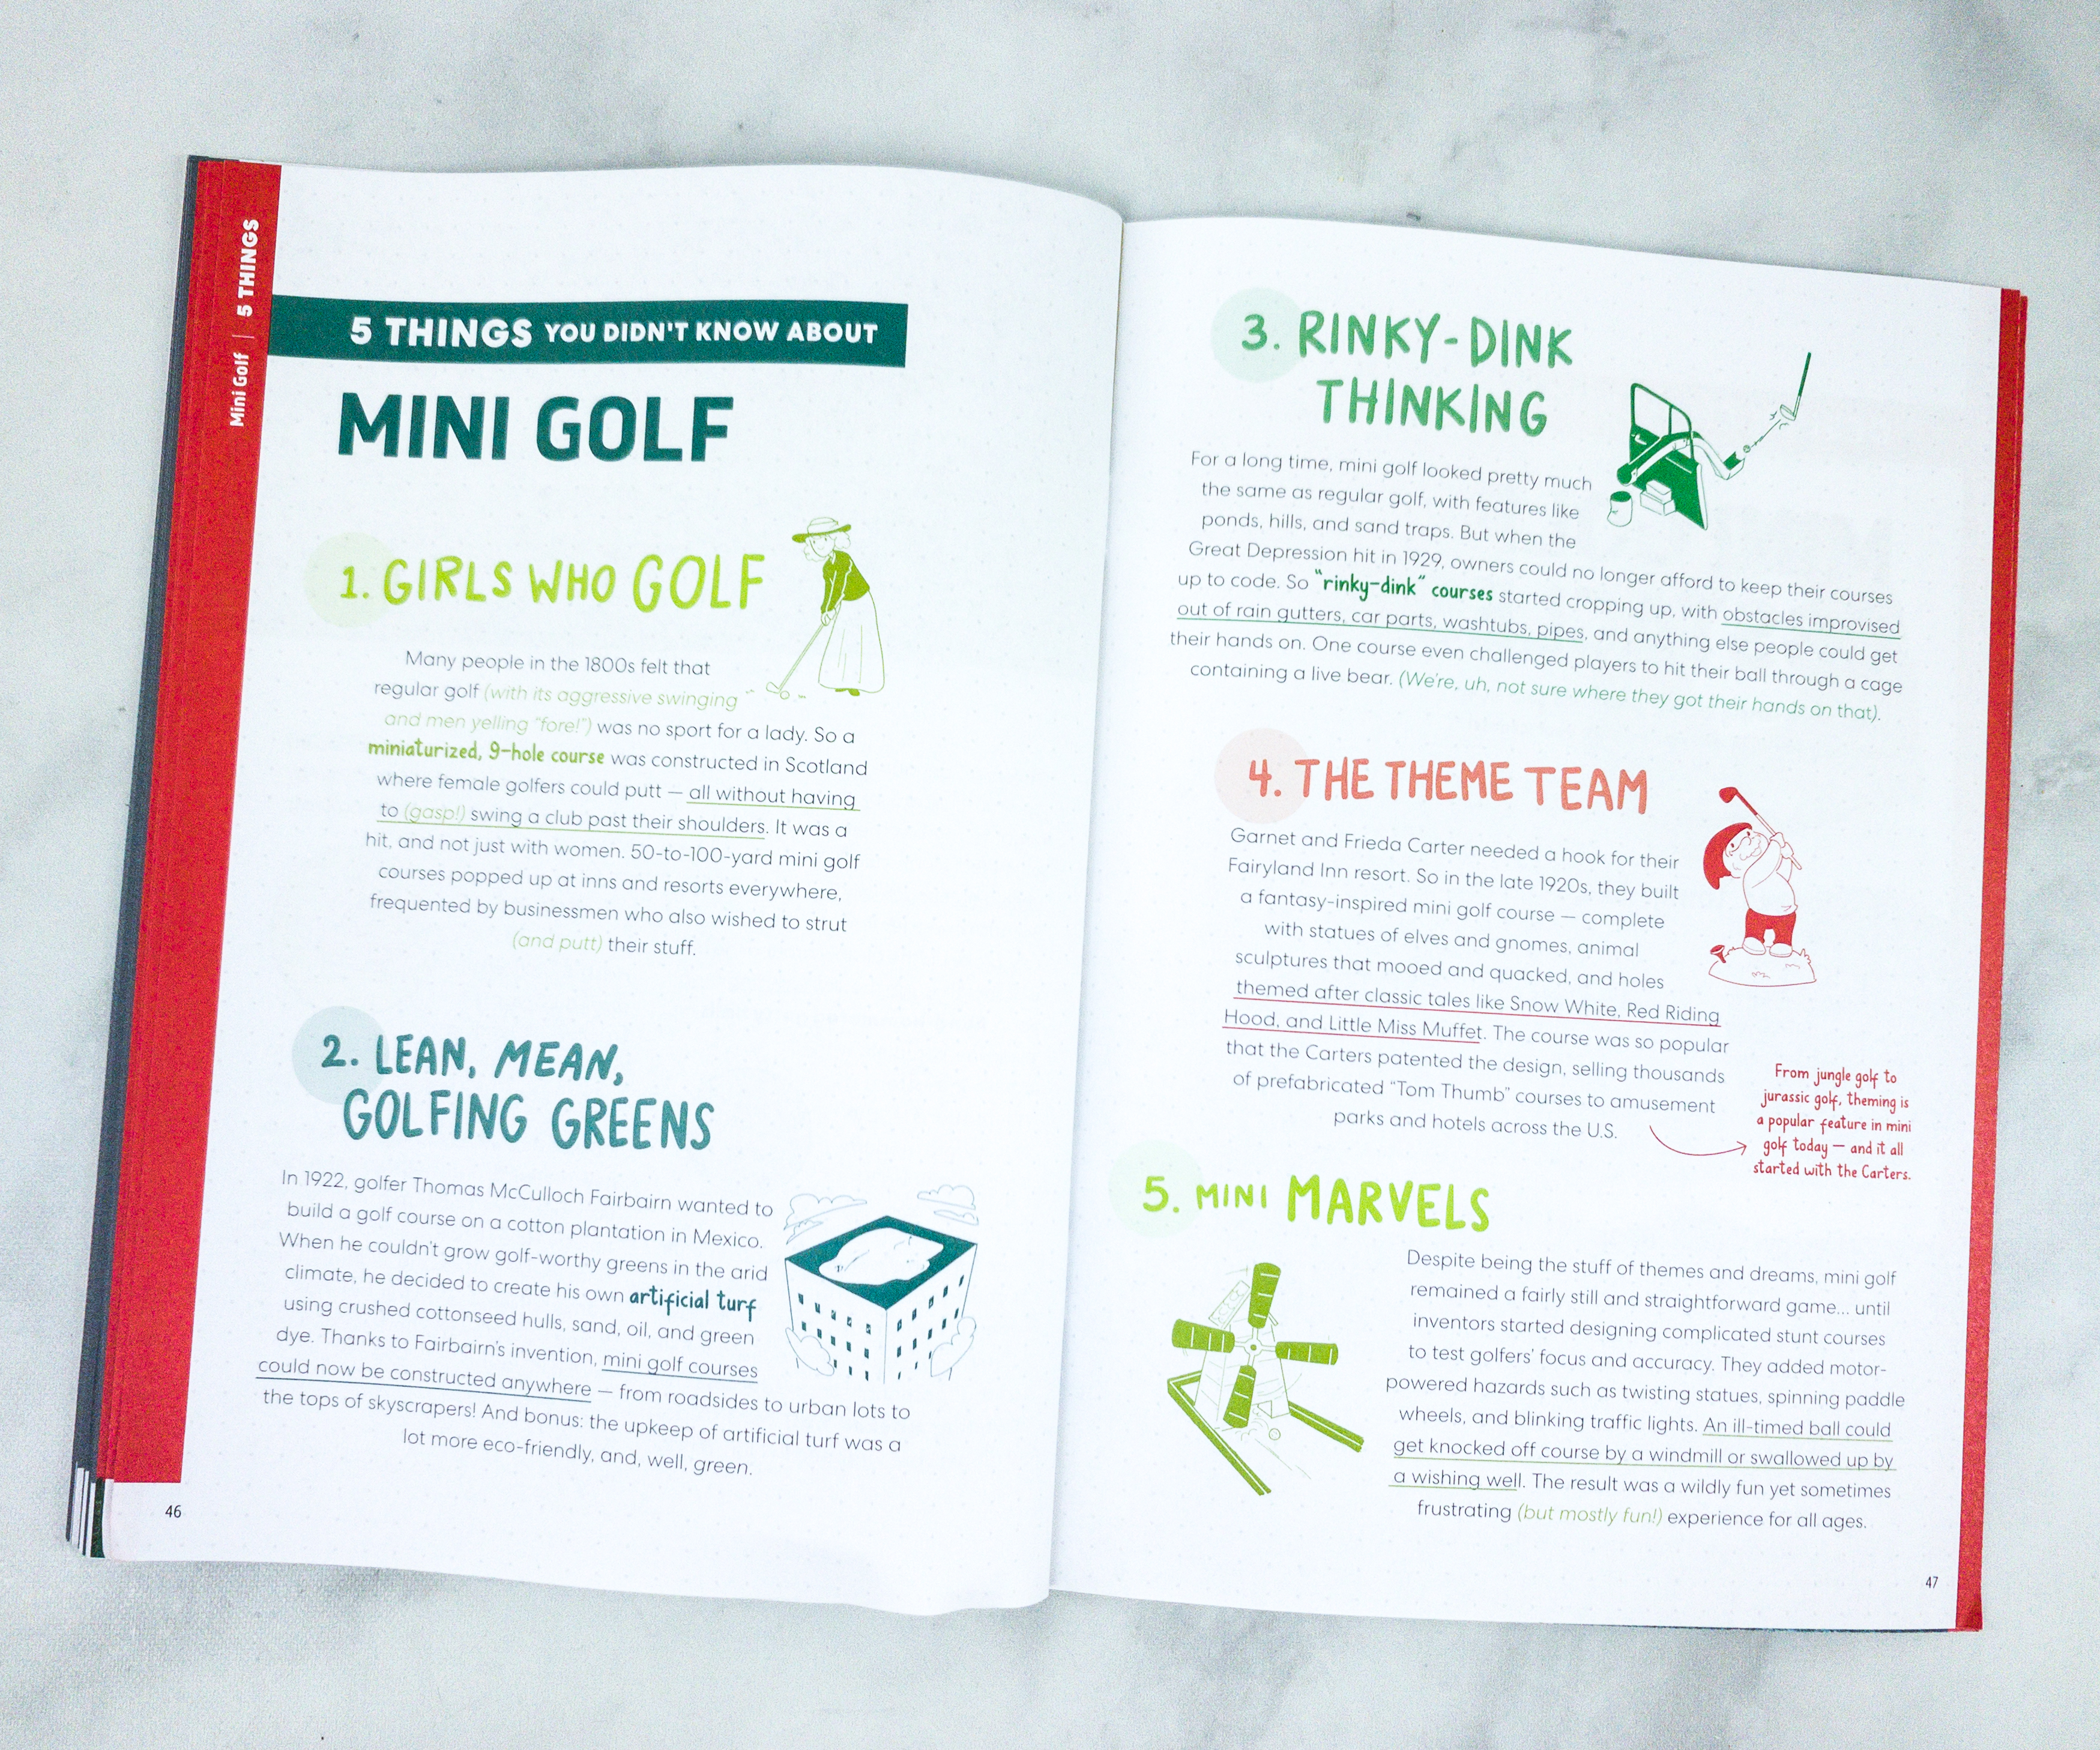
Another feature includes trivia about mini golf, from how a mini golf was first created in Scotland to the motor-power hazards you can find in mini golf courses.
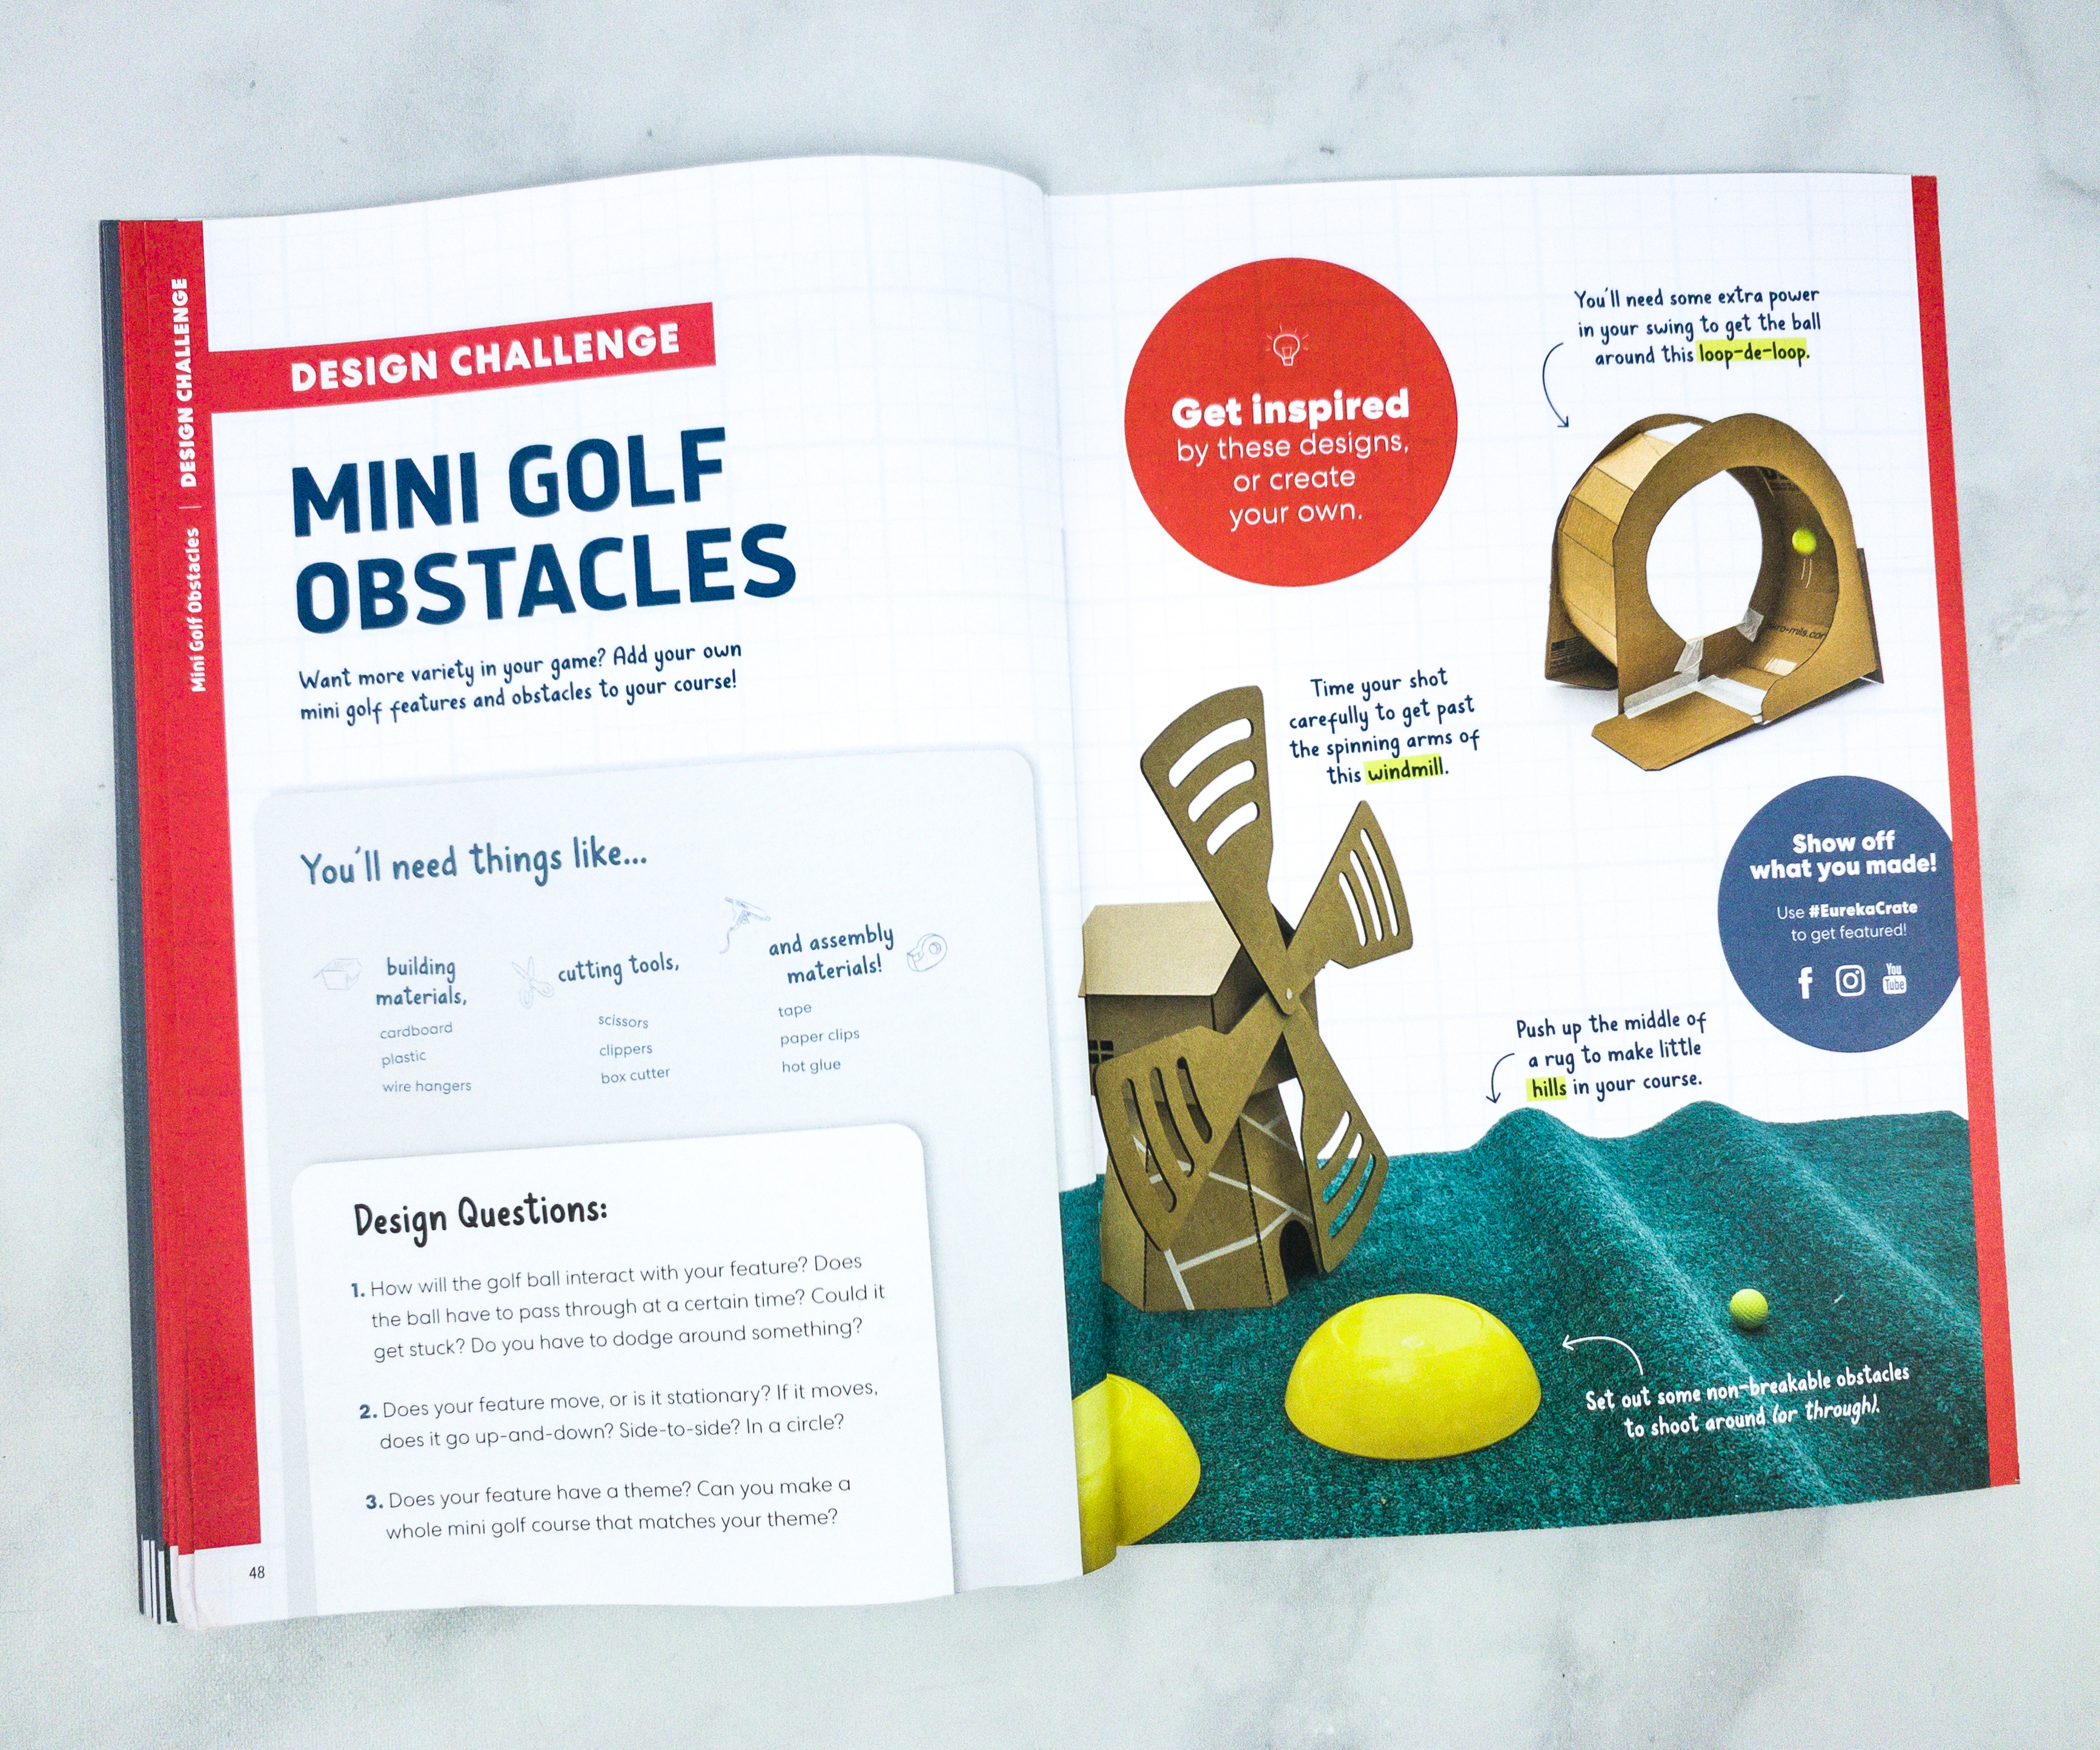
For the Design Challenge, they’re encouraging us to make mini-golf obstacles. They also included some design inspirations. You can also show-off what you made and use the hashtag #EurekaCrate to get featured on their social media accounts.
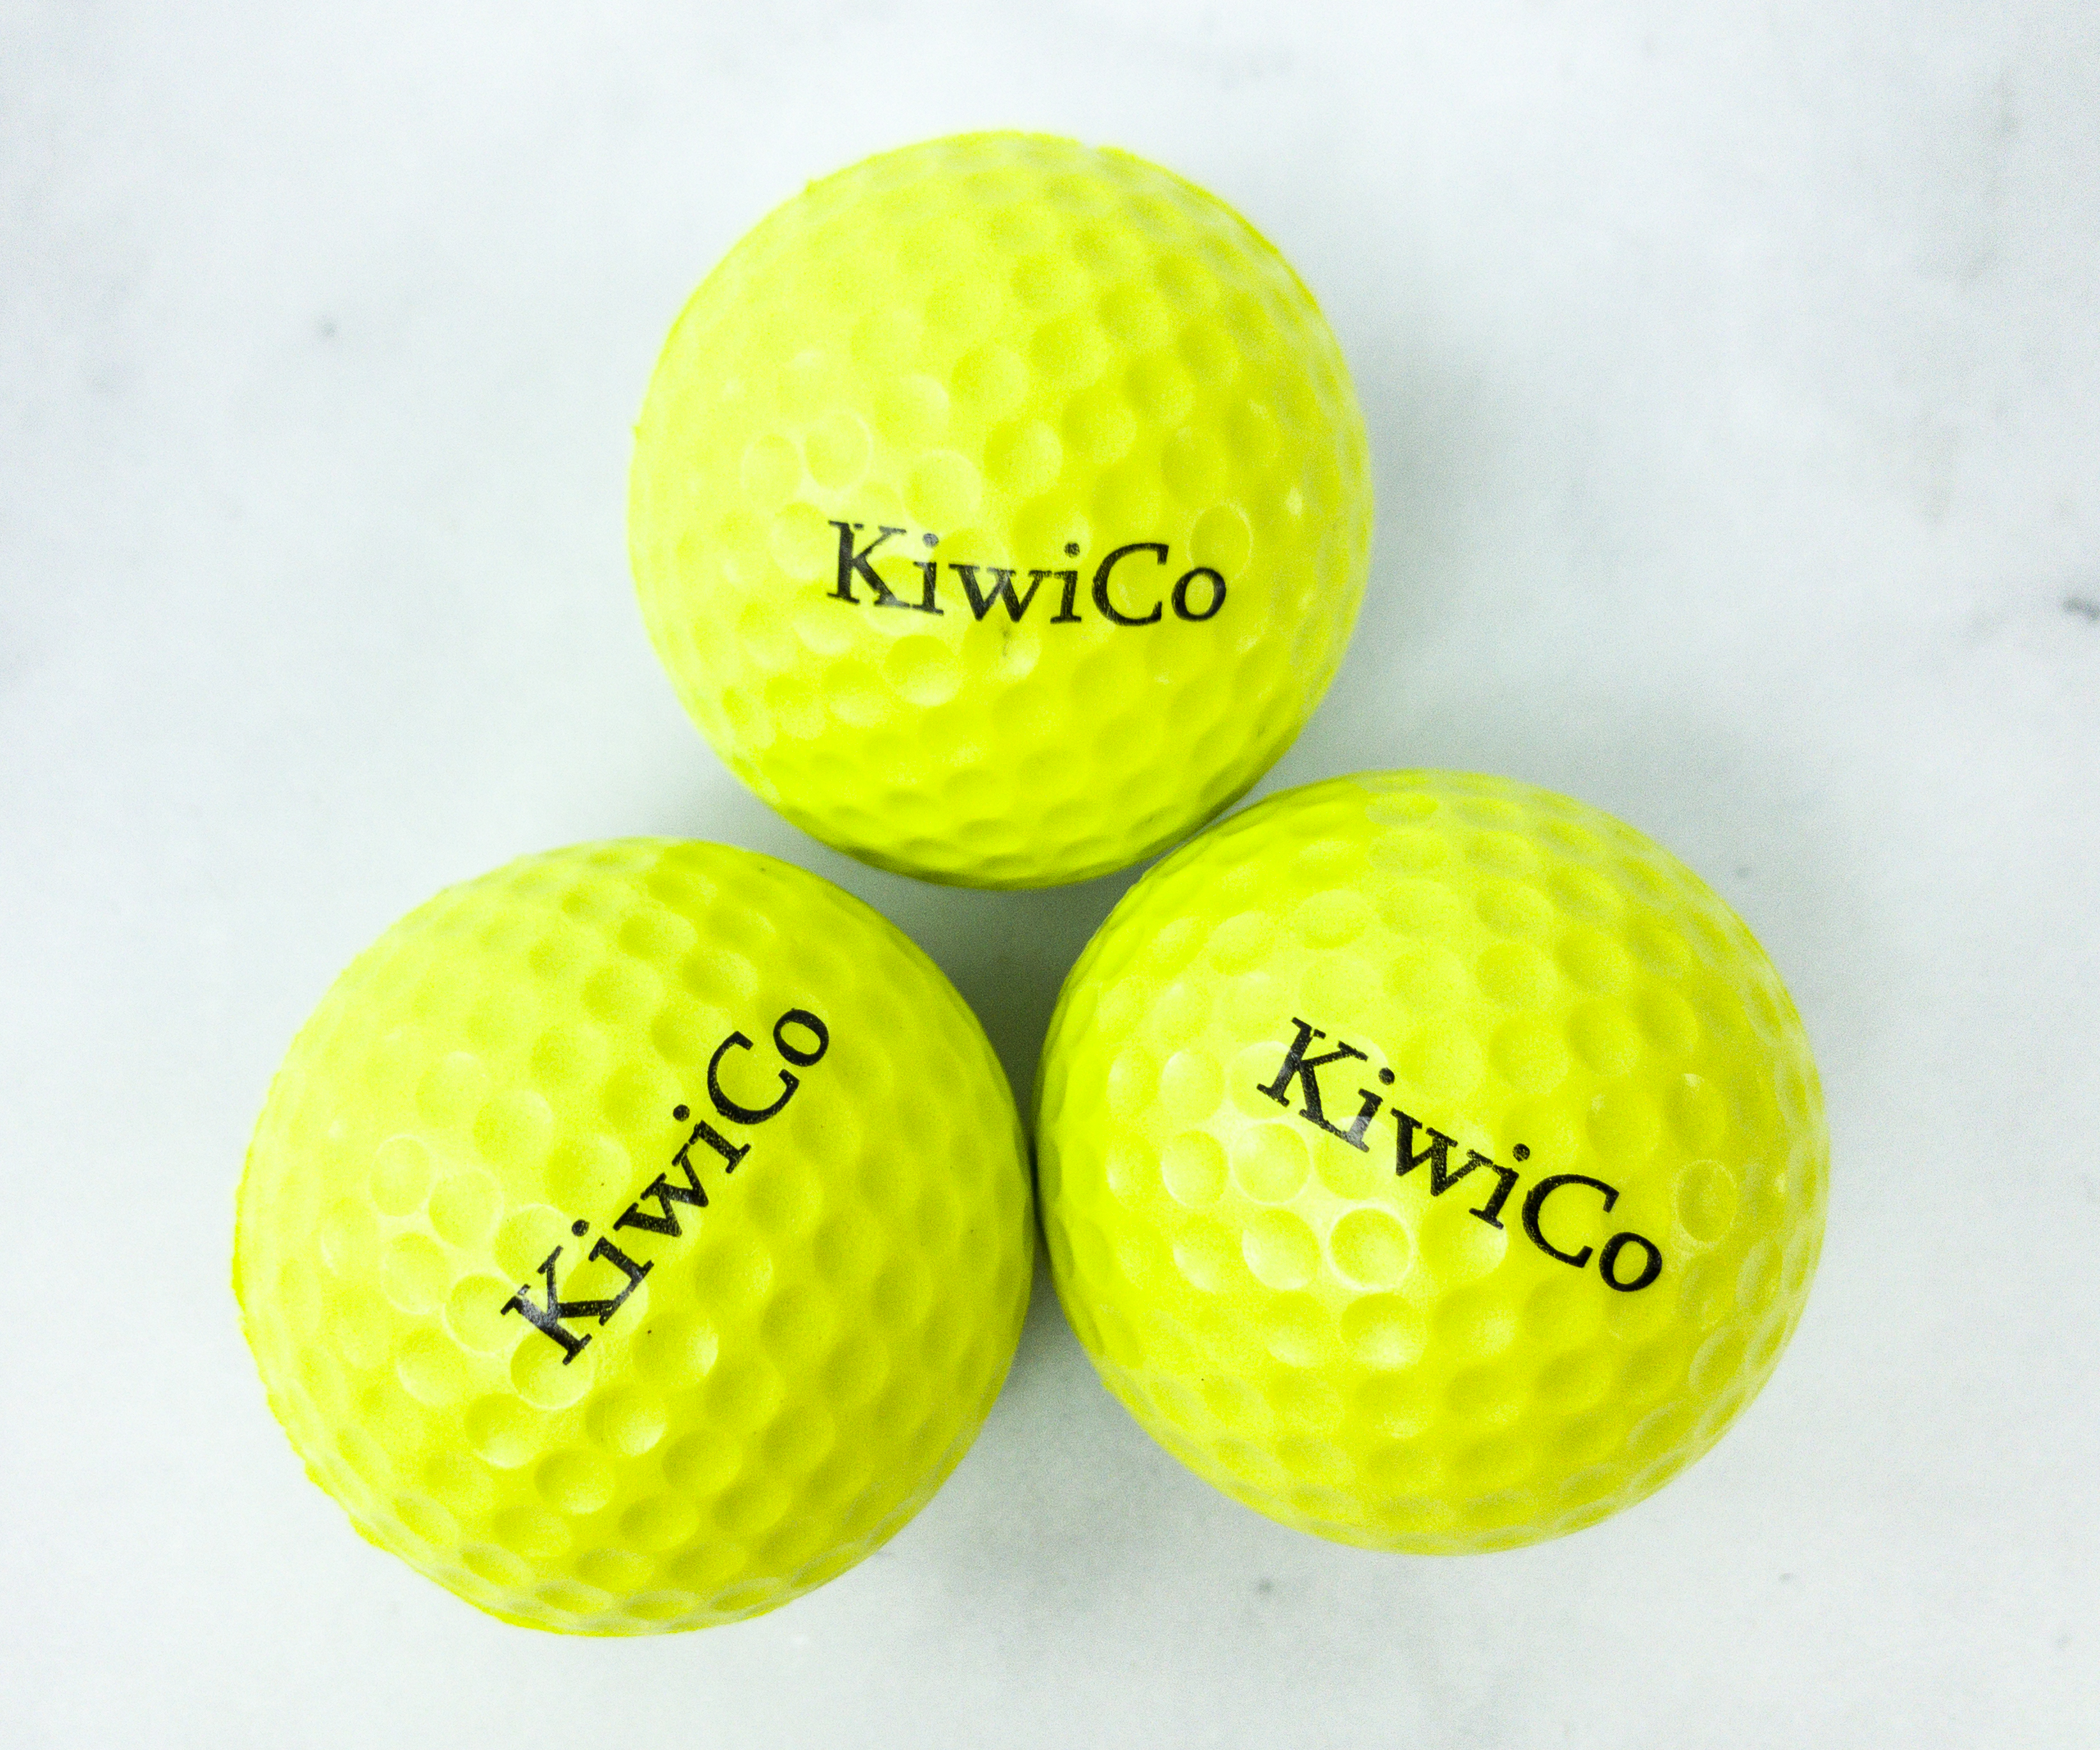
We also received 3 foam golf balls to practice on perfecting our swing!
Understanding physics plays a great part in perfecting your swing. For instance, if you want the ball to go far, it’s better to have a heavy clubhead and a faster swing! Doing this will transfer more energy to the ball, so it will go farther.
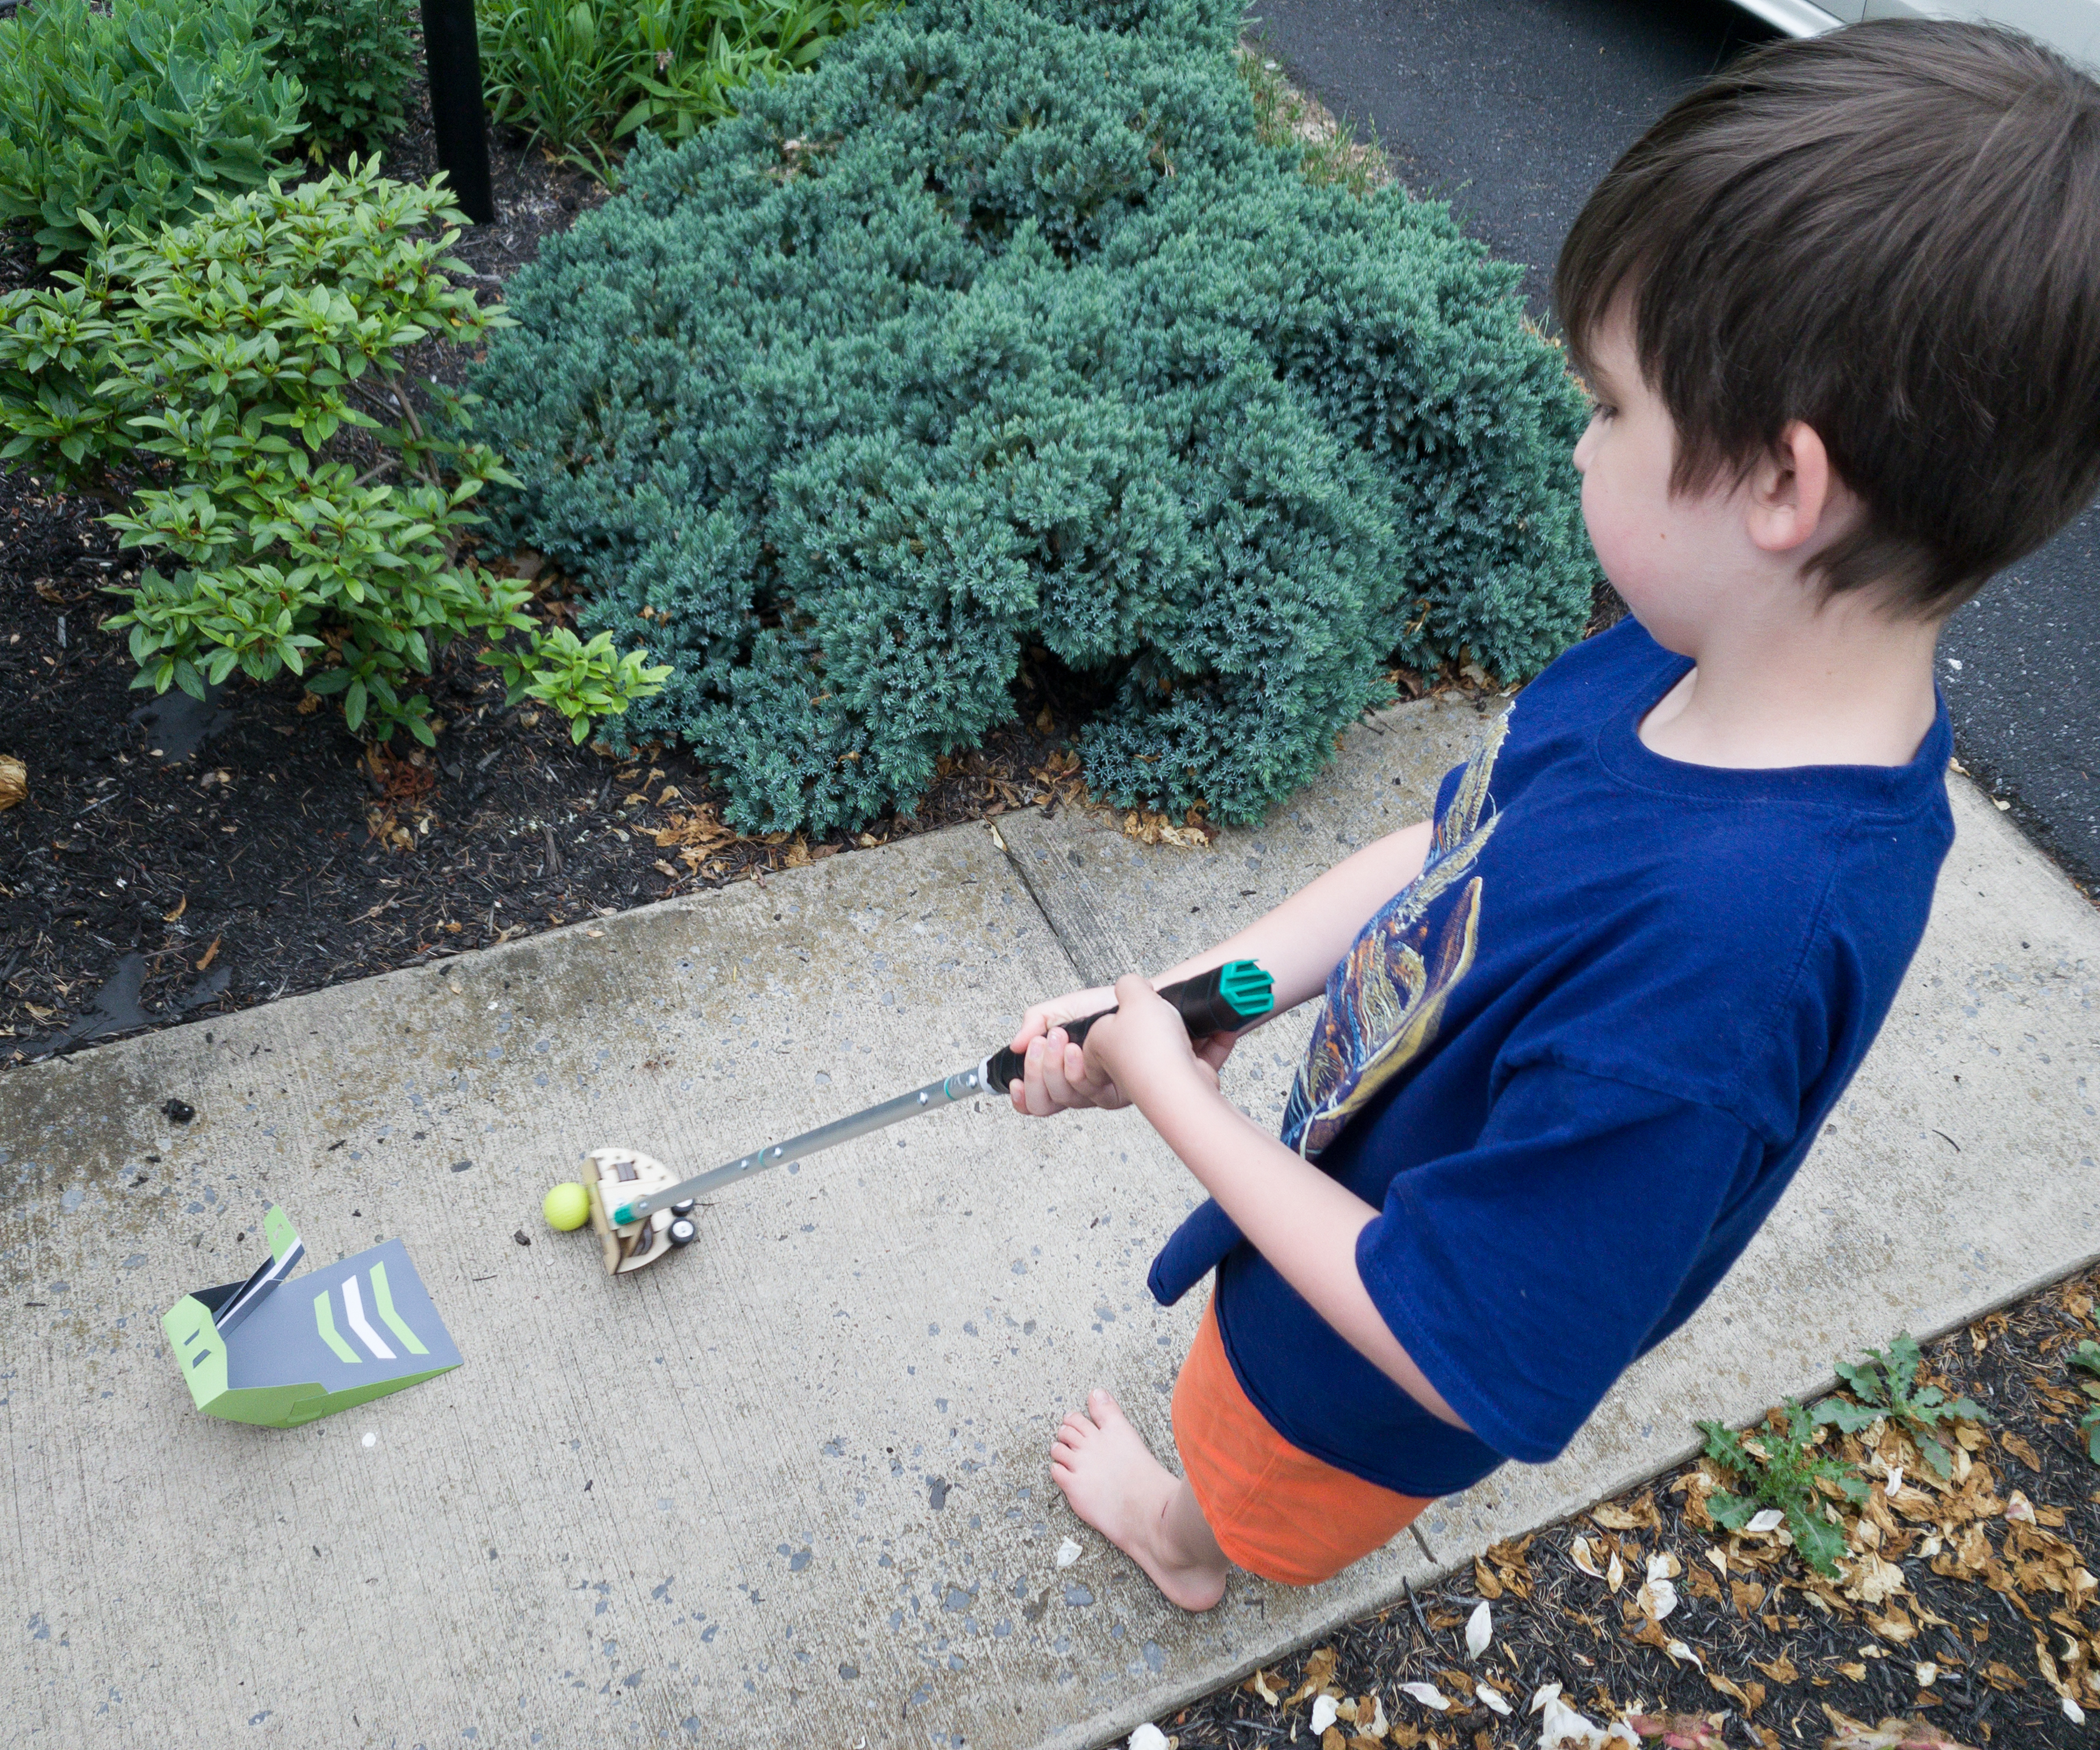
For a more precise putt, you can make your swings shorter and slower!
There you go! Once the ball is in the target, the flag raises up!
This is a really fun make-and-play activity!
This month’s project is fun and easy! It taught us all about golf, from its history to its design and the science behind it. Making a golf club and playing the game at home was really enjoyable. The materials are complete and the instructions in the booklet are easy to follow. As always, their thorough explanations also help in understanding the engineering aspects of the project. When everything was ready, we learned how to swing properly and we were able to hit the targets in a short amount of time. Our family has had lots of fun bonding over the projects they send, and this one is not an exception! We love Eureka Crate and it’s highly recommended for teens and even adults!
What do you think of this month’s Eureka Crate?


Comments