Eureka Crate is a monthly STEM and maker subscription box that teaches kids and adults how to apply principles of science and math to make awesome things you will love to use every day – from an articulated desk lamp to an electric pencil sharpener to a wooden ukulele. Every Eureka Crate includes an engineering project, detailed step-by-step instructions, everything you need to complete the project, a Maker’s Guide that explains all the design, process, and engineering behind the design, plus a design challenge to take your project knowledge to the next level!
DEAL: Save 30% on your first month! Just use this link to subscribe, no coupon code required! You can also use the same link to save 30% on the first month of any other KiwiCo crate – just check out this page to discover which box is right for you.
Eureka Crate is KiwiCo’s latest subscription! Eureka Crate is designed for ages 14-104. If you’re ready to graduate from KiwiCo’s other boxes or just can’t get enough (or are just too old for their other subscriptions), you’ll love this box, which is designed to create a hands-on learning experience using everyday items to delve deeply into the science and math principles they embody, along with the design process of the month’s project.
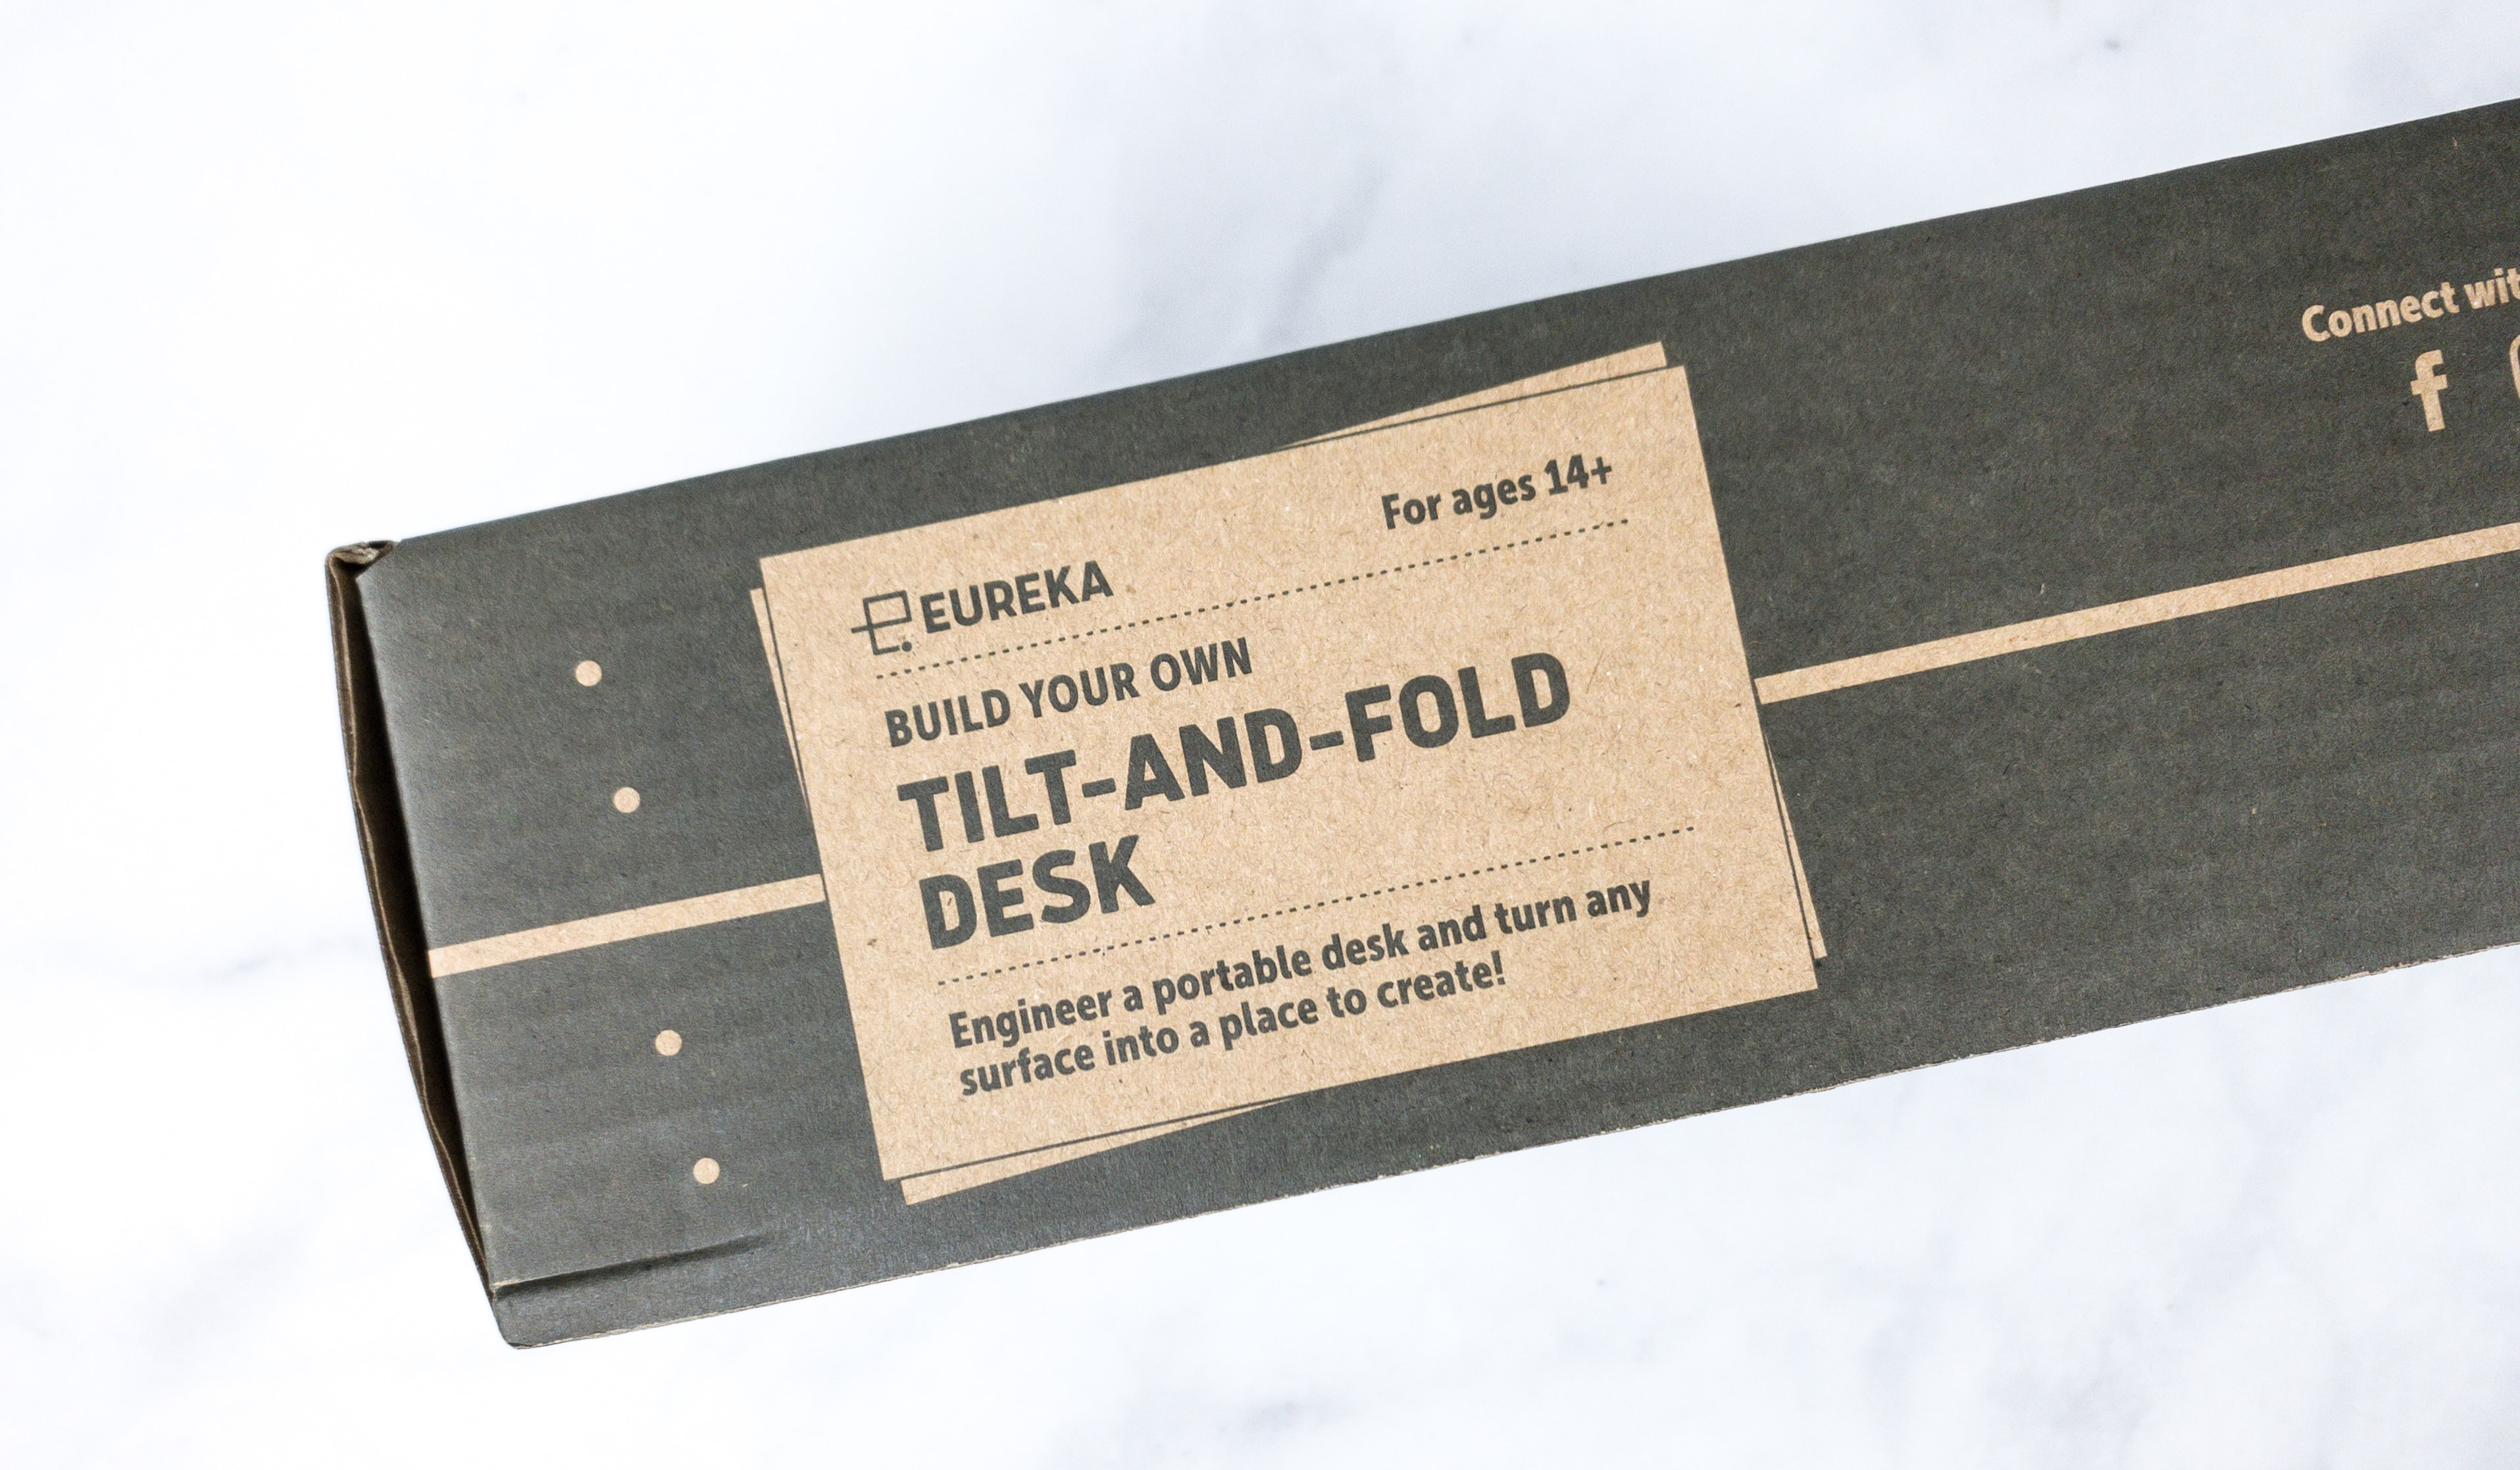
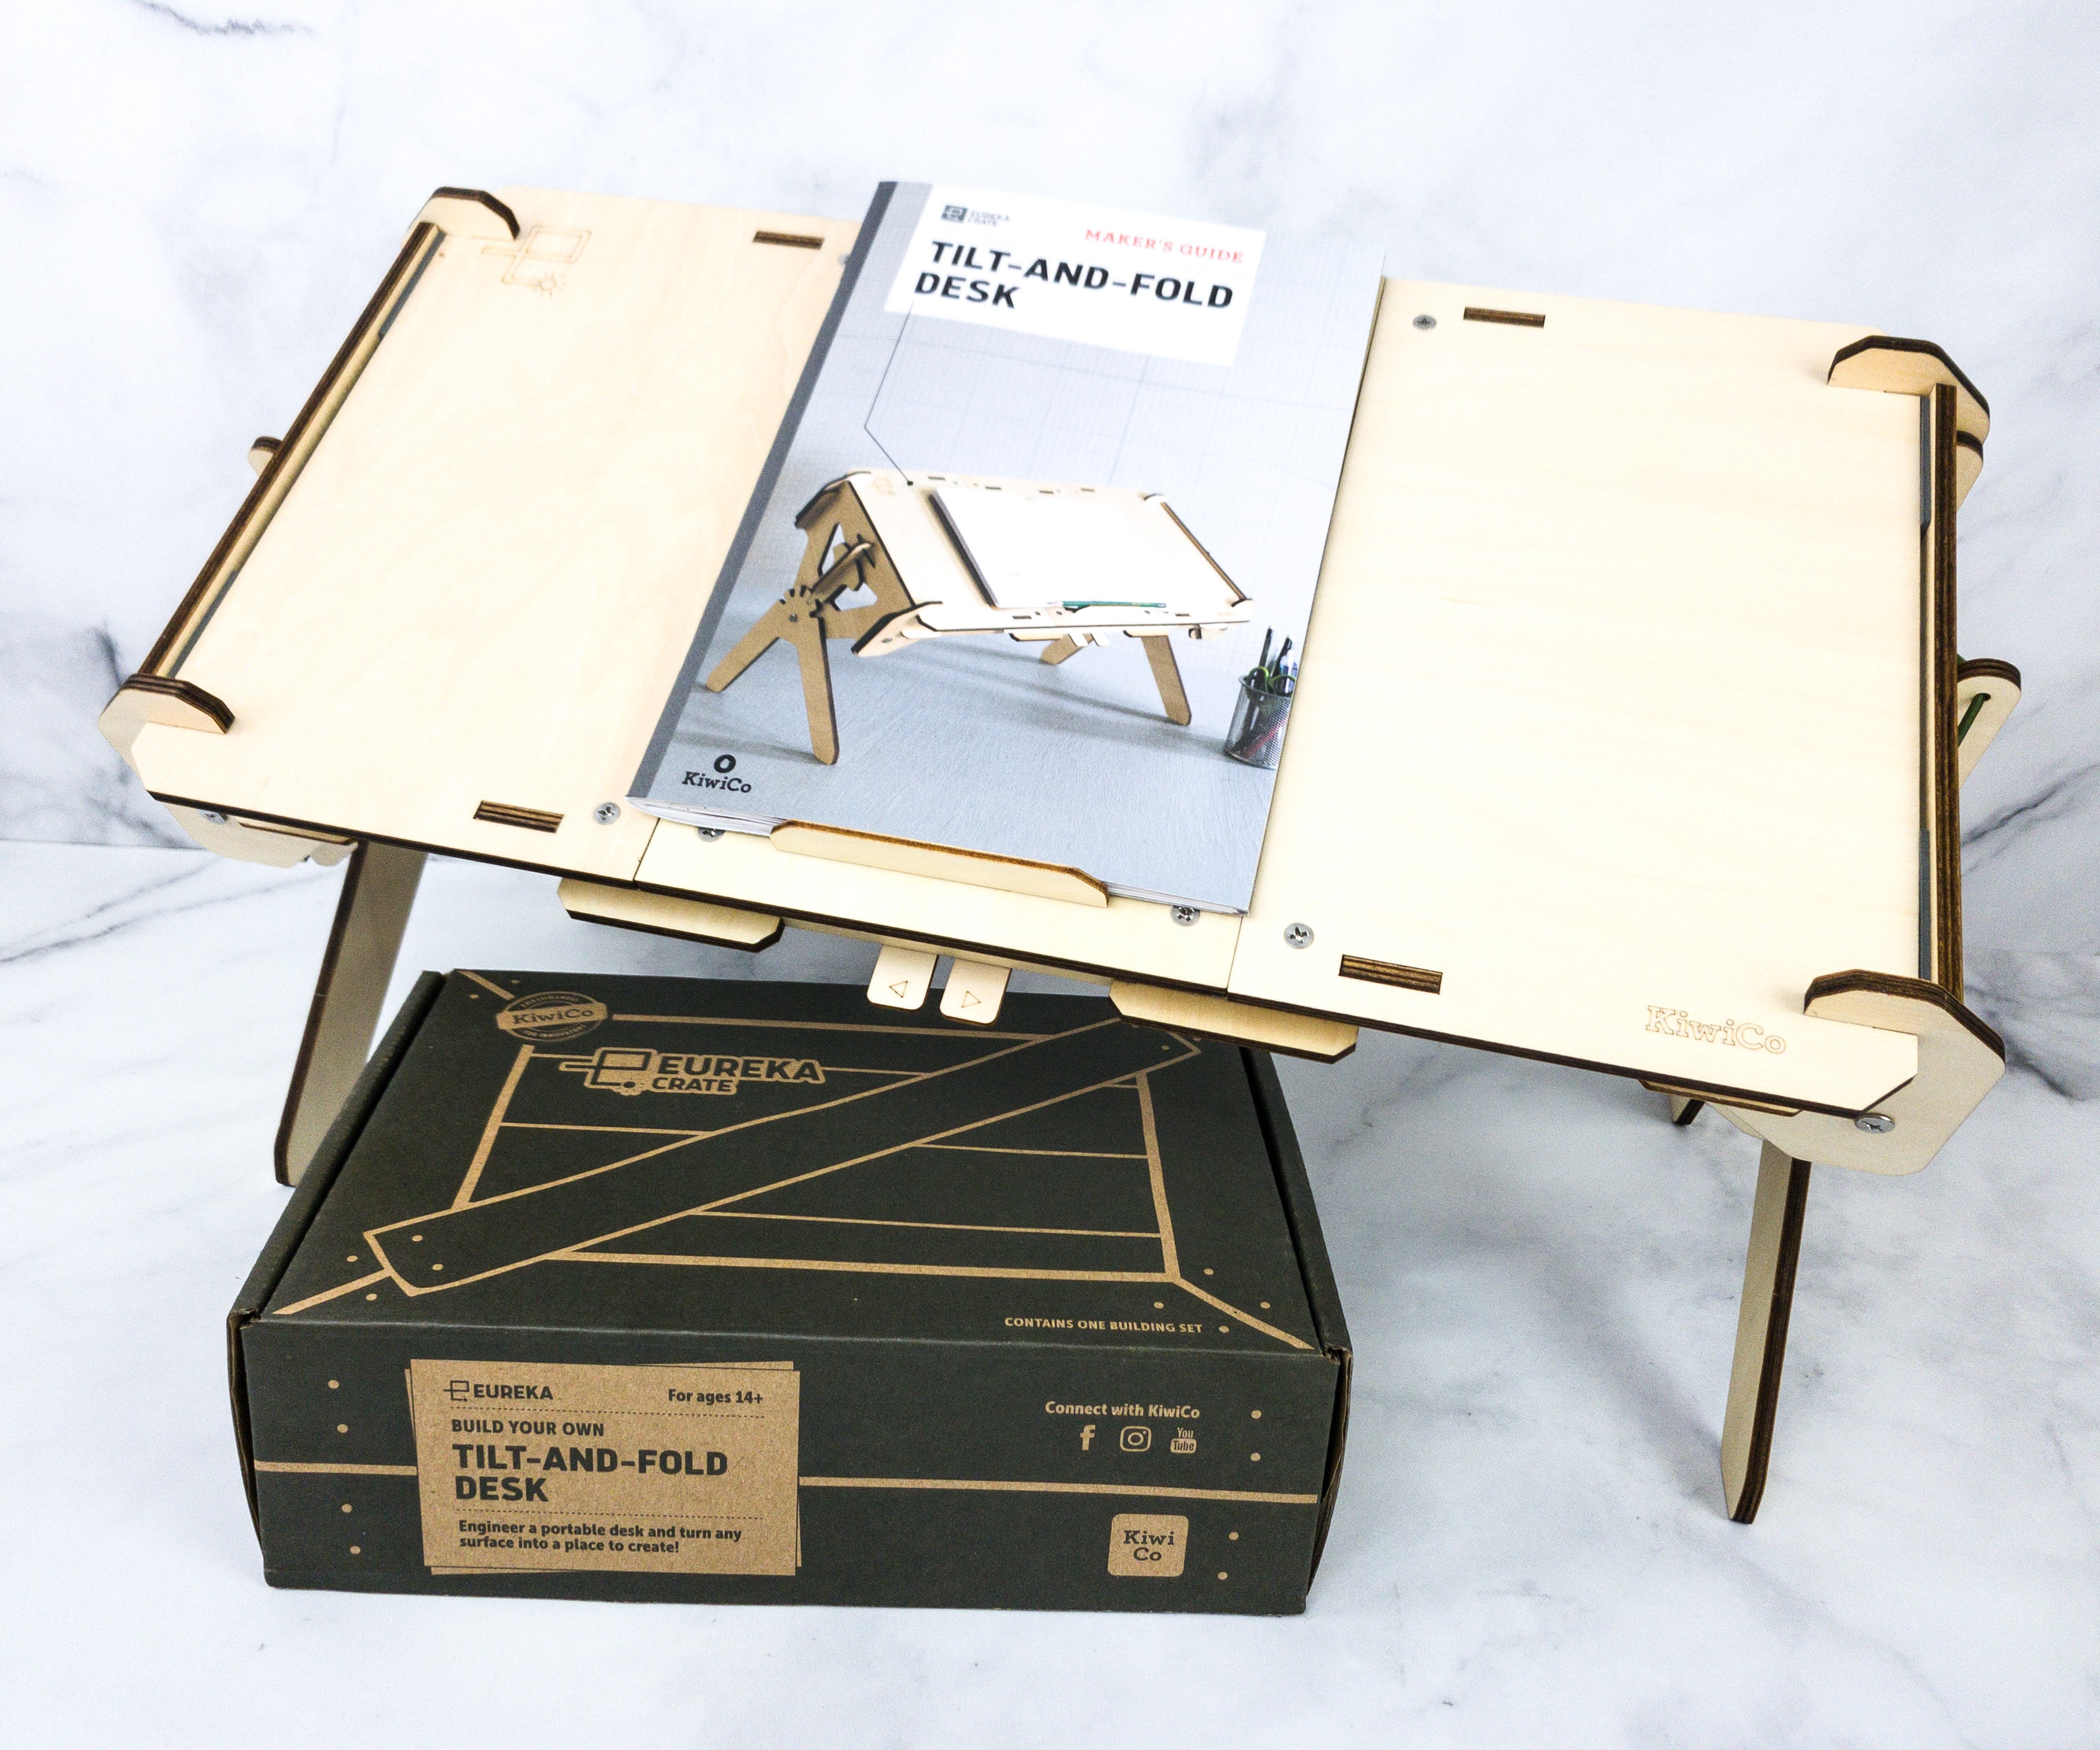
This month, we’re making a Tilt-and-Fold Desk!

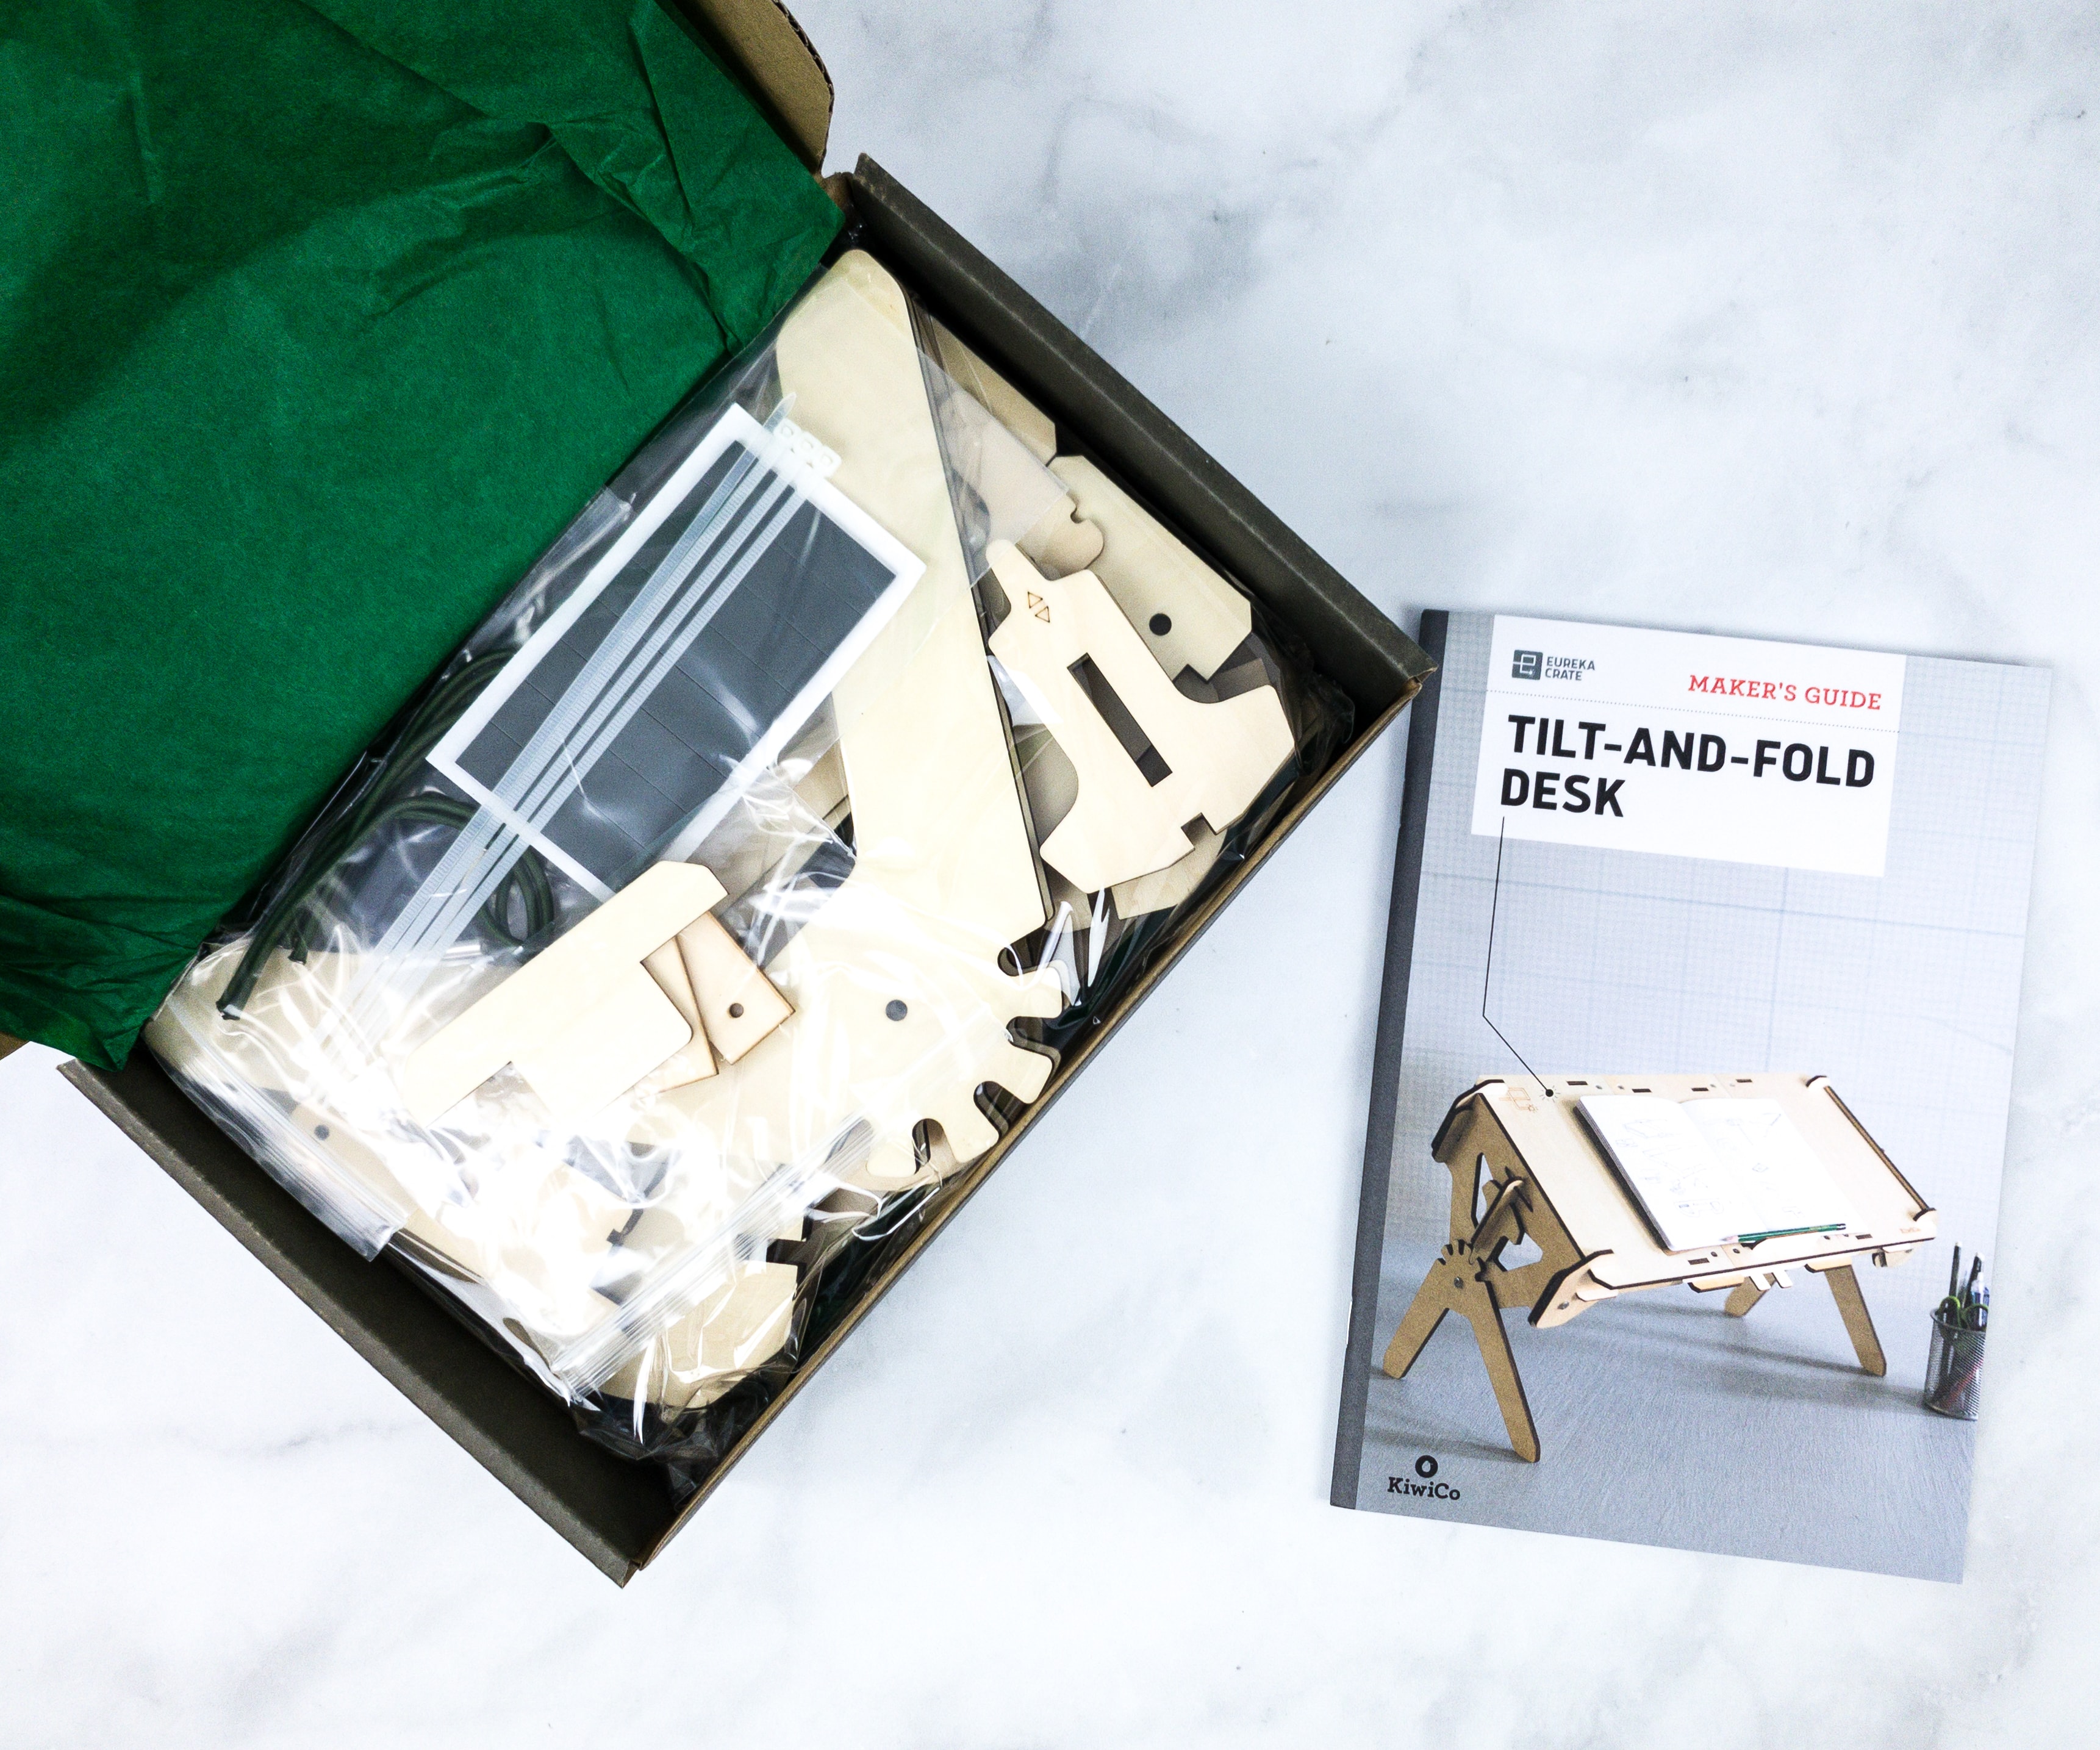
Like the other crates from KiwiCo, Eureka Crate includes a booklet.
One of KiwiCo’s goals is to equip the next generation of innovators with the tools and confidence for creative exploration and problem-solving.
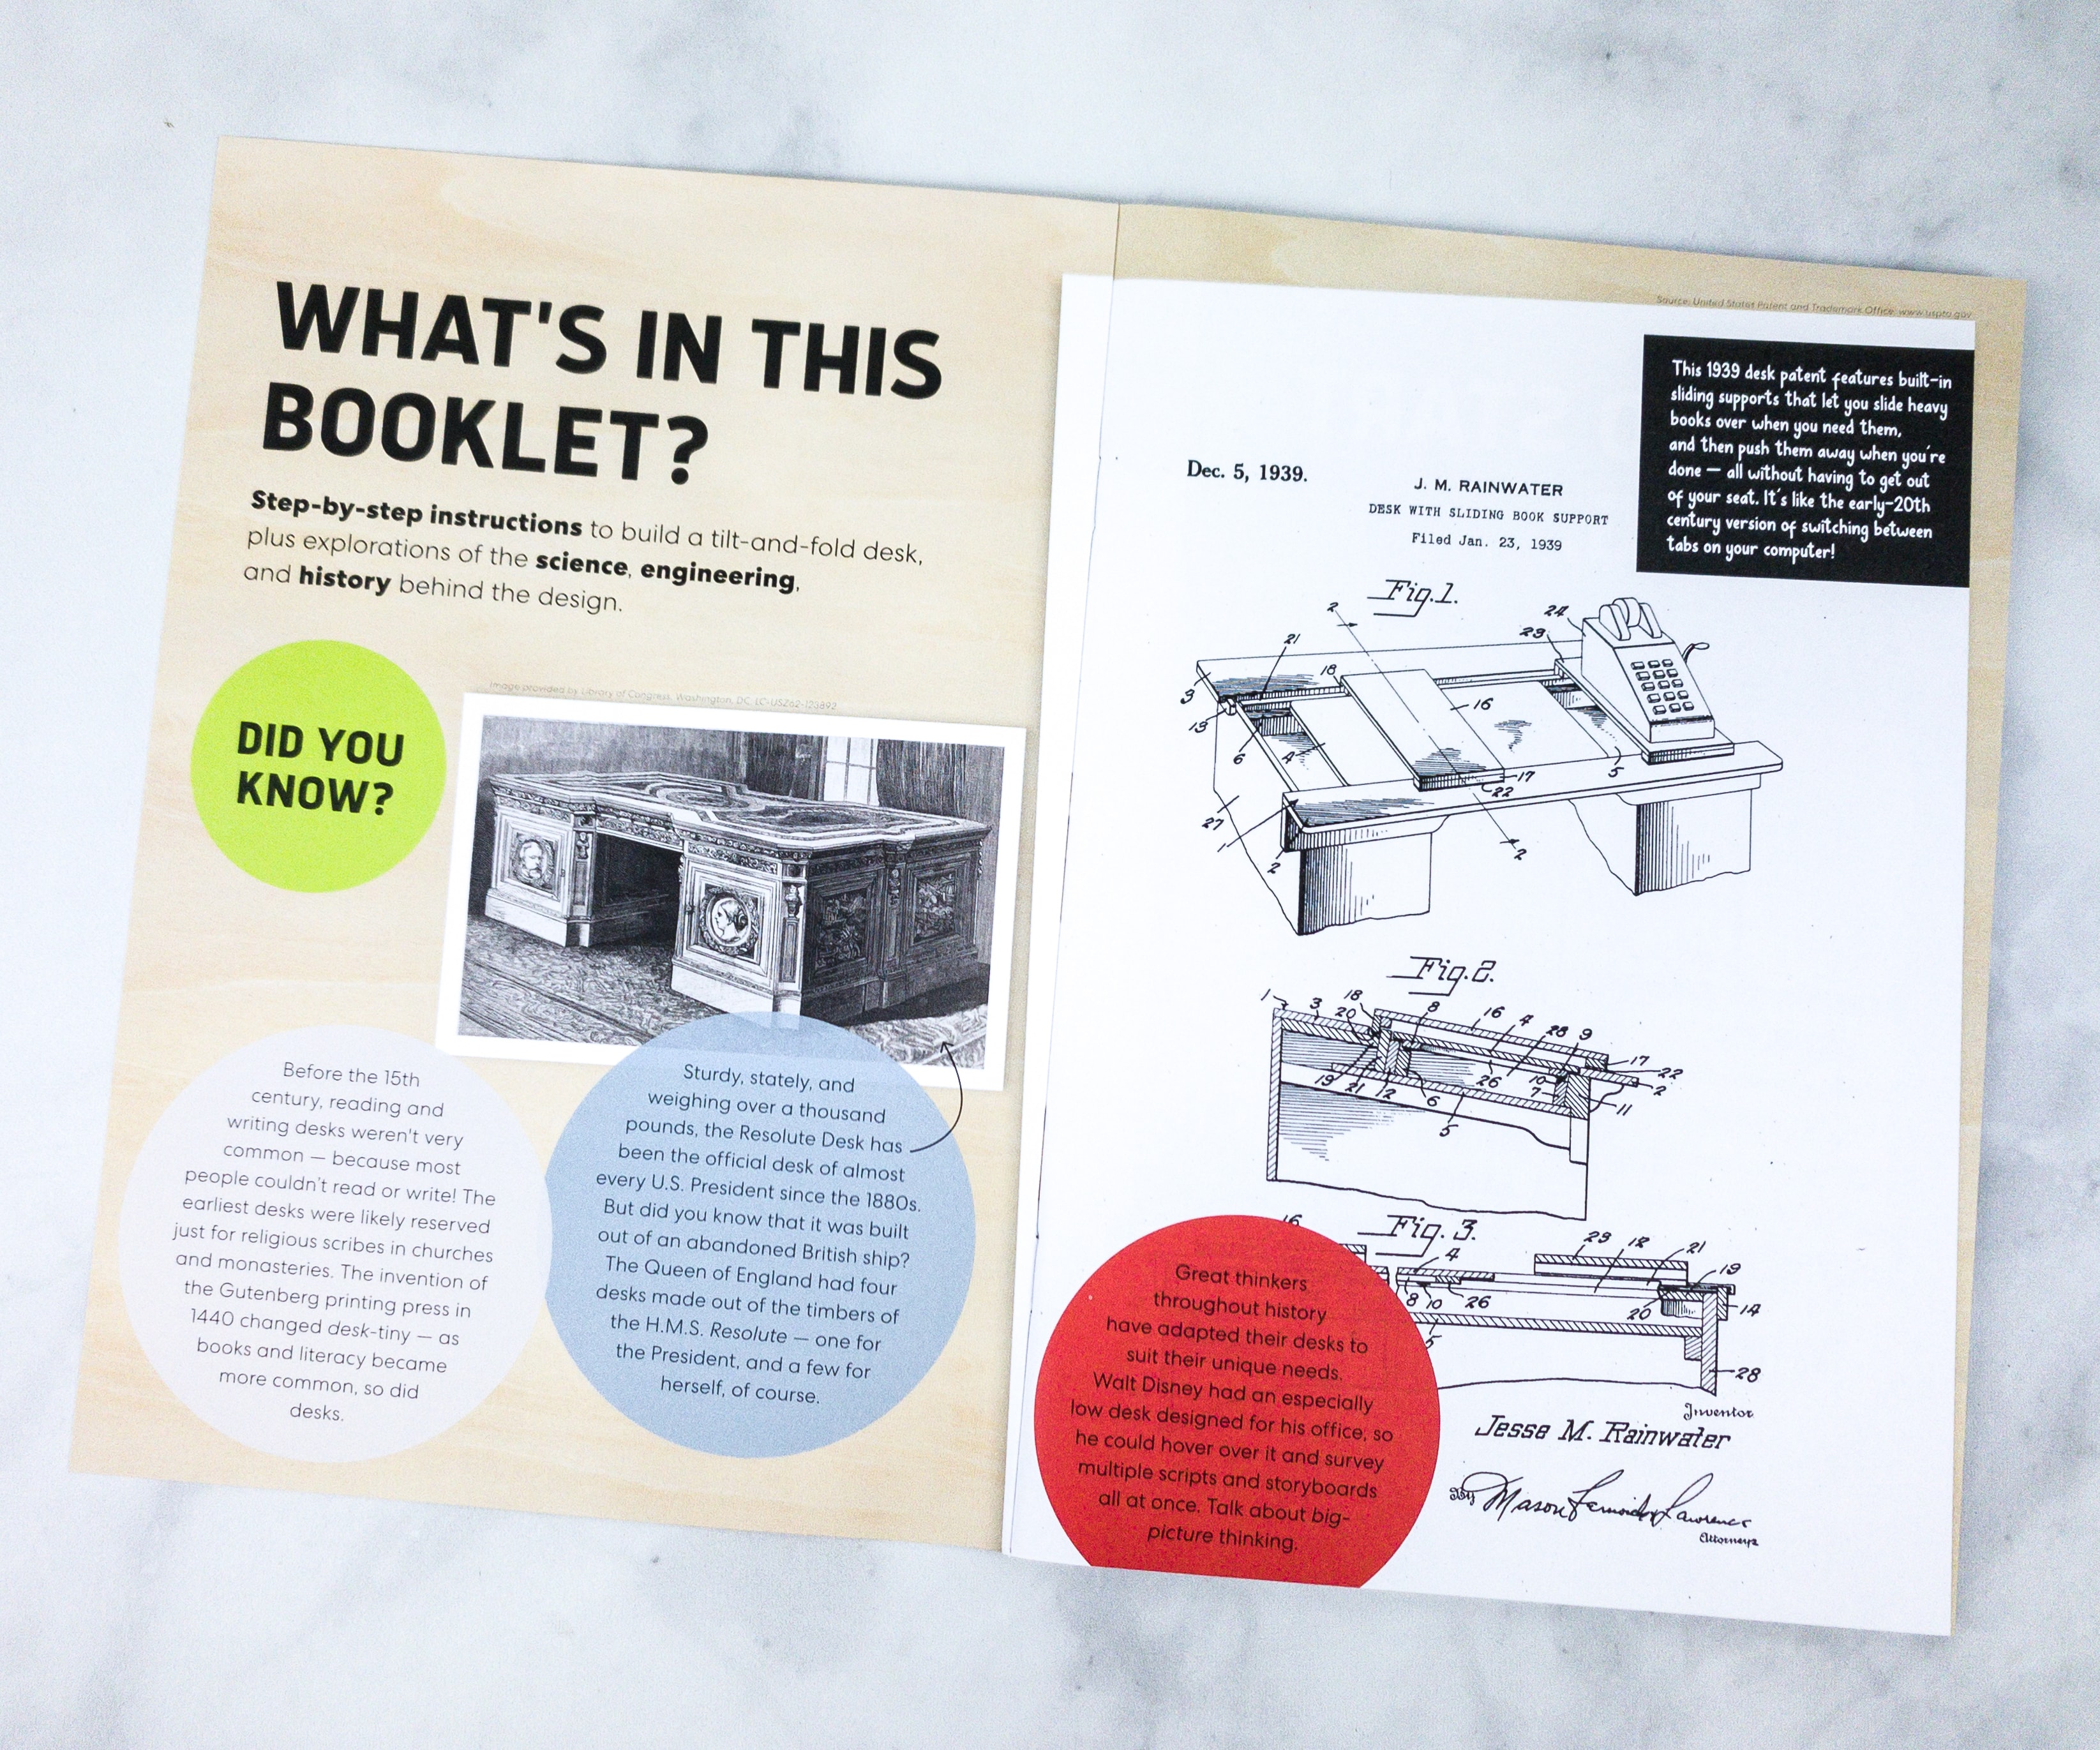
The booklet gives a complete history and details about this month’s project. They also included some fun facts and trivia related to the theme.
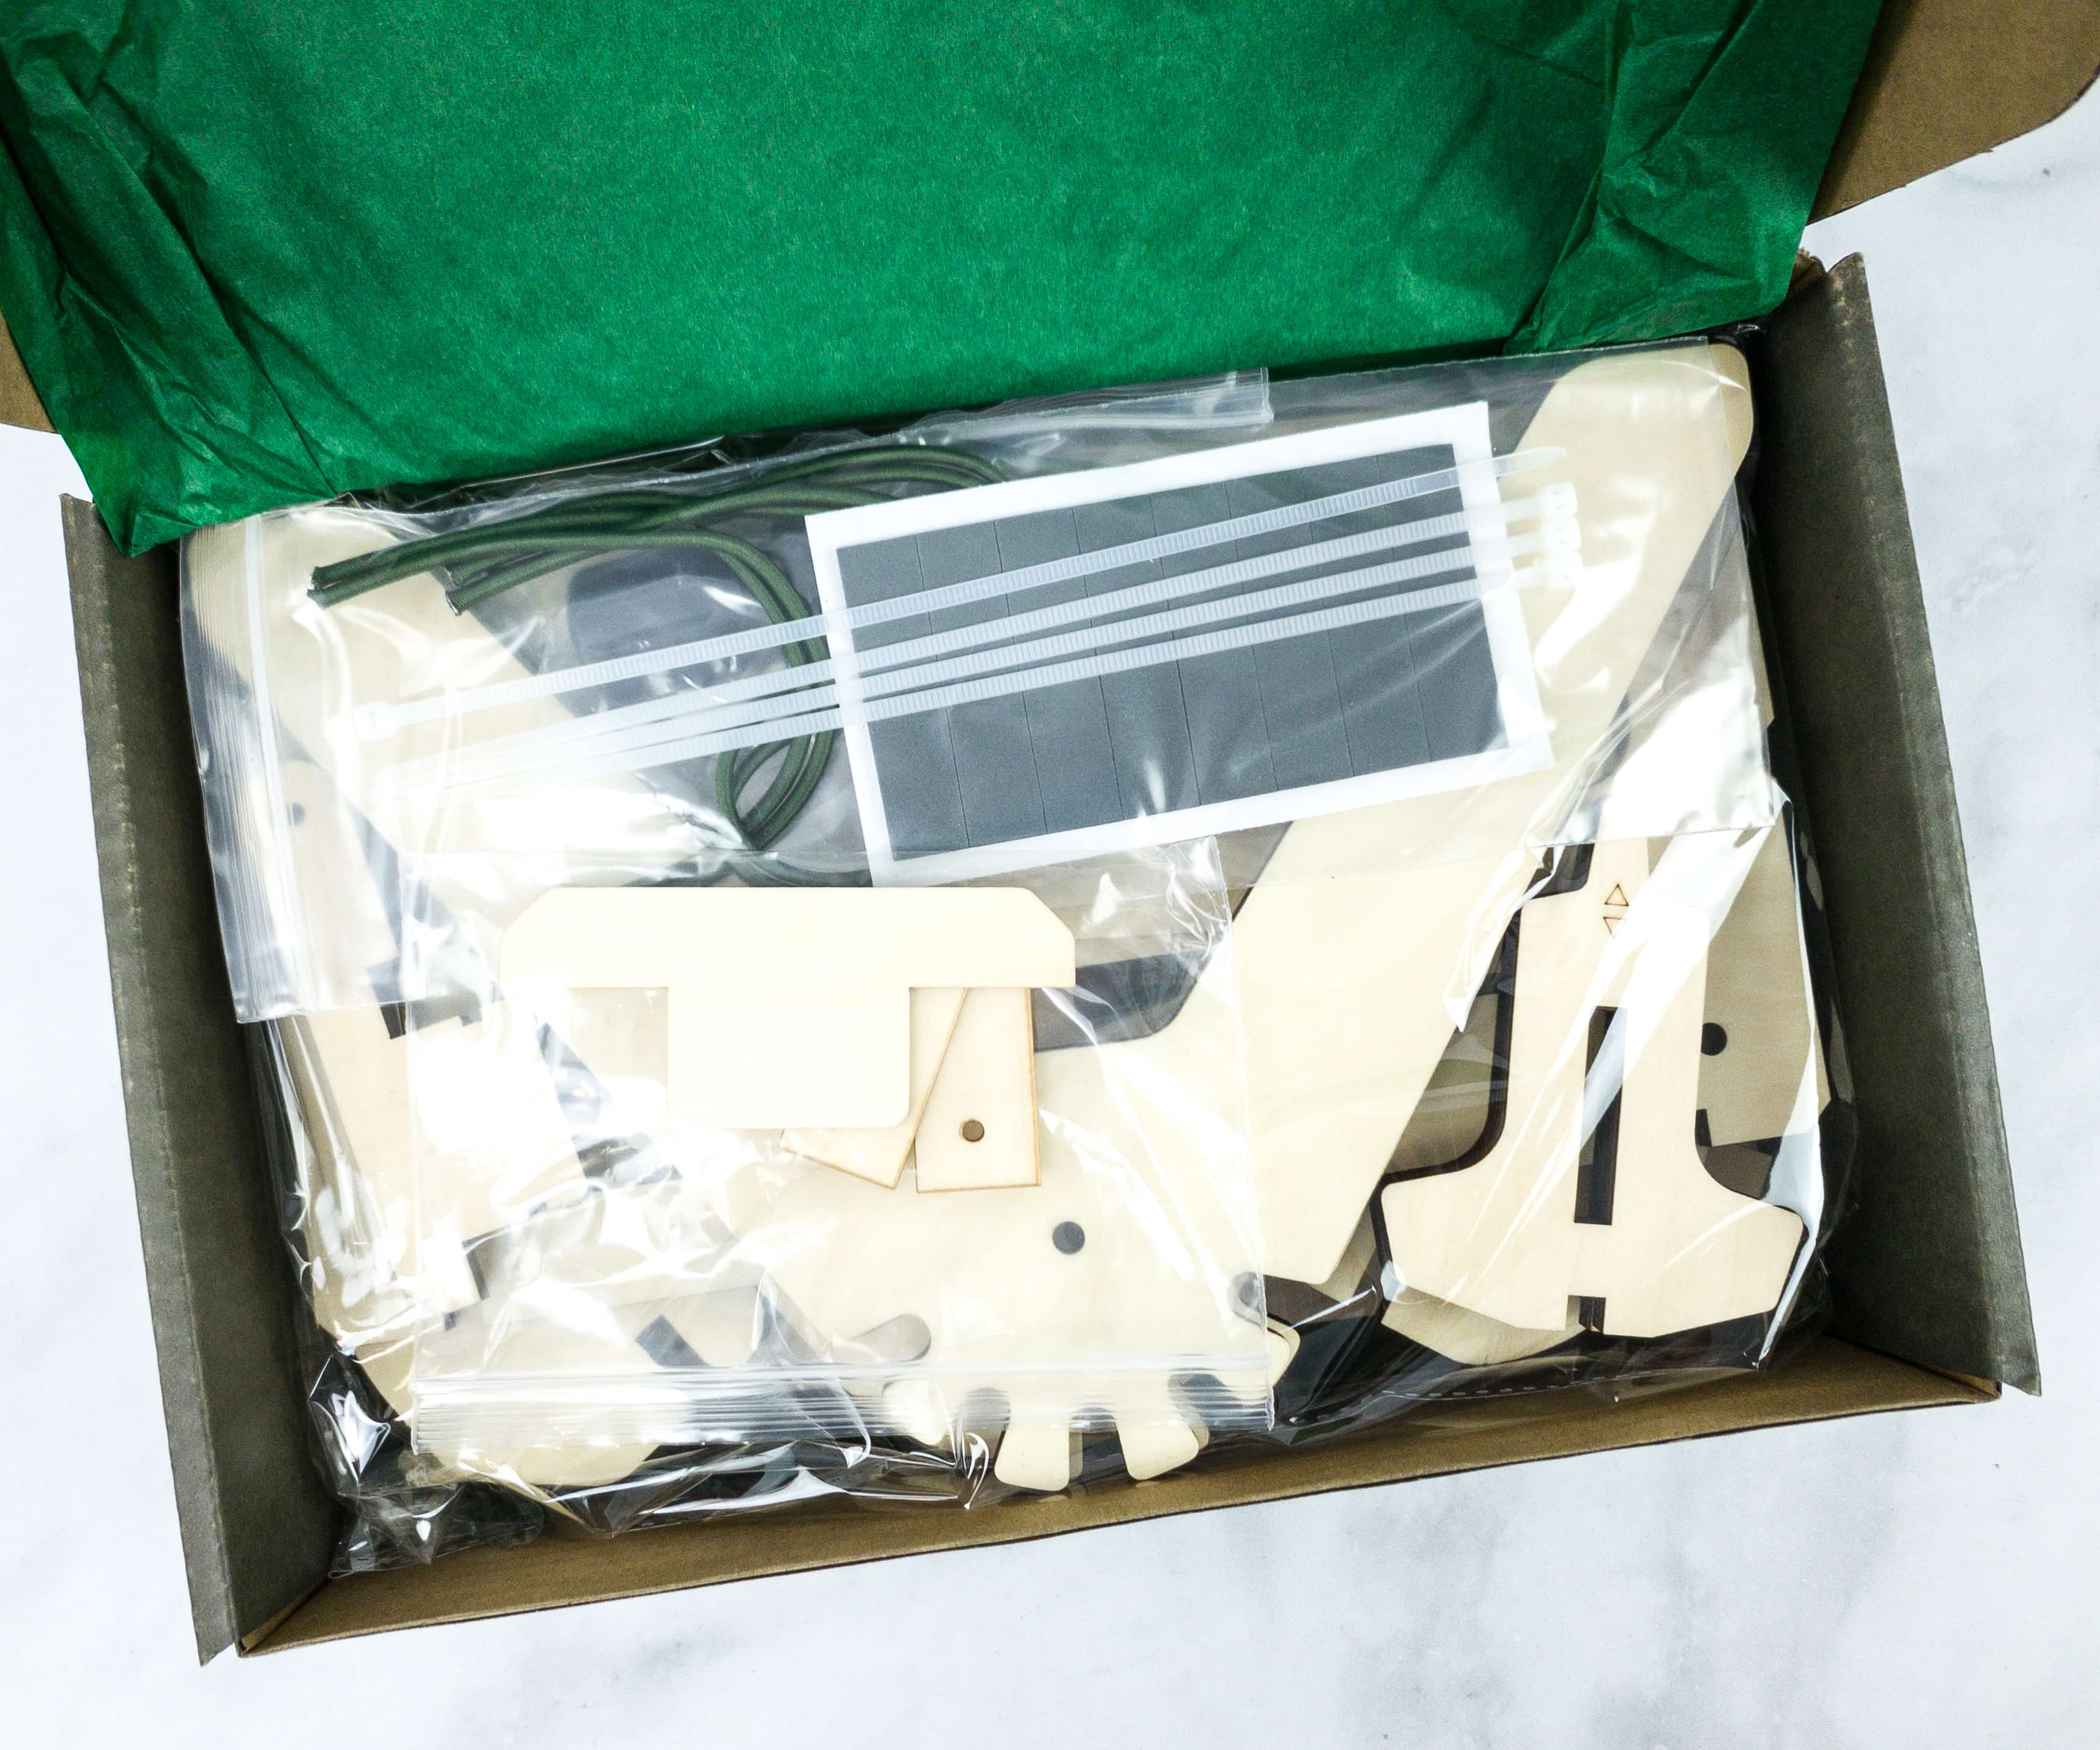
Everything inside the box is separately packaged, and they’re all protected by green tissue paper.
Everything in this month’s box!
Eureka Crate Maker’s Guide
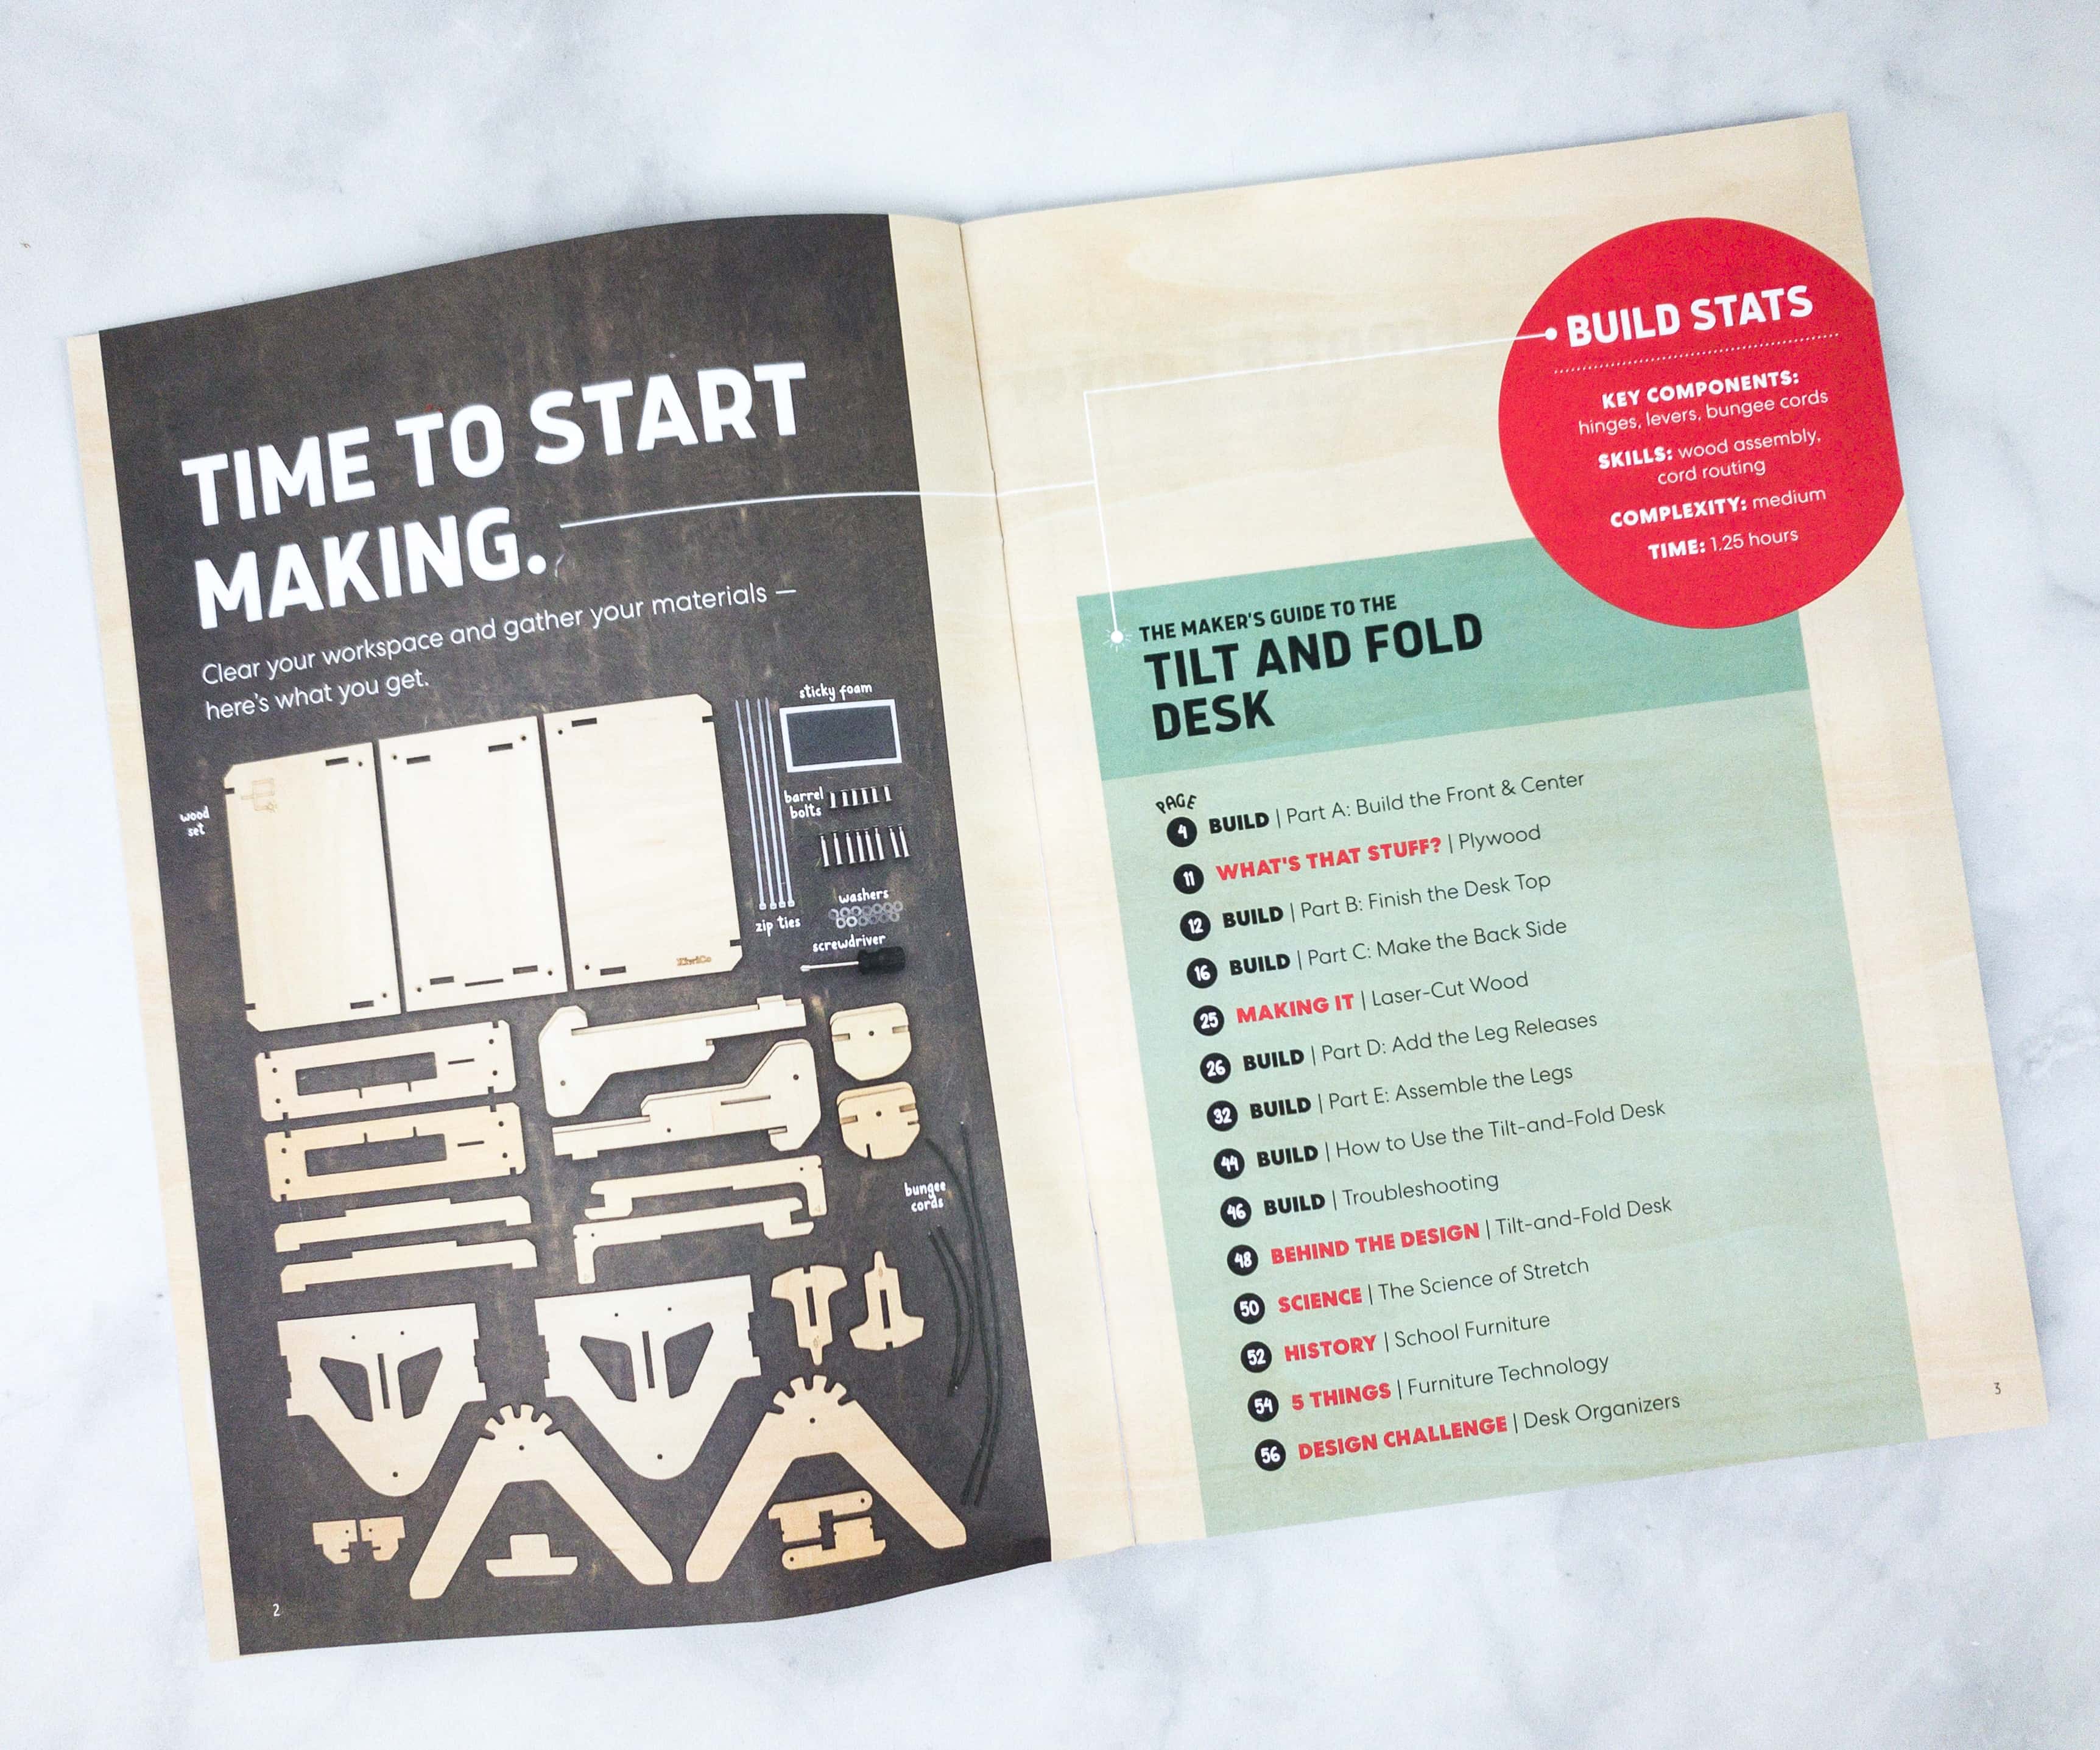
This booklet means business as it jumps right to the activity.
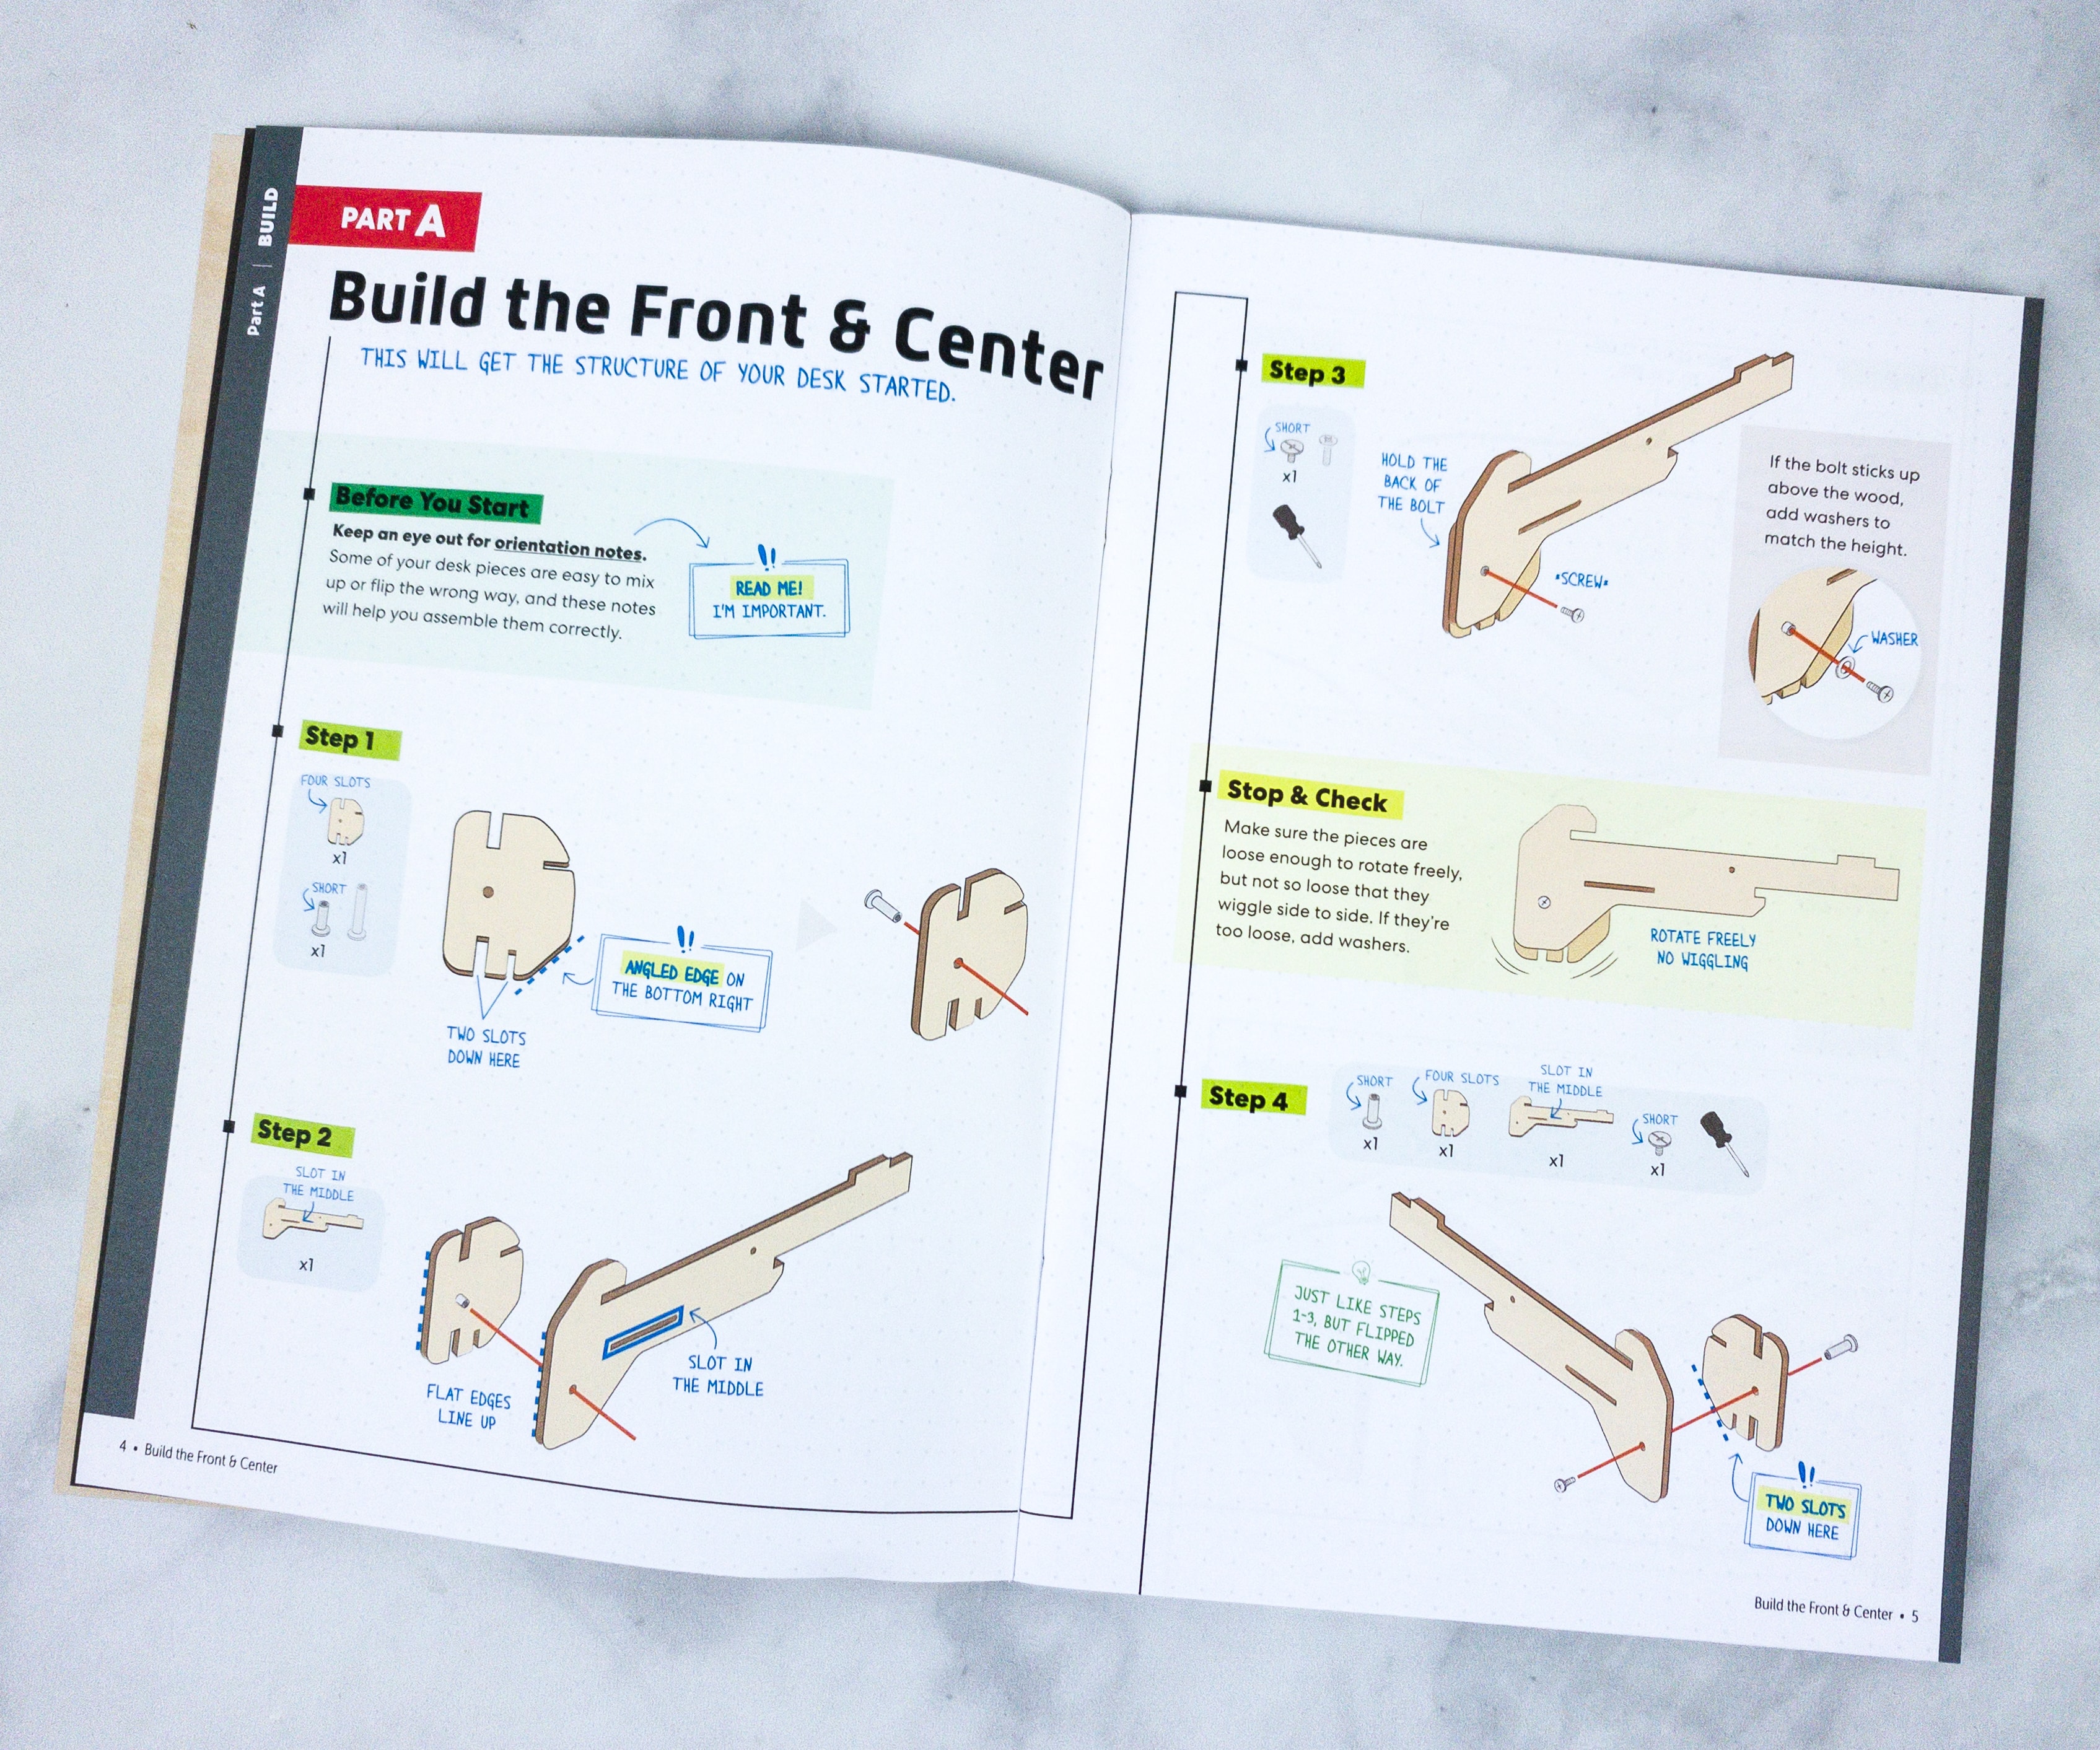
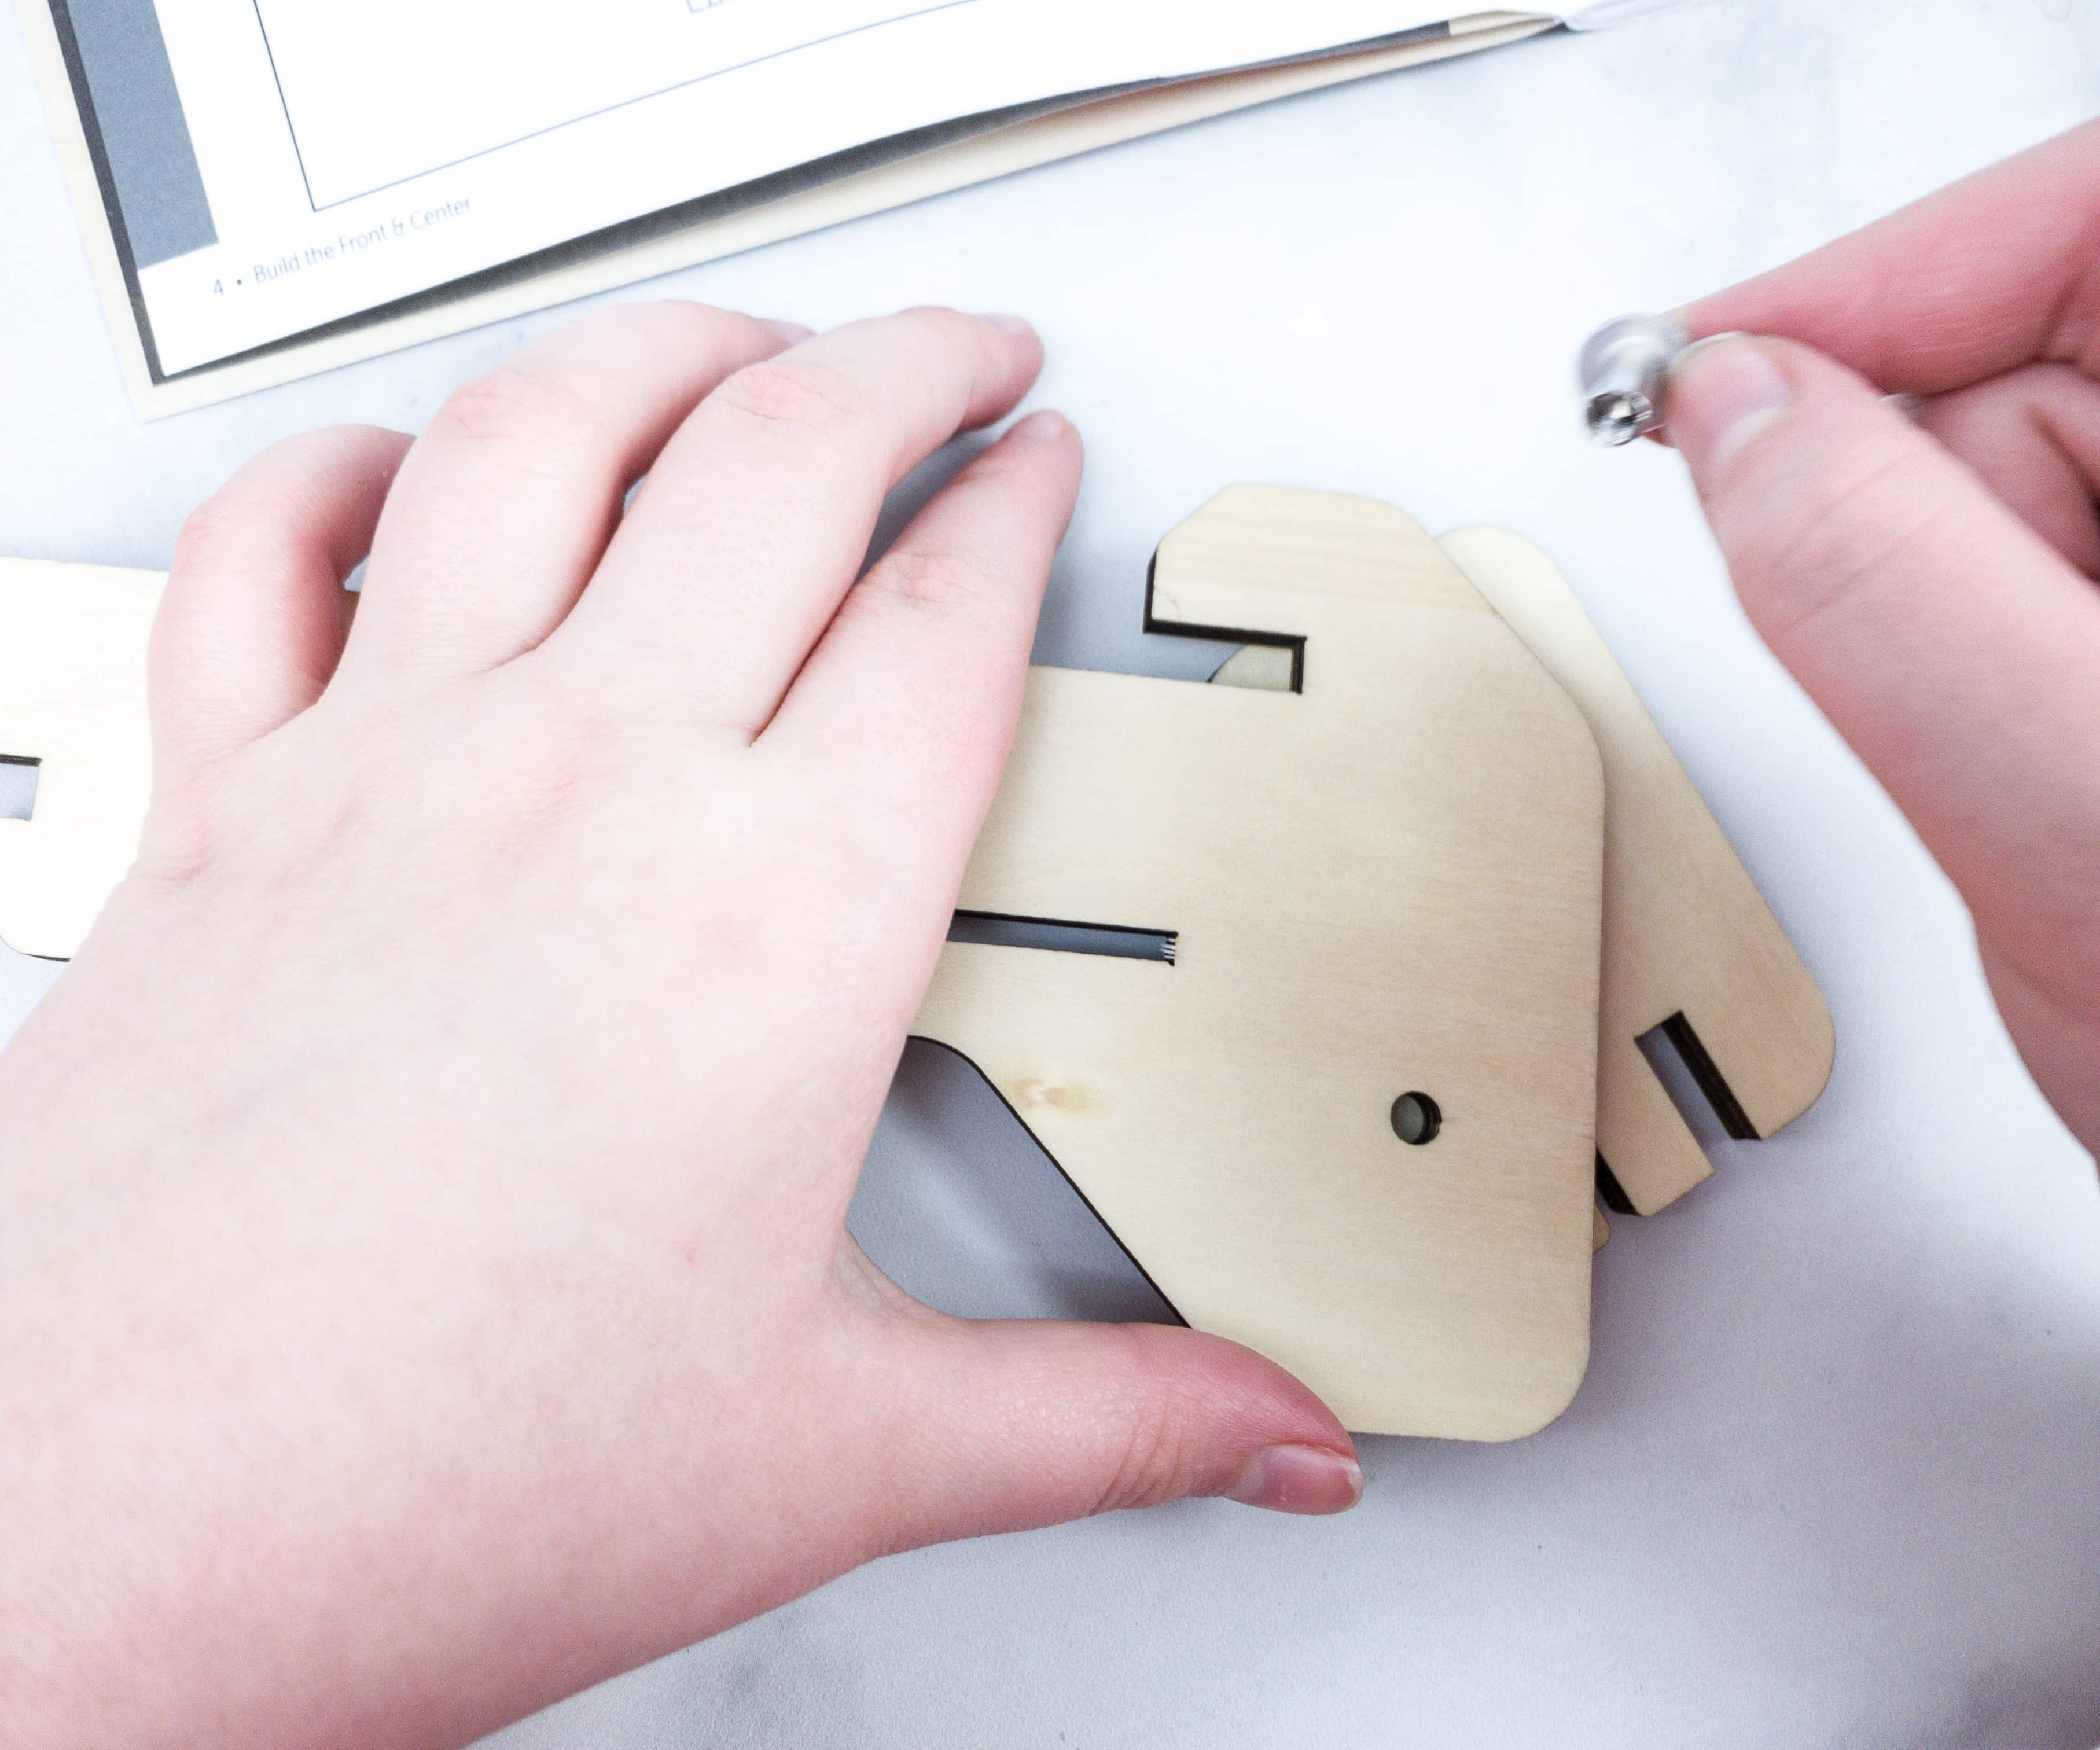
For the first part, we are making the front and center part of the desk. This will also get the structure of the desk started.
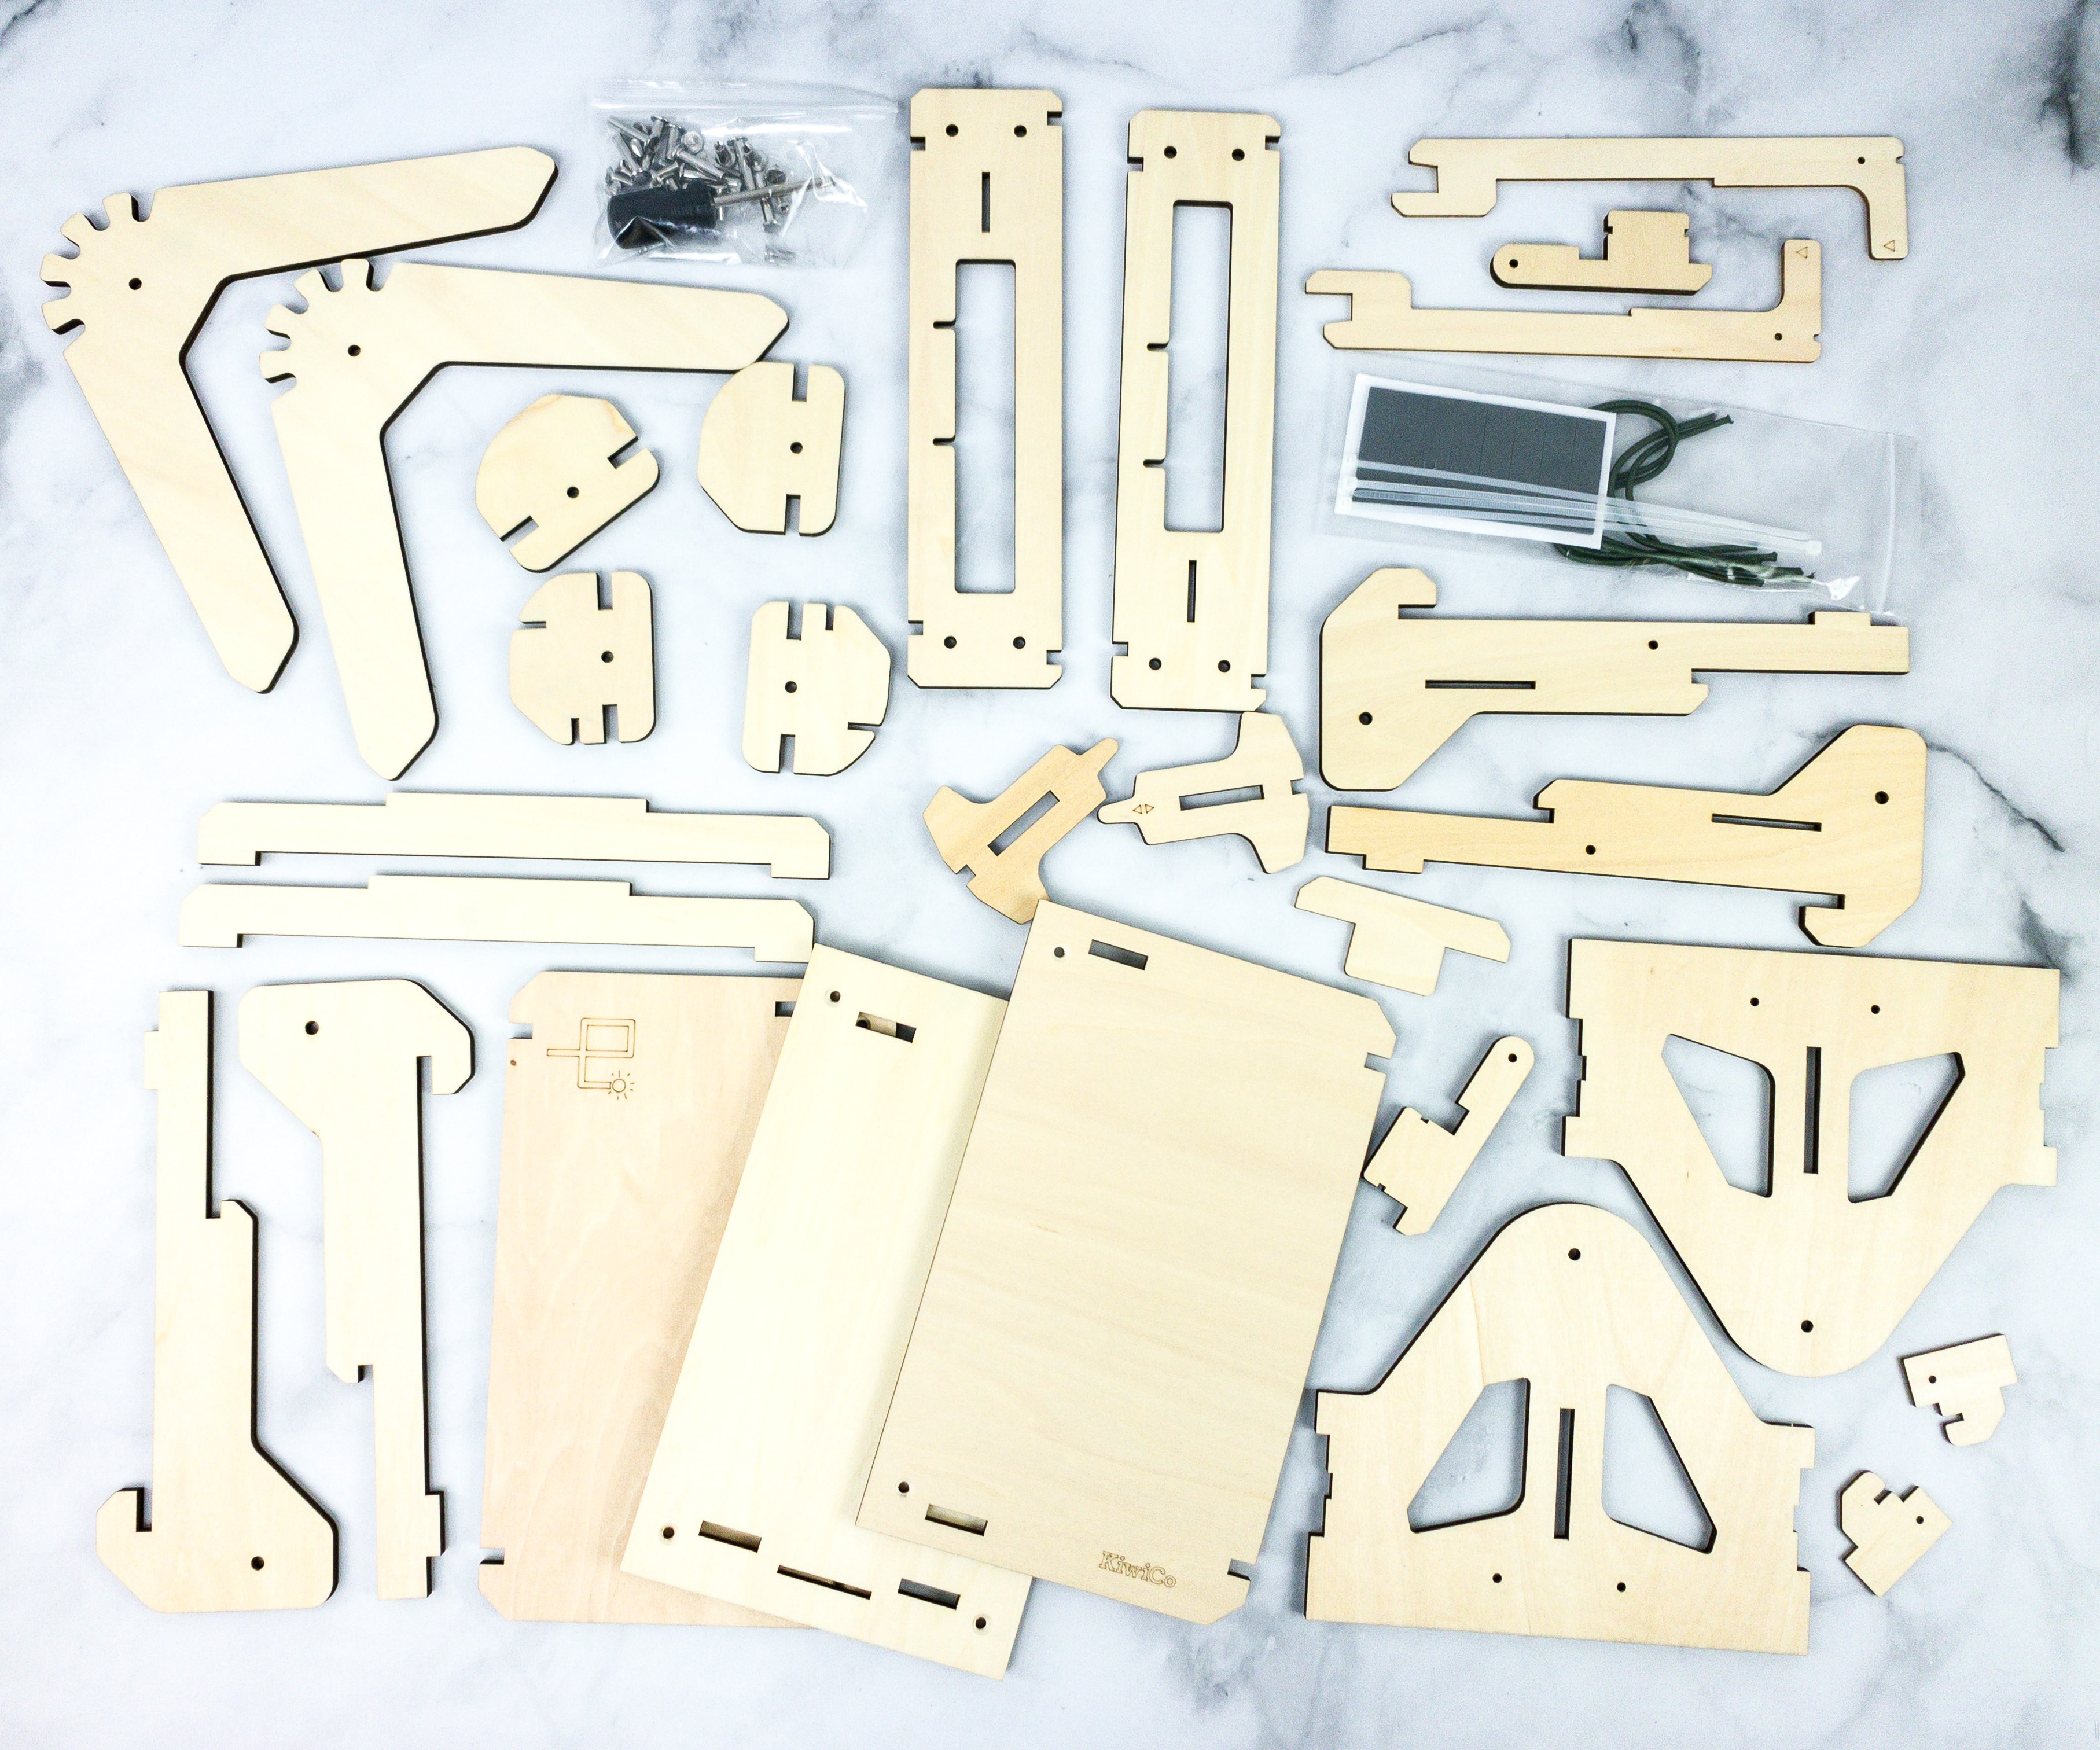
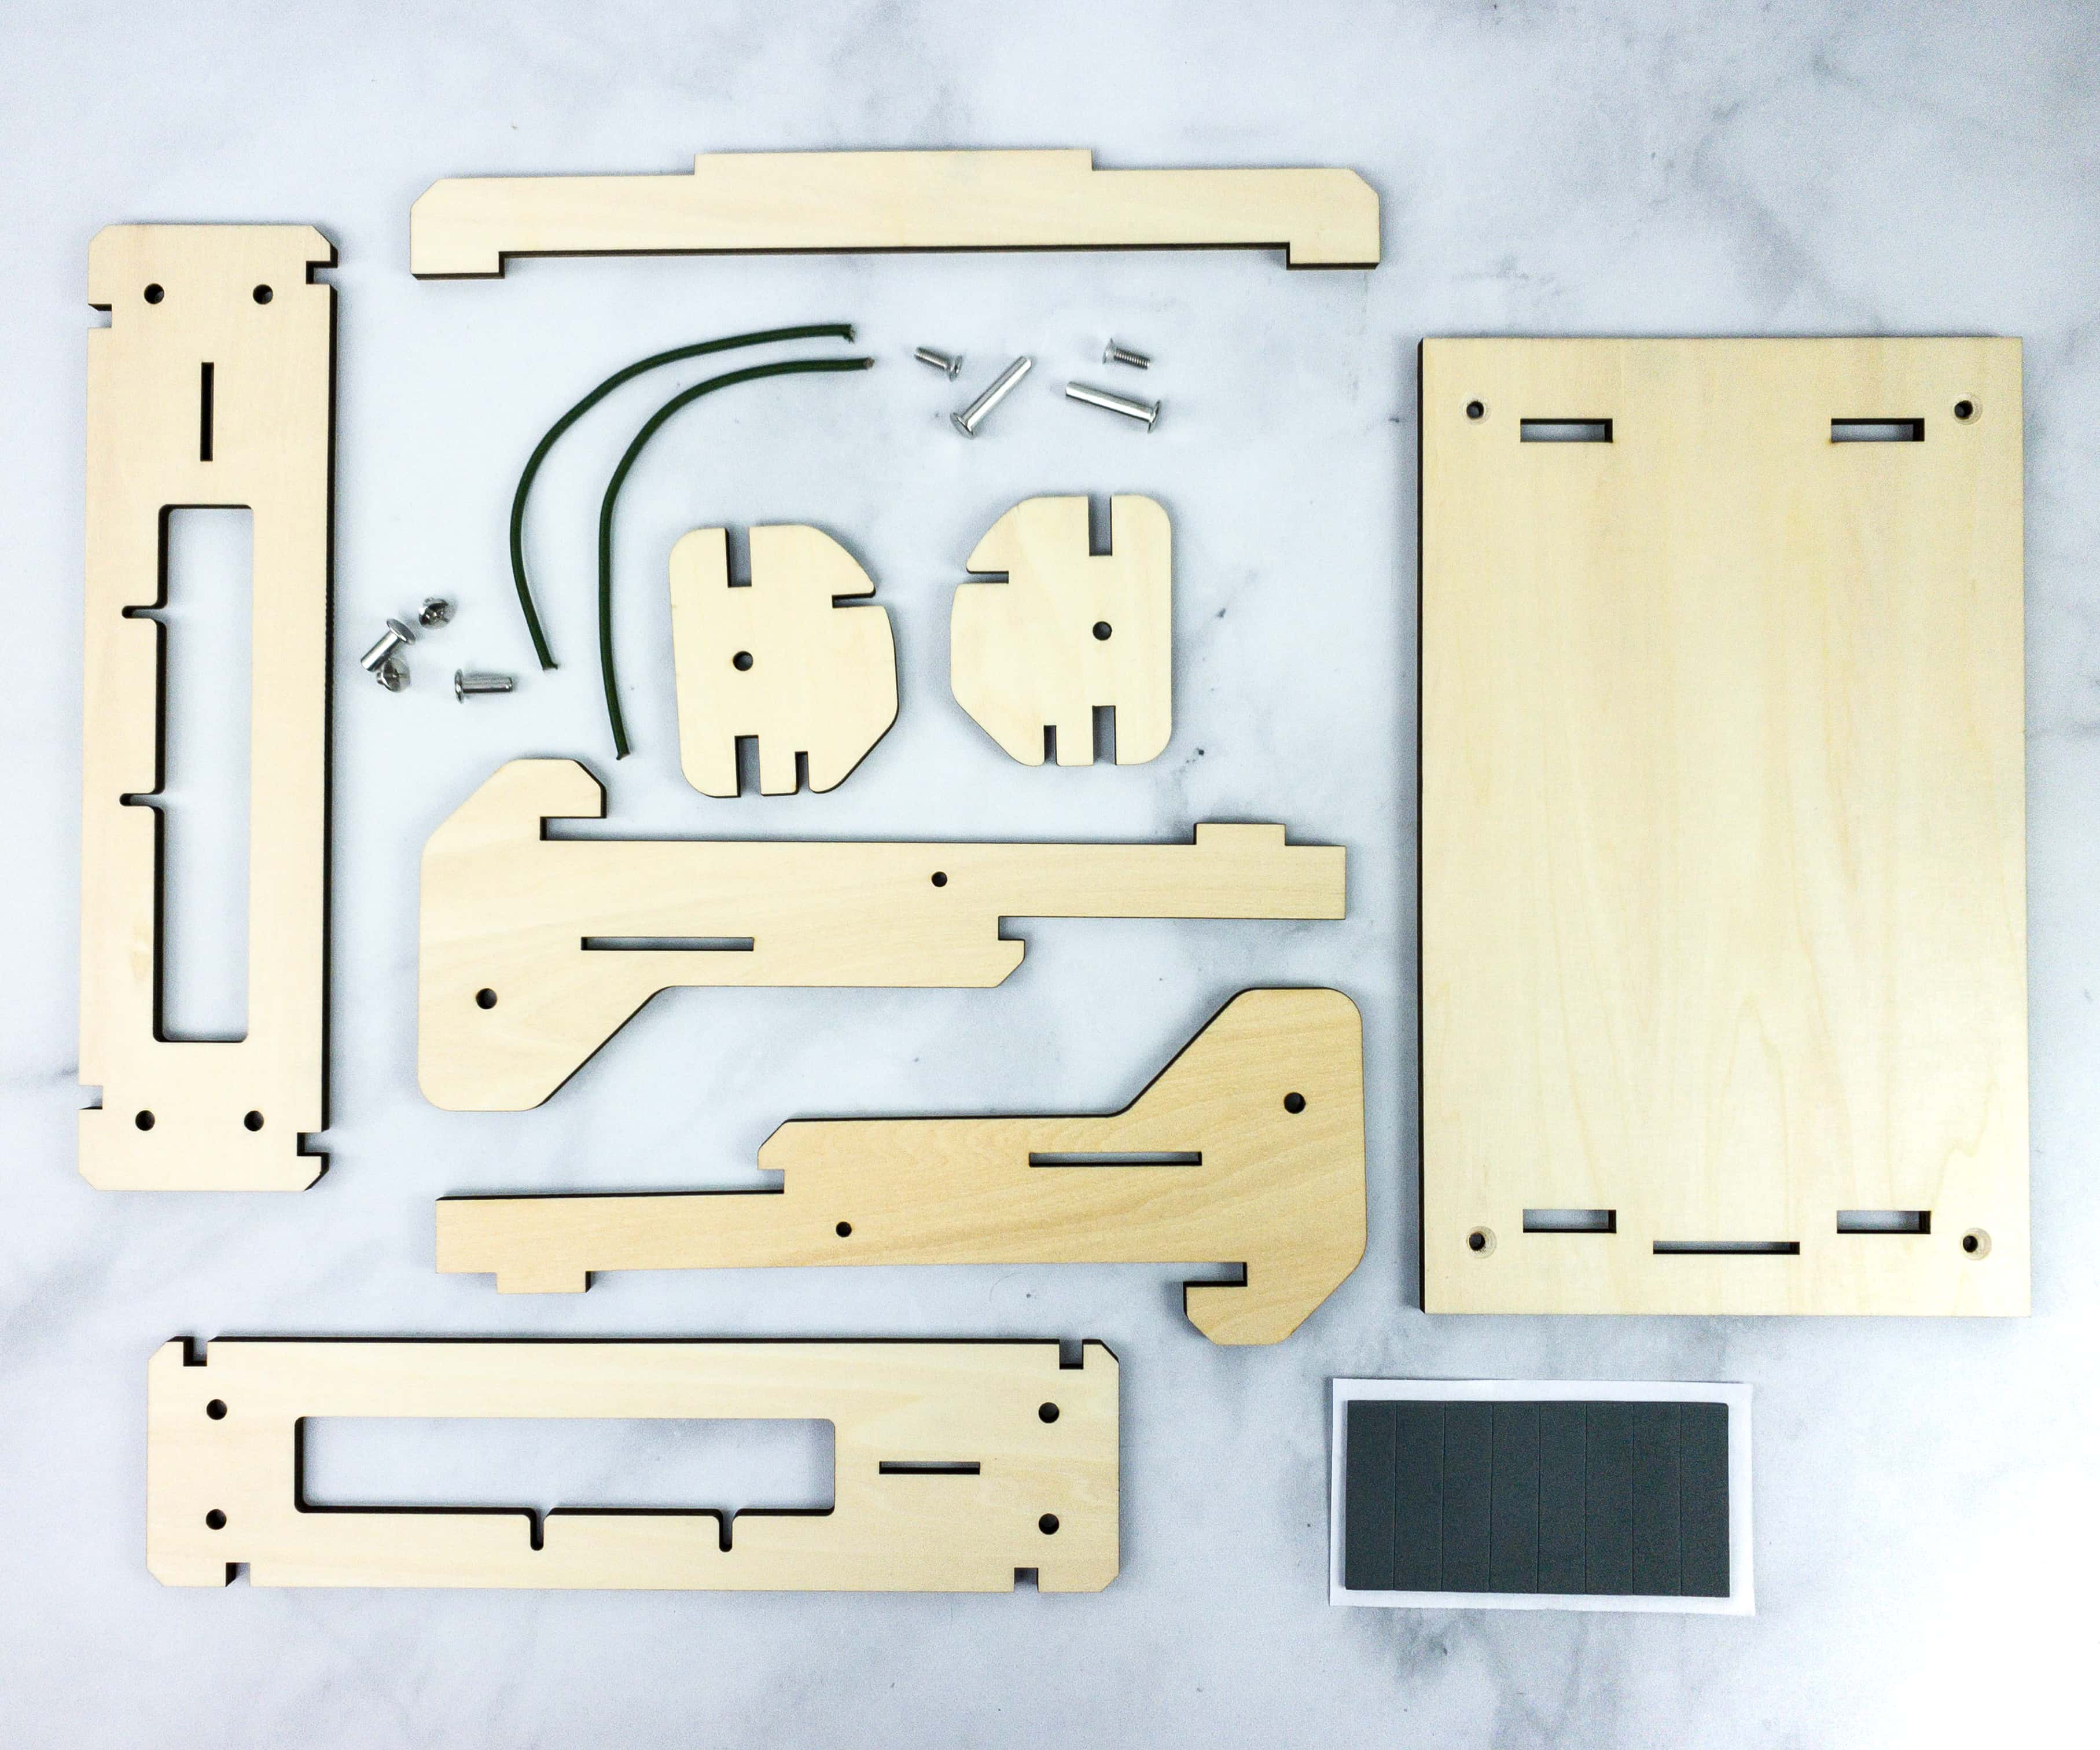
These parts will be used to make the base to complete the desk.

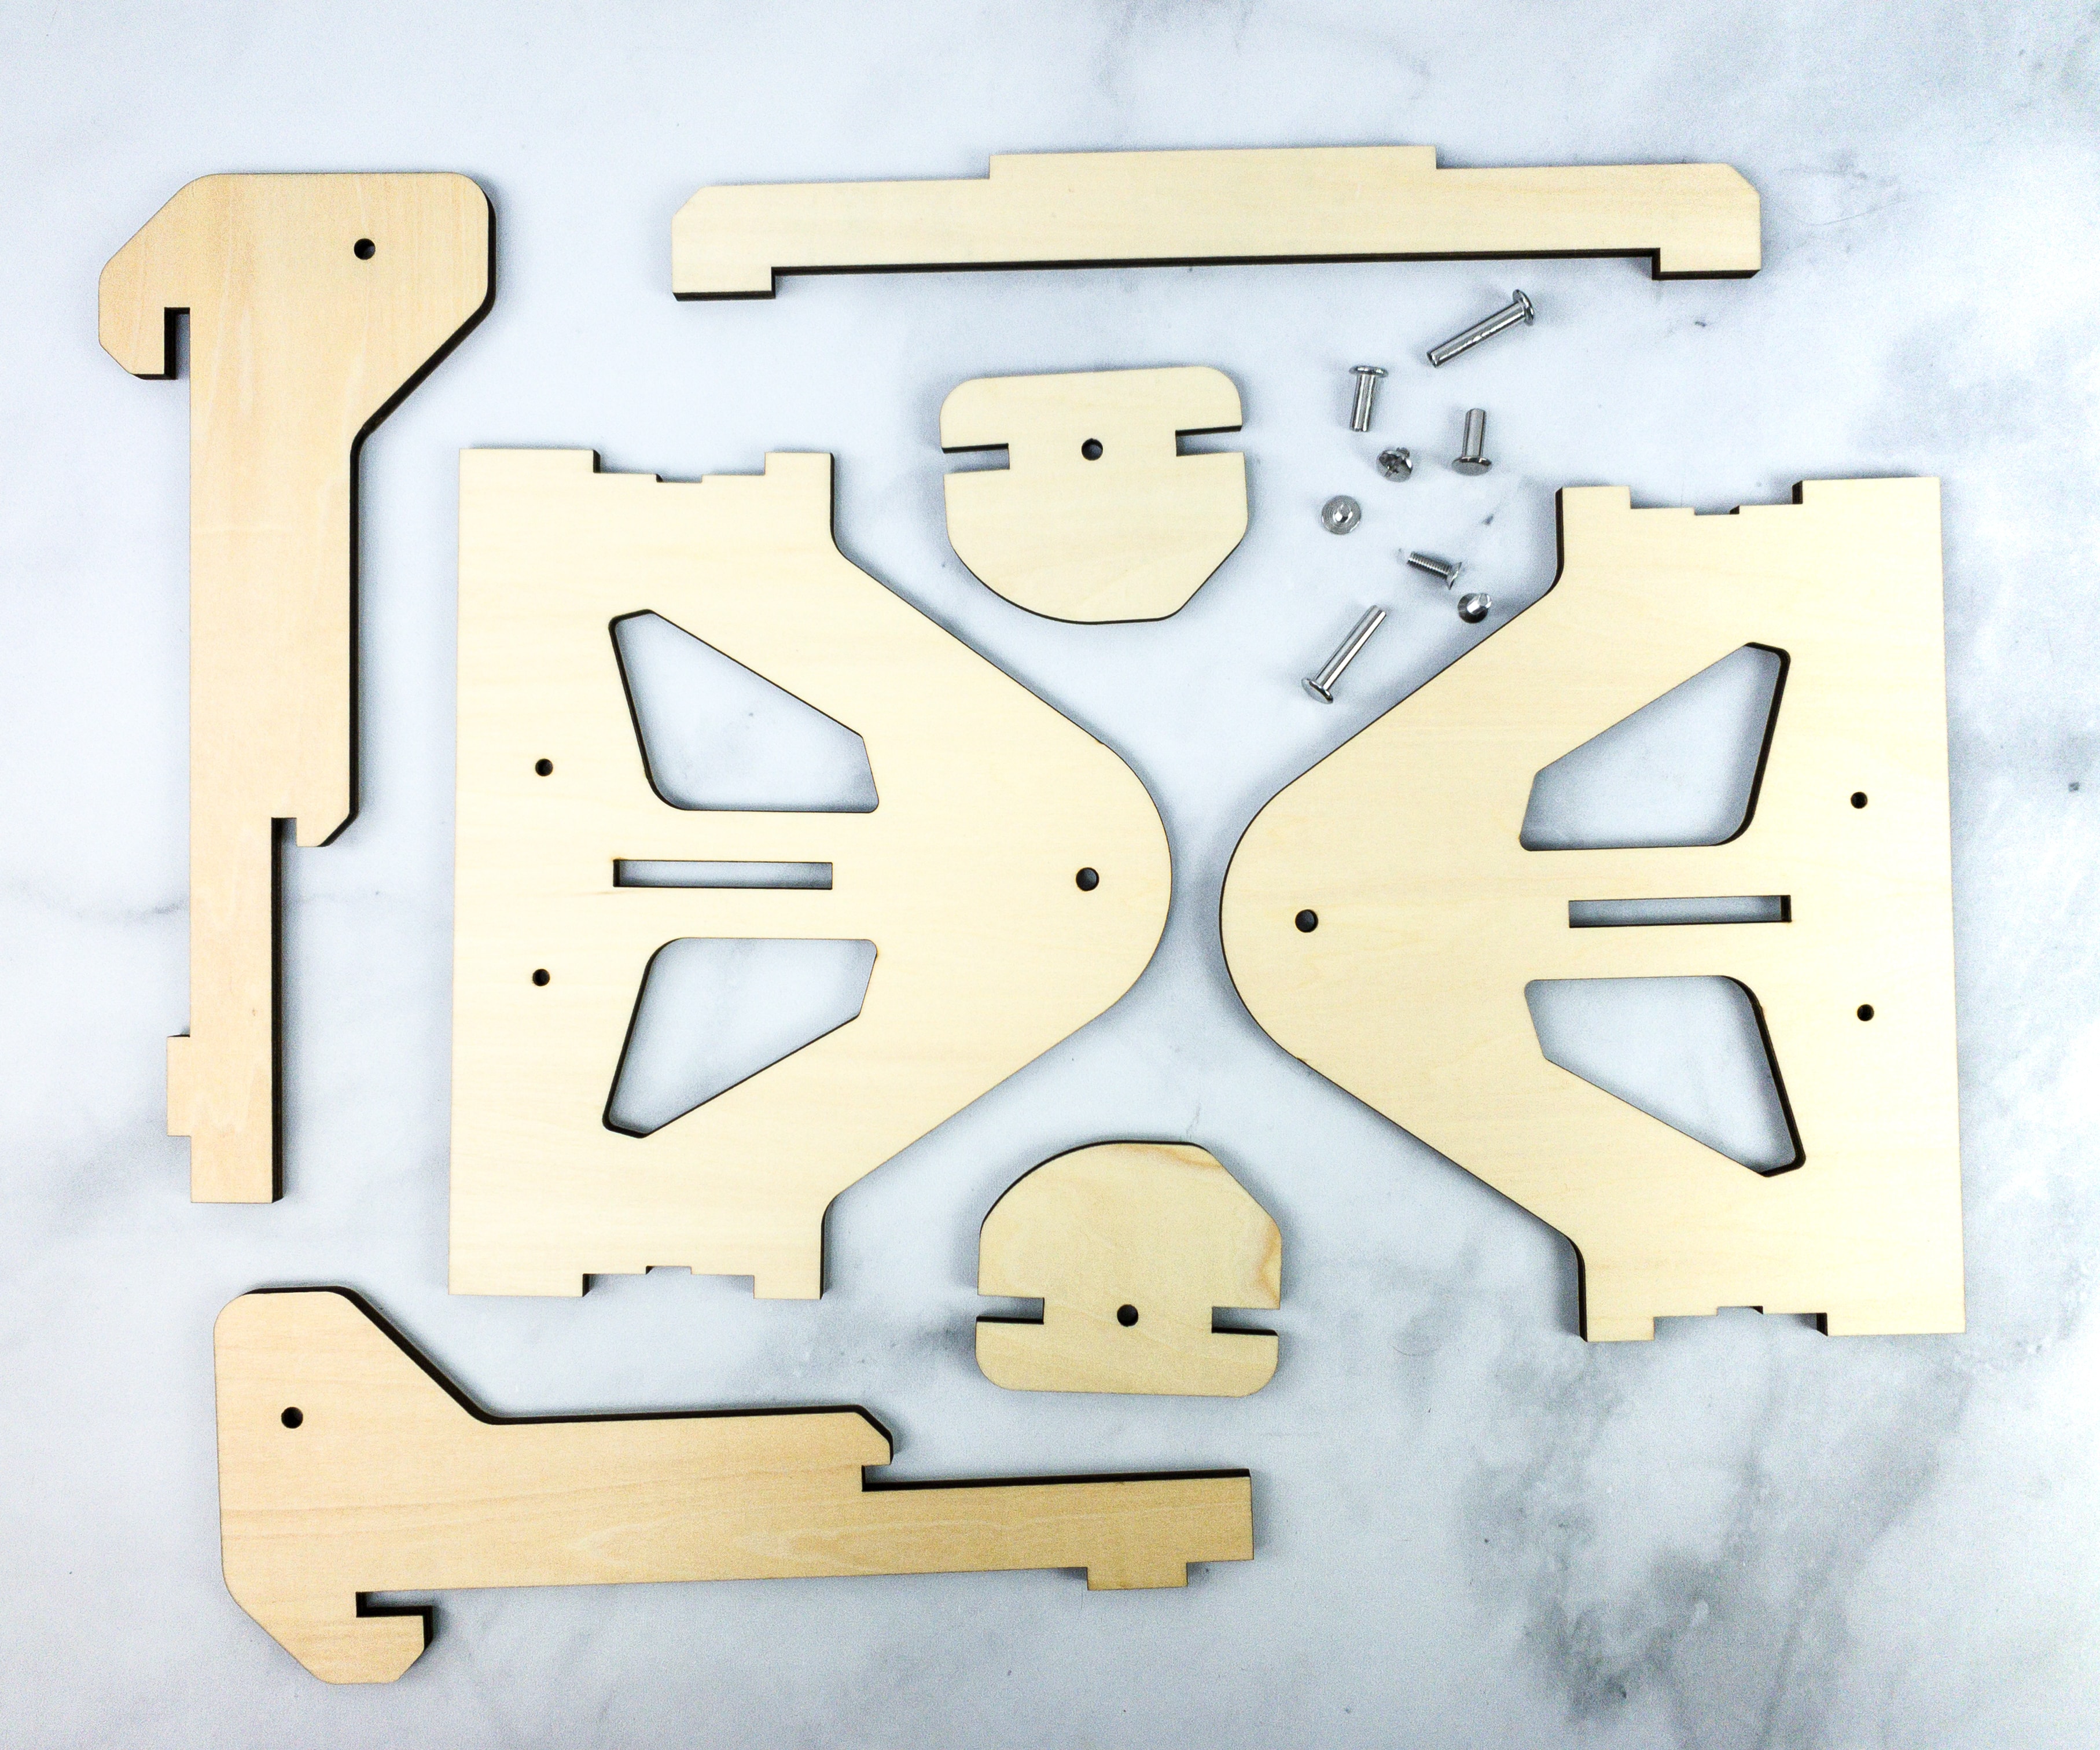
The bigger pieces will be used for making the top of the desk.
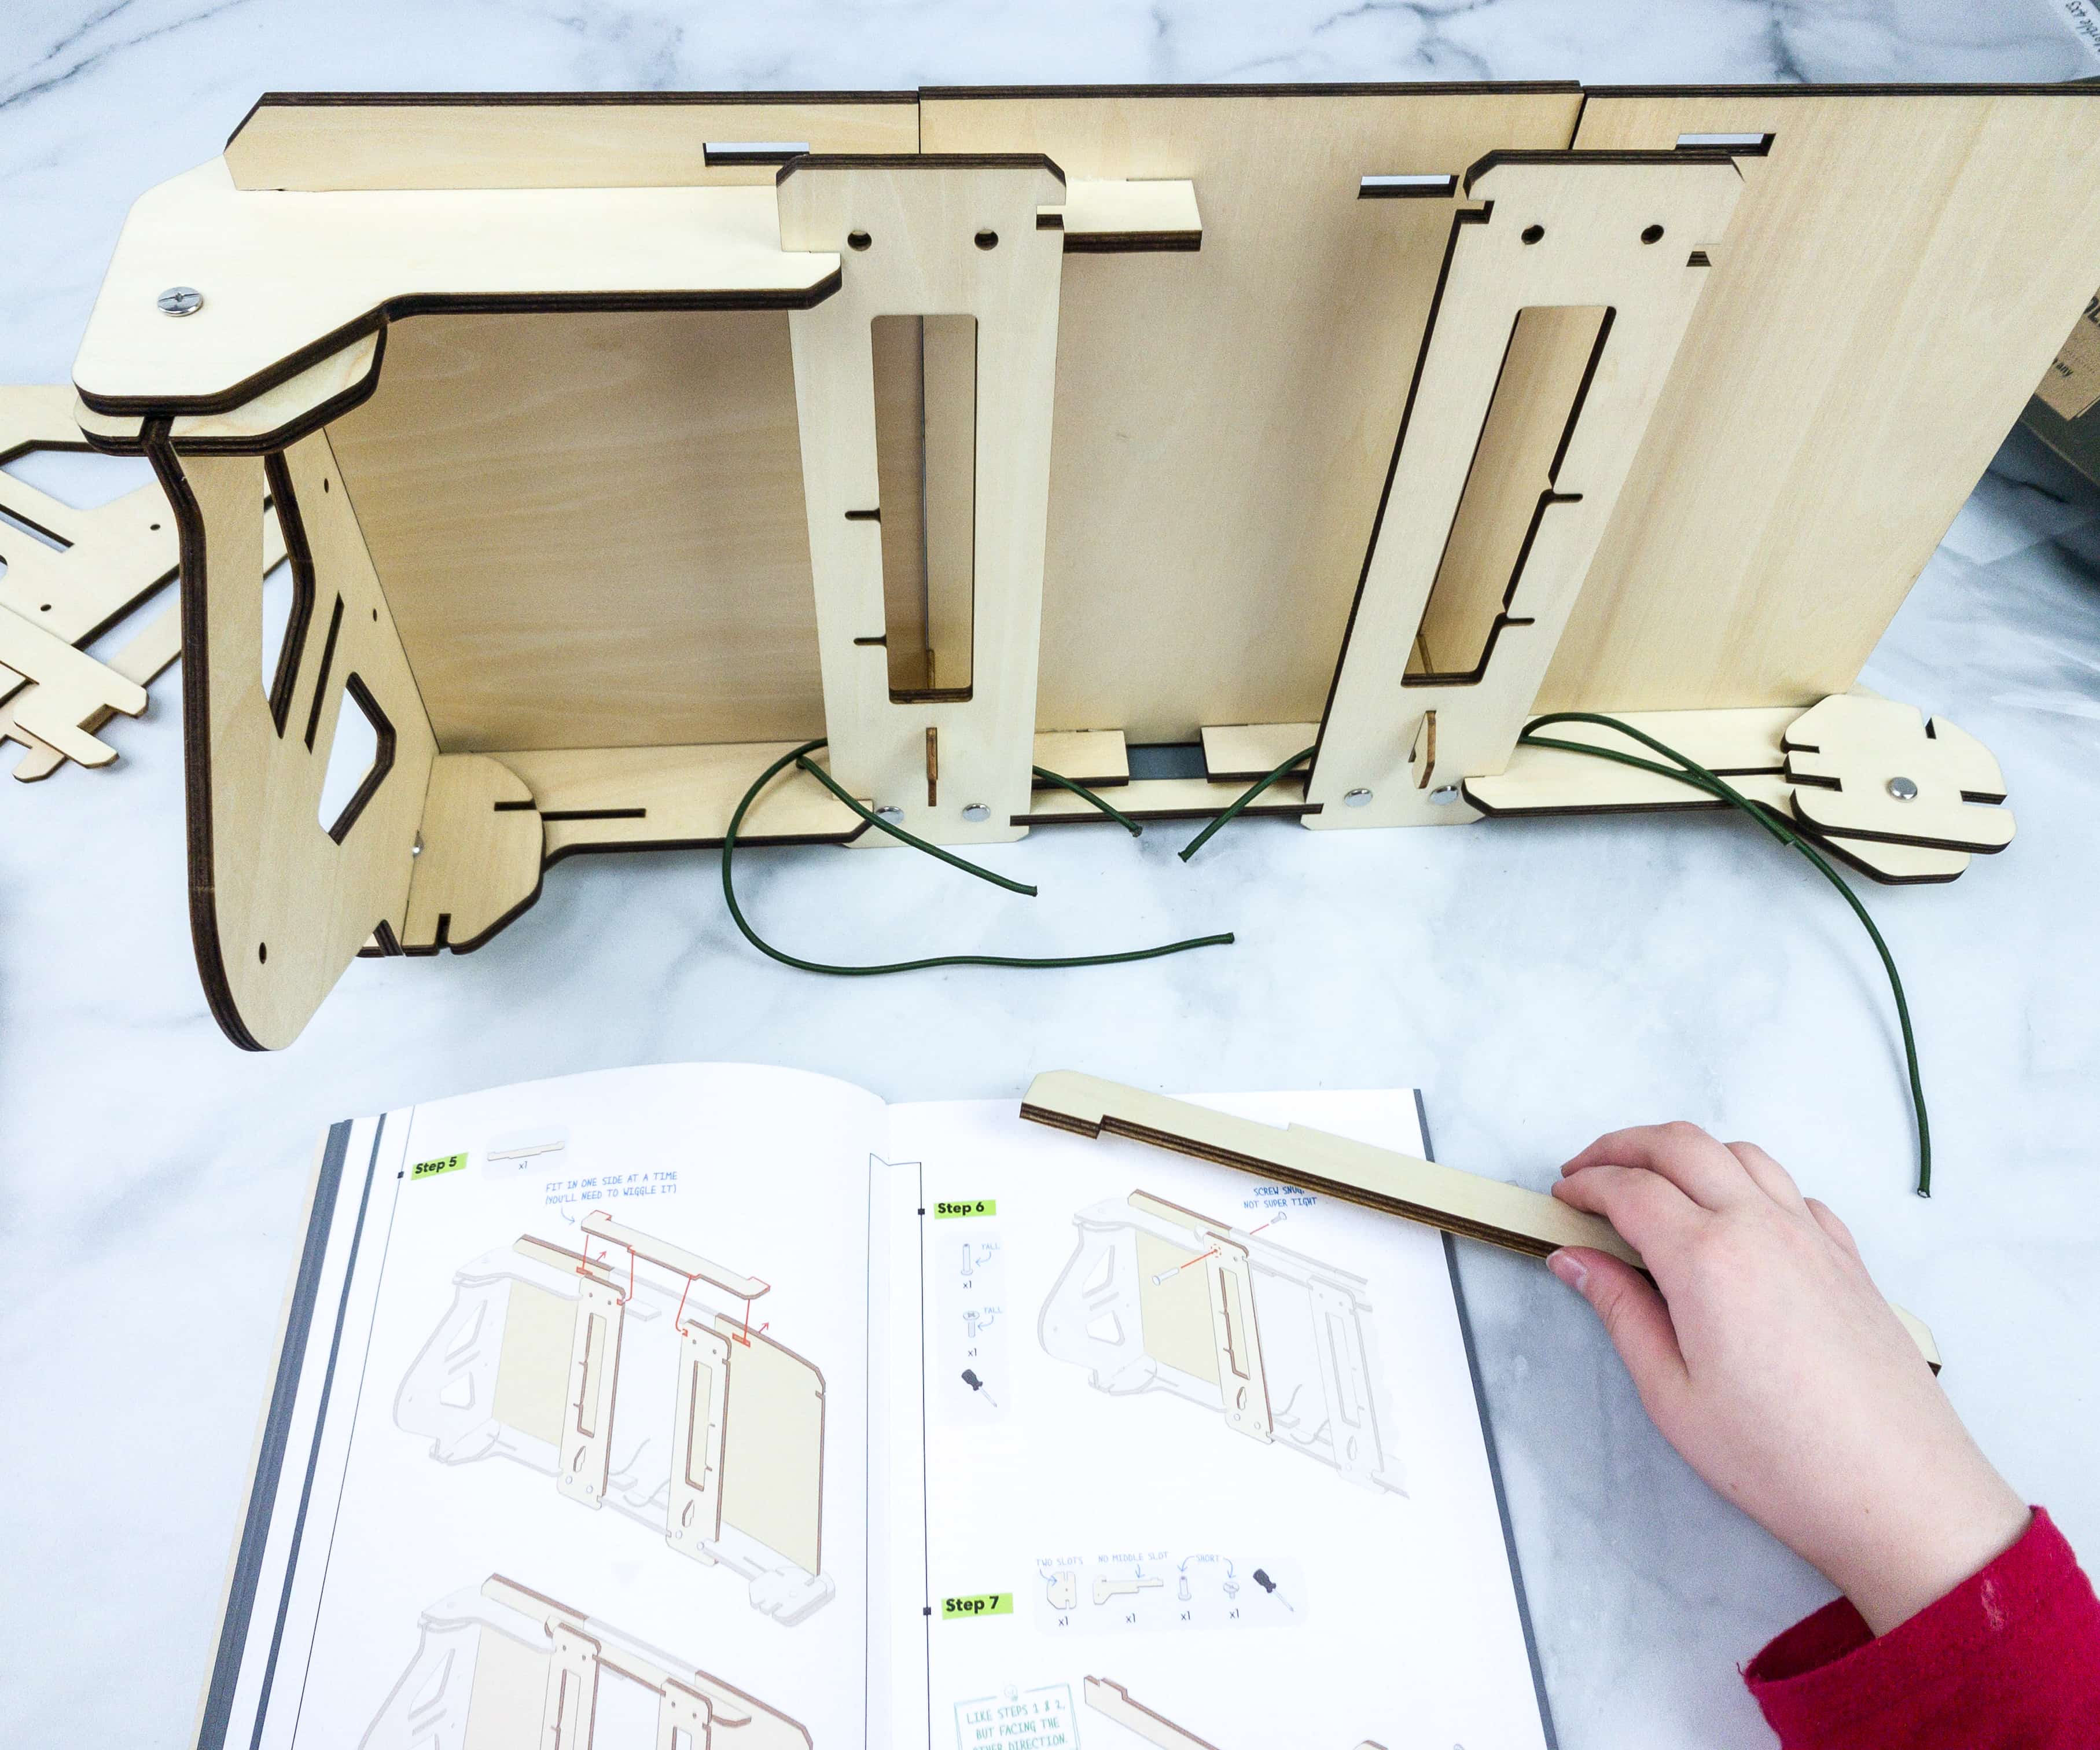
At the start of this project, the guide indicated that you should keep an eye out for orientation notes on some of the desk pieces as they are easy to mix up or flip the wrong way. These notes will help you assemble them correctly.
There are so many parts to build and connect so you should read the instructions thoroughly and look at the illustrations and compare the parts so that you can easily build them.
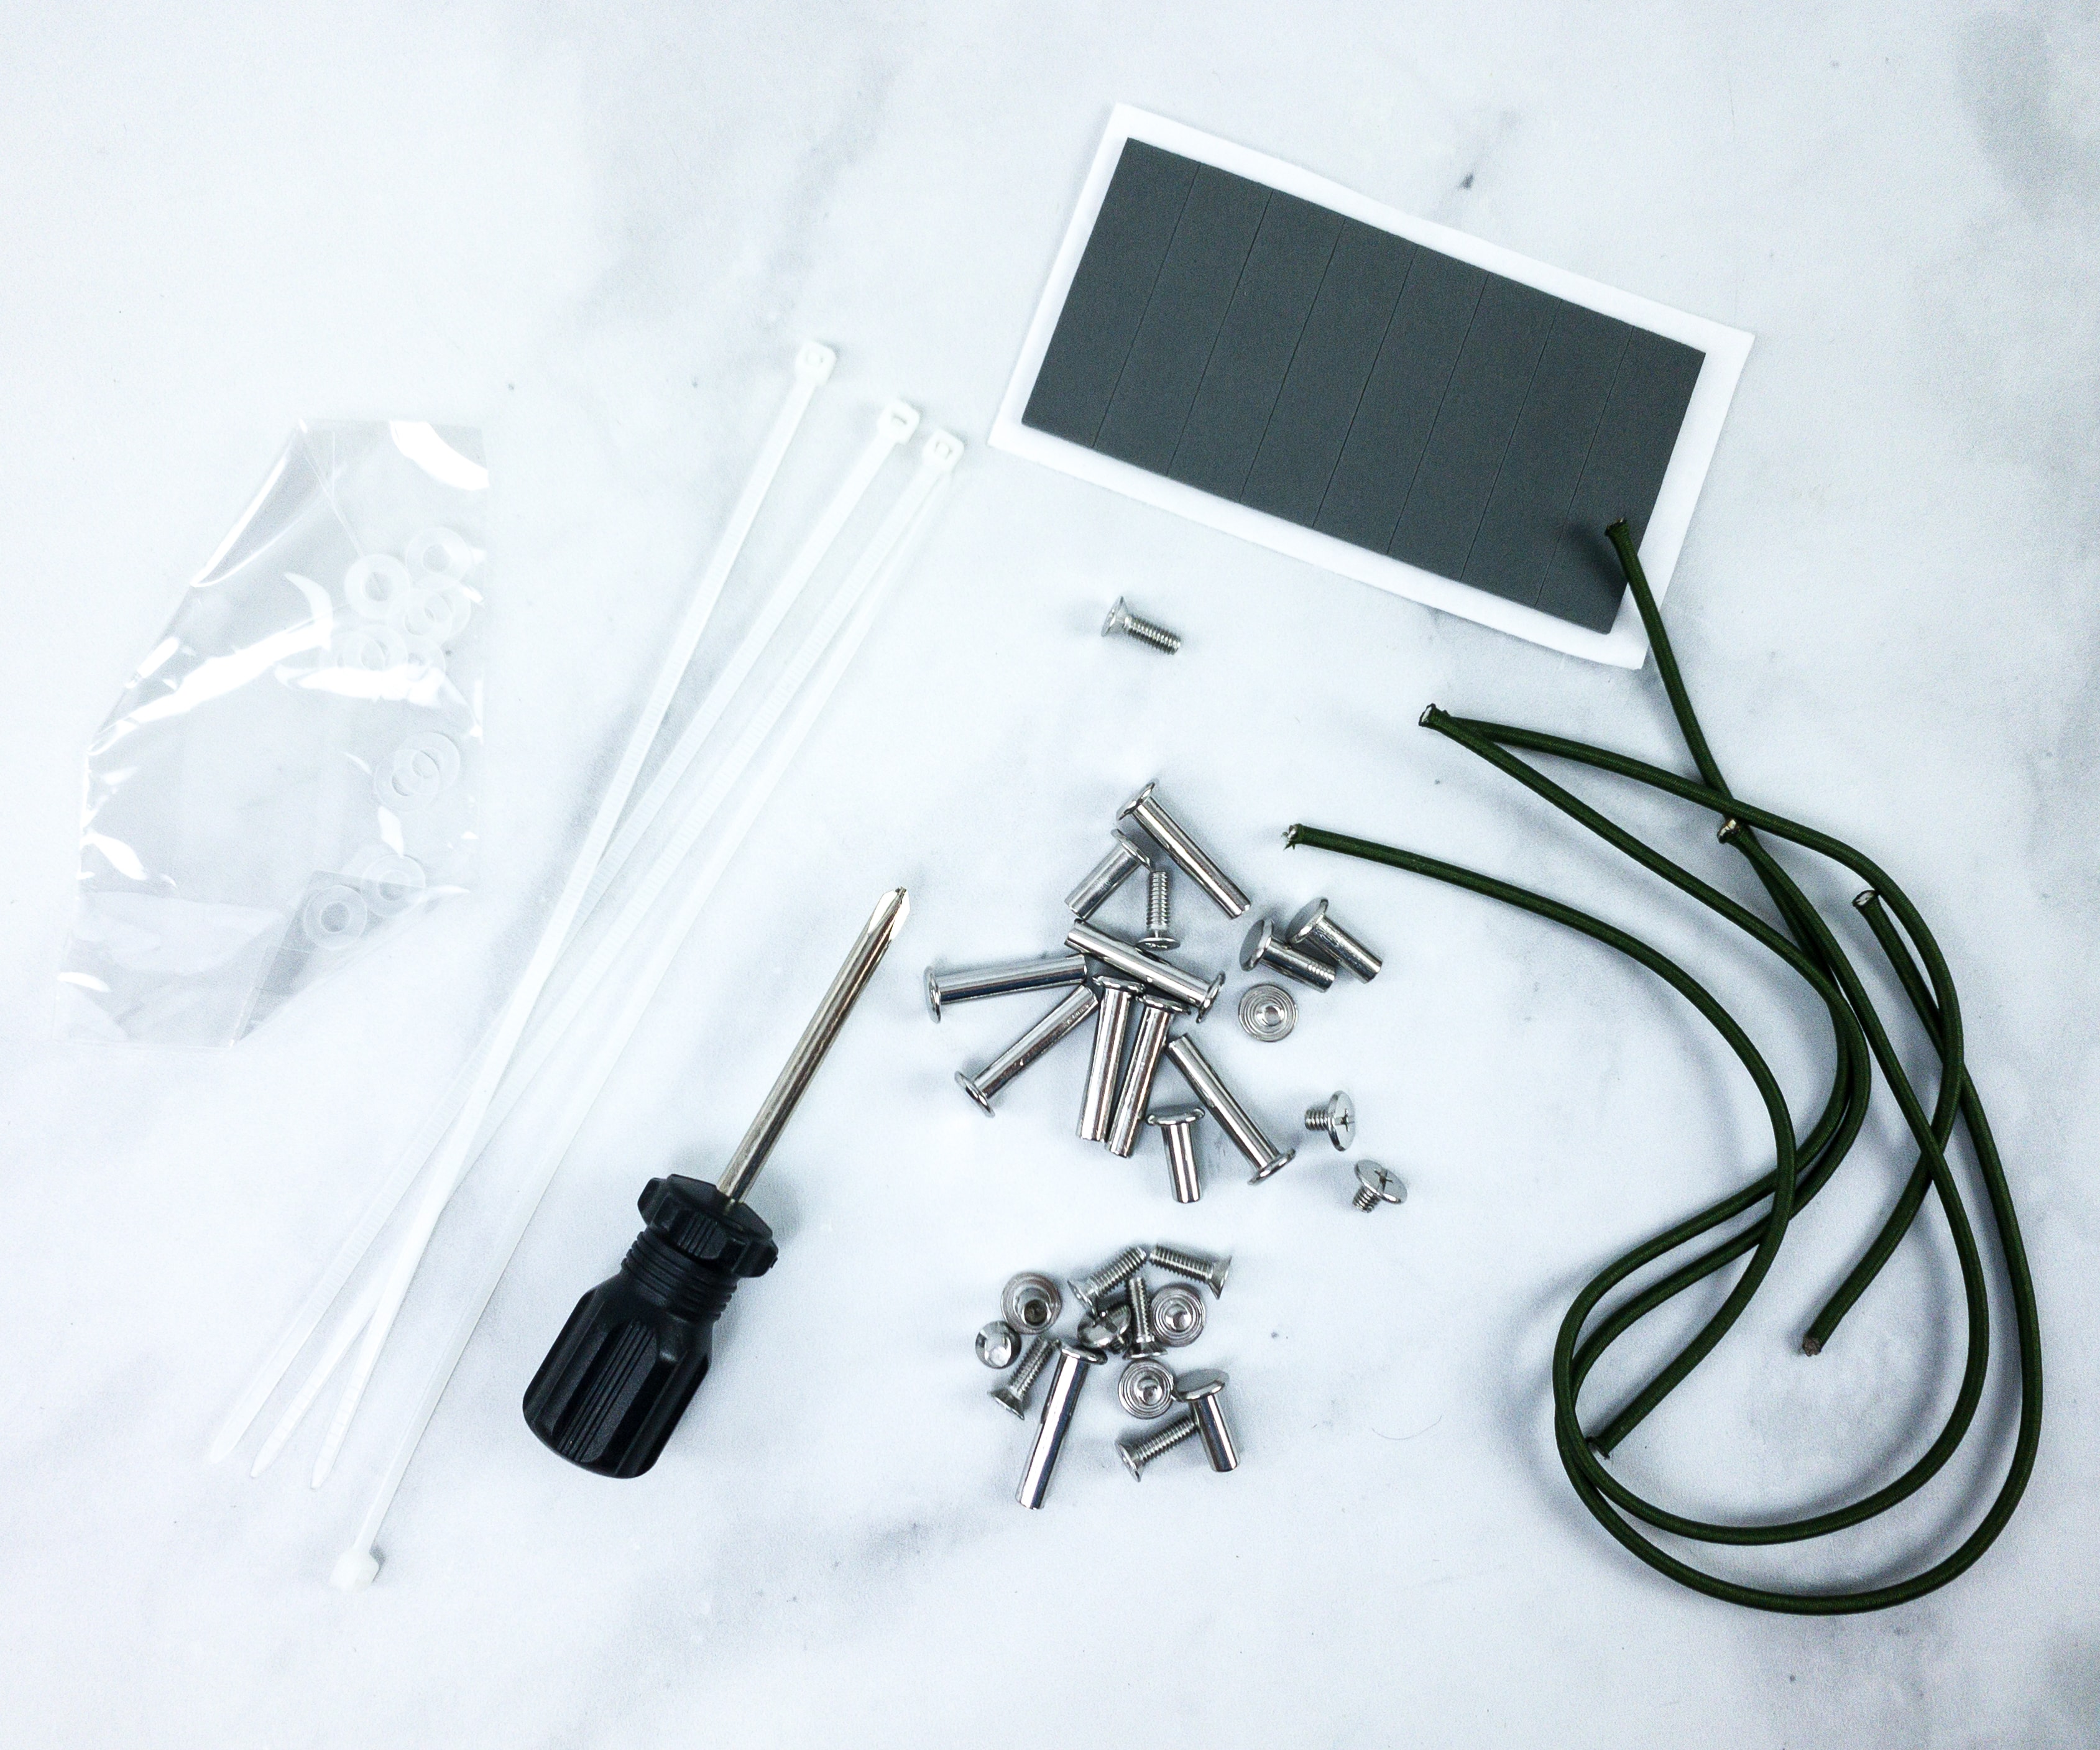
The box also included a mini screwdriver that will be used to tighten (or loosen) the screws. There are also cable ties, washers, bolts, bungee strings, and foam rectangle.
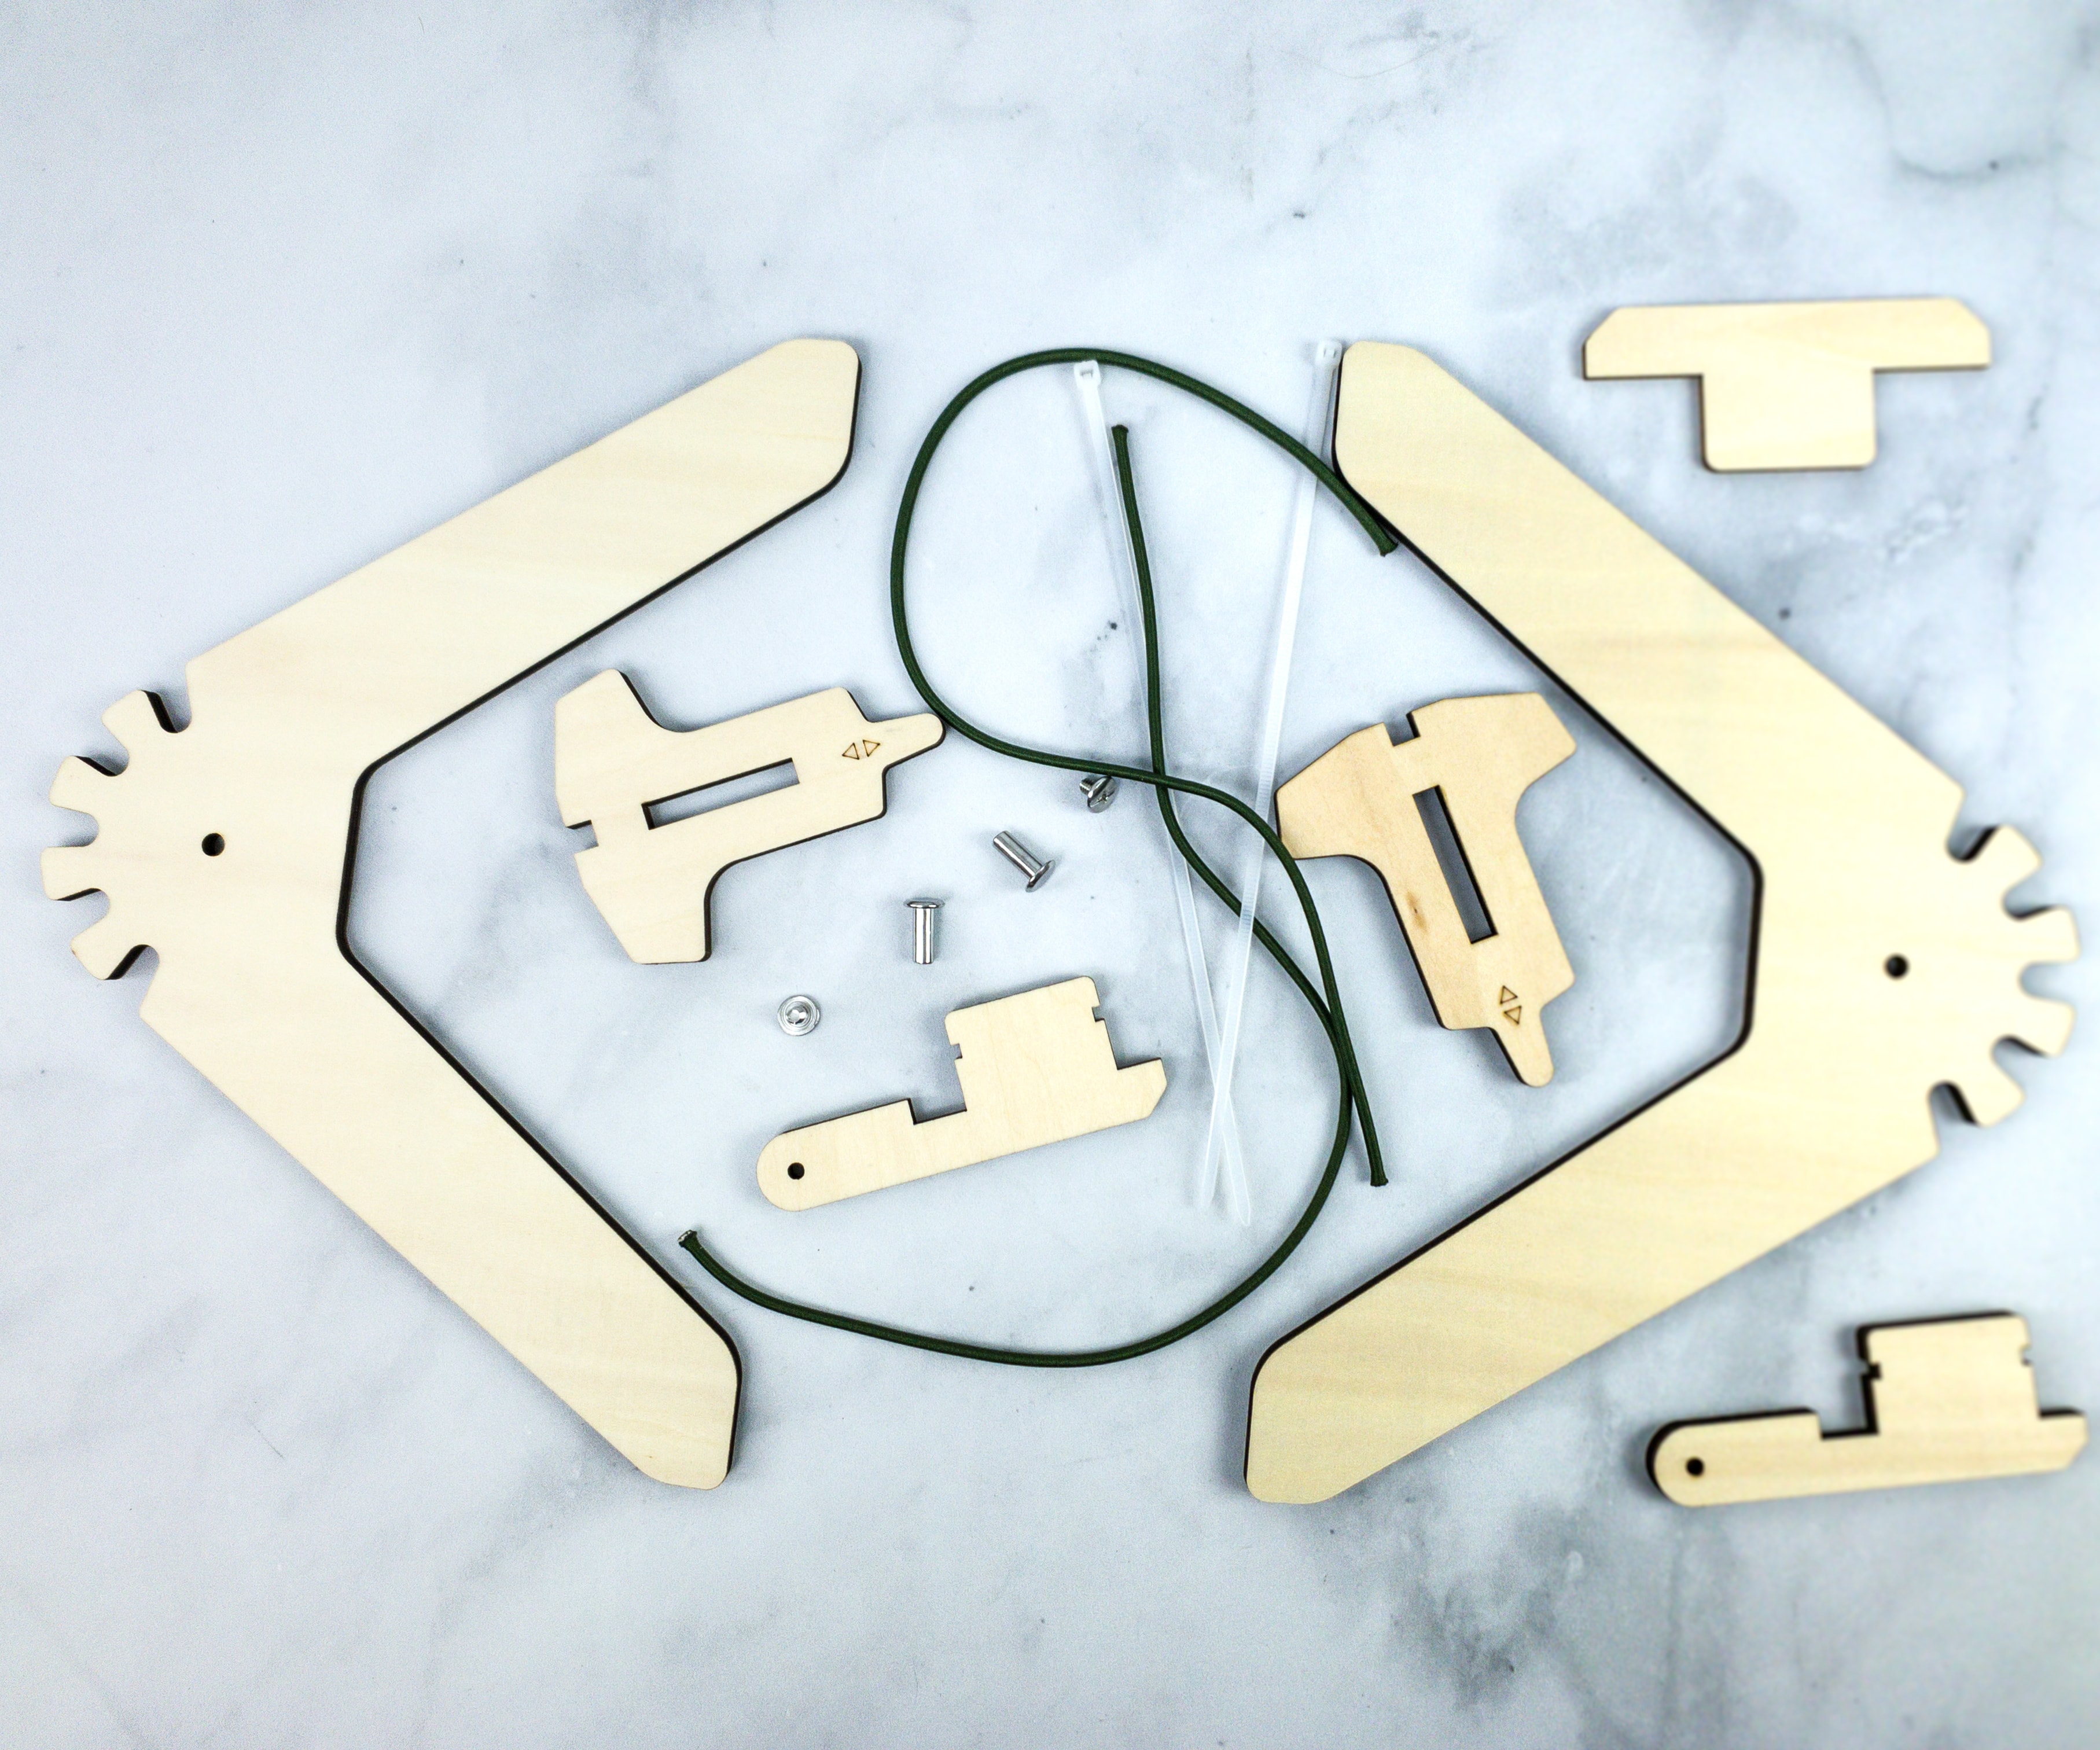
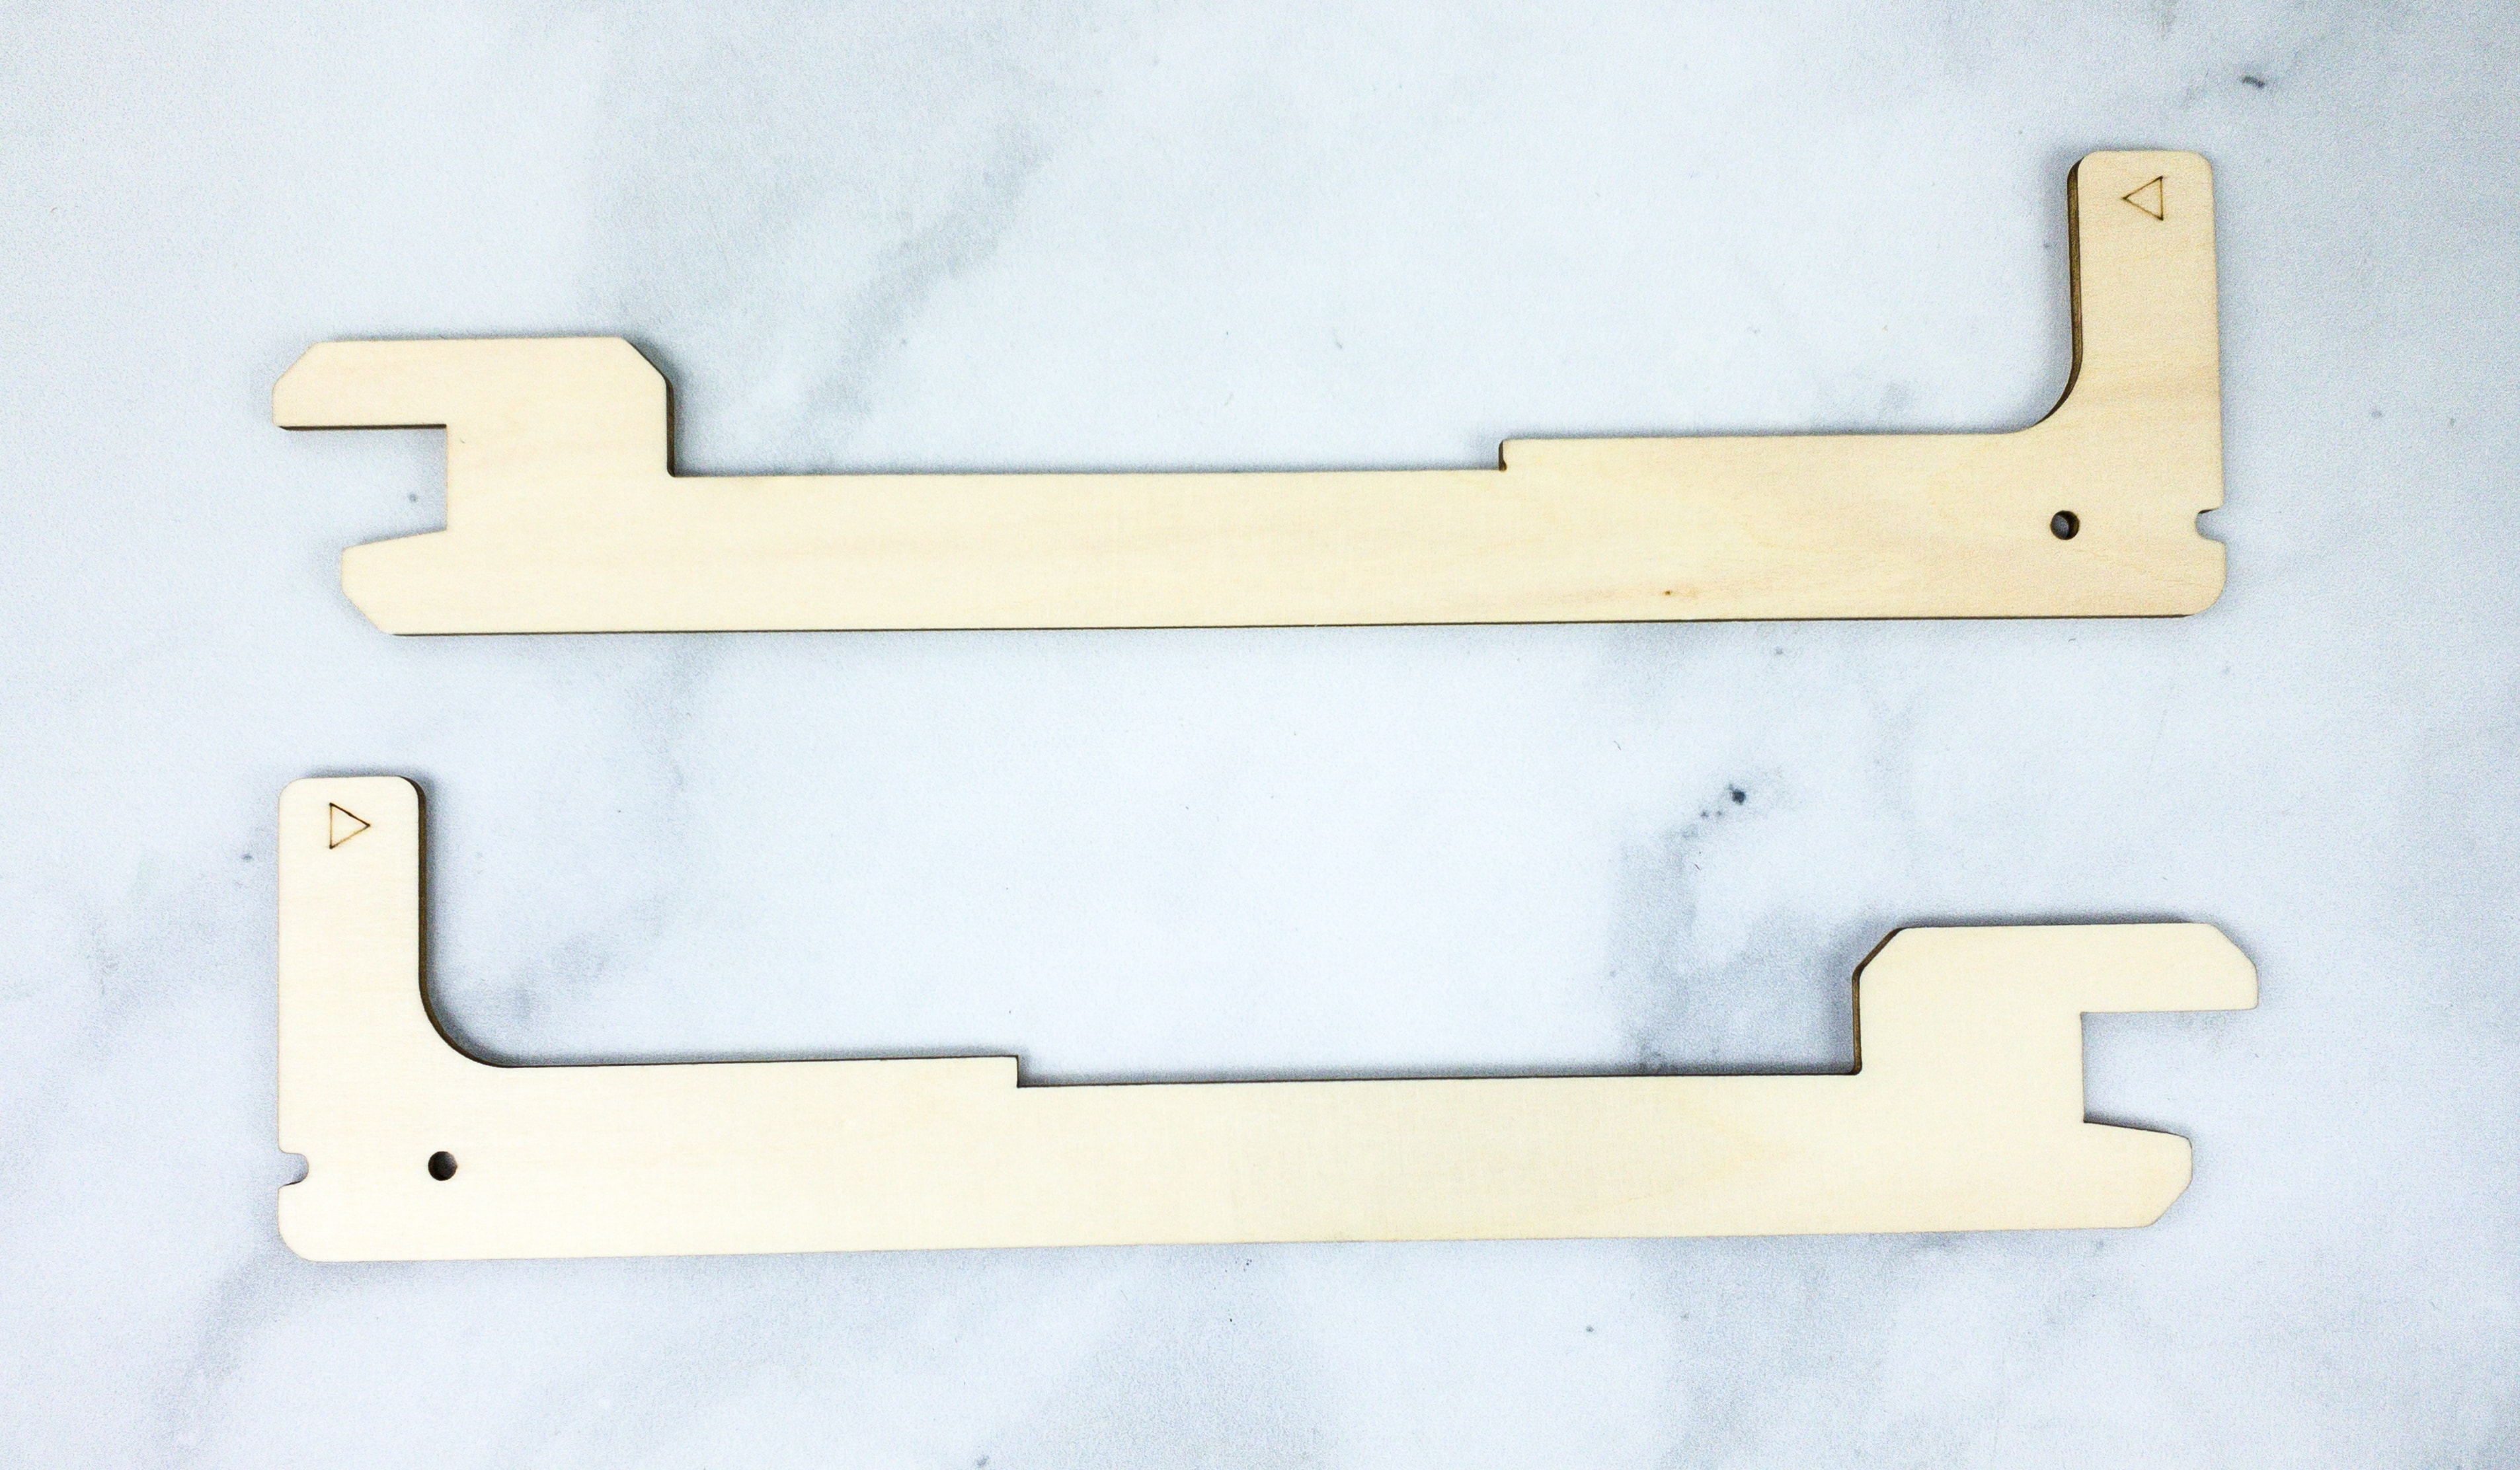
Here are the wooden parts that will make up the tiltable and foldable legs.
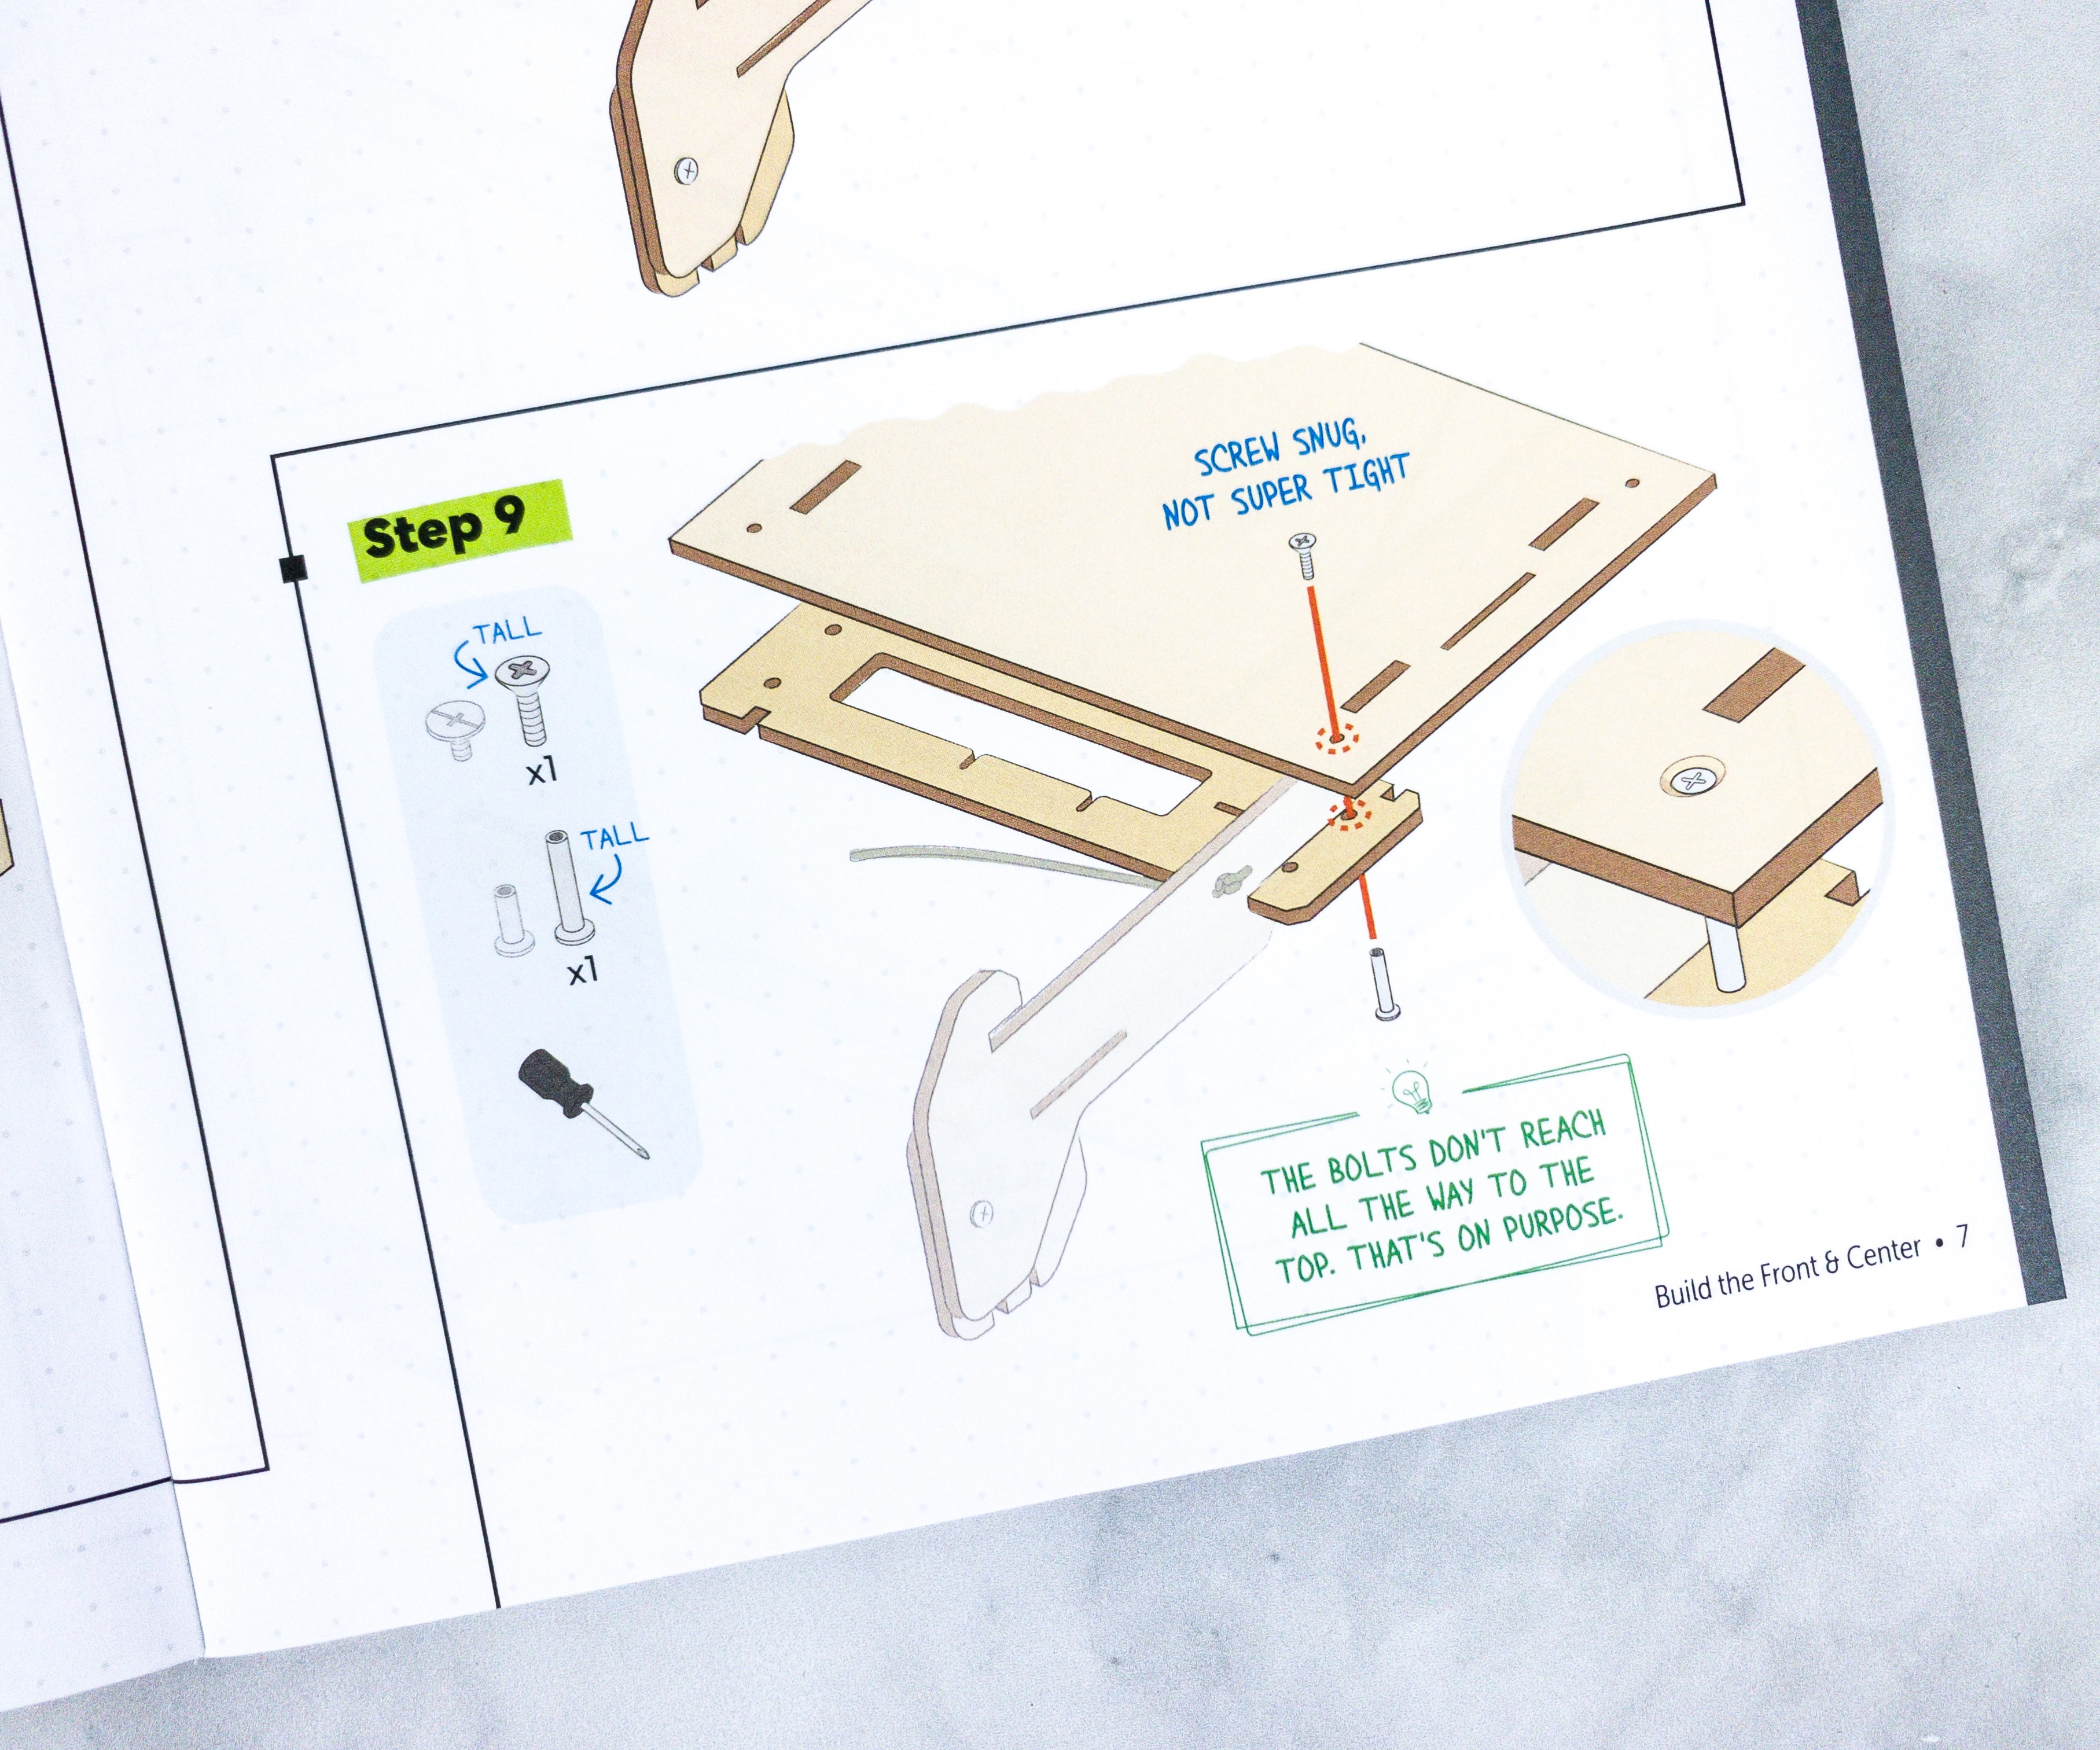
The booklet also explains some steps further, like this one where the bolts don’t reach all the way to the top, on purpose.
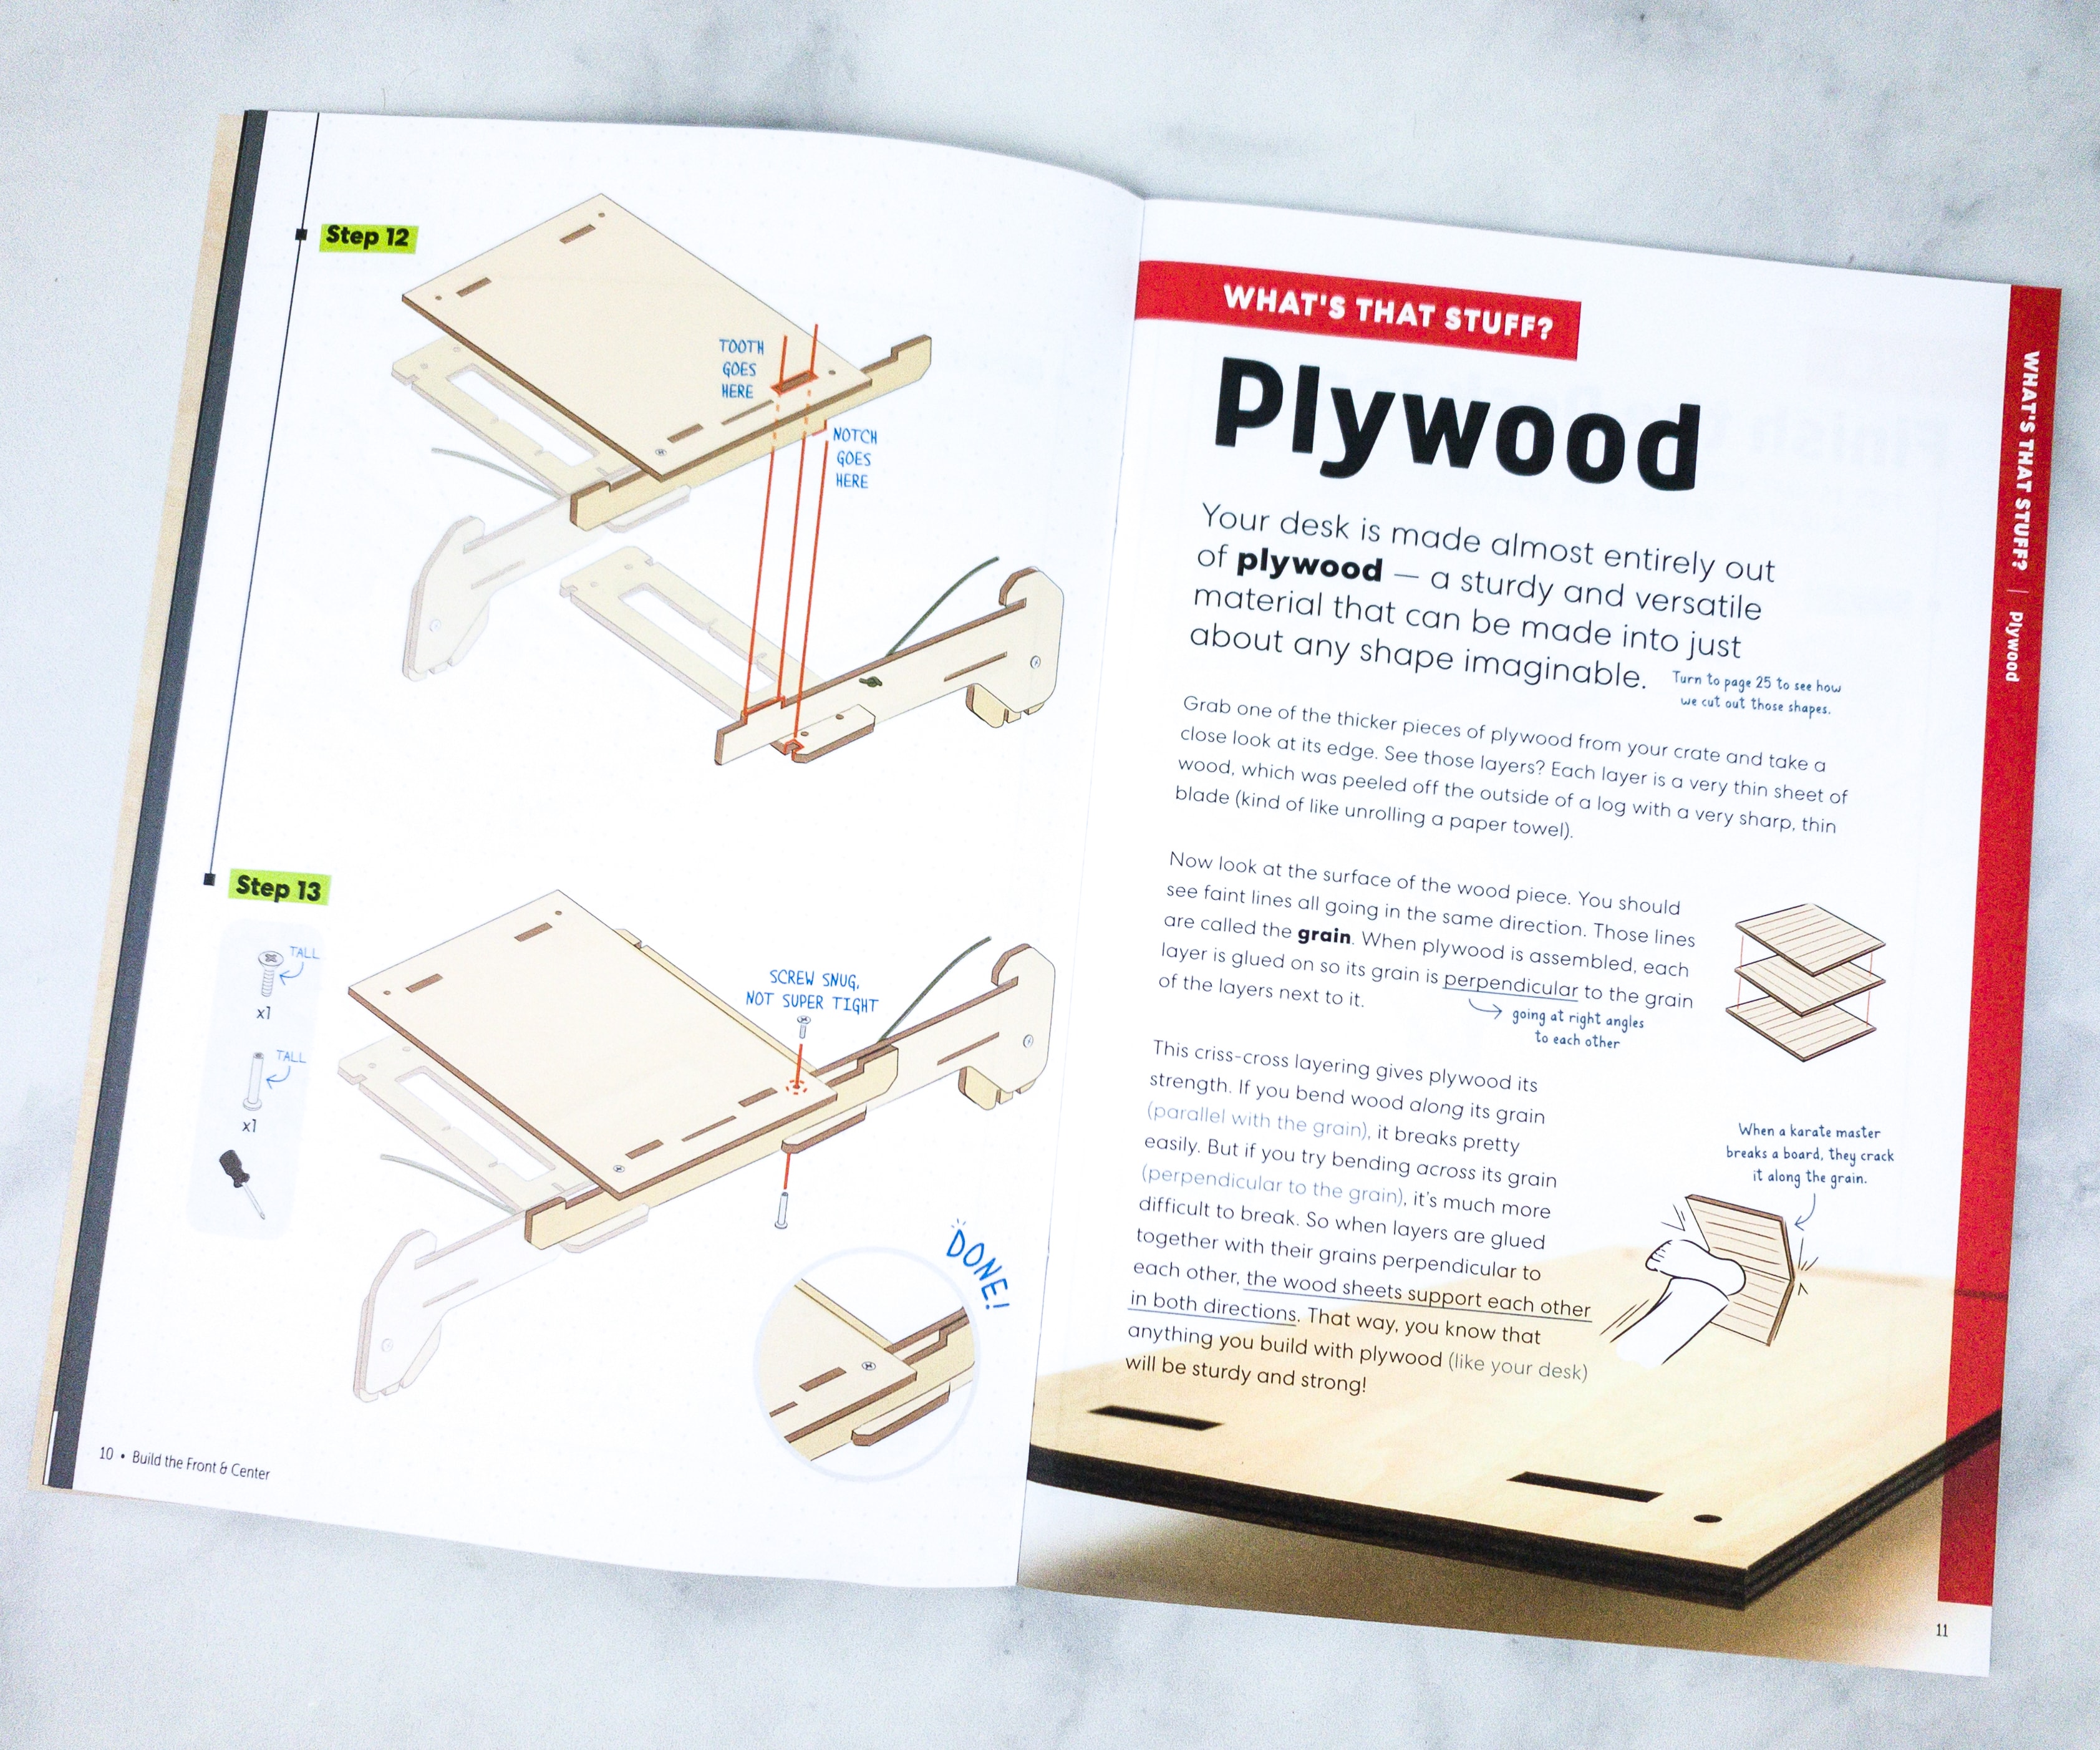
There’s also an article about the material used in this project which is plywood! Plywood is a sturdy and versatile material that can be made into just about any shape imaginable, and it’s definitely the perfect material to make the foldable desk.
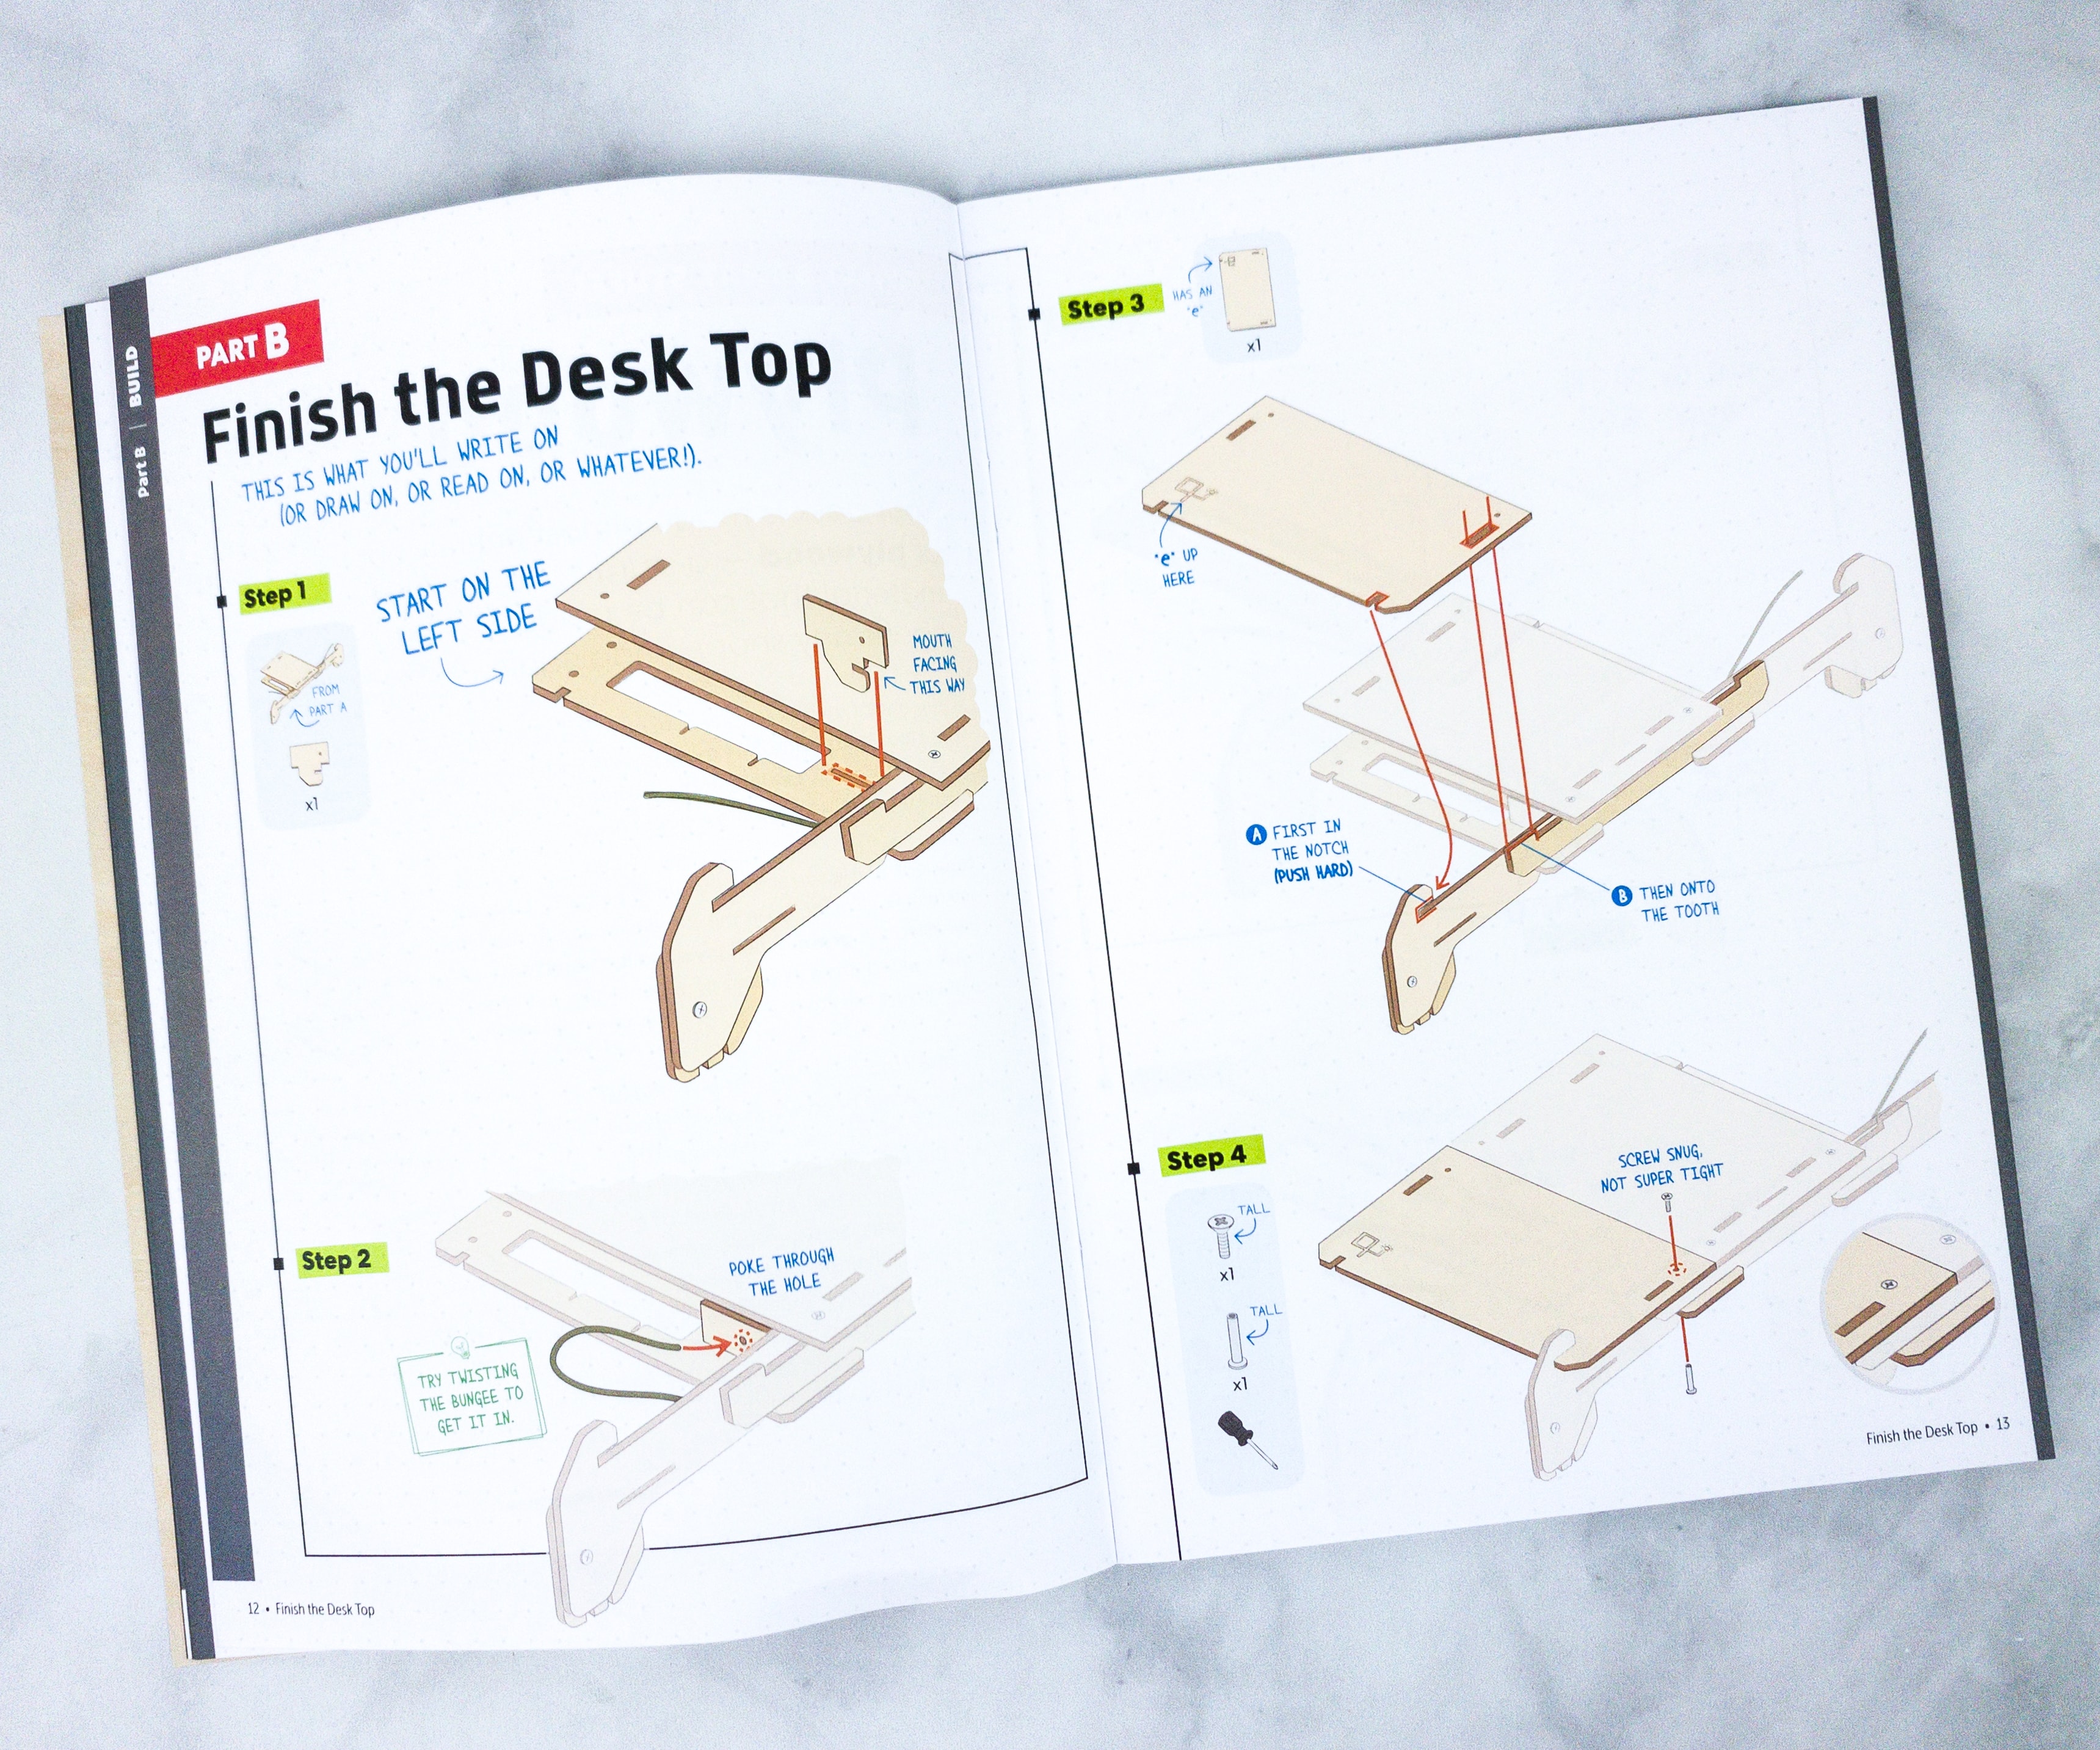
Part B is finishing the Desk Top. The Desk Top, of course, is the most important part. It is where you’ll write, draw, read , or do whatever you need to do!
It’s also a good thing that the booklet is showing illustrations of even the assembly of small parts of the project, so the kids can easily copy or compare them.
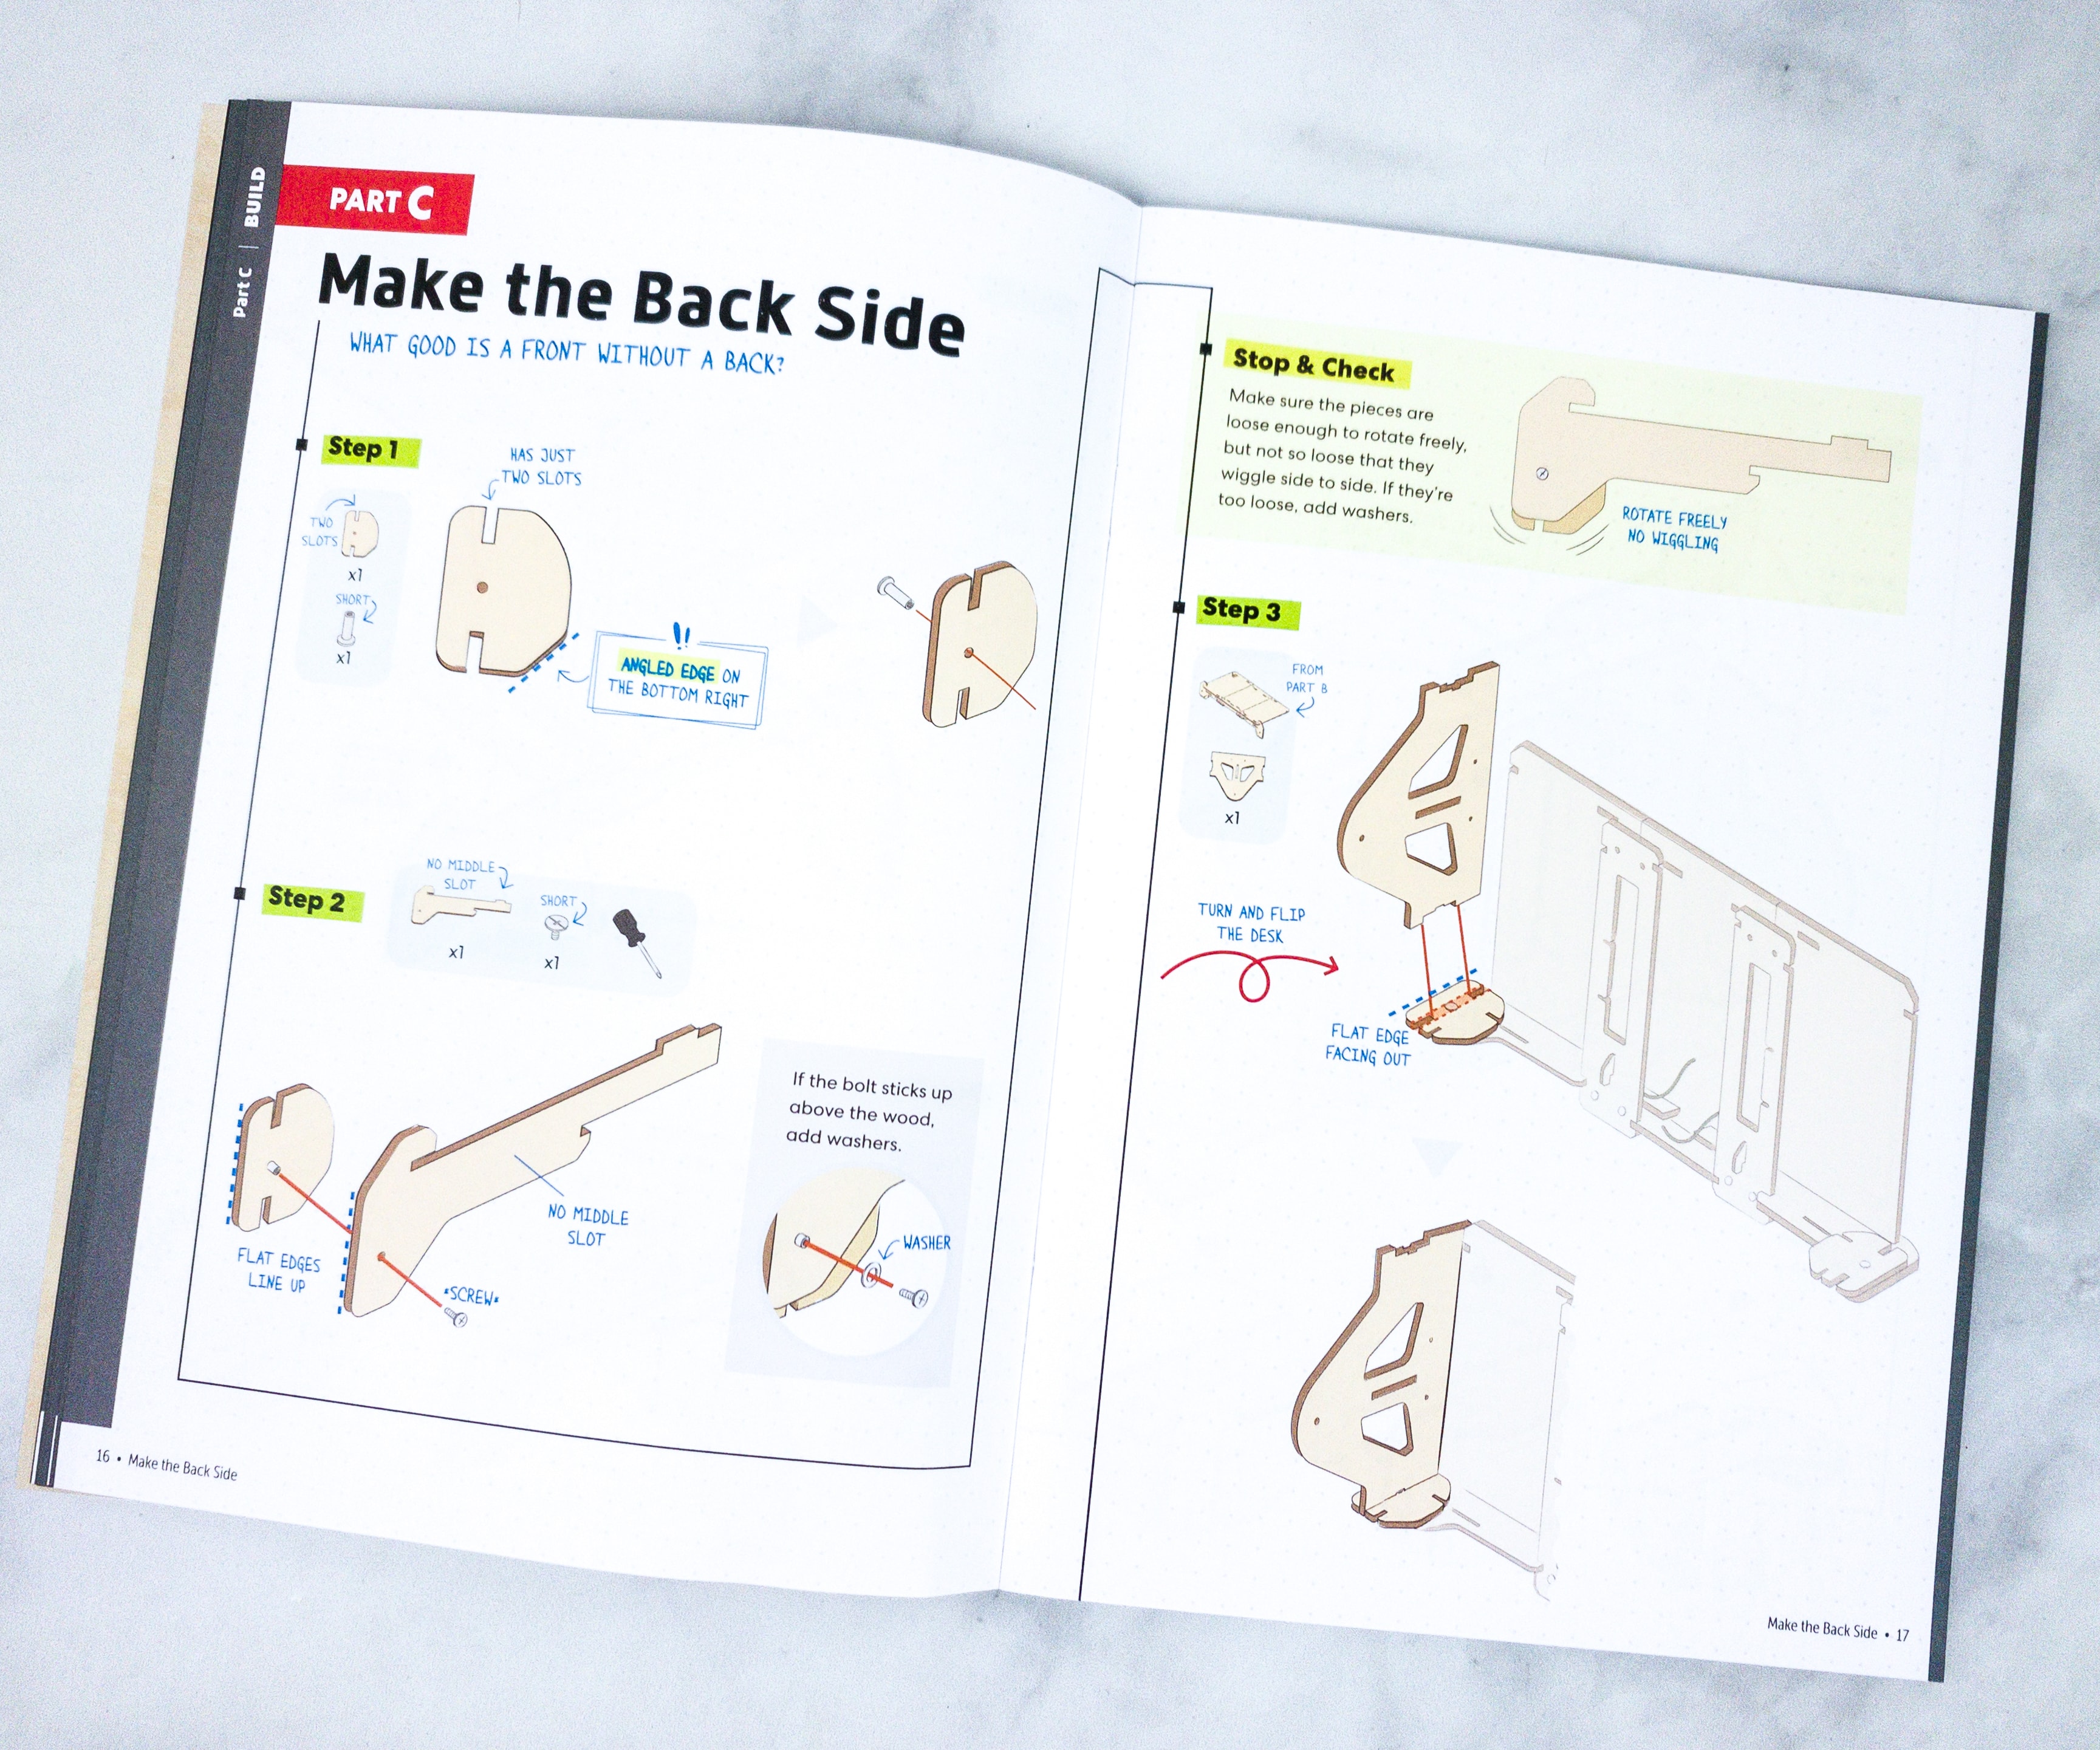
For Part C, we’ll make the backside of the desk. It will also support the desk’s top and carry the weight of whatever you put on top of the desk.
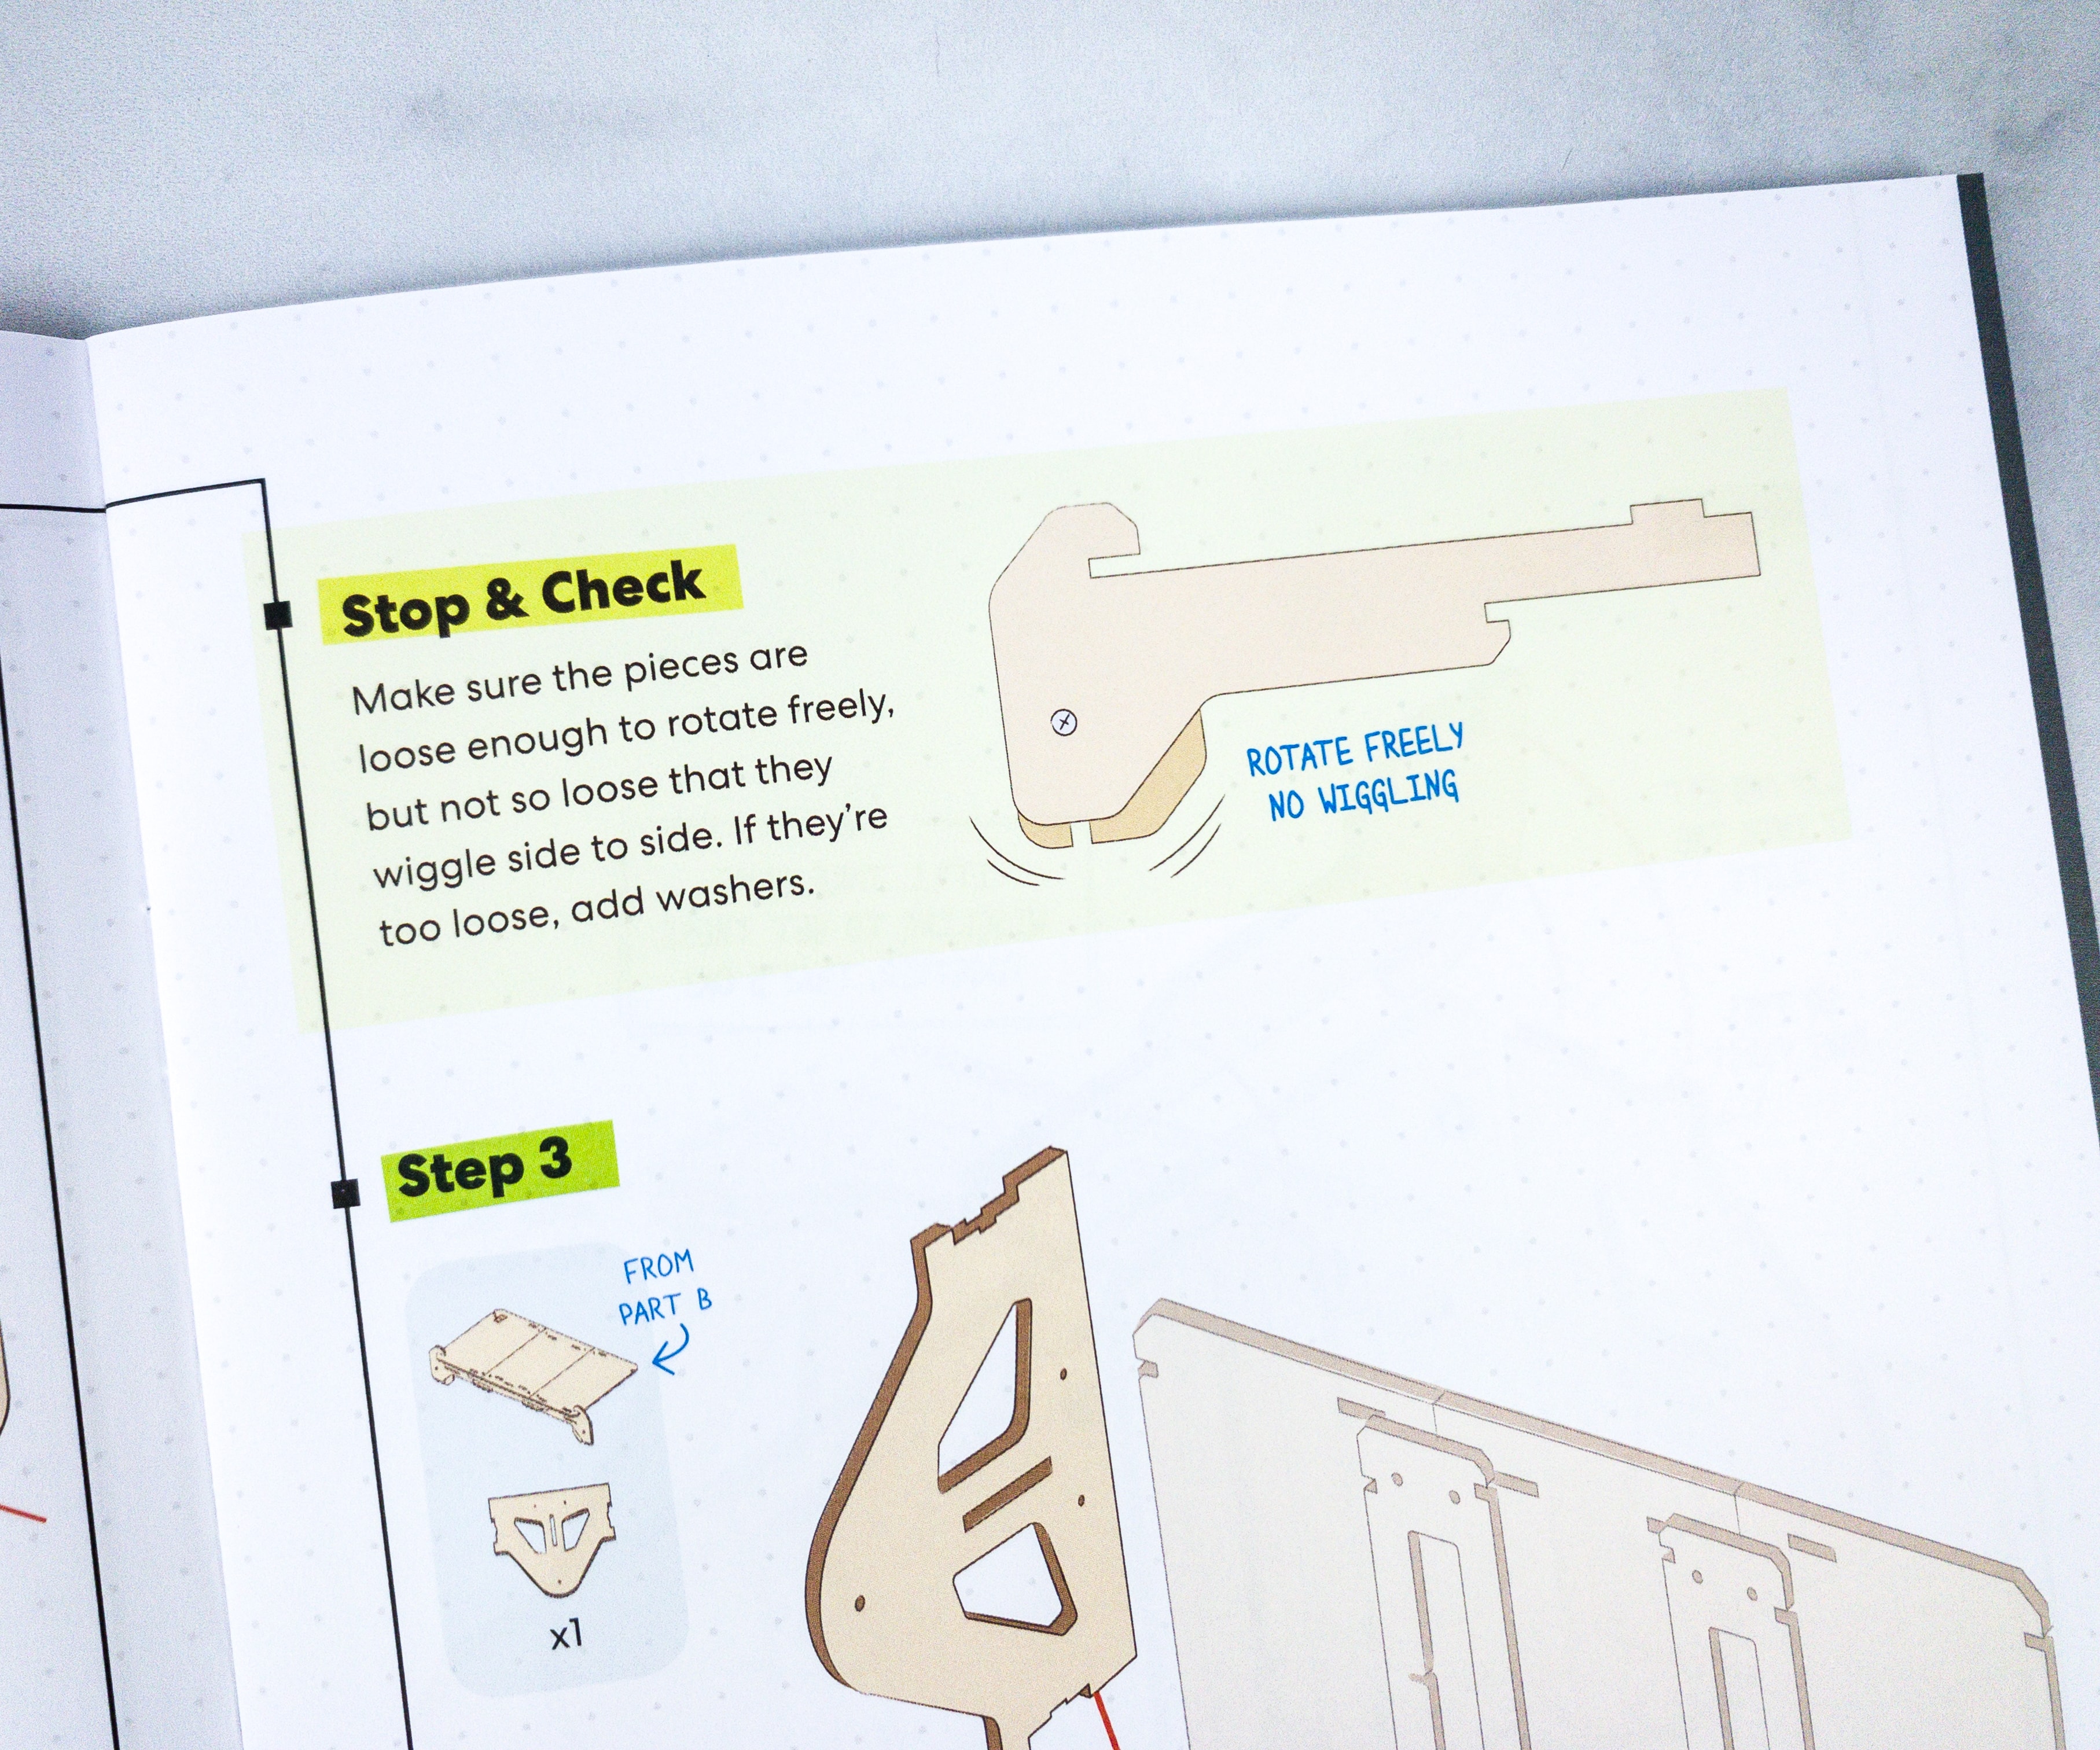
You should also make sure that the pieces are loose enough to rotate freely, but not so loose that they will wiggle. You can add washers if they’re too loose.

My kids compared what they’re doing to the illustrated steps from time to time so that they can ensure that what they’re doing and assembling is right, and also, to avoid confusion.
There are lots of steps to build the table. It’s like completing a big puzzle!
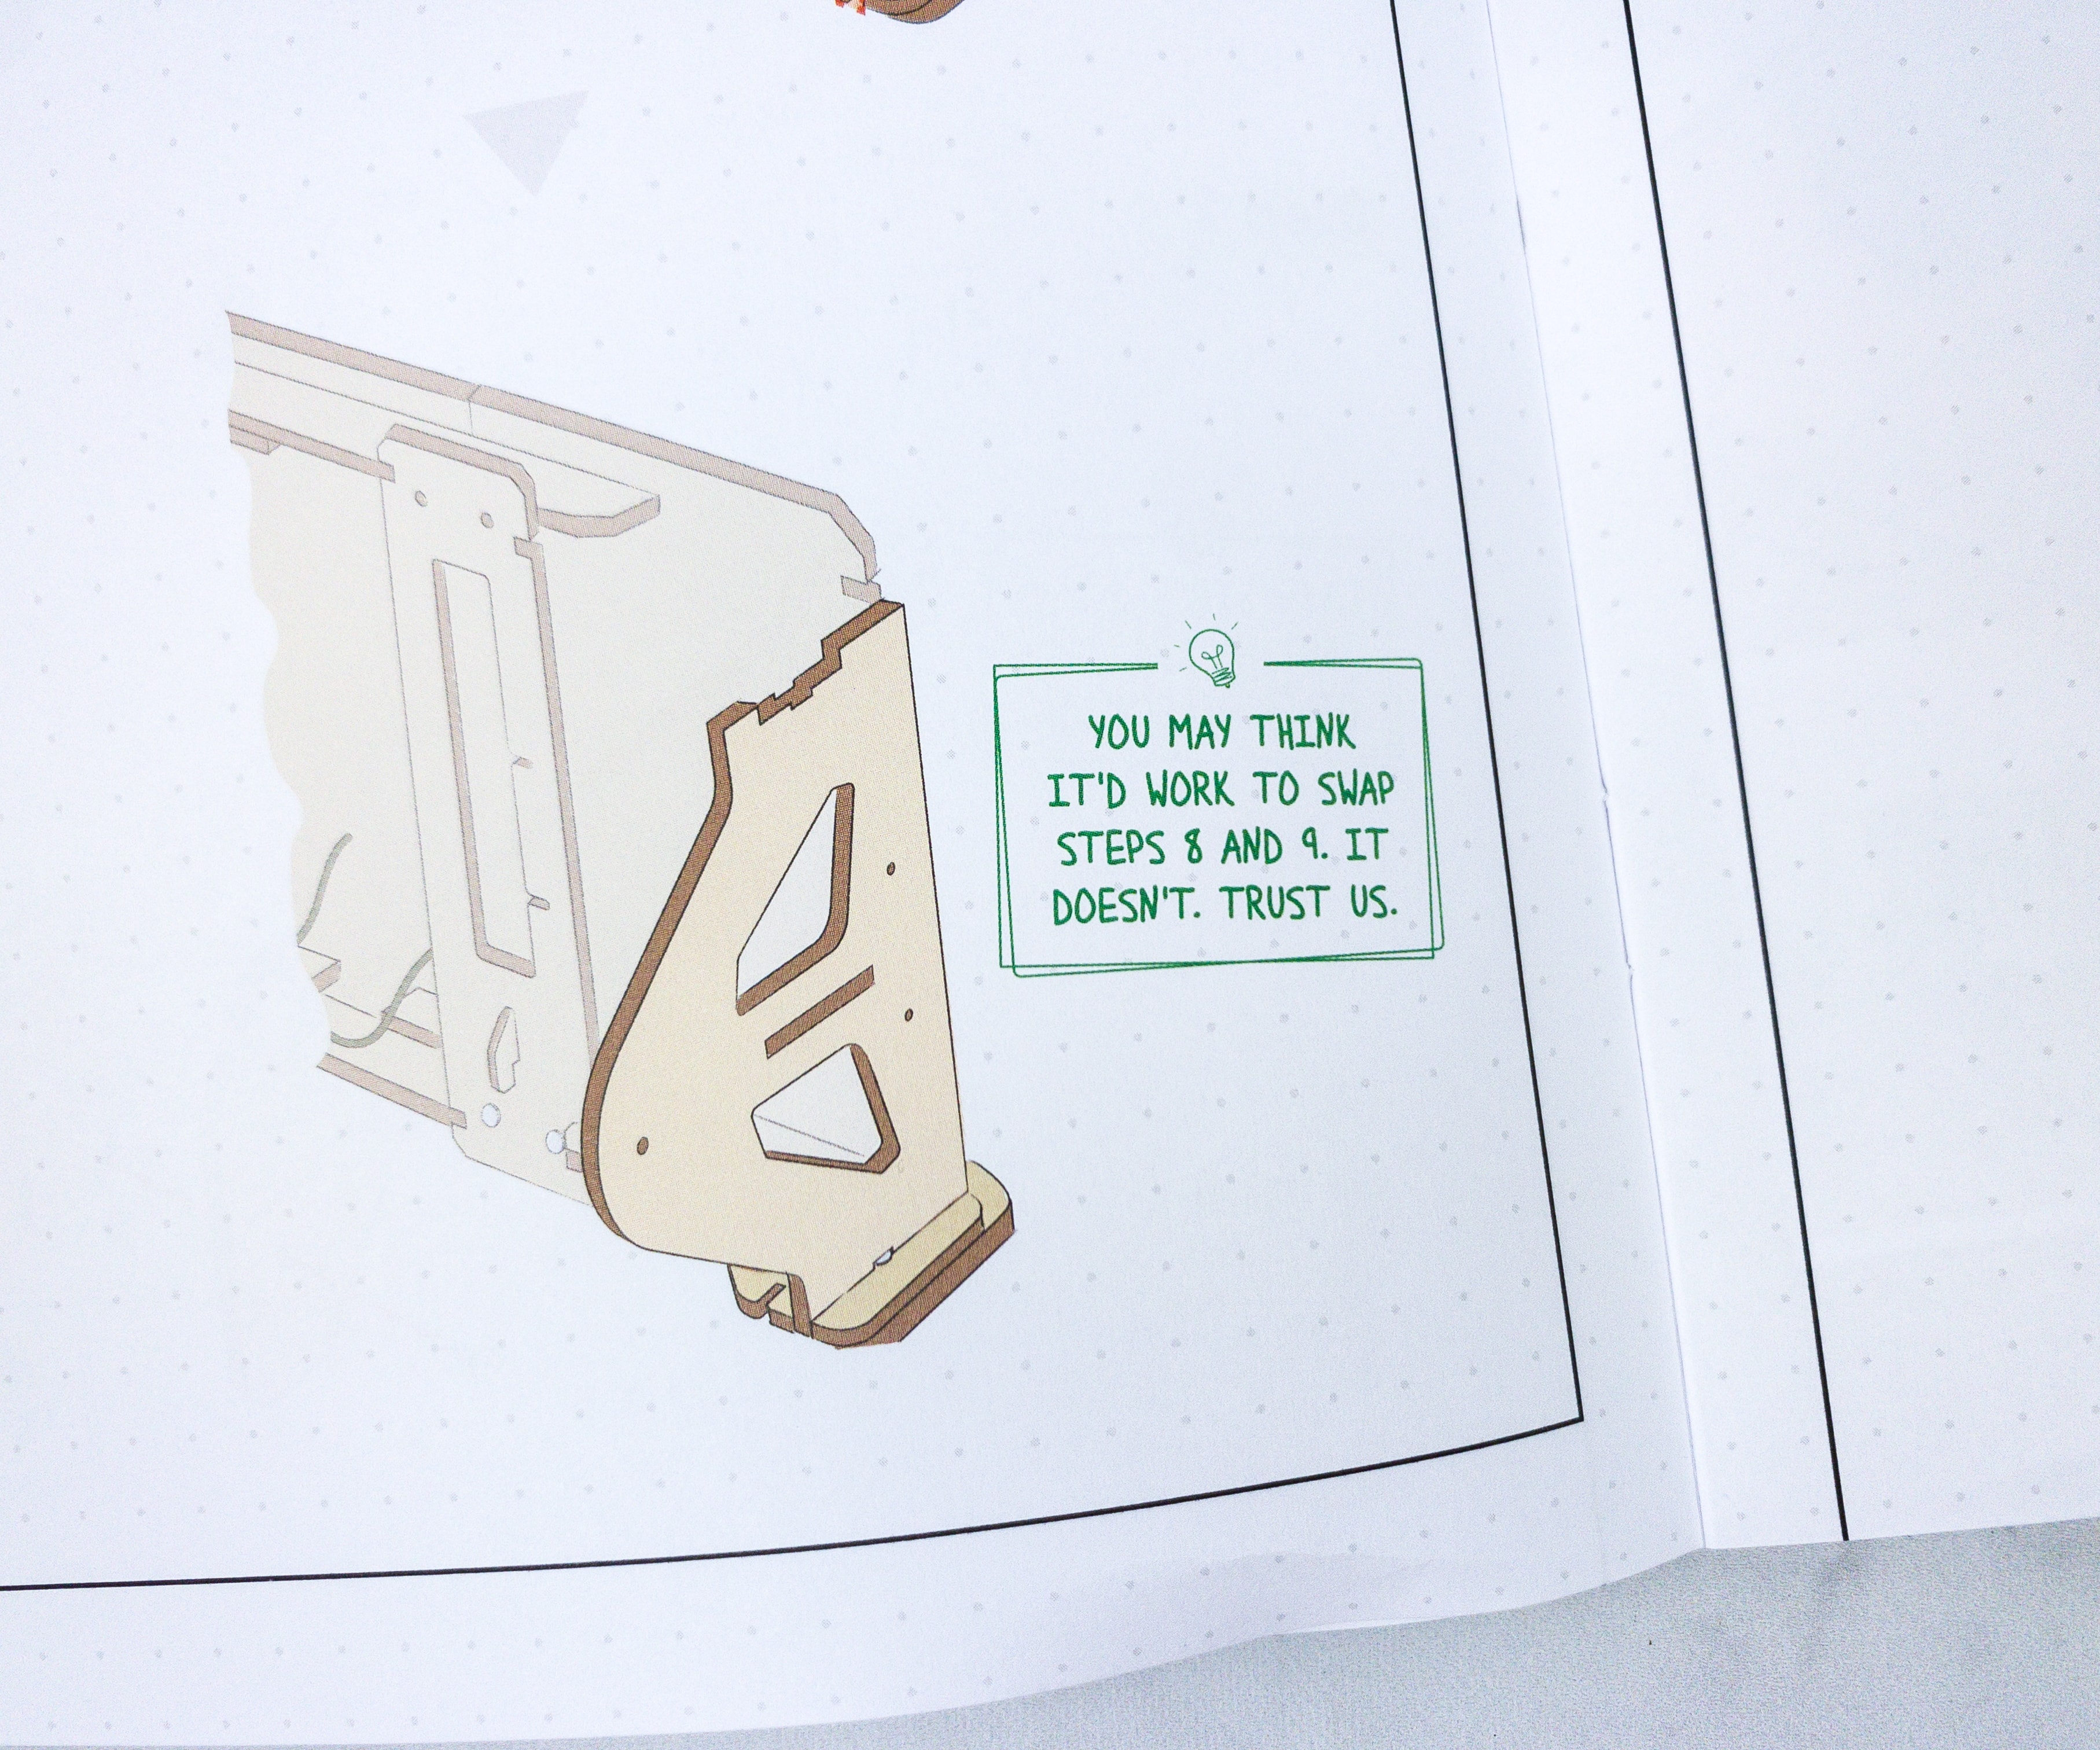
The booklet also warned us about swapping steps and assured us that it won’t work so we just have to stick and follow the steps as they are.
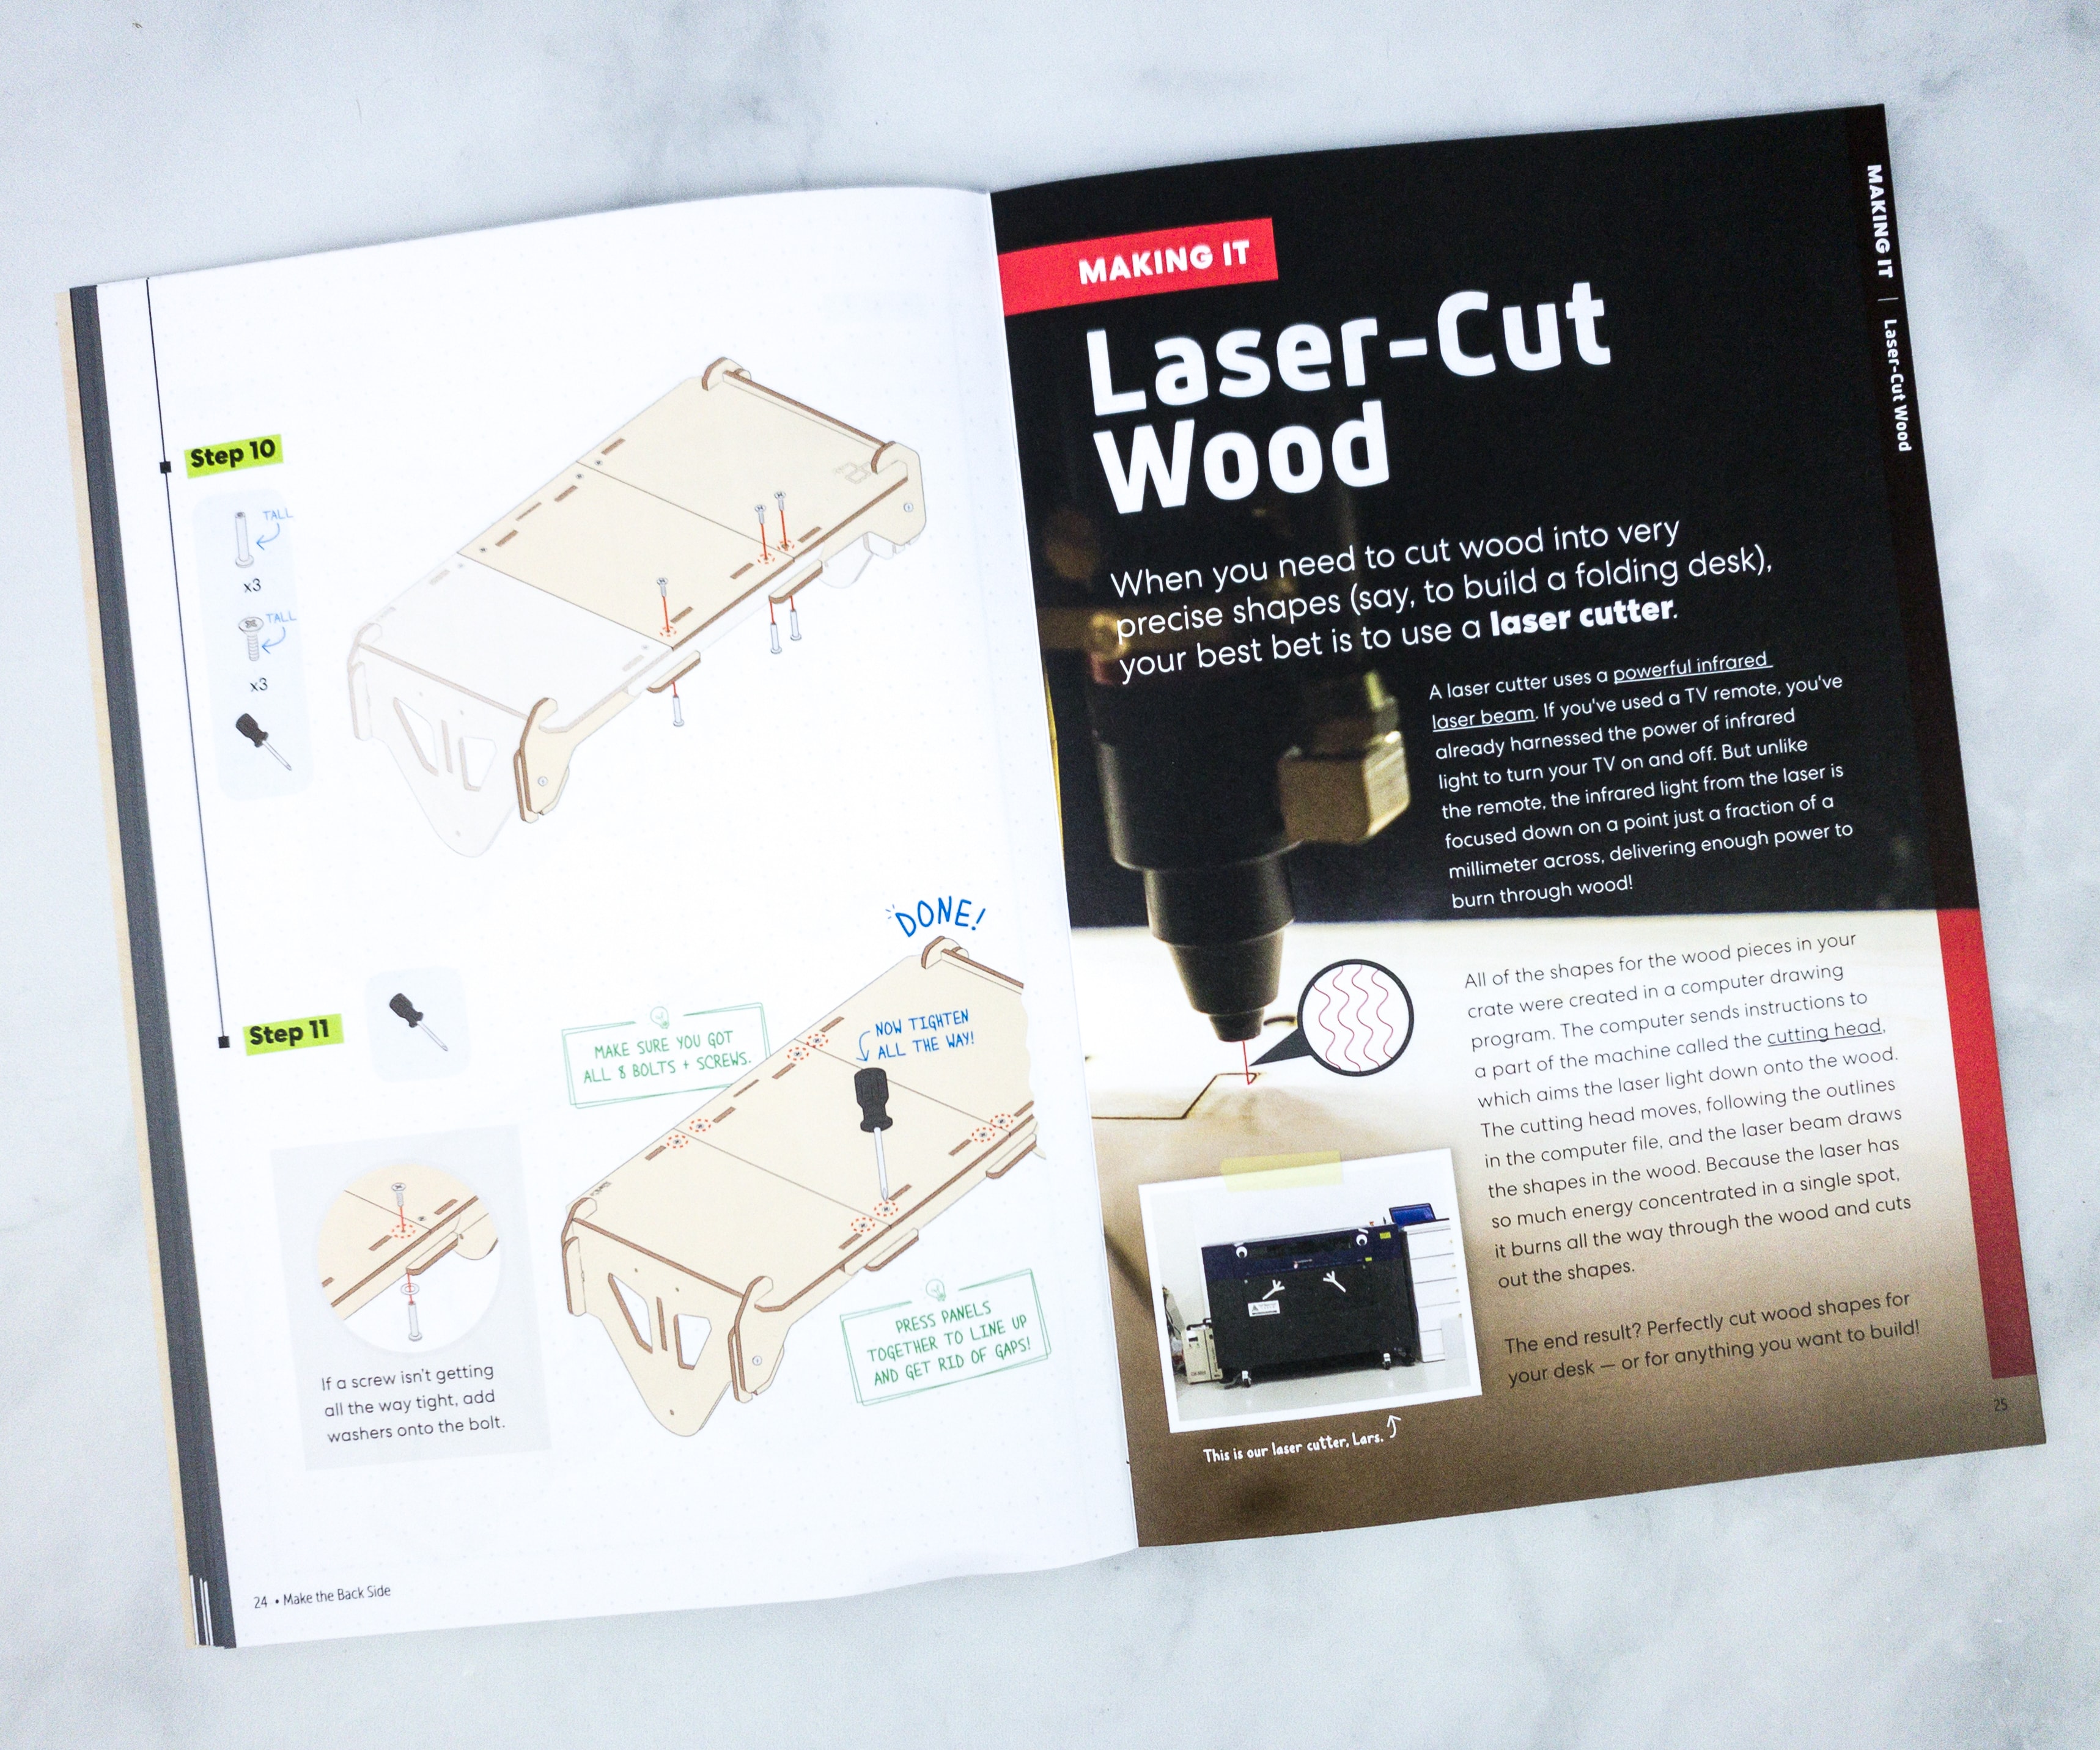
Most of the parts of this desk are laser-cut wood, that’s why they are cut with precision. Using a laser cutter to cut wood will definitely result in parts with precise shapes that can be easily attached or connected. There’s an article in the booklet that talks more about laser-cut wood and how it is performed!
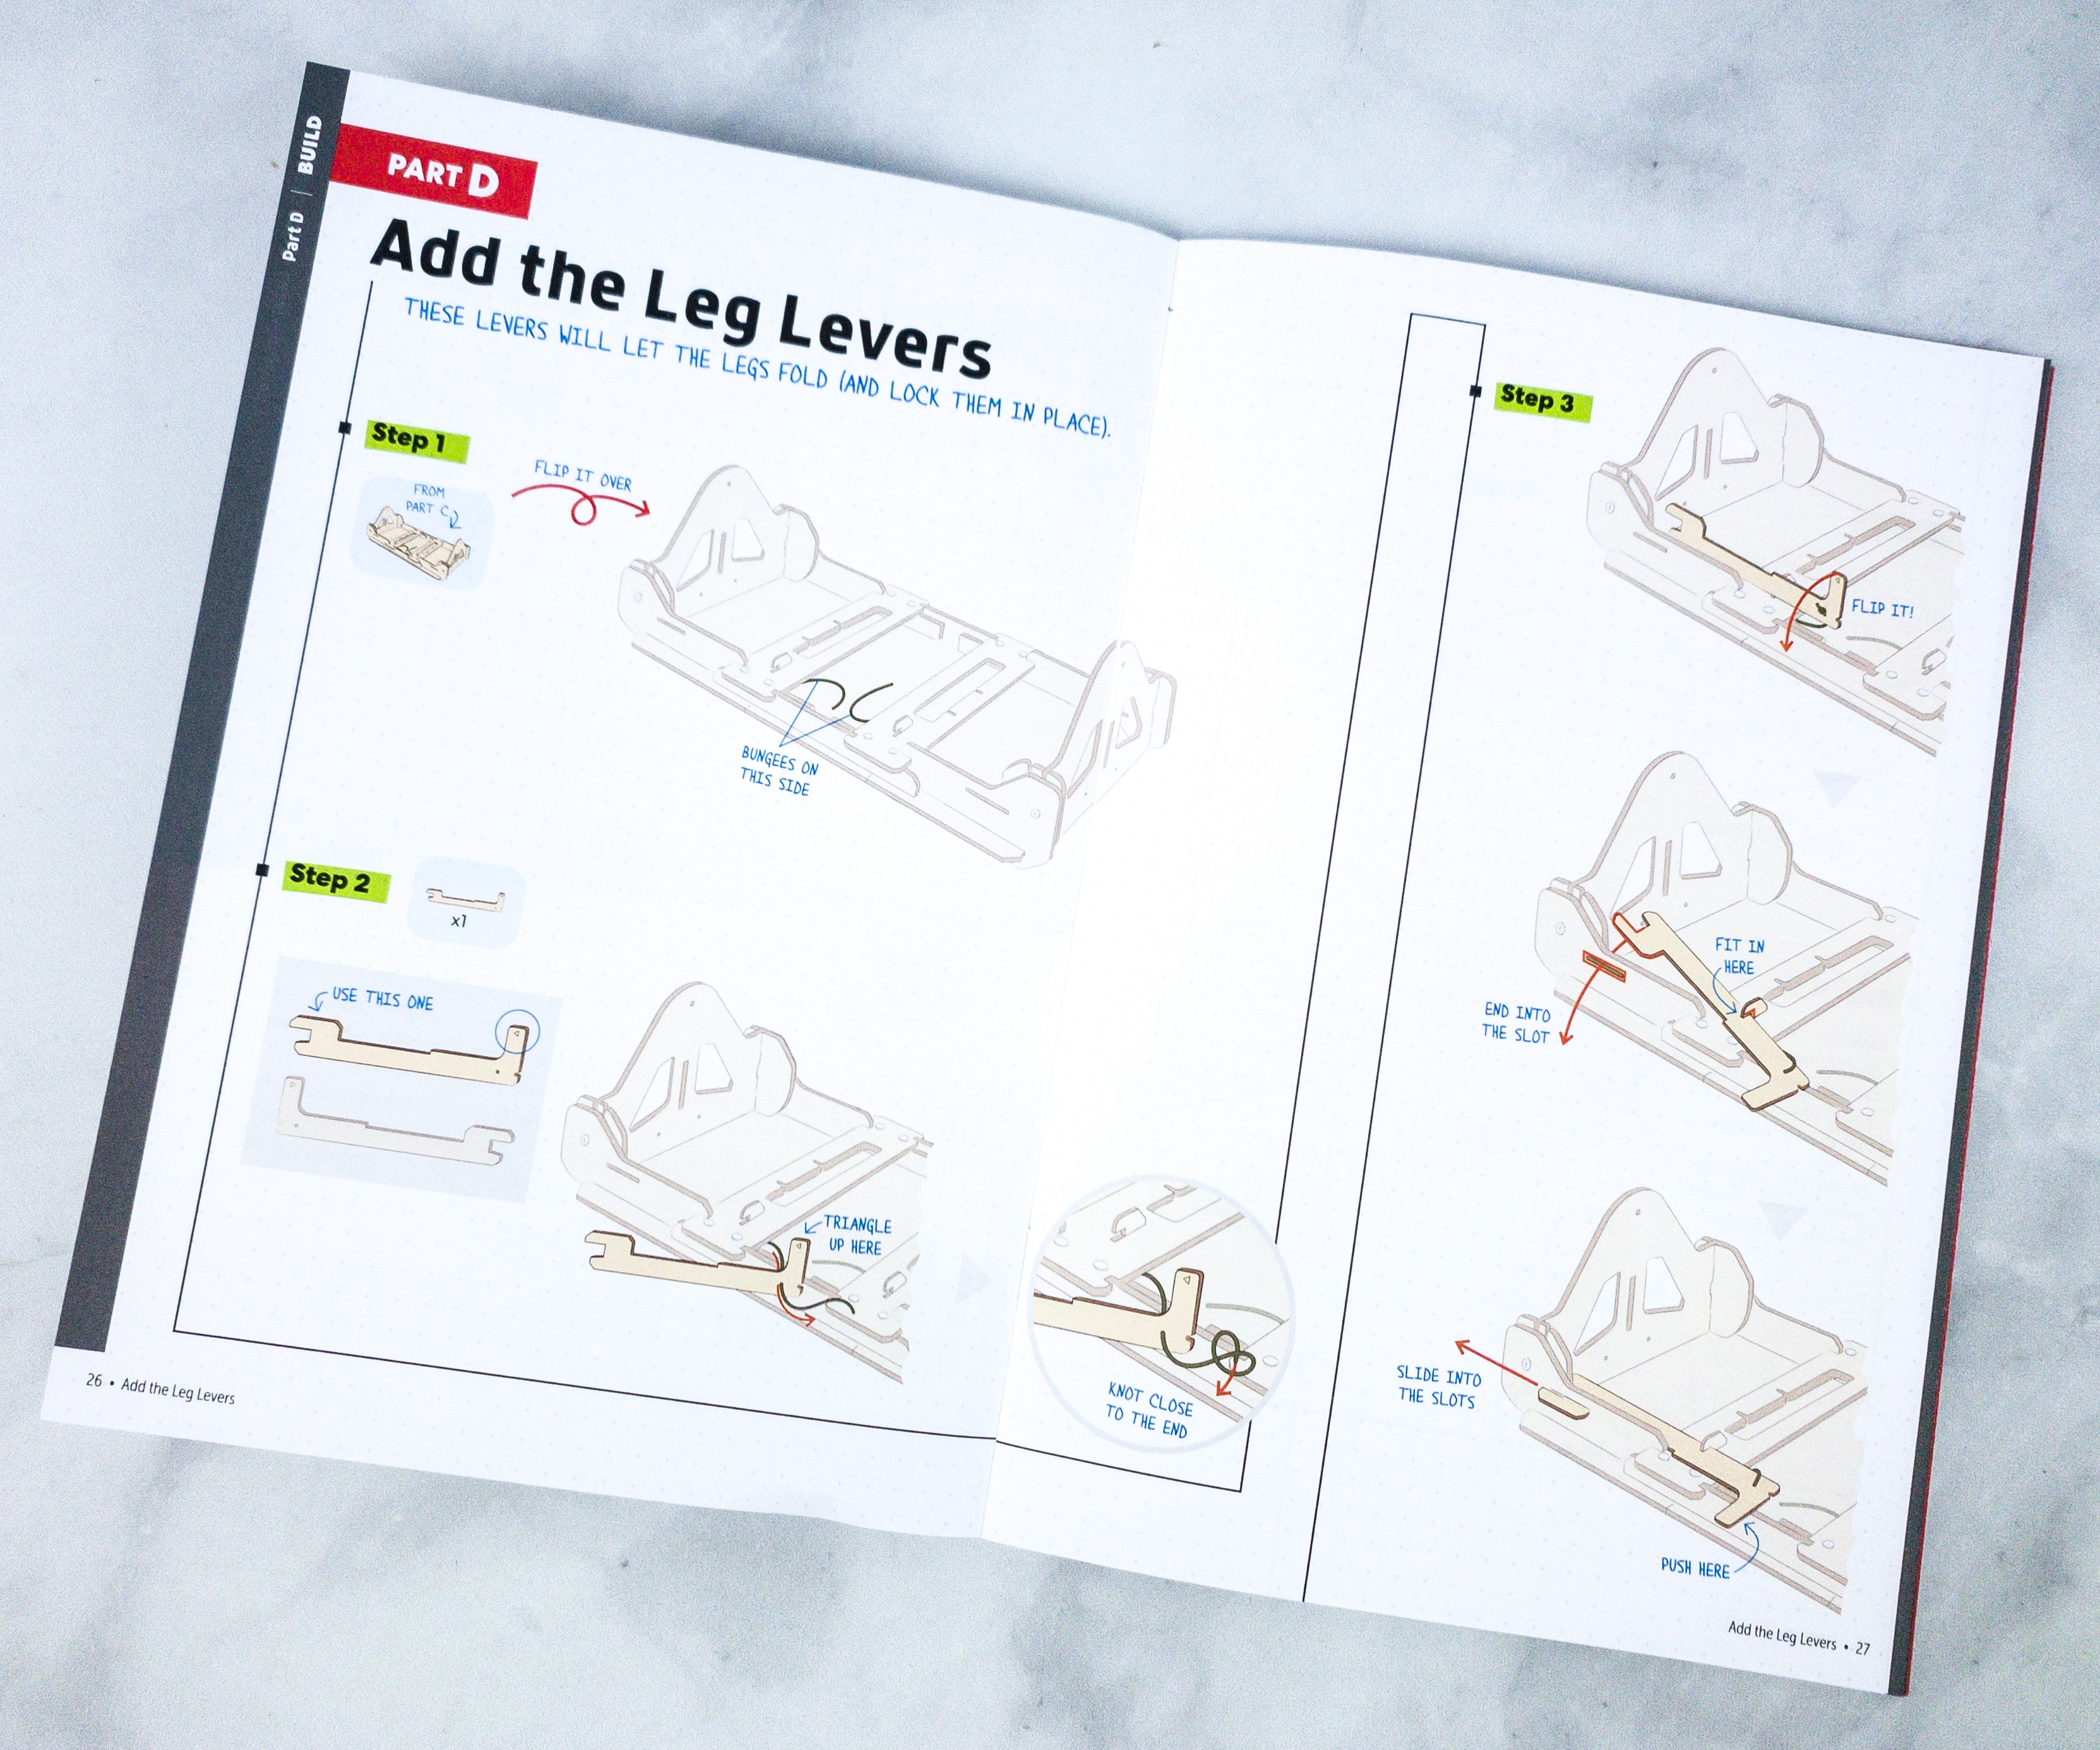
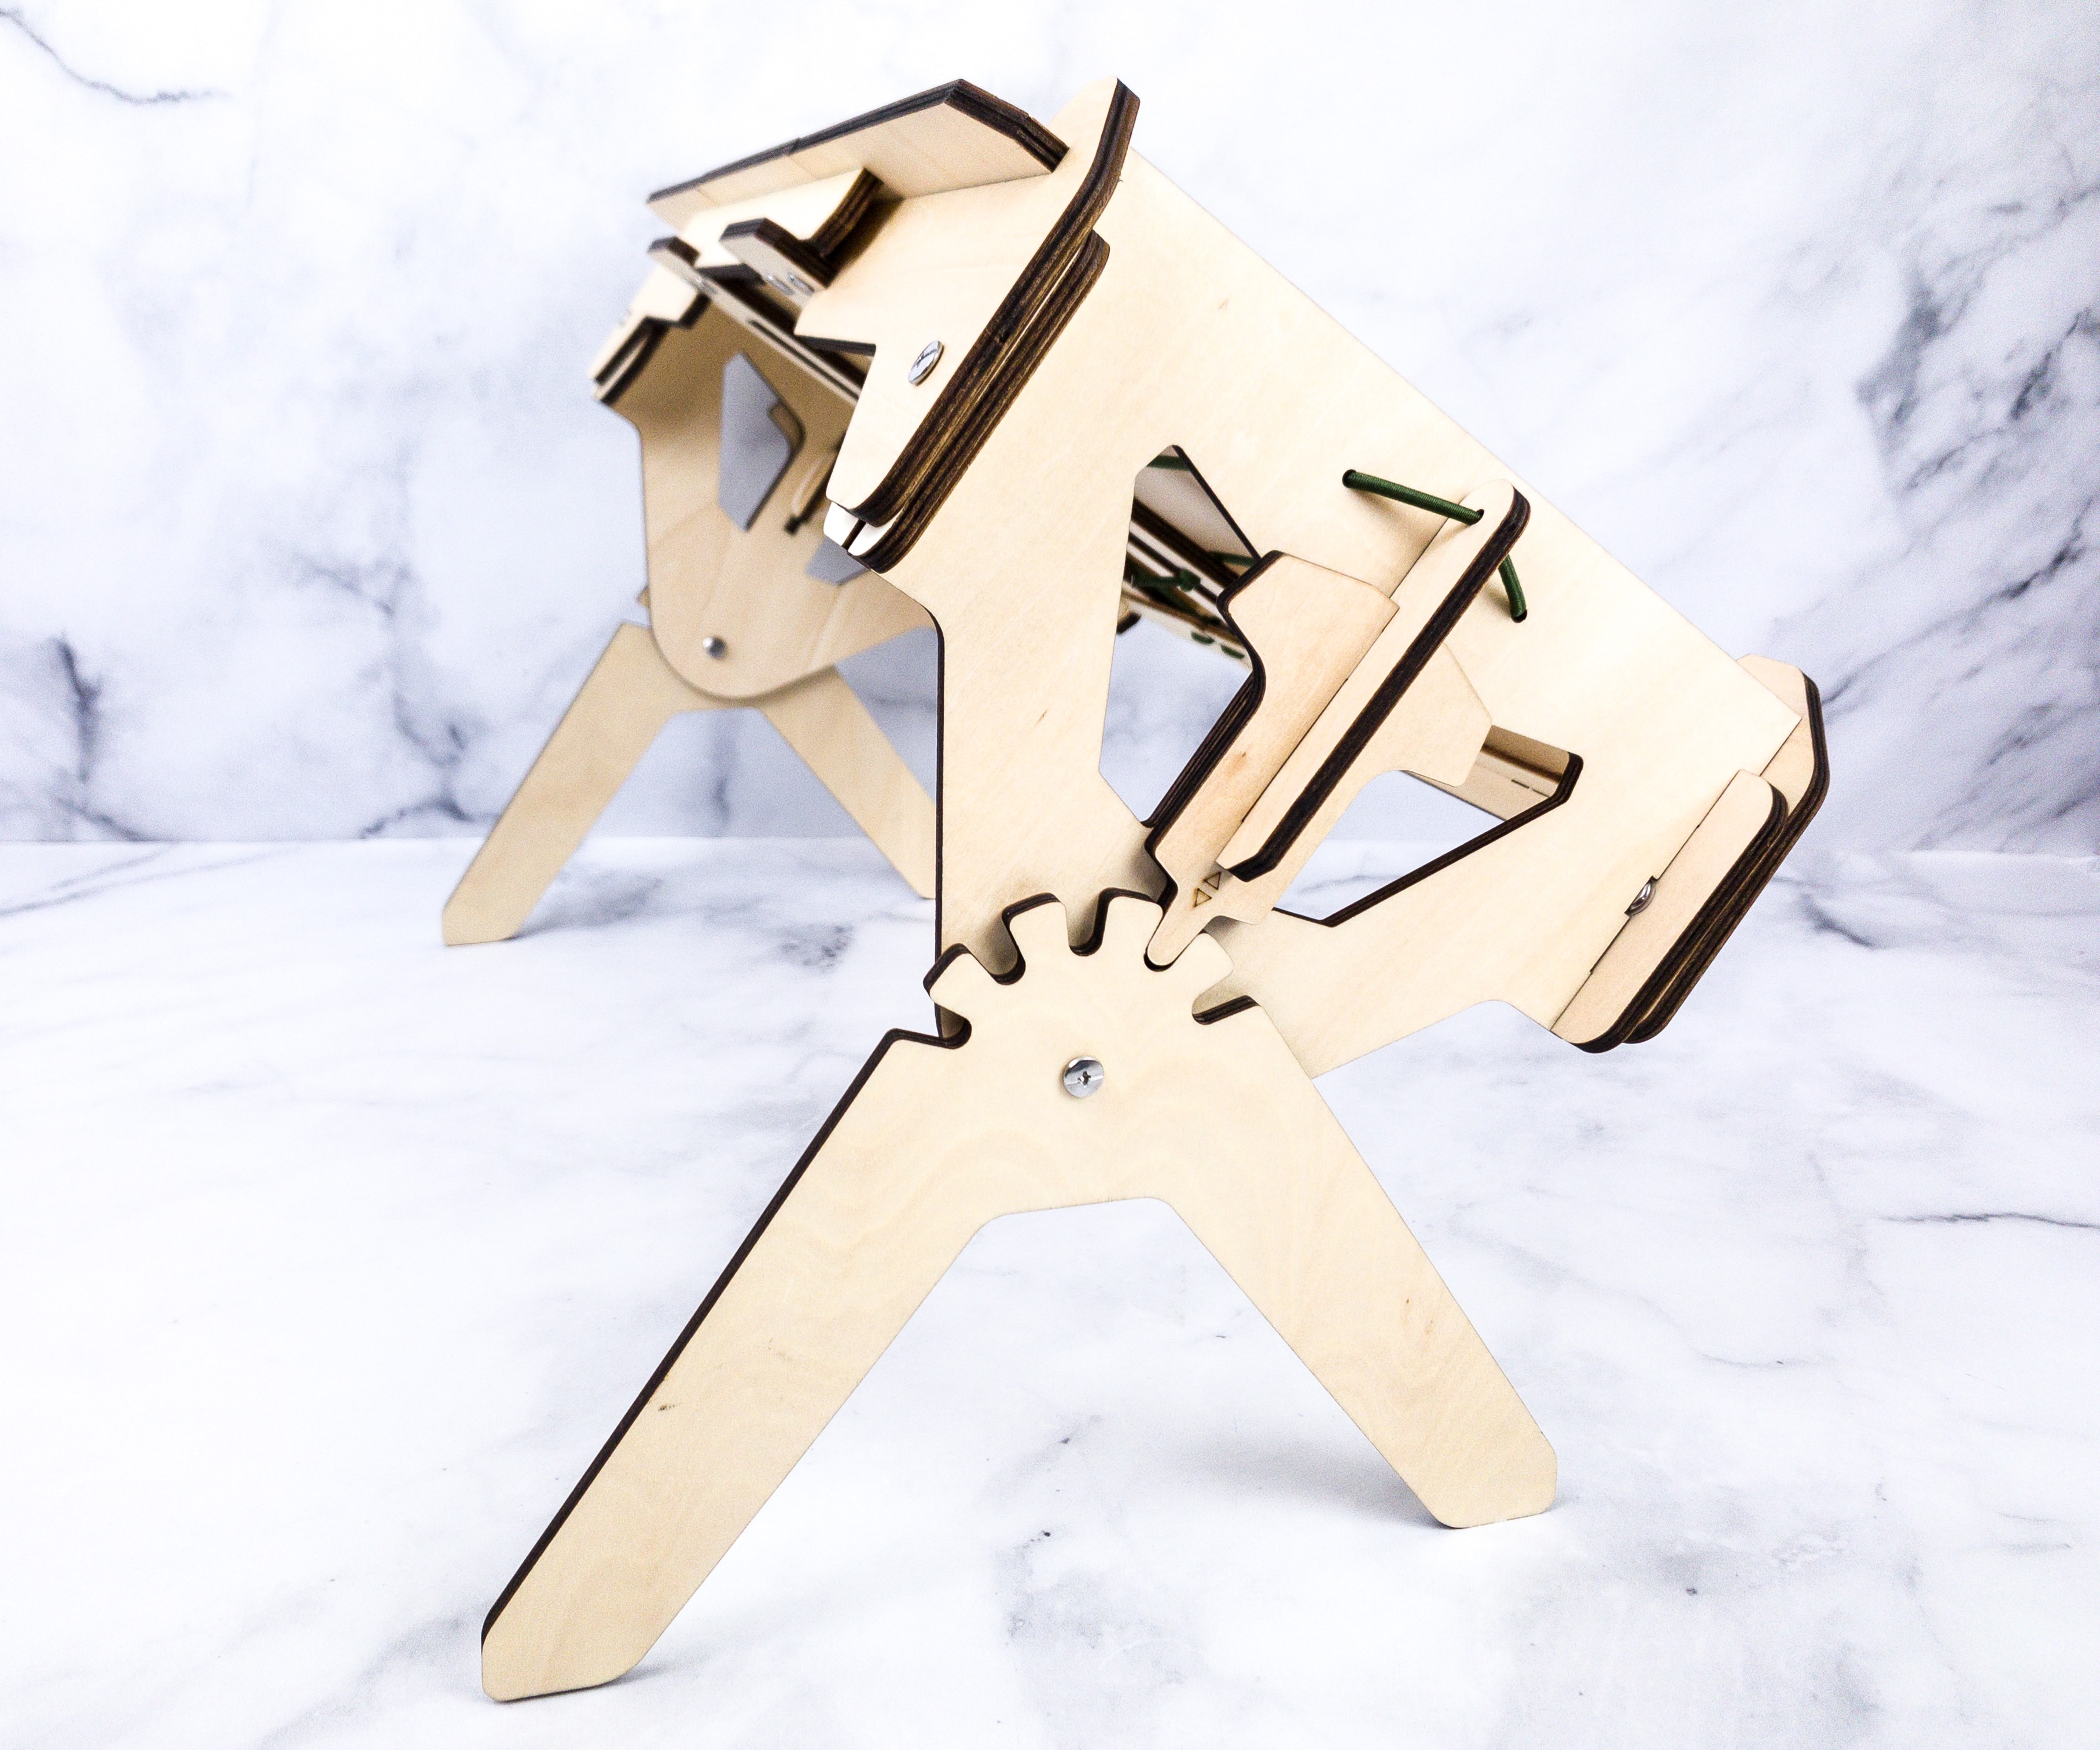
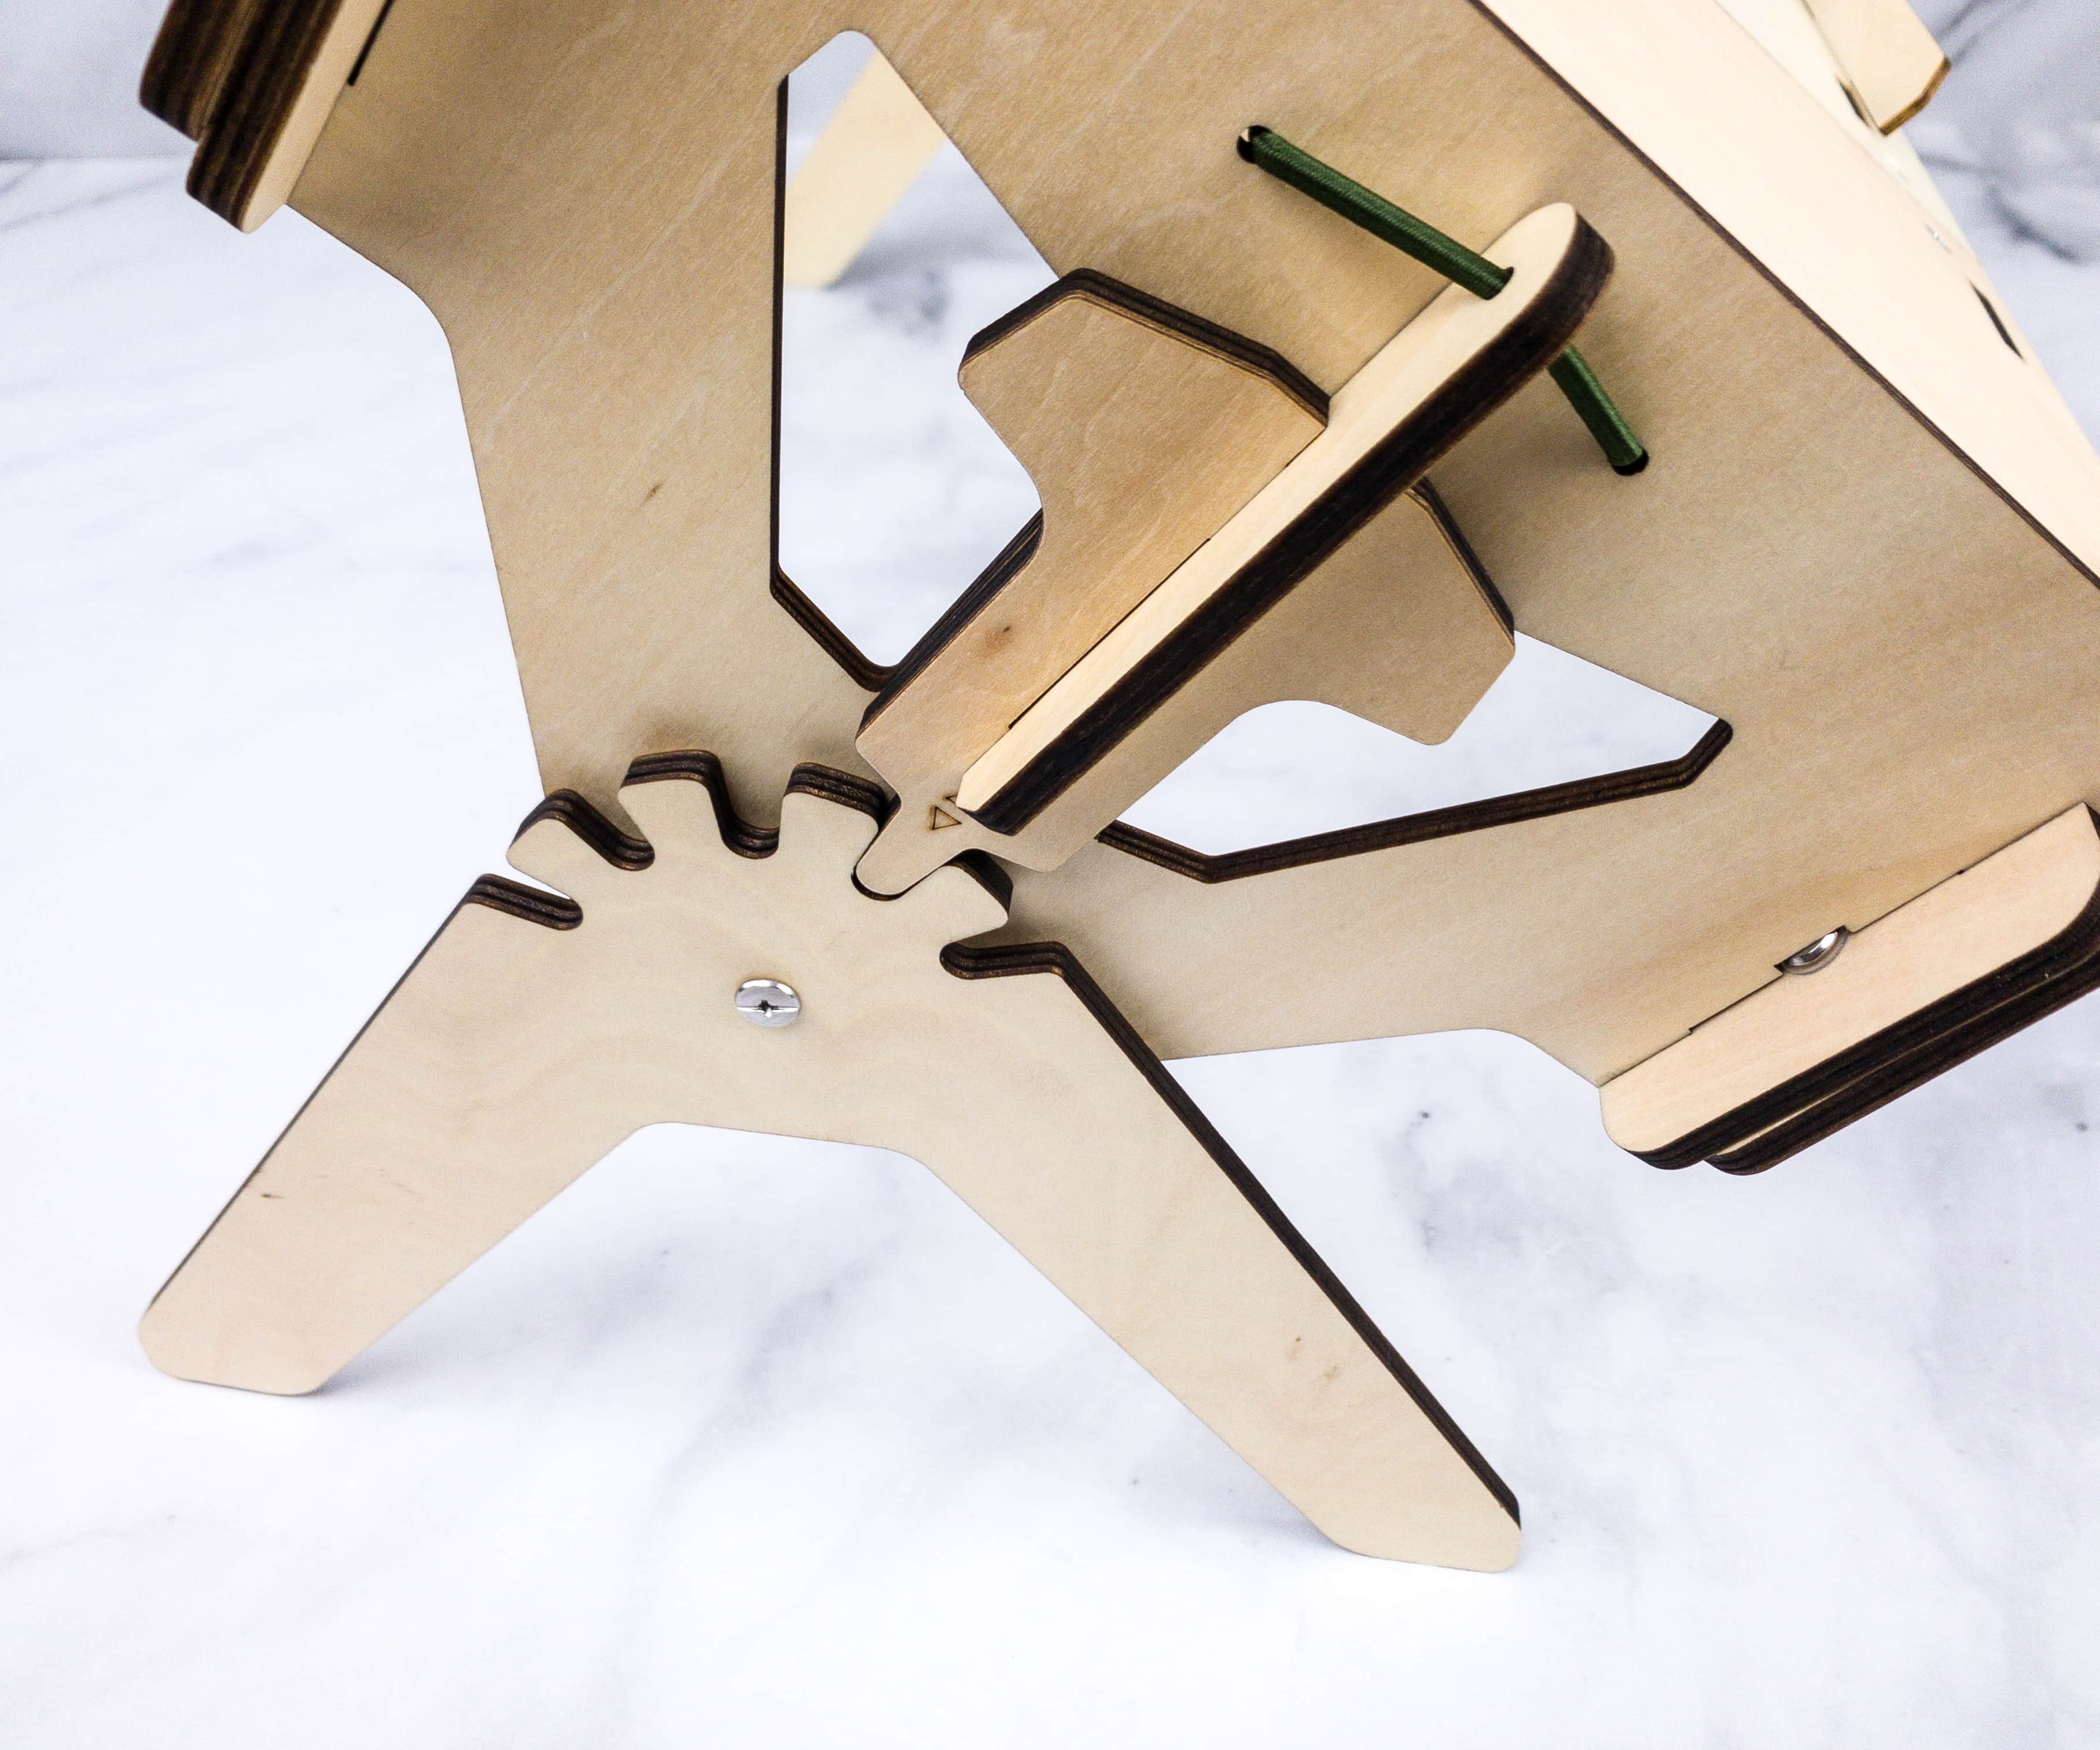
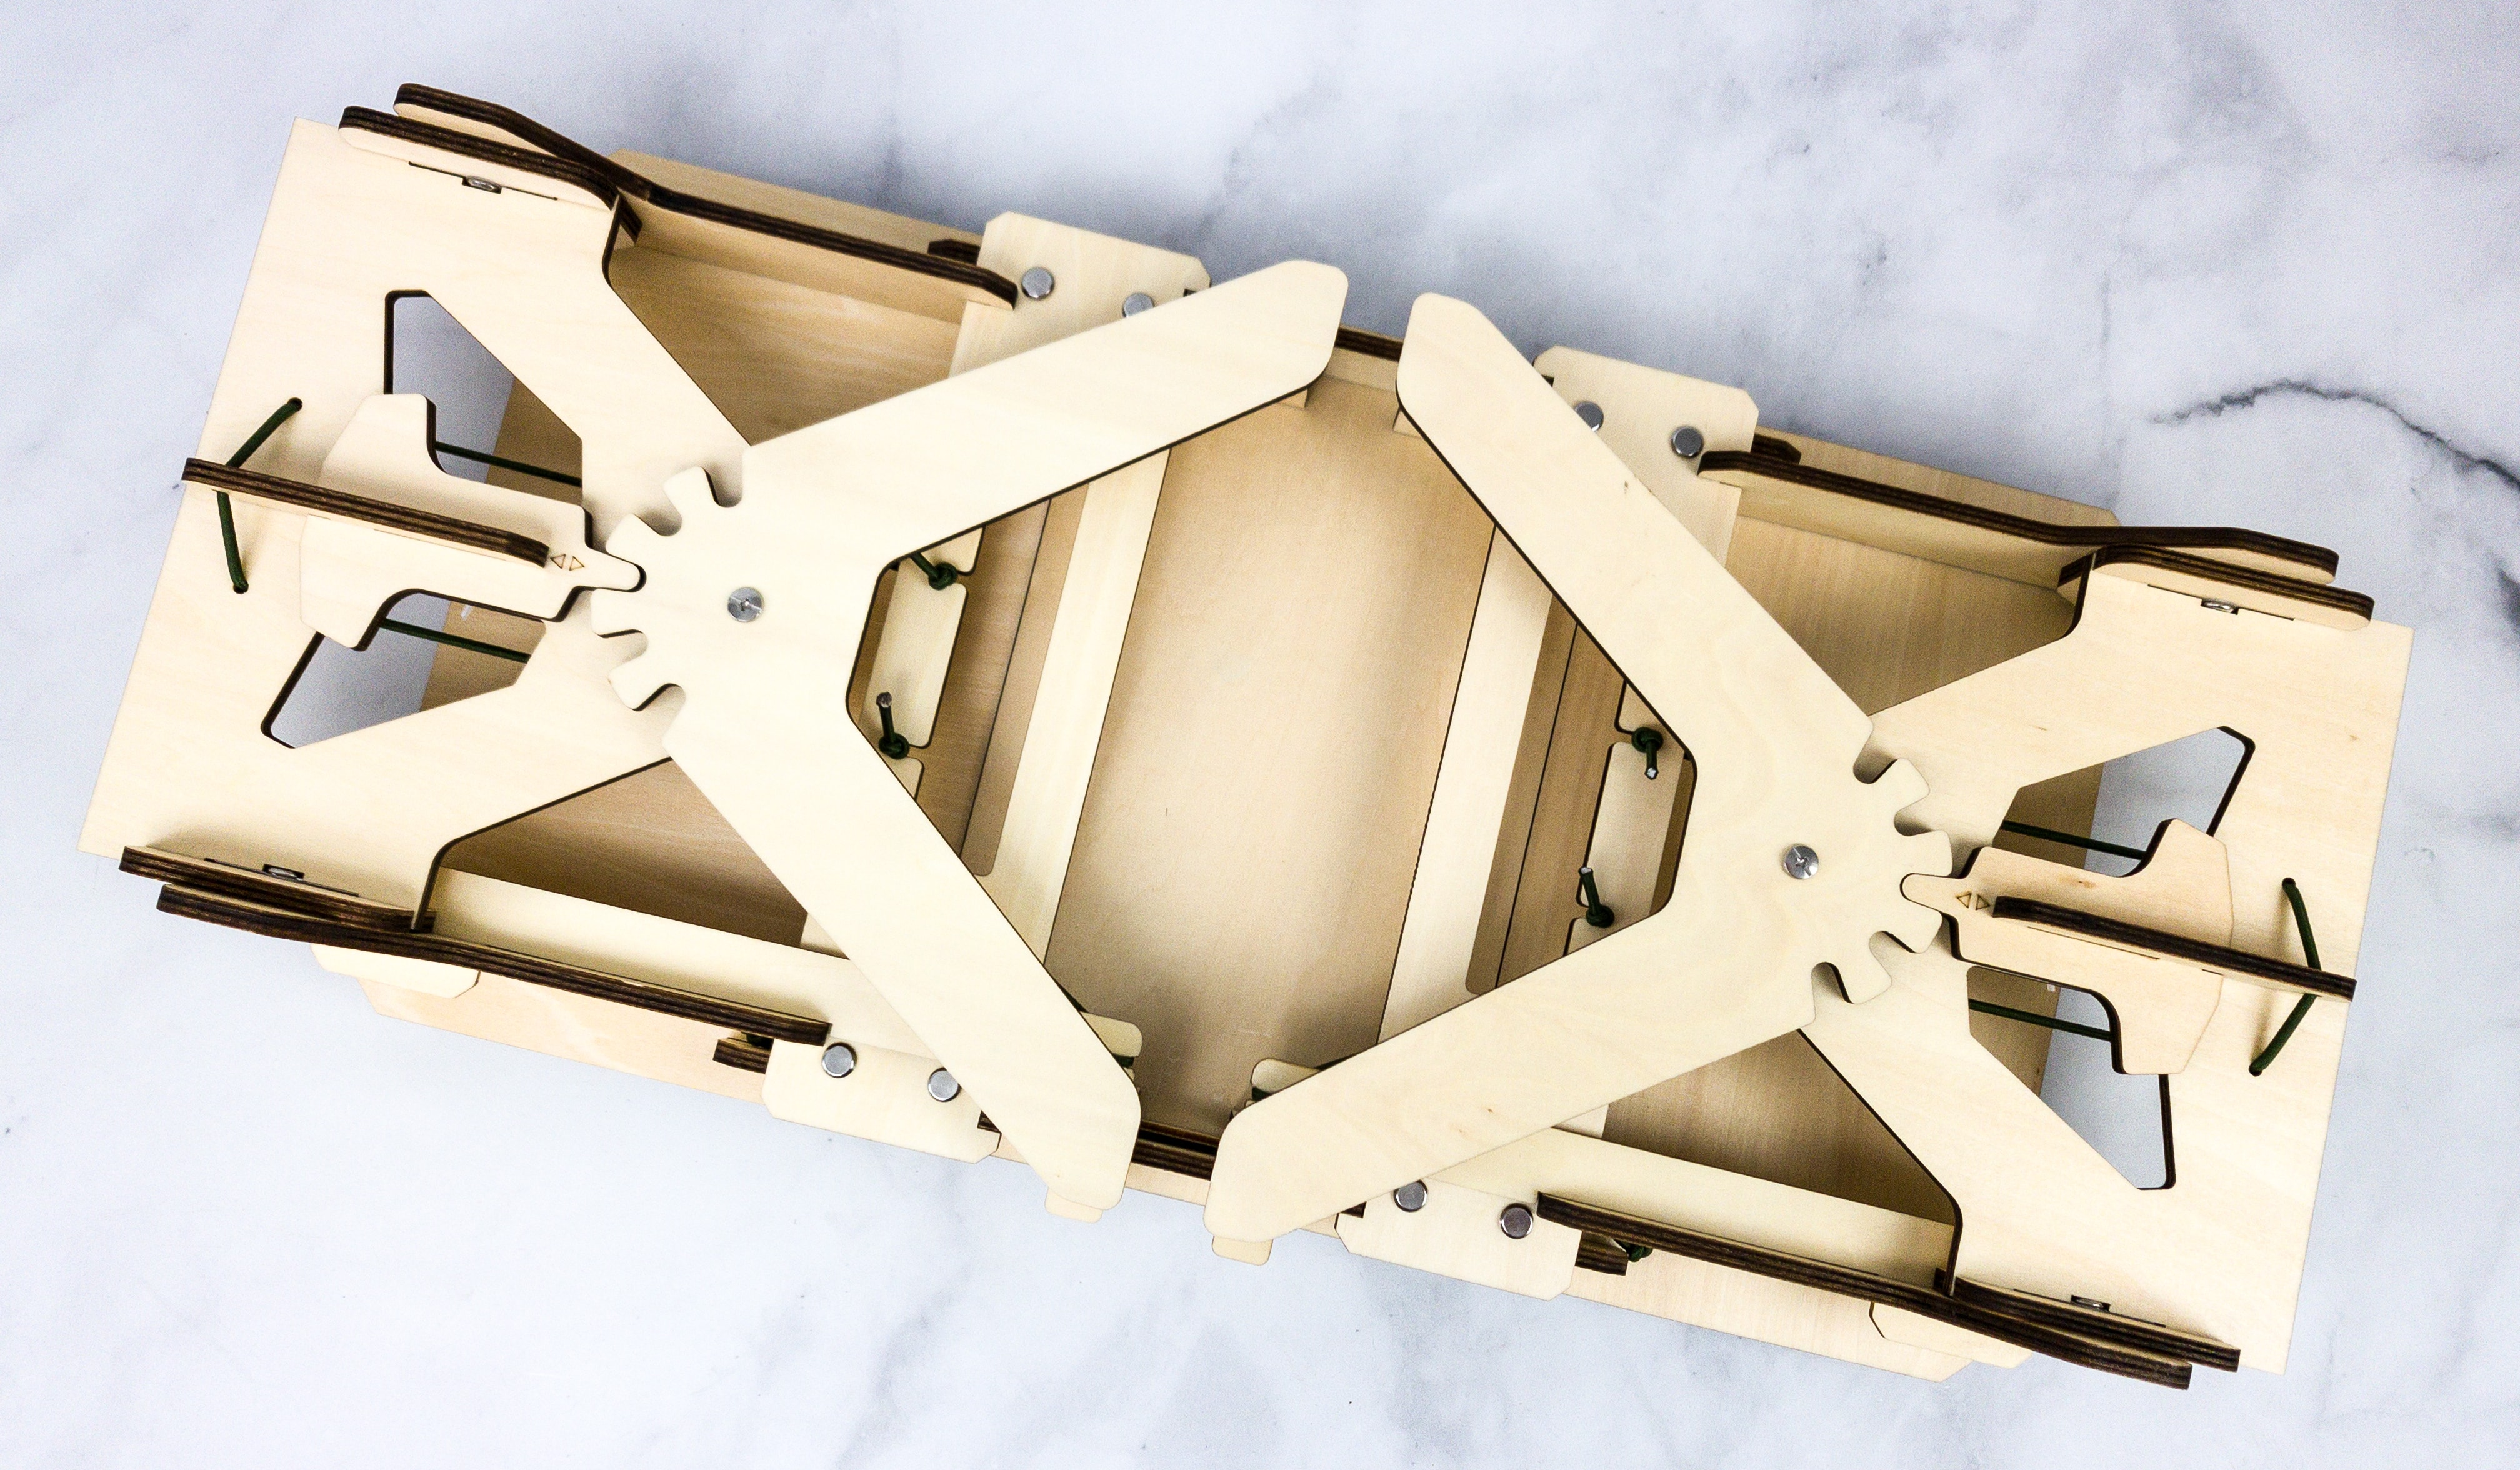
It’s now time to build the desk’s legs. The desk’s legs will fold and lock in place using these levers.
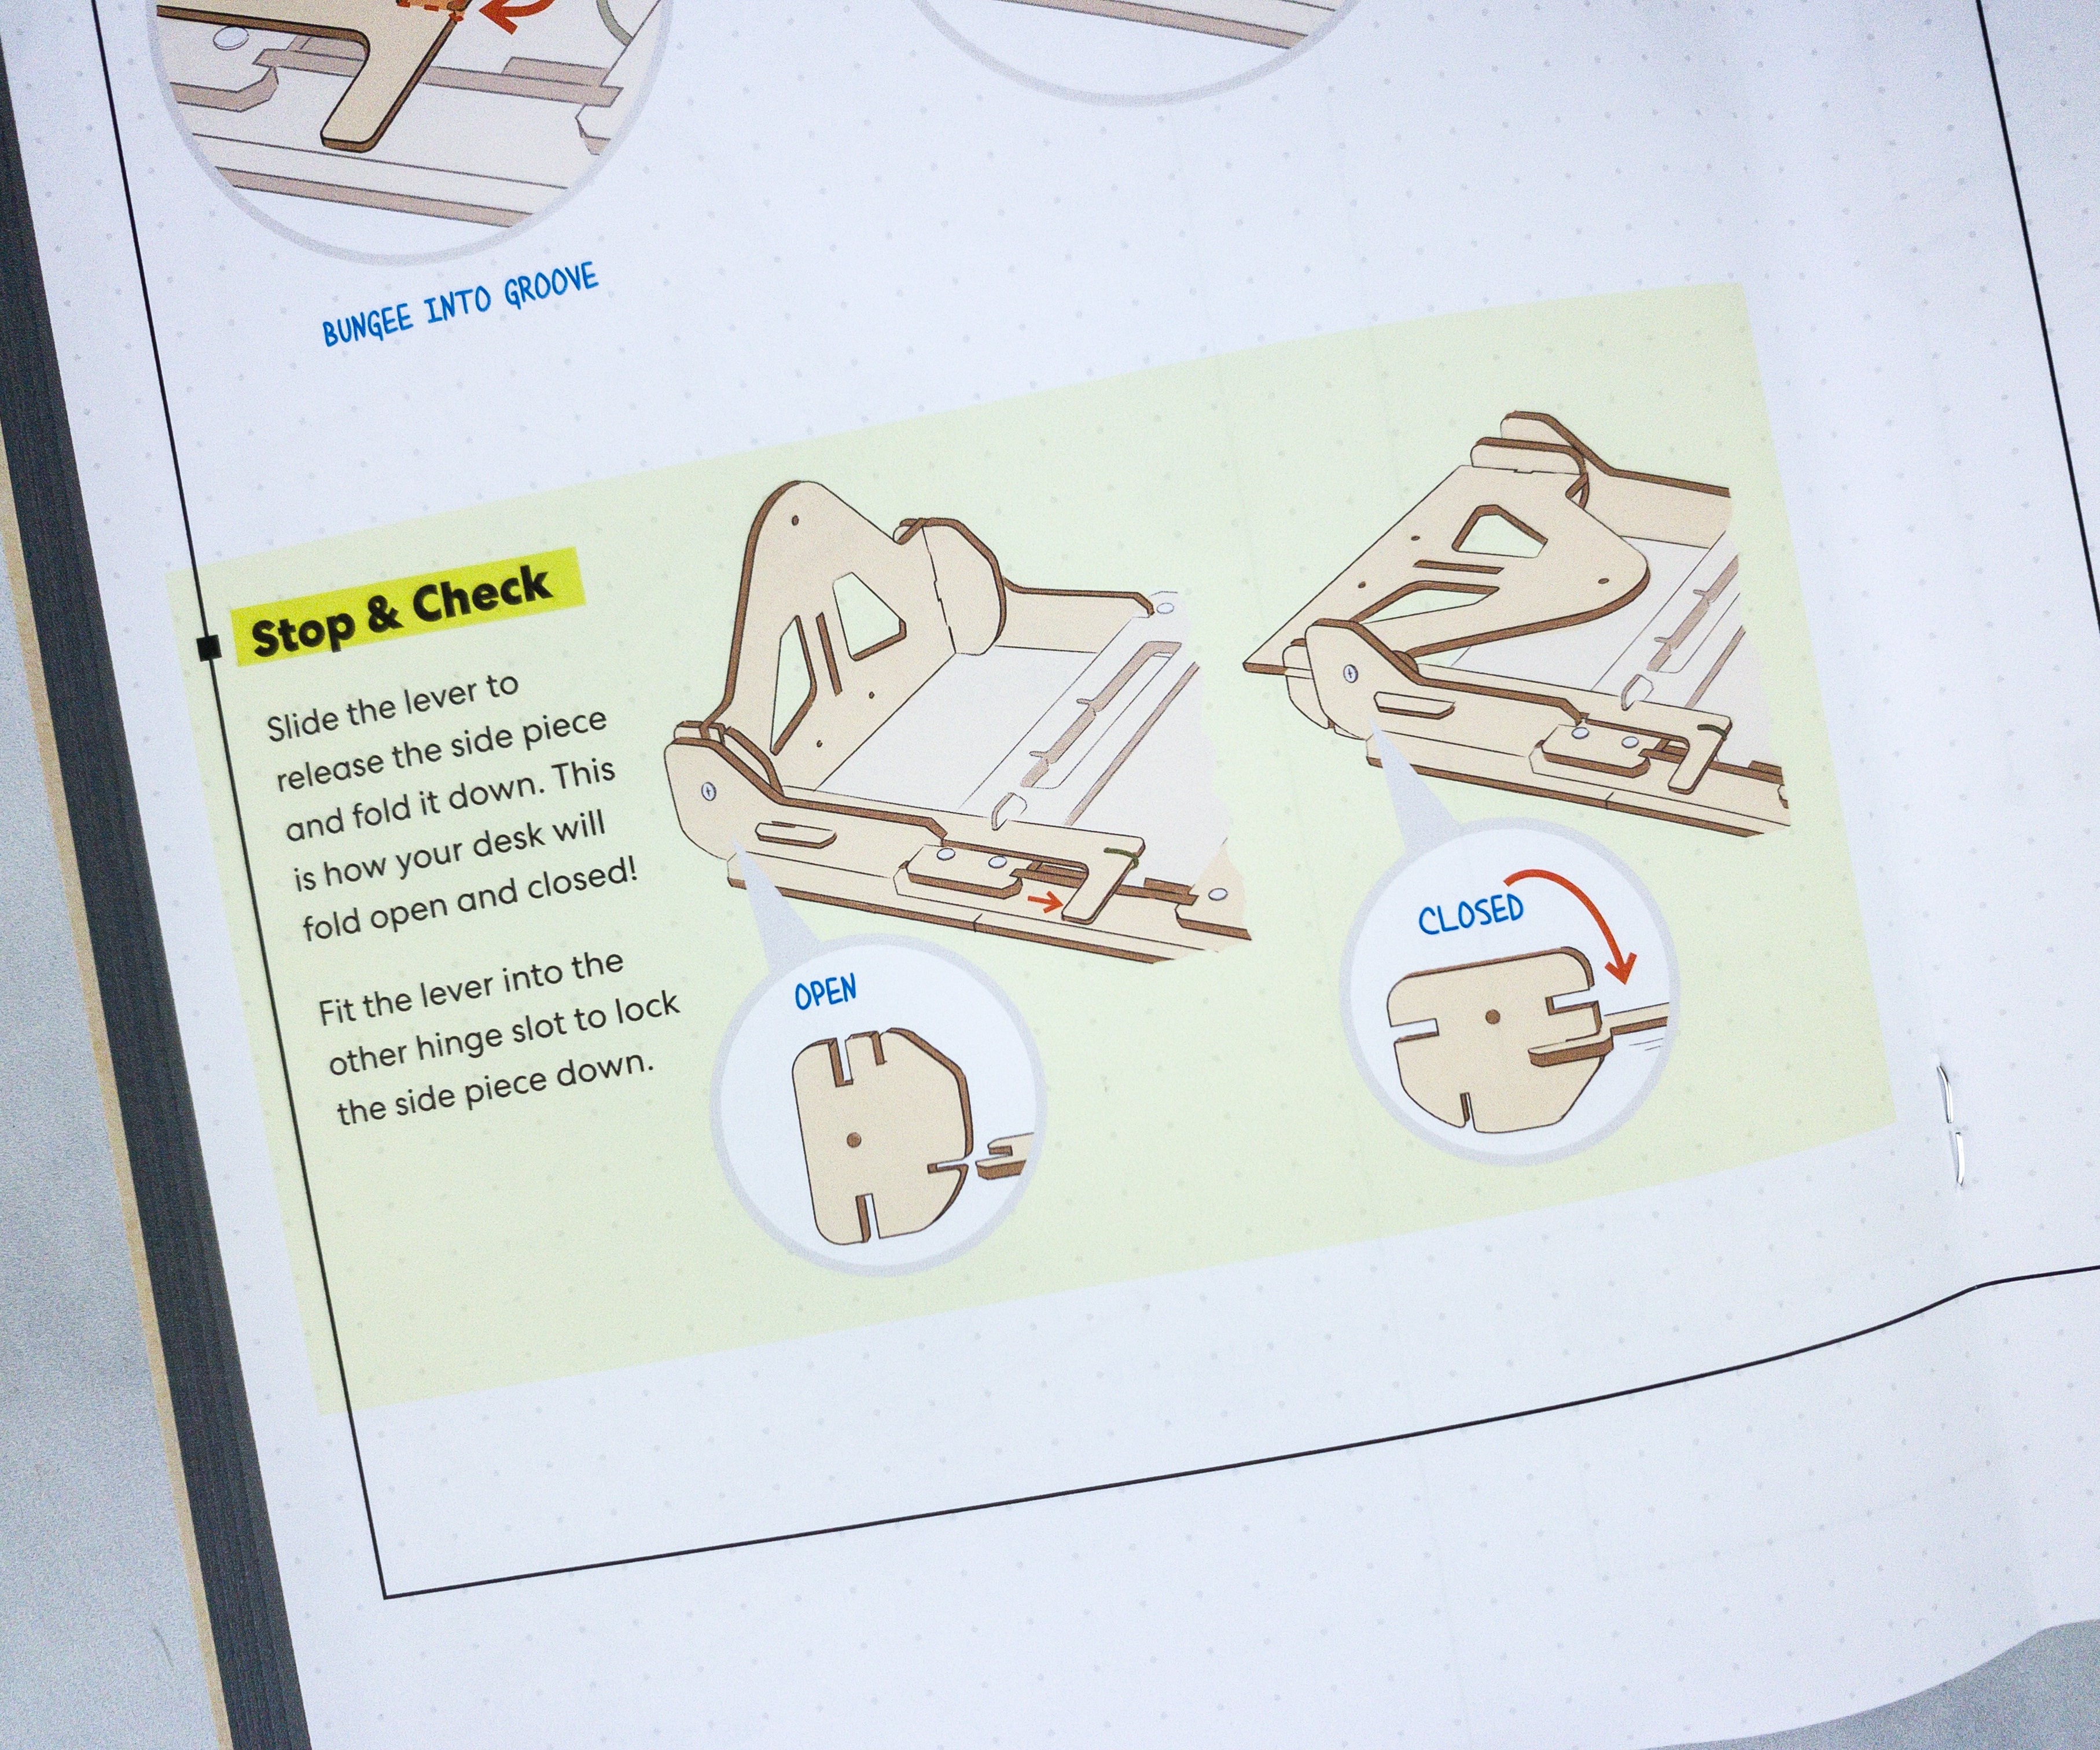
You can check the lever by sliding it to release the side piece and folding it down. This is how the desk will fold open and close.
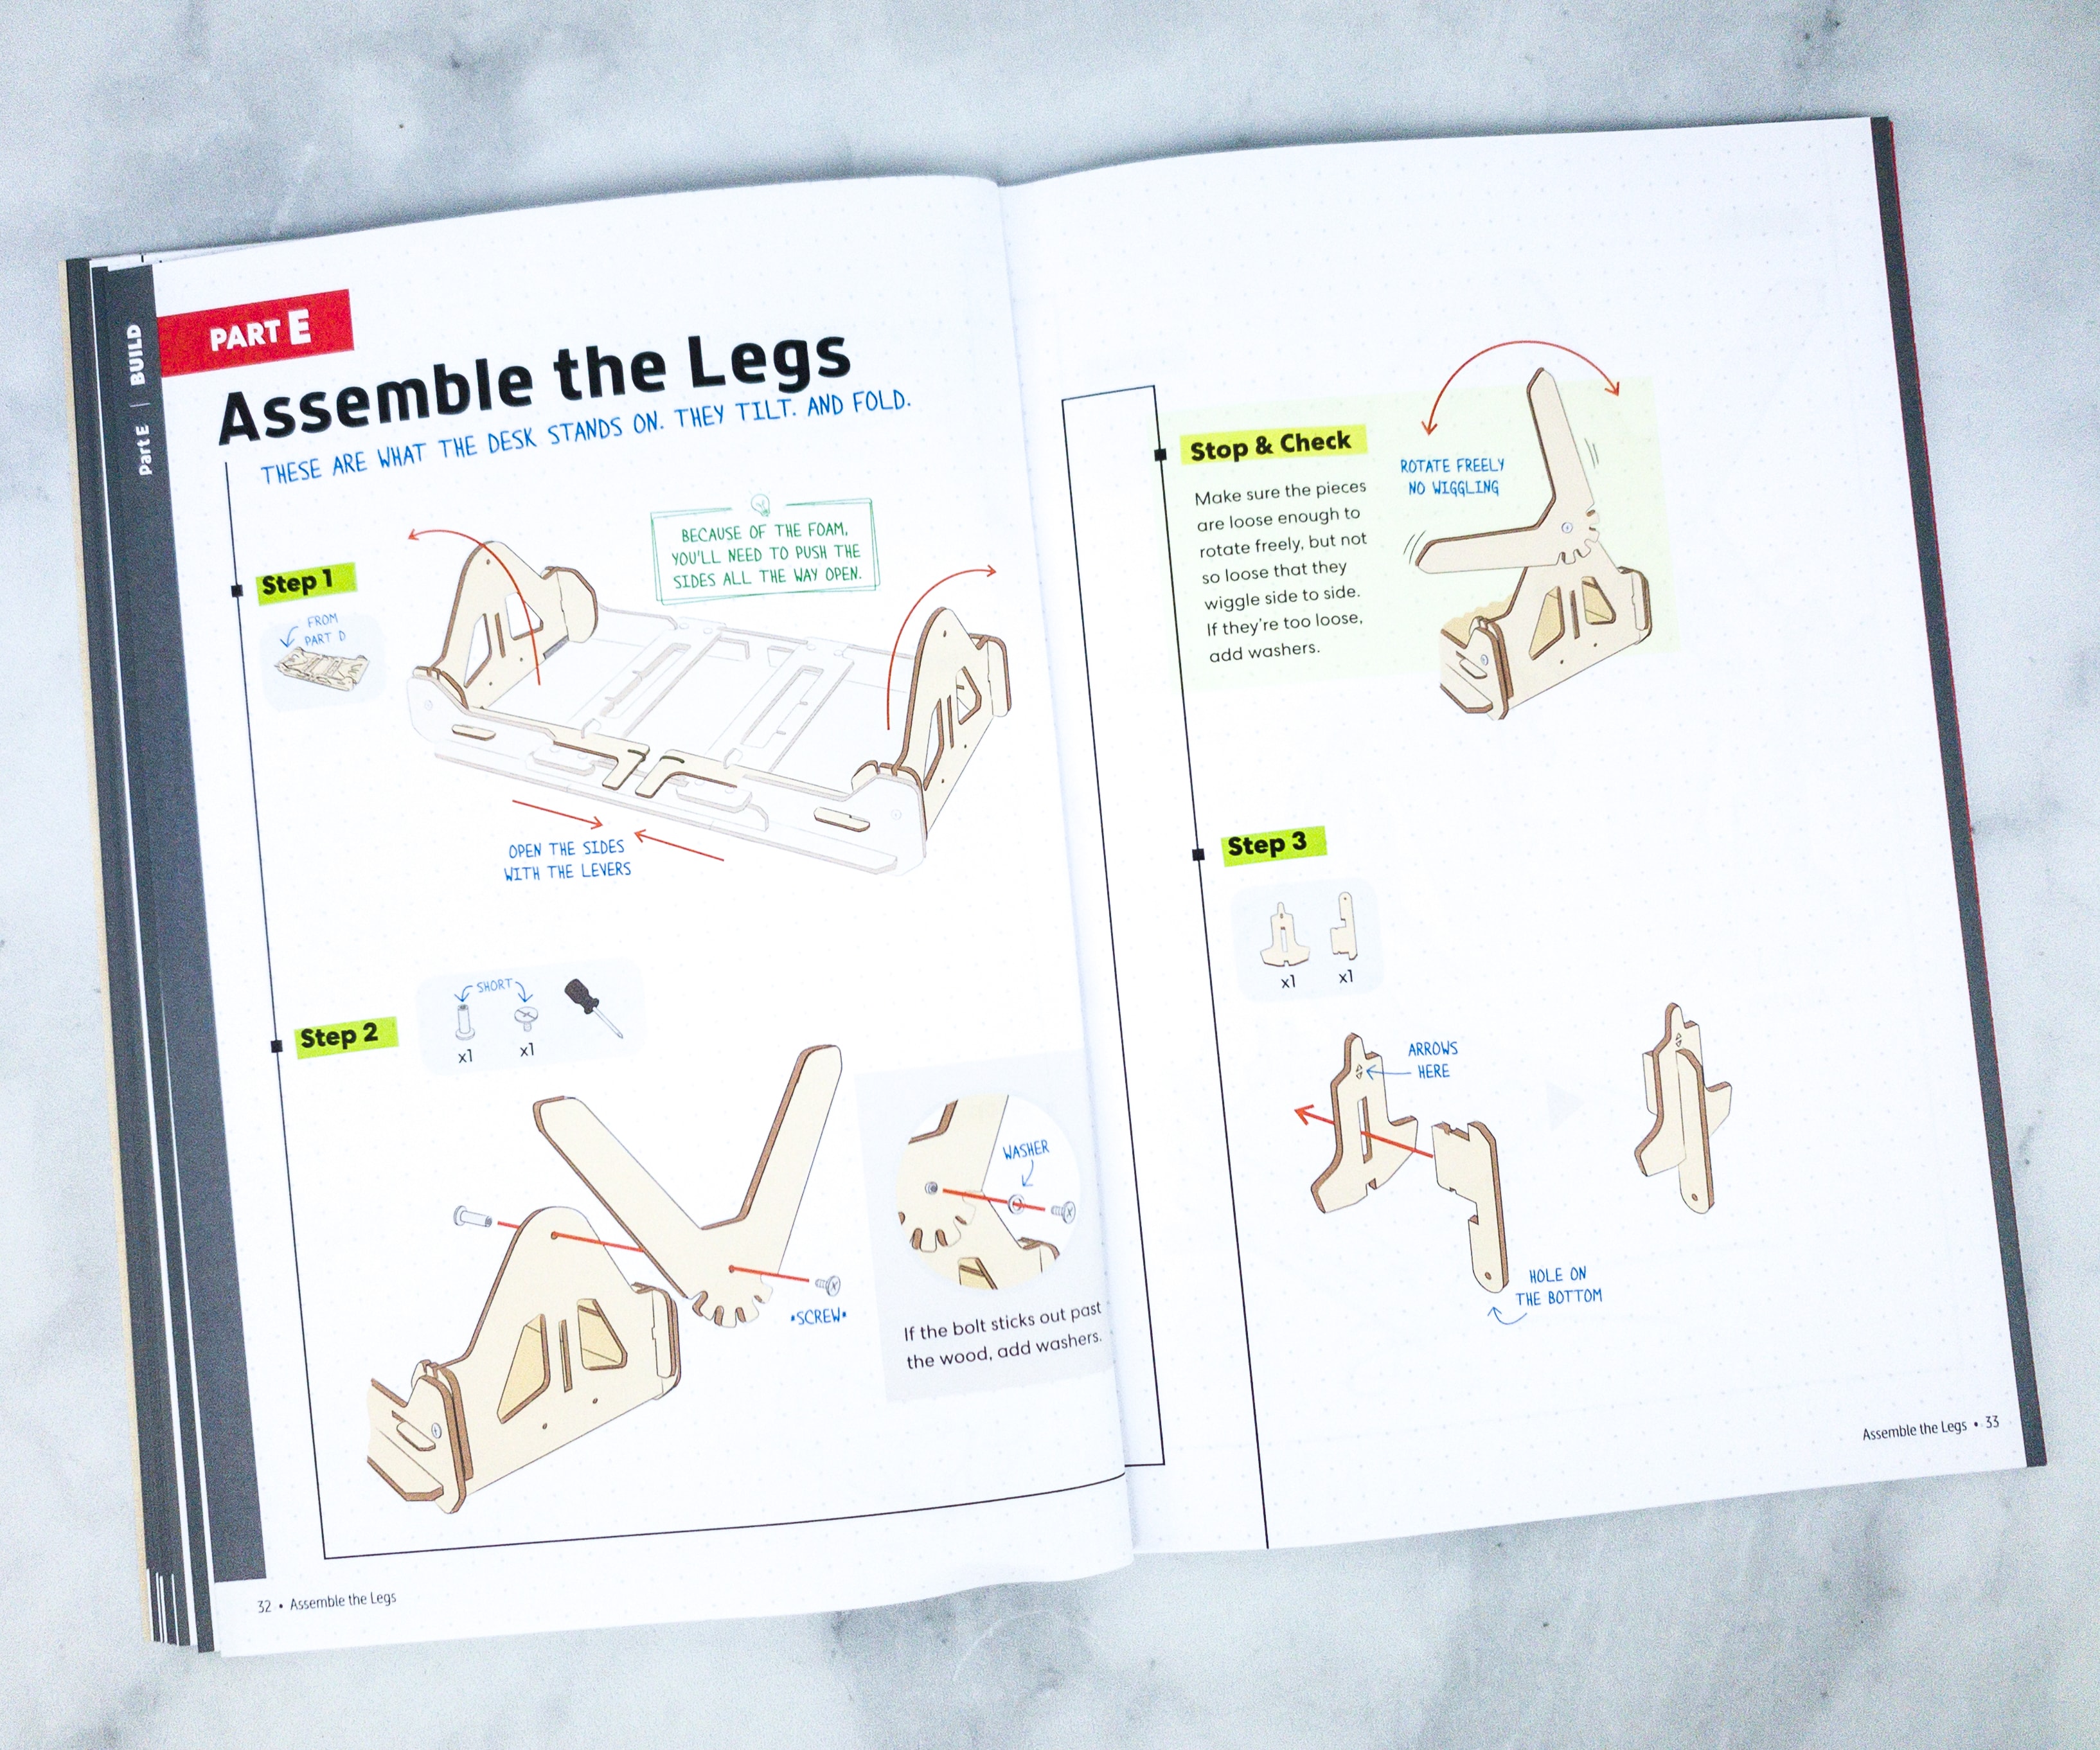
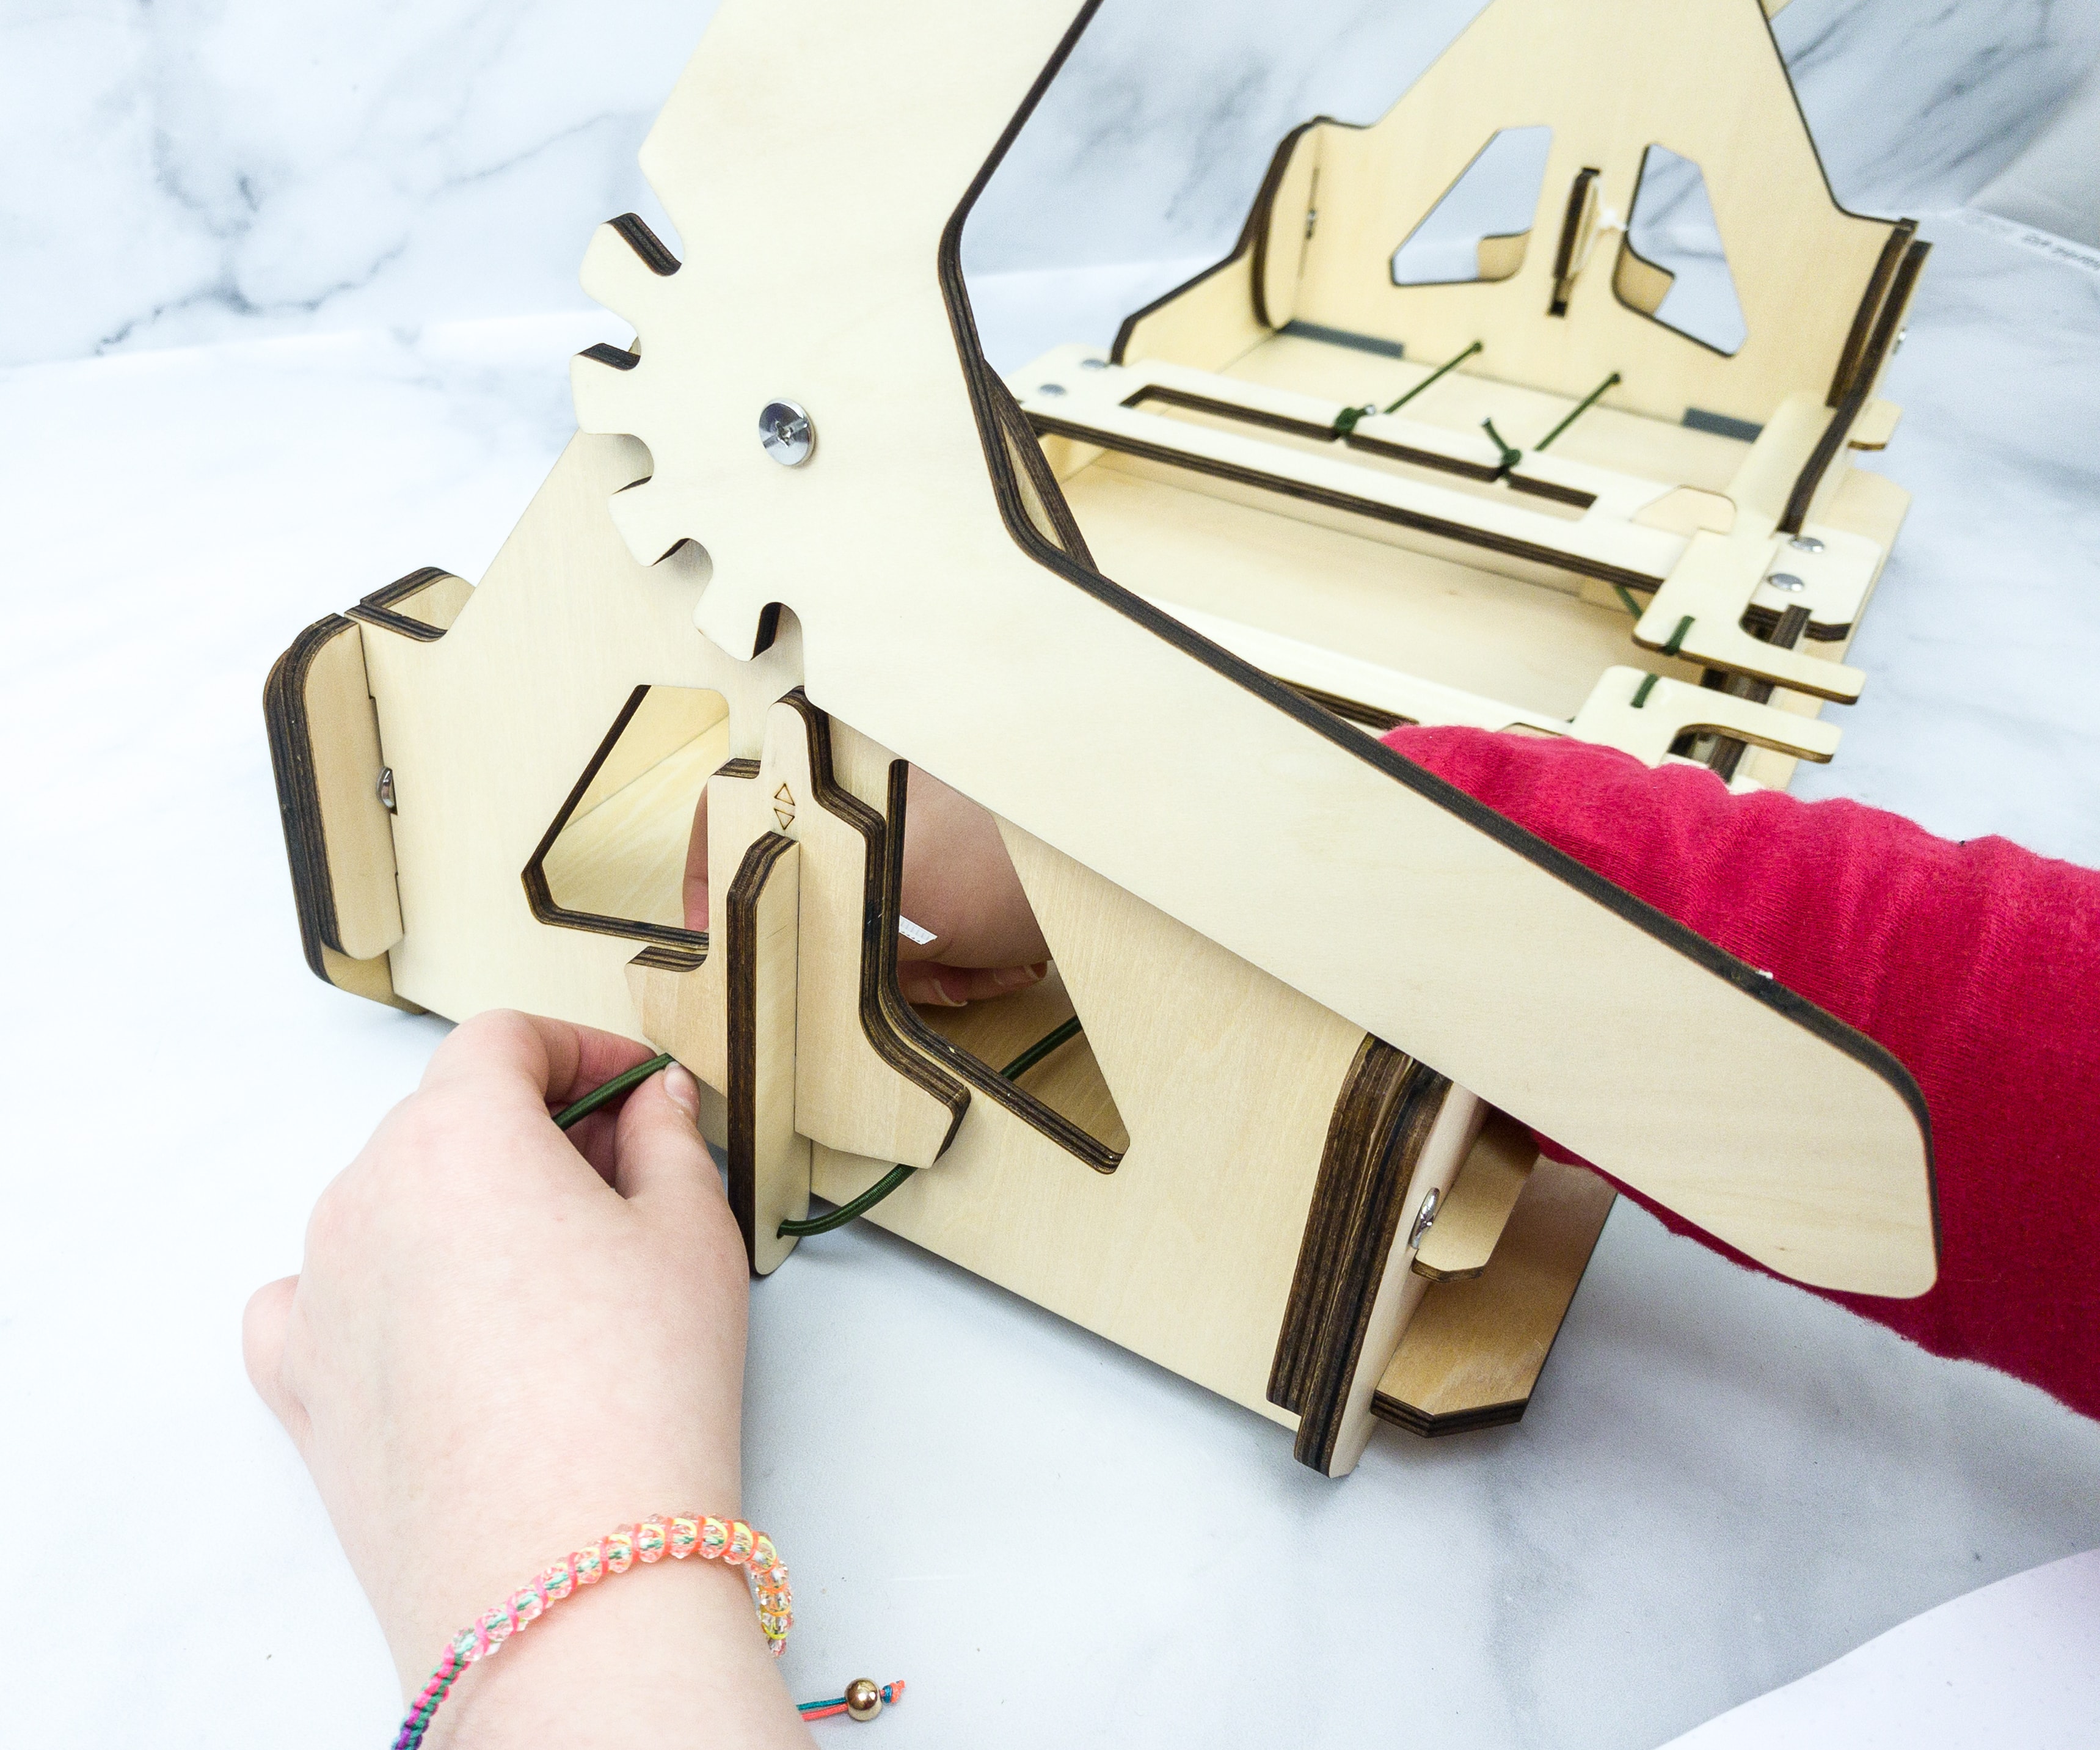
Part E will be assembling the legs, and these parts are the ones that will tilt, and fold!
Here’s how the table’s backside looks like as we started to attach the legs on it.
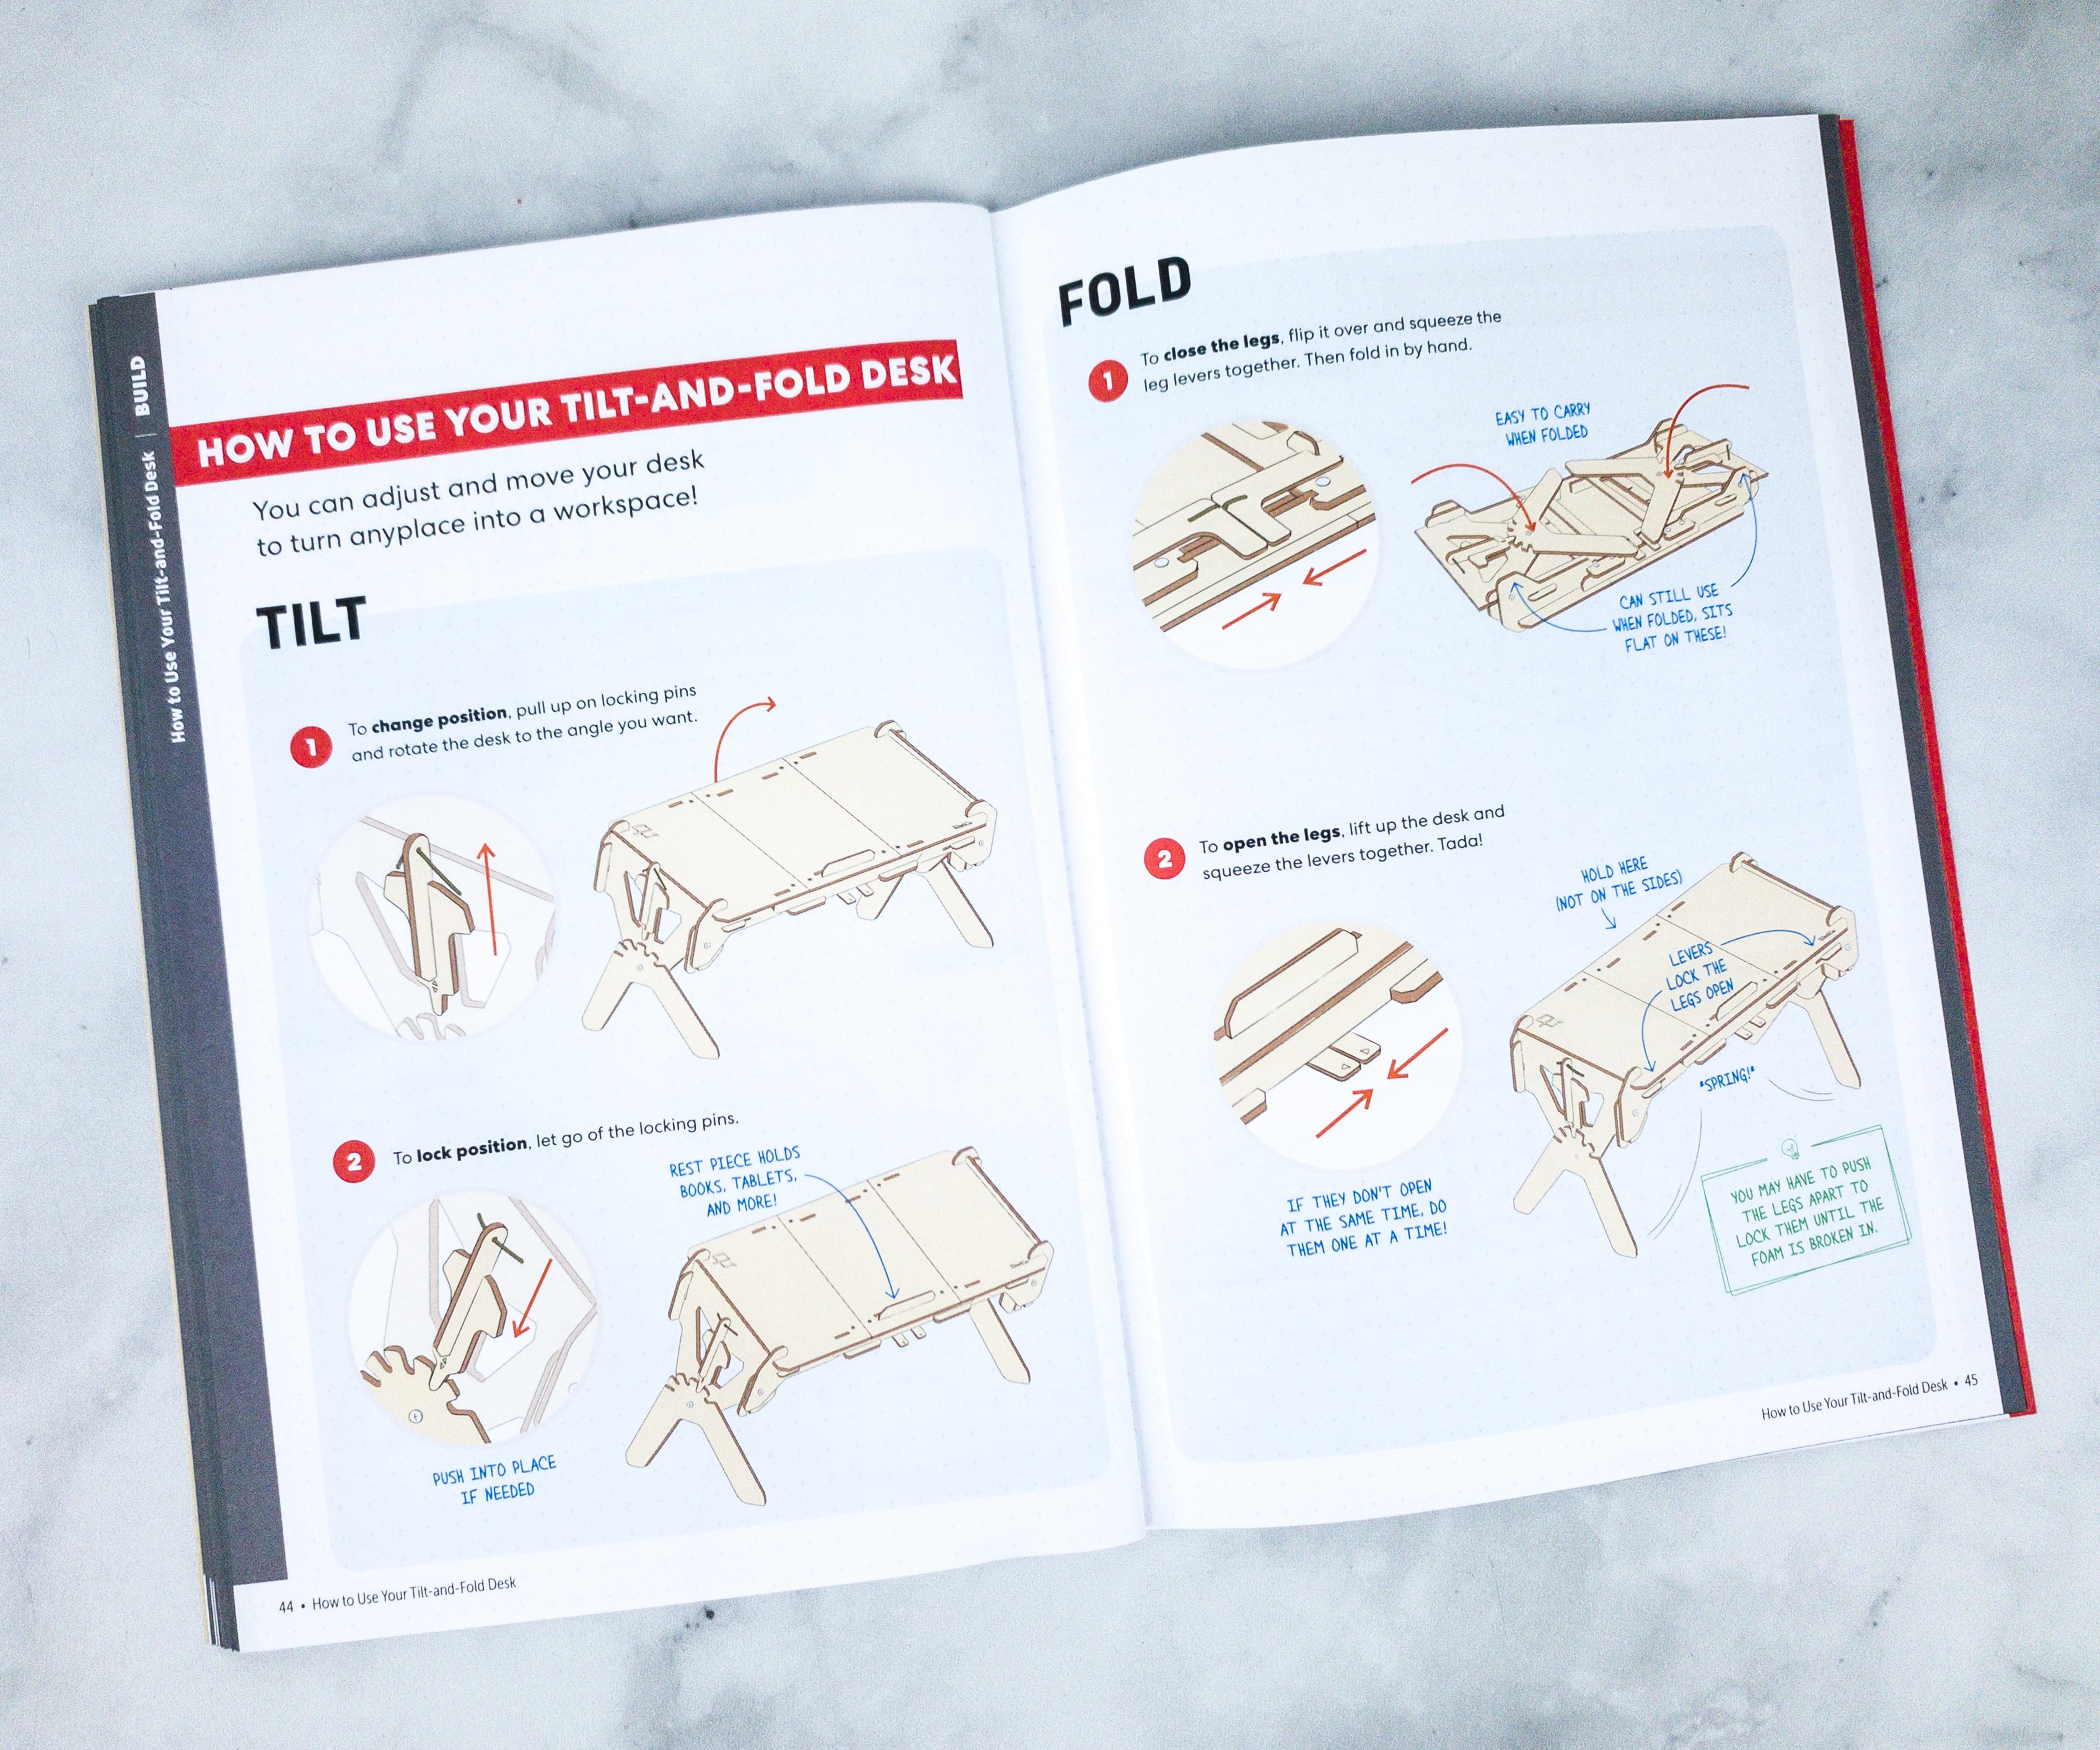
The booklet also contains instructions on how you can tilt and fold the desk. You can adjust and move your desk where you can turn any place into a workspace.
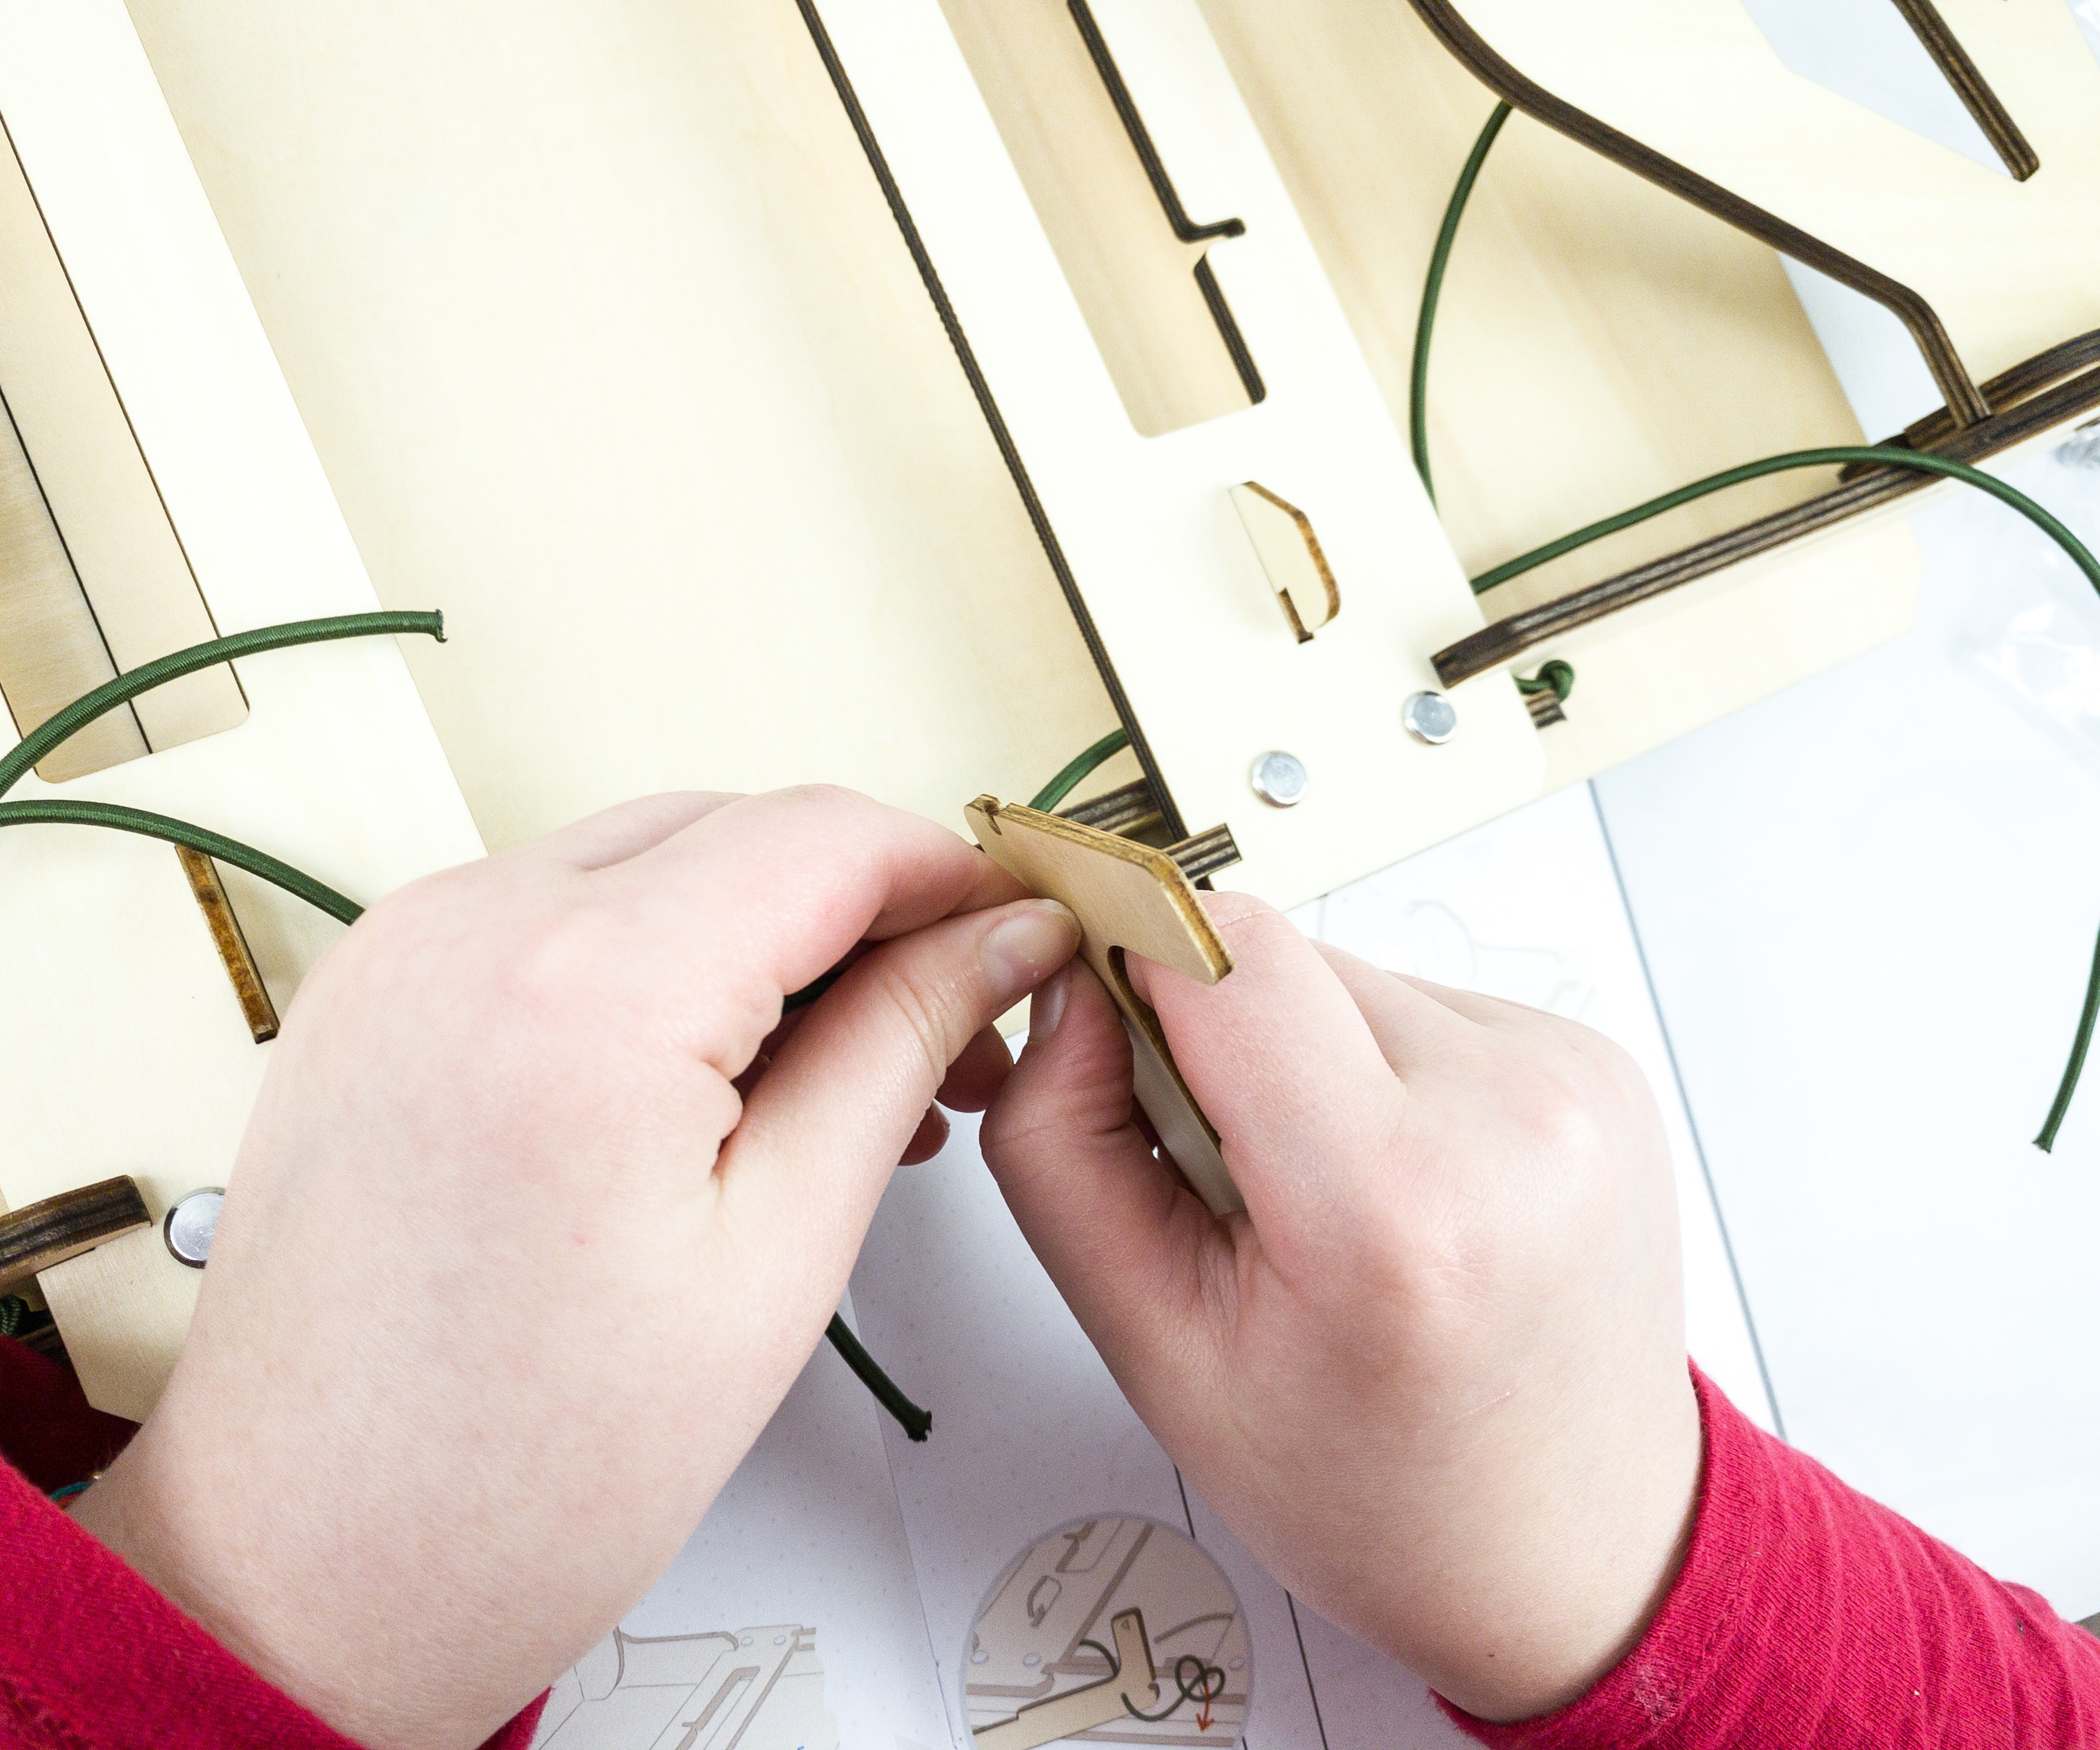
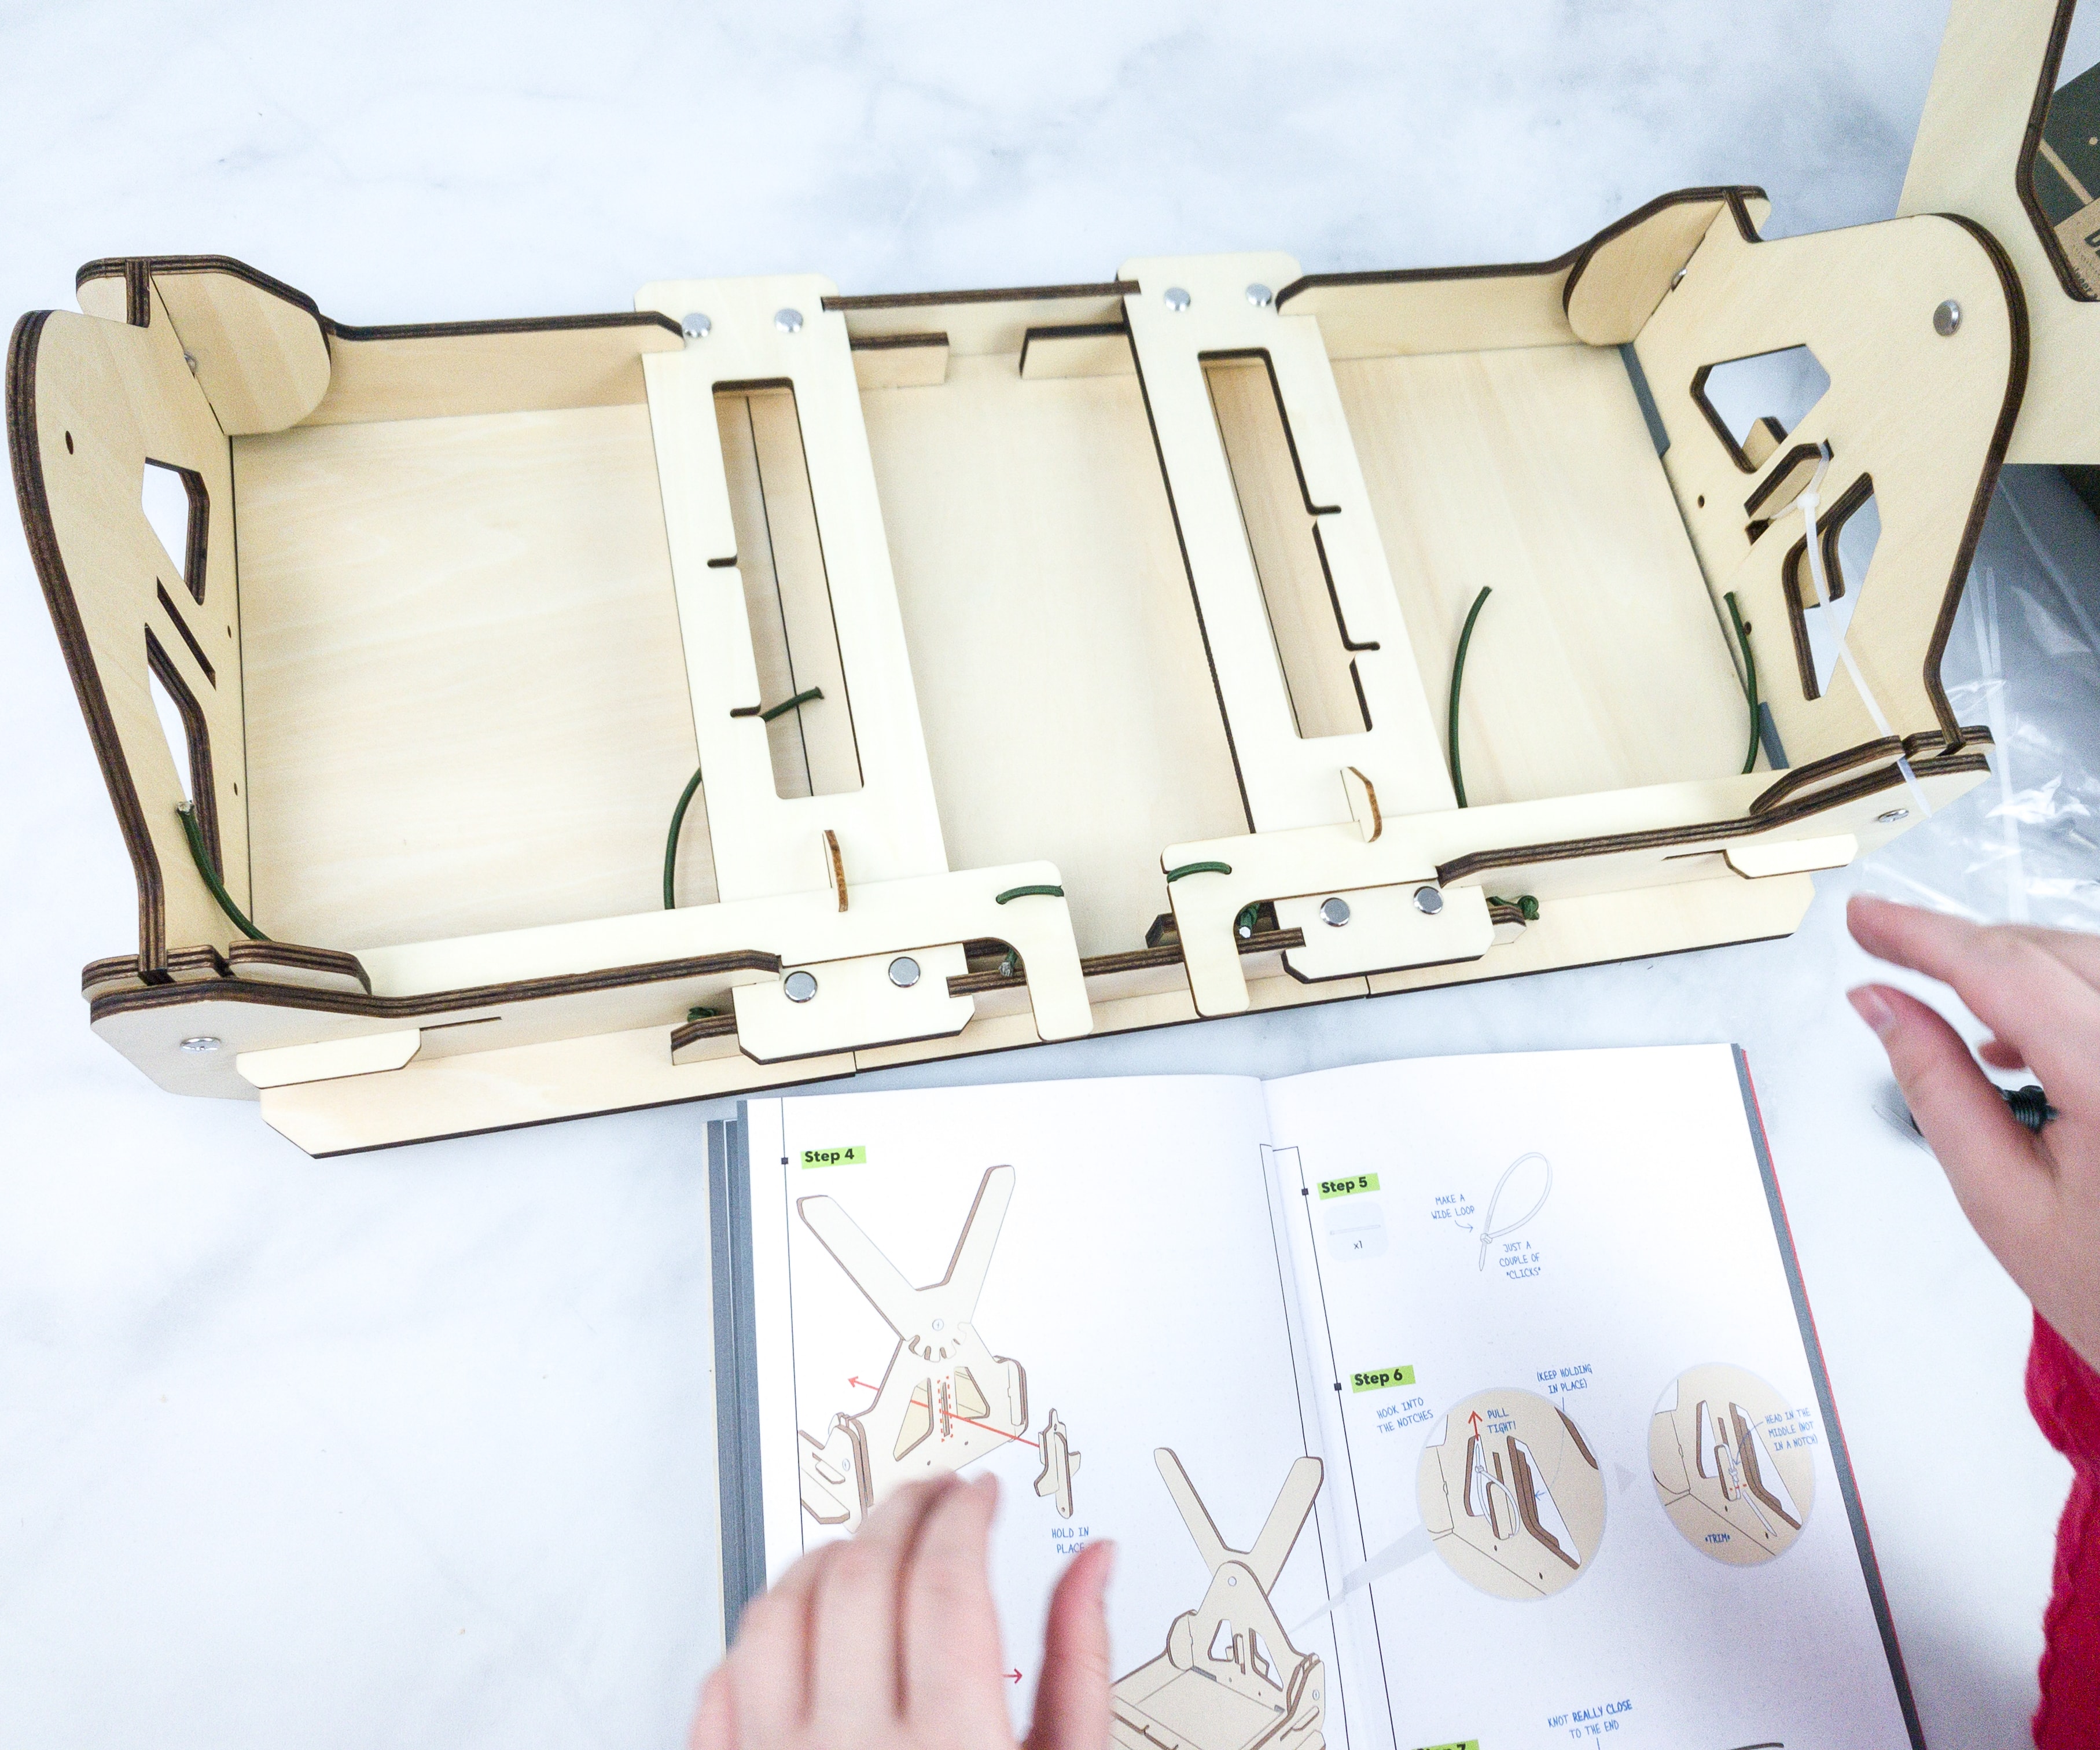
The bungee strings are used to hold some of the desk’s parts together.
There’s another part on the desk’s leg that makes use of the stretchy bungee strings. Just make sure that the knot is tight and it will secure and hold the parts together, while it also allows you to adjust it easily.

It’s unavoidable to encounter some difficulties and problems, so the booklet also included troubleshooting if ever you encounter some of them, like leg levers blocking each other, or the pieces not fitting while you’re building it.
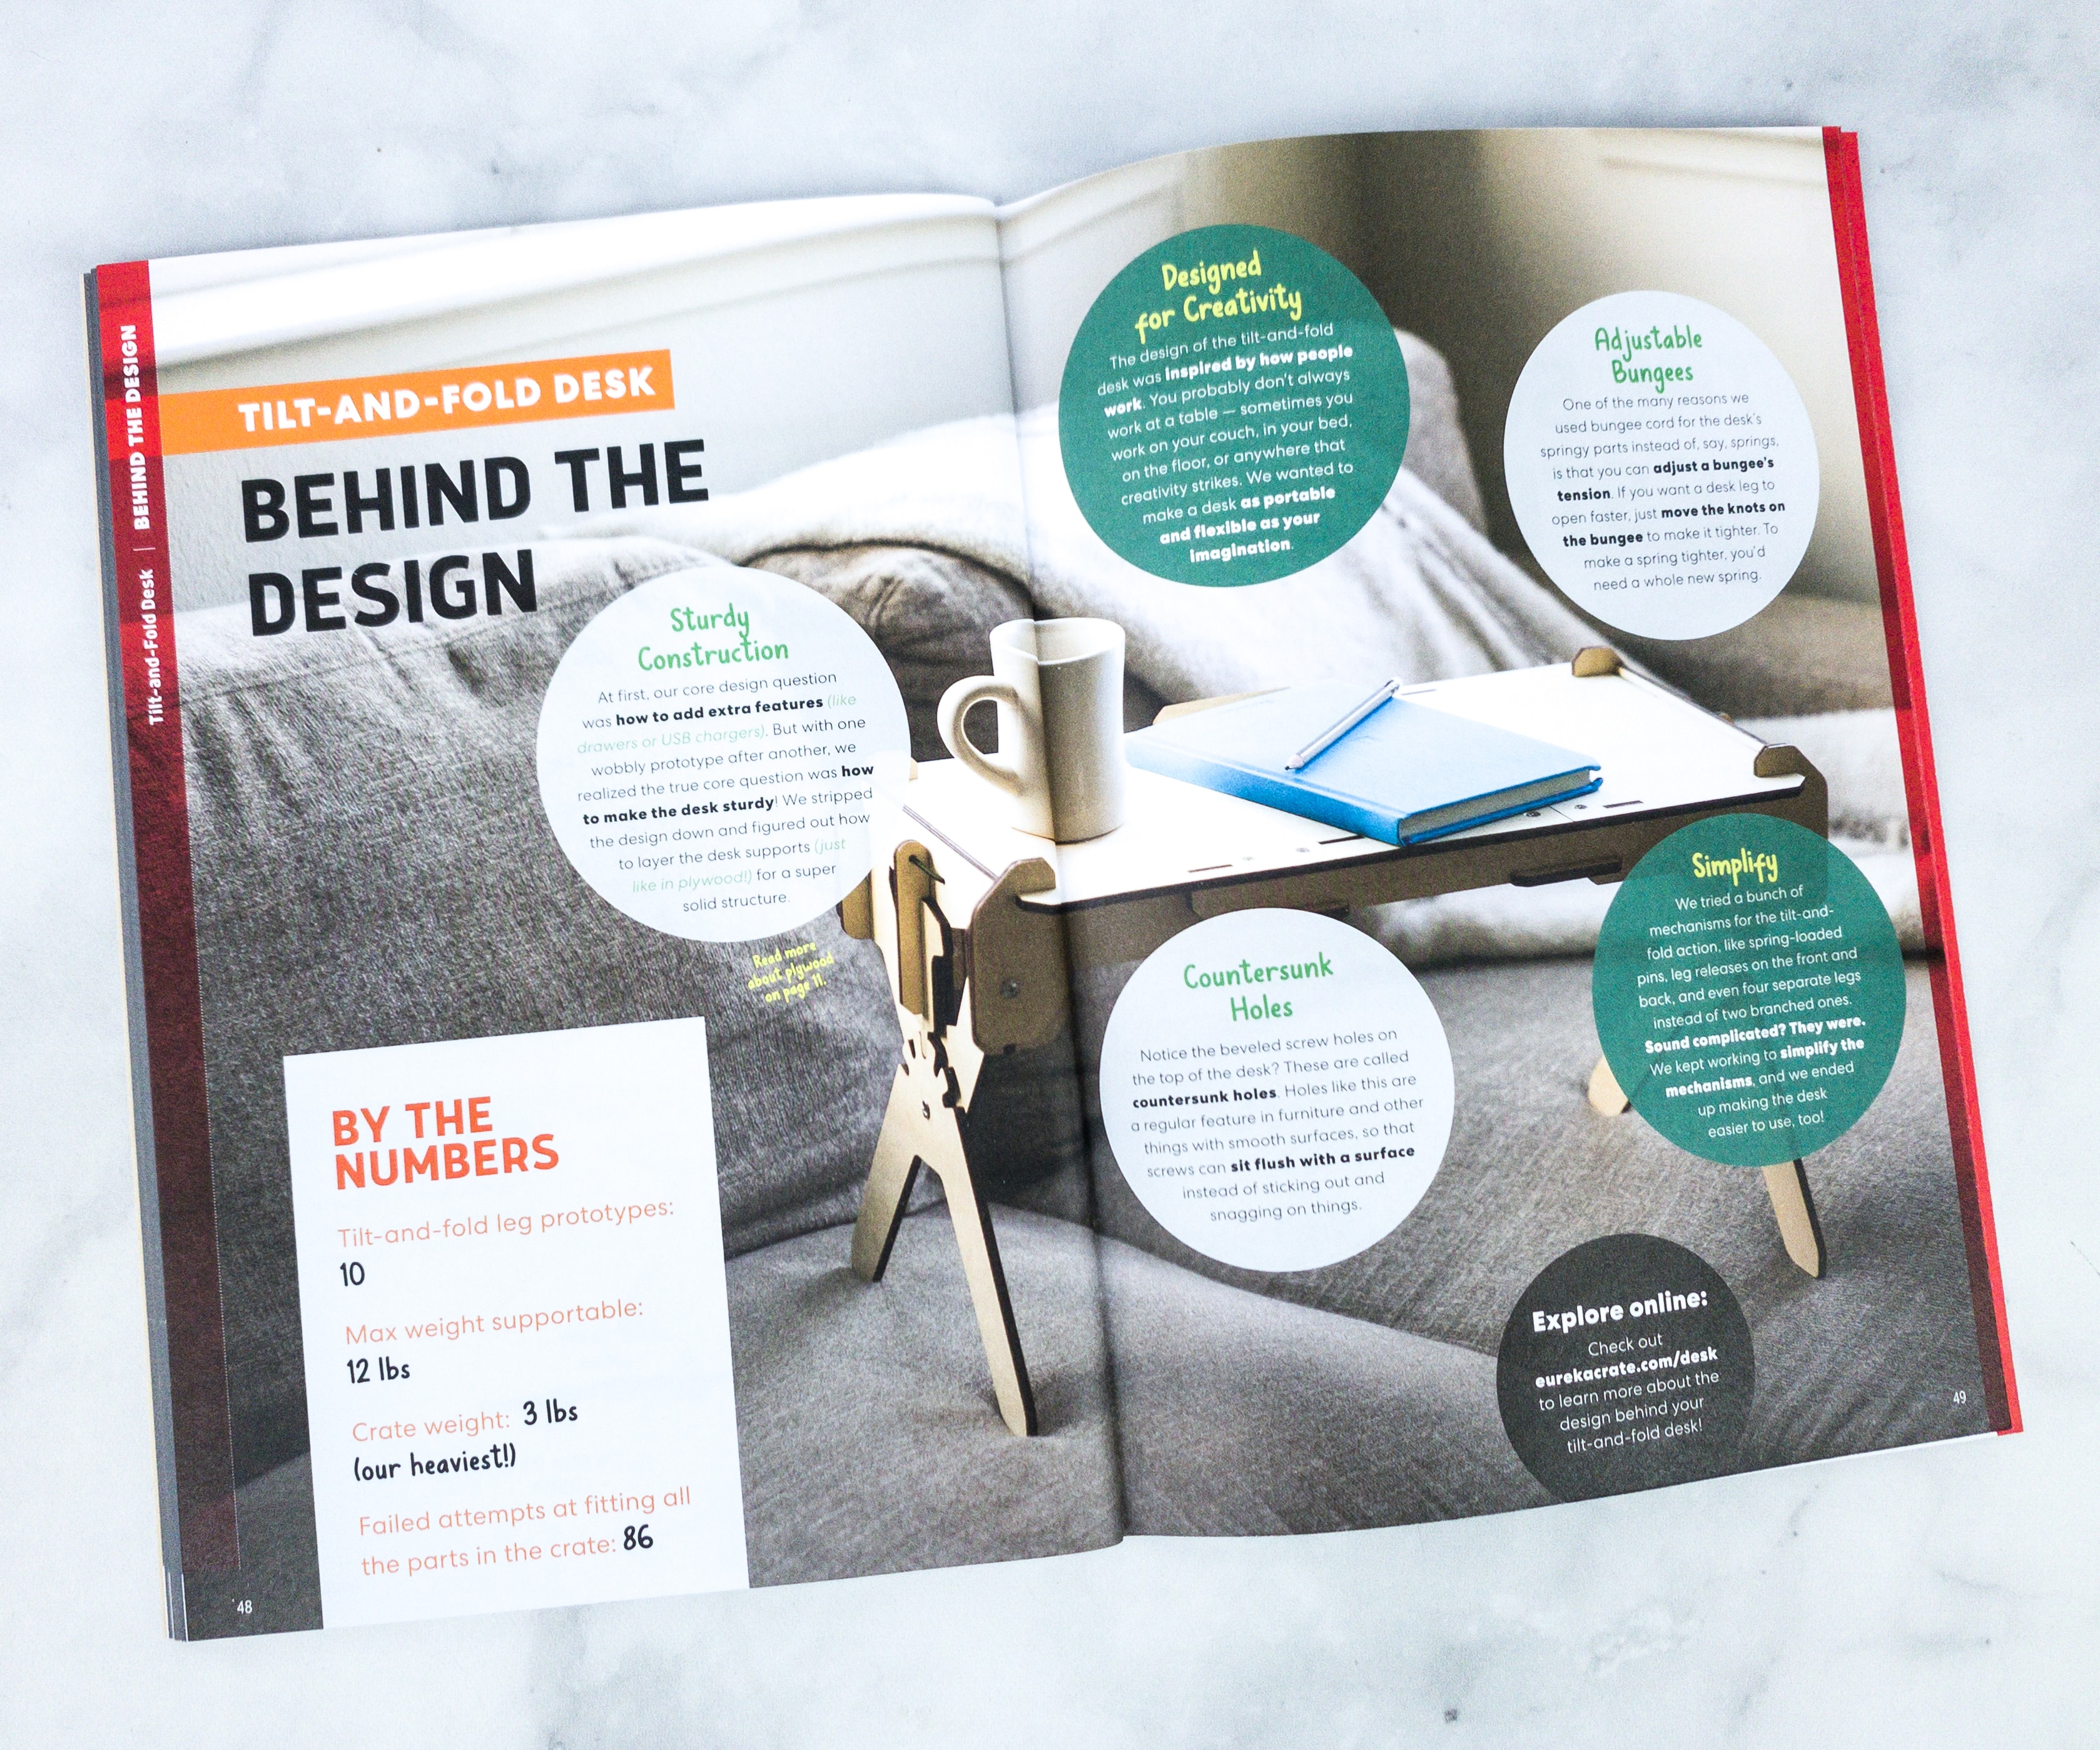
The booklet also provided us more information about this fun project, like the history behind the design.
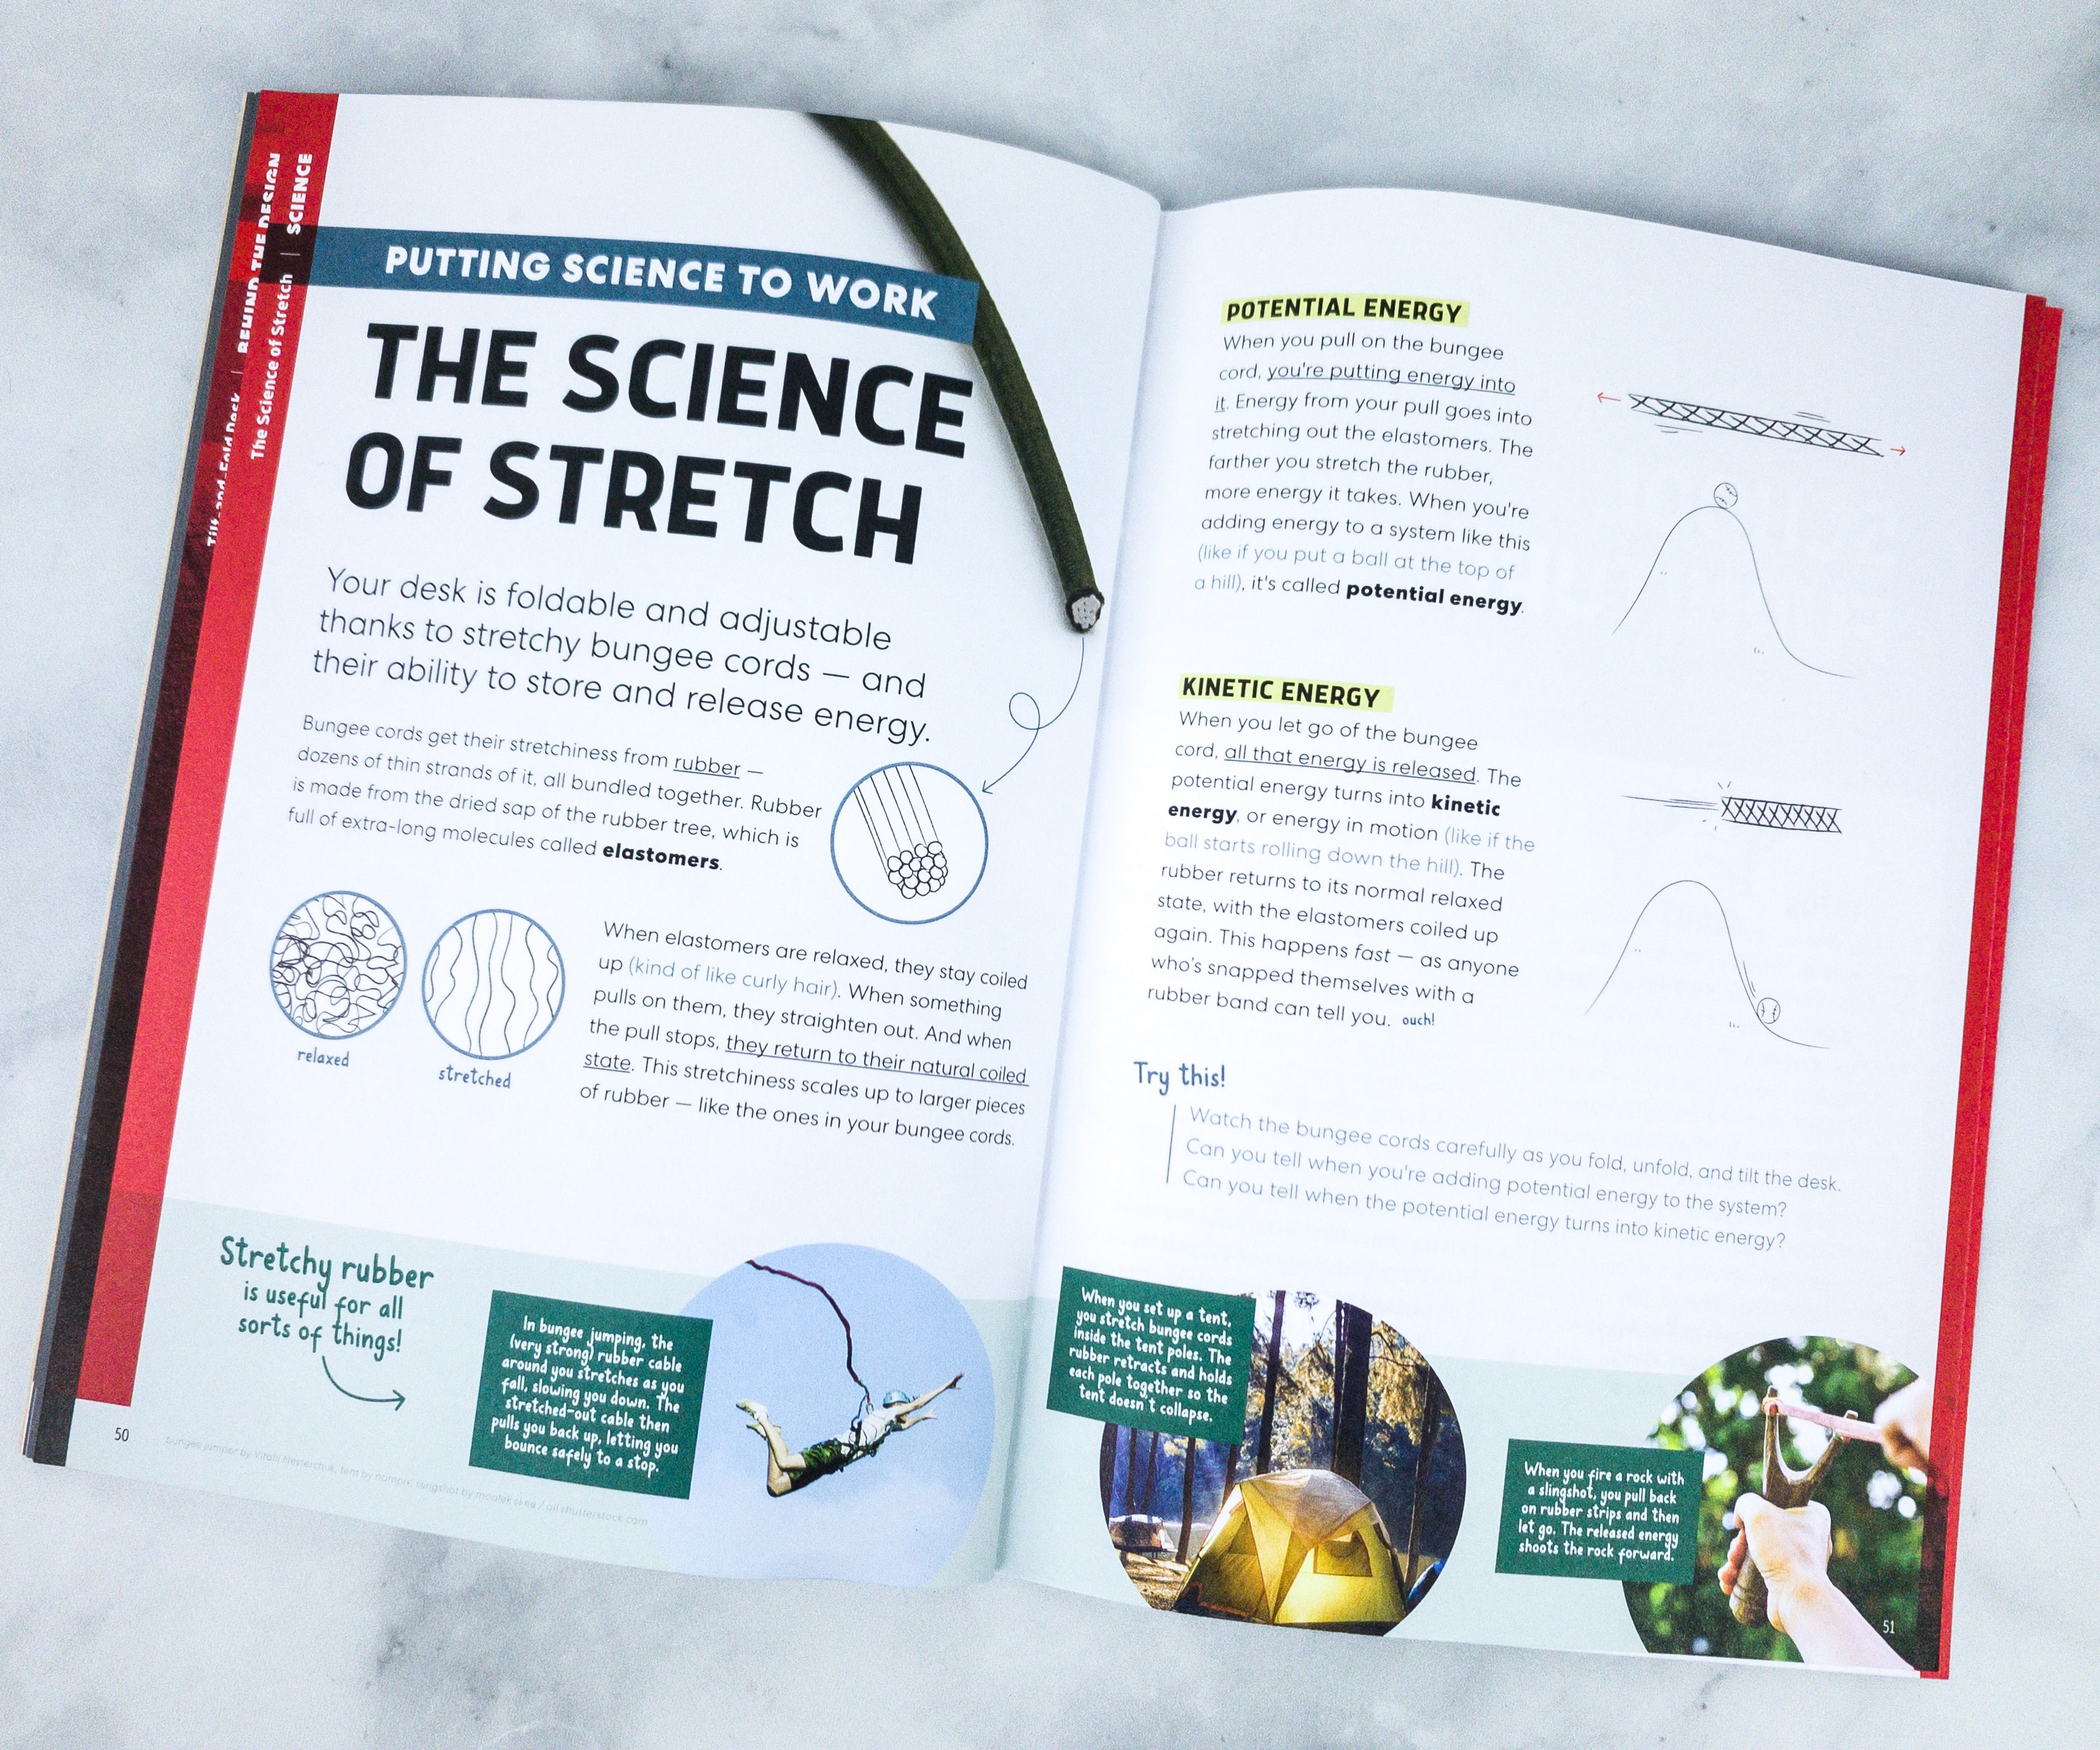
There’s a full article on how they put the science to work with The Science of Stretch.
Your desk is foldable and adjustable thanks to stretchy bungee cords — and their ability to store and release energy.
Bungee cords get their stretchiness from rubber — dozens of thin strands of it, all bundled together. Rubber is made from the dried sap of the rubber tree, which is full of extra-long molecules called elastomers.
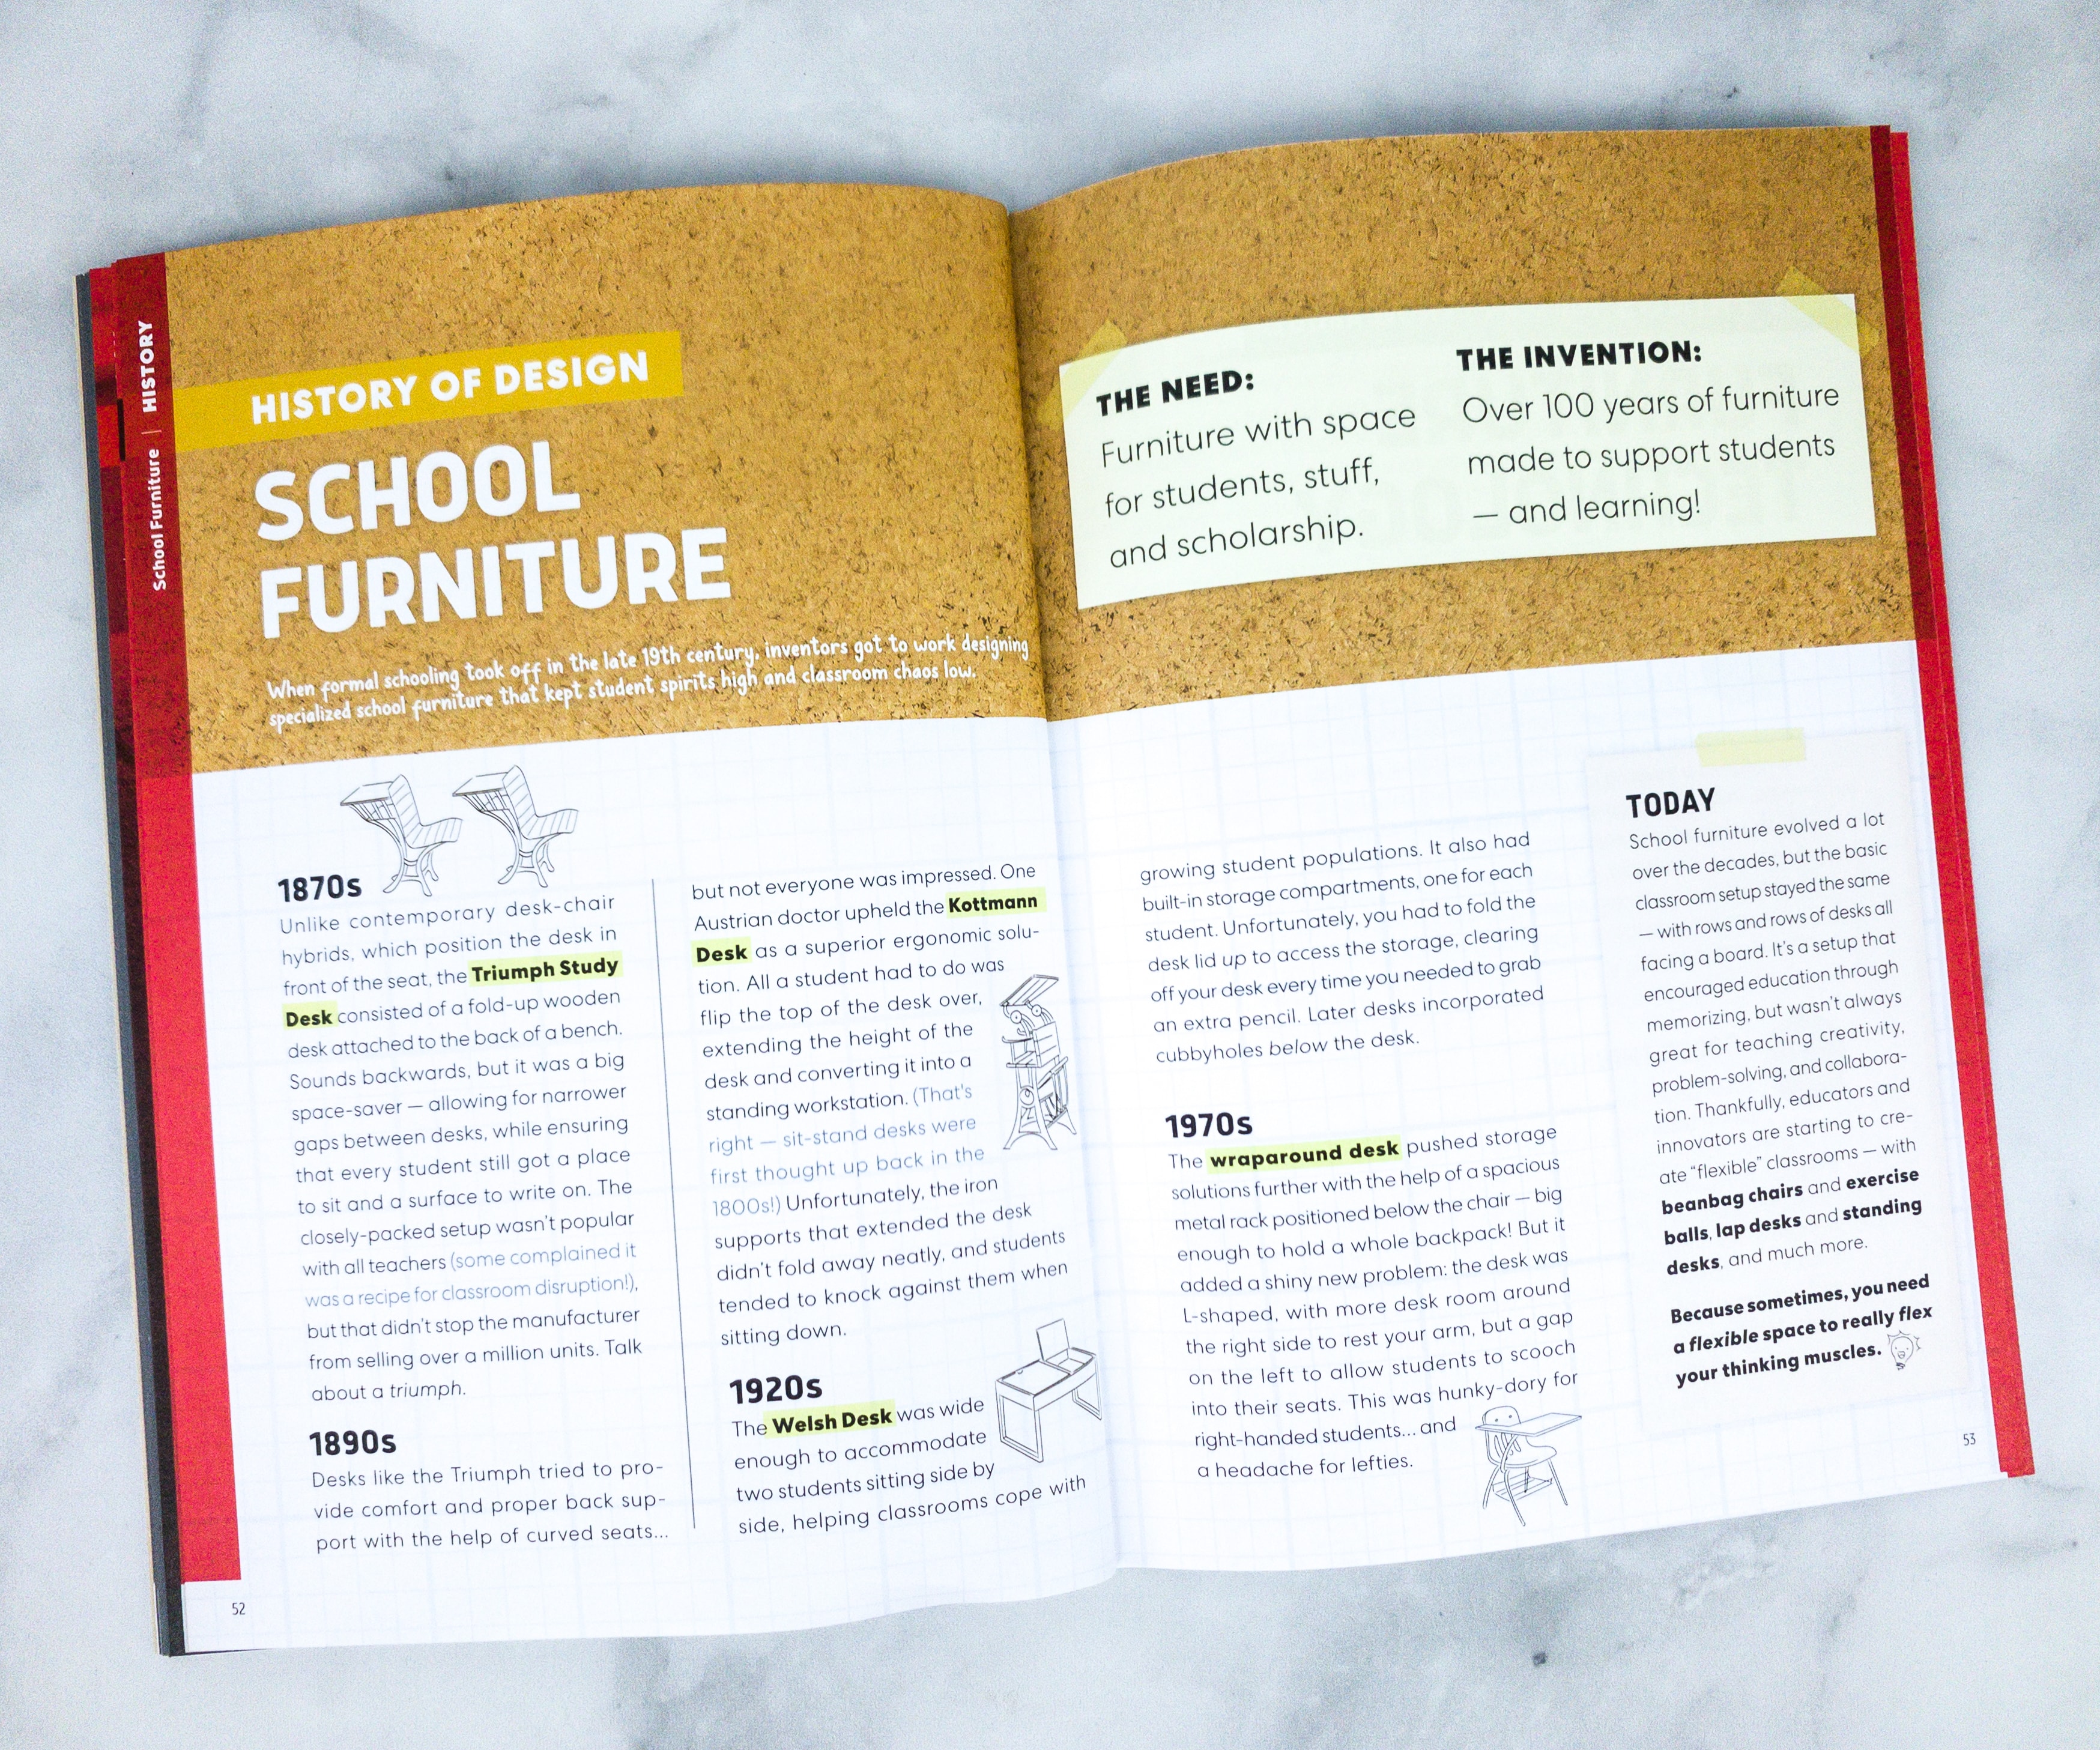
They also included in the booklet the history of School Furniture design!
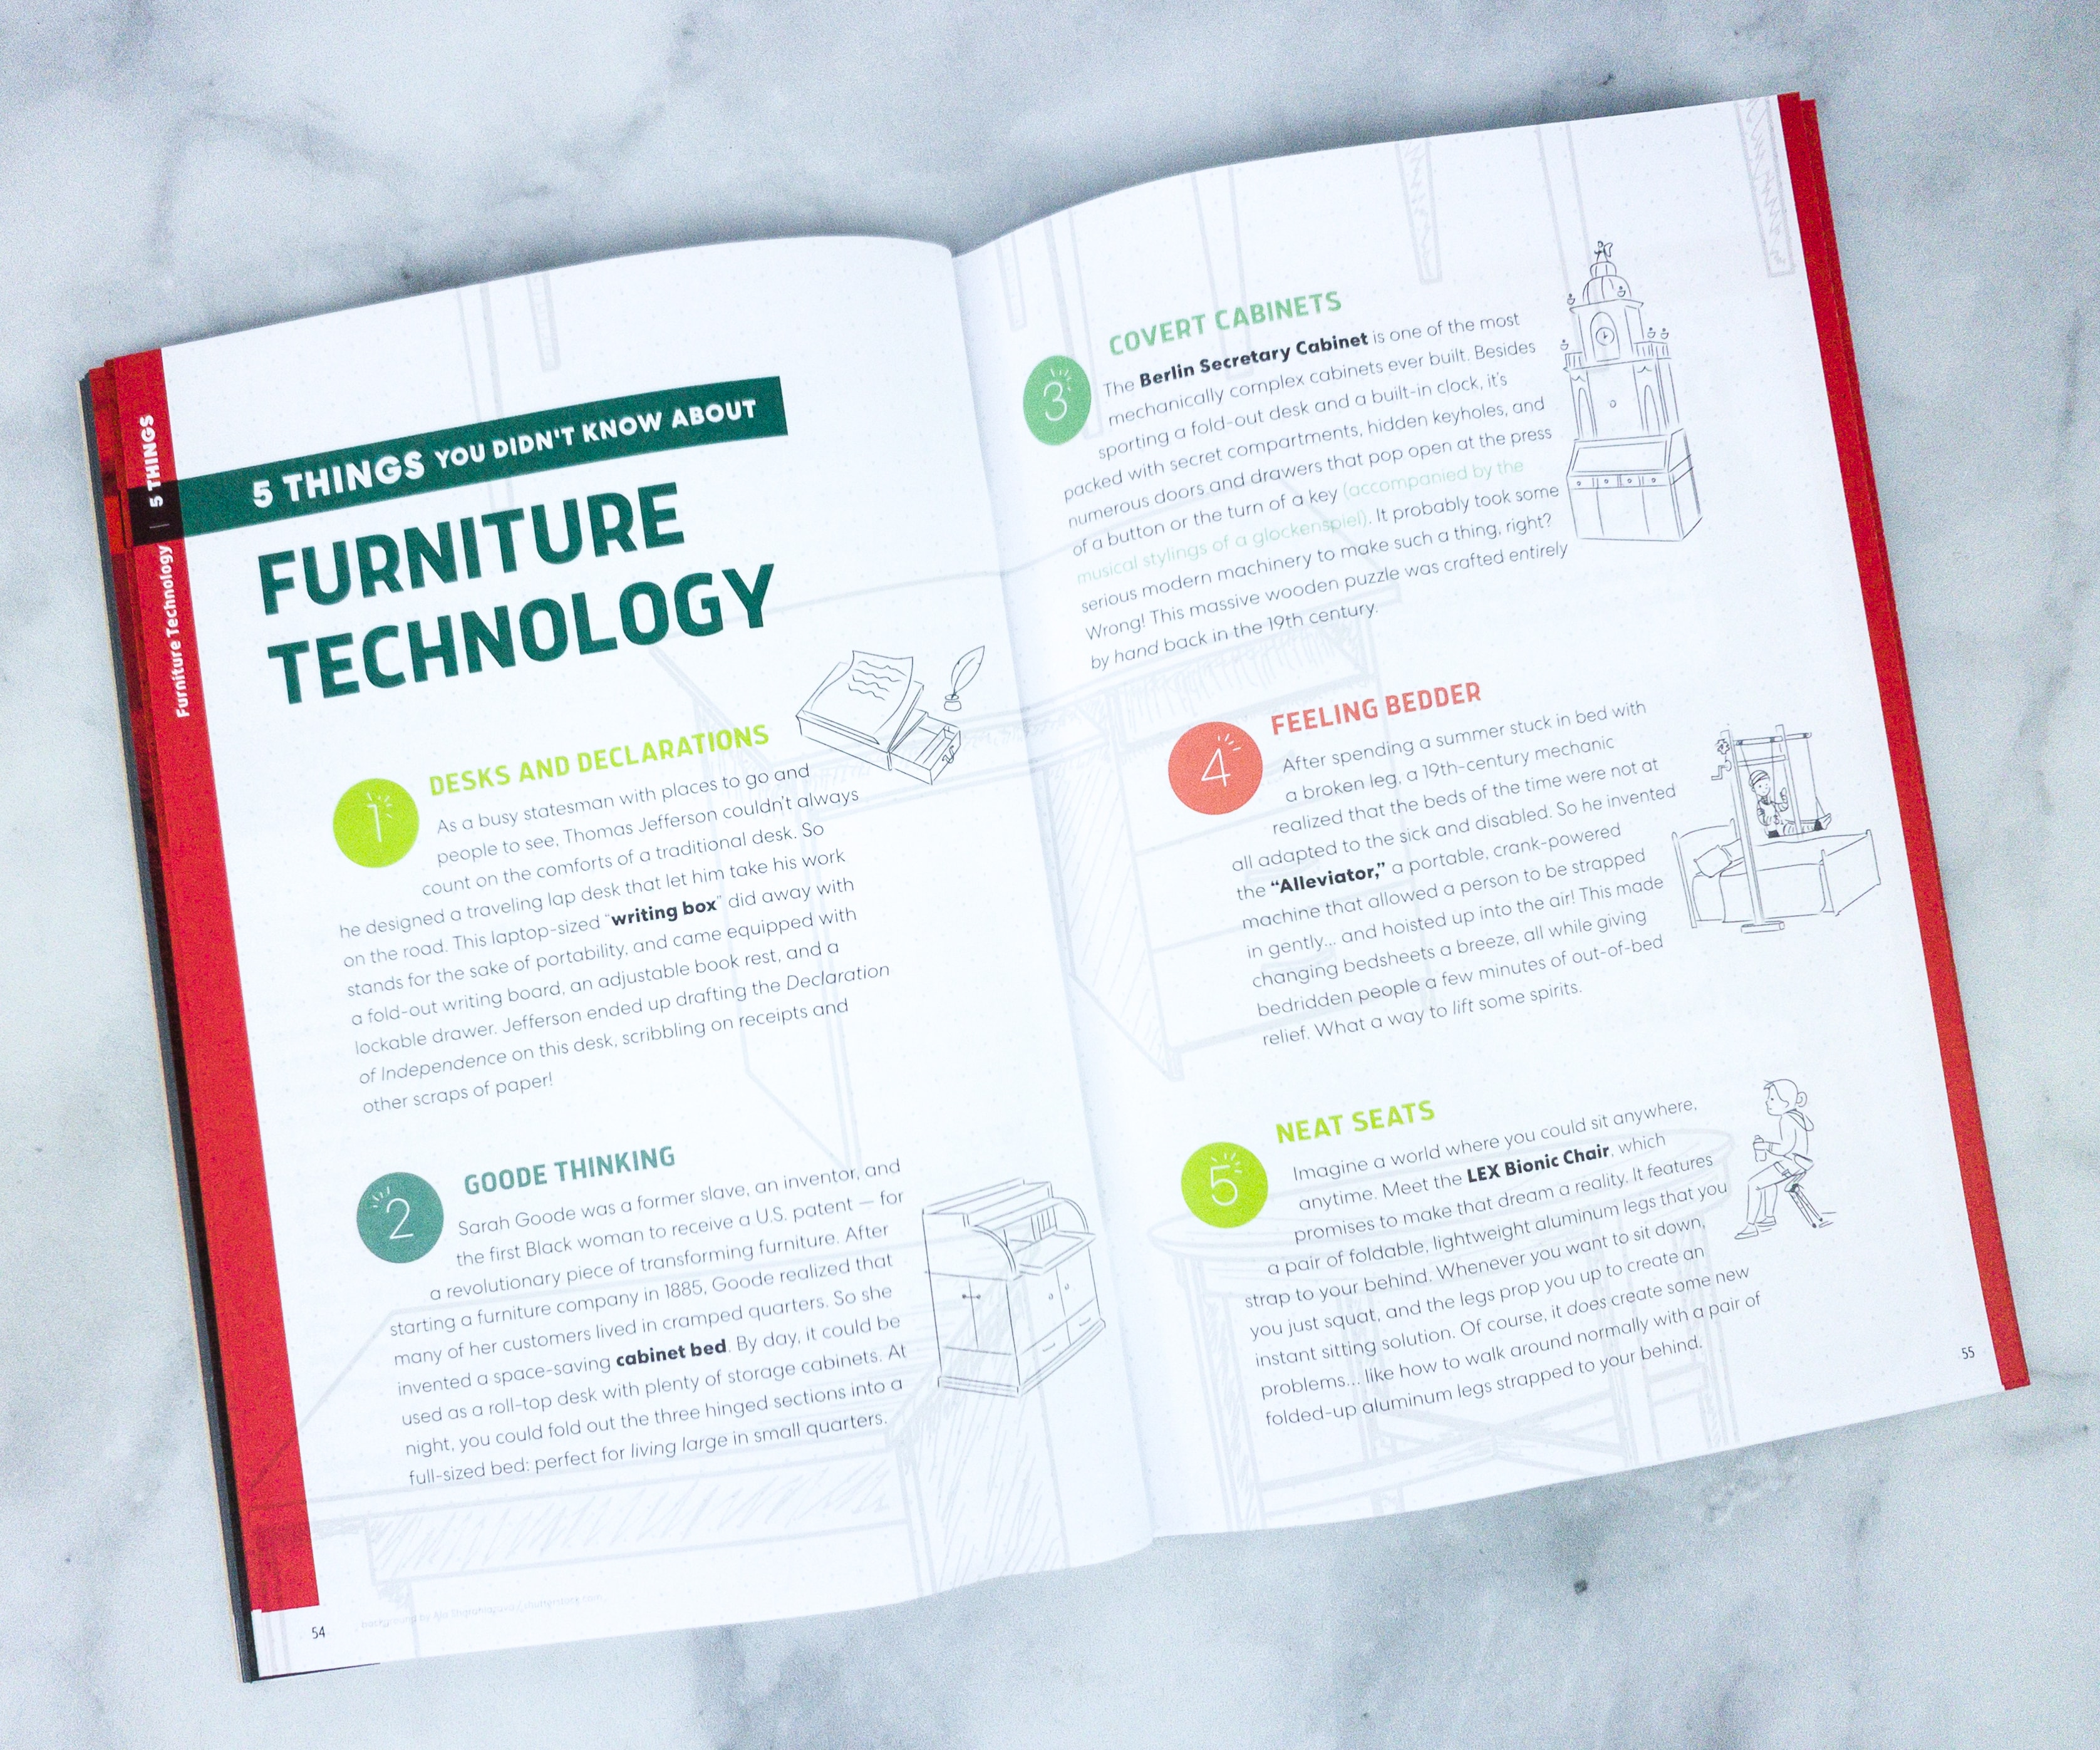
And also, there’s an article for Furniture Technology!
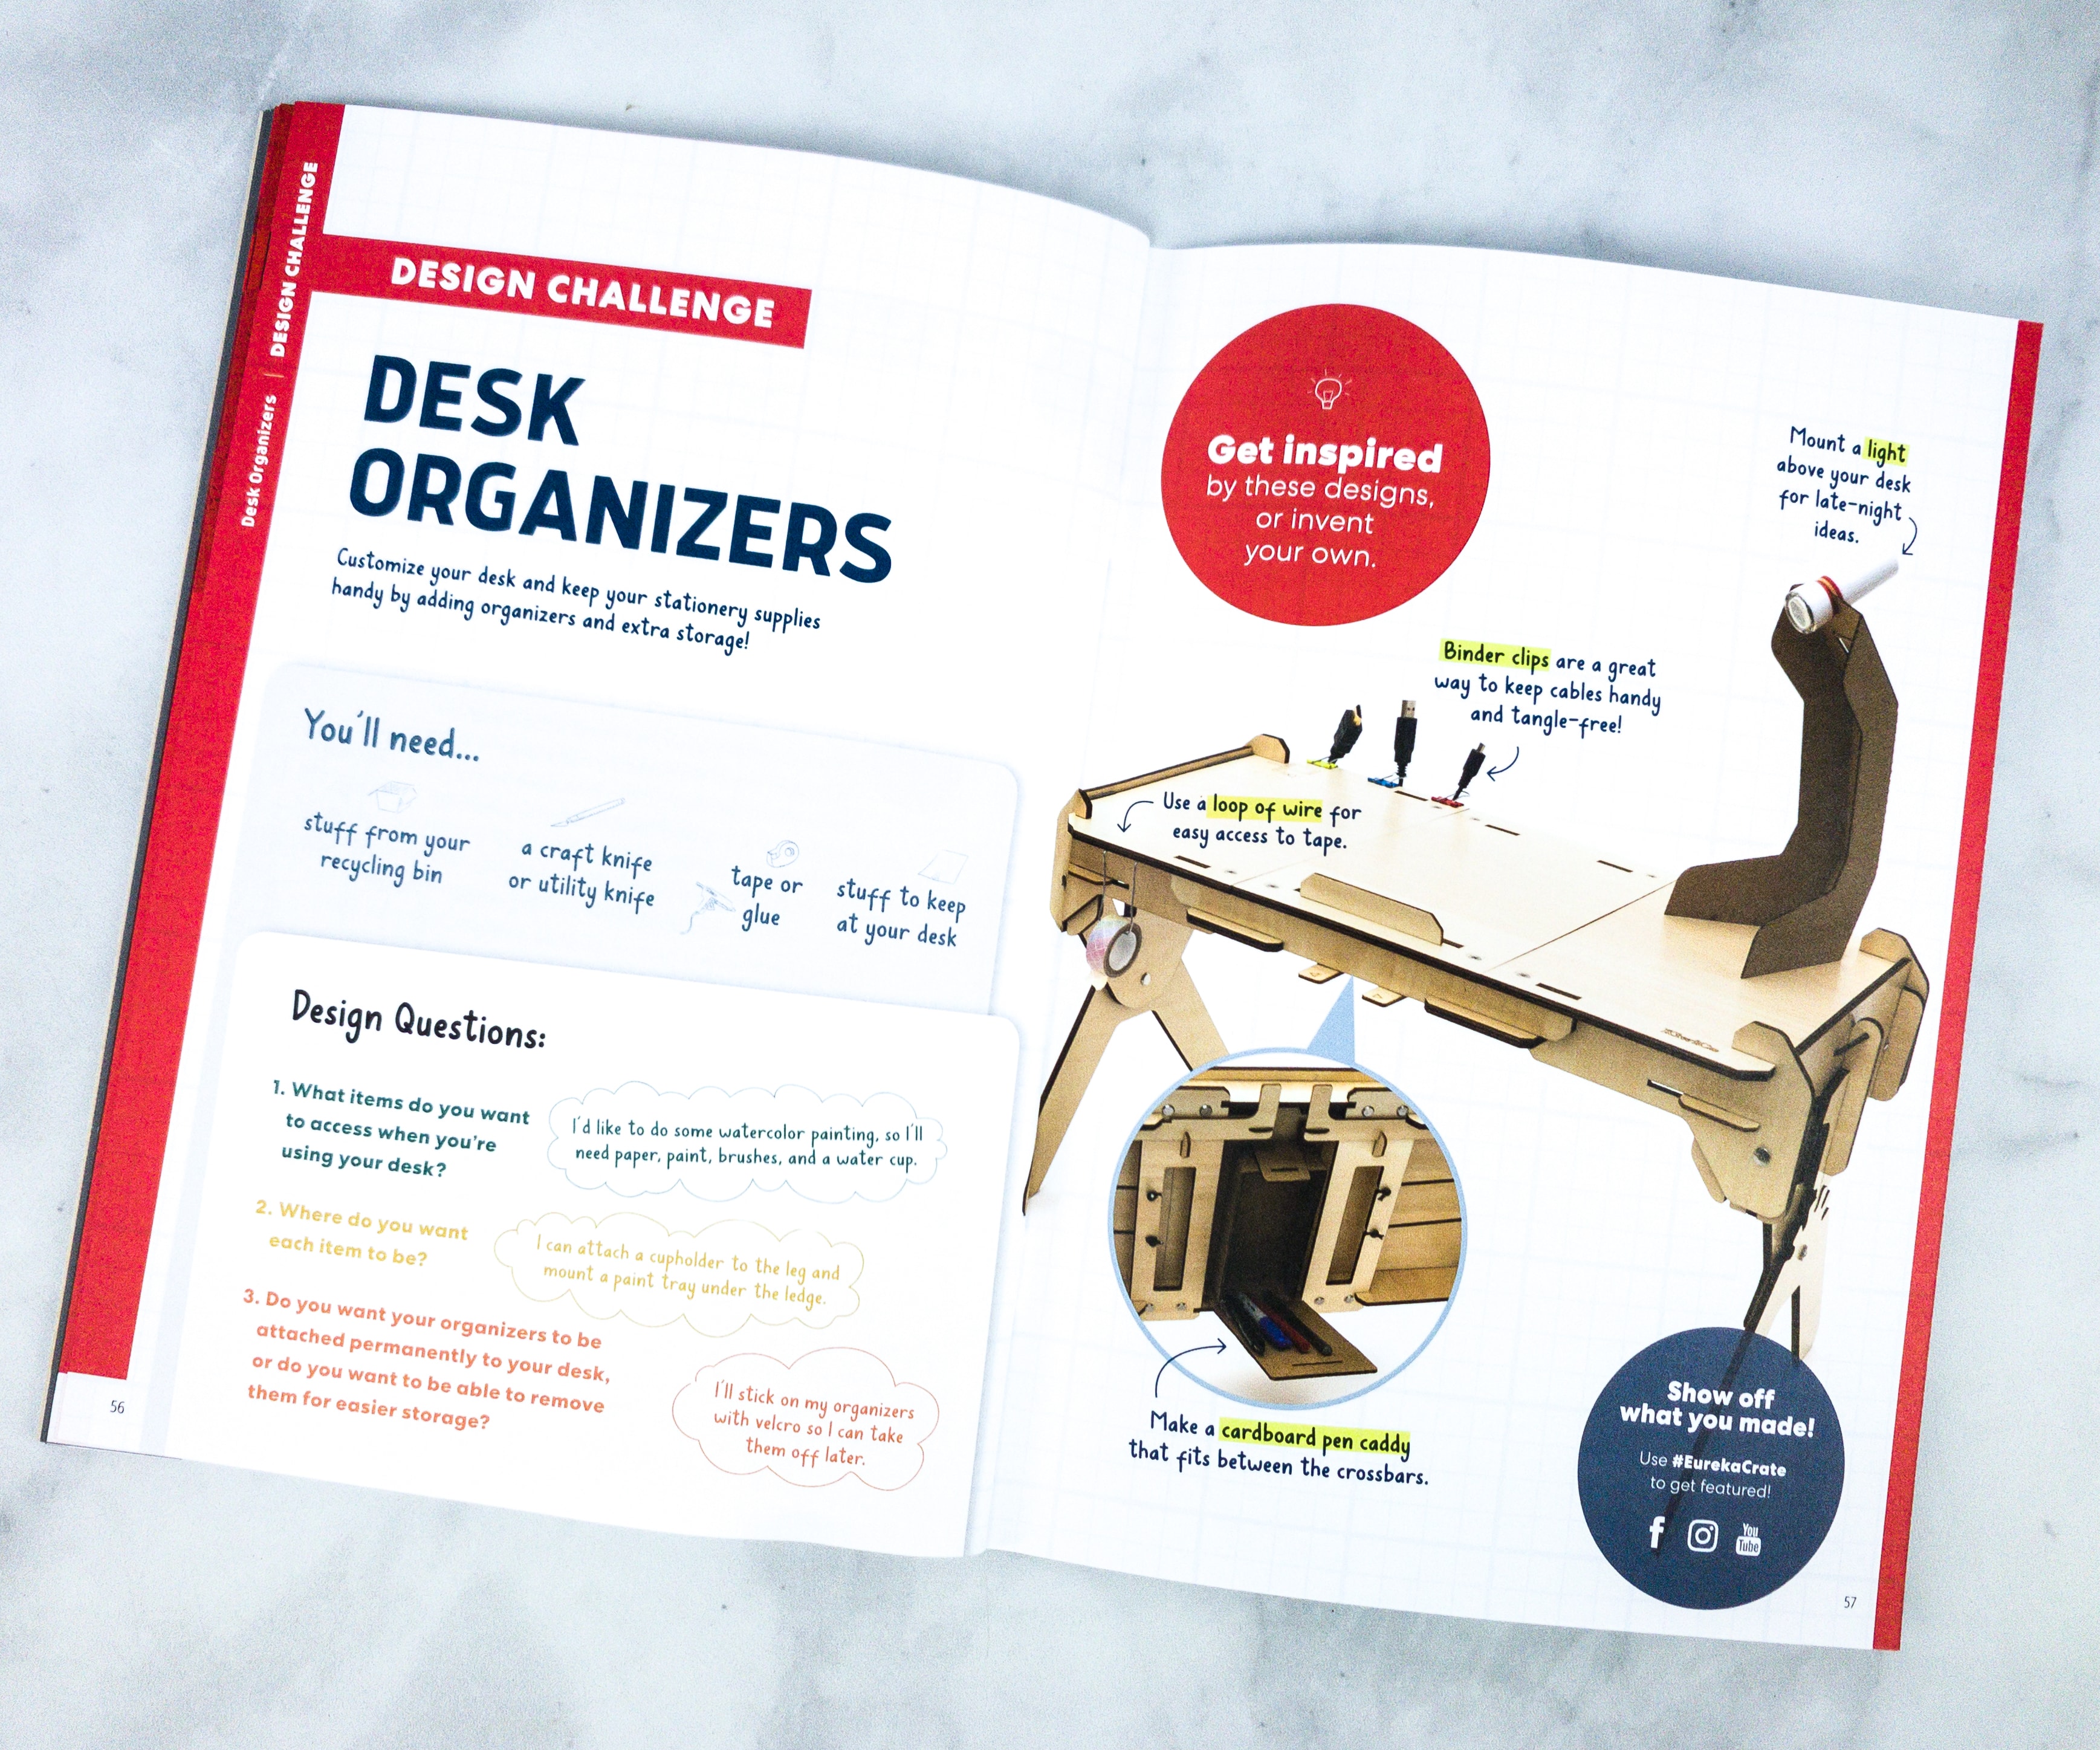
For the Design Challenge, they’re encouraging us to do some desk organizers. They also included some design inspirations. You can also show-off what you made and use the hashtag #EurekaCrate to get featured on their social media accounts.
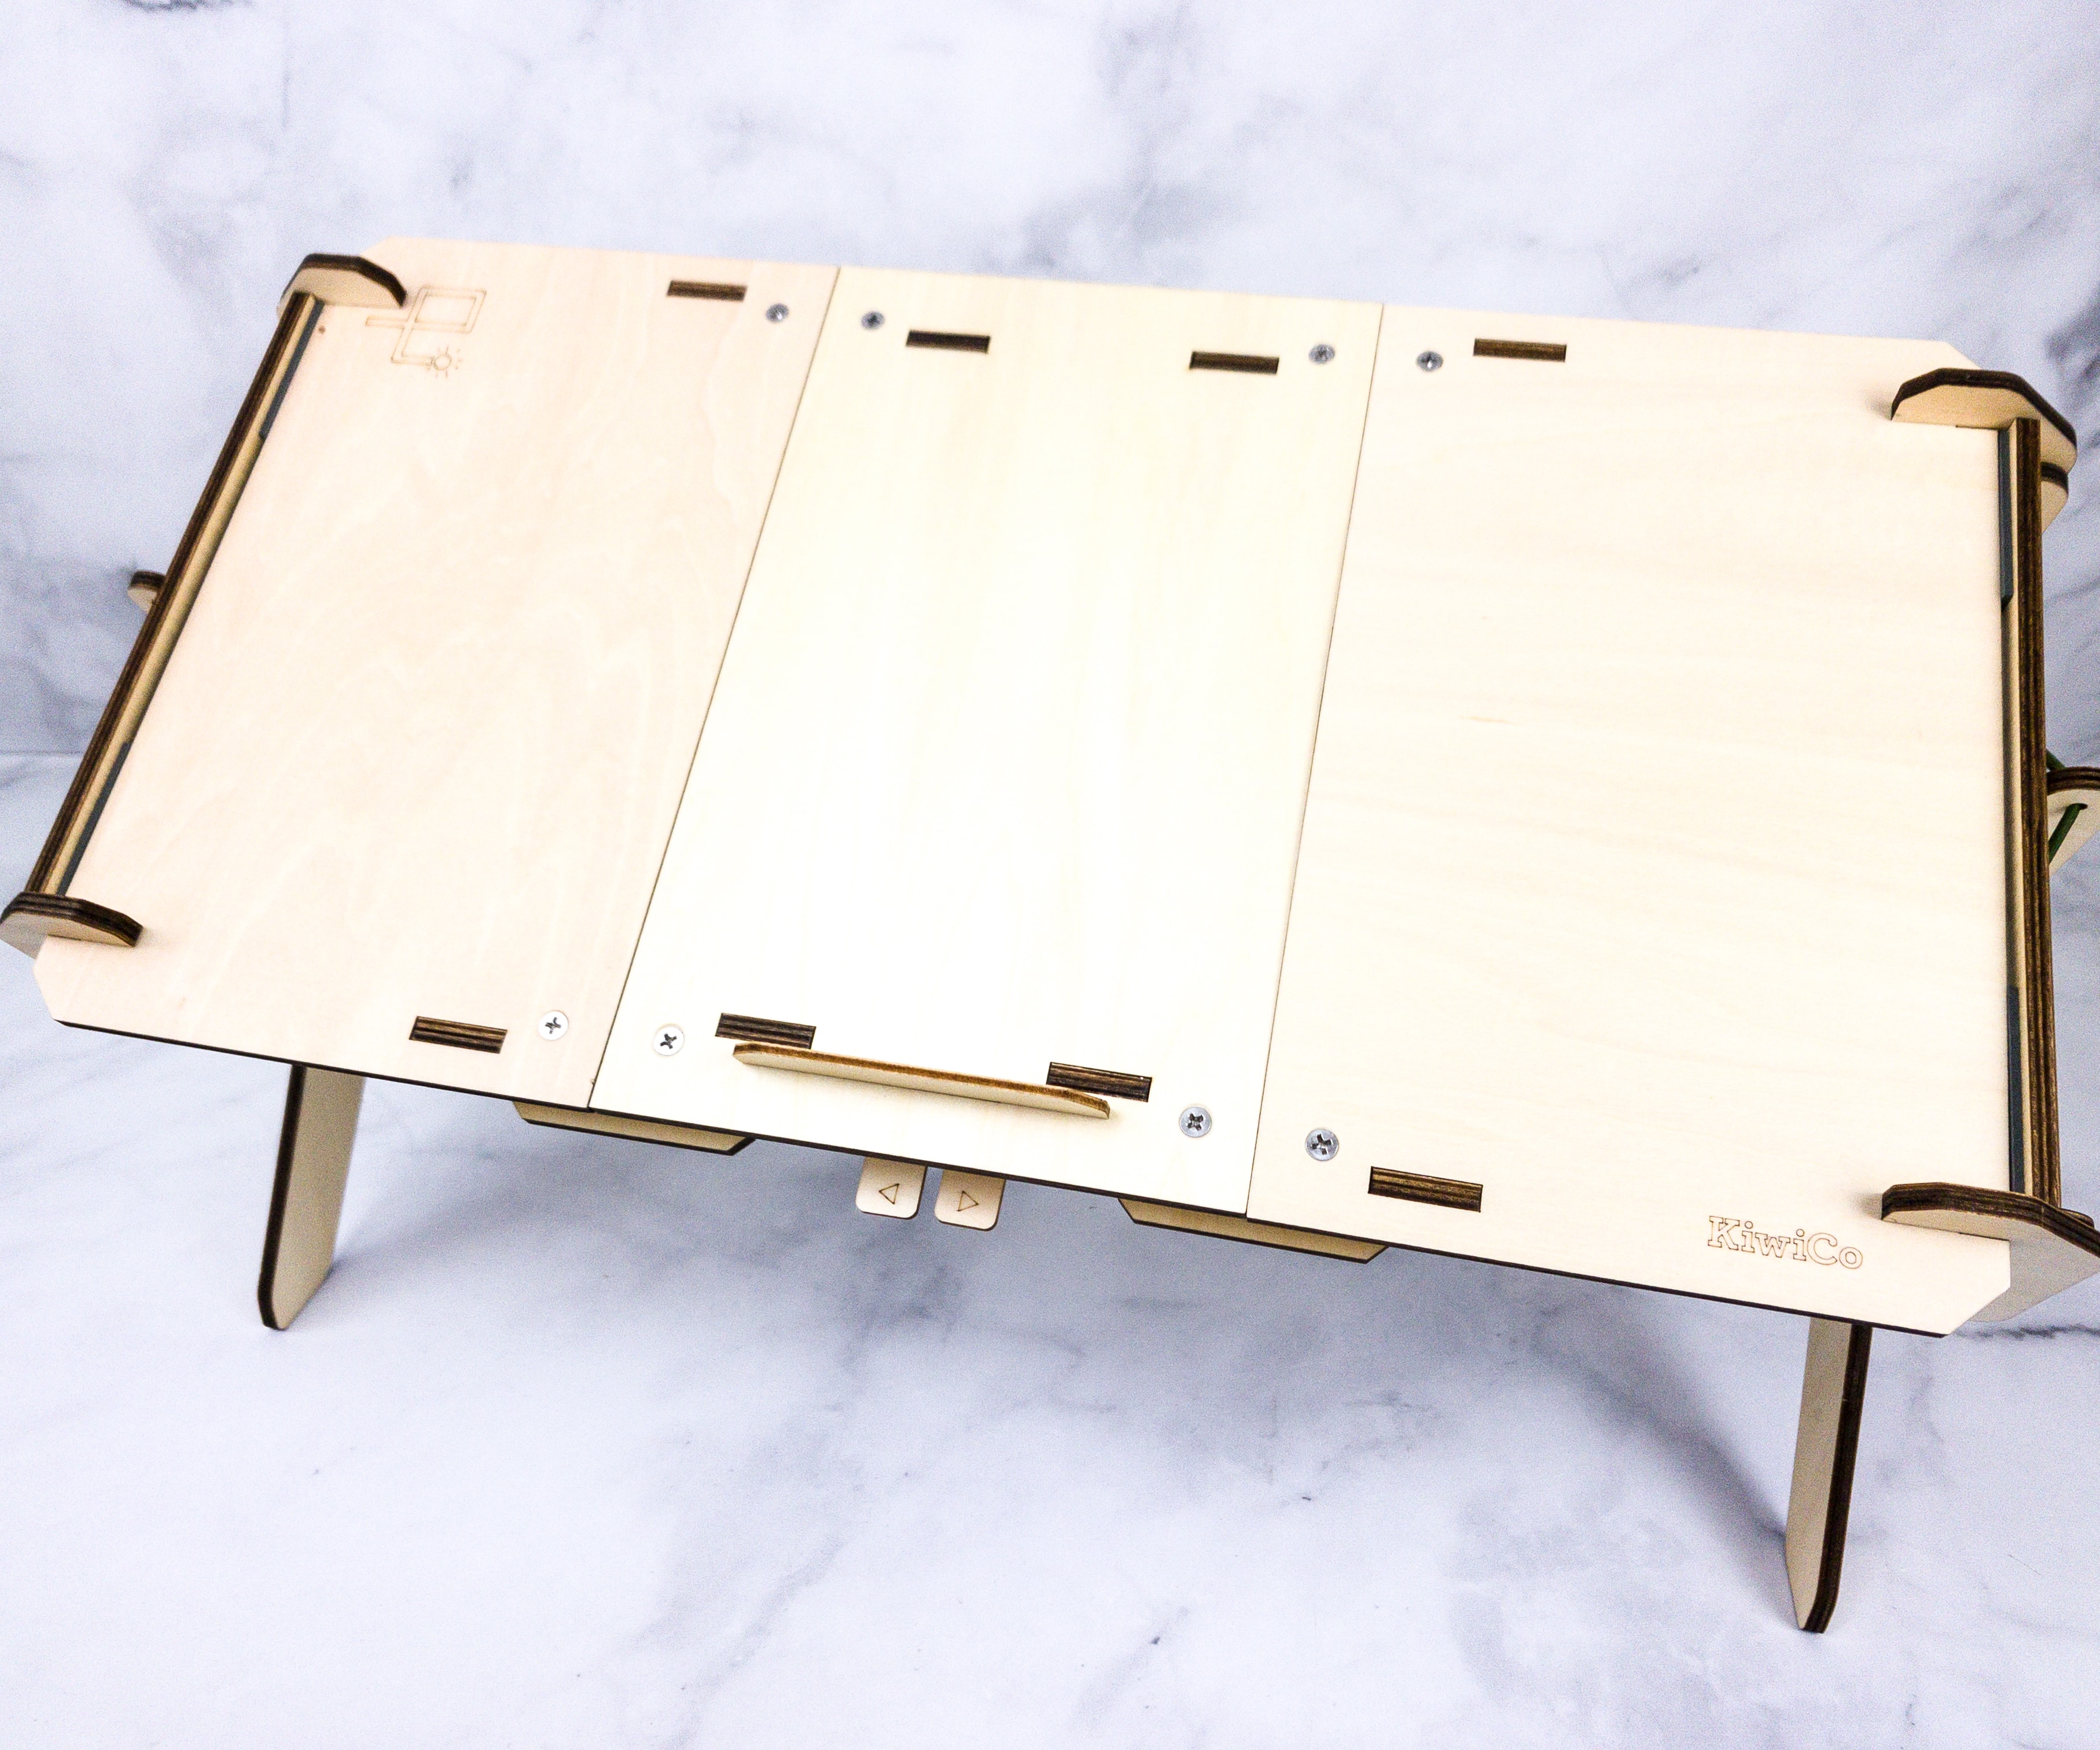
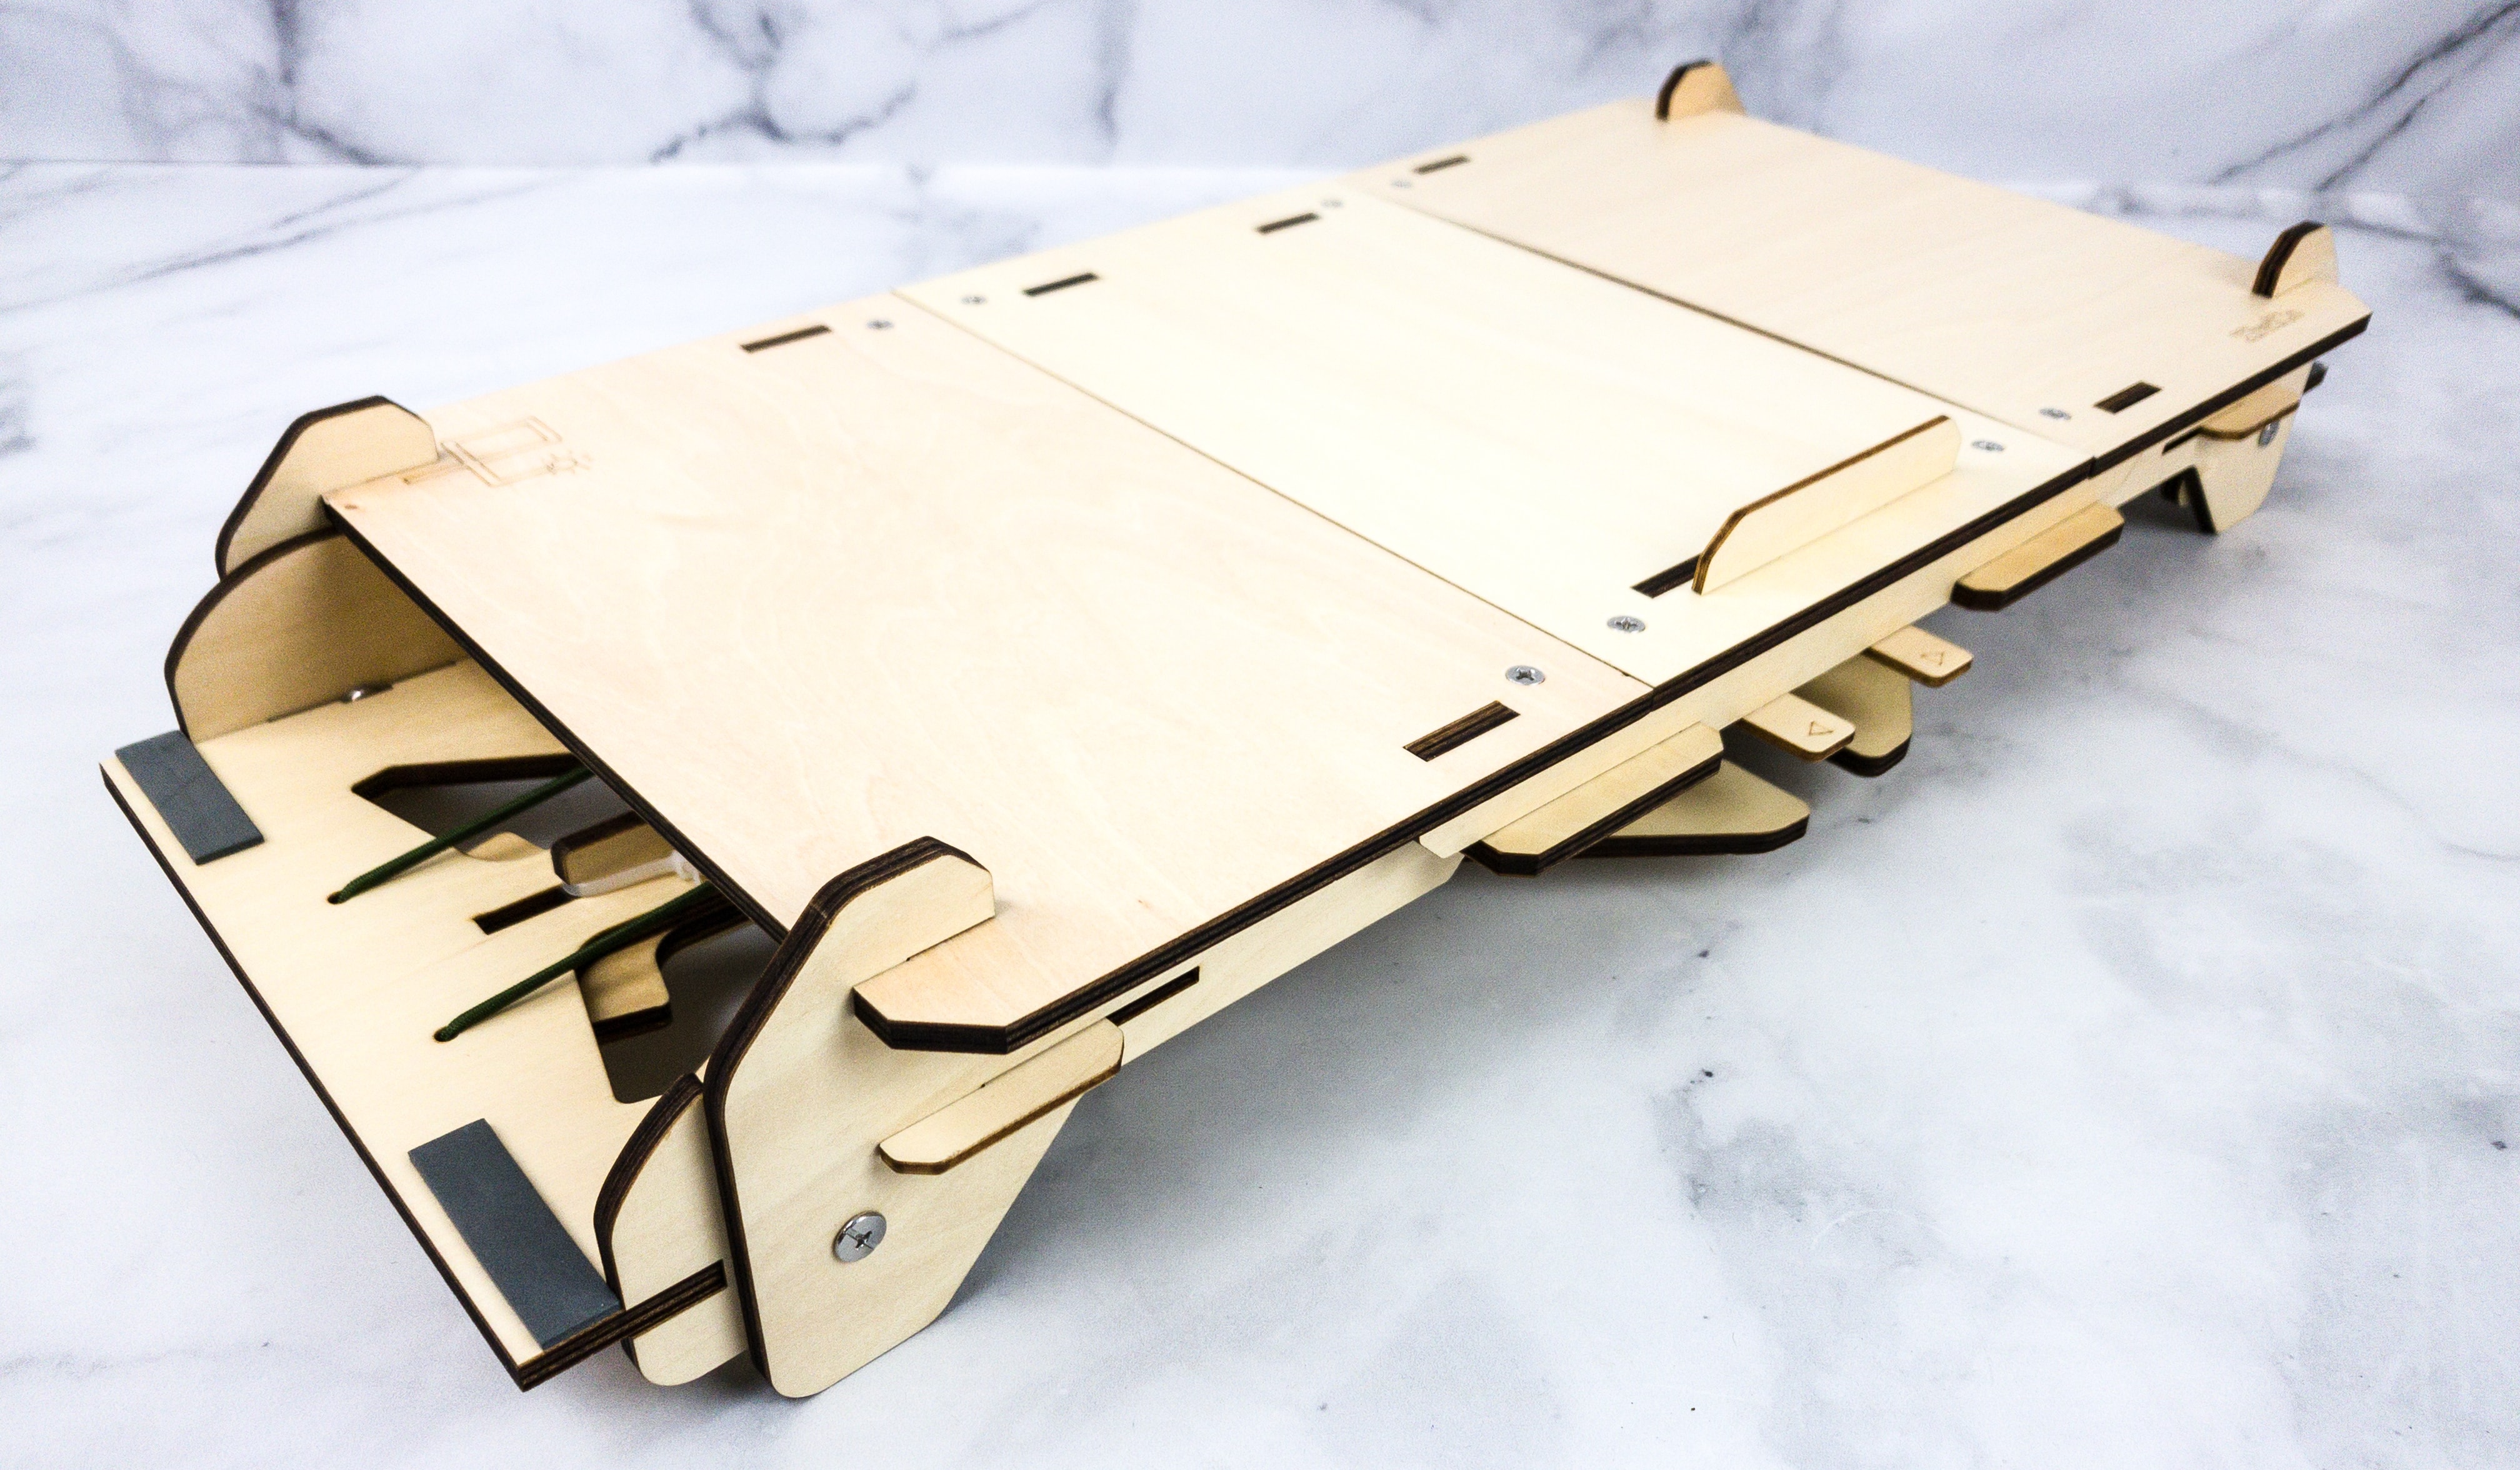
Here’s the completed desk! It looks amazing!
You can set the table and tilt it from different angles. My kids like using it slightly tilted.
You just pull up the side pieces and slide them into the notch on whatever angle you want your desk to be tilted.
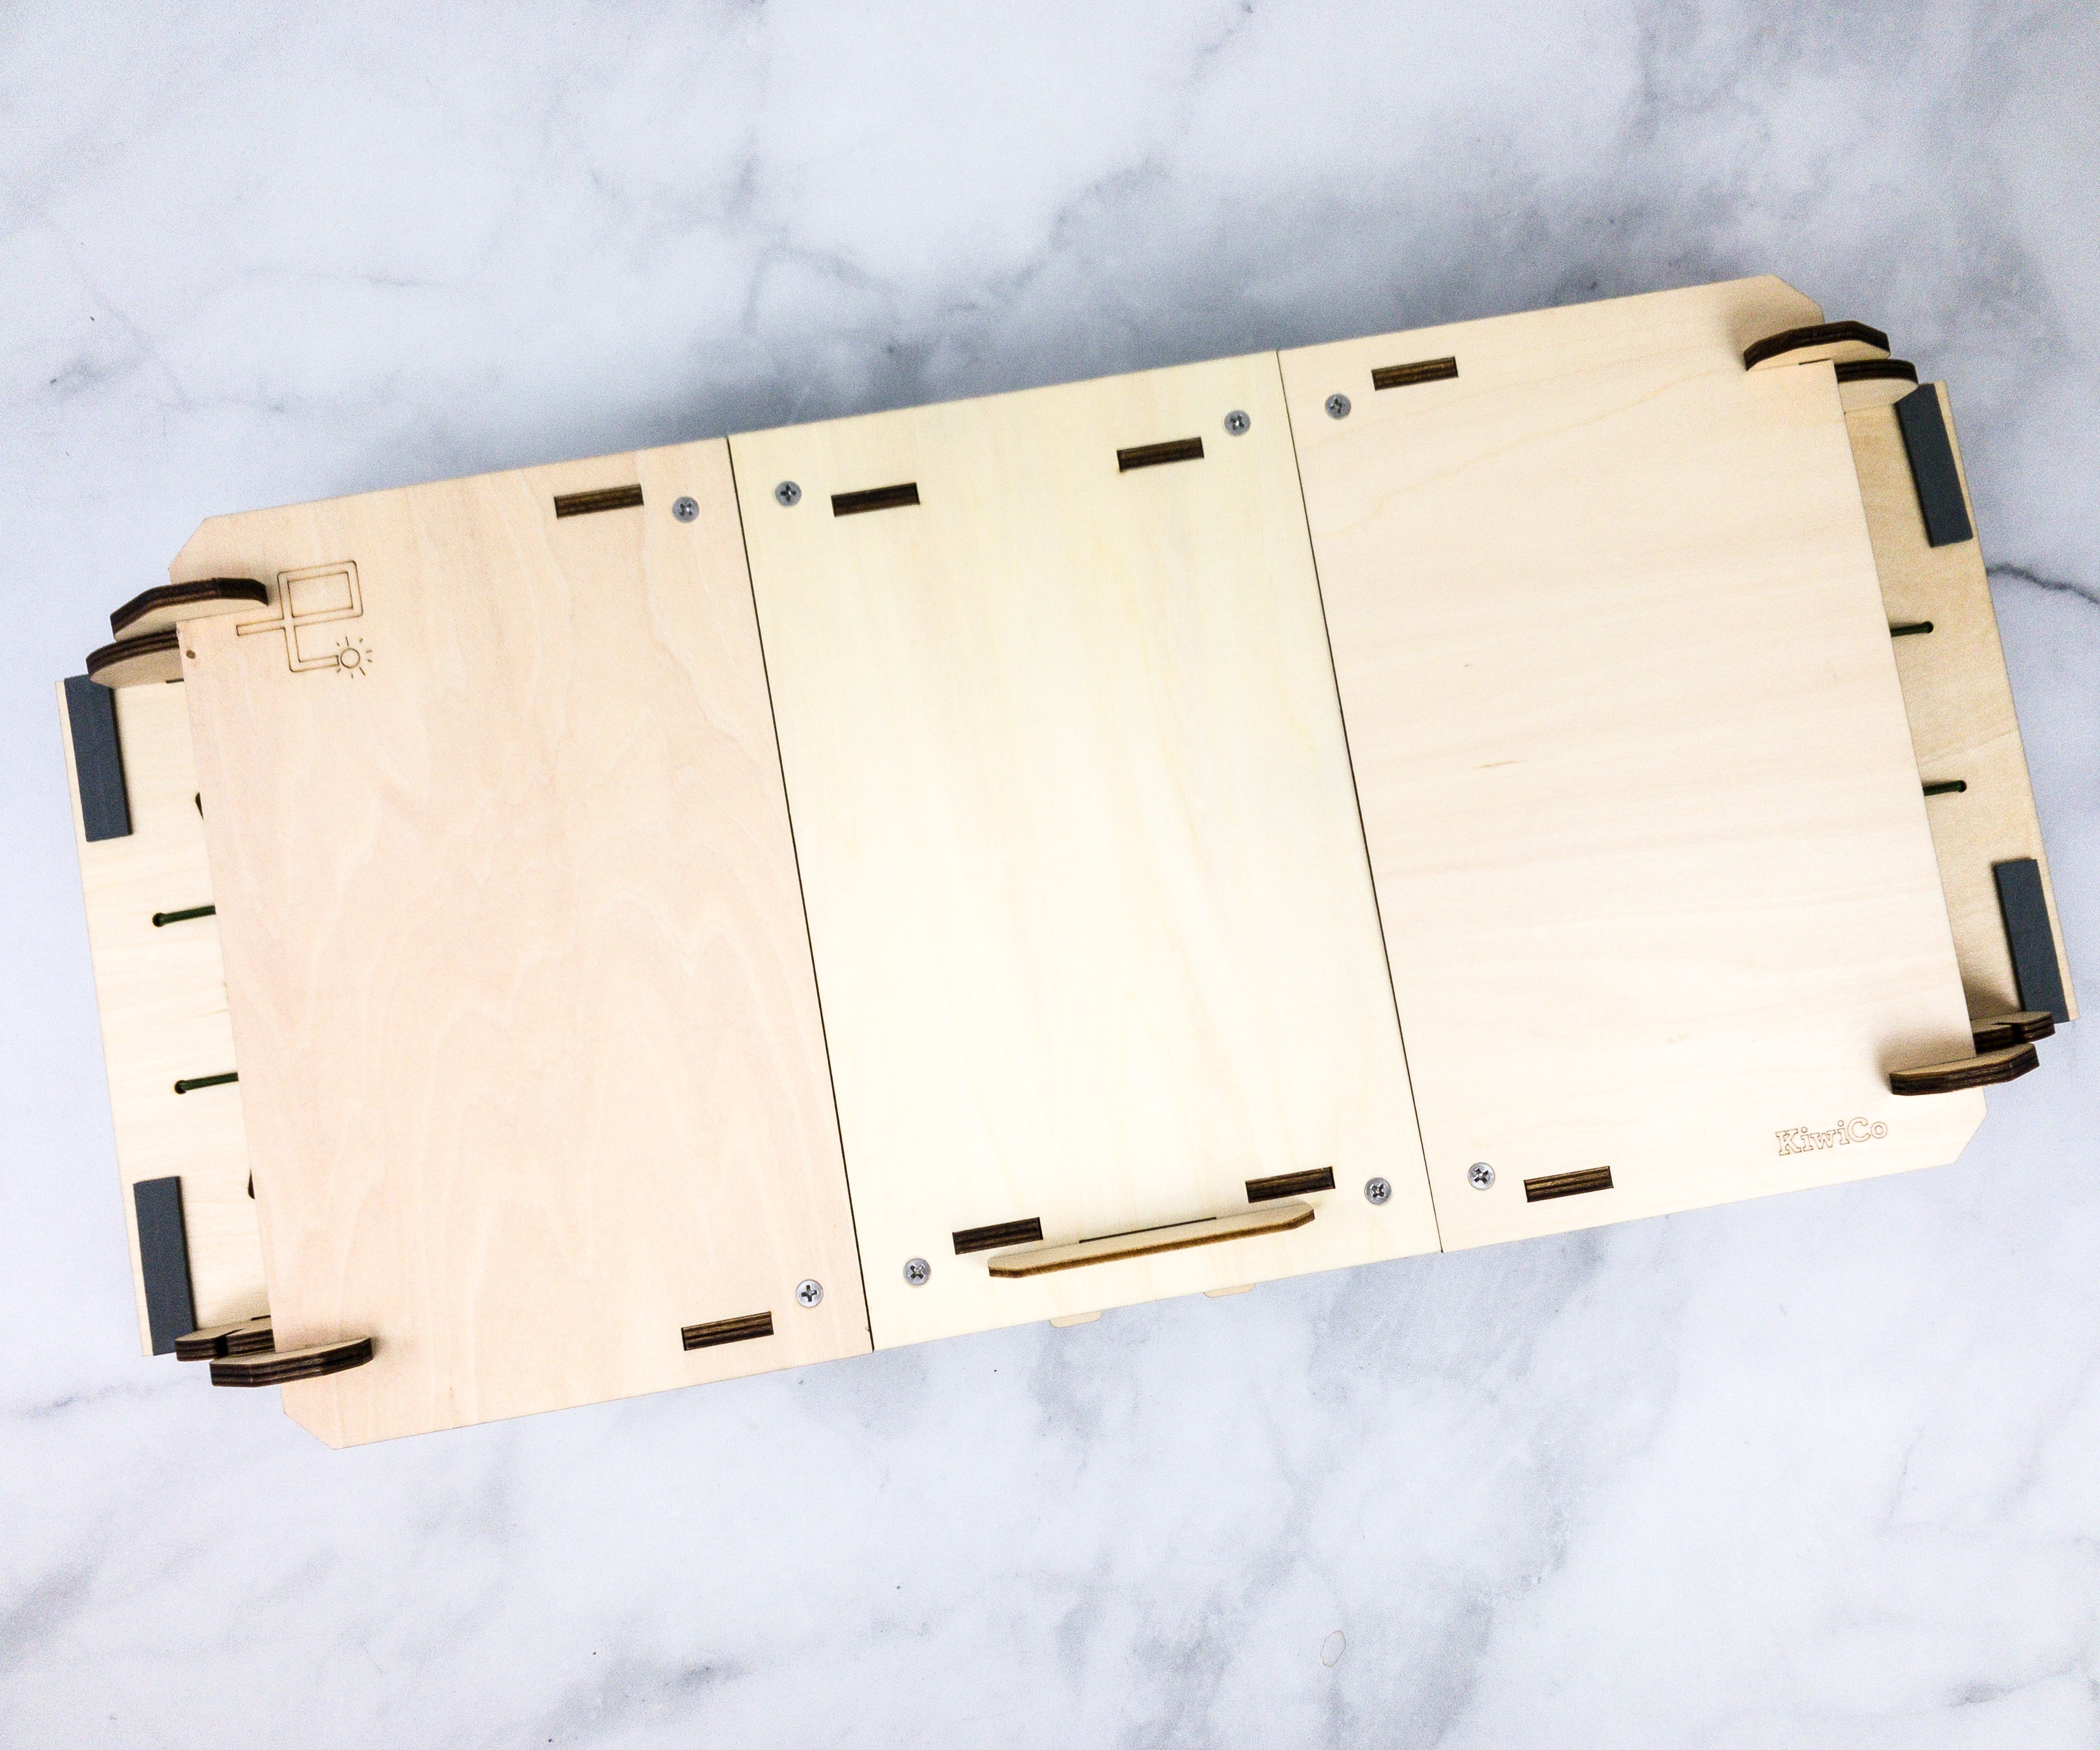
Also, it’s quite a large desk so you can put a lot of stuff on top of it.
You can simply squeeze the tabs in the center to fold the desk. We love this foldable desk, as we can easily carry and keep it plus it won’t take much space at home.
To open, you just need to lift up the desk and squeeze the levers together.
This is another amazing project that we can use for so many things and activities!
Through this month’s project, we were able to build a tool that we can use for work, school, or any other activity that requires the use of a desk or table! It also showed us the versatility of elastics, and how it made this desk easy to keep and carry. After completing the project, it definitely felt fulfilling for the kids! We also like the design challenge where we can turn this desk into an organized one with a desk lamp and cable/plug holders. Who needs a big and bulky side table when we have this easy-to-use desk? I certainly prefer this one as I can turn any space at home into a workstation! My daughter has been carrying this desk all over the house, and using it. It was a huge win!
What do you think of this month’s Eureka Crate?


Comments