
Eureka Crate is a monthly STEM and maker subscription box that teaches kids and adults how to apply principles of science and math to make awesome things you will love to use every day – from an articulated desk lamp to an electric pencil sharpener to a wooden ukulele. Every Eureka Crate includes an engineering project, detailed step-by-step instructions, everything you need to complete the project, a Maker’s Guide that explains all the design, process, and engineering behind the design, plus a design challenge to take your project knowledge to the next level!
DEAL: Save 30% on your first month! Just use this link to subscribe, no coupon code required! You can also use the same link to save 30% on the first month of any other KiwiCo crate – just check out this page to discover which box is right for you.
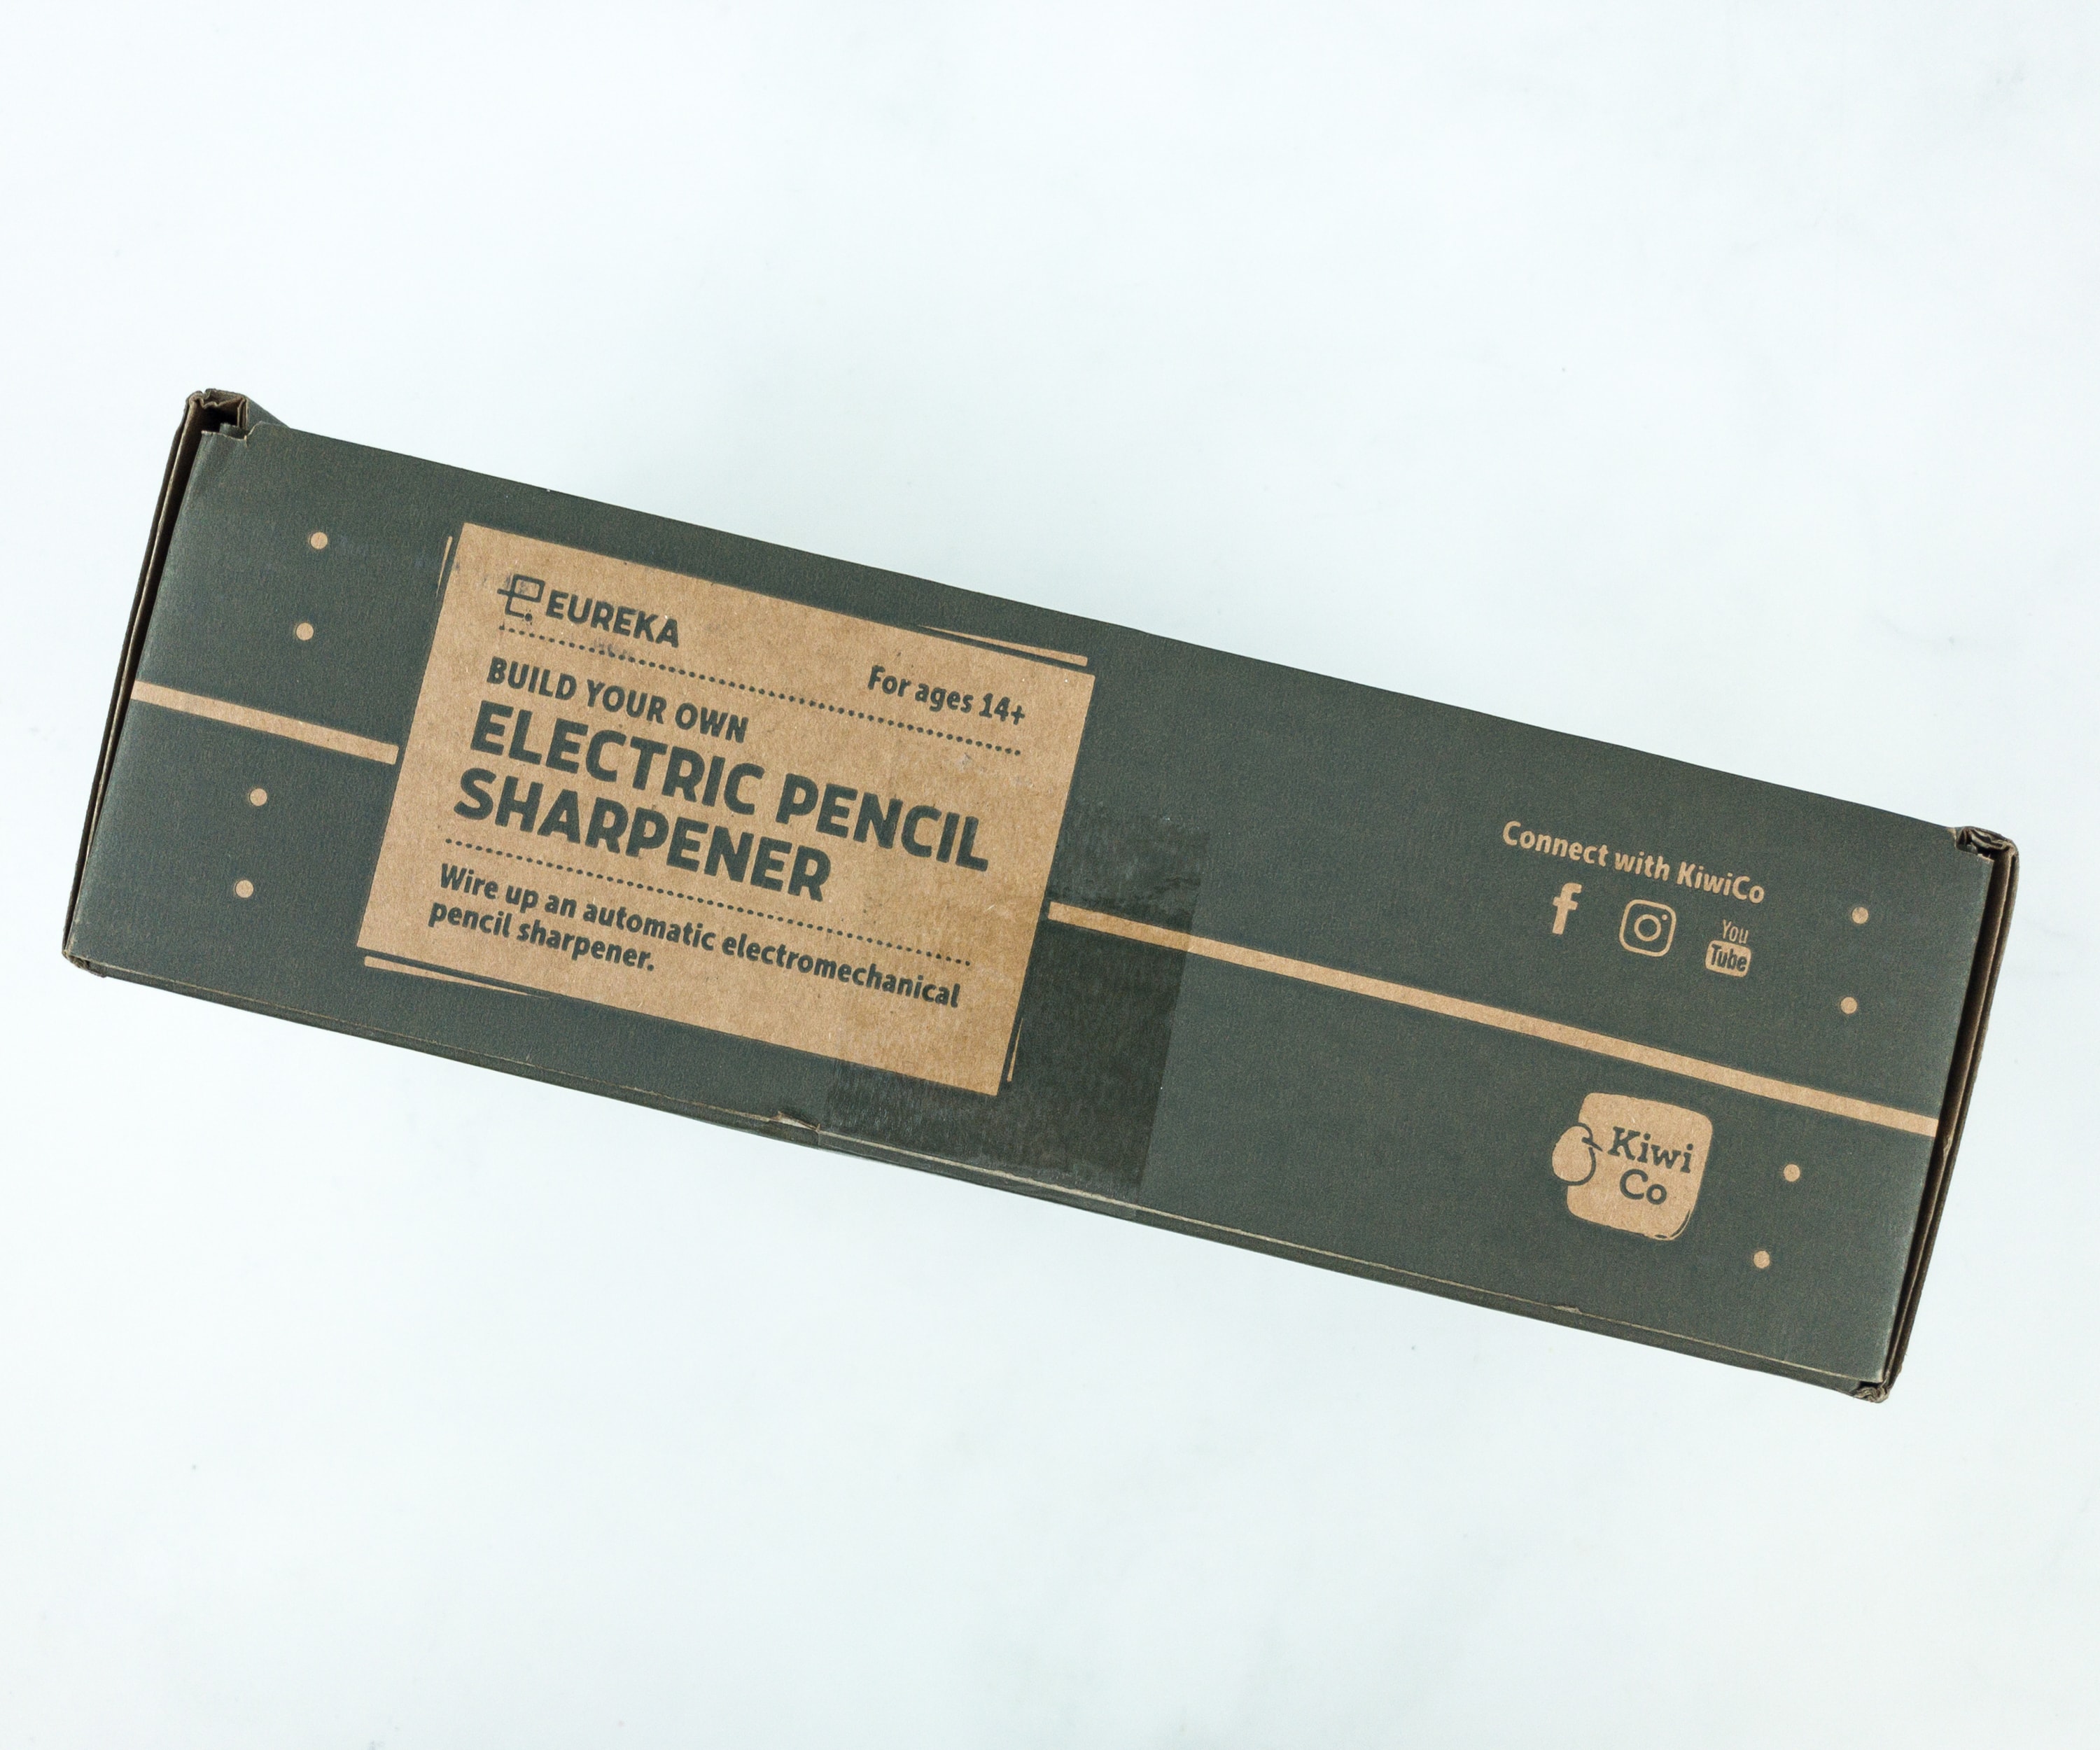
Eureka Crate is KiwiCo’s latest subscription! Eureka Crate is designed for ages 14-104. If you’re ready to graduate from KiwiCo’s other boxes or just can’t get enough (or are just too old for their other subscriptions), you’ll love this box, which is designed to create a hands-on learning experience using everyday items to delve deeply into the science and math principles they embody, along with the design process of the month’s project.
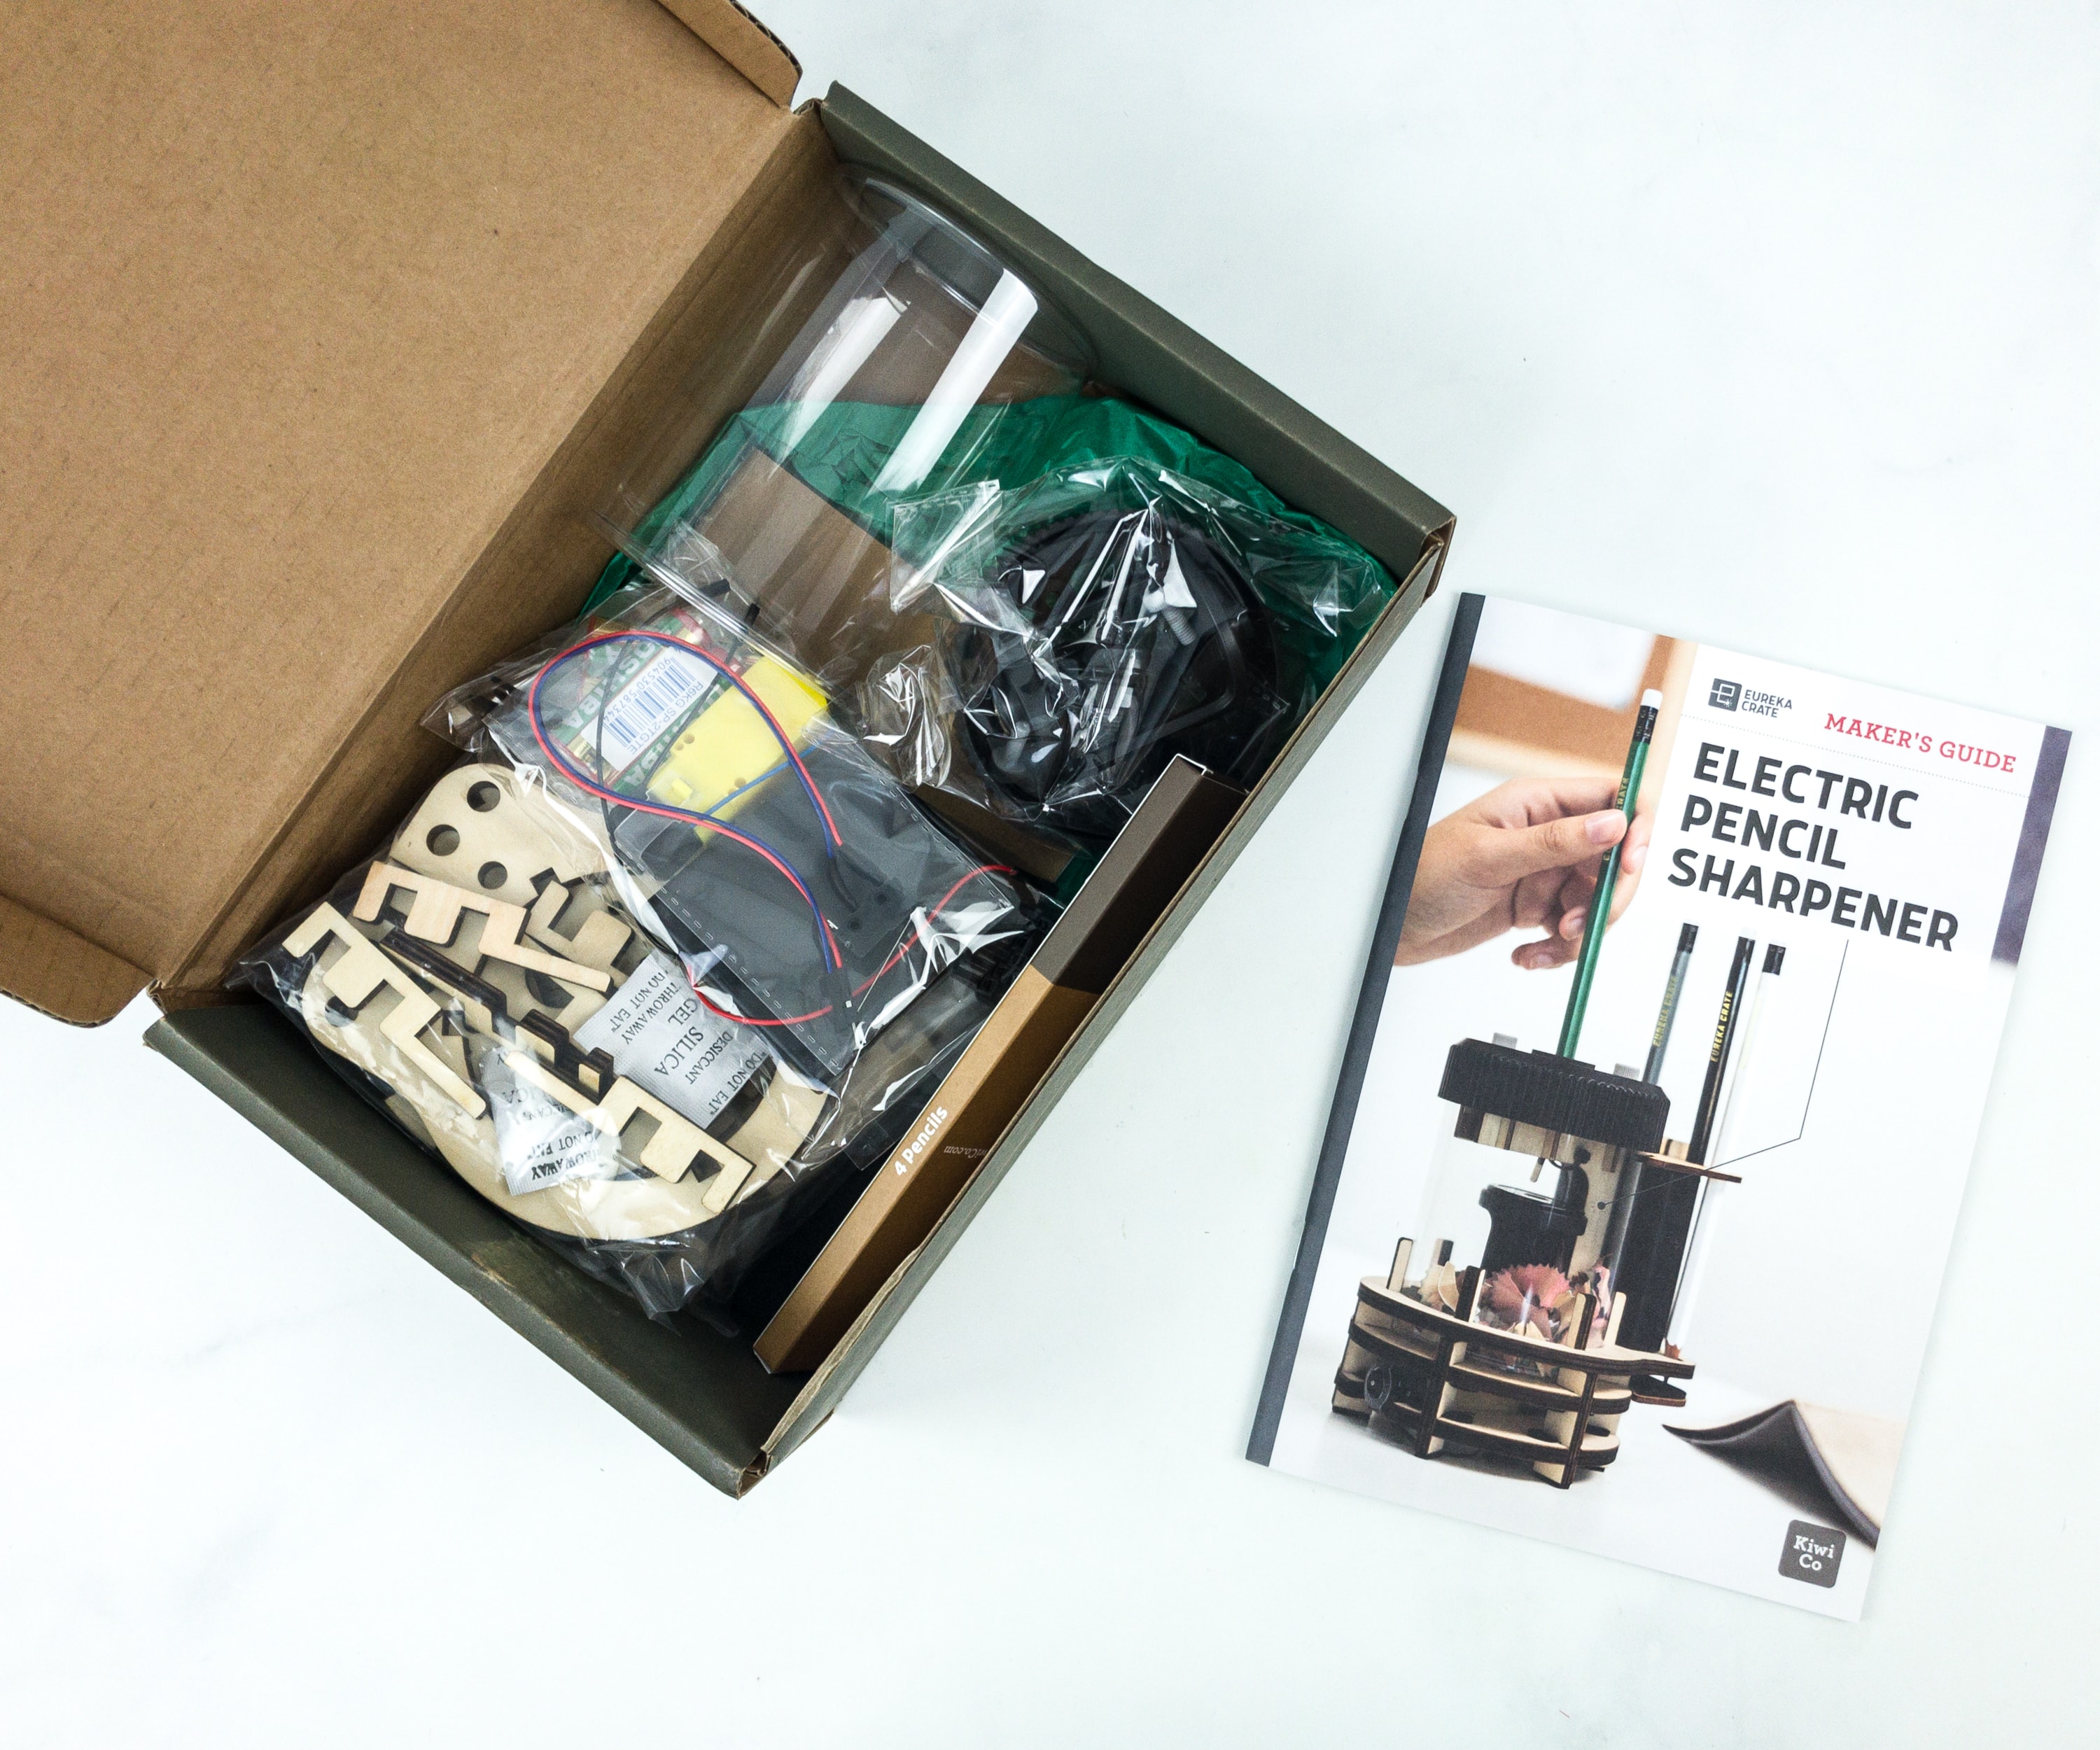
Some of the parts of this month’s project were inside plastic pouches.
Everything in this month’s box!
Eureka Crate Maker’s Guide

Like the other crates from KiwiCo, Eureka Crate includes a booklet.
One of KiwiCo’s goals is to equip the next generation of innovators with the tools and confidence for creative exploration and problem-solving.
Stereo Headphones
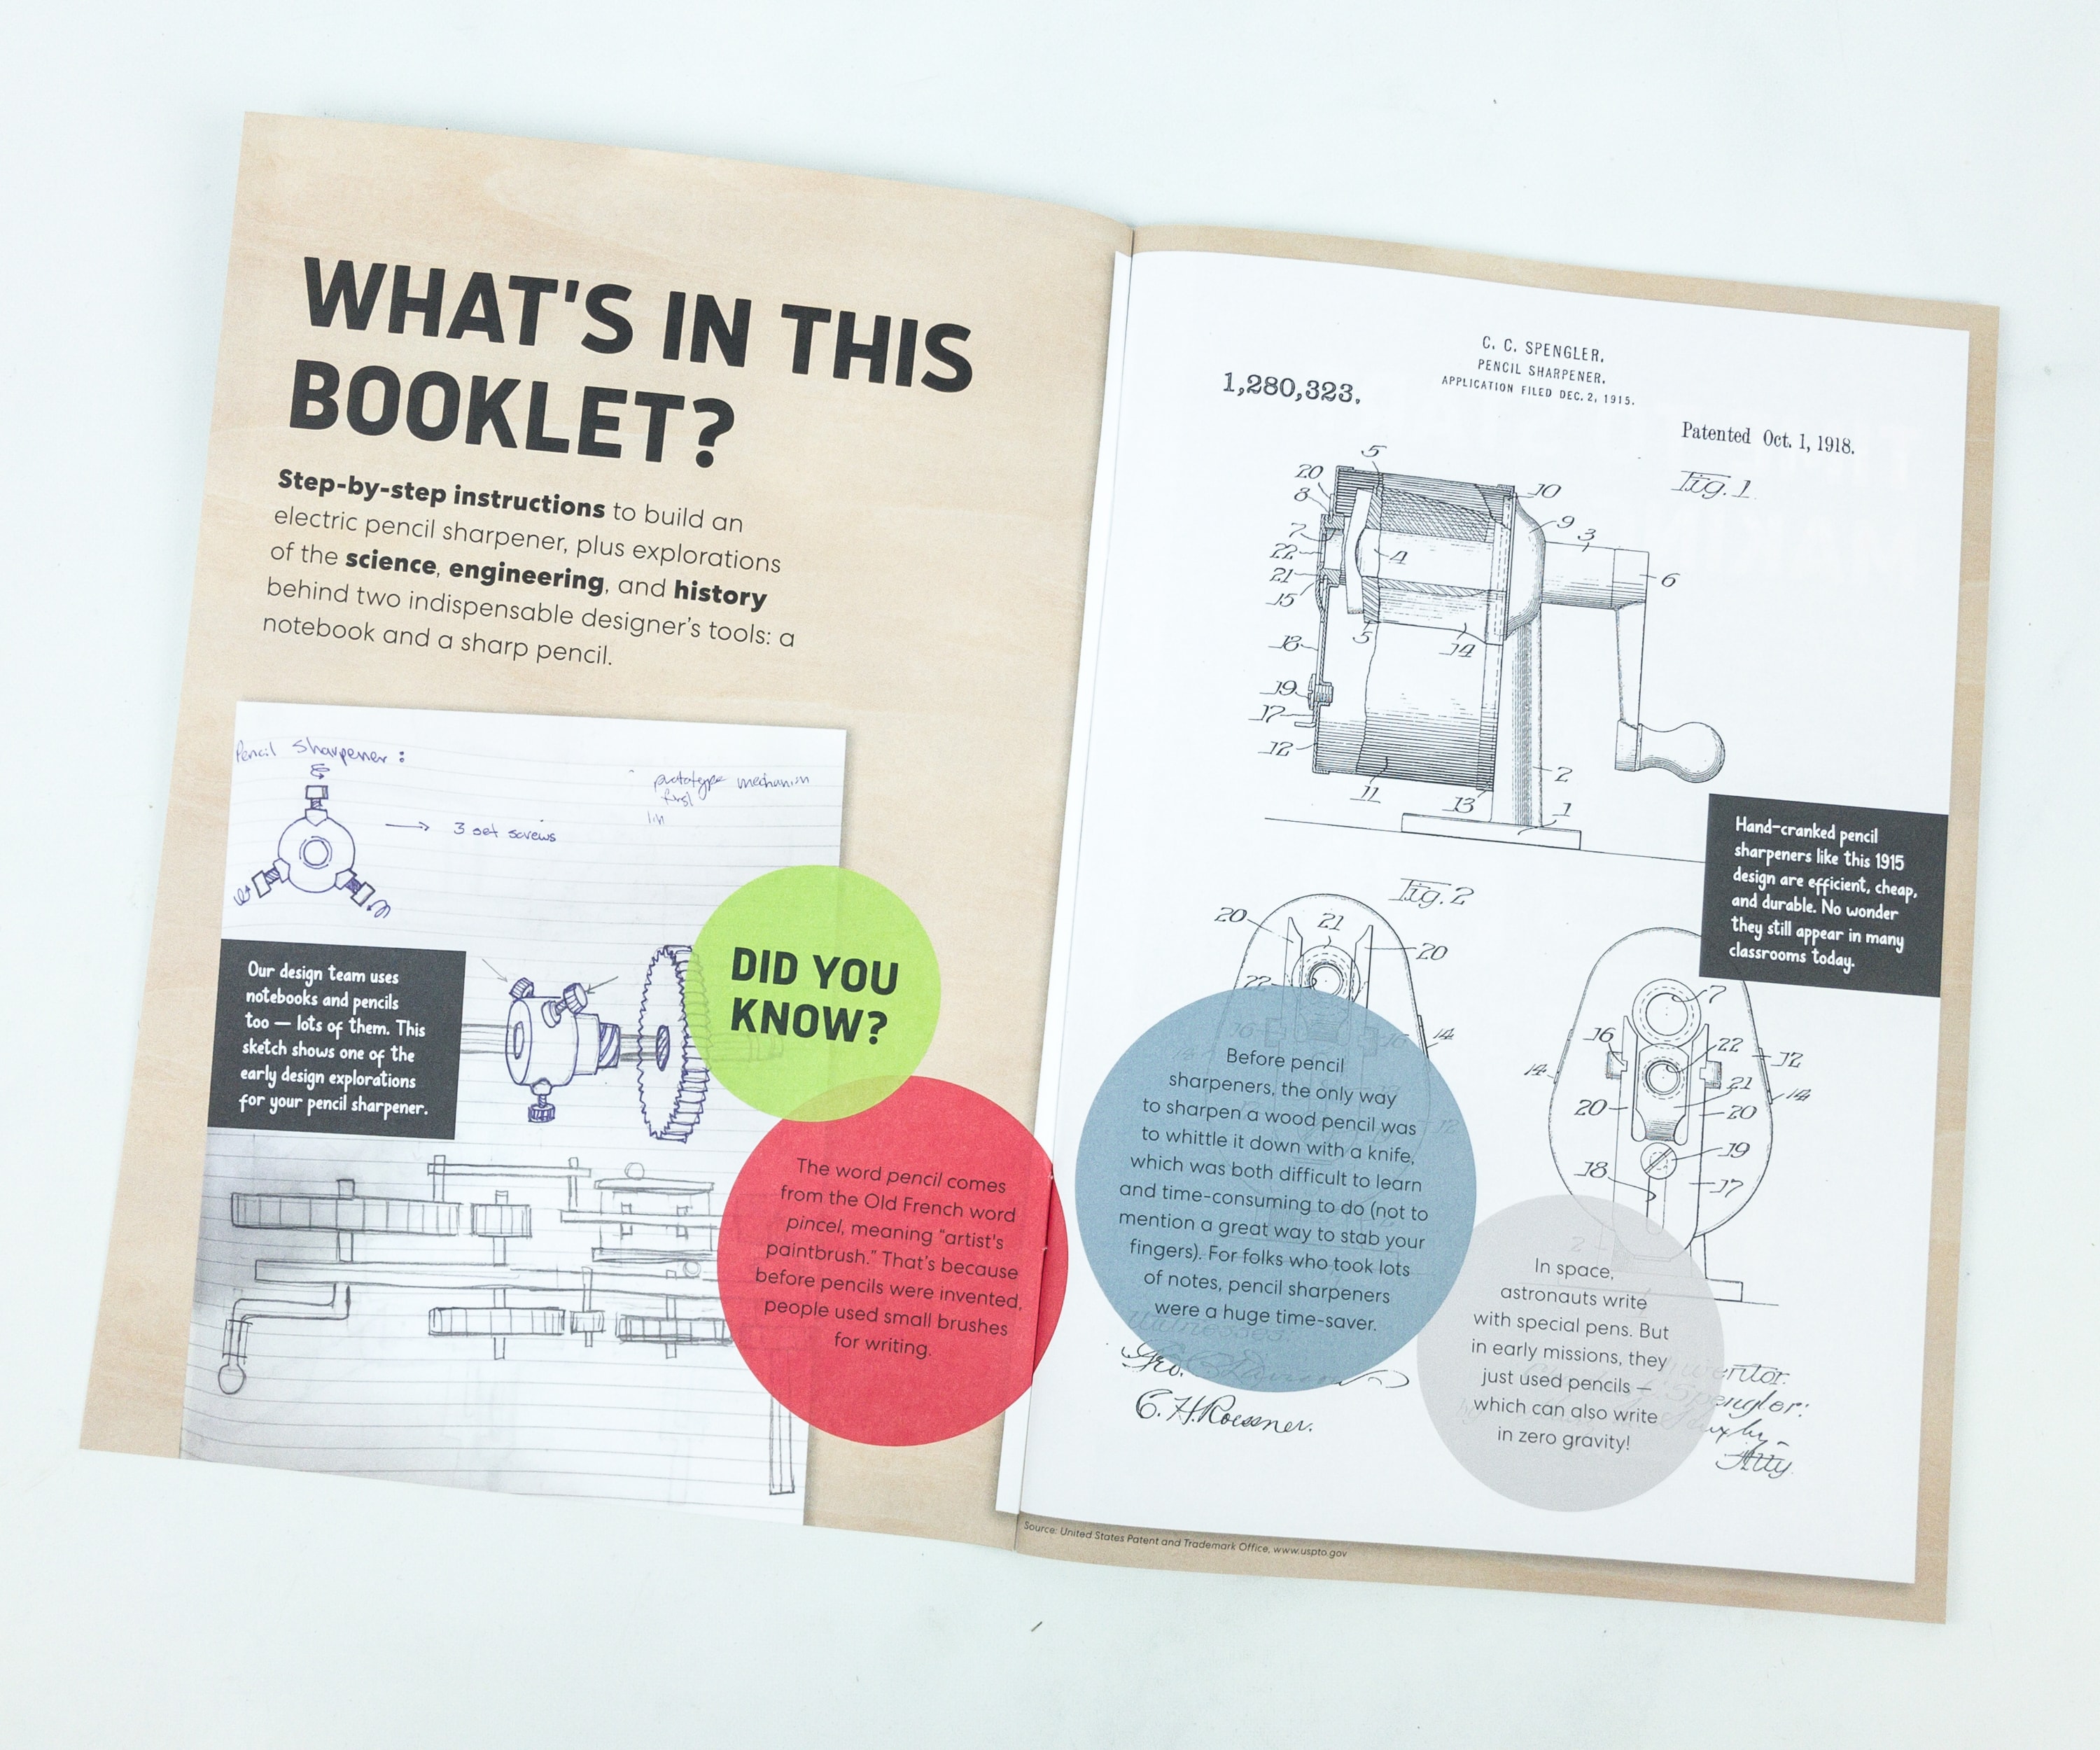
The booklet gives a complete history and details about this month’s project. A lot of people, including us of course, loves music, and this will be very useful! The introduction page welcomed us with fast facts and illustrations.

This booklet means business as it jumps right to the activity.
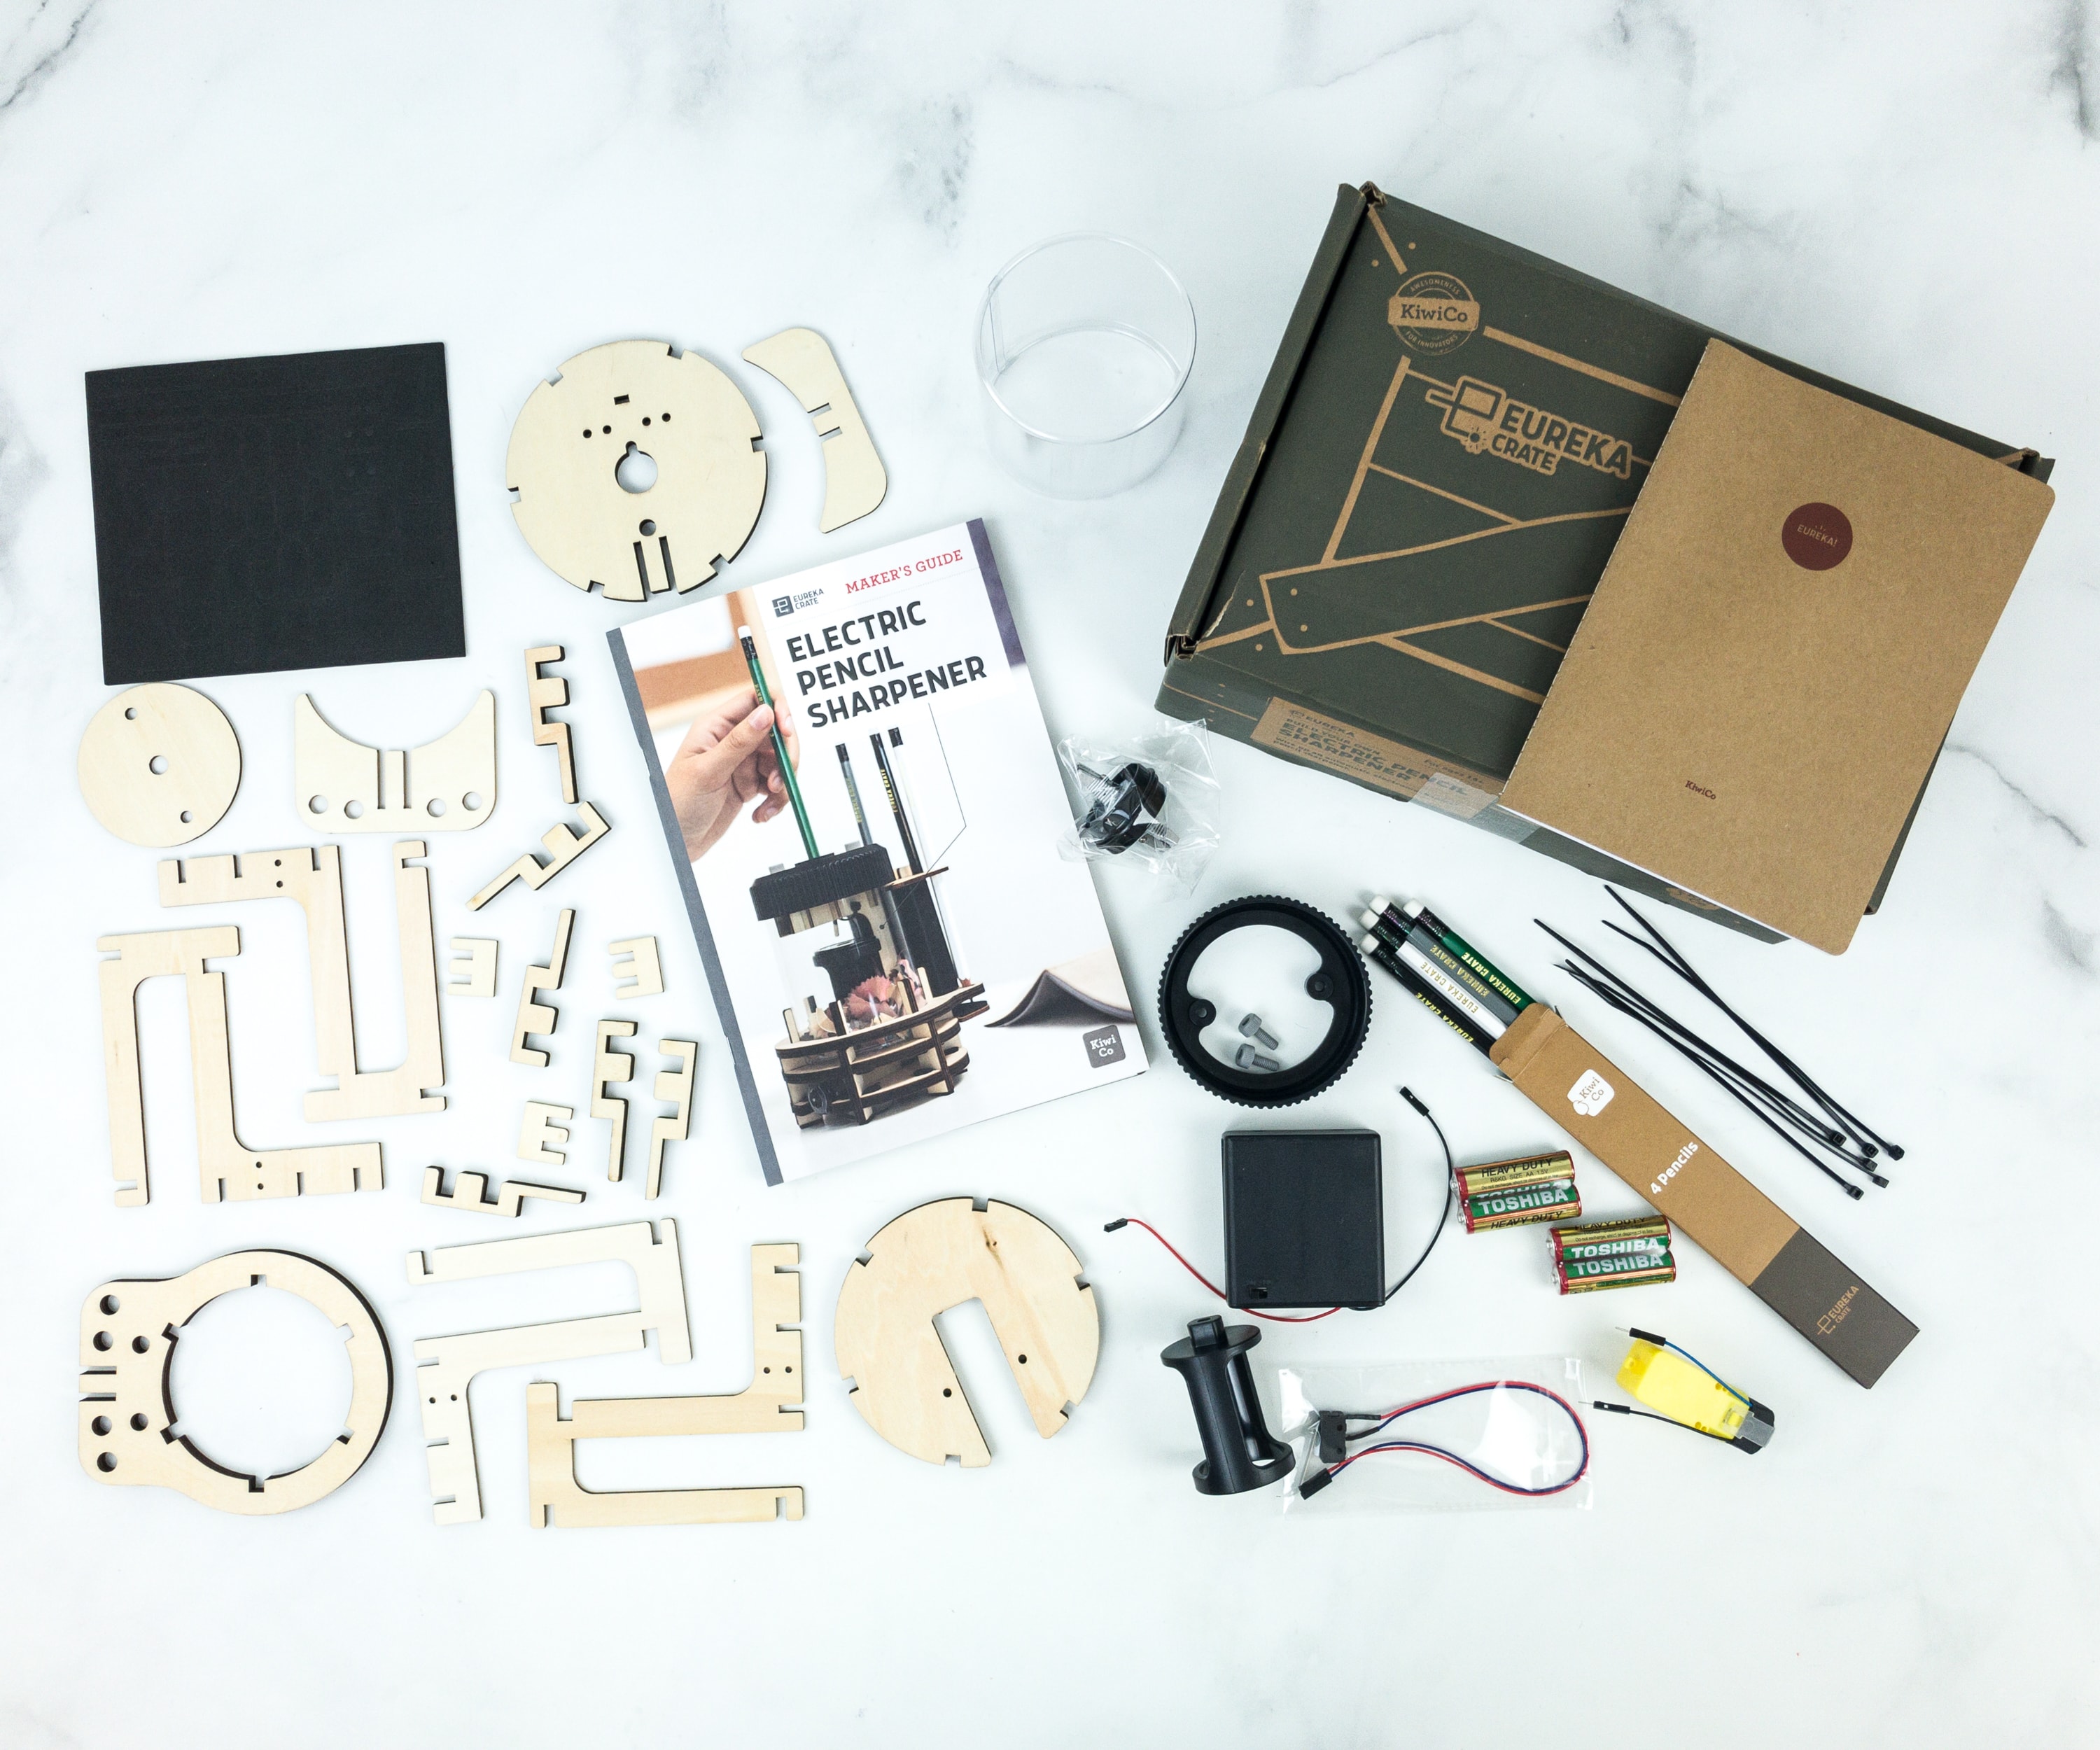
Eureka Crate Materials

Here are the materials! You may check if you have the complete parts by comparing it to the picture in the booklet.
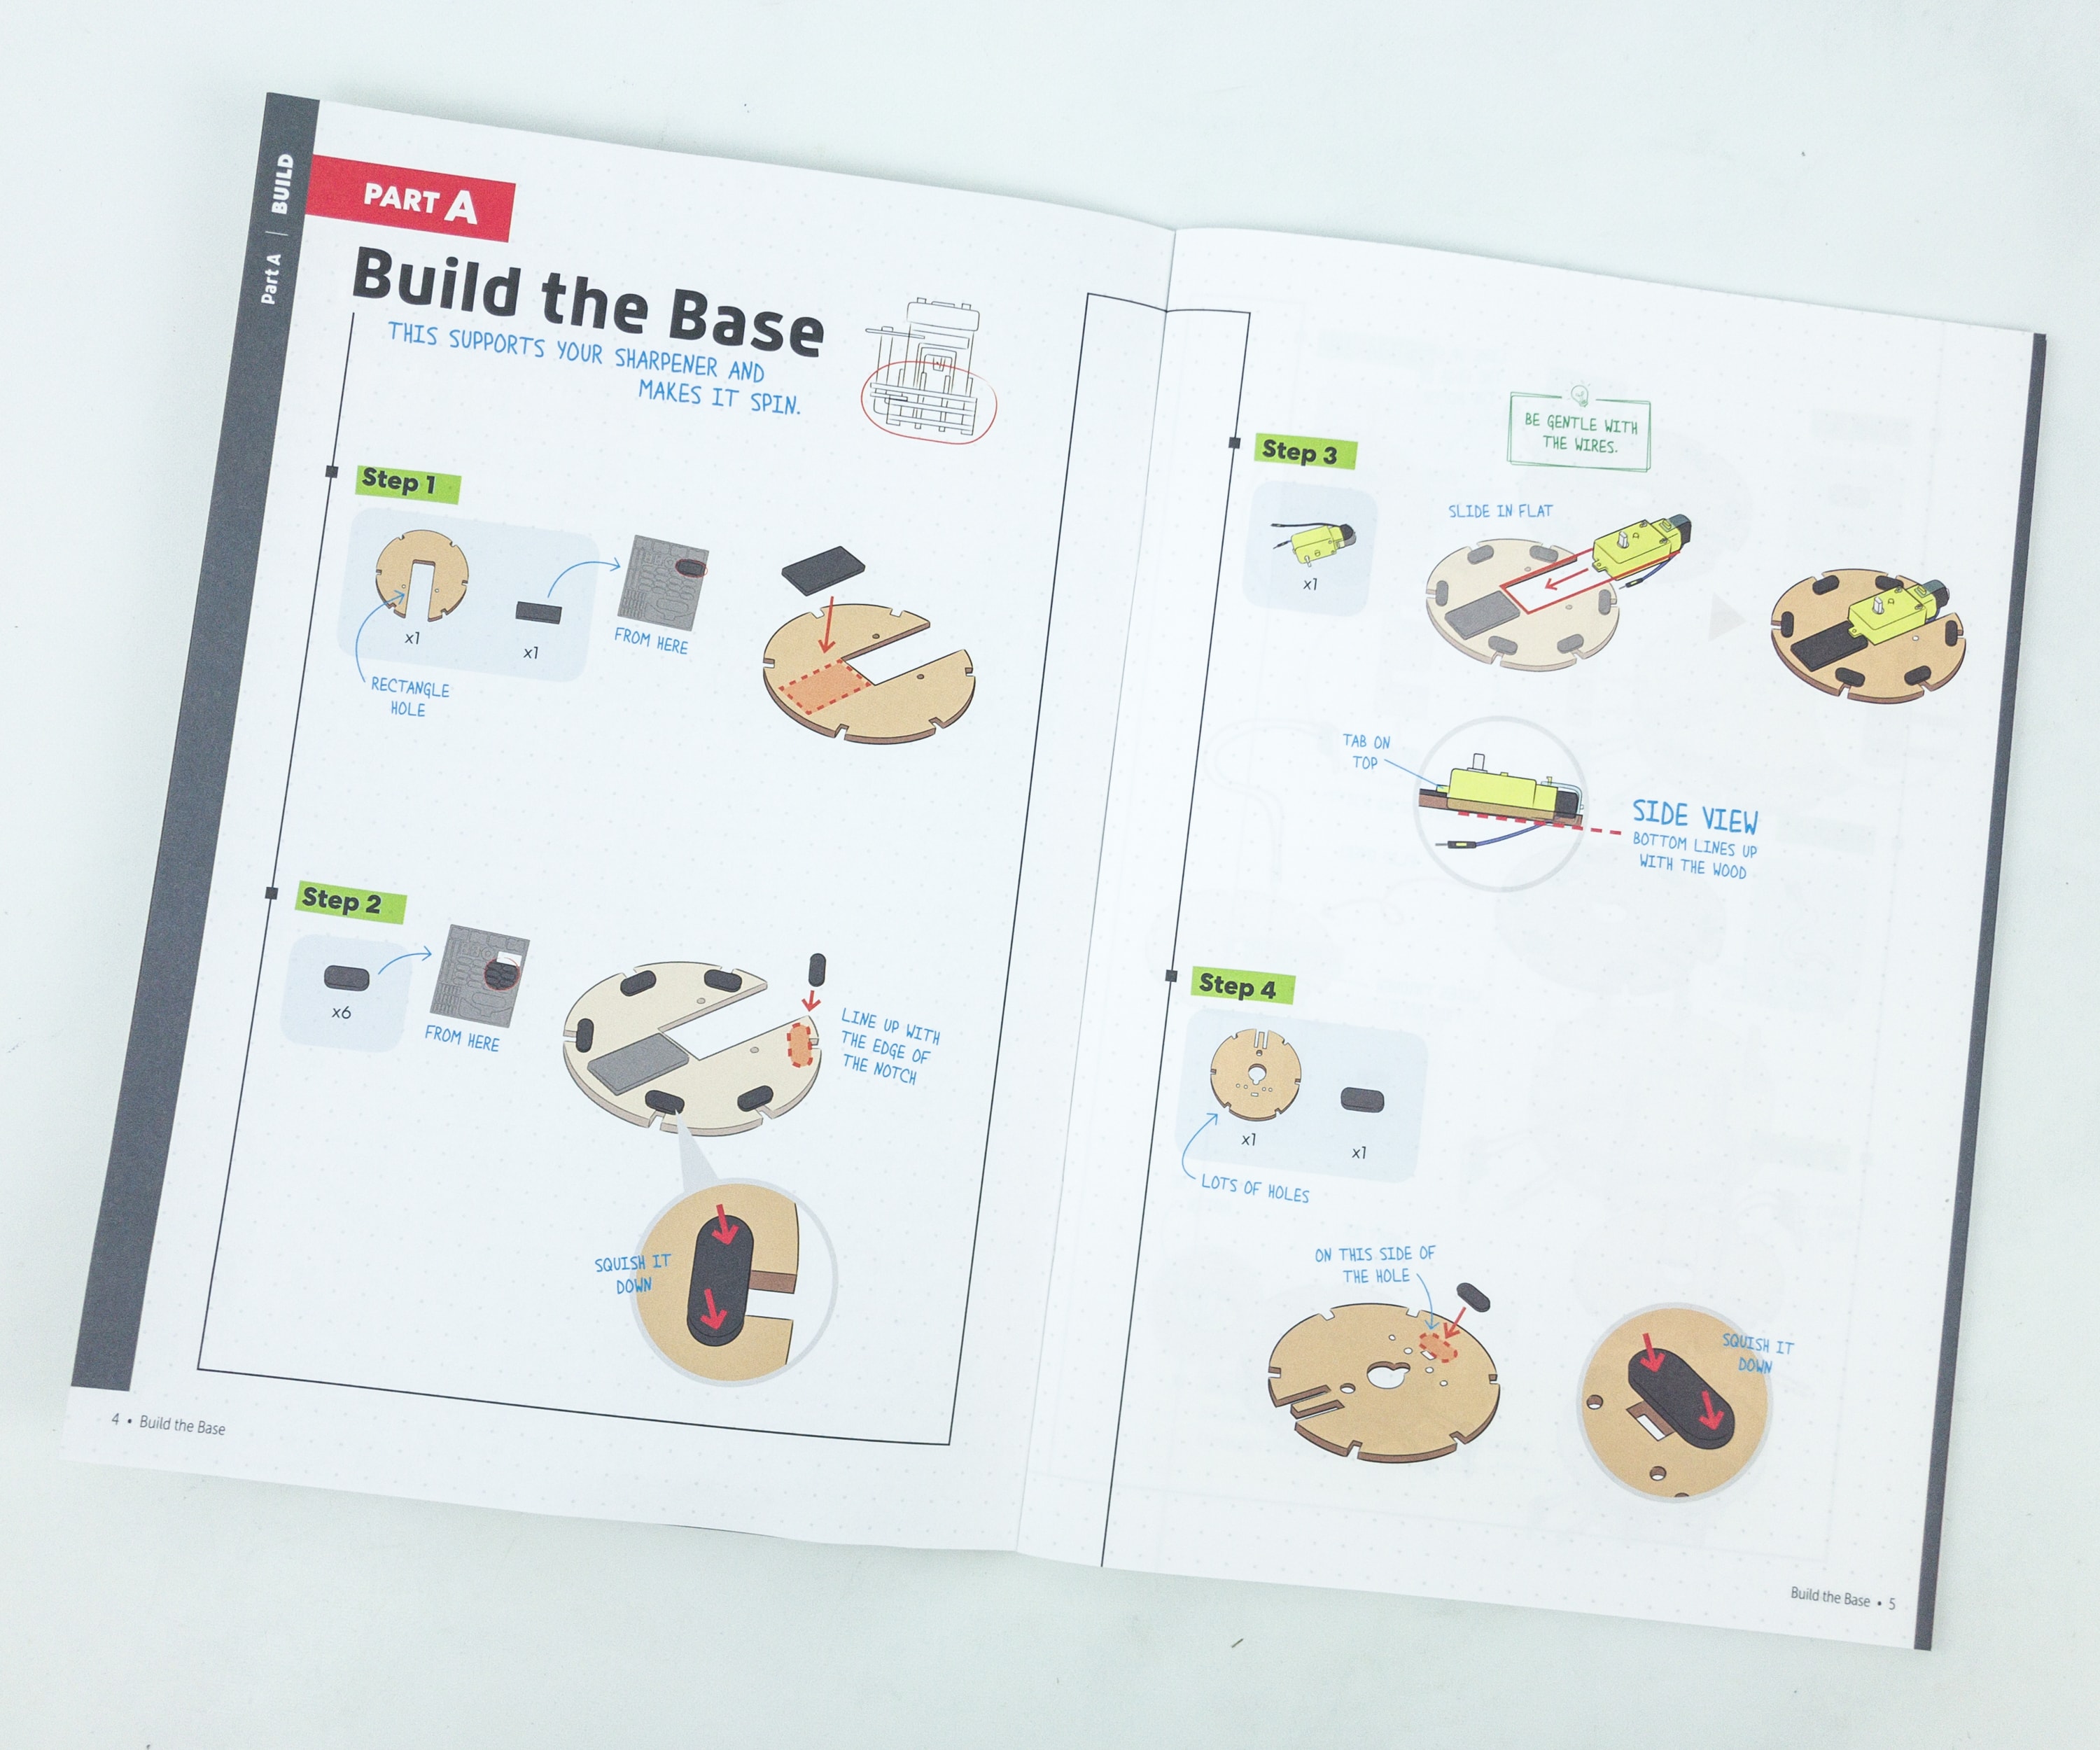
The instructions kept the continuous flow of the activity easy to understand. The drawings were detailed too. And for the first part, we need to build the base that will support the sharpener and make it spin.
The detailed illustration is really easy to follow. No words, just pictures!
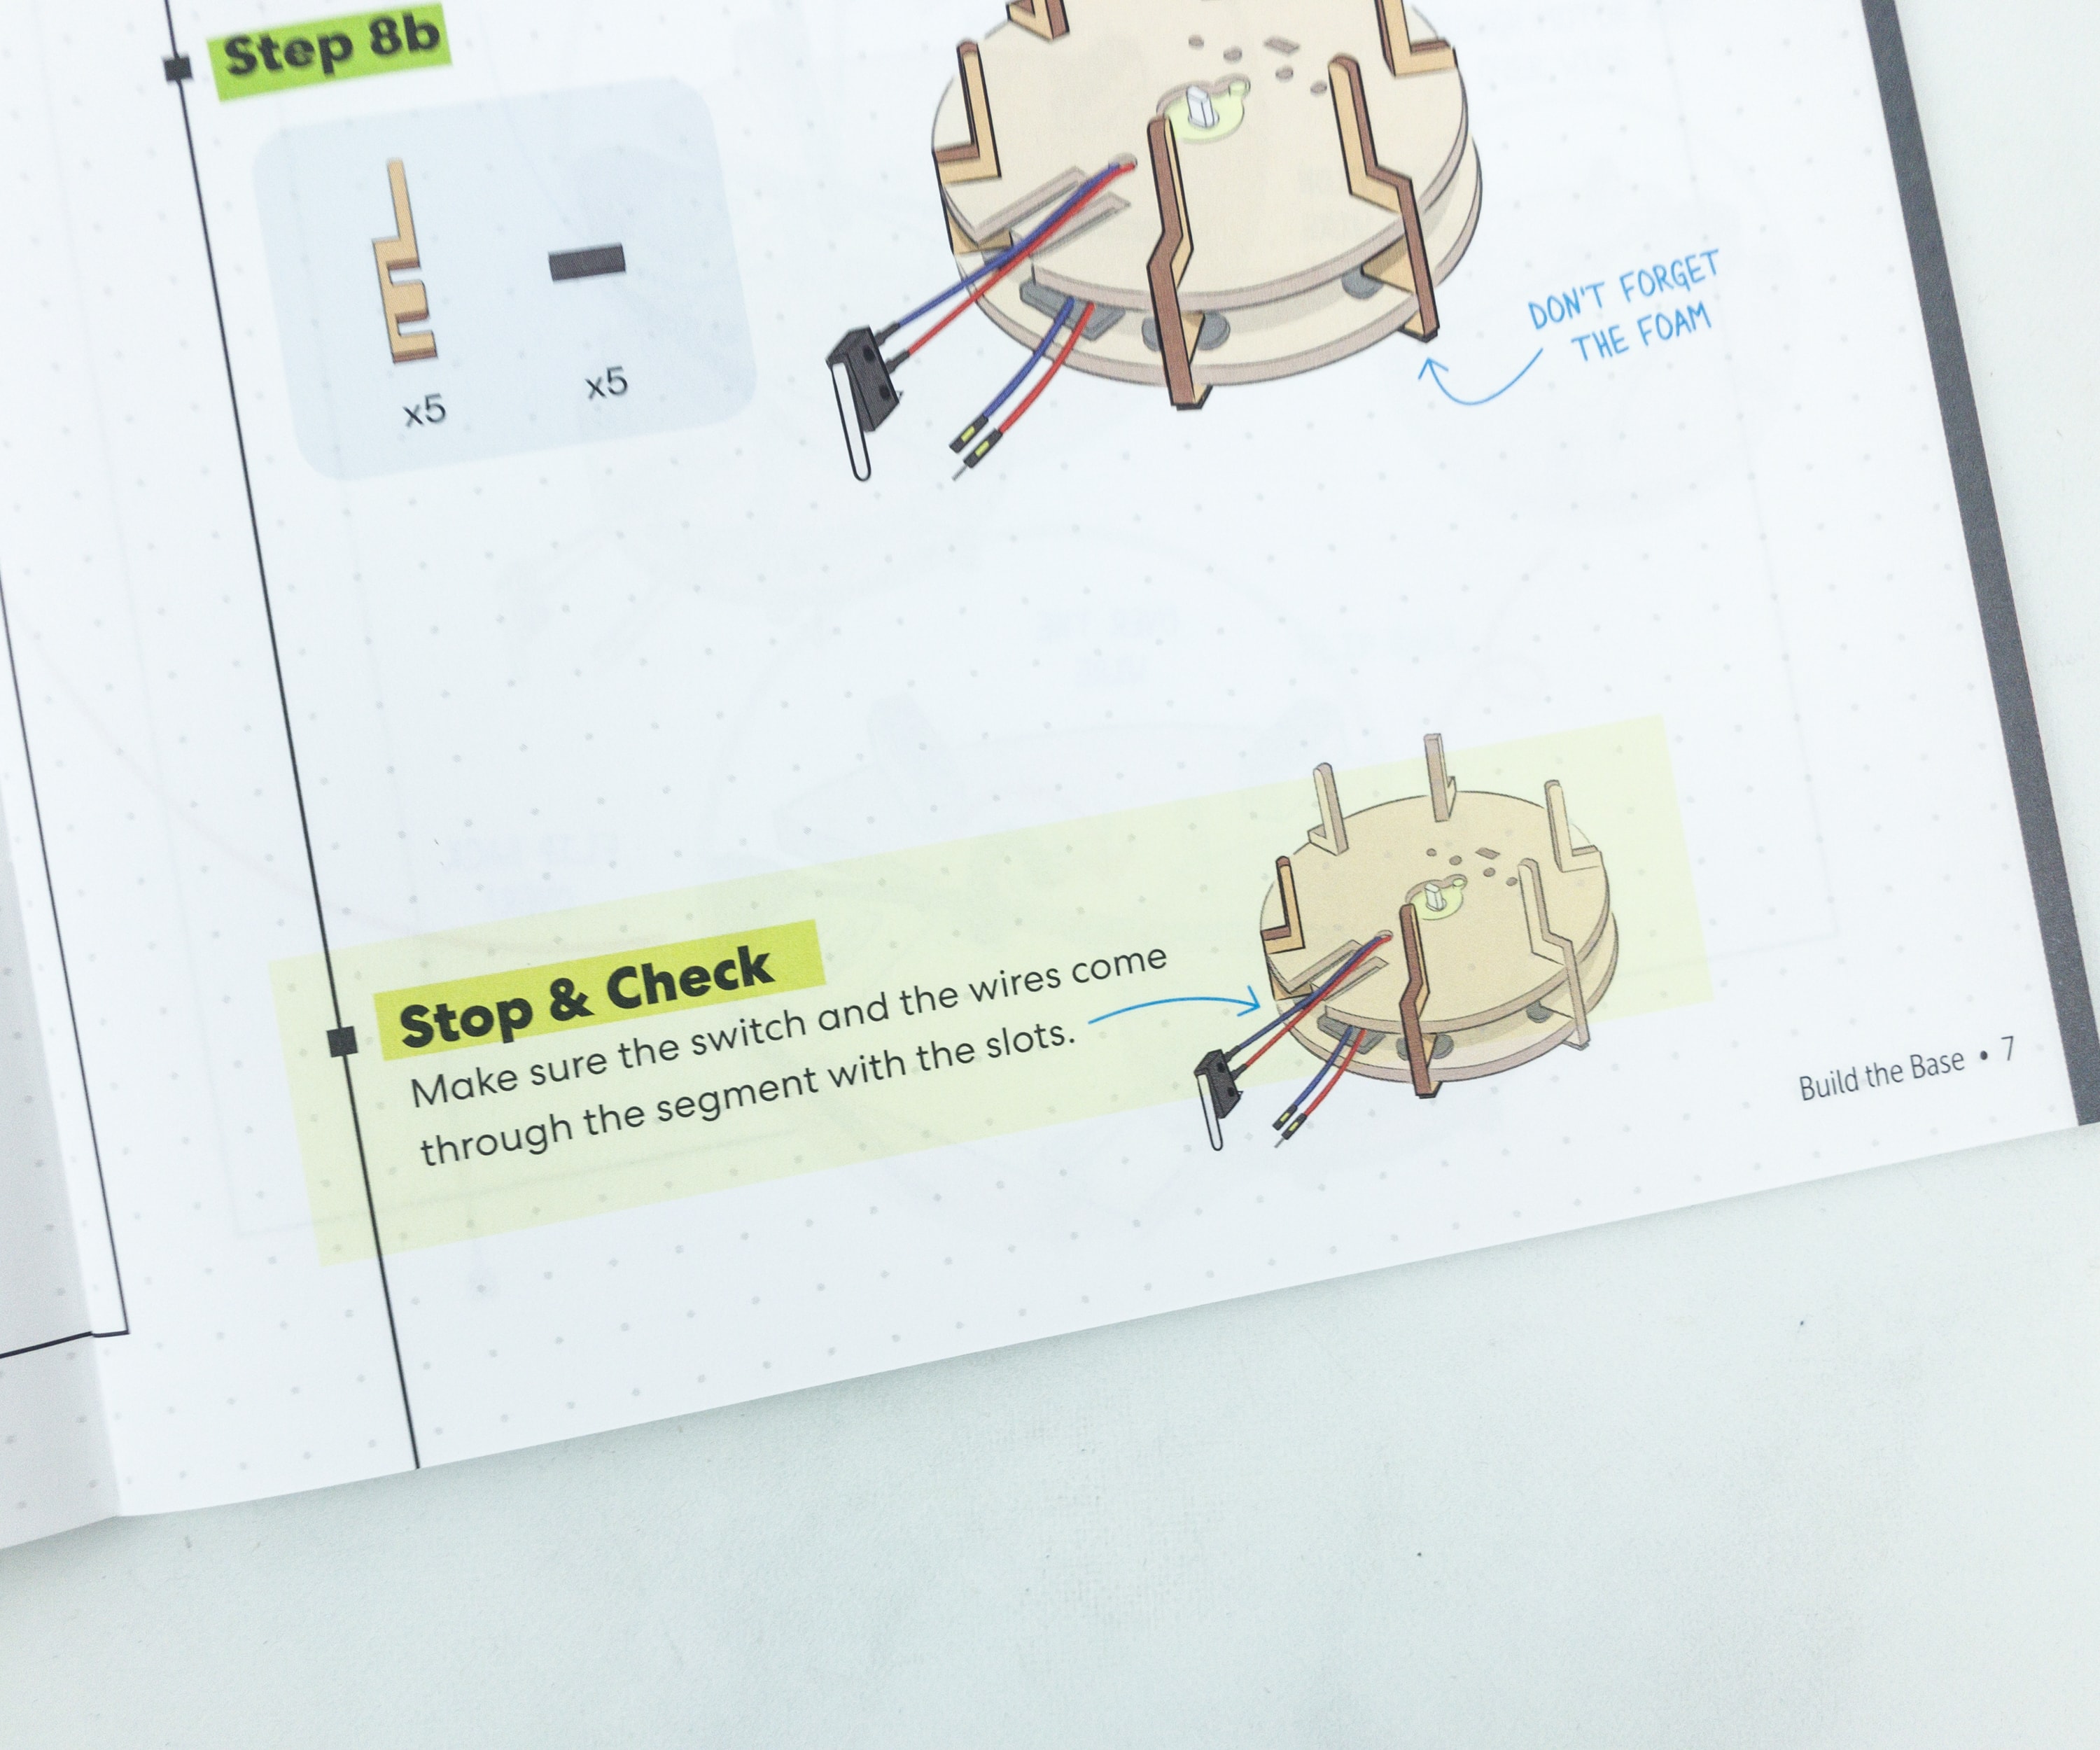
You can also stop and check if what you did is right.
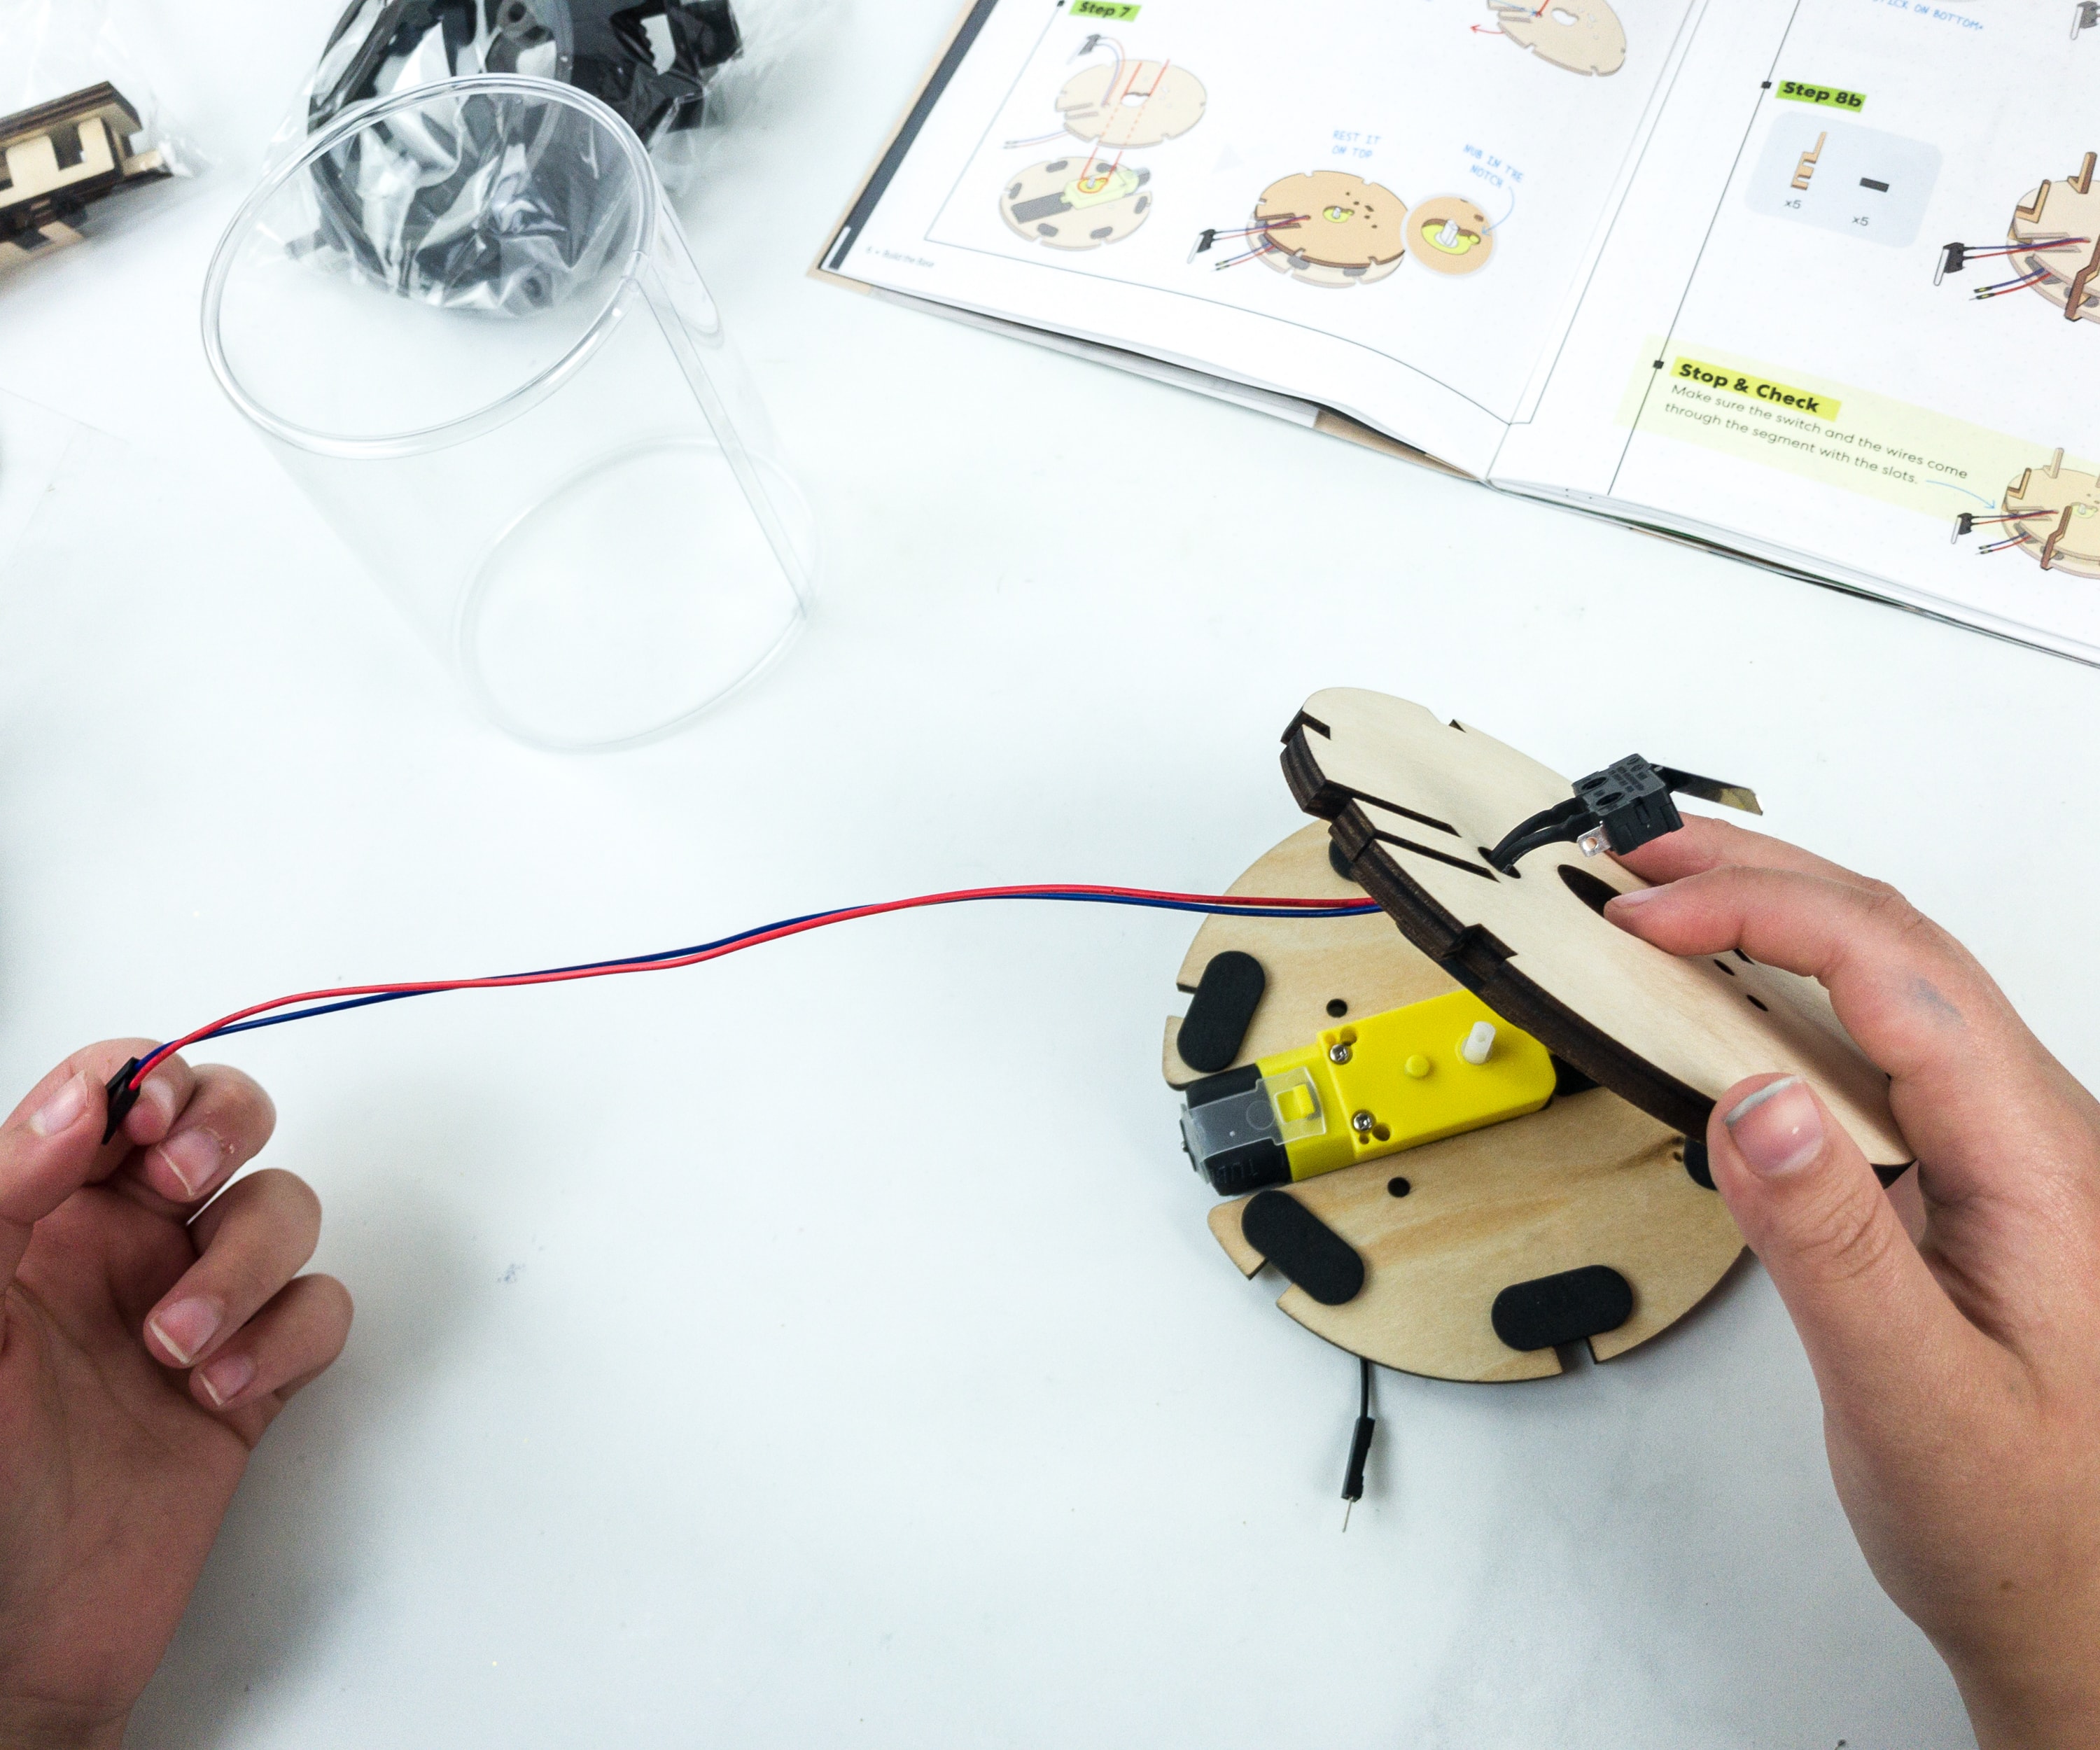
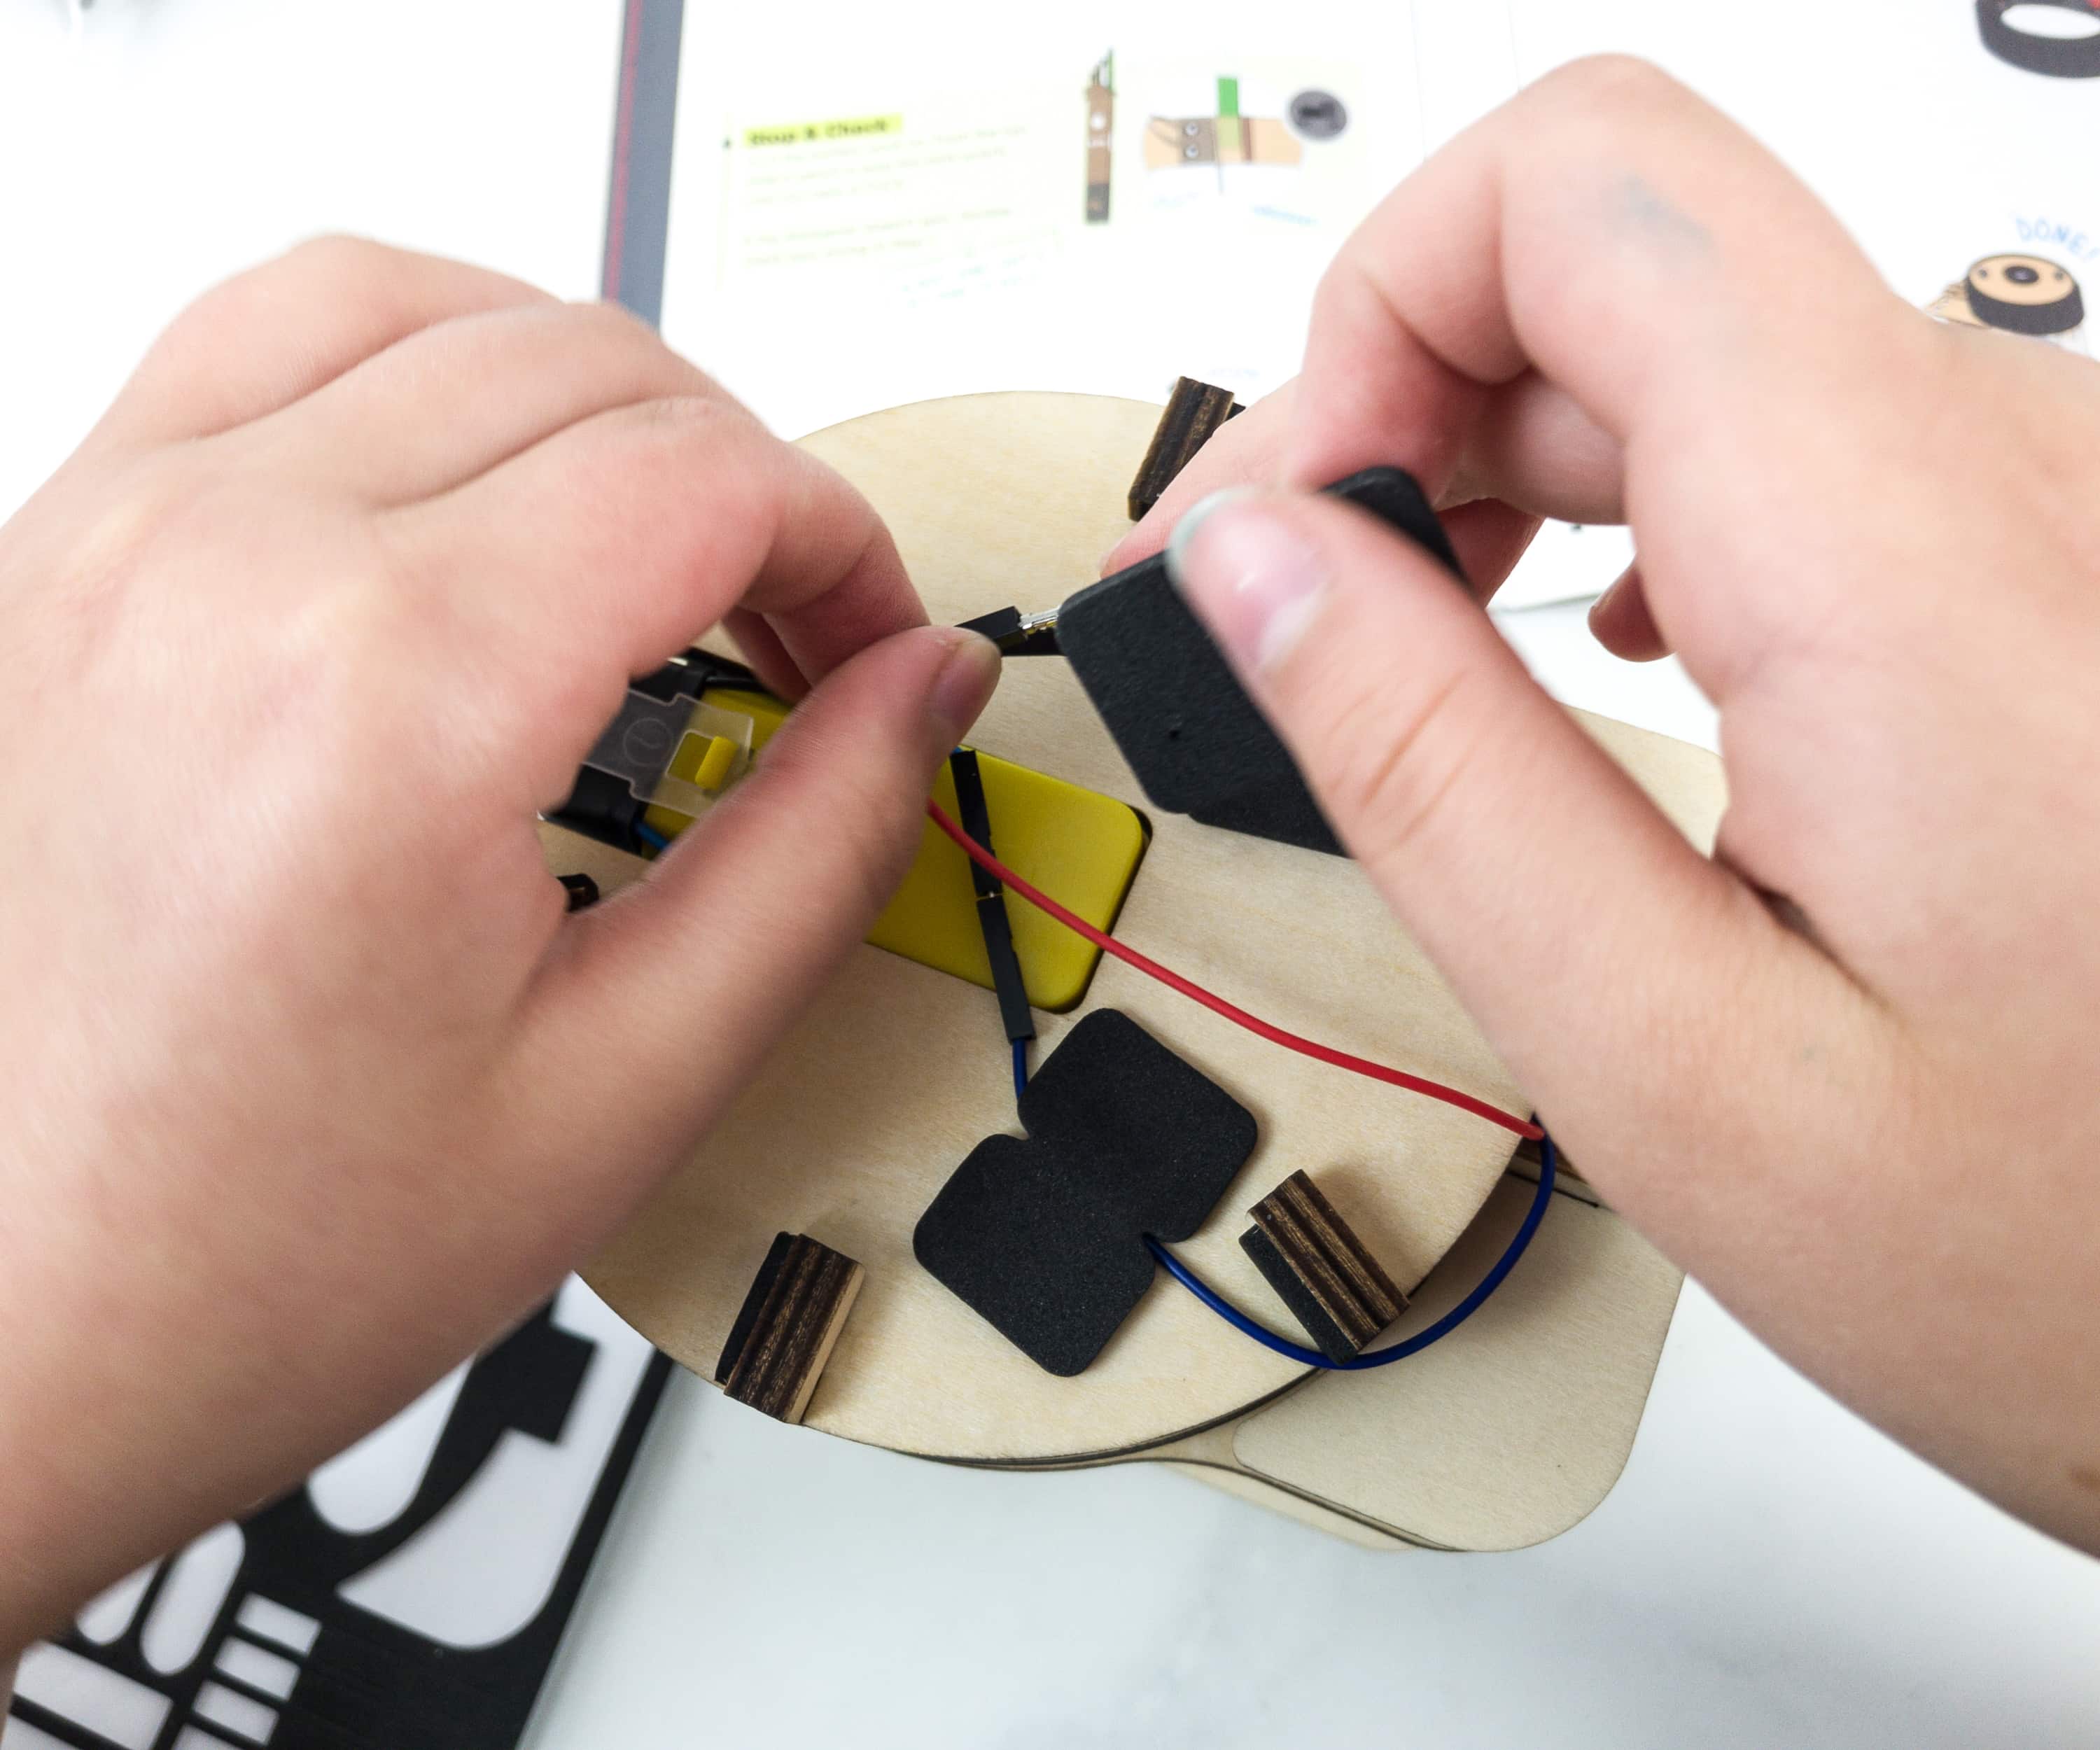
Make sure that the switch and the wires come through the segment with the slots.
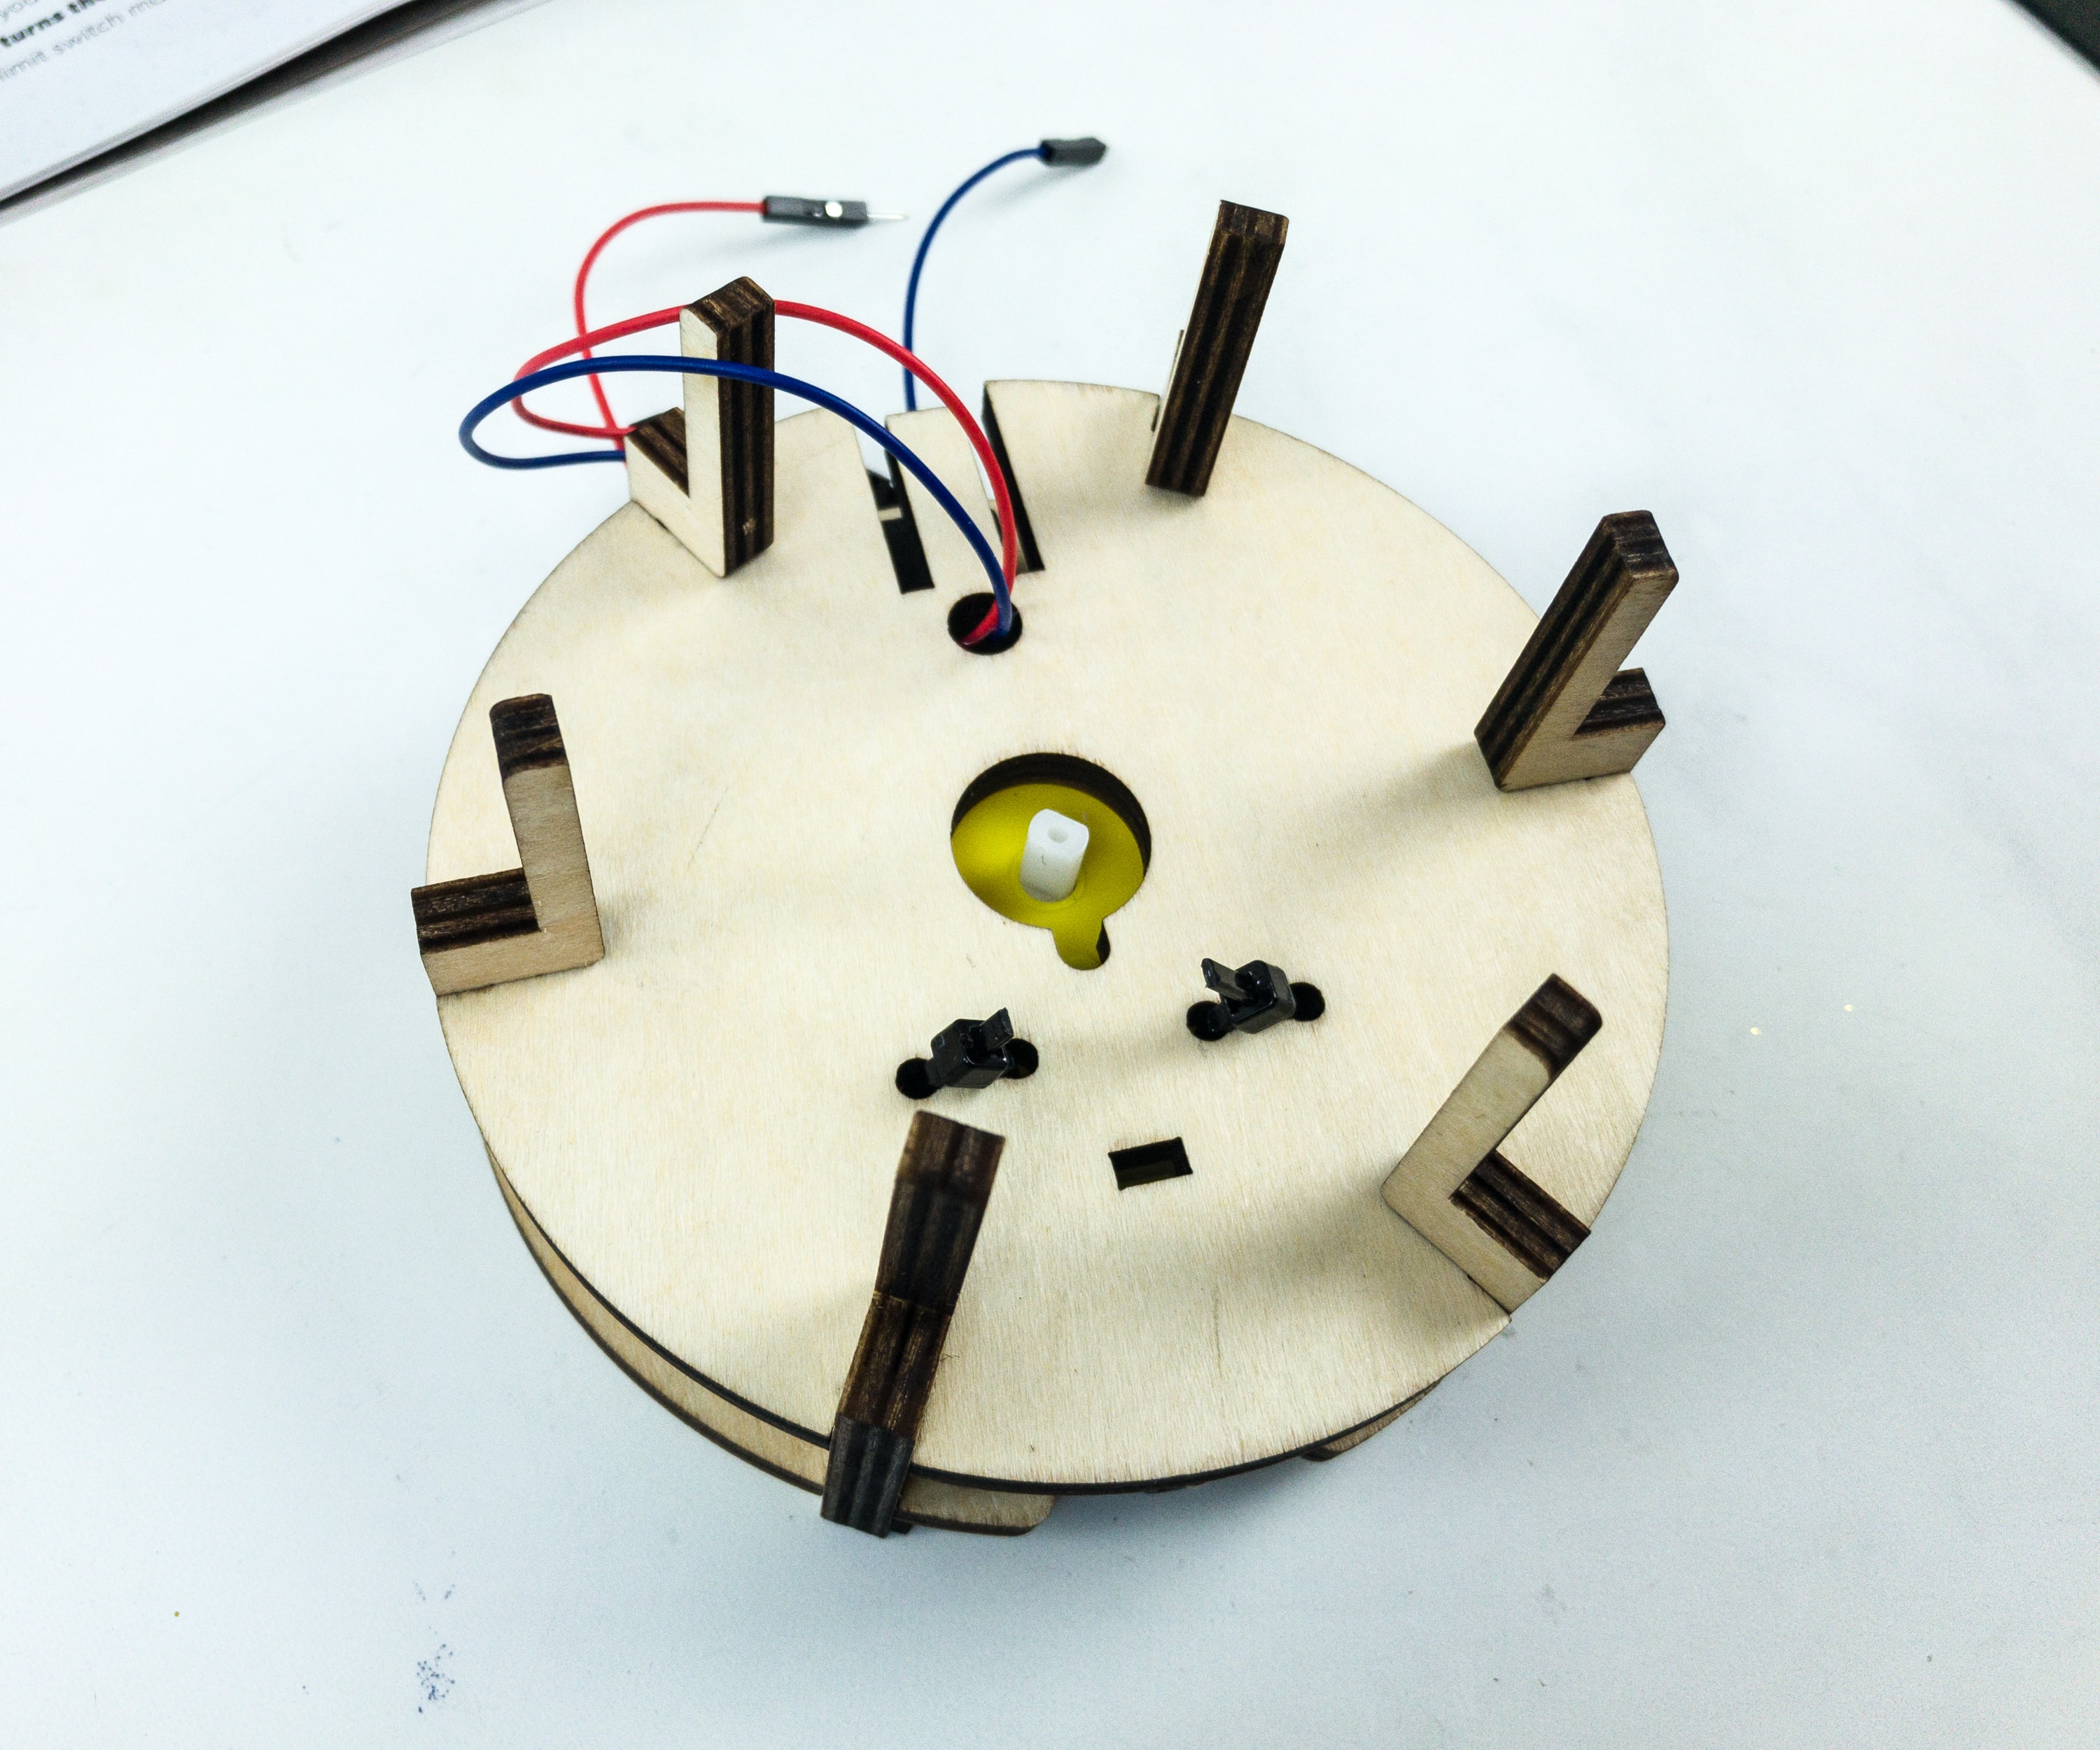
The base is now complete!
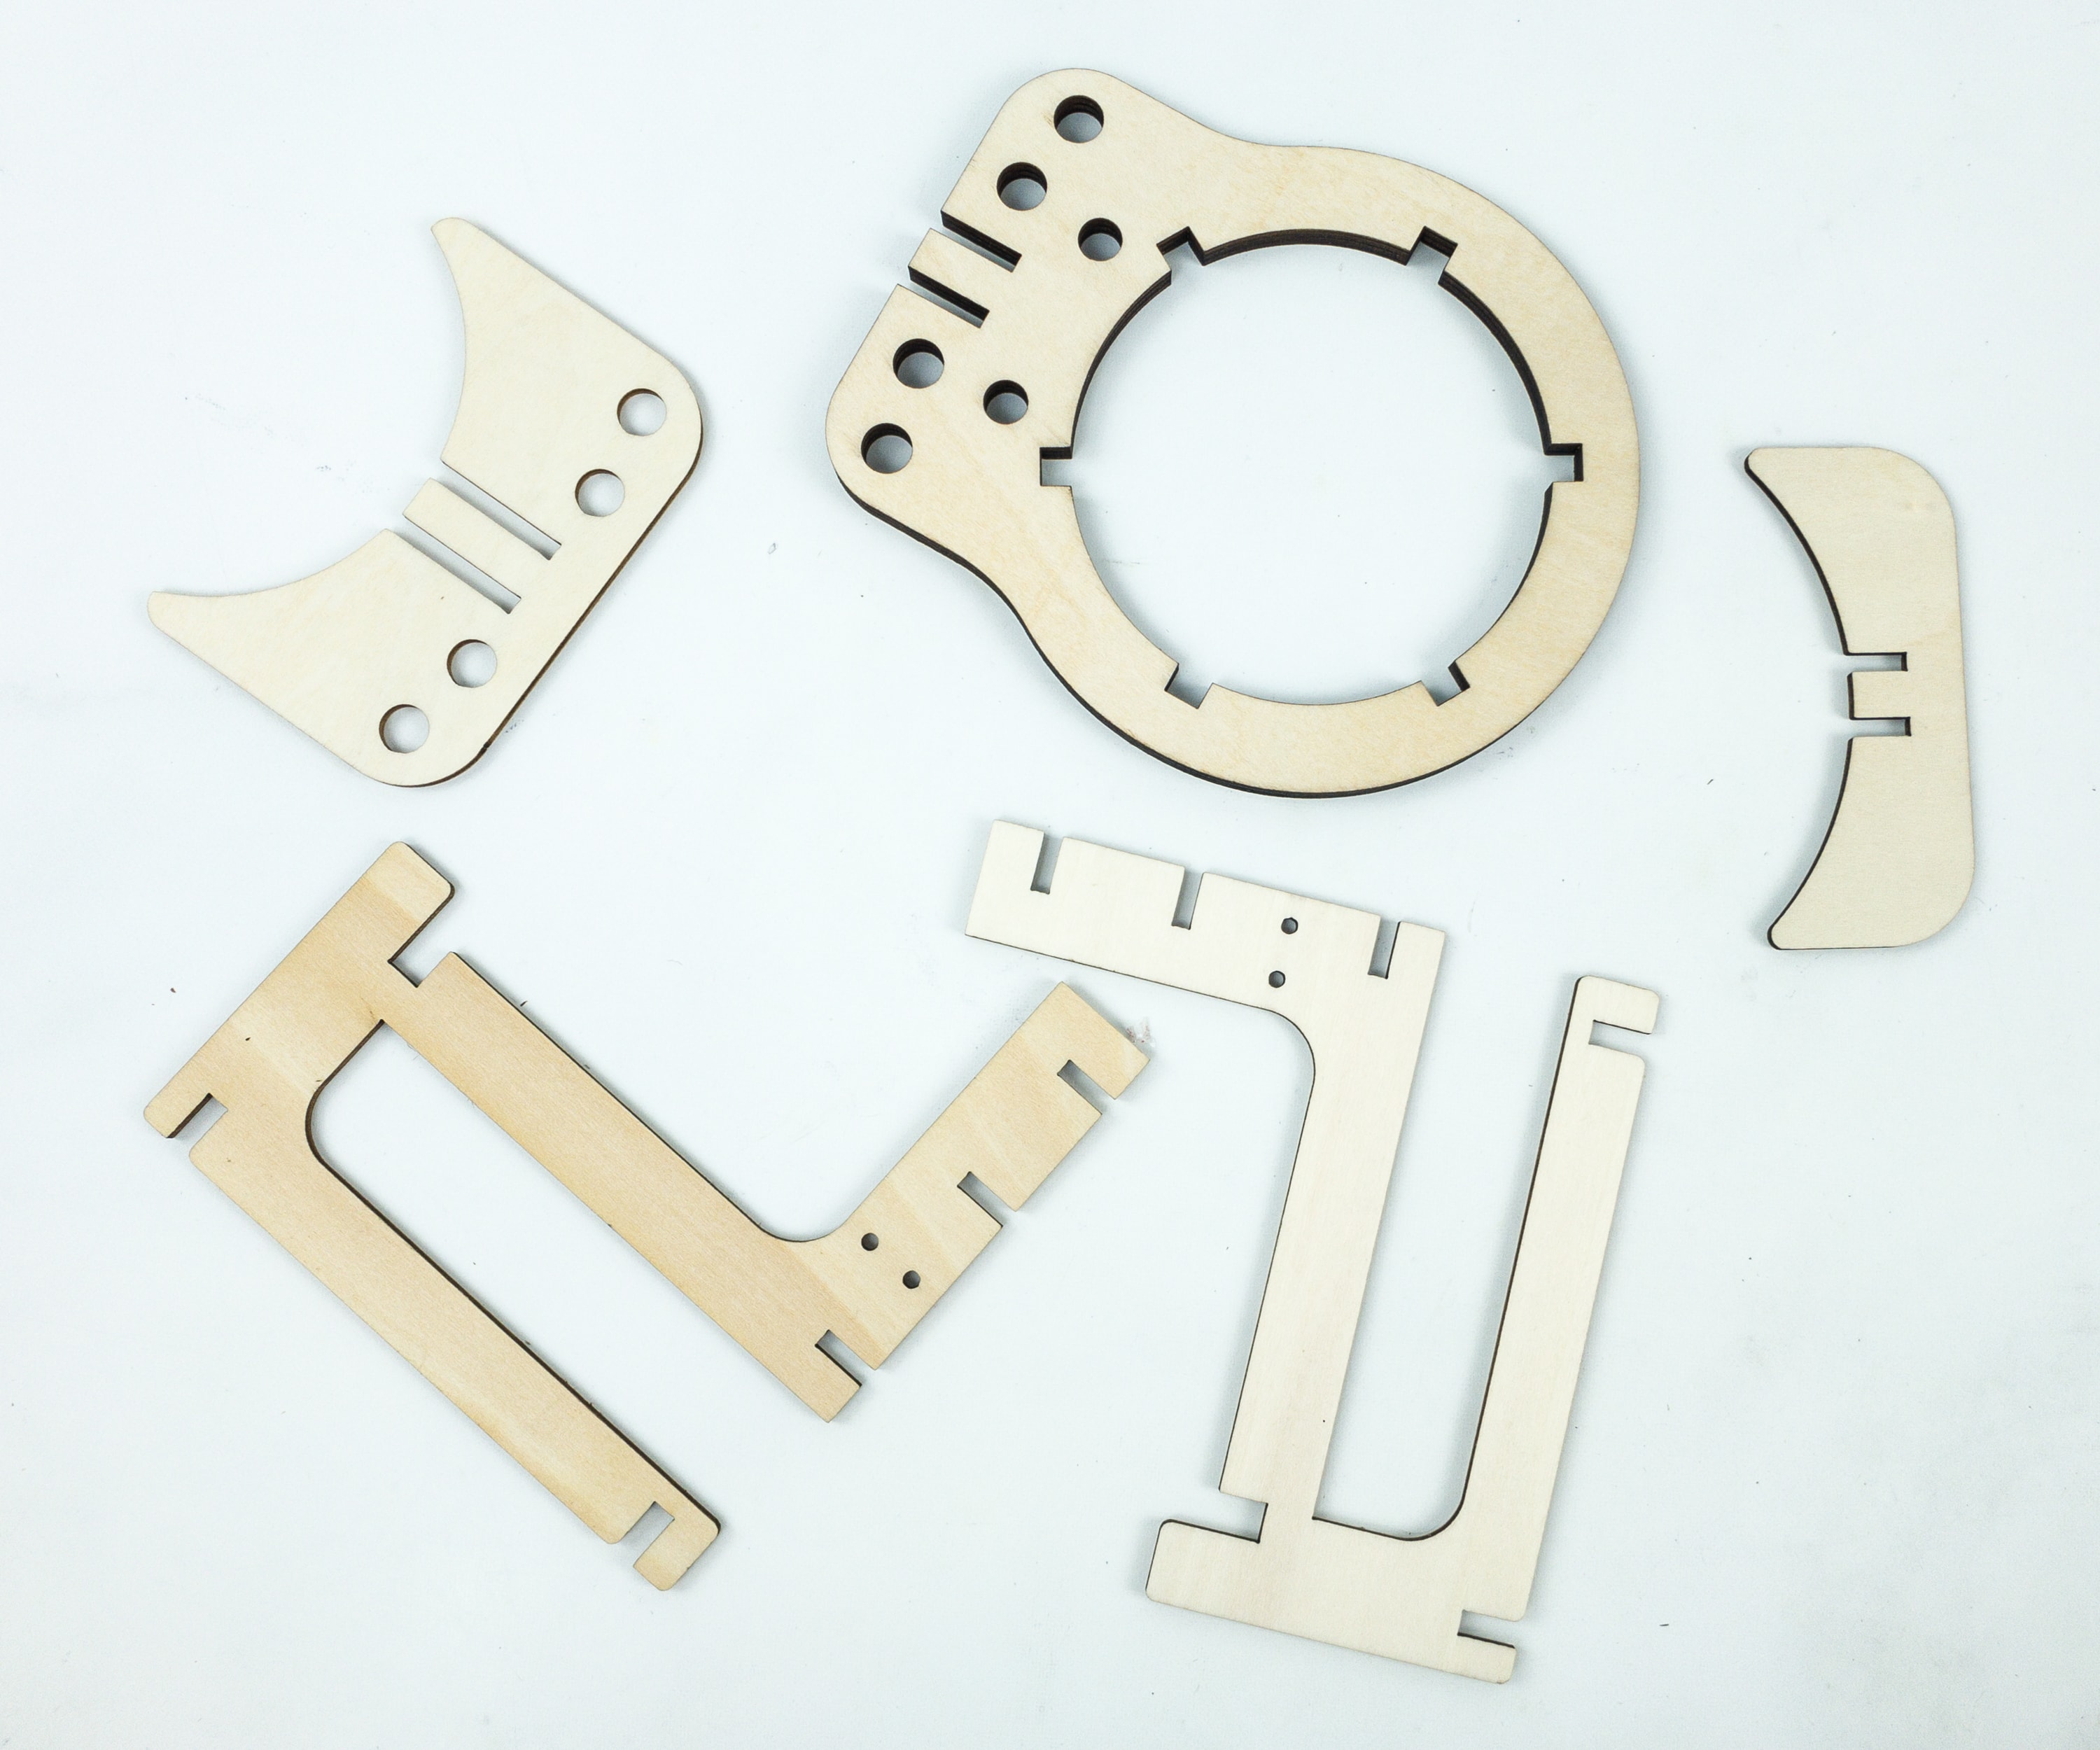
Here are some other parts that we’ll need to make the lid of the sharpener.
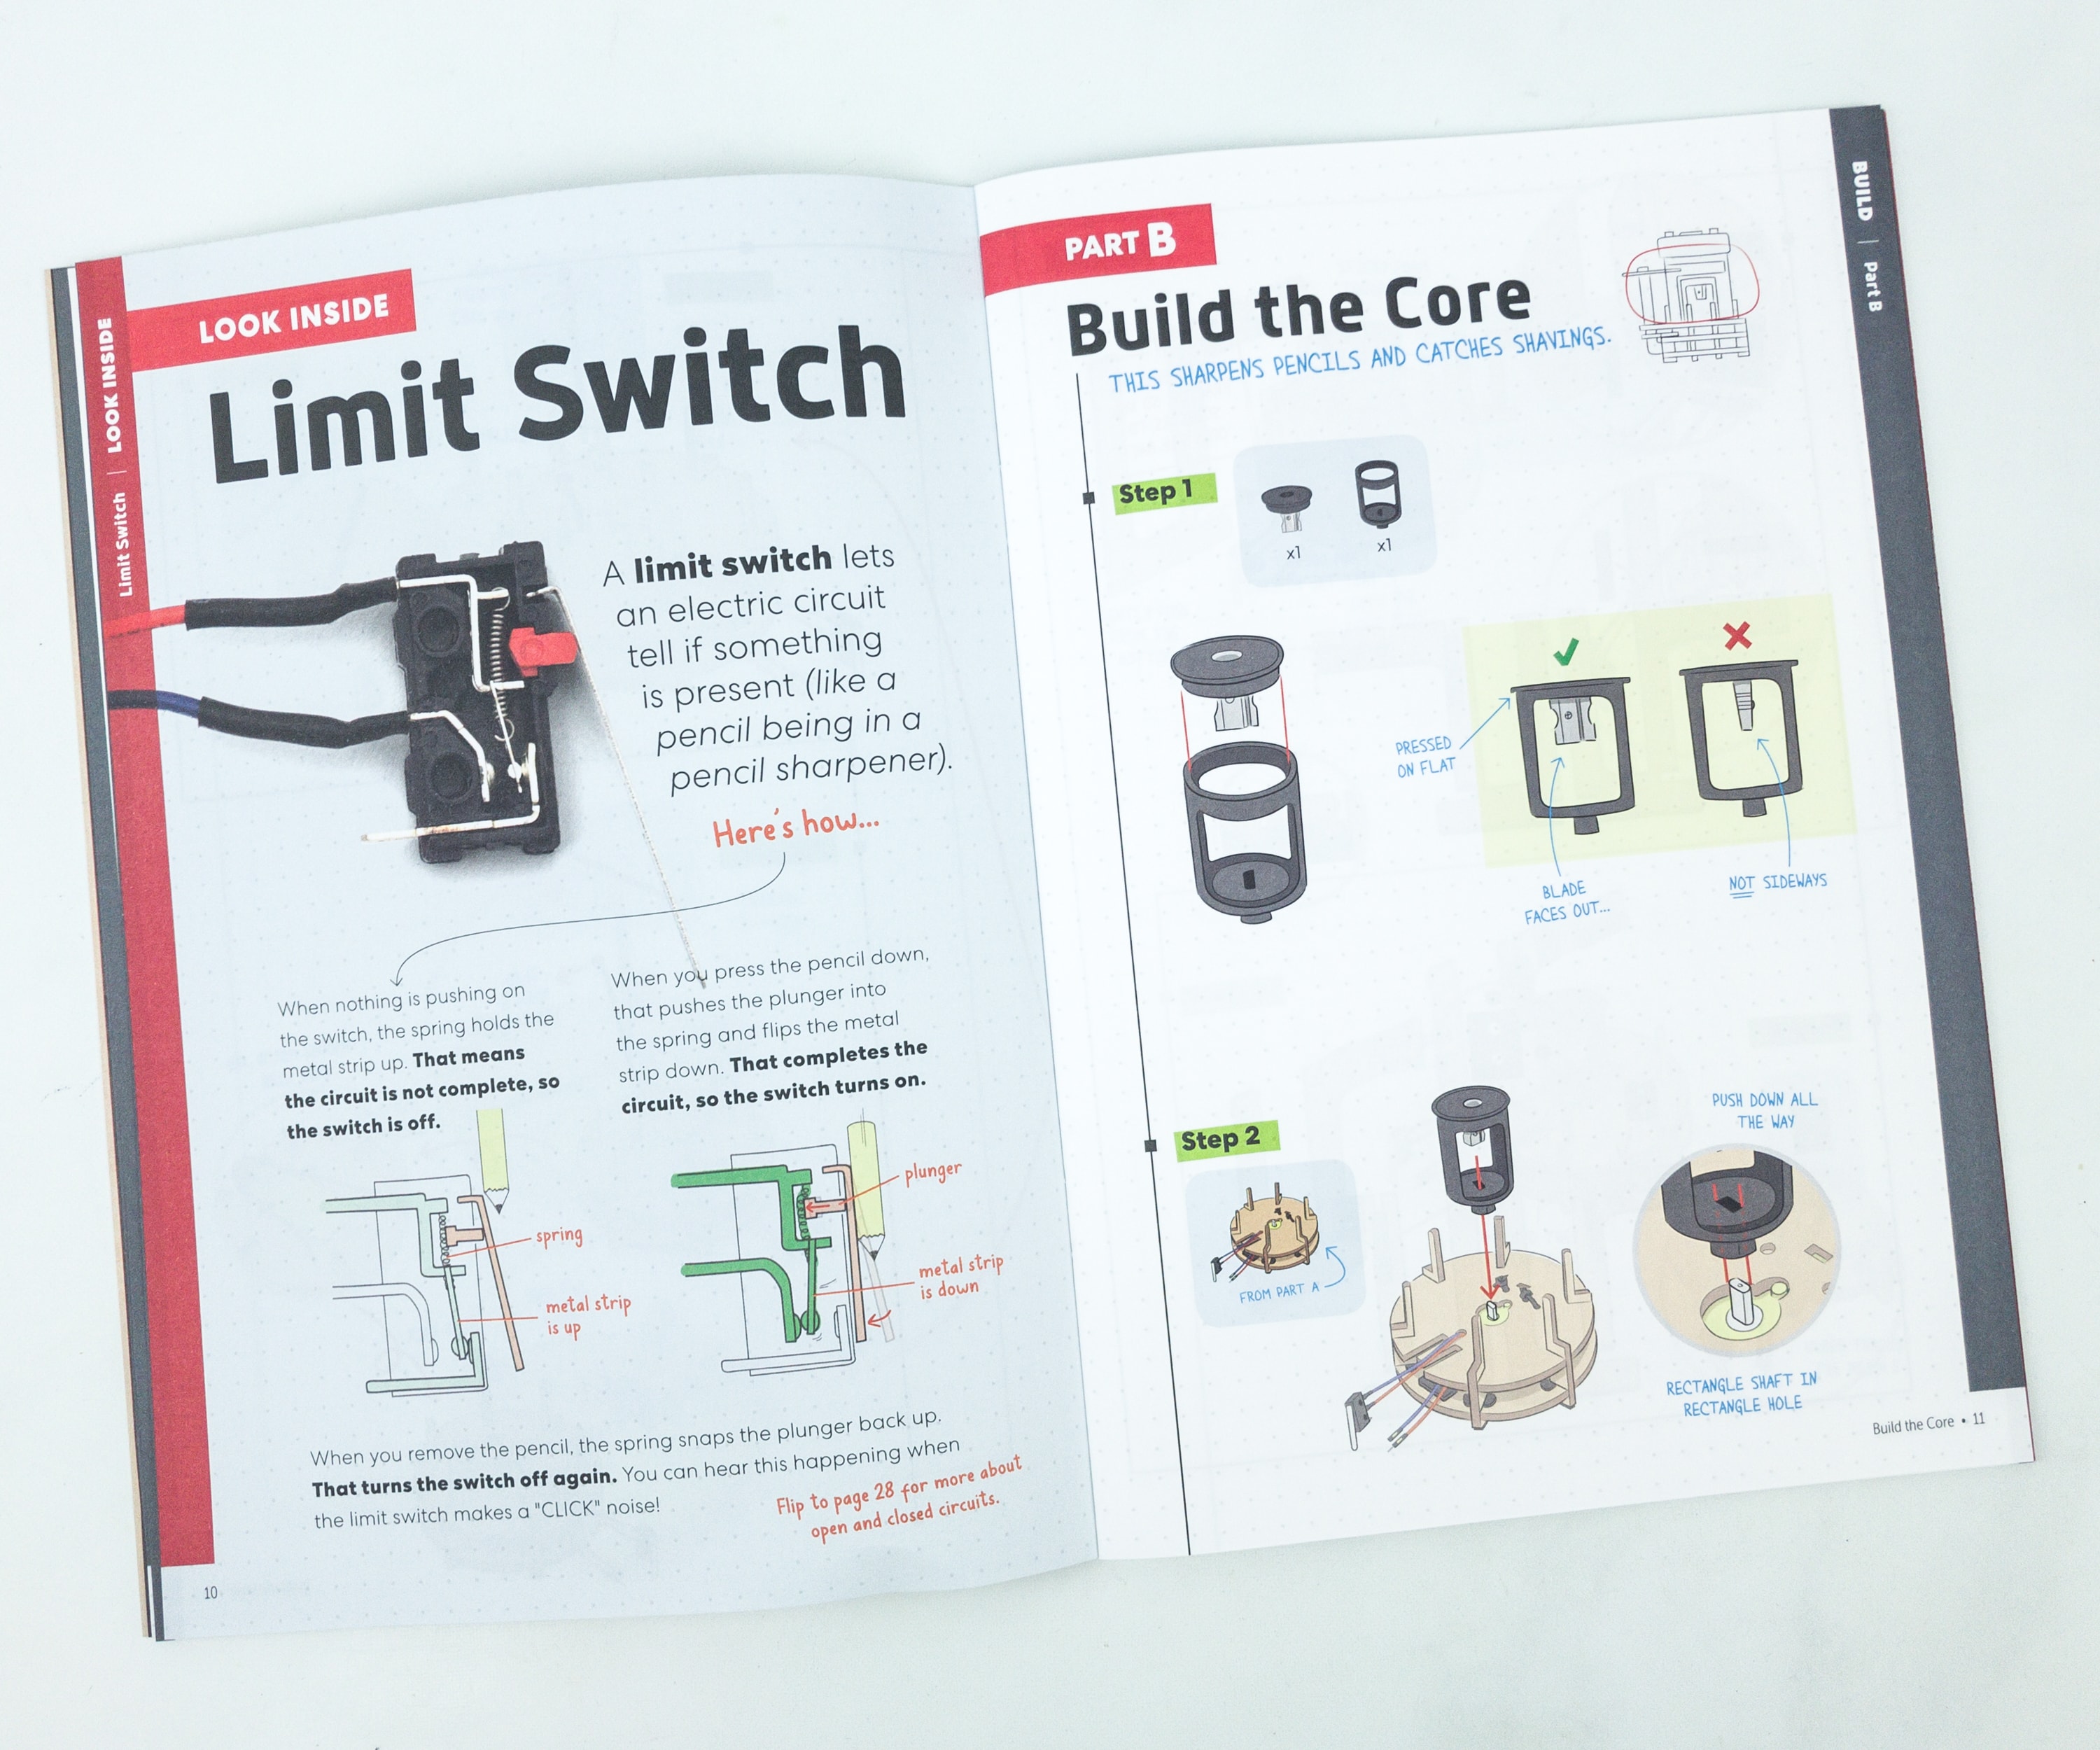
There’s also an explanation about a limit switch. A limit switch lets an electric circuit tell if something is present.
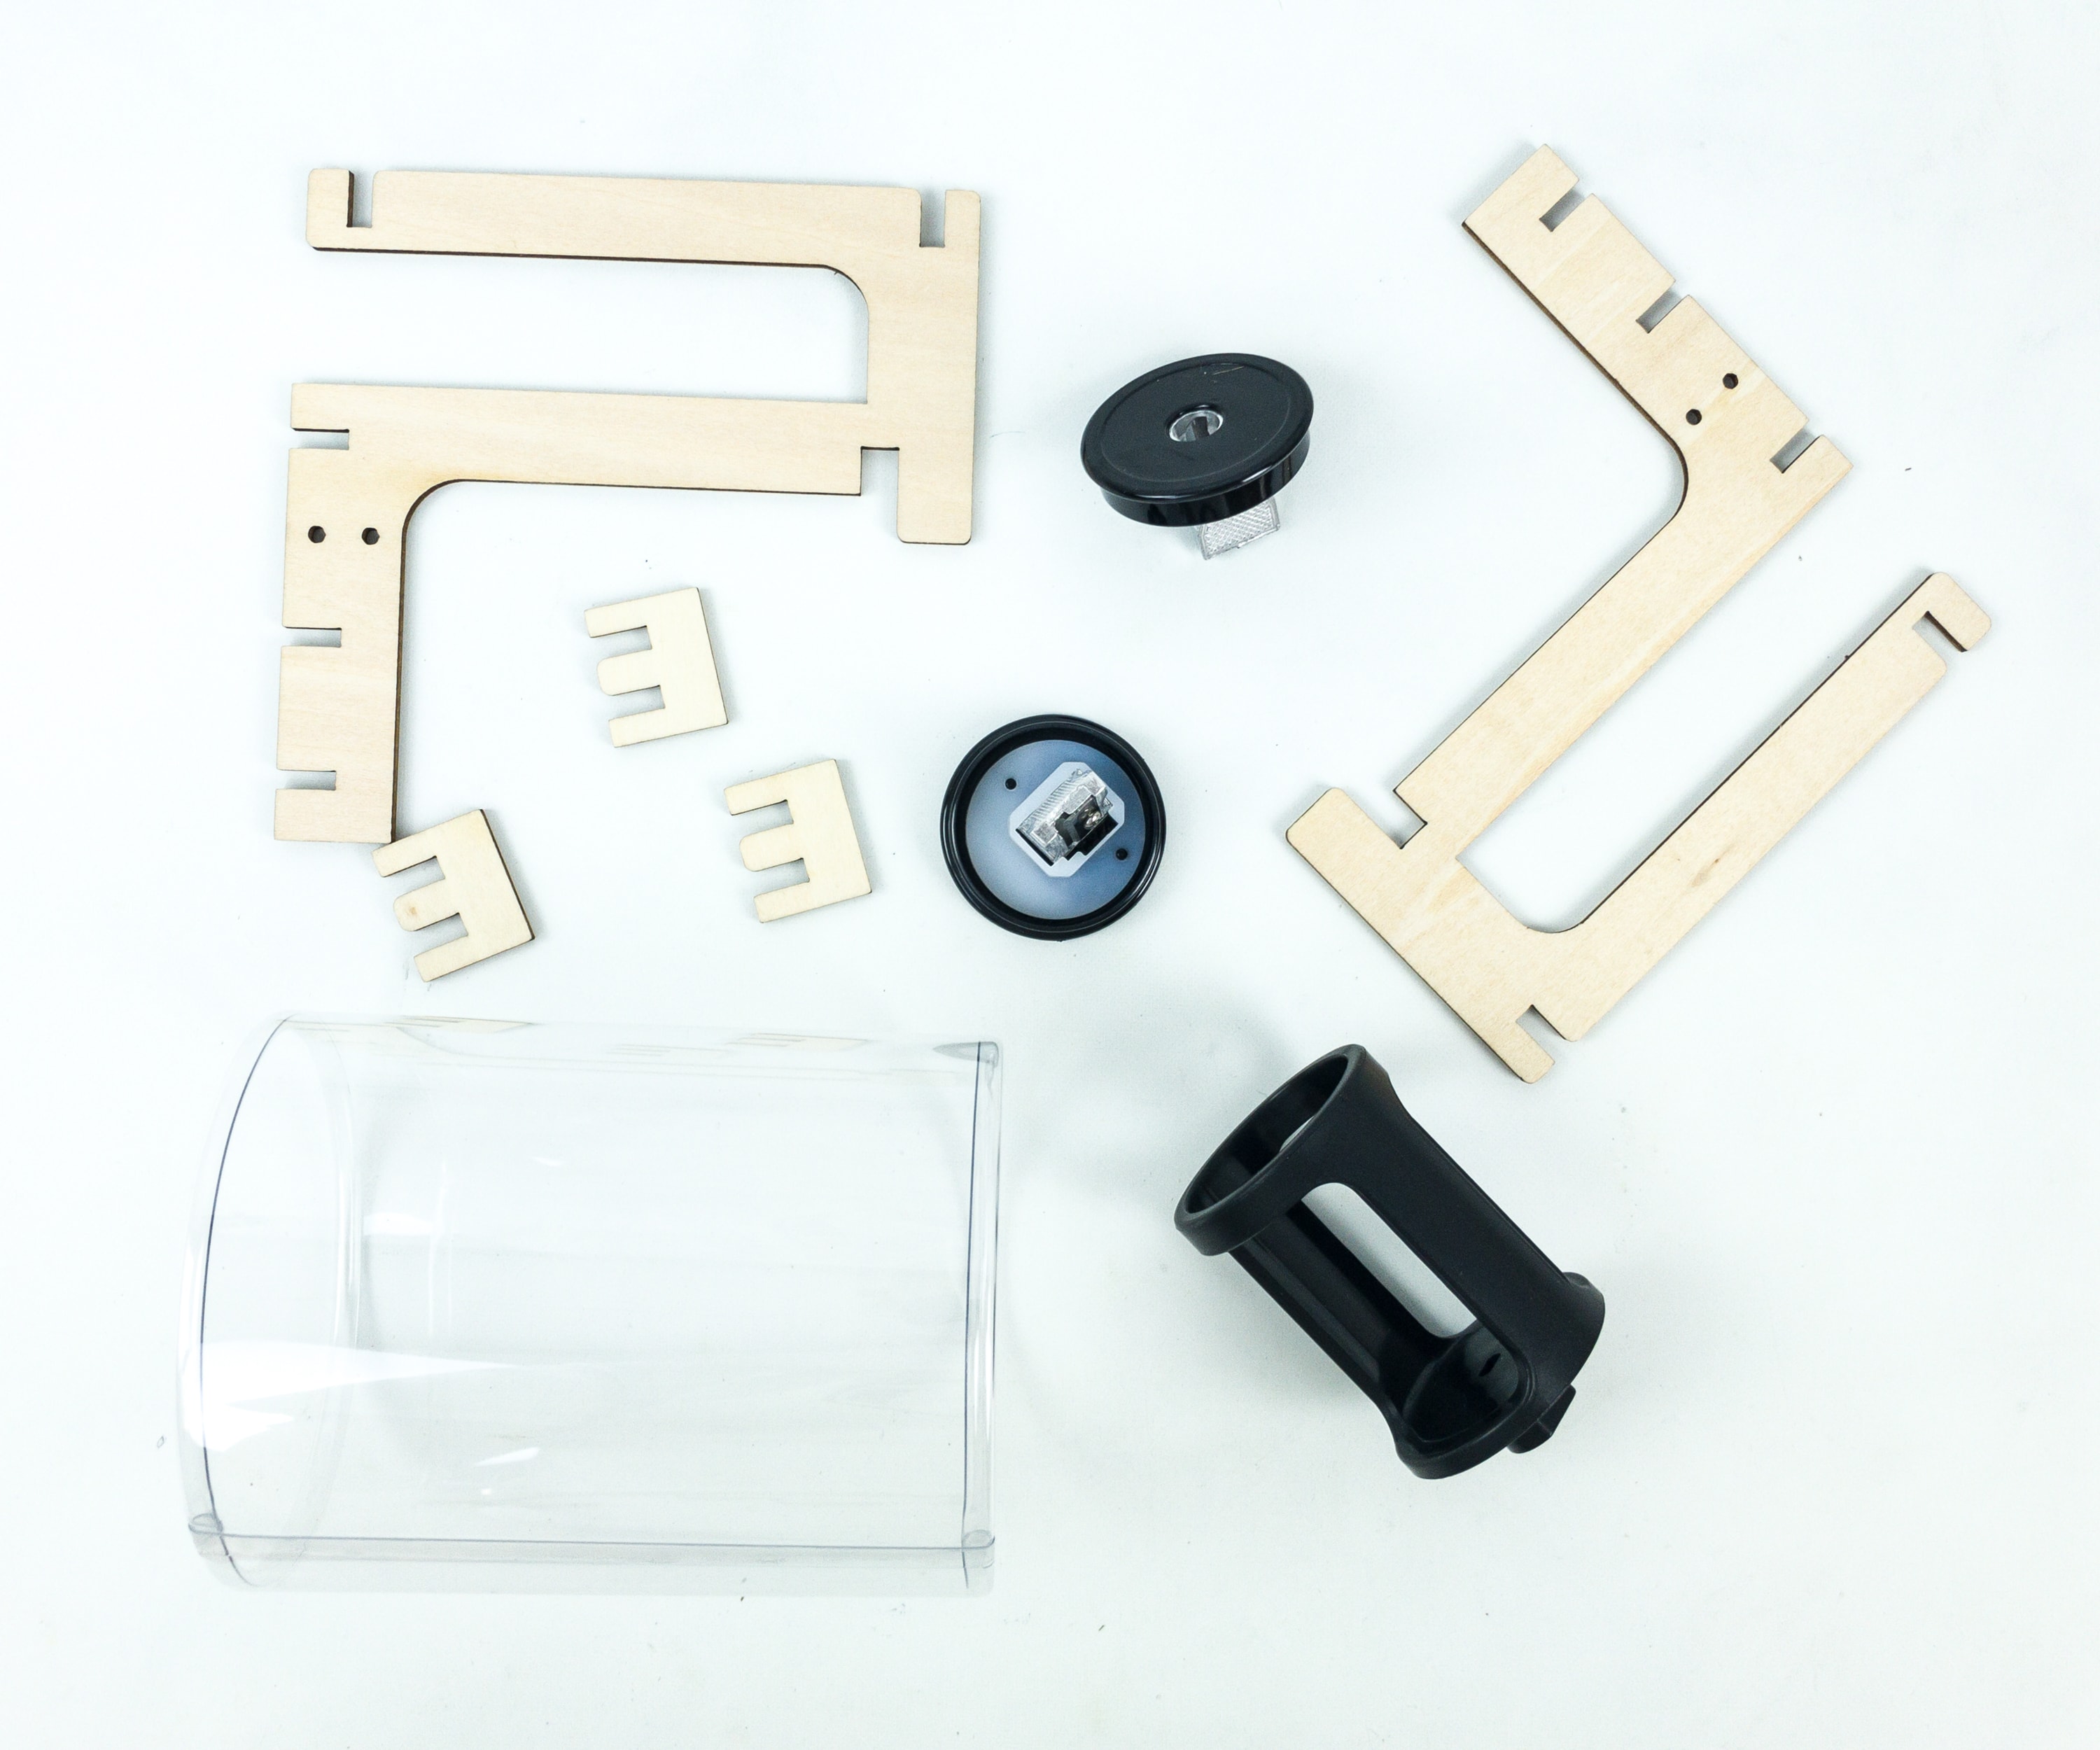
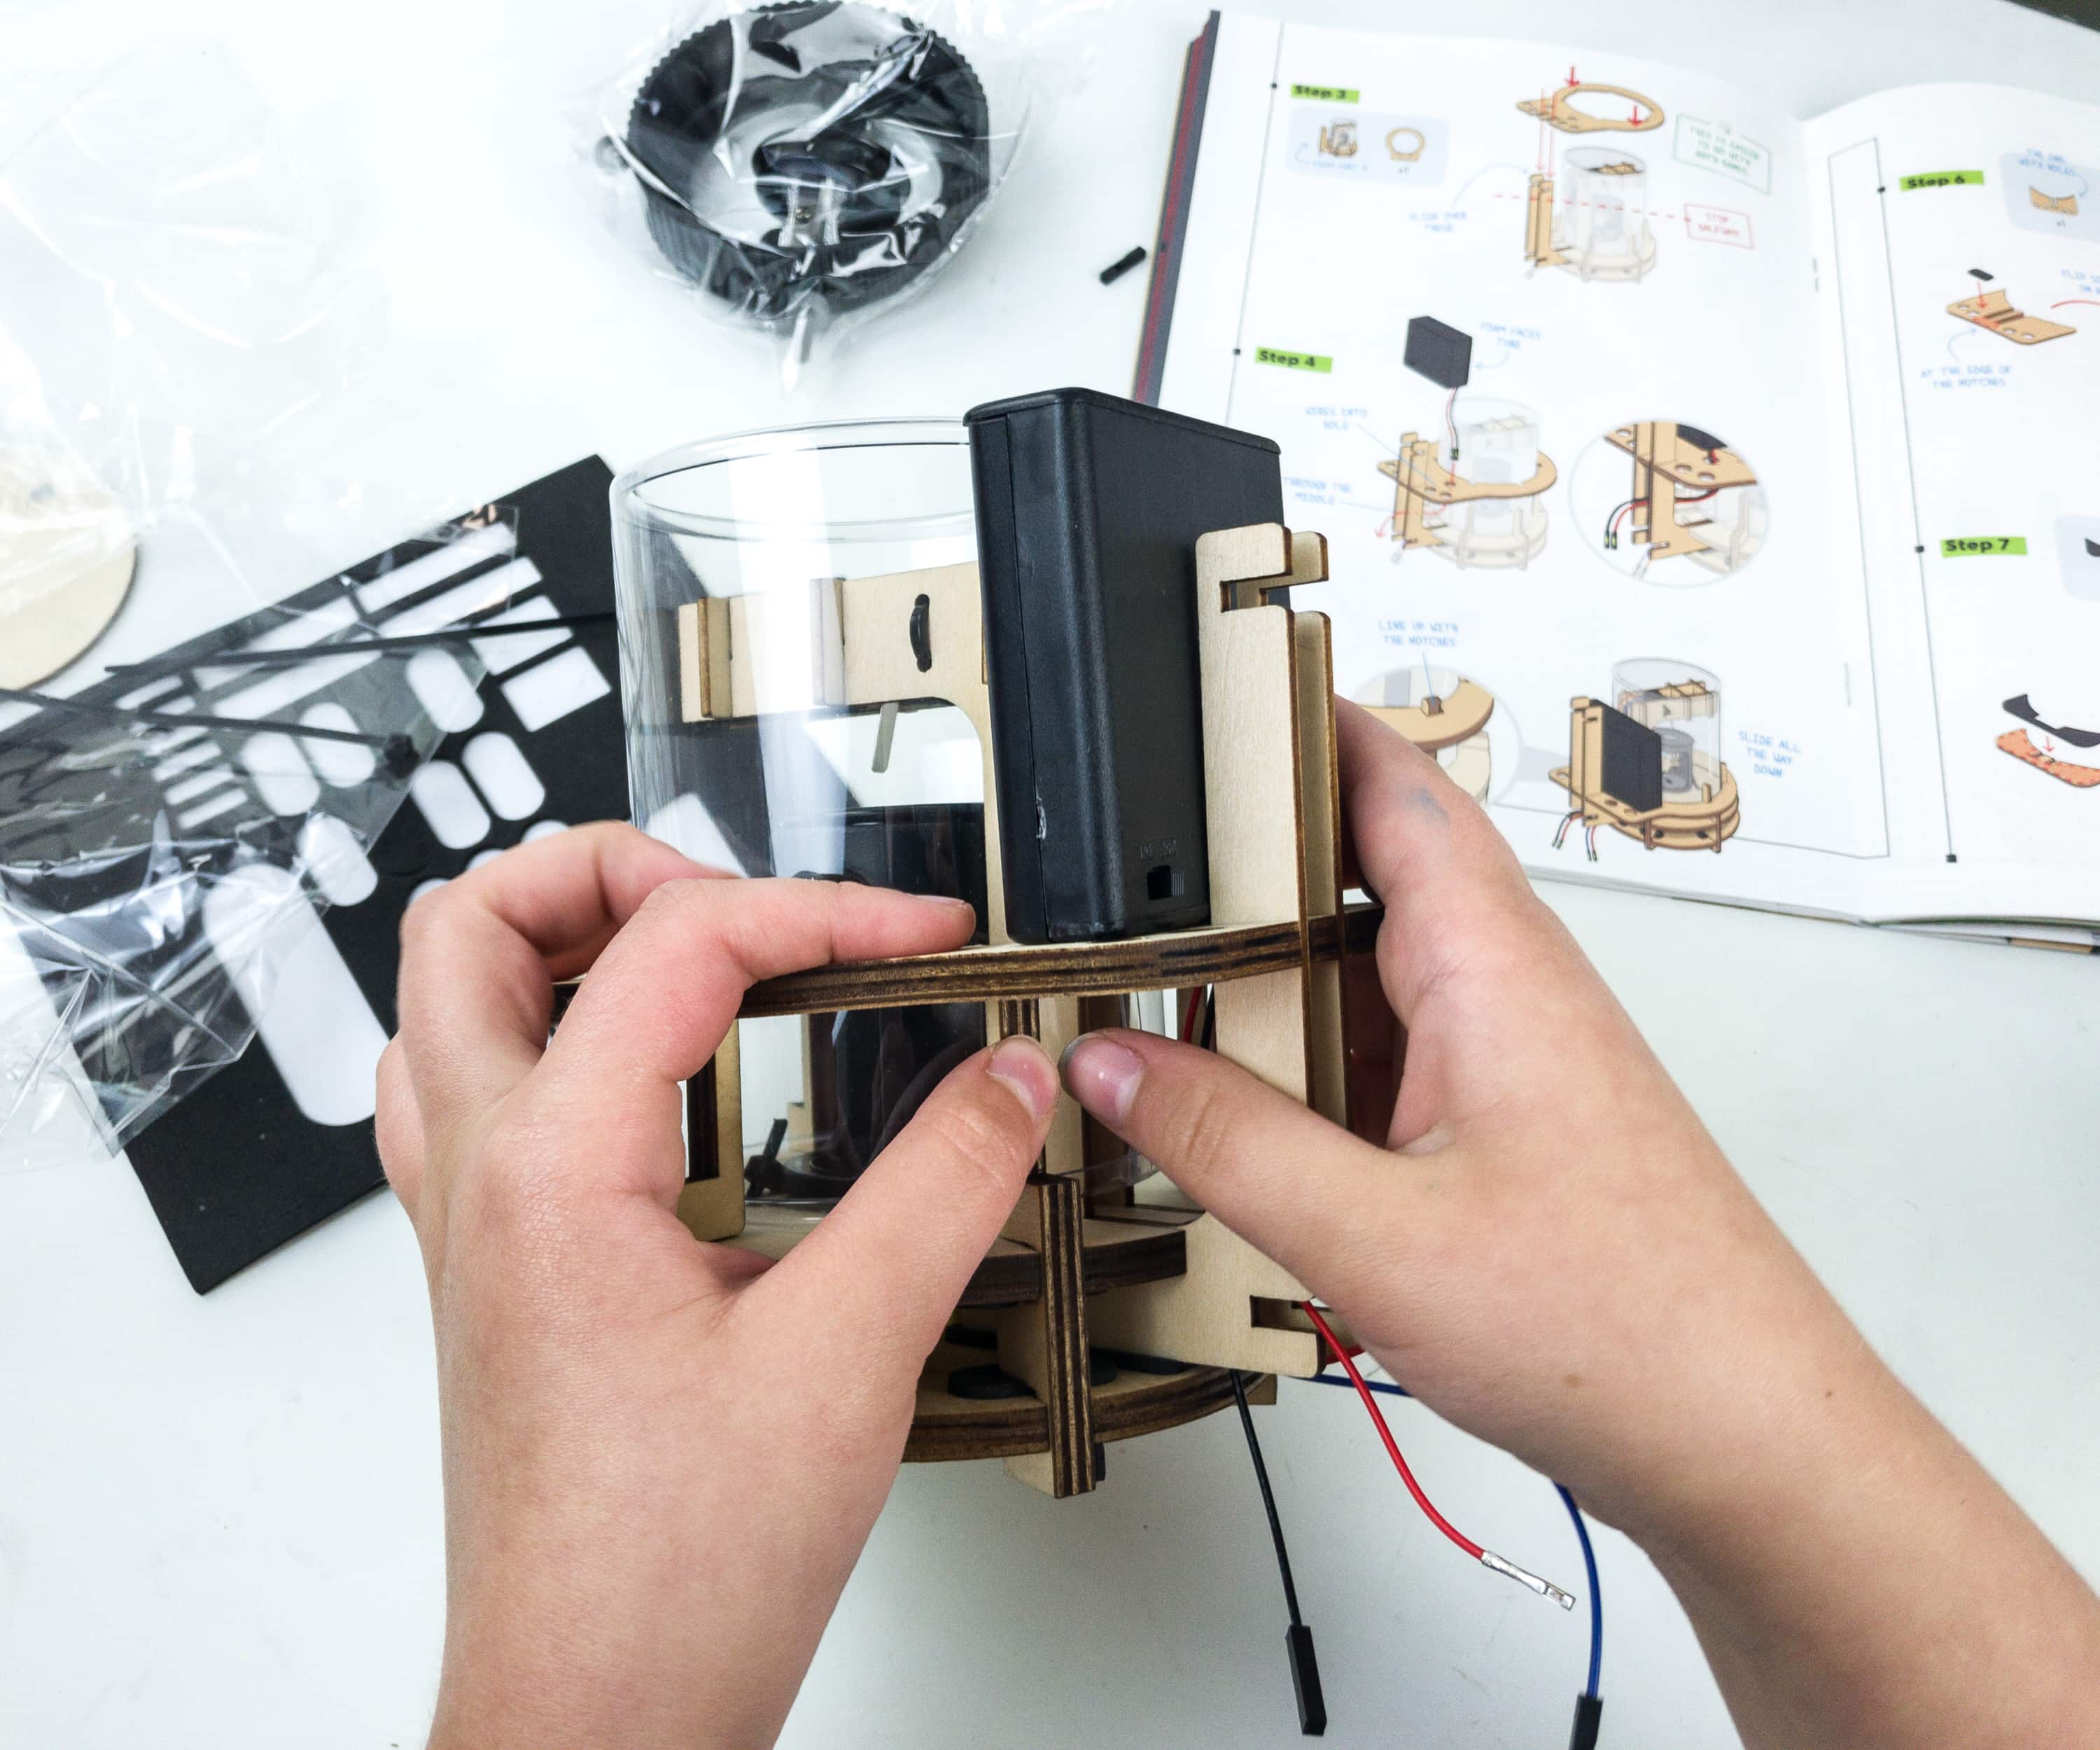
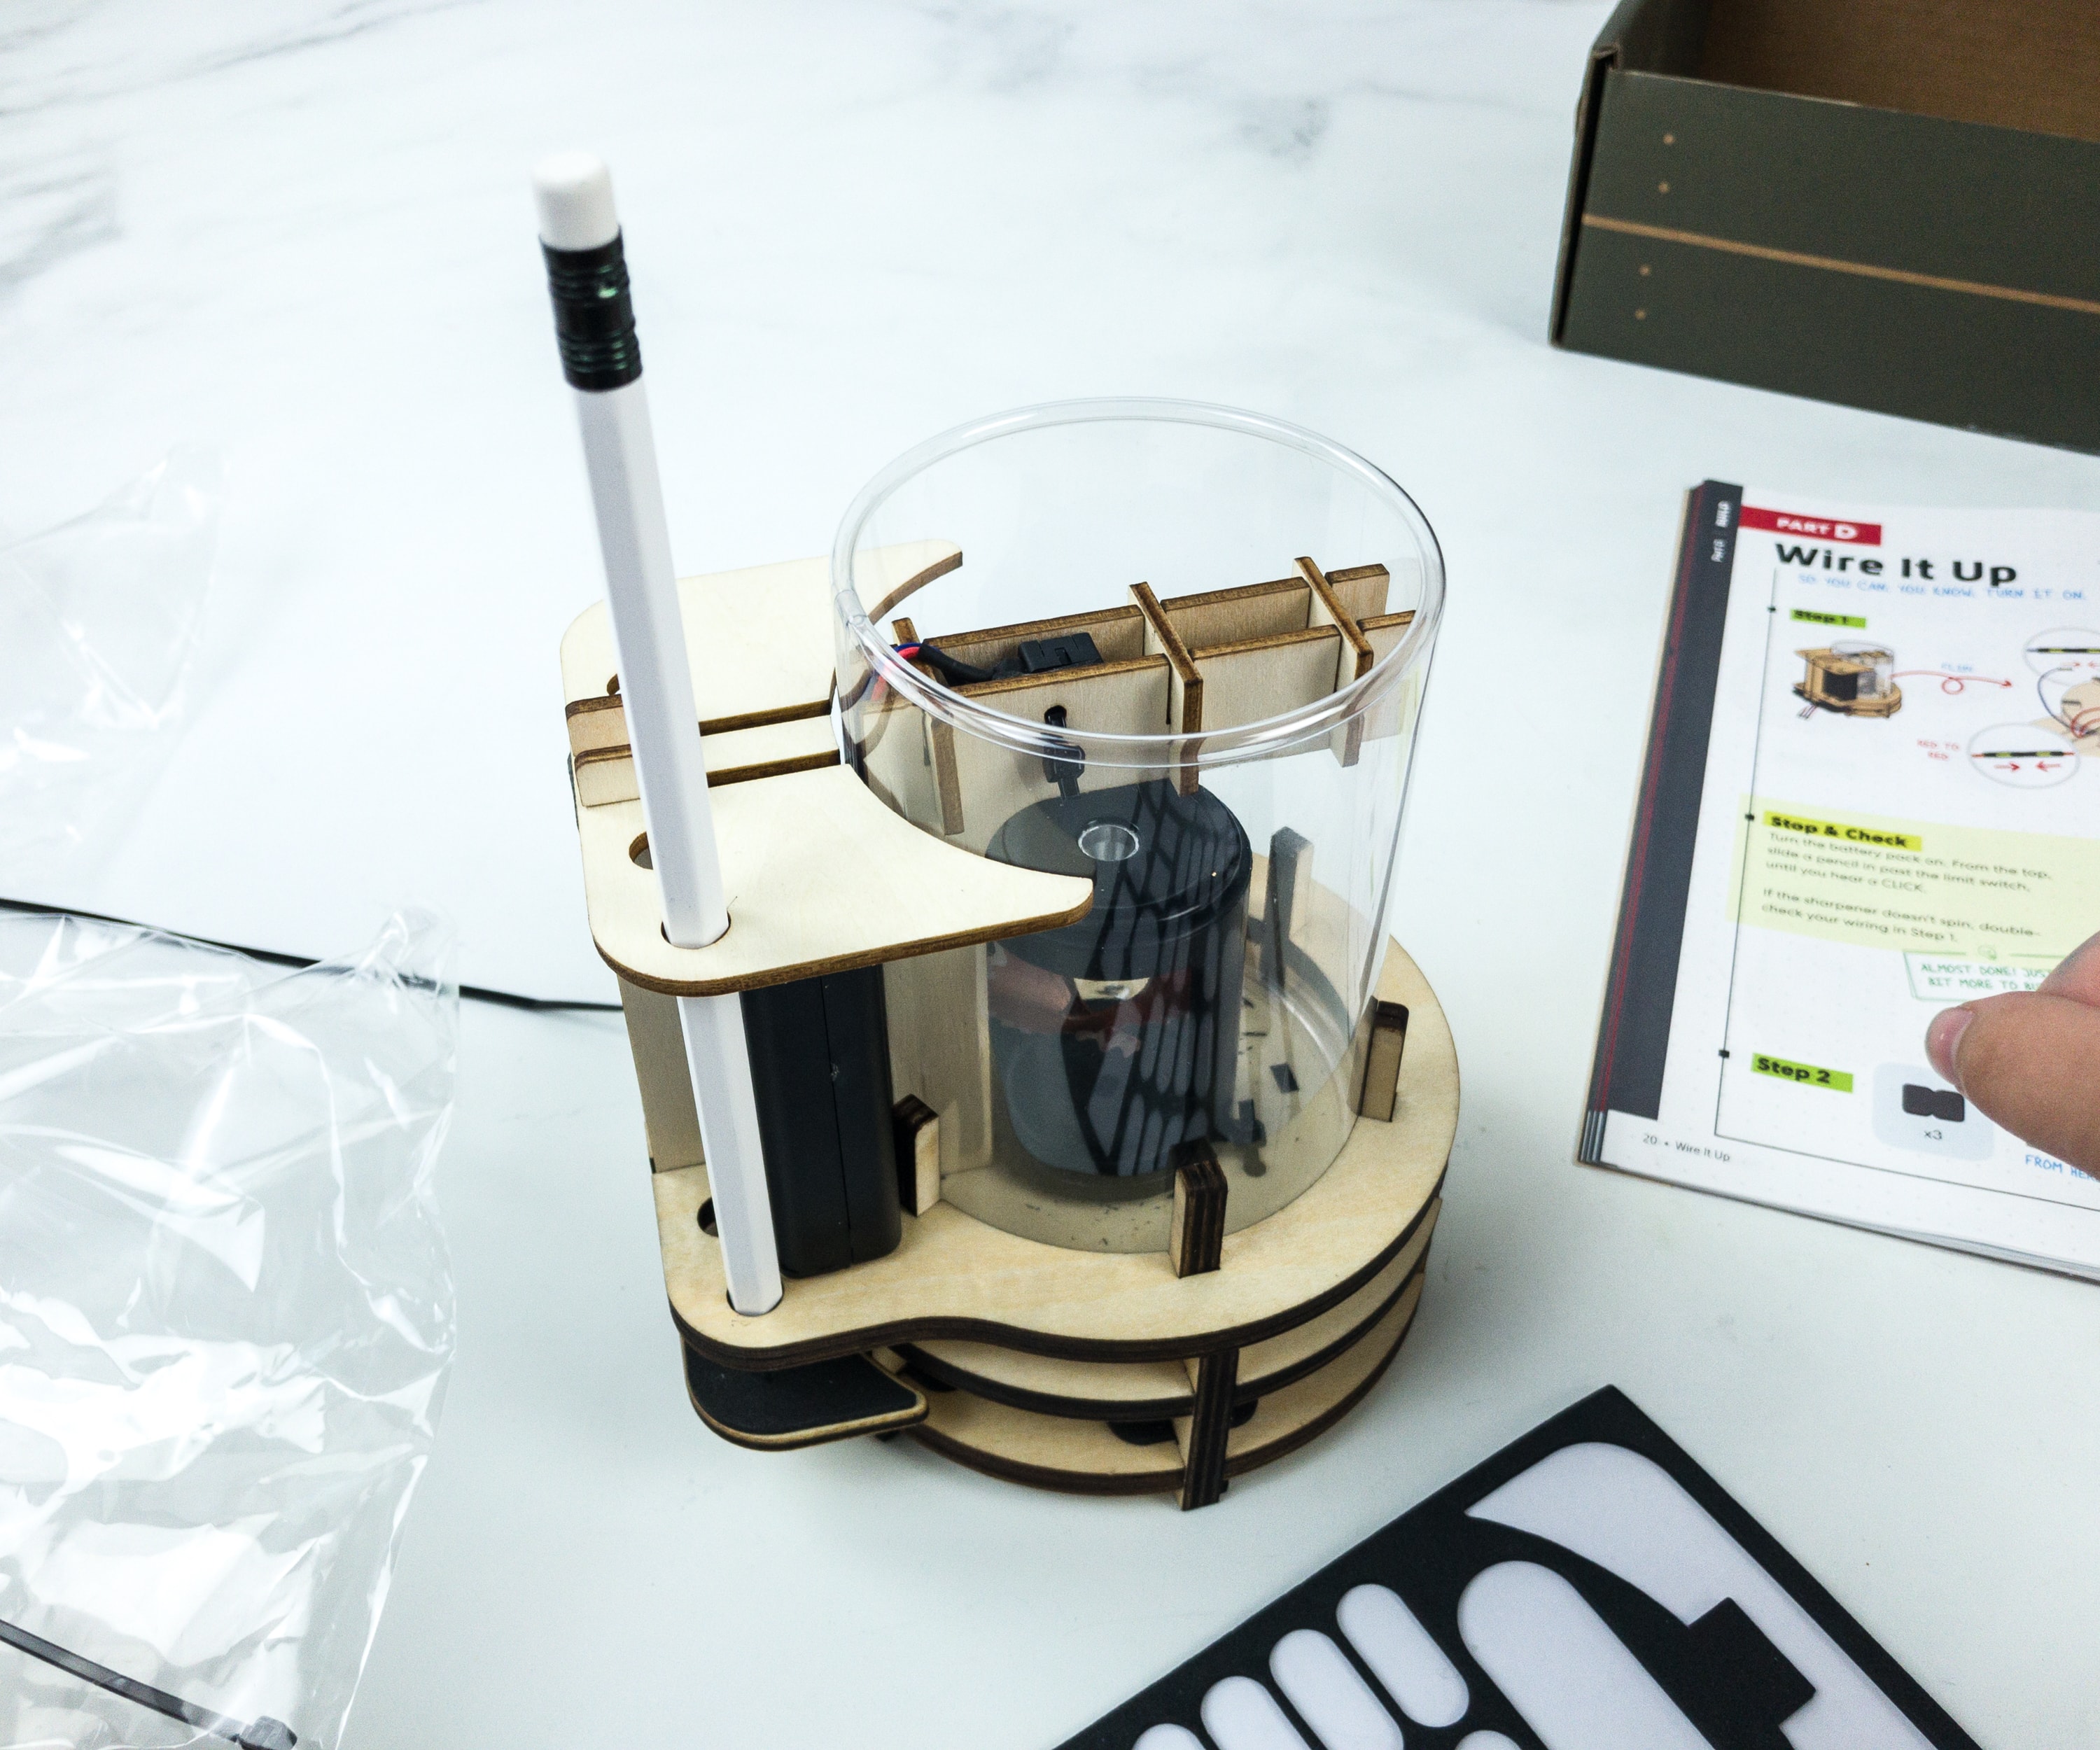
The core consists of the sharpener parts and the containment of the pencil shavings.
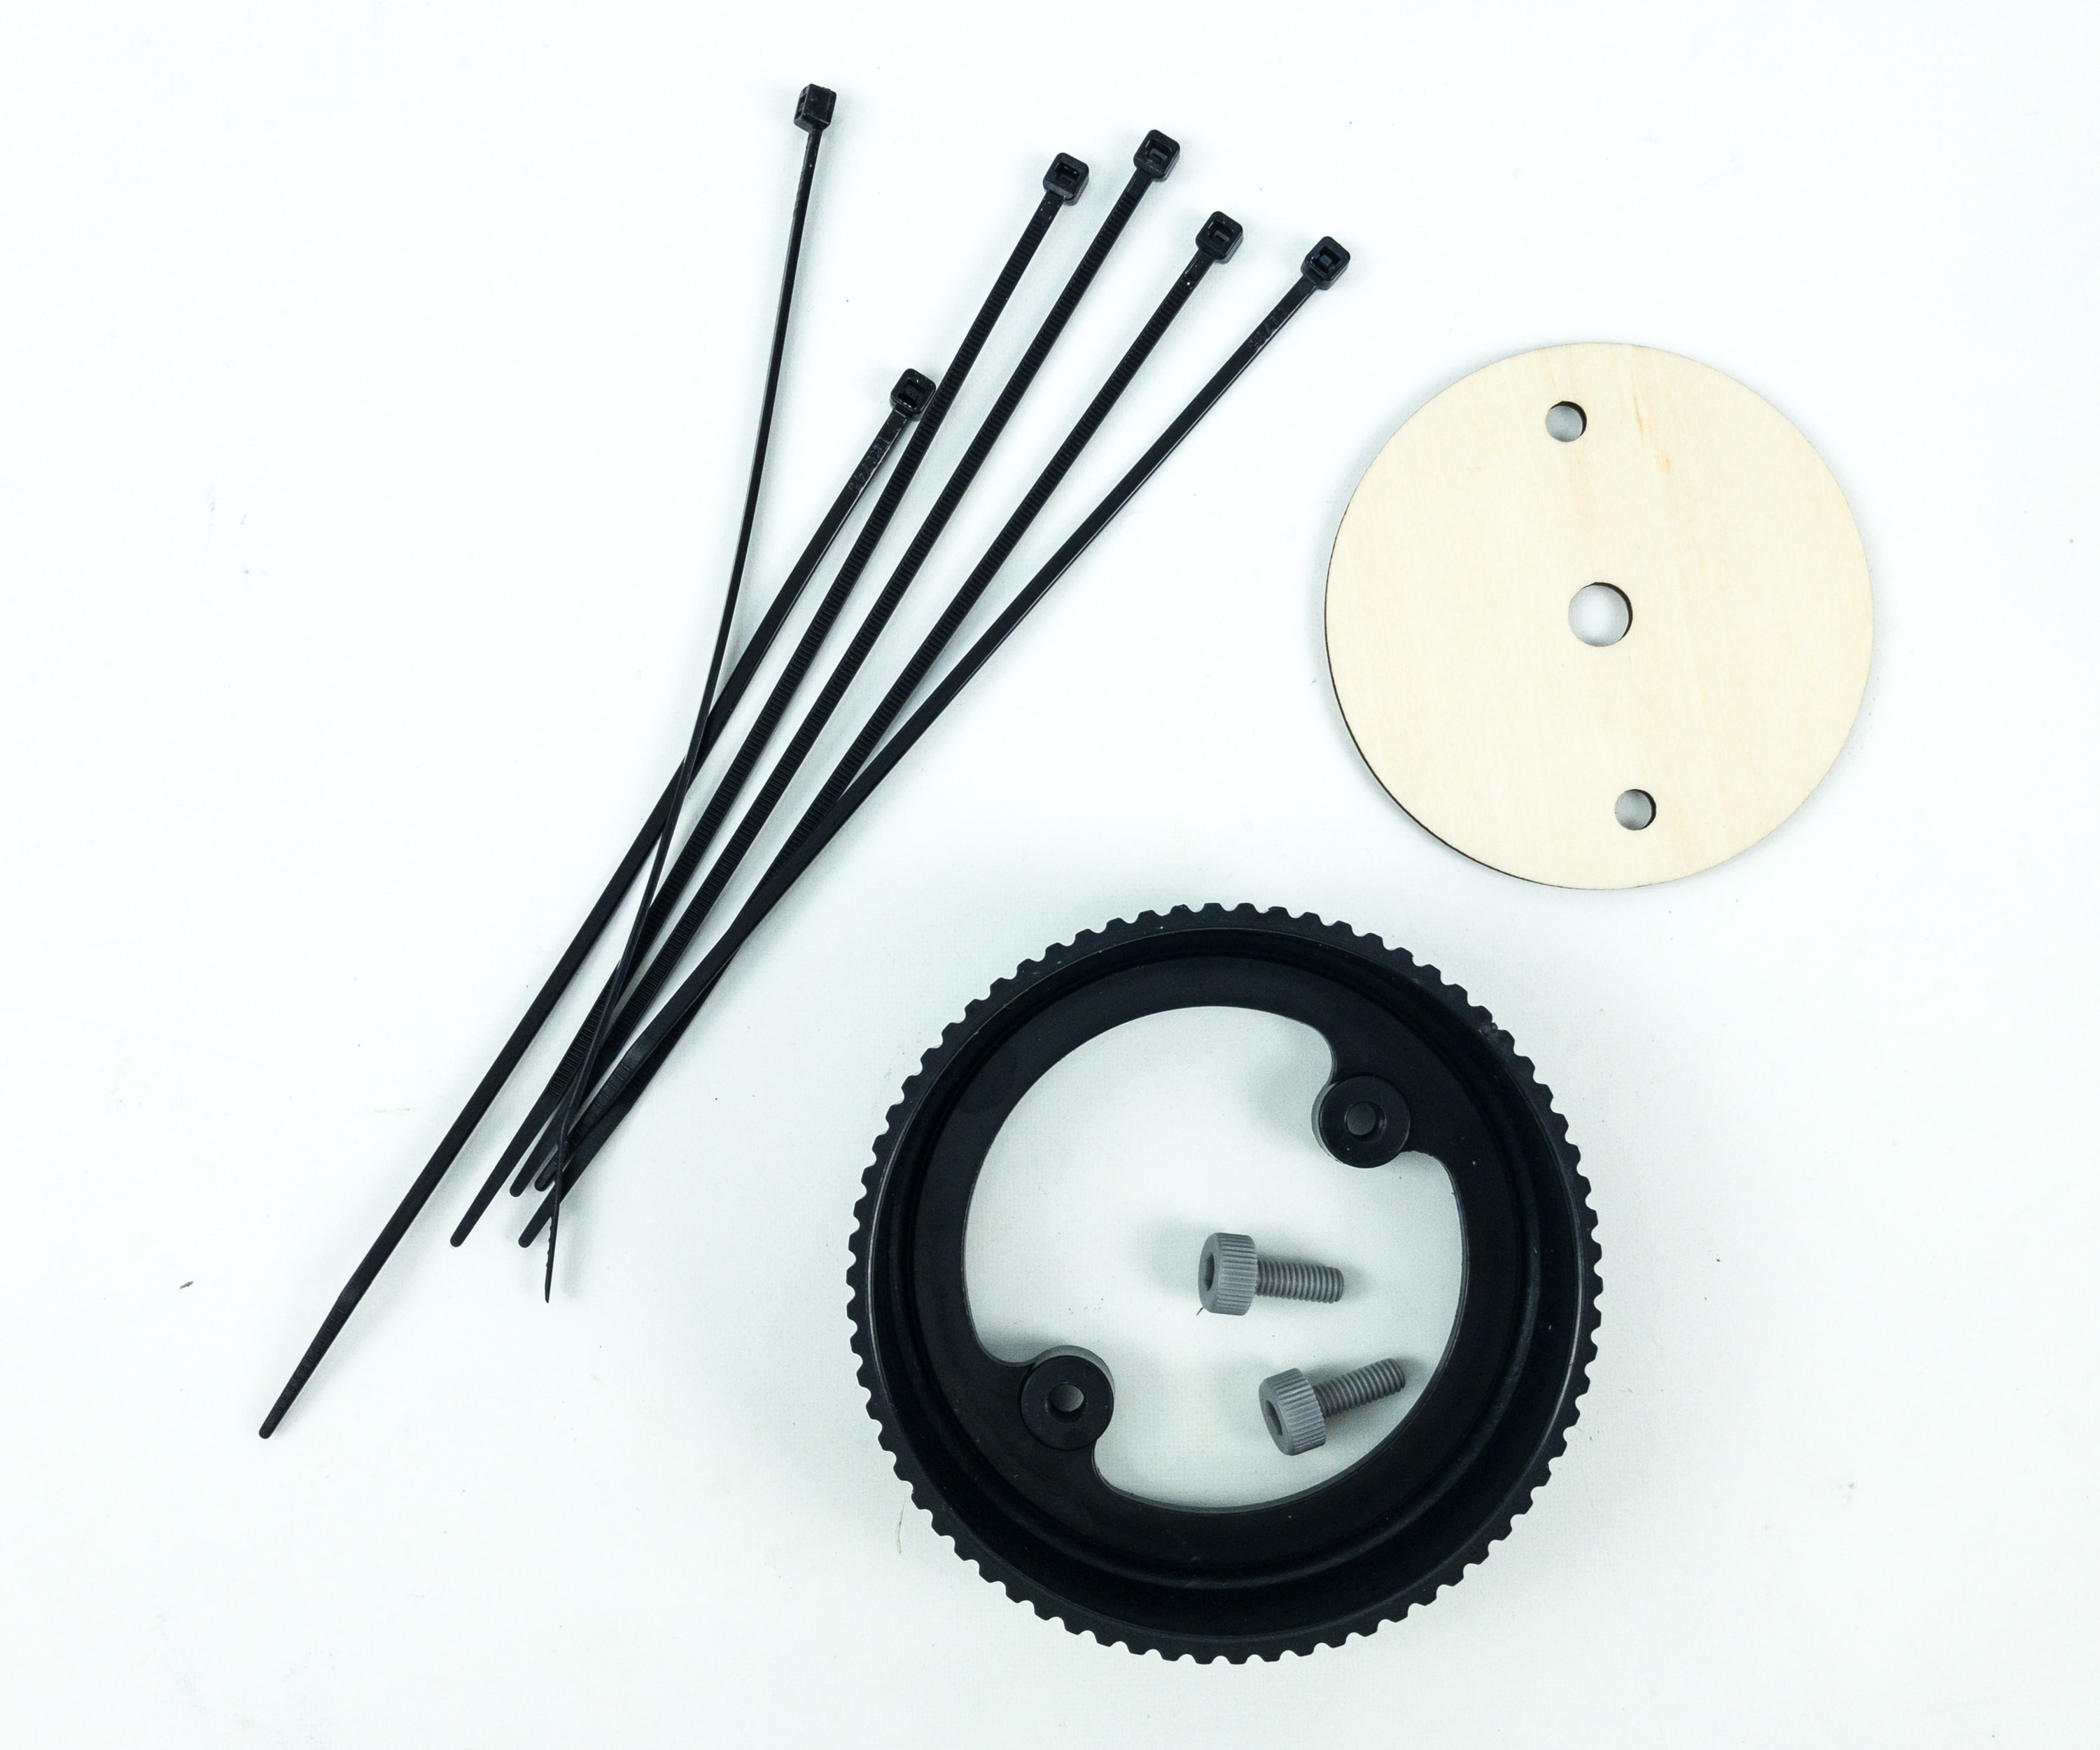
Here are some of the parts that will hold the whole sharpener!

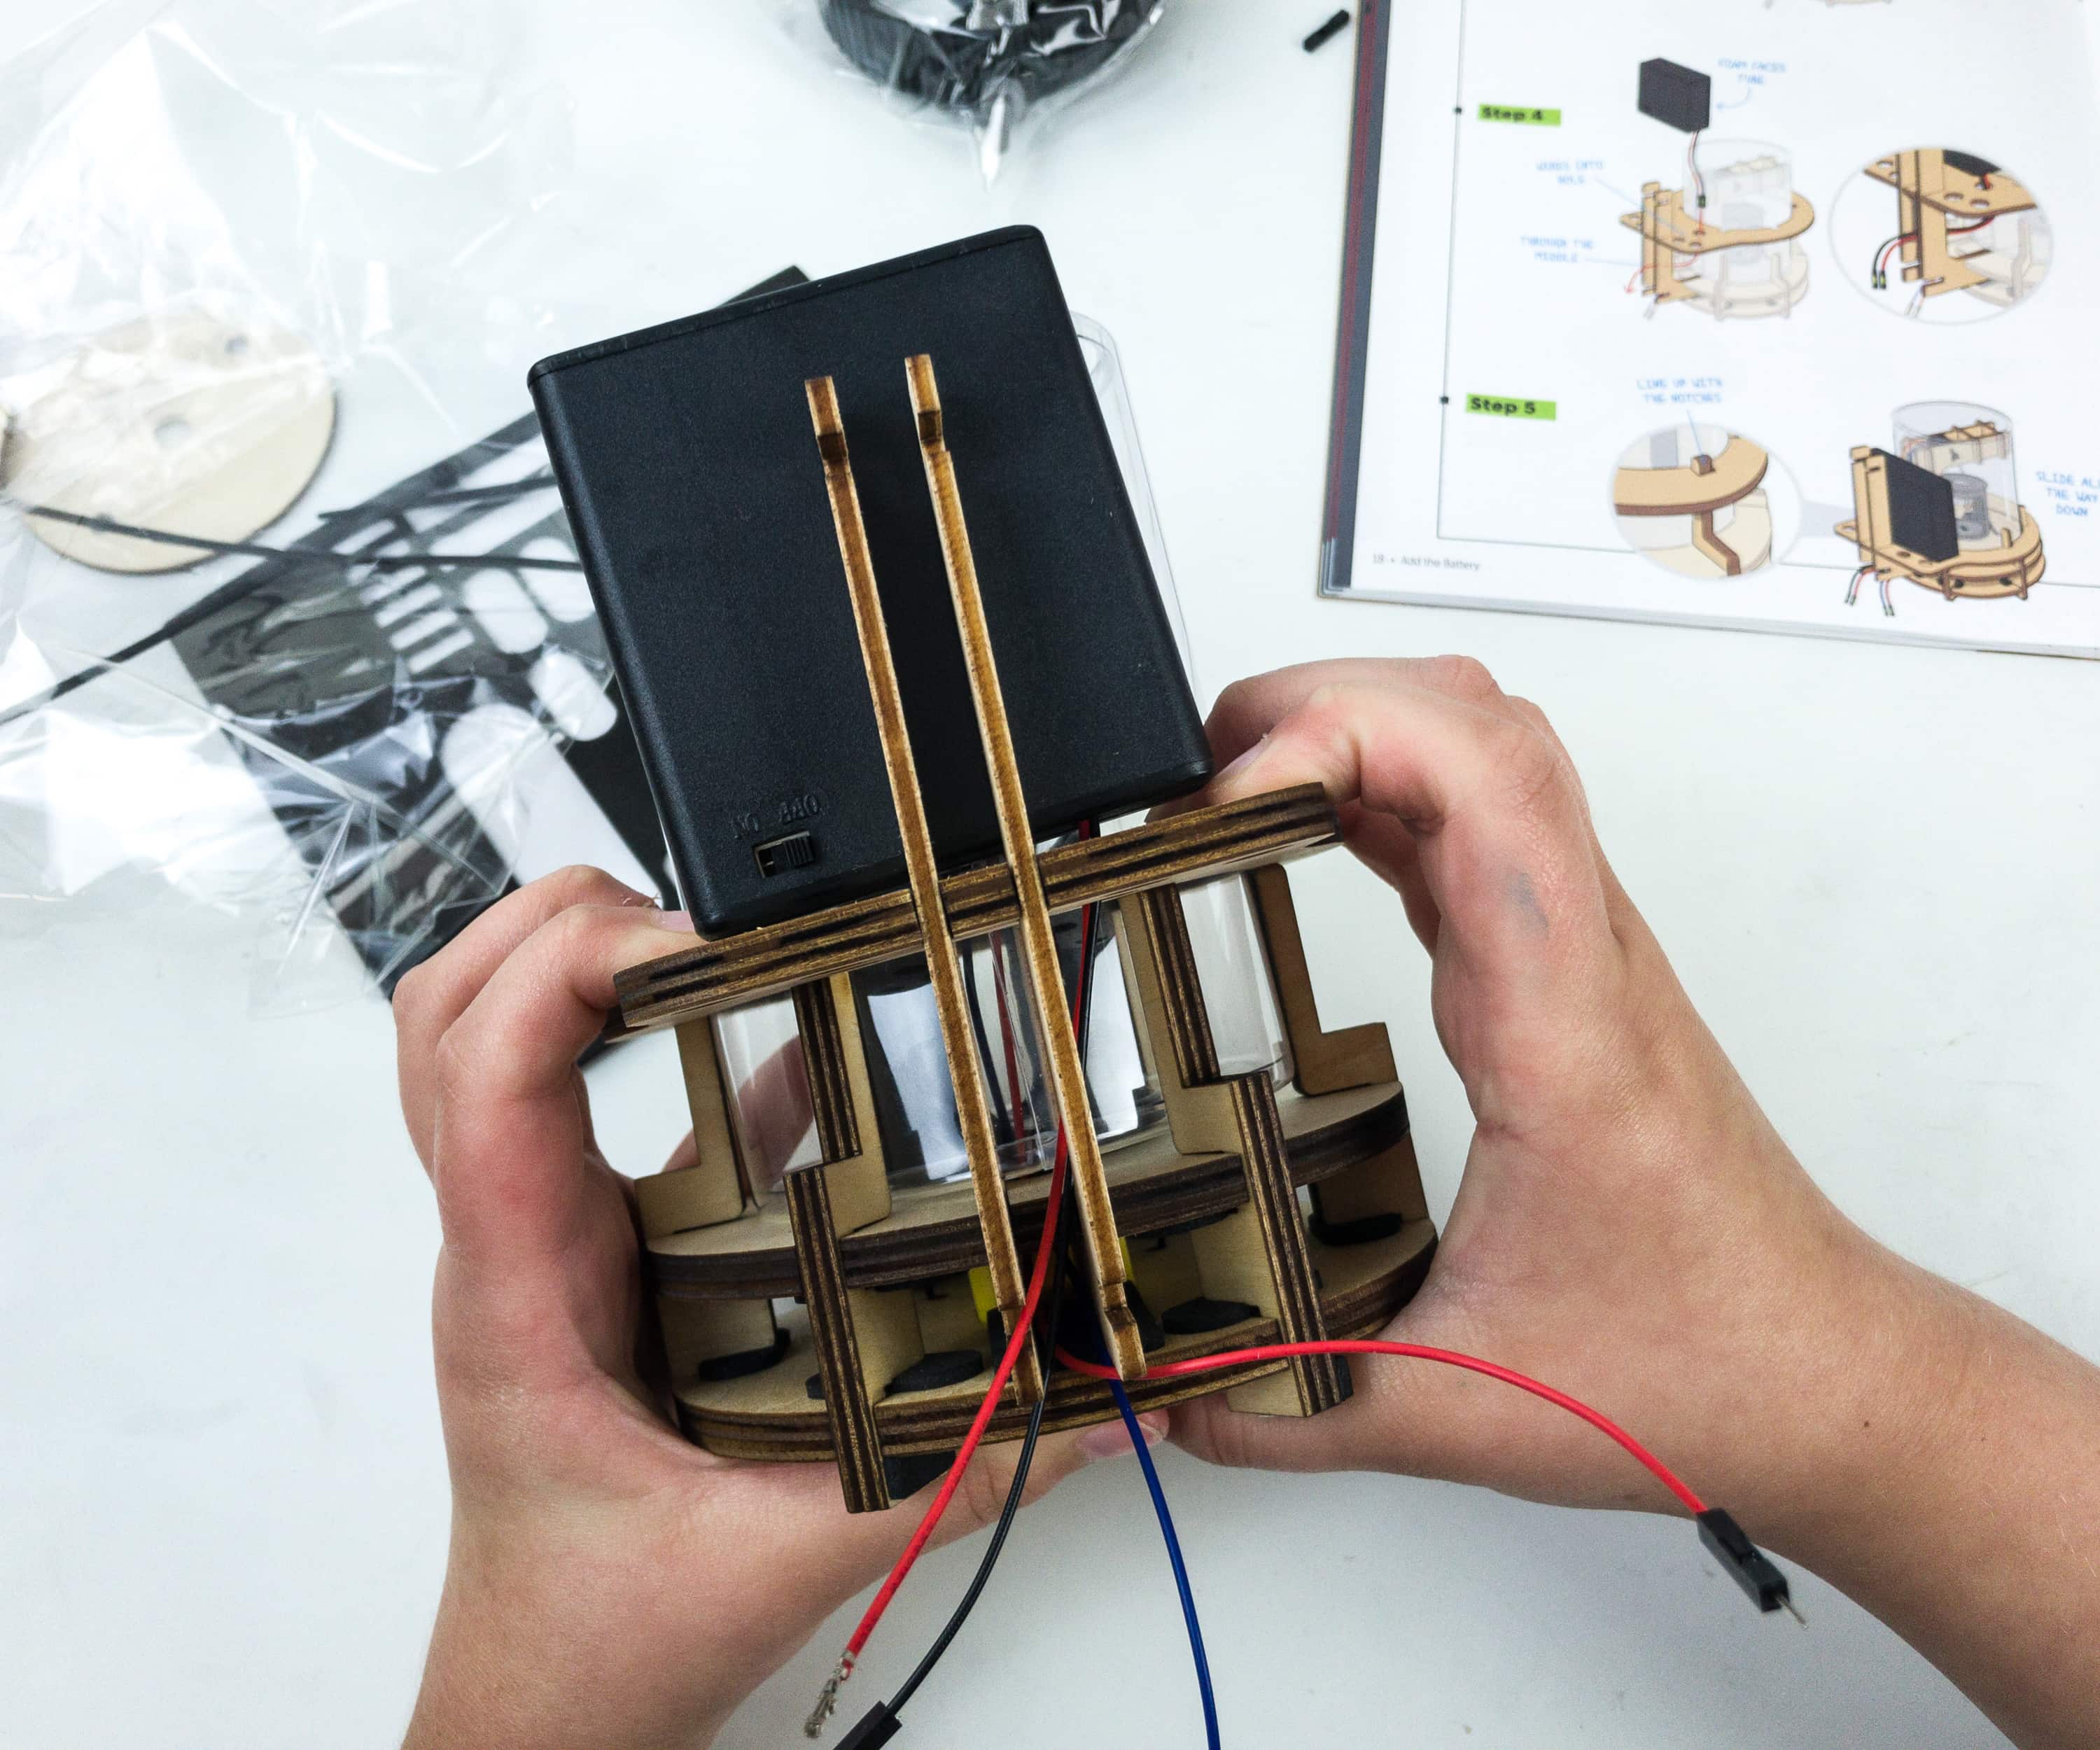
We will also need power to make the sharpener work, so here are the instructions on how we’ll able to make it work with batteries!
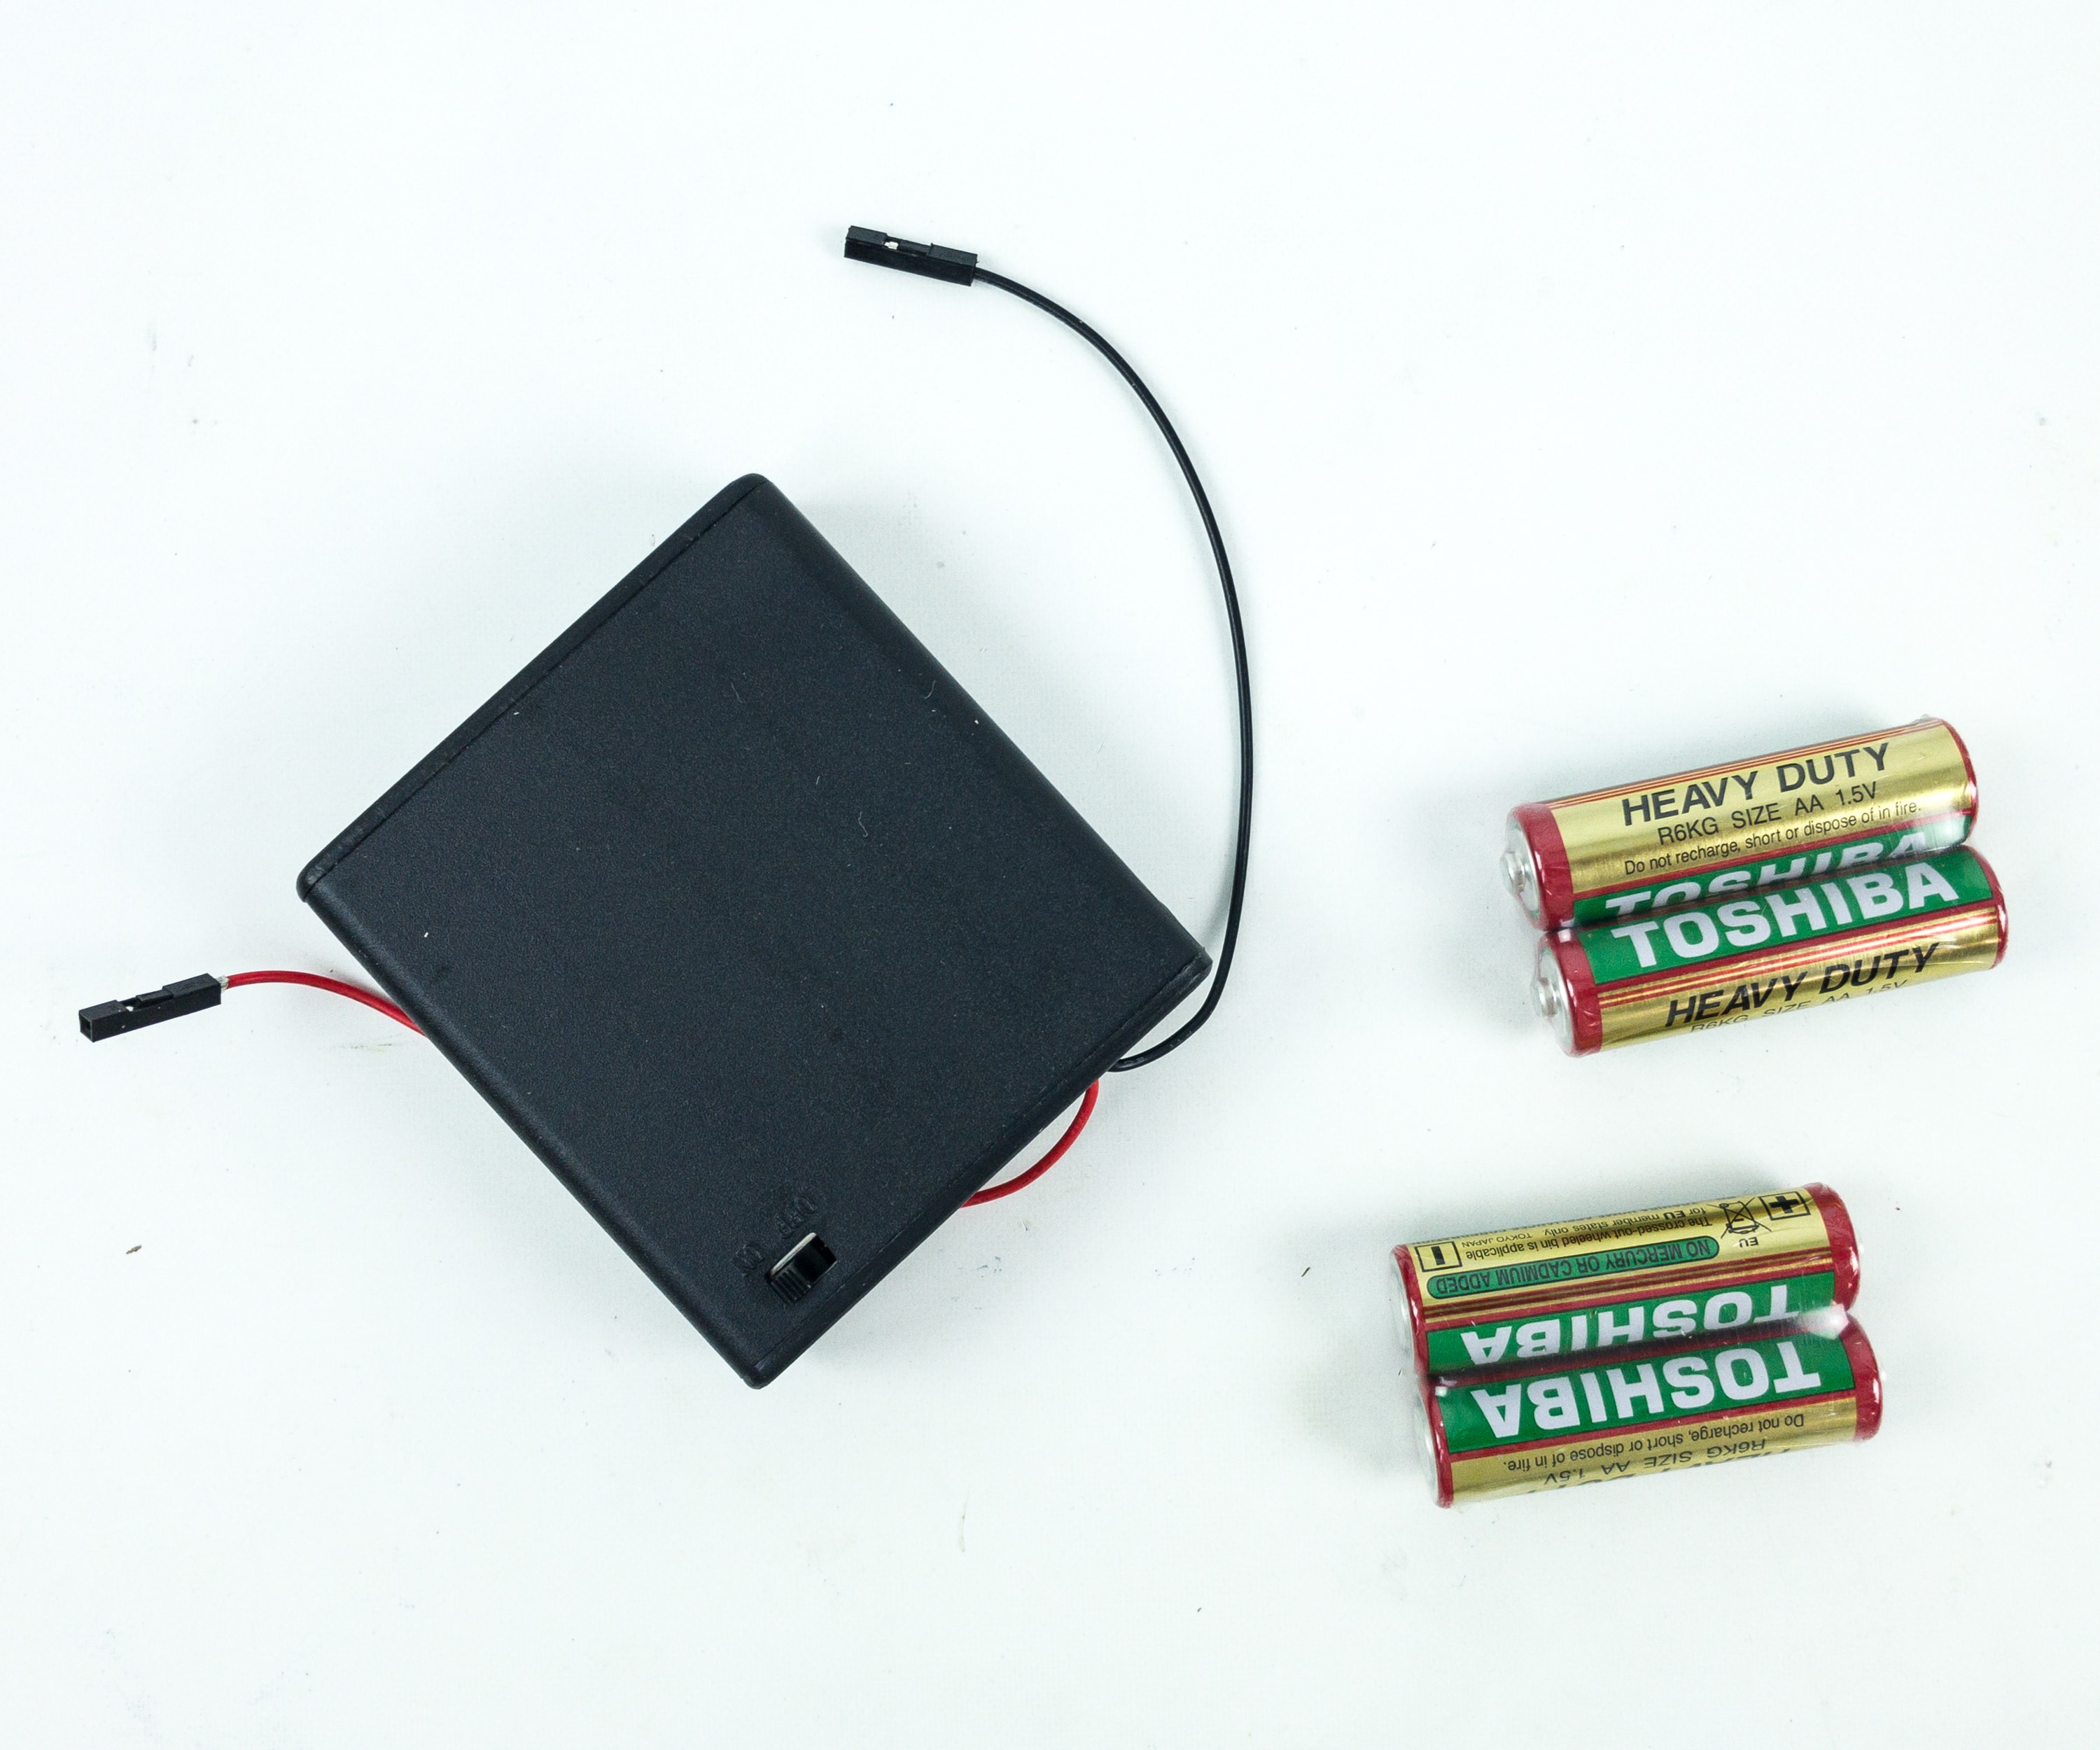
We used the battery pack with wire connections and 4 AA batteries.
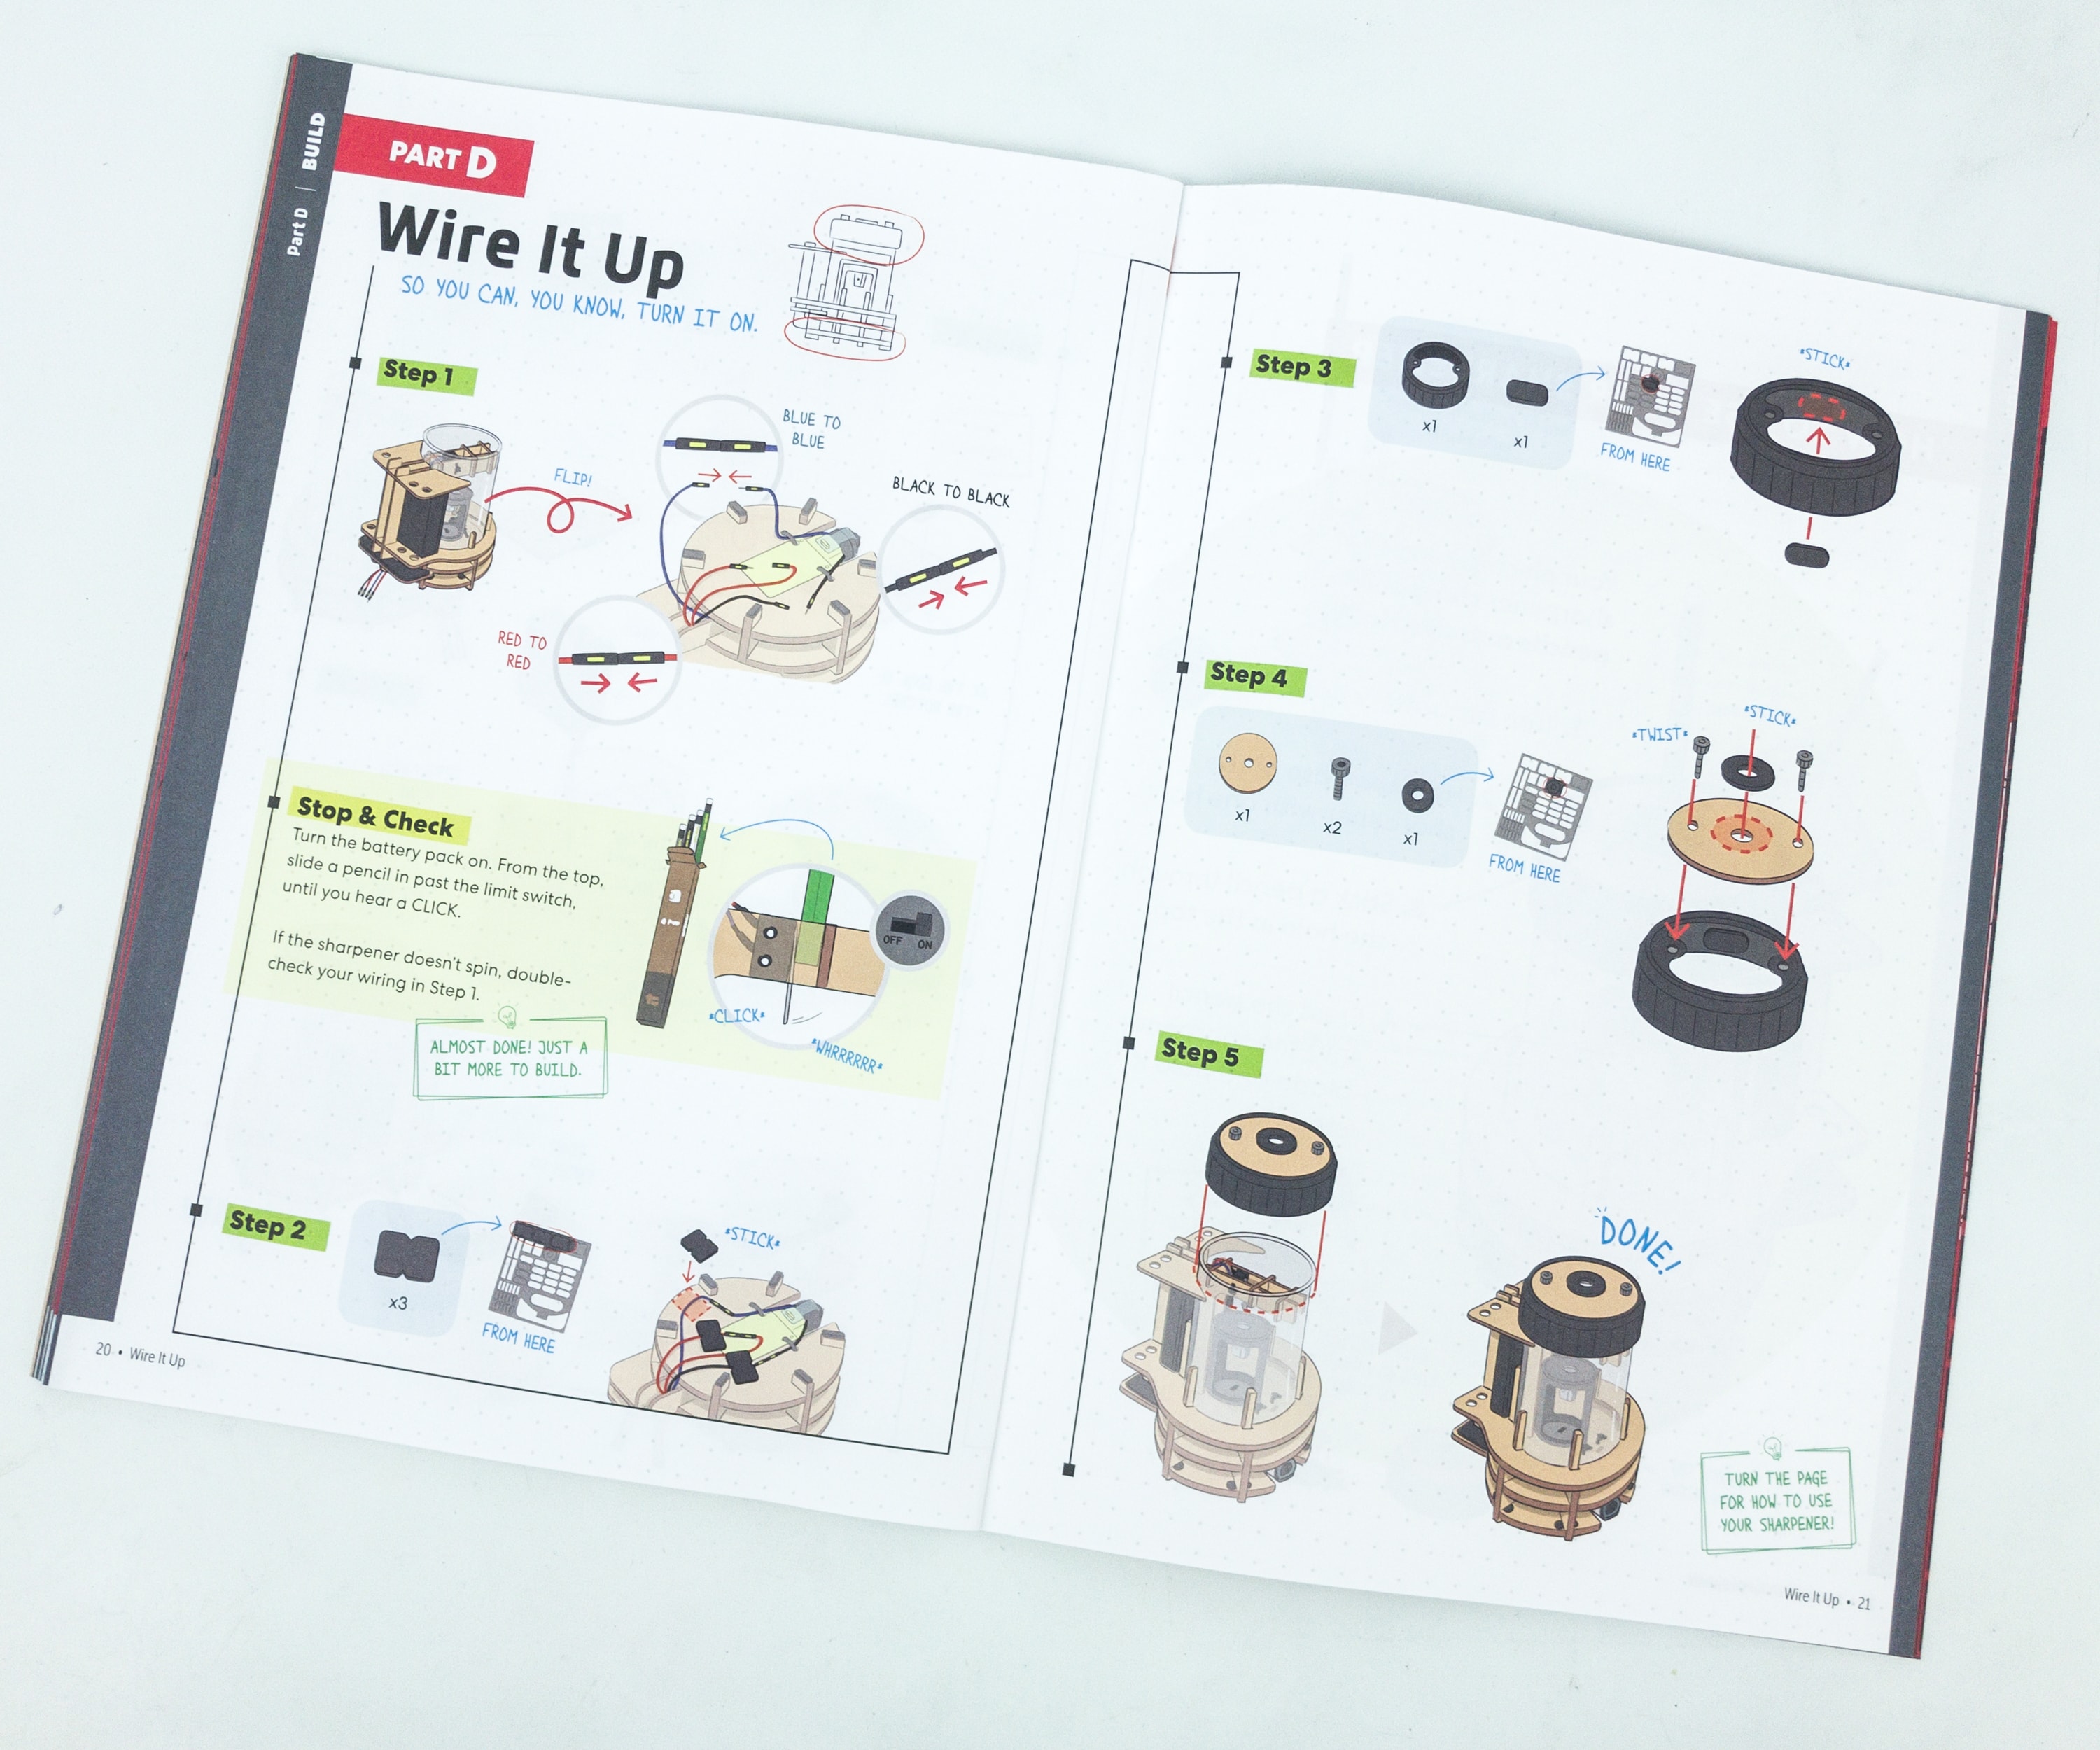
Just by looking at the instruction booklet, we can easily follow on how to wire it up!
It’s quite easy as the illustrations are so detailed. Just check if it works by turning the battery pack on, and see if the sharpener spins!
It’s a good thing that the instructions are really easy, we didn’t have a hard time putting them together.
Everything, including the battery pack, is in place and we’re ready to test this puppy up!
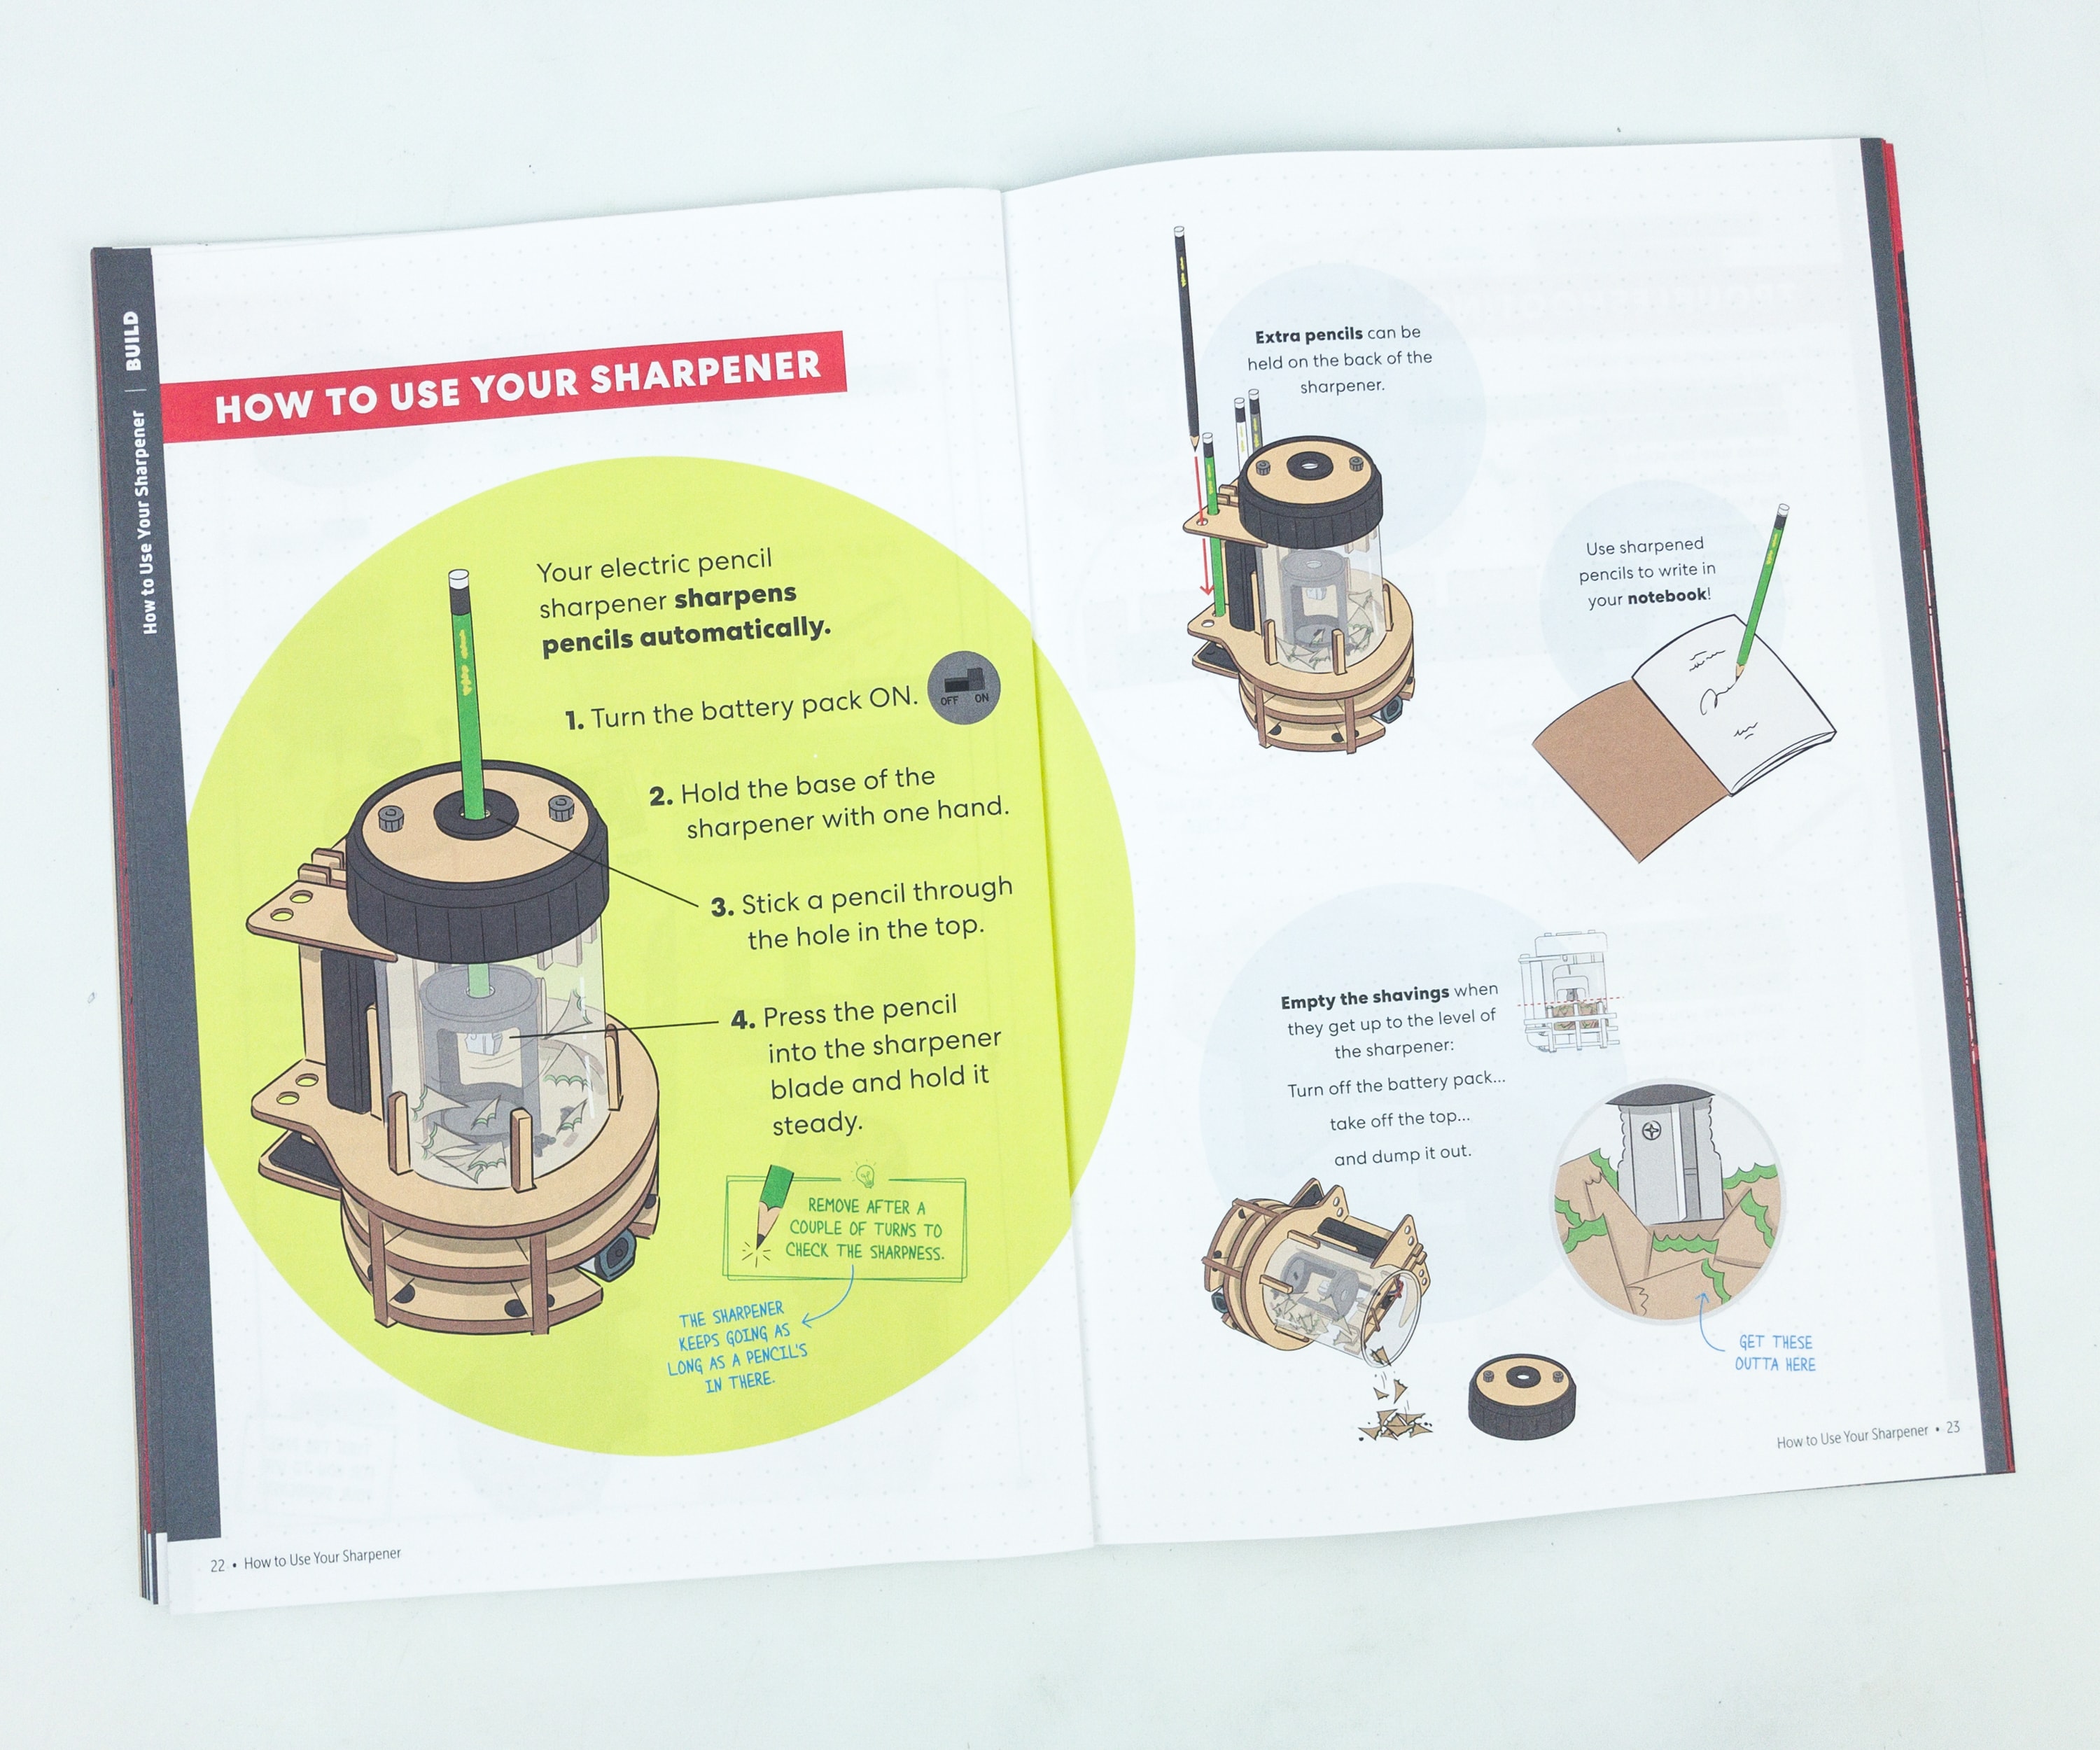
The booklet also included the instructions on how we can effectively use the sharpener!
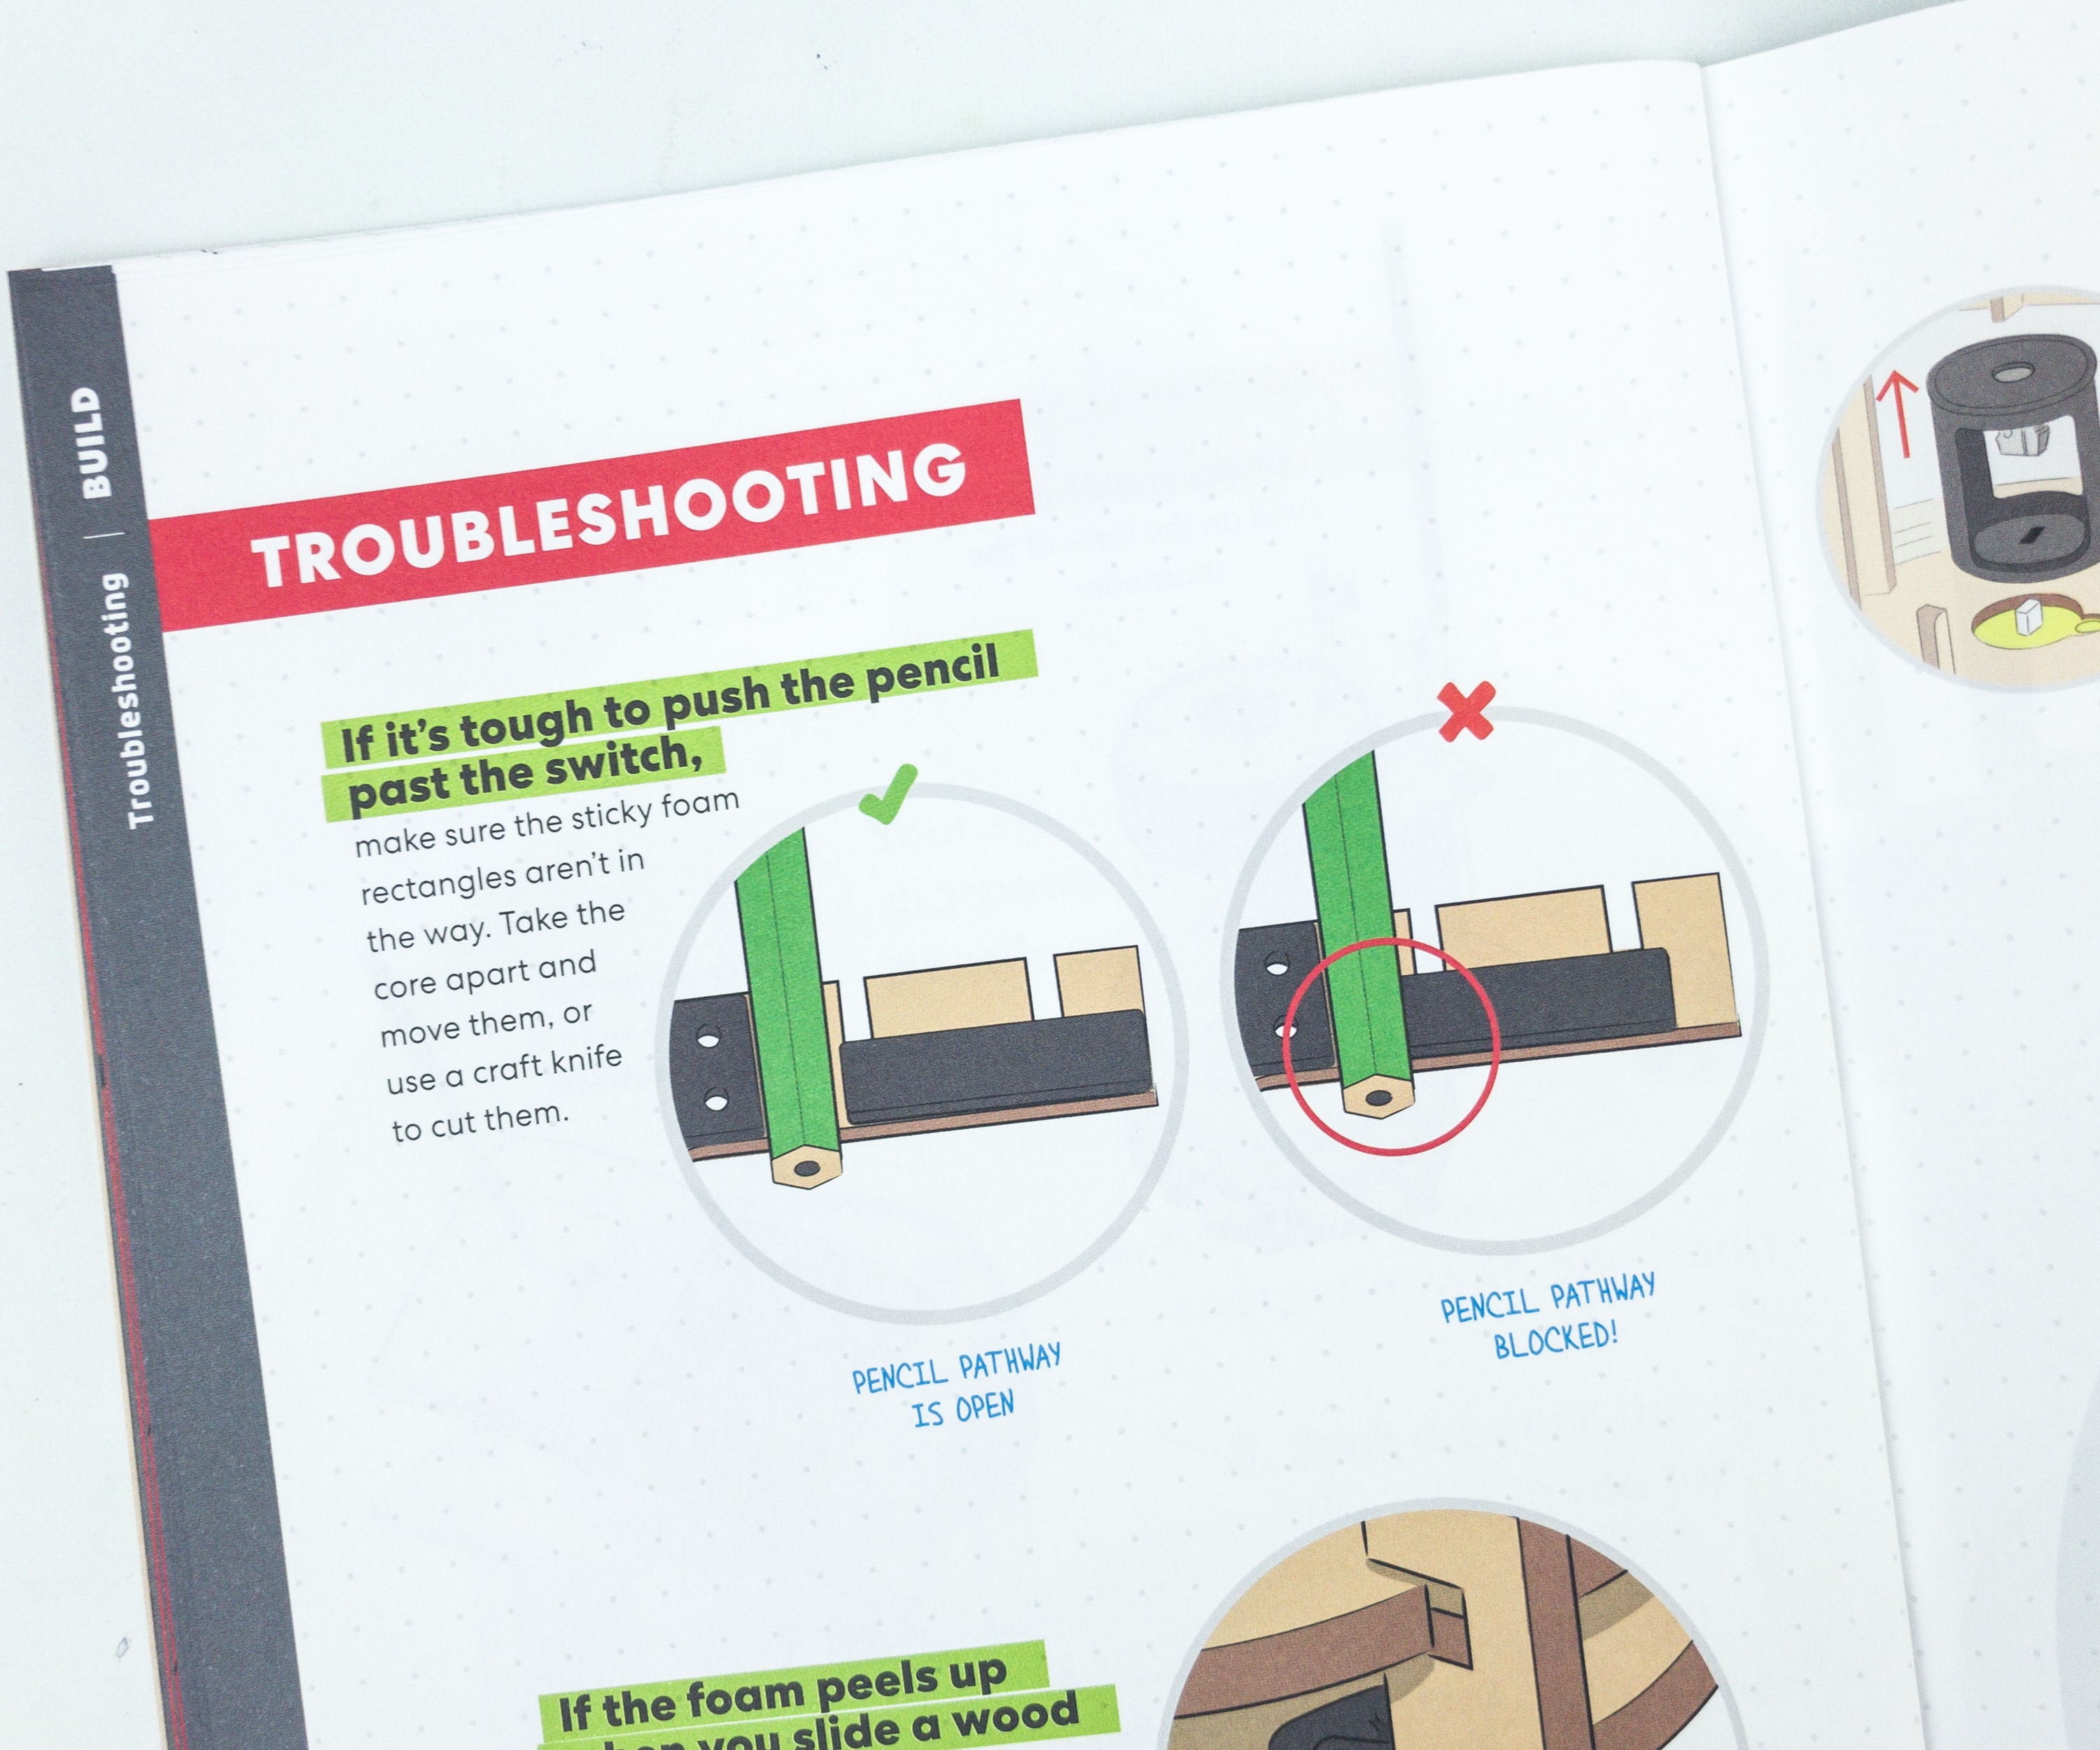
Make sure that the sticky foam rectangles aren’t in the way so you can easily push the pencil.
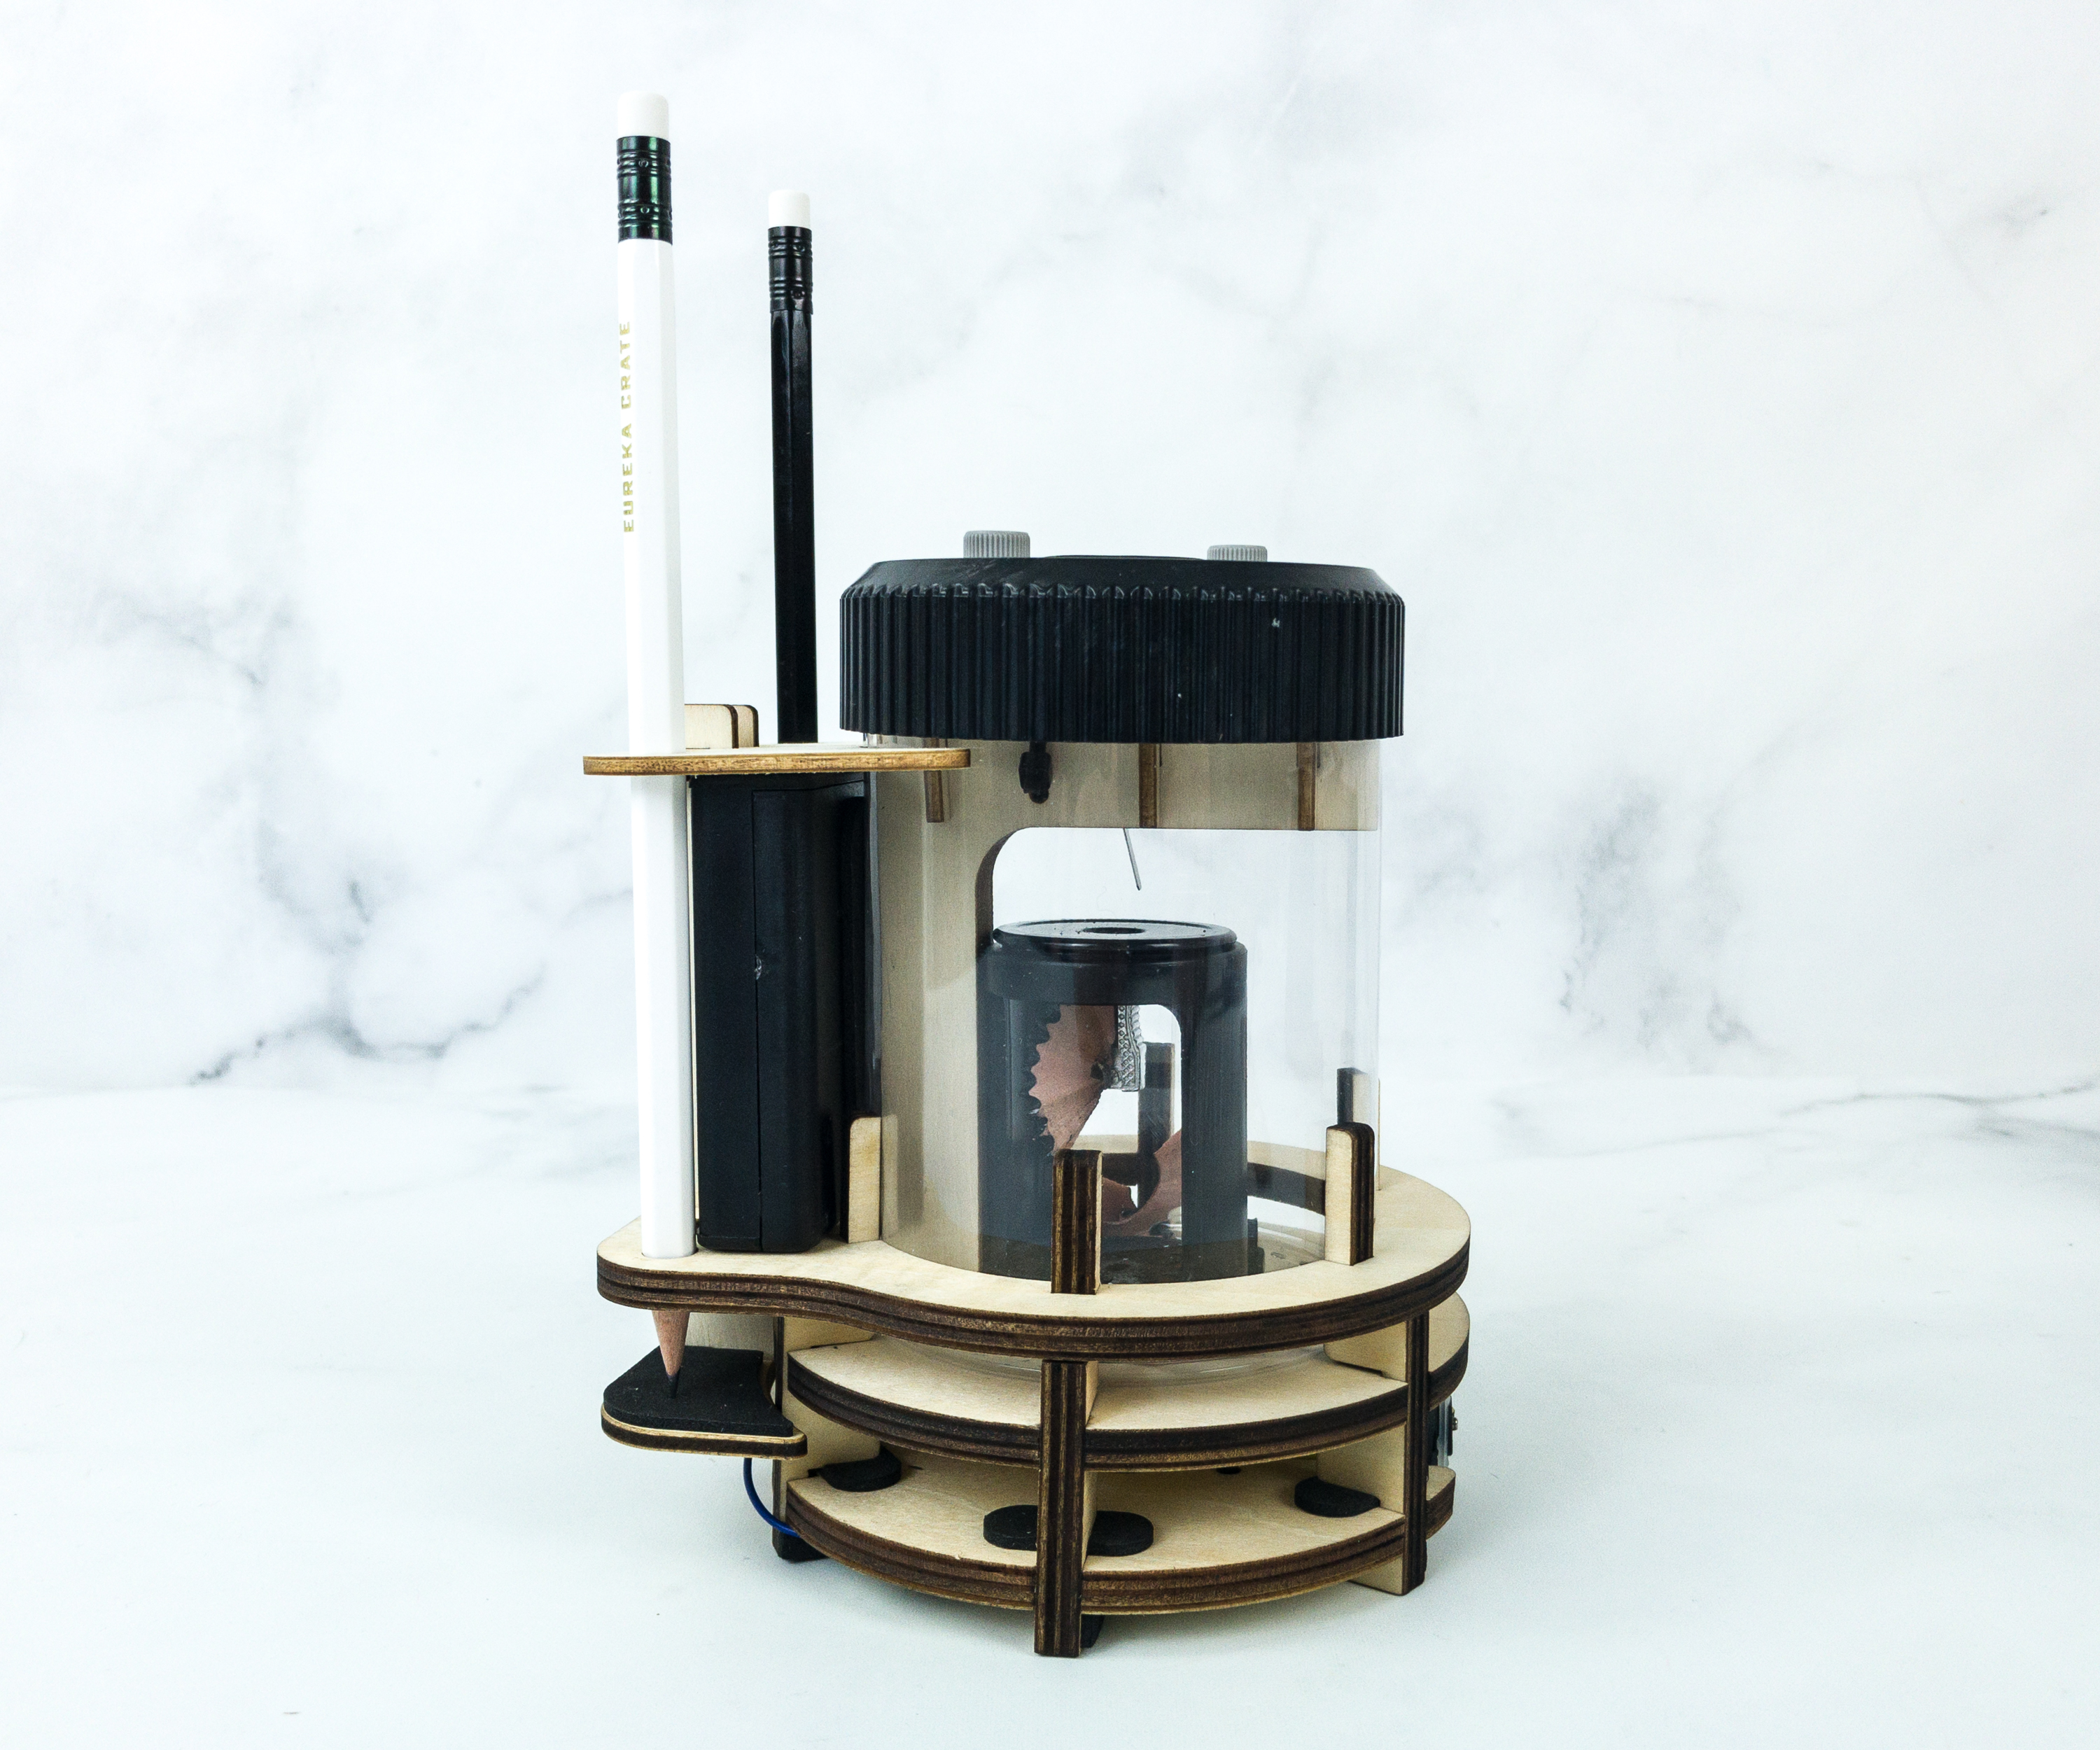
Here’s the finished sharpener! We’re so happy that it works really well!
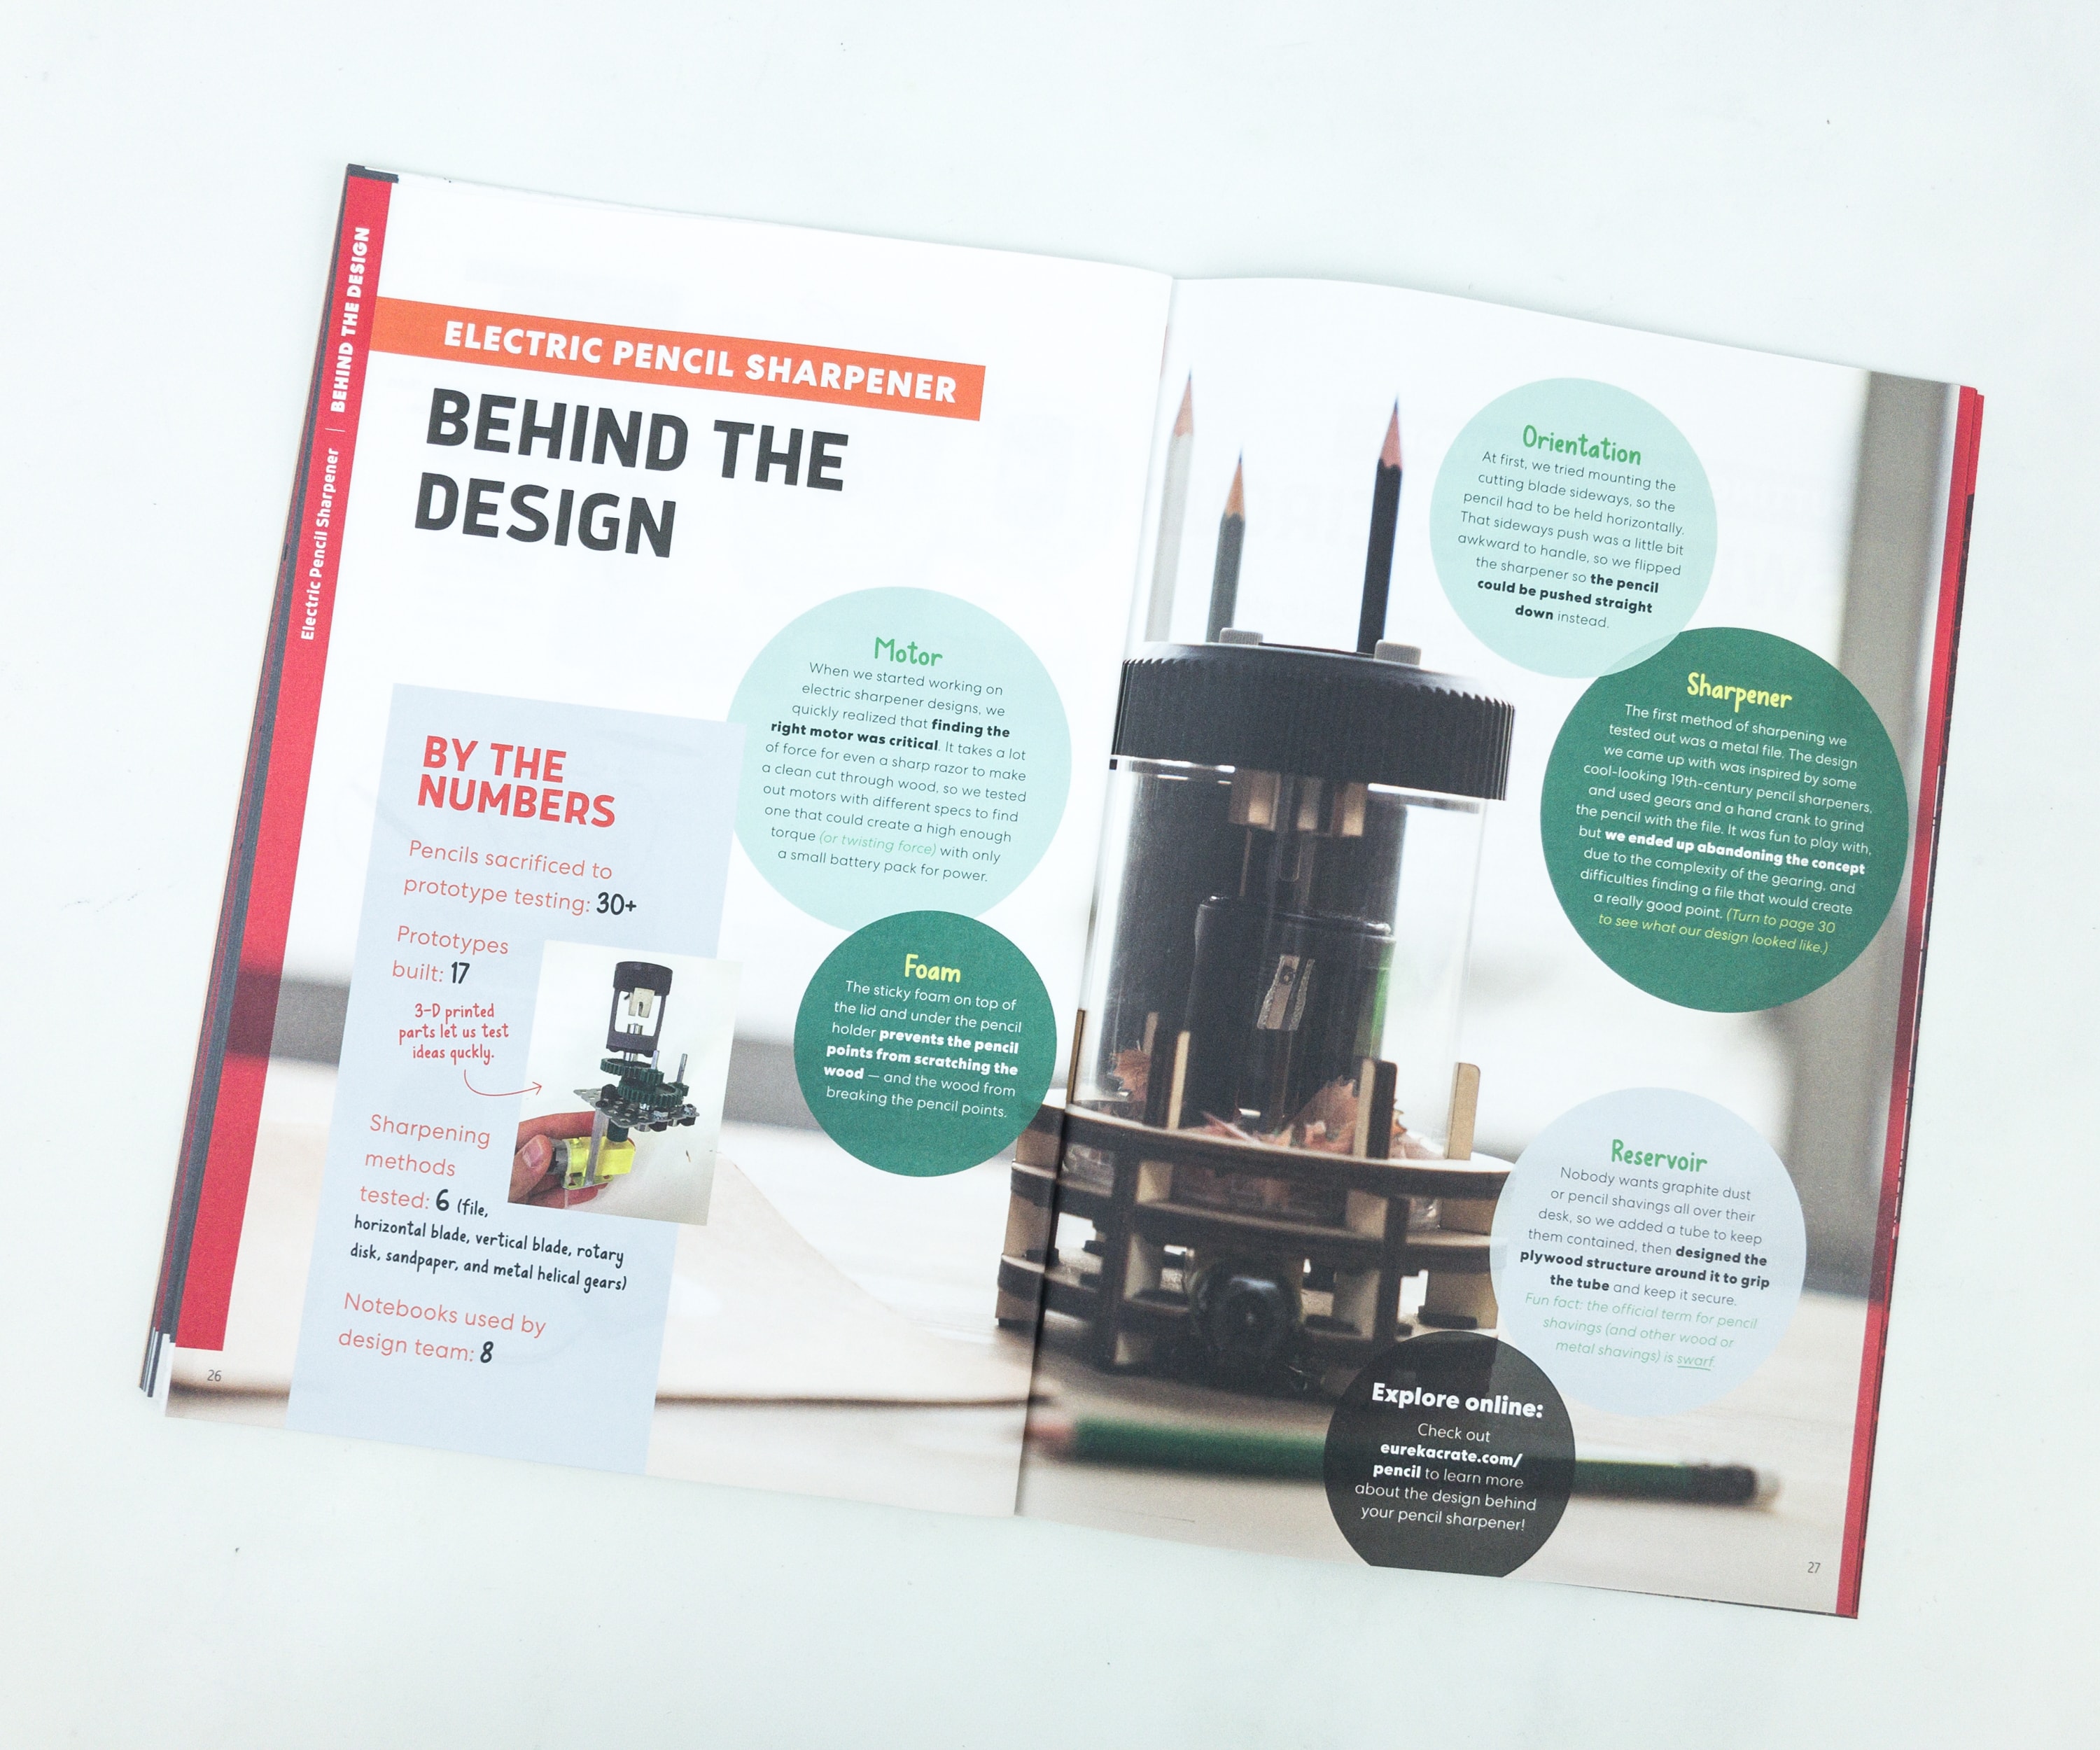
The booklet also explains the principles behind the project. Here, the booklet included some explanation and information about the sharpeners motor, orientation, the use of foam, the sharpener itself, and the reservoir.
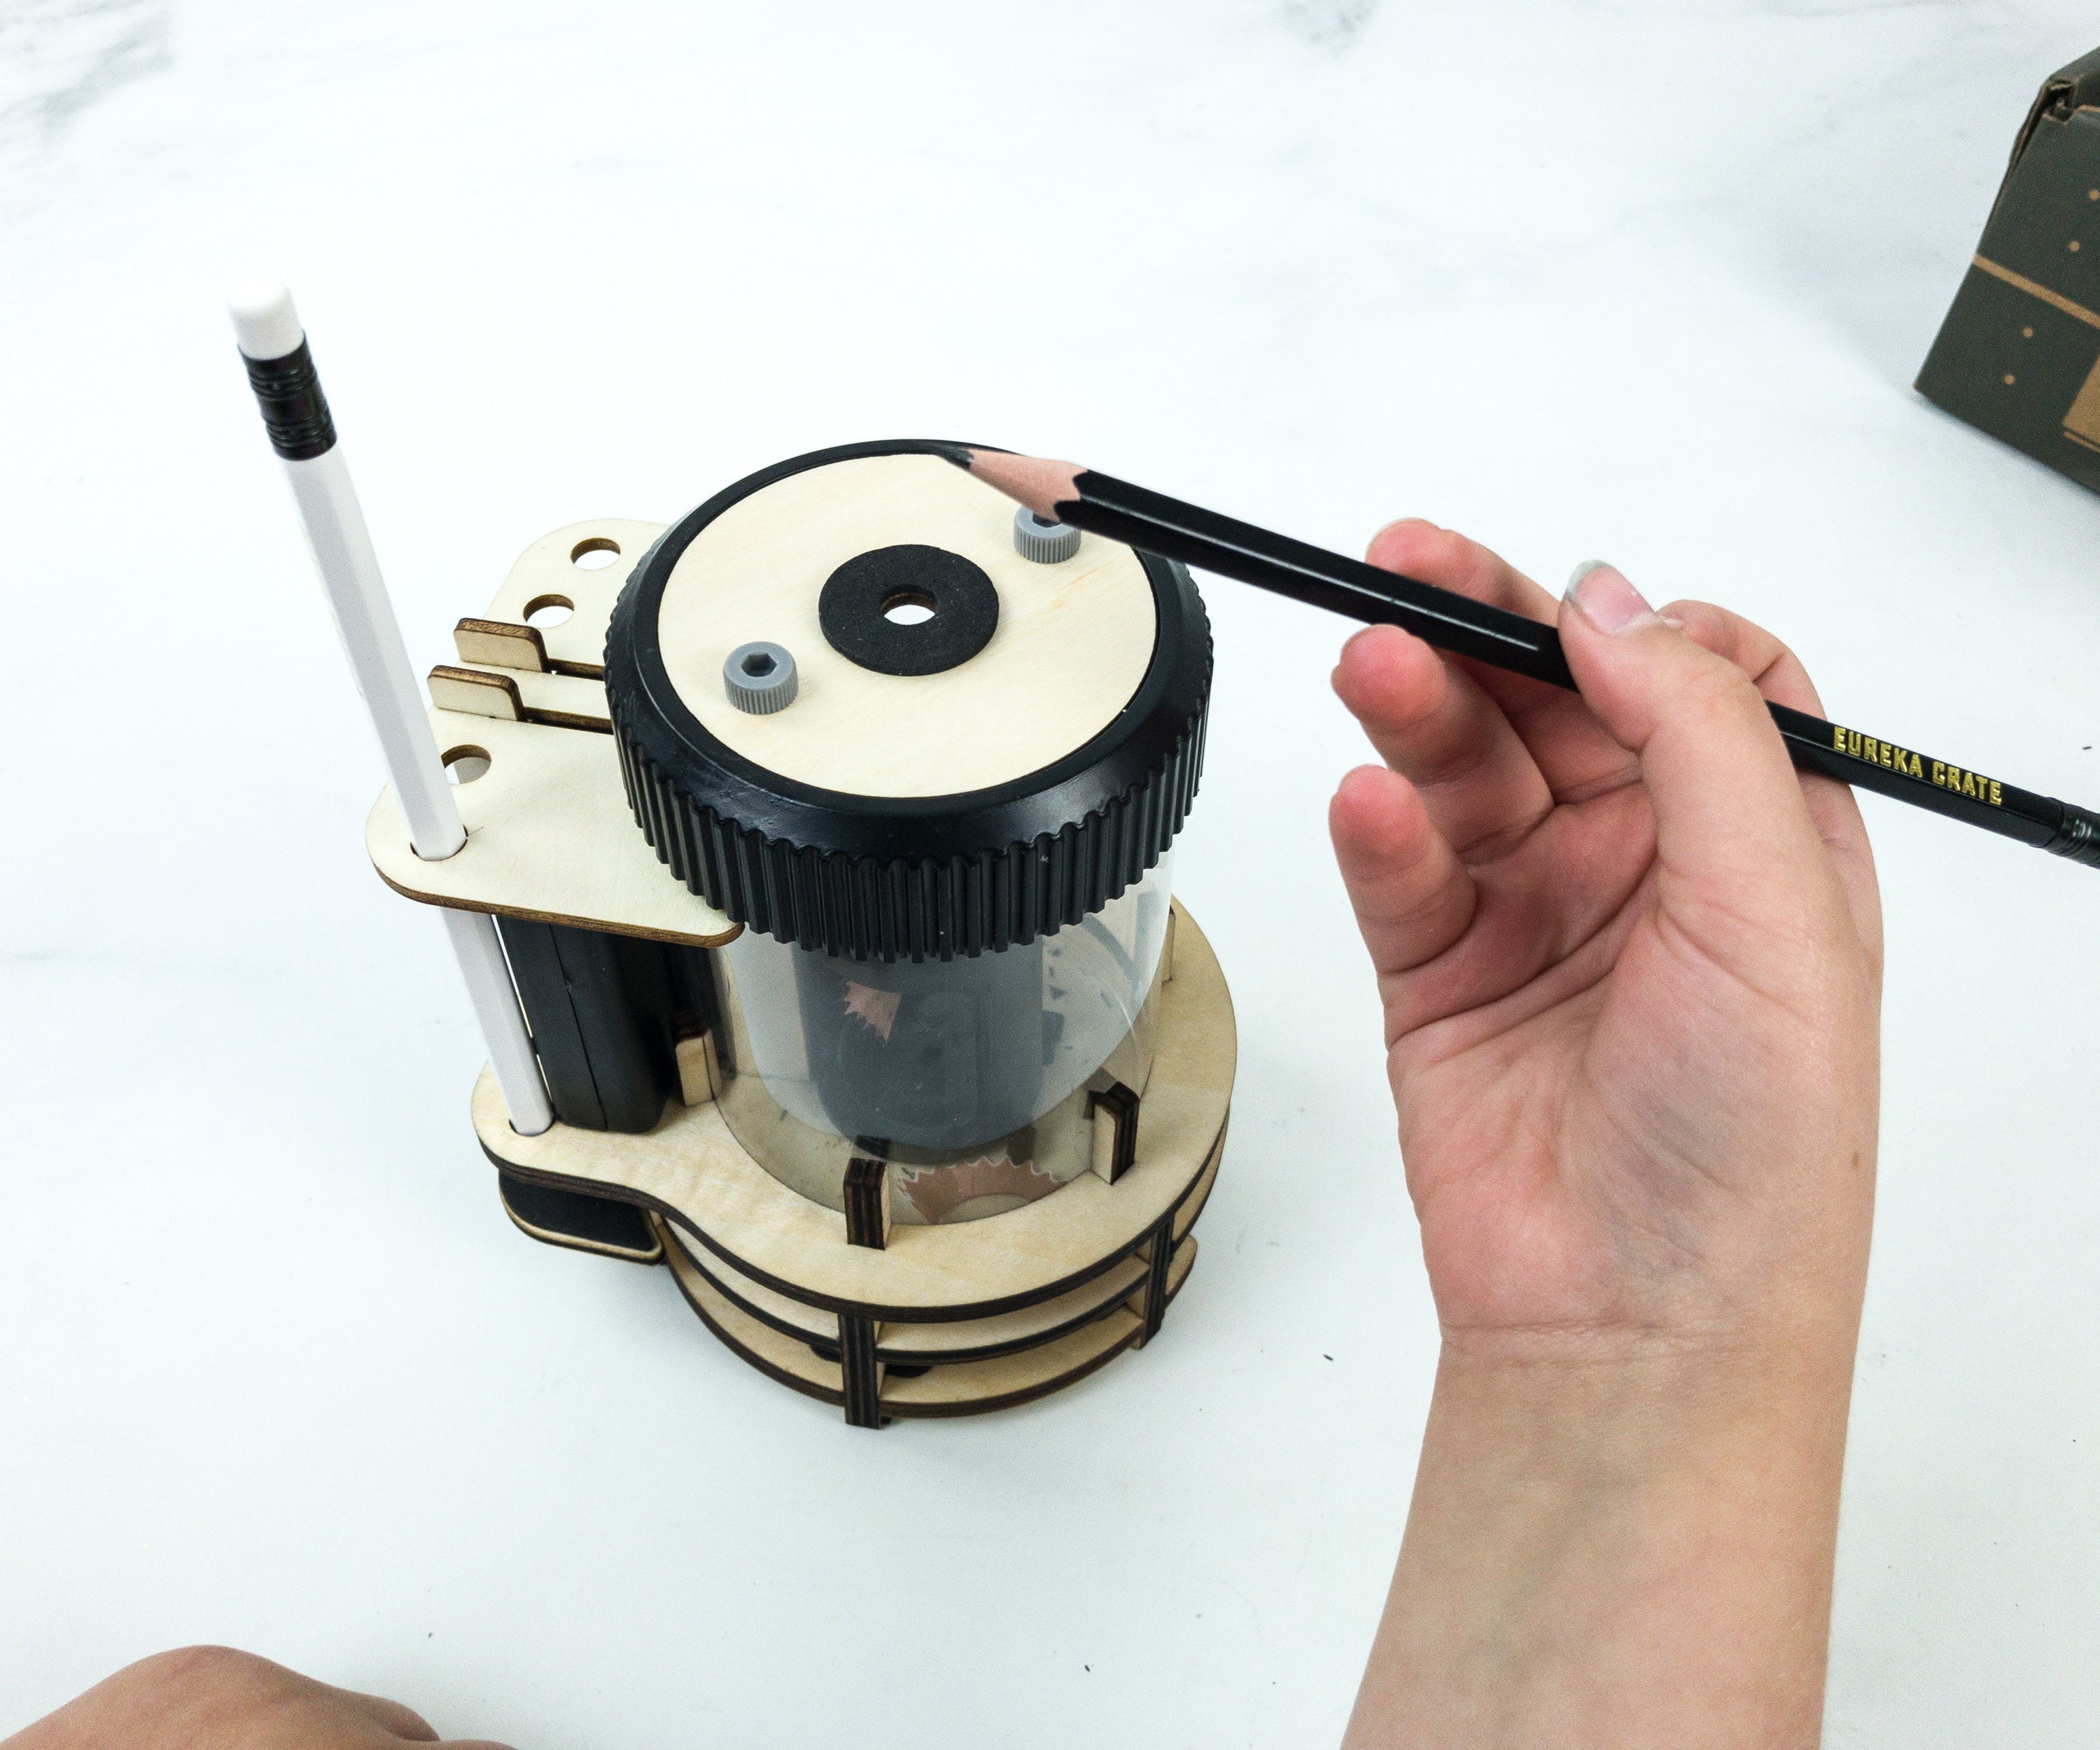
Look at how it beautifully sharpens a pencil!
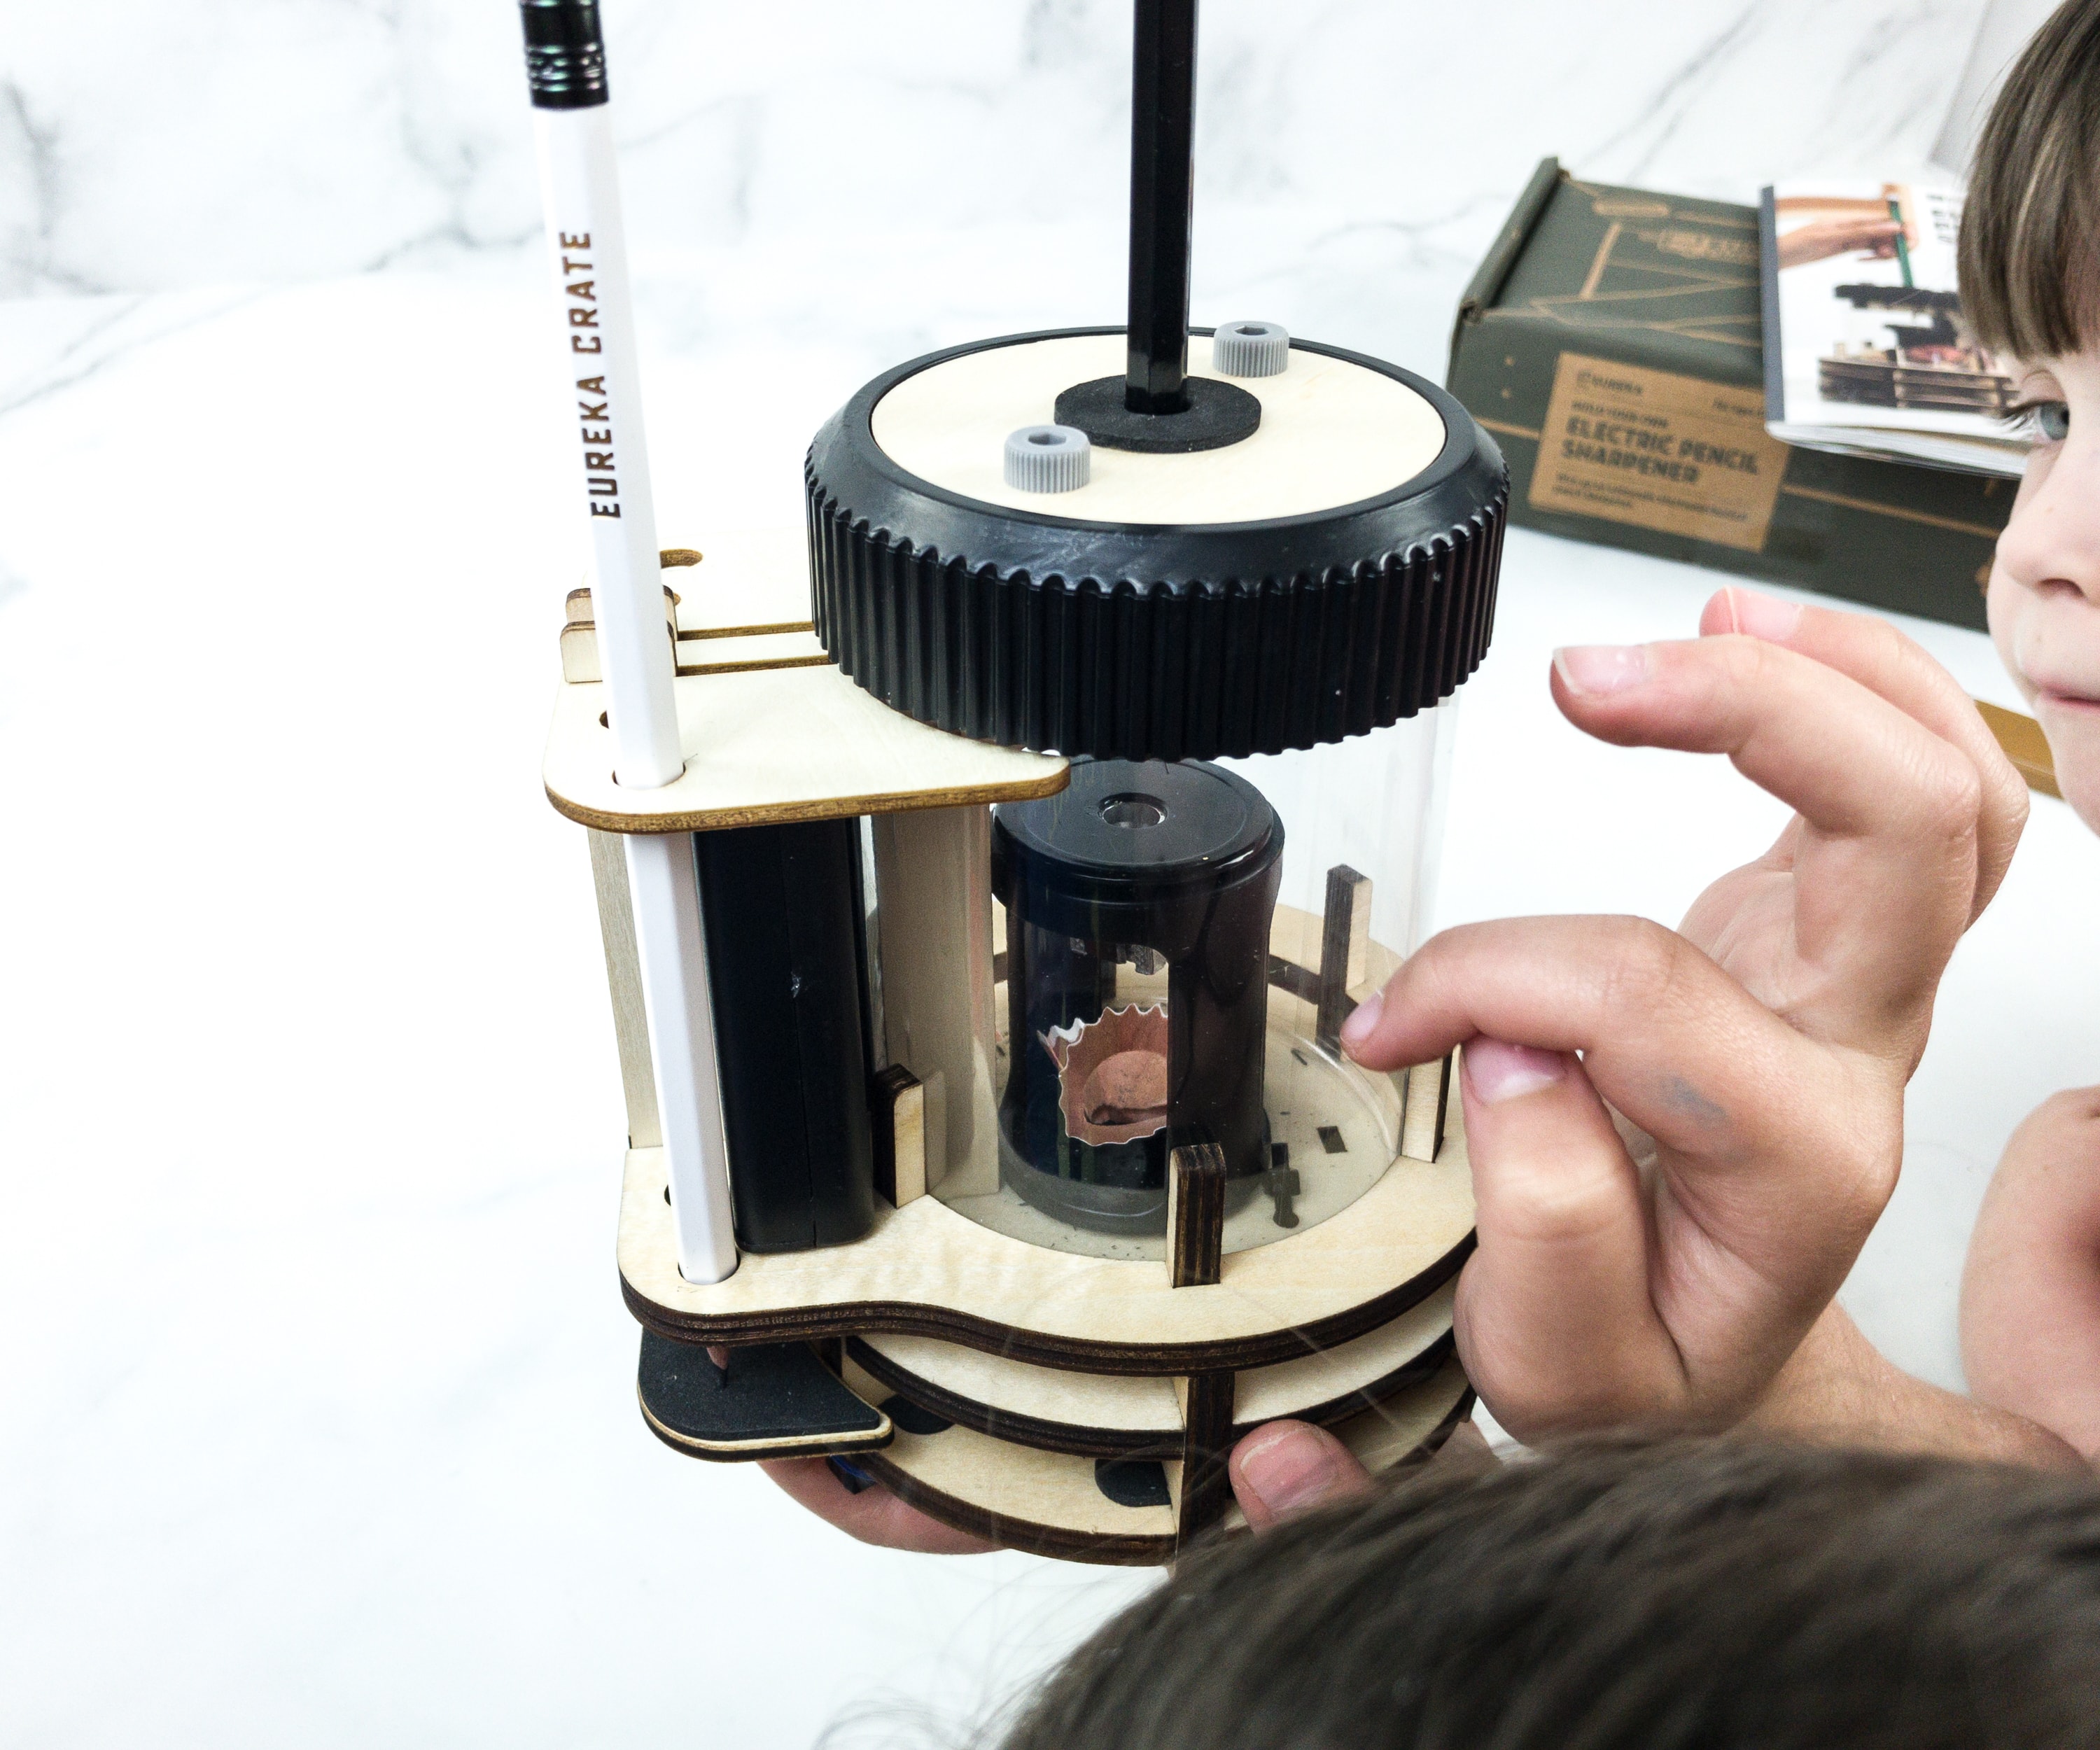
My kids are really amazed at how it works!
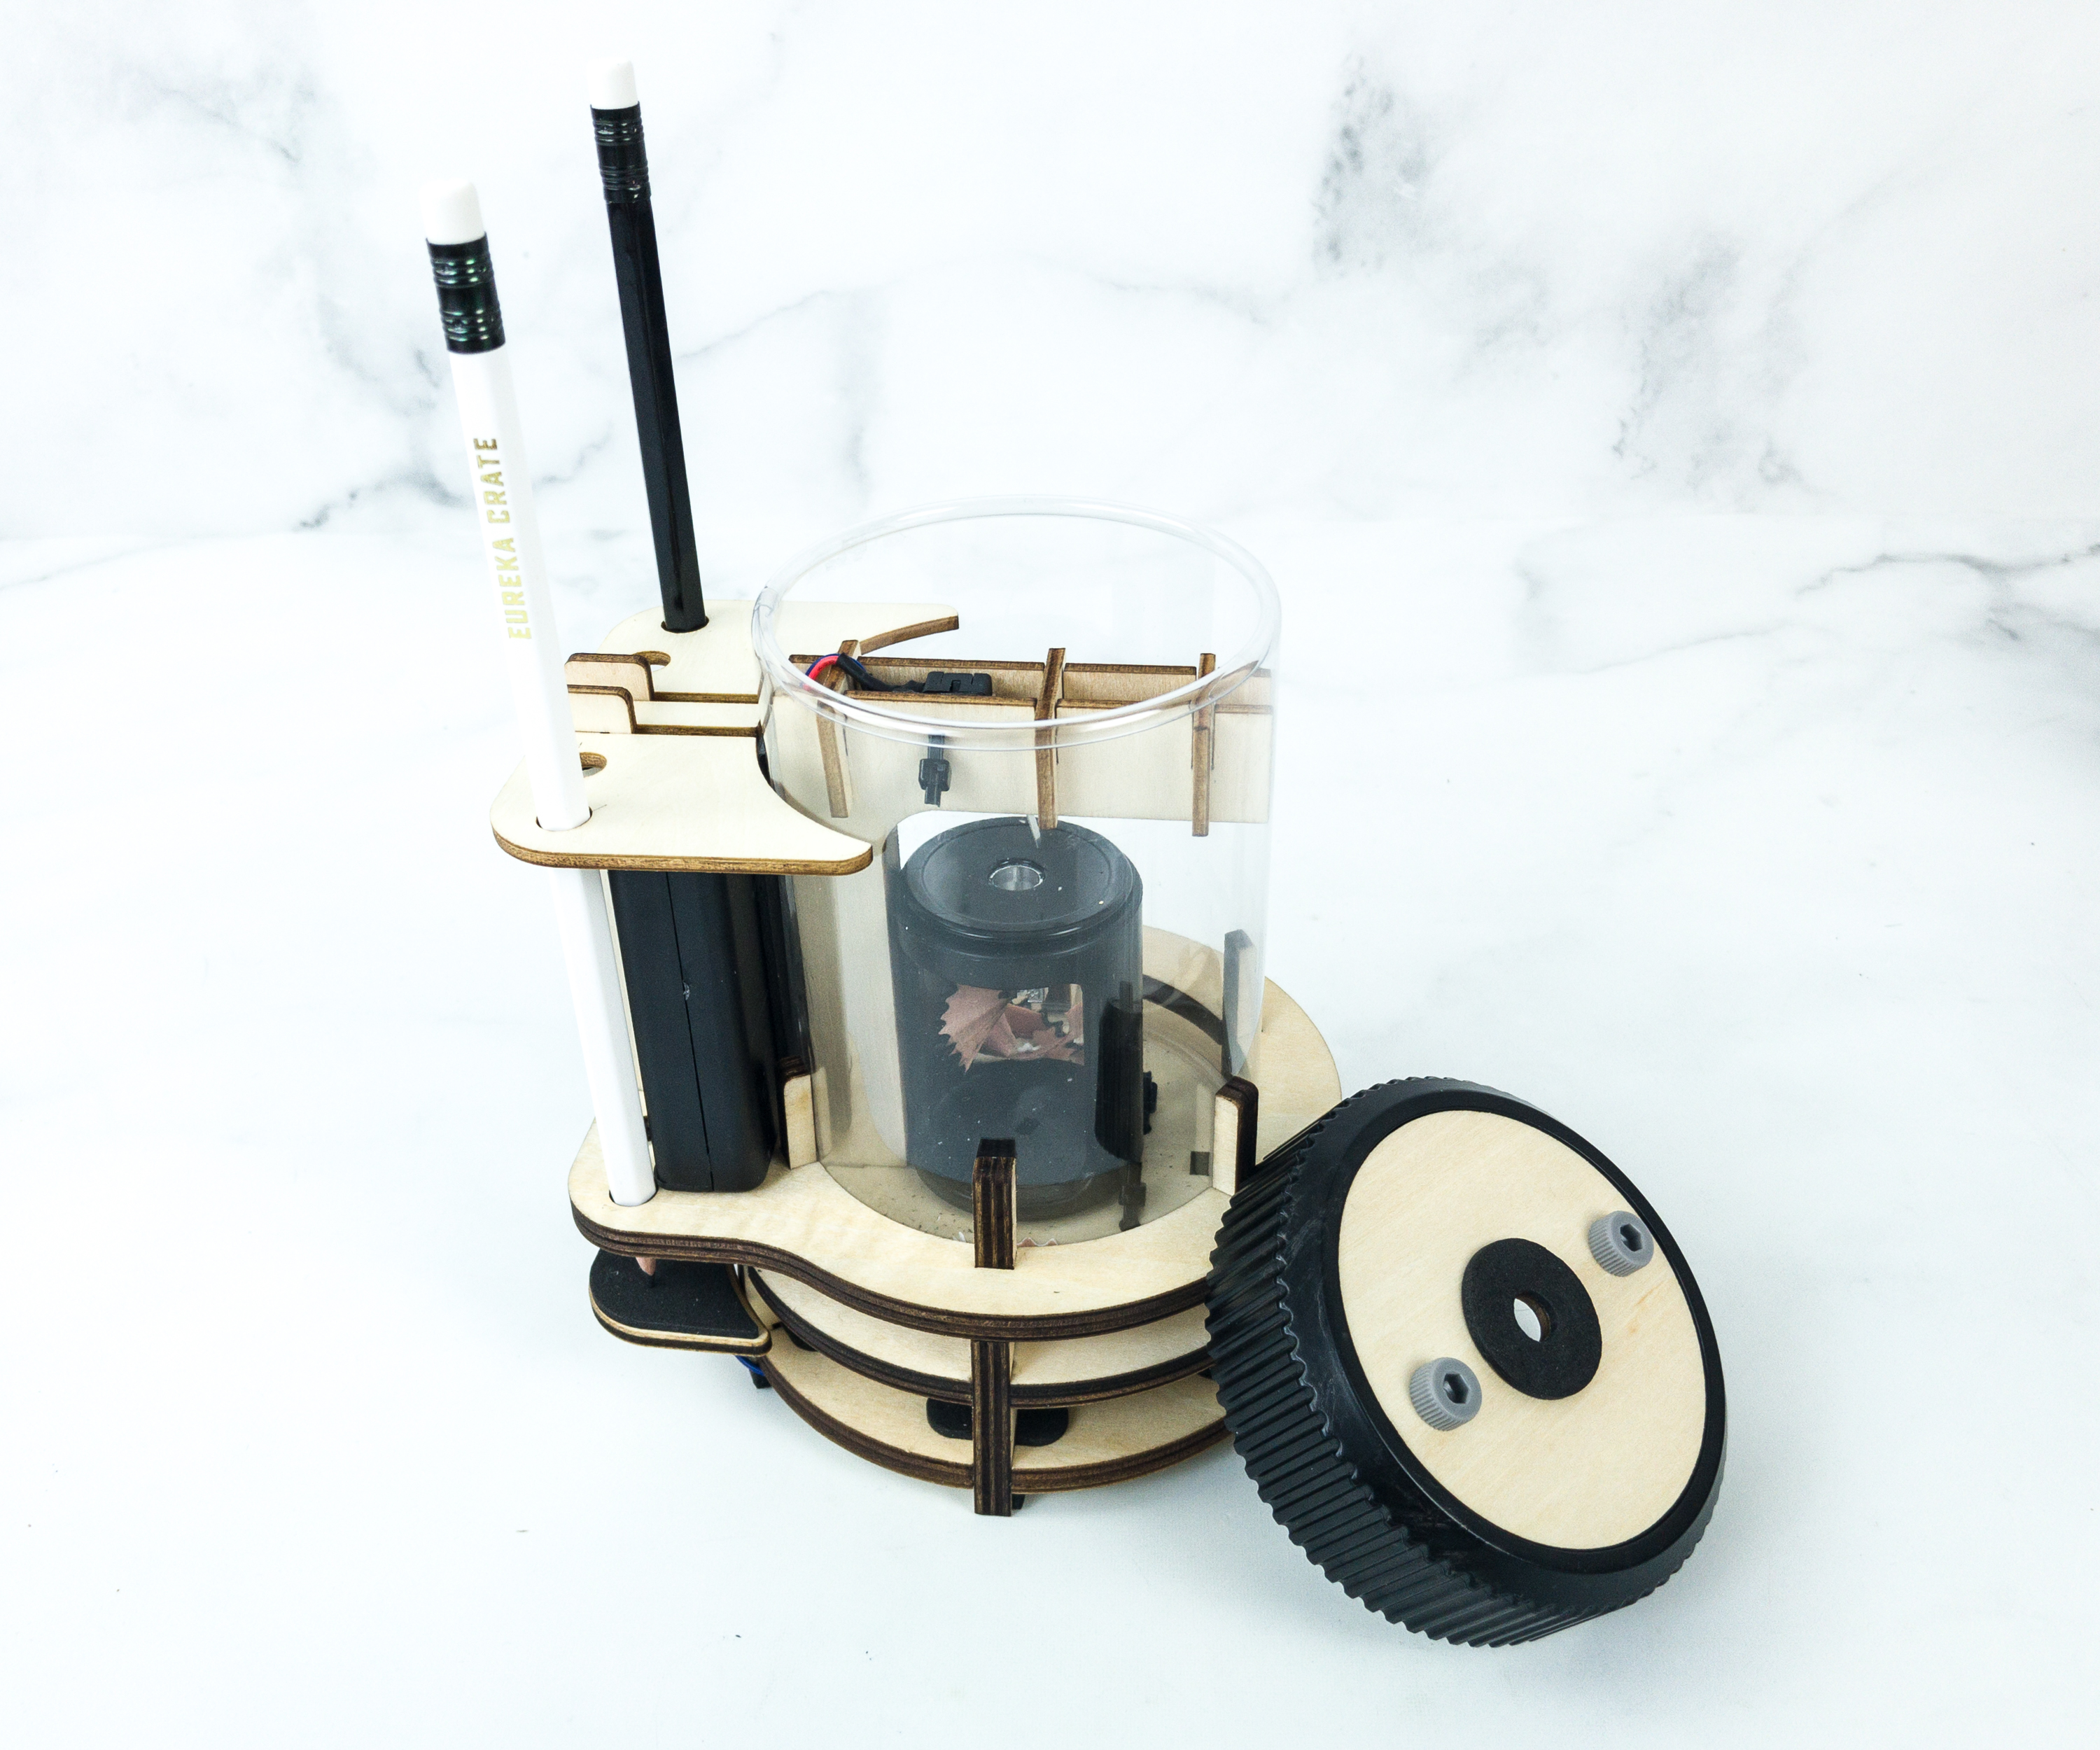
It even came with pencil holders! Sharpening pencils won’t be as messy as it catches all the shavings.
It’ll look good on my desk!
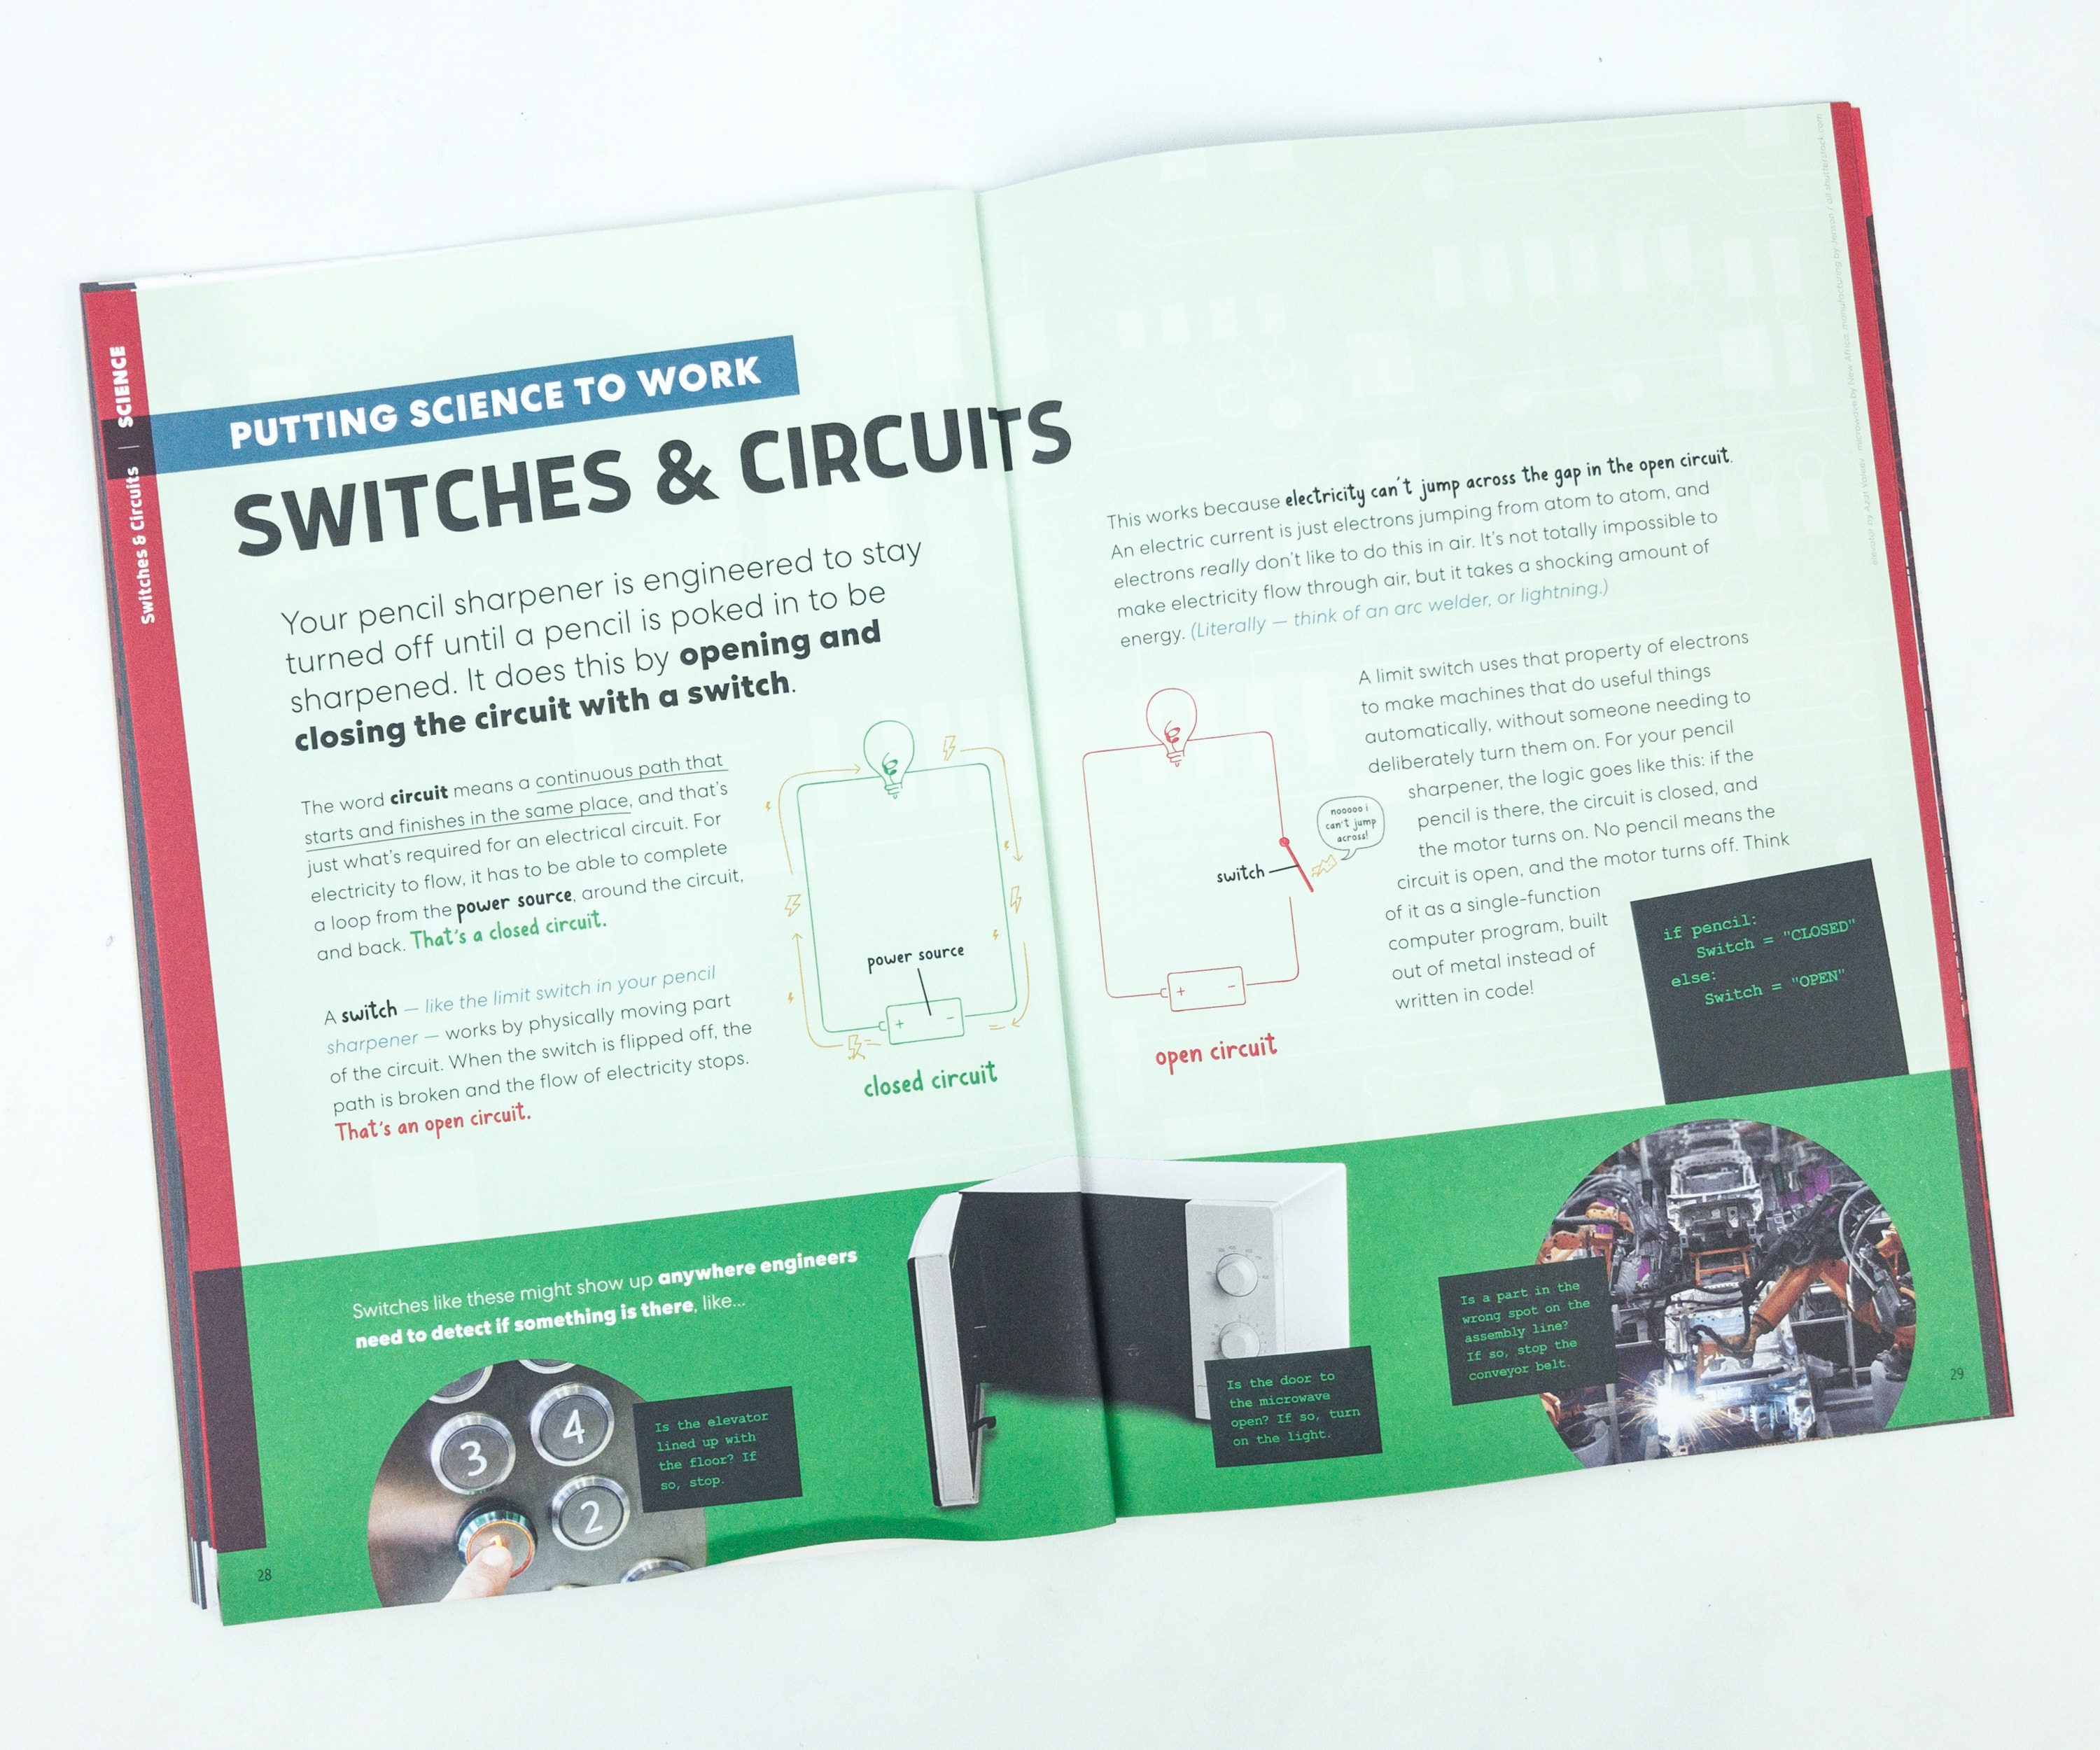
The booklet also included information about switches and circuits.

There’s even a feature about the sharpener’s design and history!
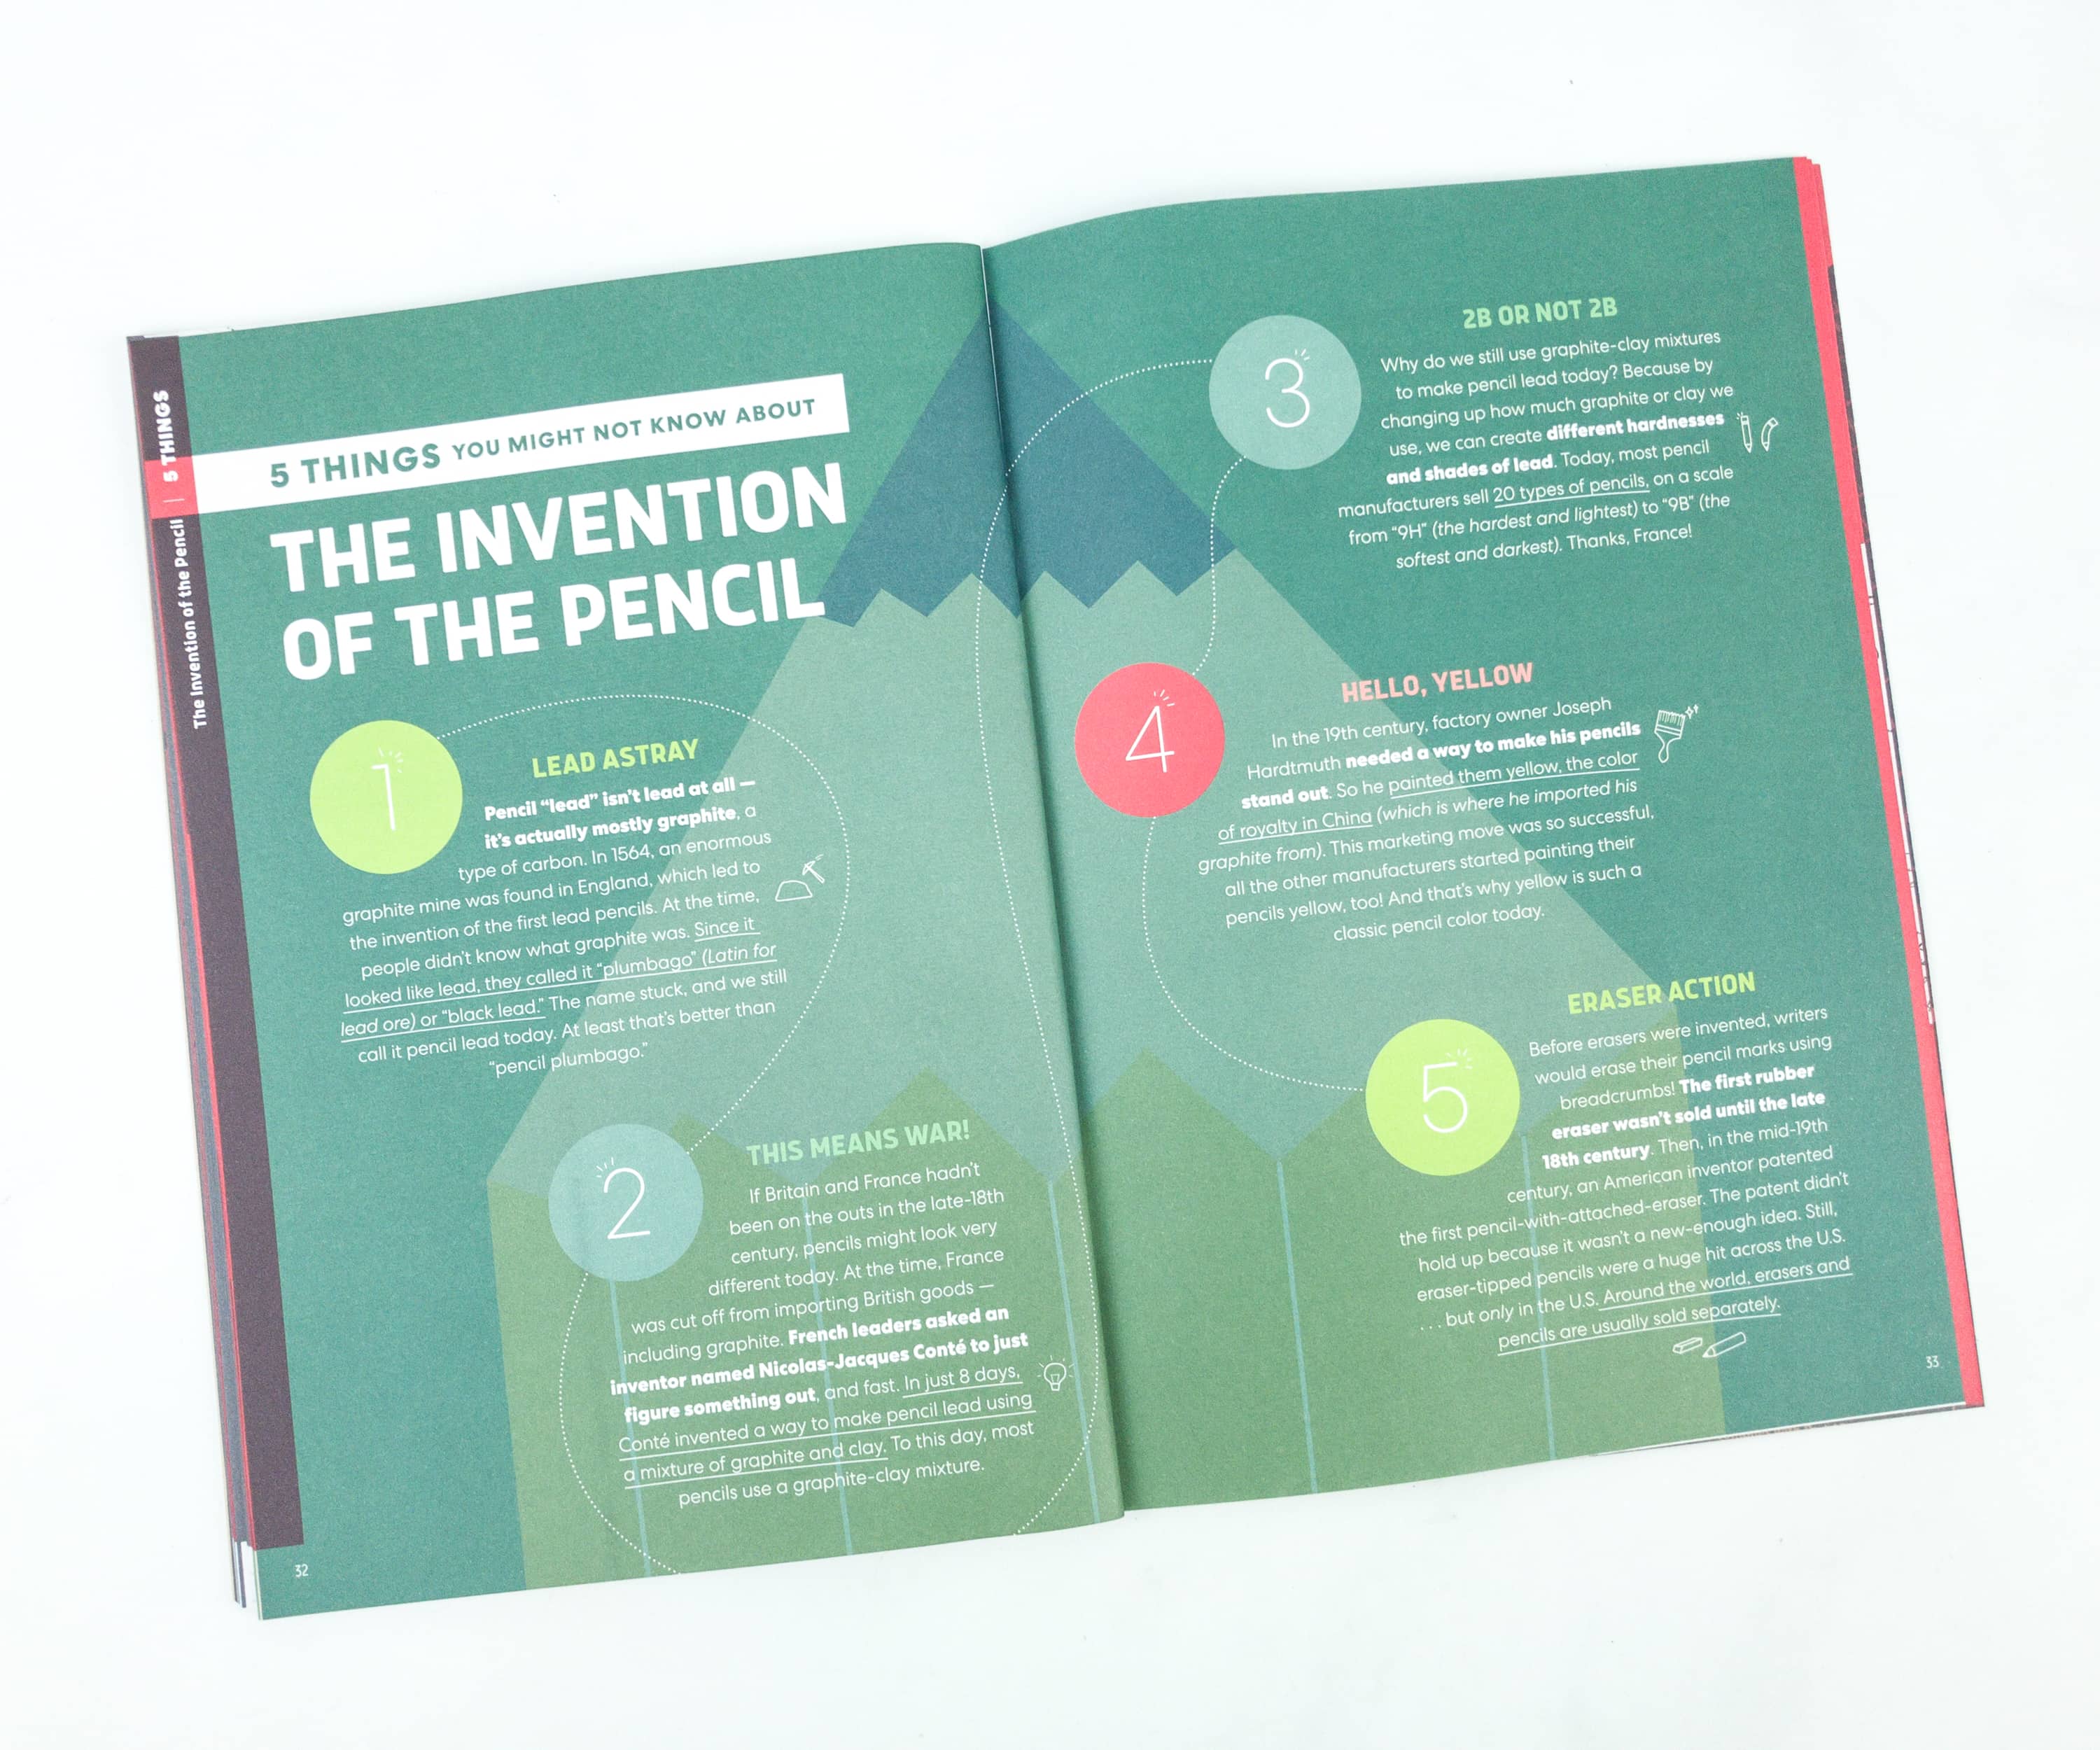
Of course, there’s an article about pencils too!
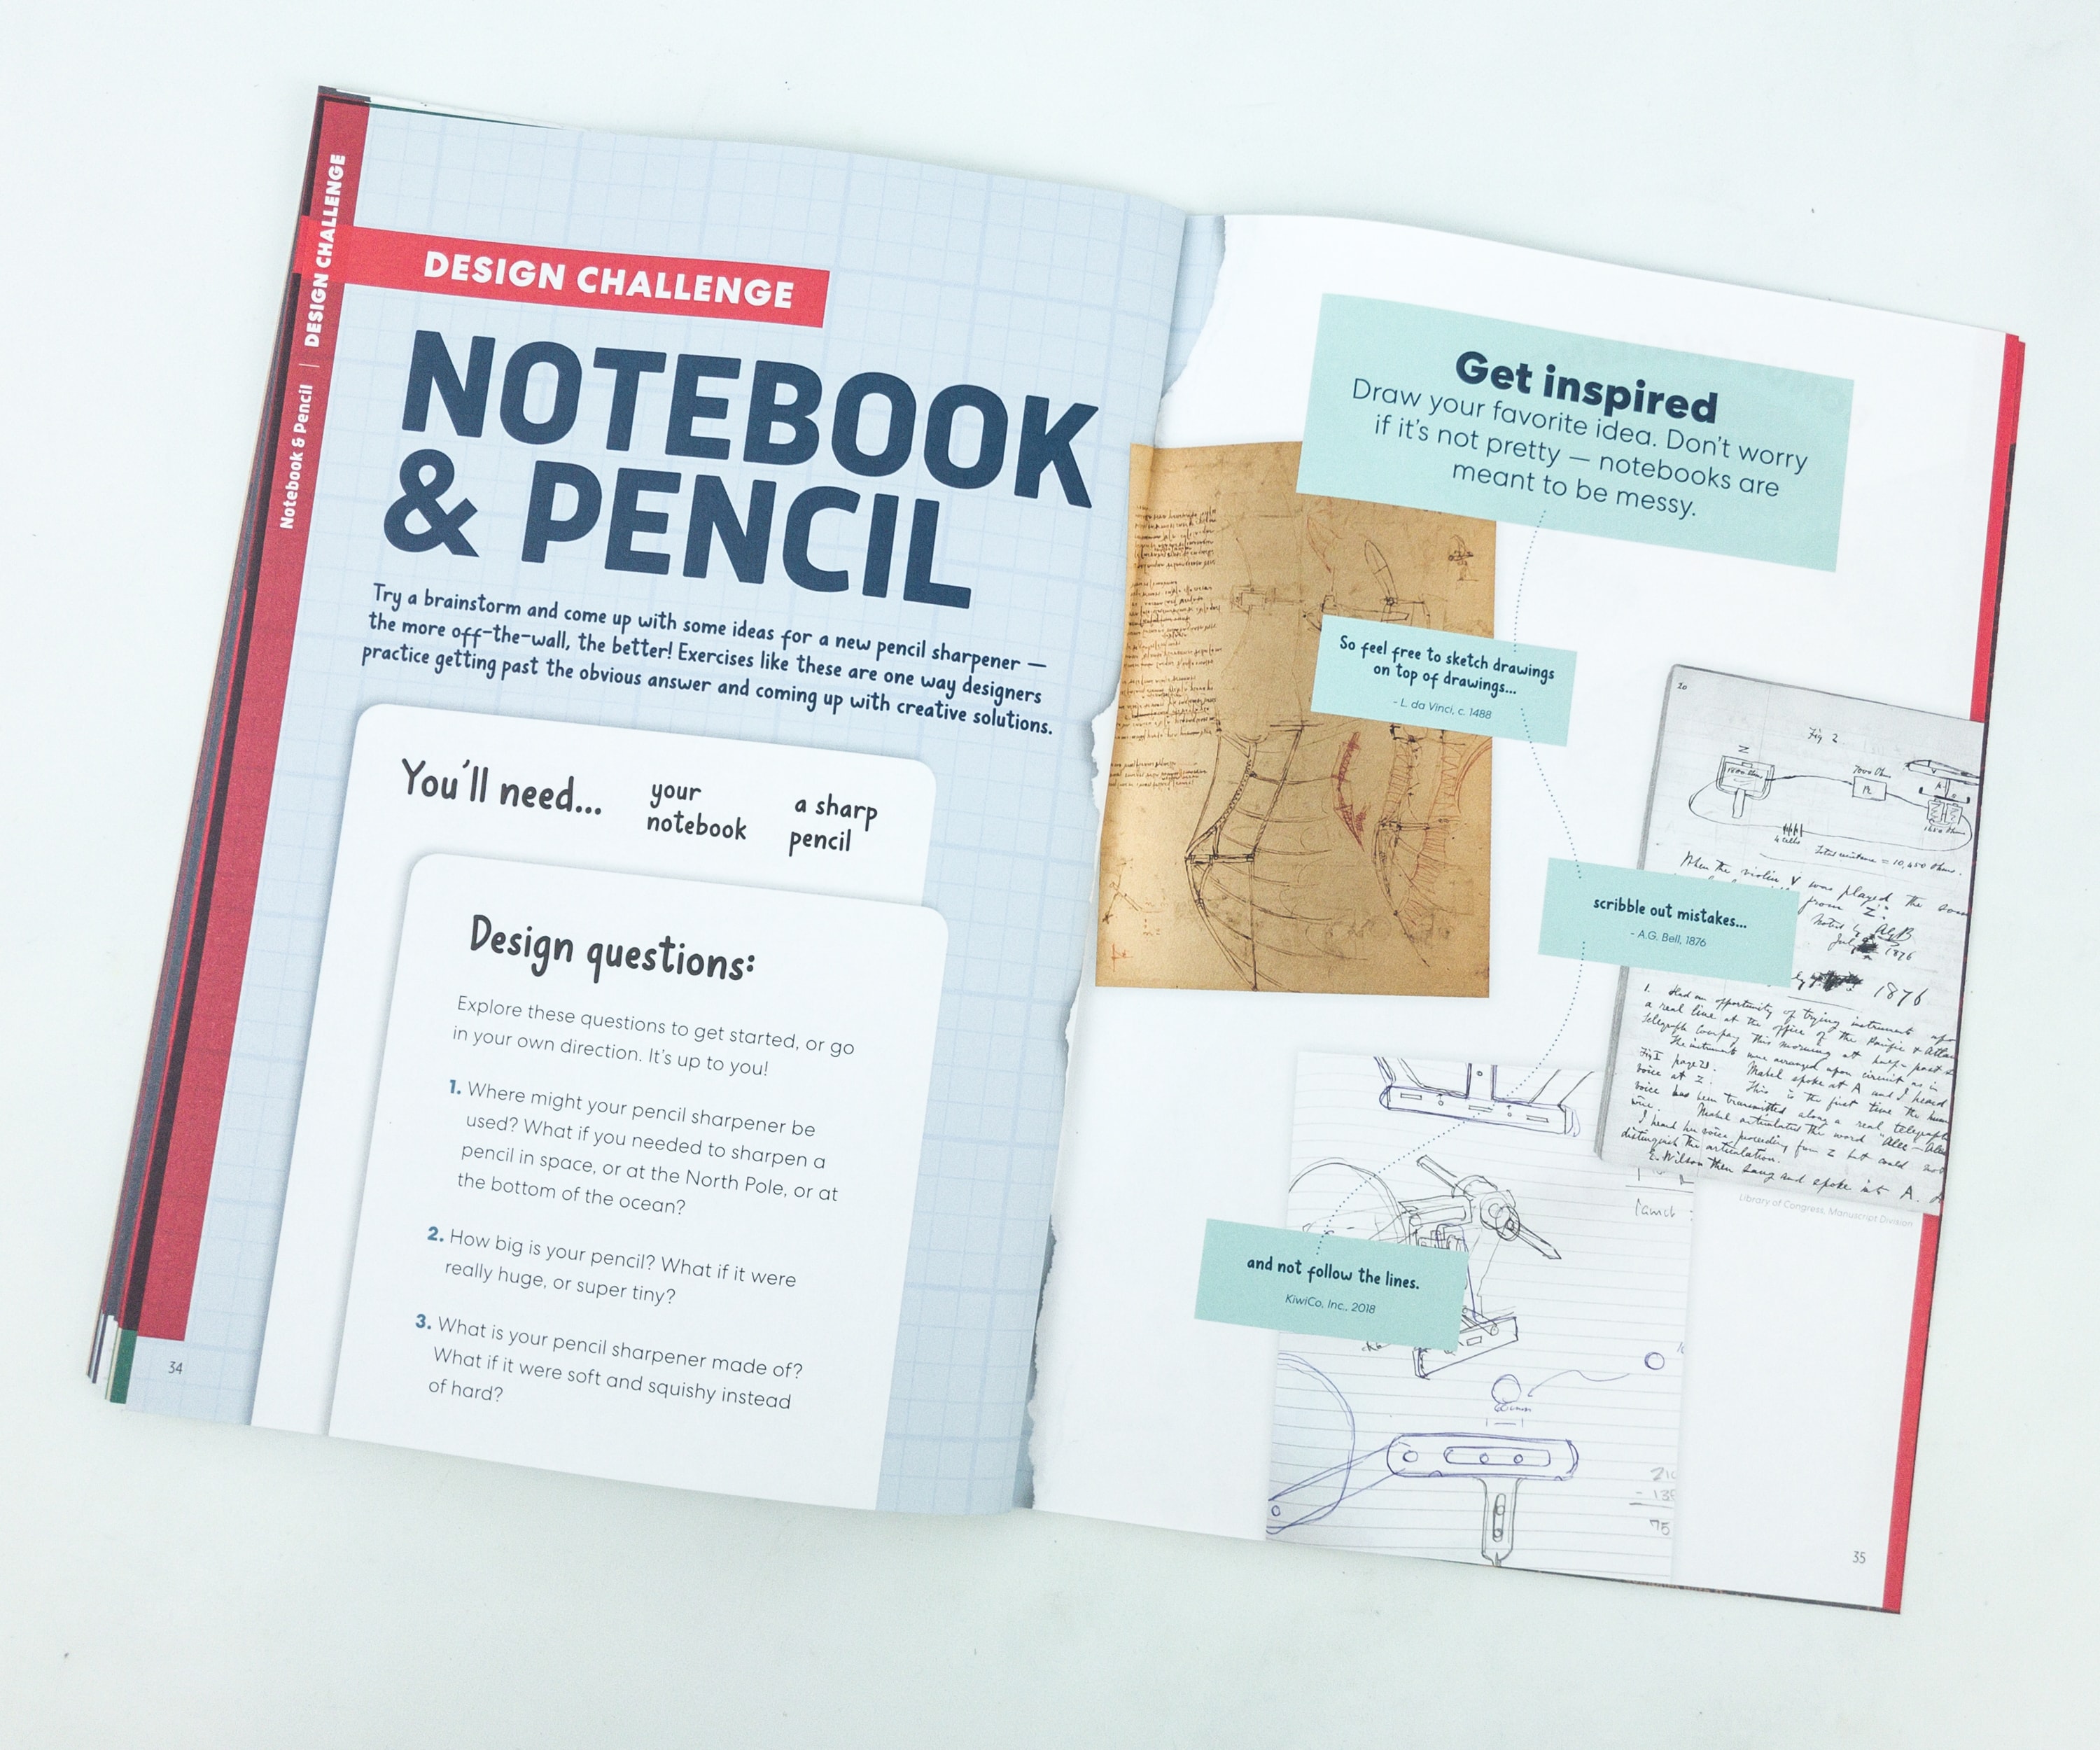
For the Design Challenge, they’re encouraging us to draw or come up with an idea for a new pencil sharpener.
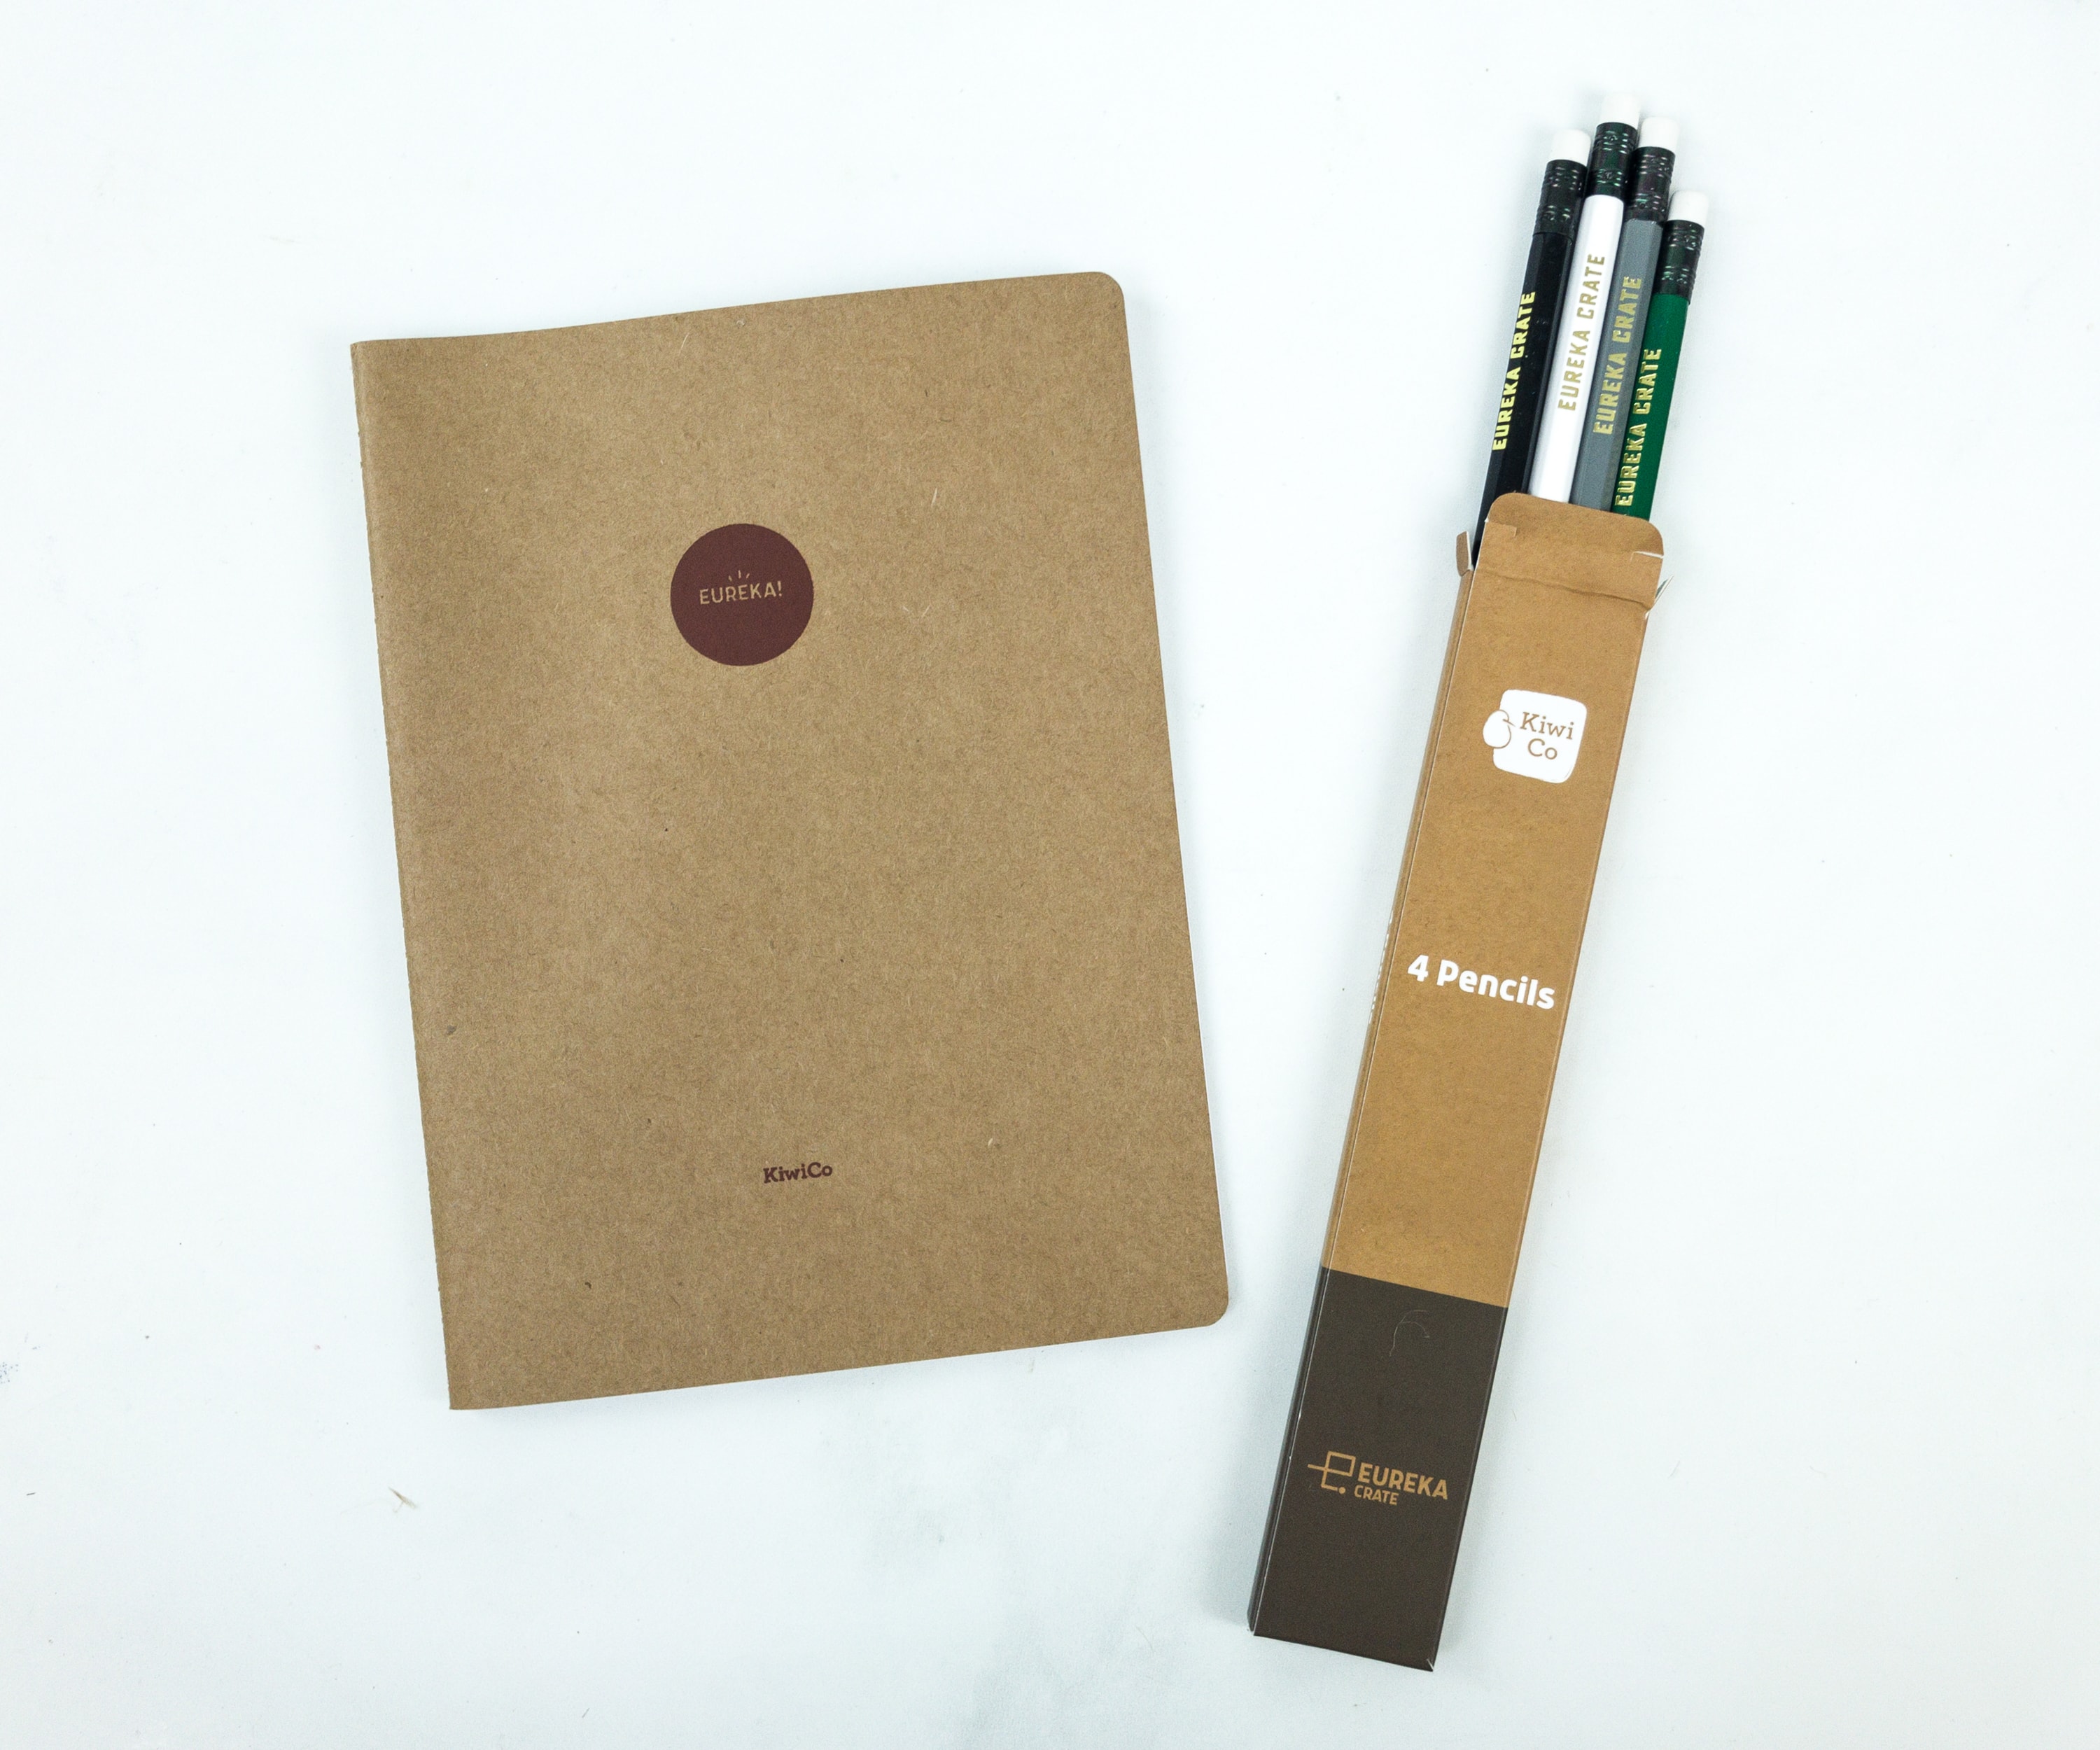
Here are the materials needed for the challenge: a notebook and a set of 4 pencils.
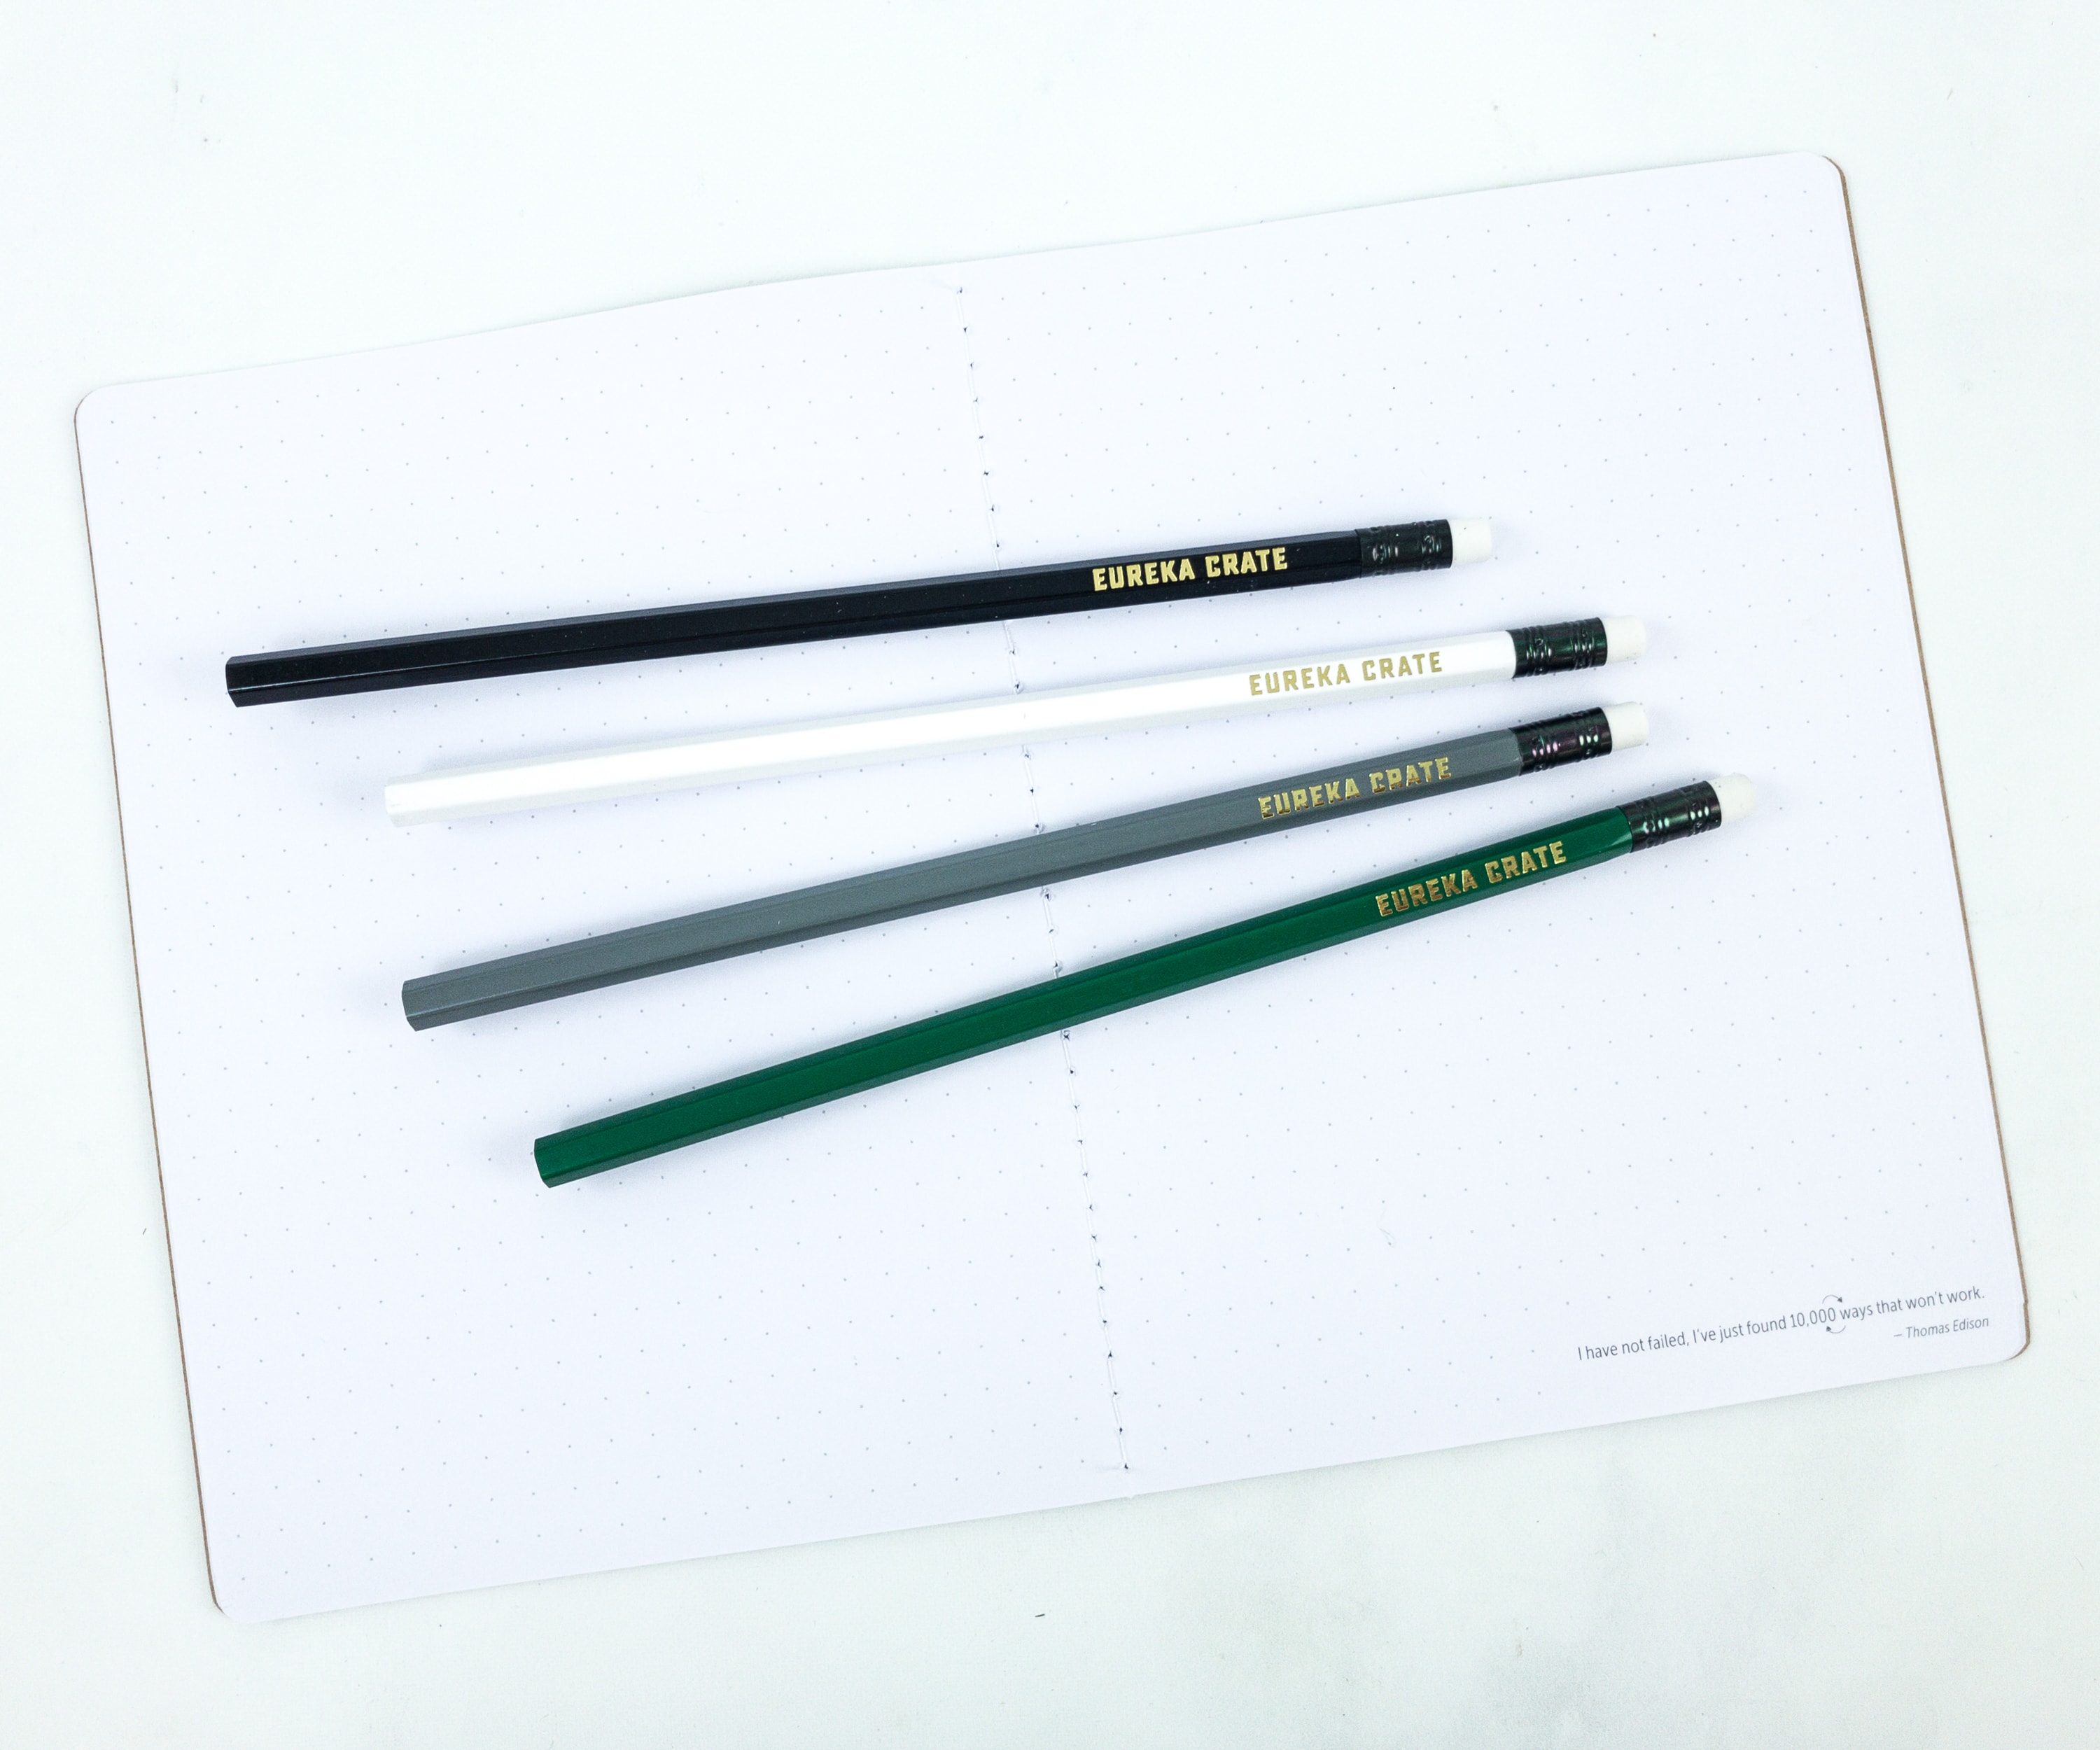
The notebook is dotted. The pencils all arrived unsharpened.
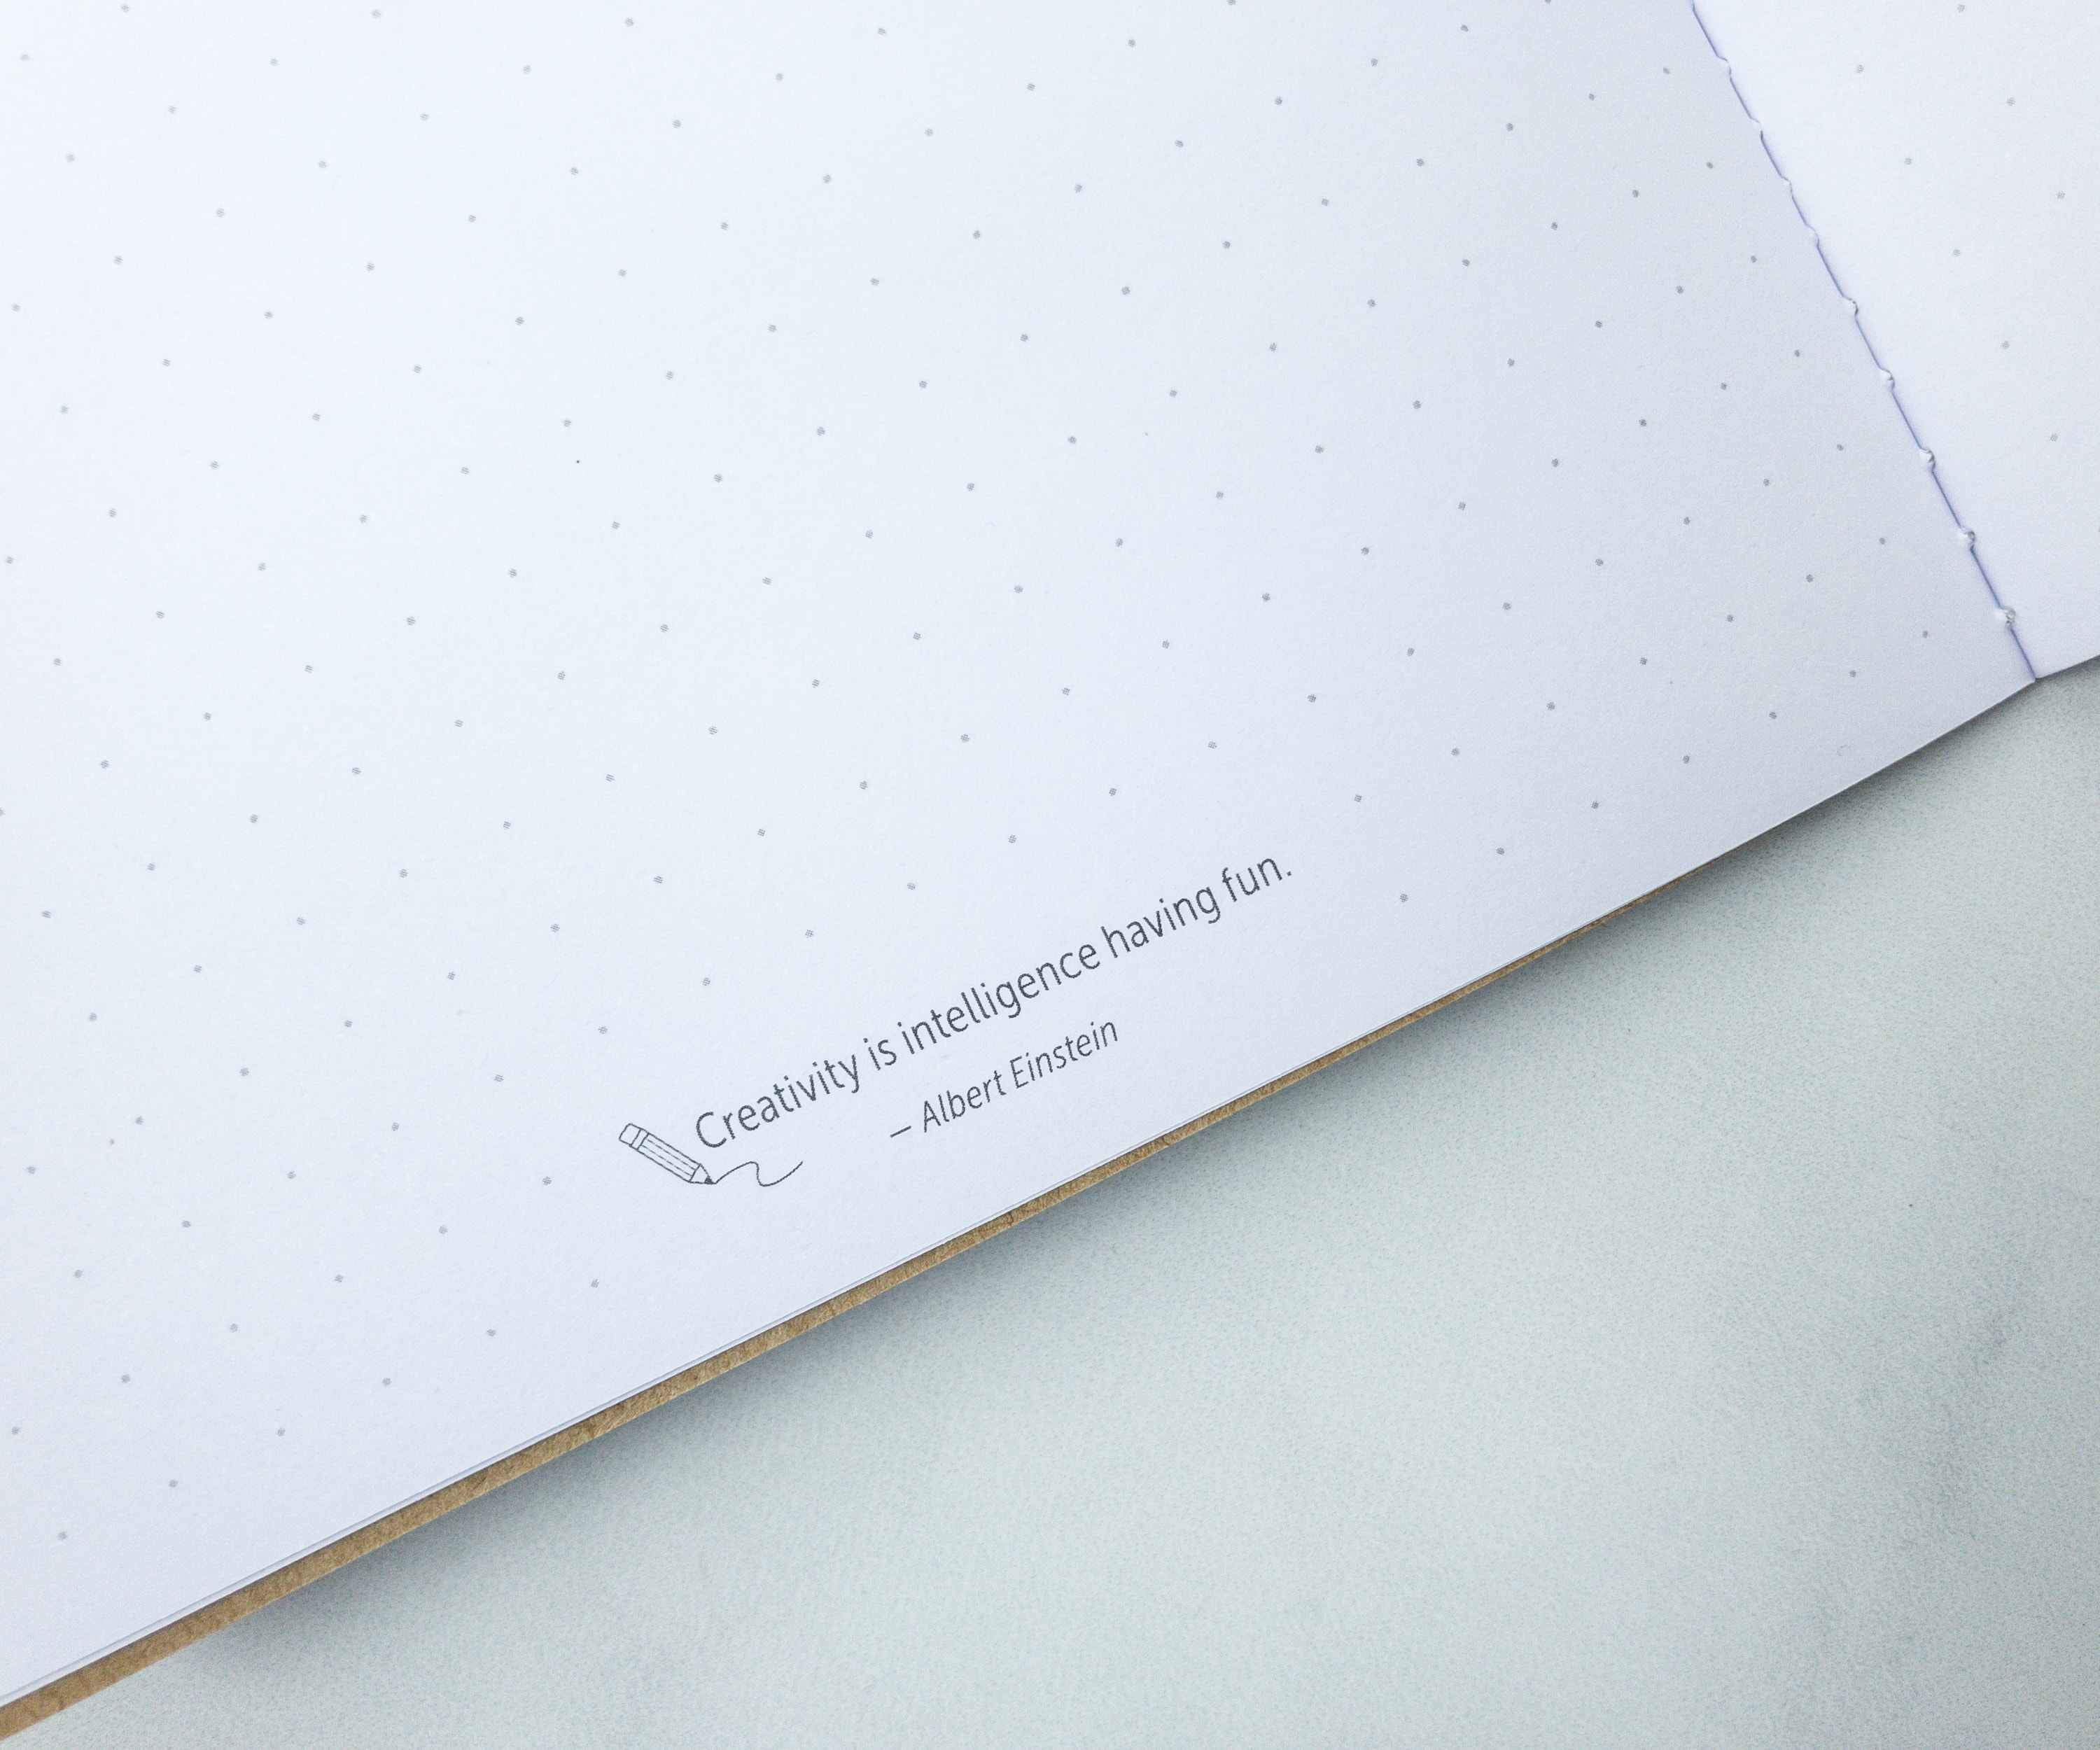
I love the quote at the bottom page of the notebook by Albert Einstein!
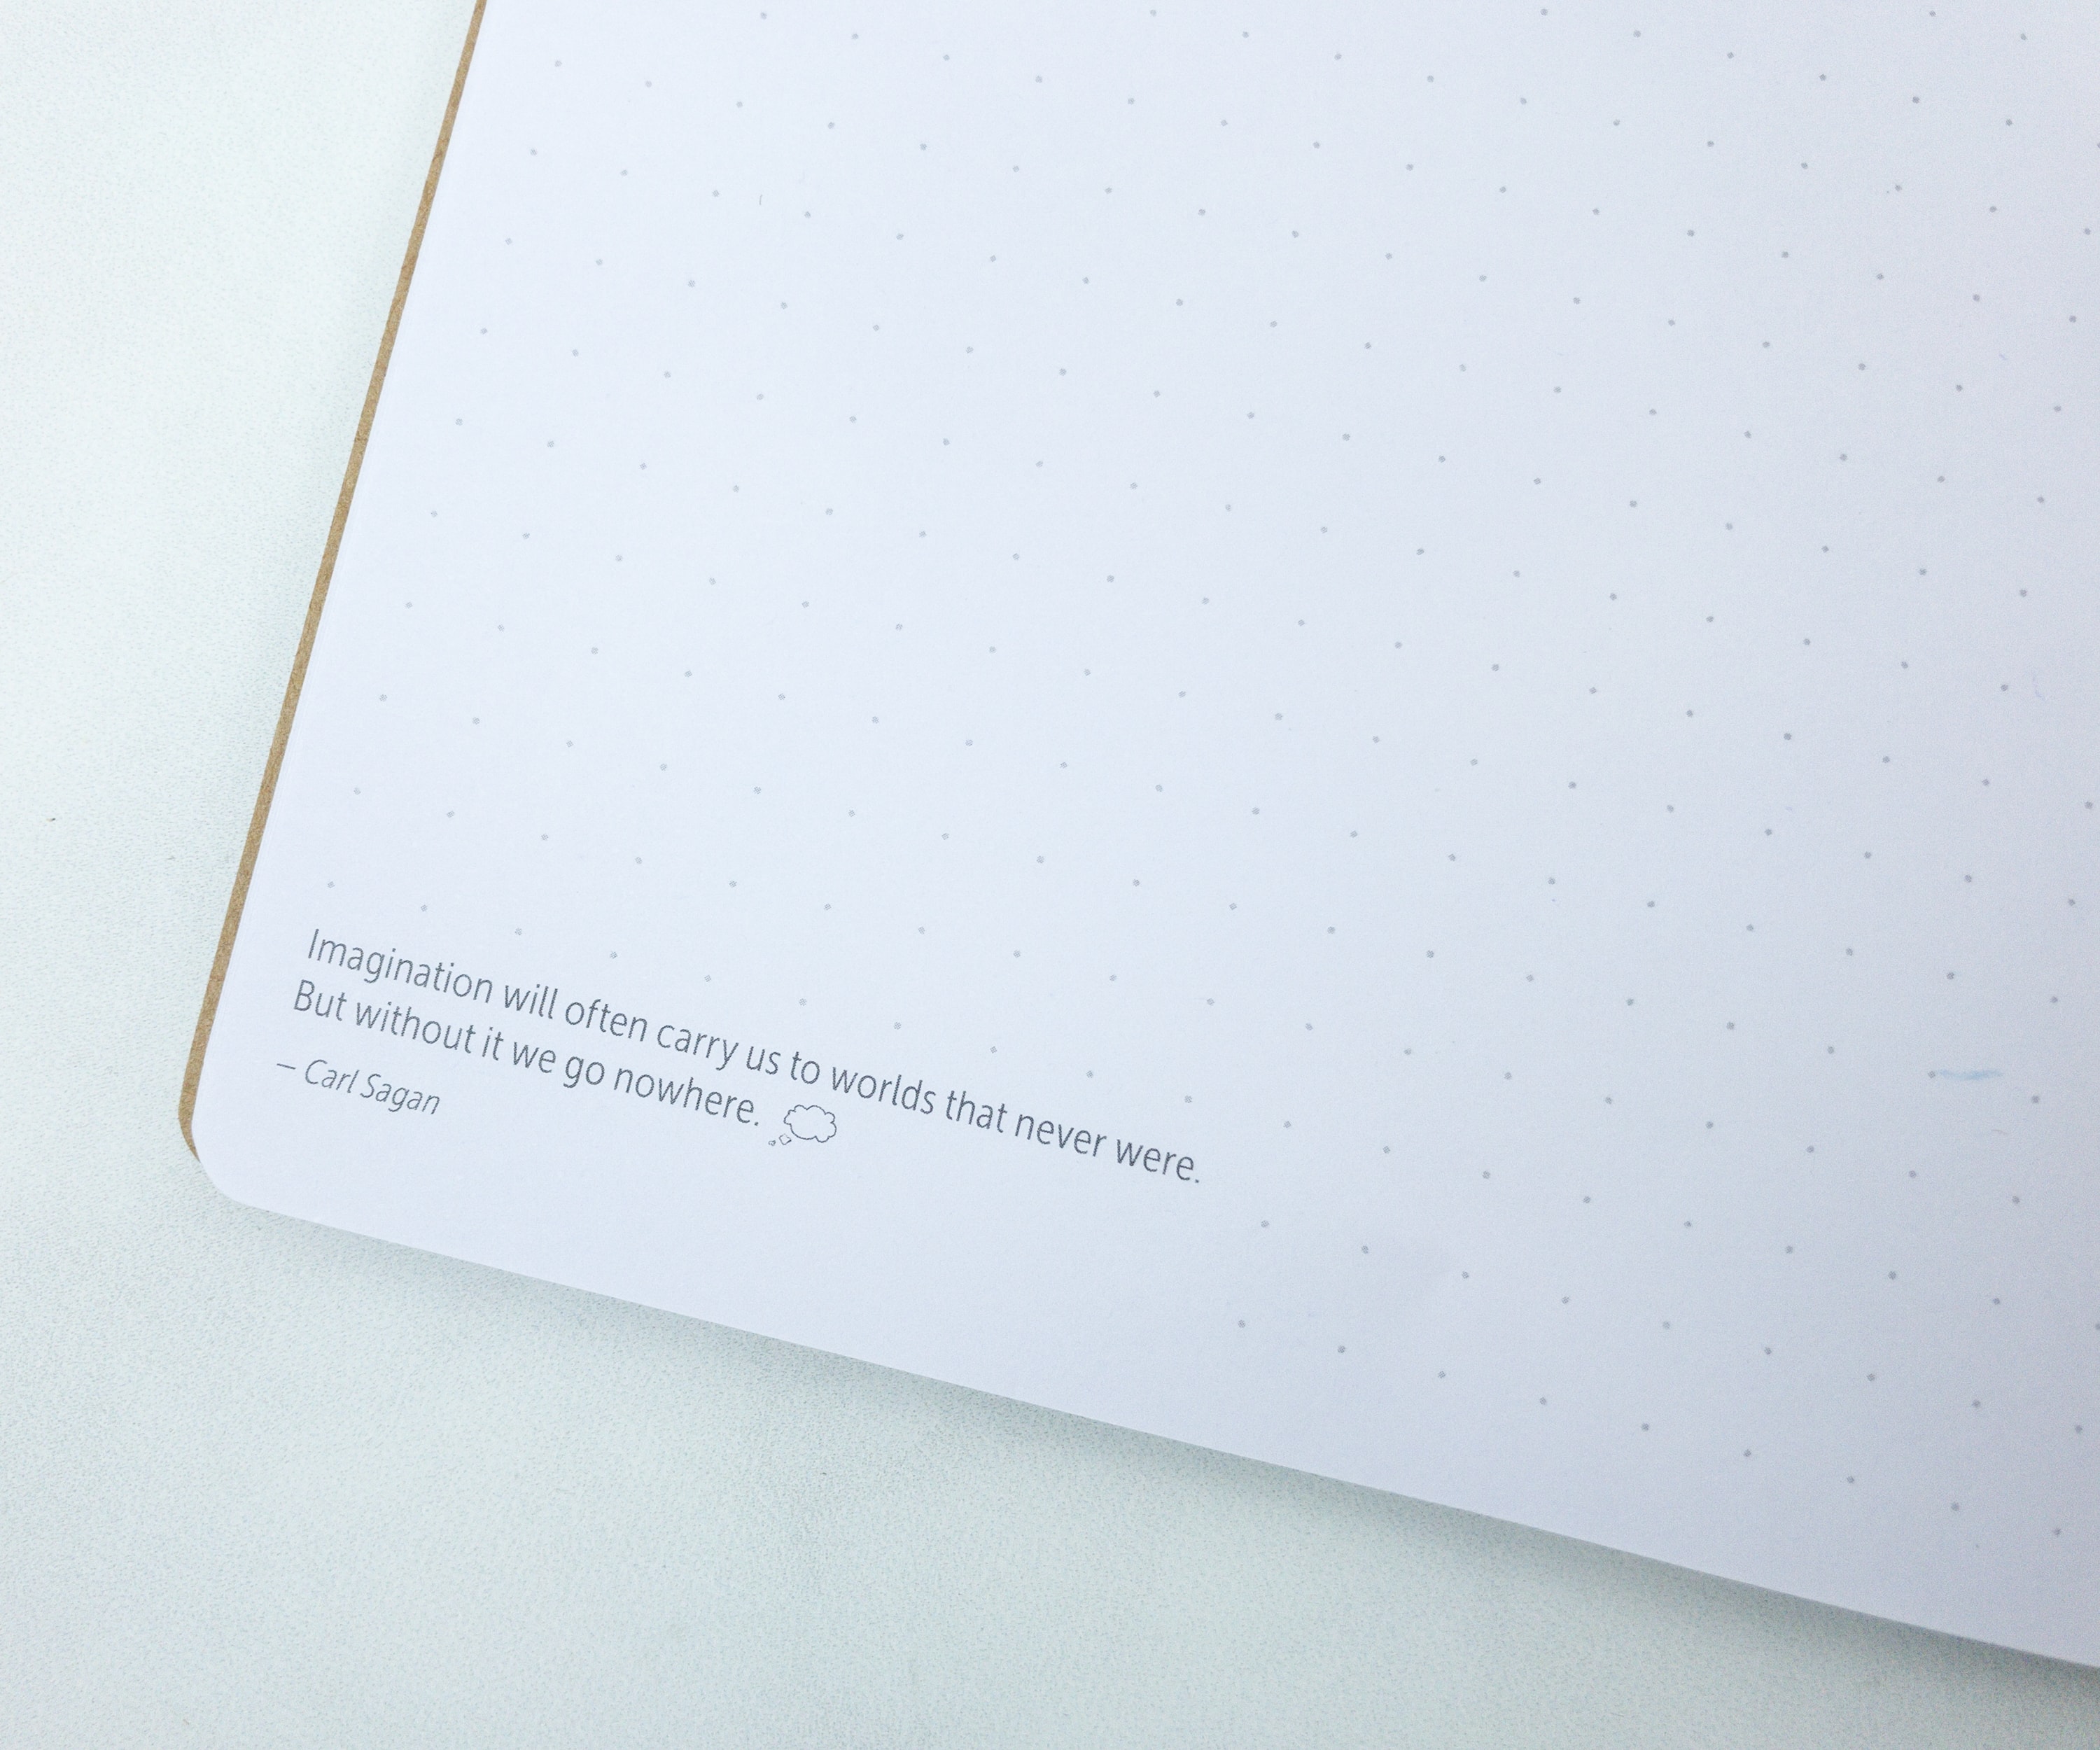
There’s another one by Carl Sagan, and it talks about the power of imagination!
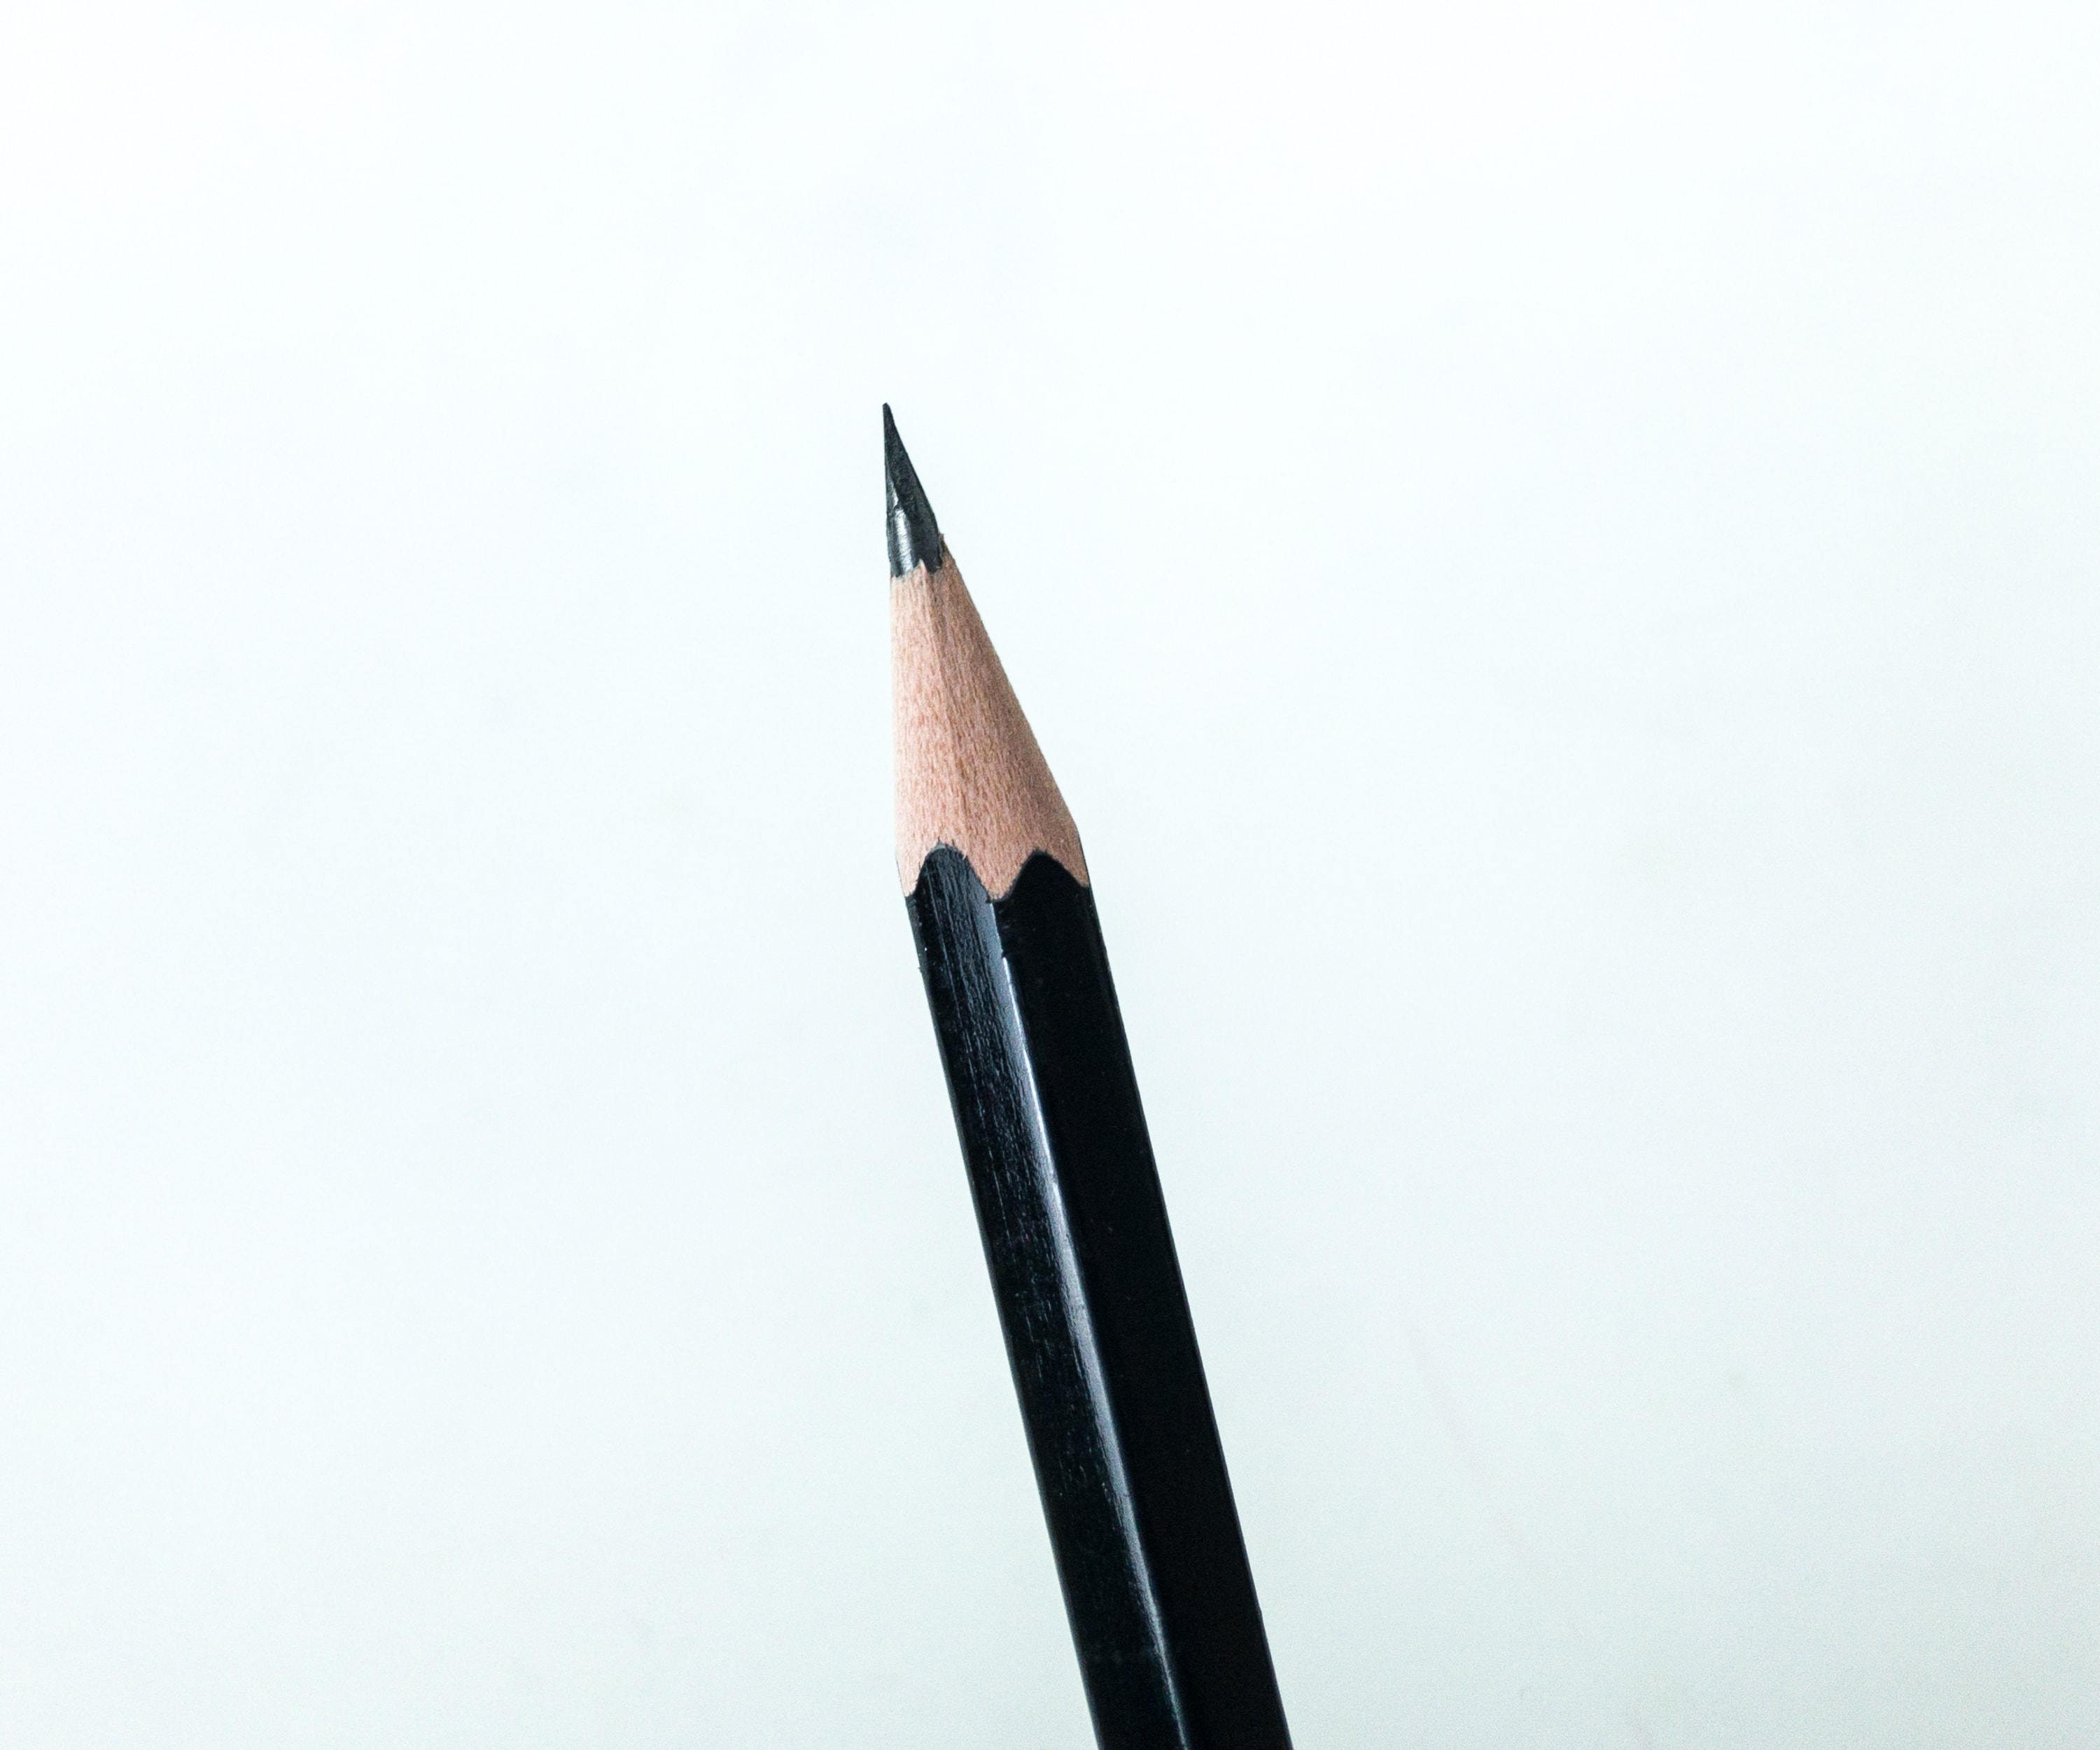
Of course, we had to test the sharpener with our new pencils. It worked excellently! Our pencils are now pointy and ready to be used for drawing and writing!
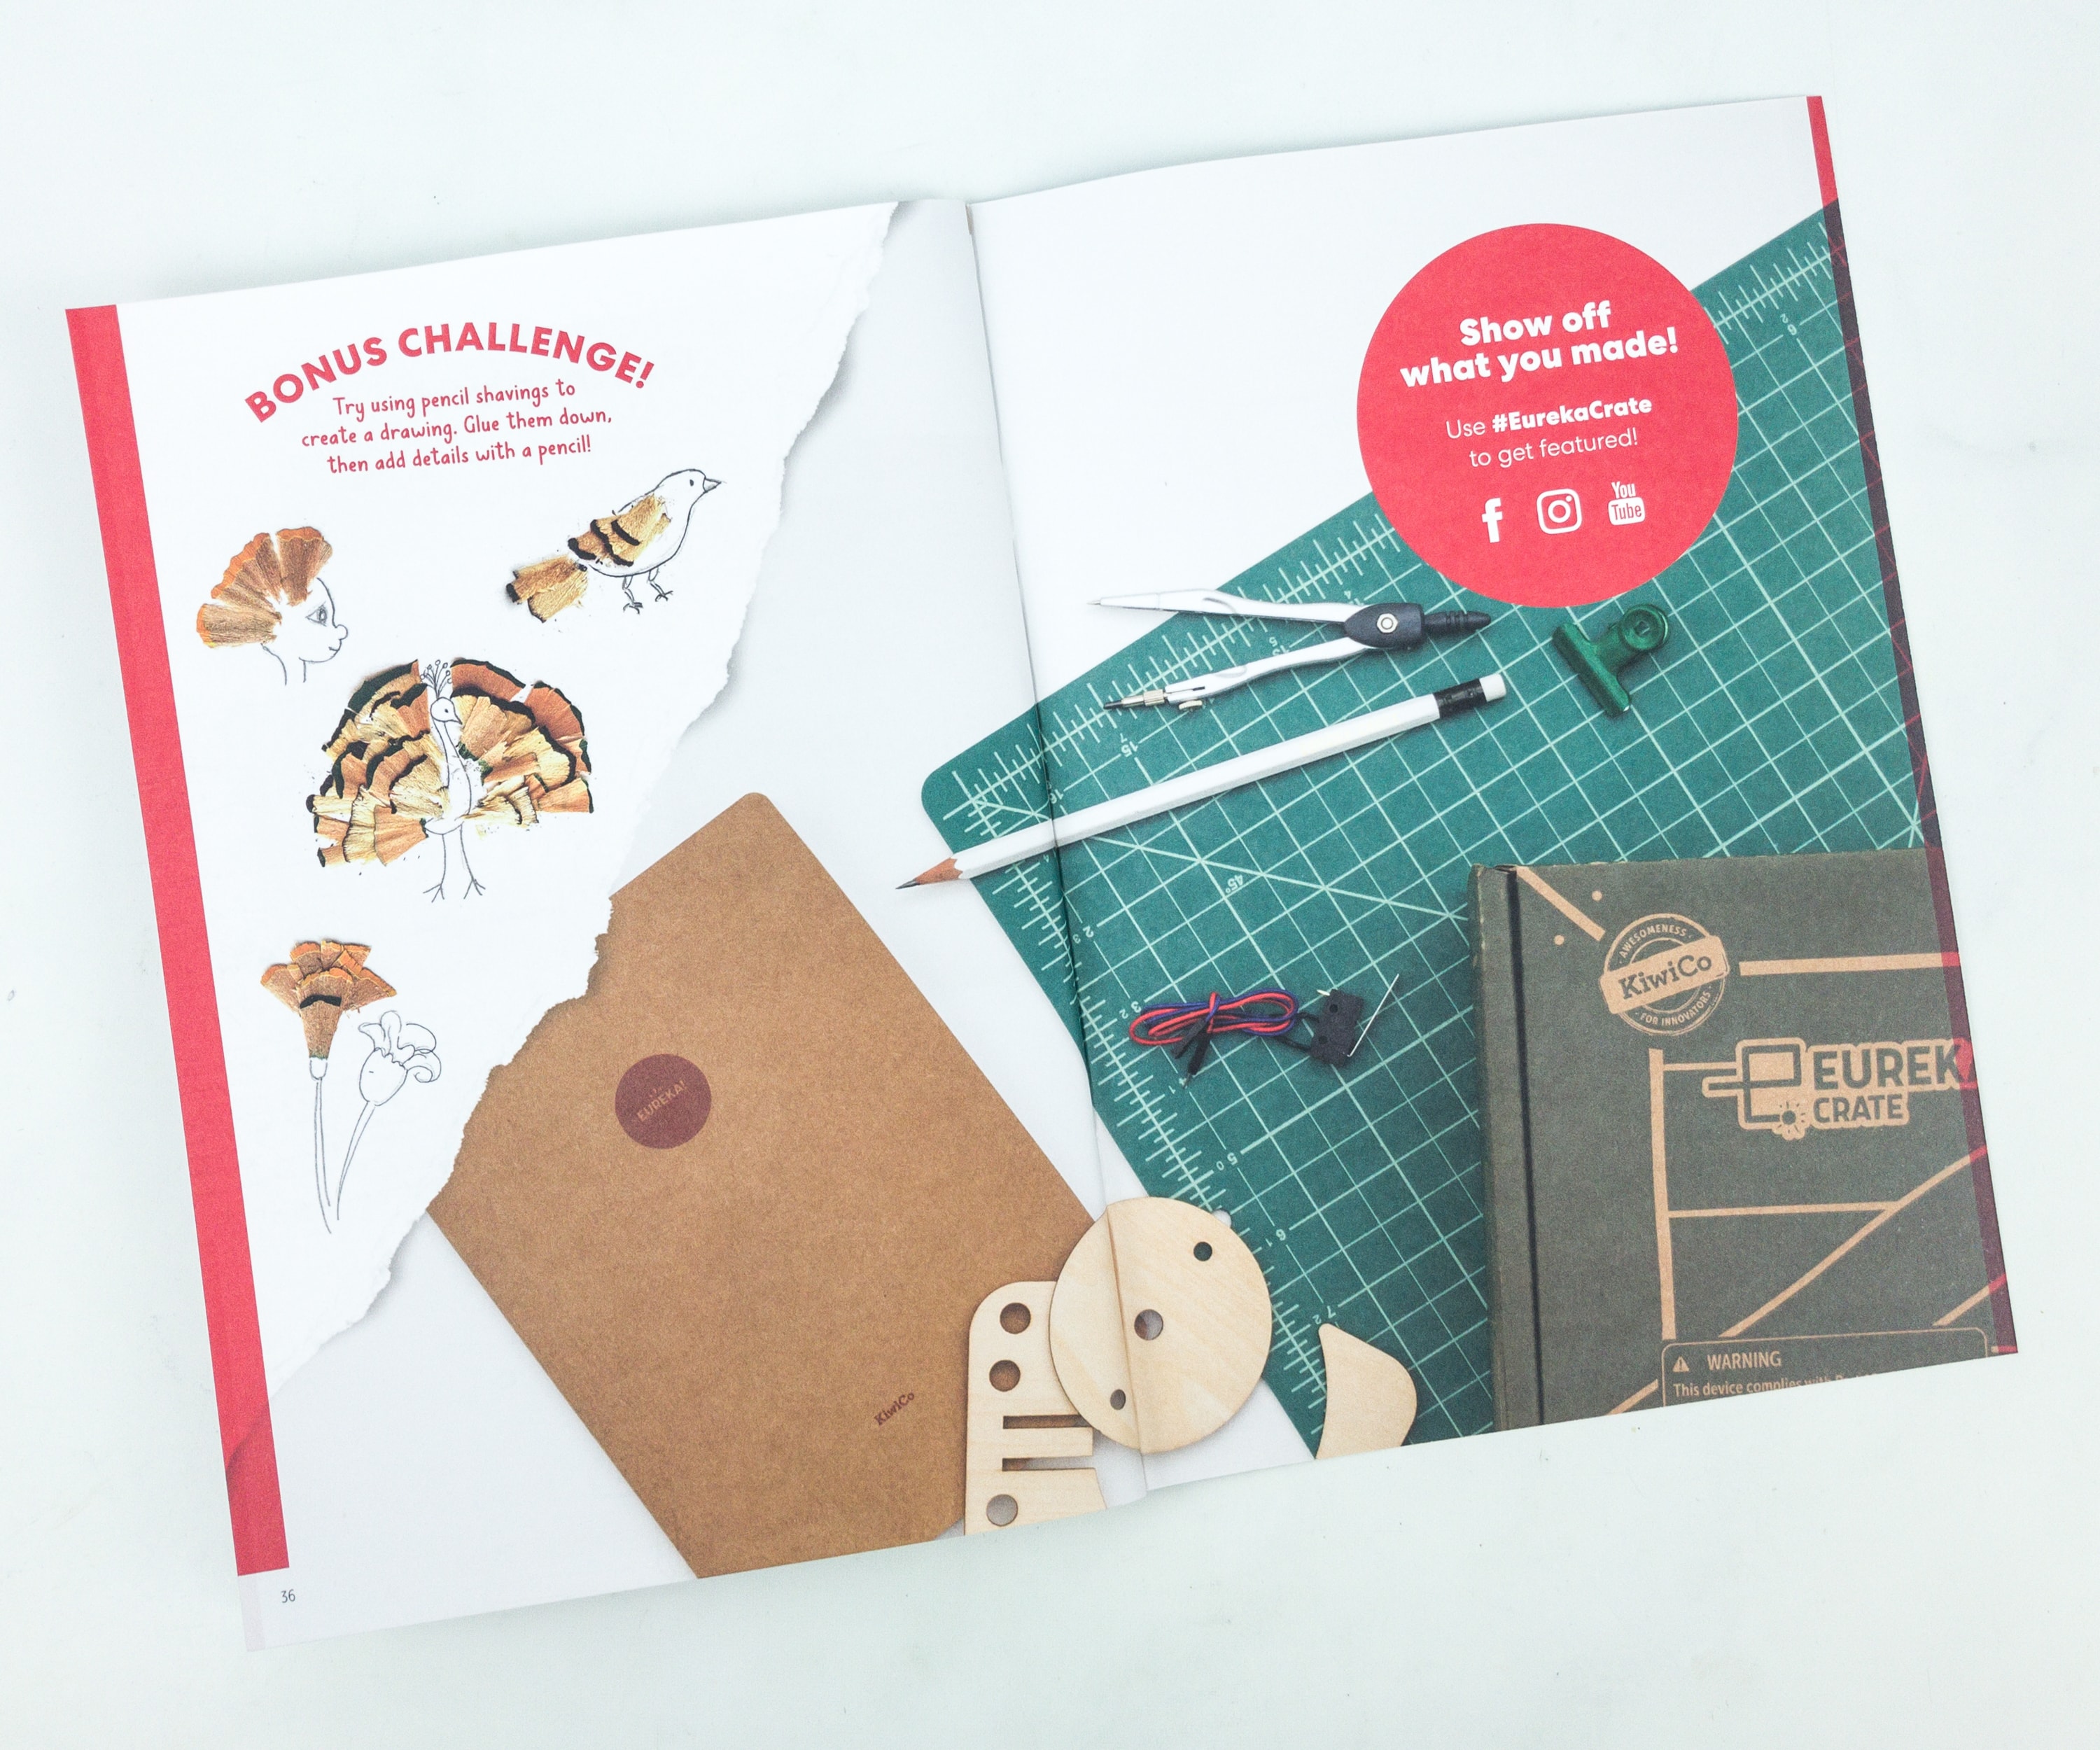
There’s also a bonus challenge where you need to use your pencil shavings to make art!
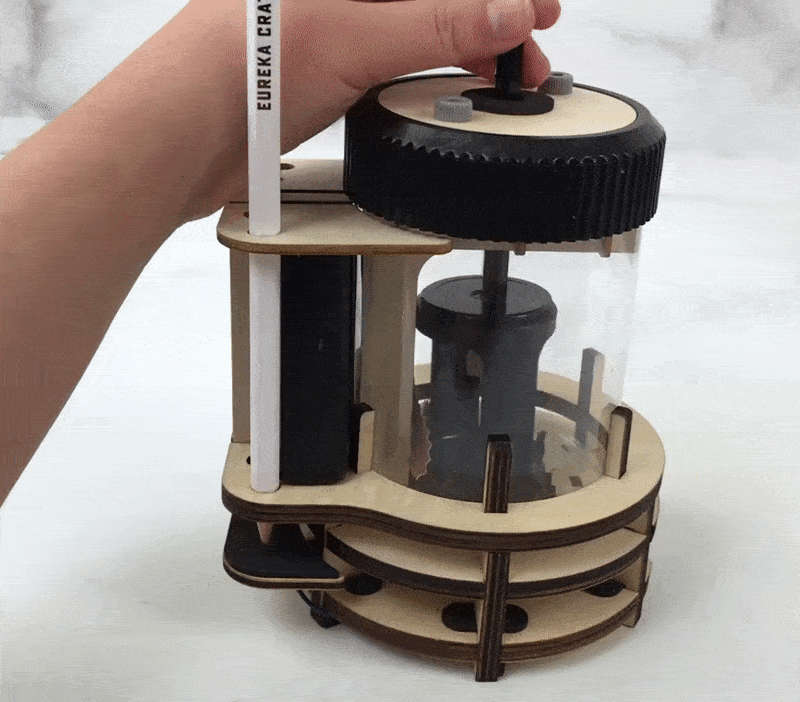
Here’s how the sharpener effectively works! We love watching it while it is in the process of sharpening our pencil!
My kids enjoyed this month’s Eureka Crate so much, especially my daughter who loves challenging activities, projects, and crafts. This box is really perfect for her. The sharpener is such a useful tool and it’s nice that even the kids can make this electronic device work by themselves, thanks to the complete and detailed guide that came in the box, along with the complete set of materials! I also love how making these projects build their confidence, creativity, and problem-solving skills!
What do you think of this month’s Eureka Crate?


Comments