Eureka Crate is a monthly STEM and maker subscription box that teaches kids and adults how to apply principles of science and math to make awesome things you will love to use every day – from an articulated desk lamp to an electric pencil sharpener to a wooden ukulele. Every Eureka Crate includes an engineering project, detailed step-by-step instructions, everything you need to complete the project, a Maker’s Guide that explains all the design, process, and engineering behind the design, plus a design challenge to take your project knowledge to the next level!
DEAL: Save 30% on your first month! USE THIS LINK to get the deal.
HOLIDAY OFFER: Get up to 4 months free on KiwiCo Crate subscriptions! For Eureka Crate, the 12 month subscription will be $240, 6 month will be $120, 3 month will be $57! Use coupon code GIVEJOY .

Eureka Crate is KiwiCo’s latest subscription! Eureka Crate is designed for ages 14-104! If you’re ready to graduate from KiwiCo’s other boxes or just can’t get enough (or are just too old for their other subscriptions), you’ll love this box, which is designed to create a hands-on learning experience using everyday items to delve deeply into the science and math principles they embody, along with the design process of the month’s project!

Articulated Desk Lamp
Engineer a cool cantilevered lamp that uses pulleys and springs to make it perfectly adjustable, and explore mechanical equilibrium and materials science. Comes with an energy-friendly LED bulb and three lampshade color options.
Eureka Crate Maker’s Guide
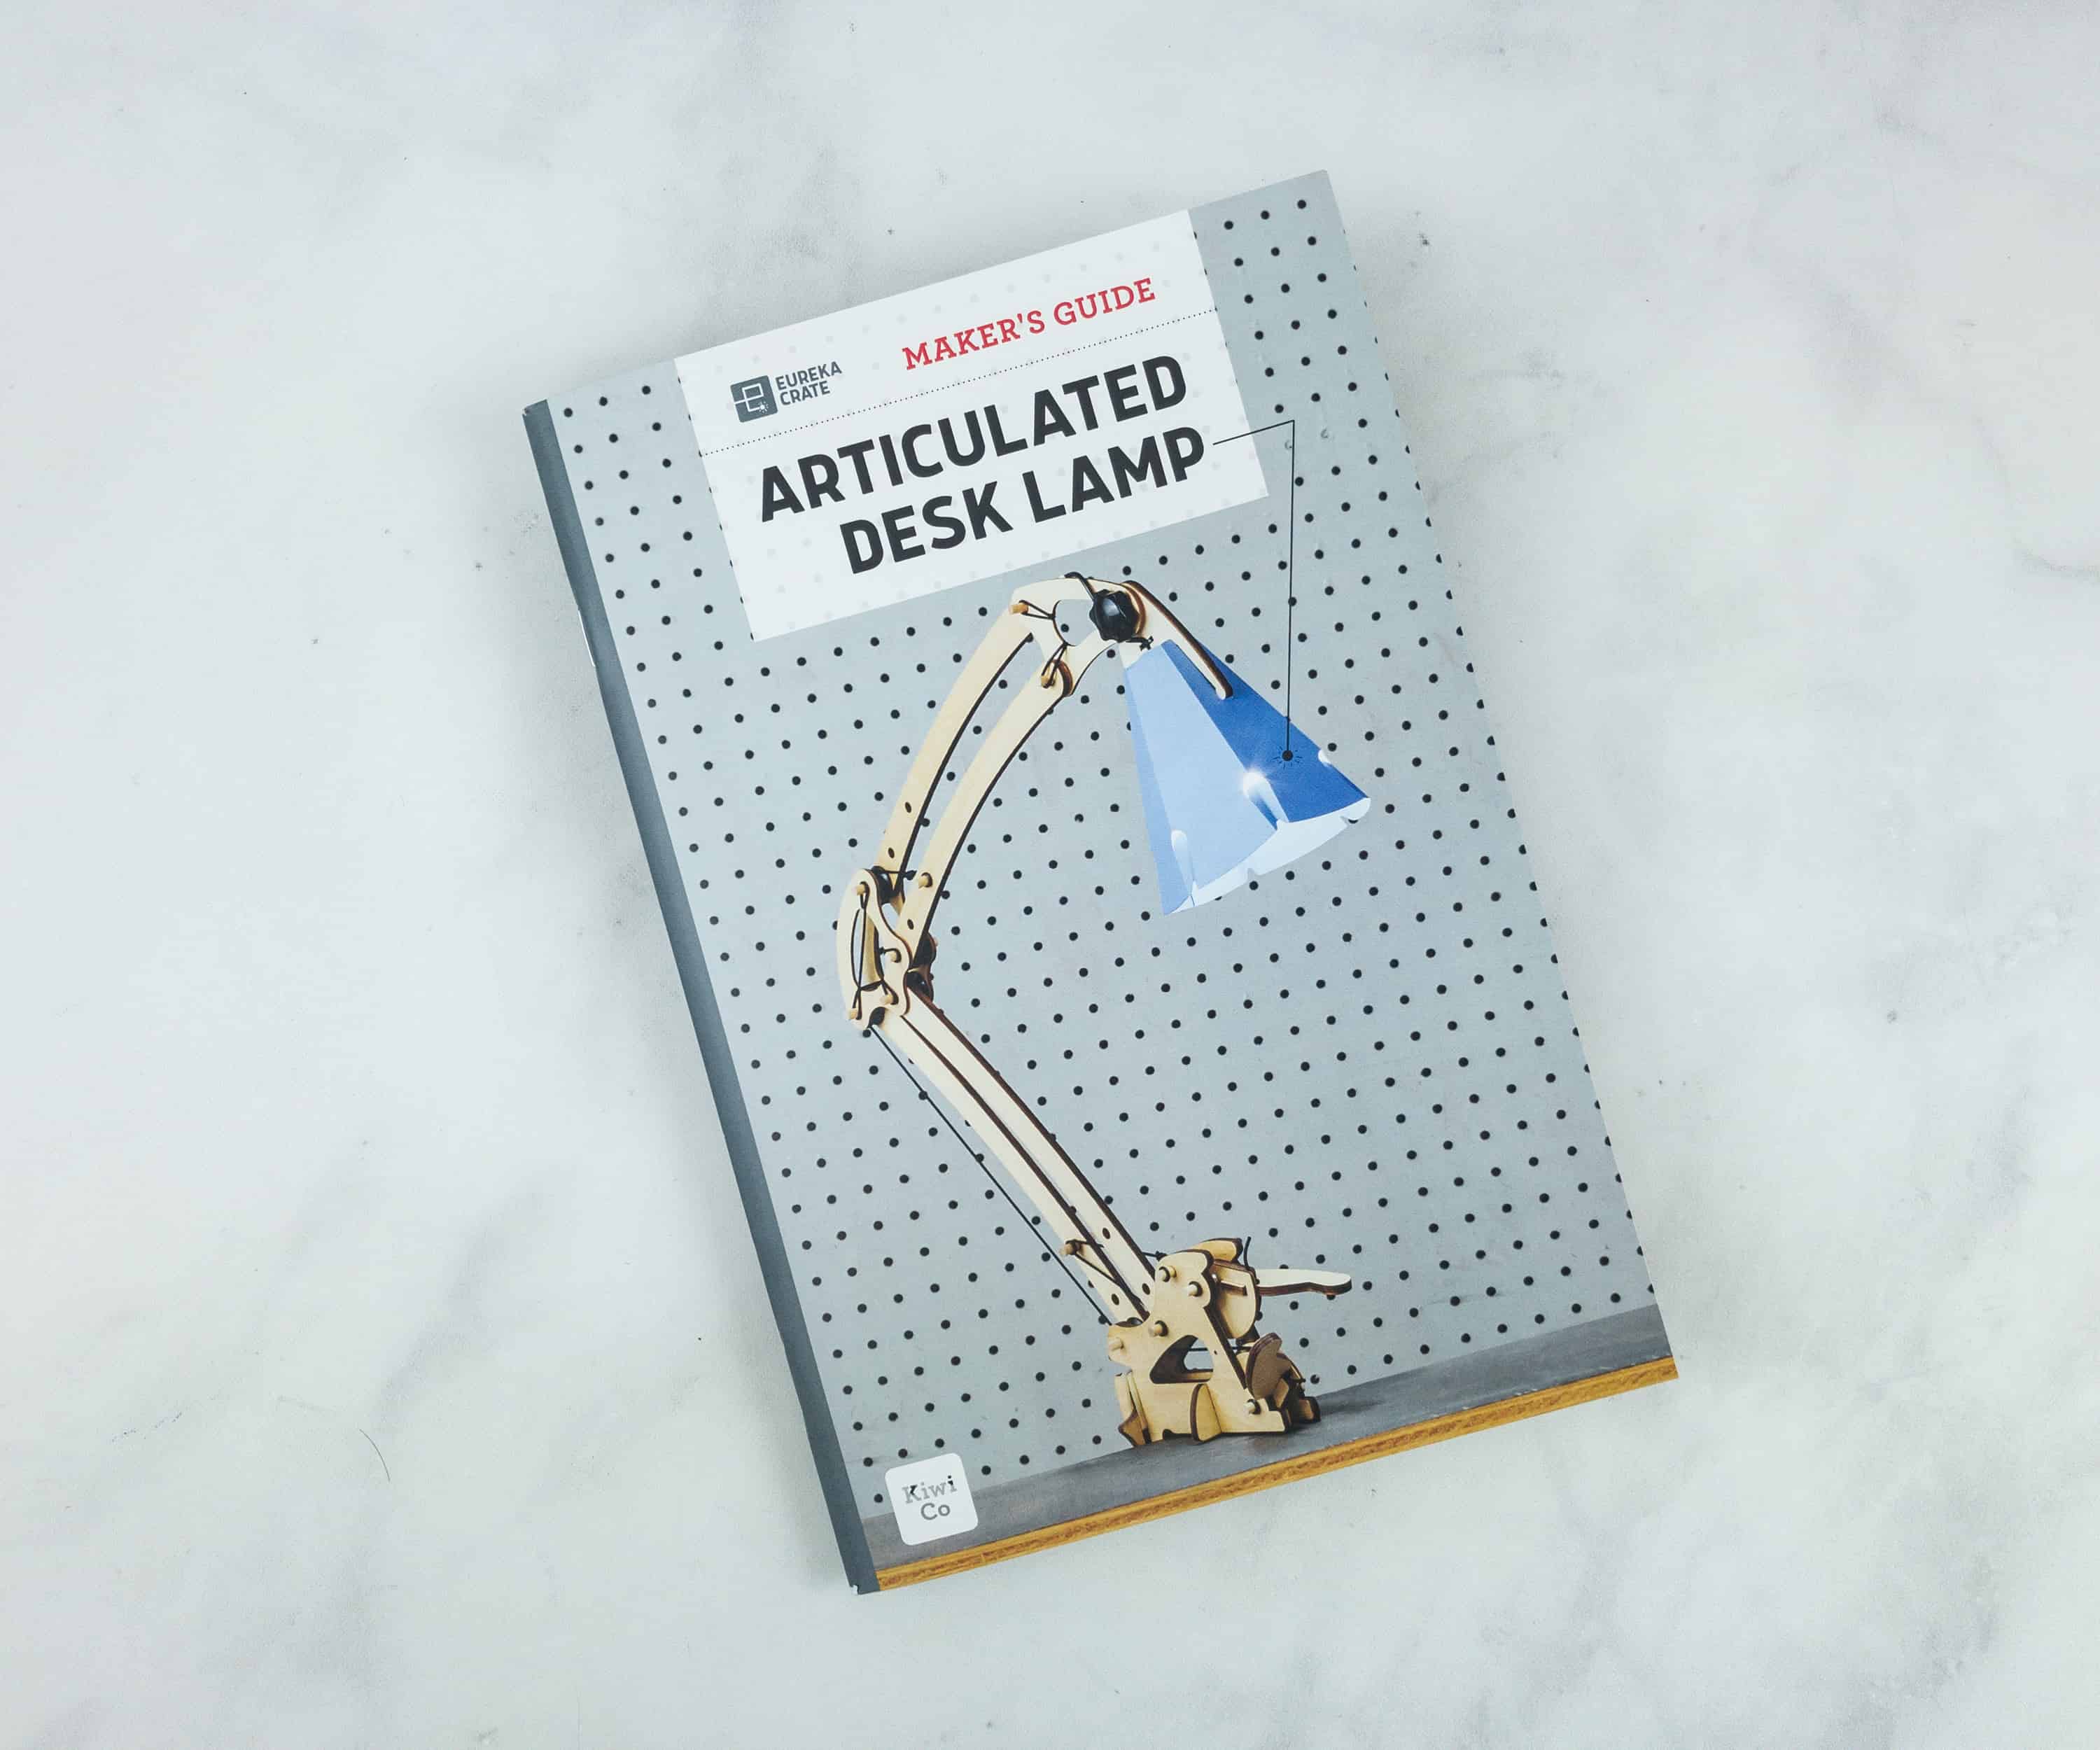
Like the other crates from KiwiCo, Eureka Crate includes a booklet!
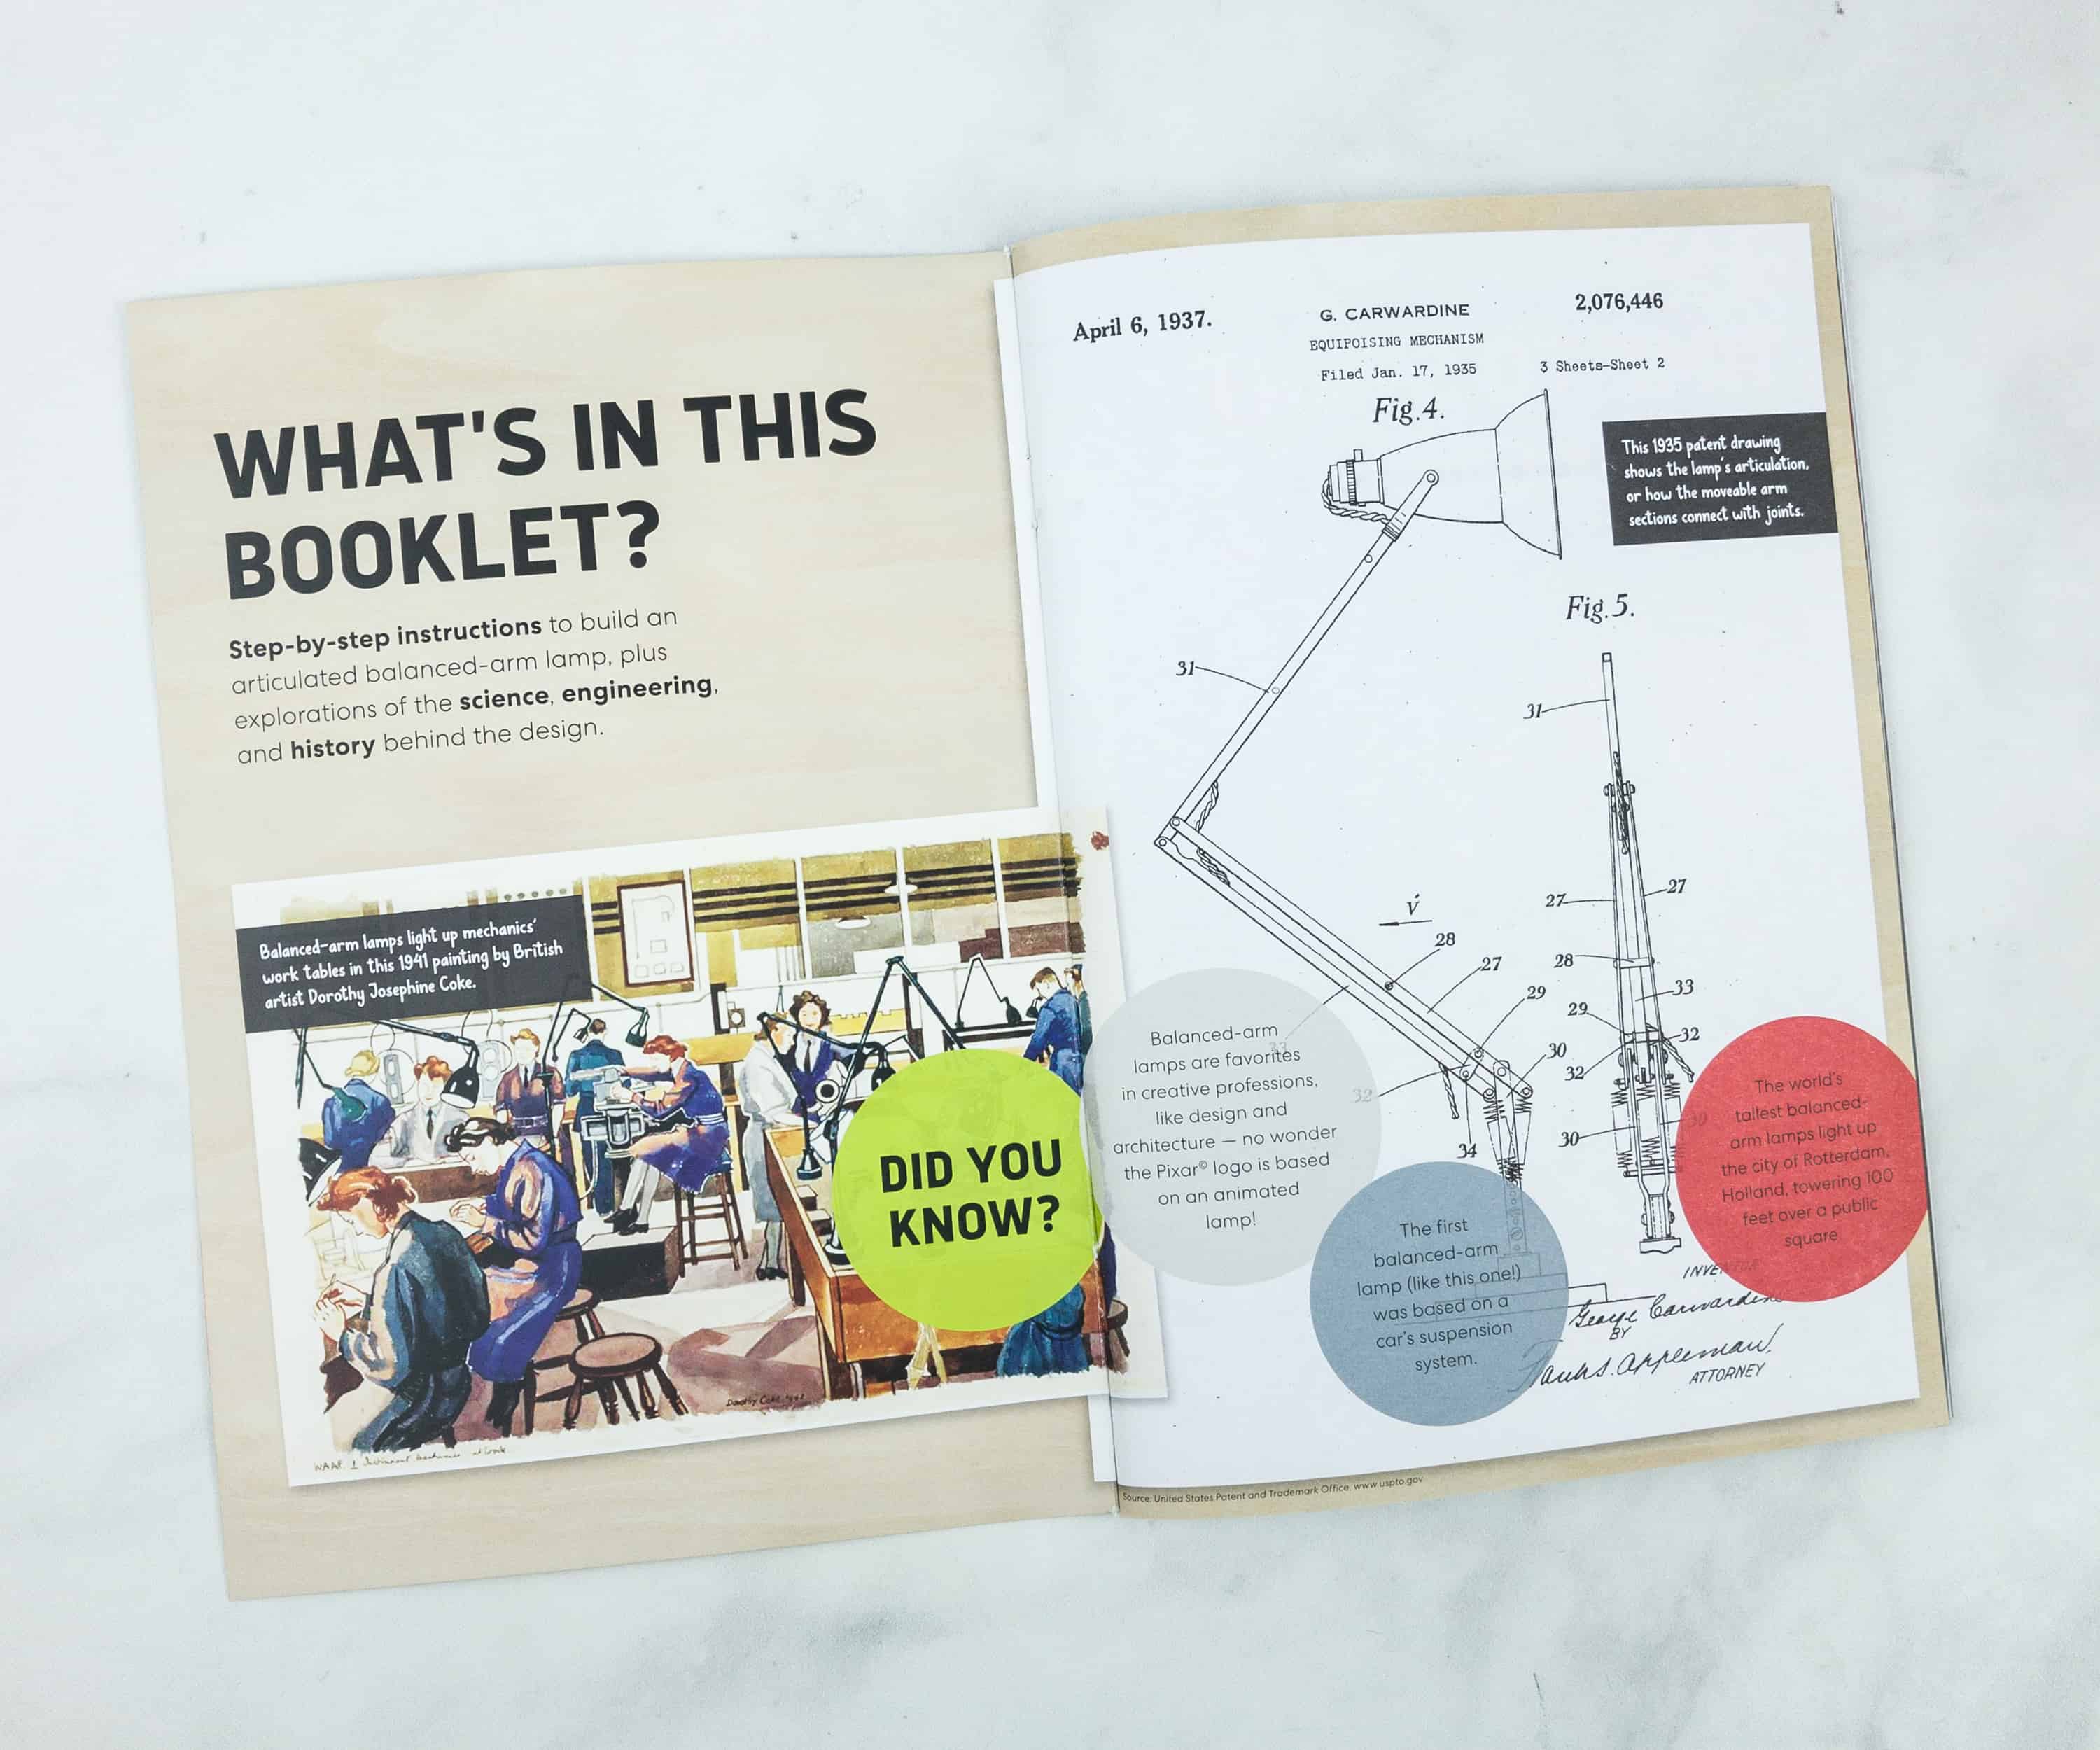
The booklet contains step-by-step instructions, plus explanations of the science, engineering, and history behind the design.
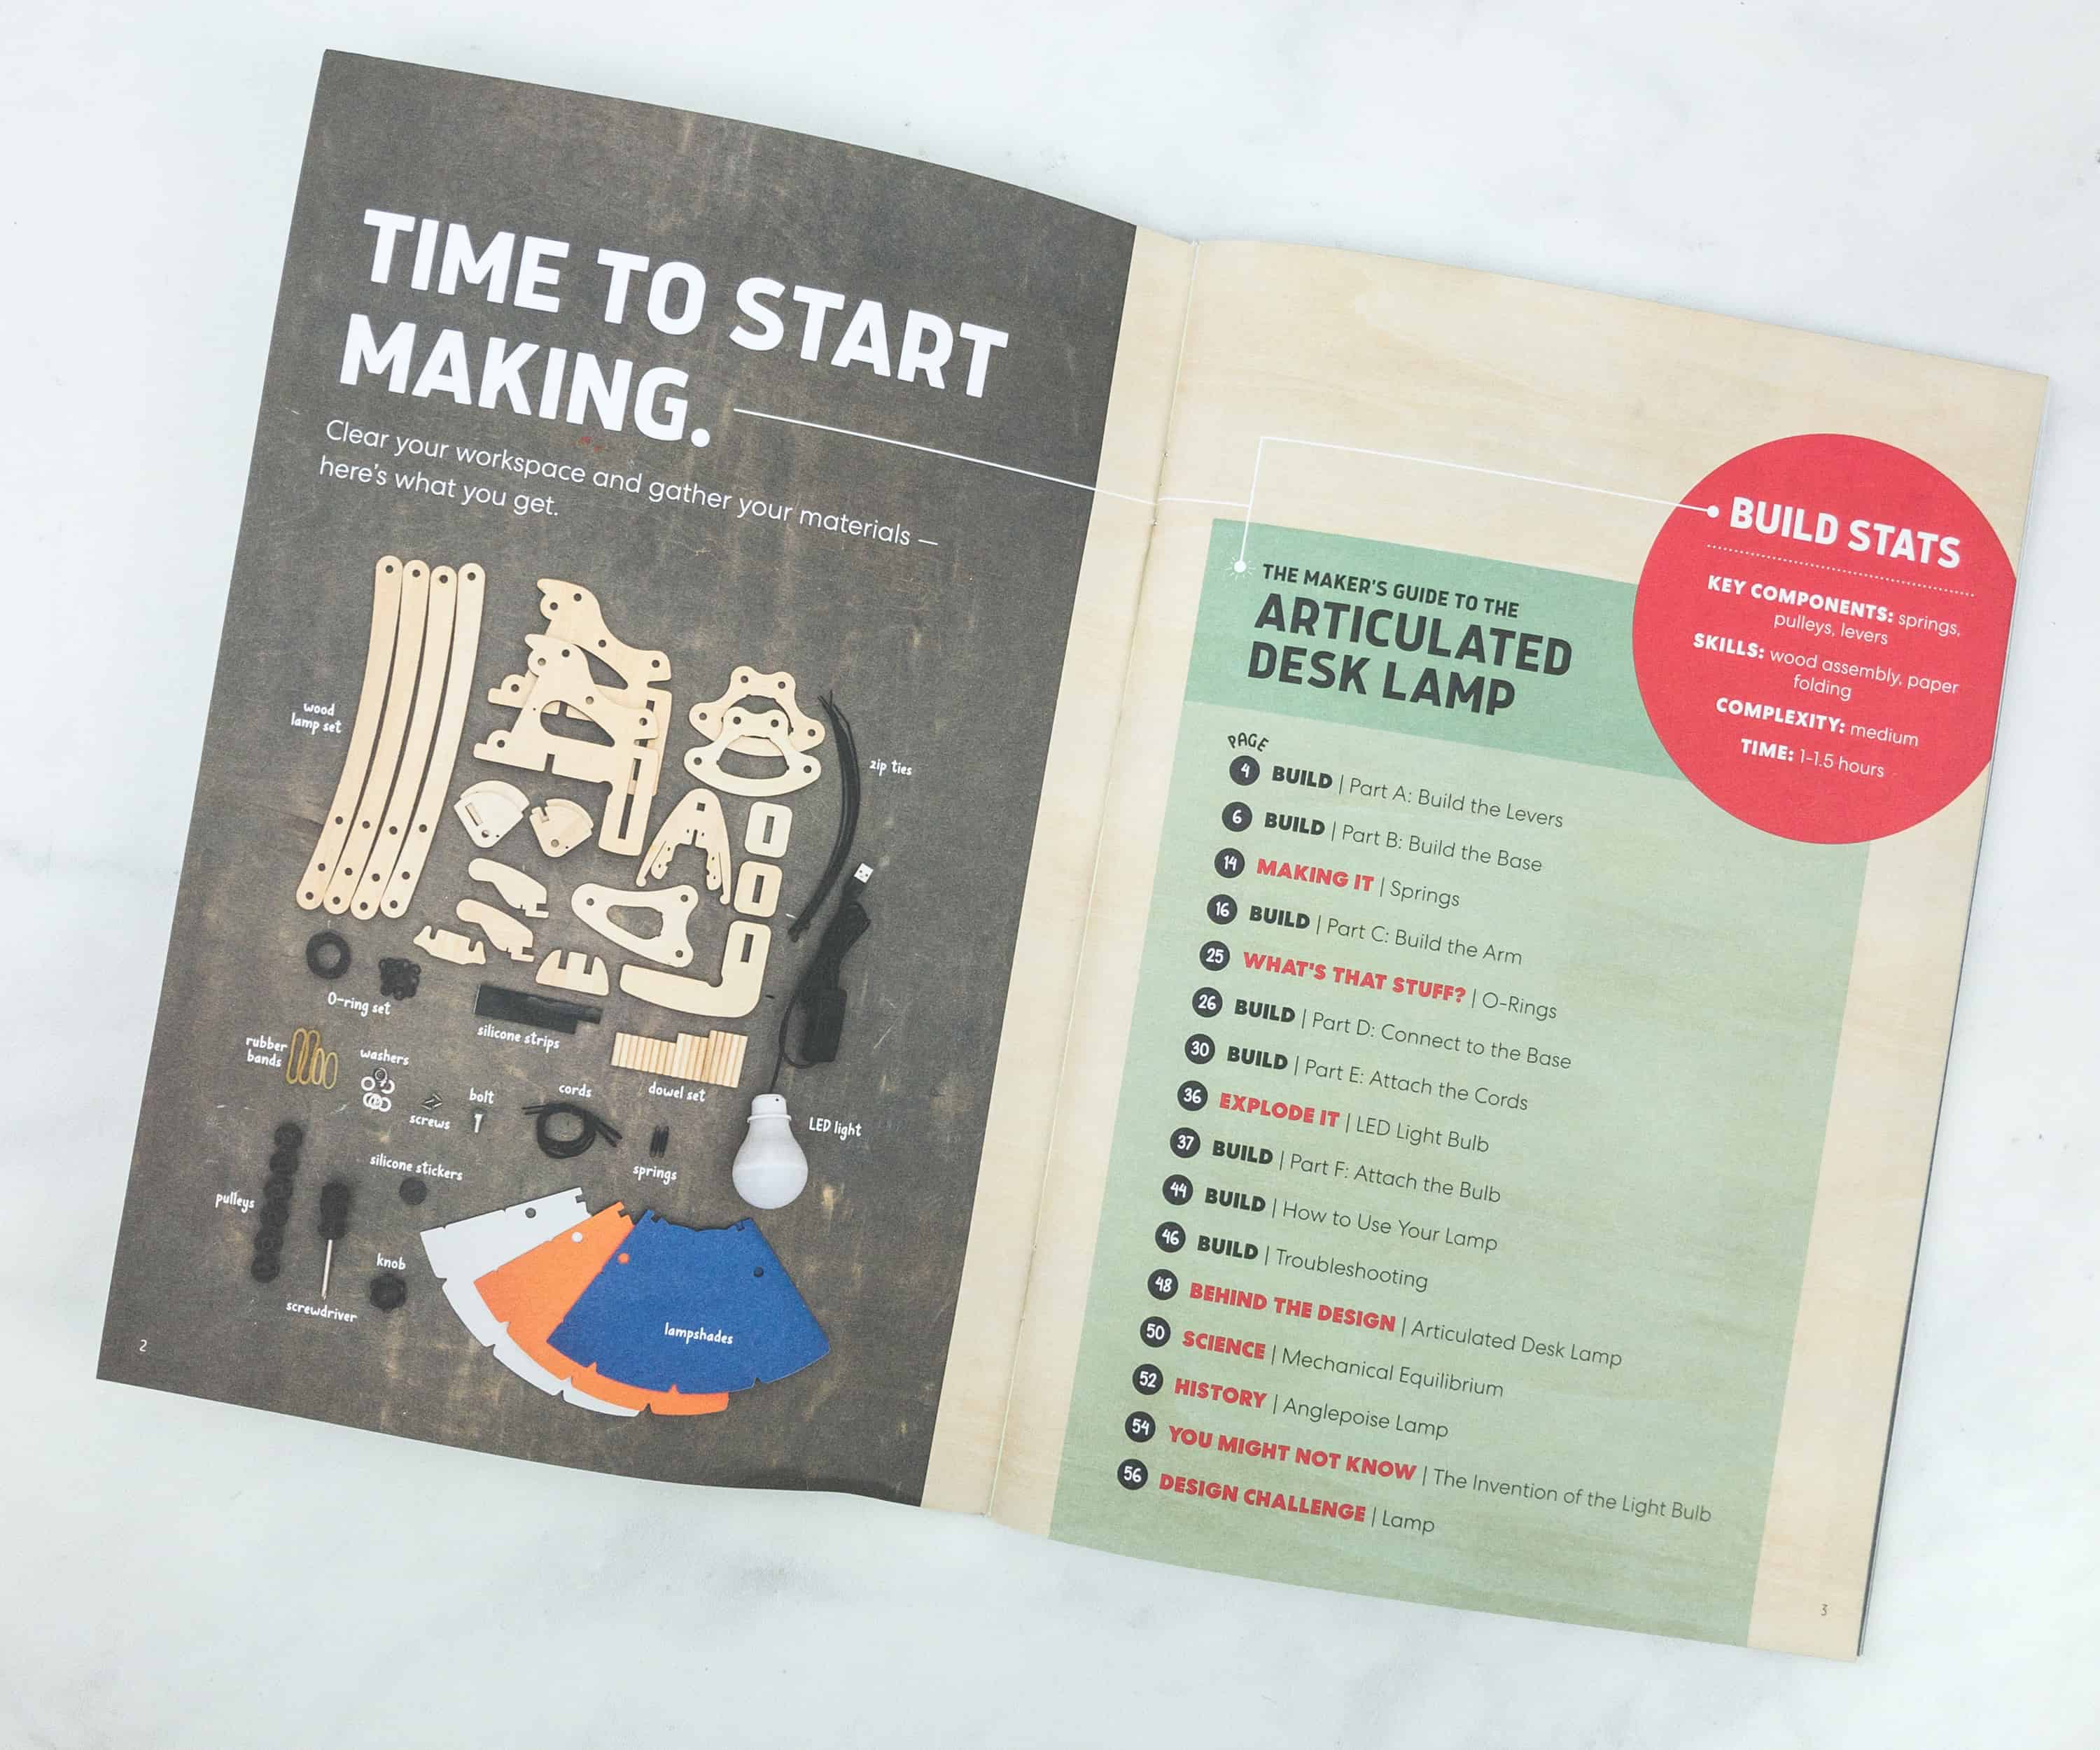
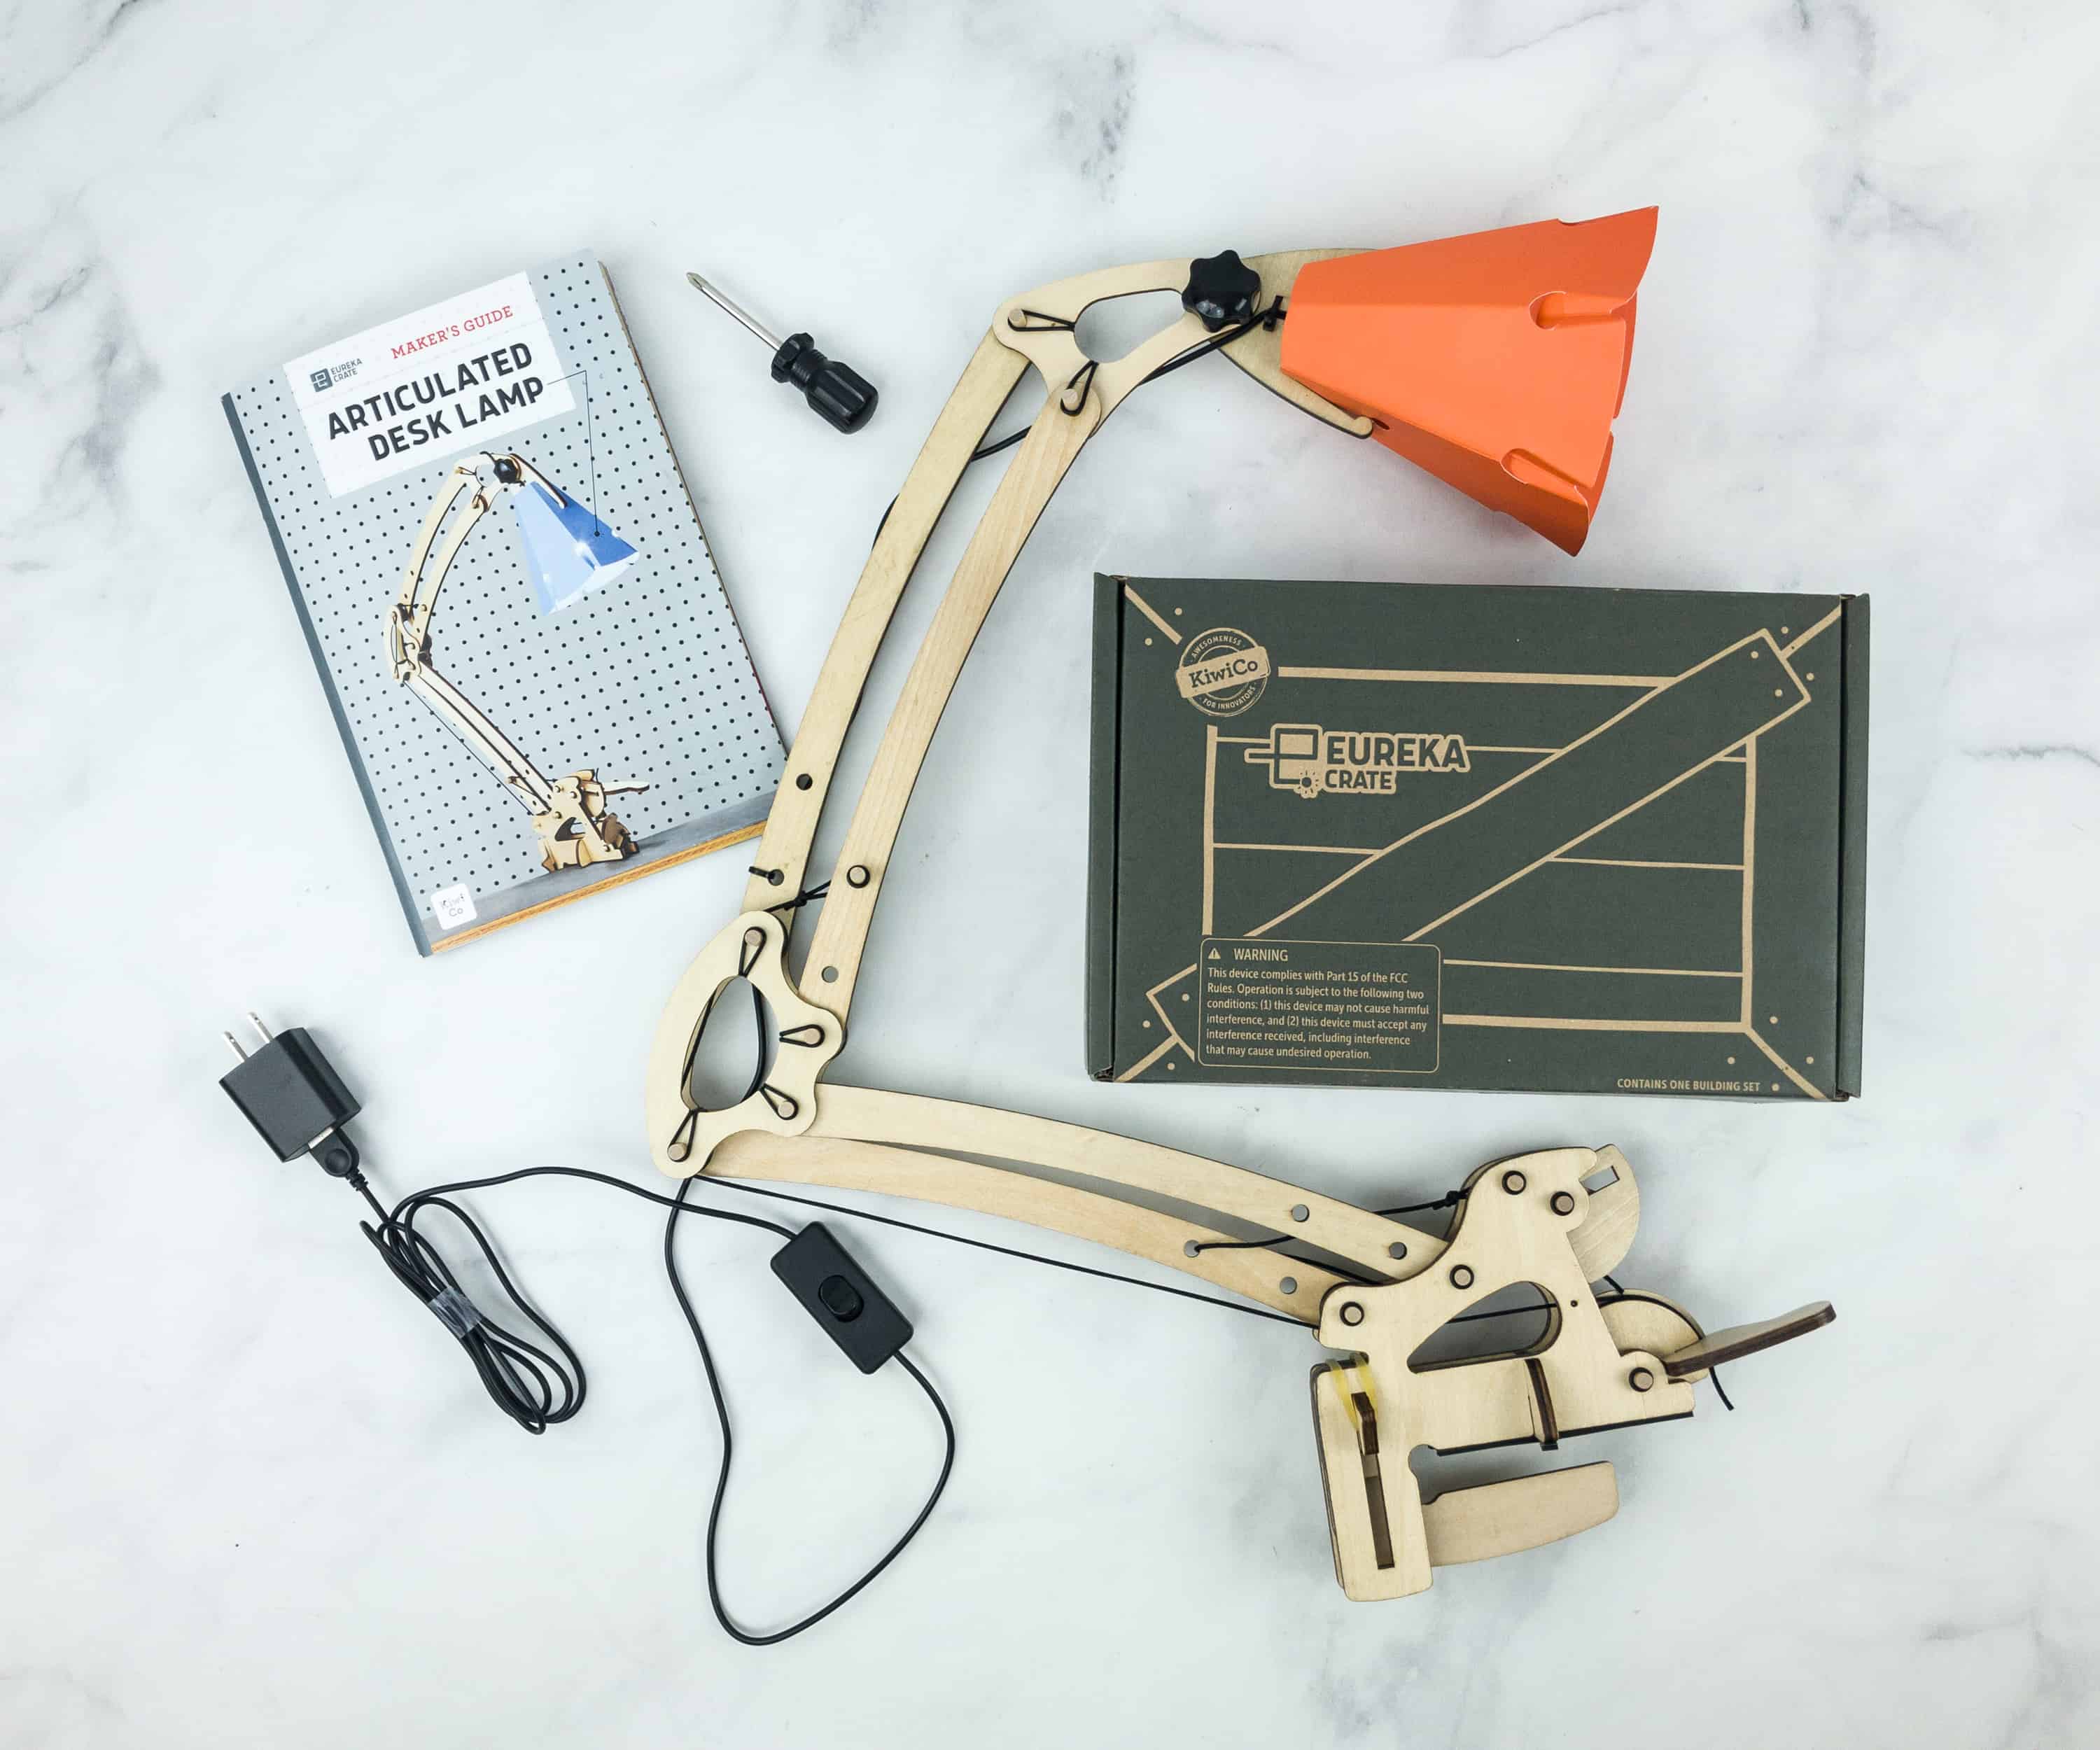
There’s a picture of all the parts included in the box. It’s helpful for checking if you got the correct items. On the other page is a table of contents.
Eureka Crate Materials

Here are all the materials!
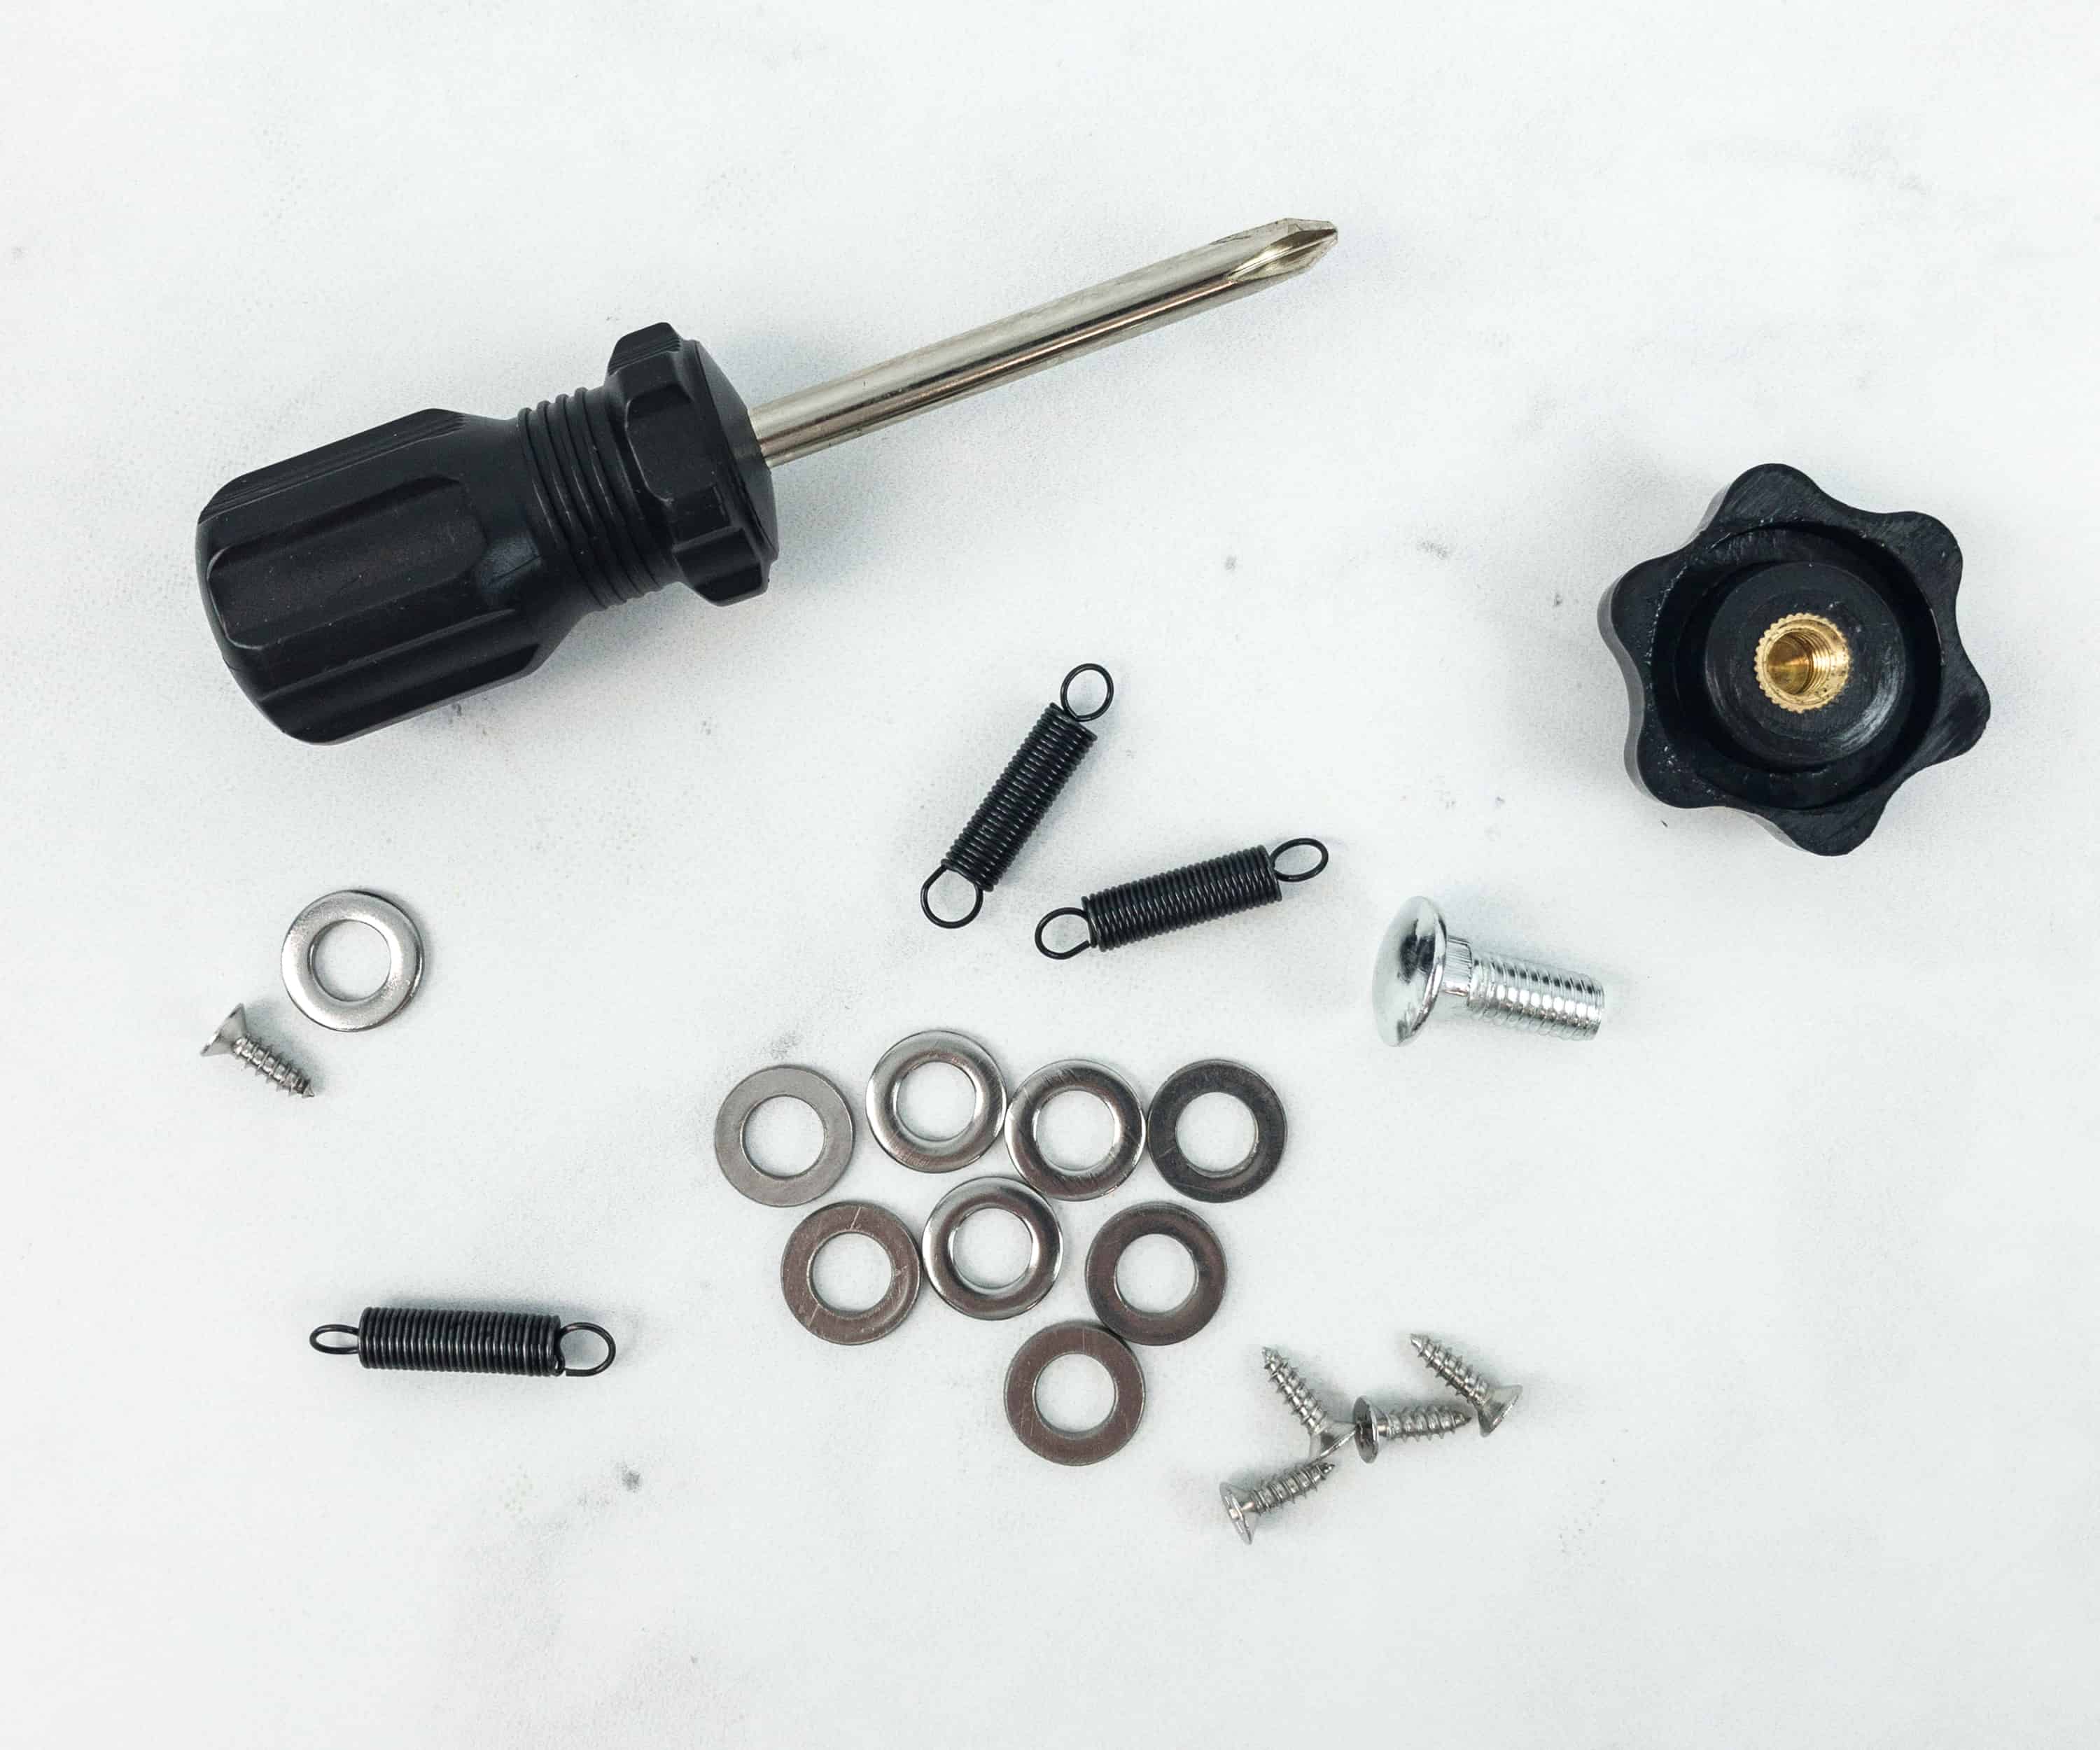
There’s a screwdriver, springs, blots, screws, washers, and a knob.
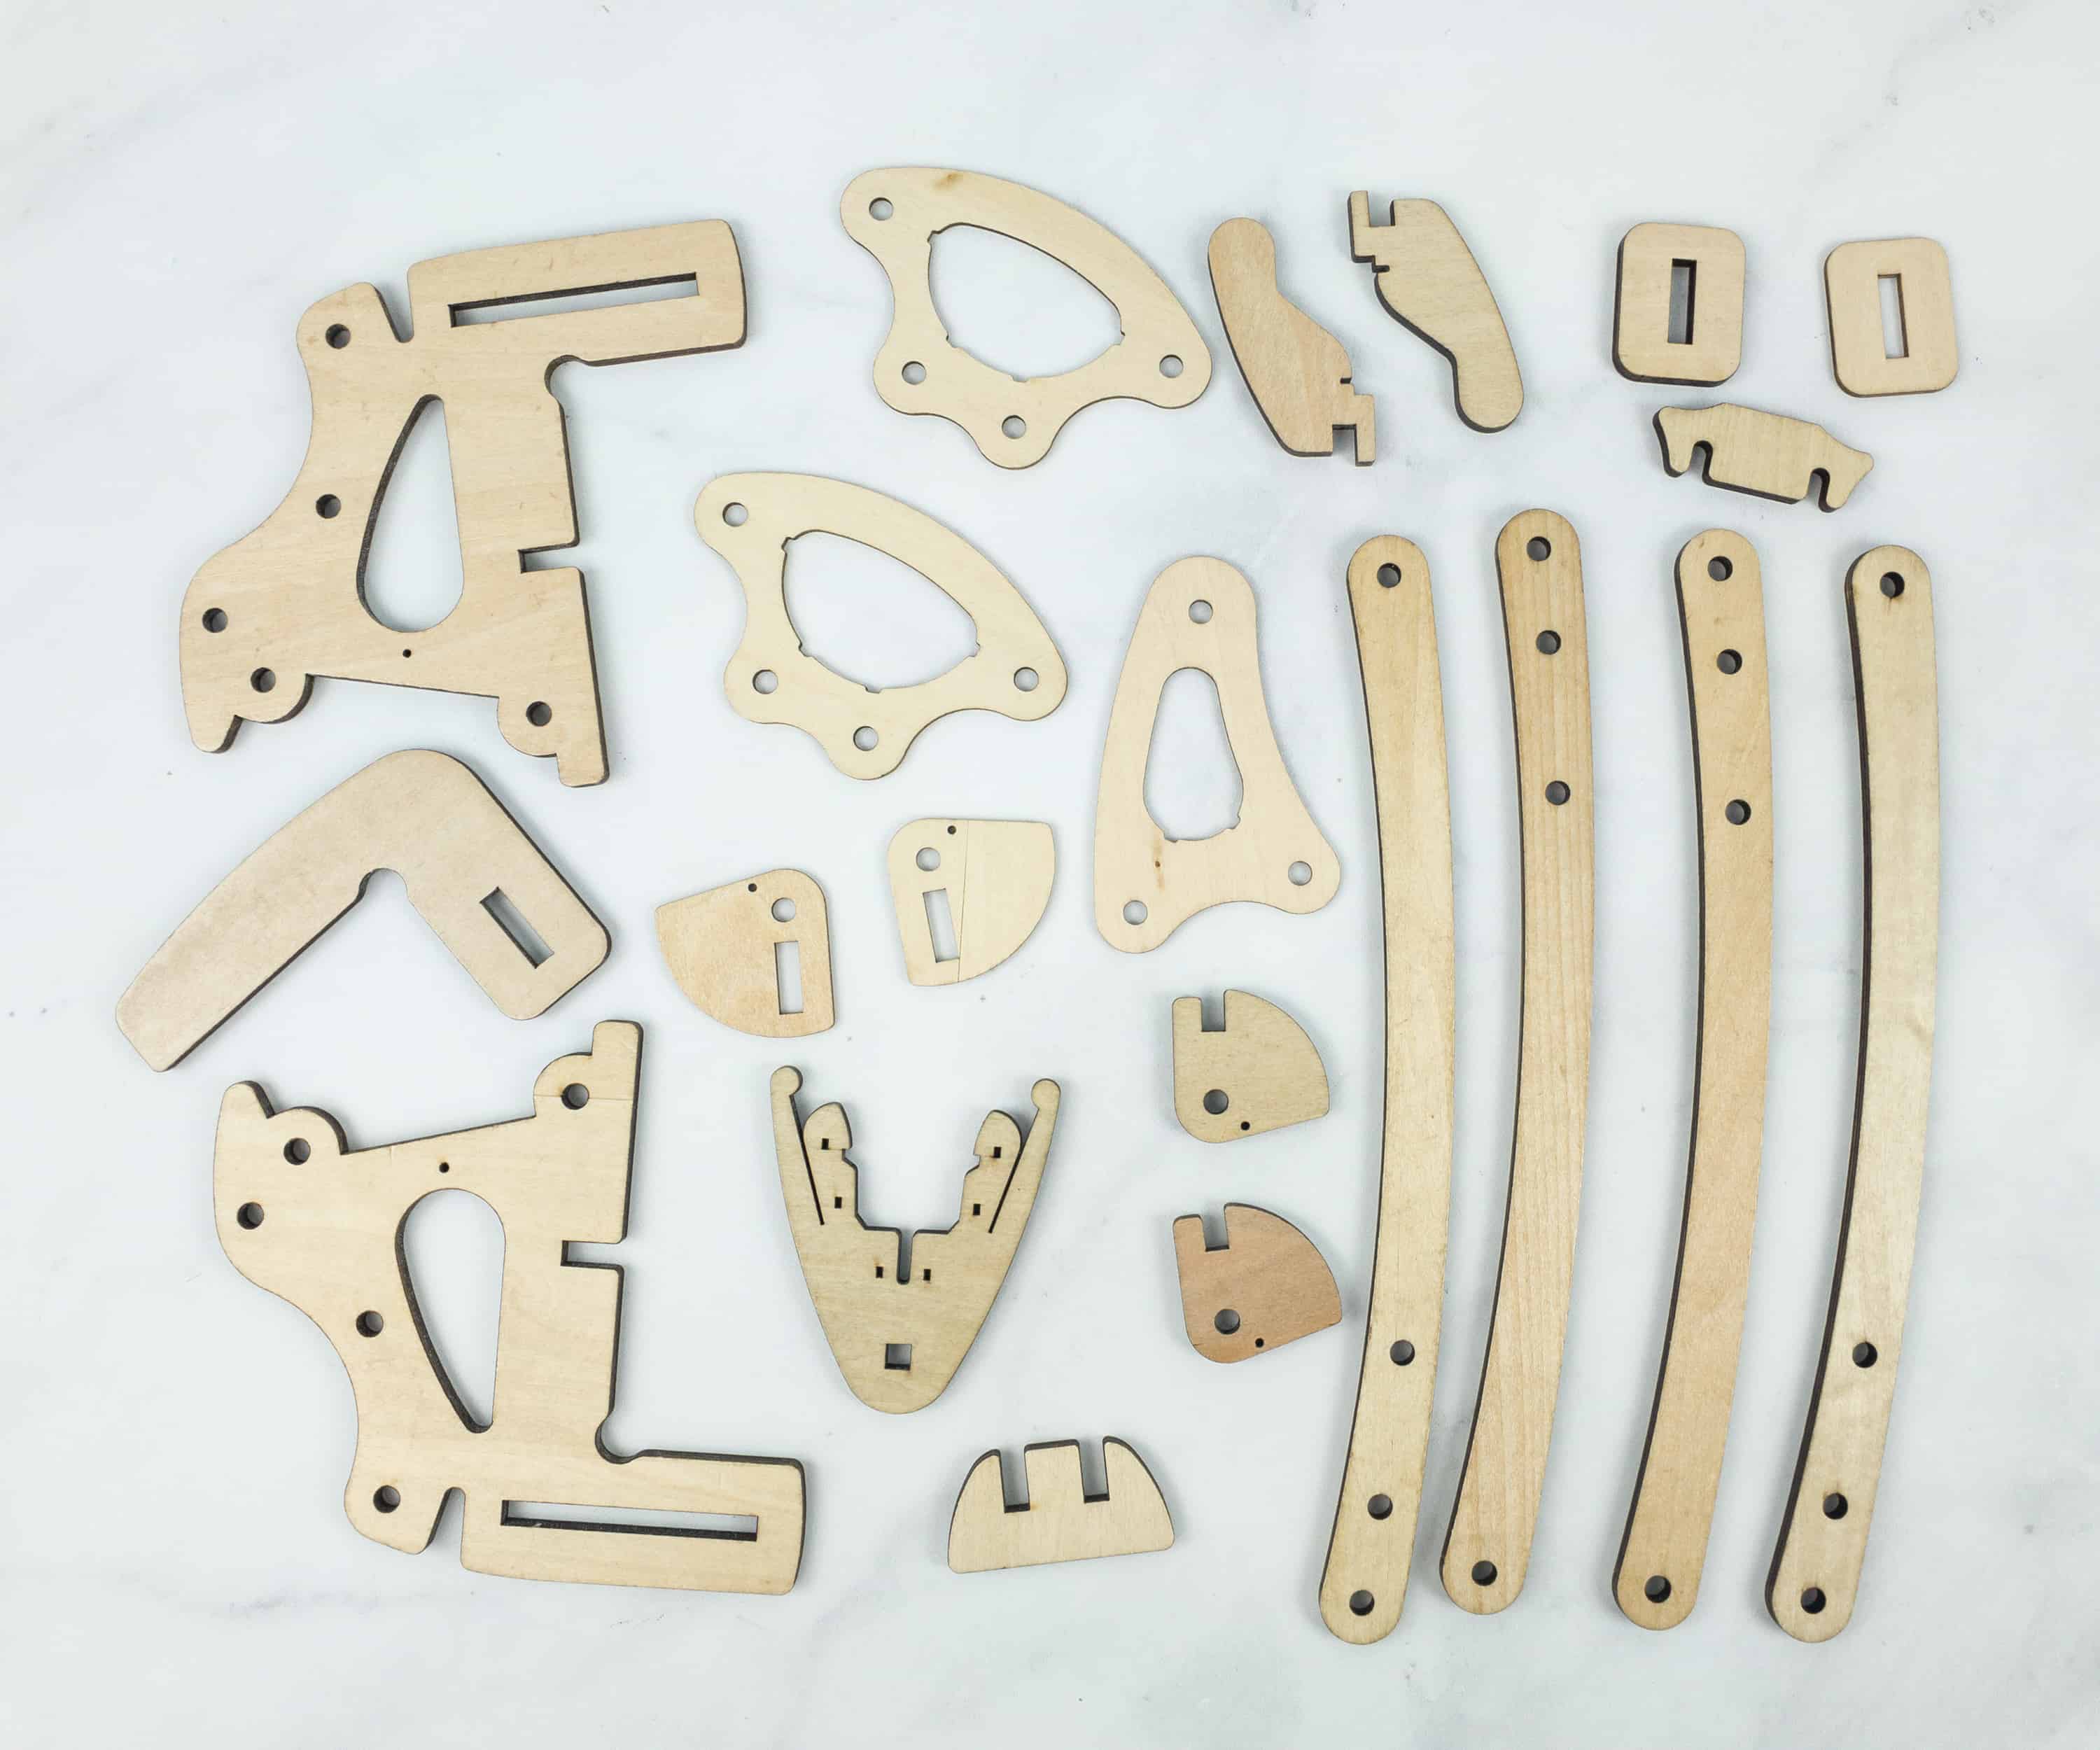
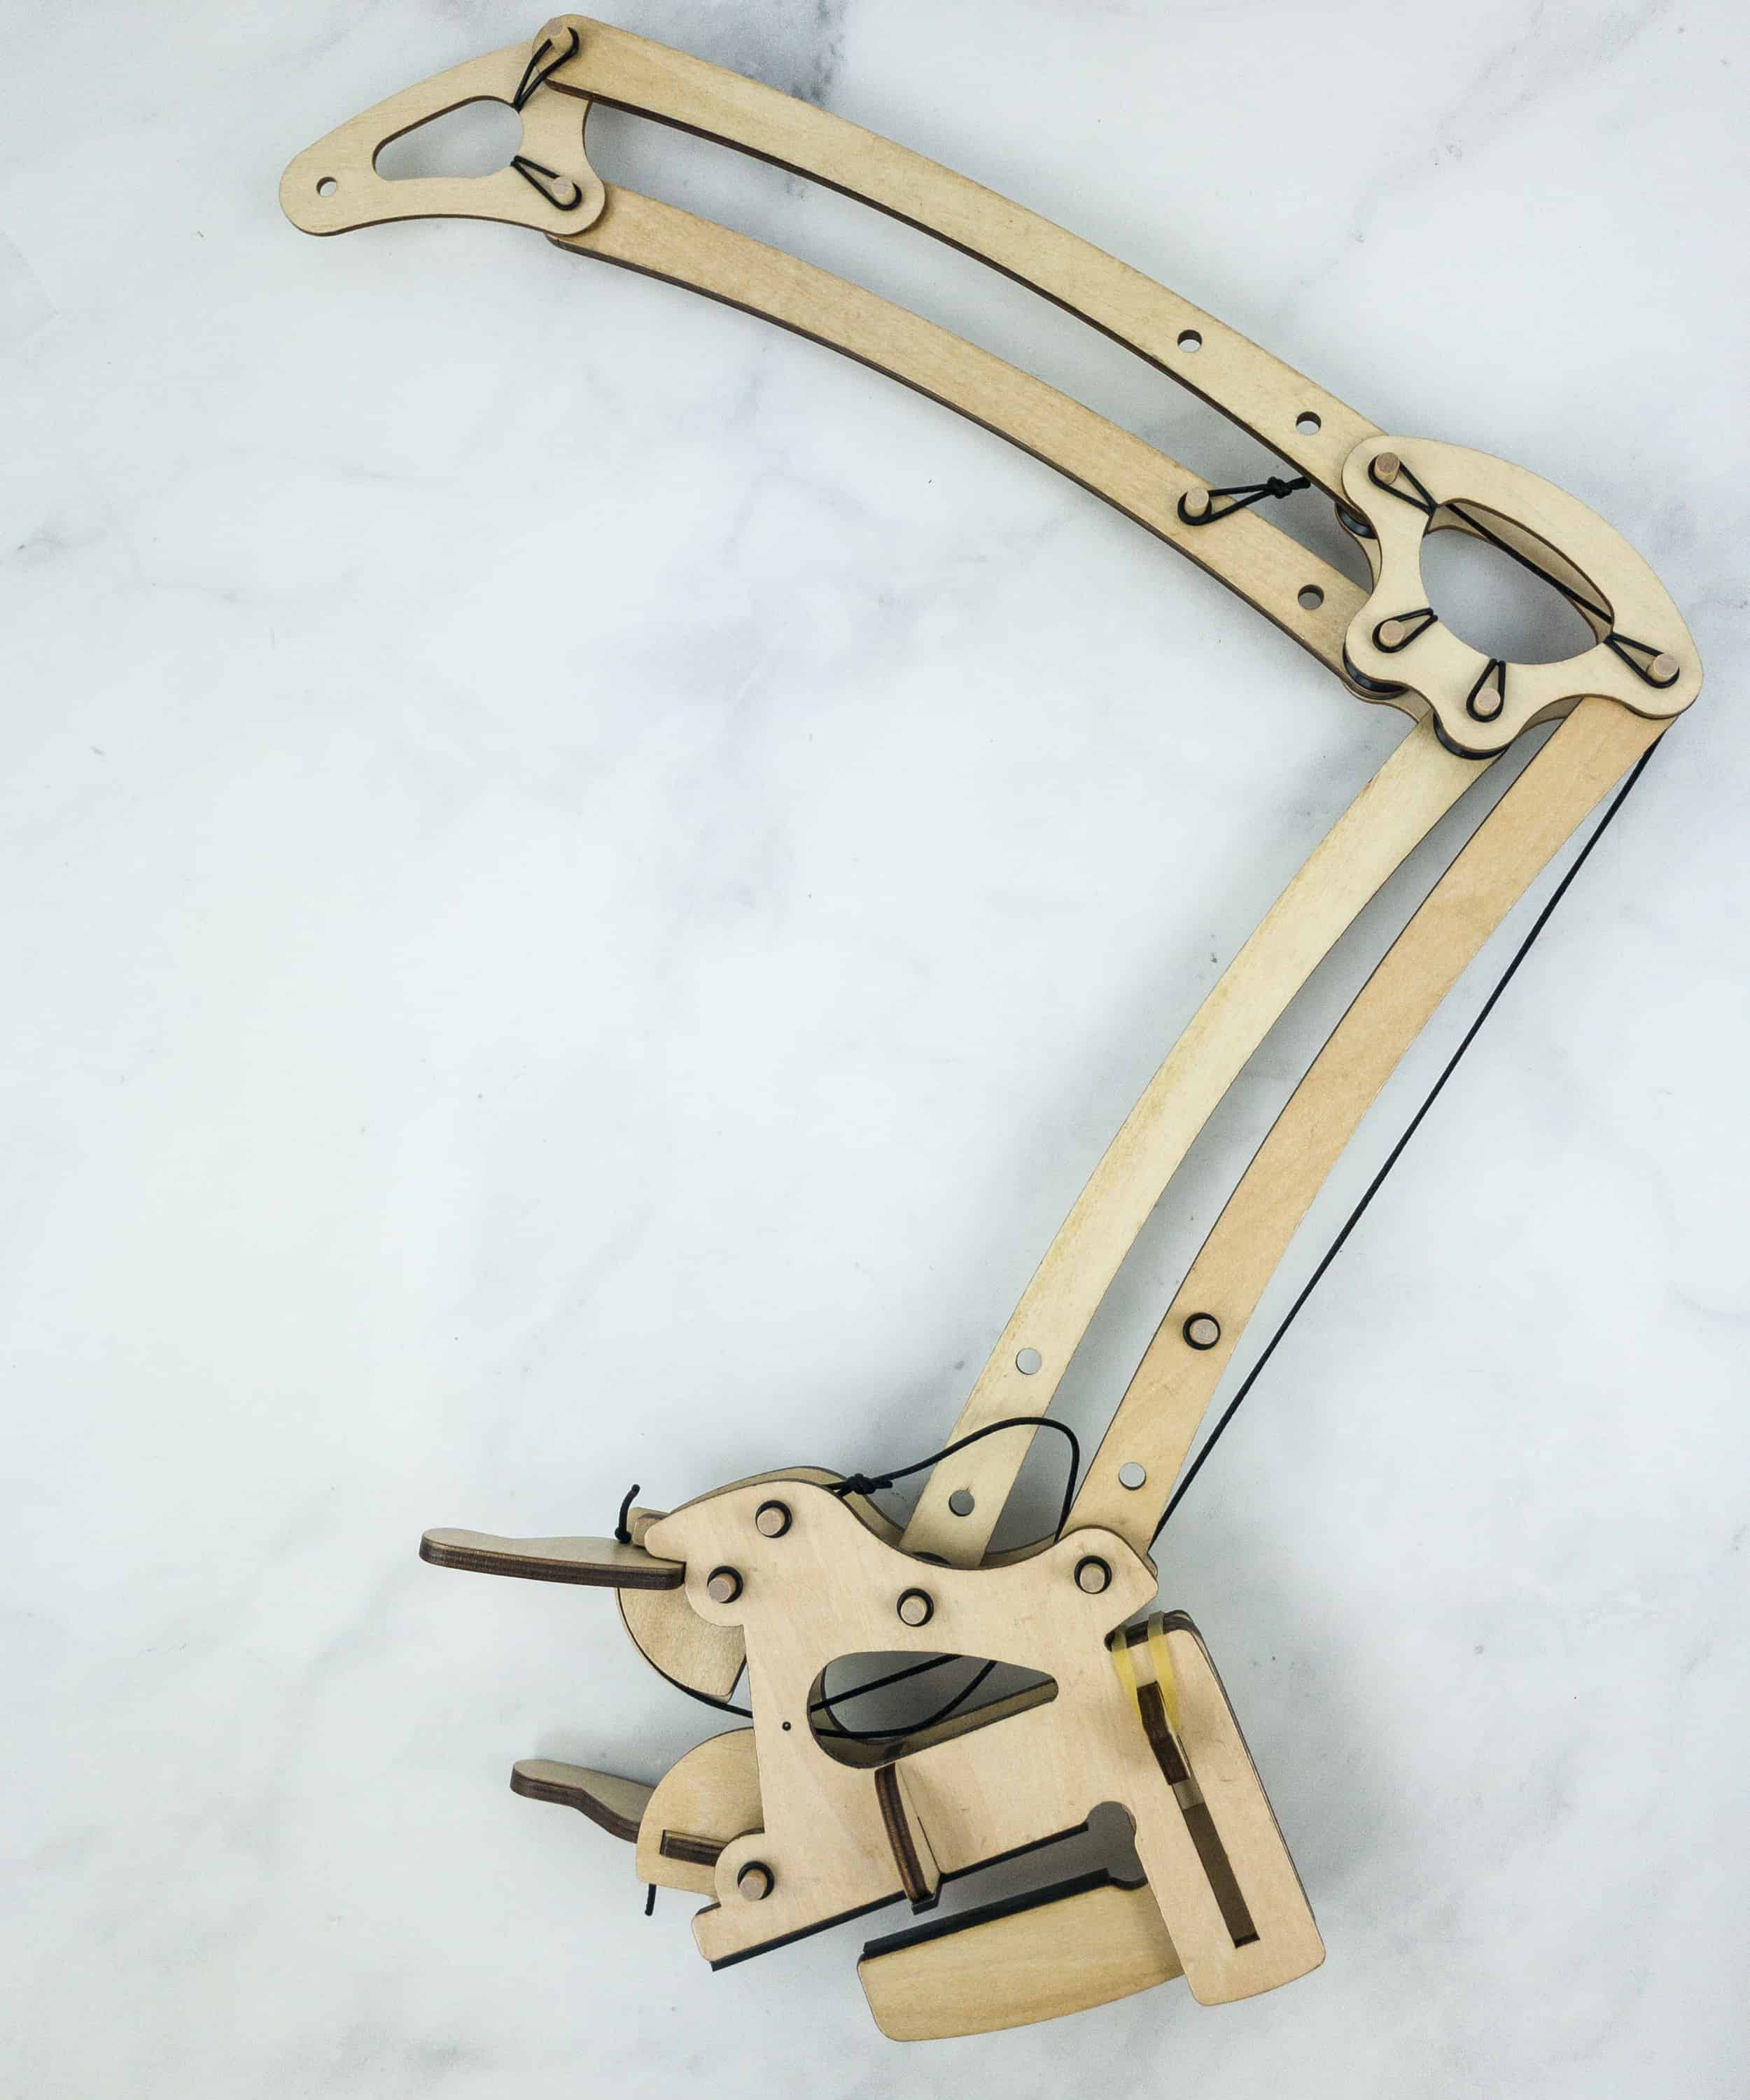
These wood pieces will serve as the skeleton of the lamp.

More items include zip ties, silicone strips, o-ring set, rubber bands, cords, silicone stickers, and pulleys.

This is the dowel set.
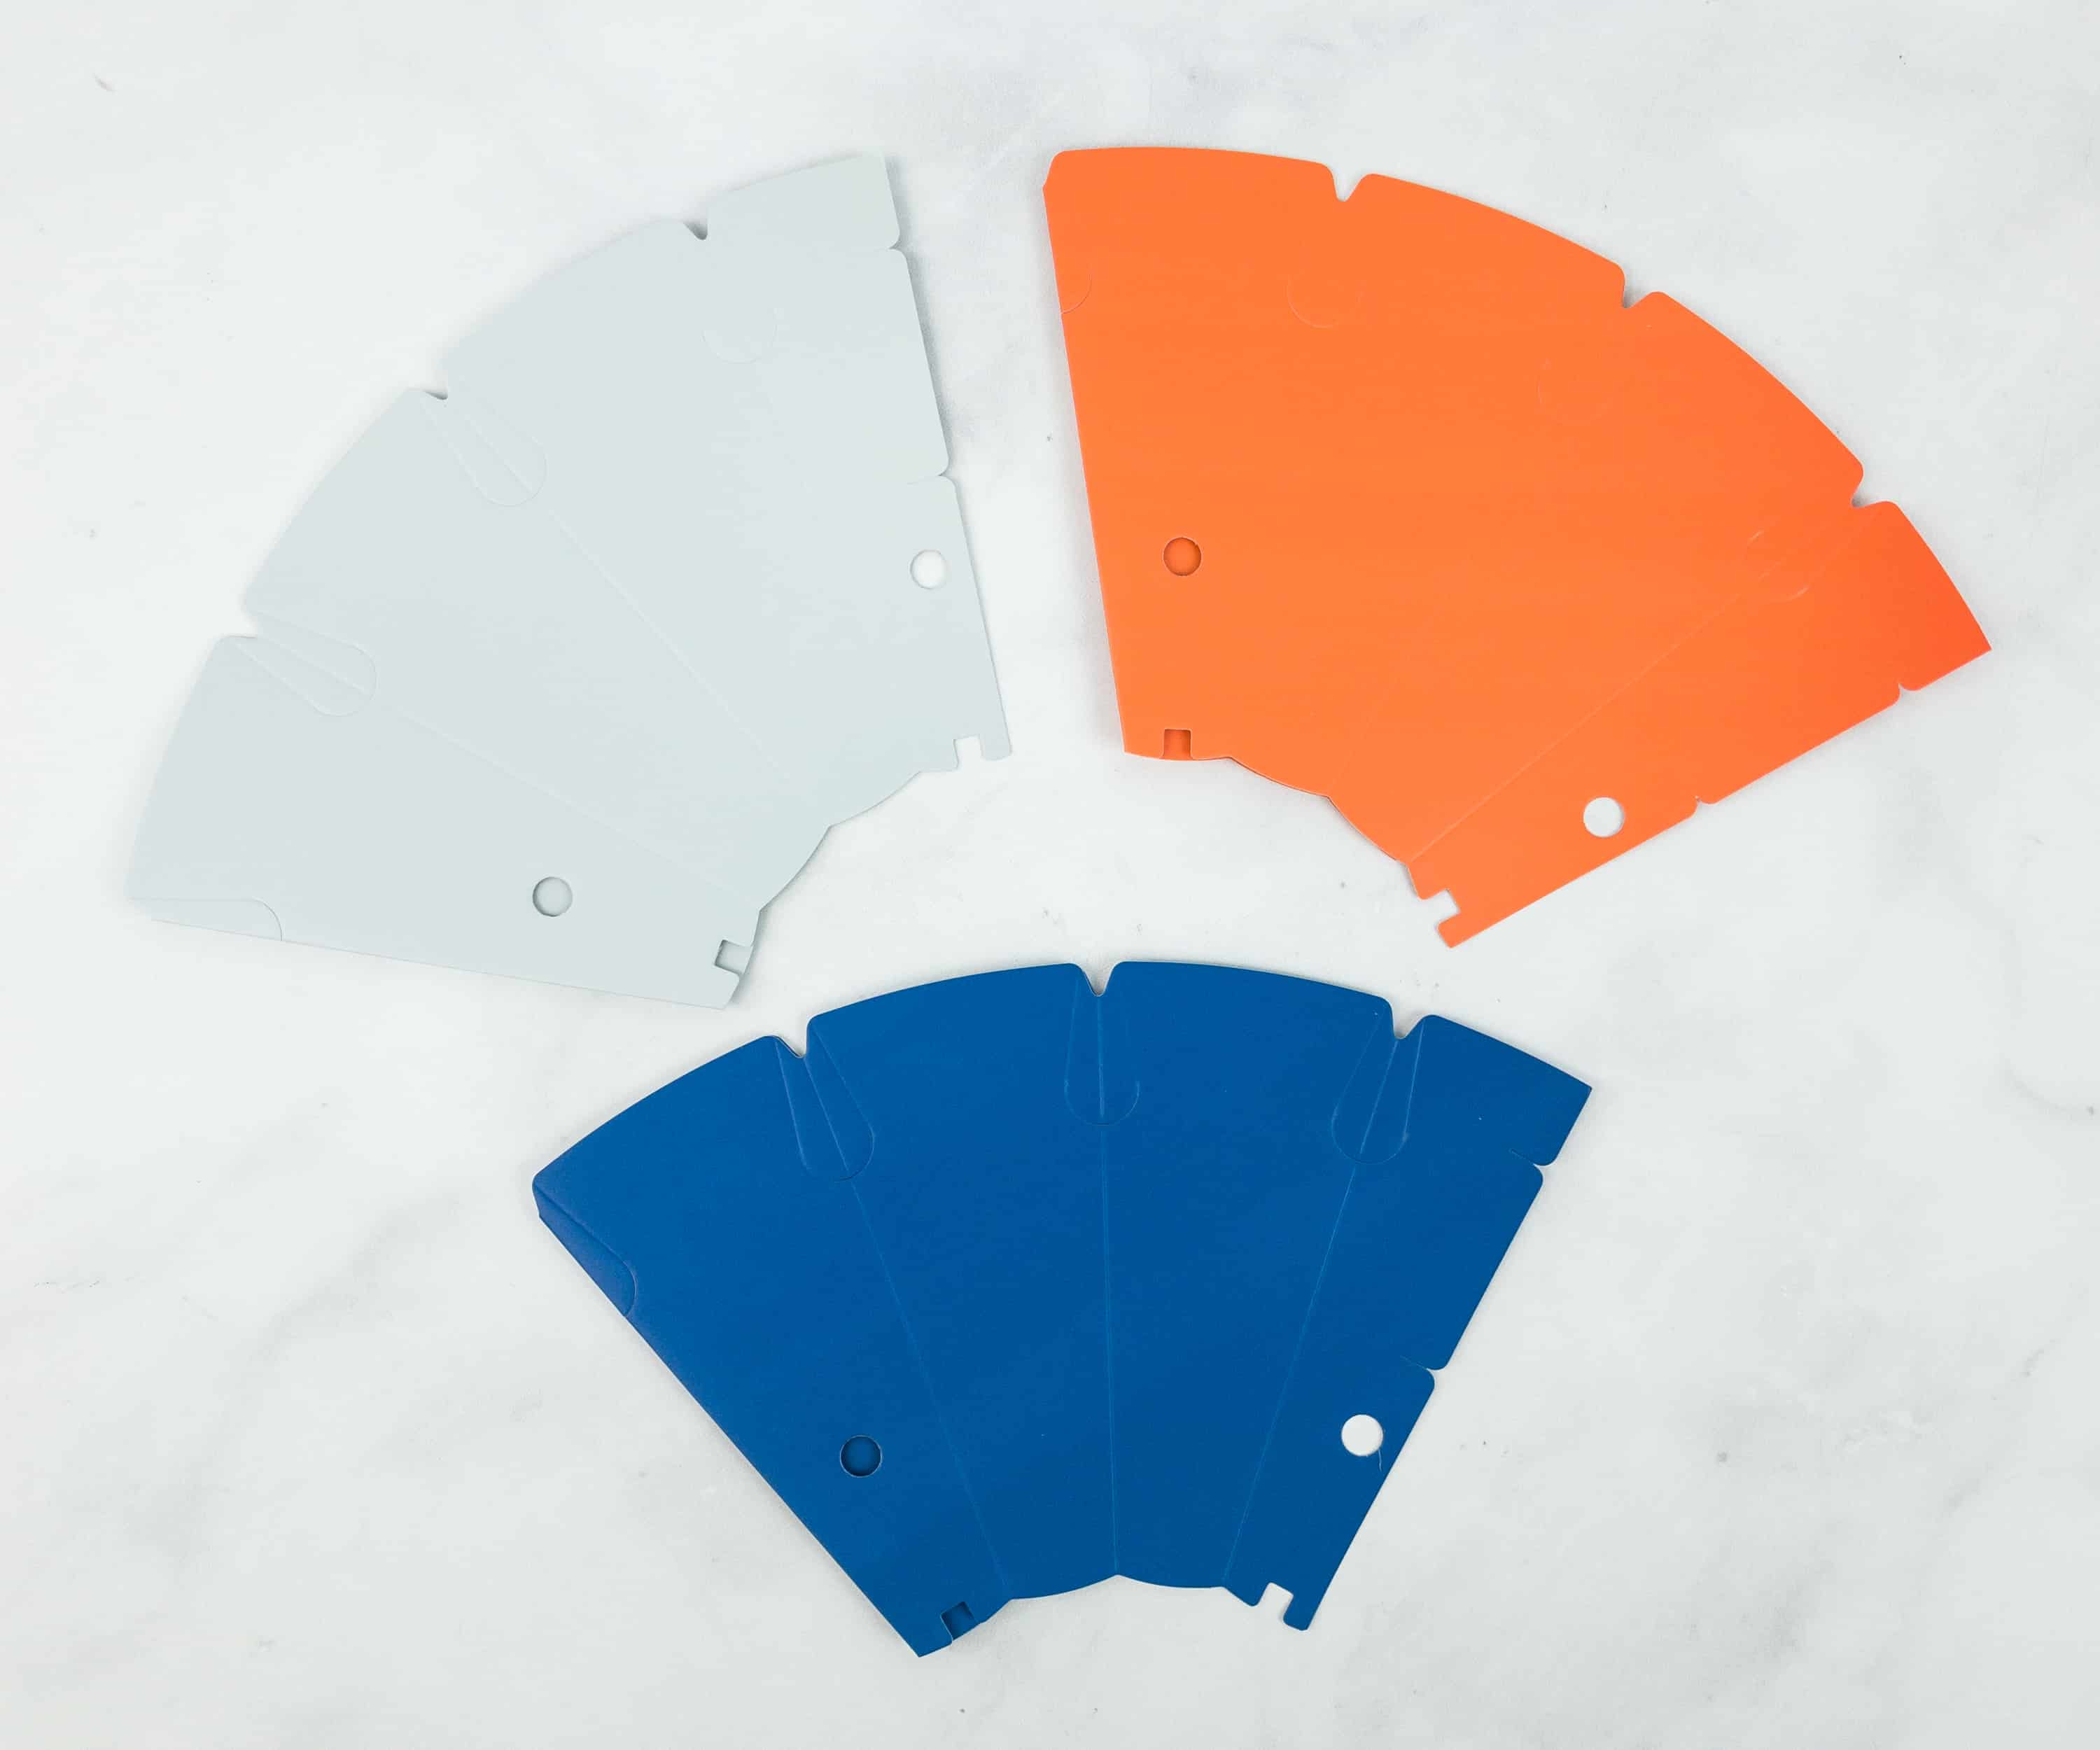
The pieces for the lampshade itself are in different colors – you can personalize your design by selecting your color (plus you get extras for another tinkering project!).
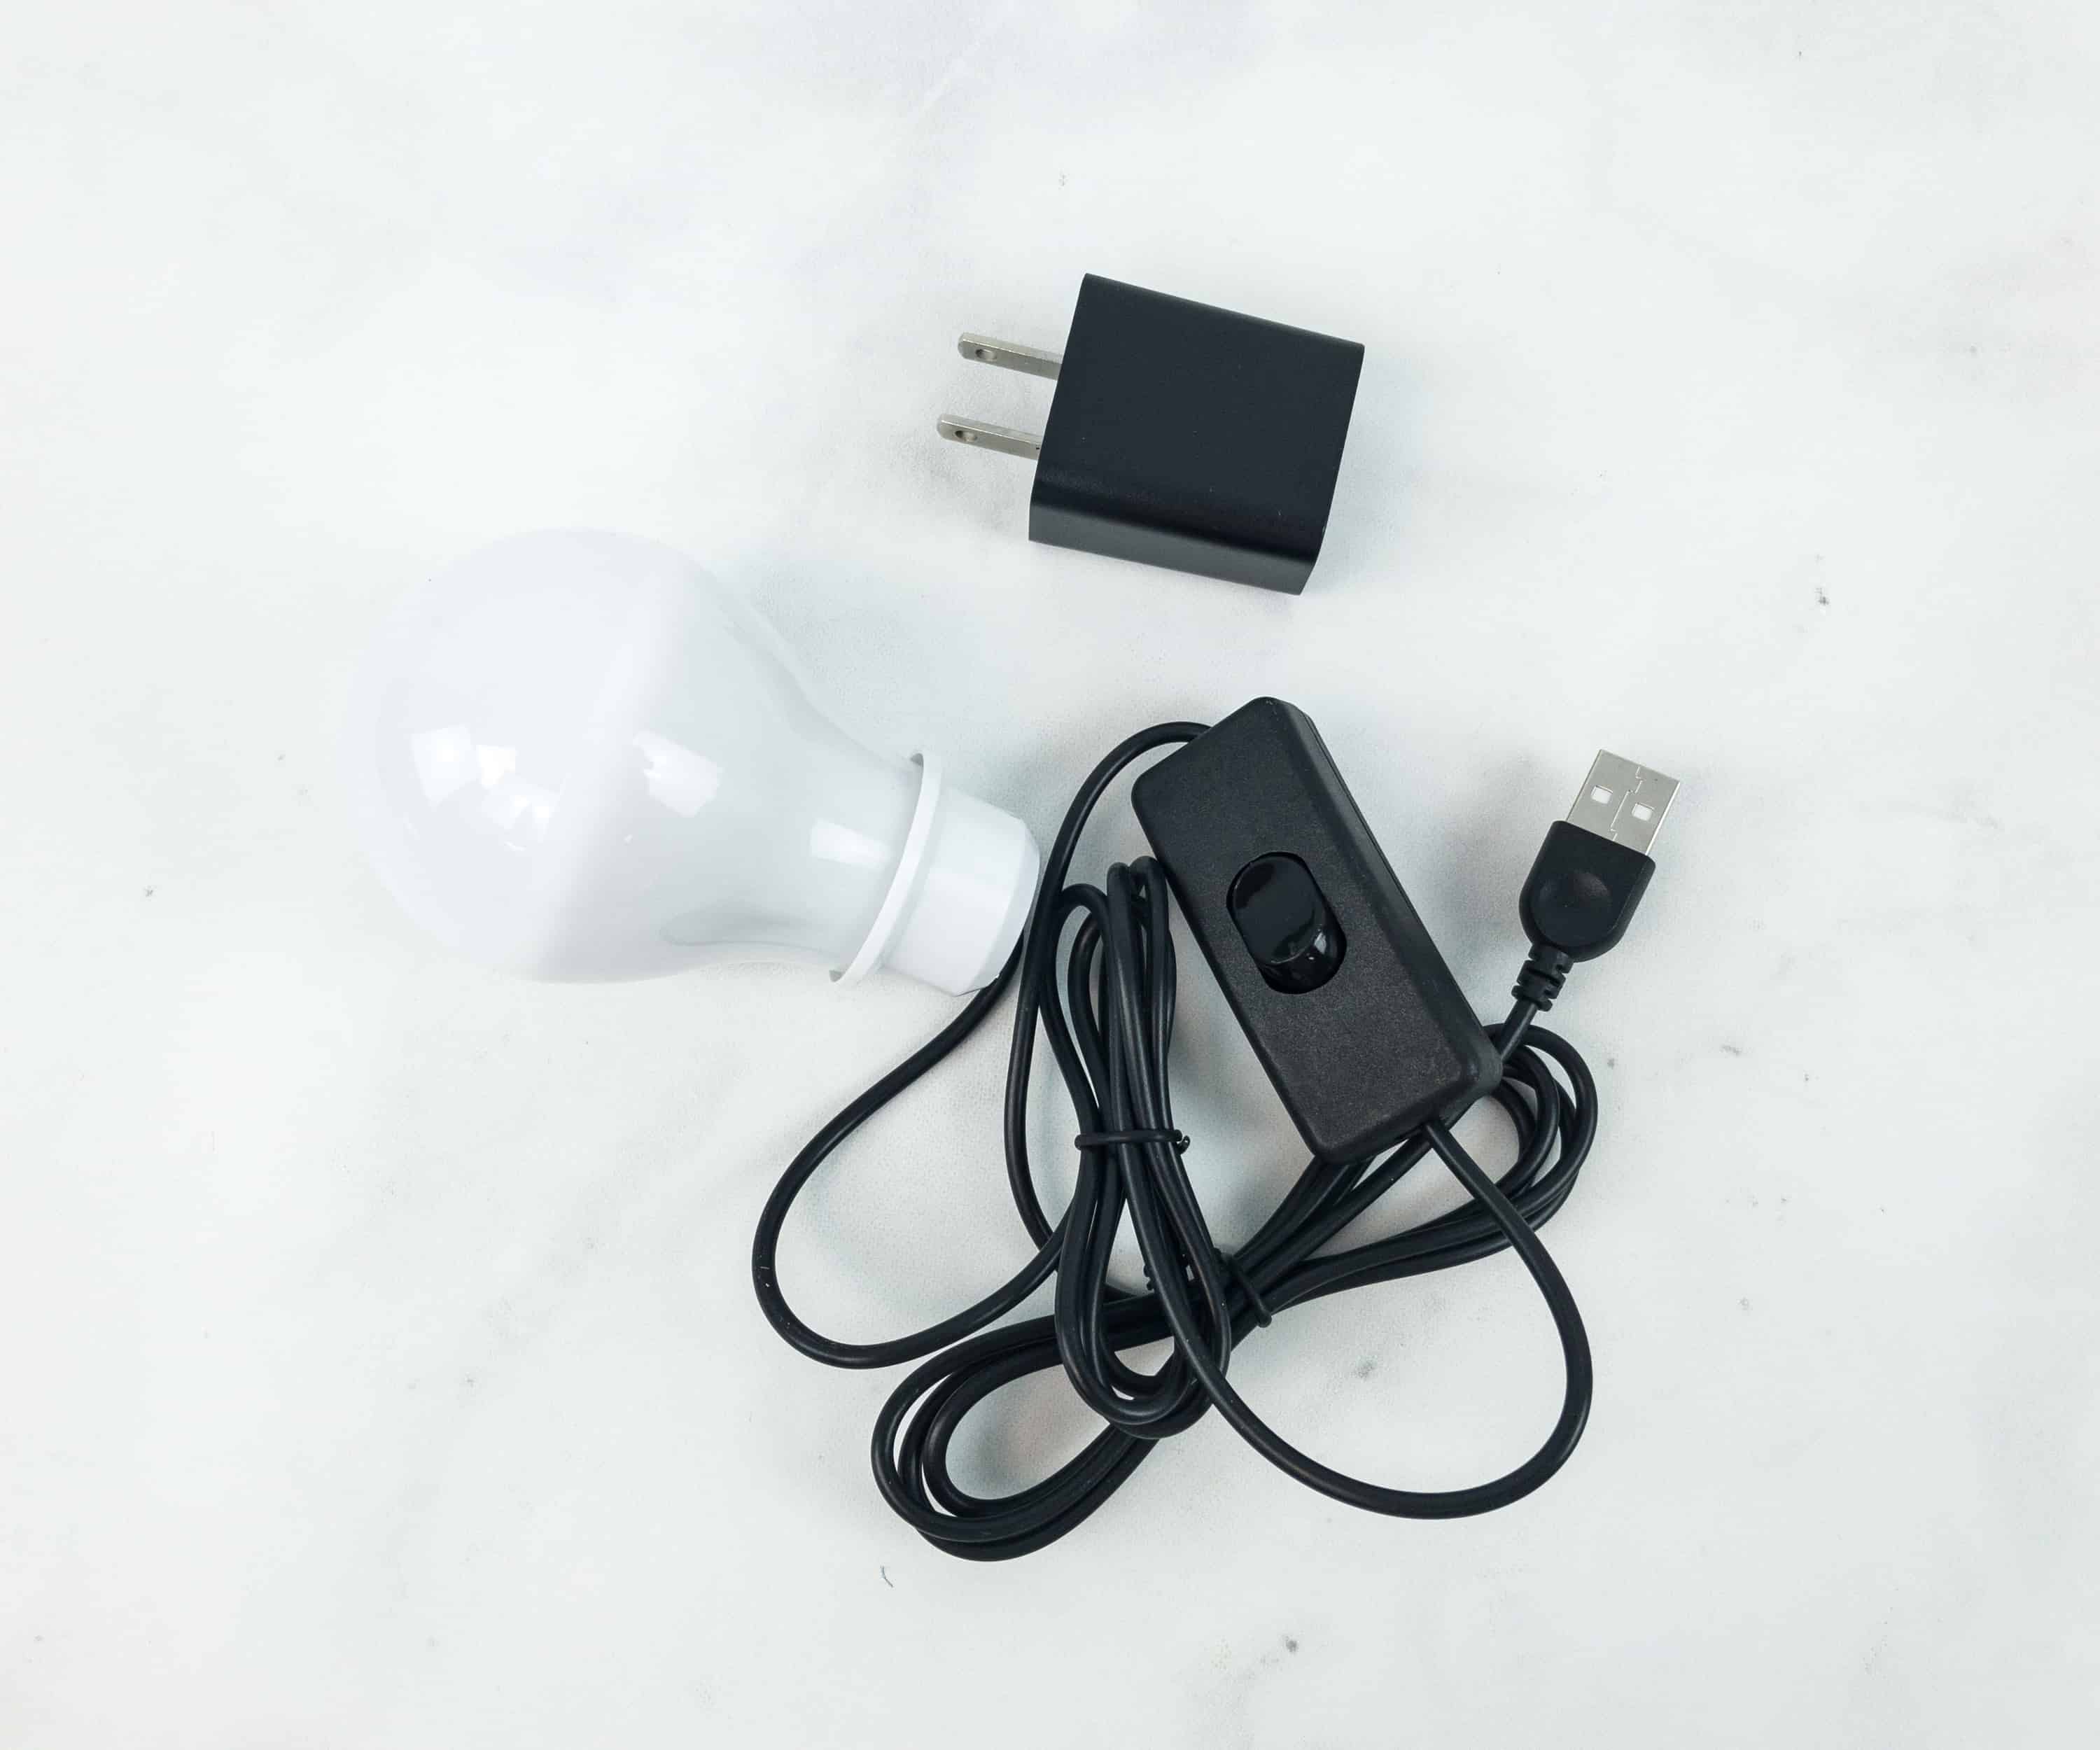
Of course, to make the lamp work, we need this LED light!
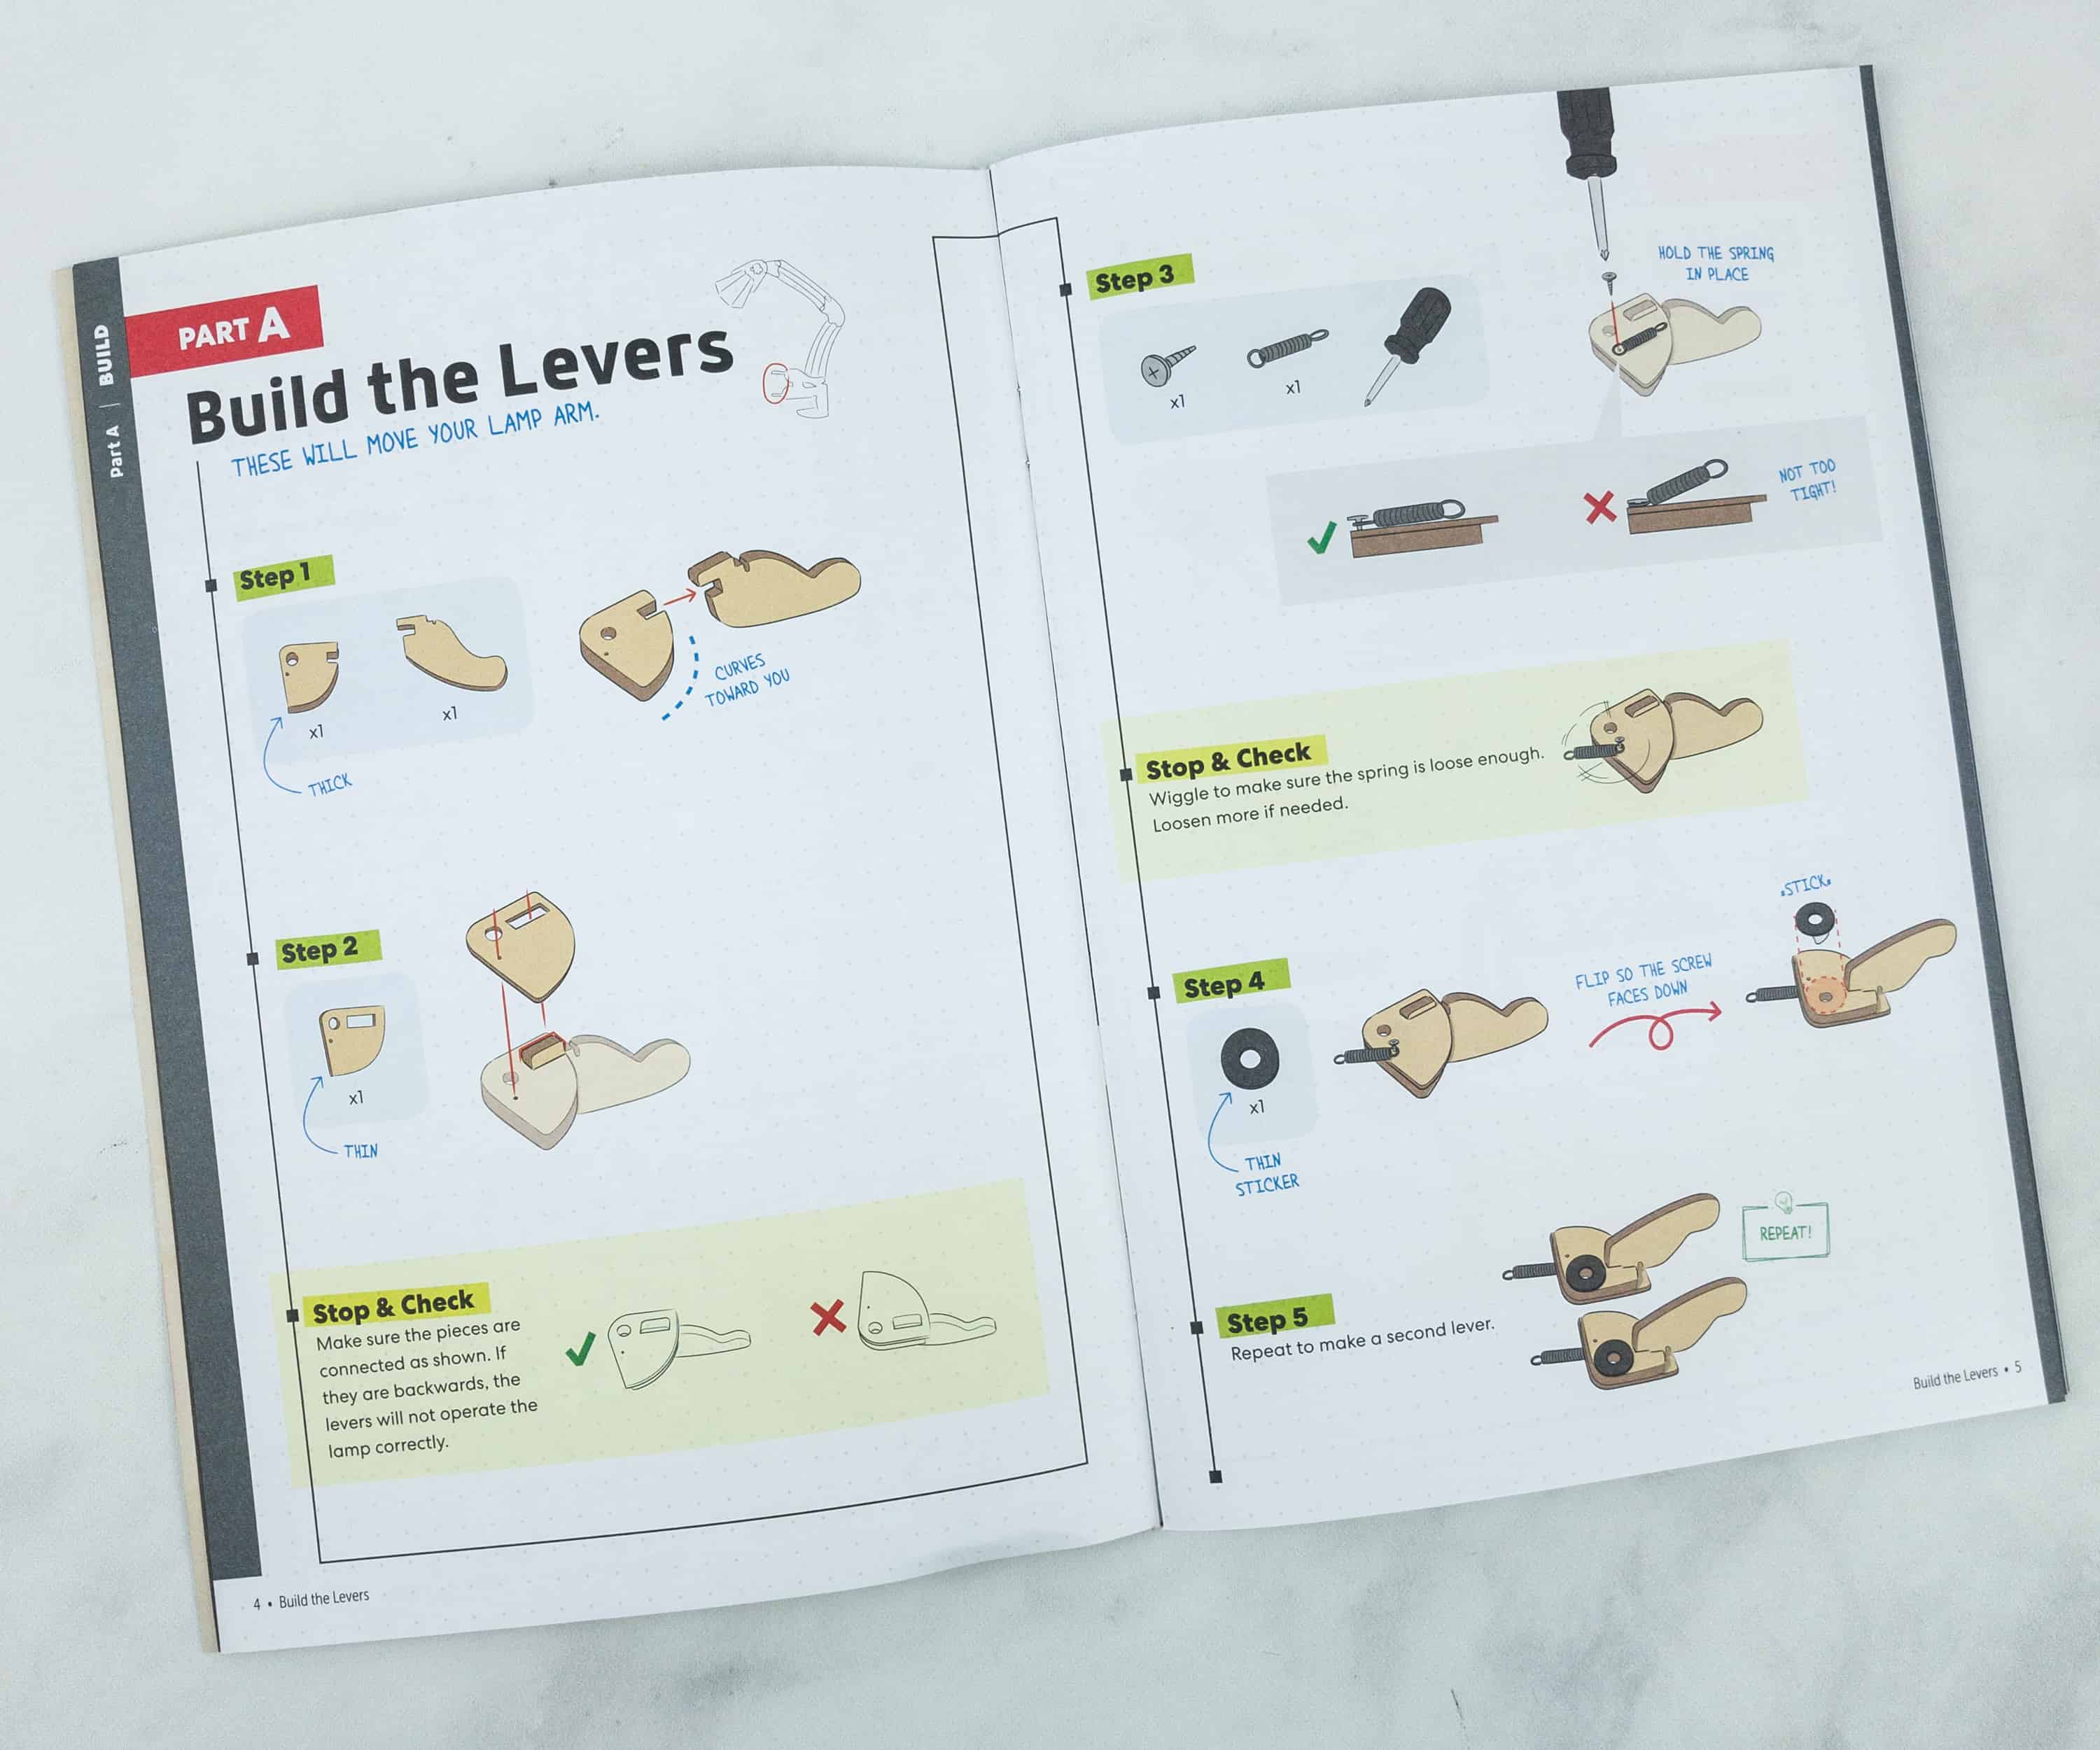
We’re starting off with Part A, which is building the levers! As expected, the instructions are clear, well-detailed, and easy to comprehend.
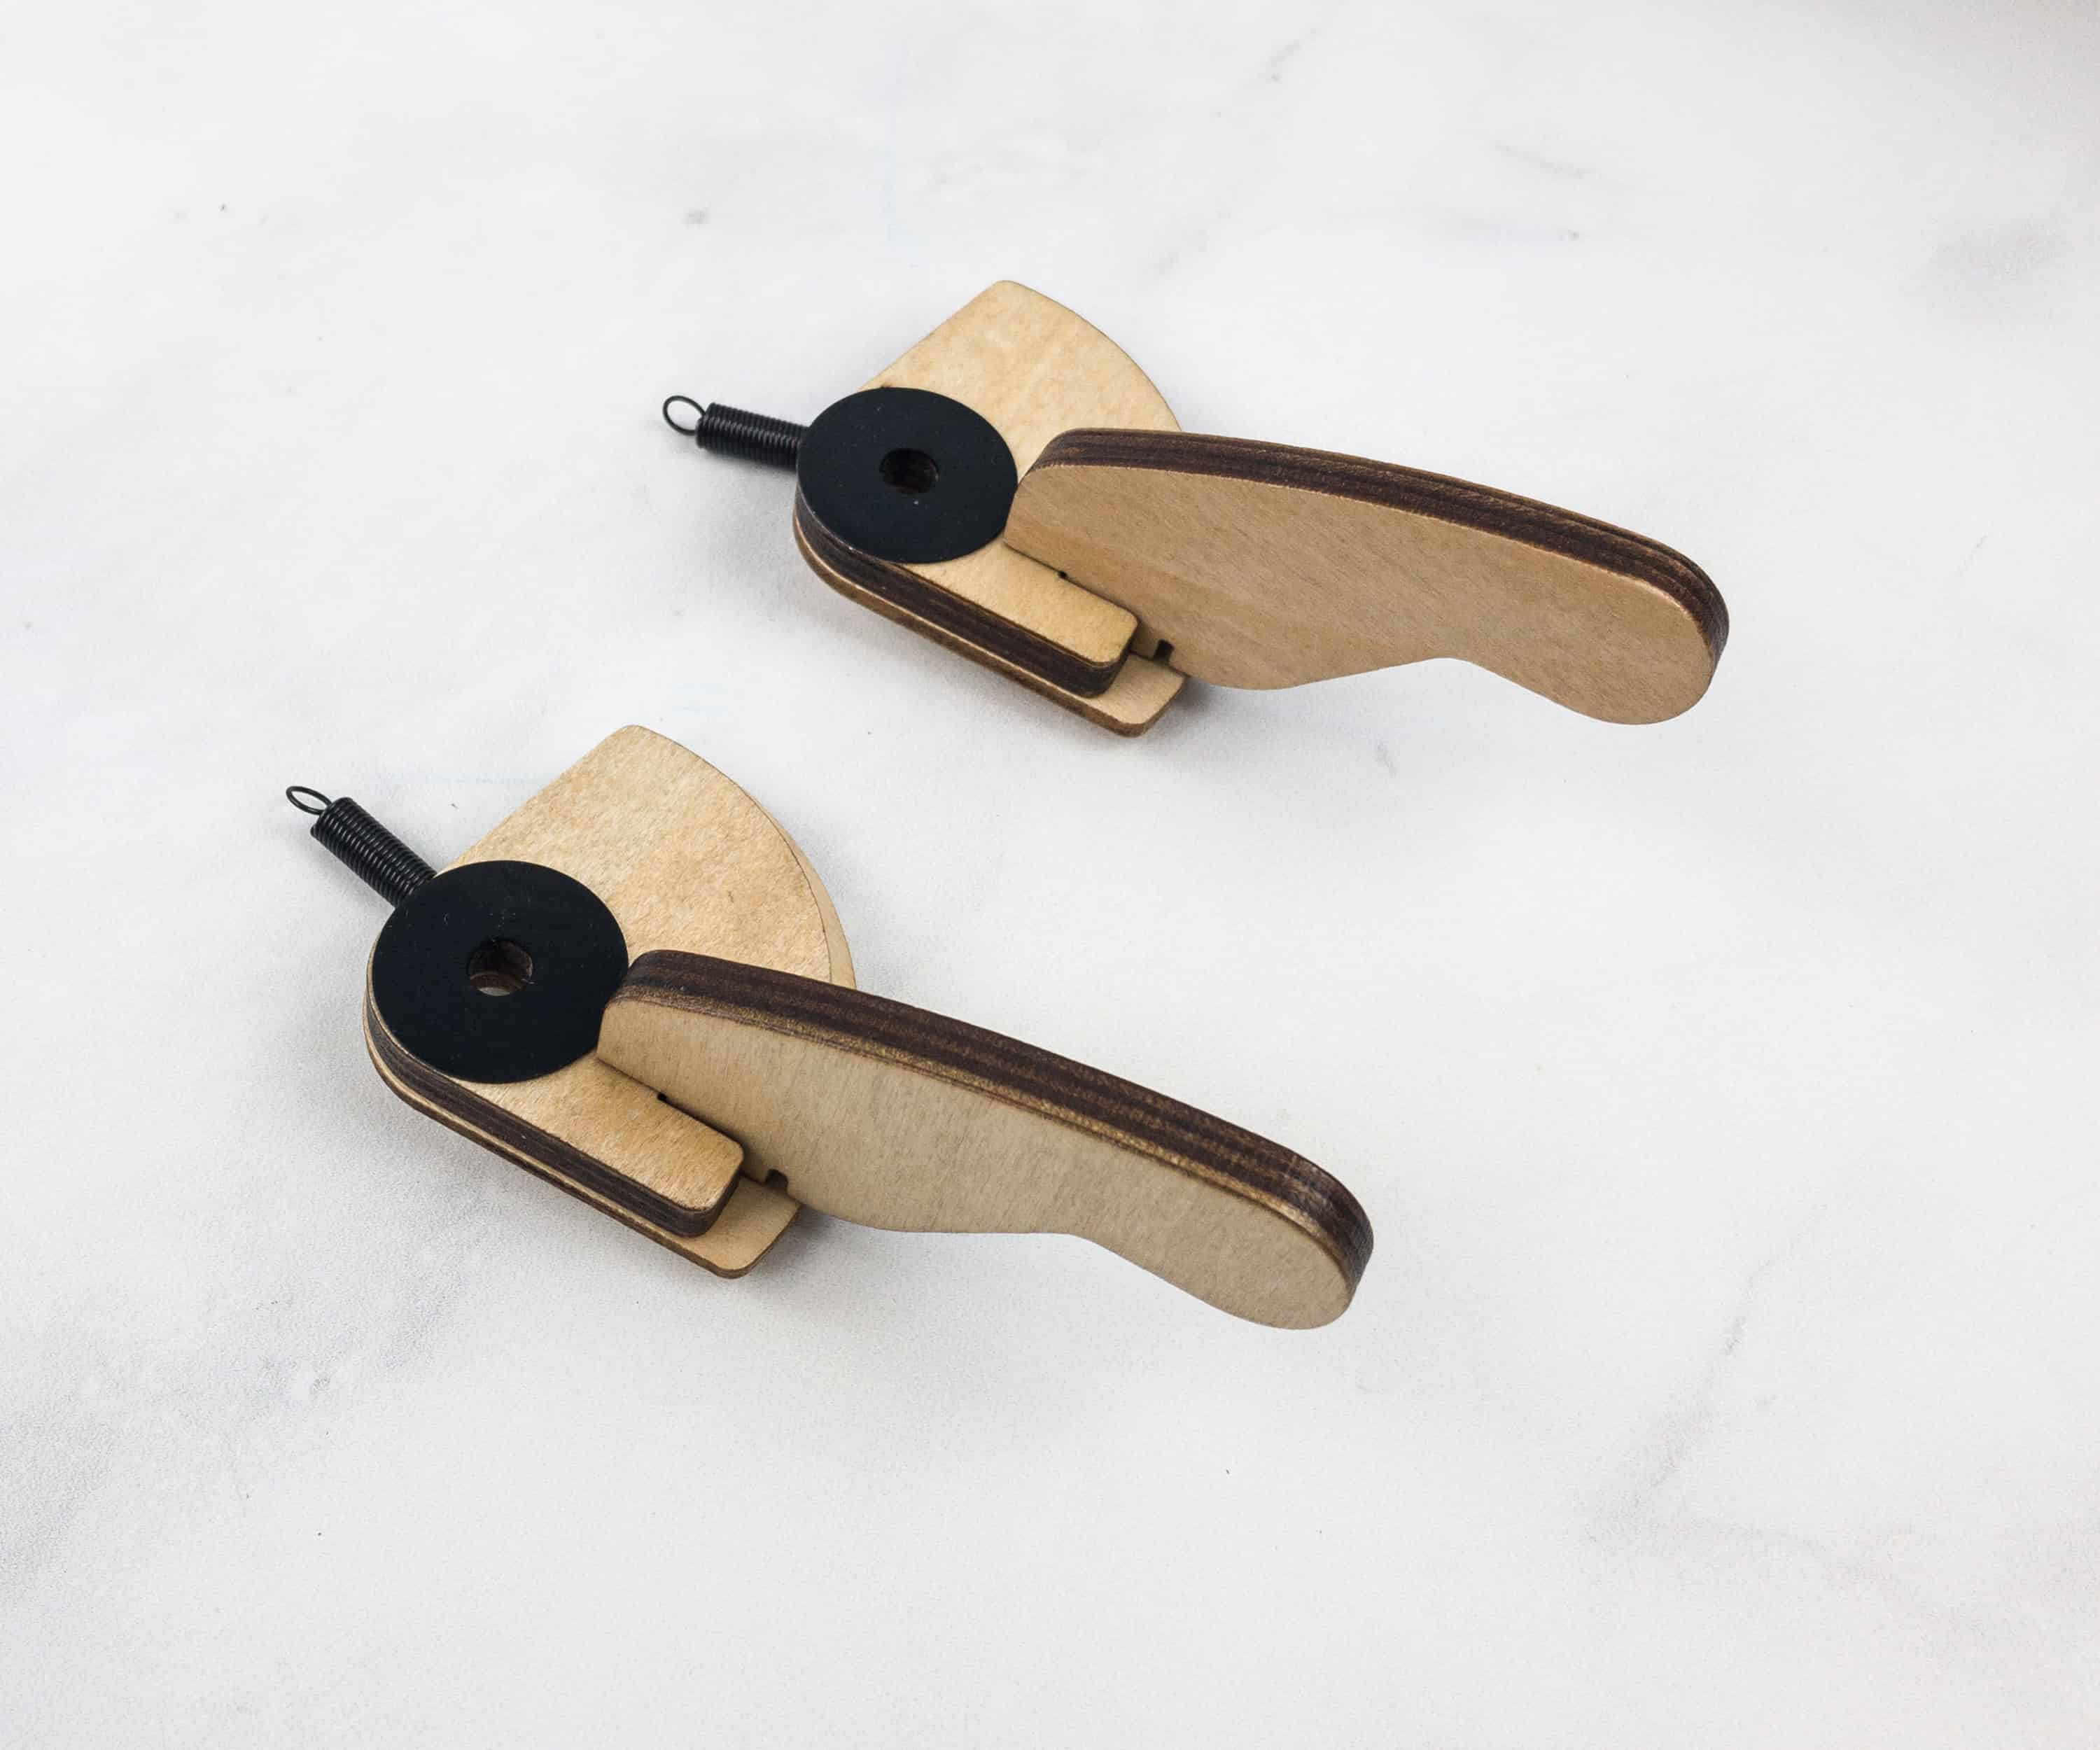
To make sure the levers work, the springs should be loose enough.
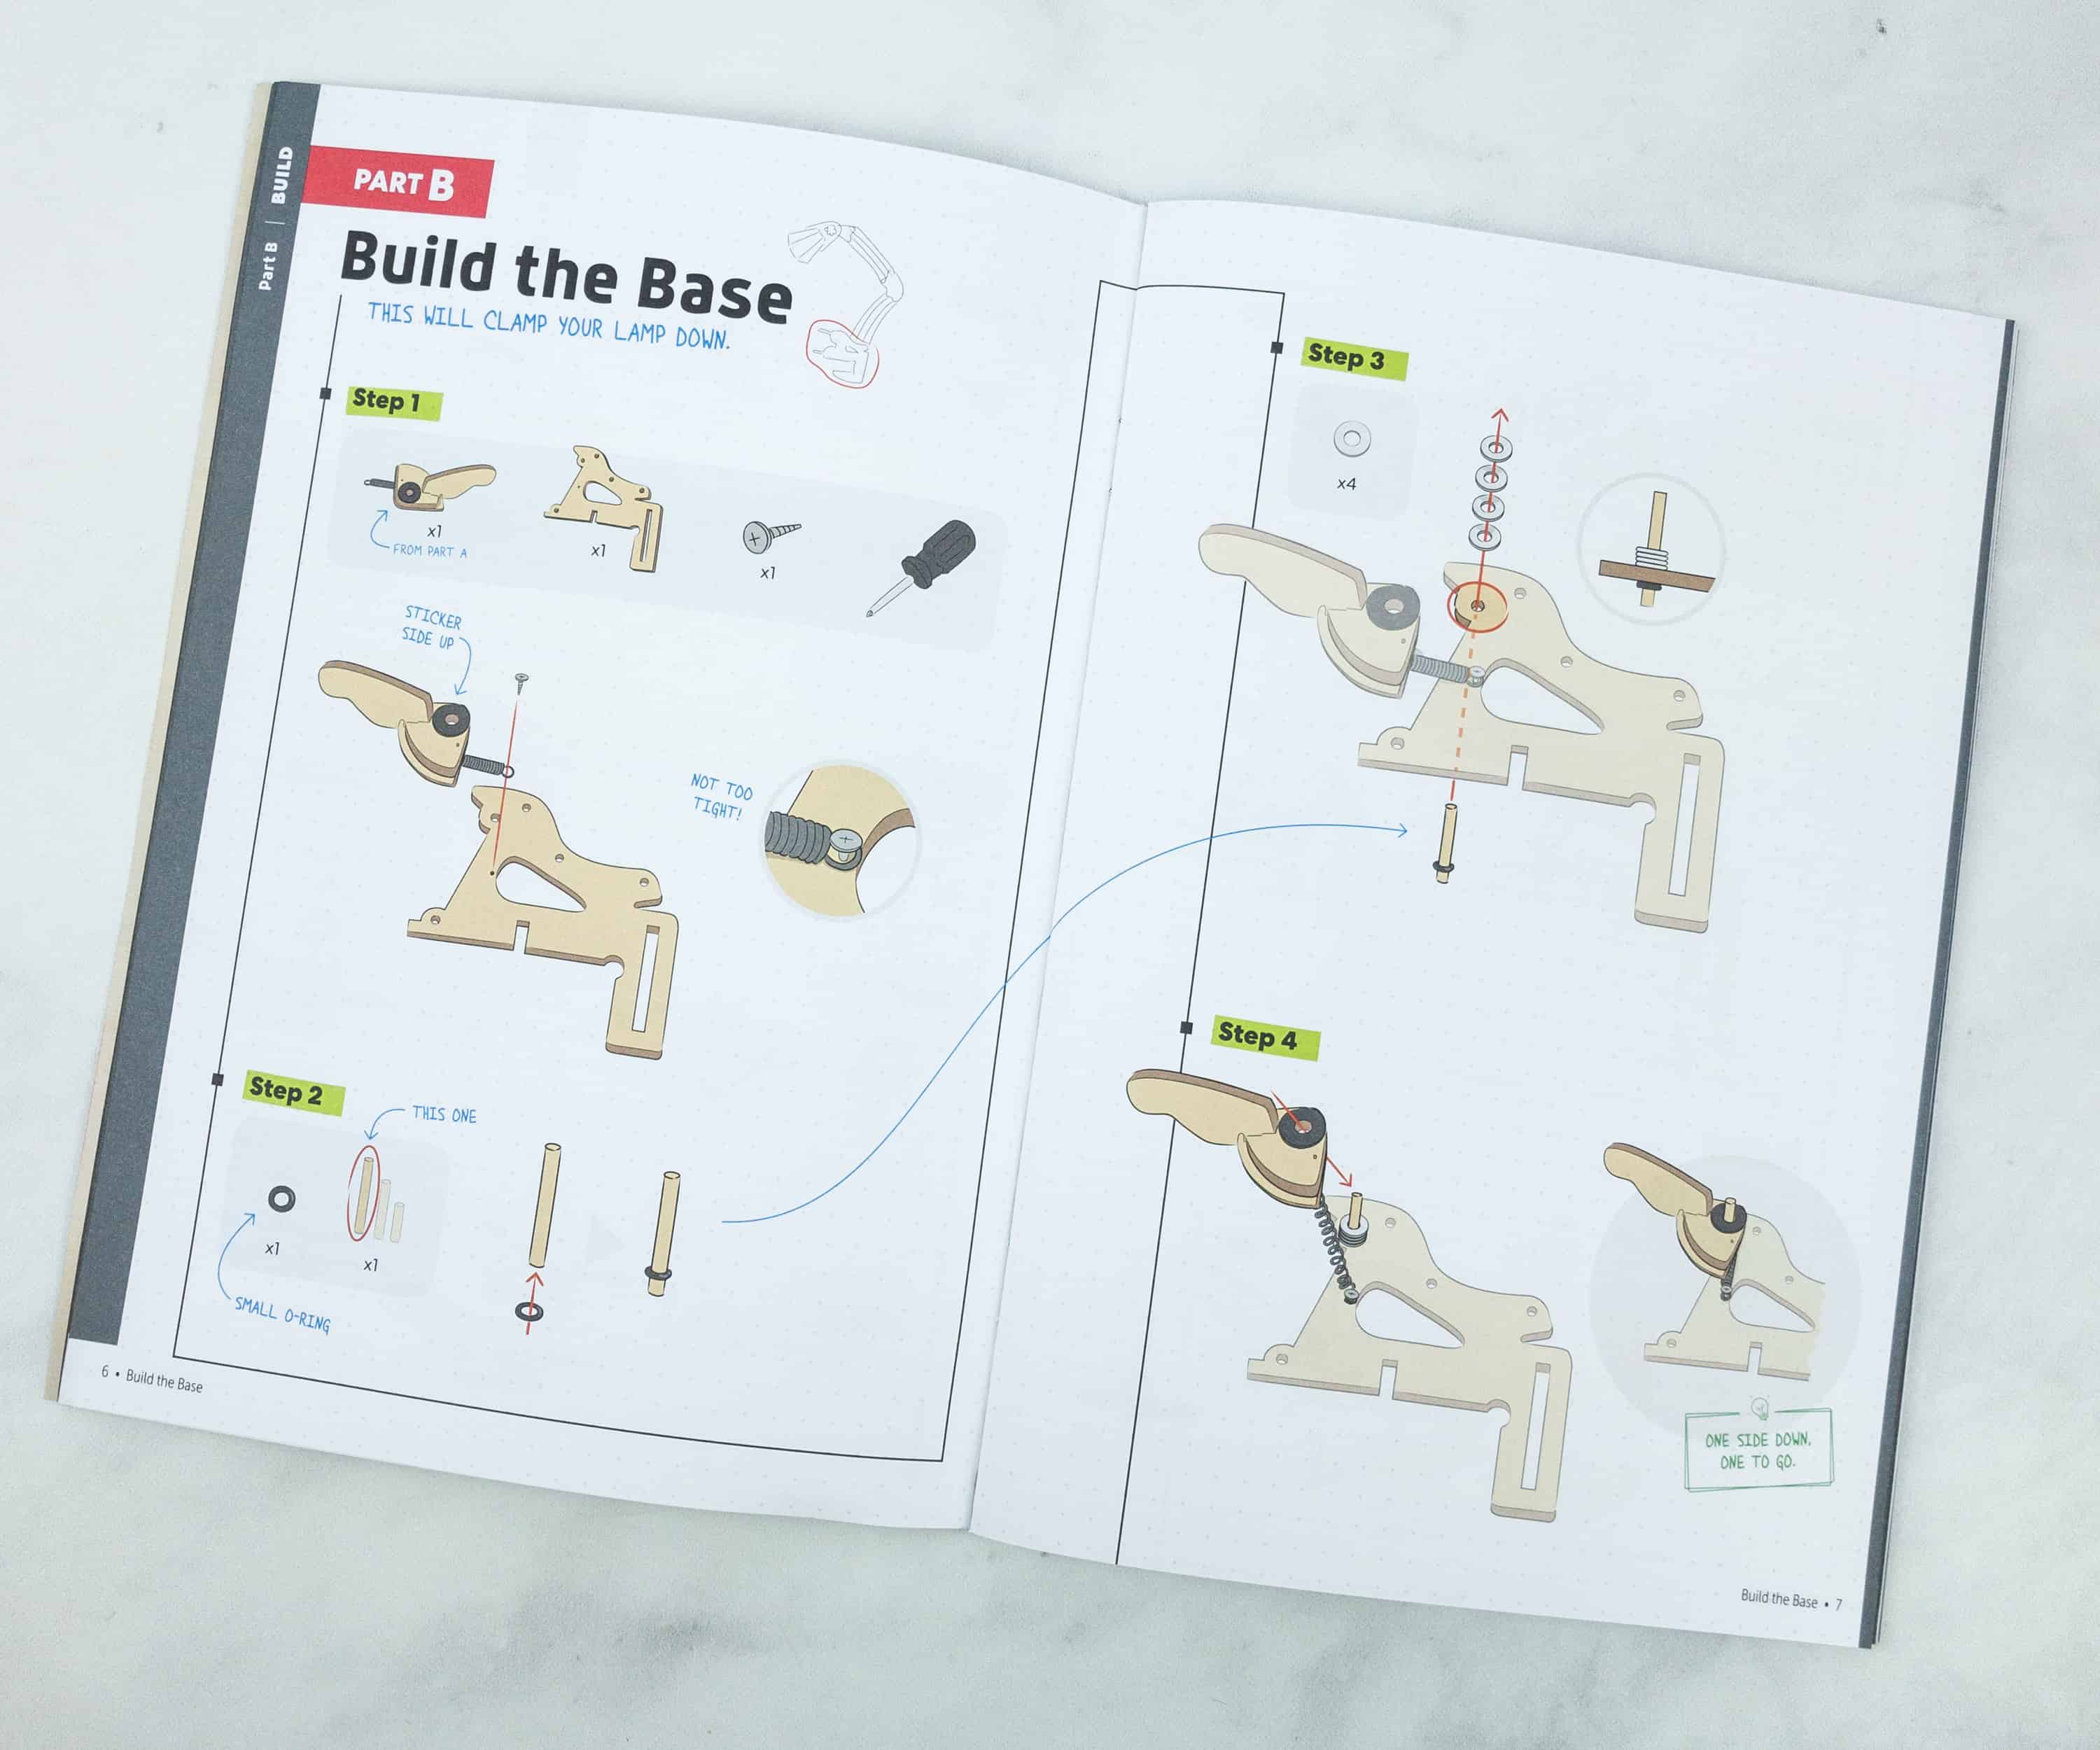
Once you’re done with the levers, it’s time to go to Part B! This time, we’re building the base.
The base is important because it will clamp the lamp down. The illustrations in the booklet are a big help, so you can easily compare and check if you did the right thing.

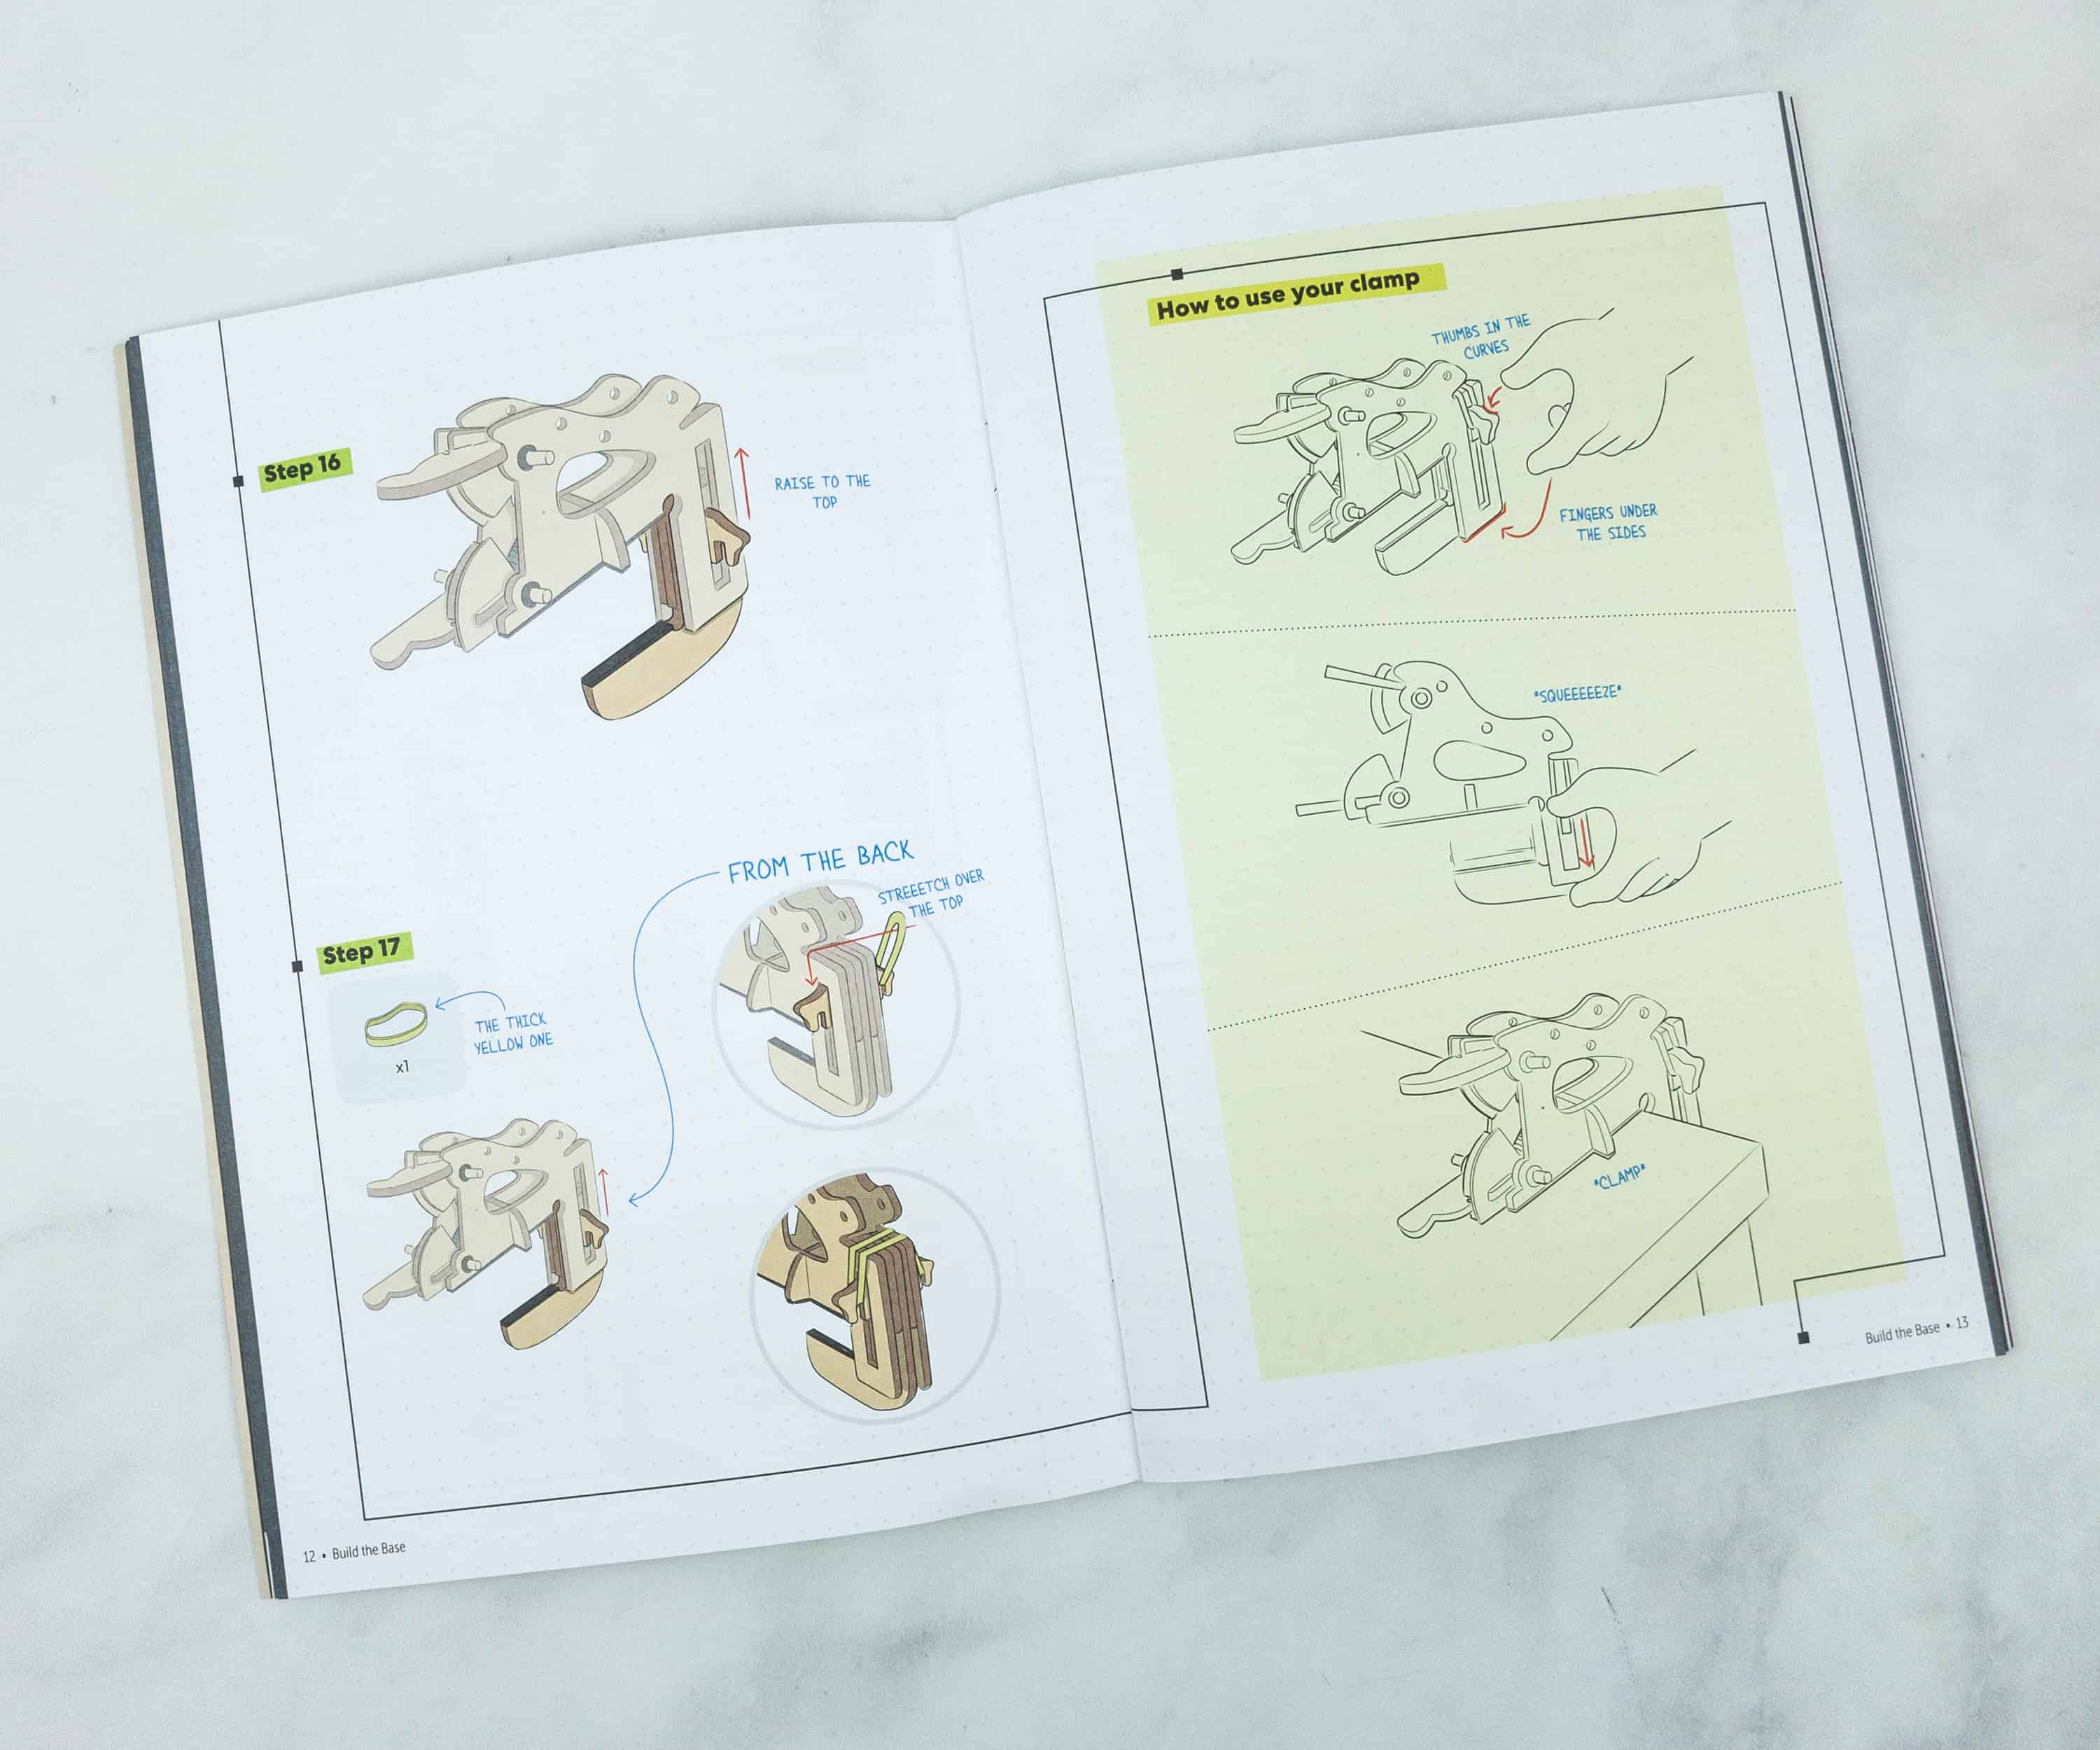
To use the clamp, put your thumbs on the curves and fingers under the sides. Squeeze it and then clamp to a table or wherever it fits!

Here’s how it works!
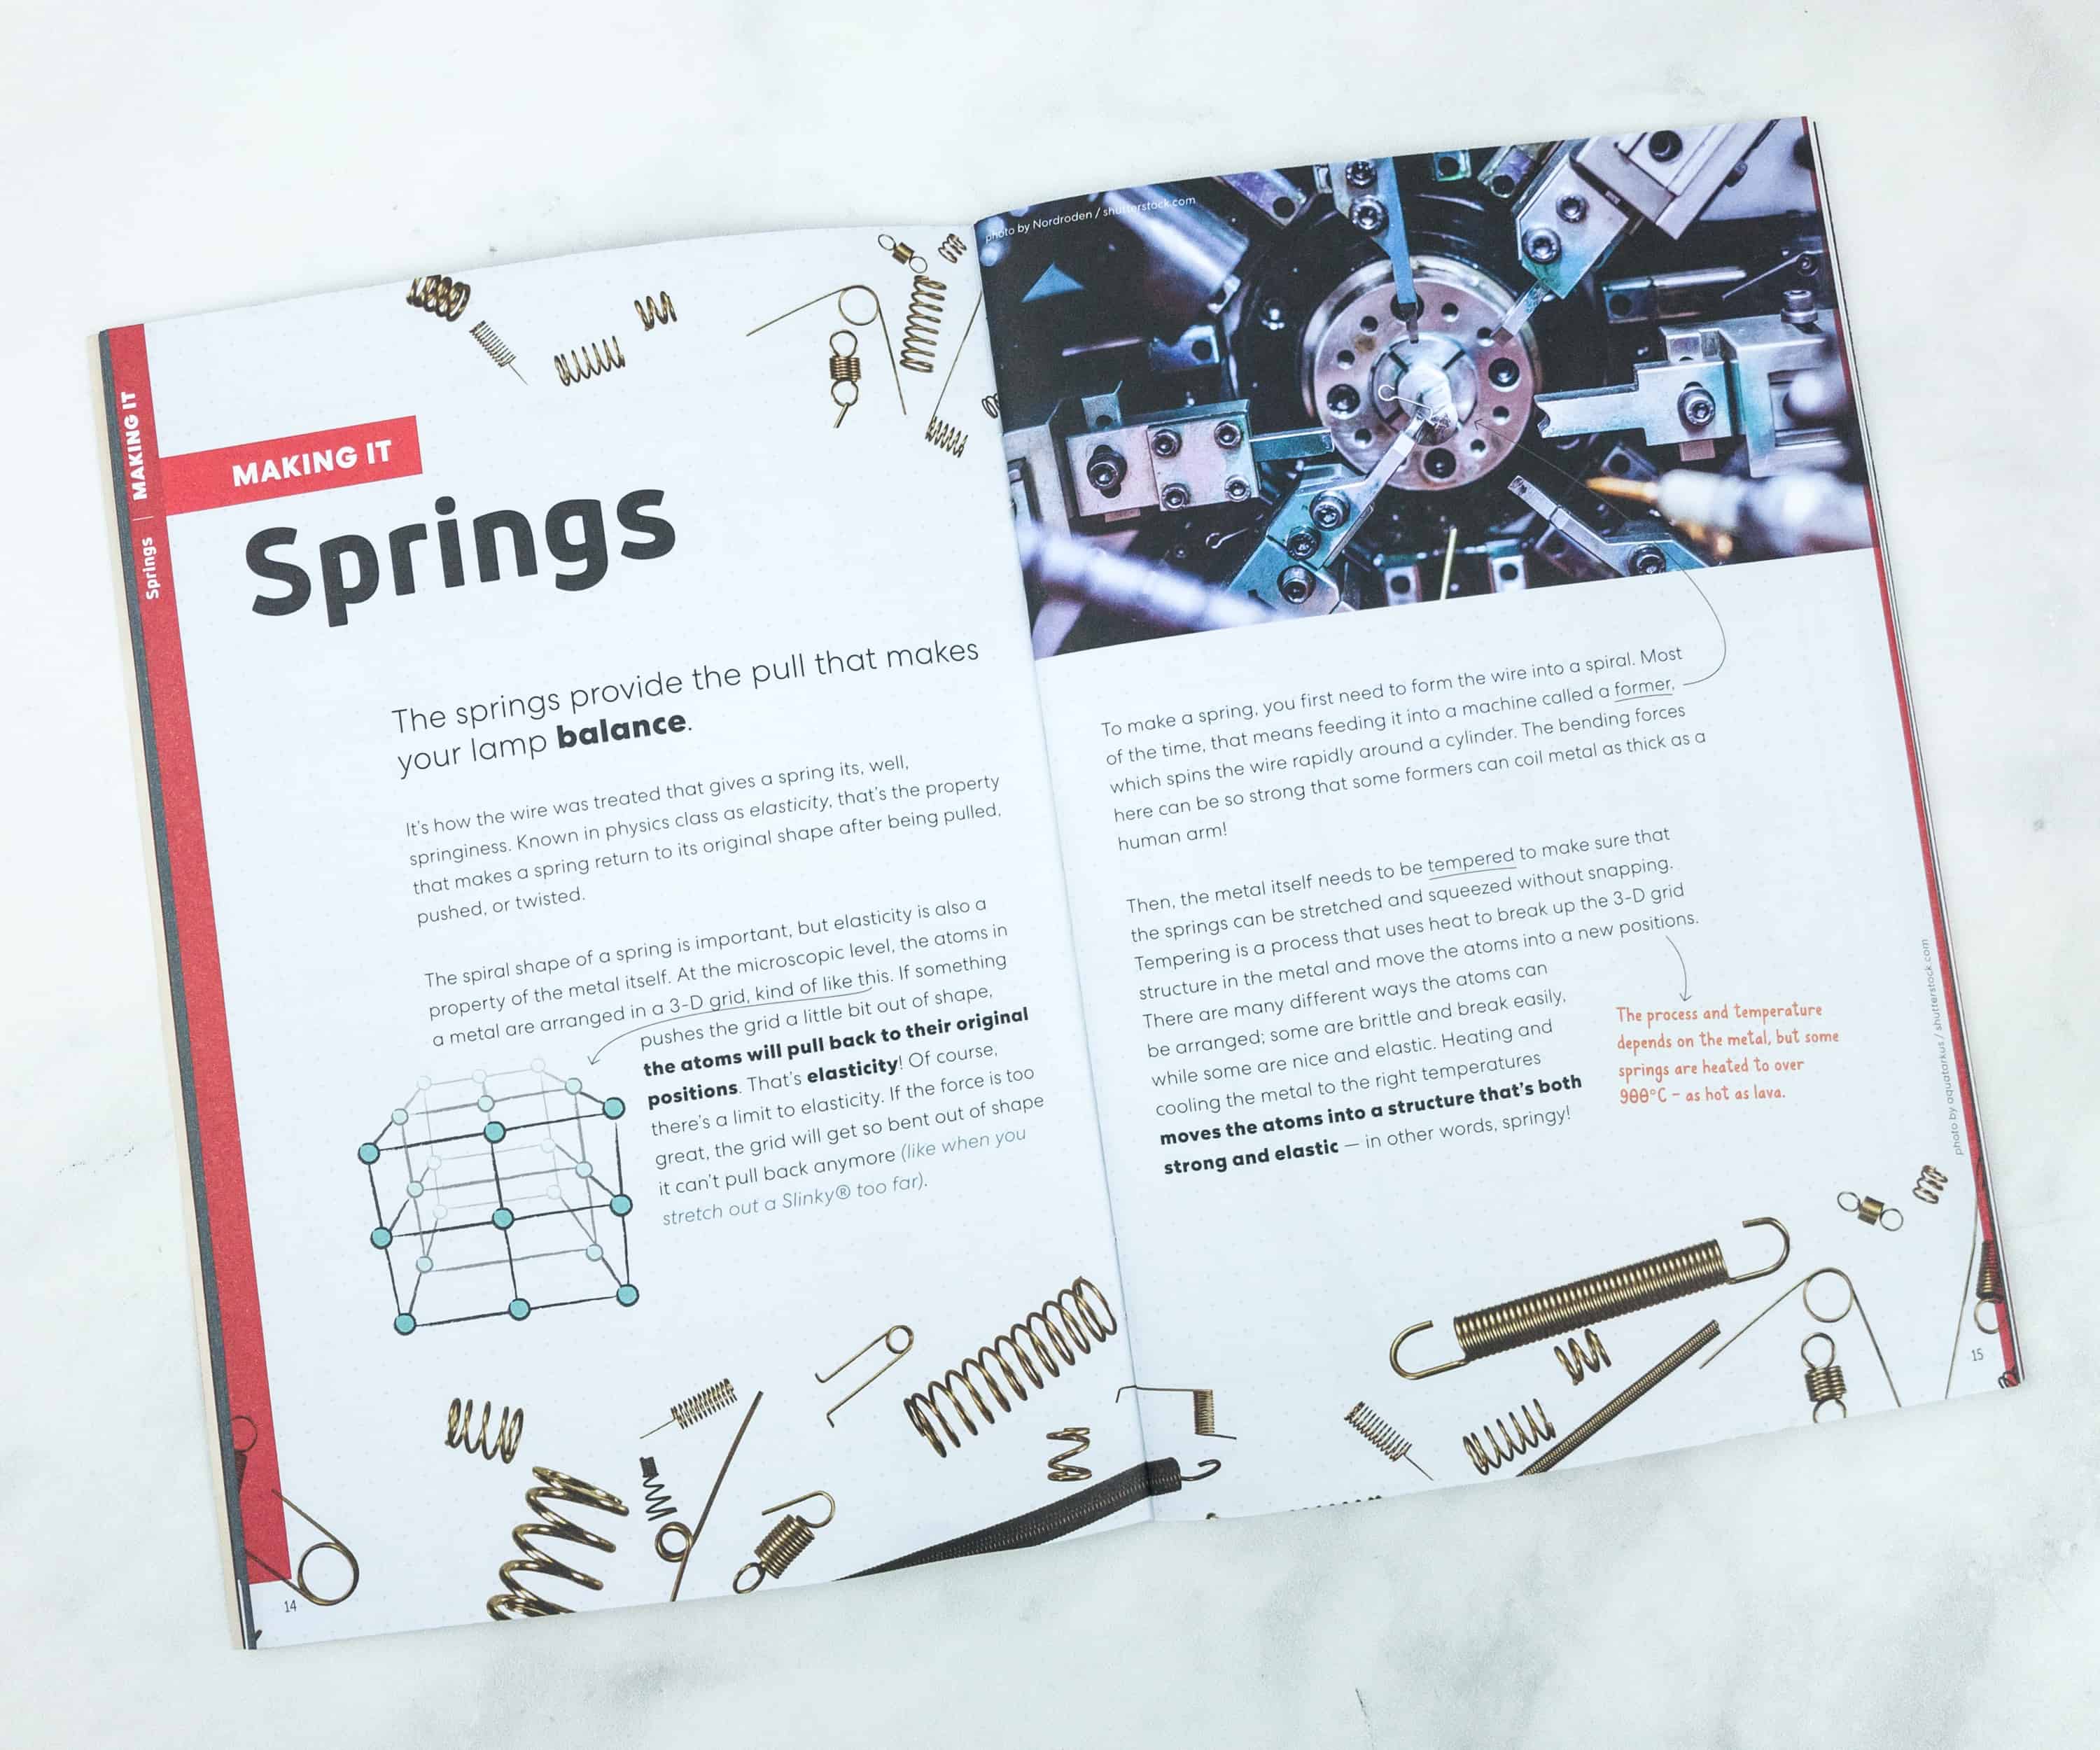
The next spread introduces us to the concept of springs, including the science behind the elasticity of the metal, which is rad.
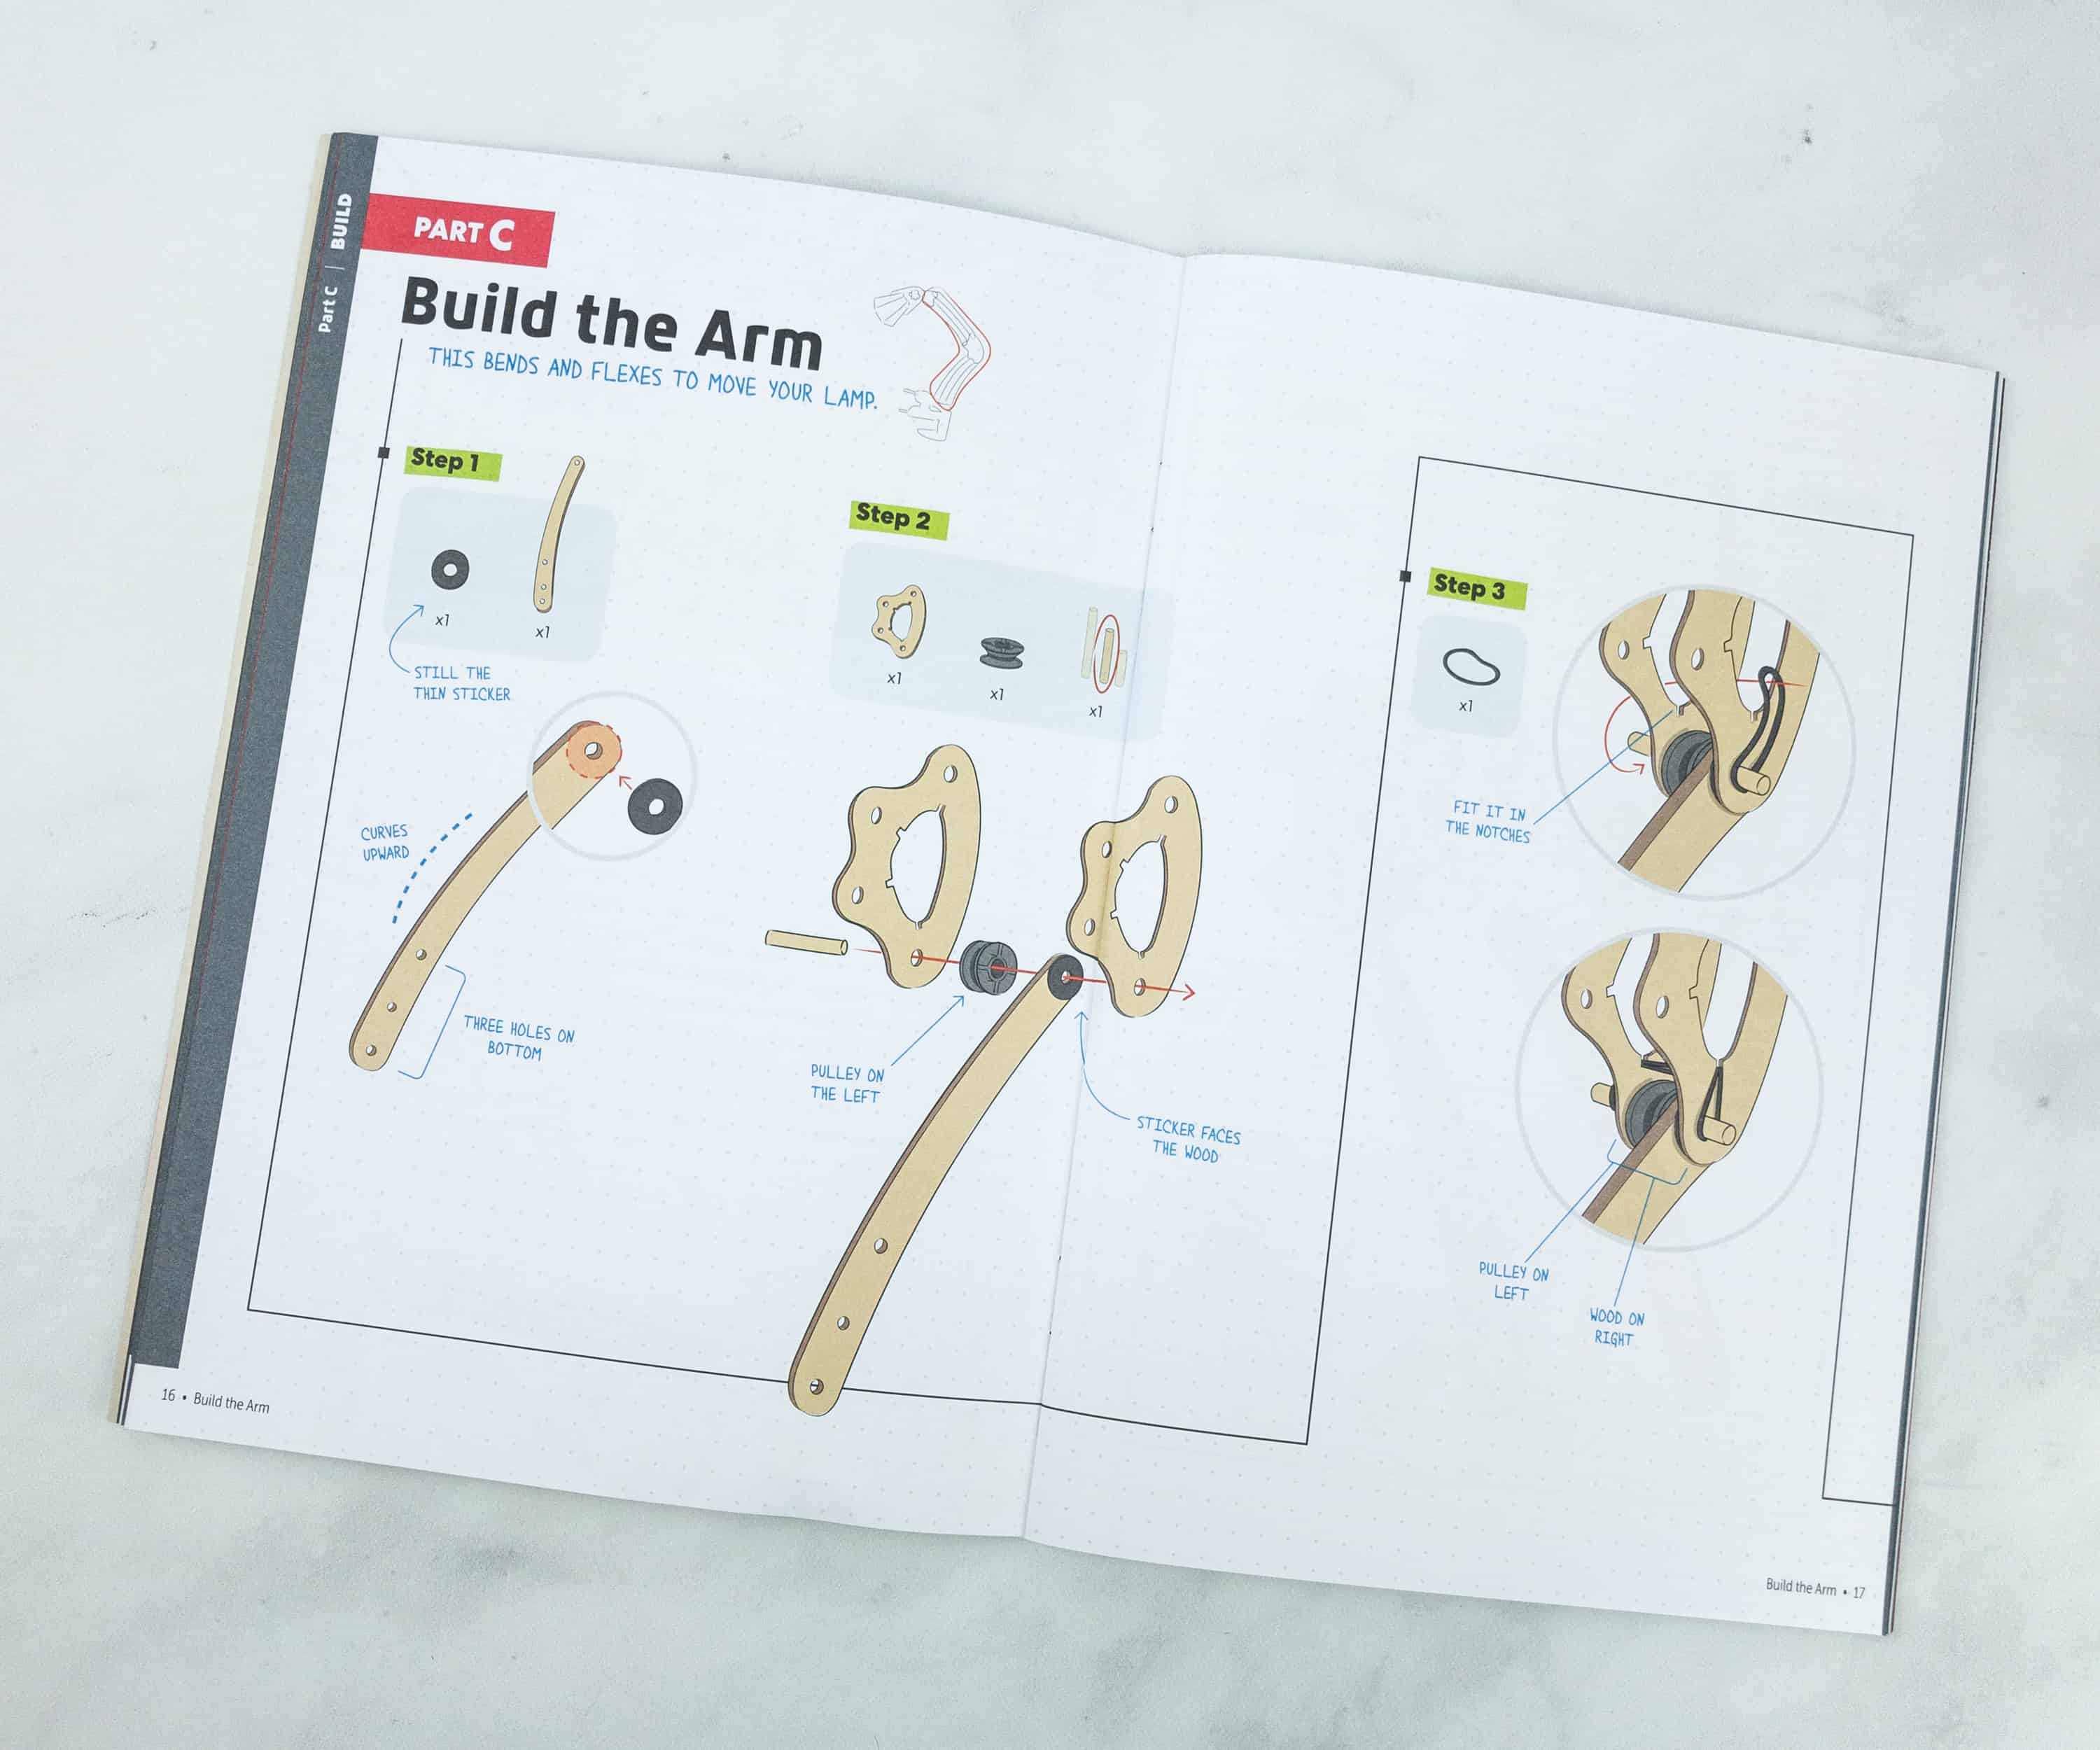
Part C is all about building the arm. It should be able to bend and flex so that the lamp can move.

From time to time, there are reminders to stop and check your work to make sure that the parts are in the right order.

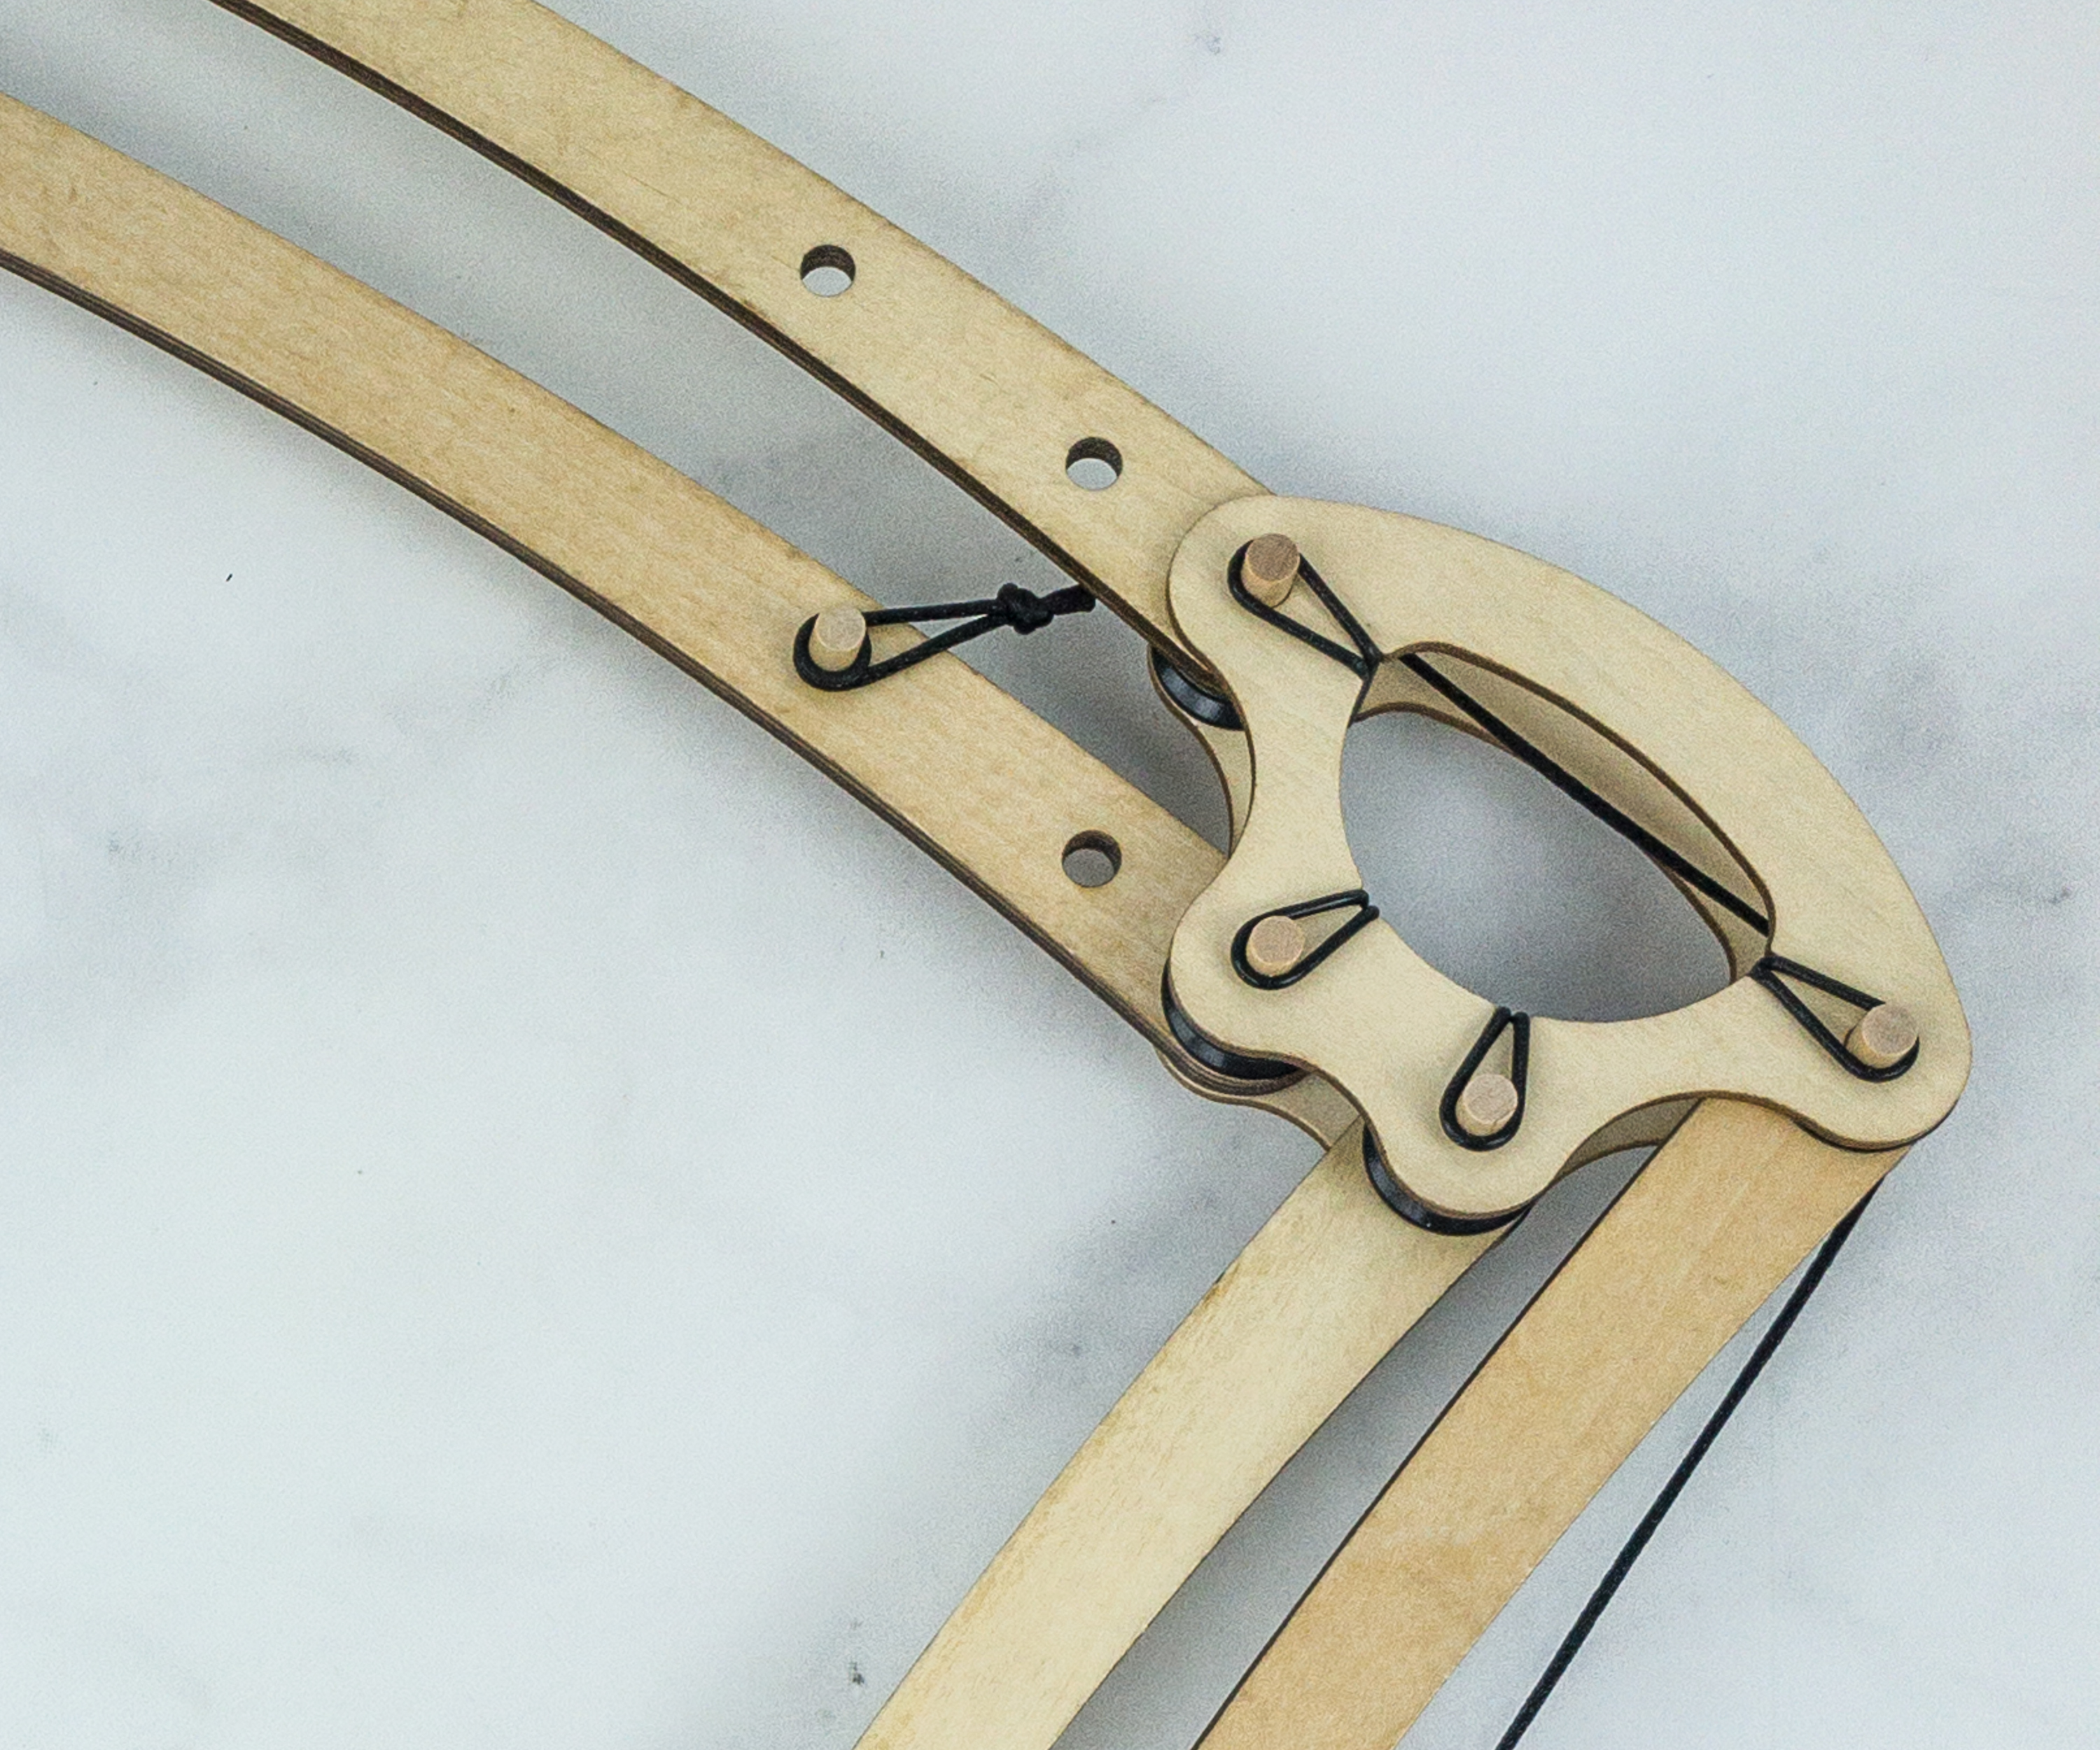
We’re done with the arm!

Many might be unfamiliar with O-Rings, so they provided an explanation about what they are and what they can do.
Your O-rings are made of a rubbery material called silicone. Silicone rubber is an elastic polymer, just like the natural rubber in a rubber band. You can stretch and squeeze, it into different shapes, but the long polymer chains pull it back into its original form.
Here’s how the o-rings look like when they are used to hold the lamp’s joints together.
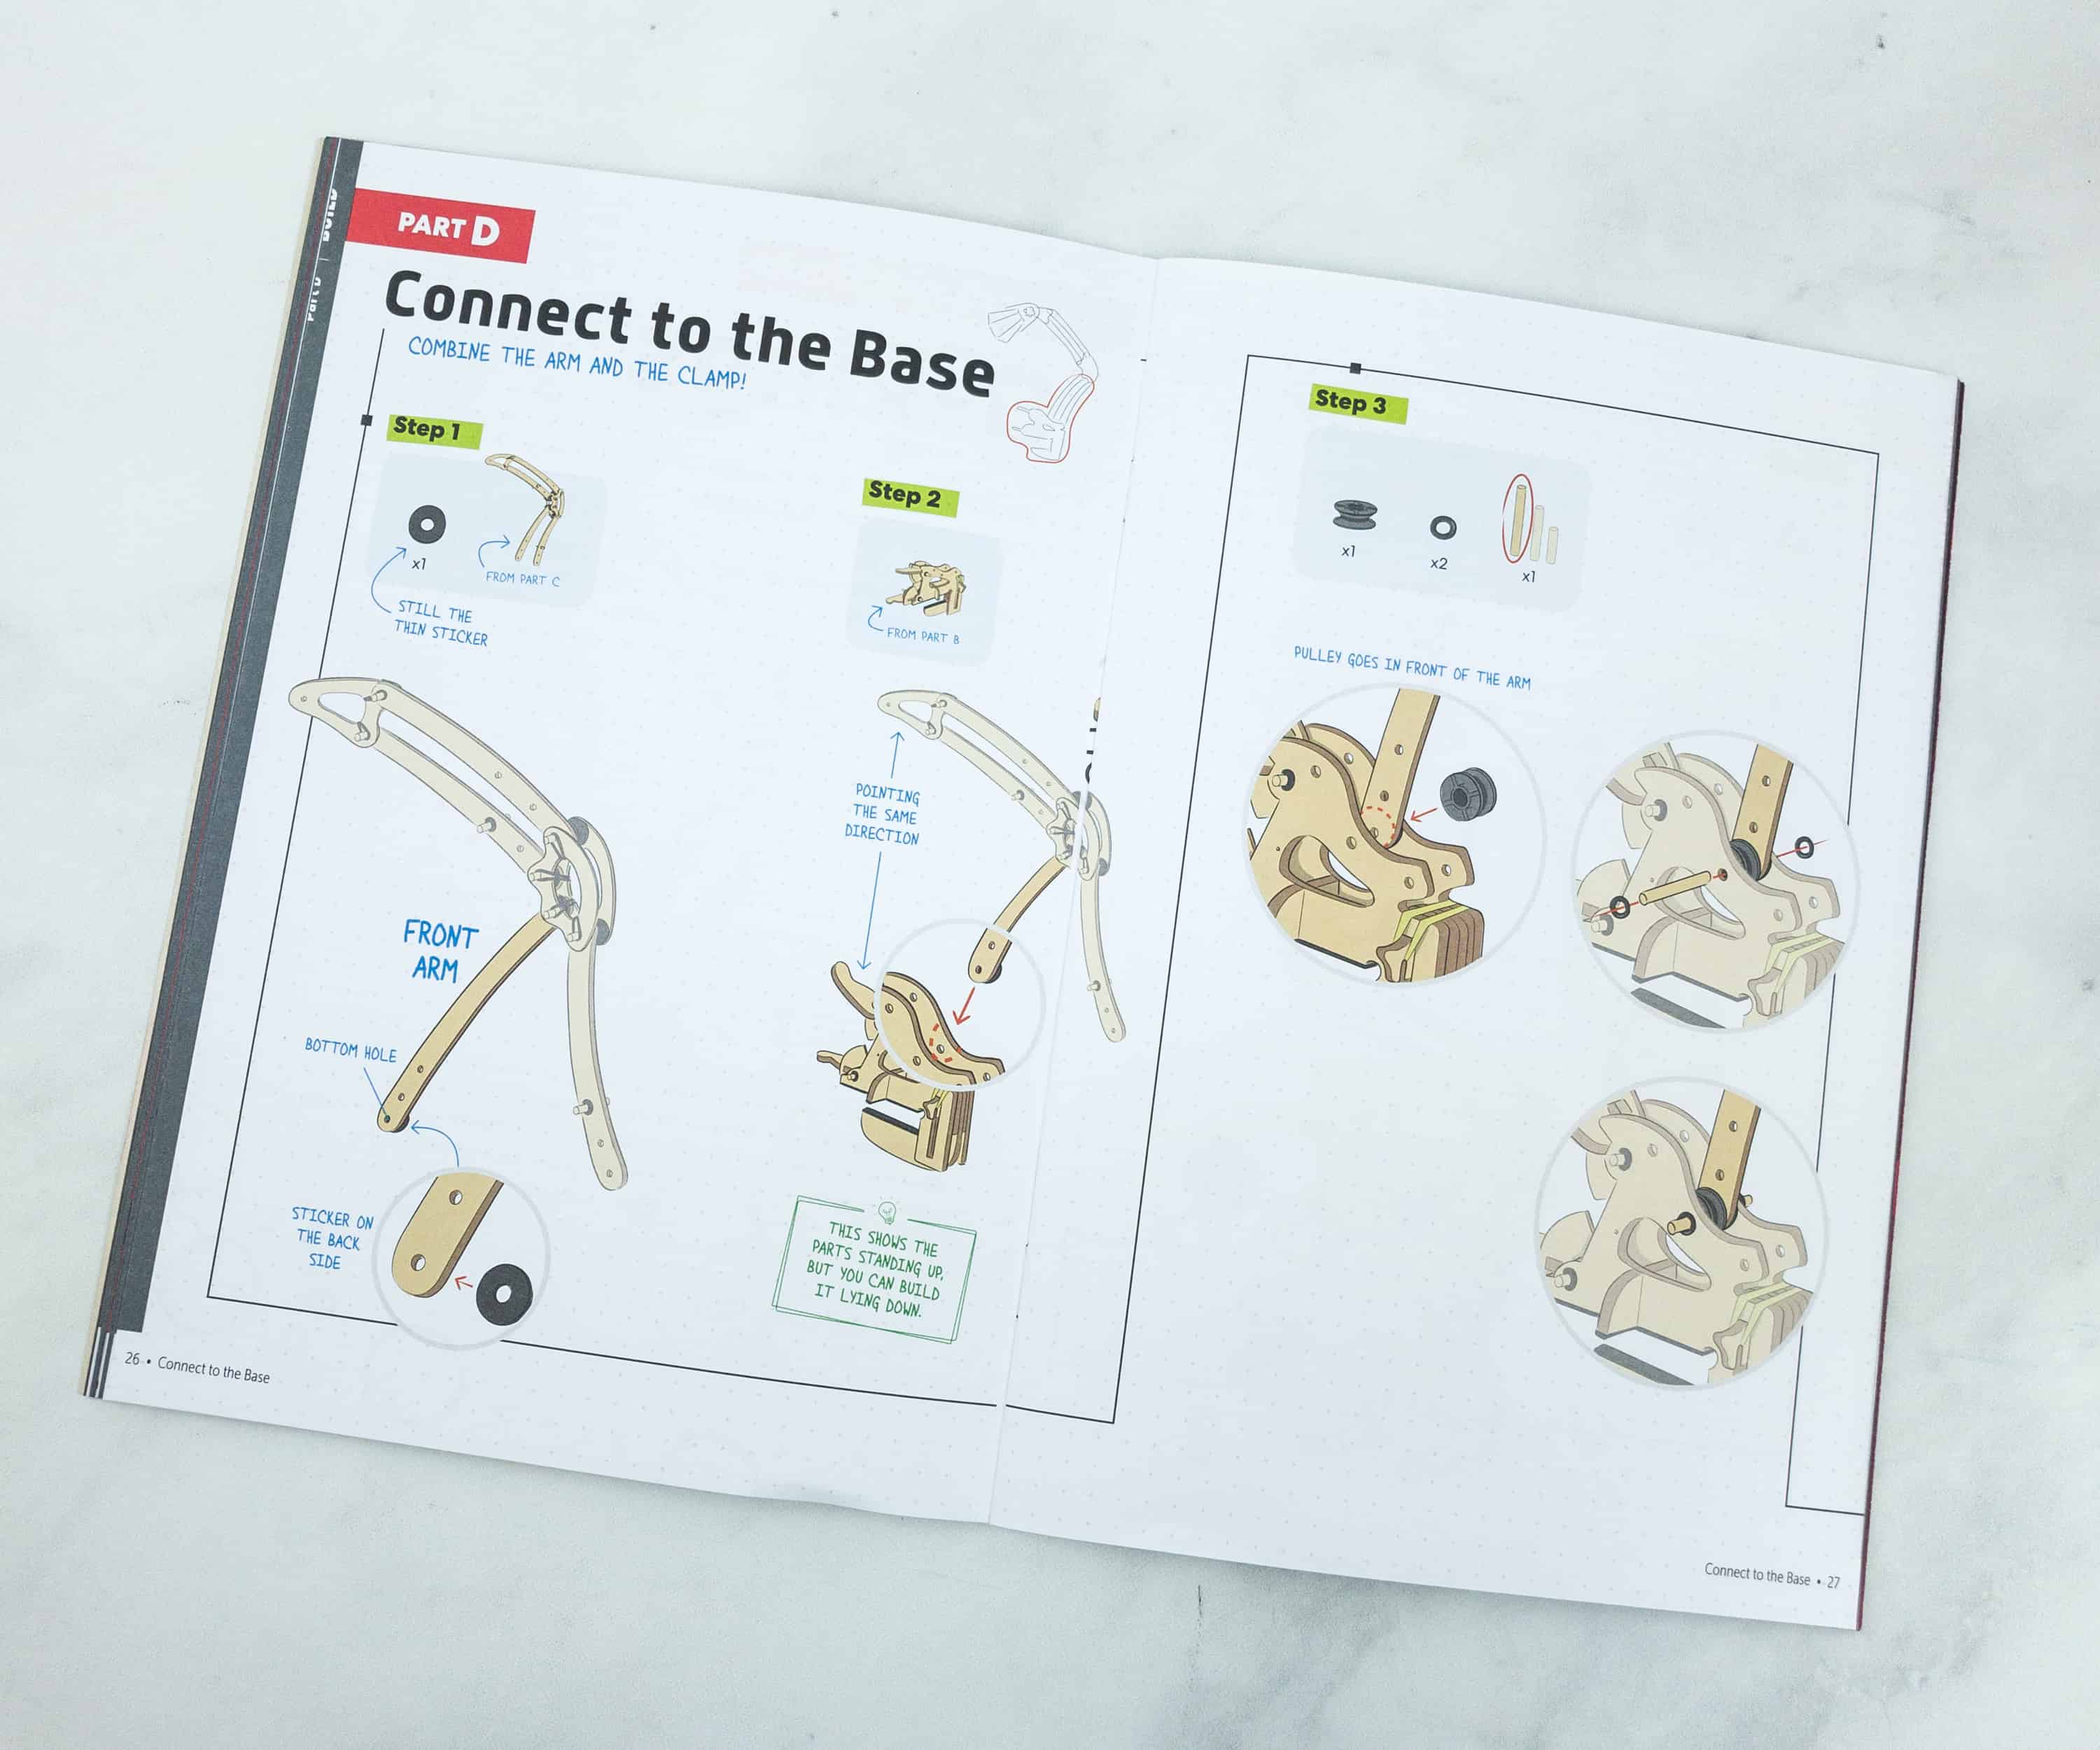
On to Part D! It’s time to connect the arm and the clamp.
The illustrations on the booklet shows the parts standing up, but you can build it lying down too.
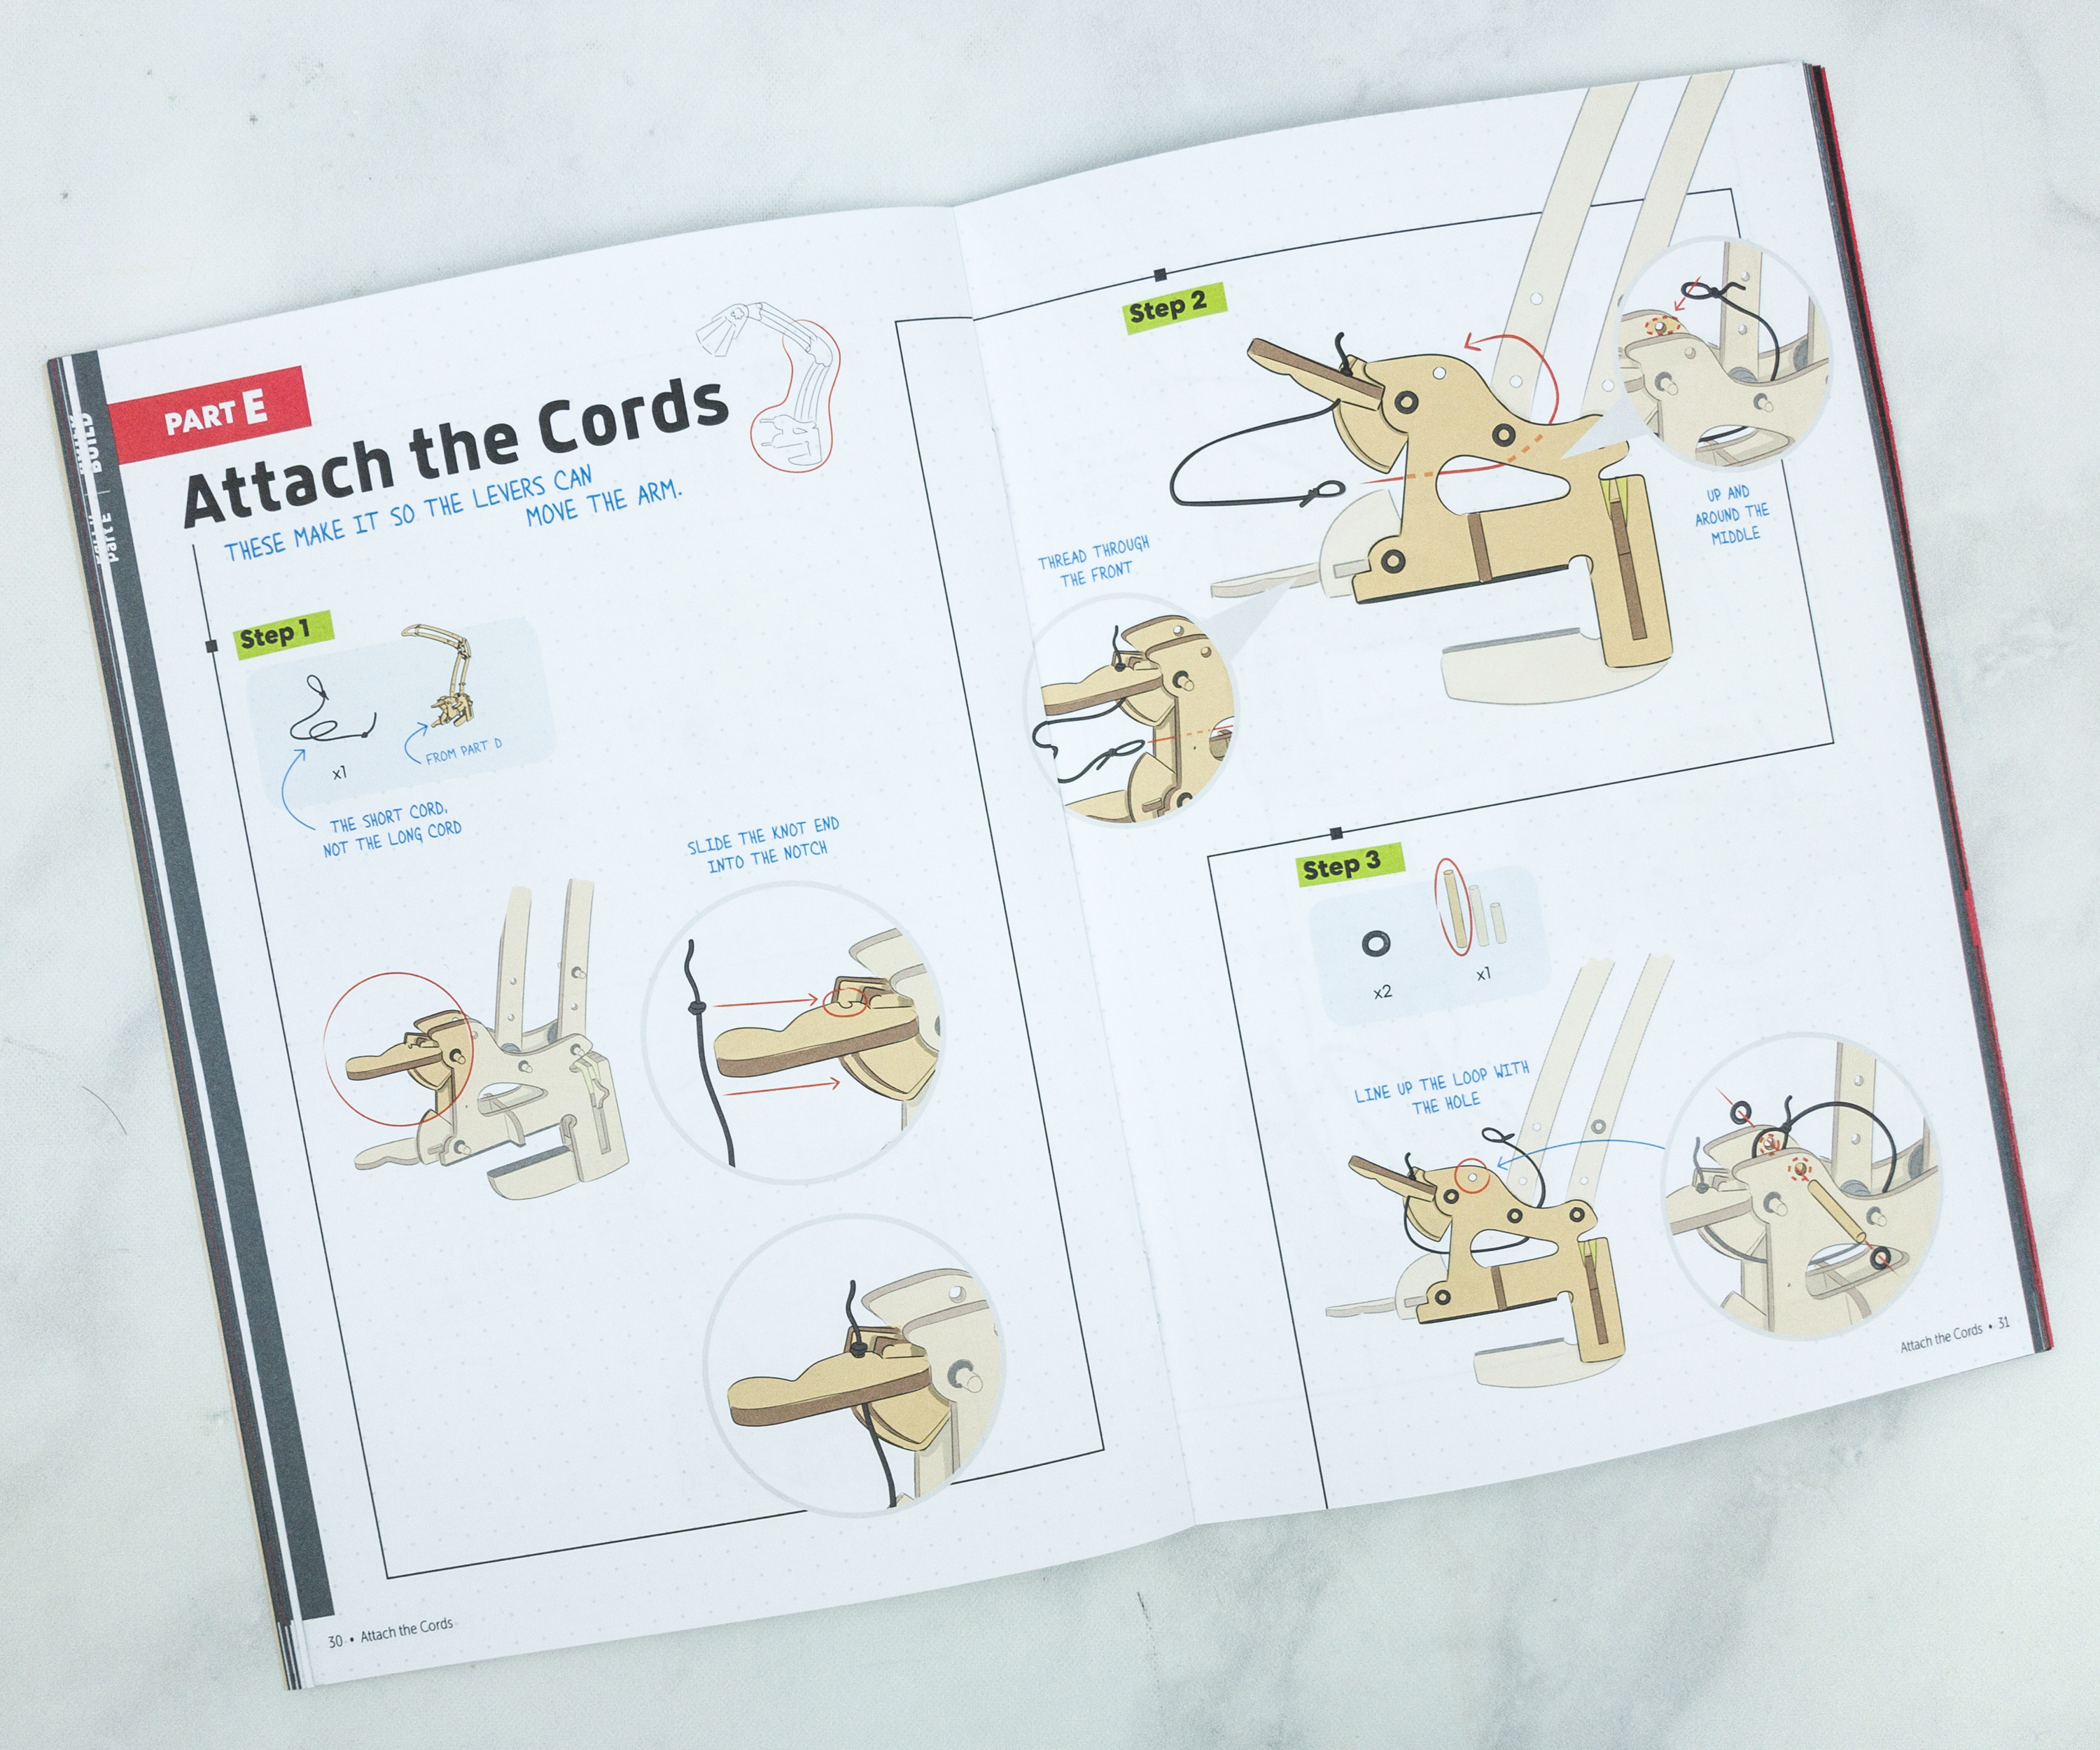
Then, for Part E, we’re attaching the cords which enable the arm to move.

Finally, we’re on the last few steps! Part F is about attaching the bulb.
Inside your light bulb, there are ten LEDs or light emiting diodes. The LEDs are wired in a circle on a printed circuit board (or PCB). The tiny metal wires are literally printed onto the board, which allows for much greater precision than wiring them by hand.

You can pick the shade style, either classic or fancy! KiwiCo is great about providing personalization options to help make the project your own!

This is the fancy style. It looks beautiful when lit up!
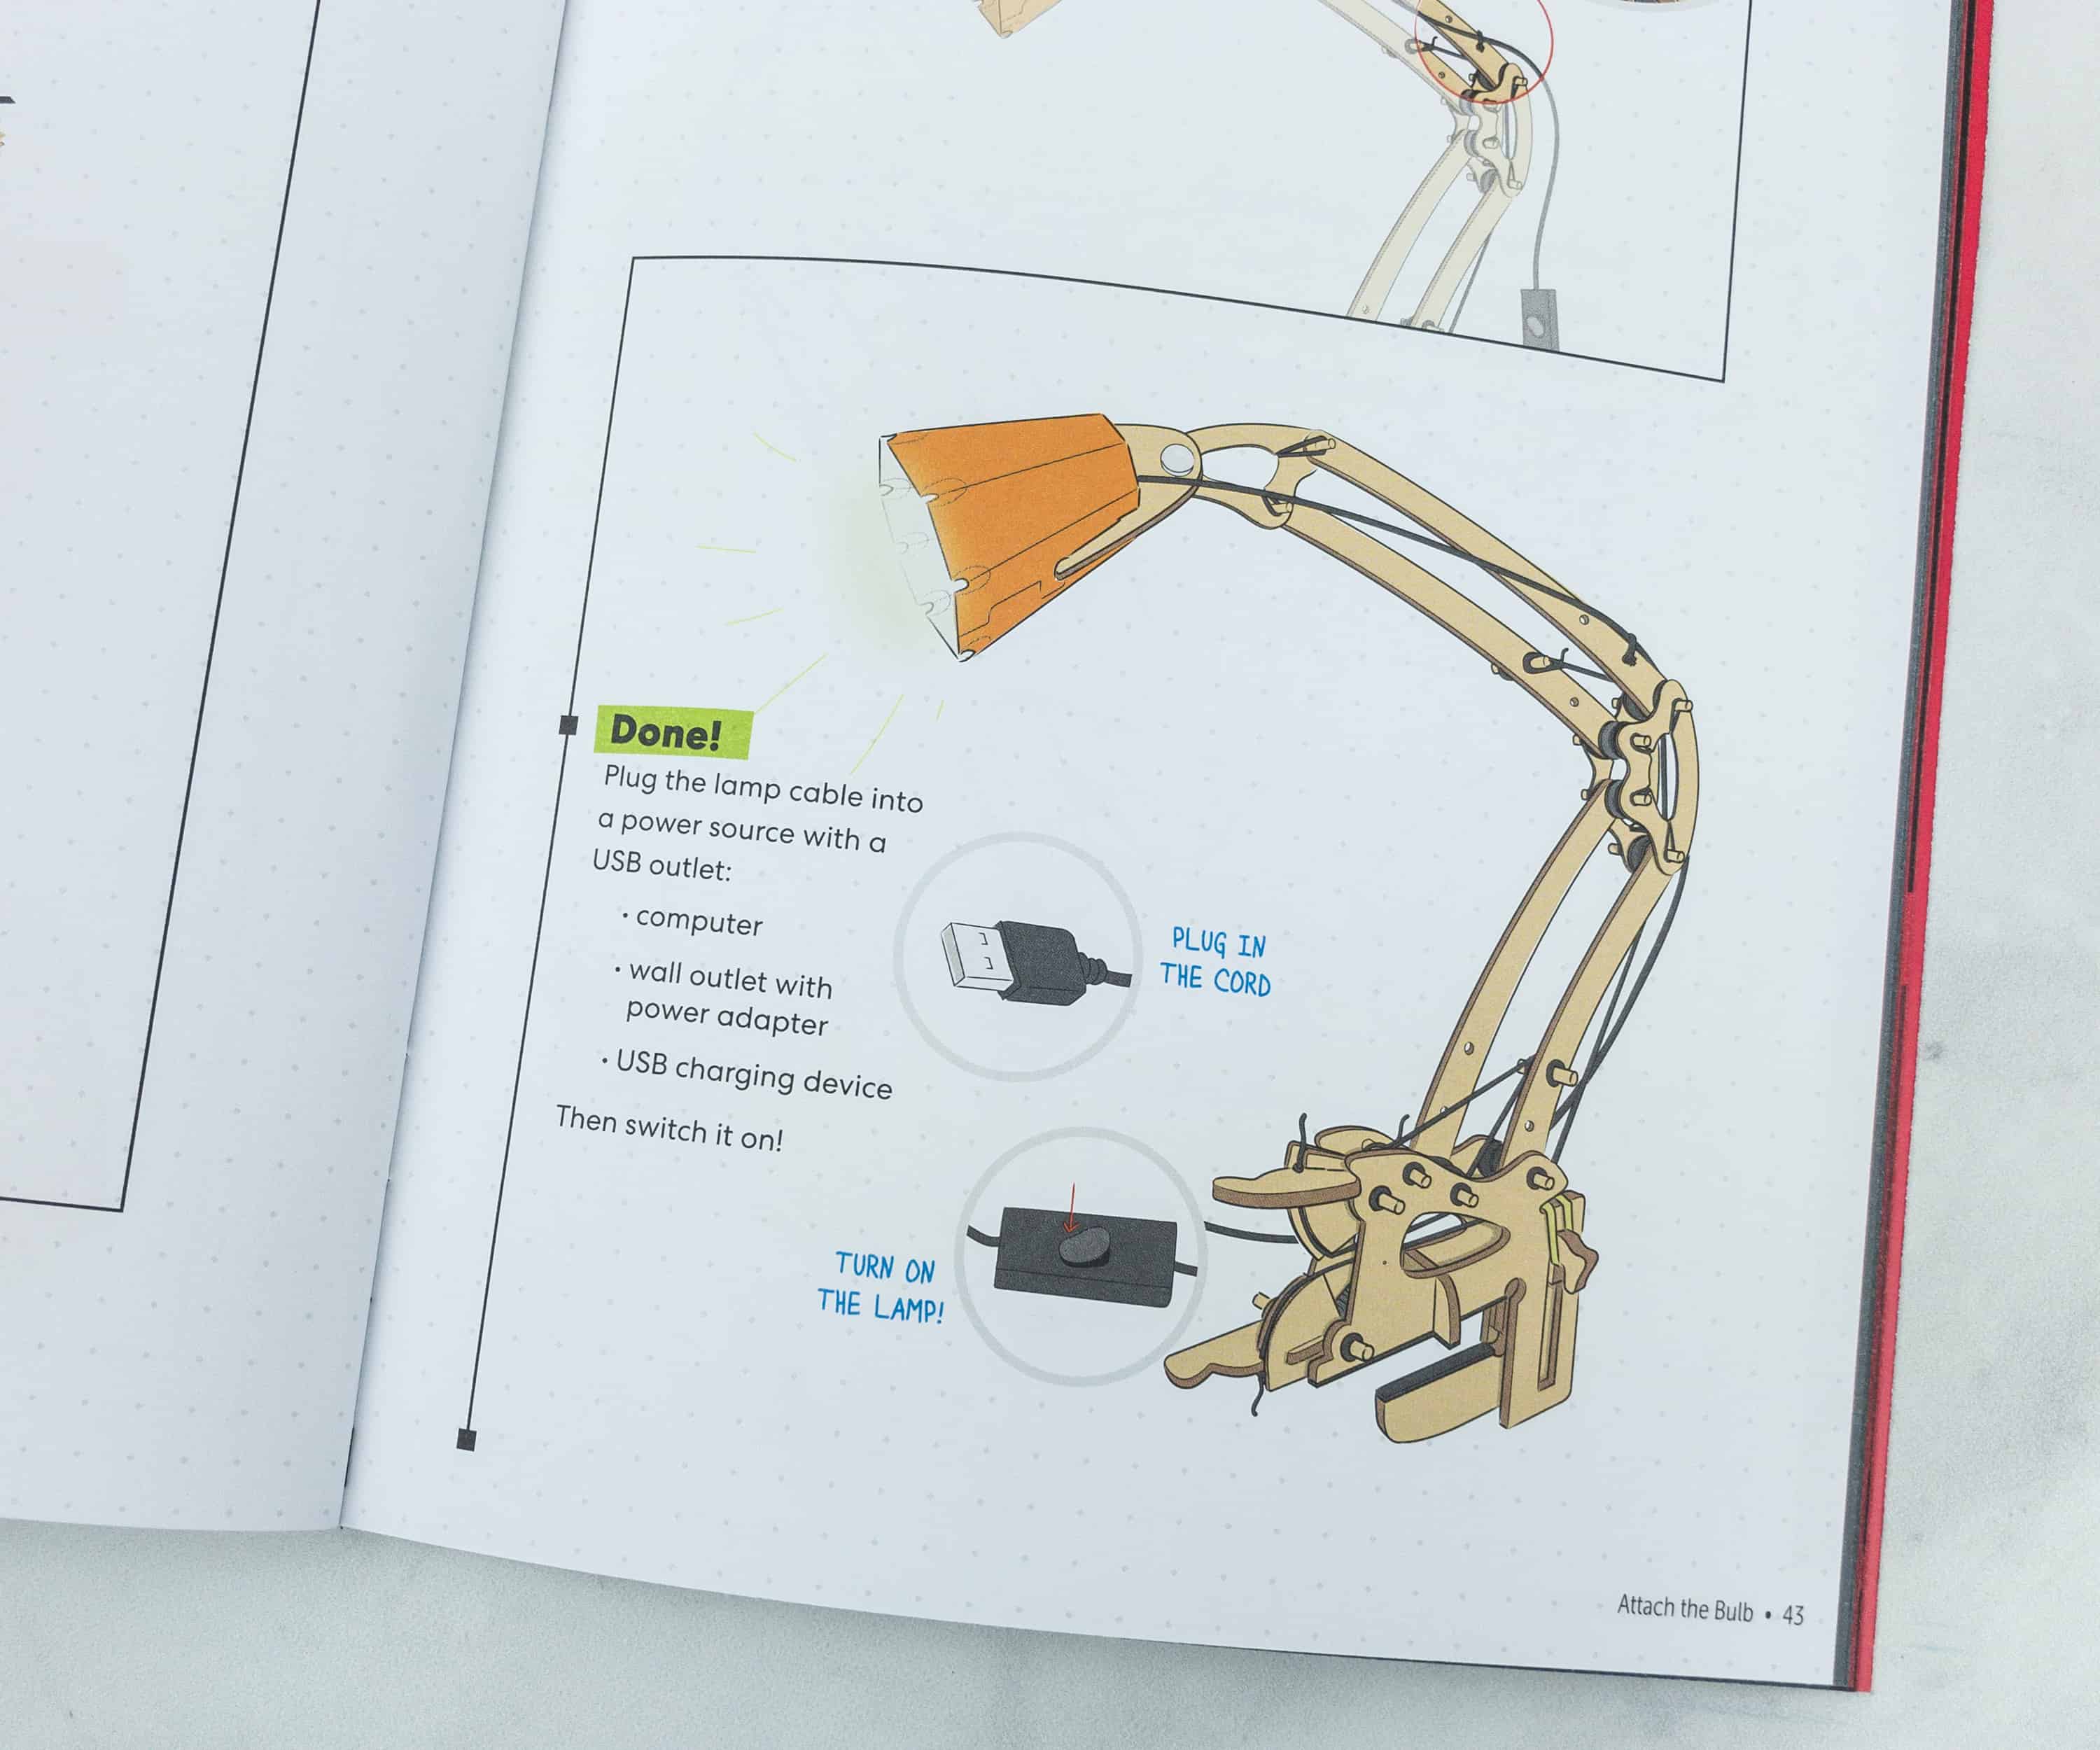
The lamp cable can be attached to a power source with a USB outlet, like a computer, wall outlet with a power adapter, or a USB charging device. Then, switch it on!
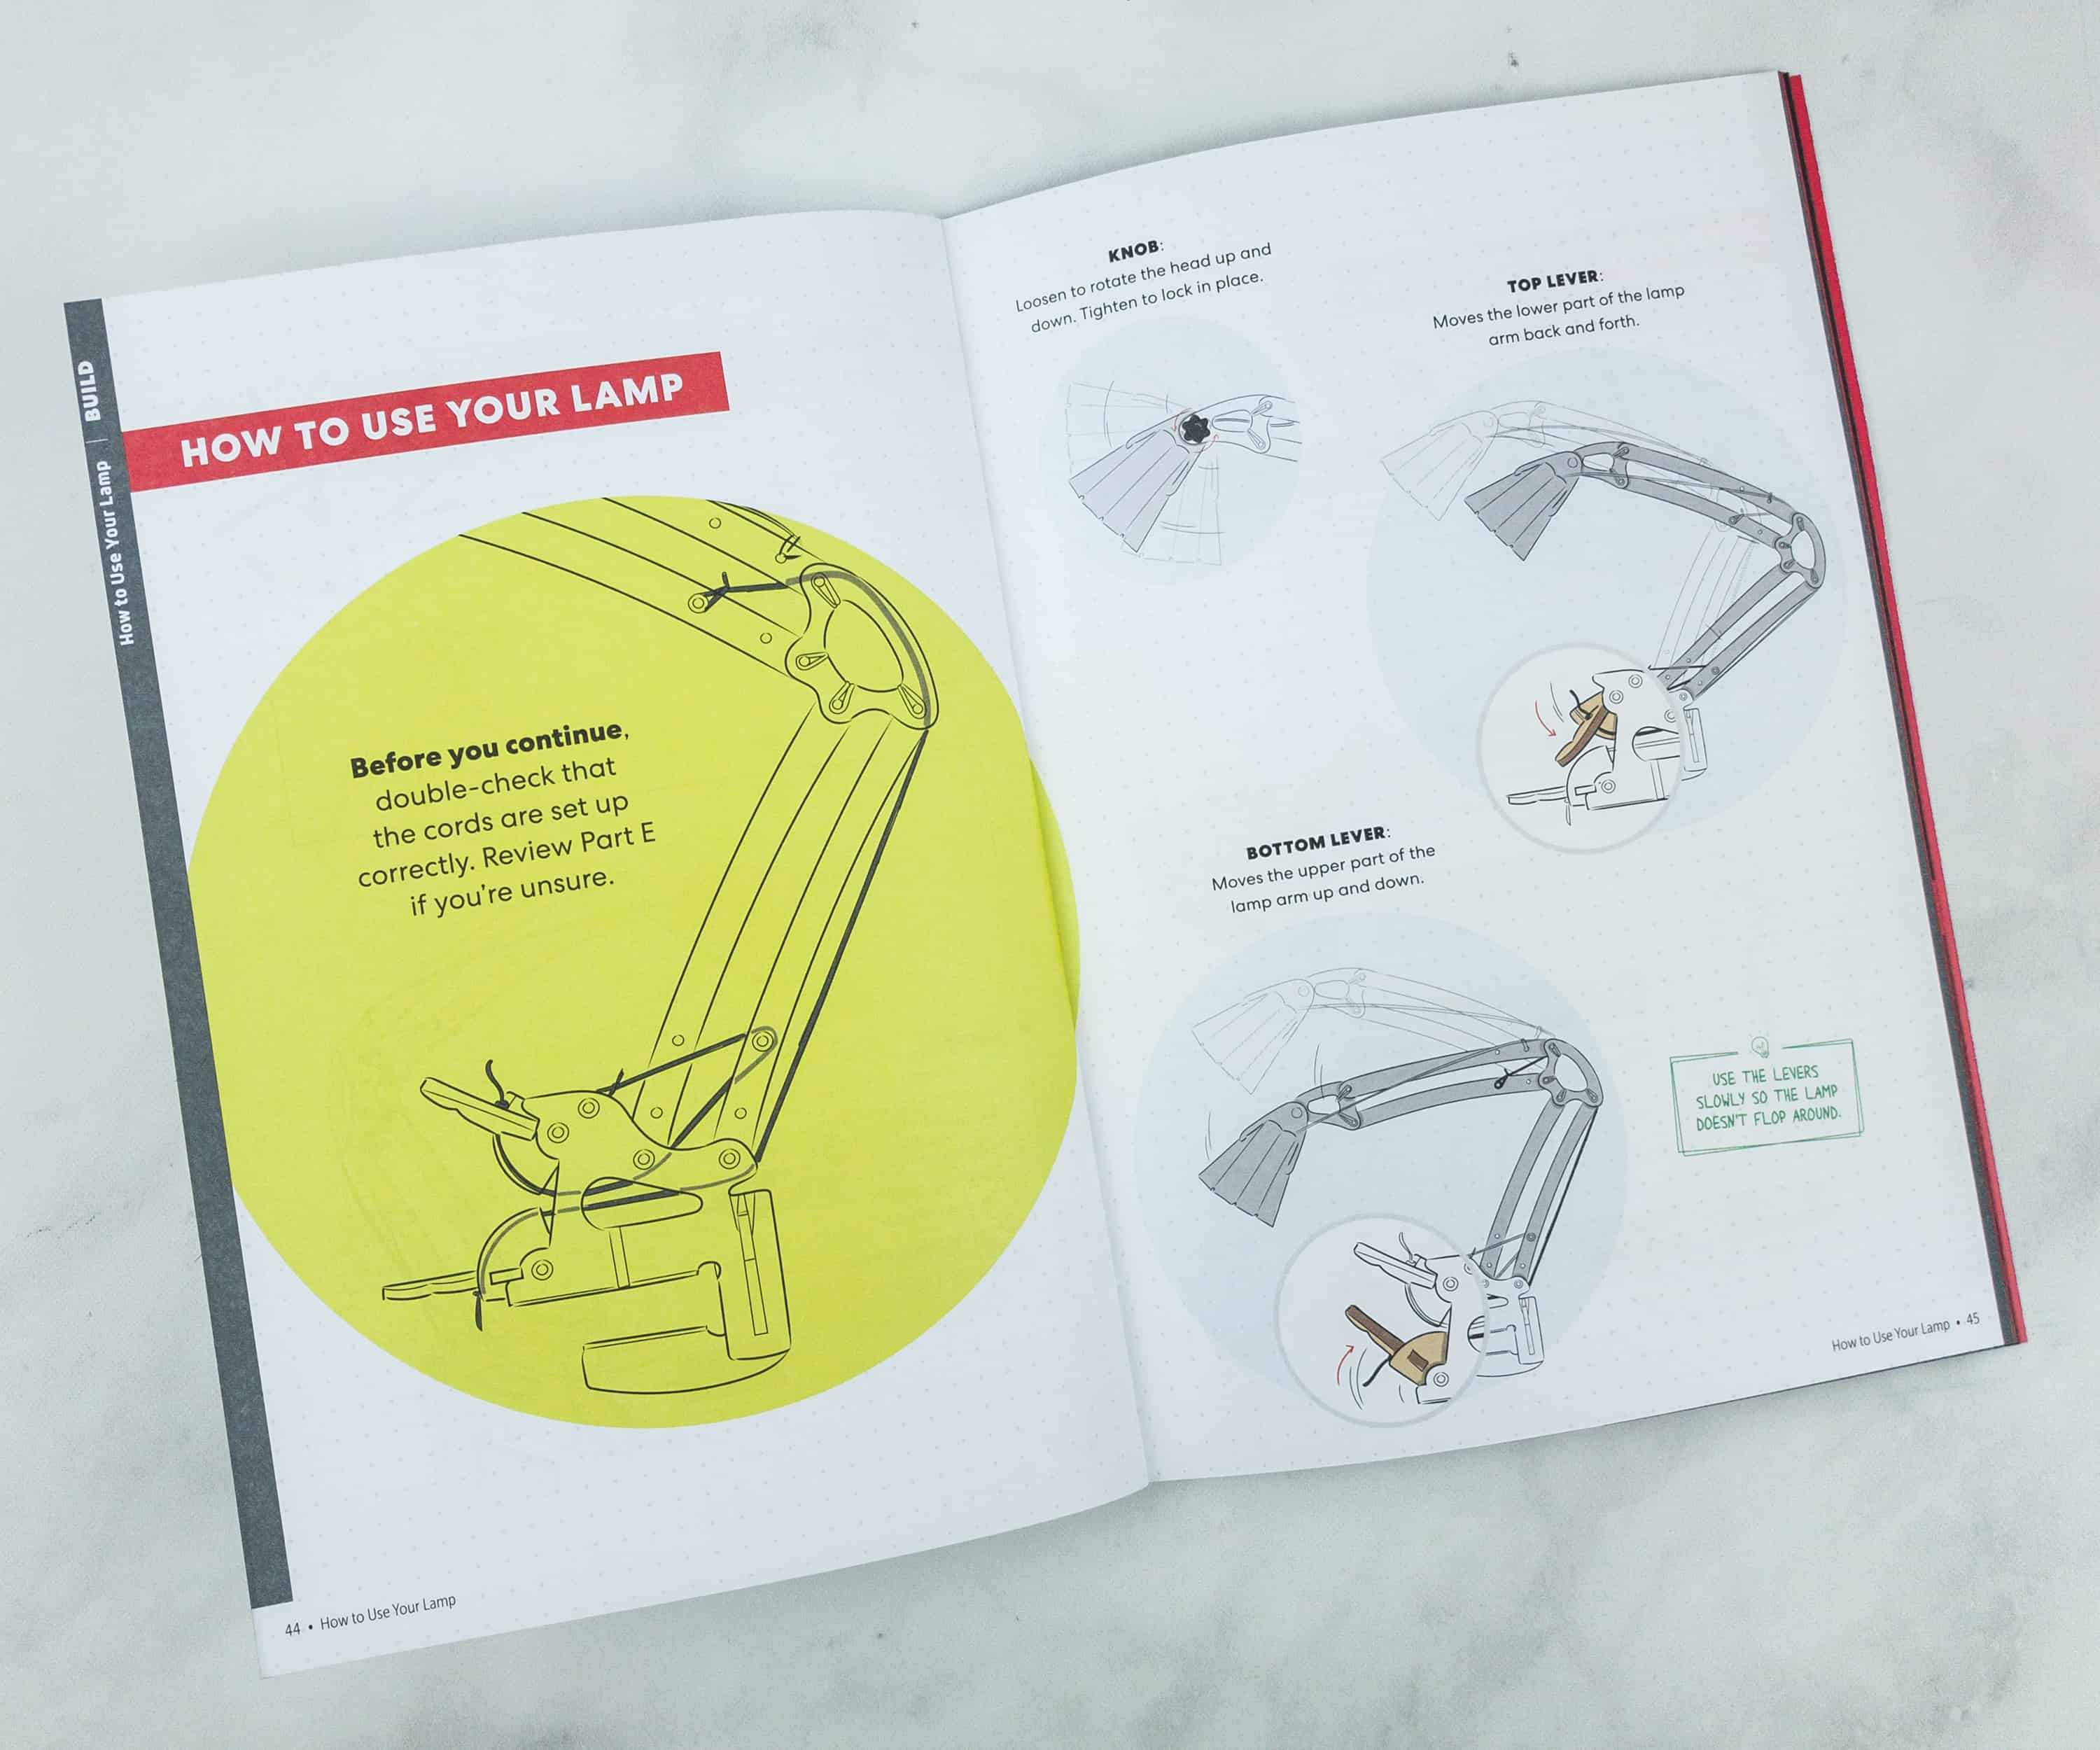
The booklet even provided instructions on how to use your lamp.

There are more troubleshooting guides, in case you encounter any problems with your lamp.
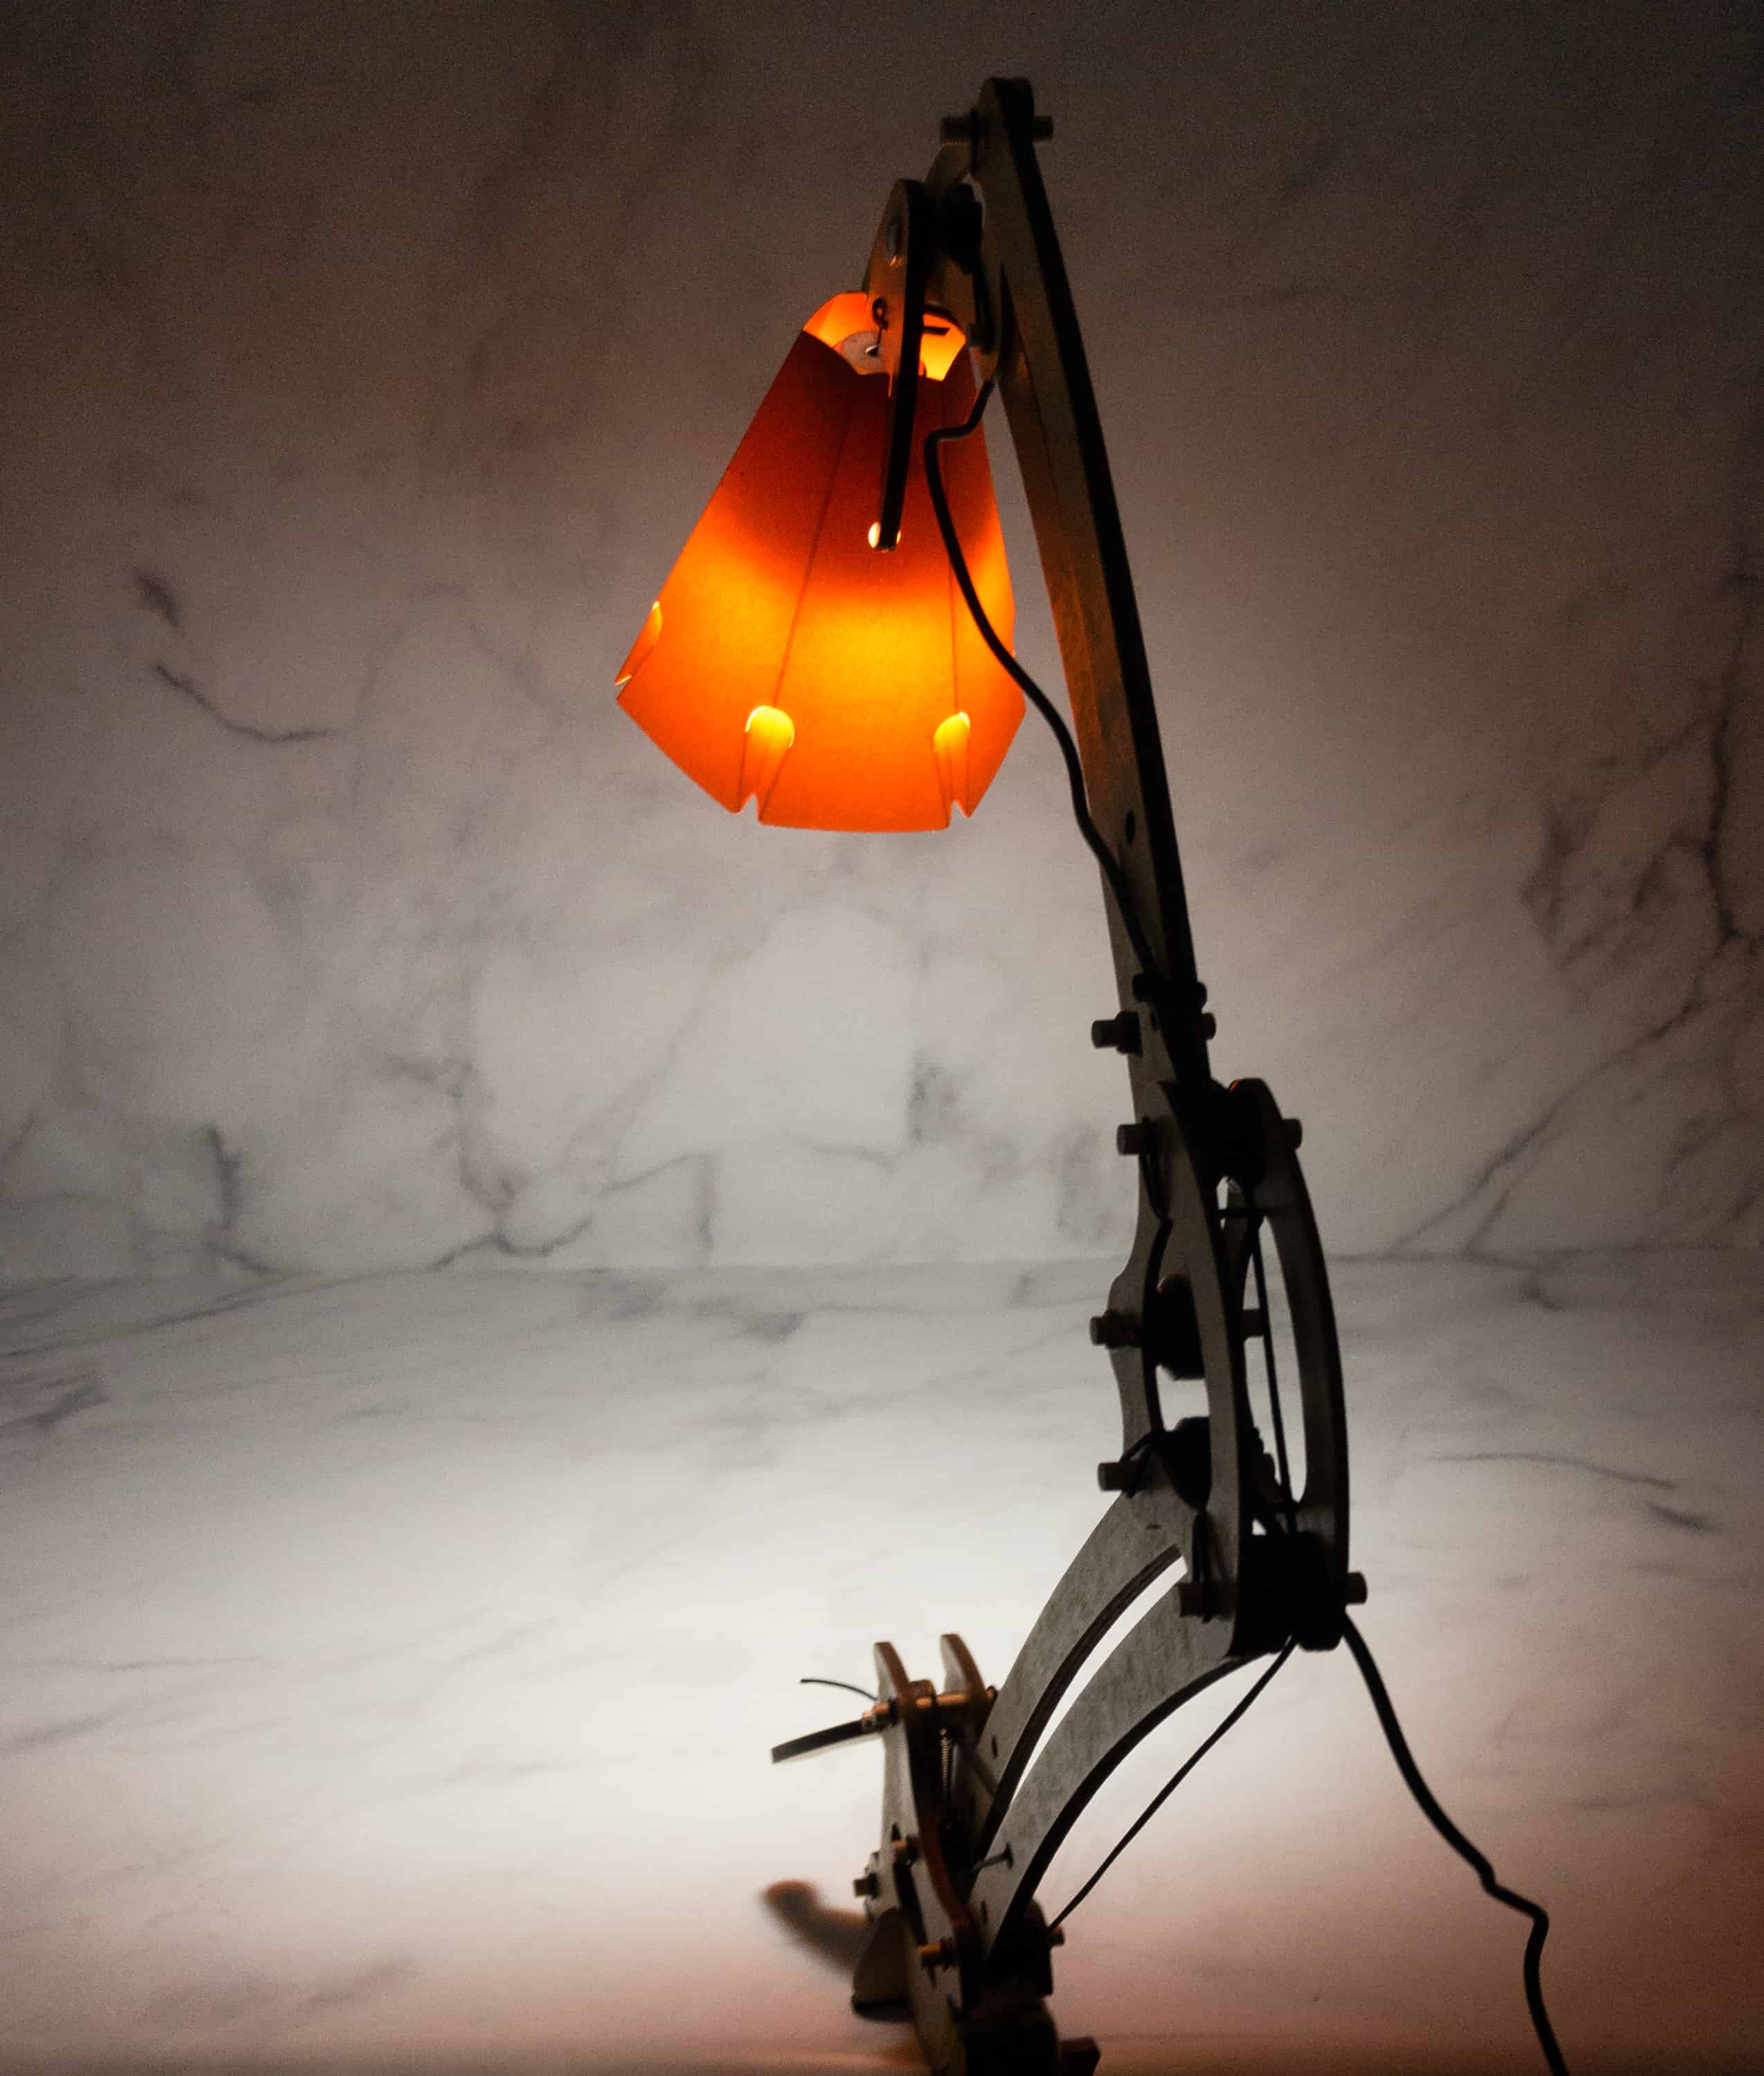
Ours is working perfectly fine!
A tip from Eureka Crate: use the levers slowly so the lamp doesn’t flop around.
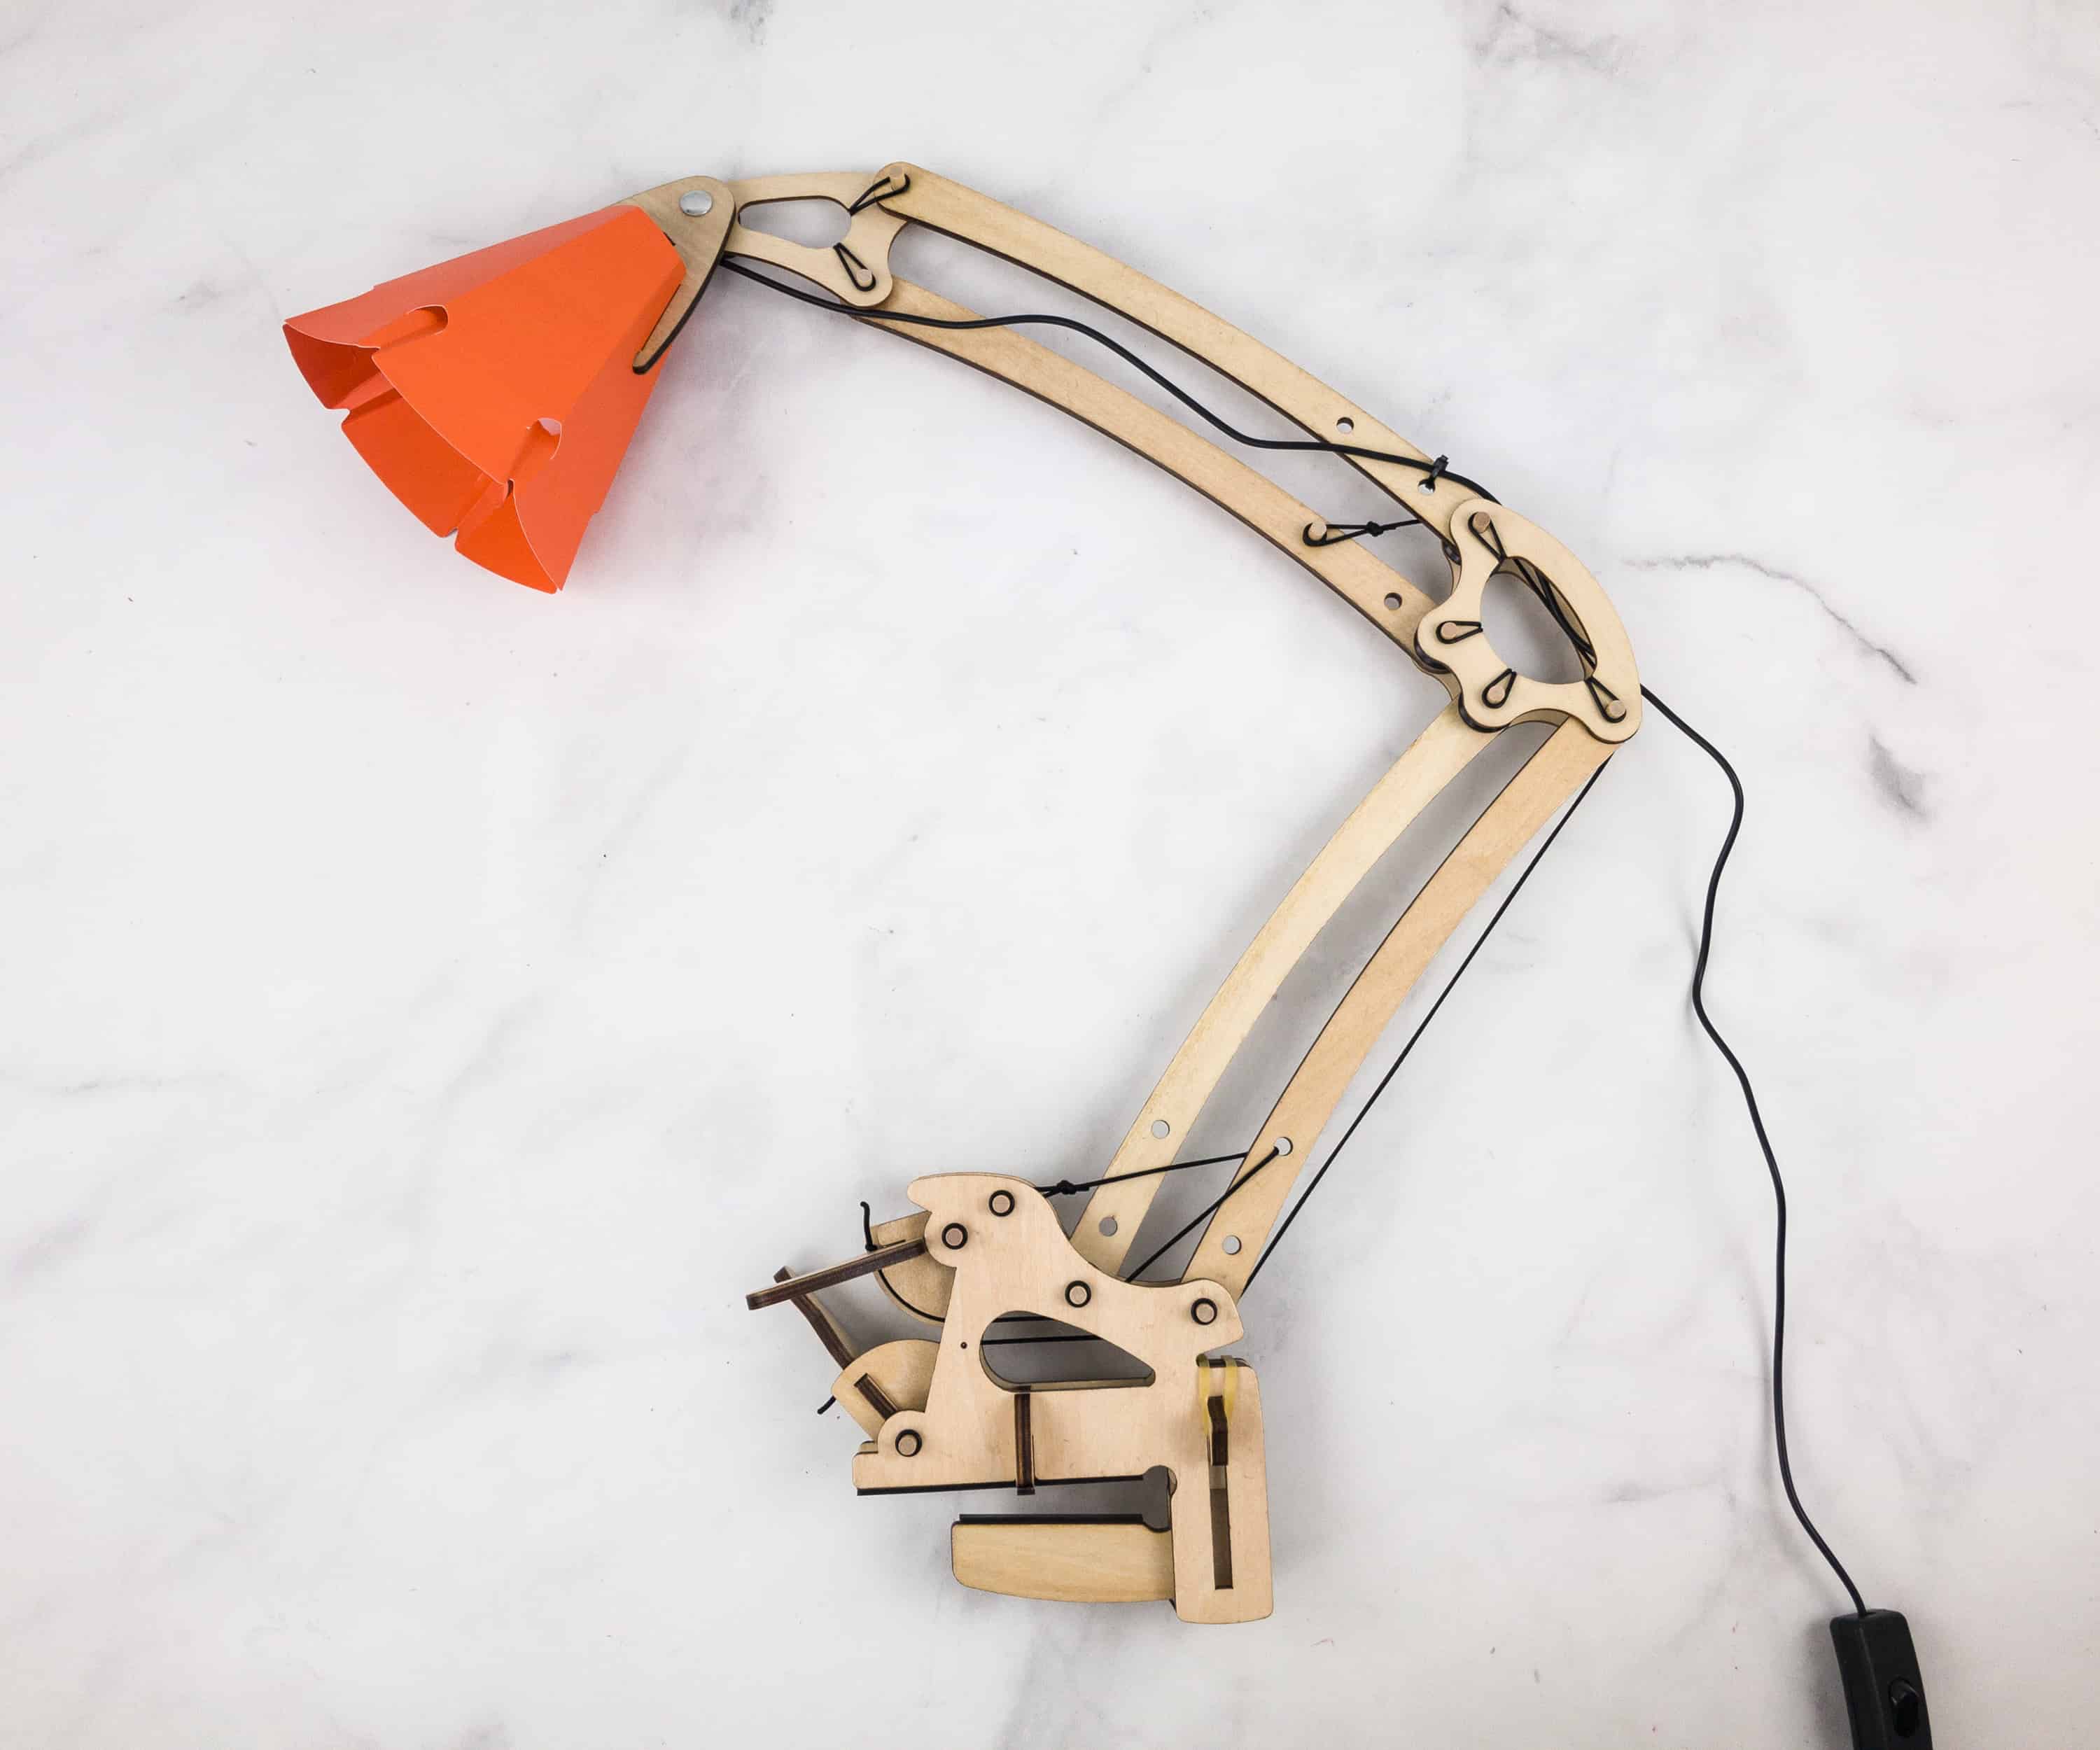
What a cool project!

This feature is interesting! They explain the science behind the design, and it’s easy to understand because they broke down the information by part.

Here, they explain mechanical equilibrium.
Your lamp is engineered to stay in a state of mechanical equilibrium, which is just a fancy way of saying that all the forces pushing on something can cancel each other out.

There’s even trivia about the history of The Anglepoise lamp. It was the brainchild of a British automotive engineer.
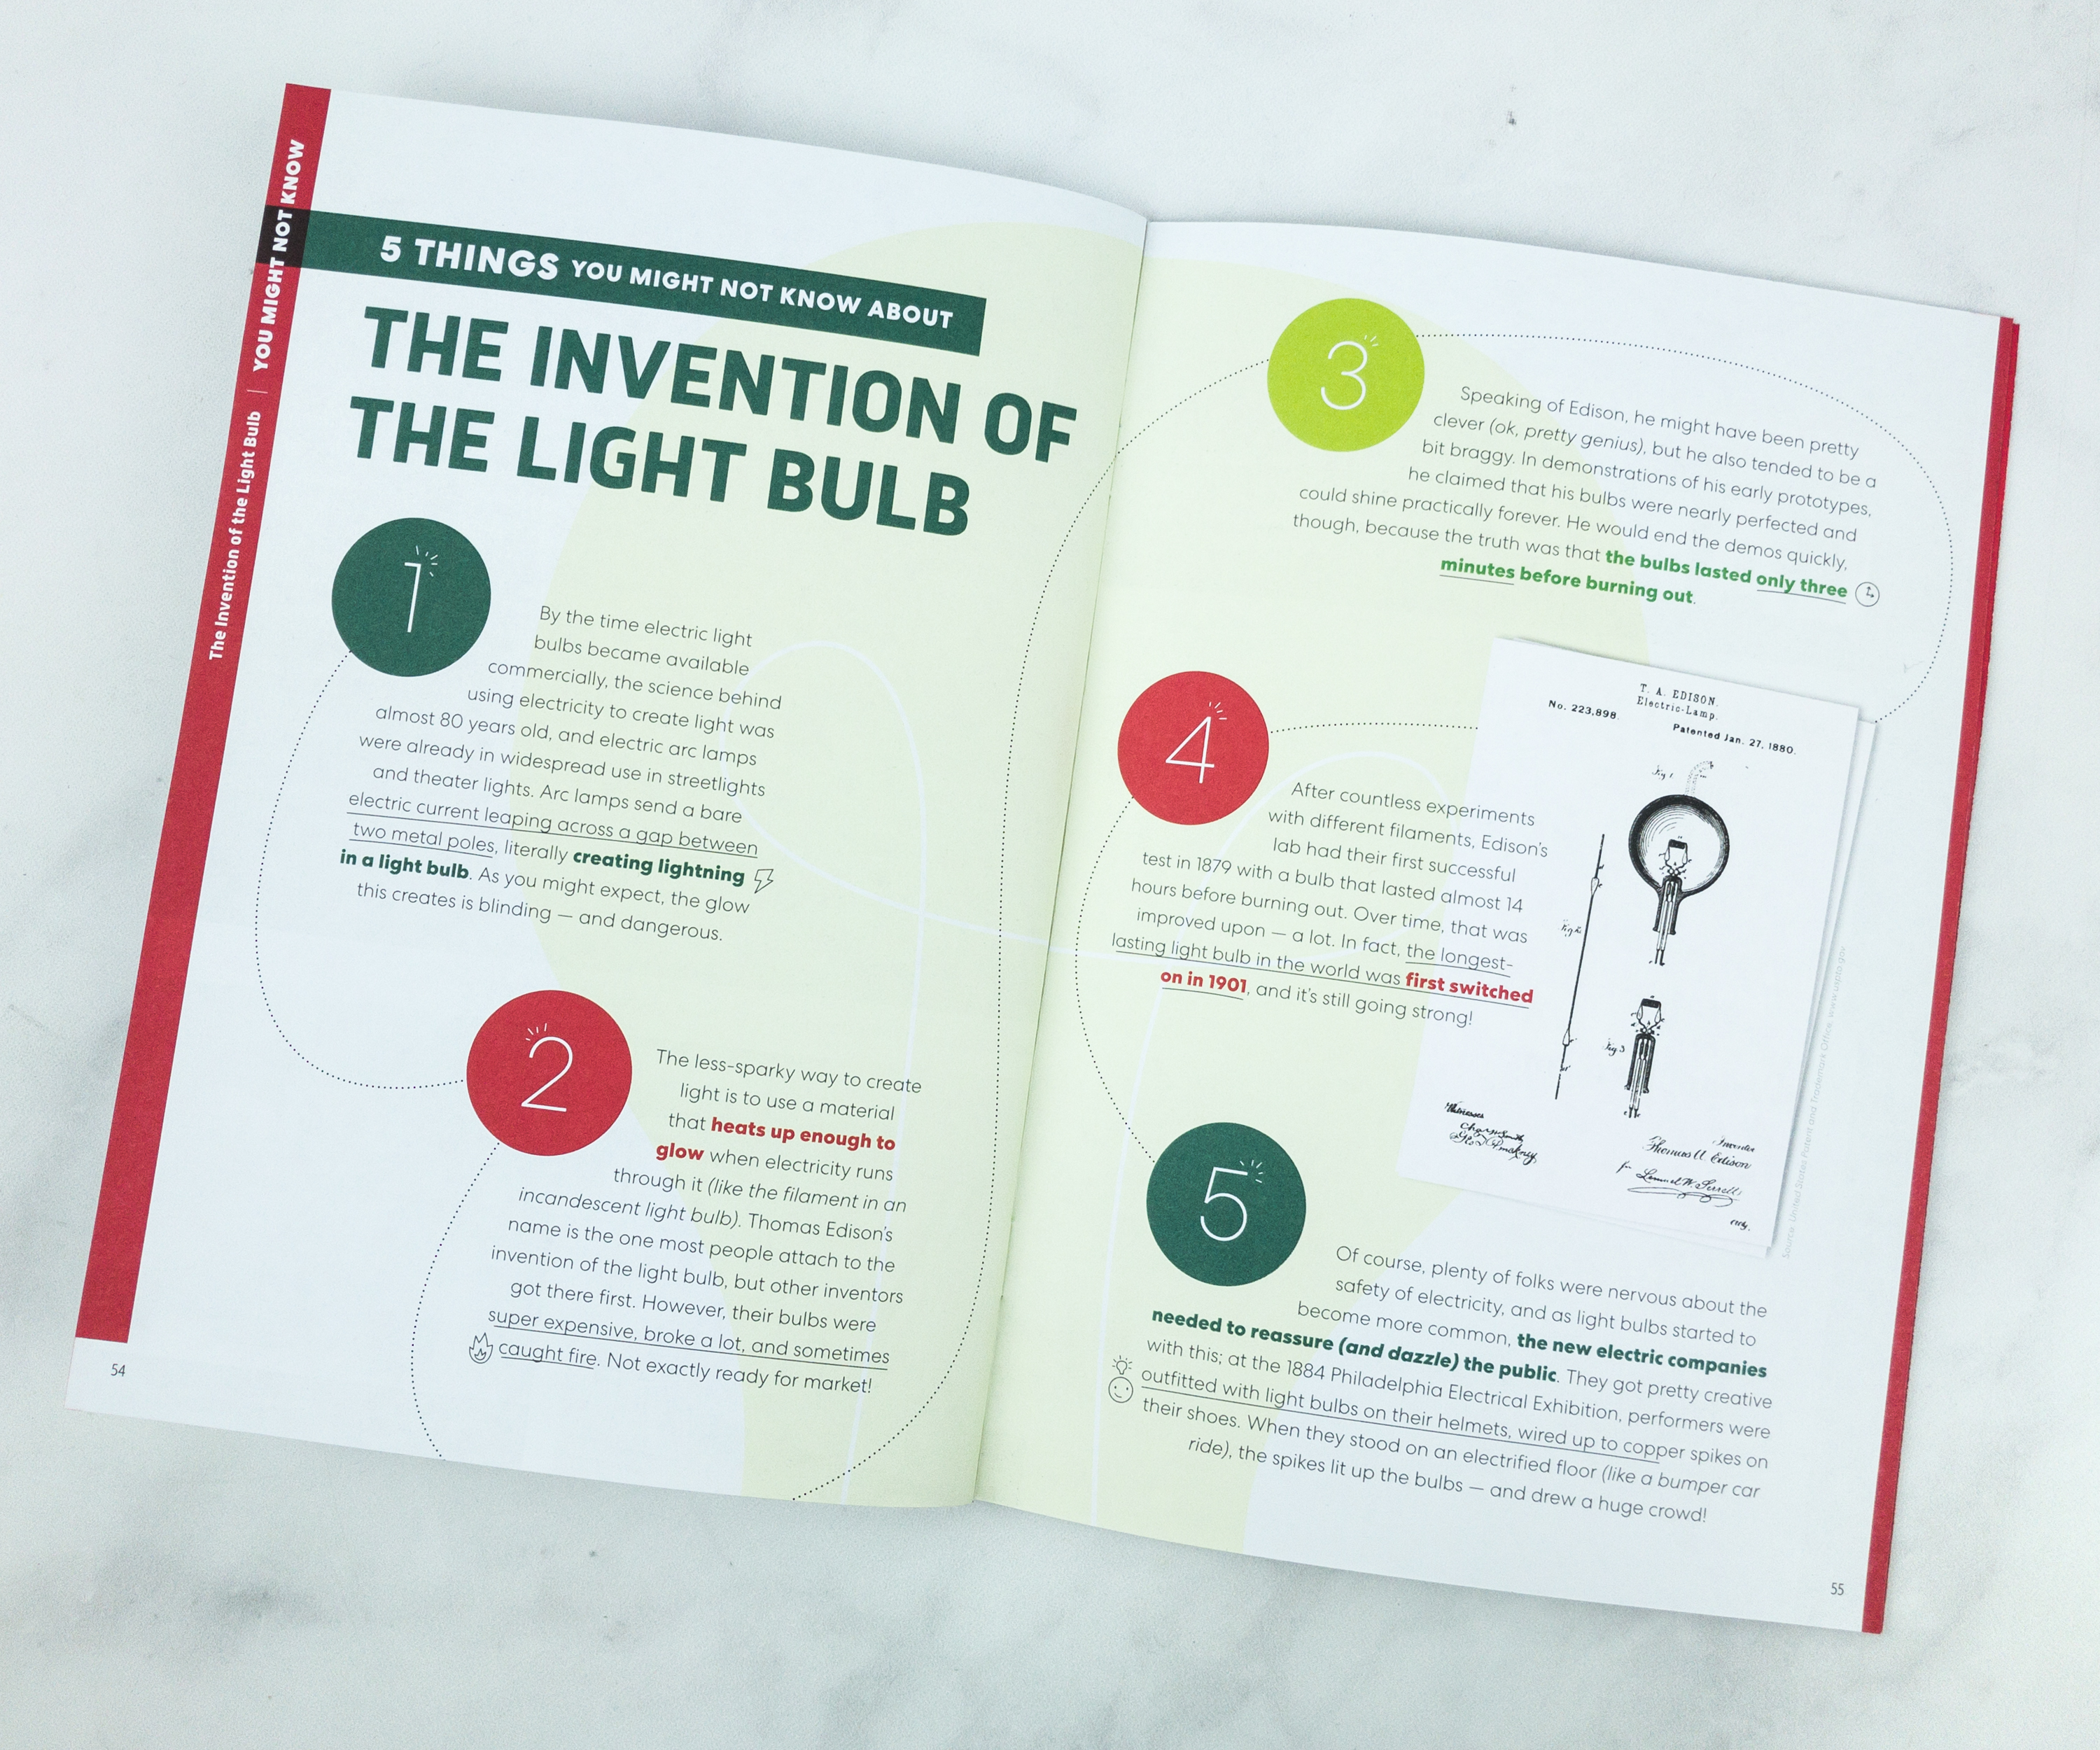
More fun trivia! This time, it’s about the invention of the light bulb.
Design Challenge

Lastly, there’s a design challenge for everyone! It lists suggested materials you can find at home, plus design questions to guide you in making it.

There’s so much to love about this new crate from KiwiCo! Like the other crates from the brand, Eureka Crate contains everything you need to build, explore, and learn. It allows you to engineer solutions that you can also apply to real-world problems, so it’s a great choice if you want to build your problem-solving skills. The fact that we’re creating real and functional objects for everyday use also adds to the overall value of the box. Also, learning doesn’t stop after making the project, because they also provide trivia and other fun informational reads covering science, technology, and even history. It’s a well-rounded crate that teens and adults can enjoy! Plus, we totally dig the Design Challenge – it provides a bit of direction for some inspired tinkering after you’ve completed the build!
What do you think of this month’s Eureka Crate?


Comments