Eureka Crate is a monthly STEM and maker subscription box that teaches kids and adults how to apply principles of science and math to make awesome things you will love to use every day – from an articulated desk lamp to an electric pencil sharpener to a wooden ukulele. Every Eureka Crate includes an engineering project, detailed step-by-step instructions, everything you need to complete the project, a Maker’s Guide that explains all the design, process, and engineering behind the design, plus a design challenge to take your project knowledge to the next level!
DEAL: Save 30% on your first month! Just use this link to subscribe, no coupon code required! You can also use the same link to save 30% on the first month of any other KiwiCo crate – just check out this page to discover which box is right for you.
Eureka Crate is KiwiCo’s latest subscription! Eureka Crate is designed for ages 14-104. If you’re ready to graduate from KiwiCo’s other boxes or just can’t get enough (or are just too old for their other subscriptions), you’ll love this box, which is designed to create a hands-on learning experience using everyday items to delve deeply into the science and math principles they embody, along with the design process of the month’s project.
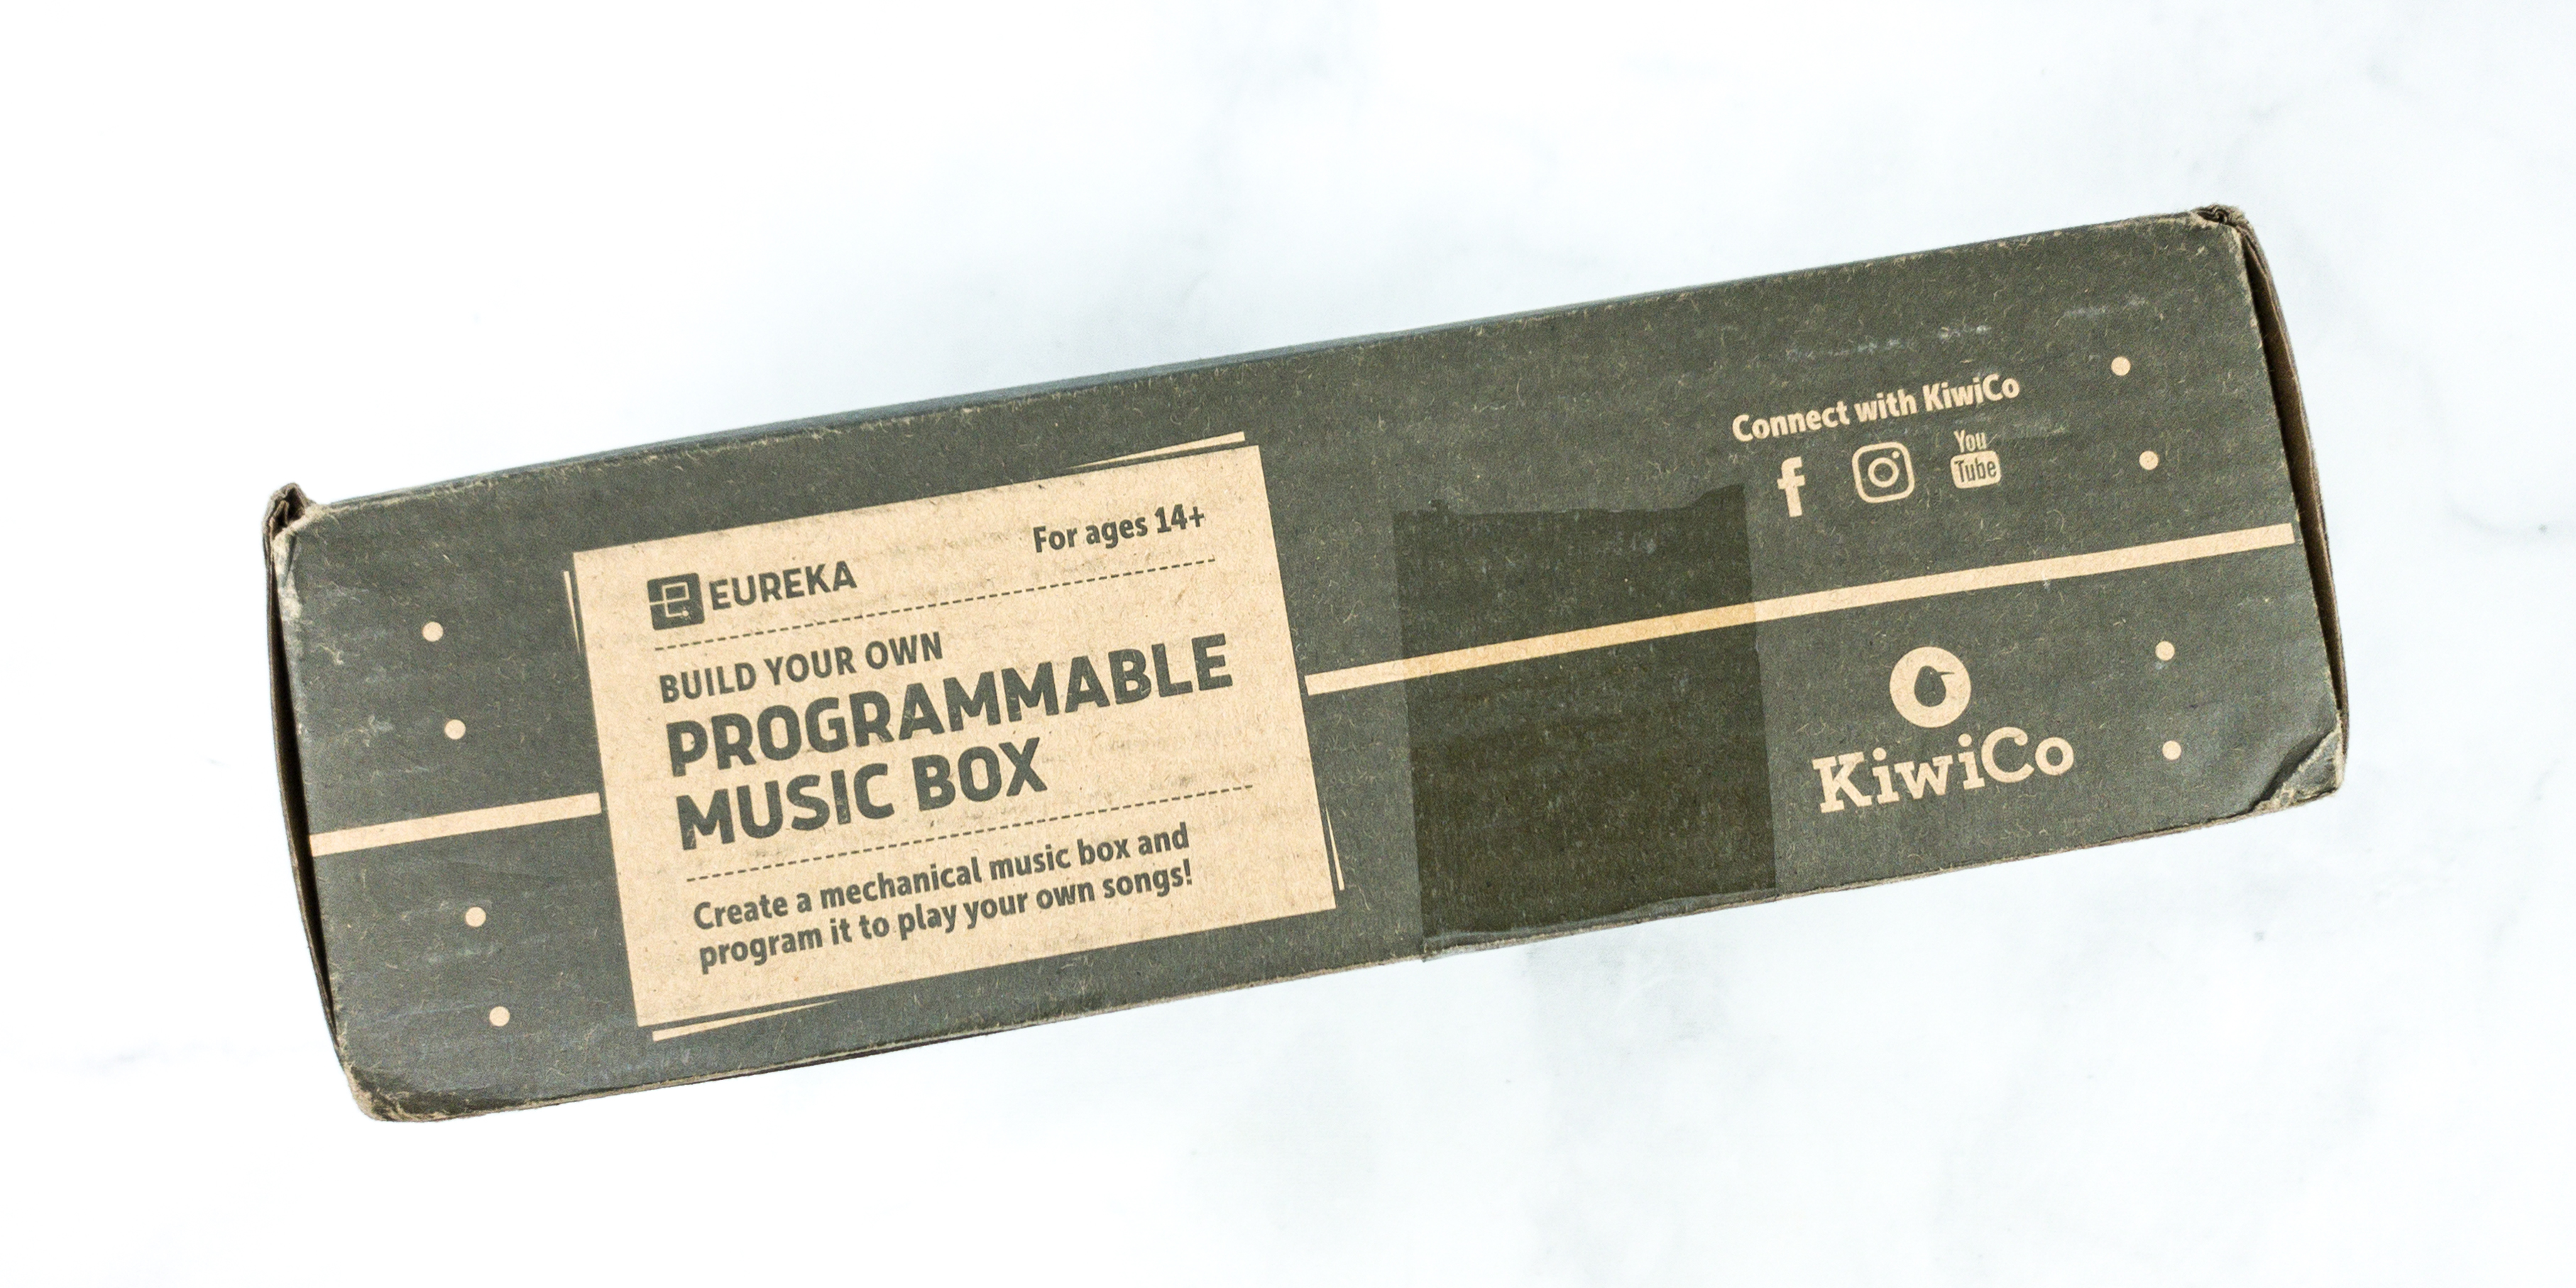
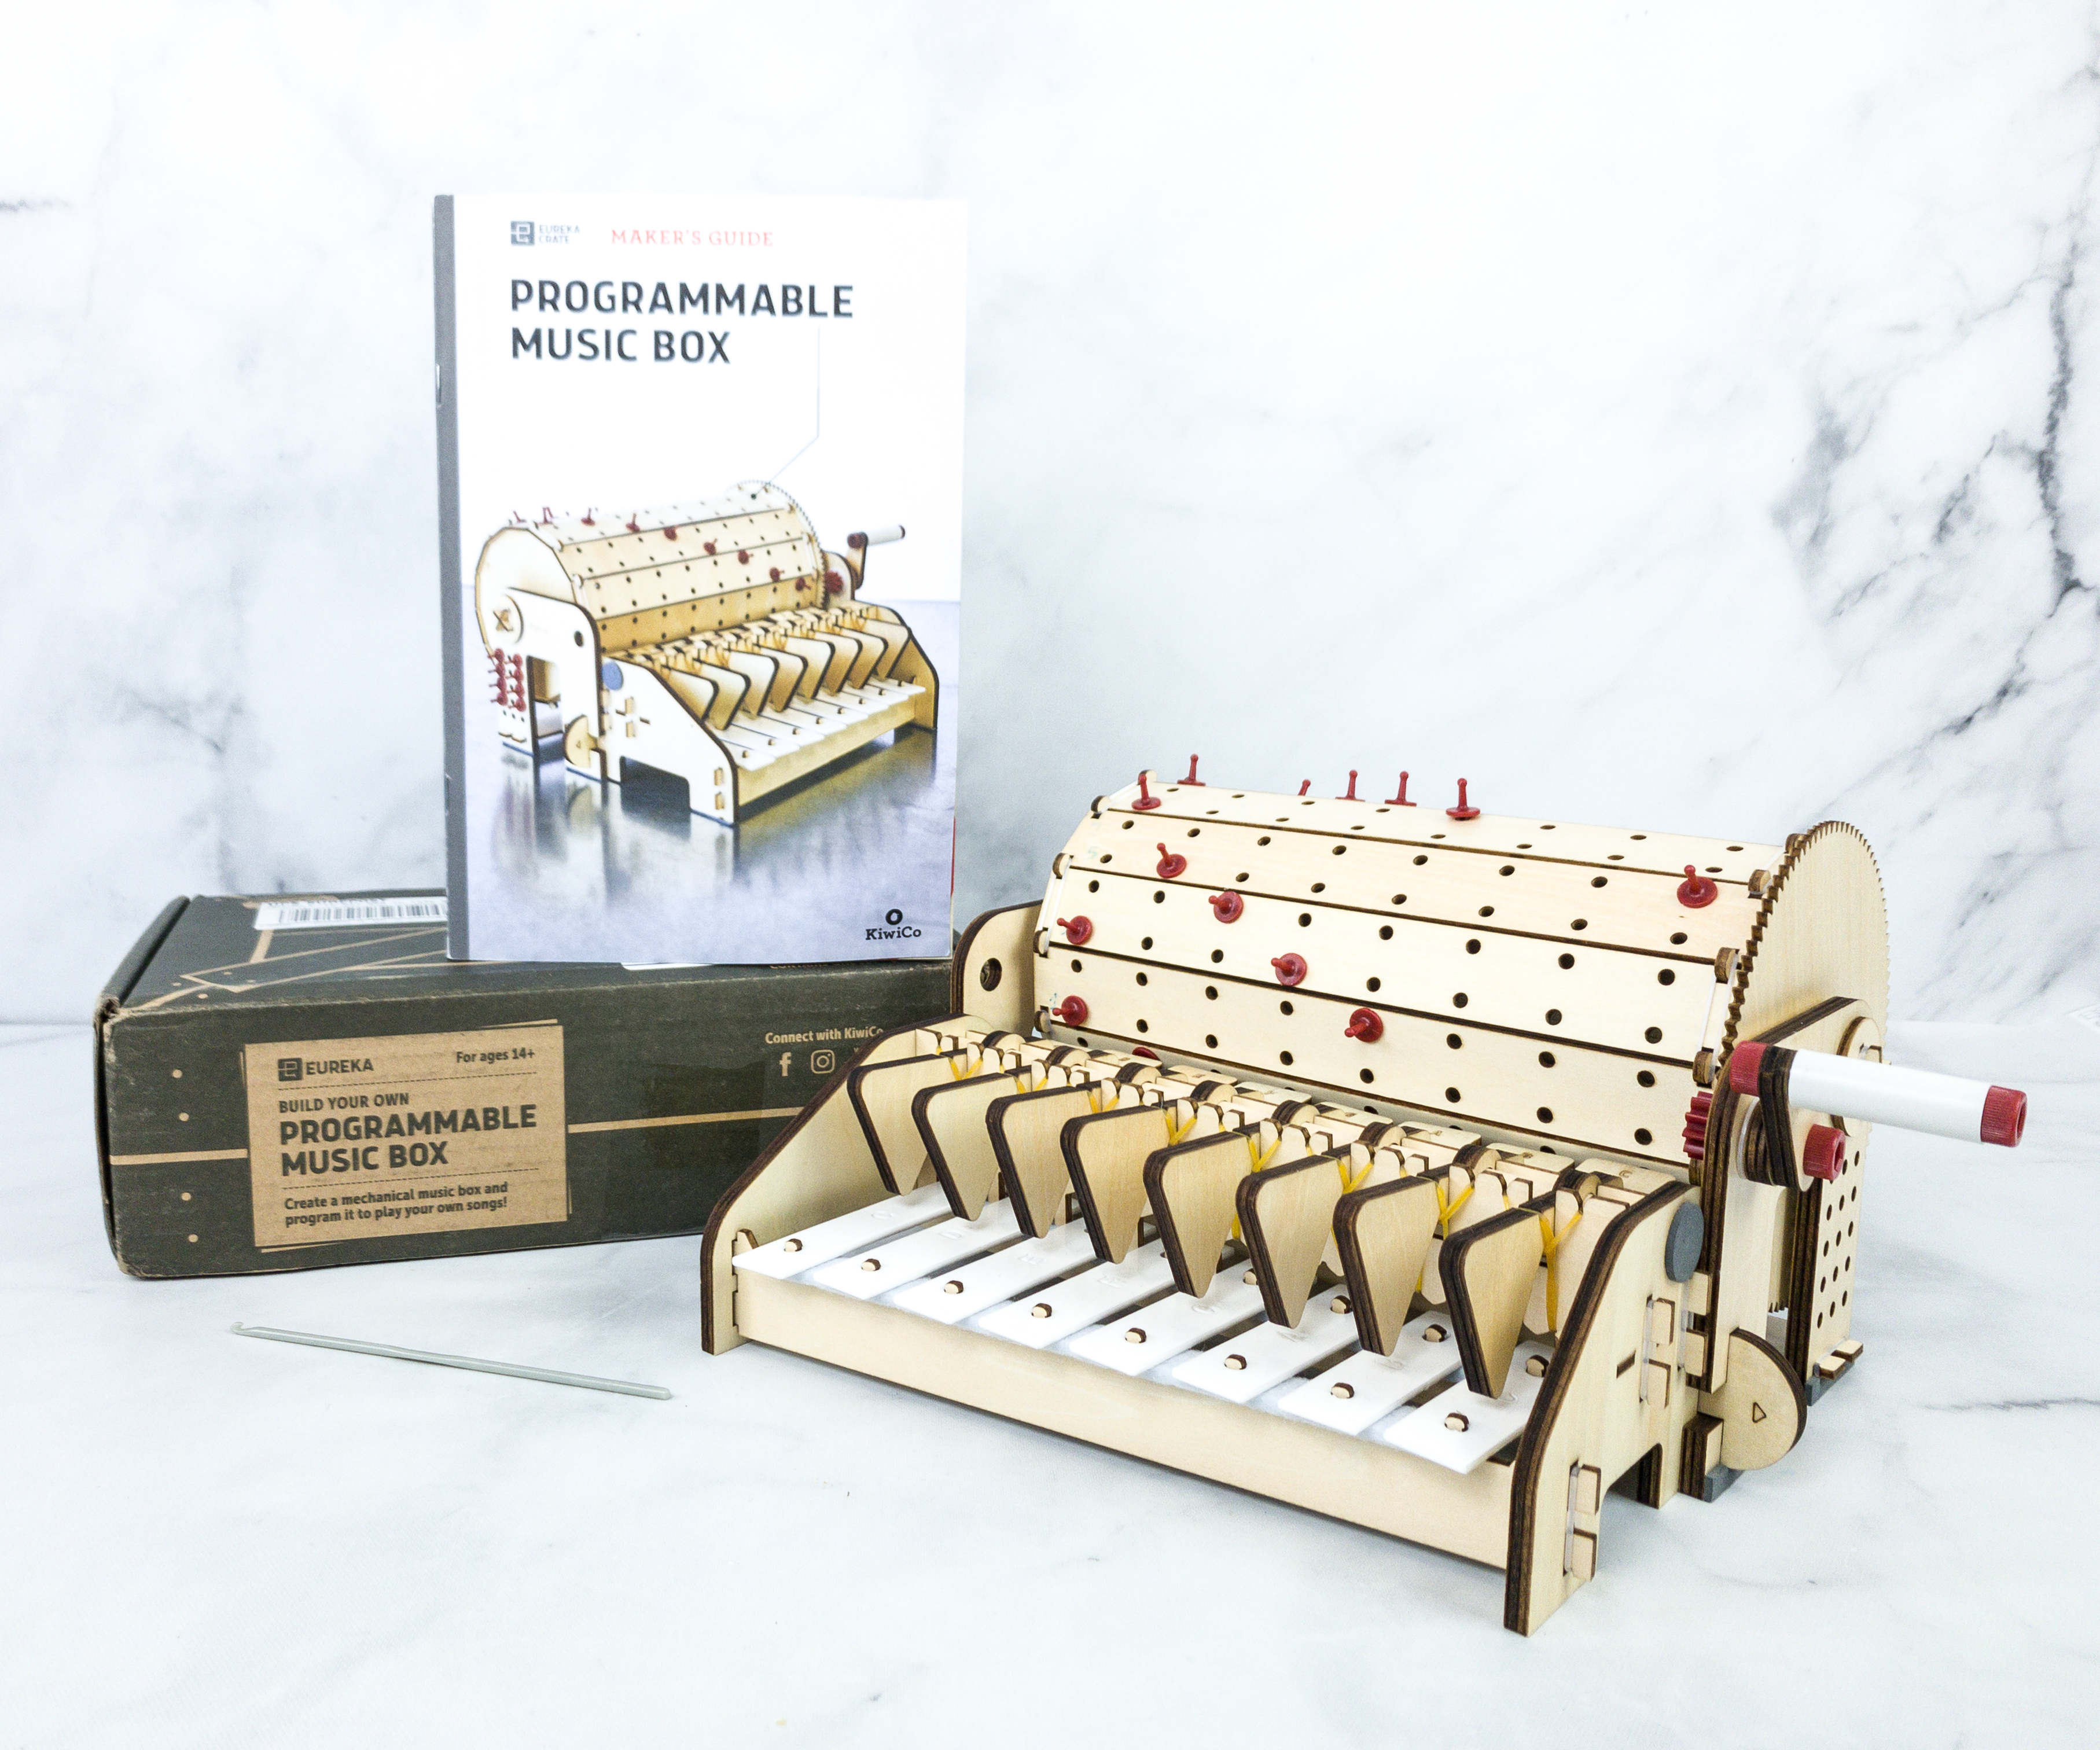
This month, we’re making a Programmable Music Box!
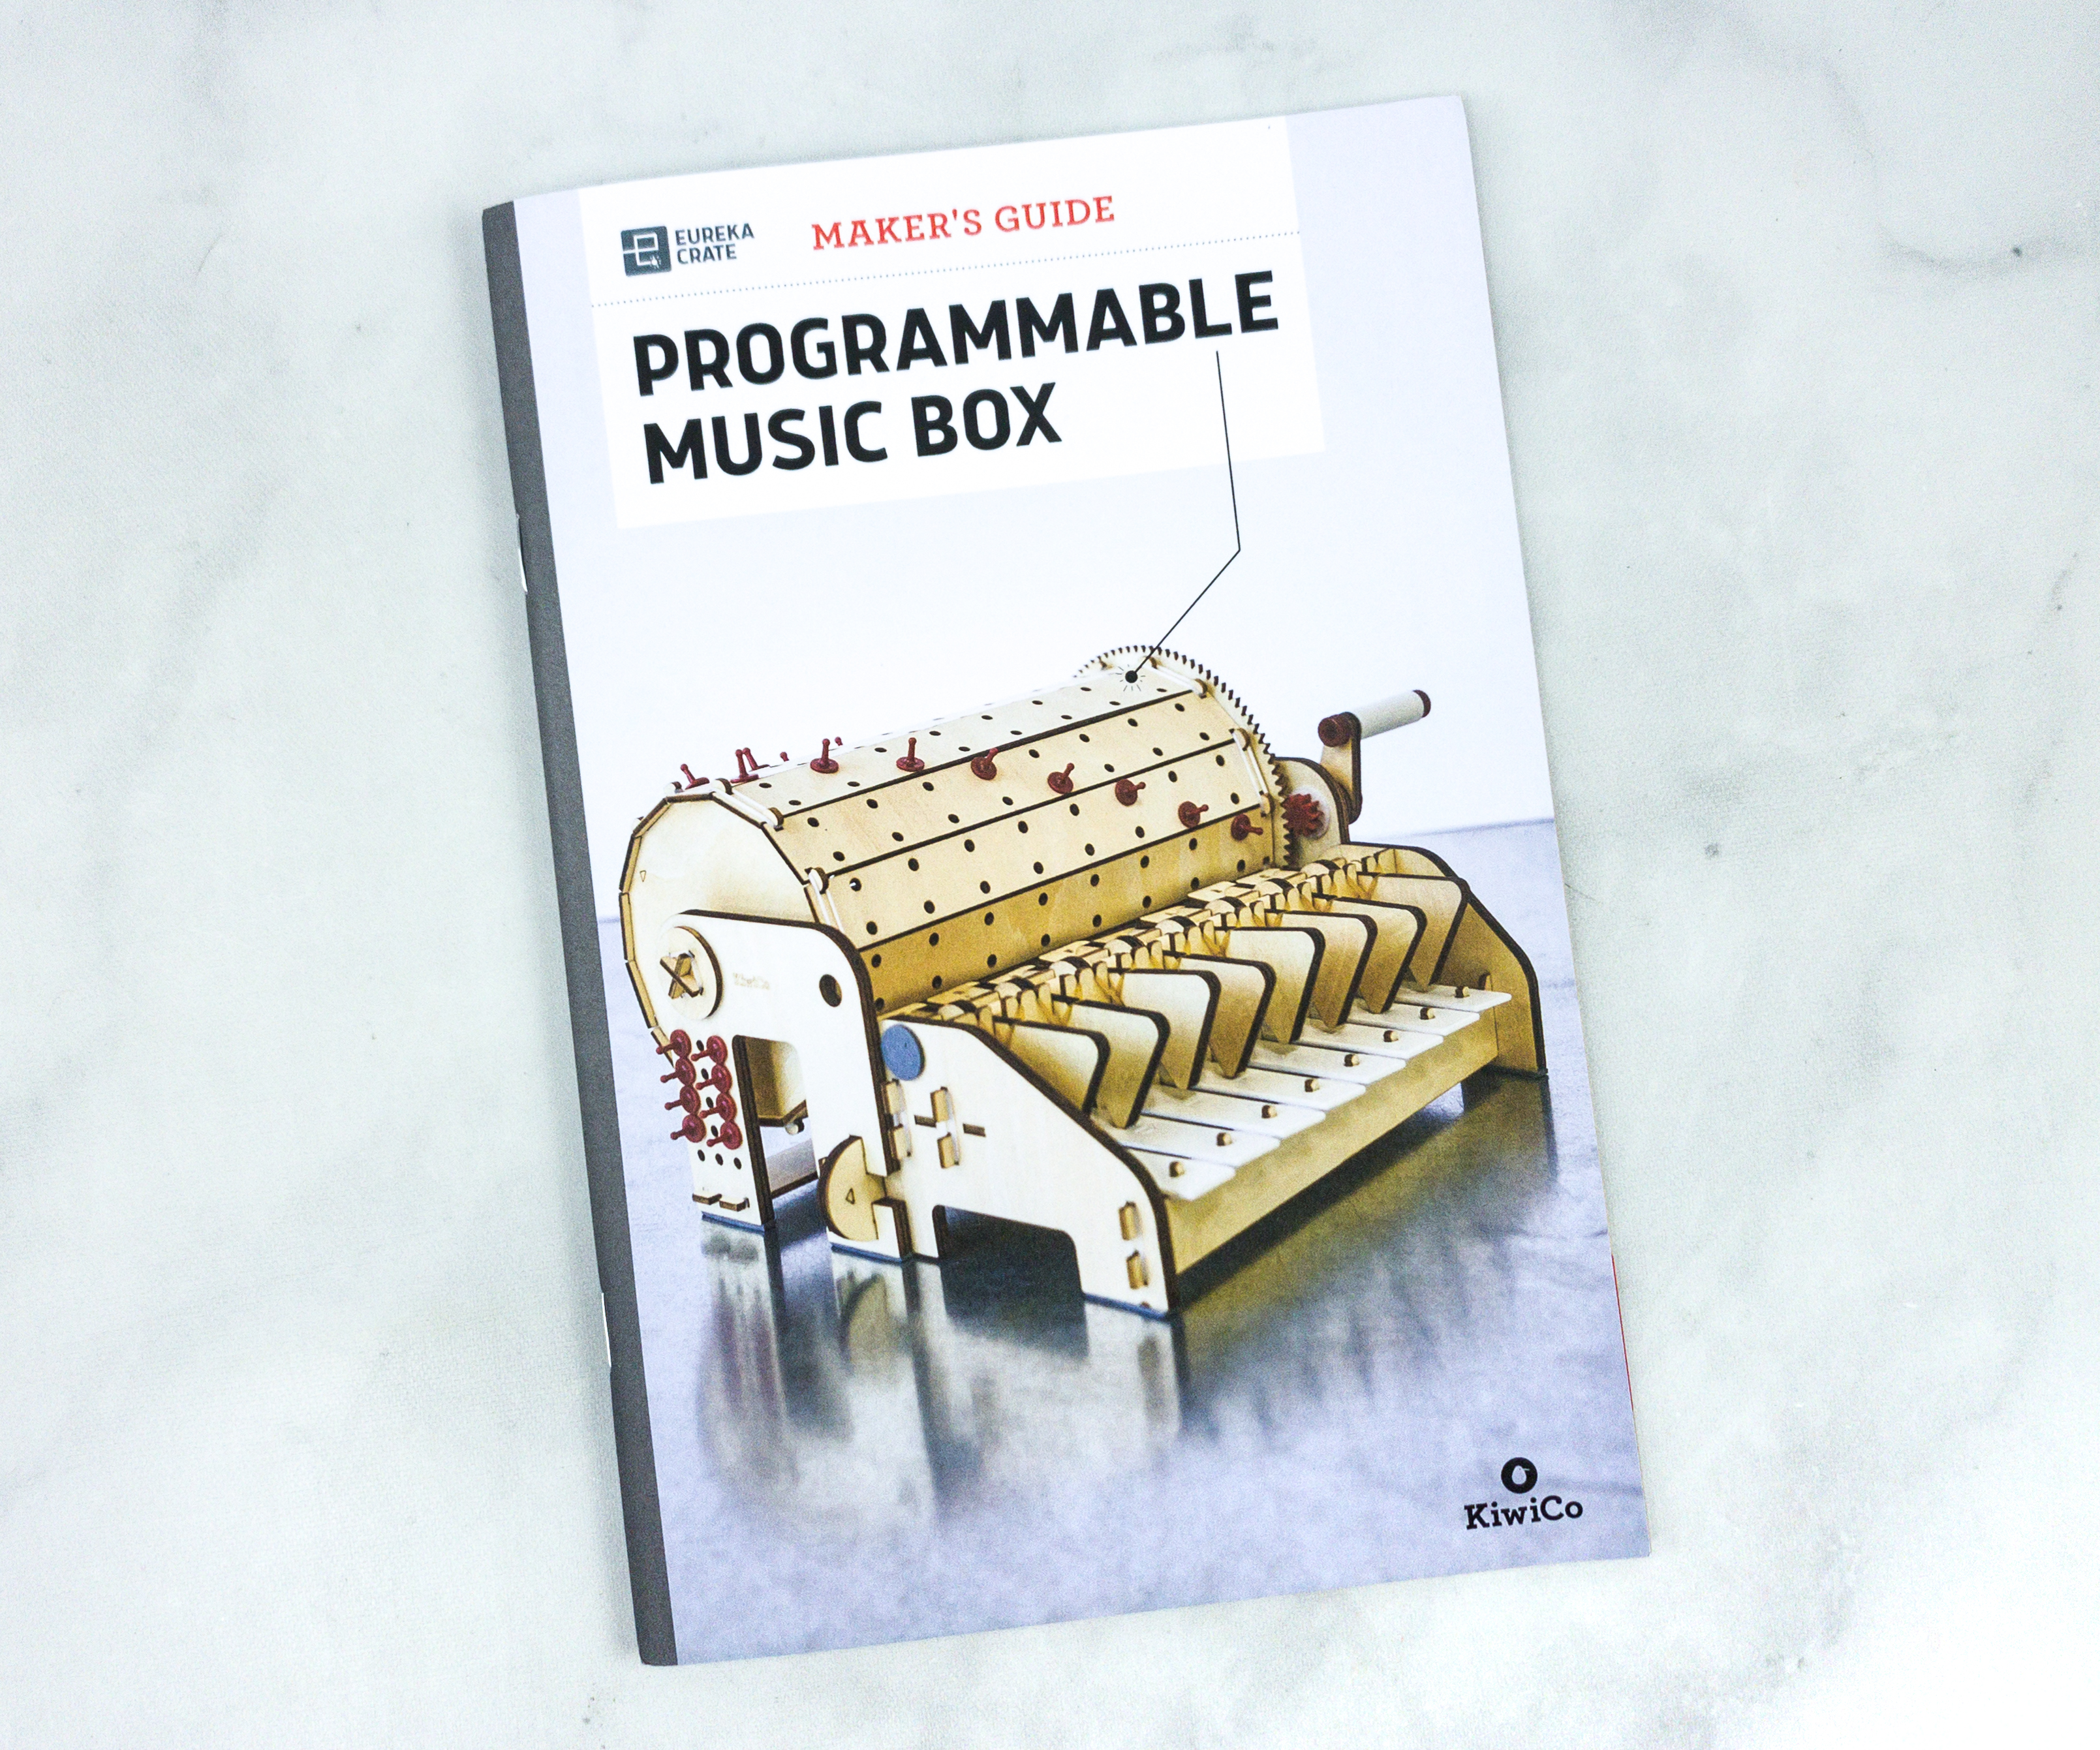
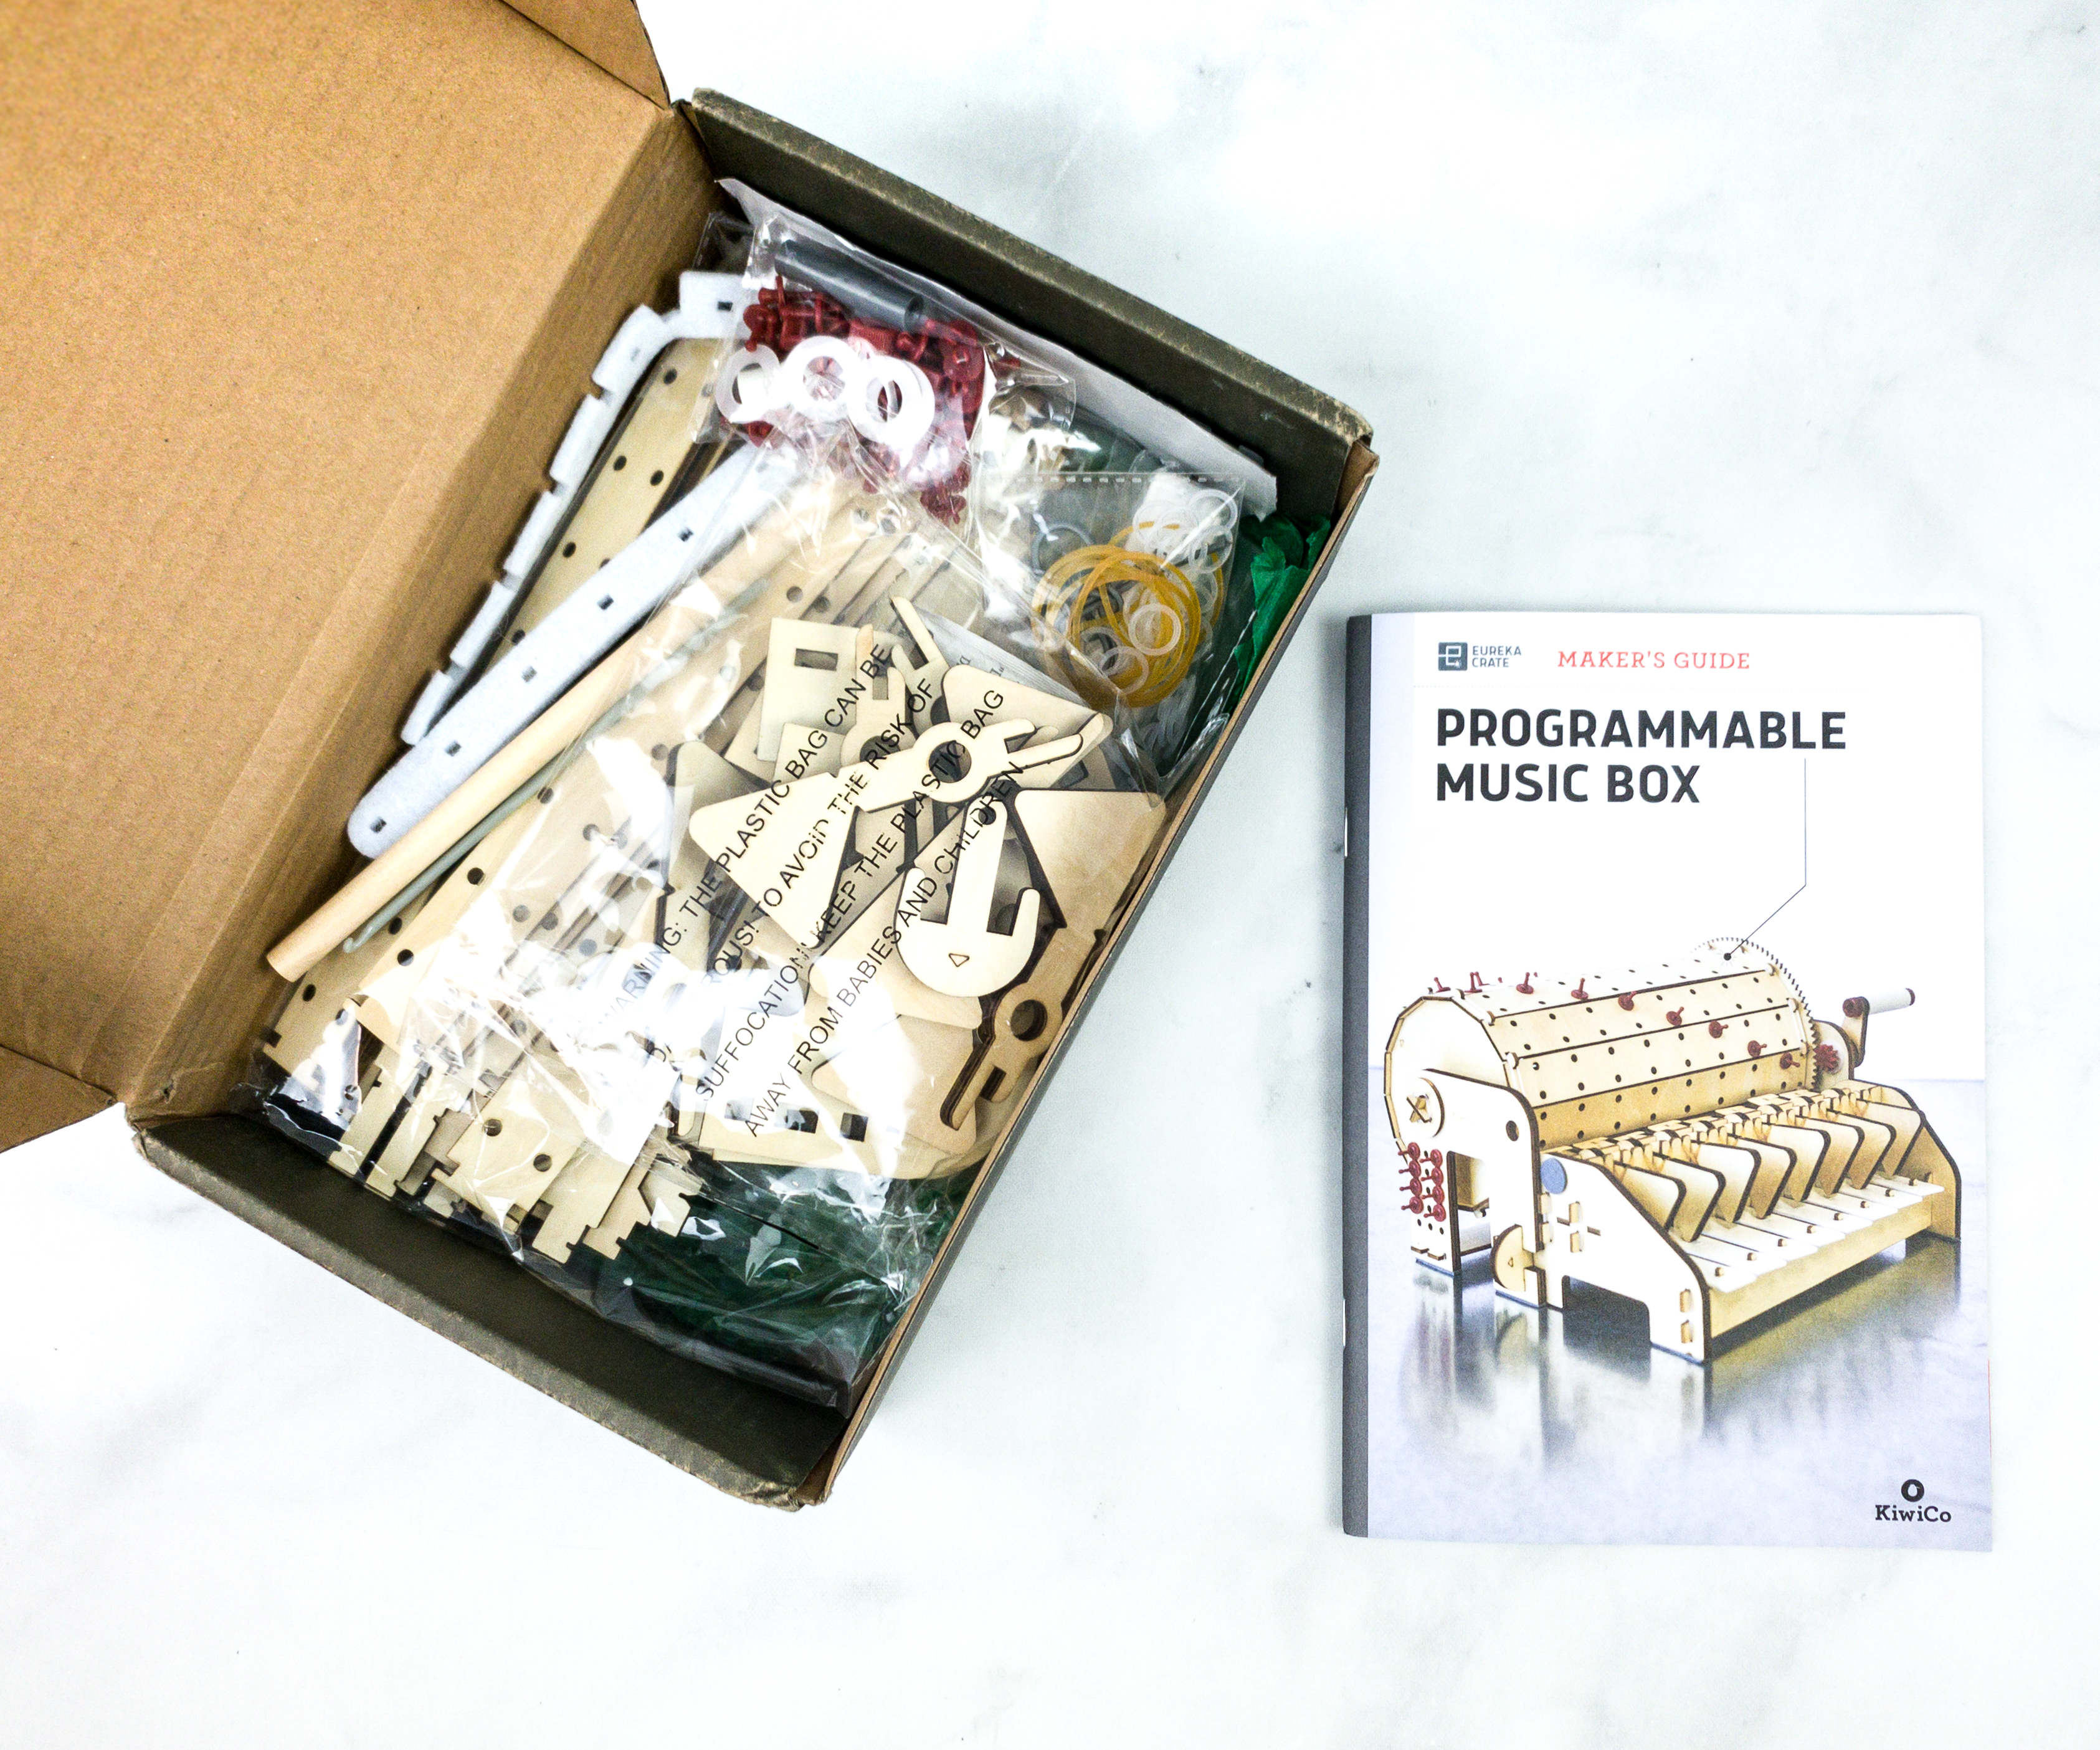
Like the other crates from KiwiCo, Eureka Crate includes a booklet.
One of KiwiCo’s goals is to equip the next generation of innovators with the tools and confidence for creative exploration and problem-solving.
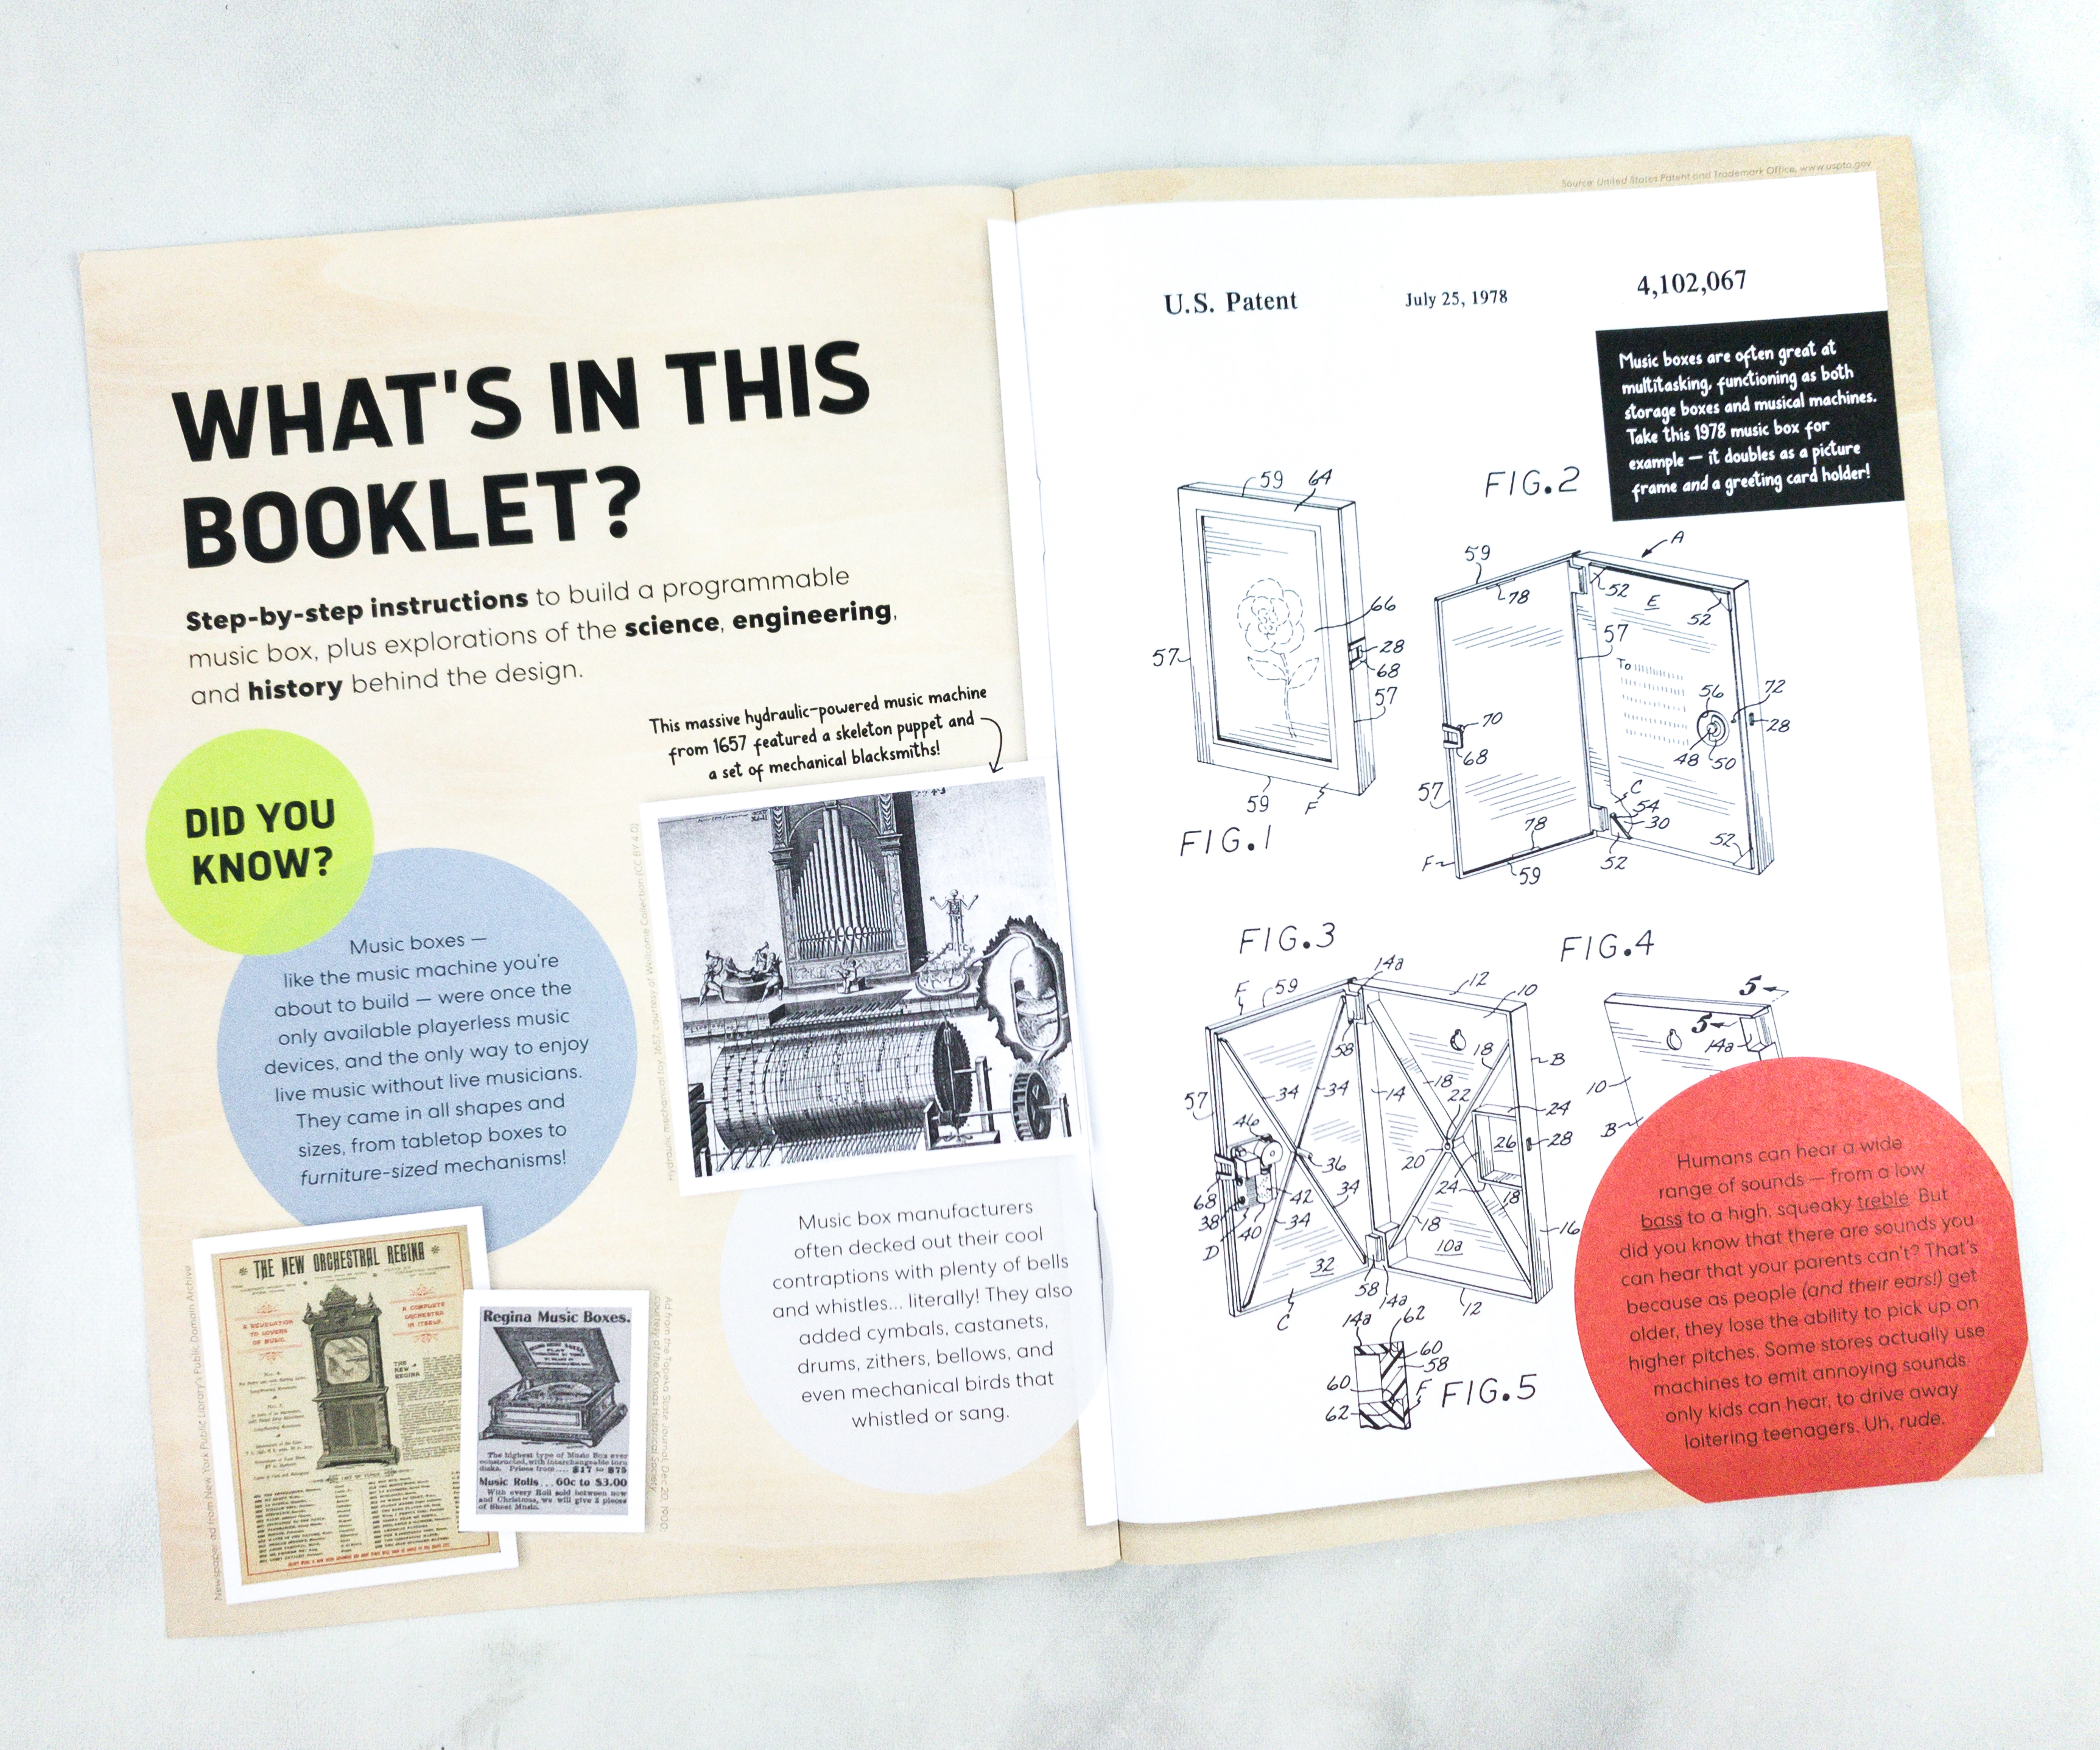
The booklet shares the complete history and details about this month’s project. They also included some fun facts and trivia related to the theme.
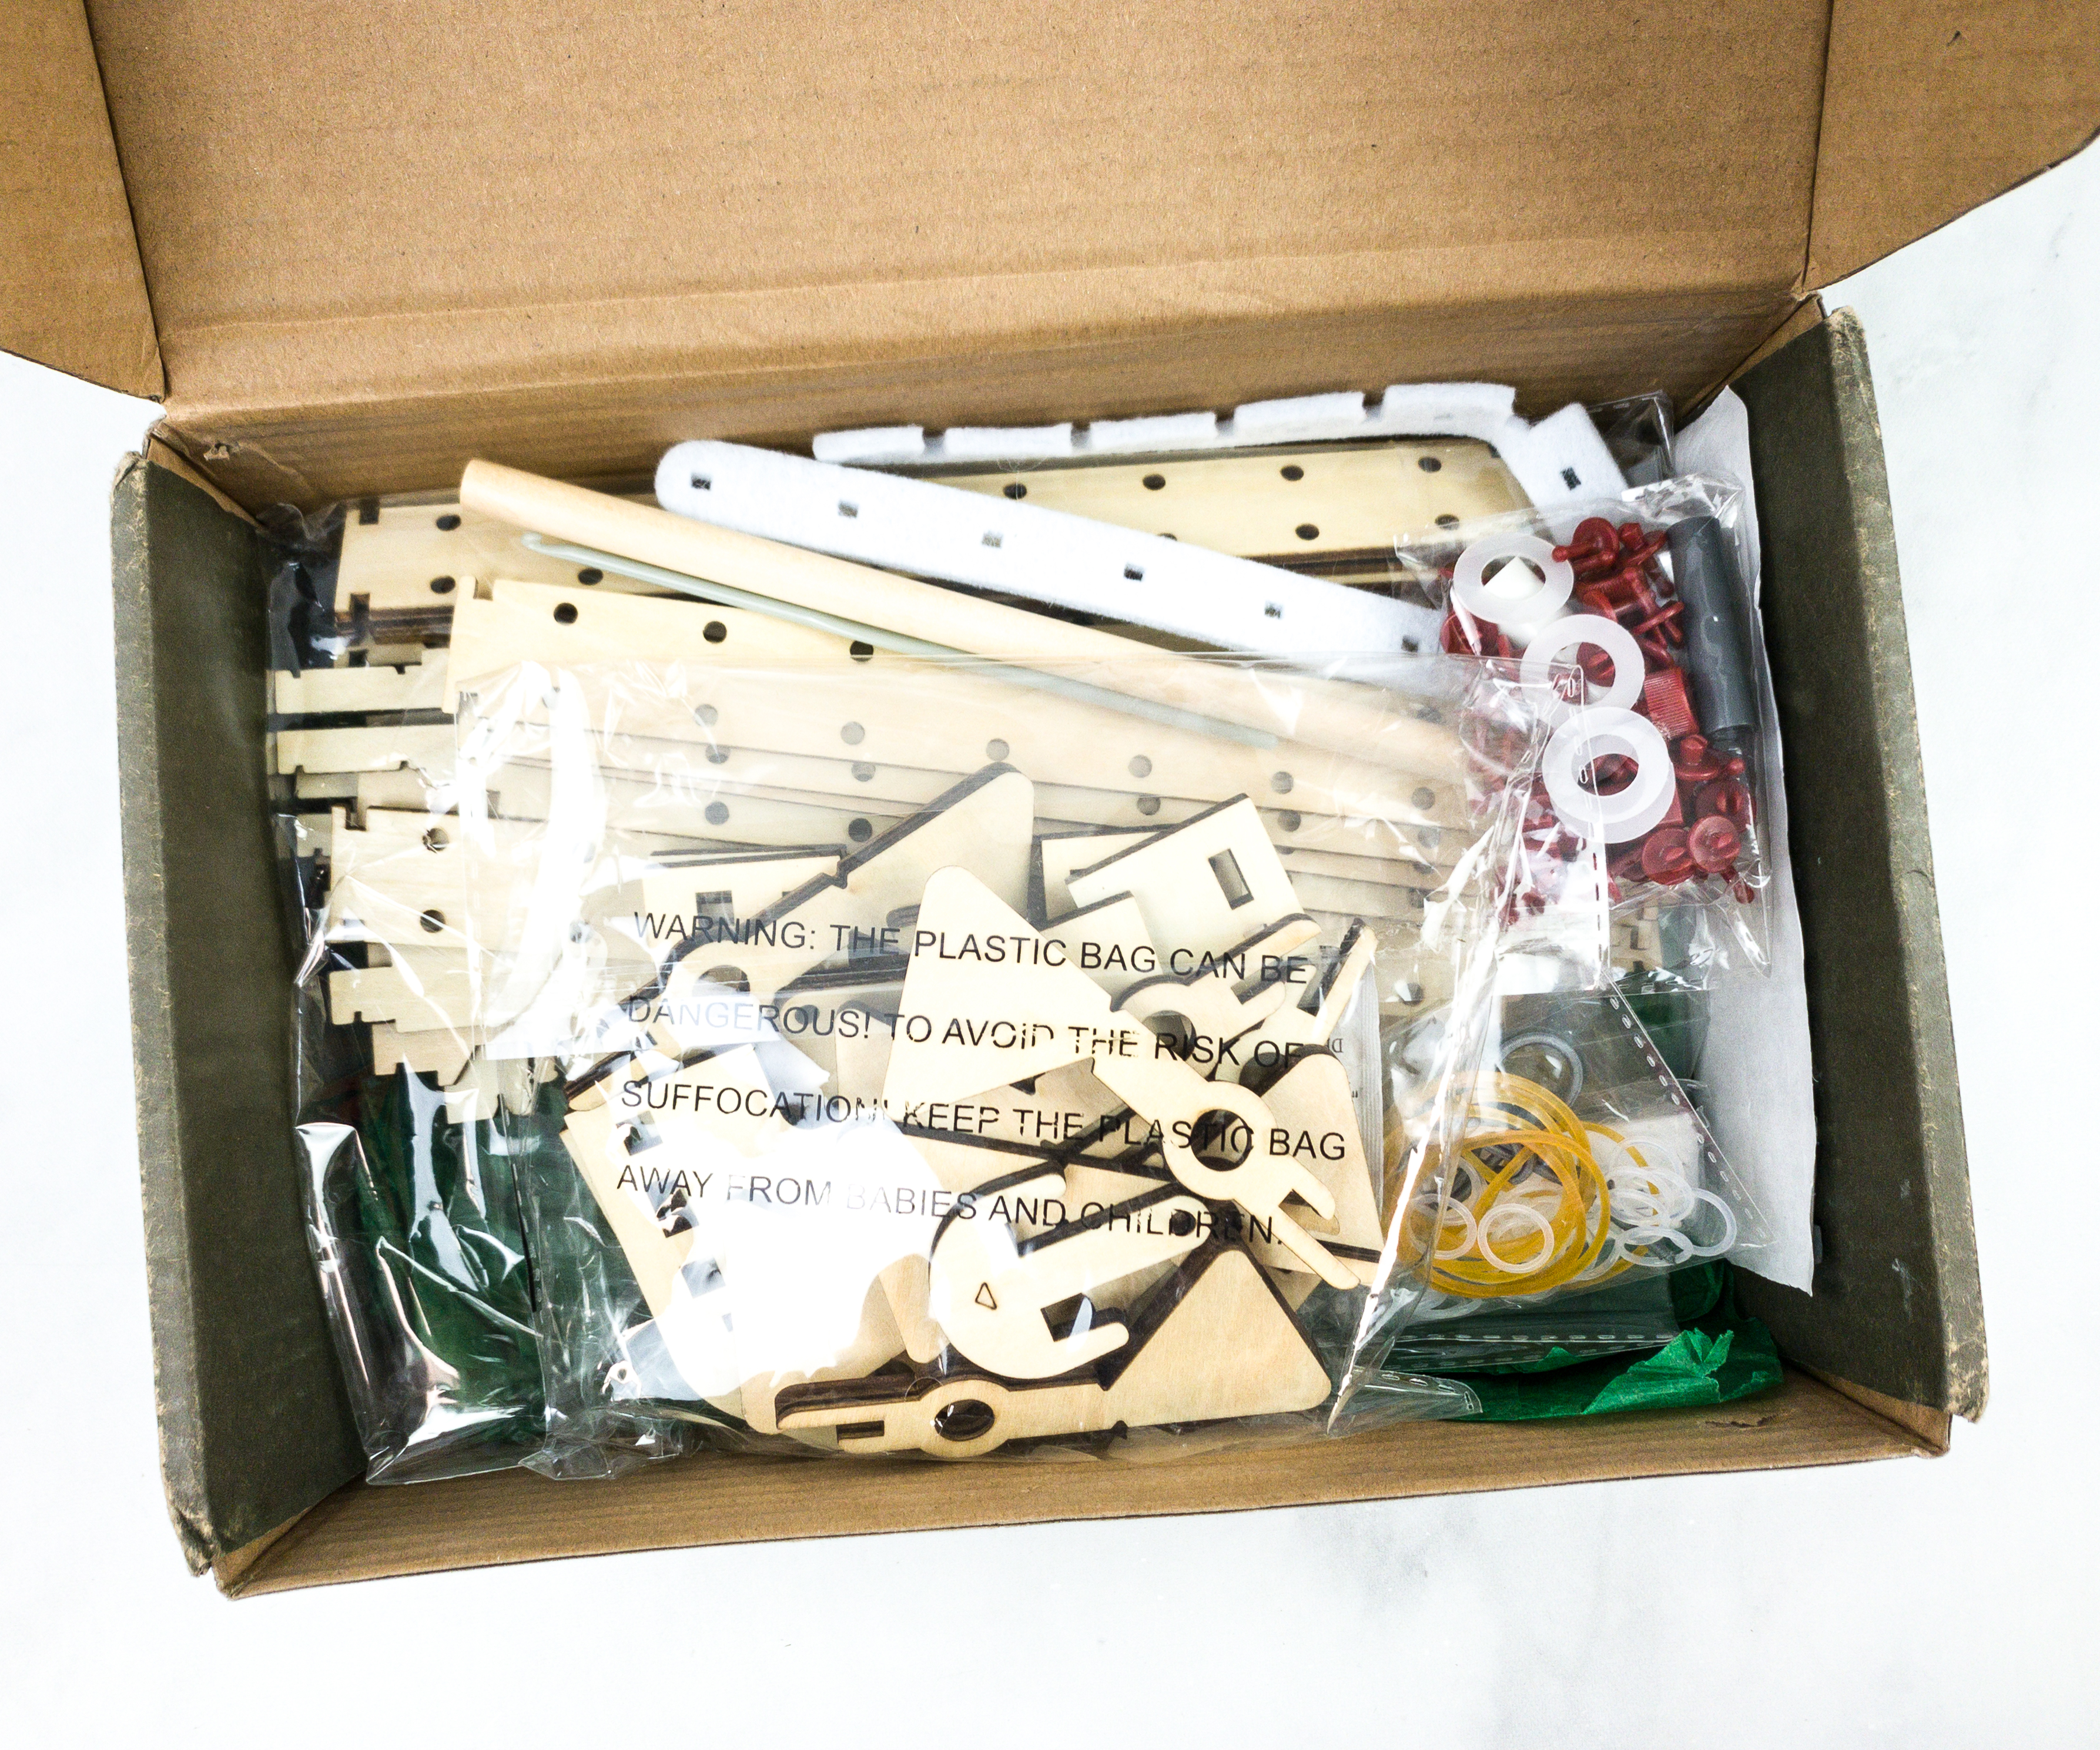
The materials were packed separately.
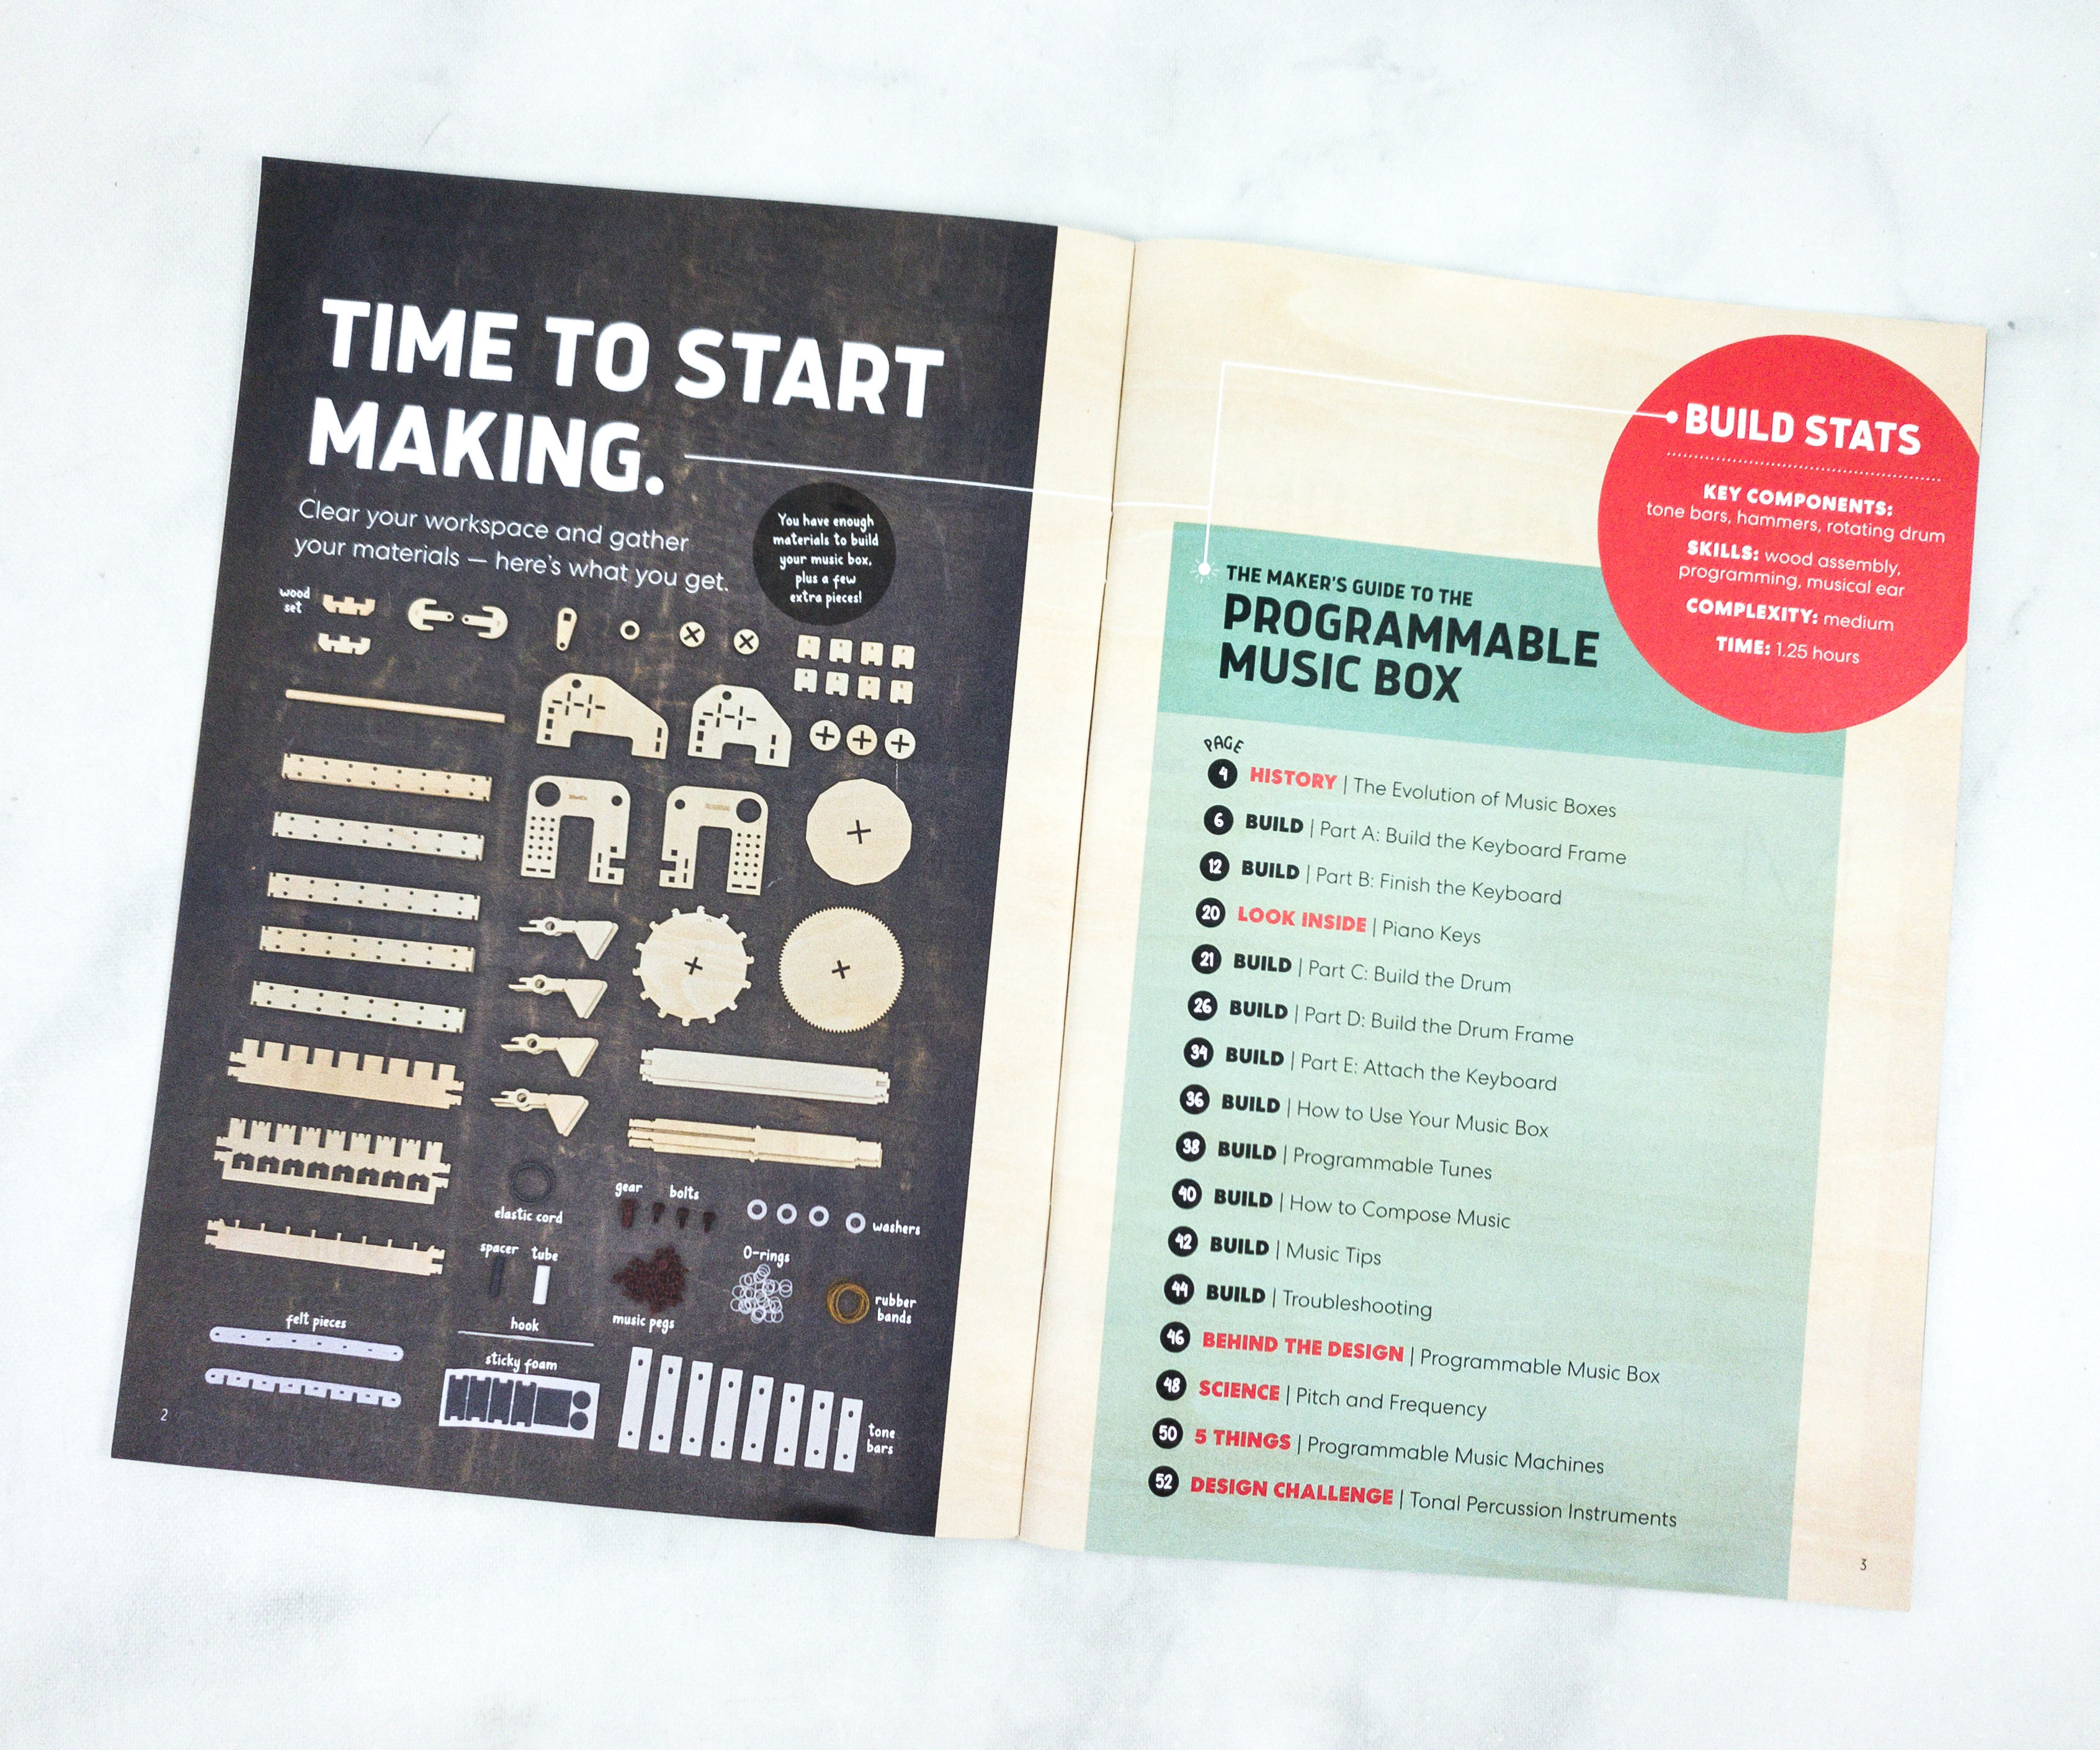
This booklet means business as it jumps right to the activity.
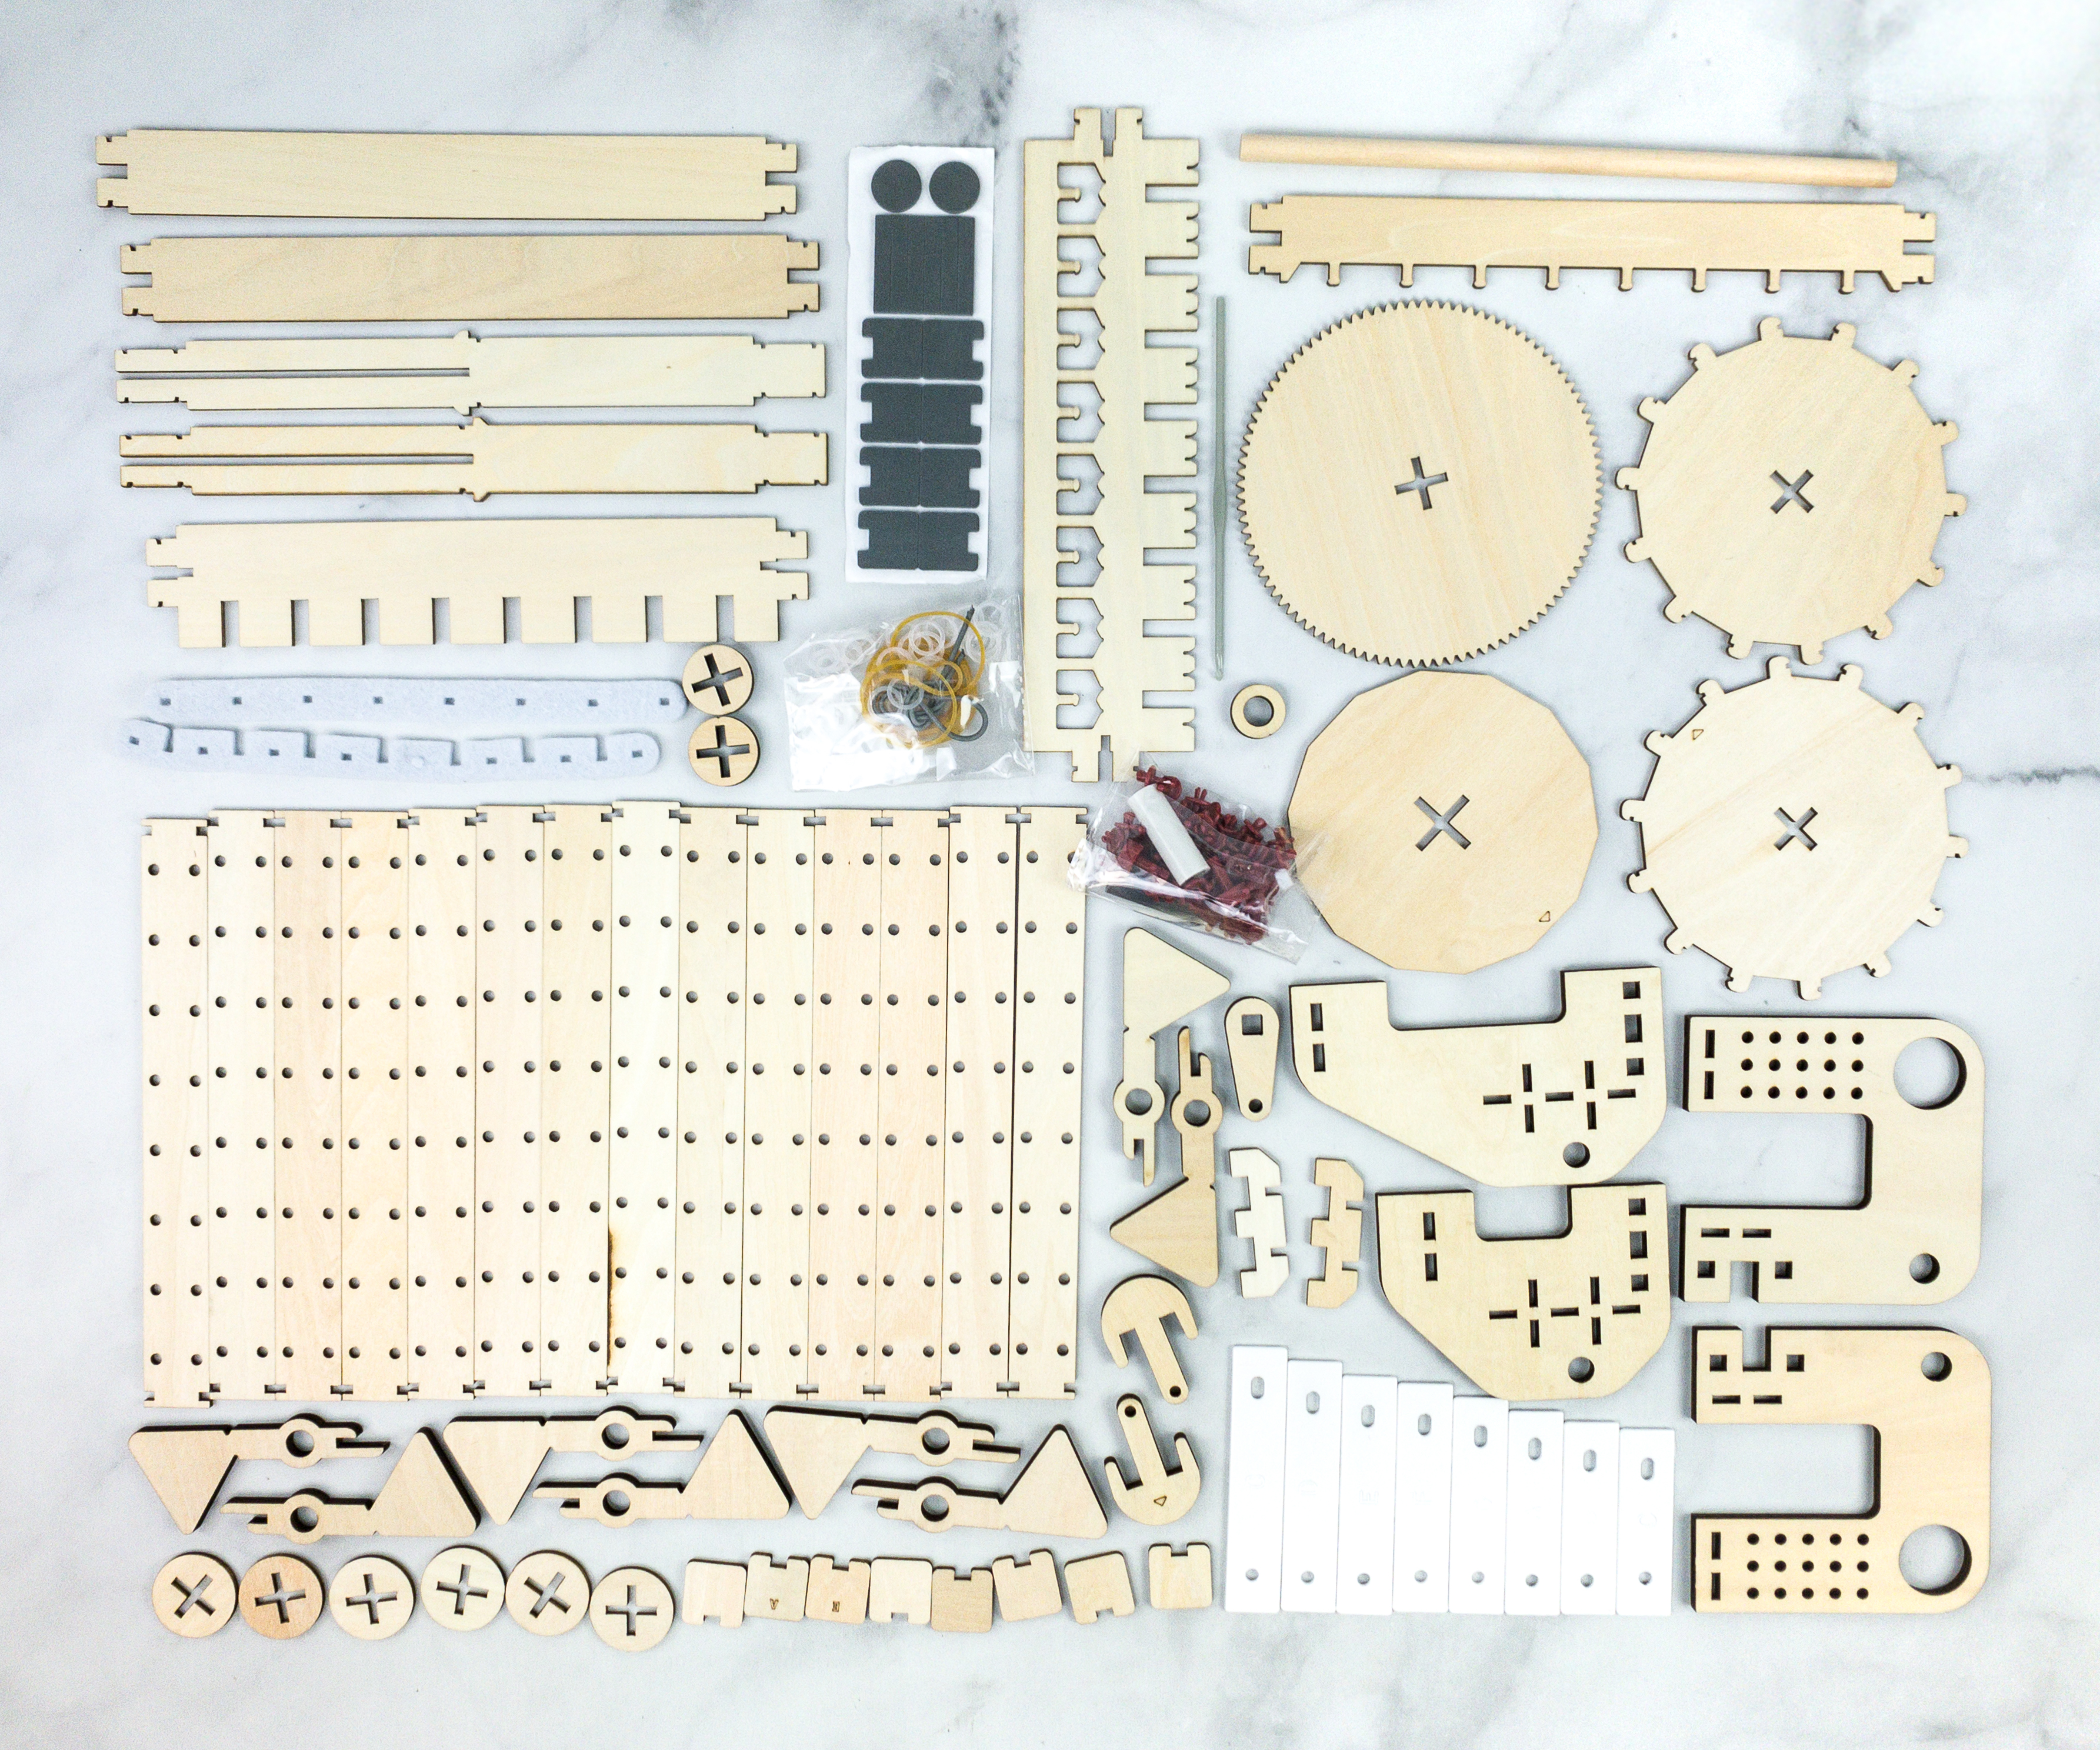
Everything in this month’s box!
Eureka Crate Maker’s Guide
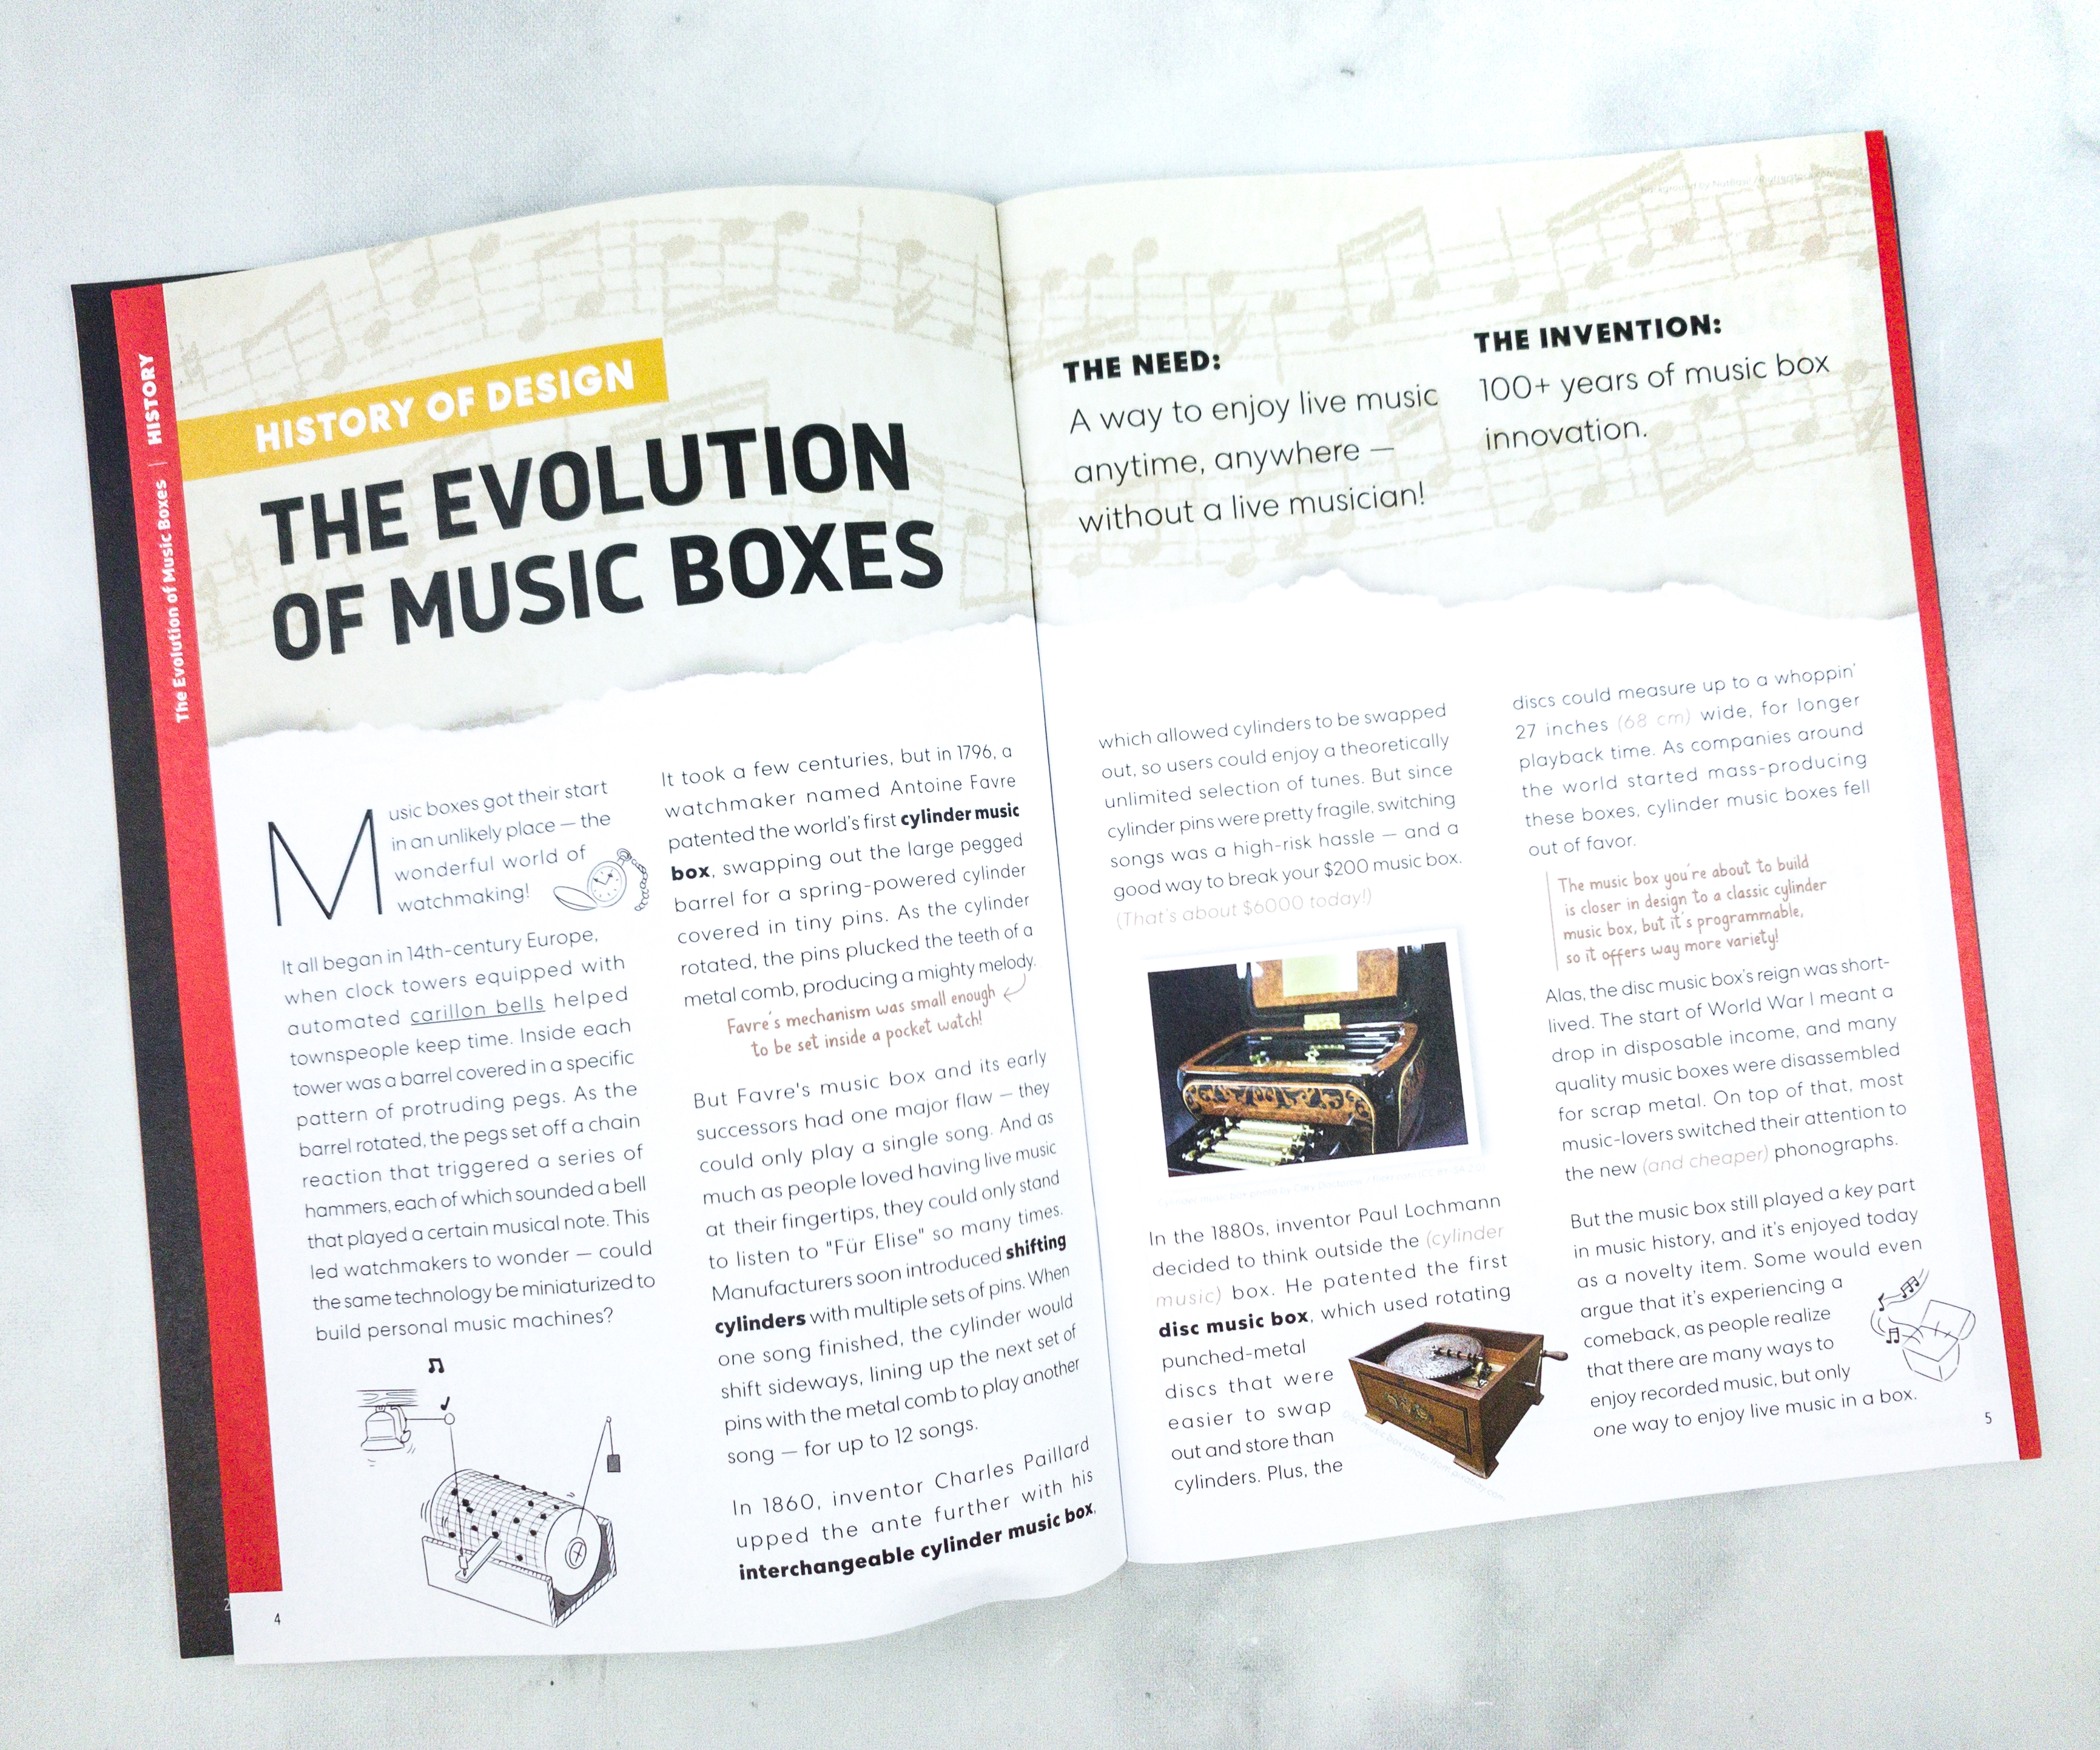
The booklet discusses the evolution of music boxes. It features the different types of a music box, from the cylinder ones to the disc music boxes.
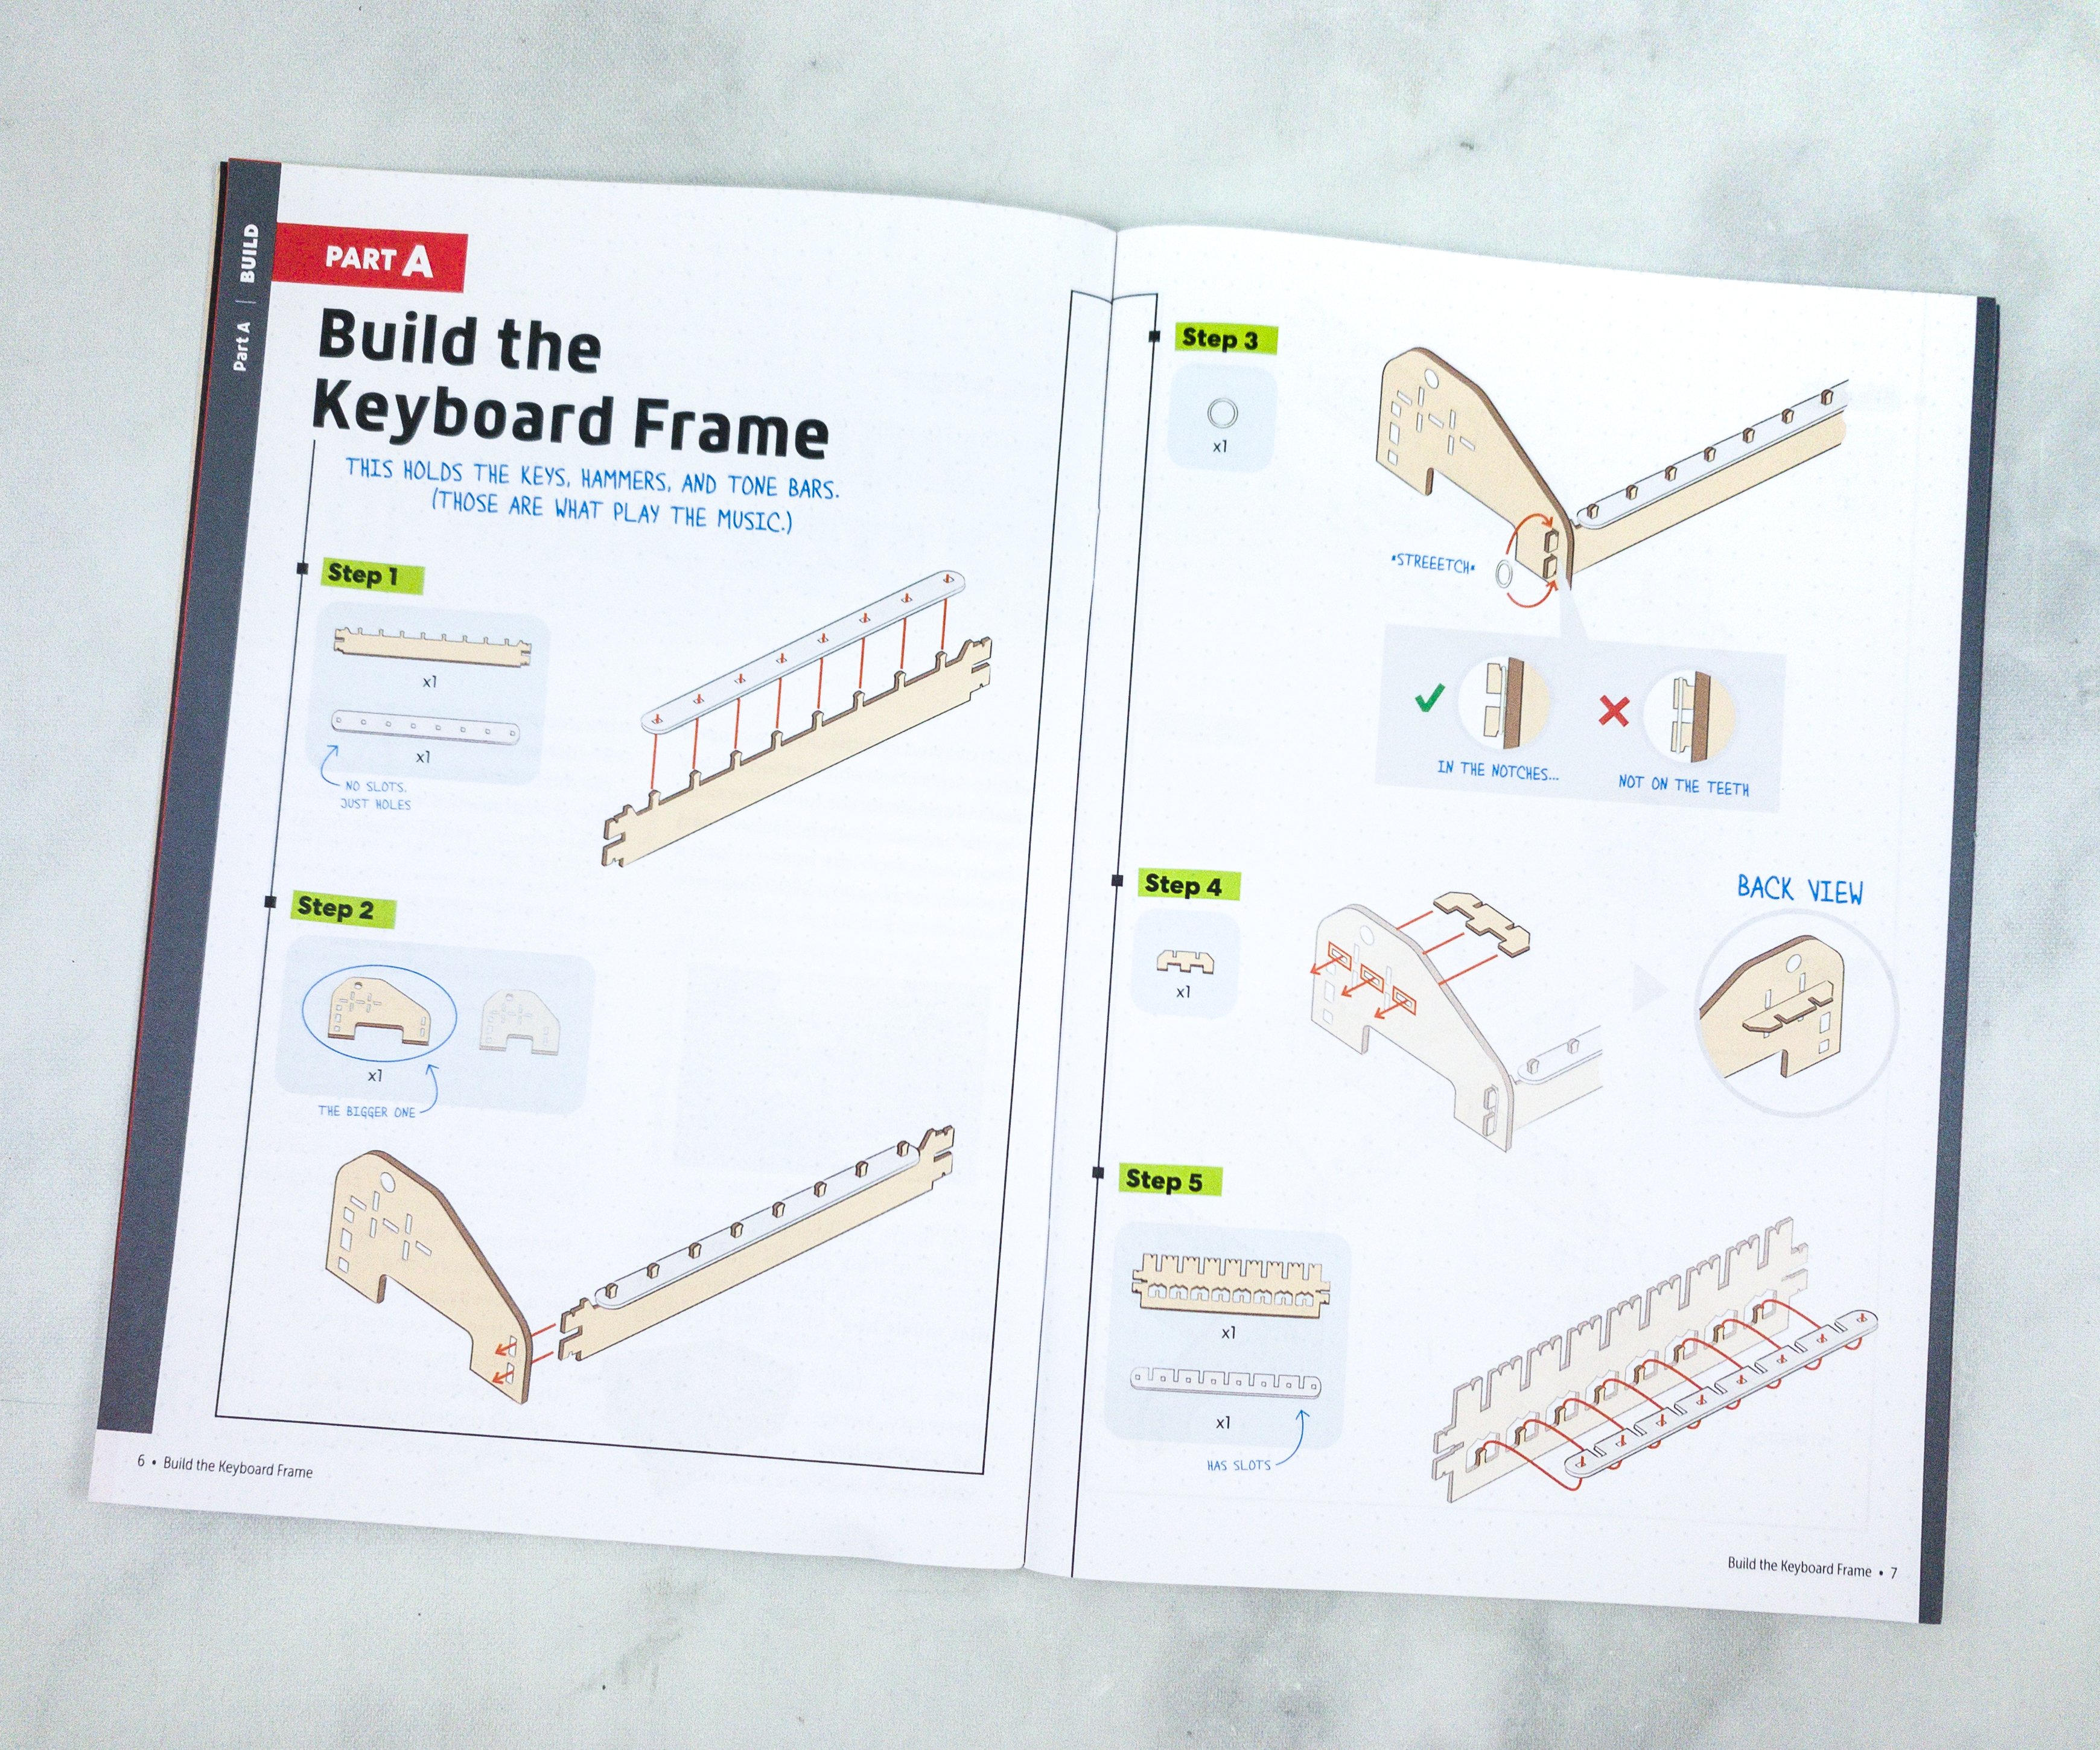
The first part of the project is making the keyboard frame. This will hold the keys, hammers, and tone bars, and these are the components that play the music.
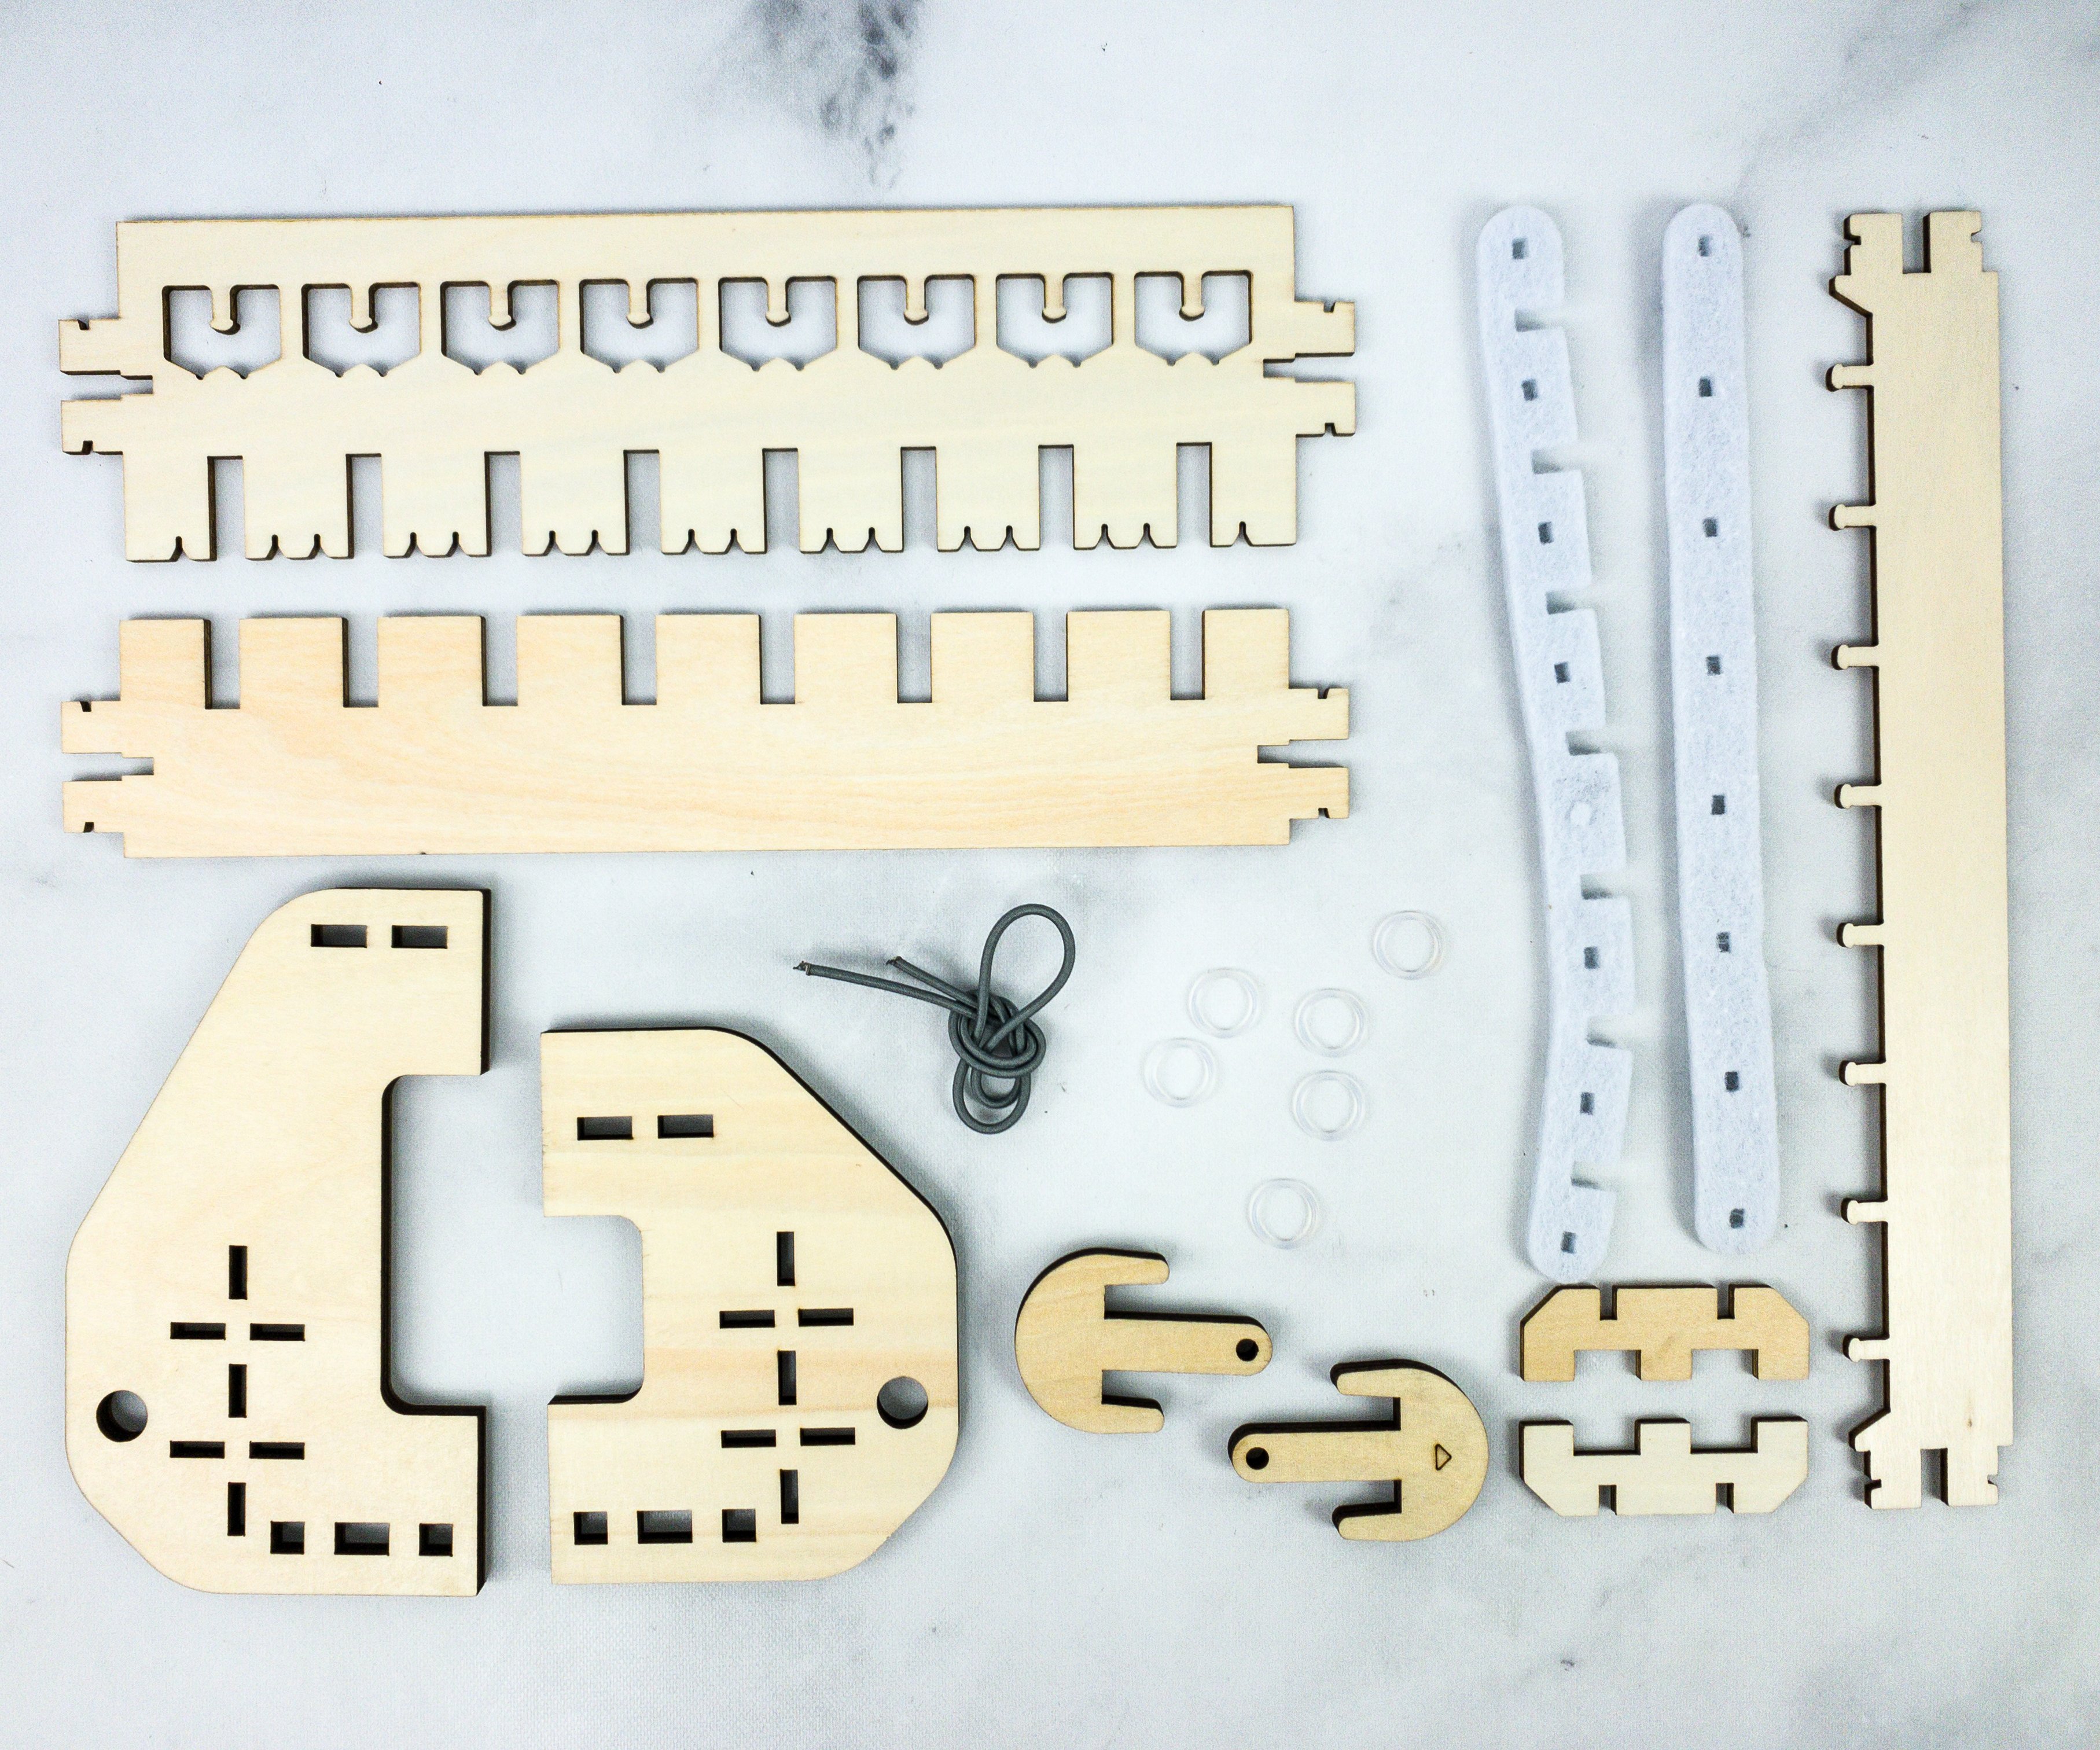
For this part, we need some parts from the wood set, O-rings, elastic cord, and felt pieces.
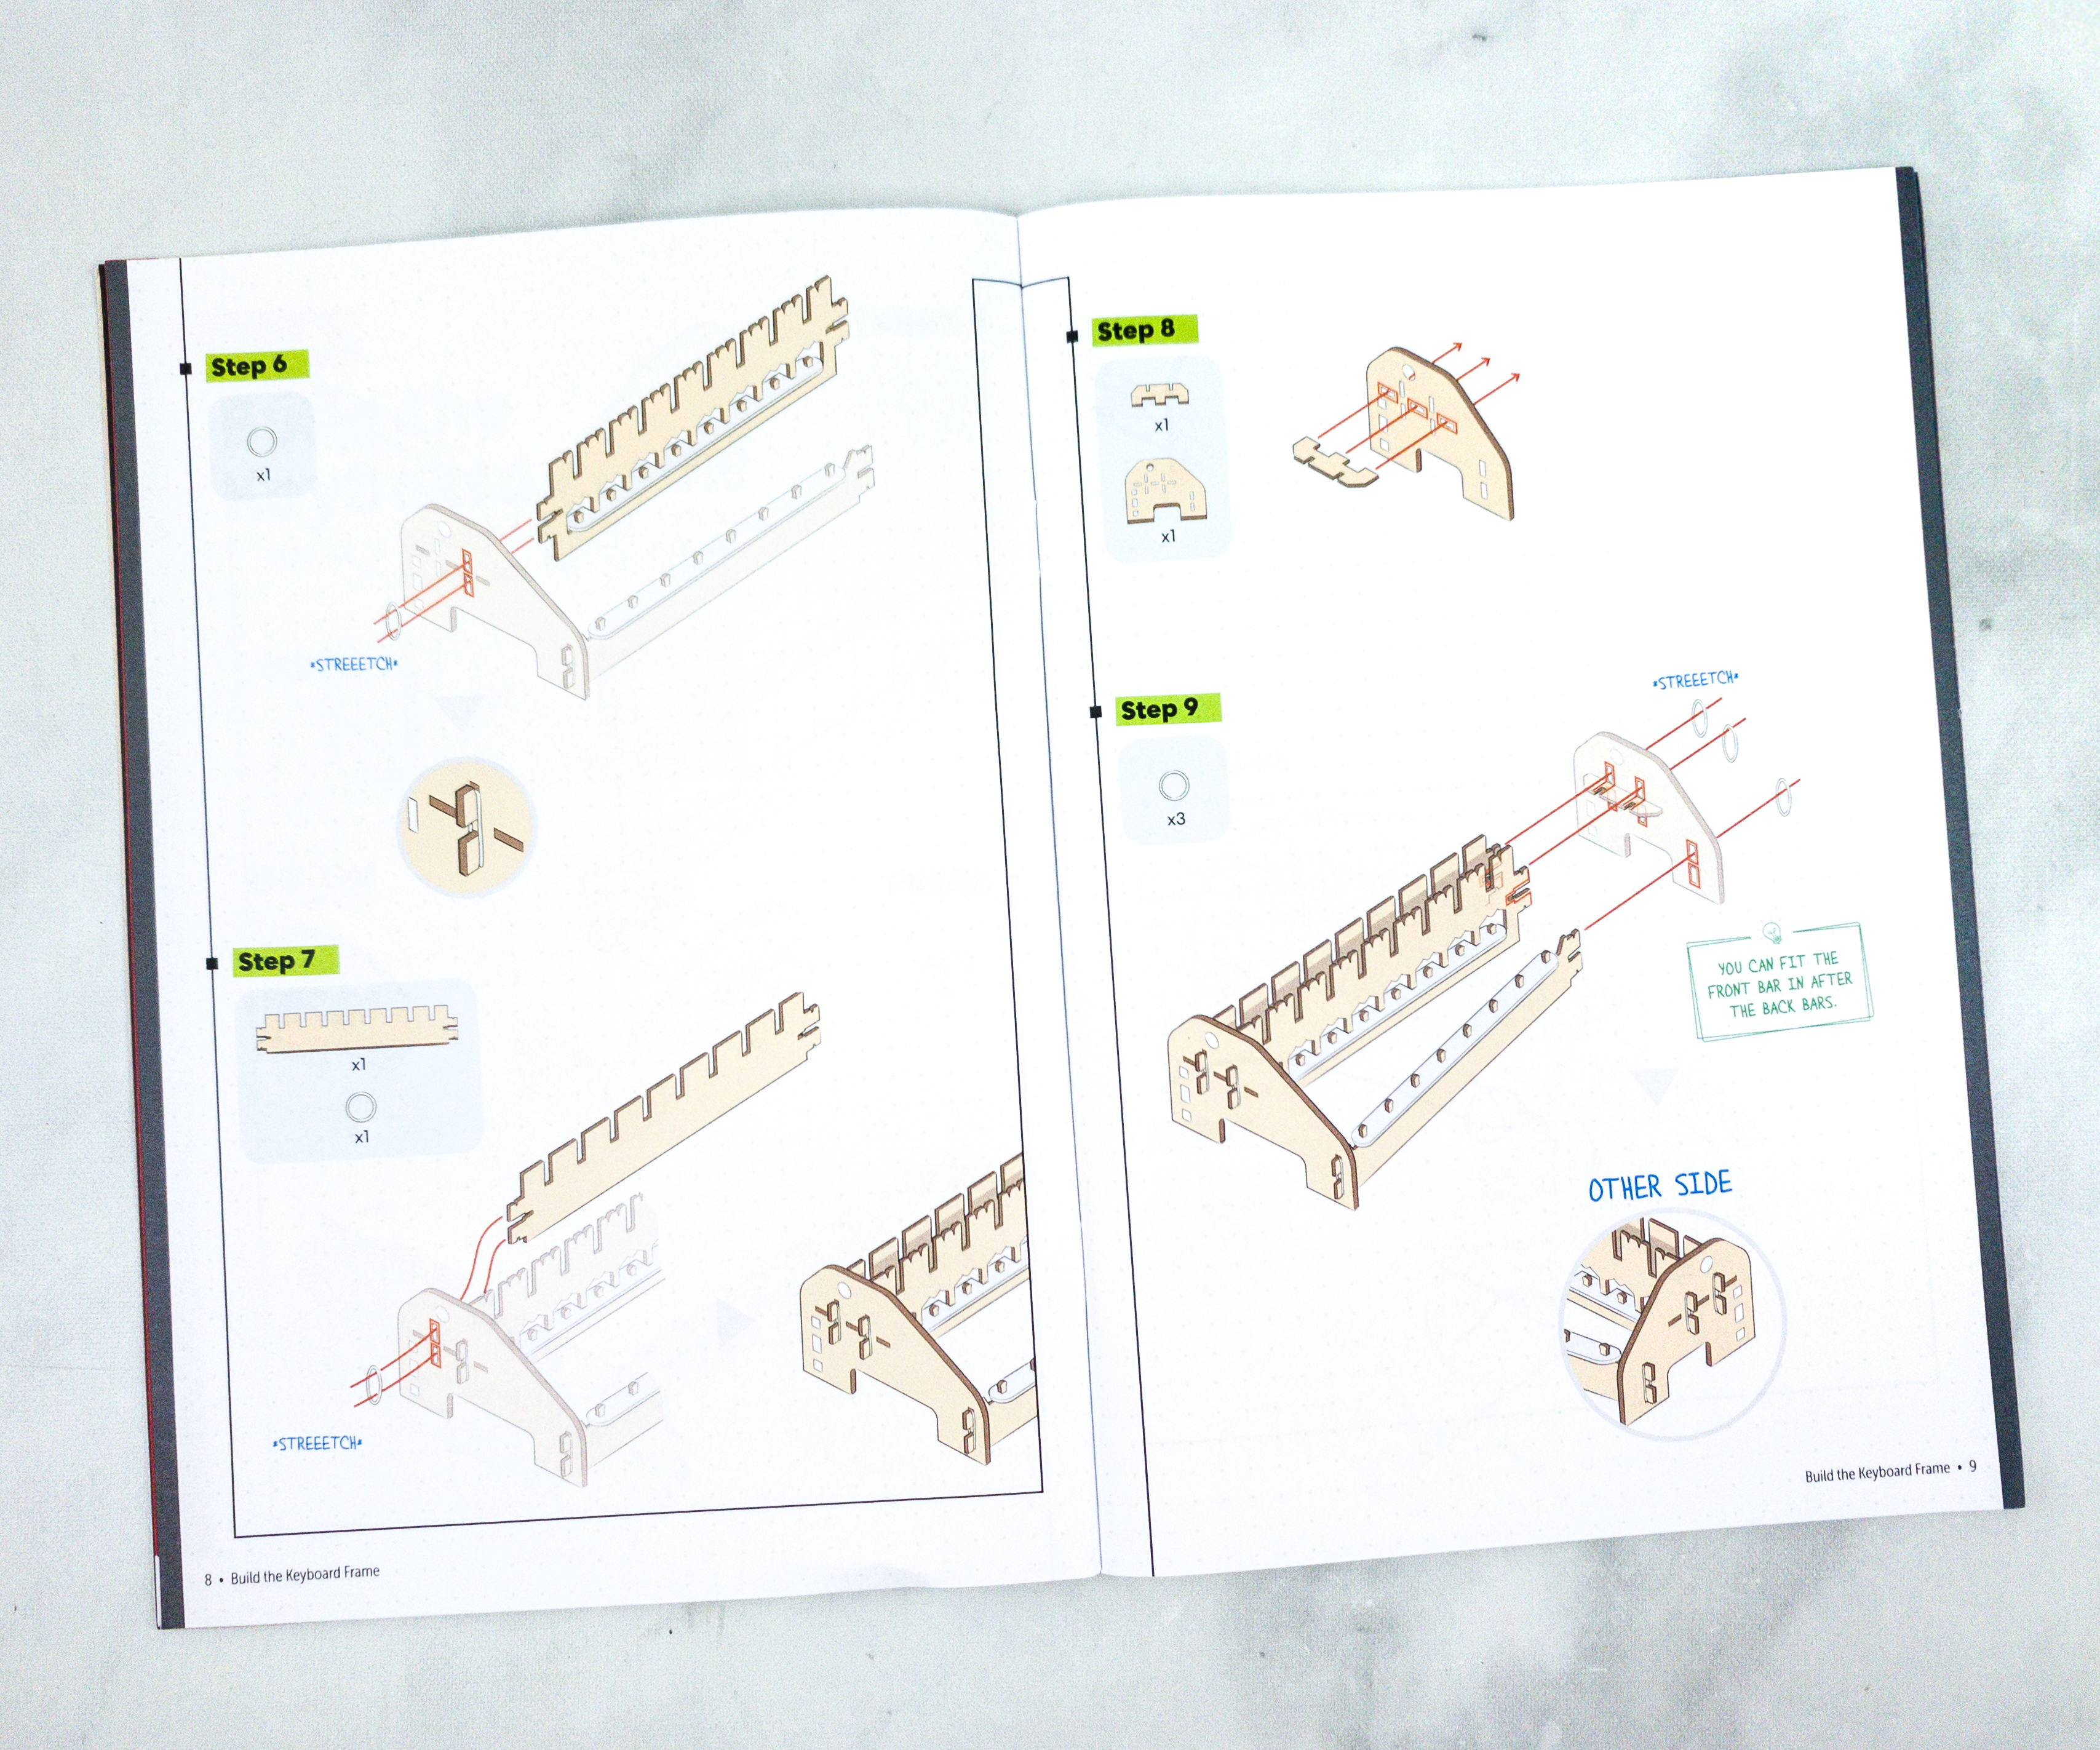
This part is like putting a wood puzzle together because you need to fit the slots and pieces. You can refer to the illustrations on the booklet! They’re really helpful!
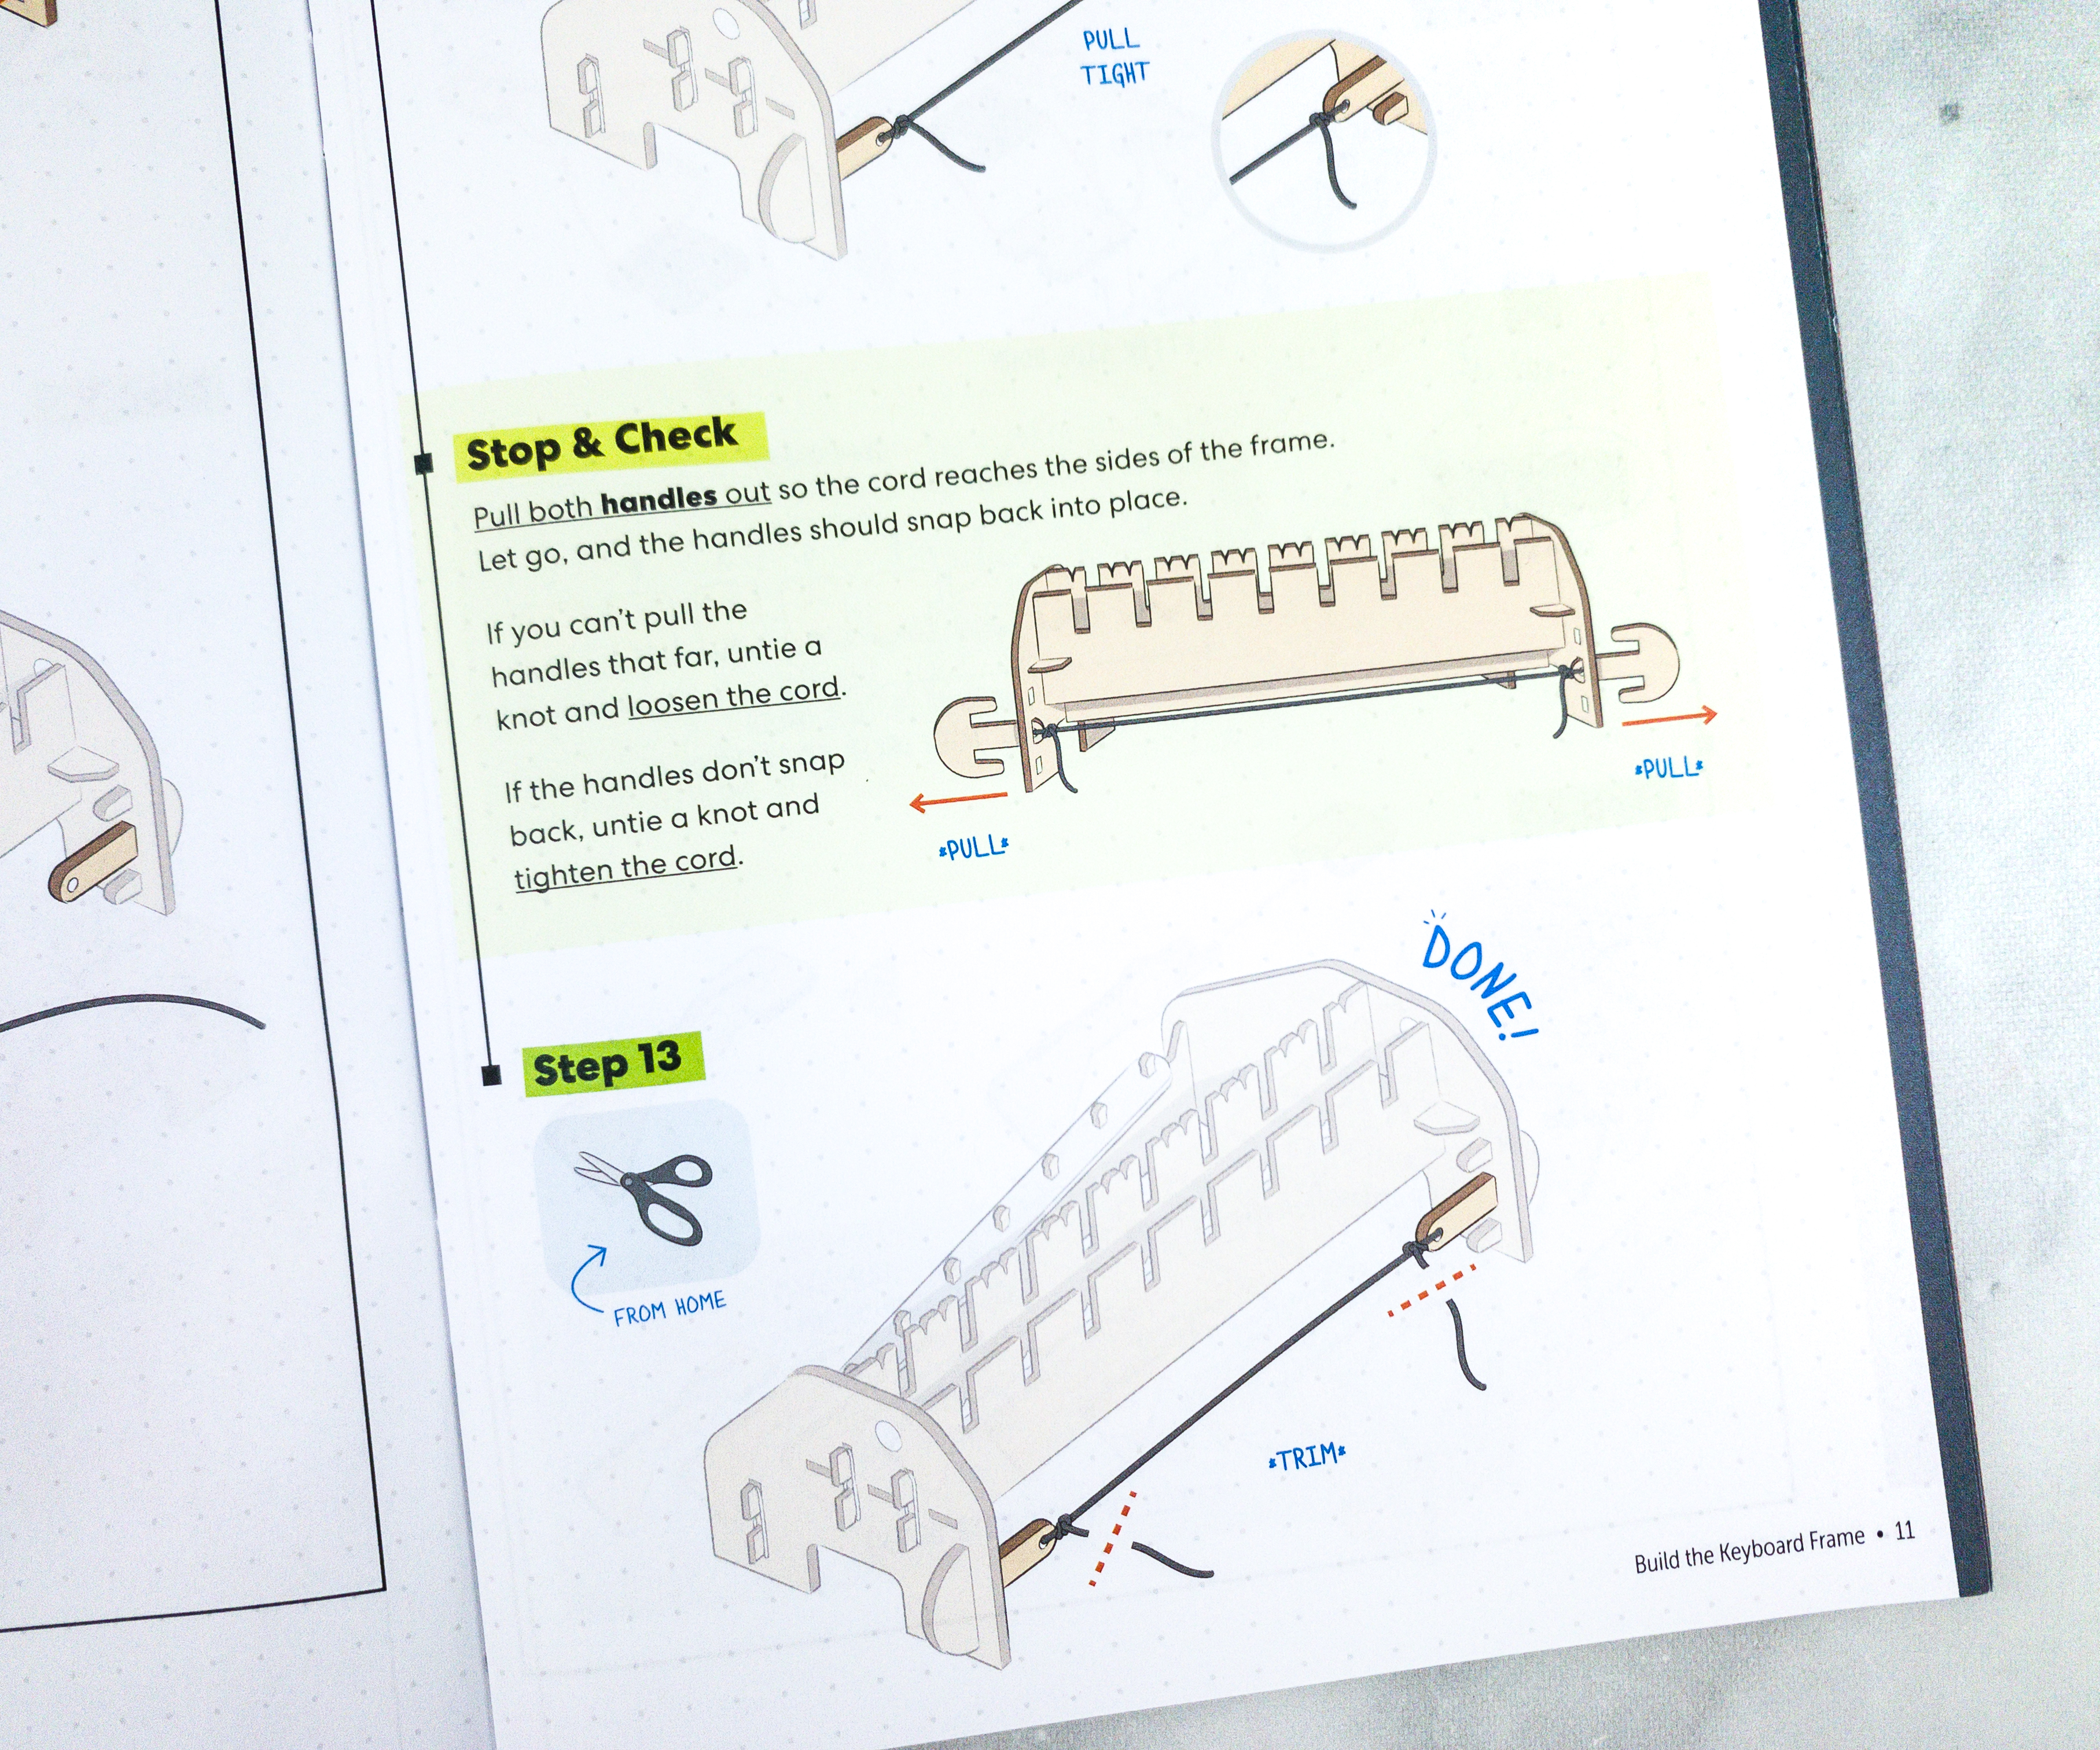
Also, every now and then, there’s a stop and check reminder so you can make sure that what you’re doing is right.
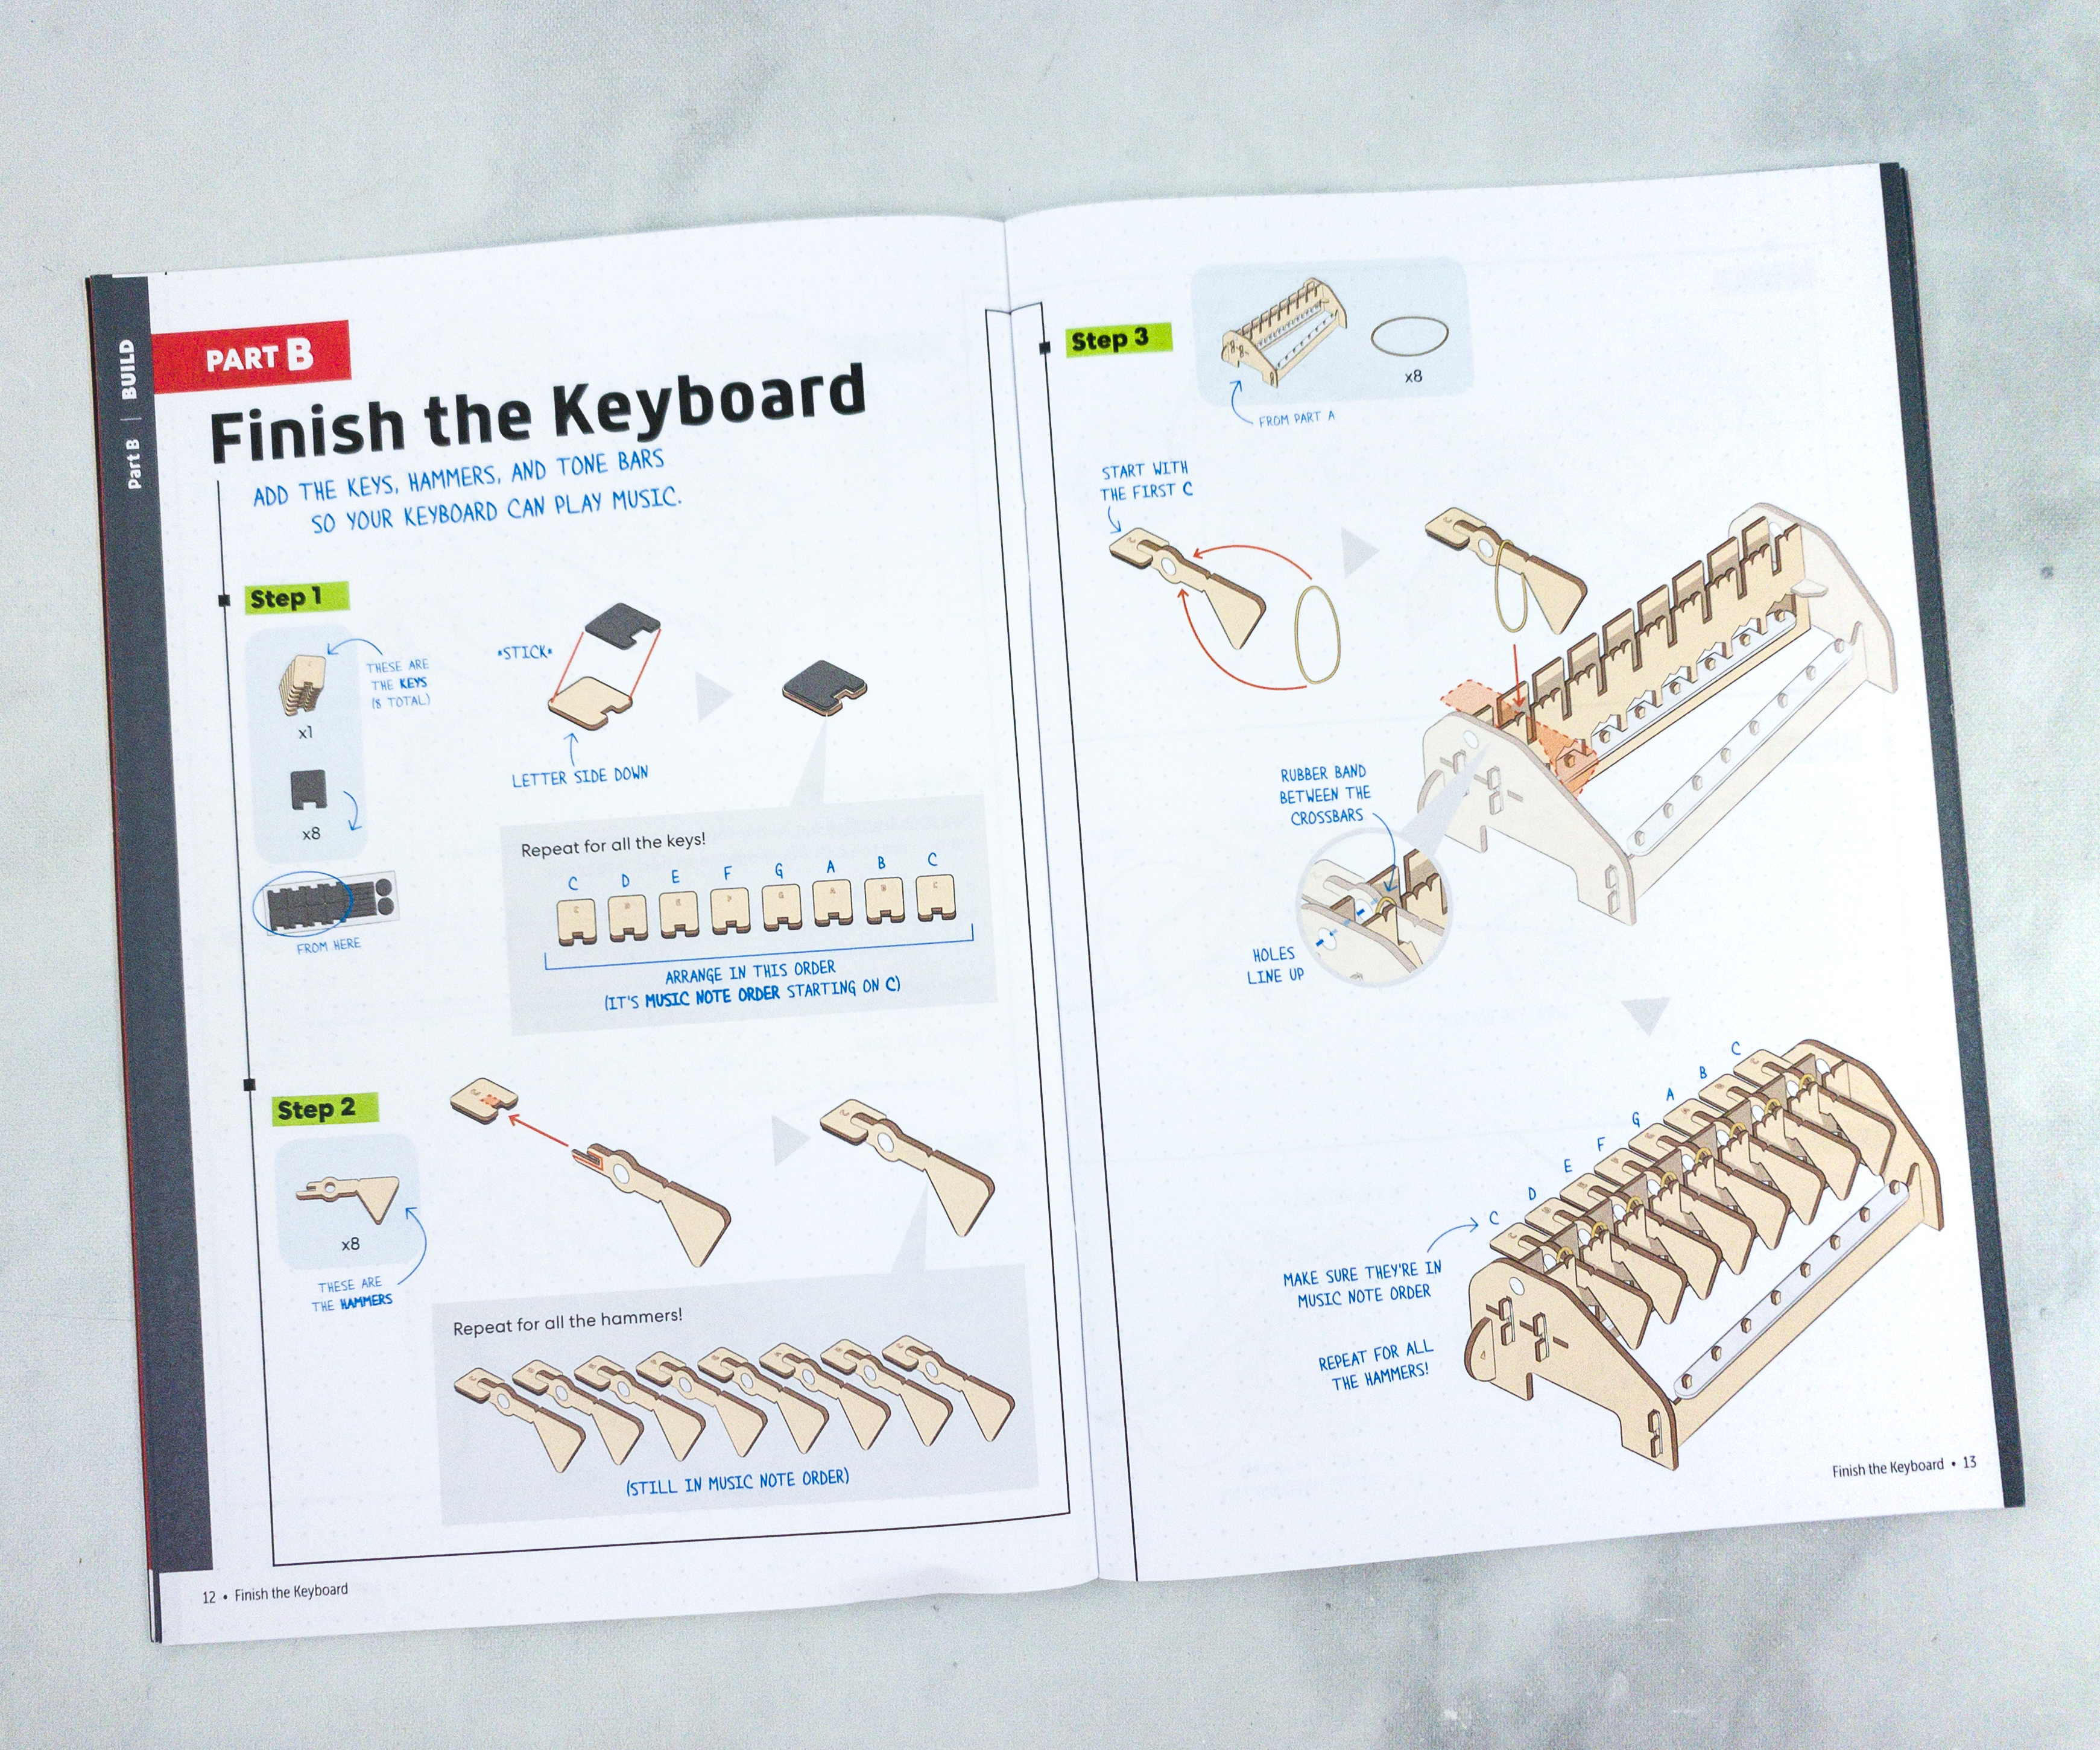
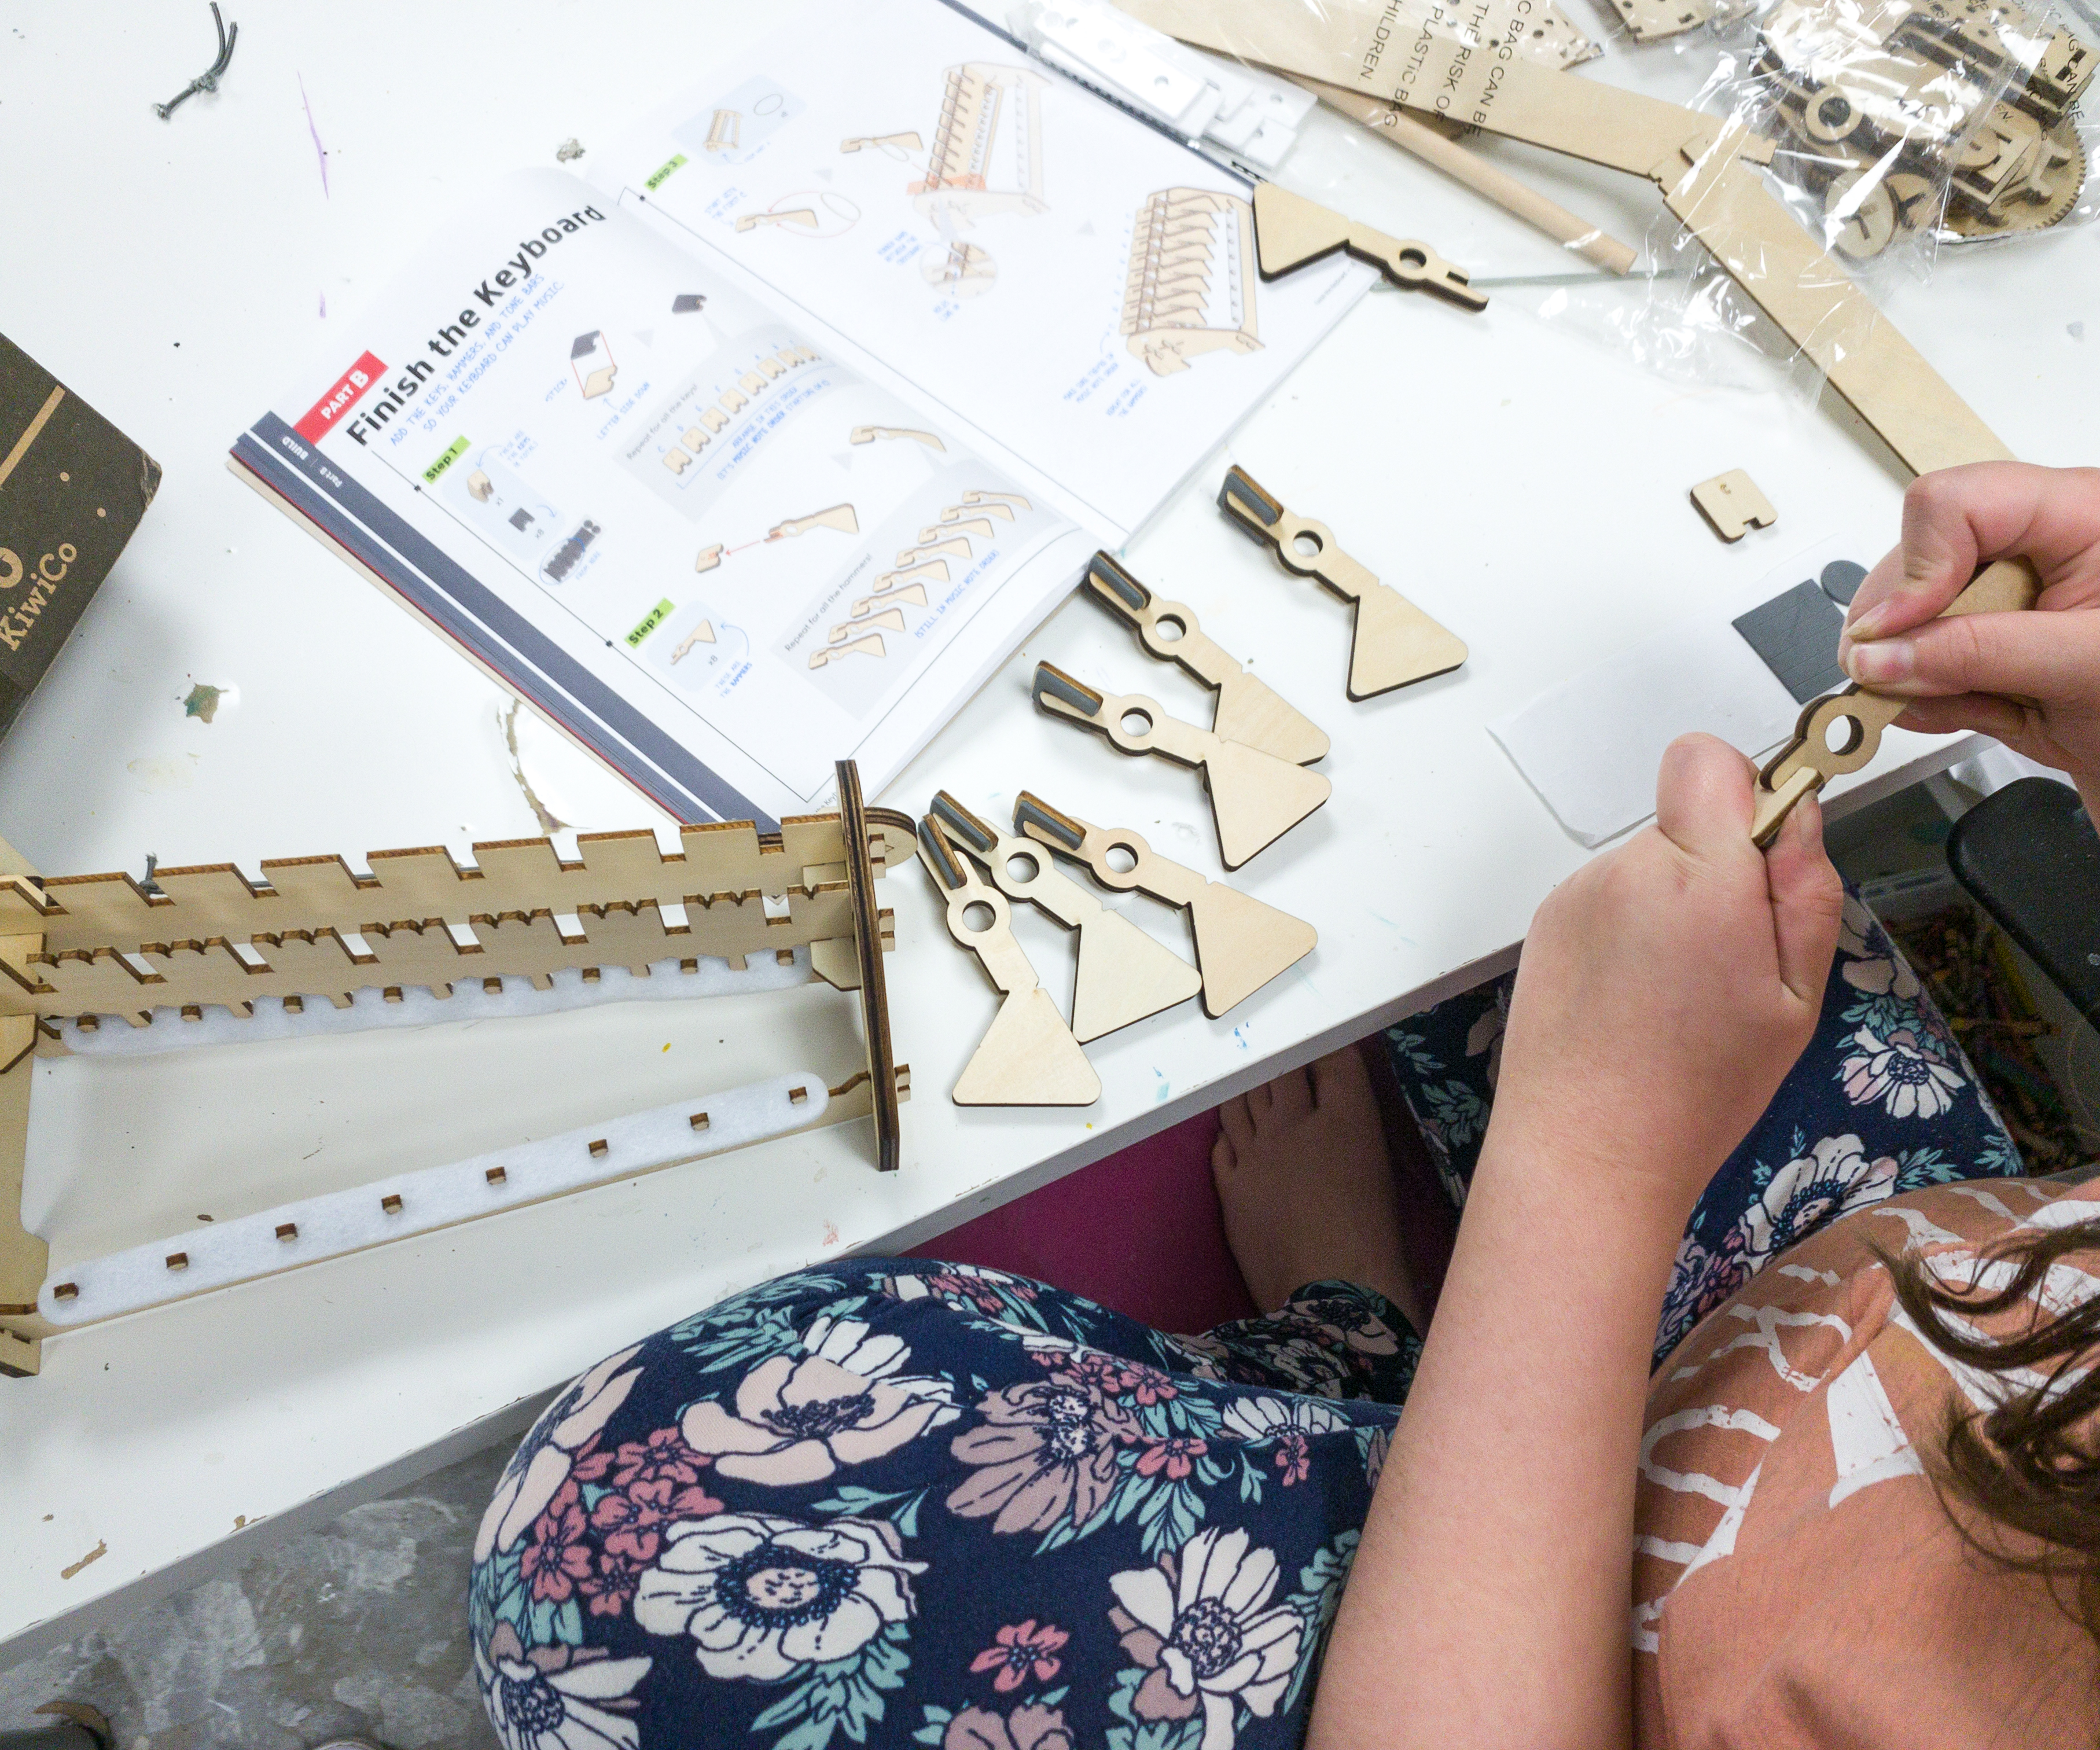
For the second part, we need to complete the keyboard. In doing so, we need to add the keys, hammers, and tone bars.
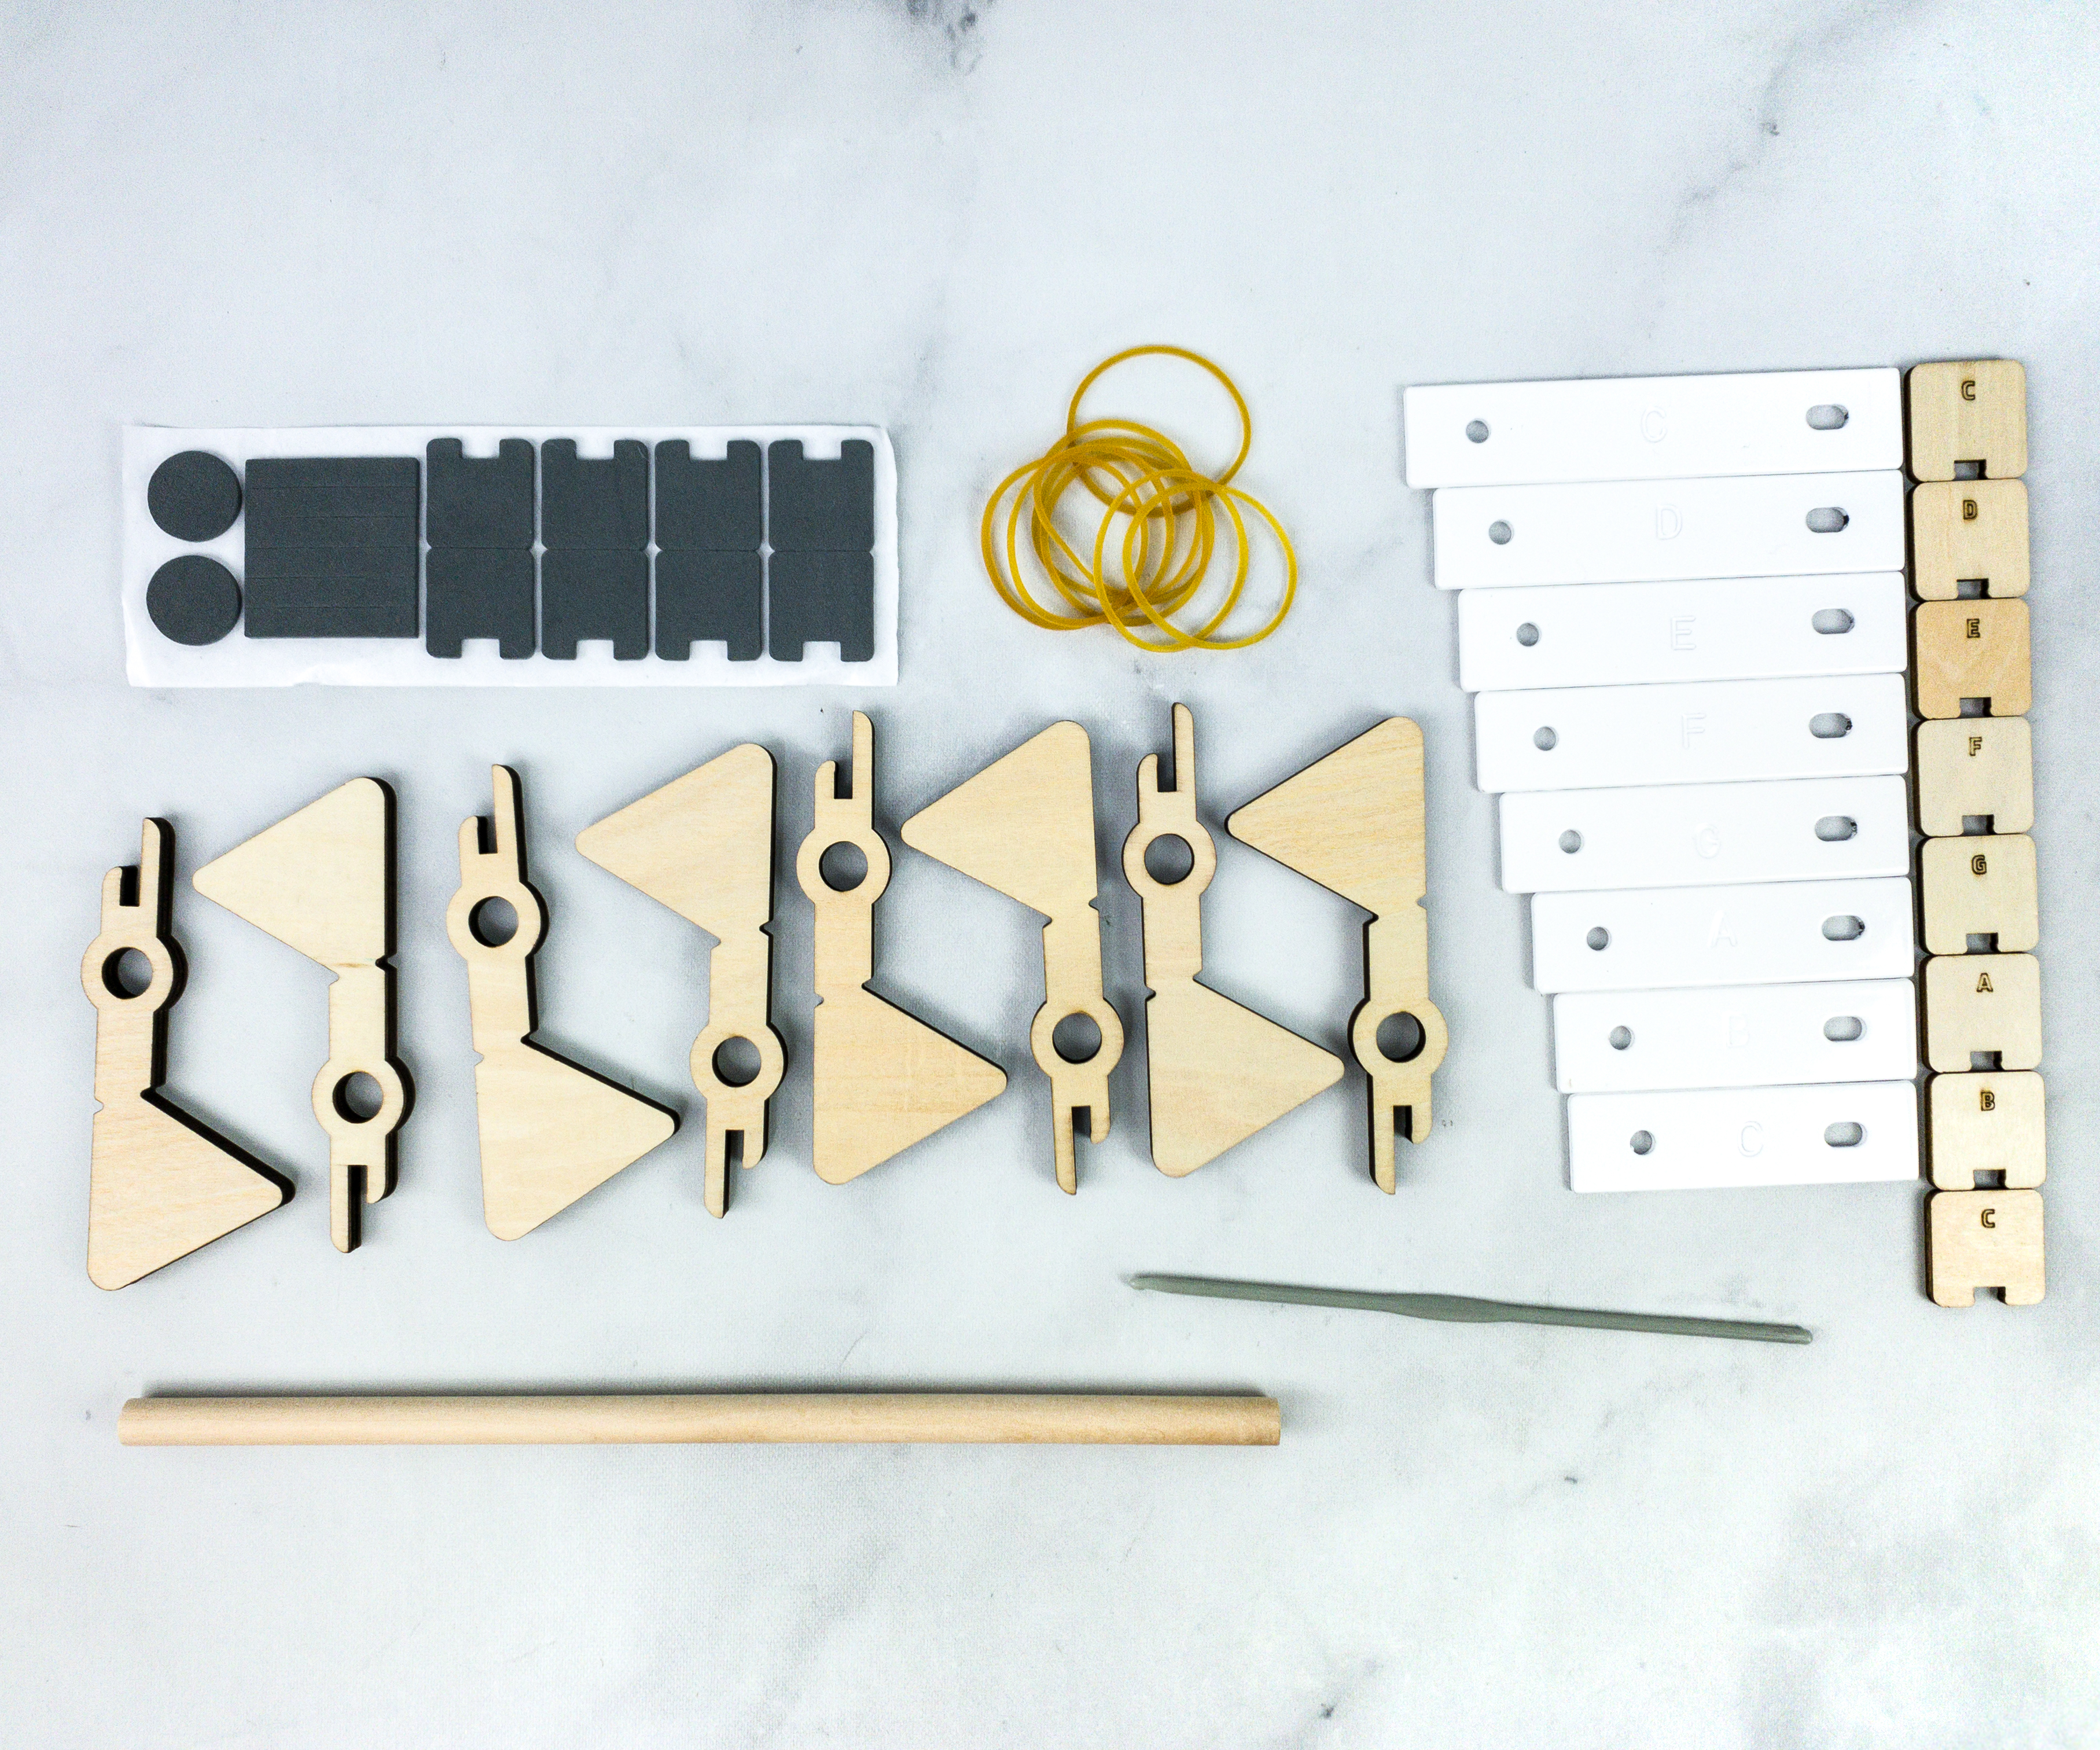
This part needs the other wooden pieces, sticky foams, tone bars, hook, and rubber bands.
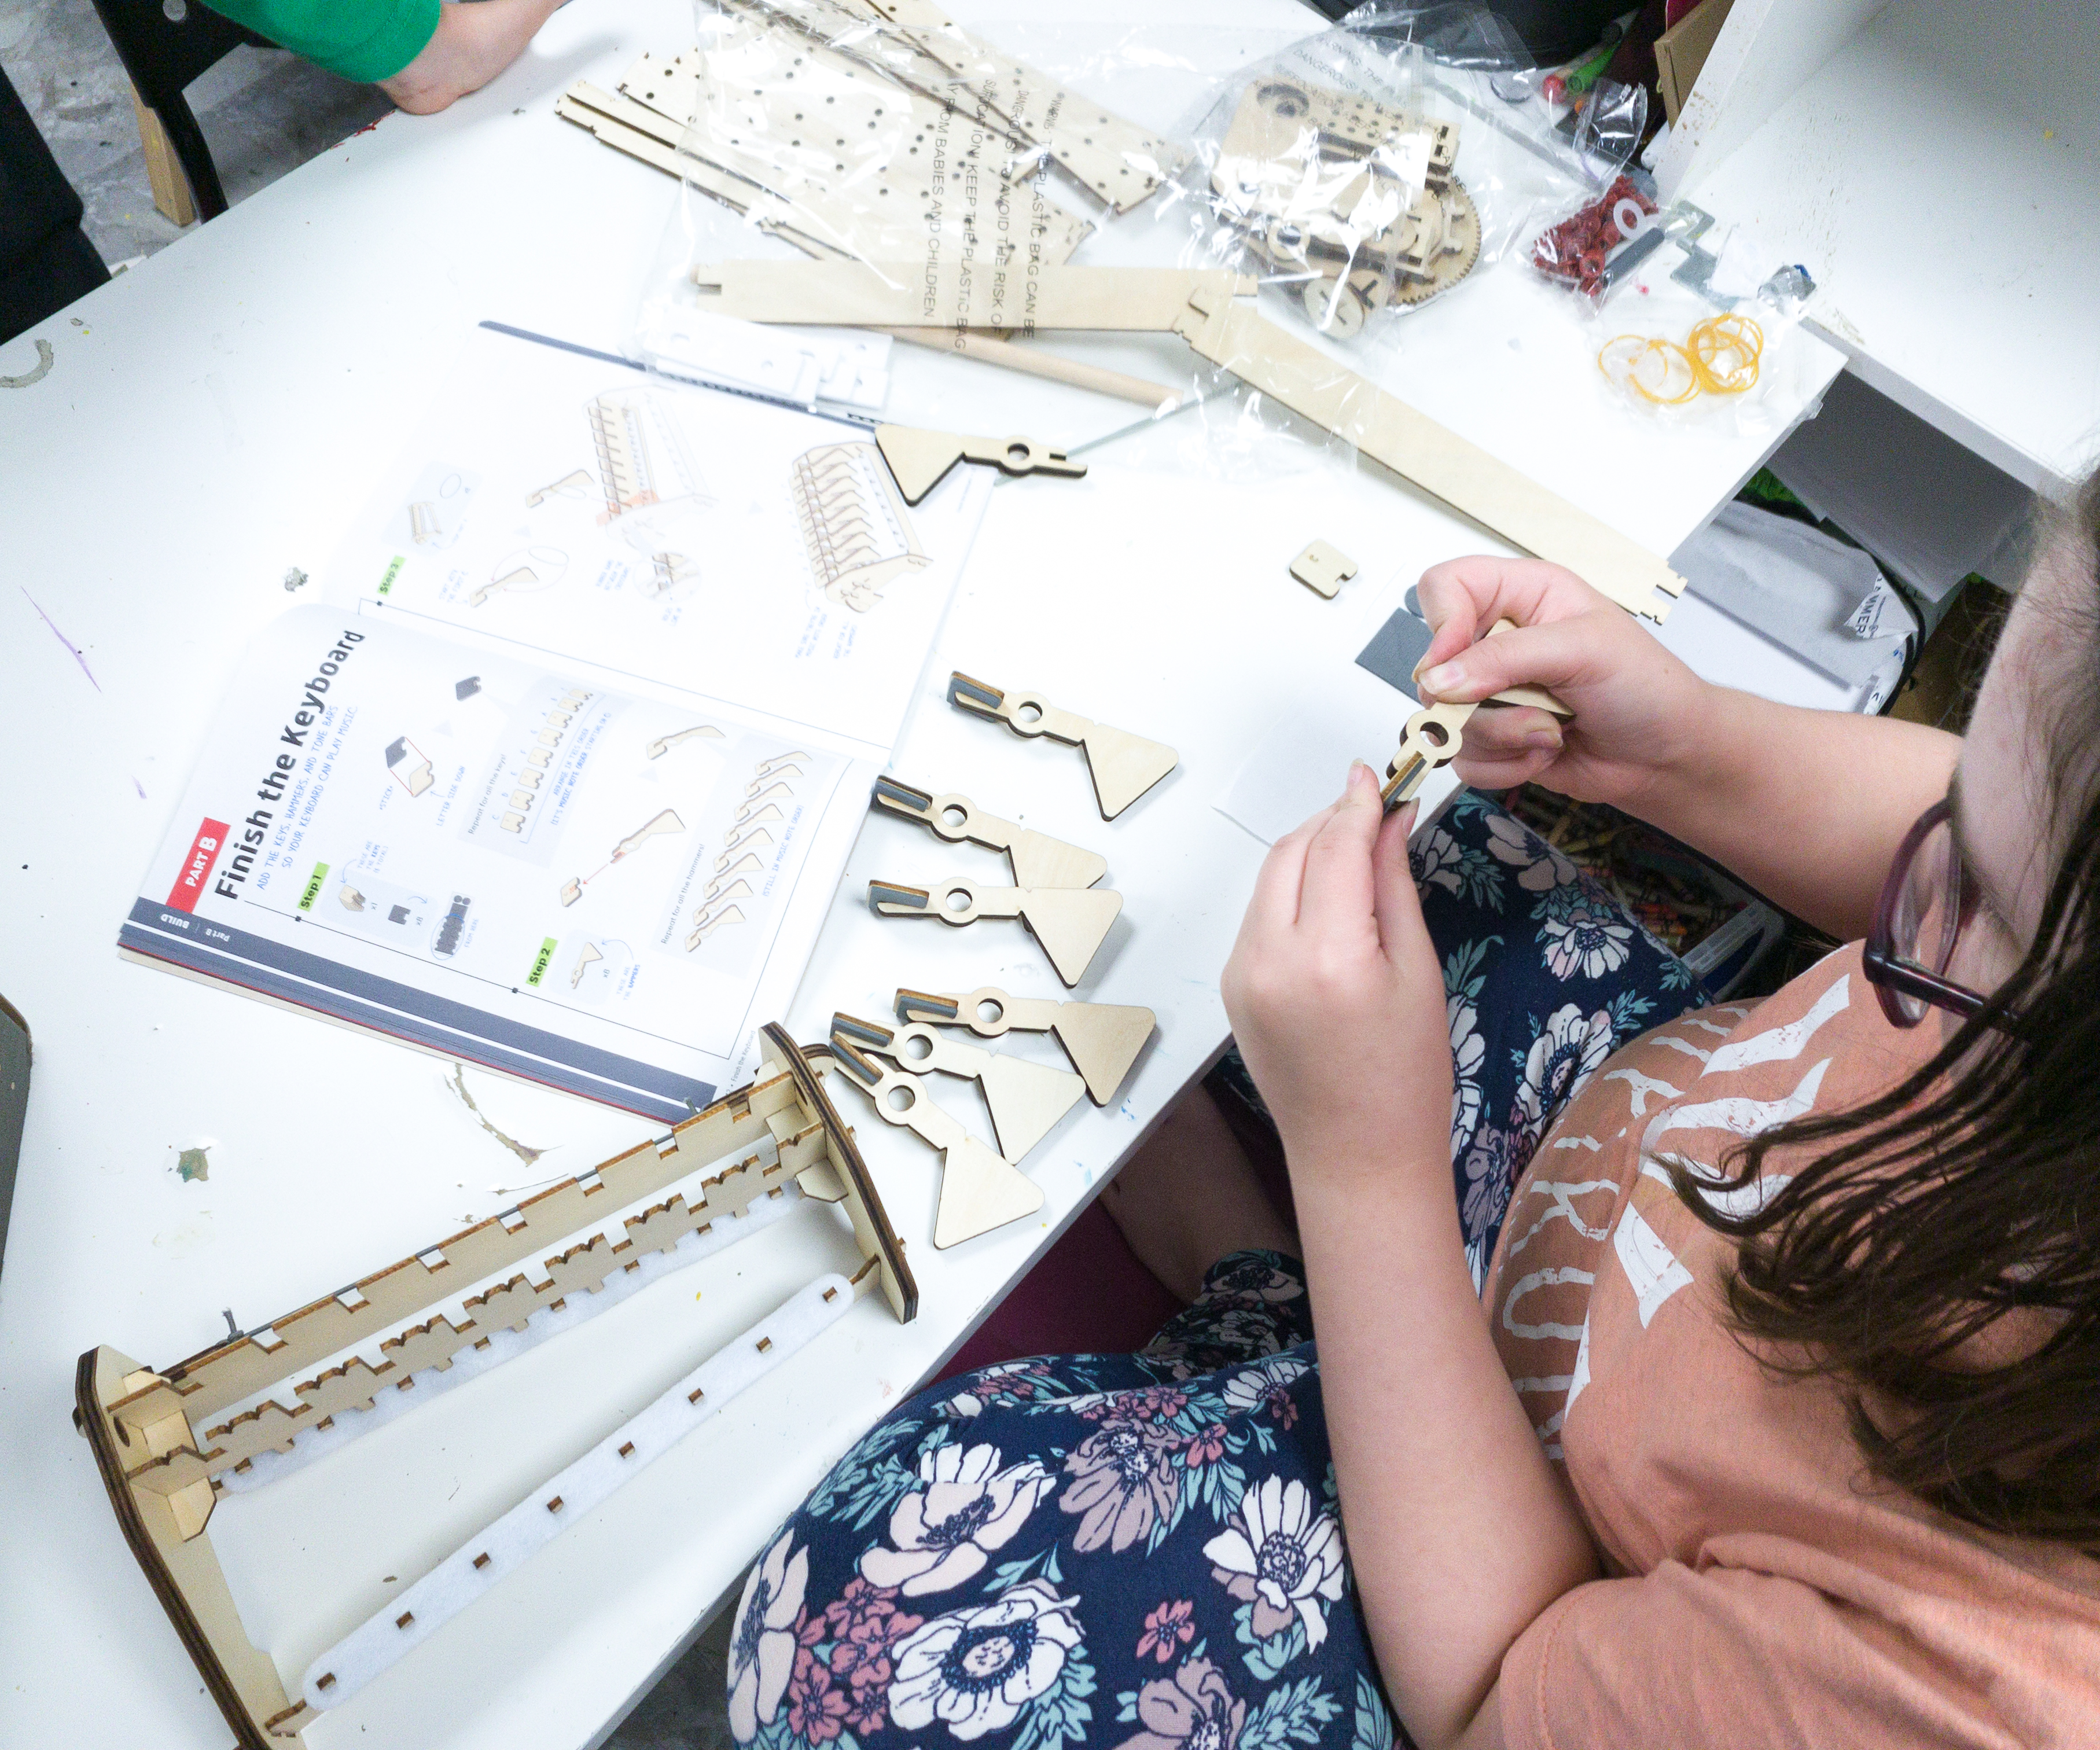
My daughter started to create the frame. She easily fitted the pieces as she has a really organized way to make it, plus she thoroughly read the instructions first. Then she followed by attaching the other wood pieces that will make the hammers.
After finishing the hammers, she’s ready to set them up on the finished frame.
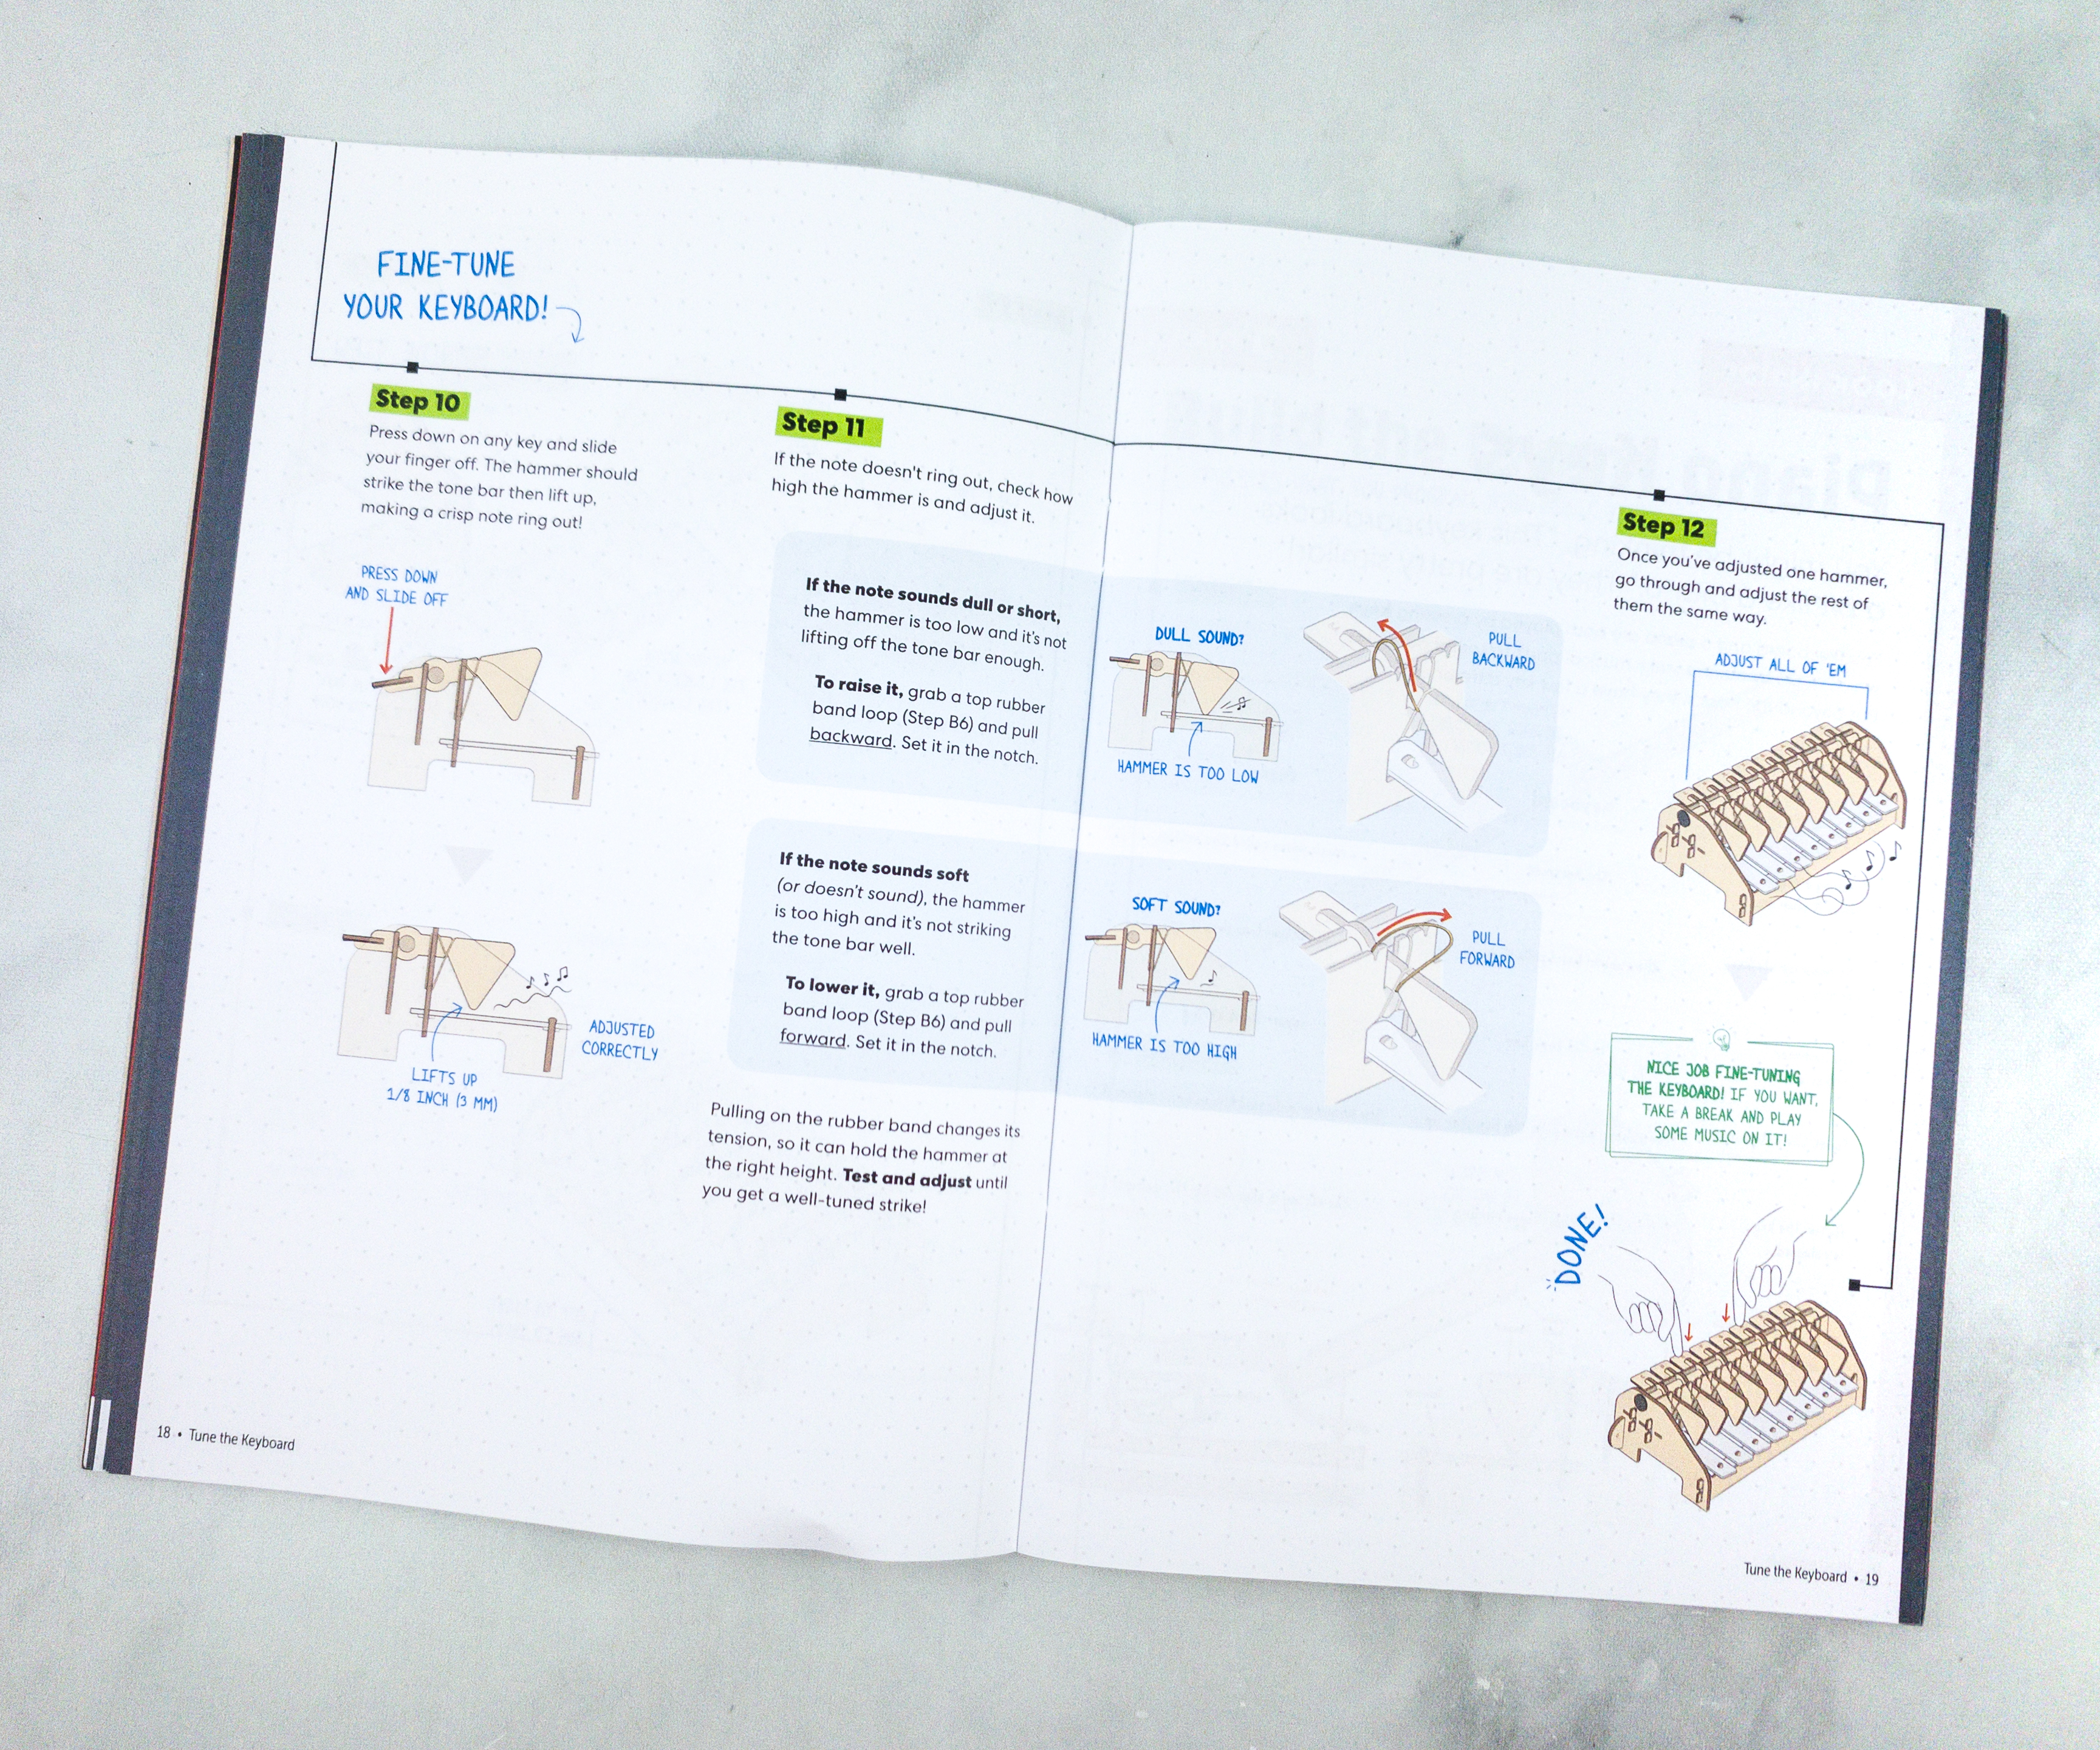
It’s also important to fine-tune the keyboard so that the music box will play awesome music. This will require several steps and we’re glad that the booklet provided detailed instructions and not just images for it.
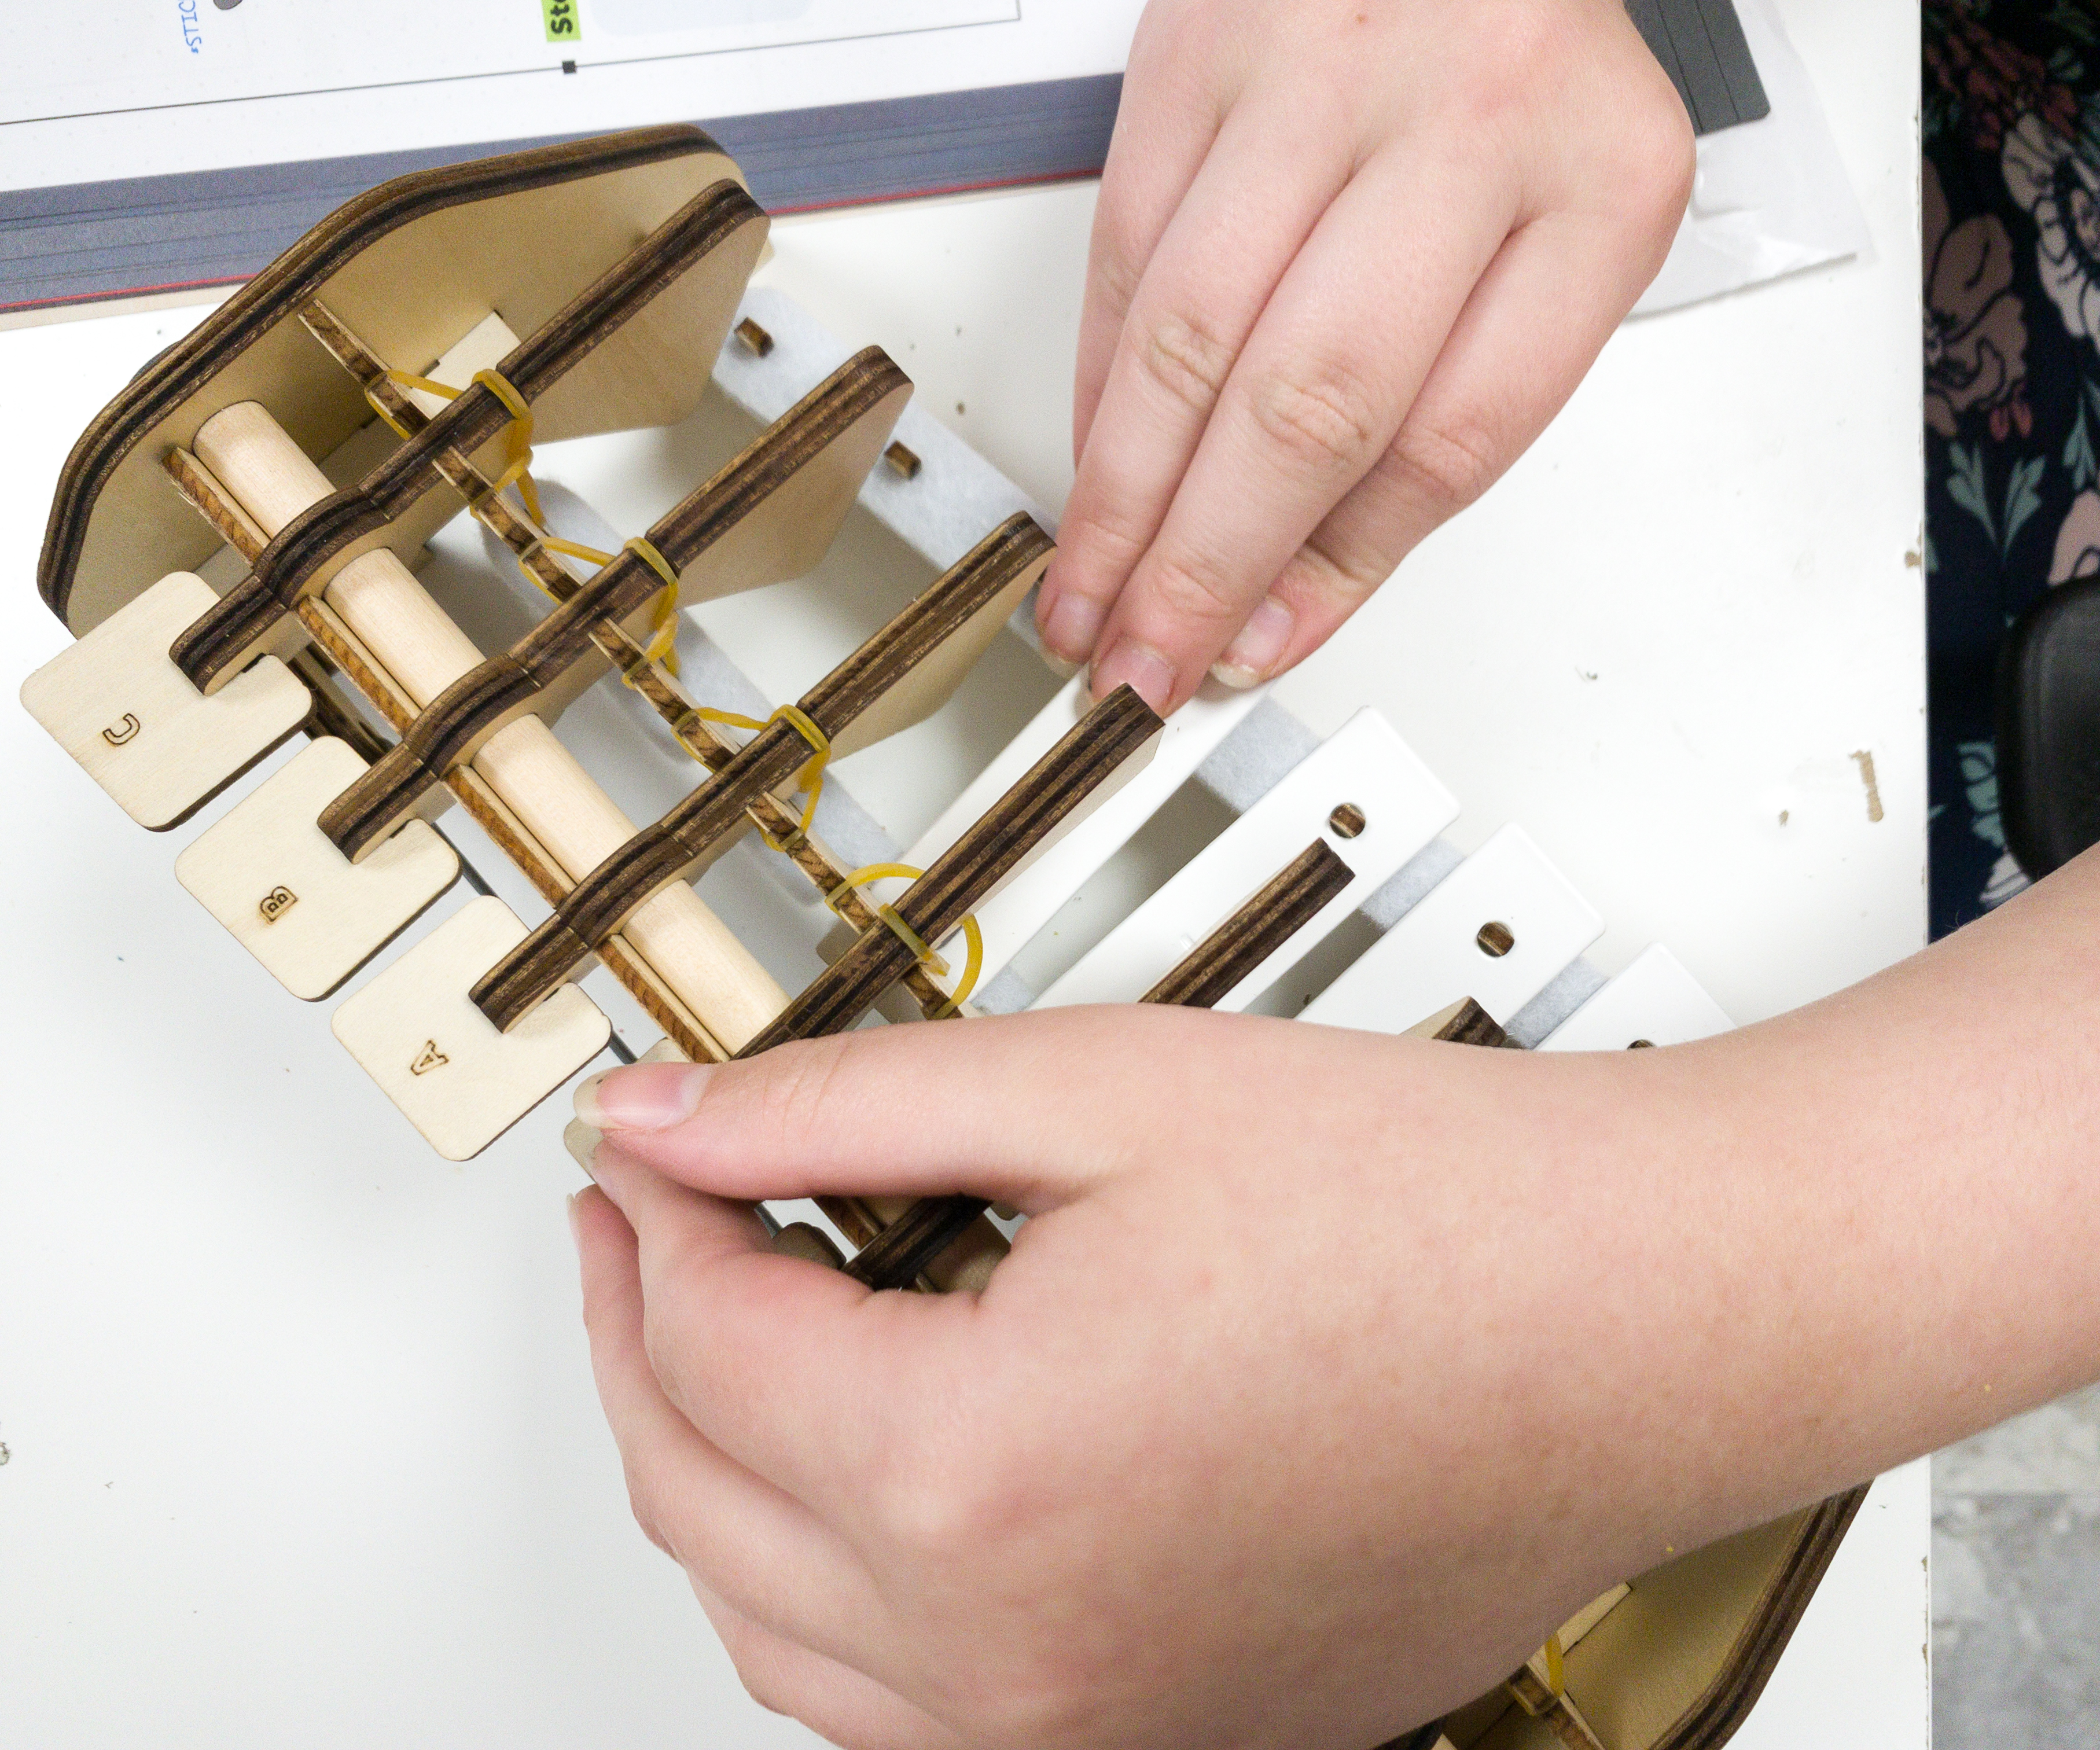
It takes a lot of time fine-tuning the keyboard as we need to adjust the keys one by one.
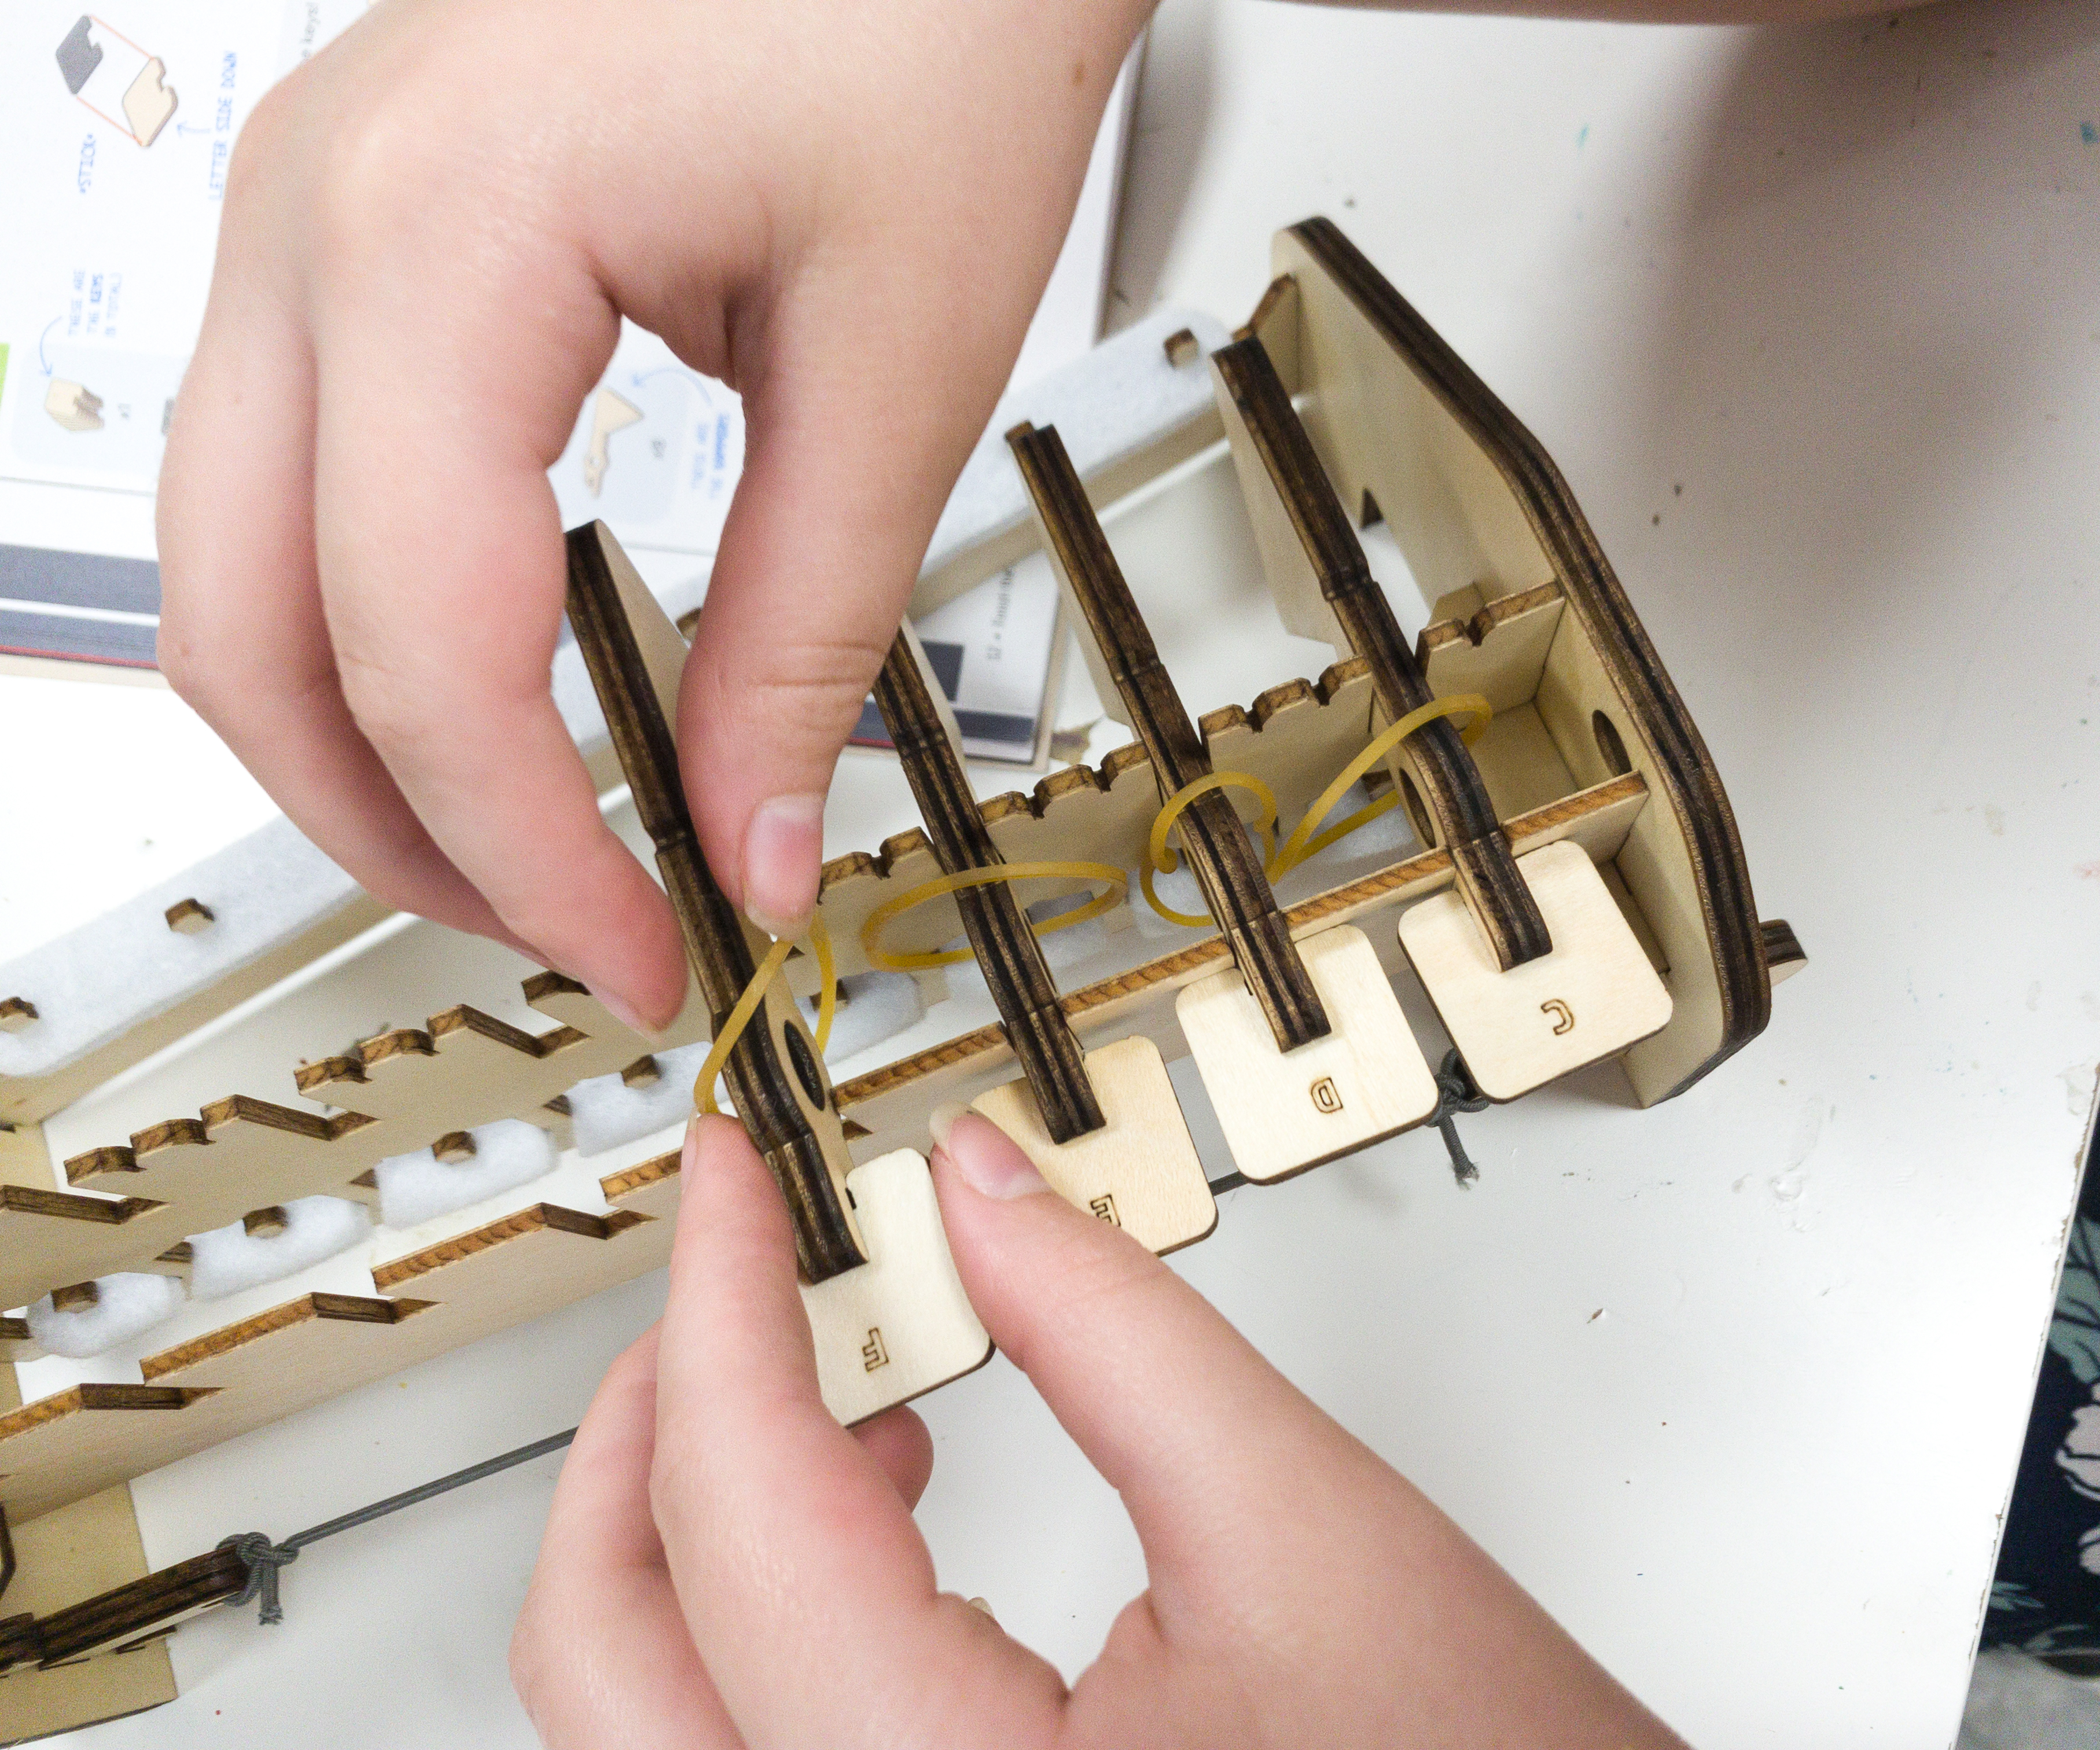
Another thing you need to make sure is that the keys are in their right position.
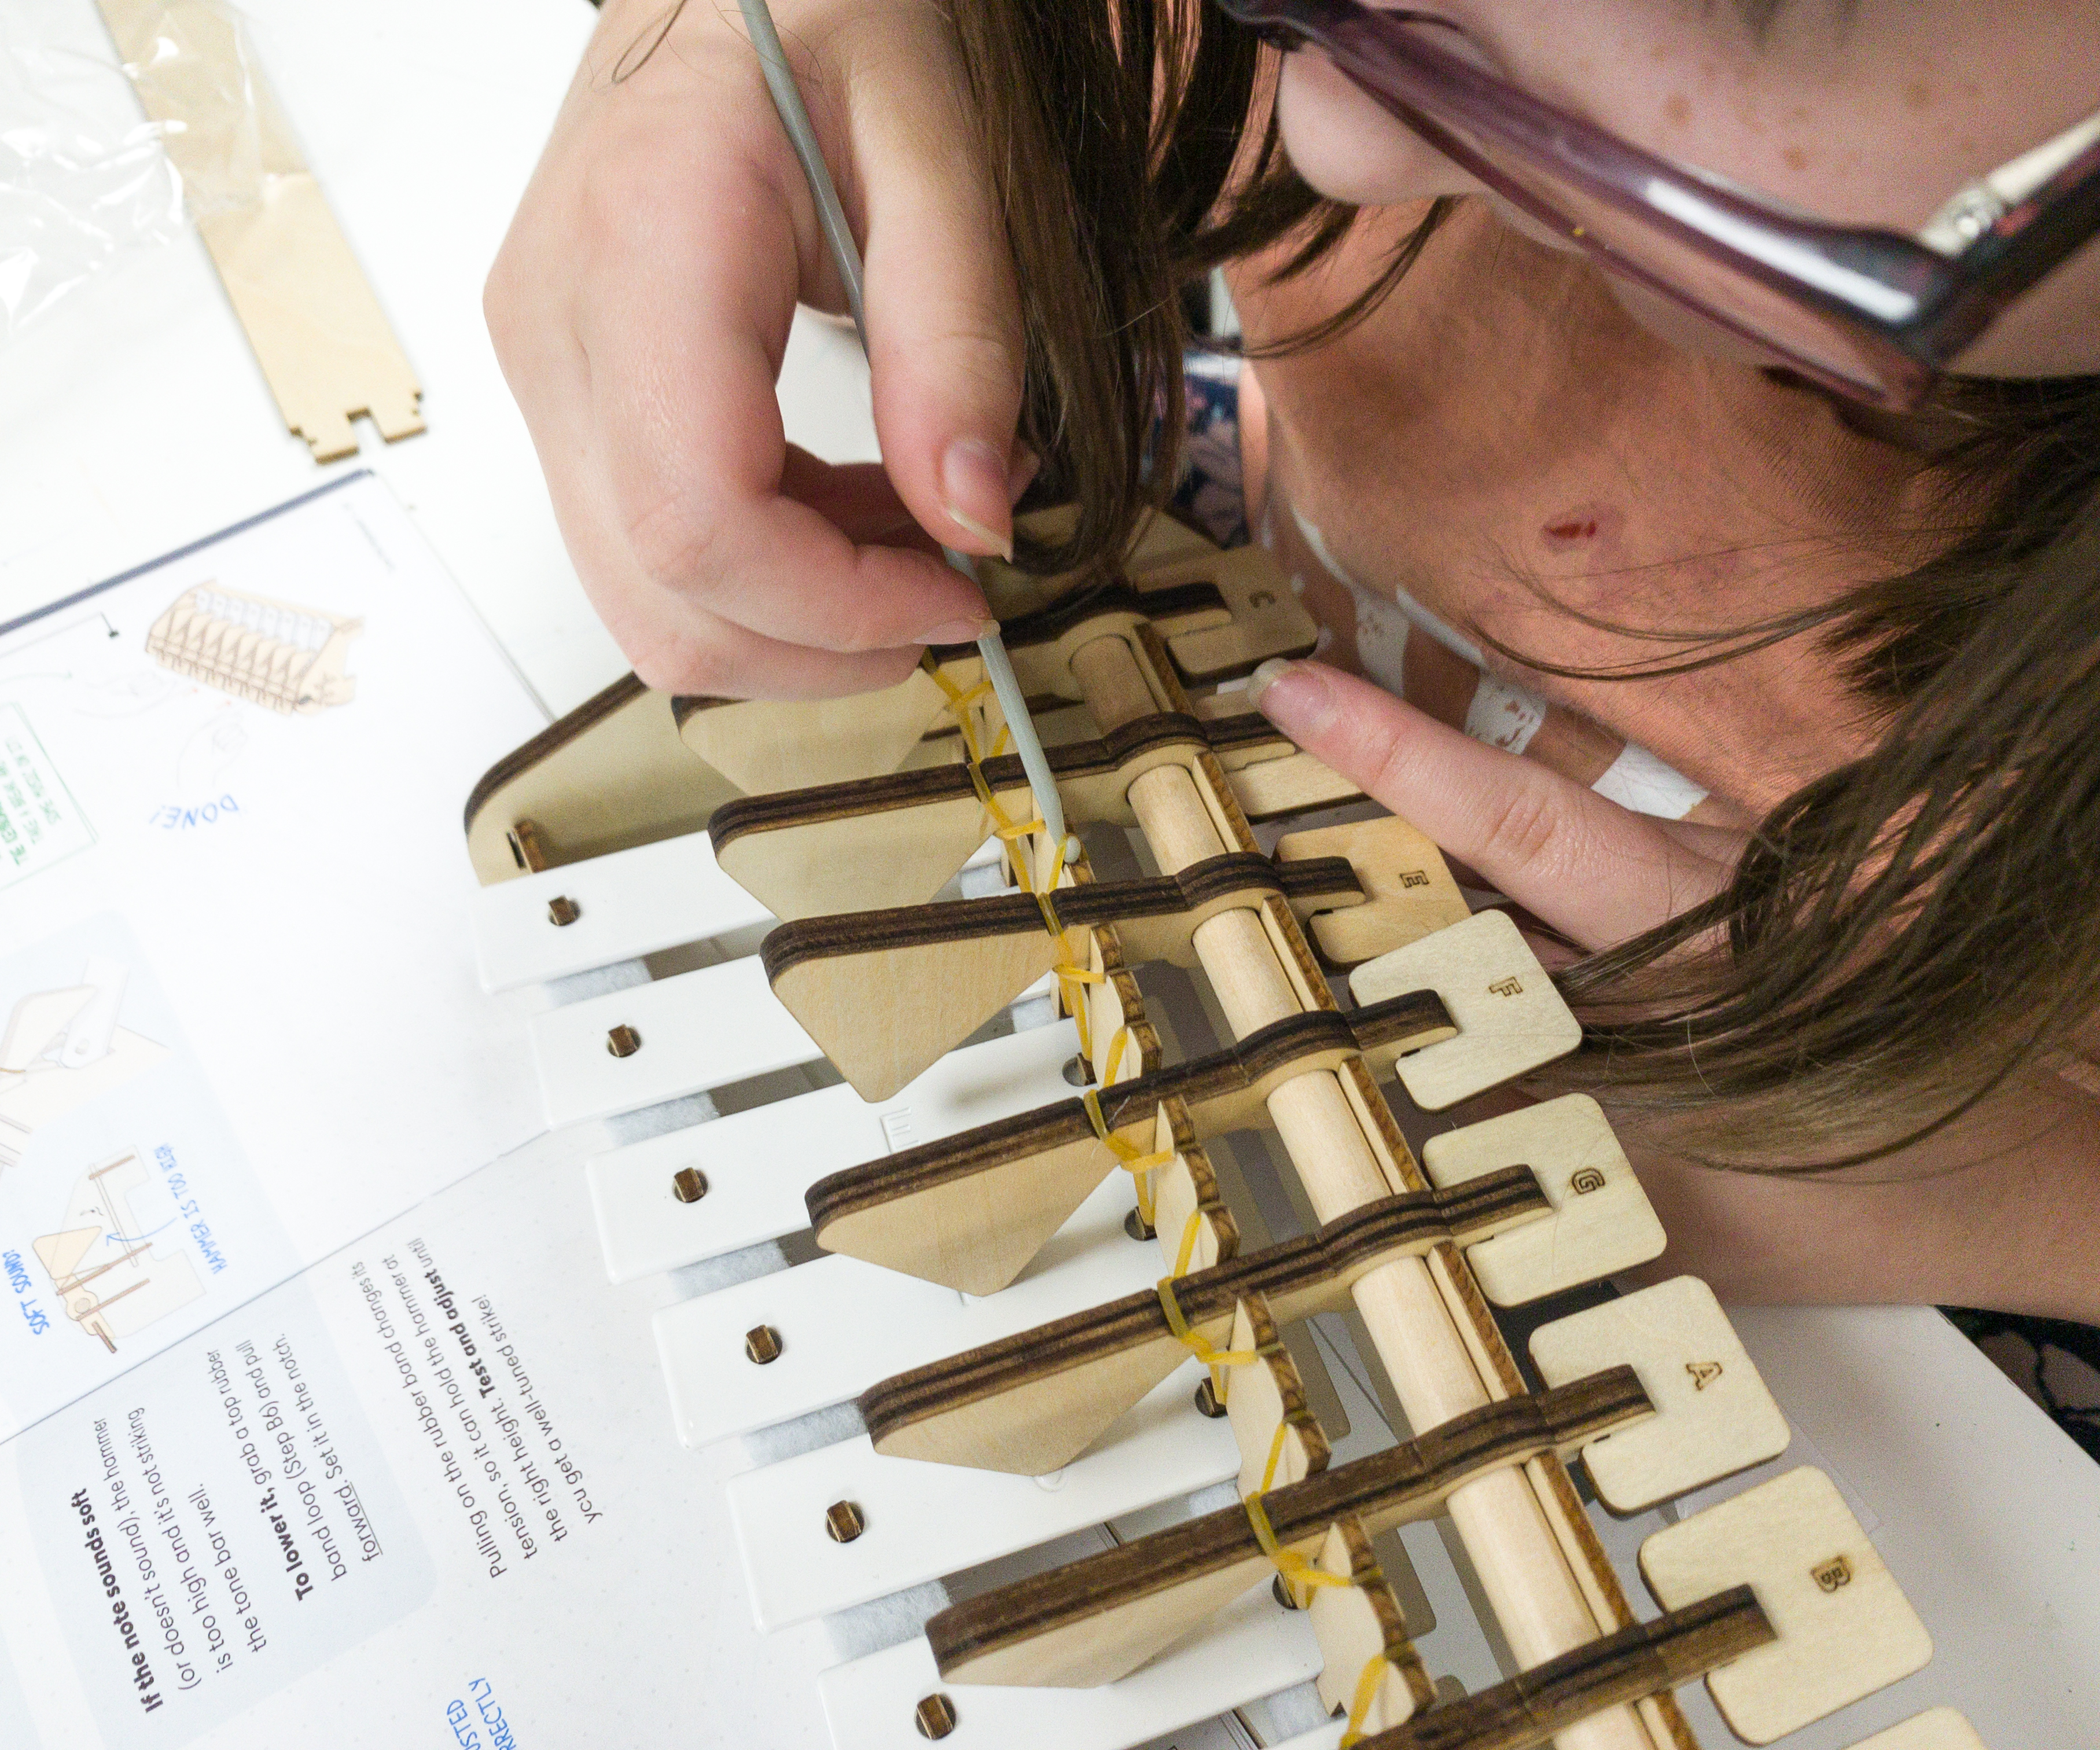
My daughter is almost done! This part is tedious but it’s definitely worth it.
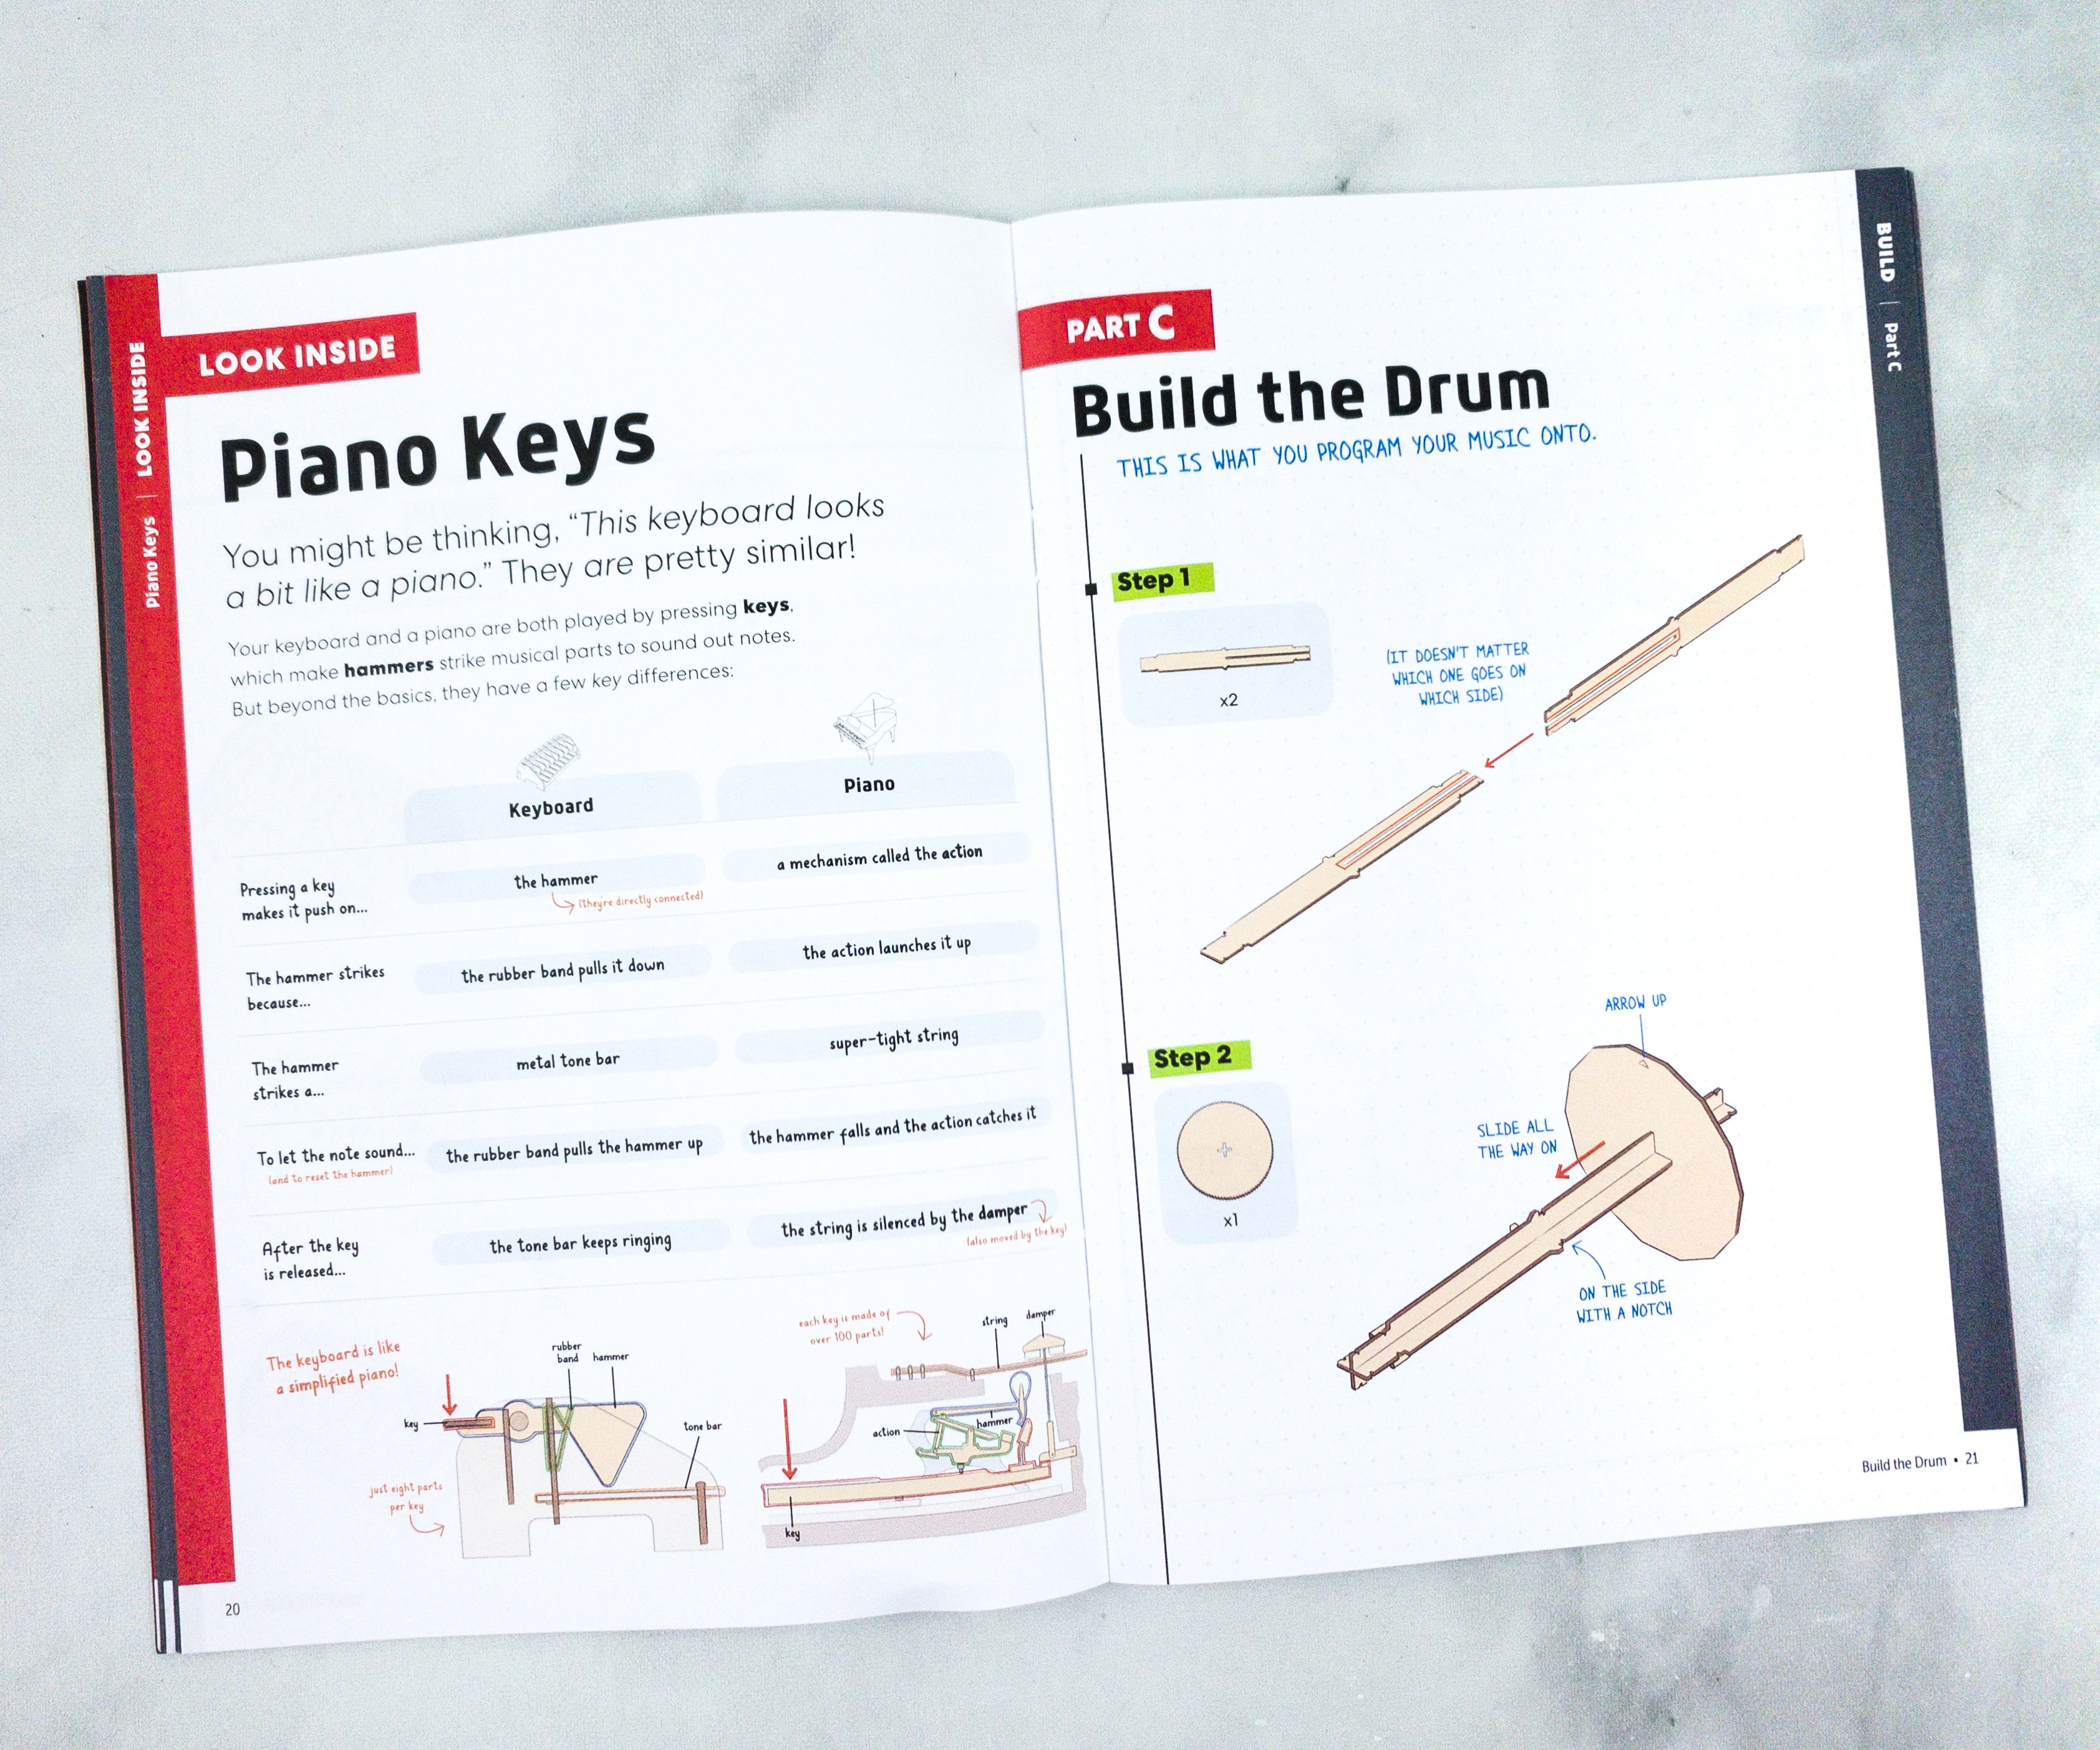
The booklet also explains about the Piano Keys. The keyboard that we’re building is similar to the piano, and both are played by pressing keys that make hammers strike musical parts to sound out notes. For the next part, we need to build a drum where we will program our music.
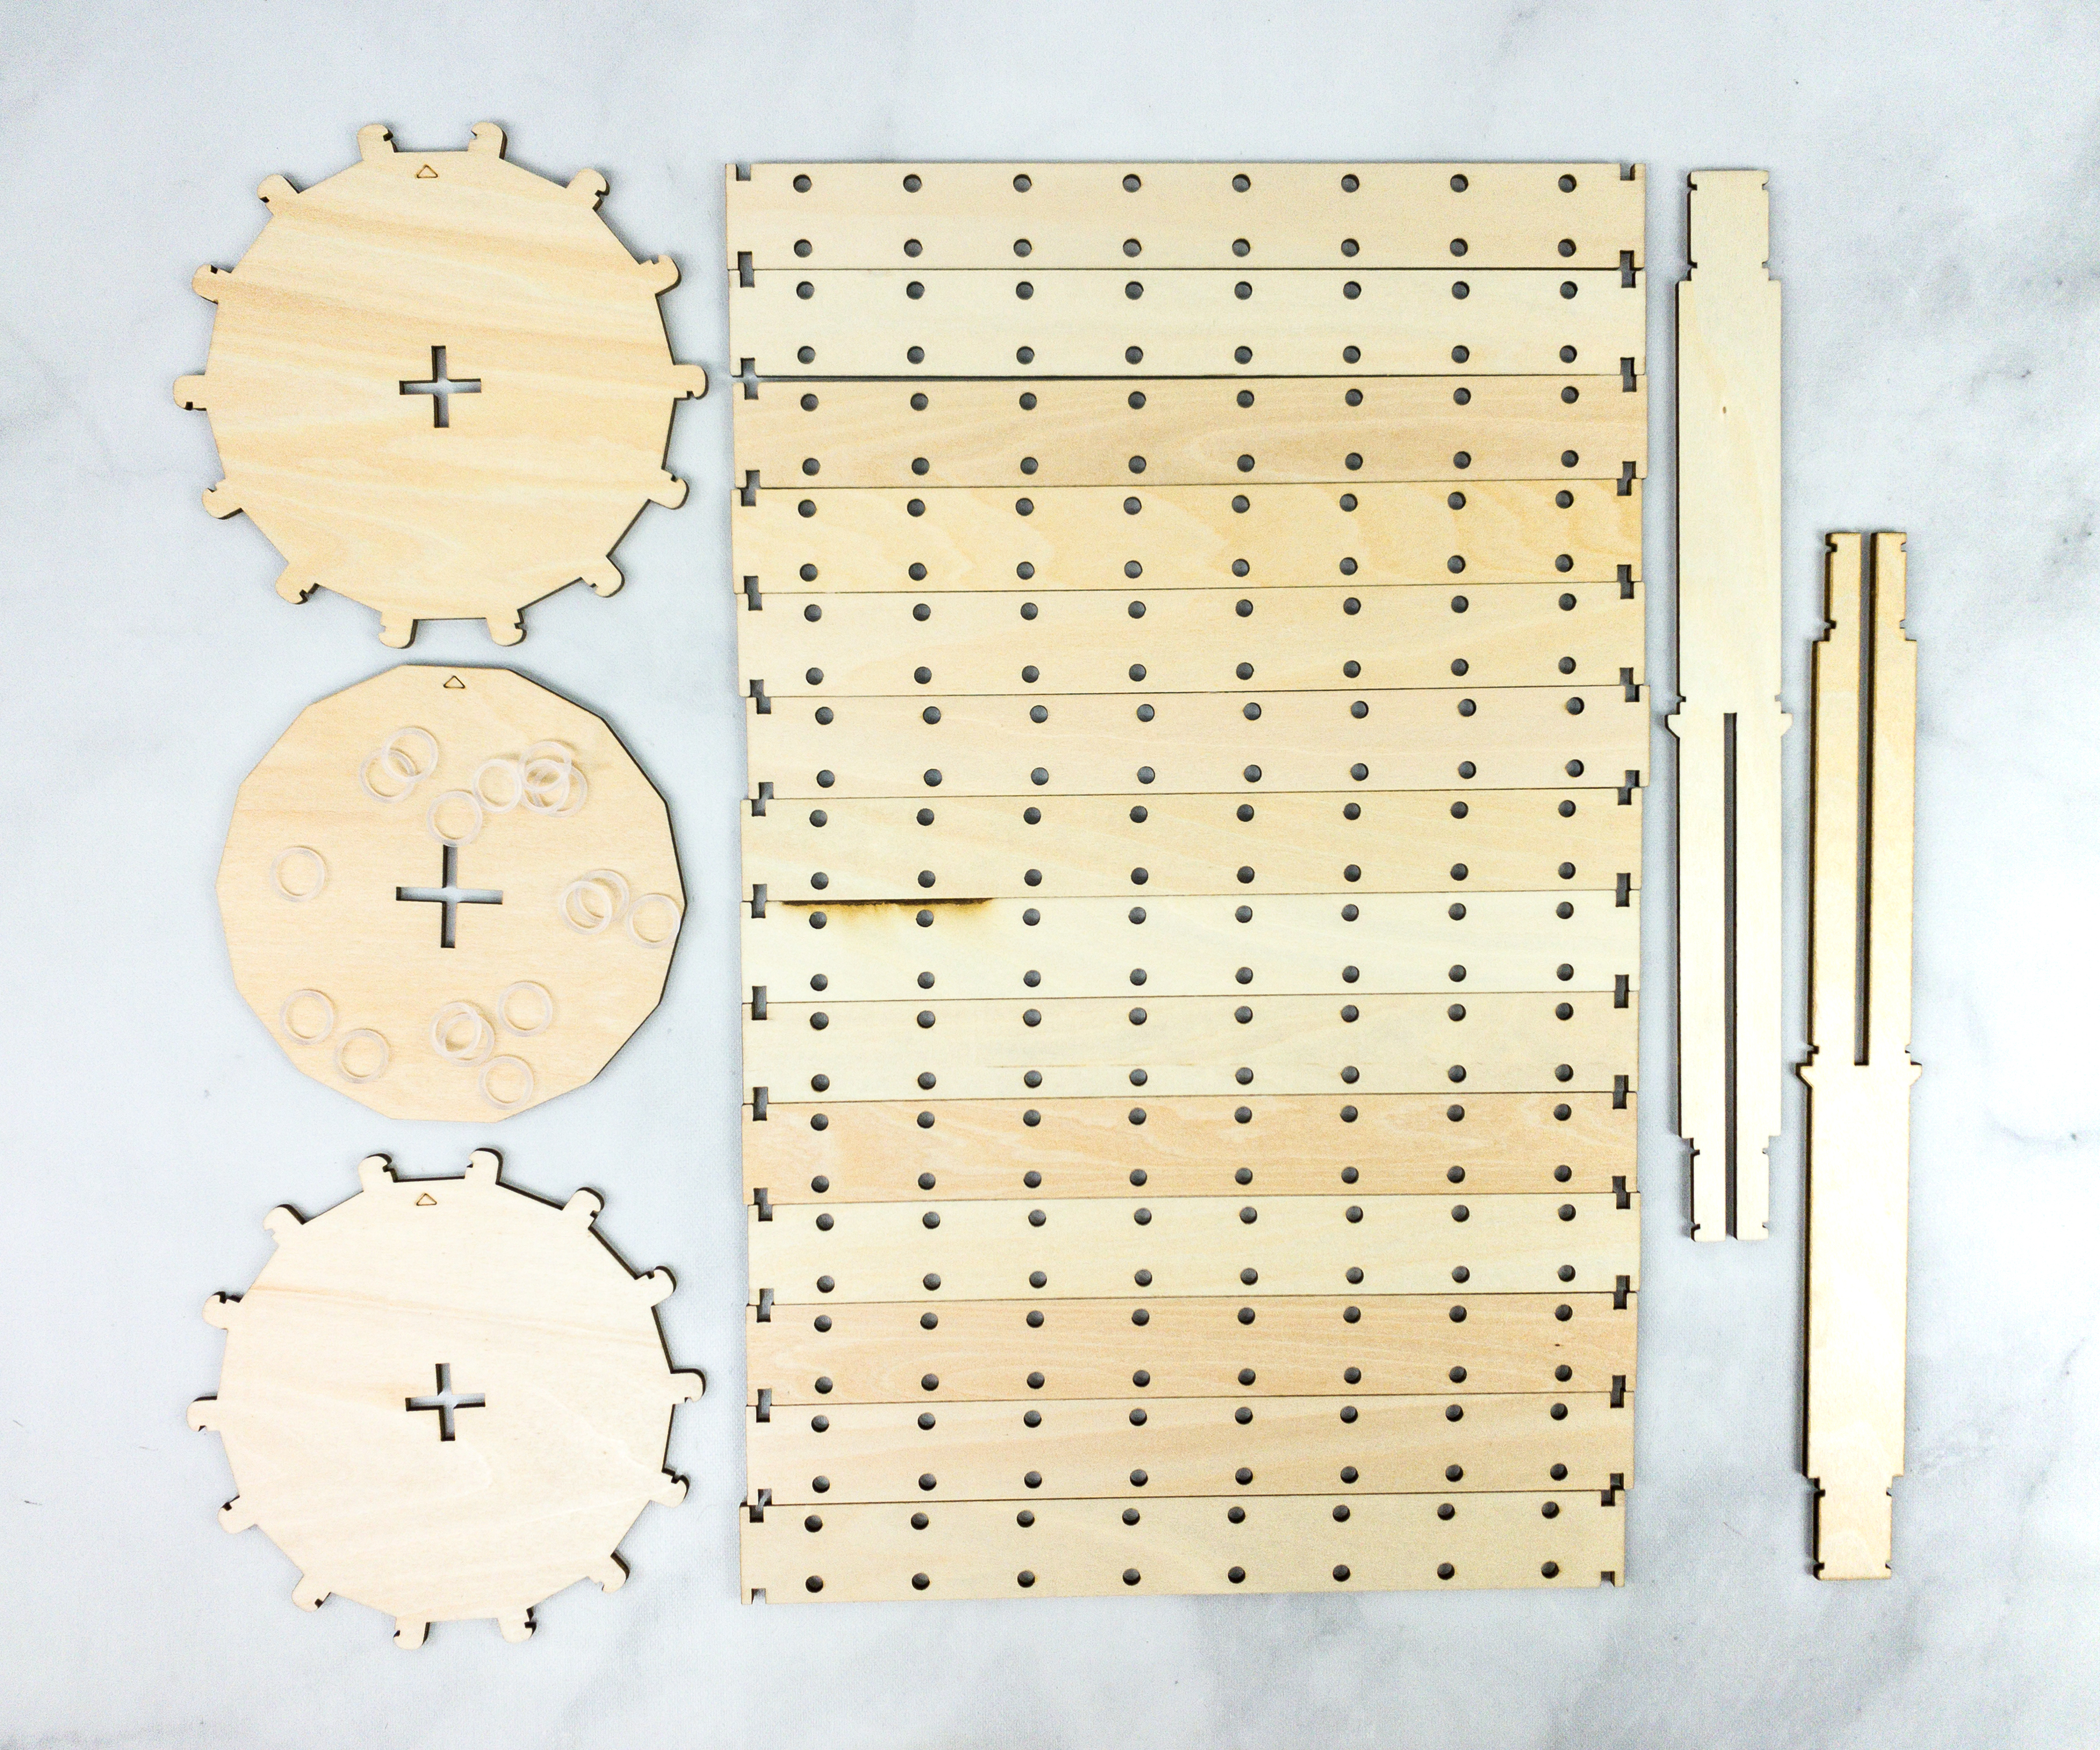
This will require the use of the other wood pieces and the O-rings.

One of the most important parts of making this is to make sure that all the disk arrows are pointing up.
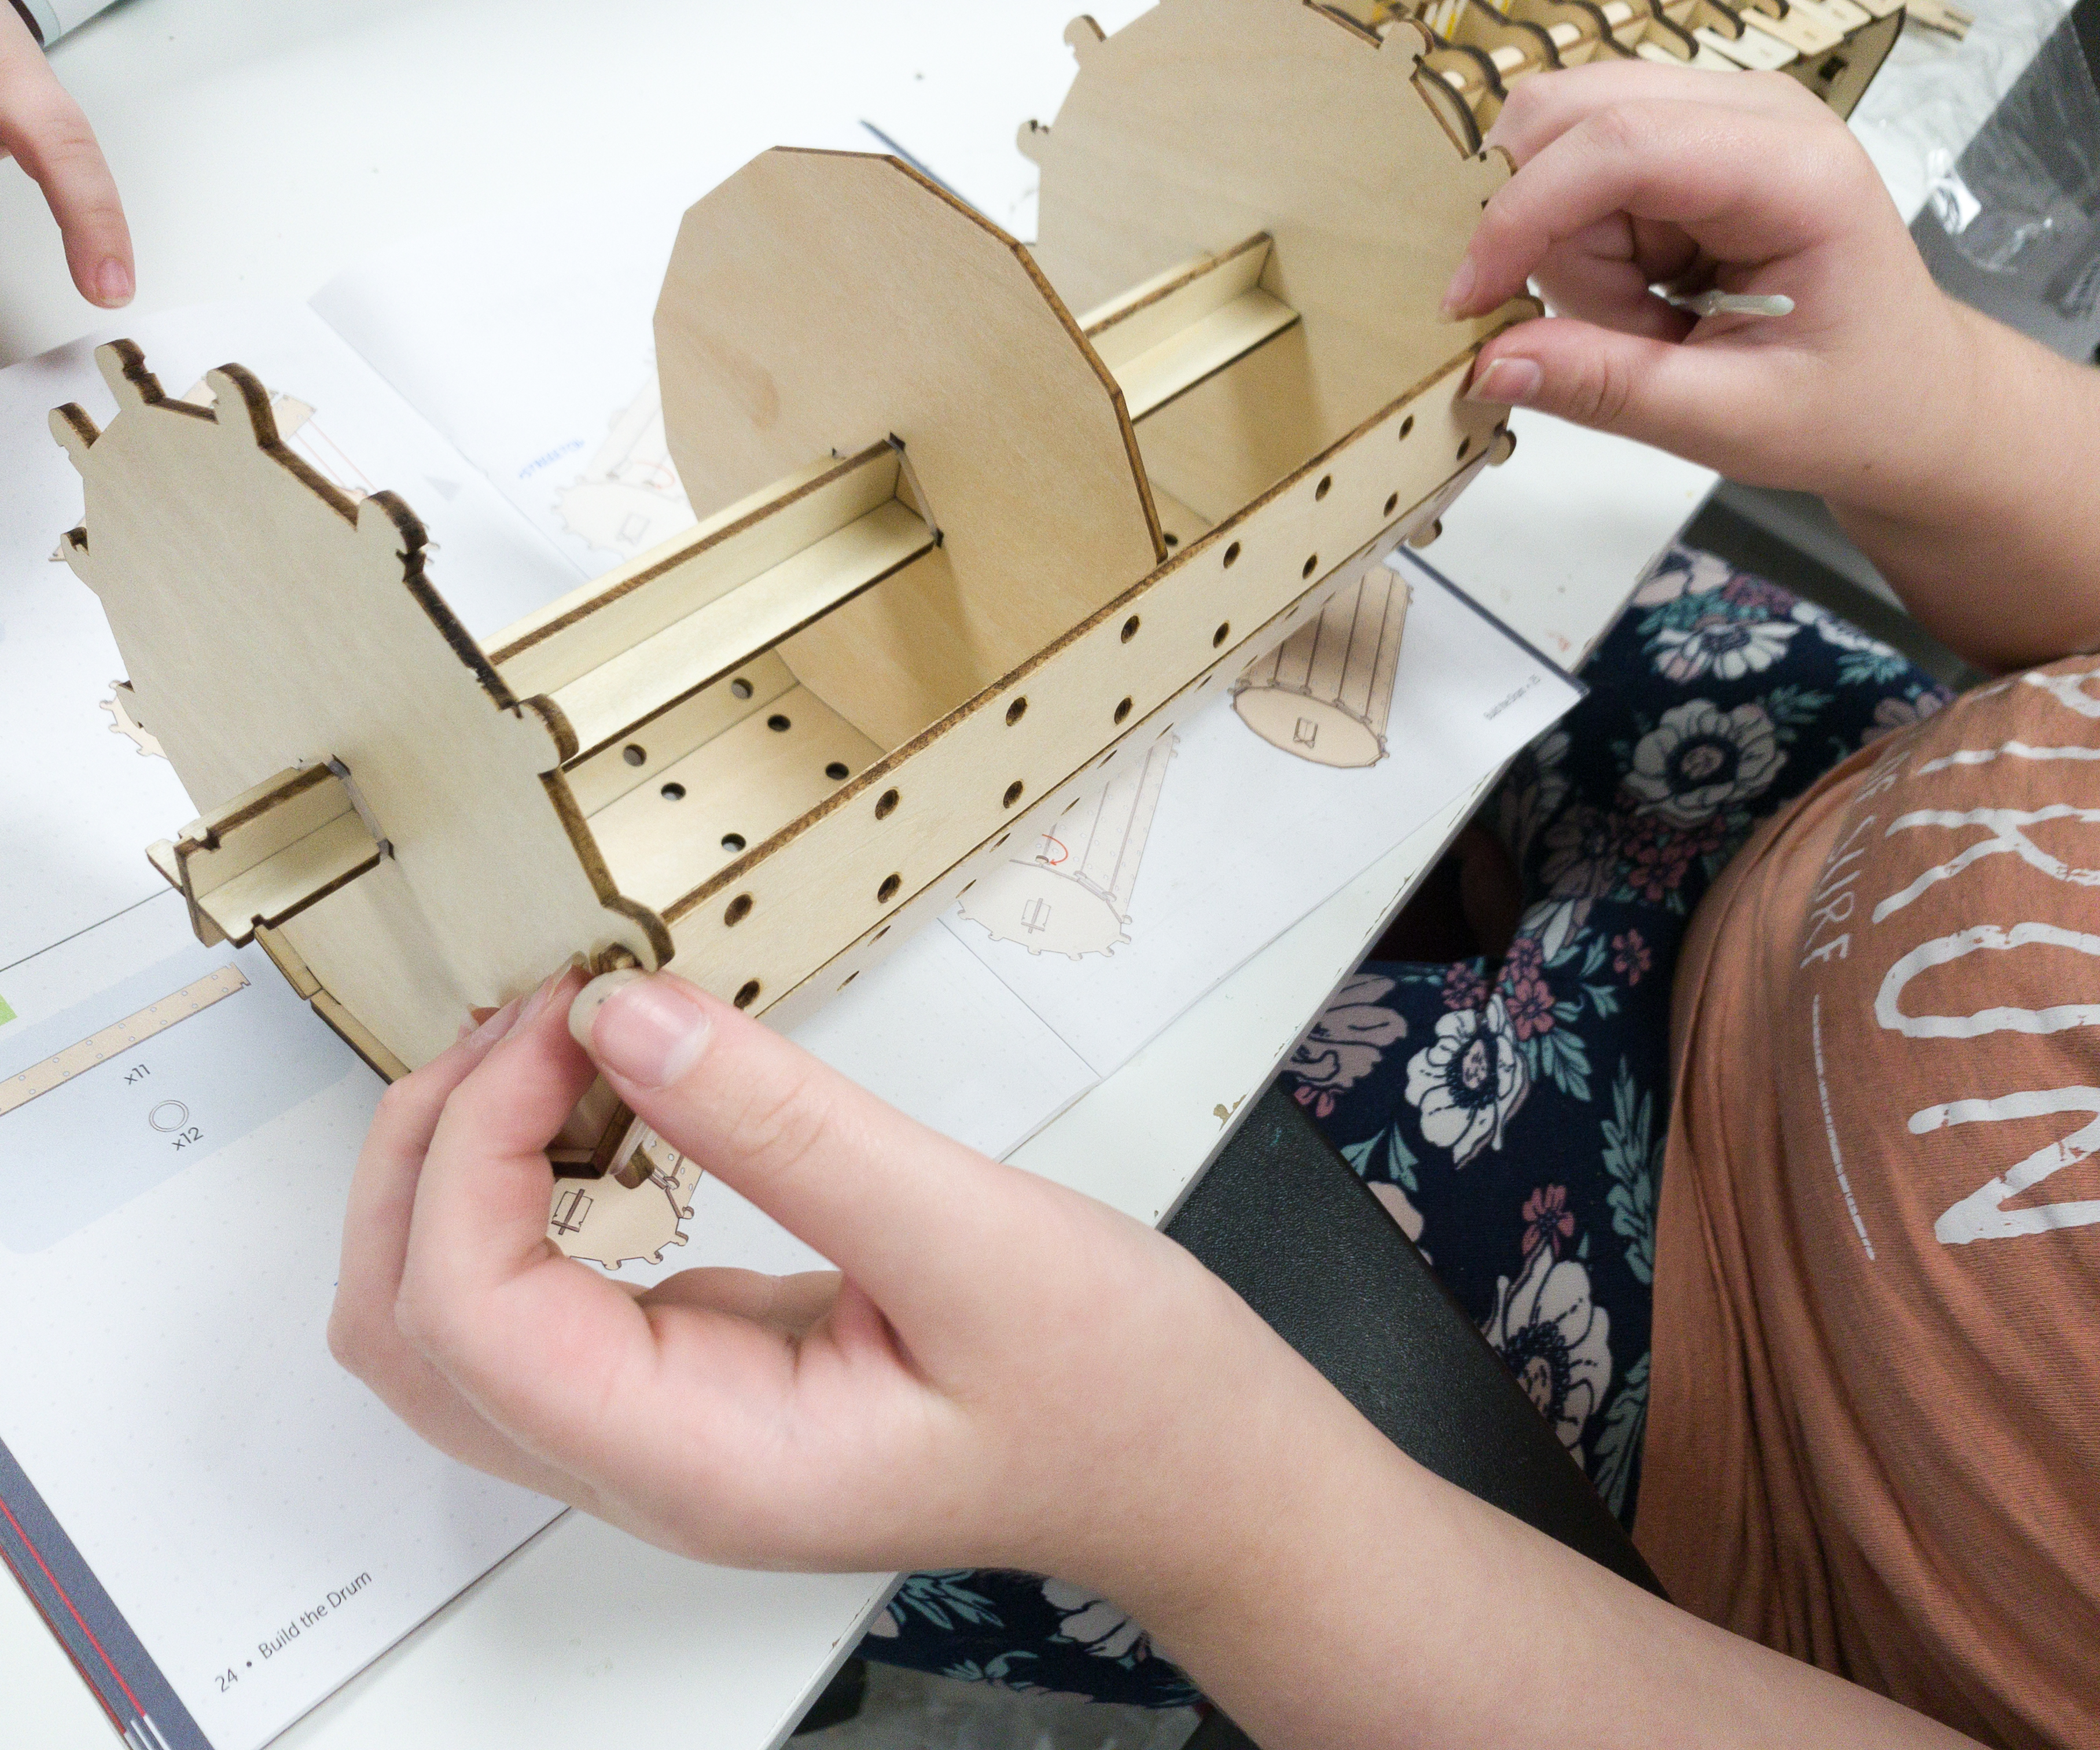
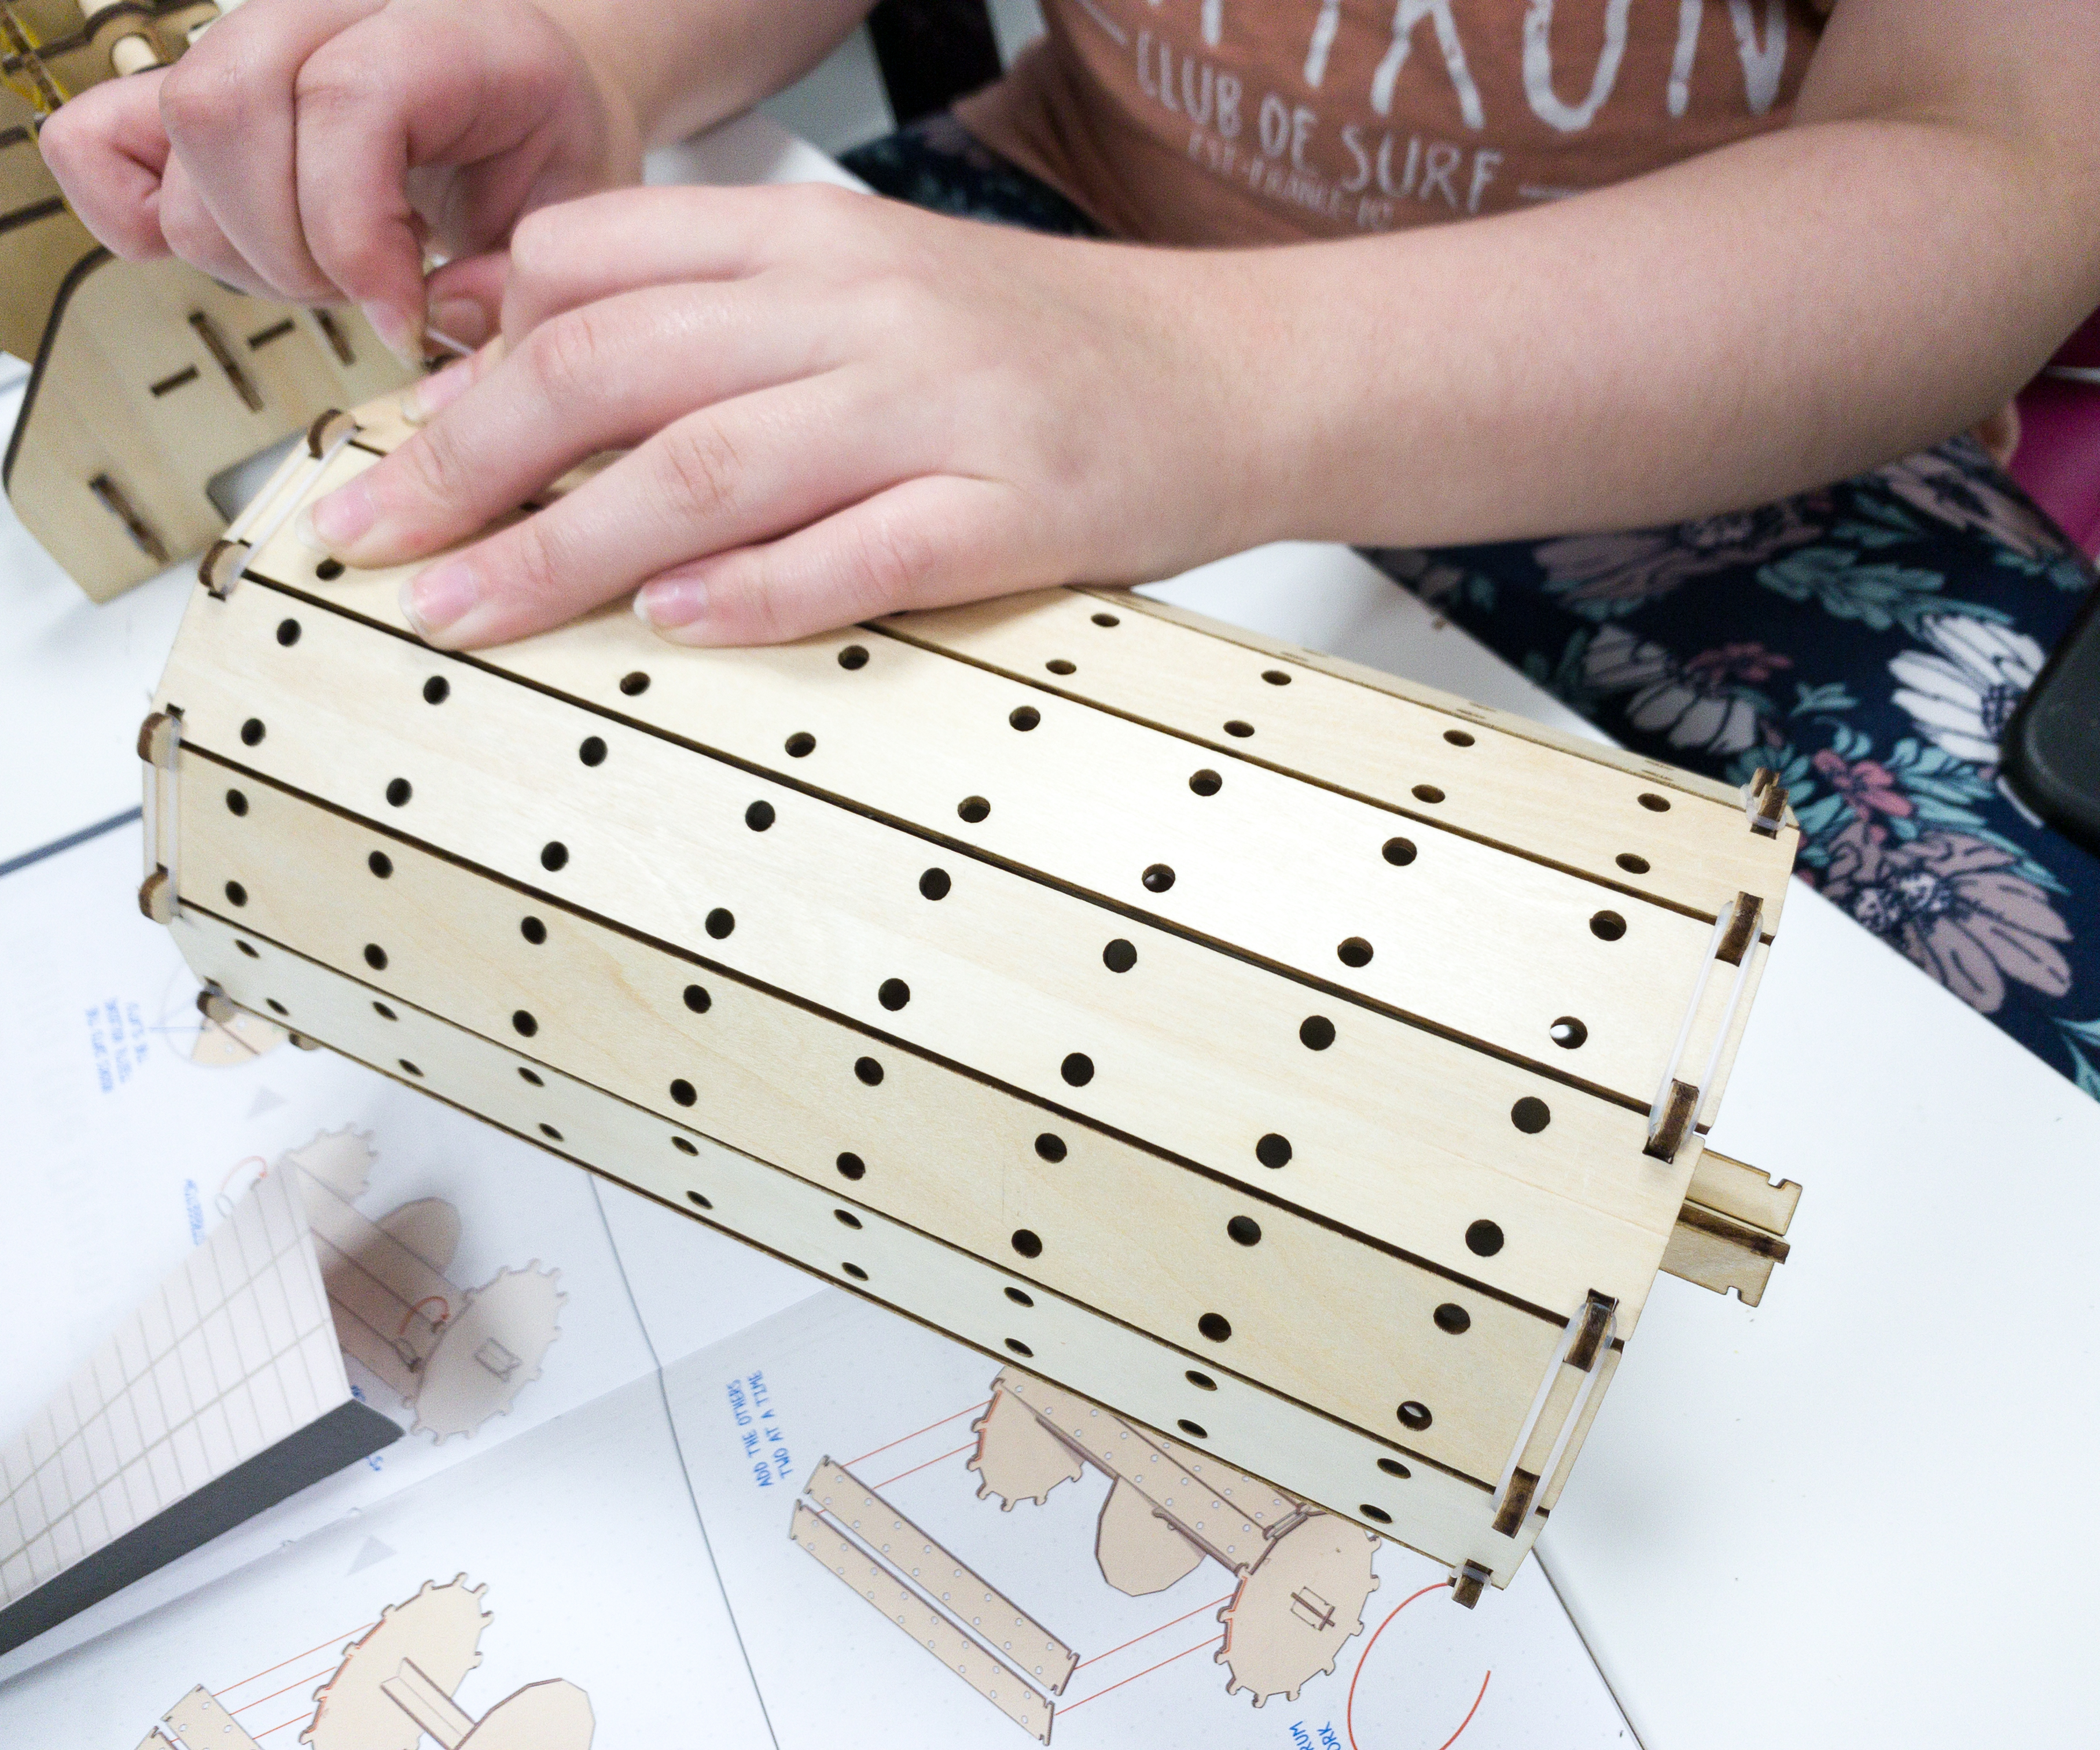
After making sure that the discs are aligned, we started building the rest of the drum.
My daughter also used the finished keyboard to support the drum that we’re building.
She easily set it up and made sure that there aren’t loose parts.
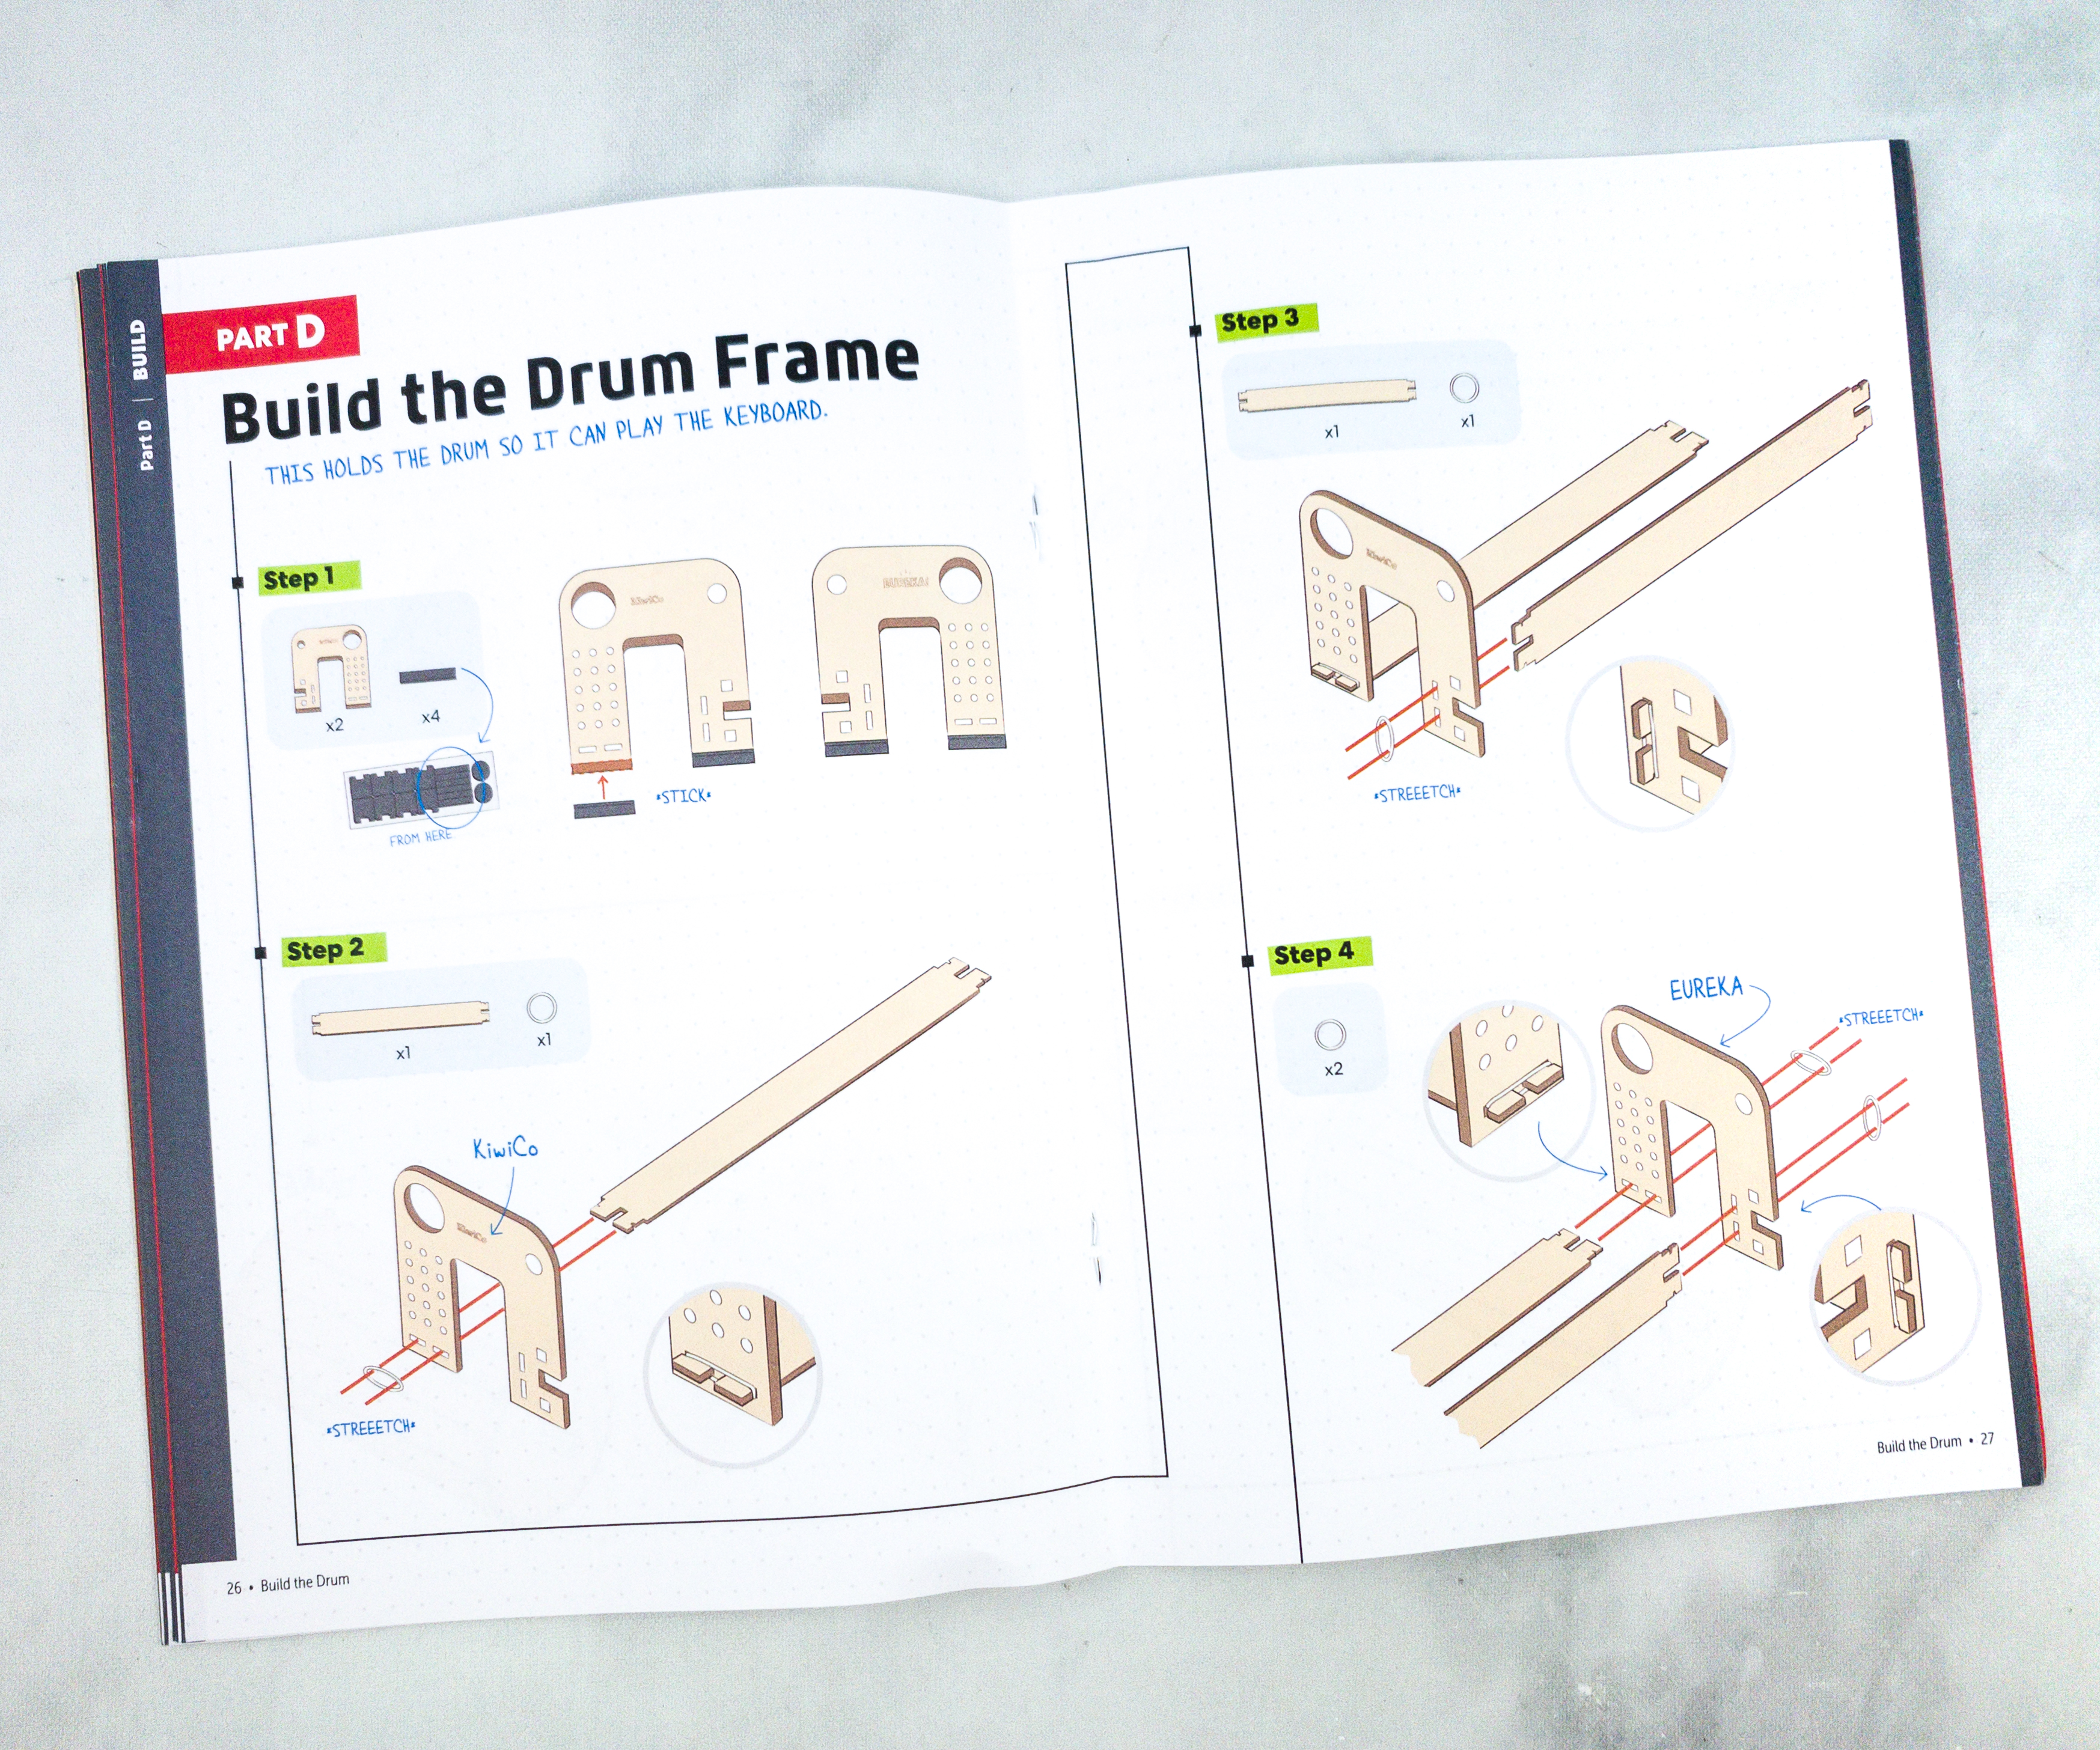
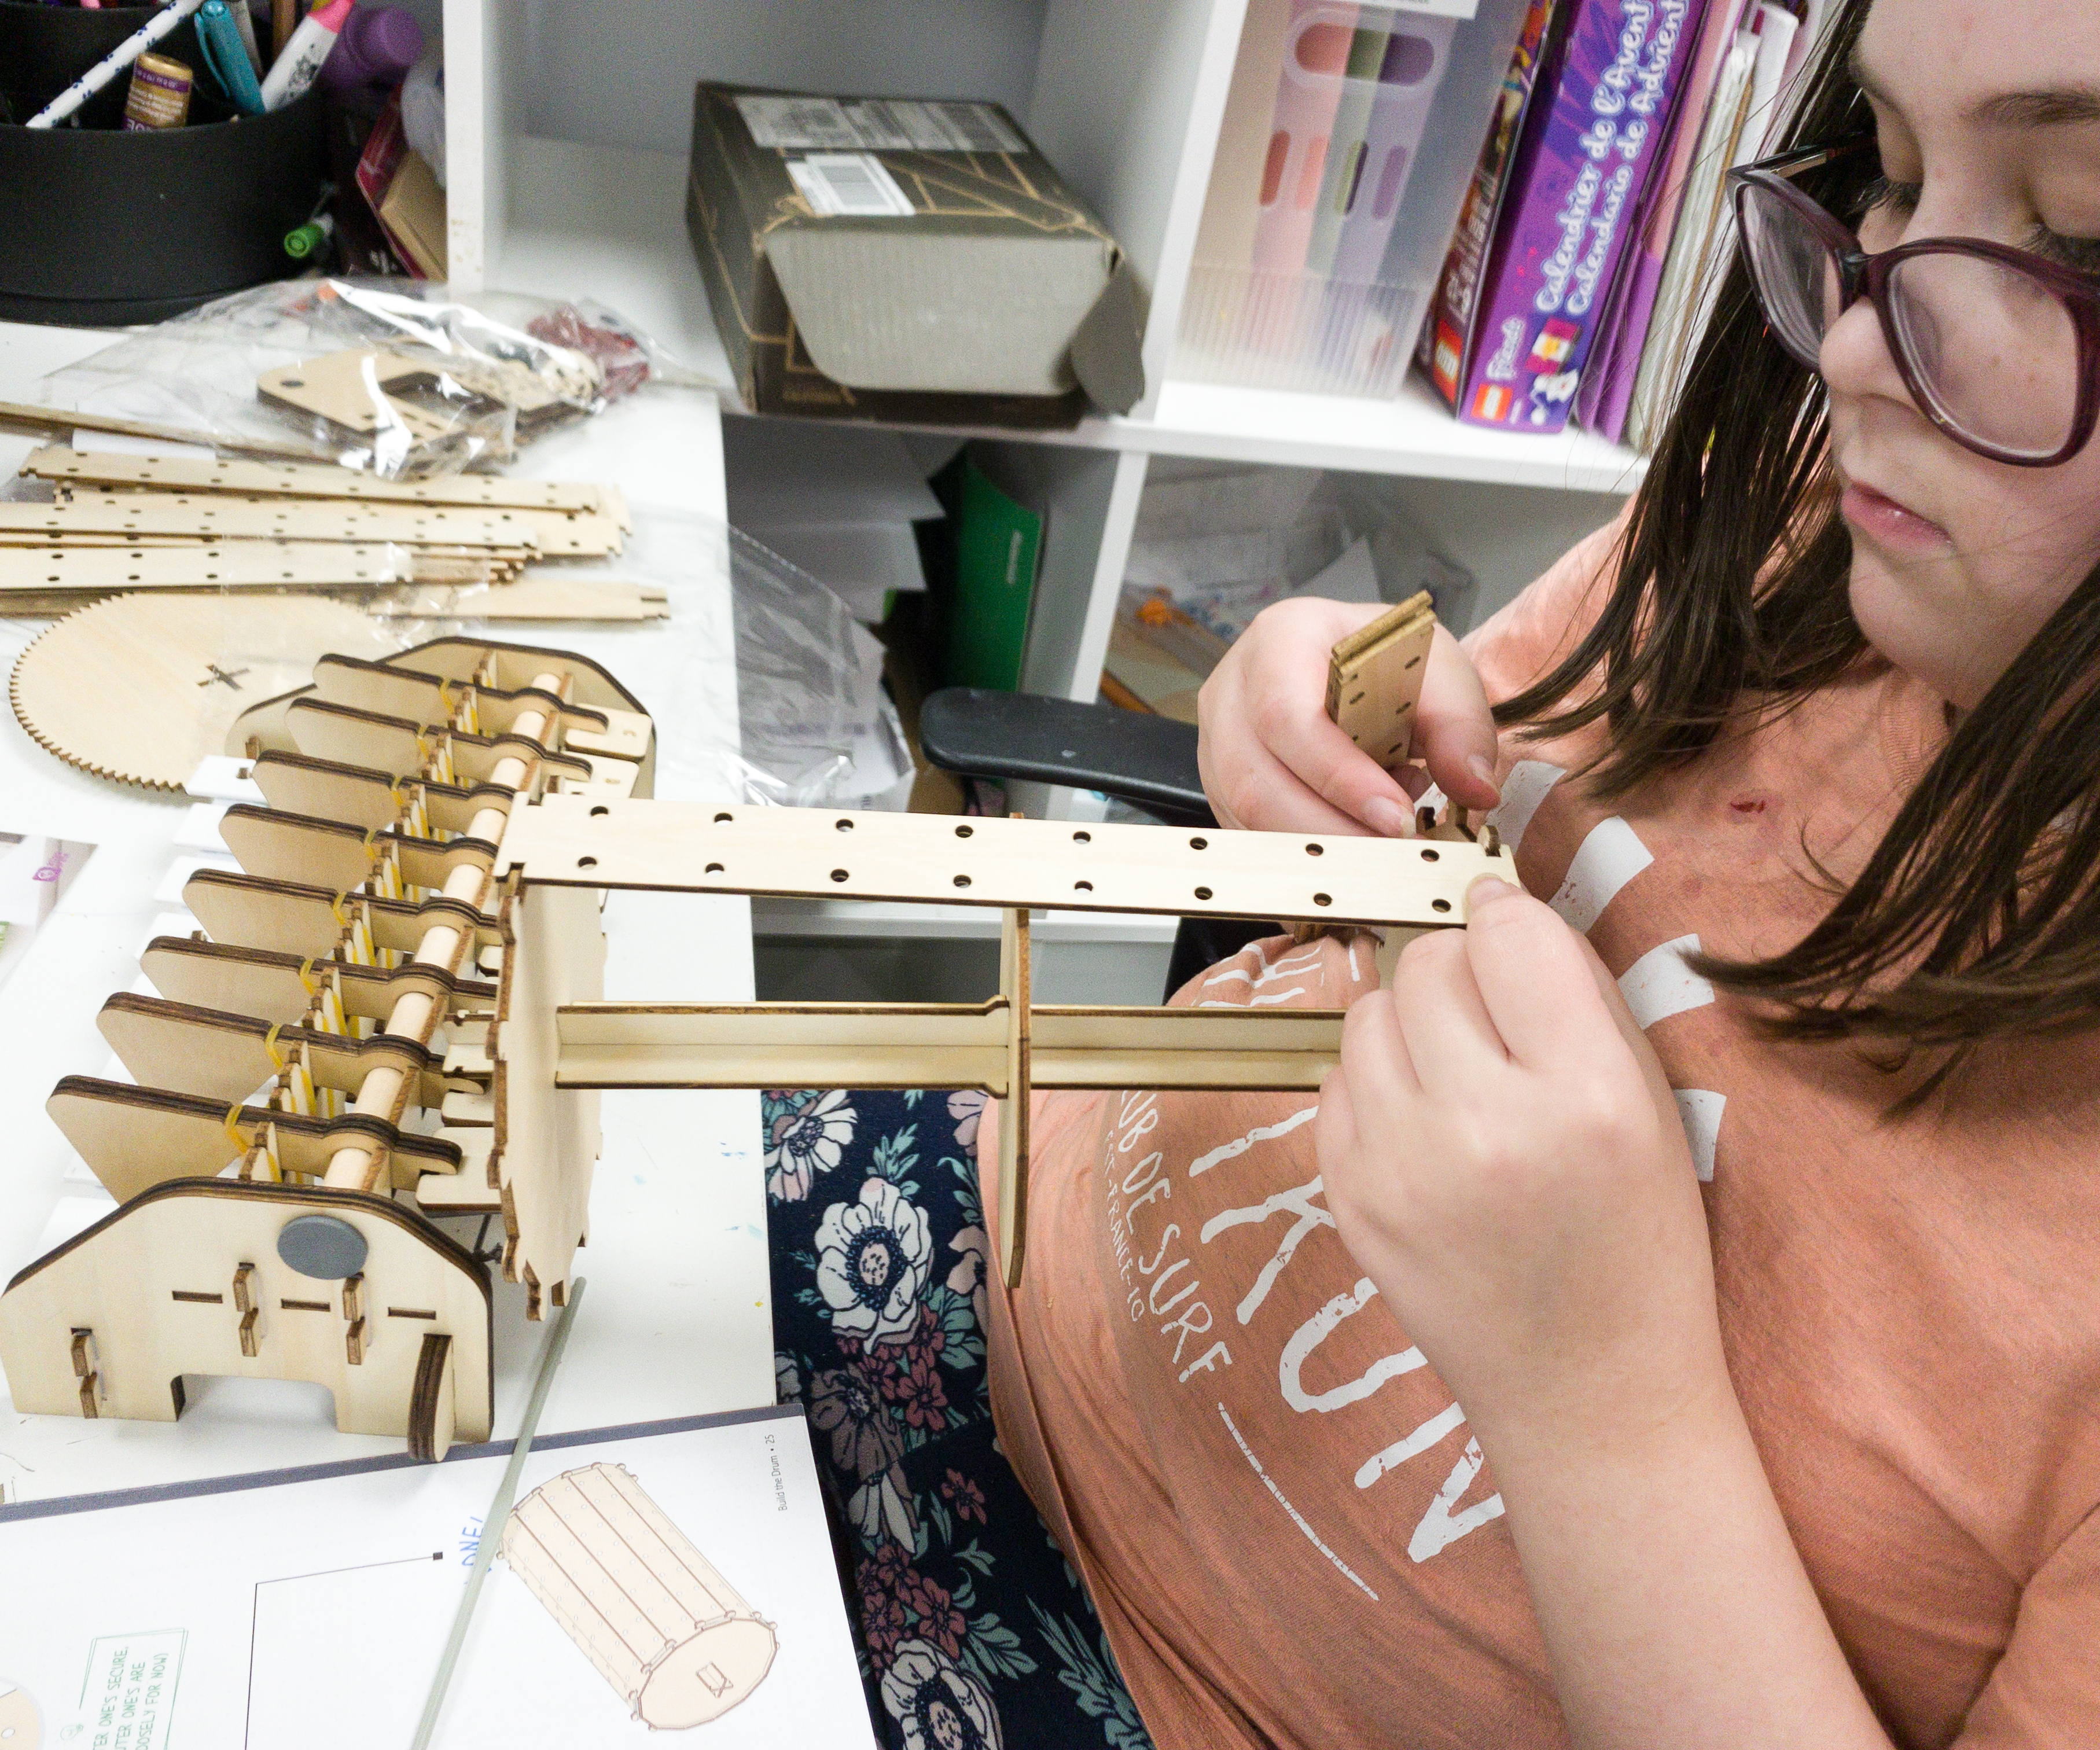
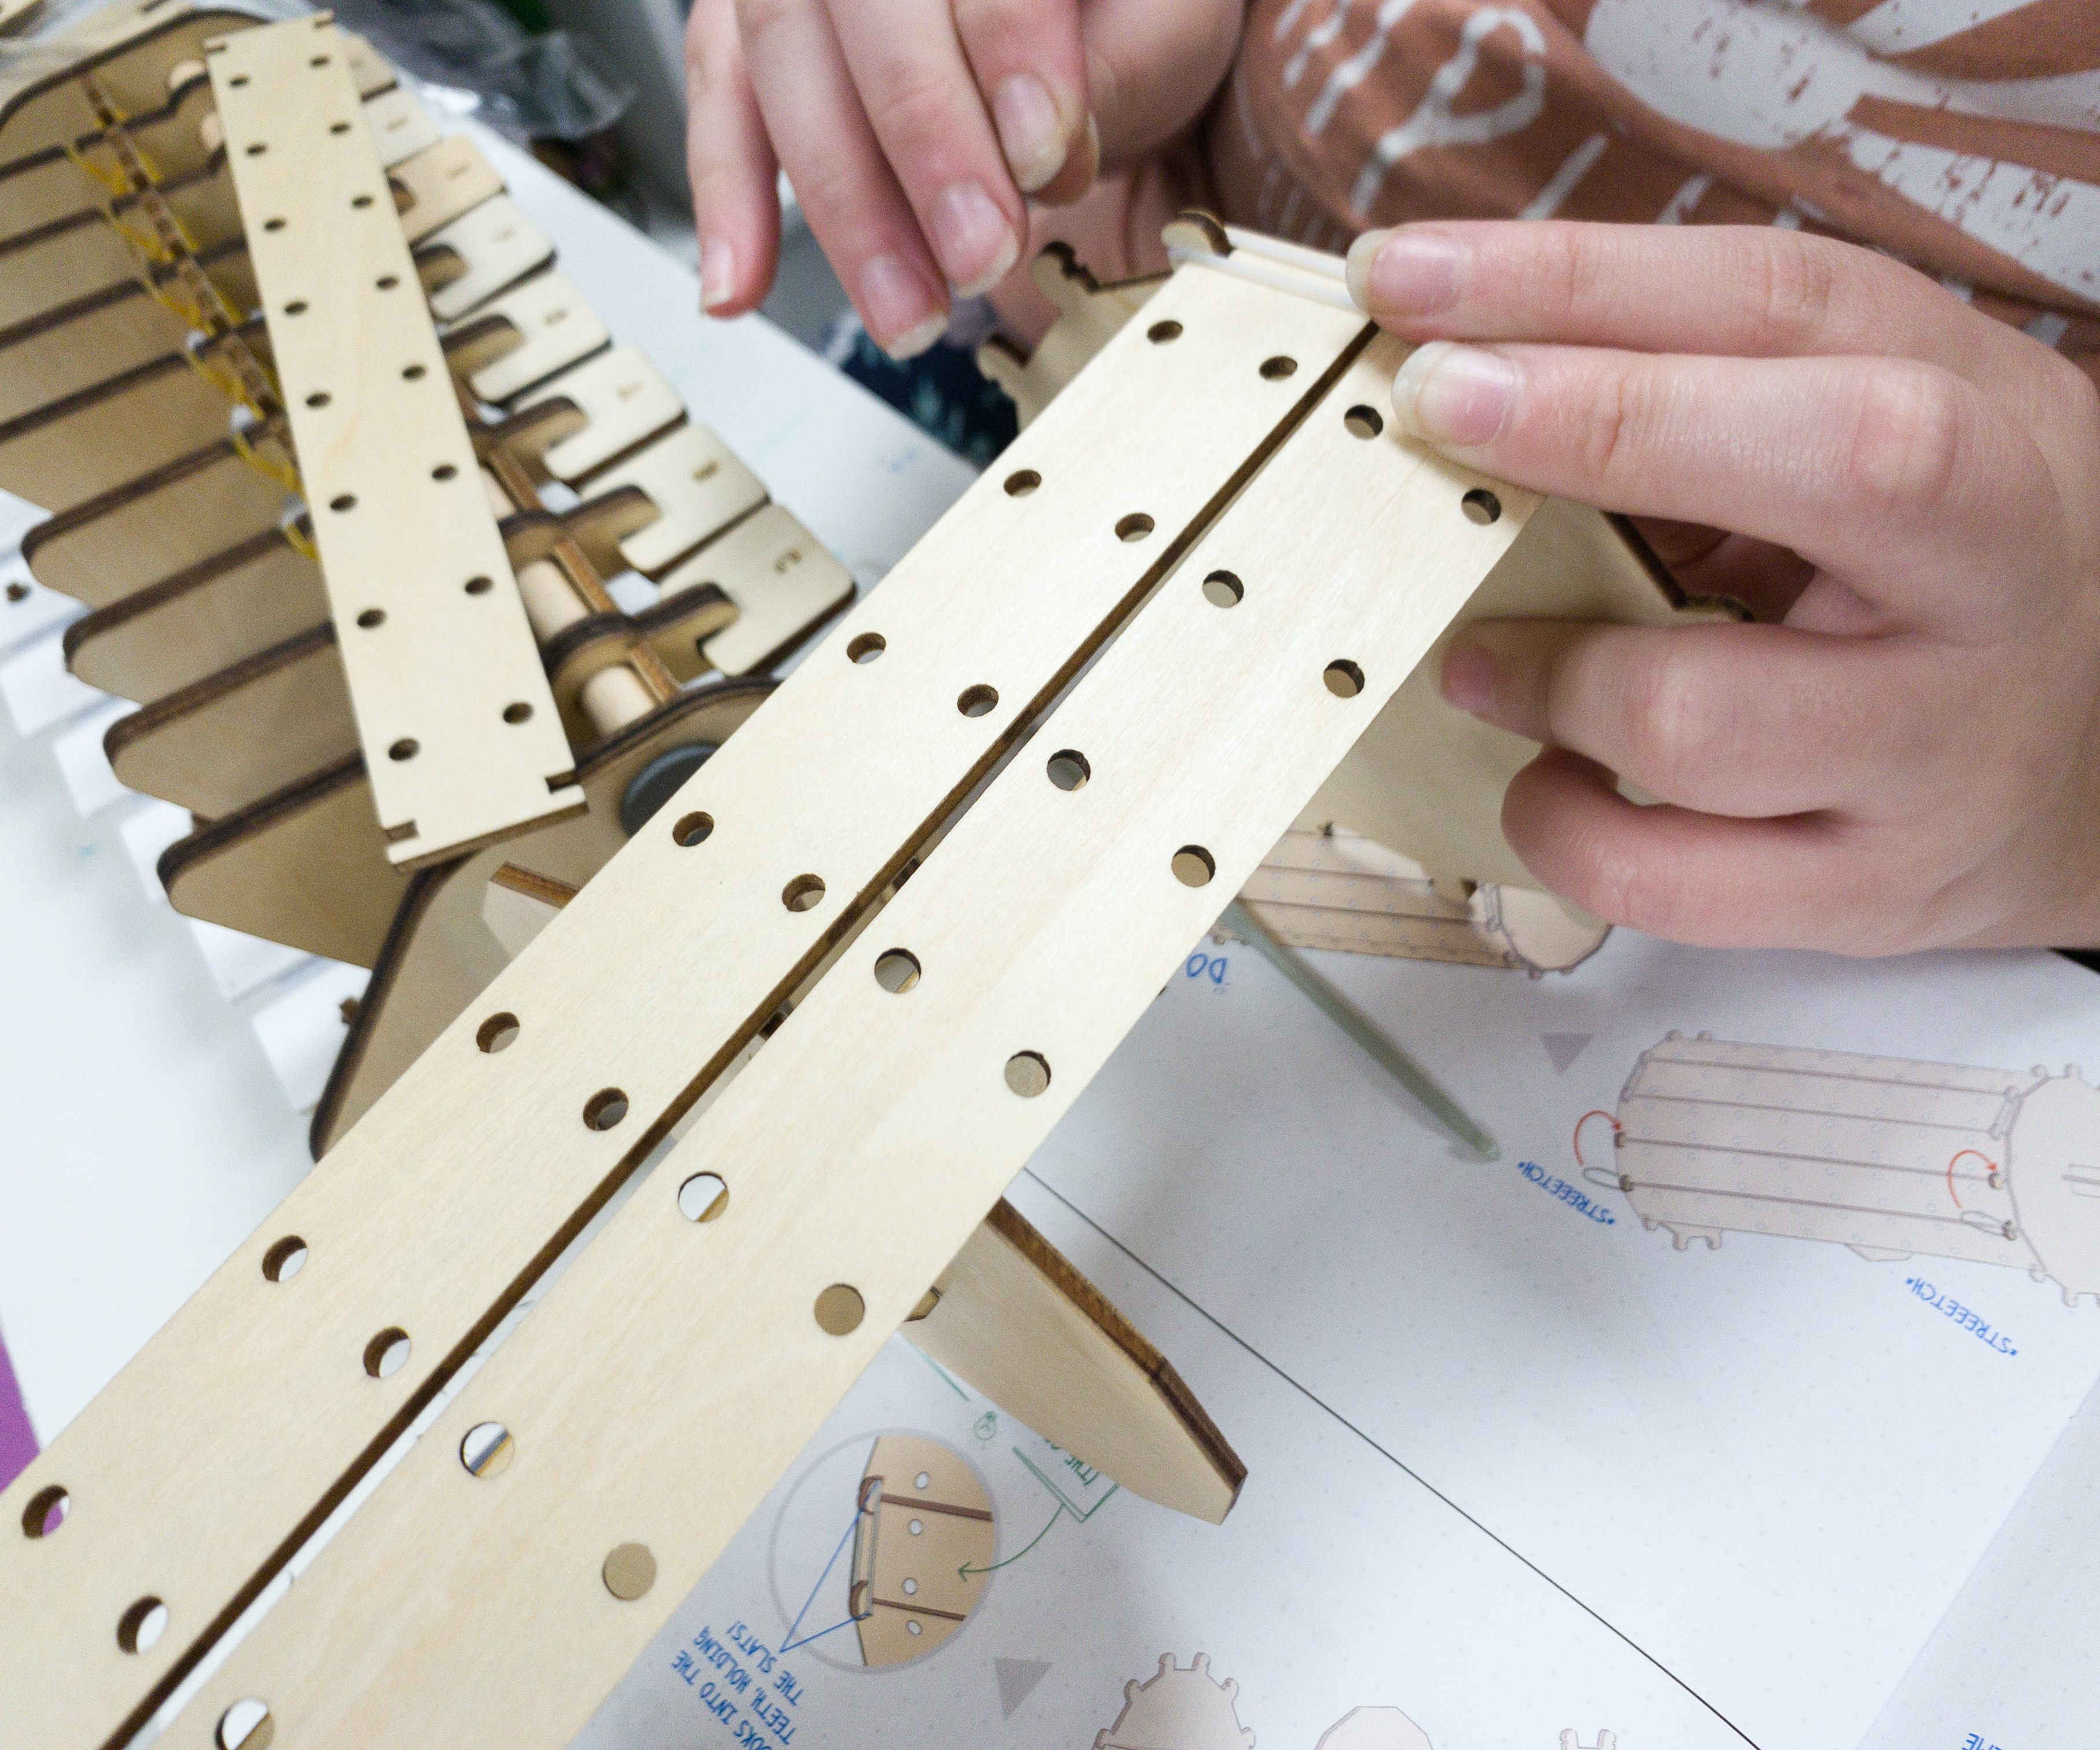
The next thing that we need to do is to build the drum frame. This will hold the drum so it can play the keyboard.
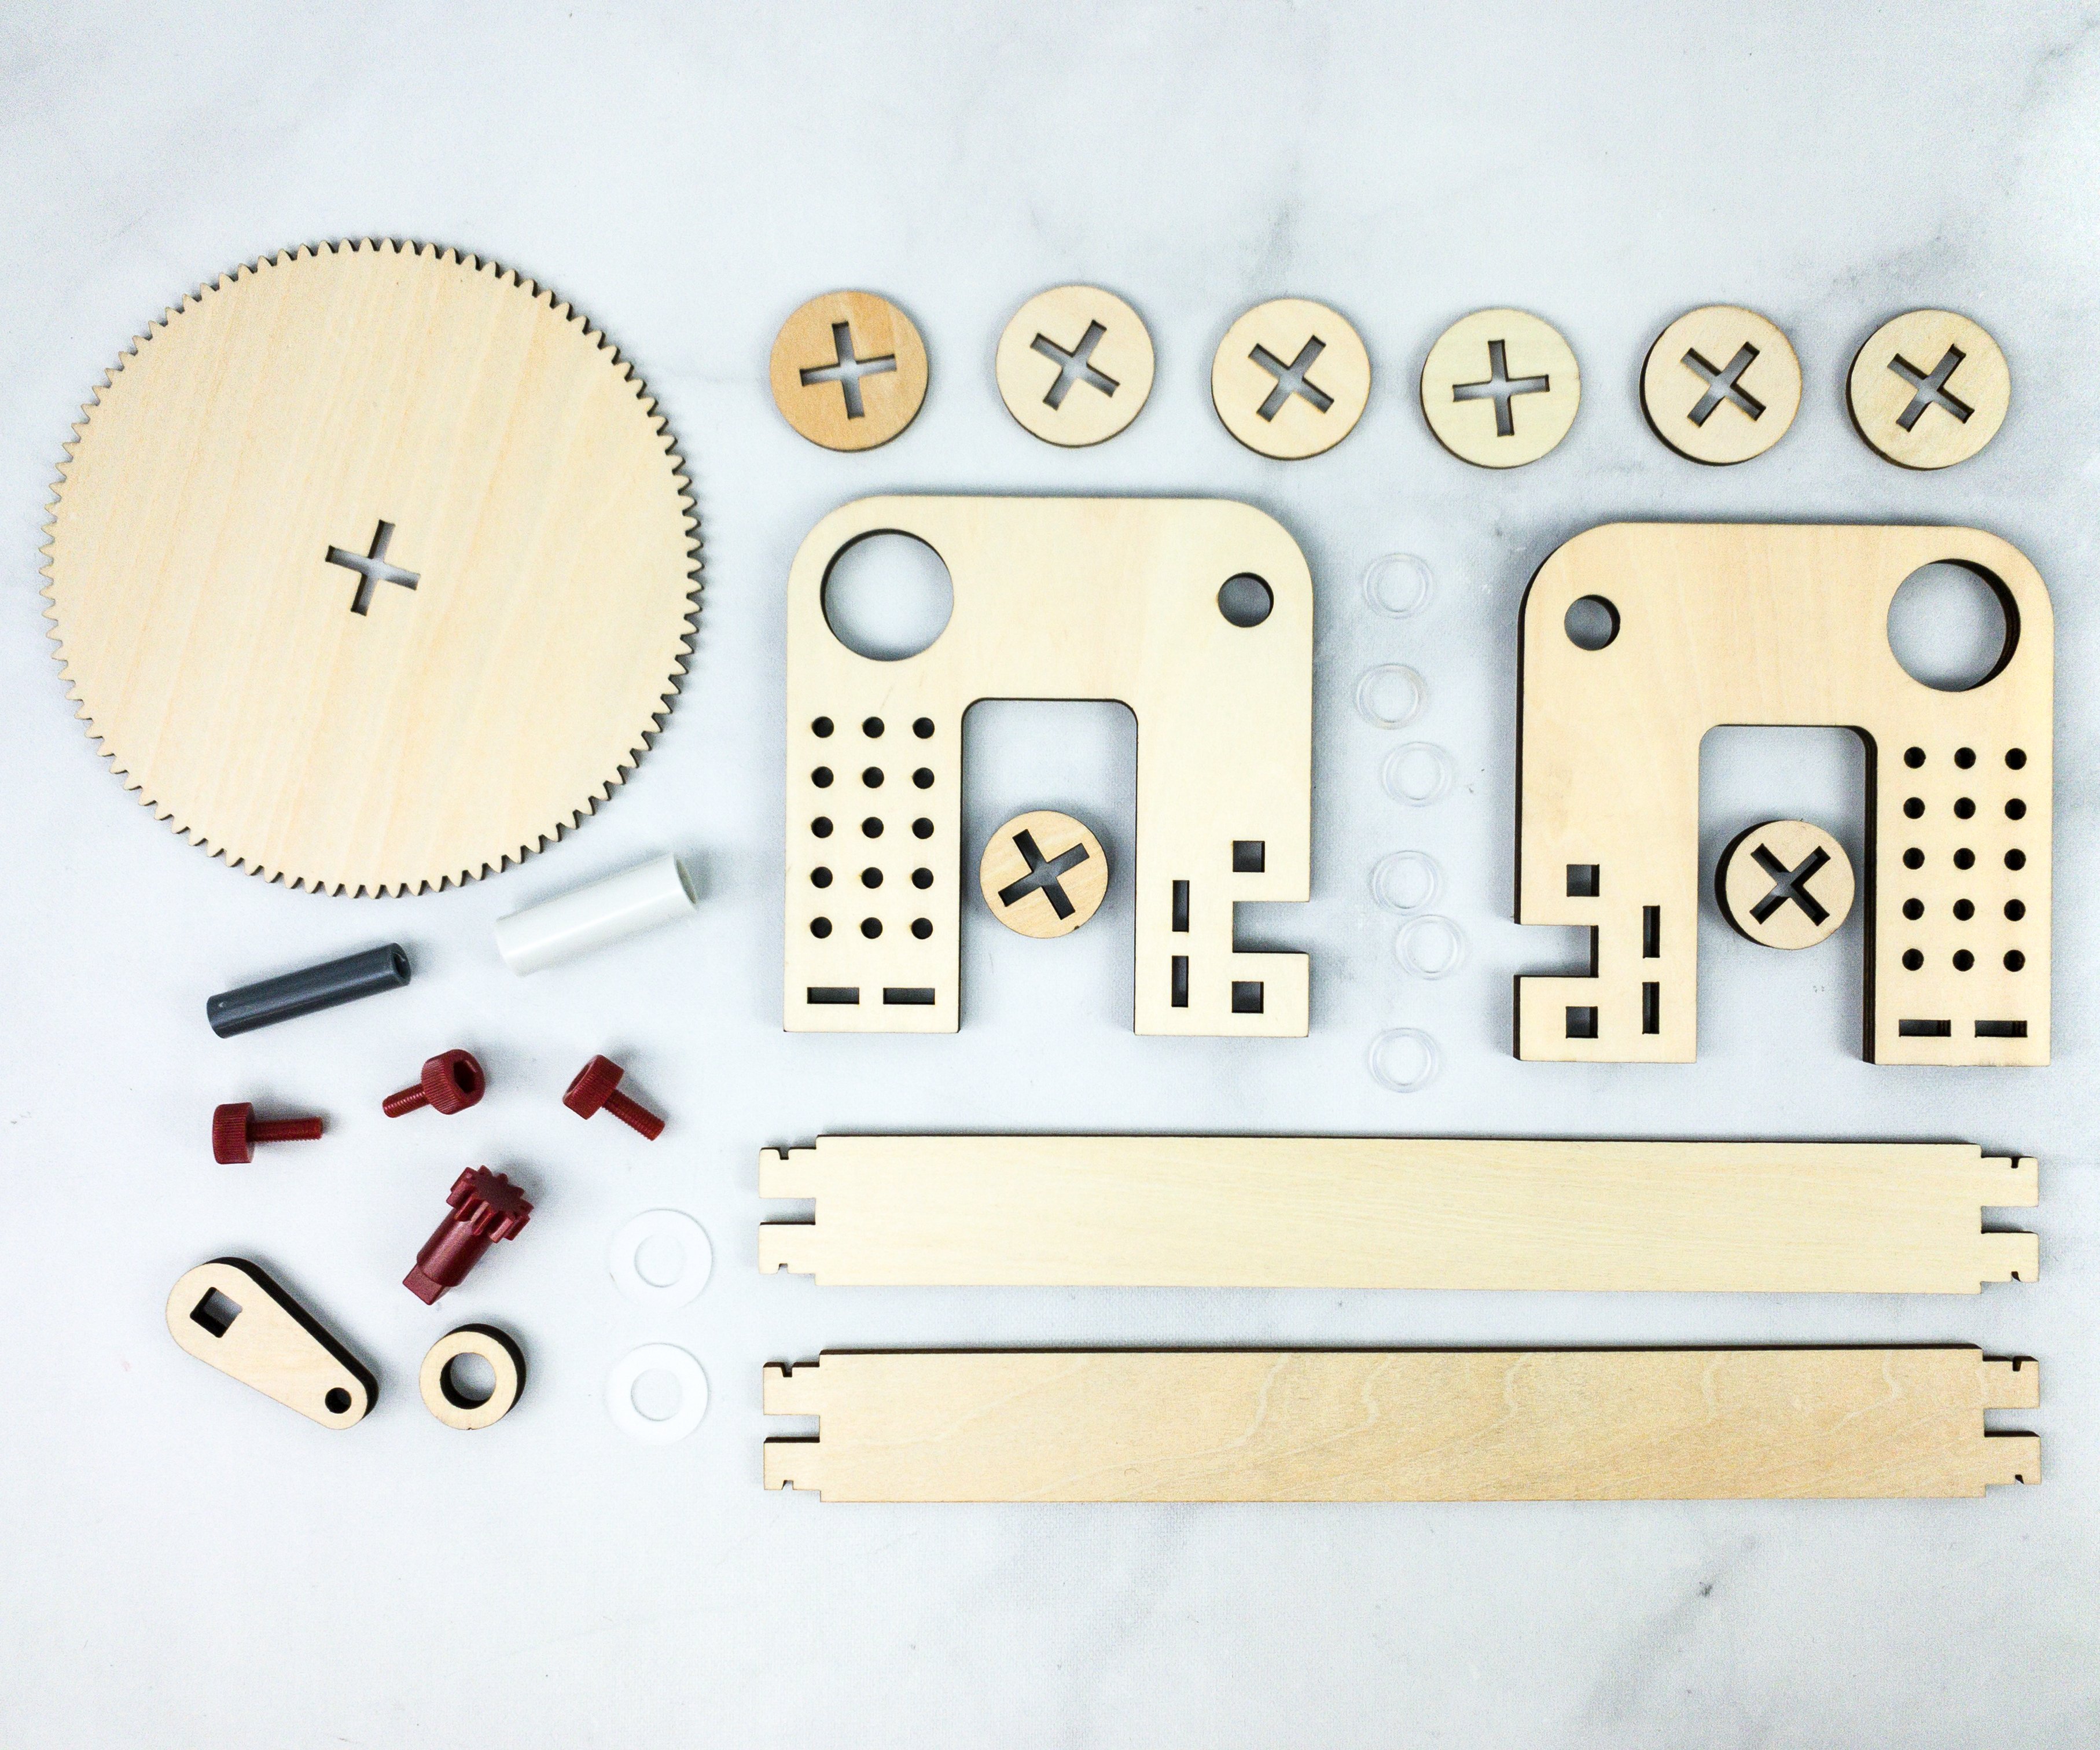
For this, we need the wooden parts, bolts, washers, gears, spacer, tube, and O-rings.
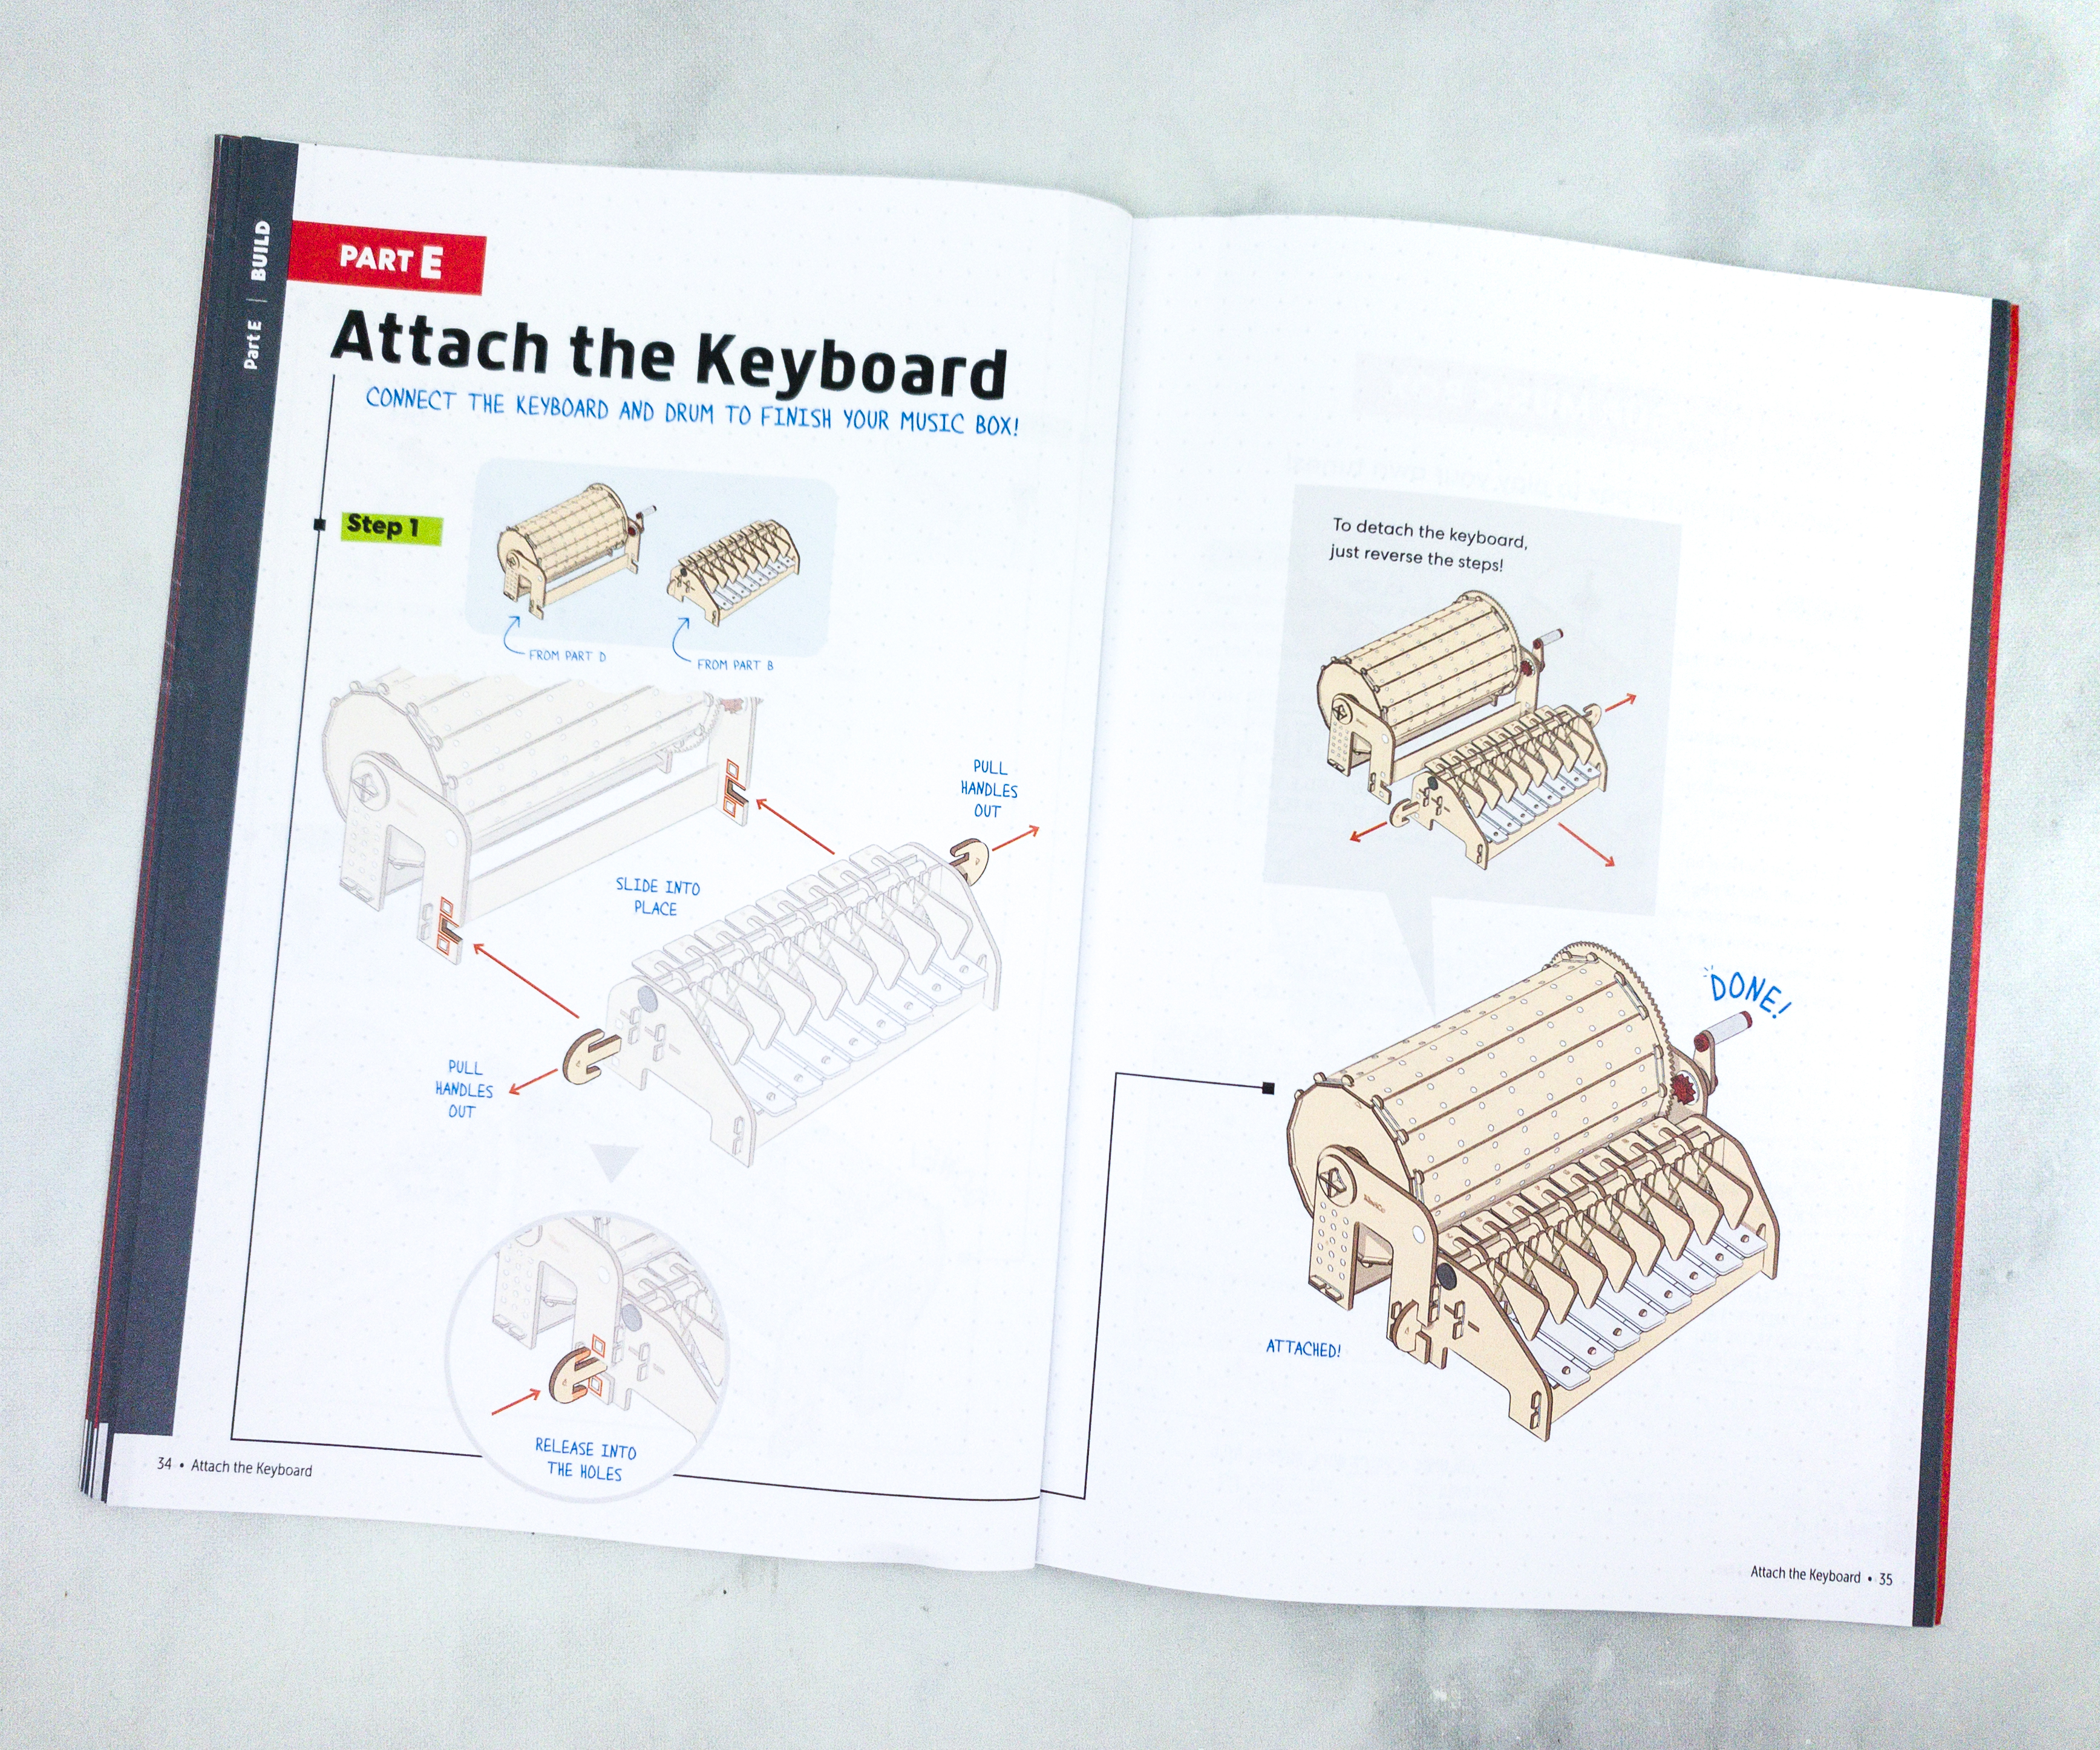
After building the drum holder, we need to attach the drum to the keyboard to be able to start to play good music!
We also need to make sure that the drum is assembled correctly as it will hold the pegs that will make the whole thing programmable.
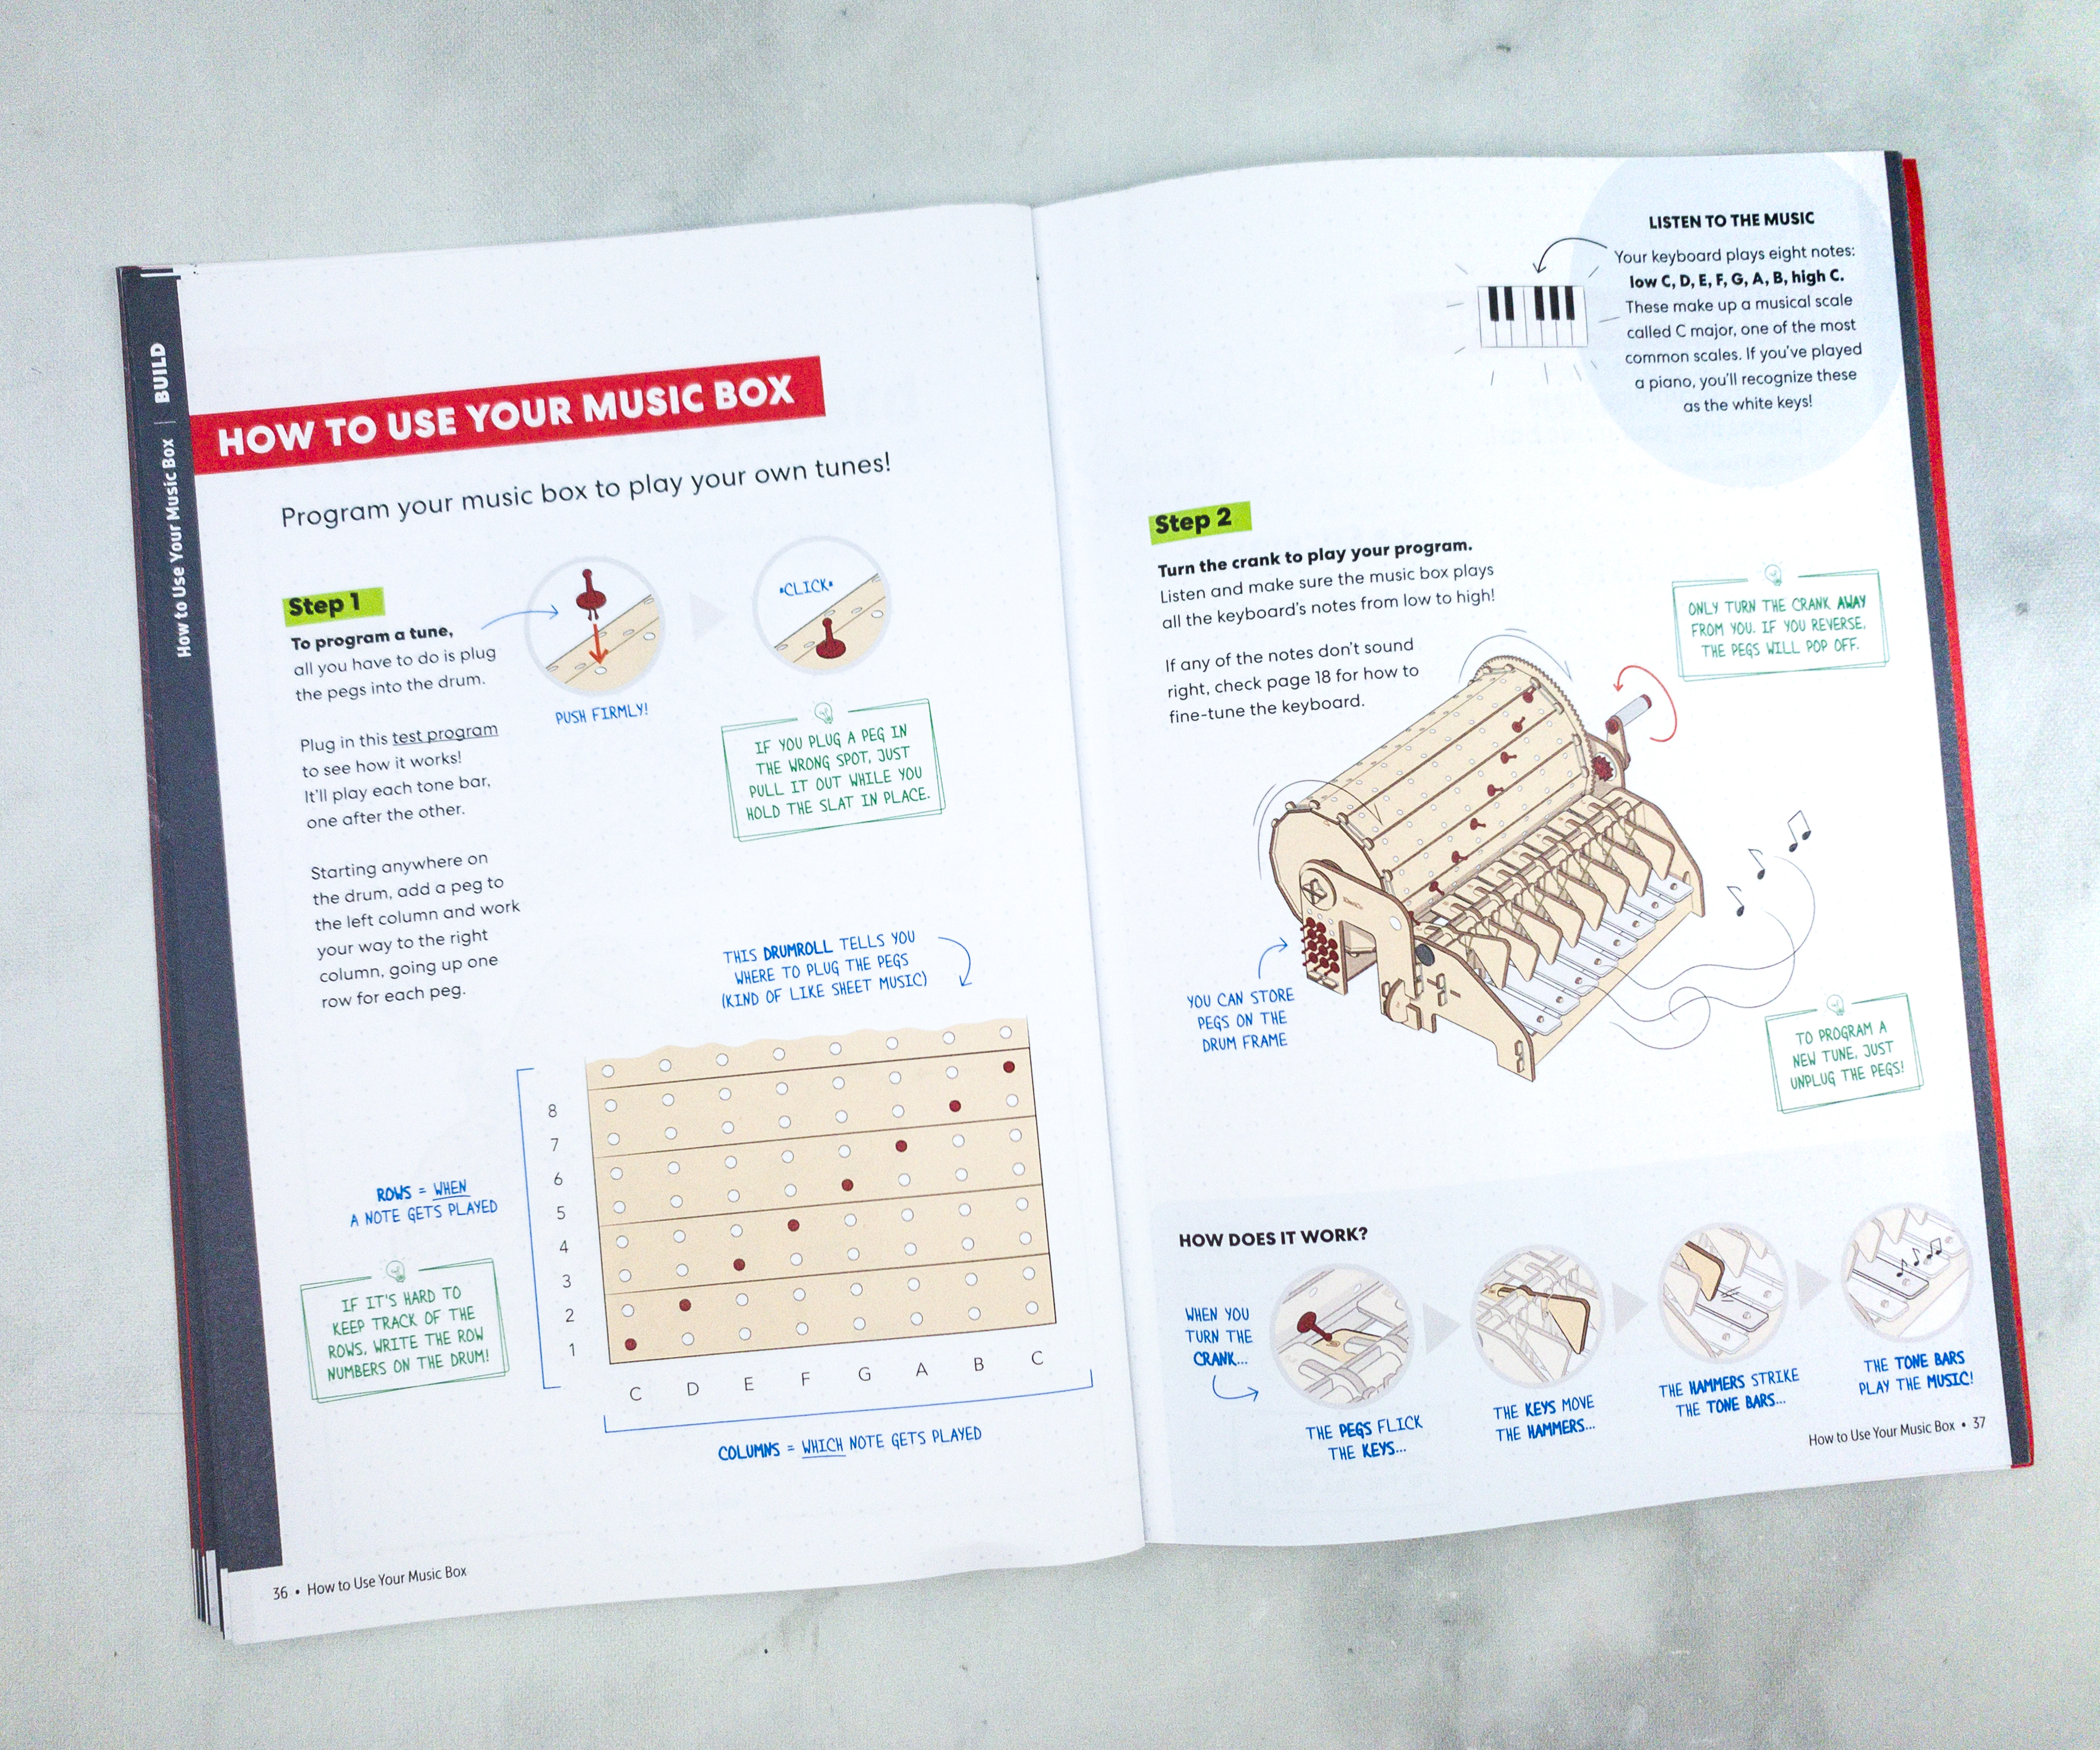
The booklet includes instructions on how to use the music box and even explained how it works.

The booklet also included some compositions that we can try with our finished music box, like Twinkle Twinkle Little Star, the popular Happy Birthday song, La Cucaracha, and Pachelbel’s Canon!
If you want to compose music, the booklet provided instructions on how to make your own composition as well. There are even blank drumrolls that you can use!
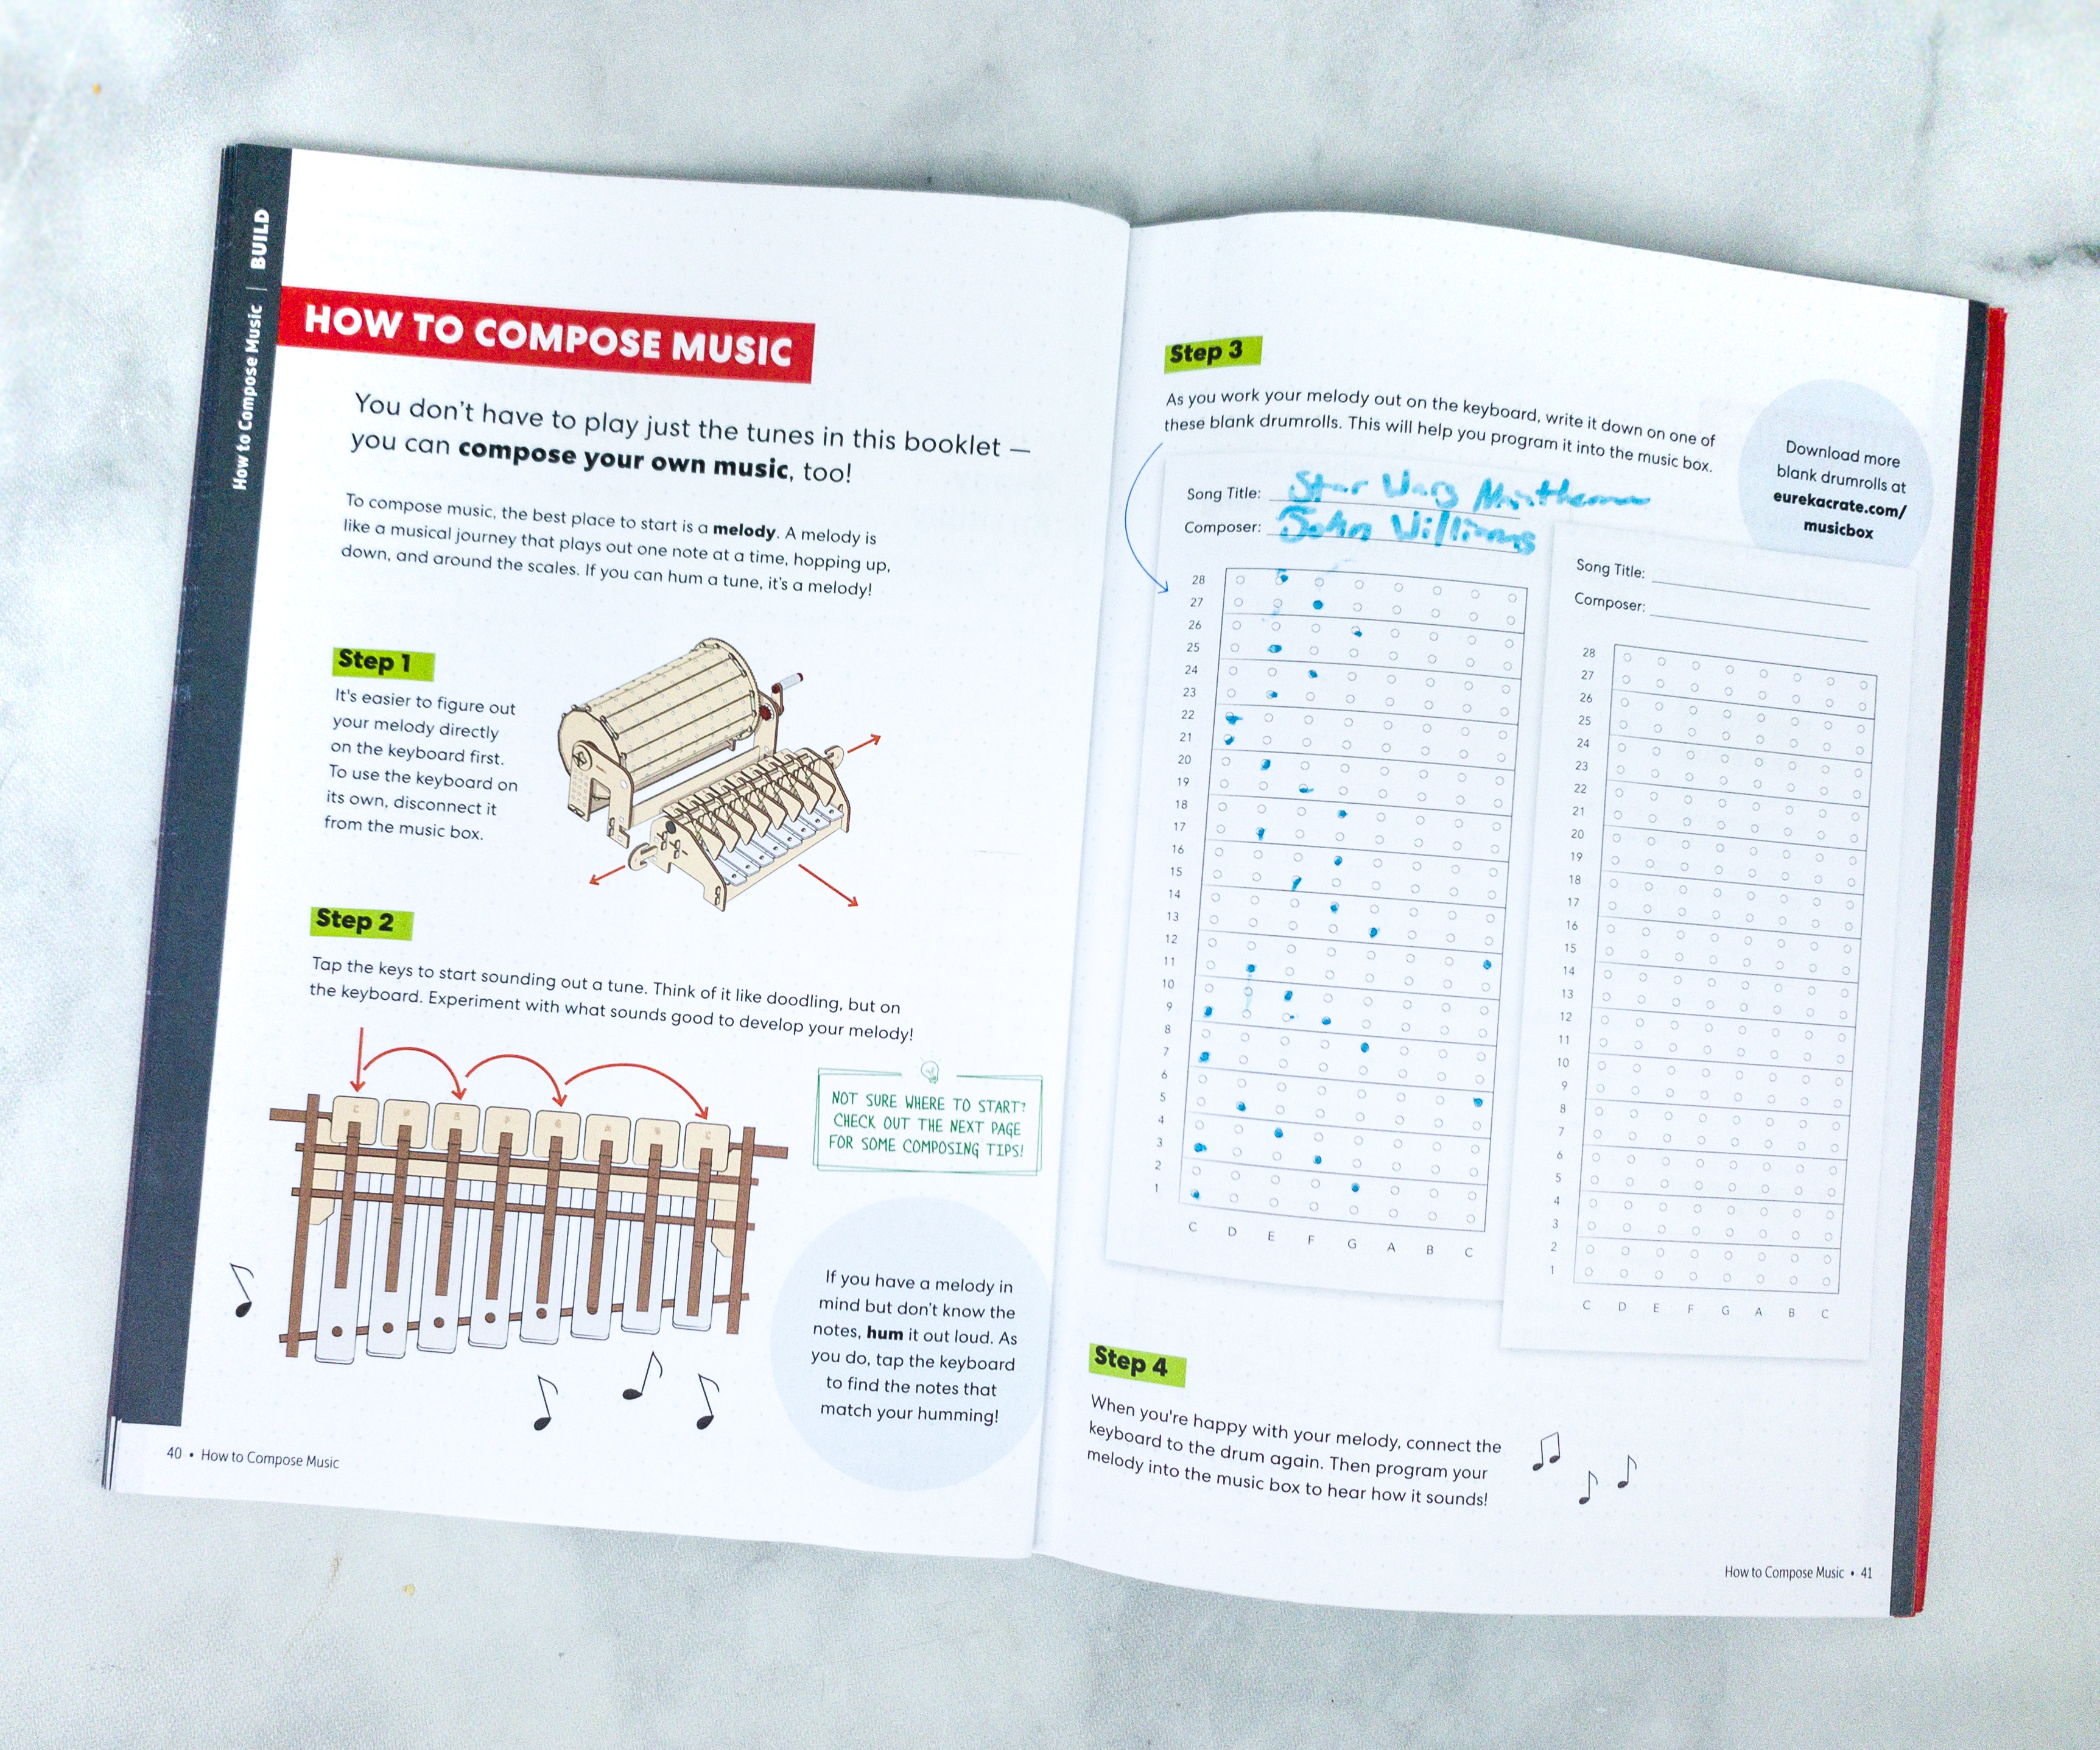
We tried the Star Wars theme by John Williams!
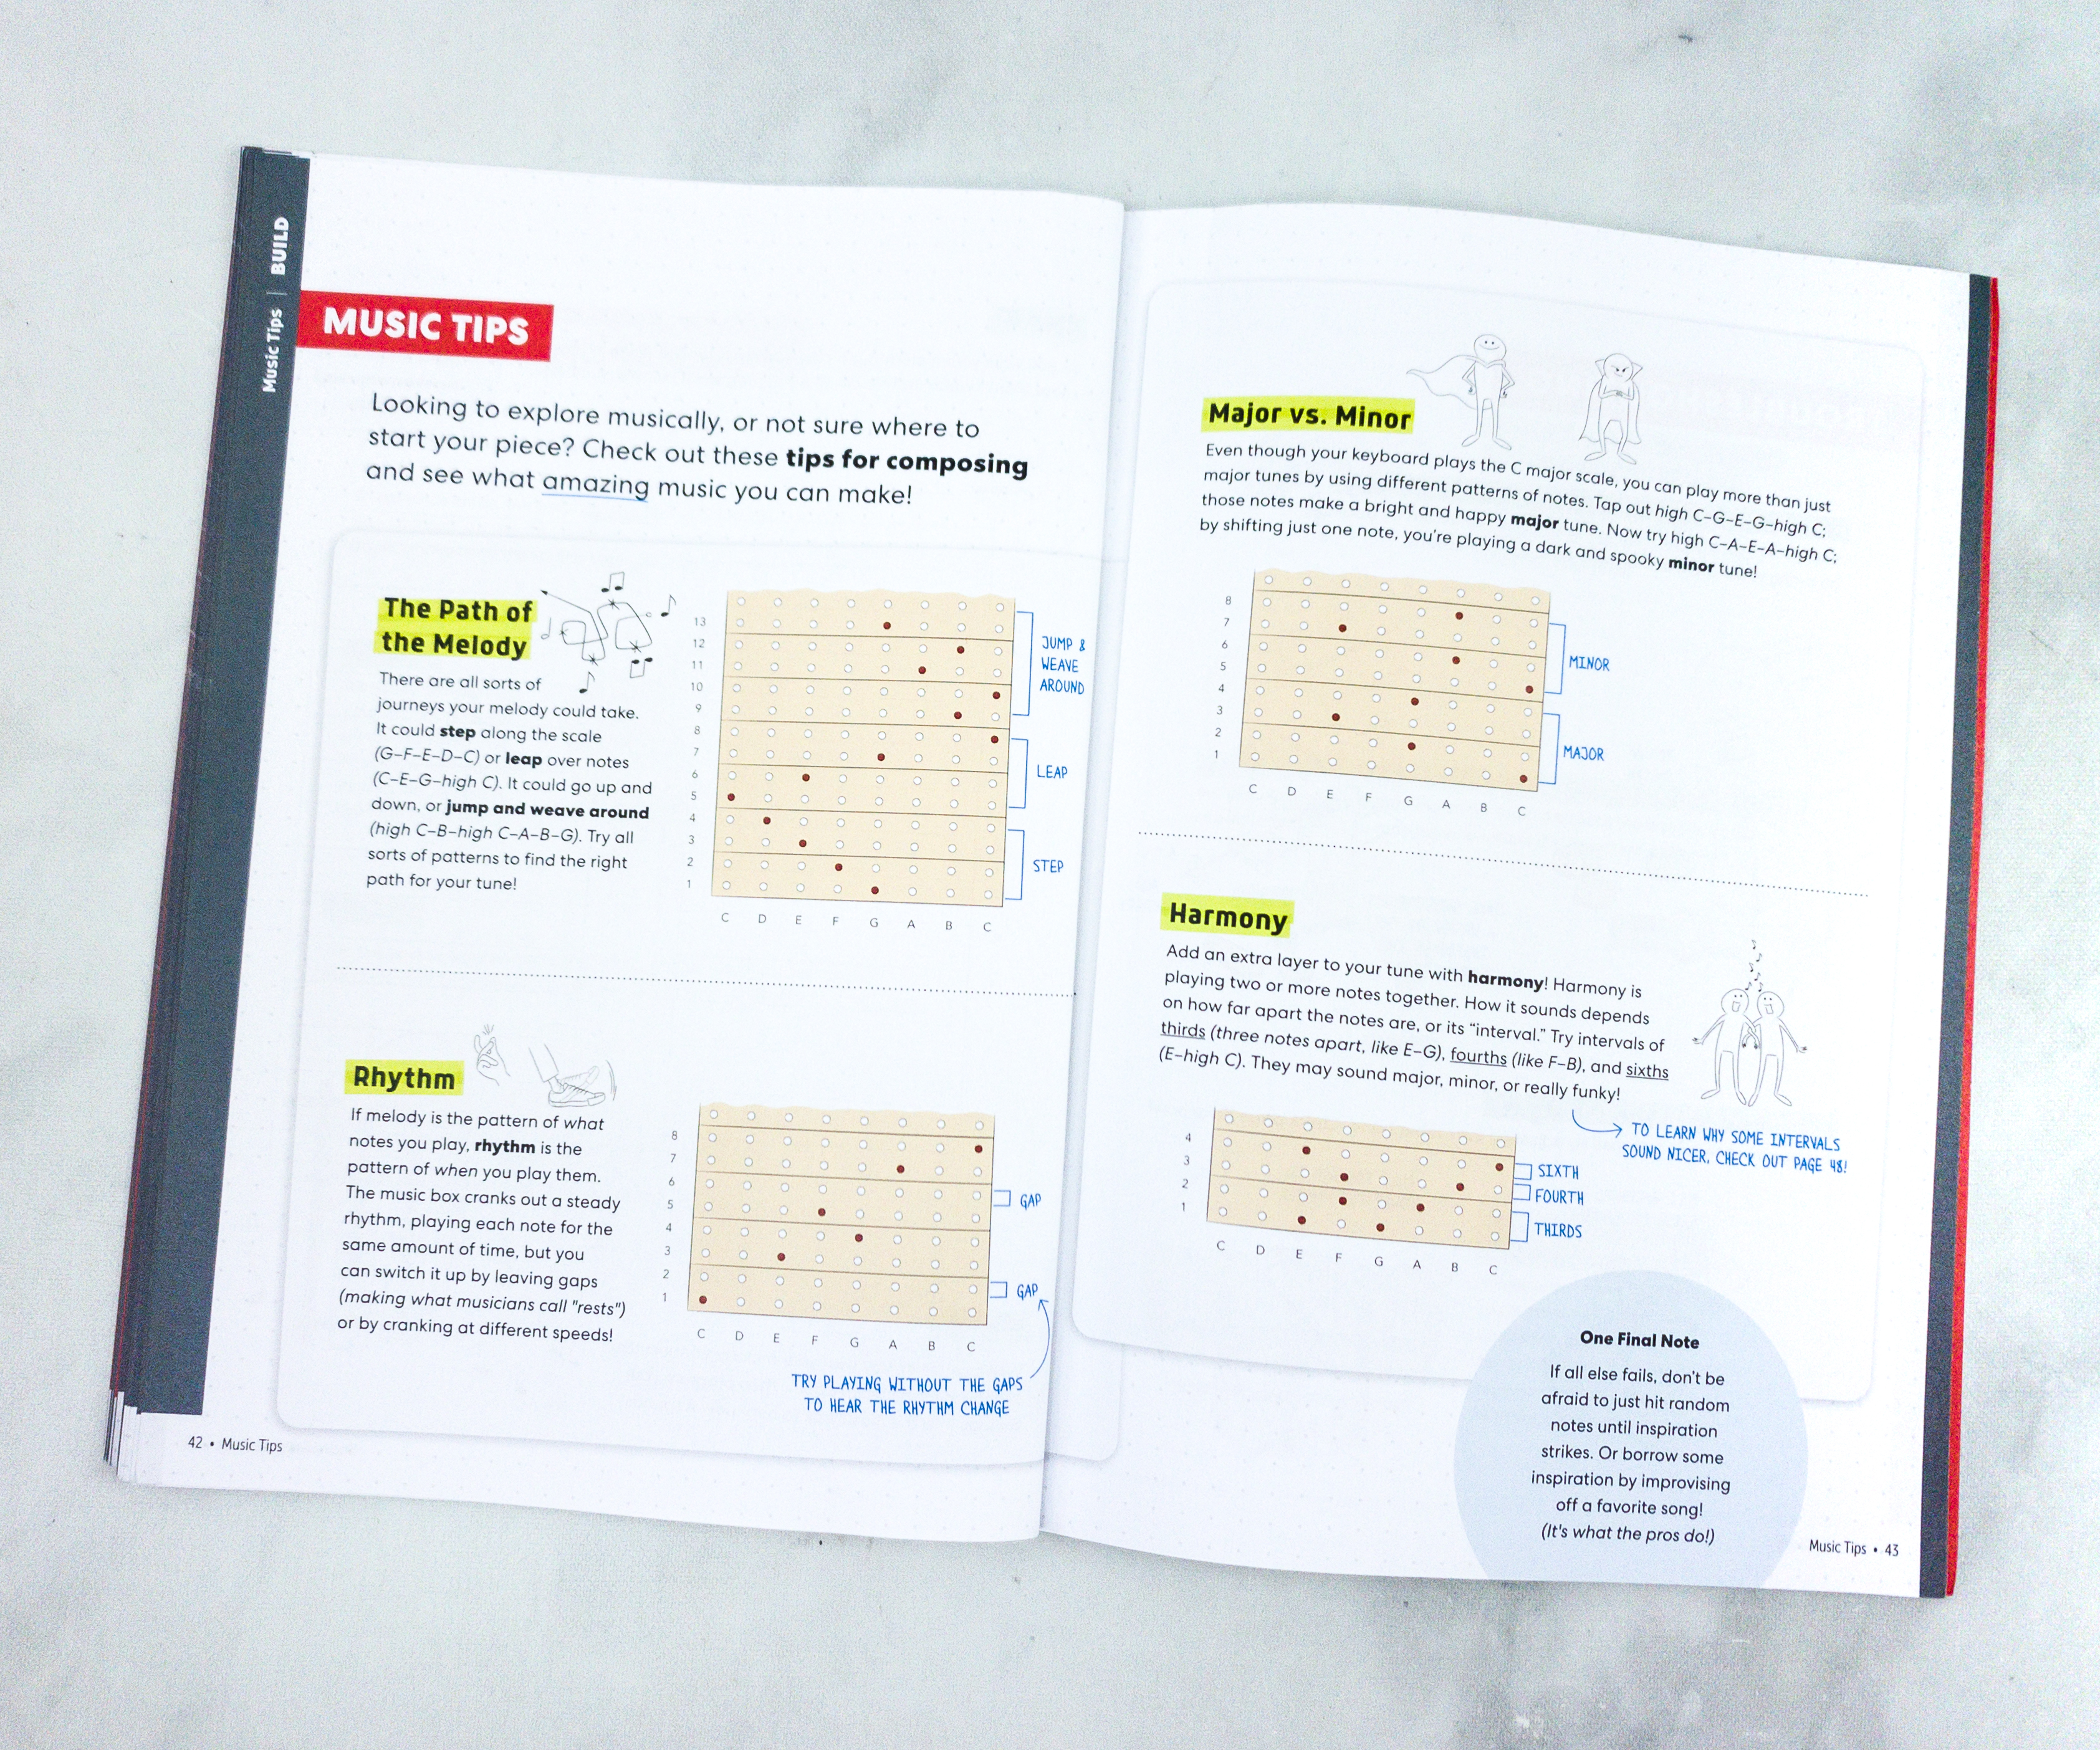
The booklet also lists some tips for composing, like those regarding melody, rhythm, harmony, and the difference between minor and major tunes.
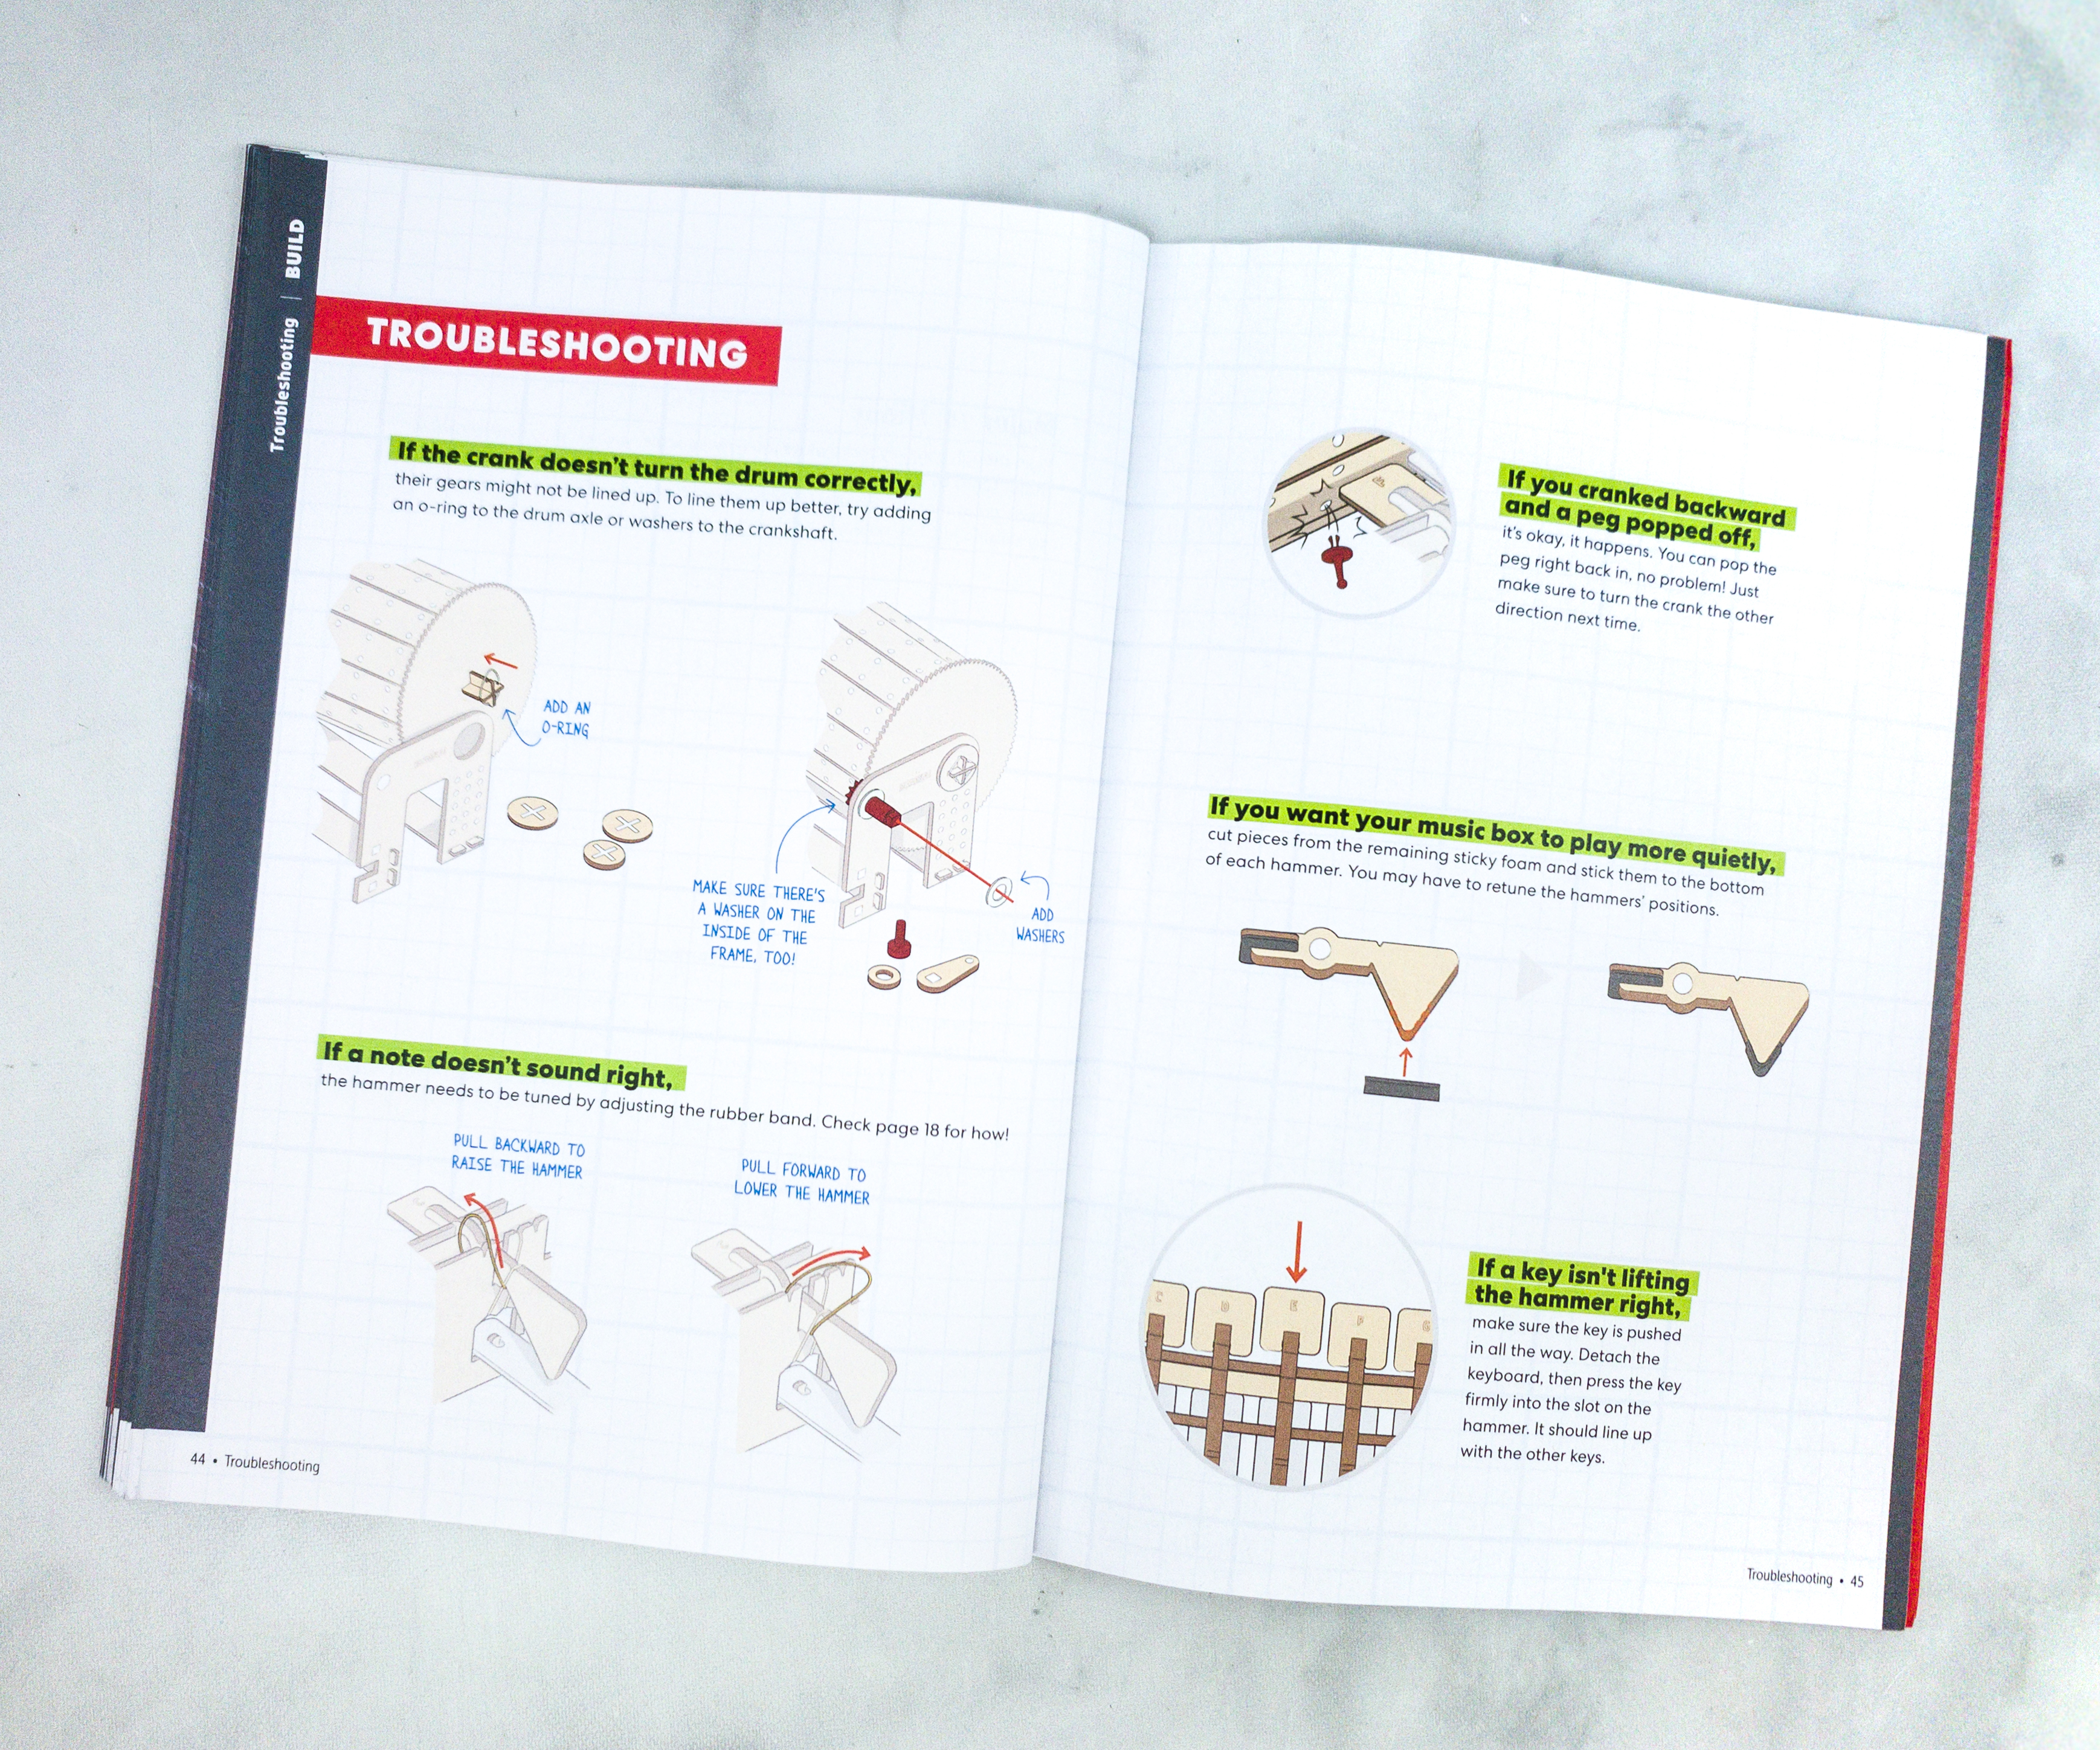
It’s unavoidable to encounter some difficulties and problems, so the booklet also included troubleshooting tips like when the crank doesn’t turn the drum correctly, a note doesn’t sound right, or a key isn’t lifting the hammer right.
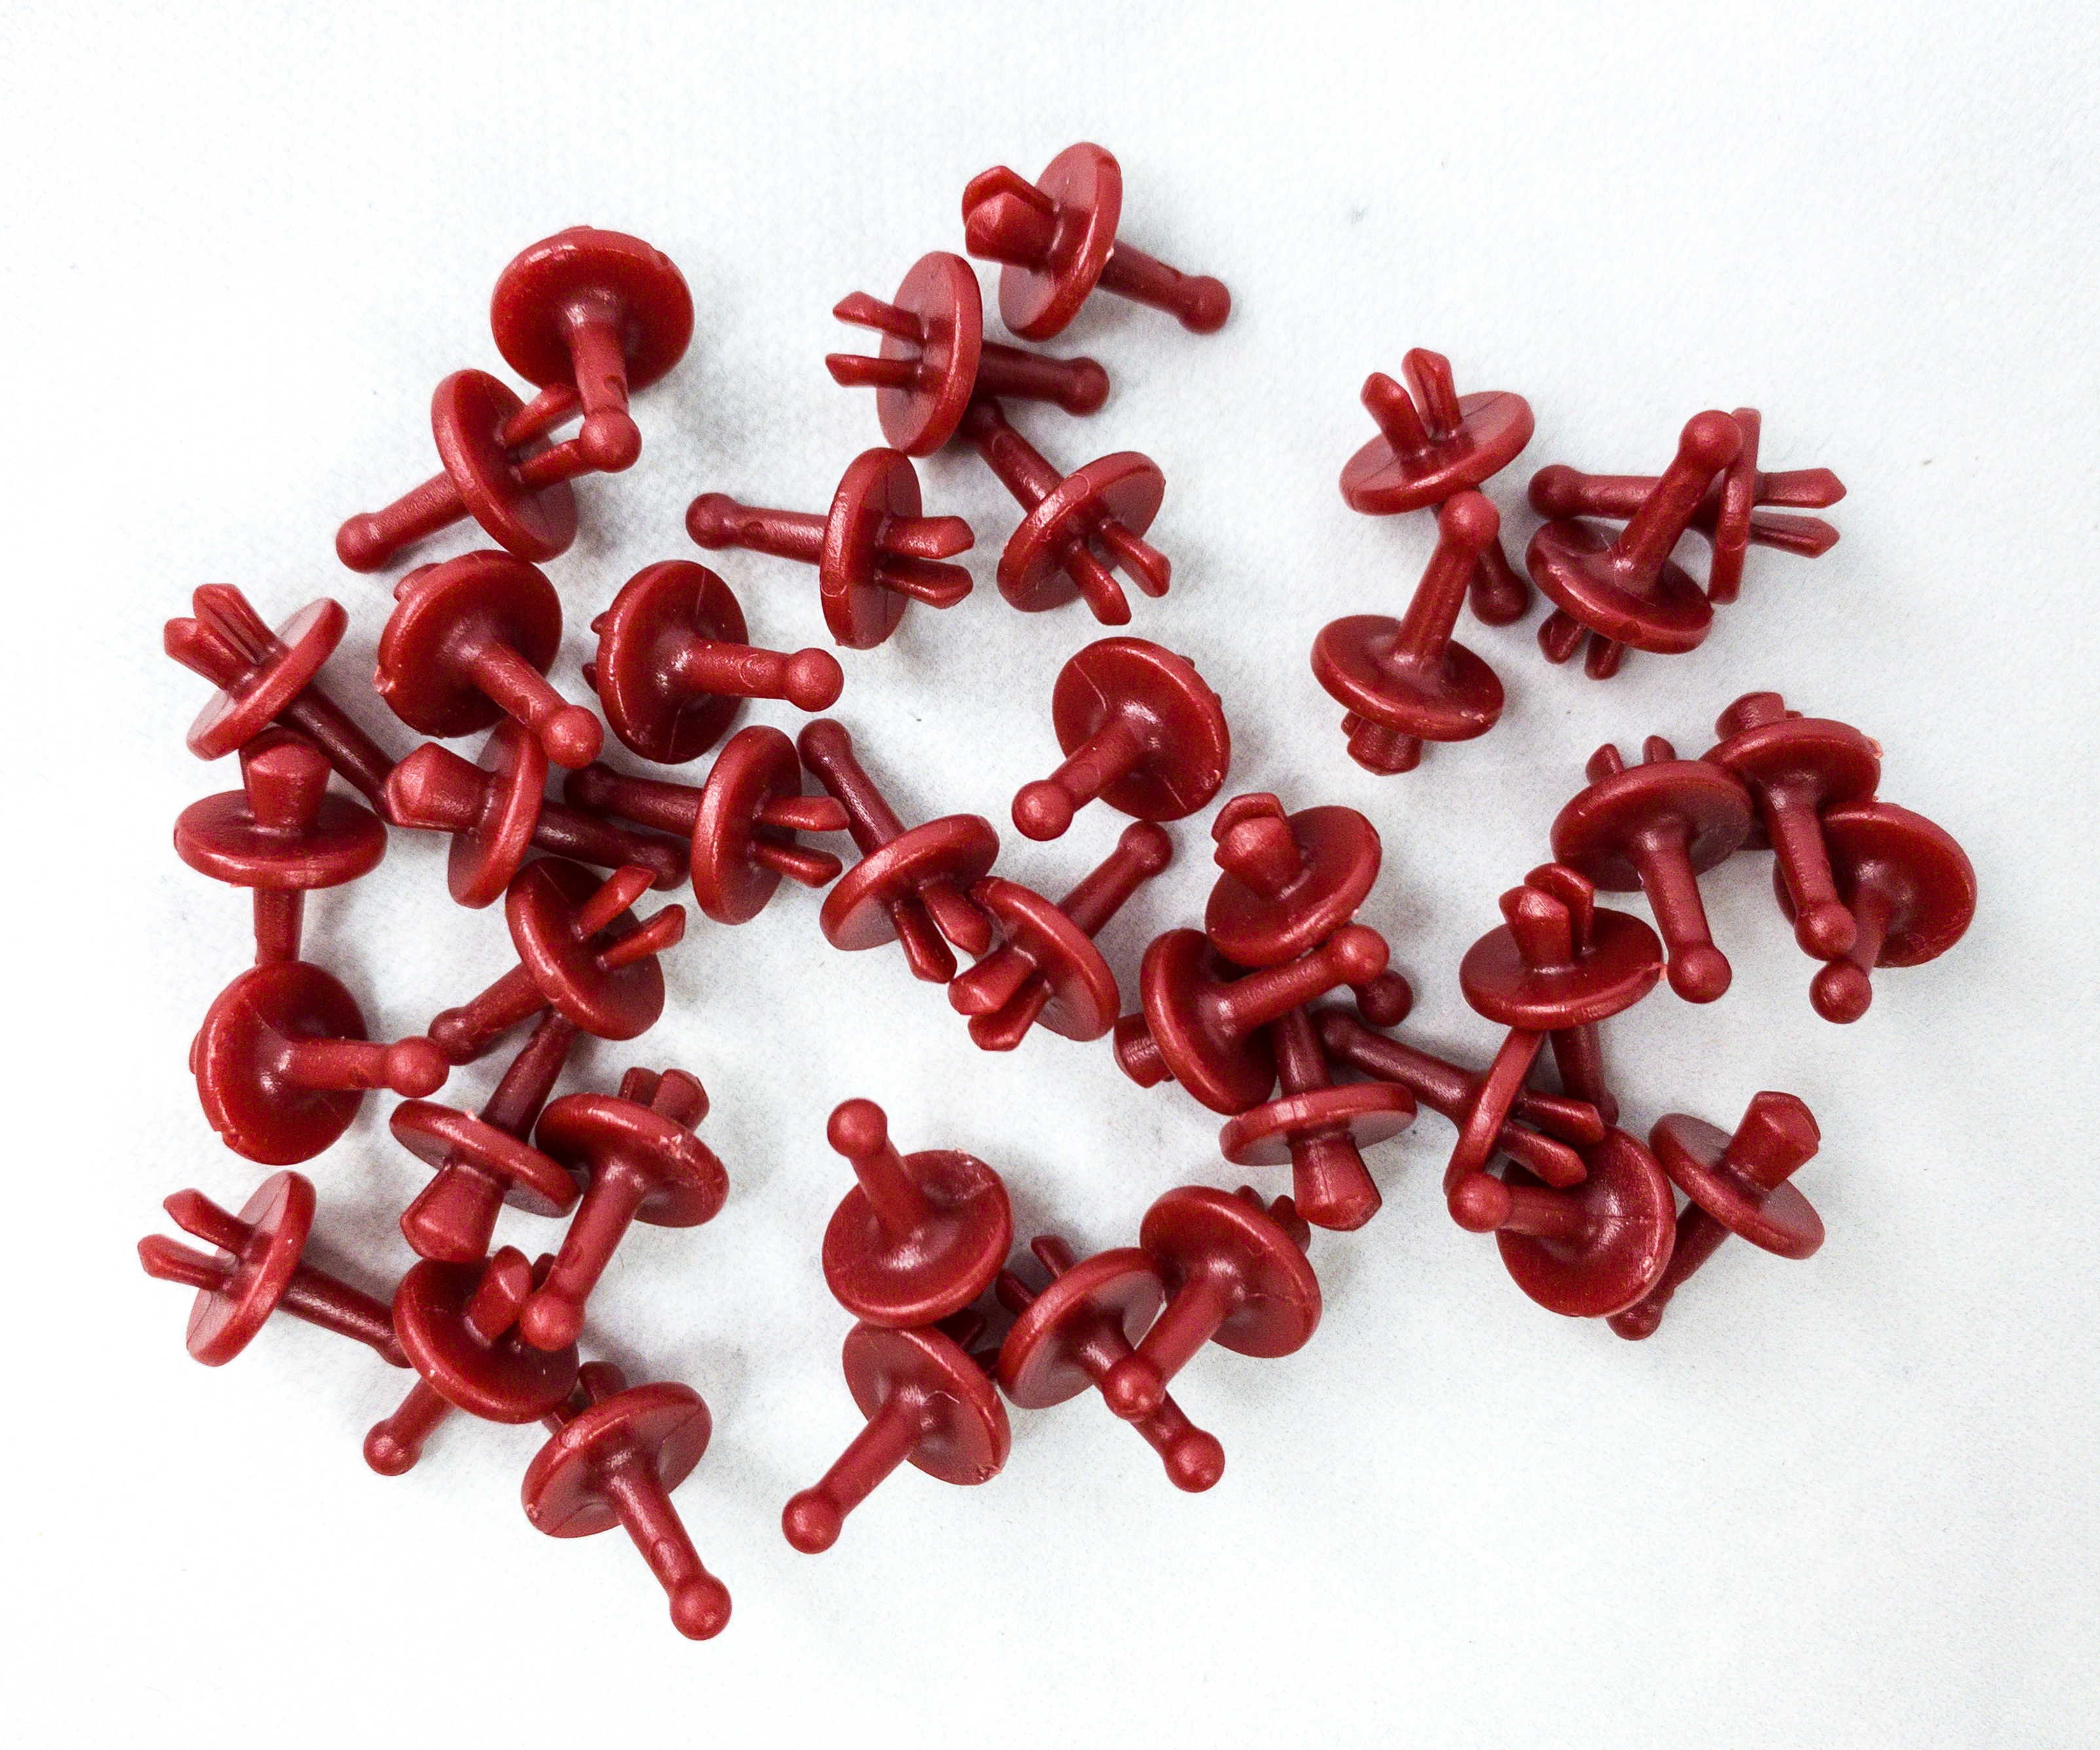
Here are the pluggable pegs that we will use to program the music that we would like to play!
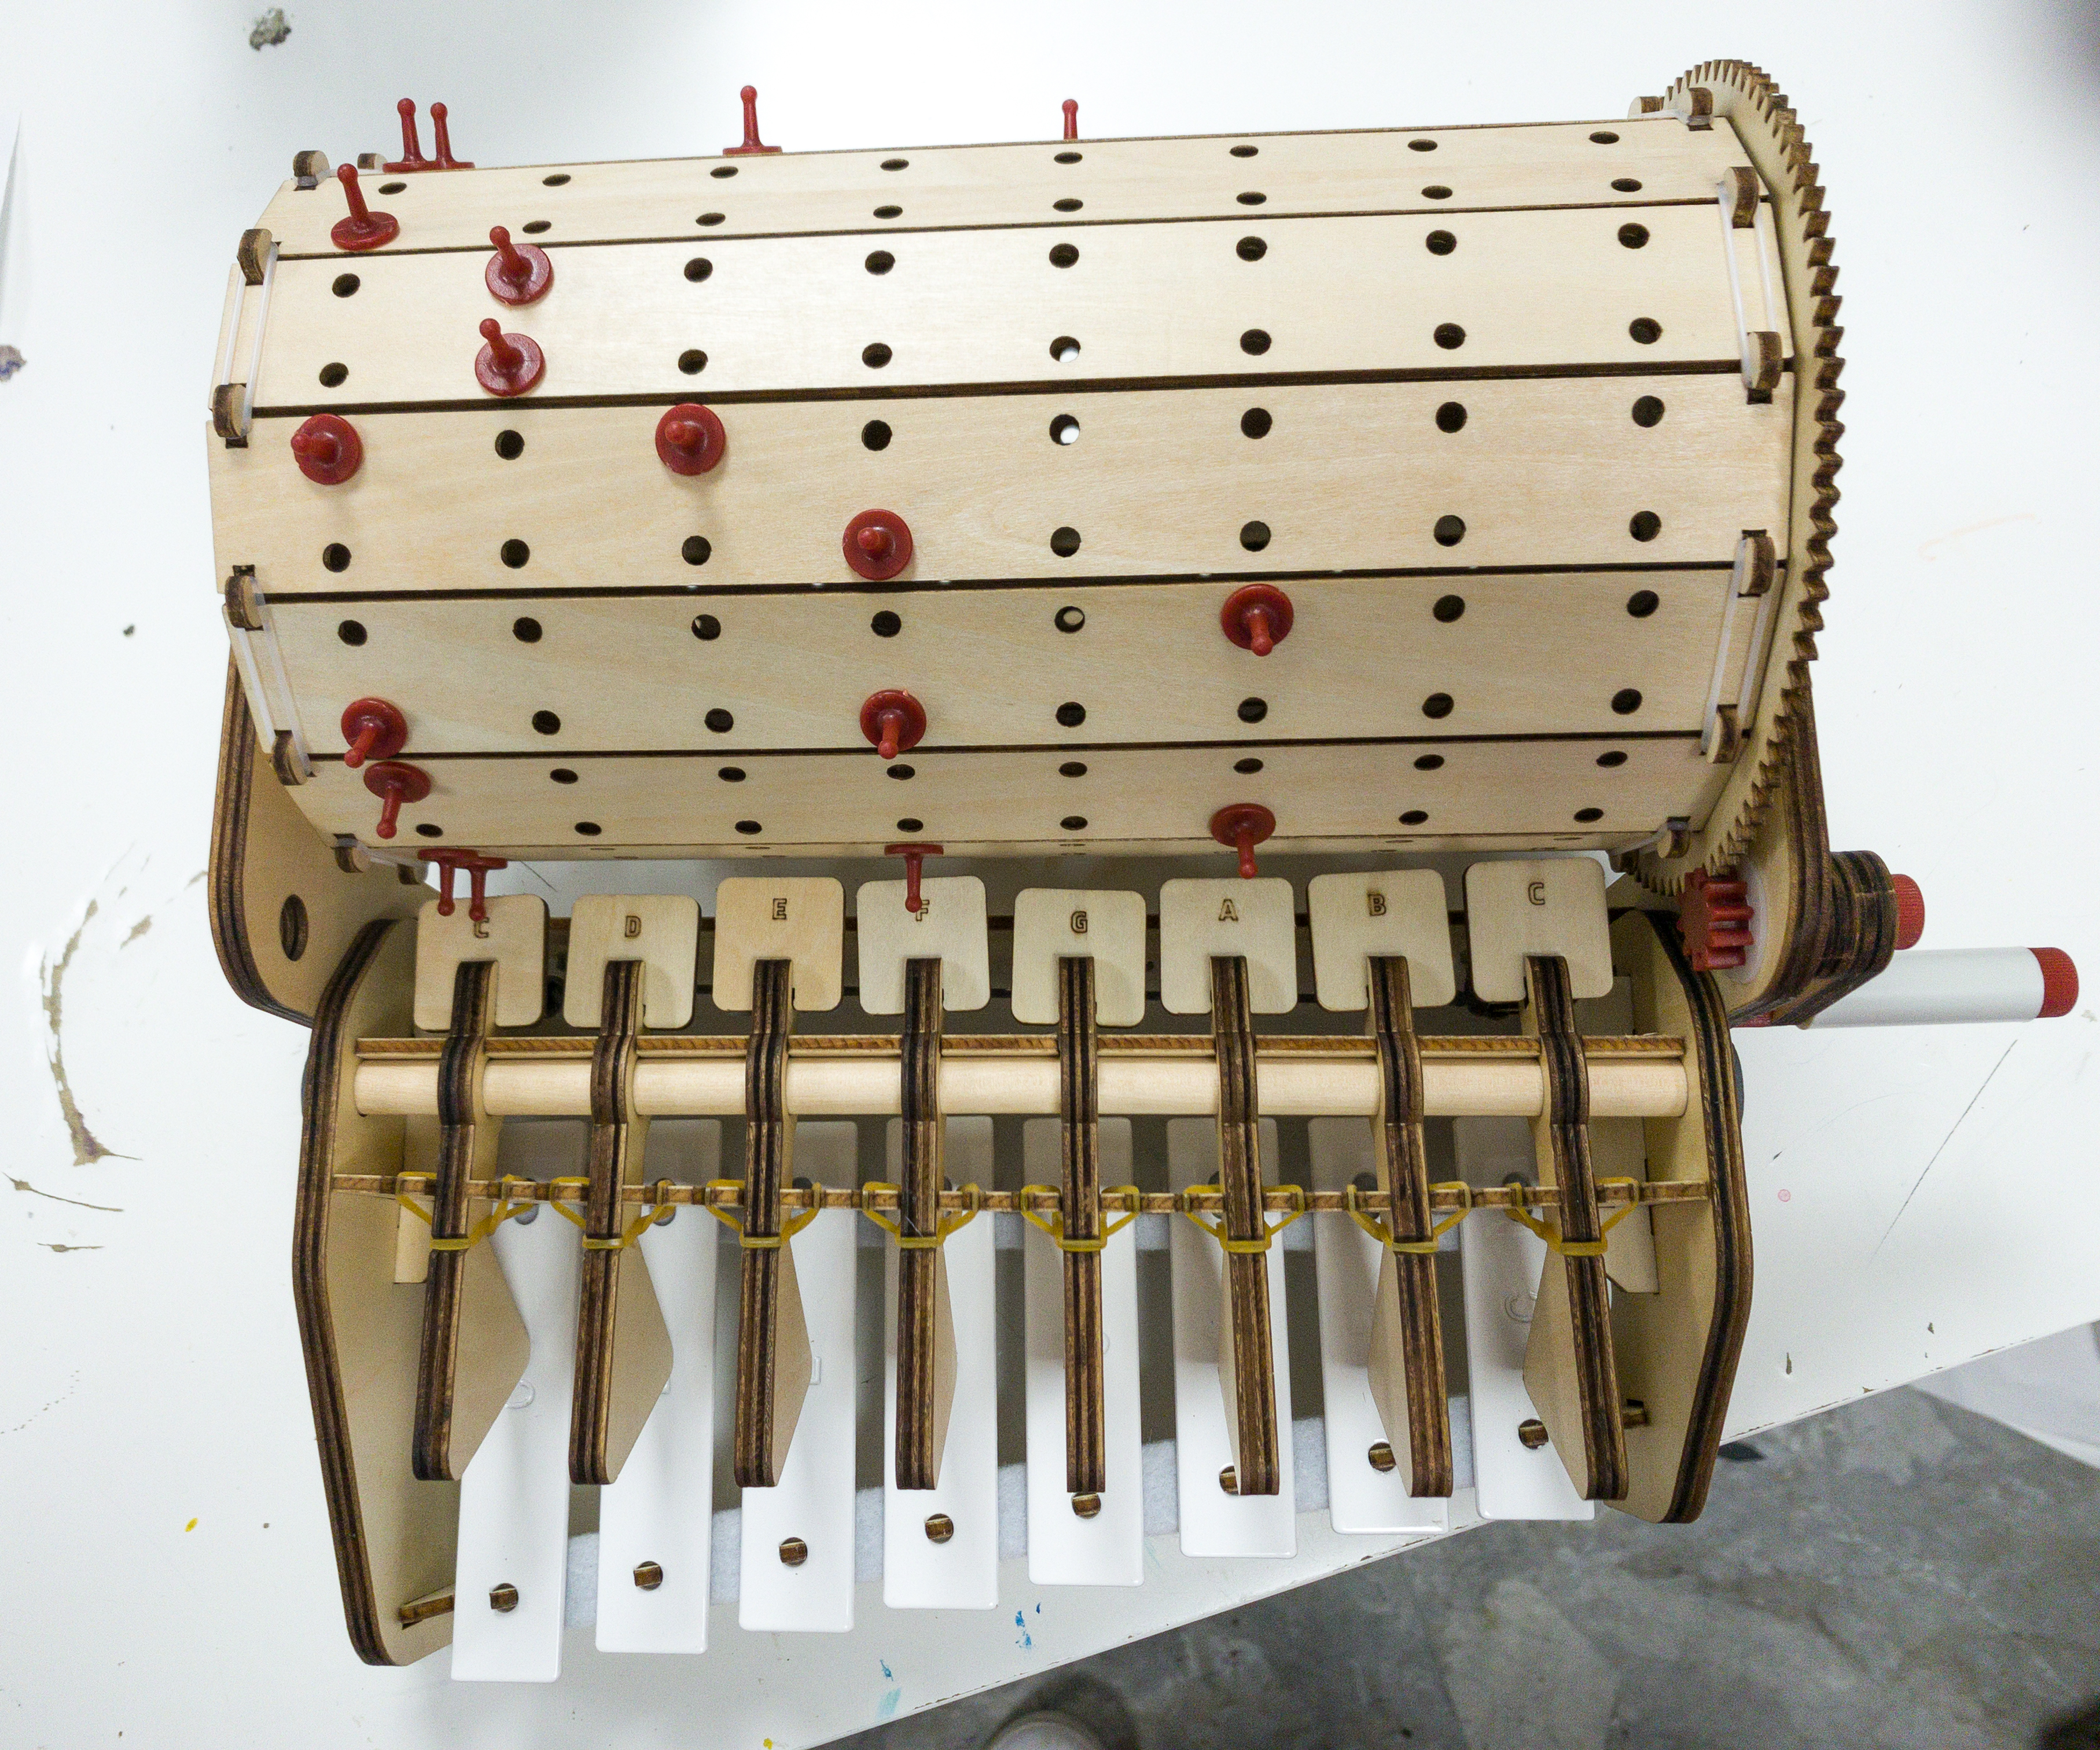
The pegs should be easy to plug in and out of the drum so that it will be easy to change the programmed music. Also, they are designed like board game pieces, which are really easy to grab.
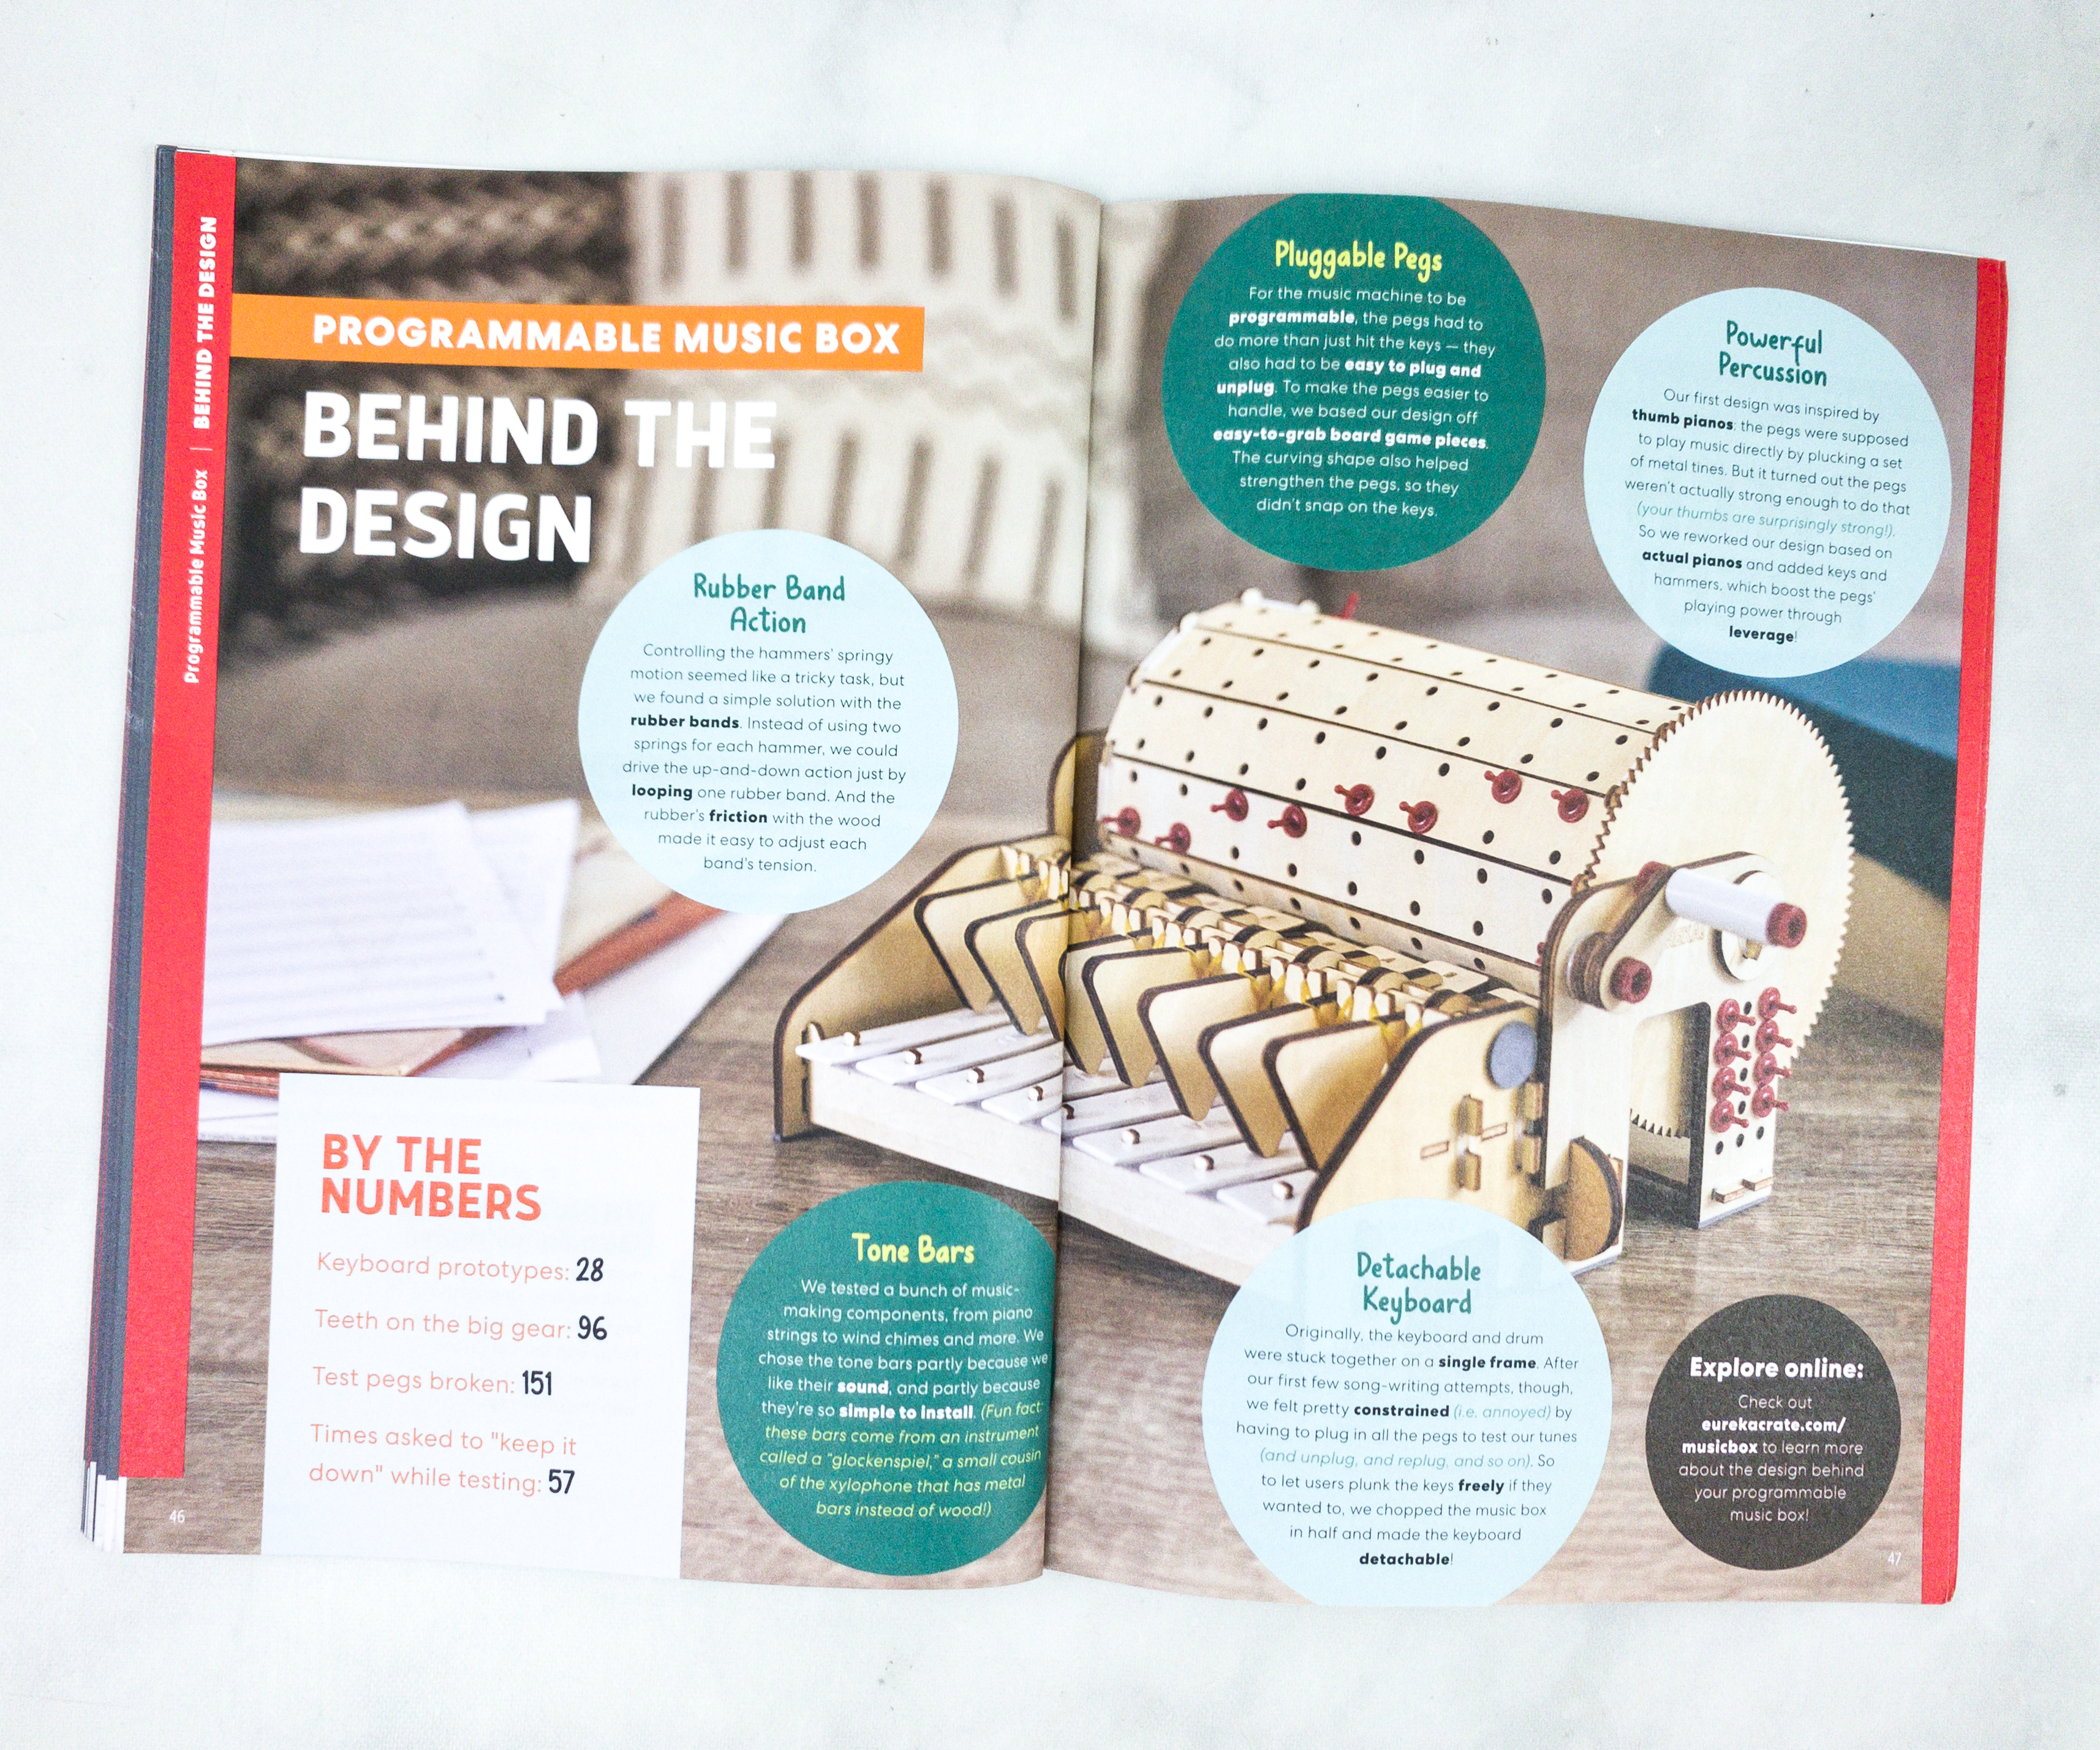
We also learned a lot about the design of this programmable music box. The booklet listed the importance of each component of this project including the tone bars, the keyboard itself, the rubber bands that help play the music, and the pegs.
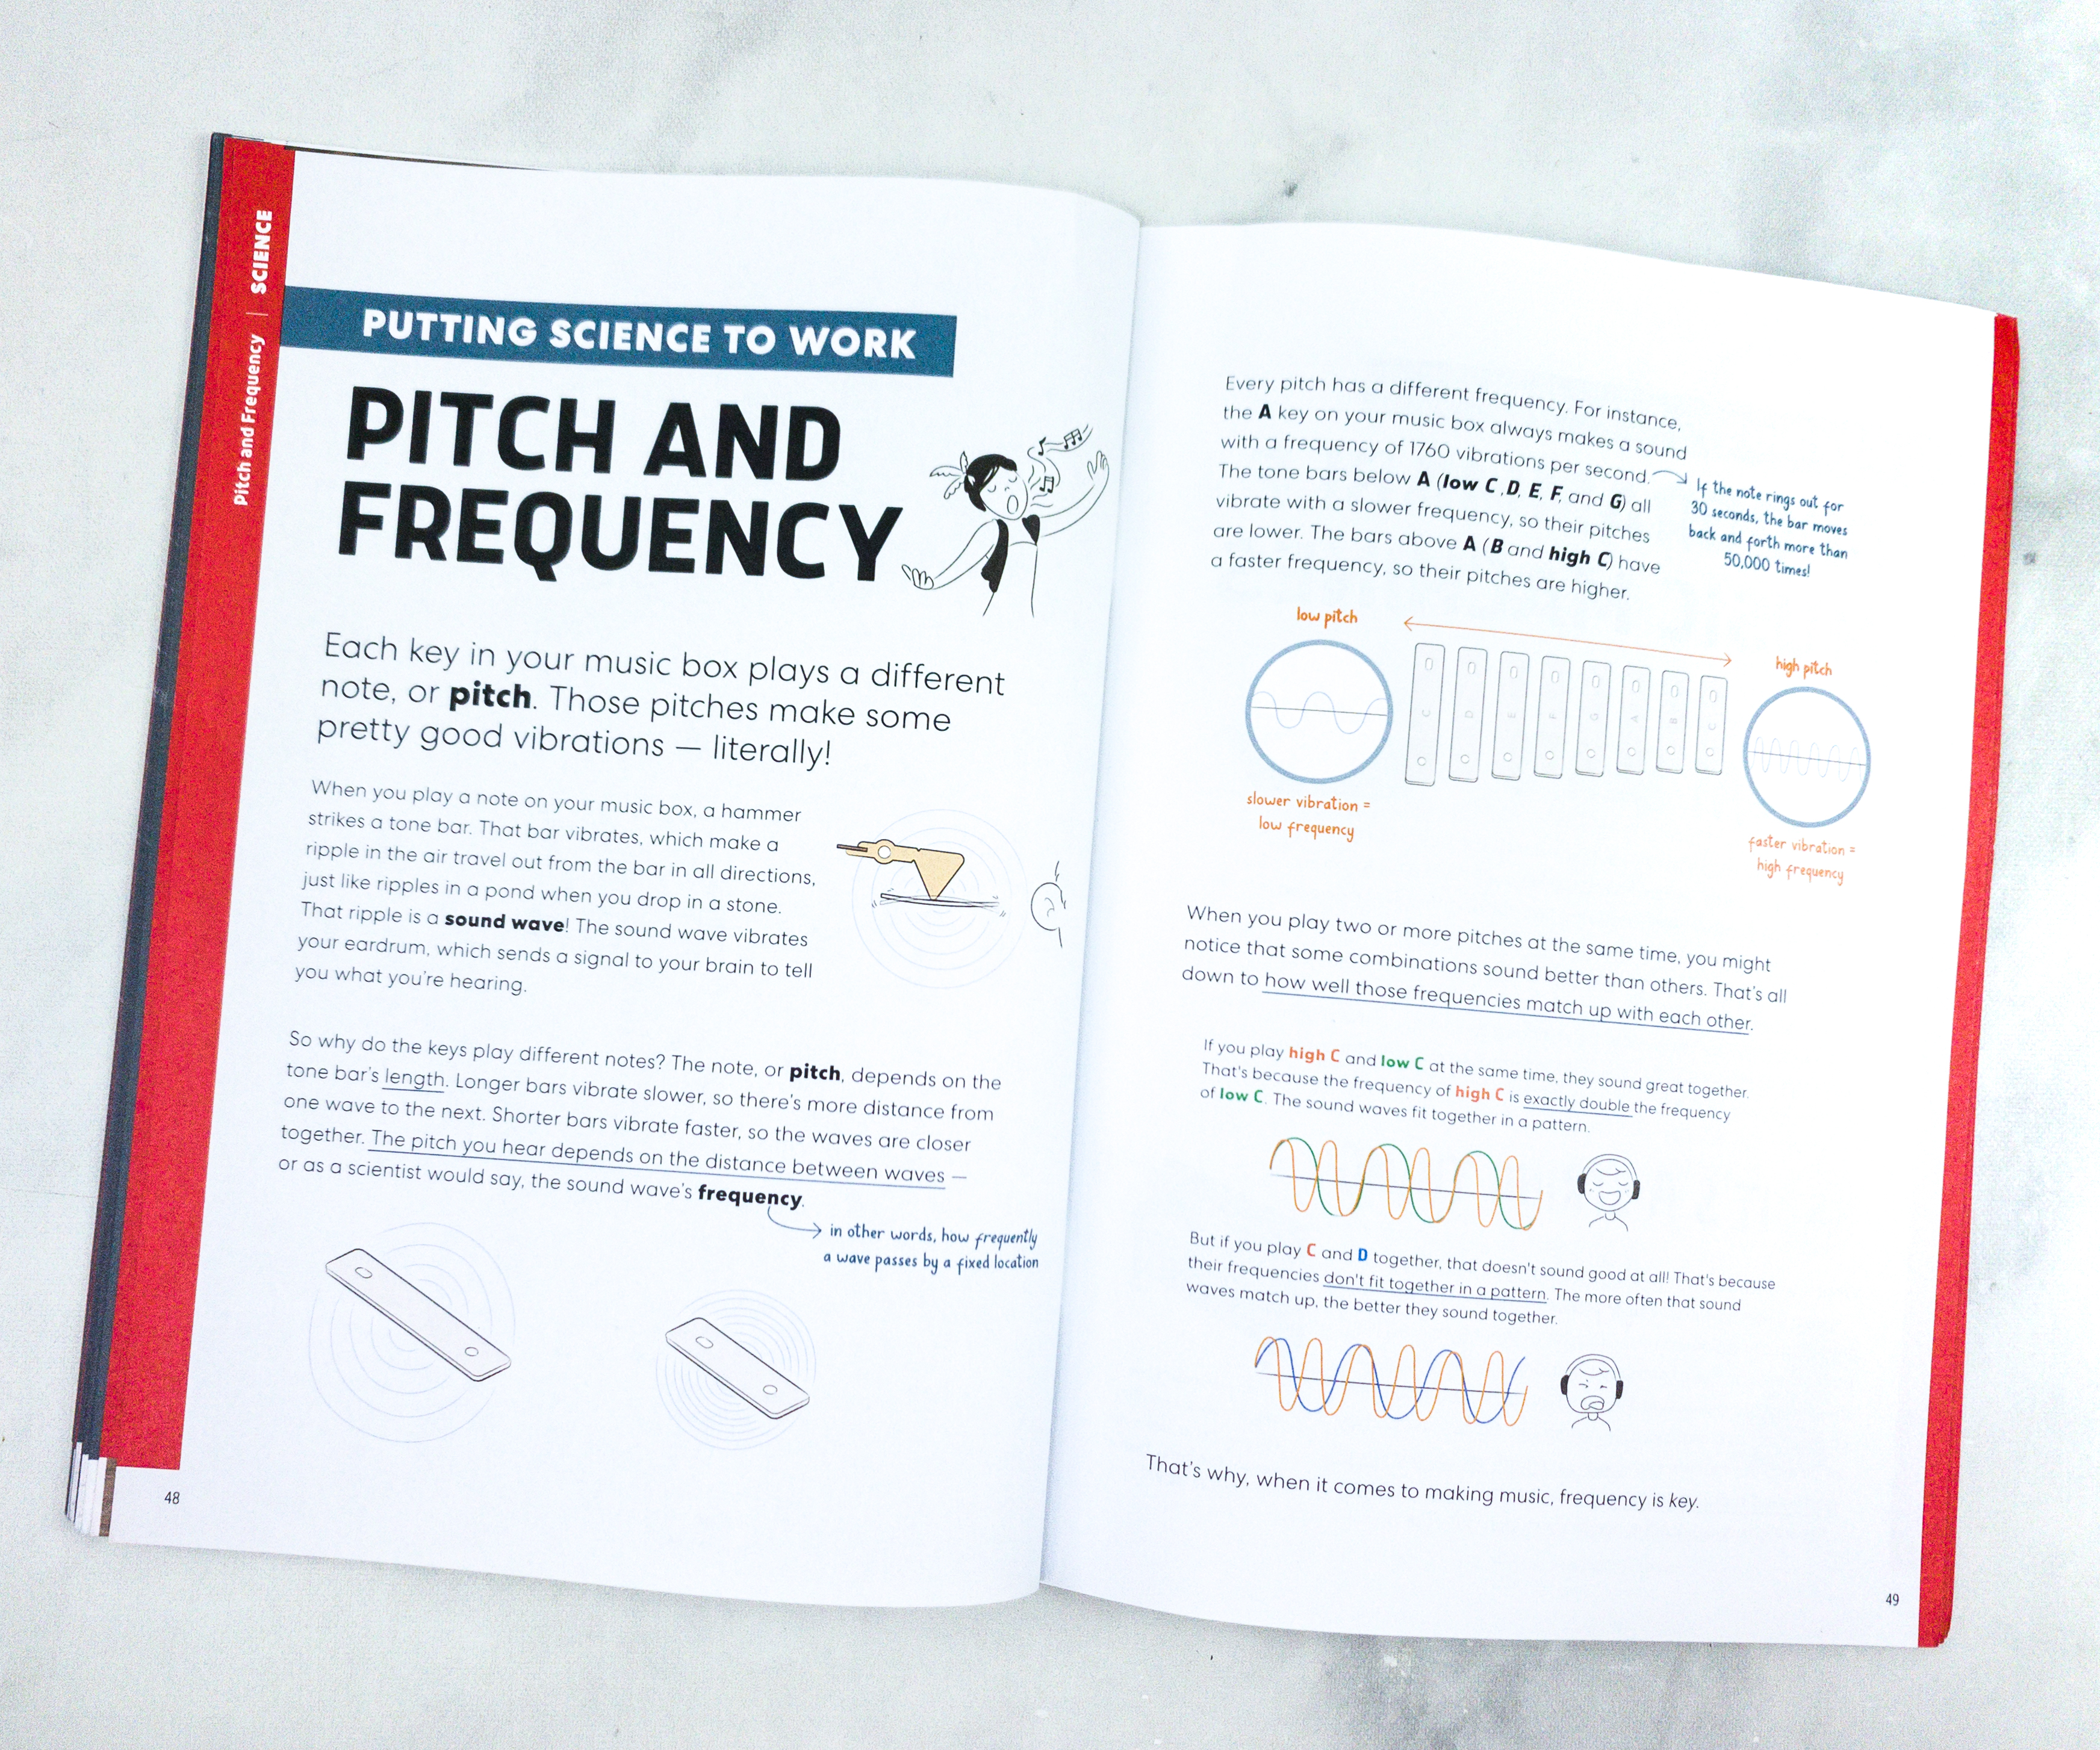
There’s a full article on how pitch and frequency works! It also explains the importance of sound wave.
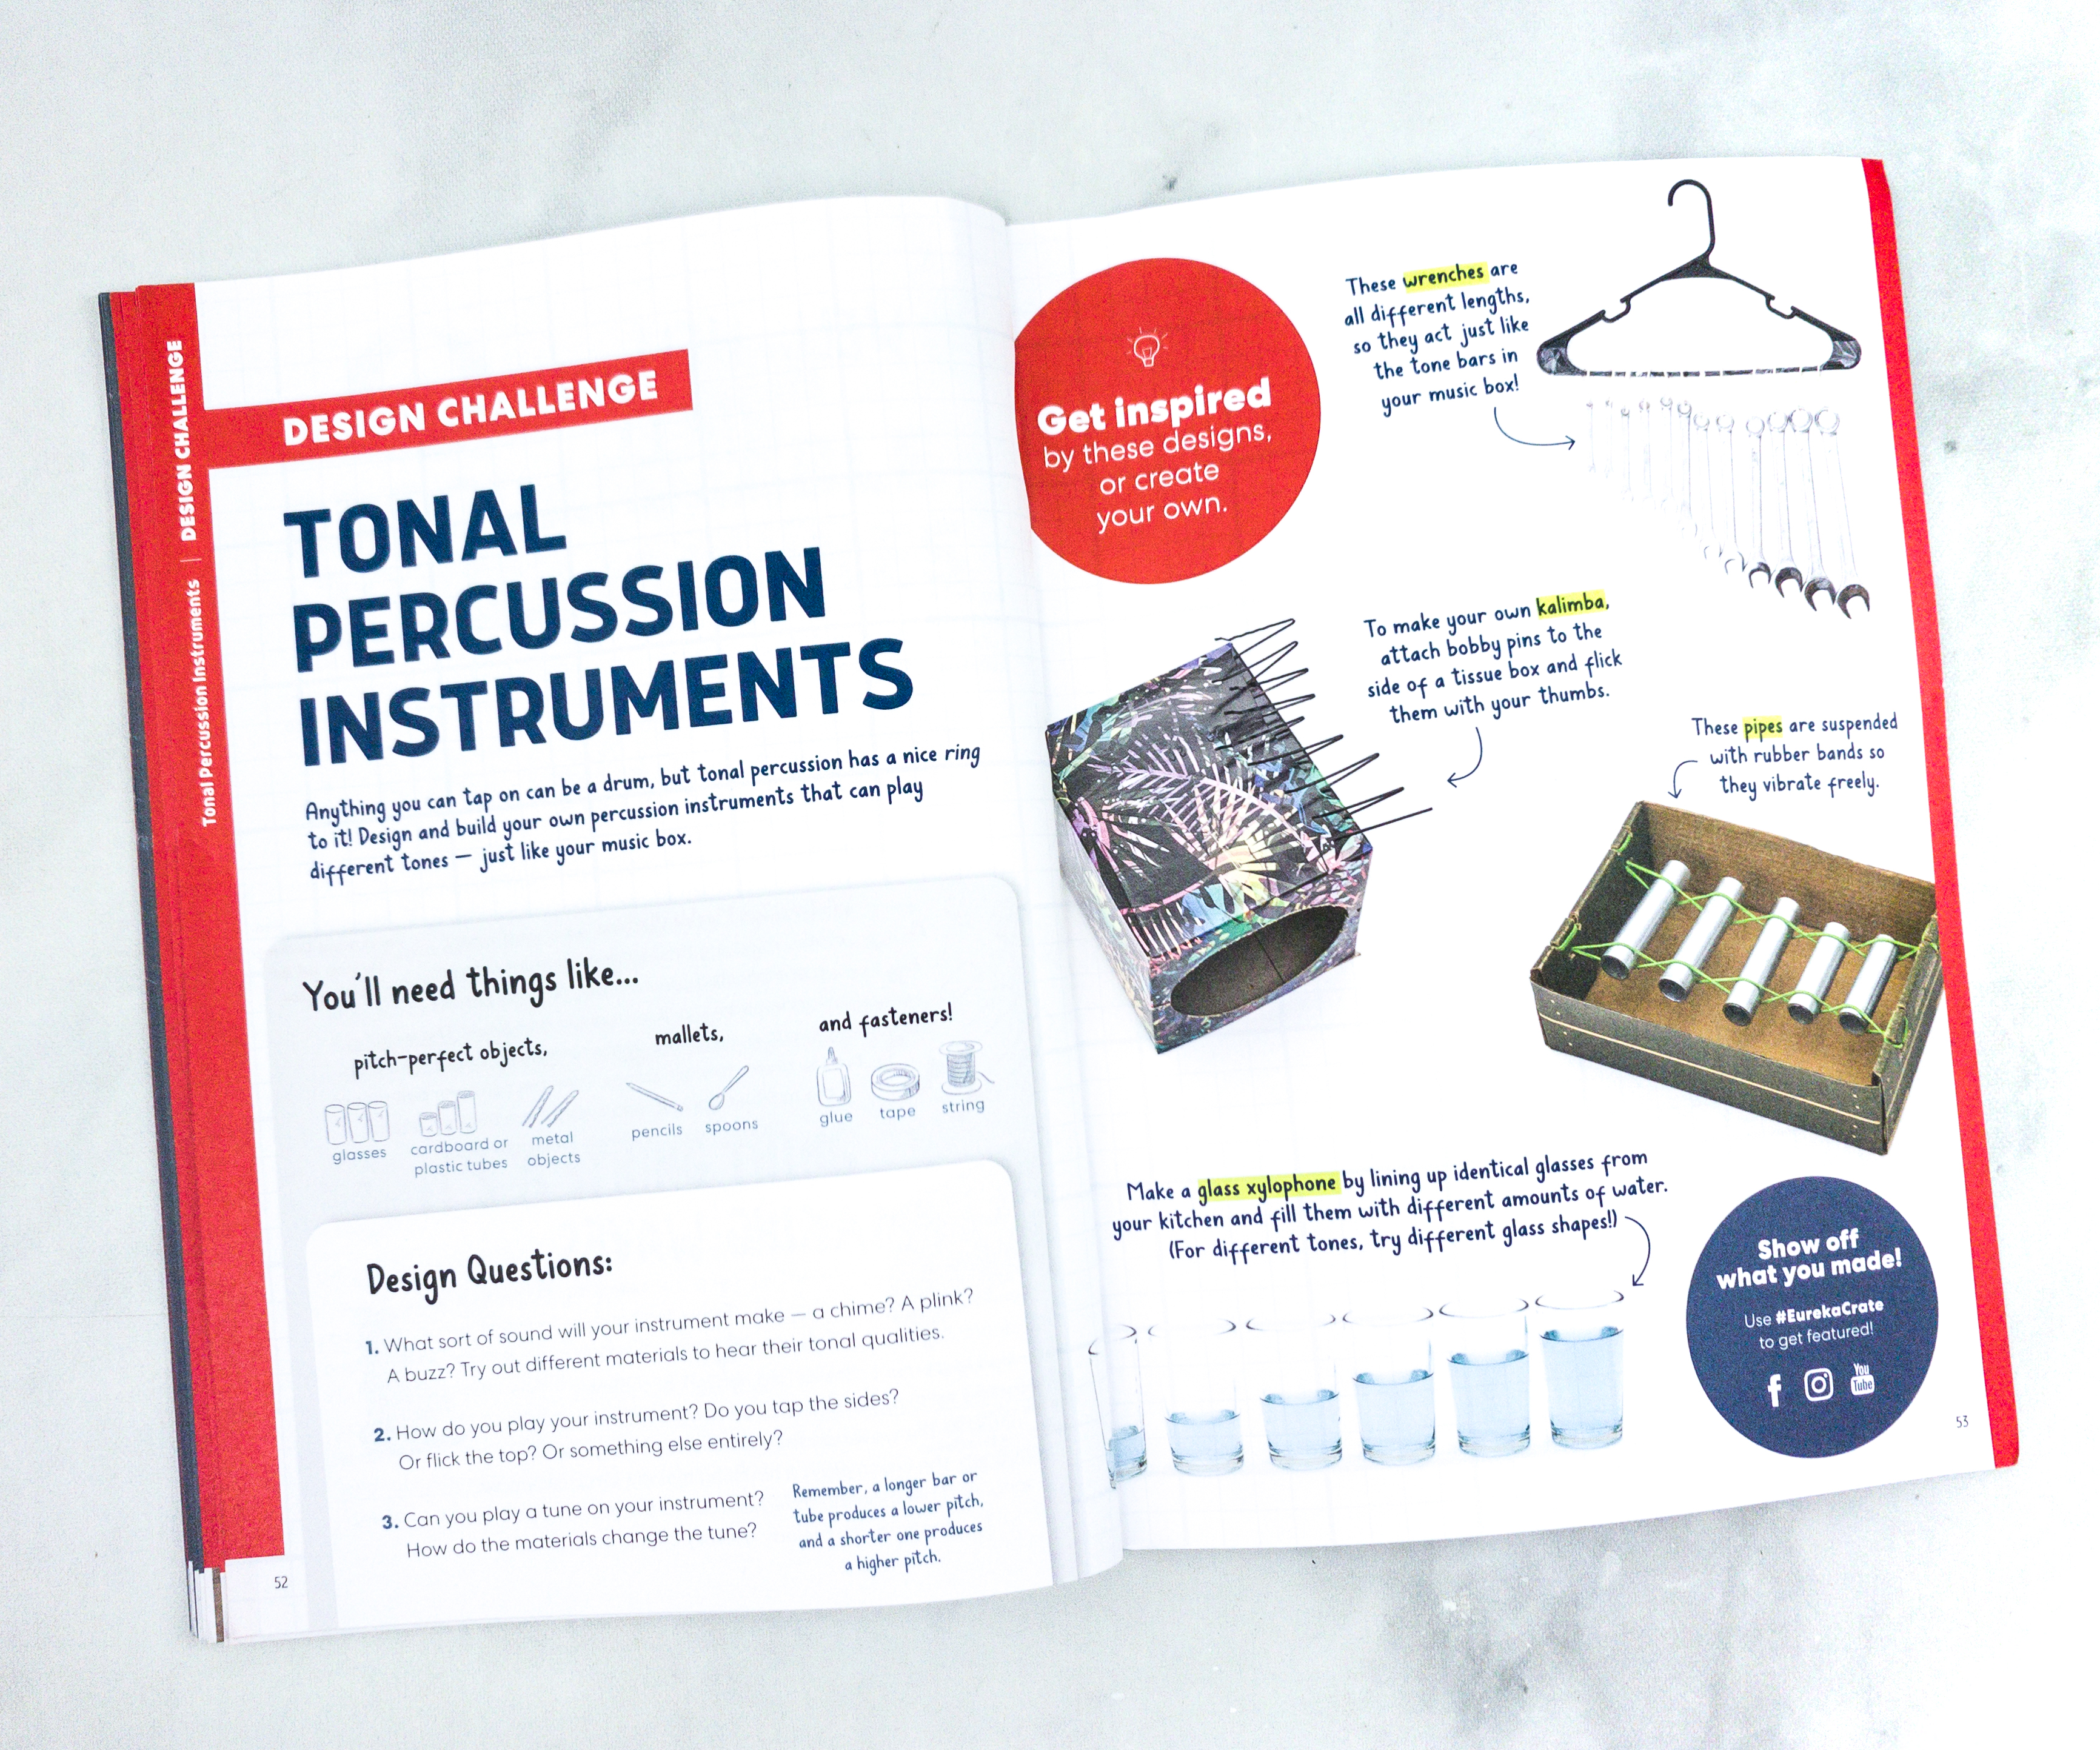
For the Design Challenge, they’re encouraging us to make tonal percussion instruments by using objects that we can easily find at home like glasses, boxes, and even a clothes hanger. They also included some design inspirations. You can also show-off what you made and use the hashtag #EurekaCrate to get featured on their social media accounts.
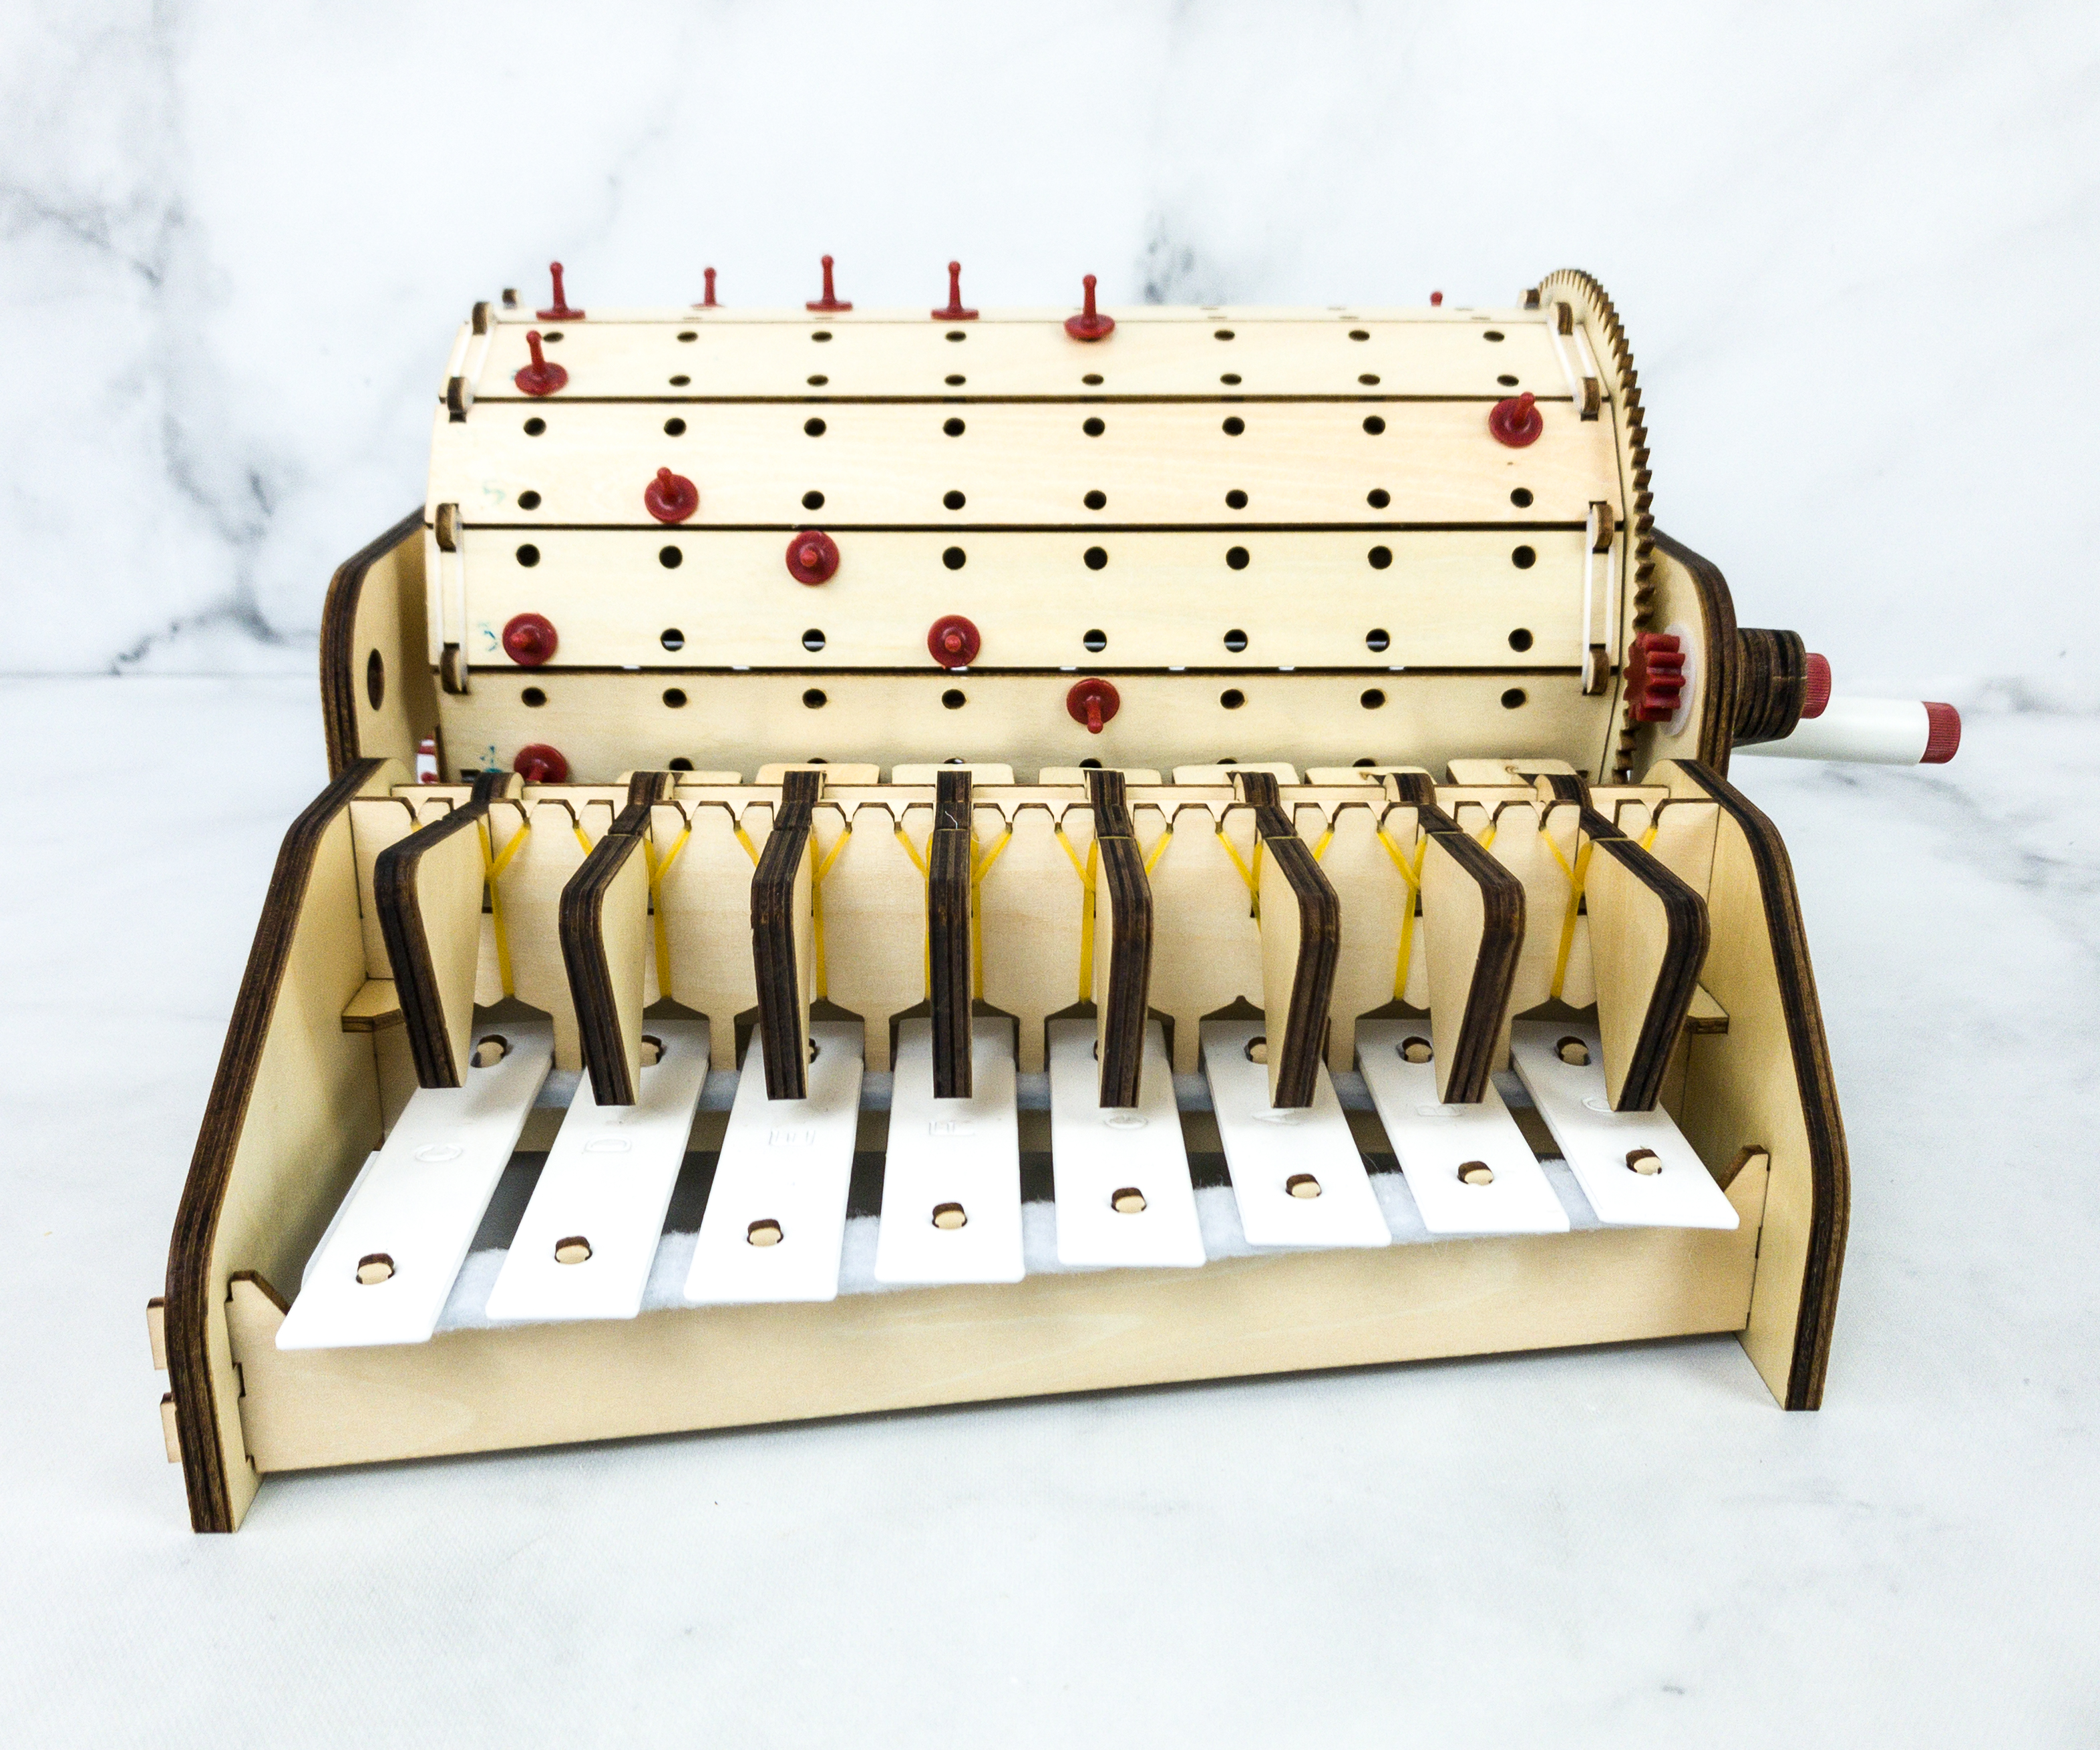
Here’s our finished Programmable Music Box!
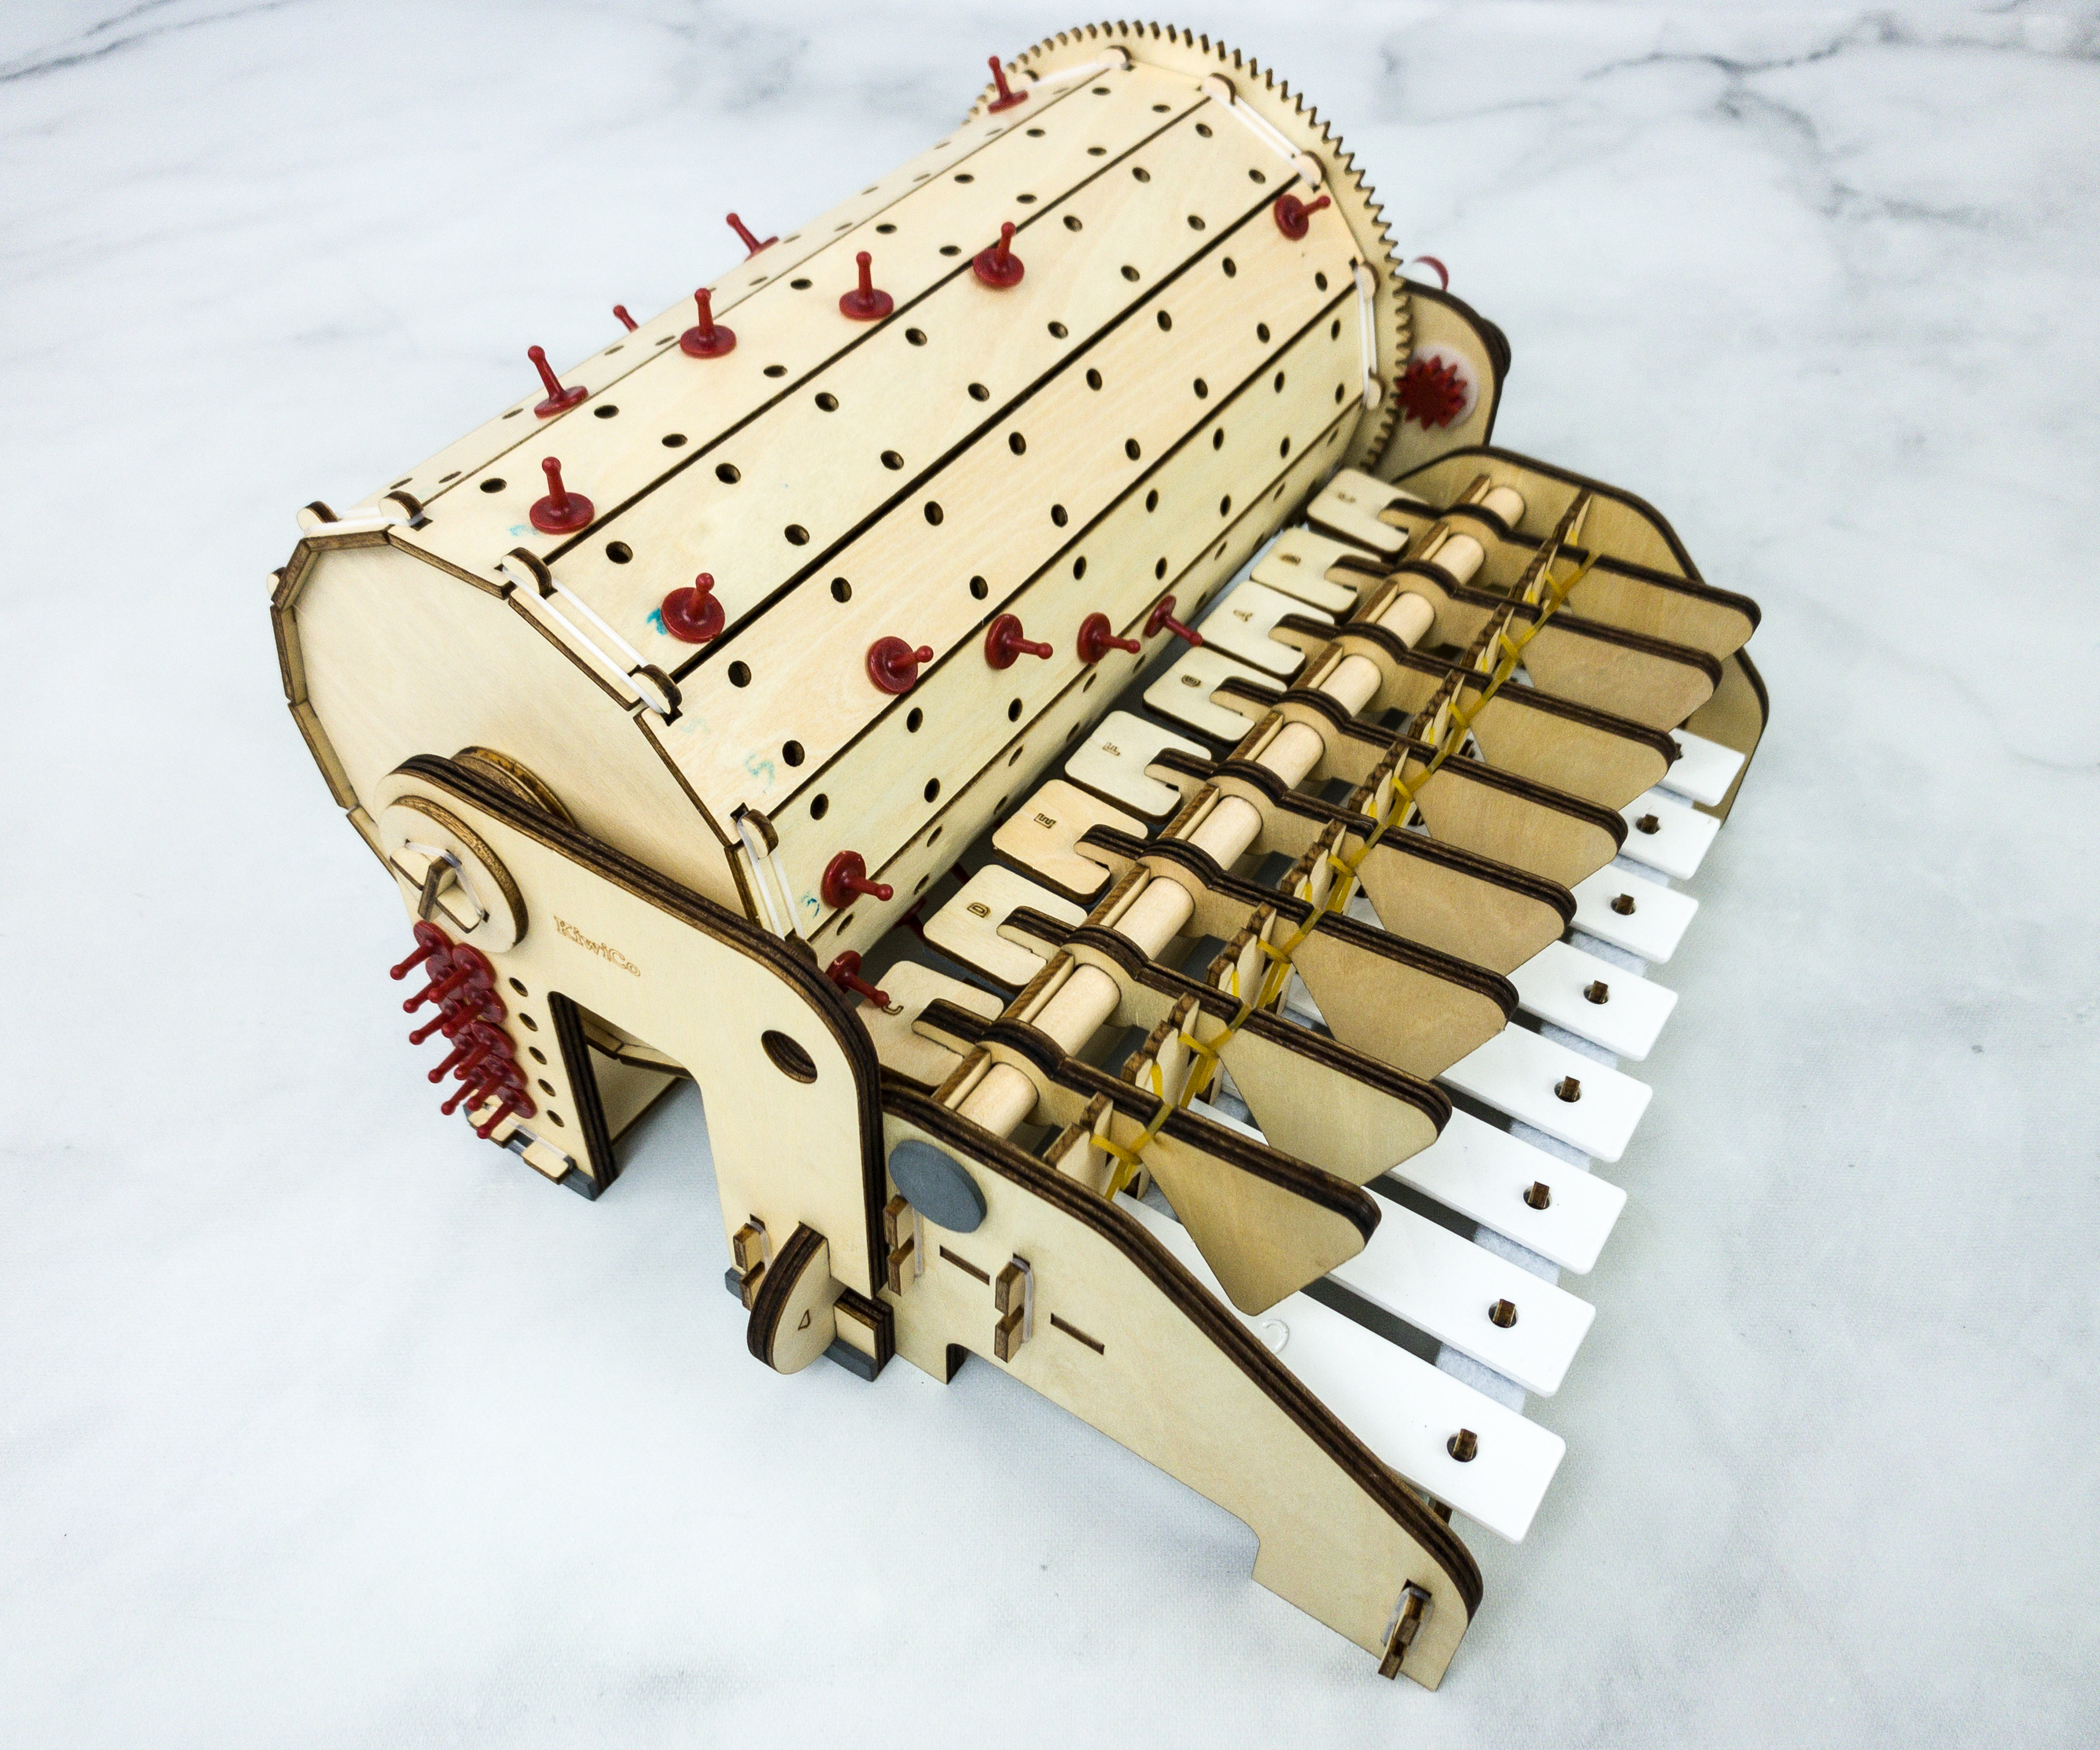
We’re excited to make more good music with this amazing project!
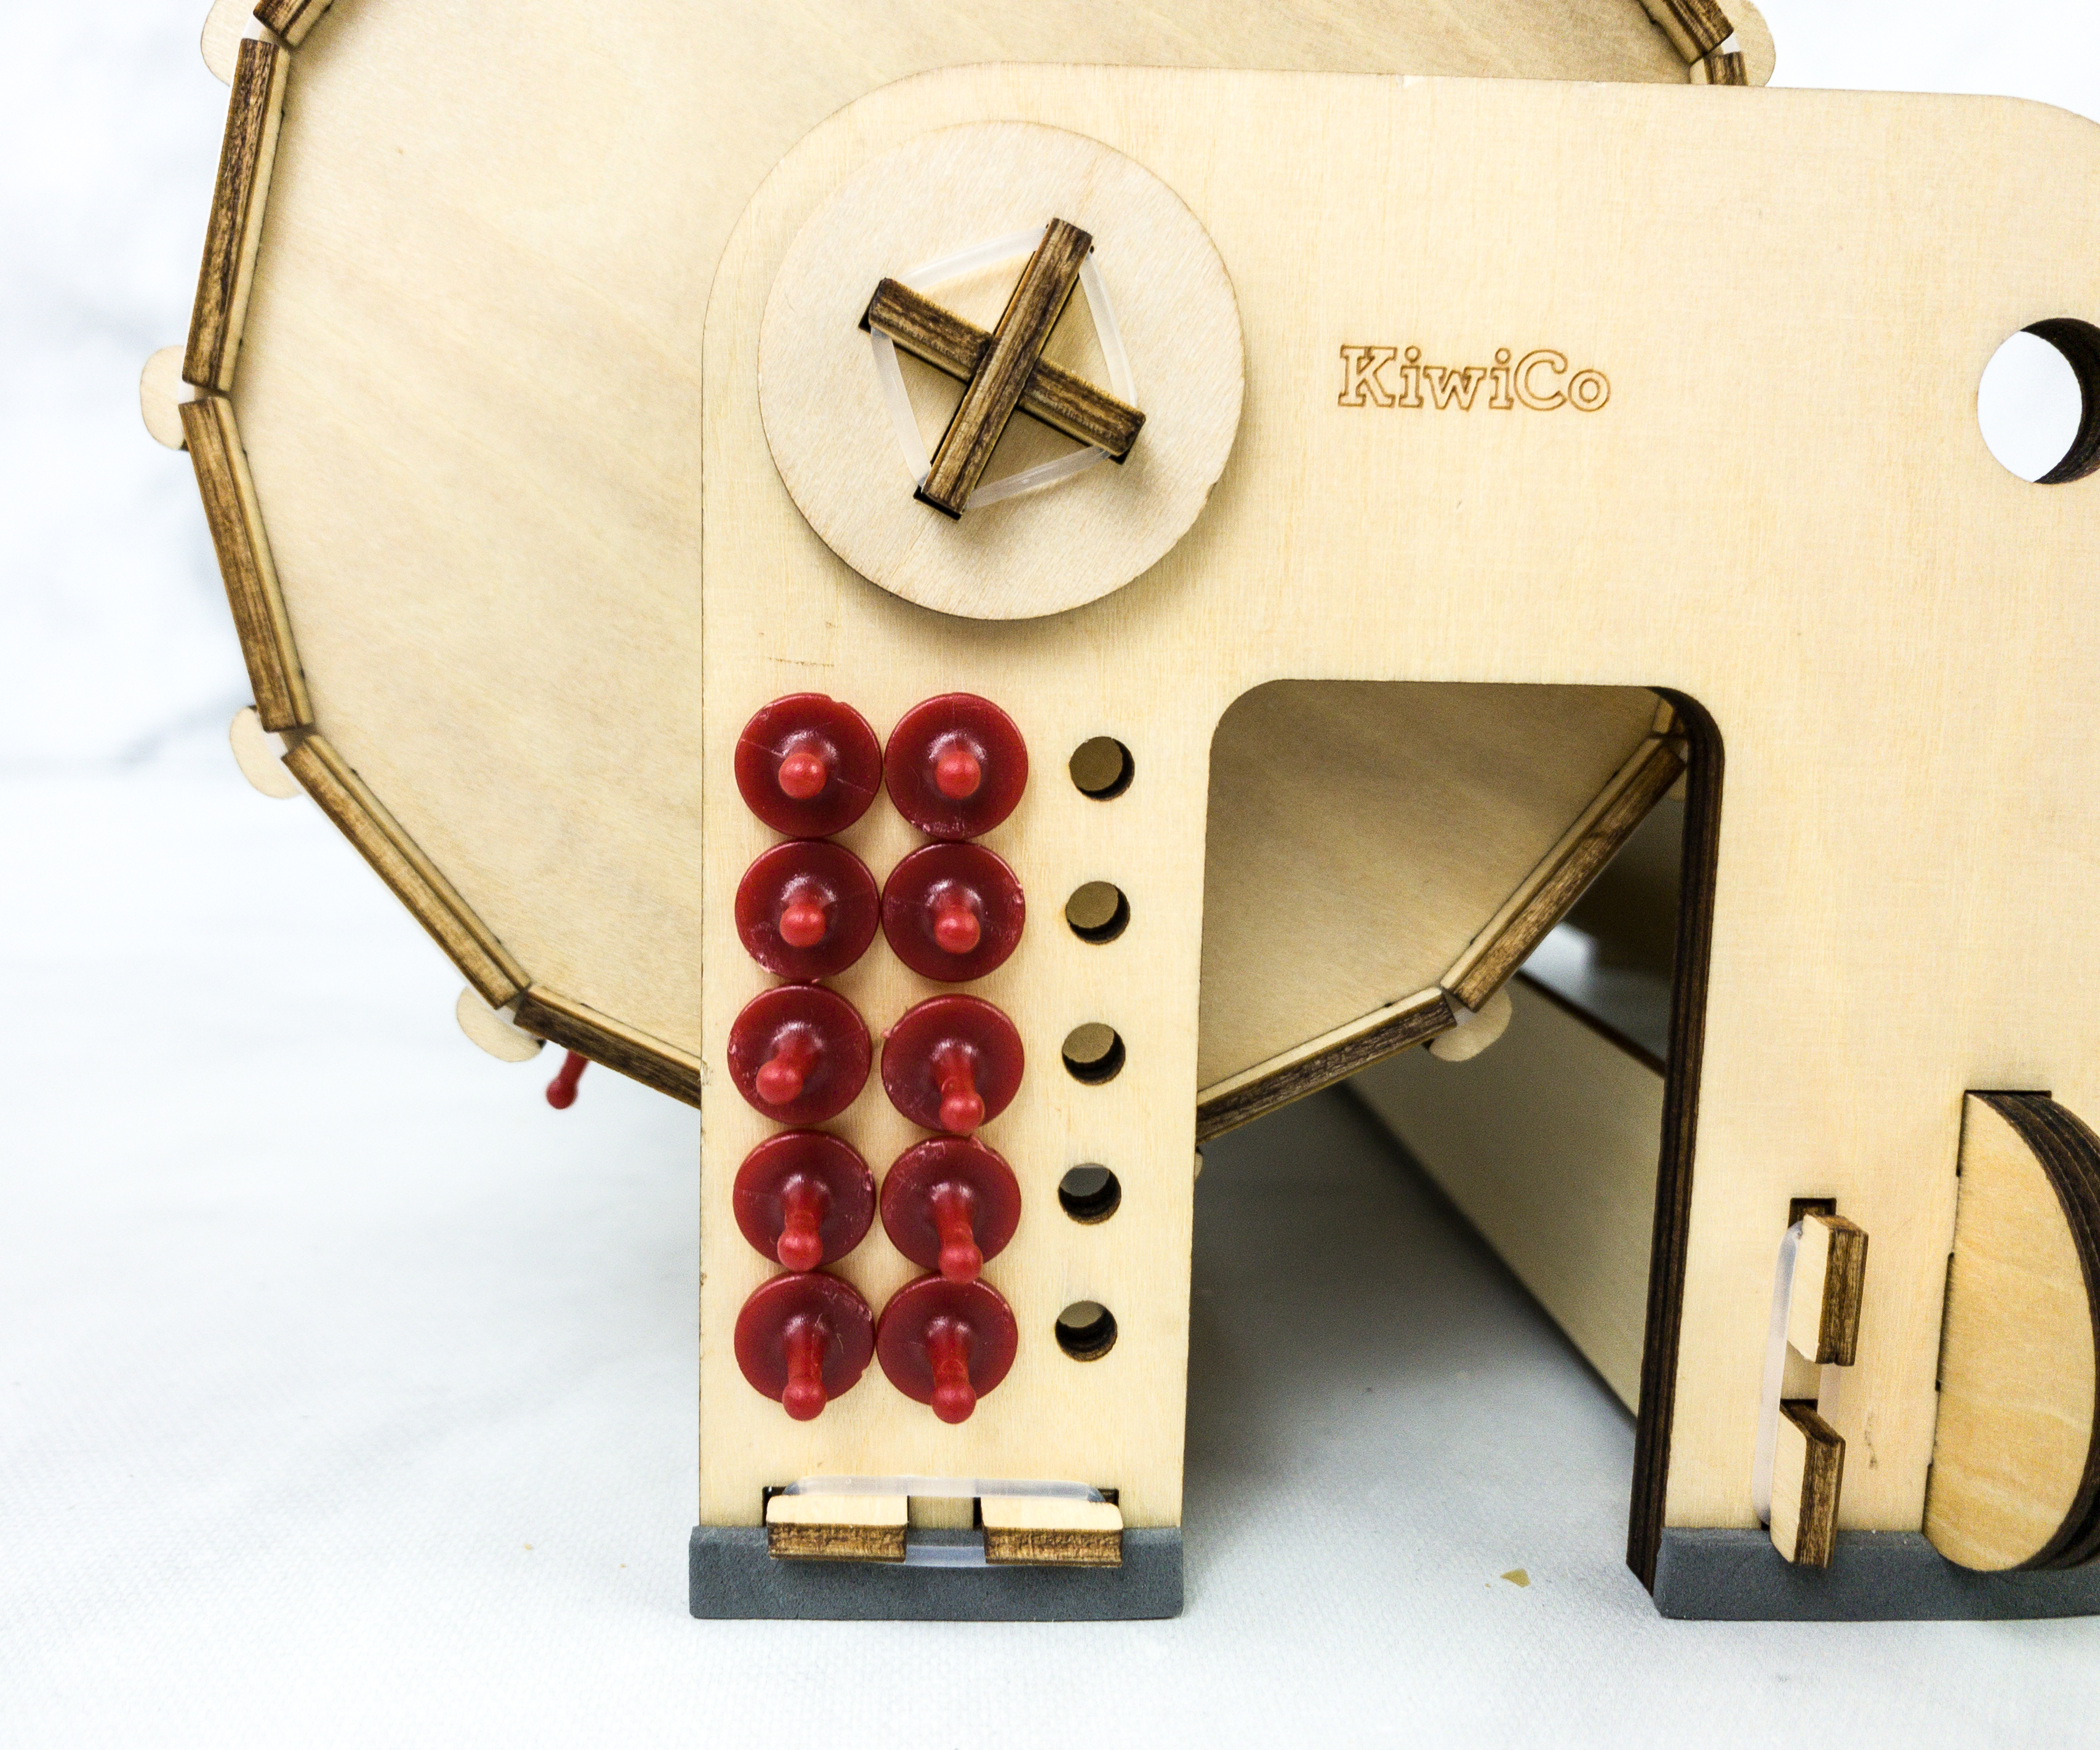
There are slots on the side where we can keep the other pegs.
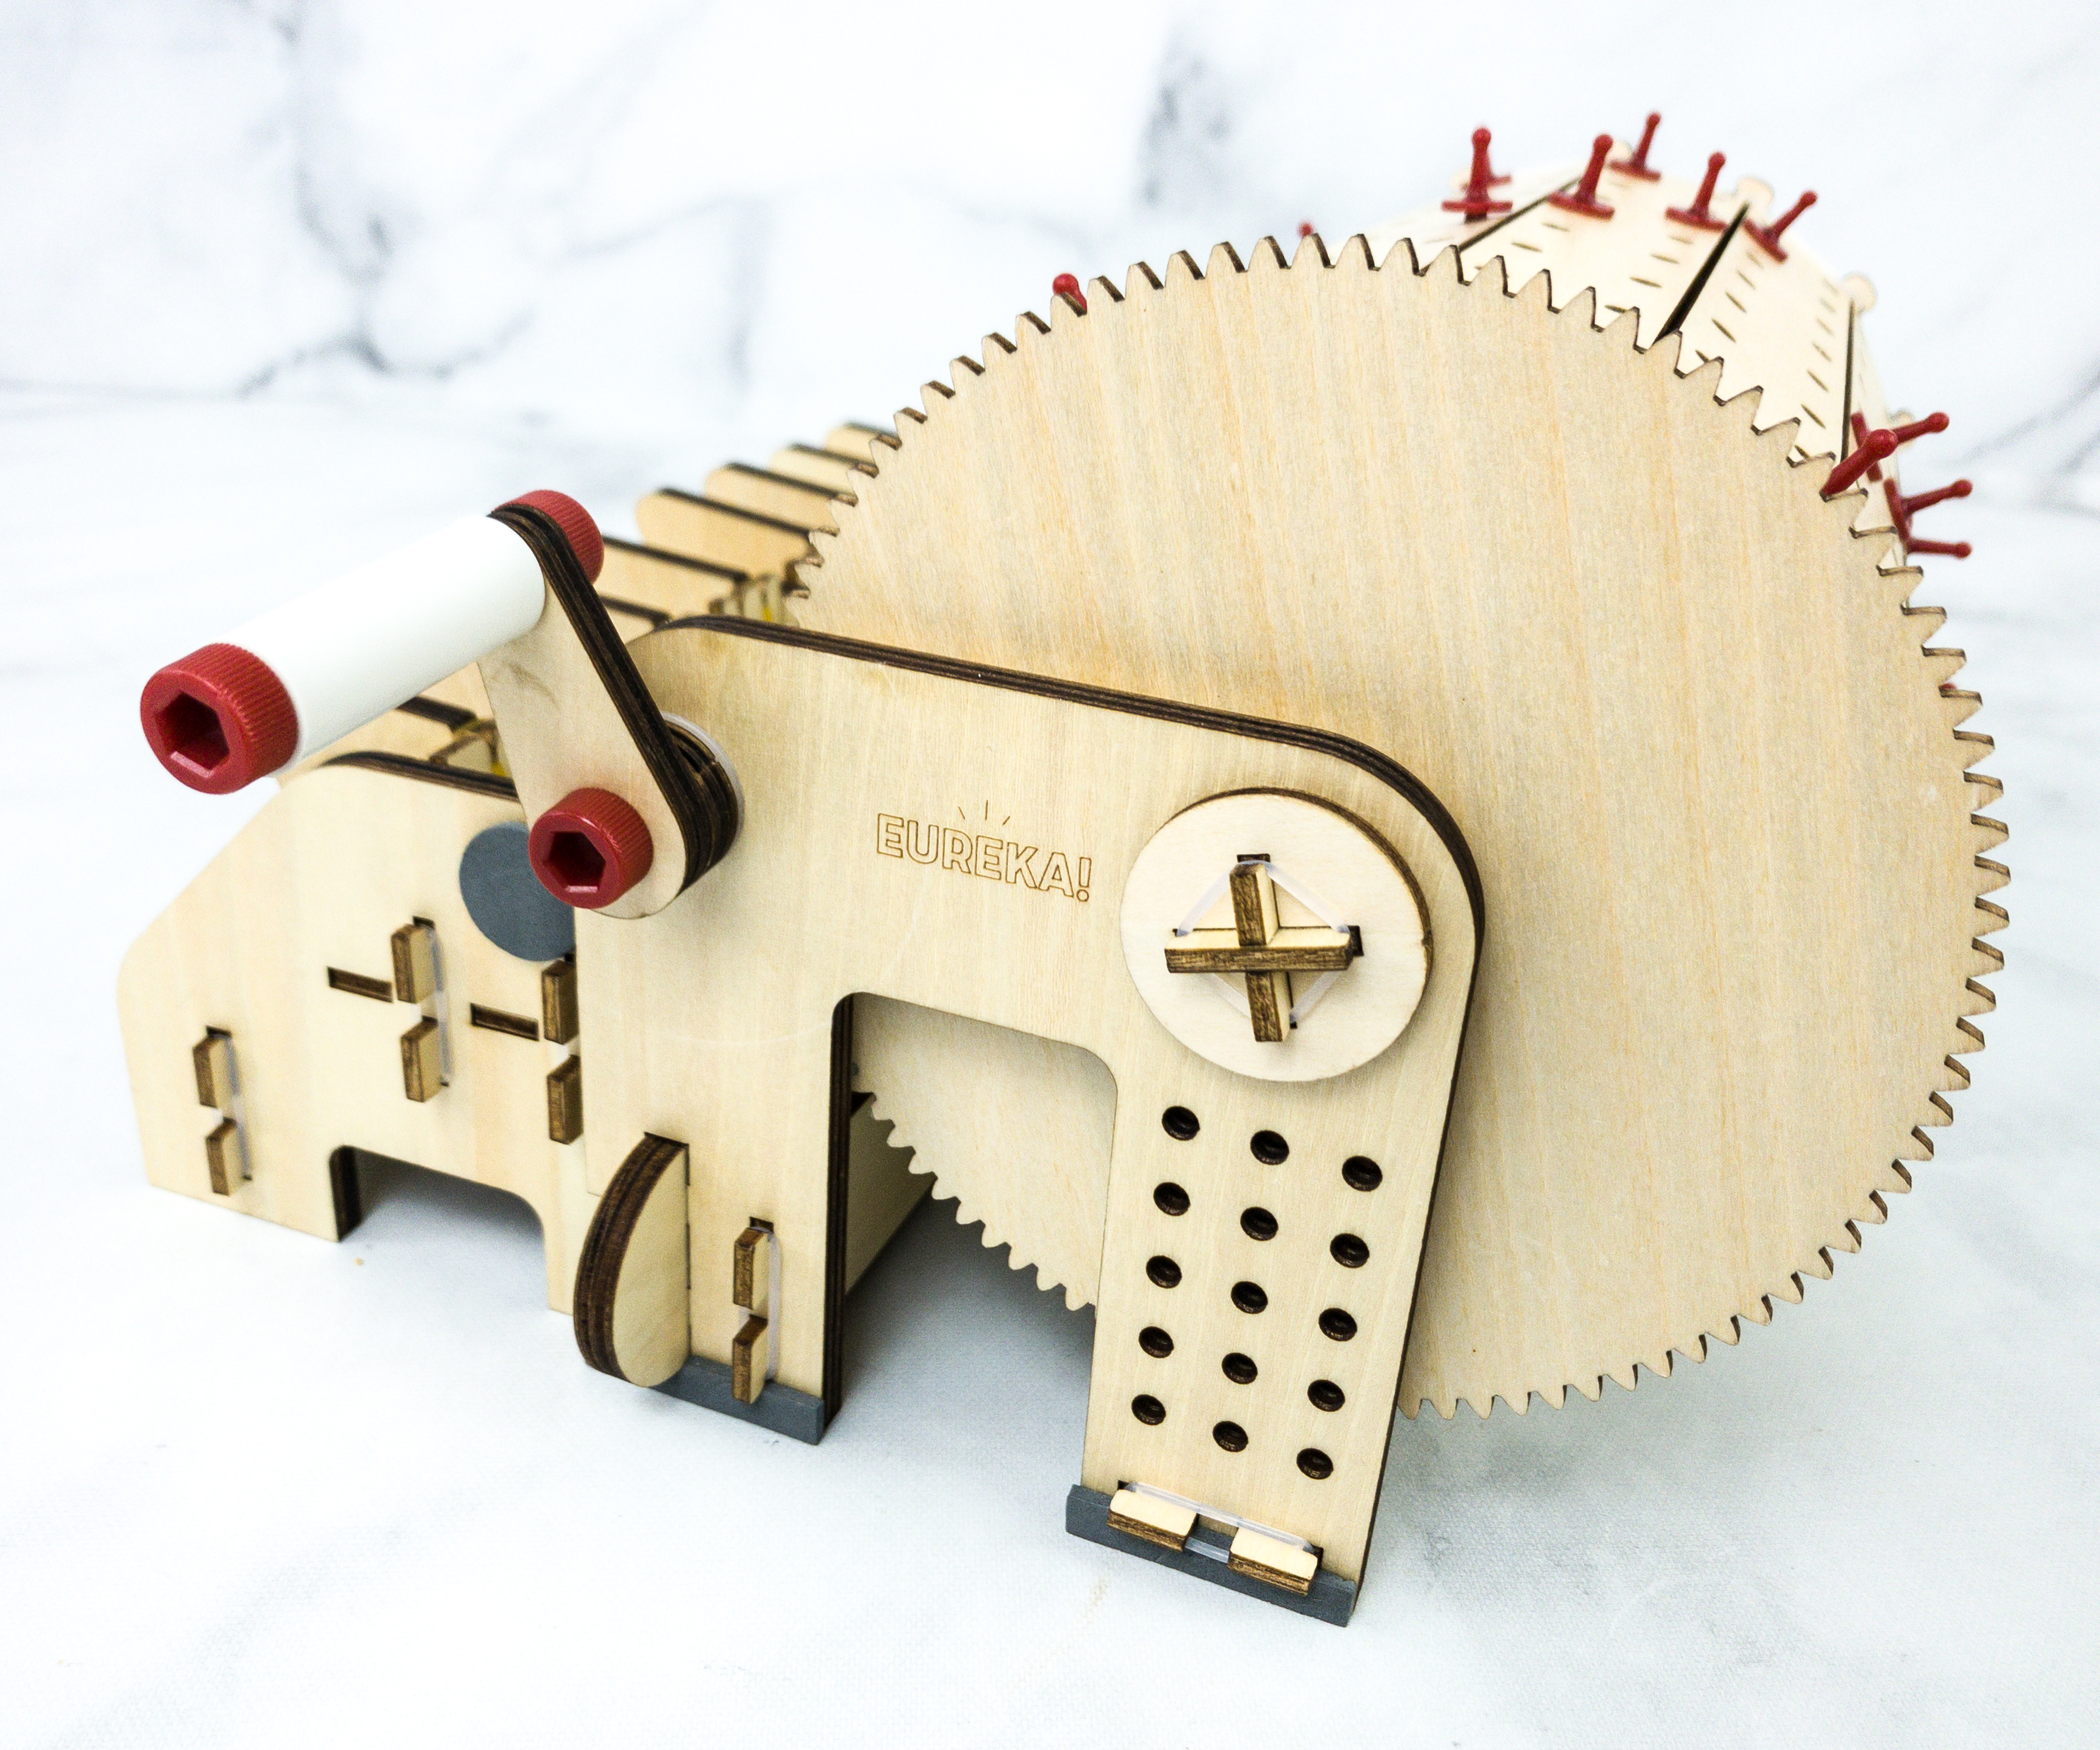
It’s time to crank this thing up. The music that is programmed in our music box is still the Star Wars theme!
Making good music requires lots of practice and expertise in some instruments. With this month’s project, we were able to hone not just our music skills but also our problem solving and troubleshooting skills. It took us some time to learn about tunes, pitch, frequencies, and other stuff, but it’s all worth it as our project turned out great! The box provided all the materials needed to complete the craft, while the suggested activities require some materials that can be easily found at home. The booklet is also a nice read! It didn’t just guide us throughout the completion of the project, it also has some articles that shared the science and history behind the activities. We’re happy that we can play music with our finished music box, and we’re excited to make other compositions using this!
What do you think of this month’s Eureka Crate?
Comments