Maker Crate is a monthly craft box from KiwiCo, which provides makers and crafters ages 14 to 104 with projects that introduce new craft techniques and design tools. Each box will include materials and tools for the project plus a booklet that shares the real-world applications and the history behind each art form or design. They also promise that the end product for each project is always fun and functional. Some of the skills you can learn through this subscription may include paper marbling, metal sculpture, dip-dye painting, macrame, loom knitting, hand lettering, embroidery, and more. The subscription is $24.95 a month, with free shipping in the US. KiwiCo’s Maker Crate was voted as the best craft & DIY box for 2021 and the best subscription box for teens.
DEAL: Save 30% on your first month! No coupon code needed, just use this link to subscribe! (also valid on the other KiwiCo family subscriptions Kiwi Crate, Koala Crate, Panda Crate, Atlas Crate, Doodle Crate, Tinker Crate, and Eureka Crate).
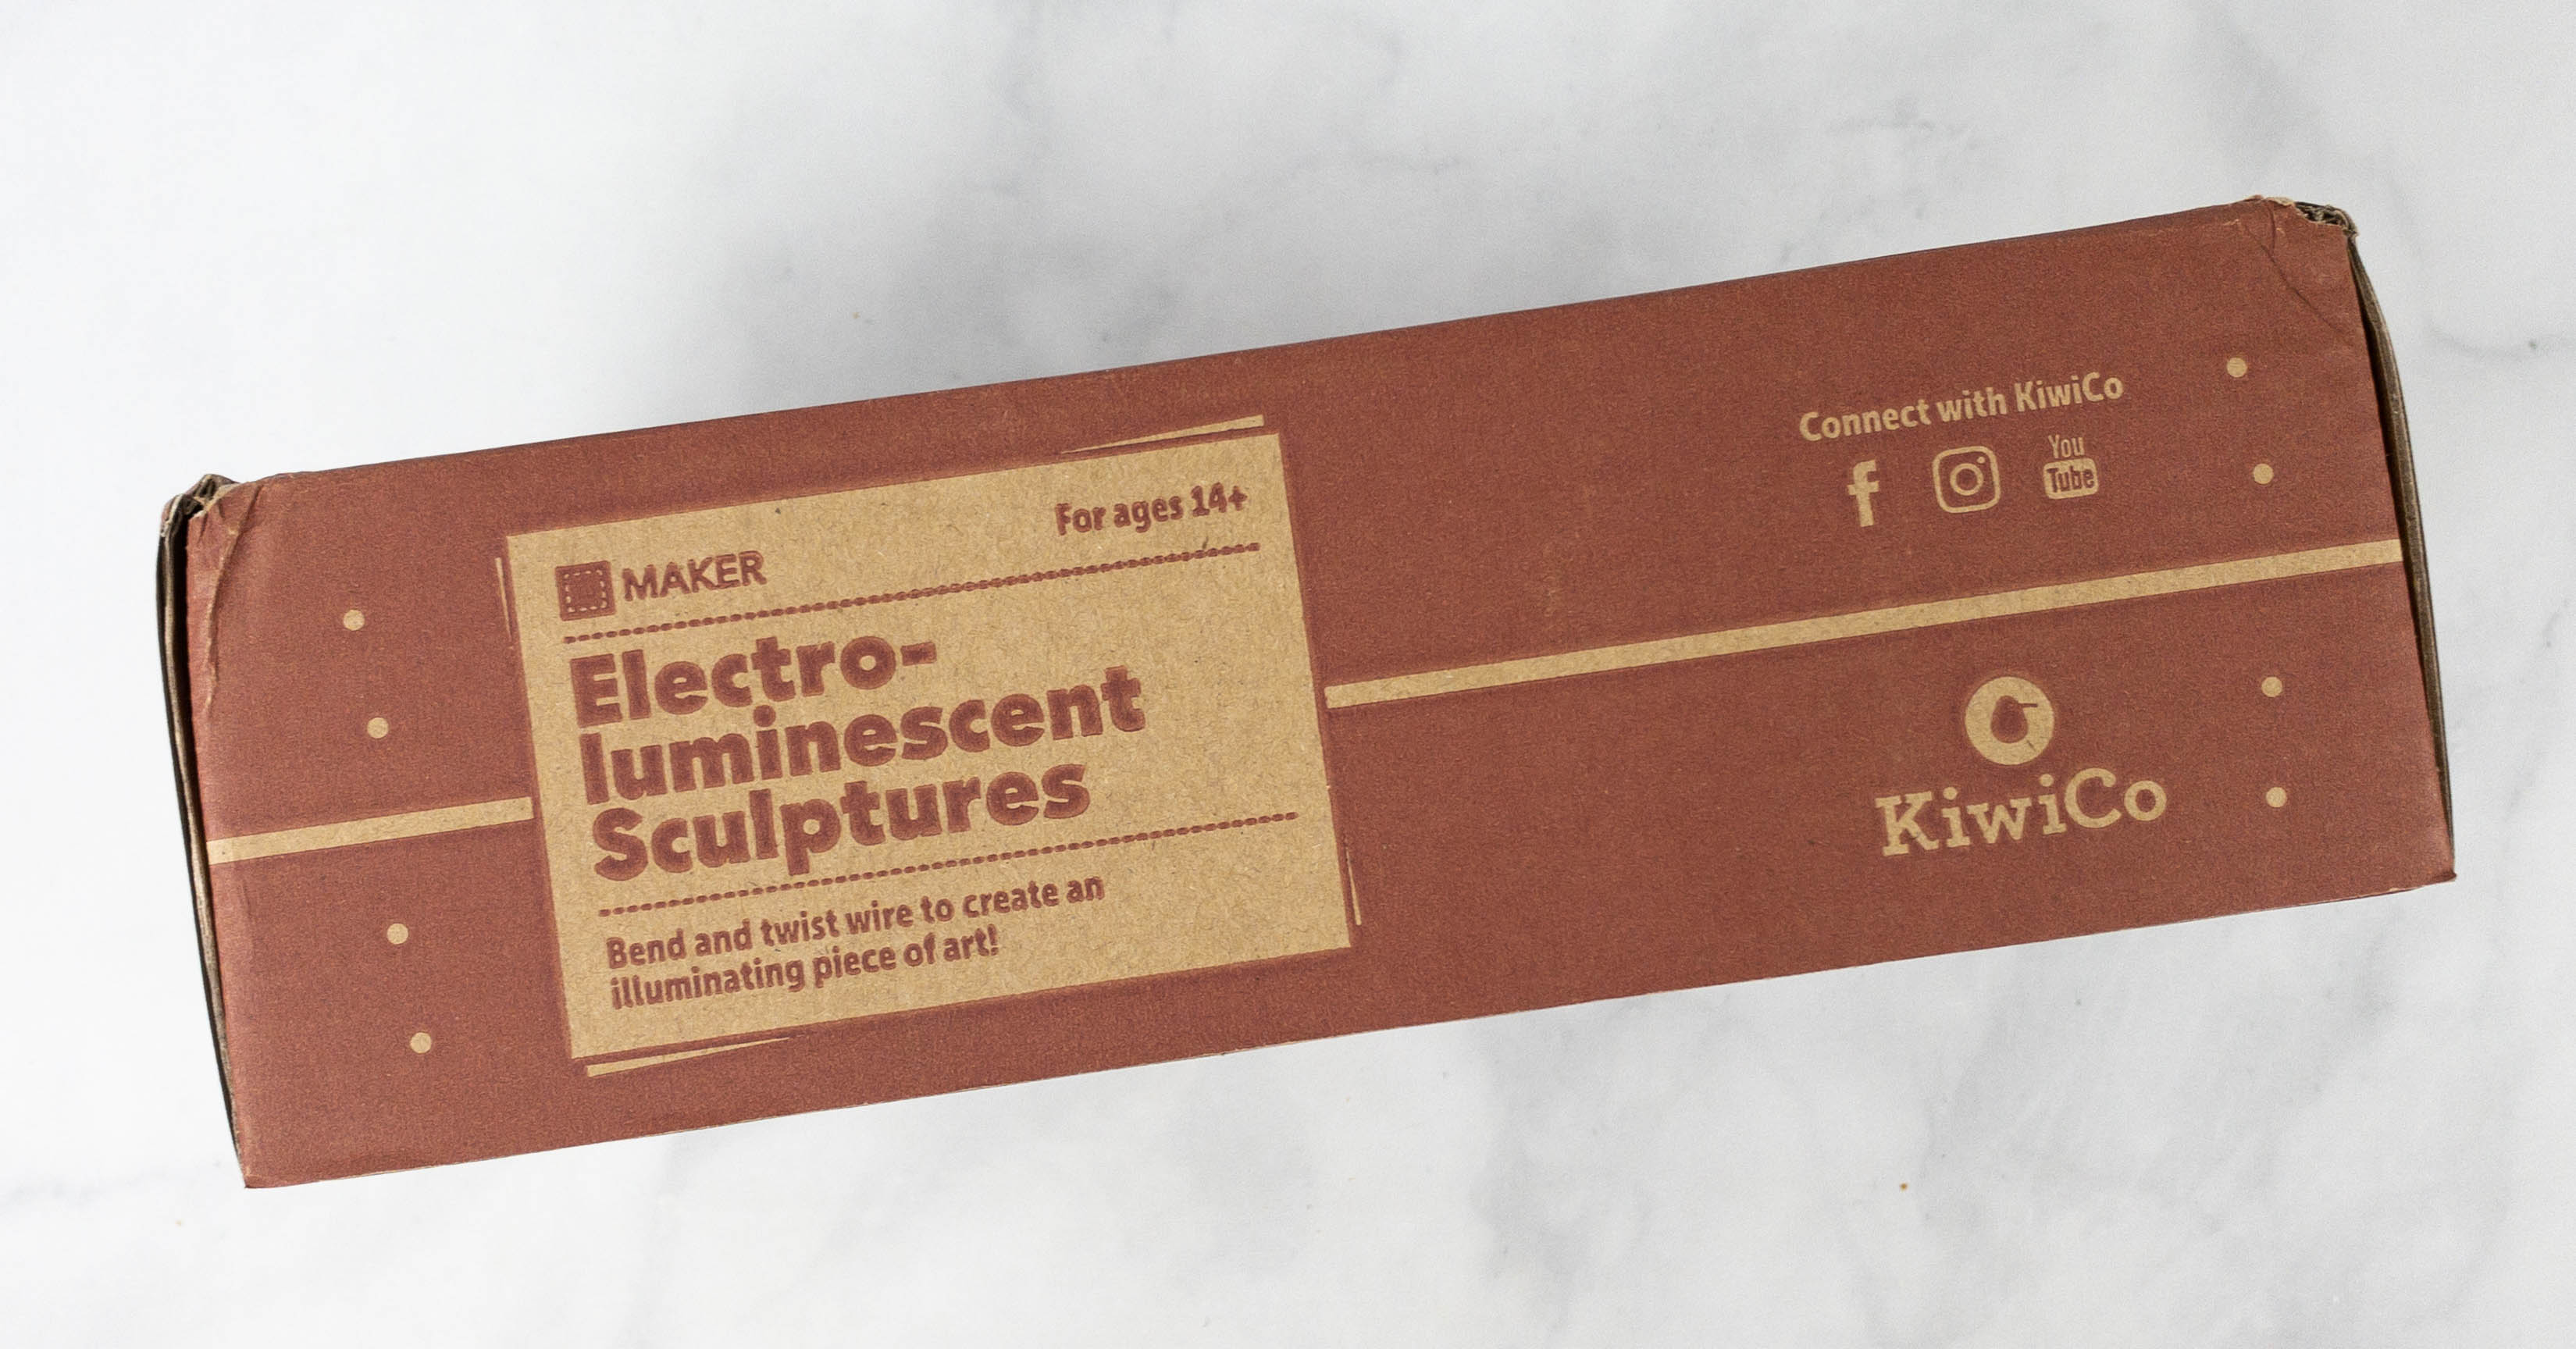
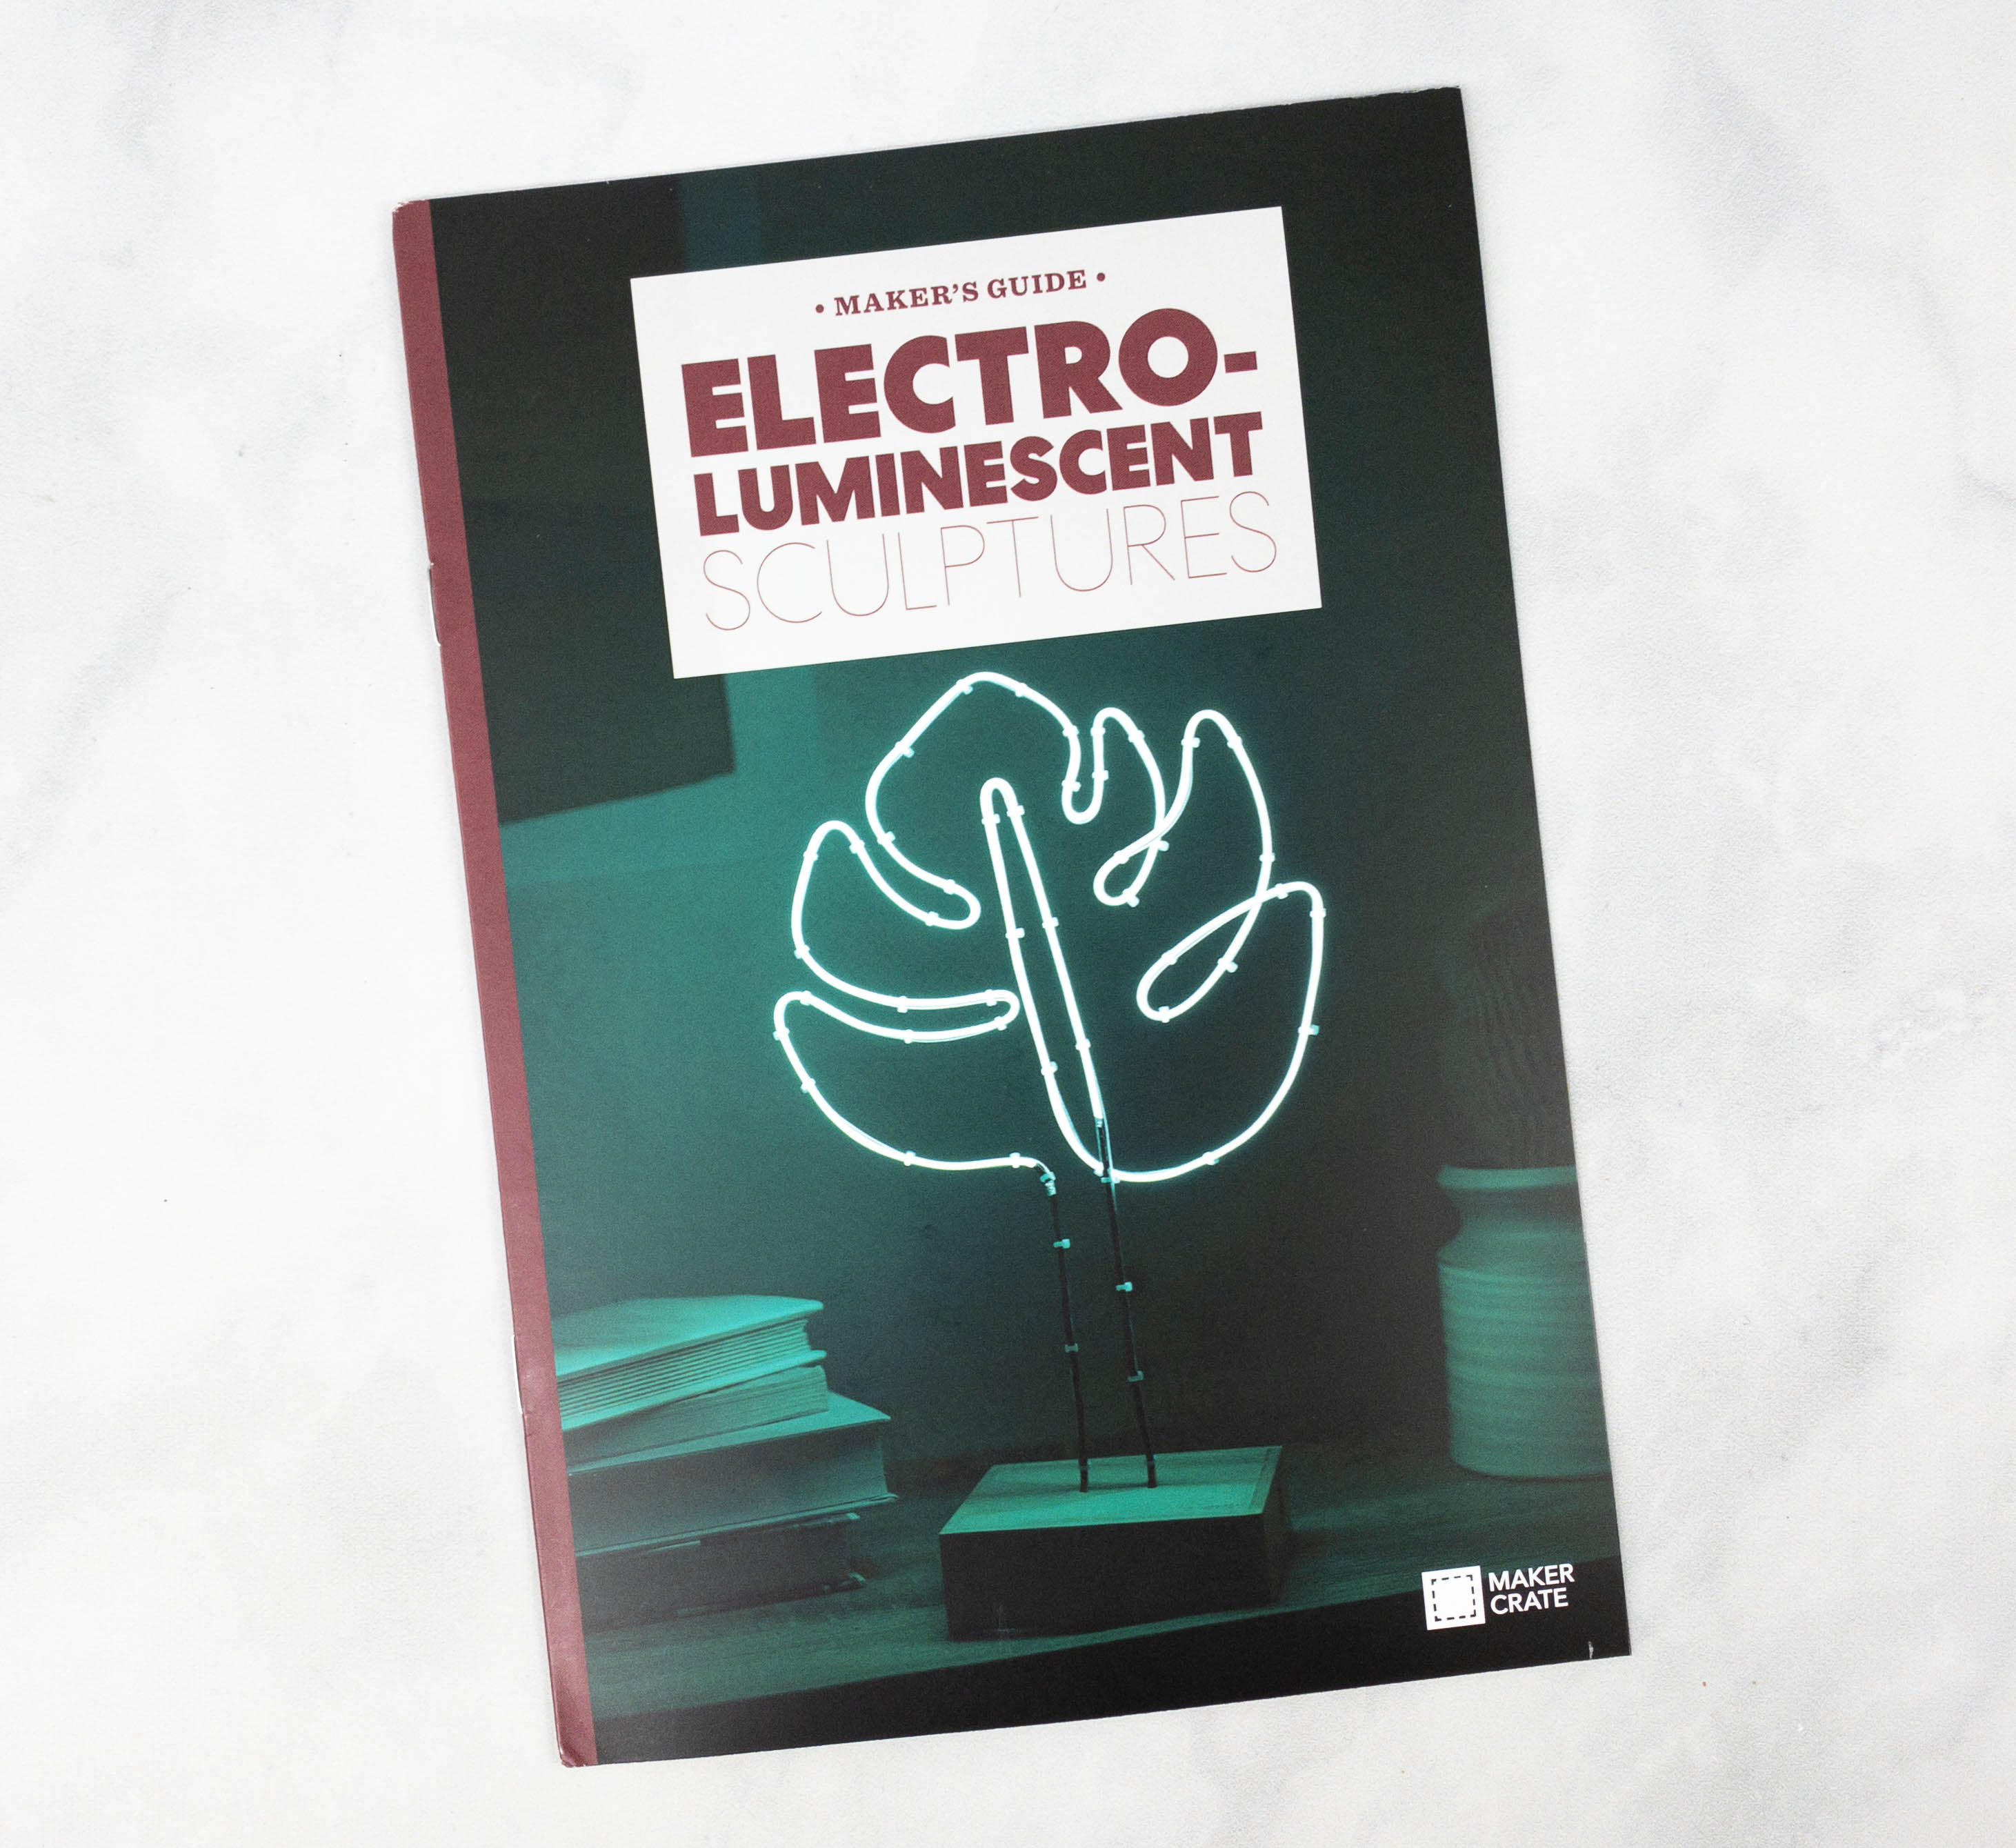
This month’s project is Electro-Luminescent Sculptures!
Bend and twist wire to create an illuminating piece of art!

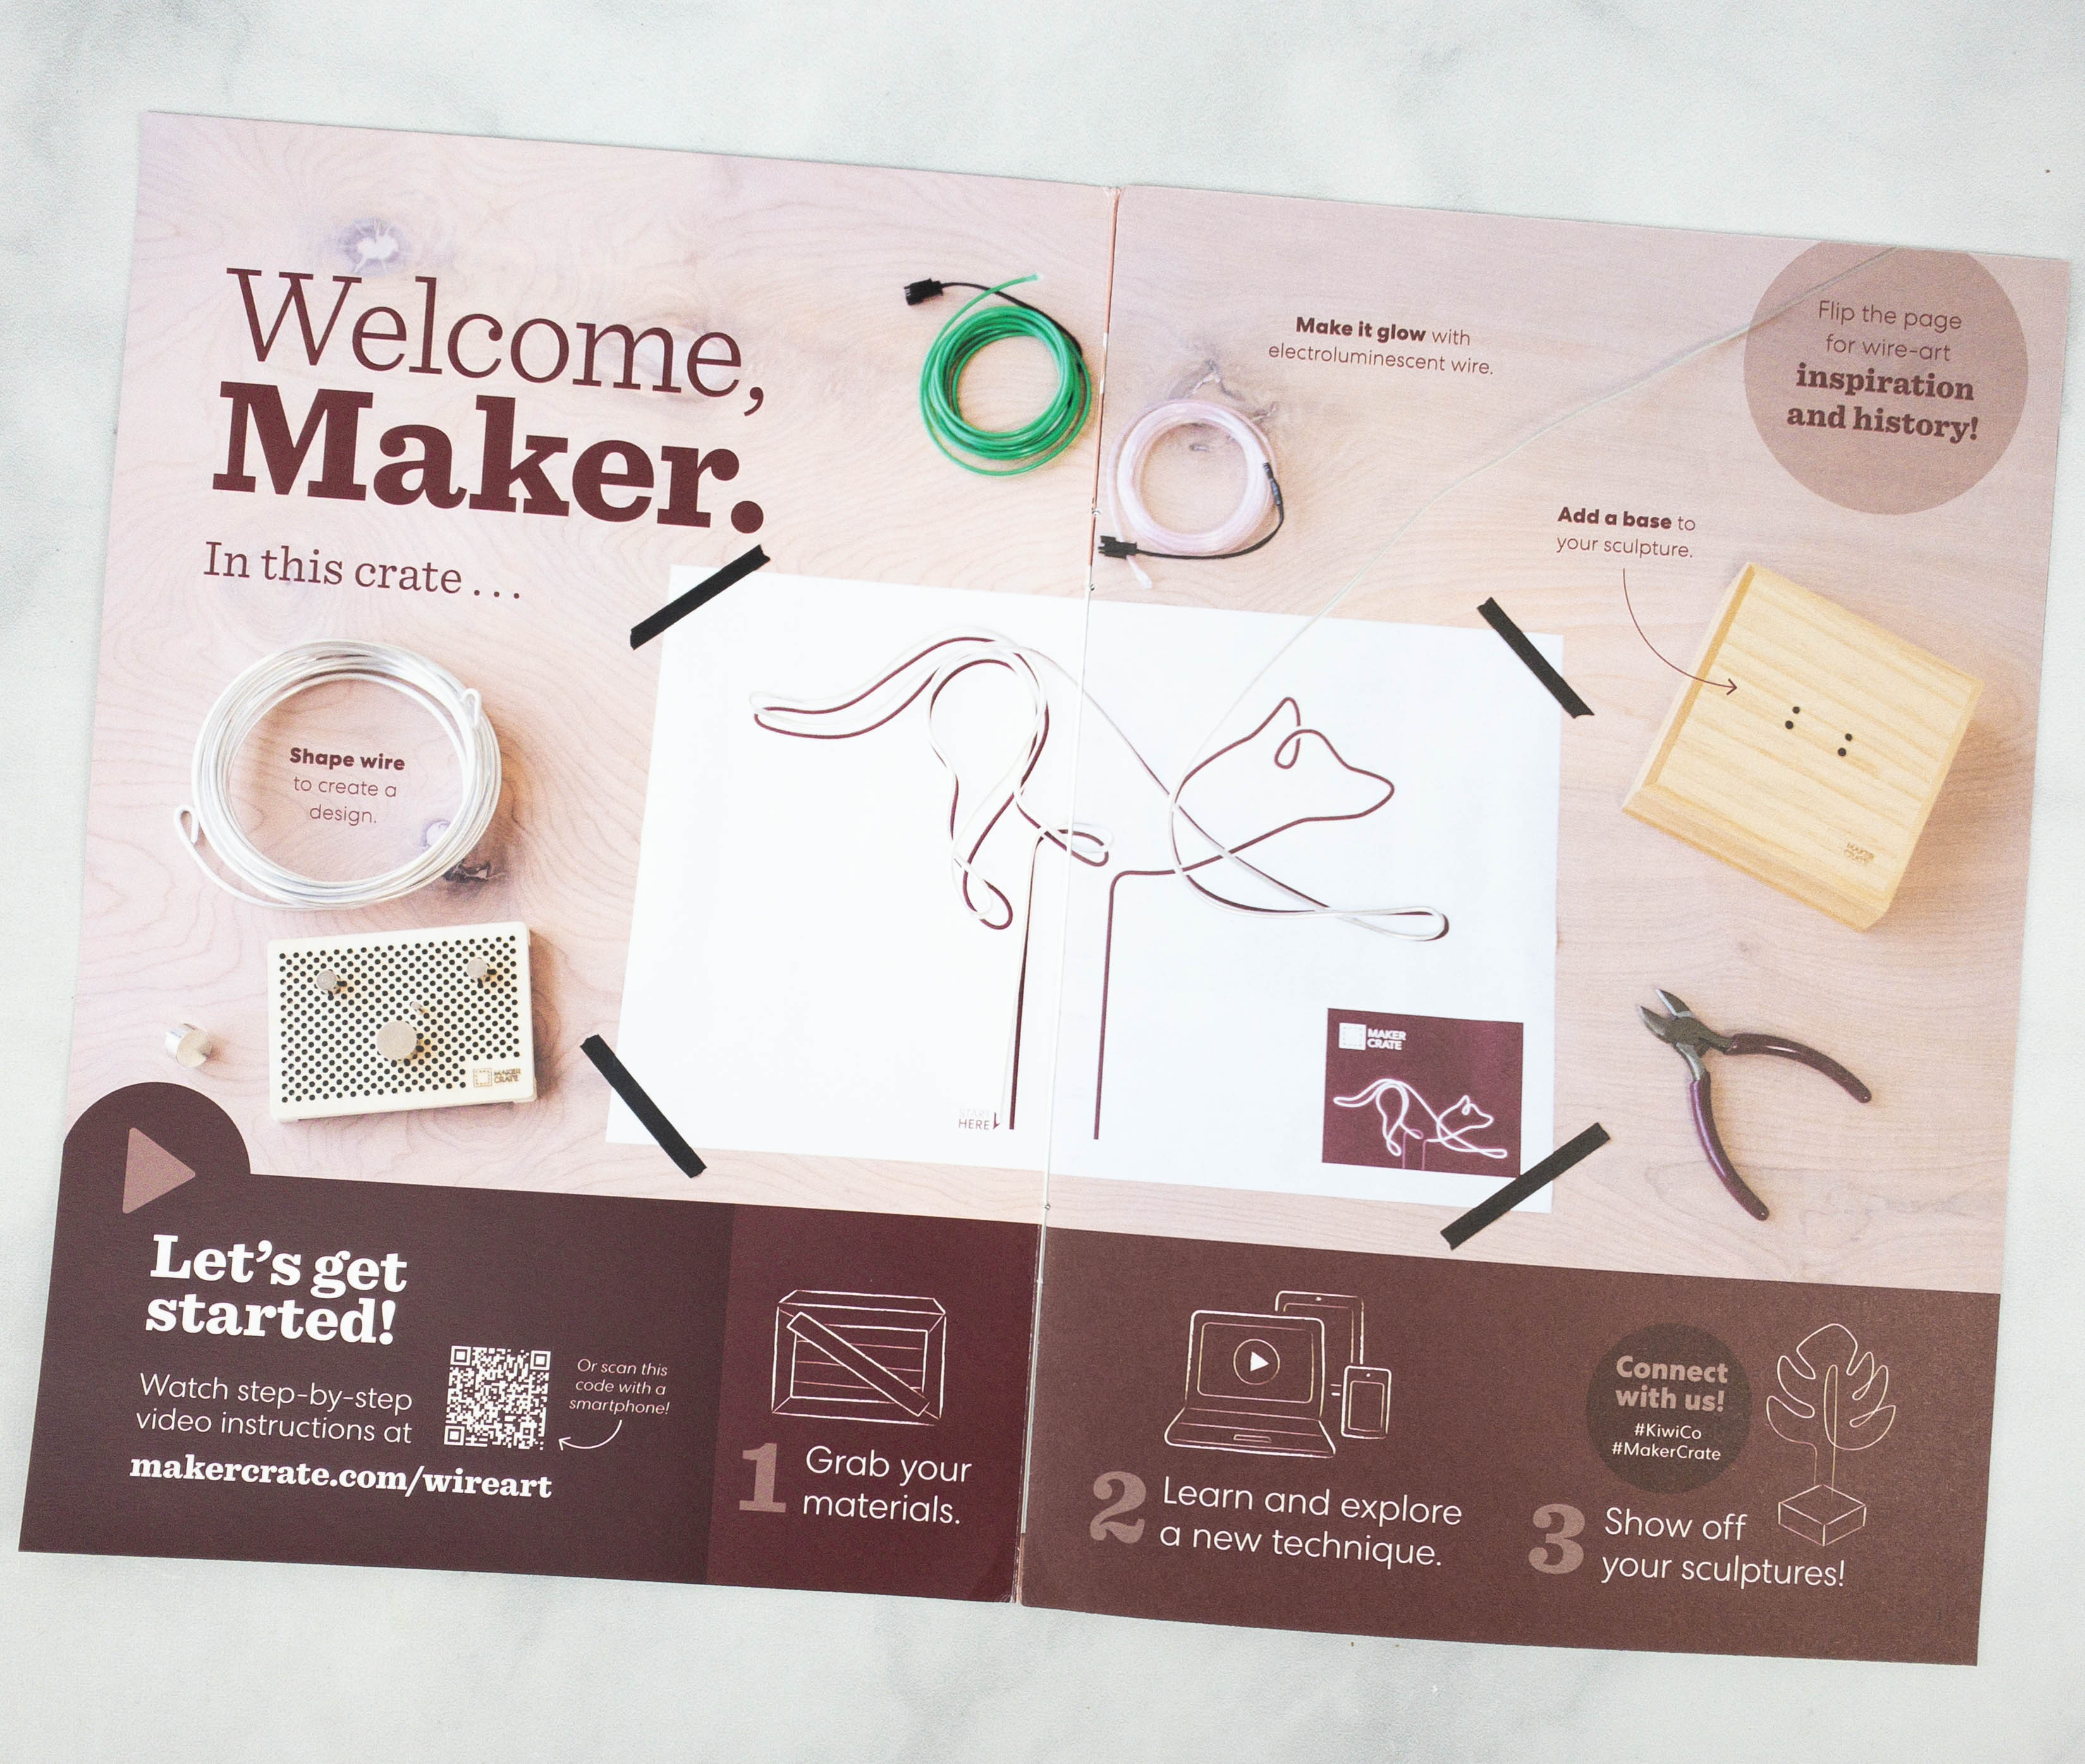
One side of the box lists all the materials included for the project. Maker Crate includes all the necessary supplies for the featured activities.
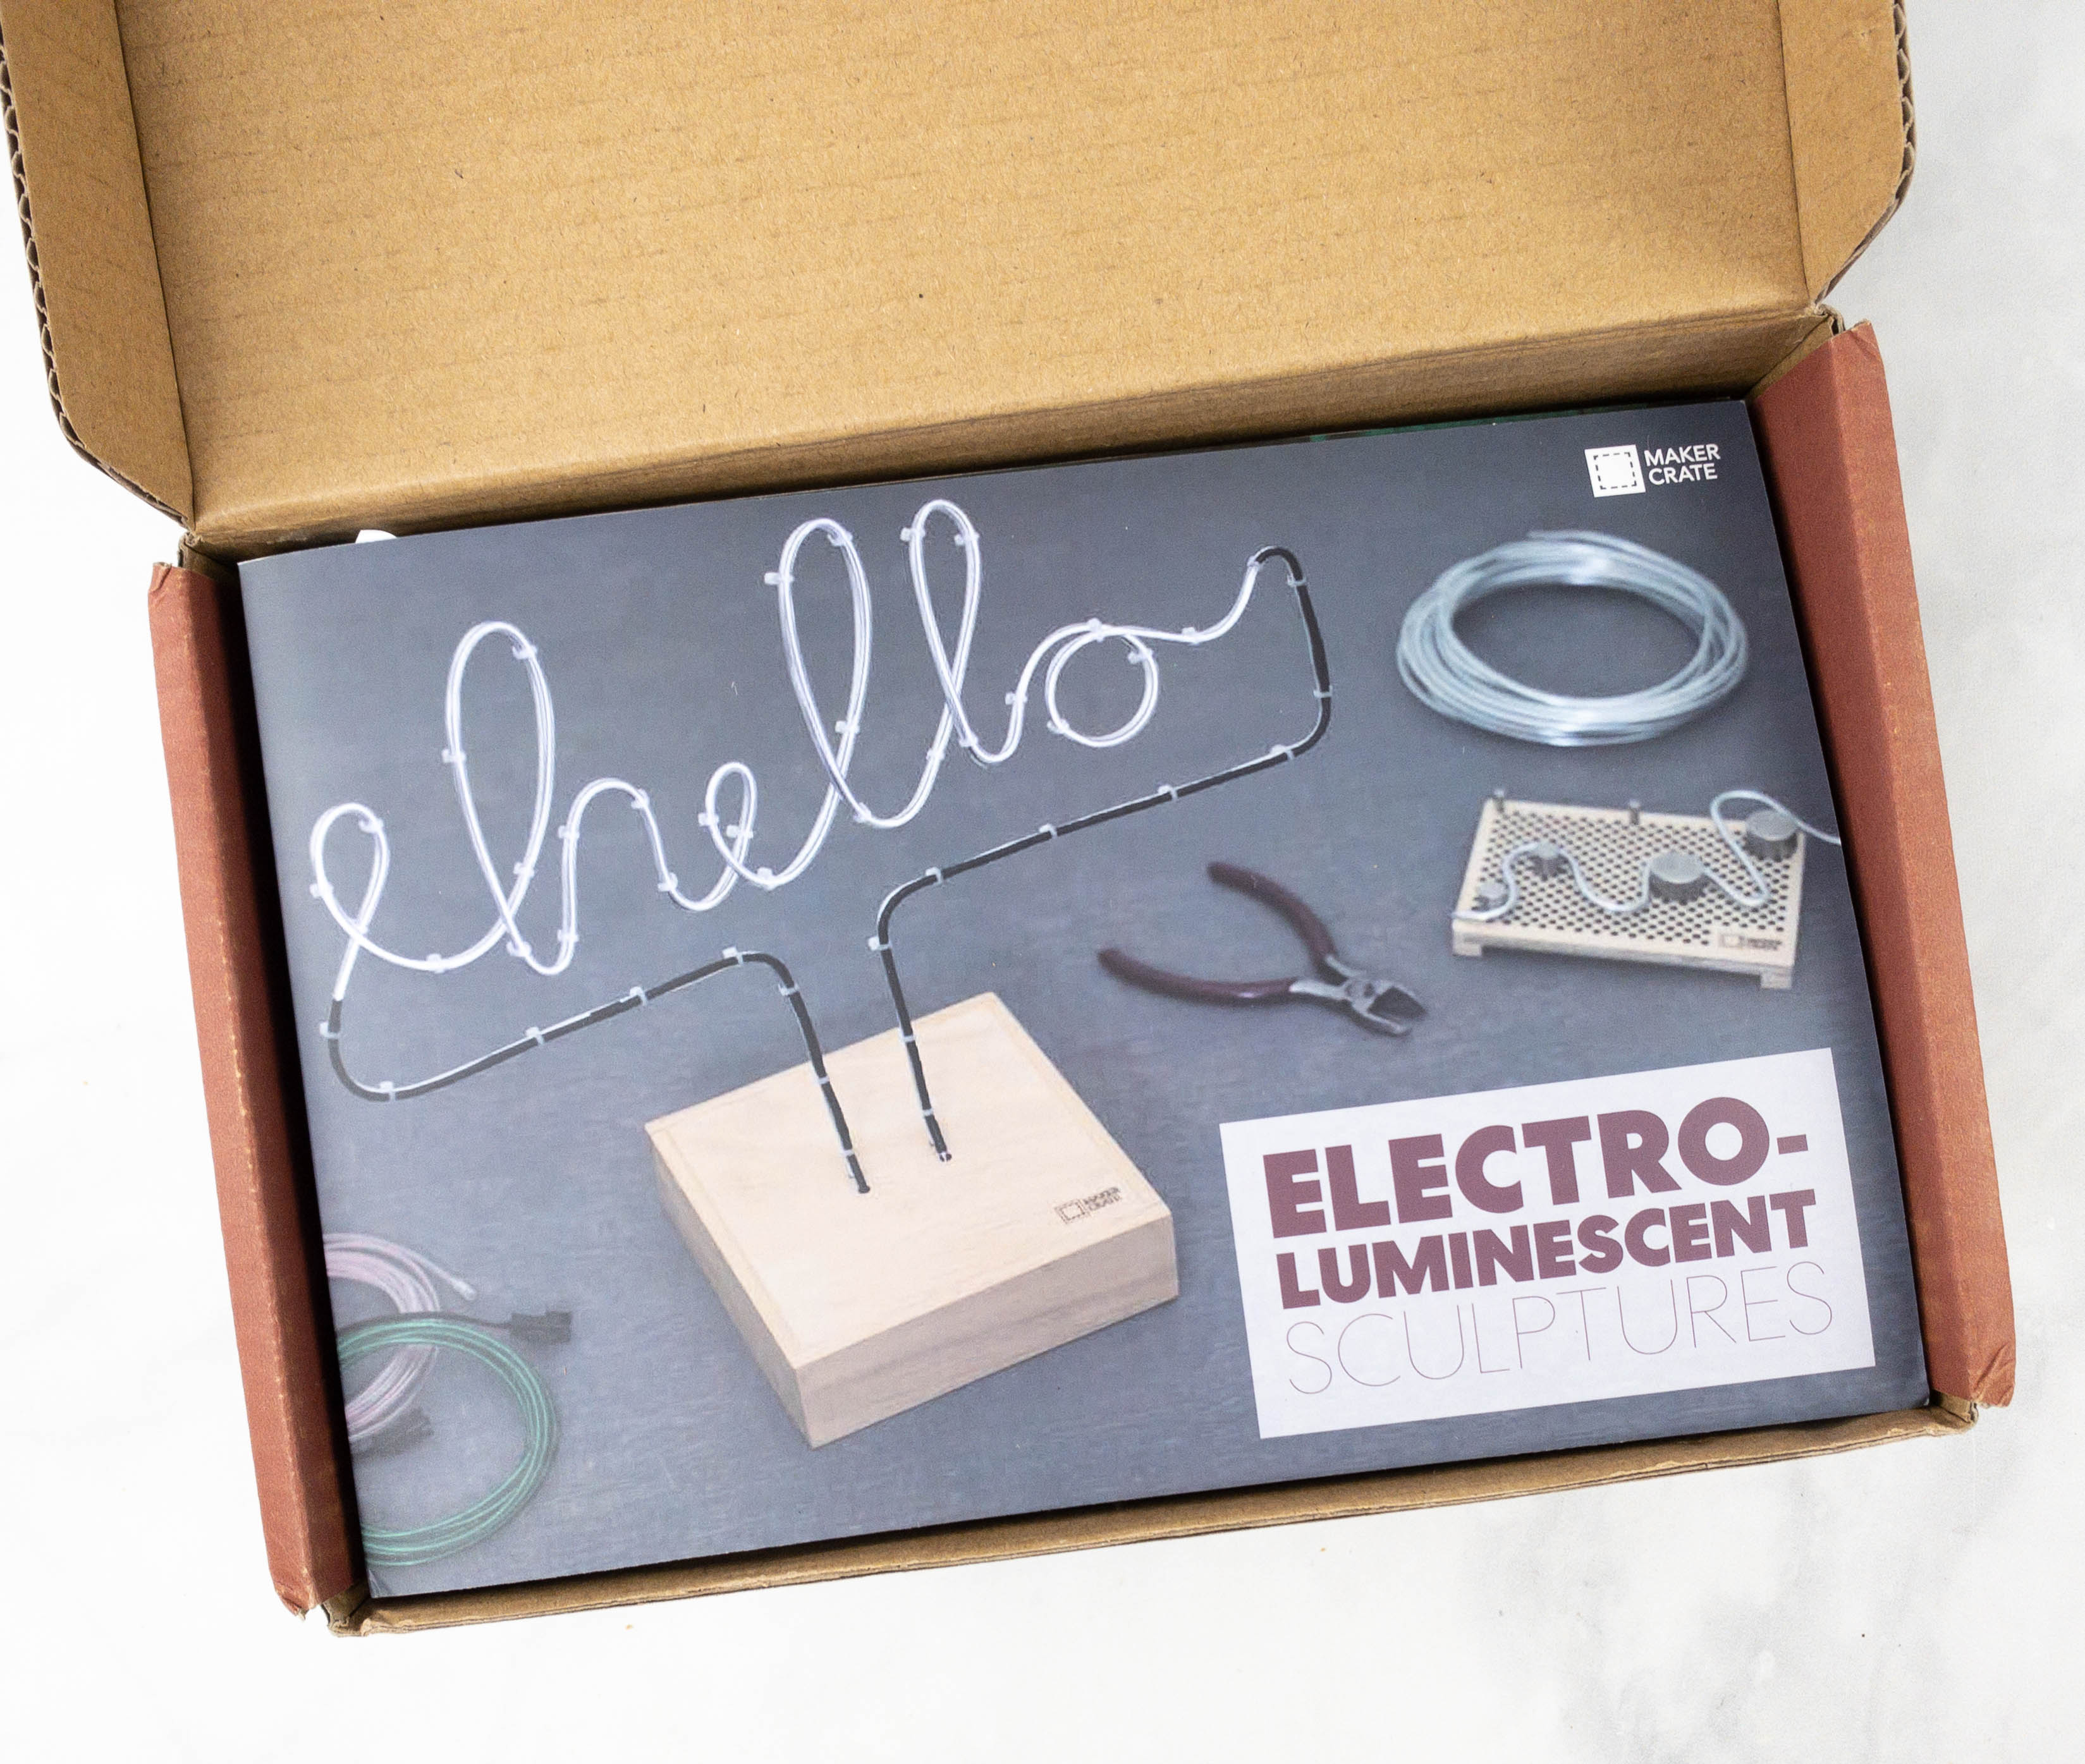
On top of the materials is a card featuring this month’s project!
You cannot define electricity. The same can be said of art. It is a kind of inner current in a human being, or something which needs no definition. – Marcel Duchamp
Like the other crates from KiwiCo, Maker Crate includes a booklet.
The booklet has an overview of this month’s project. There’s also a step-by-step video instruction for the project, available on their website!
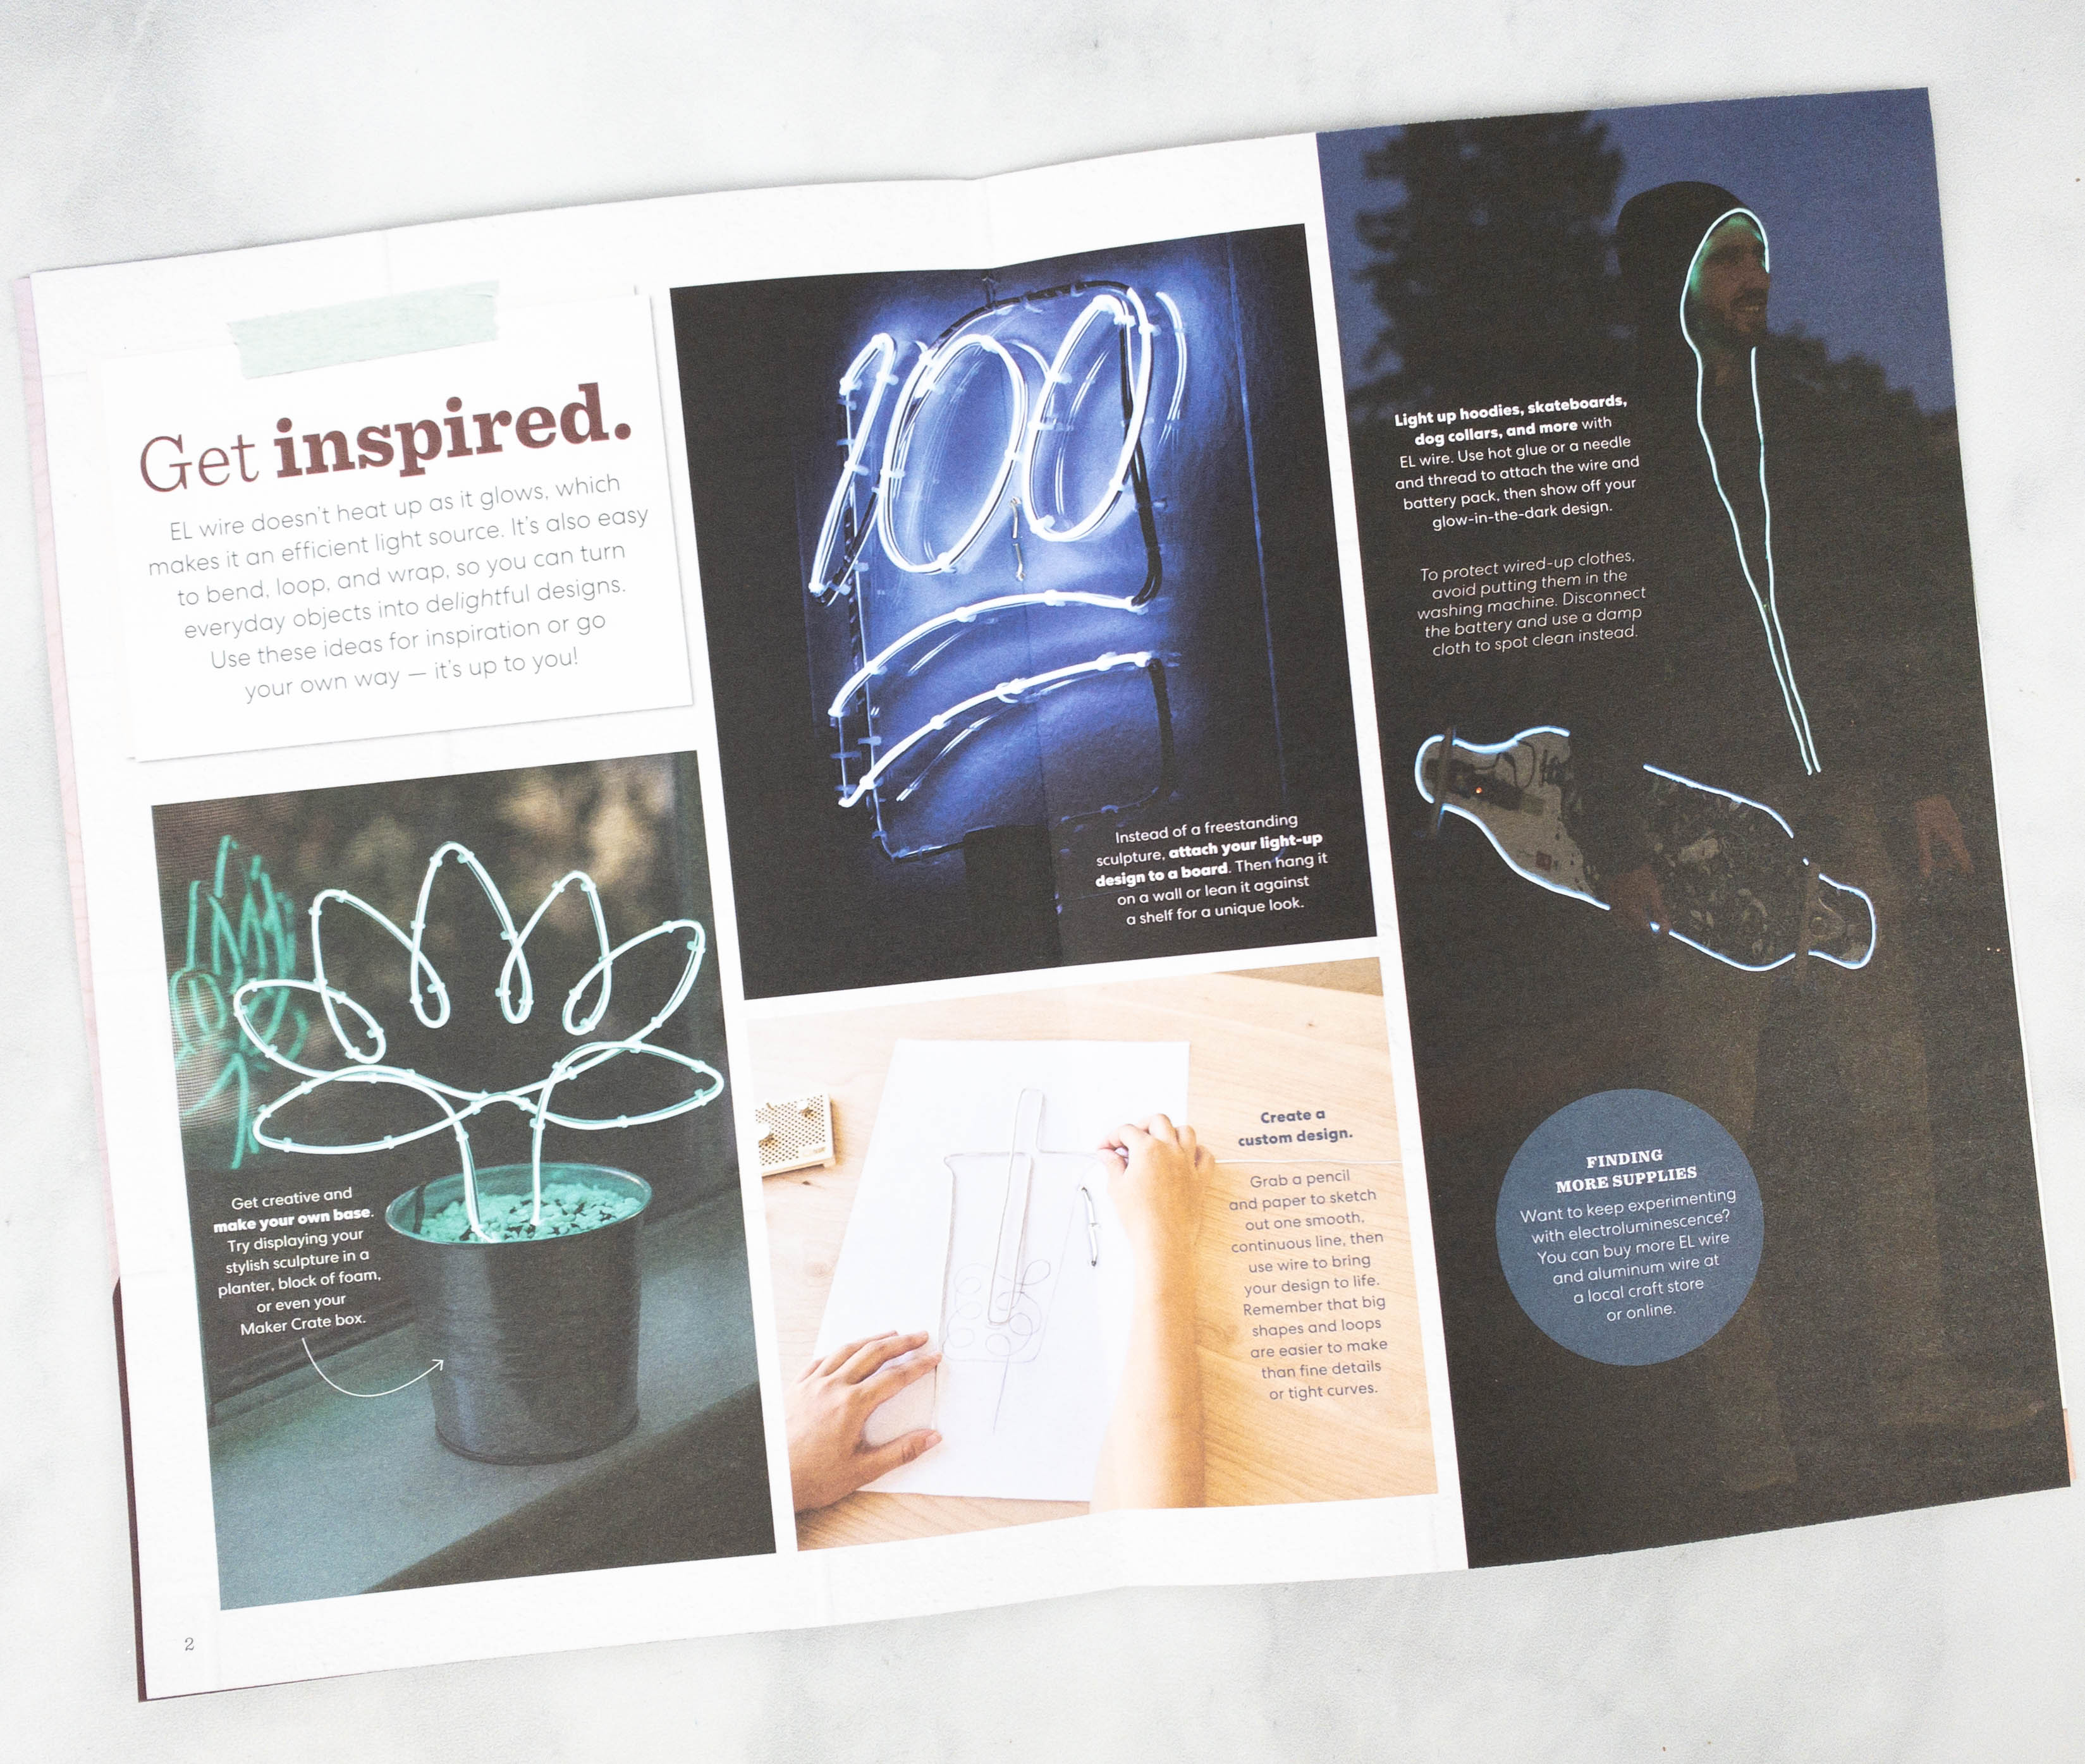
Featured on this part of the booklet are some photos that can be used for inspiration in creating the project.
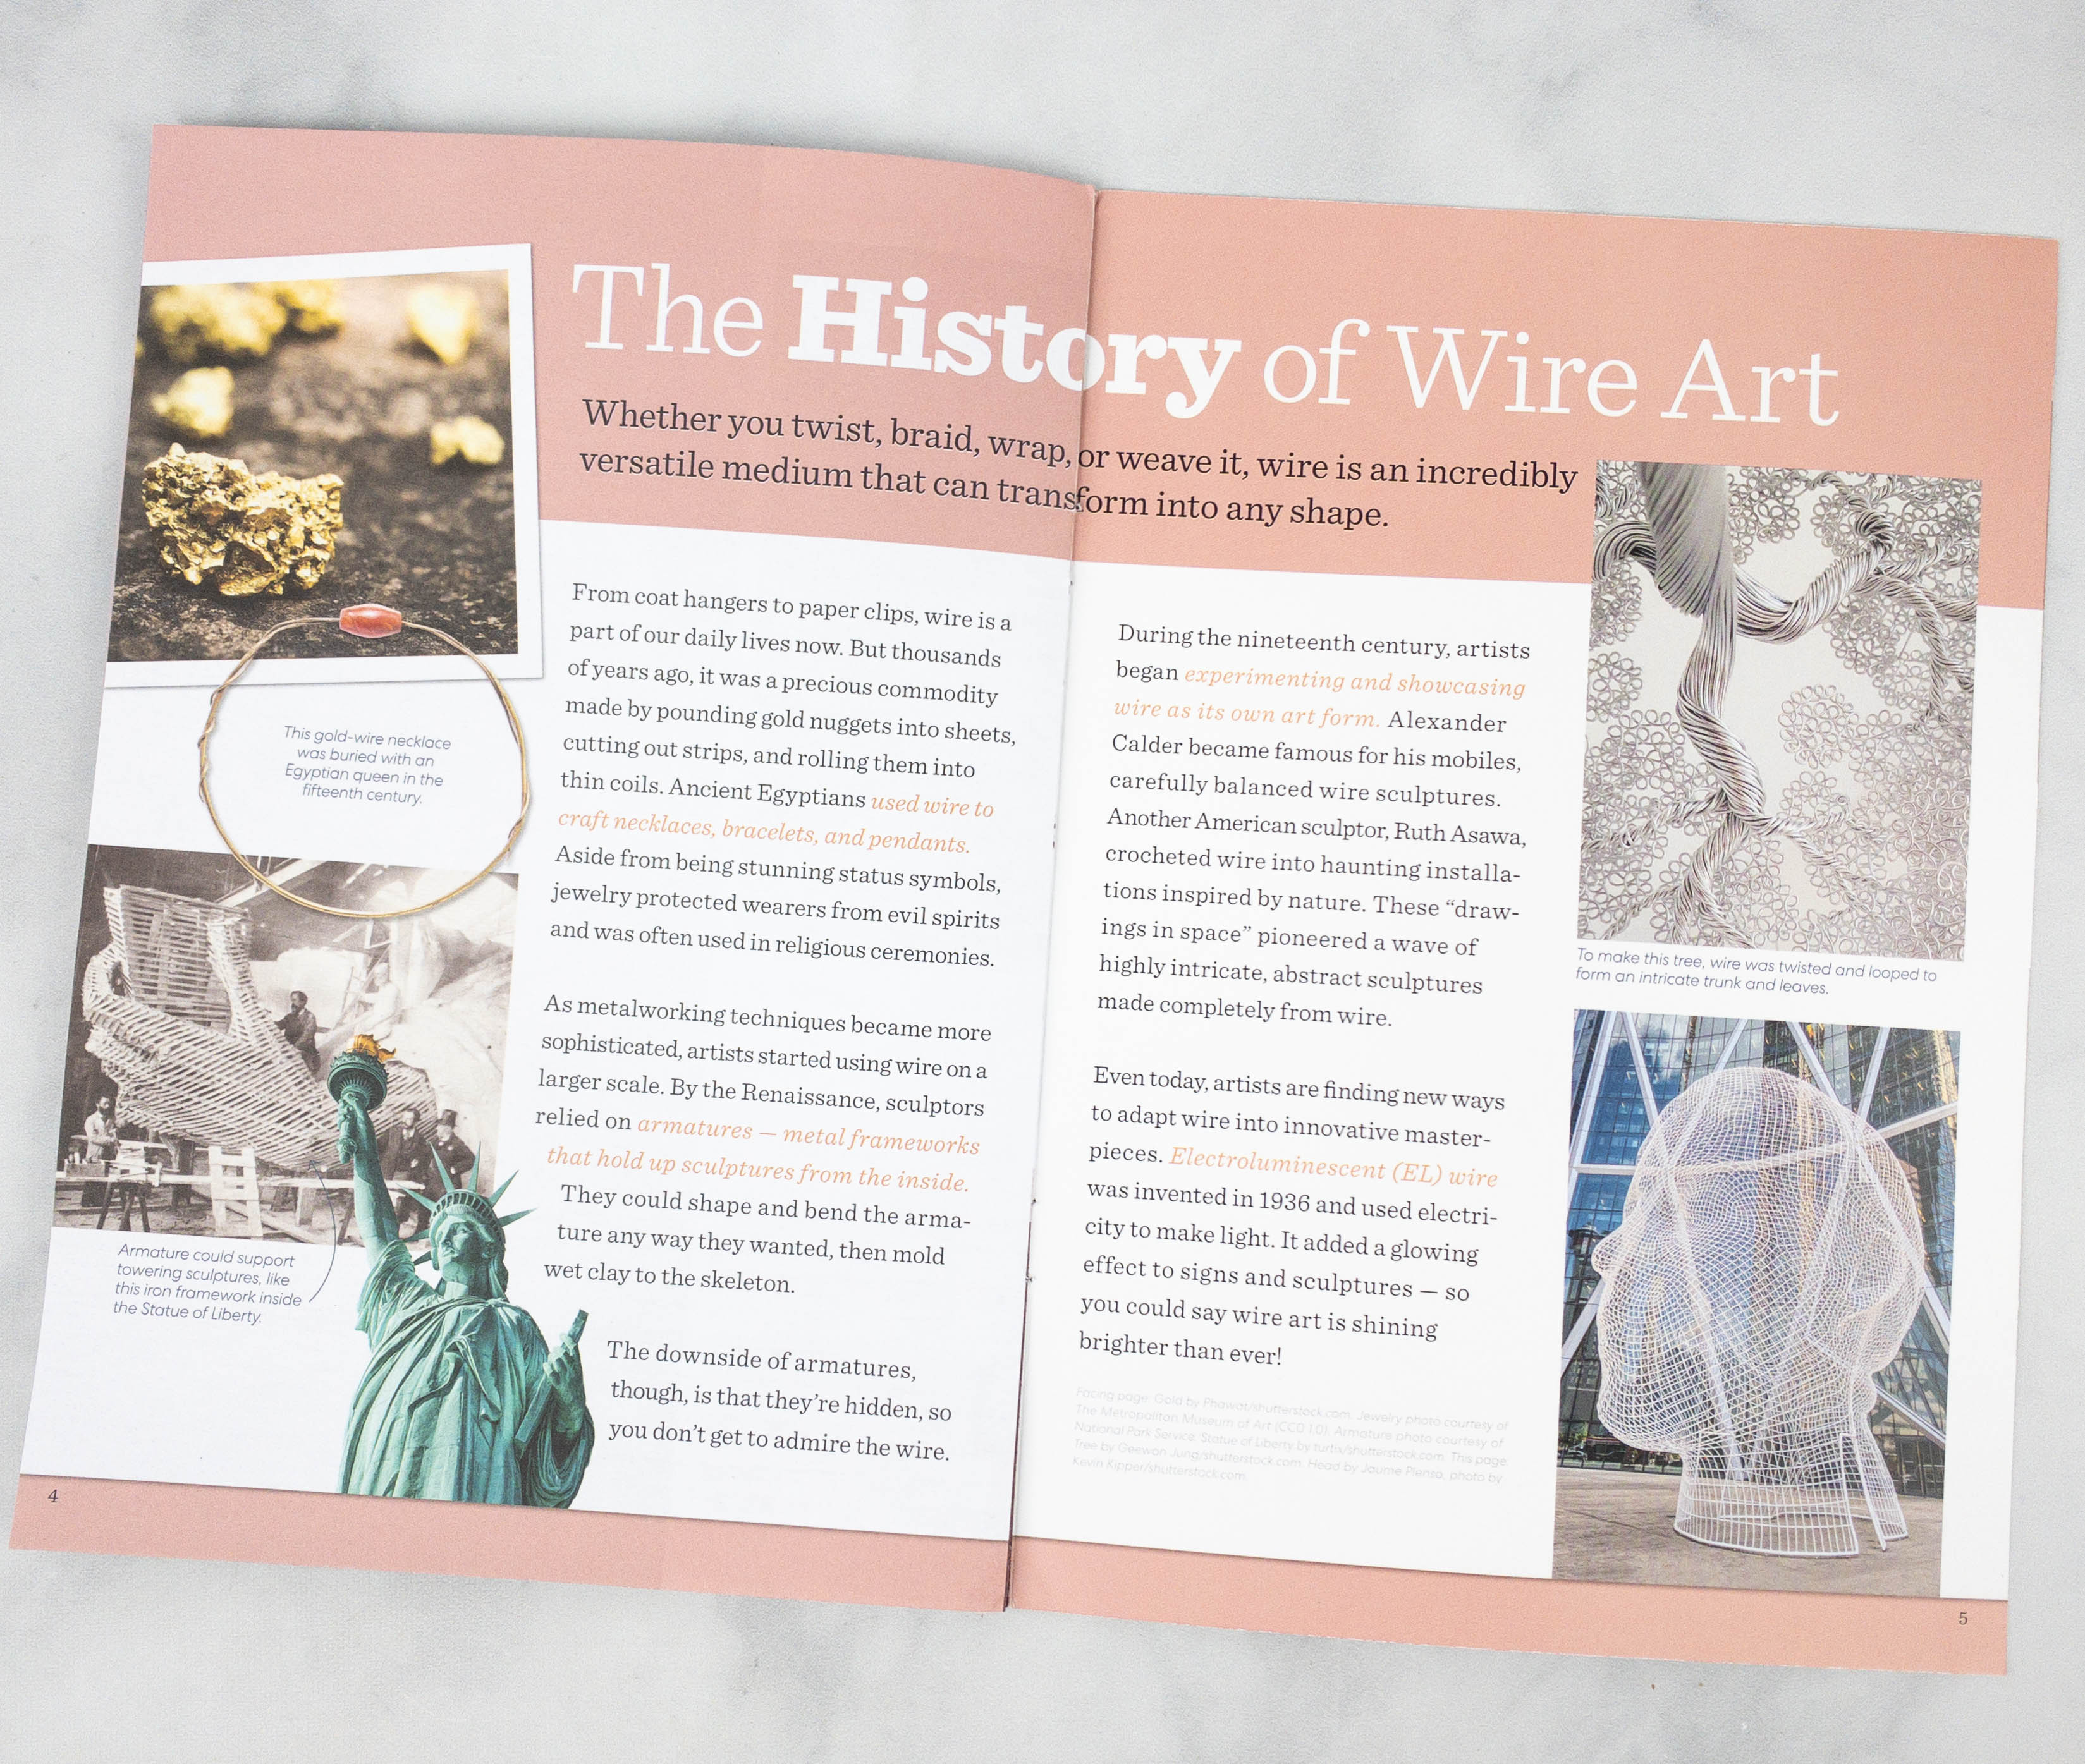
They even included a short history of wire art.
This is an exciting project!

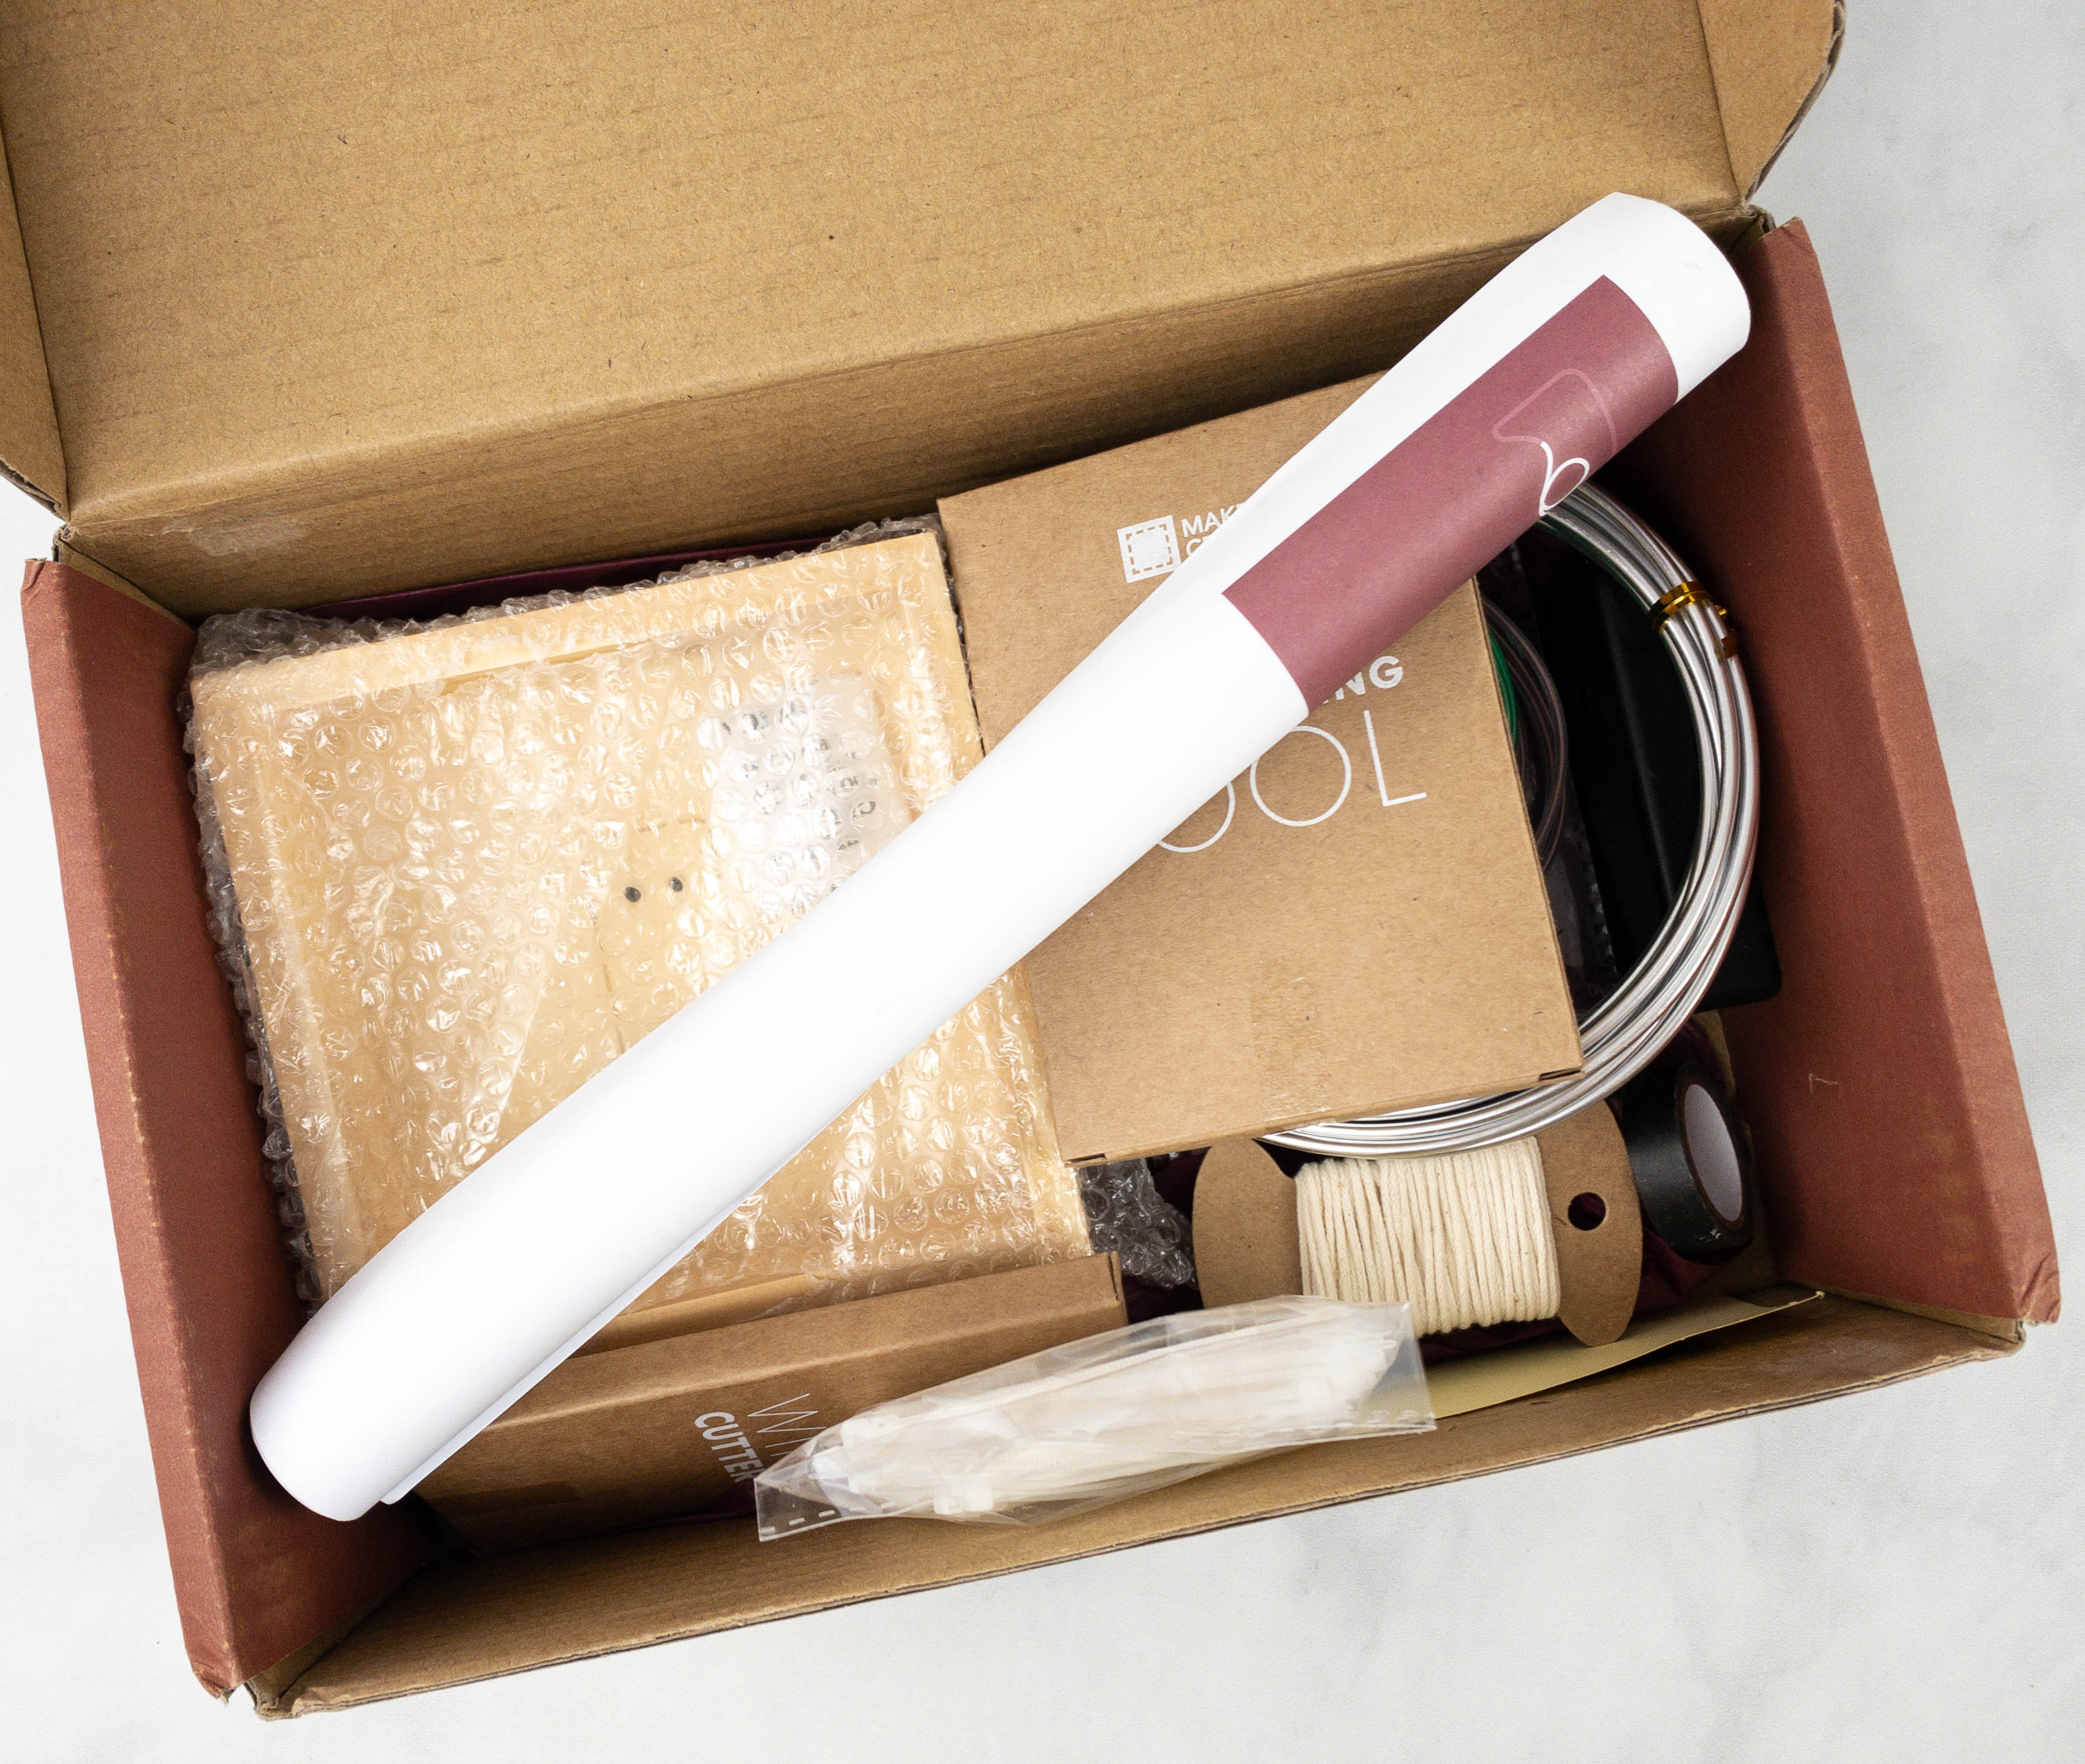
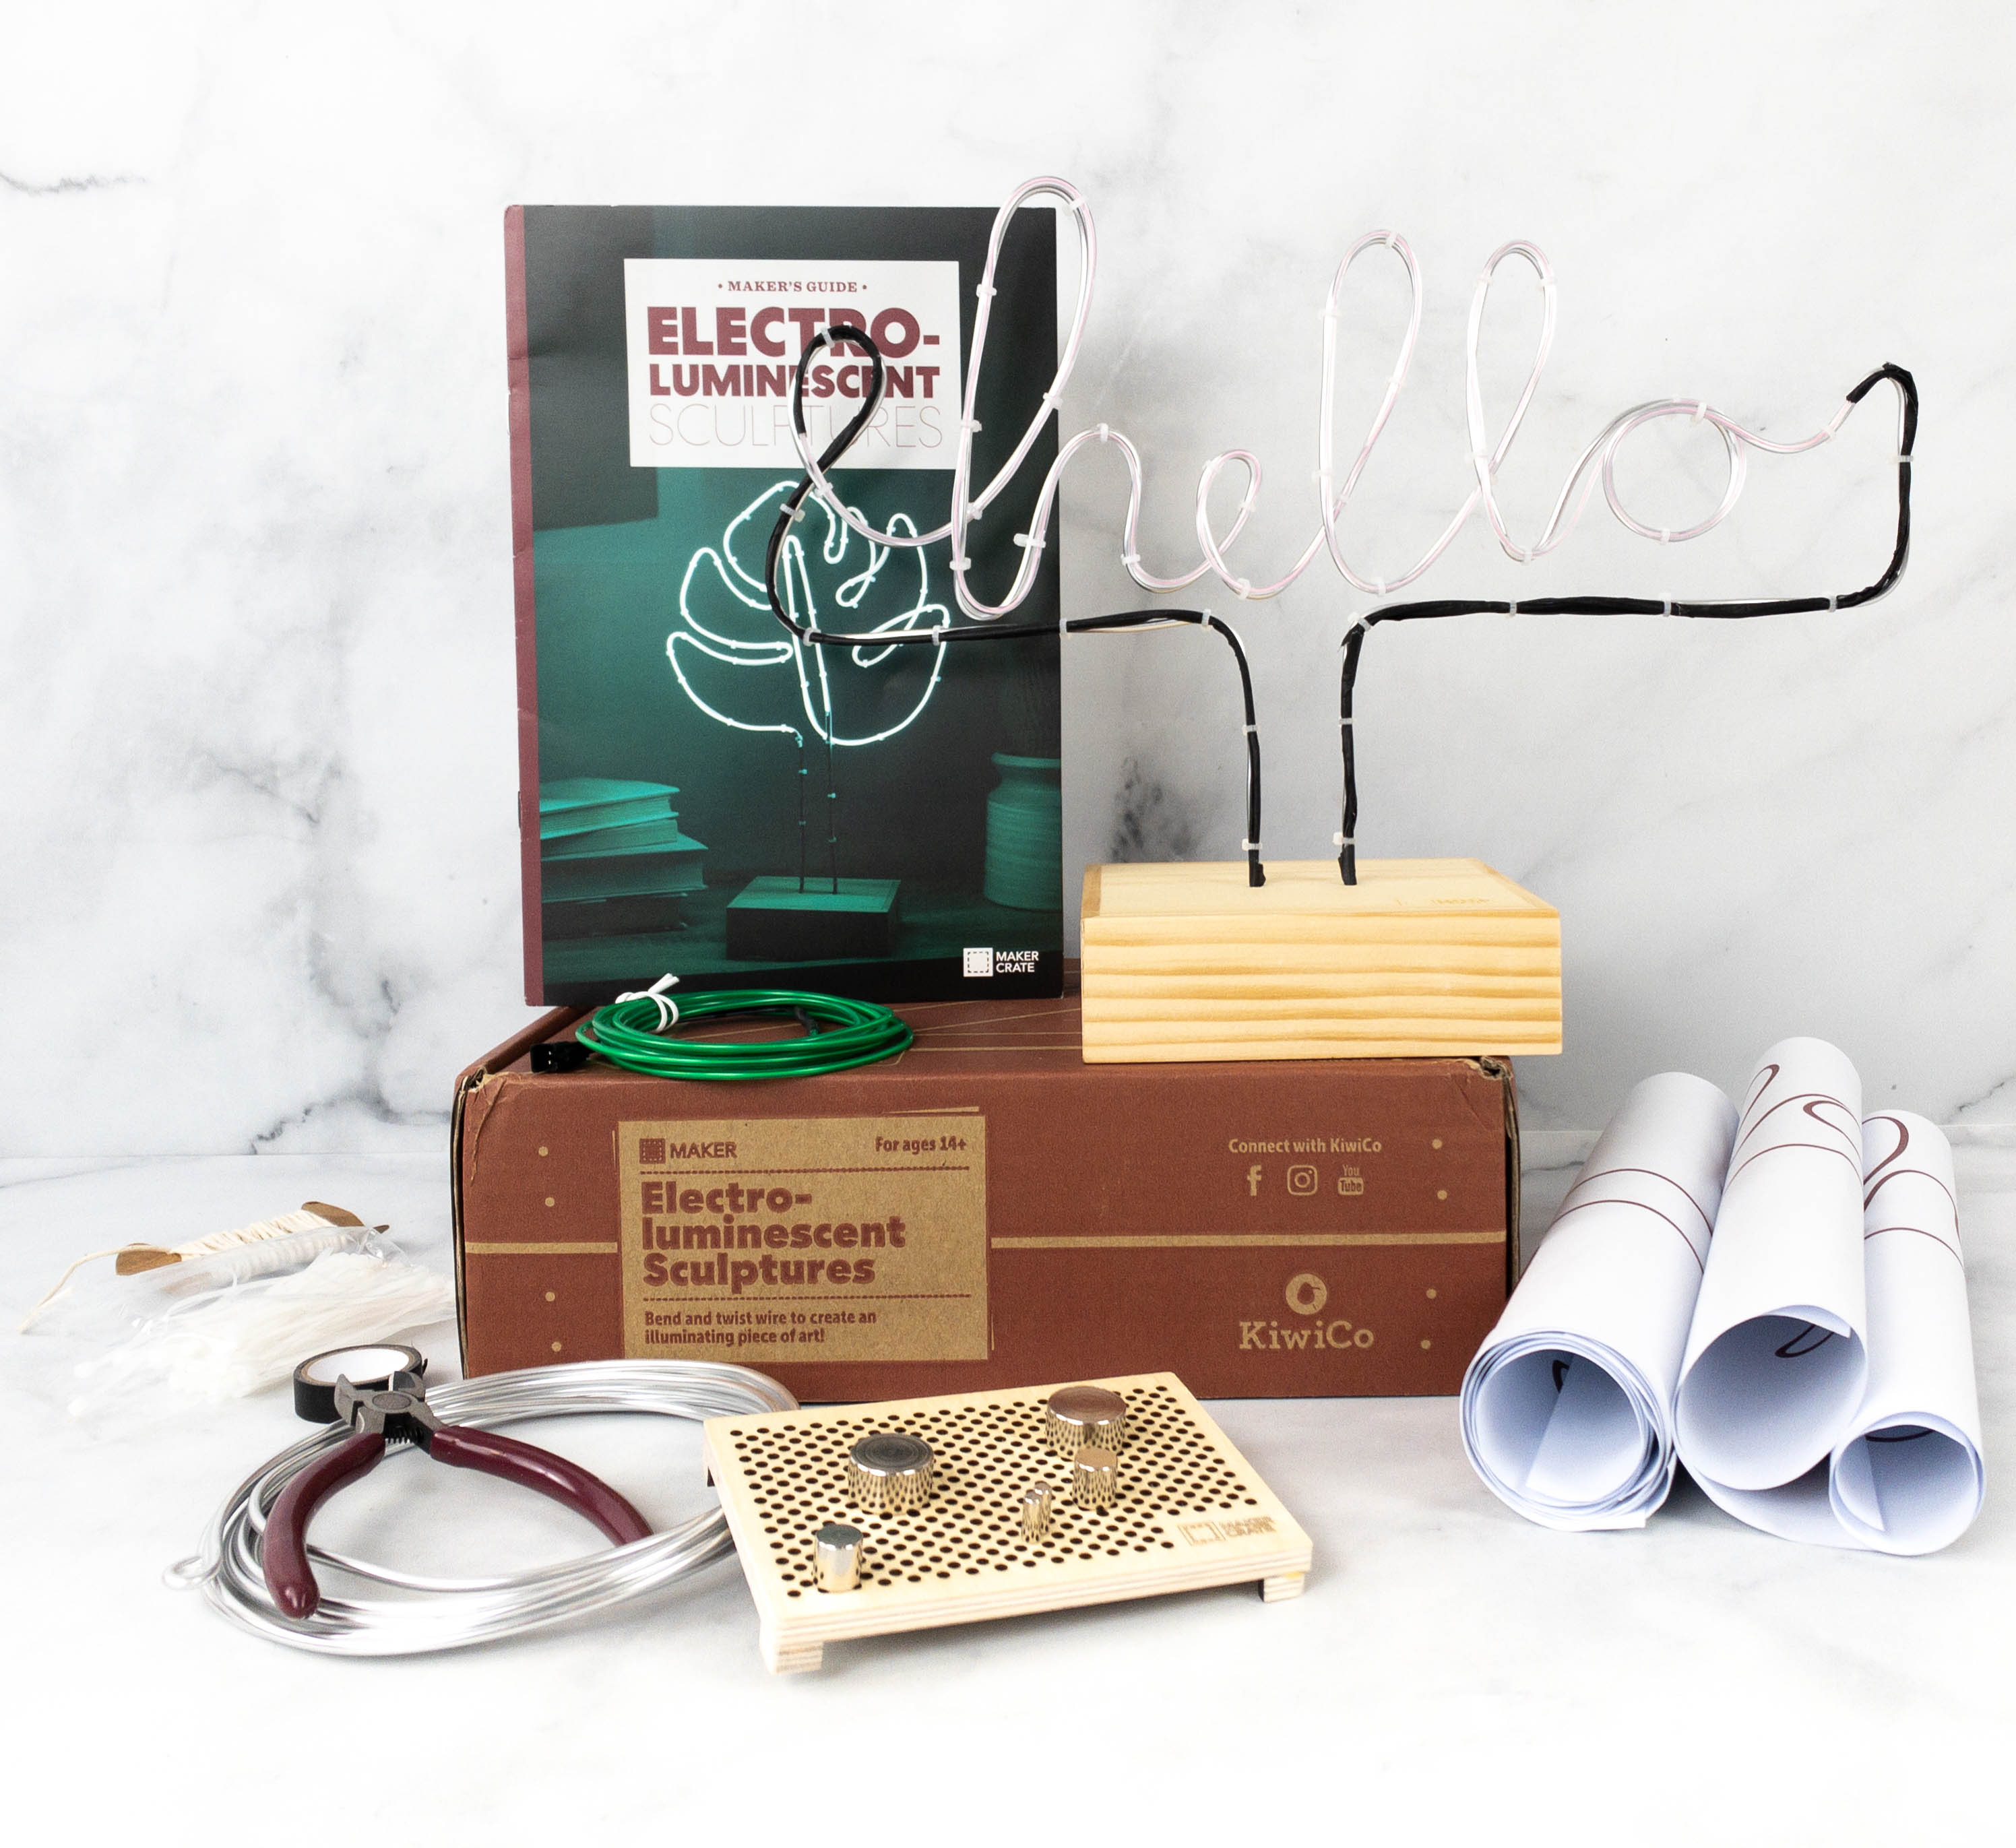
Everything inside the box!
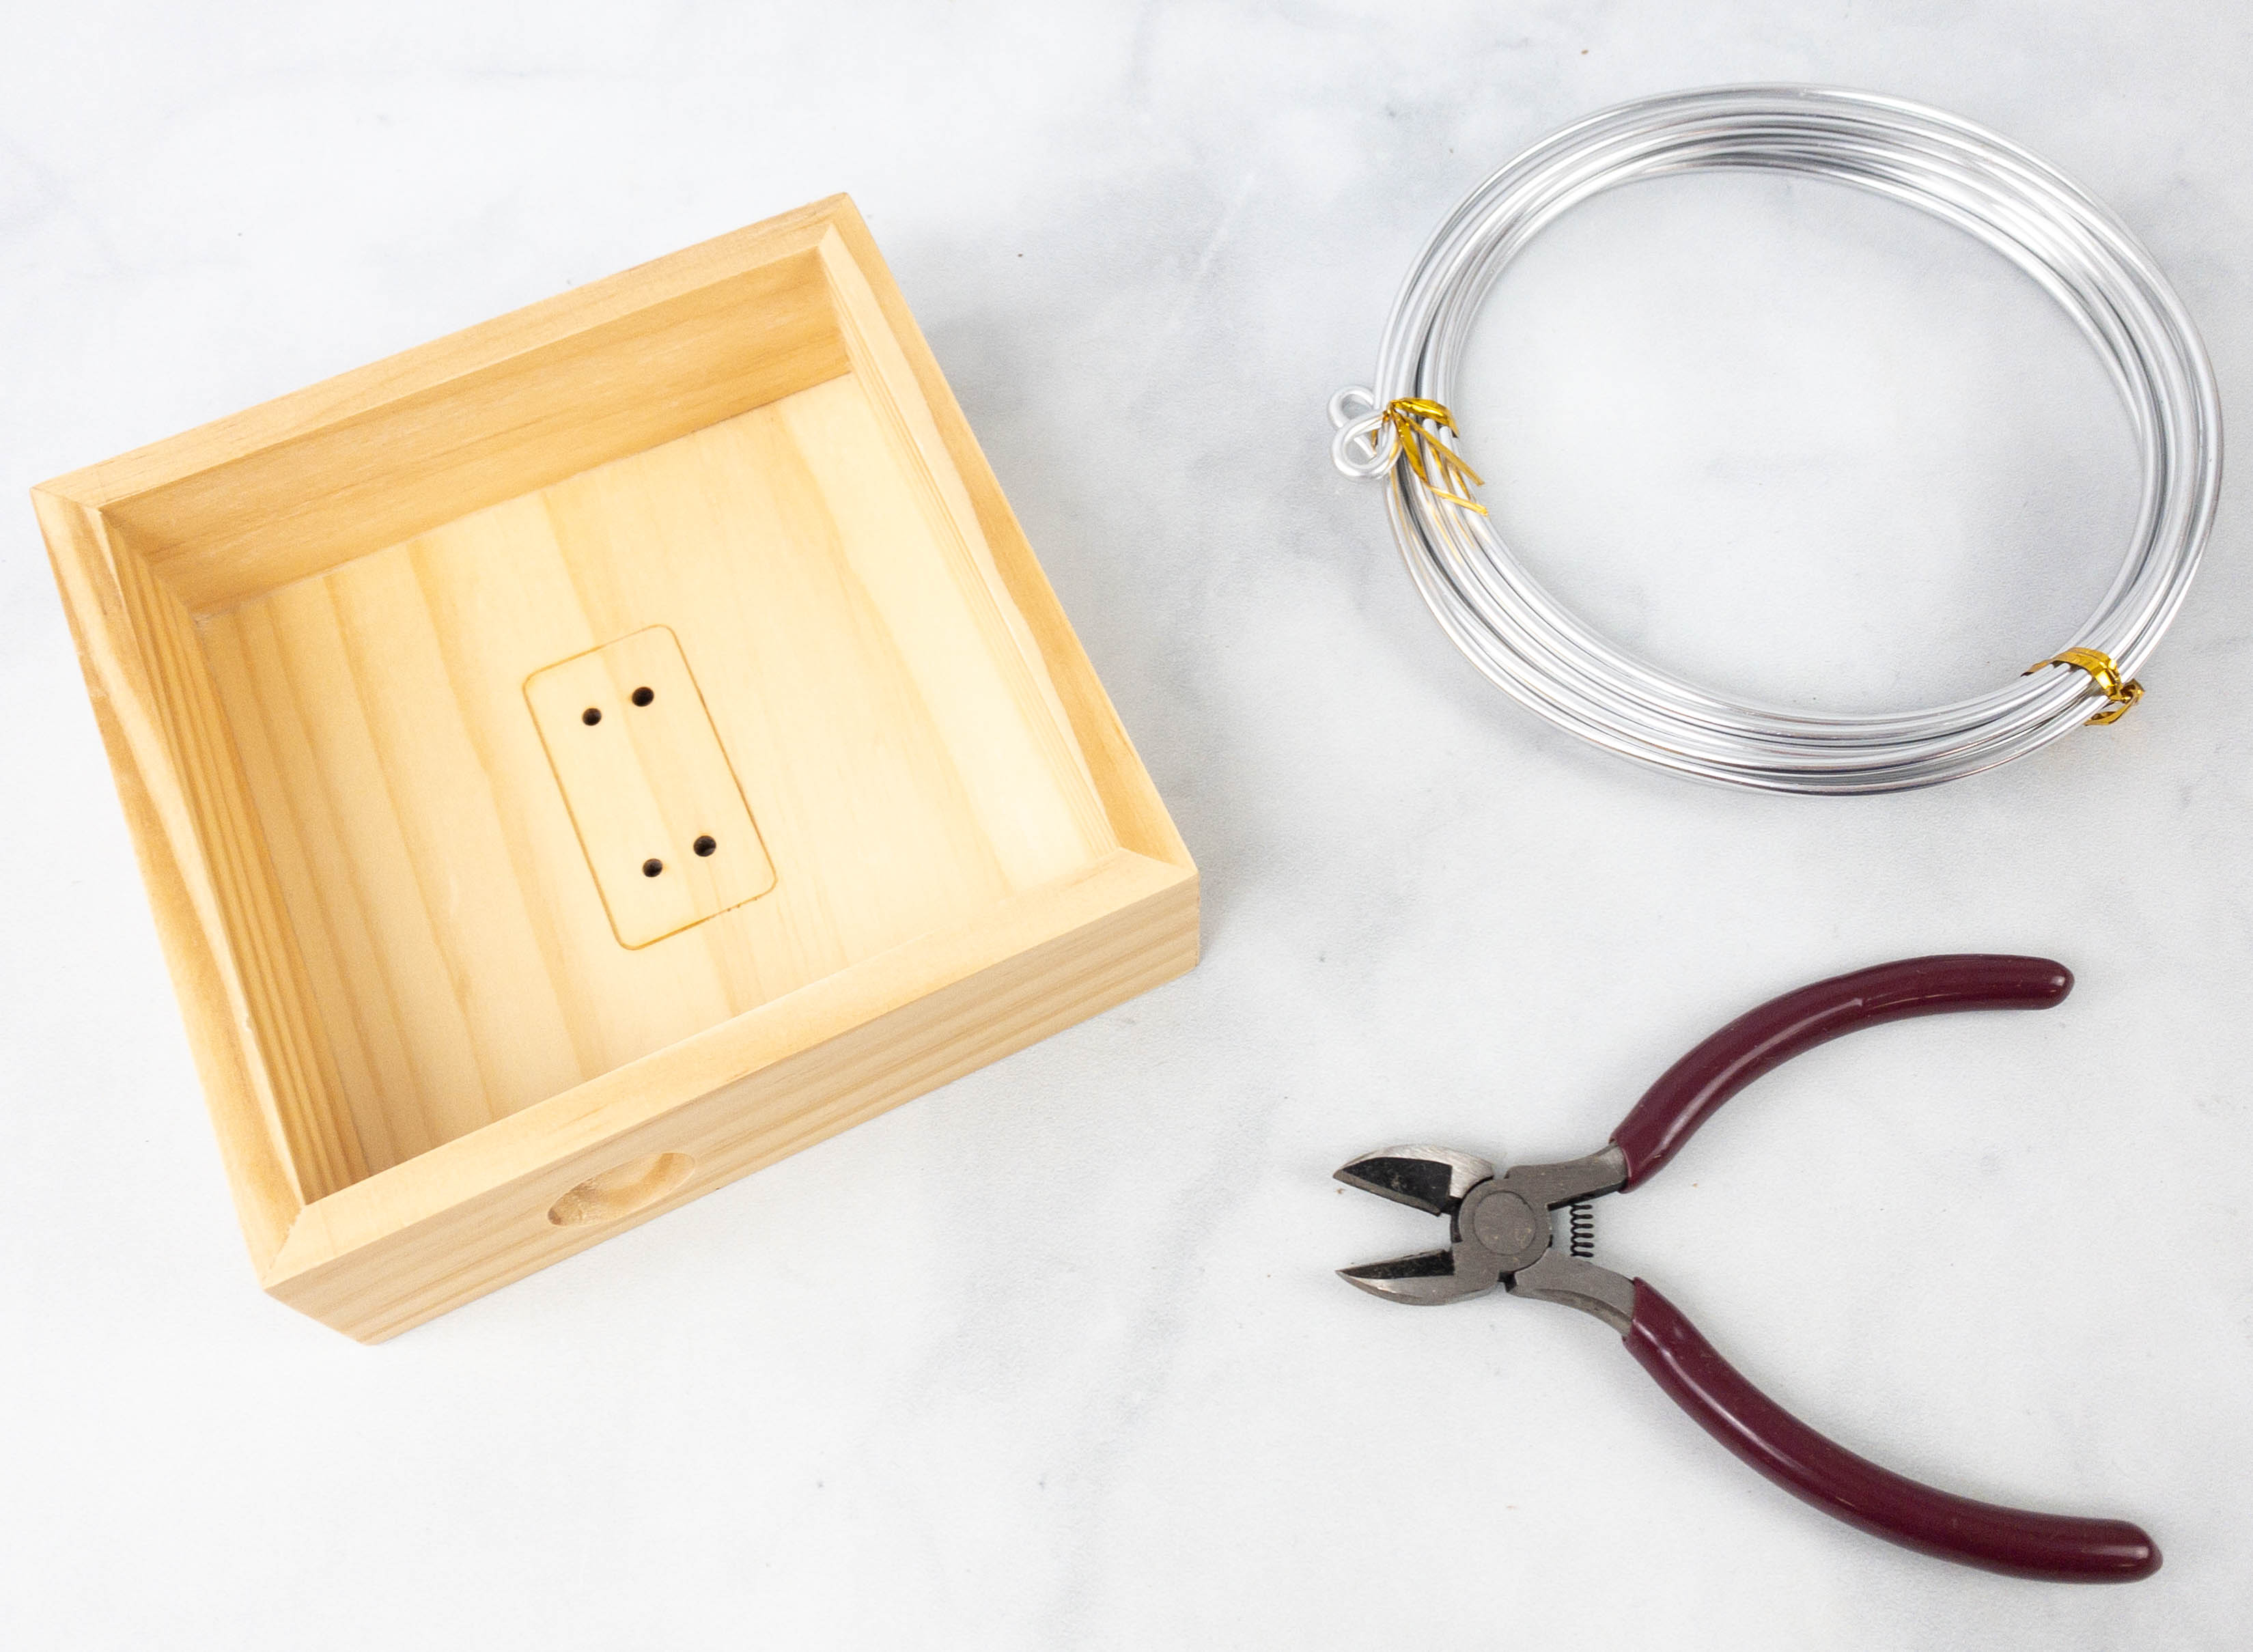
Maker Crate Main Project: Electro-Luminescent Sculptures. The box includes everything need for the project. They included the base, the aluminum wire, and even the wire cutter.
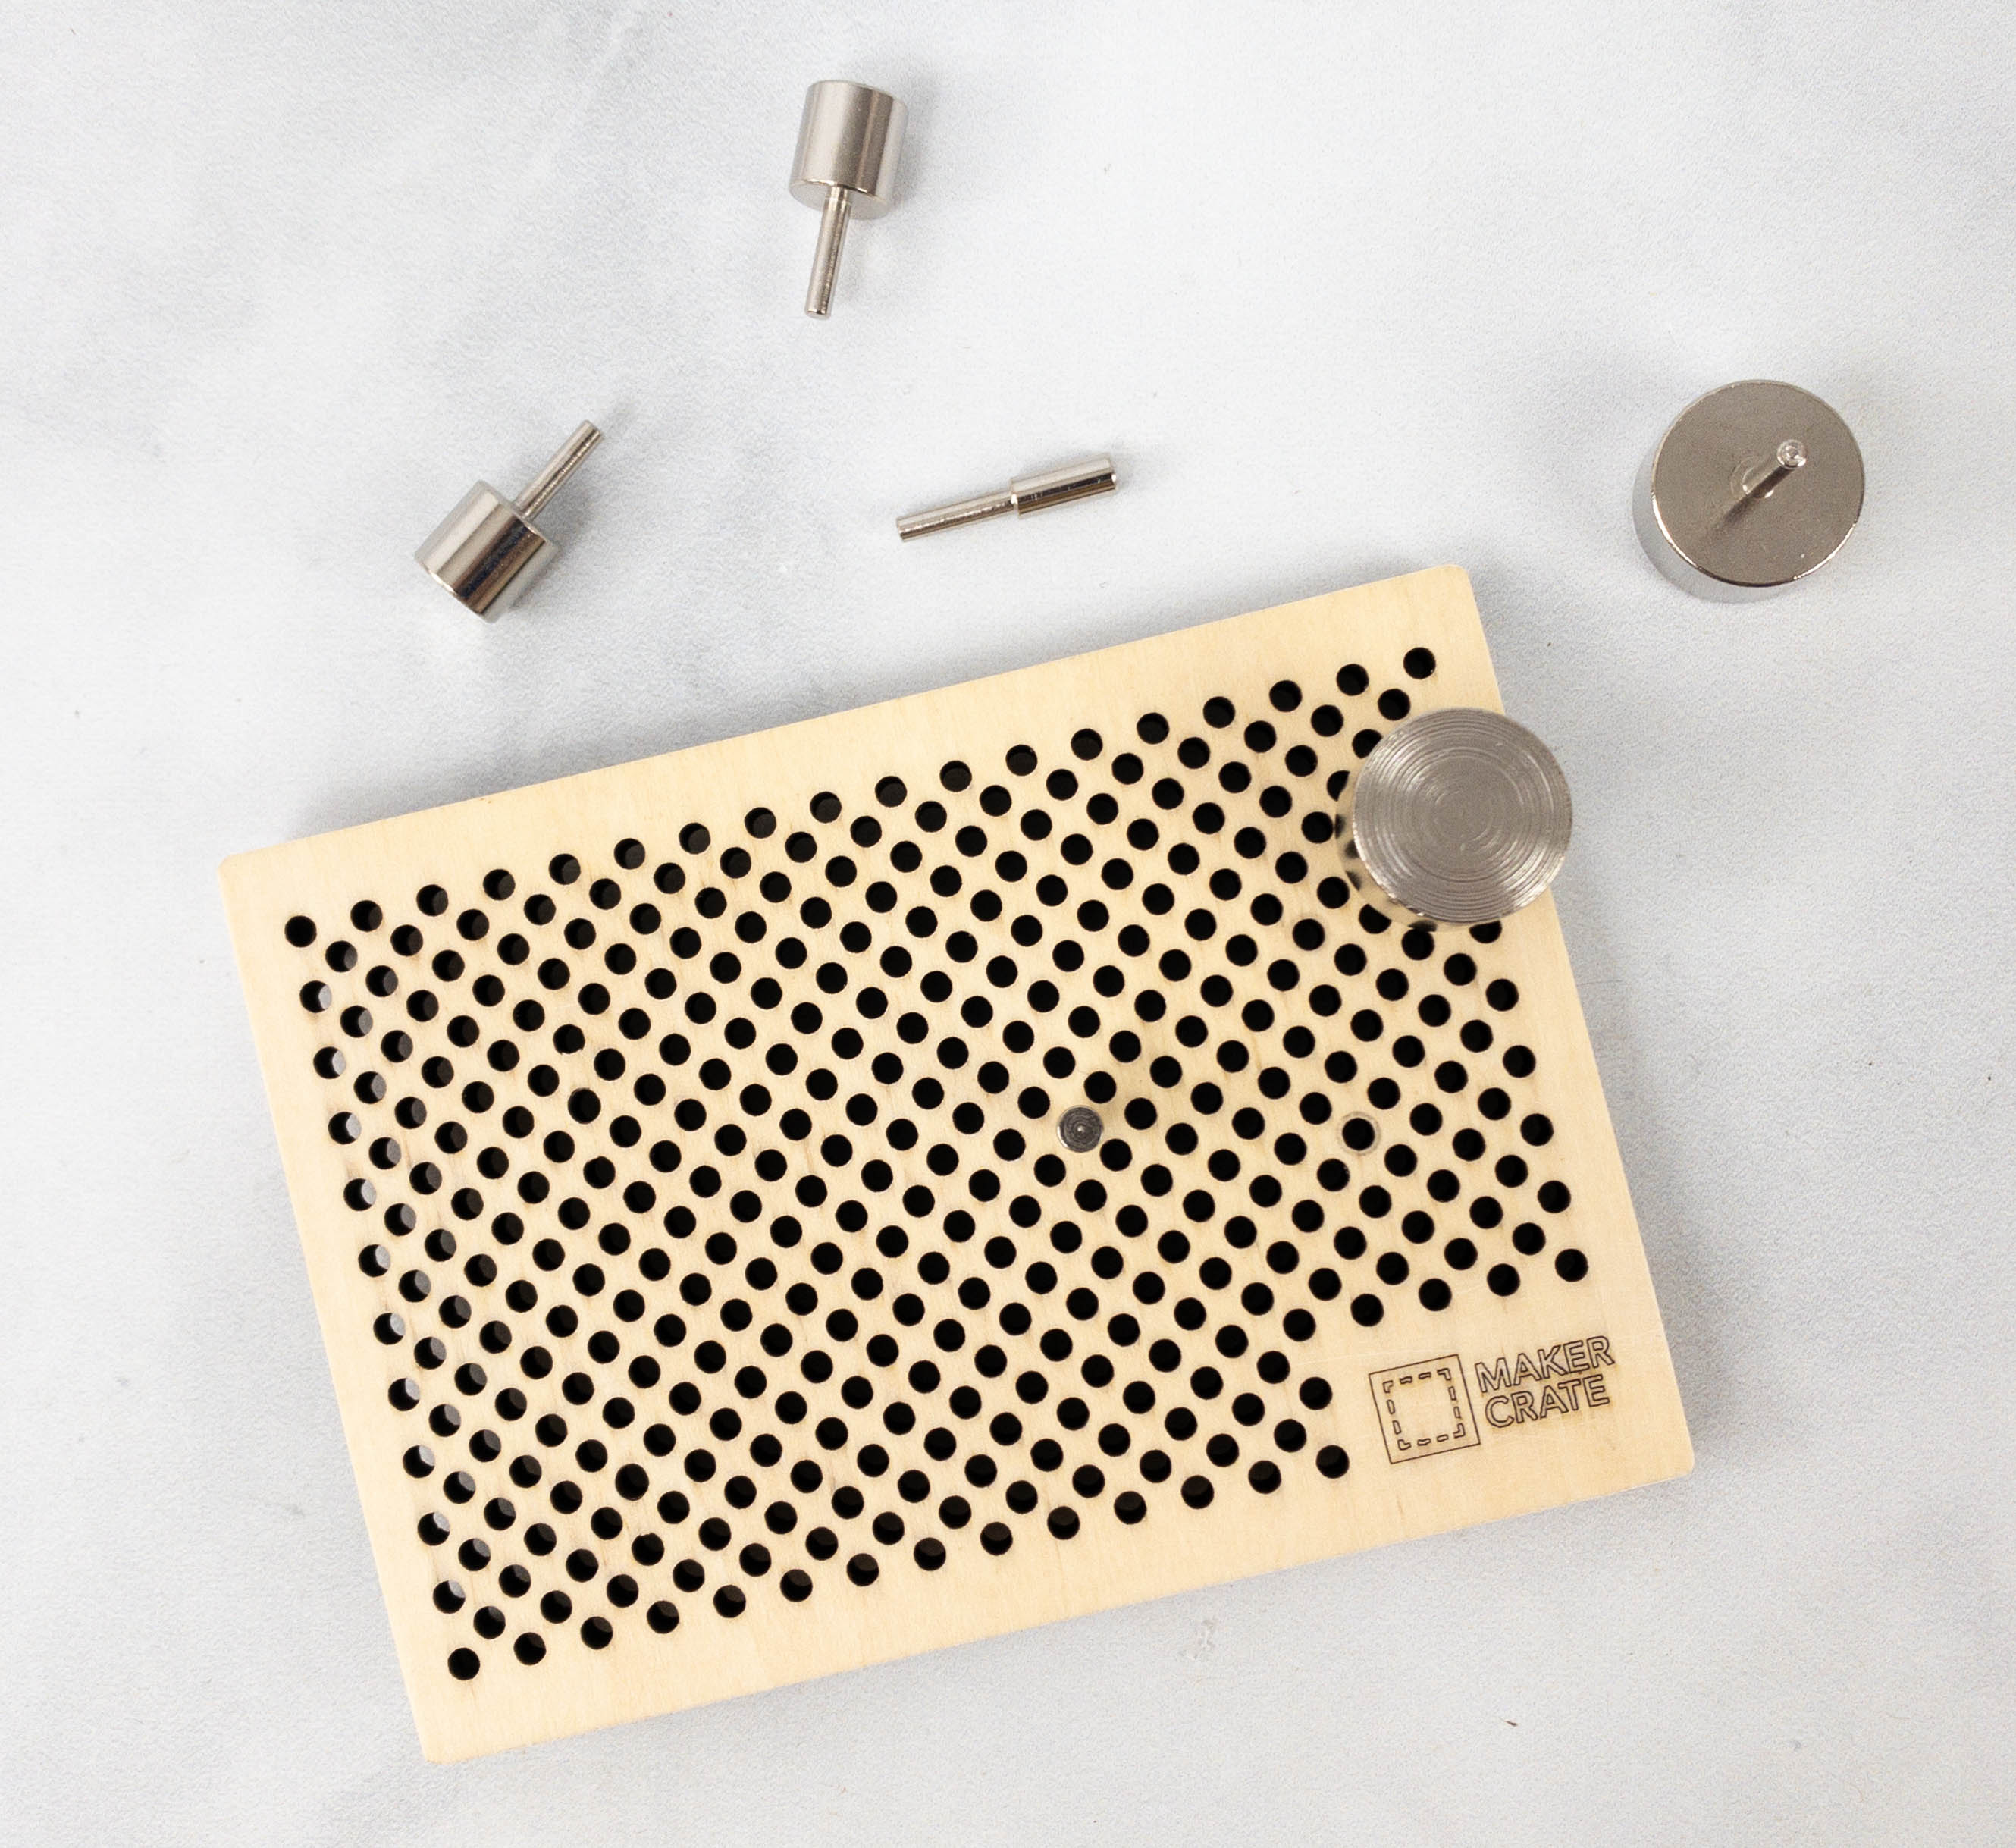
This one is called the jig. This tool helps bend and twist the wires easily to form any shape.
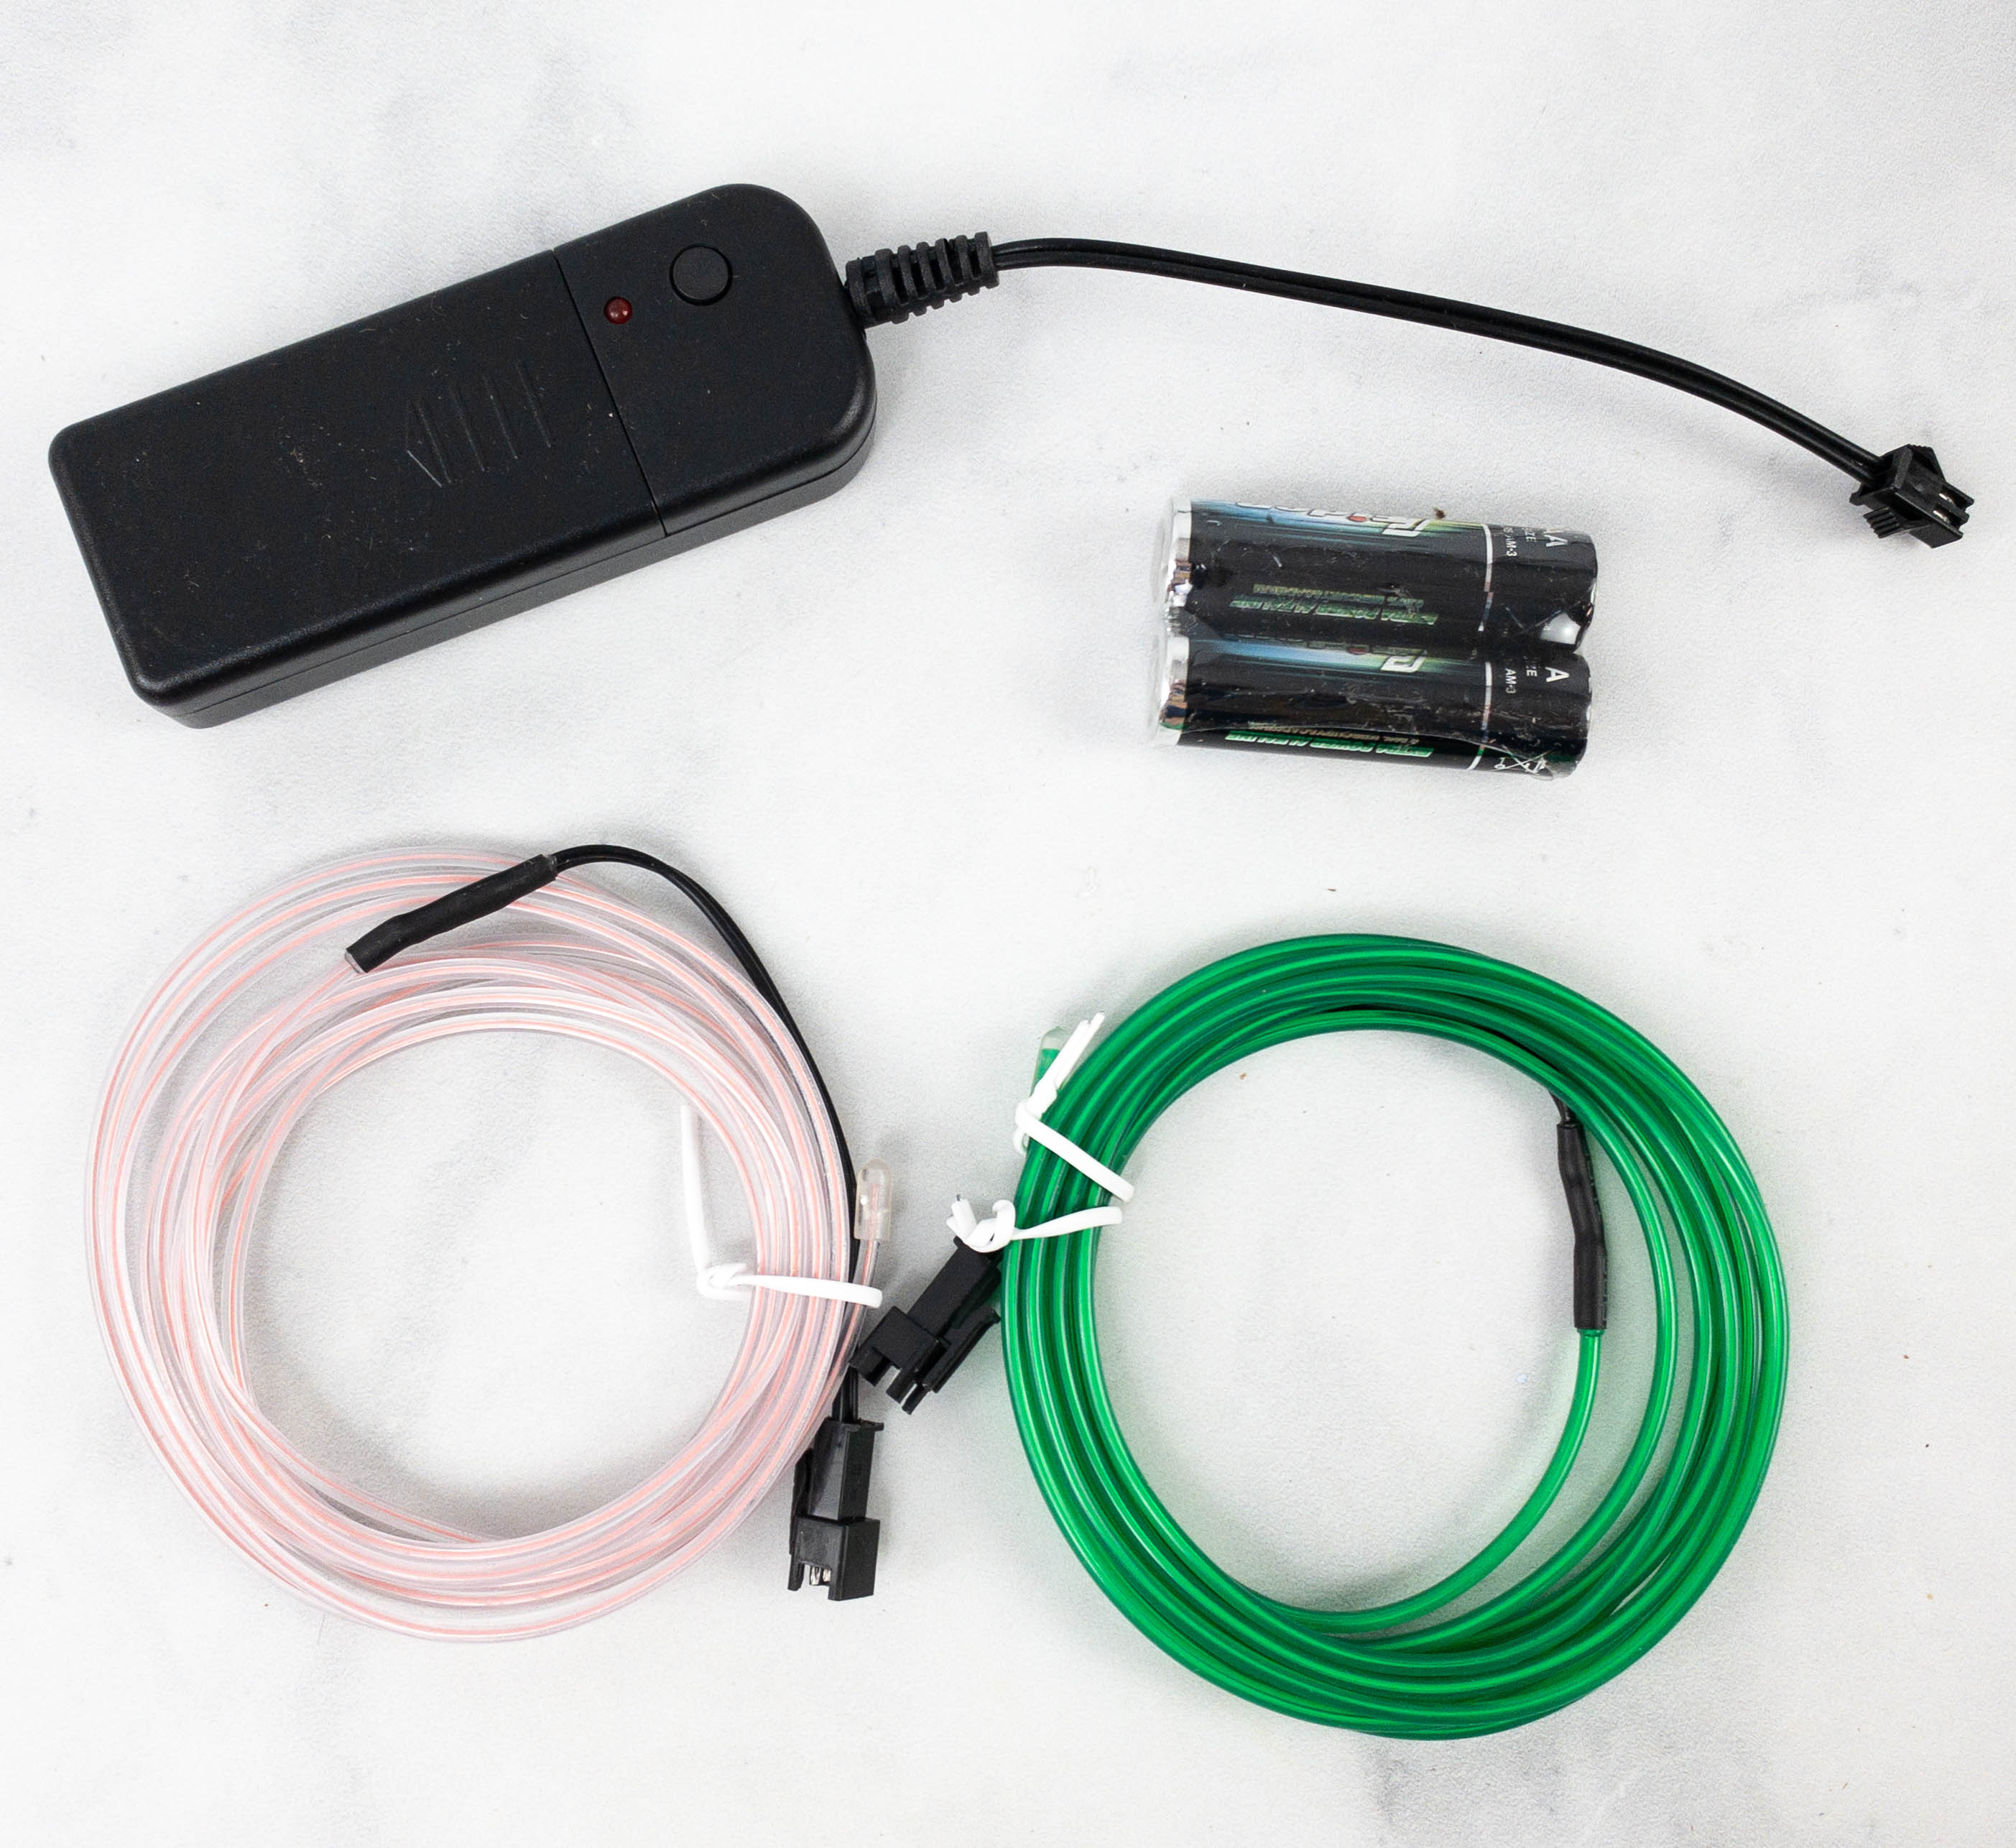
They also included a pair of batteries along with the battery pack and the EL wires so the finished product can use this immediately once it’s done!
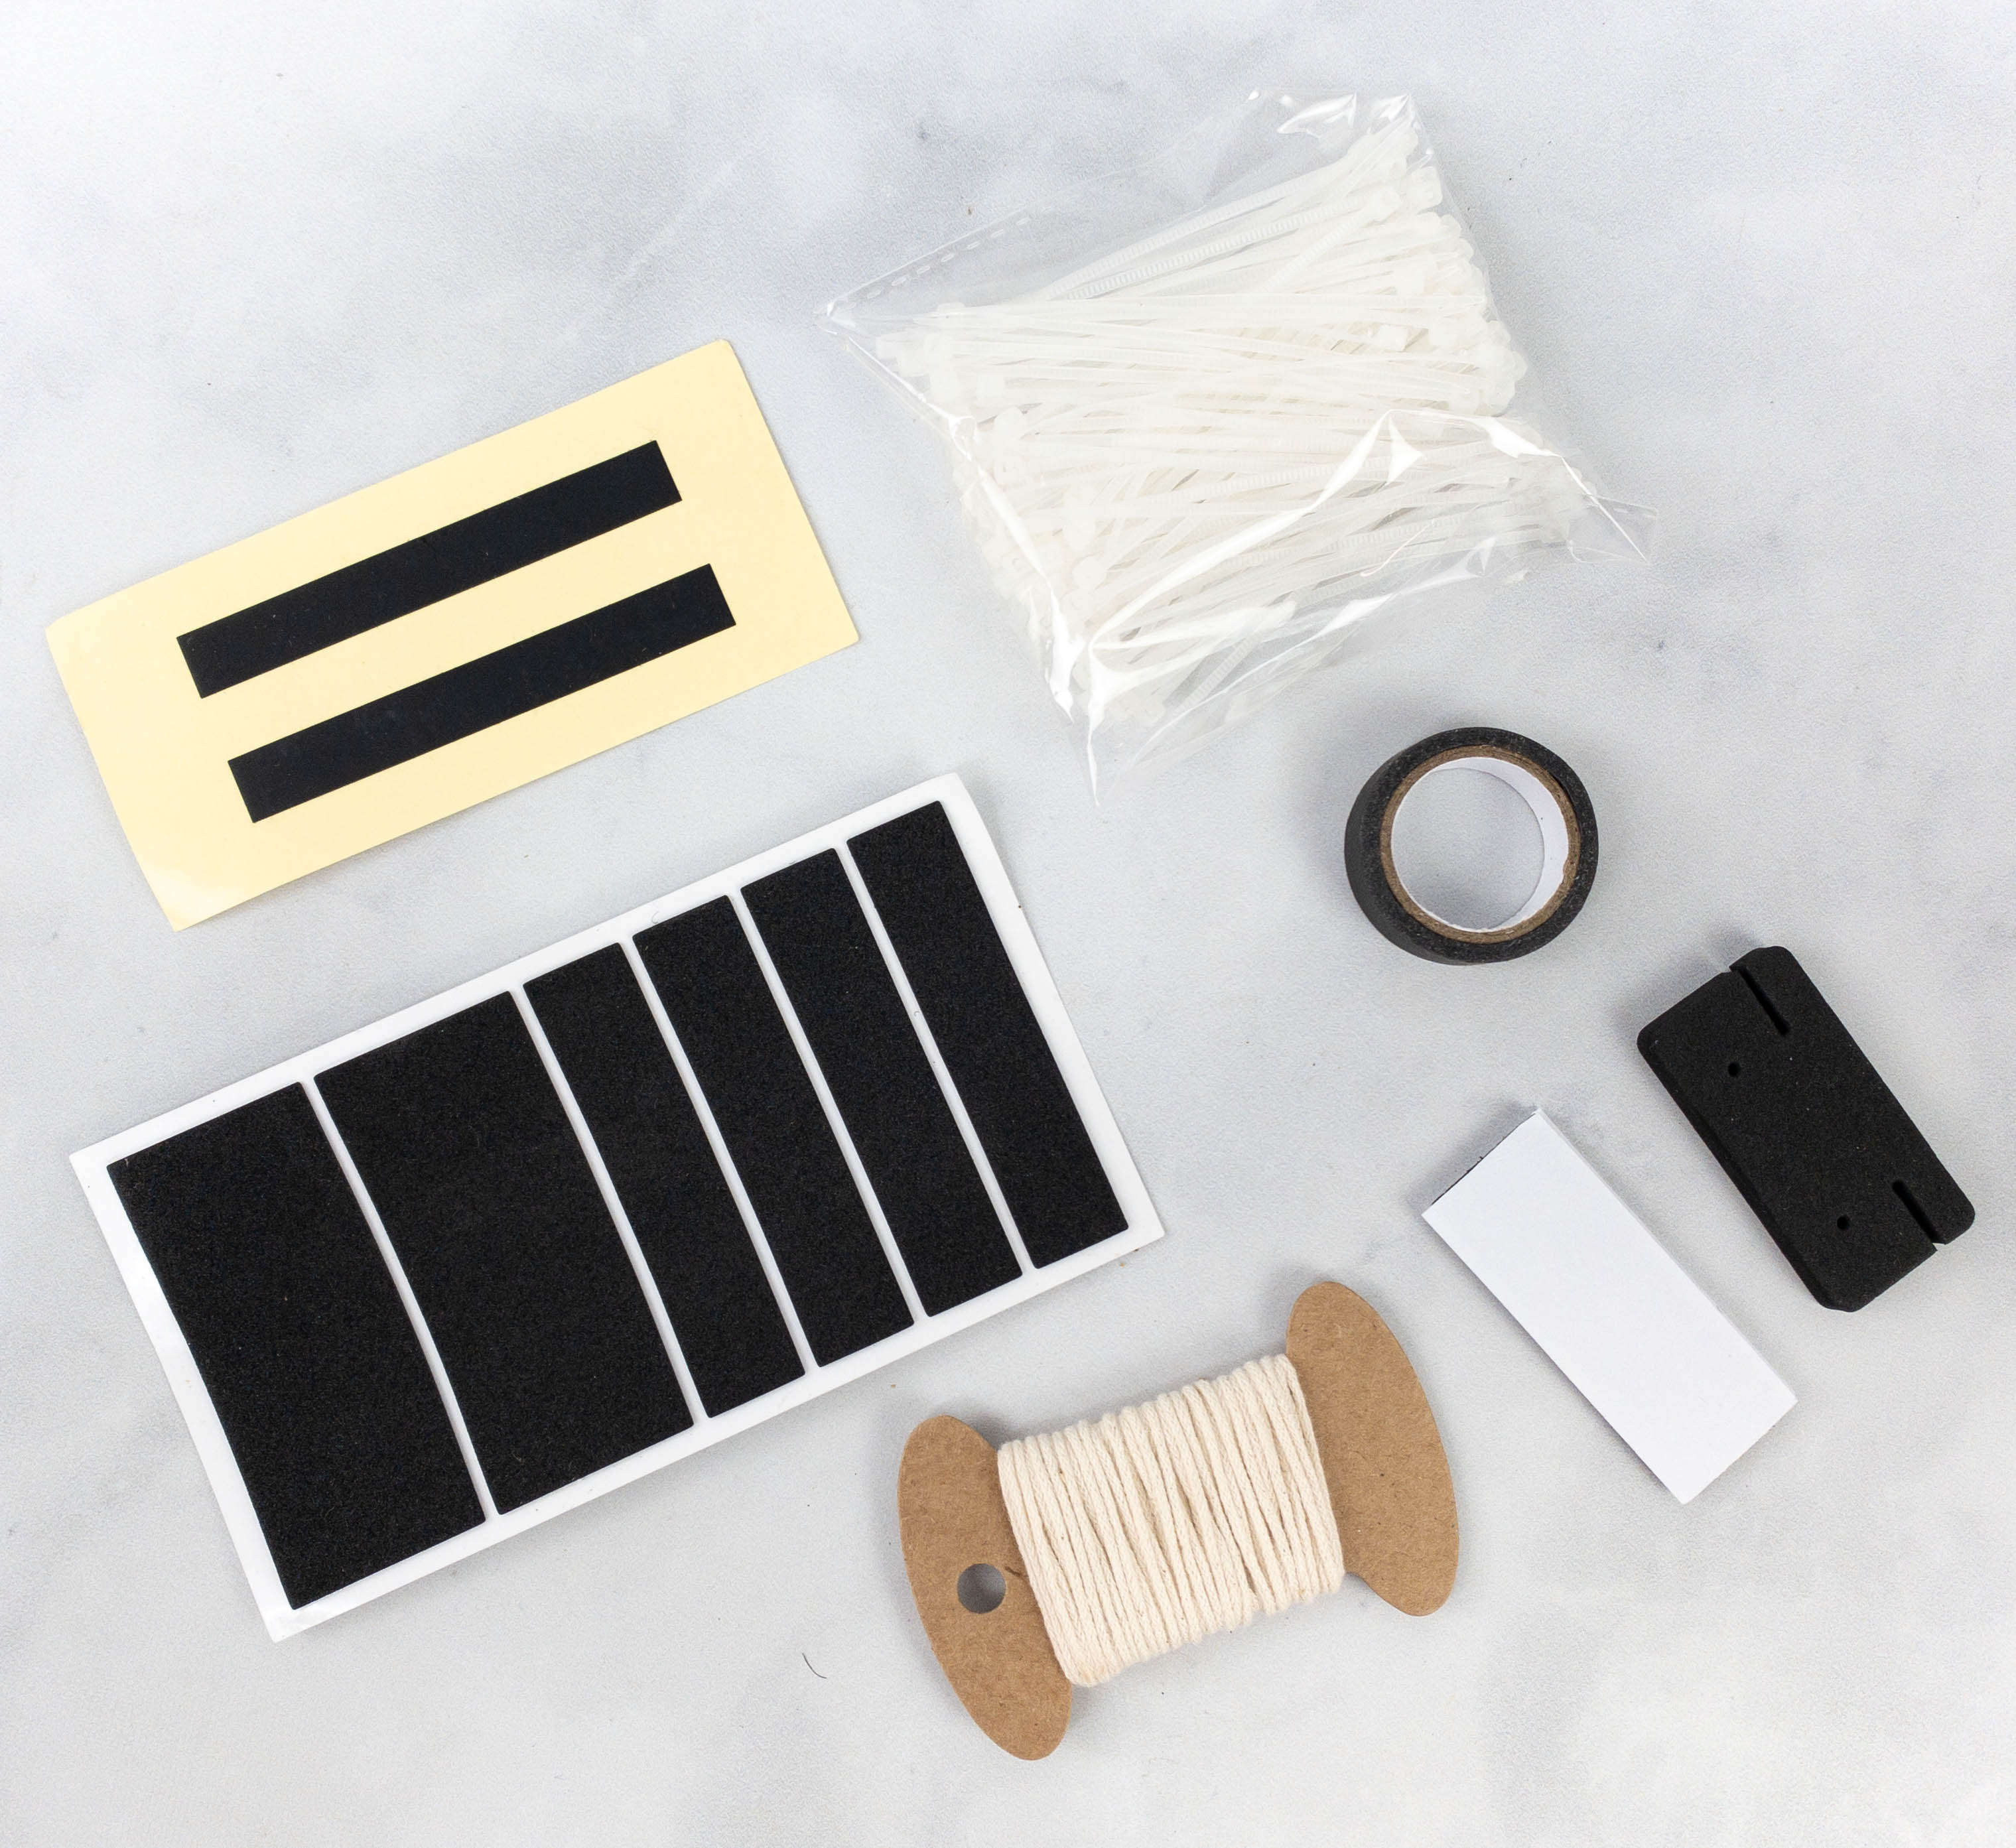
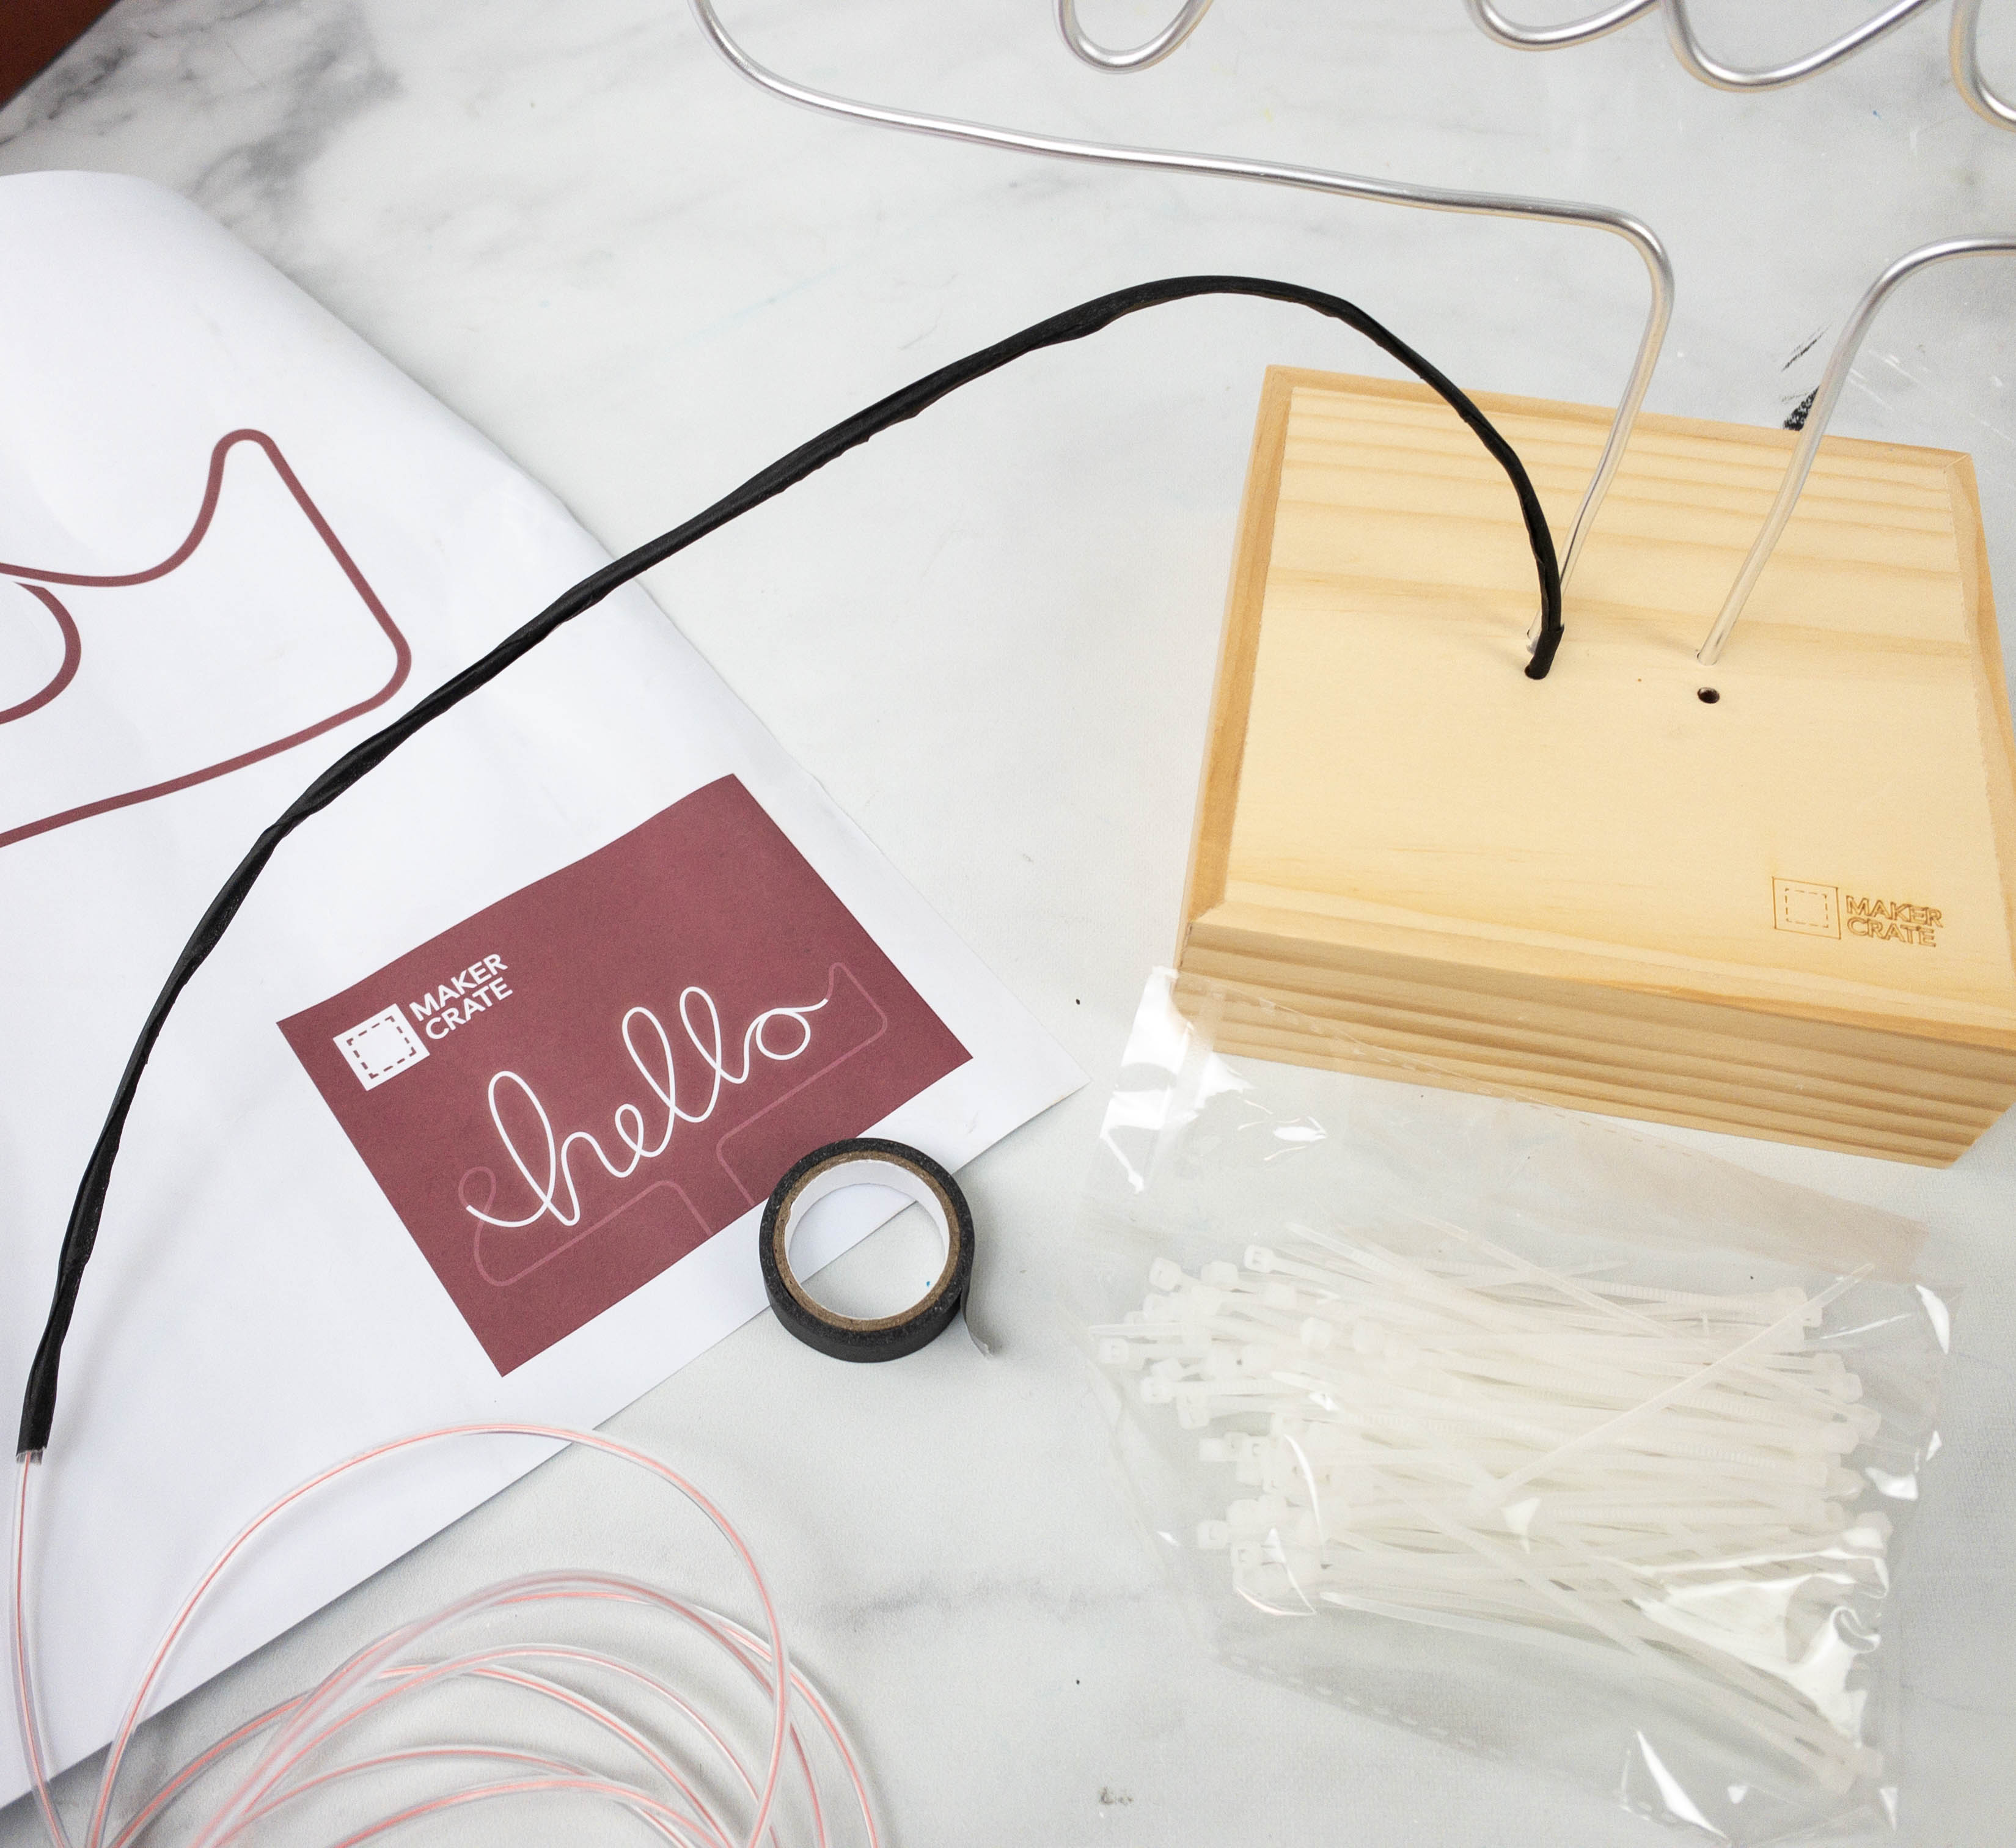
Here are the other items they provided for this project: electrical tape, zip ties, foam, string, washi tape, and a hook-and-loop fastener.

Of course, the box also provided the templates. I received a few designs and when I settled on one, I practiced shaping the wires using my desired template.
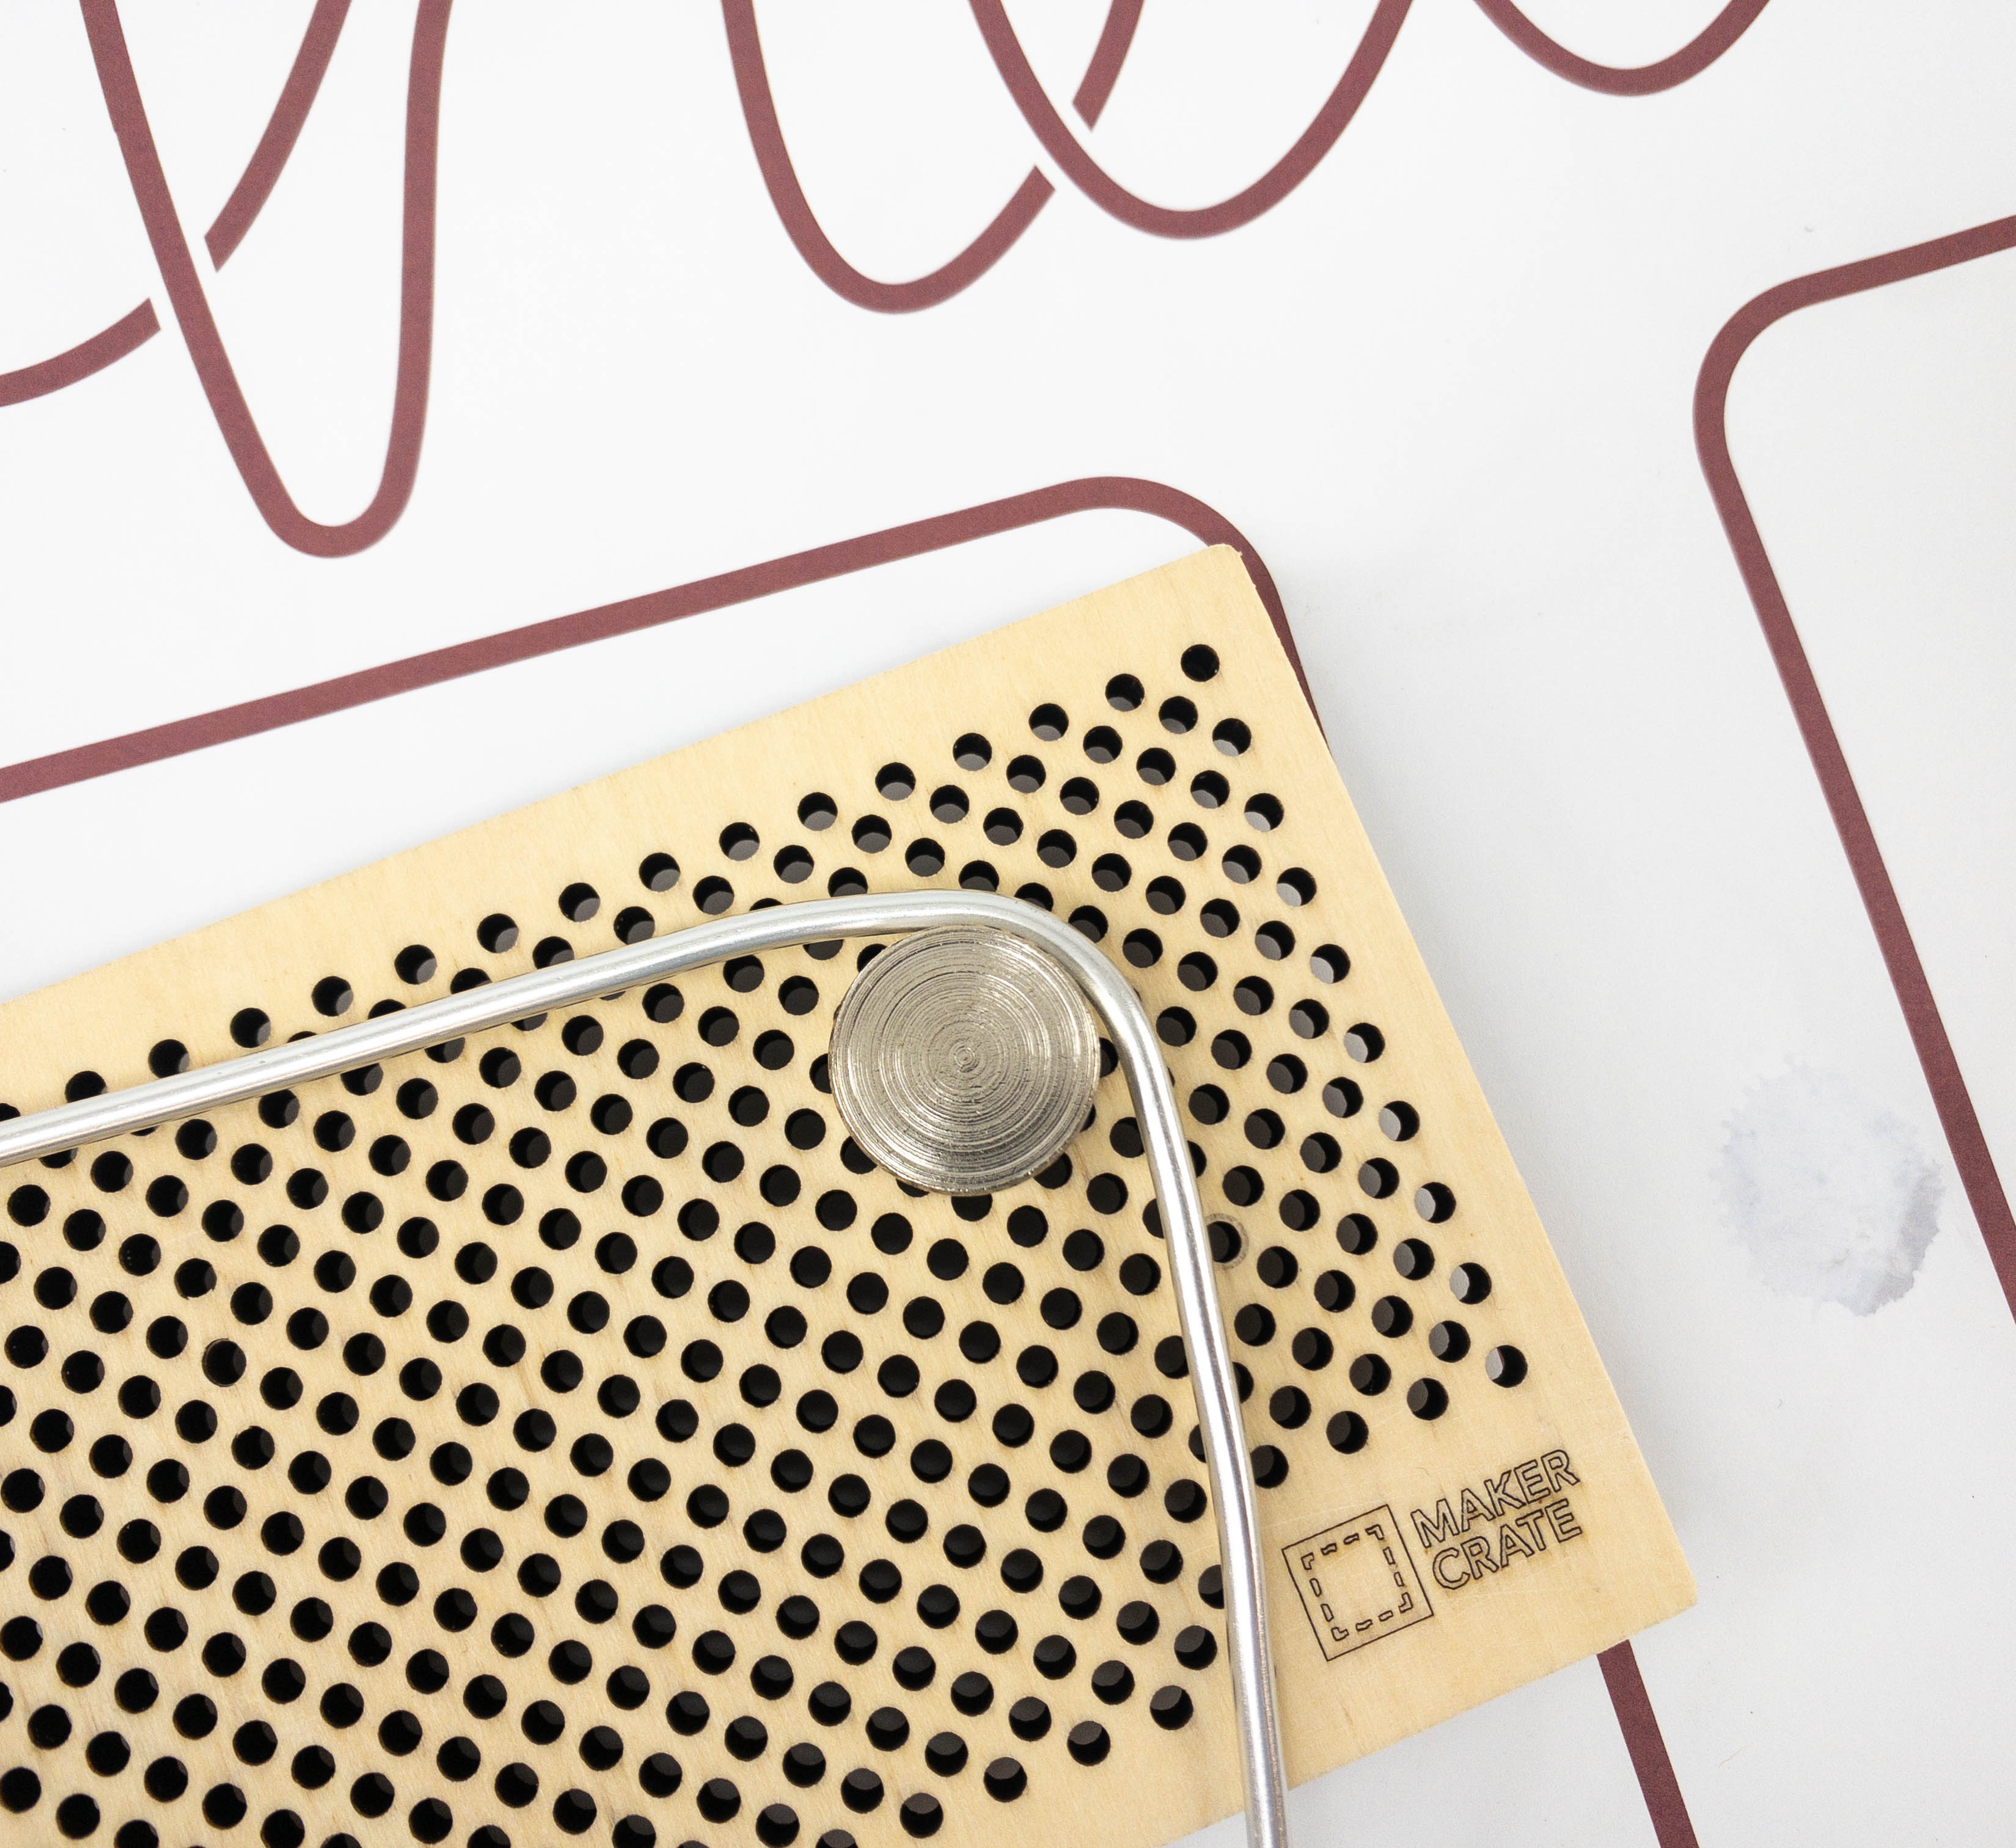
Now, it’s time to transform a simple piece of wire into art! Set up your template into your working space by securing it with a washi tape. Follow the entire line of the pattern, taping as you go and making sure you get all those curves and corners before cutting when you reach the end. This is when you can now use the string to measure out the amount of wire you need for your preferred design. Grab the wire spool and unroll it to start measuring the same length as the string we just created. Make sure the wire is completely straight so you get the right size you need. Once that’s done, you can proceed to creating the design using the template. Clear the things around you because you will need space with all wire at first since it’s long. When you’re ready, use the jig to form the pattern. This is quite easy as the wire is malleable and the jig really helps in getting a nice curve. You can also use the pattern by placing the bent wire over it and adjusting until it’s identical to the pattern’s shape.
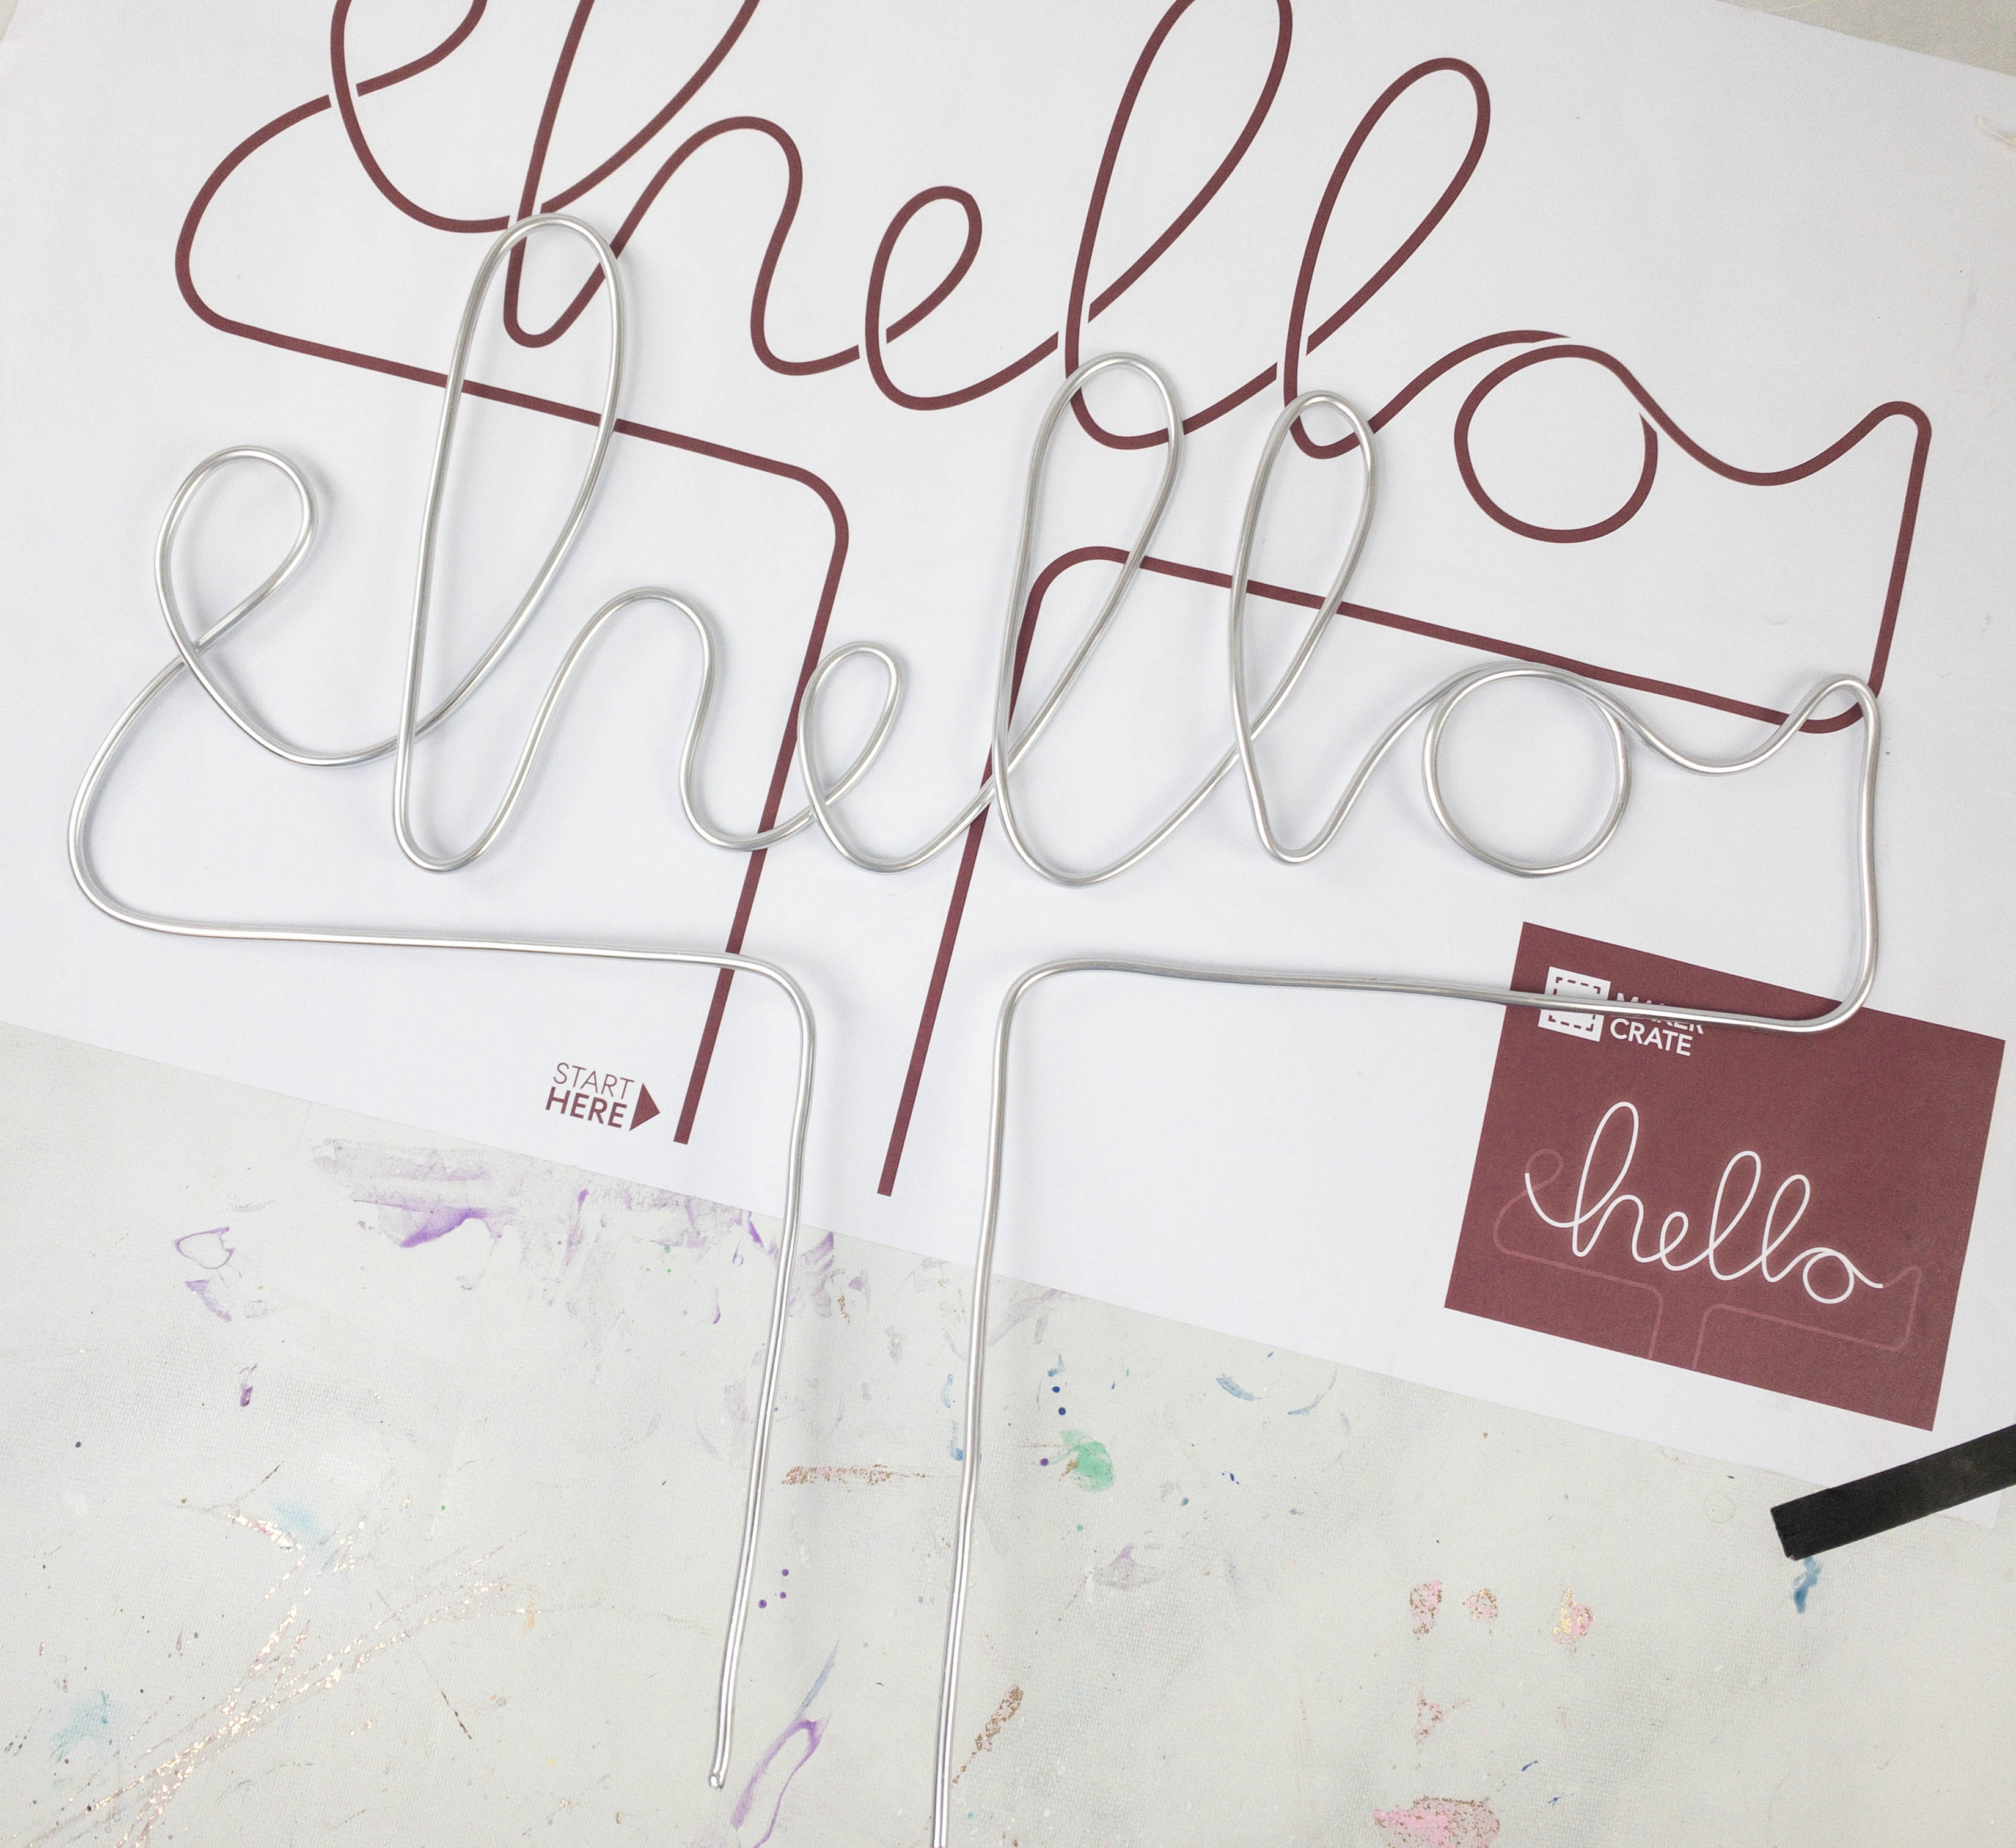
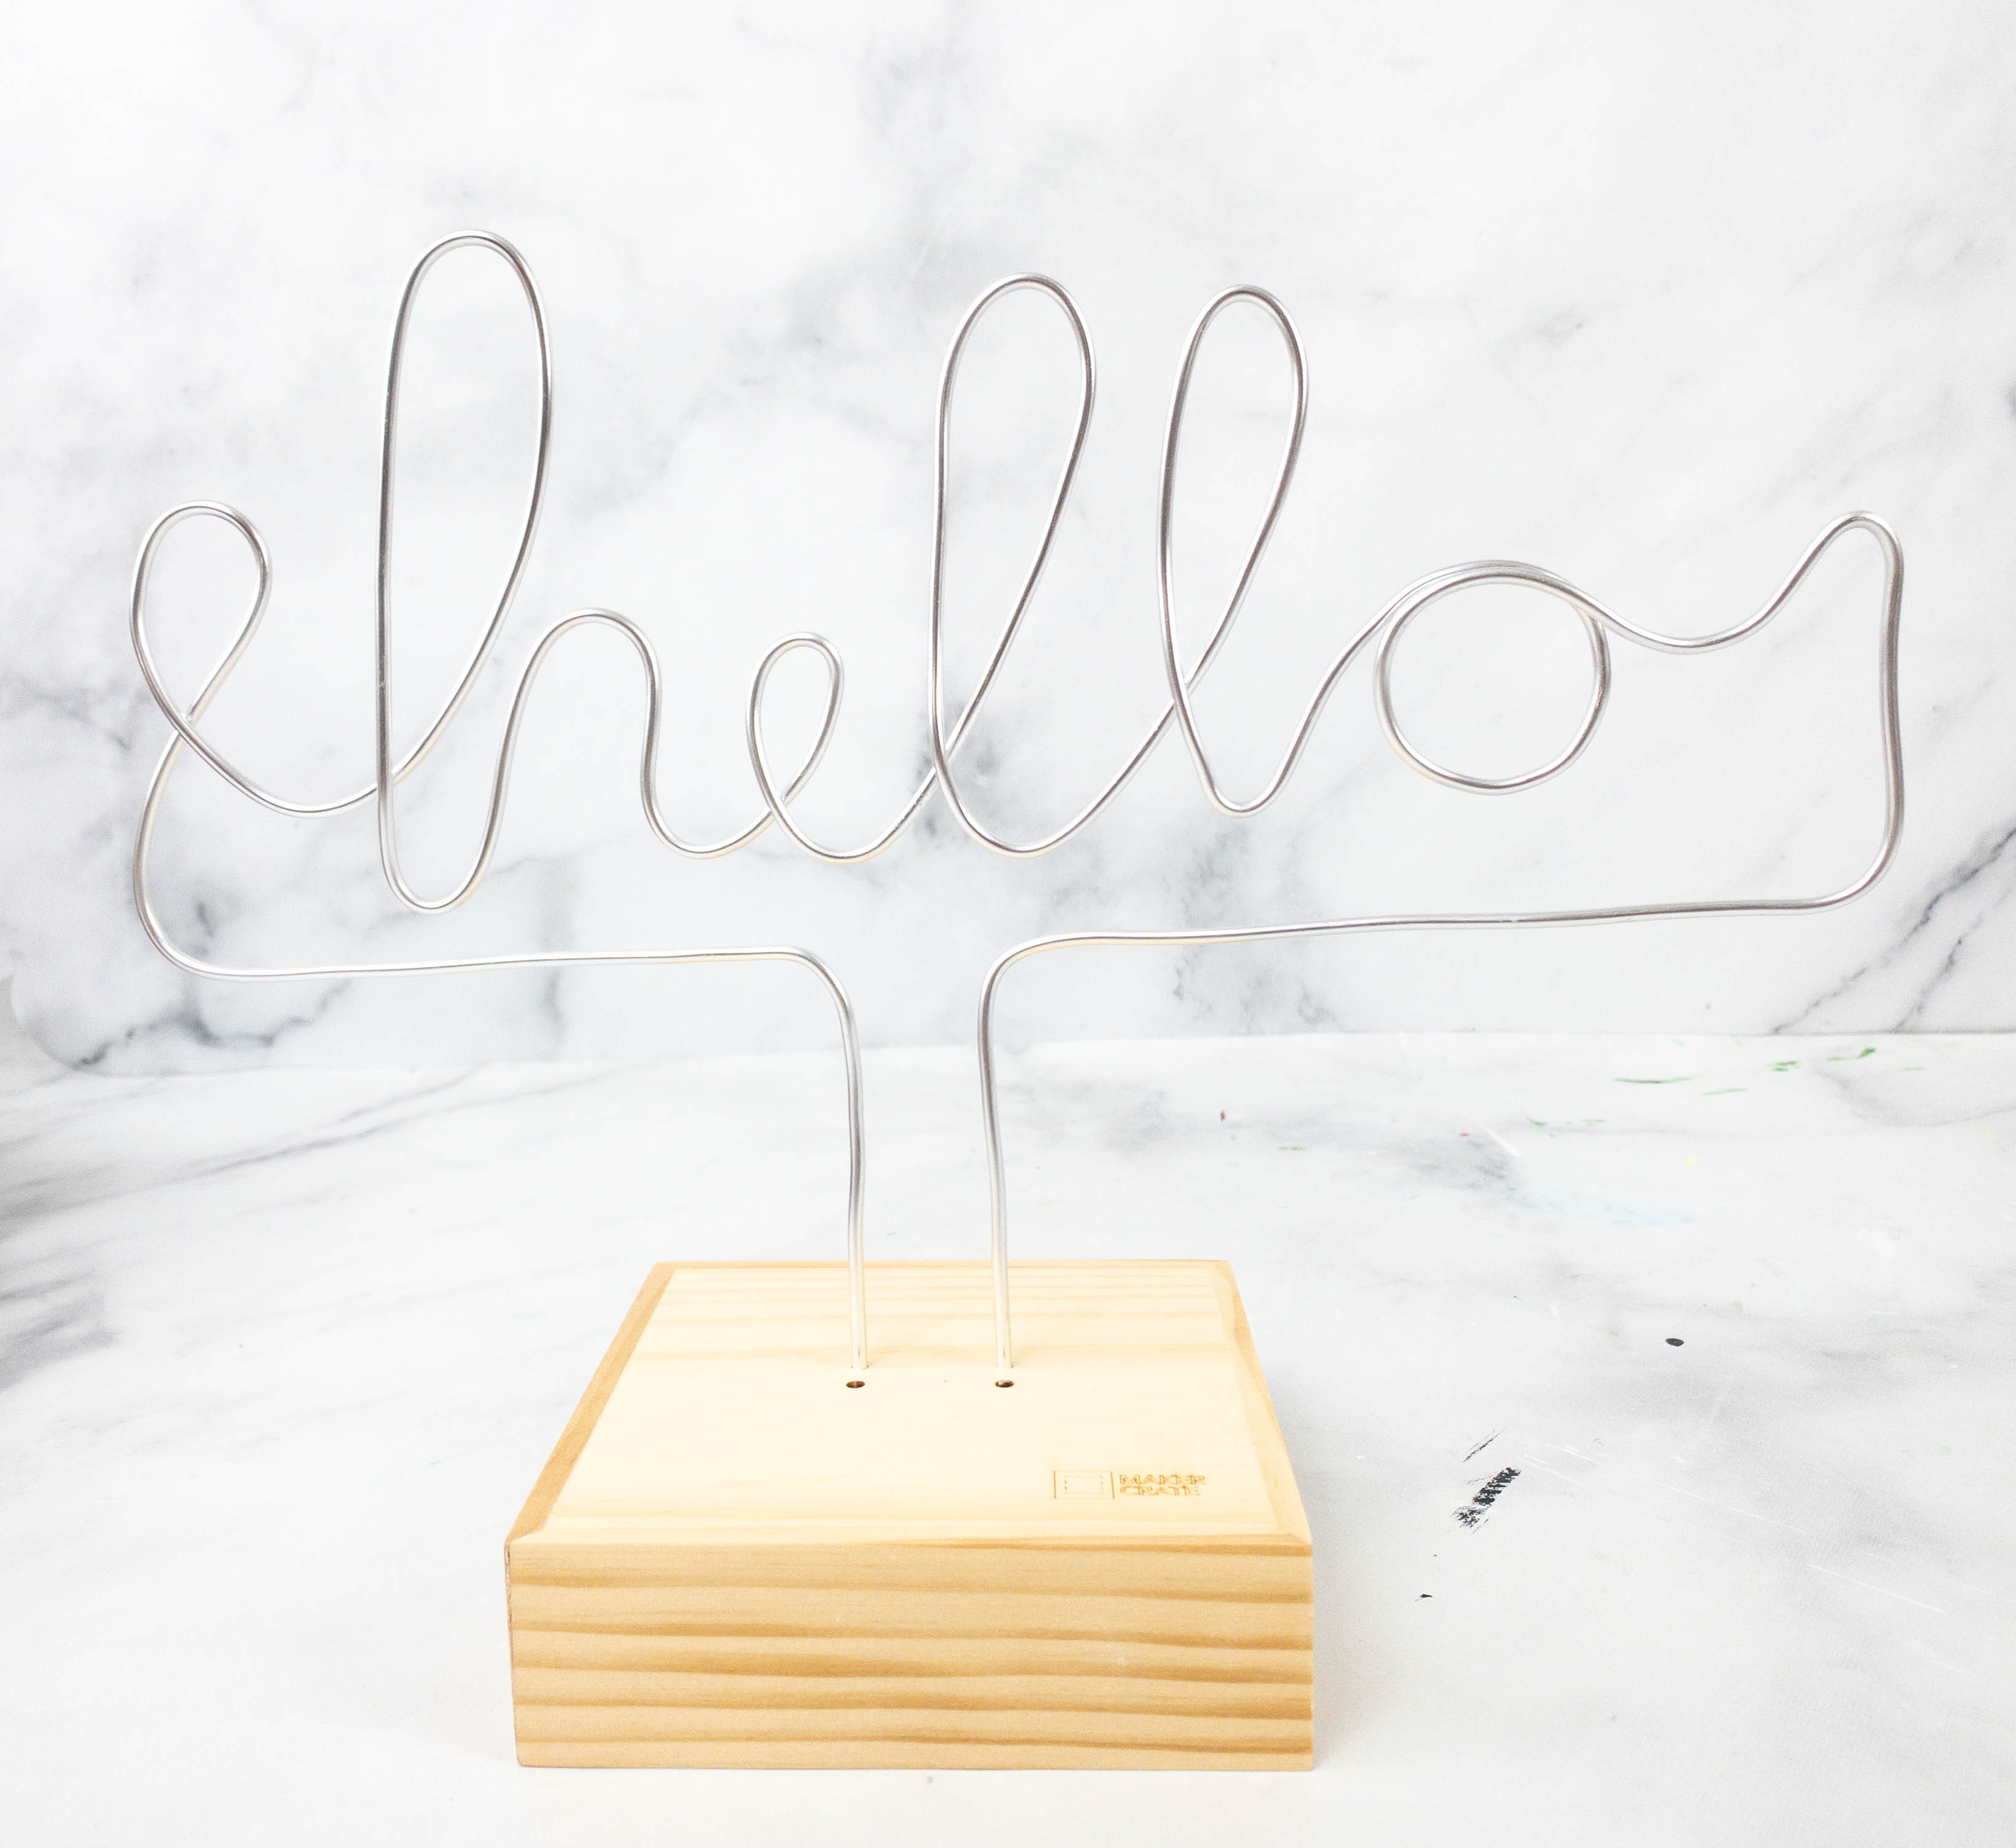
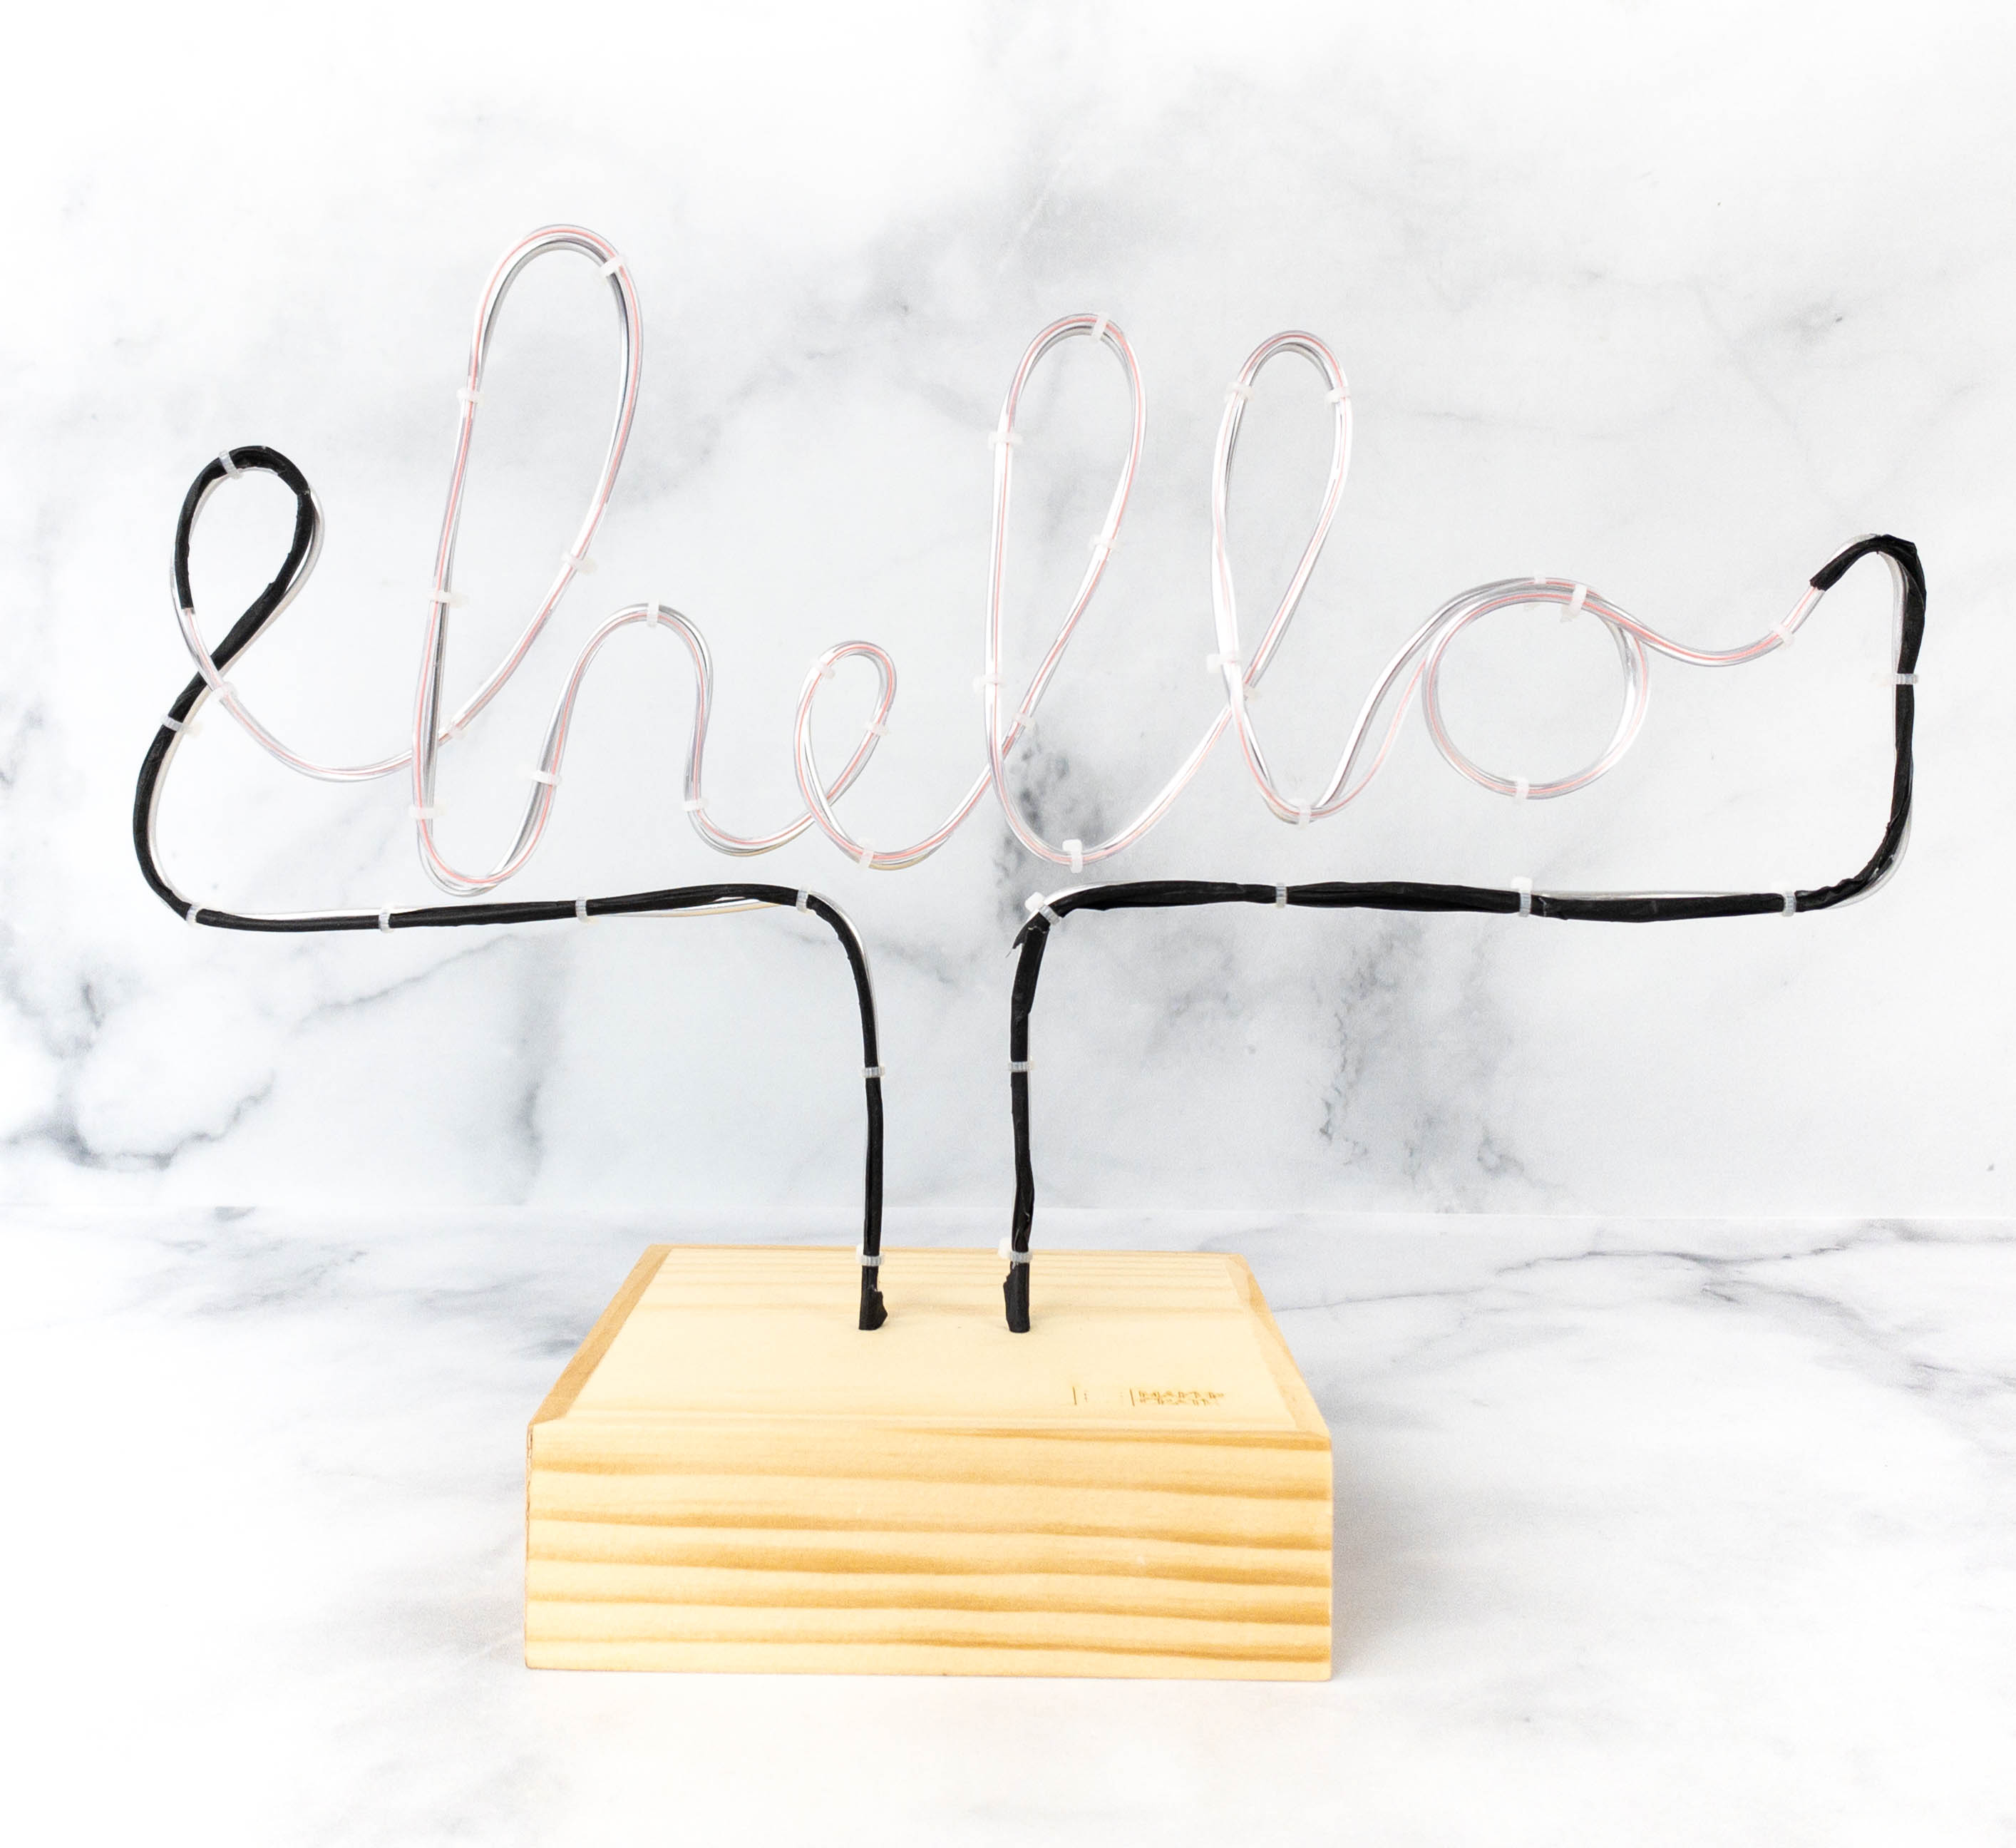
This is what my wire art looks like! After trimming off the excess parts, the next step is to attach it to the base.
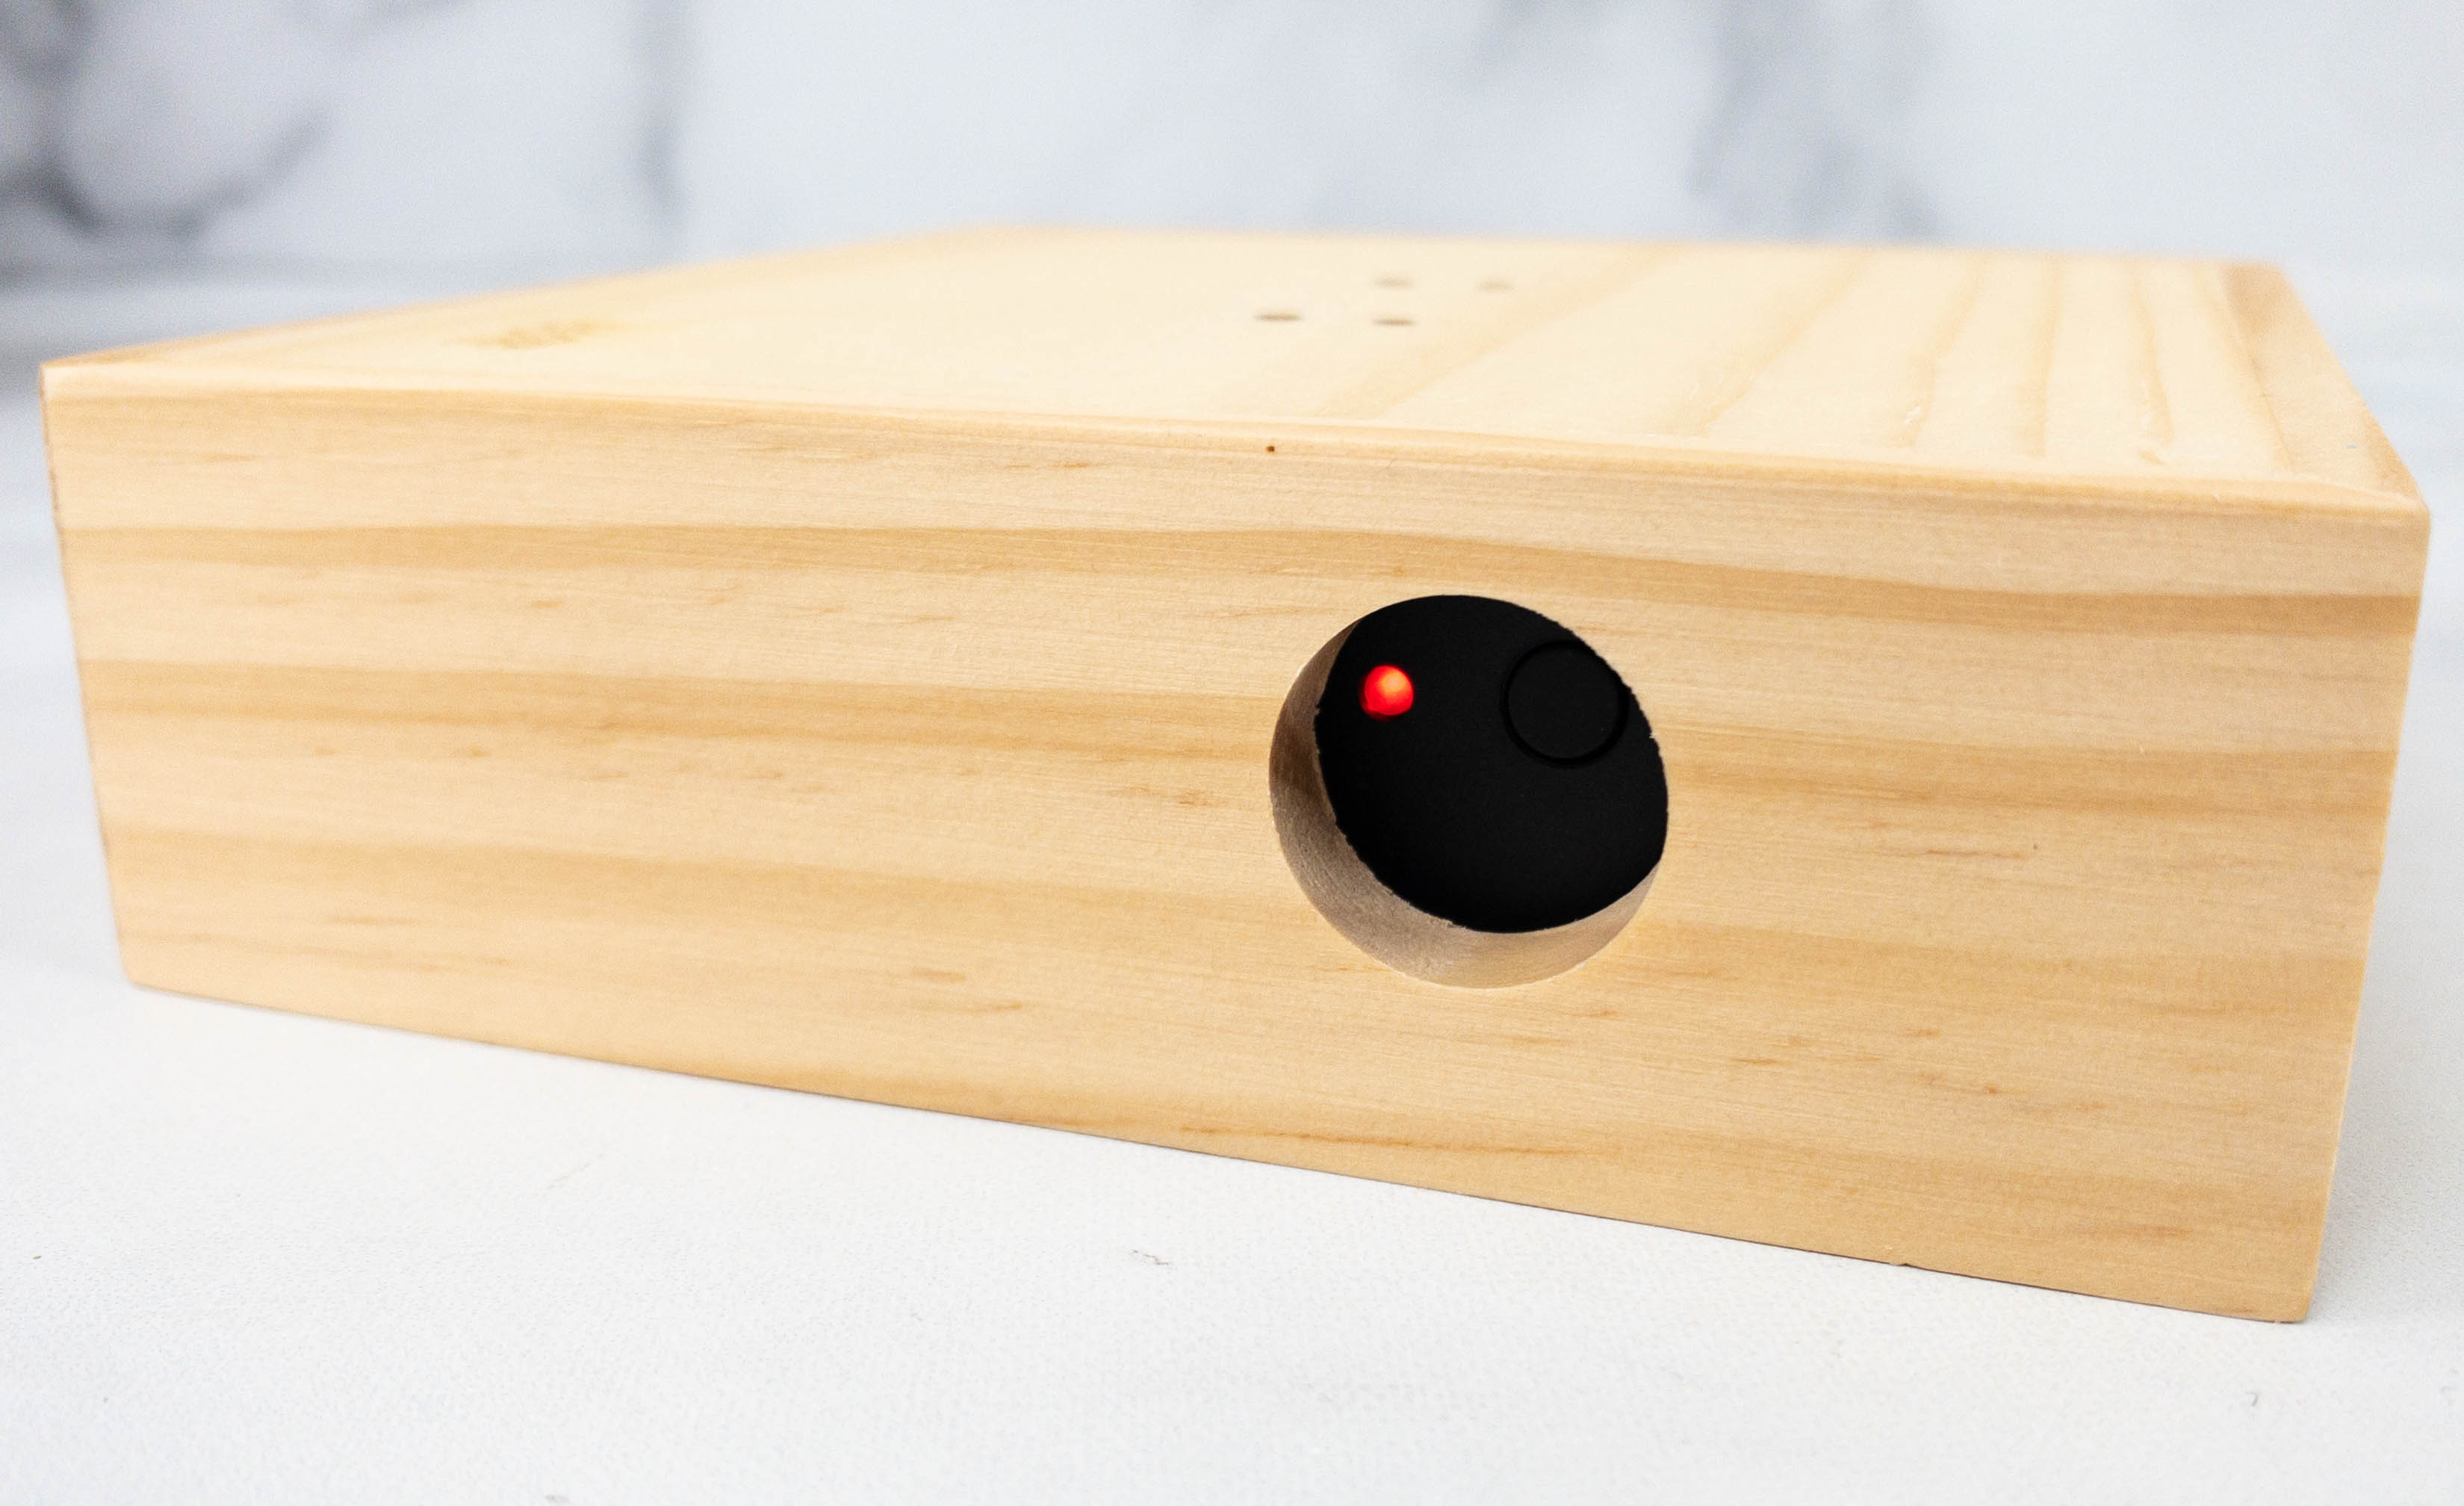
Next, place the batteries in the battery pack and get the fastener. Peel the backing off one side and stick it to the battery pack, just below the button. Then, it’s time to stick it in the base. Peel off the other backing on the fastener and place the pack inside the base, making sure you line up the power button with the hole. Get the thick rectangular foam, peel off the backing and stick it on the back of the base as well. Make sure that the holes on the foam lines up with two small holes on the base while the slots on the foam lines up with the bigger holes on the base. Secure it by pressing it down to make sure that it sticks there tightly. Flip the base right side up and make sure the logo is facing you!
Take your wire art and push the ends into the two small holes of the base. This may need a bit of effort but just push until you feel that the wire has gone in and touched the table that you have the board on. Flip the whole thing to its side to check at the bottom. If the foam rectangle moved, simply slide it unto the wire and stick it back to the base. When that is secured, press the wire against the bottom of the base and place a large piece of sticky foam over the wire ends.
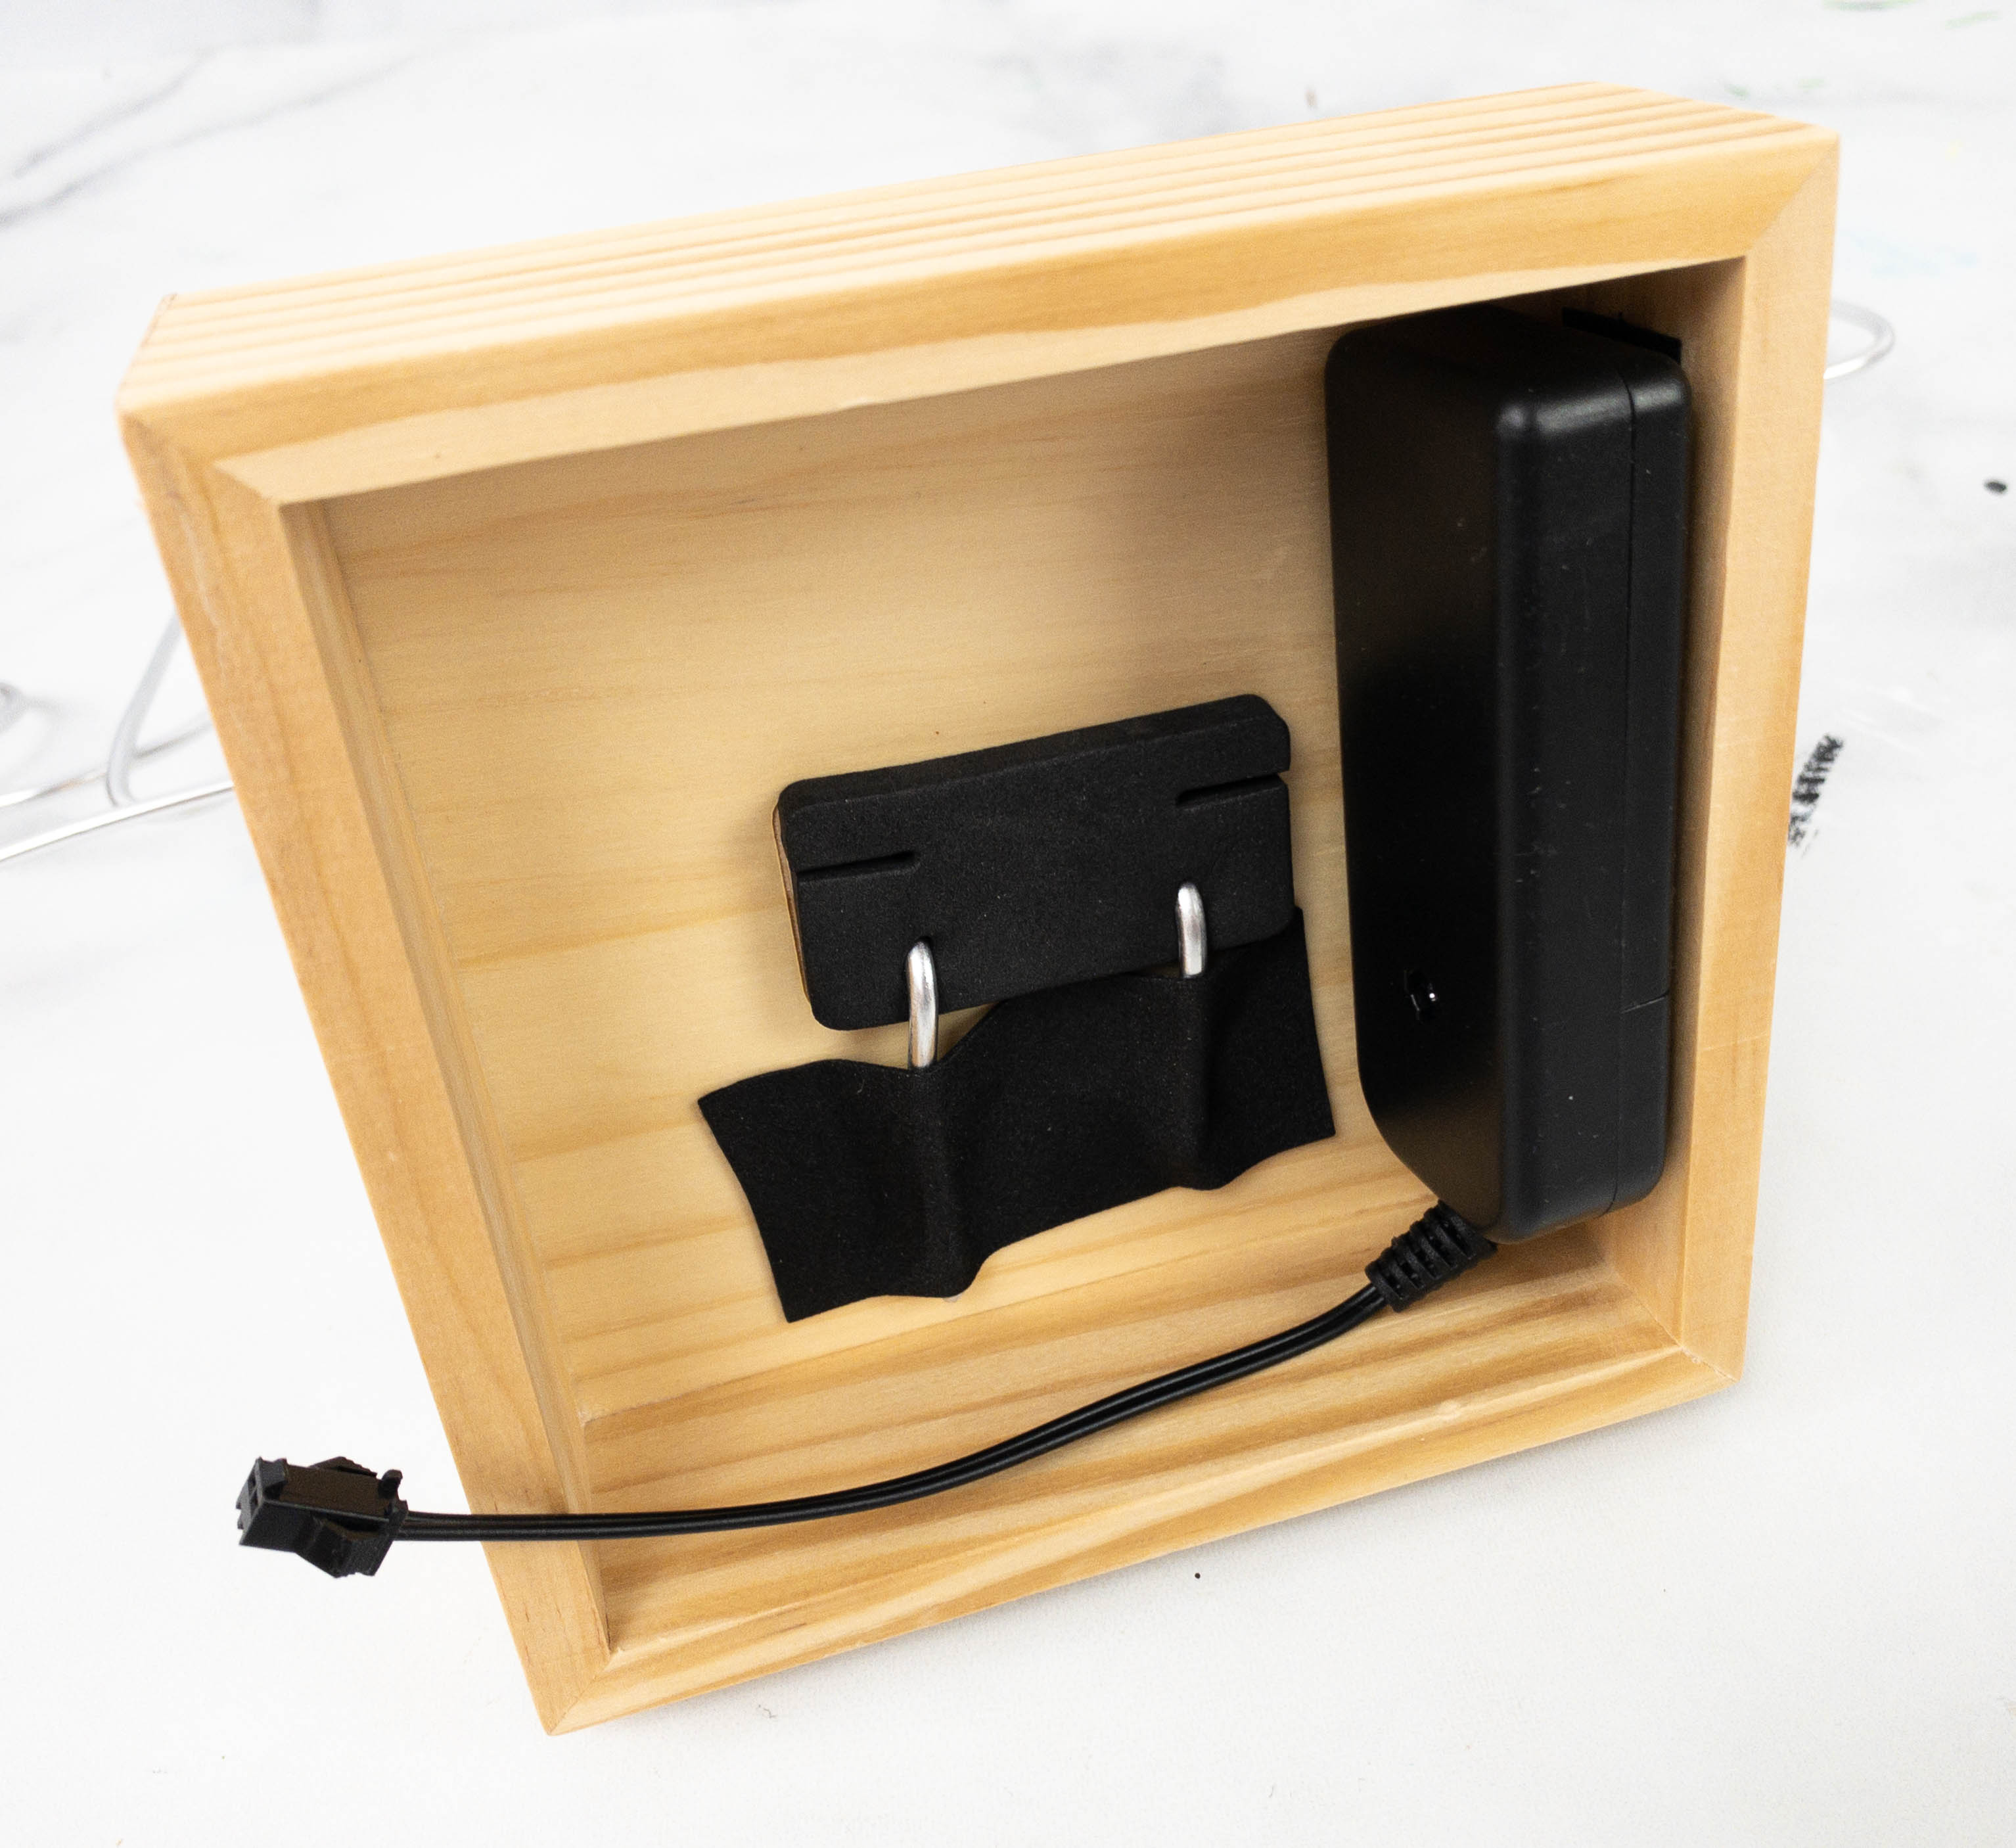
This is what the bottom of the base will look like once you’re done. The next step is to illuminate the design and make the sculpture glow! Connect the EL wire to the battery pack to test the lights and, once they’re good to go, disconnect them to start working. I received two colors of EL wires: white and green. I opted for the white one.
Take the end of the EL wire and use the wire cutter to trim the clear little plastic nub. Push this end through the bigger hole on the left side of the base. This make take some effort and if the rectangular foam isn’t aligned properly, you can use a pencil tip to create a space and make a clear passage for the EL wire. When you got the end through, just pull all the wire through but leave the connector on the base. After that, use the small pattern on the template to check on which parts of the design needs to be blacked out. To do this, follow the black out pattern and use the washi tape to cover the EL wire, making sure you overlap each turn so there will be no light peeking through.
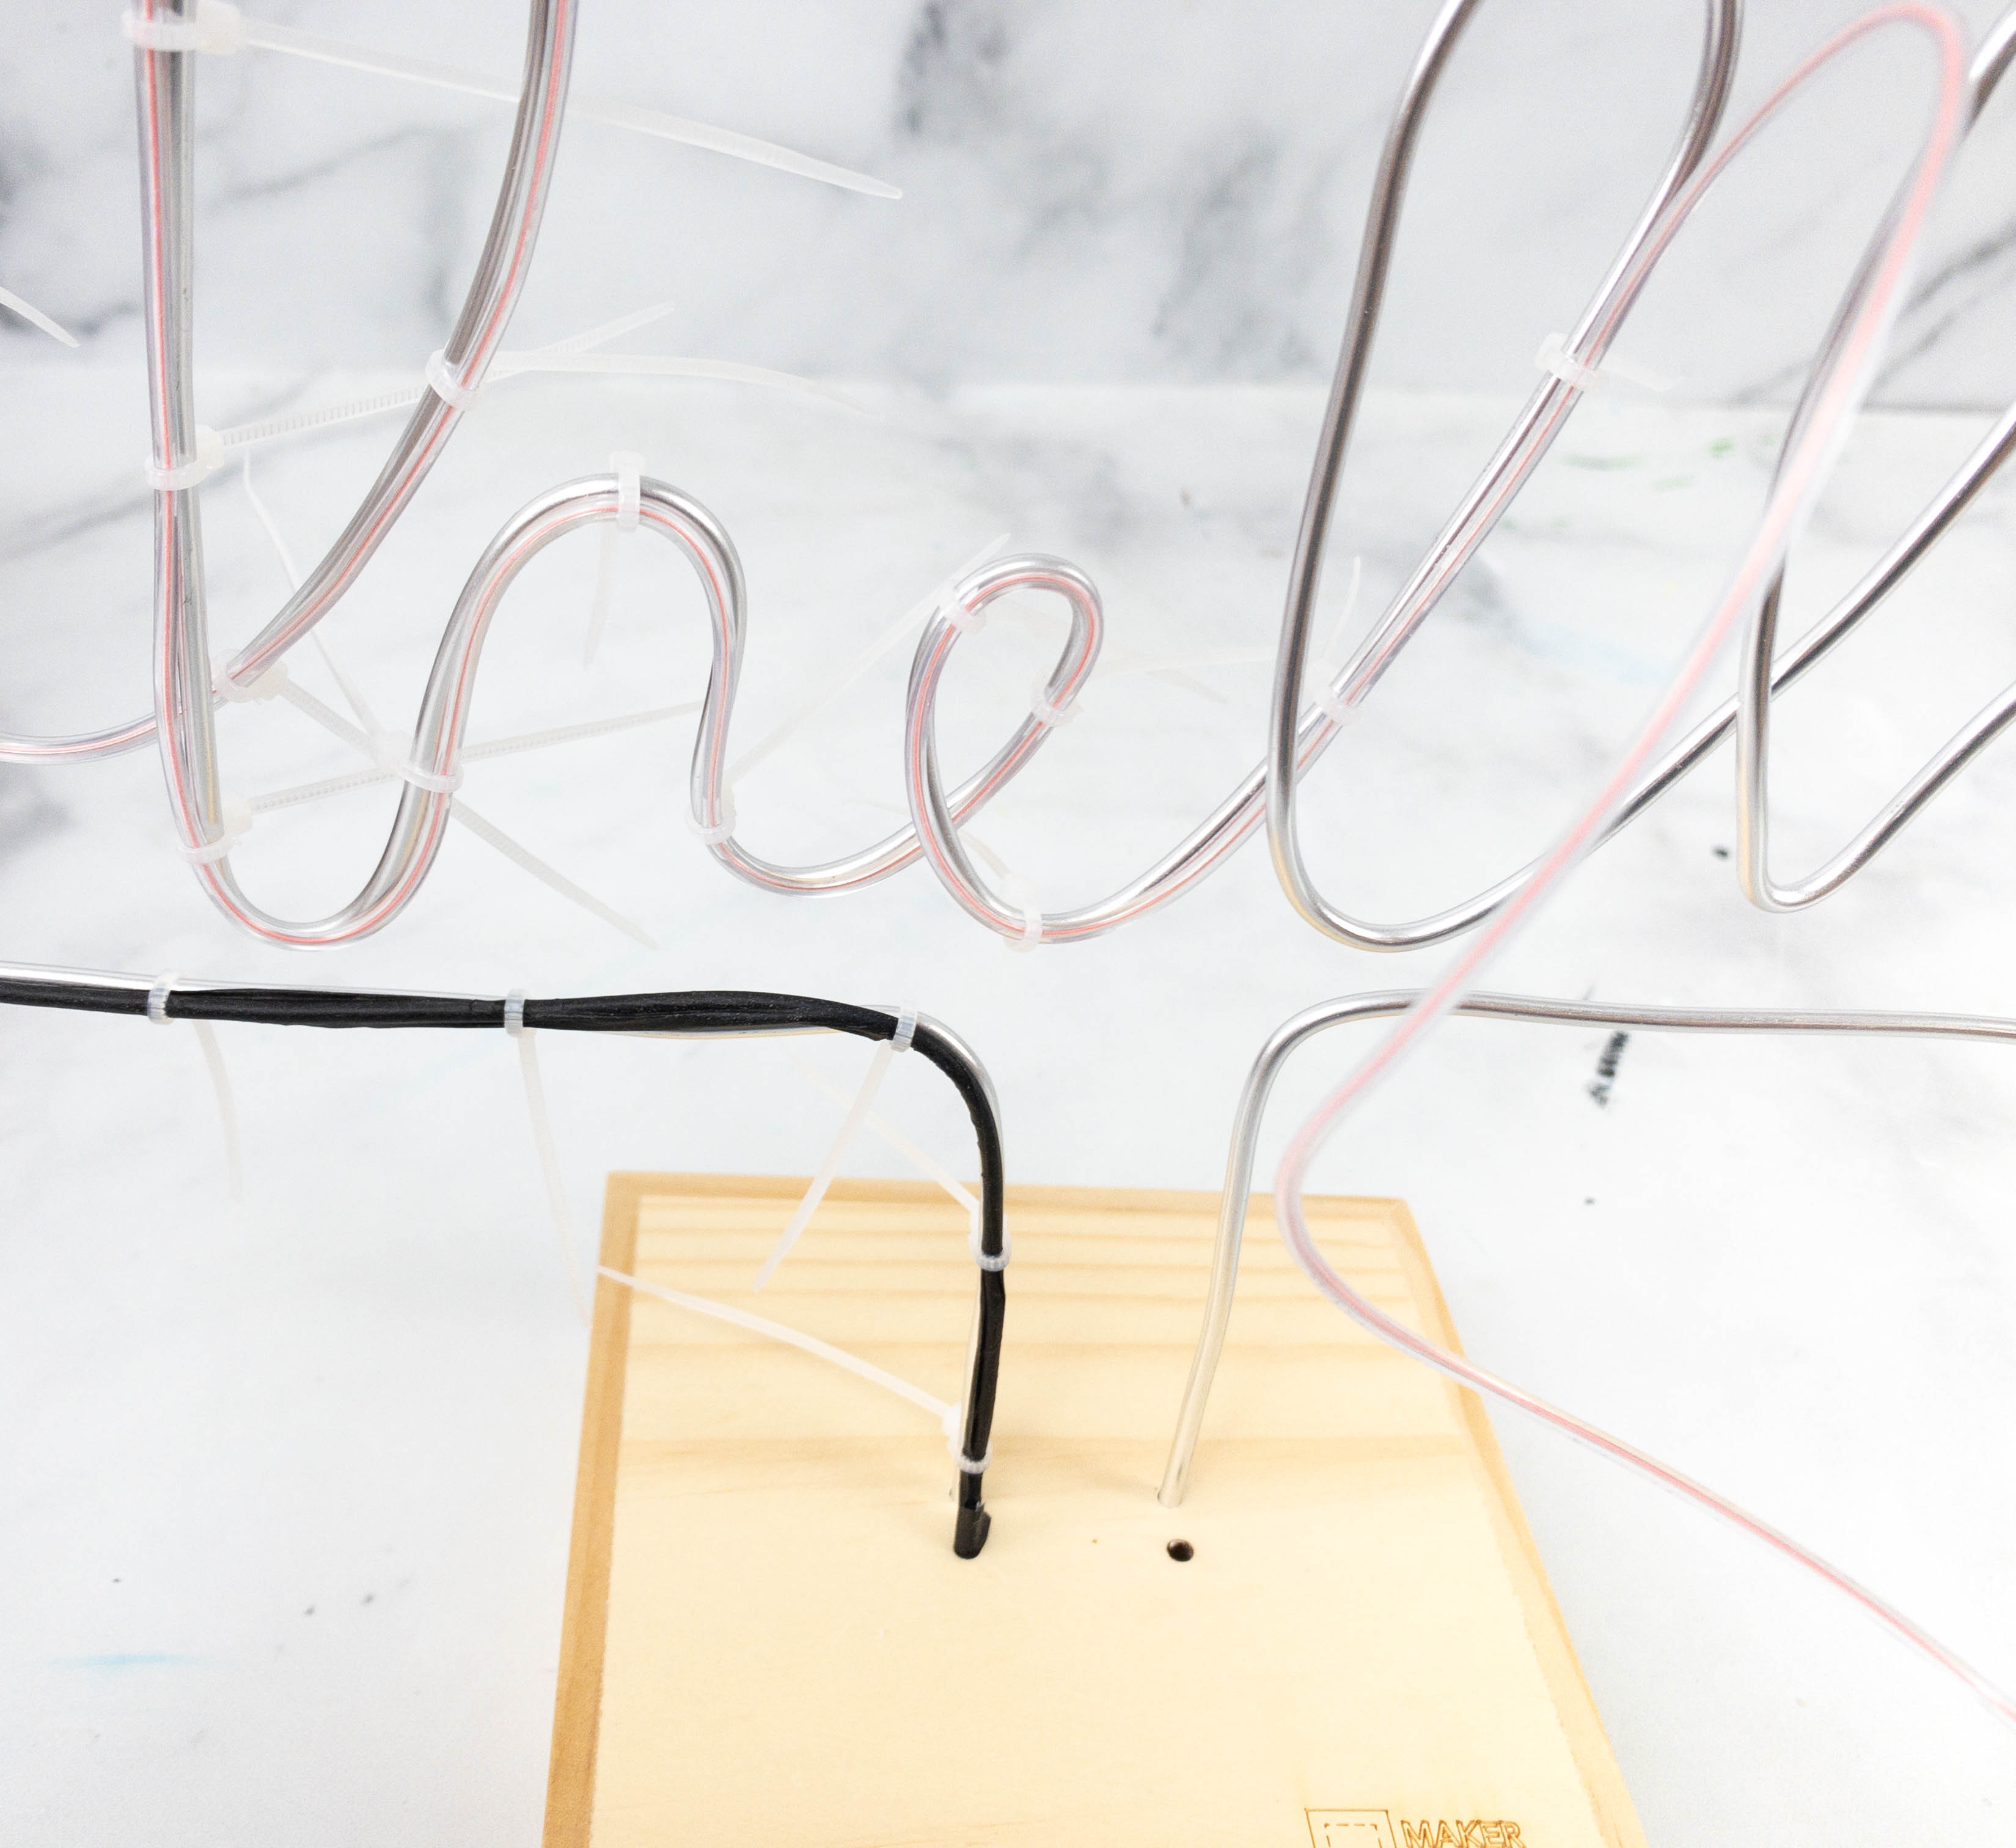
Use the zip ties to attach the EL wire to your sculpture. If there are other spaces that needs to be blacked out, just do it as you get to them. Just keep attaching the EL wire and securing everything with a zip tie in every inch until you reach the end of your design. Make sure the EL wire is tightly attached to the aluminum wire especially on the parts where it is bent and curved. You may use more zip ties on those parts. After you’re done with connecting the EL wire to your design, you need to hide the excess EL wires by threading the end through the right bigger hole on the wooden base, grab the electrical tape, and fold it over the end of the EL wire. From the other end, get the plug of the EL wire and plug it in the battery pack. Use the foam stickers to stick the excess wires under the base so it looks neat and they’re out of your way.
Once that’s done, secure and tighten the zip ties before trimming them off.
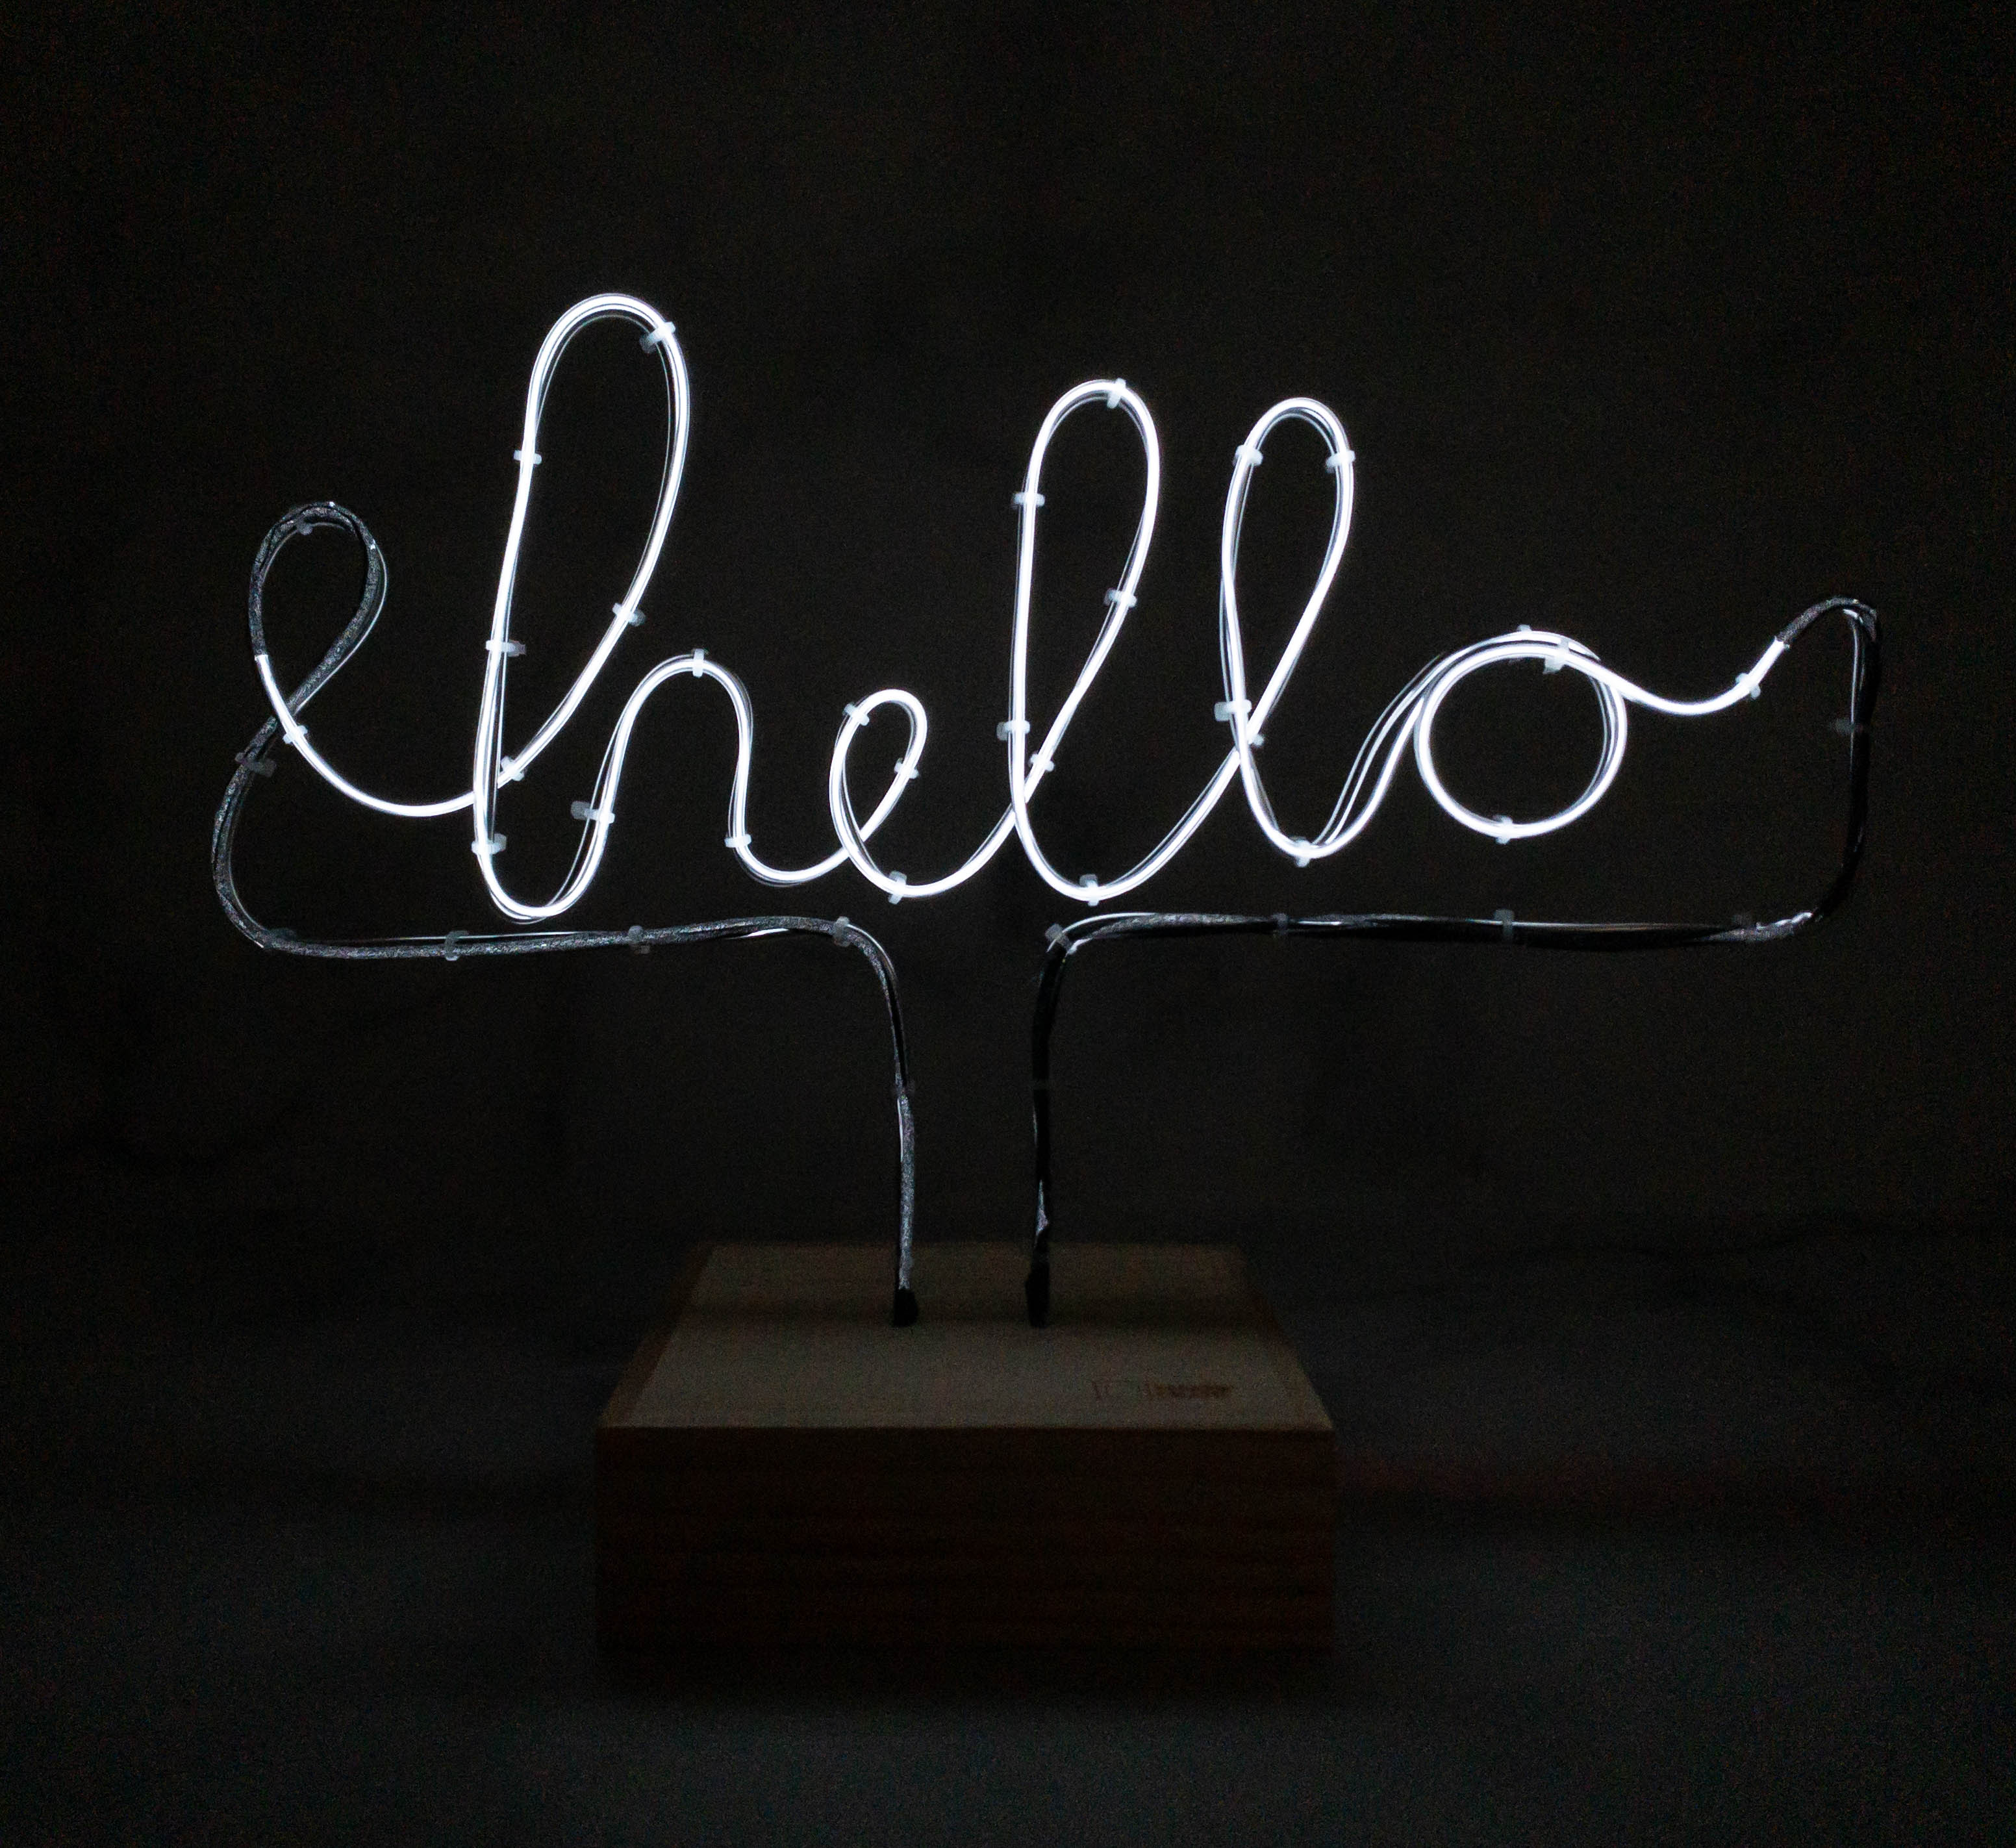
Here’s what the finished project looks like in the dark! It’s so amazing!
You can see how the washi tape was able to black out parts of the design so it stands out more!
This is a really fun project and there were left over pieces that I can use for a new one! They only included one board and battery pack though, so you can just reuse them if you want a new design but right now, I’m really happy with the outcome – it will make a great desk display!
Maker Crate projects are always fun and exciting! All the materials are already included in the box and they even provide step-by-step video tutorials on their website, so all you really have to do is to get started. This month, the project is about making wire art. It seems complicated in the beginning but it’s actually easy and I really enjoyed it. Seeing the final product is also fulfilling! I love how my “hello” wire art turned out and it’s now displayed at home! If you’re a crafter, this subscription is a great way to get new projects to keep you busy. The projects are ideal for both teens and adults, and it’s up to you if you want to work with the project on your own or share it with the whole family. Also, the final products are often useful and functional, so you don’t have to worry about them just turning into clutter after.
What do you think of this Maker Crate project?


Comments
Do you know what gauge the wire is that comes in the kit?