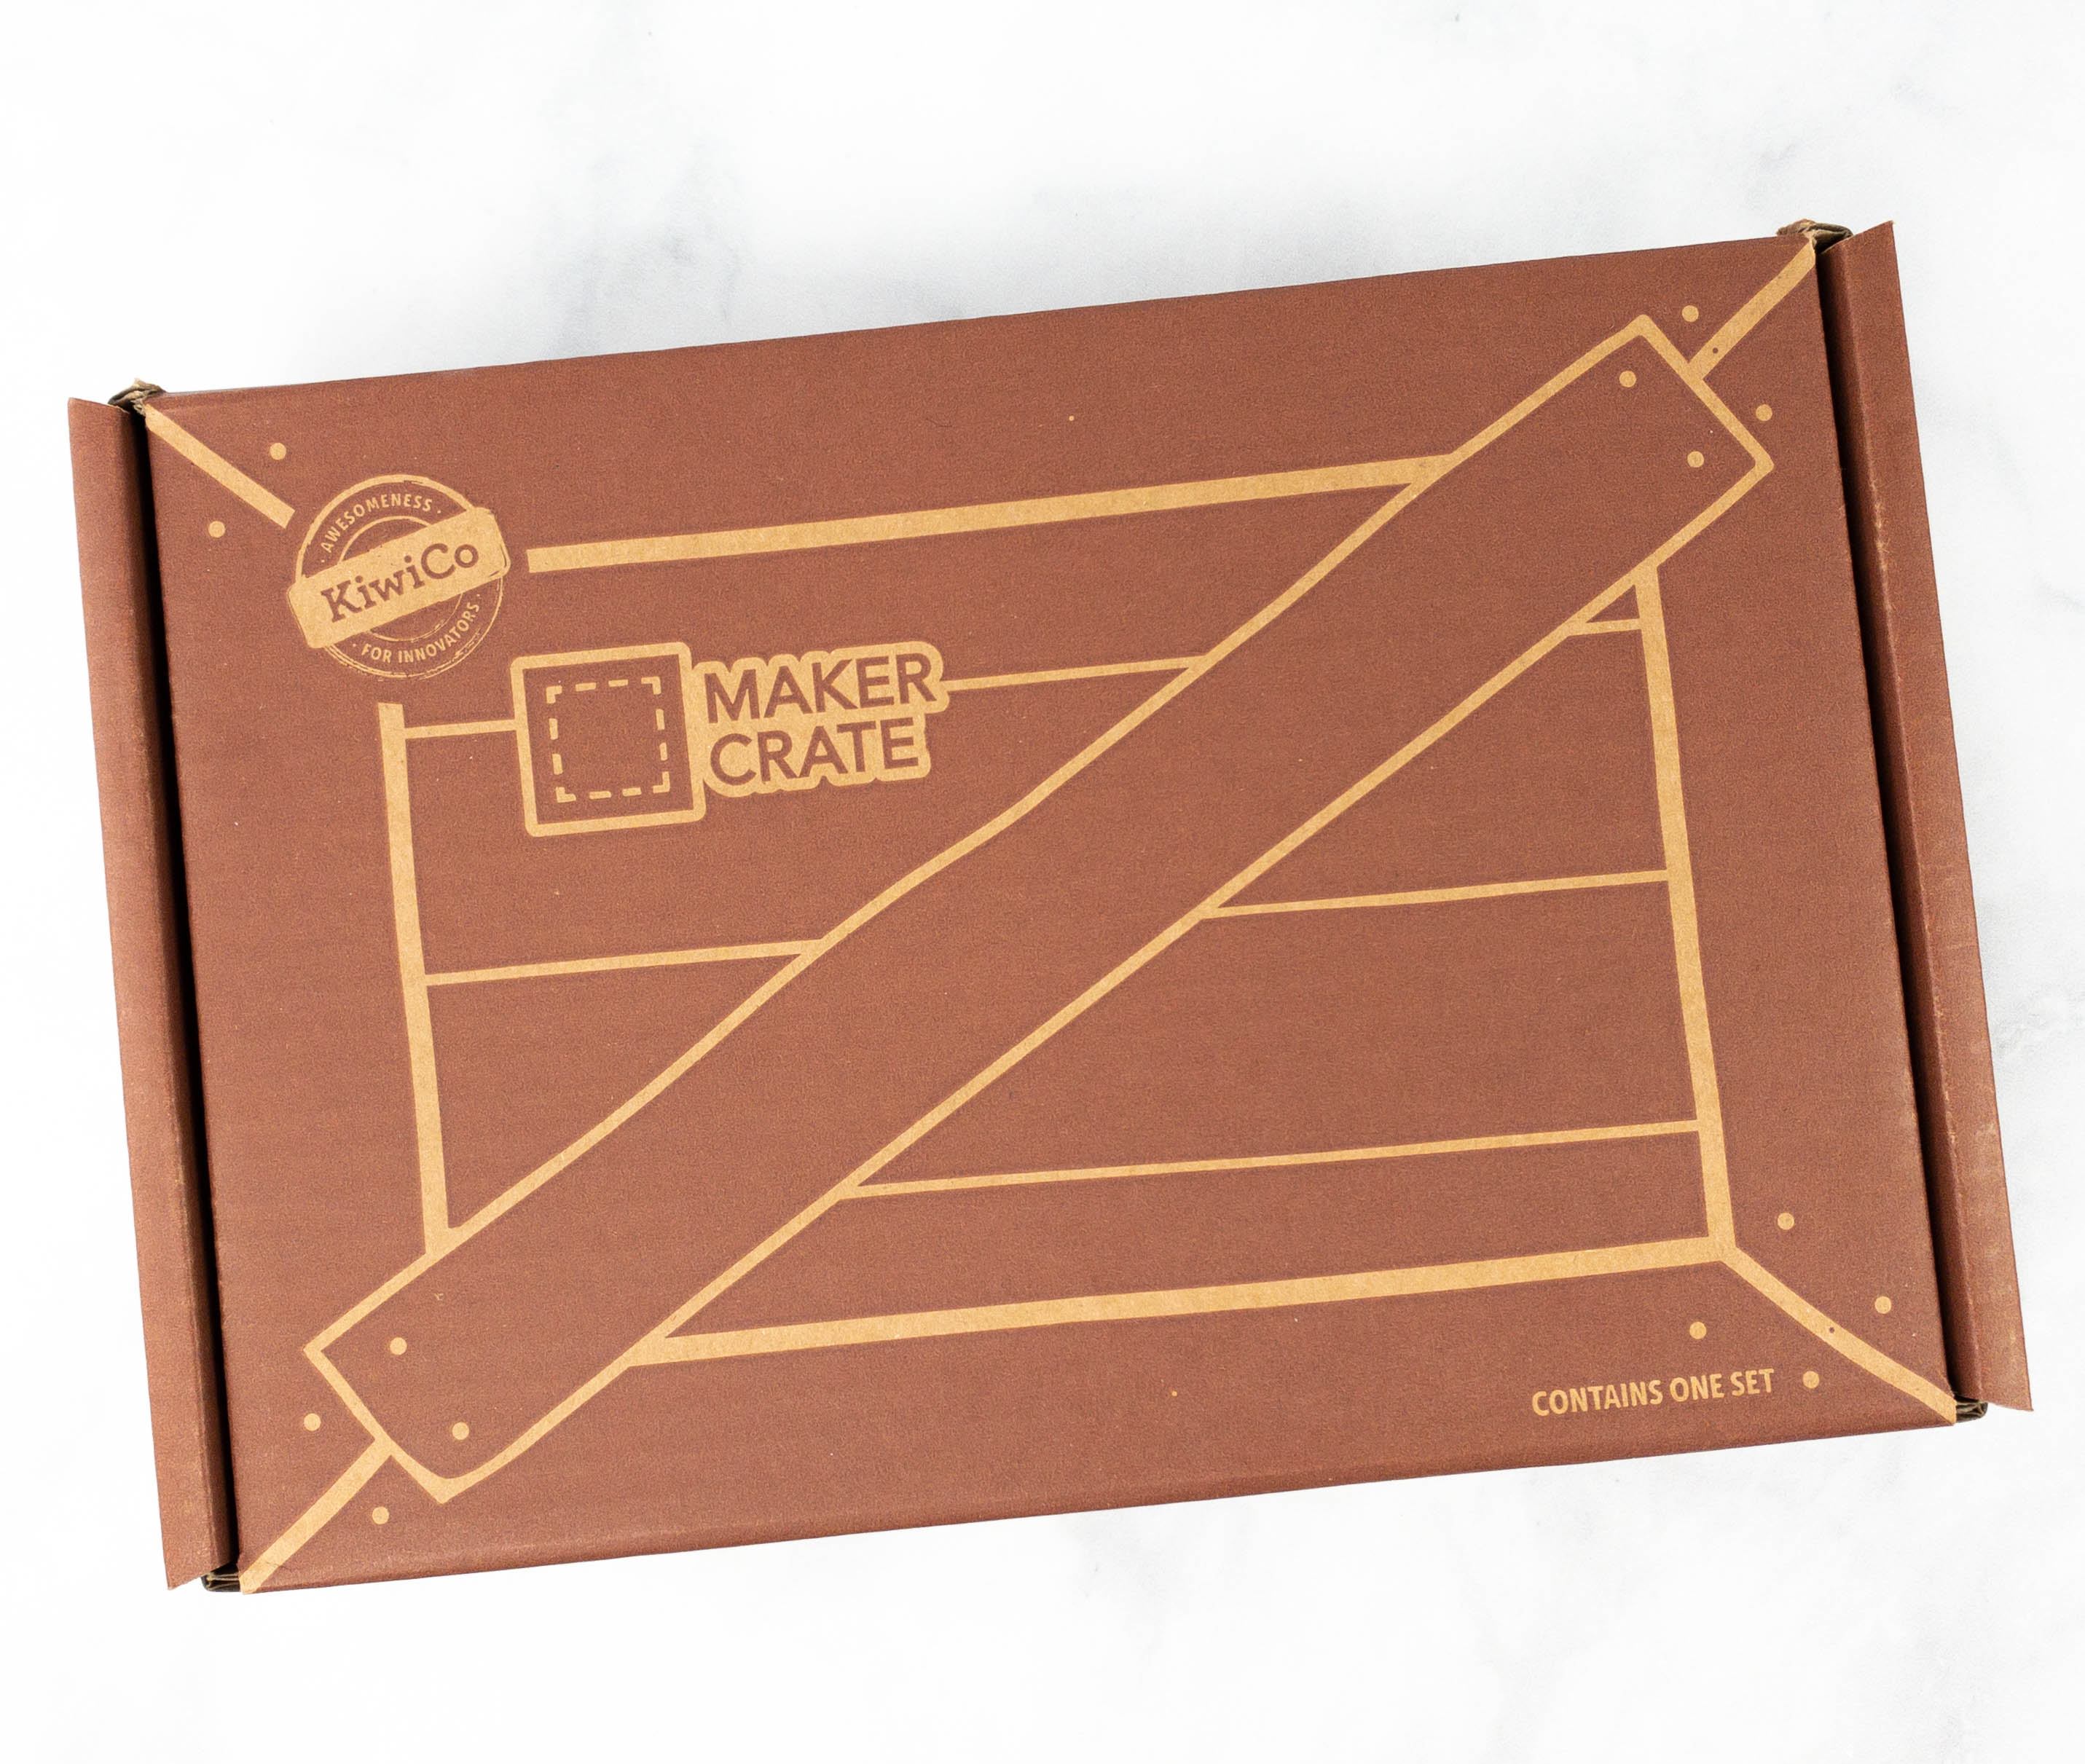
Maker Crate is a monthly craft box from KiwiCo, which provides makers and crafters ages 14 to 104 with projects that introduce new craft techniques and design tools. Each box will include materials and tools for the project plus a booklet that shares the real-world applications and the history behind each art form or design. They also promise that the end product for each project is always fun and functional. Some of the skills you can learn through this subscription may include paper marbling, metal sculpture, dip-dye painting, macrame, loom knitting, hand lettering, embroidery, and more. The subscription is $24.95 a month, with free shipping in the US.
DEAL: Save 30% on your first month! No coupon code needed, just use this link to subscribe! (also valid on the other KiwiCo family subscriptions Kiwi Crate, Koala Crate, Panda Crate, Atlas Crate, Doodle Crate, Tinker Crate, and Eureka Crate).

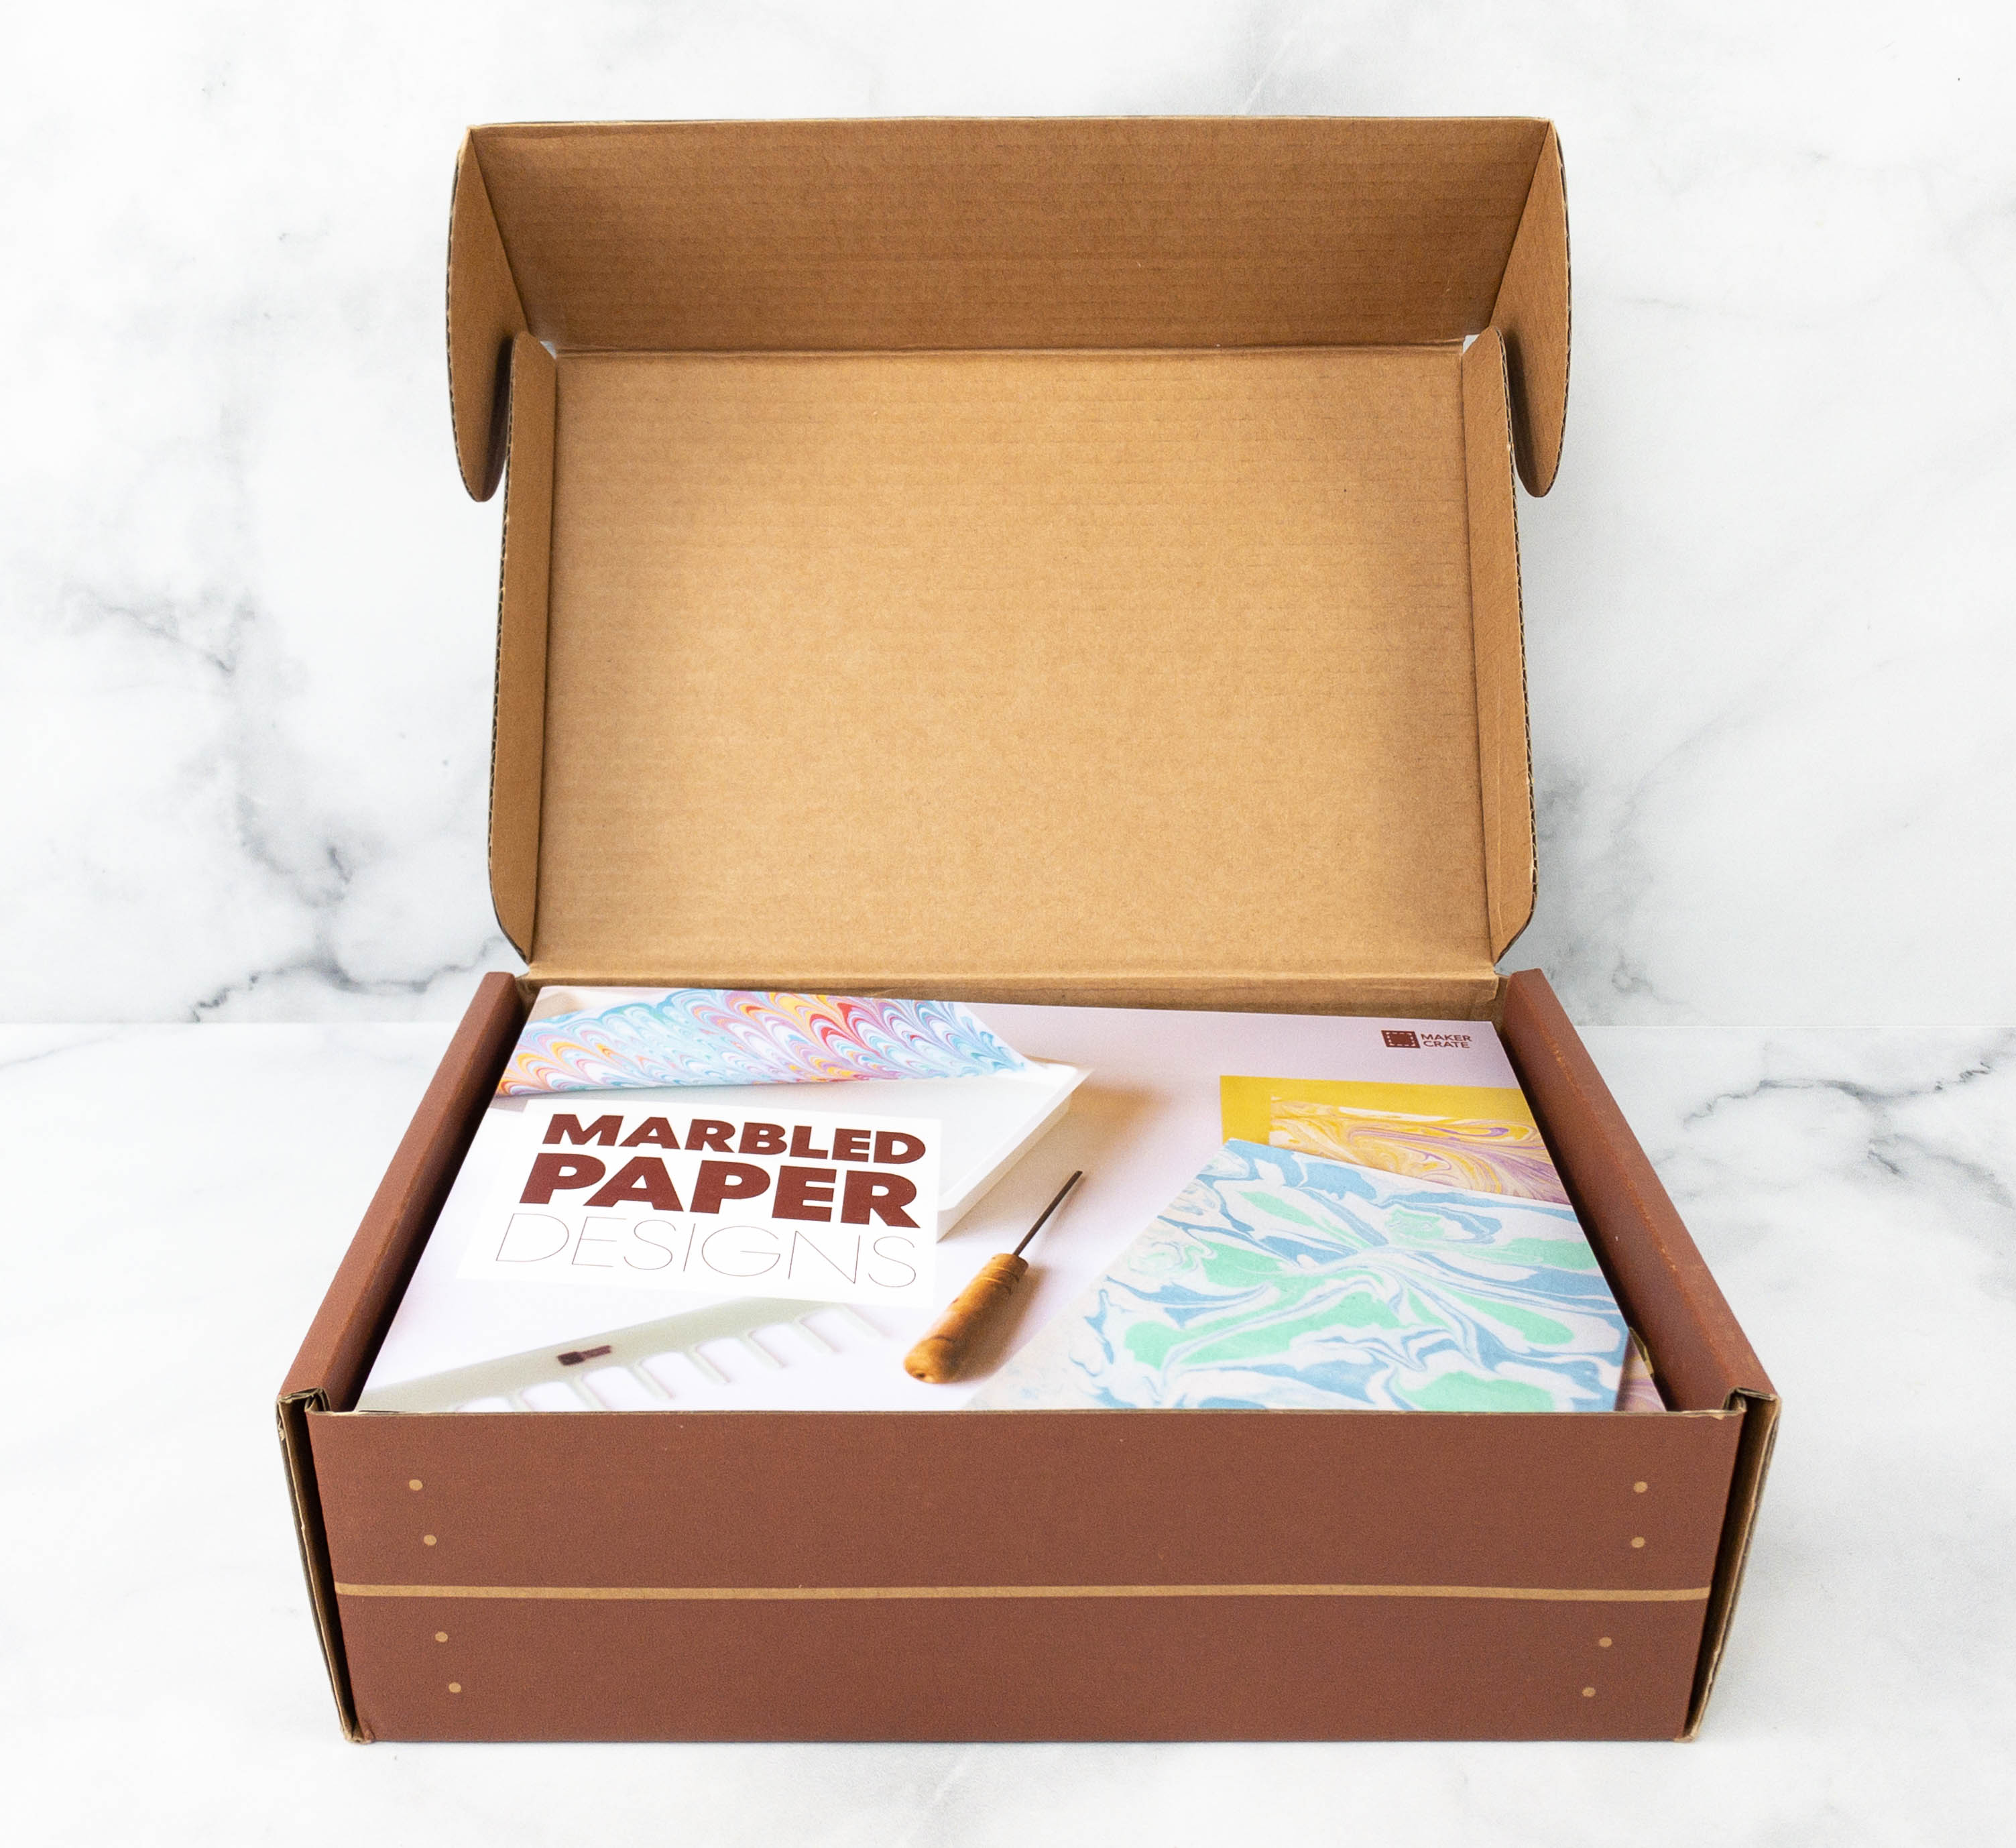
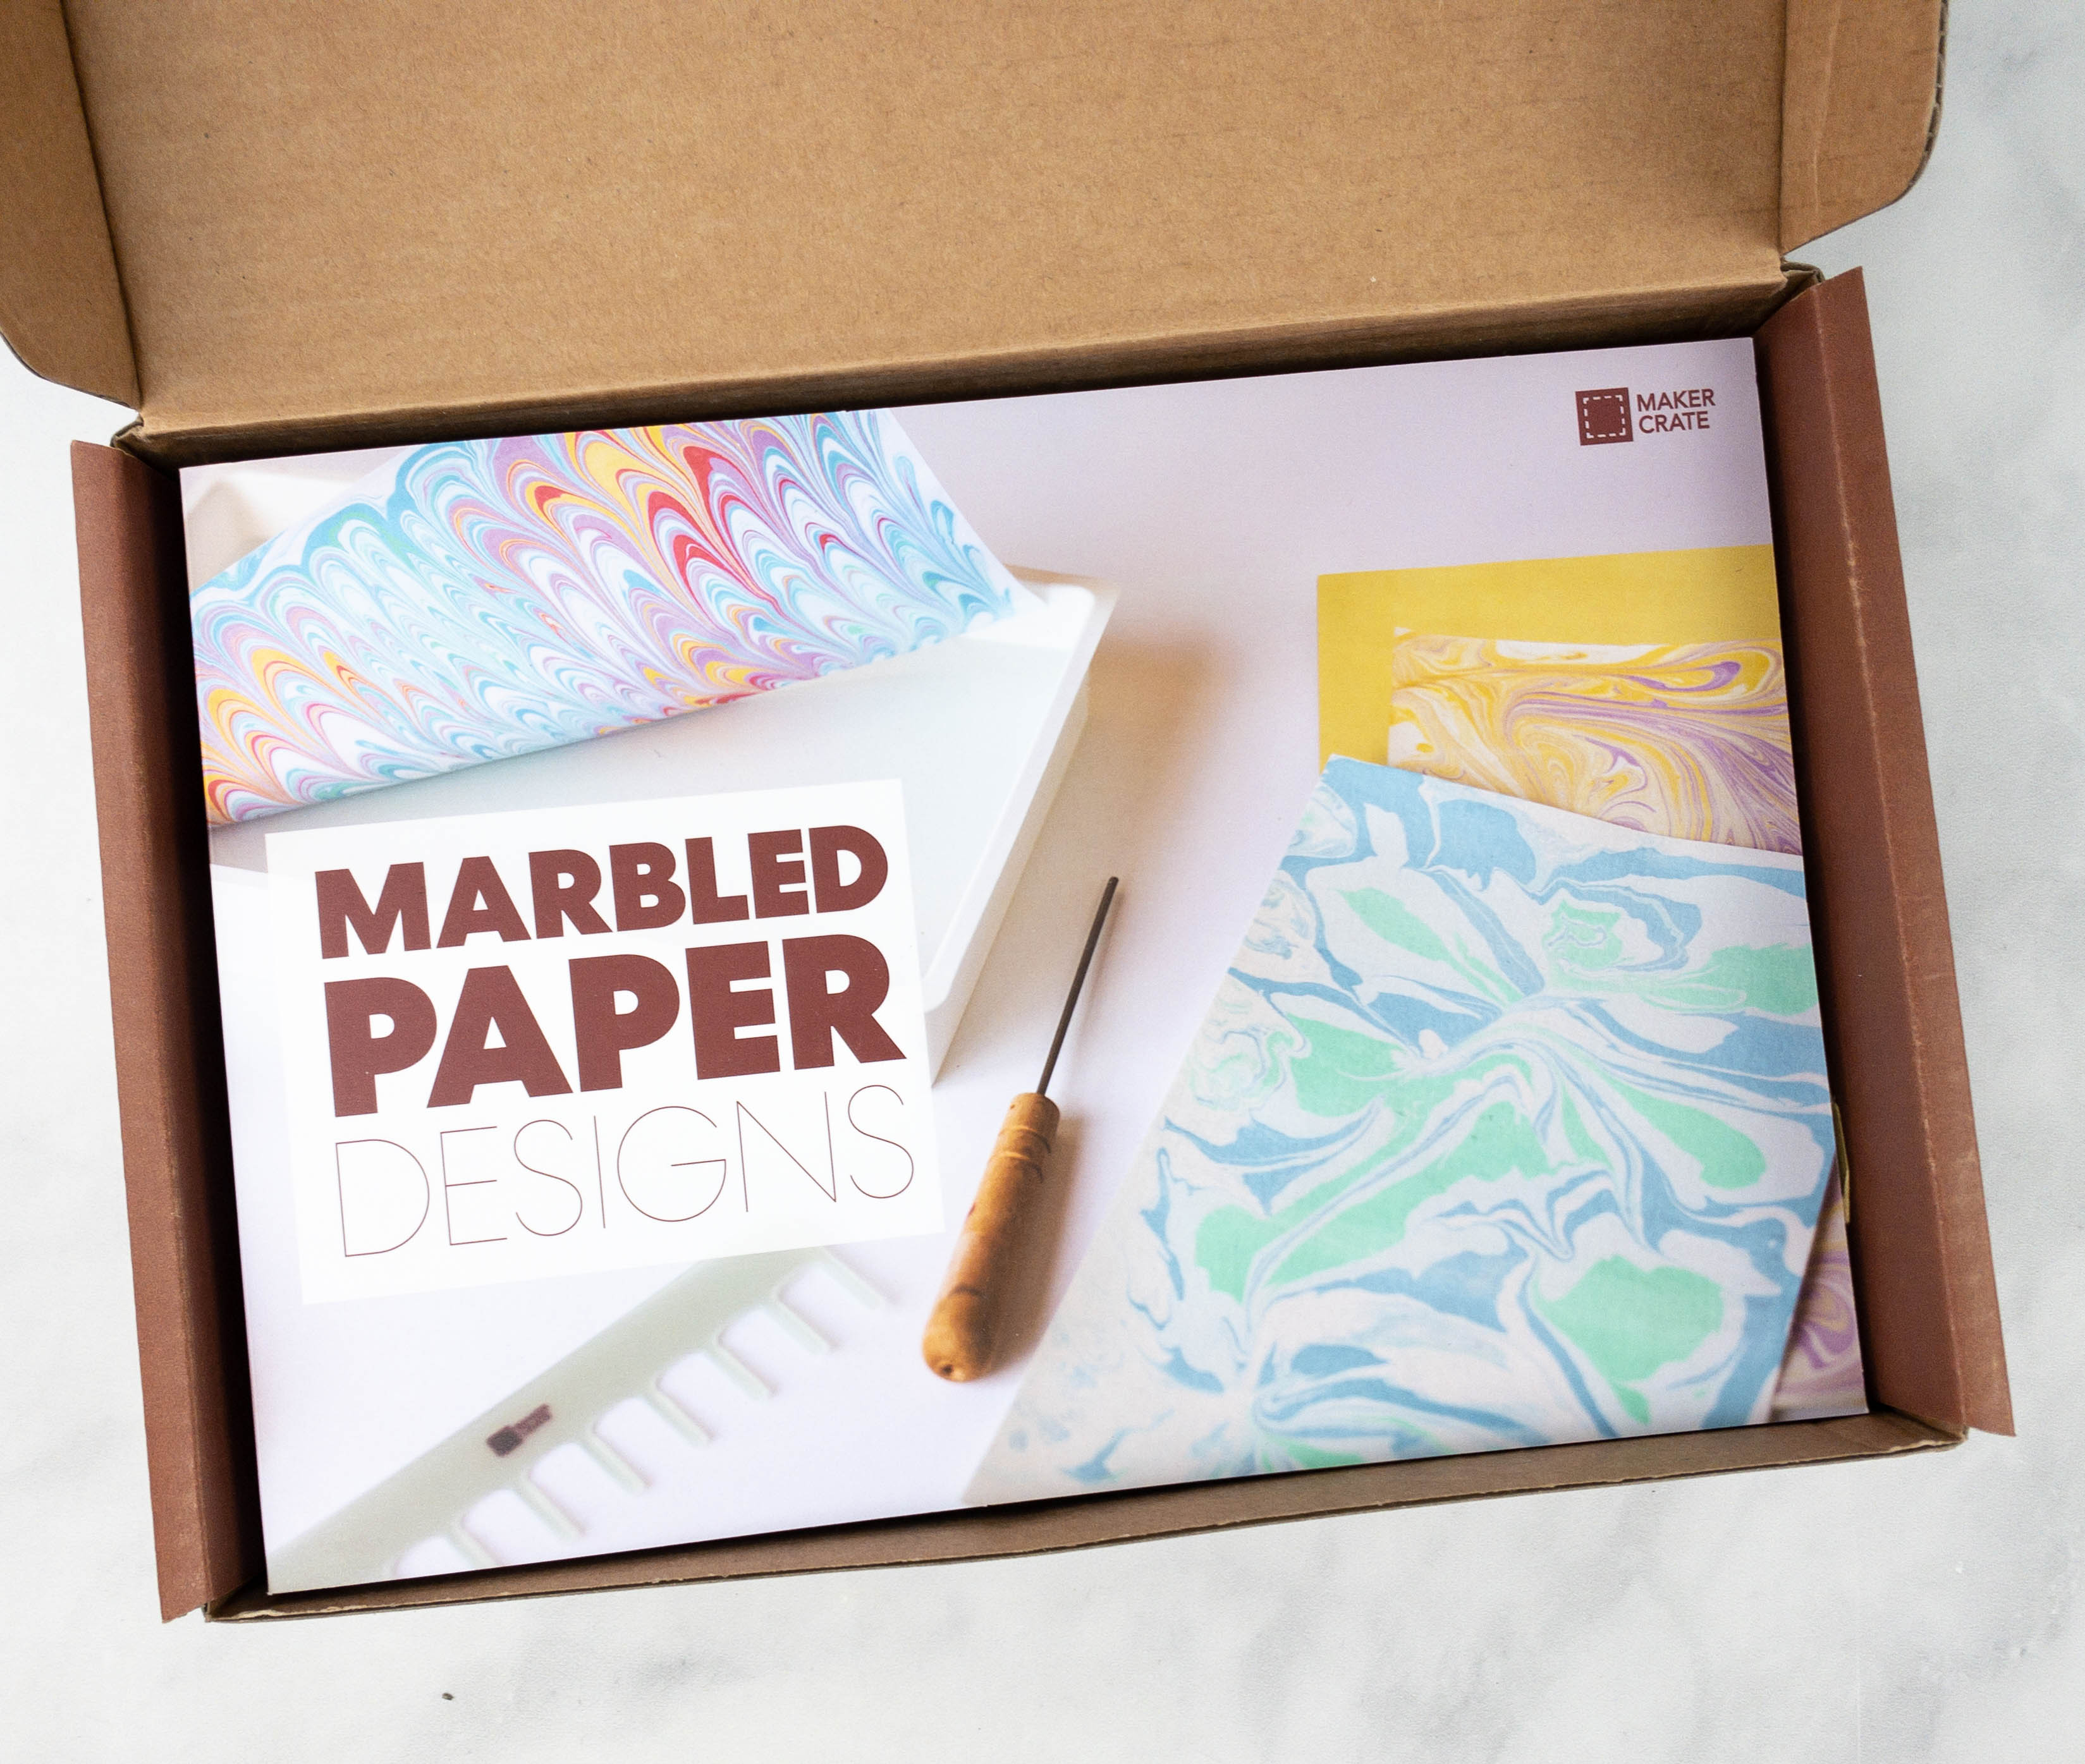
This month’s project is Marbled Paper Designs!
Discover paper-marbling techniques and get creative designing custom stationery!
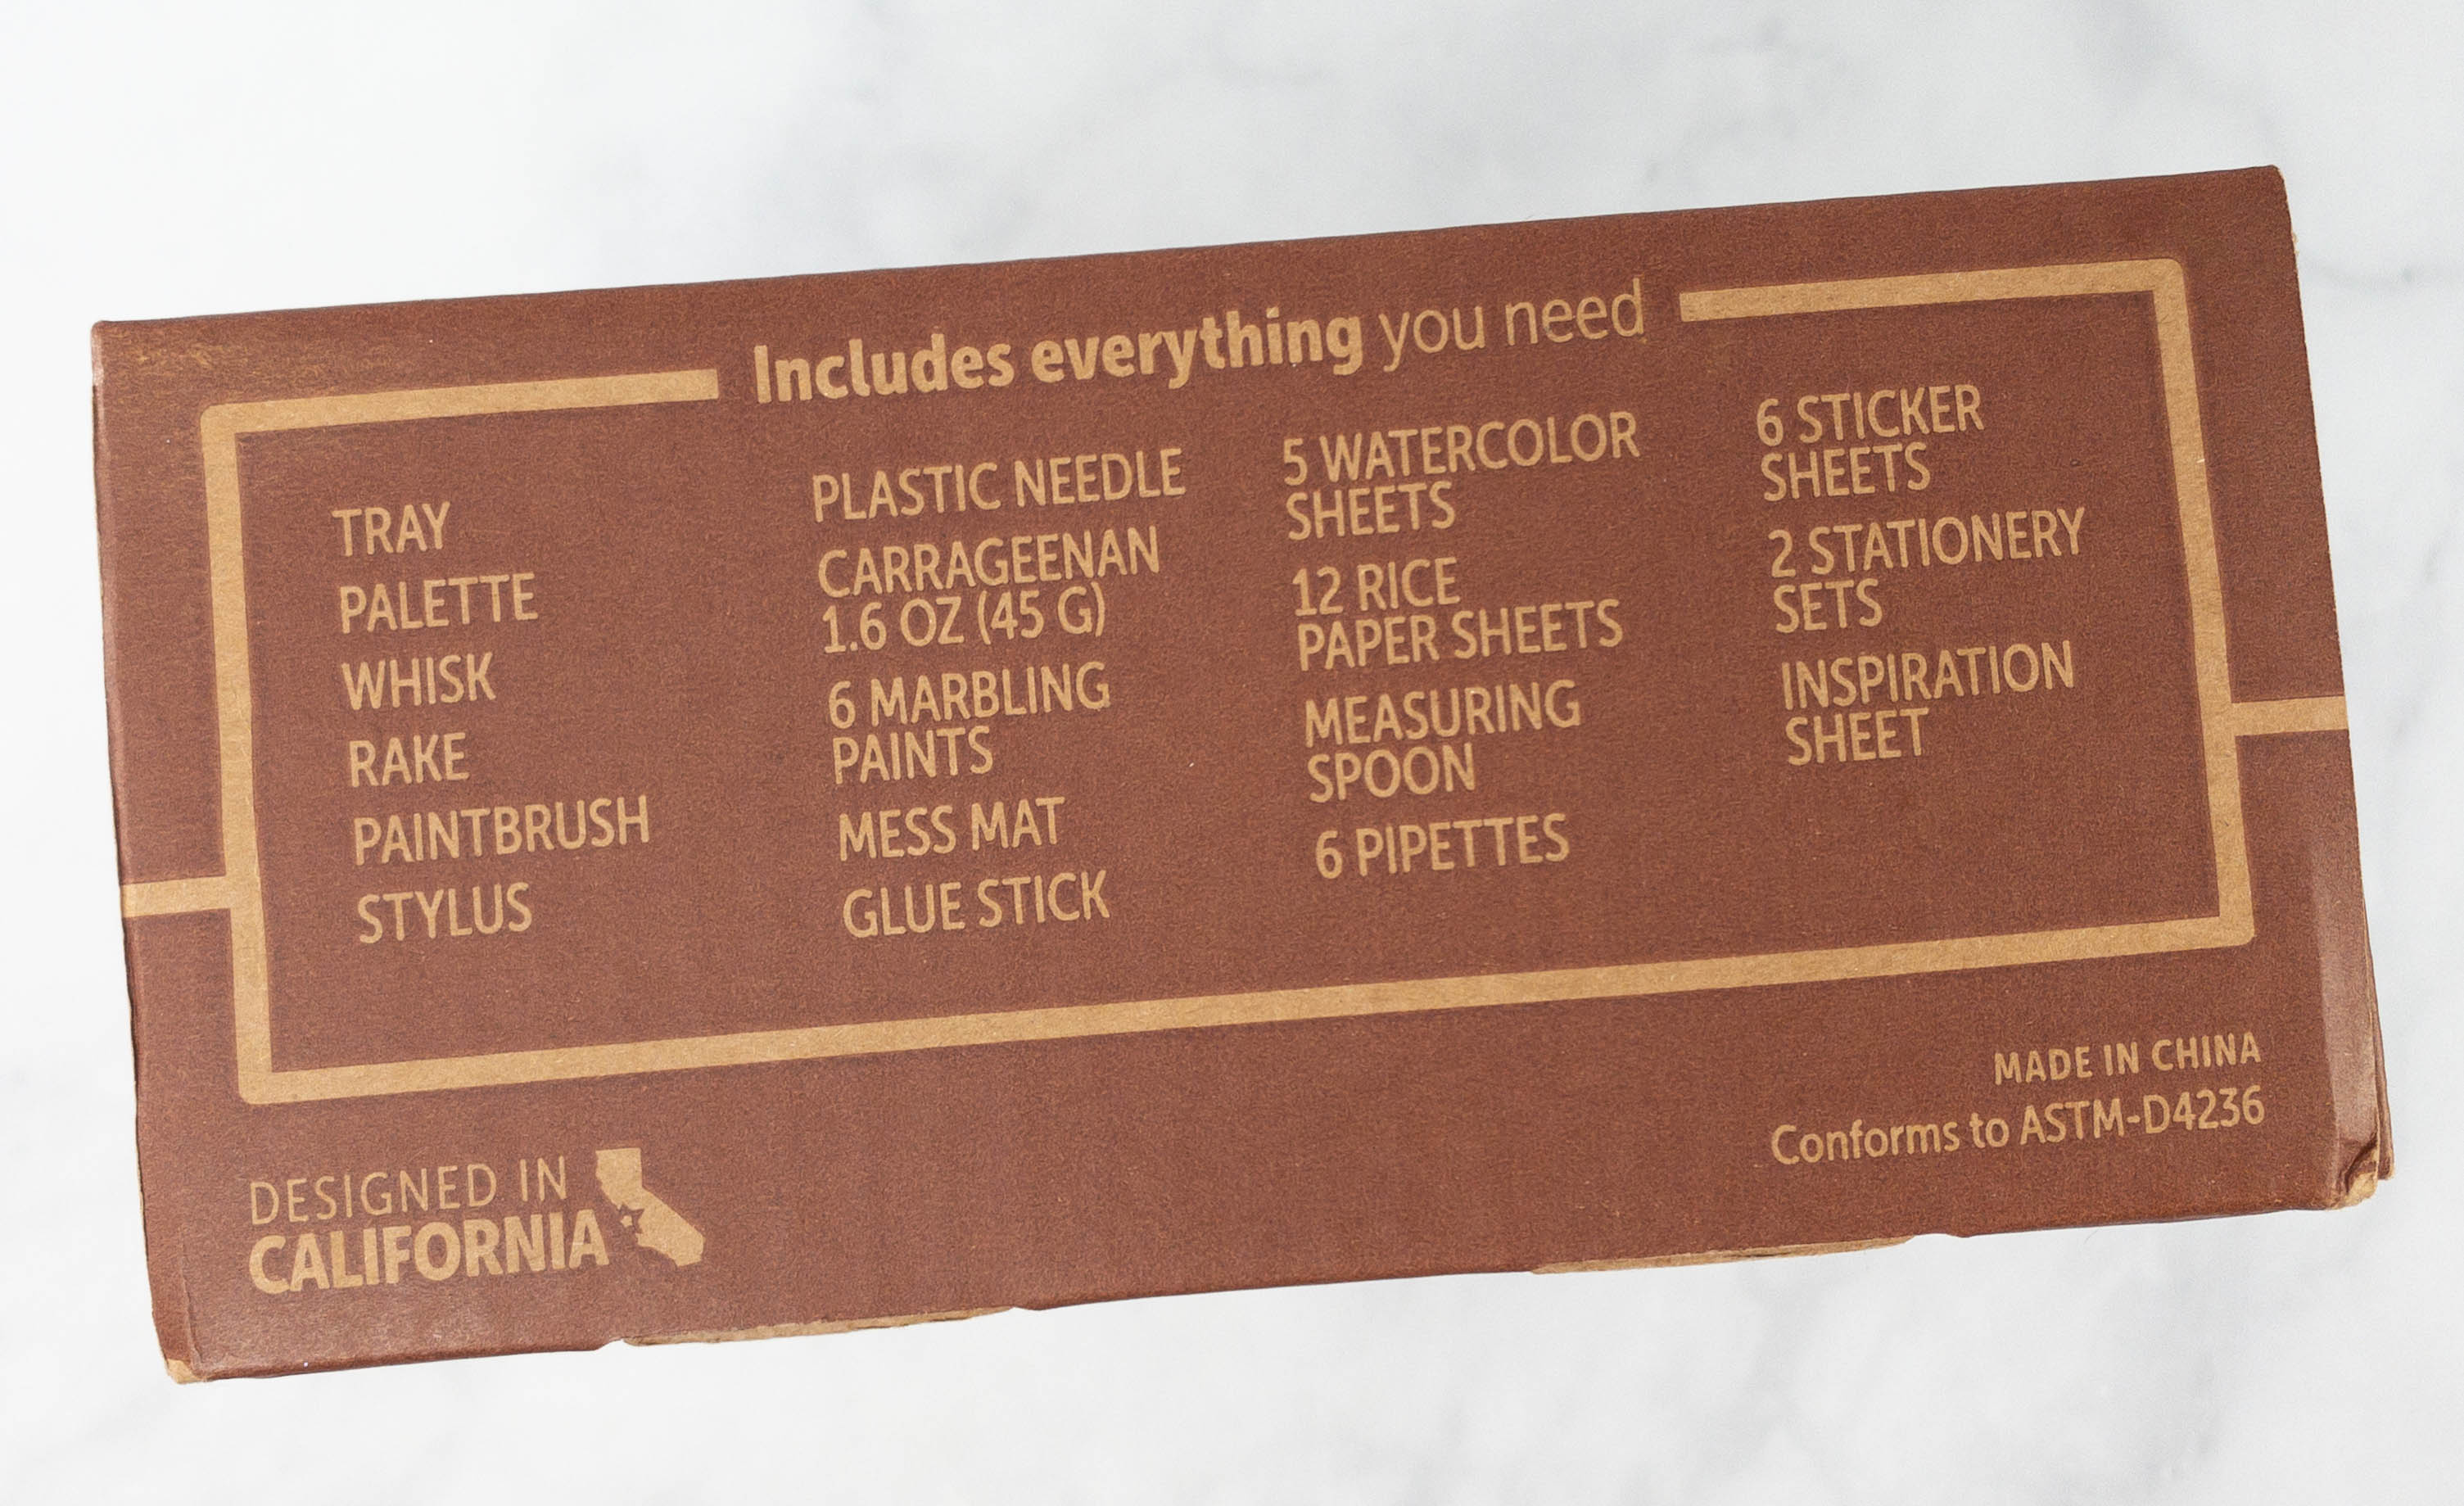
One side of the box lists all the materials included for the project.
Maker Crate includes all the necessary supplies for the featured activities.
On top of the materials is a card featuring this month’s project!
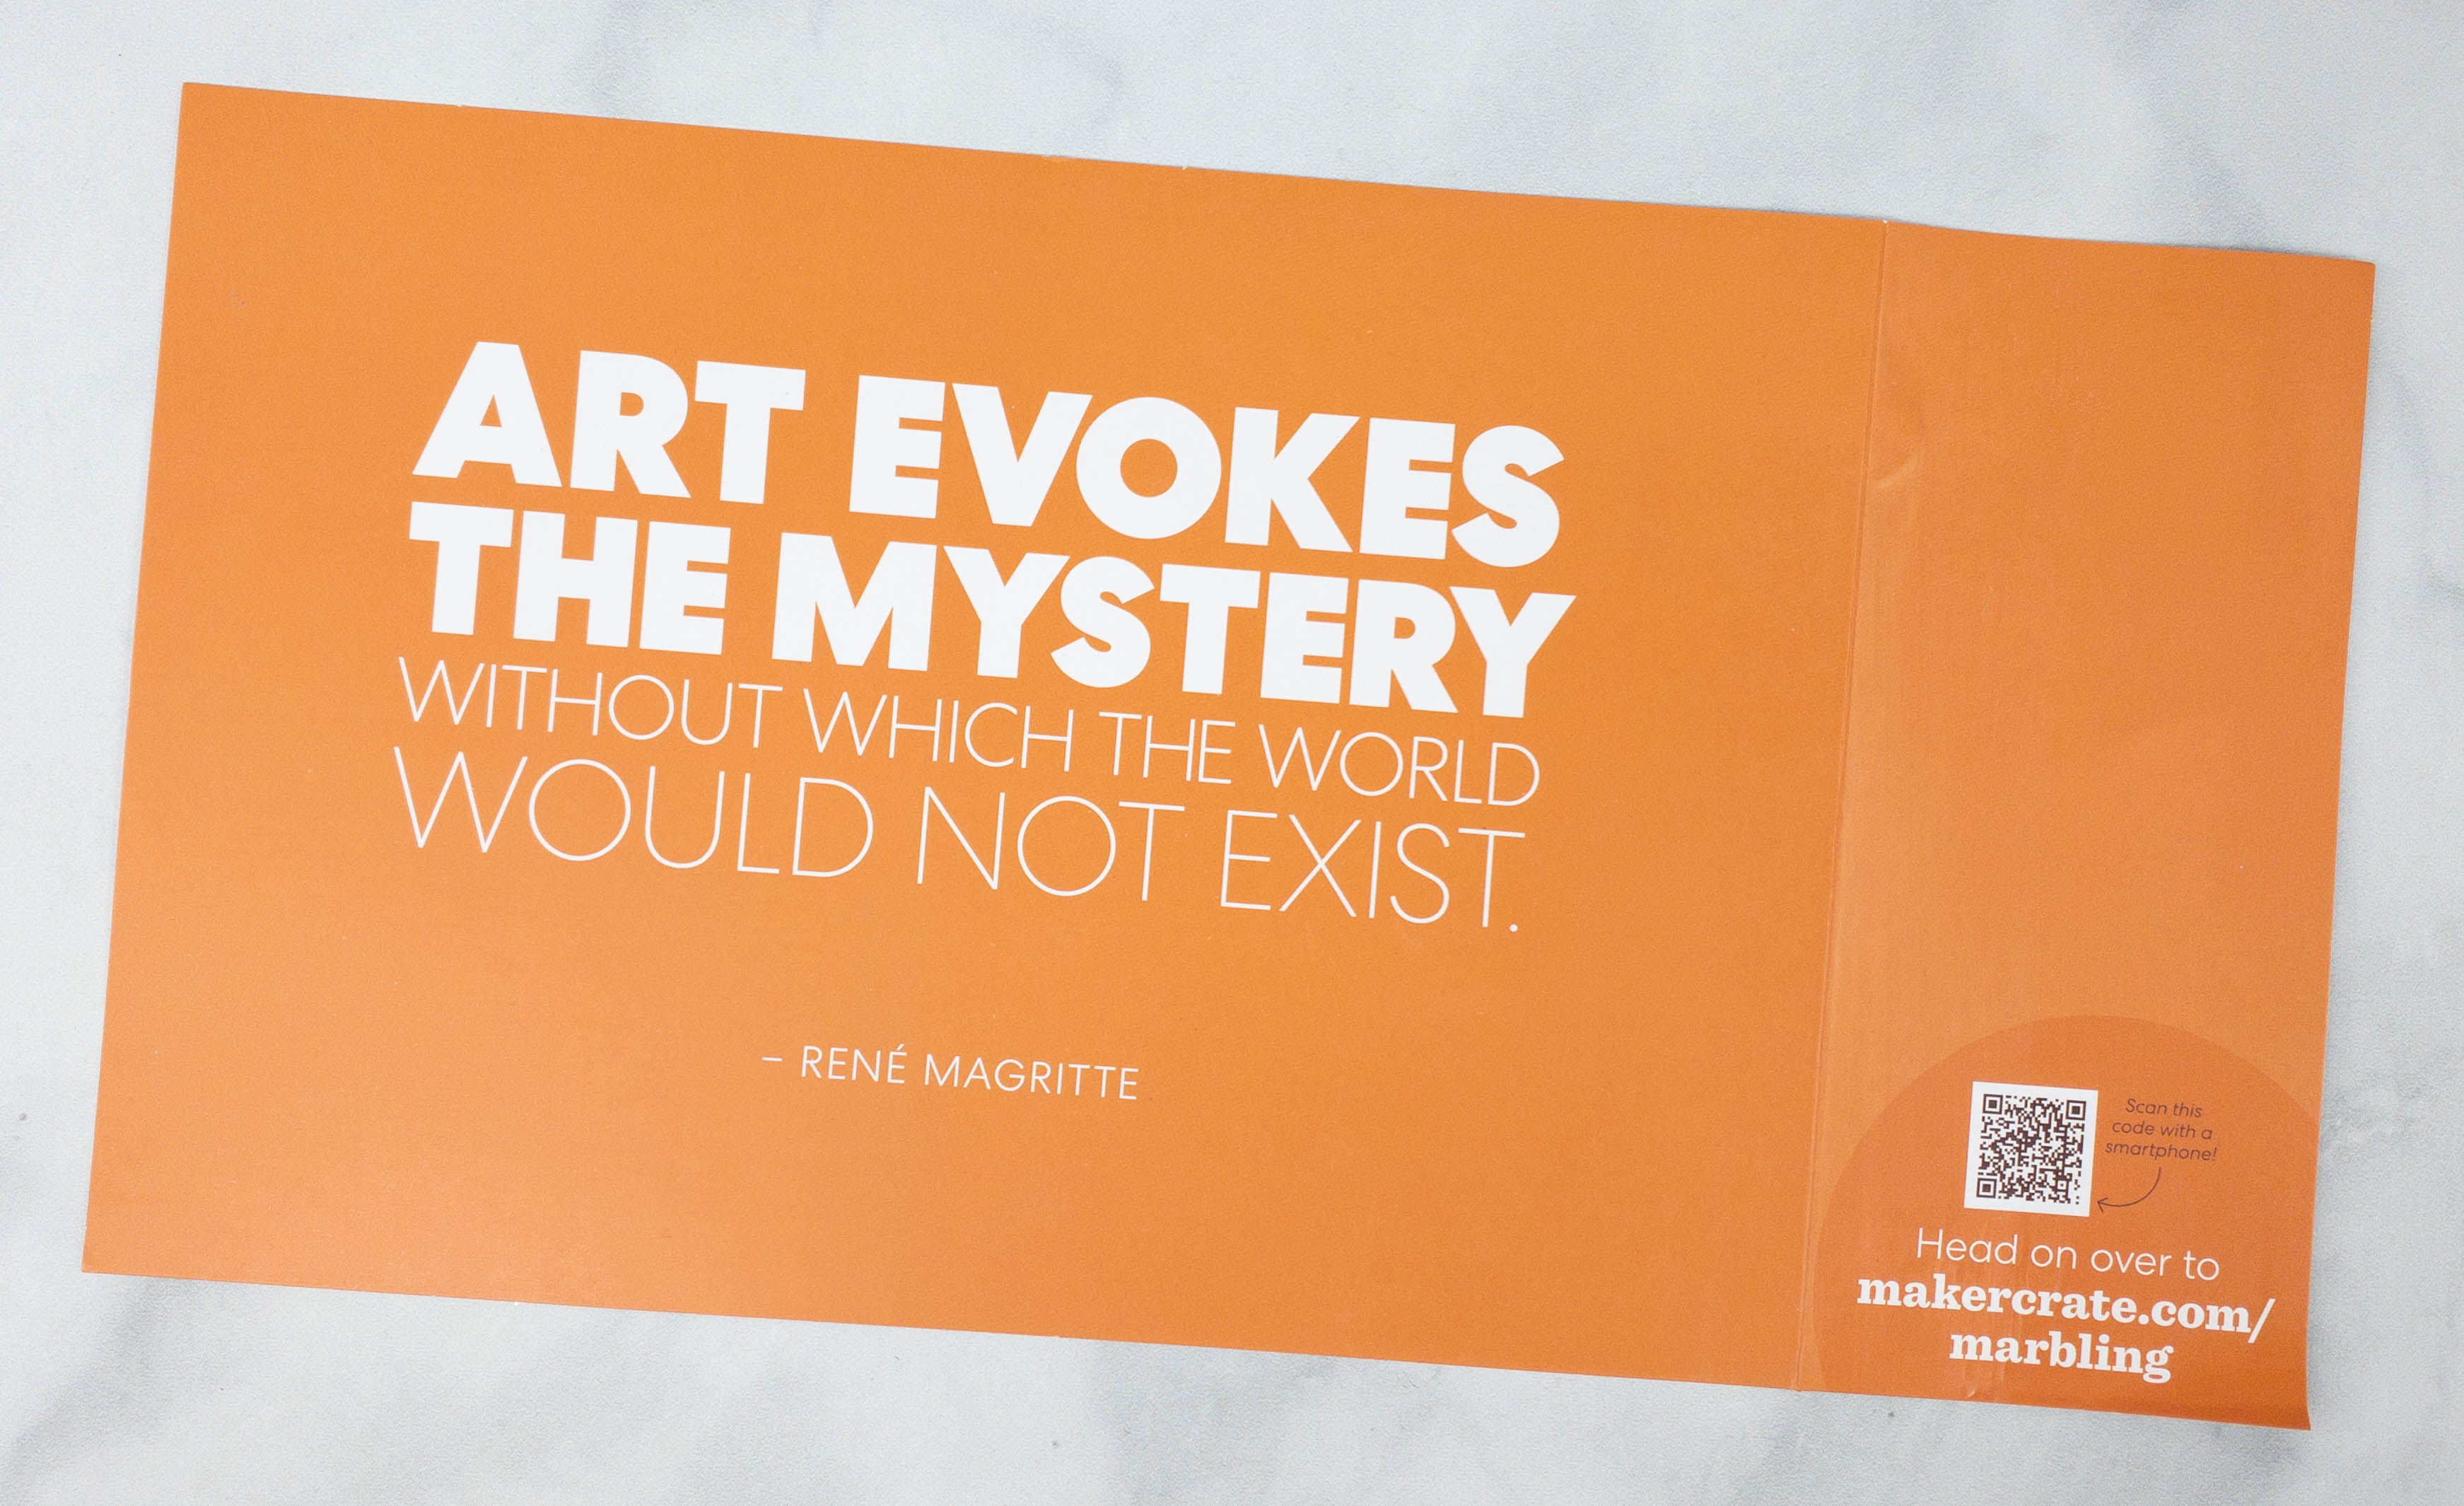
Art evokes the mystery without which the world would not exist. – René Magritte
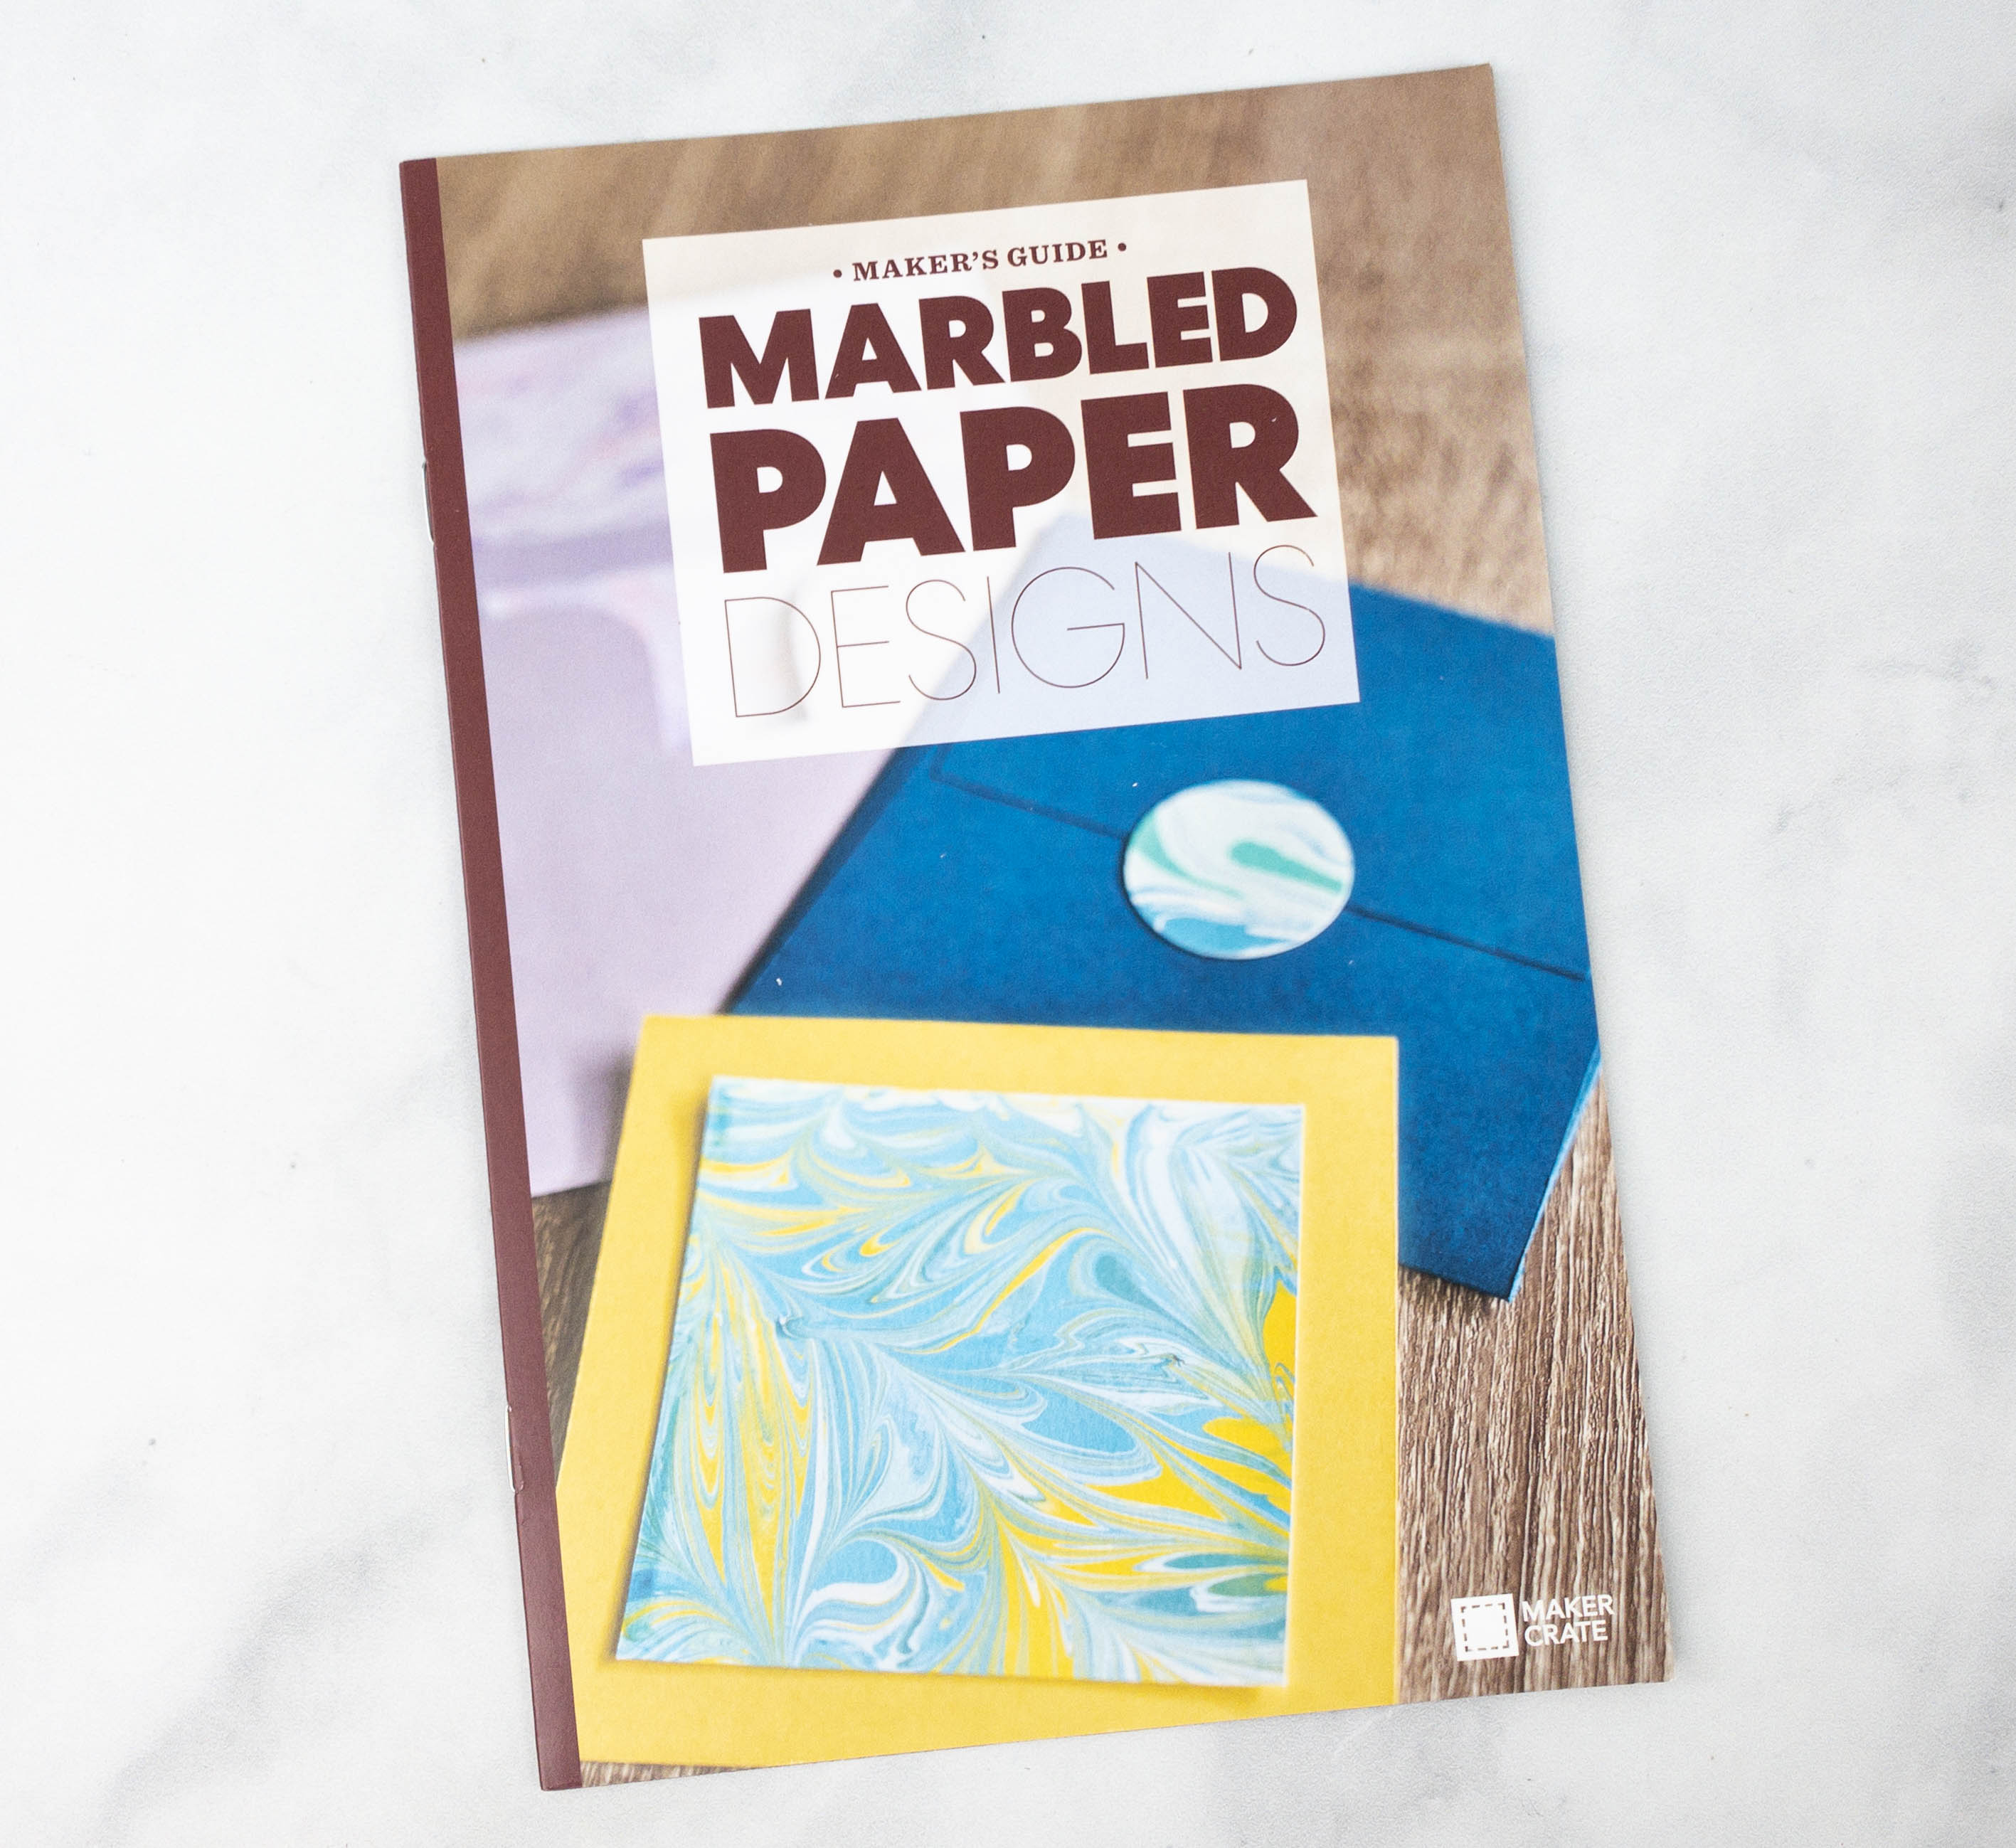
Like the other crates from KiwiCo, Maker Crate includes a booklet.
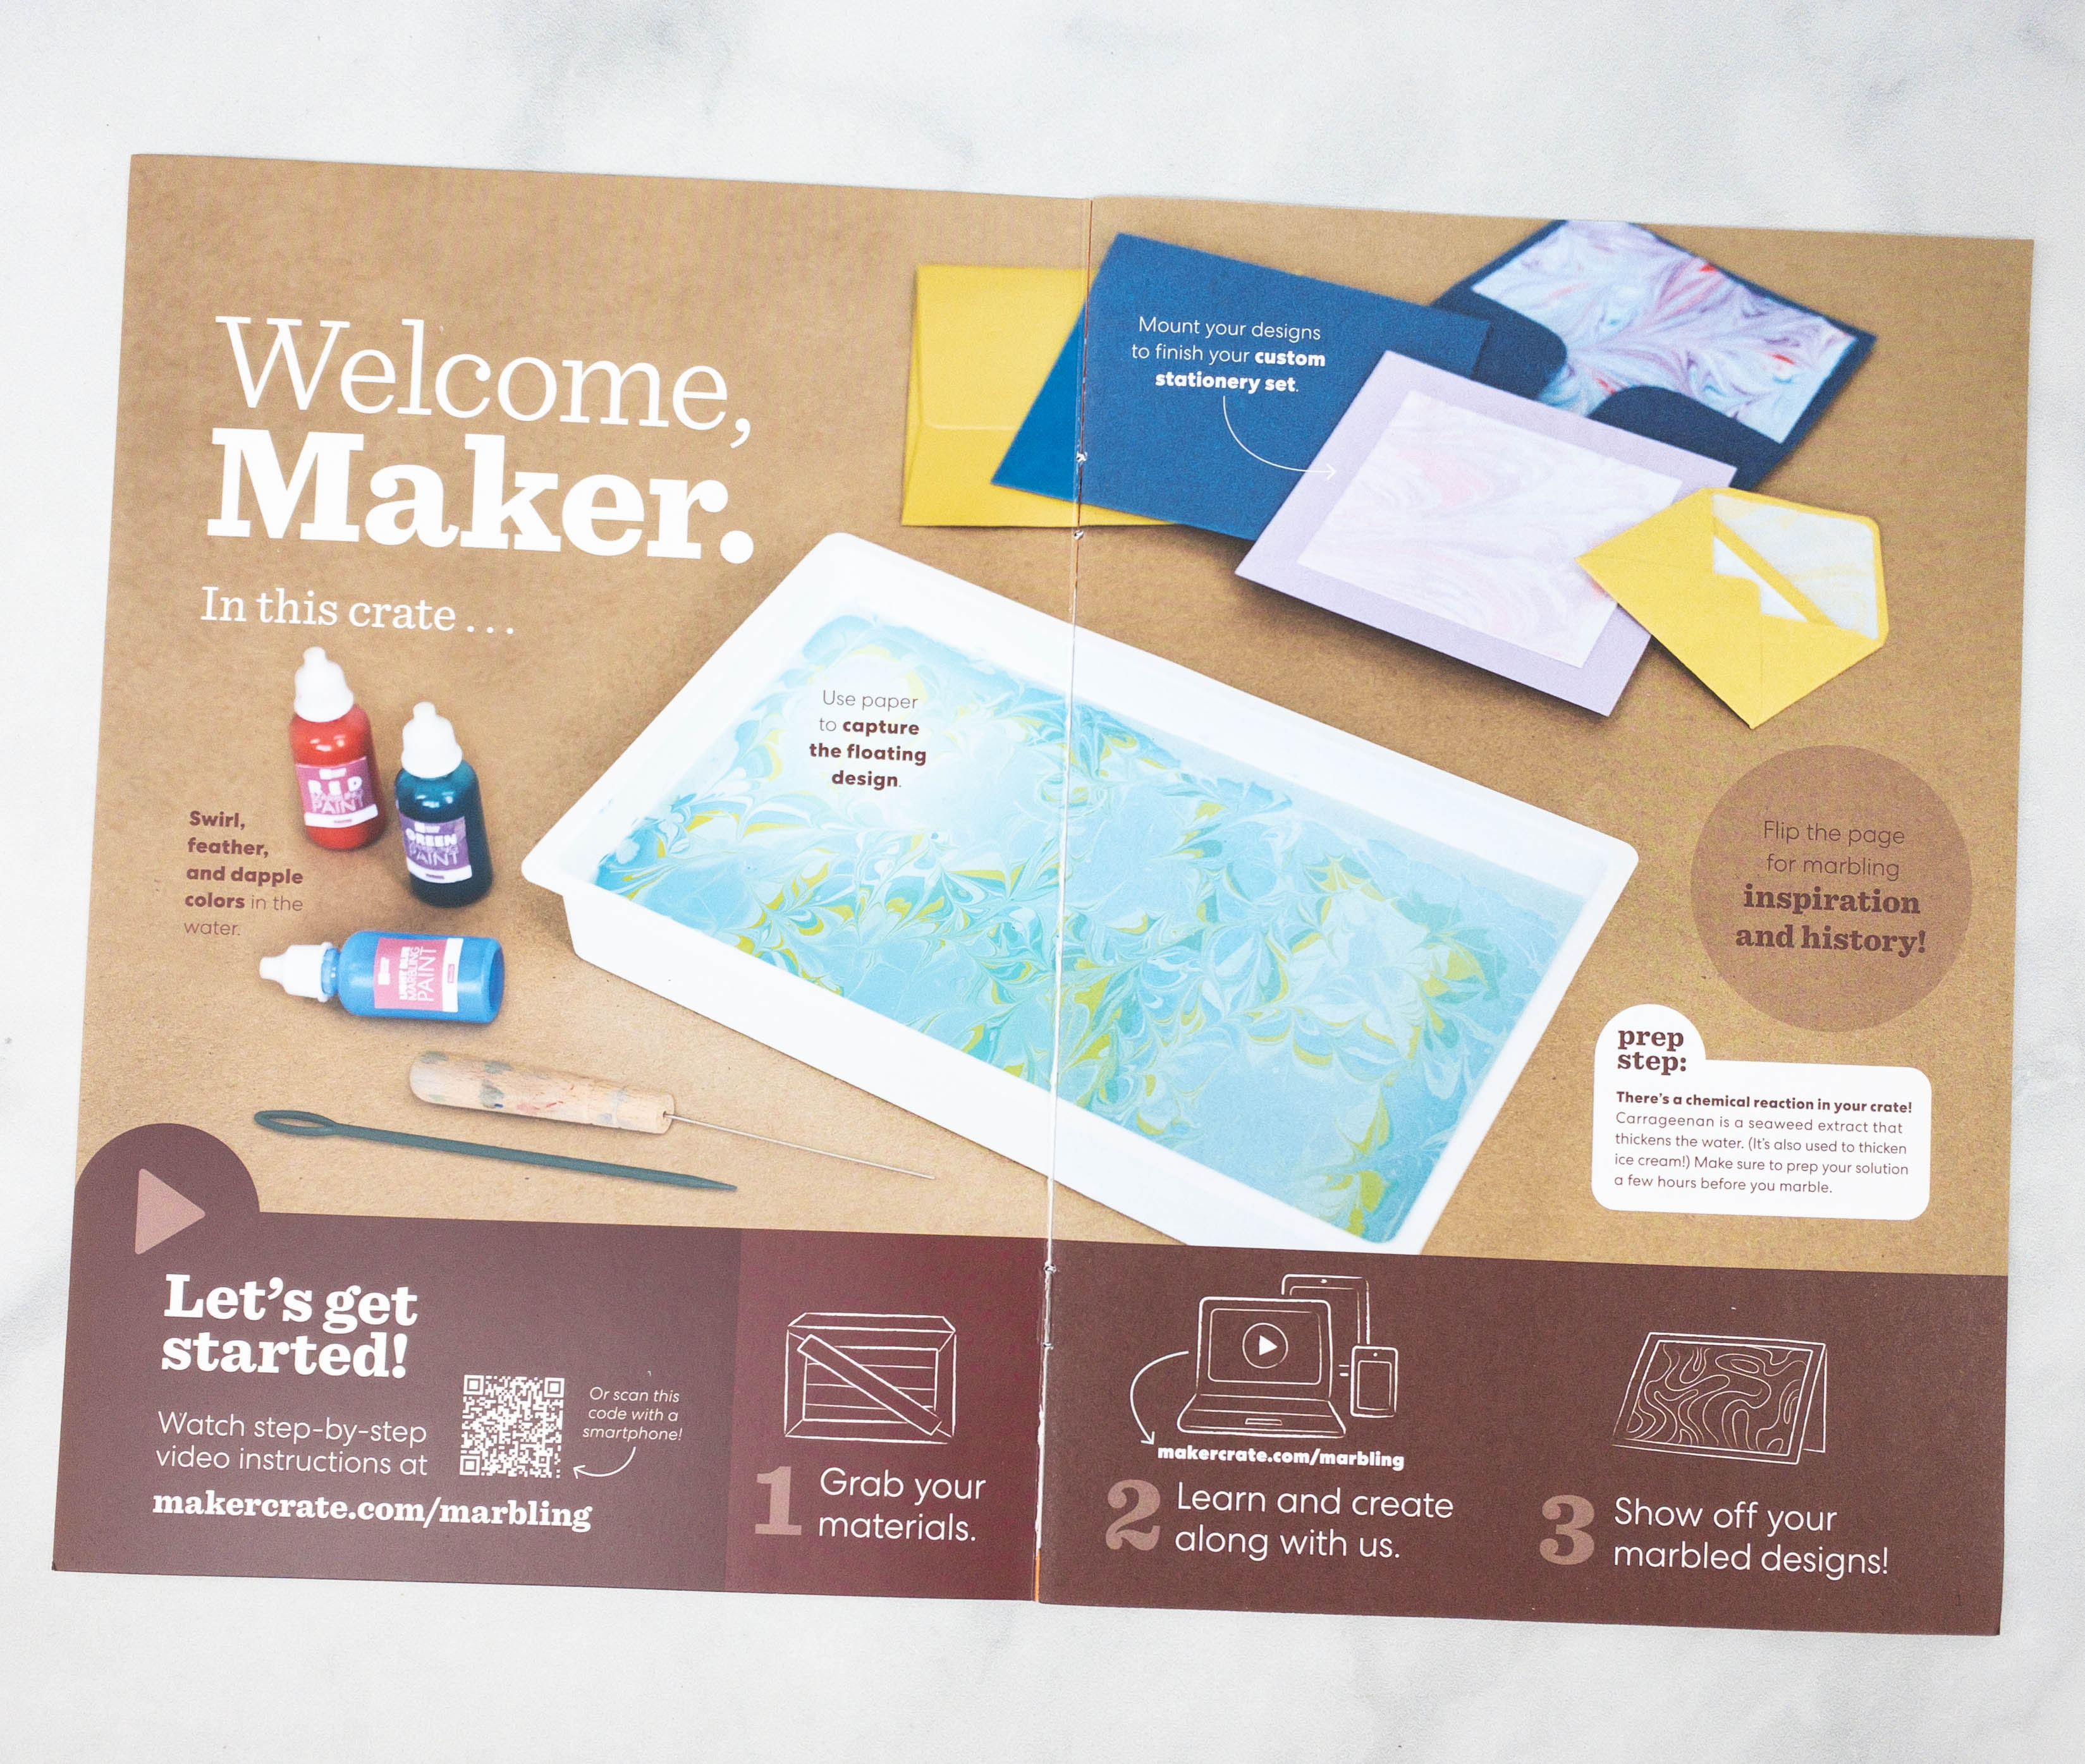
The booklet welcomes us with an overview of this month’s project. There’s also a step-by-step video instruction for the project, available on their website!

Featured on this part of the booklet are some photos that can be used for inspiration in creating the project.

They even included a short history of paper marbling.

This is an exciting project!
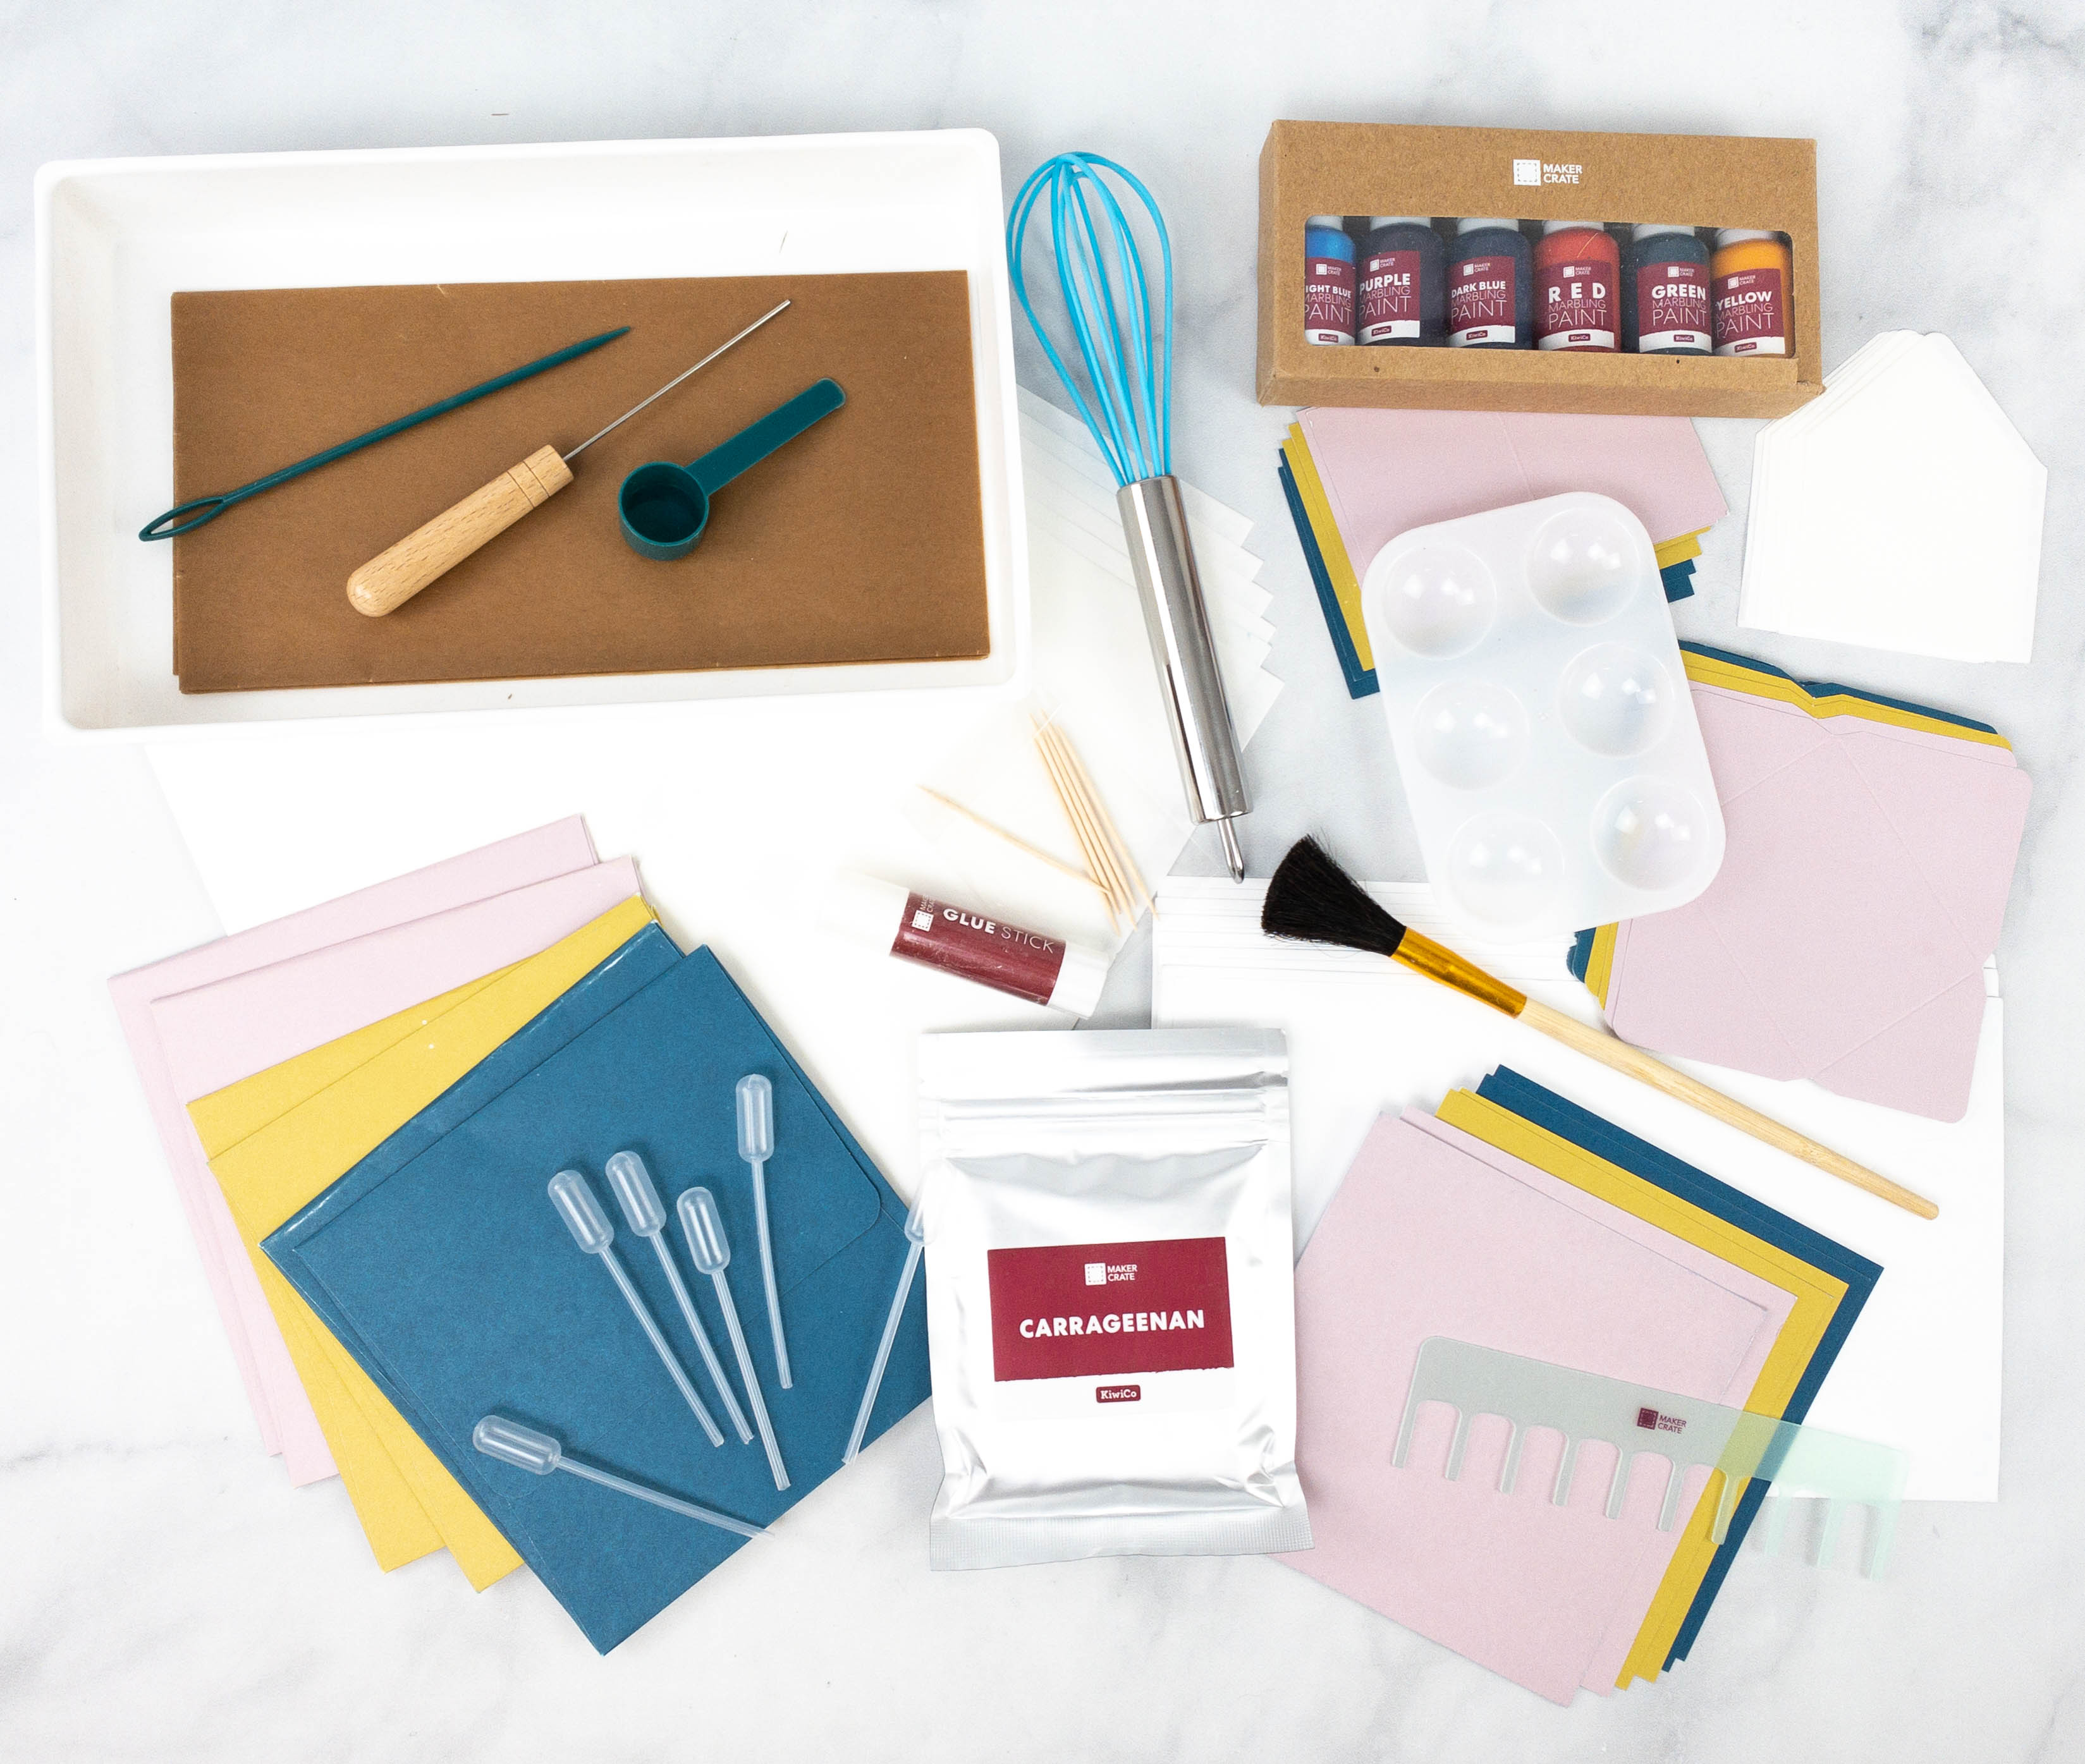
Everything inside the box!
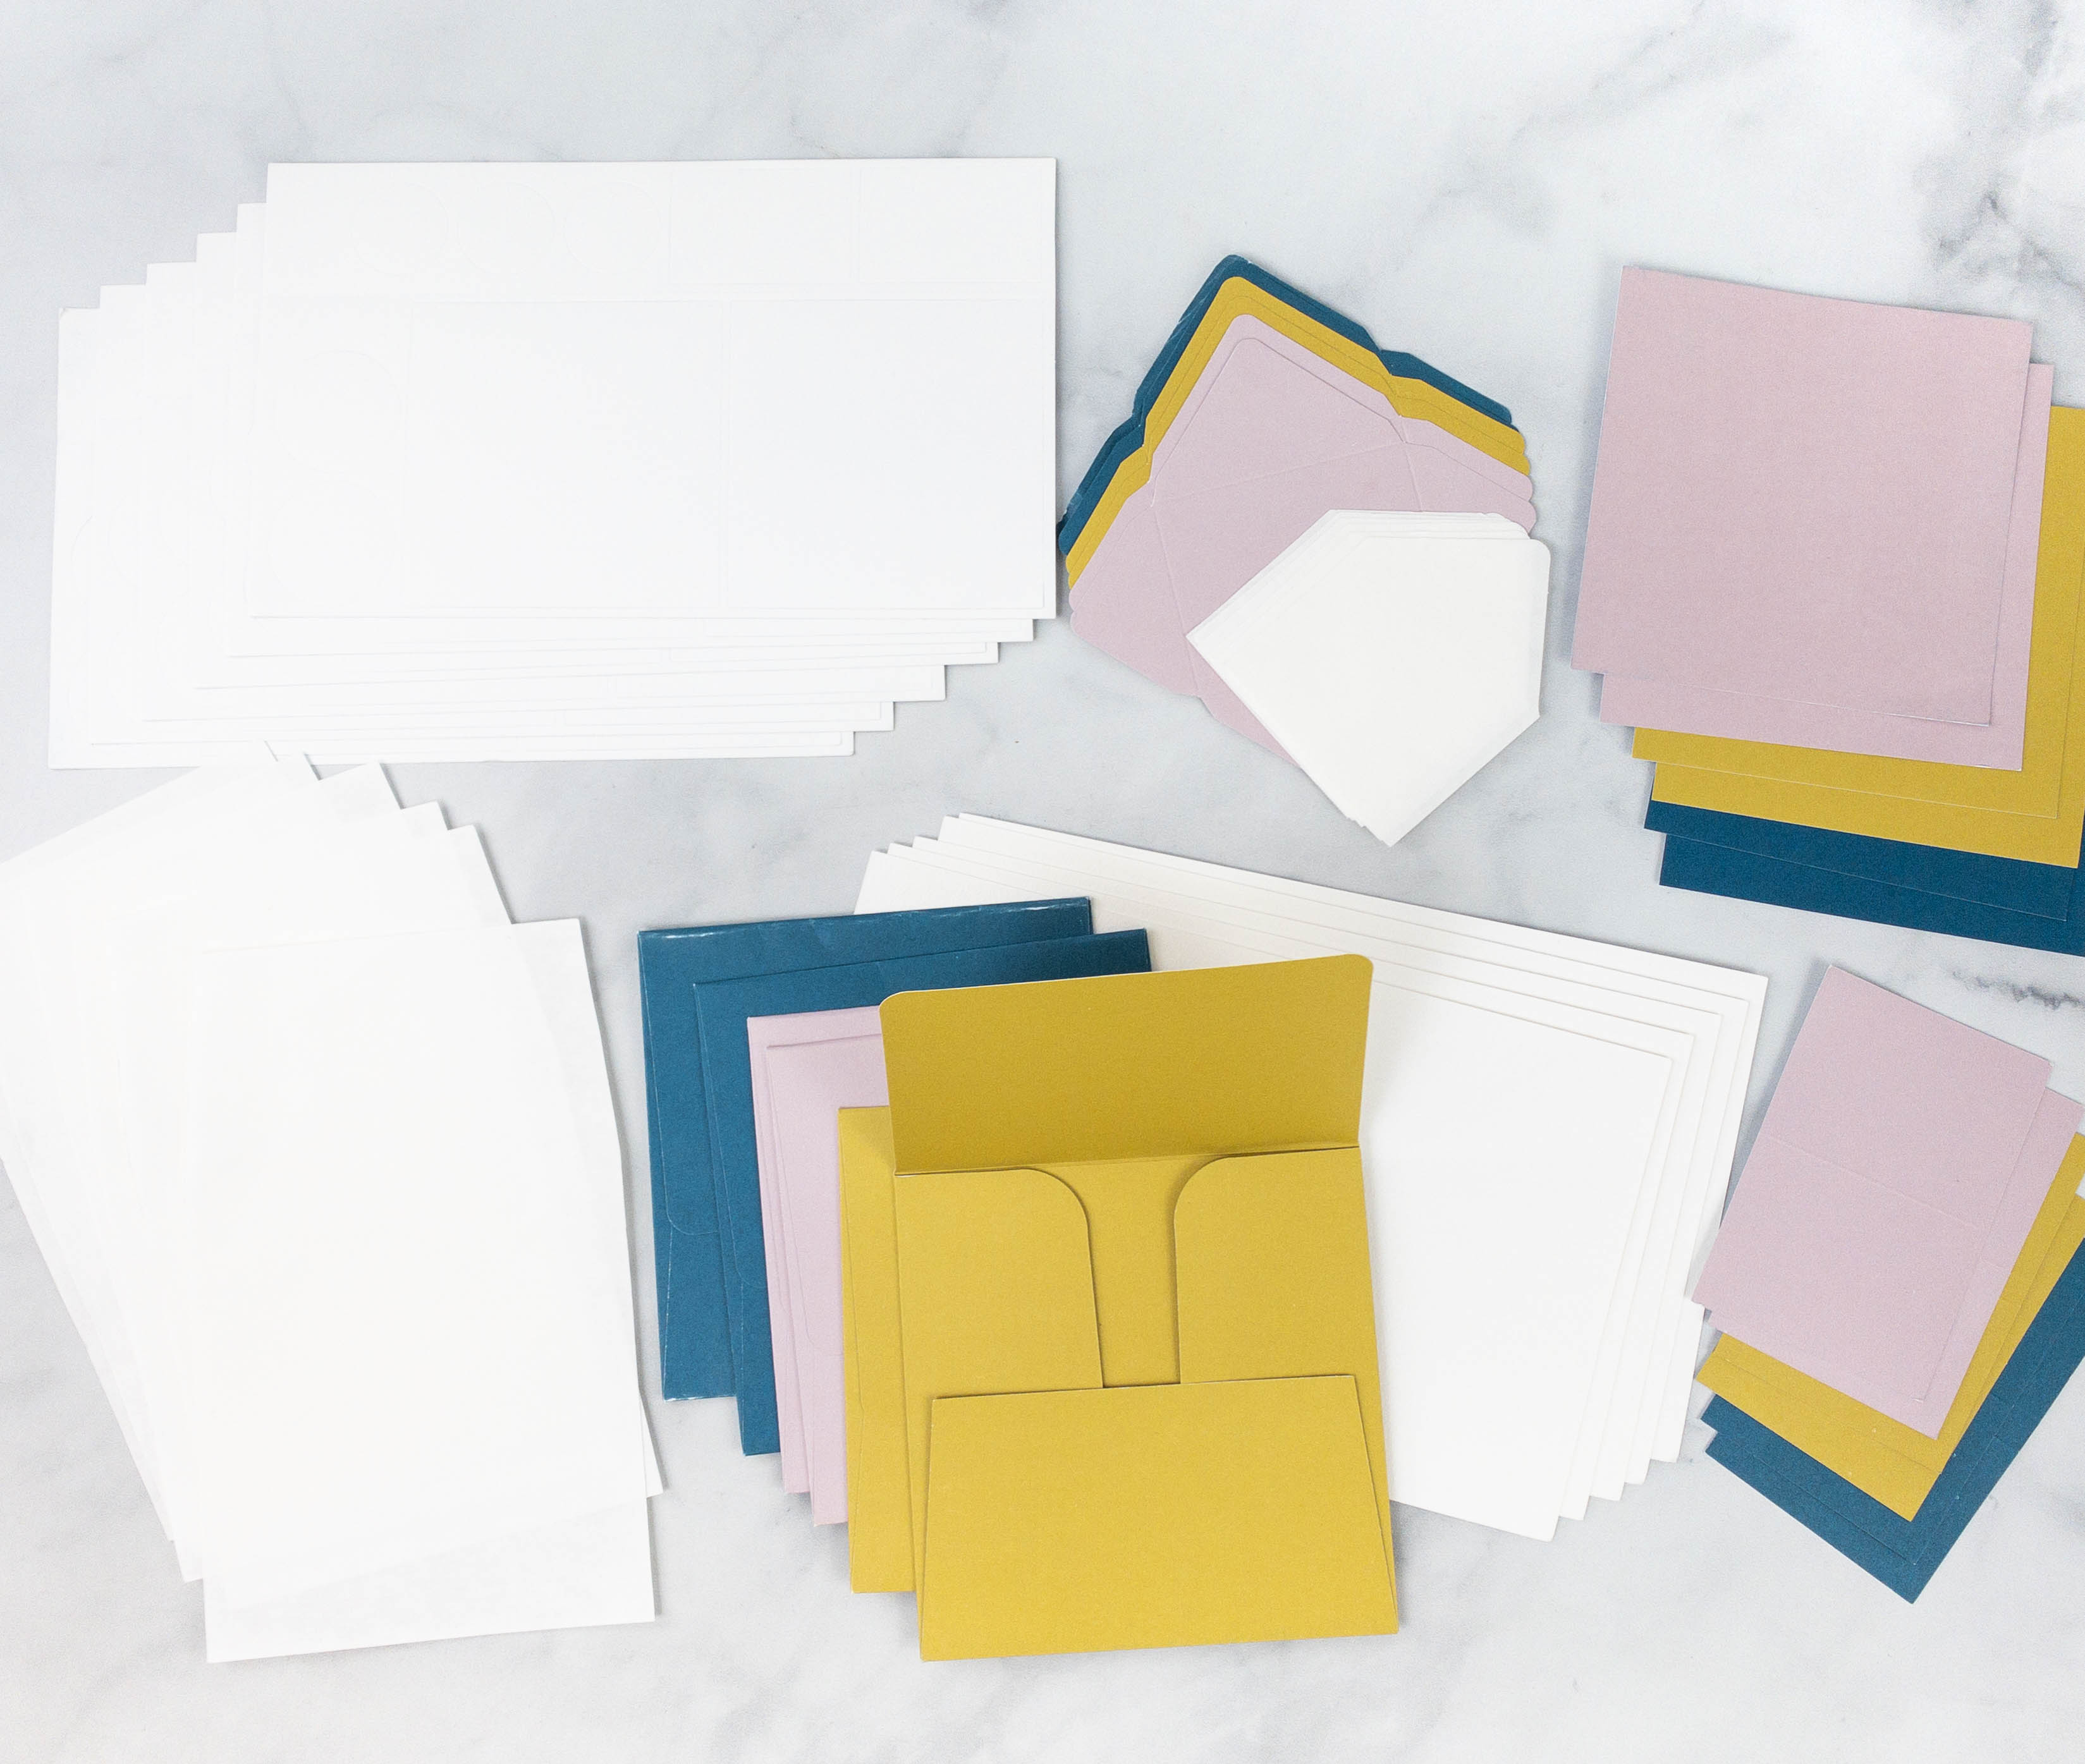
Maker Crate Main Project: Marbled Paper Design. The box includes a lot of different papers, including watercolor paper, watercolor sticker sheets, and rice paper. There are even envelopes, tags, and cards!
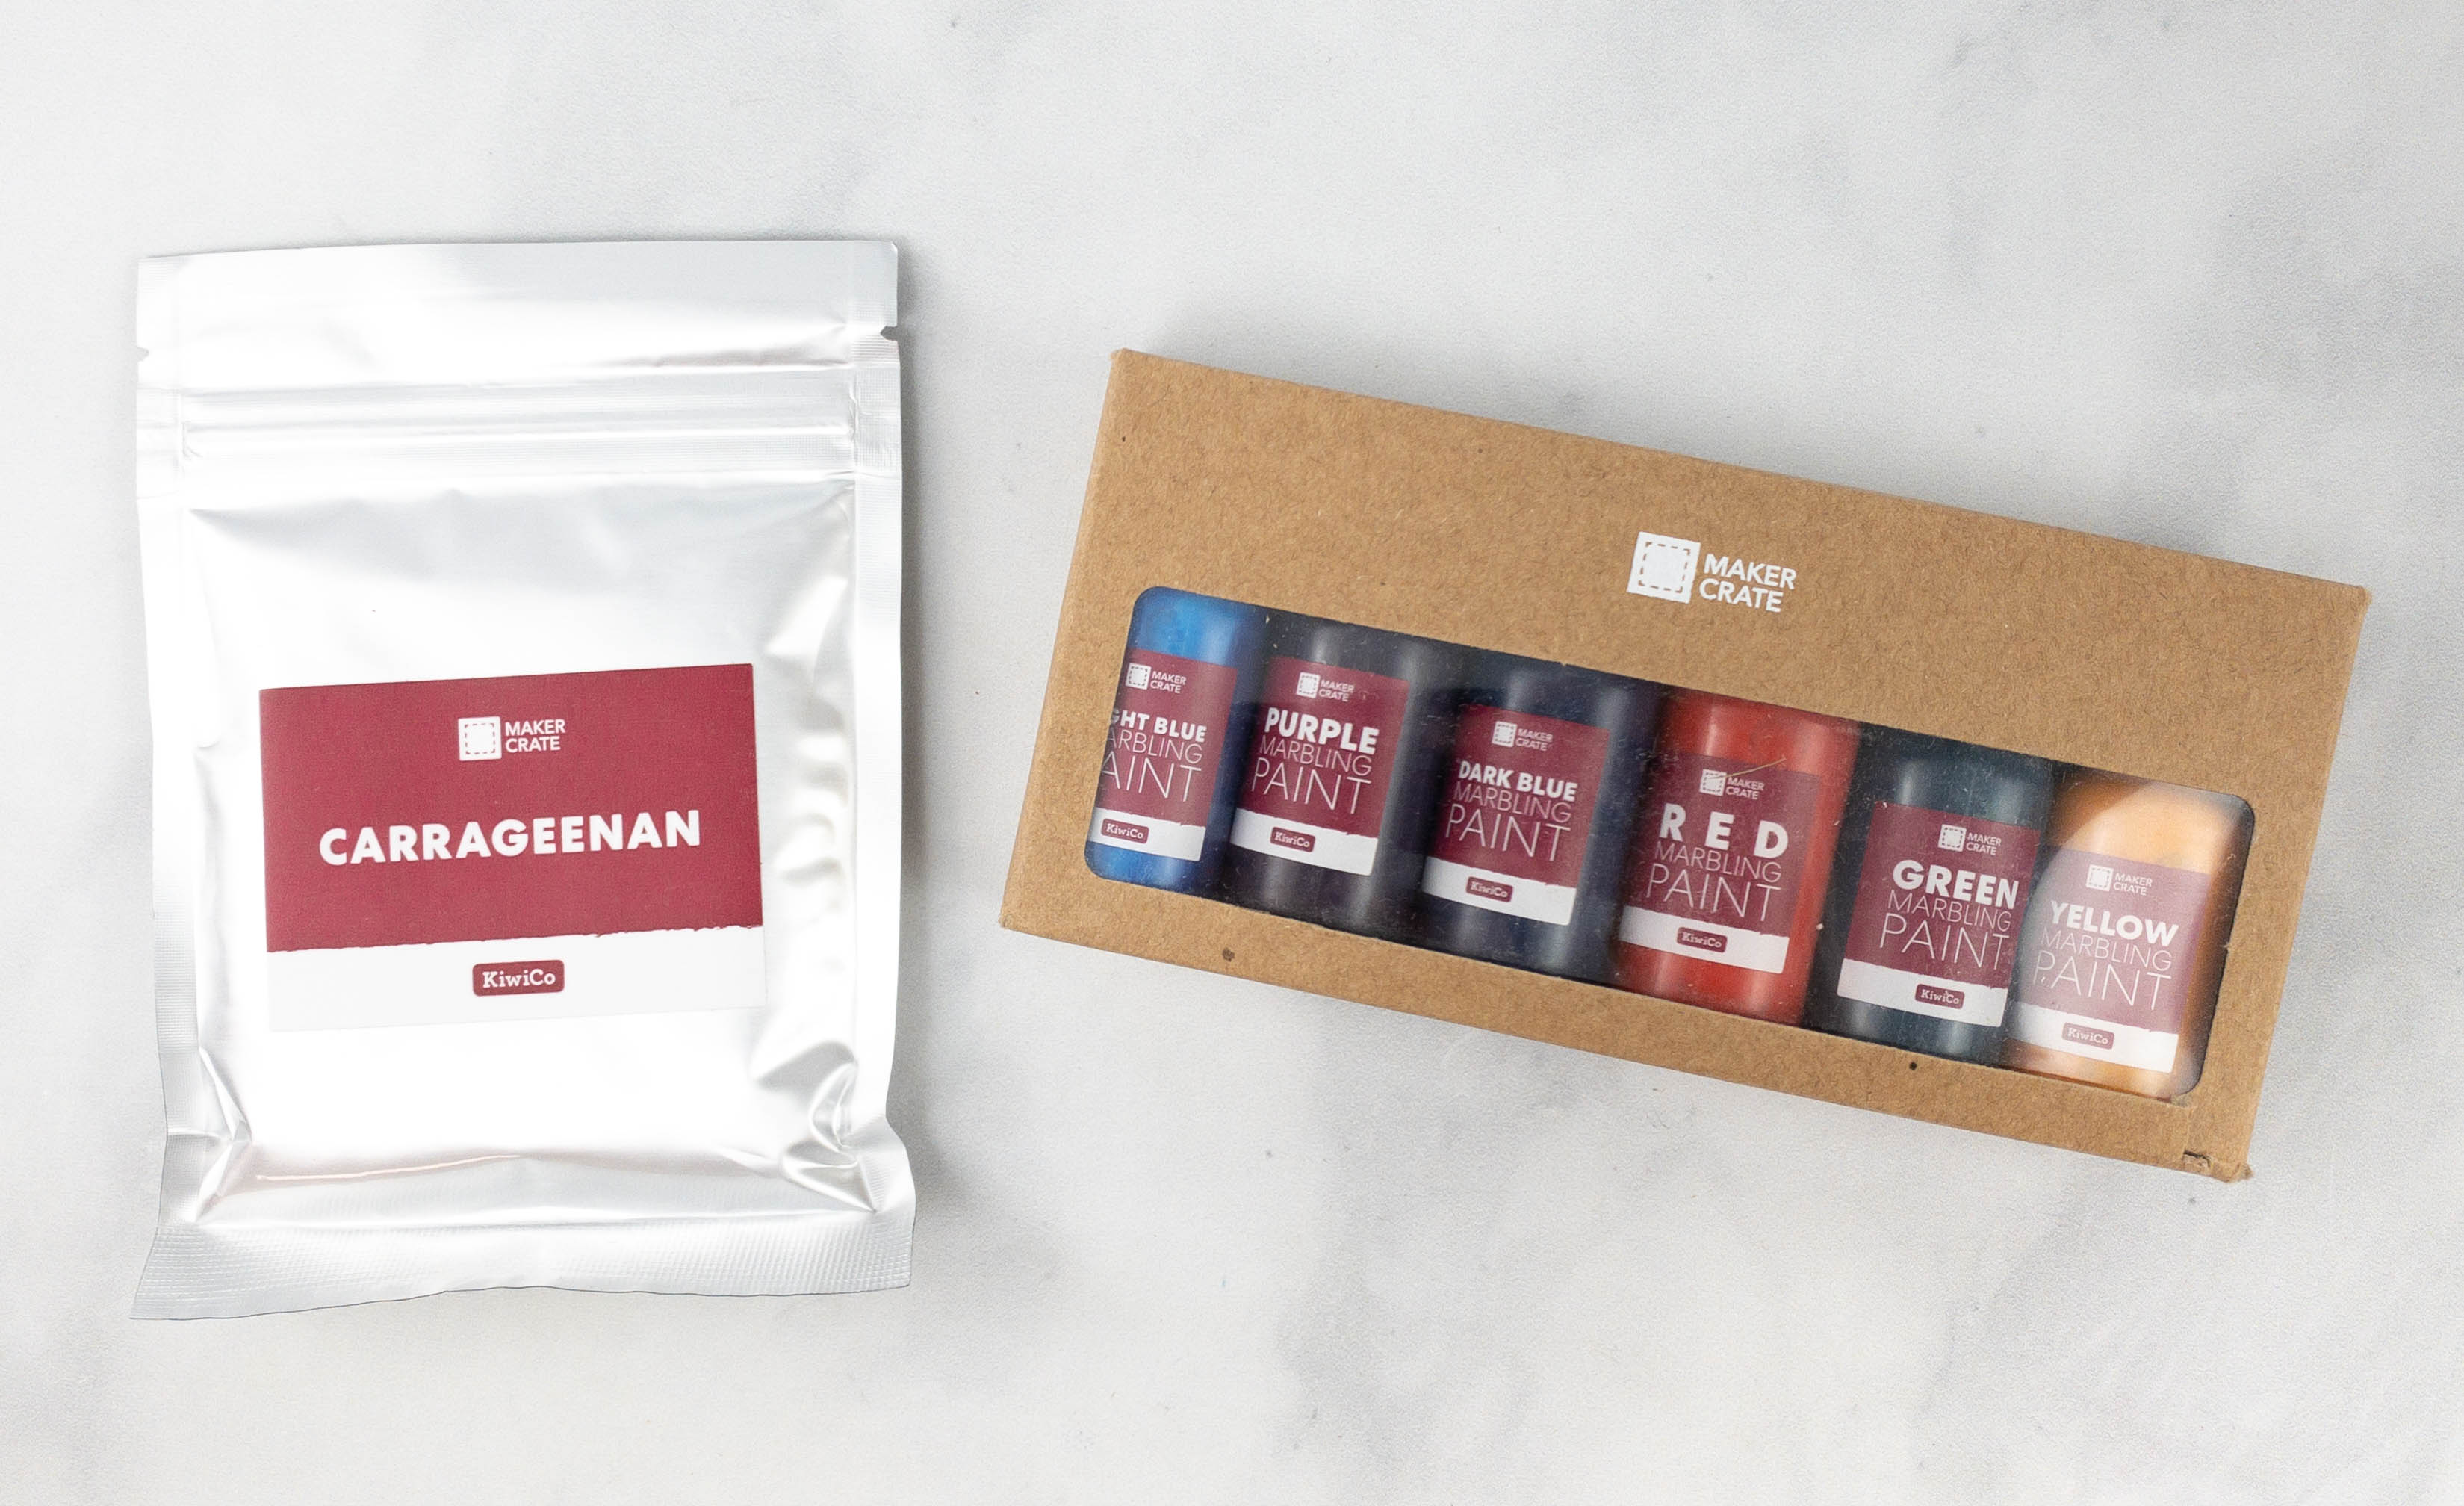
They also sent a set of marbling paint that can be used along with a thickener.
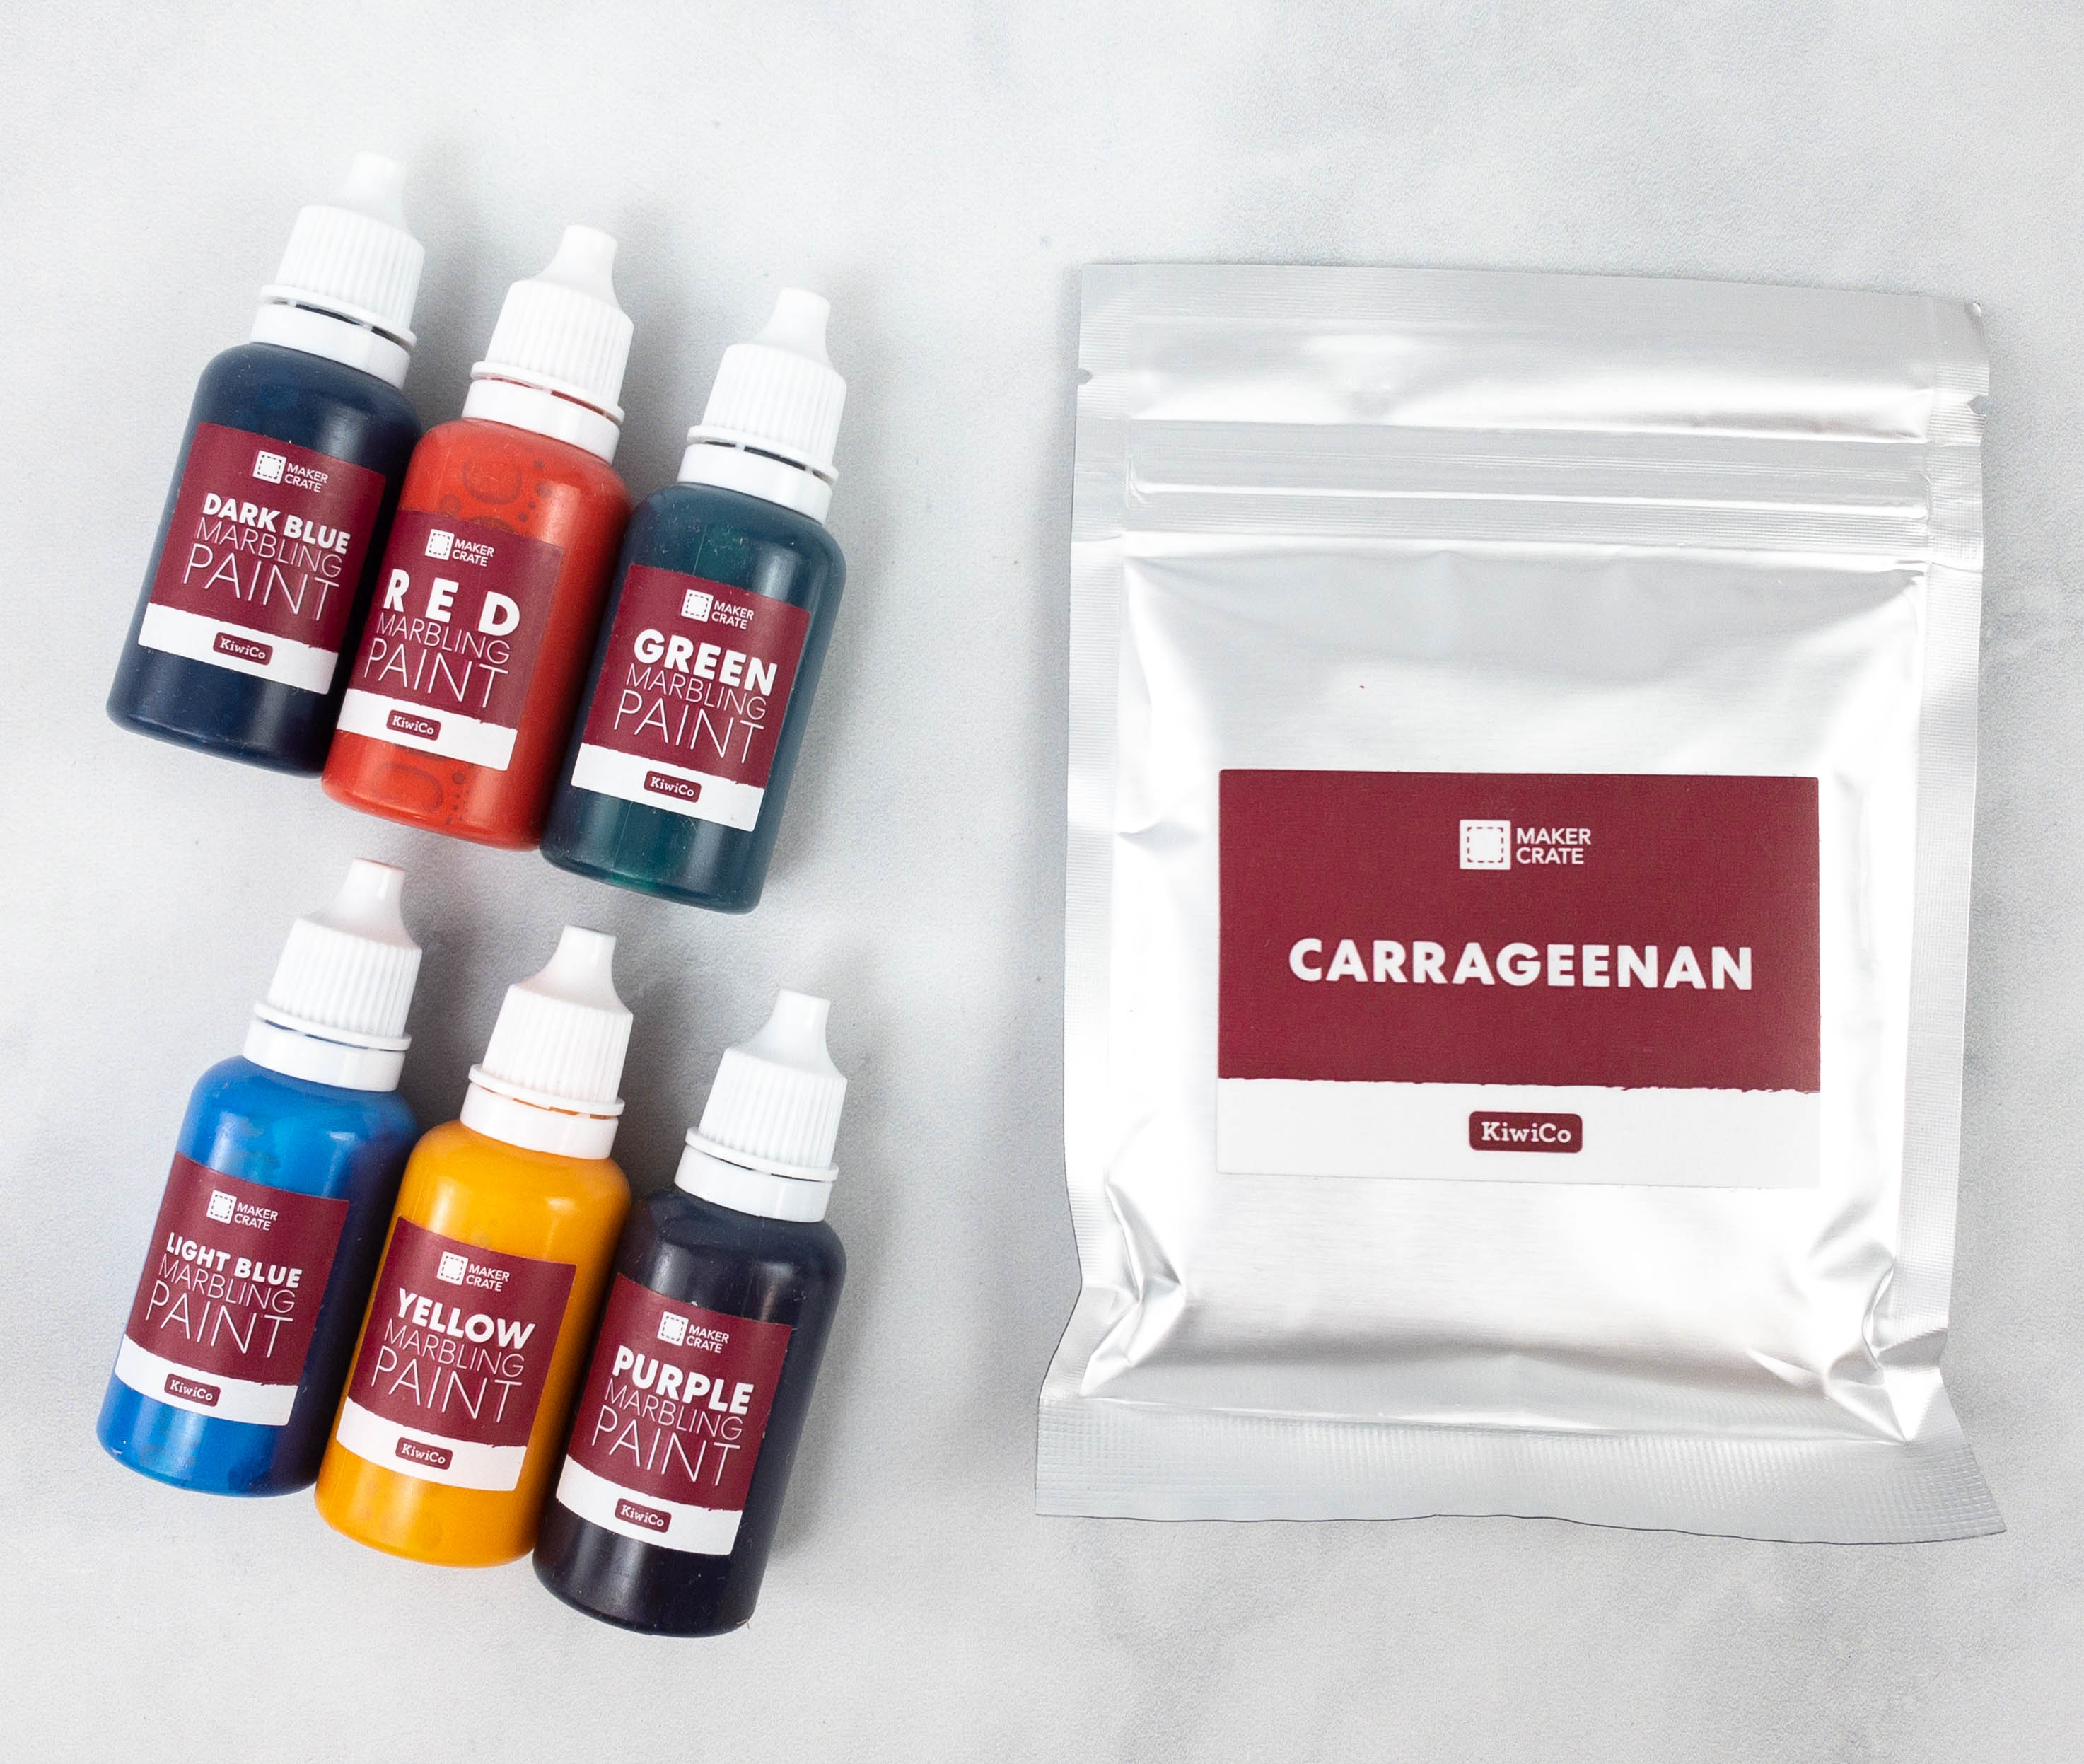
Paint colors include dark blue, red, green, light blue, yellow, and purple.
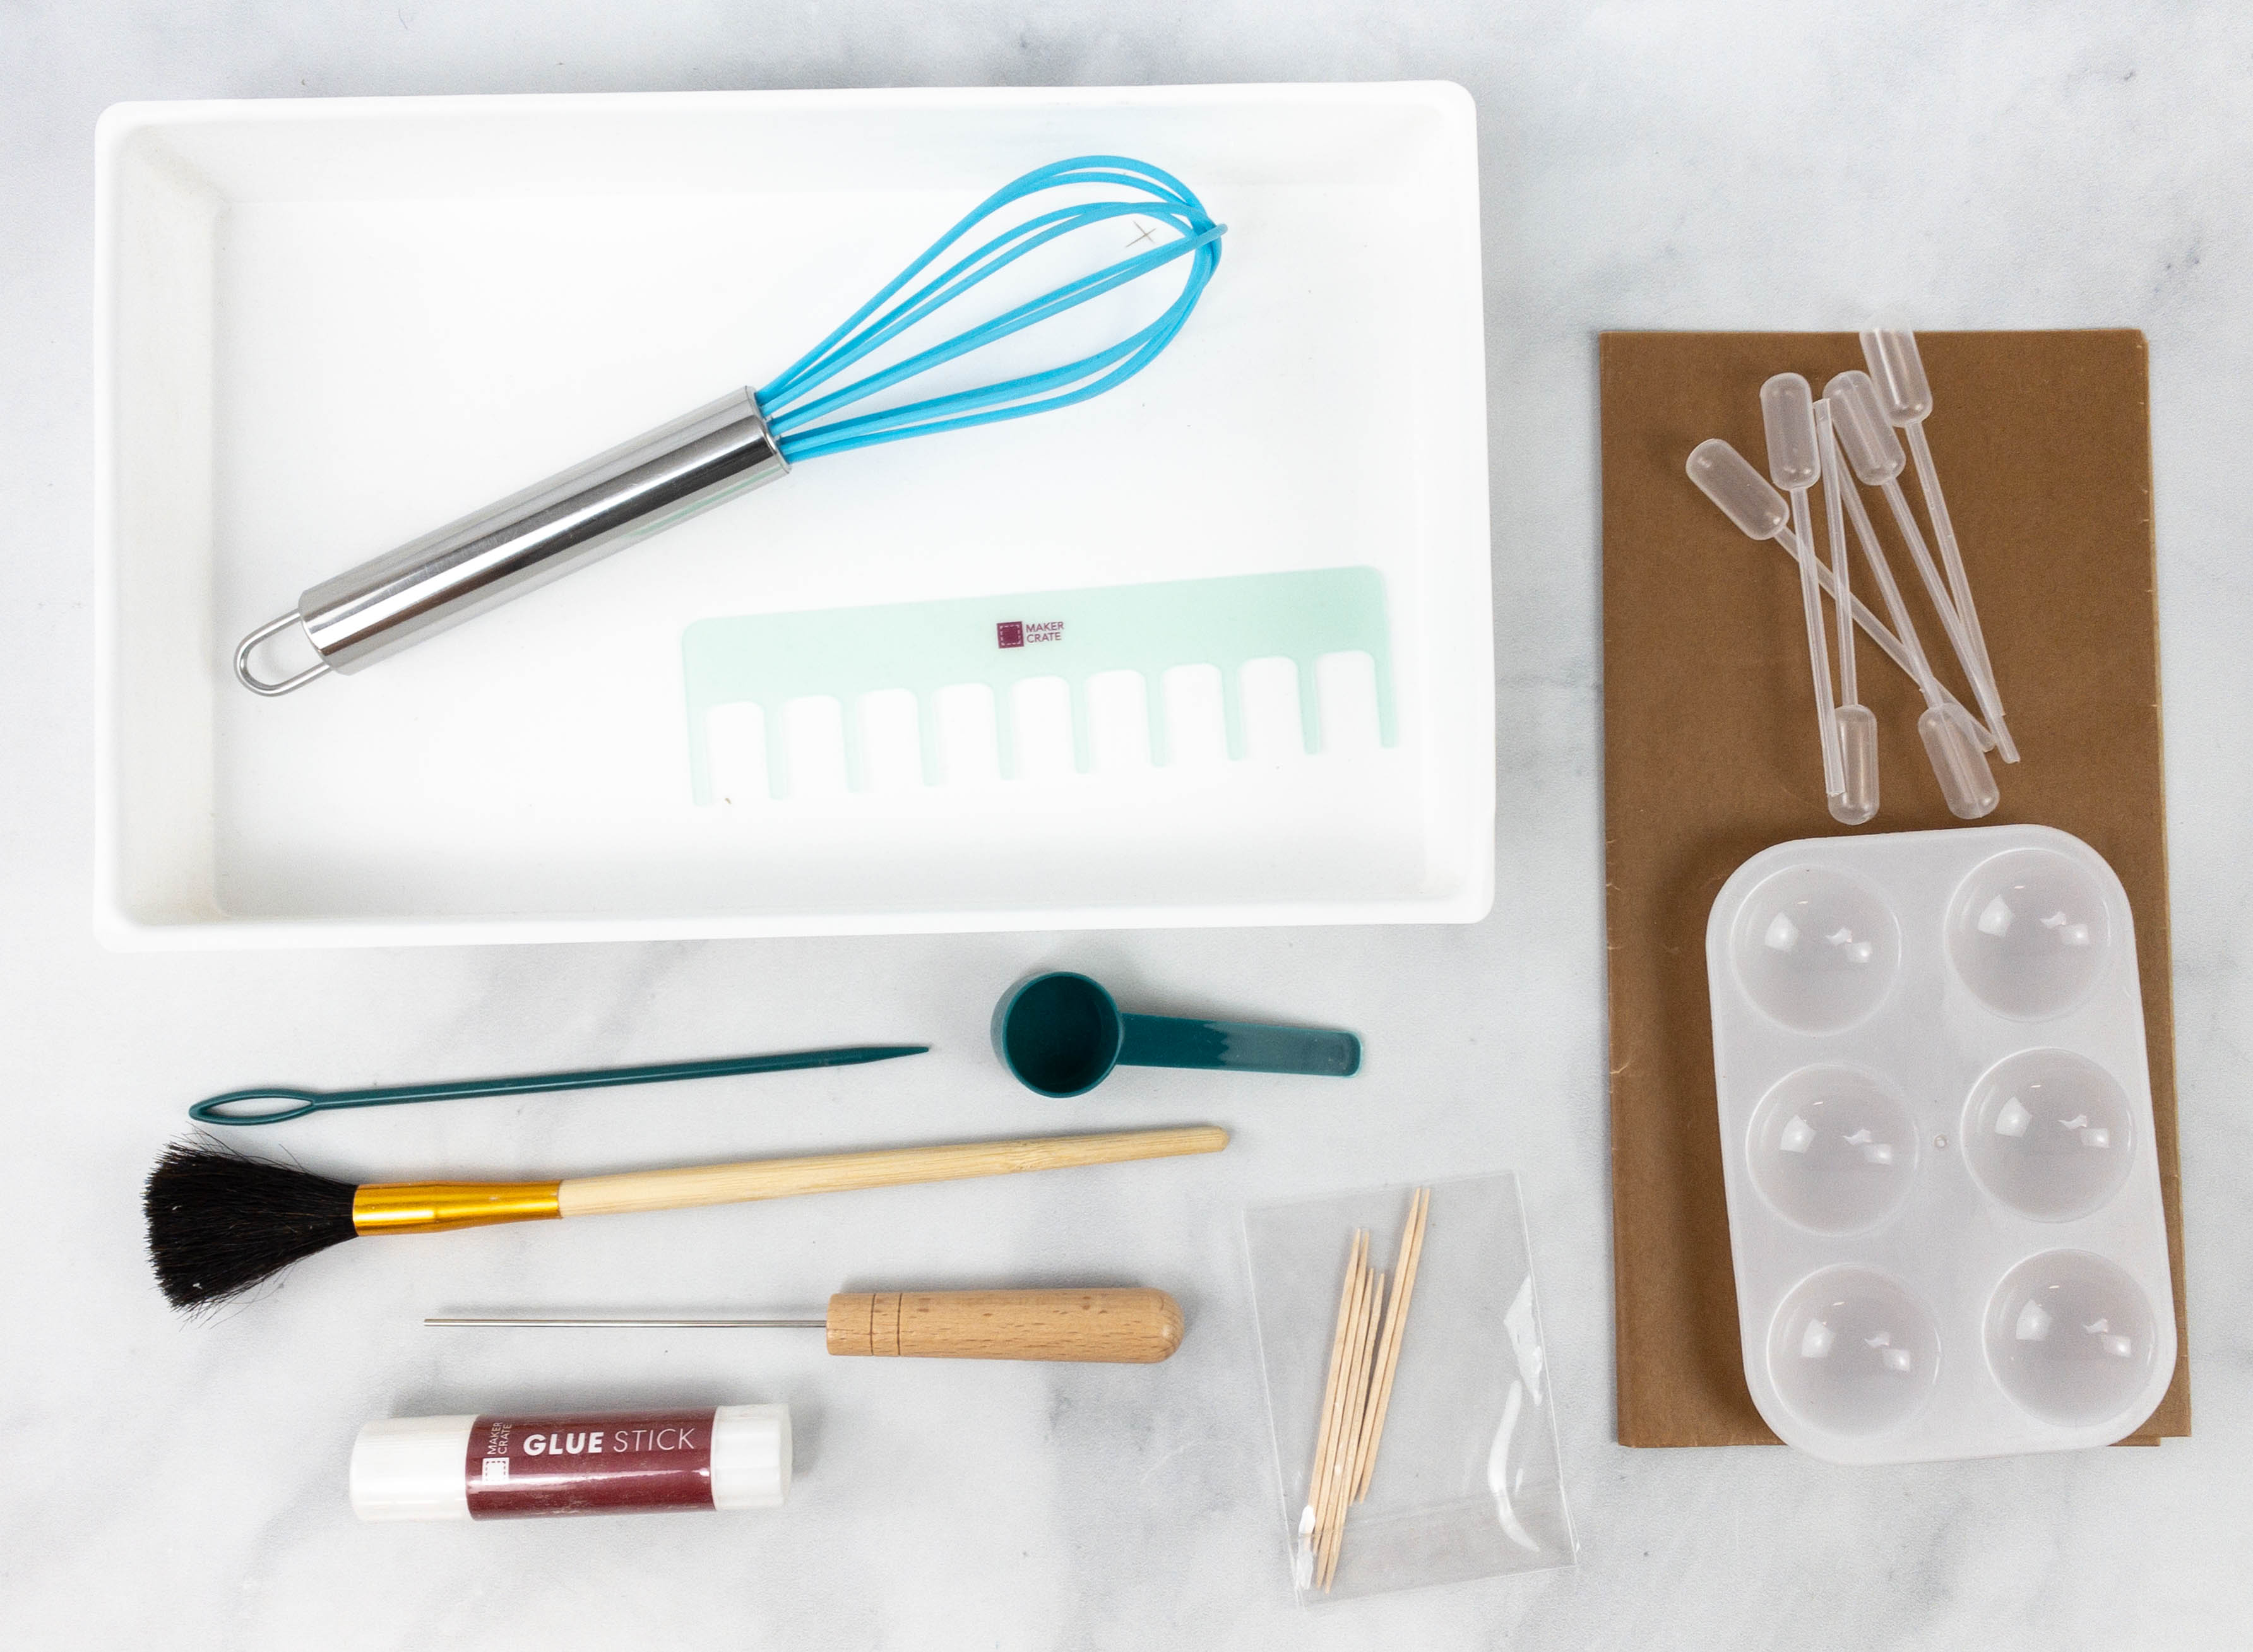
Also needed for this project is a whisk, a glue stick, some toothpicks, and droppers.

I started by preparing all the materials, then I mixed some Carrageenan on the water to thicken it. This enables the paint to float in the surface. To mix, get a big bowl and add 5 cups of hot water then add 2 teaspoons of Carrageenan. Just make sure that you measure and level each spoonful. Carefully sprinkle it a teaspoon at a time on the hot water while using the whisk to mix and ensuring it gets dissolved nicely. After that, transfer it to a container with a lid and set it aside. Prepare this in advance as it needs to sit for at least 3 hours before using.
While waiting for the solution, I prepared my marbling station. I placed my mess mat to make sure the surface I’m working on stays protected from spillage. Then, I set out my colors, making sure to put a bit of each on the paint palette for easier access during the activity. The paint has a seal at first when you remove the cap so make sure you poke it using the toothpicks provided to ensure the paint flow isn’t blocked. You may also remove the ring on the cap so it does not accidentally fall while doing the activity. When everything is all set and enough time has passed, get the solution and pour 2 and 1/2 cups on the tray and you’re now ready to marble some papers!
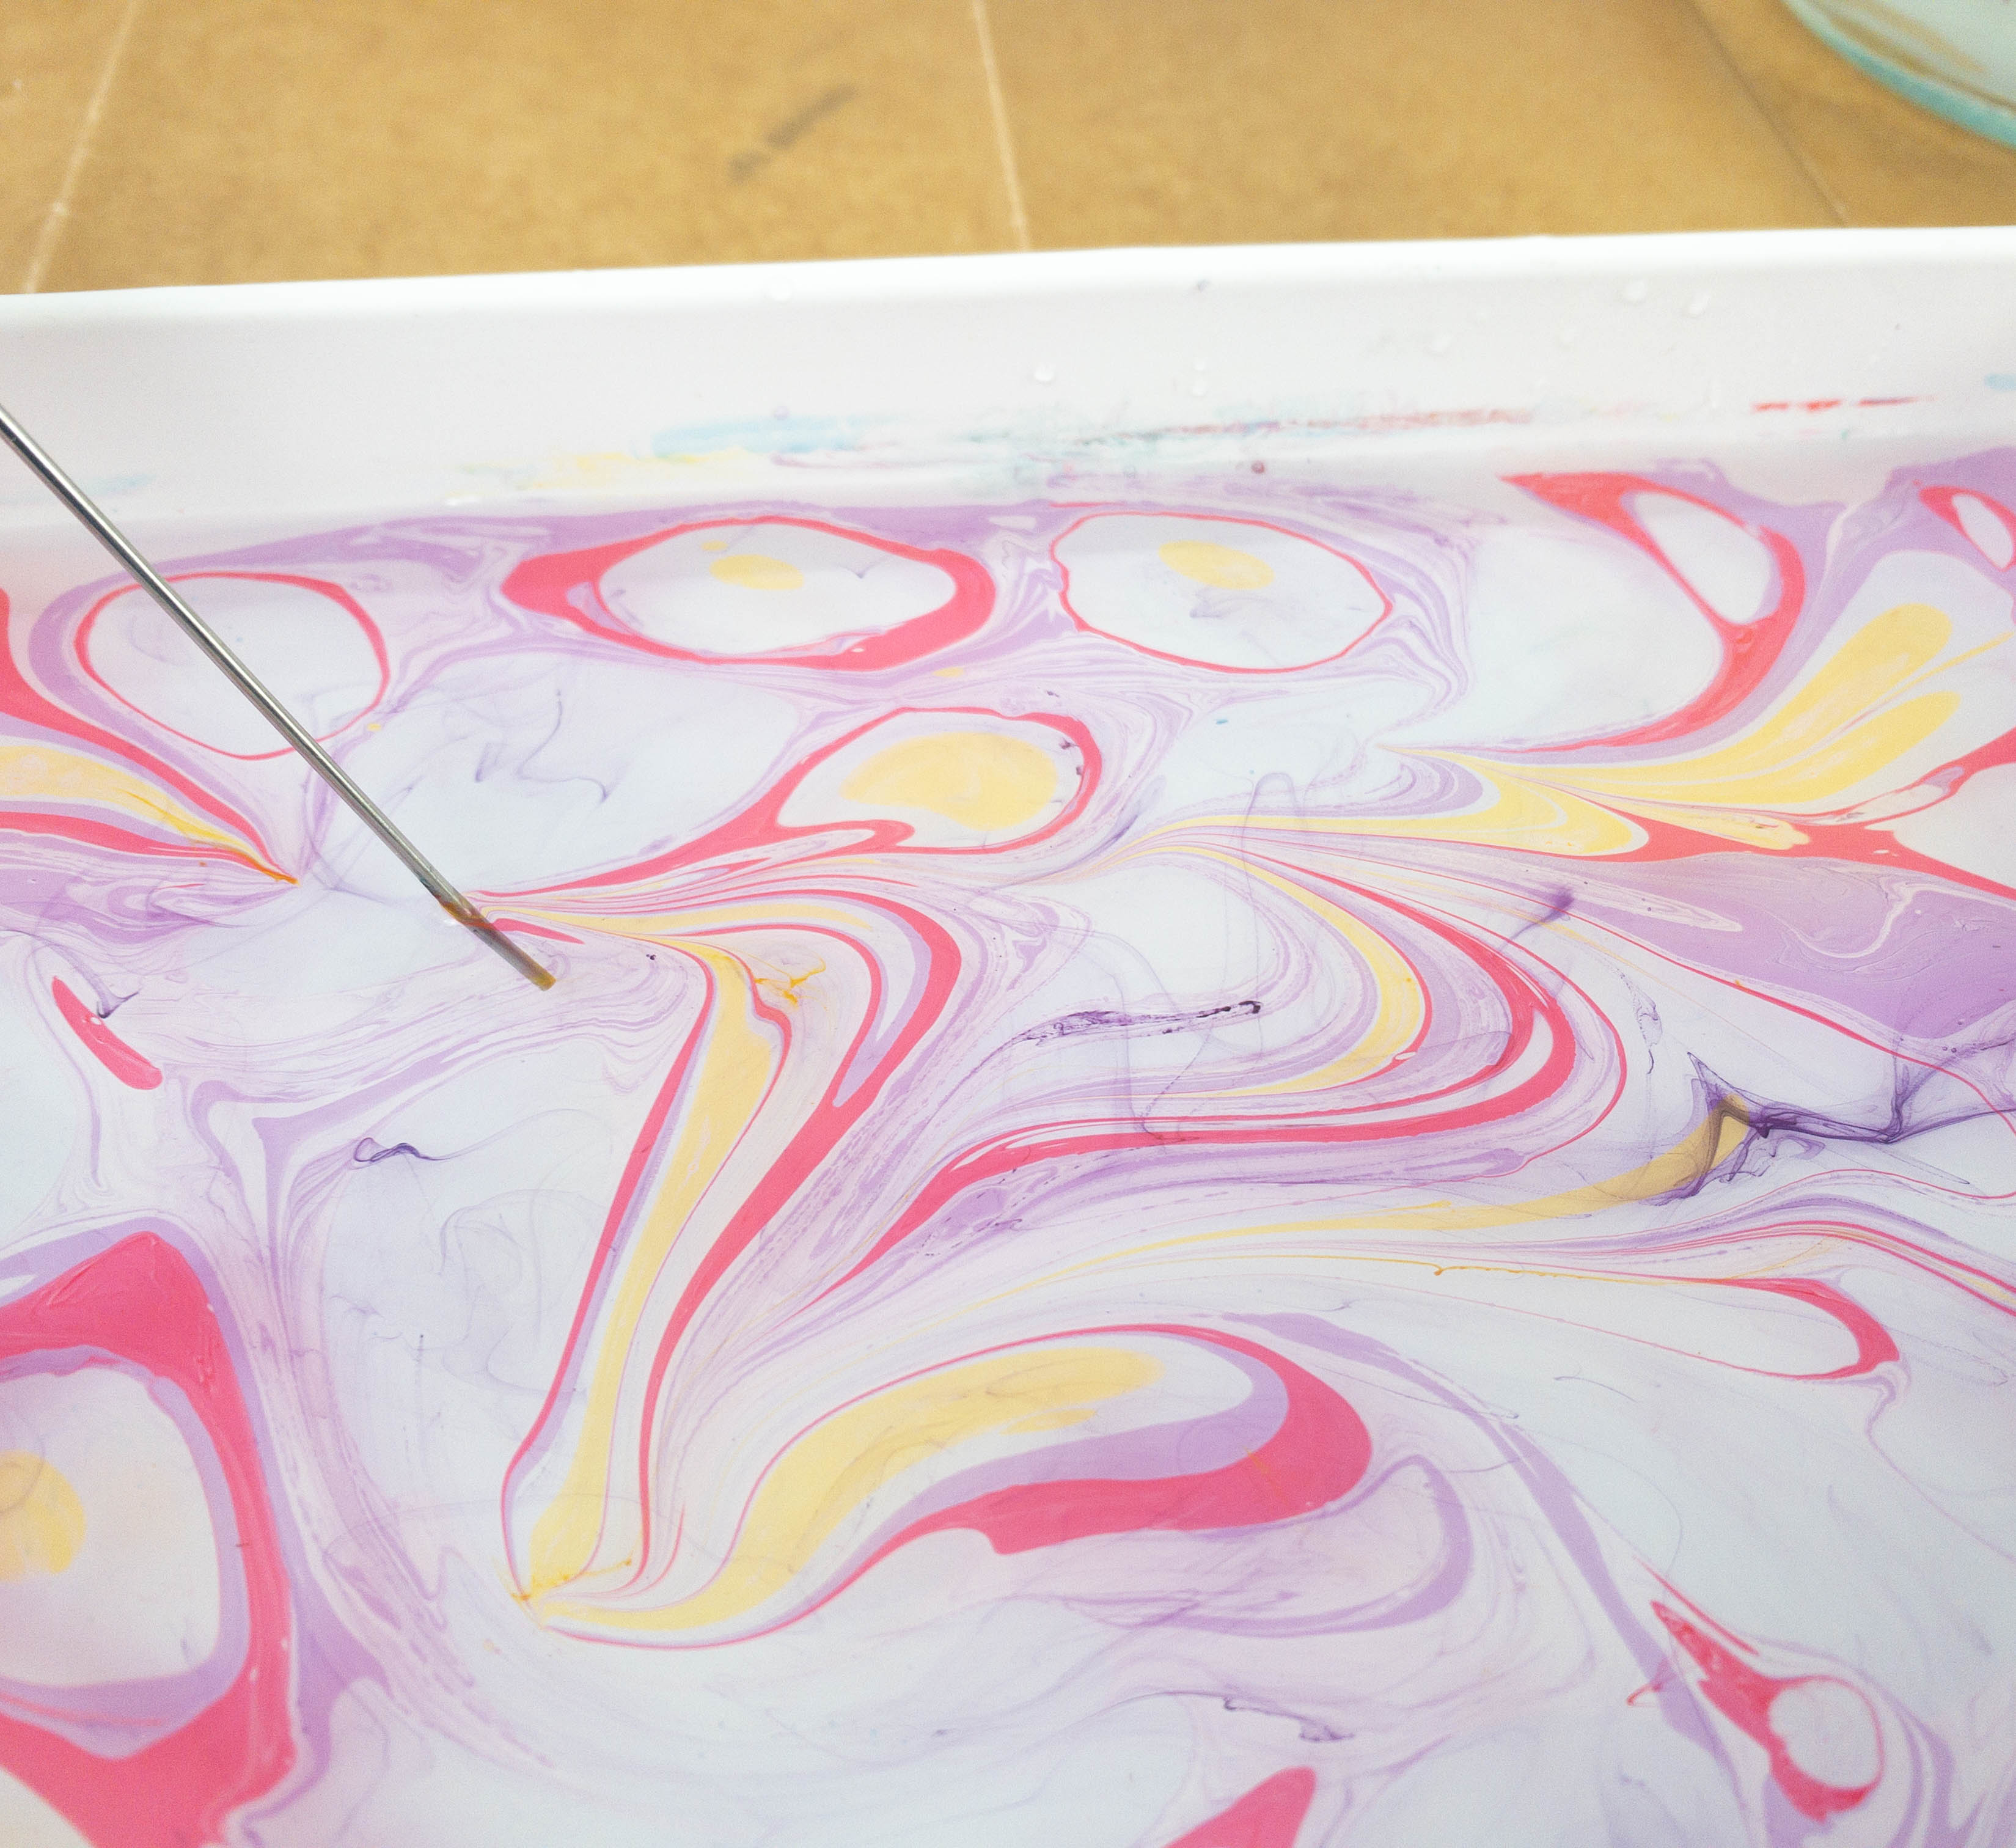
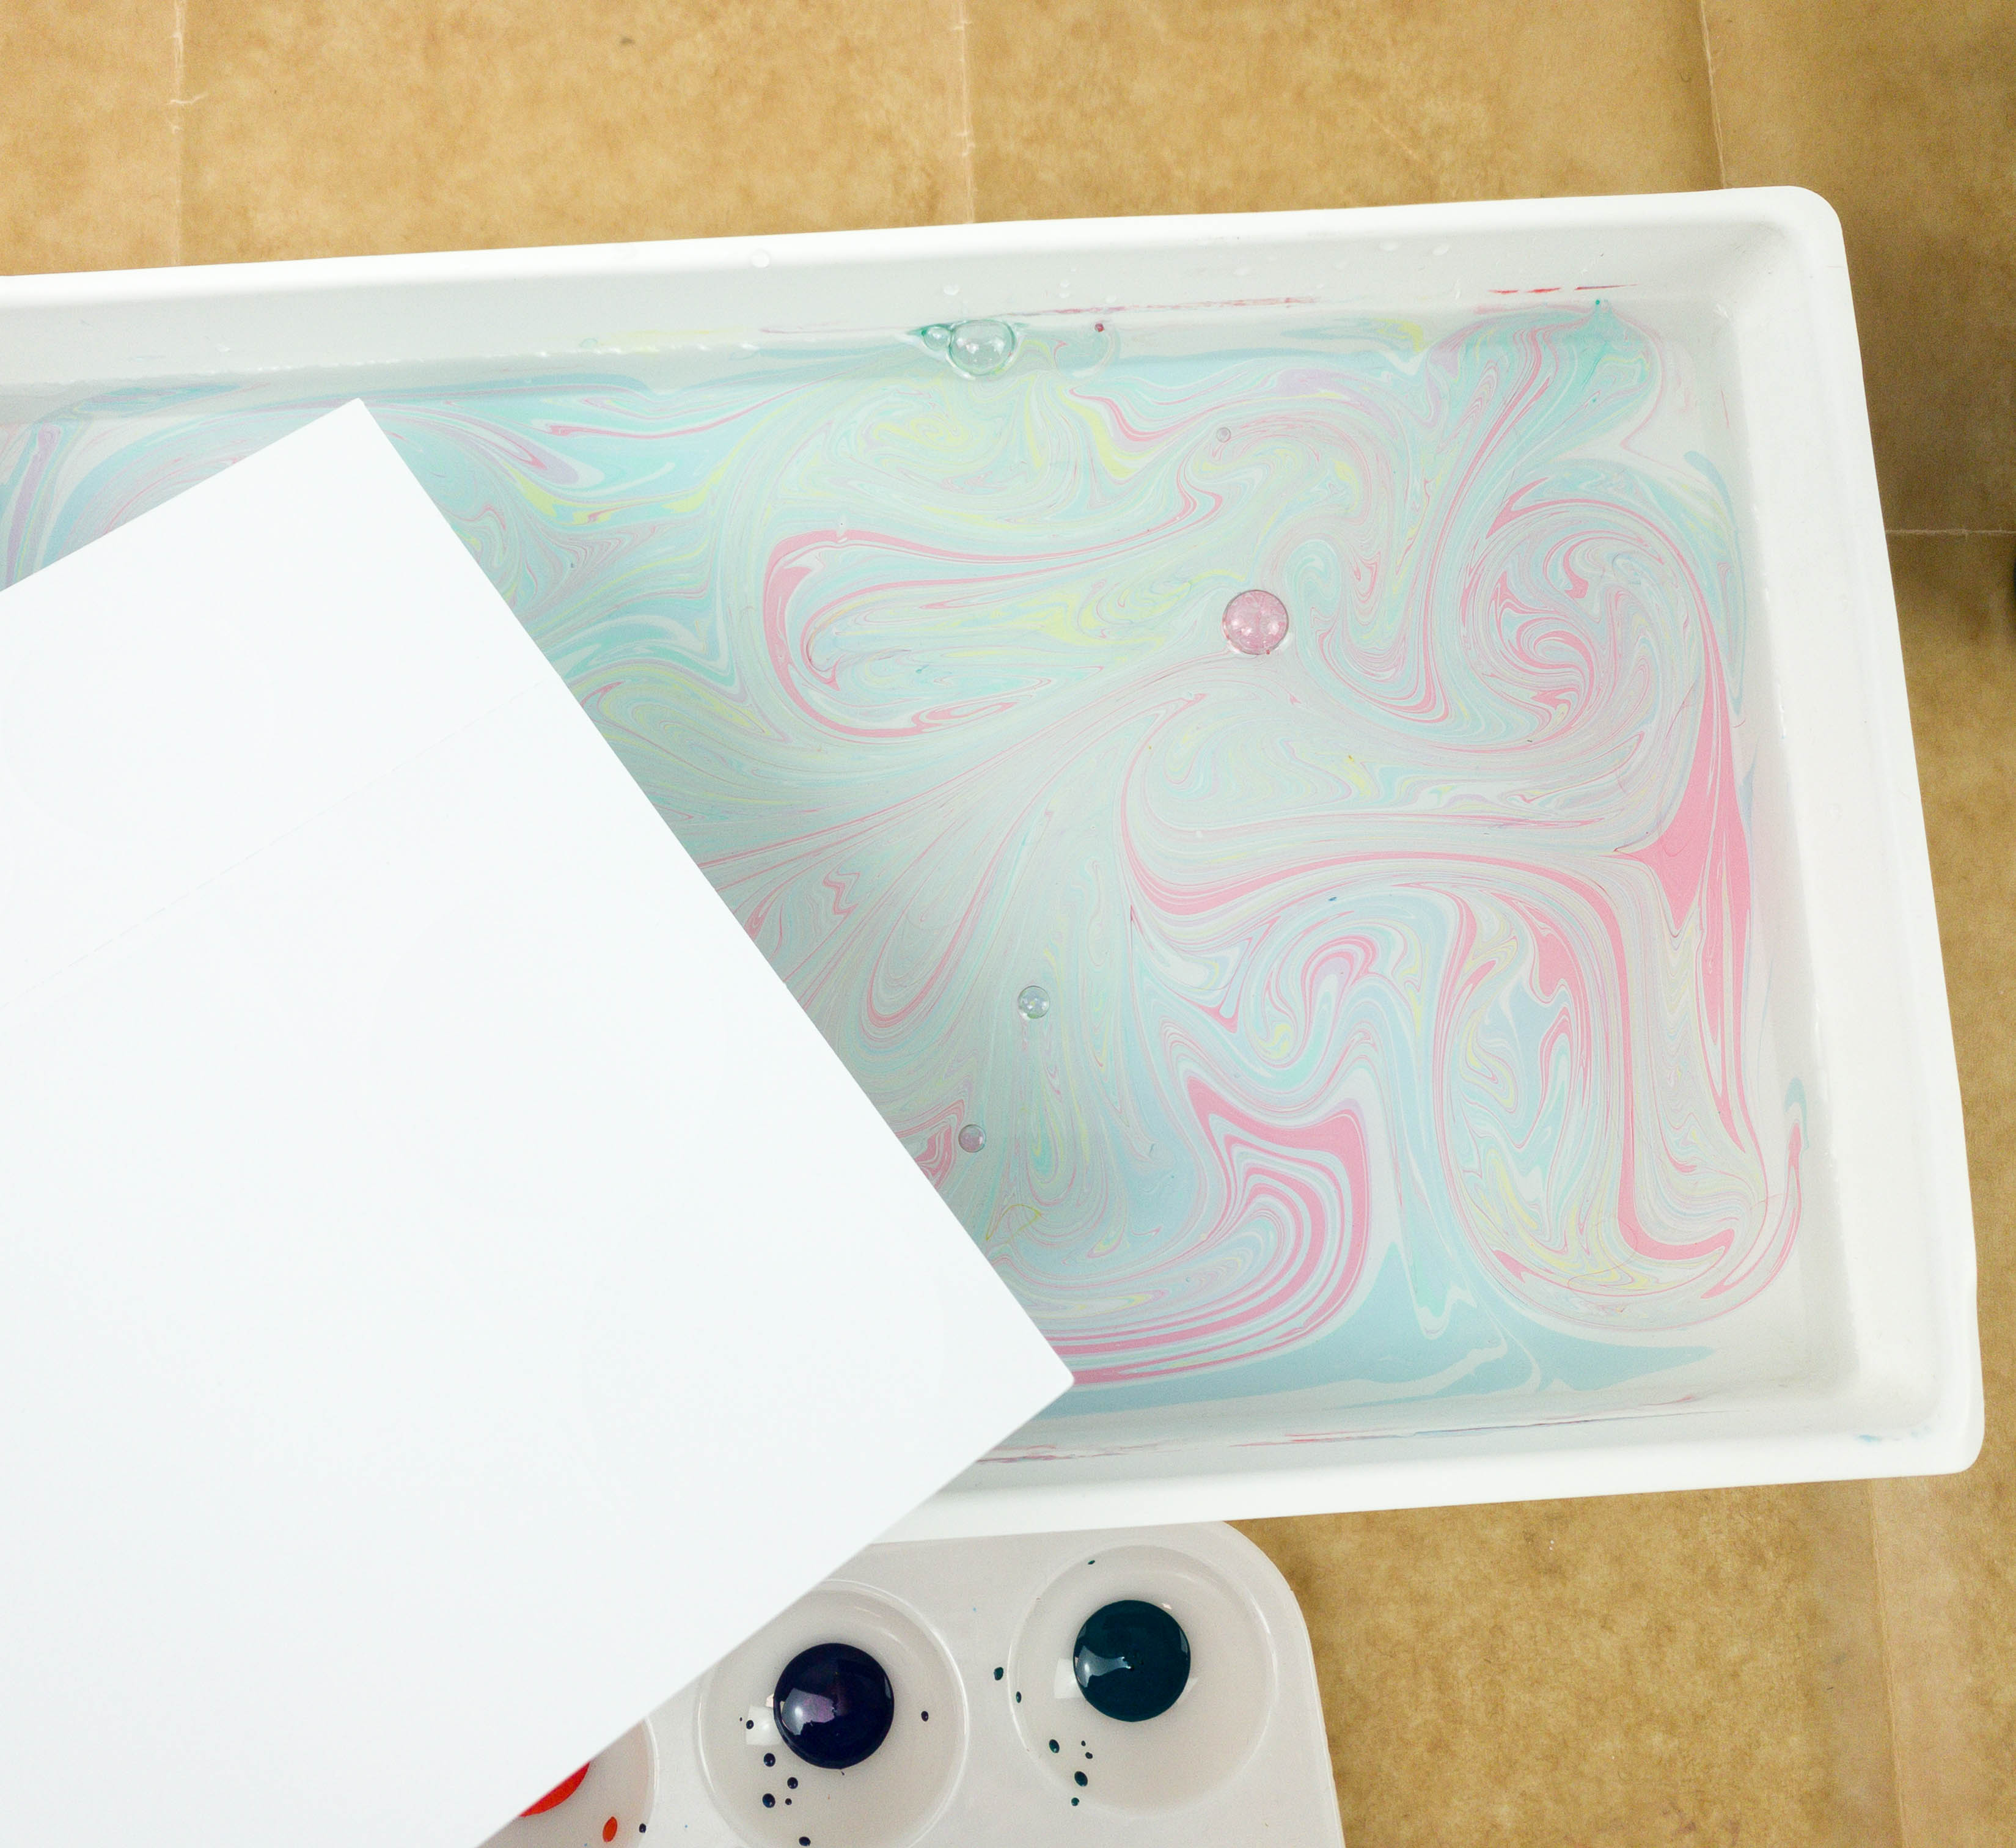
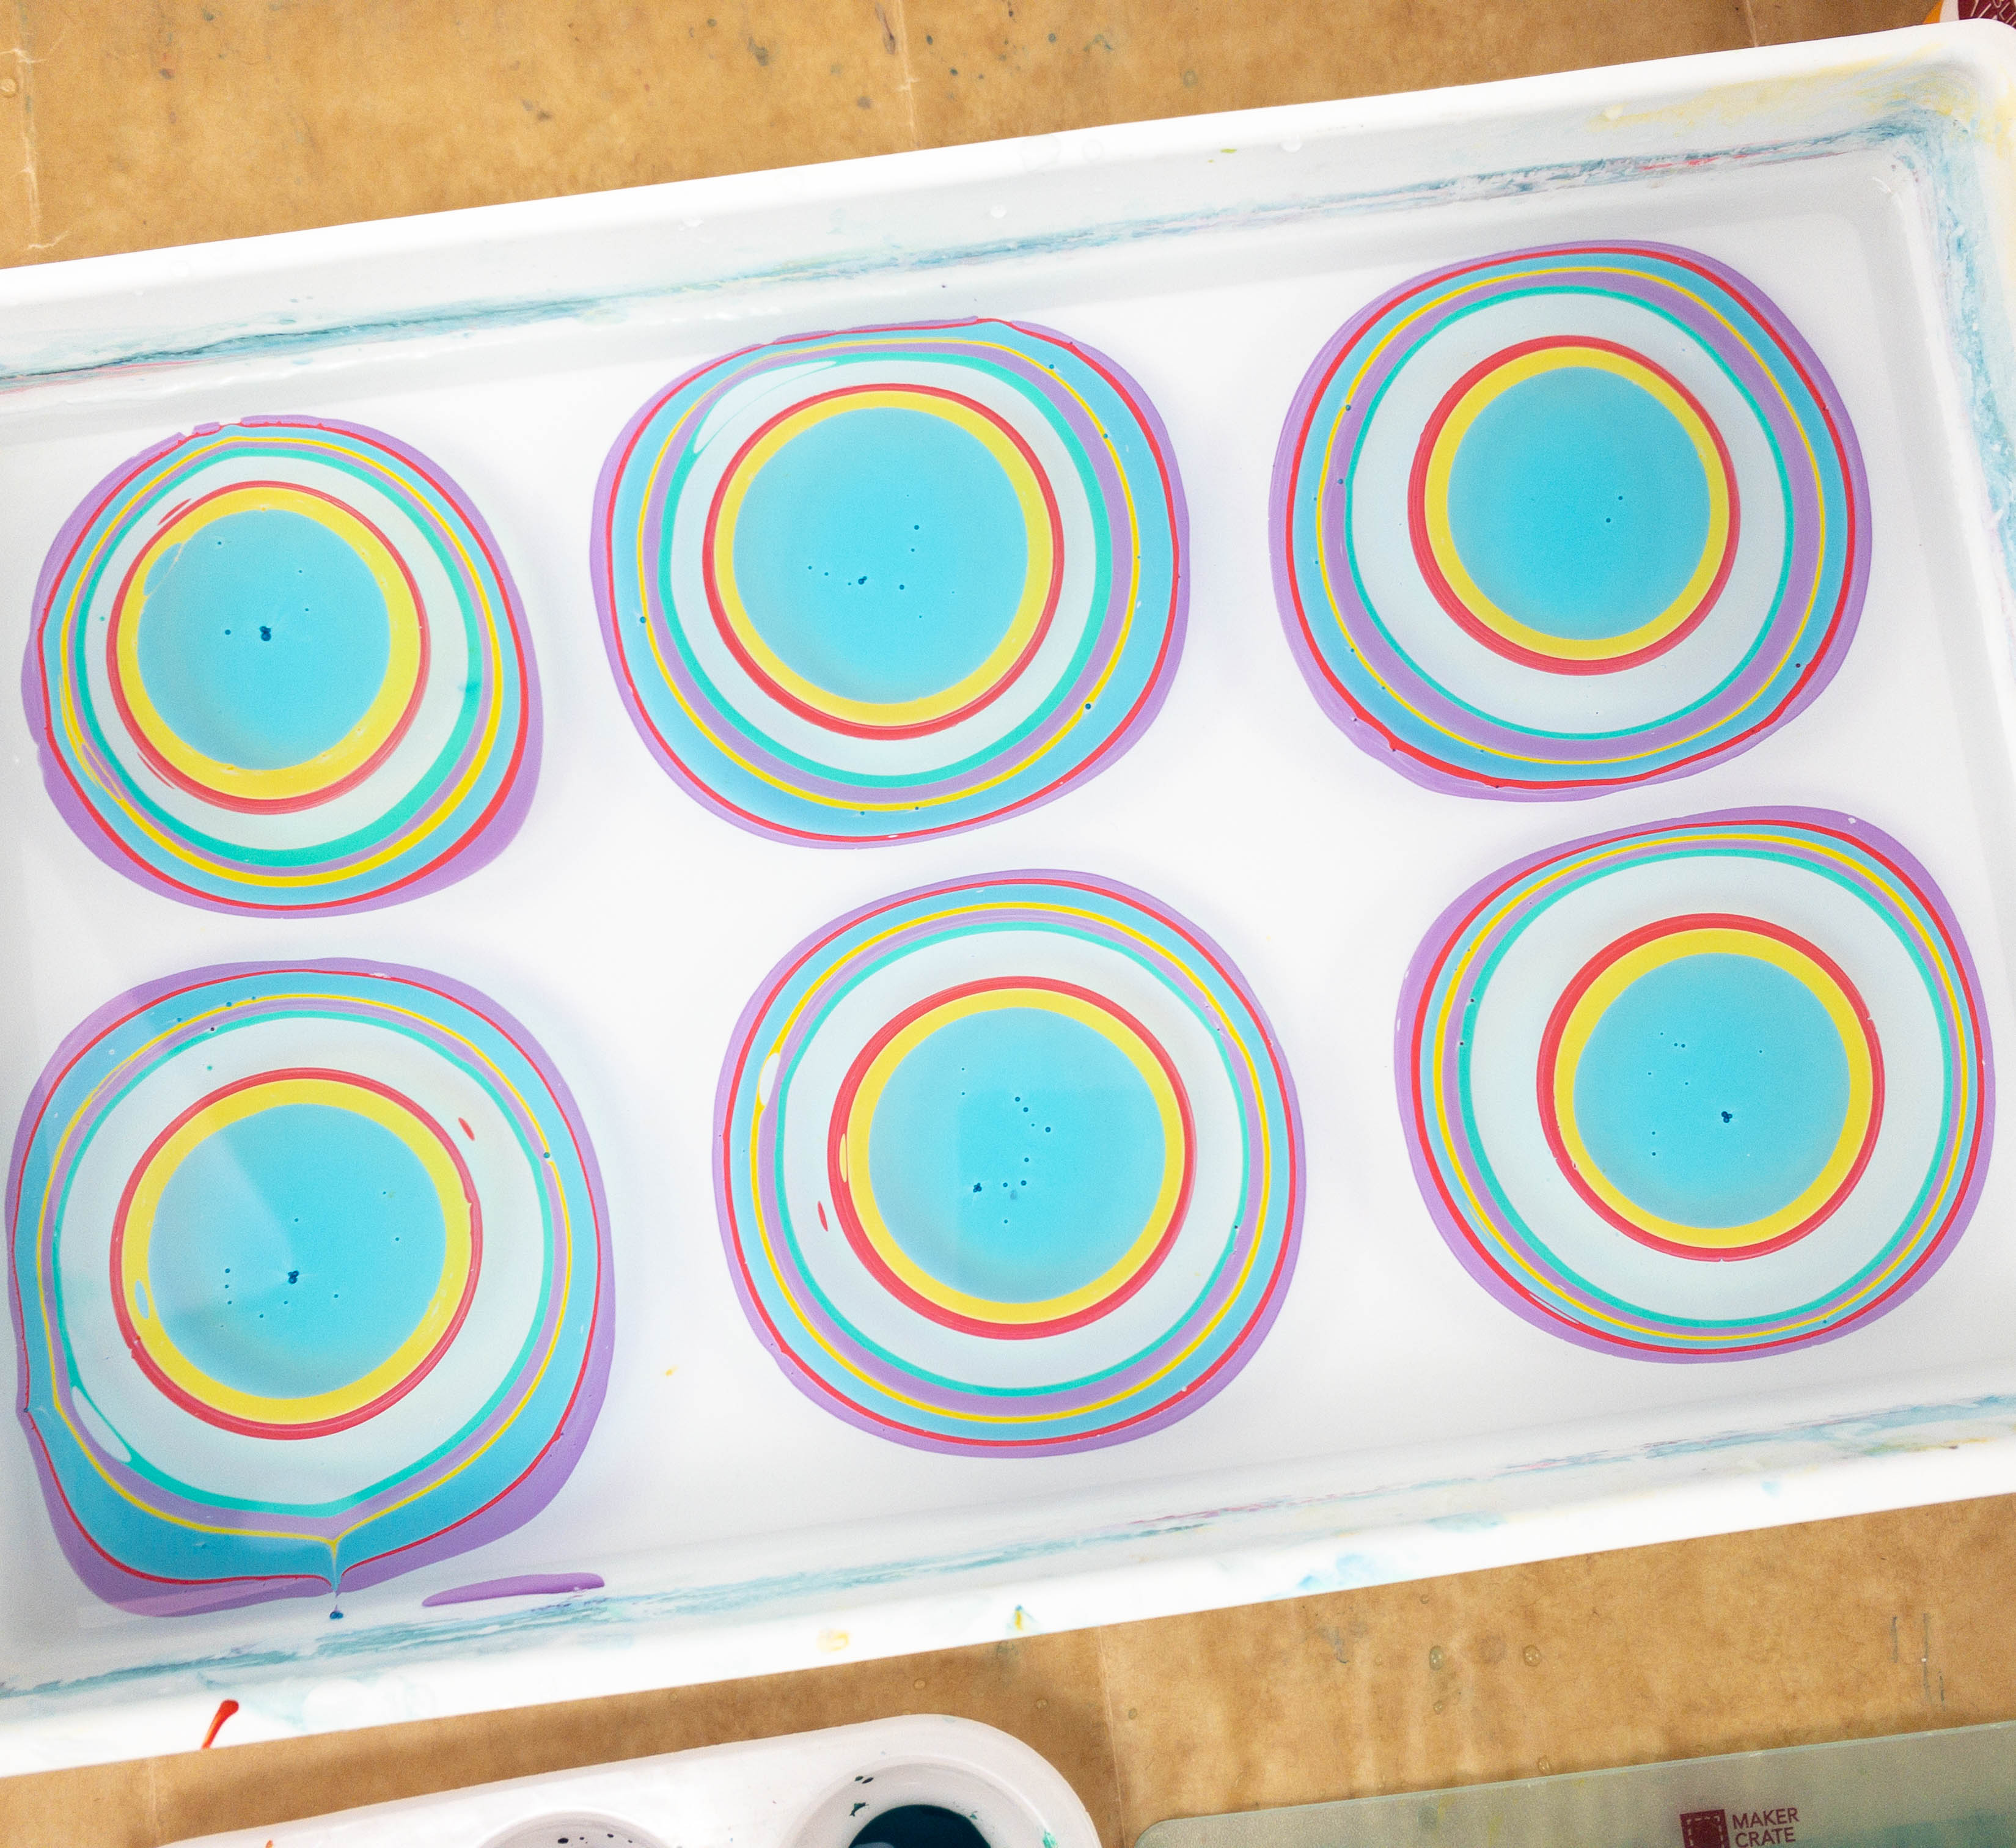
I skimmed the top of the liquid on my tray with a scrap paper before starting to make sure the surface is clean and there are no dust particles. Then using the metal stylus, I dabbed some paint on the surface of the water. You can also place colors on top of each other for a nice effect!
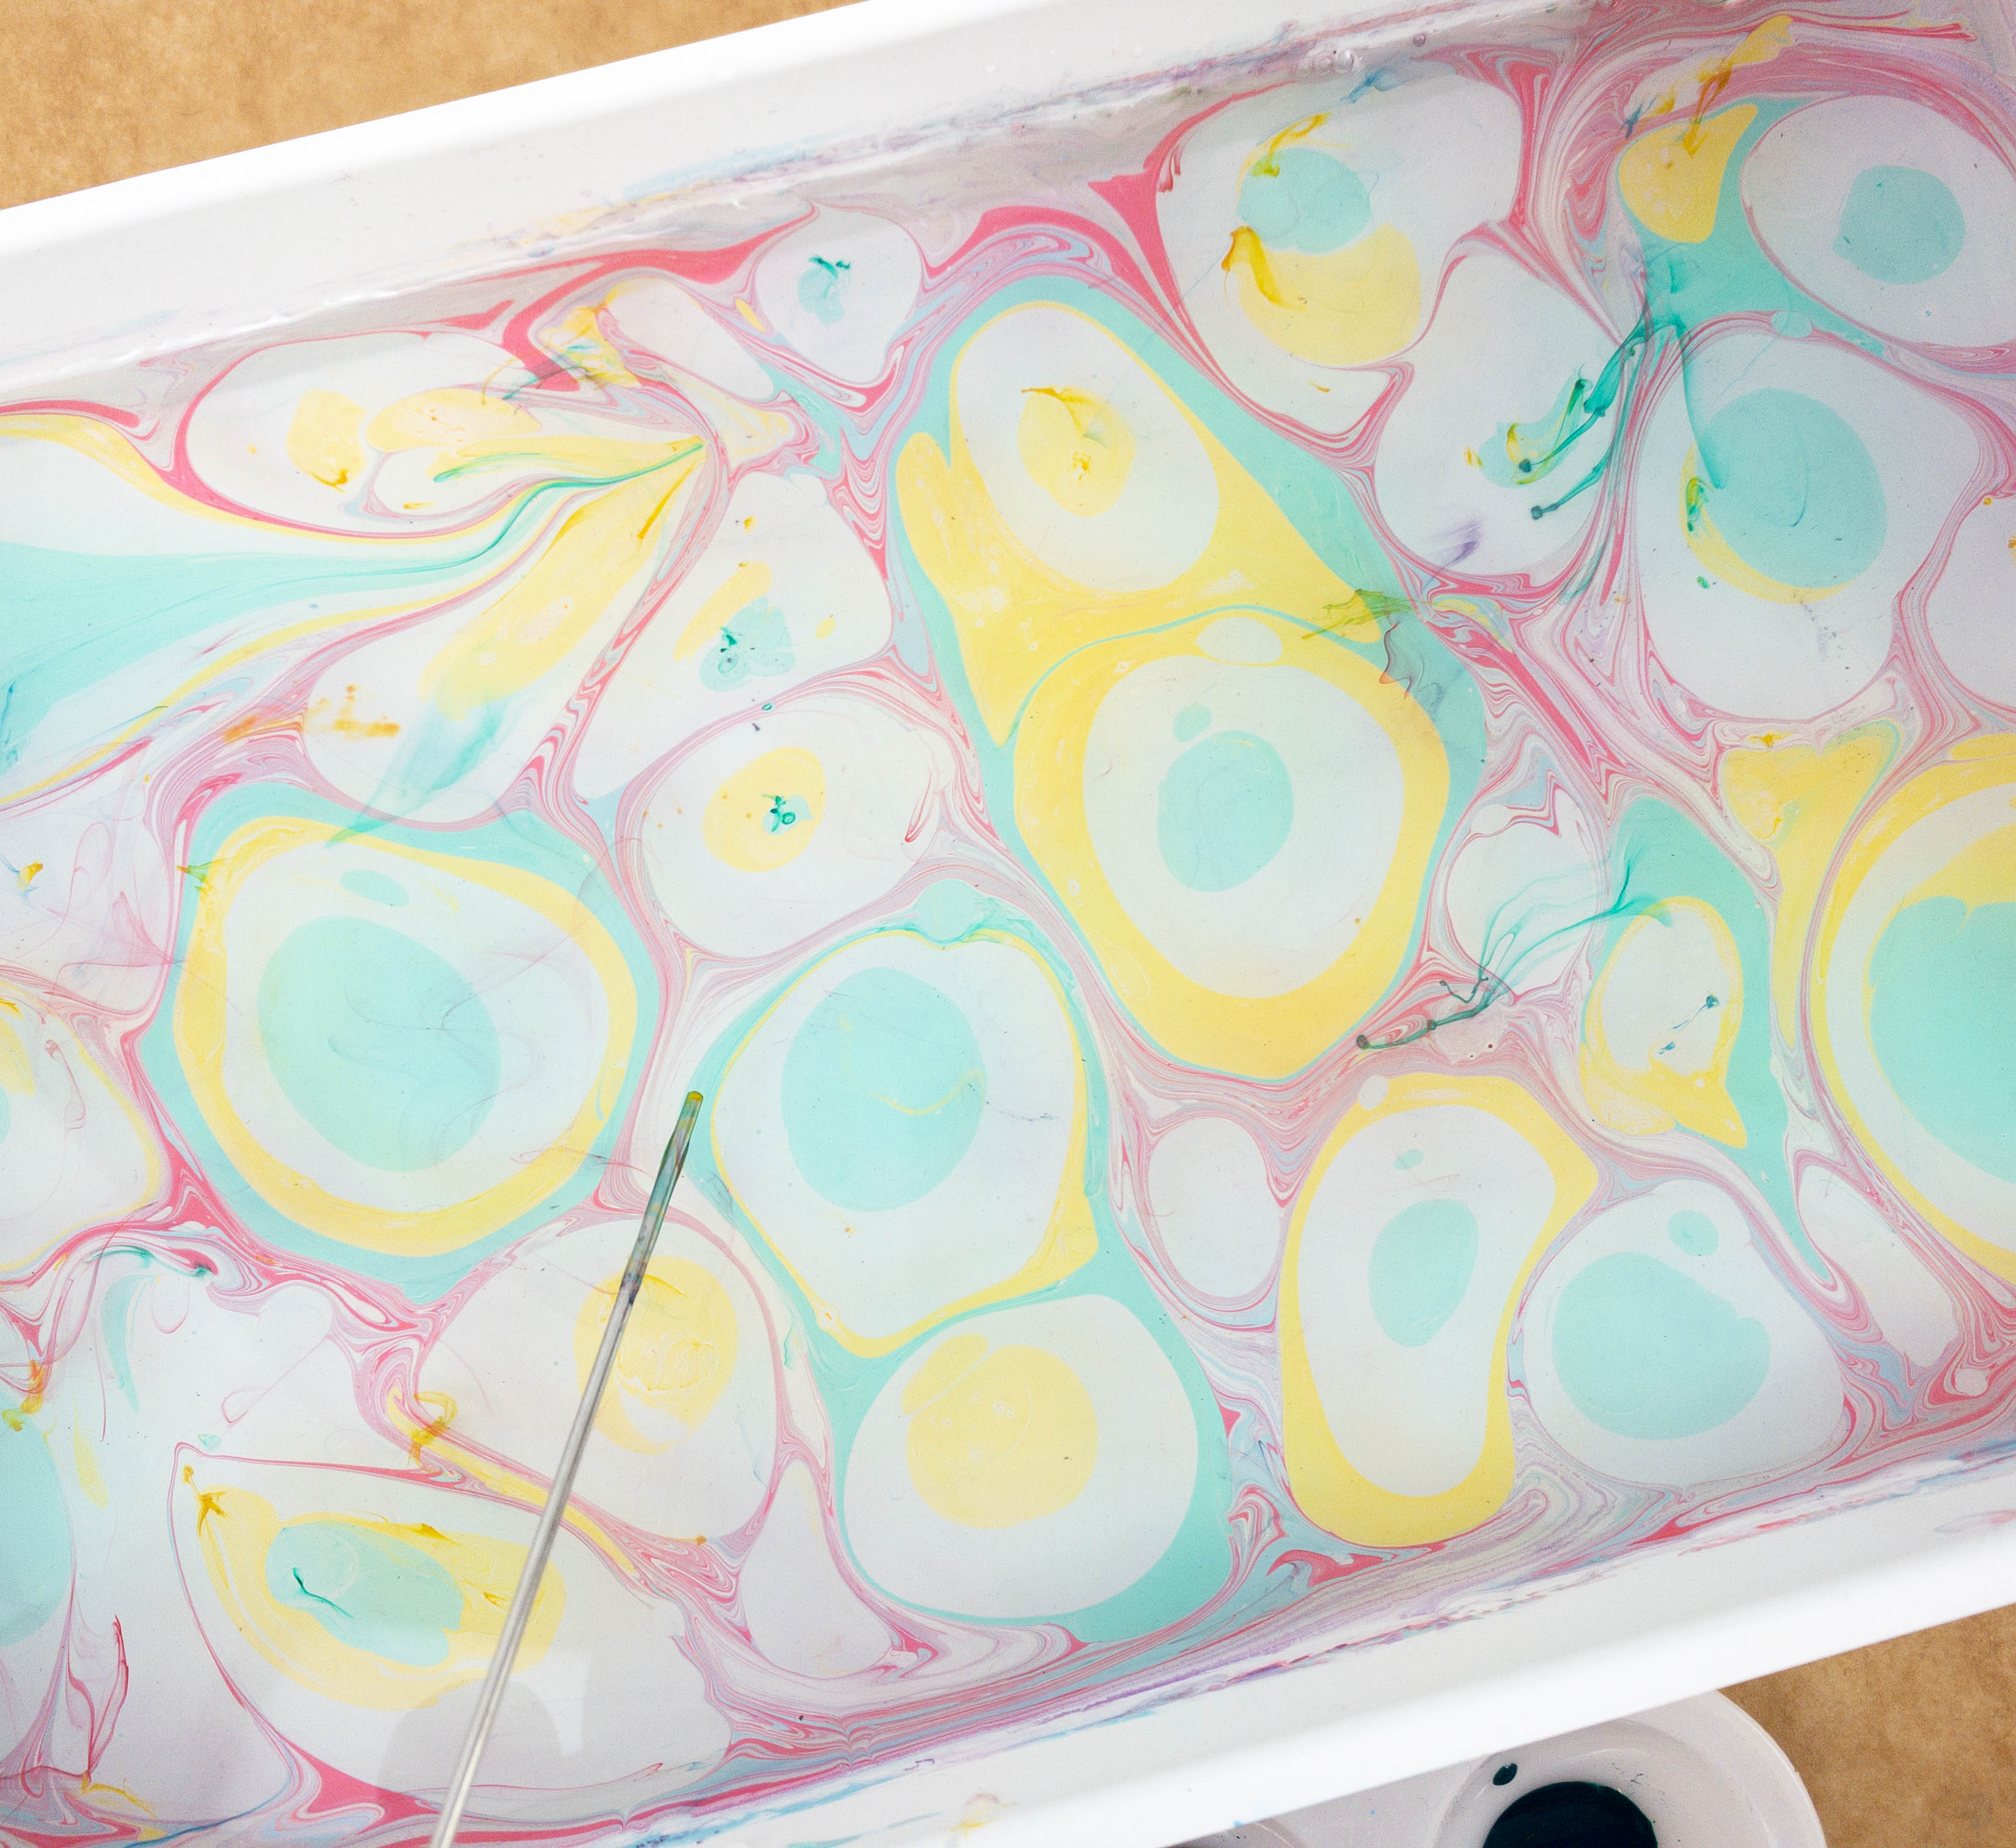
I also tried to swirl the colors around using the stylus for a unique design.
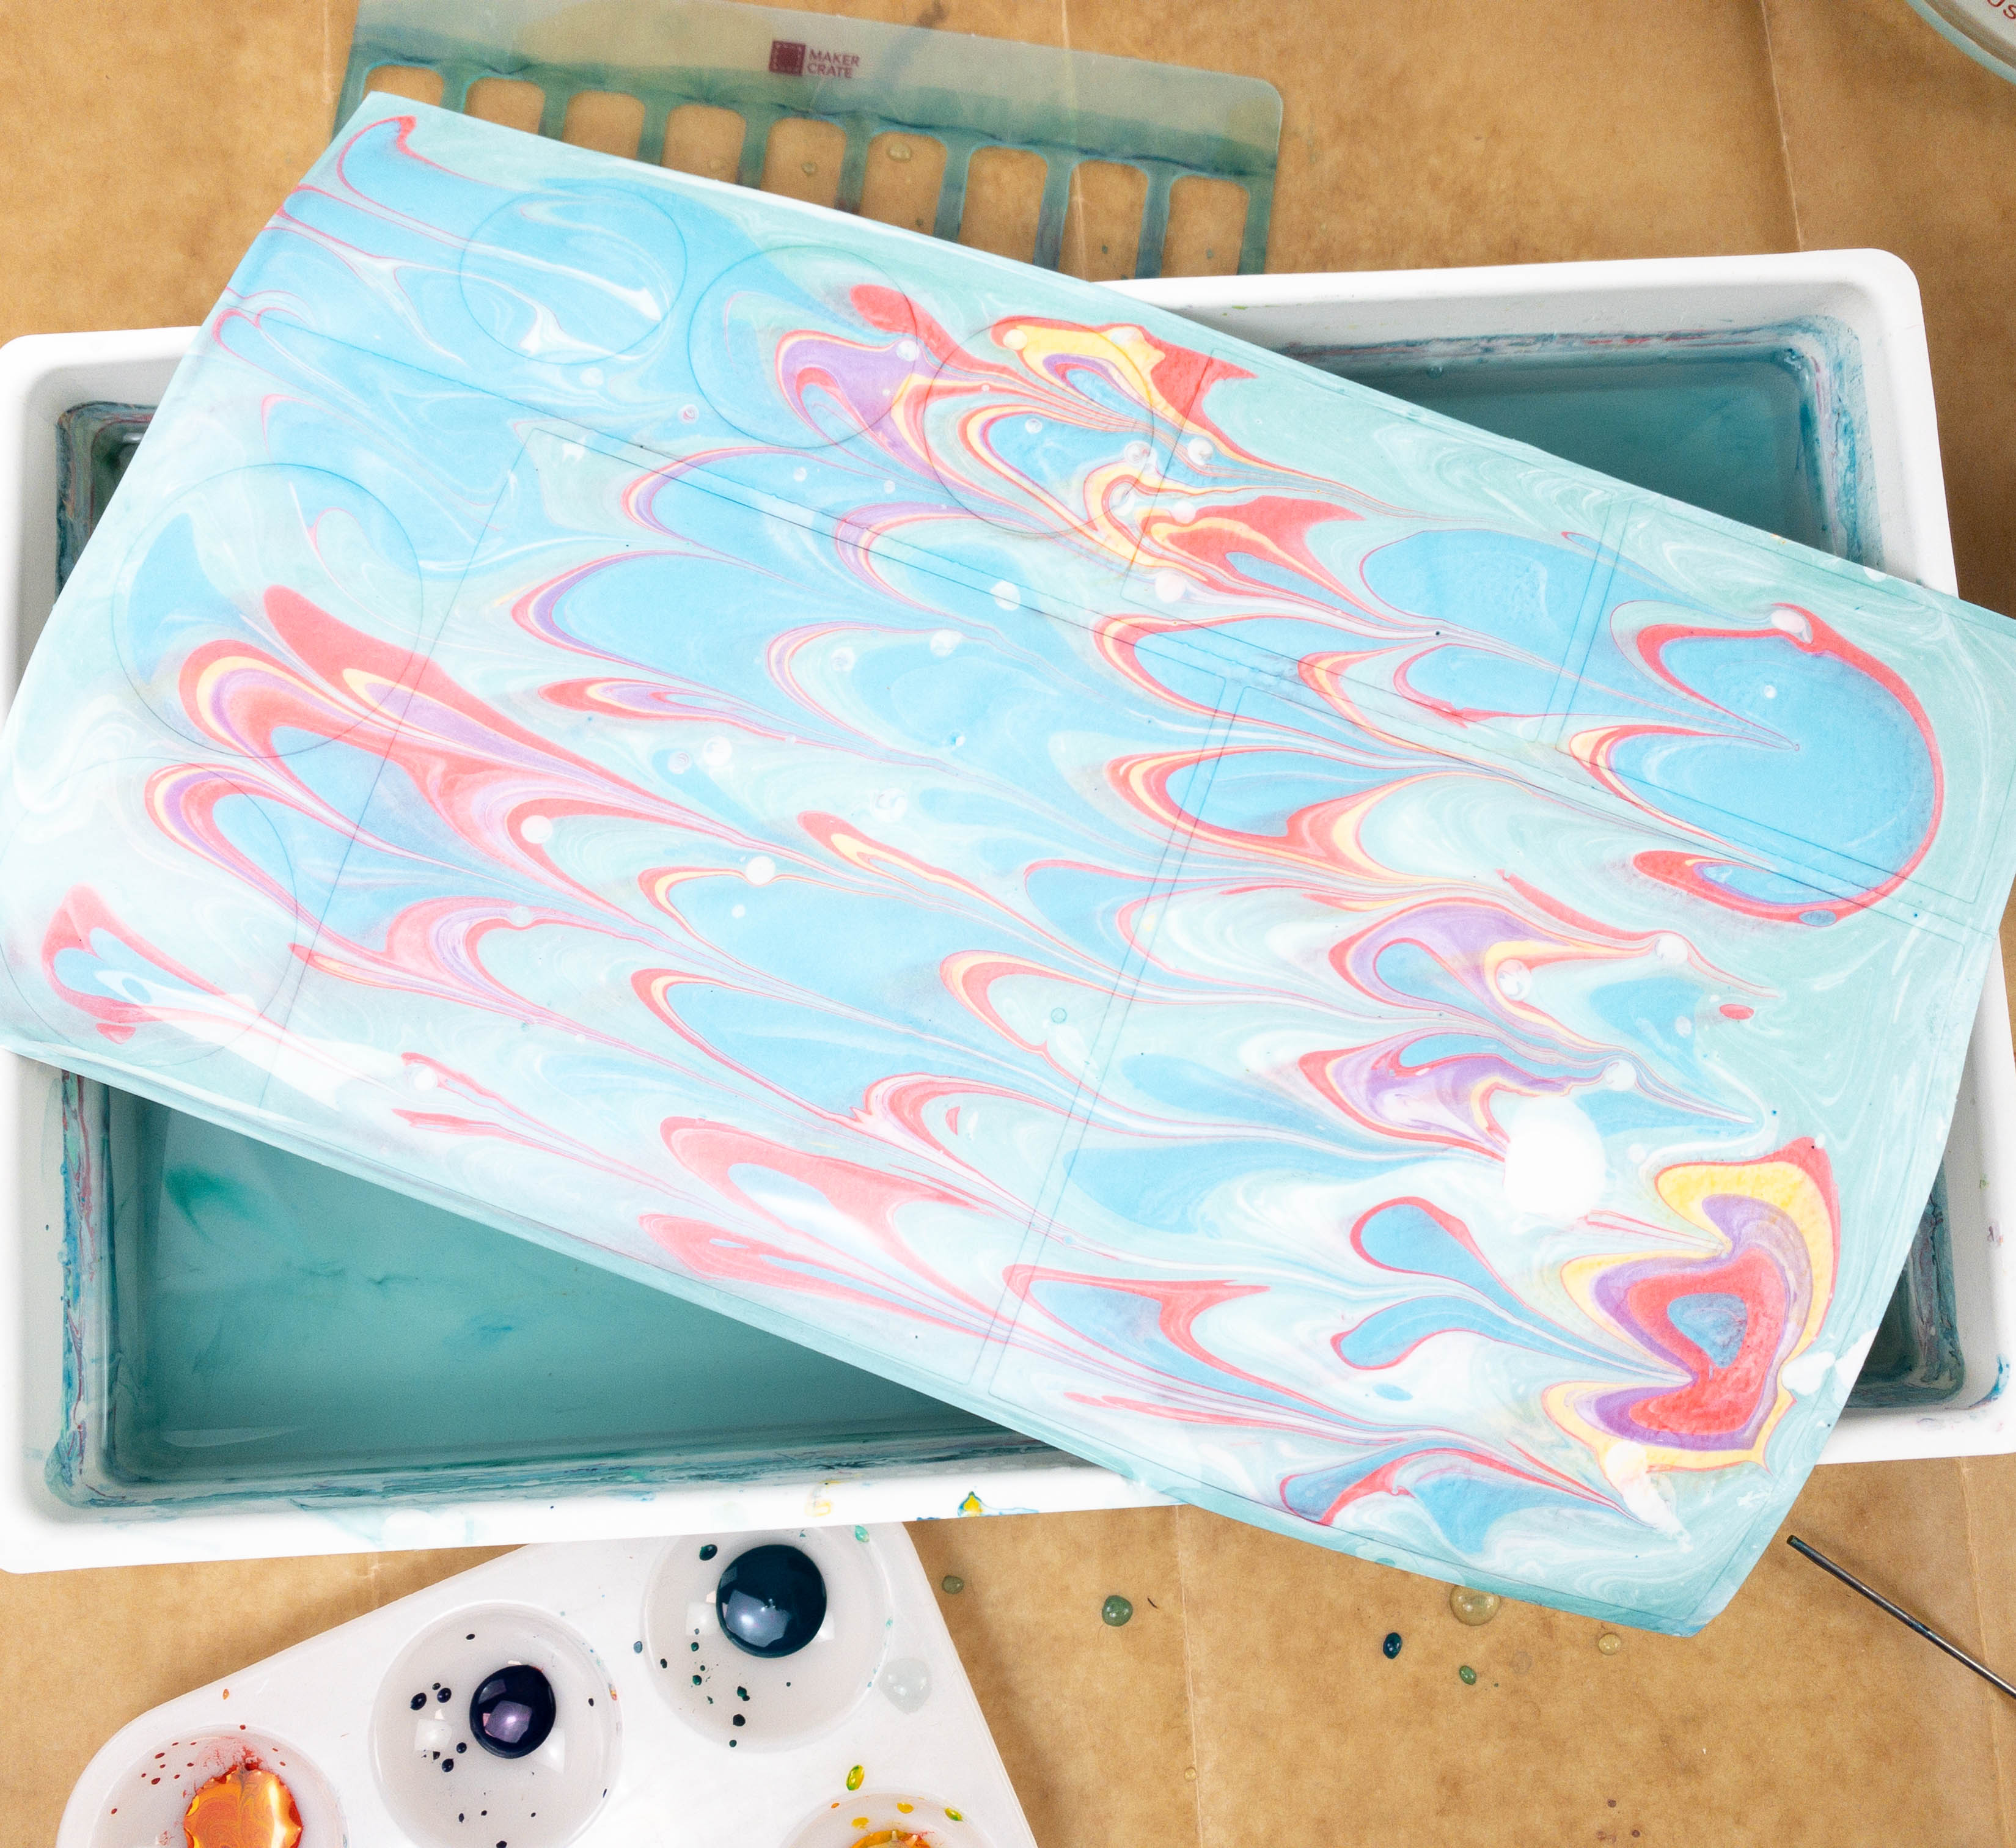
Once you’re happy with your design, place your paper of choice on the surface of the water. Make sure not to push the paper into the water so curl the paper a bit and start from one end to the other. Lightly touch down the corners to make sure that the whole paper touches the surface of the water and soaks up the paint. When that’s done, gently lift the paper and drag it into the edge of the tray so the excess water gets drained and you’re done. It’s great if you have an area where you can place the paper and let it dry!
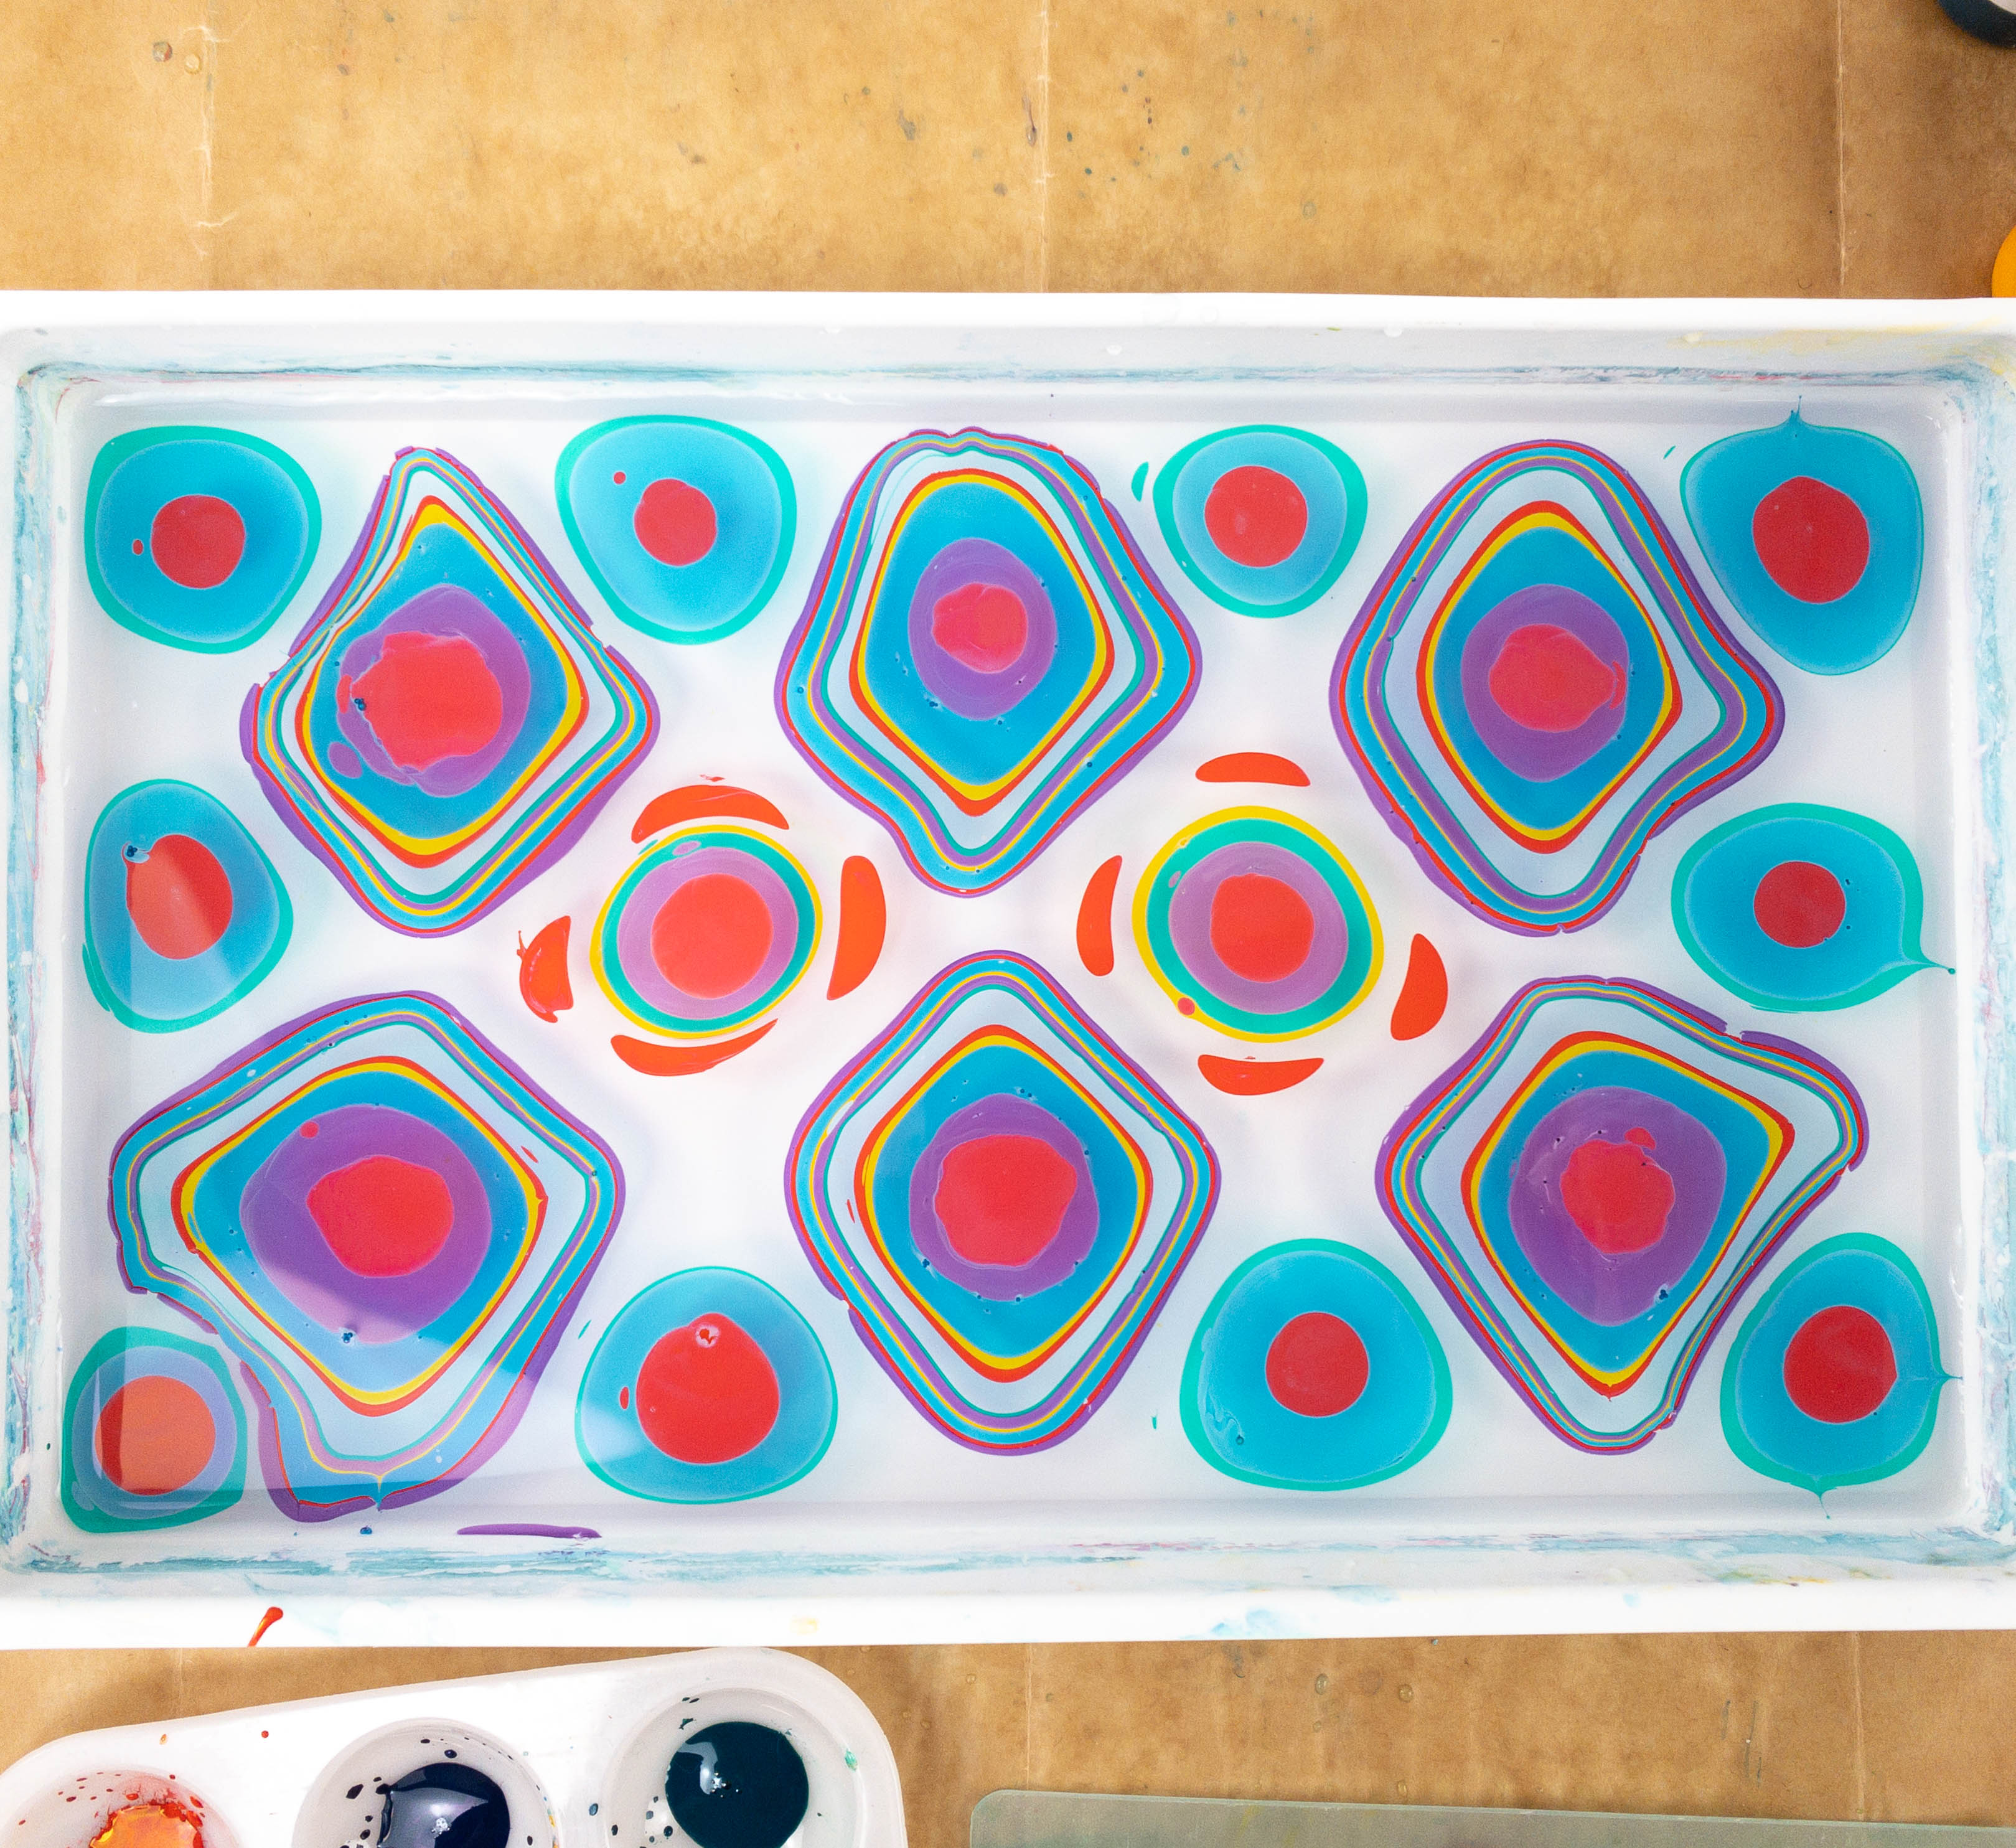
There are lots of paint included in the box, so there are also a lot of design possibilities!
This is a great way to unleash creativity, whether for teens or adults.
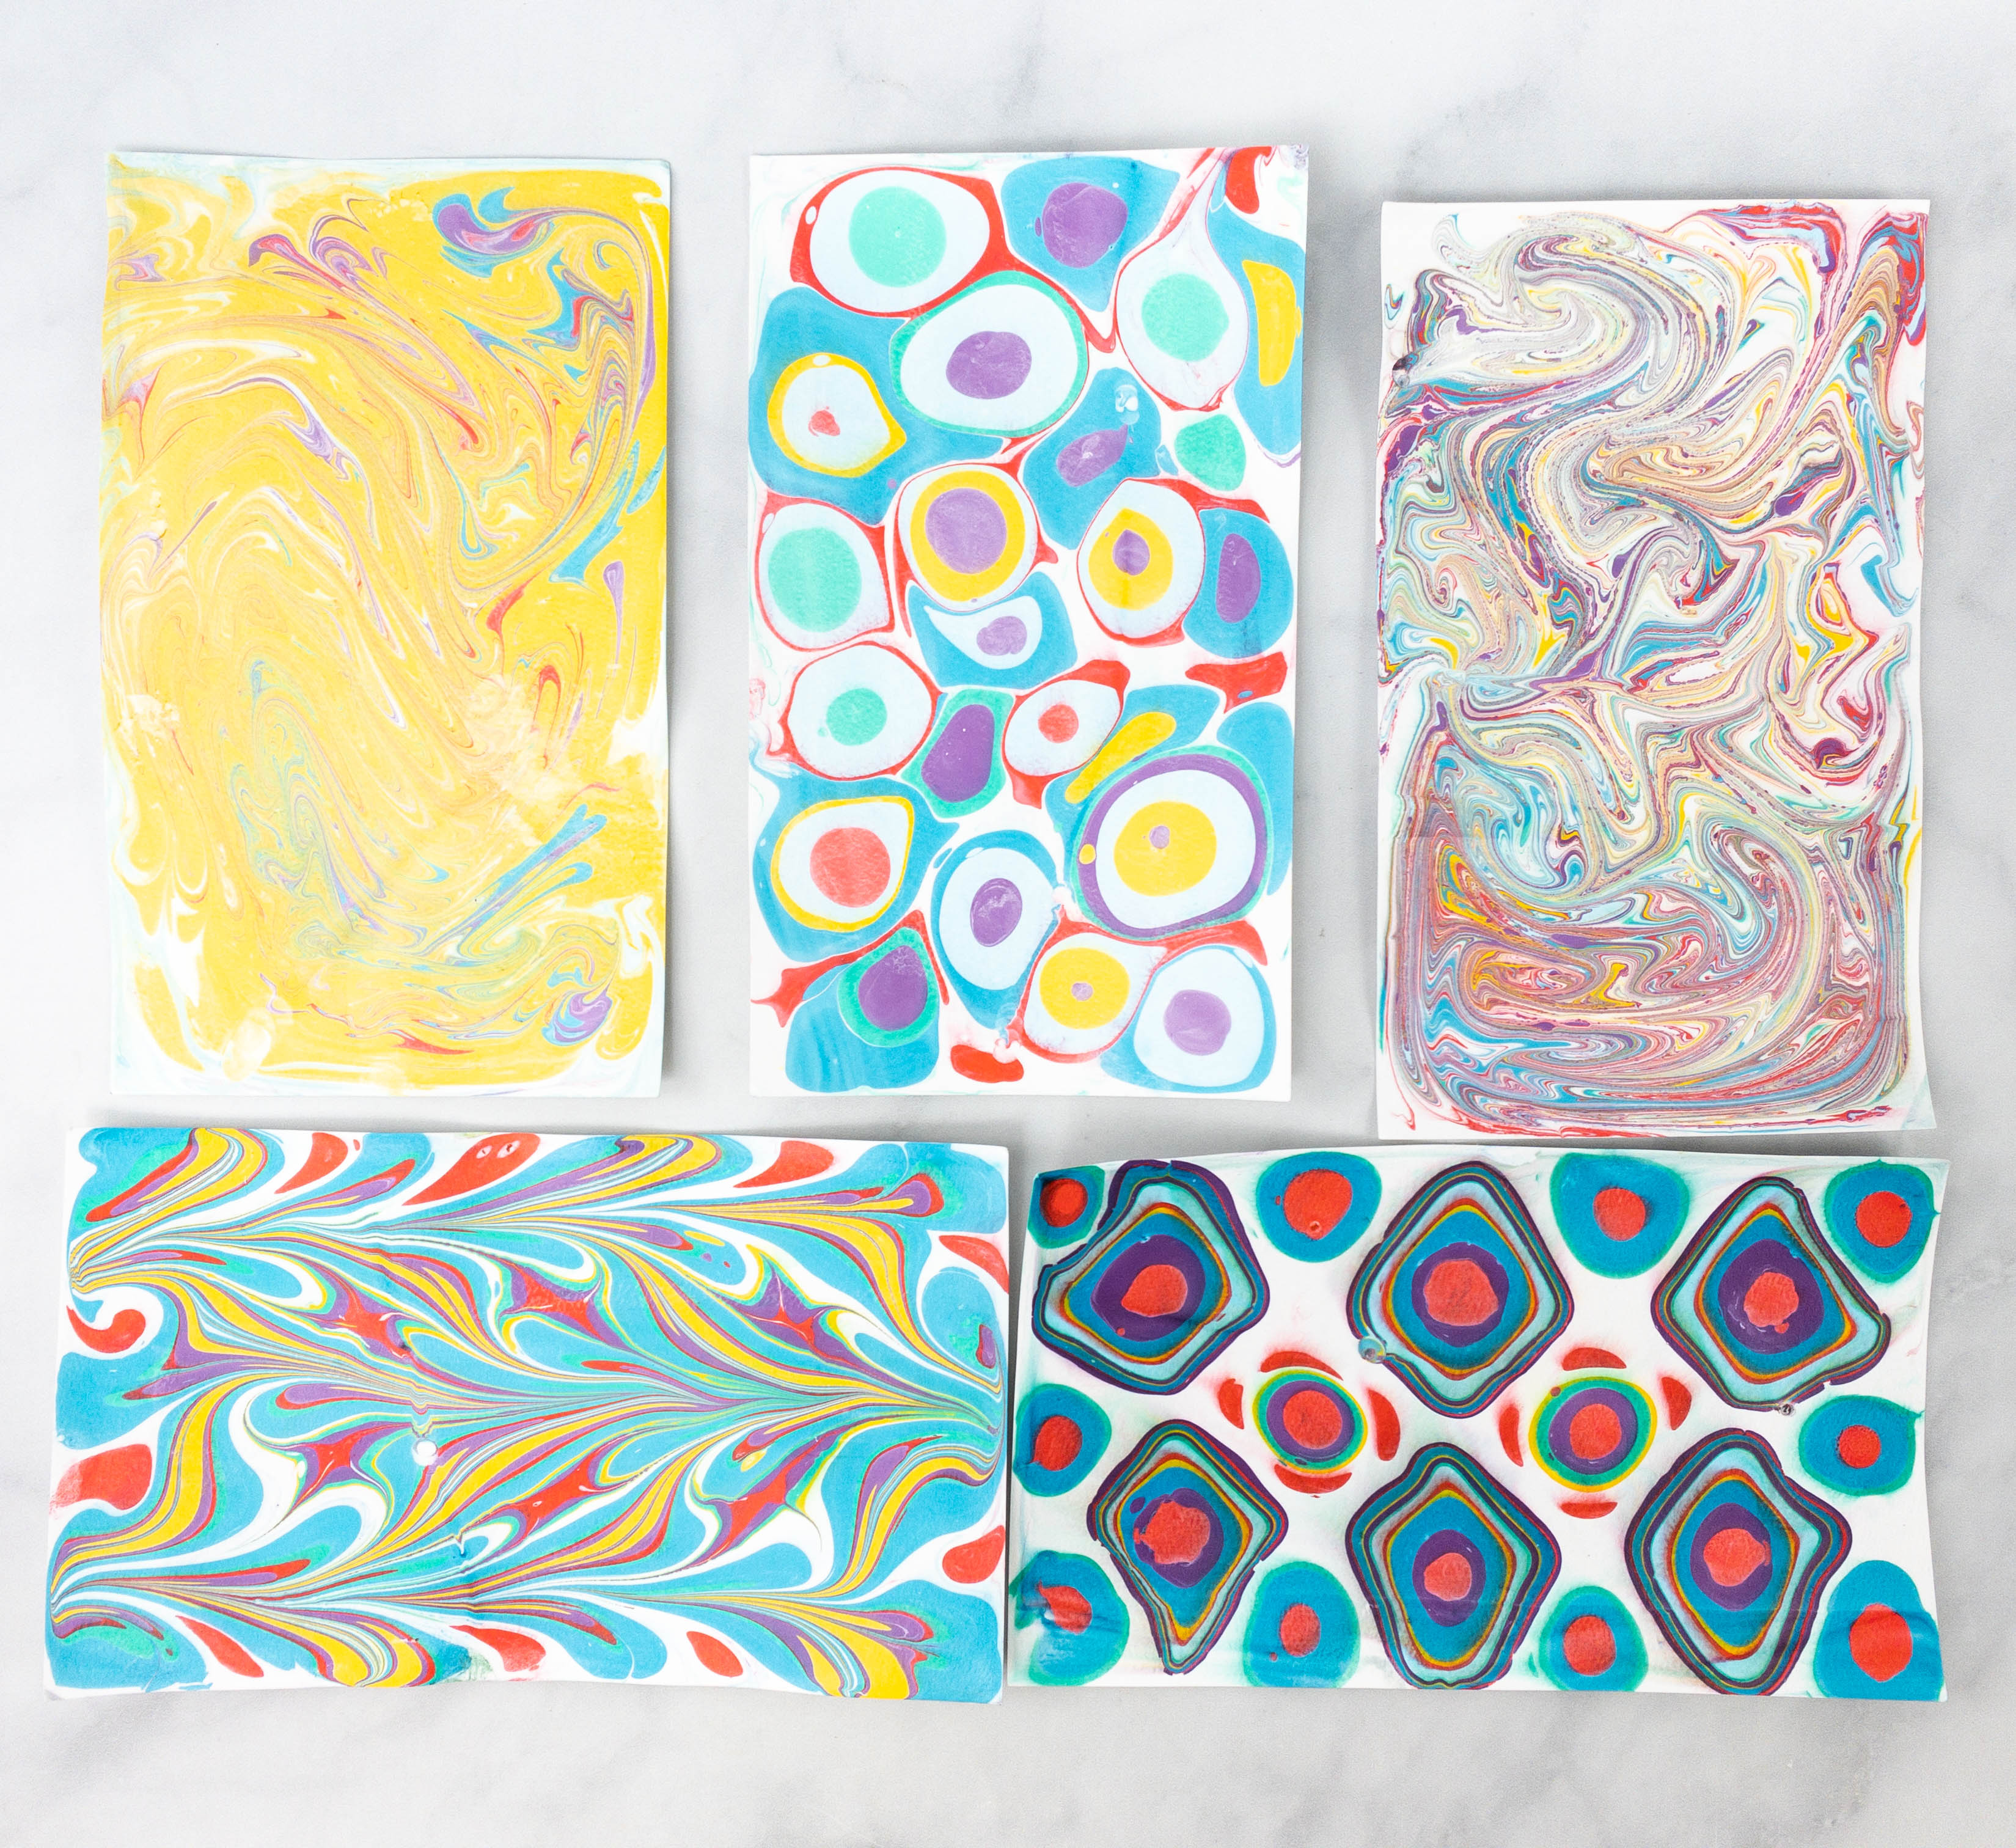
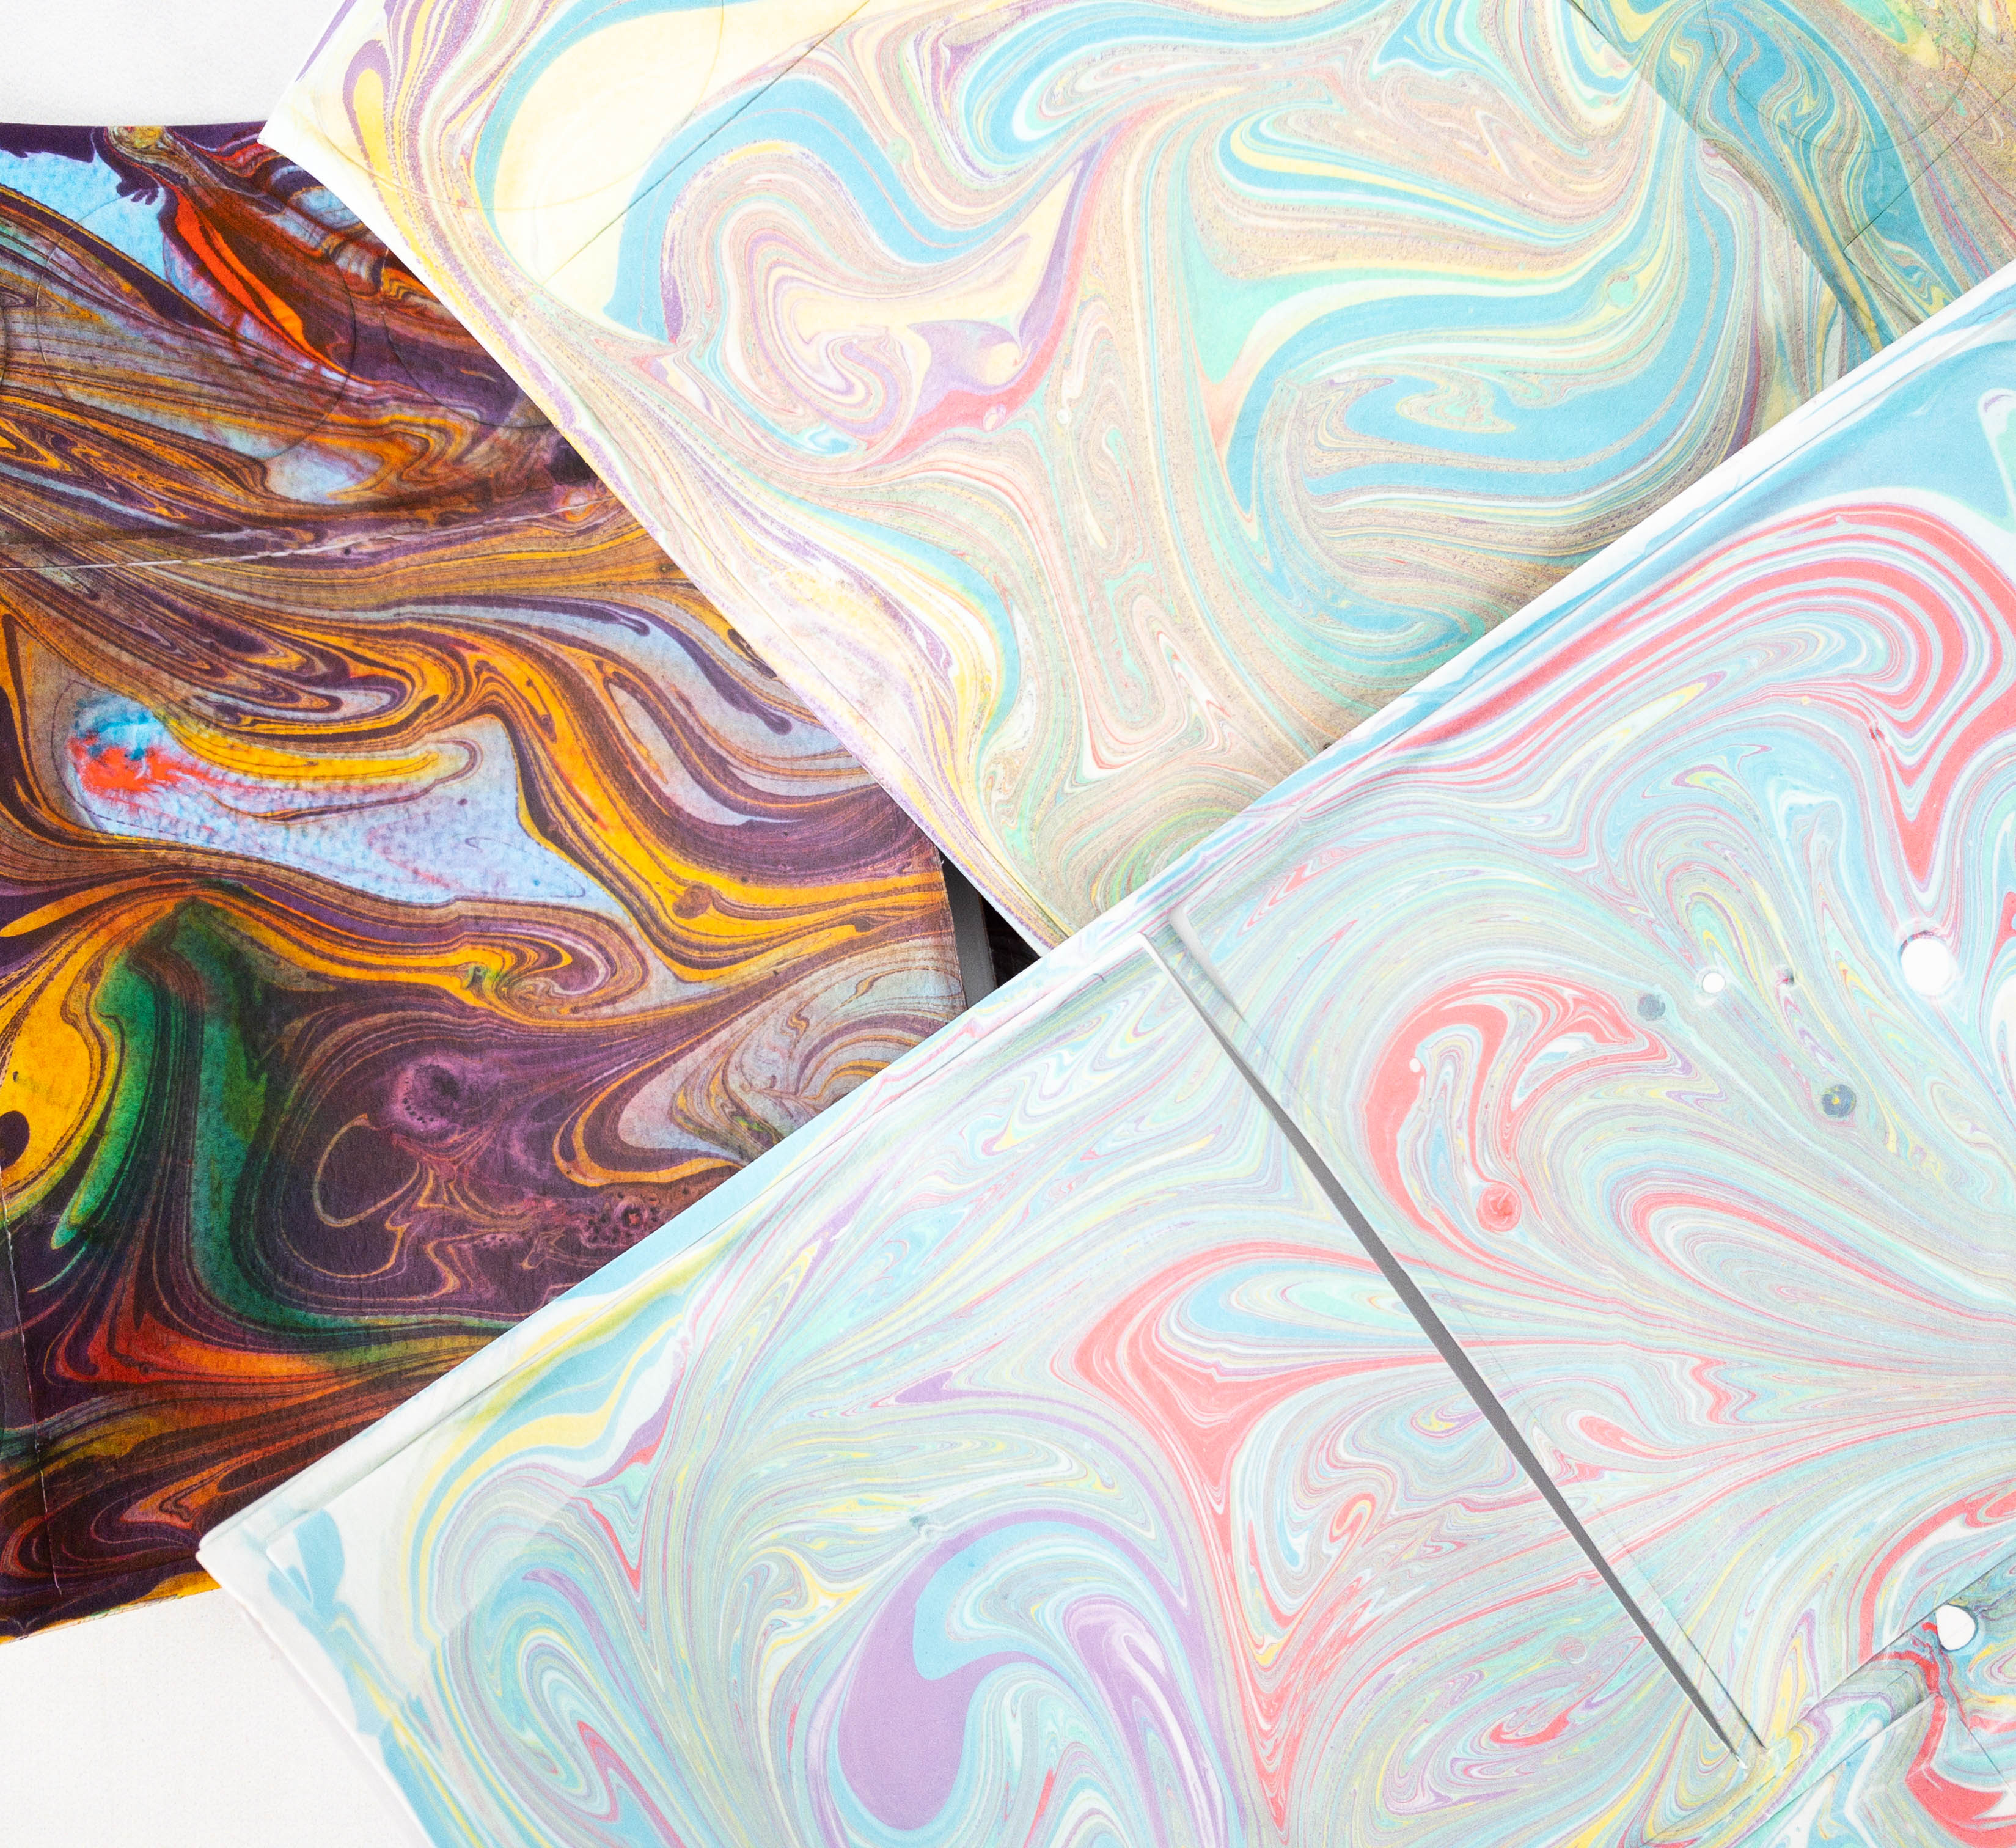
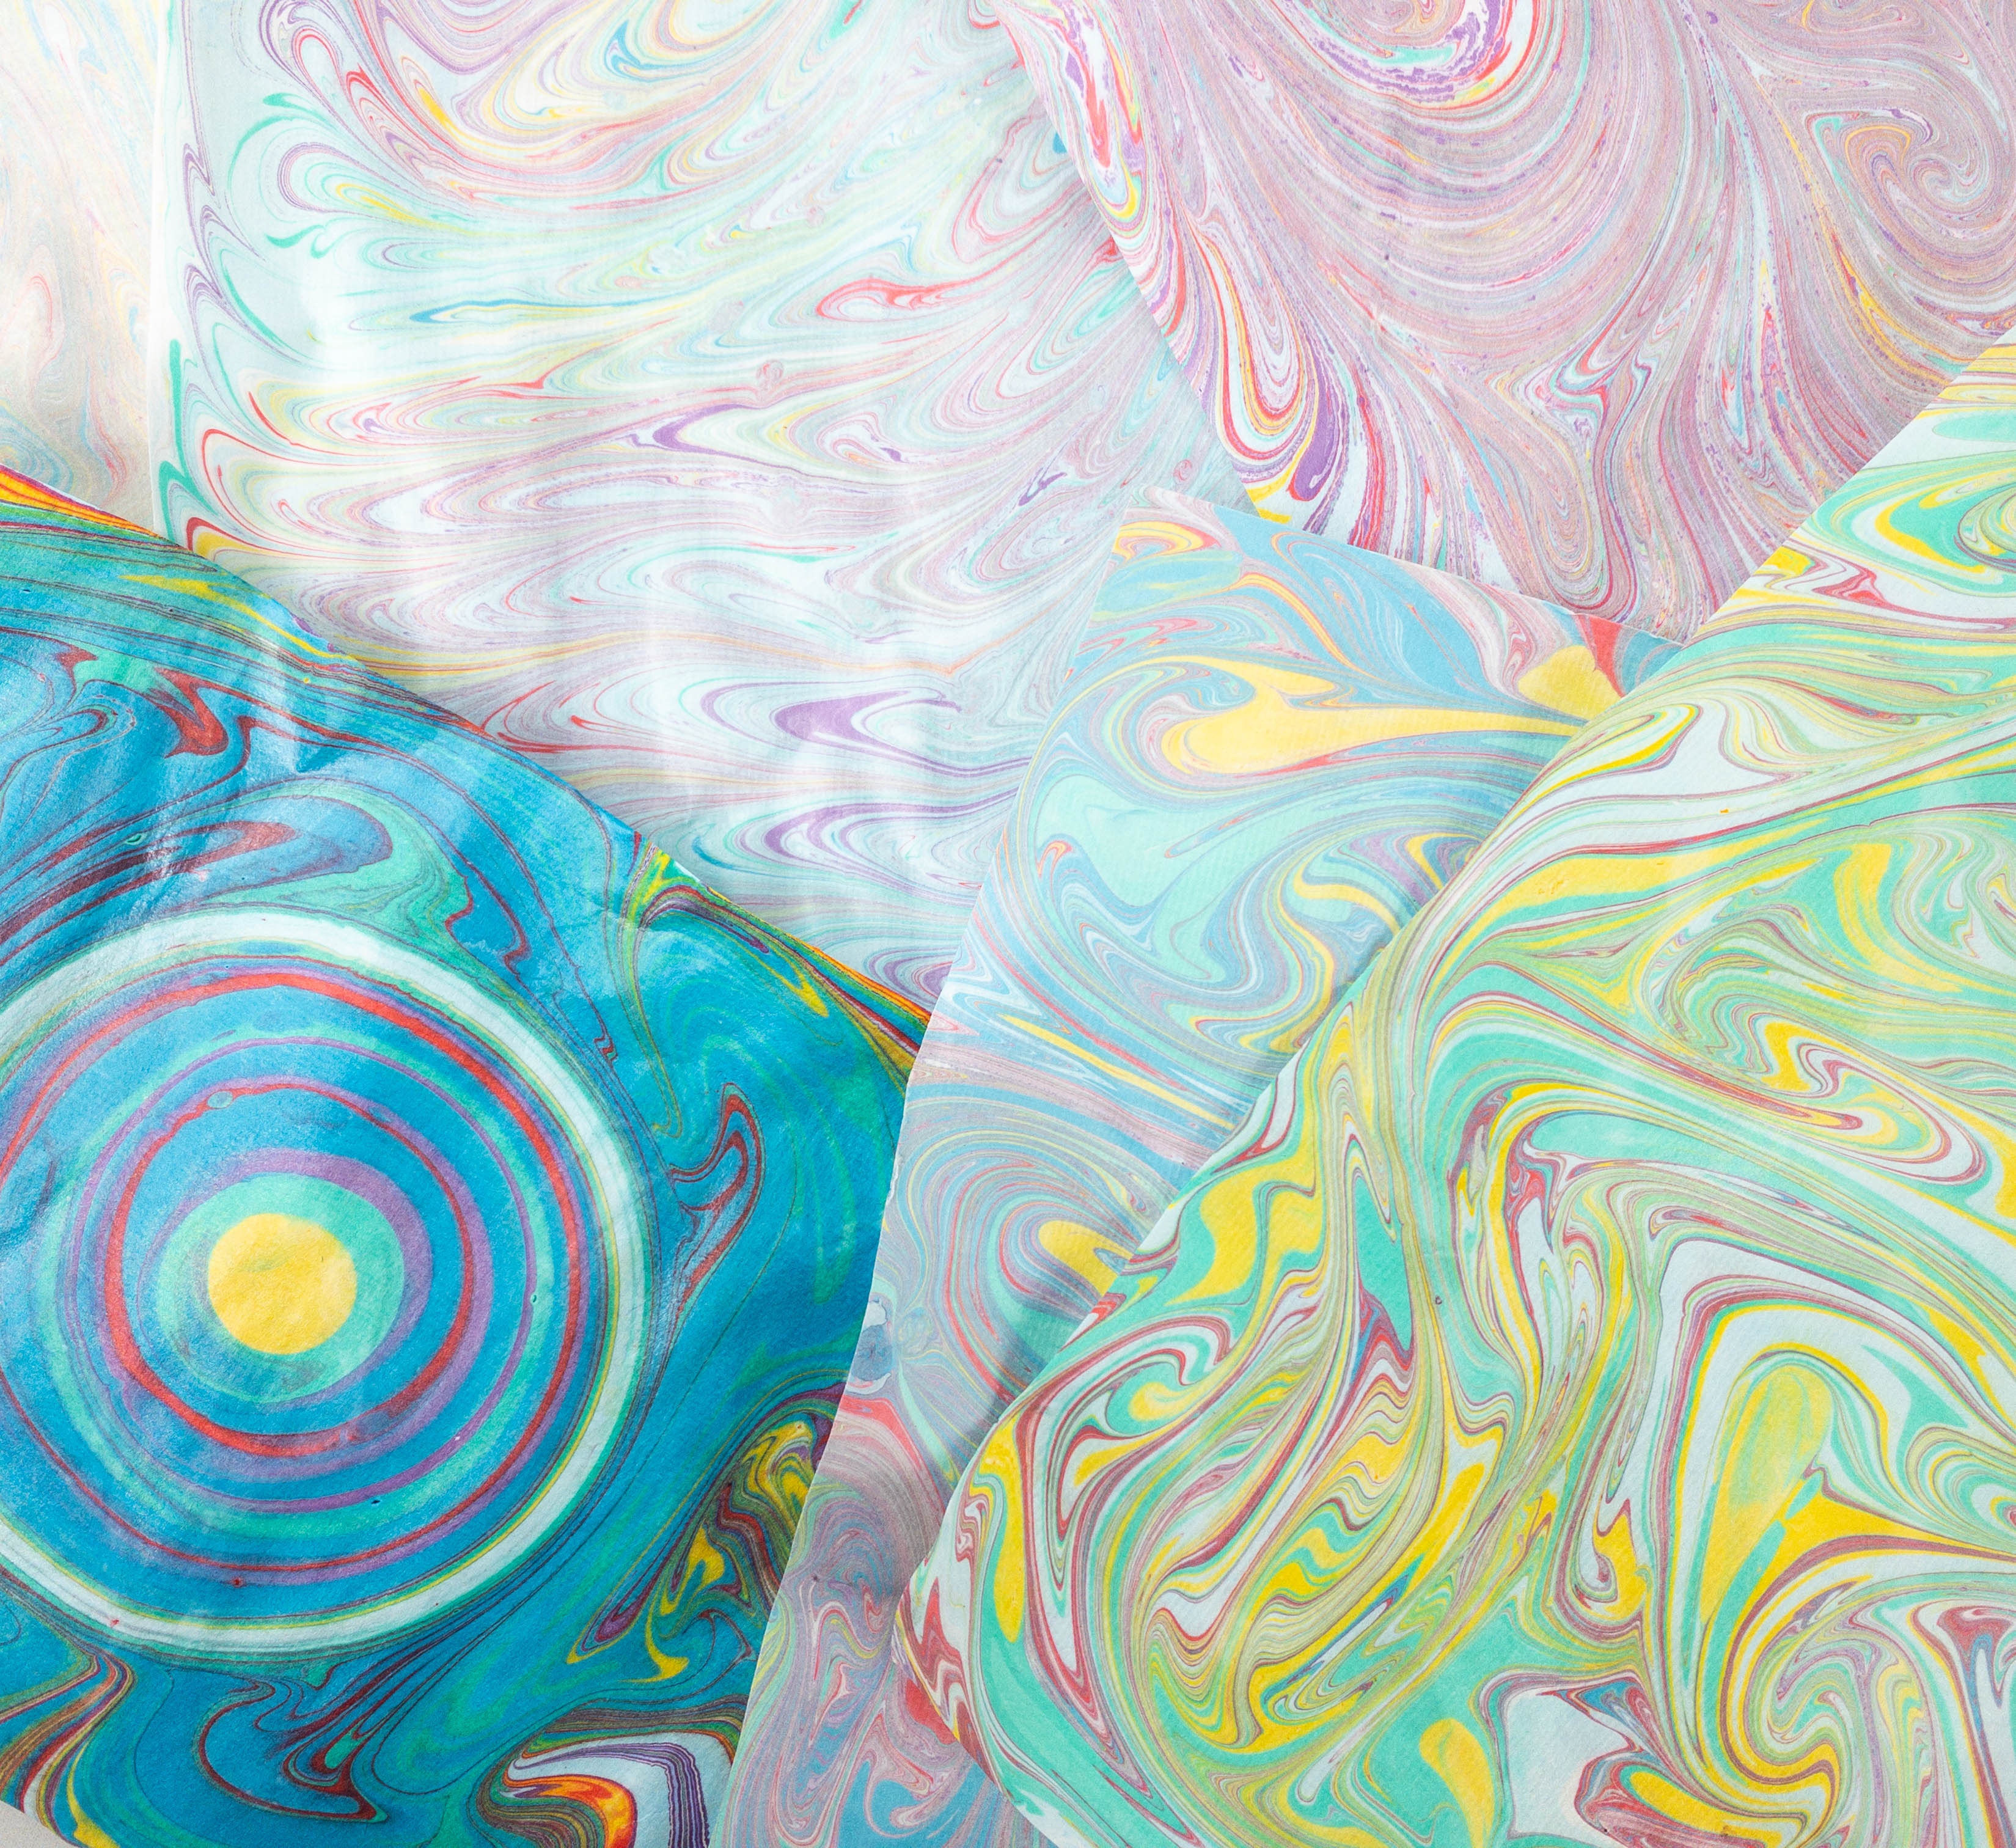
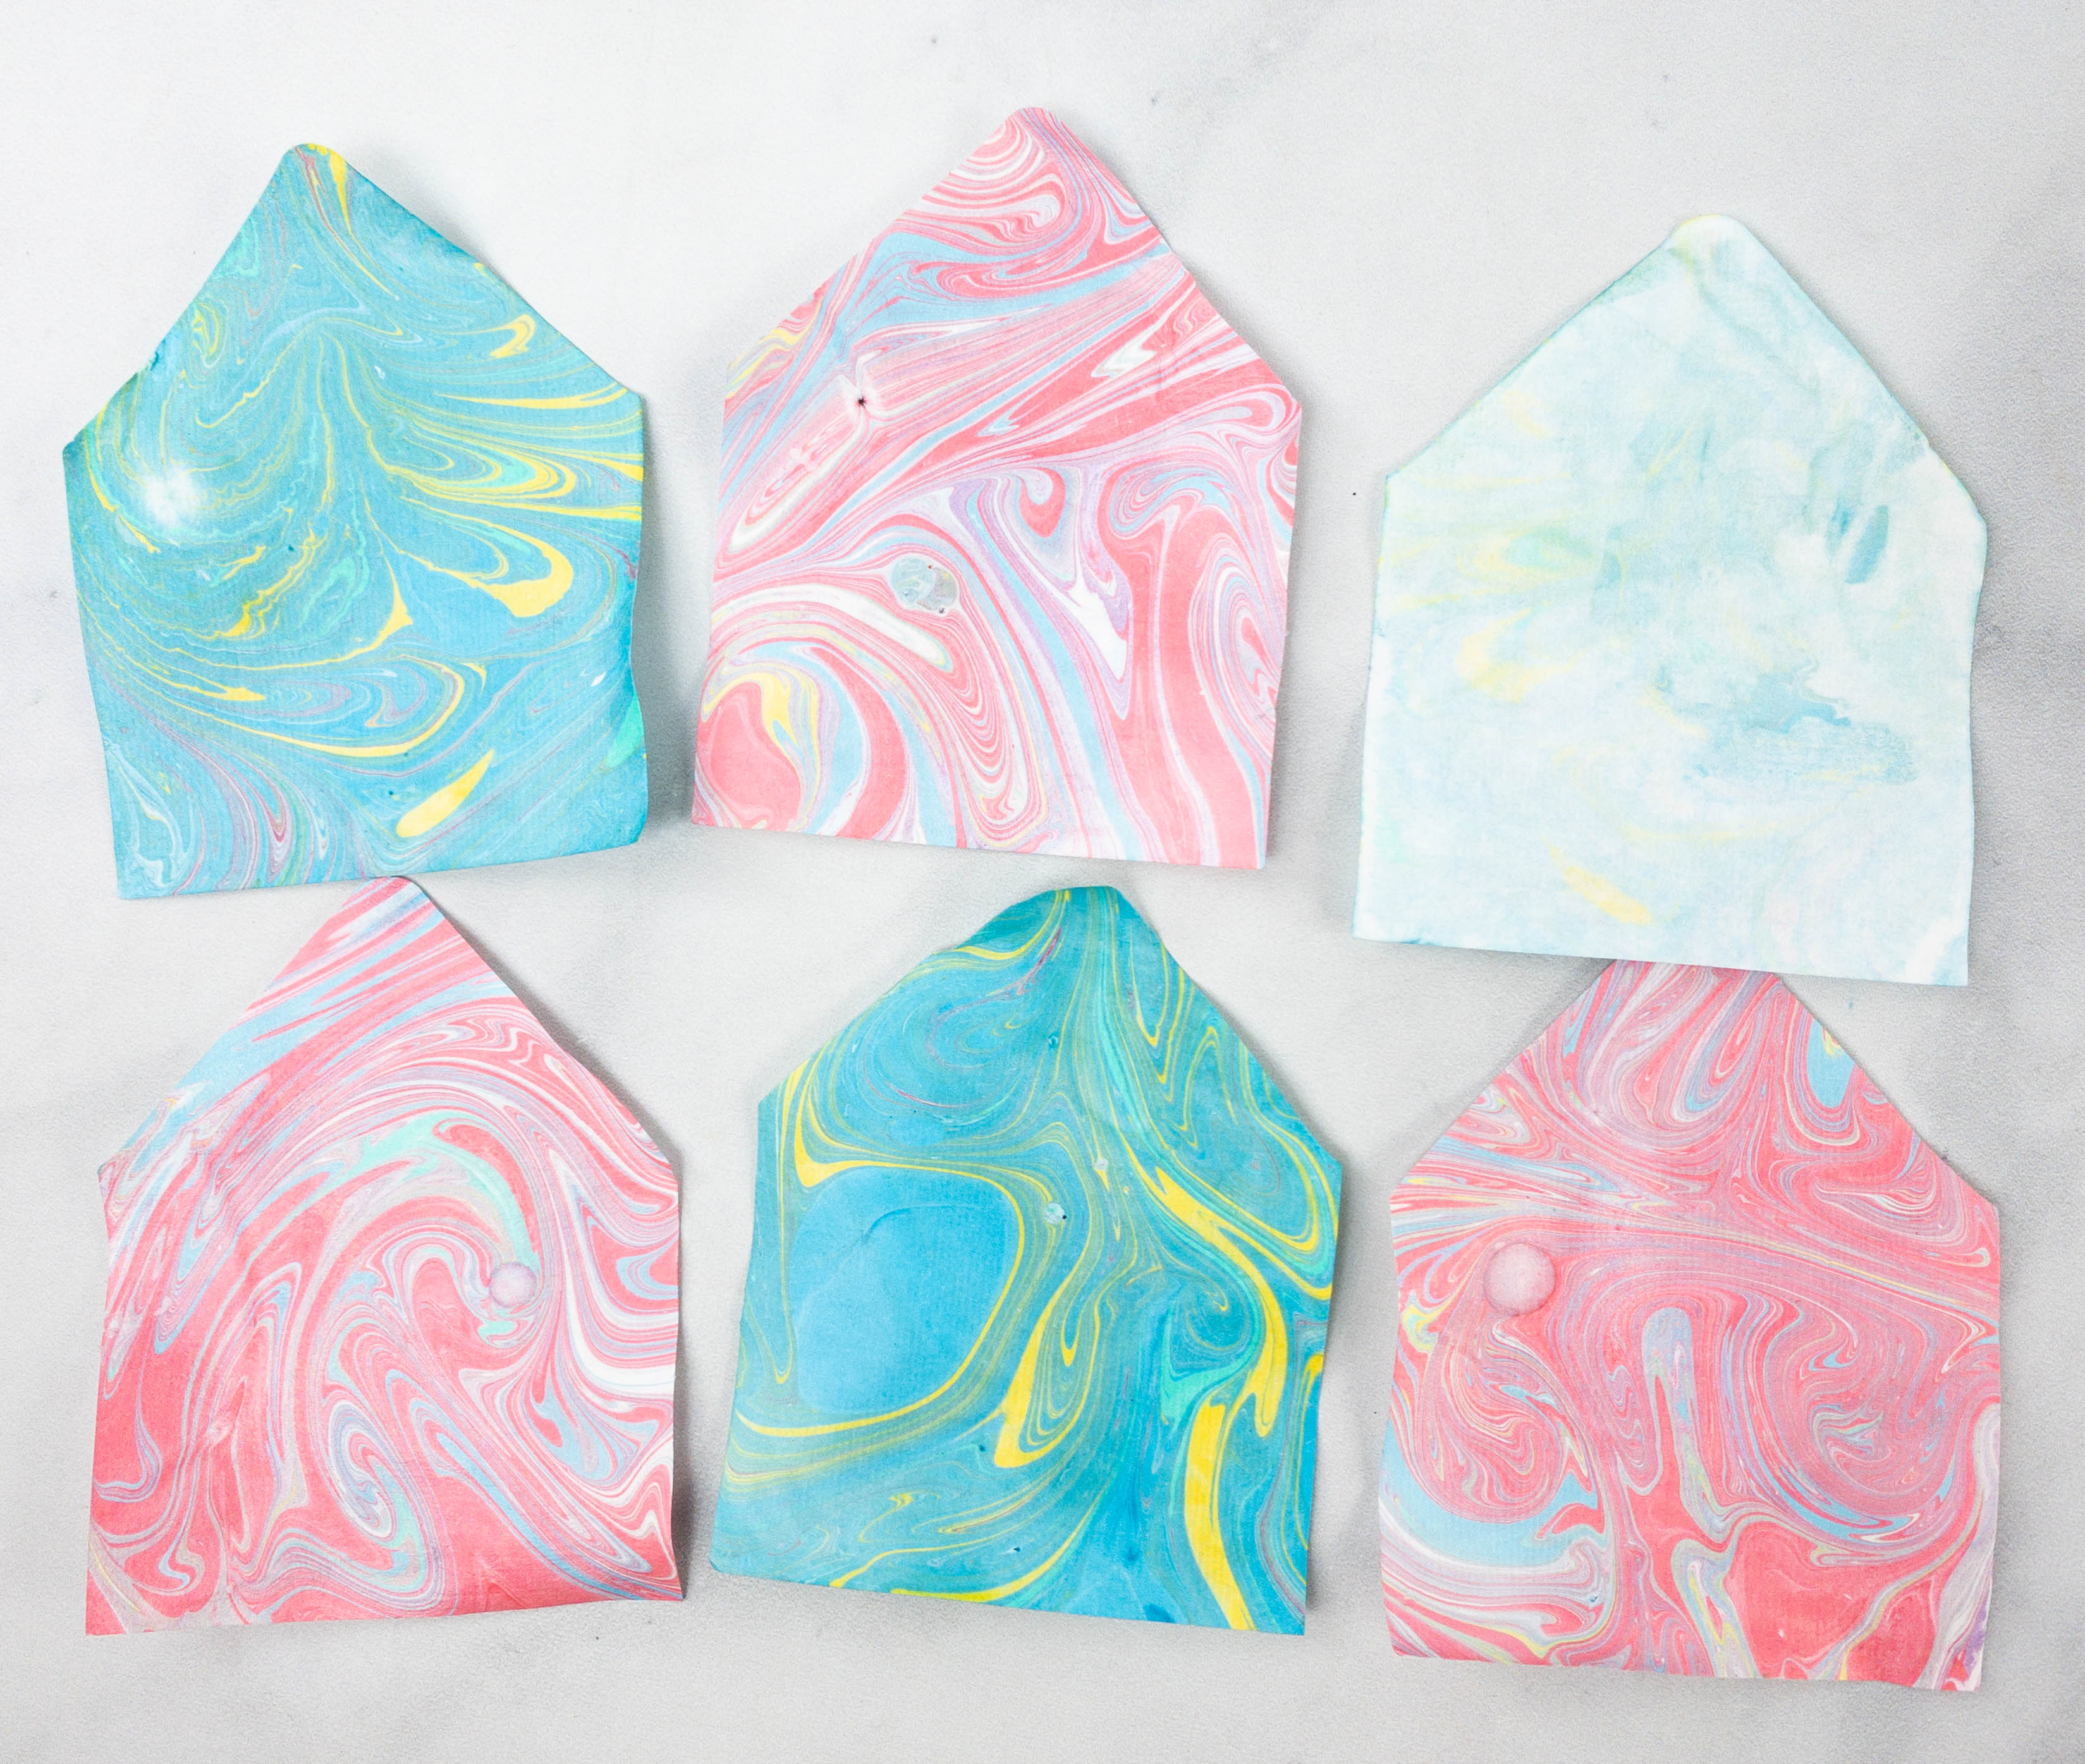
Just look at how pretty these designs are!
I also tried to get the full marbled effect using the swirling method and they turned out really great!
This was such a fun project. It takes a bit of time to prepare but it’s worth it!
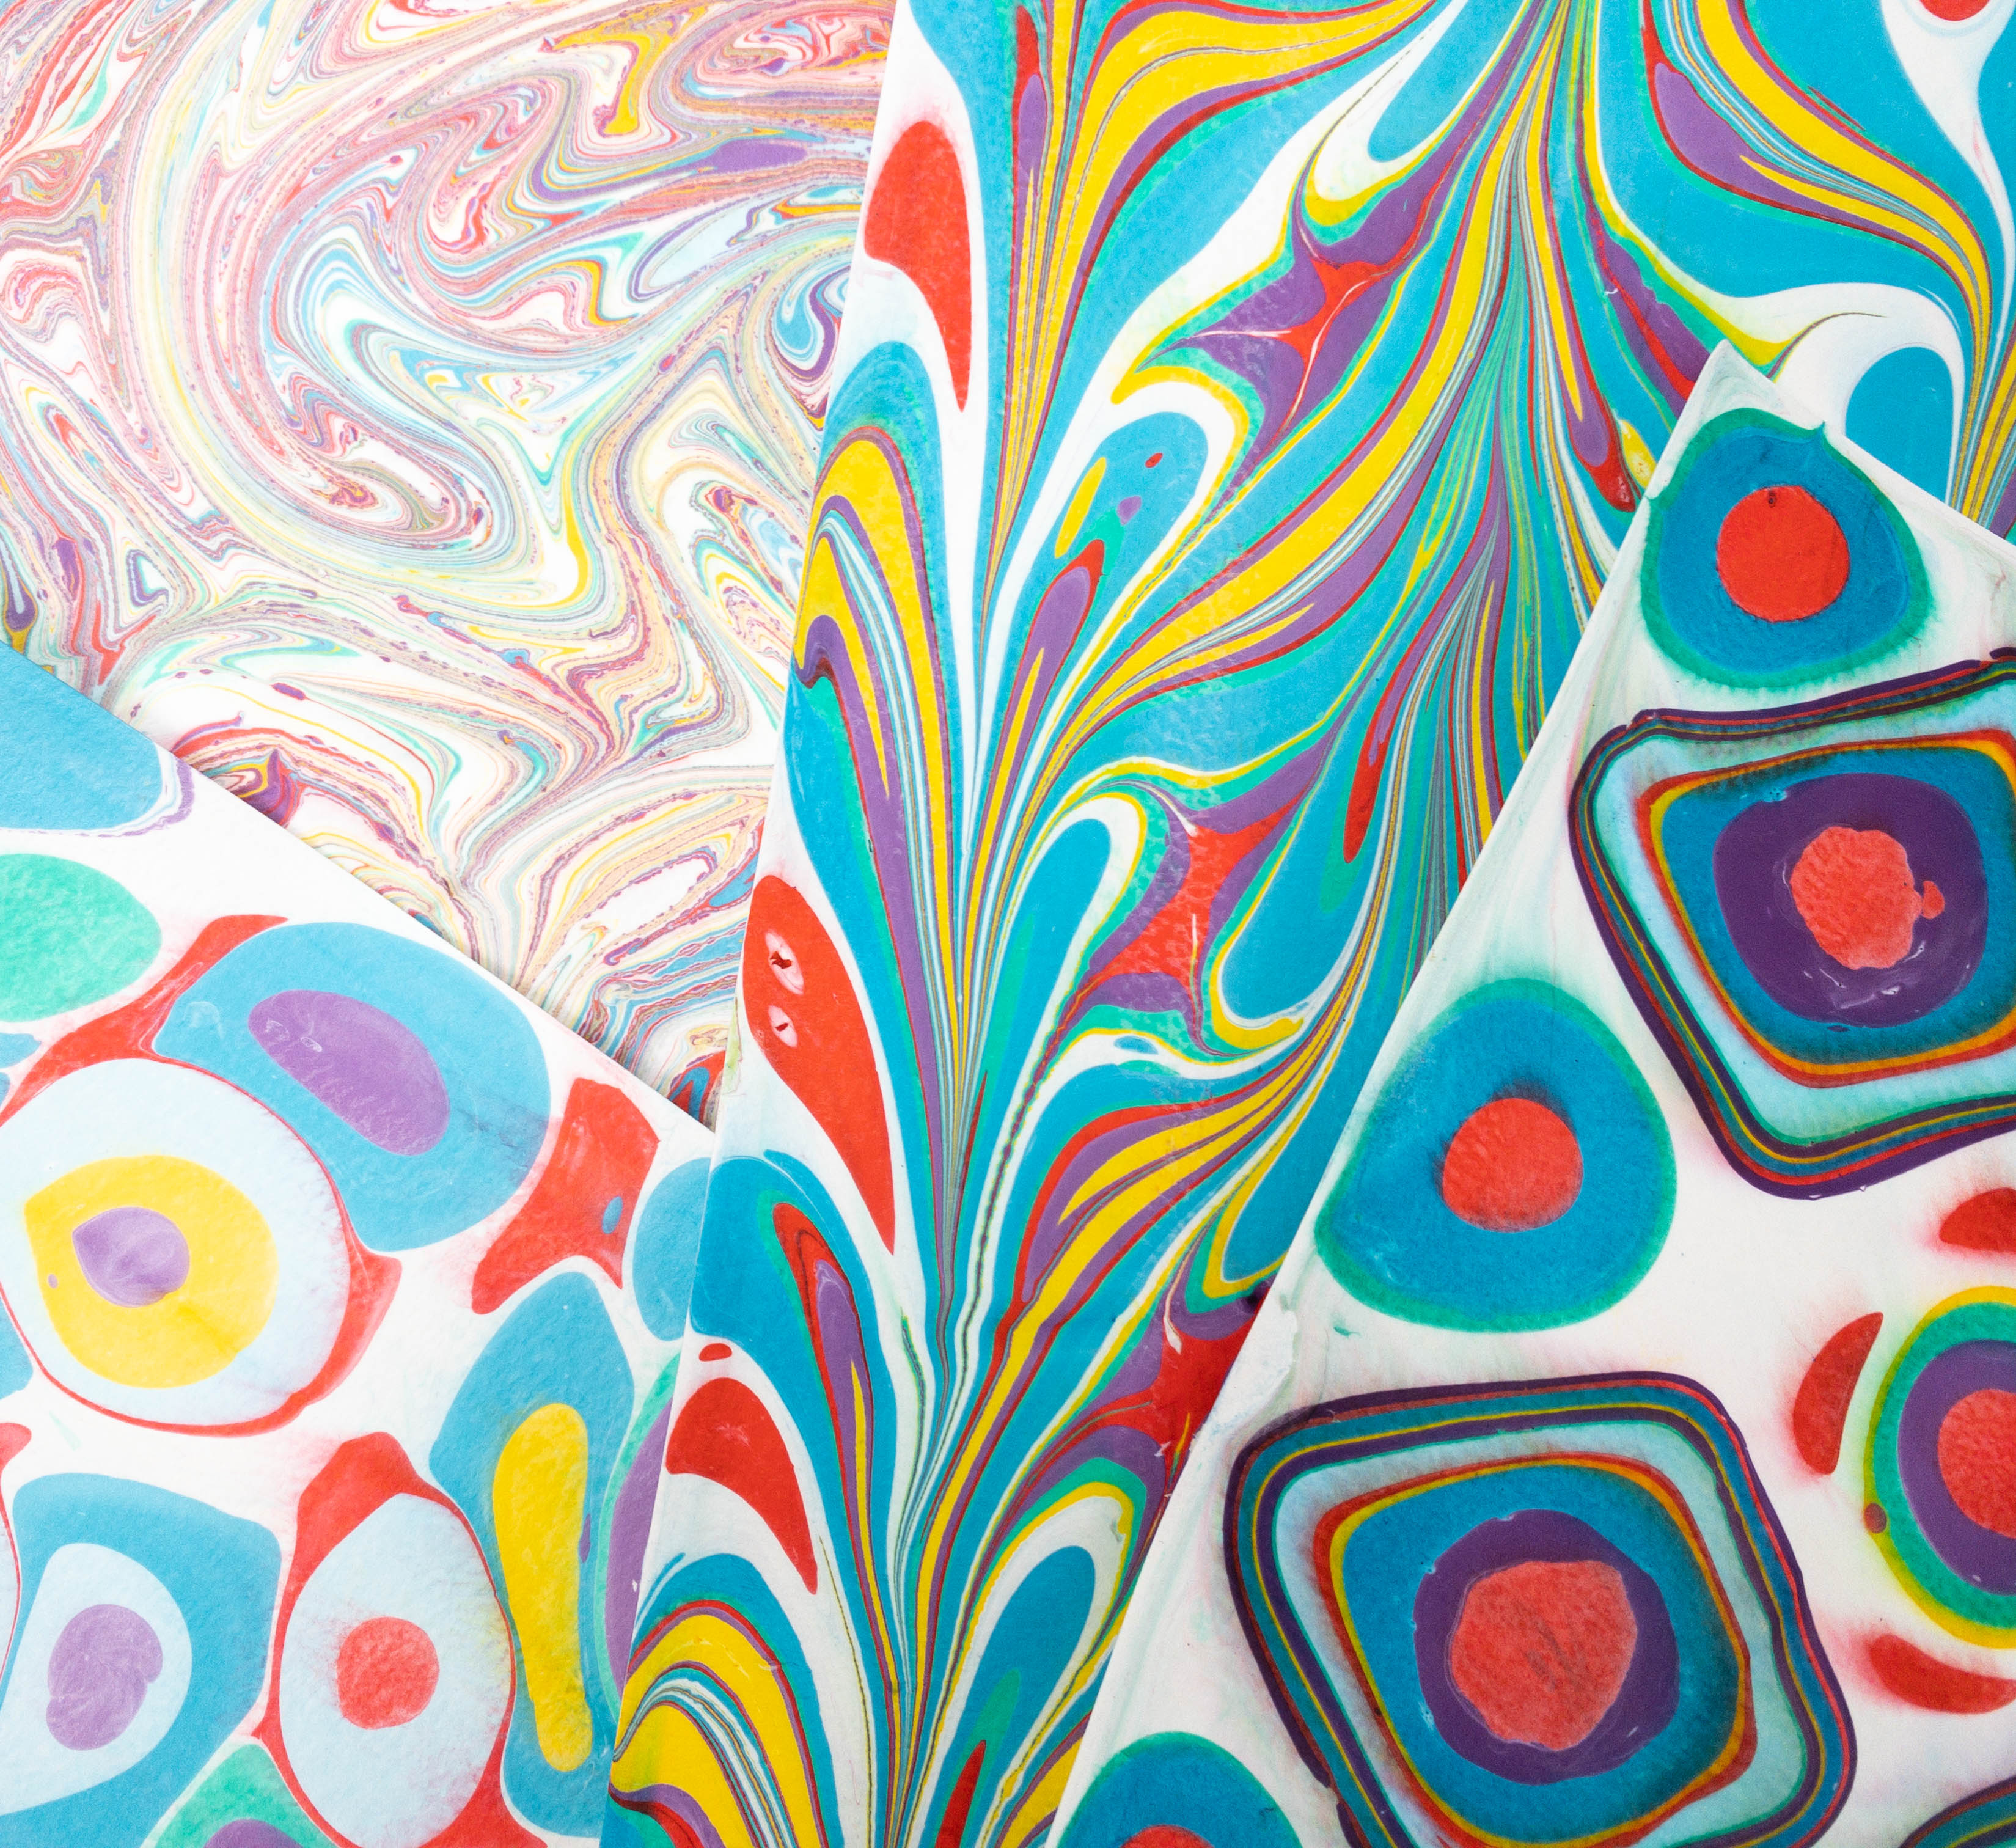
I also used the rice paper for some of the designs. It has a unique texture that made the paint stand out more.
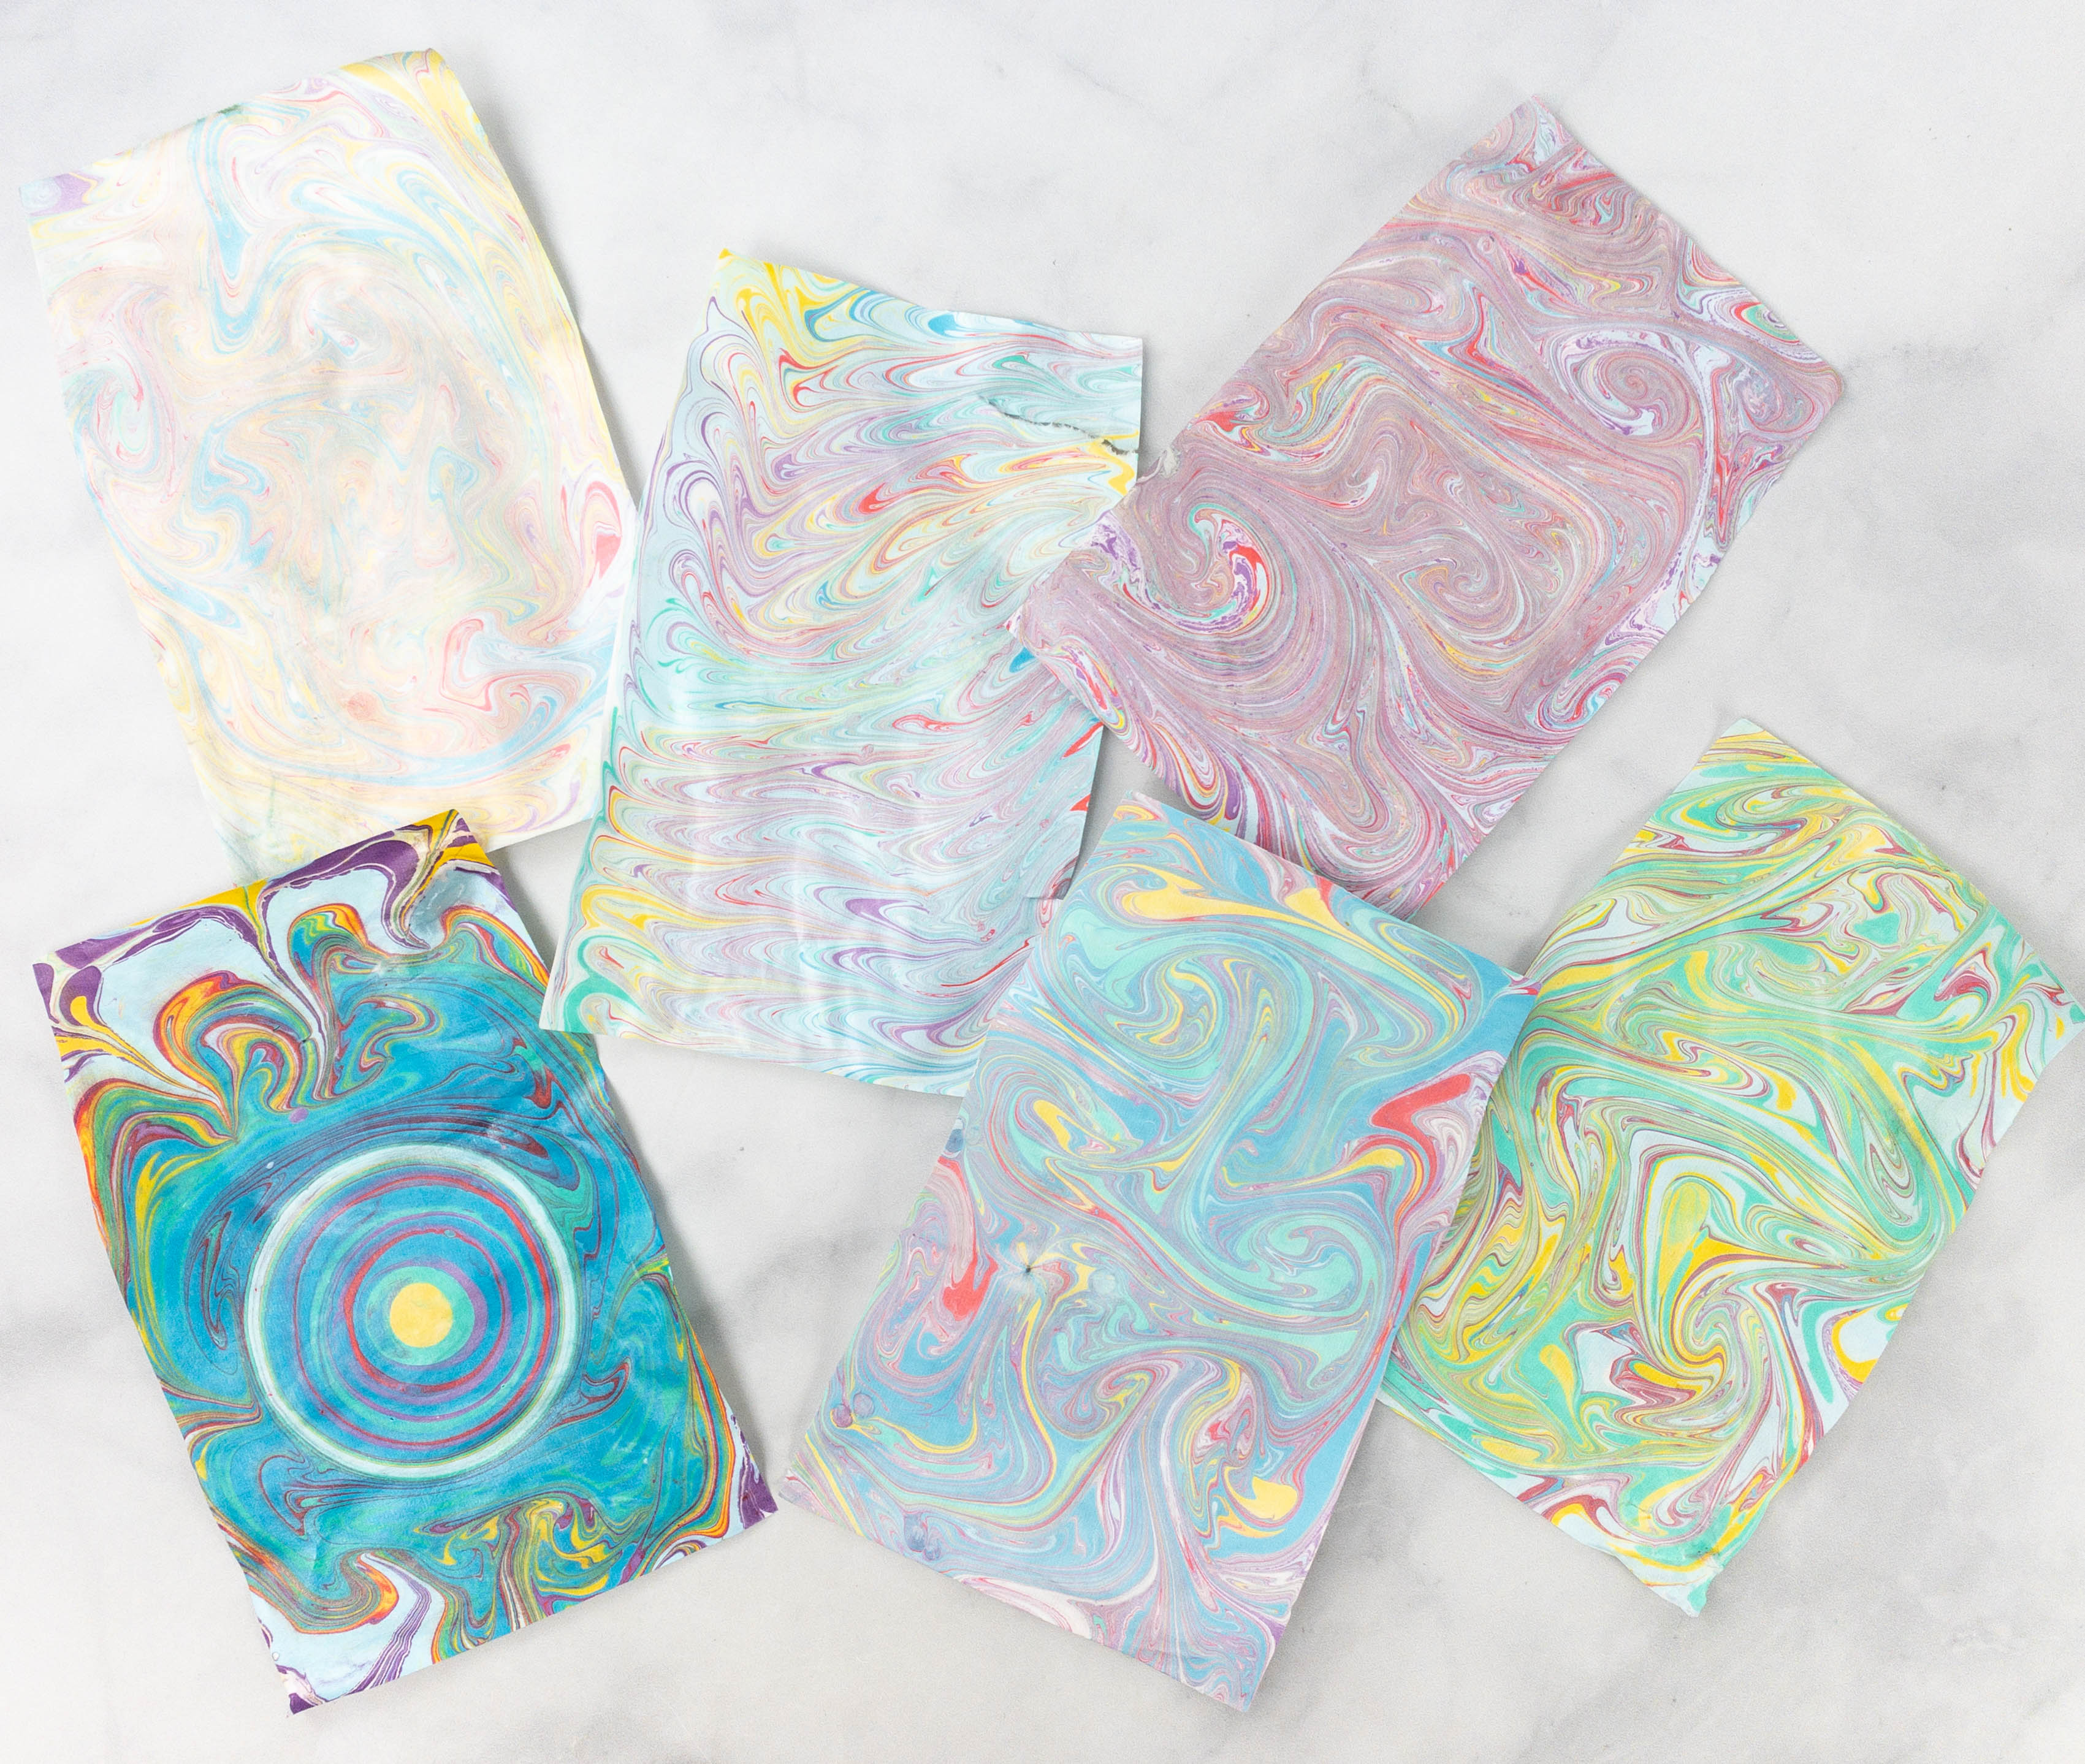
You can make the designs as bright or as light as you want. It’s totally up to you!
You can even mix different techniques in one paper to create an even more elaborate design.
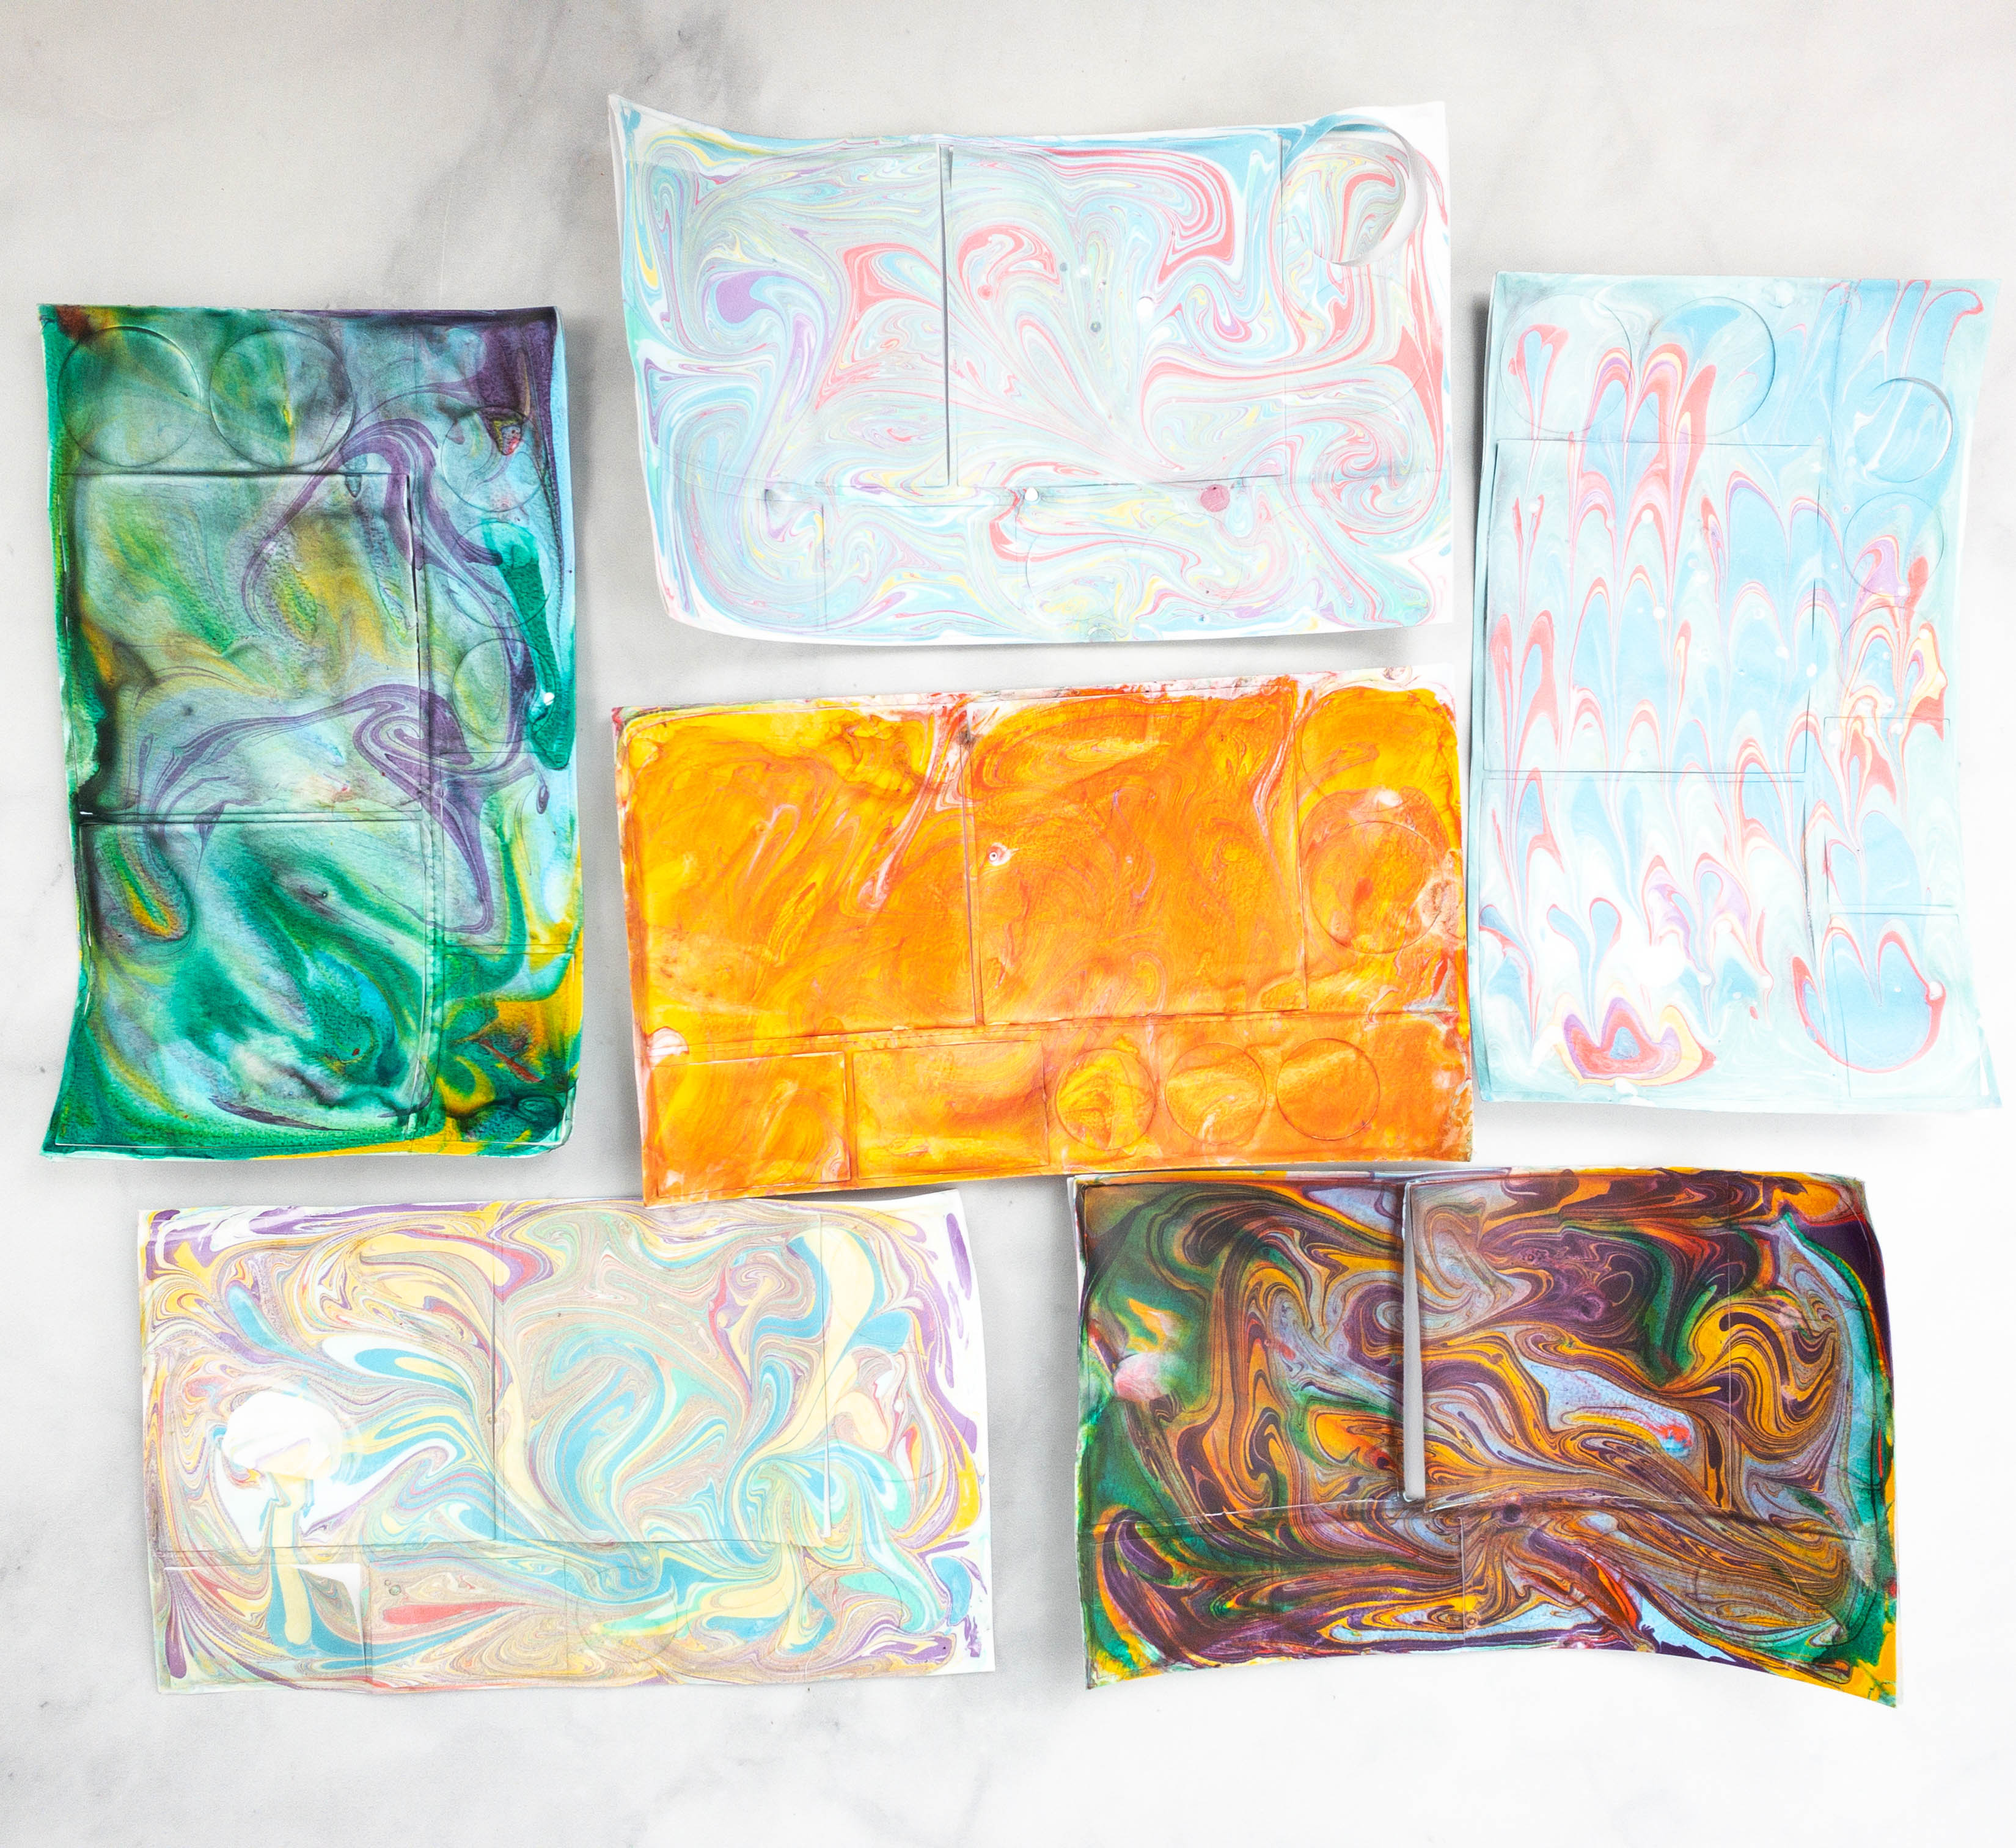
Once the paper is all dry, it’s now time to arrange them!
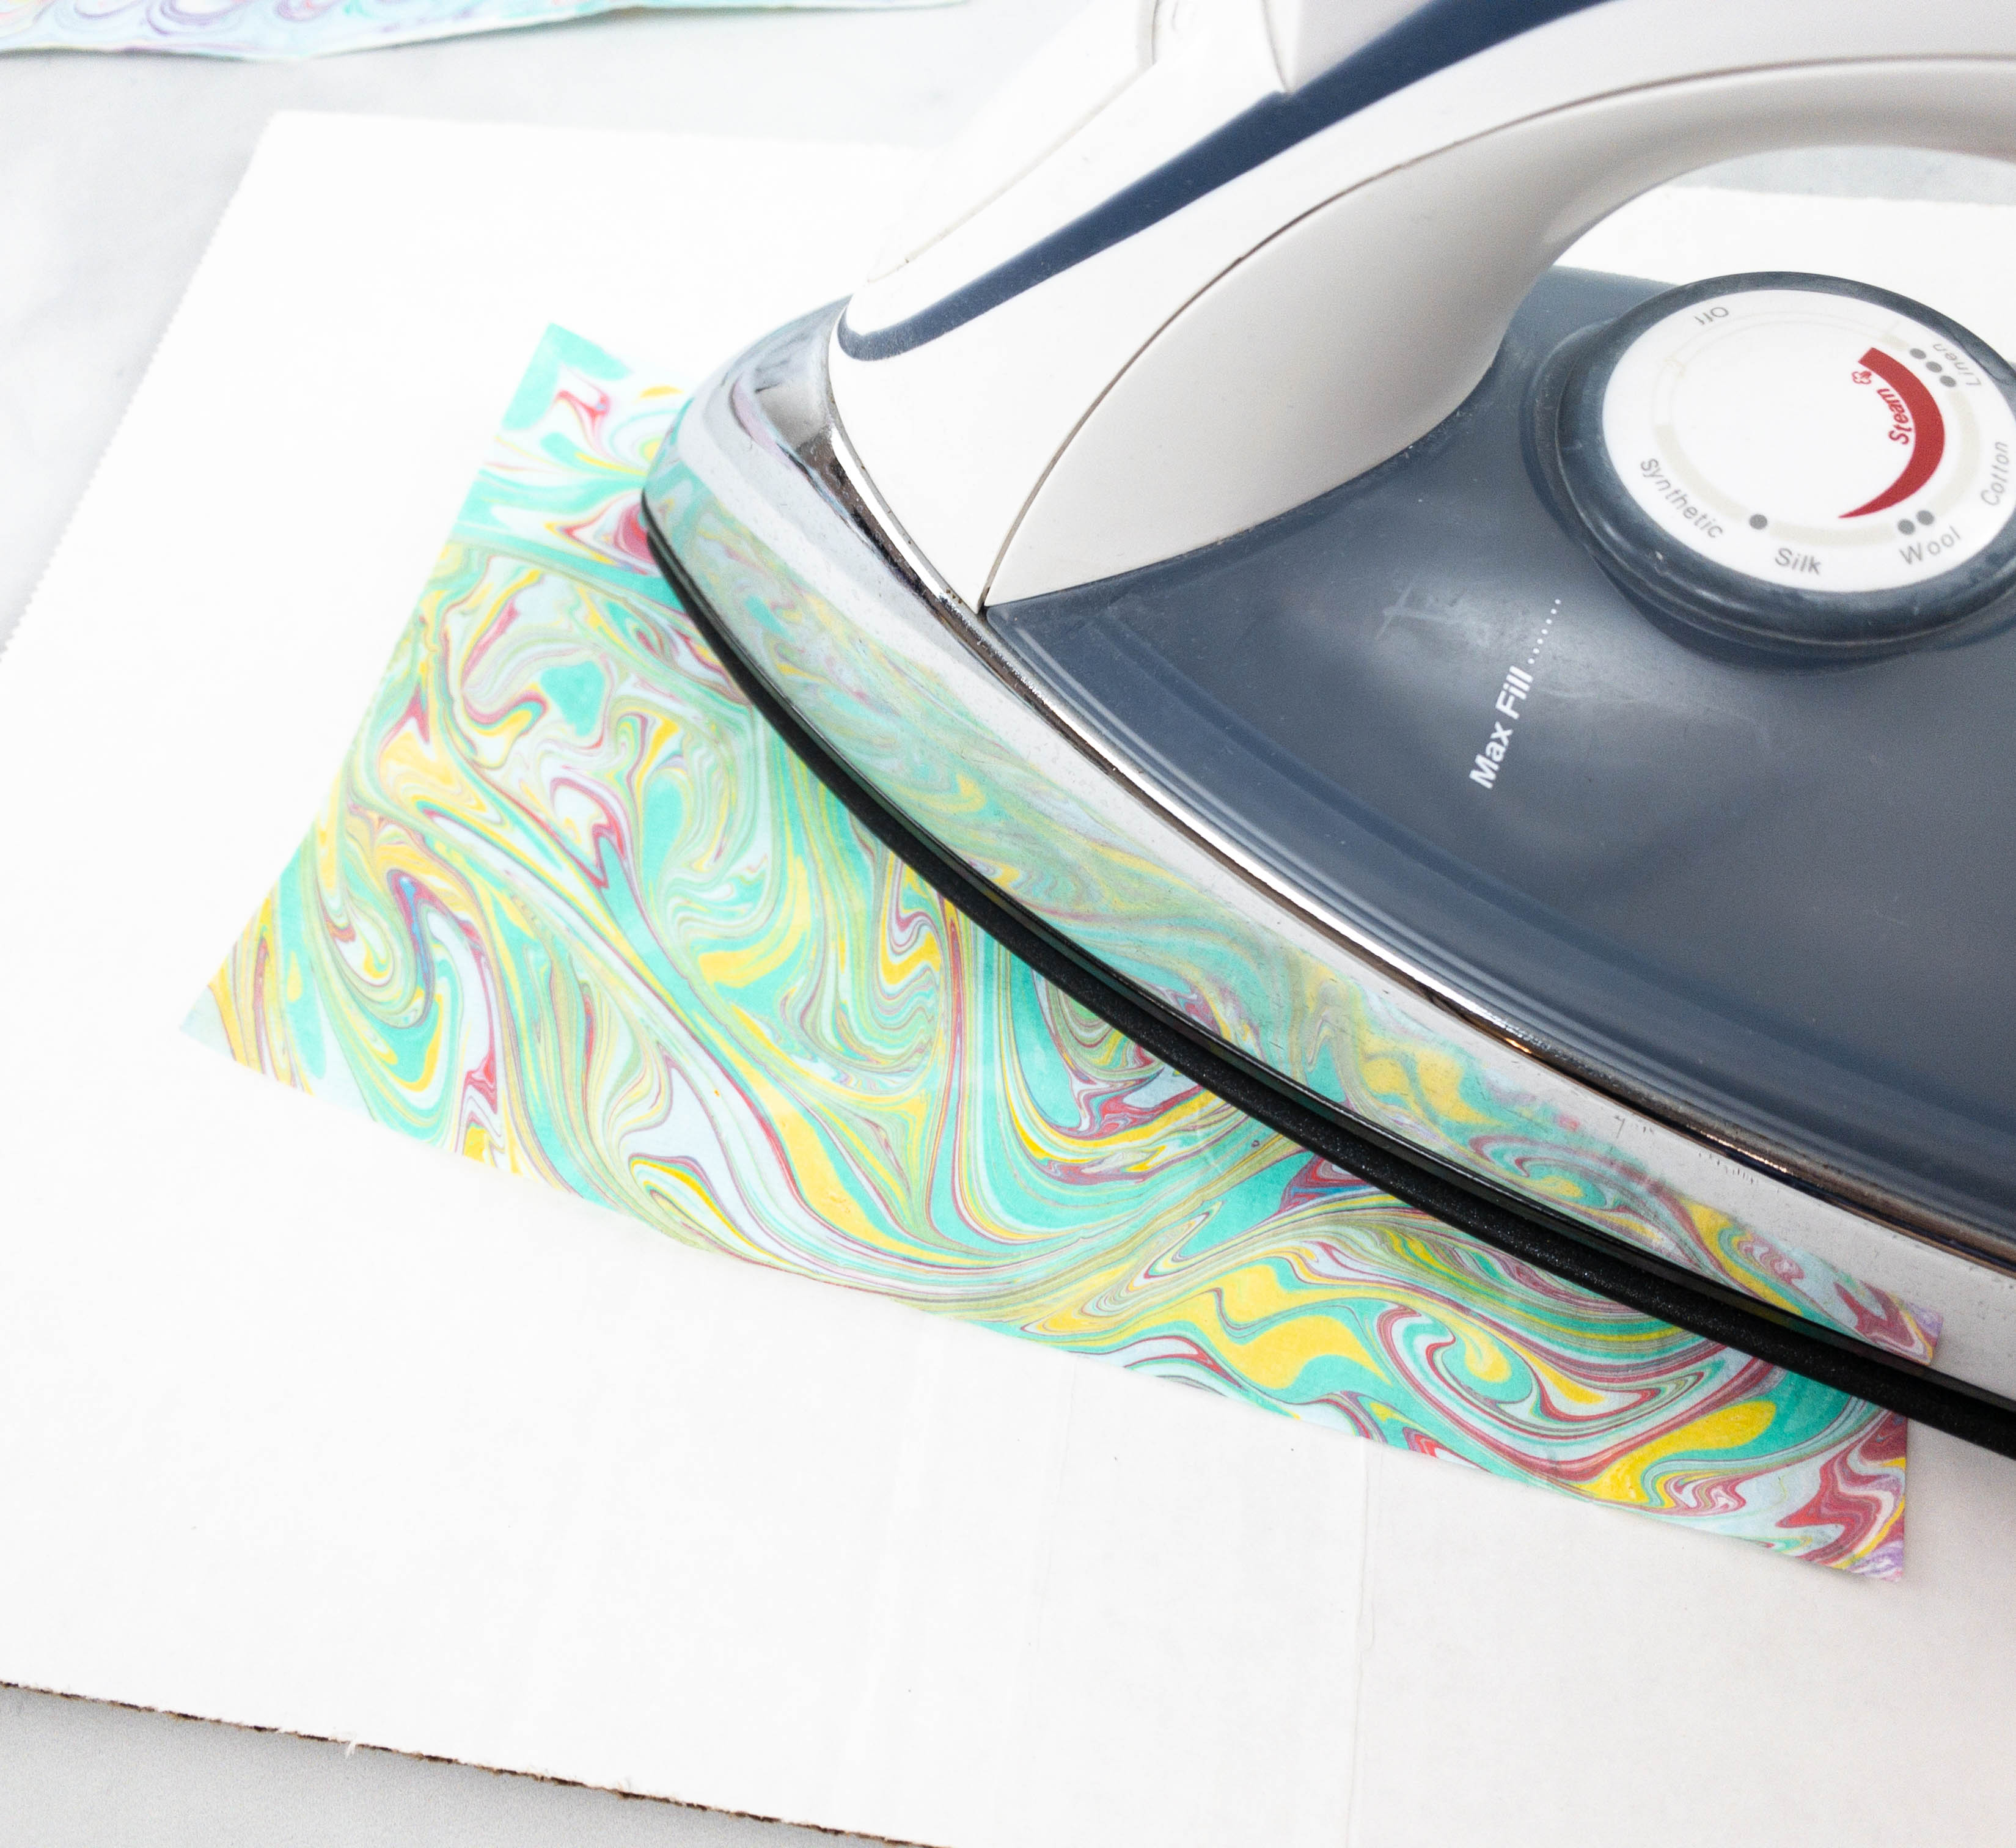
I ironed the papers so they go back to being flat. The process may curl the papers because they get wet so this step is essential if you want them to get back to their original flat state.
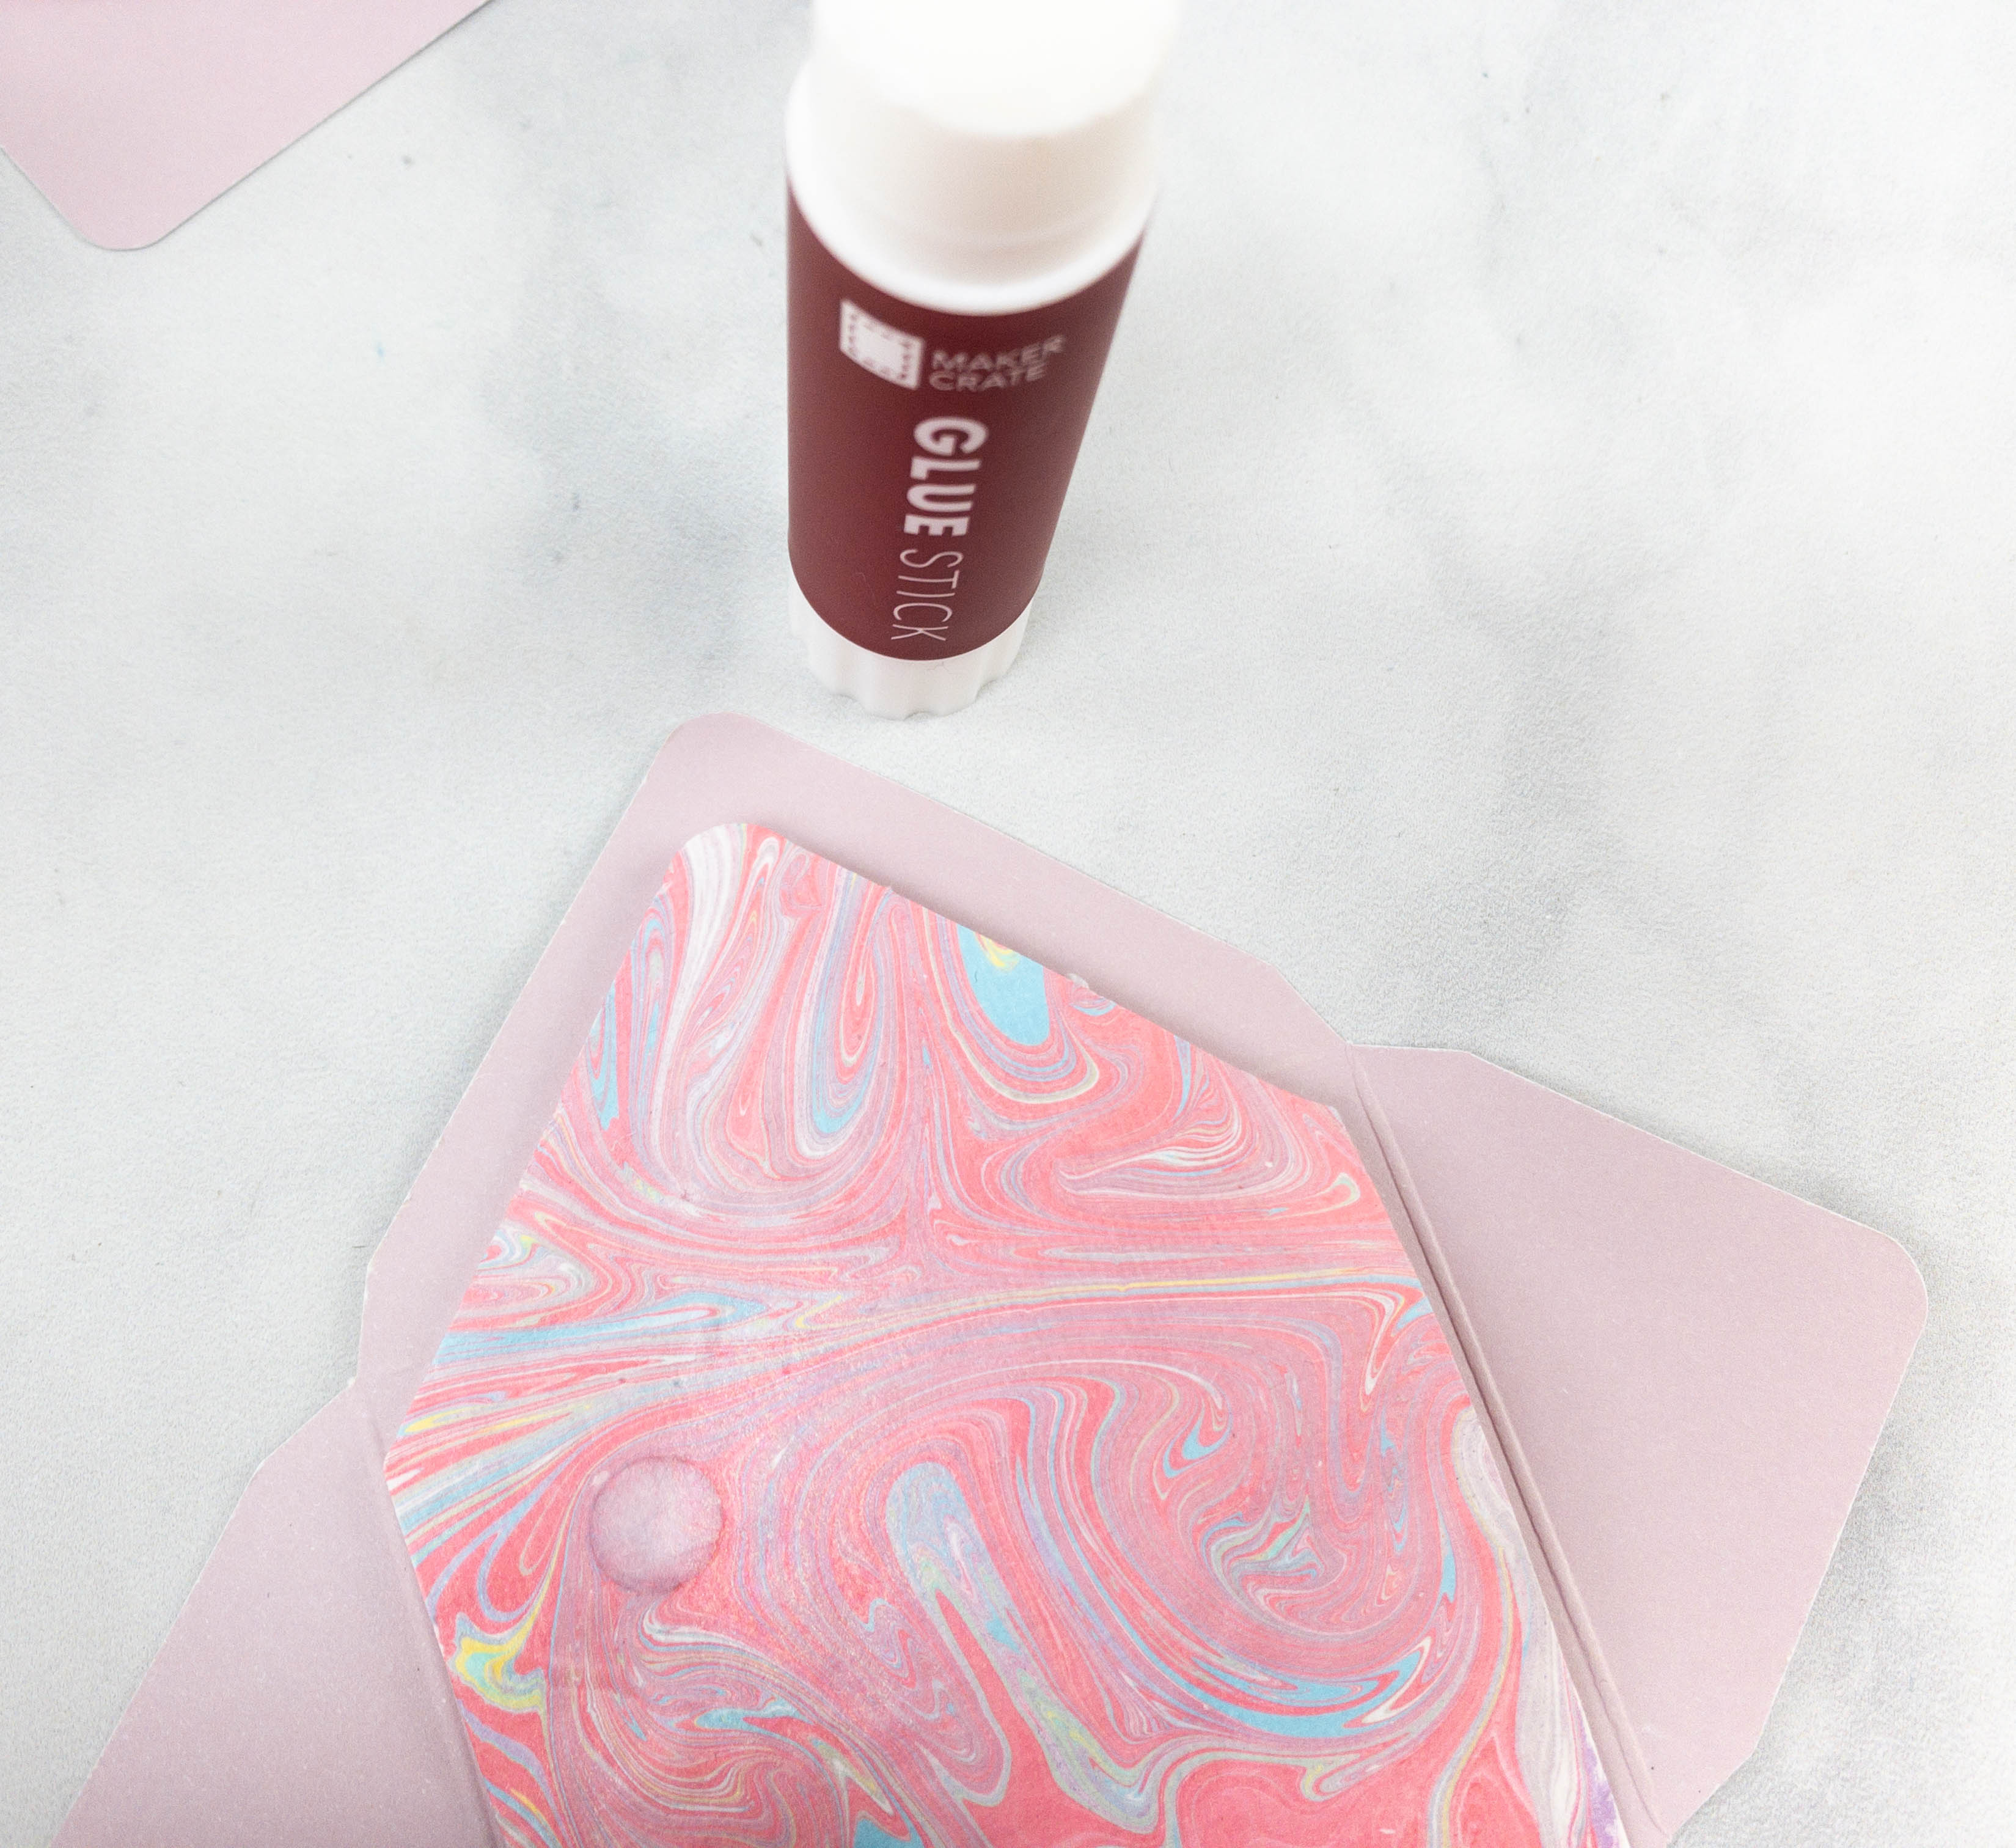
Using the glue stick, I attached the marbled paper inside the colored envelope.
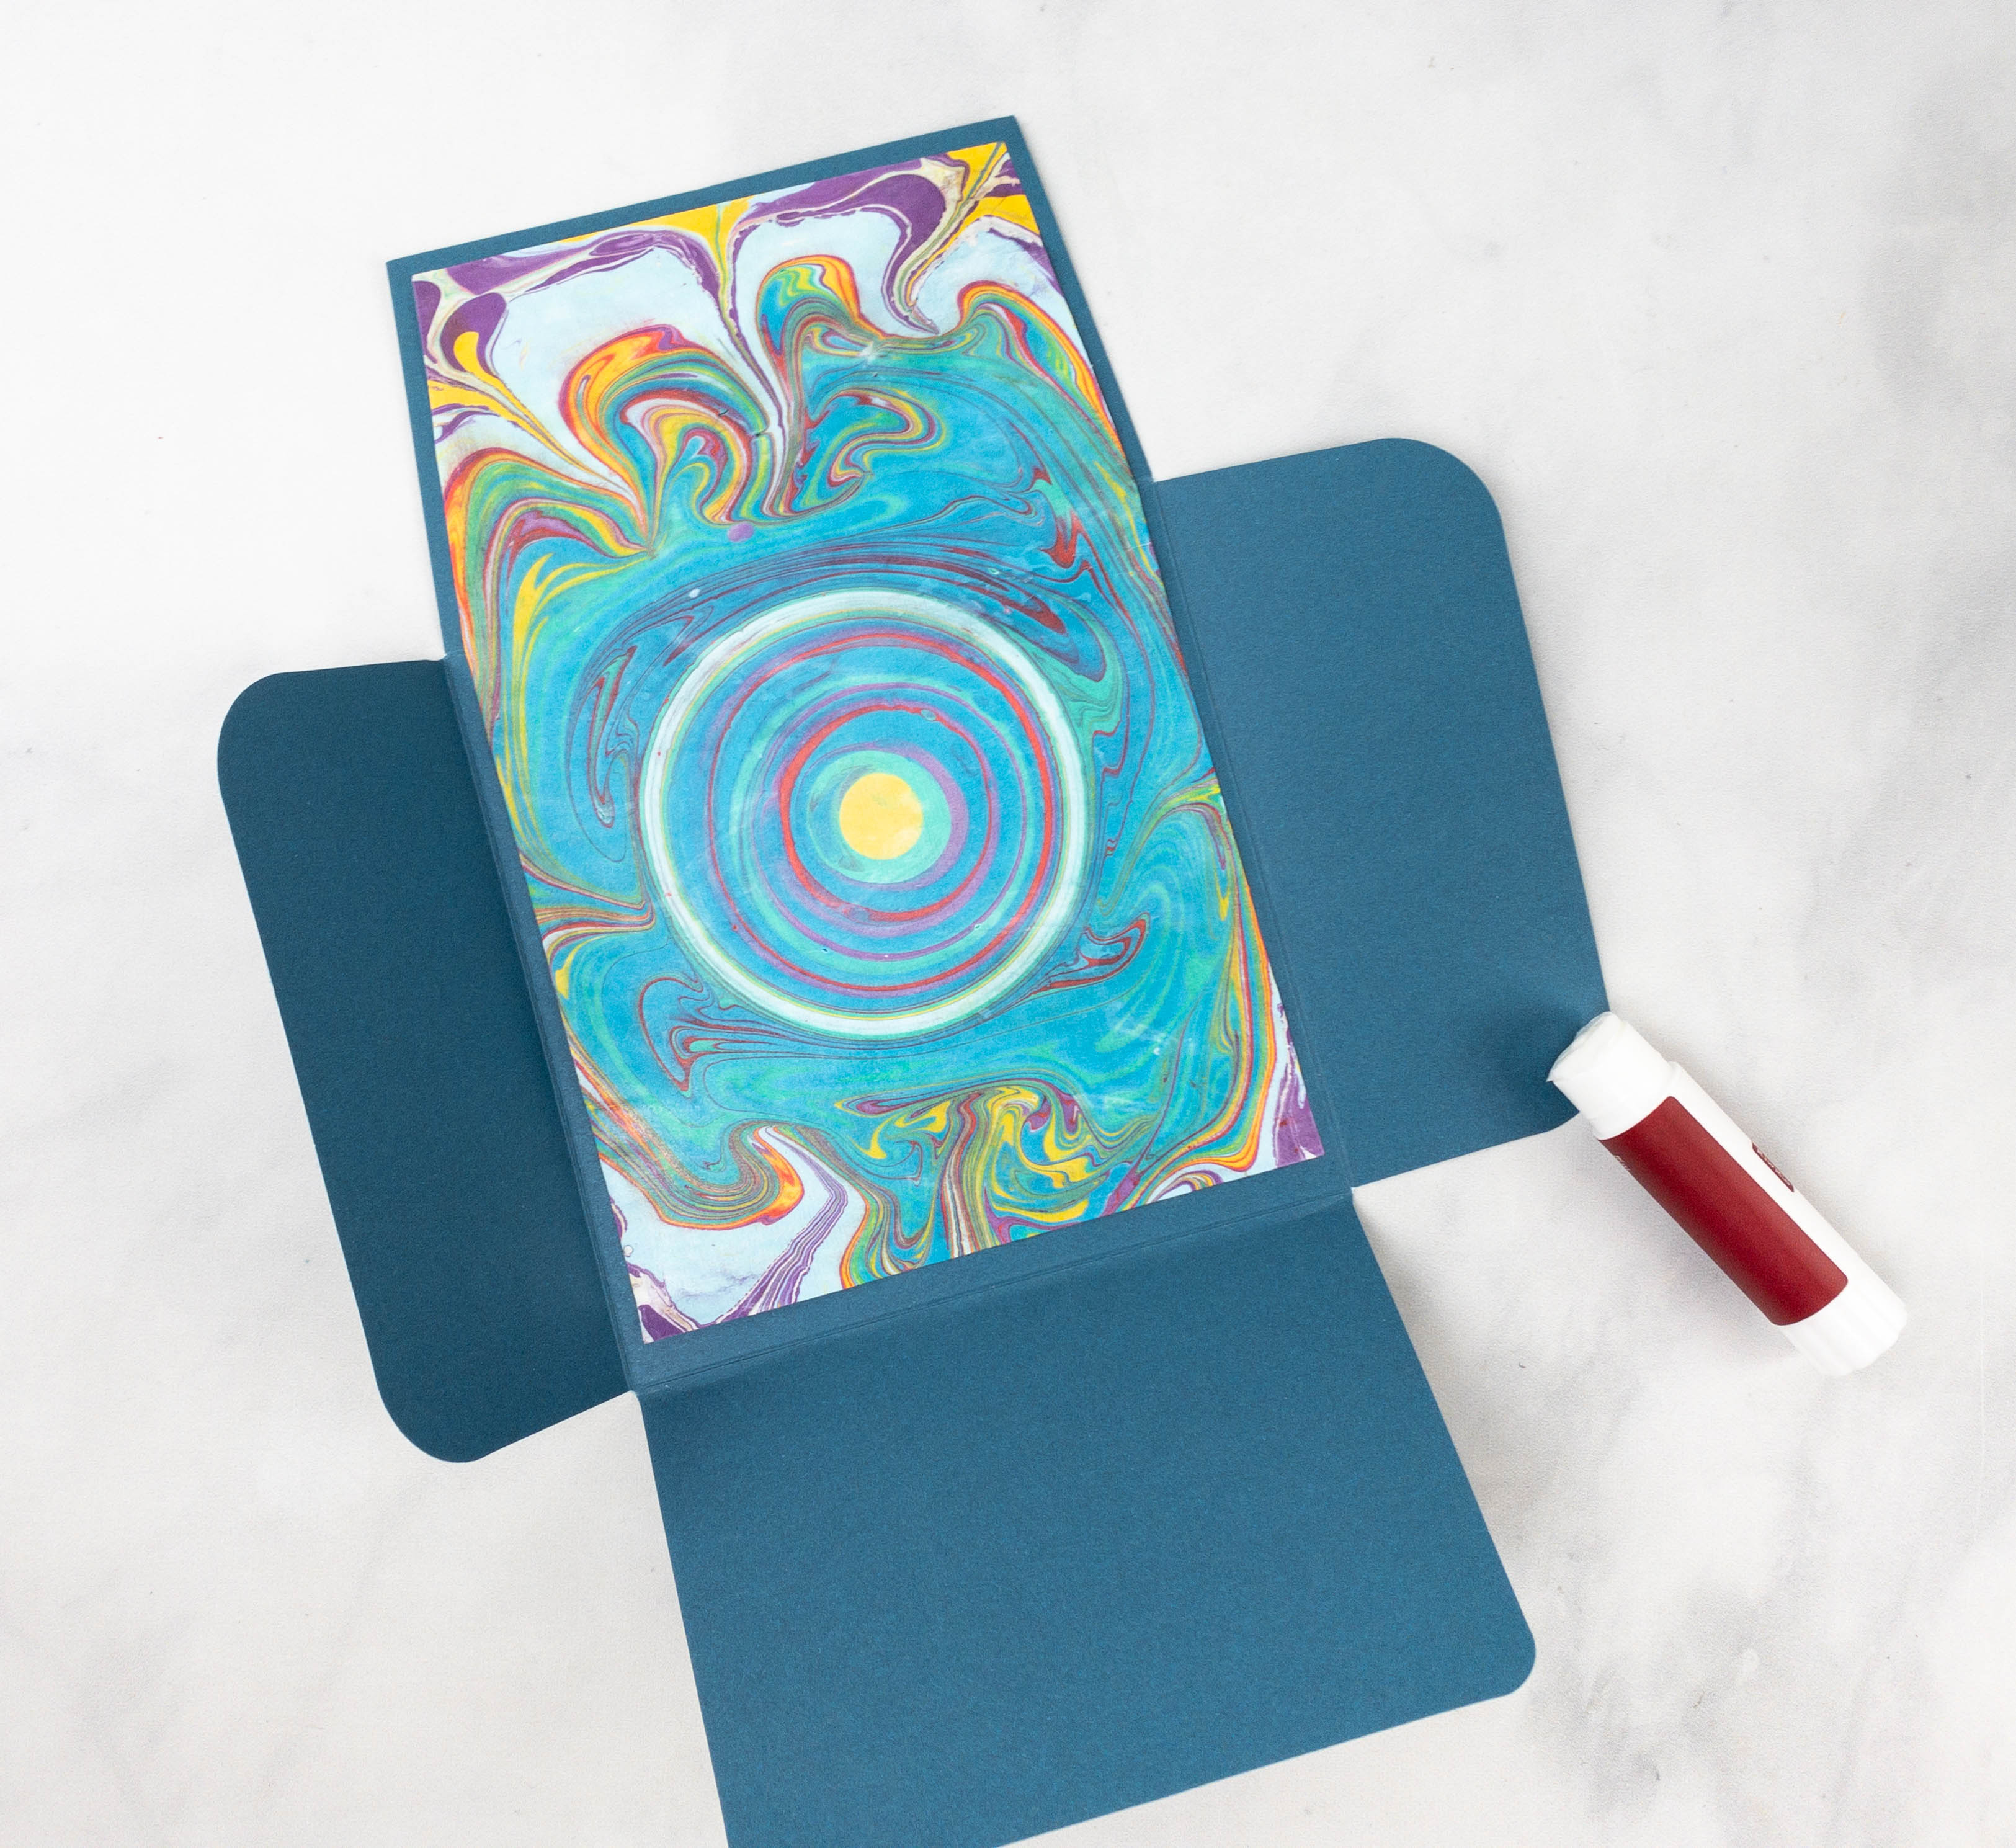
Here’s another one! I made sure that the color of the envelope and the colors on the marbled paper look great together.
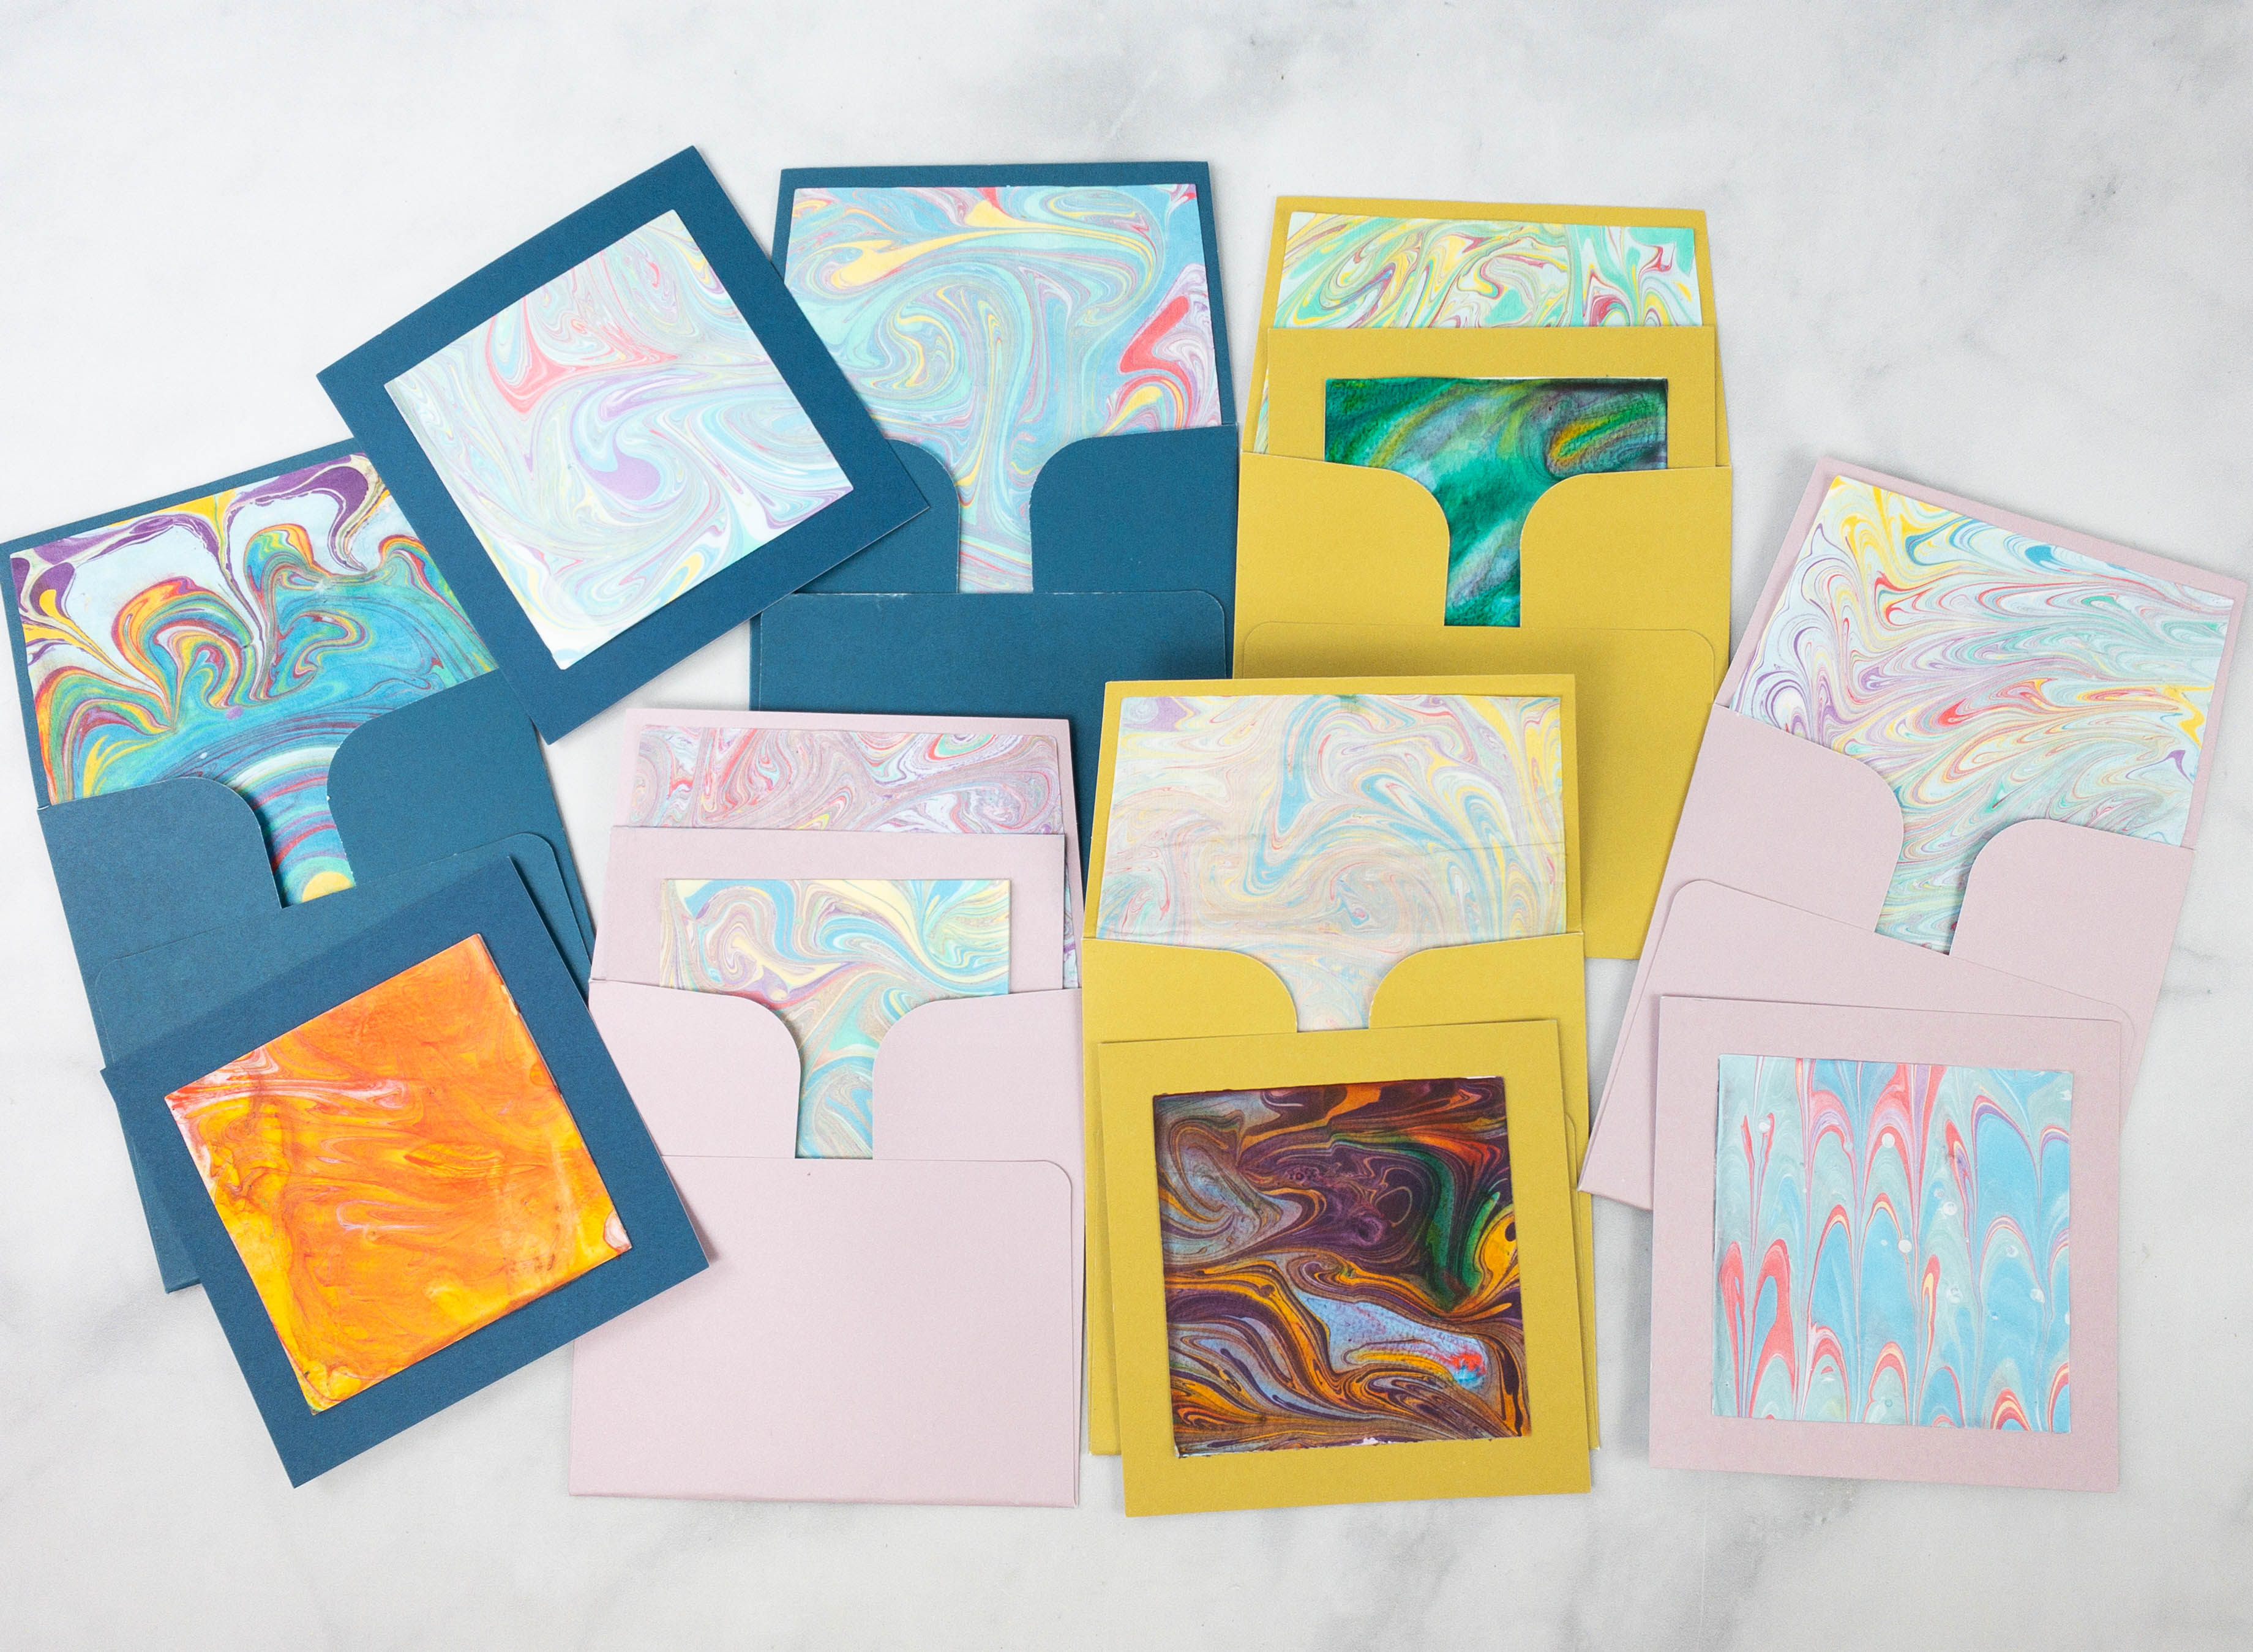
To match the cards with the envelope, I attached marbled paper on them as well.
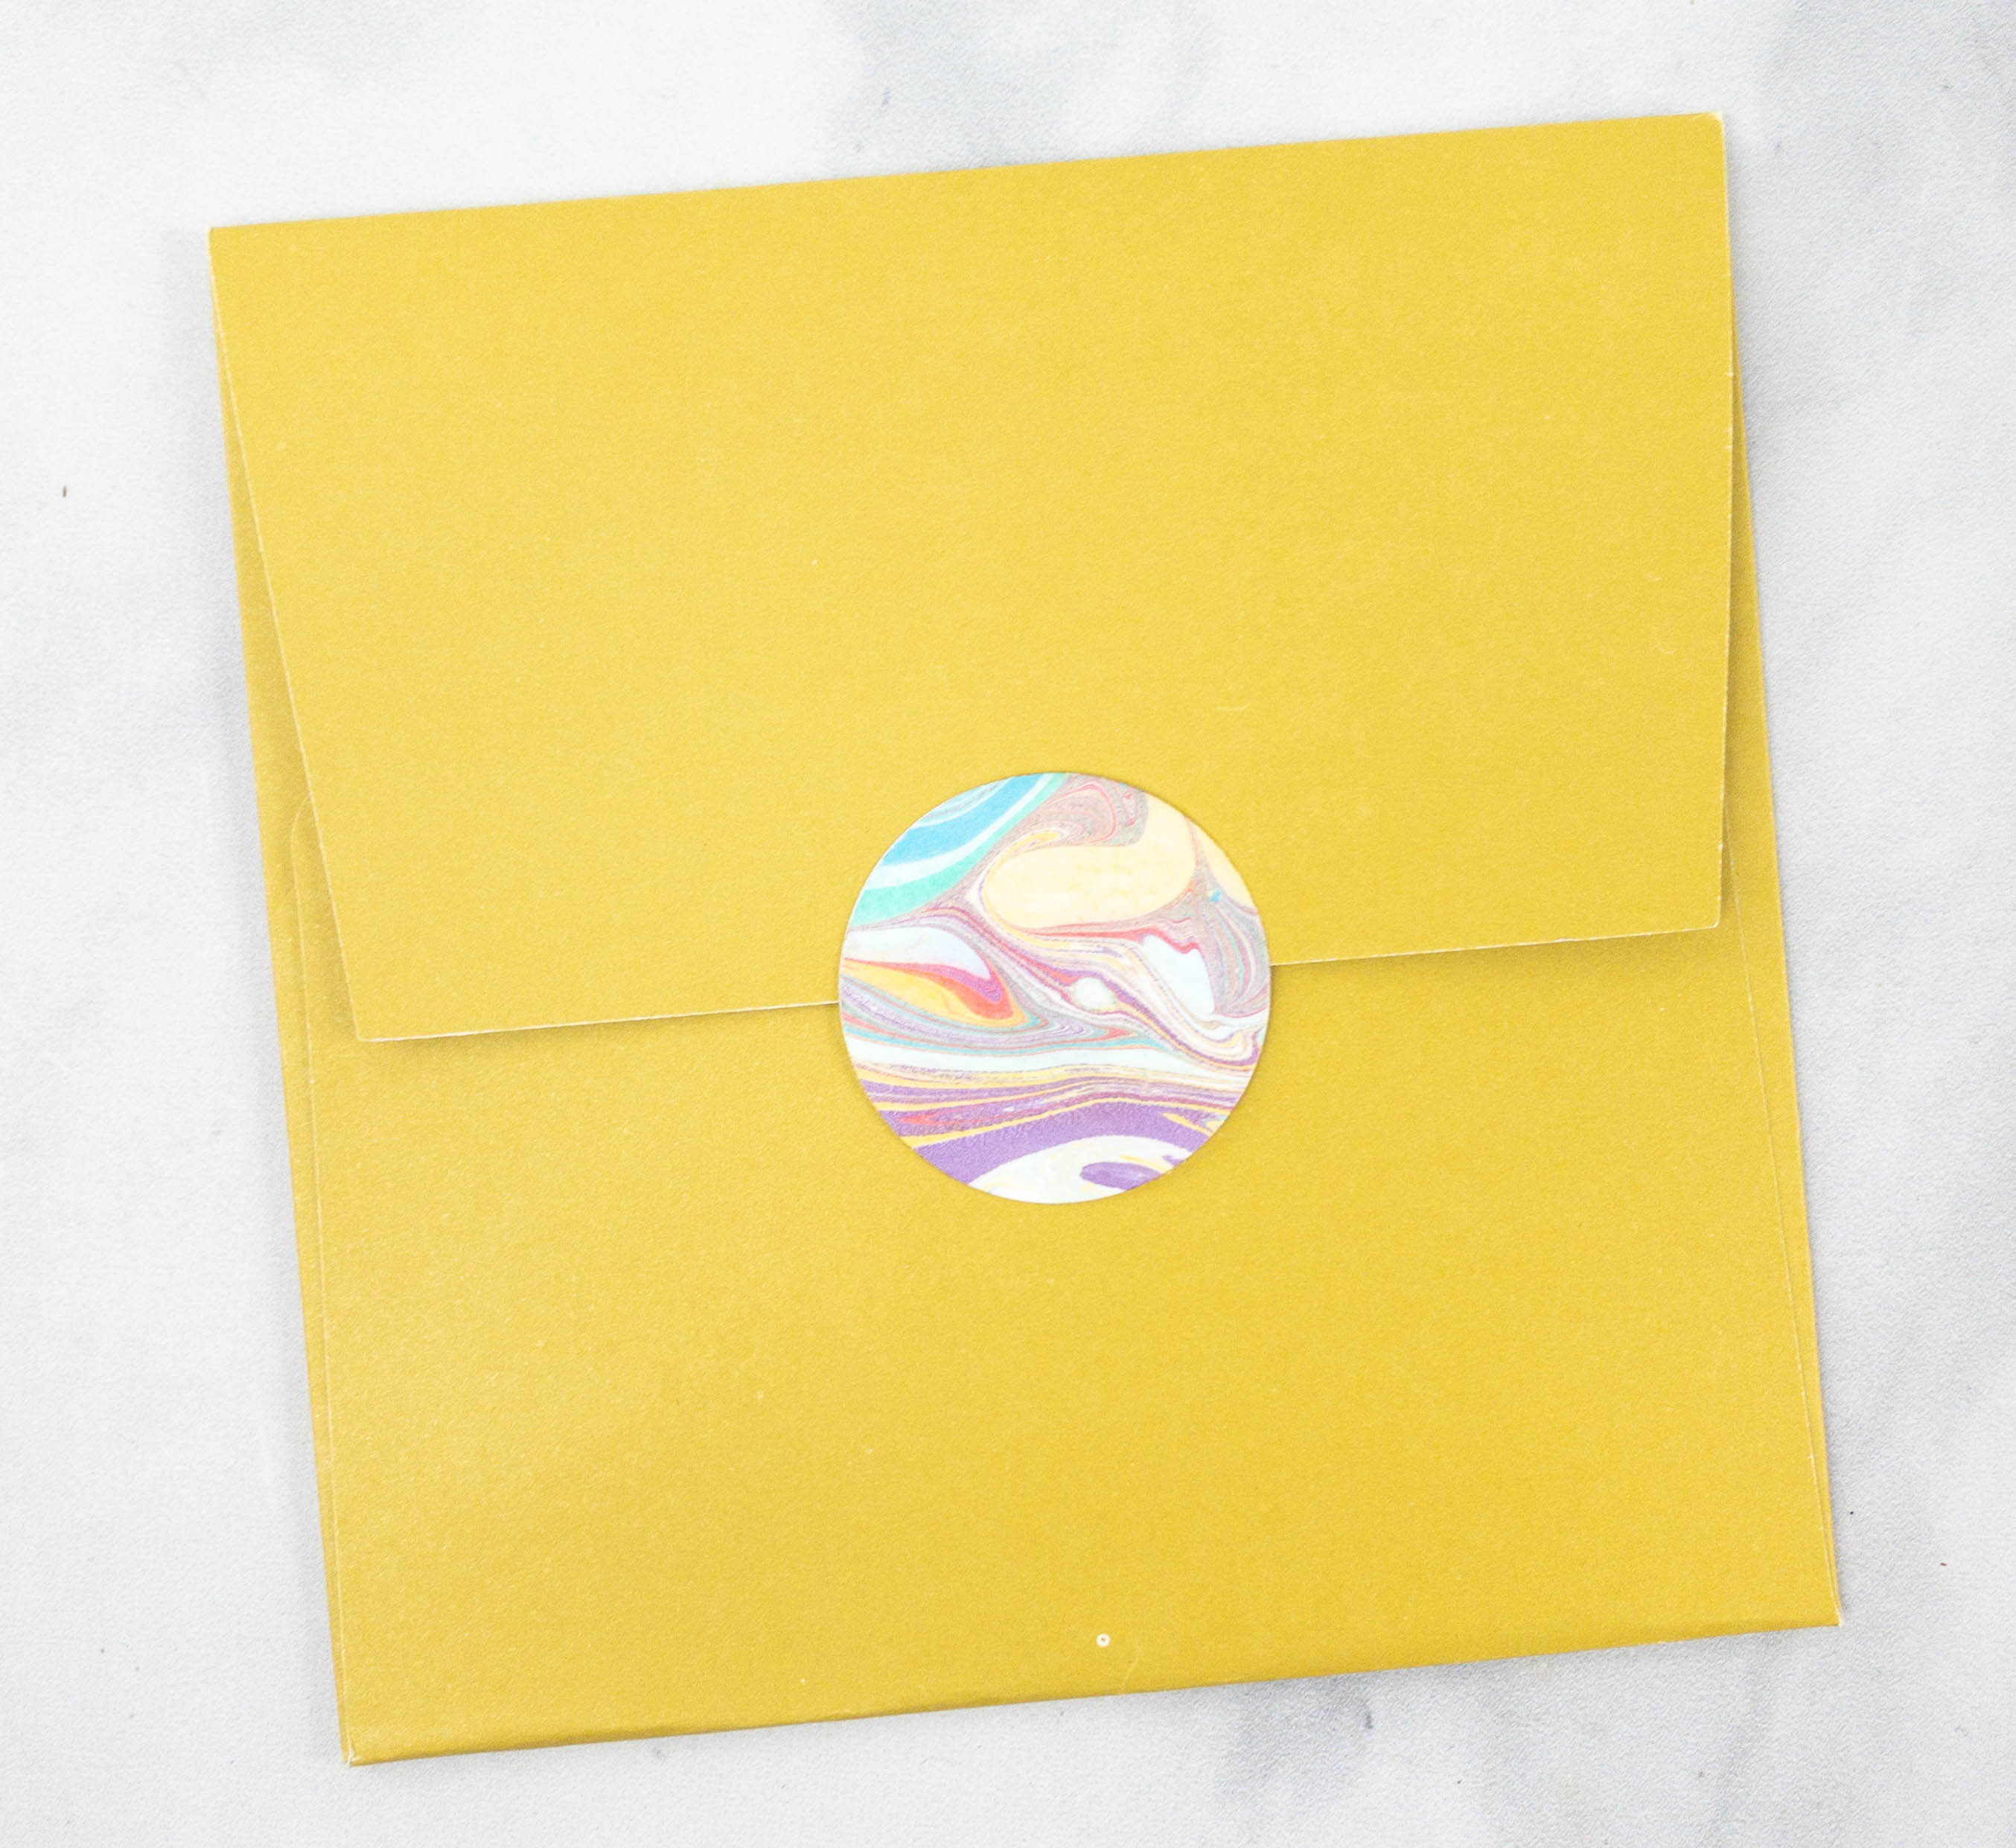
Meanwhile, here’s how the marbled sticker looks like. It’s so pretty!
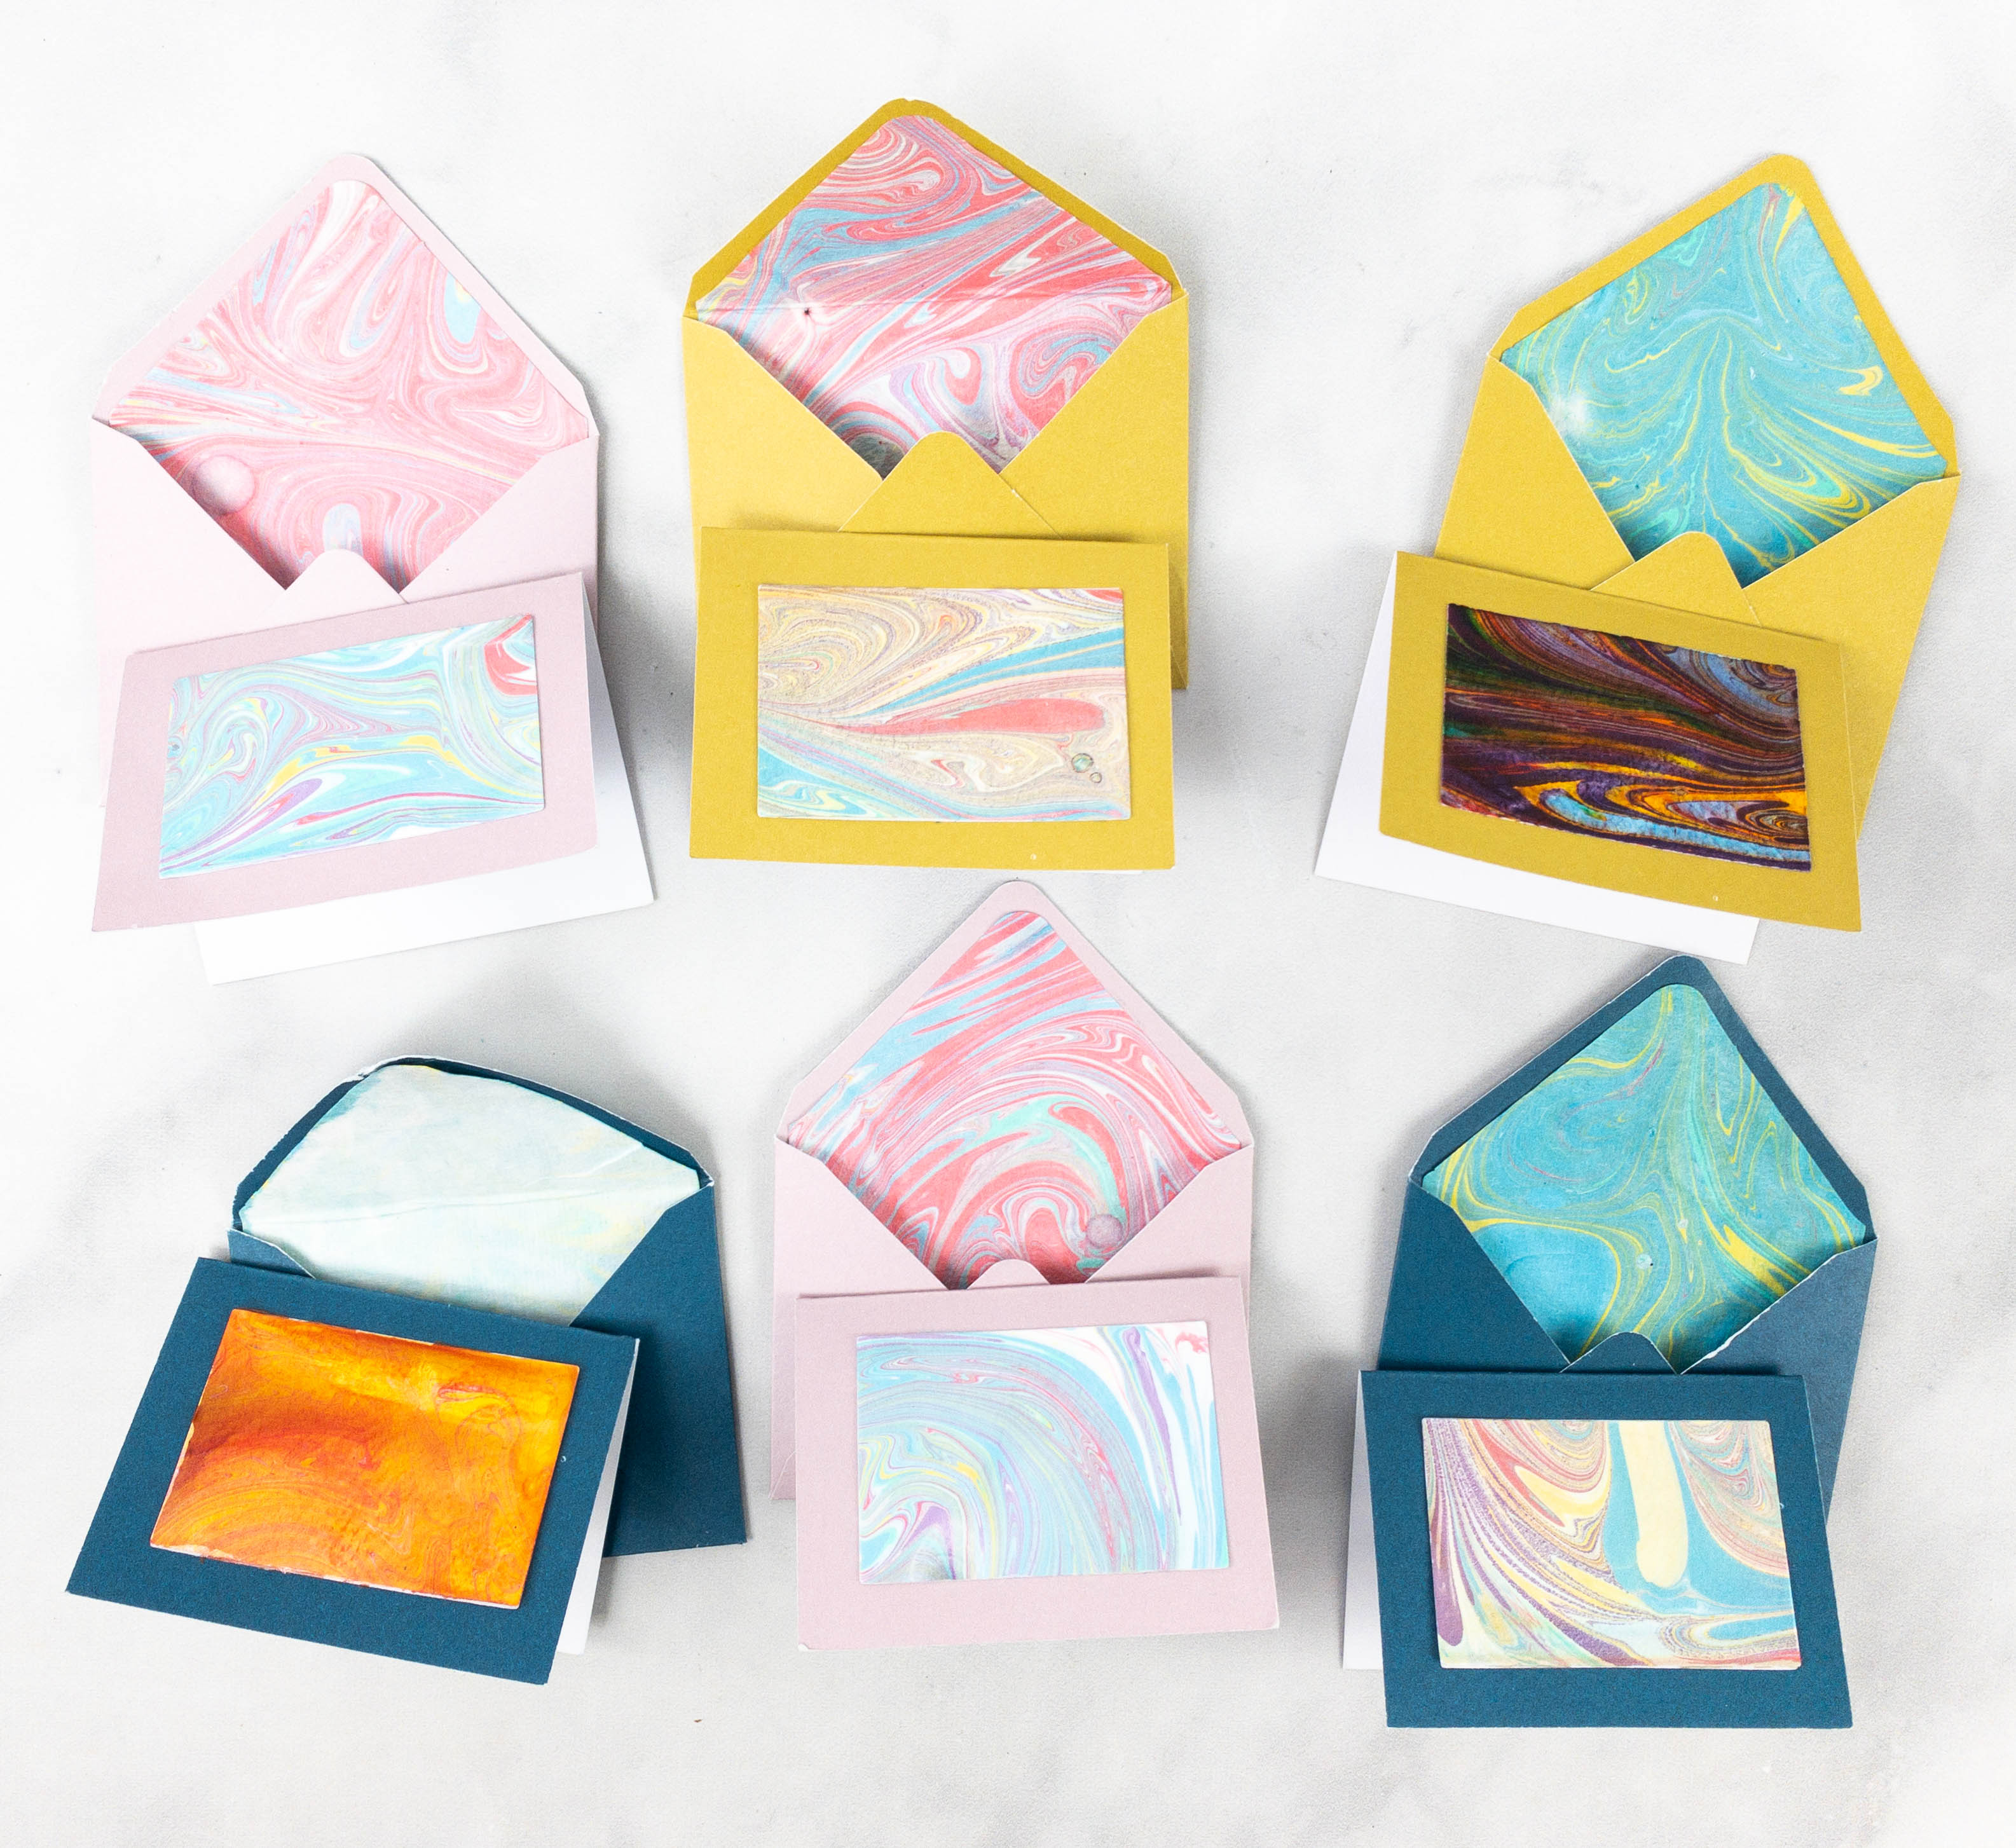
These personalized cards are perfect for sending to friends and family!
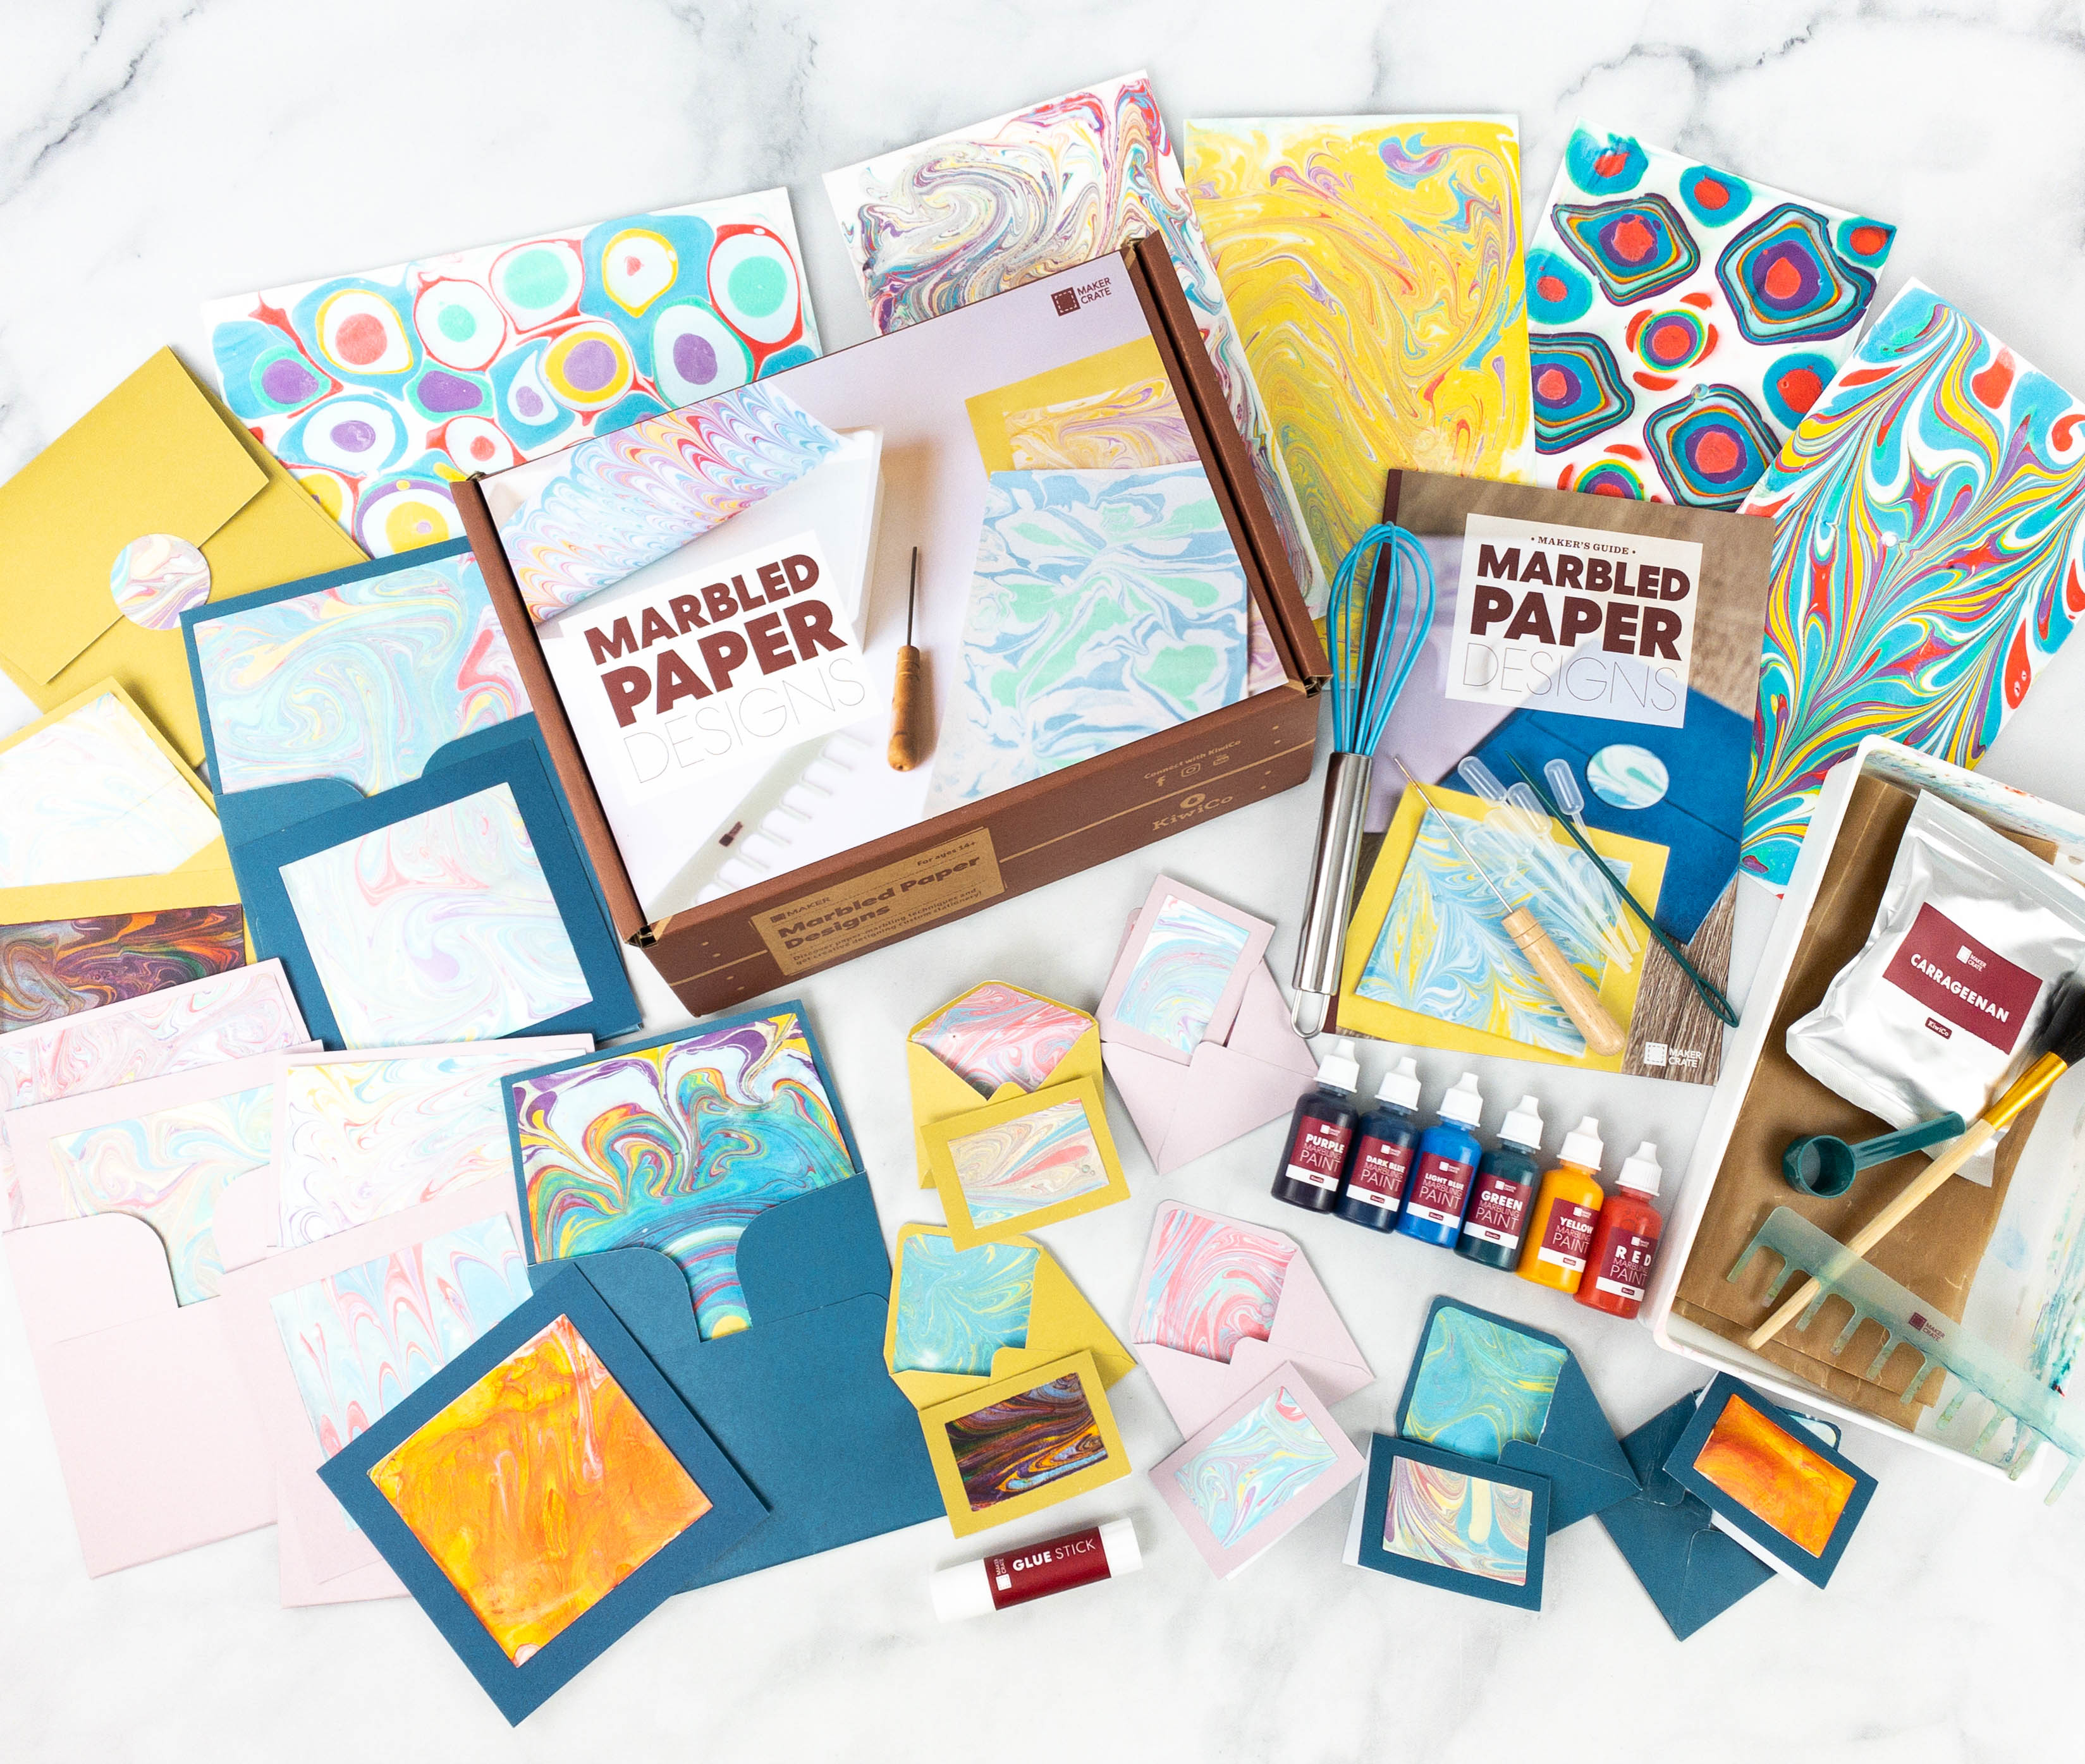
This kit yielded a lot of marbled papers that I can use for all sorts of occasions!
Maker Crate sends out the best projects, along with complete materials and easy to follow instructions. I had a great time making this month’s project, which is about paper marbling! This is a fun way to spend some down time as marbling the paints on the surface of the water is very soothing. Also, getting a nice print on the paper also provides a satisfying feeling. This activity was a bit time consuming but the end result is super worth it so I’m not complaining. I’m so excited to send the cards and envelopes to friends and family! If you love making crafts and you want to be consistent with it, getting a fun craft subscription like this one would be a great idea!
What do you think of this Maker Crate project?


Comments
Beautiful designs but too much trouble for this old lady!!!