Maker Crate is a monthly craft box from KiwiCo, which provides makers and crafters ages 14 to 104 with projects that introduce new craft techniques and design tools. Each box will include materials and tools for the project plus a booklet that shares the real-world applications and the history behind each art form or design. They also promise that the end product for each project is always fun and functional. Some of the skills you can learn through this subscription may include paper marbling, metal sculpture, dip-dye painting, macrame, loom knitting, hand lettering, embroidery, and more. The subscription is $24.95 a month, with free shipping in the US.
DEAL: Save 30% on your first month! No coupon code needed, just use this link to subscribe! (also valid on the other KiwiCo family subscriptions Kiwi Crate, Koala Crate, Panda Crate, Atlas Crate, Doodle Crate, Tinker Crate, and Eureka Crate).
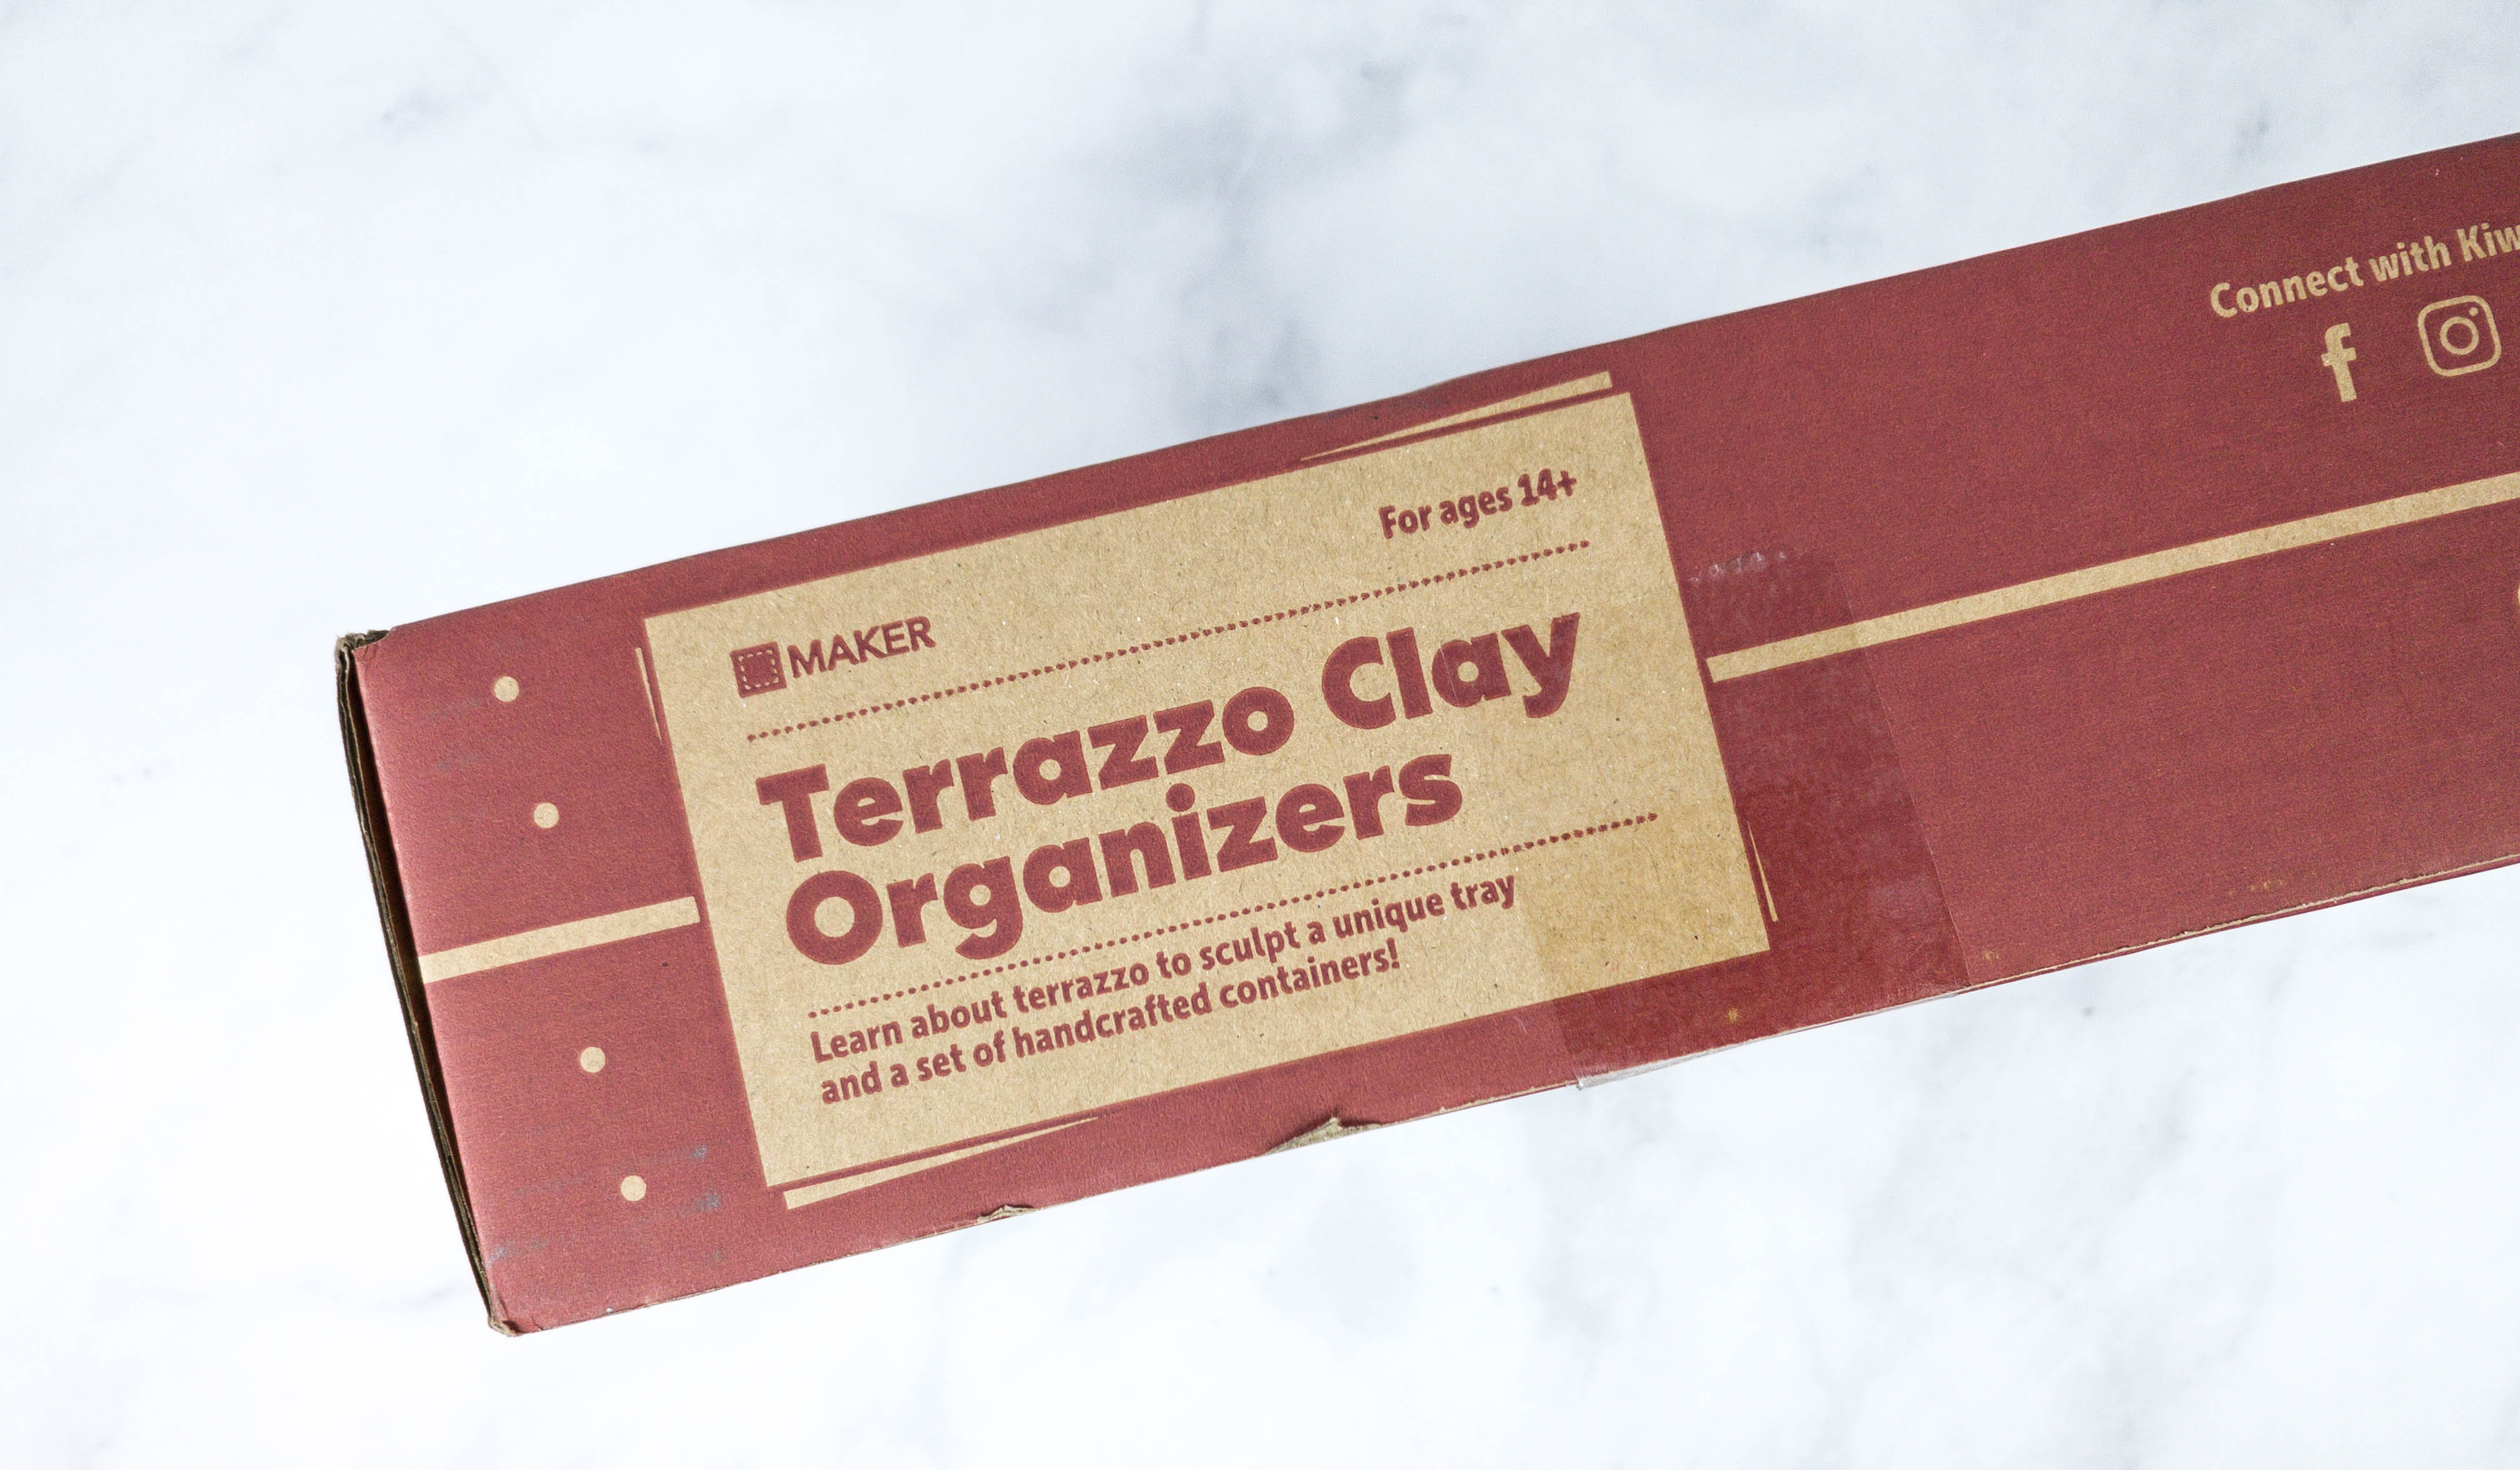
This month’s theme is Terrazzo Clay Organizers!
Learn about terrazzo to sculpt a unique tray and a set of handcrafted containers!
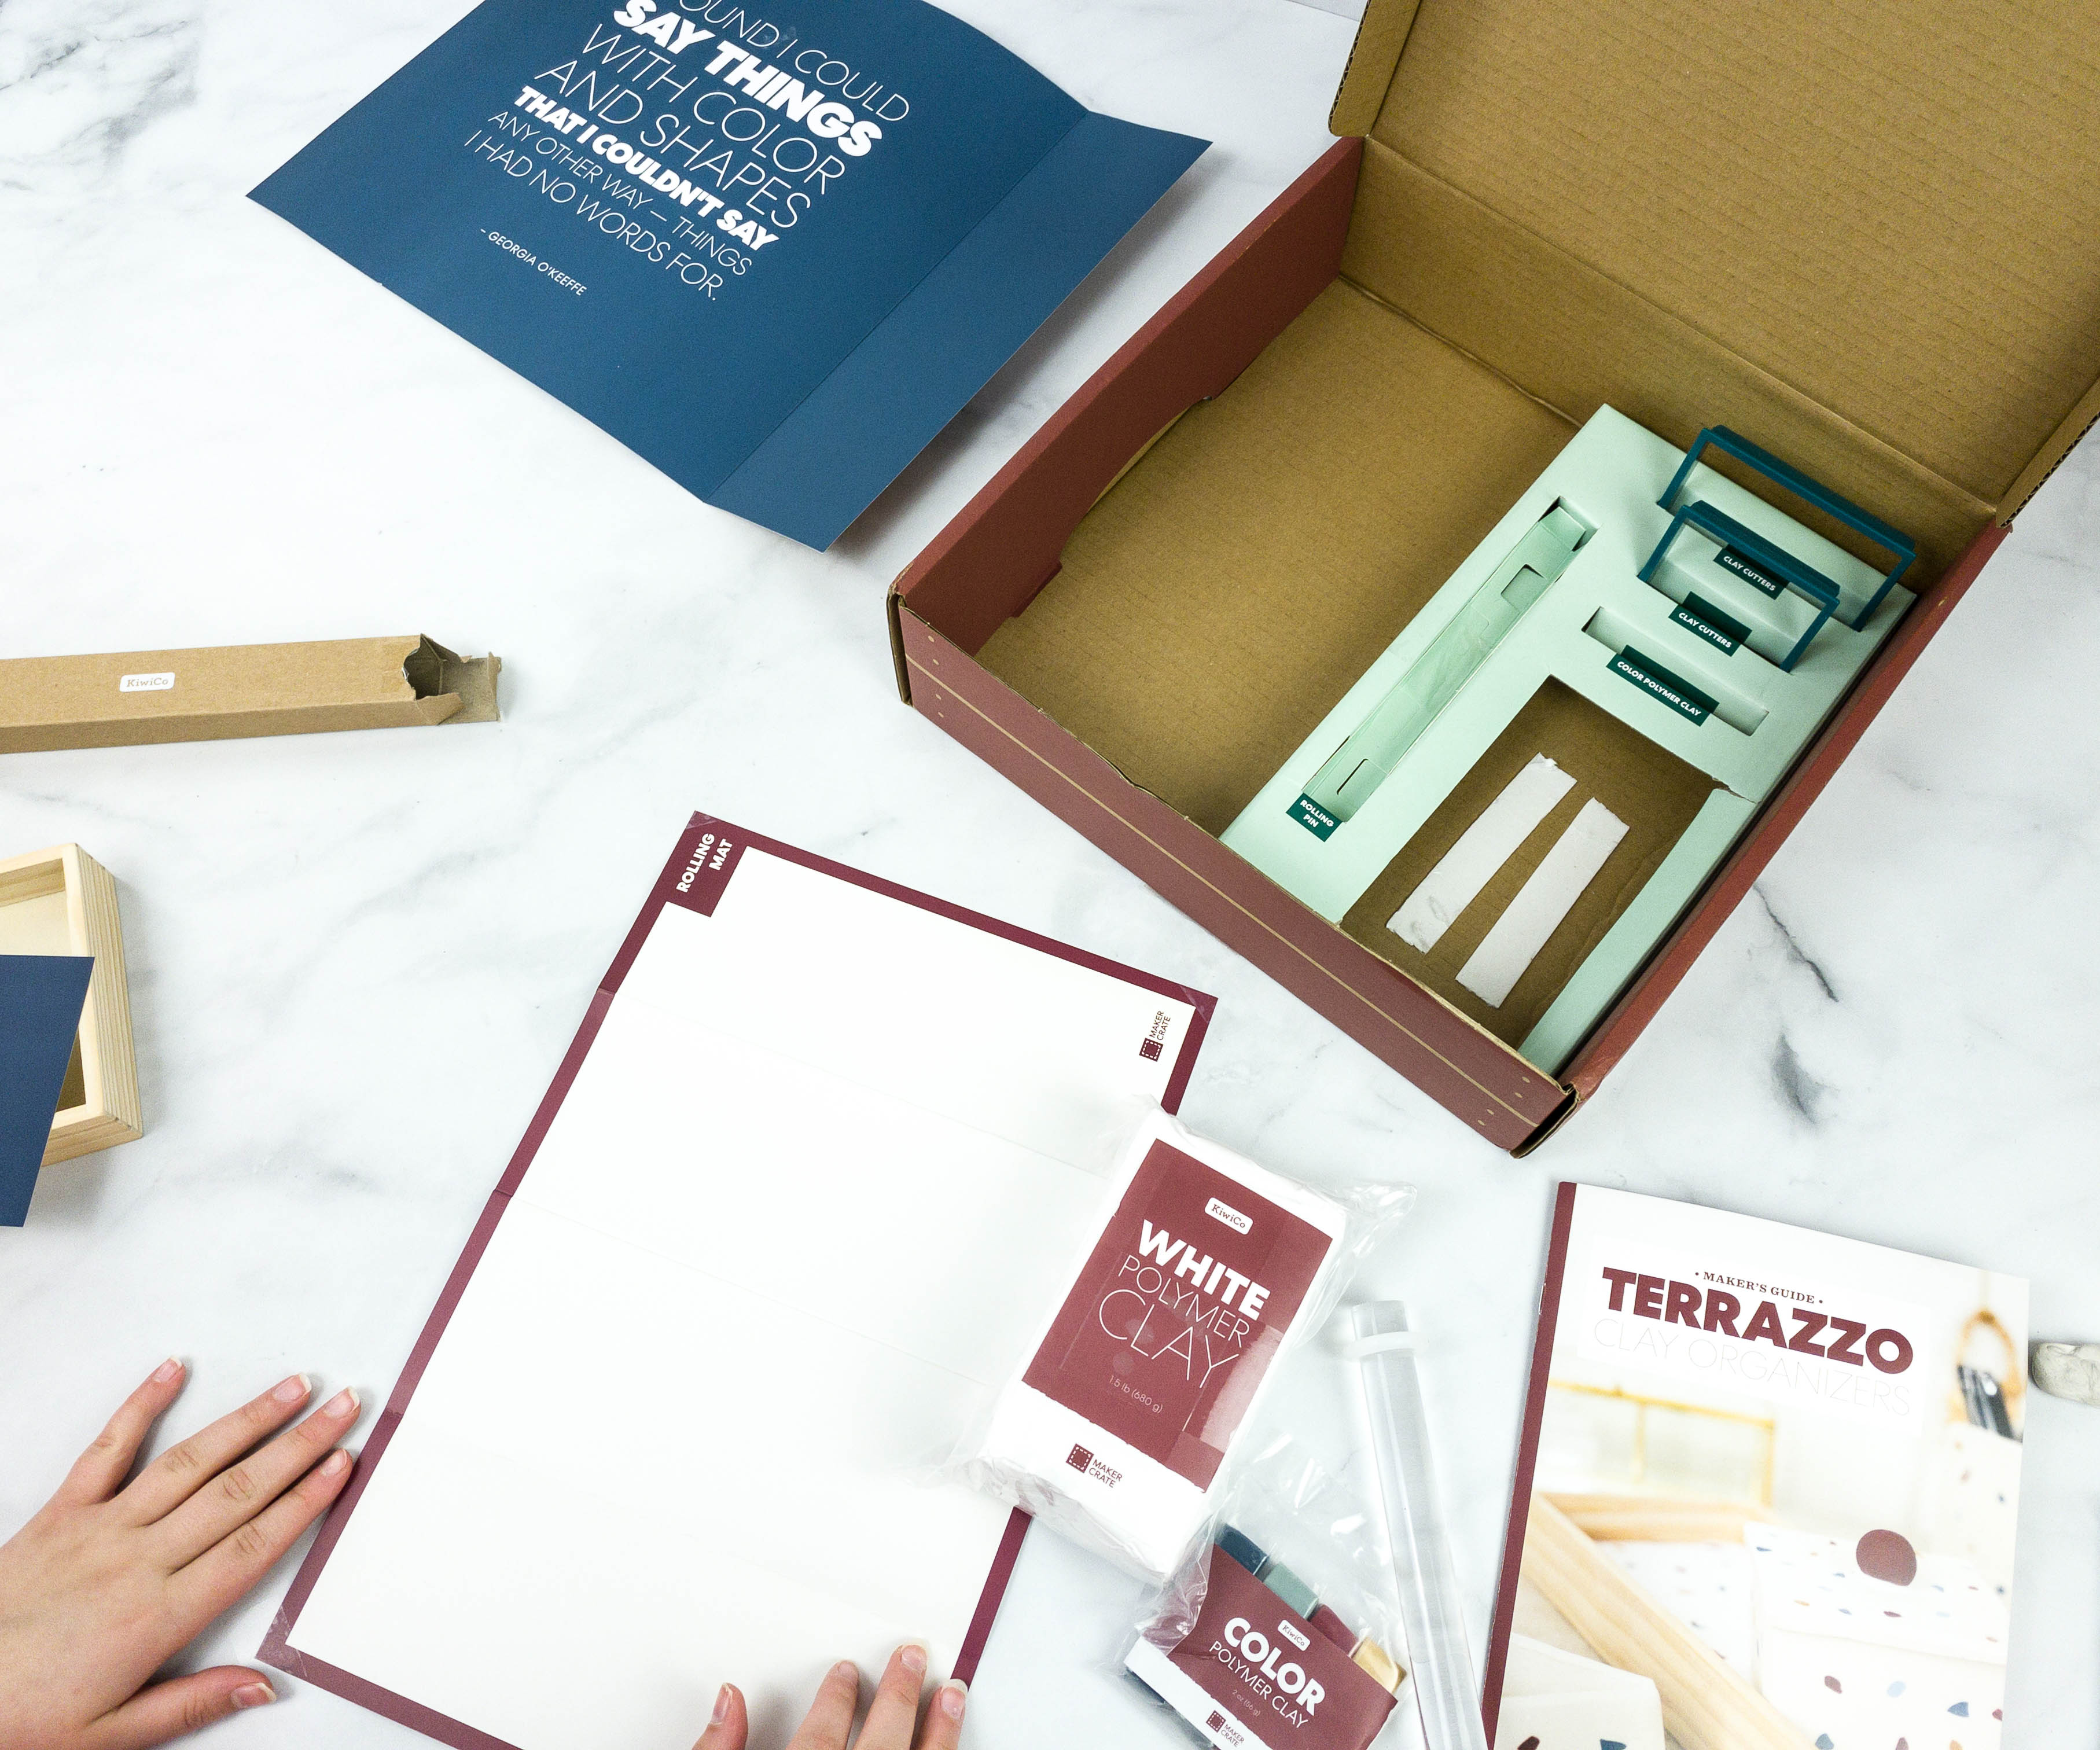
Everything is placed inside this sturdy red box!
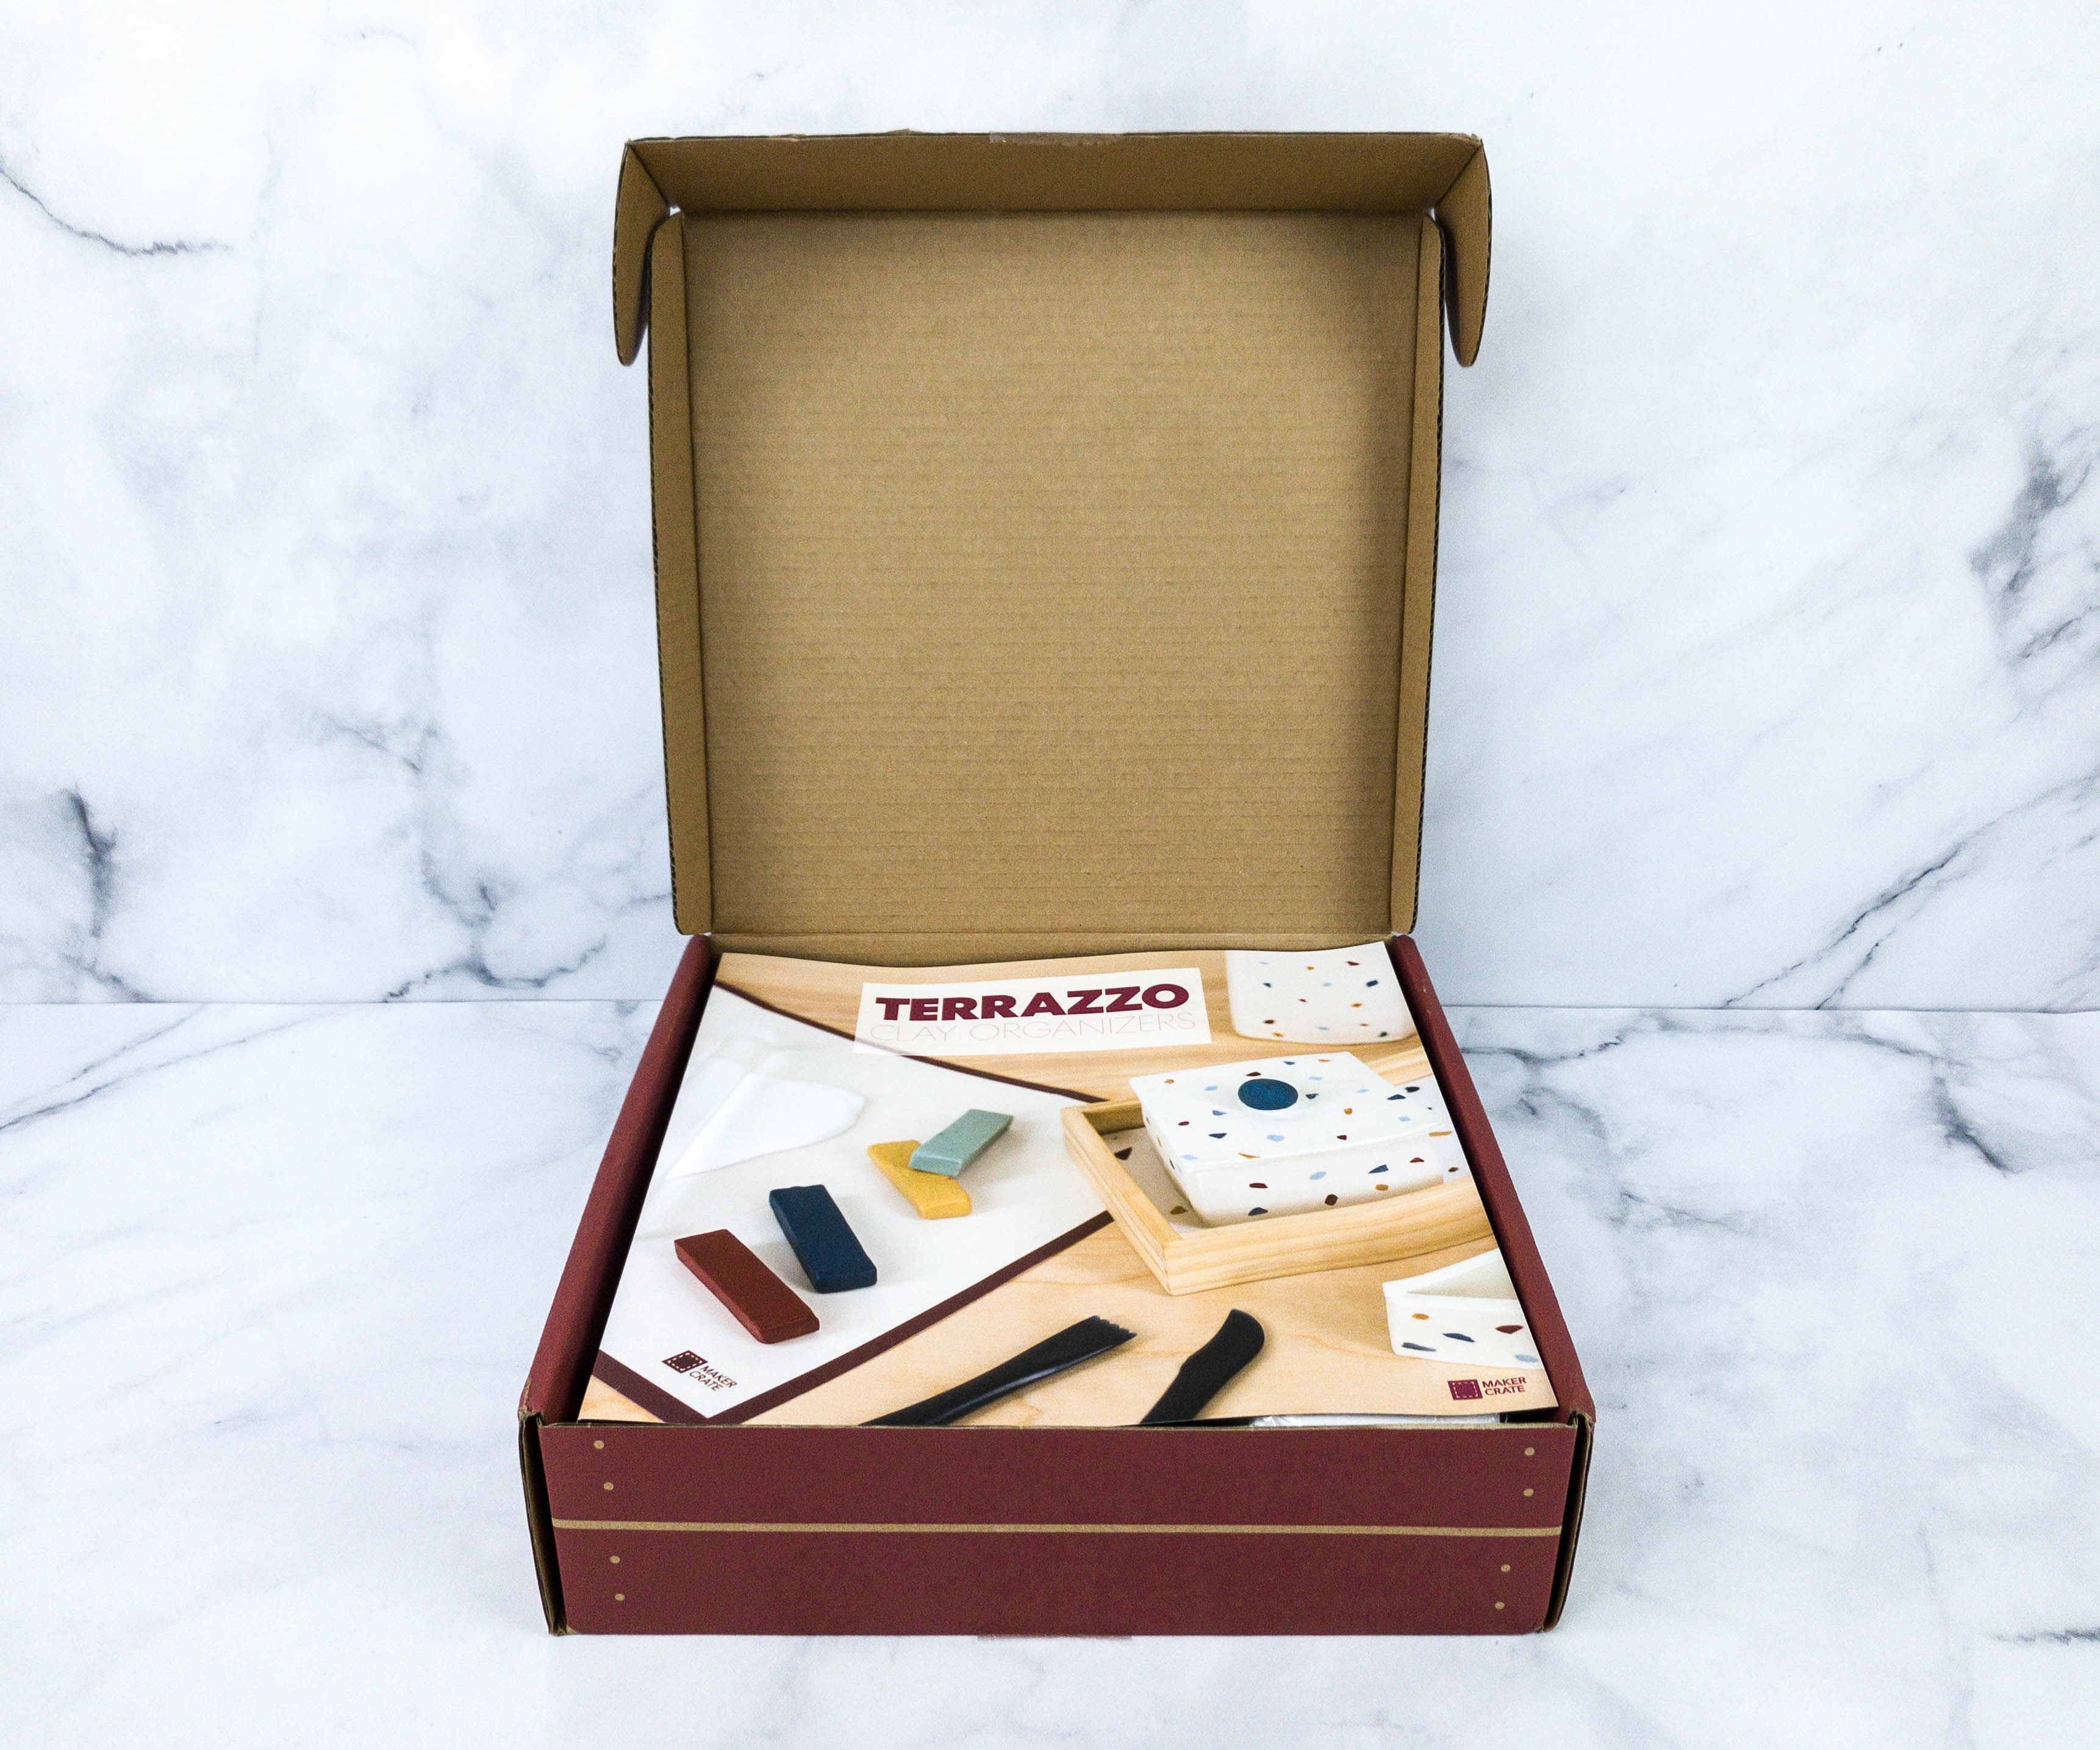
The box welcomes us with Maker Crate’s exclusive Maker’s Guide magazine and card.
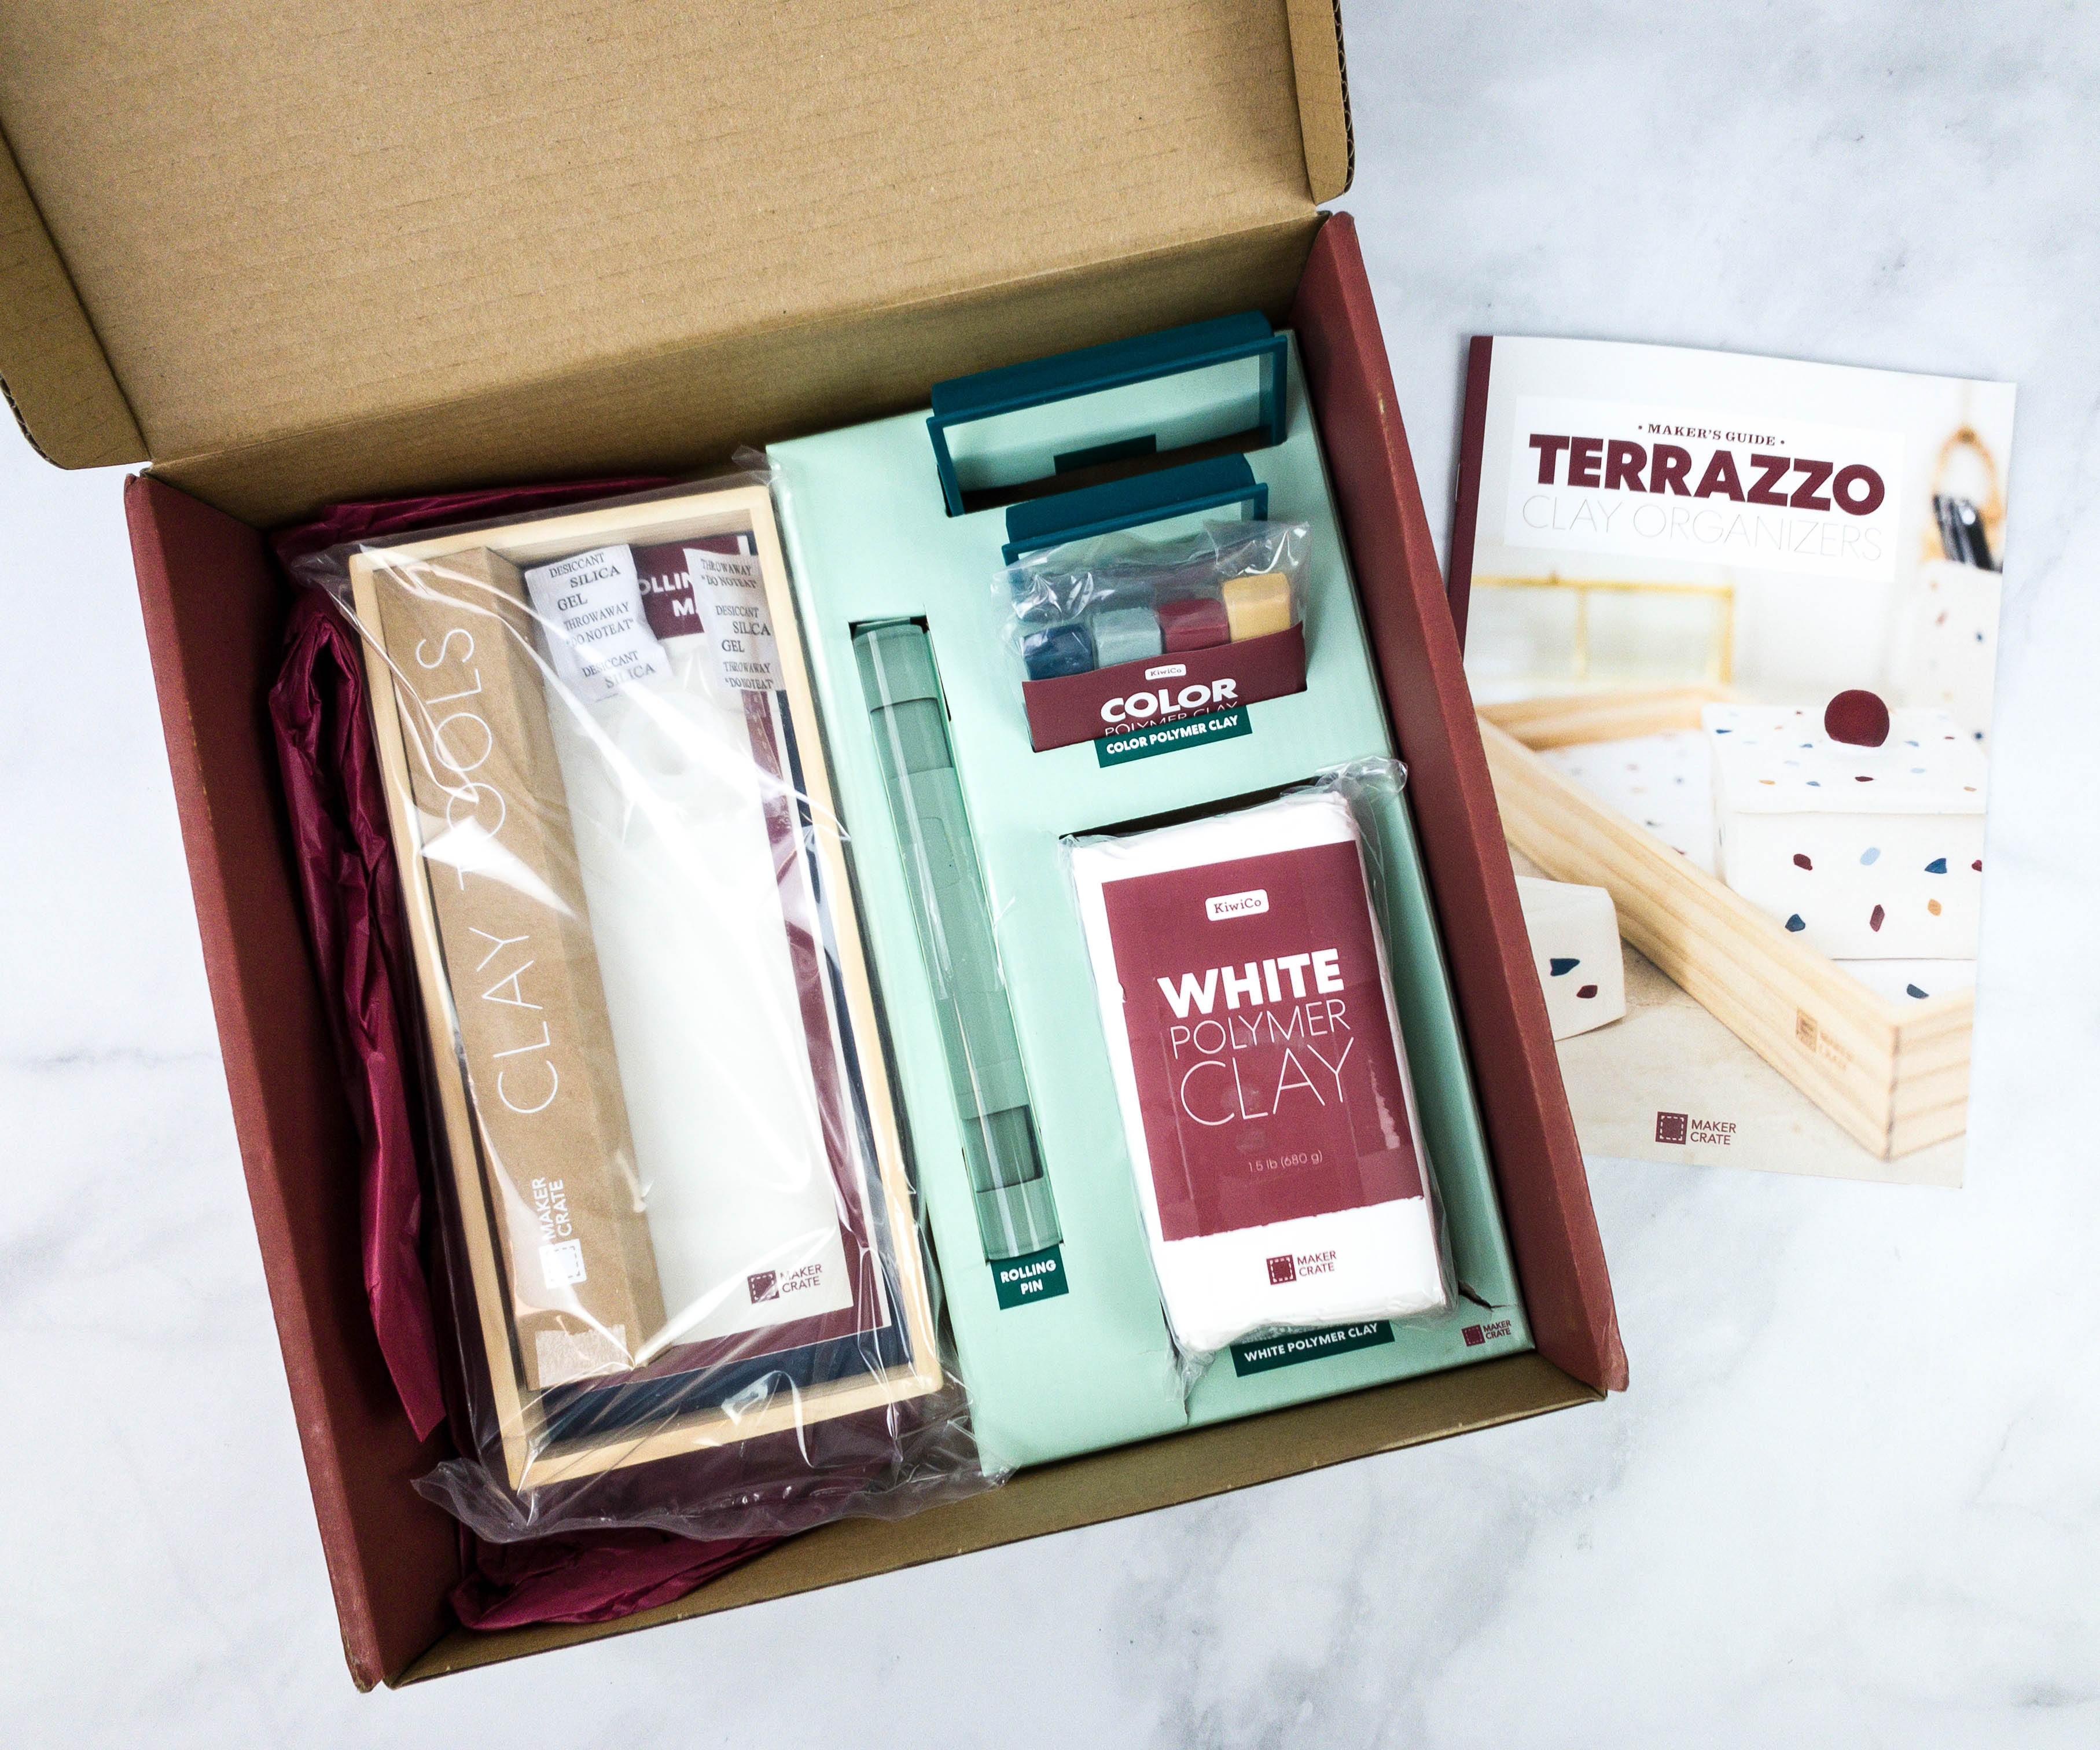
Kiwi Crate includes all the necessary supplies for the featured activities.
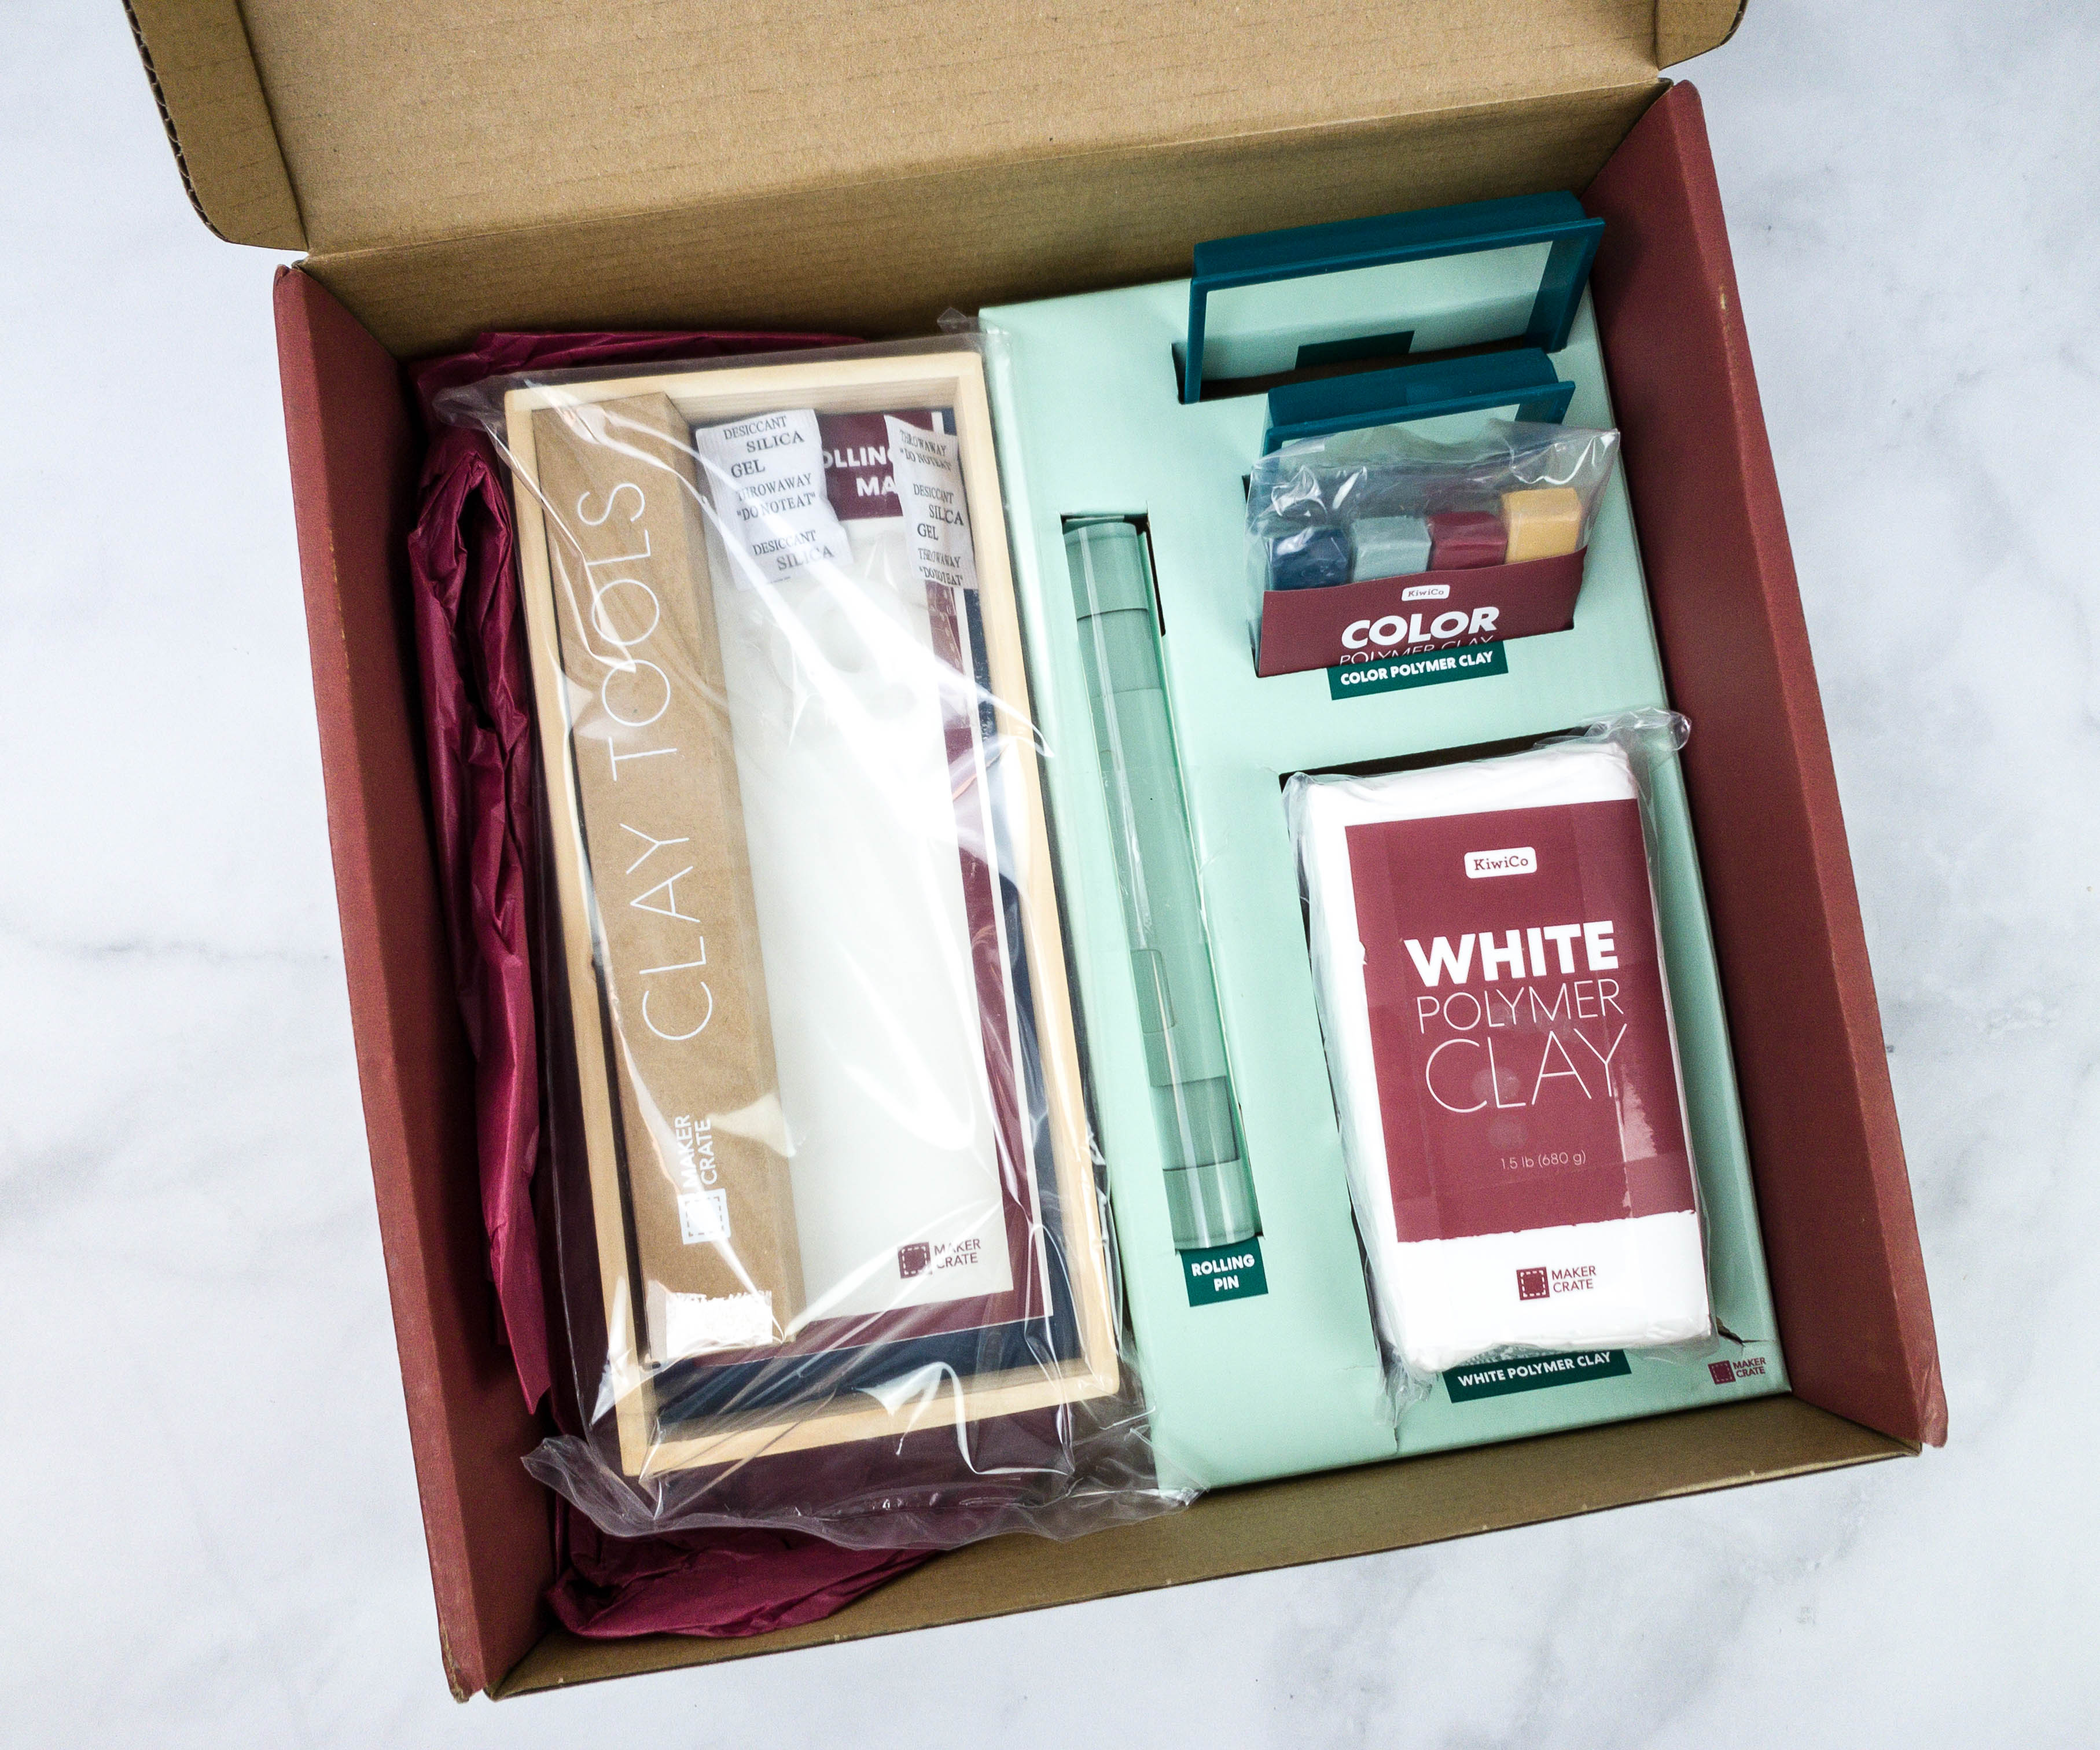
Some materials came in their own plastic packaging.
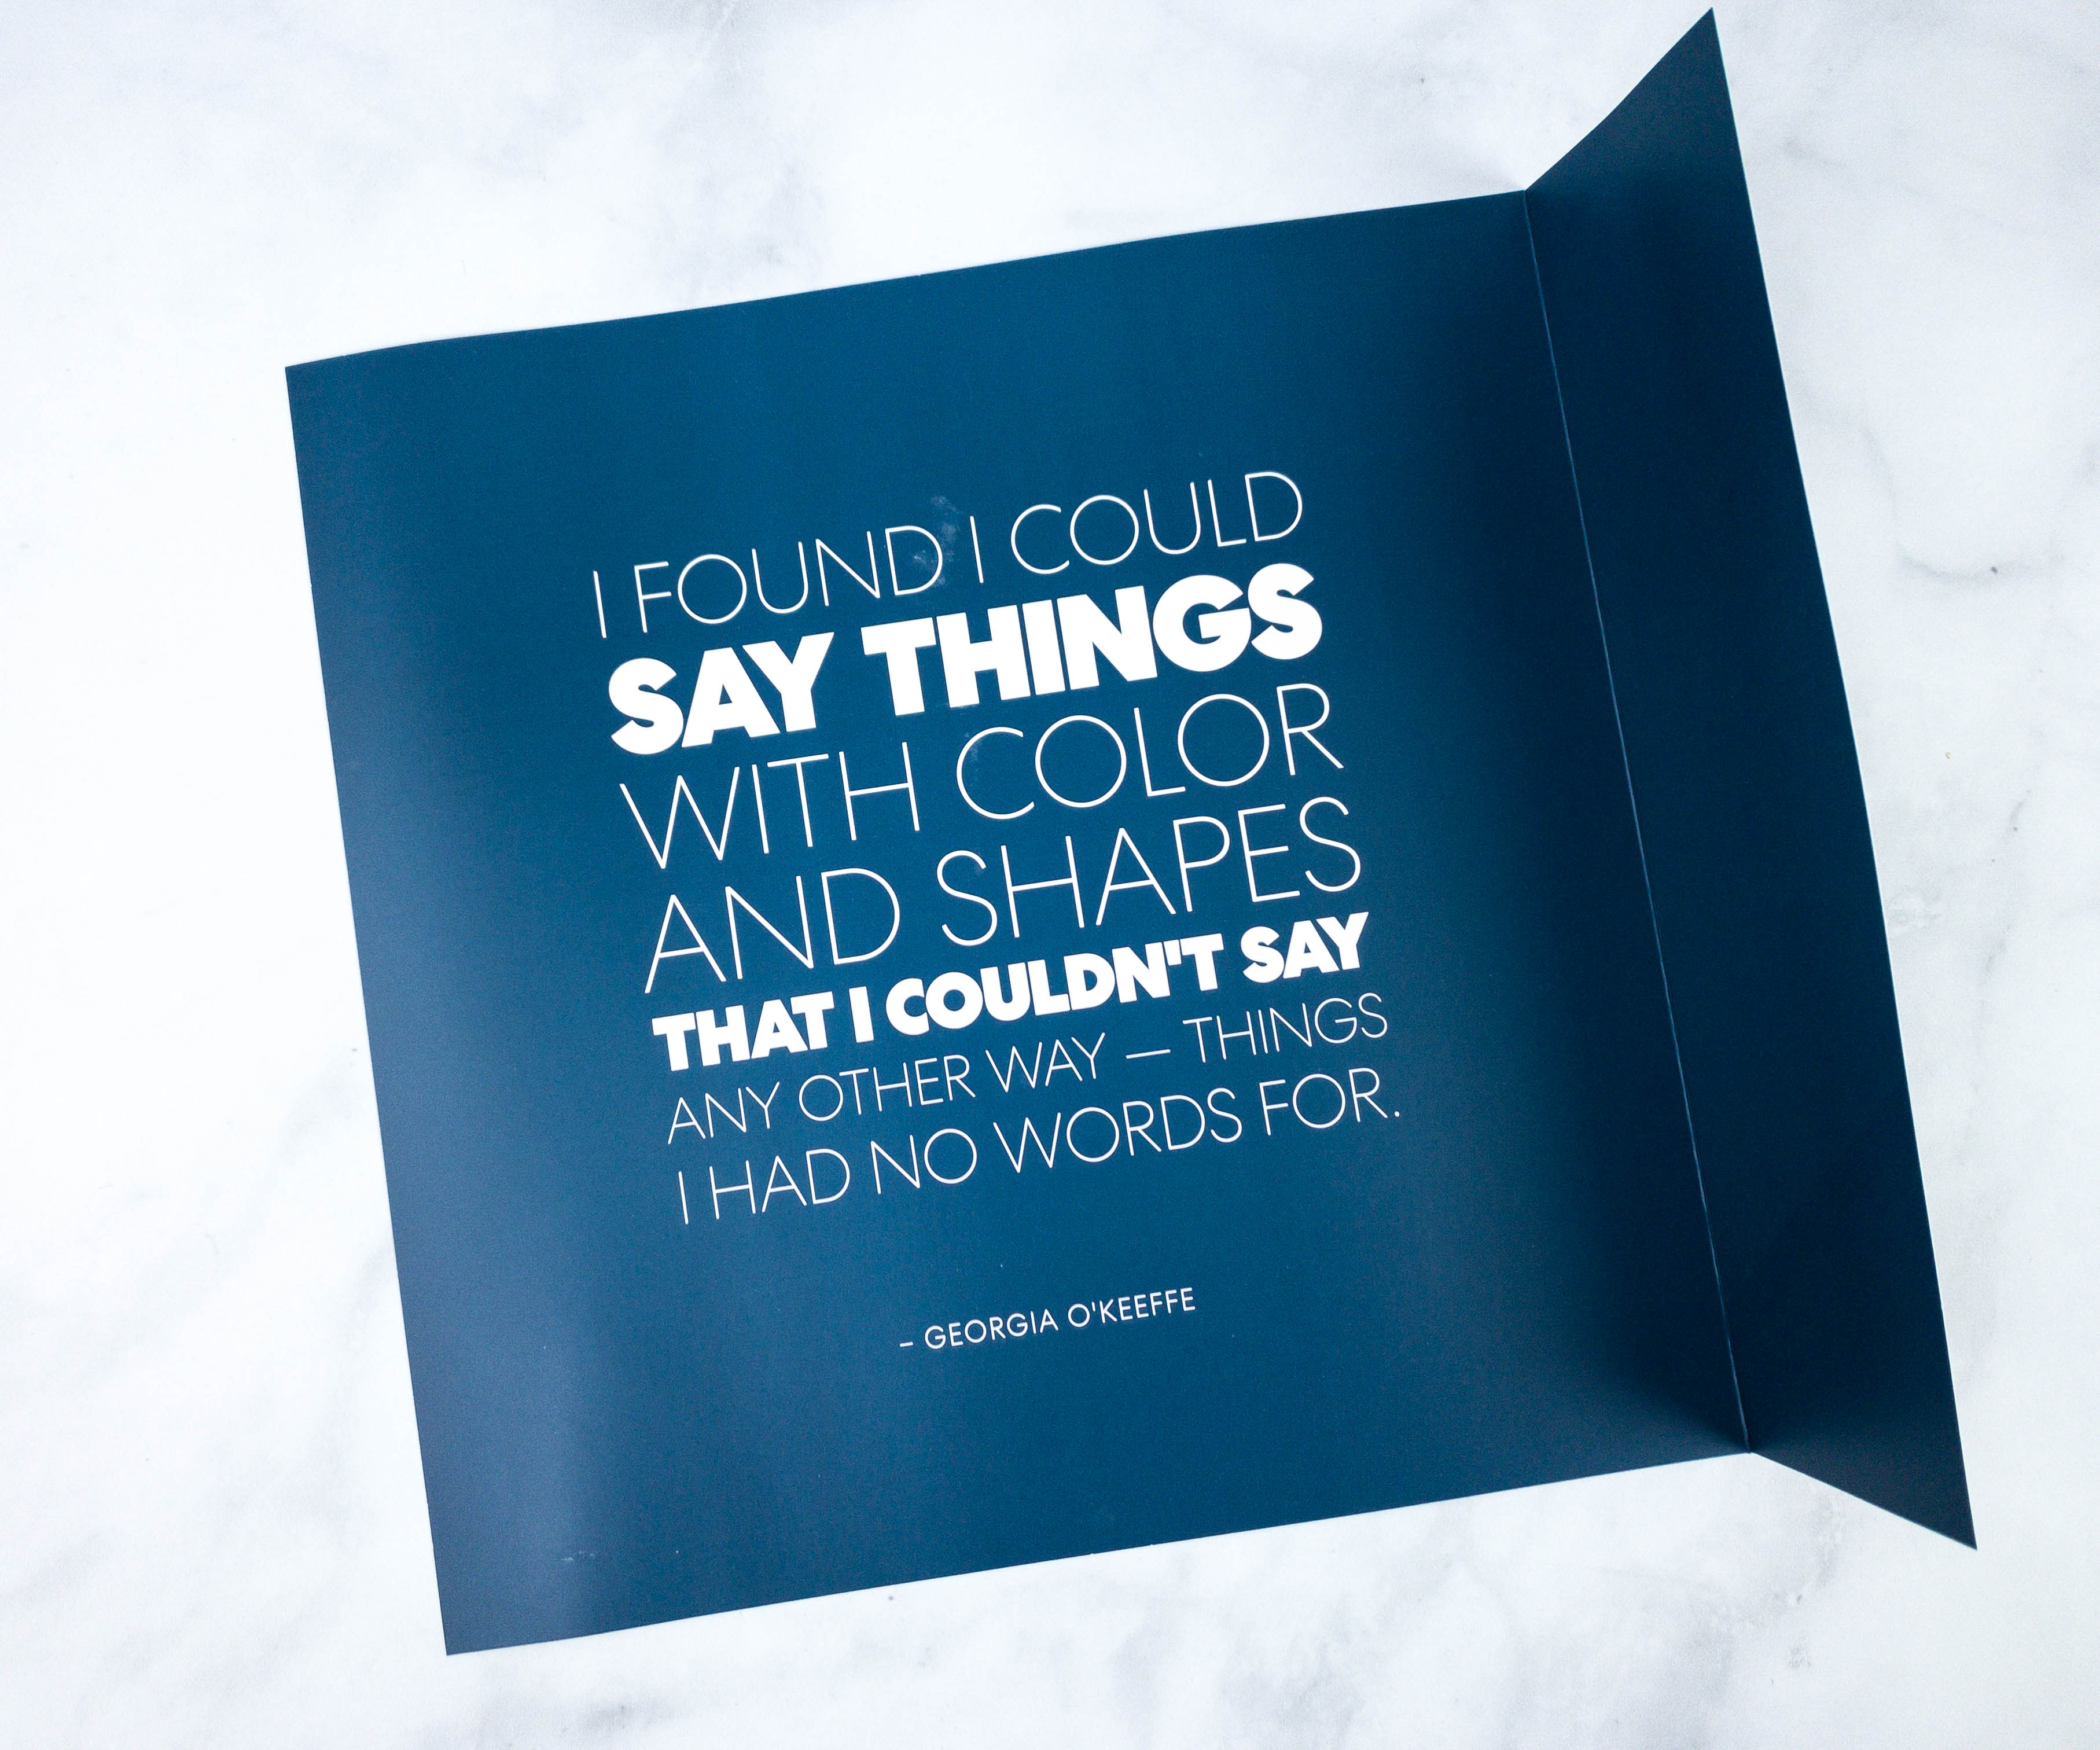
I found I could say things with color and shapes that I couldn’t say any other way – things I had no words for.
– Georgia O’Keeffe
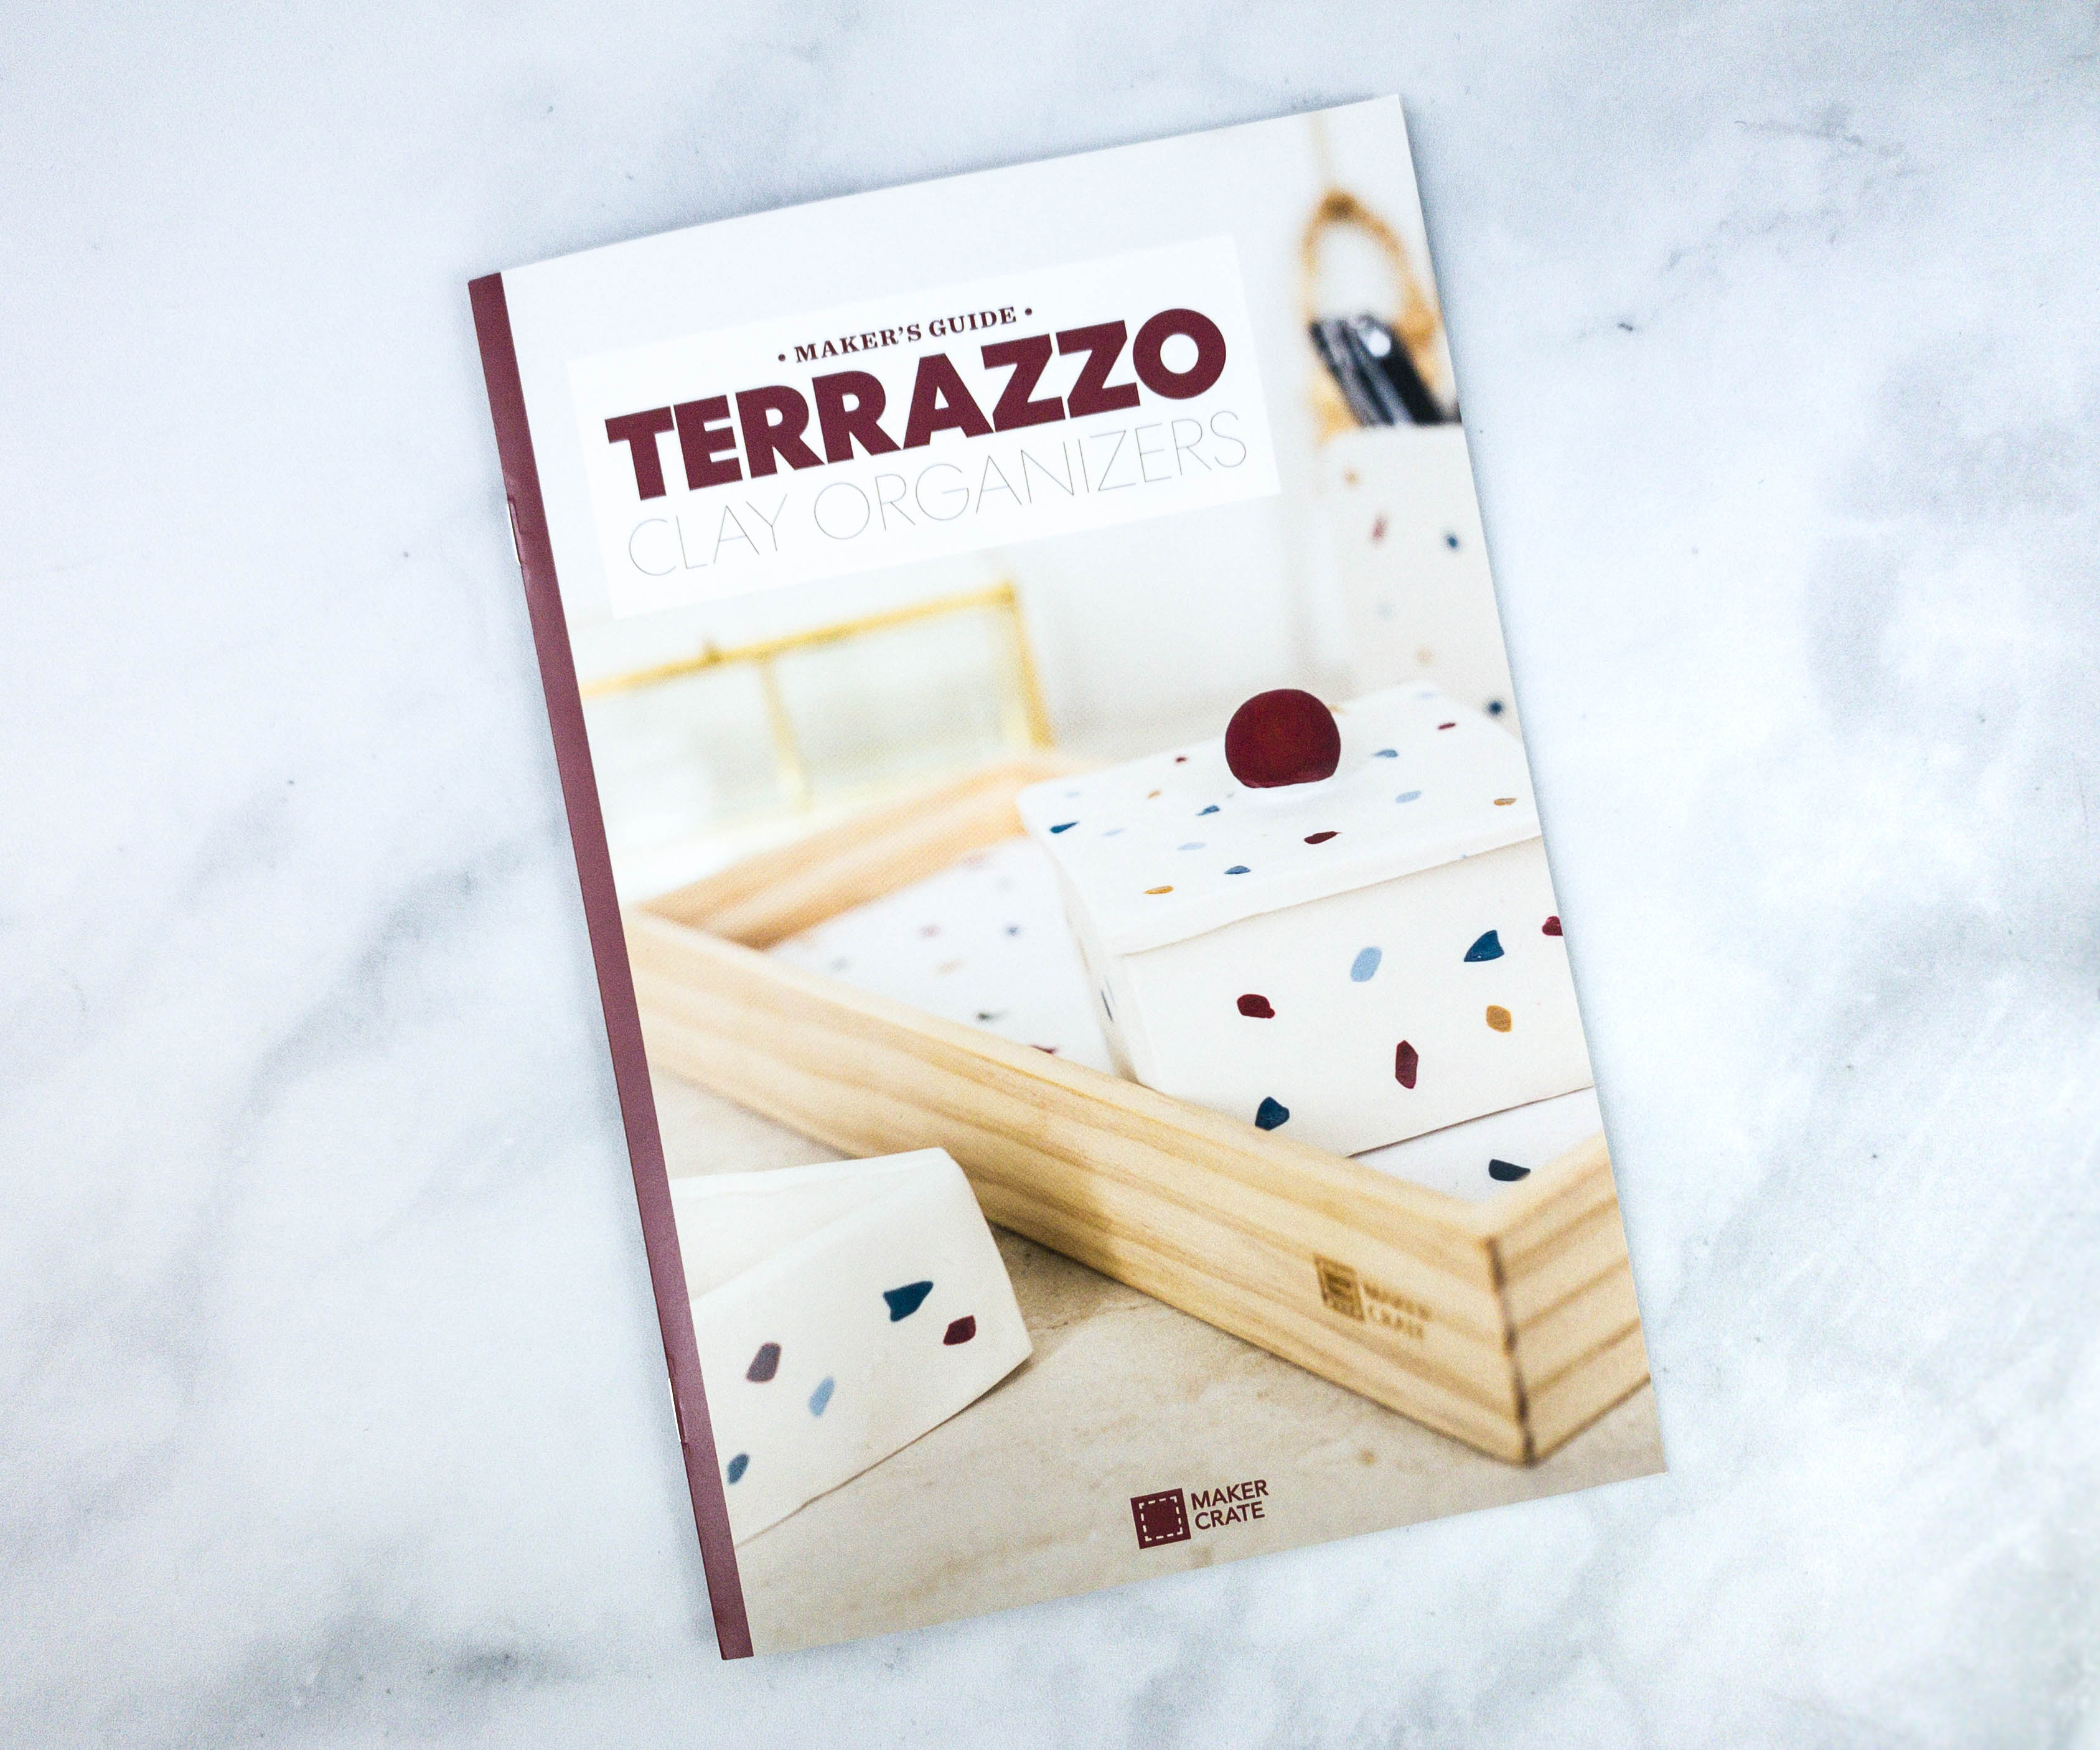
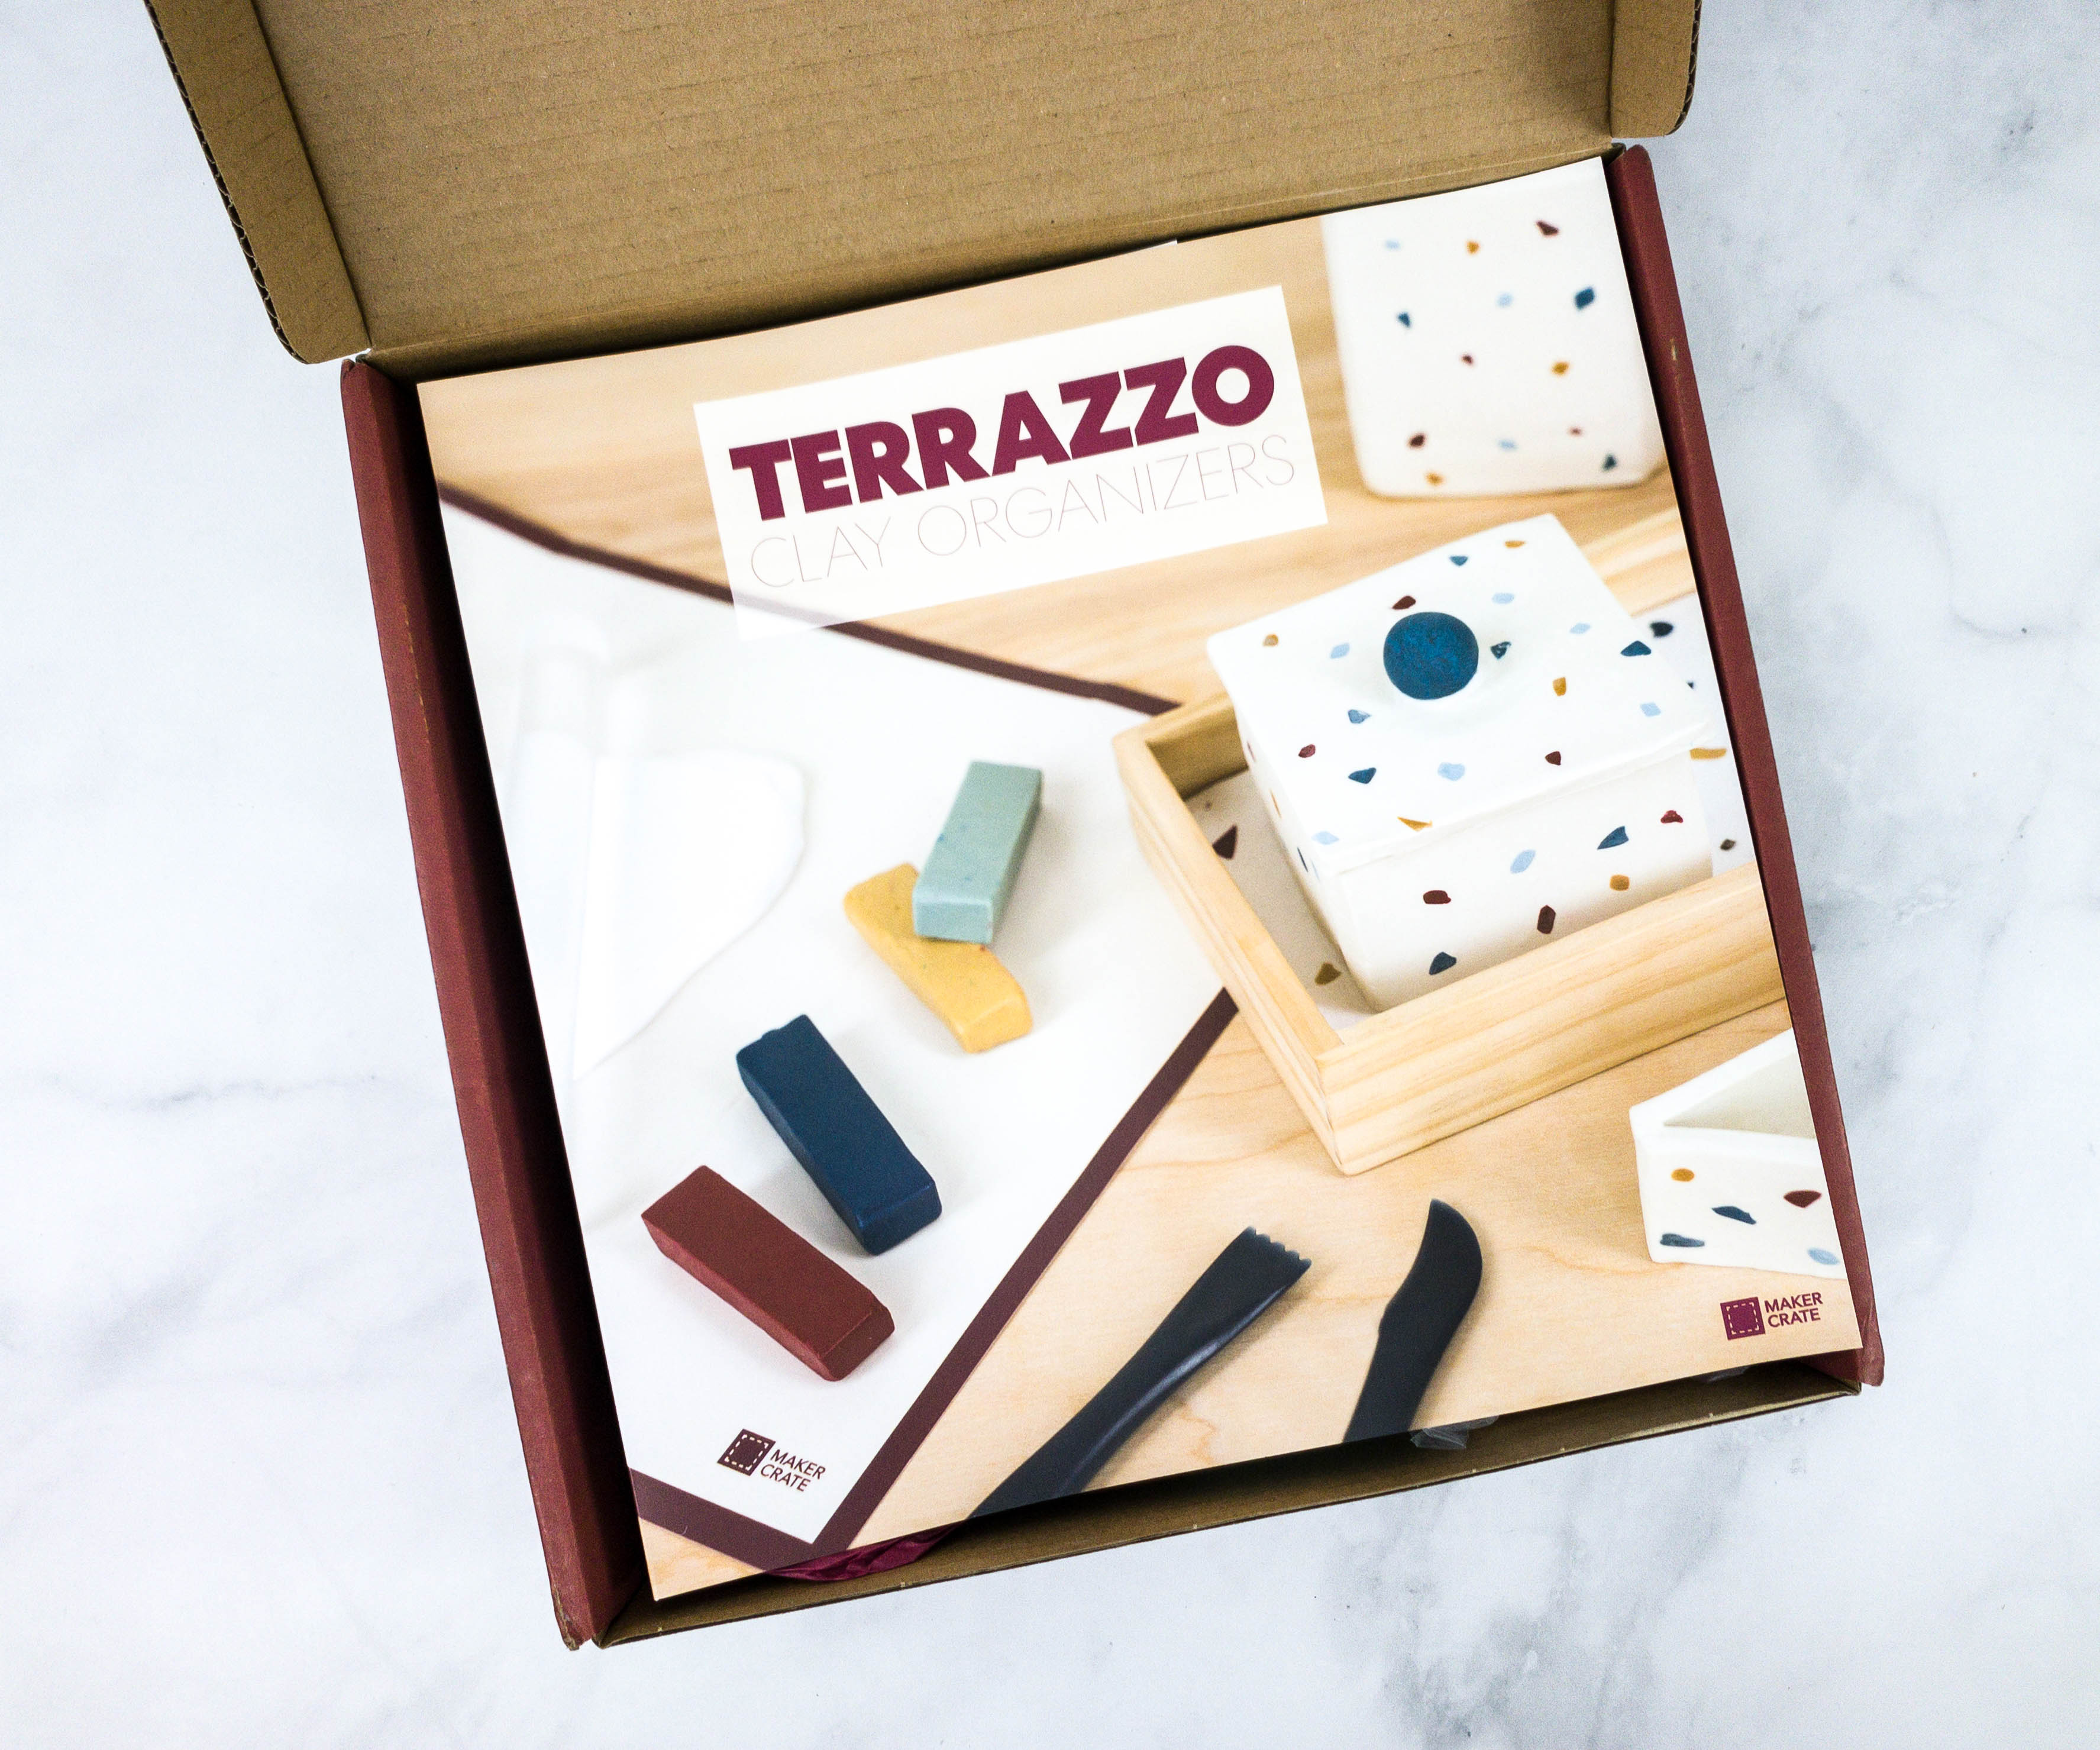
Like the other crates from KiwiCo, Maker Crate includes a booklet.
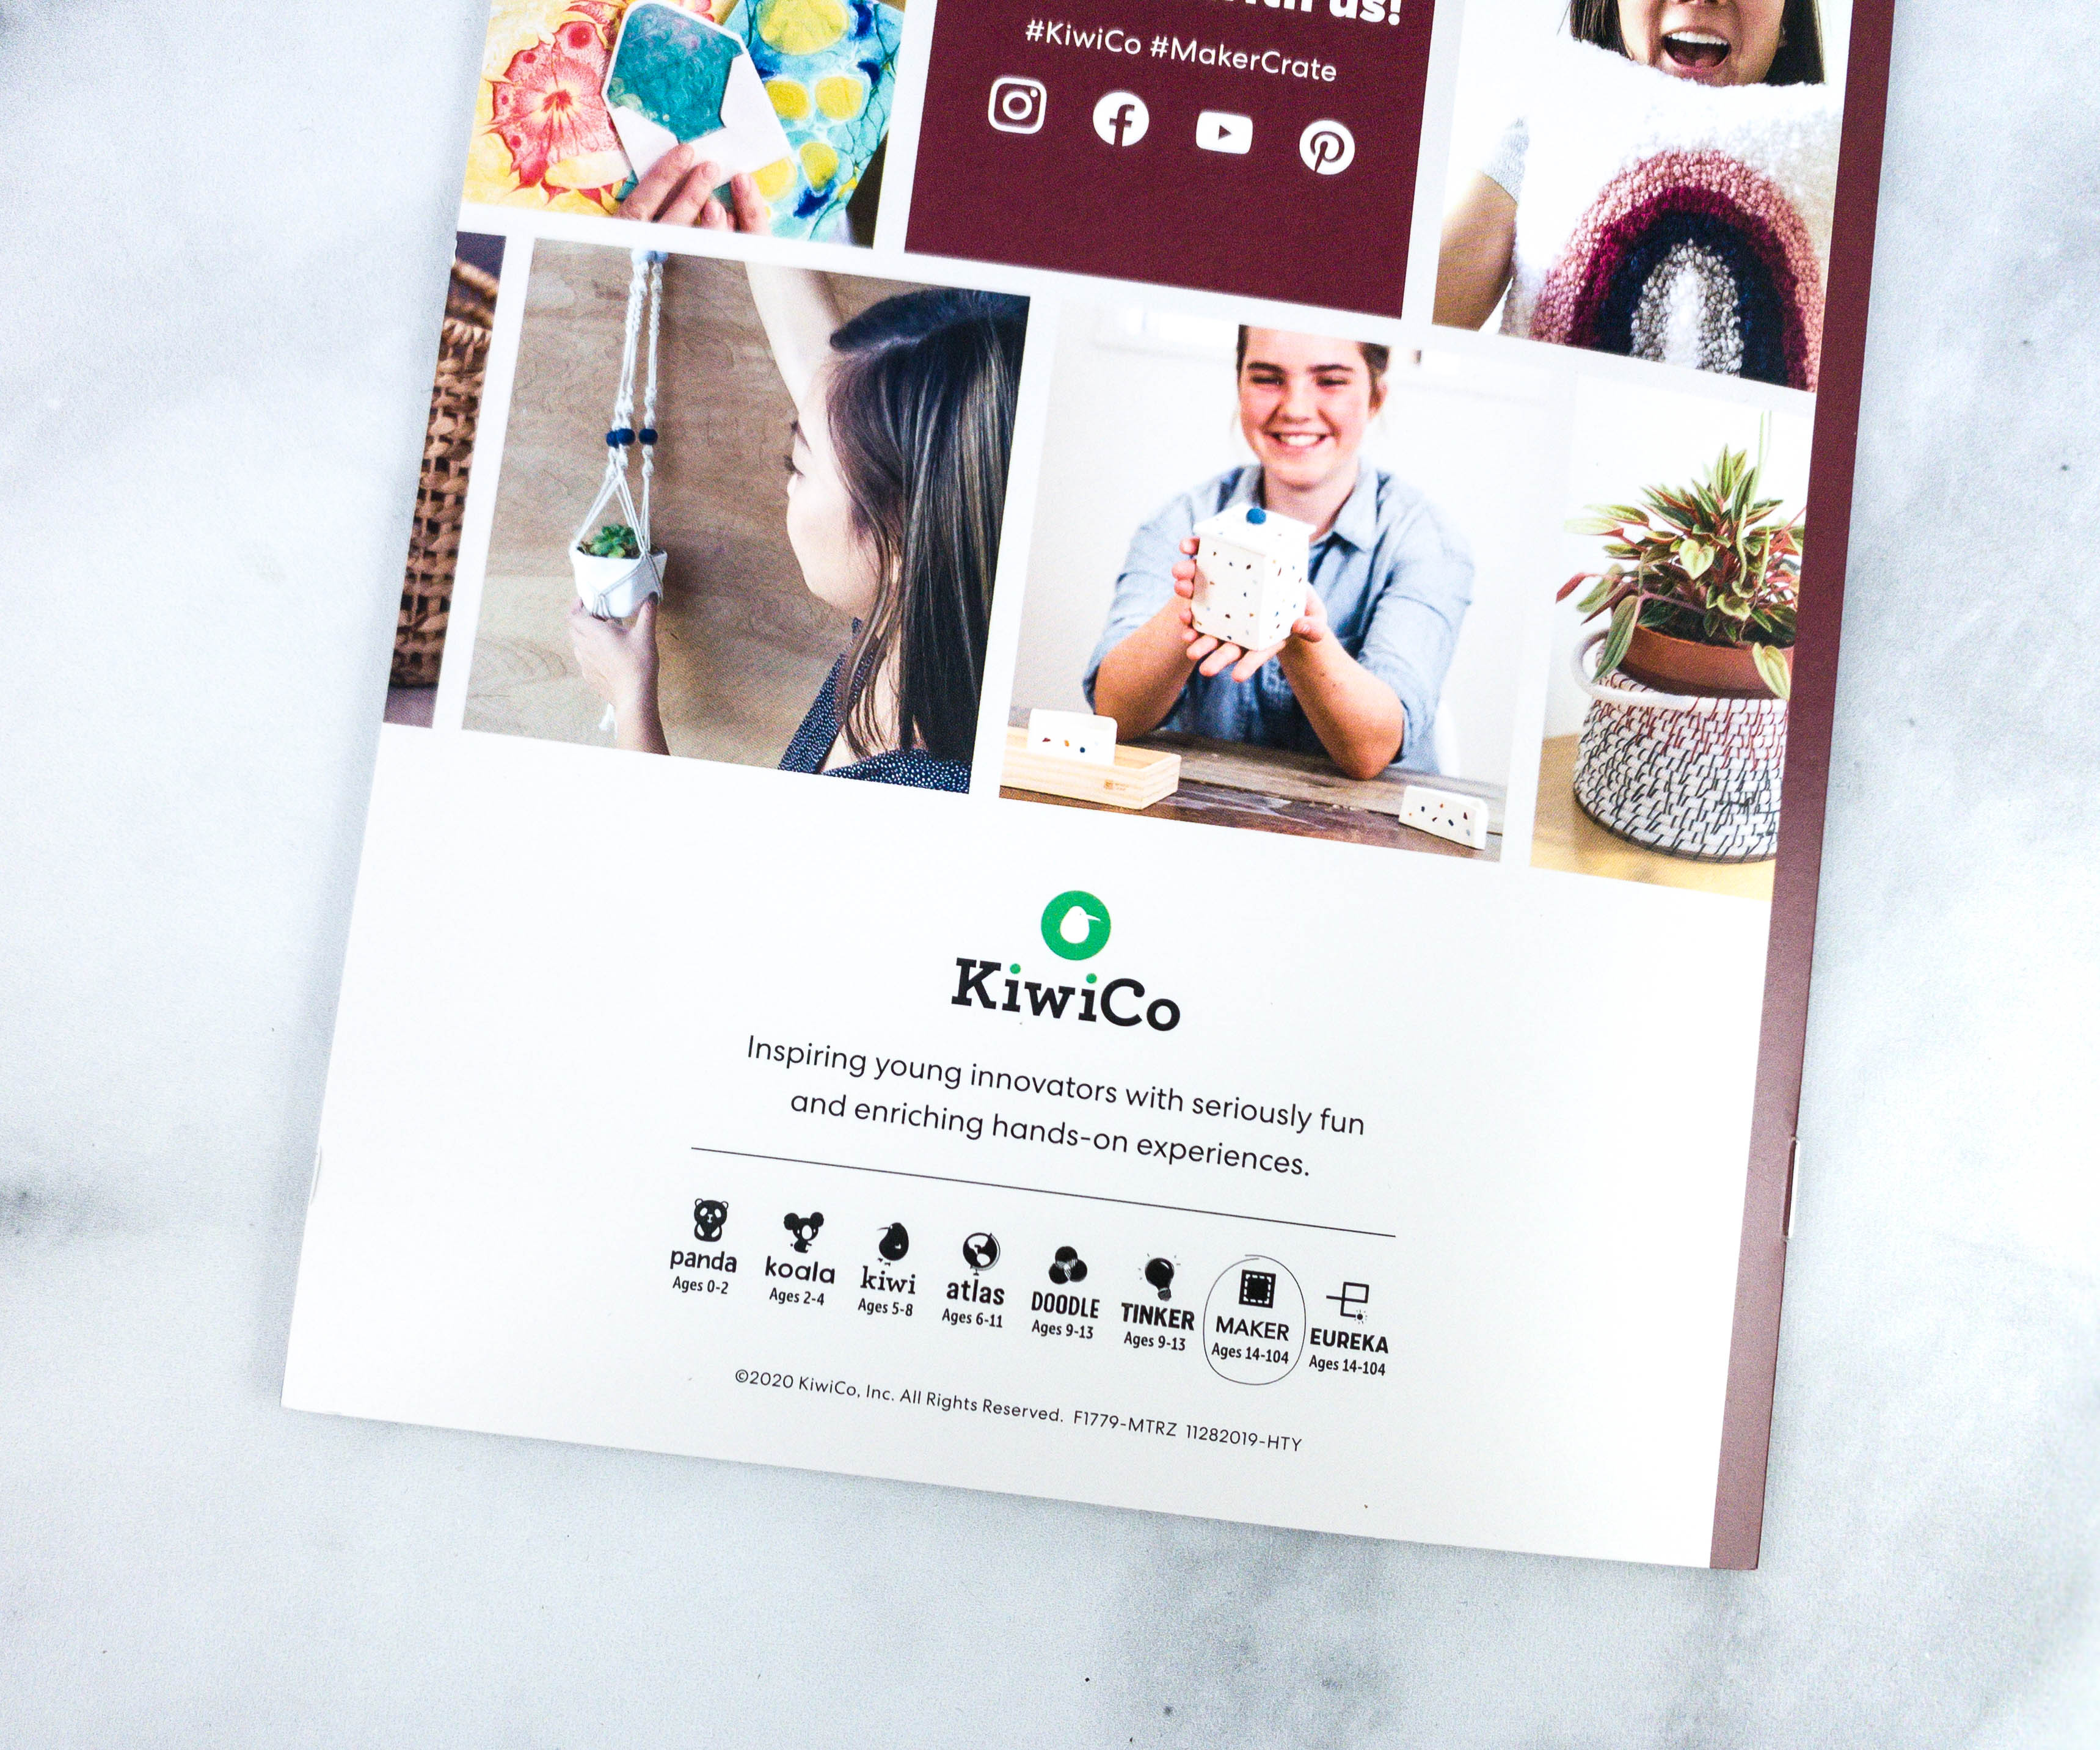
The back of the magazine presents KiwiCo’s goals for the next generation of innovators!
KiwiCo, Inspiring young innovators with seriously fun and enriching hands-on experiences.
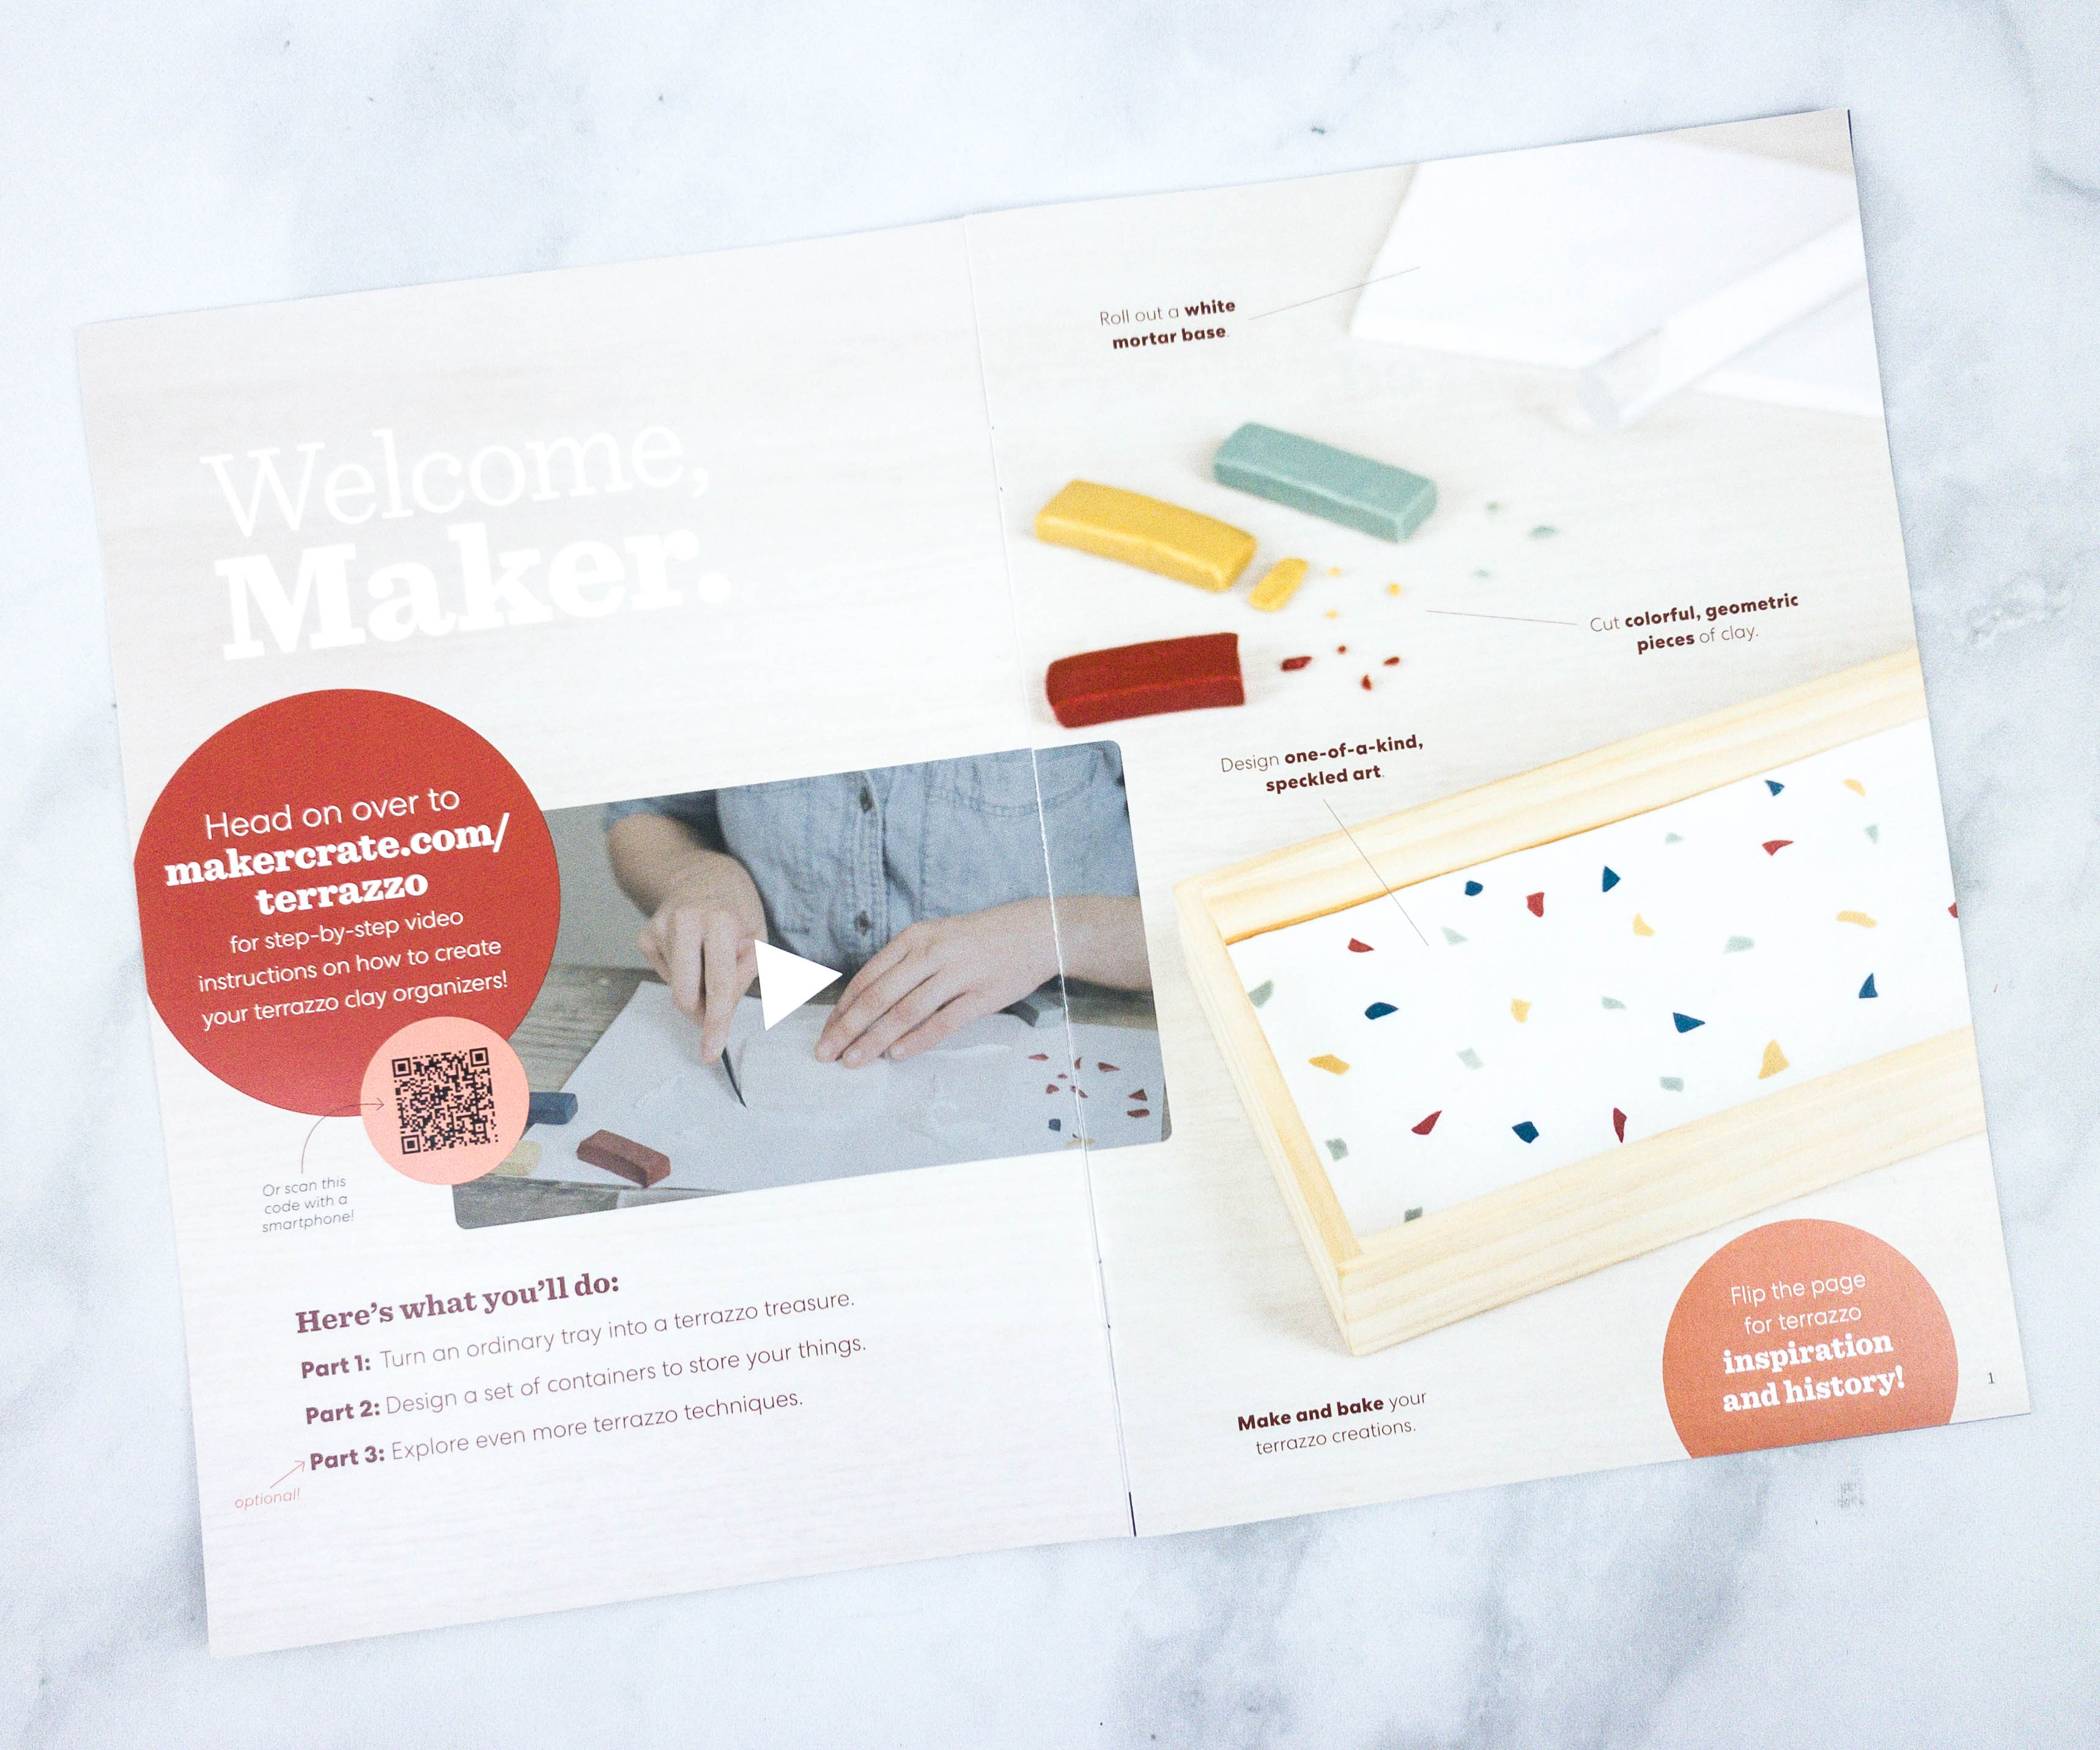
The booklet welcomes us with an overview of this month’s project. They also have step-by-step video instructions for this month’s project on their website!
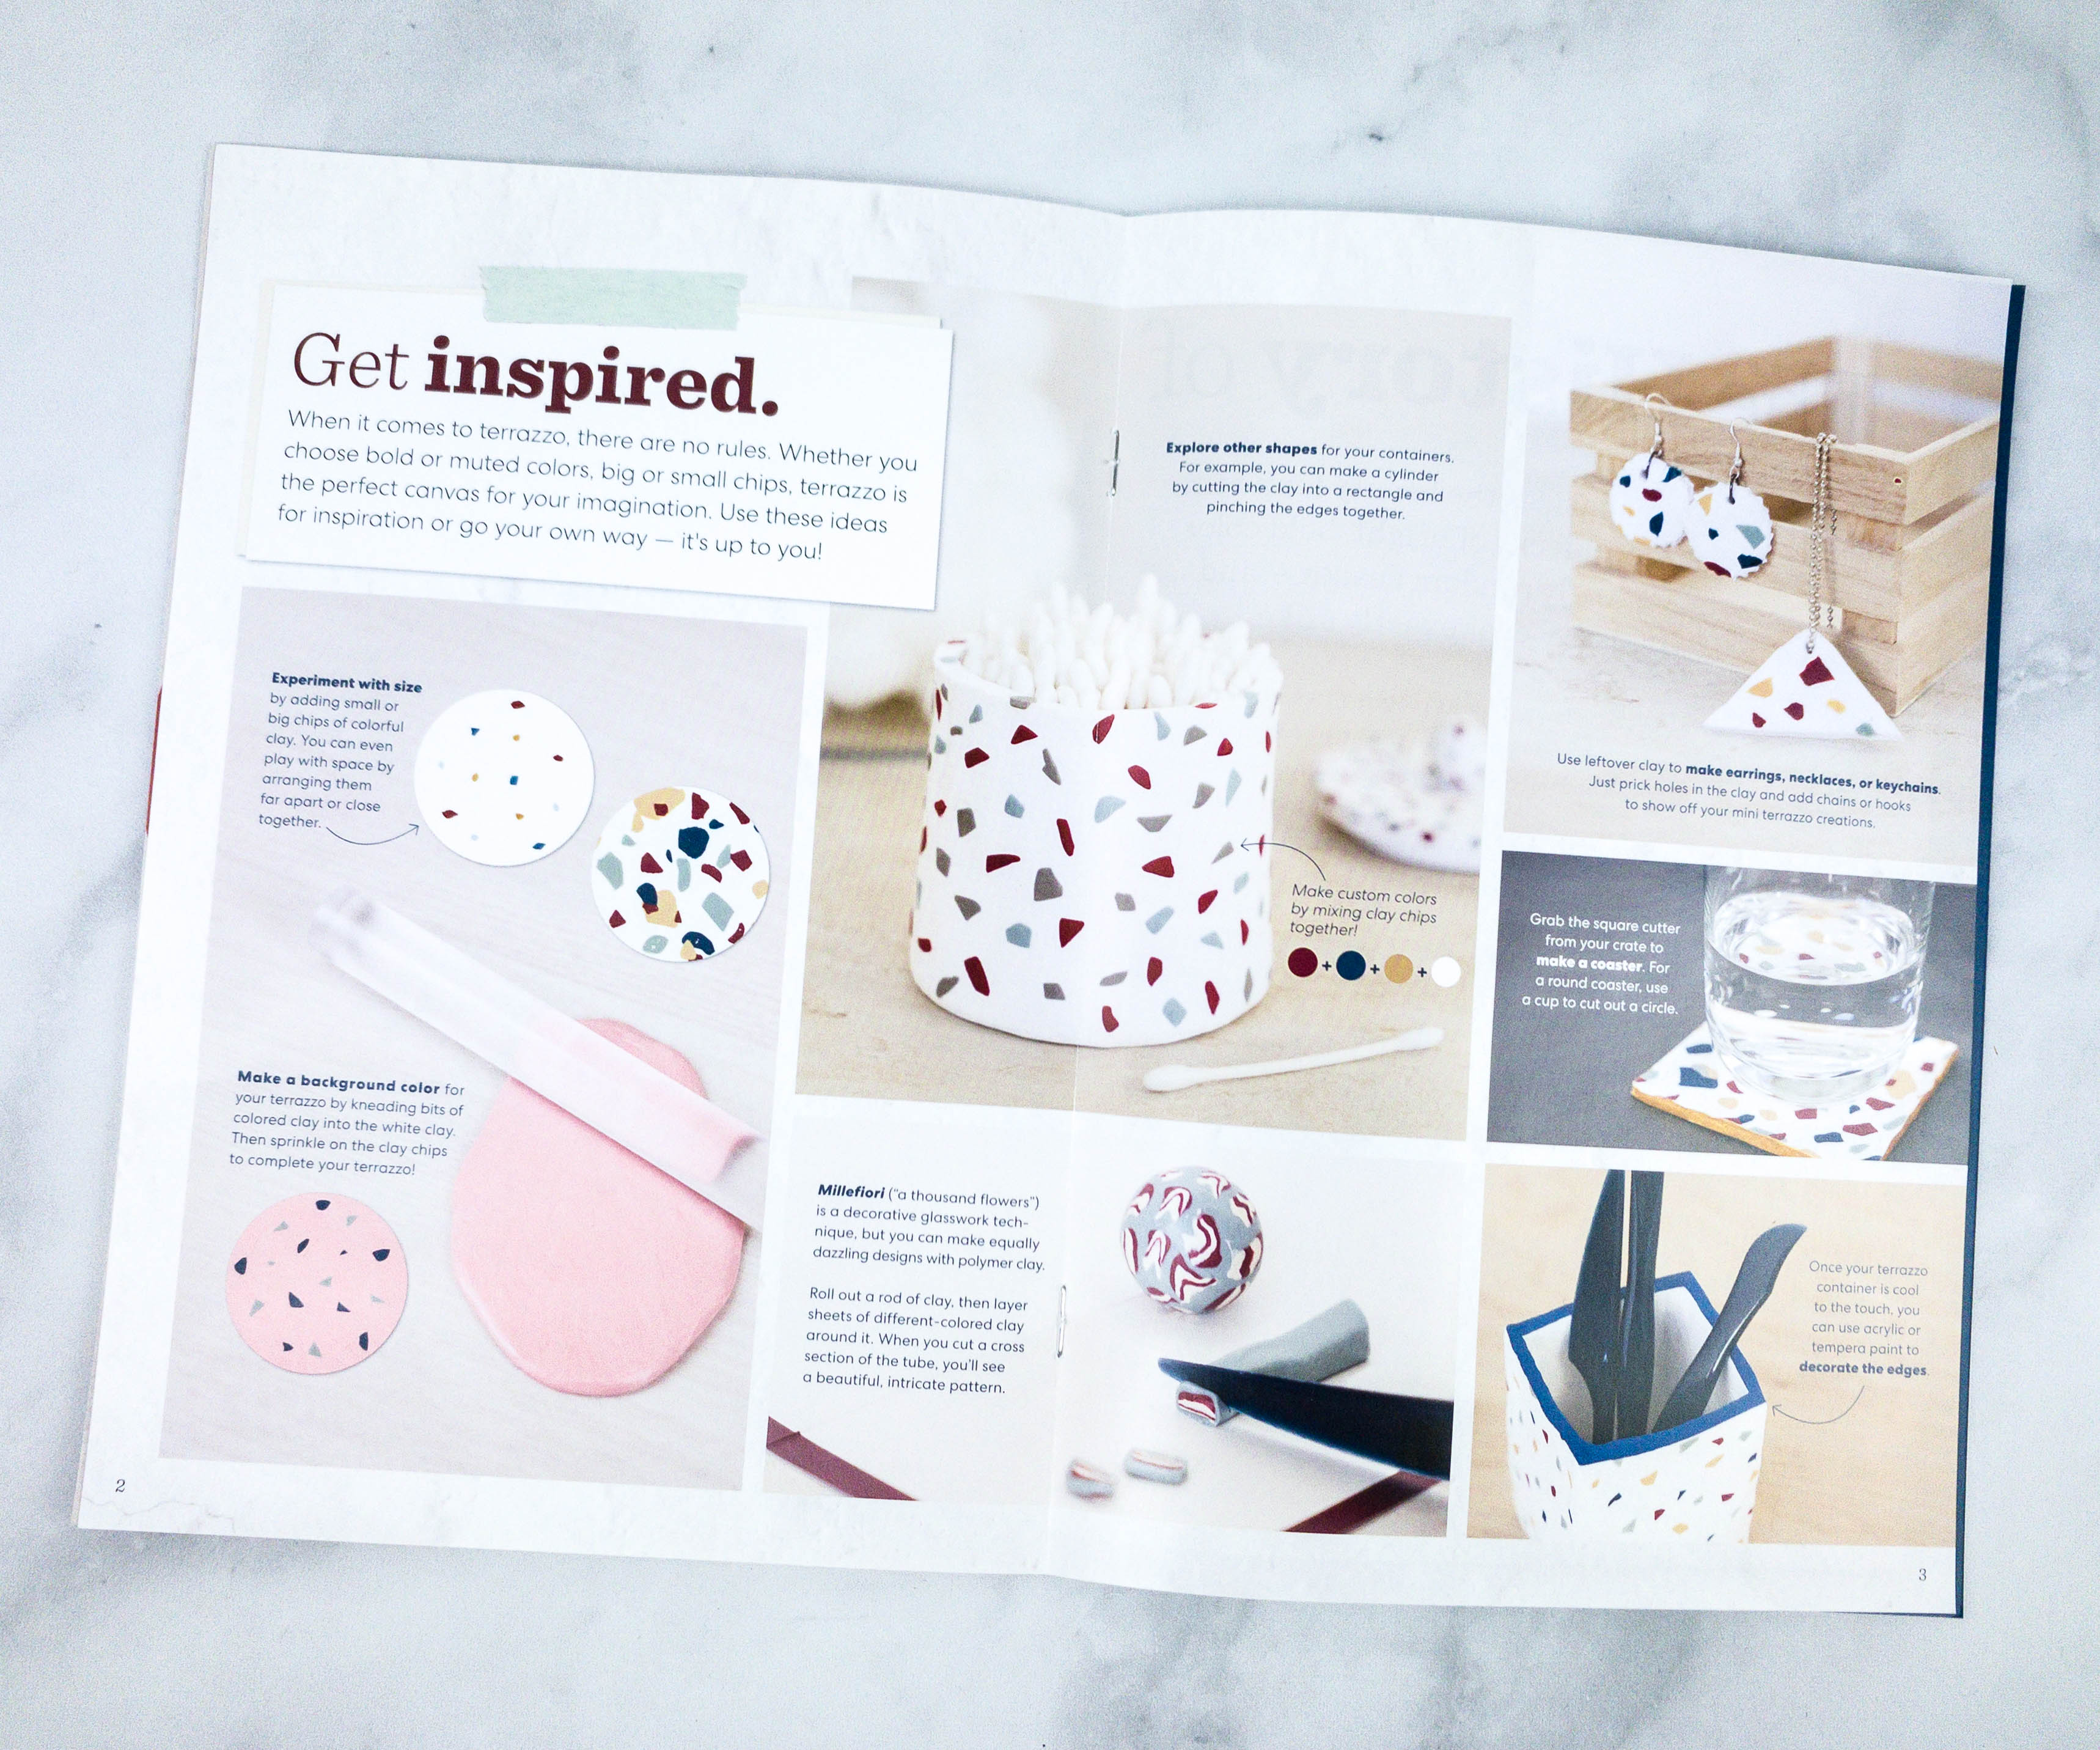
Featured on this part of the booklet are some terrazzo items that we can use as inspiration in creating our own Terrazzo Clay Organizers!
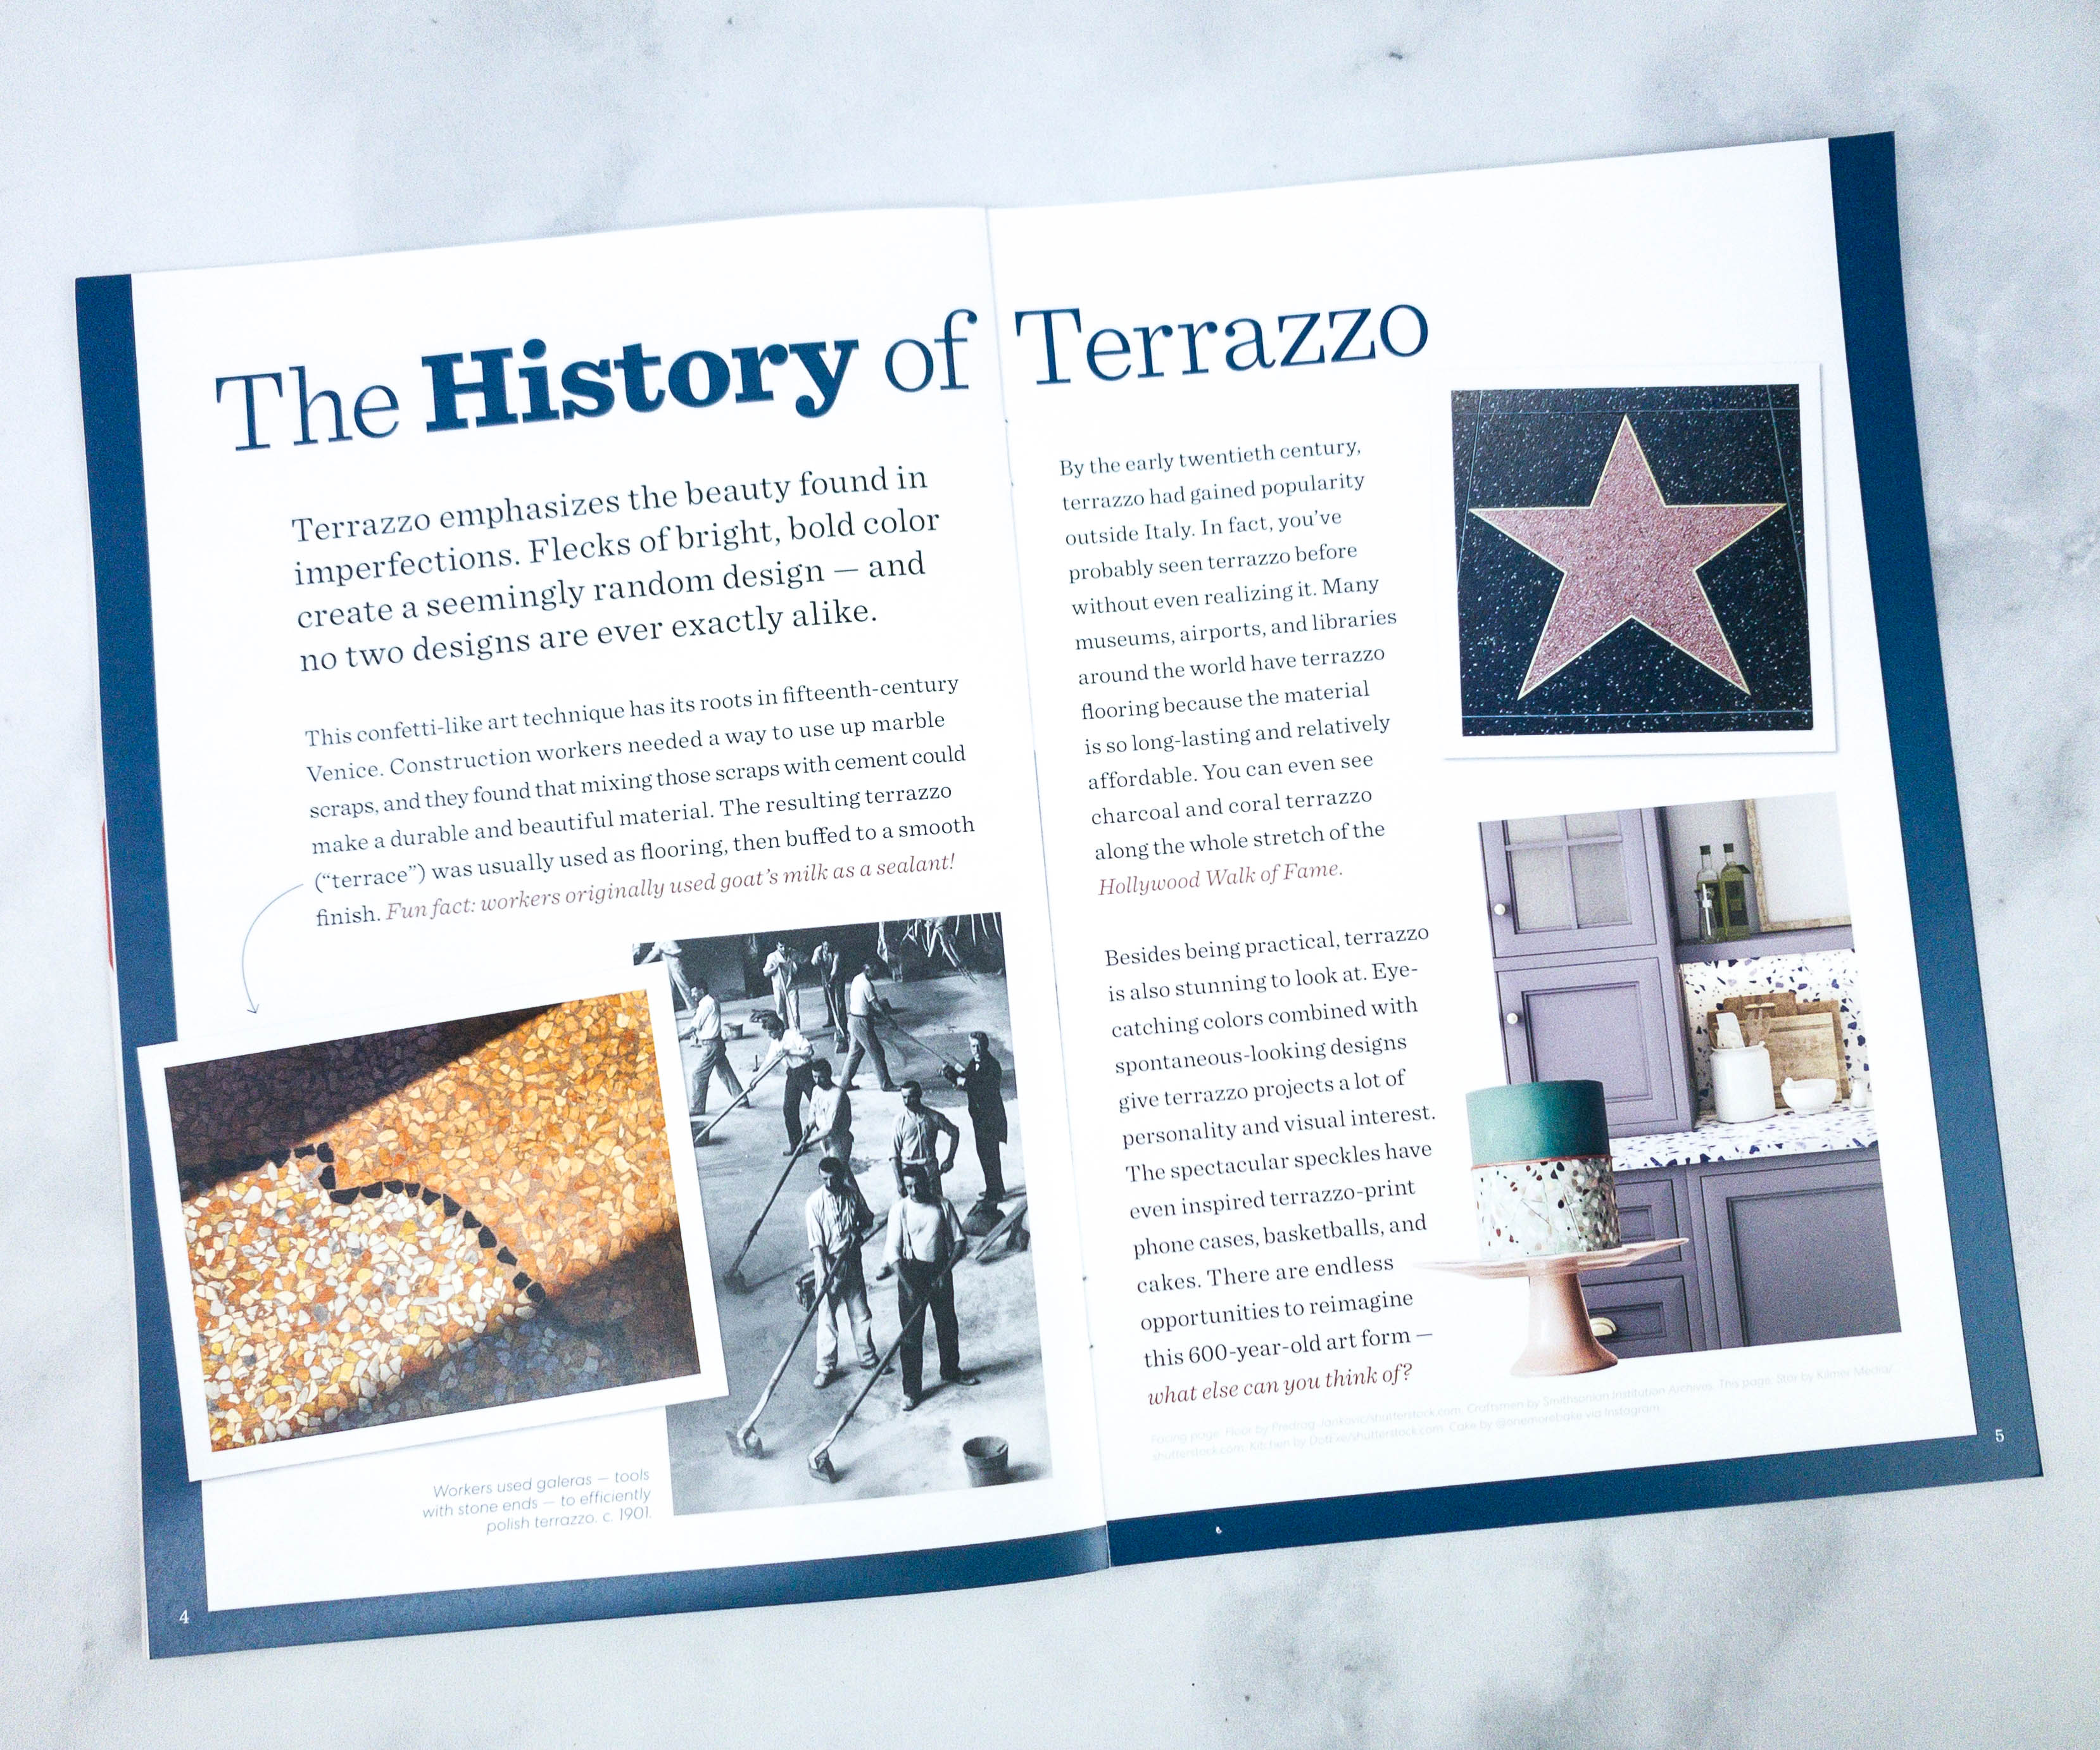
There’s even a two-full page article about the colorful history of Terrazzo.
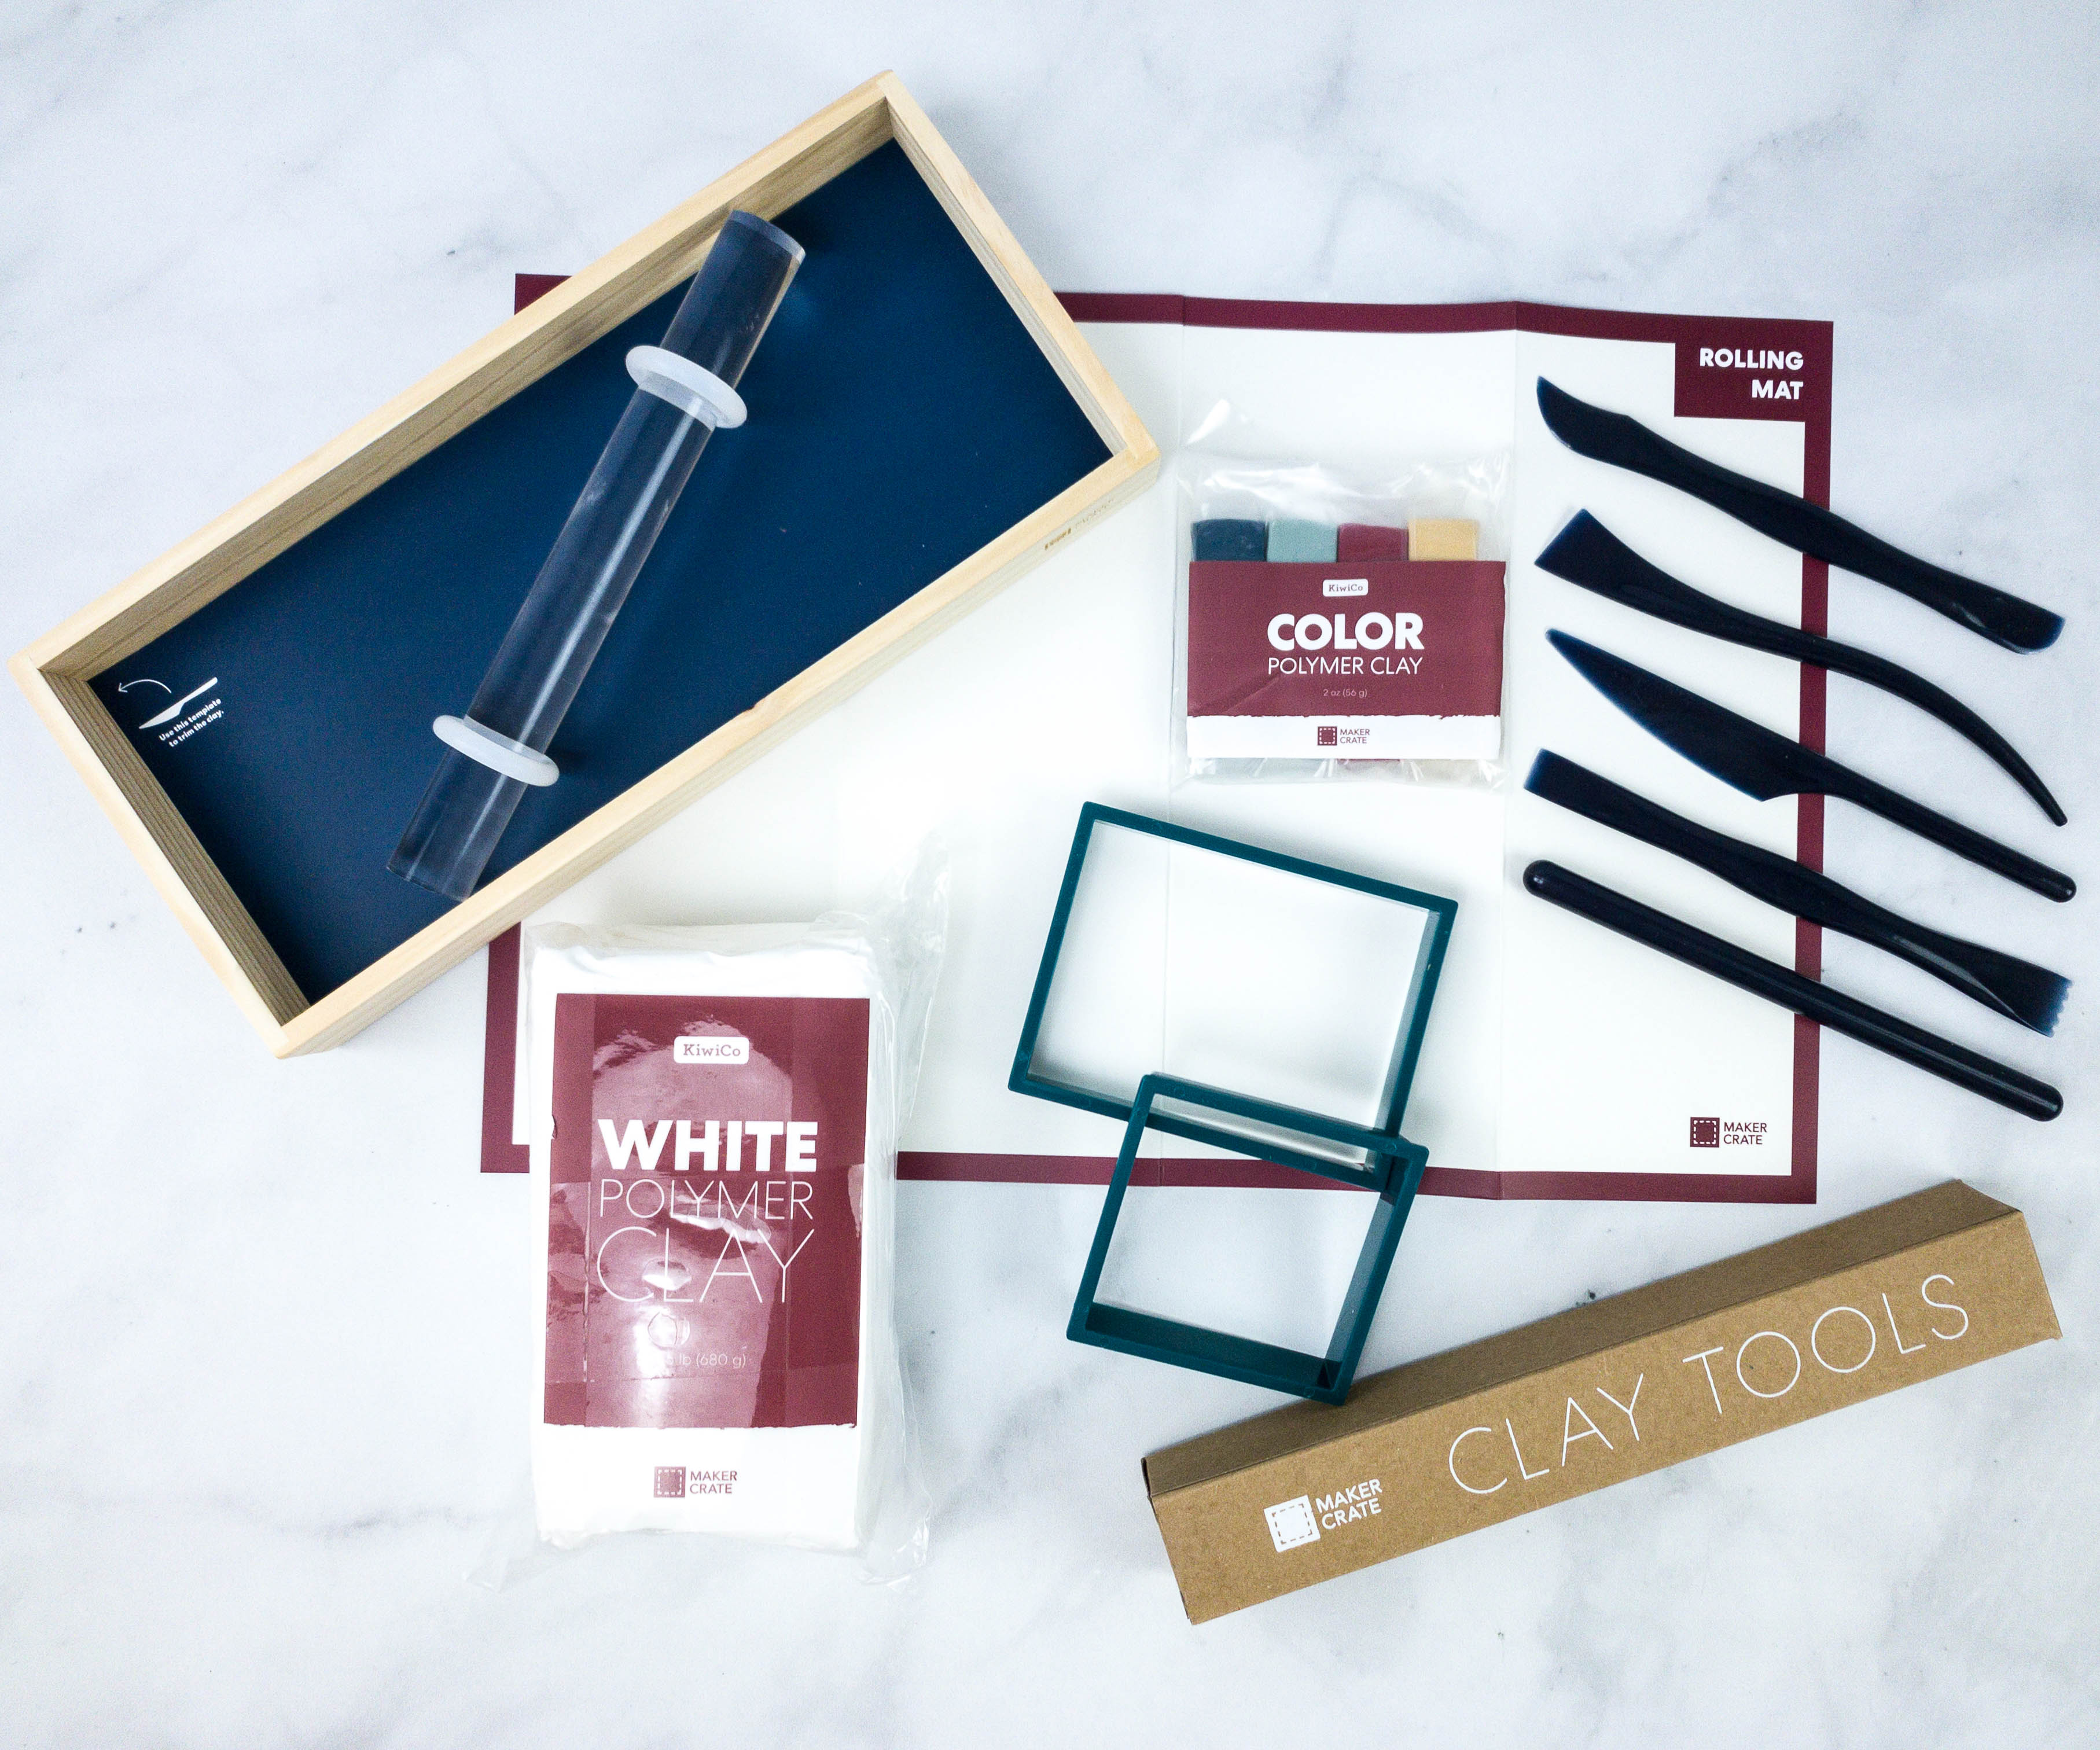
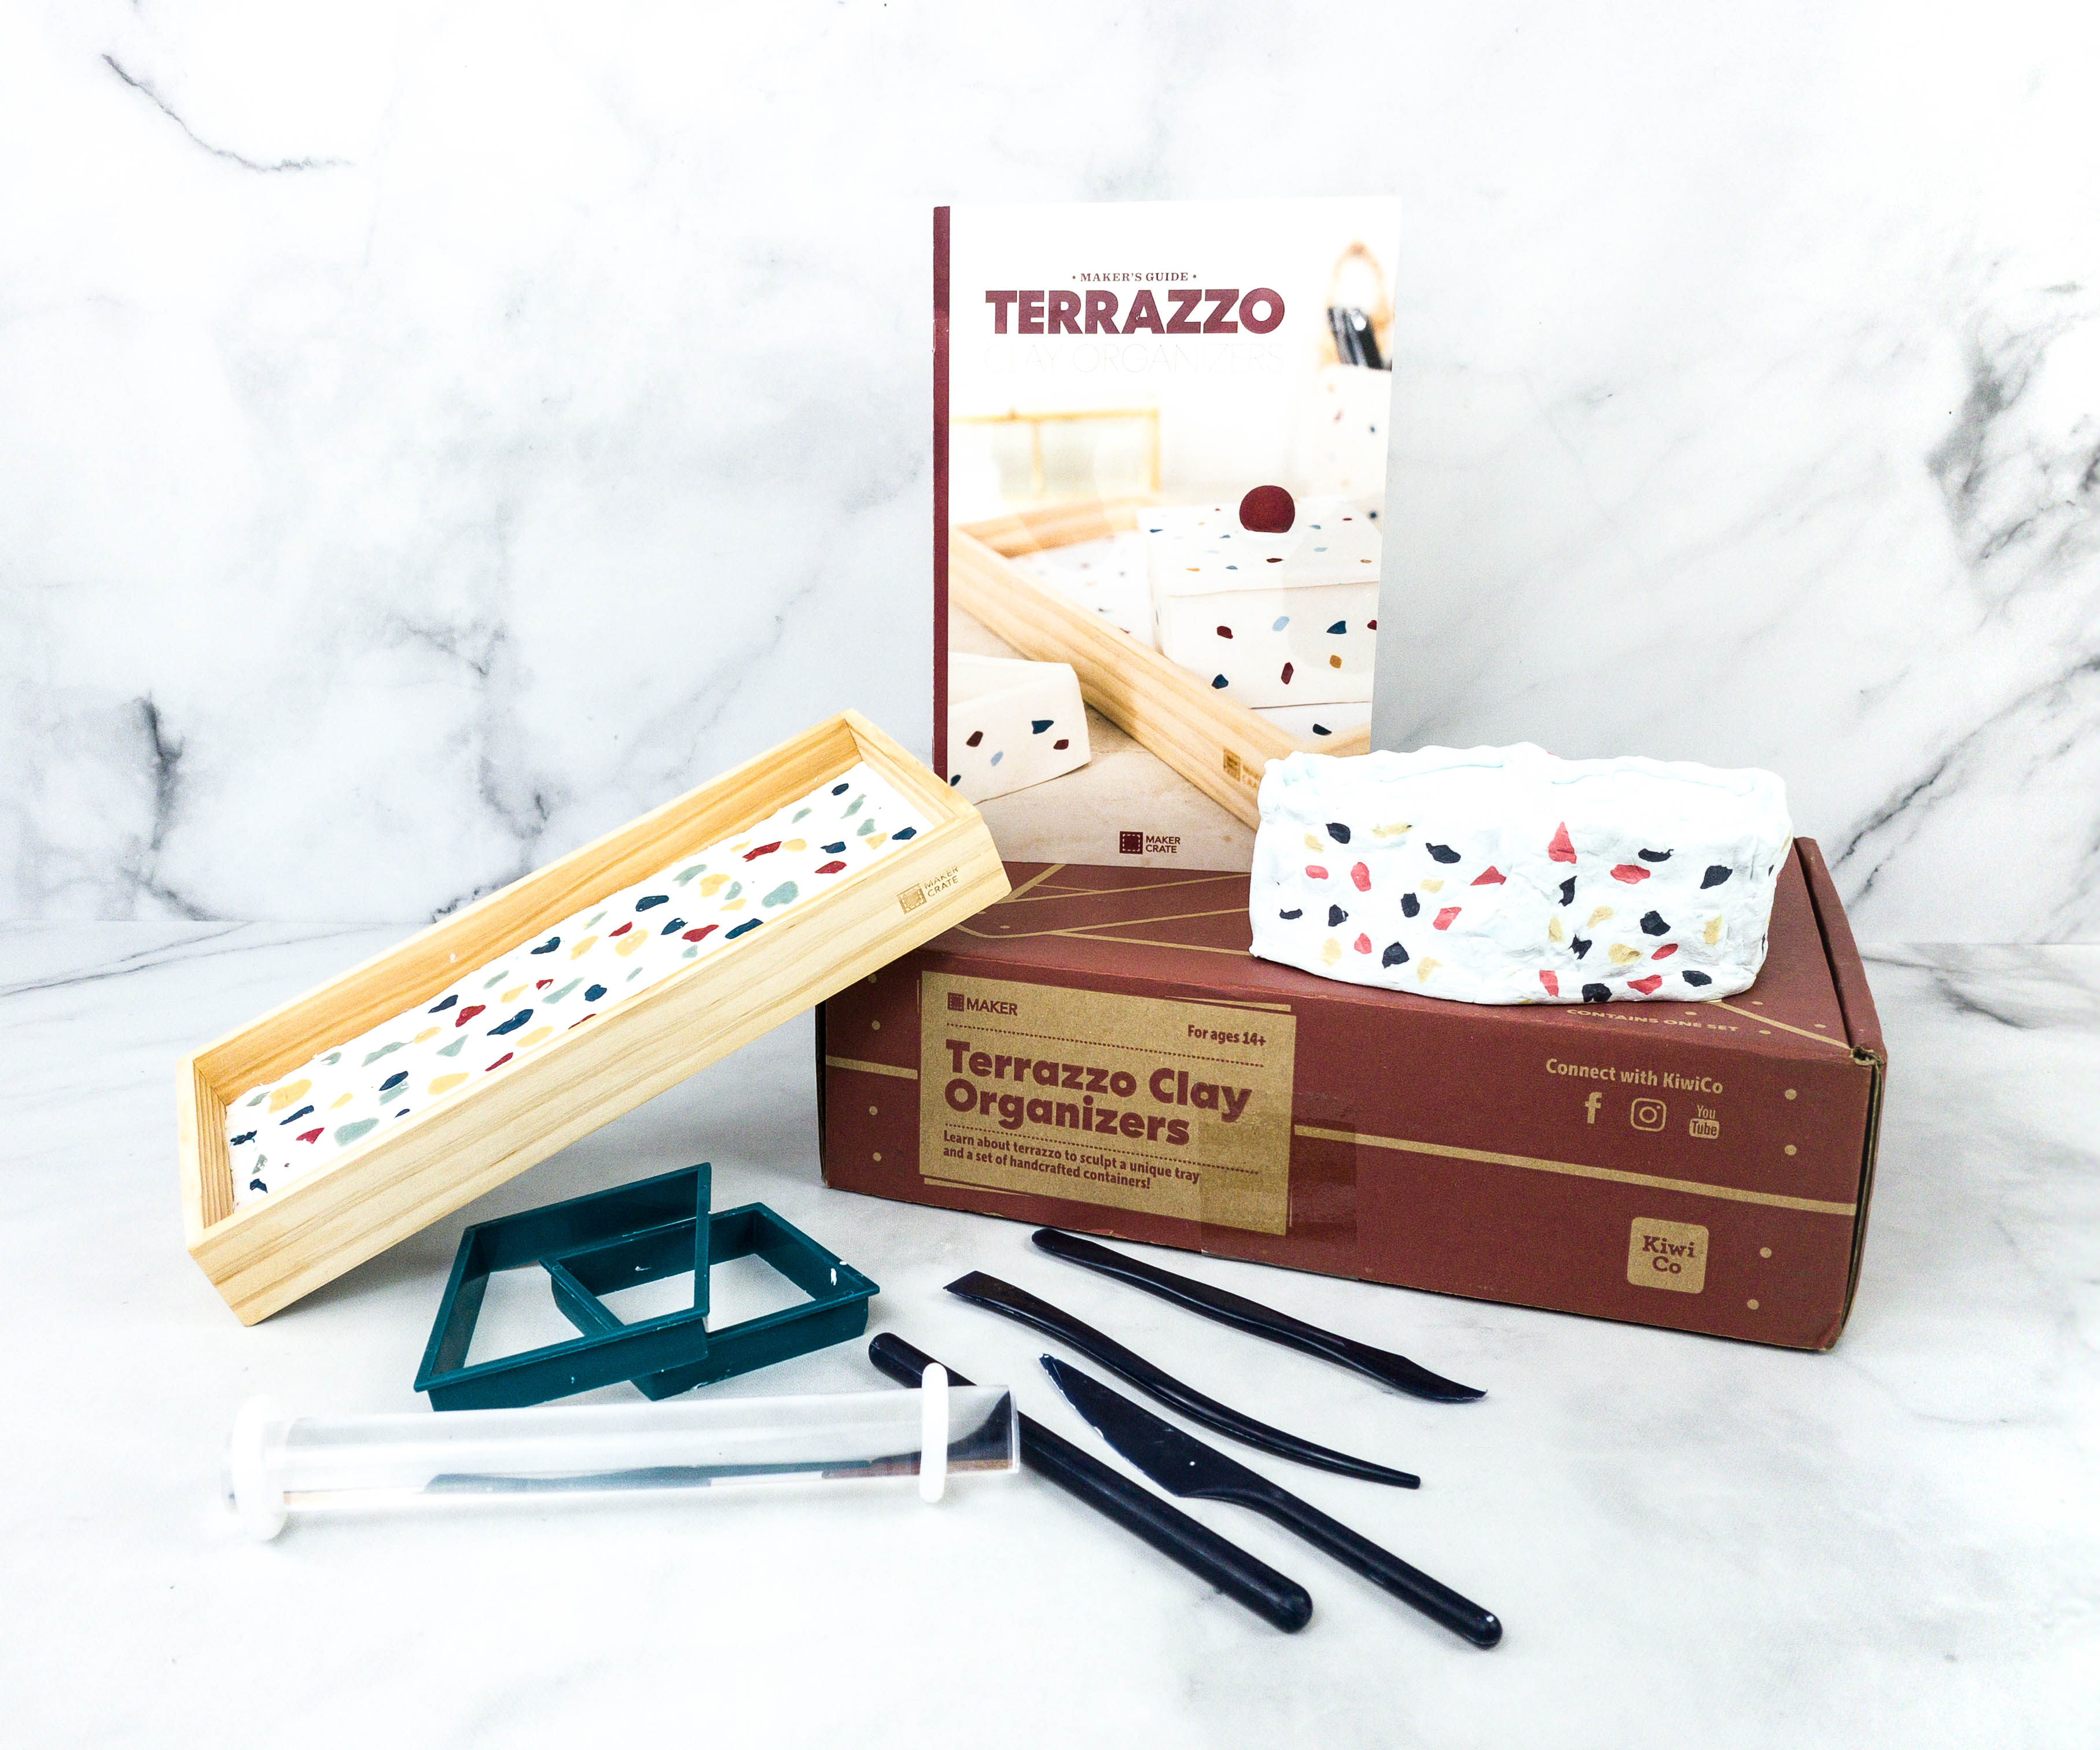
Here are all the materials for this month’s Terrazzo Clay Organizers project!
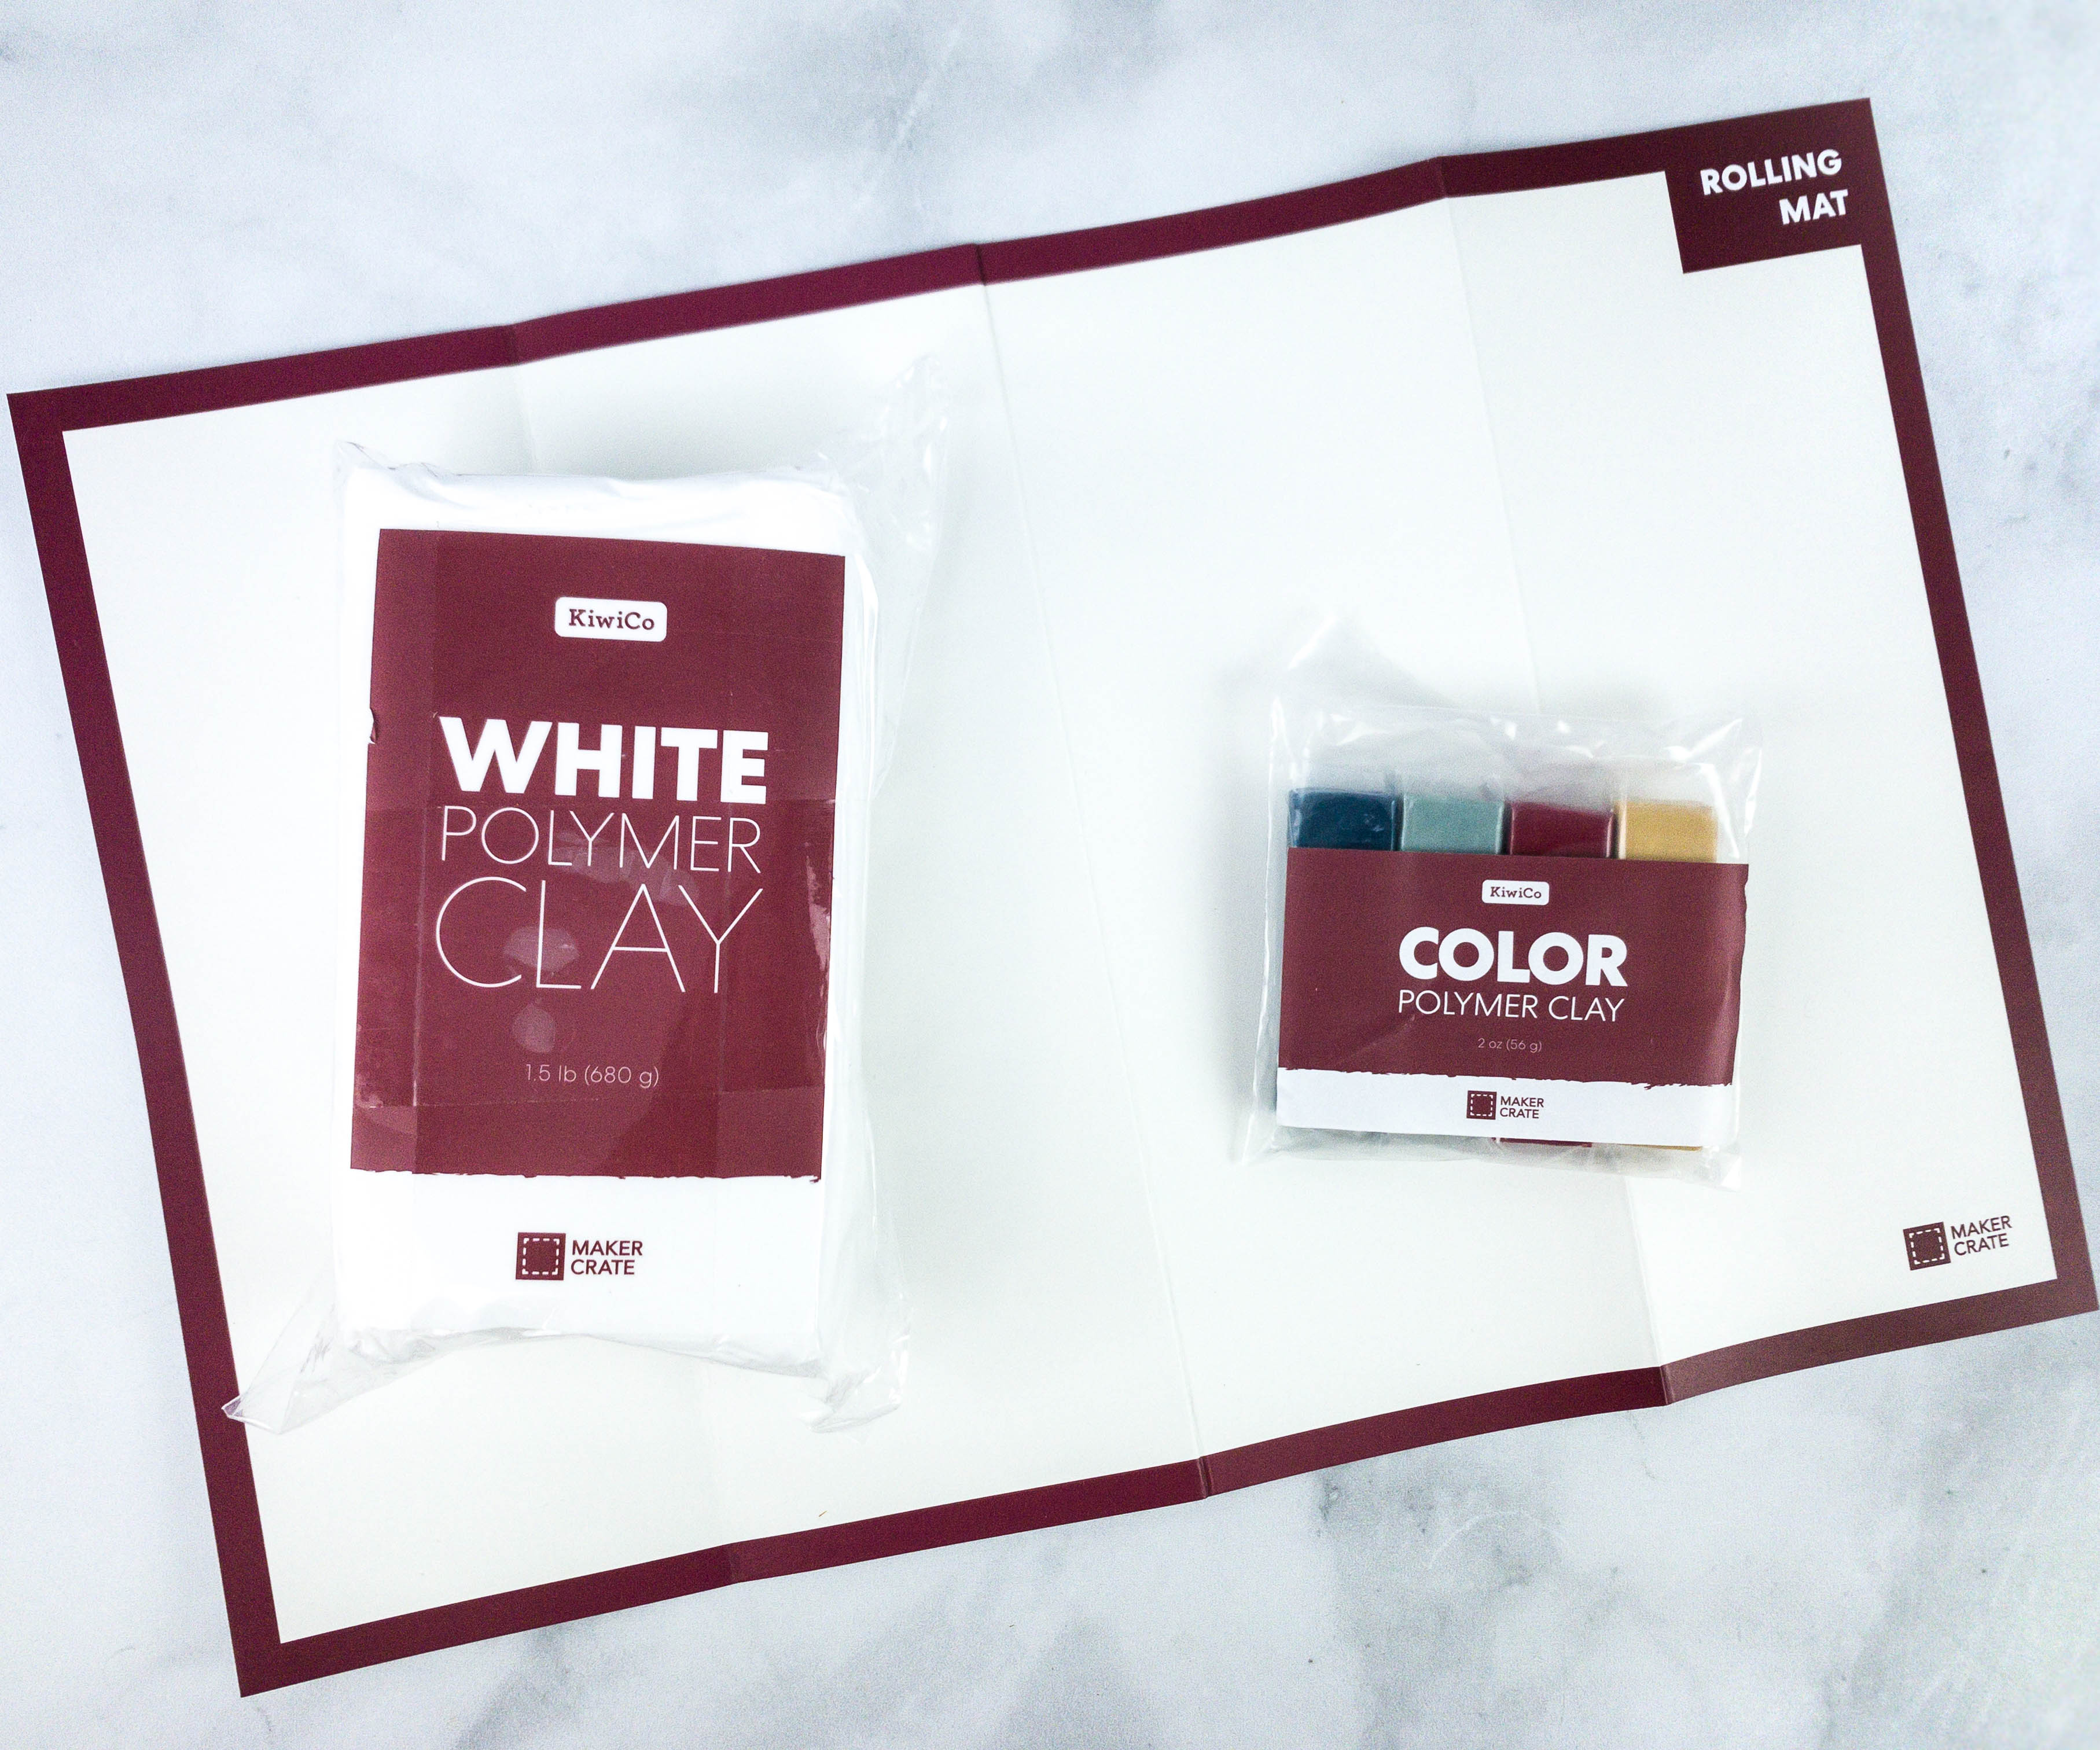
The materials include a rolling mat, white polymer clay, and four pieces of colored polymer clays.
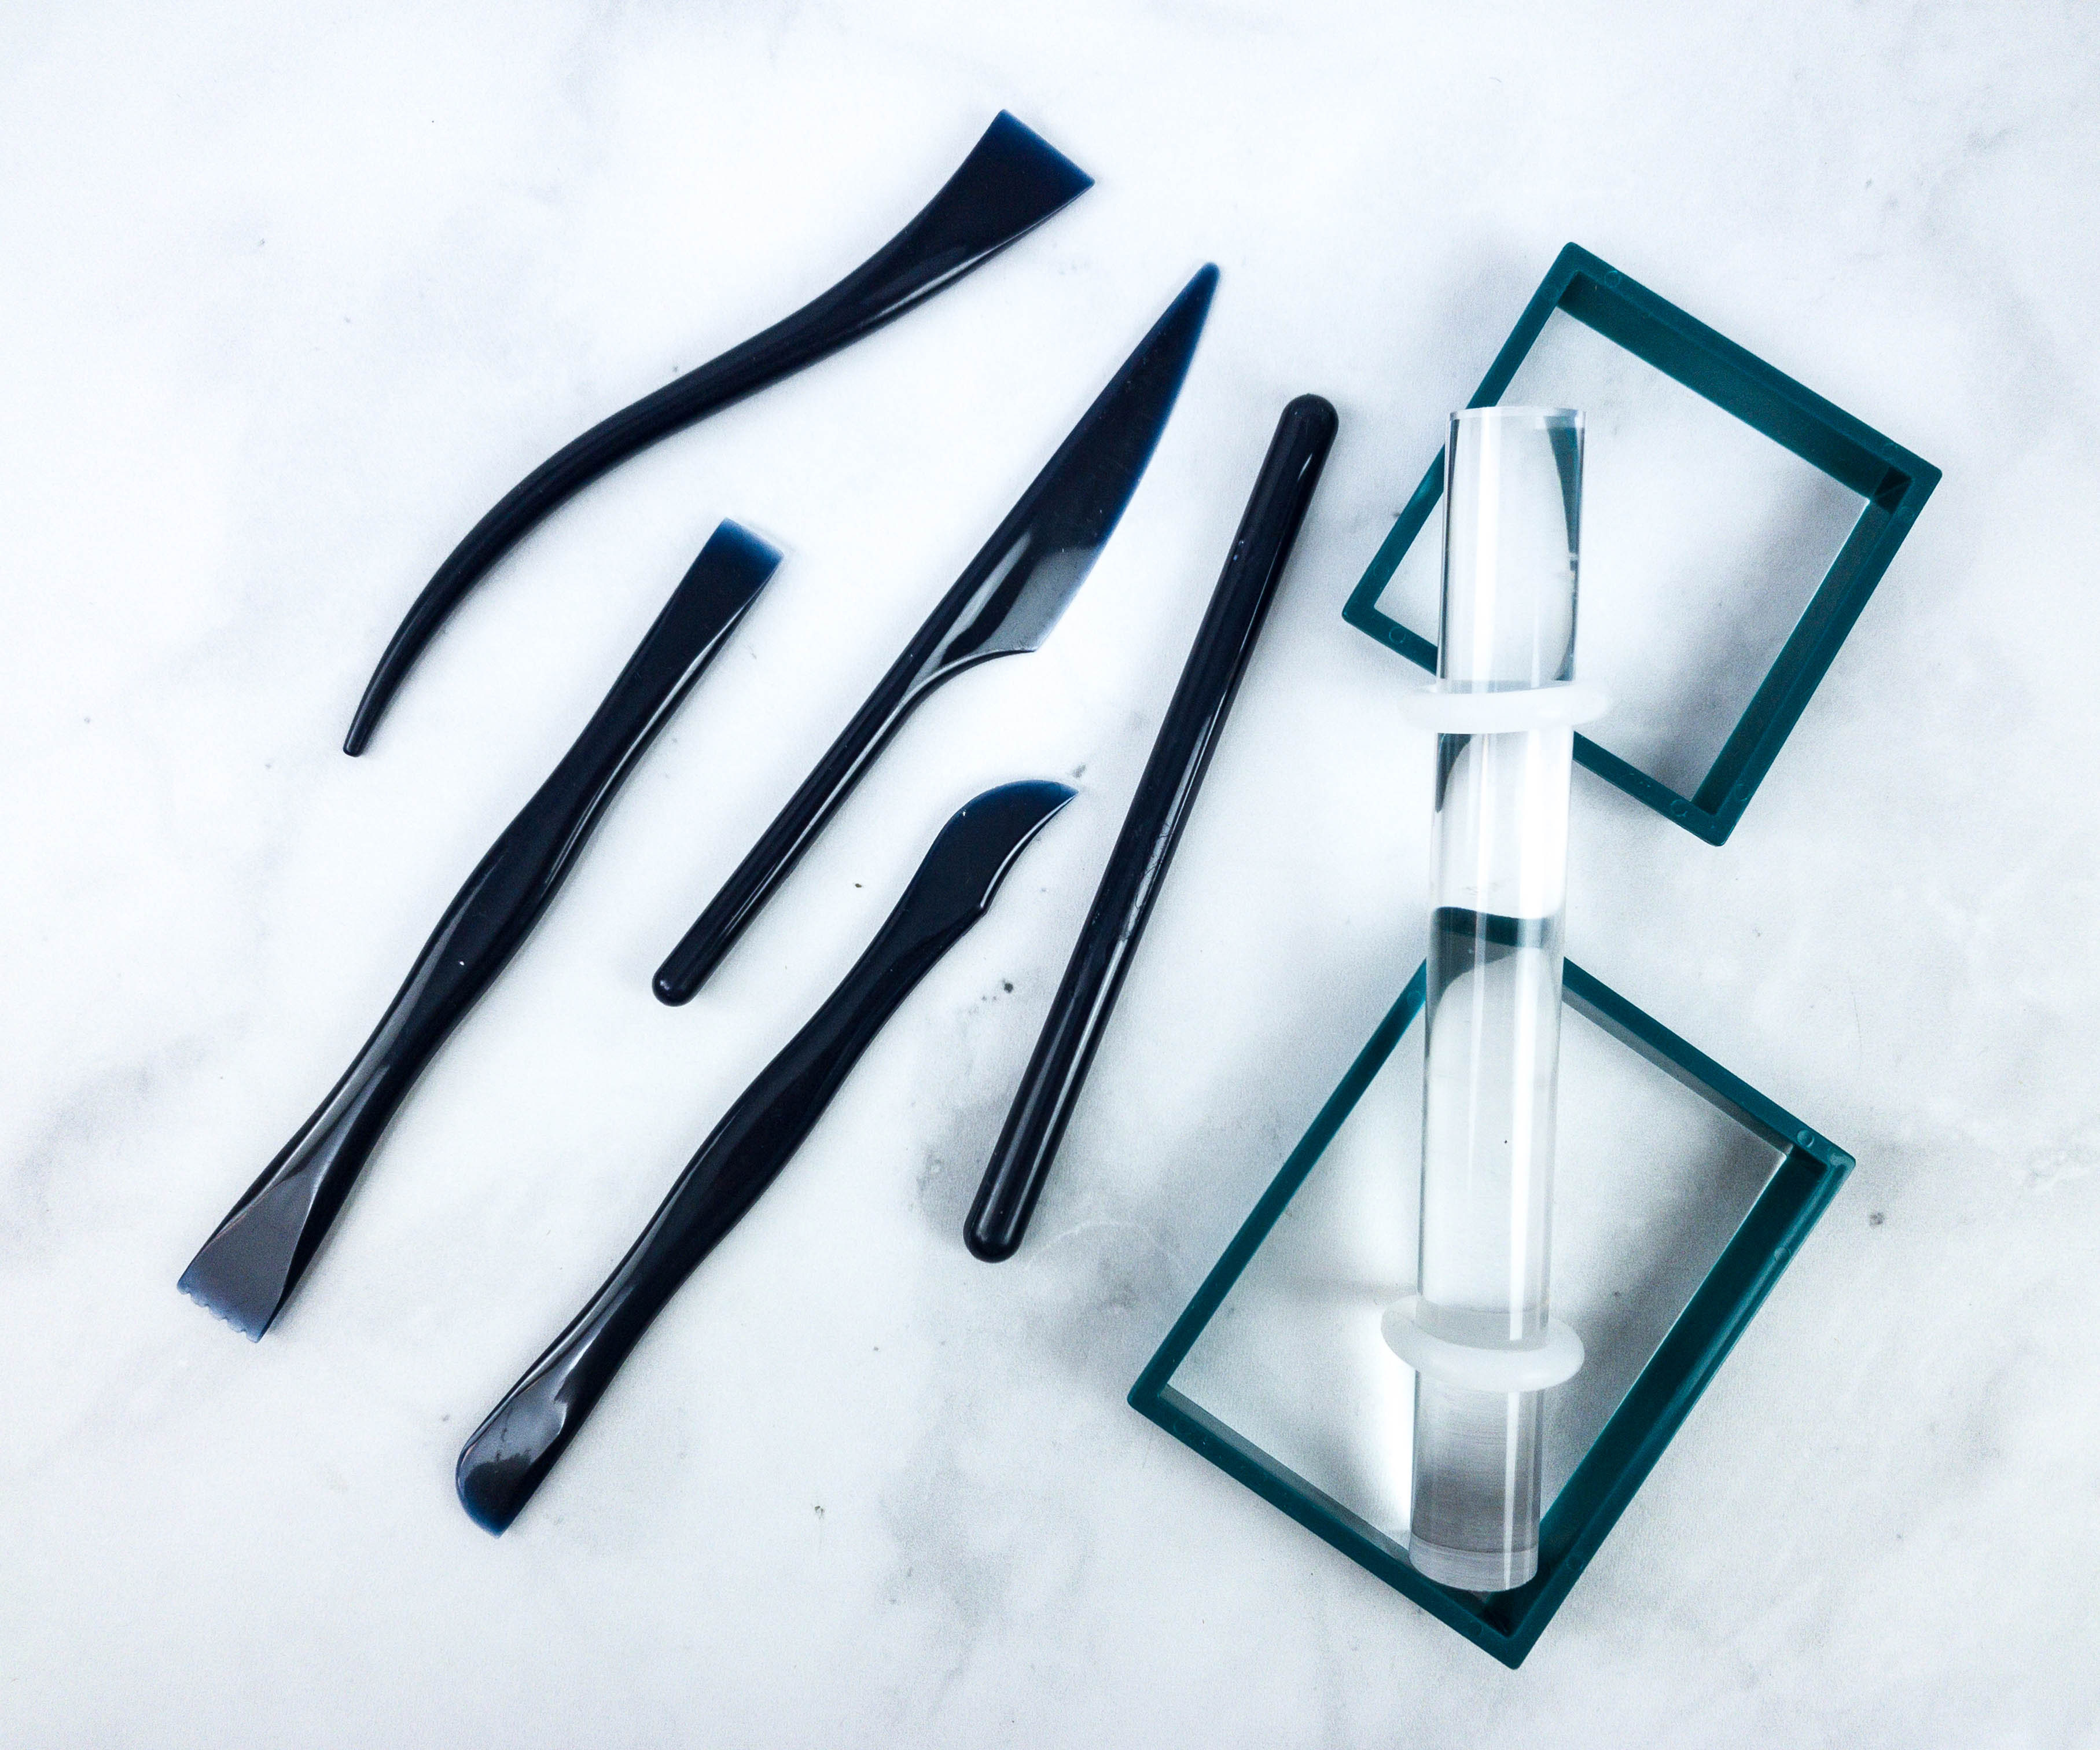
The crate also includes clay tools, clay cutters, O-rings, and rolling pin.
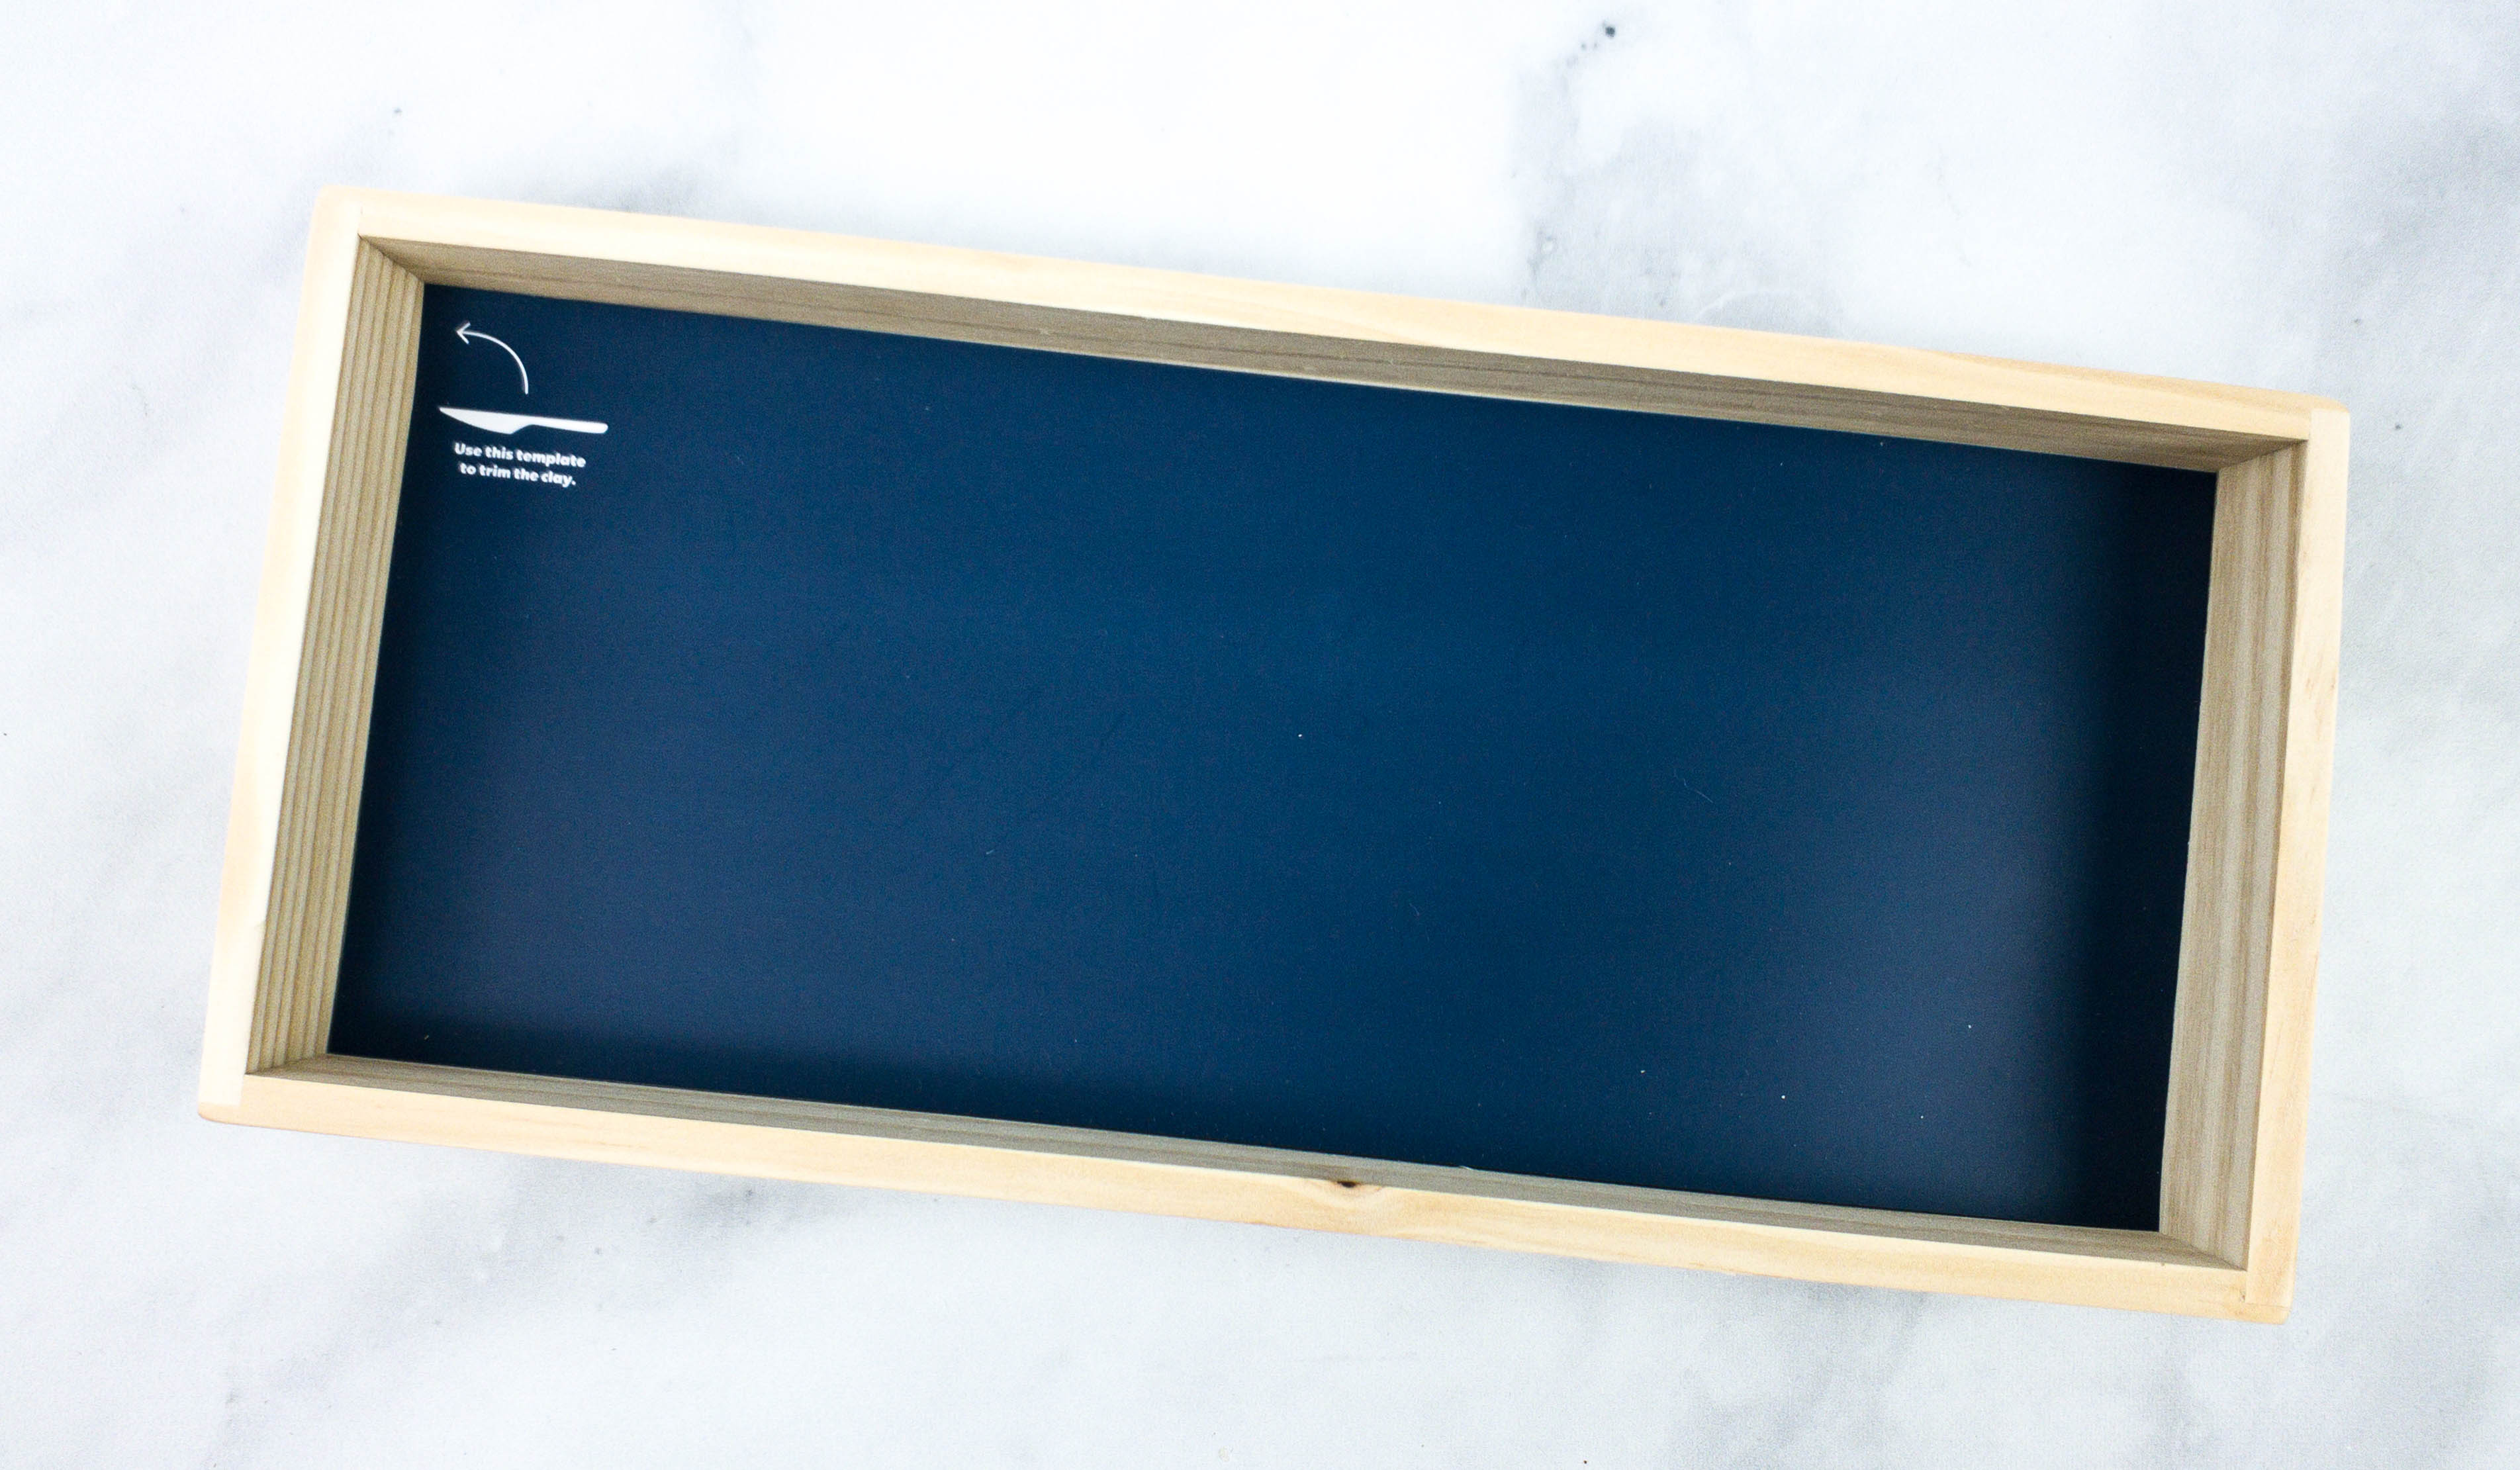
To top it off, there’s even a cutting template and a wood tray.
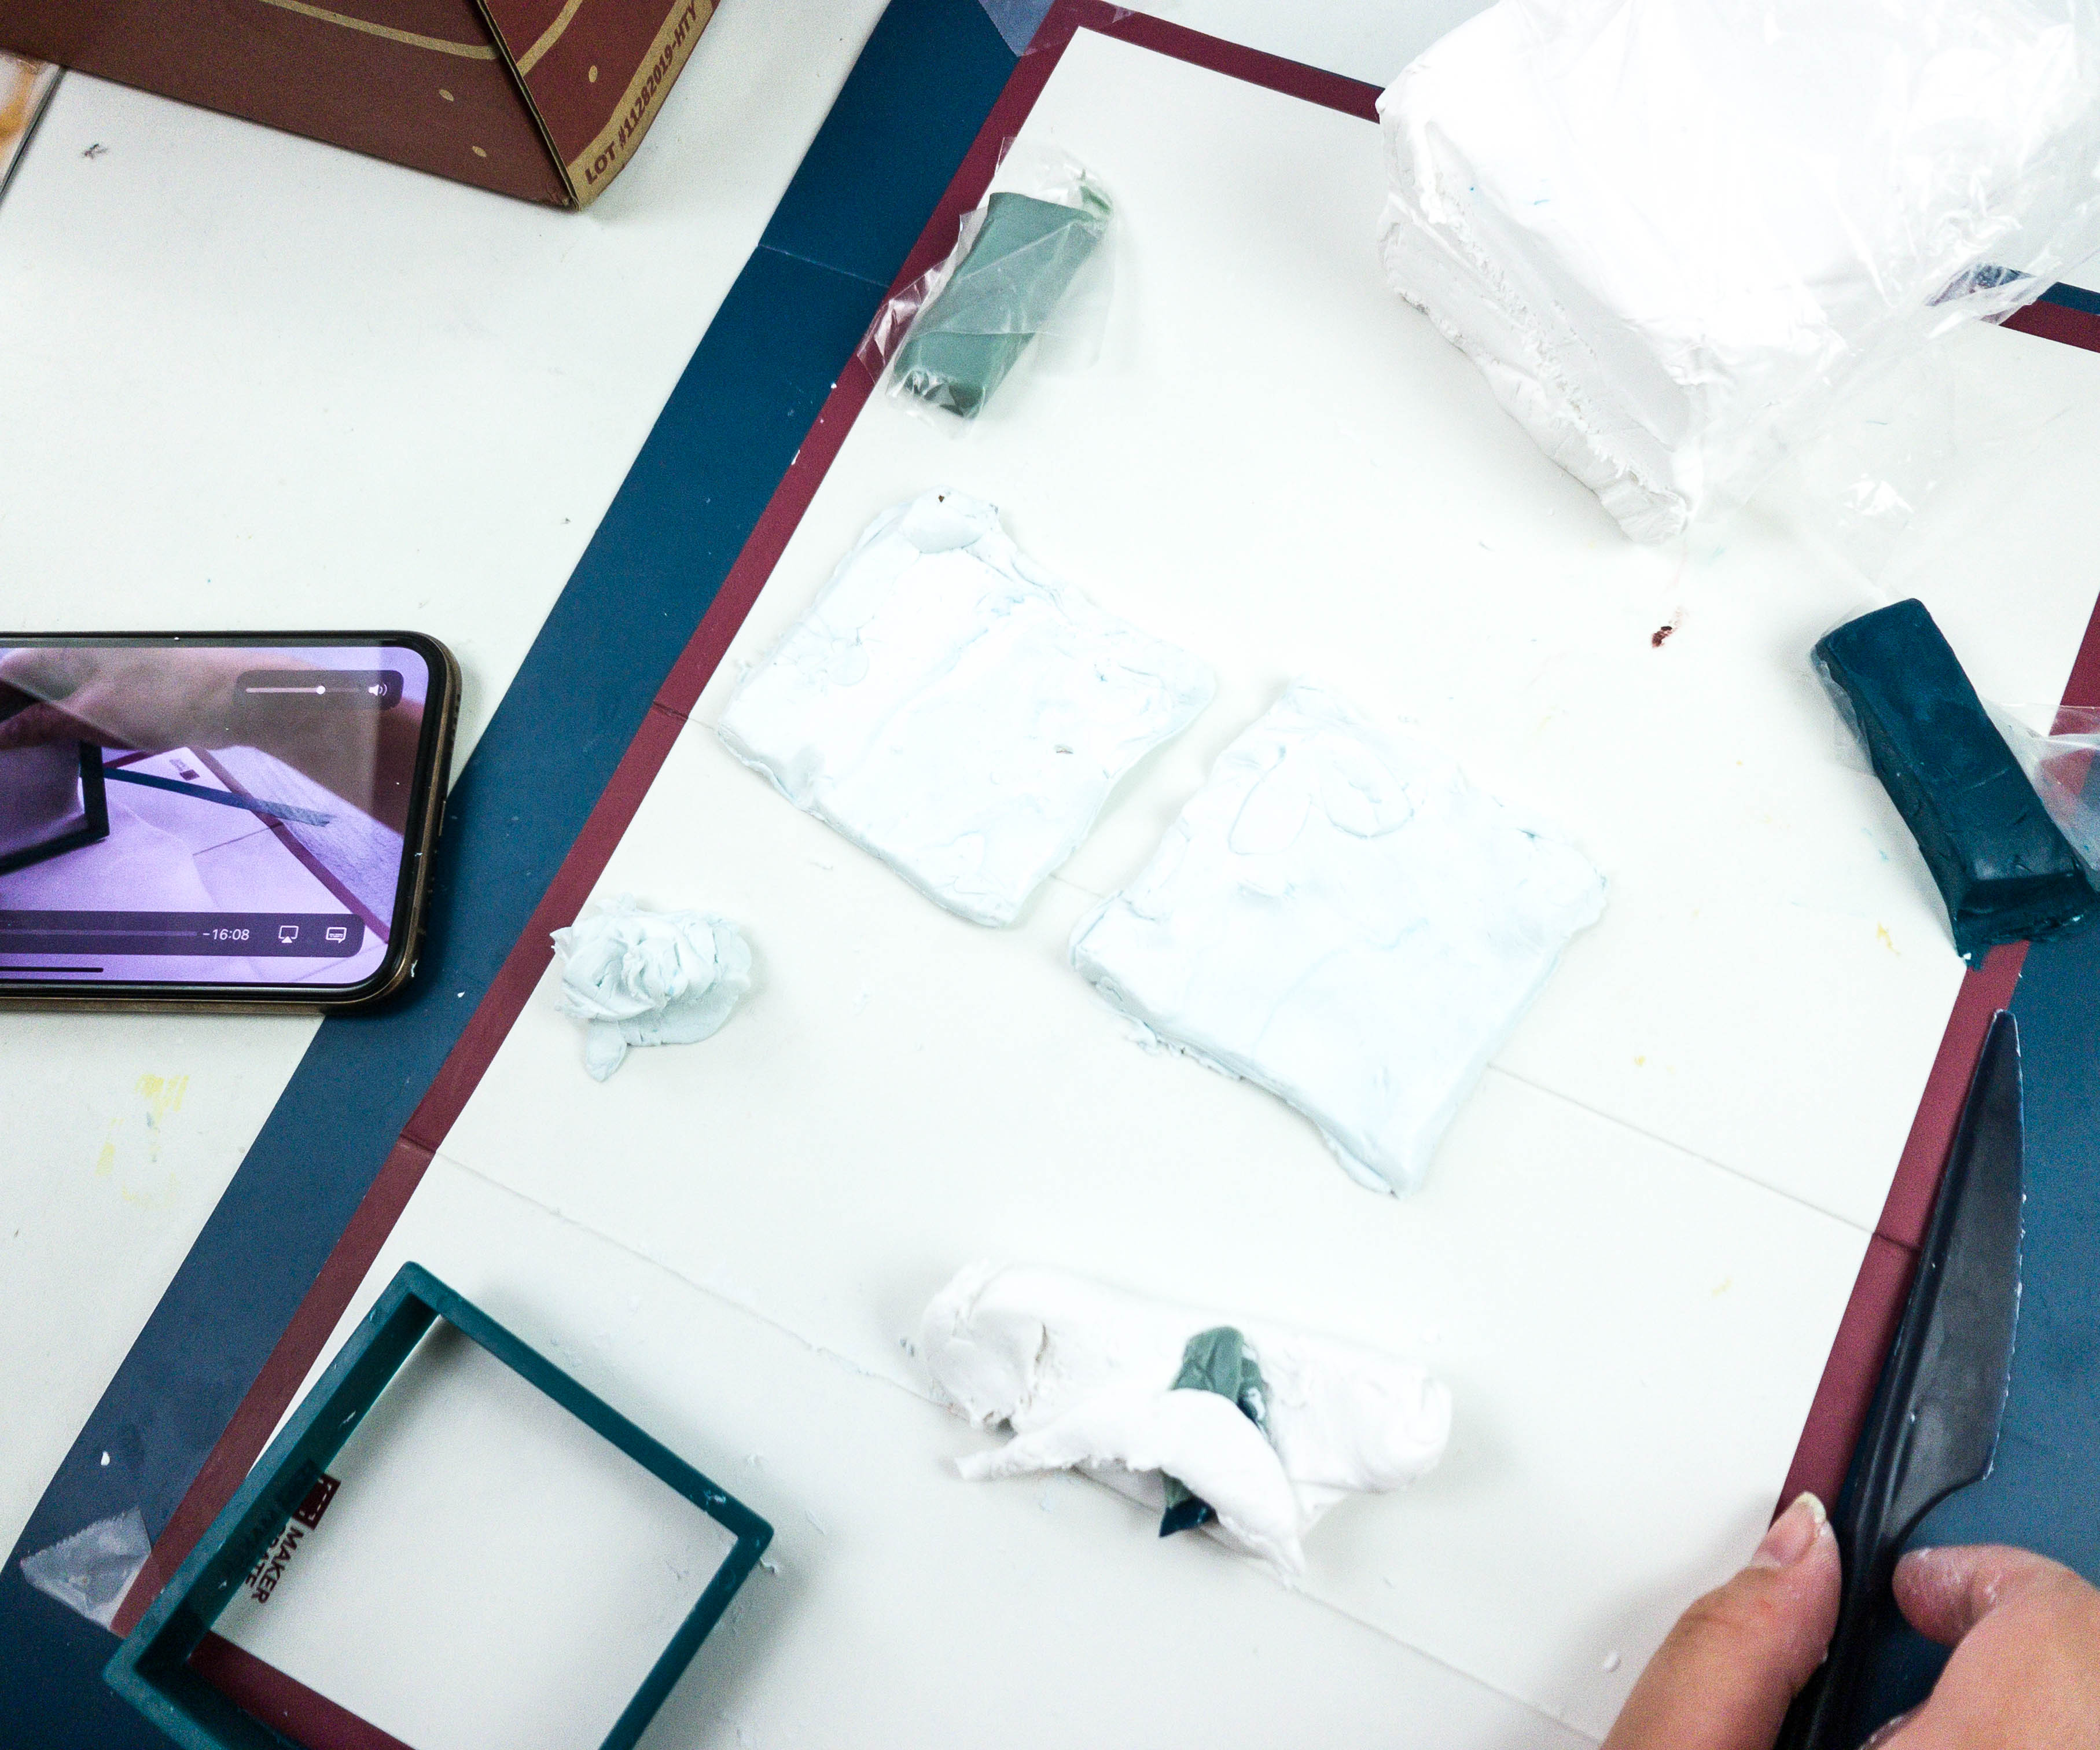
My daughter started the project by gathering the materials.
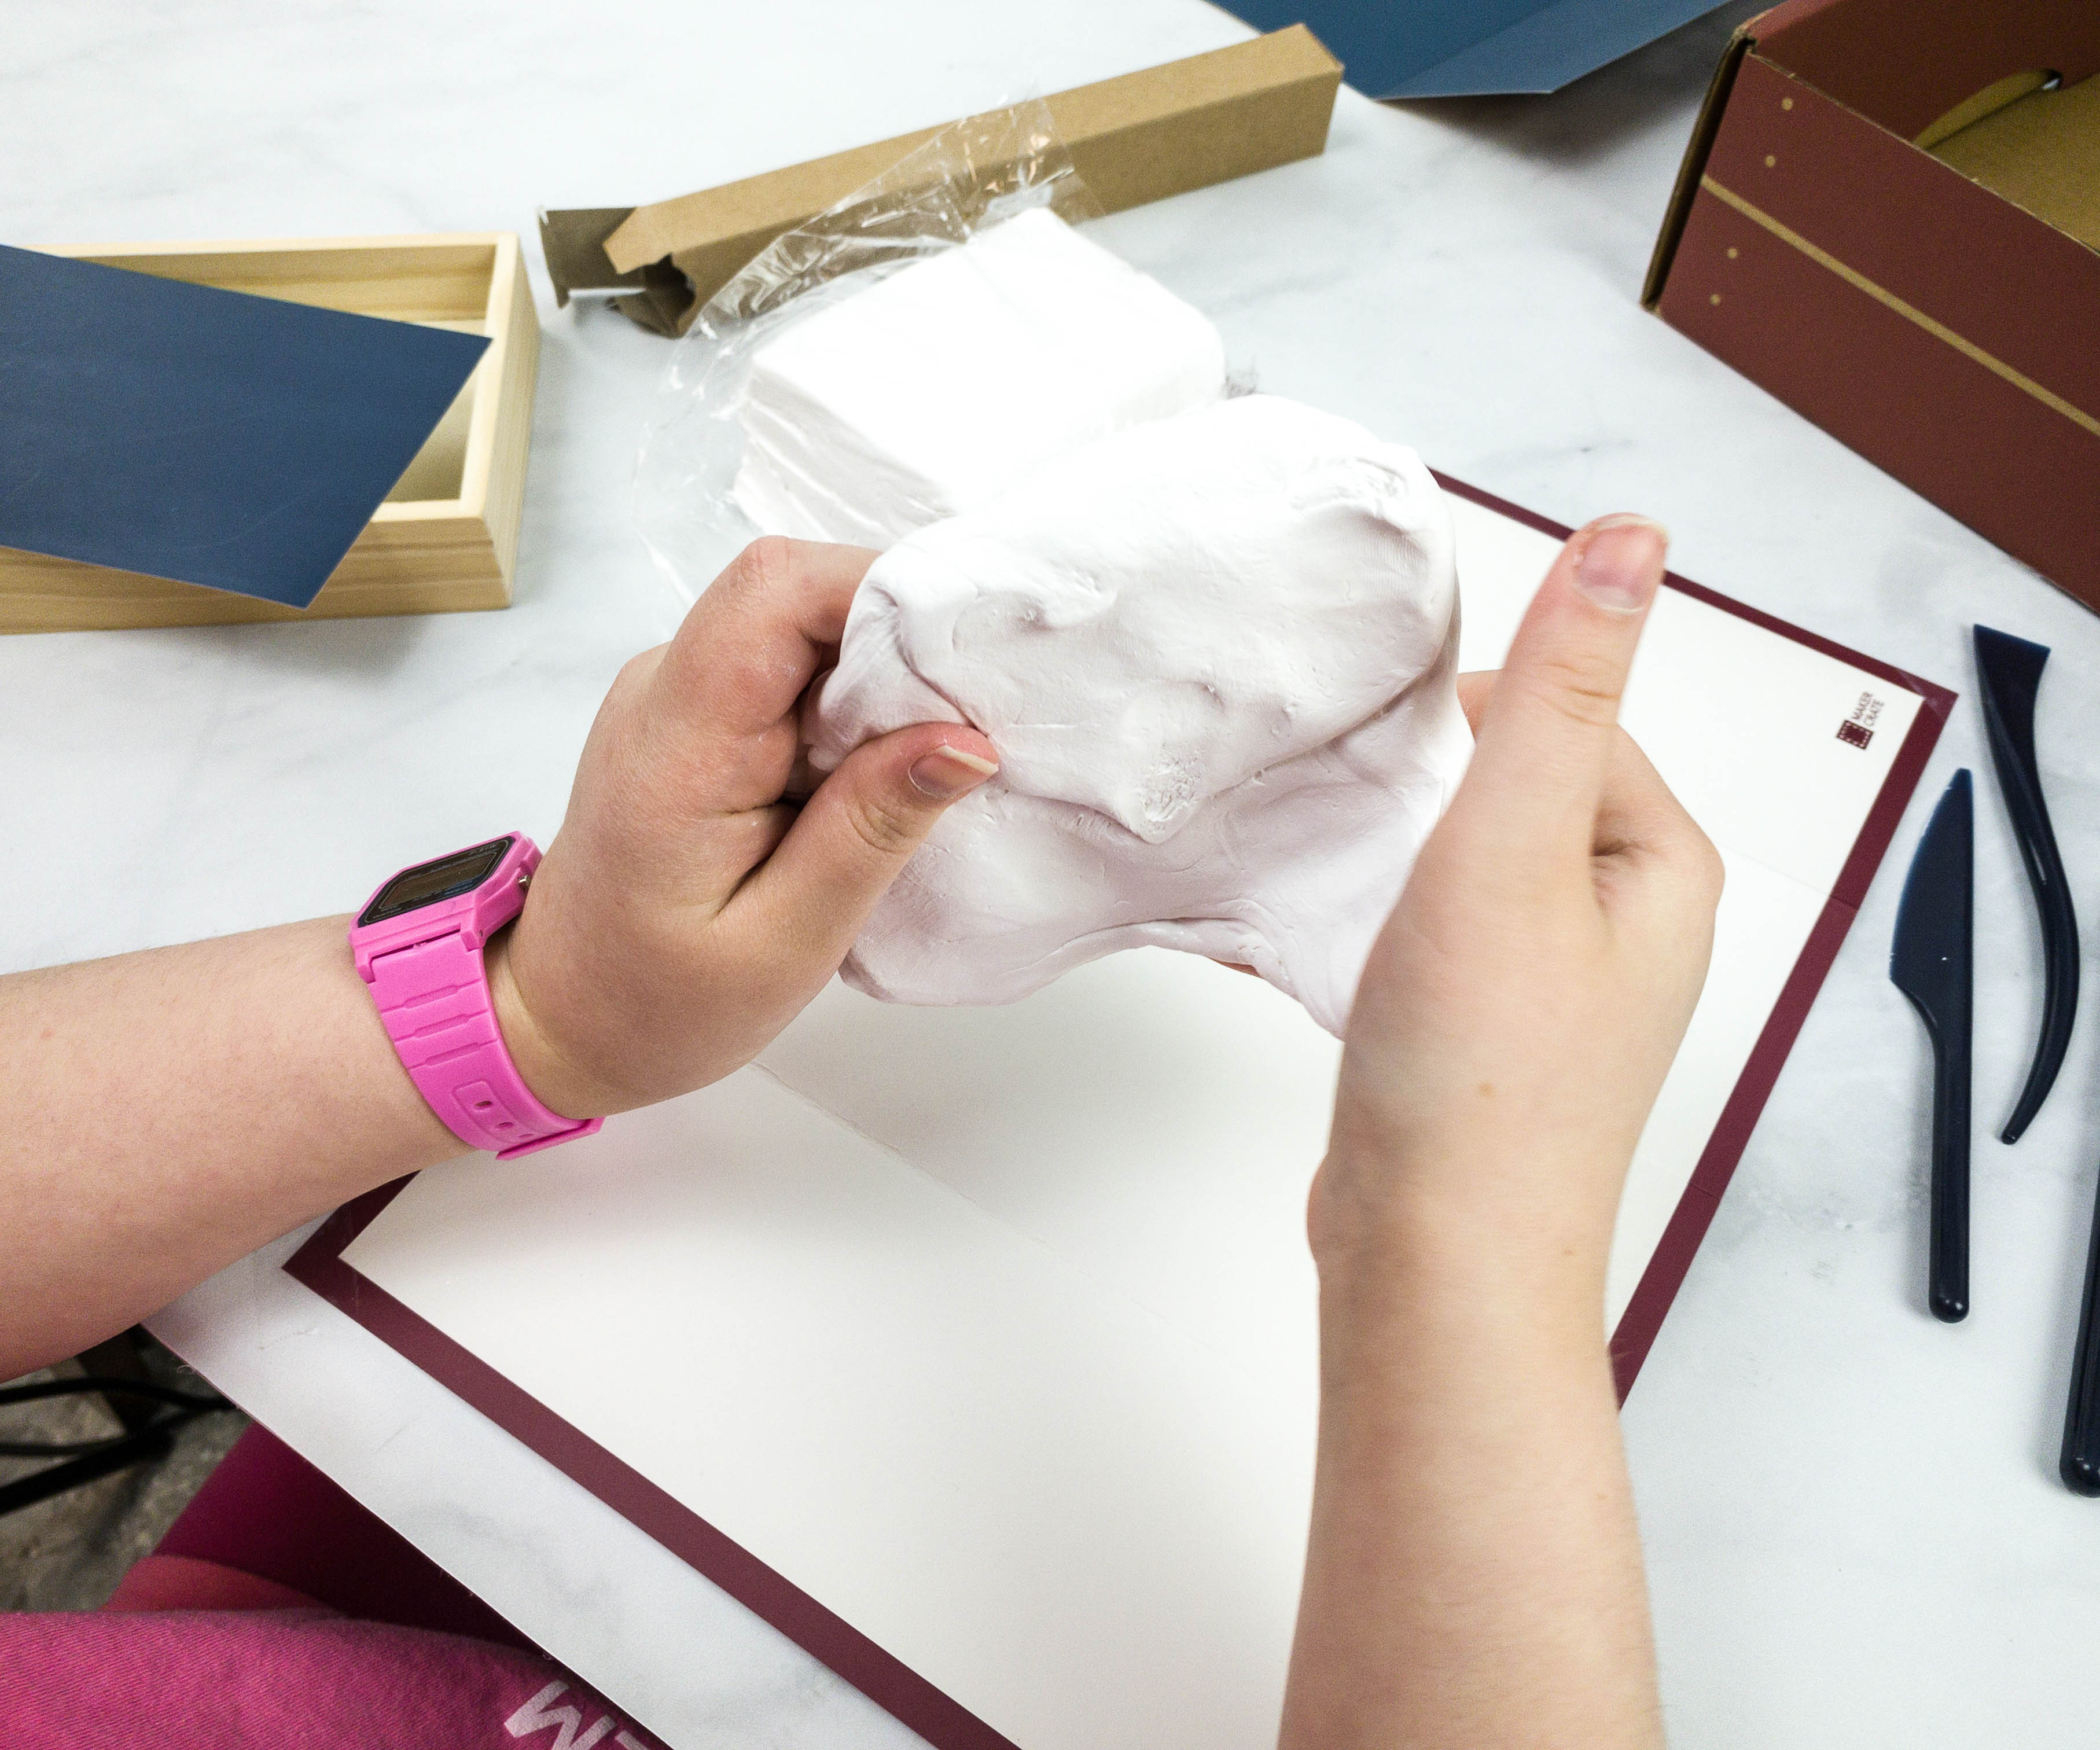
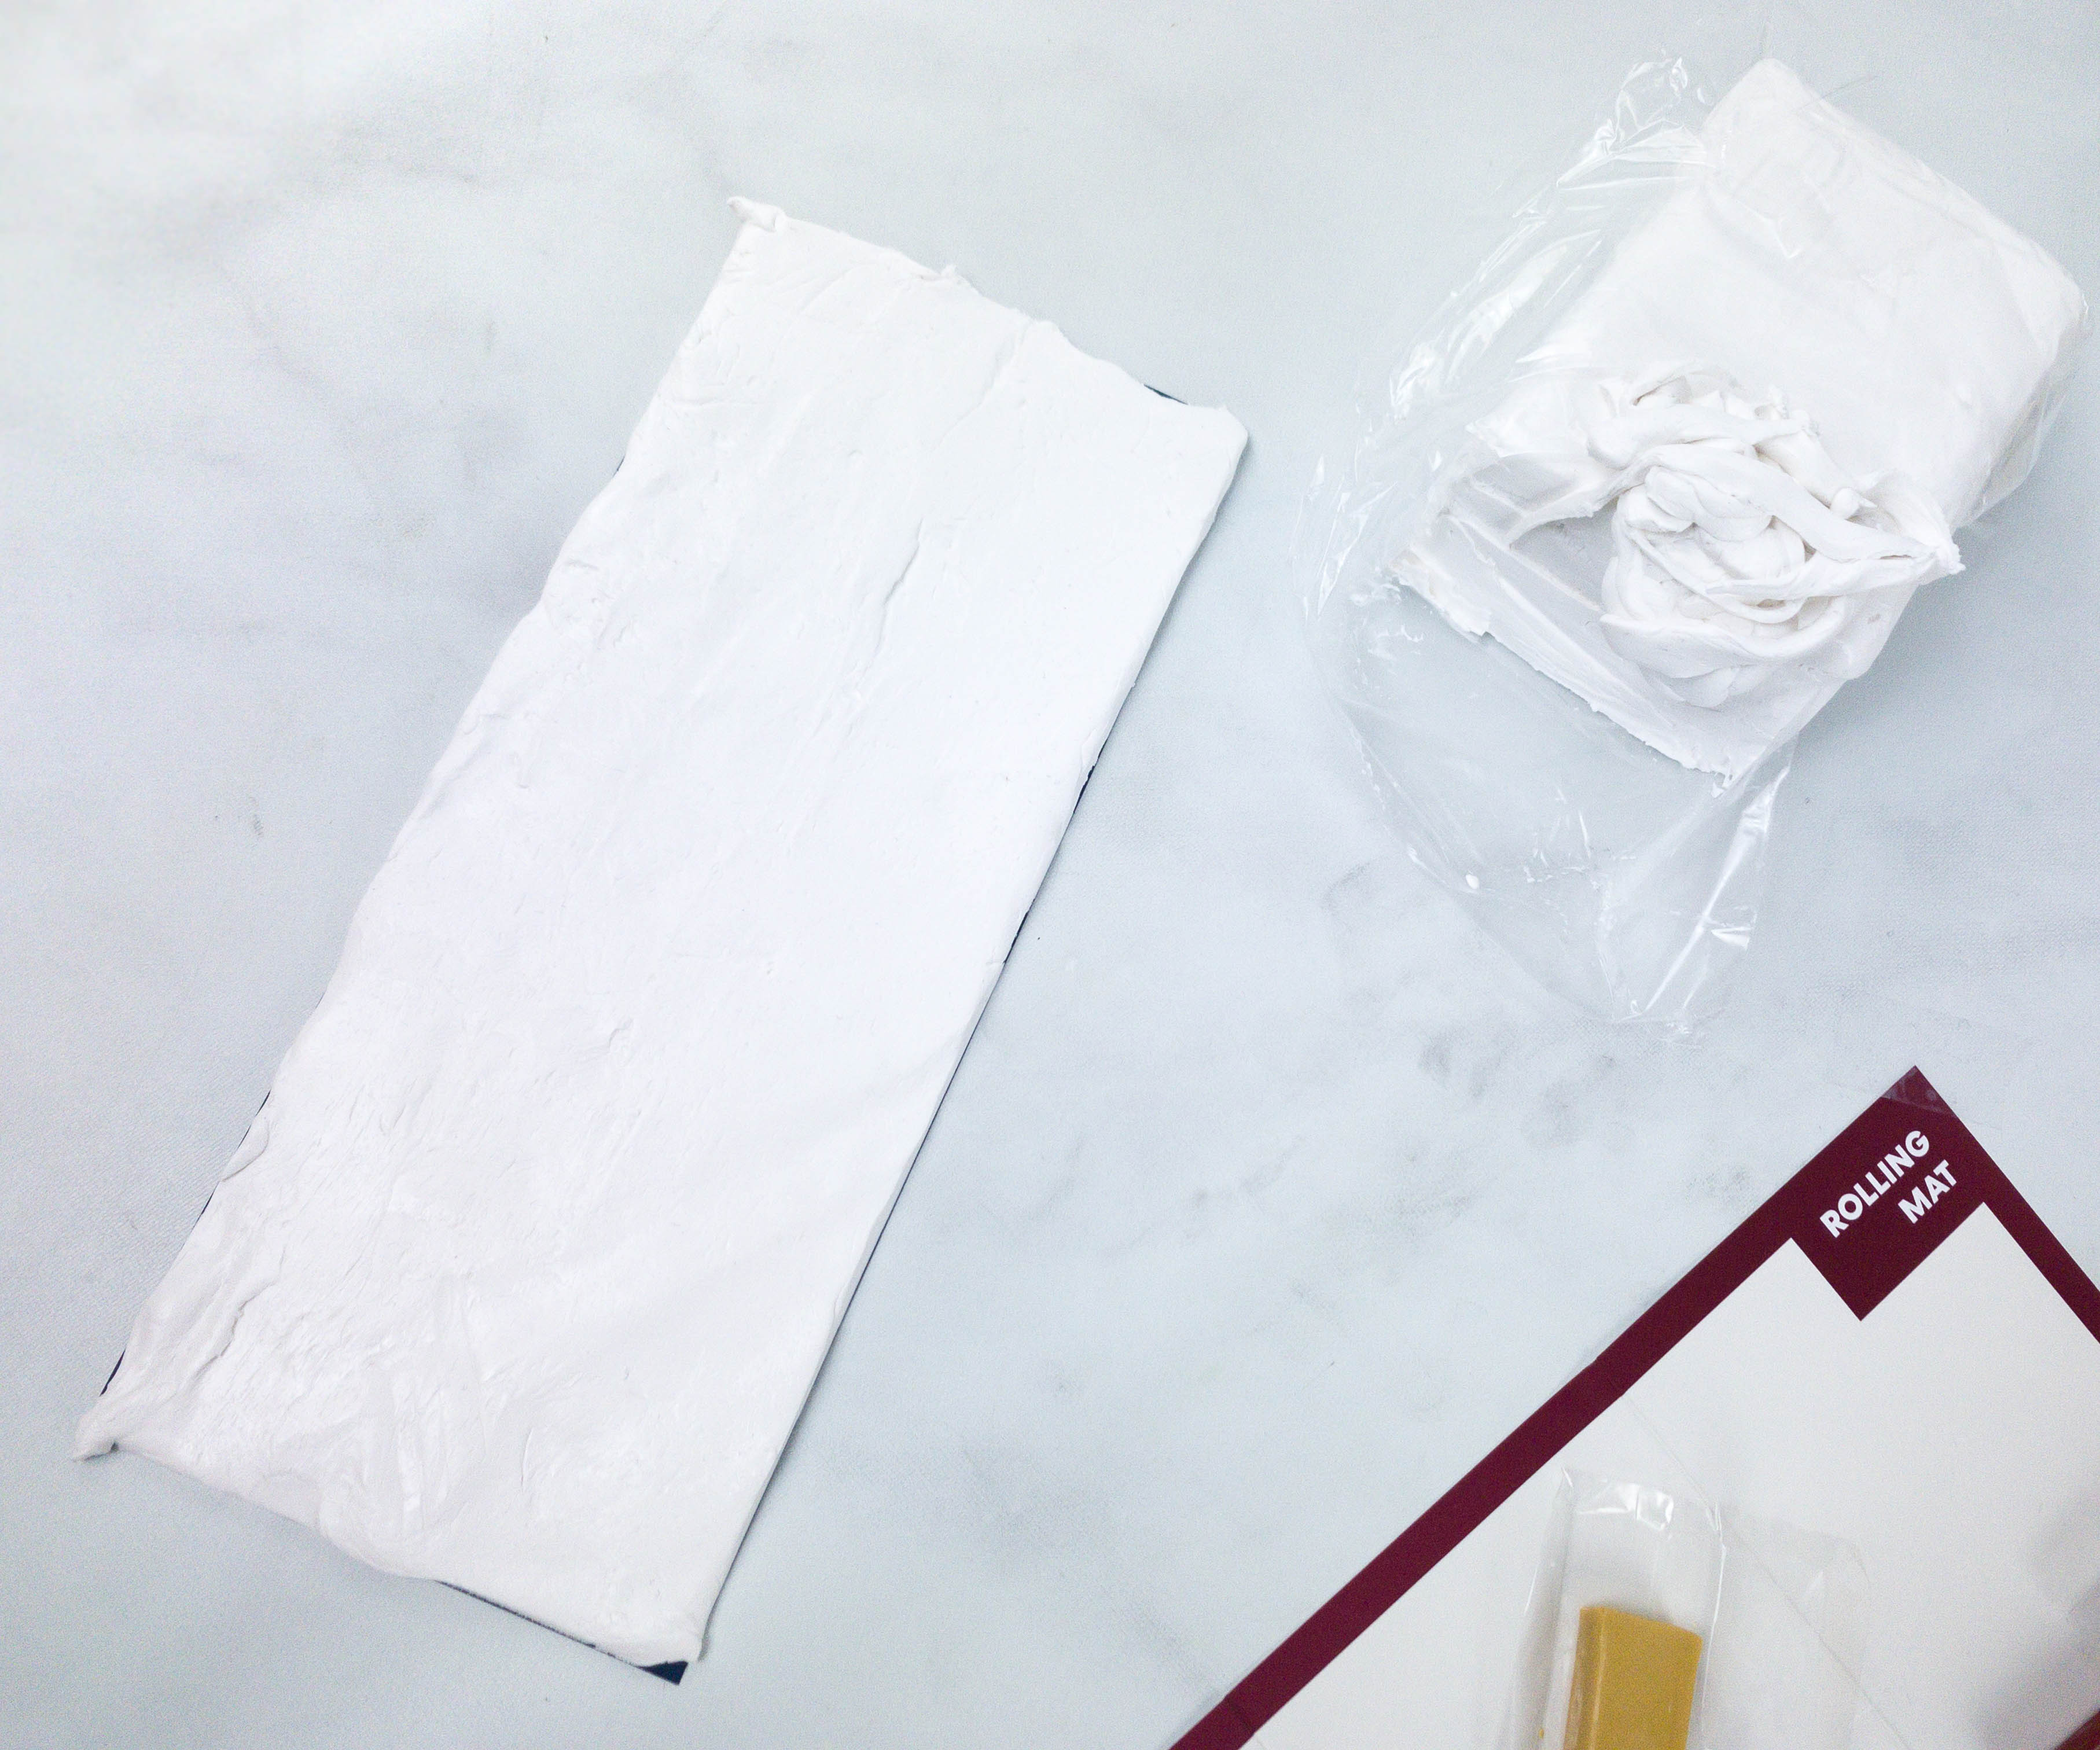
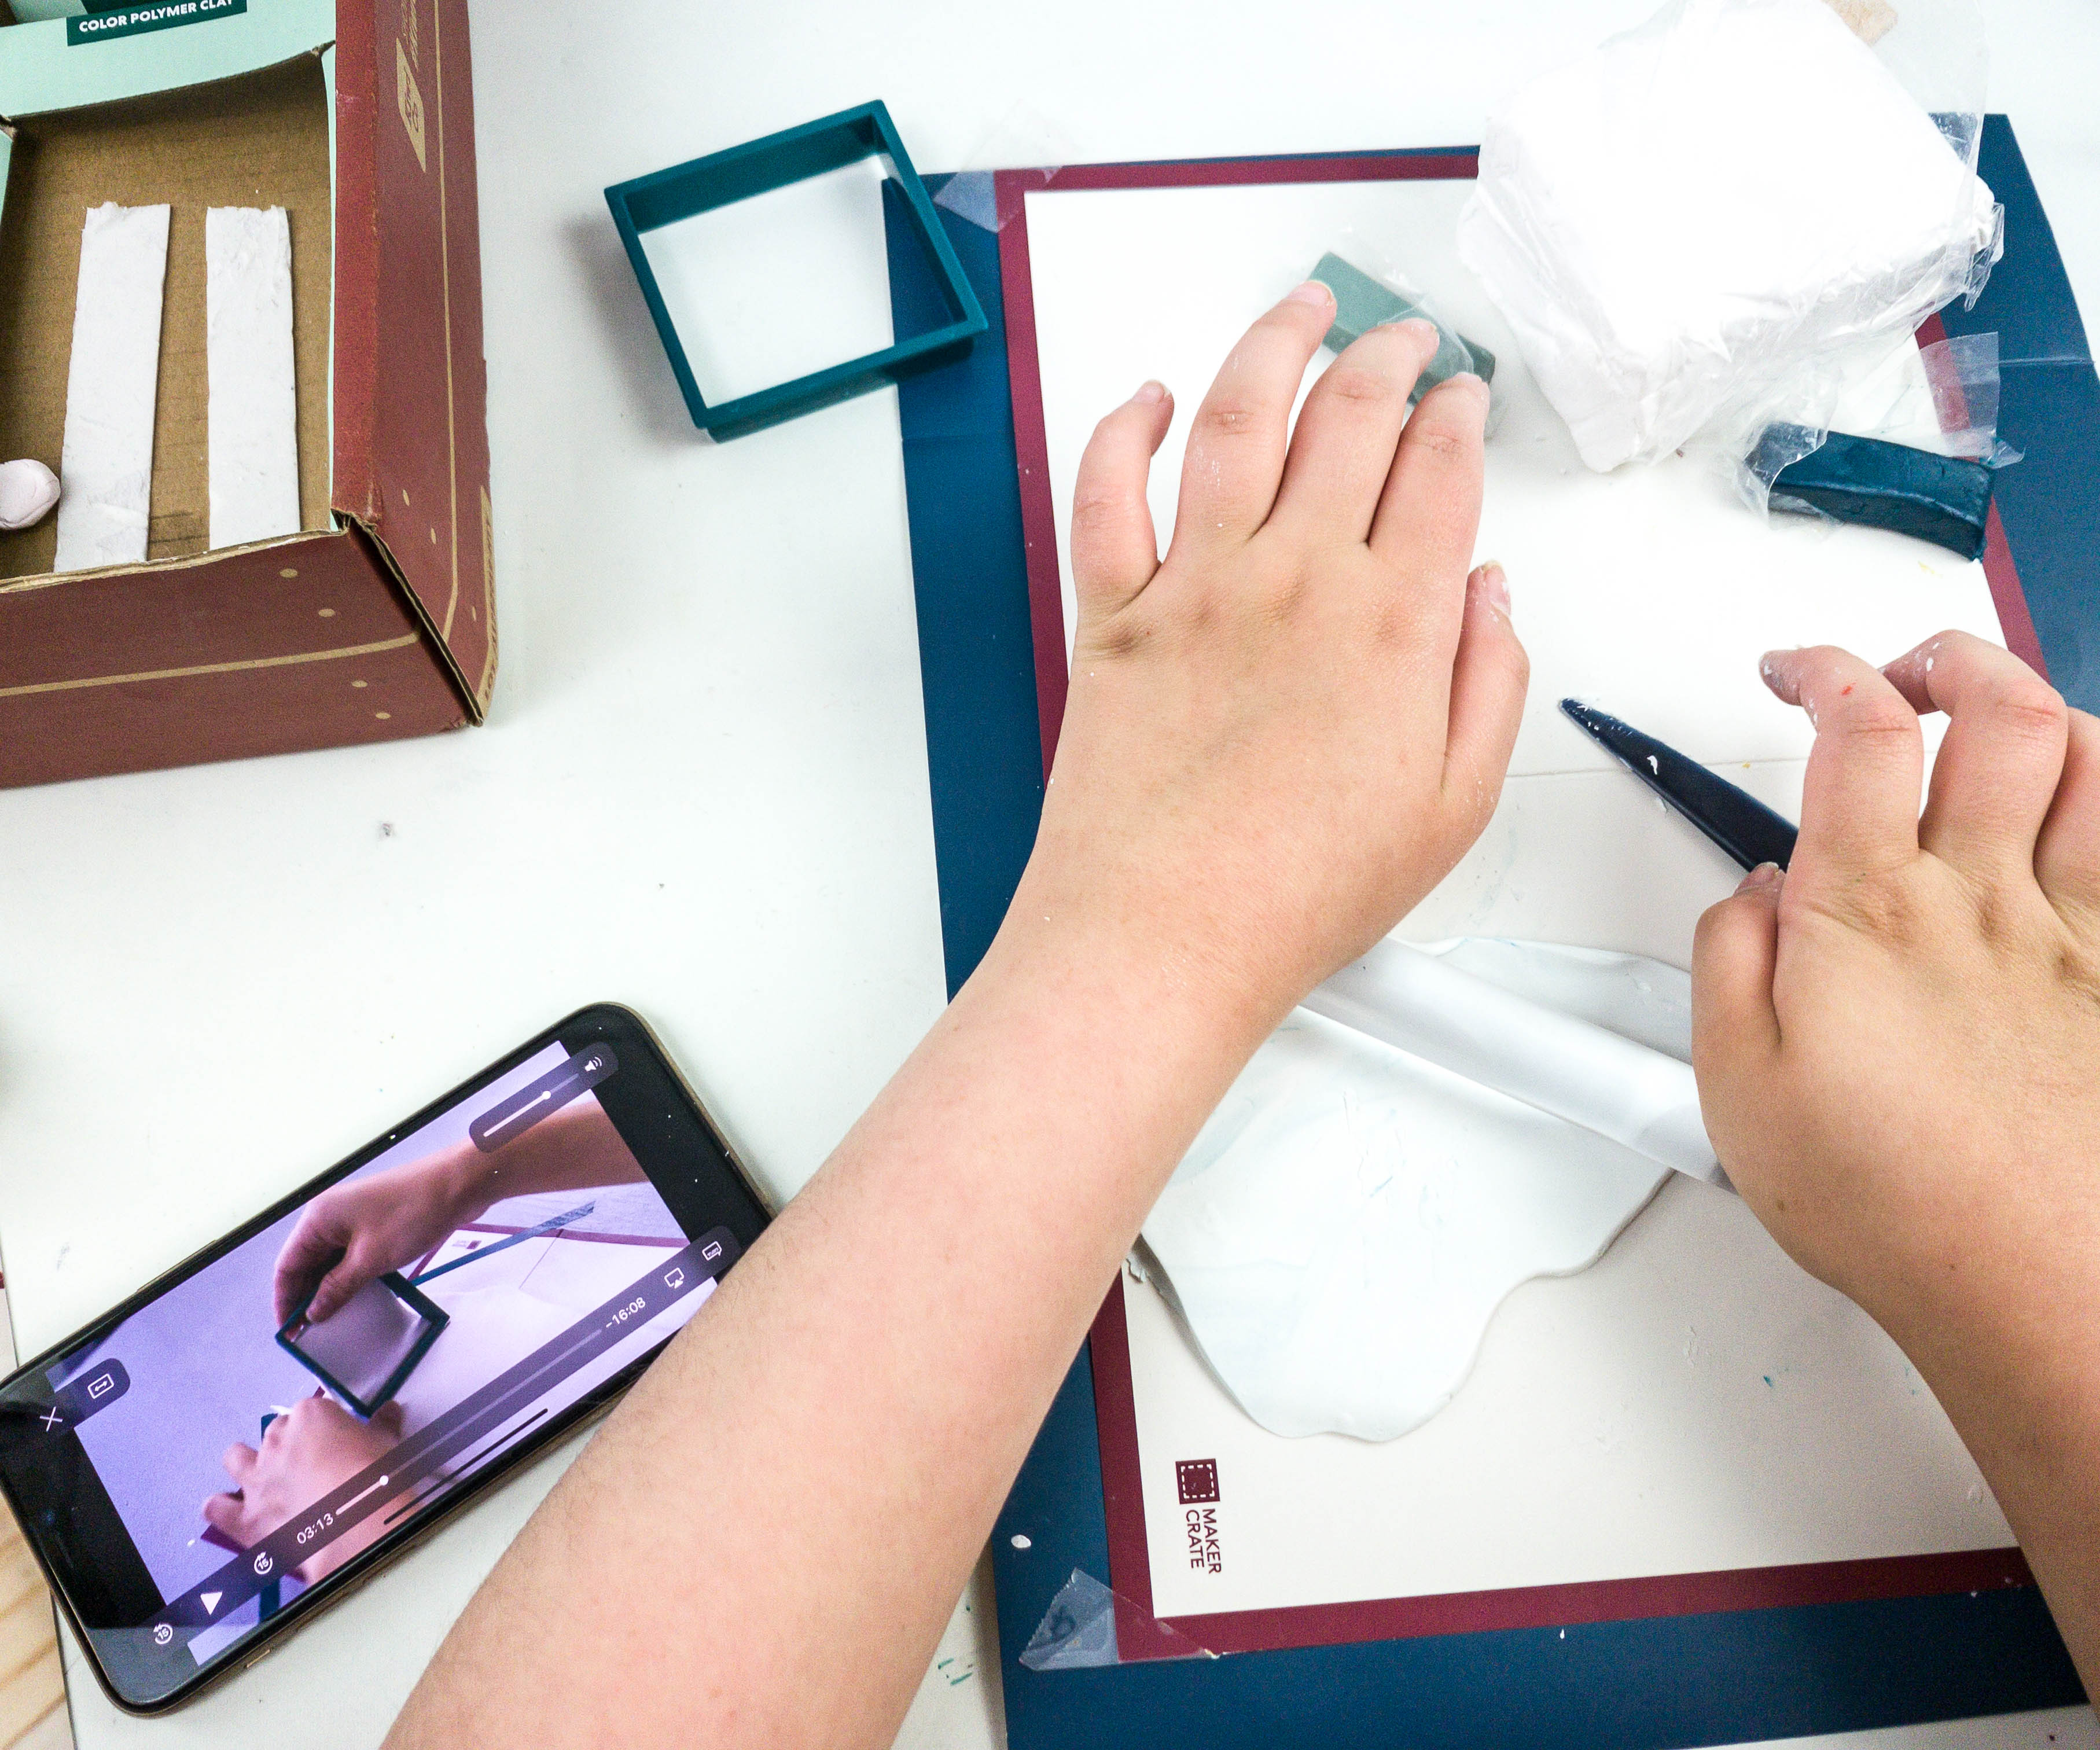
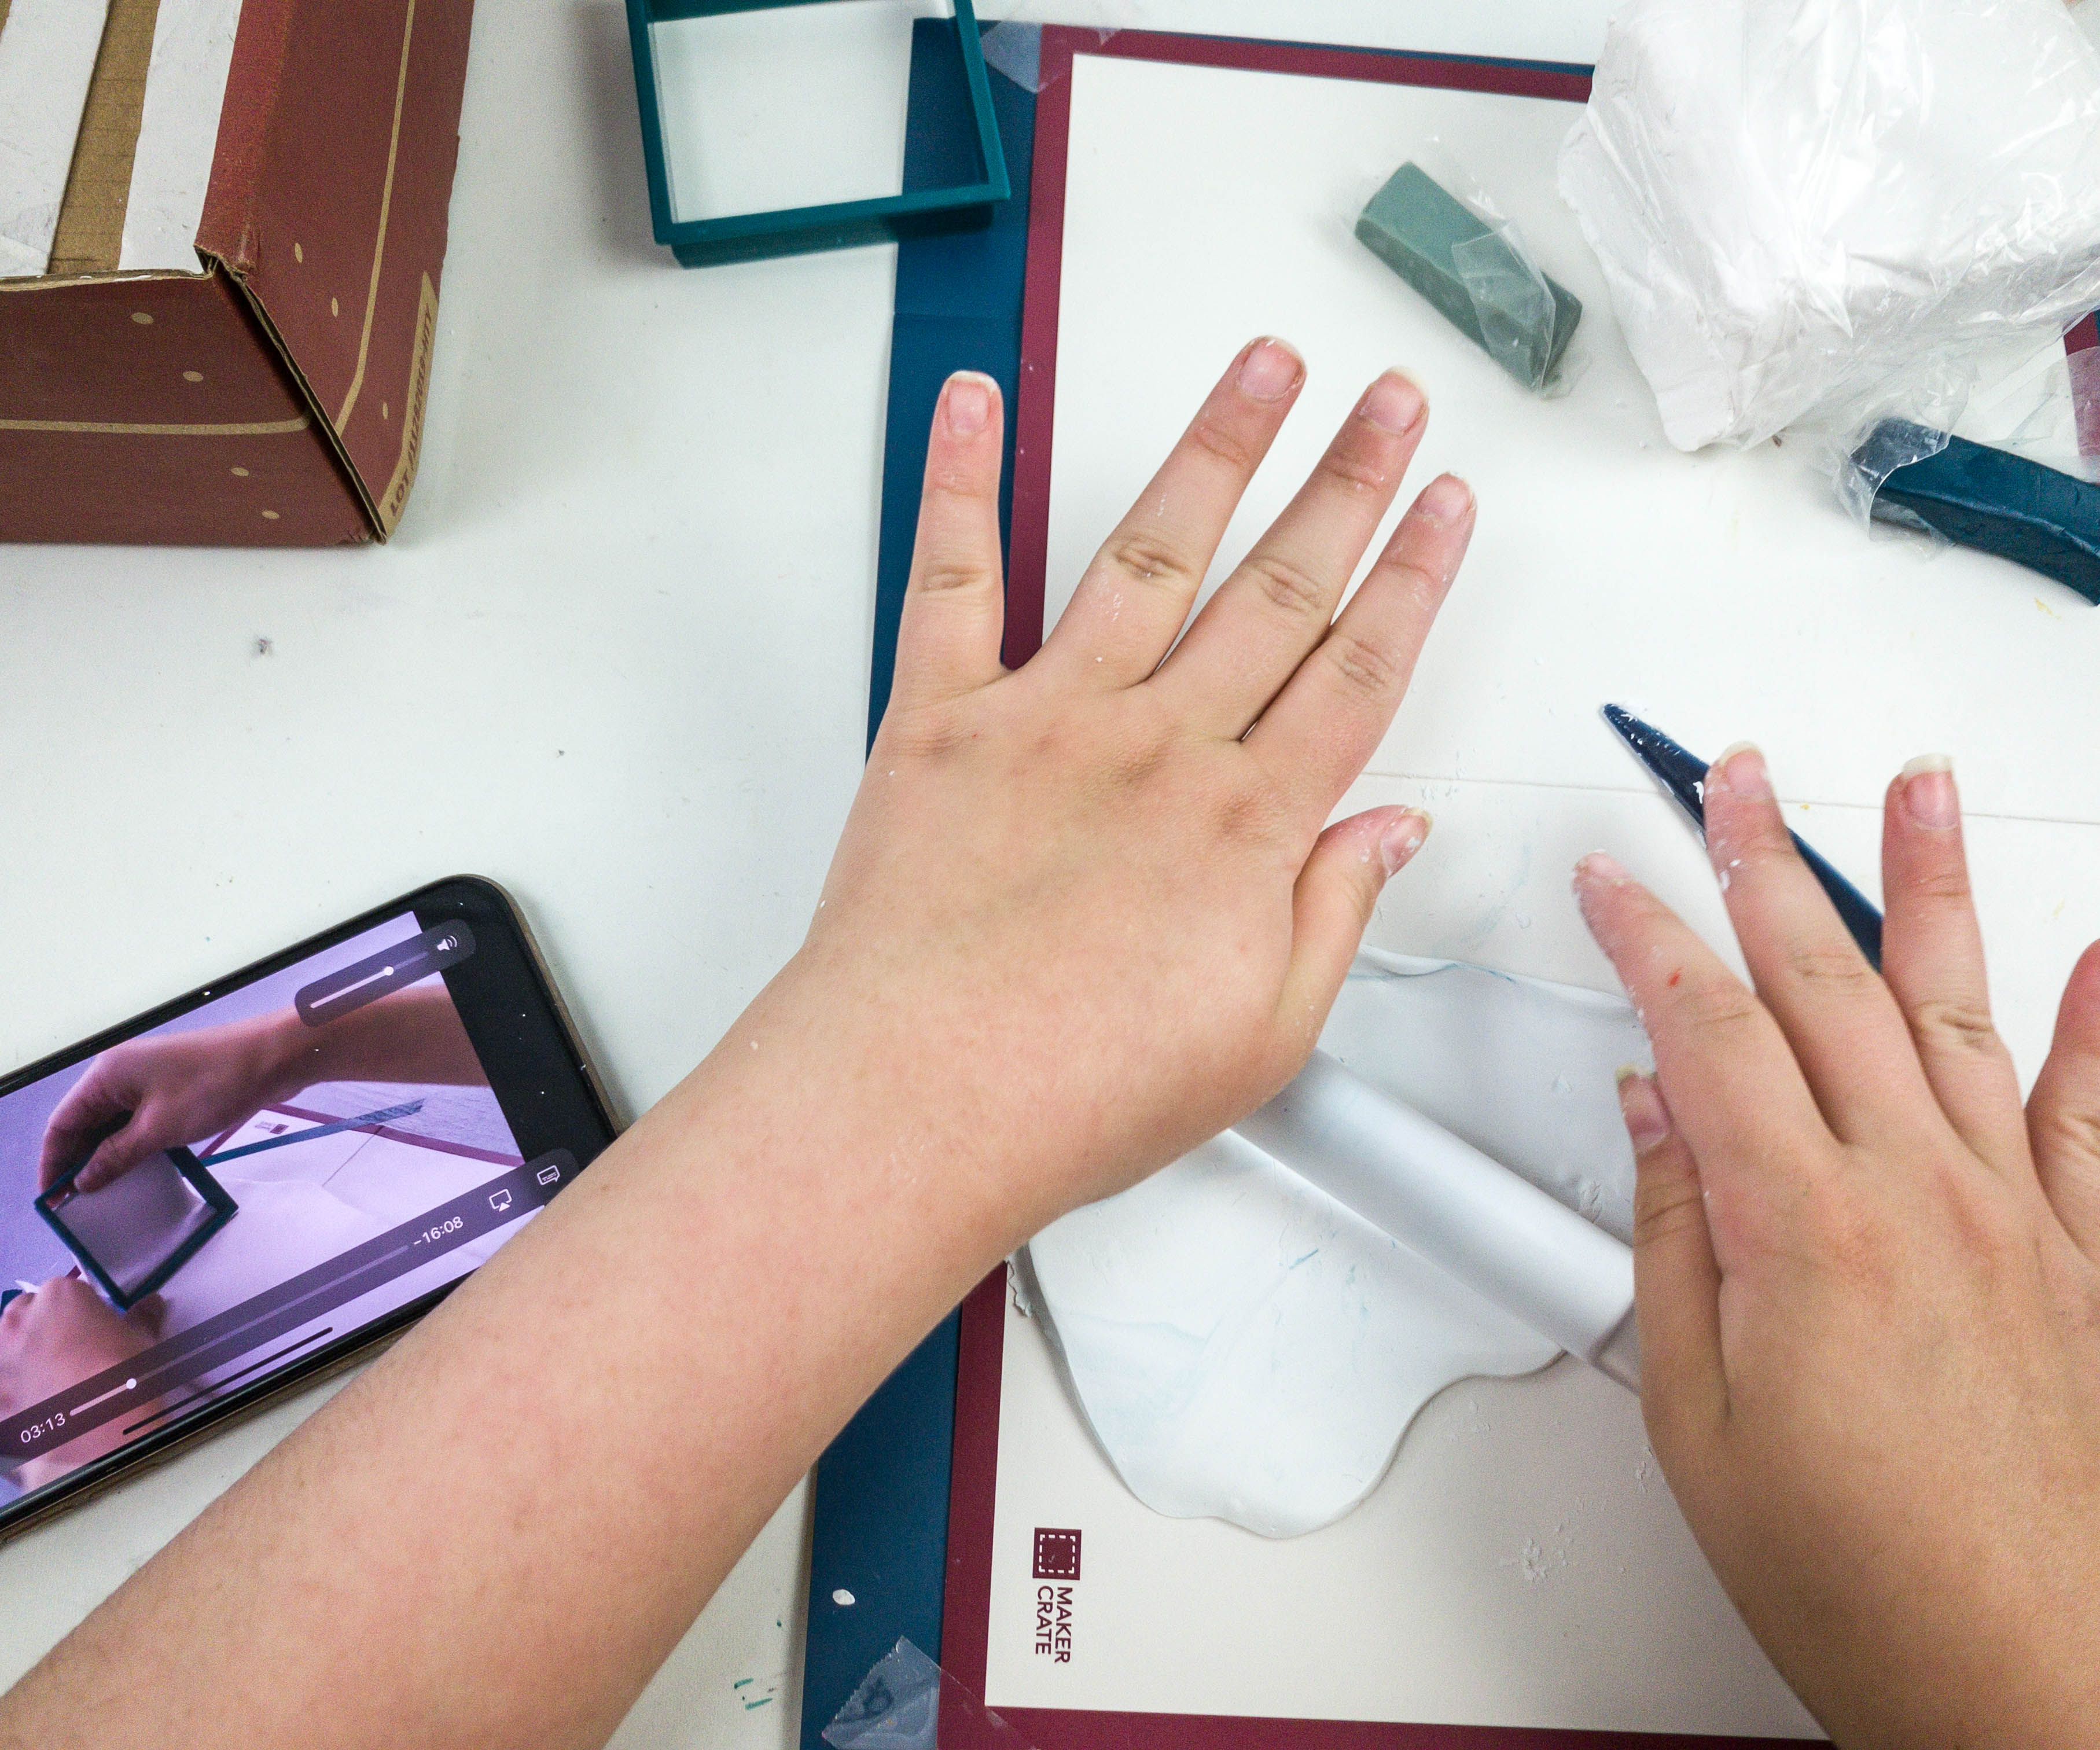
Then, she set the rolling mat, brought out the white chunk of clay, and started kneading it.
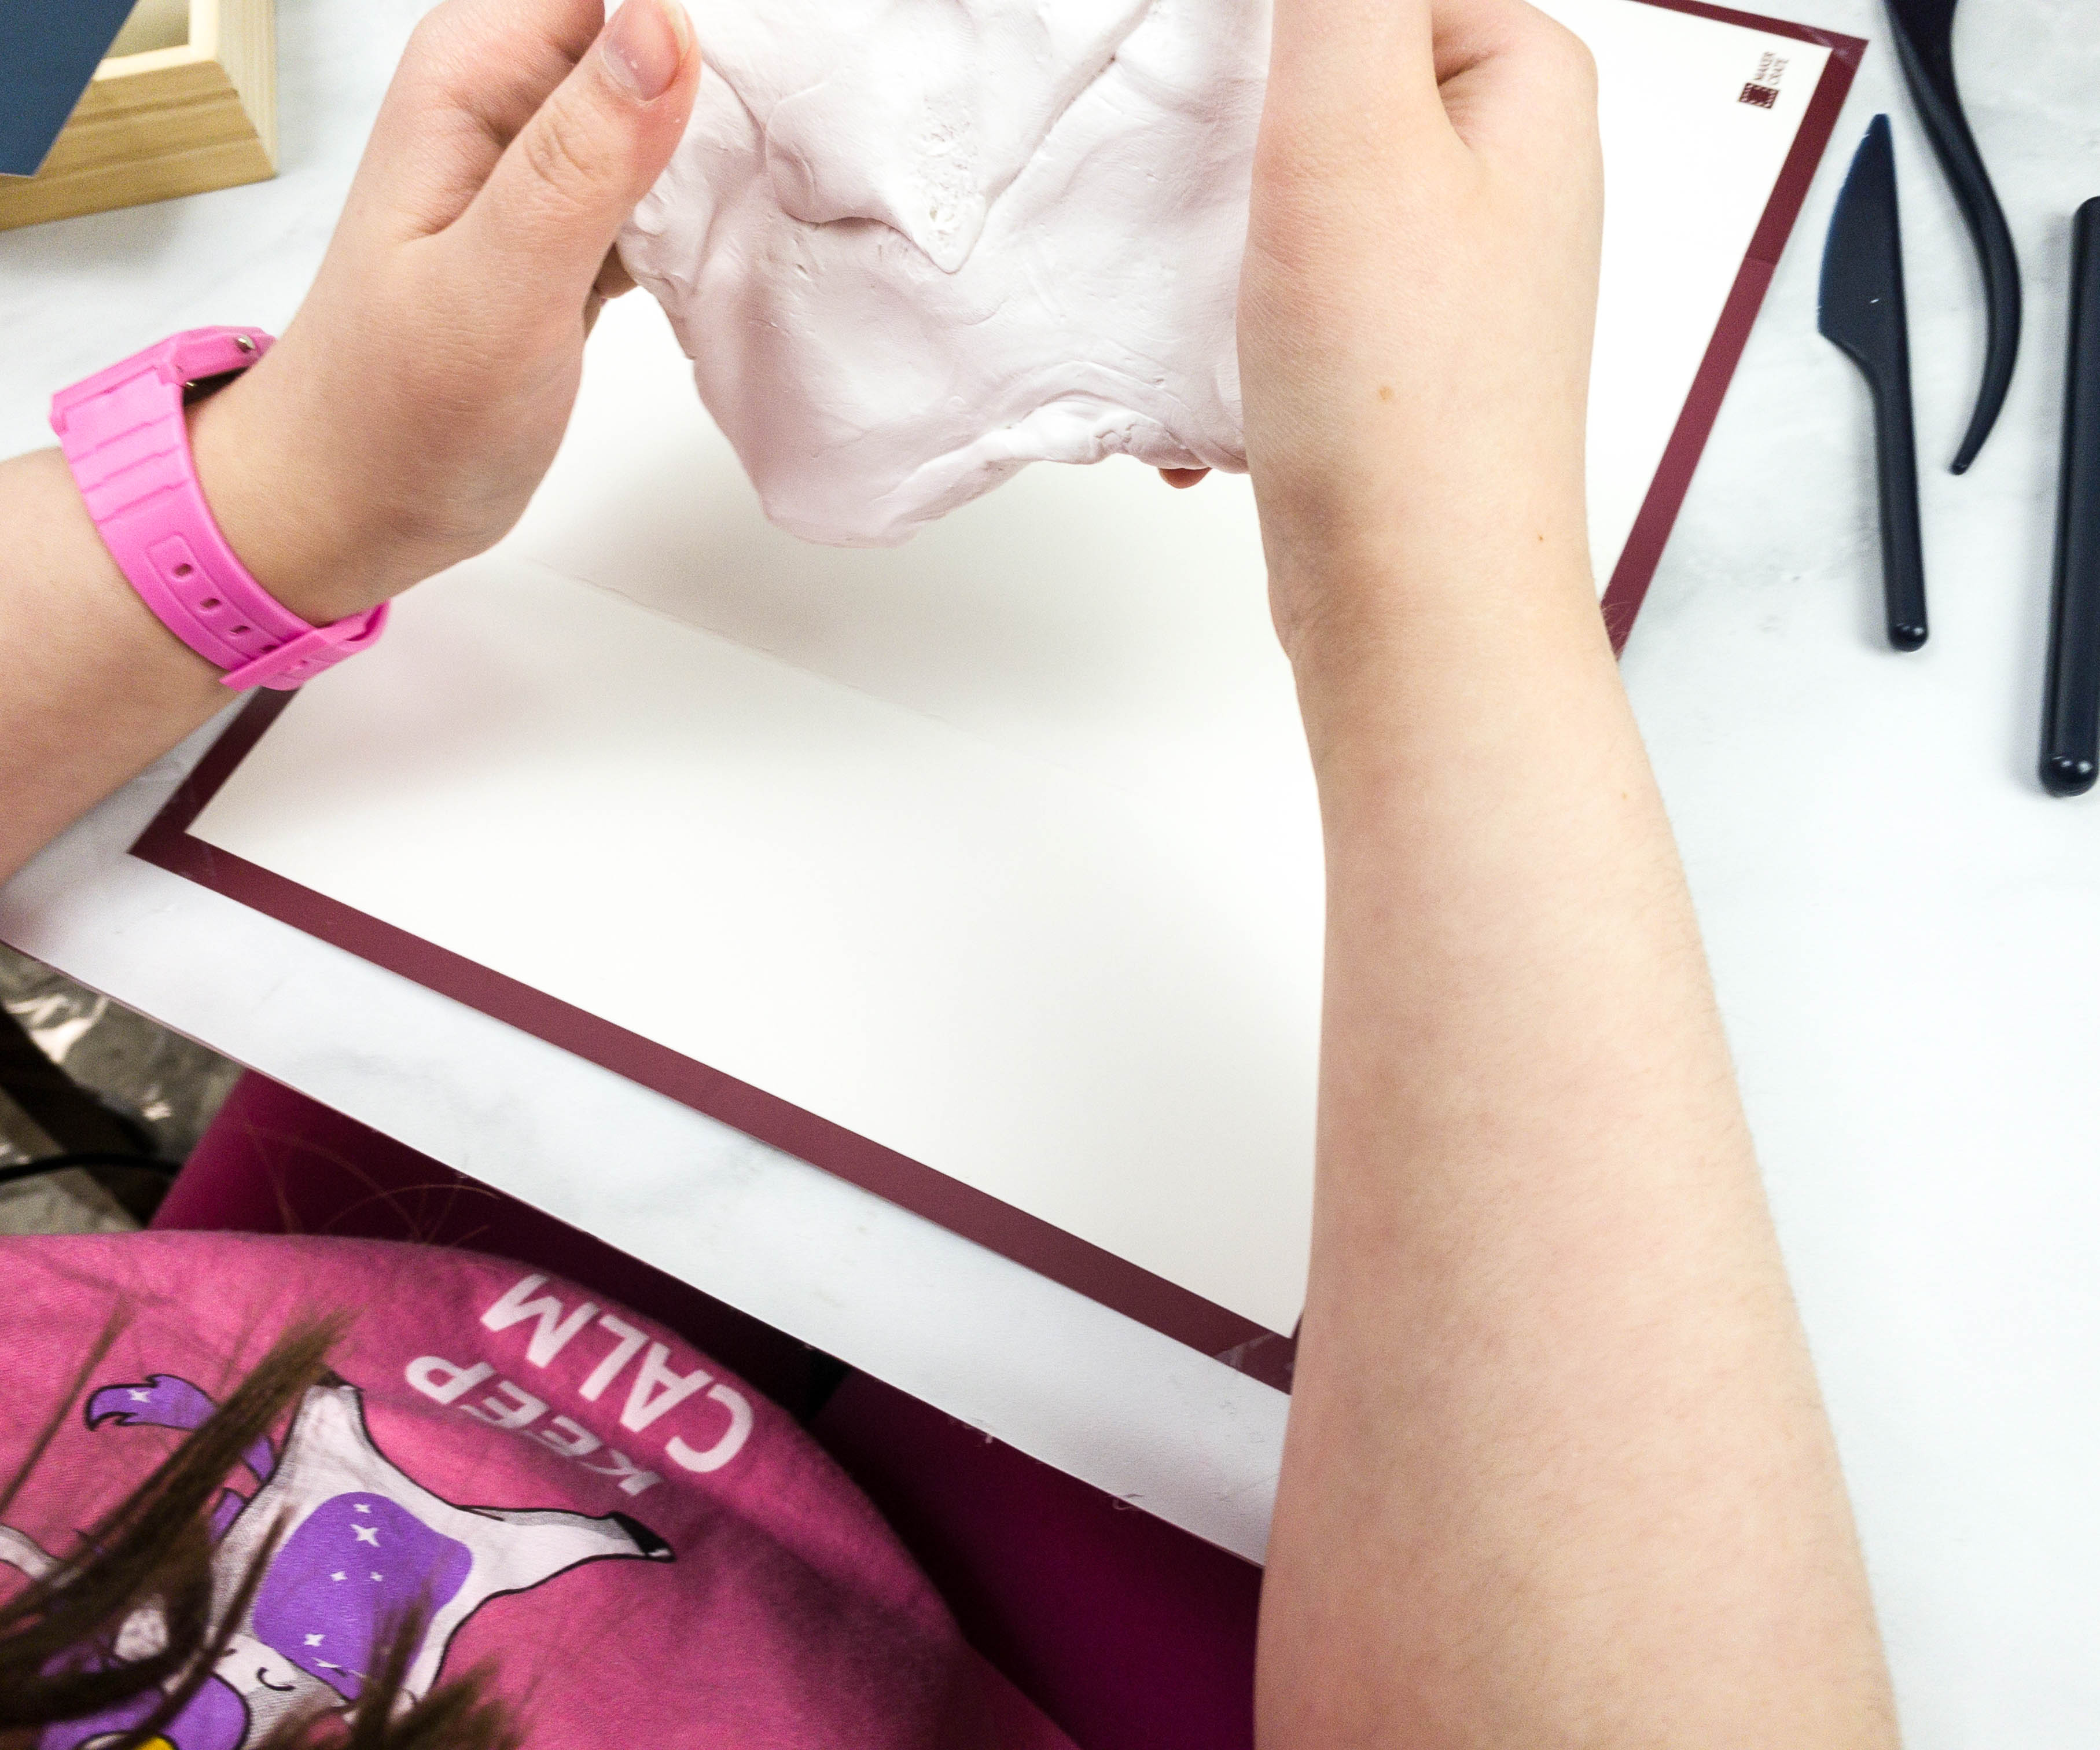
Once the clay is soft enough, she put it on the rolling mat, flattened it using her hands, and leveled it using the rolling pin.
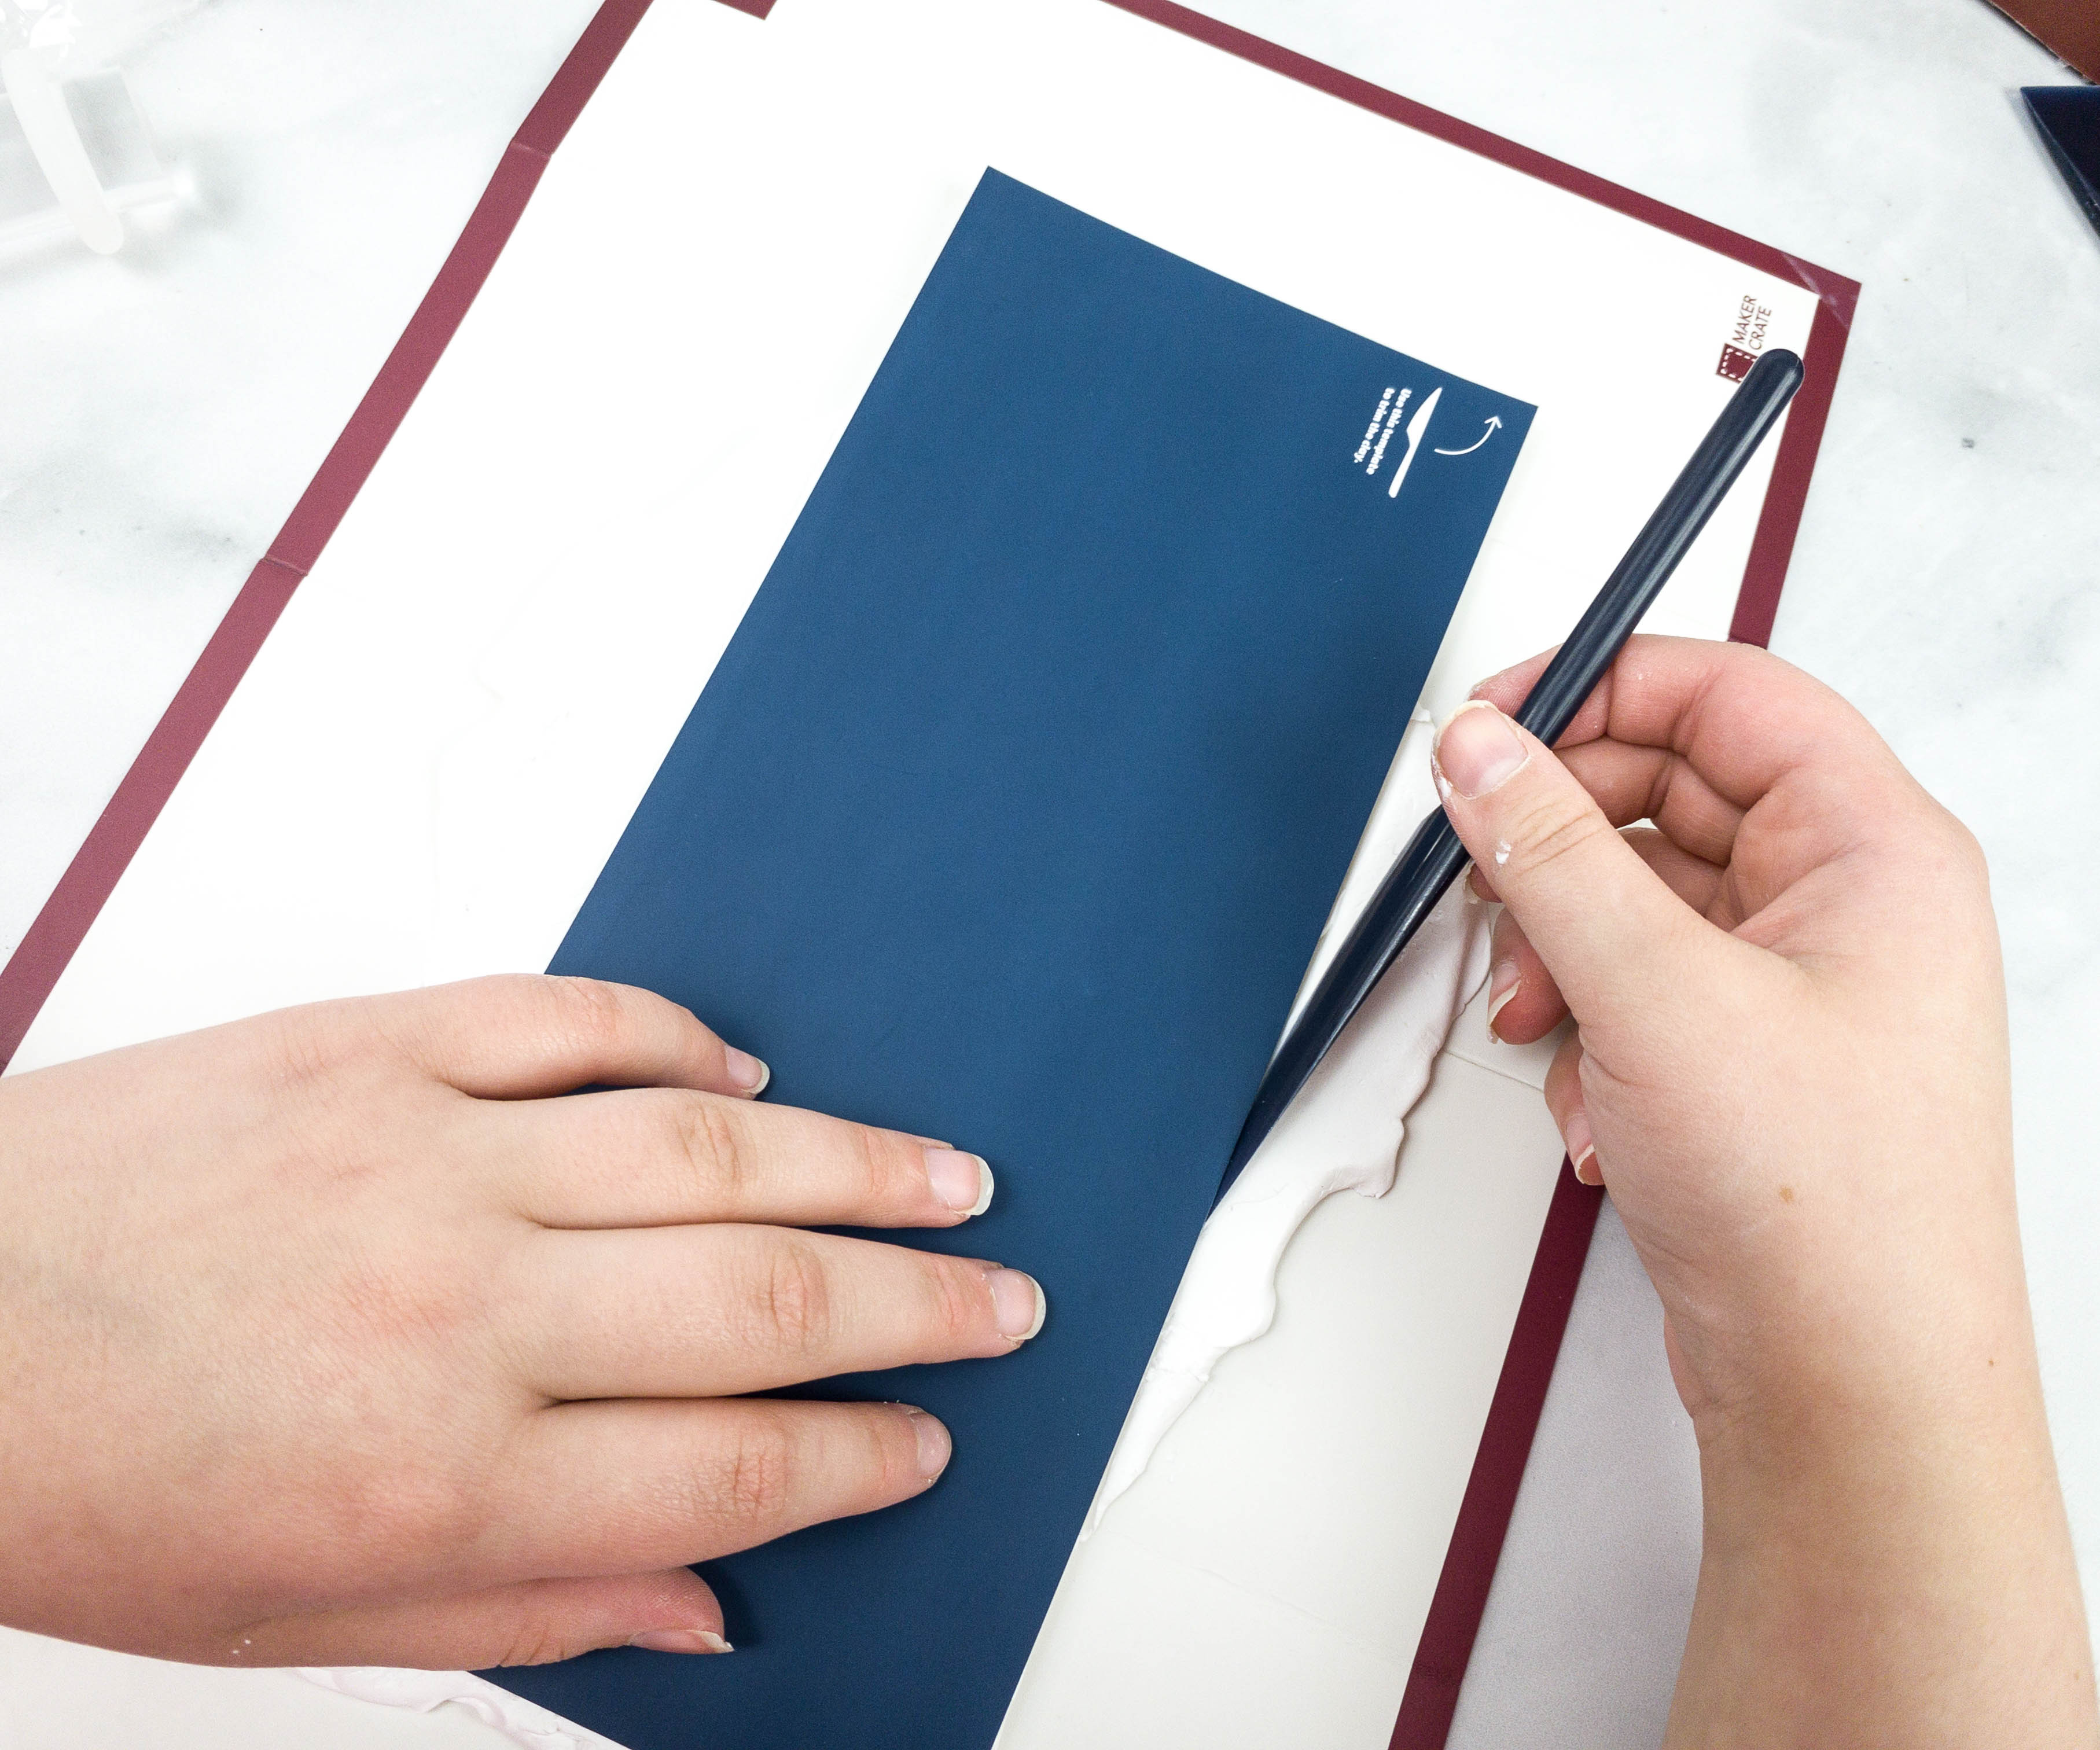
The next step is to get the cutting template, put it on top of the flattened clay, and slice it using the clay tool.
Once done, set aside the white clay and proceeded with the colored clays!
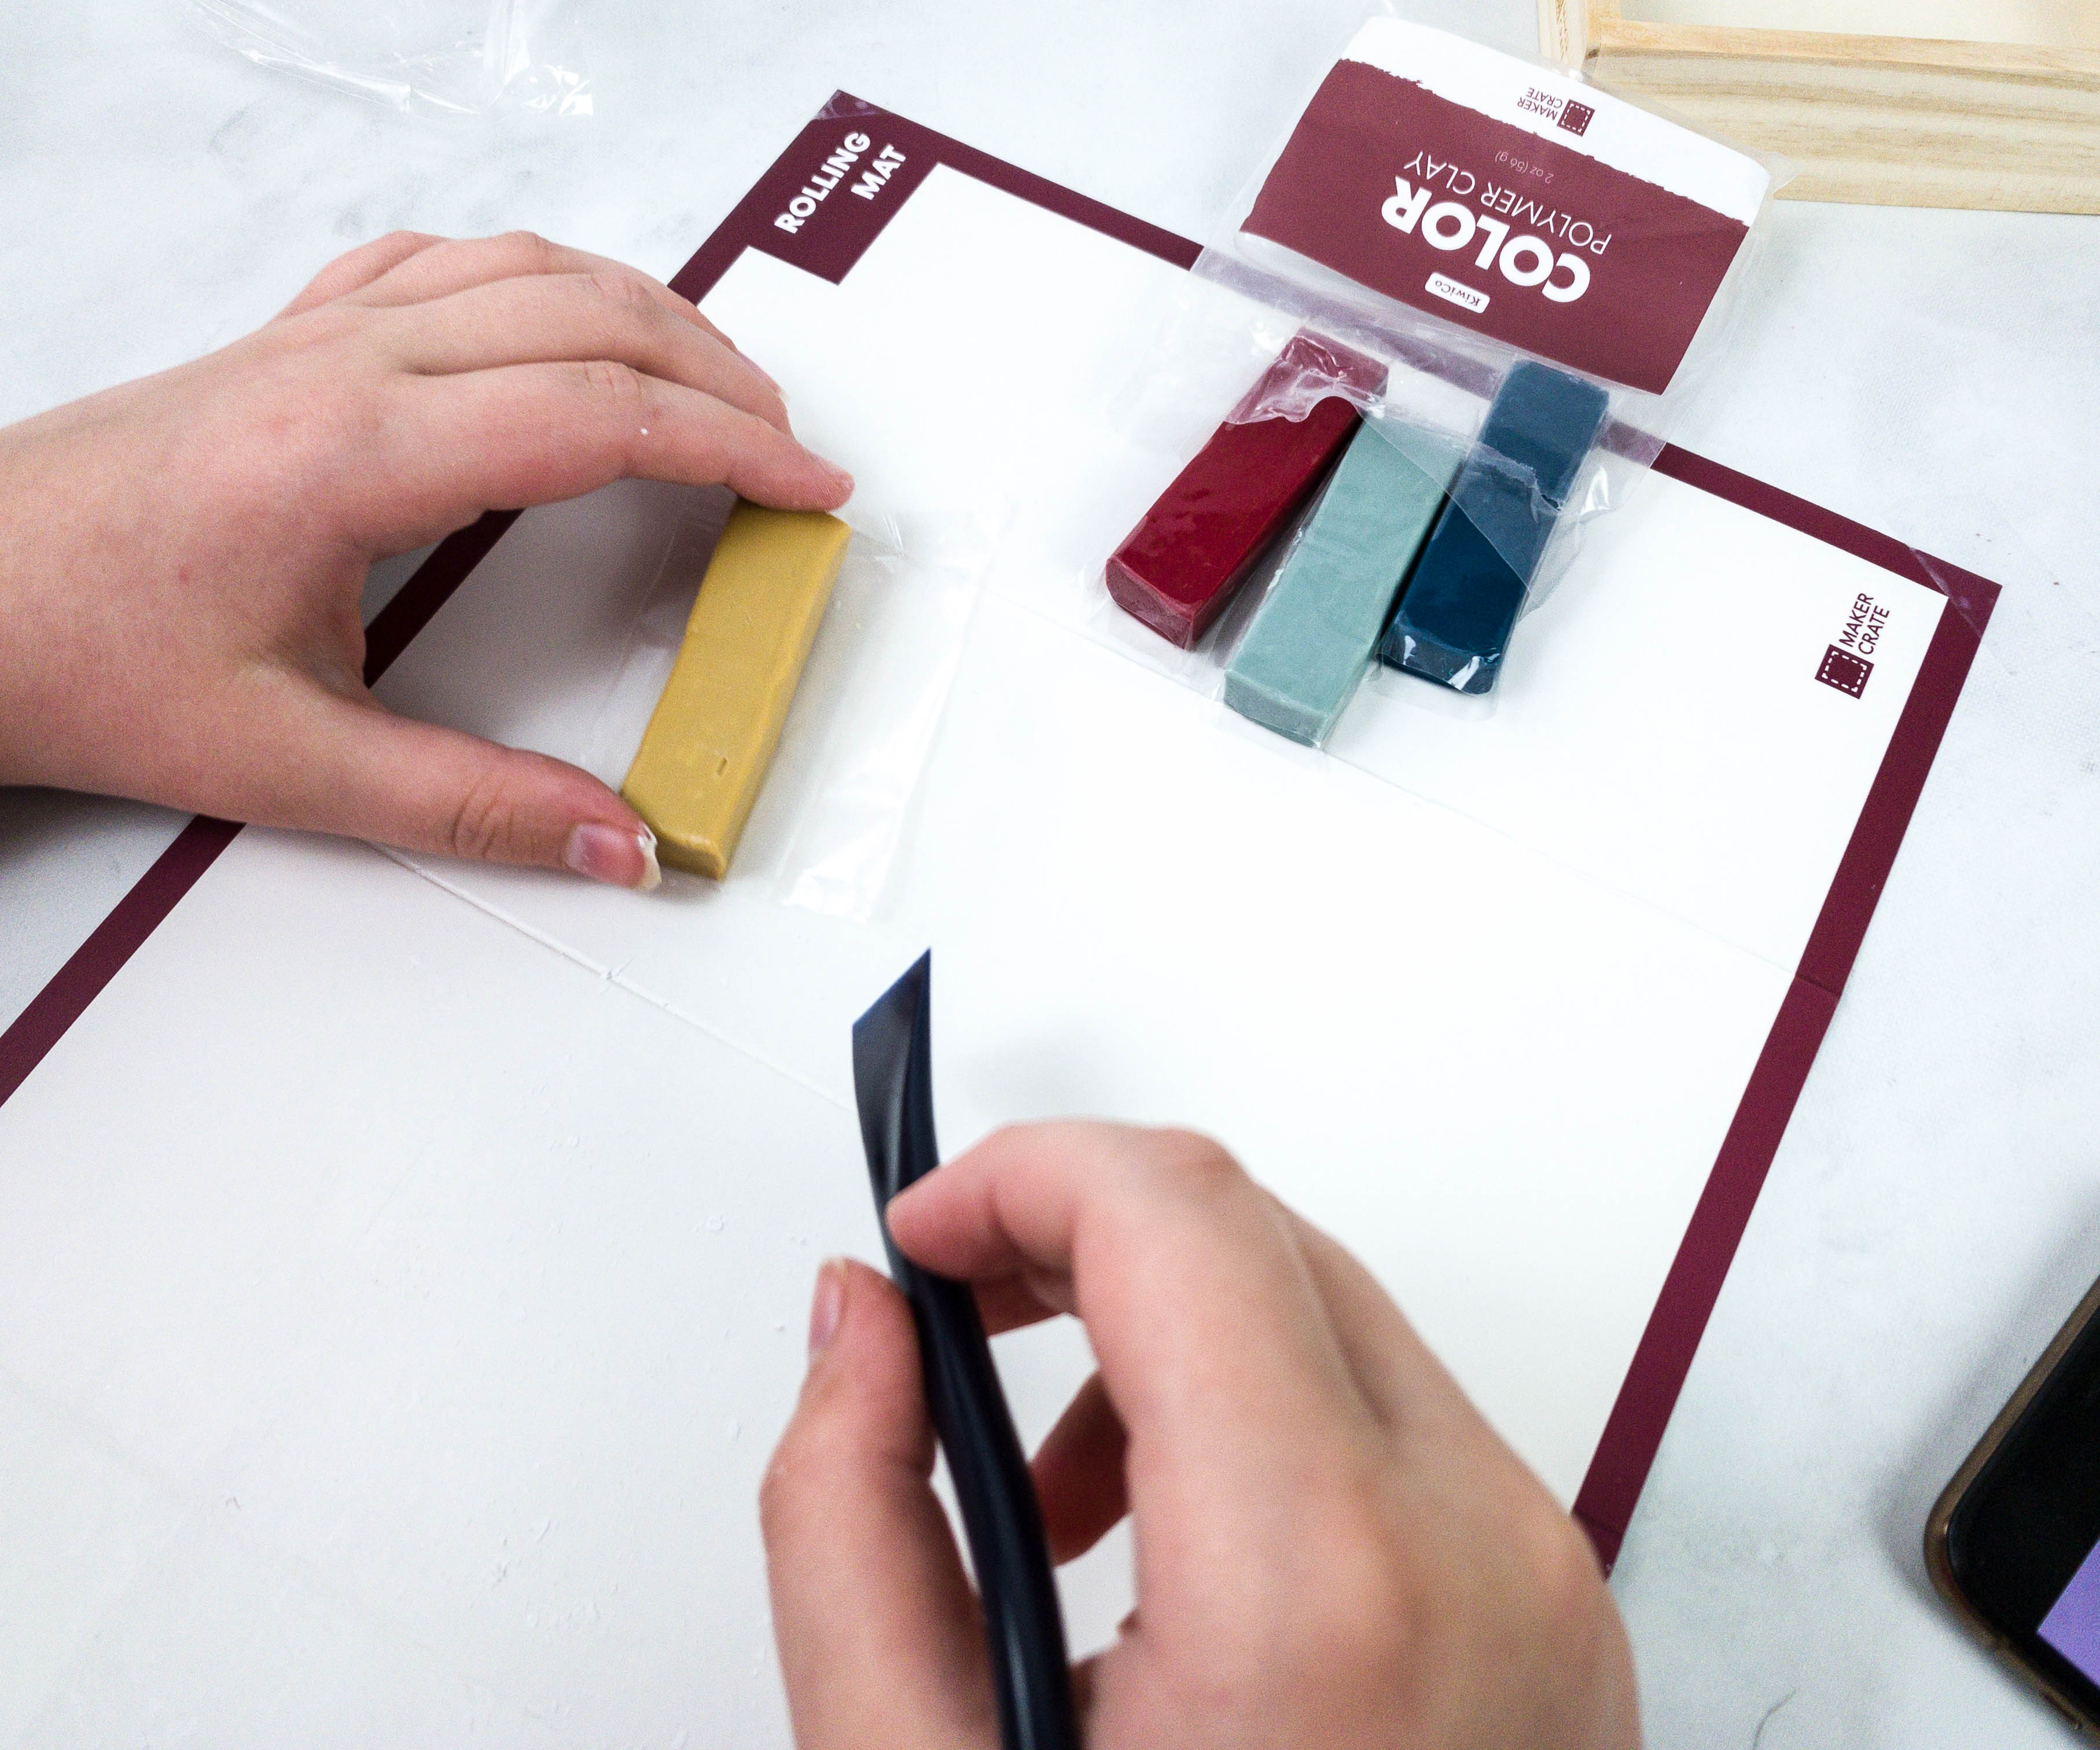
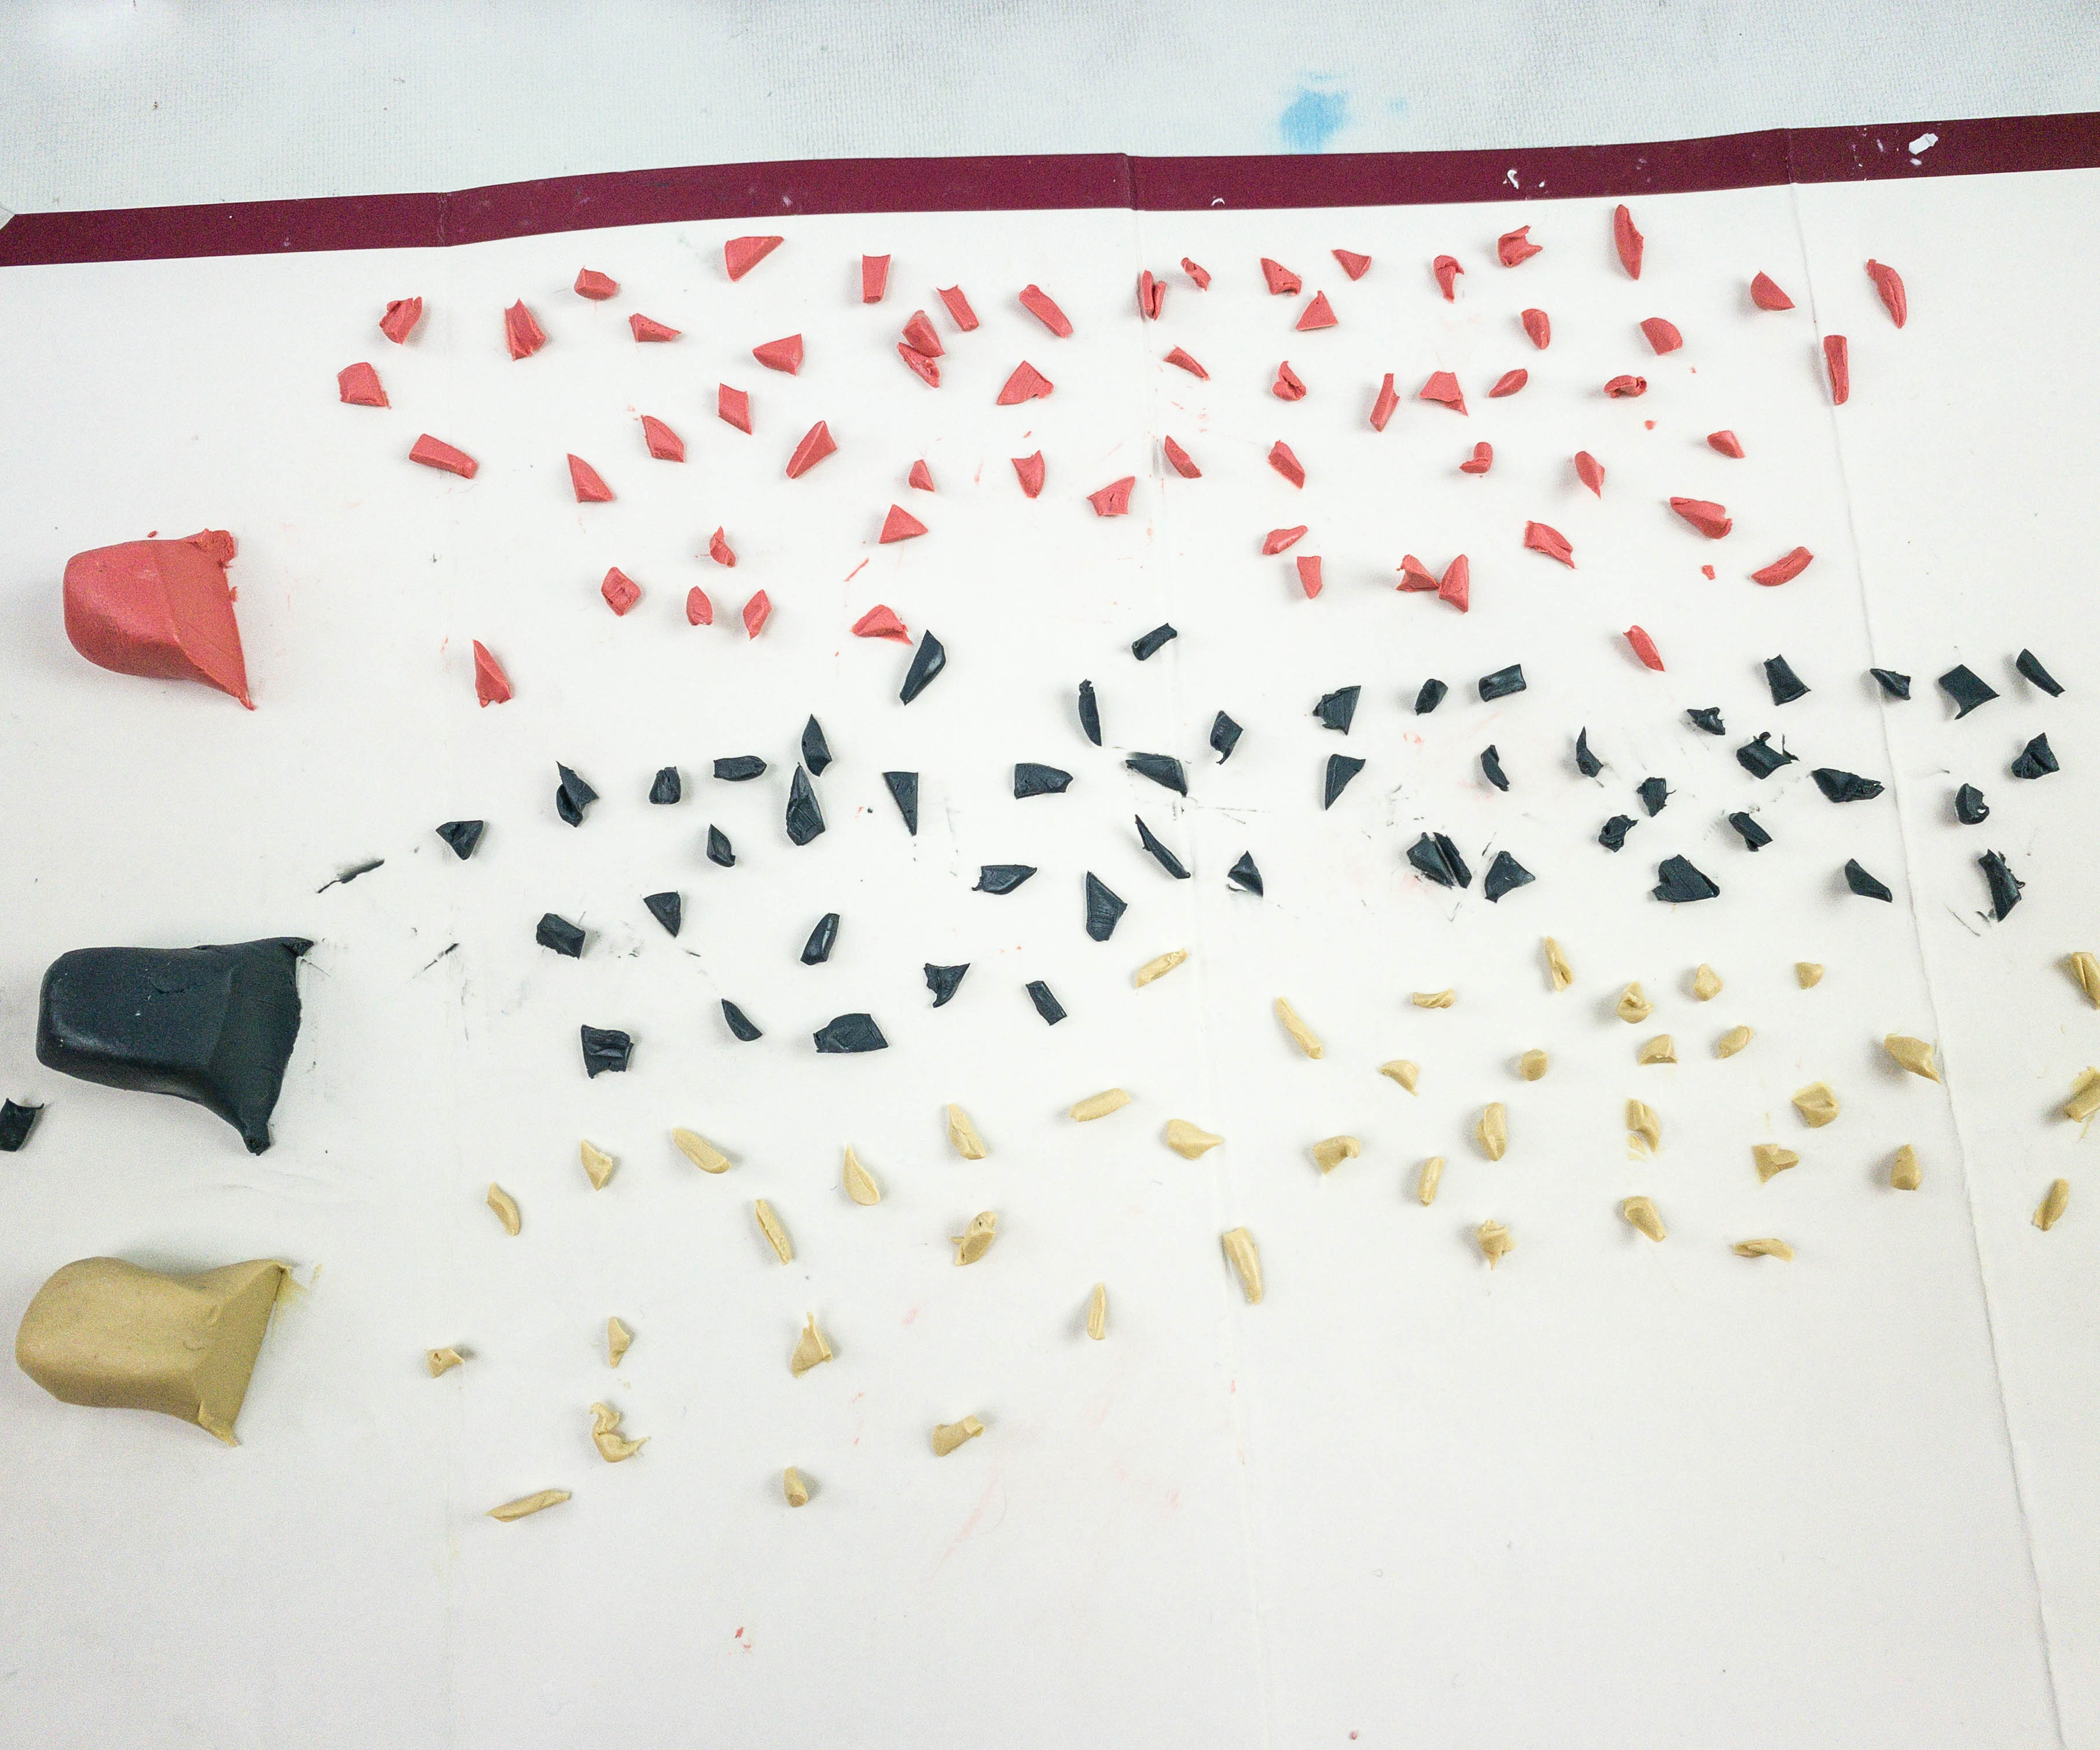
She unpacked the colored ones and laid them over the rolling mat.

Using the clay cutting tool, she picked up the yellow-colored clay block and sliced it into smaller pieces.
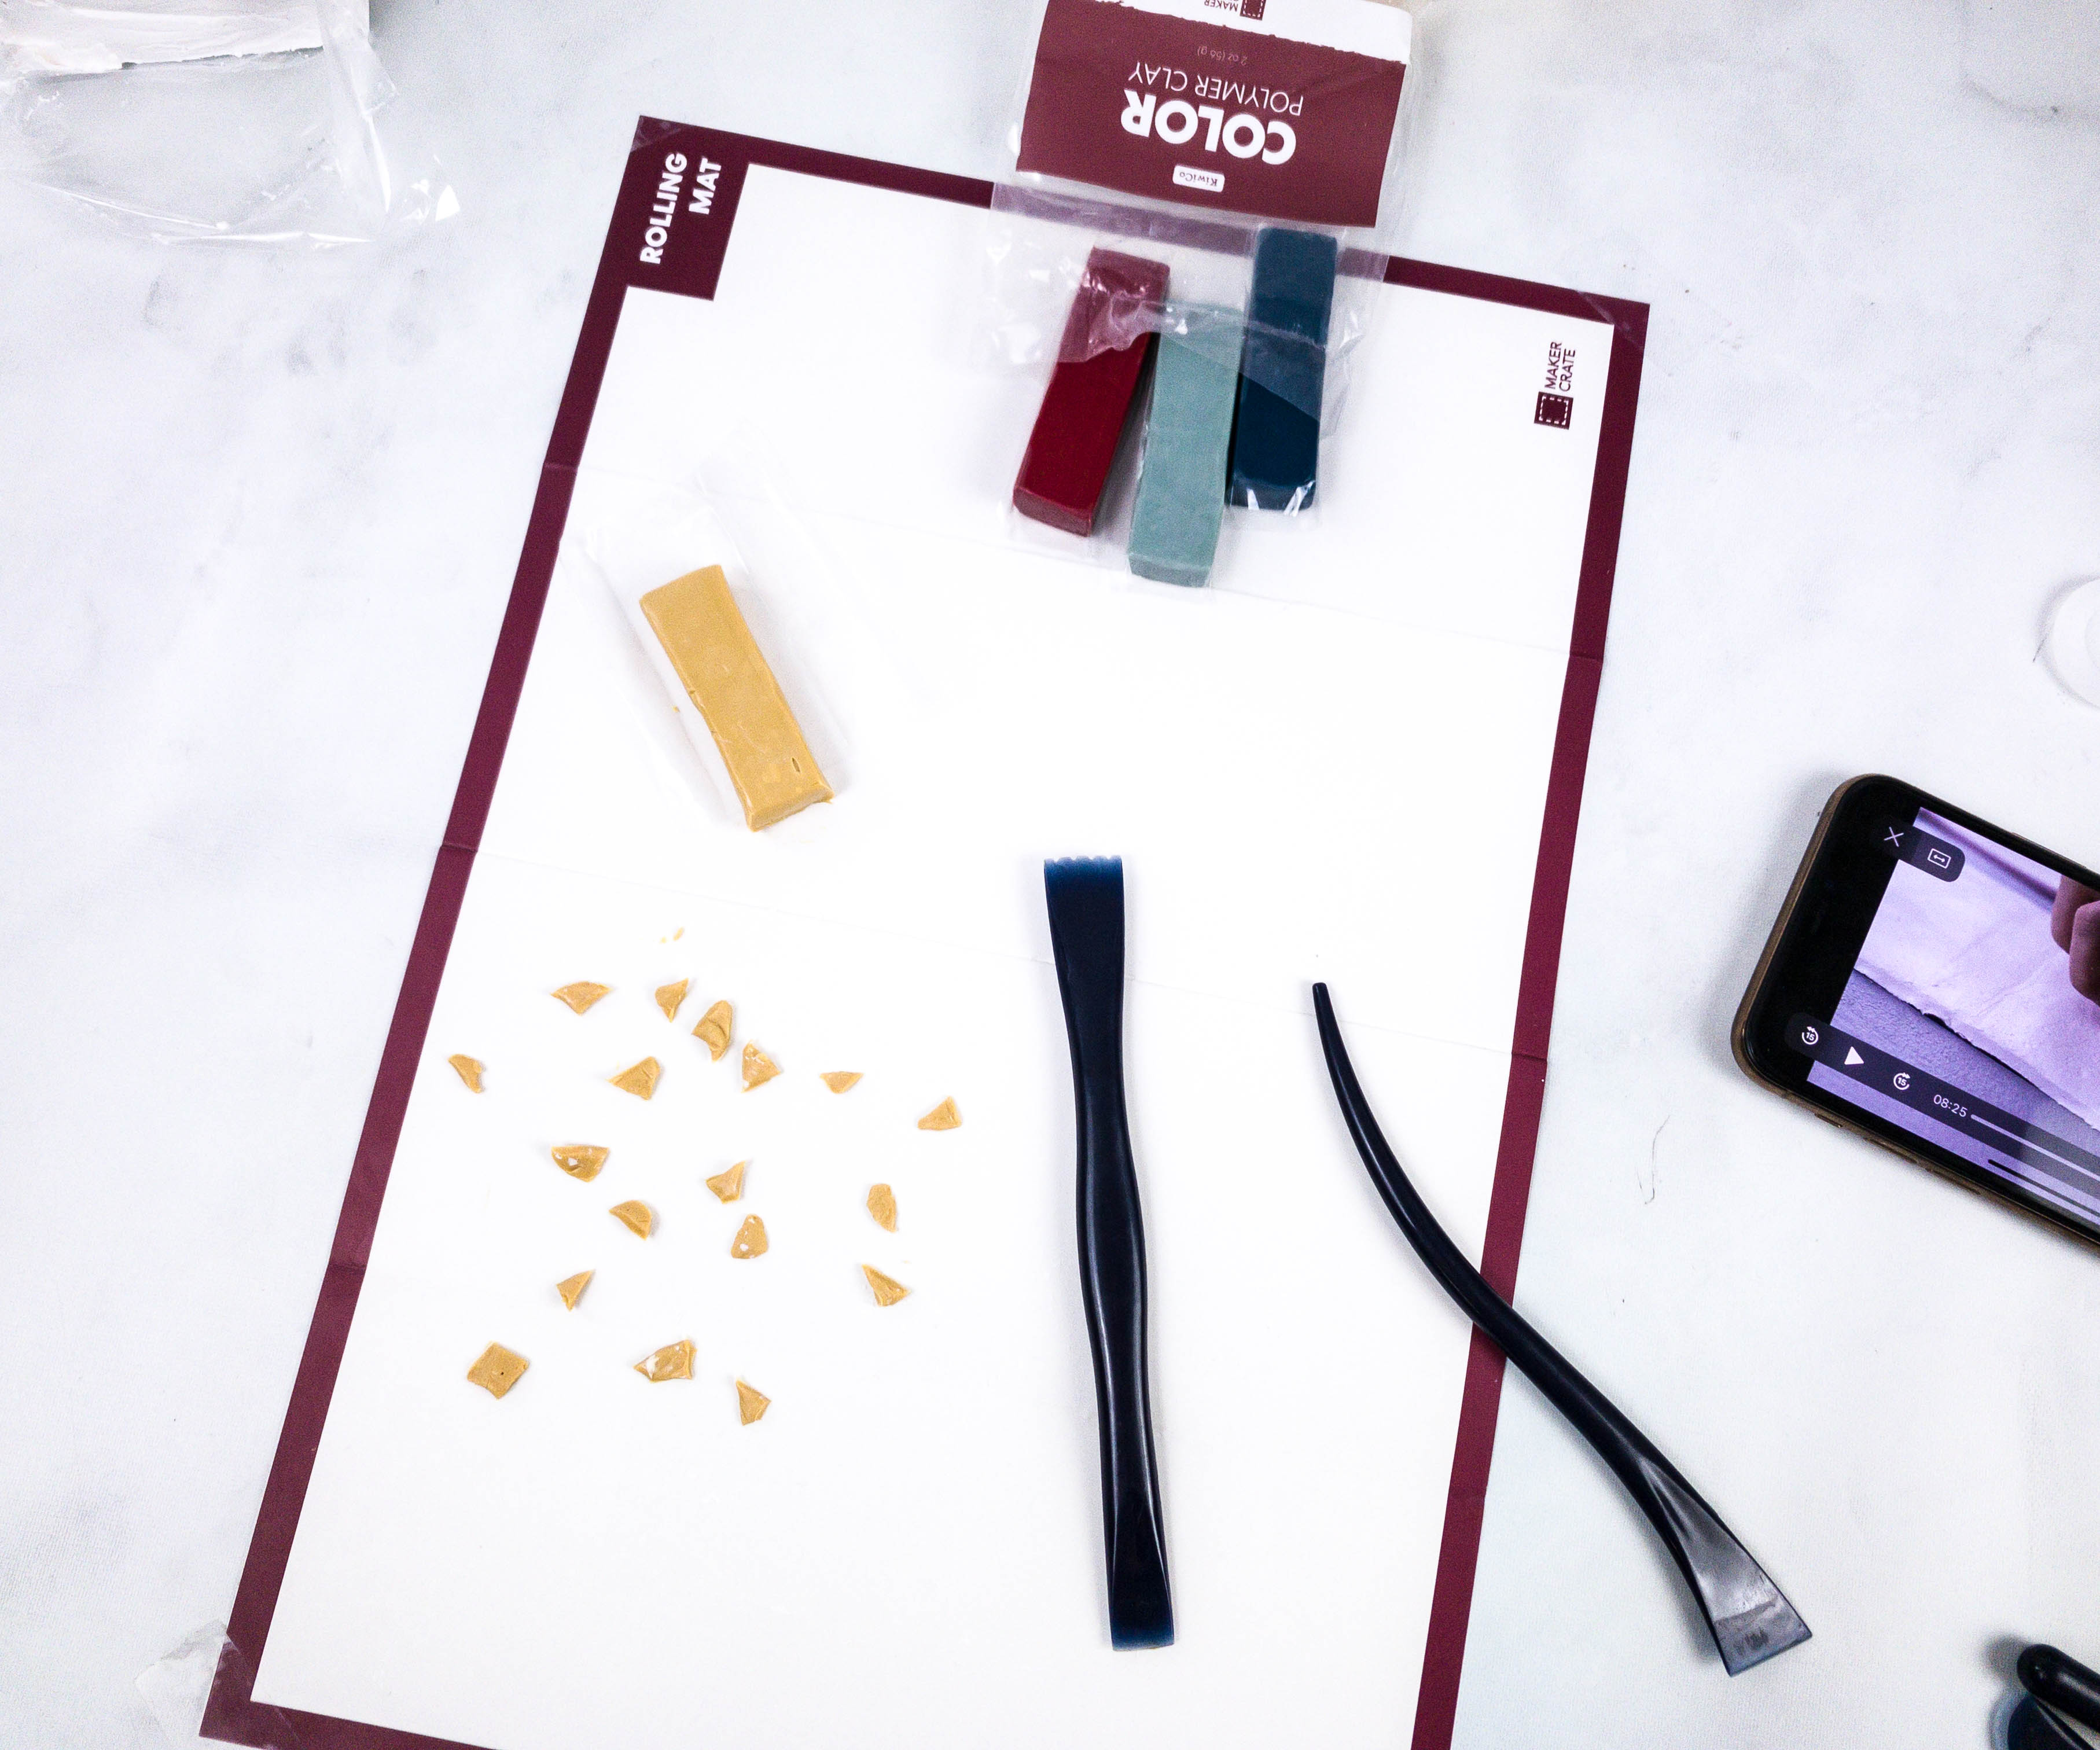
She picked up another cutting tool and used it to cut the pieces into halves, then repeated the same procedure for the other bars of clay.
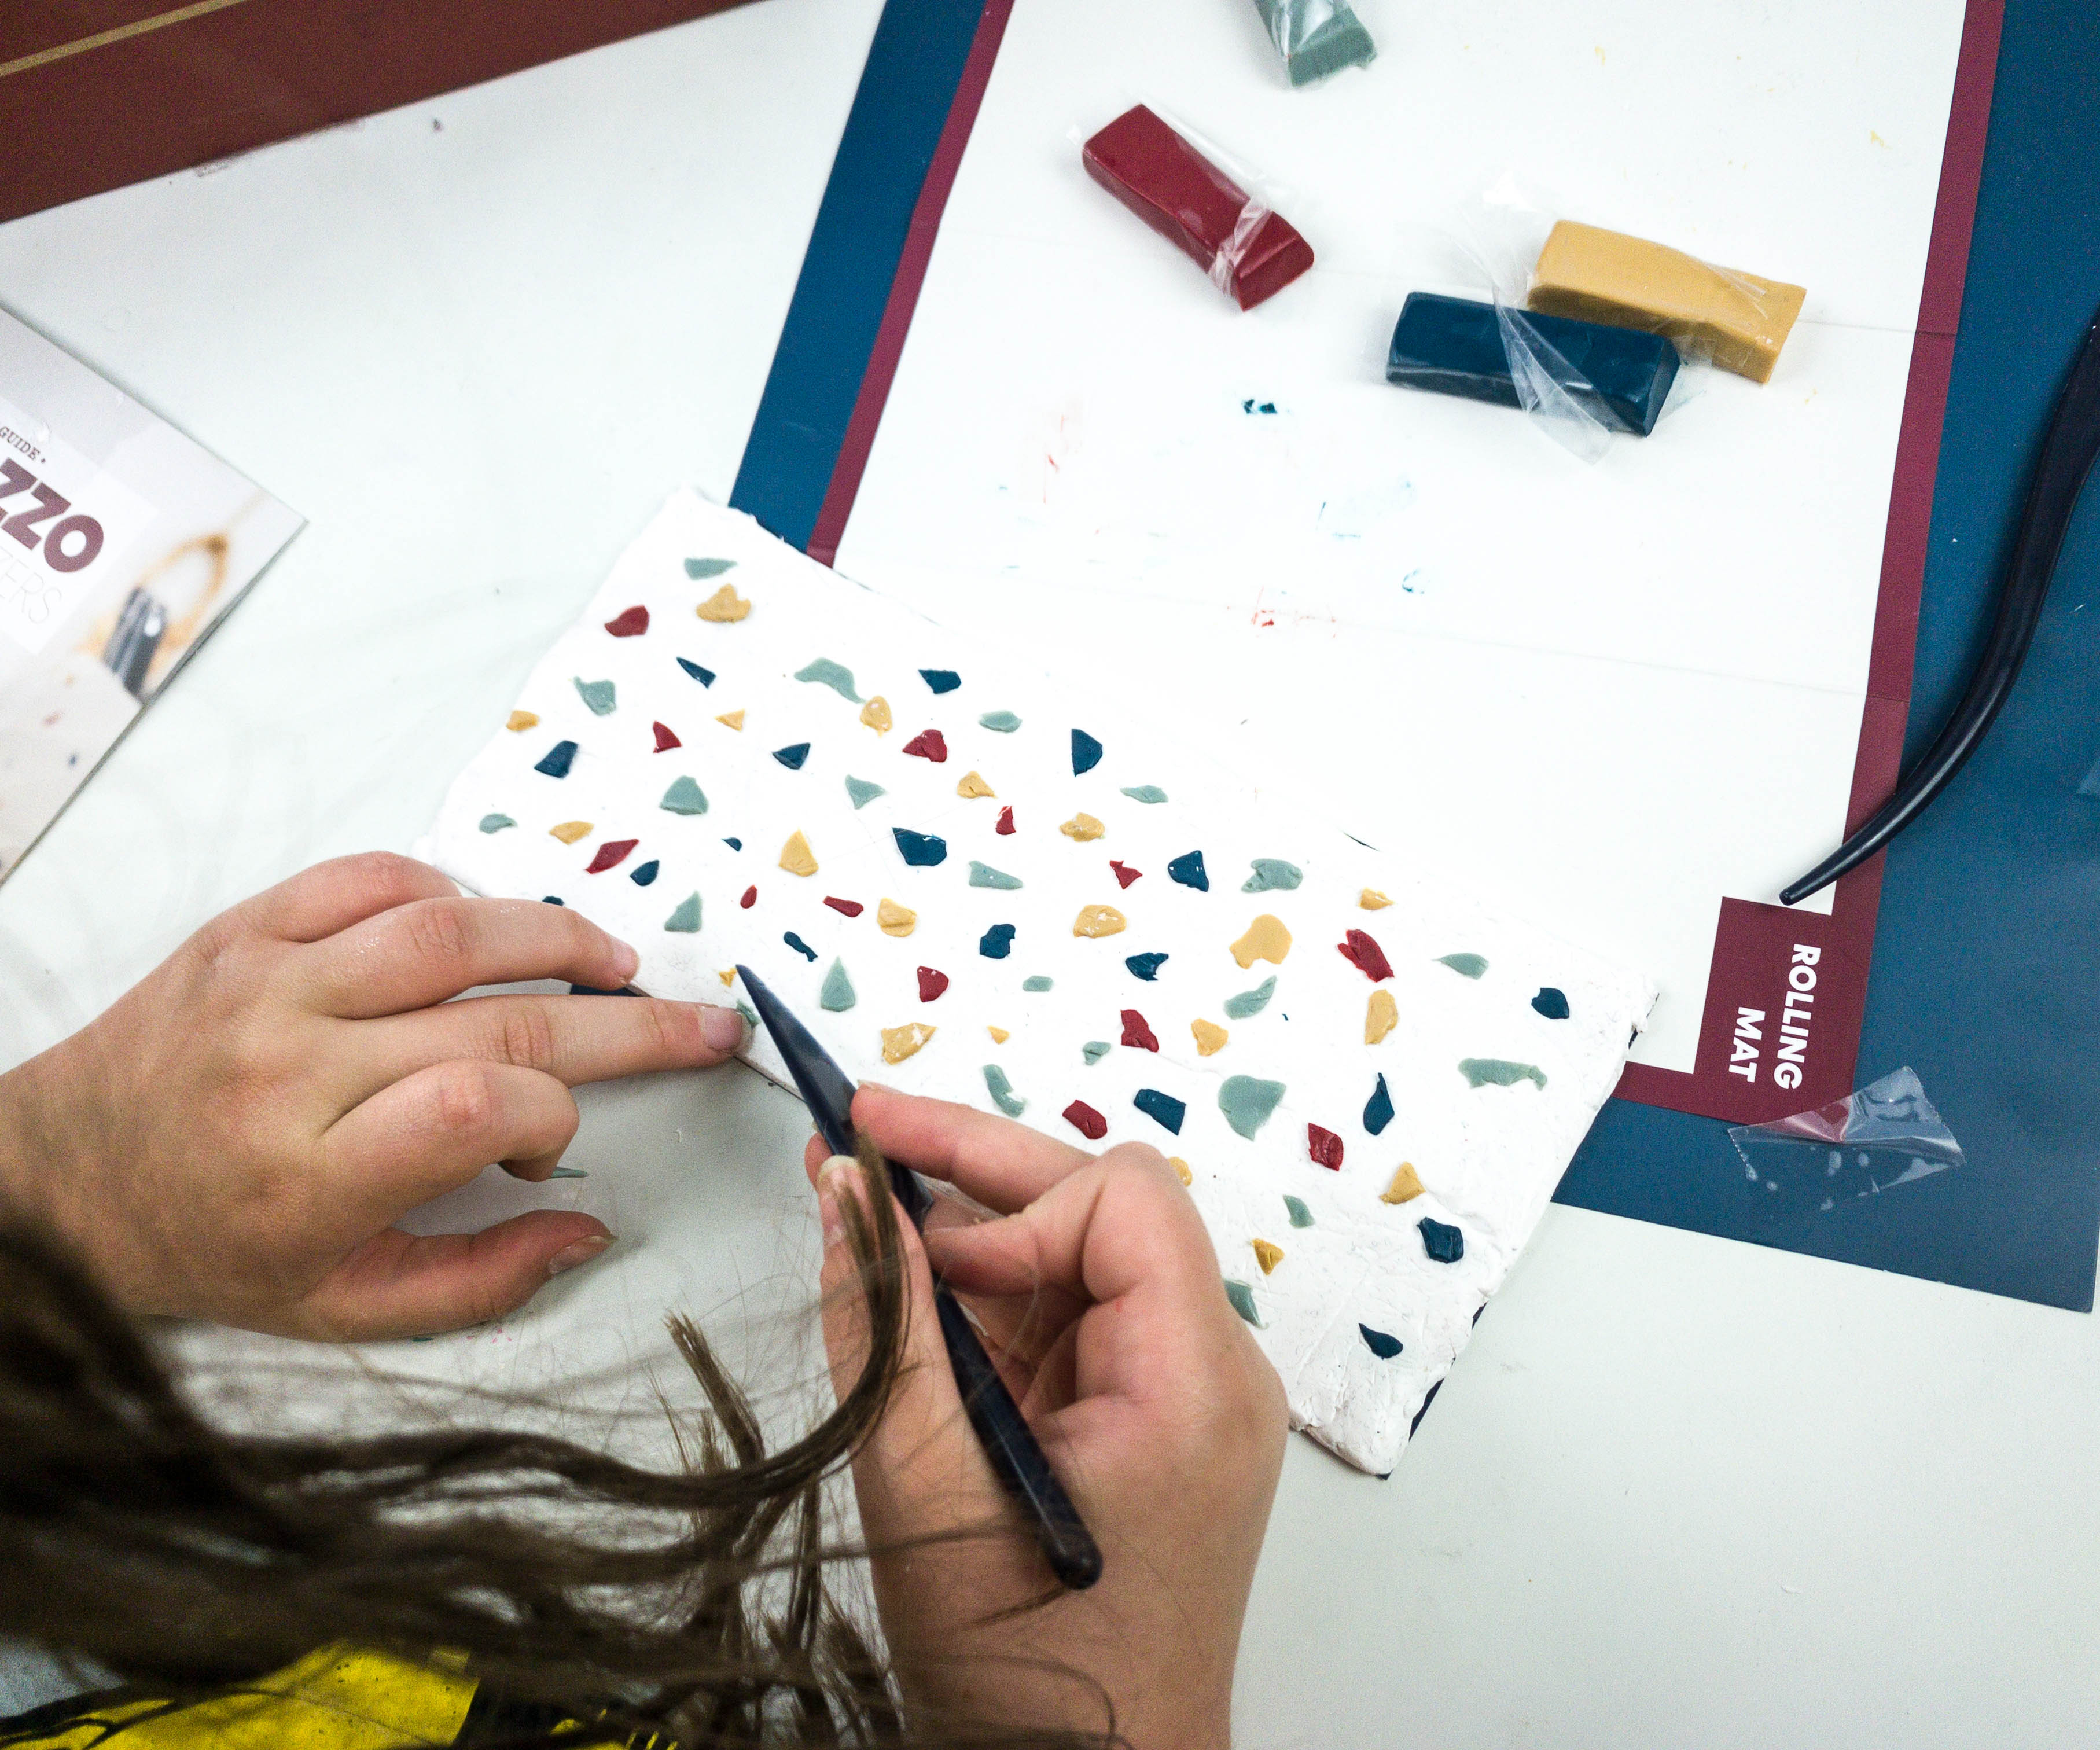
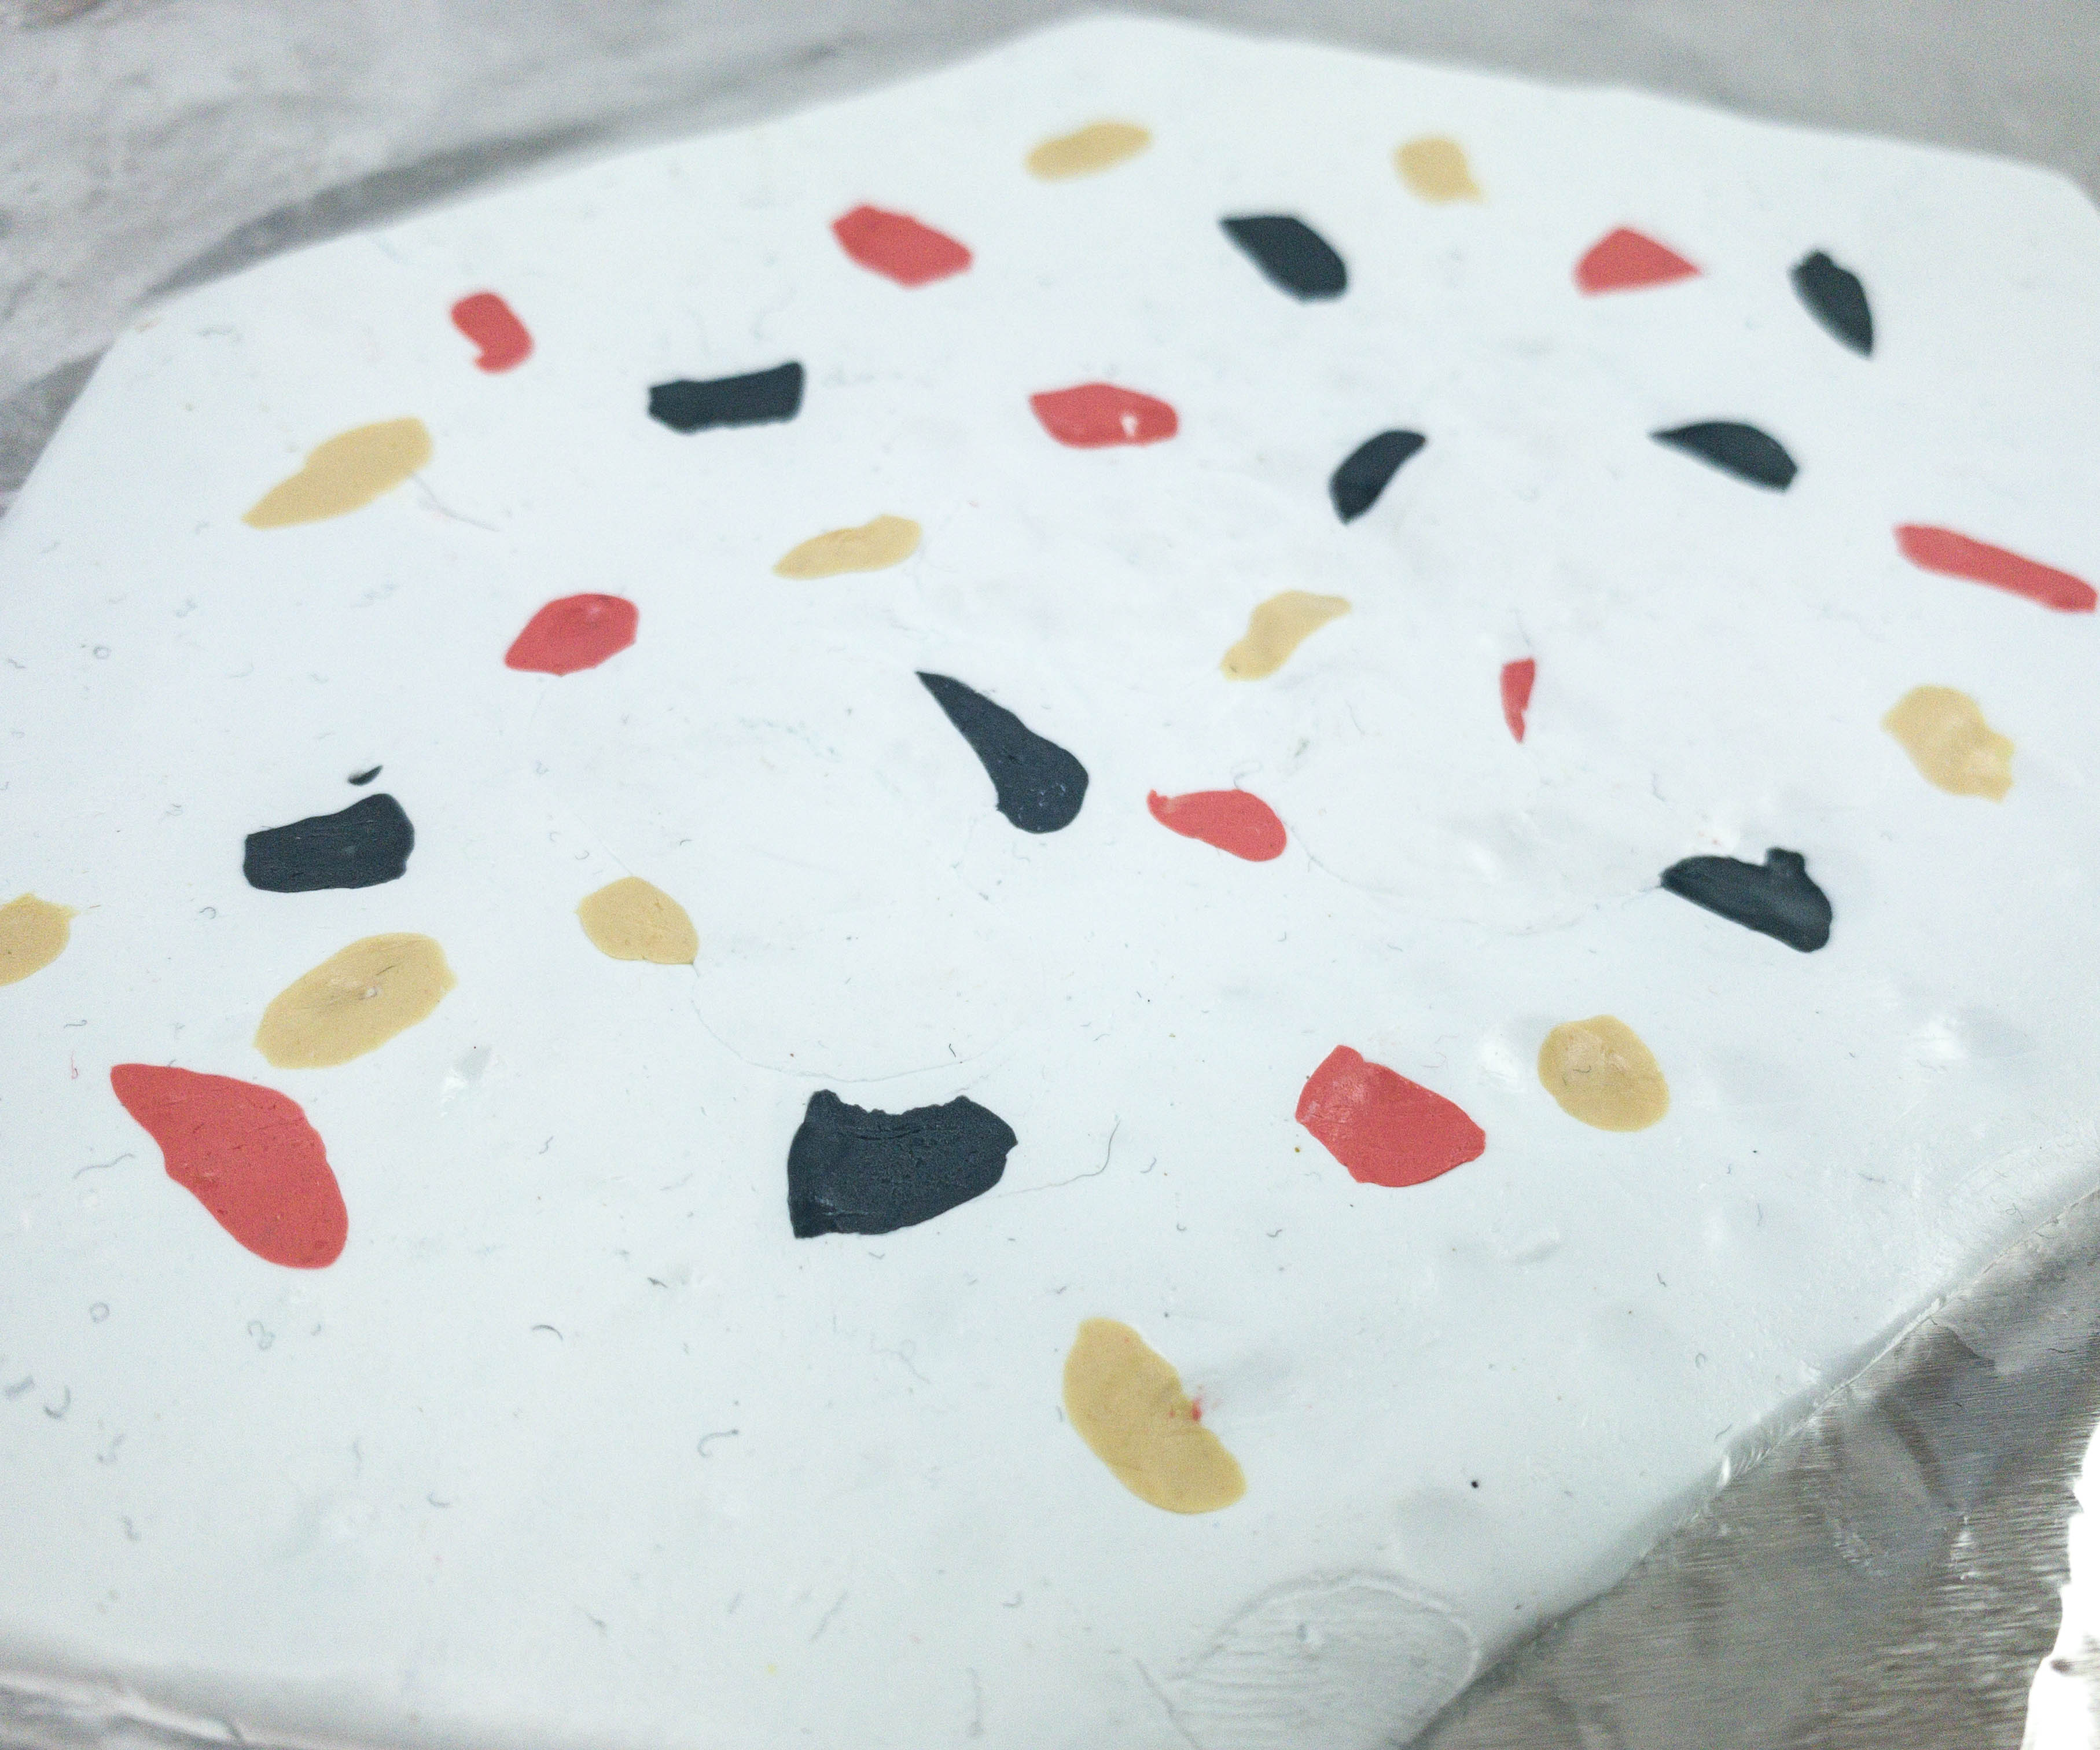
My daughter grabbed the sliced fragments of colored clay and put it on top of the white clay.
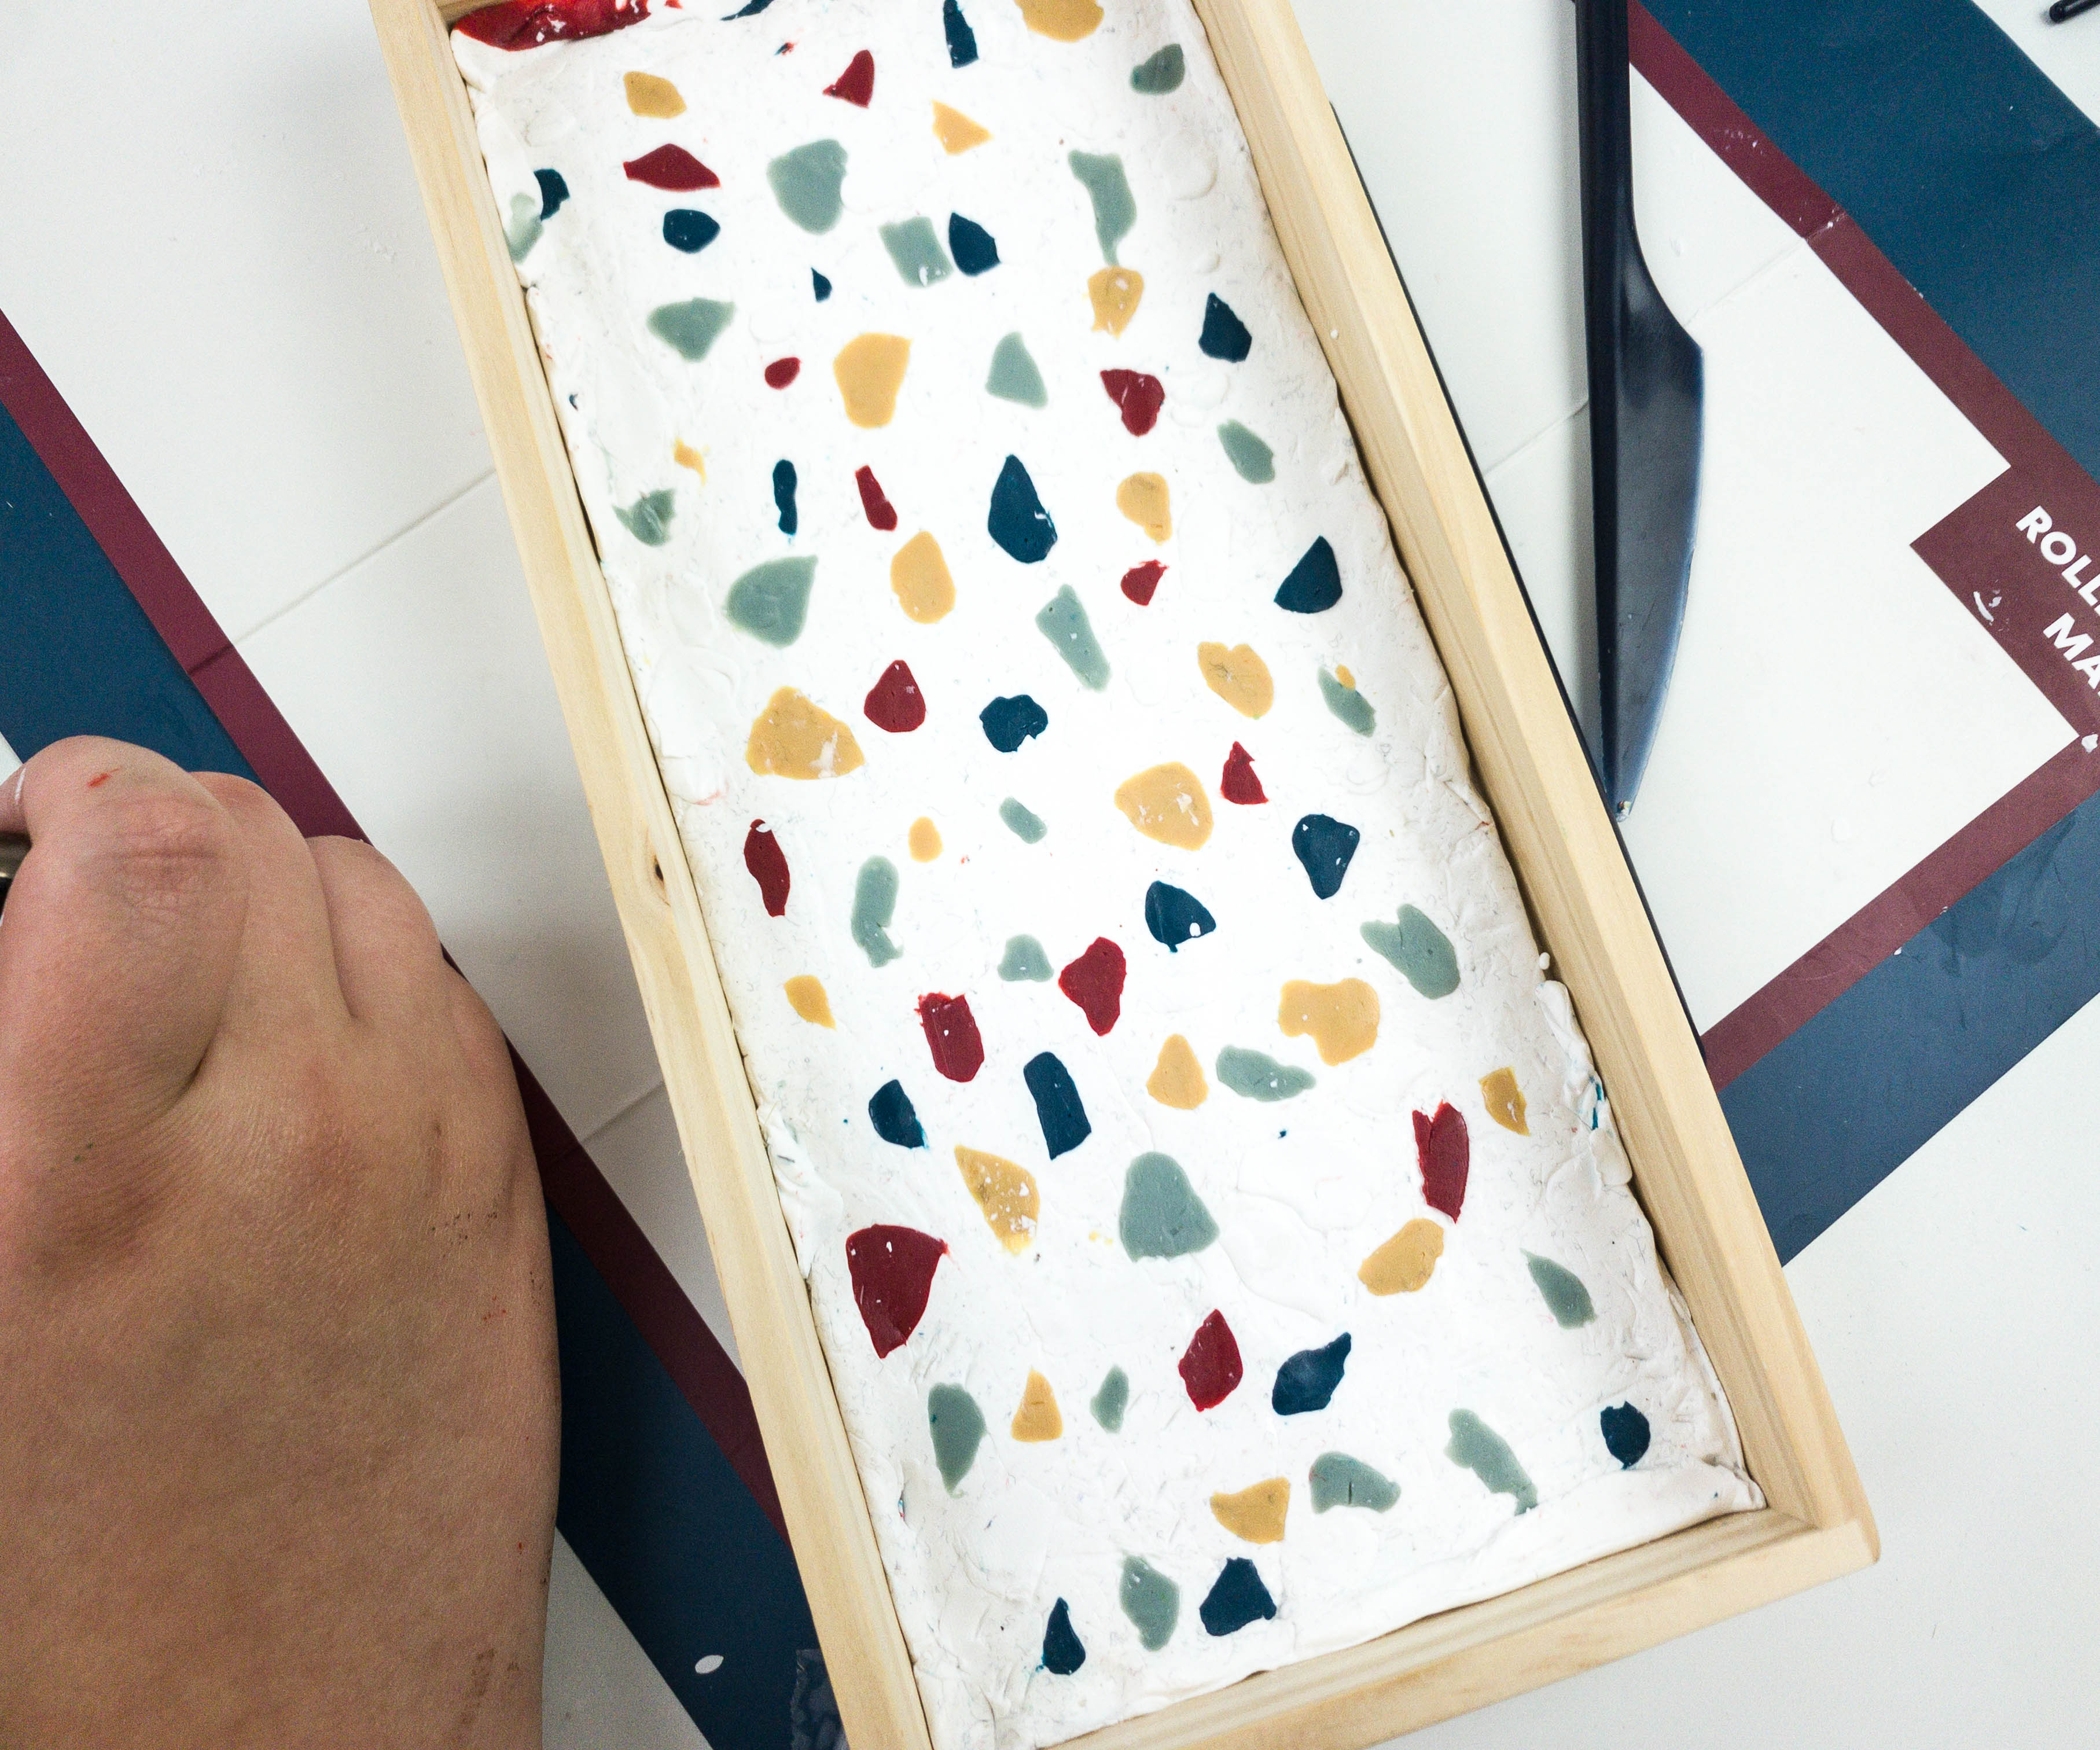
She placed the clay inside the wooden tray, and now we’ve made our own Terrazzo Tray!
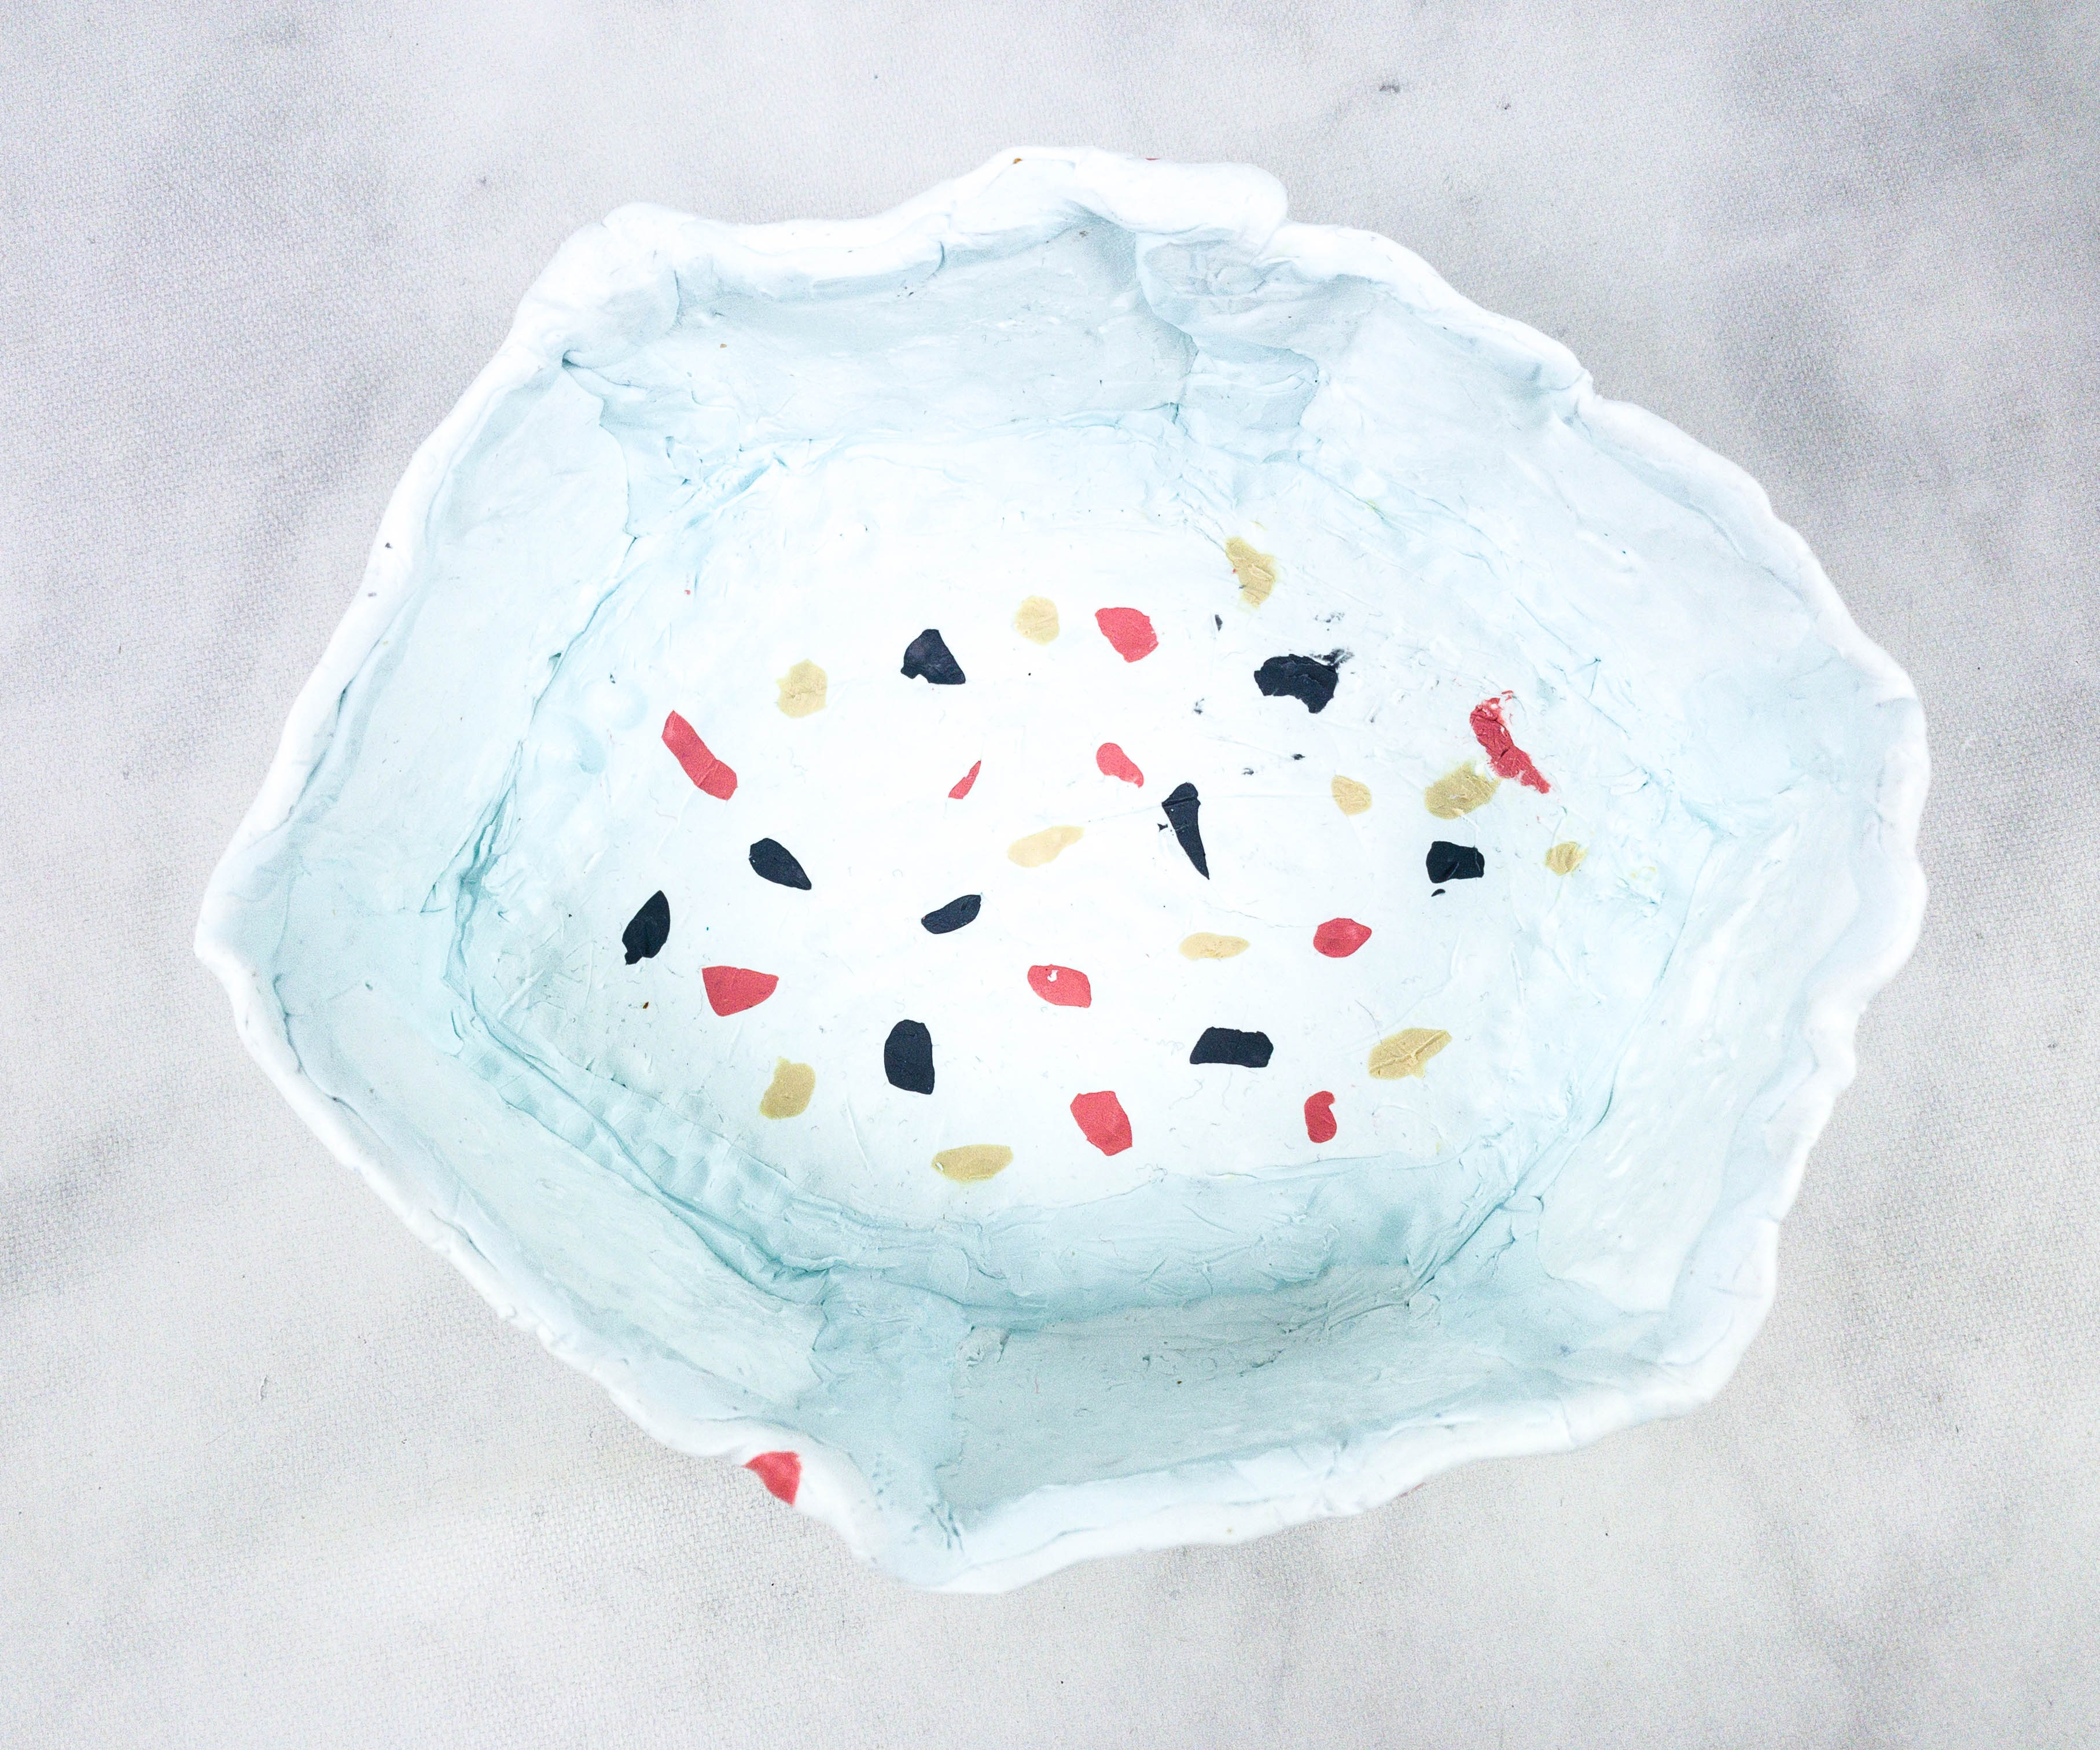
For the next project, my daughter made a terrazzo container!
My daughter started the project by taking out a large piece of white clay and flattening it again using the rolling pin.
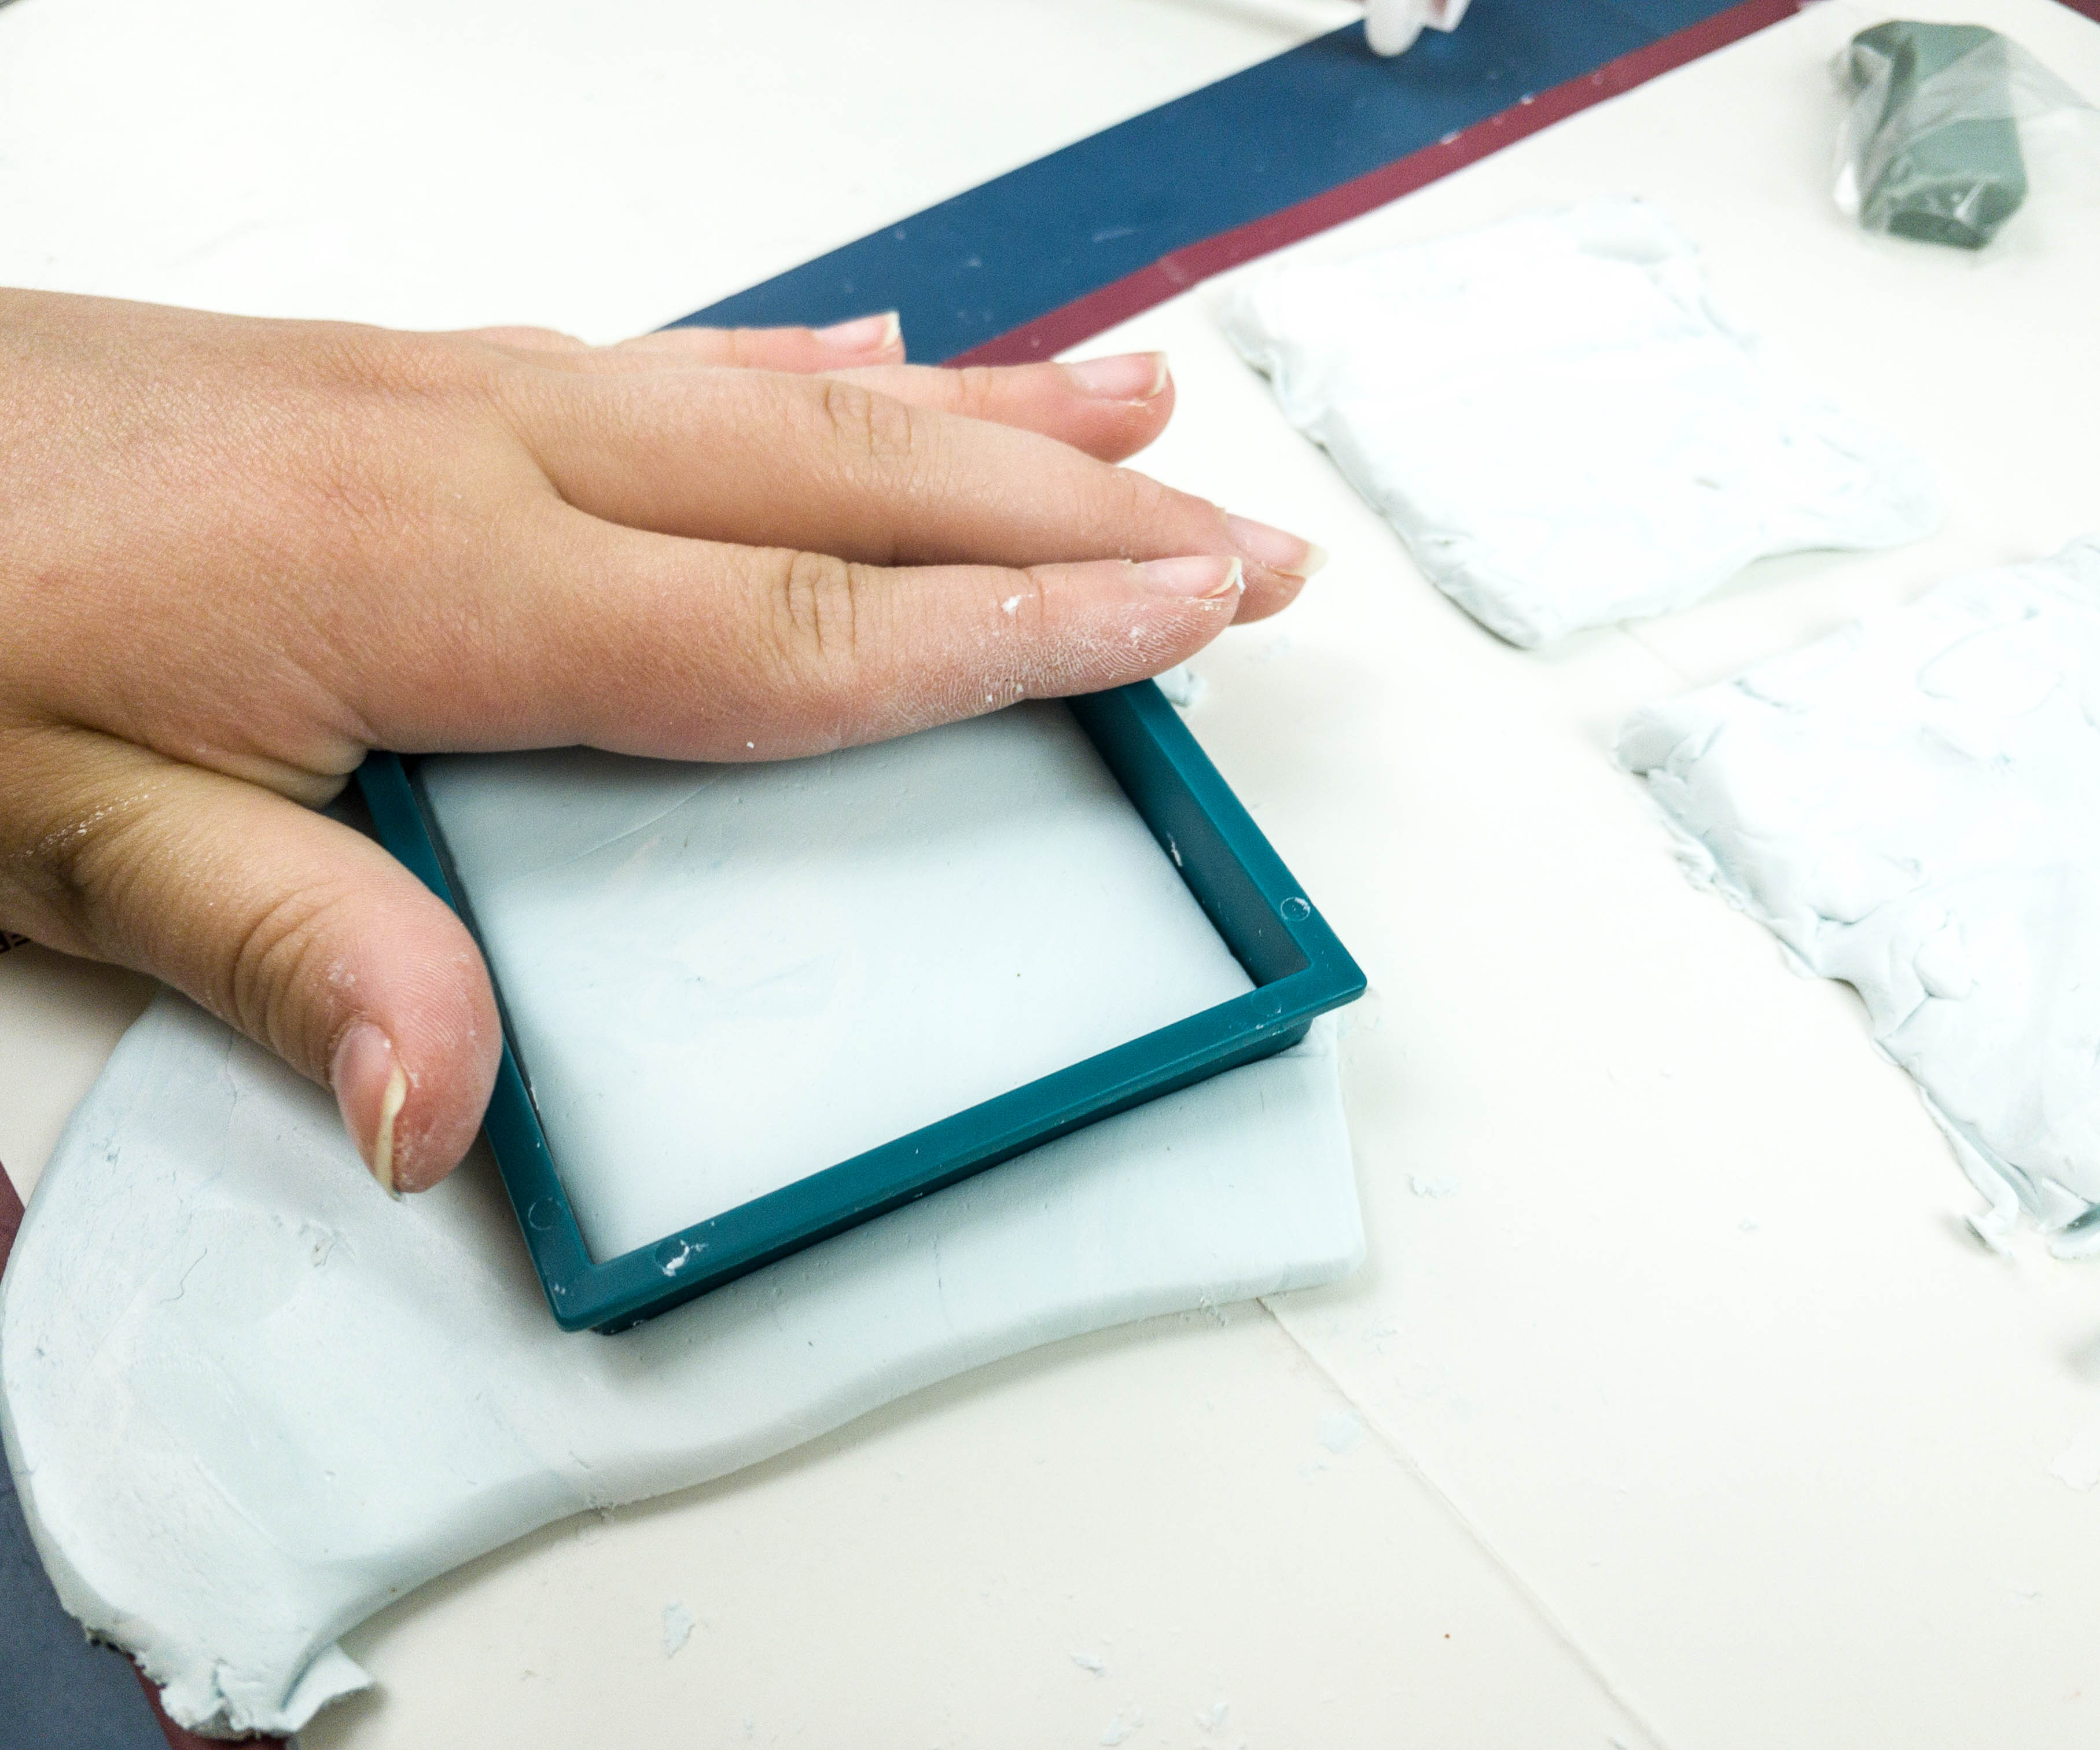
She put the clay cutter on top of the clay, pushed it through to create square and rectangular clay pieces.
She repeated the same procedure until she came up with enough number of squares and rectangles she needed for the containers!
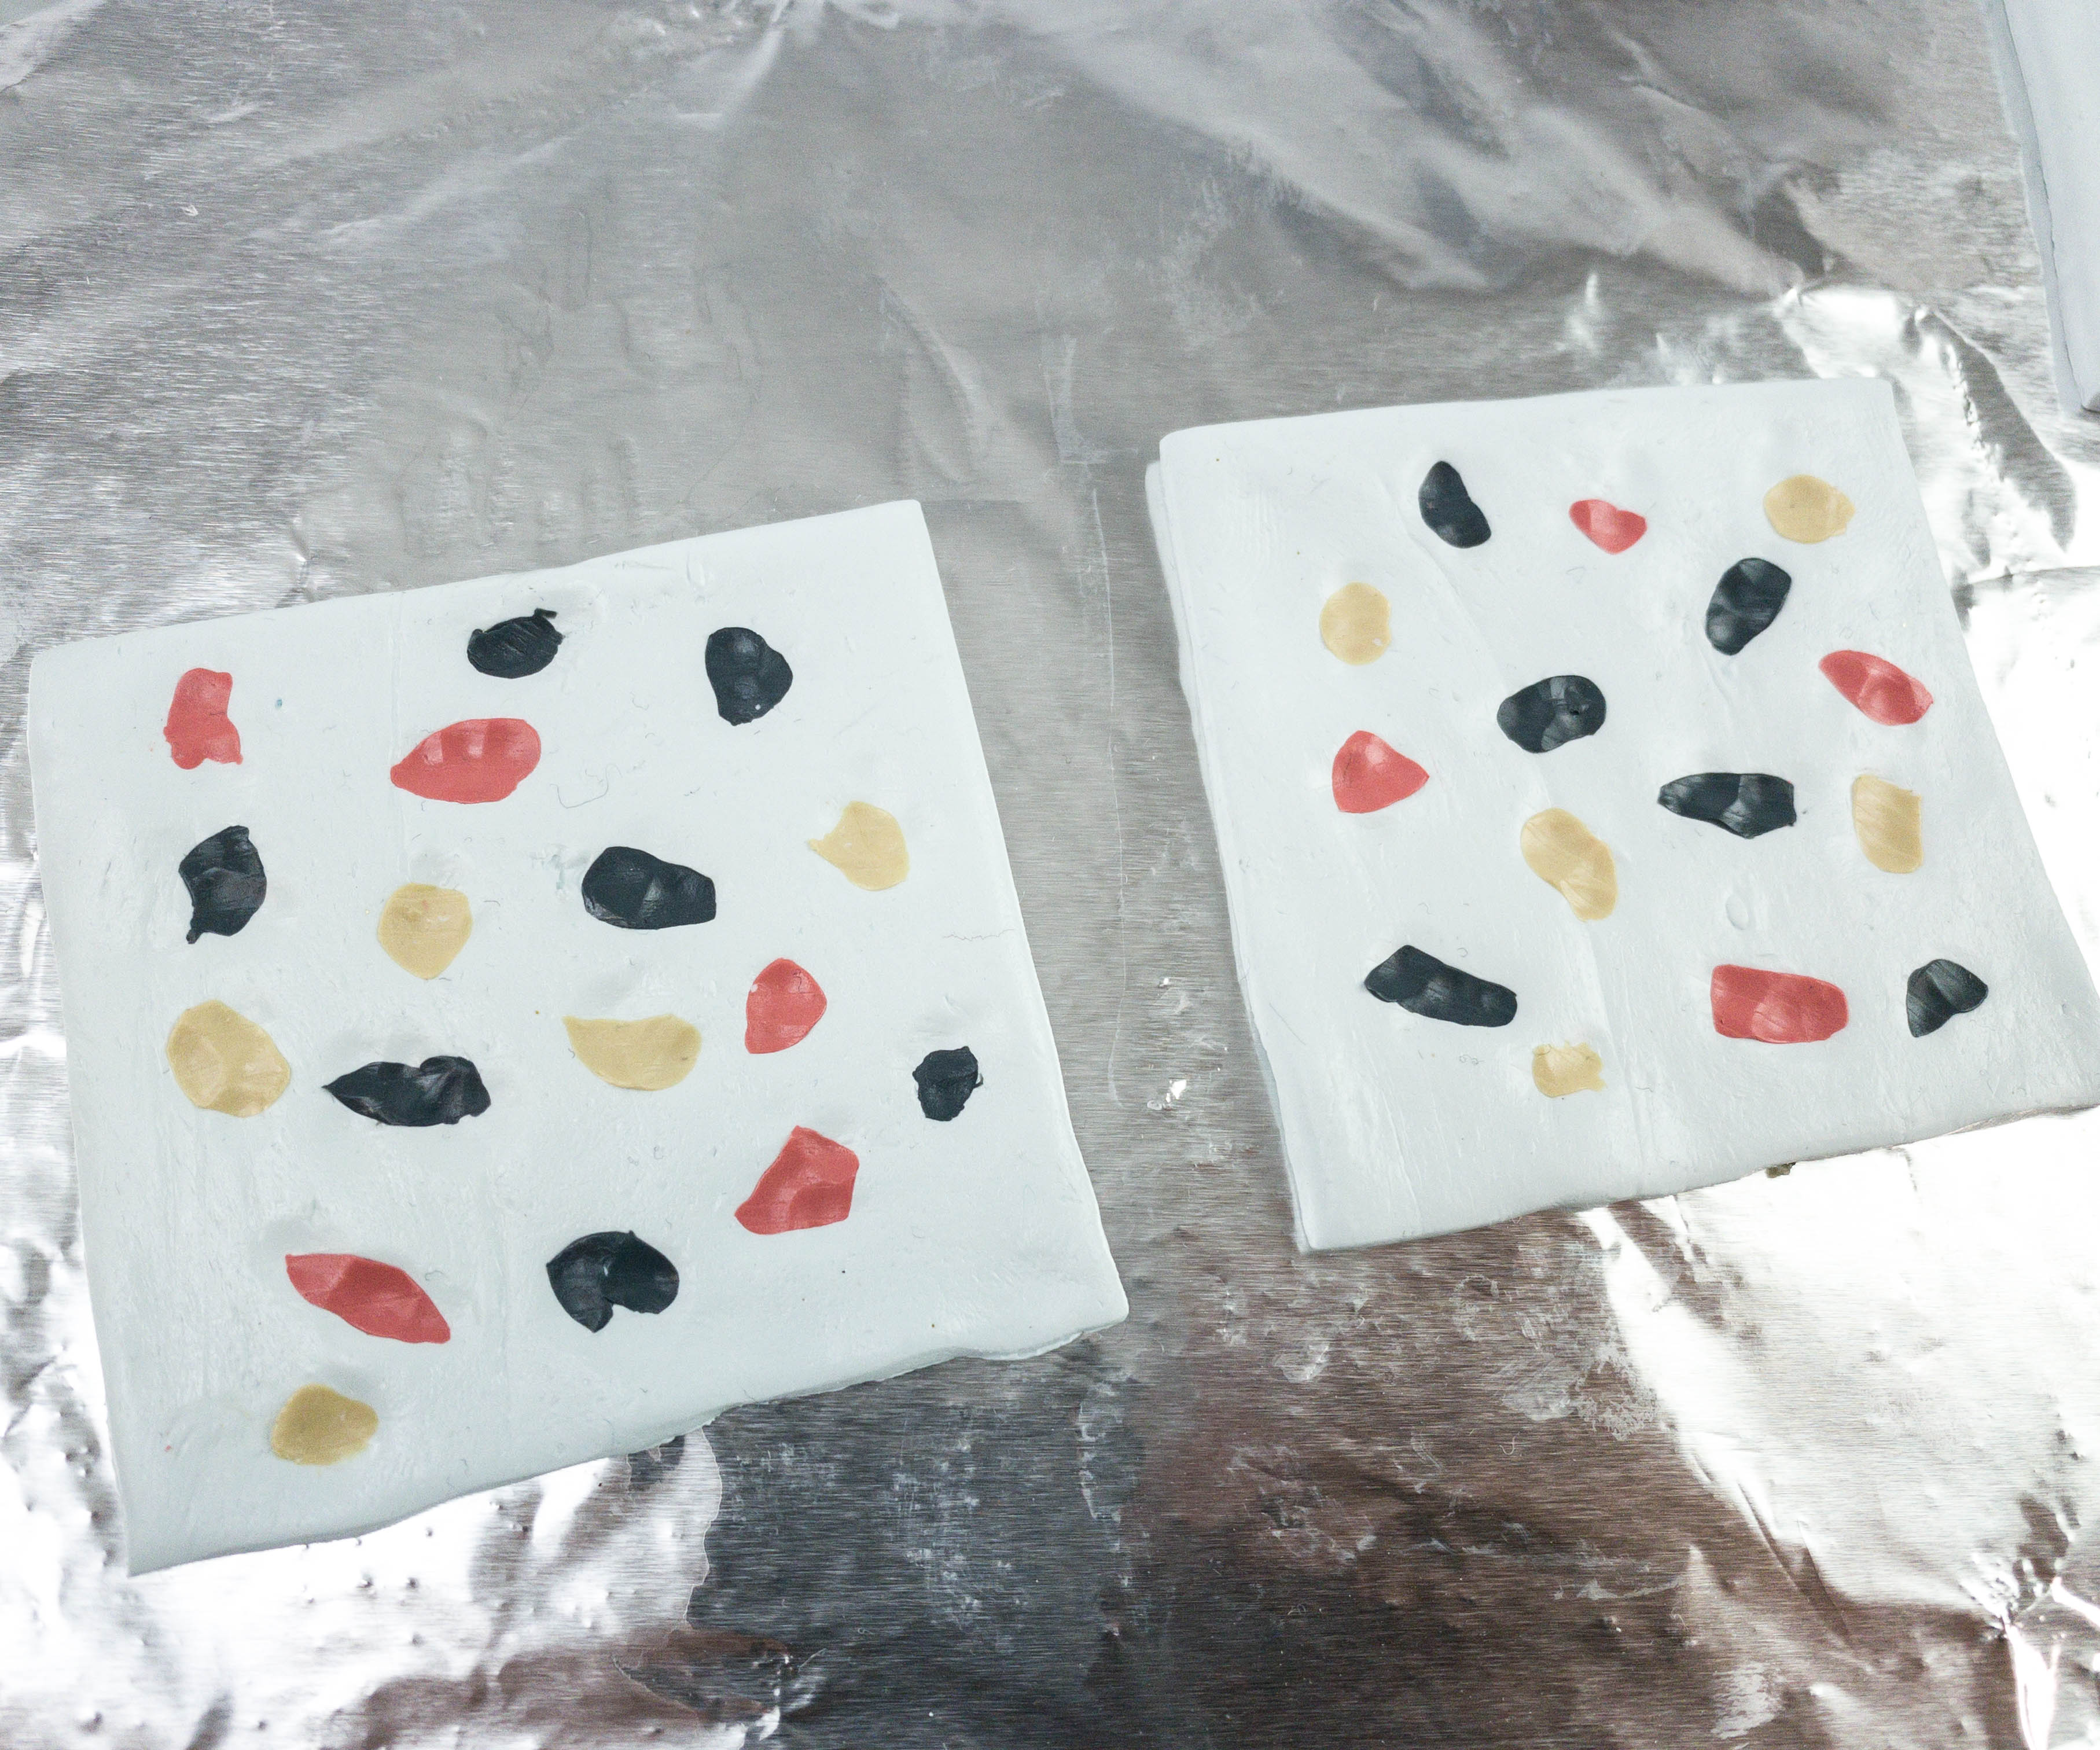
Like on the first project, she gathered all the colored clay bars and cut them into small pieces.
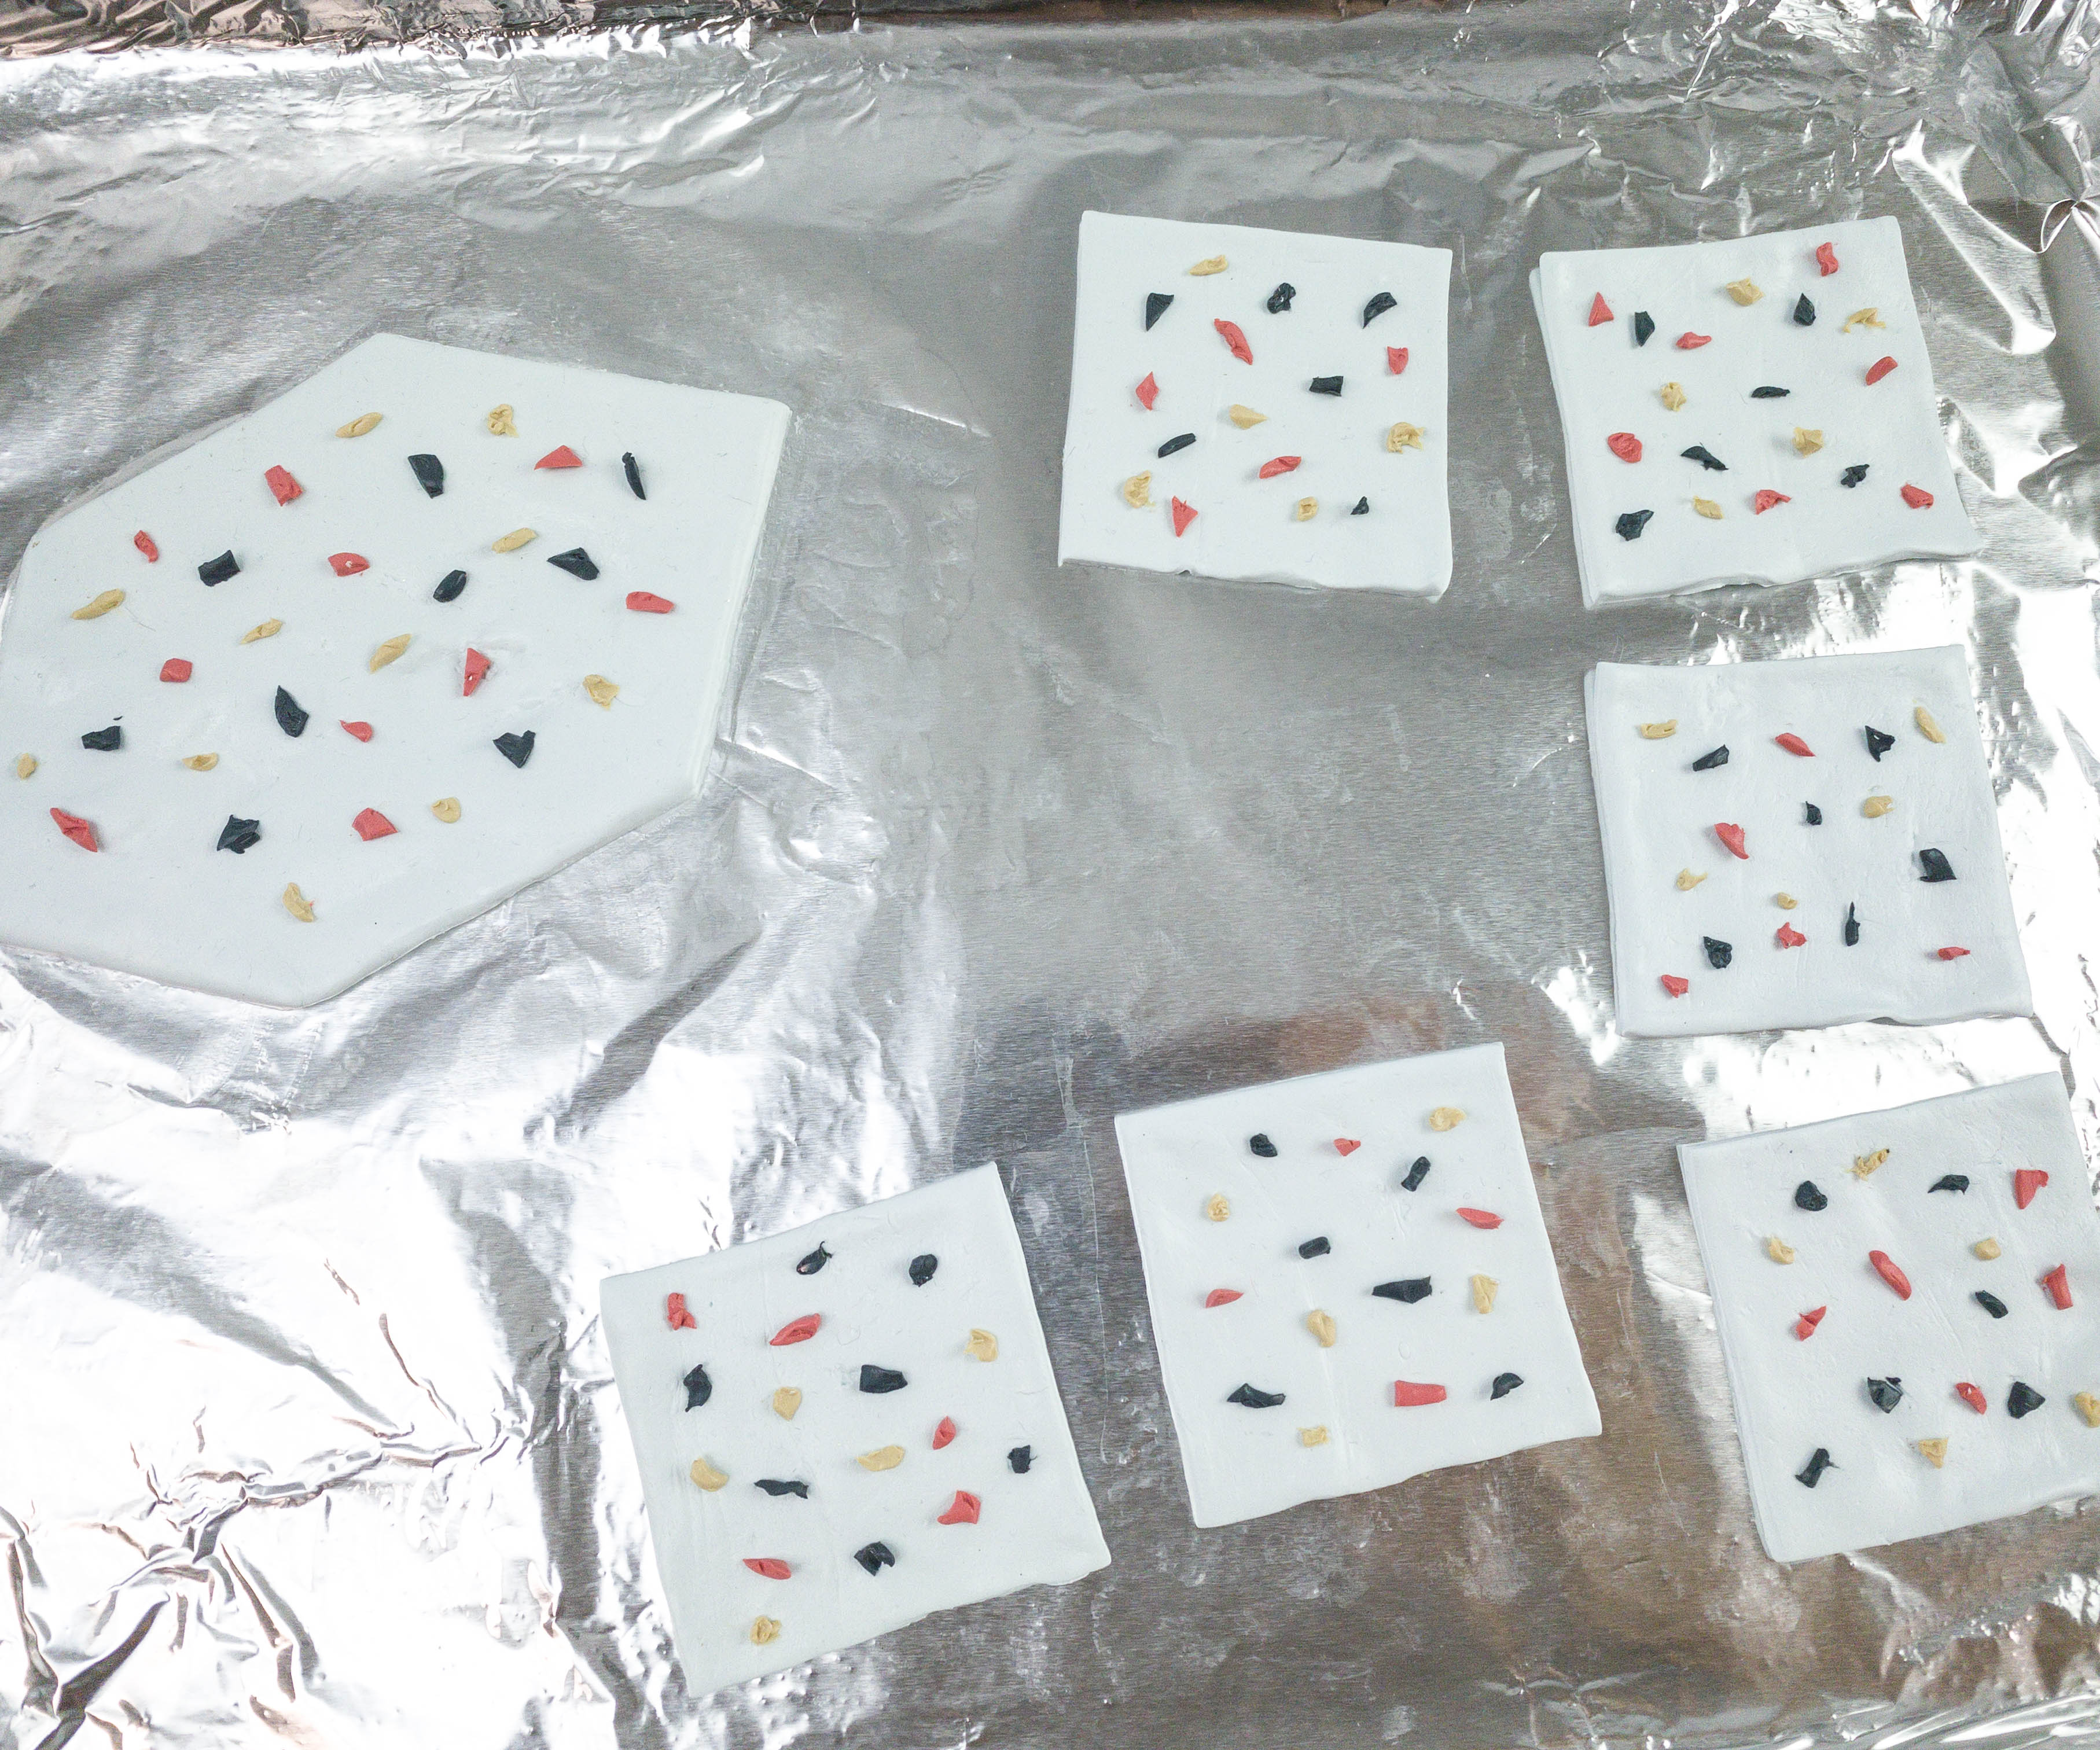
The next step is to transfer the cut clays on the baking sheet and stick the colored clays on top of each block and arrange them in a random pattern.
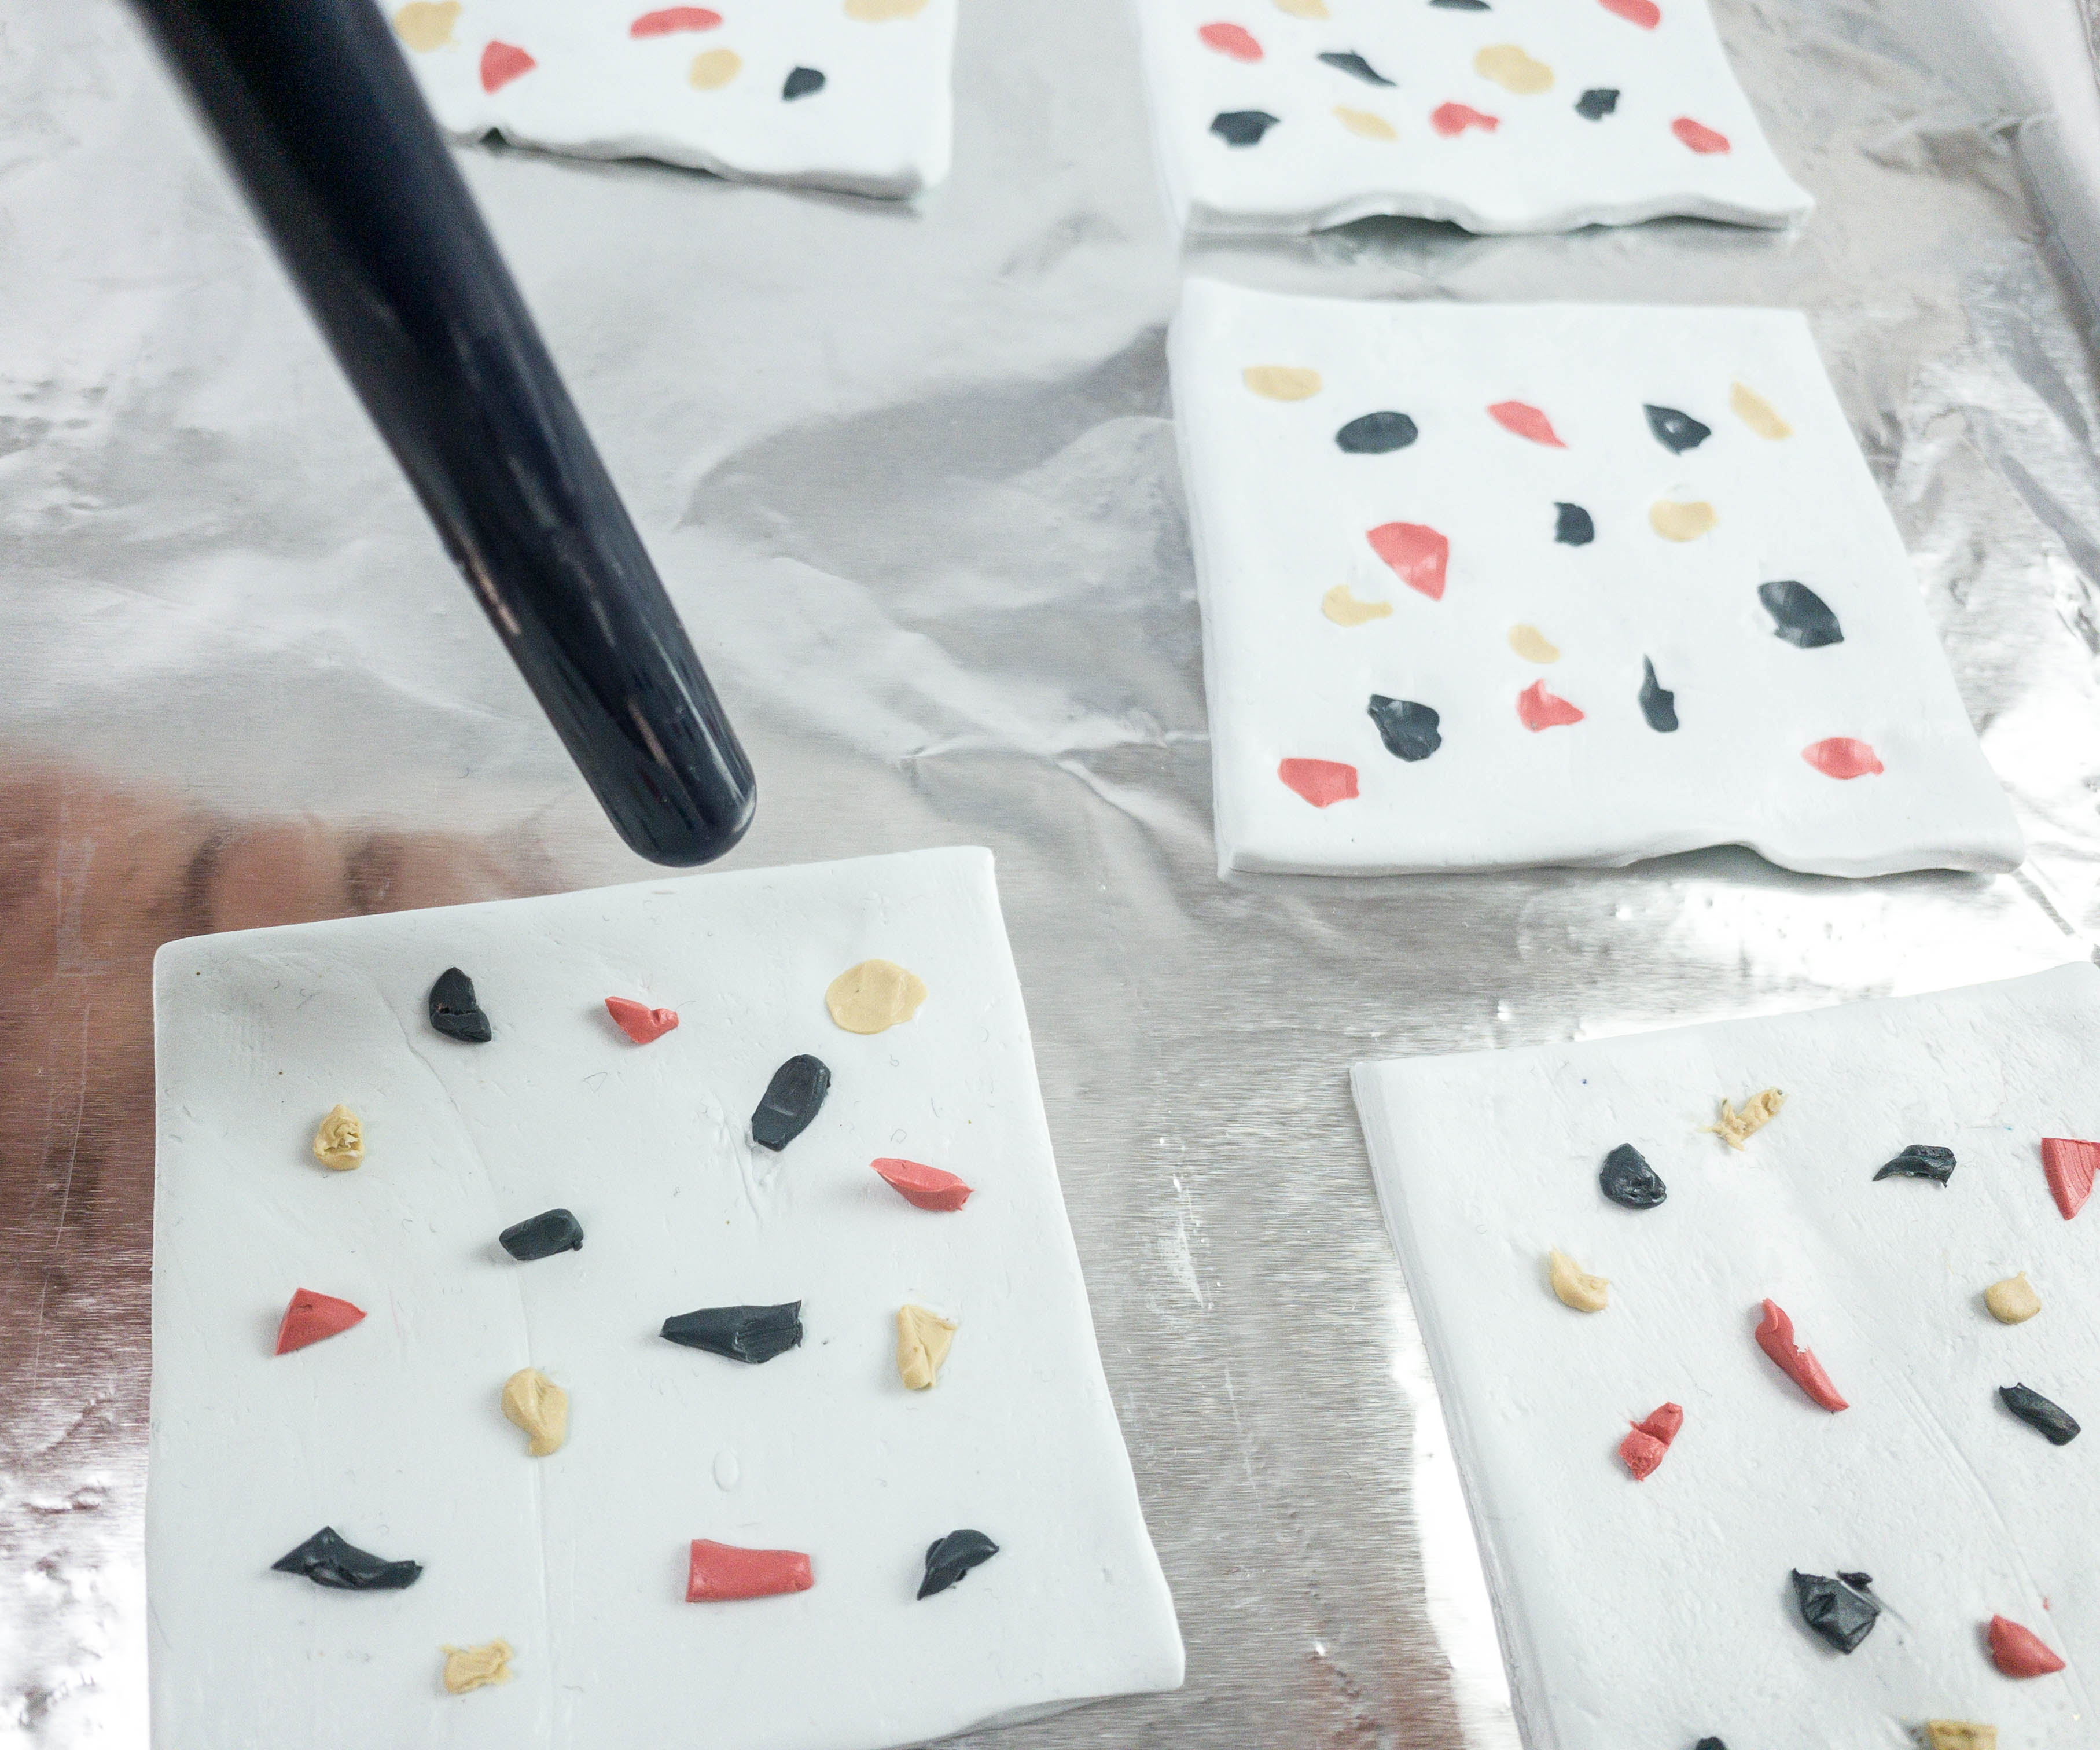
Once done designing the mortar, flatten the colored clays on top of it using the rolling pin.
The colored clays should be leveled or layered with the mortar.
Before proceeding to the next step, my daughter placed these clays on the fridge for a few hours to harden it.
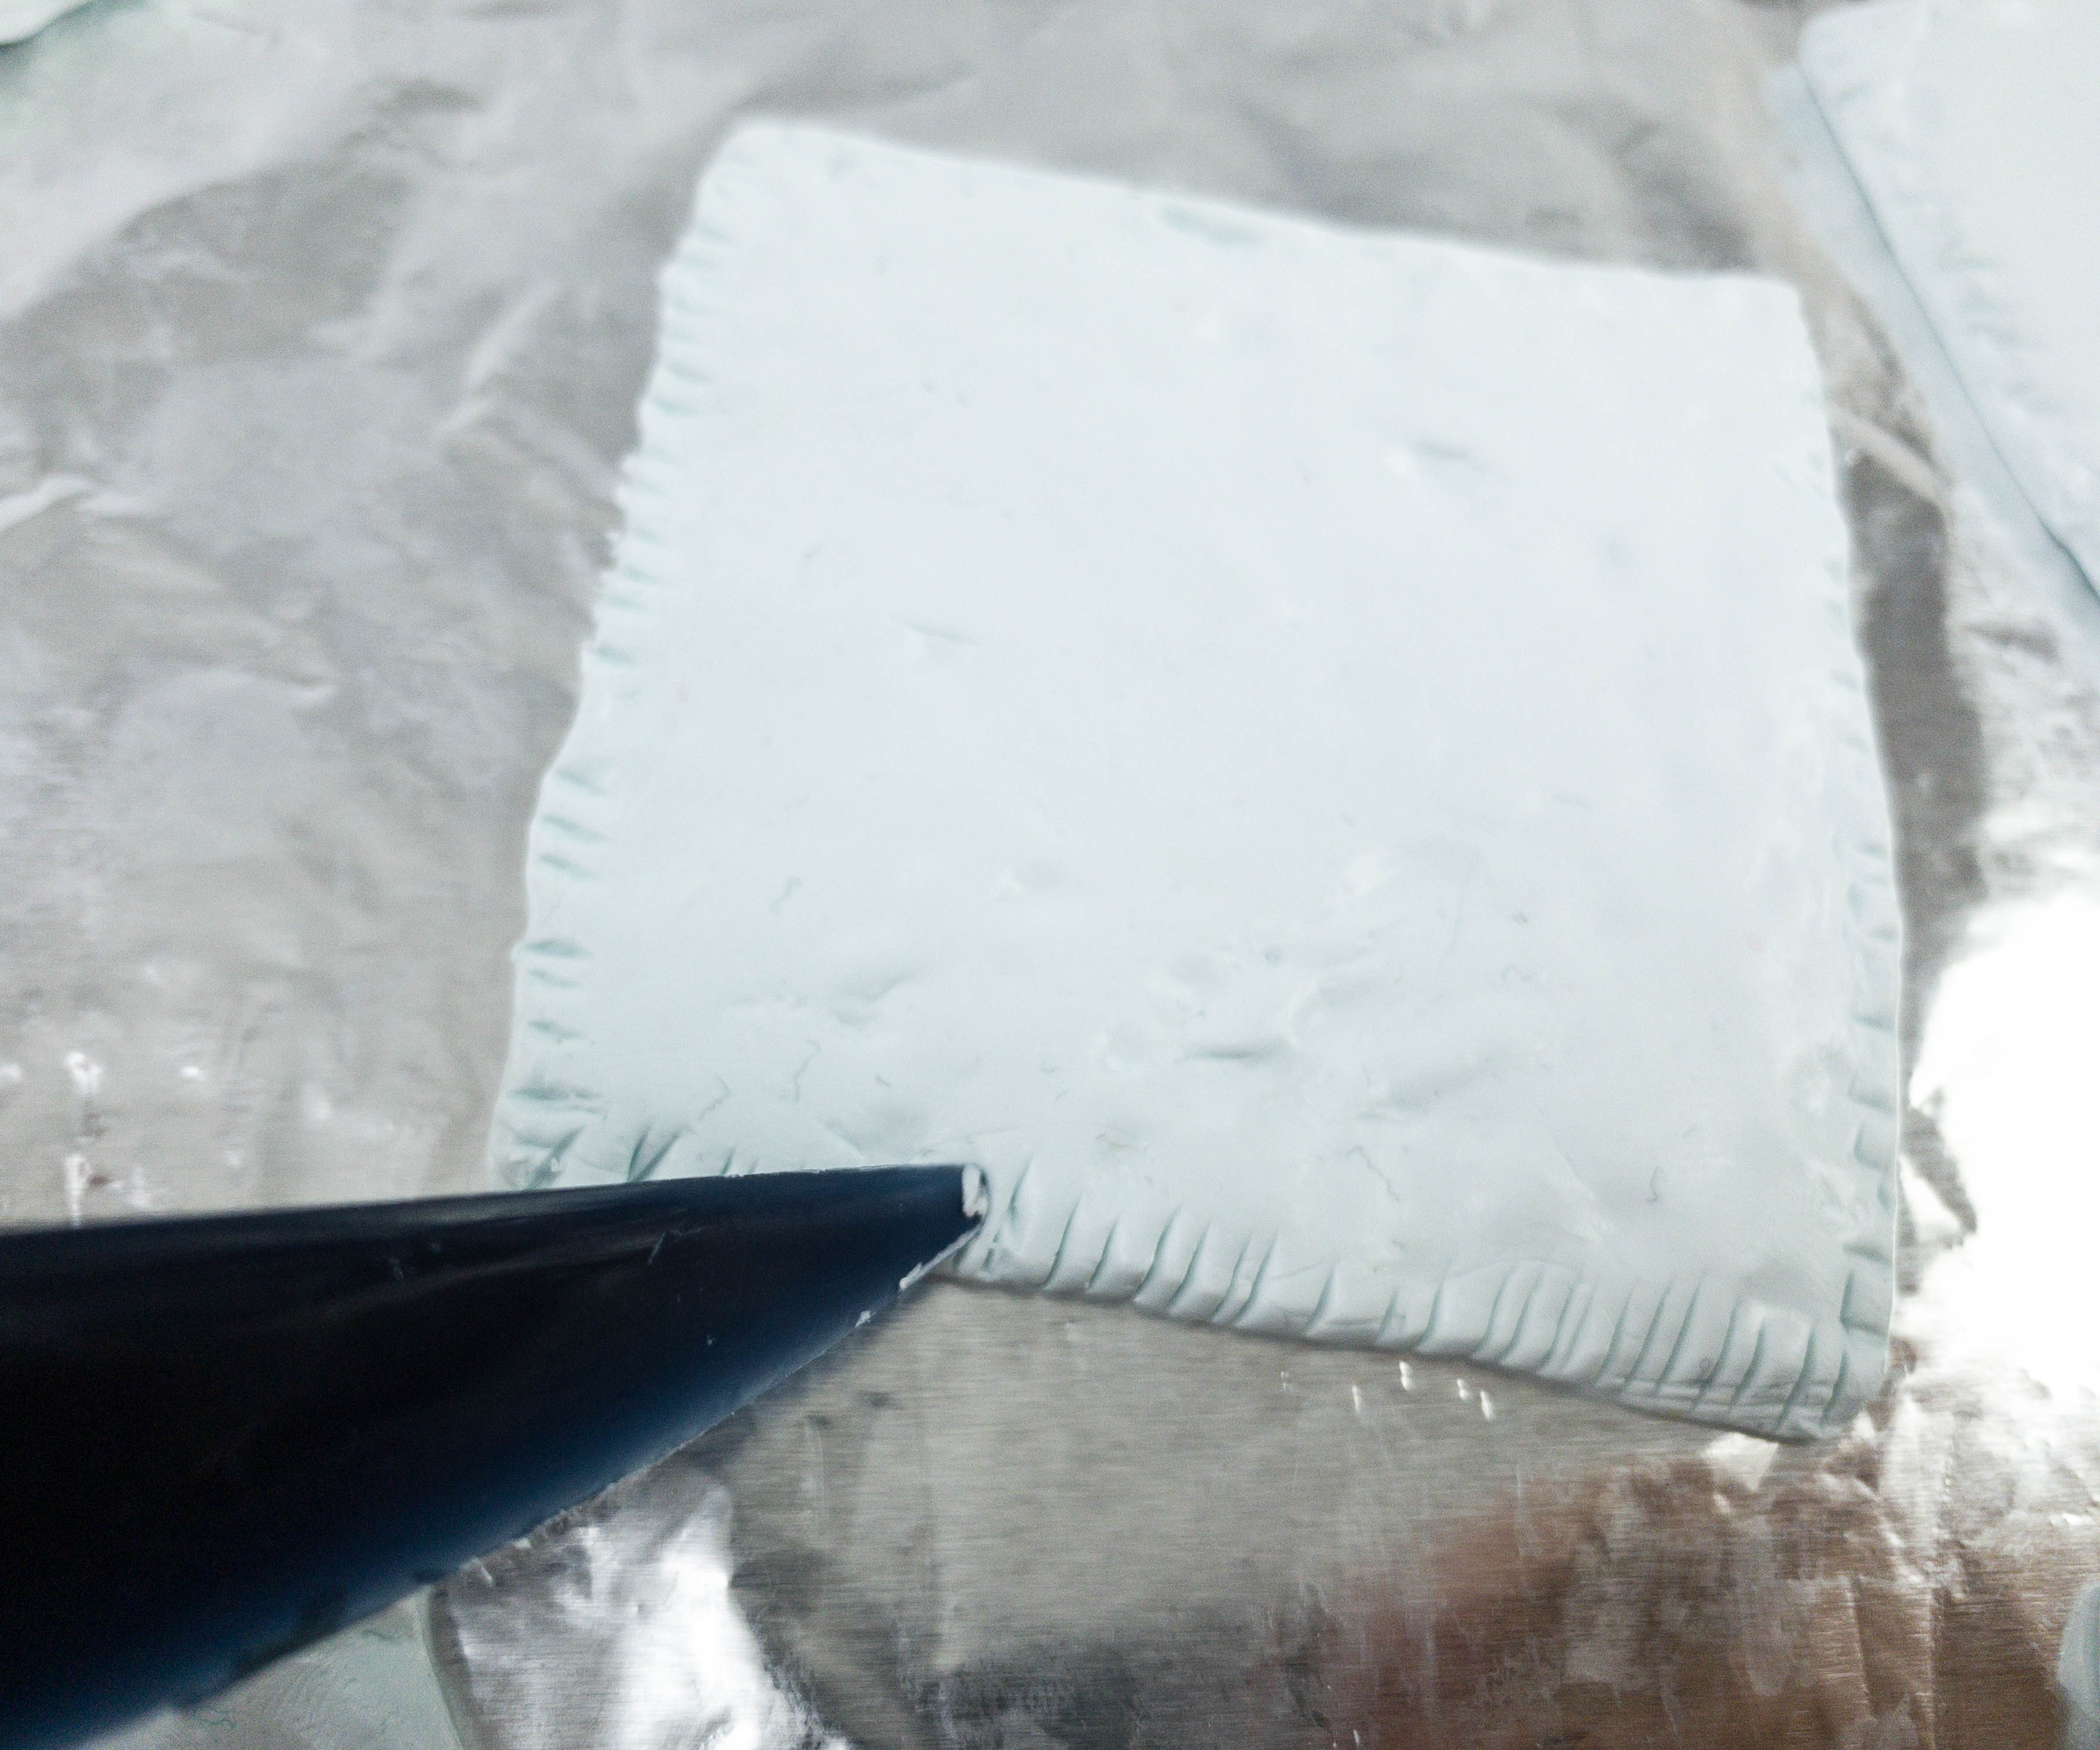
Once done, she flipped each block and put hashes on its edges. This technique helps each mortar to stick better.
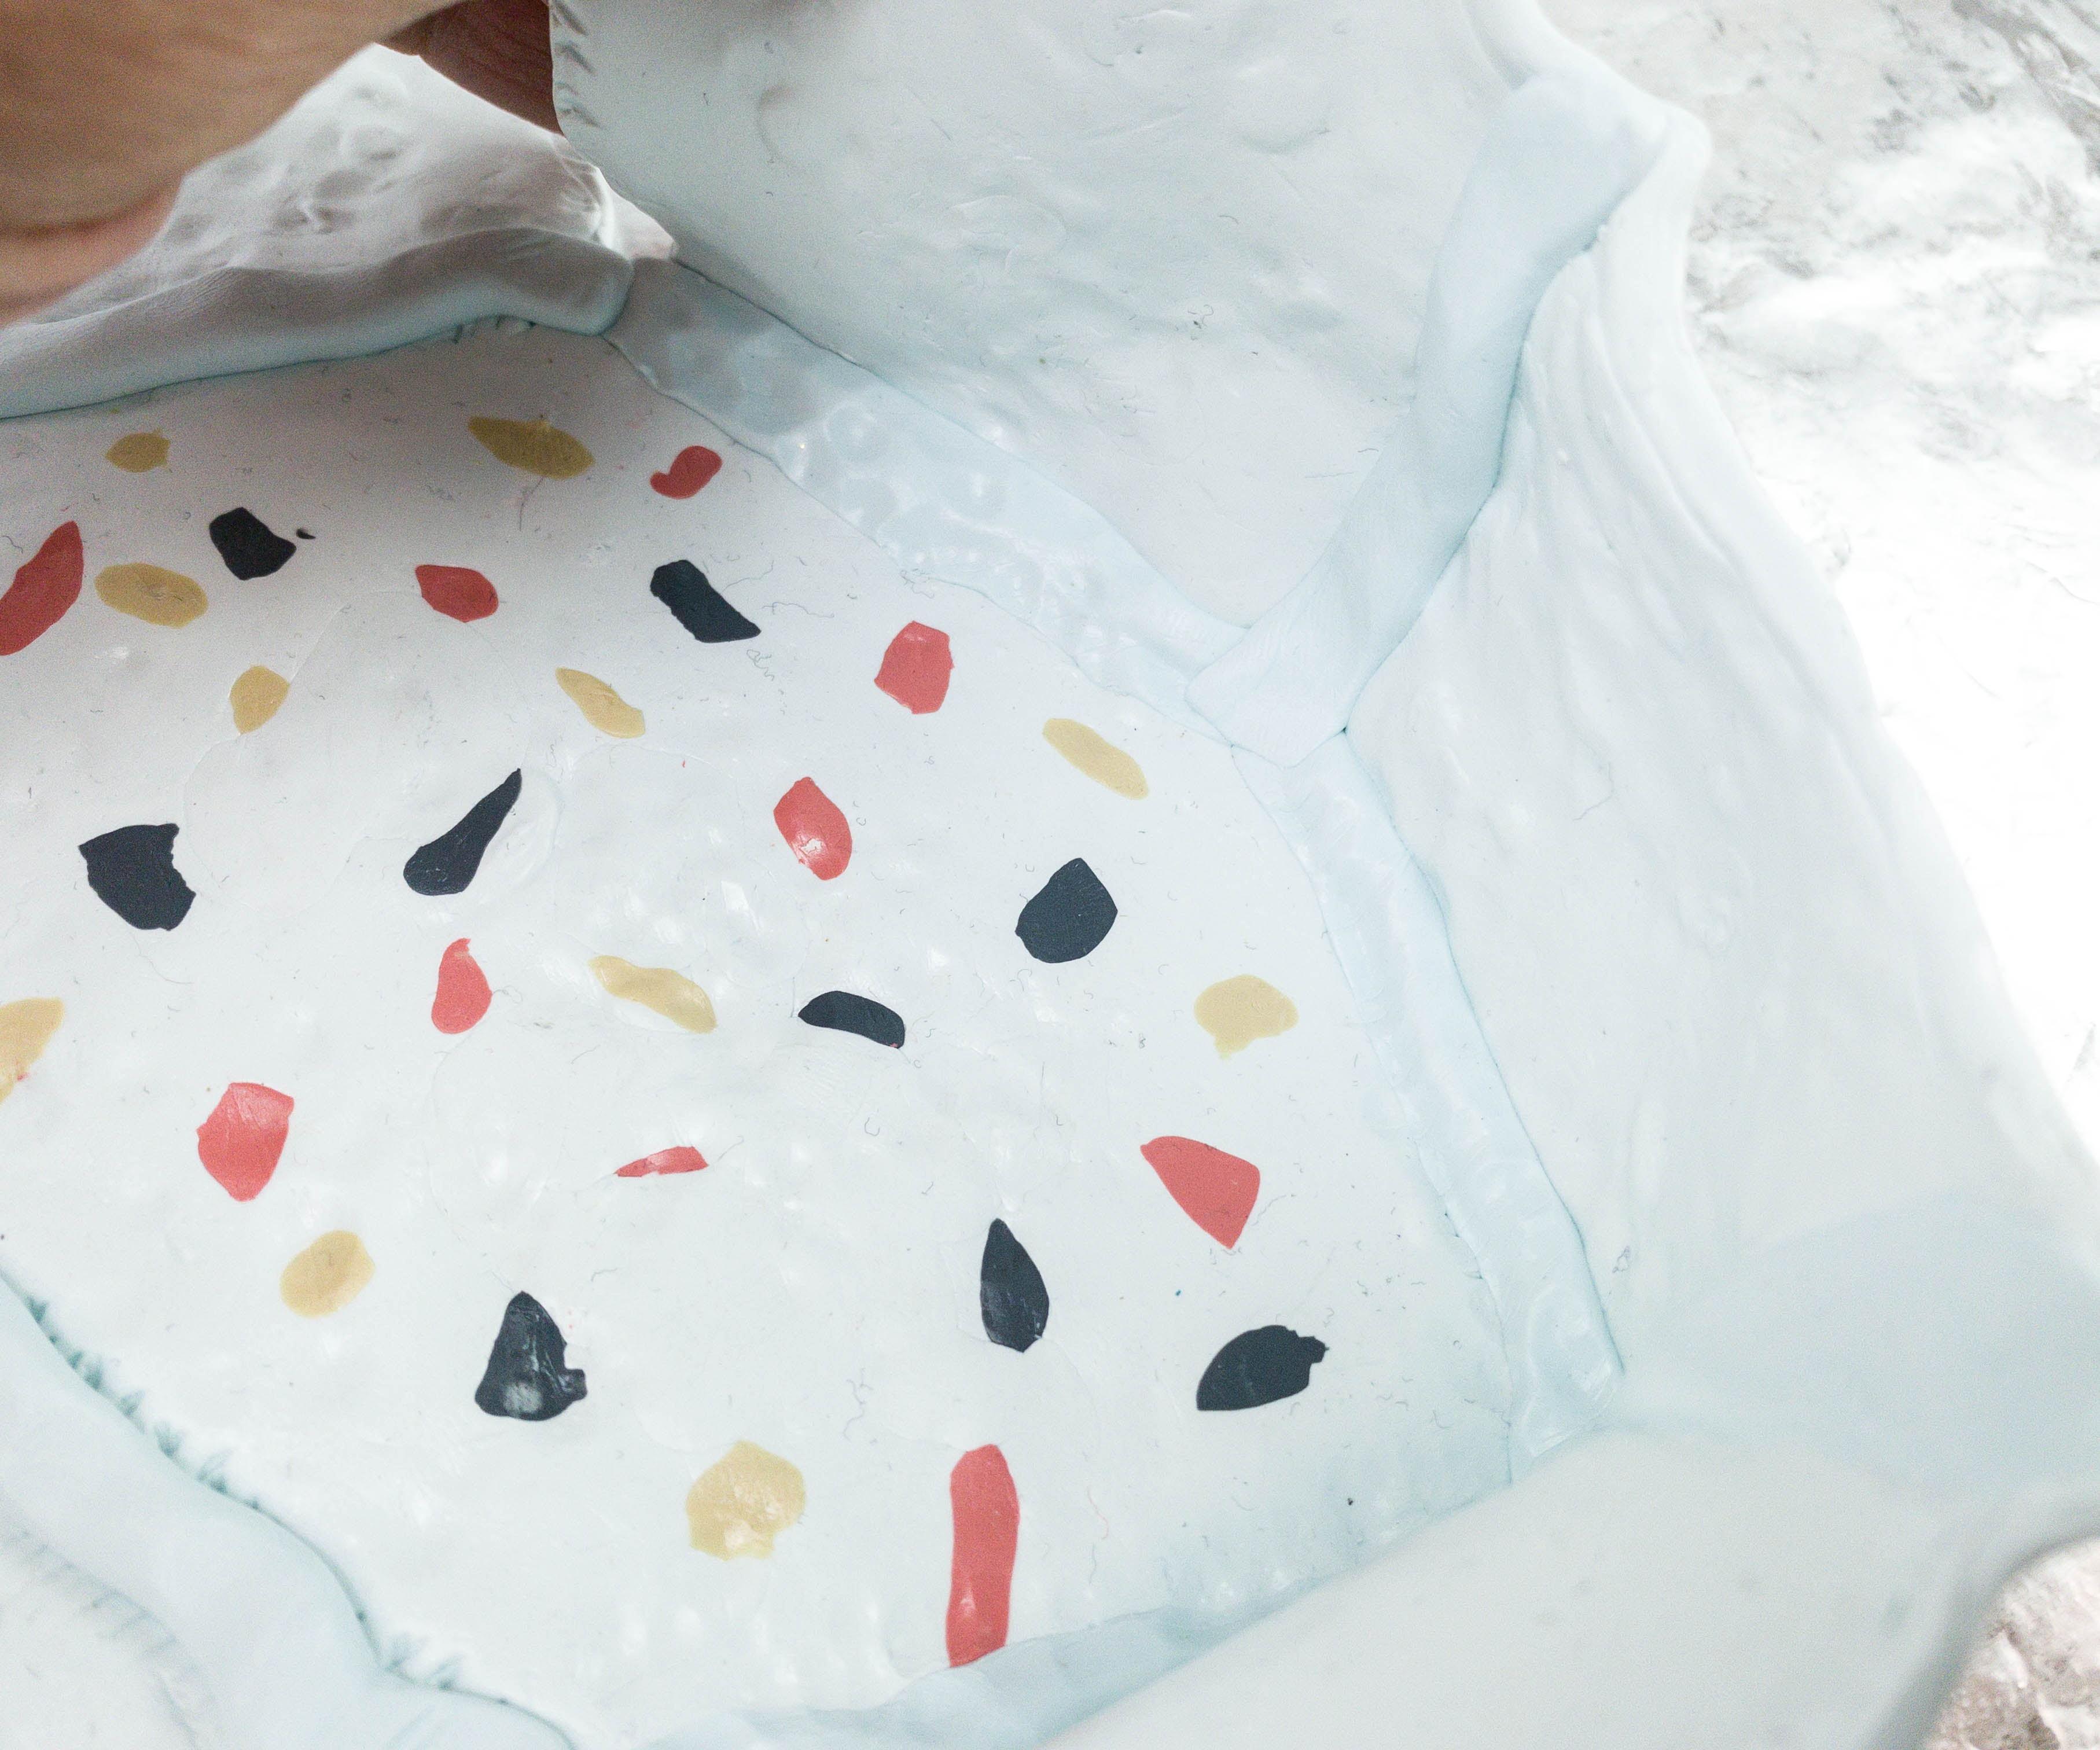
Next, she put the blocks together and made sure that the terrazzo design is faced outside.
To reinforce the attachment for each block, my daughter also placed additional clay on the attached parts and flattened it using her hands.
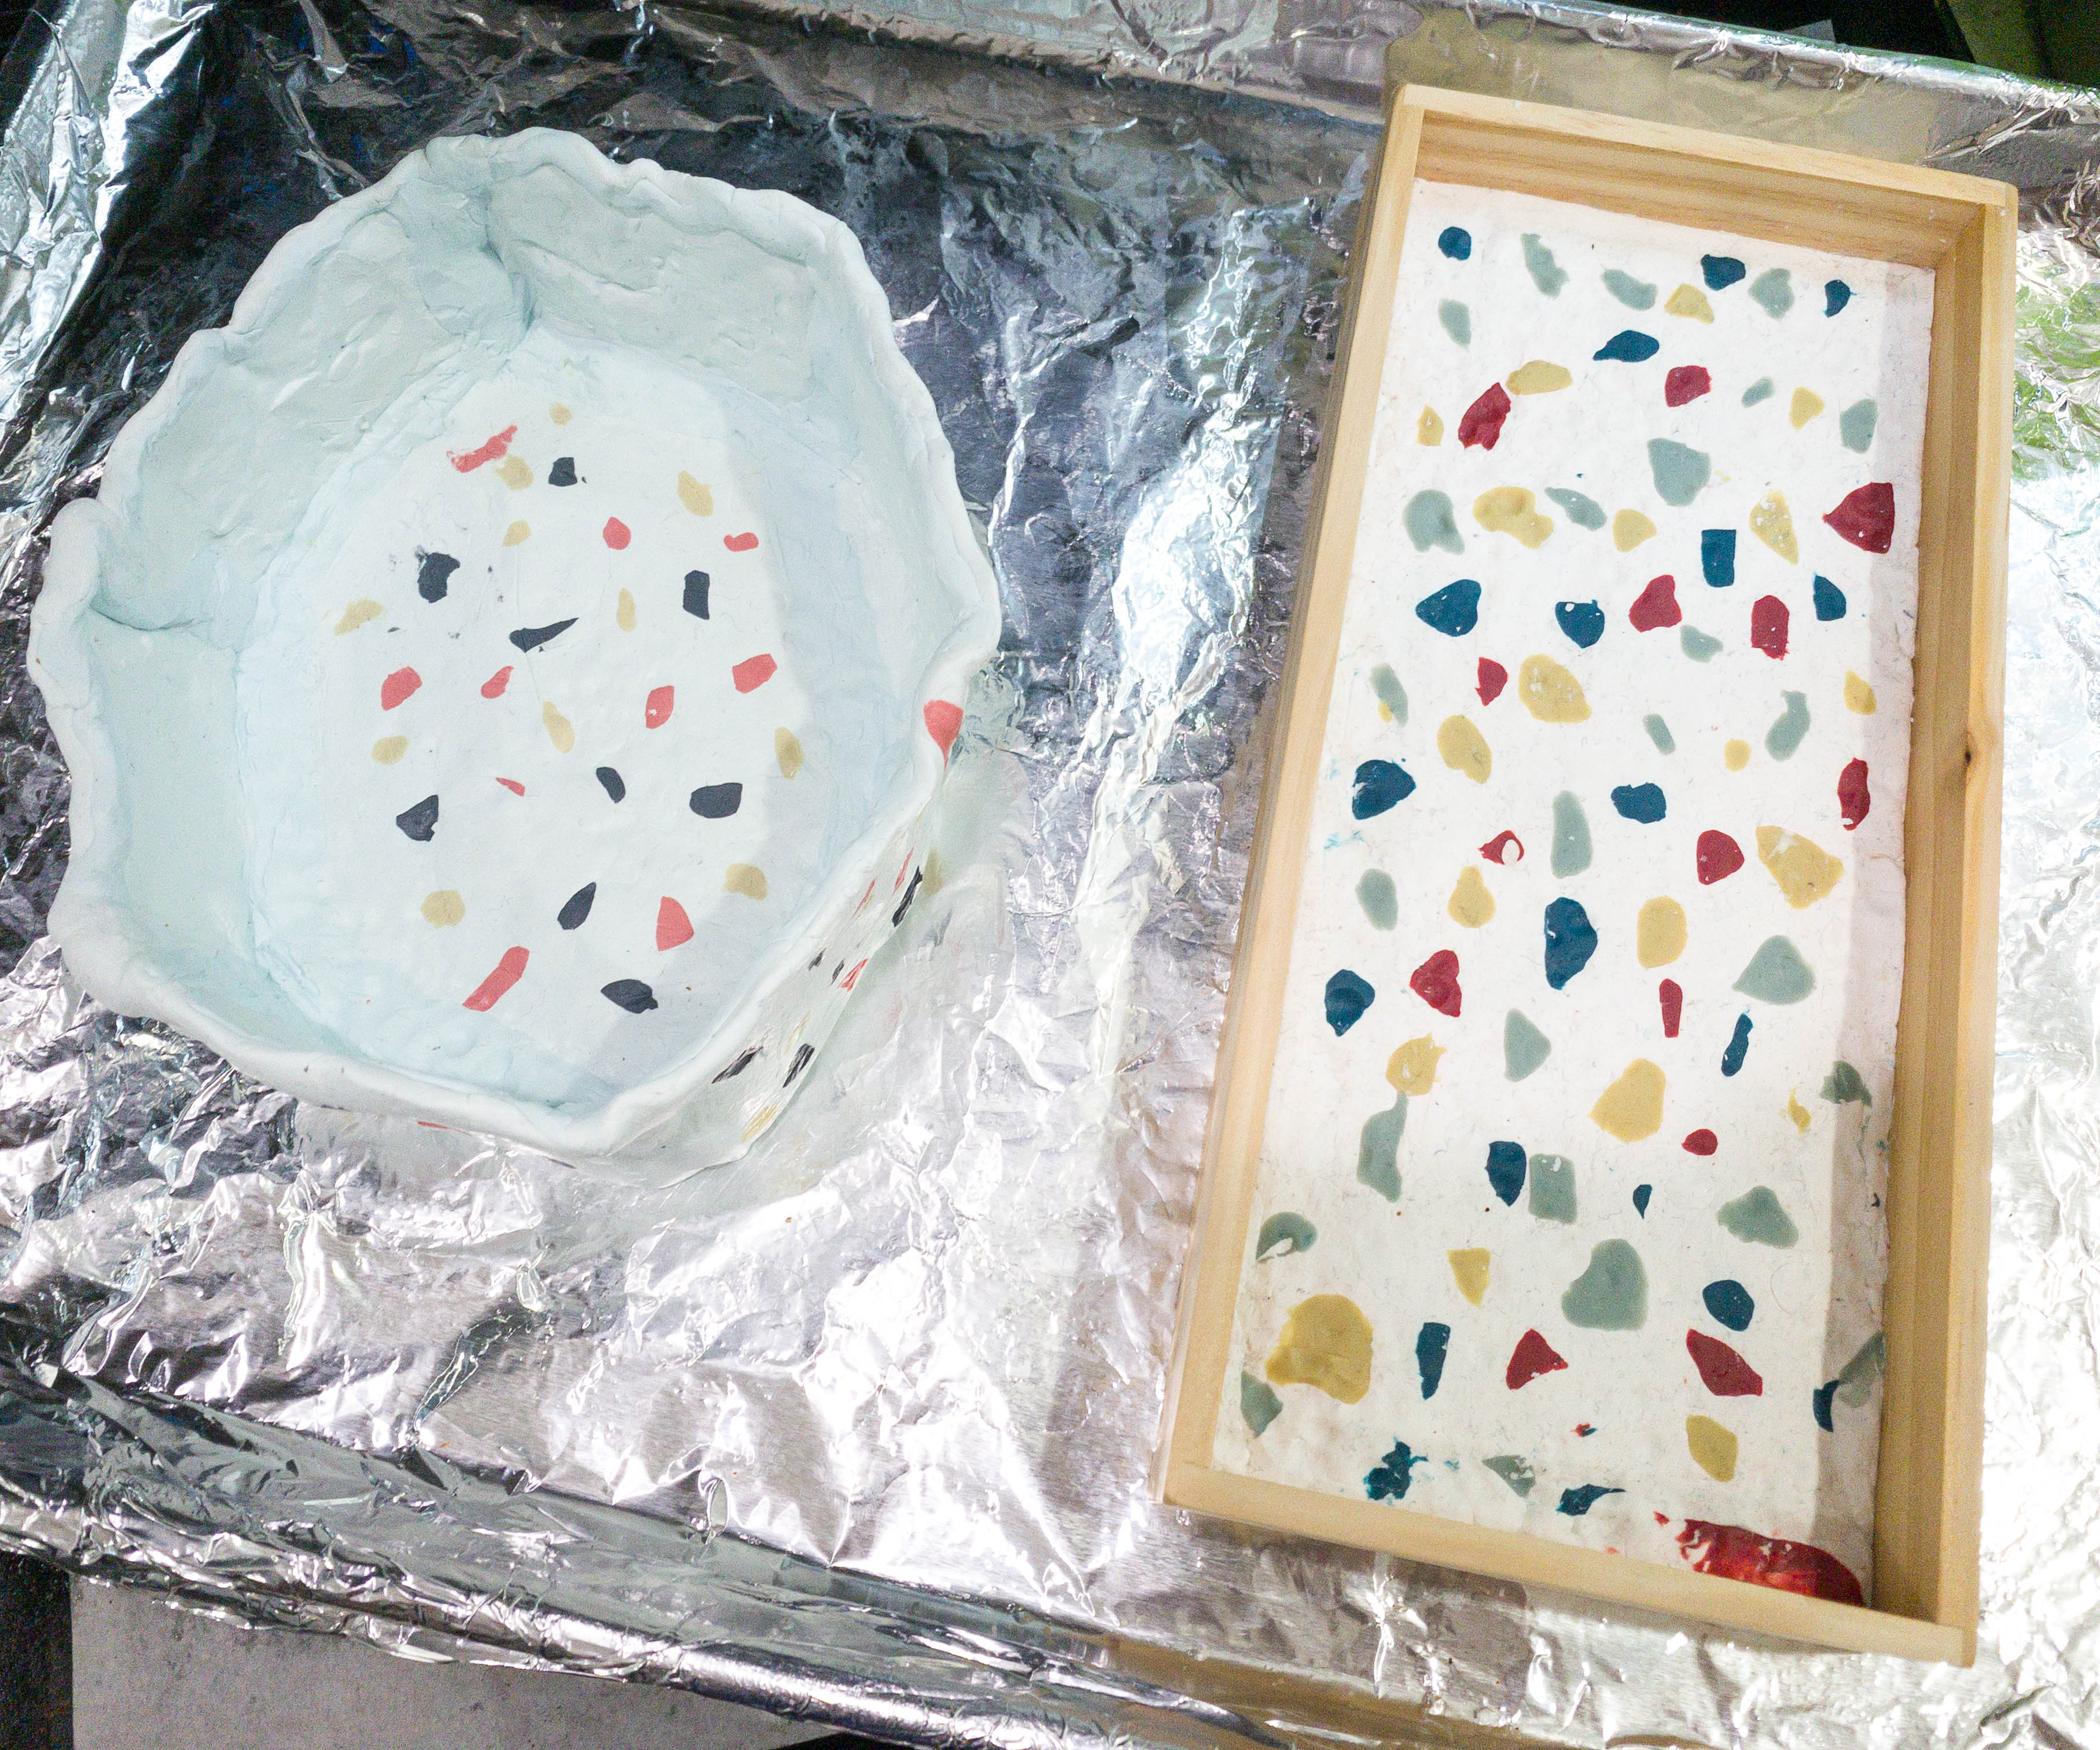
She placed the terrazzo tray and container inside the fridge once again so they will harden up.
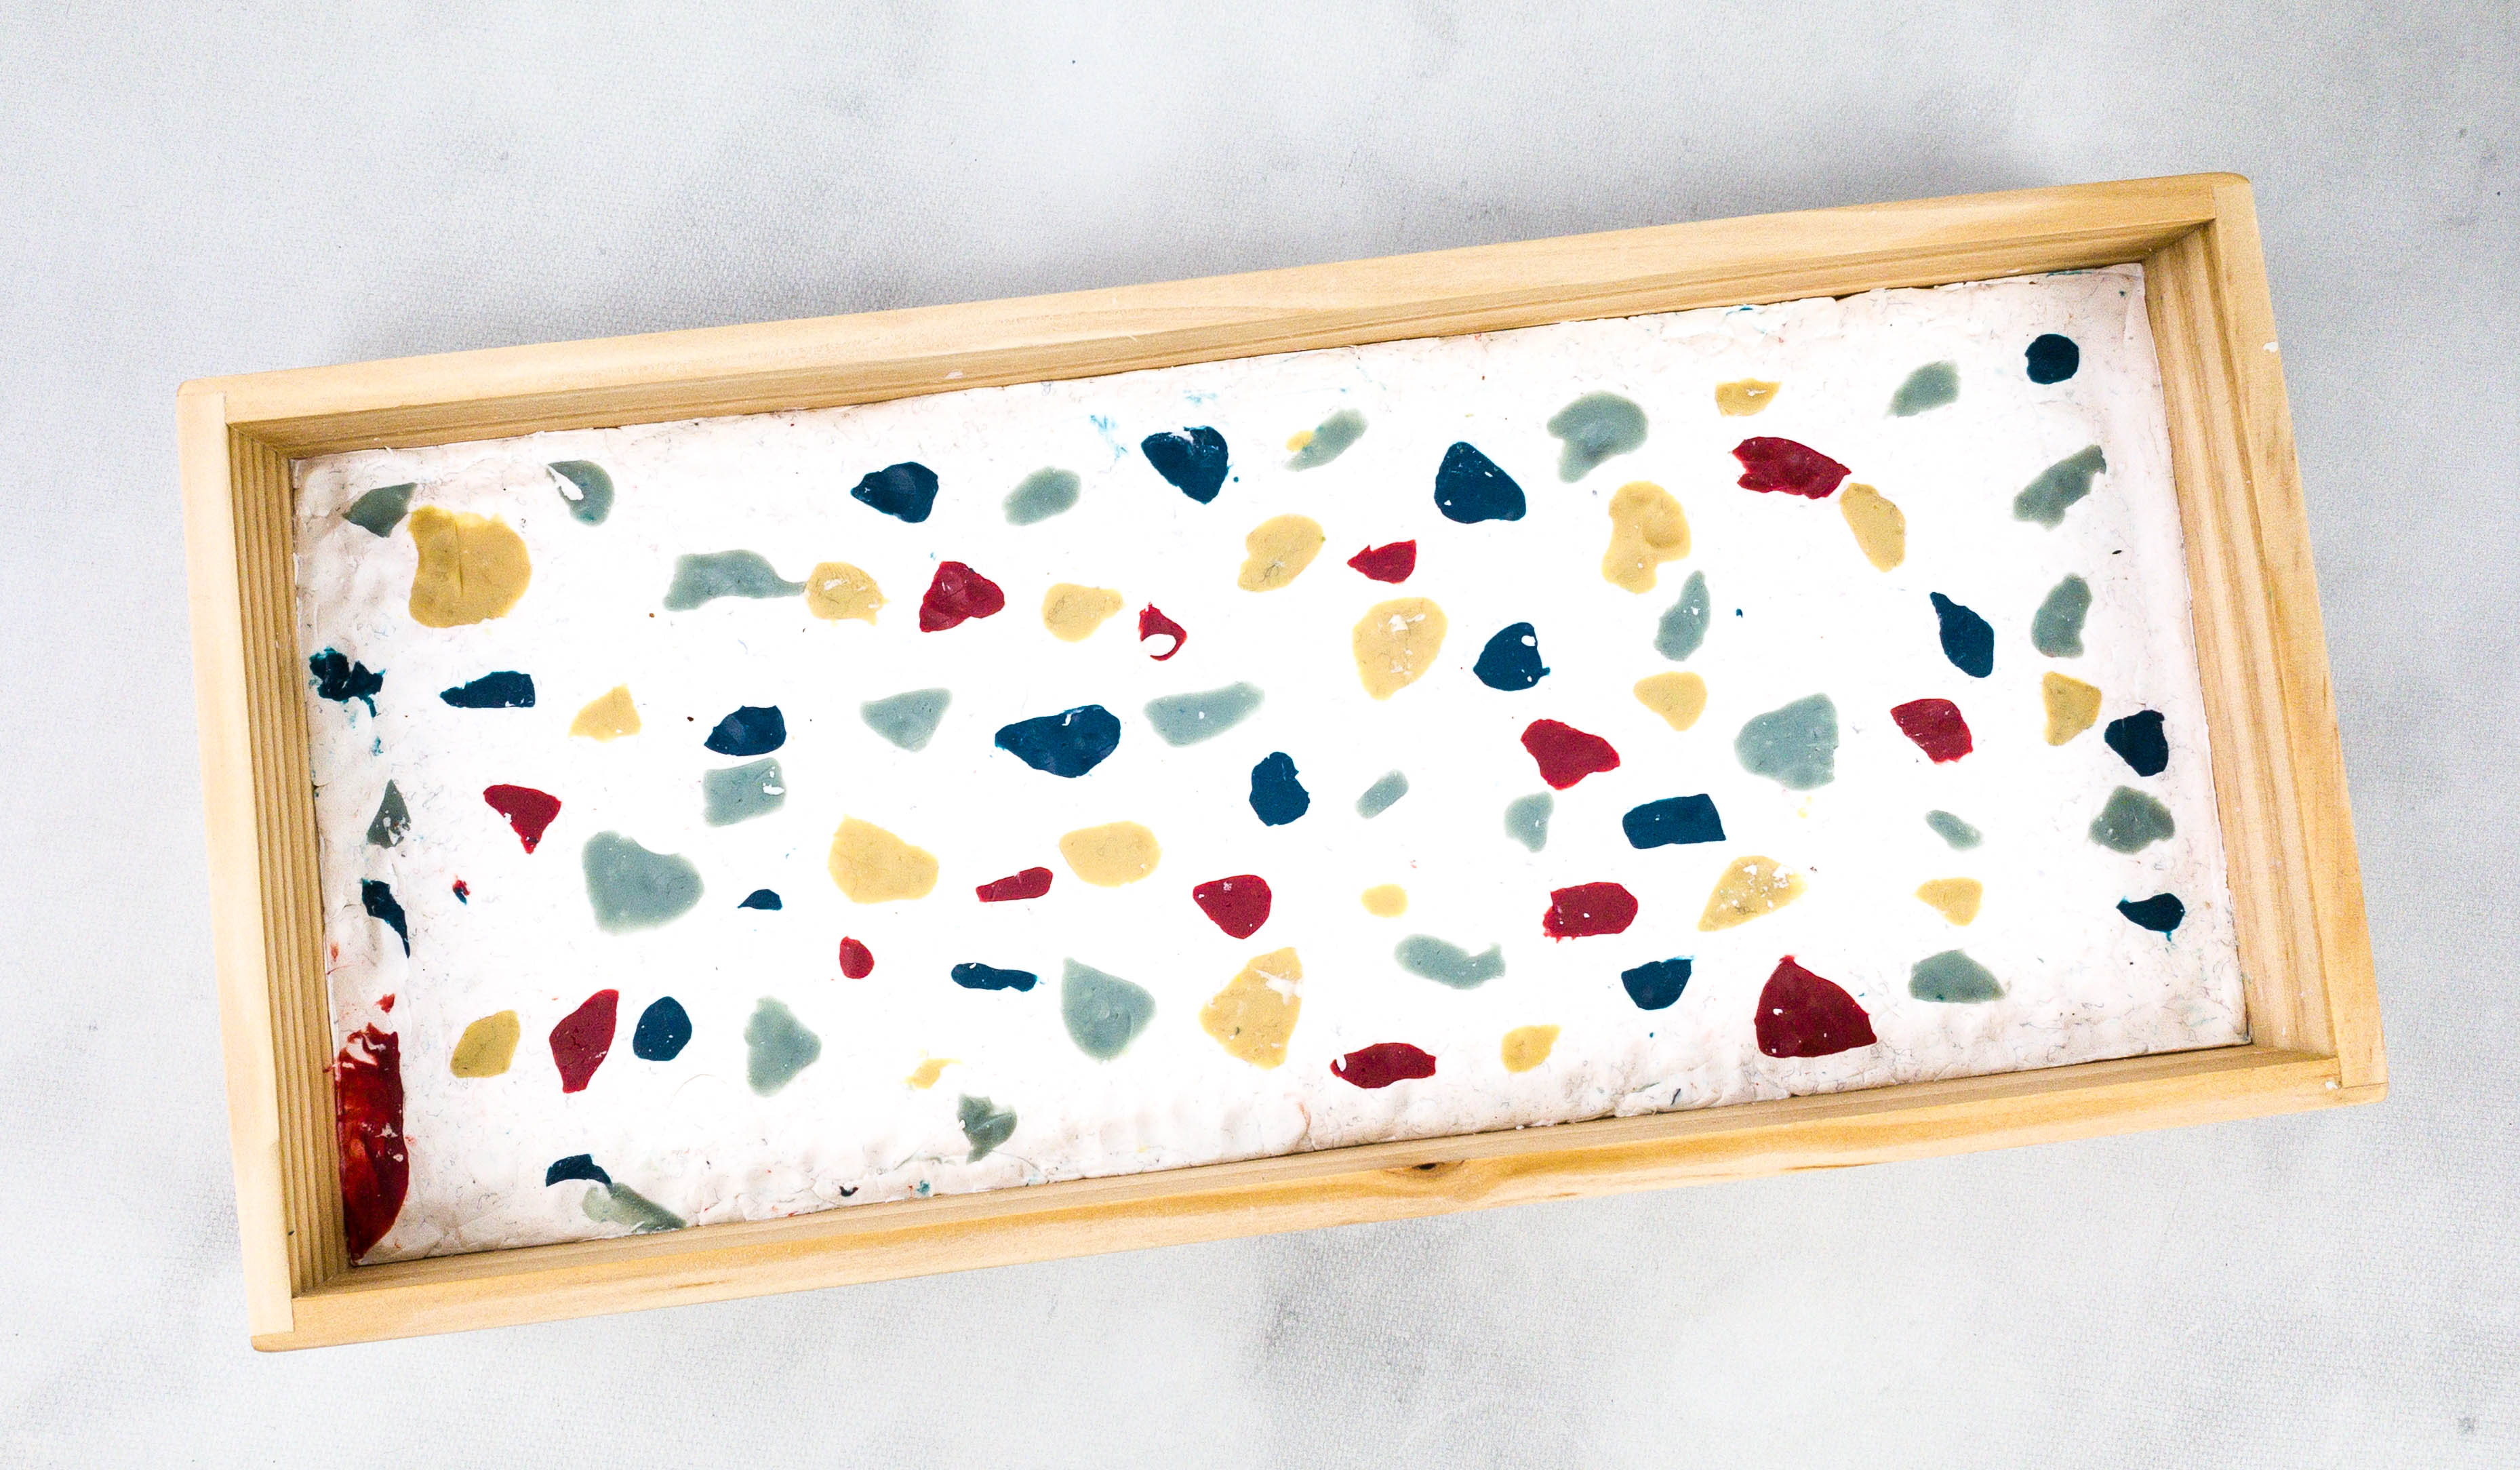
Here’s the finished terrazzo wooden tray. It’s long, spacious, and pretty colorful!
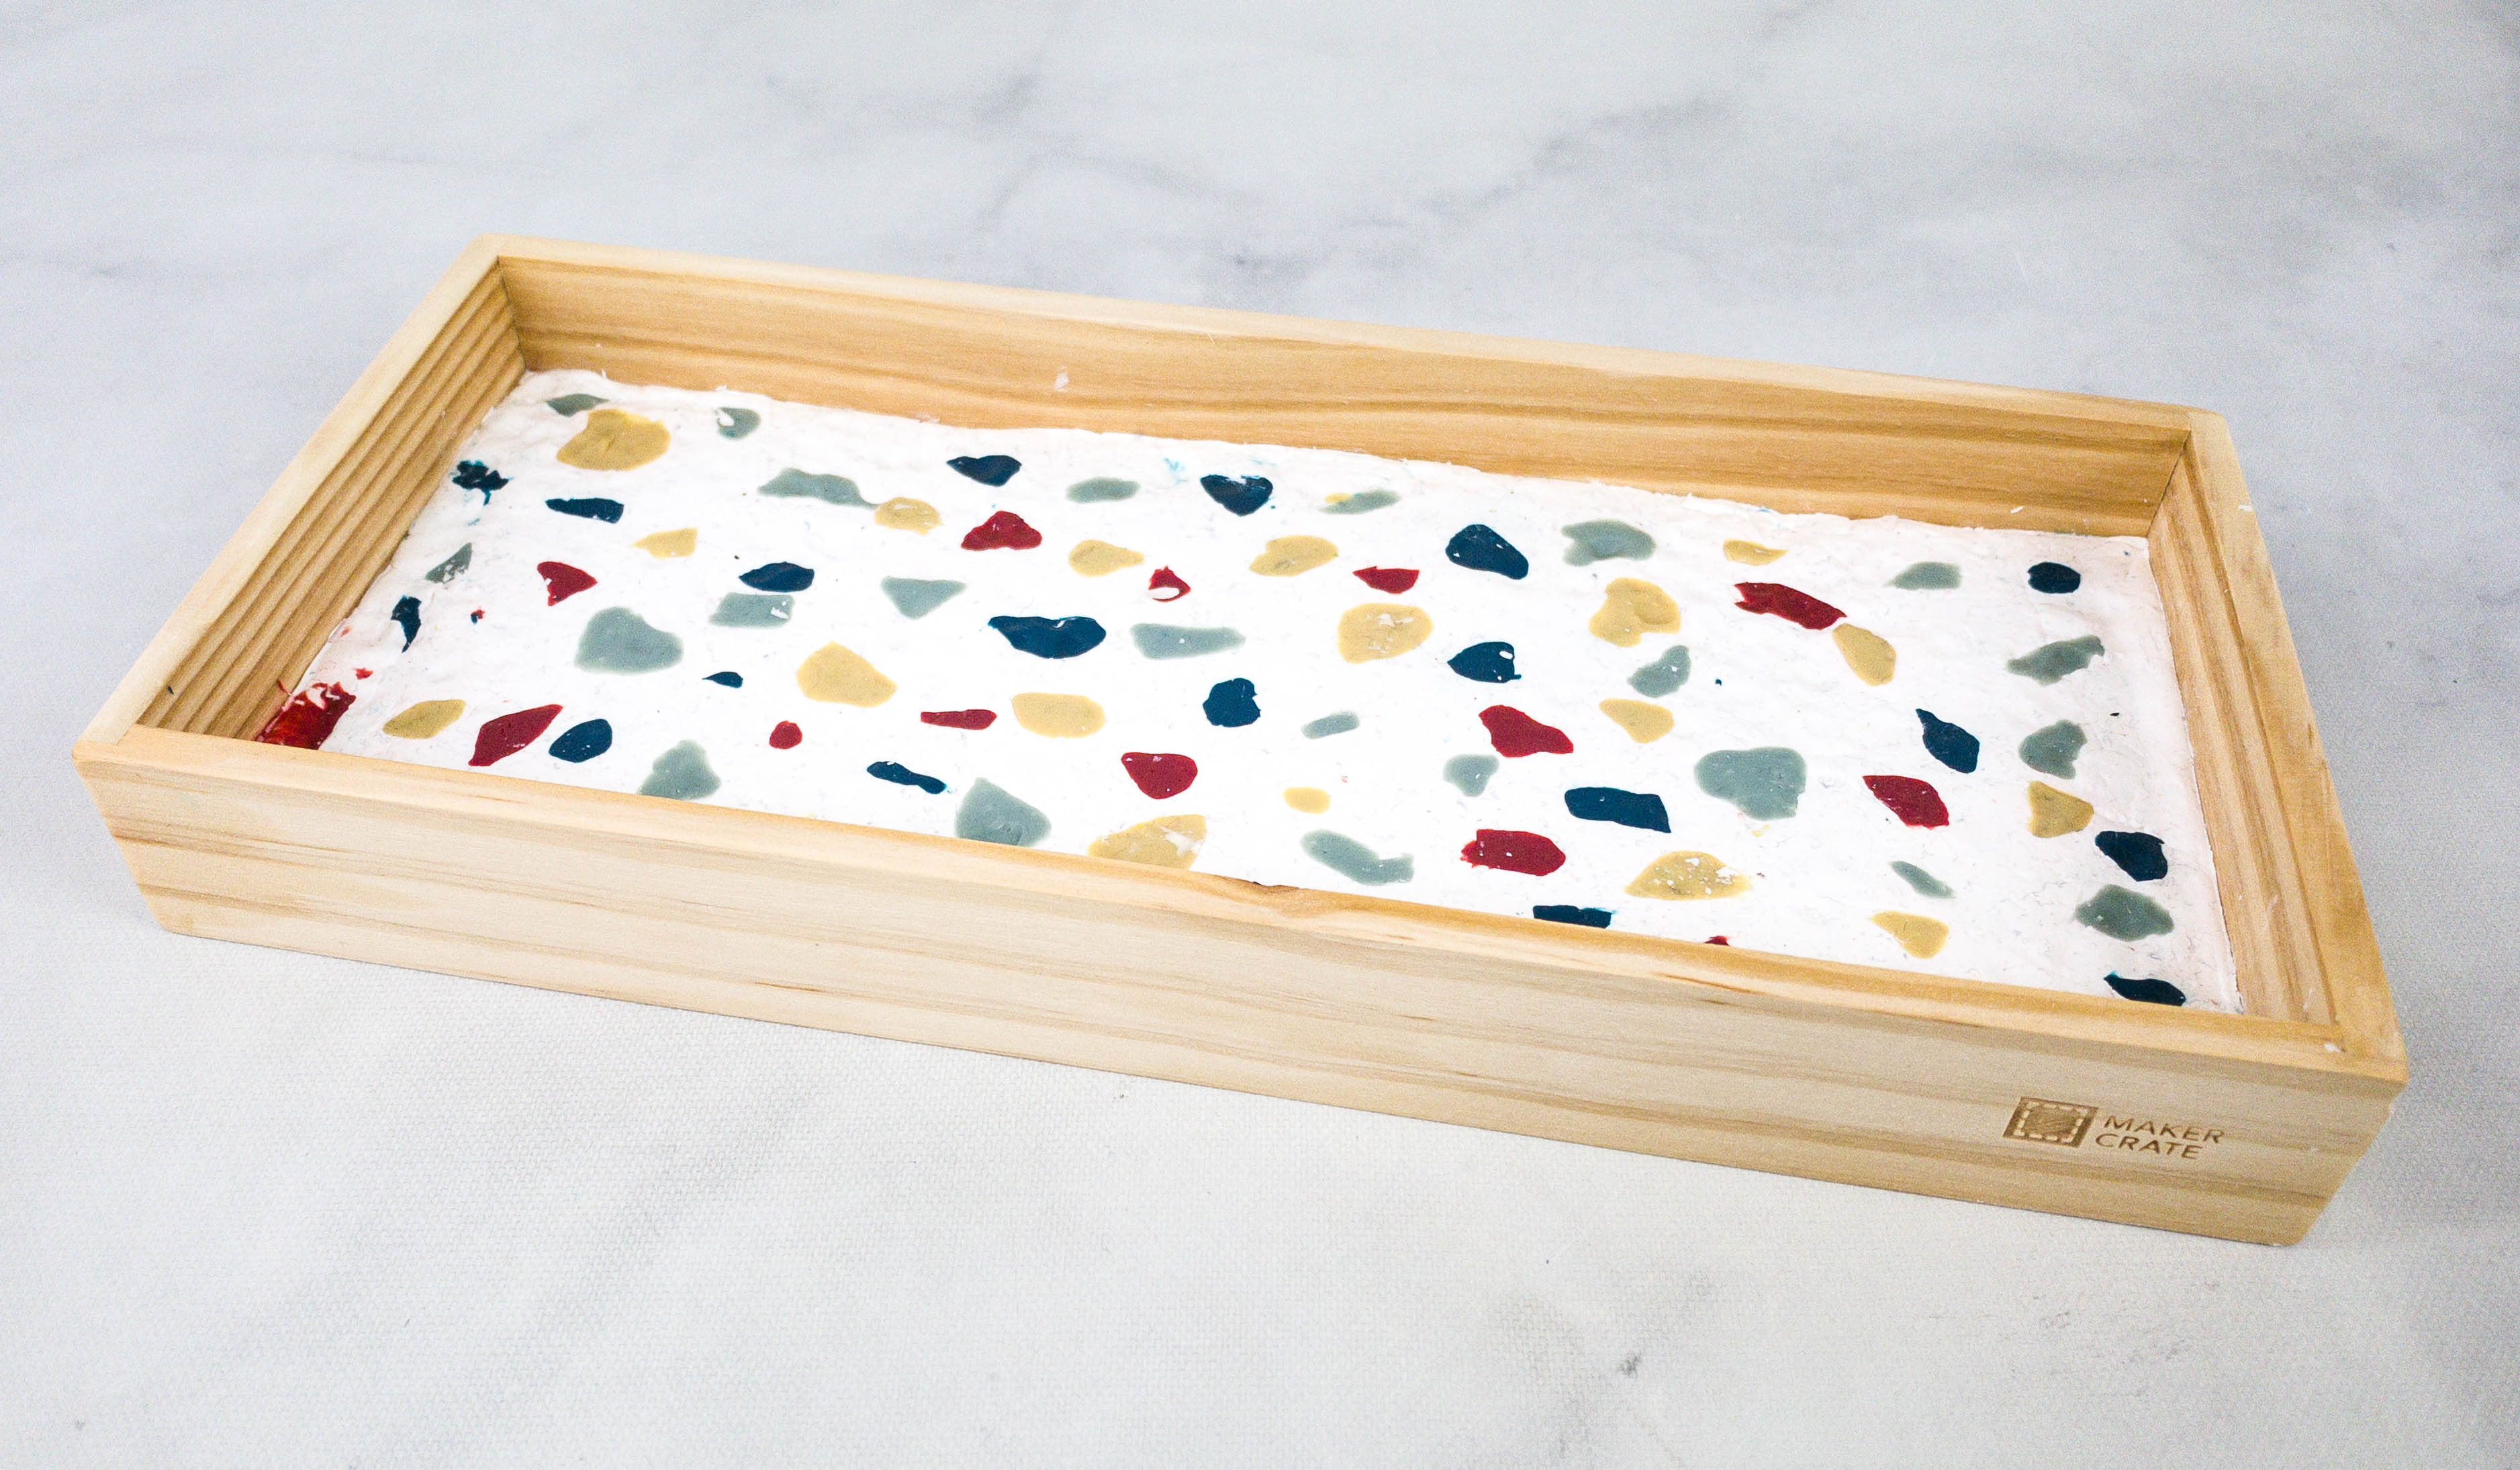
This tray makes an ideal container for my small potted plants!
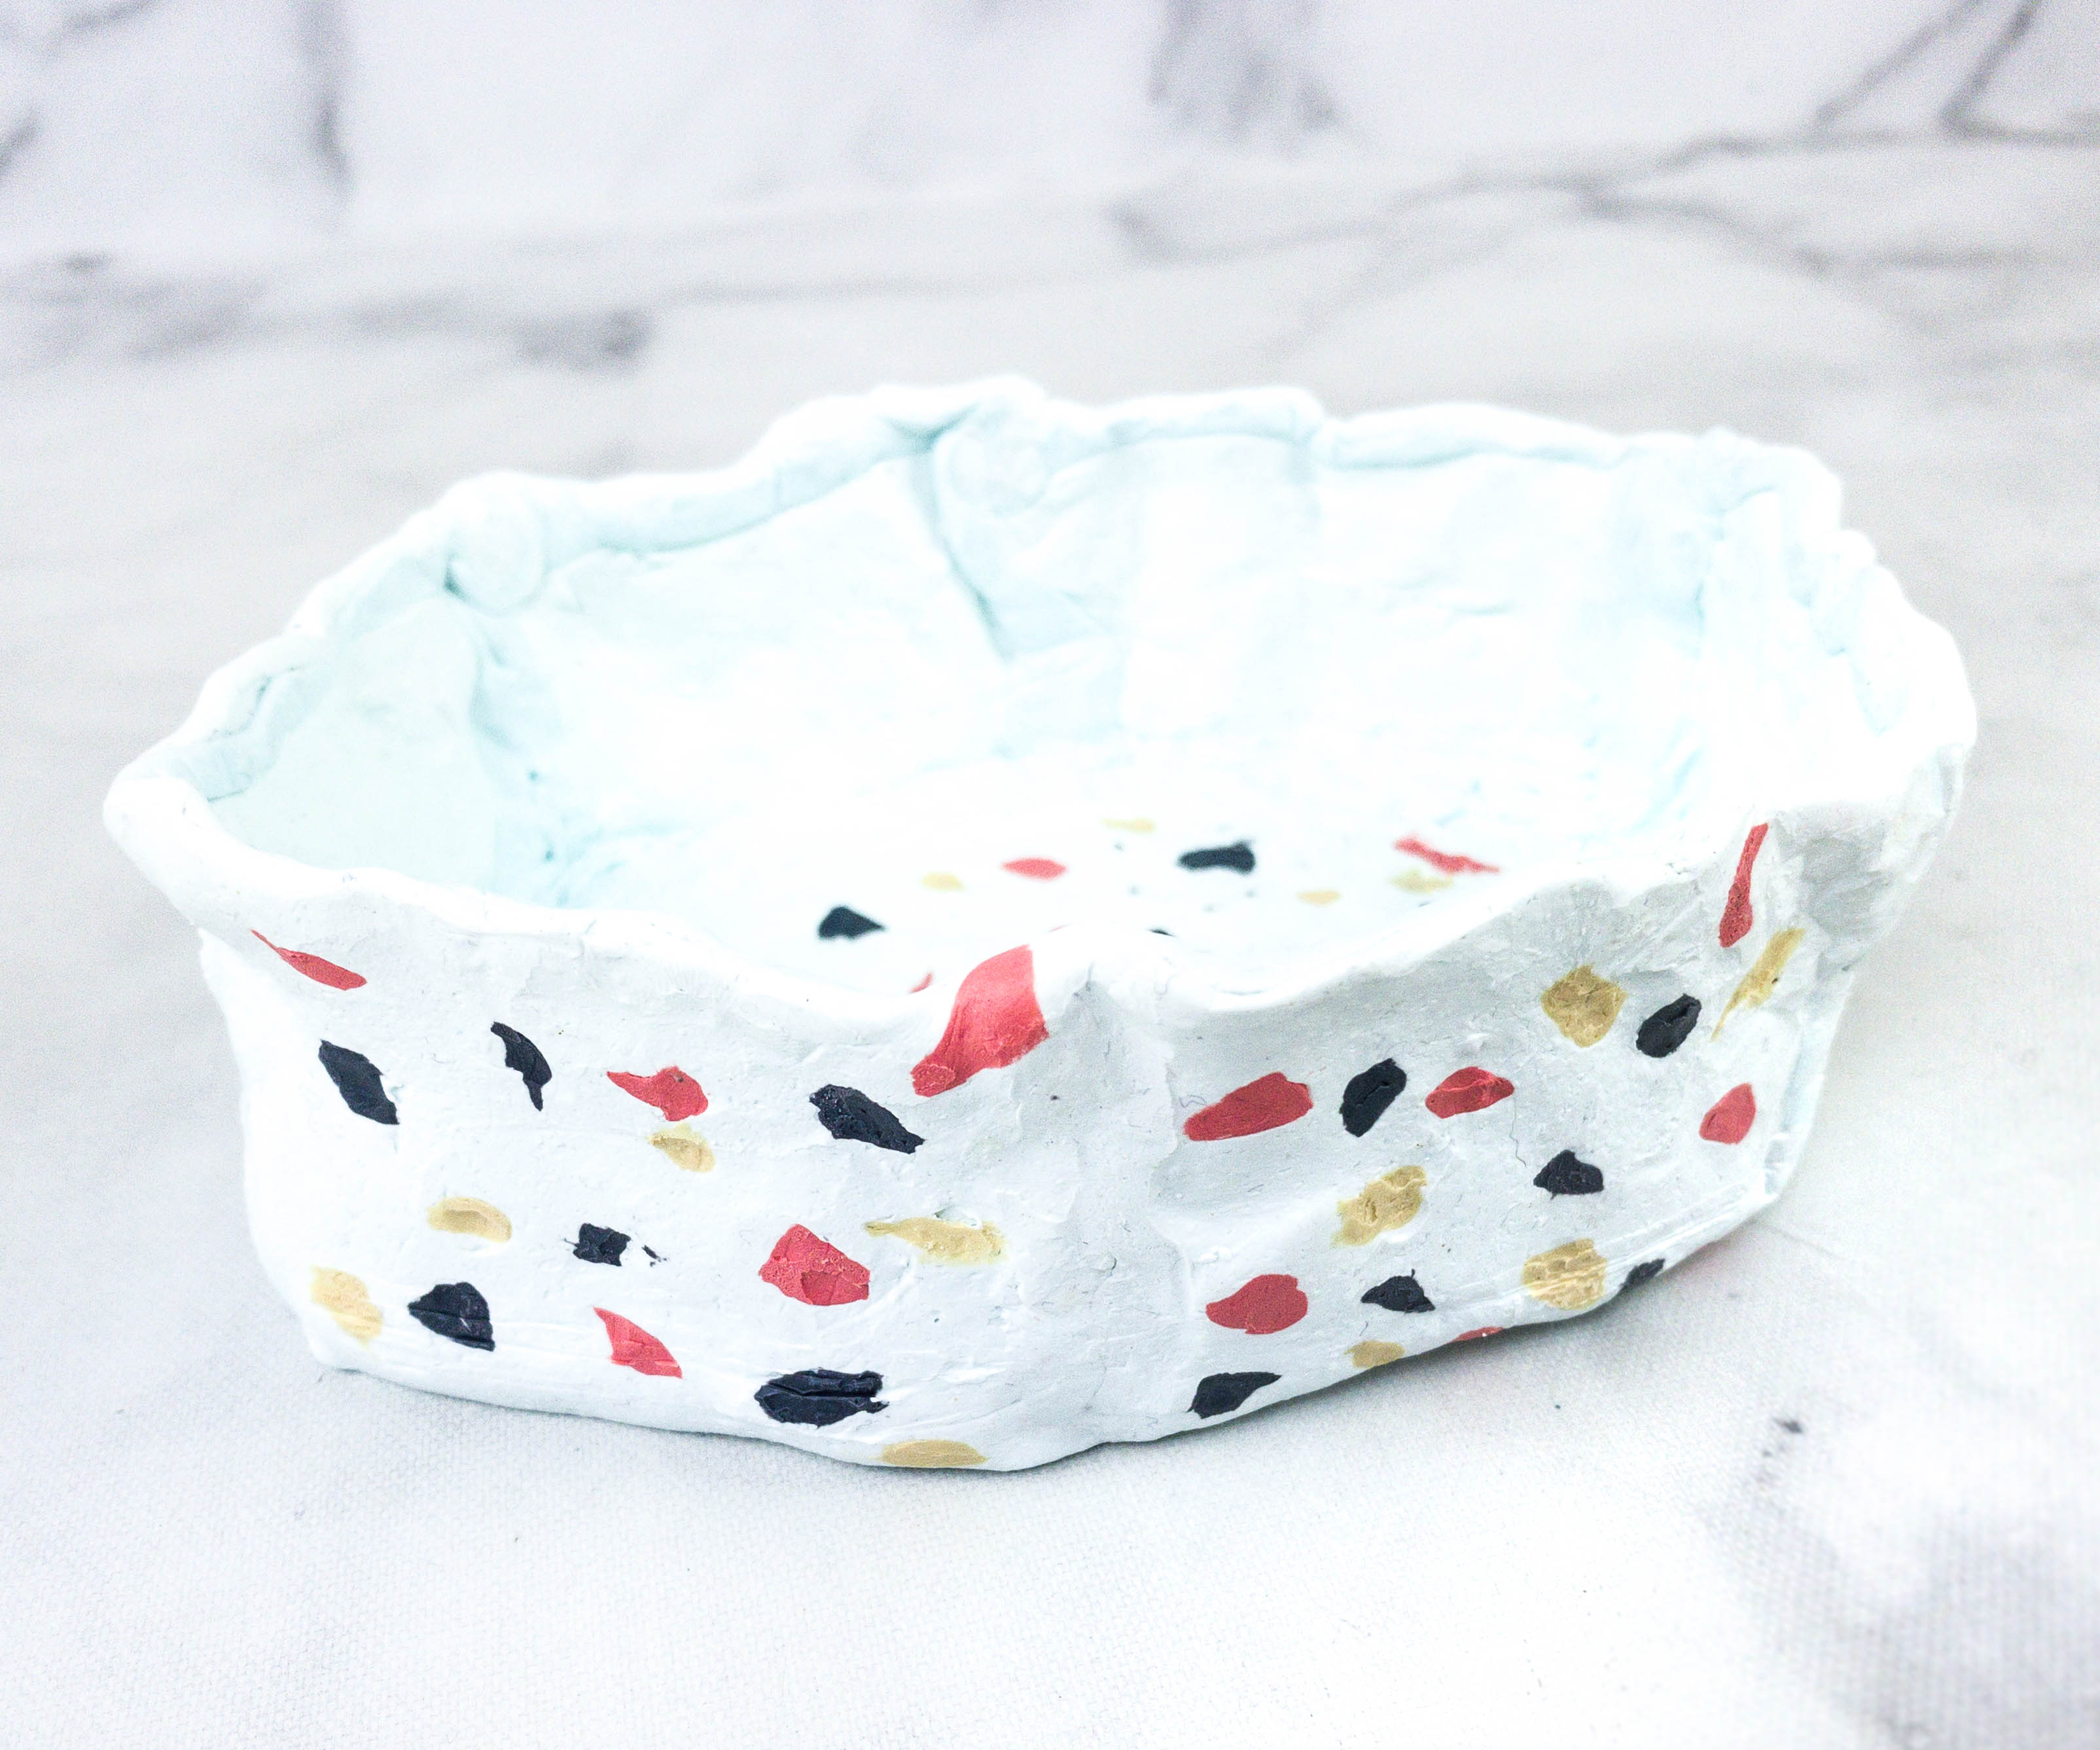
The container turned out great as well!
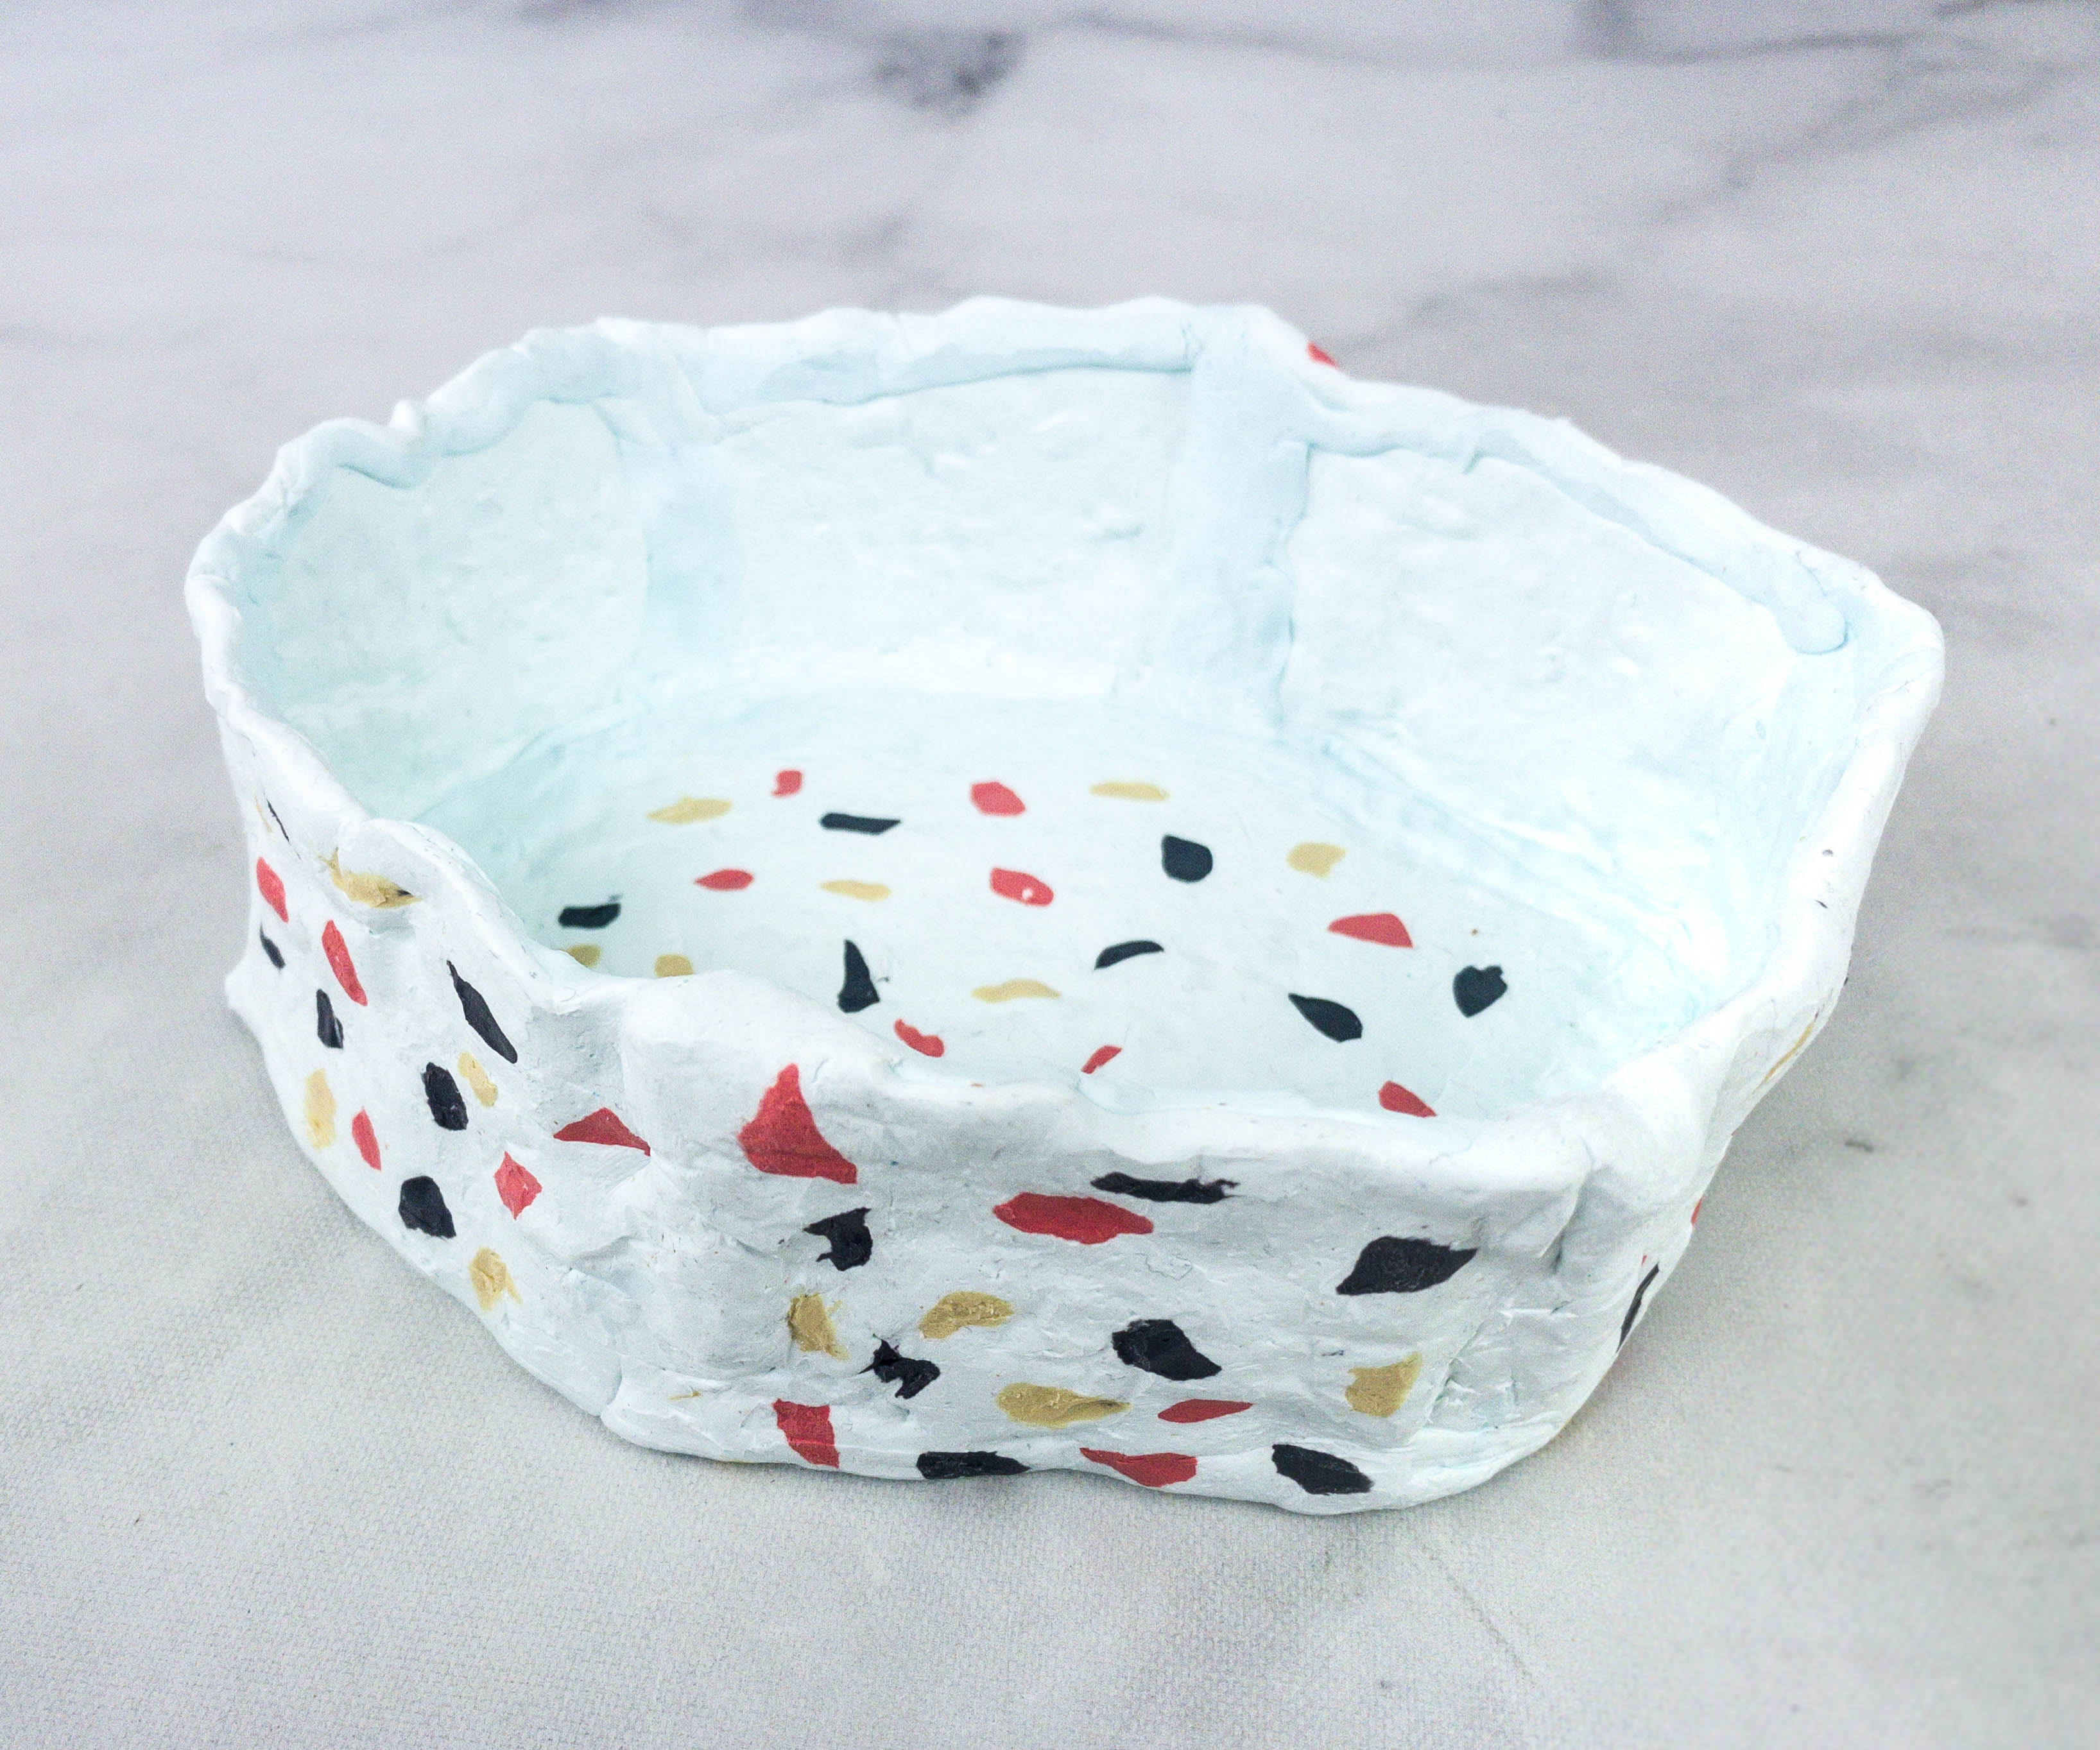
This can be used as a container for jewelry, keys, and other small items.
Maker Crate from KiwiCo is all about hands-on crafting projects for teens and adults. For her first Maker Crate, my daughter worked on two amazing projects, the terrazzo tray and terrazzo container, which both use clay. She loves learning new crafts and techniques, that’s why she really enjoyed working on these activities. Like any other KiwiCo box, this crate also provides everything needed to complete the project, making it faster and easier to do. Aside from the step by step instructions, they even send design inspiration for makers. Everything is easy enough for teens and enjoyable for adults as well. Plus, it’s not a one day activity and I really feel that we got our money’s worth – she got to learn new techniques and I didn’t have to buy a complete set of tools. It’s definitely the perfect box for crafting and learning lifelong skills in designing and innovating. Plus, you have a useful item at the end of every project! My daughter’s terrazzo pieces turned out great and I’m proud!
What do you think of this Maker Crate project?


Comments