Eureka Crate is a monthly STEM and maker subscription box that teaches kids and adults how to apply principles of science and math to make awesome things you will love to use every day – from an articulated desk lamp to an electric pencil sharpener to a wooden ukulele. Every Eureka Crate includes an engineering project, detailed step-by-step instructions, everything you need to complete the project, a Maker’s Guide that explains all the design, process, and engineering behind the design, plus a design challenge to take your project knowledge to the next level!
DEAL: Save 30% on your first month! Just use this link to subscribe, no coupon code required! You can also use the same link to save 30% on the first month of any other KiwiCo crate – just check out this page to discover which box is right for you.

Eureka Crate is KiwiCo’s latest subscription! Eureka Crate is designed for ages 14-104. If you’re ready to graduate from KiwiCo’s other boxes or just can’t get enough (or are just too old for their other subscriptions), you’ll love this box, which is designed to create a hands-on learning experience using everyday items to delve deeply into the science and math principles they embody, along with the design process of the month’s project.
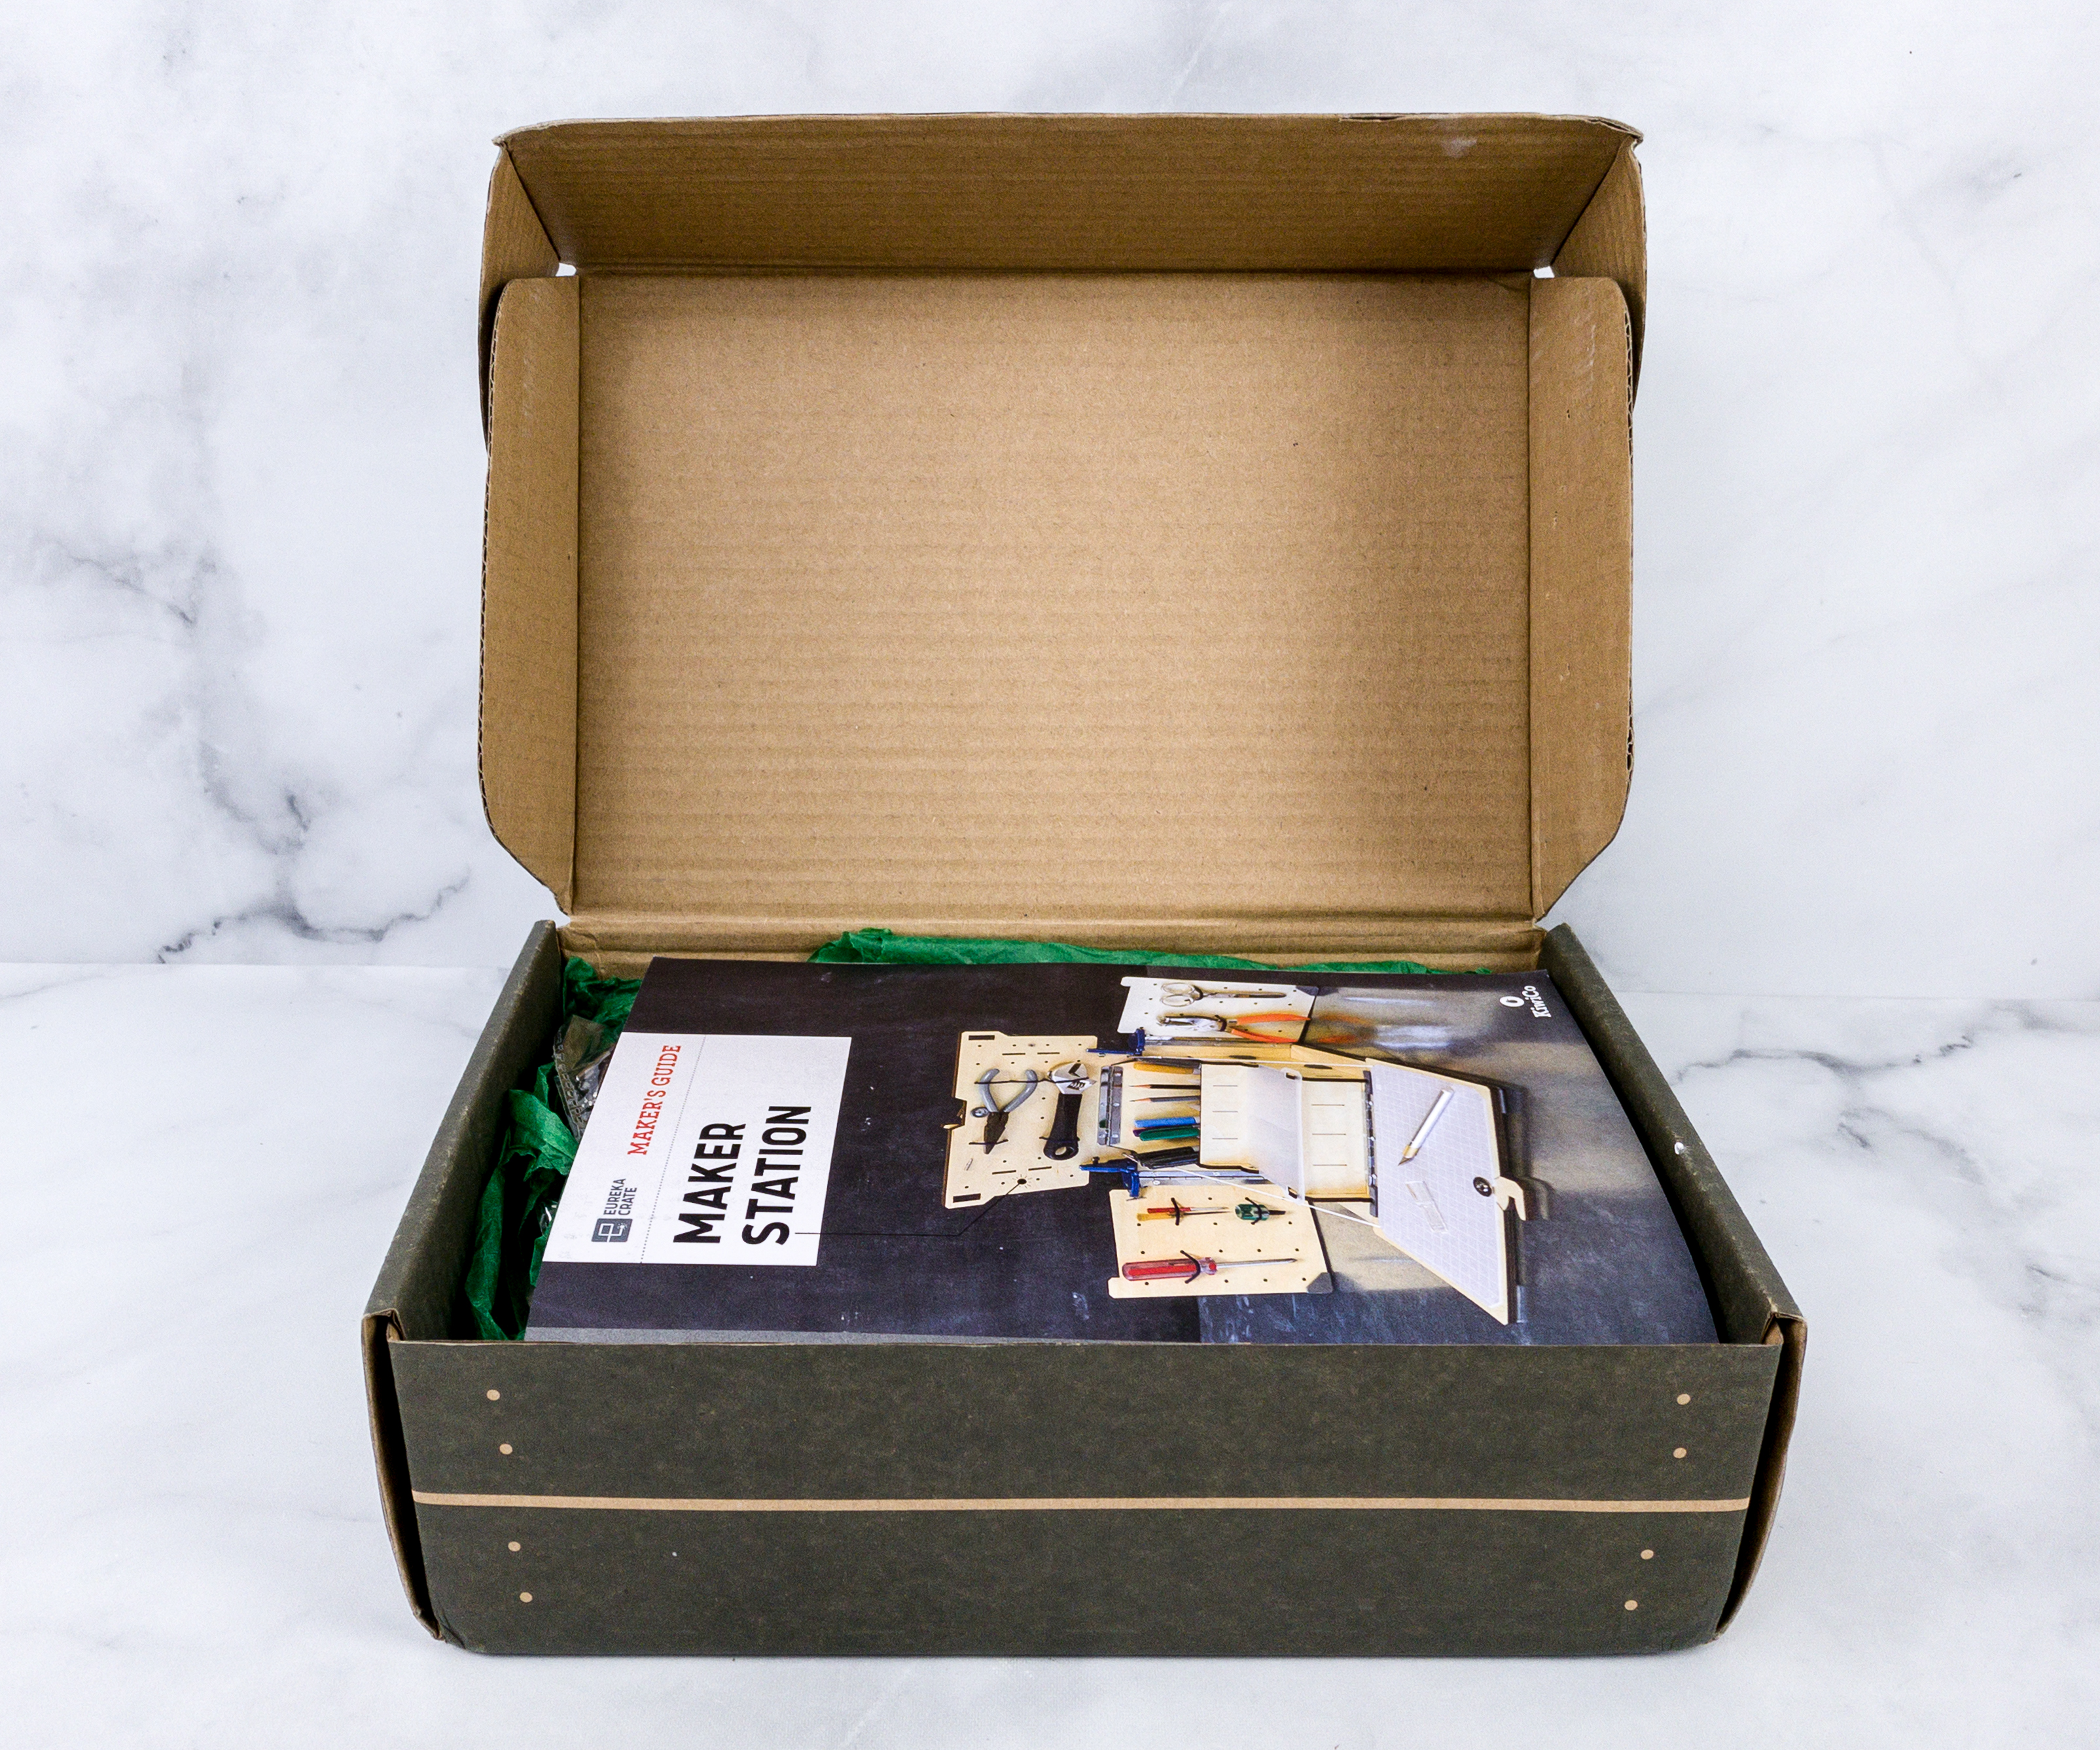
All the items were neatly packed inside the box.
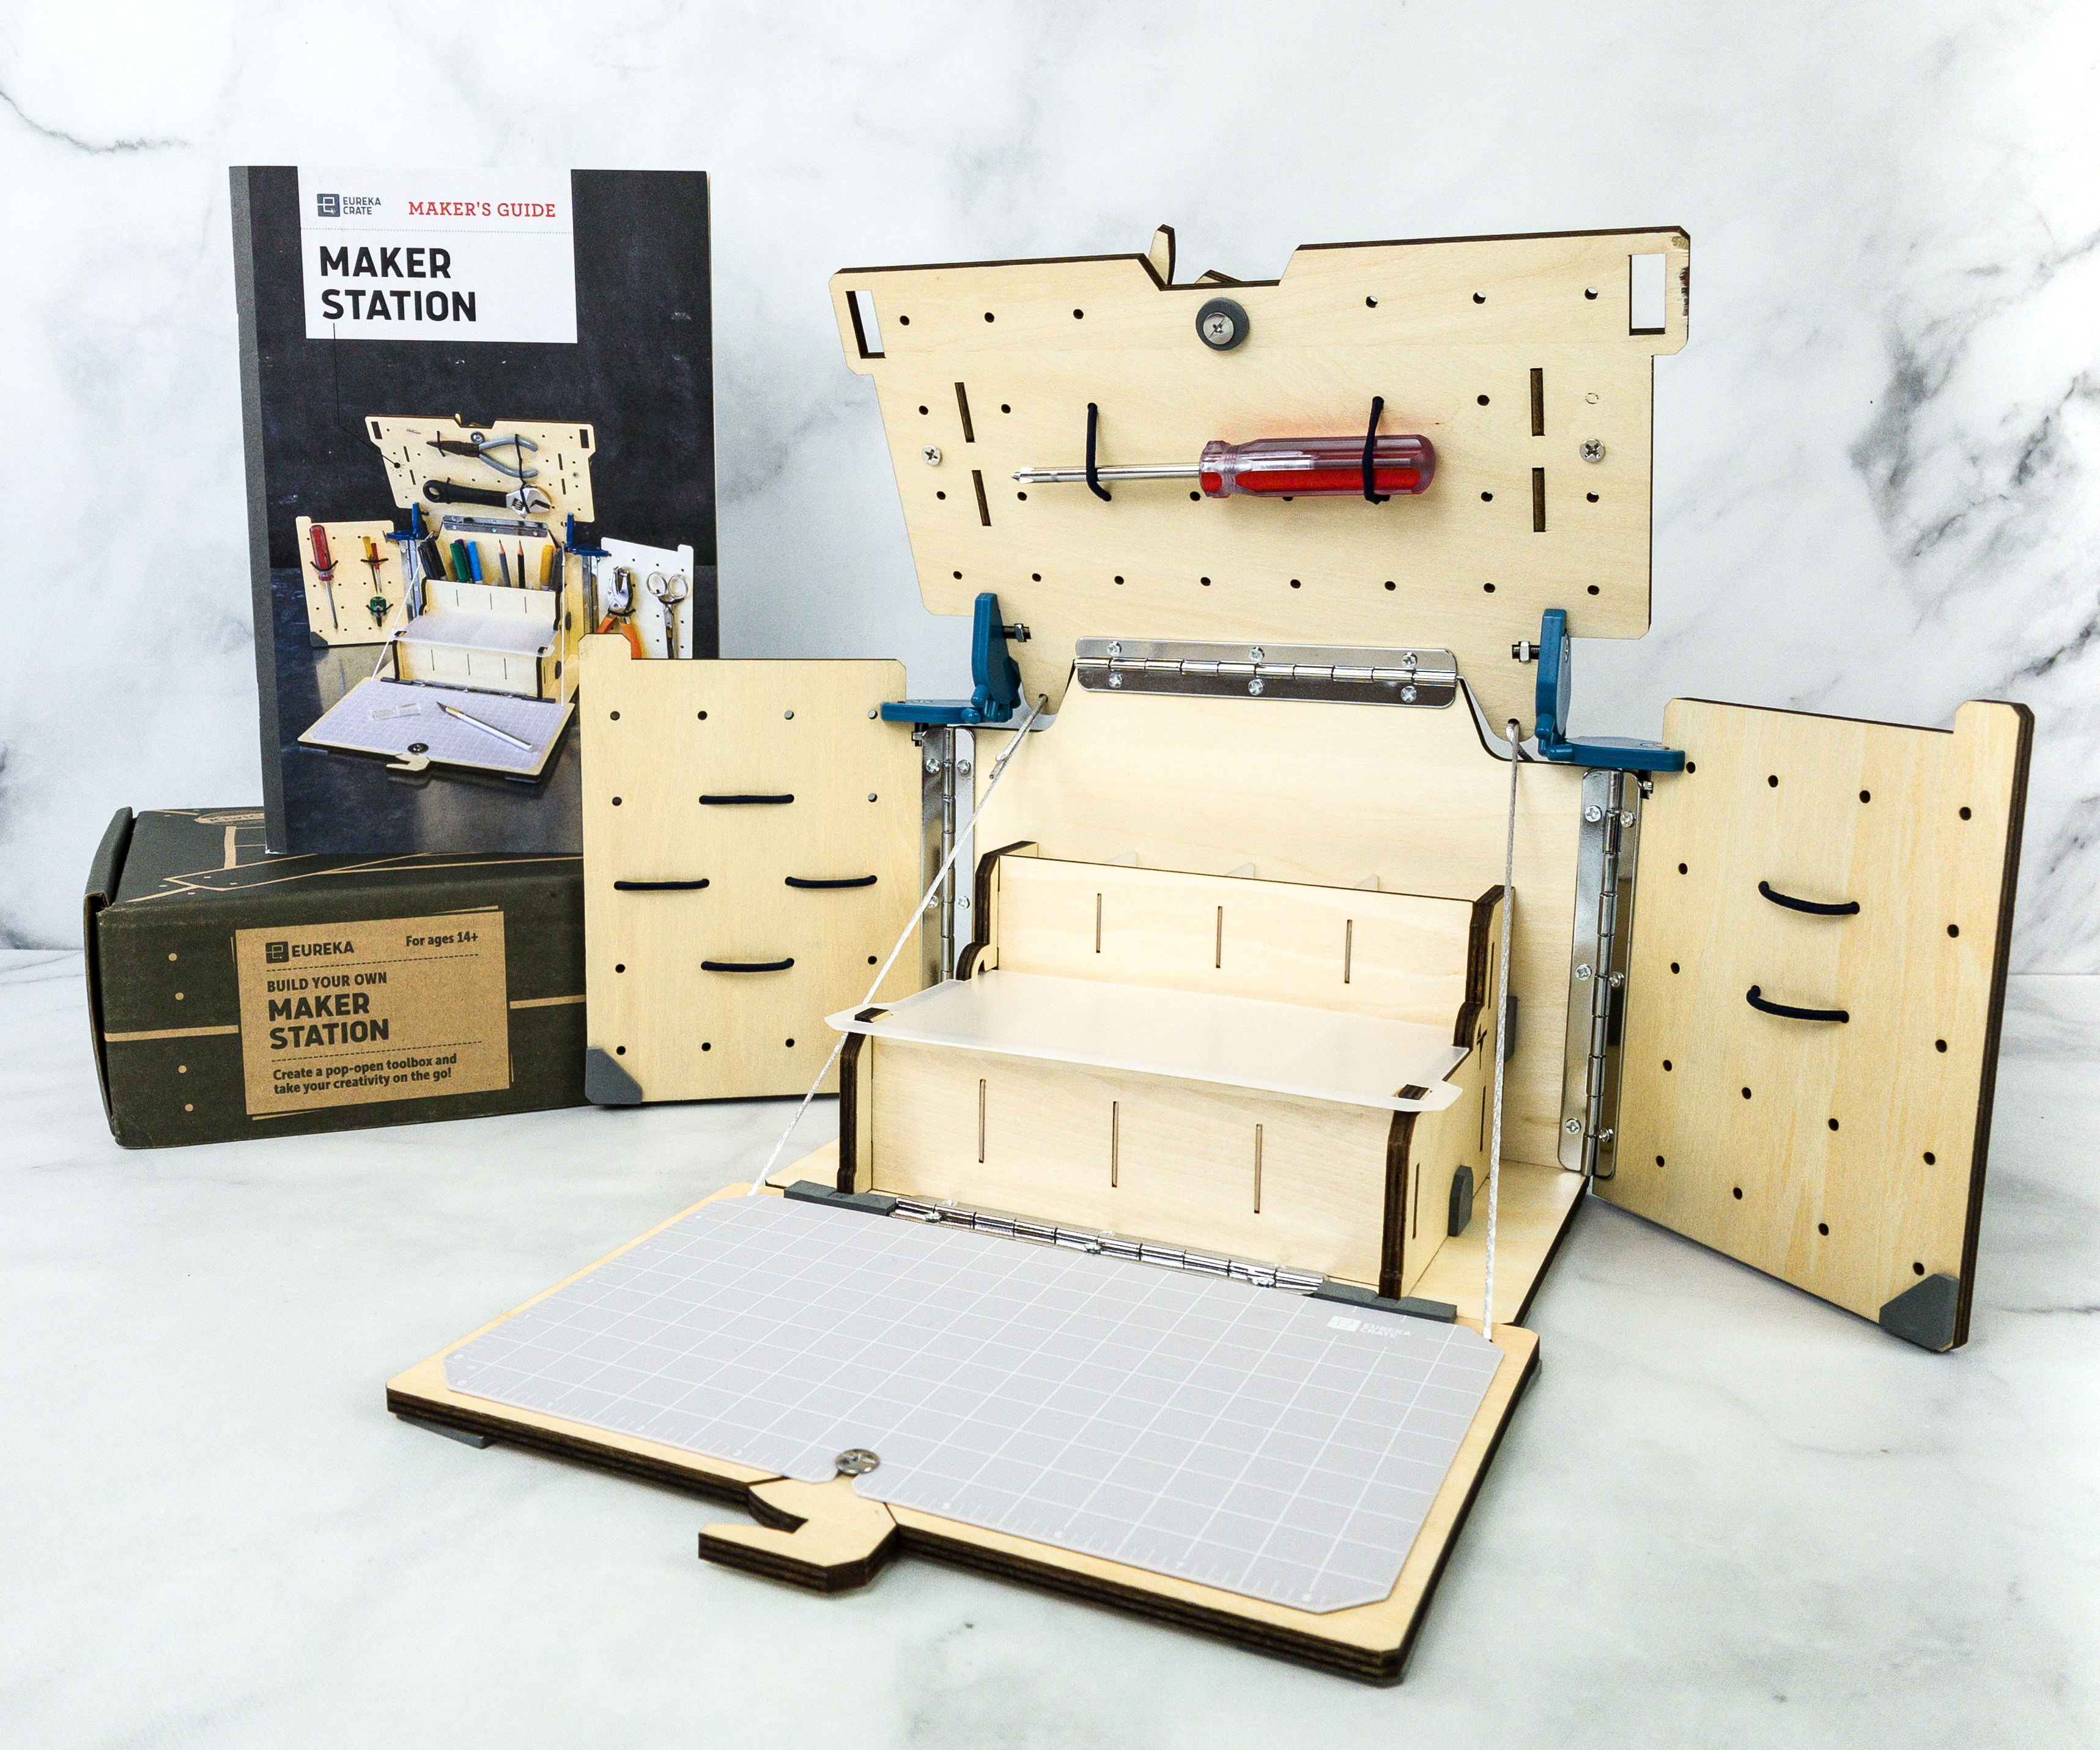
This month, we’re making a Maker Station!
Like the other crates from KiwiCo, Eureka Crate includes a booklet.
One of KiwiCo’s goals is to equip the next generation of innovators with the tools and confidence for creative exploration and problem-solving.

The booklet shares a complete history and details about this month’s project. They also included some fun facts and trivia related to the theme.
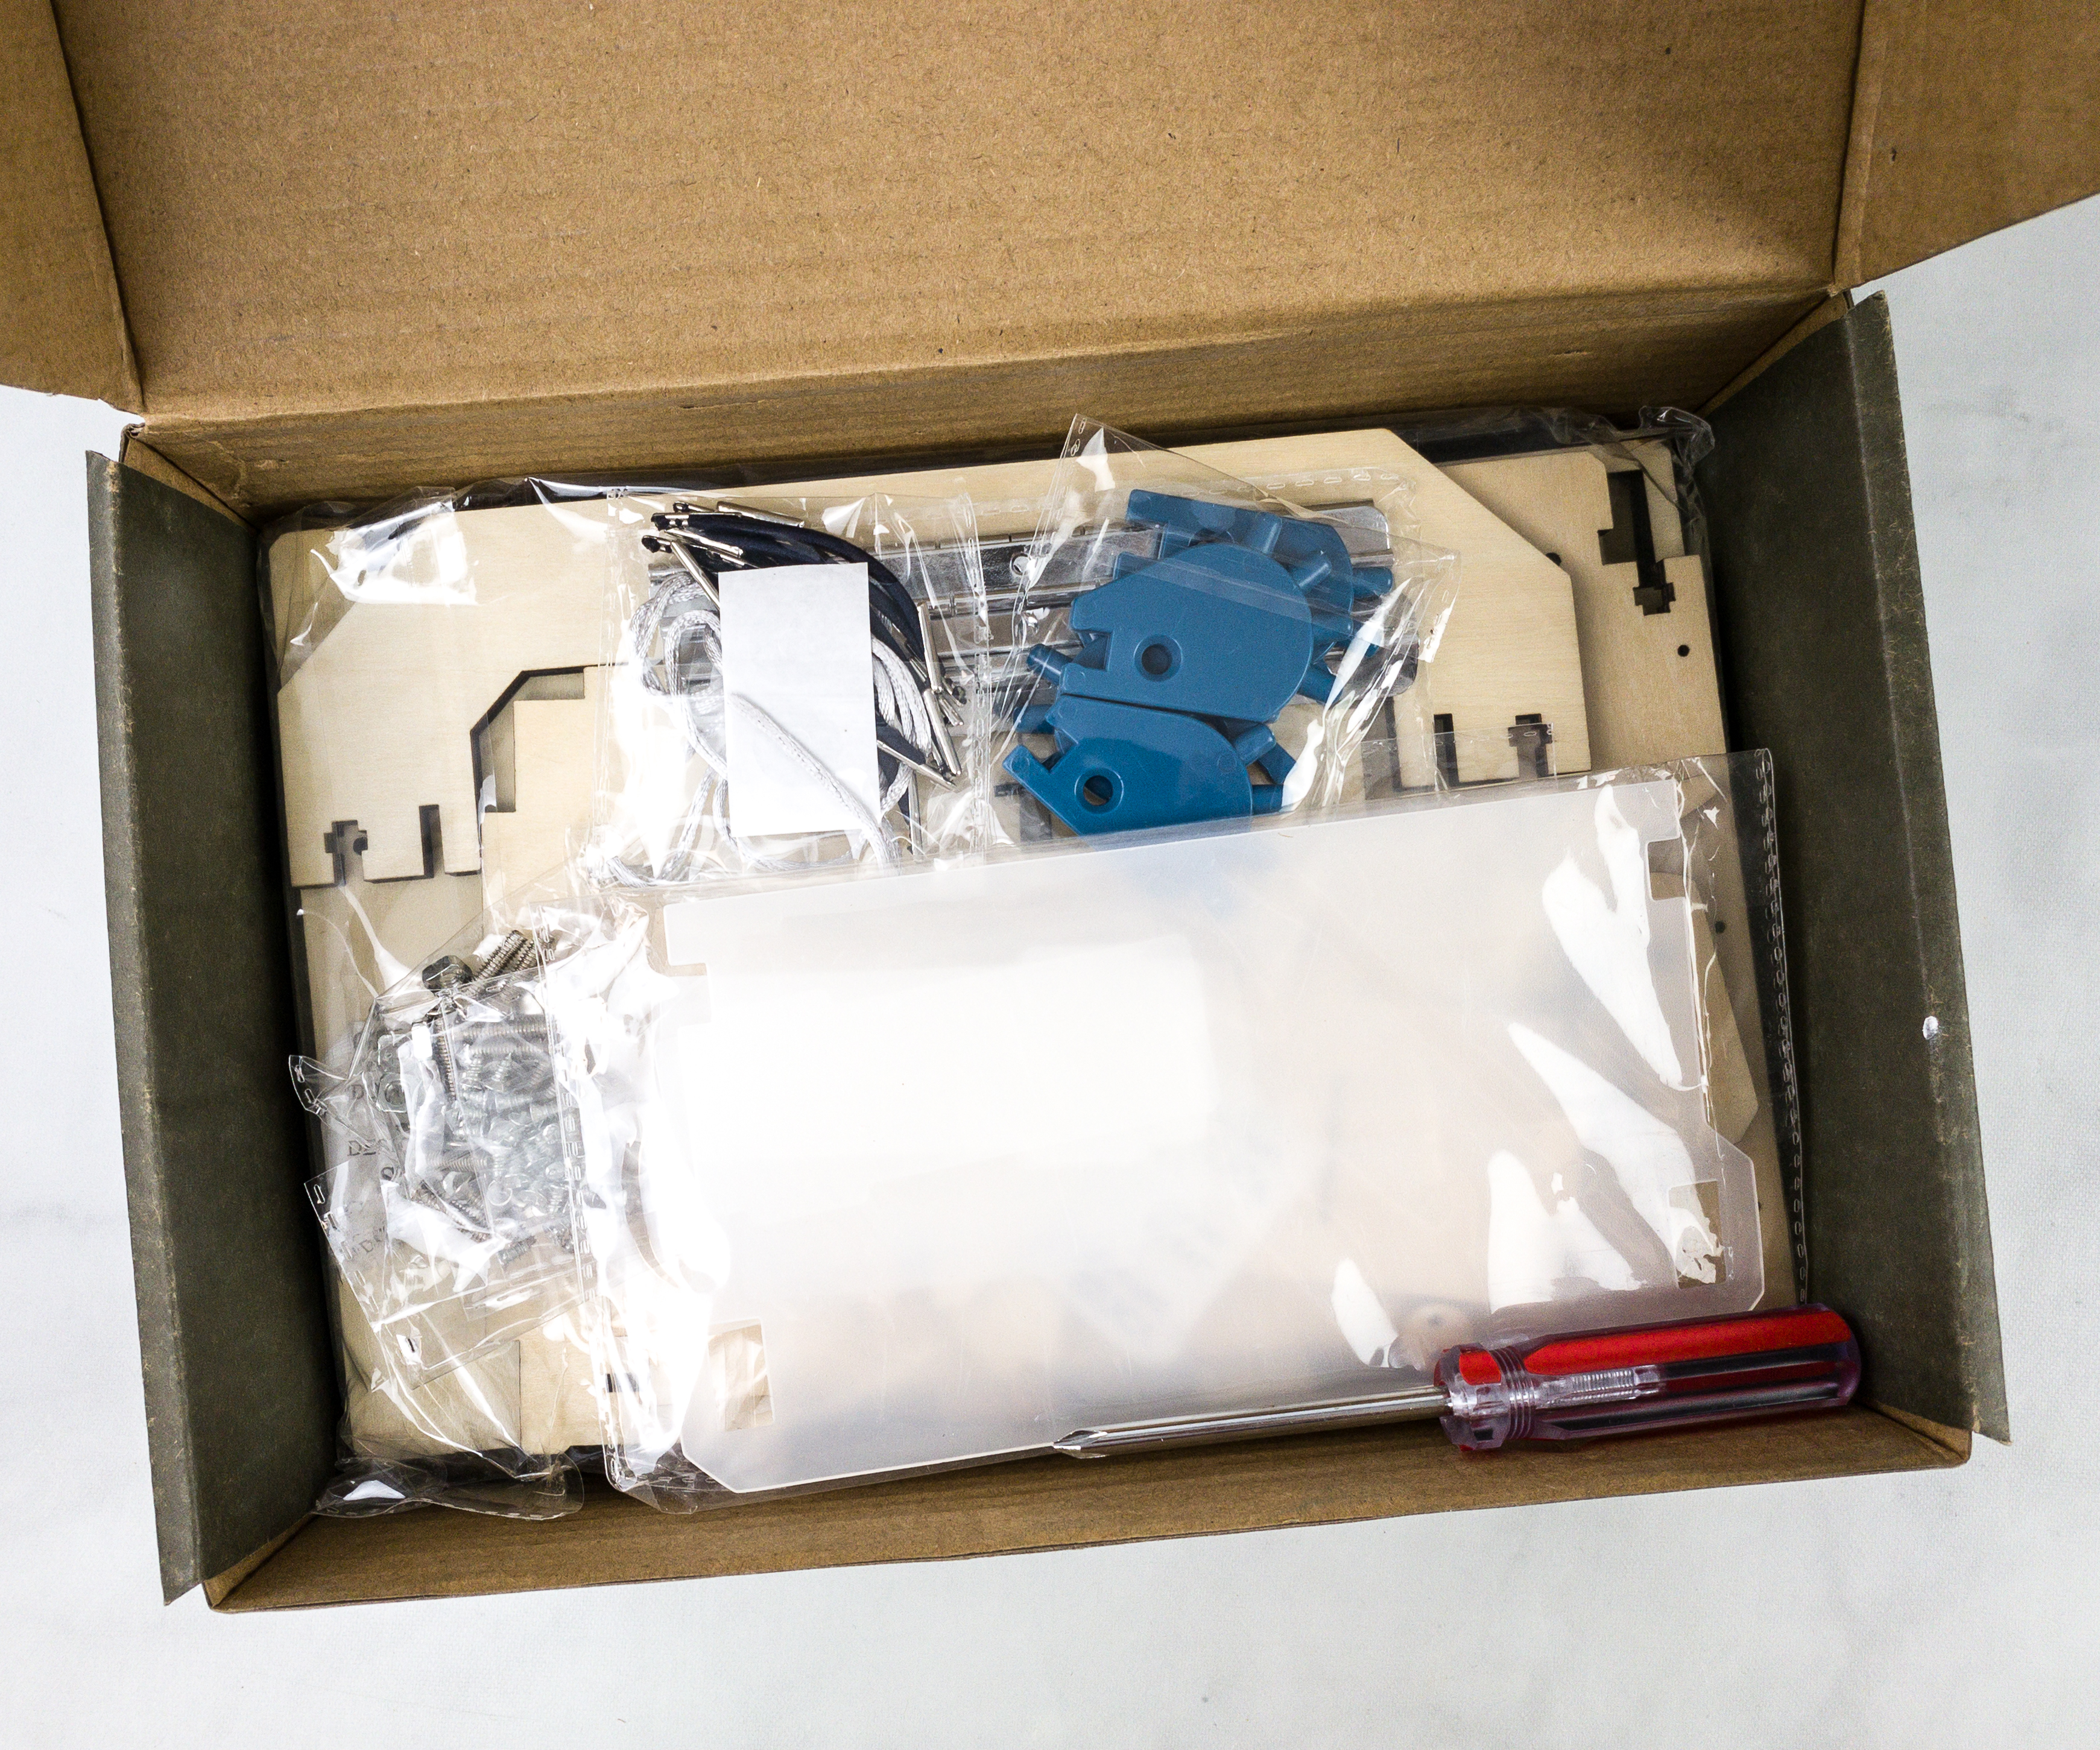
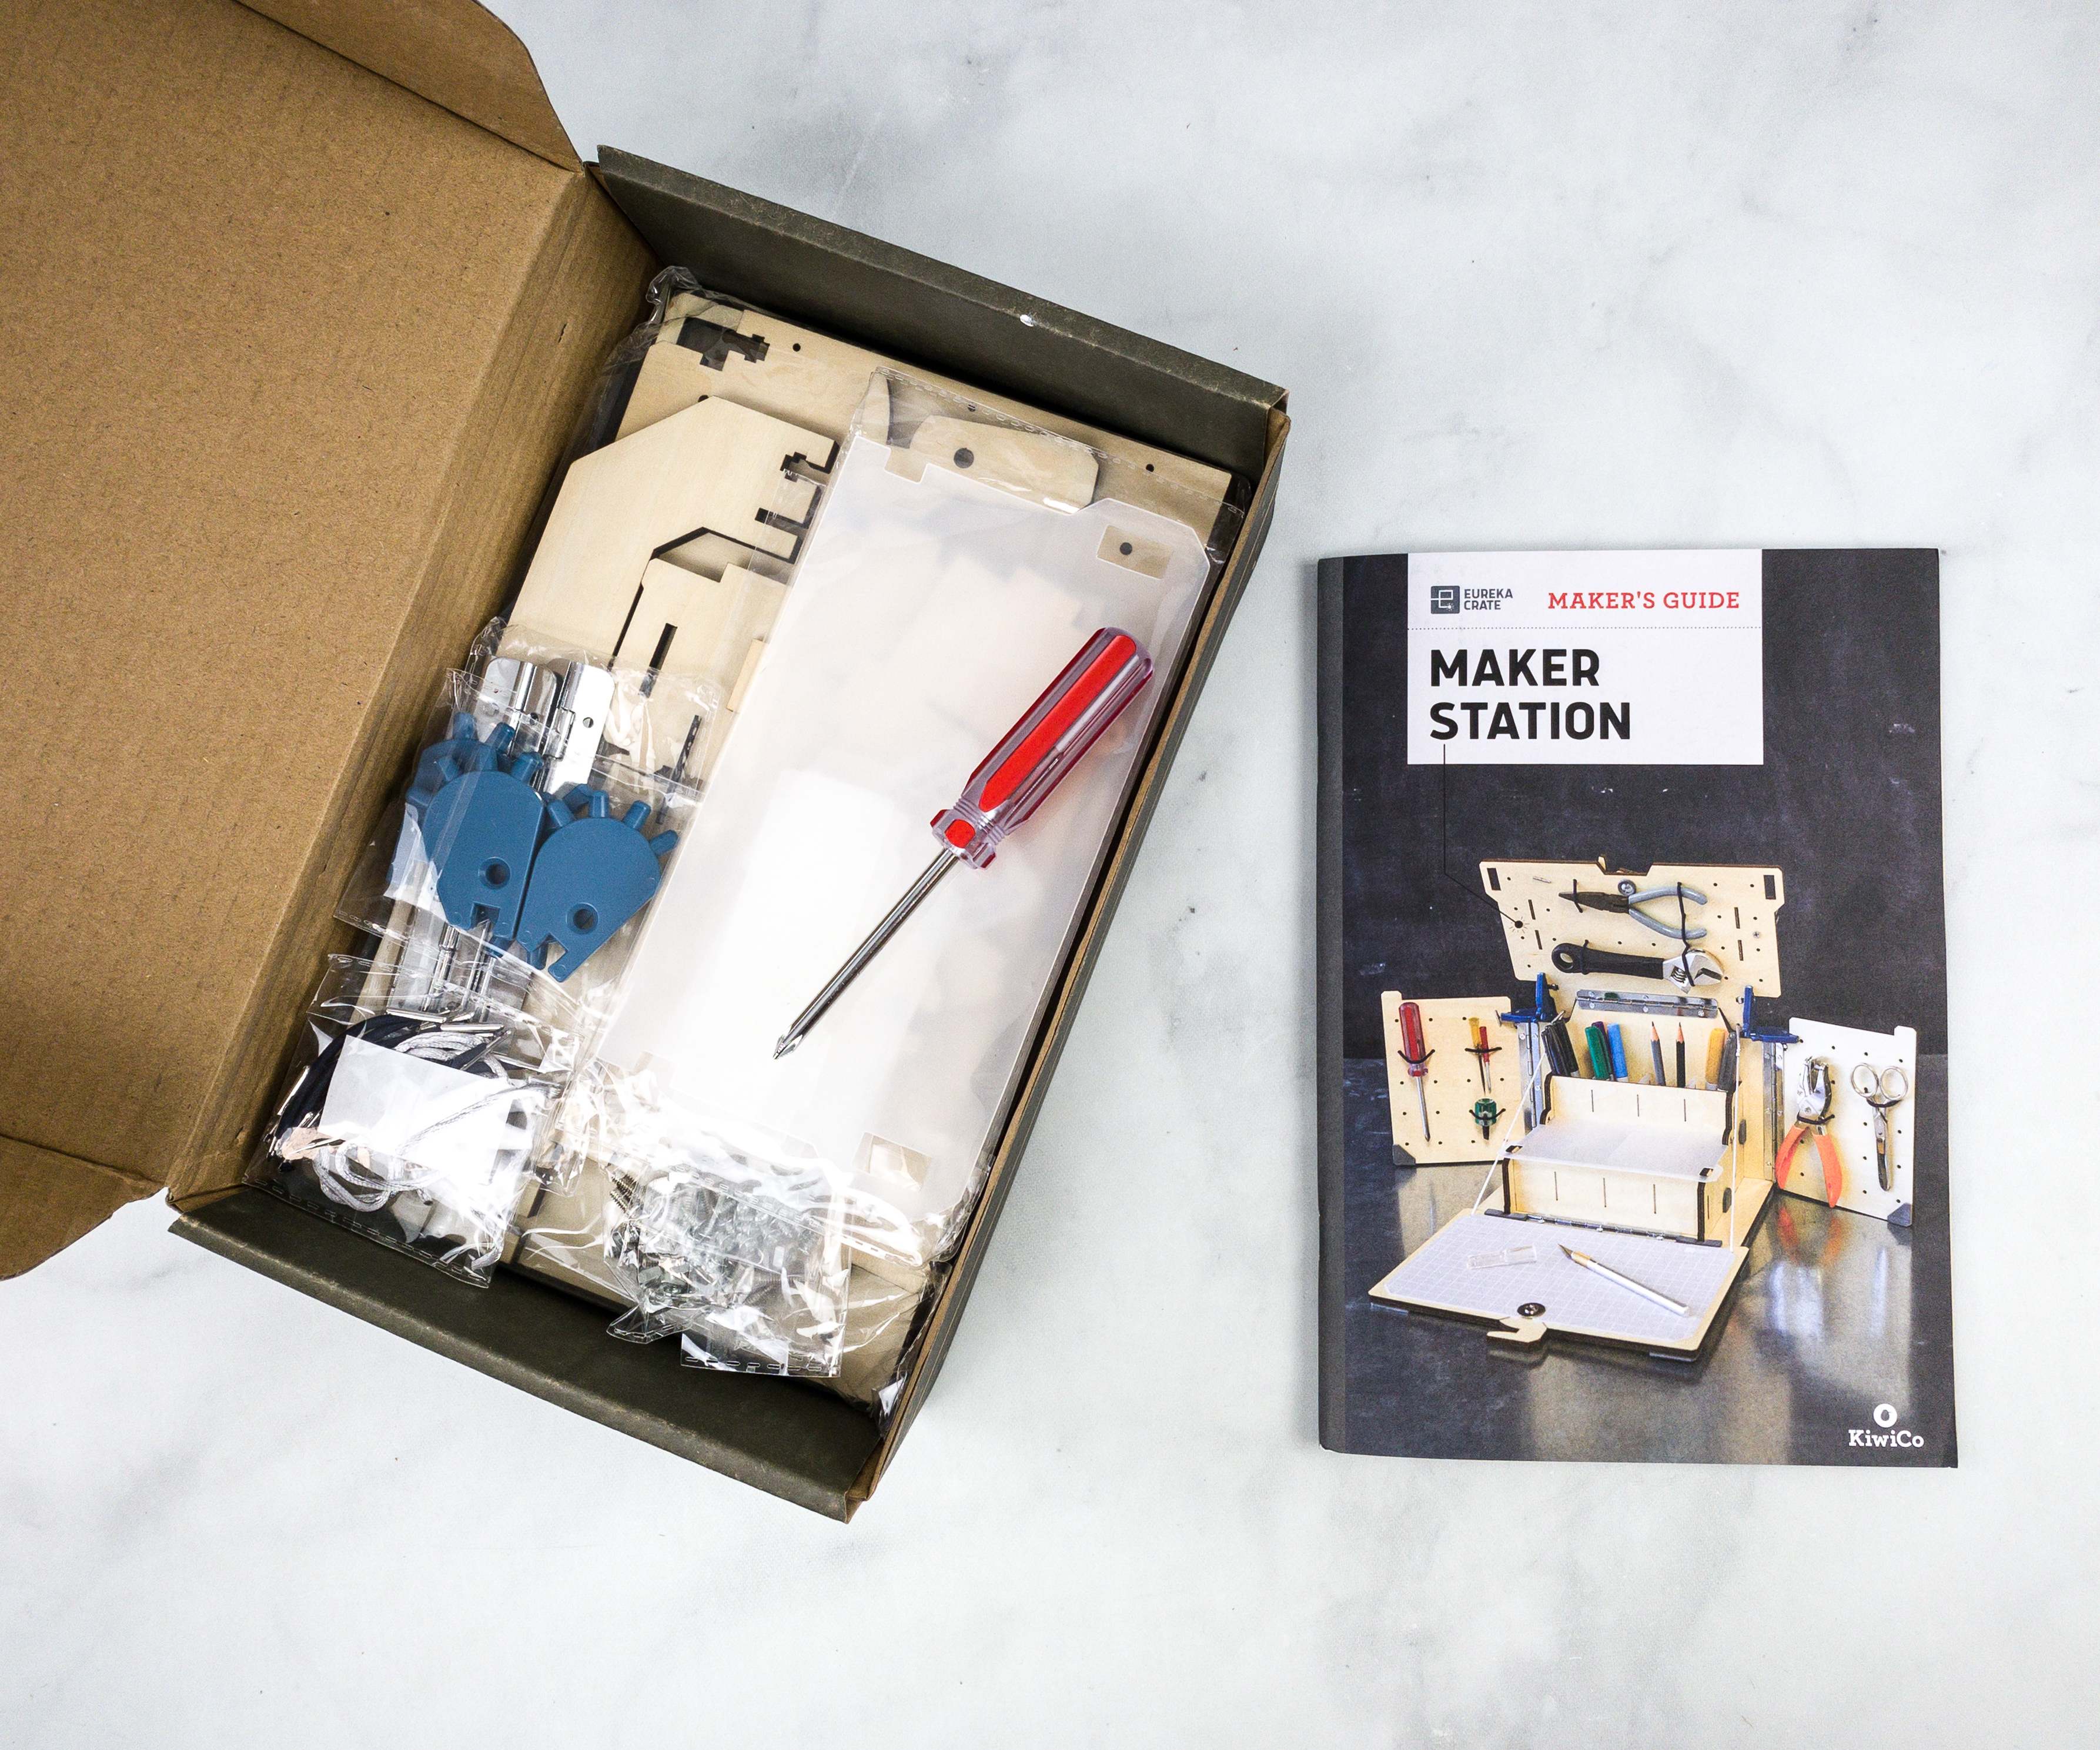
The materials were packed separately.
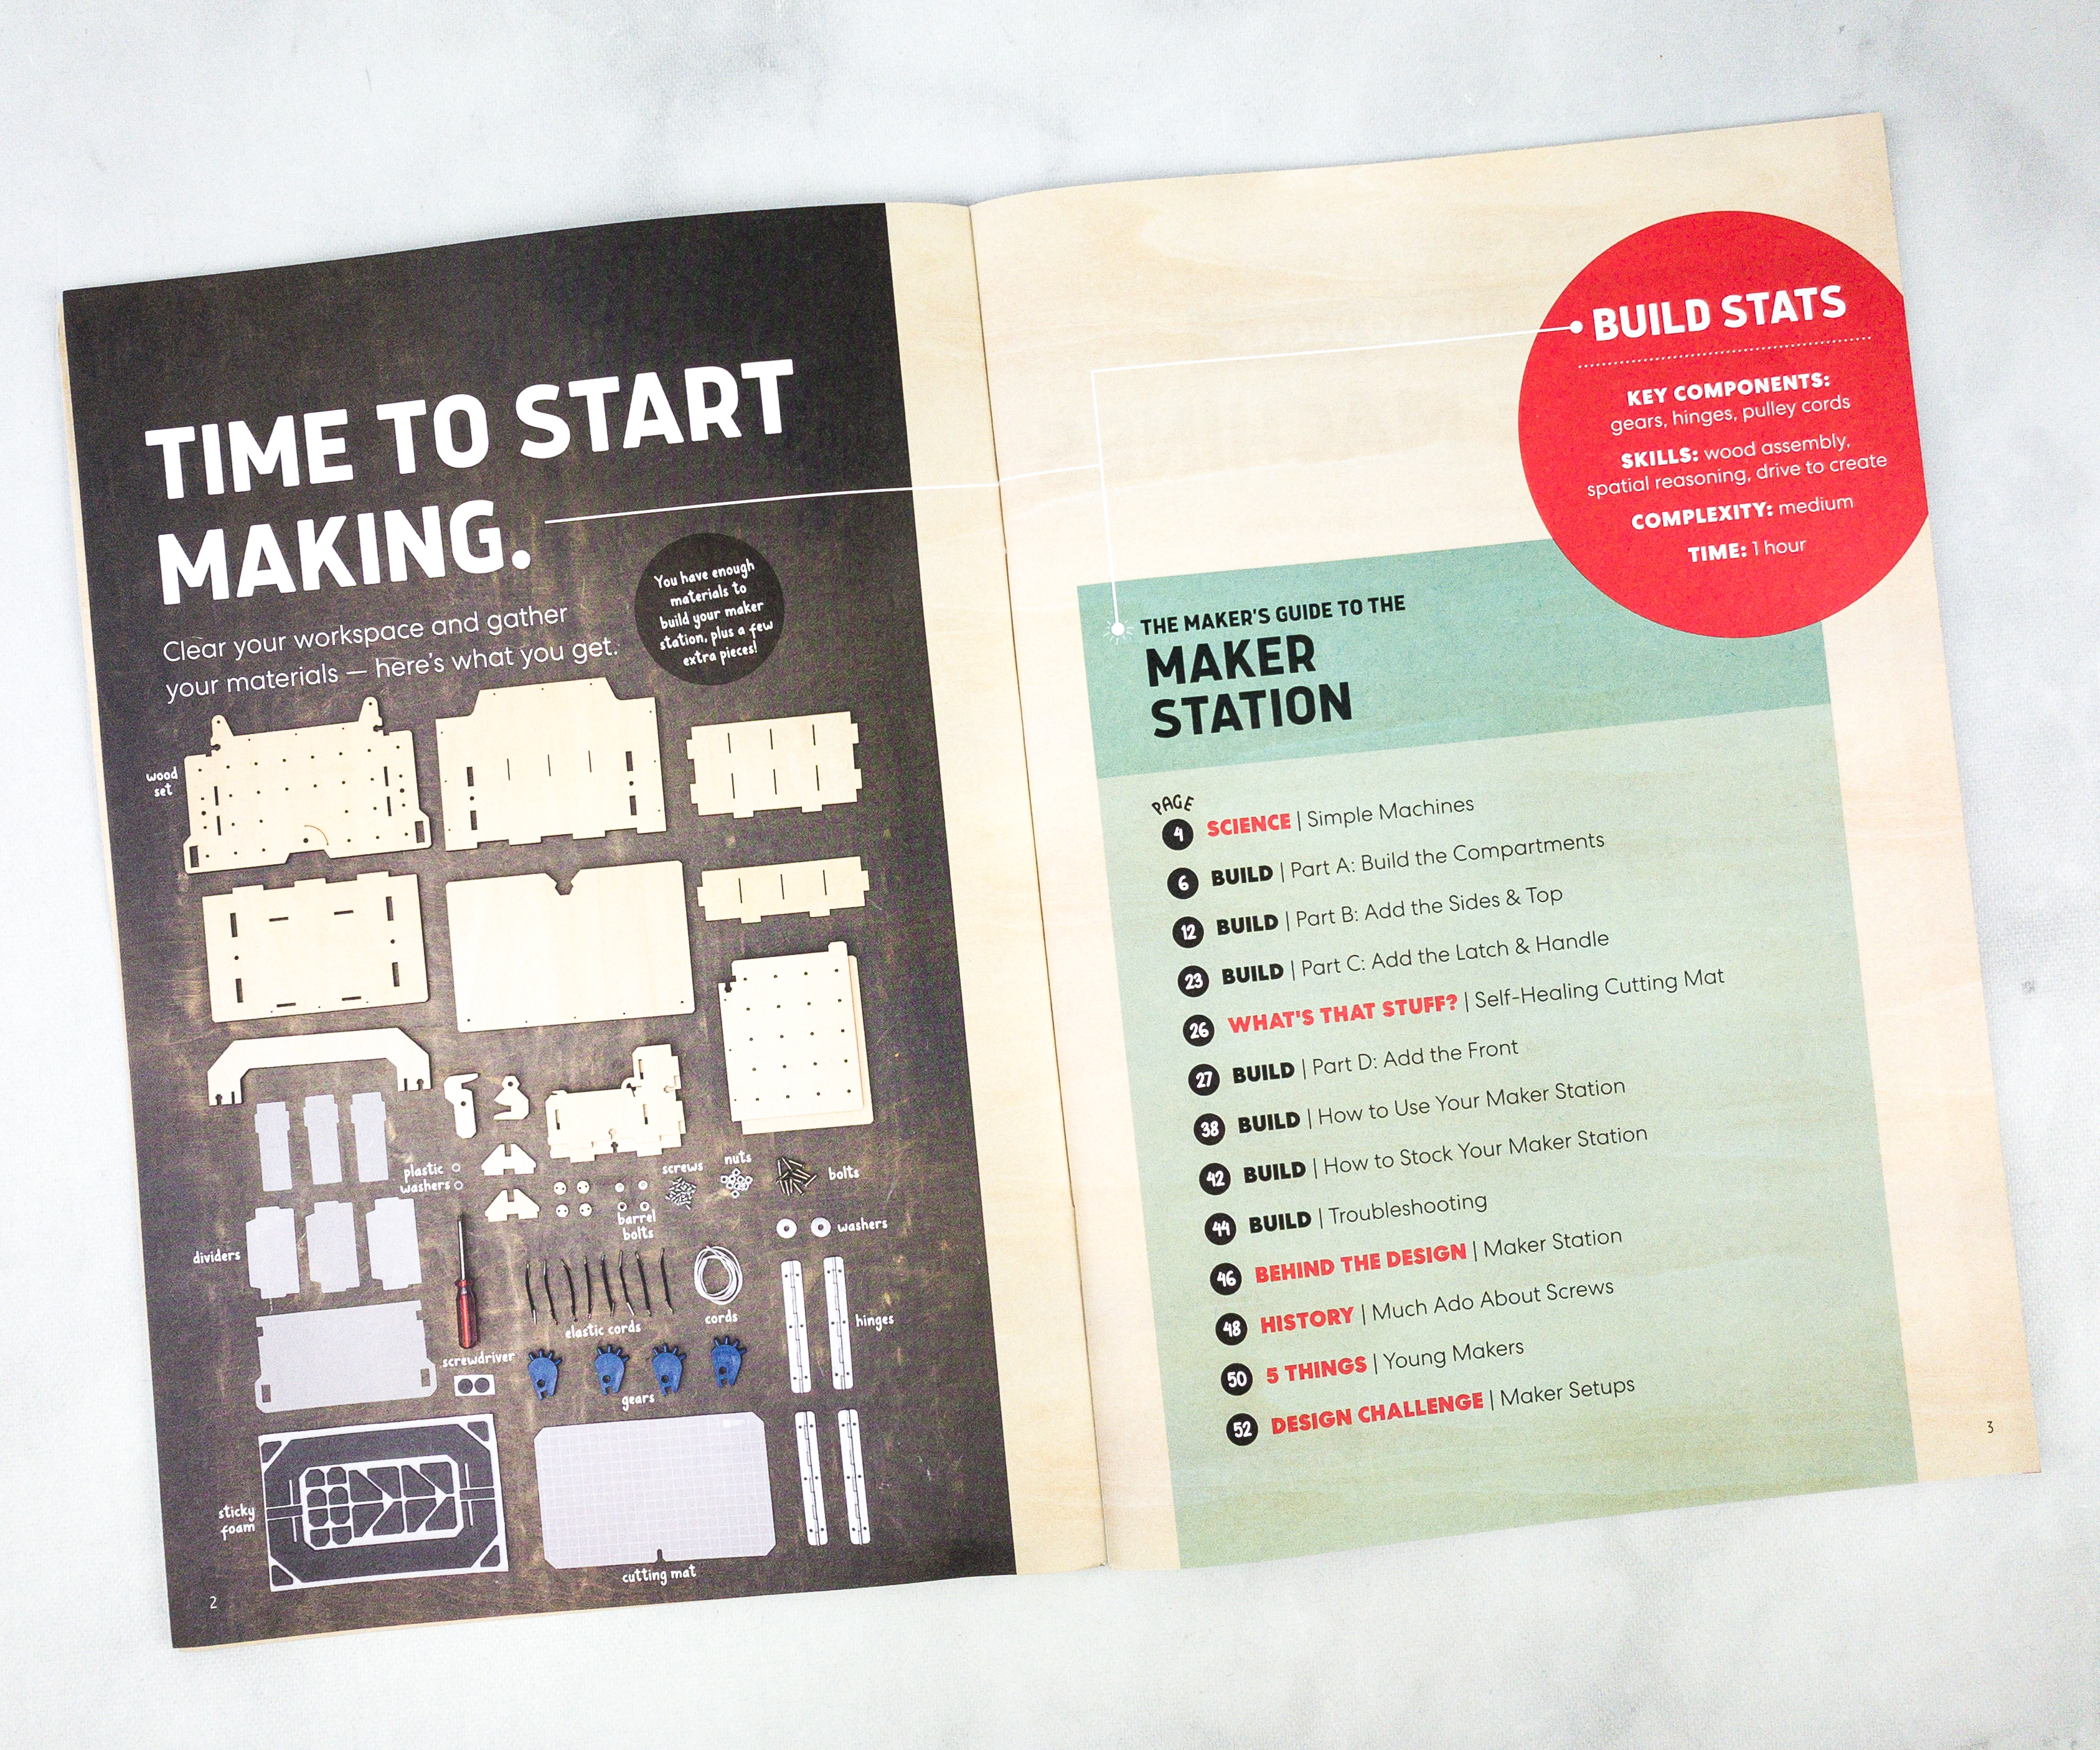
This booklet means business as it jumps right to the activity.
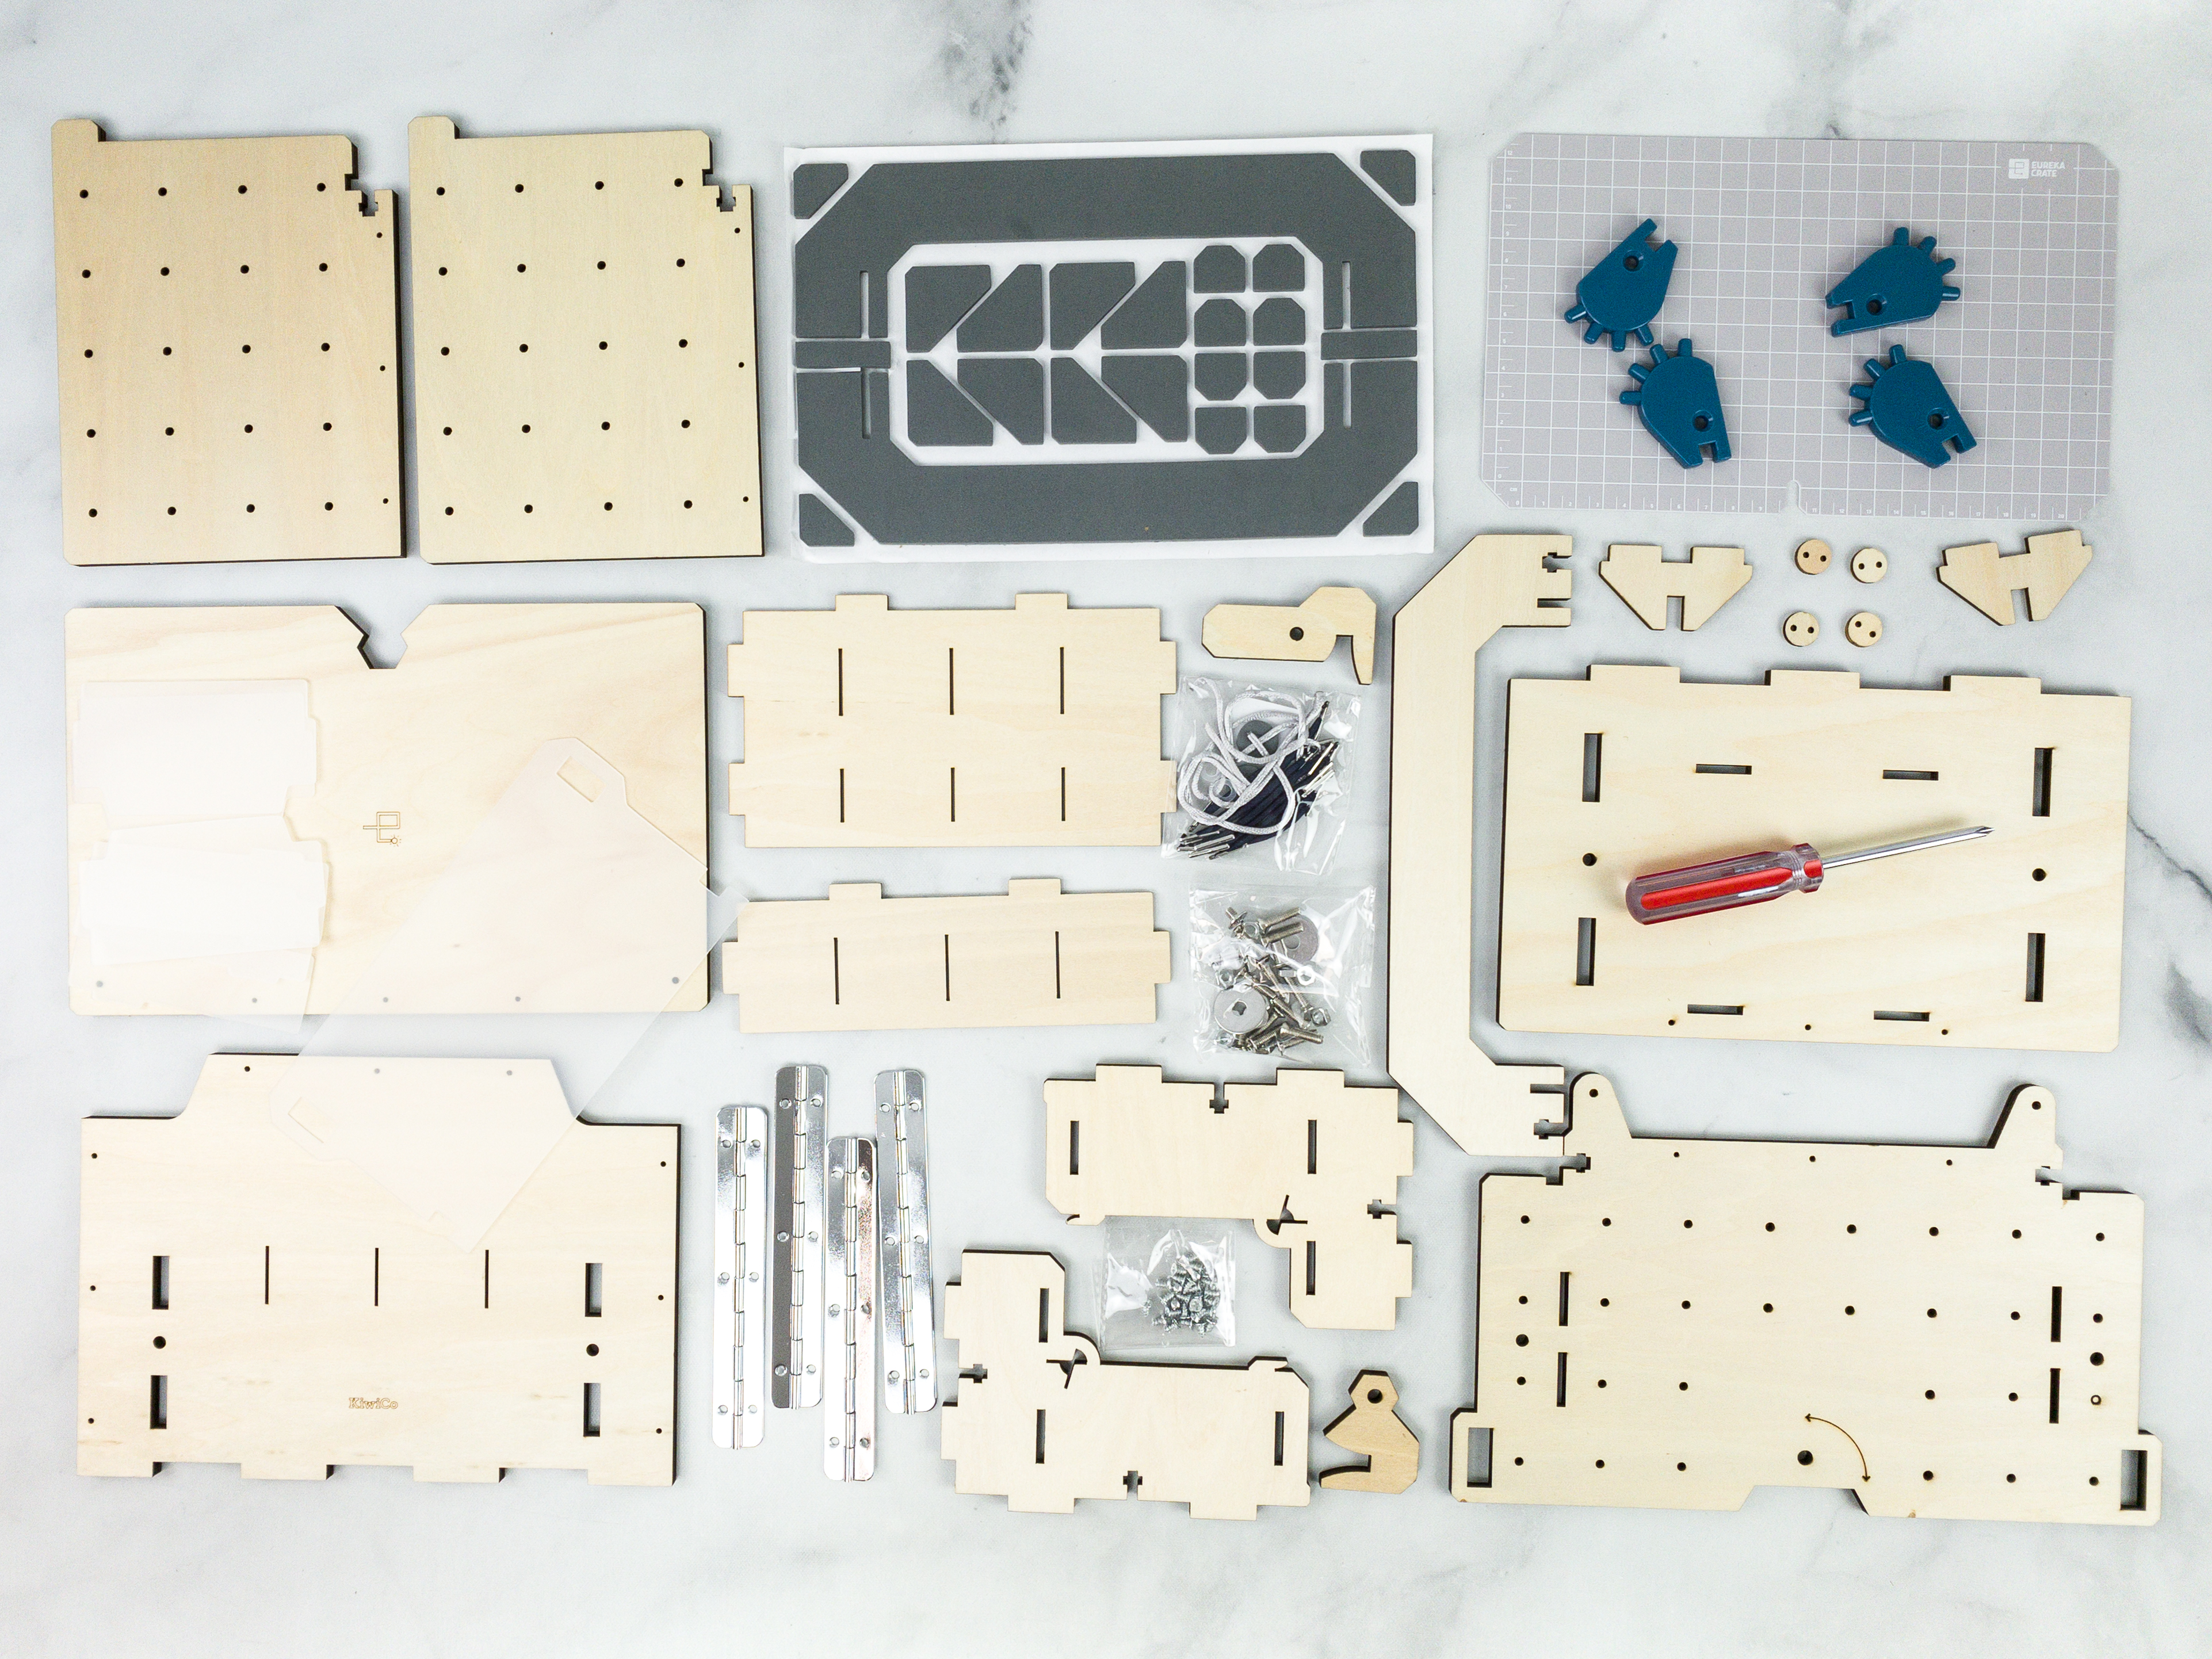
Everything in this month’s box!
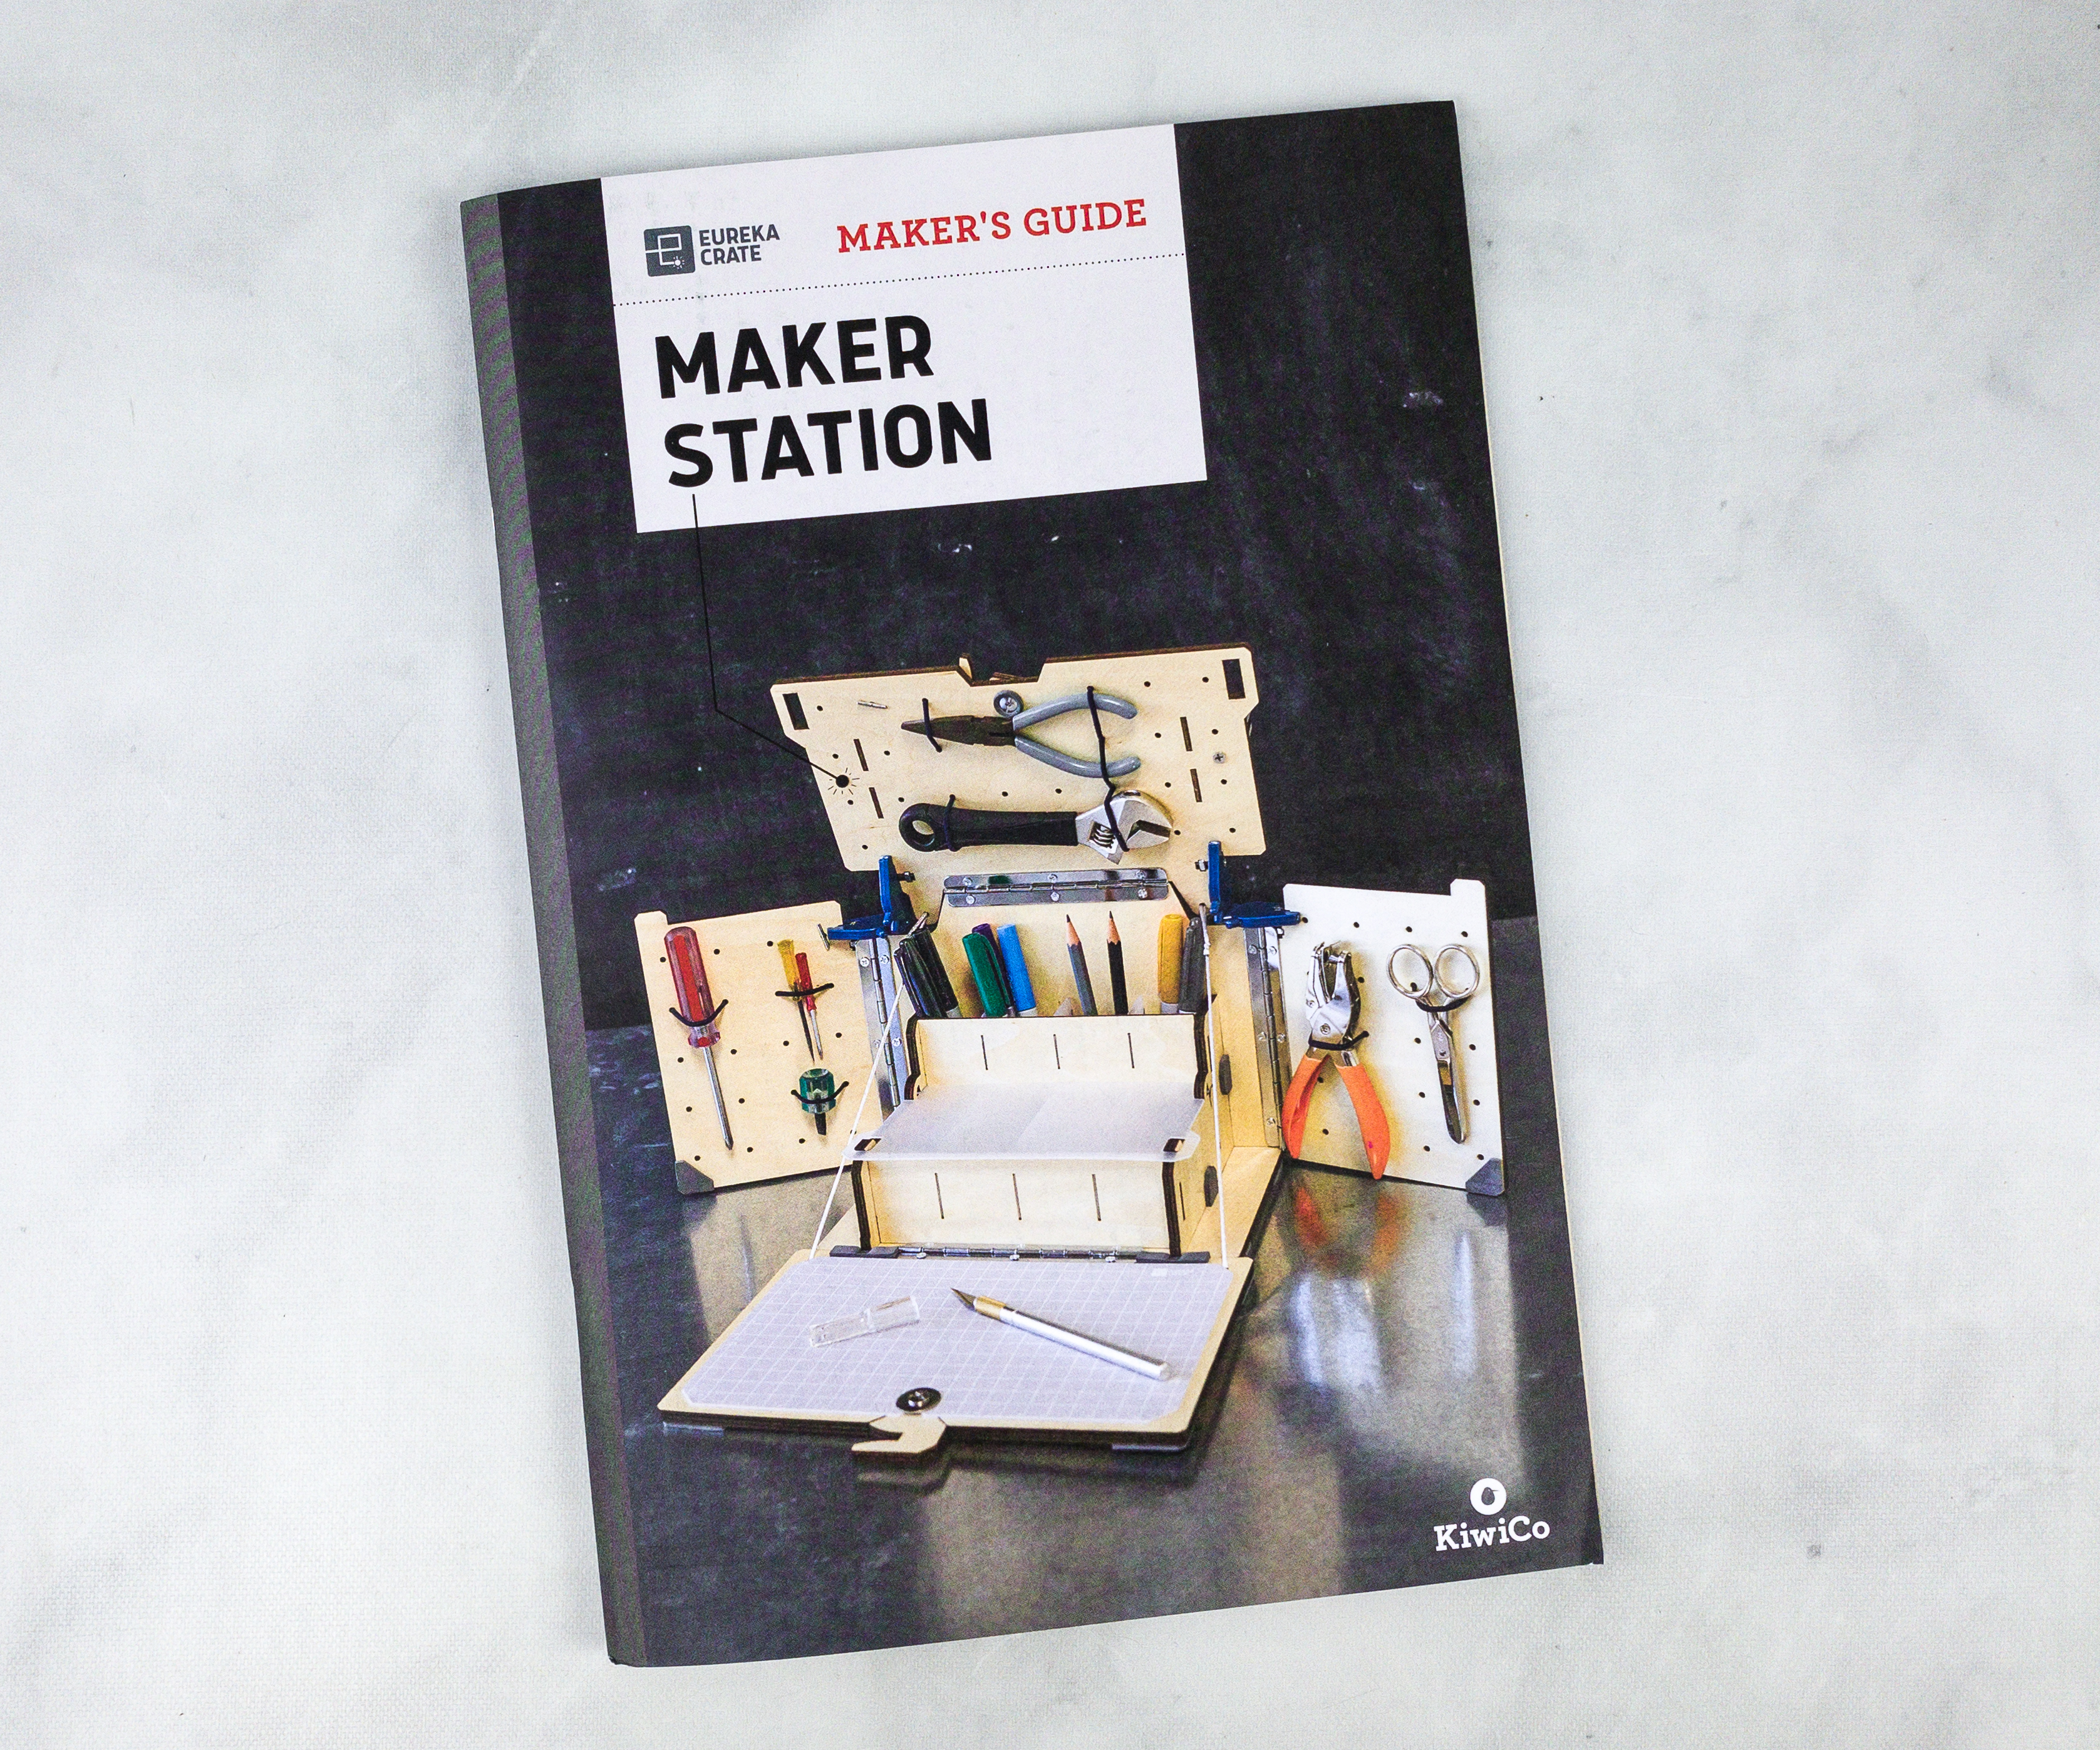
Eureka Crate Maker’s Guide
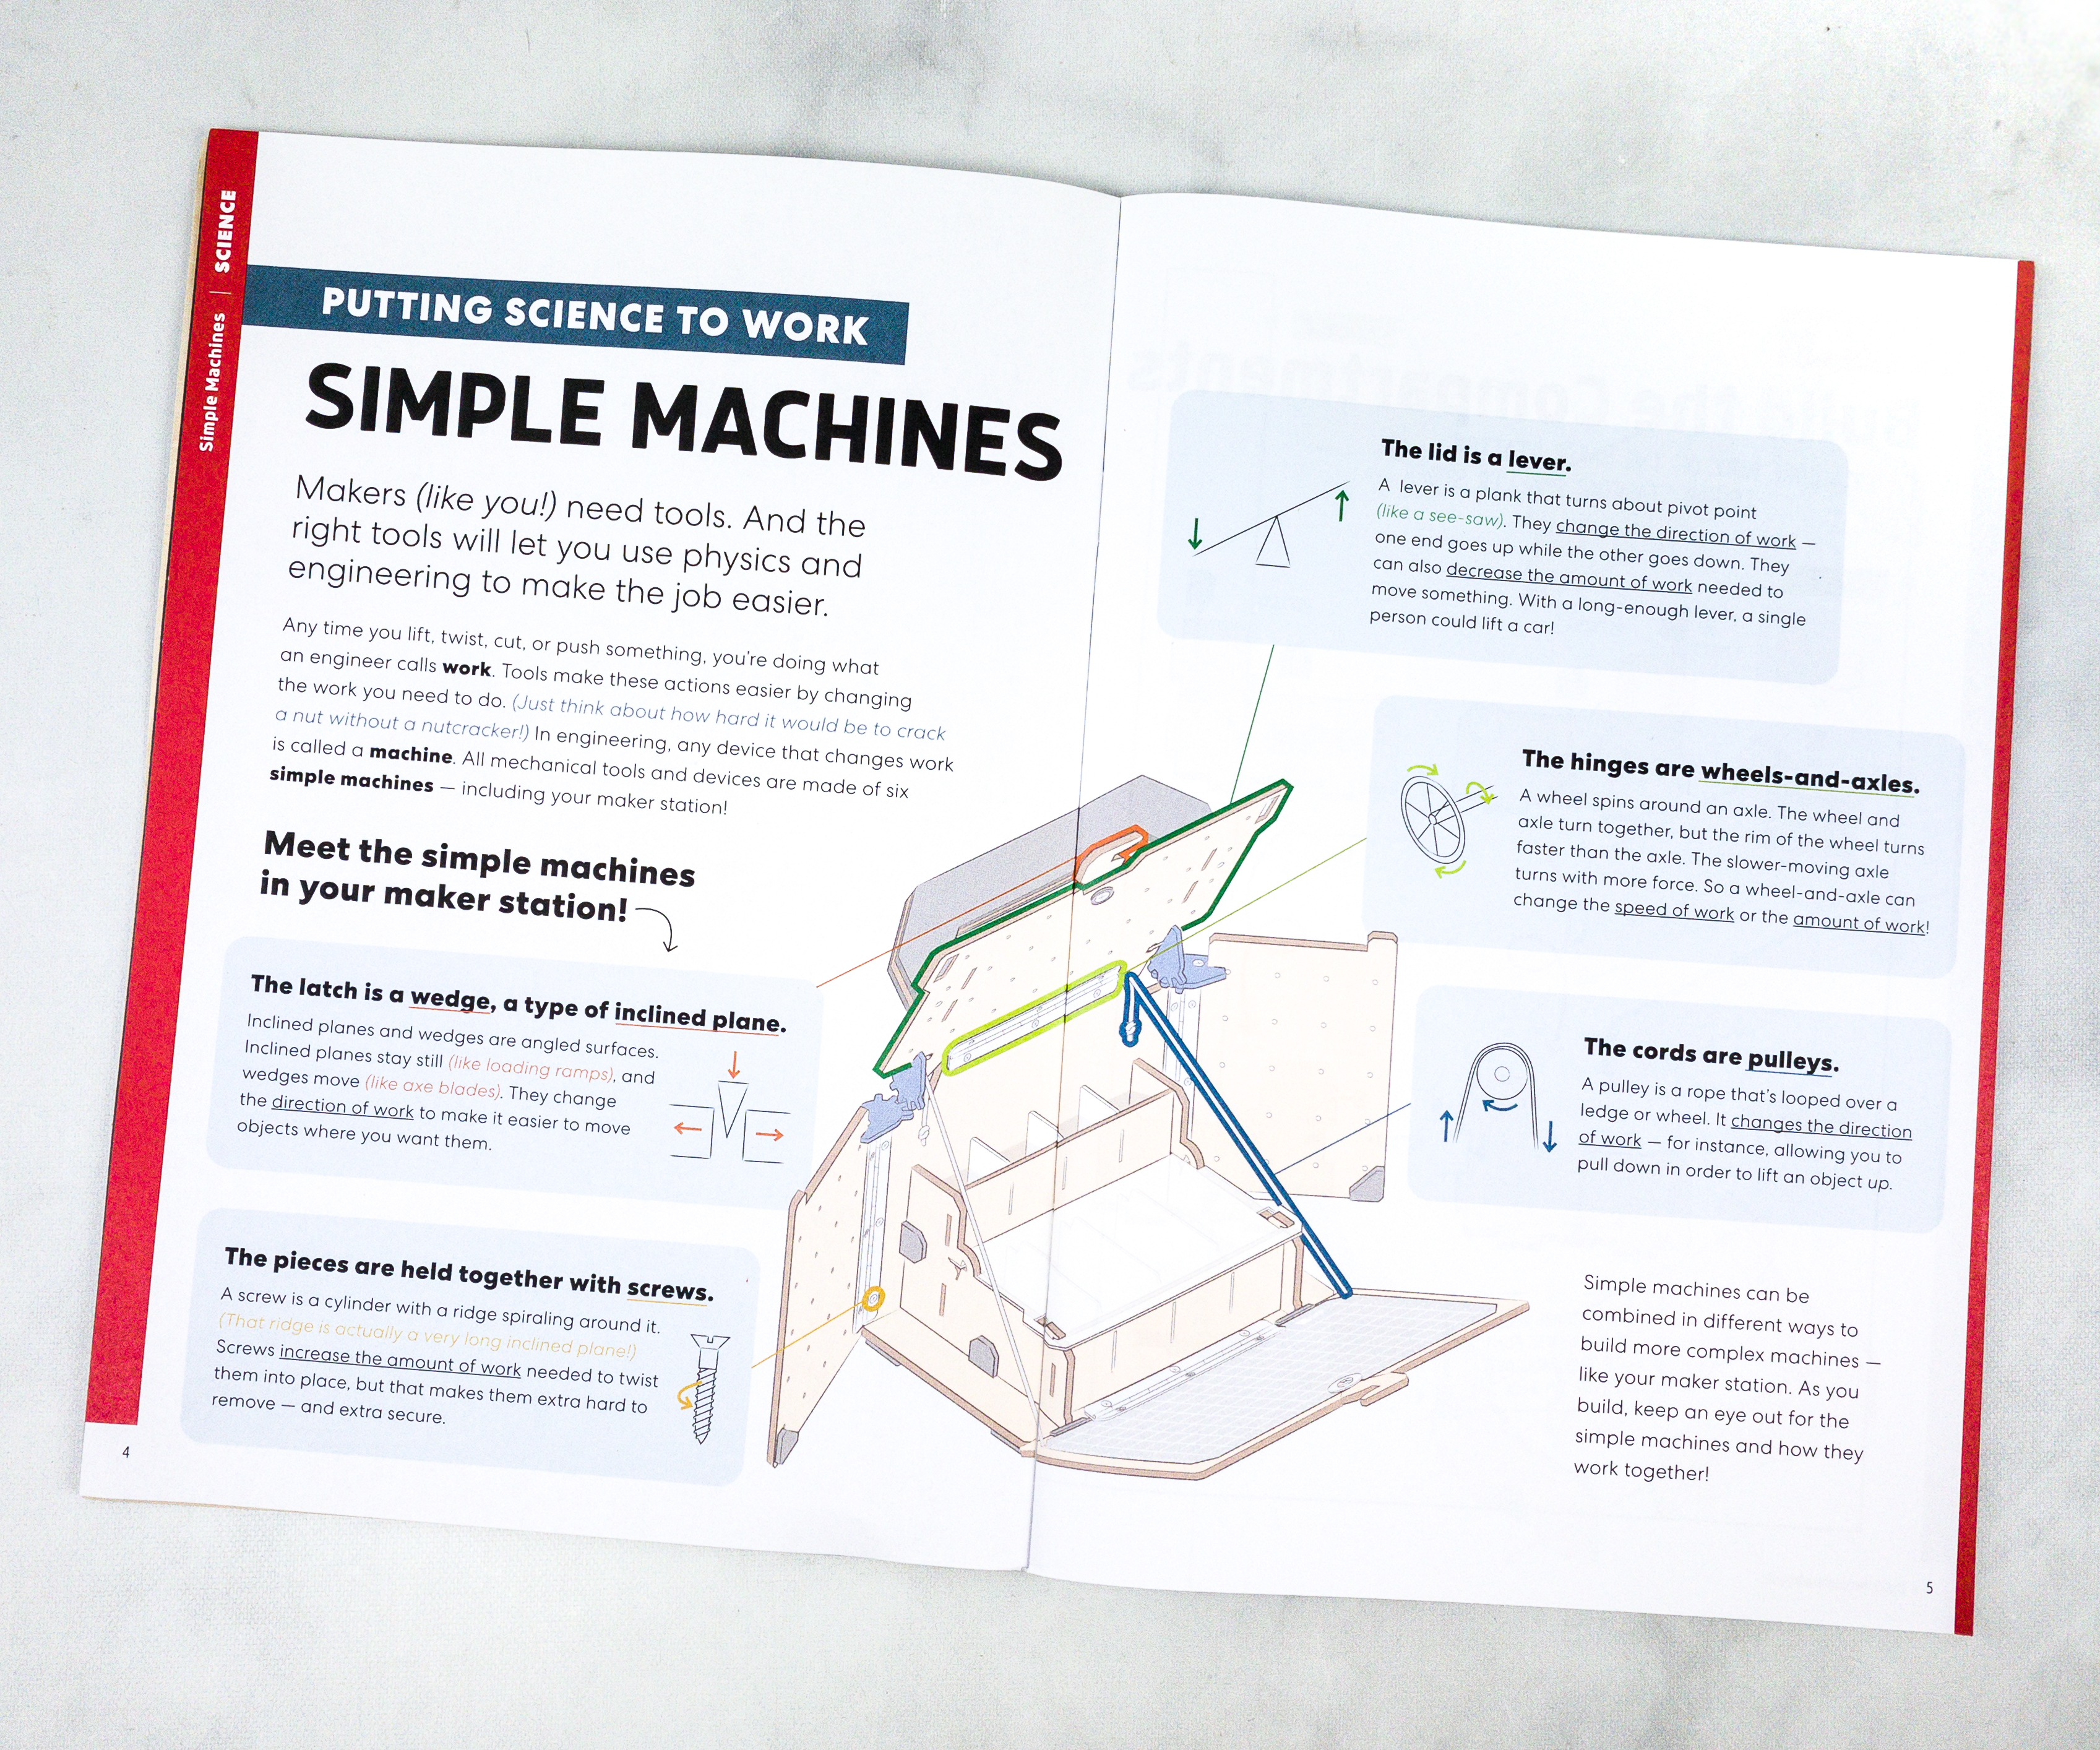
On this part of the booklet is an article that explains the science of simple machines.
Makers (like you!) need tools. And the right tools will let you use physics and engineering to make the job easier.
Any time you lift, twist, cut, or push something, you’re doing what an engineer calls work. Tools make these actions easier by changing the work you need to do. (Just think about how hard it would be to crack a nut without a nutcracker!) In engineering, any device that changes work is called a machine. All mechanical tools and devices are made of six simple machines – including your maker station!
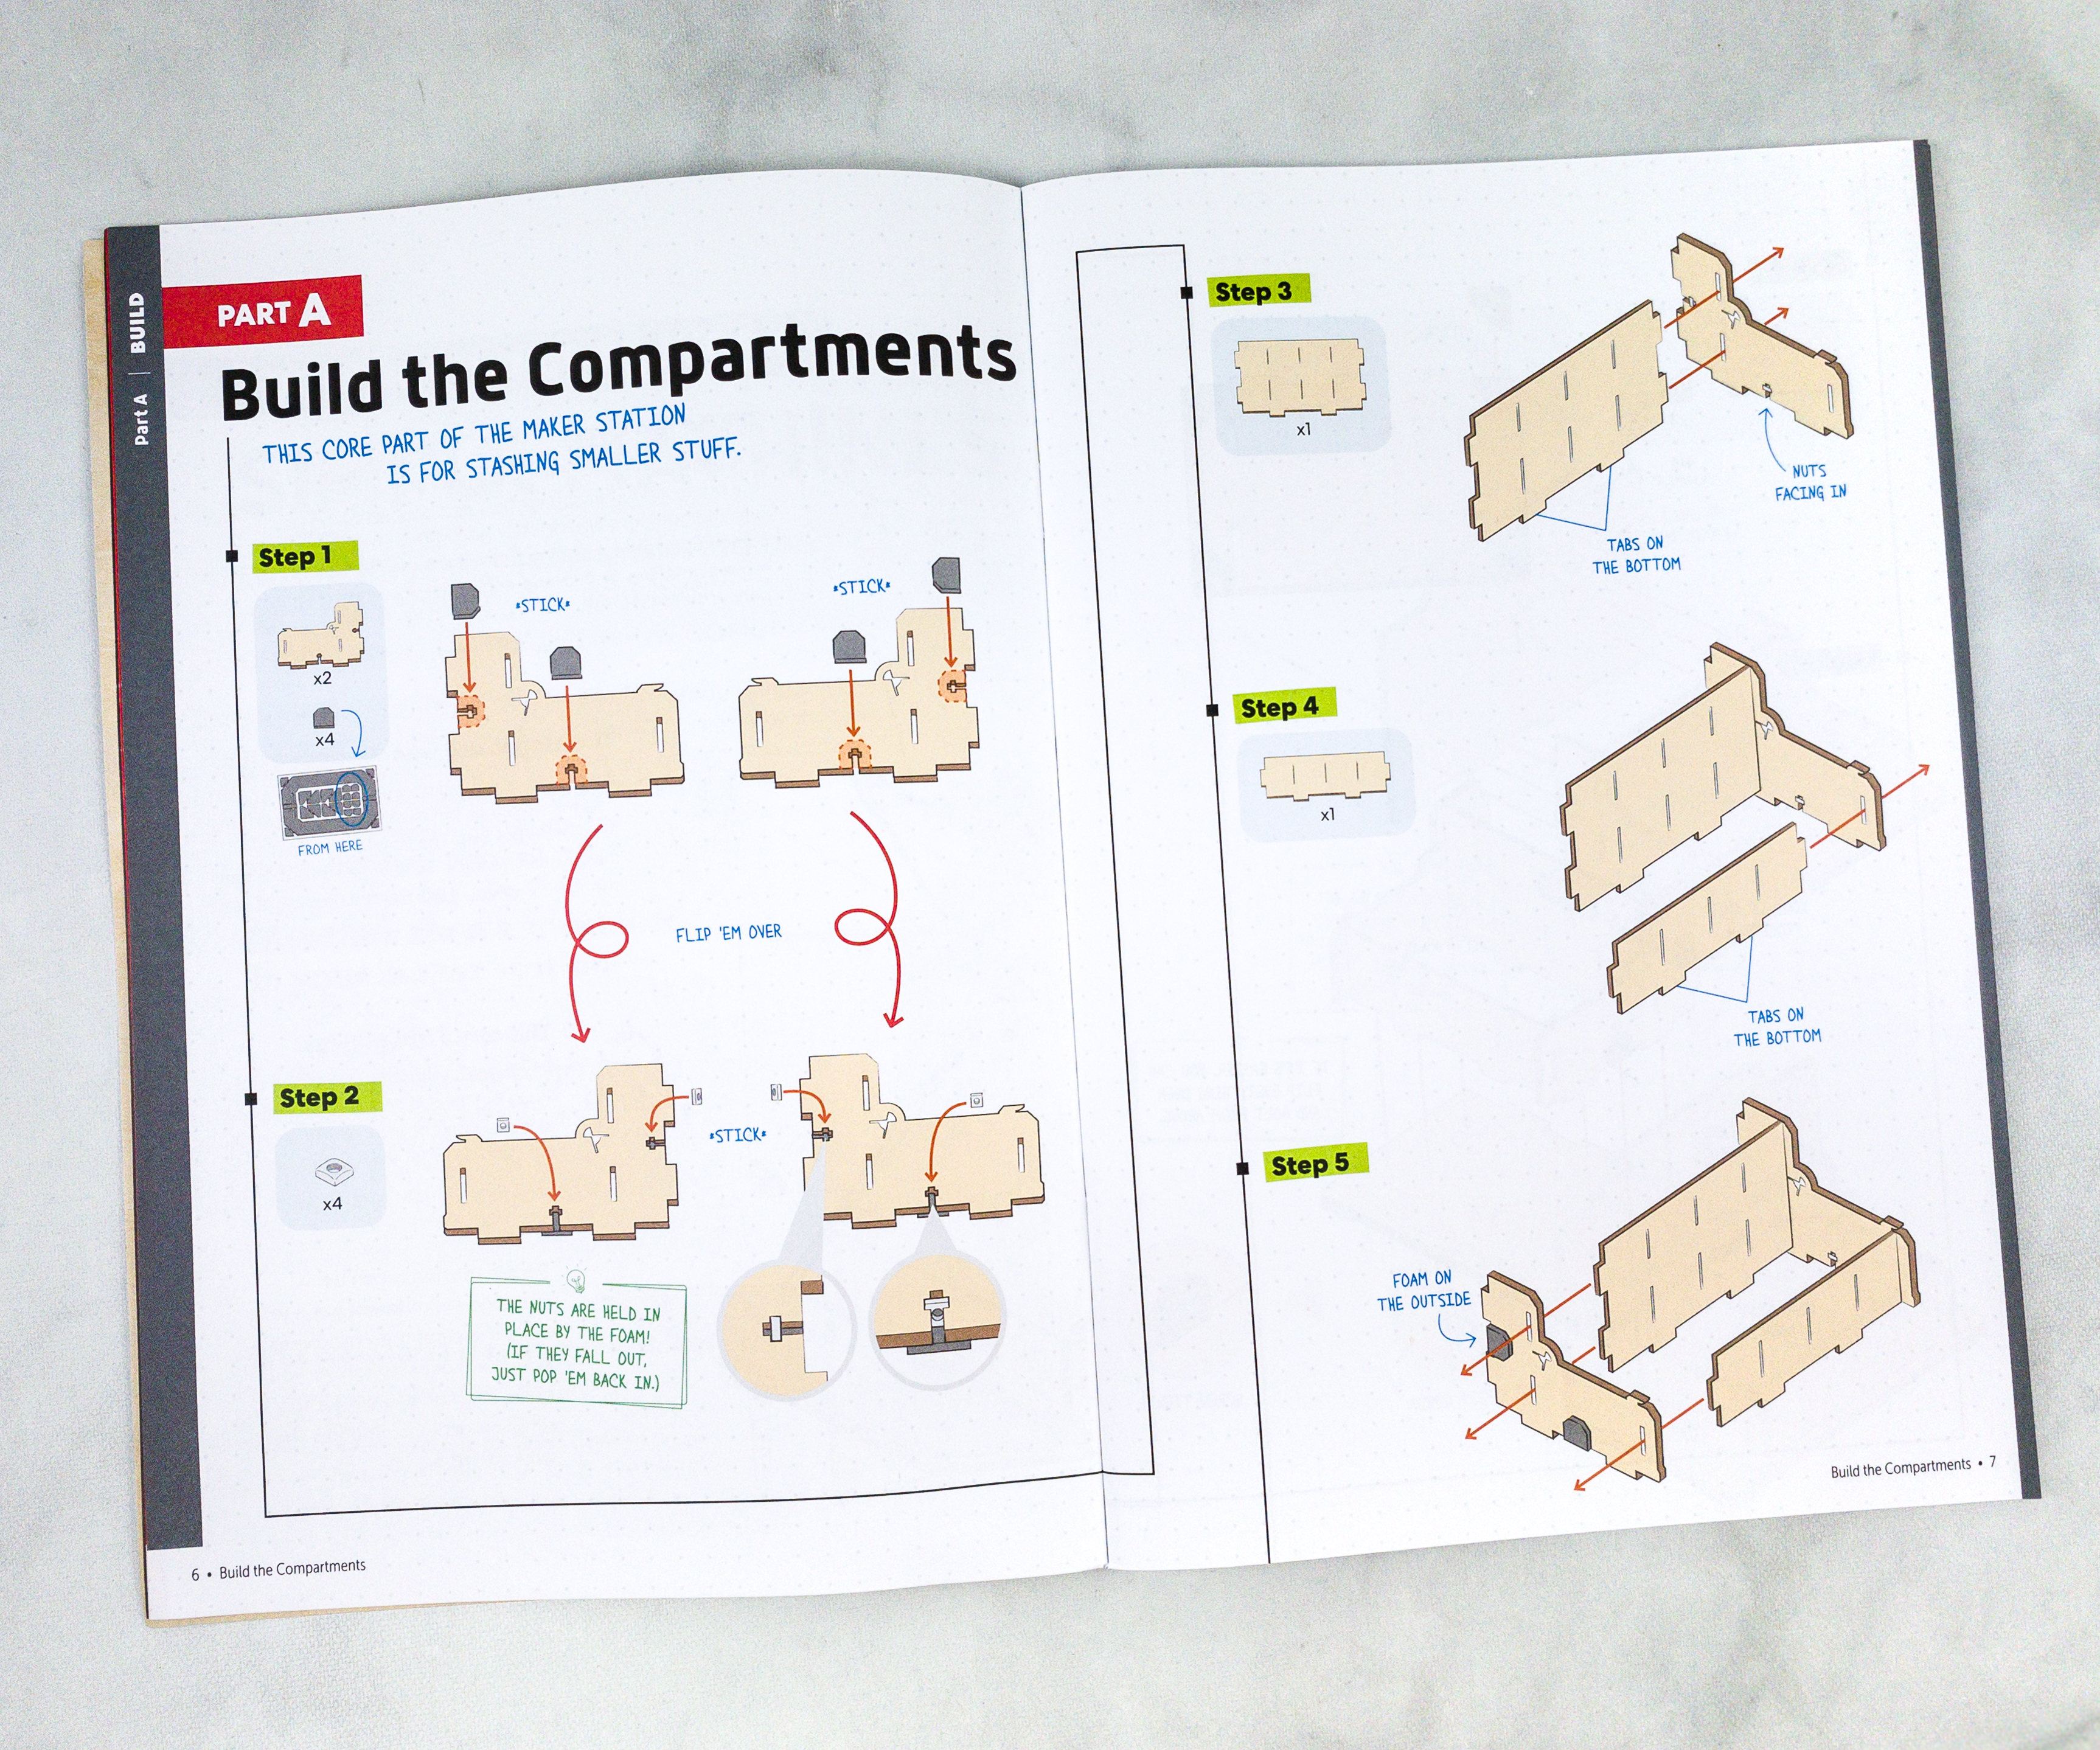
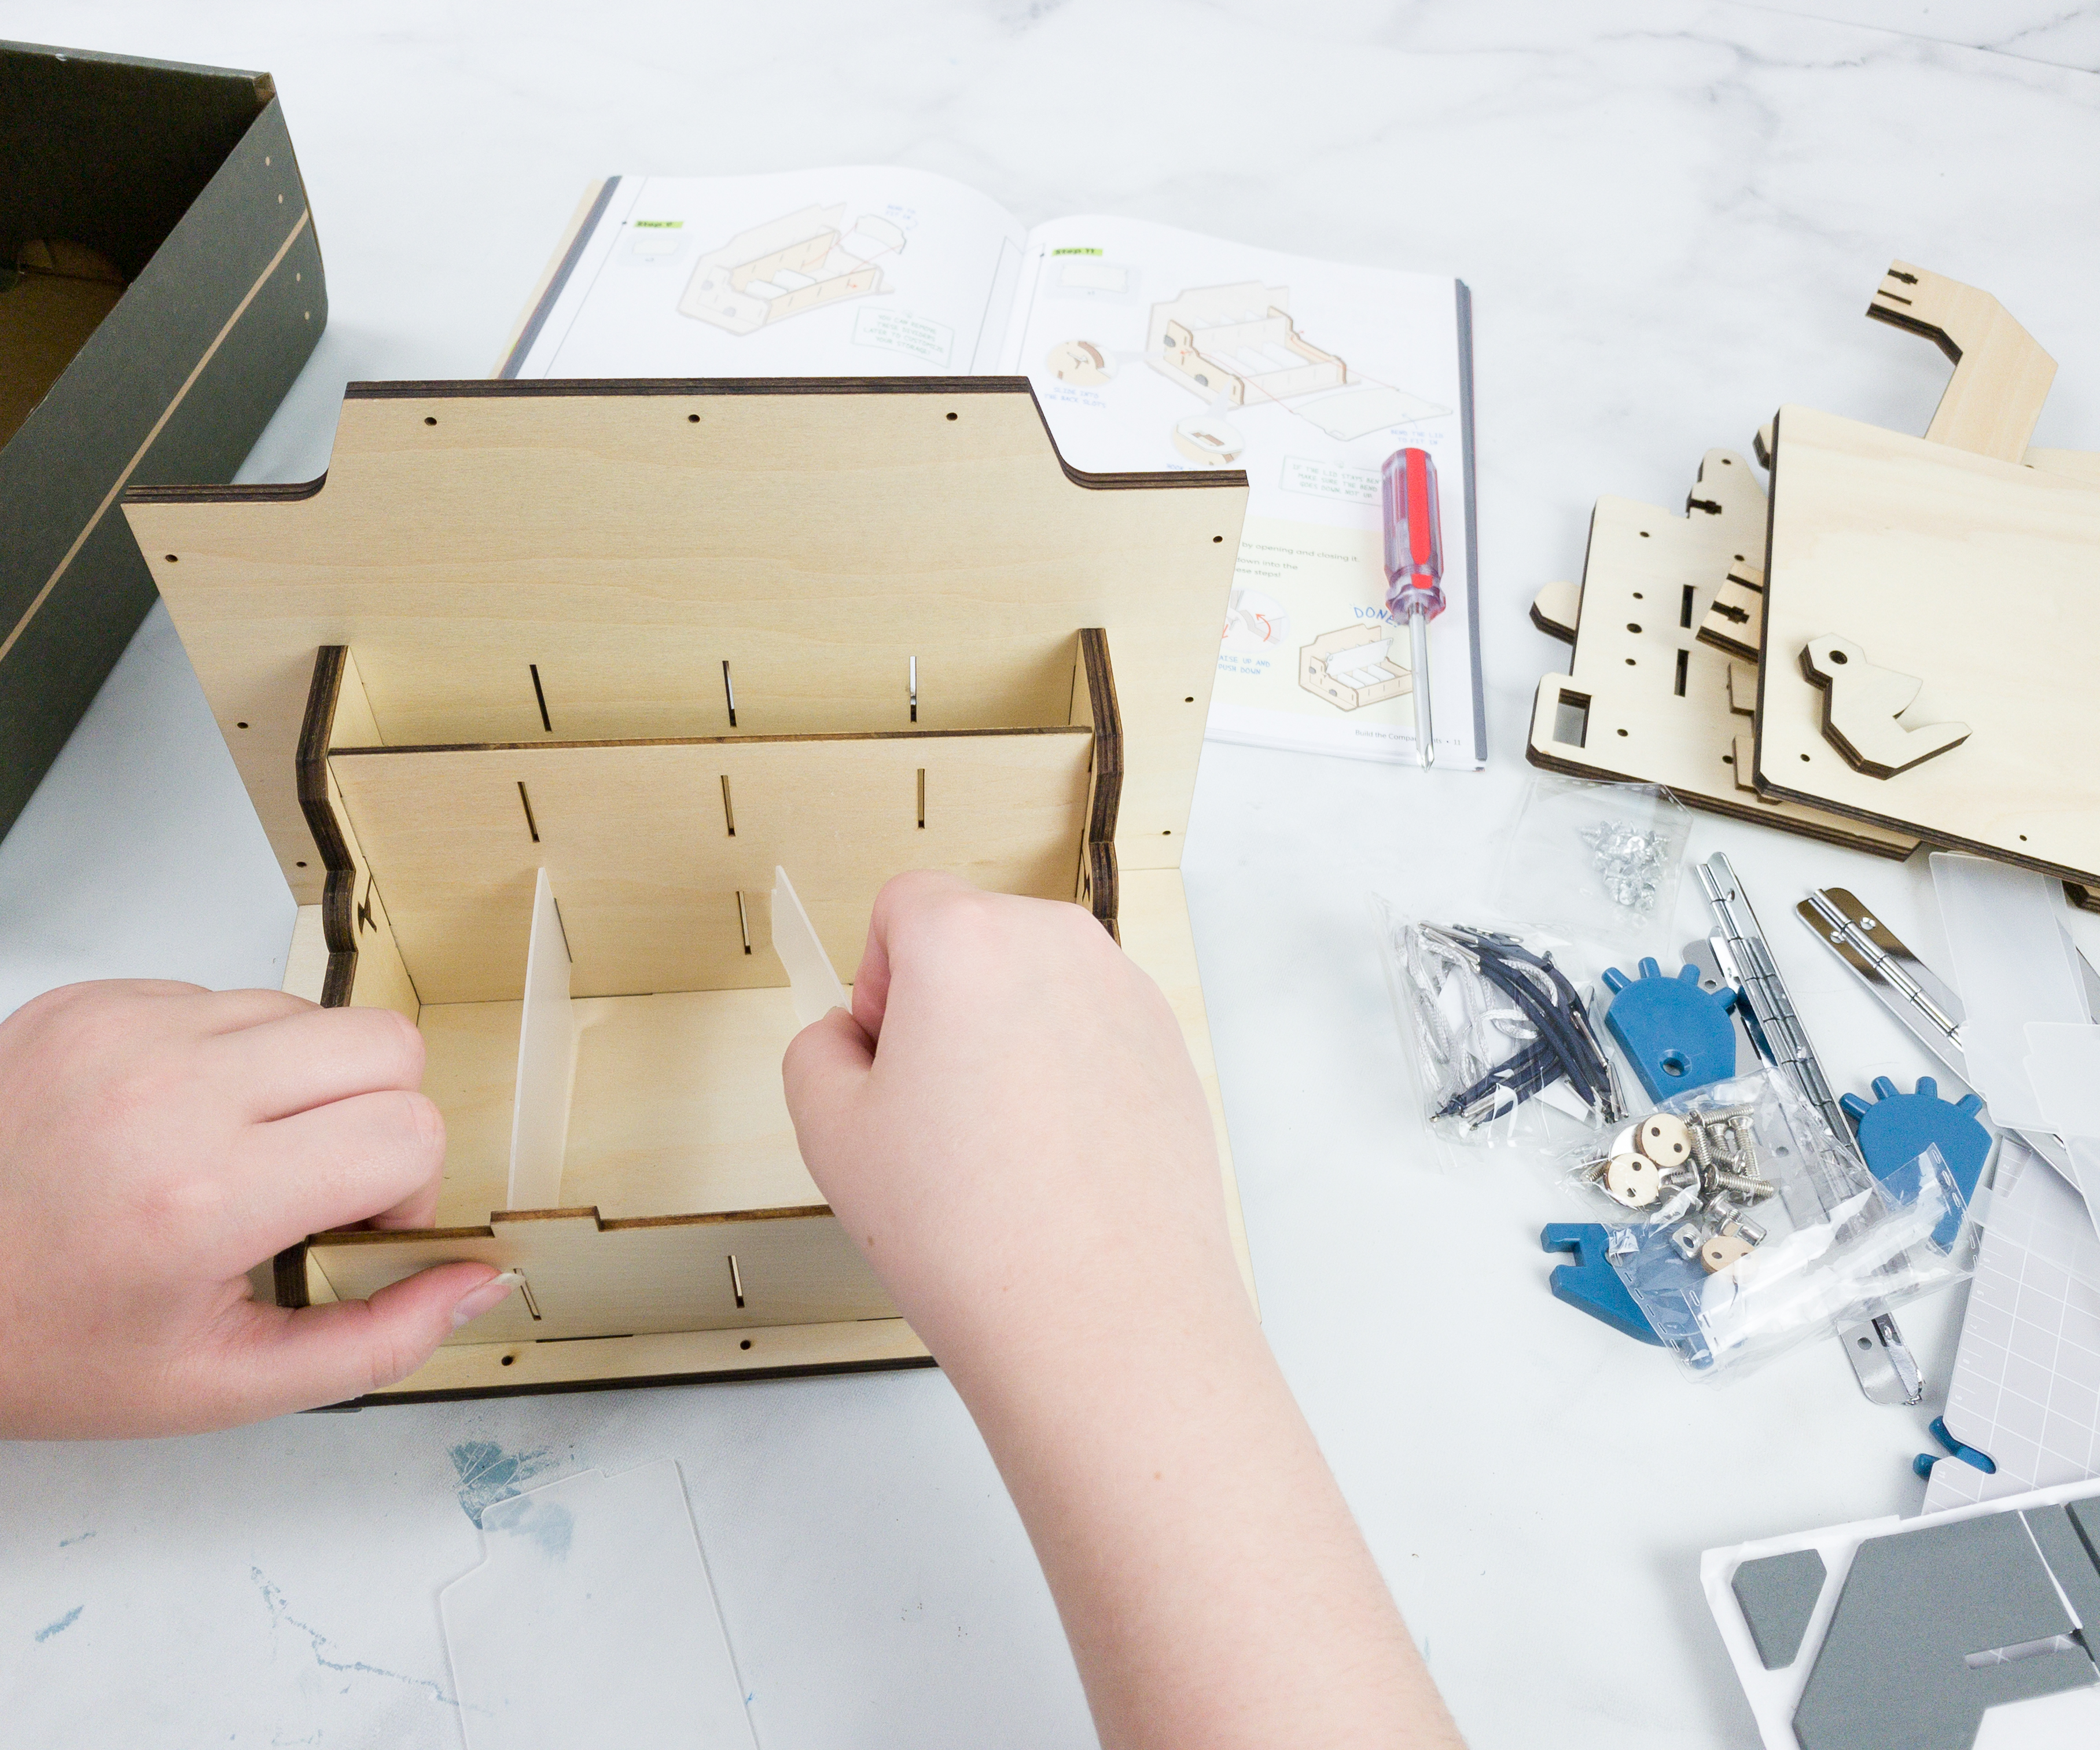
For the first part of the project, we worked on building the compartments. It’s the core part of the maker station, as it used for stashing smaller stuff.
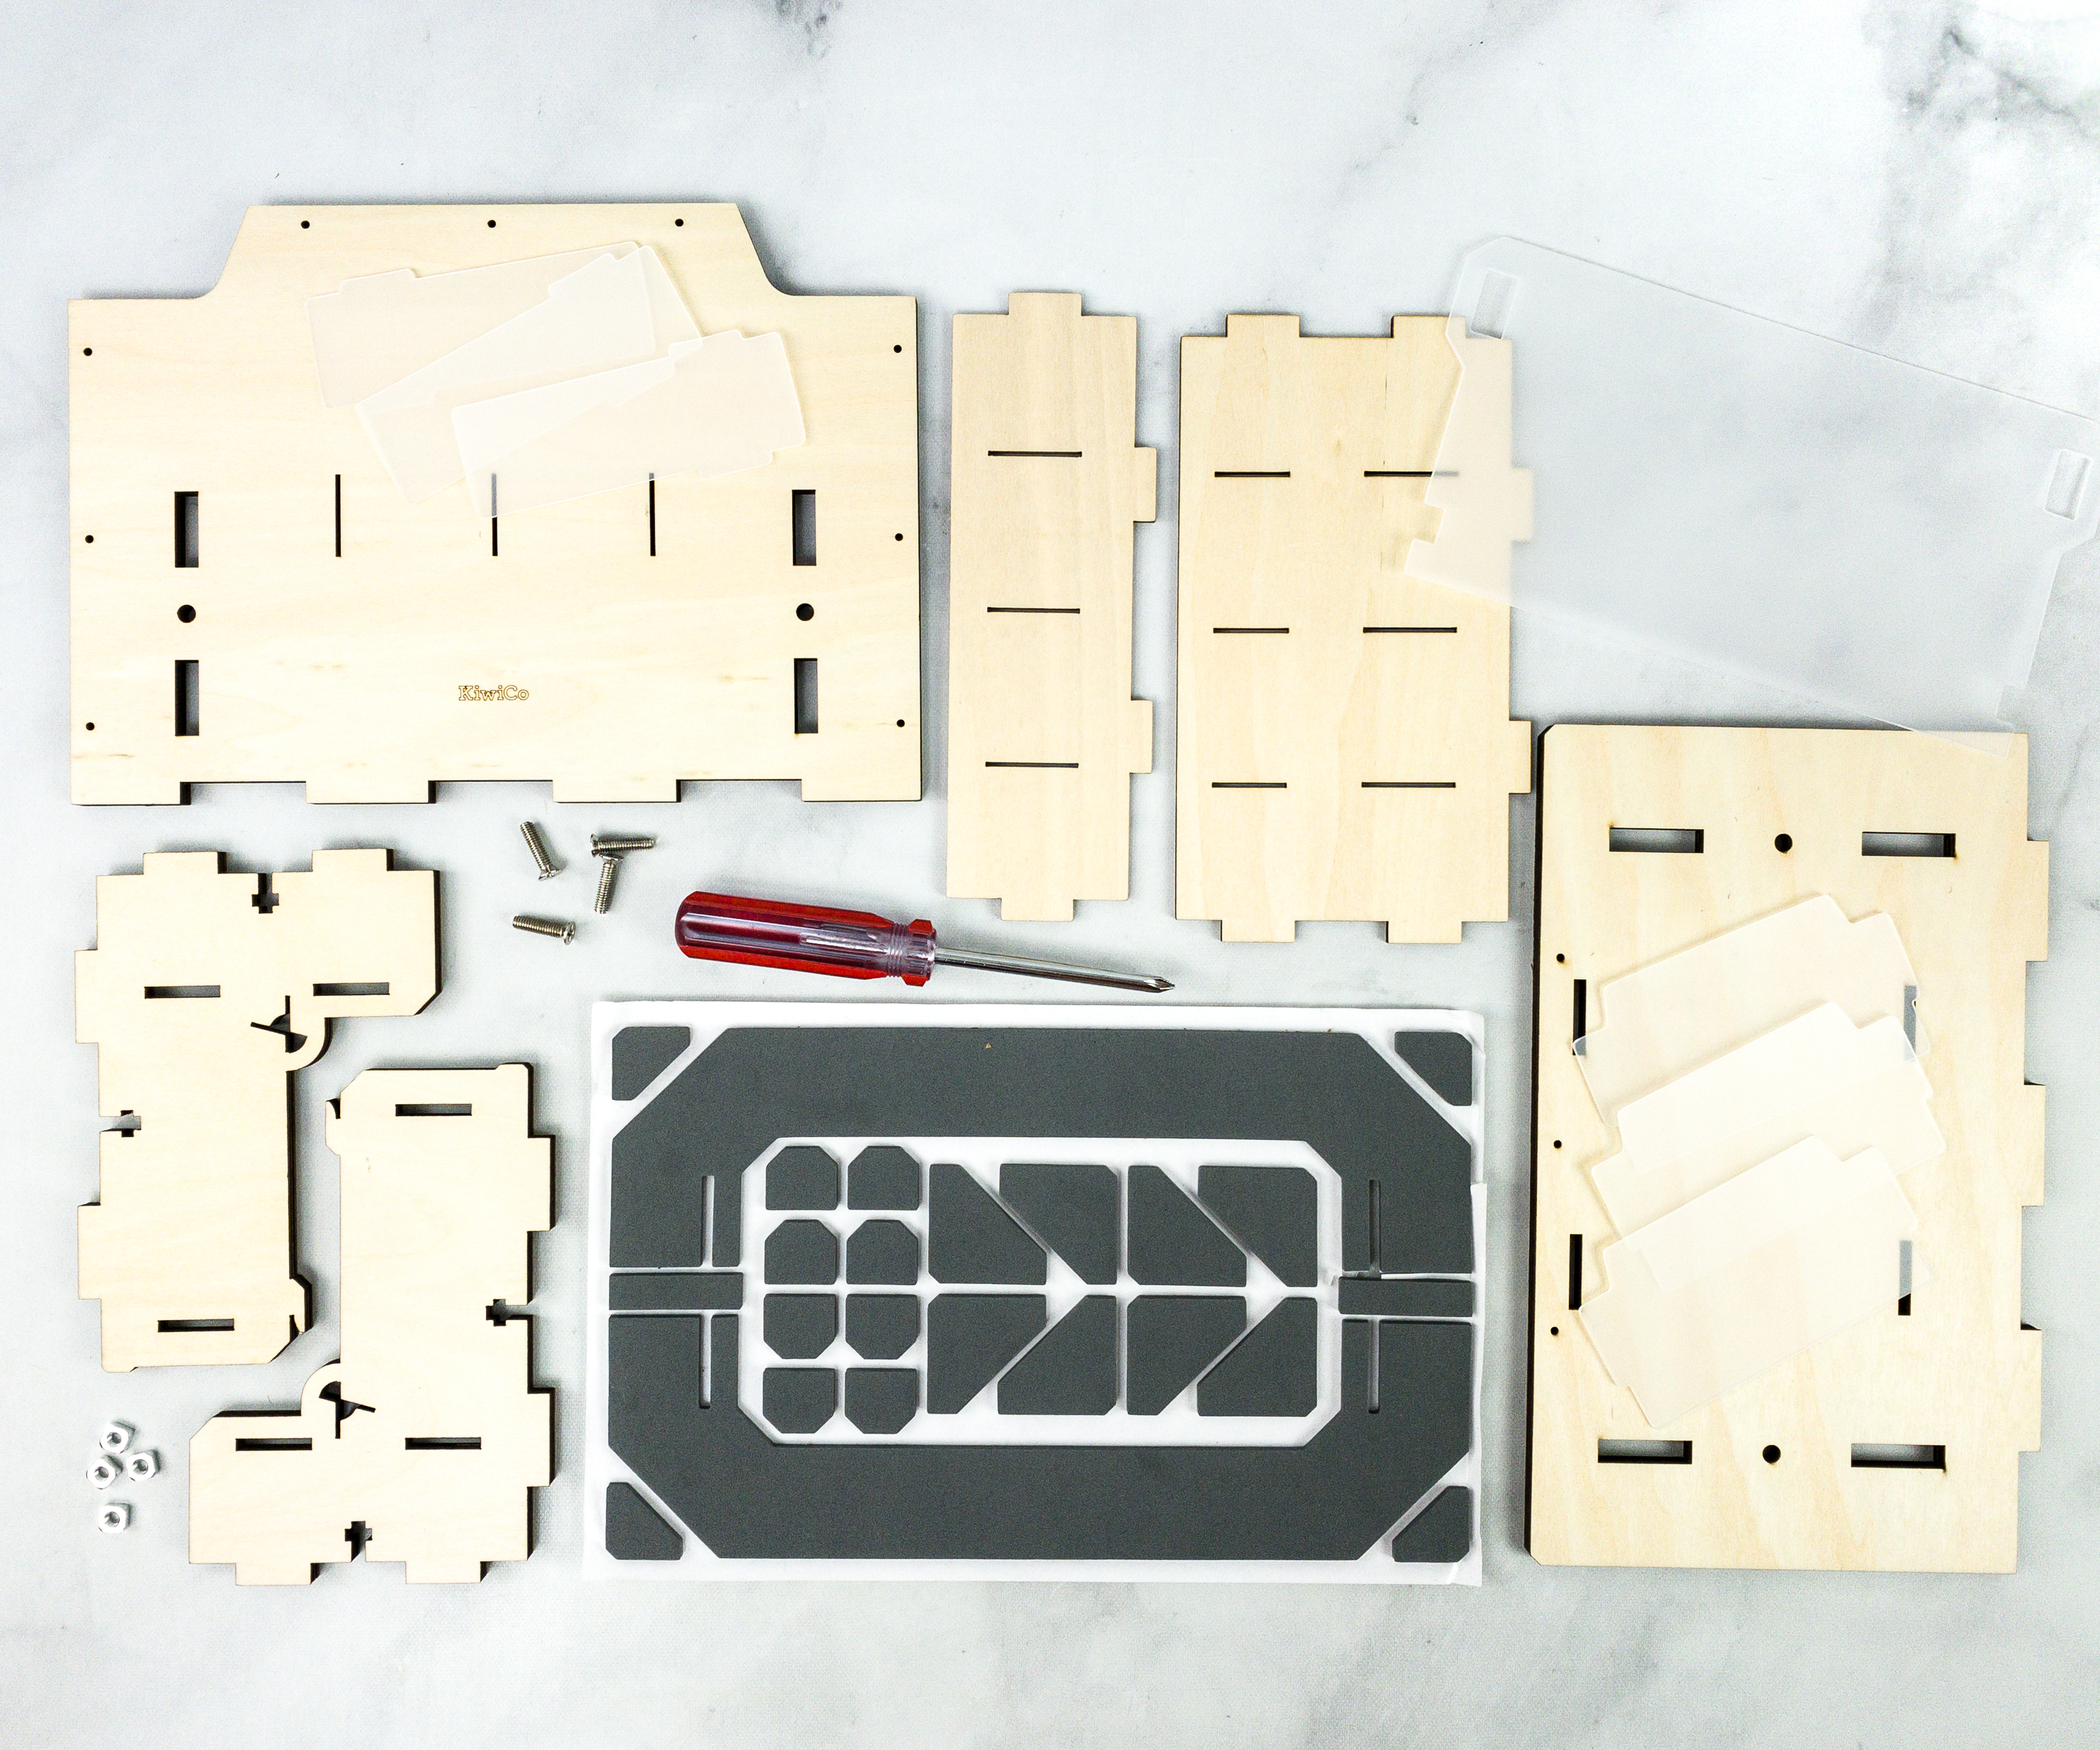
We used the wood set, bolts, barrel bolts, nuts, screwdriver, plastic washers, dividers, and sticky foam set.
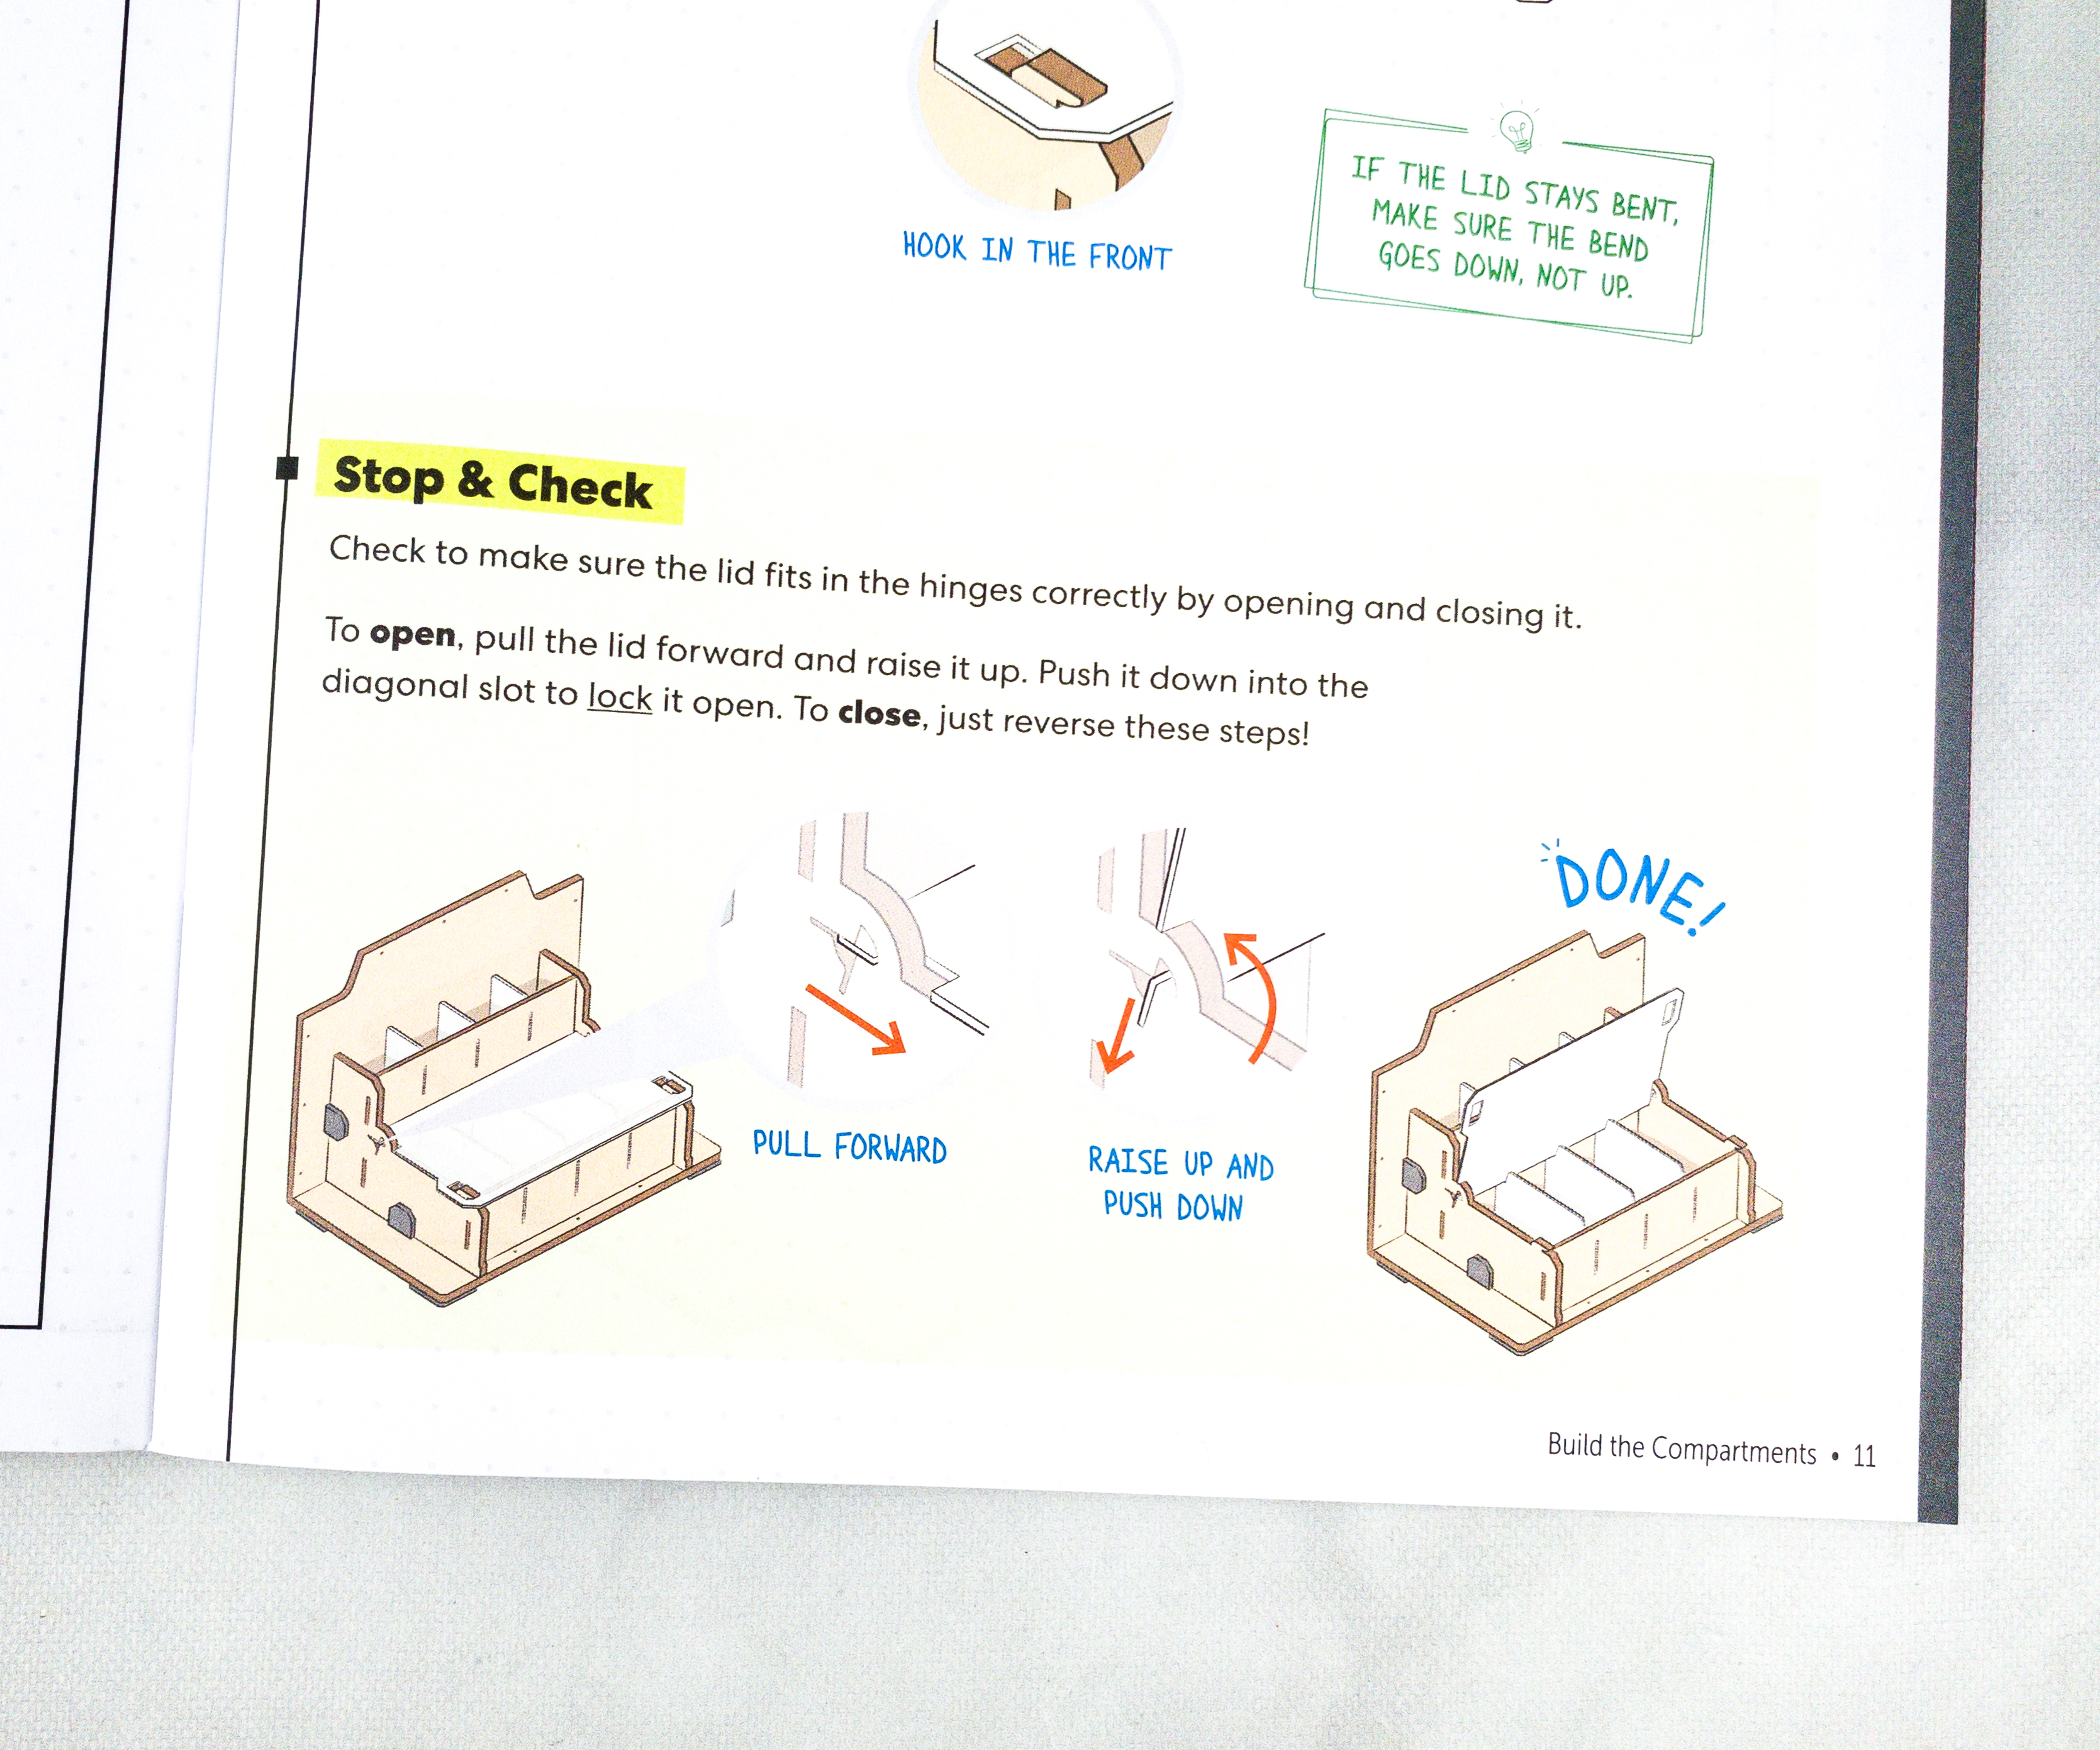
Here’s the stop and check portion where you can review and double-check if you’re doing things the right way.
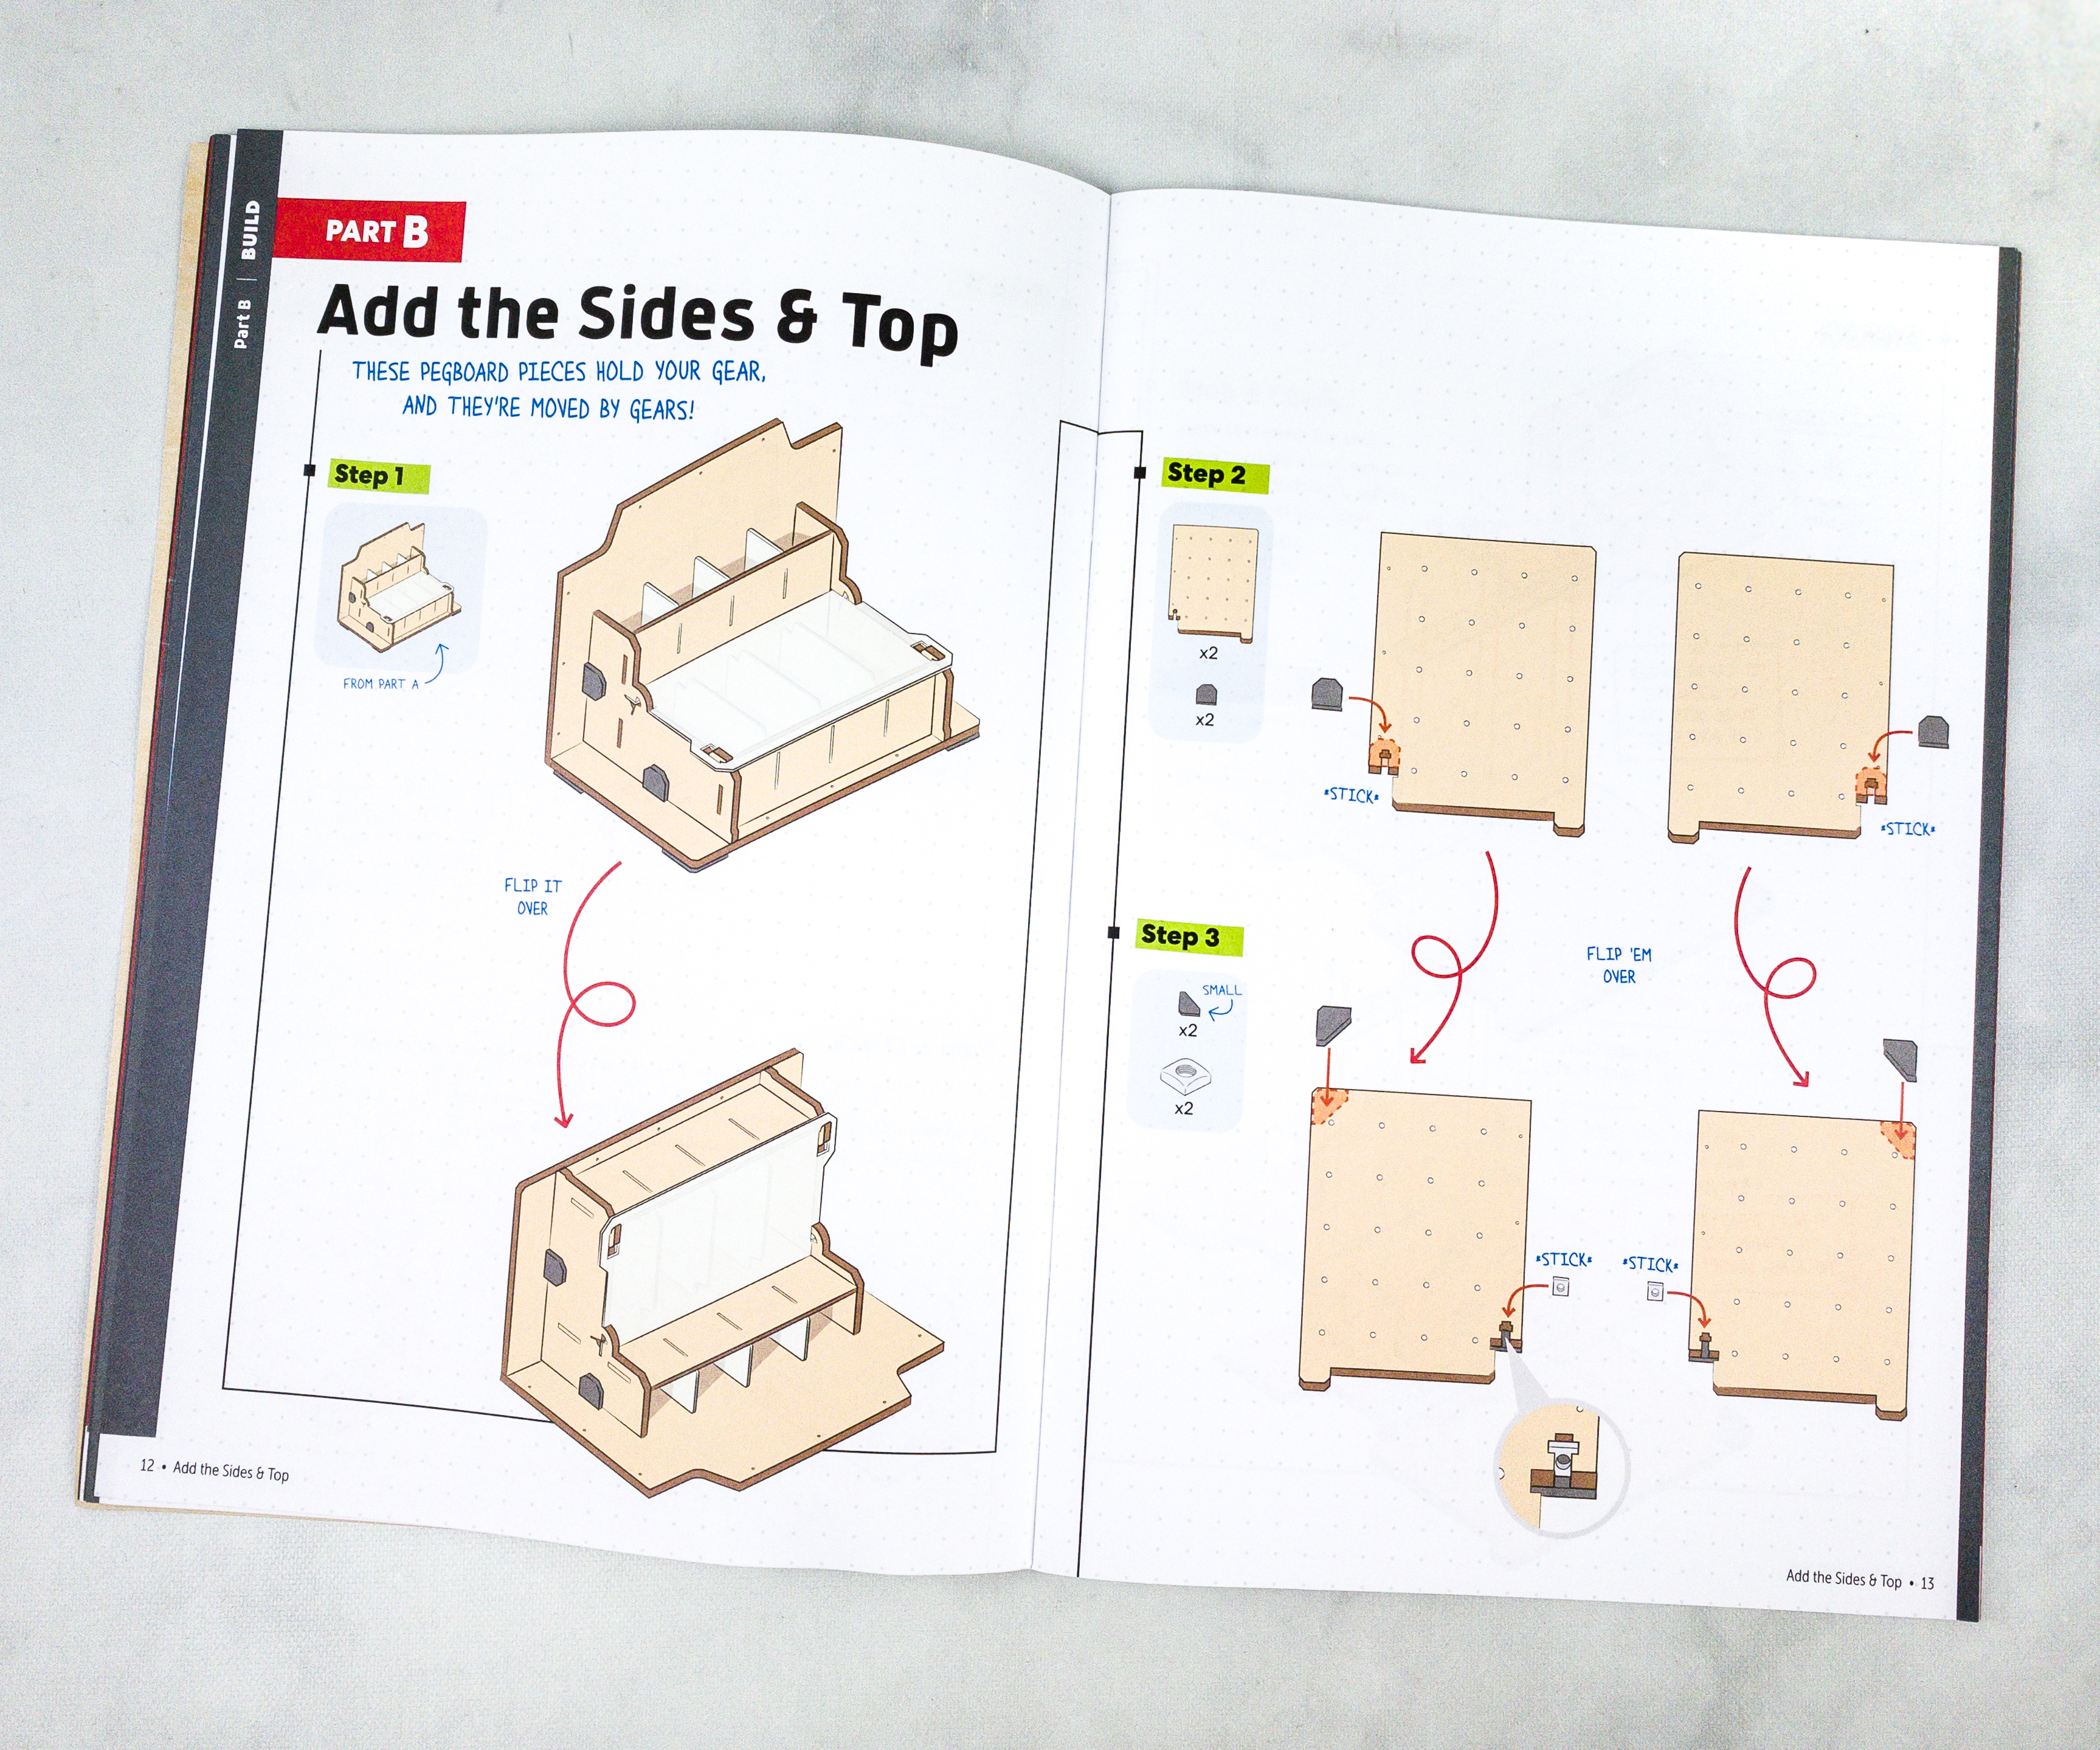
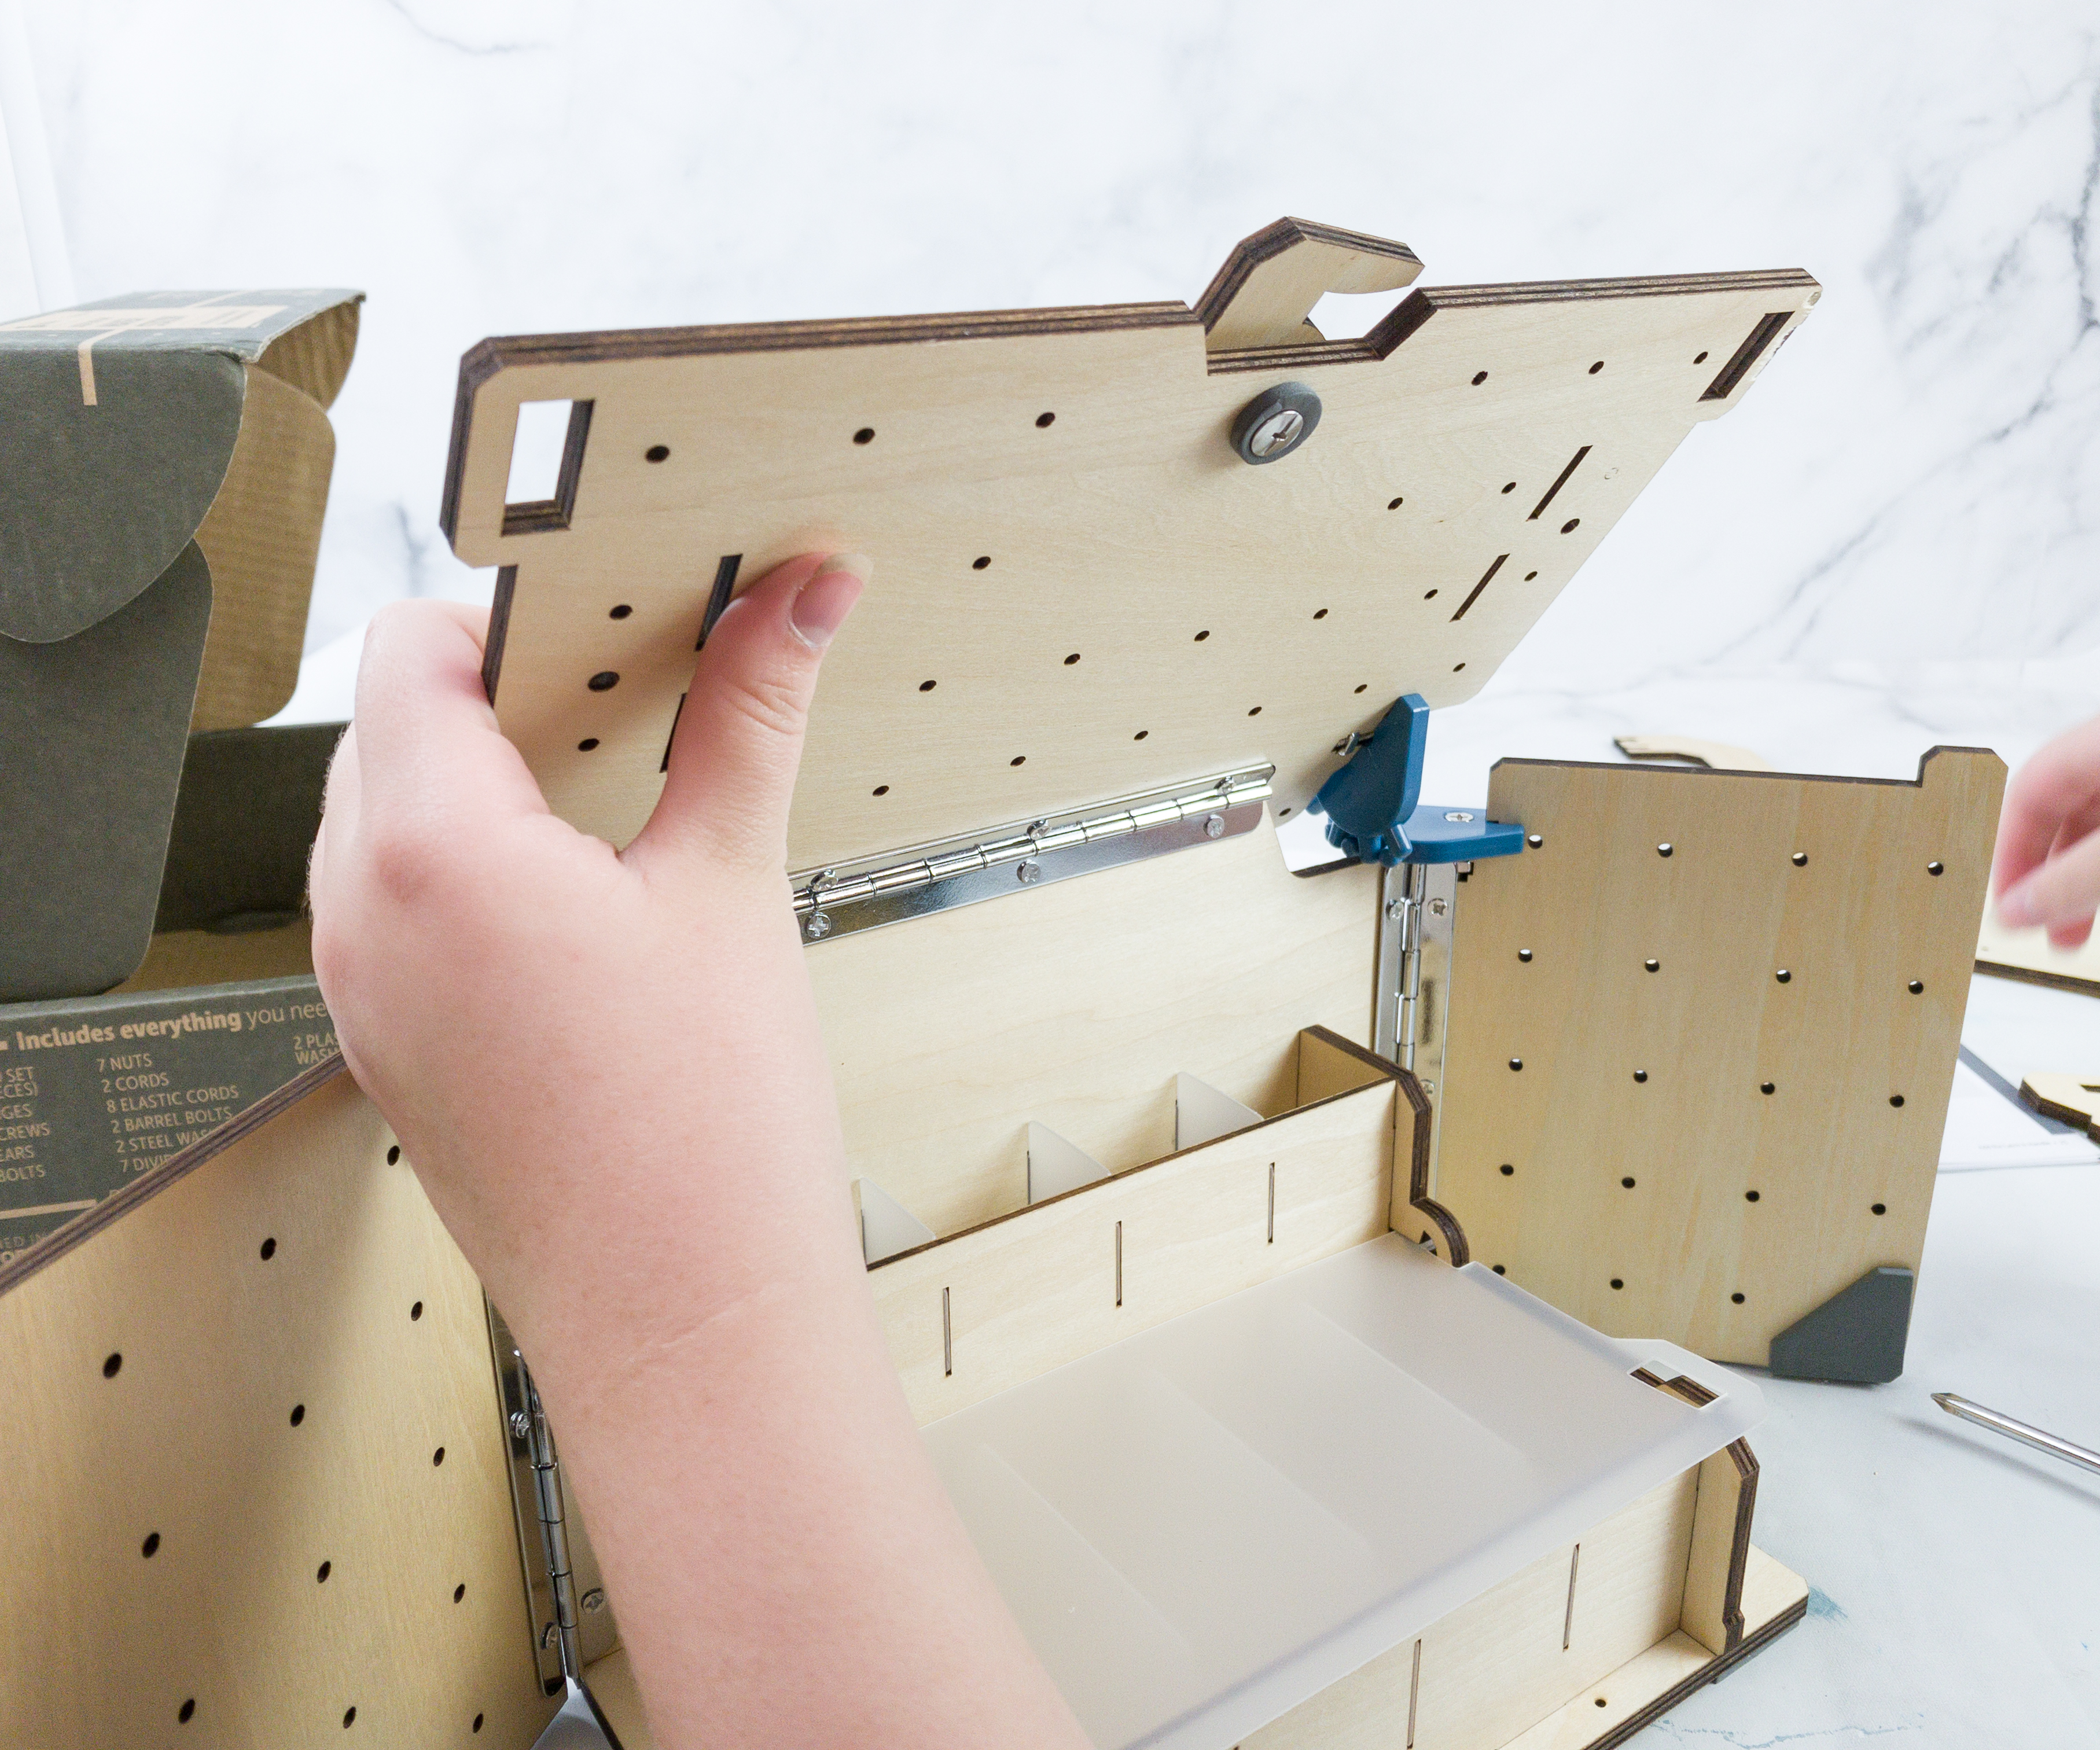
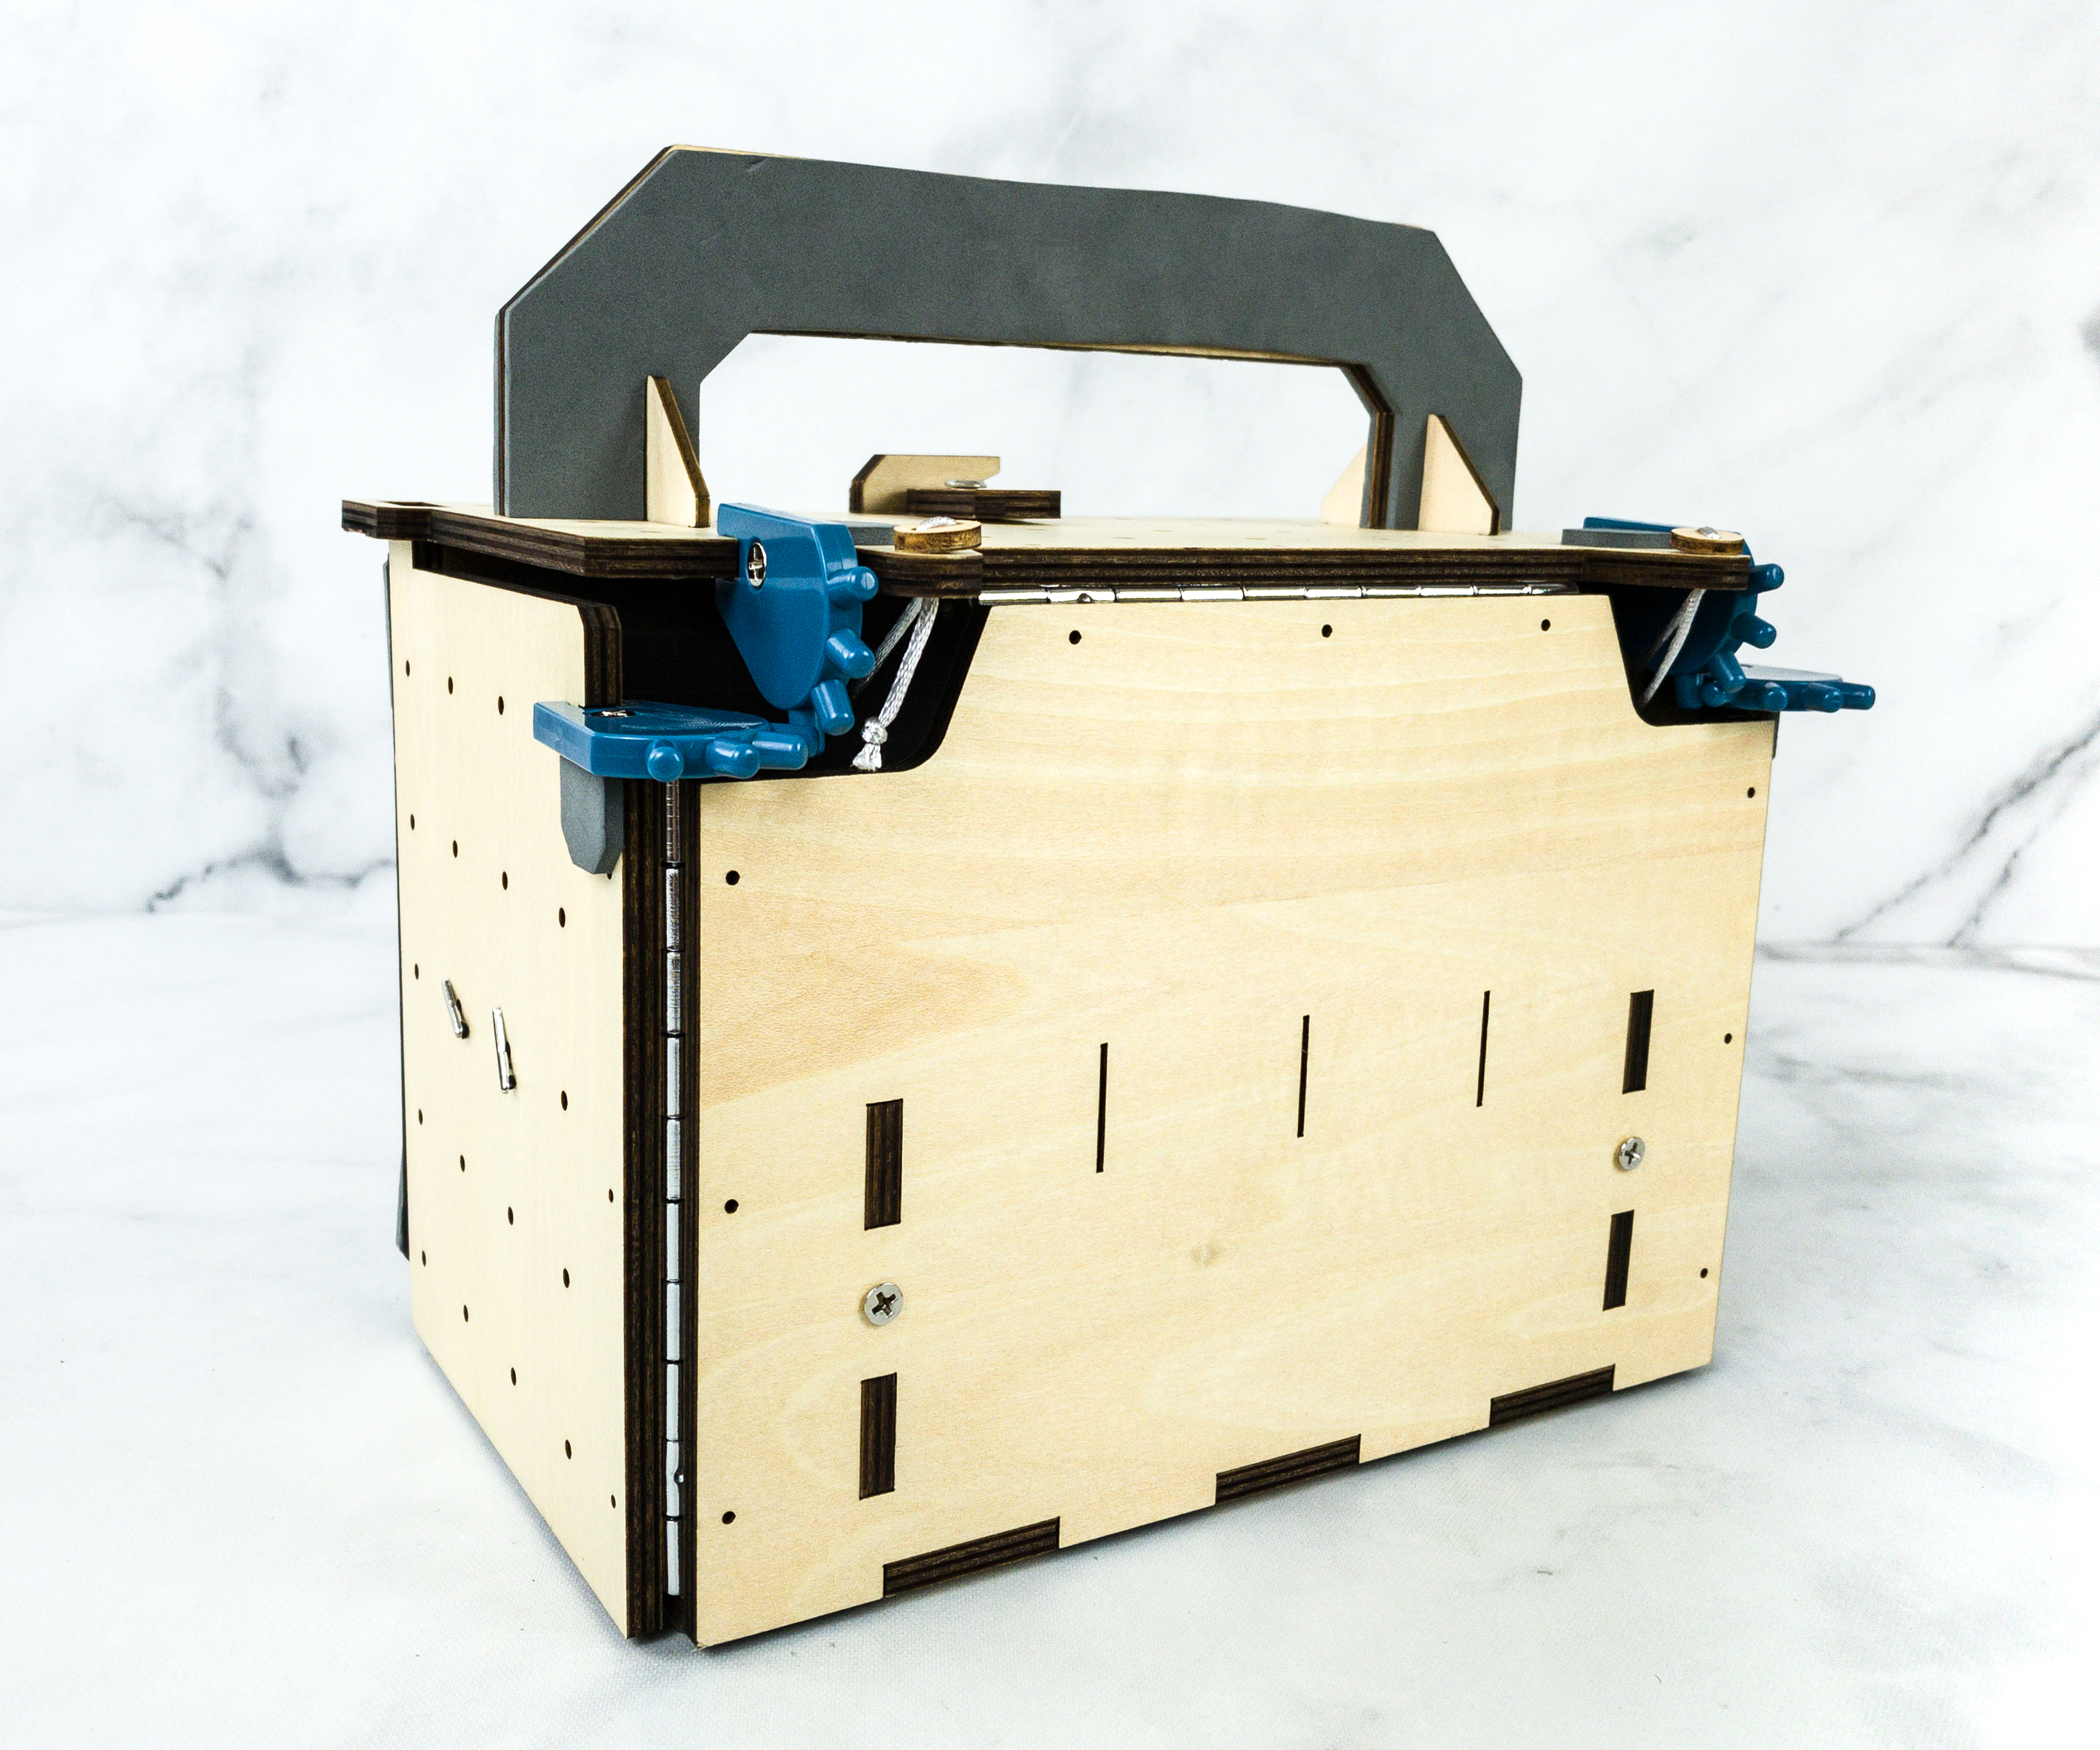
The second part of the project is adding the sides and top. This part is responsible for keeping the core together.
We started by gathering the large pieces of the wooden set. Then, we assembled them together to build the primary body of the maker station.
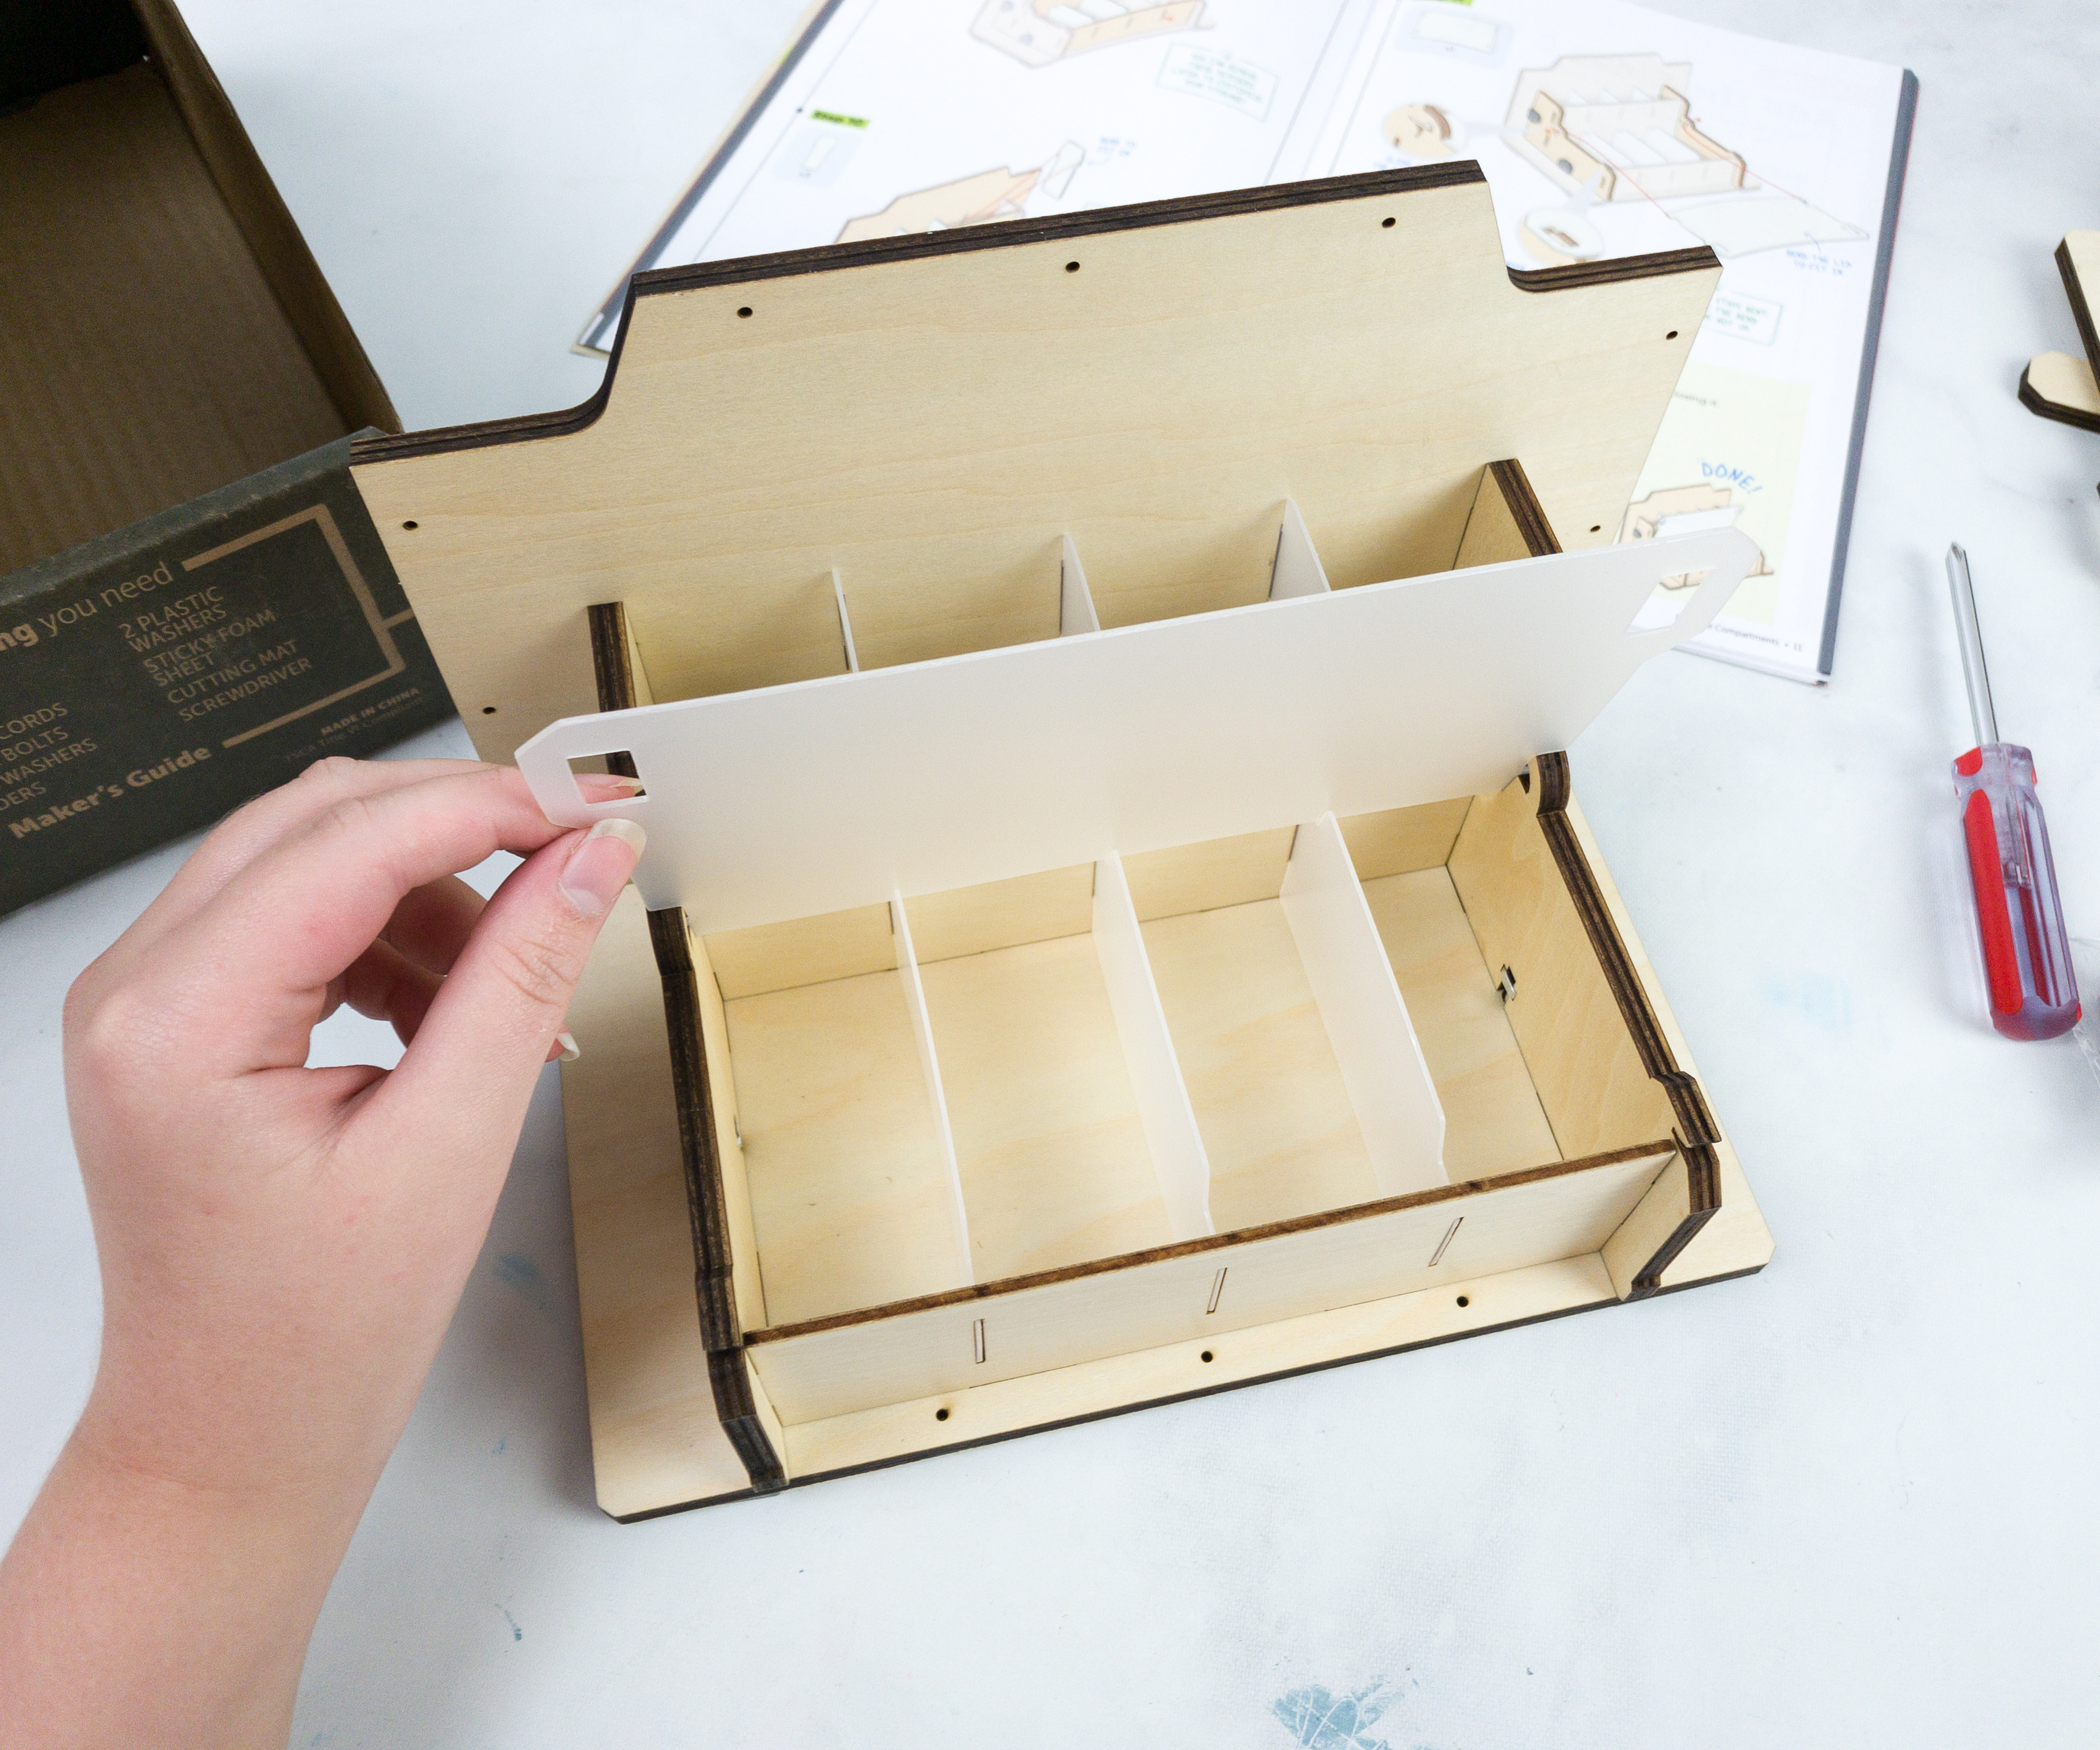
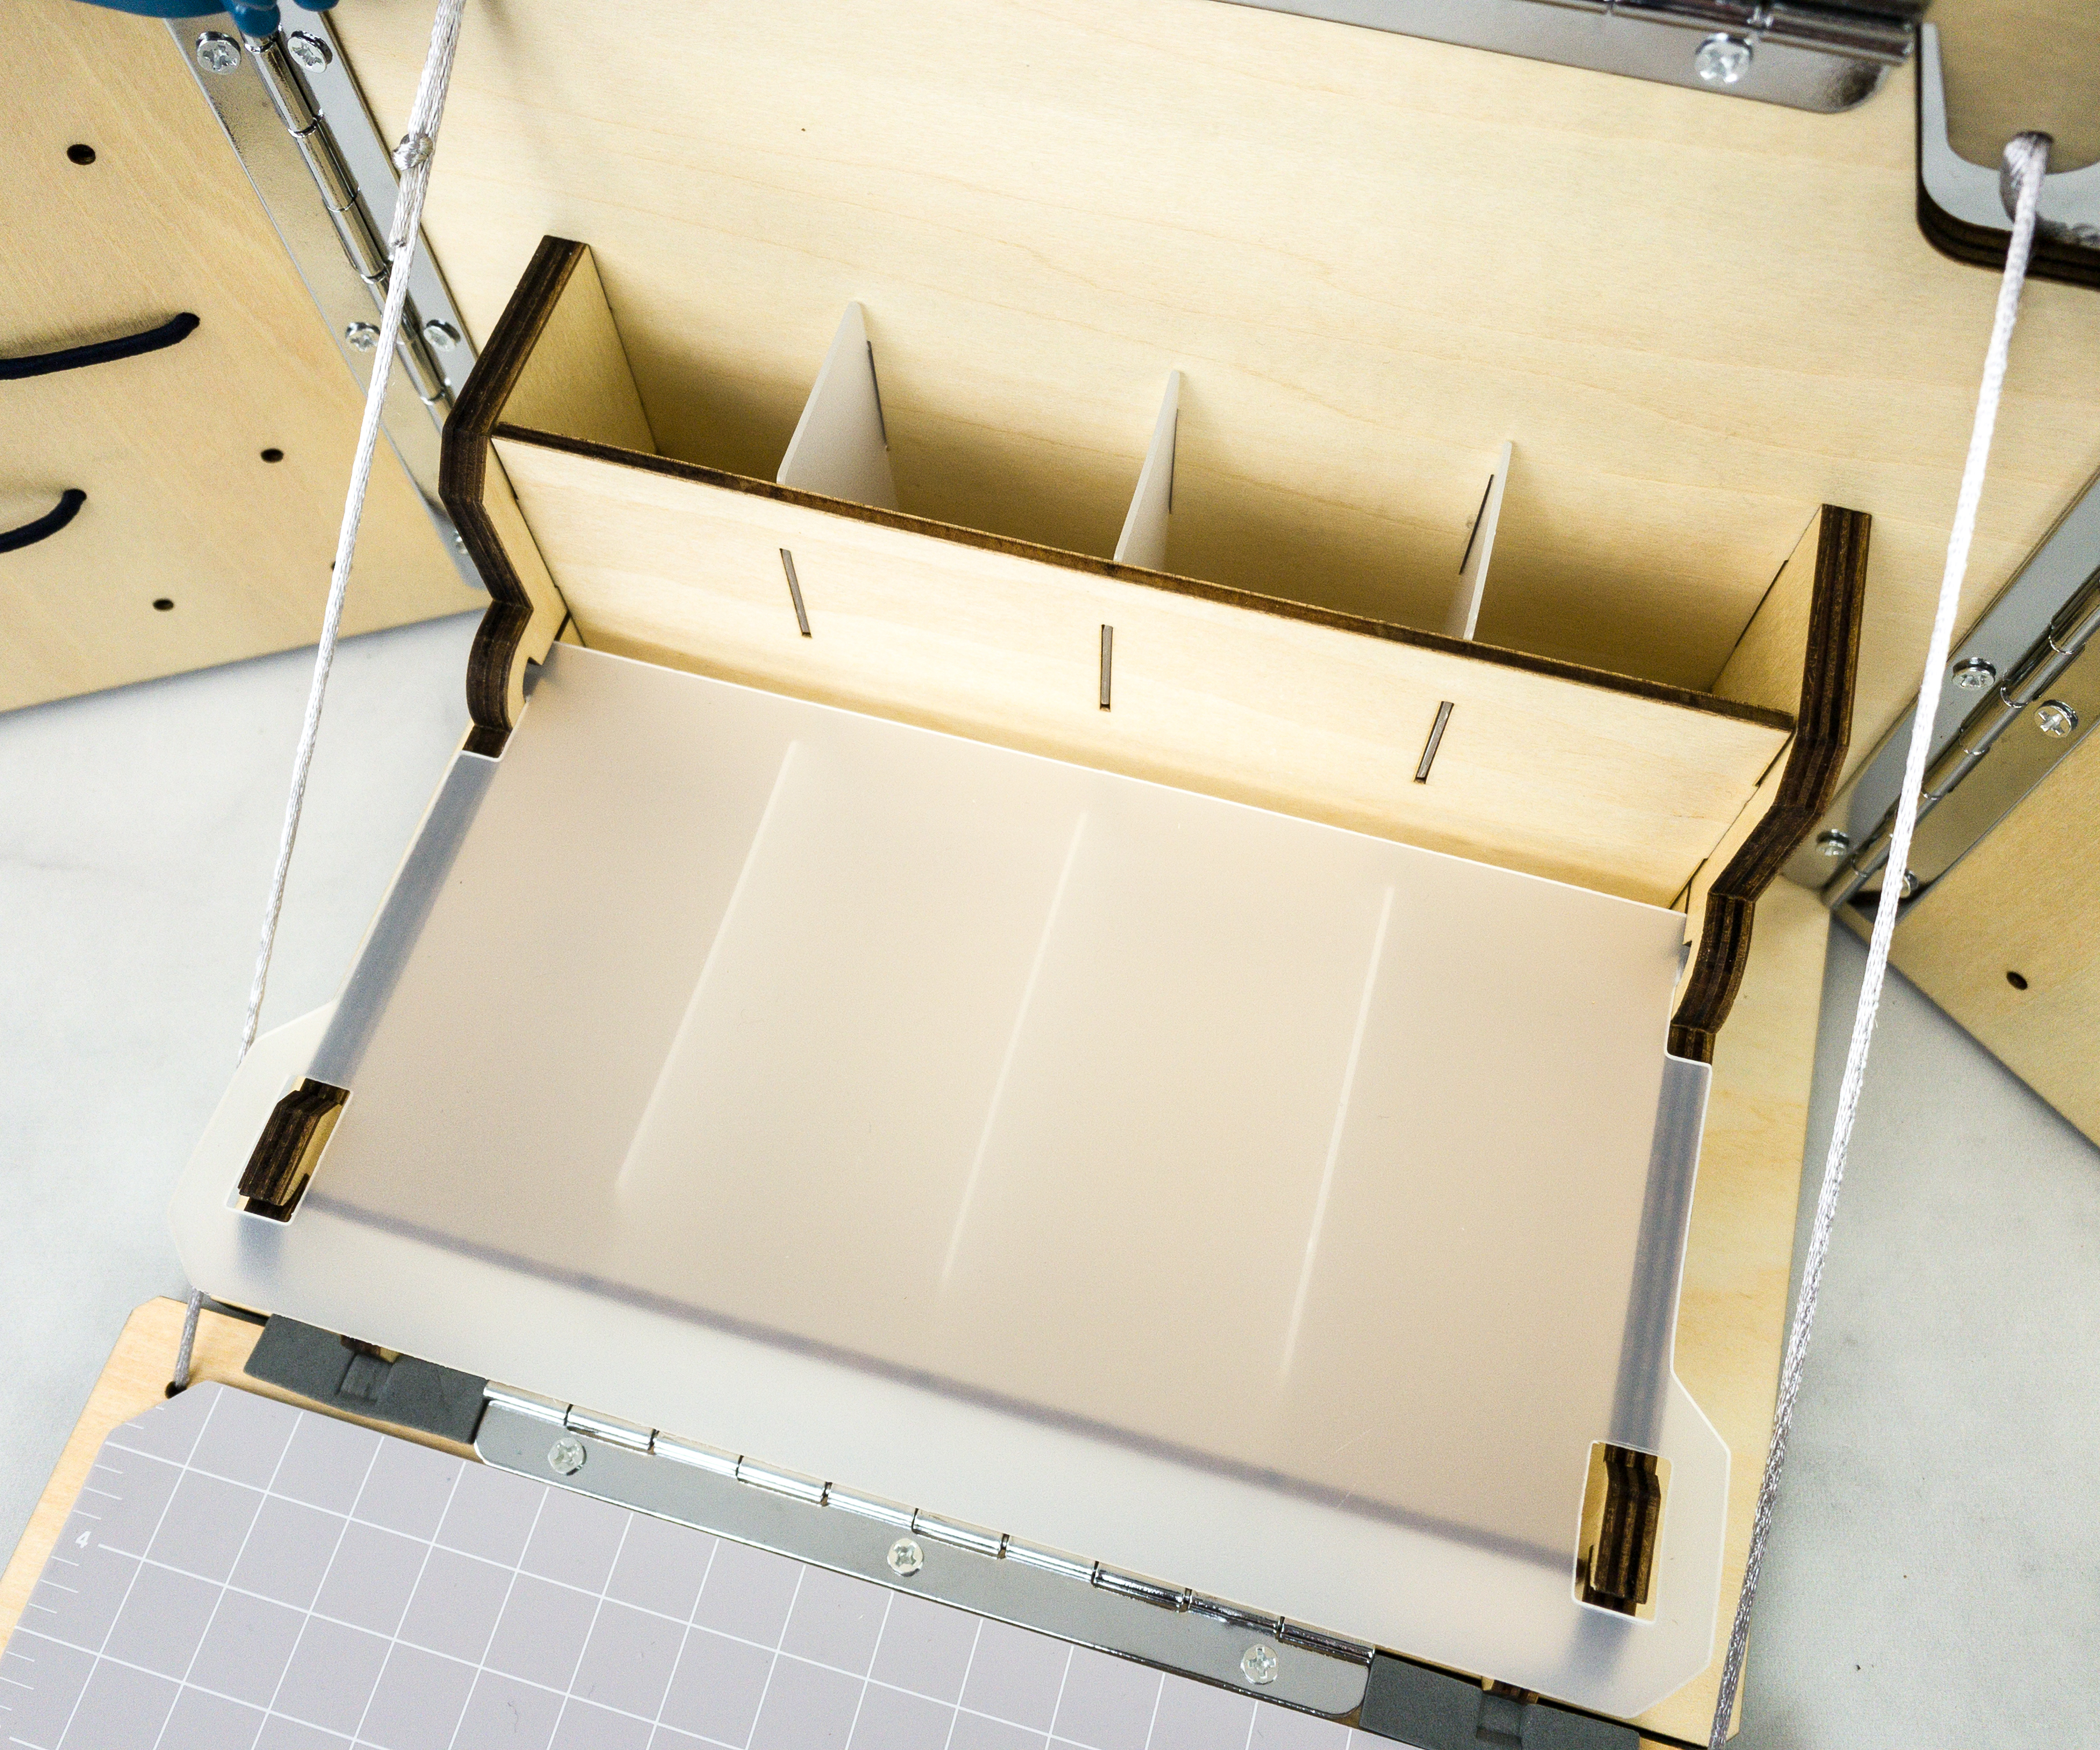
The next step is to put the plastic dividers through the designated holes on the board.
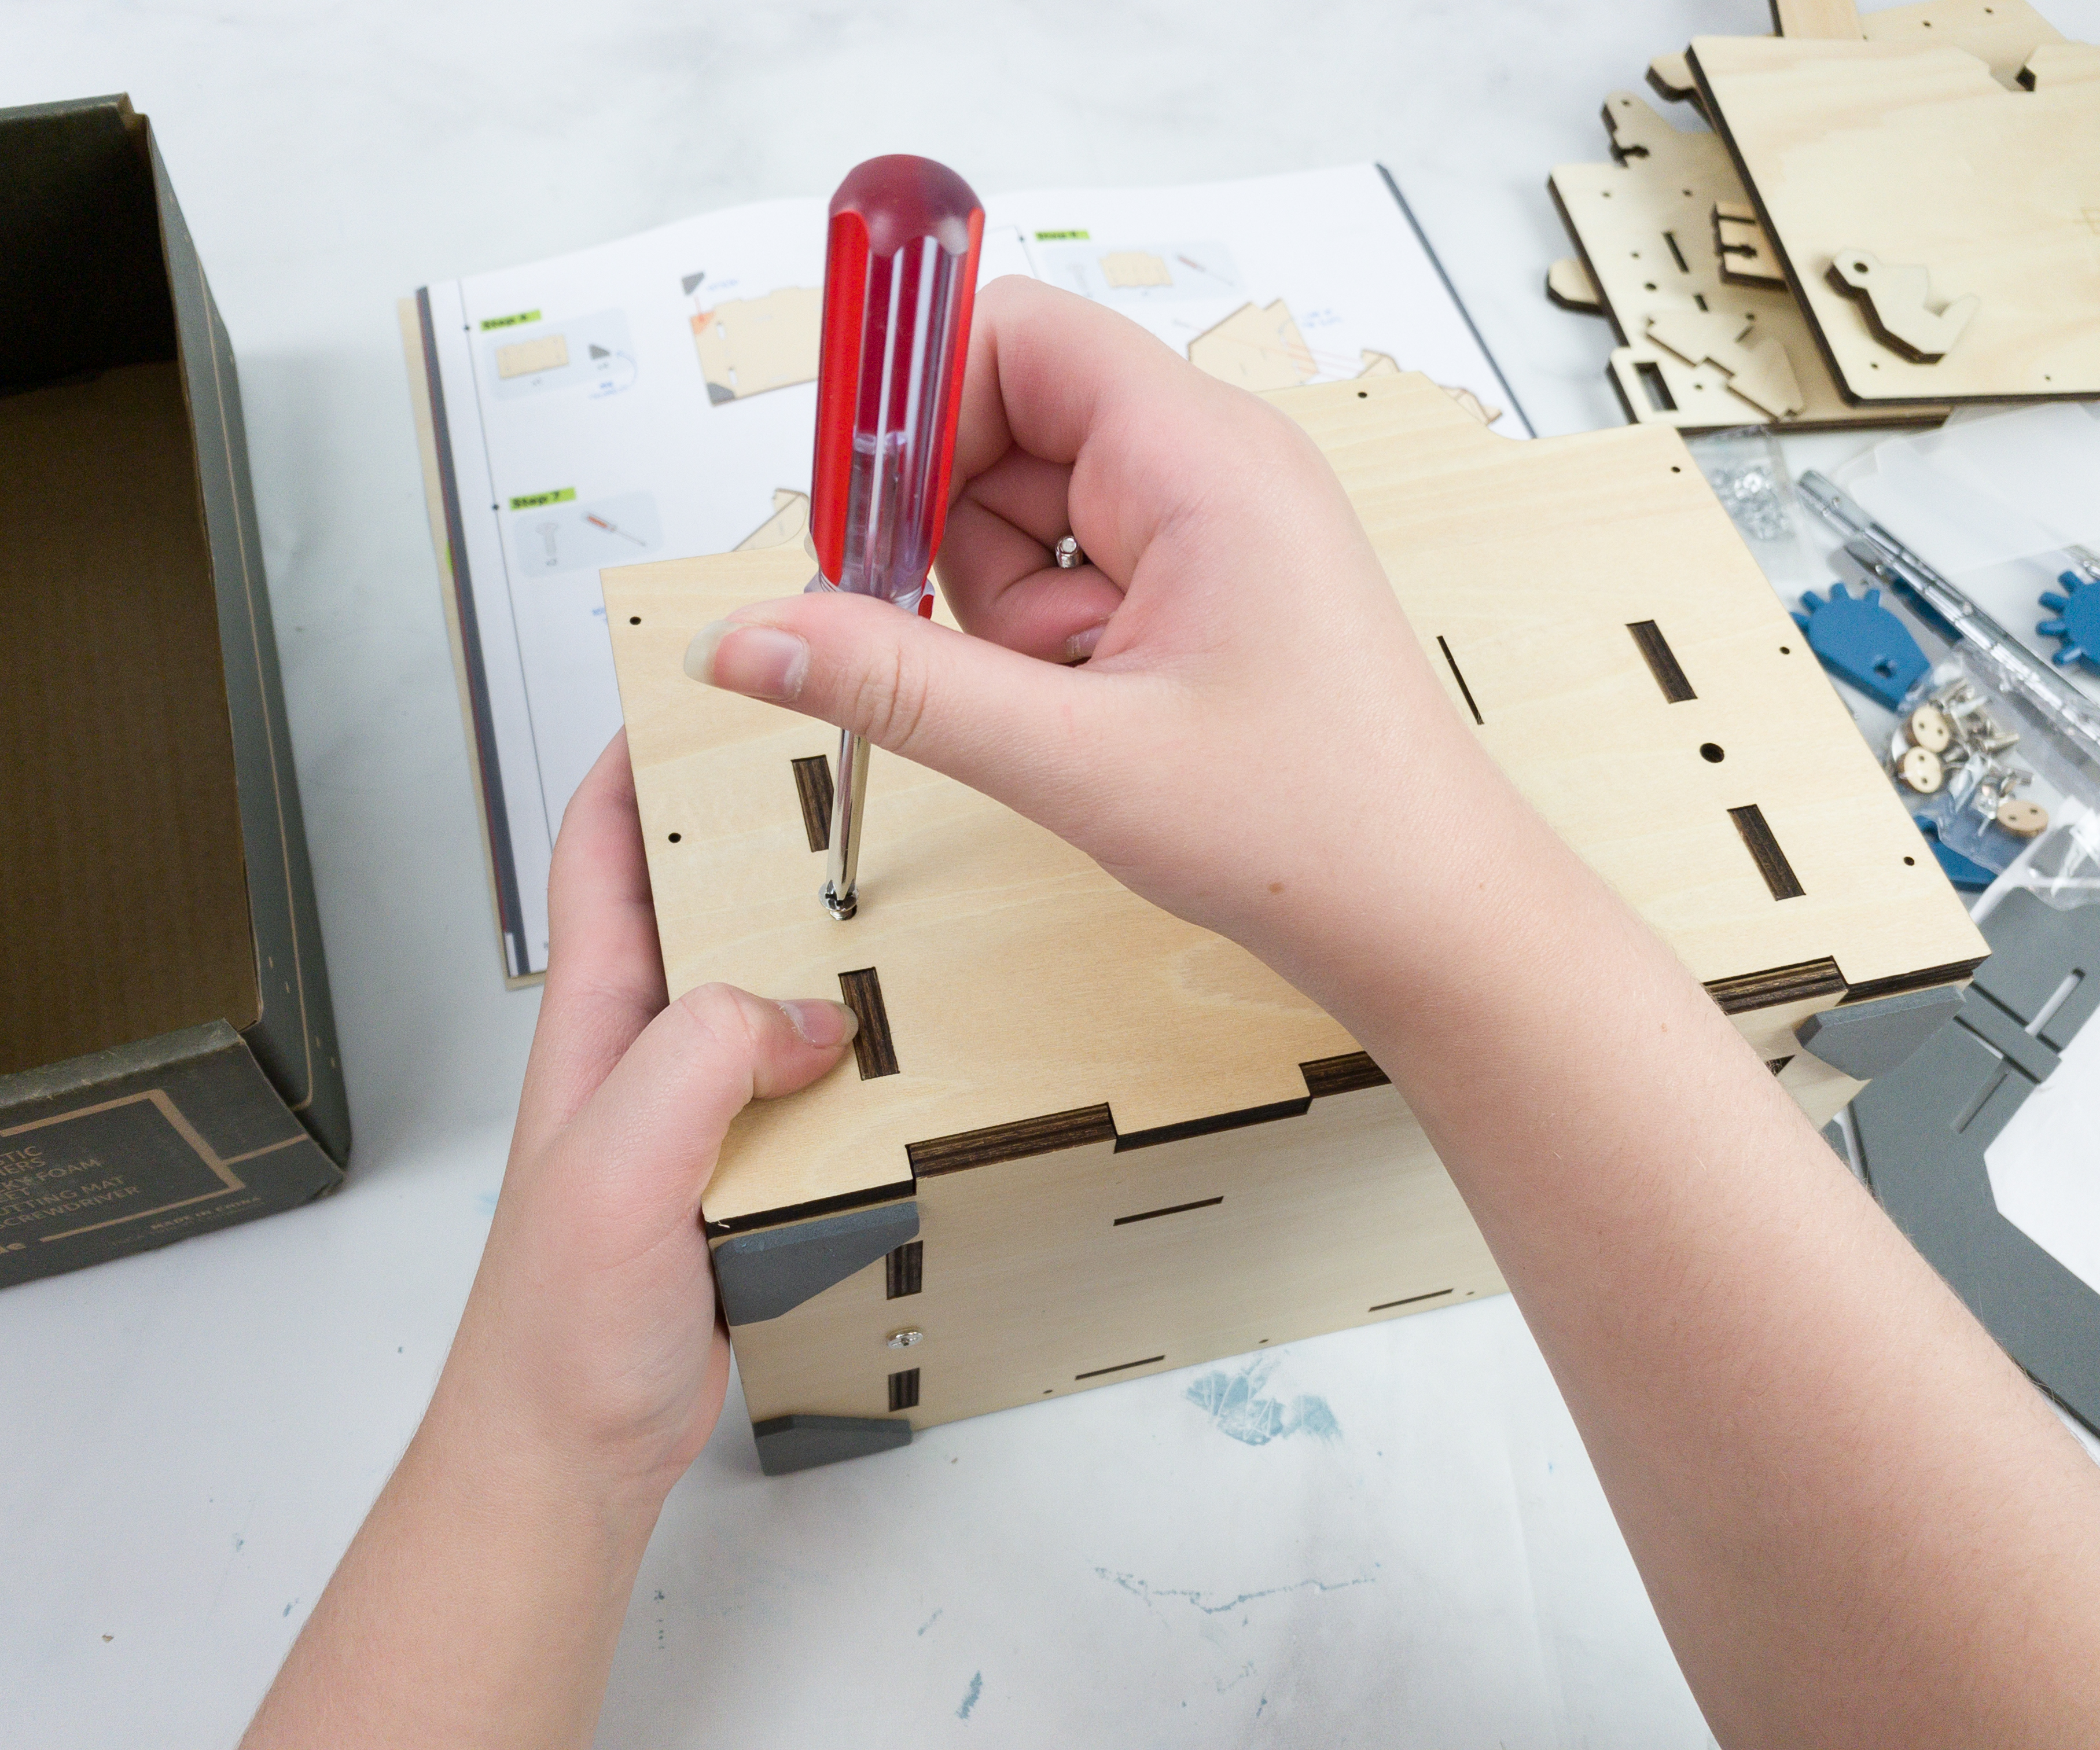
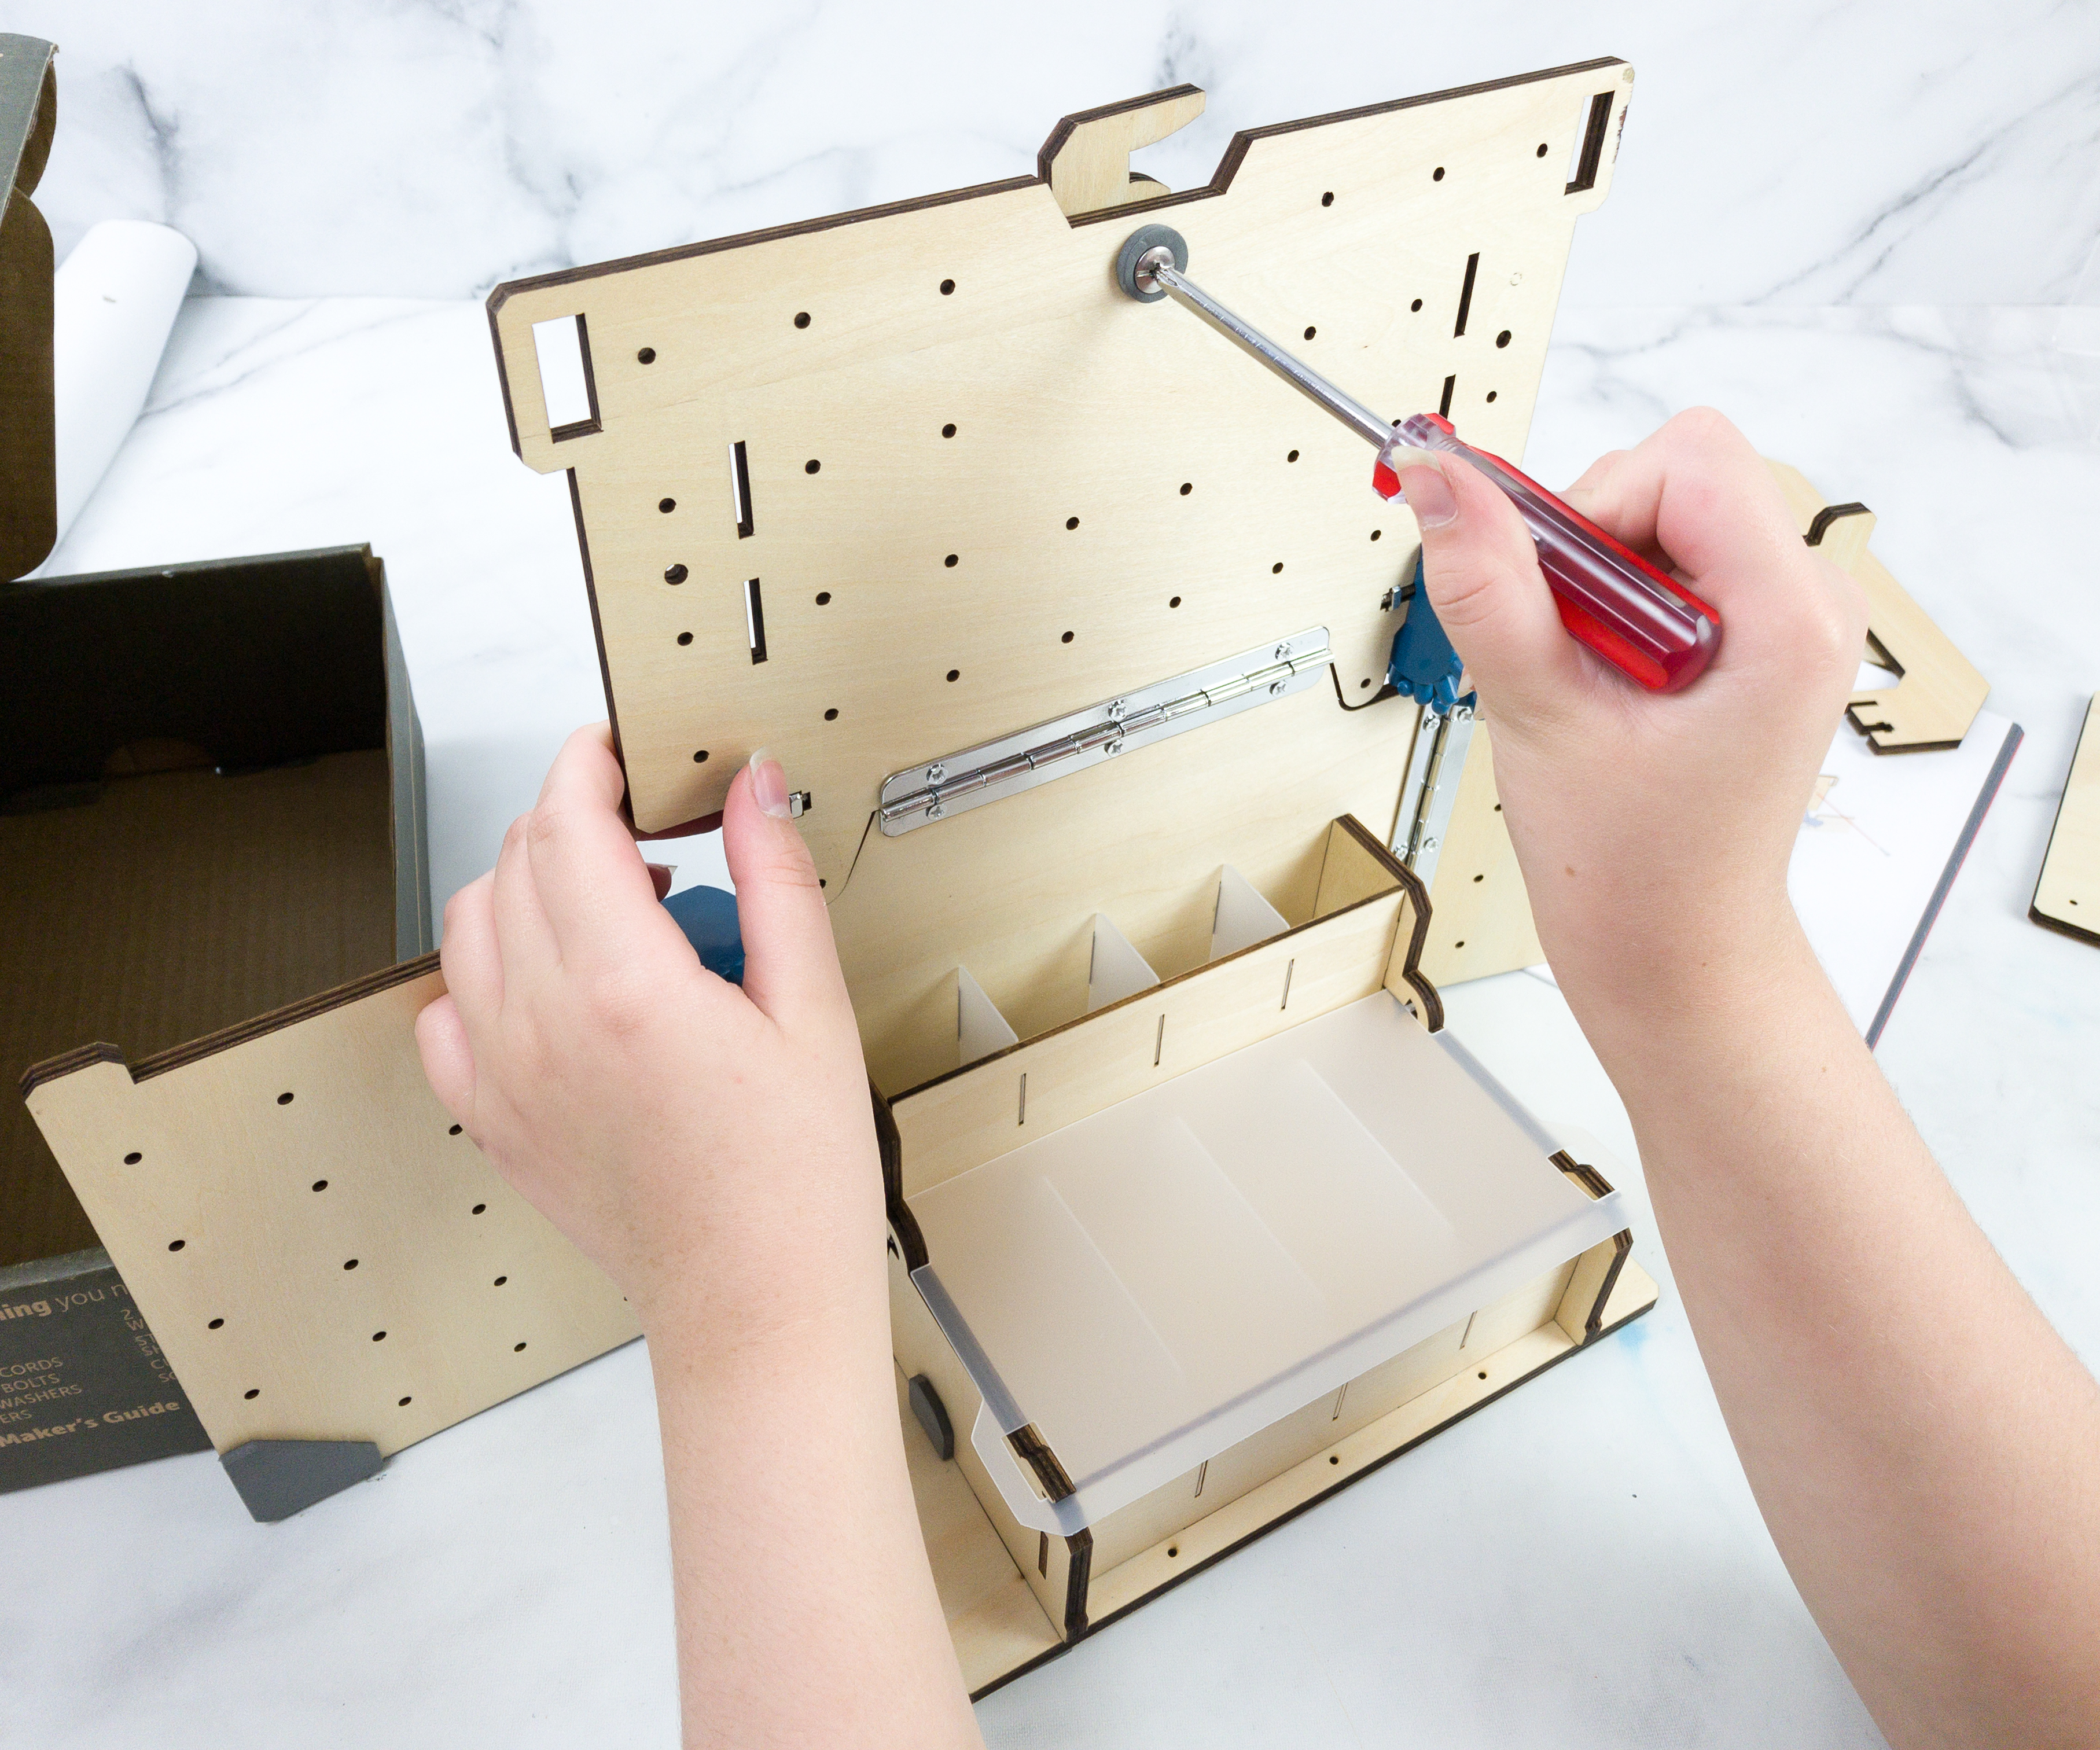
Some parts need to be screwed, it is to make sure that this part is sturdy enough to hold tools and supplies!
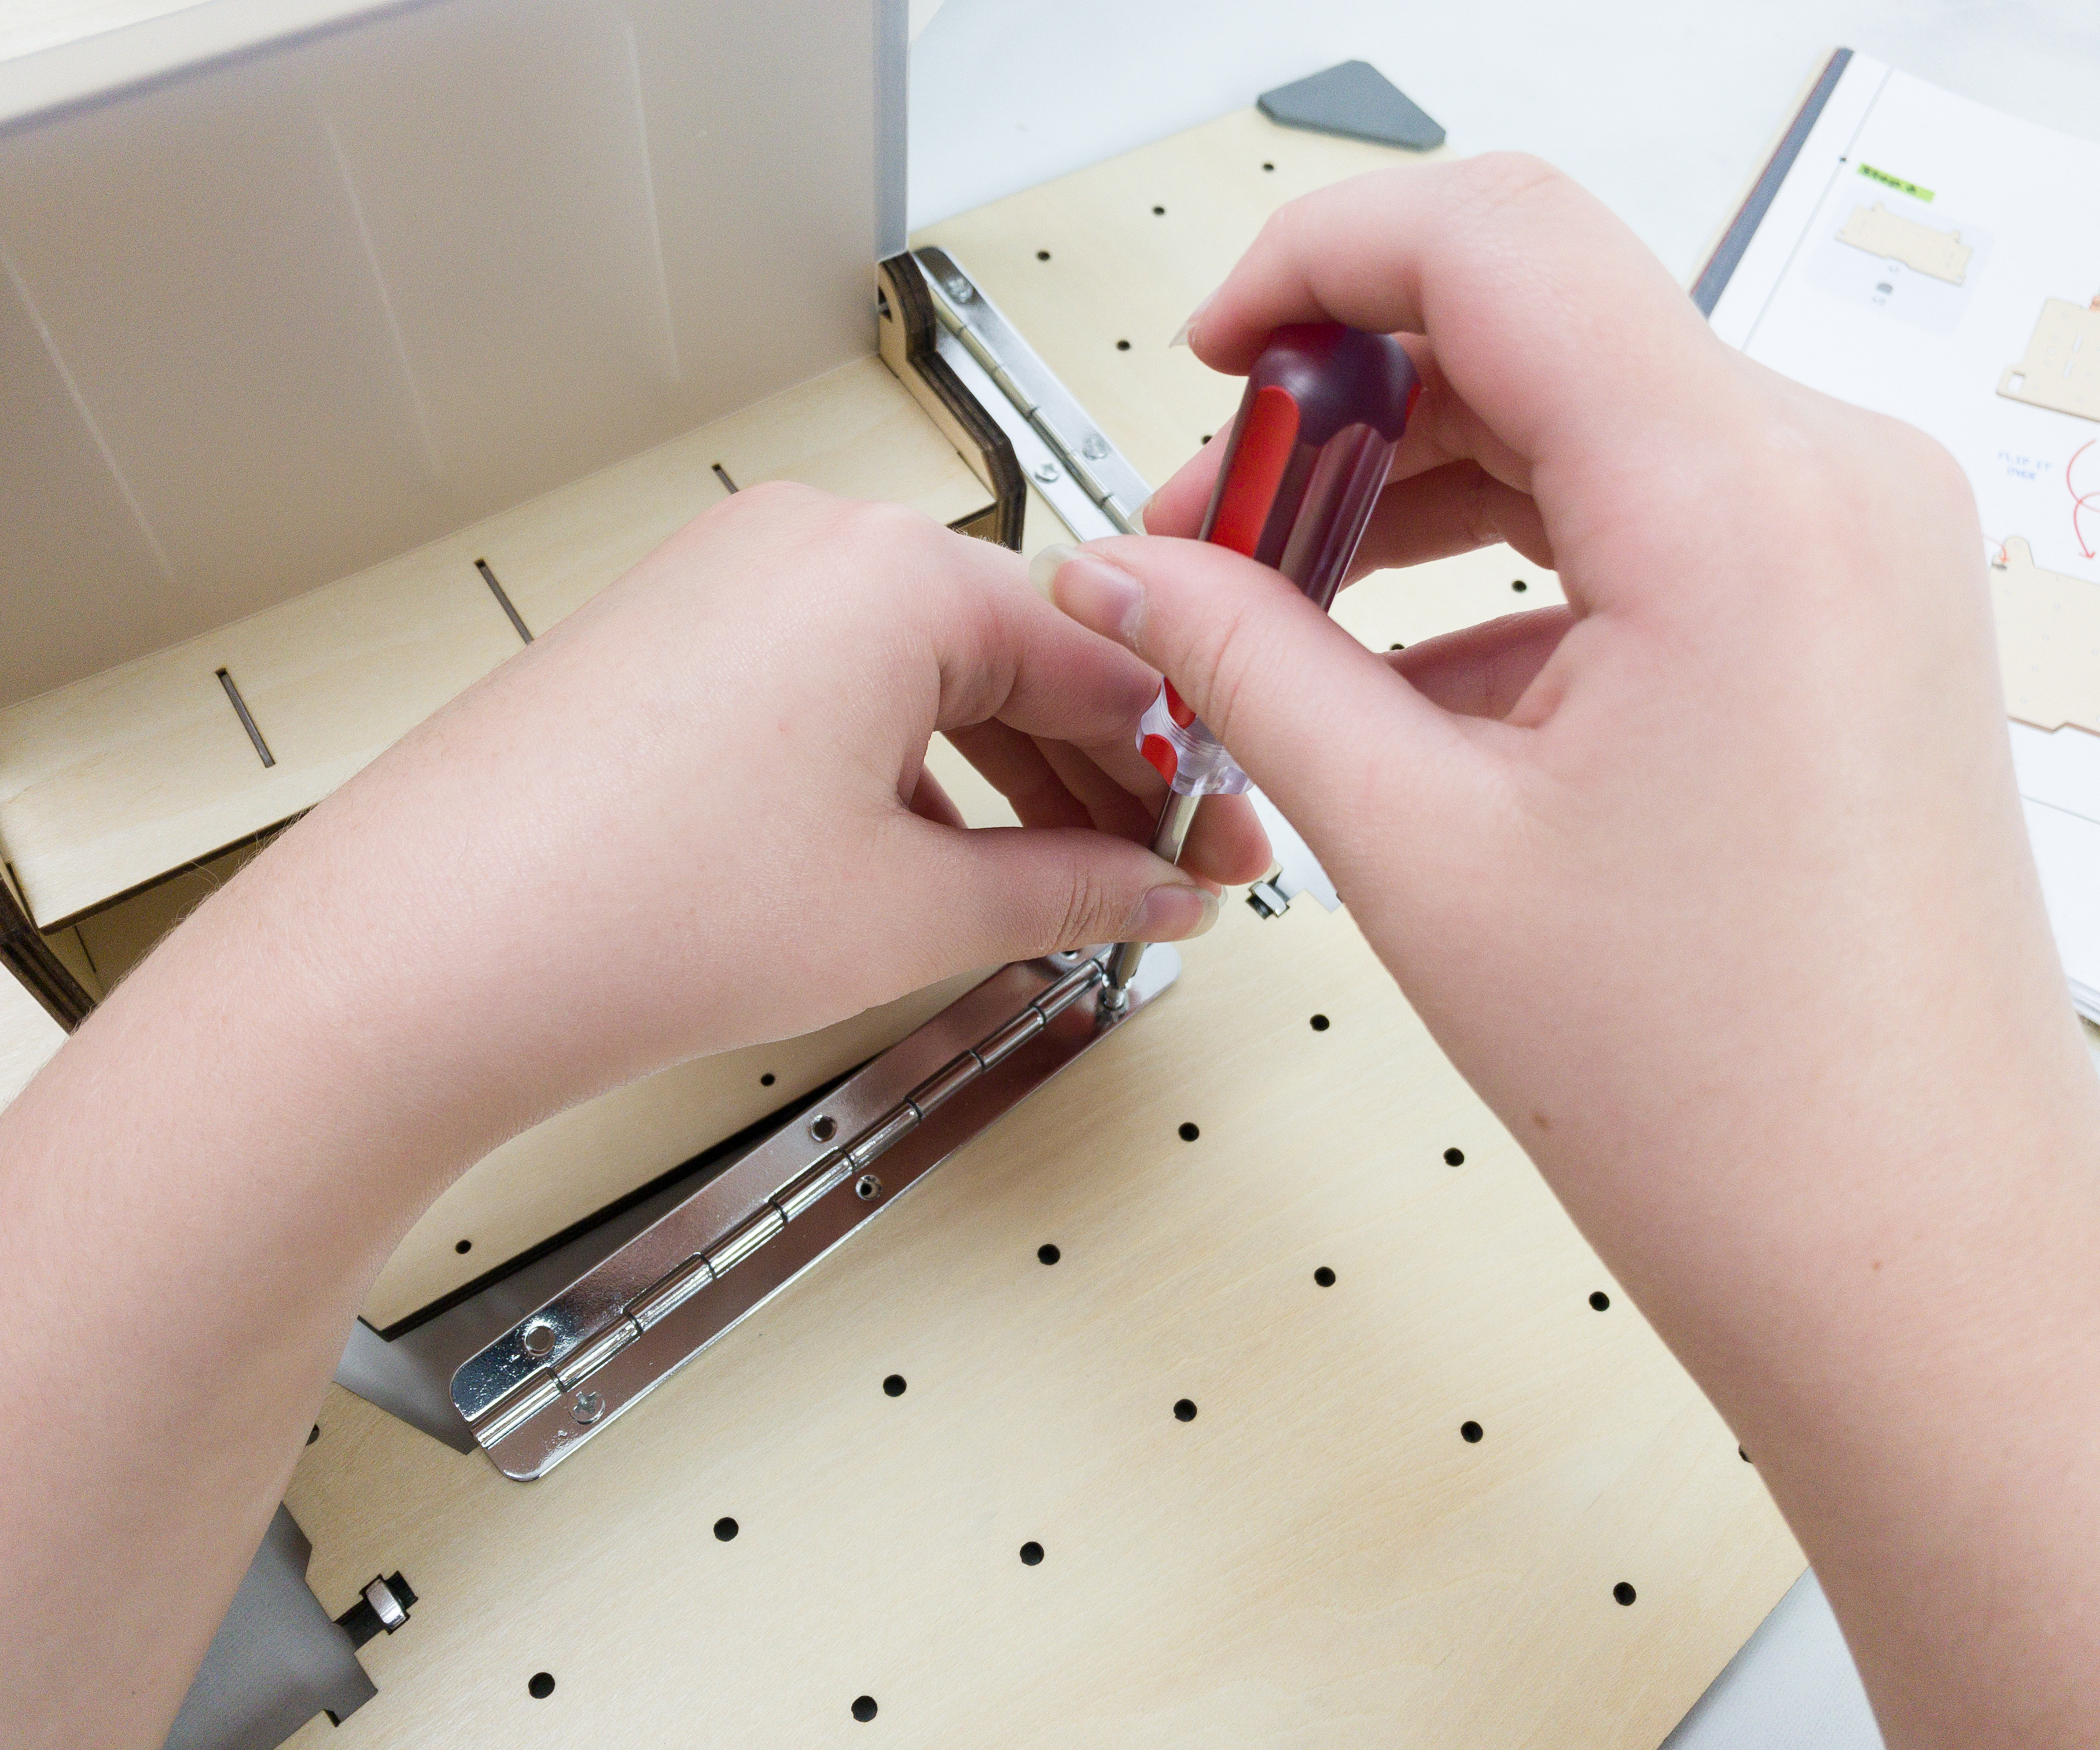
Then, we added the hinges on the bottom part of the wooden piece, connected it to the side piece, and screwed them together.
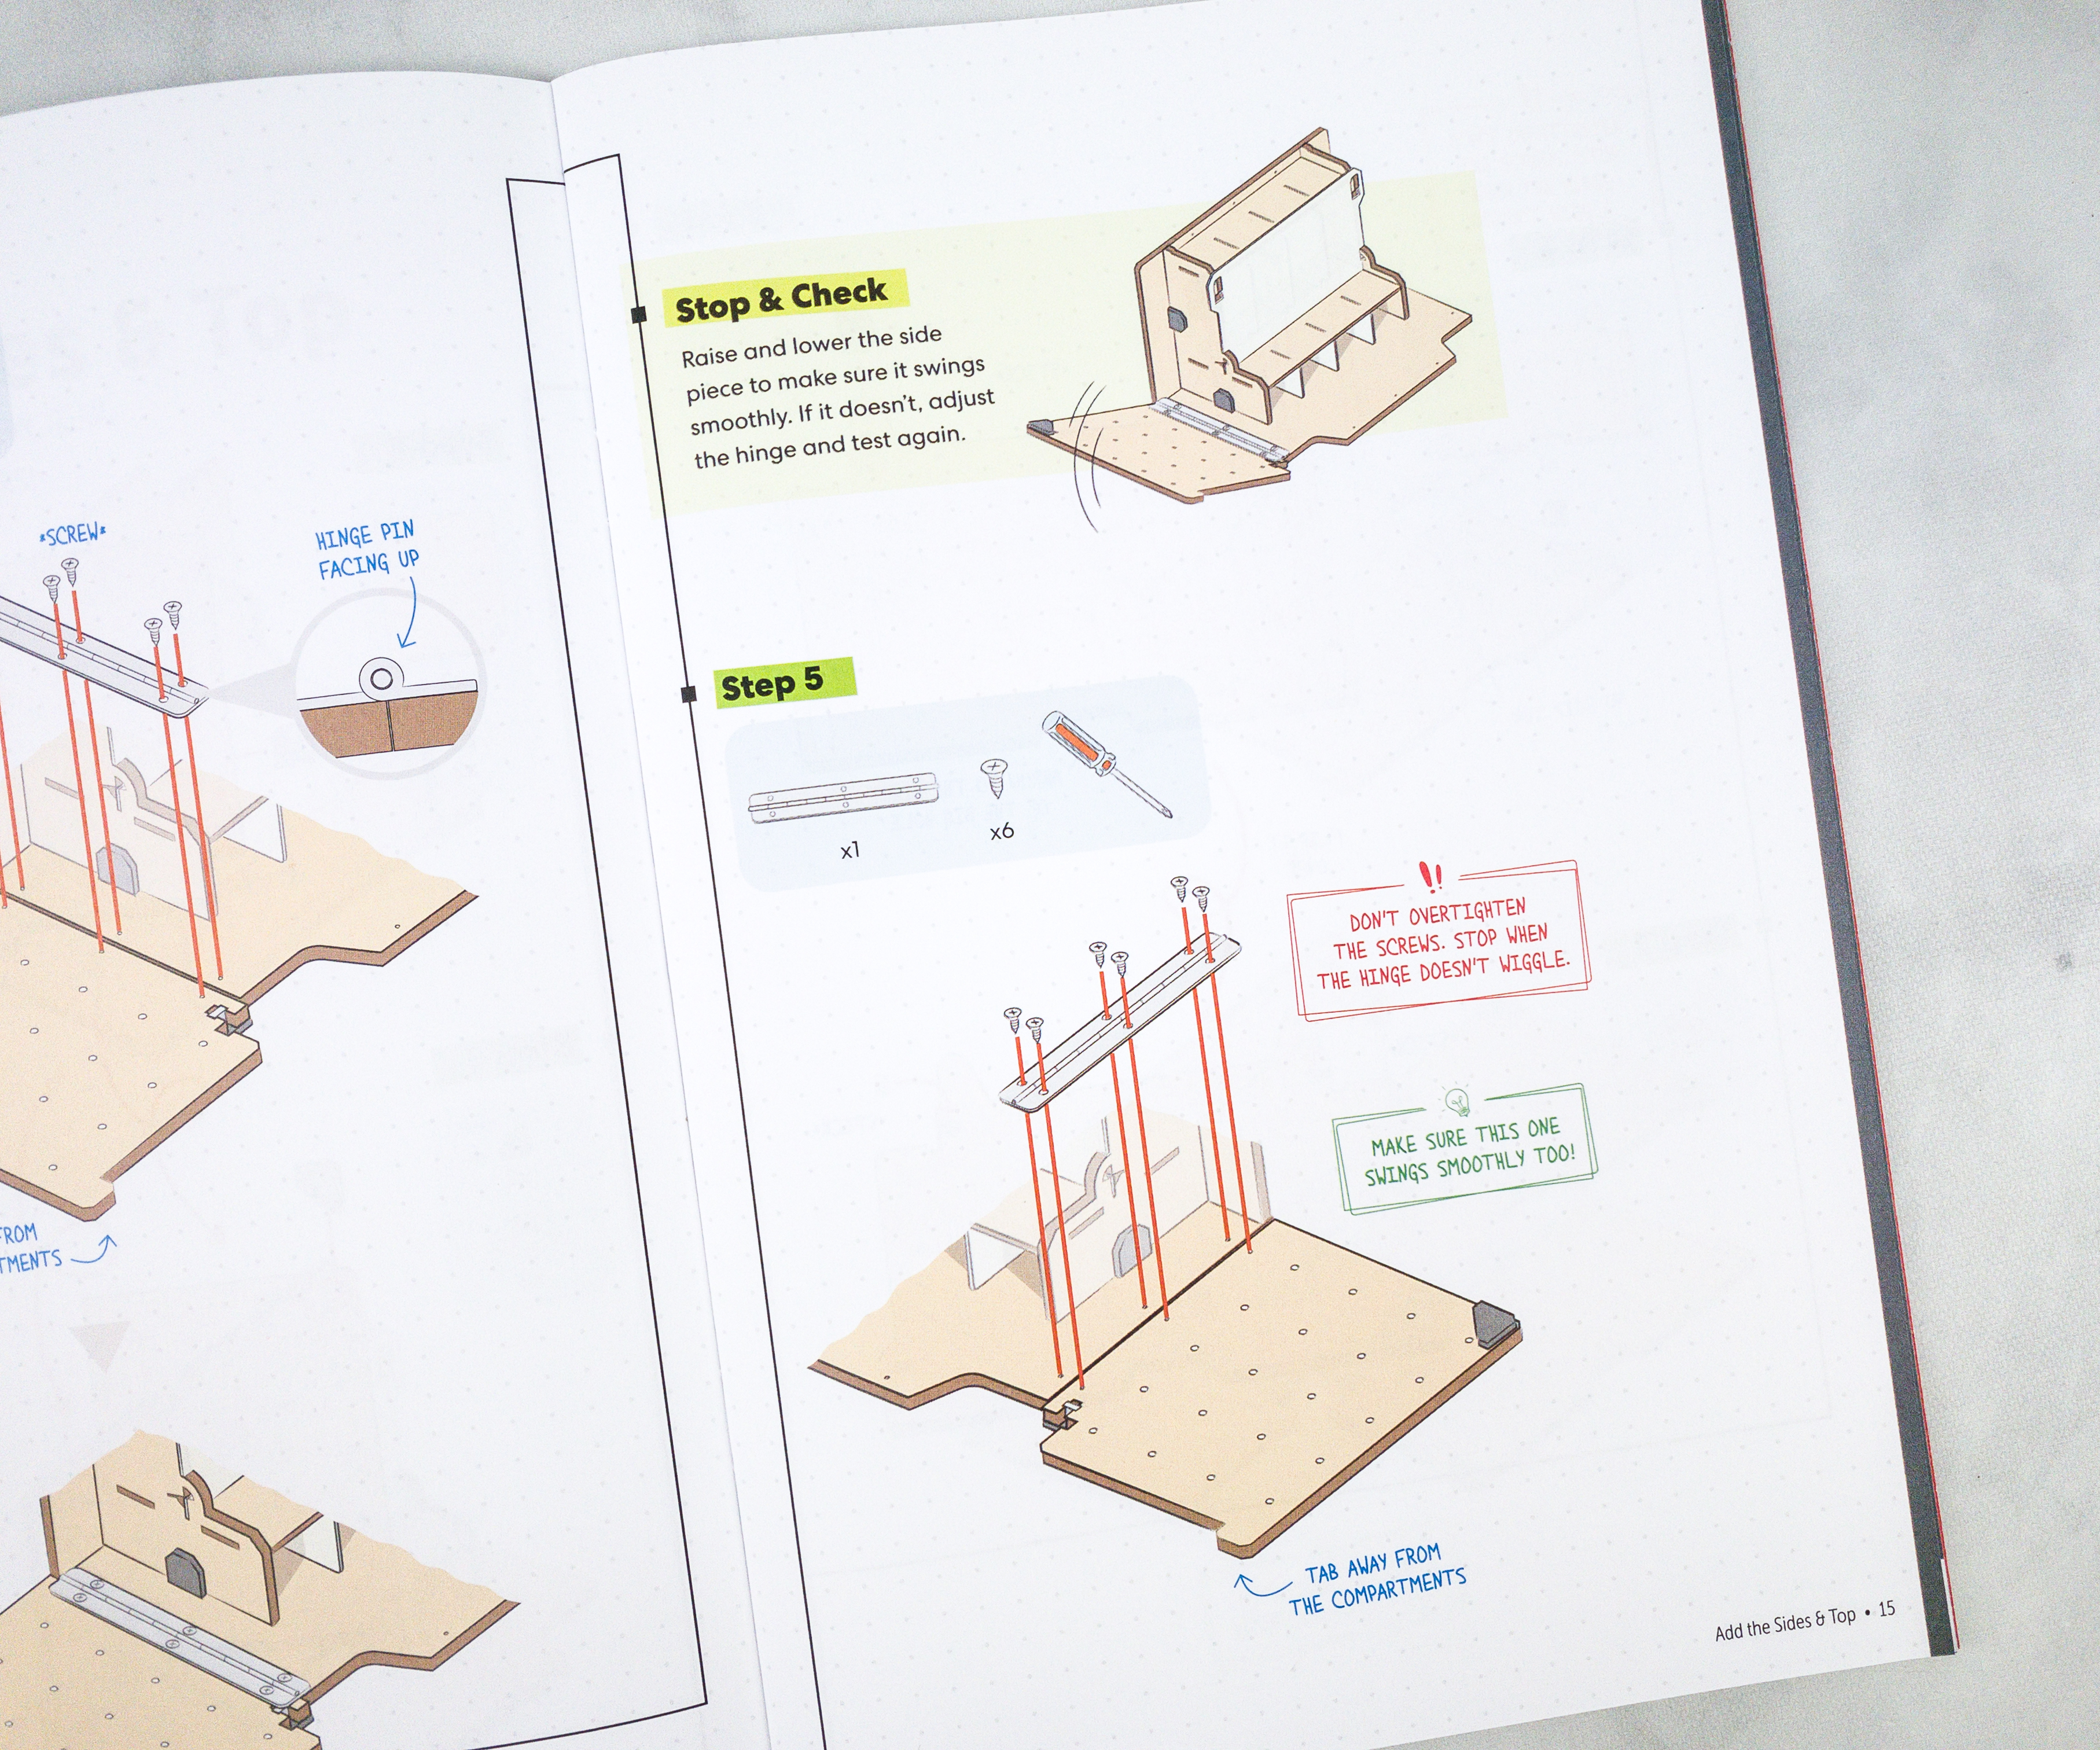
For our stop and check portion, over-tightening the screws won’t do better. All we need is to ensure that the hinges don’t wiggle.
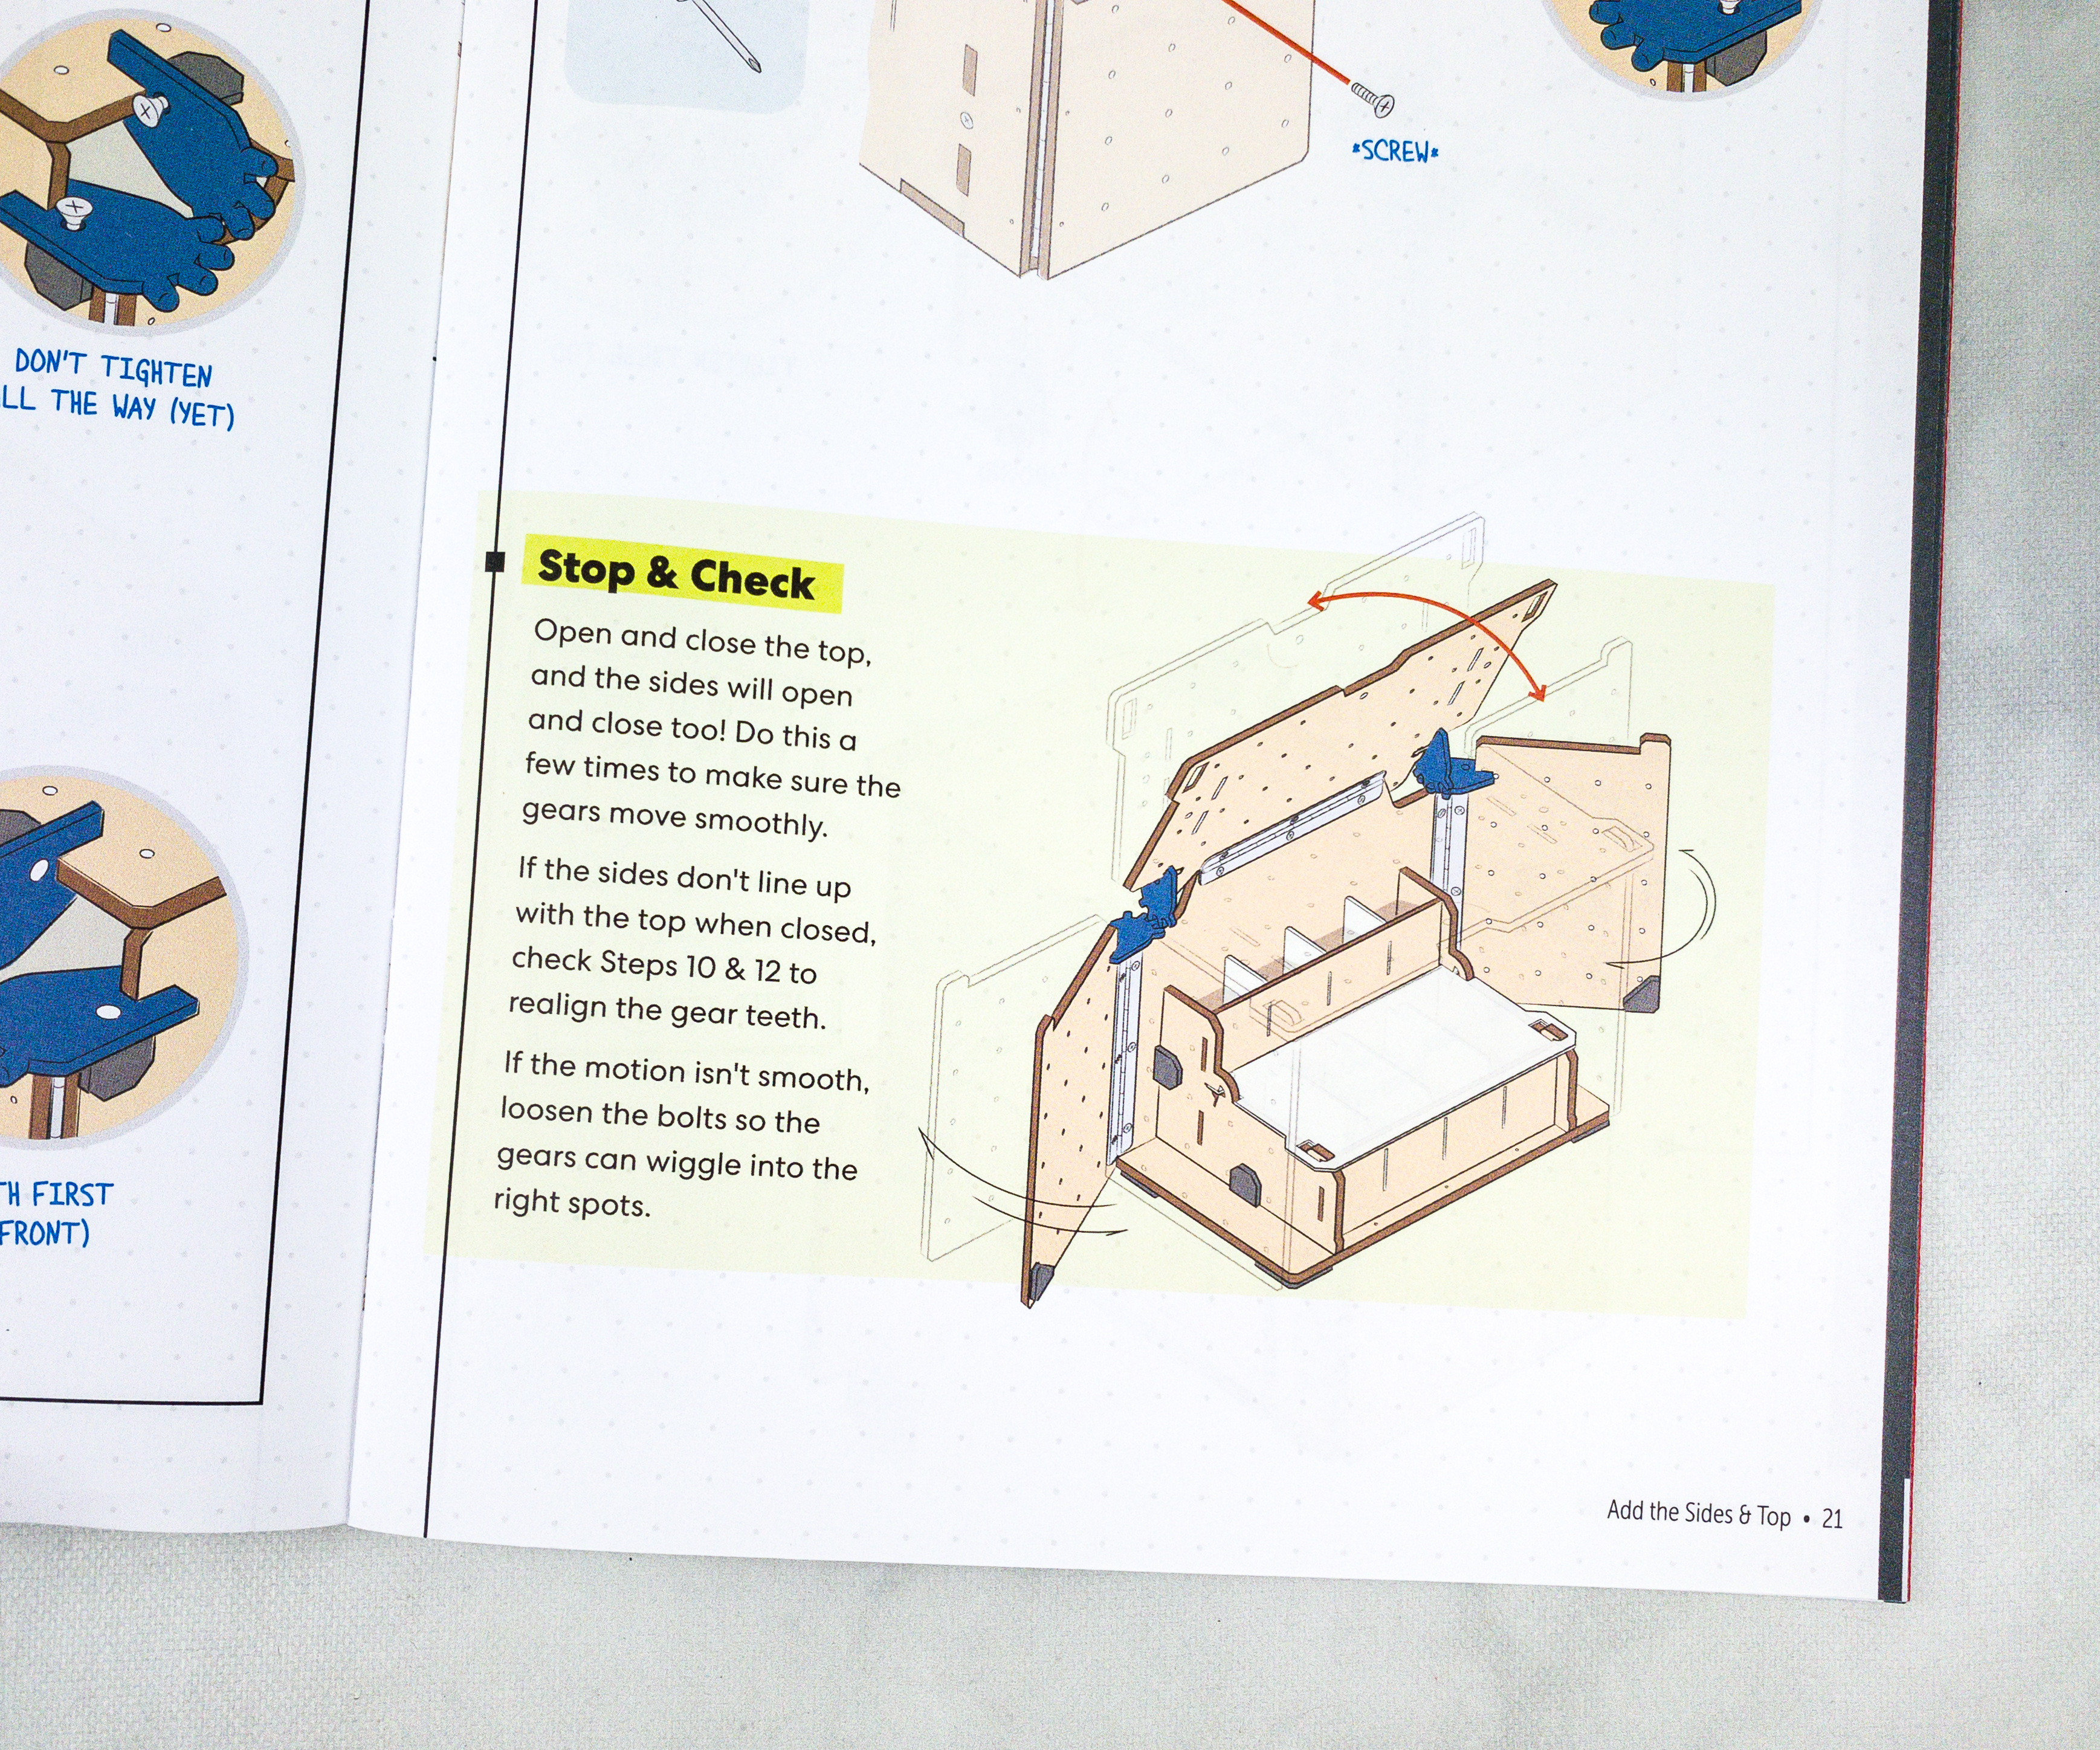
Here’s another stop & check portion!
Open and close the top, and the sides will open and close too! Do this a few times to make sure the gears move smoothly.
If the sides don’t line up with the top when closed, check steps 10 & 12 to realign the gear teeth.
If the motion isn’t smooth, loosen the bolts so the gears can wiggle into the right spots.
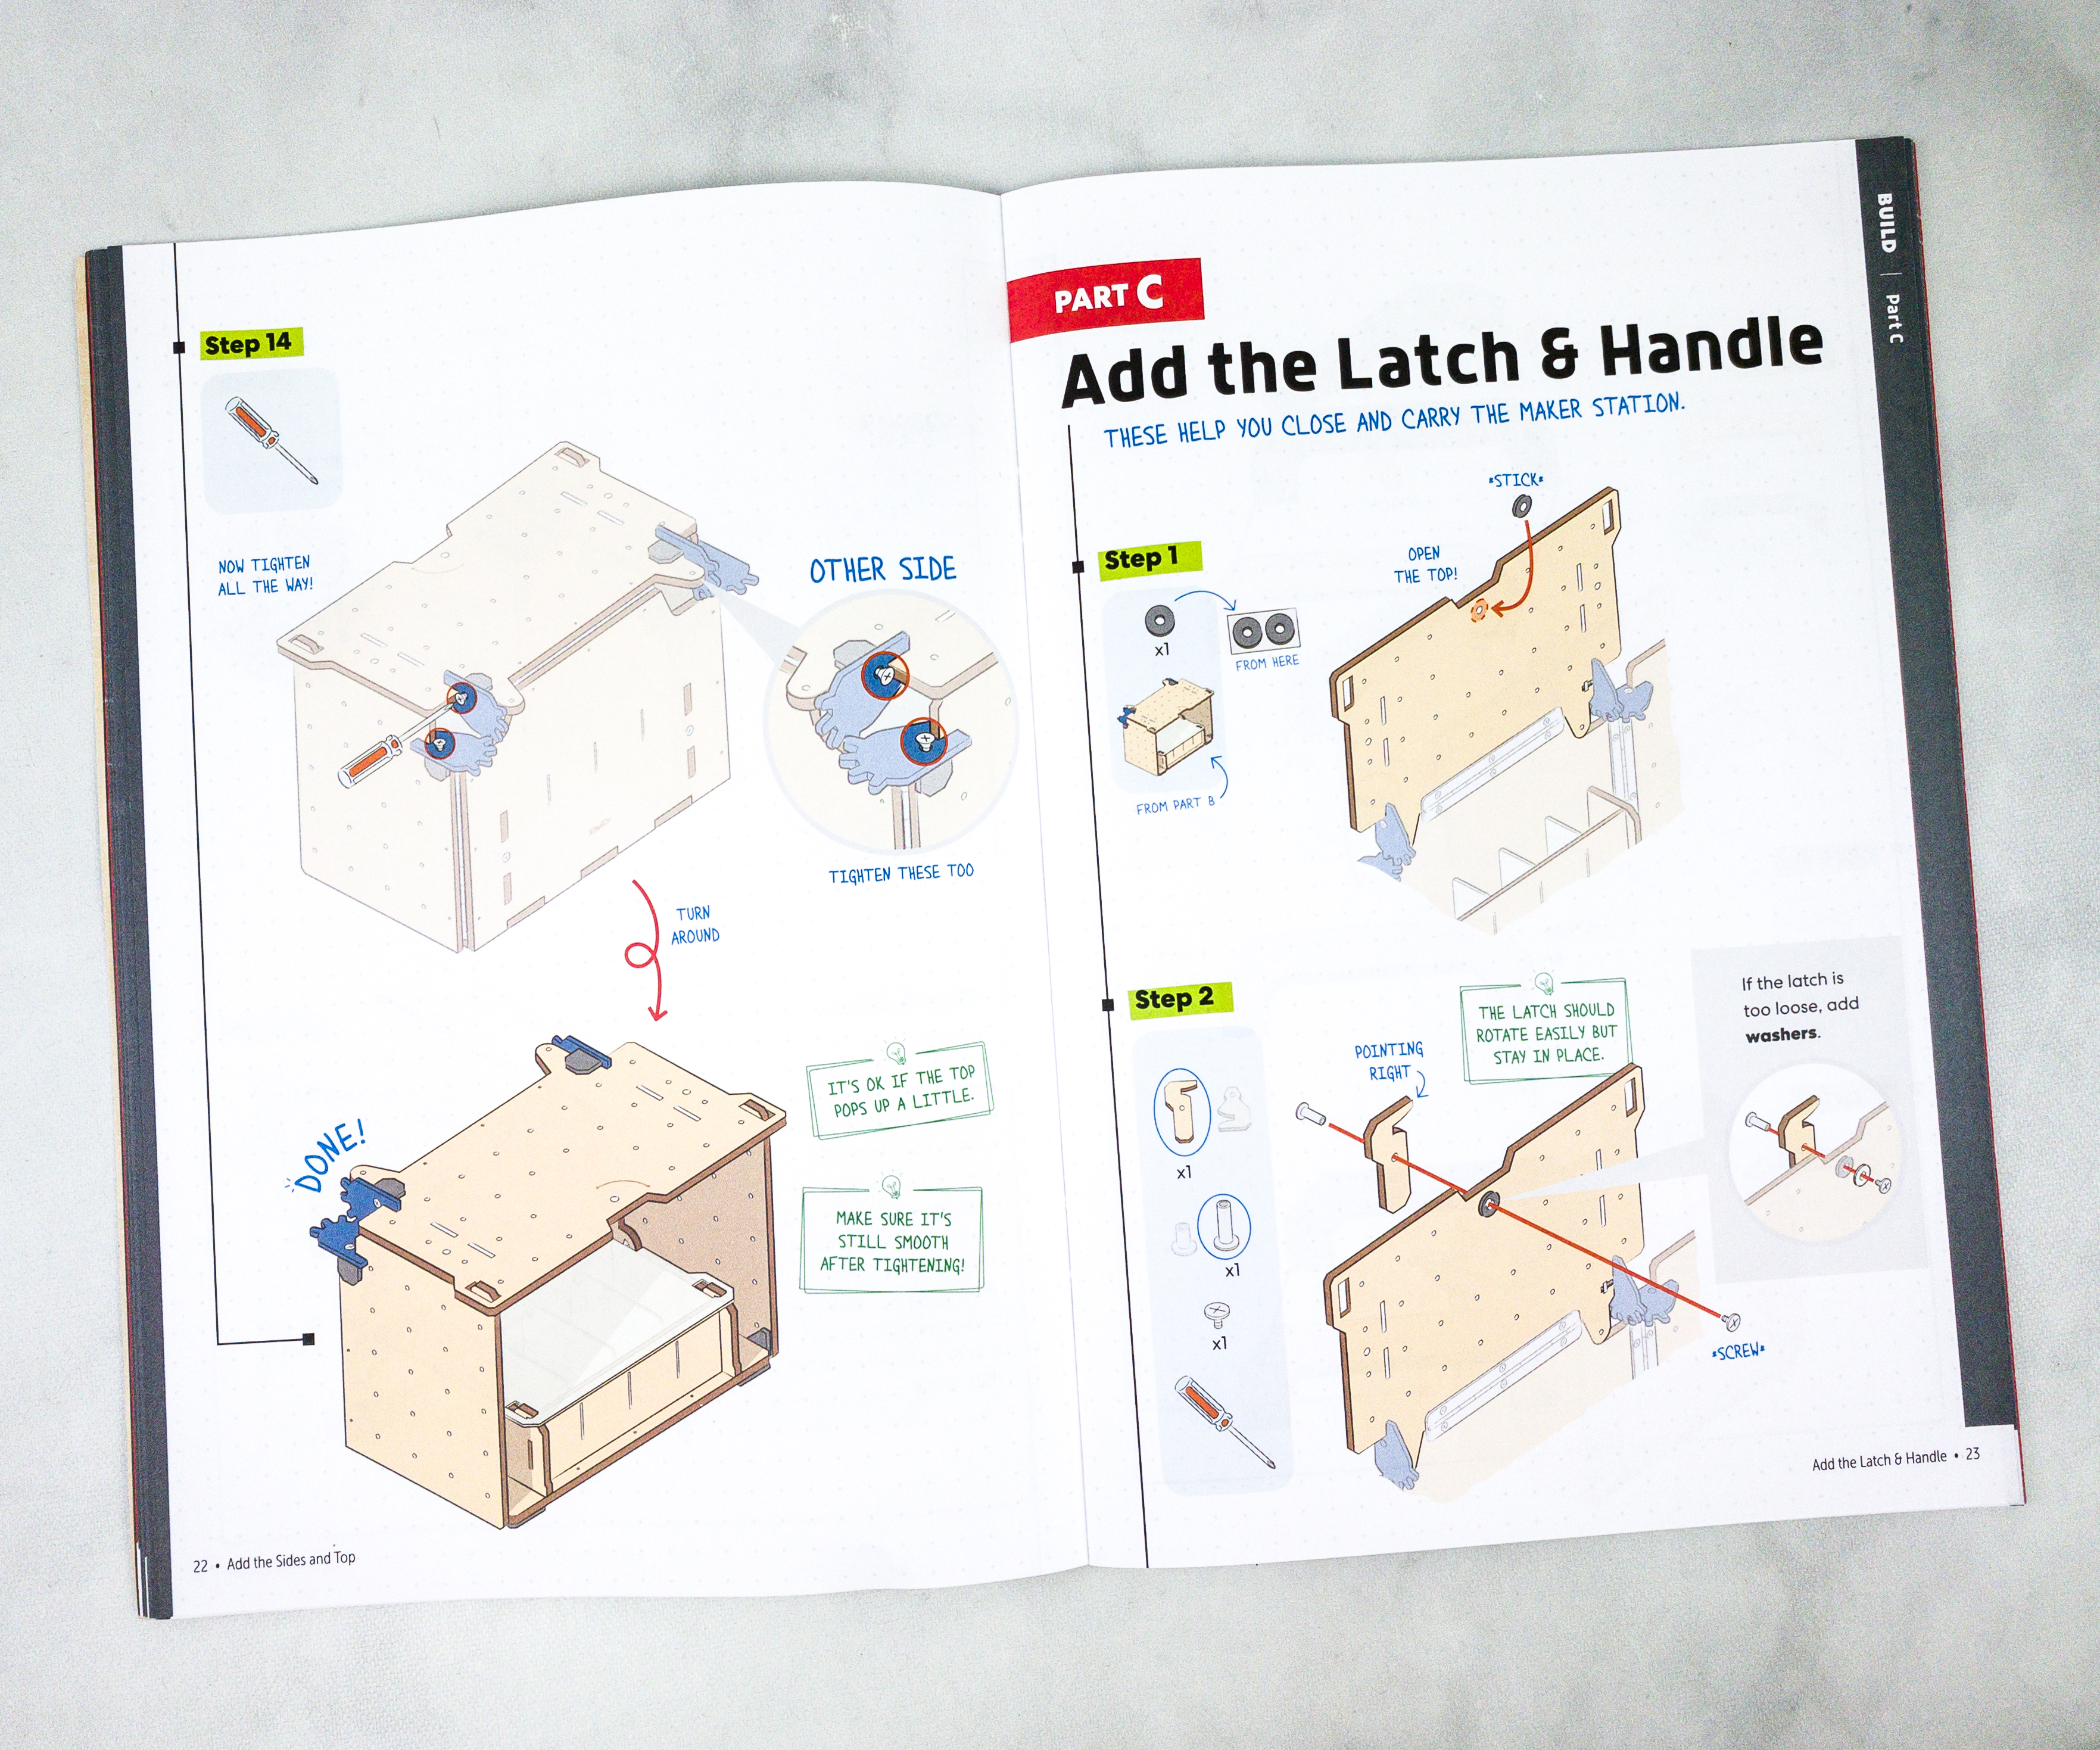
The third part of the project is adding the latch and handle. This part is to help you close and carry the Maker Station.
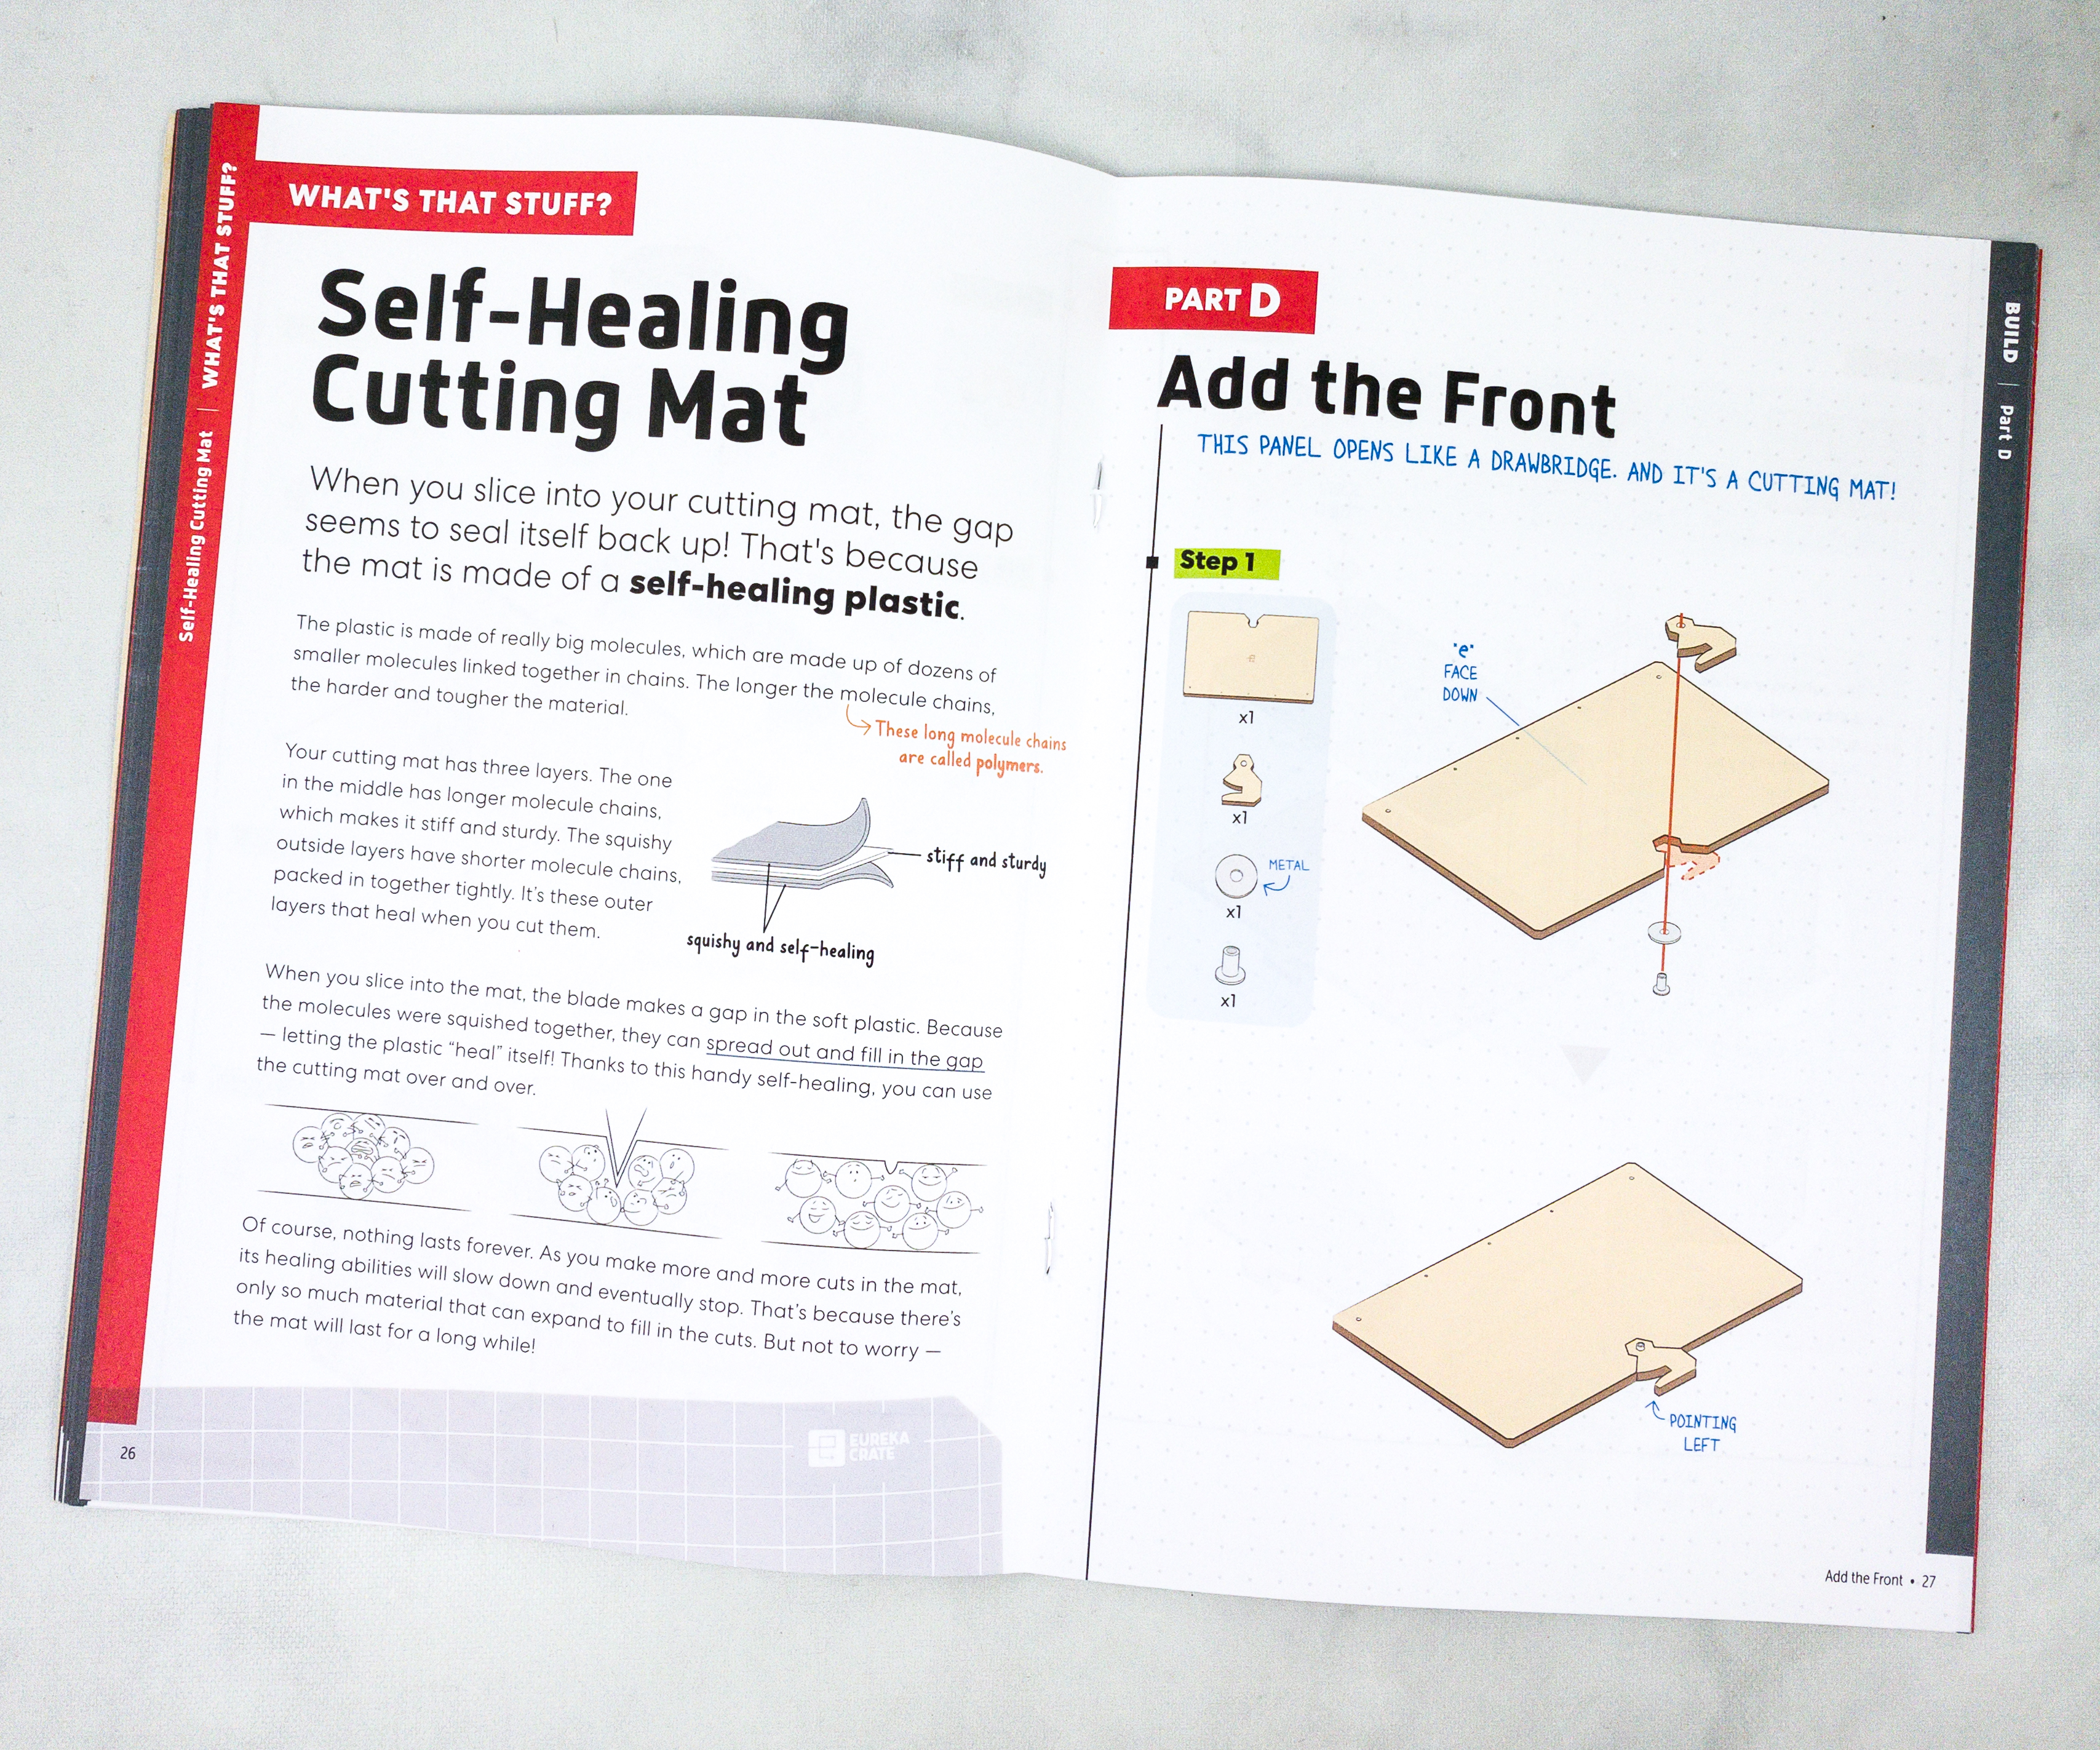
This part of the booklet provides a thorough explanation of the science of self-healing cutting mat.
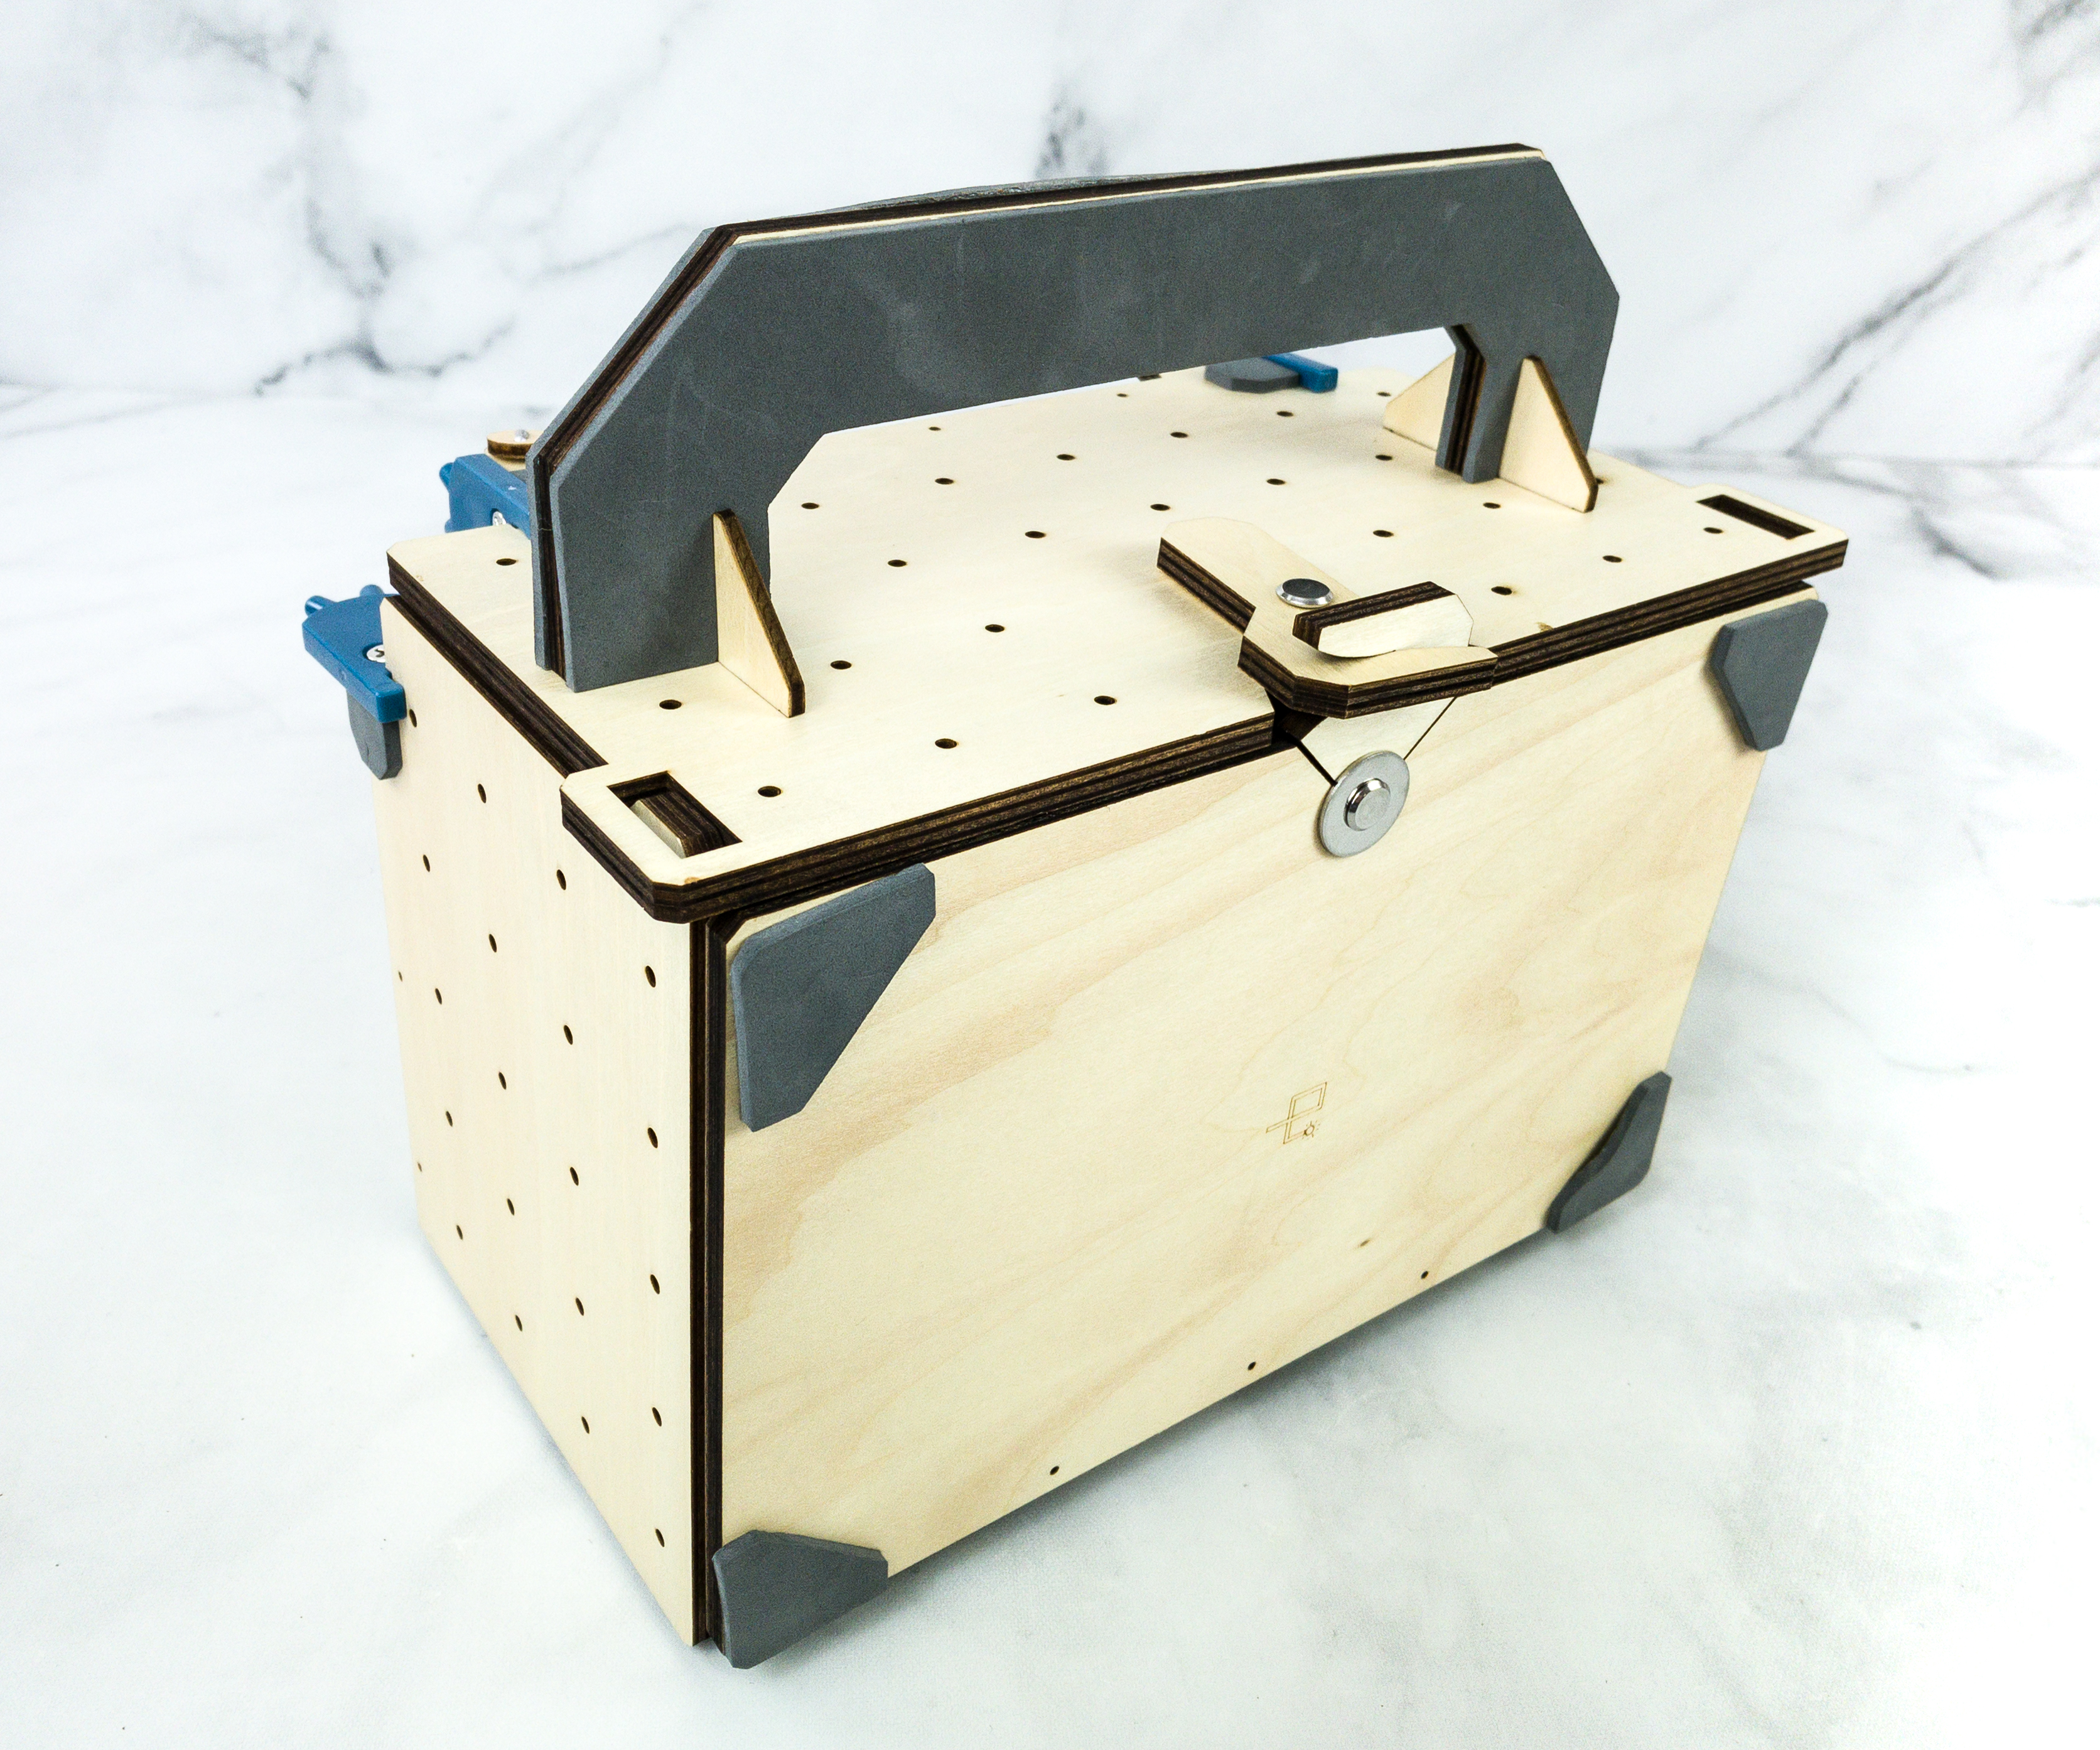
Here’s how our maker station should look like when completely done.
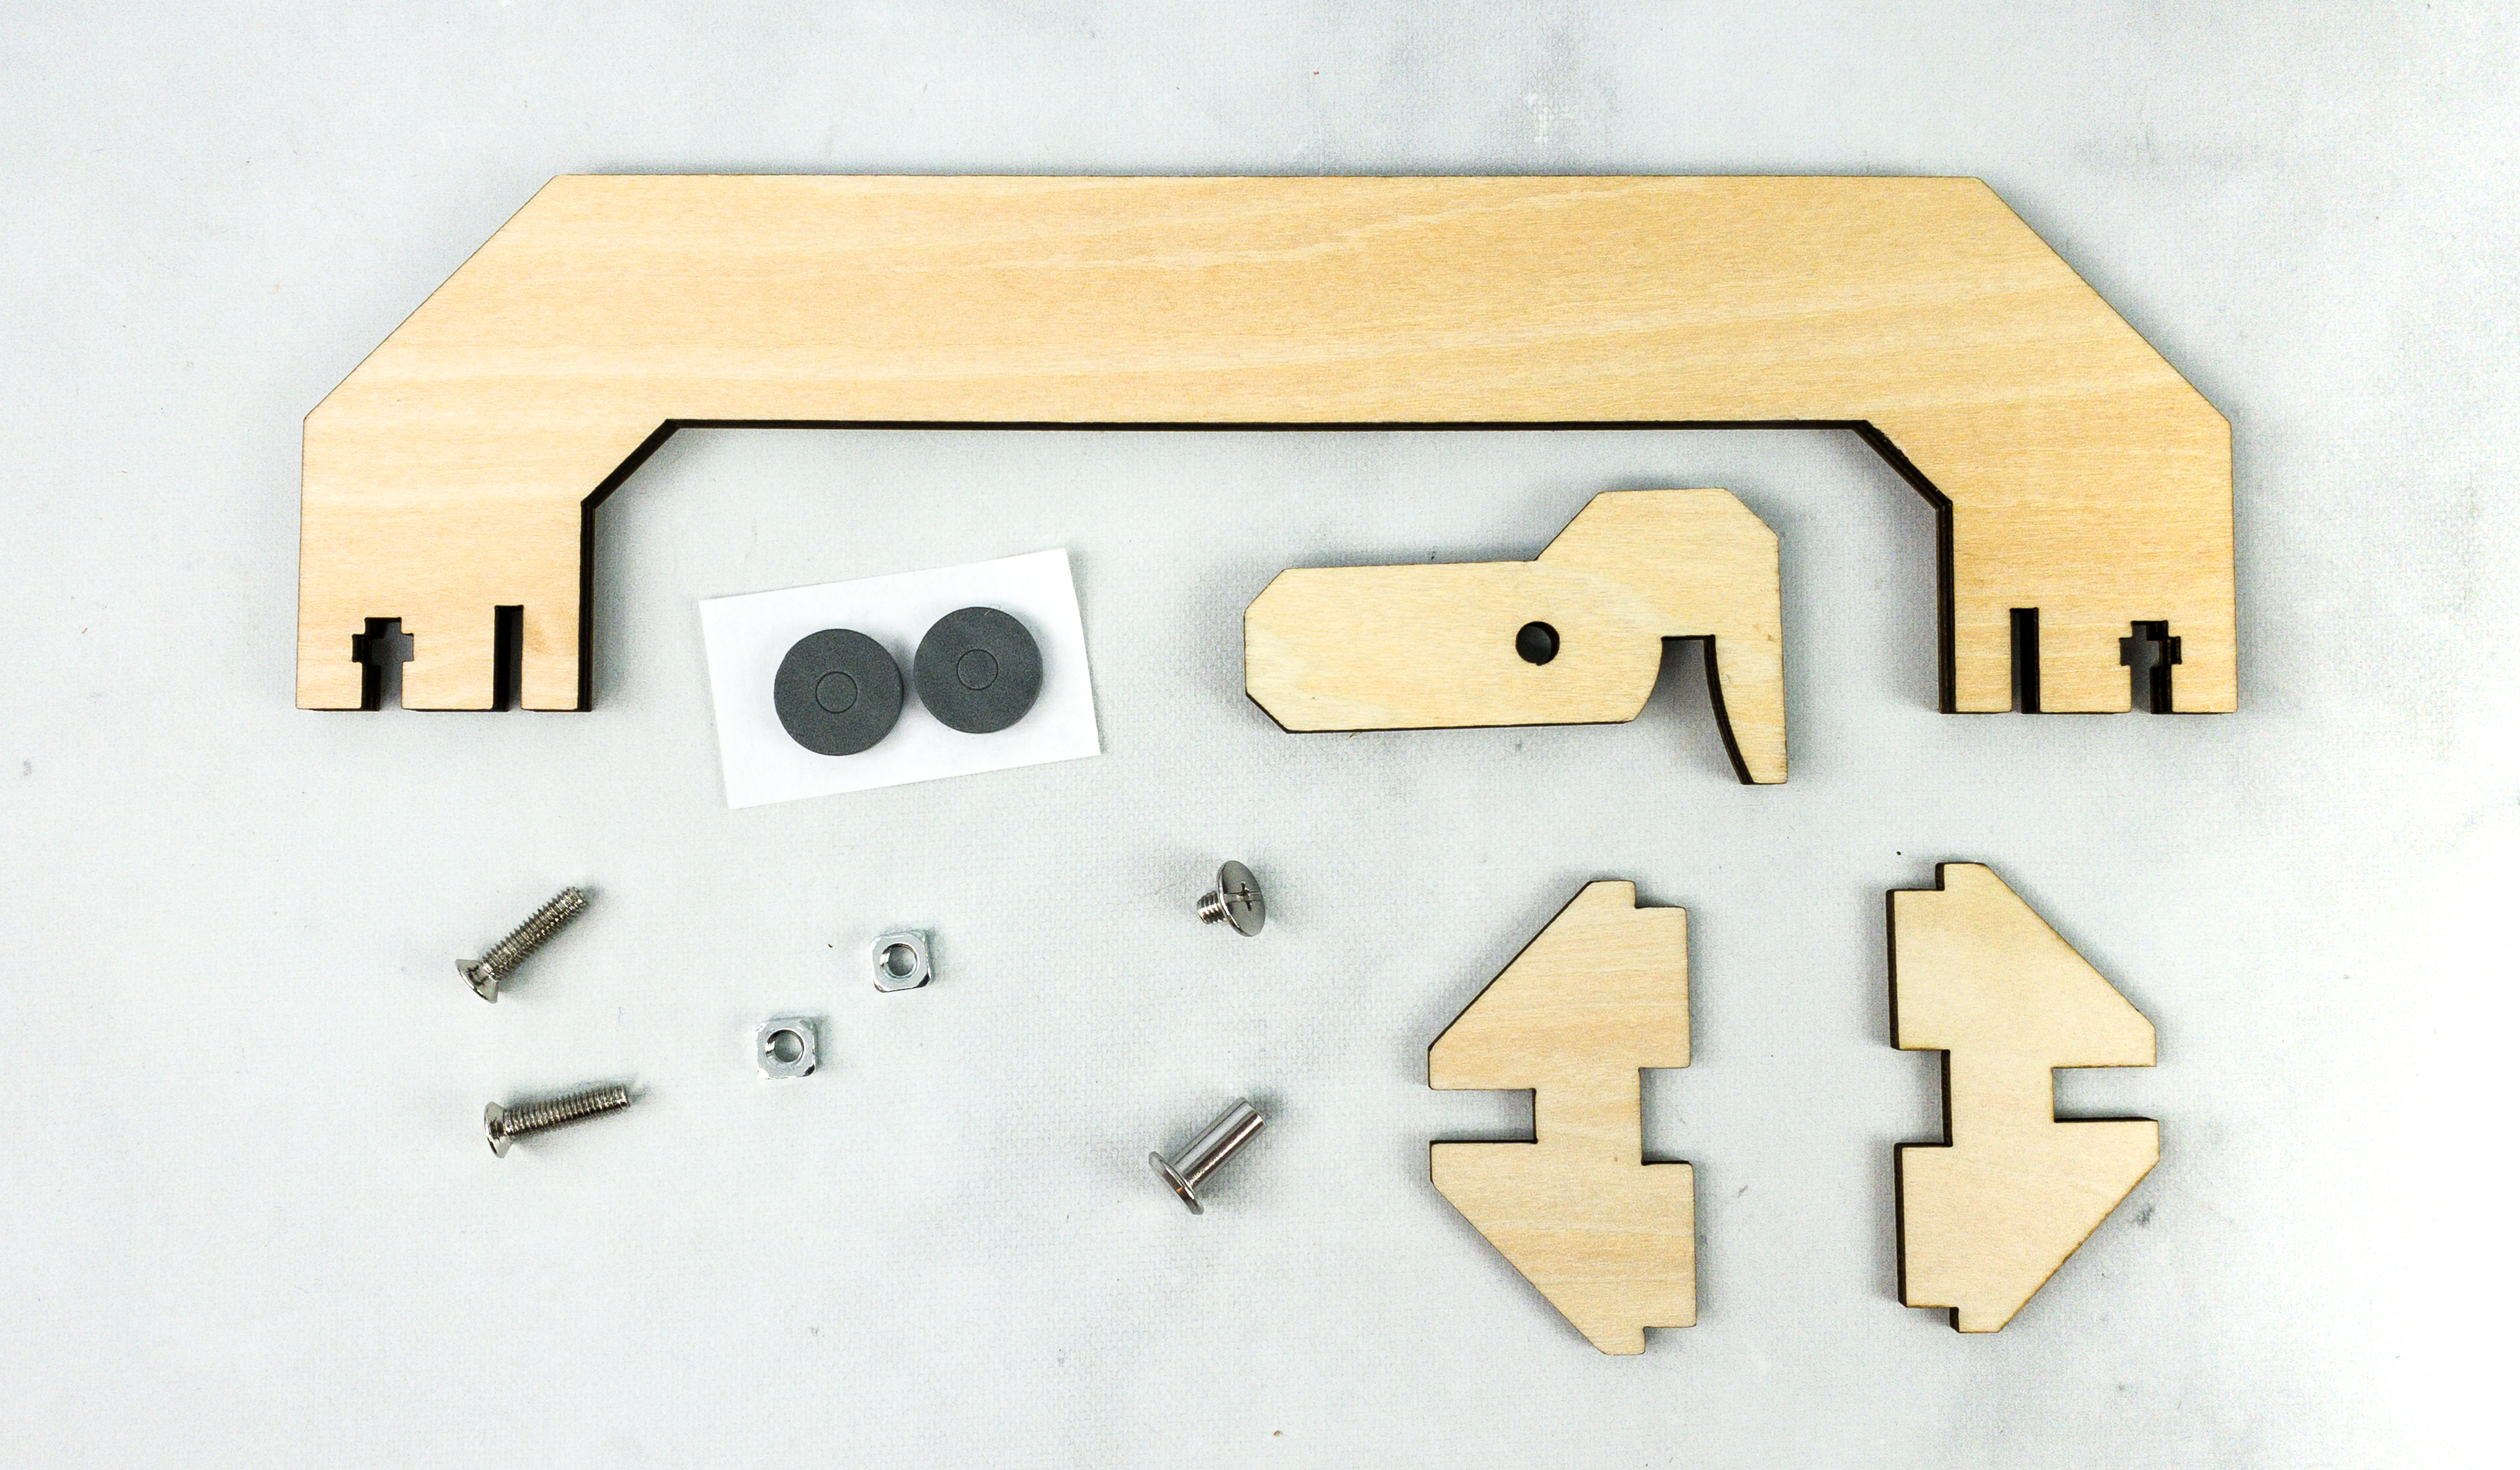
For the latch and handle part, we used the handle wooden set, bolts, screws, nuts, and sticky foams.
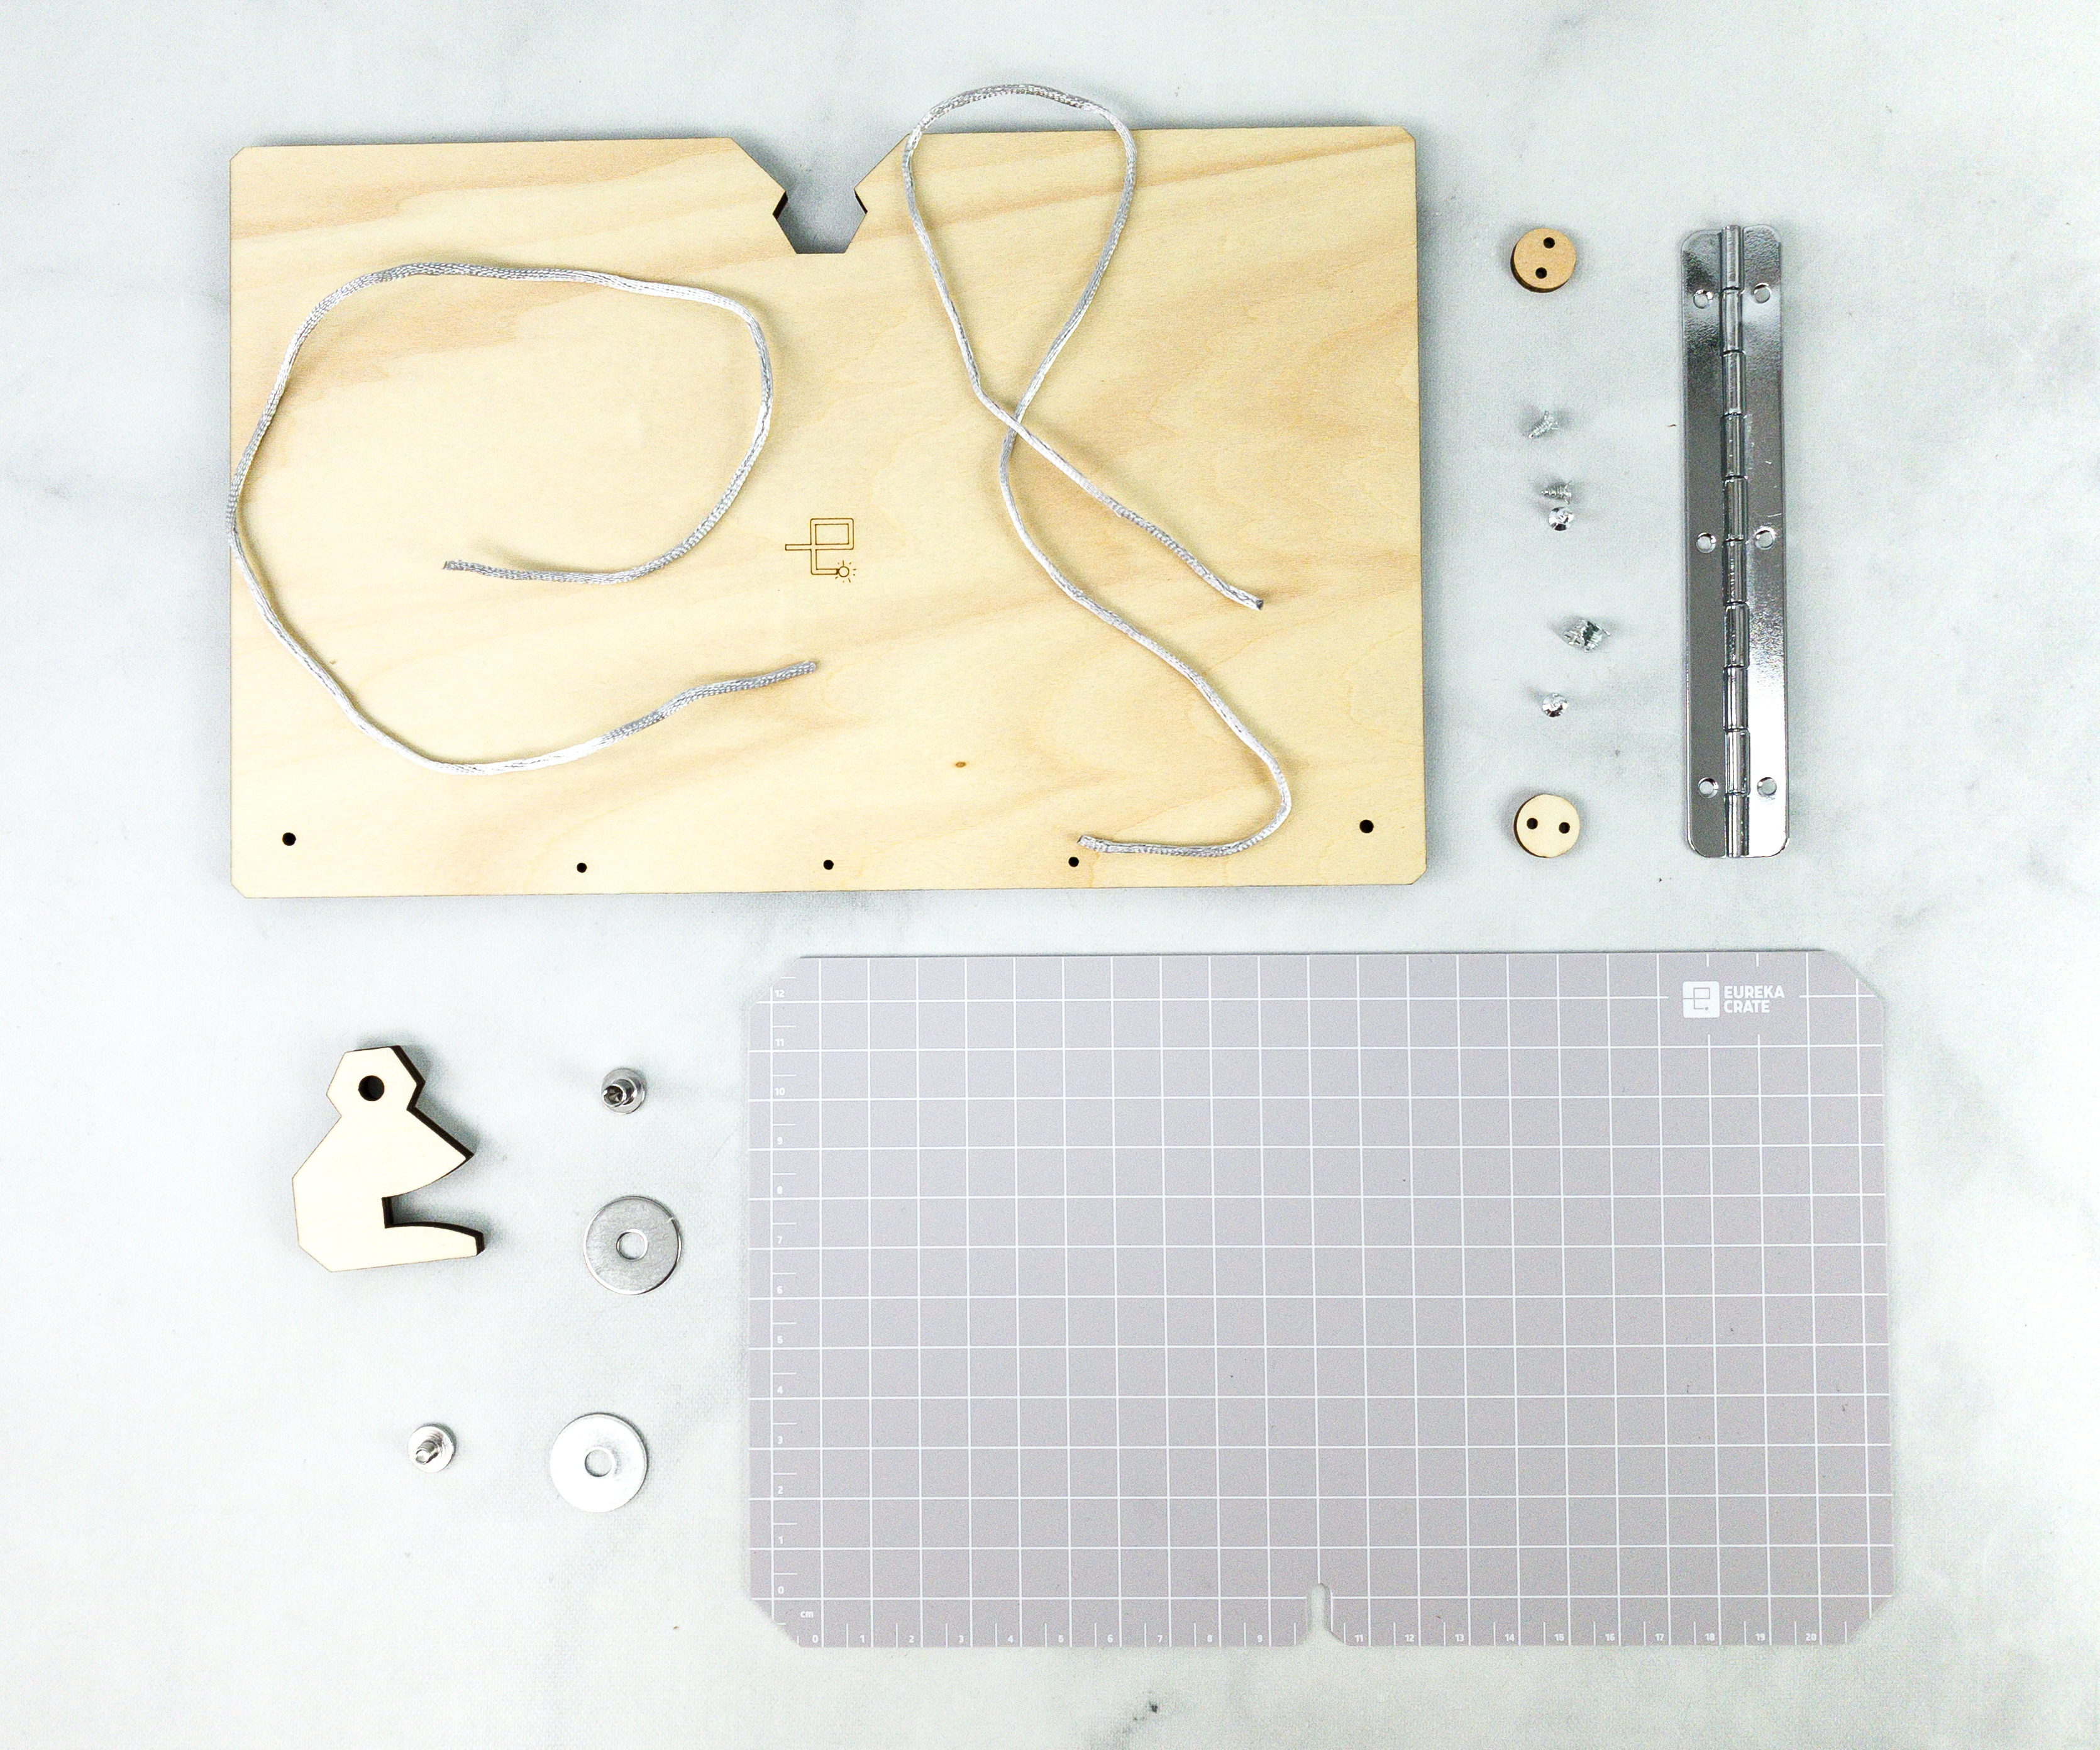
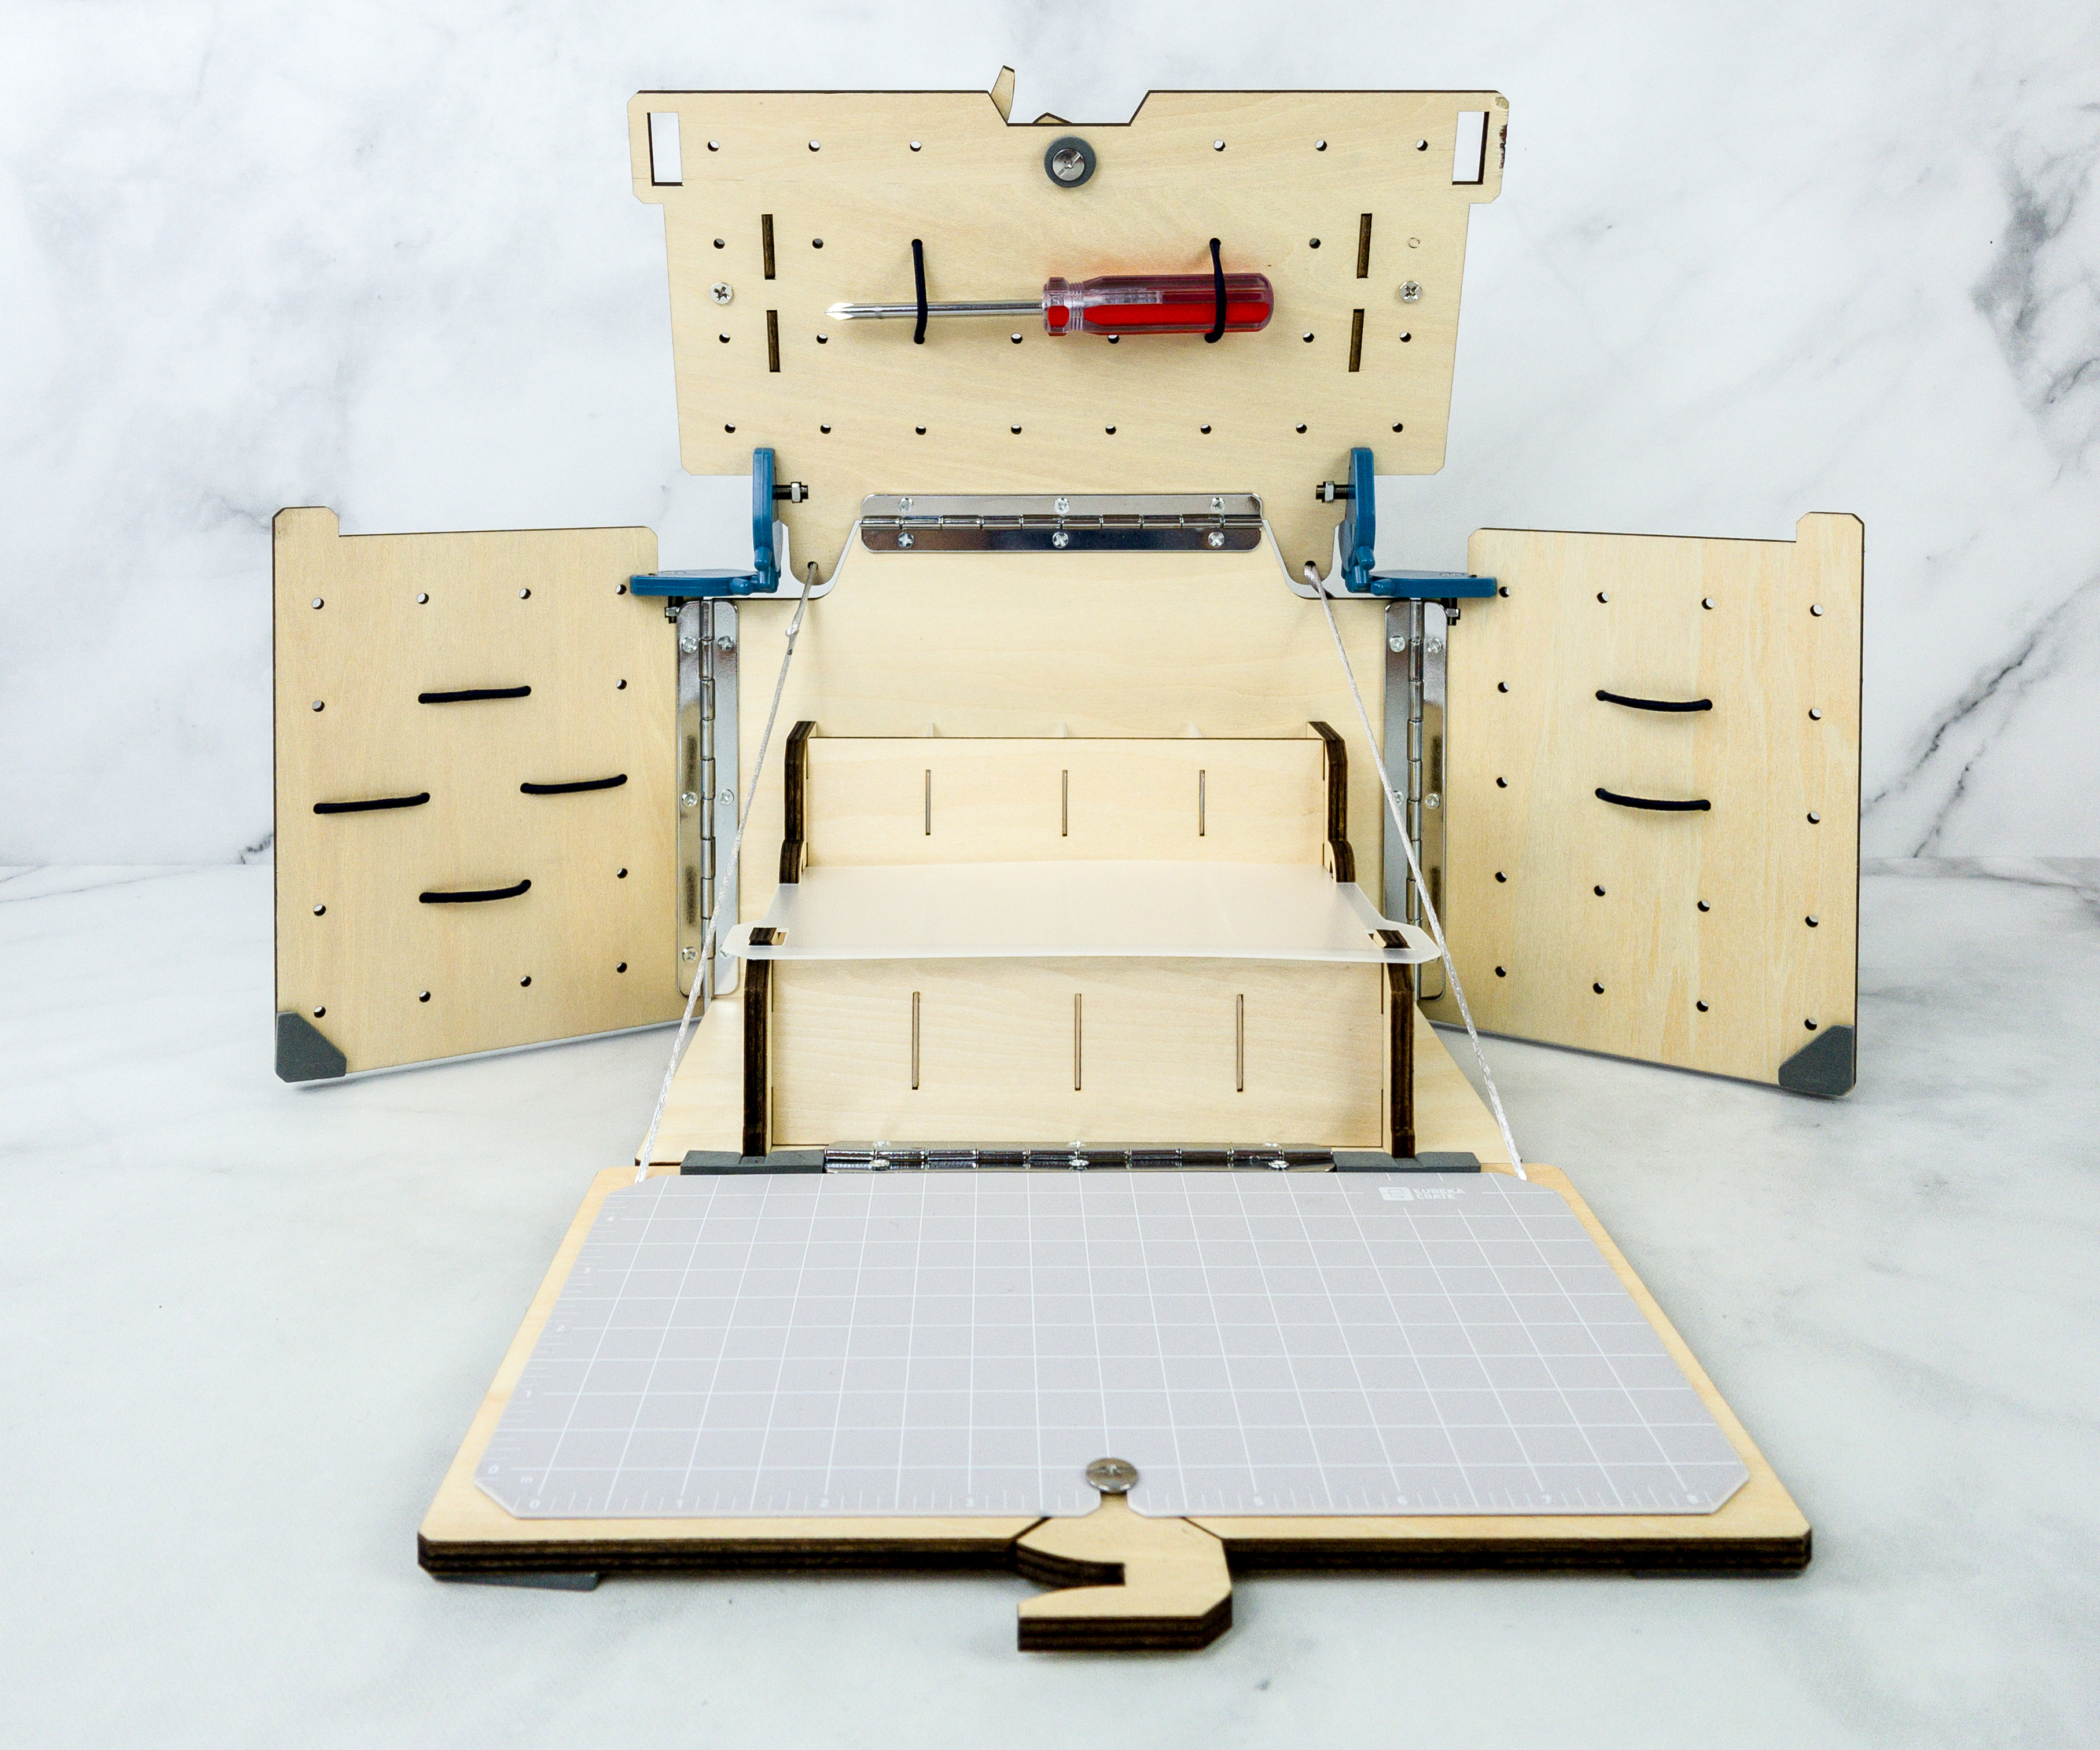
For building the front part, we used hinges, washers, barrel bolts, wooden lock and block set, strings, and the cutting mat.
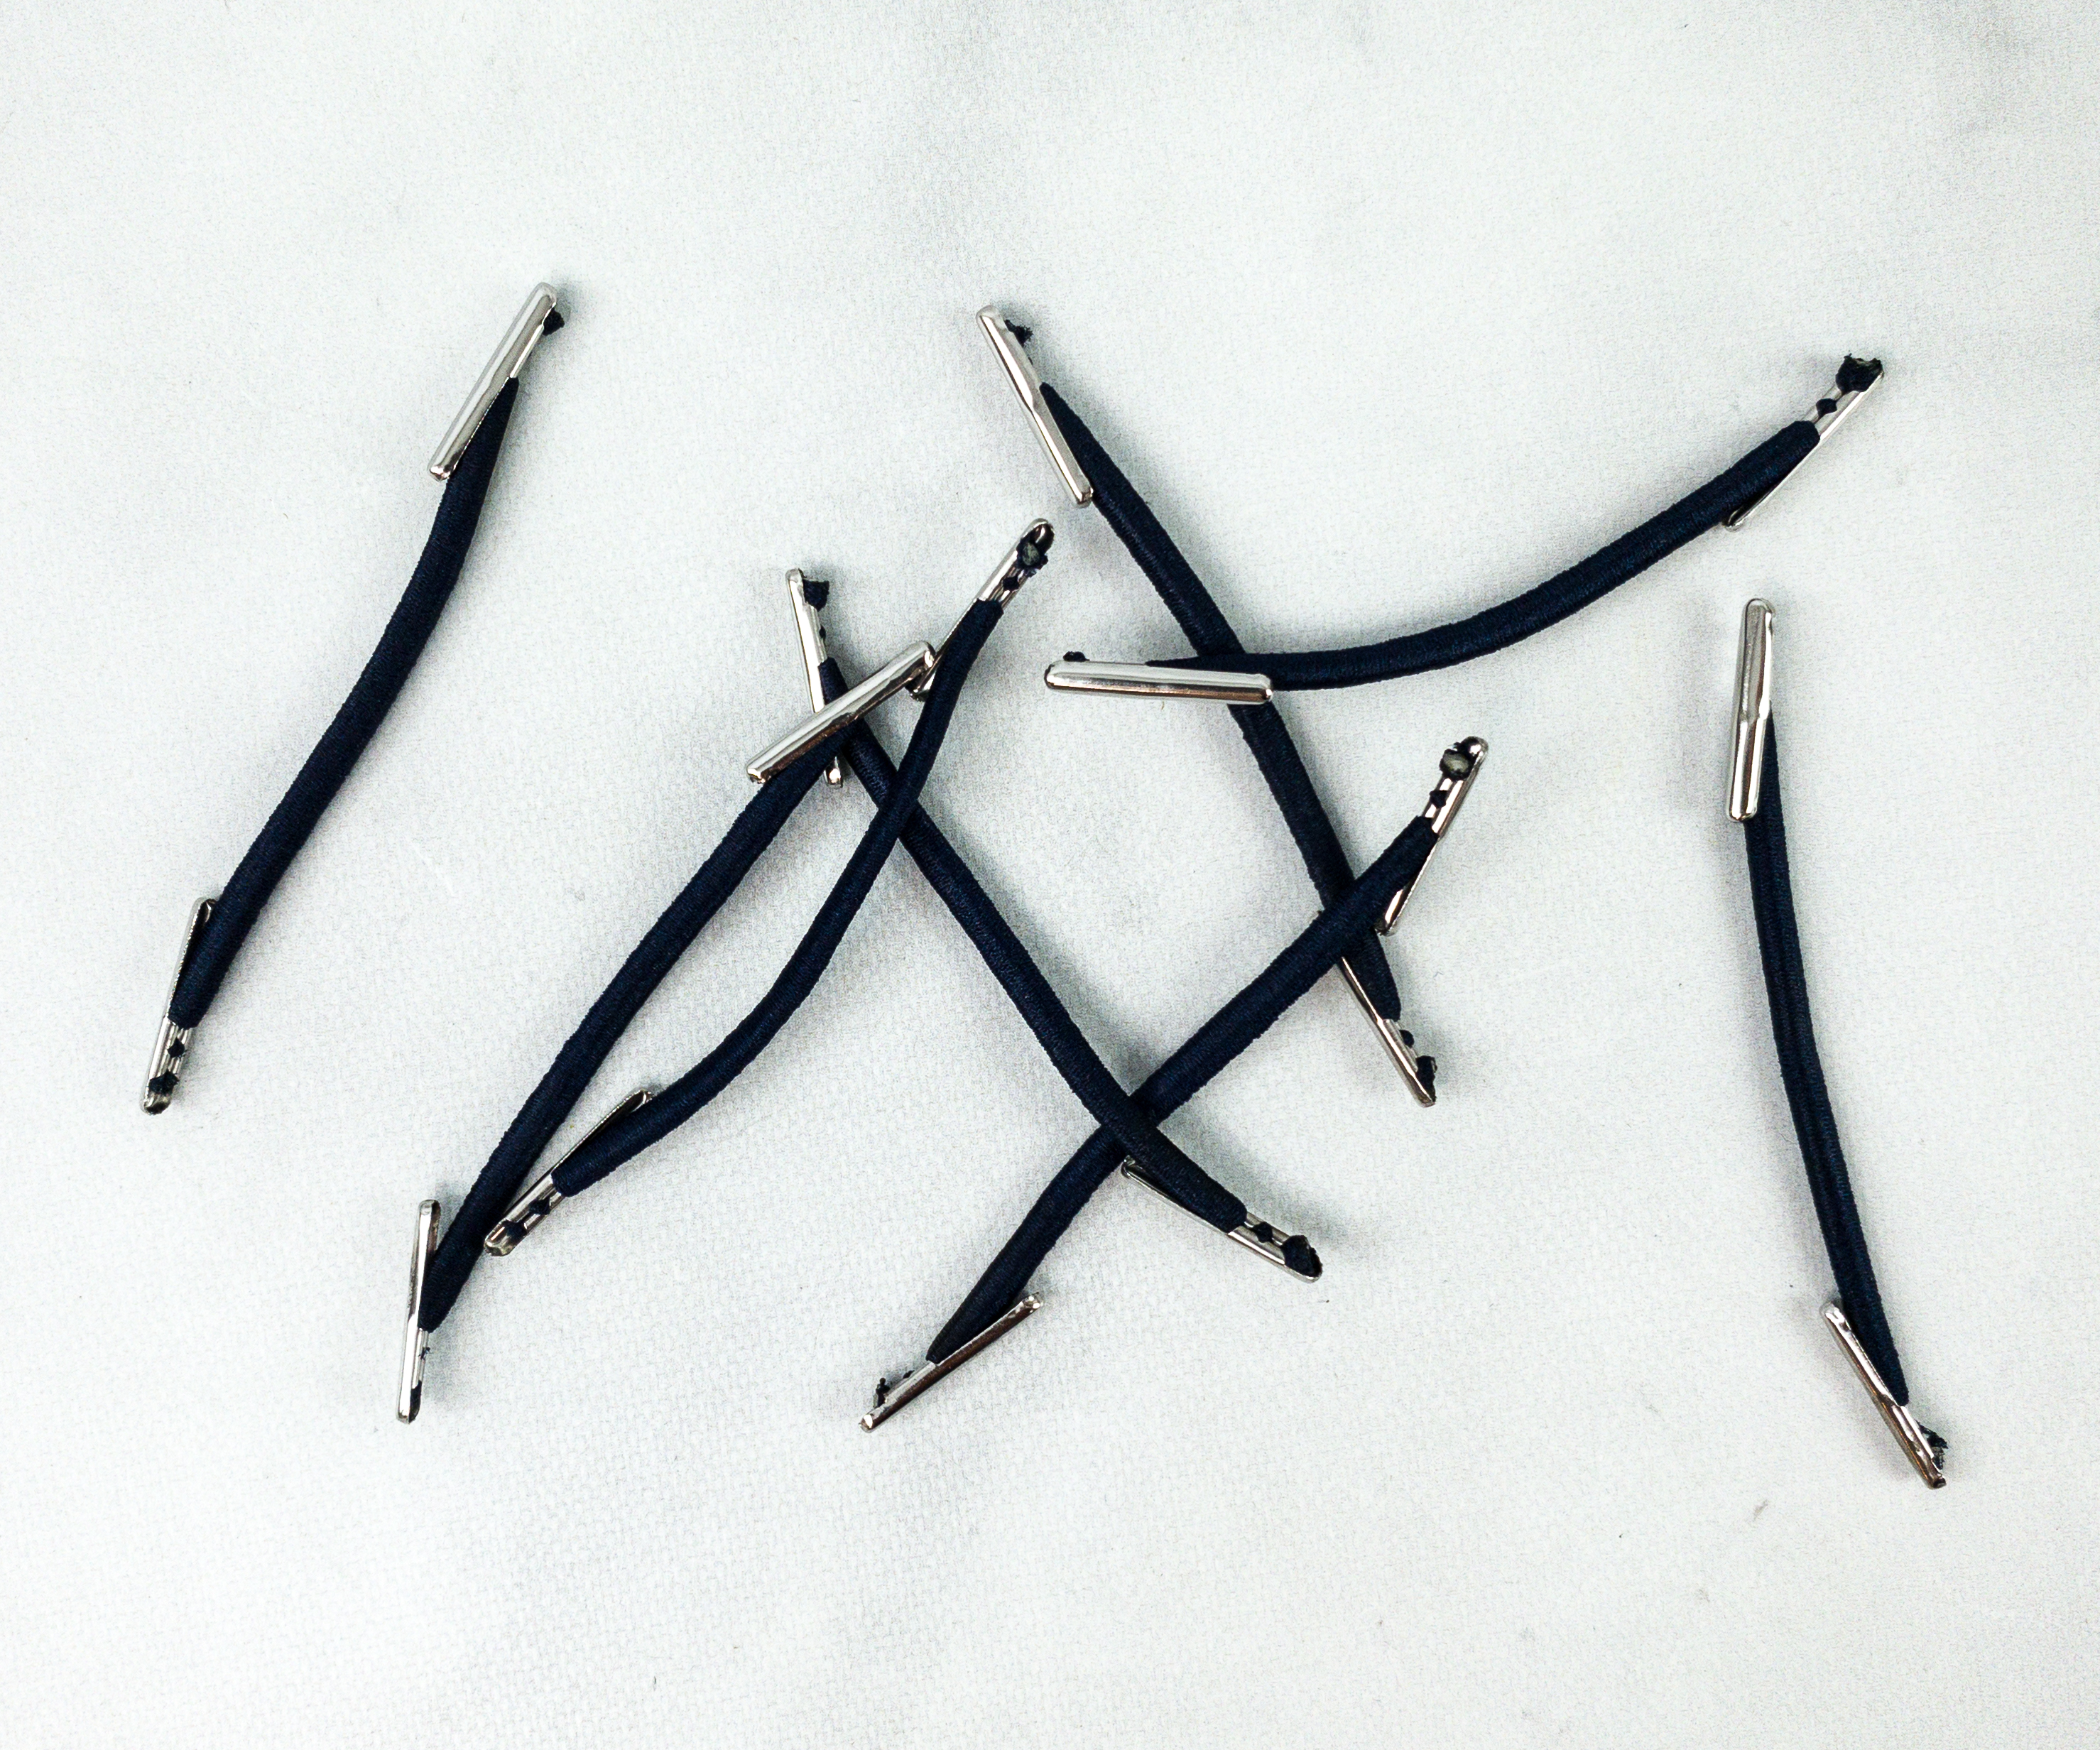
We also used the 8 pieces of elastic cords!
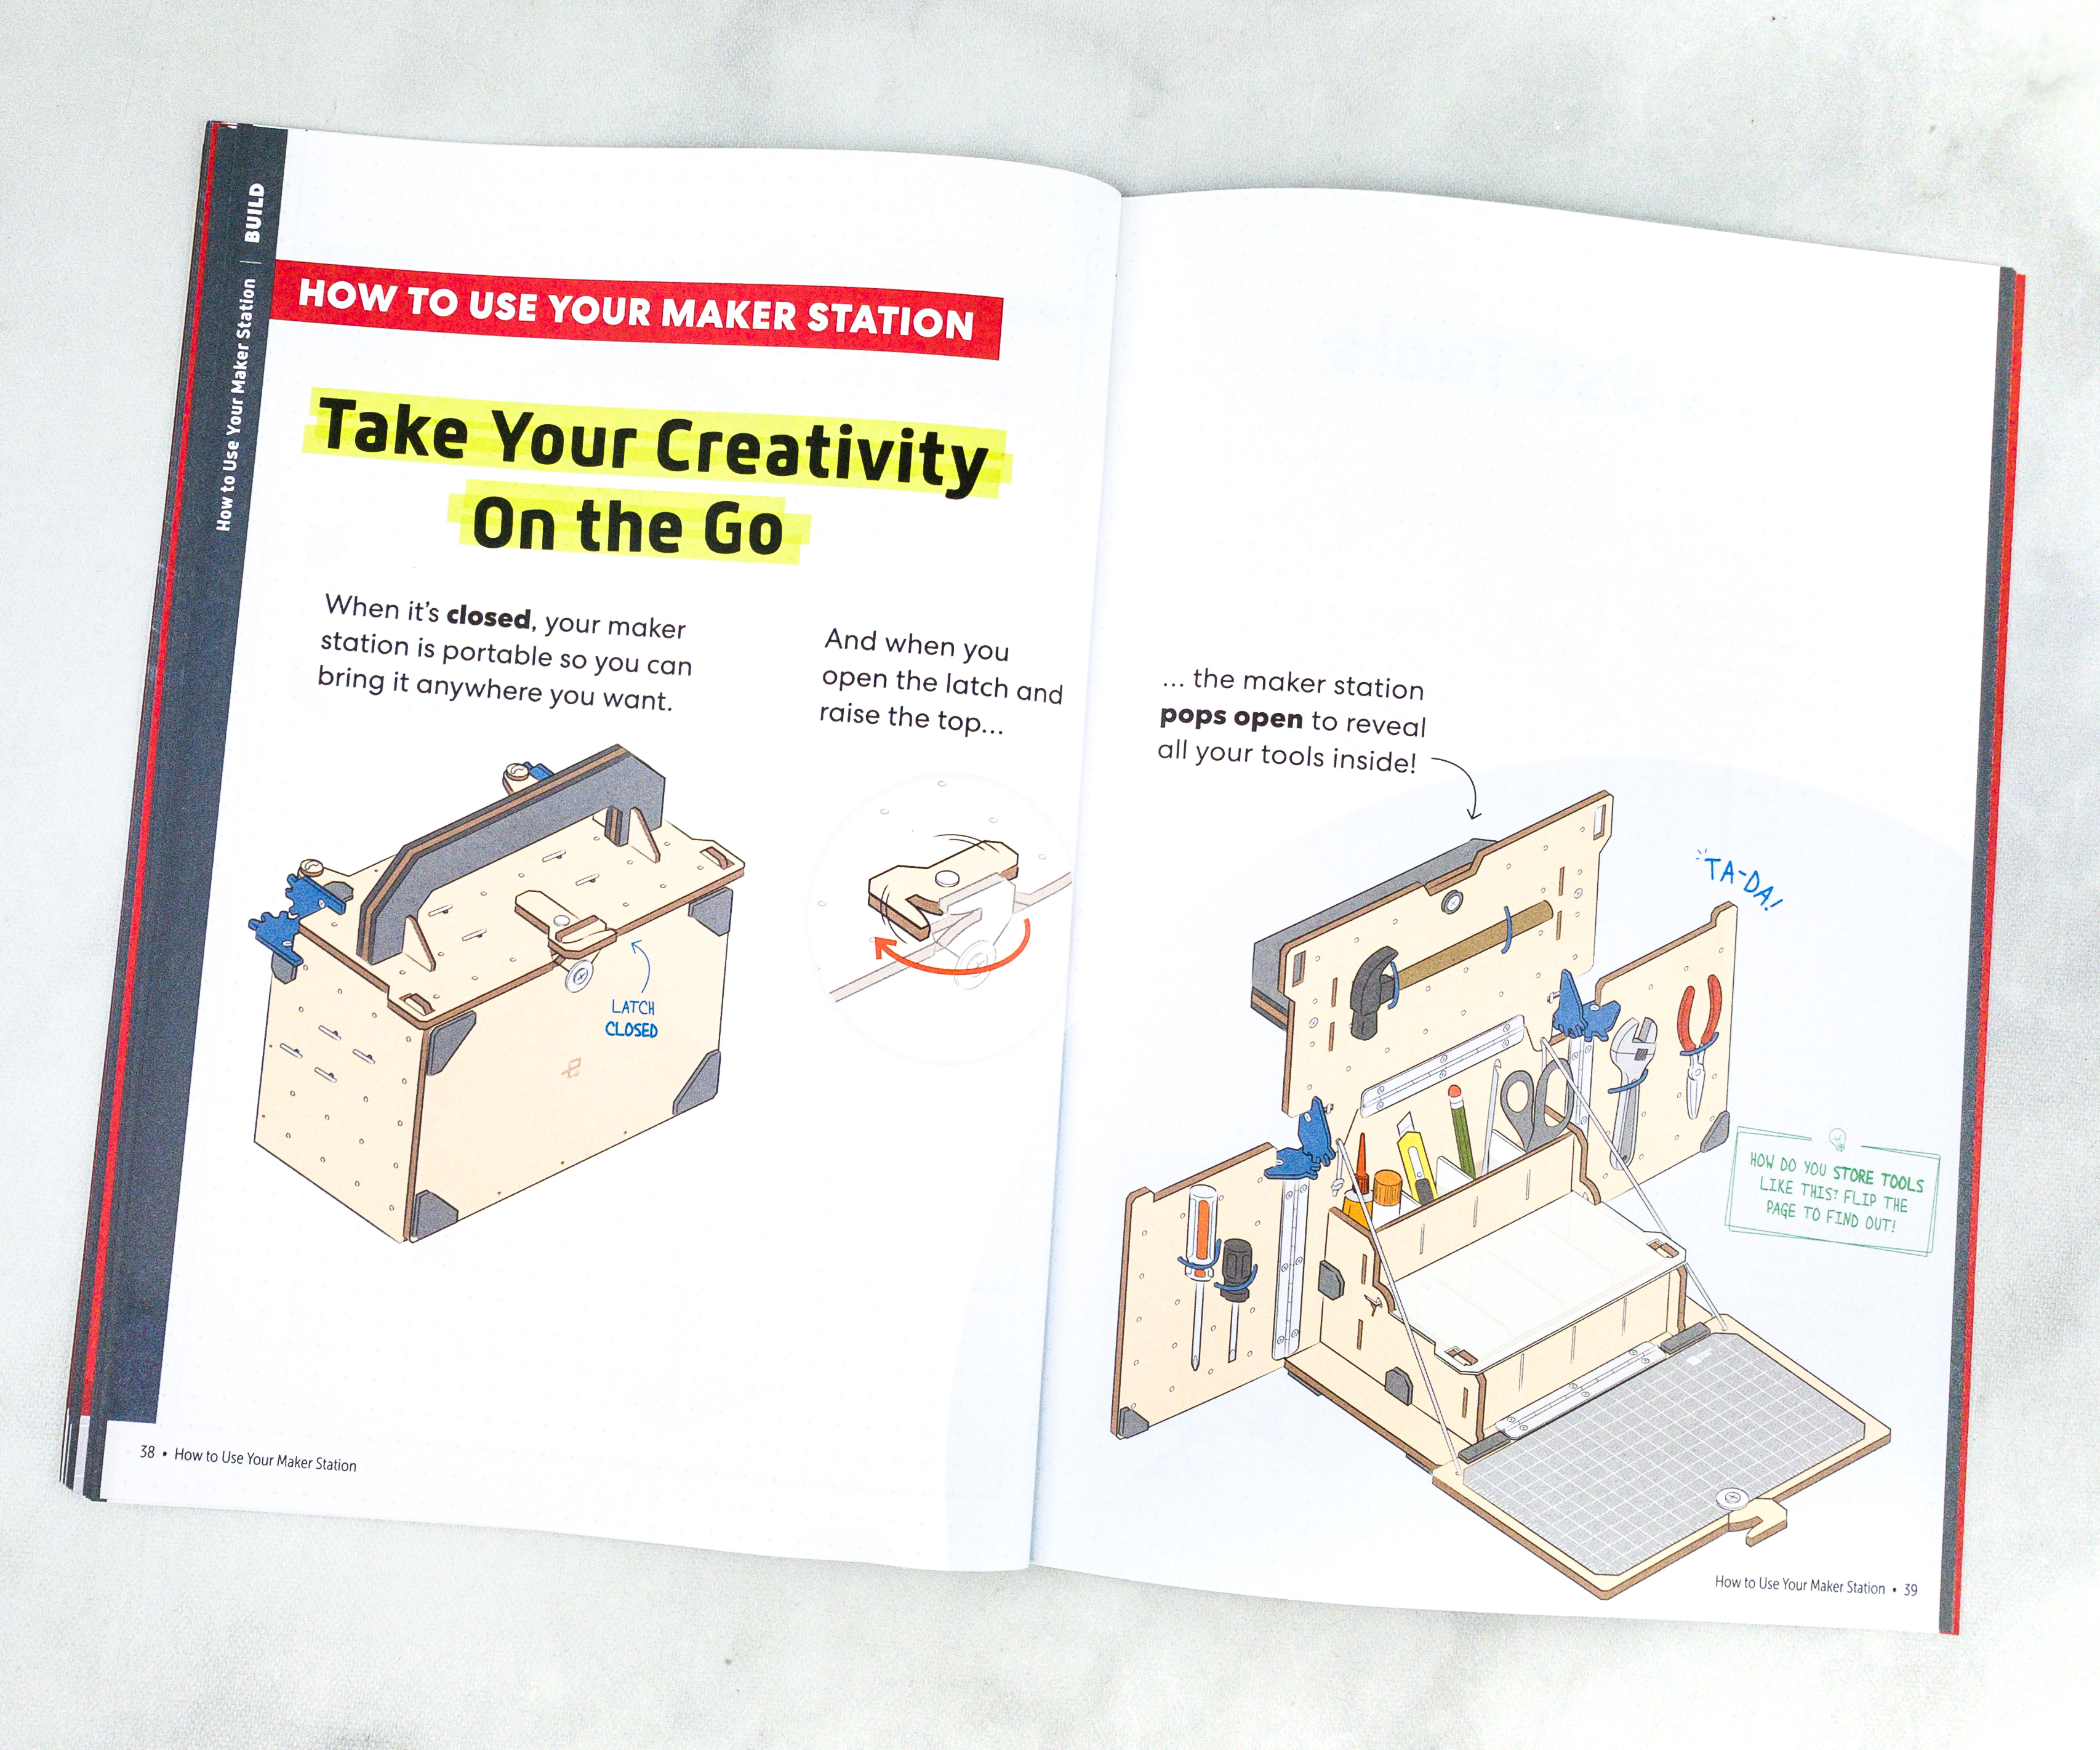
Aside from its primary purpose as a work station, Maker Station can also be used as a unique toolbox where you can store and safely keep all your tools and supplies.

My son screwed the hinge on top of the board to lock on the self-healing cutting mat and connect it to the main body at the same time.
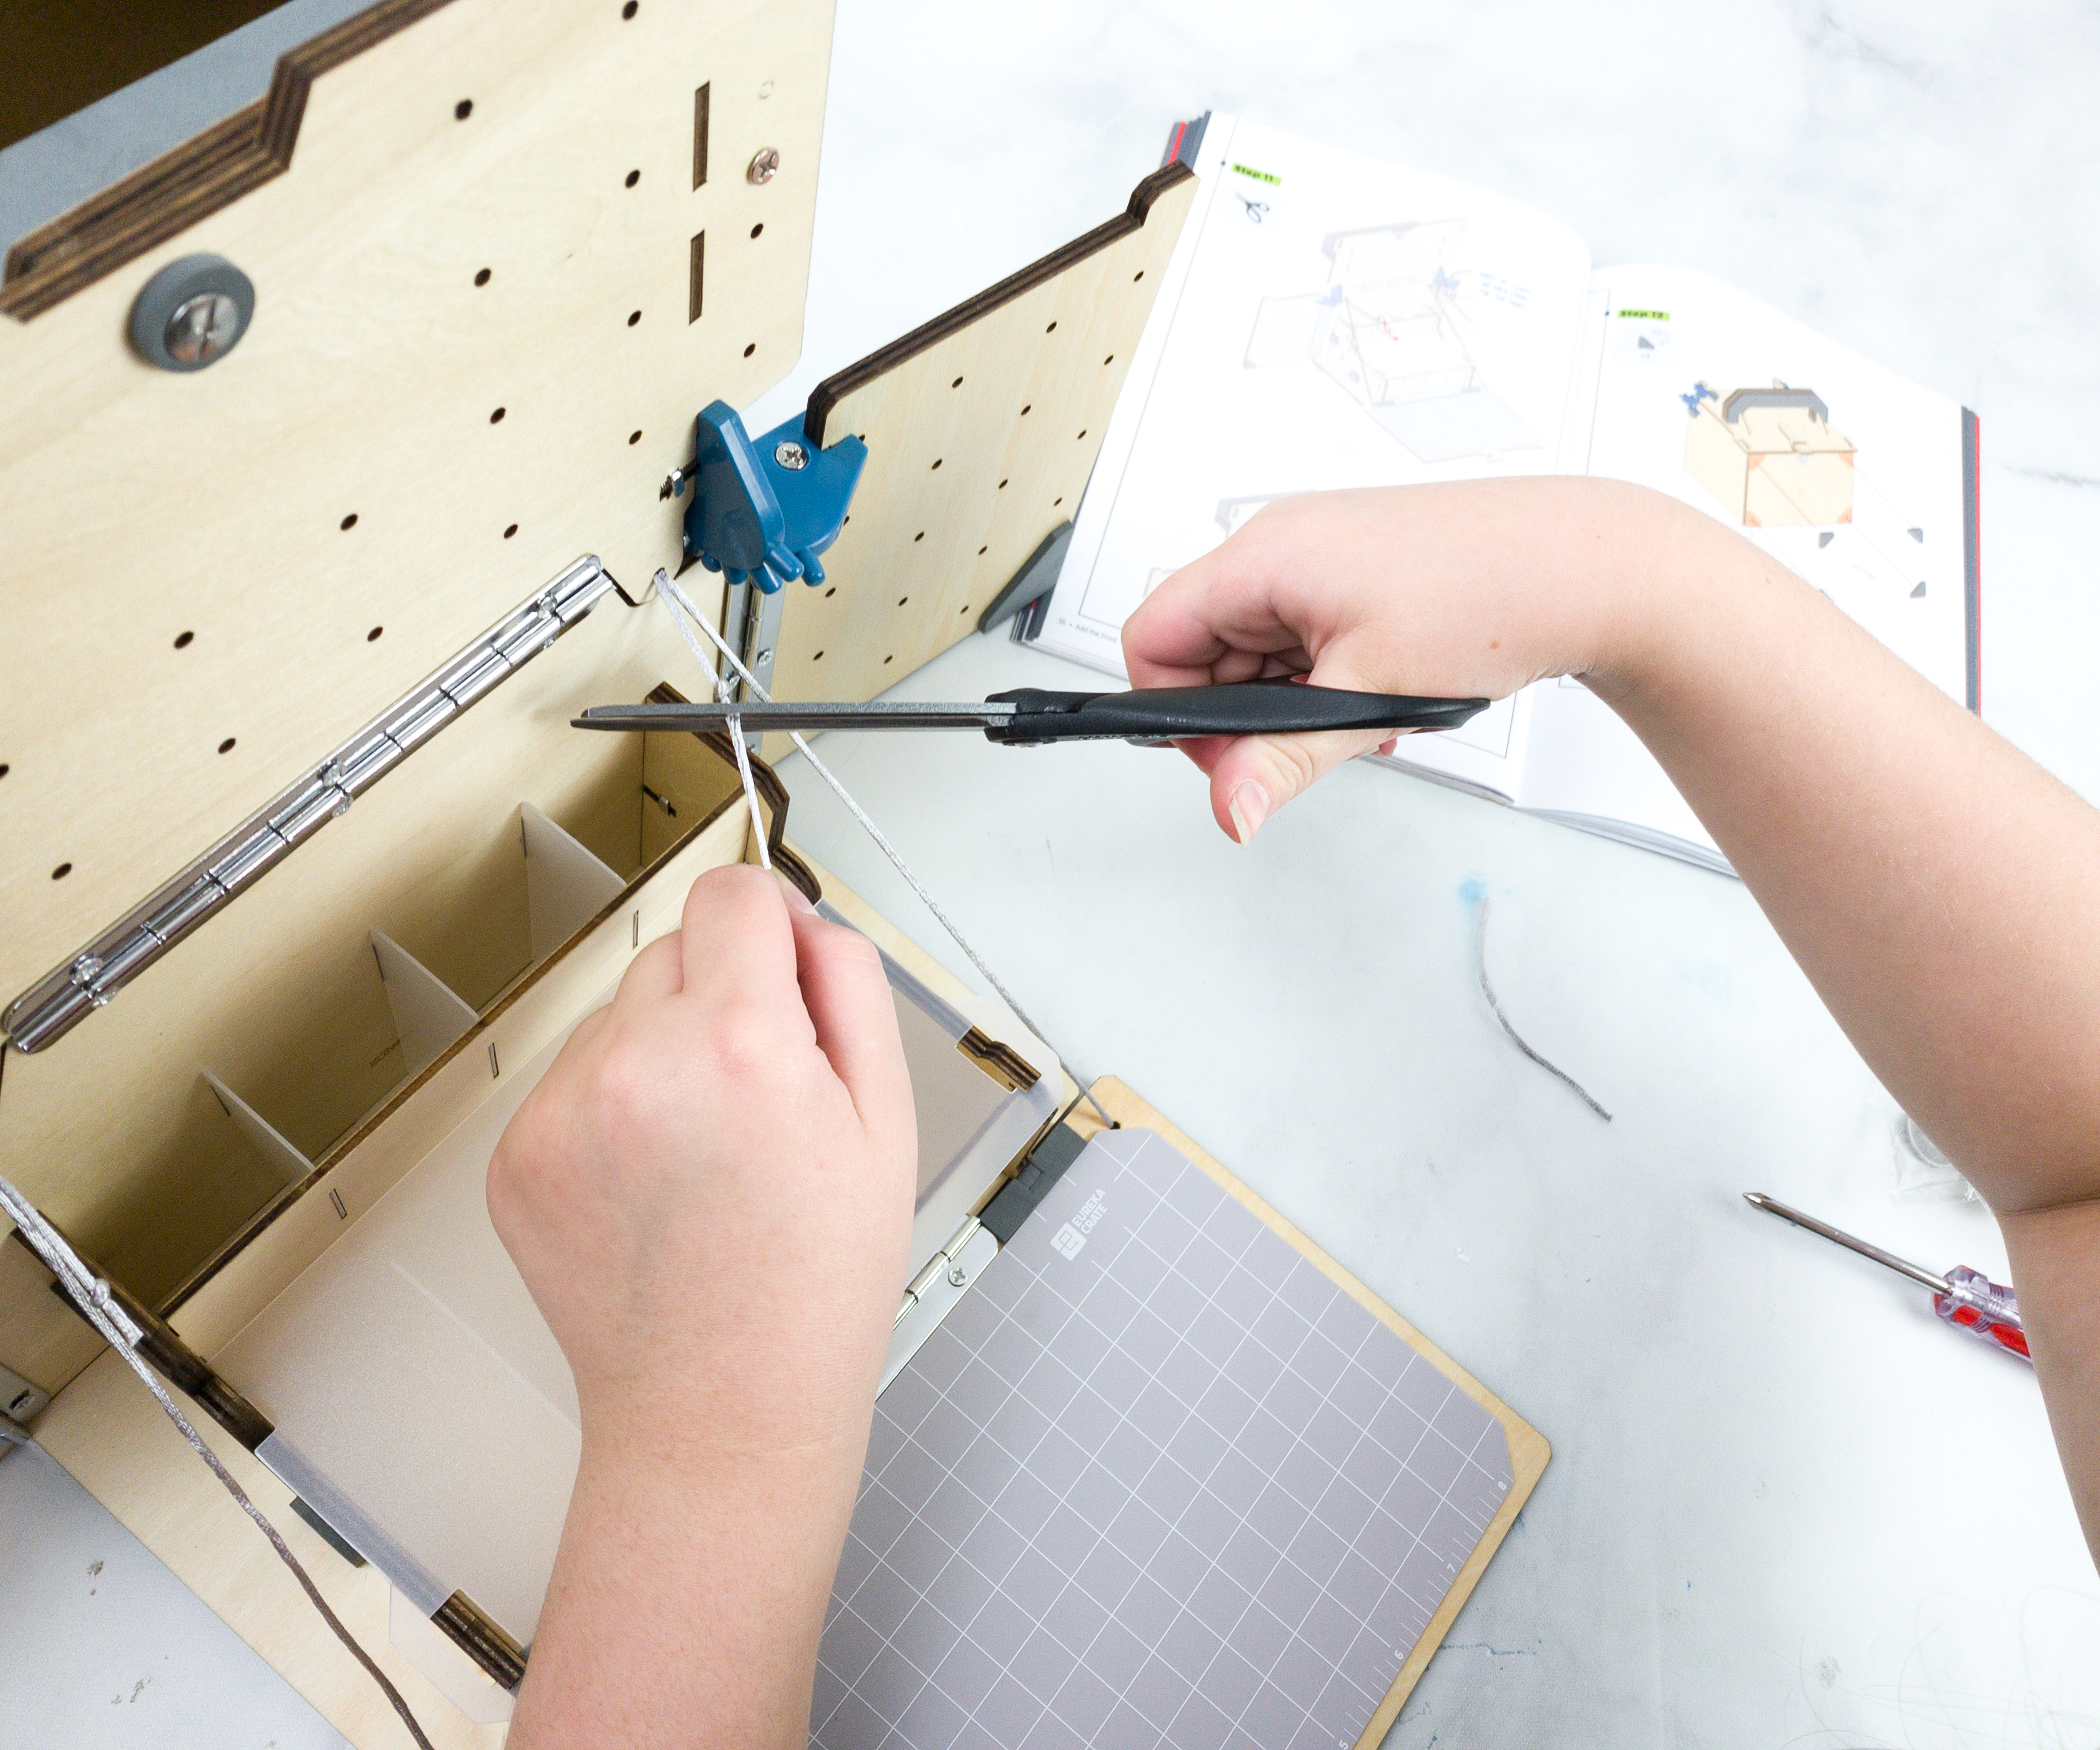
We also hooked the cutting board with a pair of strings on both sides to provide additional support to the hinges.
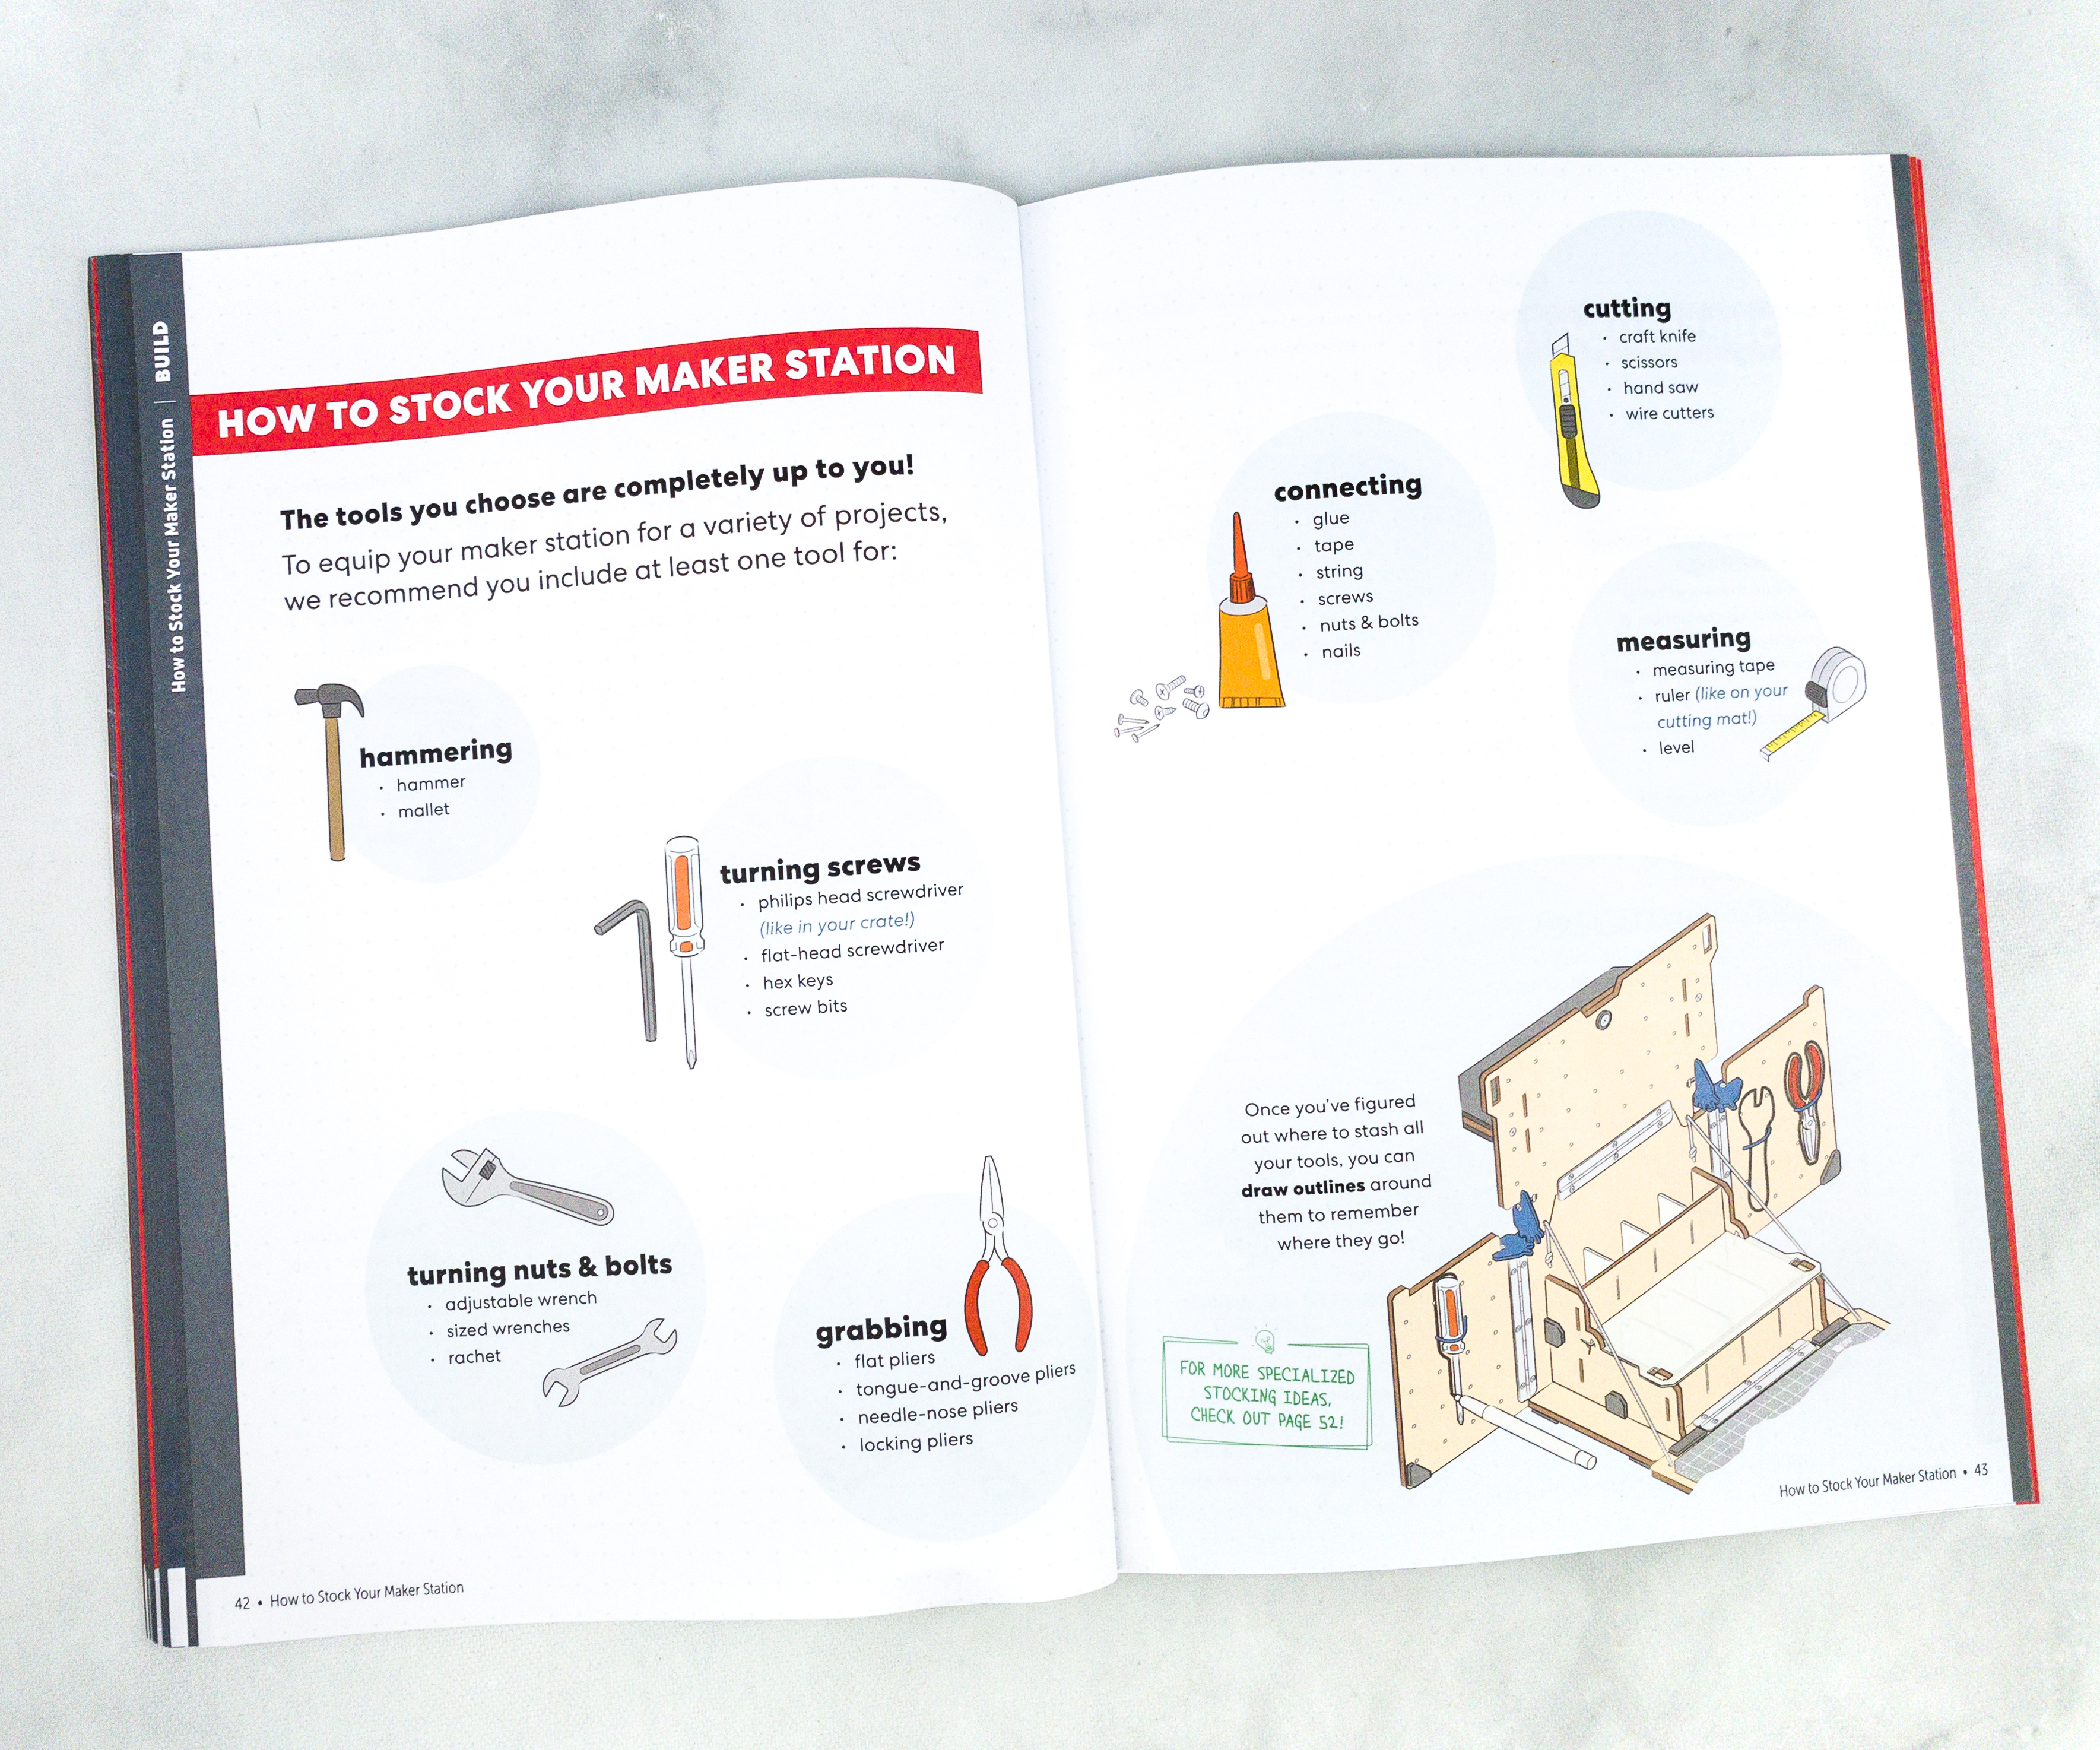
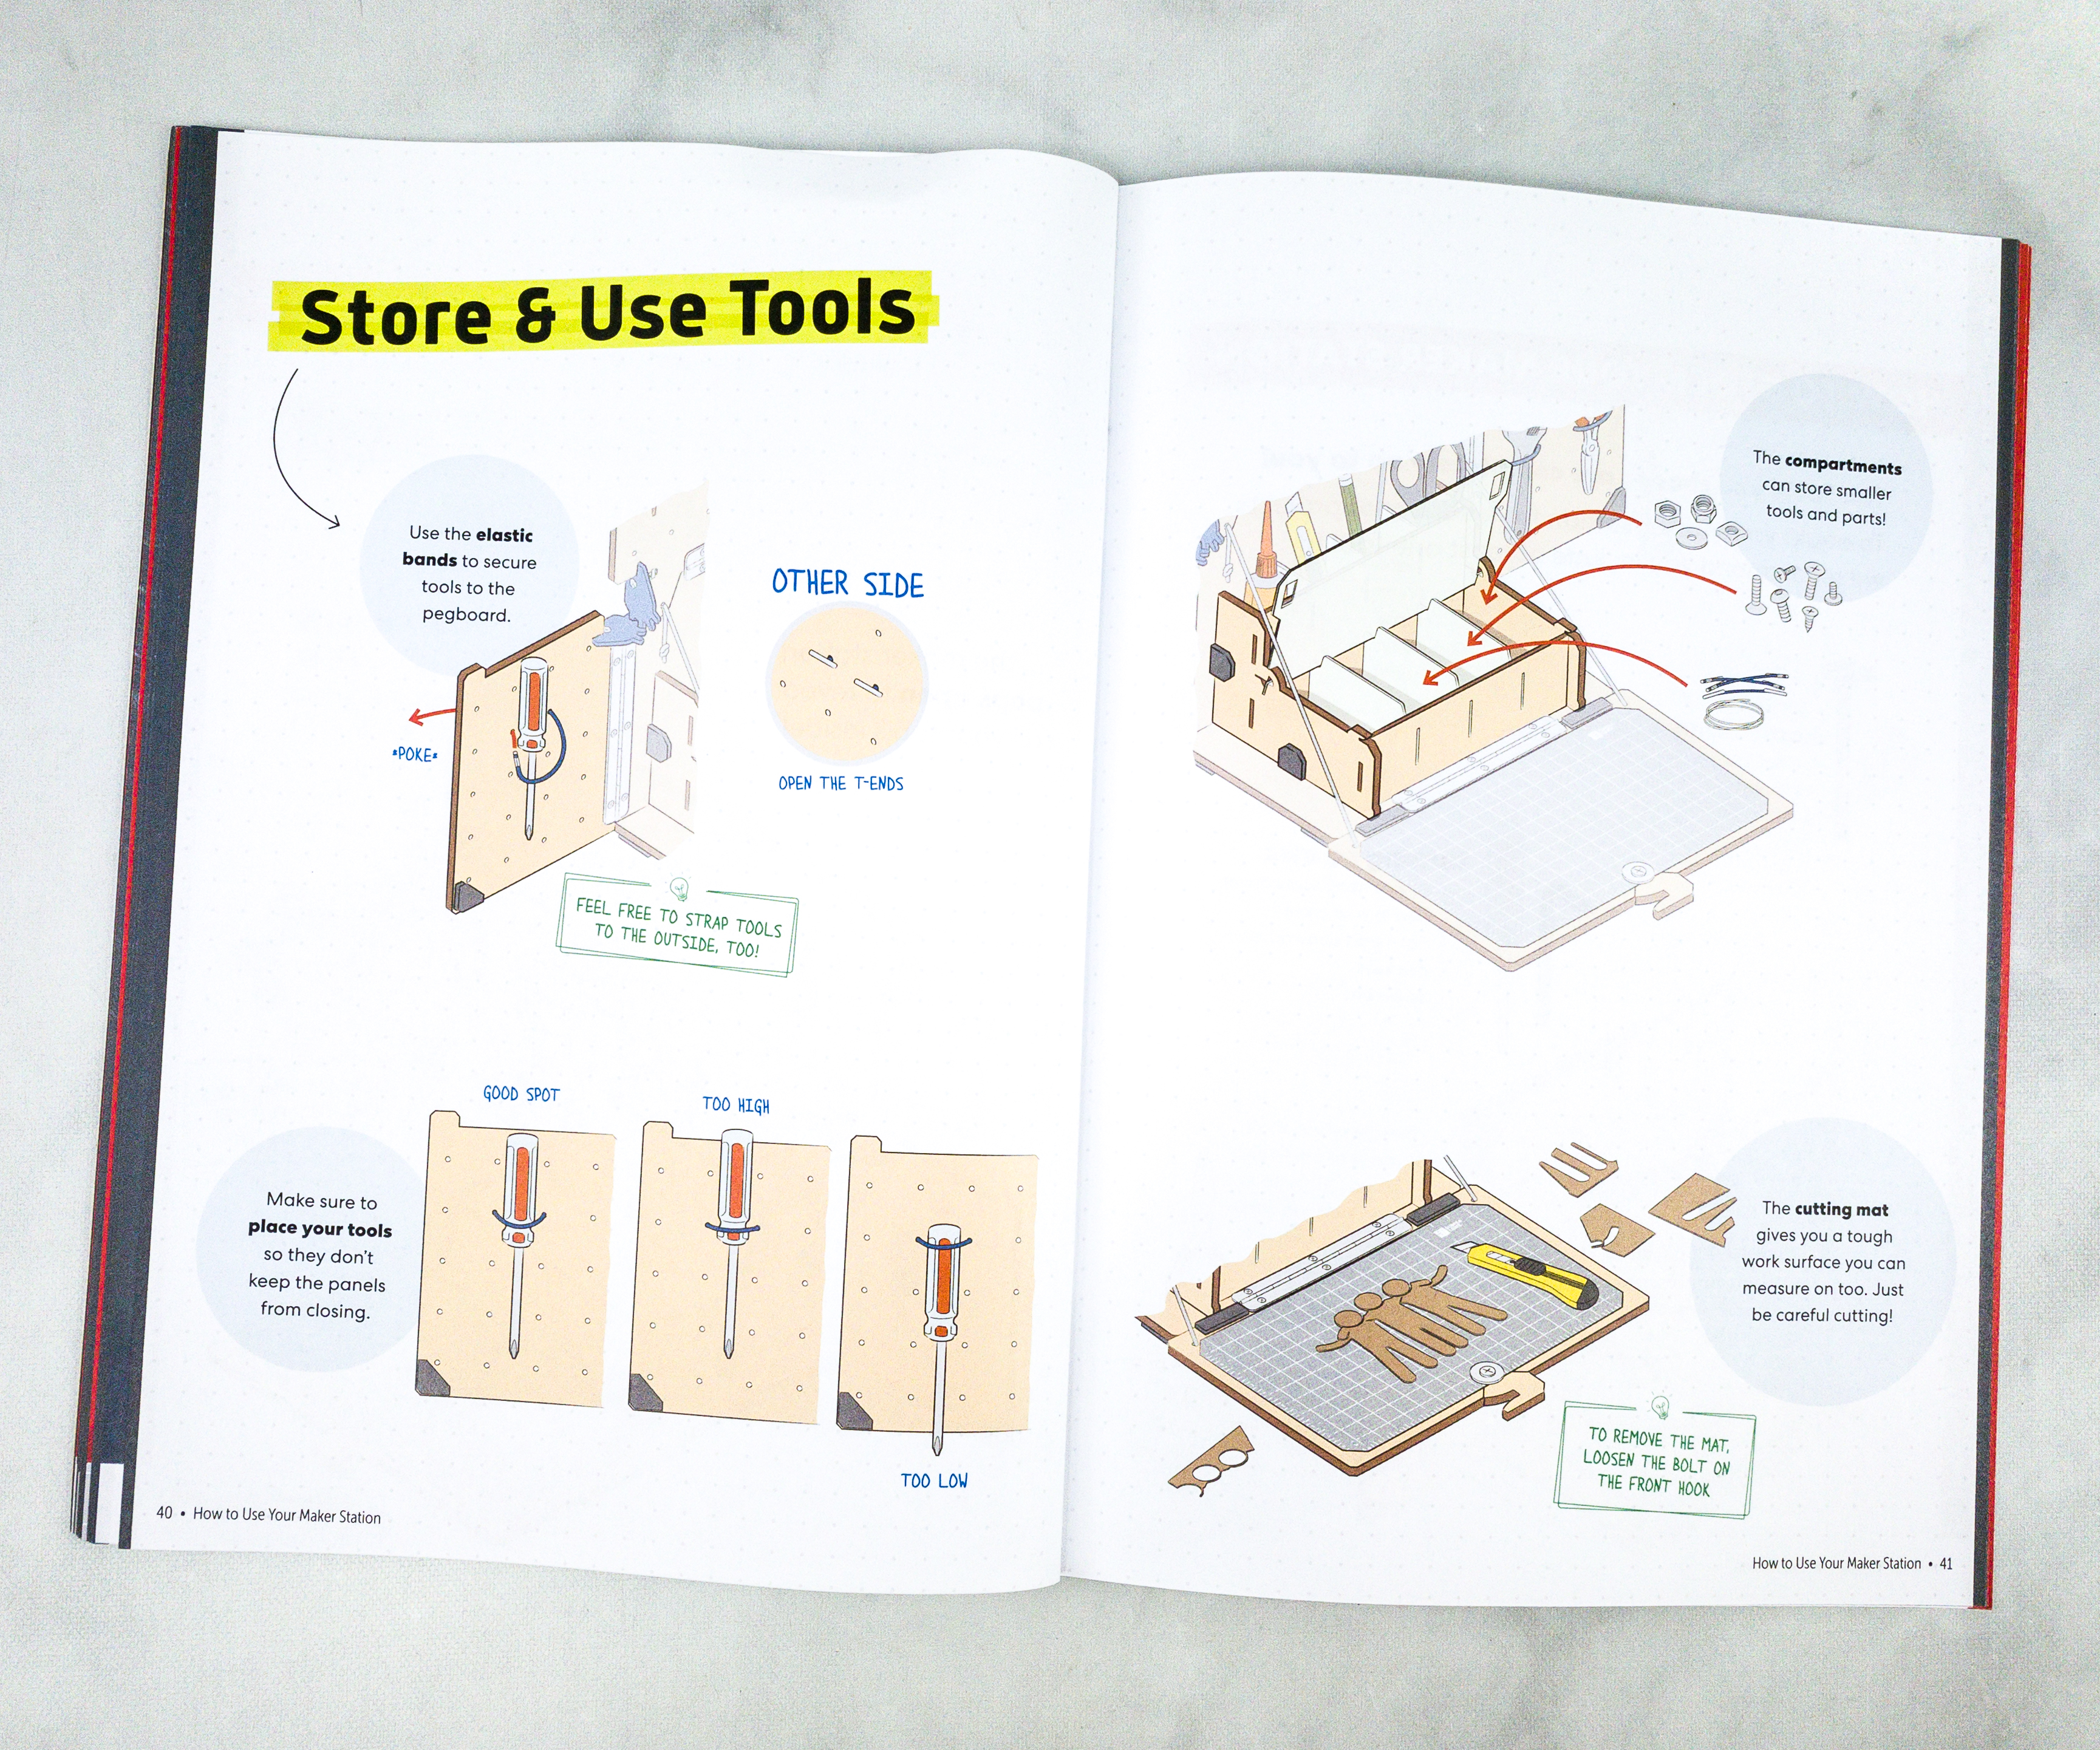
There’s a variety of ways to stock your tools in the maker station, and this part of the booklet gives us some tips on how and what tools we can place in it.
Before putting all the tools on your box, it’s a great idea to review and check if all the parts are properly functioning.
My daughter checked on the hinges, possible loose screws, washers, and other parts including the supports like the sticky foams and strings.
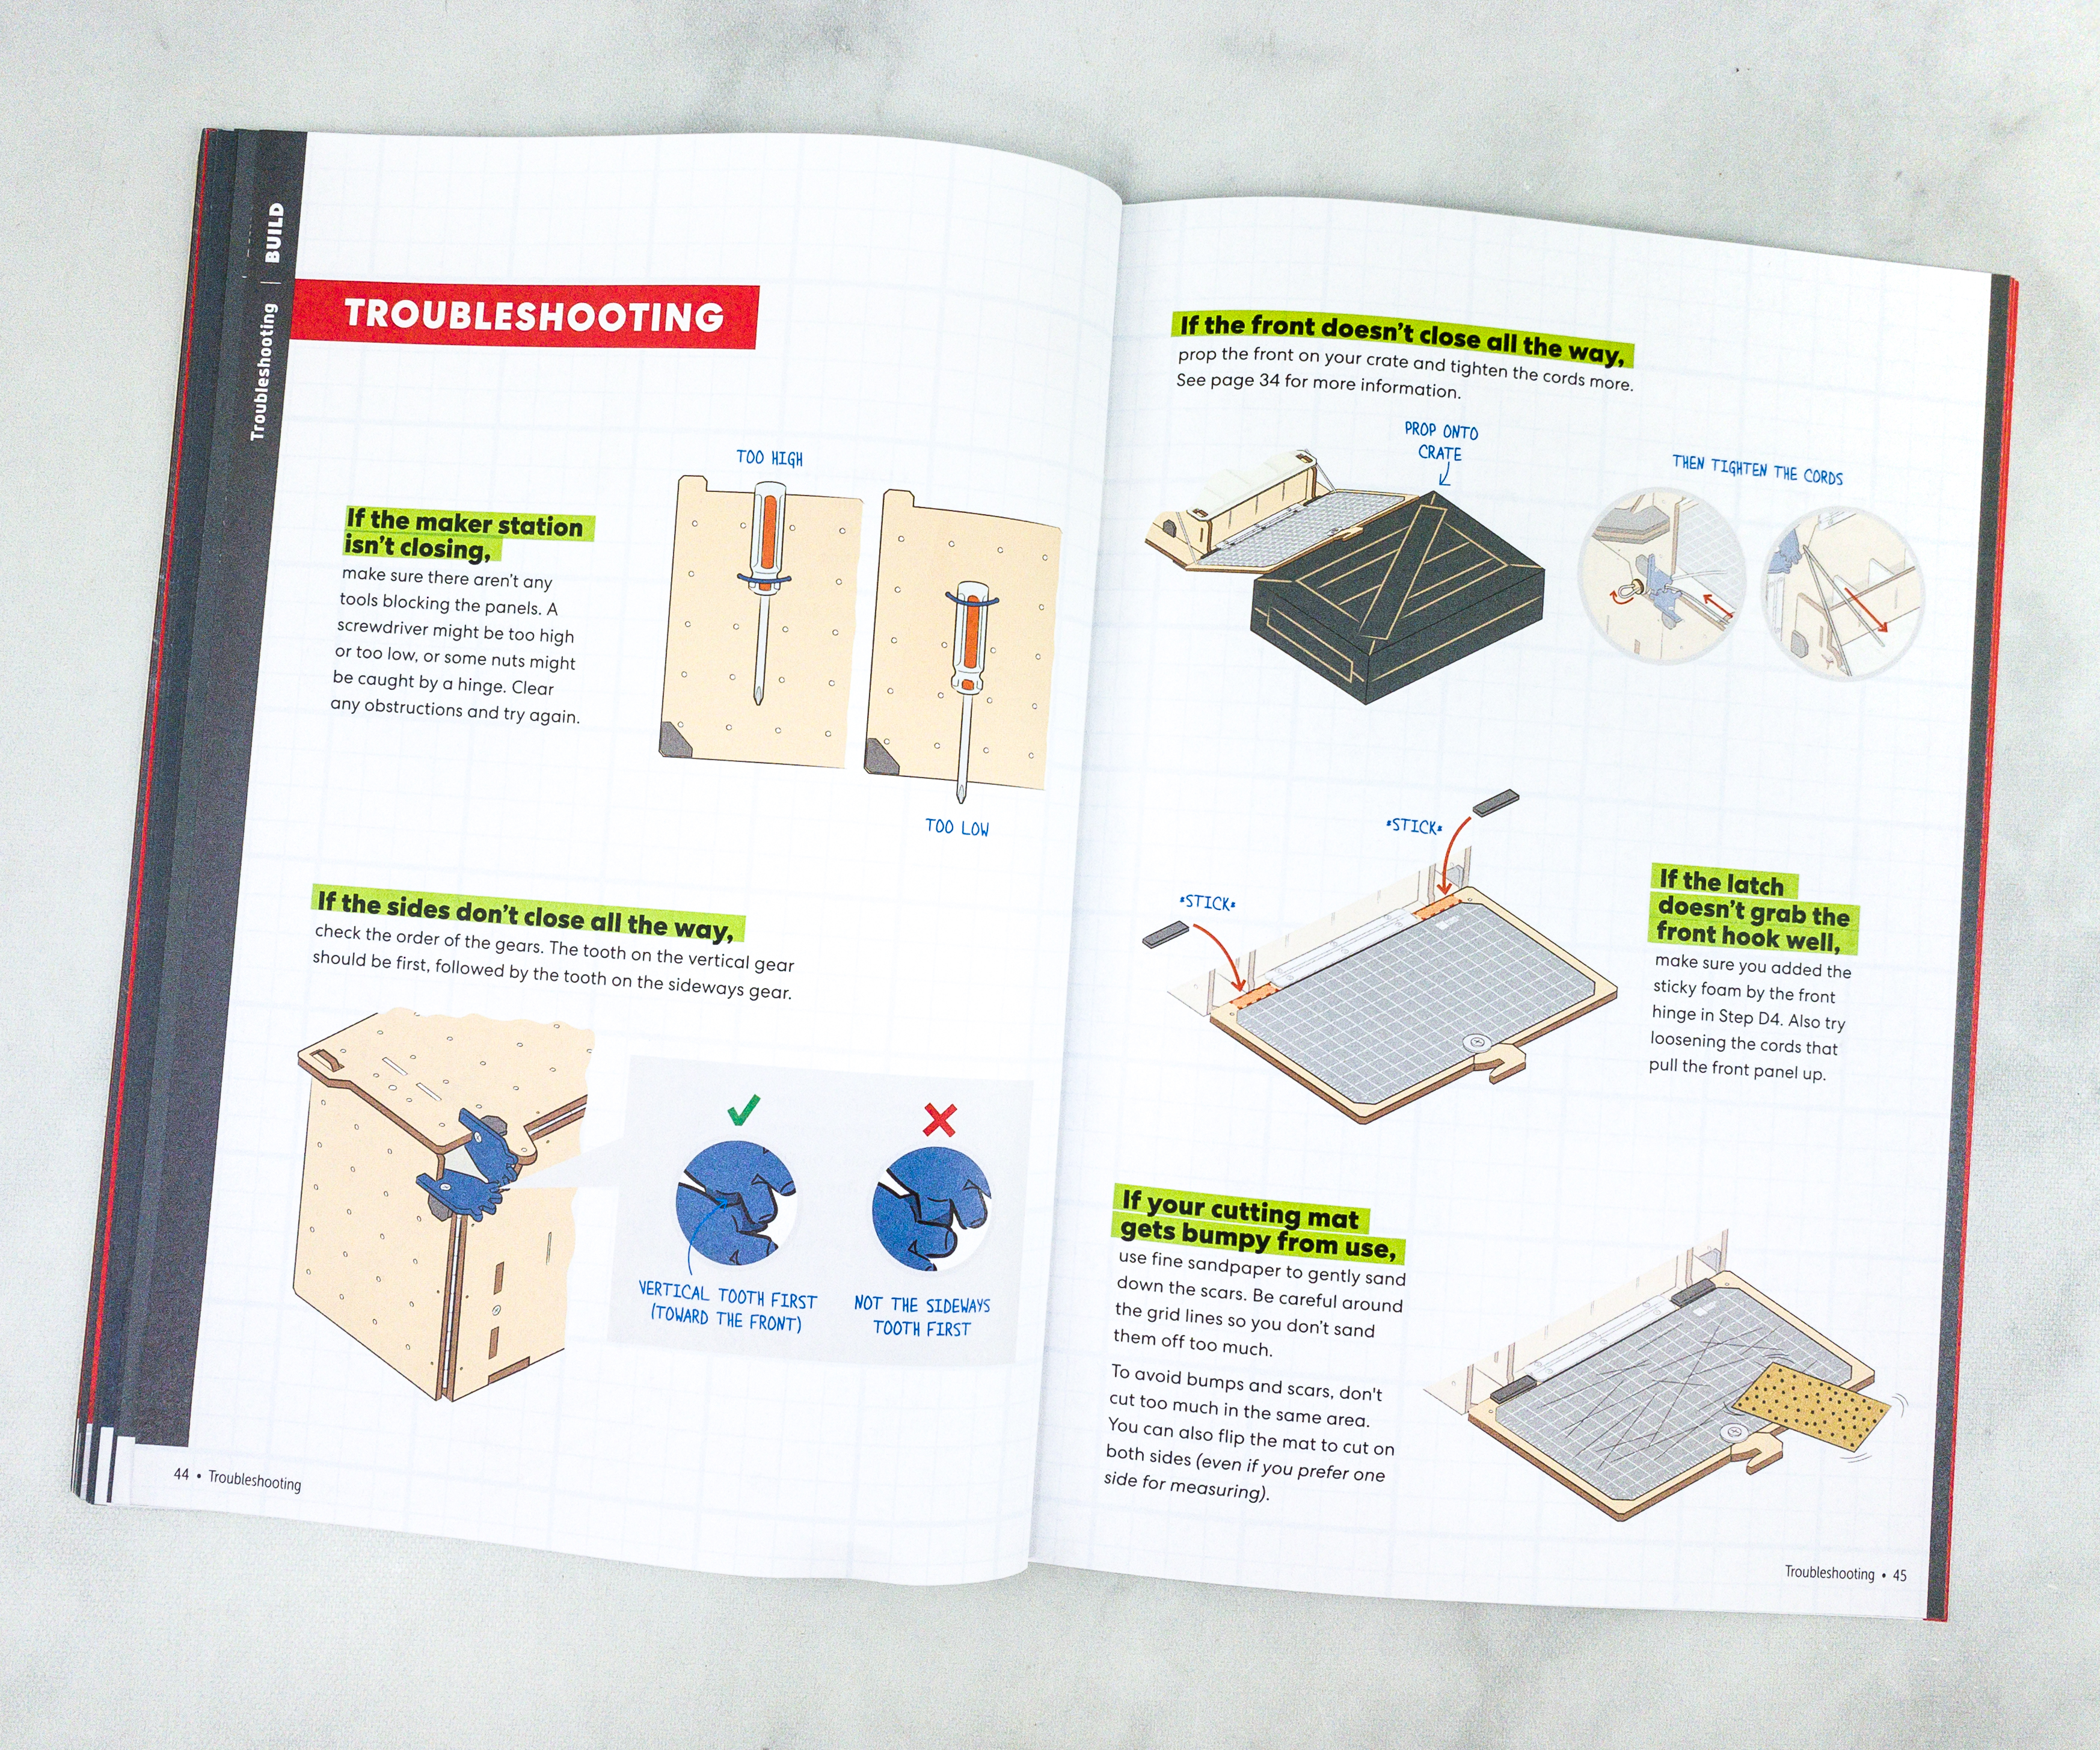
What I love about this booklet is that they provided us with some troubleshooting tips that are useful during the process.
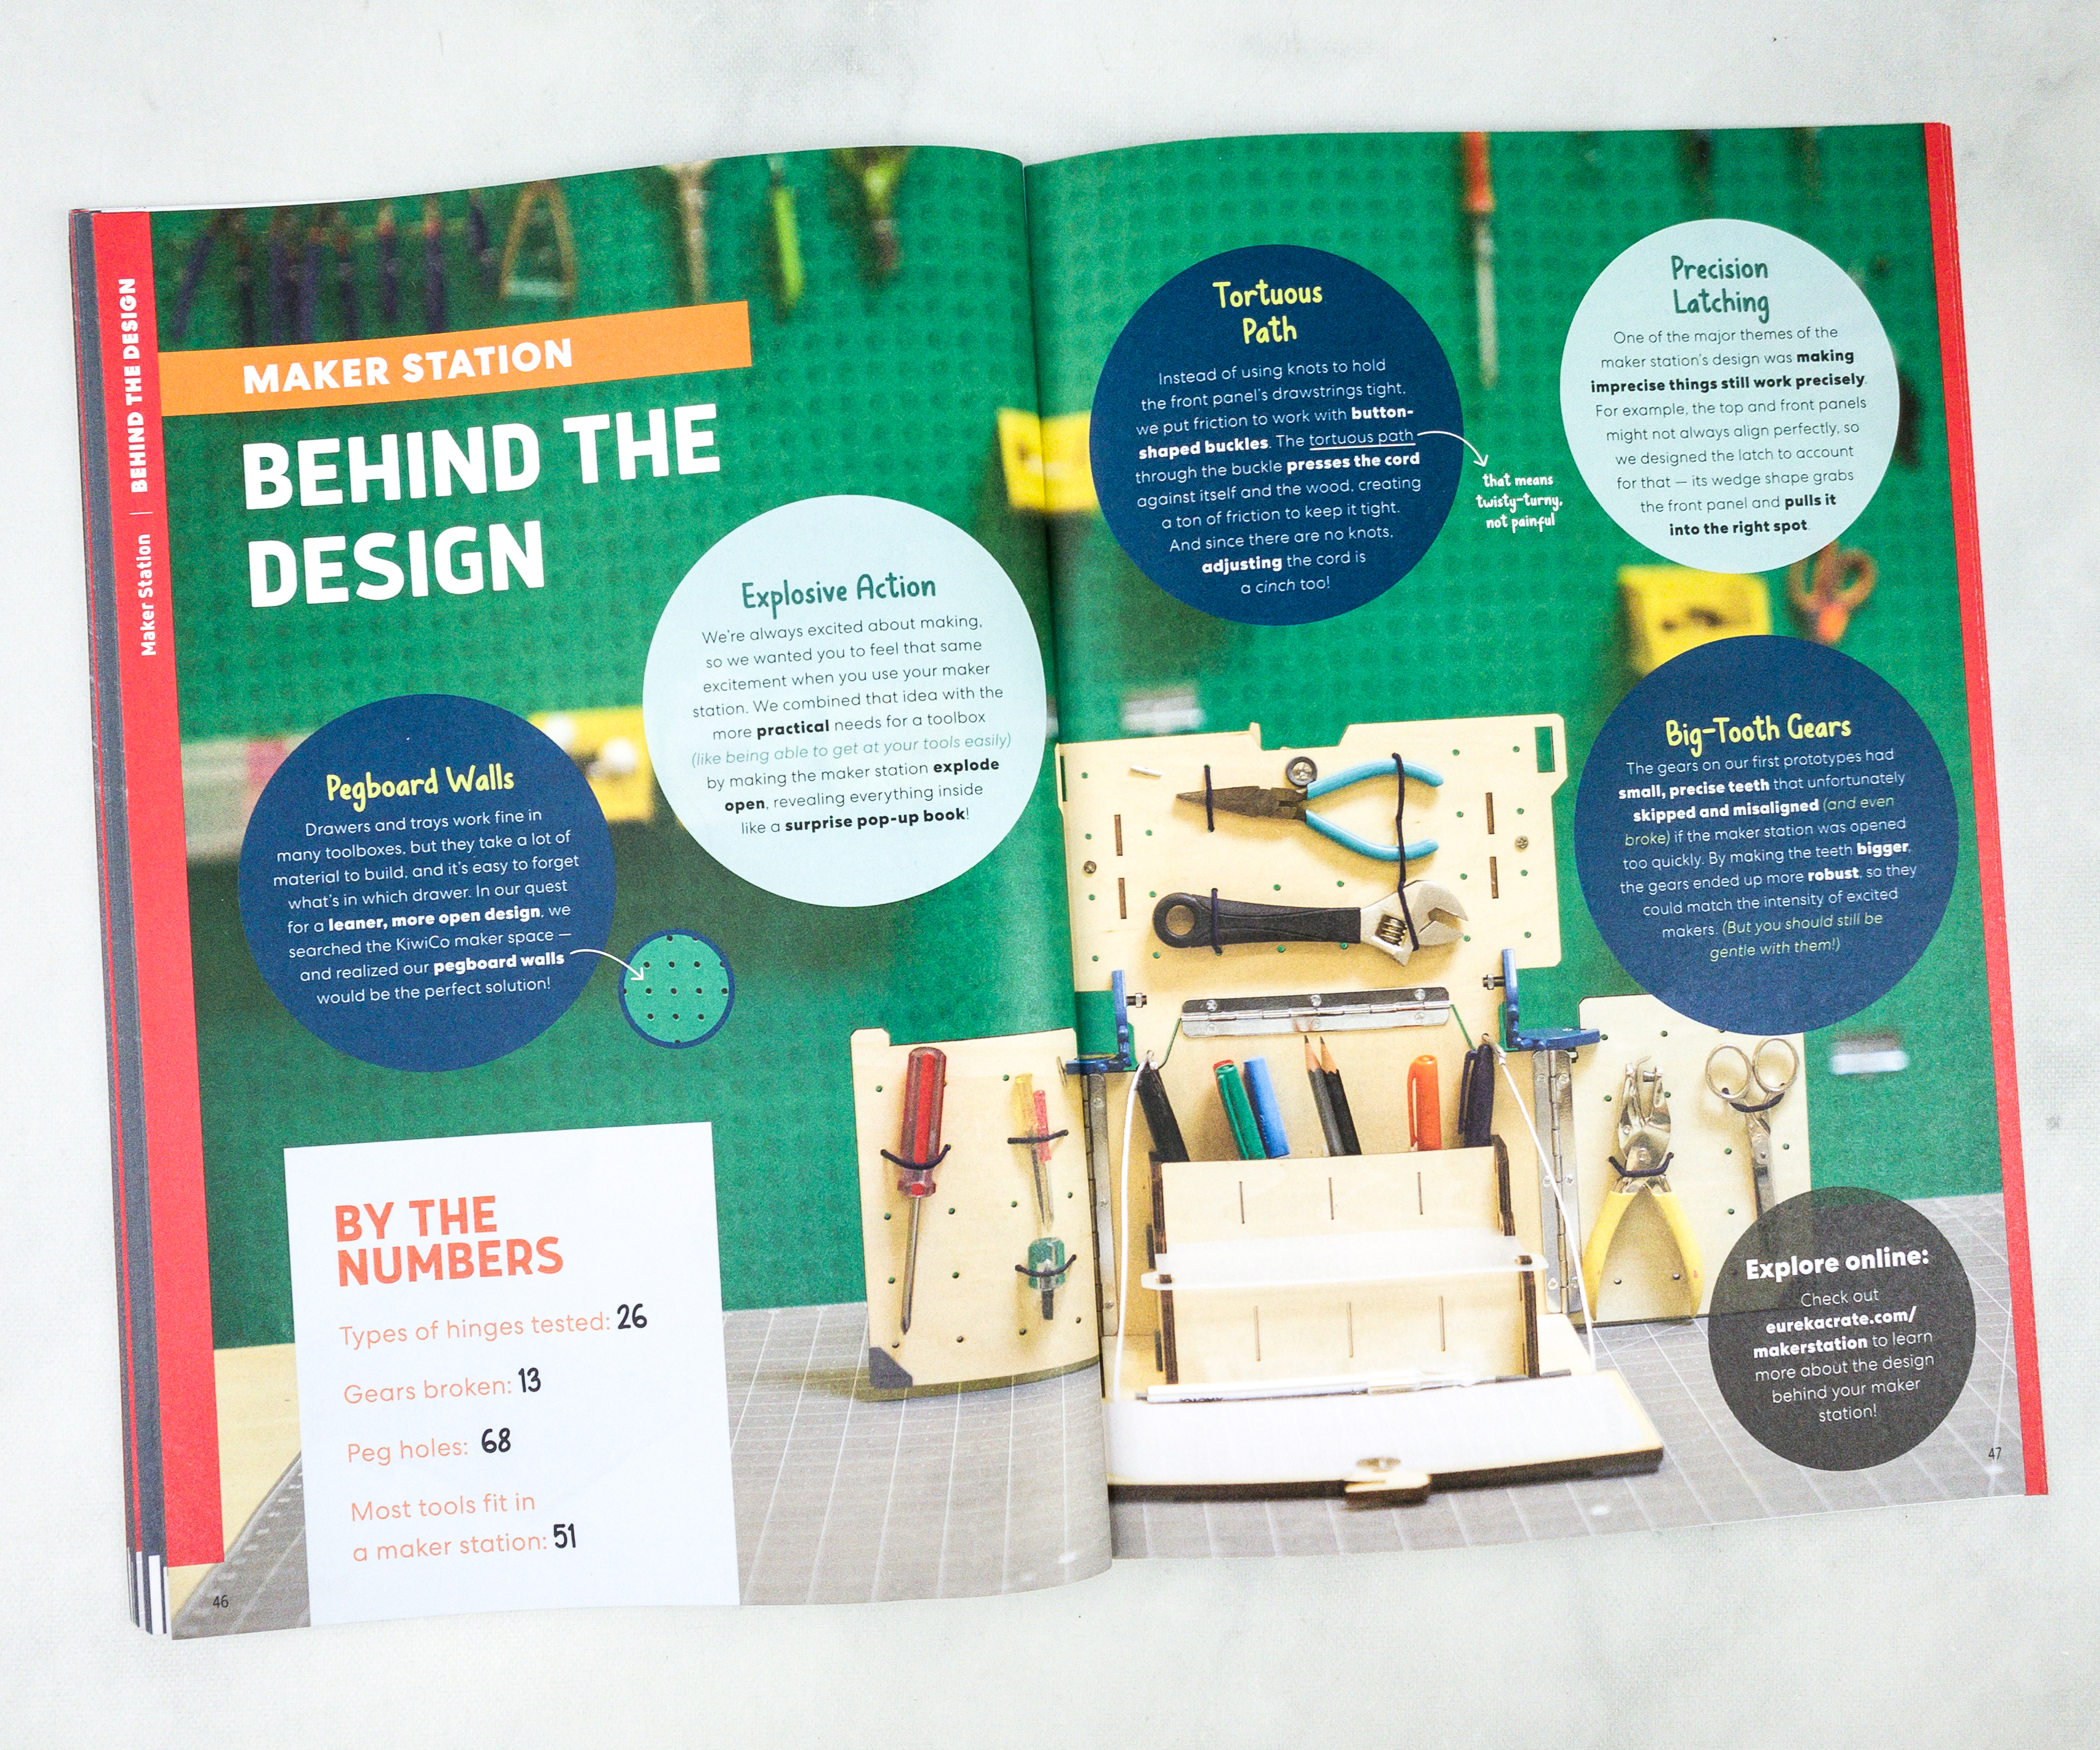
This booklet also equipped us with more information about the design behind this fun project.
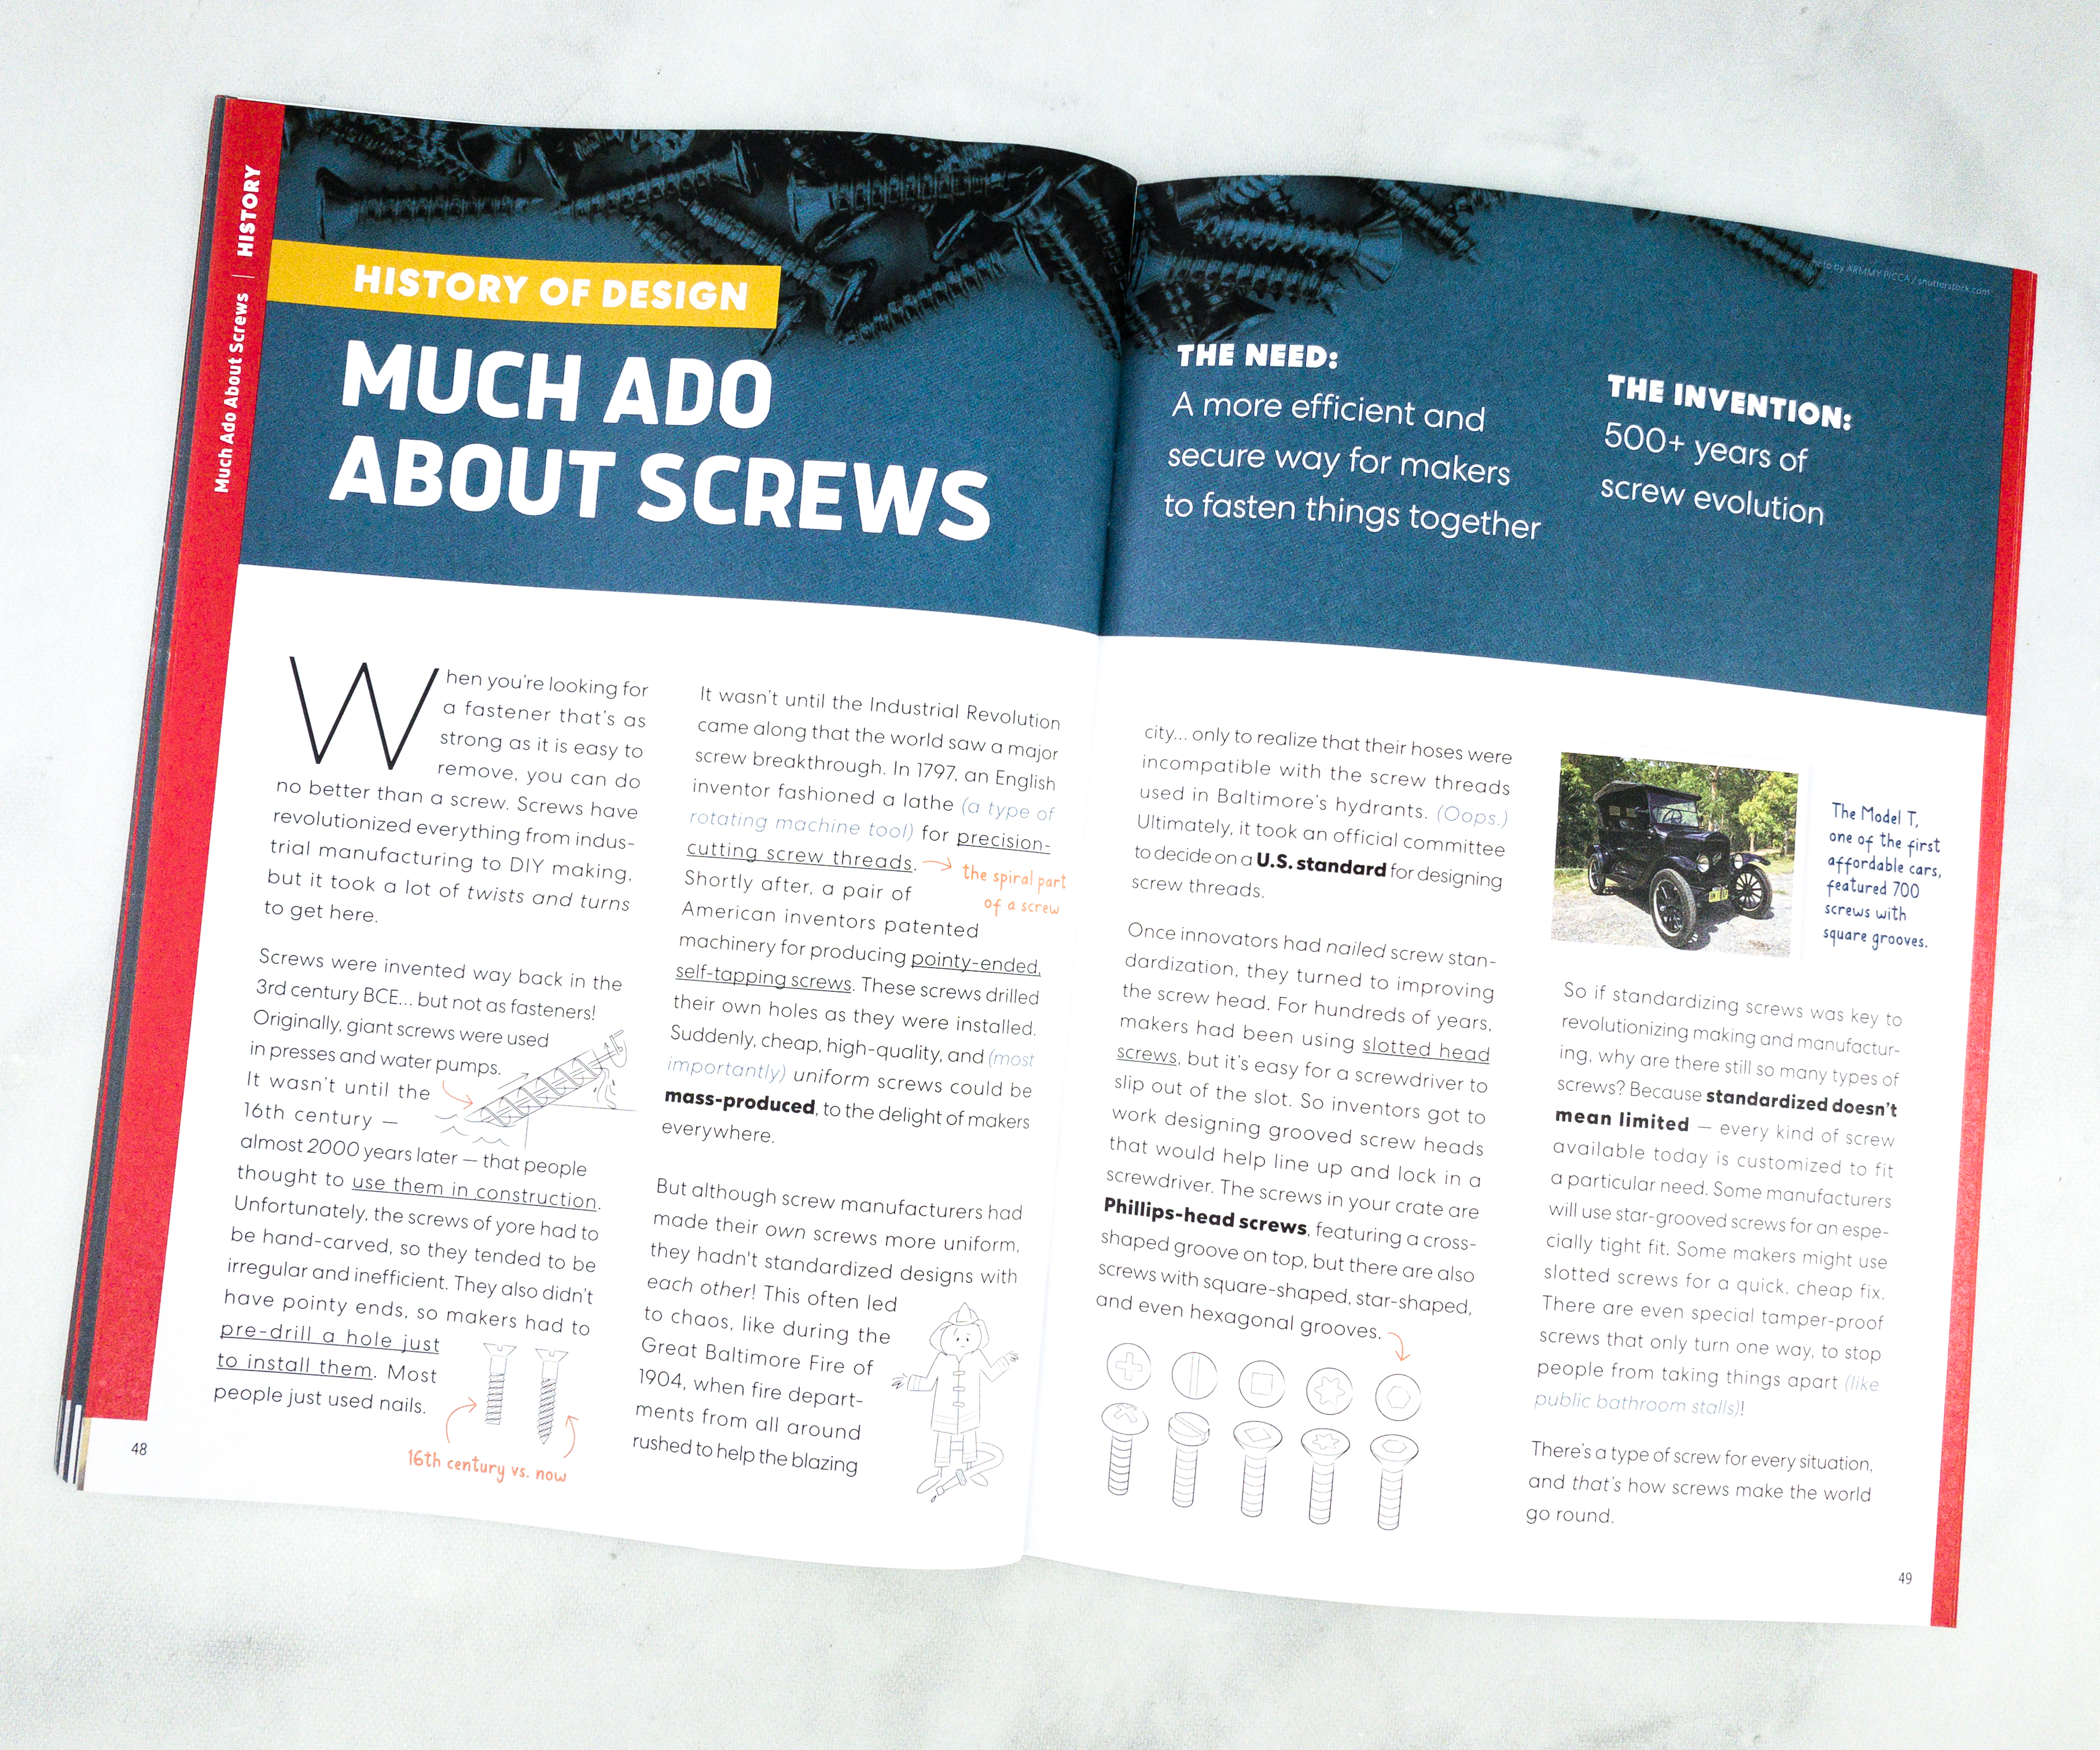
They even included a whole article explaining the history, use, and evolution of screws.
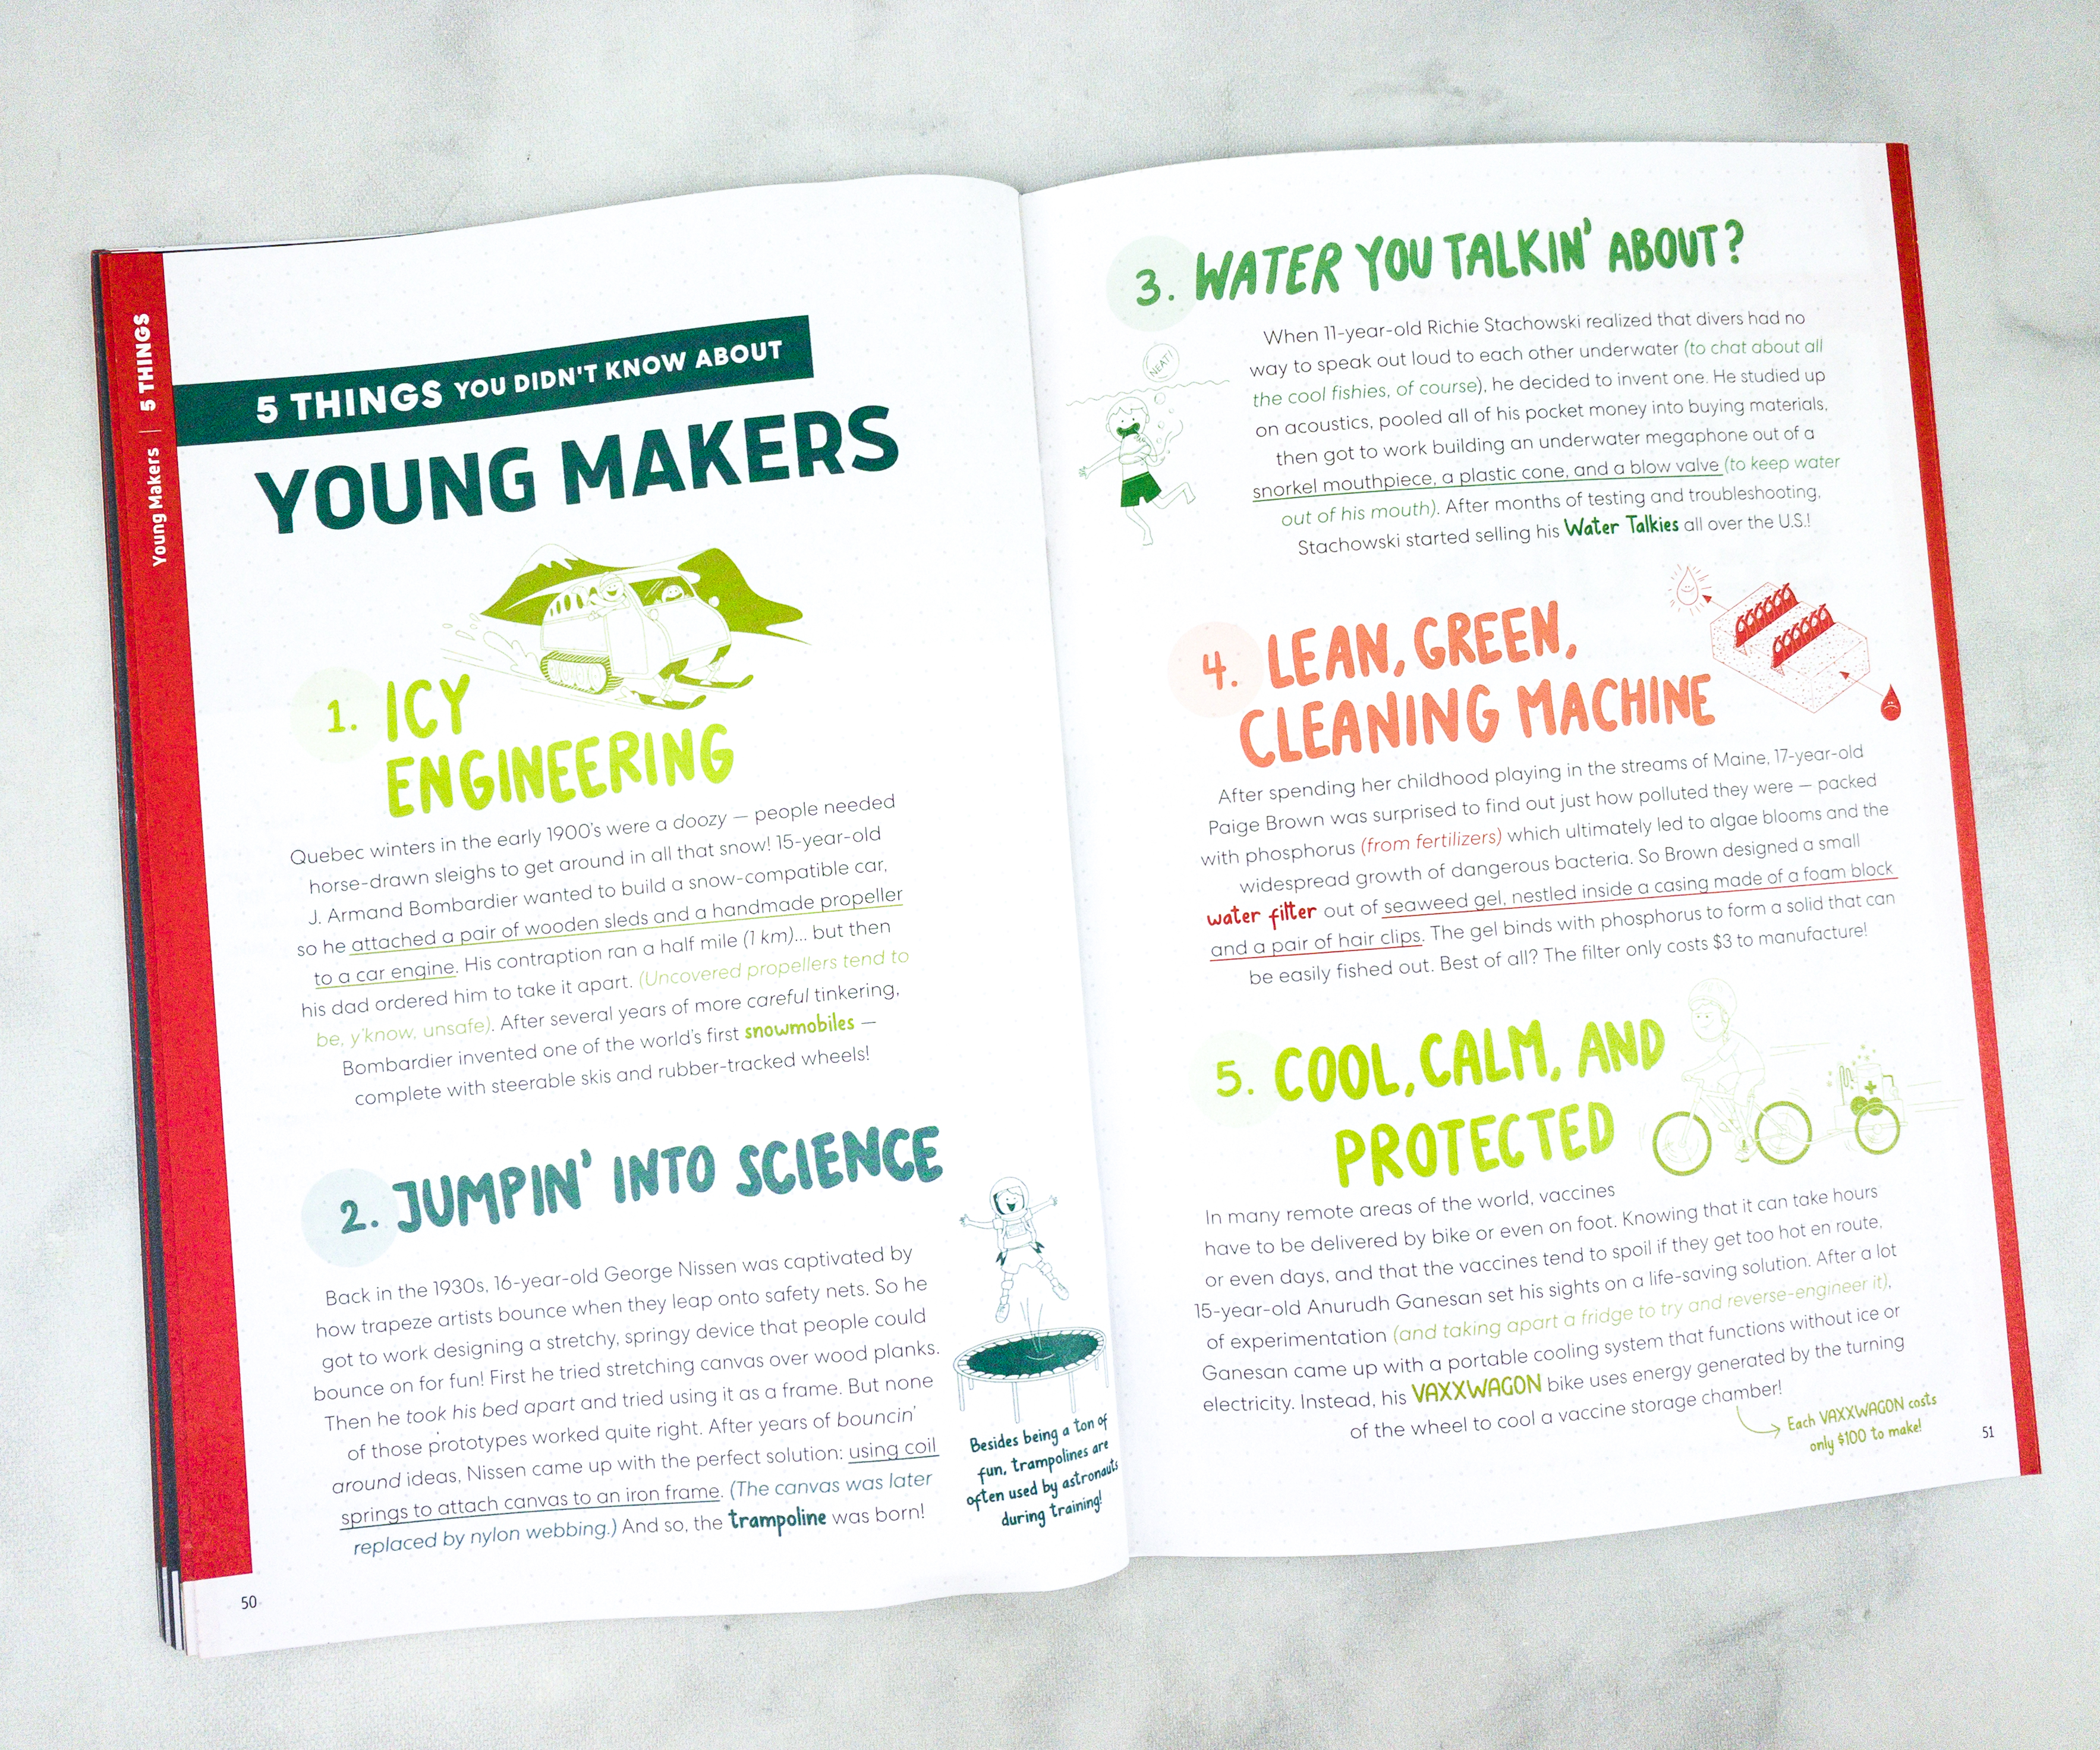
Here’s another full-page article about young makers!
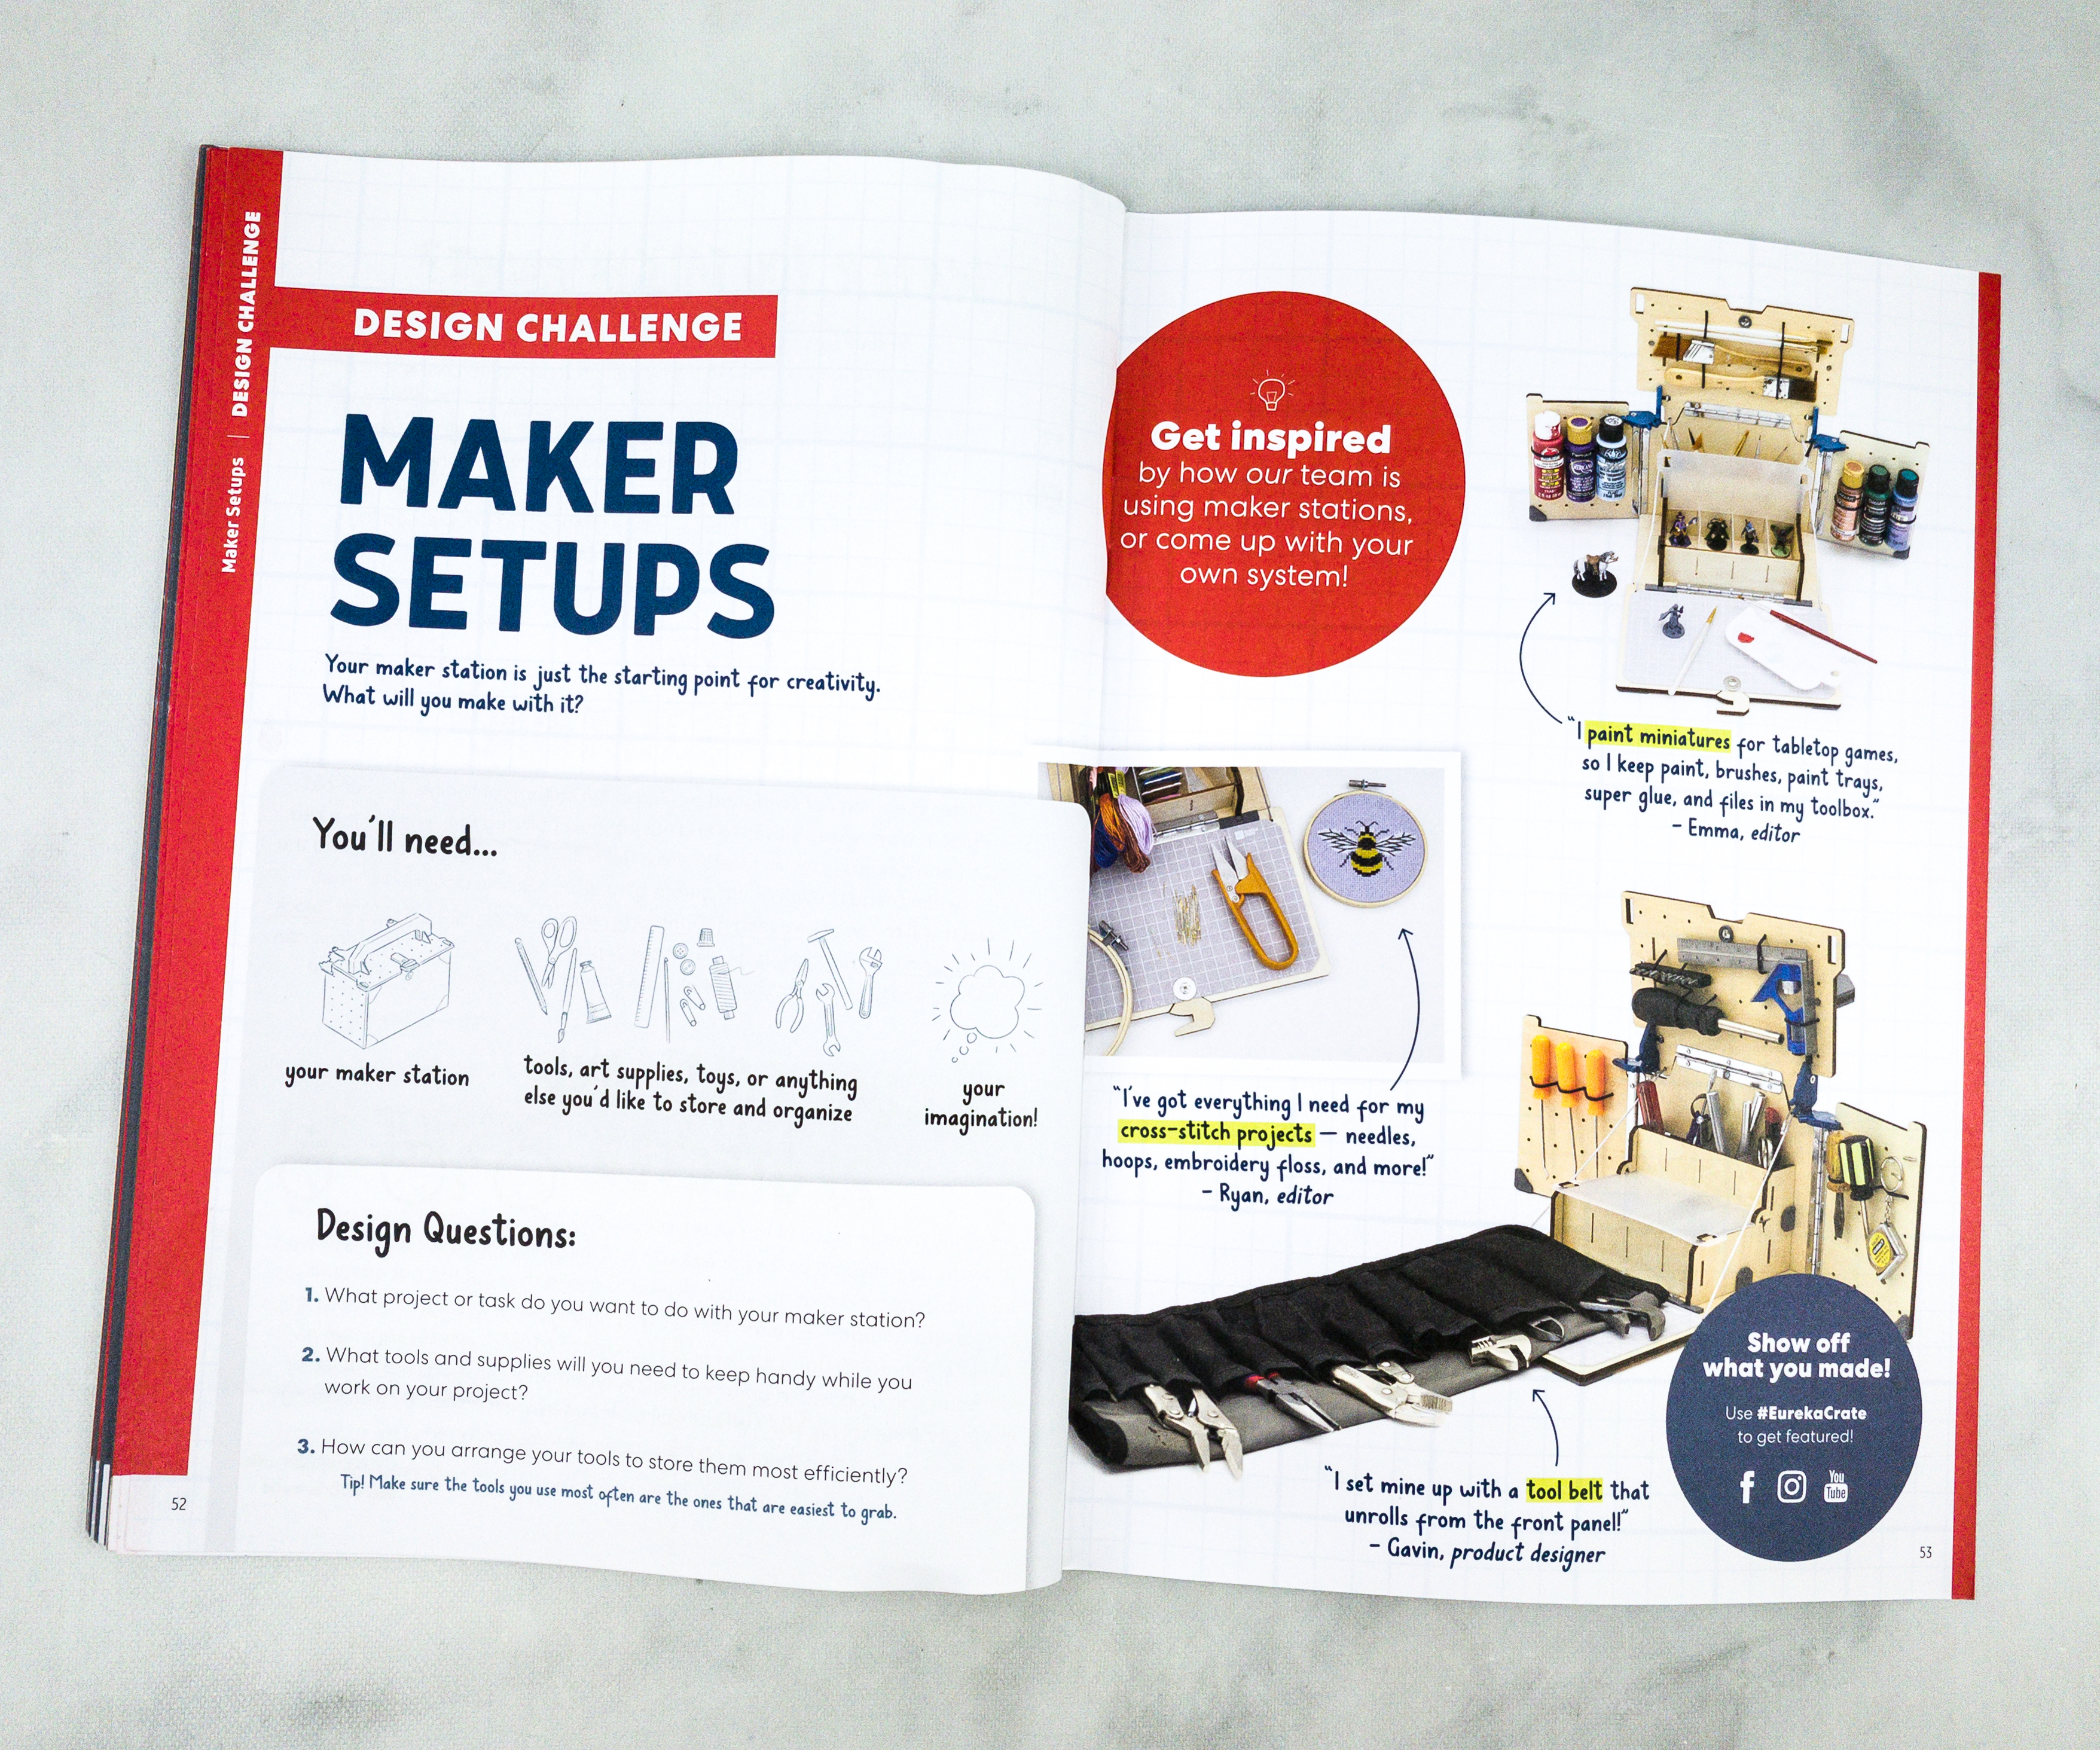
The design challenge encourages us to fill the maker station with tools and supplies, depending on the craft that you’re into. Whether for painters, quilters, or journaling enthusiasts, this is perfect for organizing your stash. You can even use it to store repair tools at home.
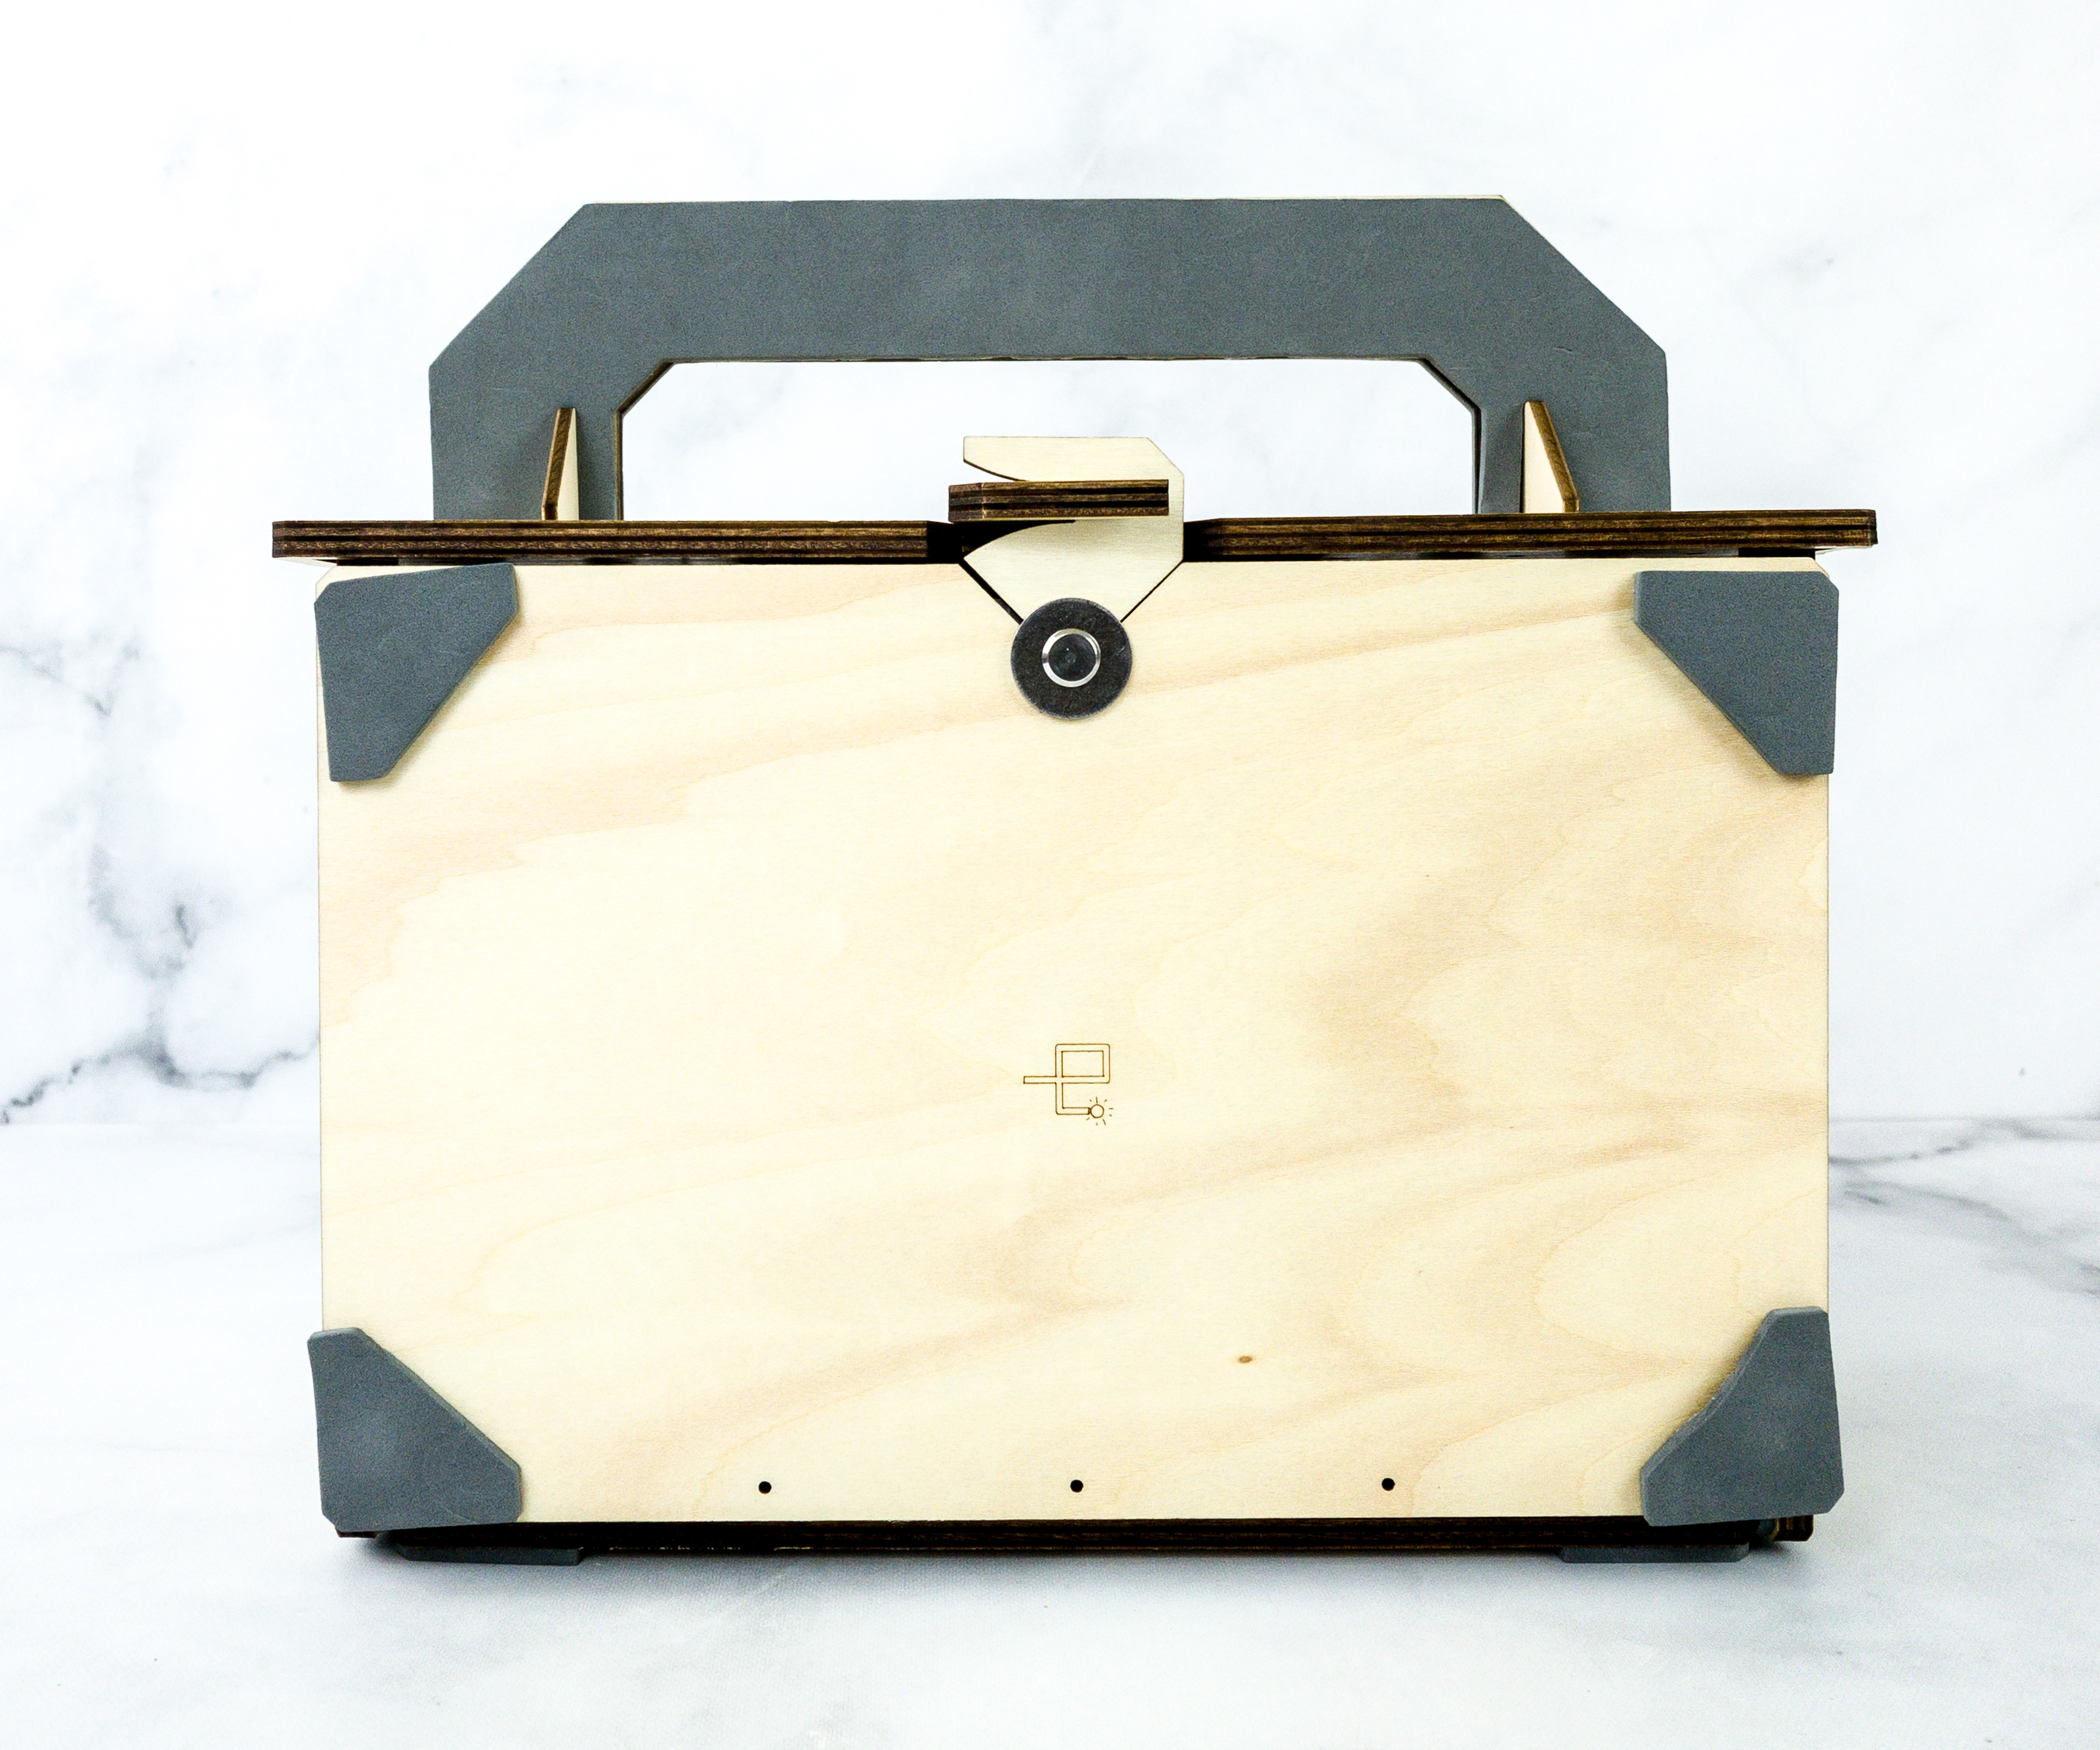
Here’s a look at our finished maker station!
The sticky foam on the handle makes it easier to grip, so we can carry the box with ease.
The built is pretty solid, and the gears are matched perfectly!

This station is also spacious. There are multiple chambers and areas, so organizing is easy as pie.
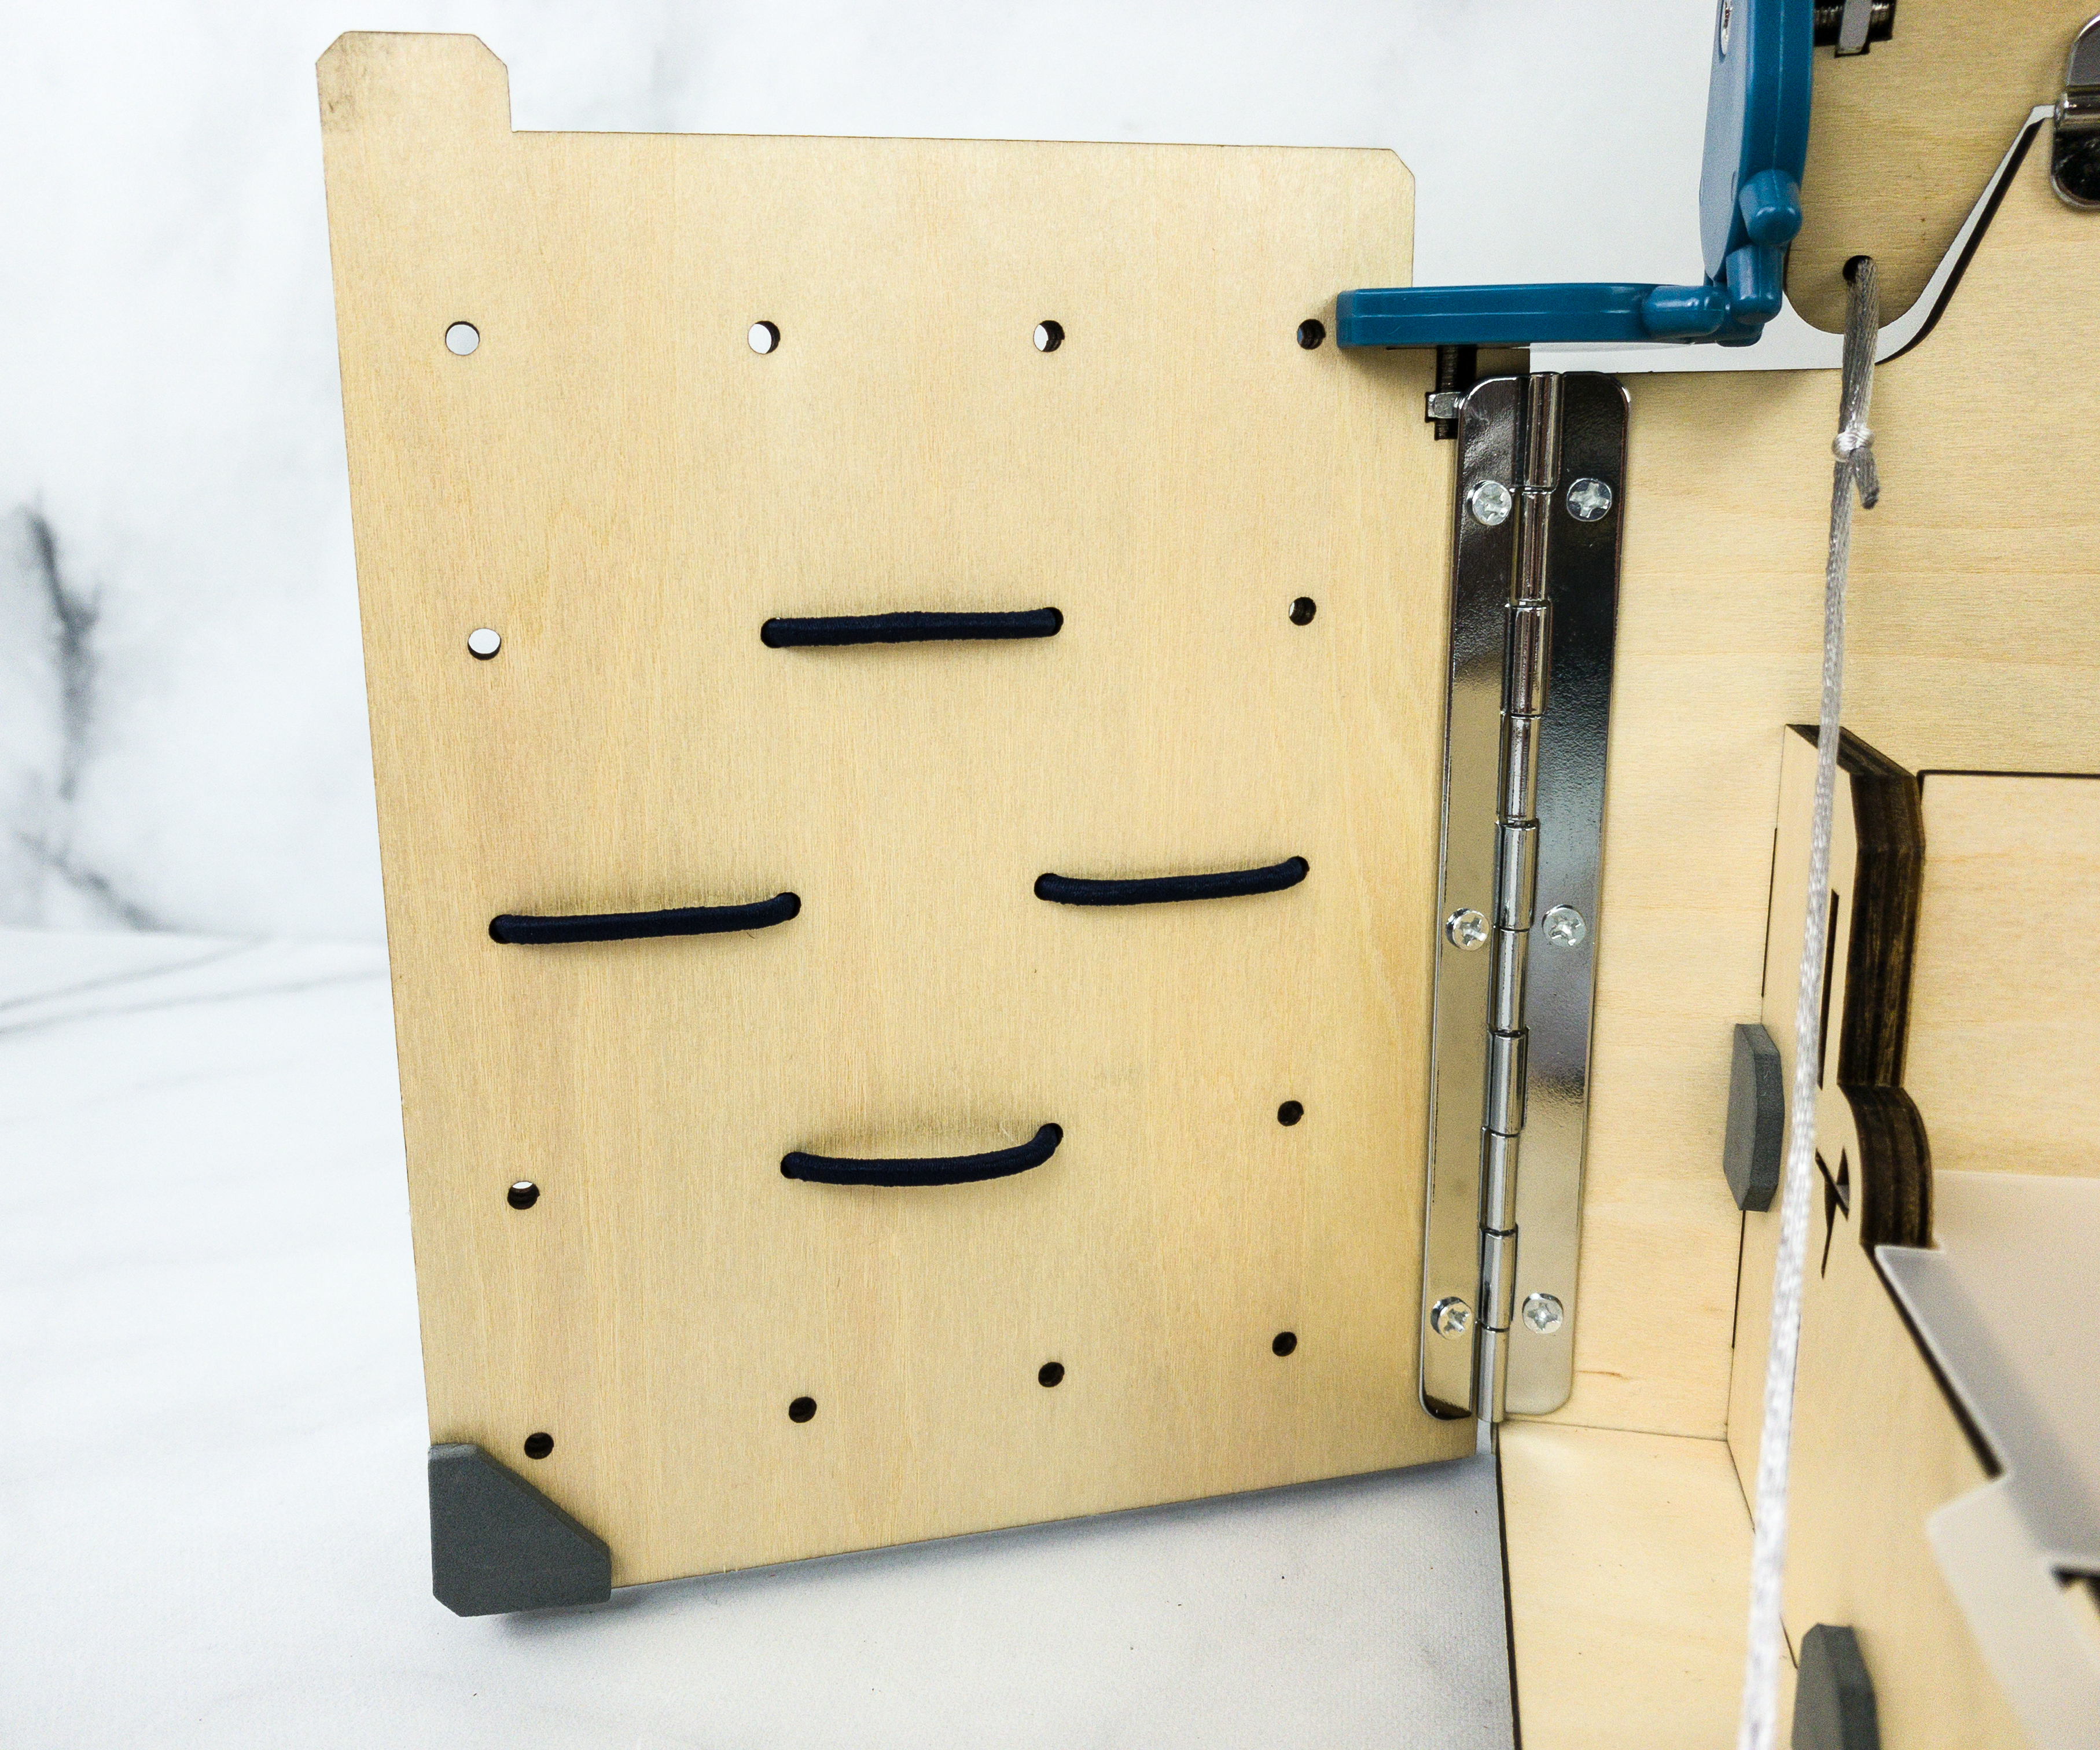
We can use the elastic bands to secure tools to the pegboard.
It’s so handy and very accessible.
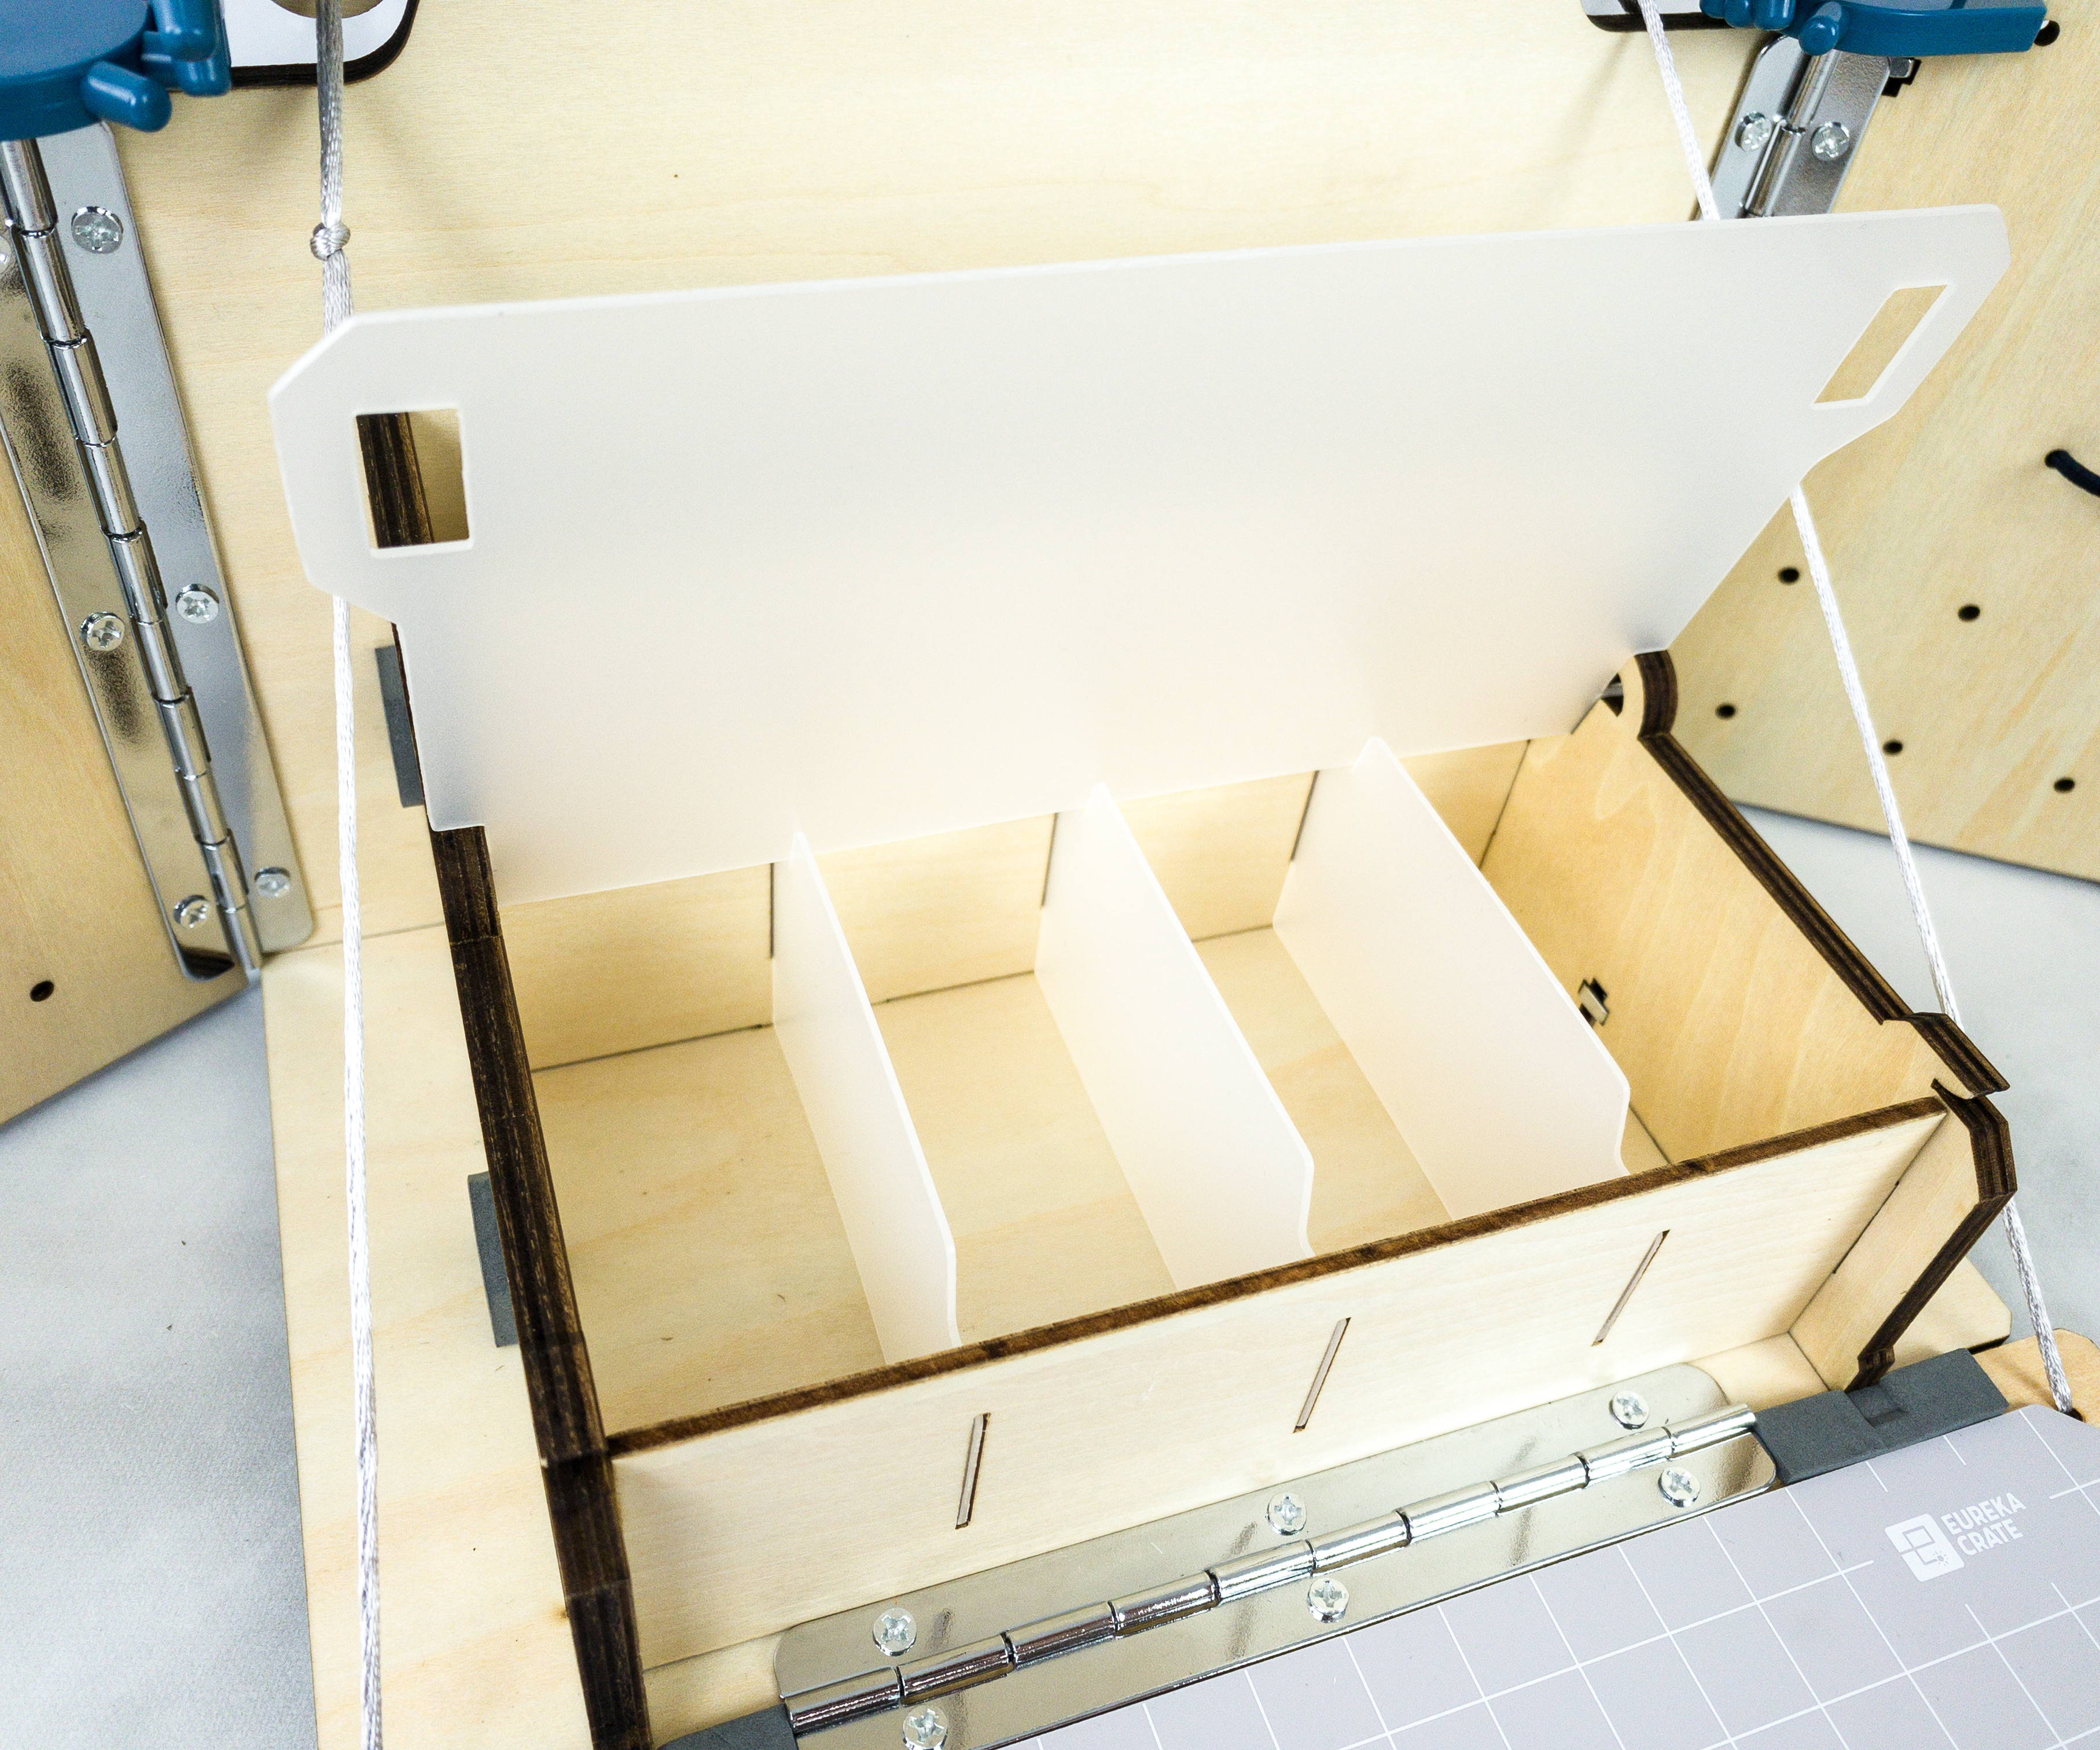
Inside the box are four large compartments. It can fit a lot of small items!
There are four more little compartments situated just next to the large ones.
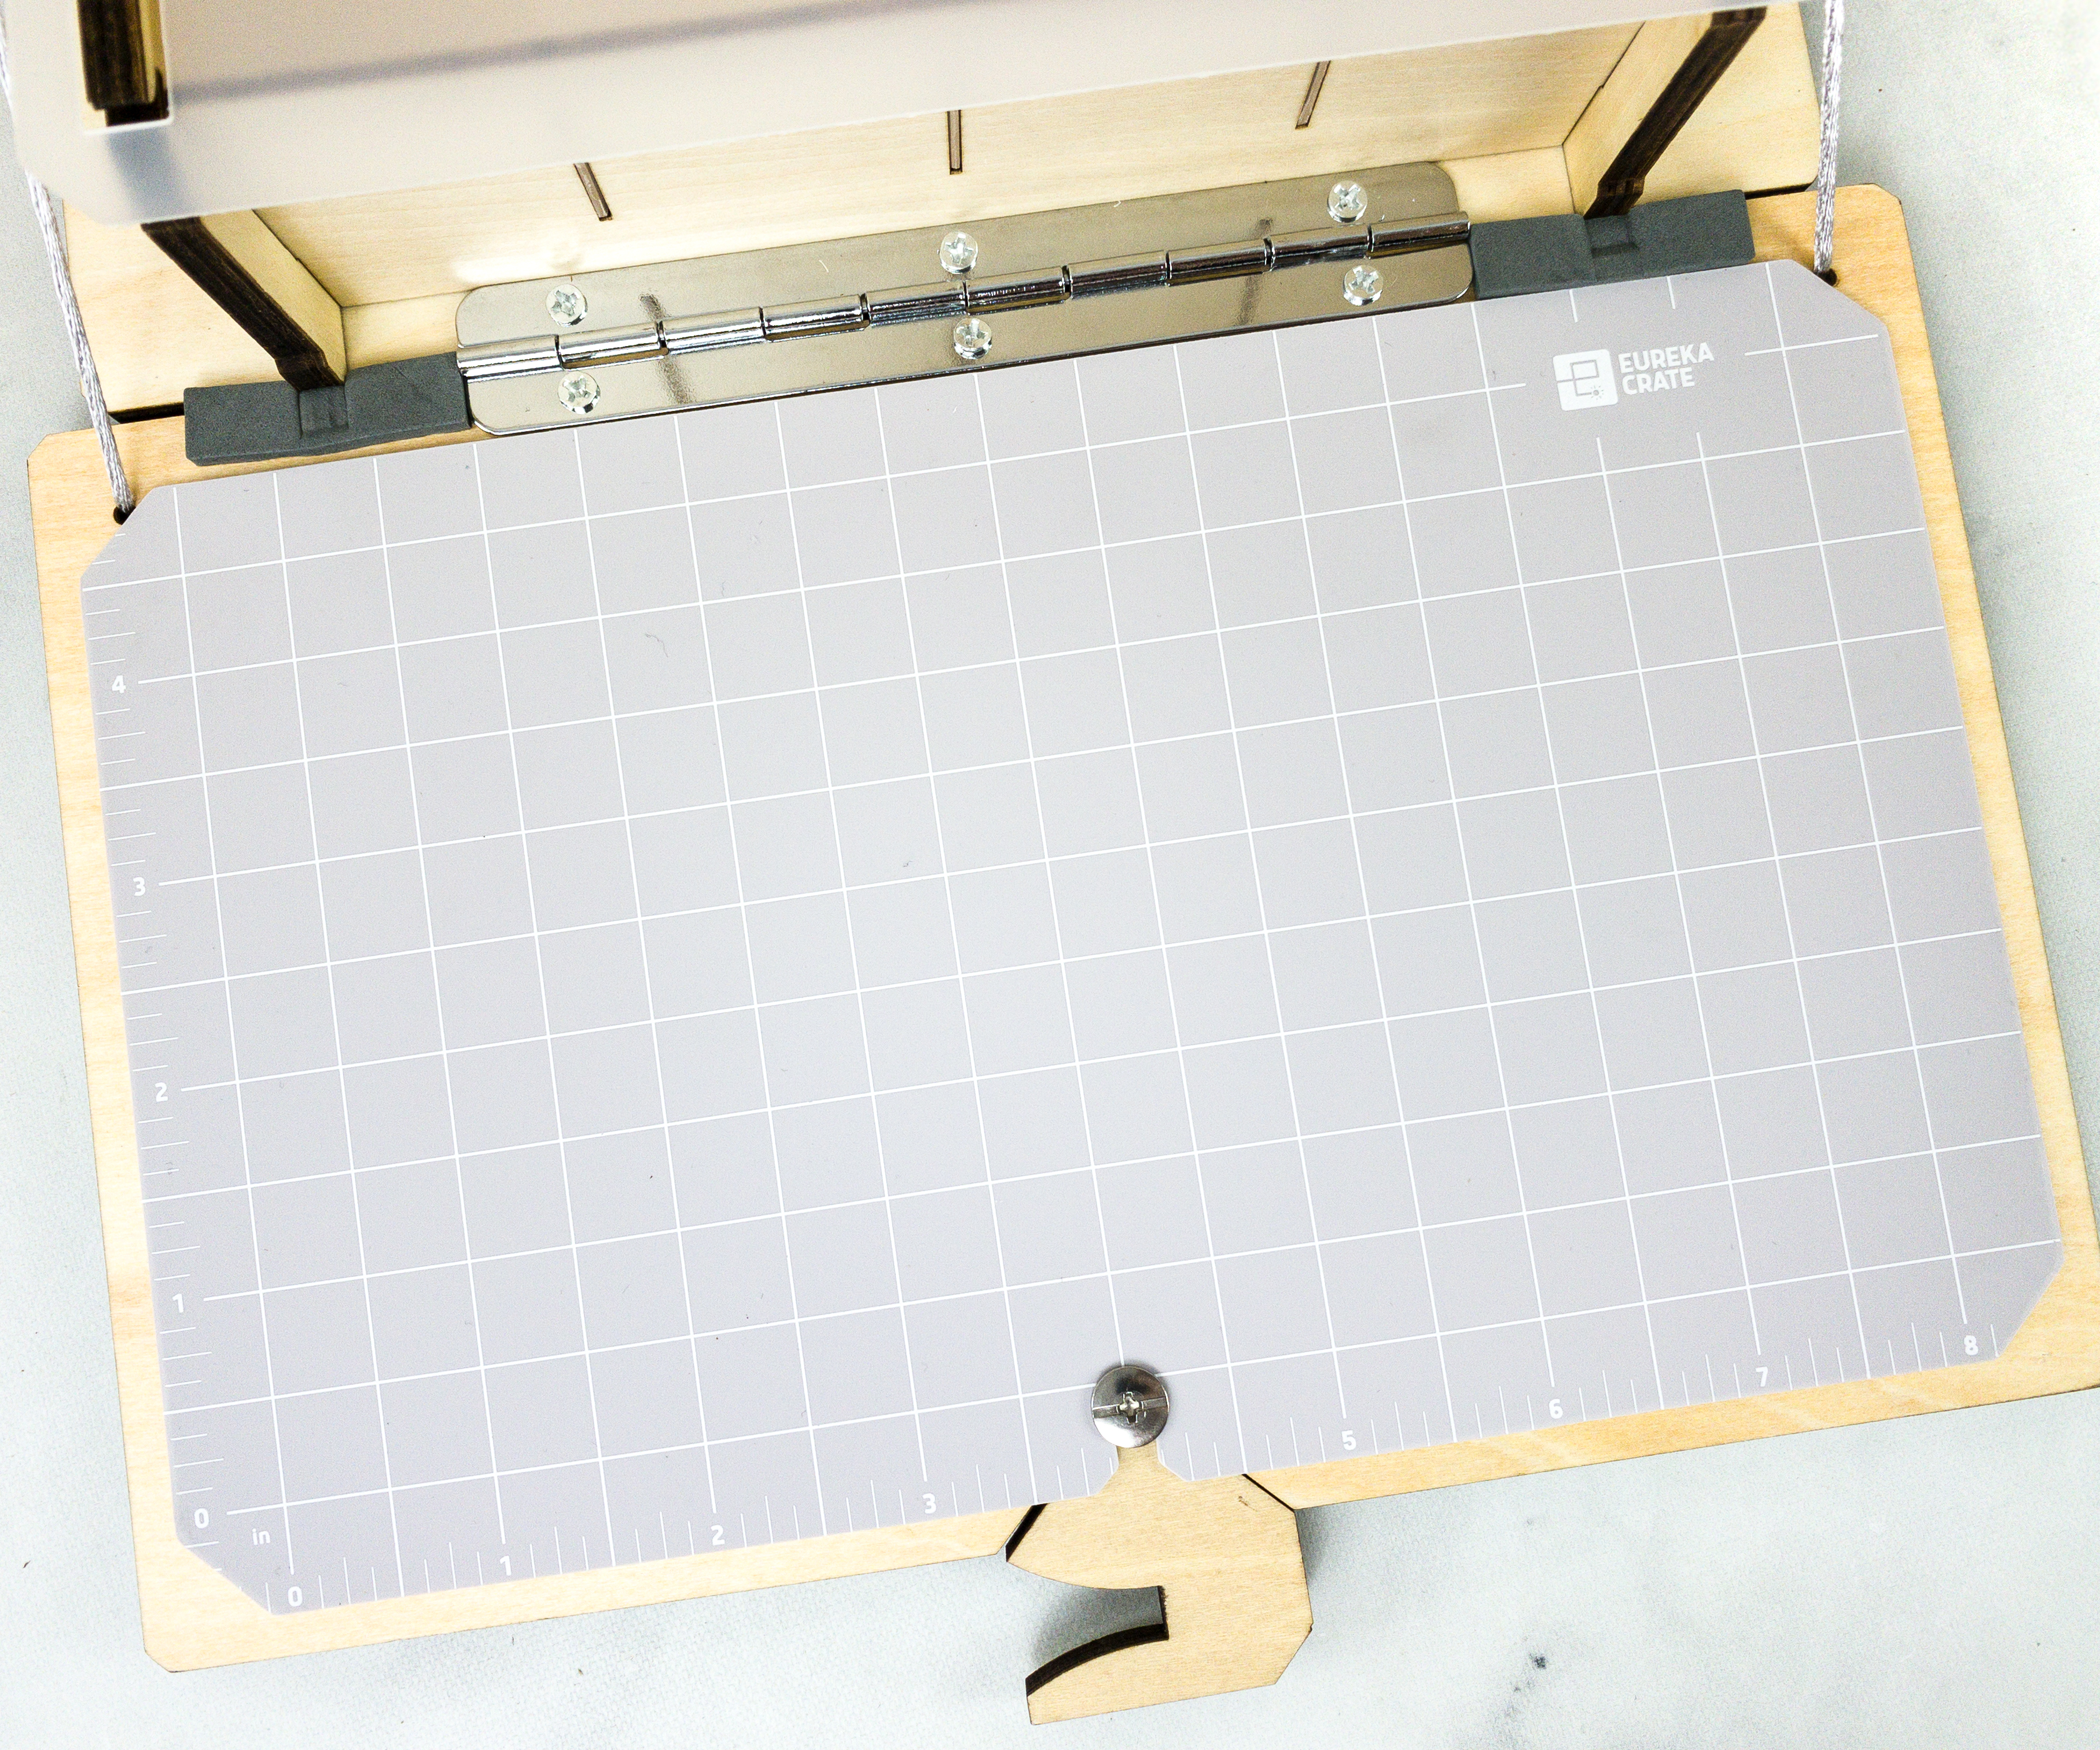
This unique cutting mat will give you a tough work surface where you can draw, trace, cut, and measure all at the same time.
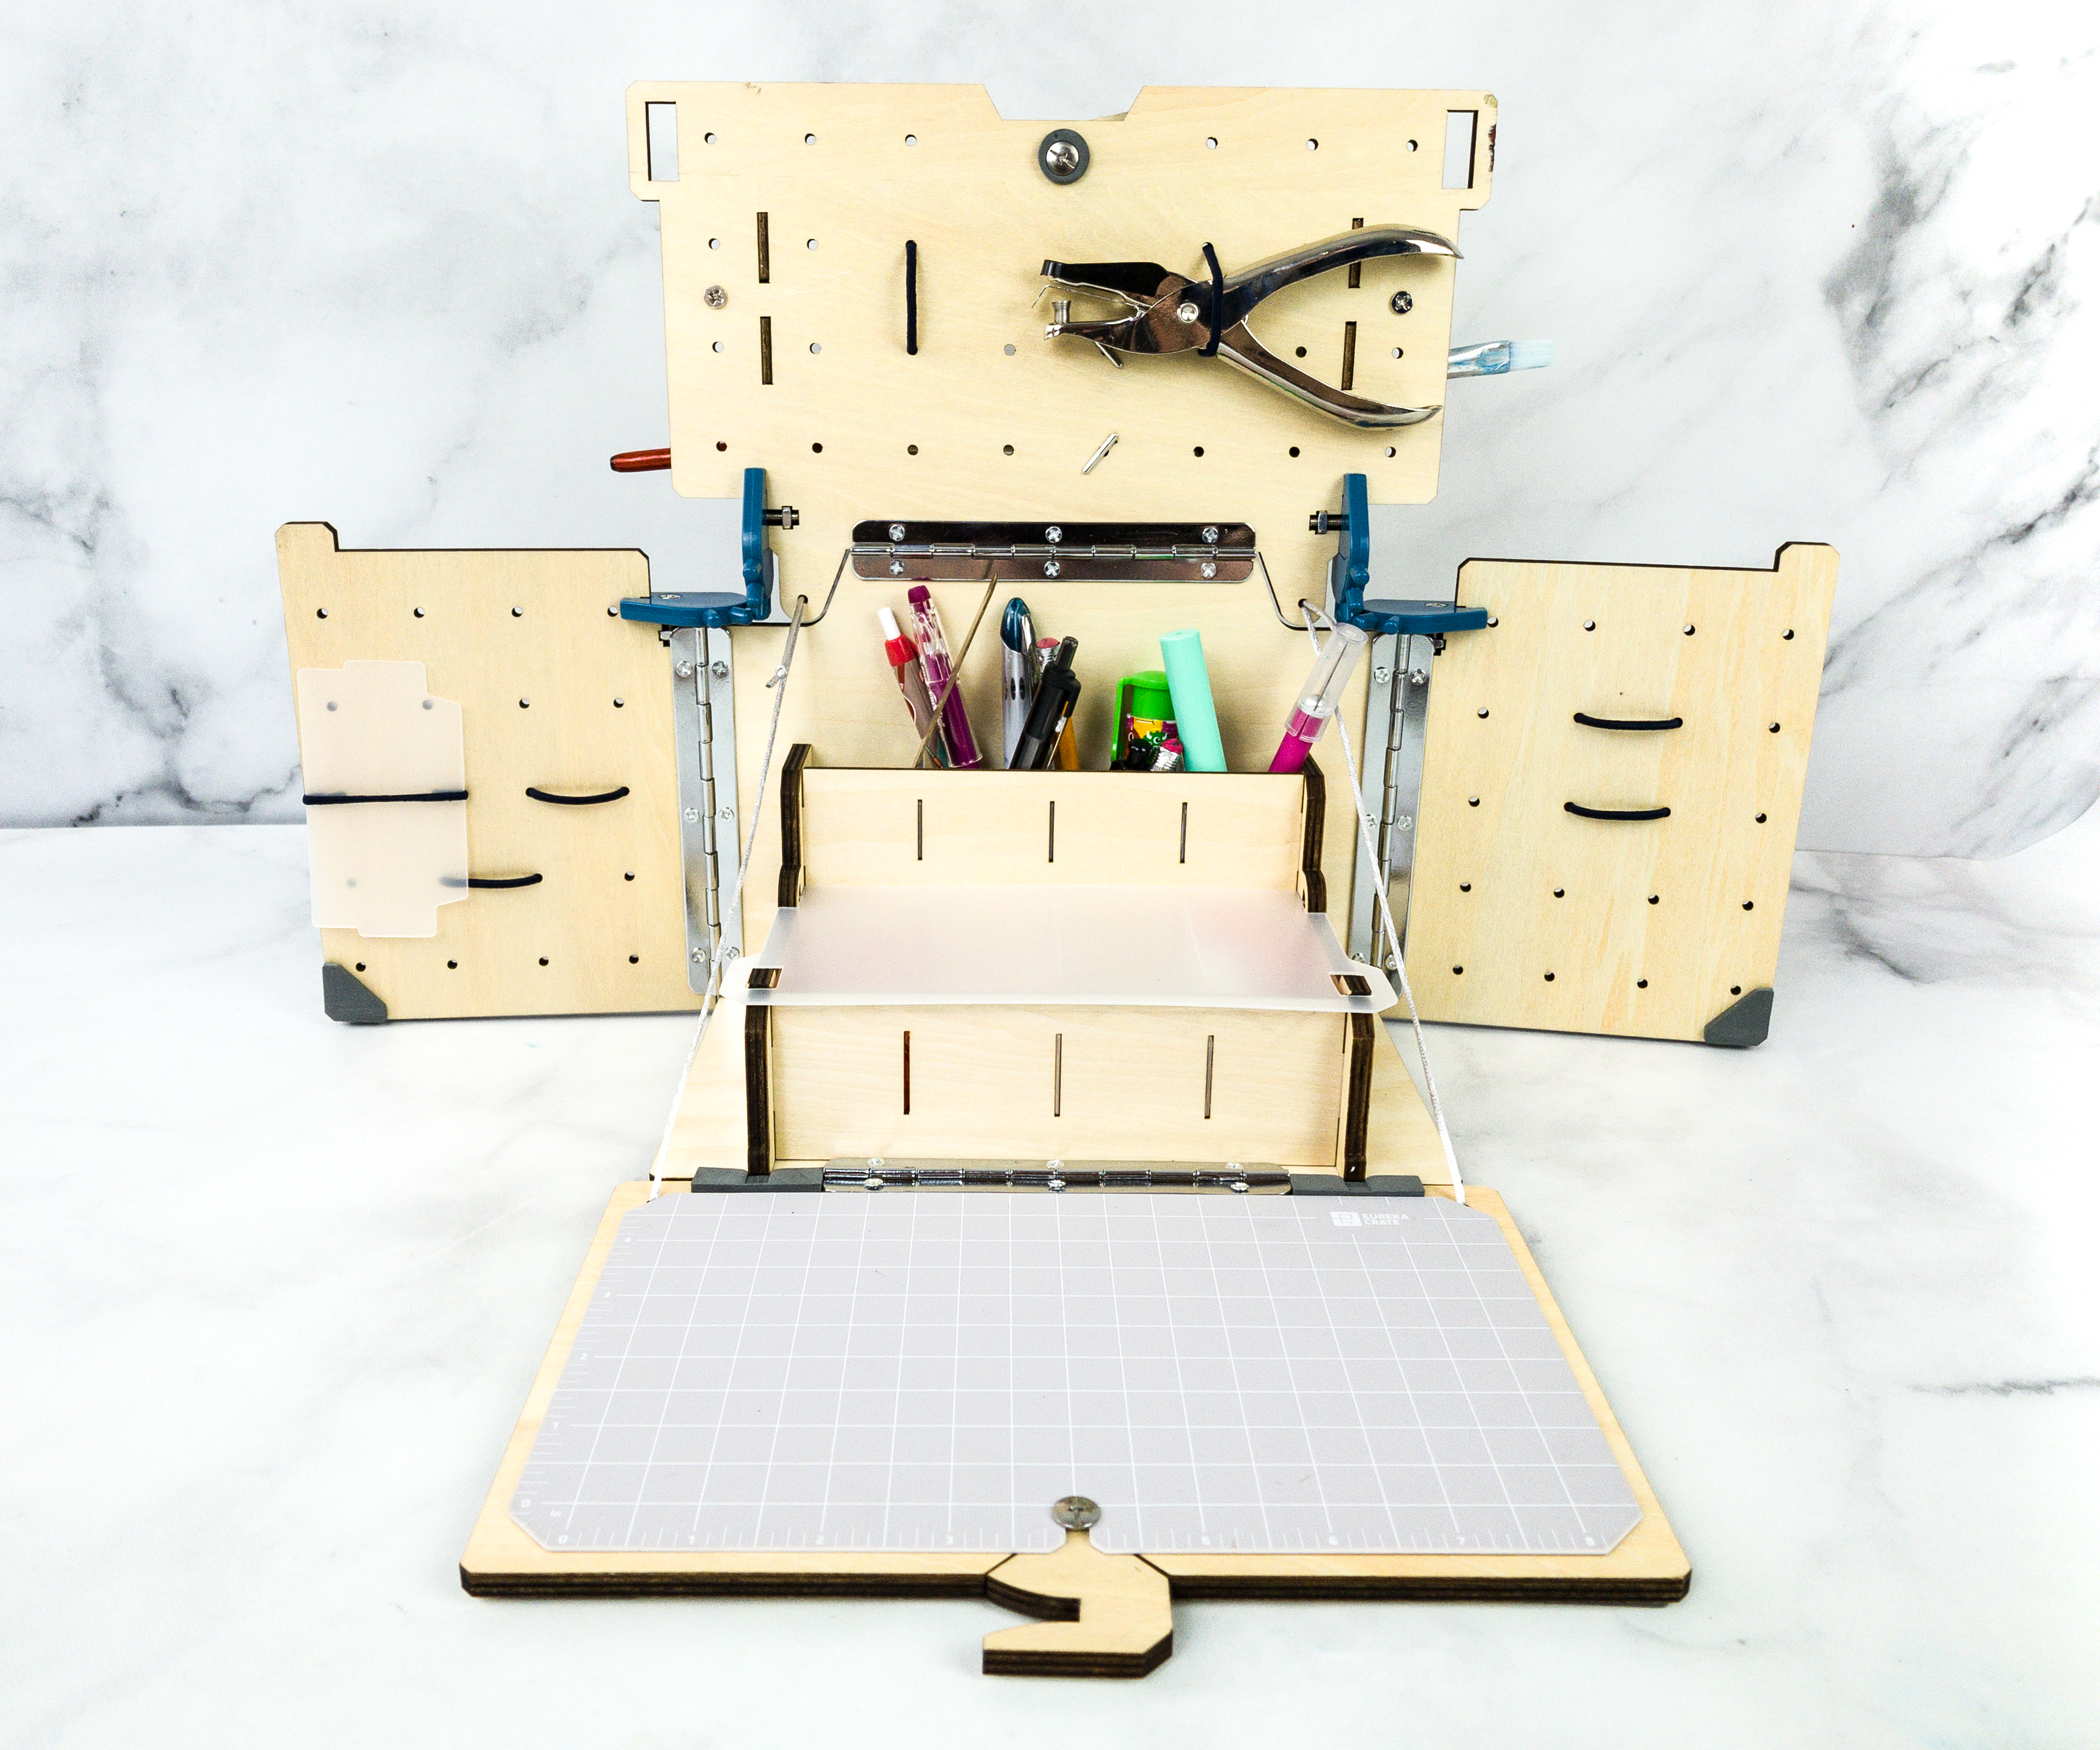
We’ve placed our pens and other drawing materials on the upper part of the chamber.
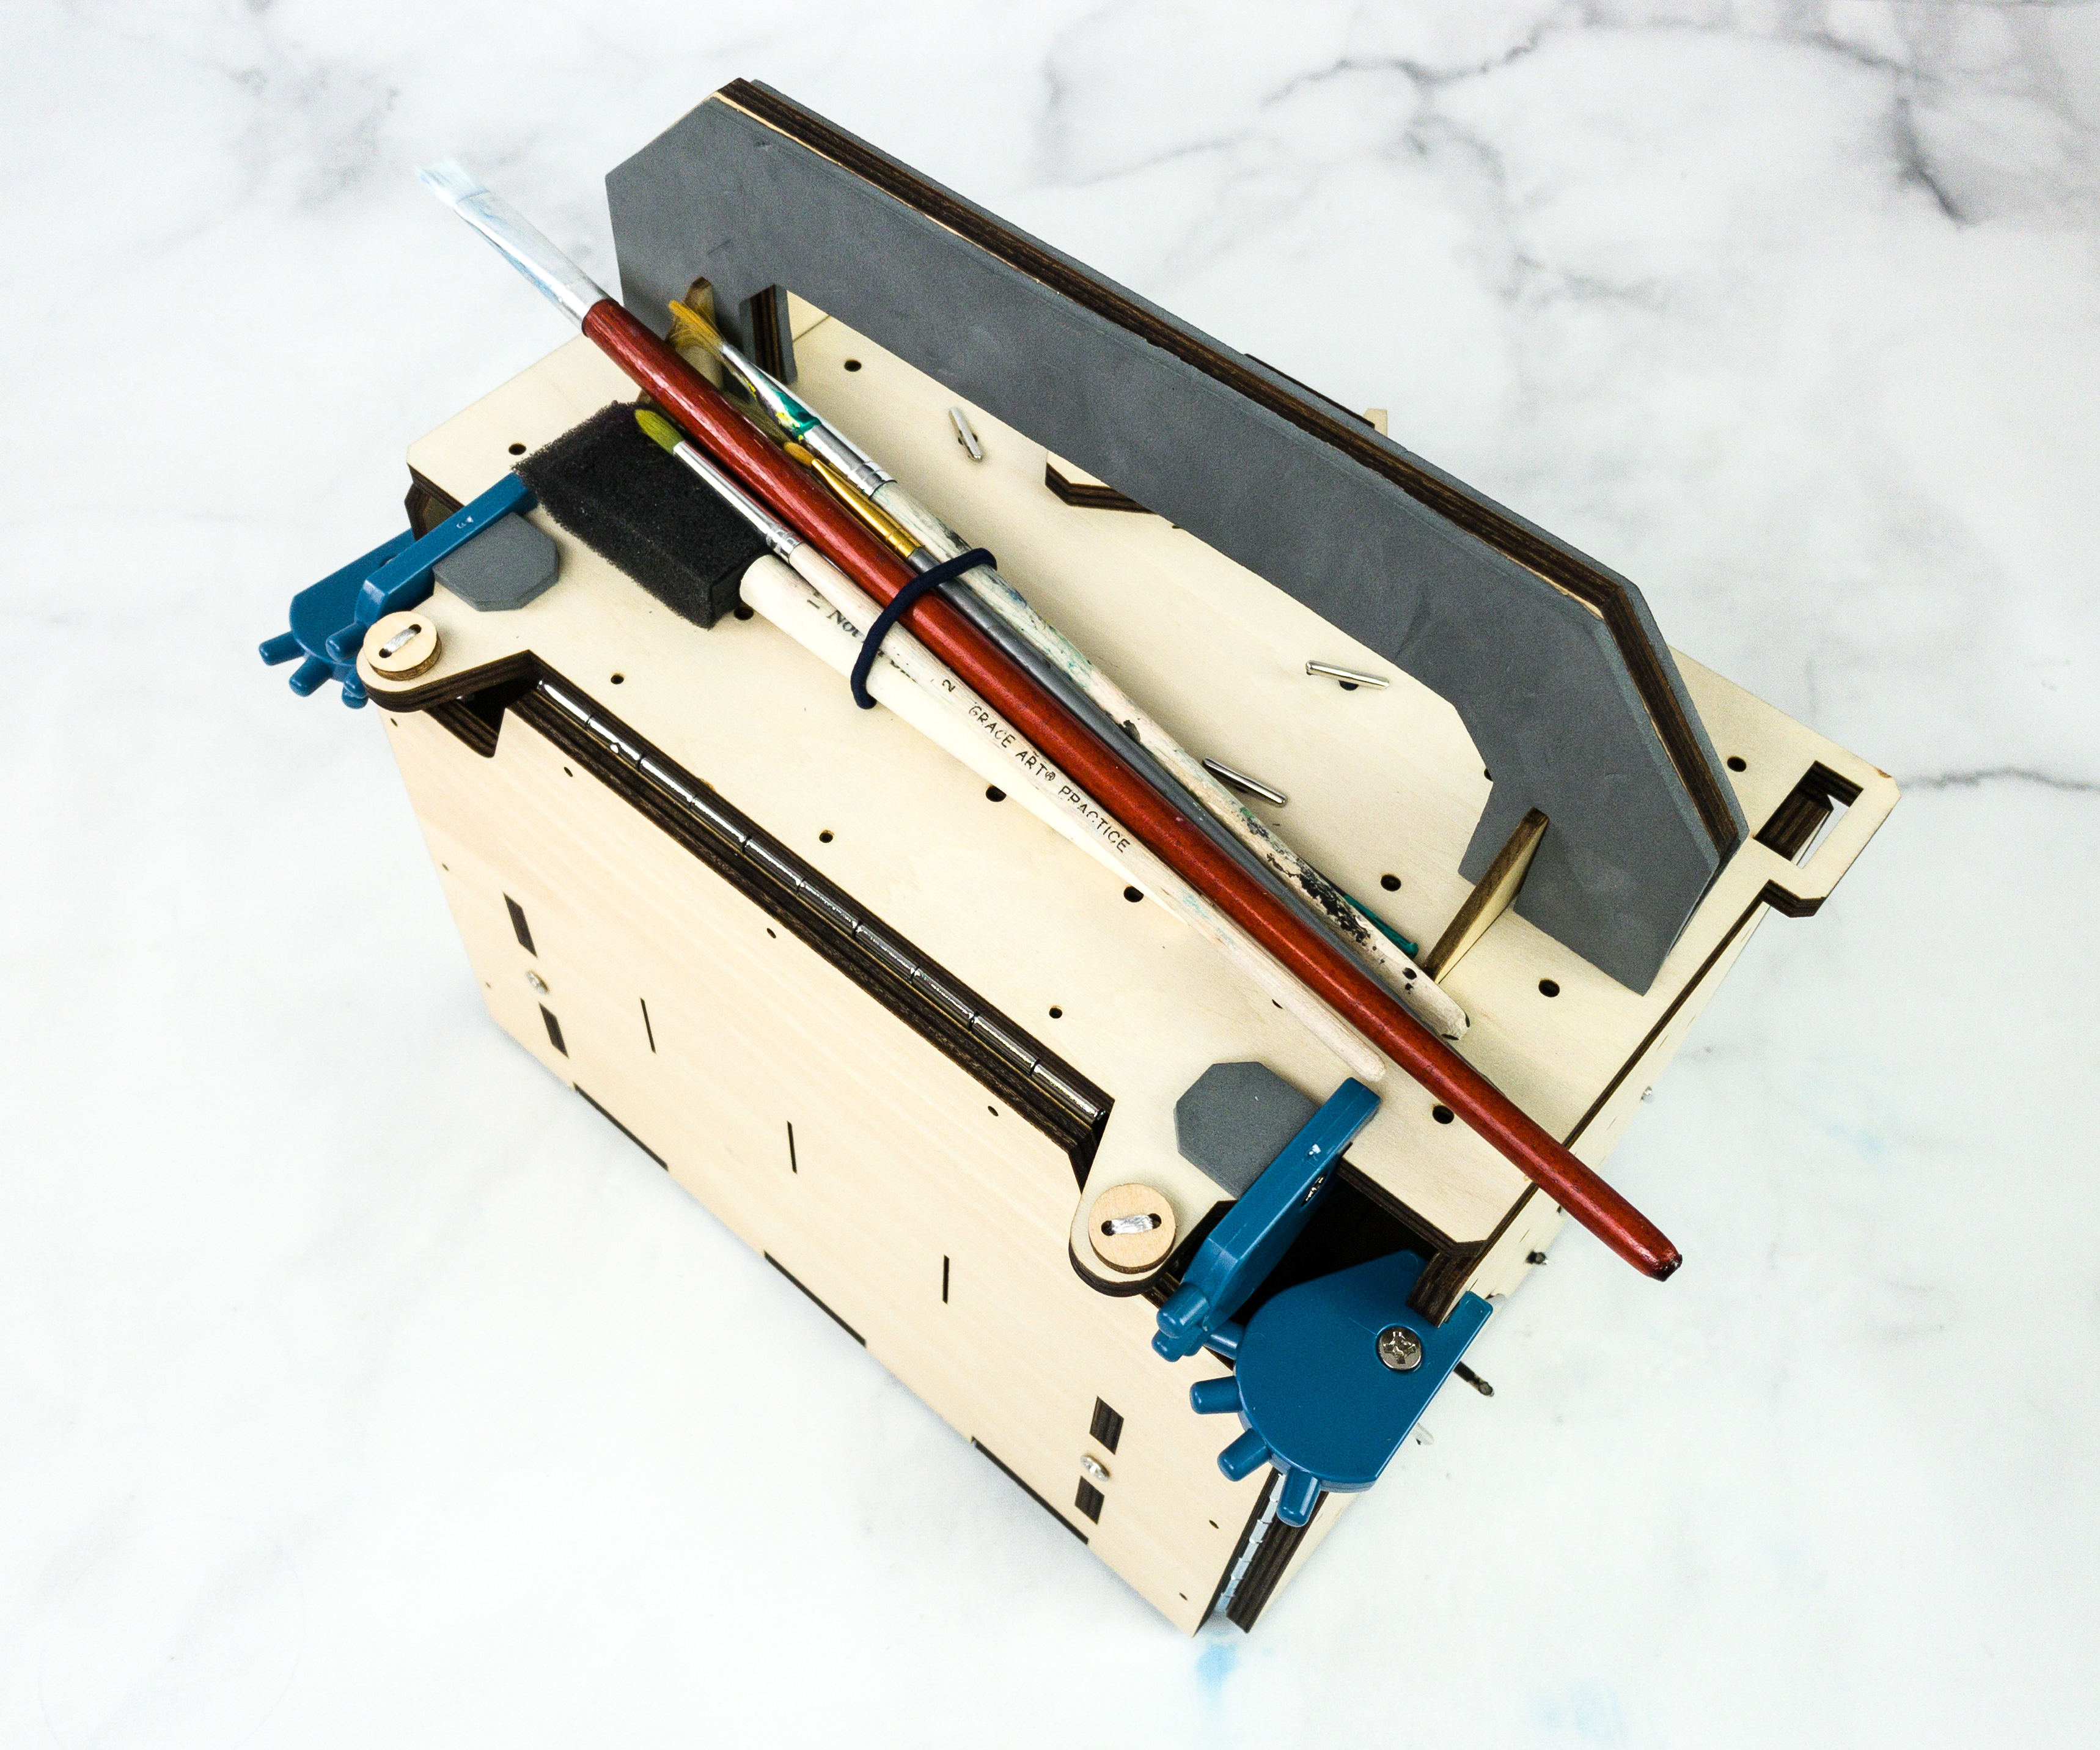
The elastic cord is versatile, we can move and place it anywhere on the box. Just like what we did on the upper part of our maker station.
This month’s Eureka Crate is as impressive as always! They’re consistent in providing fun and exciting STEM projects that teens and adults can both enjoy. Each box contains everything we need to build the project plus a booklet filled with information, facts, and a detailed step-by-step procedure. My kids enjoyed building this maker station, and they also loved the result which is REALLY a keeper! Anyone can really learn a lot of things from this crate, including engineering concepts and even history. We highly recommend this box, especially if you’re looking for awesome science-related projects to work on at home!
What do you think of this month’s Eureka Crate?


Comments