Annie’s Creative Woman Kit-of-the-Month Club sends new DIY craft projects monthly! Each kit includes most of the items you’ll need to complete the project plus easy-to-follow instructions. All you’ll need from home are common household items like glue and scissors! Some crafts you can expect from this subscription are painting, needlecrafts, beading, candle and soap making, mixed-media crafts, and more! It costs $19.99 a month, plus $5.95 postage and processing ($6.95 in Canada).
DEAL: Get 50% off your first month! Use this link and coupon code HELLO.
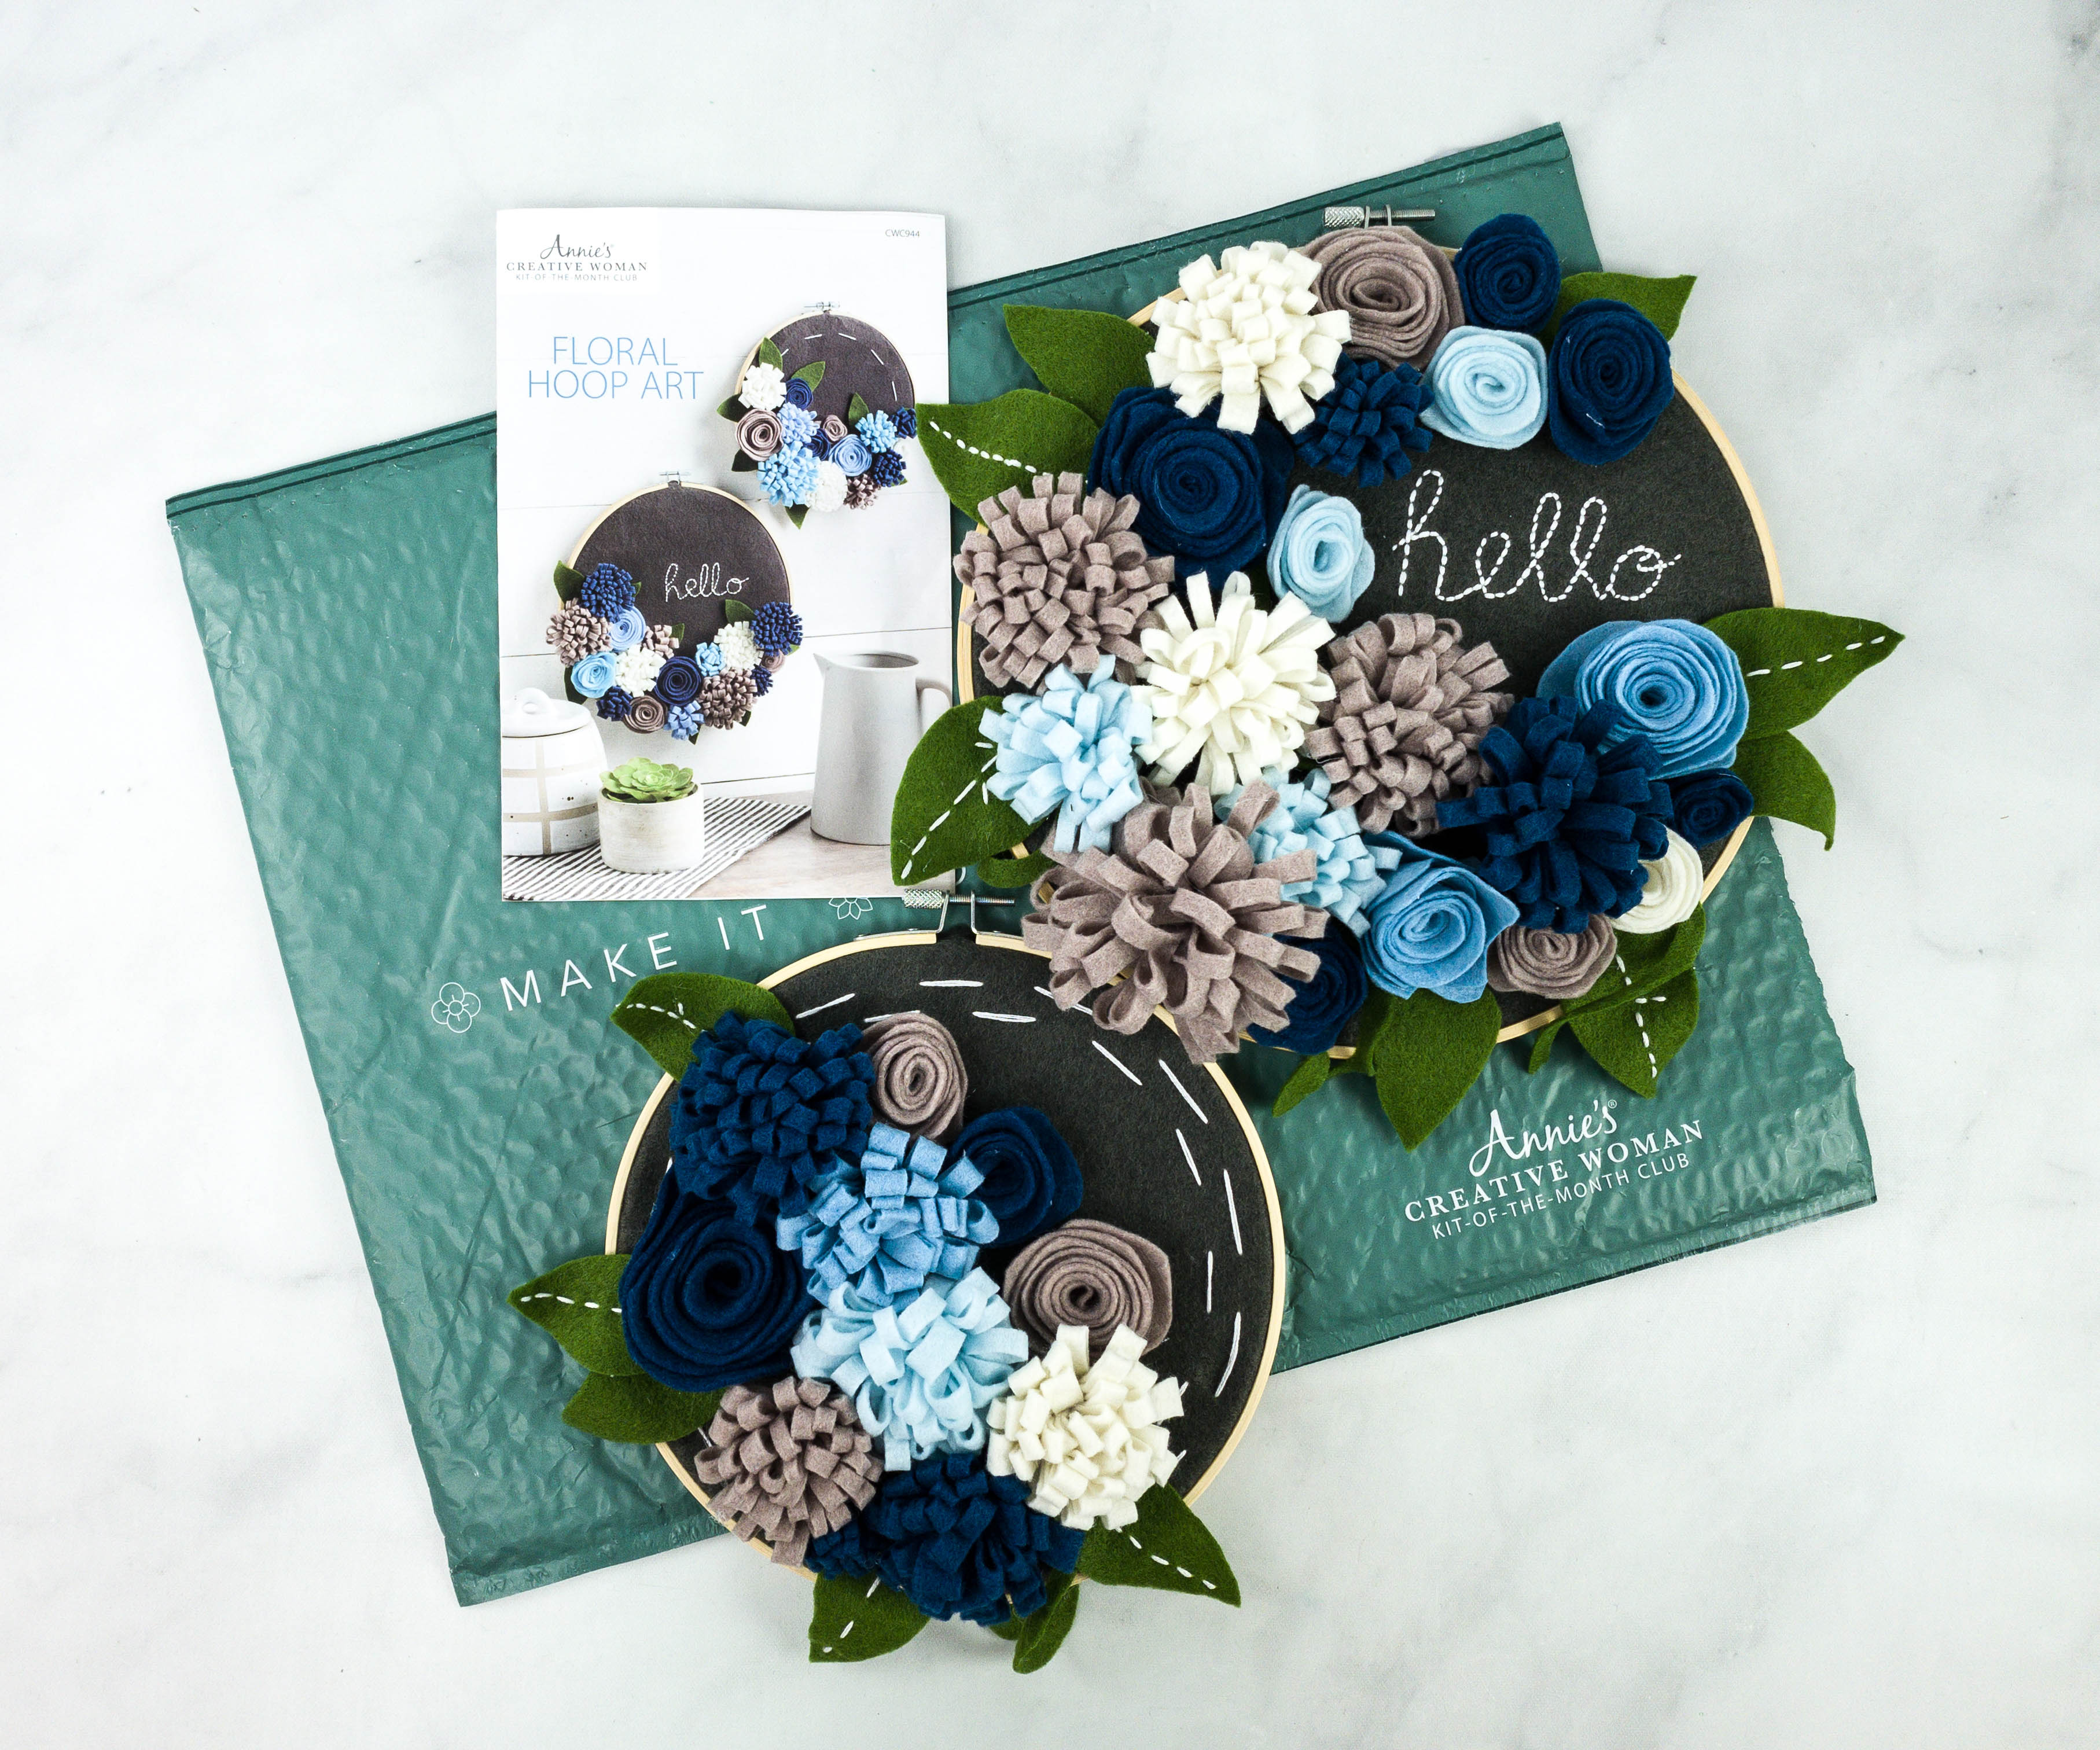
The package came in a padded mailer.
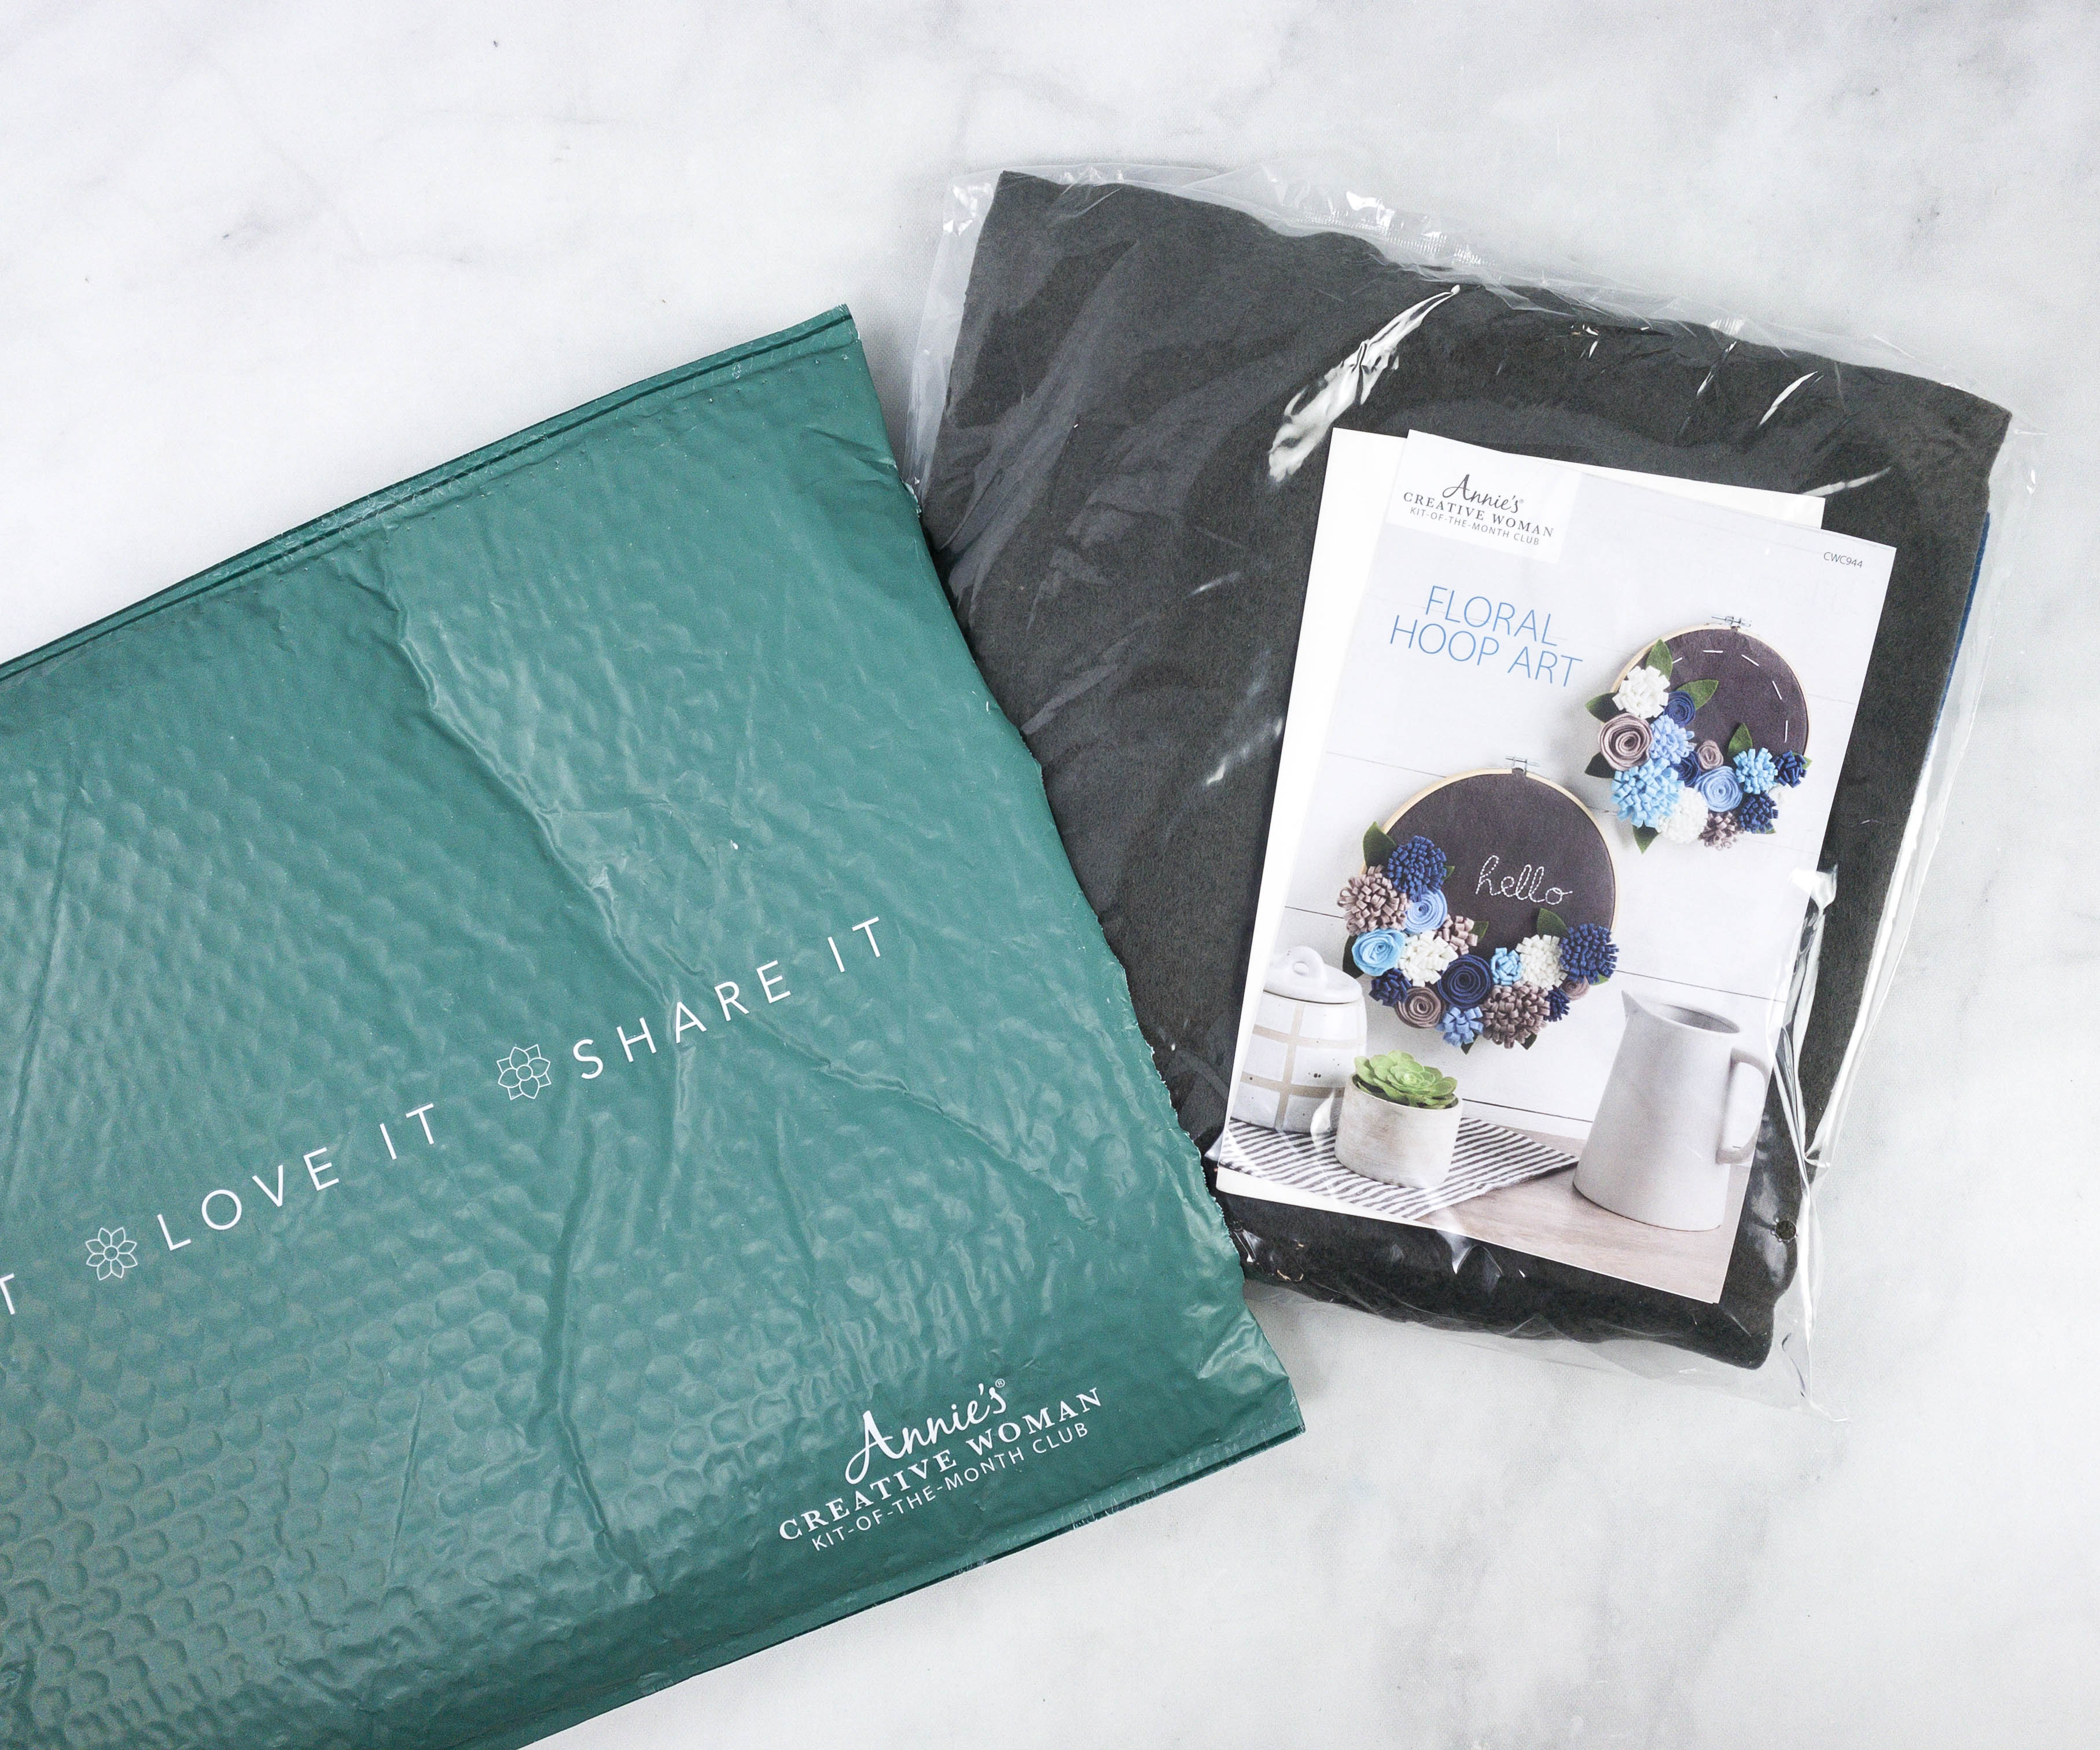
The kit itself was packed in plastic.

There’s a mini booklet that shows what the finished product is supposed to look like. We’re making floral hoop art!
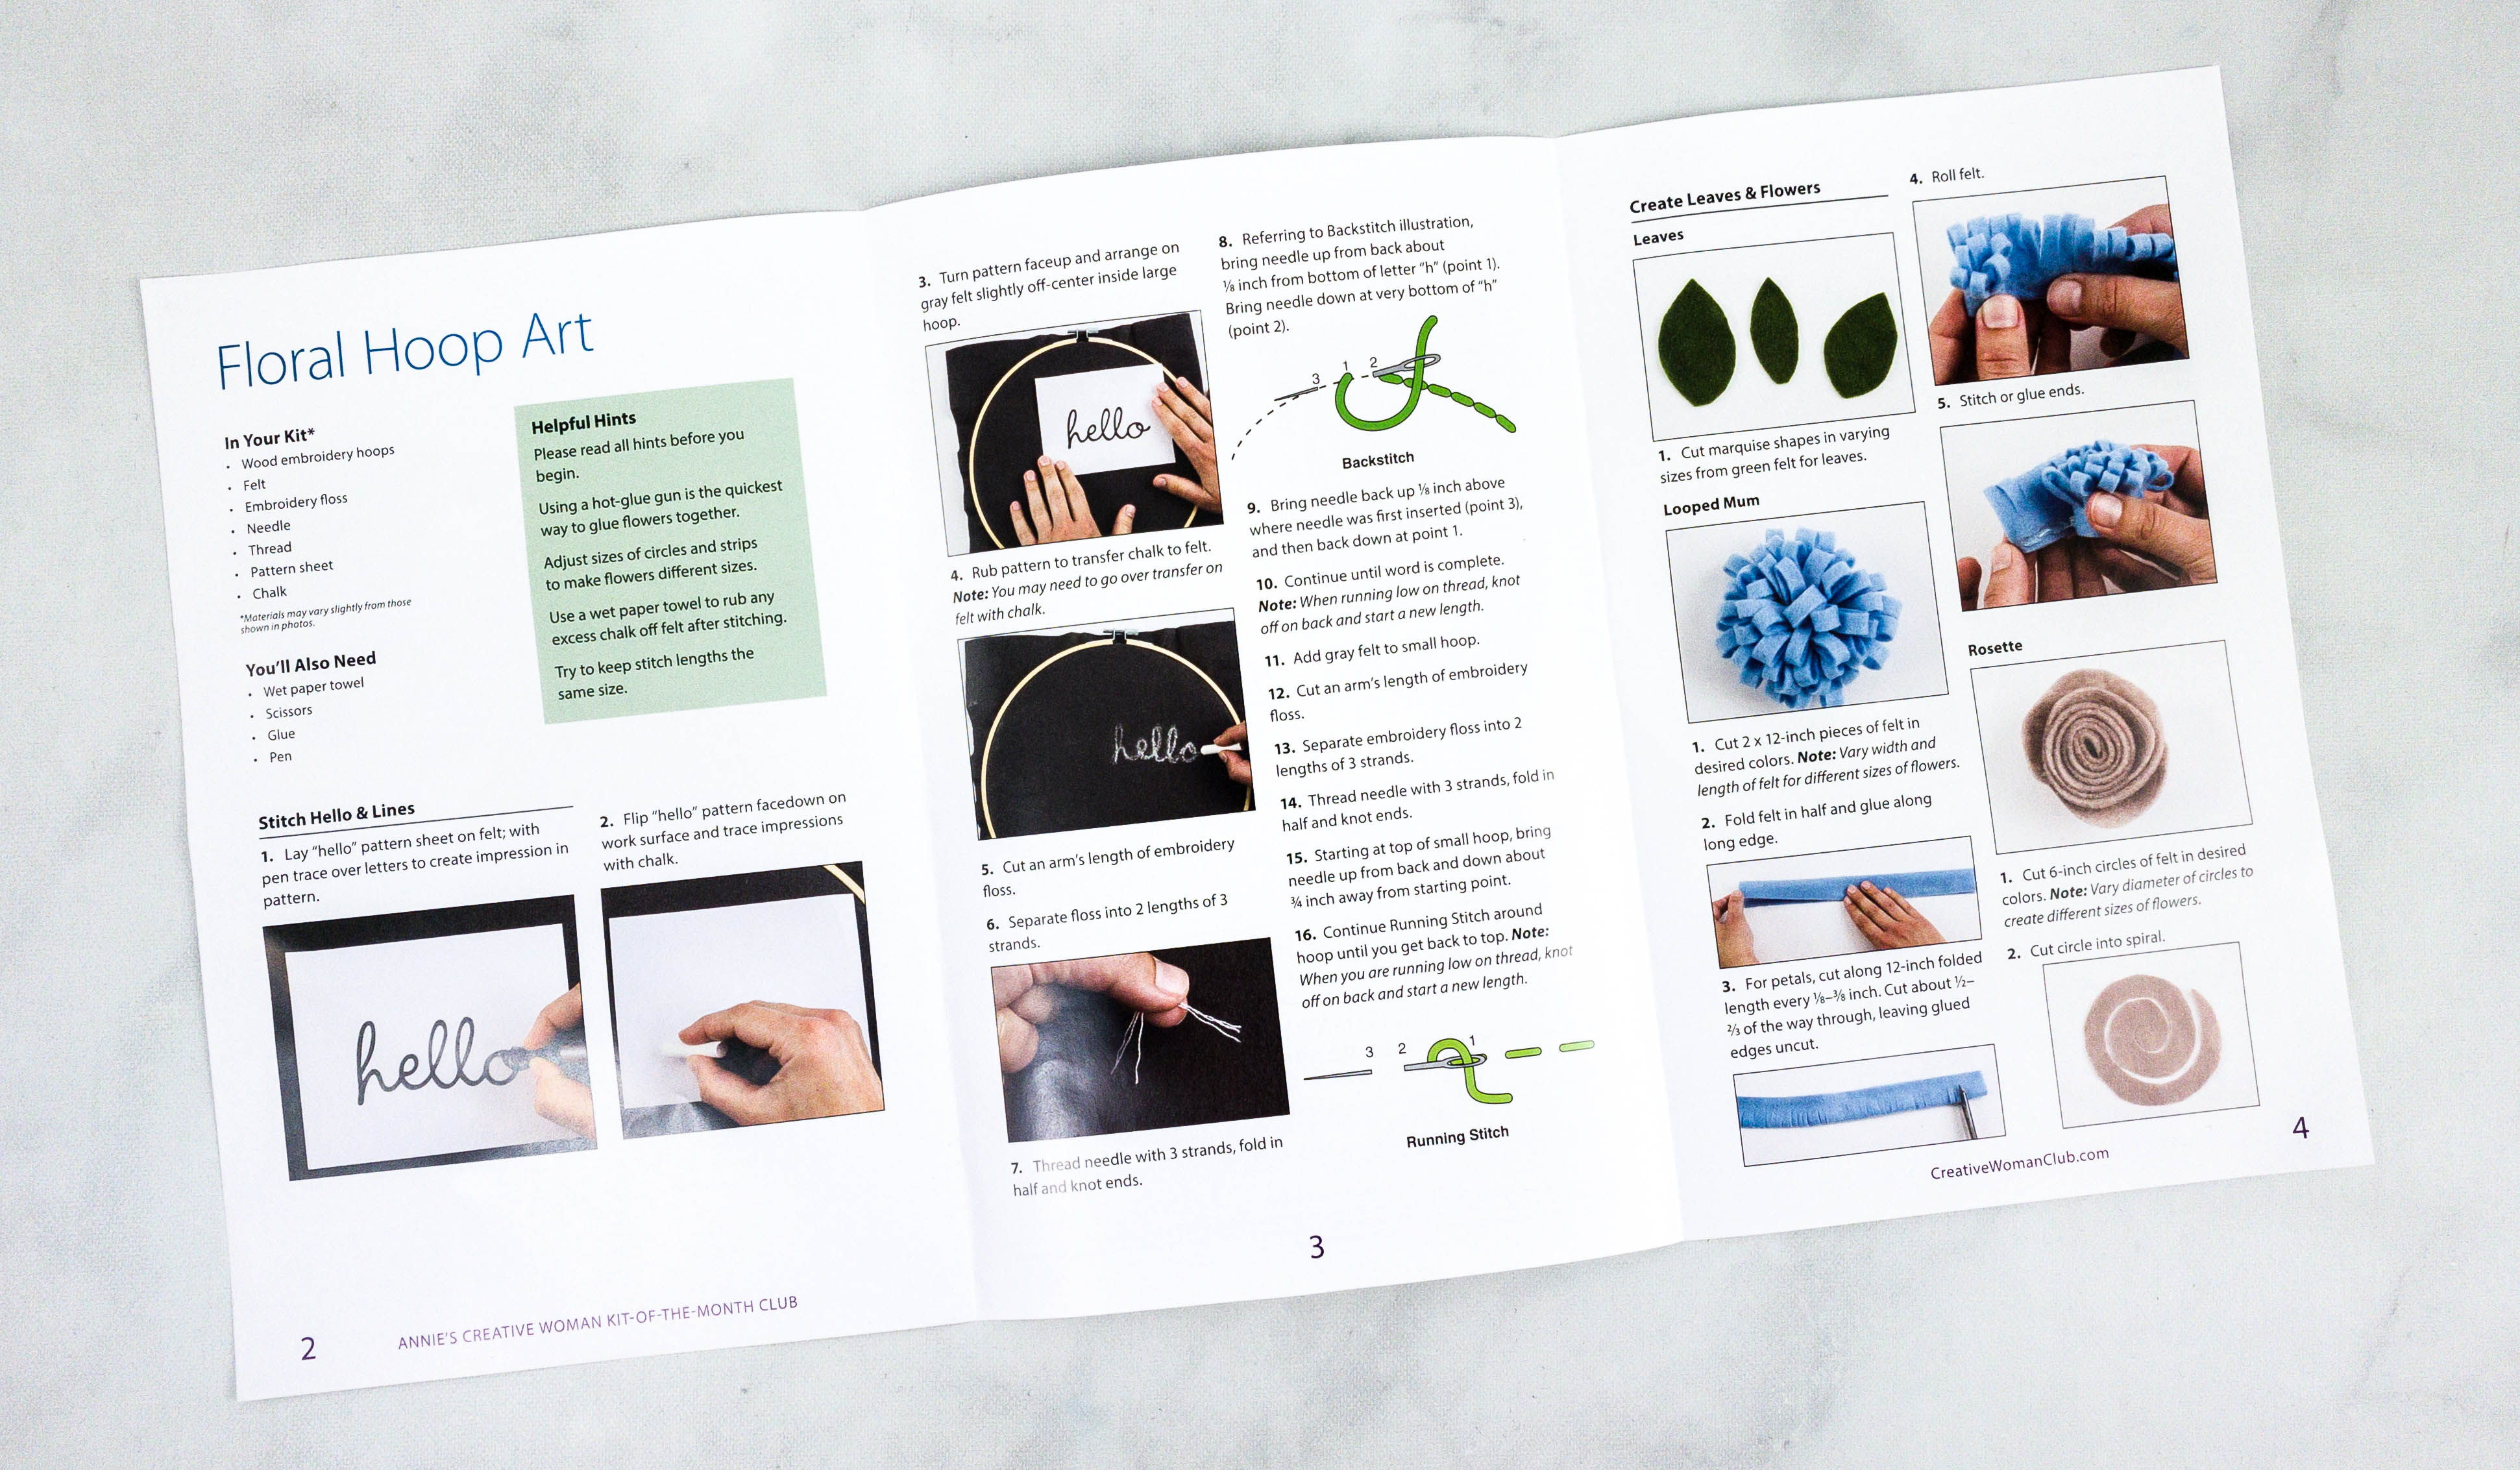
The booklet lists all the items included in the kit, plus the items needed from home.
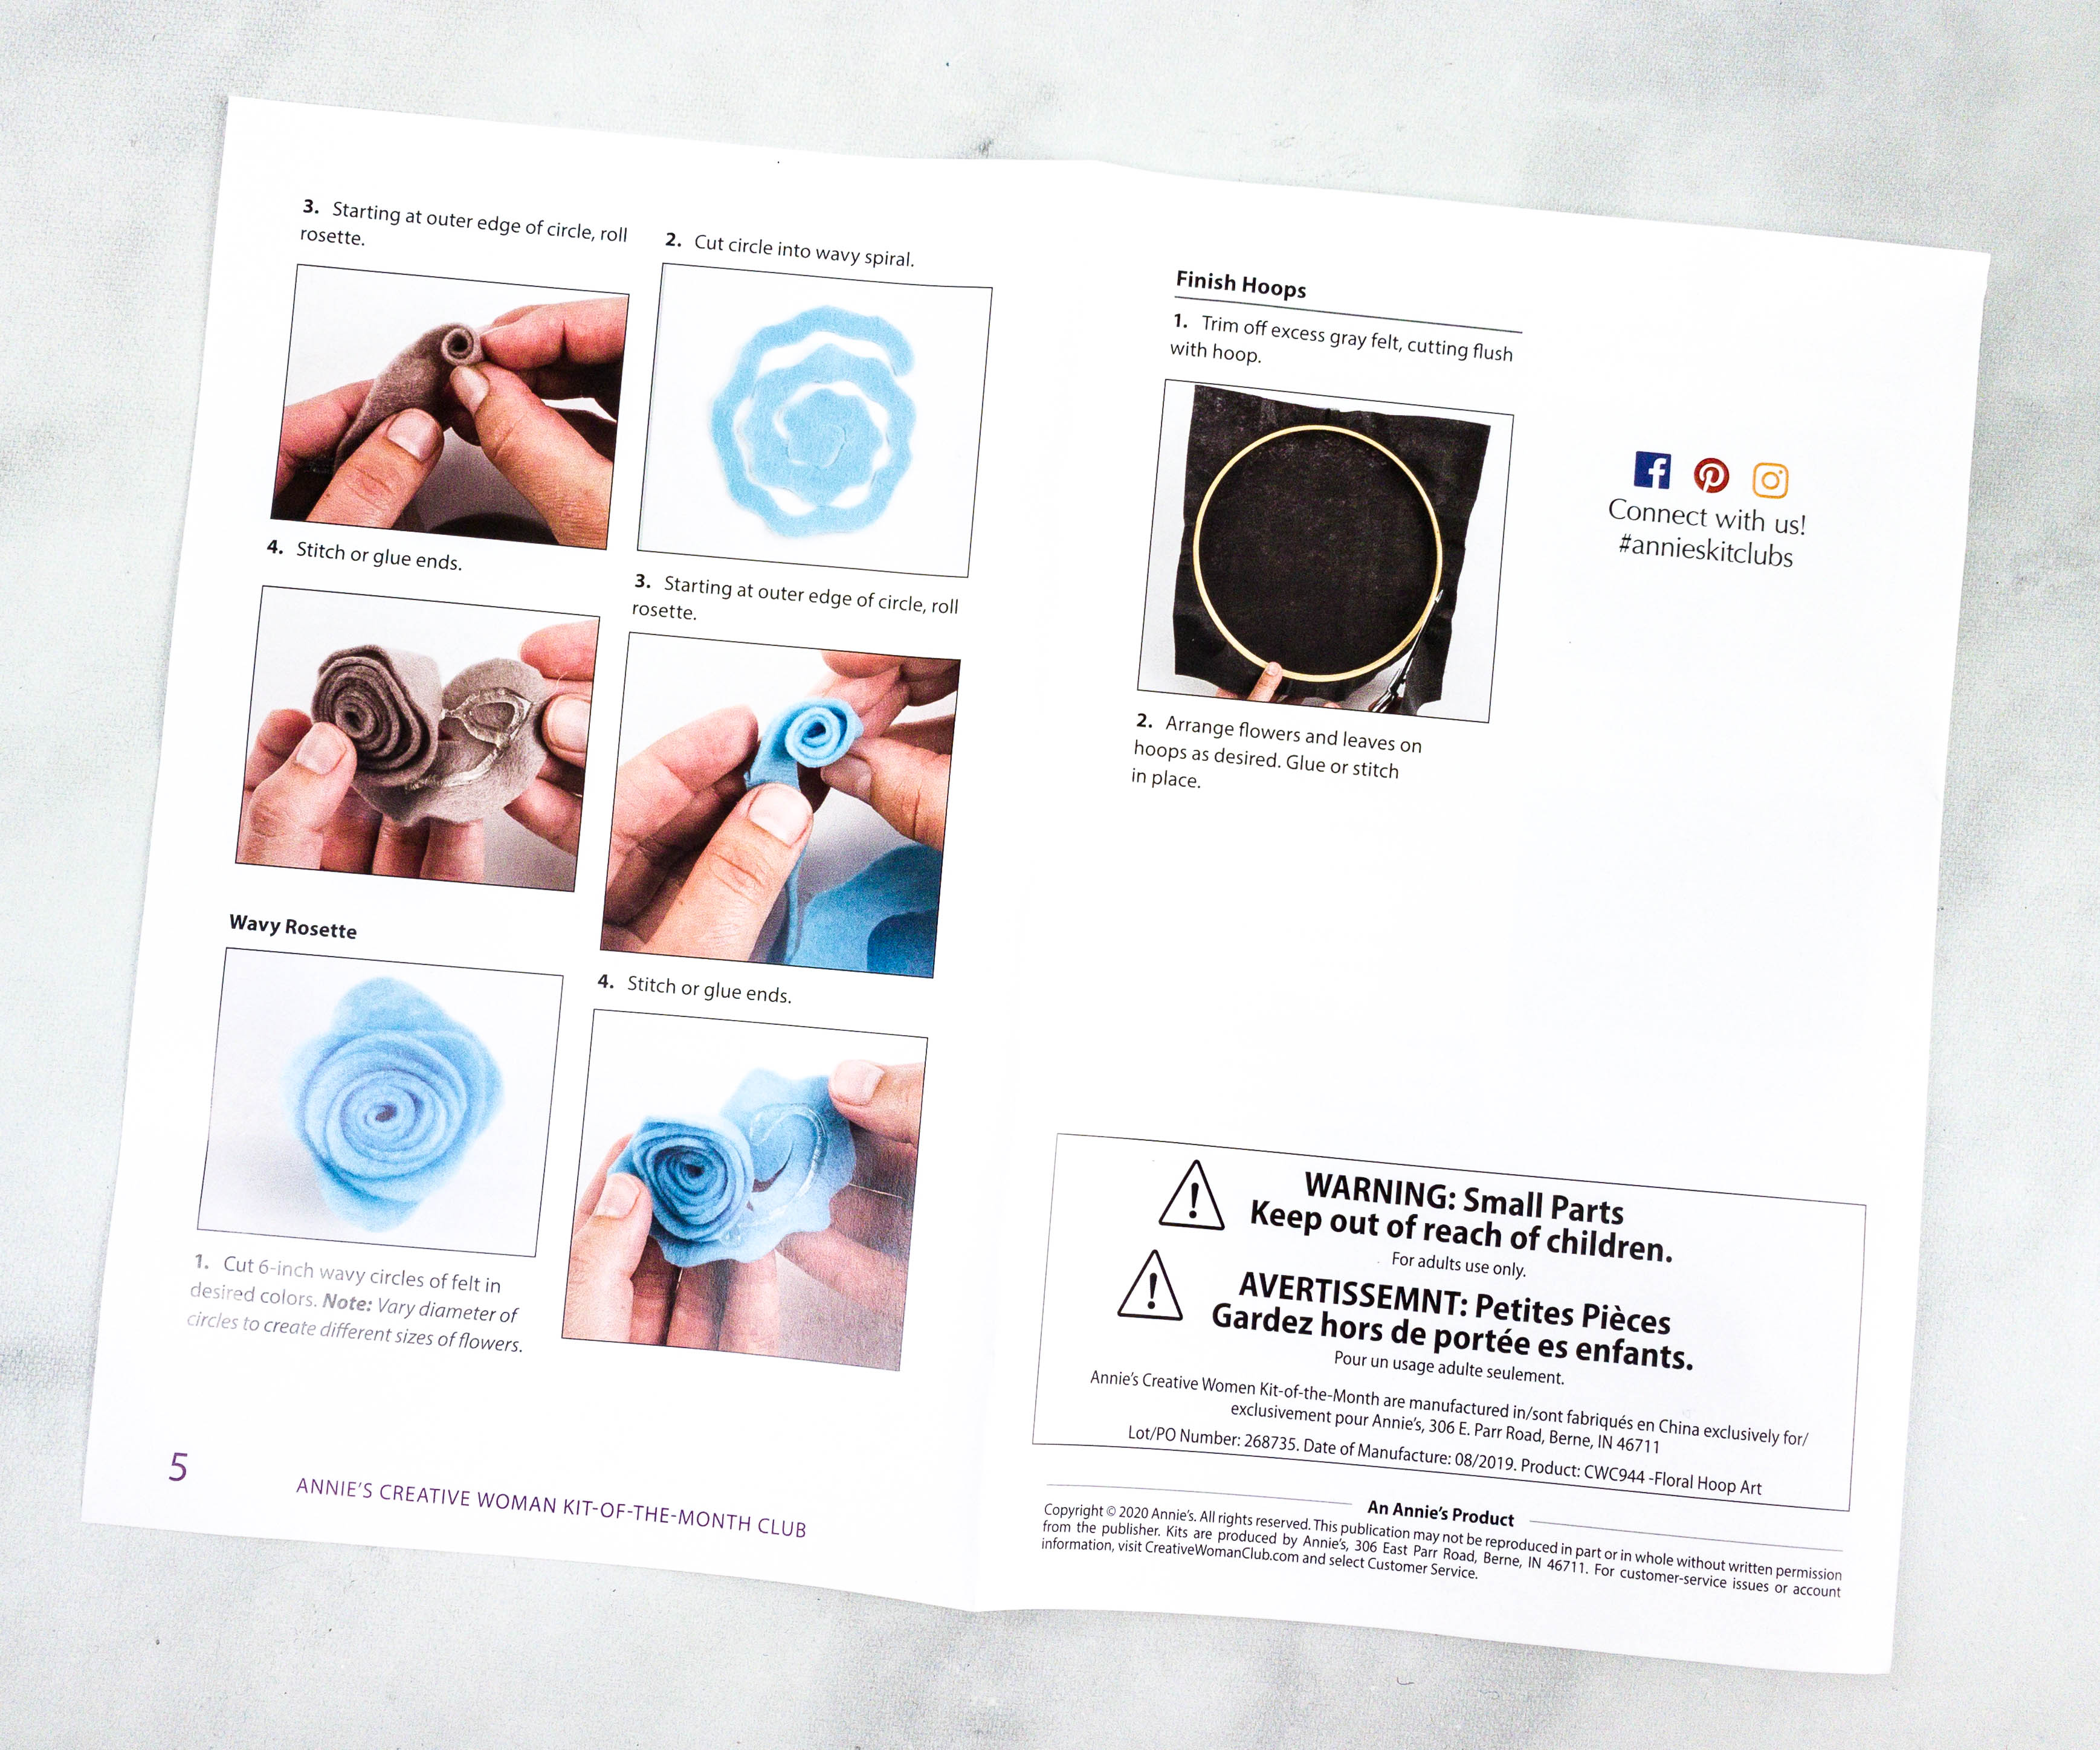
The step-by-step instruction is easy to follow. There are even photos so you can hardly go wrong!
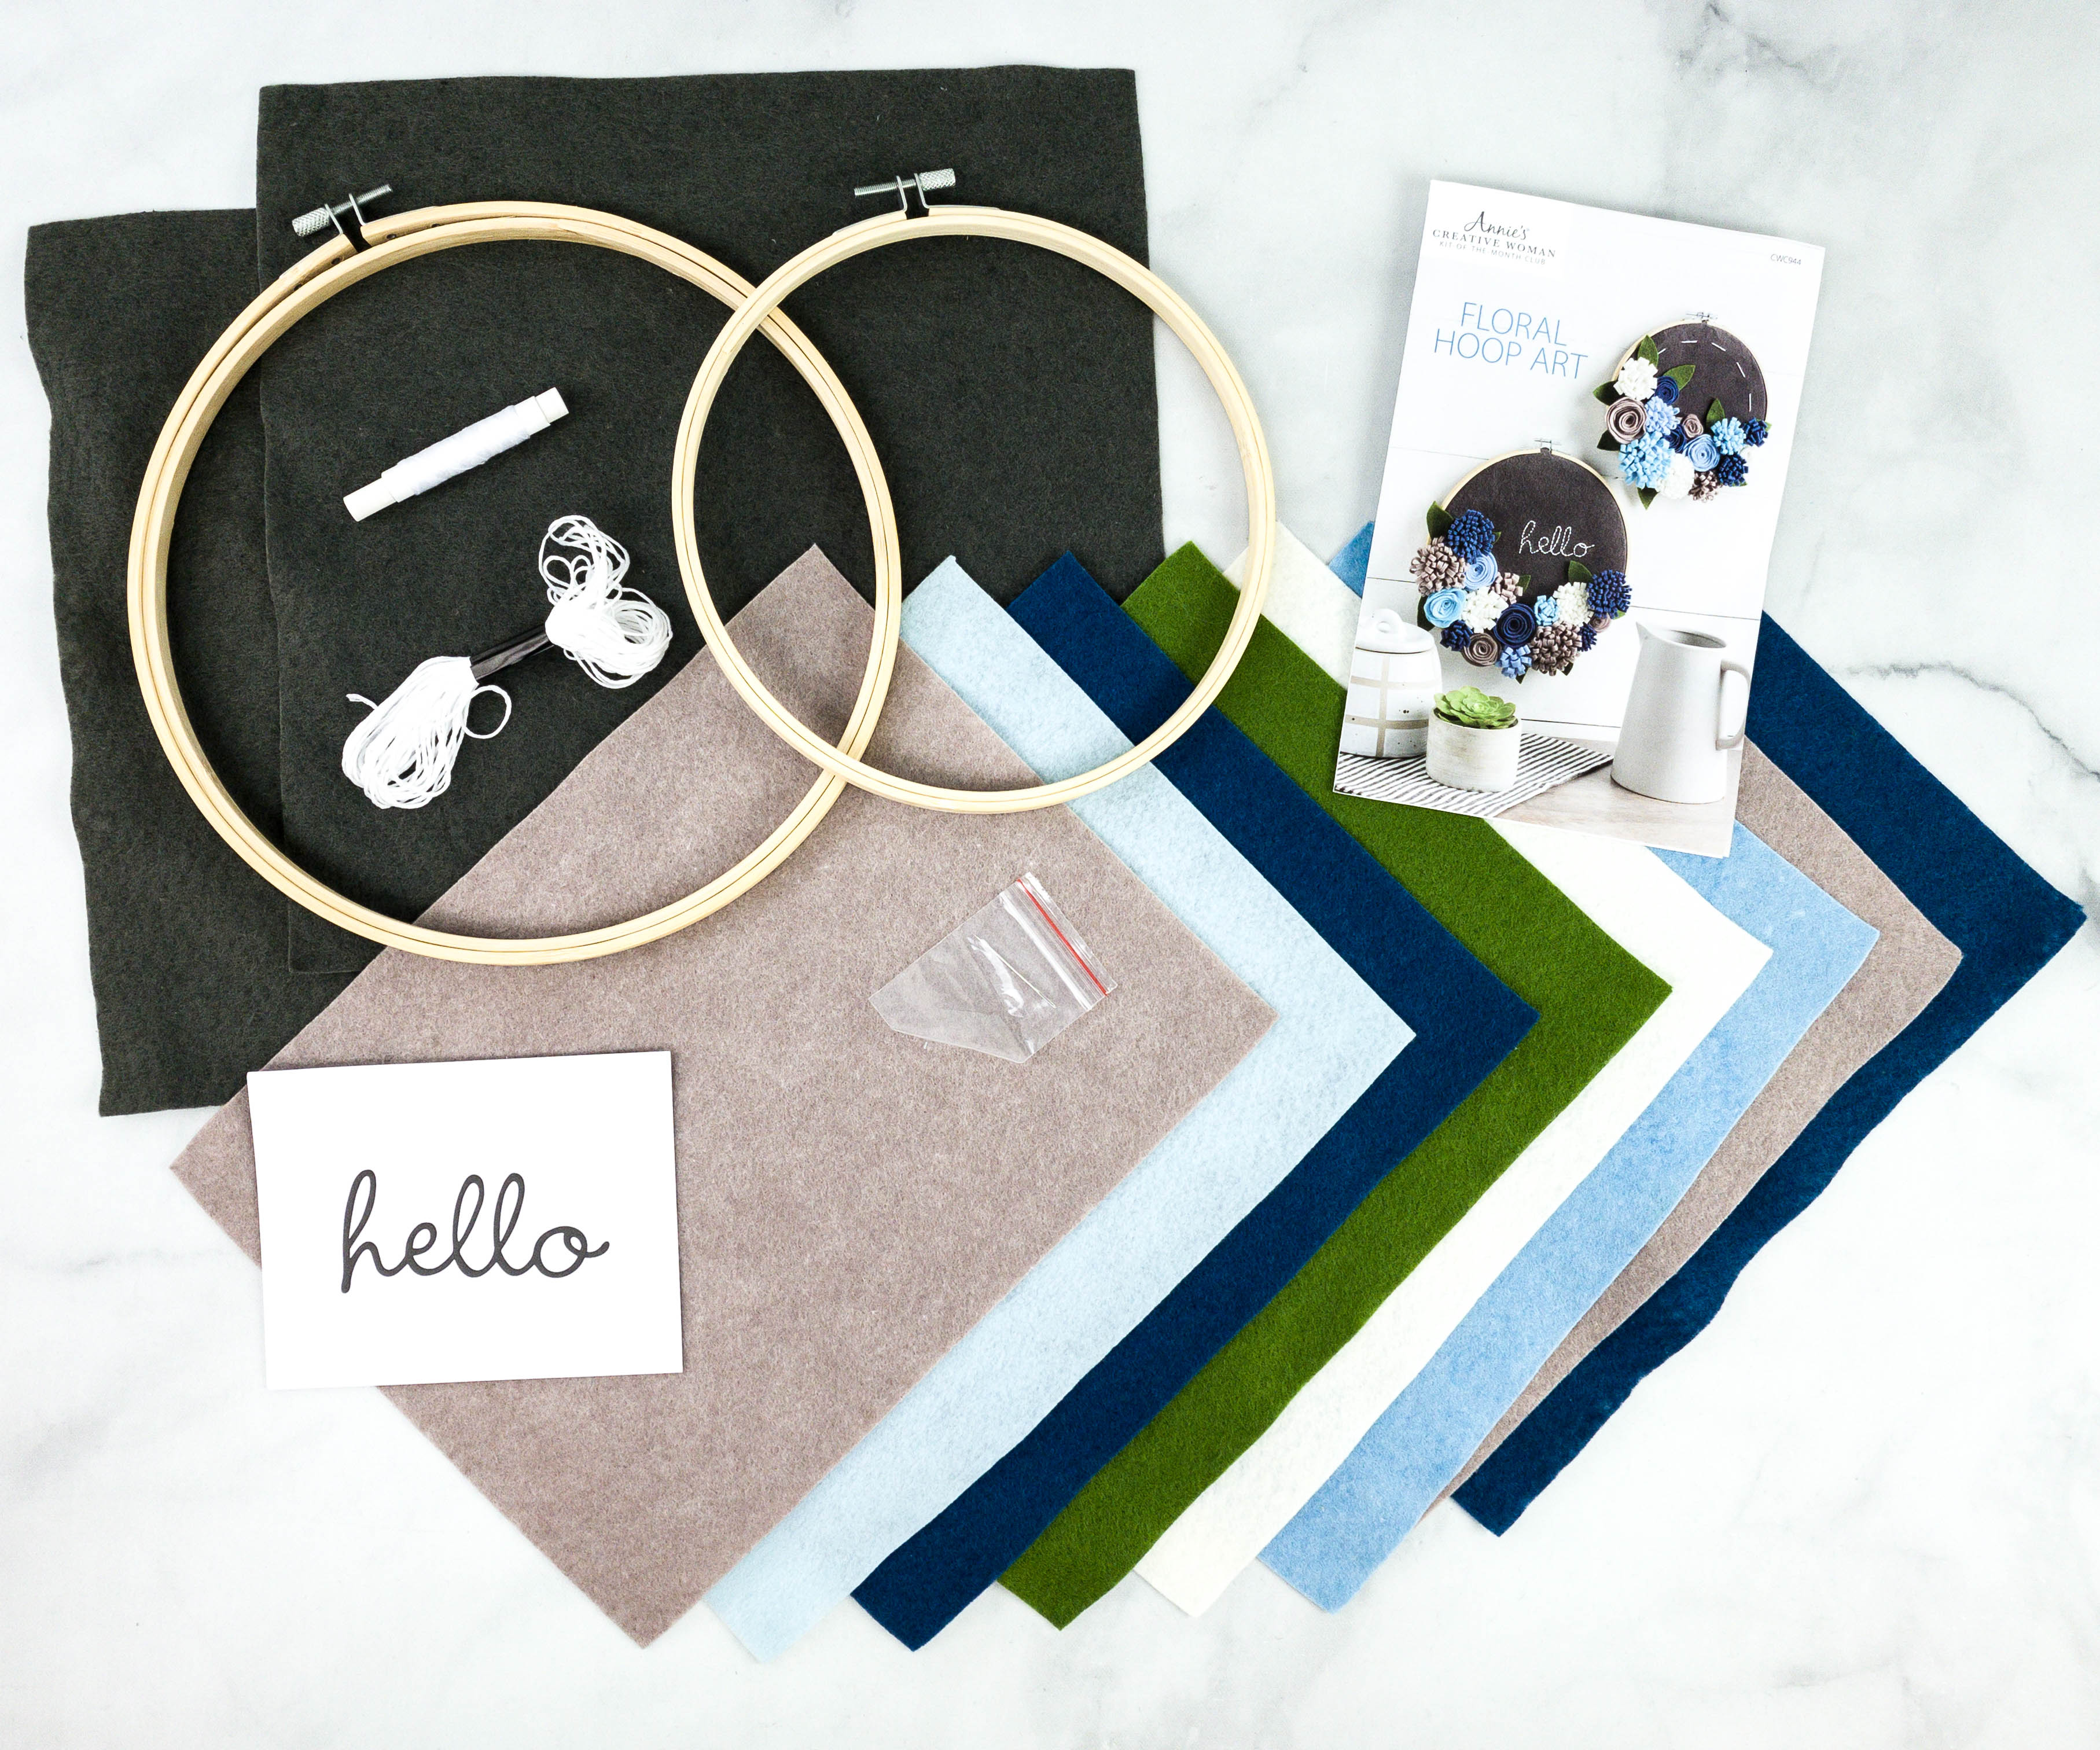
Everything in my box!
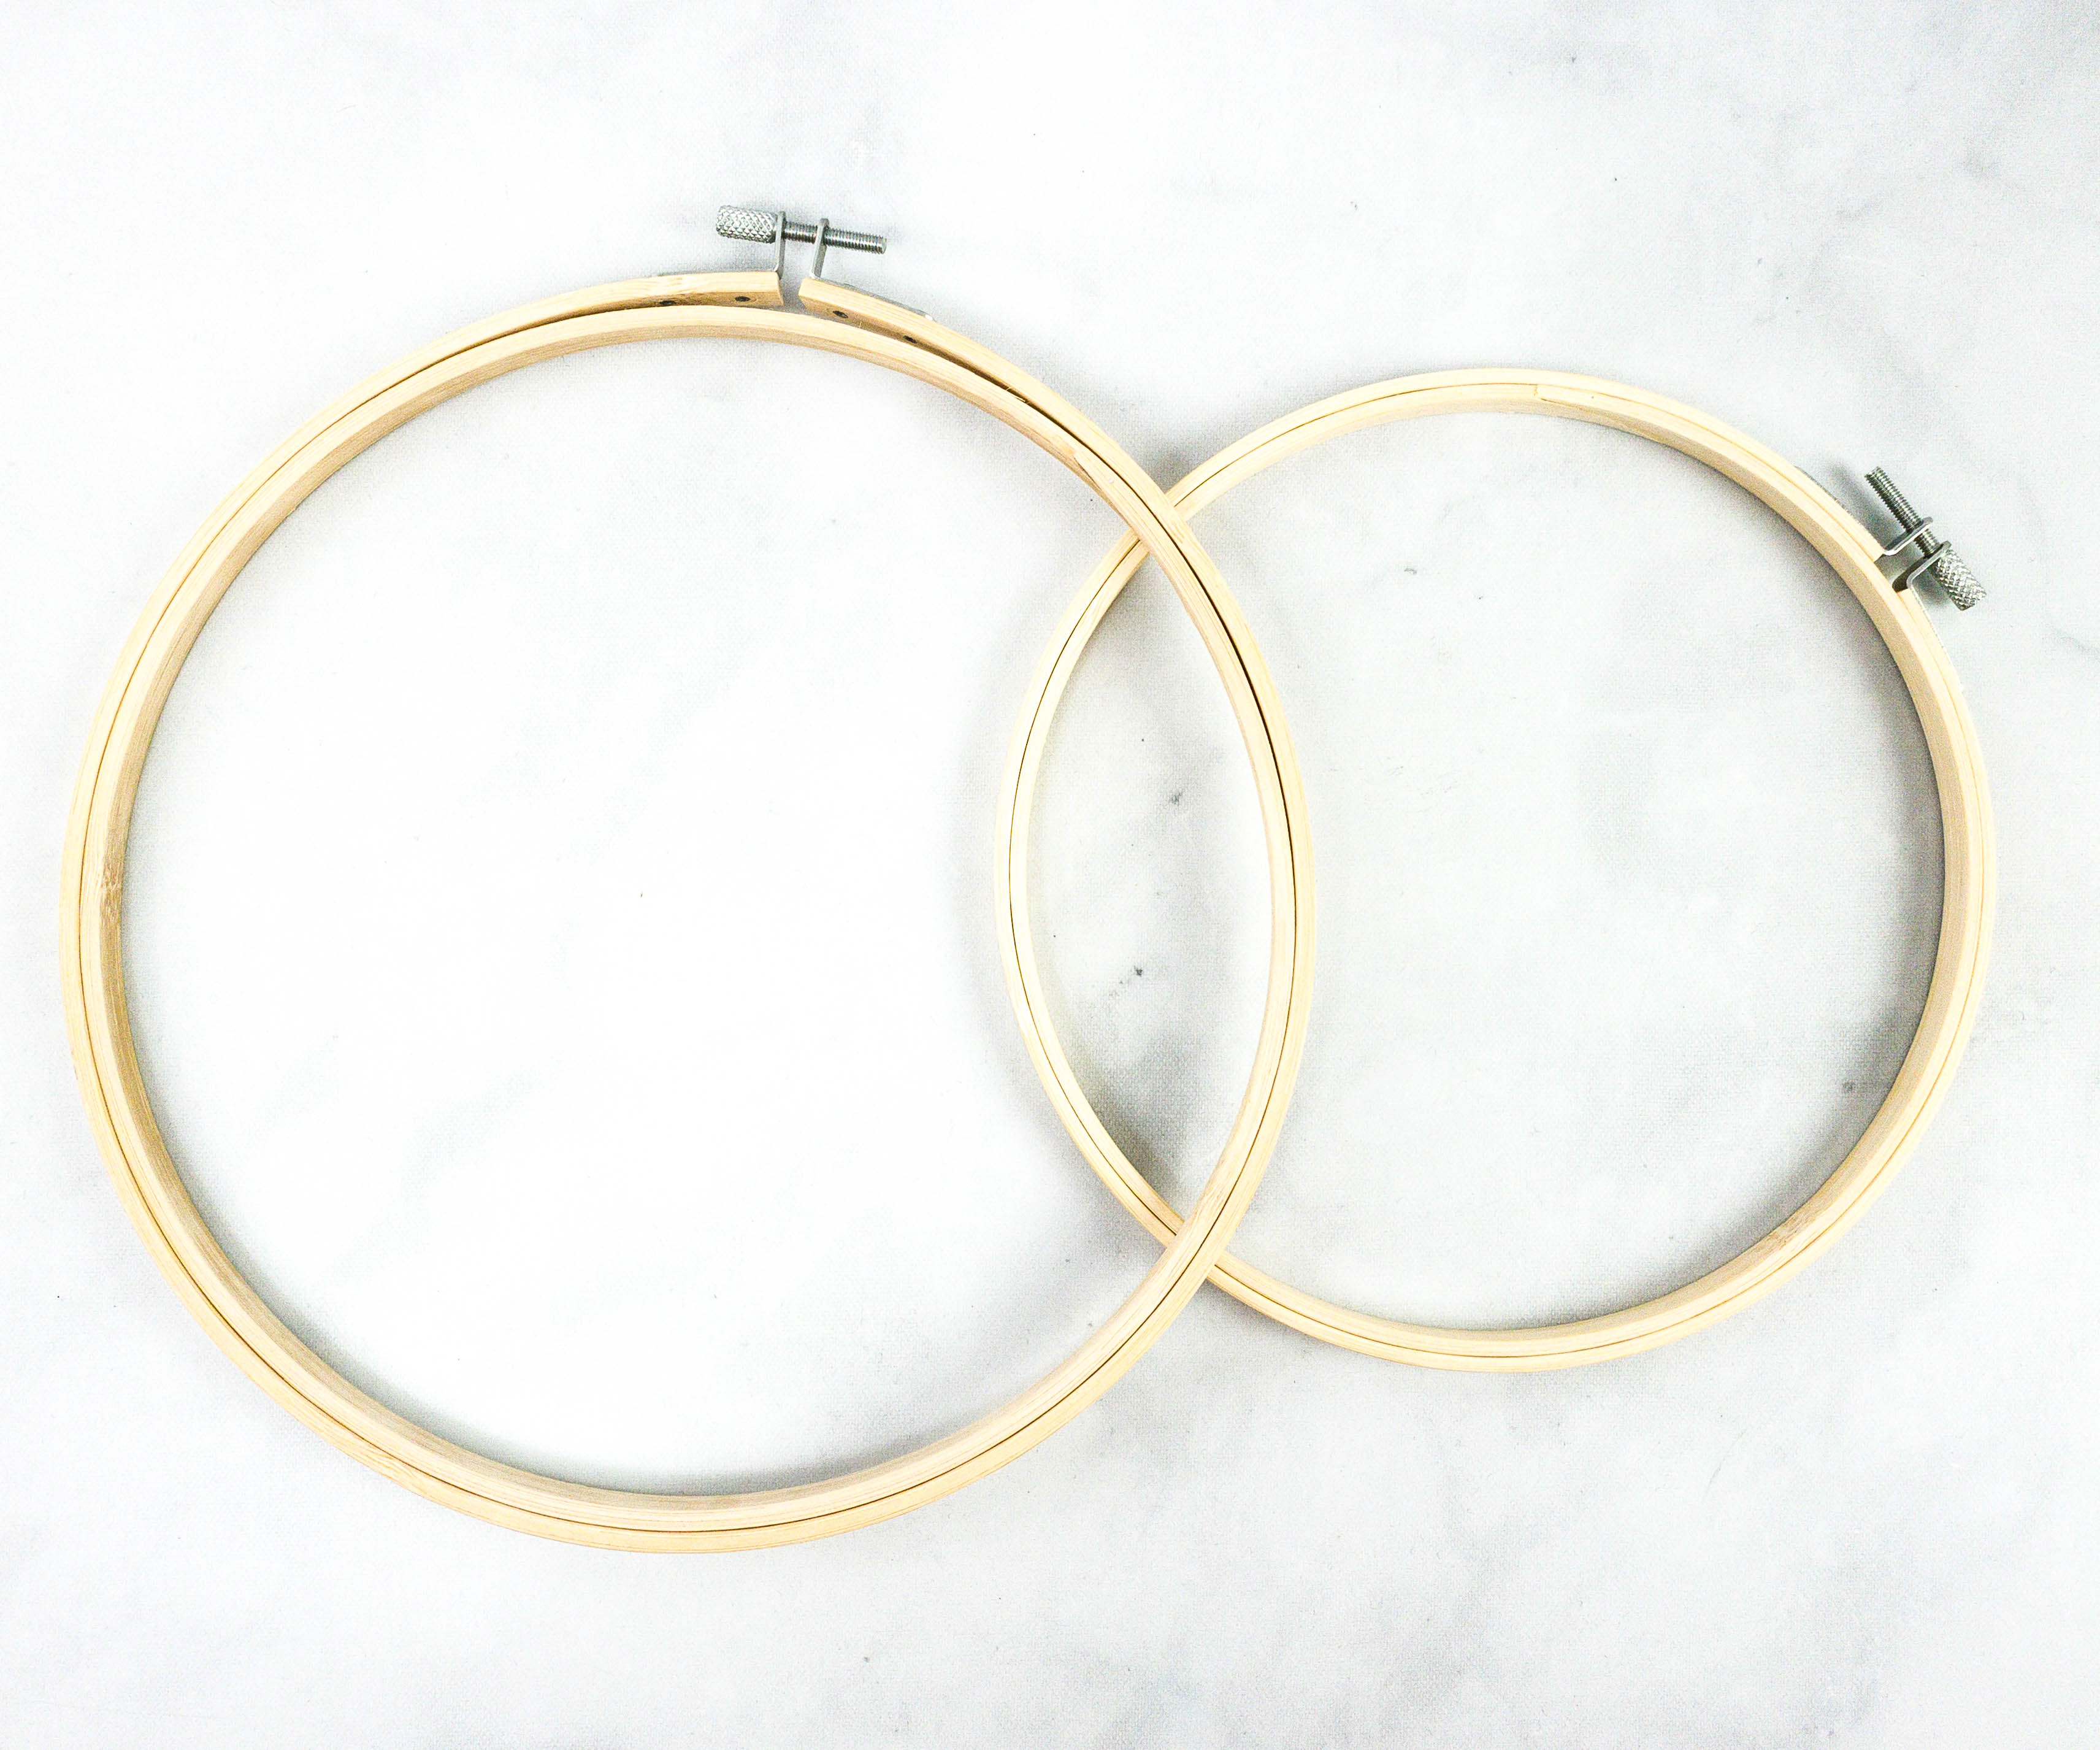
We have two different sizes of hoops inside the kit!
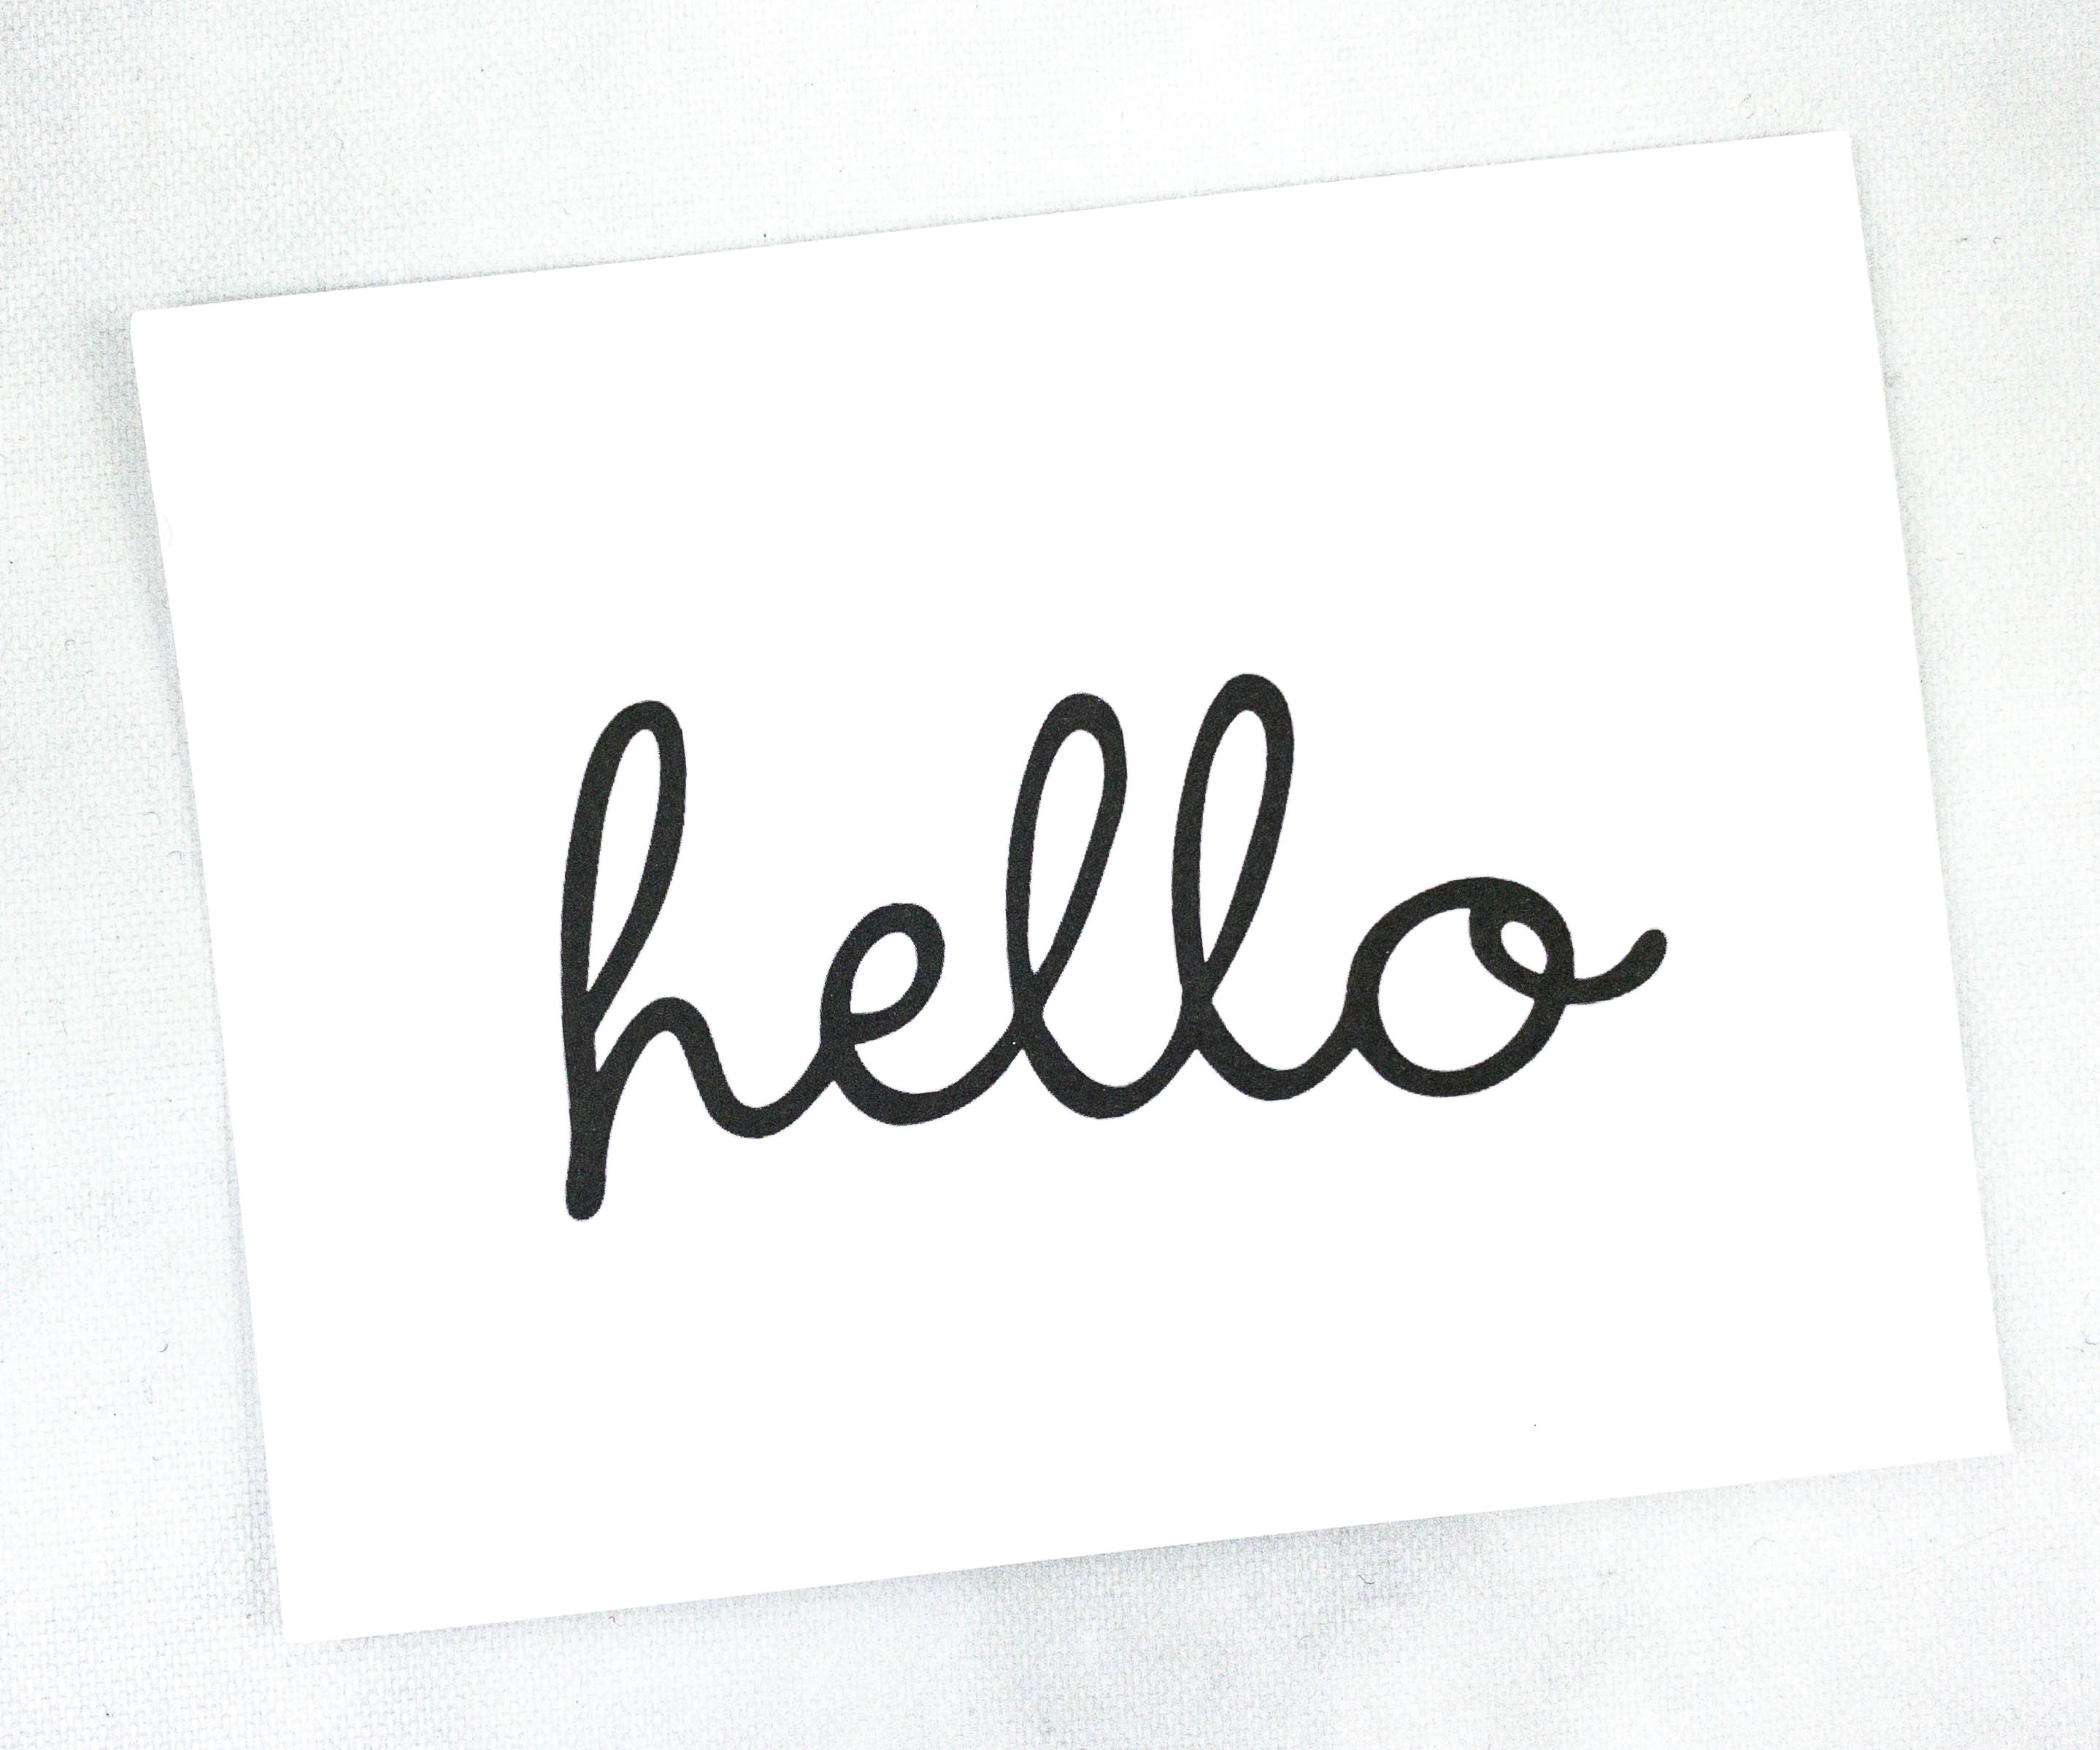
We also received this simple pattern sheet that says “hello” in cursive.
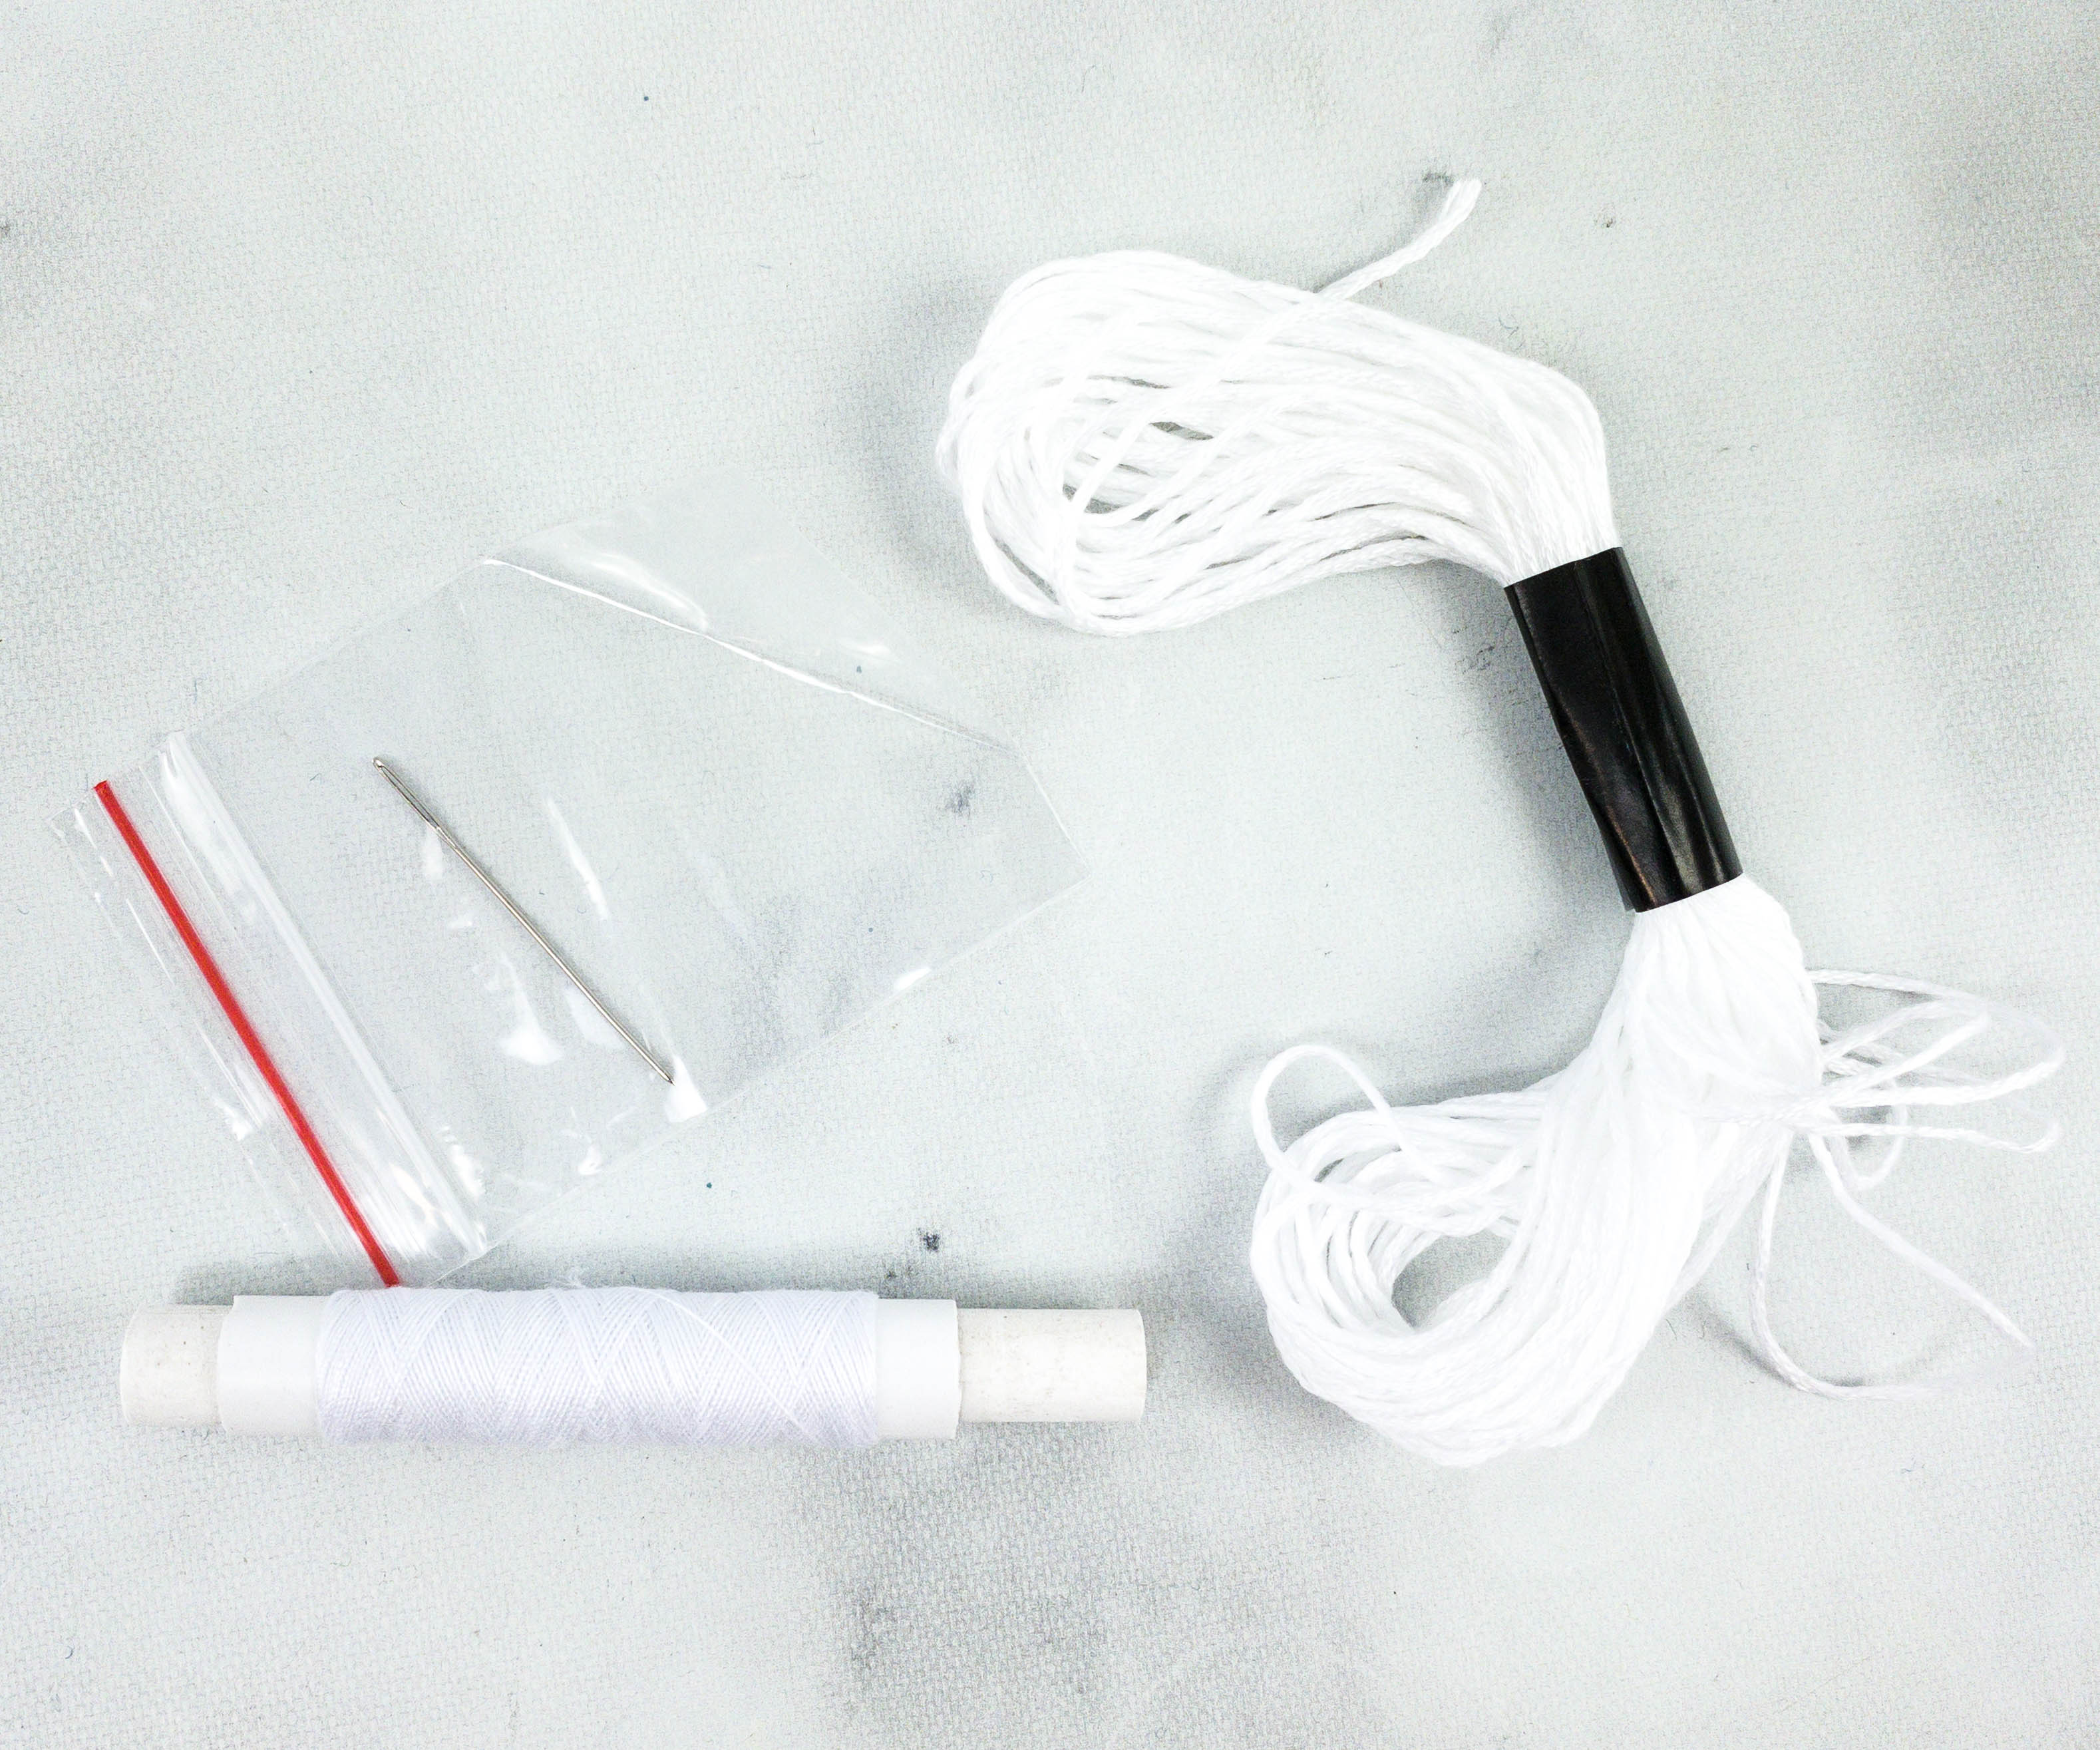
Here’s everything we need for the embroidering part.
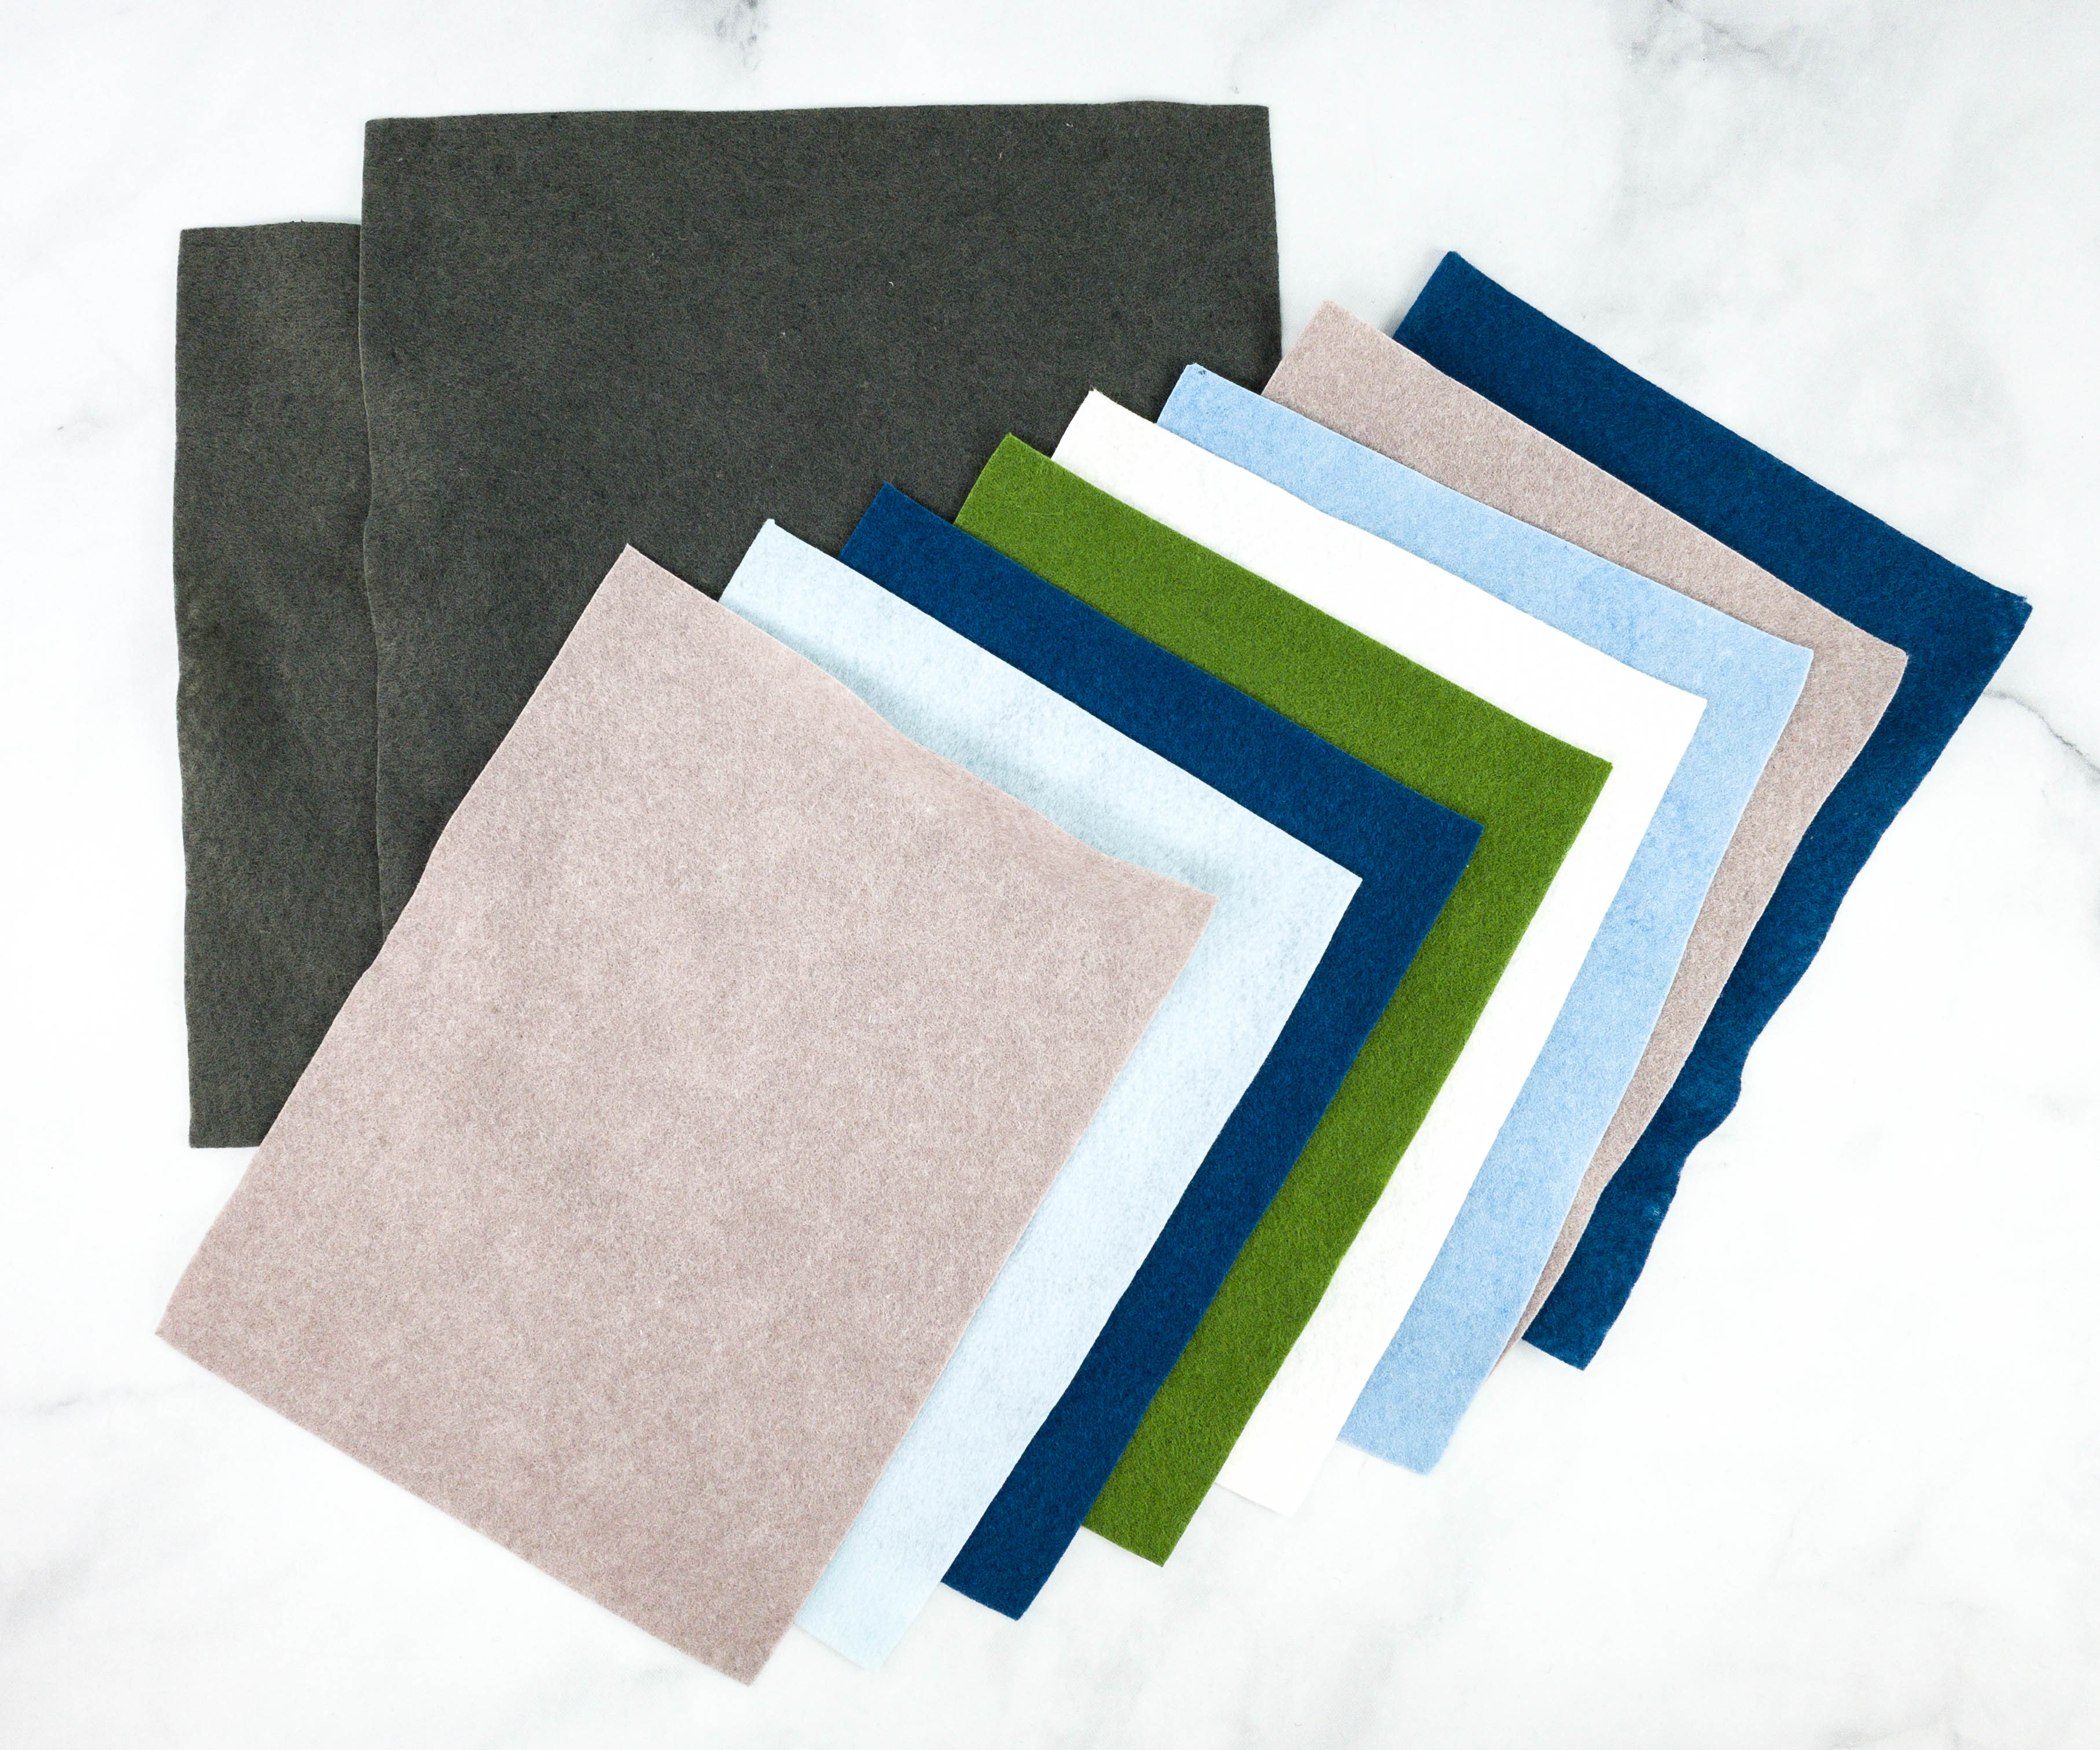
Lastly, we have different colors of felt!
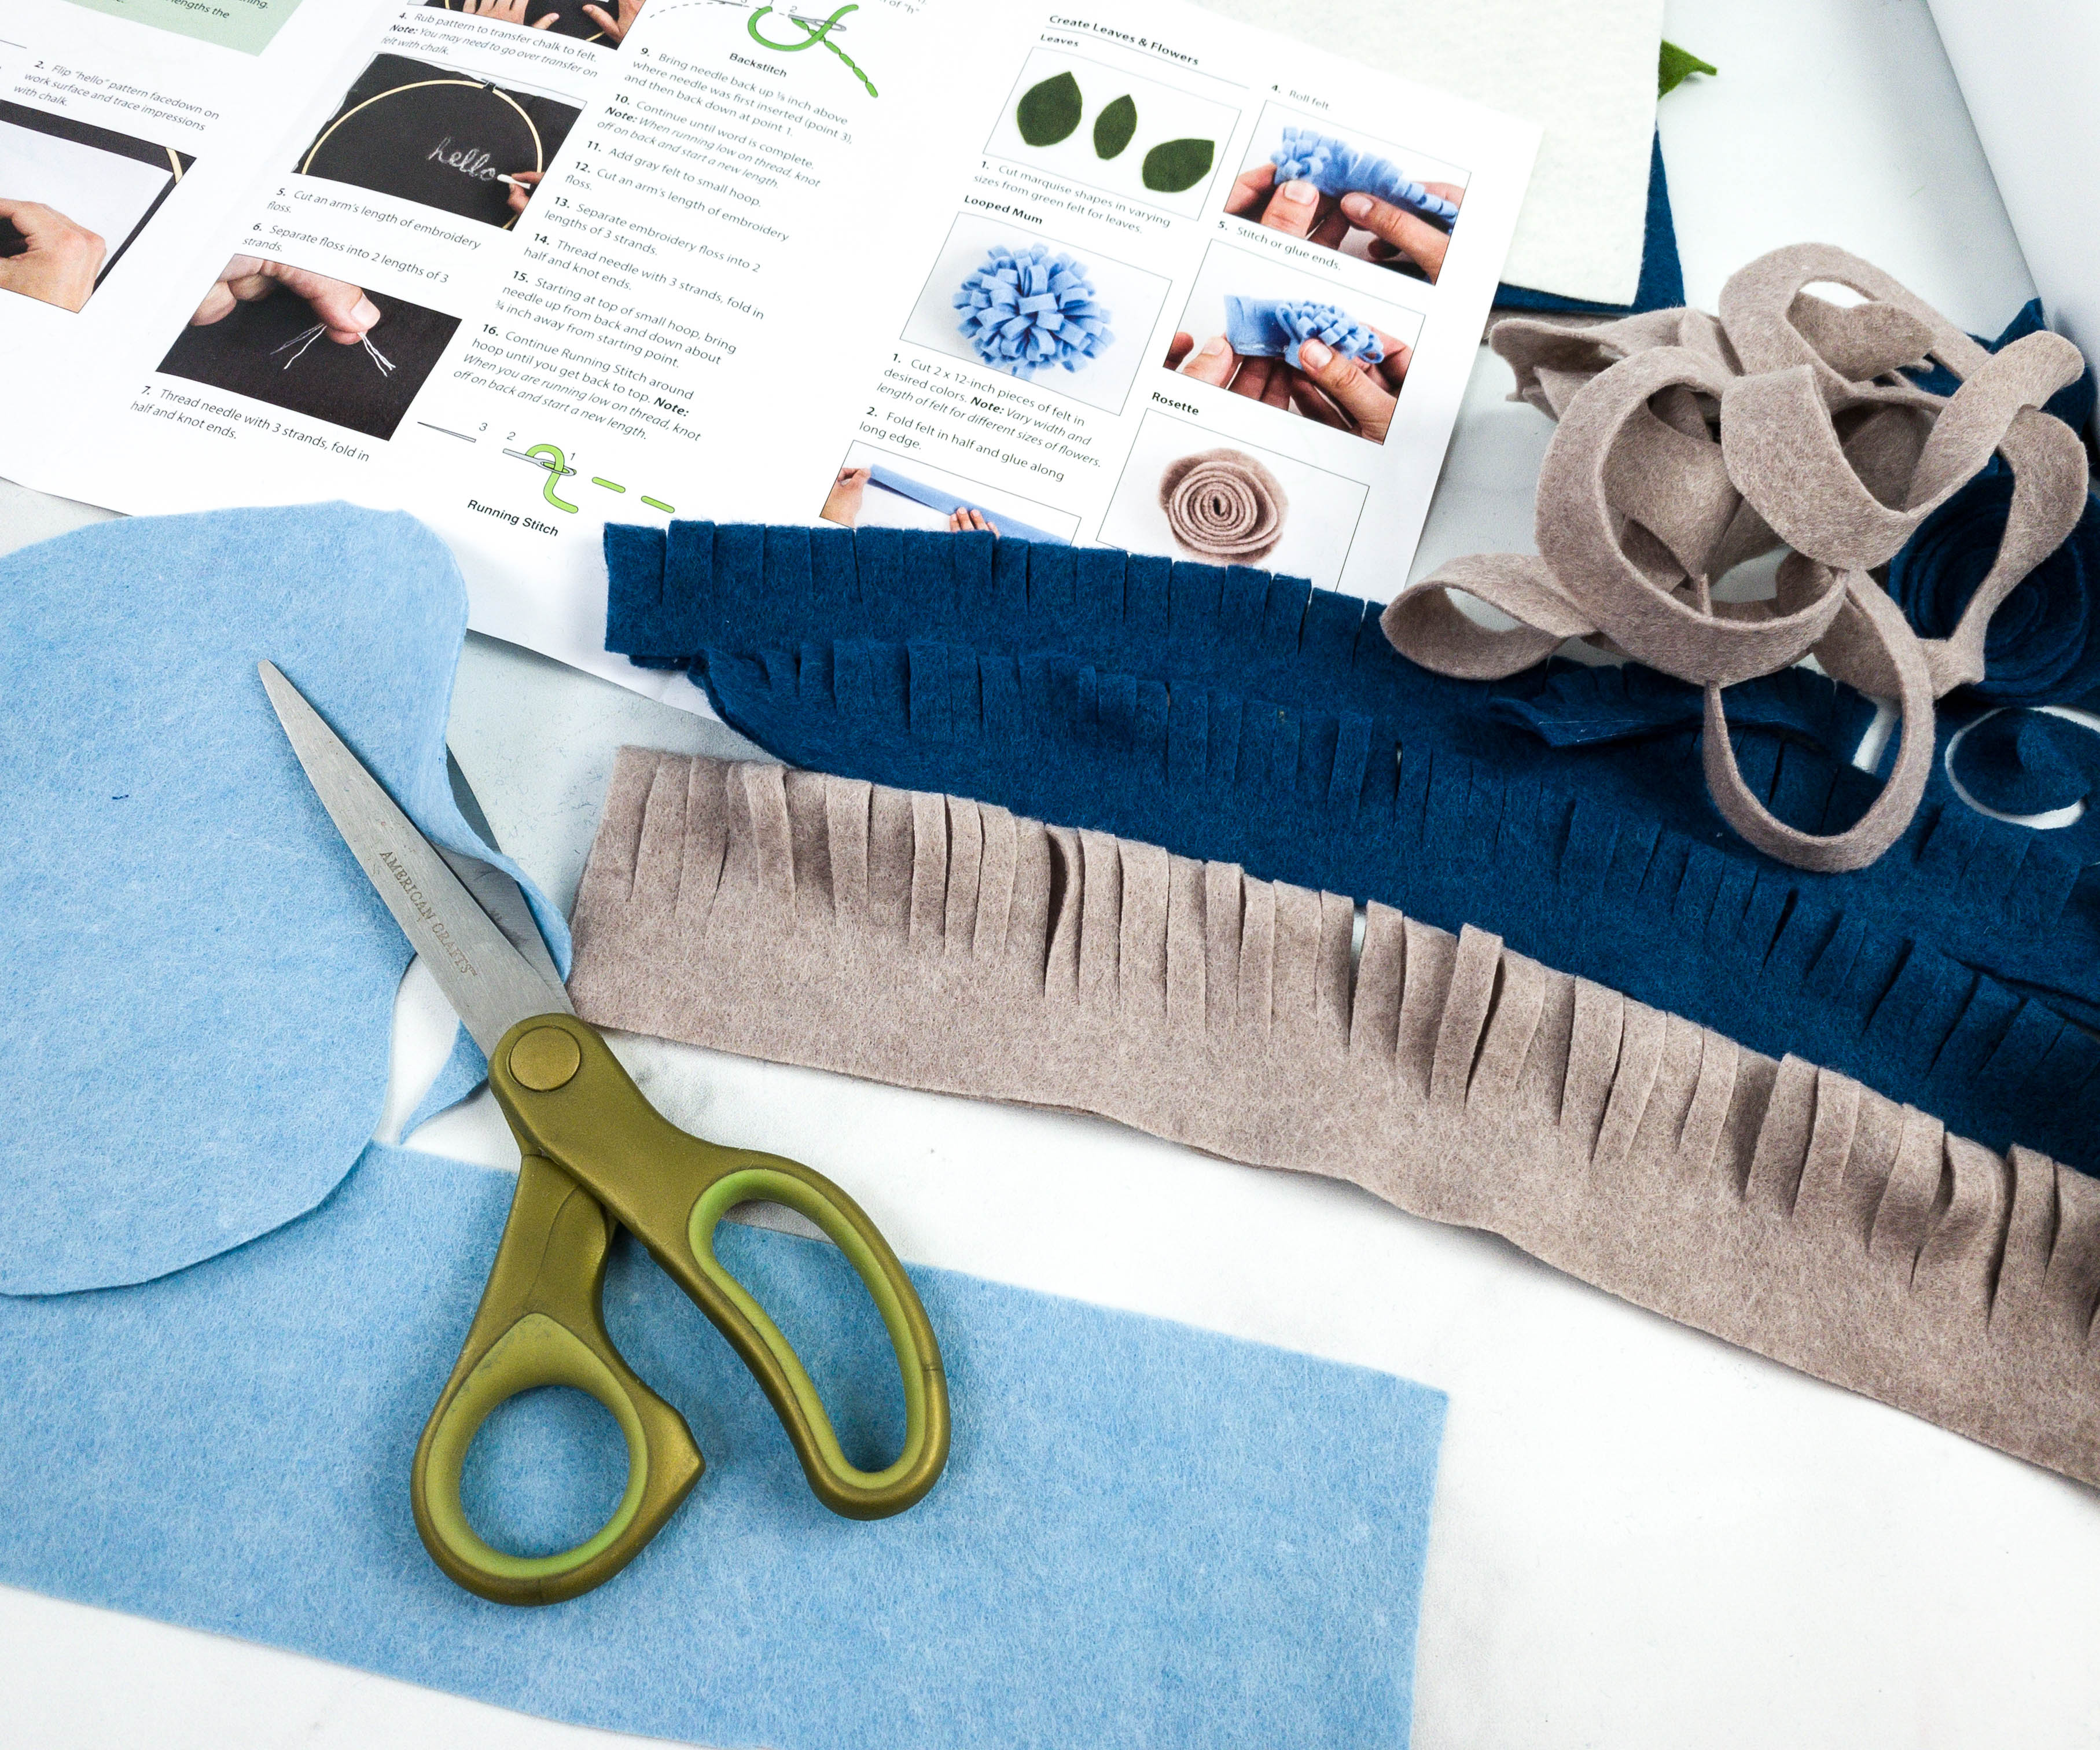
We prepared all the materials first and started with working the felt designs.

They’re pretty easy to do! We just cut some of the pieces off, following the instructions.
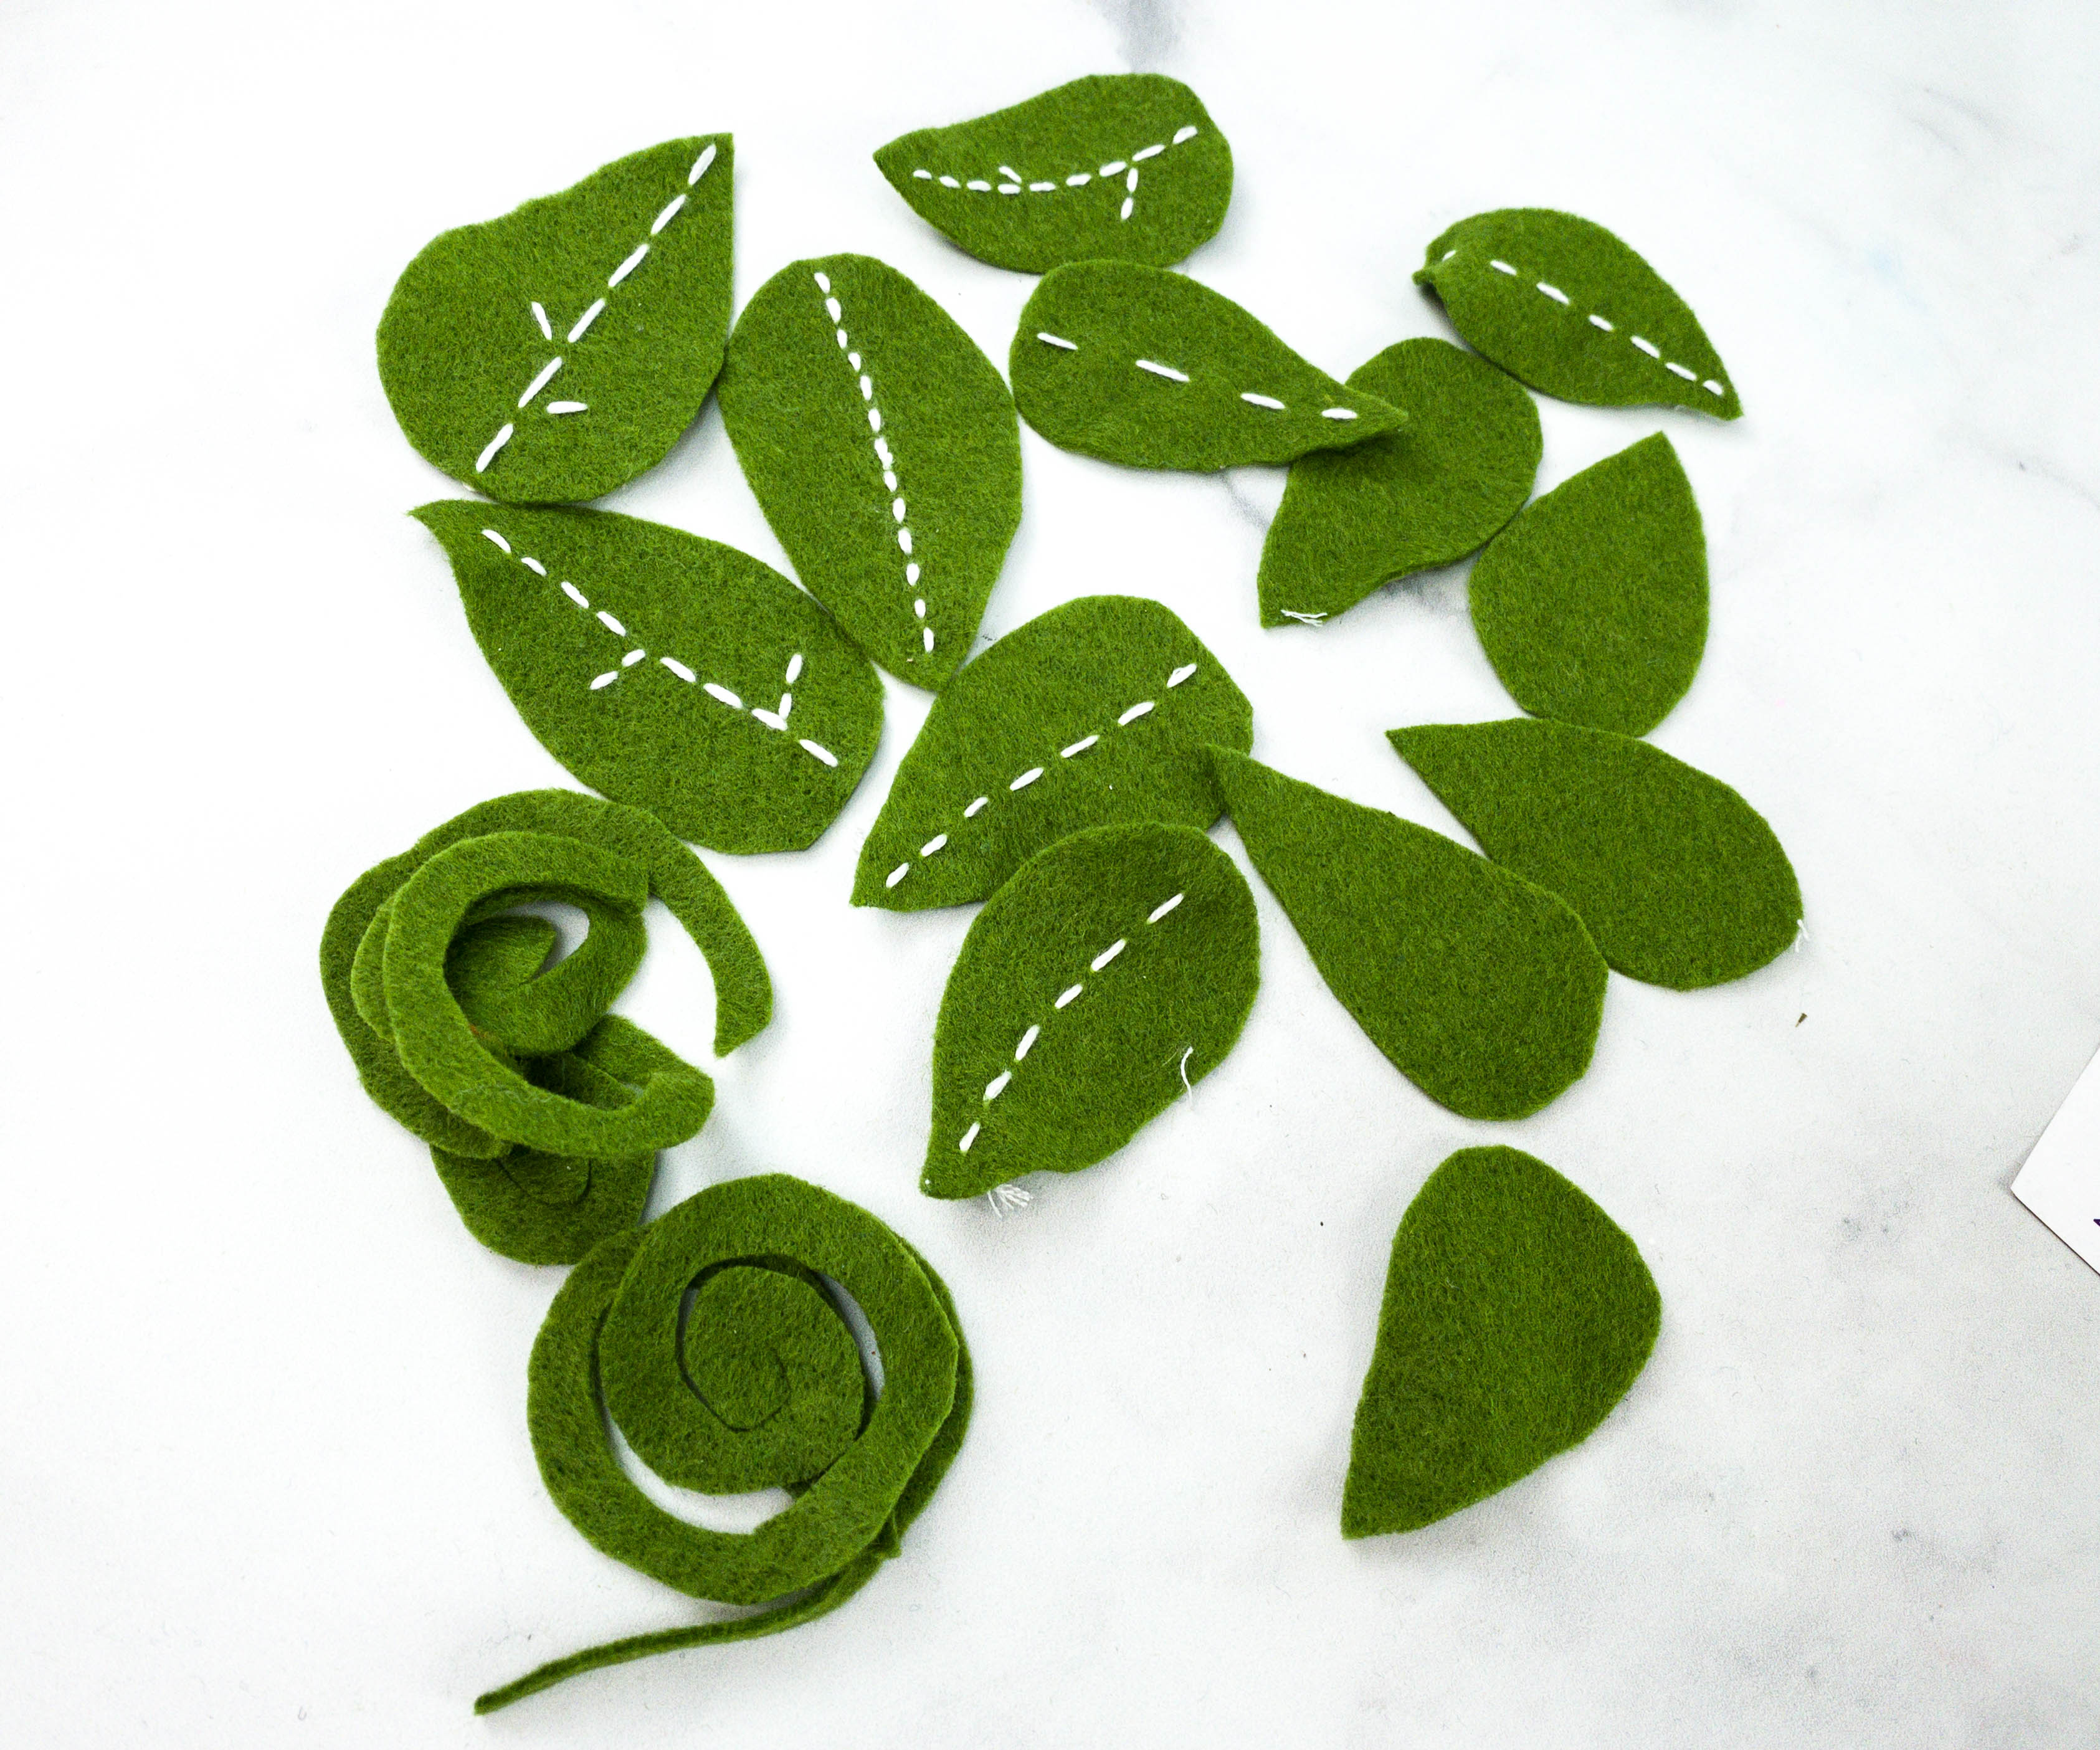
Then, we made a running stitch in the middle of the leaf-shaped felt to give it more character.
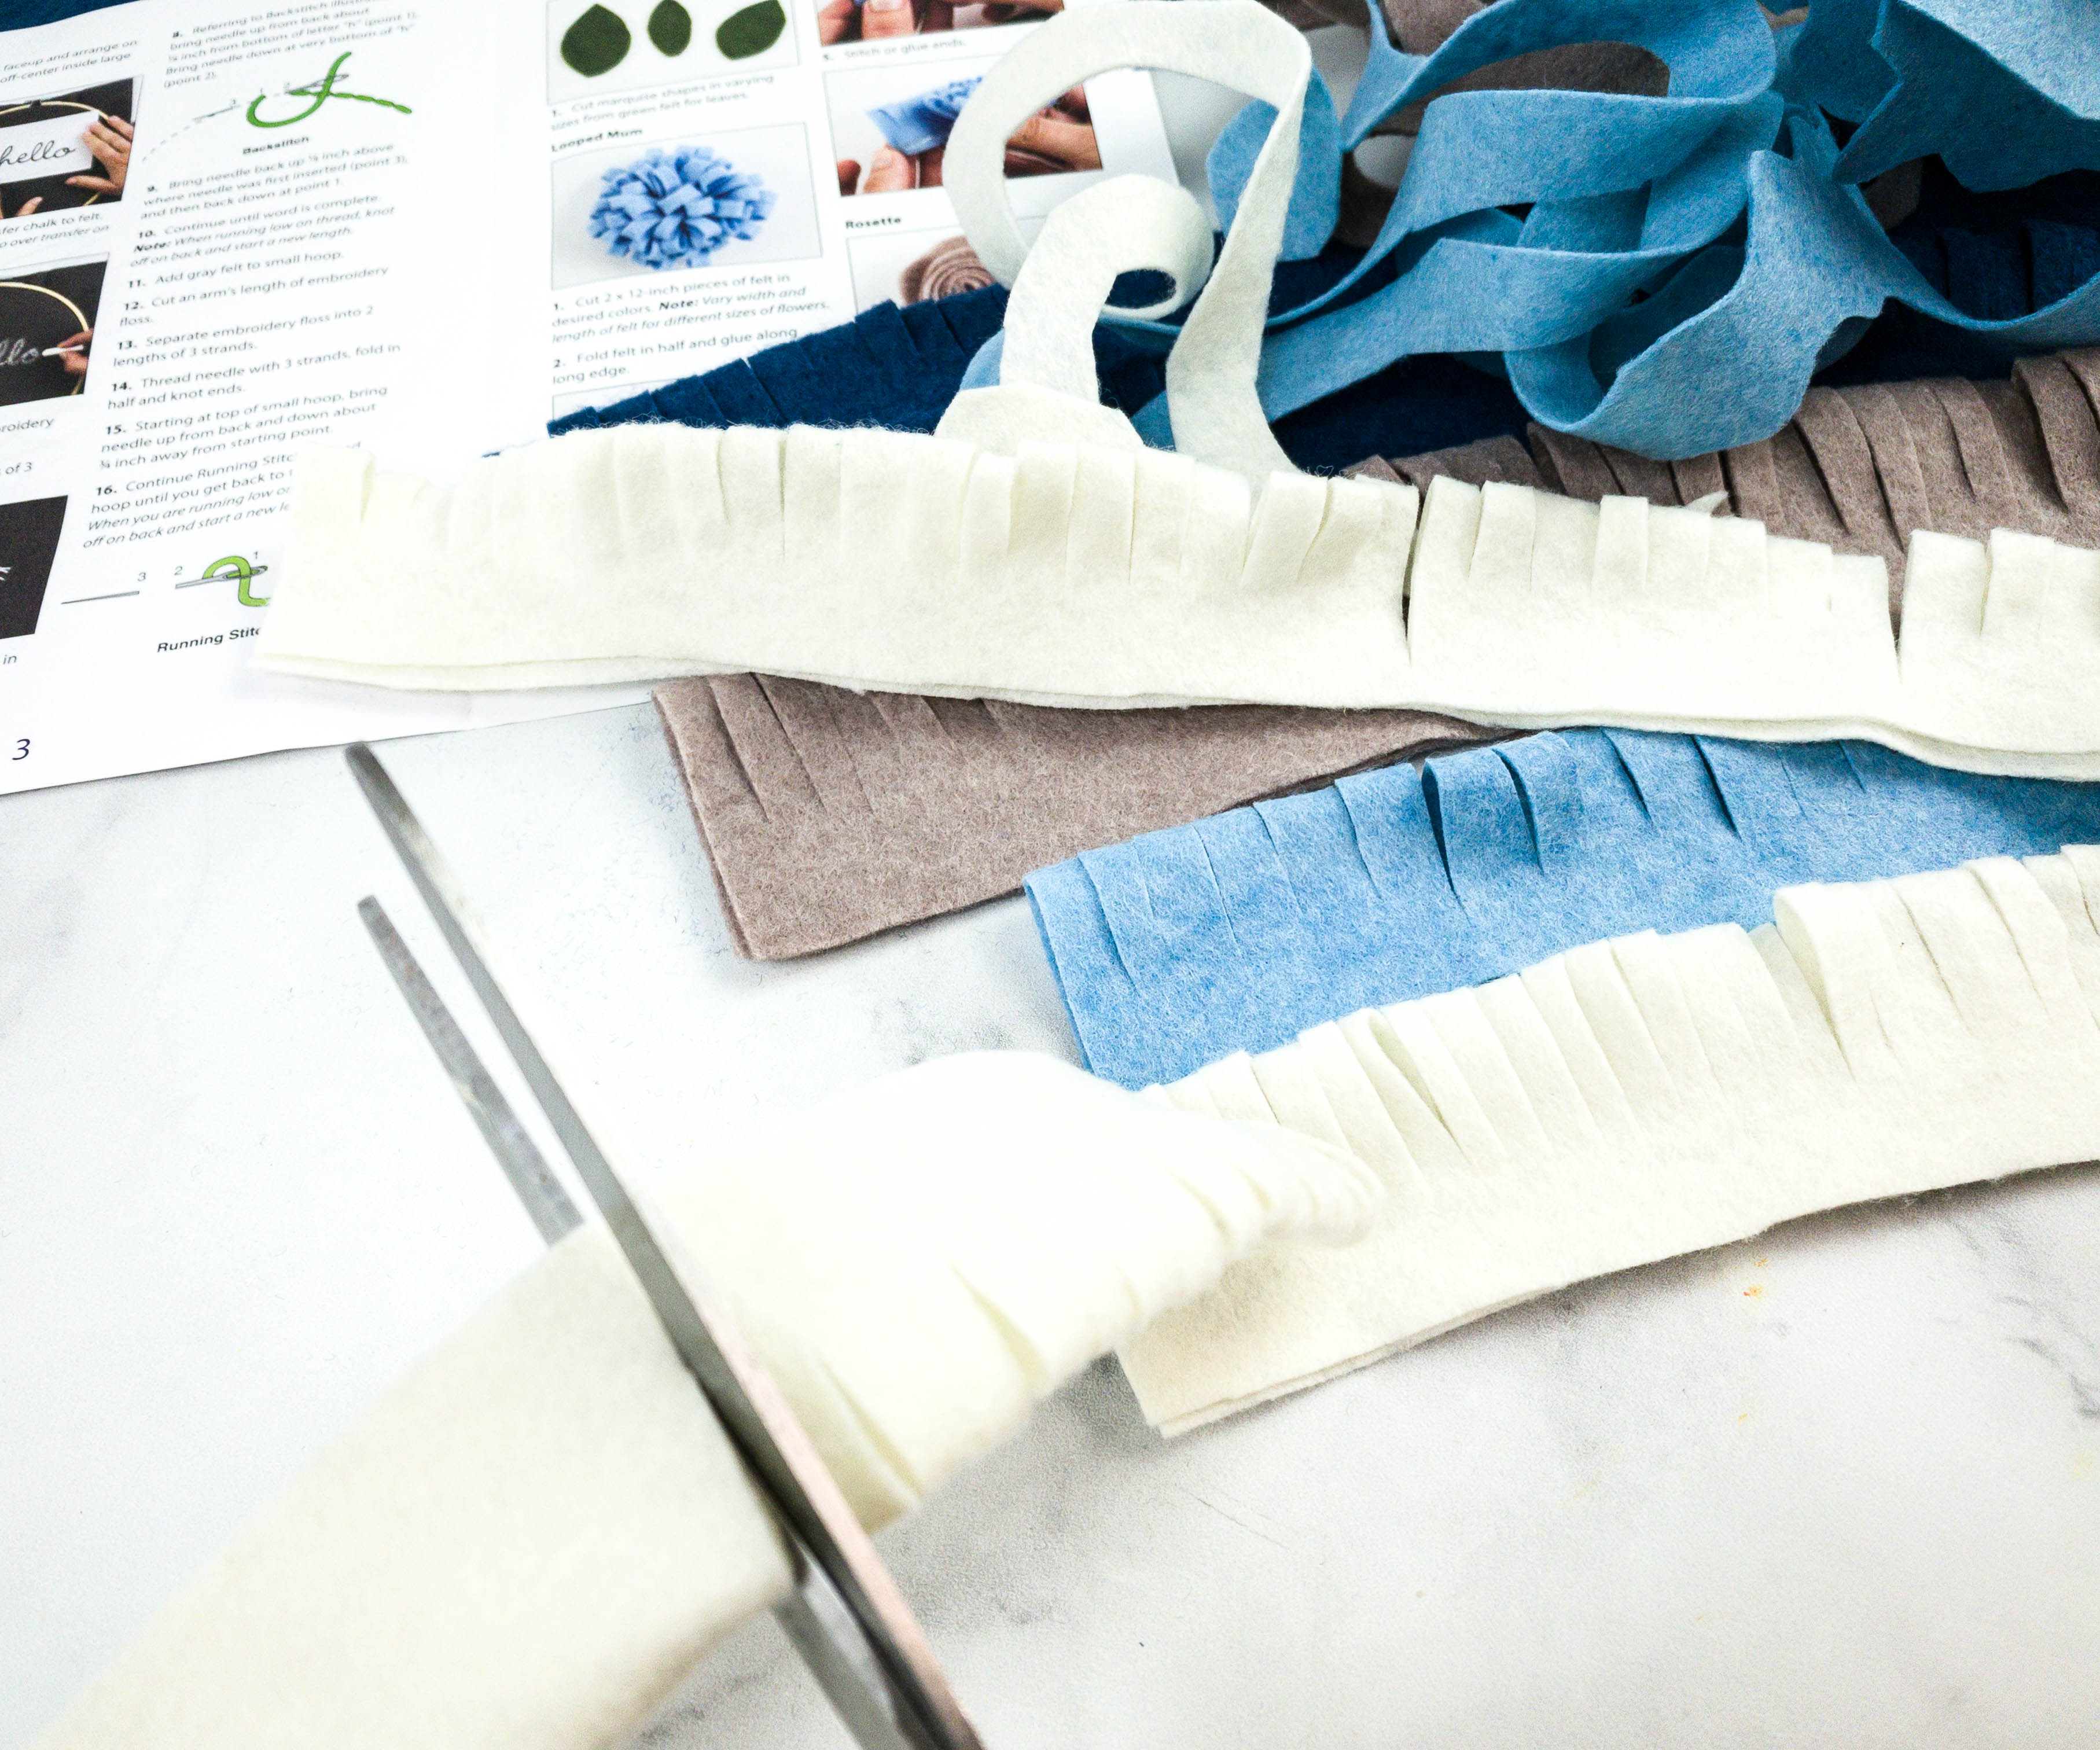
For the looped mums, we took the 2×12 sized felt and folded it in half length-wise.
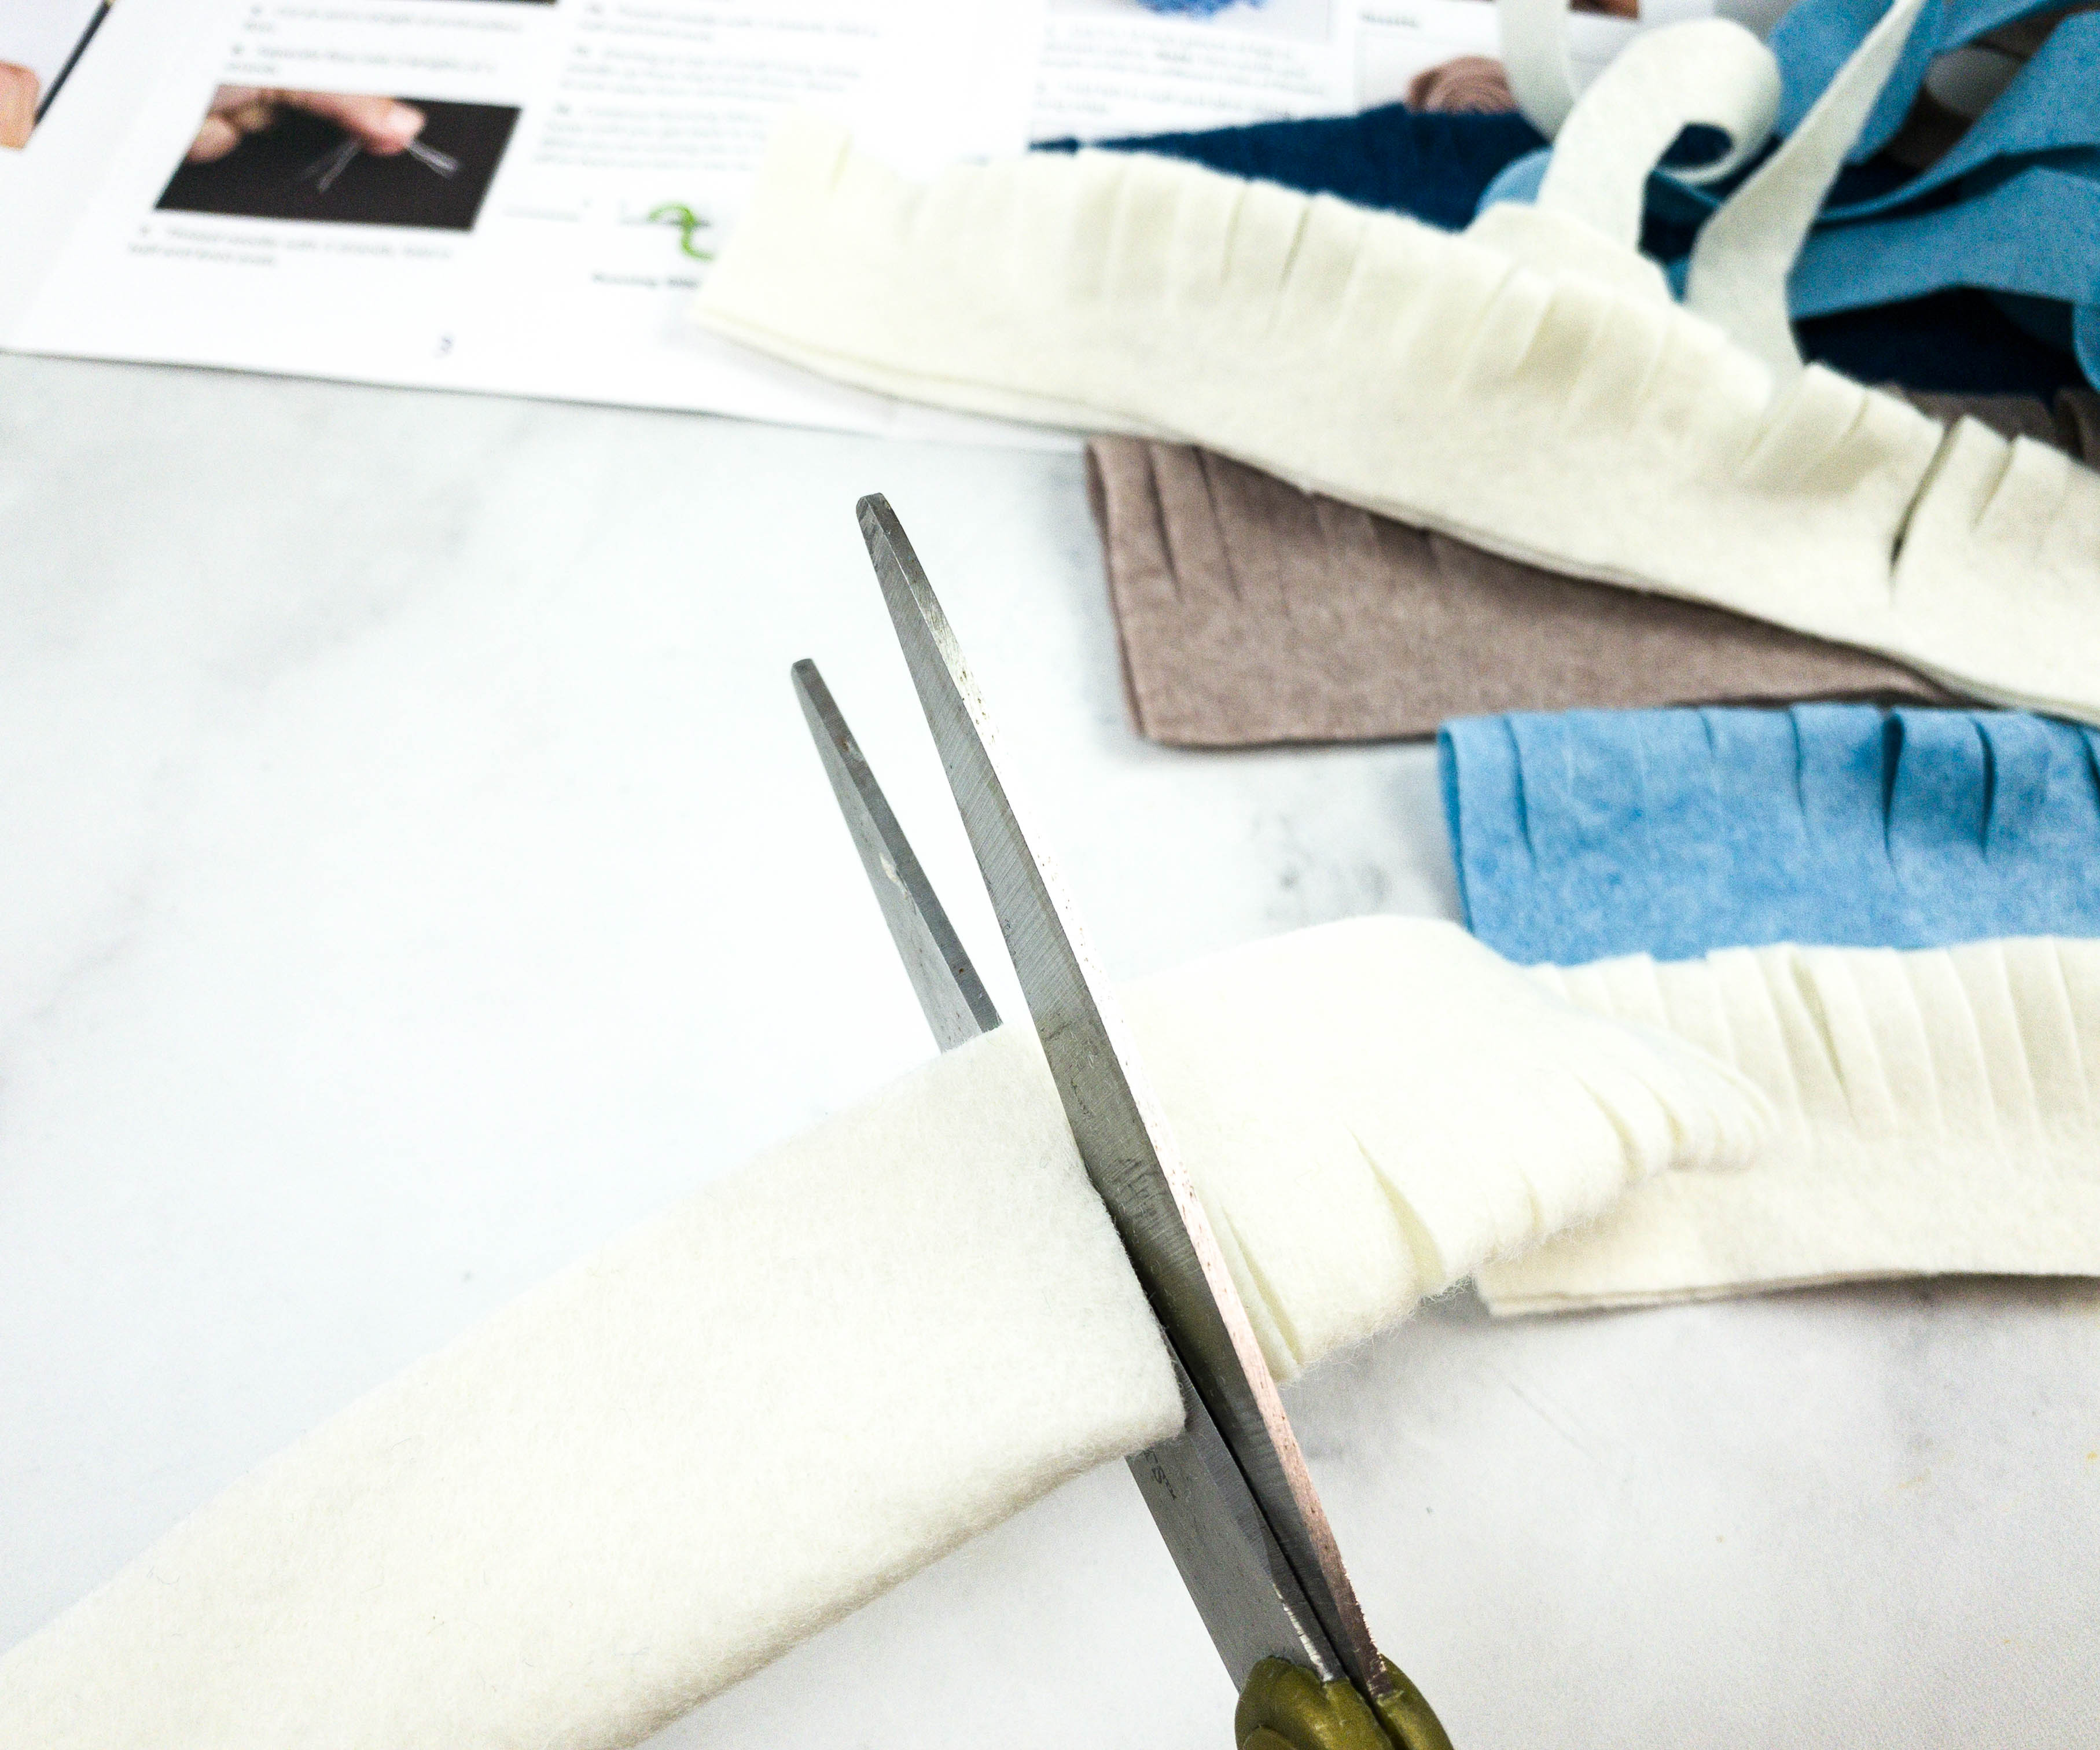
Then, we made about 1cm cuts going half way through the length of the piece.
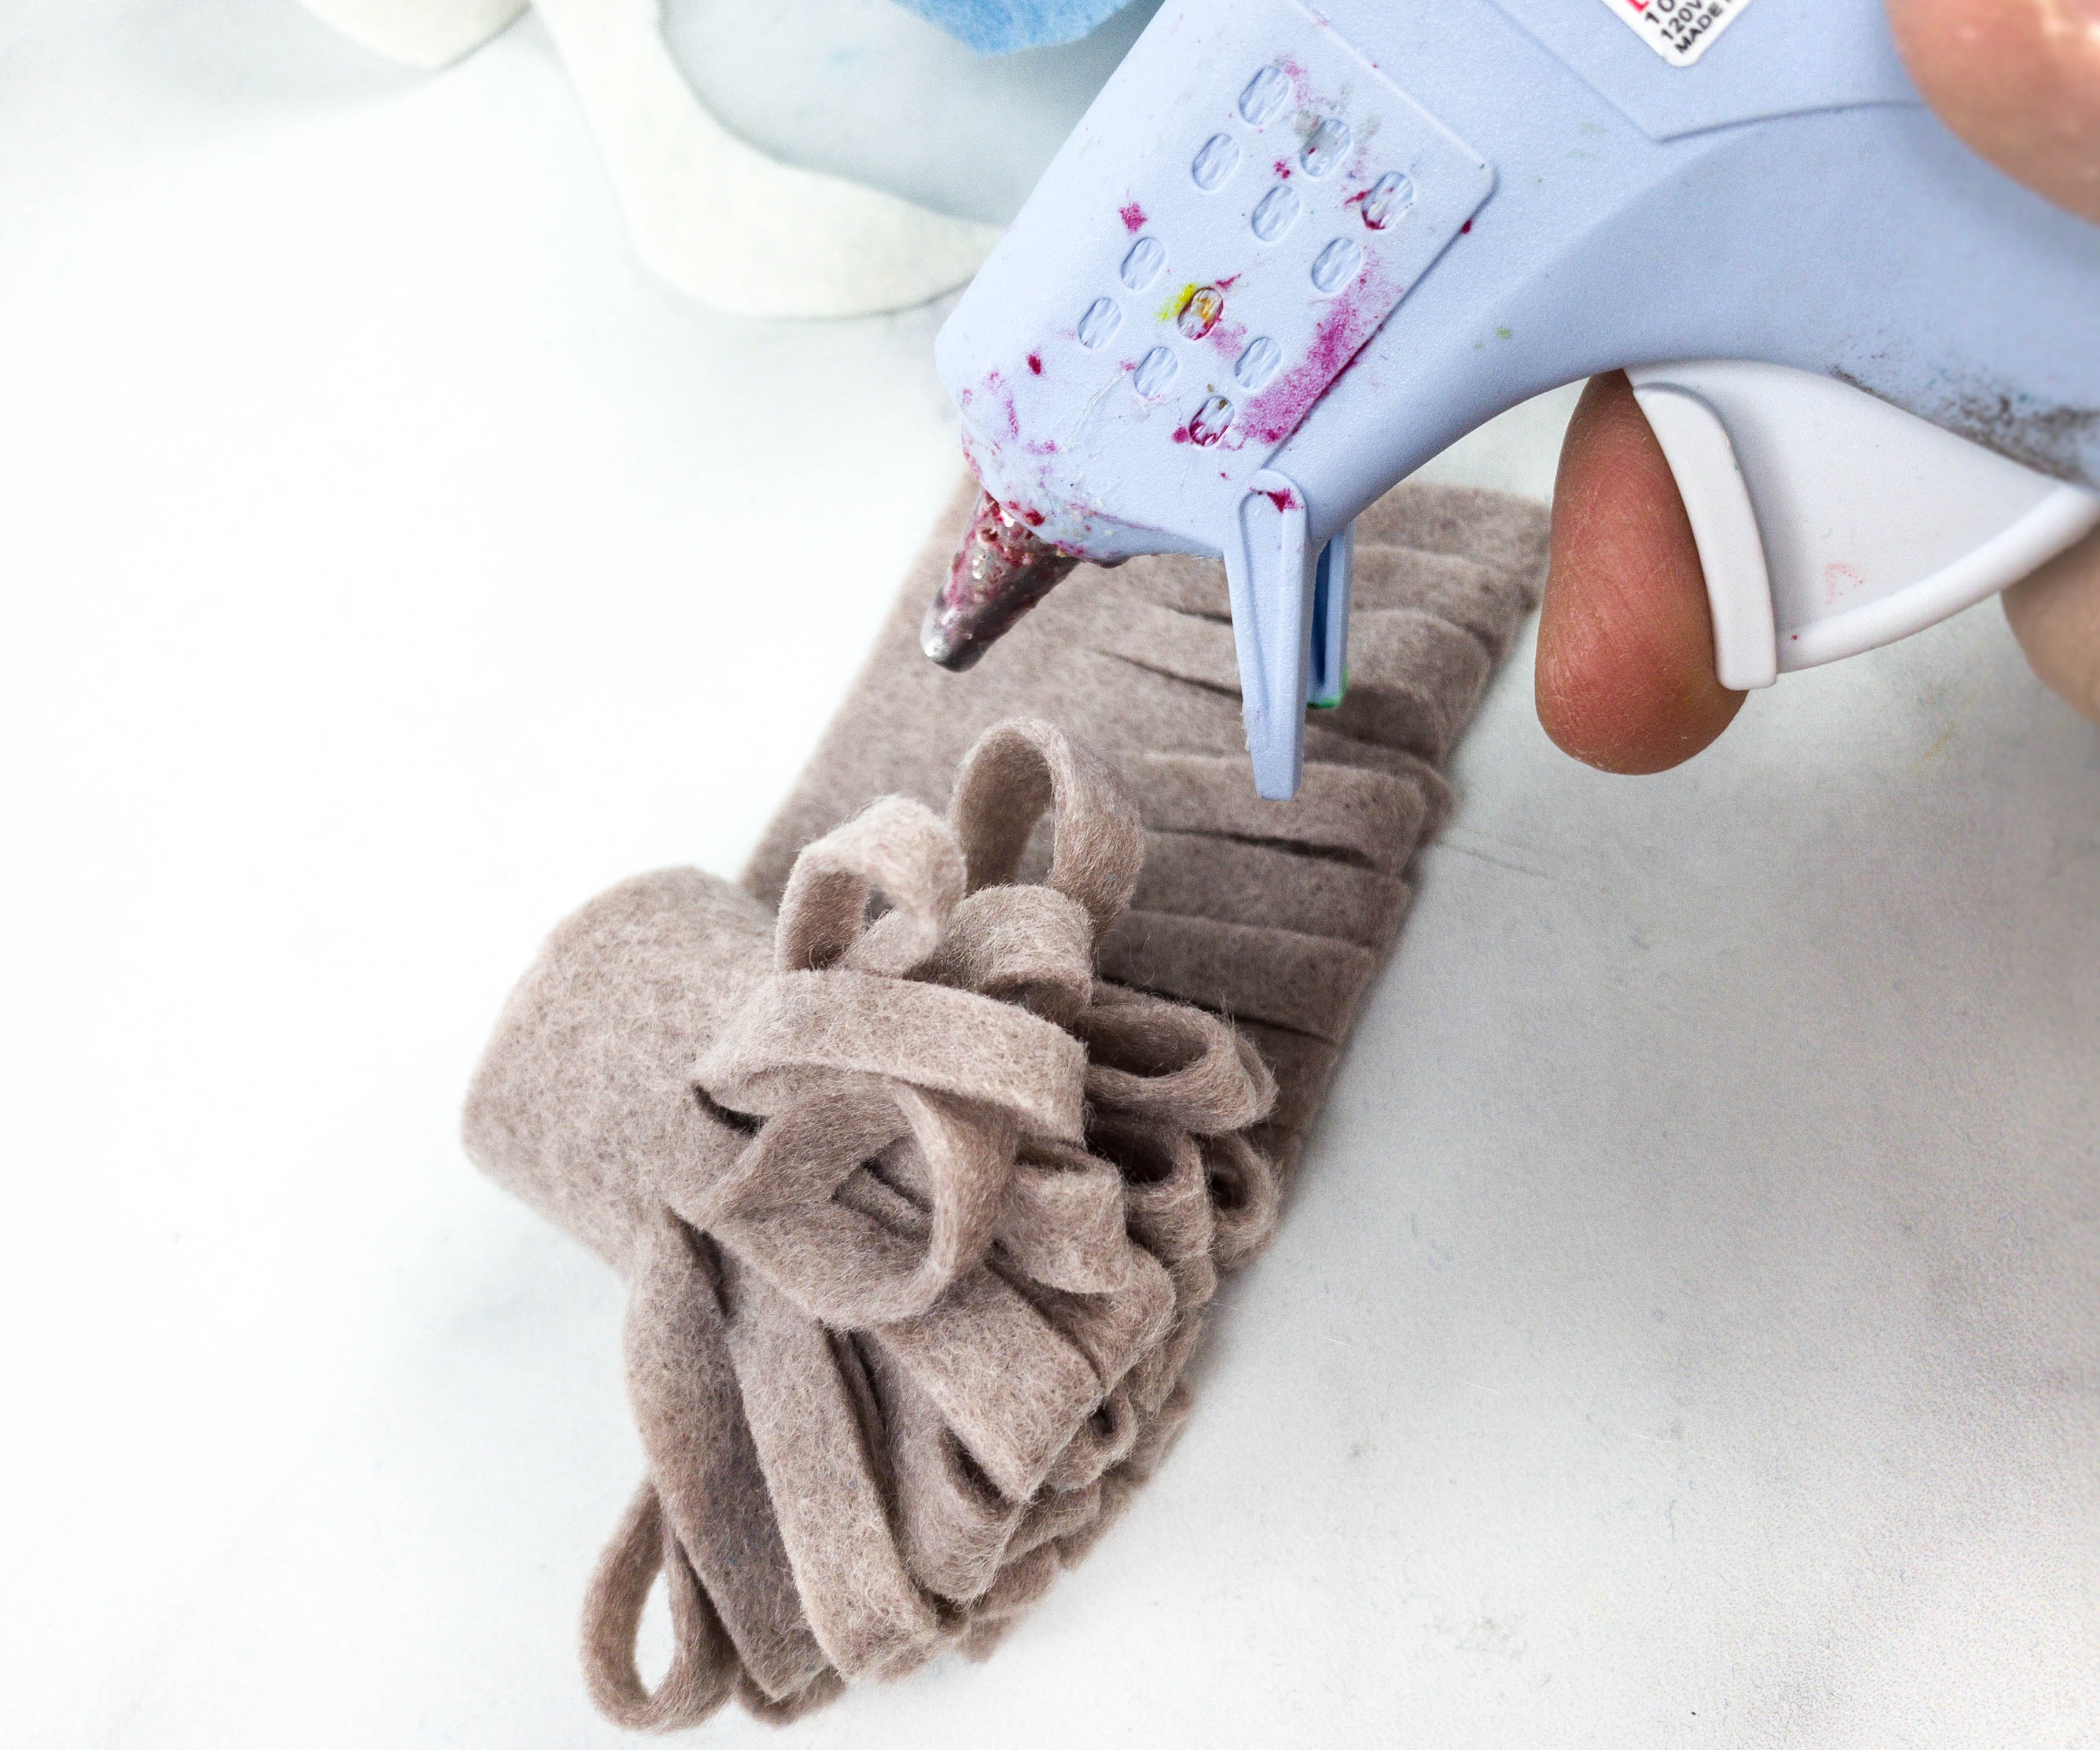
Once that’s done, we rolled it up and used hot glue to keep it in place.
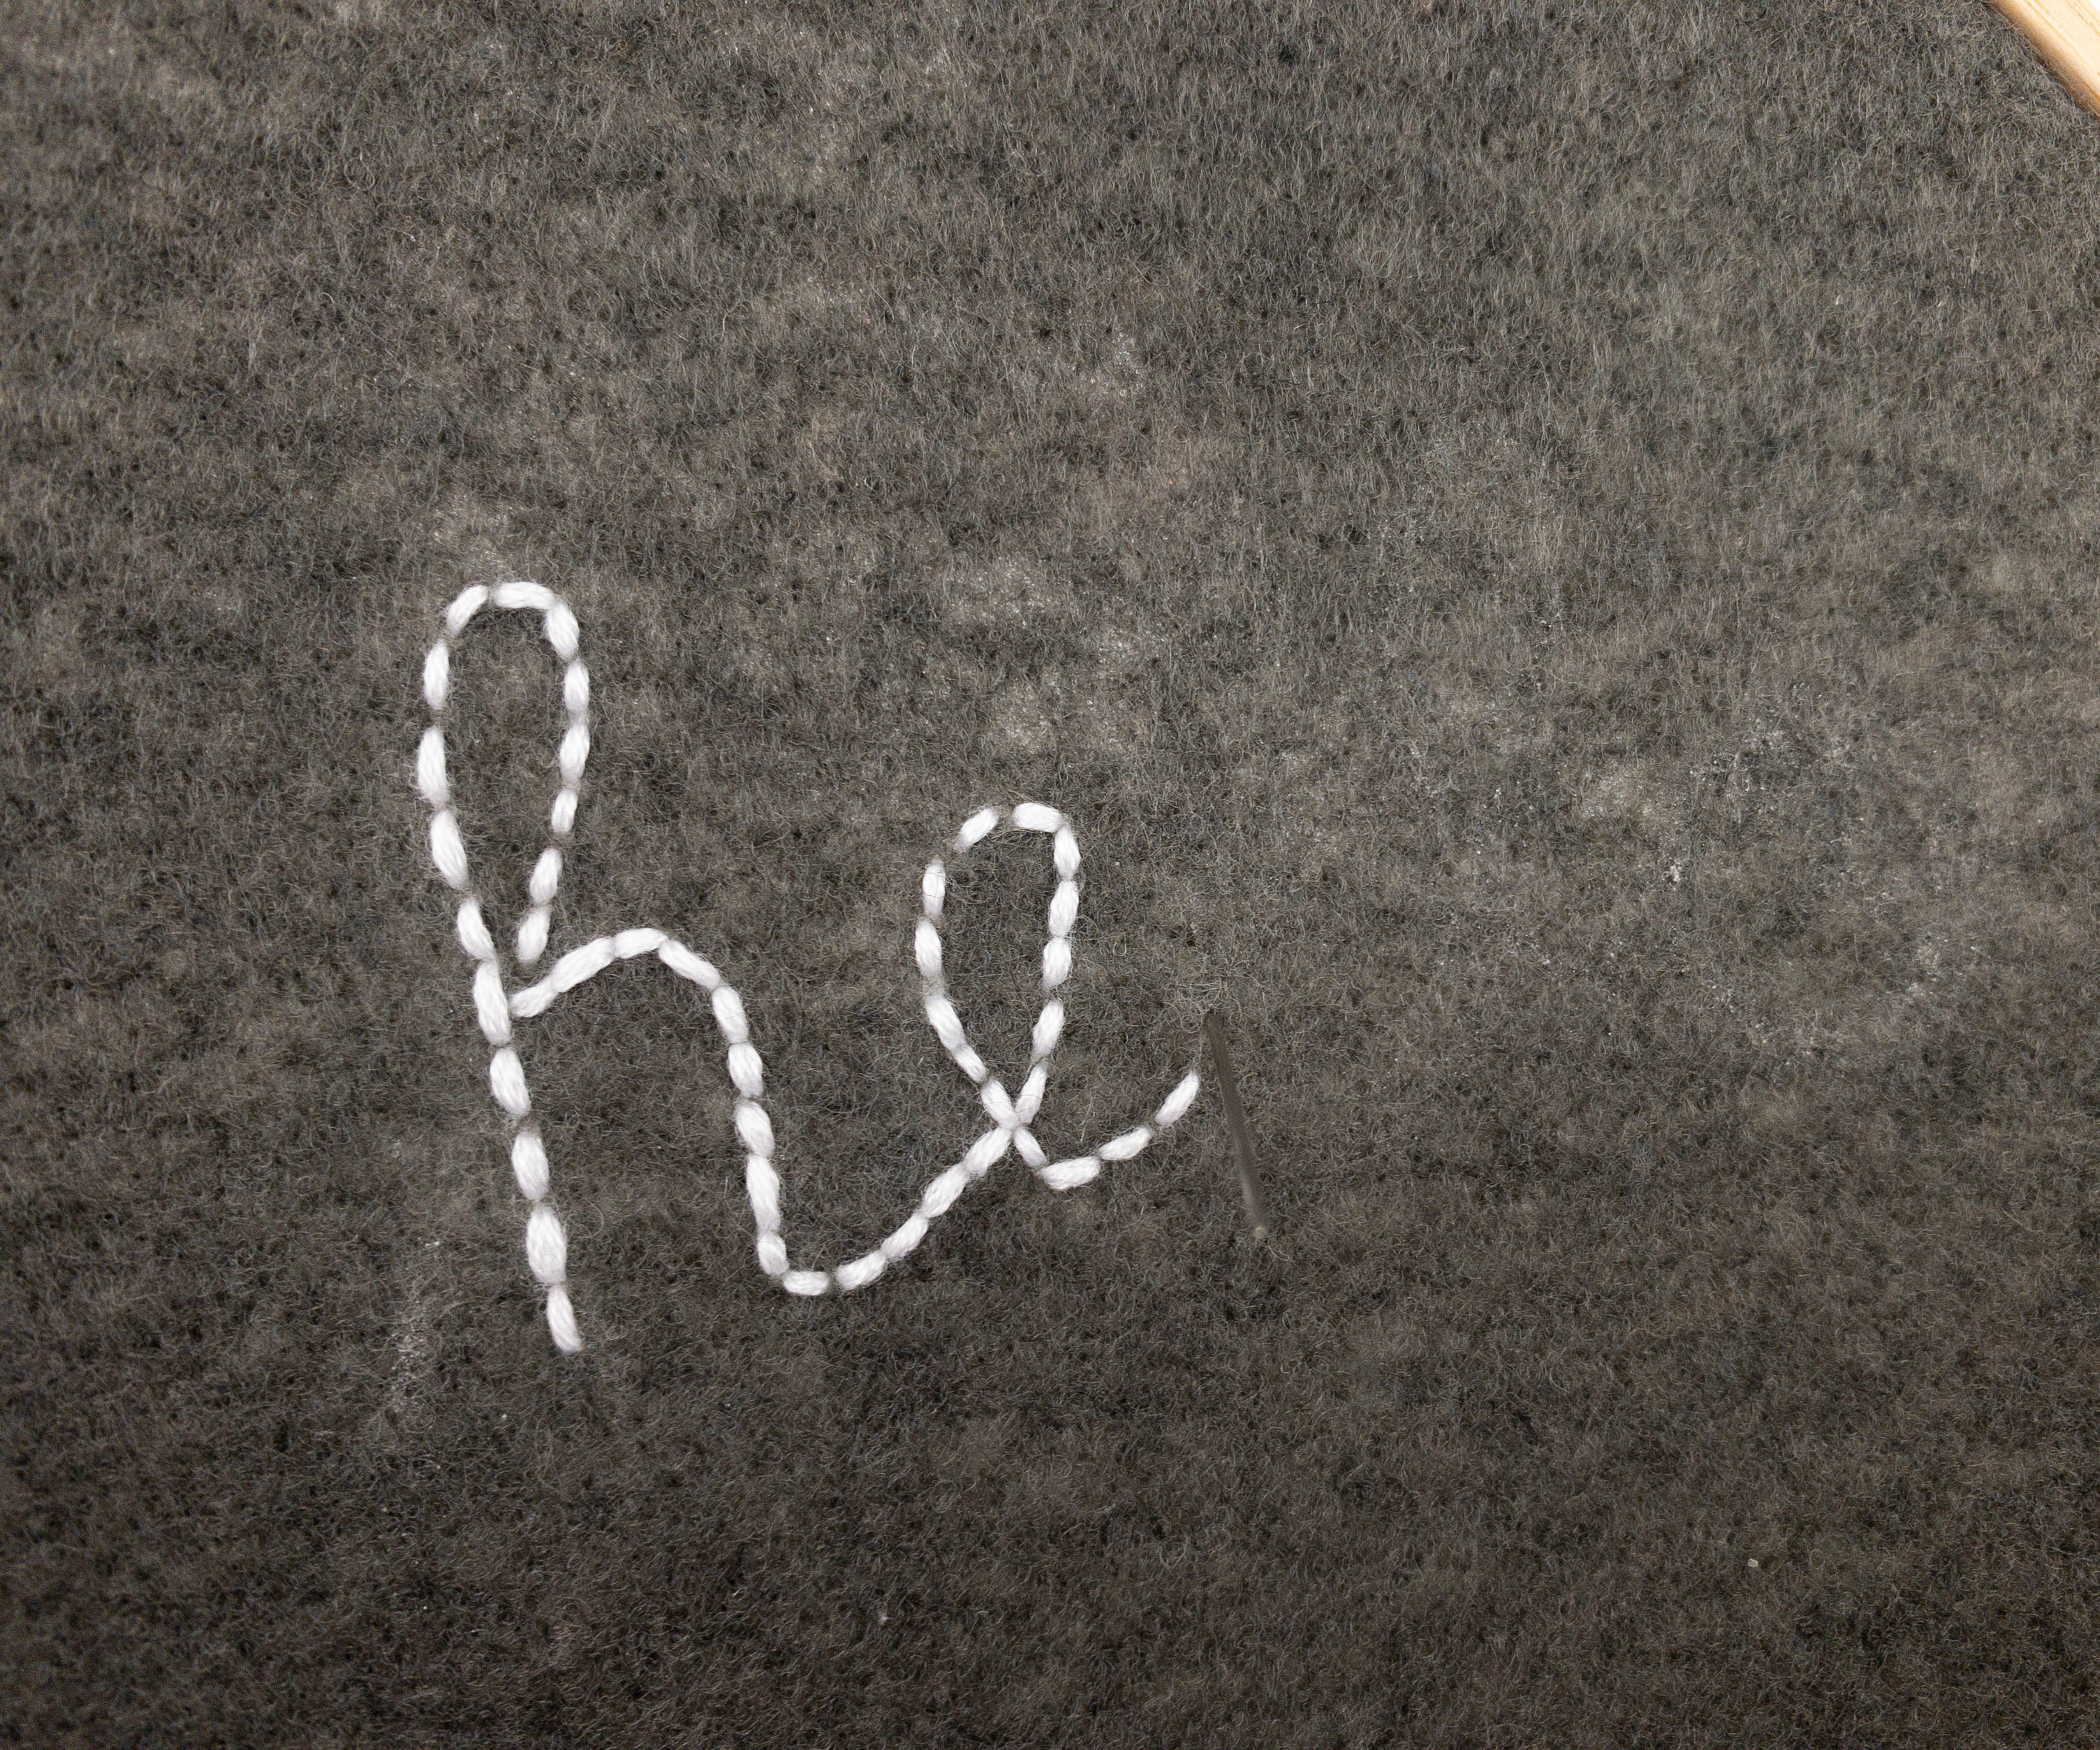
We used the backstitch technique for the word “hello”!
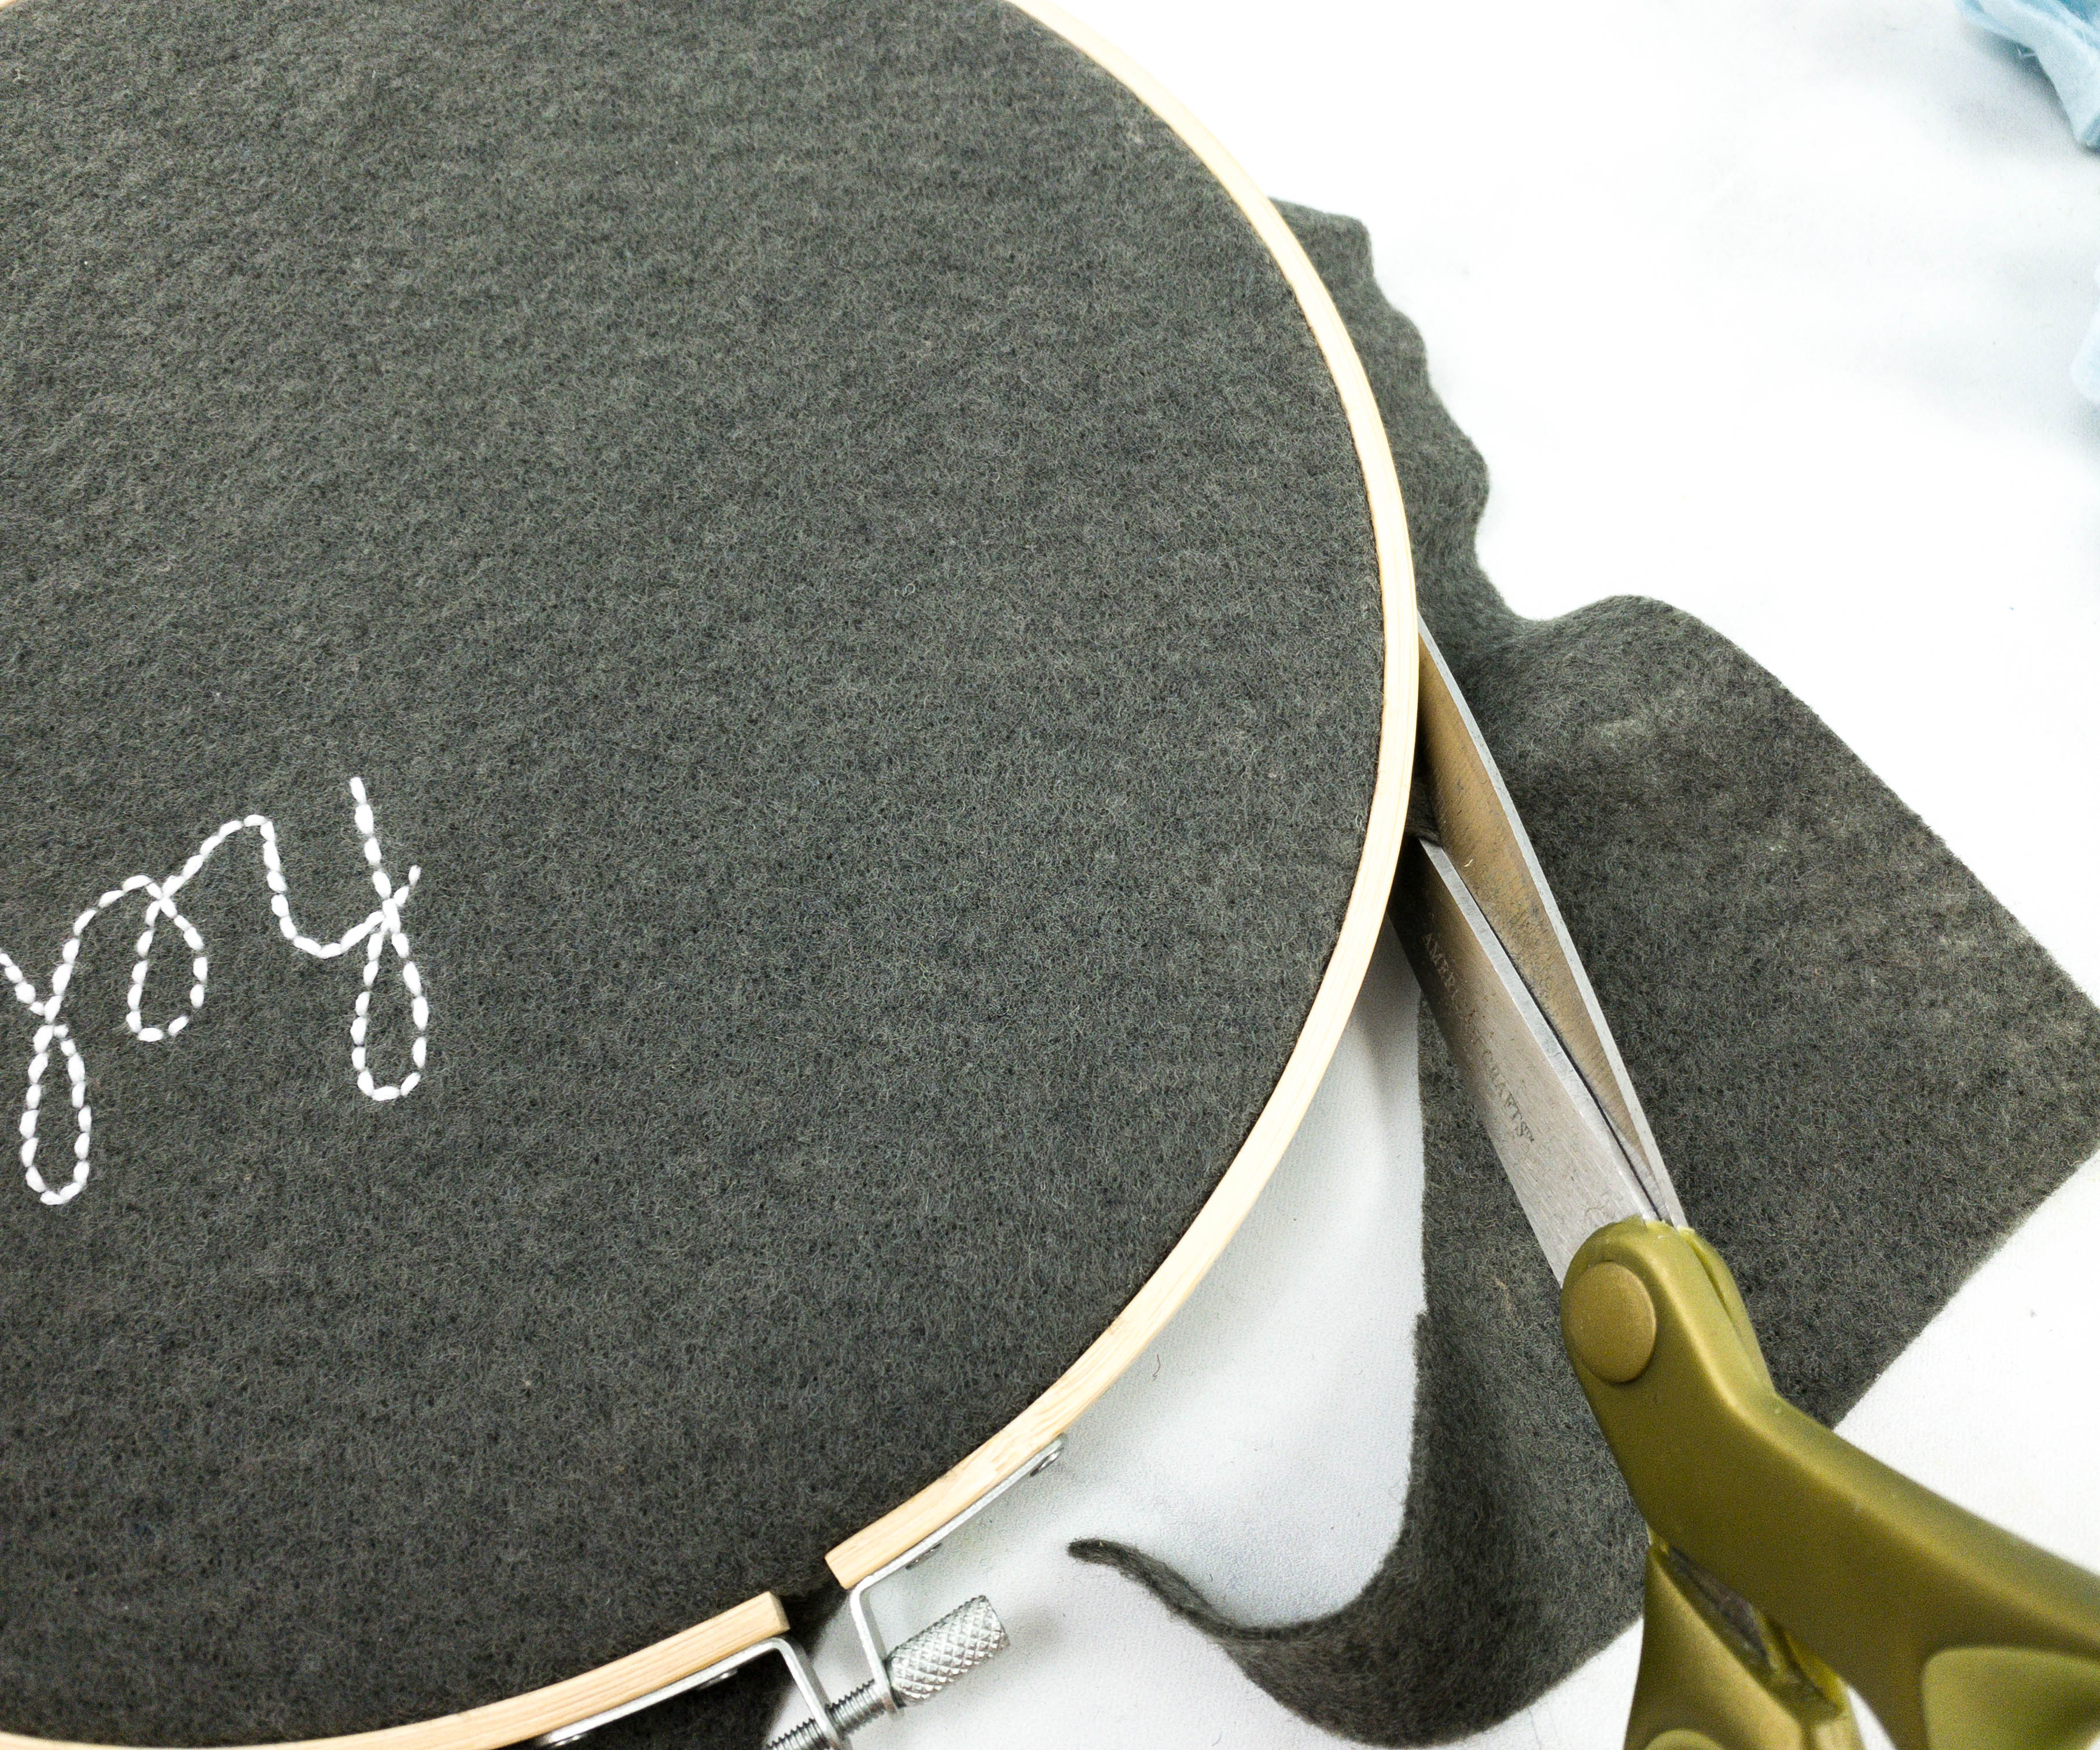
Now, we proceed to the main base. We started by putting the felt through the hoops and making sure they’re tight and secured. Using the pattern, we placed the design “hello” and started stitching it onto the felt. When everything was done, we trimmed the edges over to make sure it looked nice and neat!
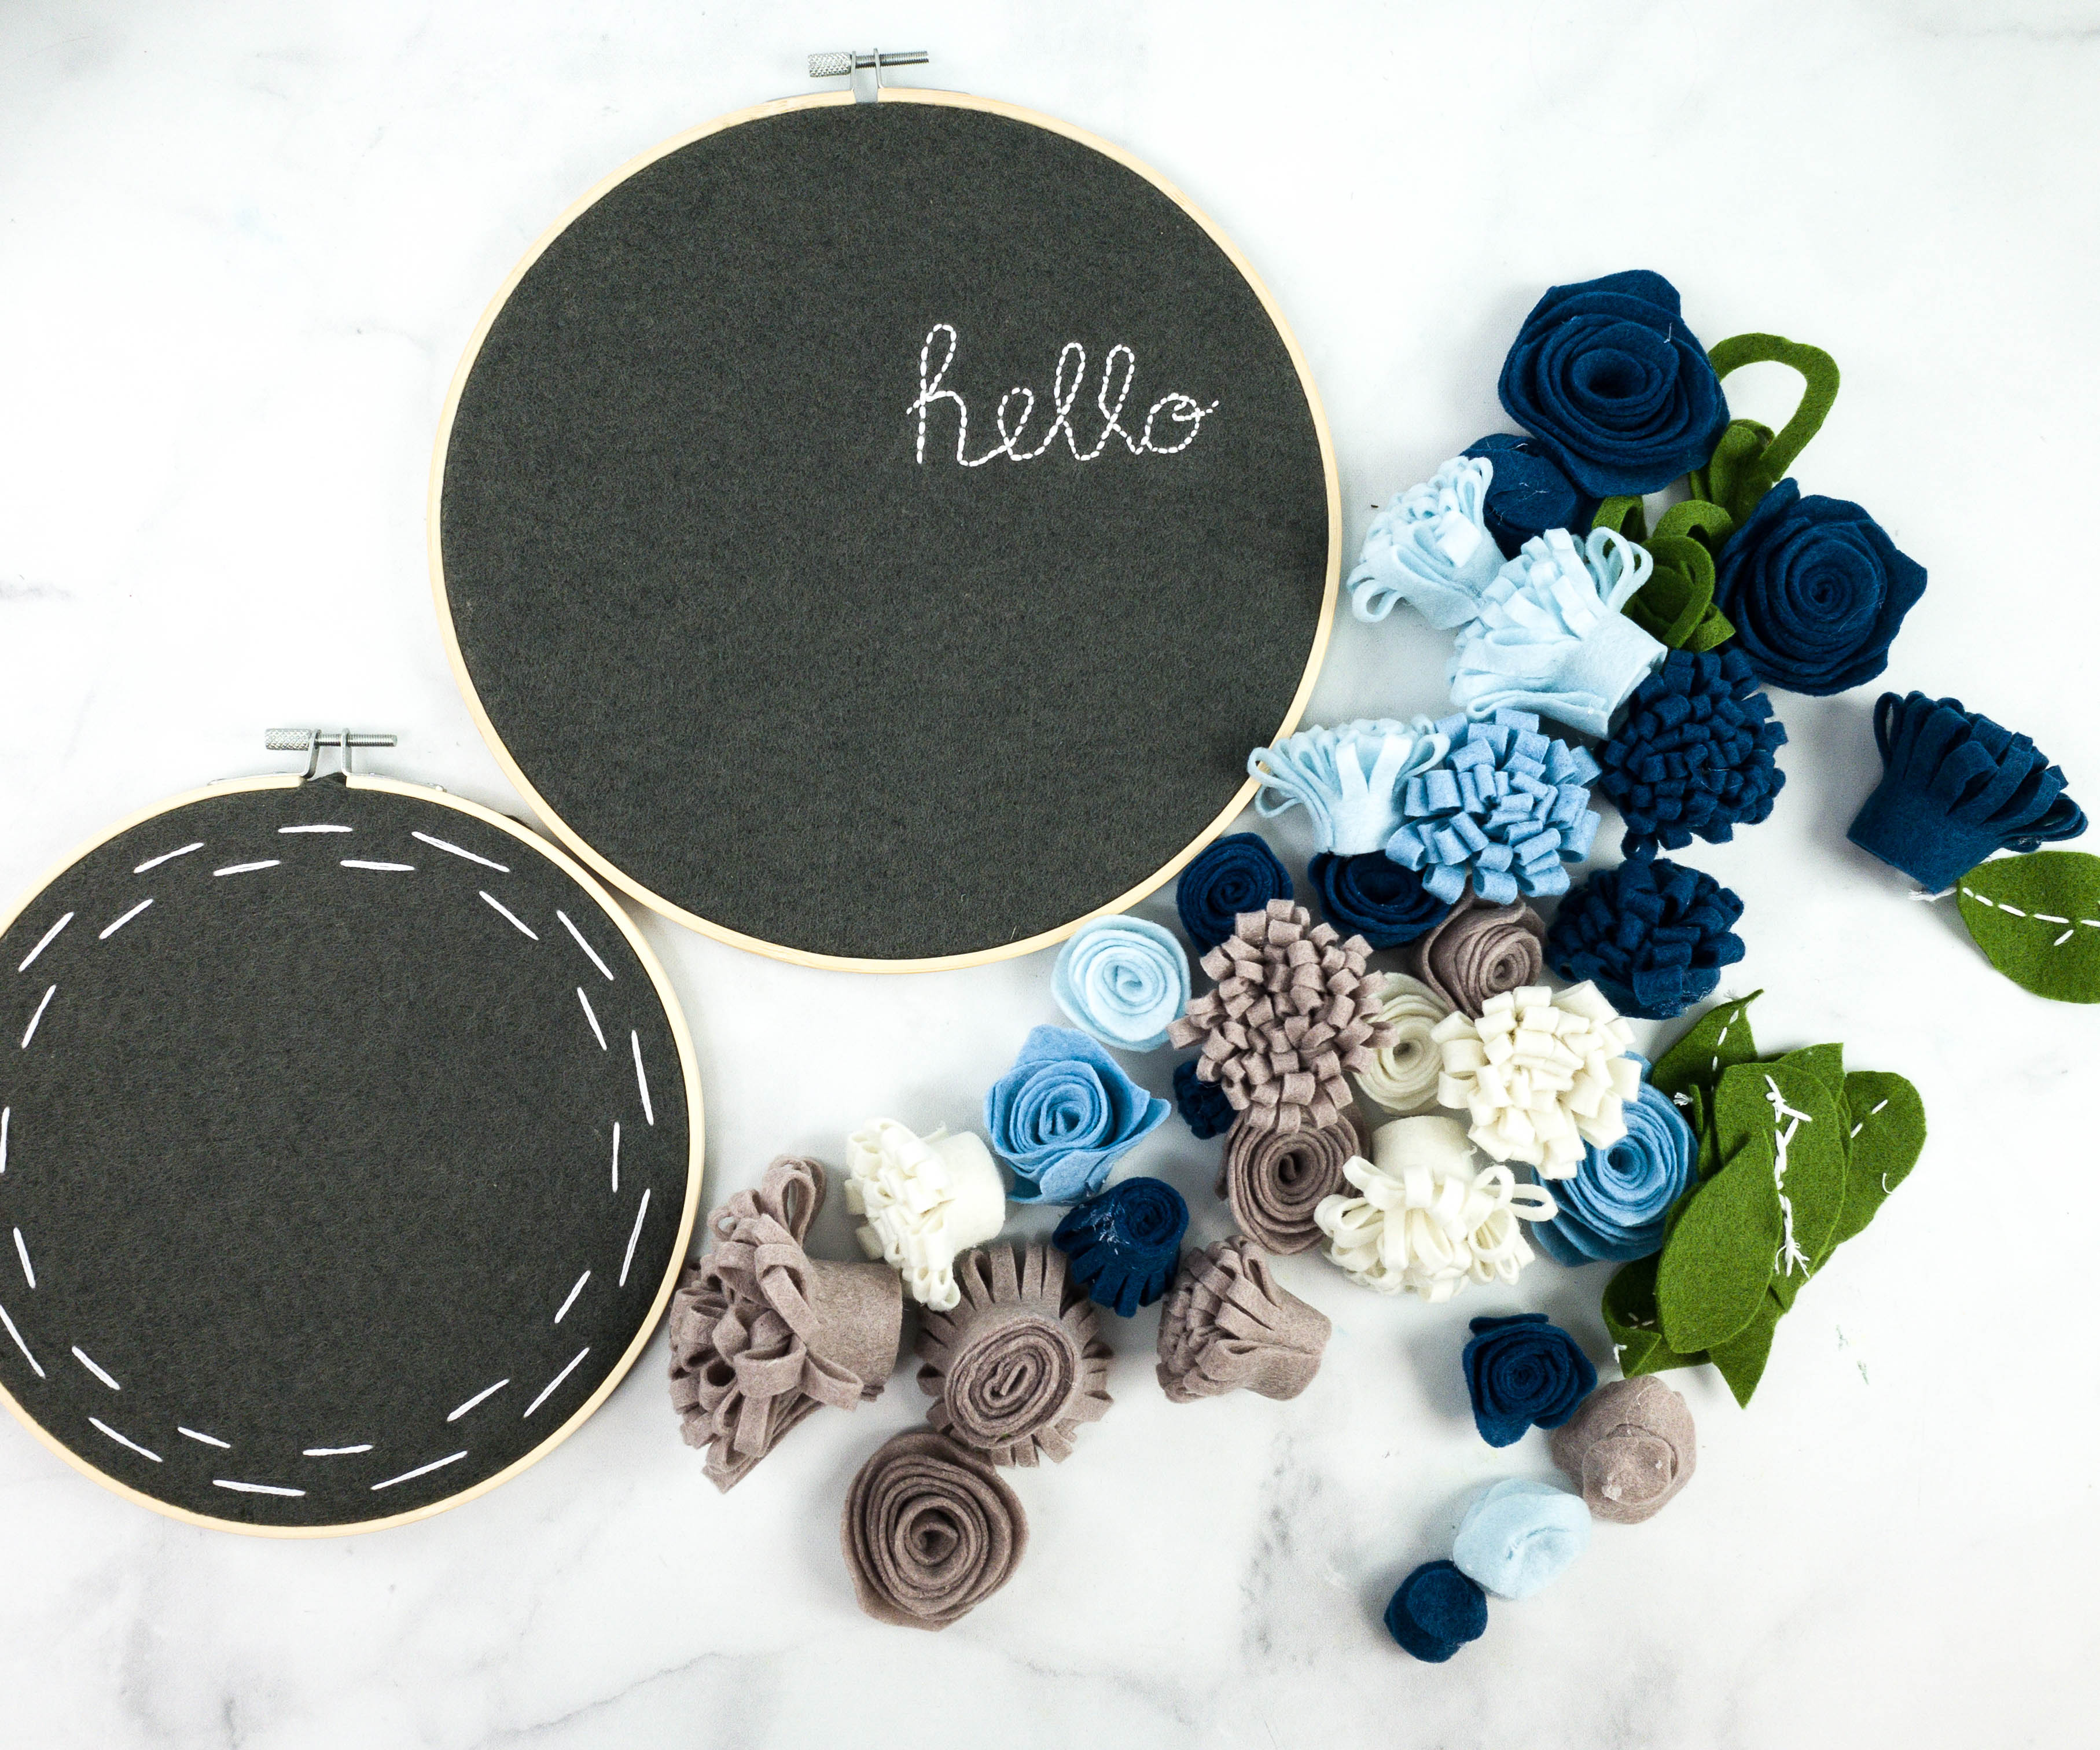
We did the same with the smaller hoop but instead of the word hello, we put some broken line design around it. Now we gather all the felt flowers we made and it’s time to decorate!
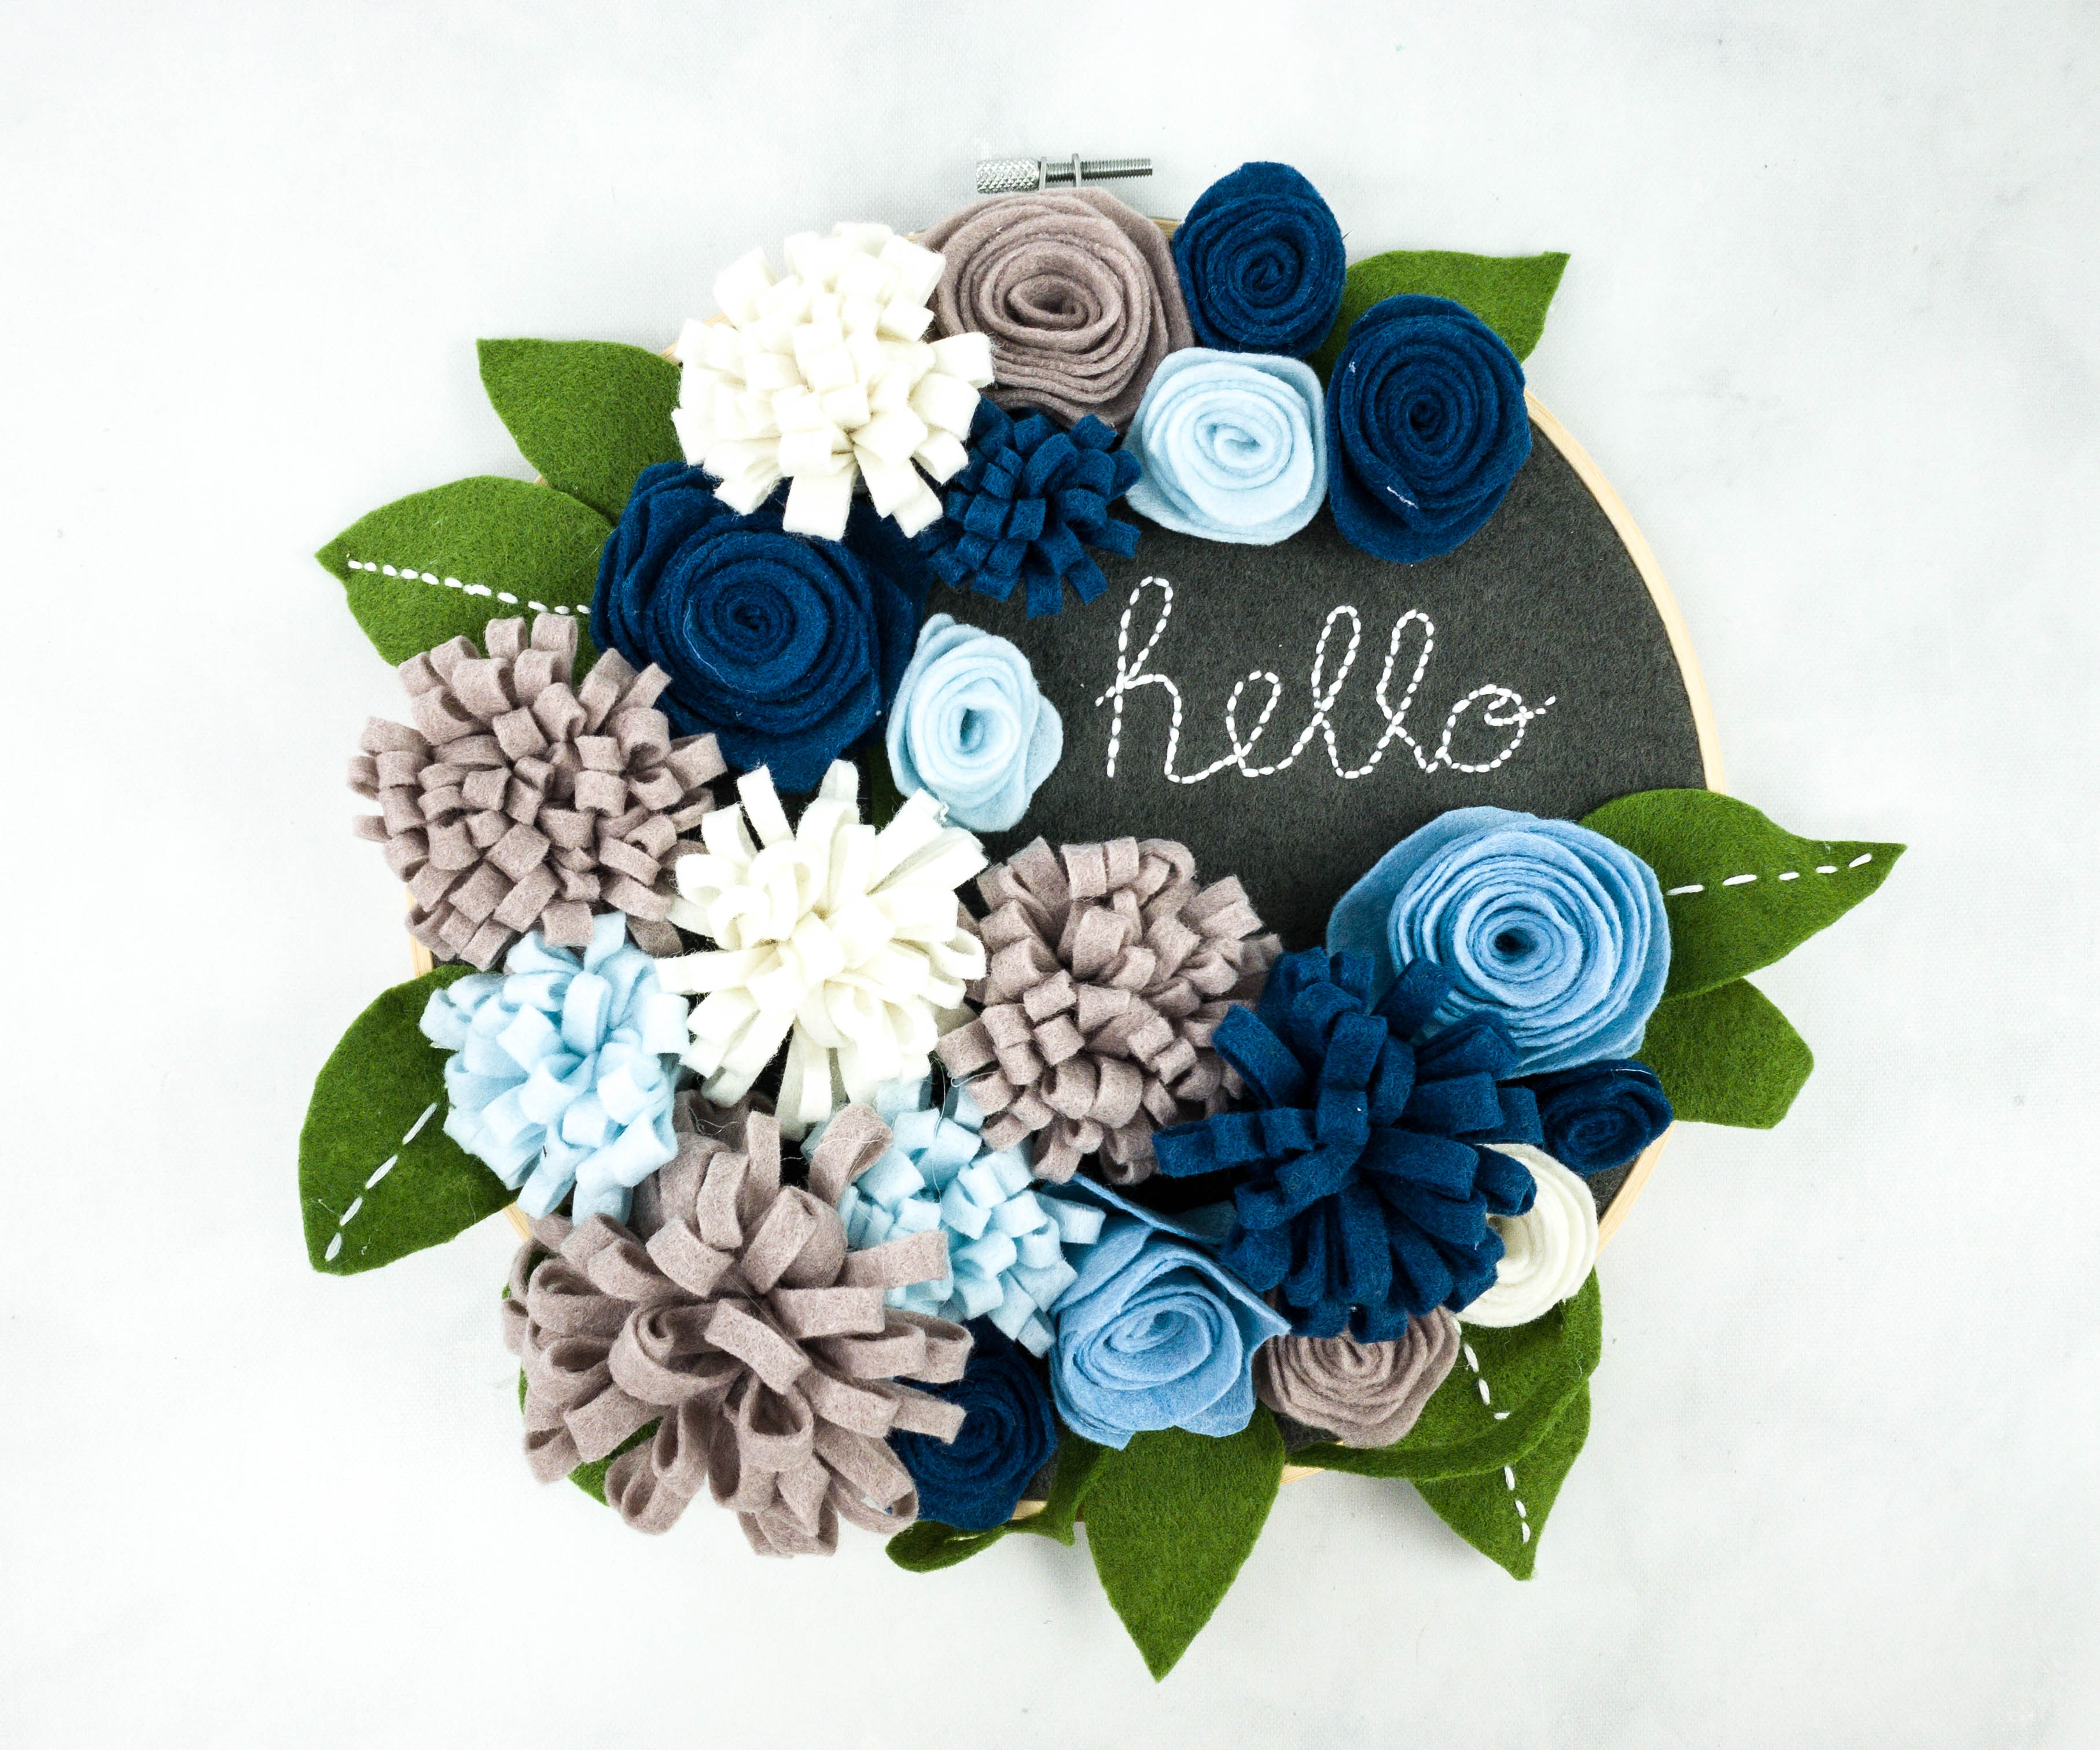
This part was pretty easy, we just need the hot glue to make sure everything stays in place. We tried to place them together without glue first so we can still change it up when needed but once we were happy with the design, we started sticking them up piece by piece.
I’m so happy that we put the details on some of the leaves, they turned out great! I also added some small details like the scraps of the green felt, which made it look like they’re vines!
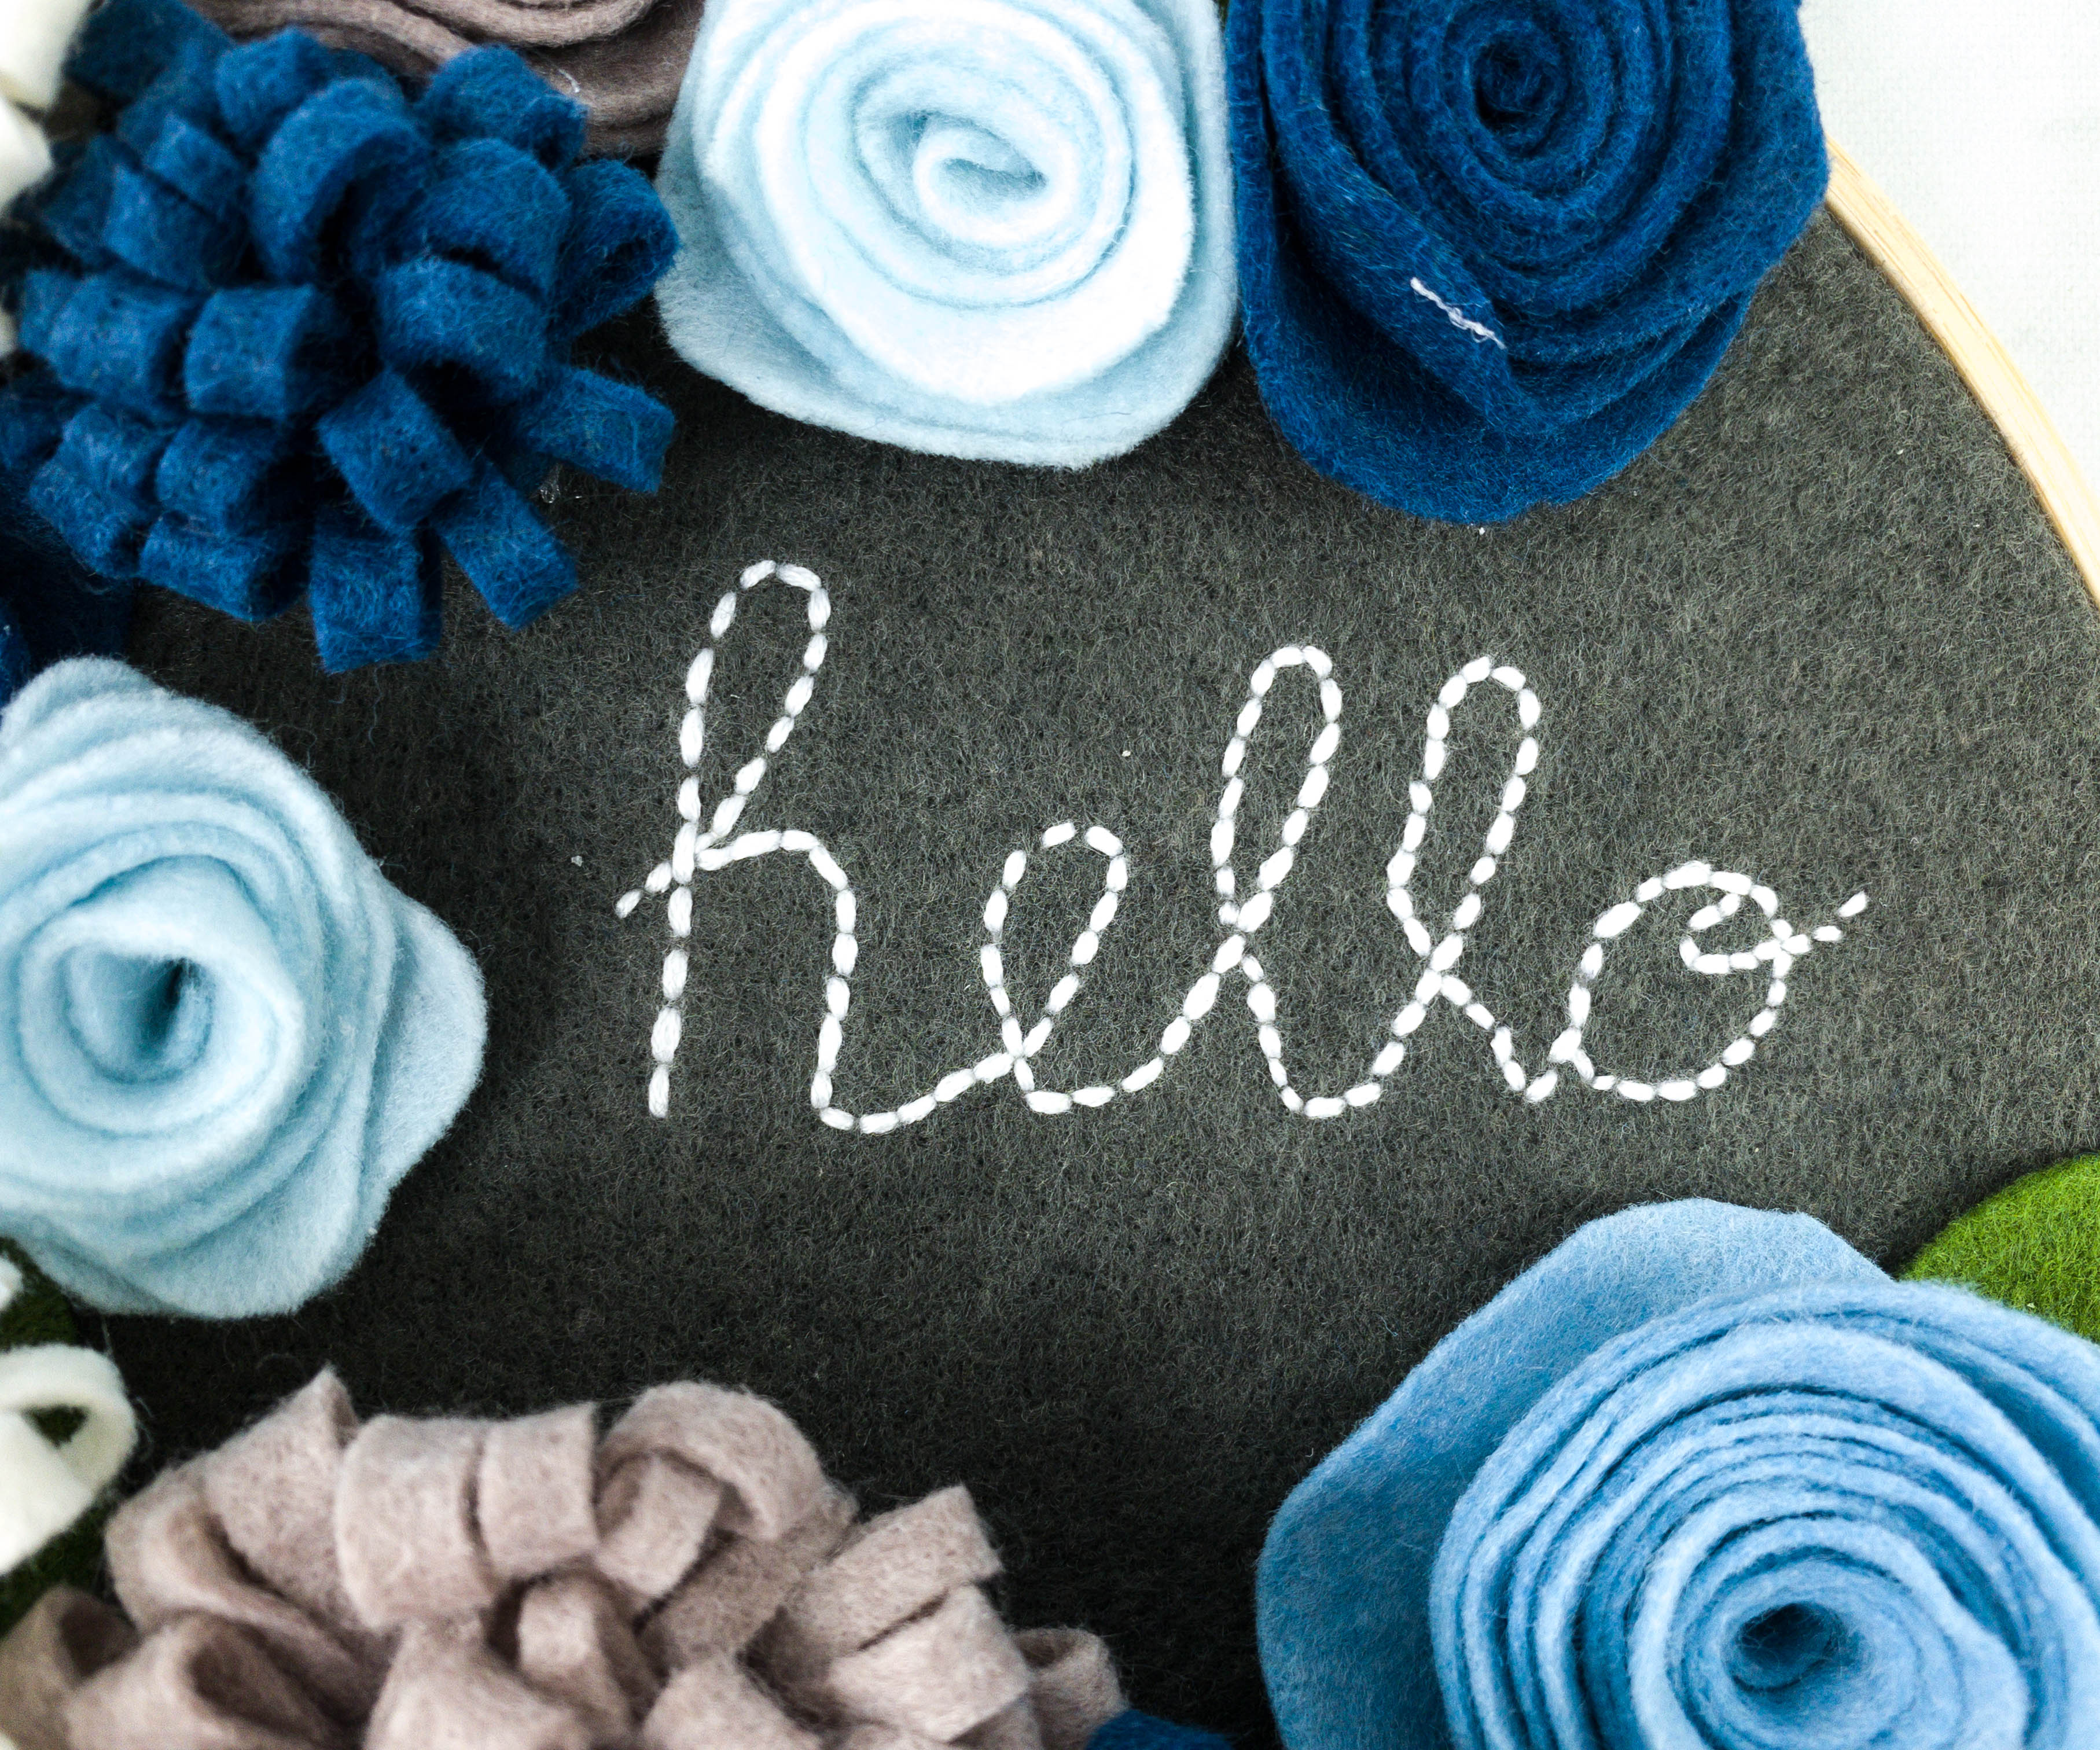
Here’s a closer look at the “hello” stitching!
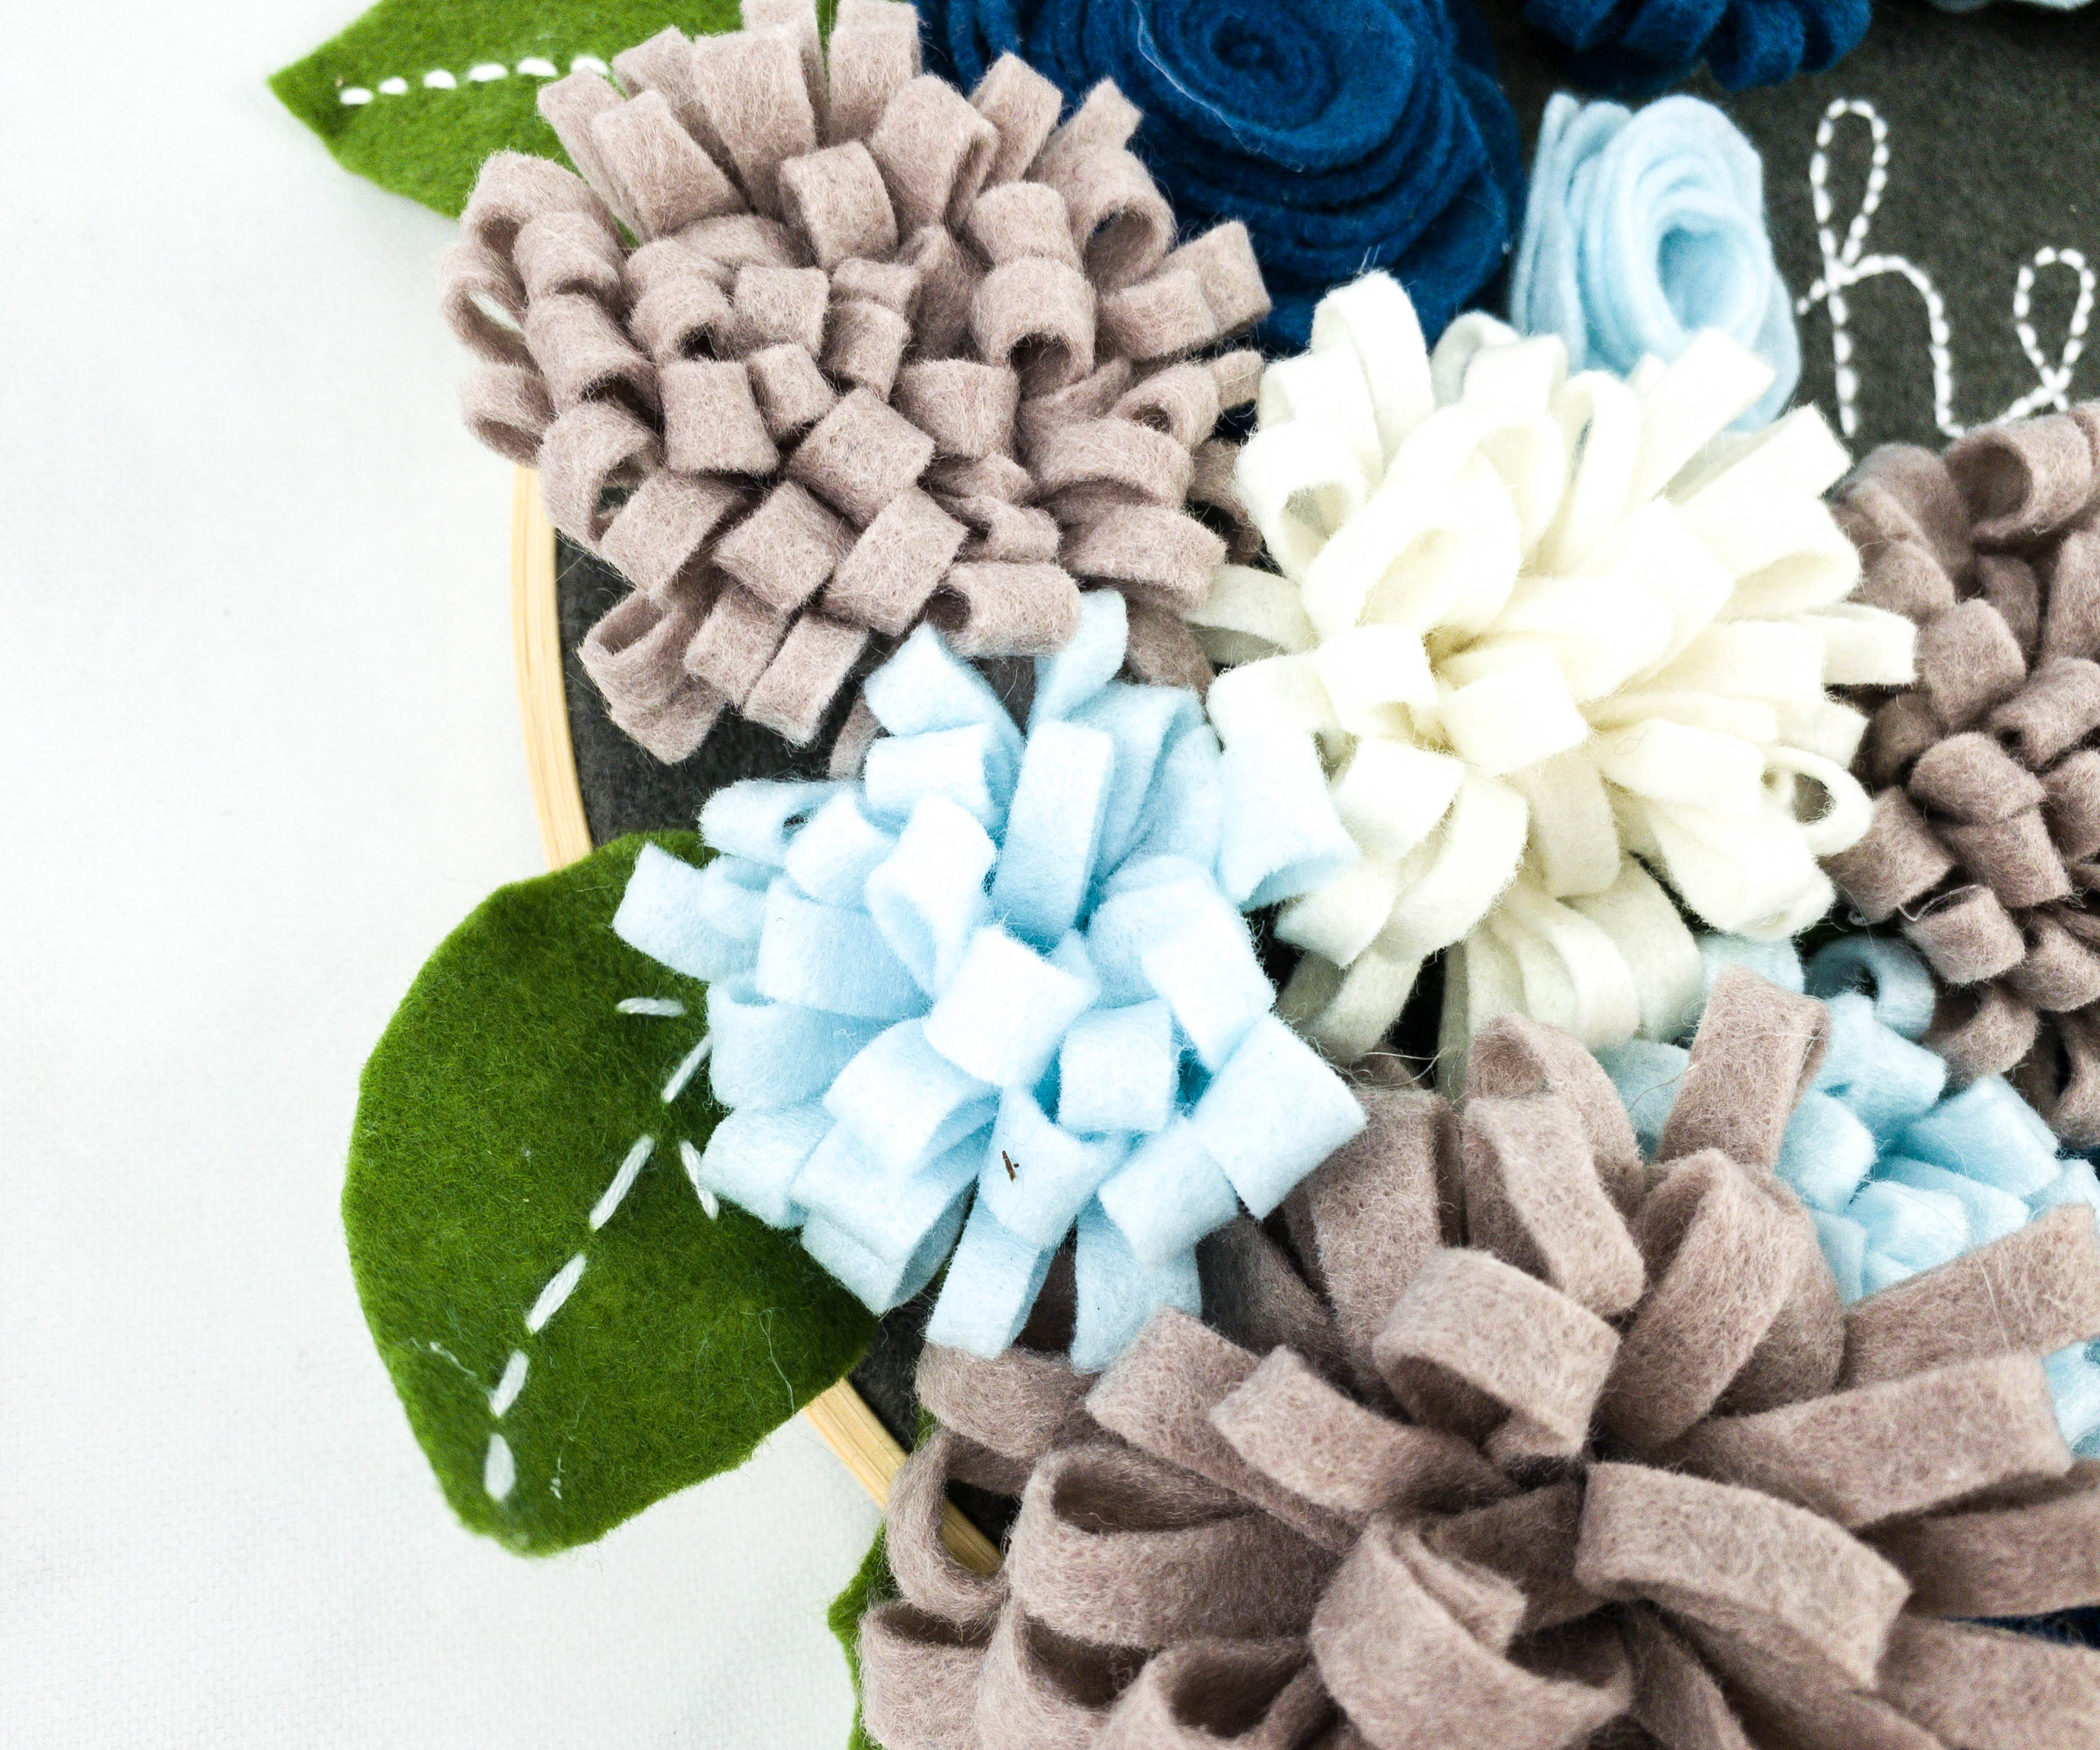
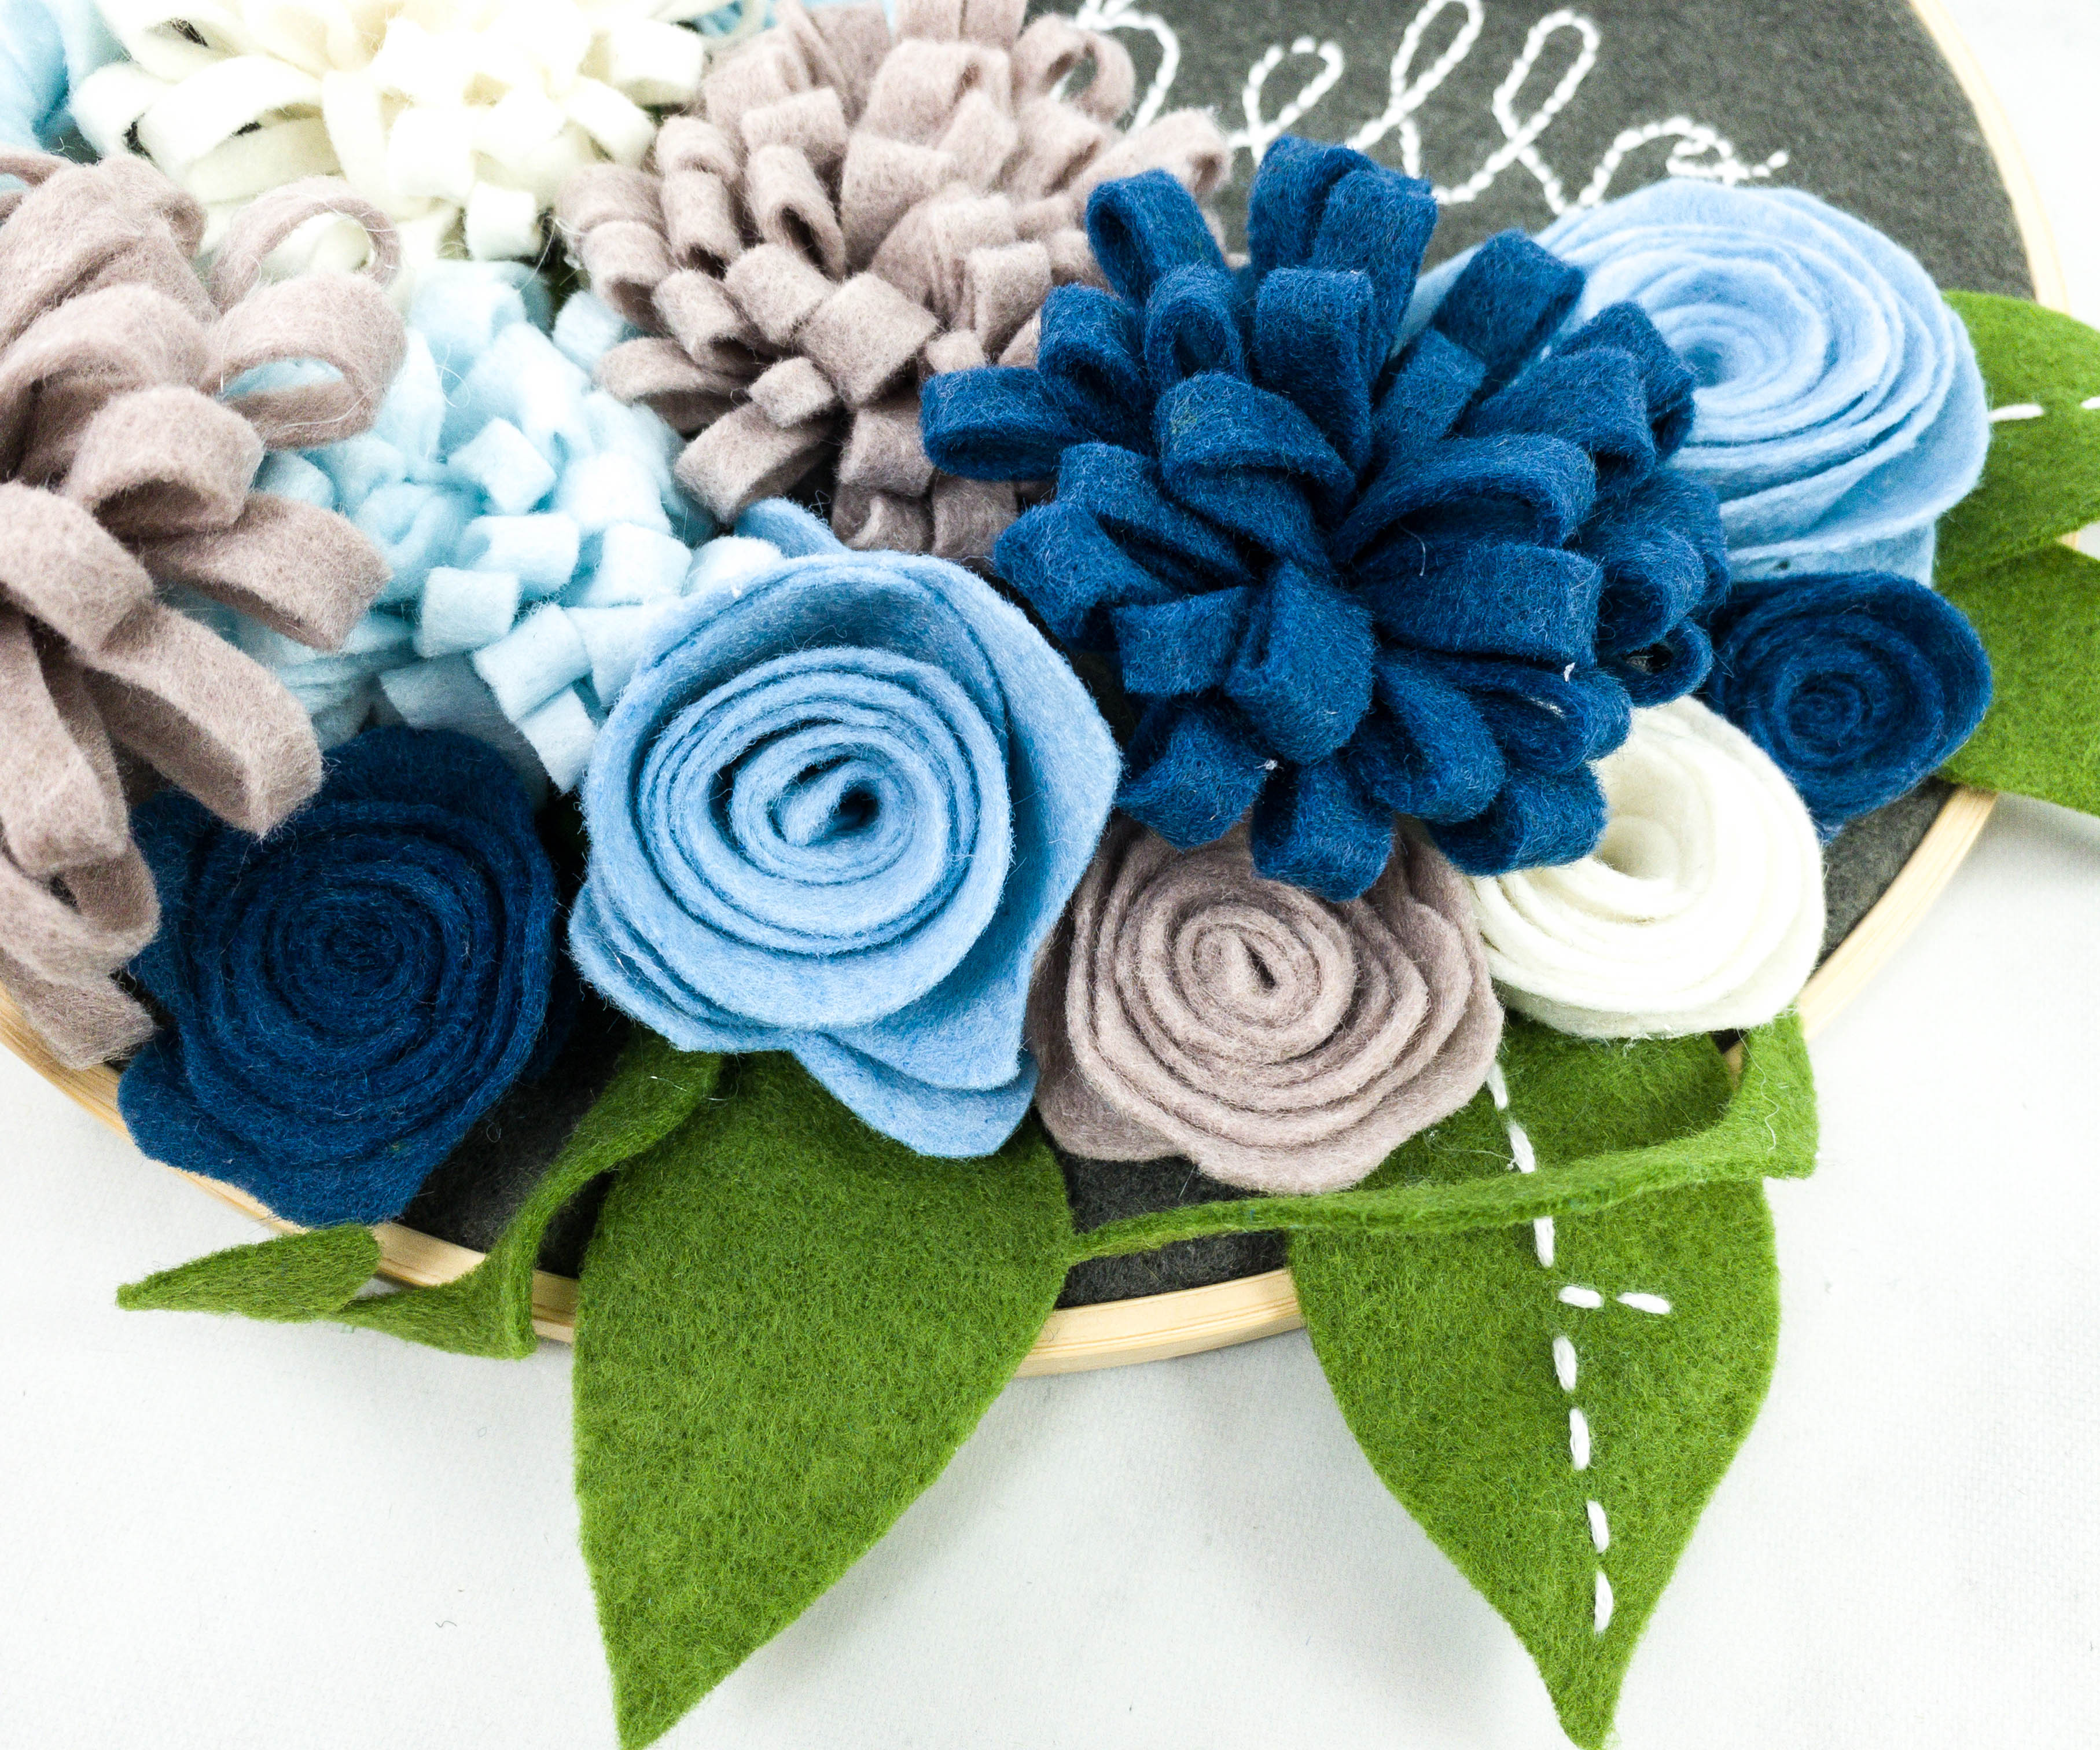
The looped mums looked really good and I can’t really believe how easy they were to make!
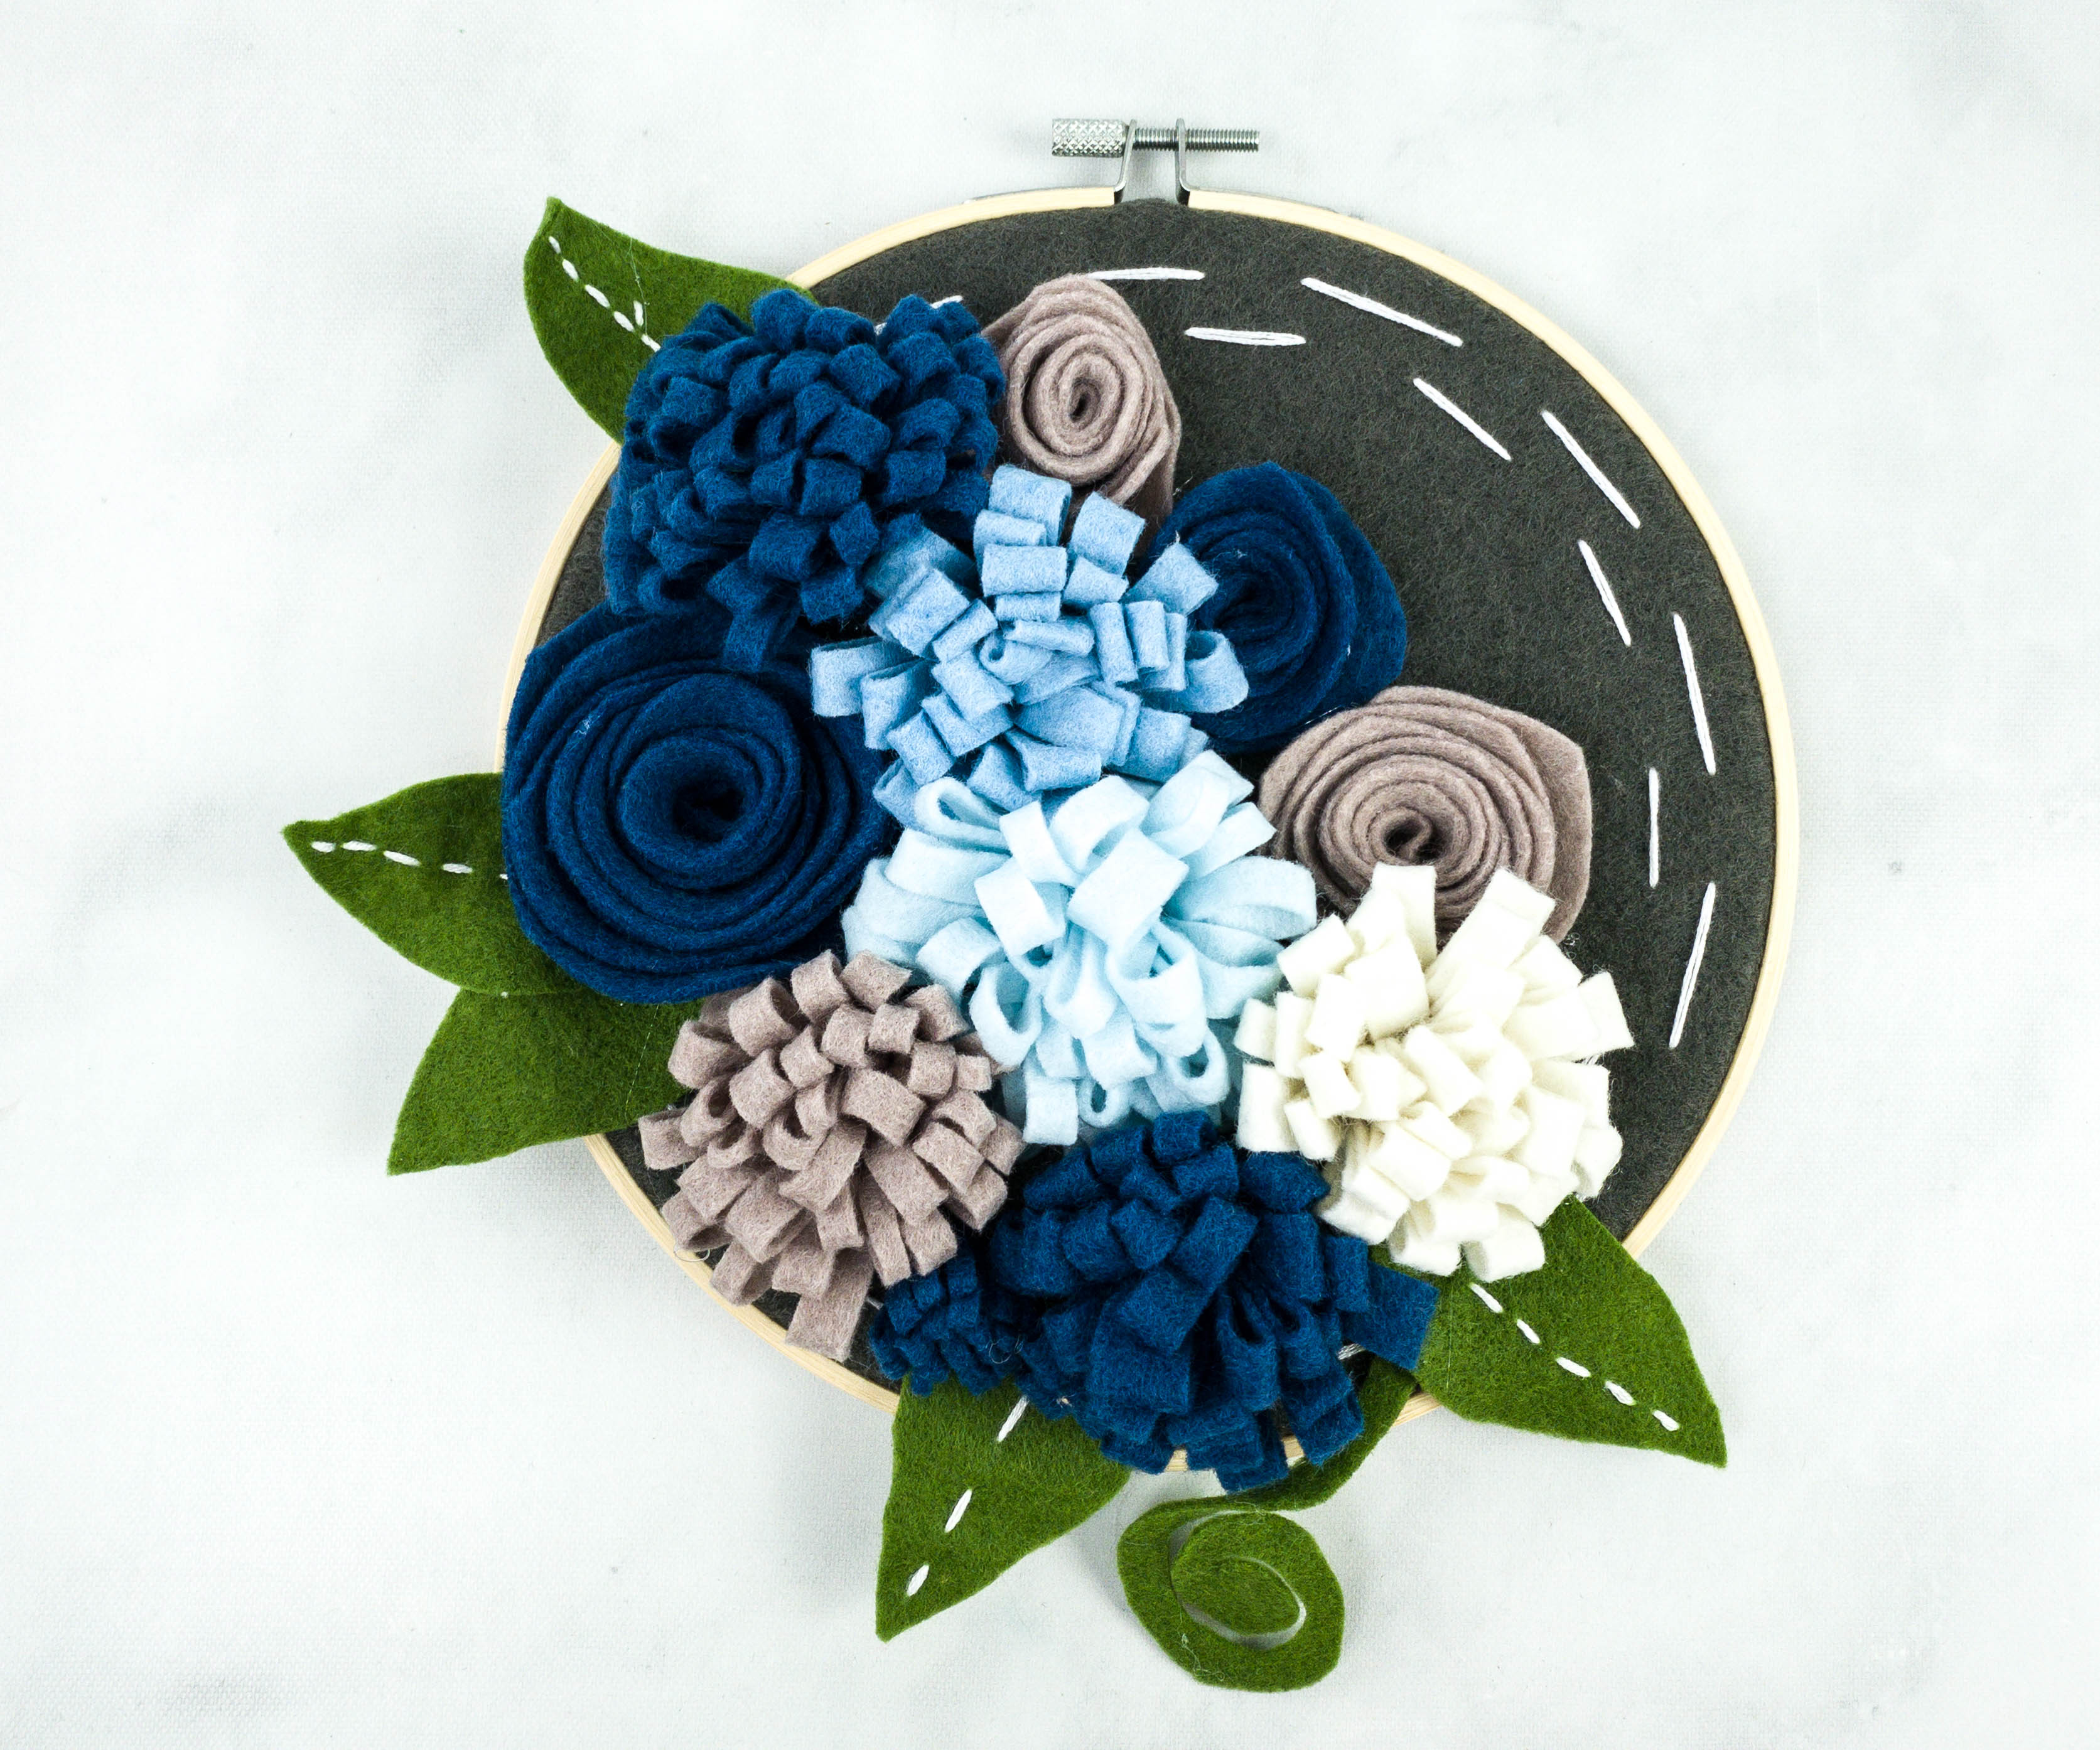
Here’s what my smaller hoop looked like! It’s lovely!
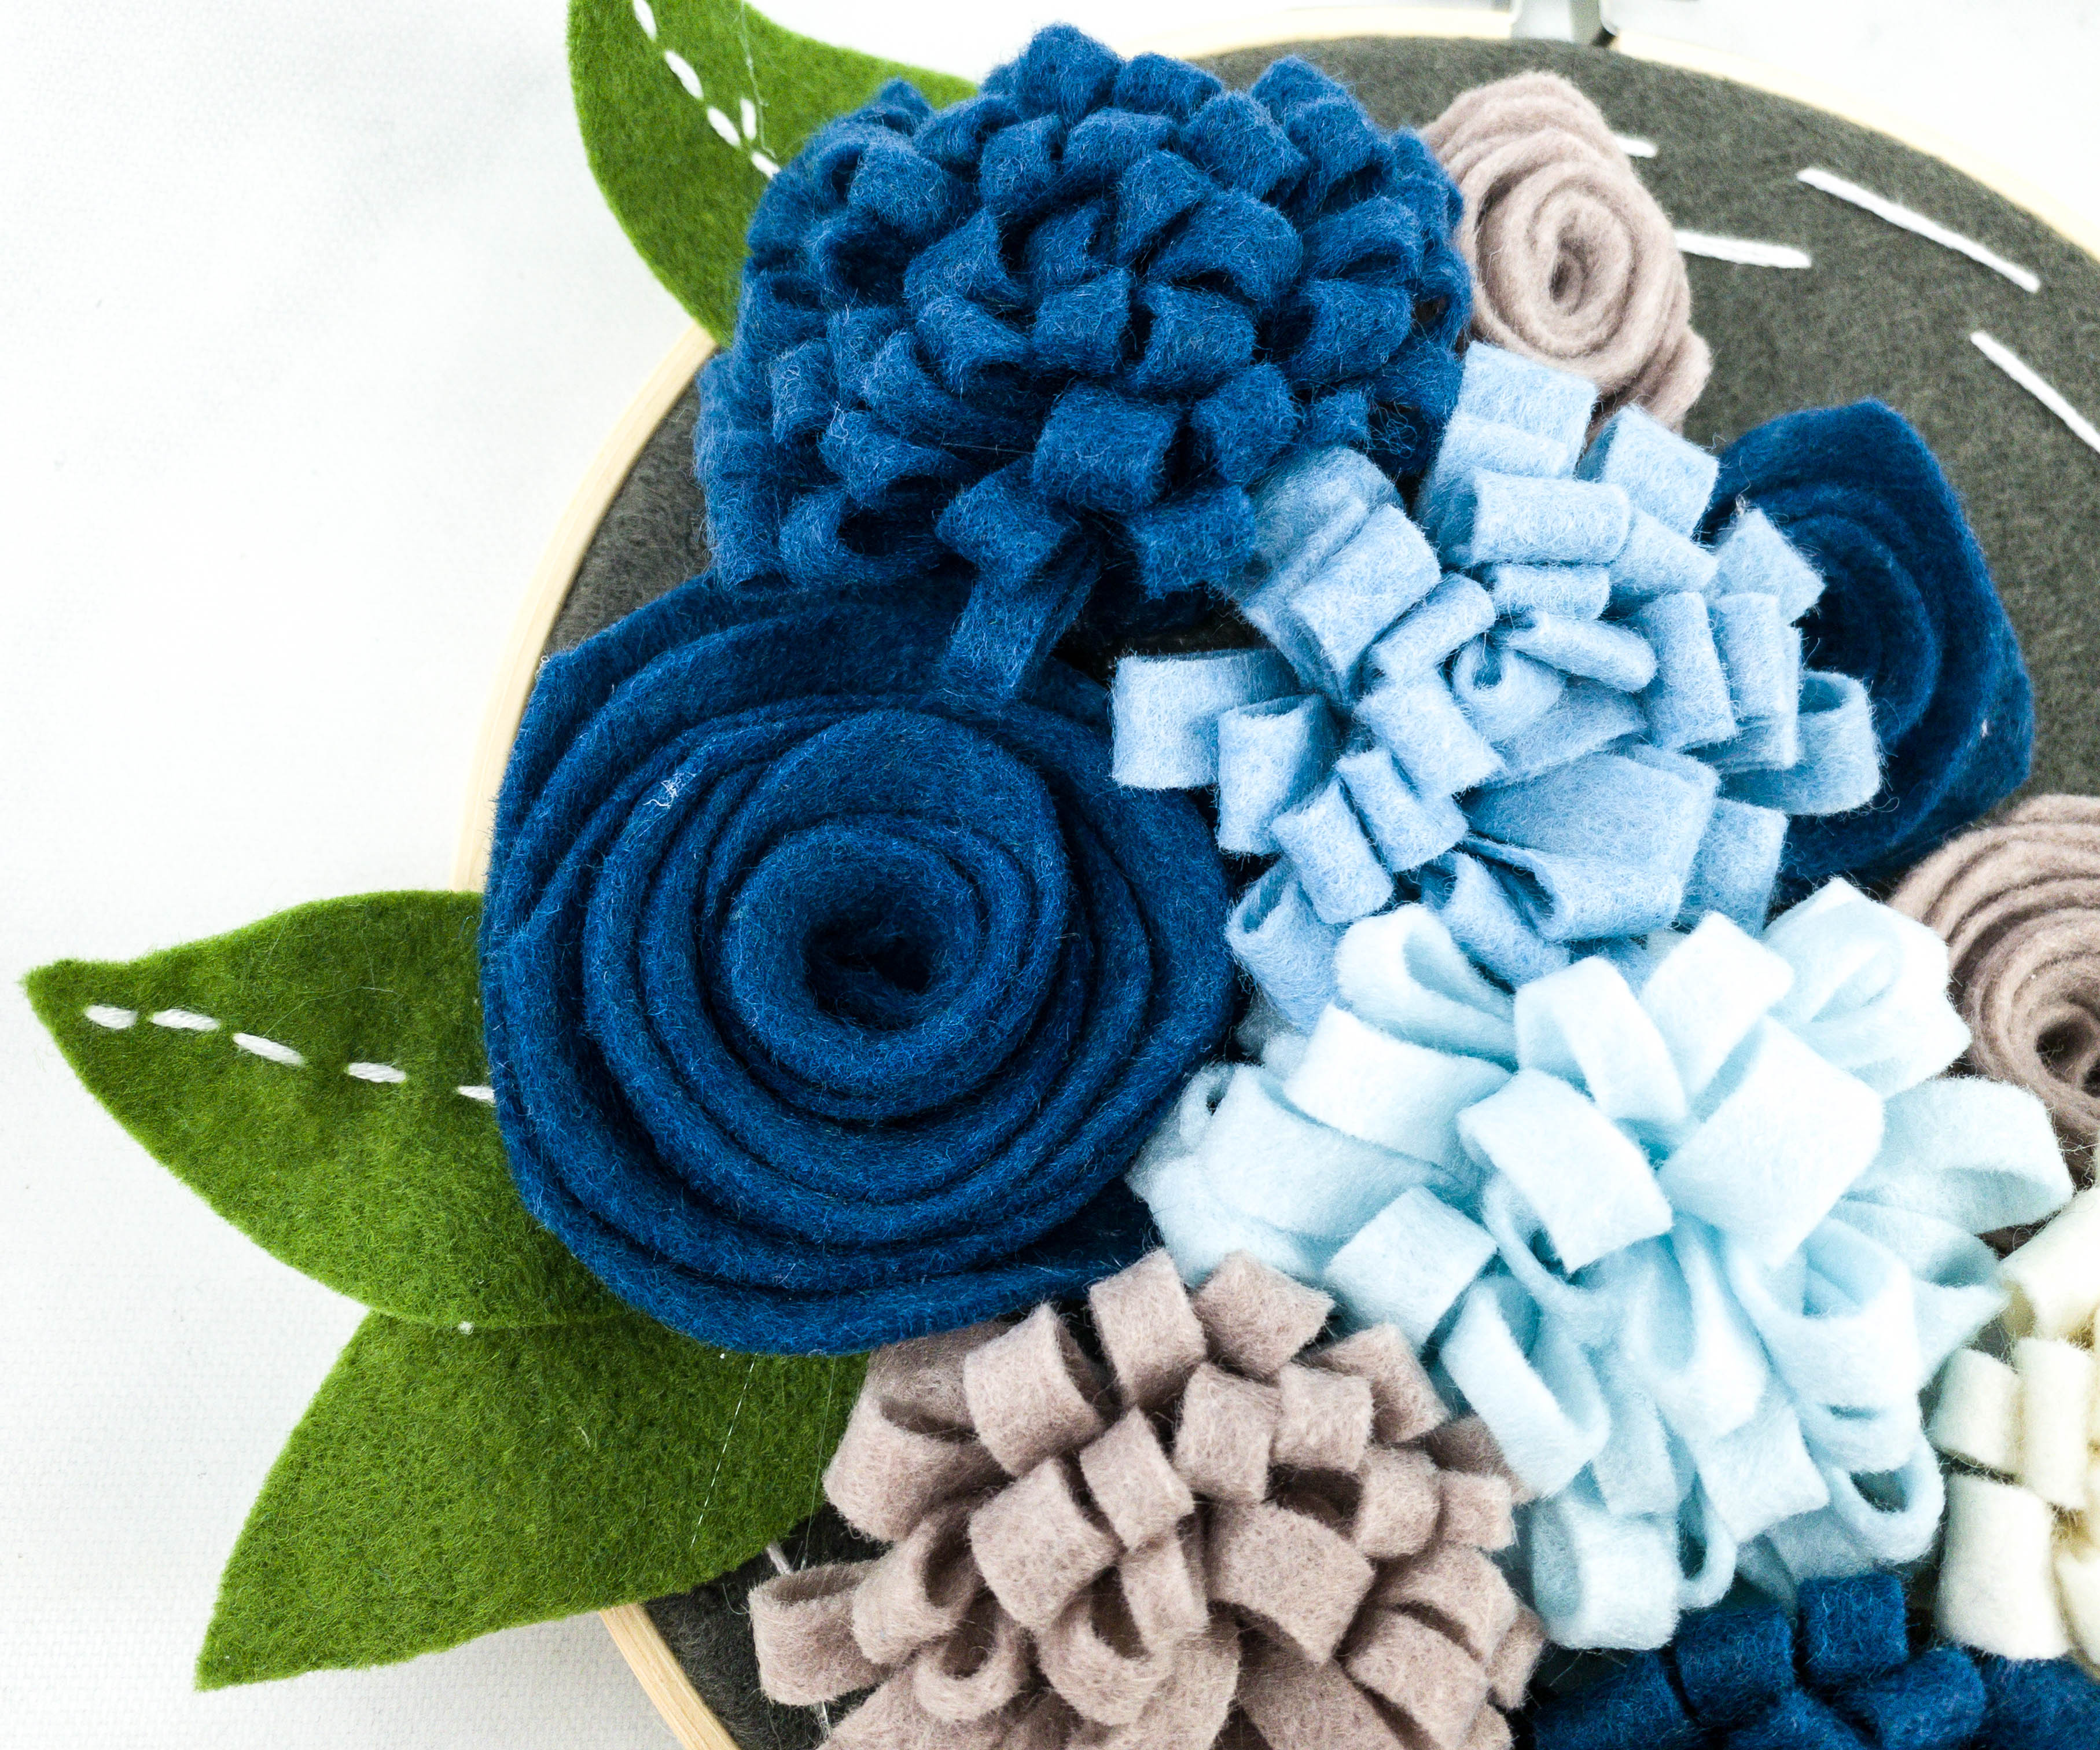
We also made rose flowers using felt to add to our design!
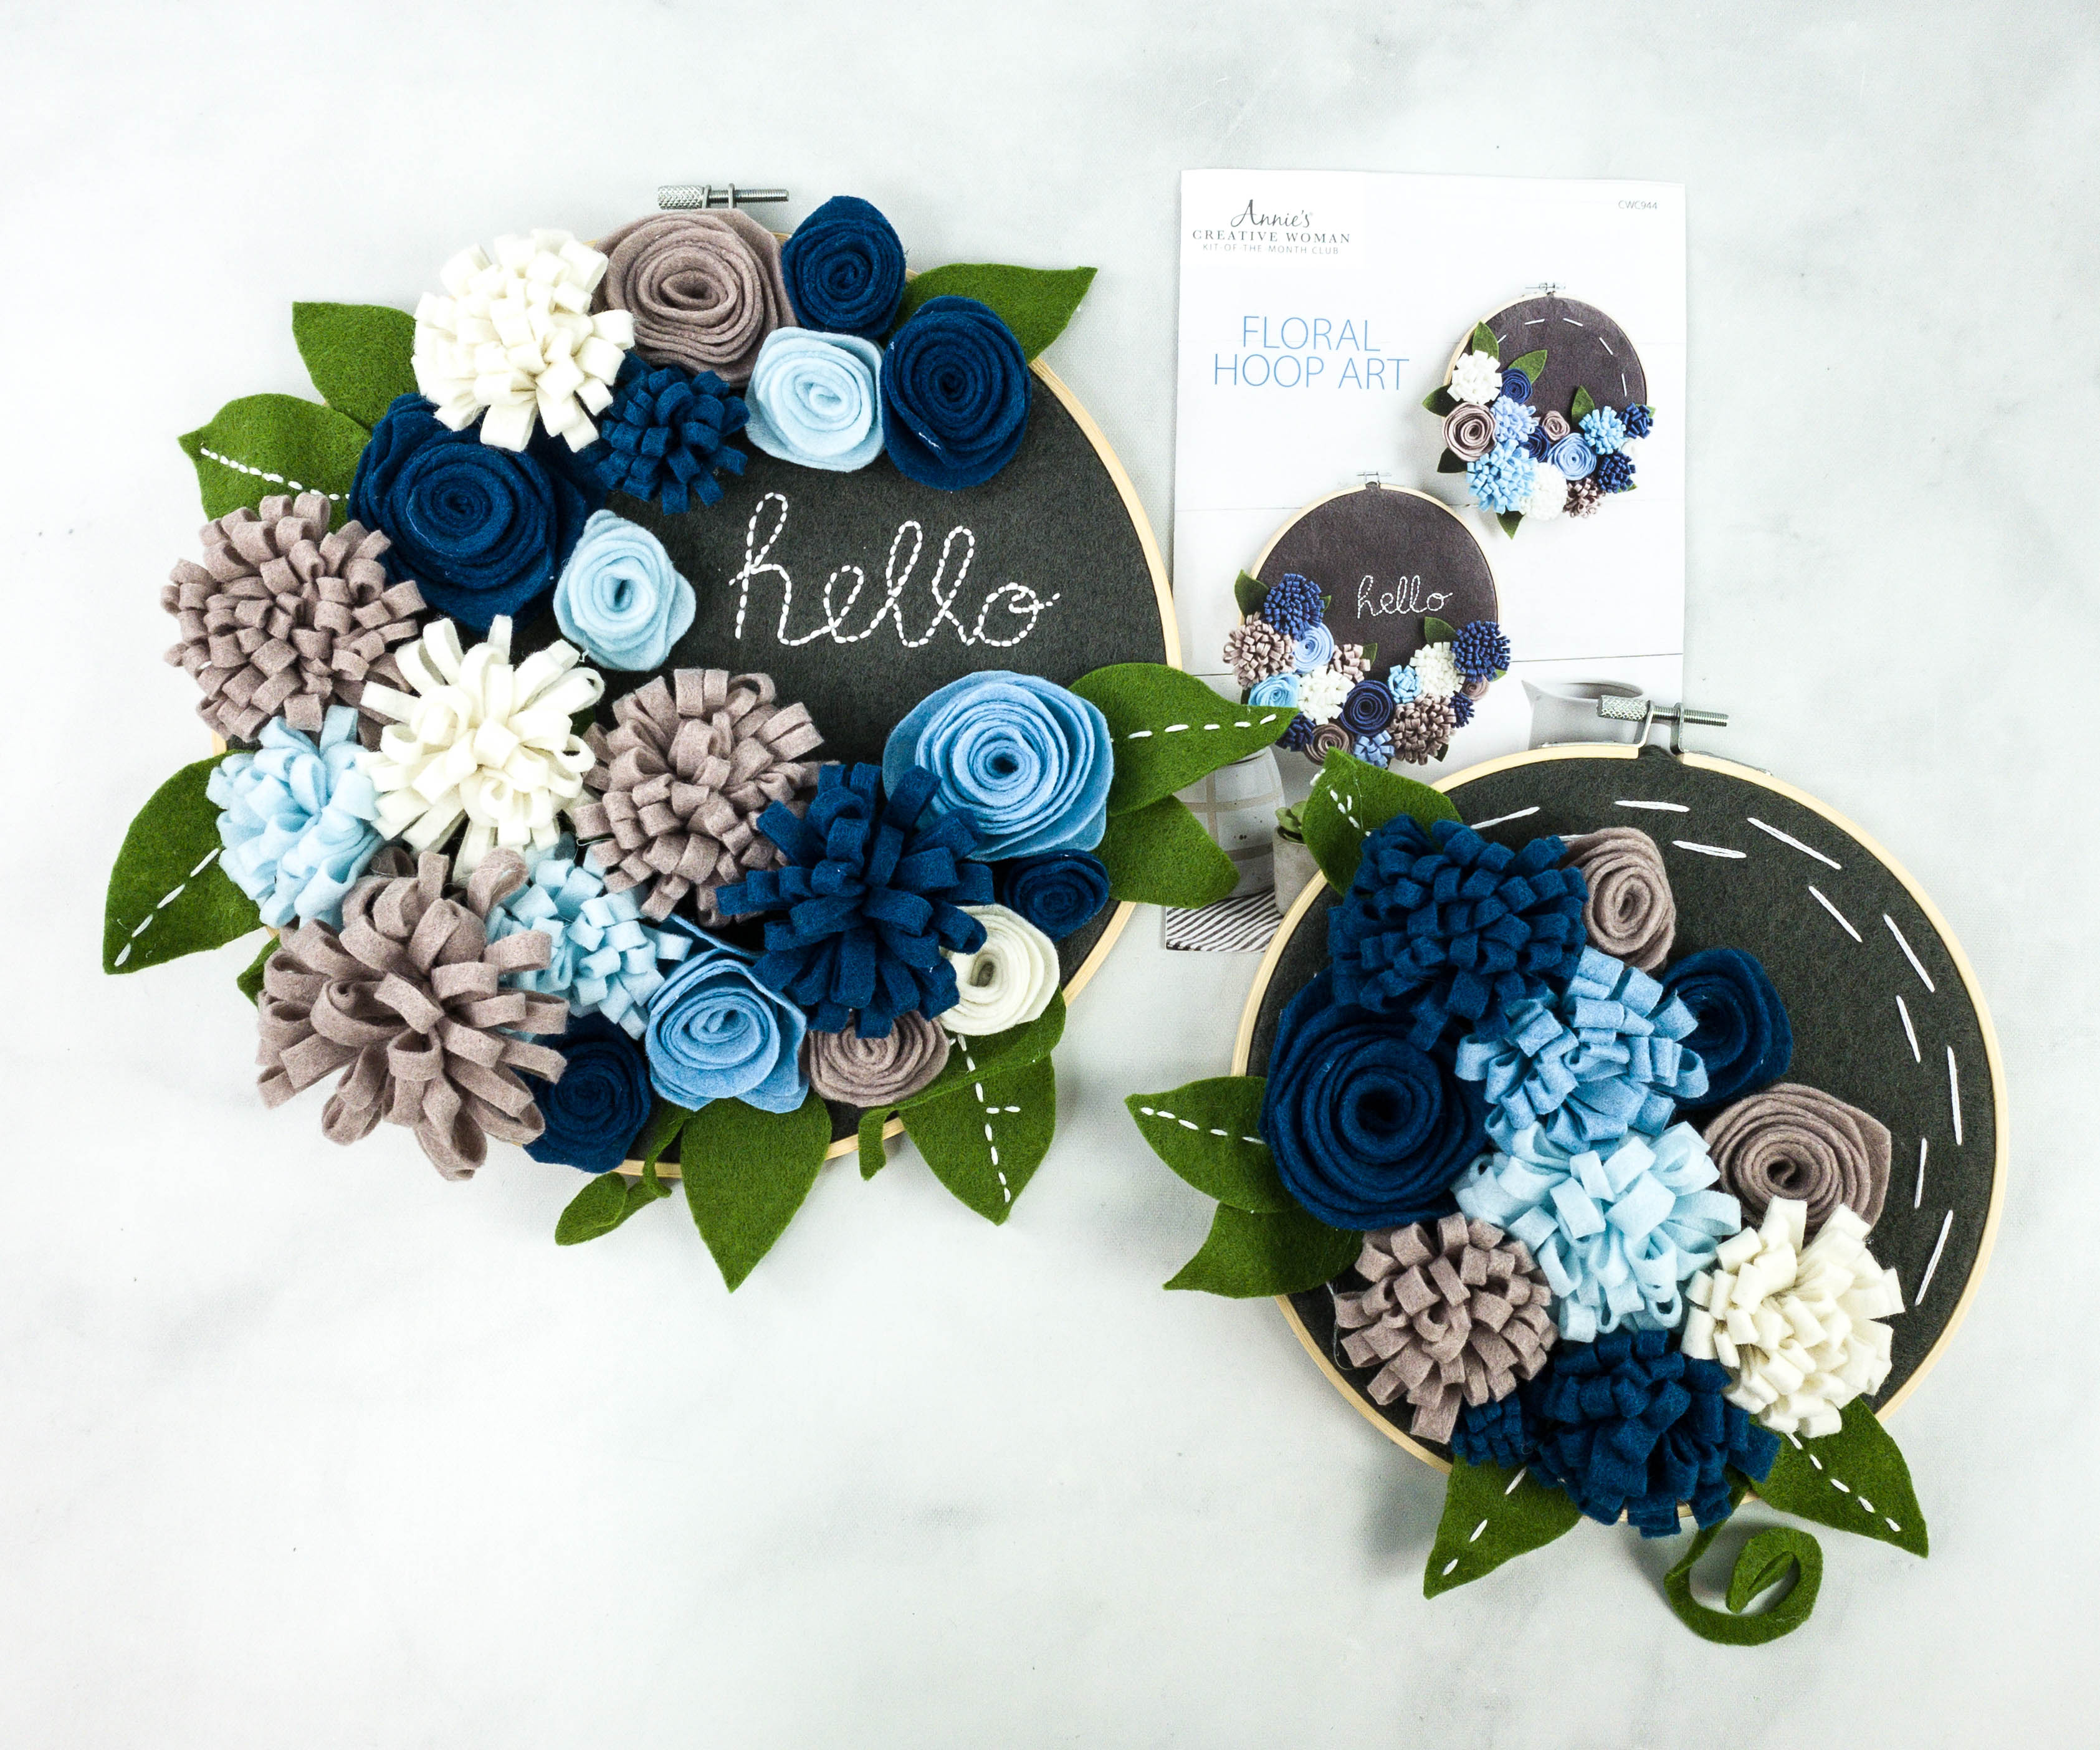
I’m so happy with the finished products!
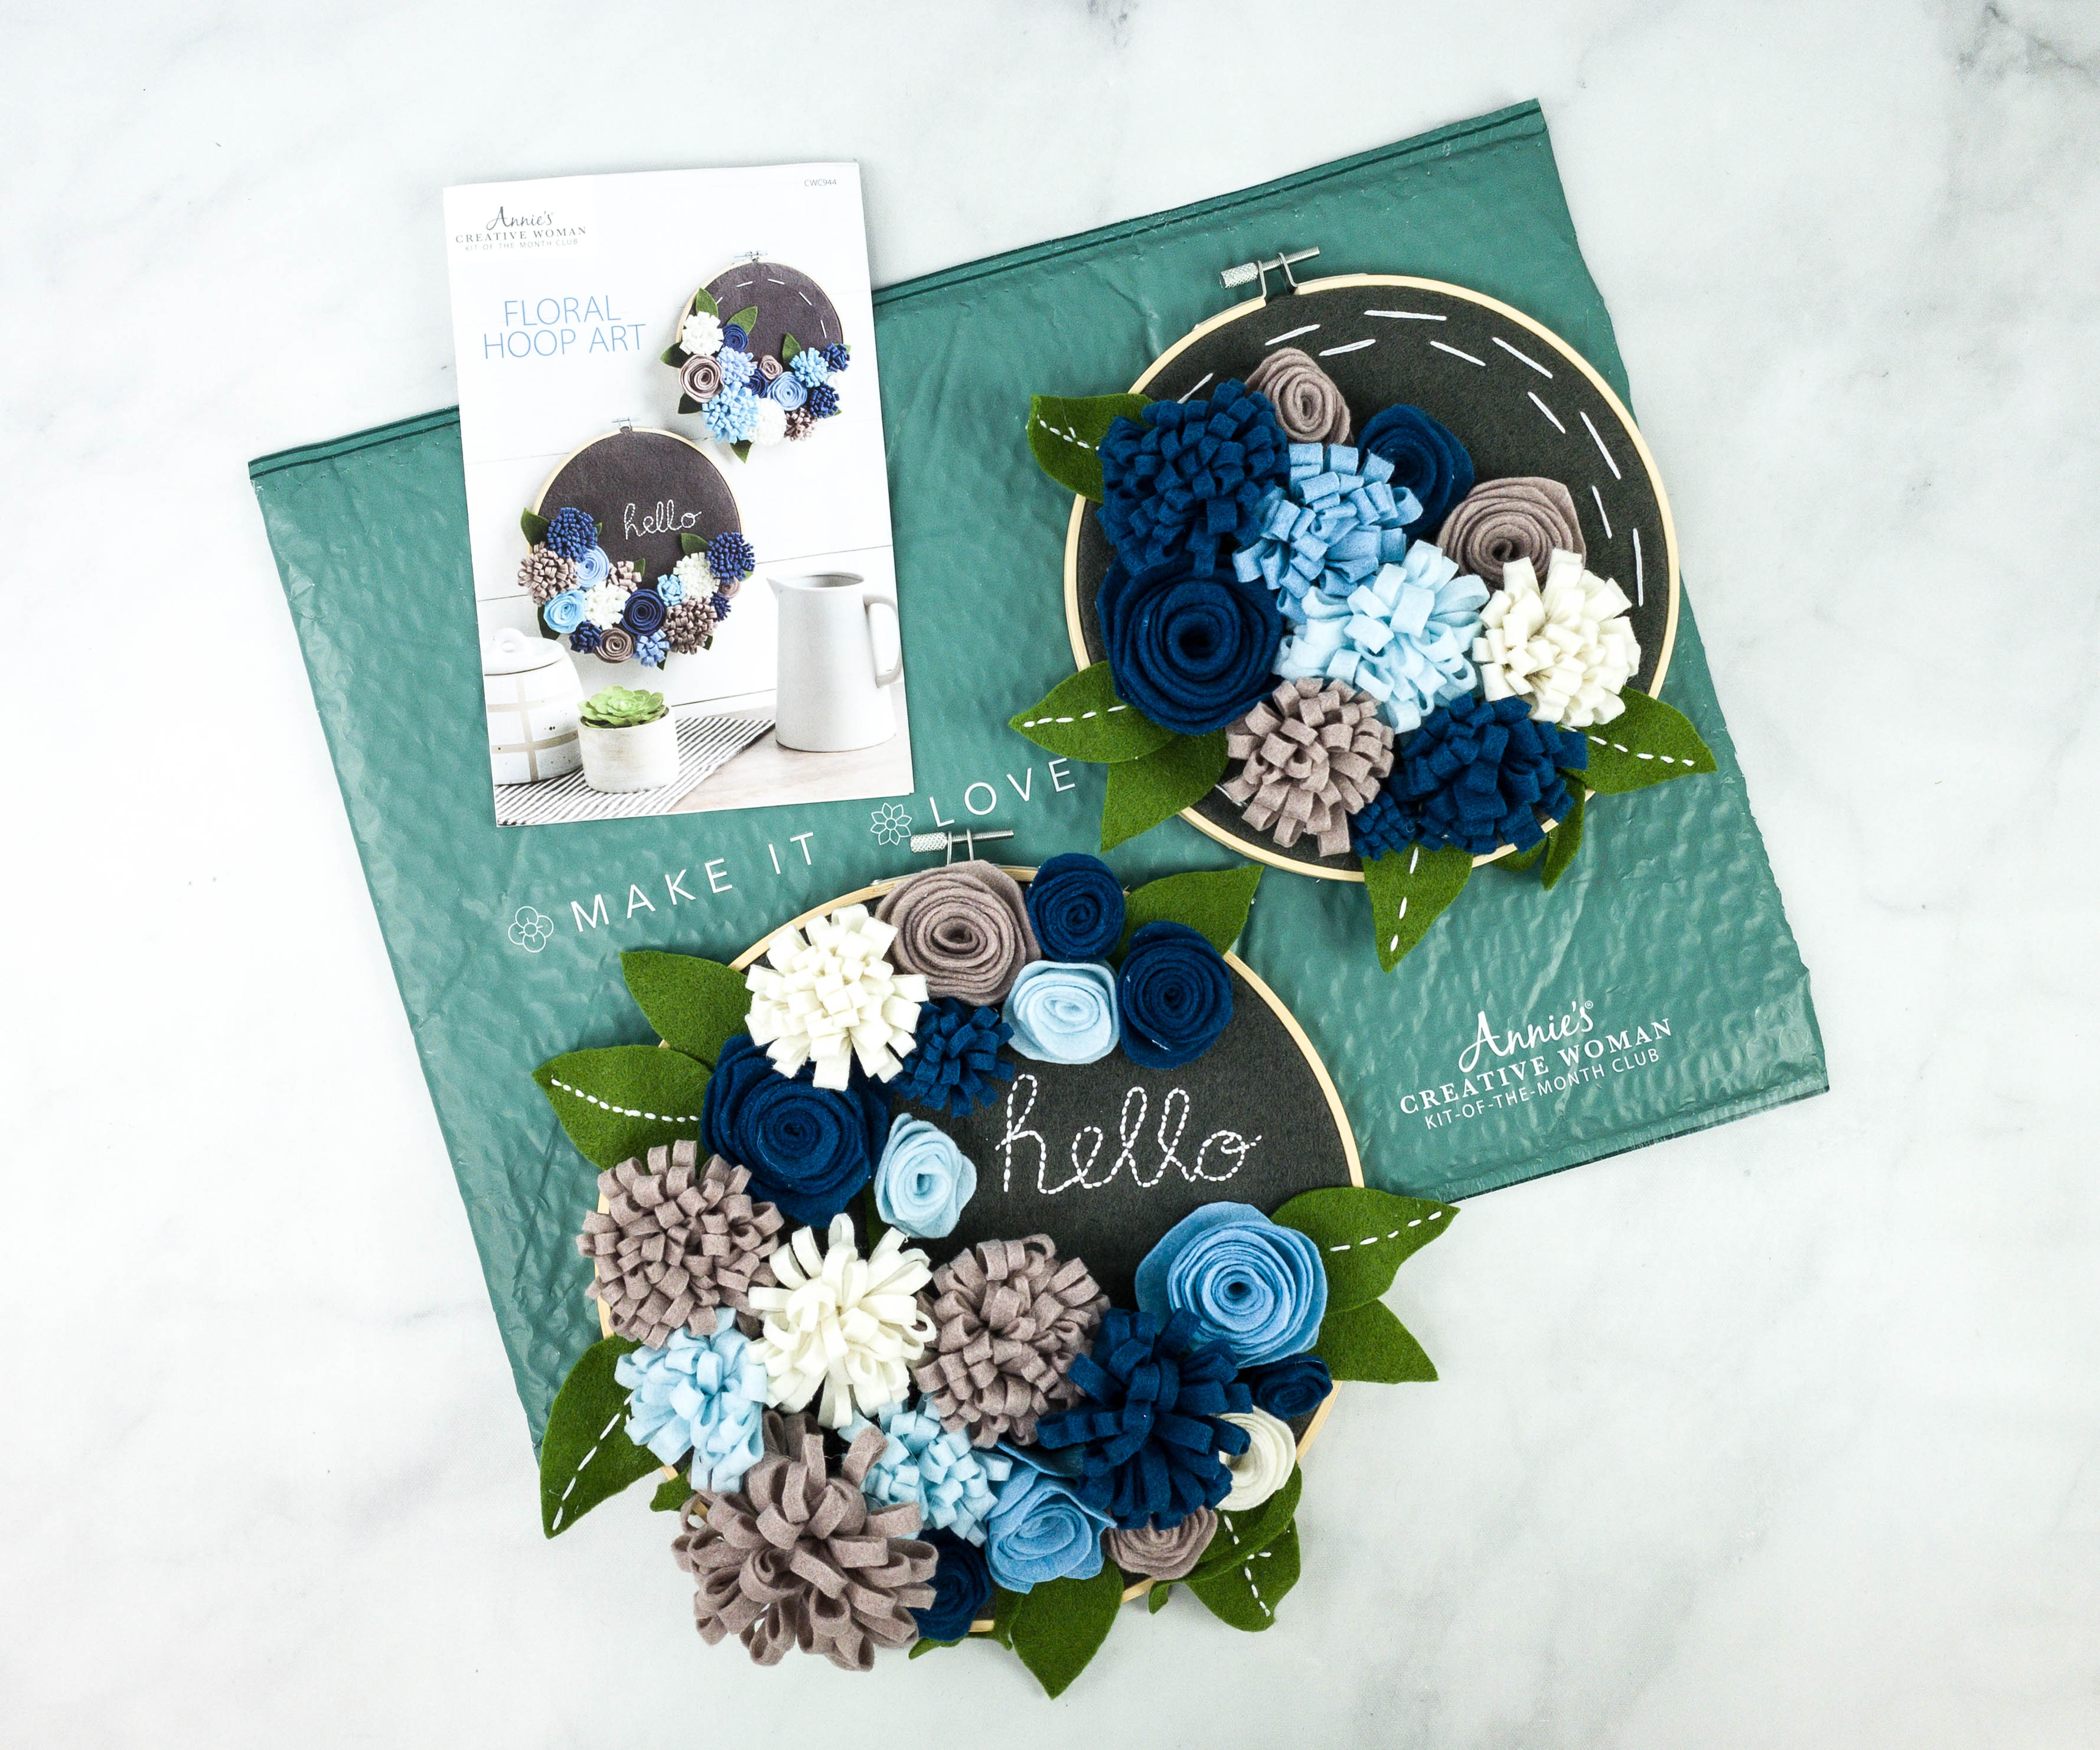
They look so good and I’m sure they will make my wall look even better by adding a pop of color!
This is also a nice gift to share with a friend!
I had a great time making this month’s Creative Woman Kit-of-the-Month Club project! Our favorite part was making the flowers. They are easy to make and the outcome is really pretty. All in all, I love this subscription because it helps unleash my creativity and keeps me productive at home. Our friends and family also love the creations I have gifted! If you’re looking for fun things to do while staying at home, you might want to check out this DIY crafts subscription!
What do you think of the Creative Woman Kit-of-the-Month Club box?
Visit Annie’s Creative Woman Kit of the Month Club to subscribe or find out more!


Comments