Atlas Crate is a monthly subscription from KiwiCo that specializes in geography and culture for children between ages 6 to 11 years old. This box is designed to spark kids’ sense of adventure and curiosity, inspiring them to see themselves as citizens of the world. Kids can see and connect with the rest of the world, helping them grow beyond their own experience as they explore the globe.
KiwiCo also offers Kiwi Crate, Koala Crate, Doodle Crate, Tinker Crate, Panda Crate, Maker Crate, and Eureka Crate. Atlas Crate is a great addition to the KiwiCo family as geography and exploration is always a favorite activity!
DEAL: Save 30% on your first month with this link on any KiwiCo line, no coupon code required!
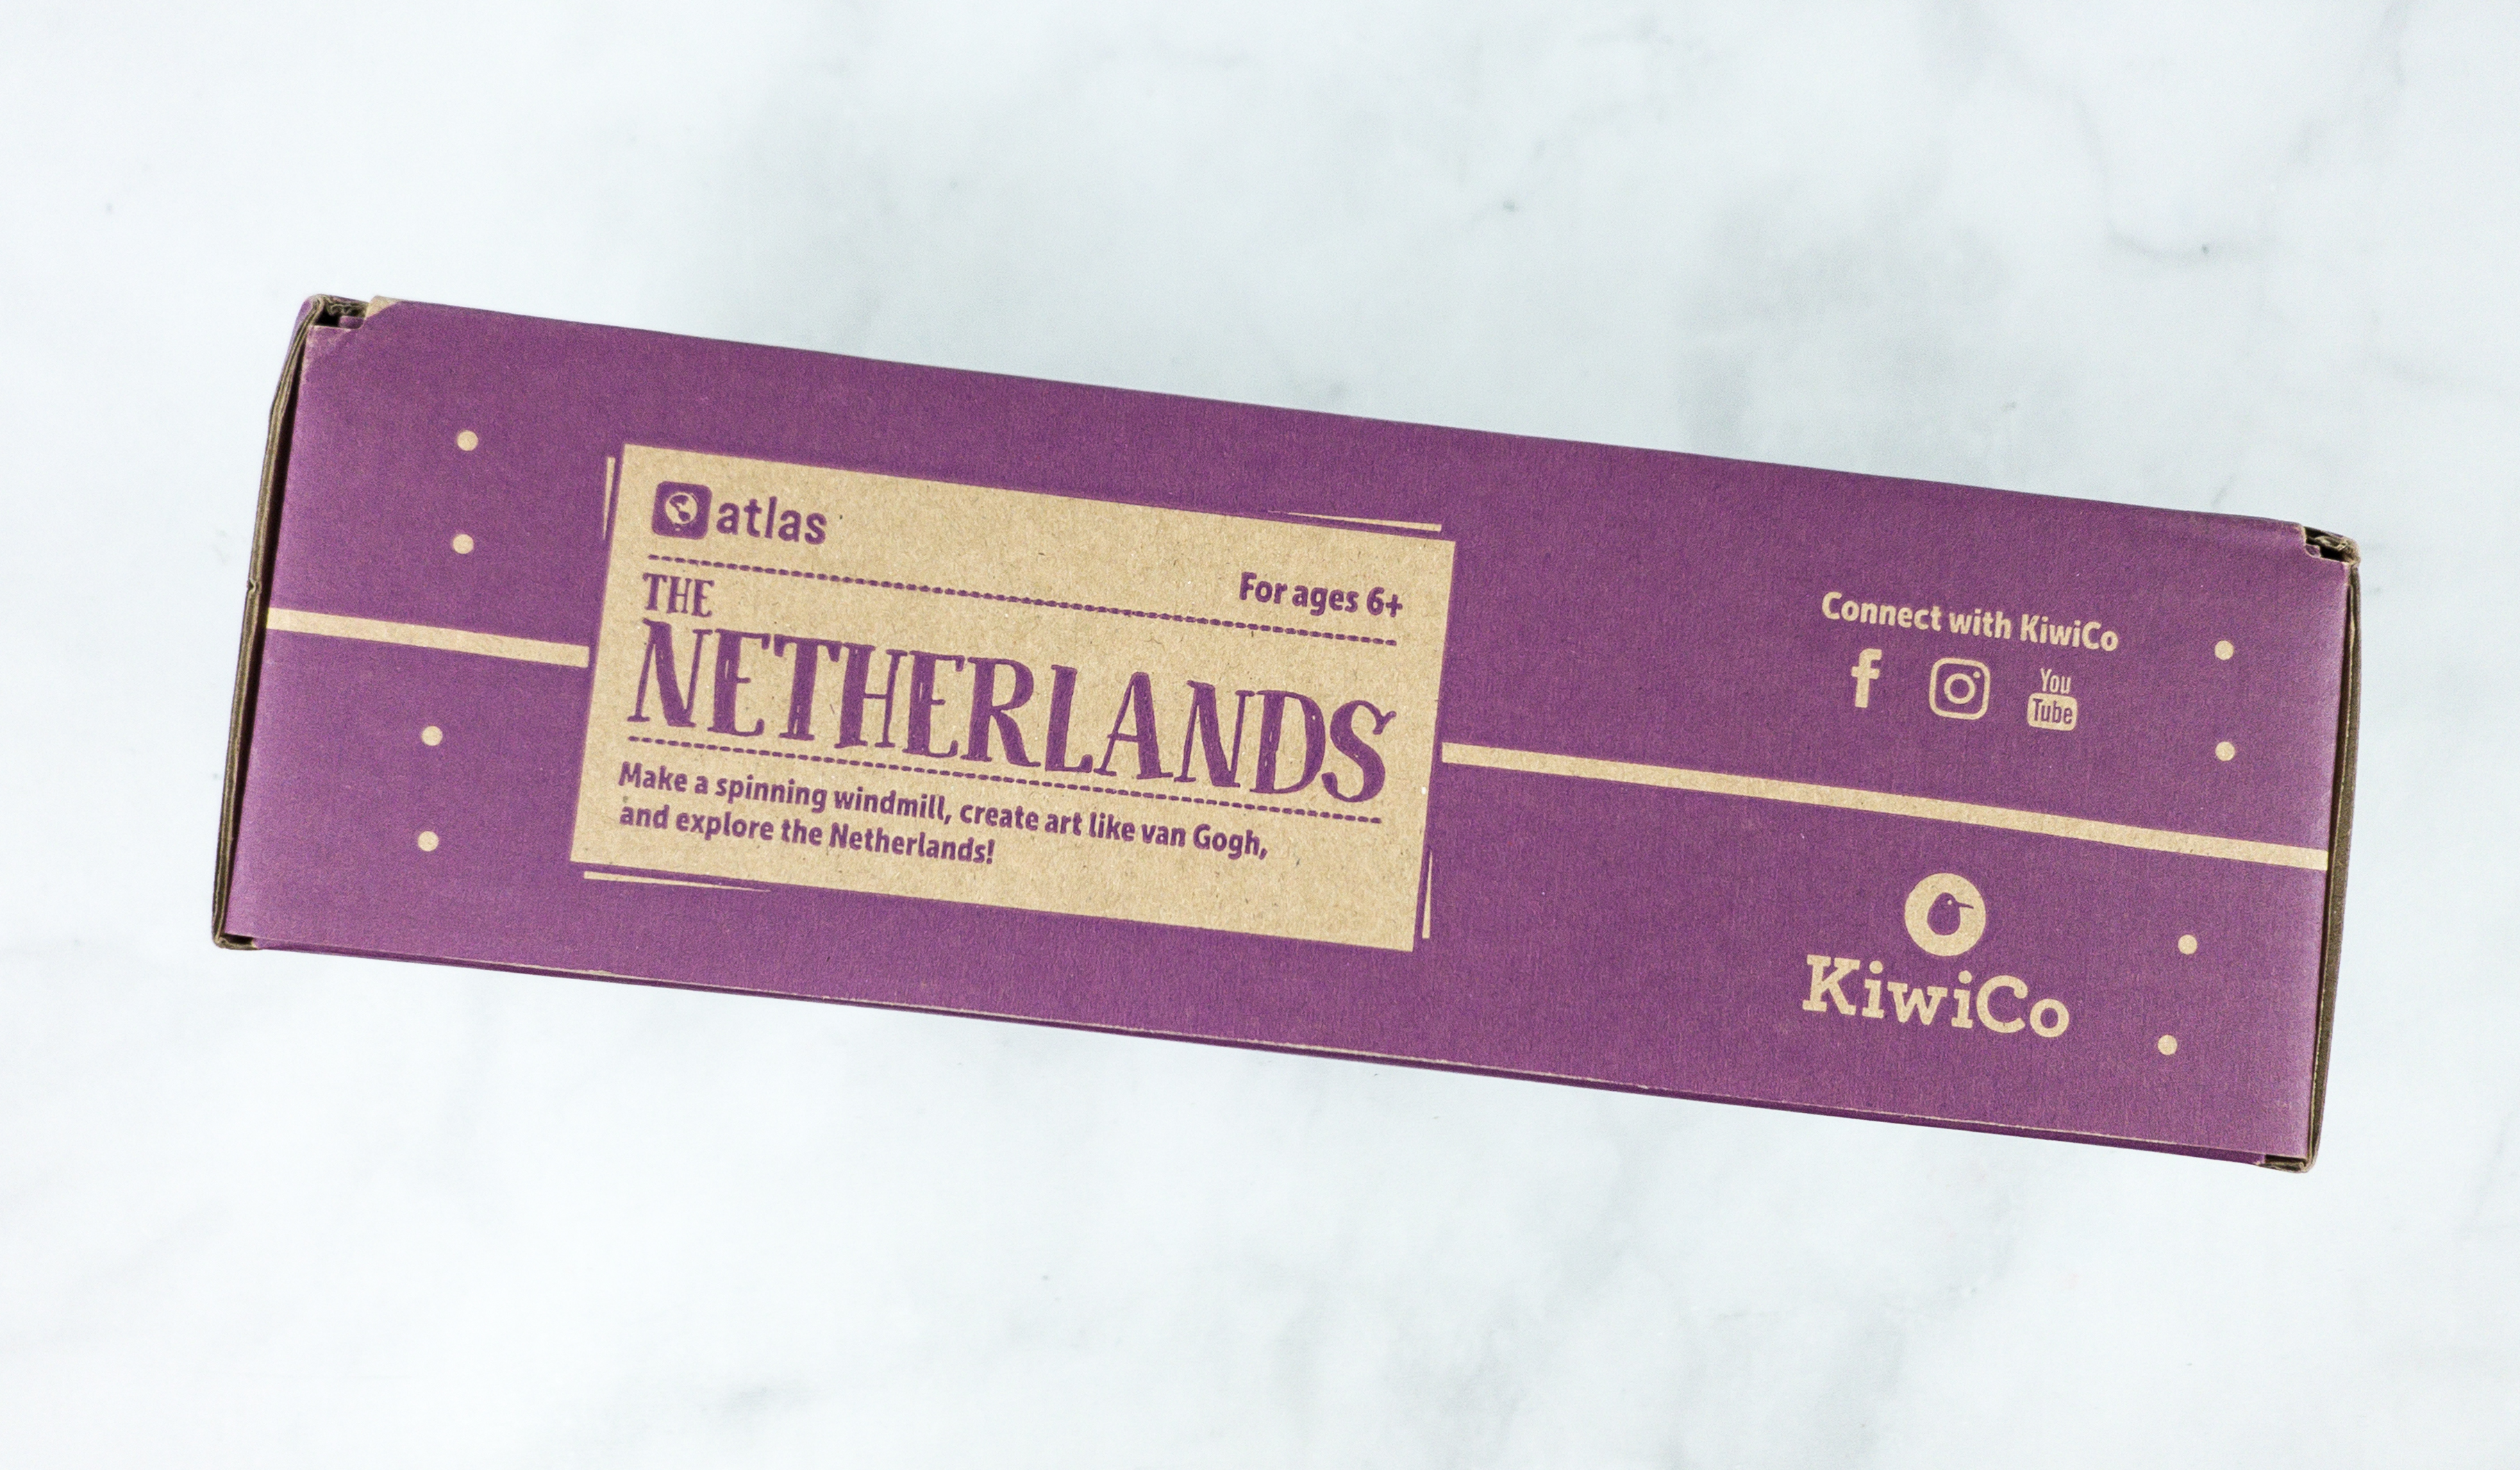
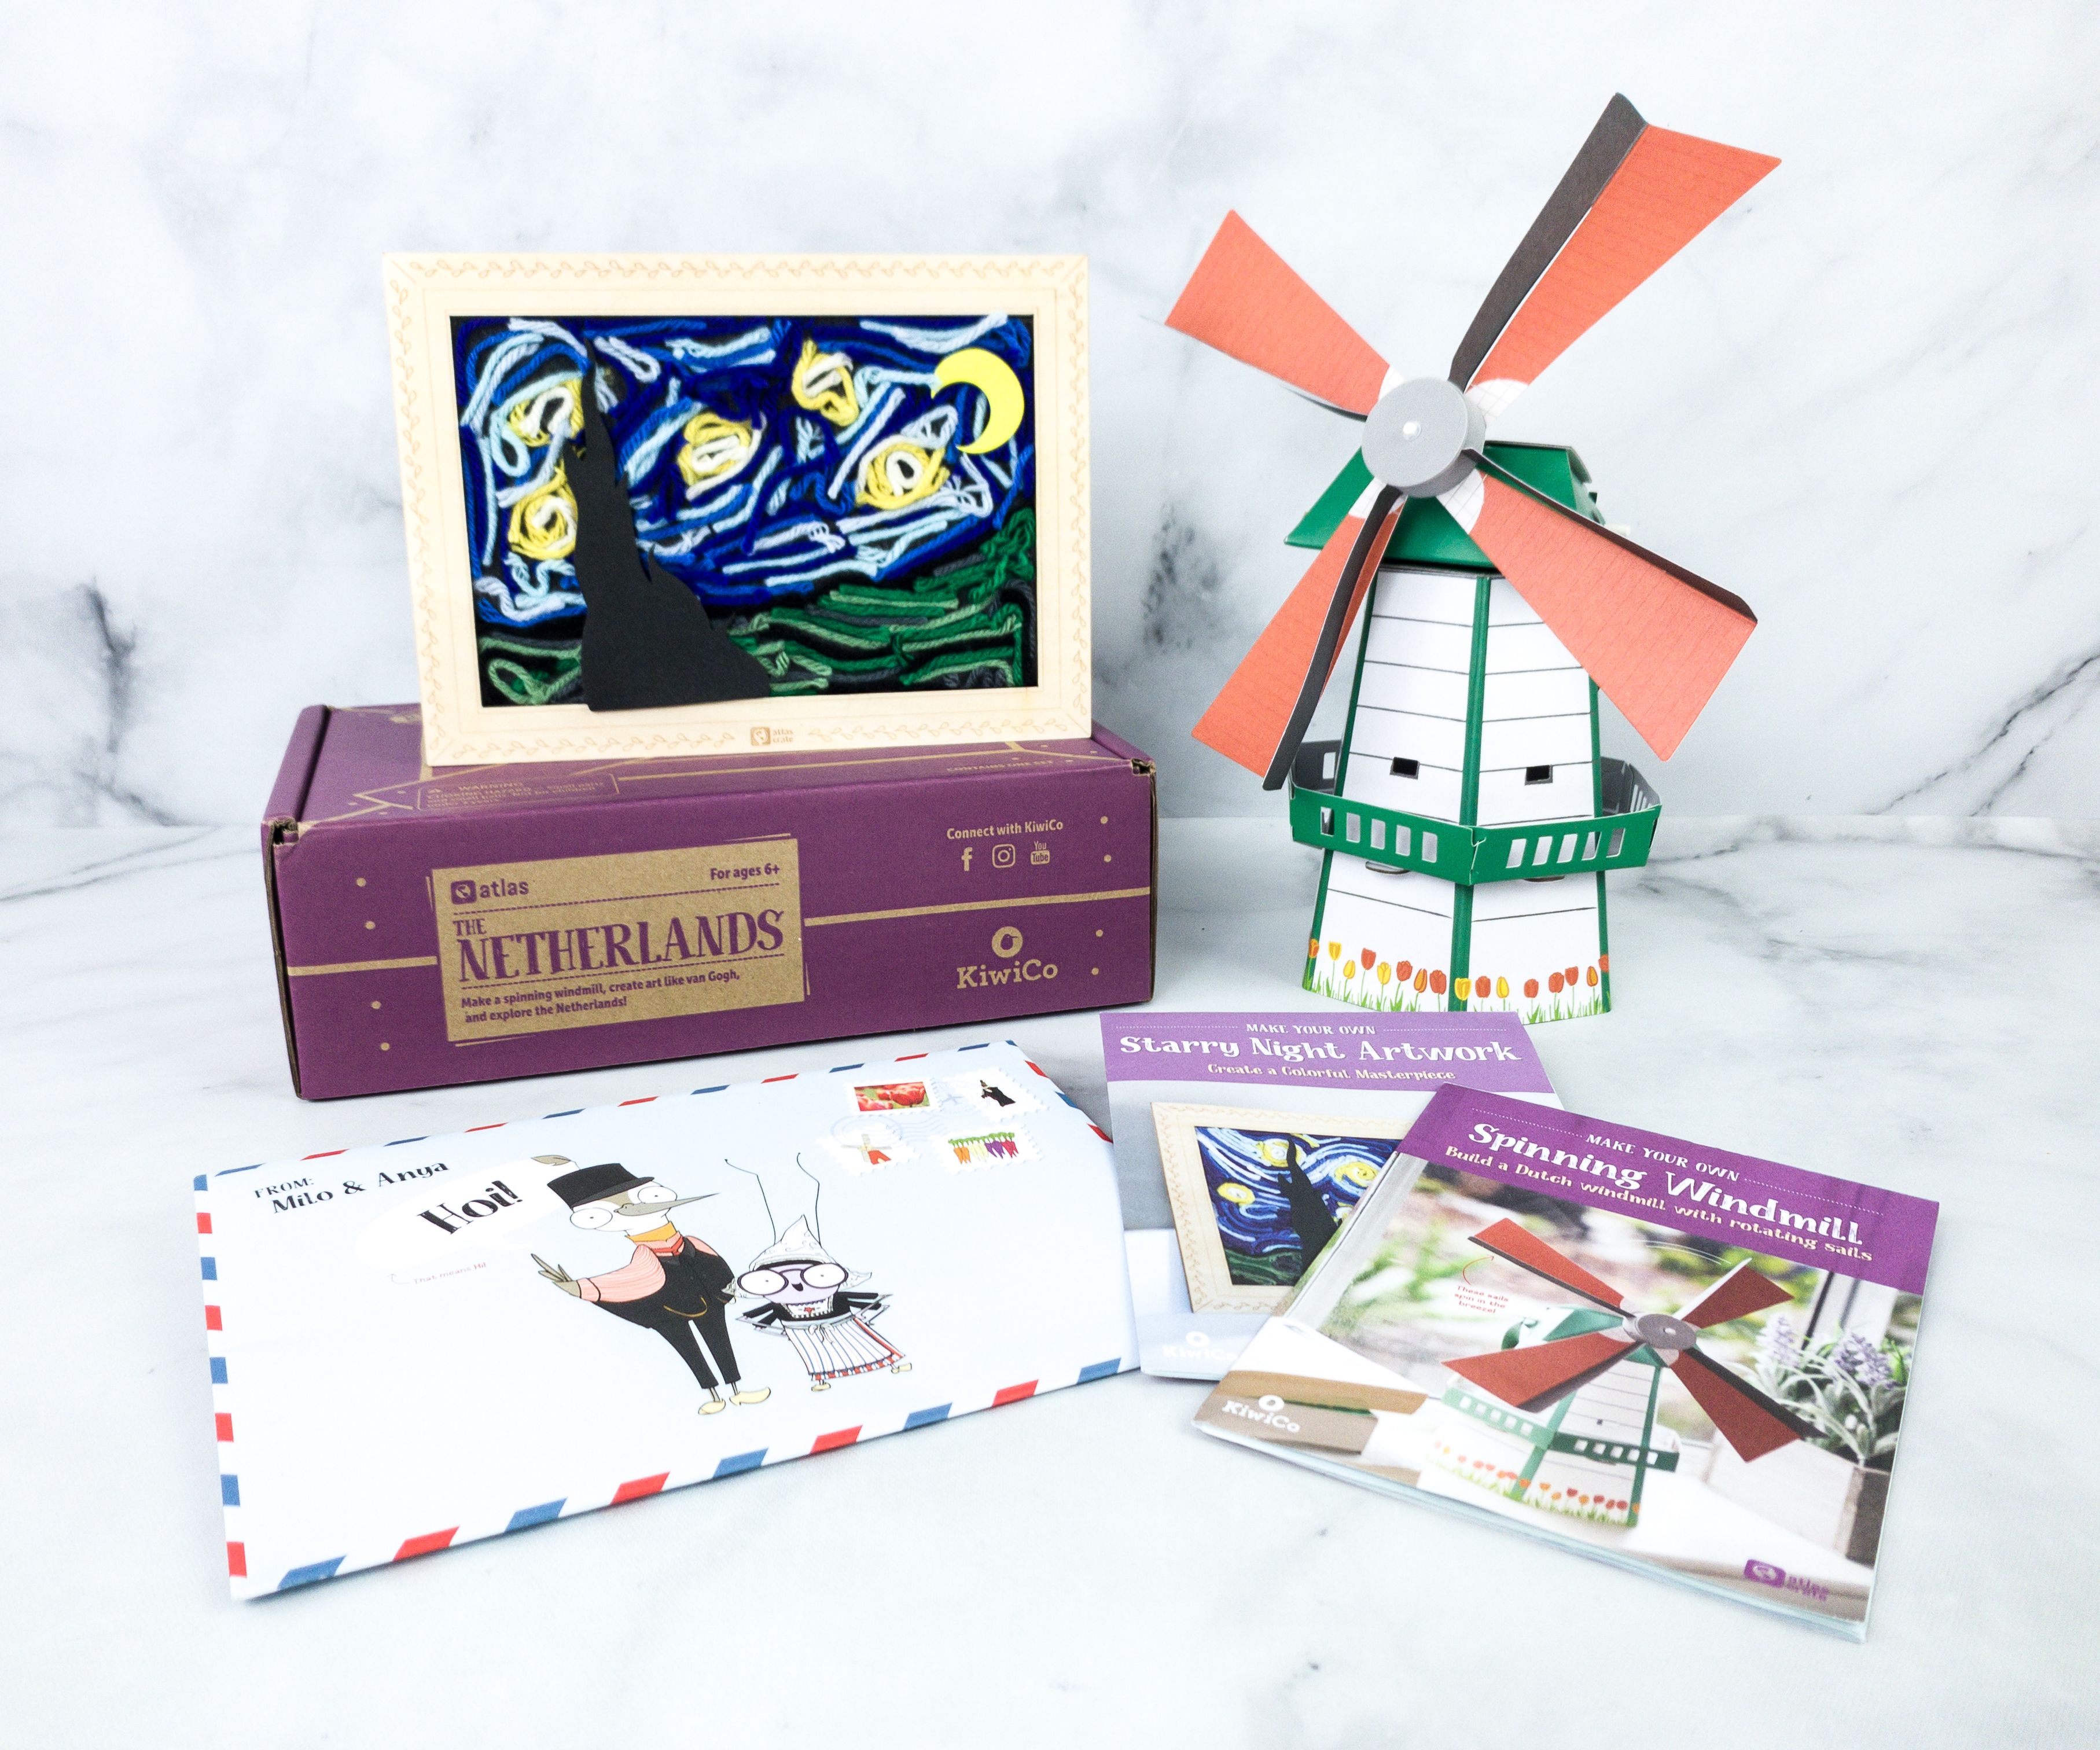
This month’s box is all about THE NETHERLANDS!
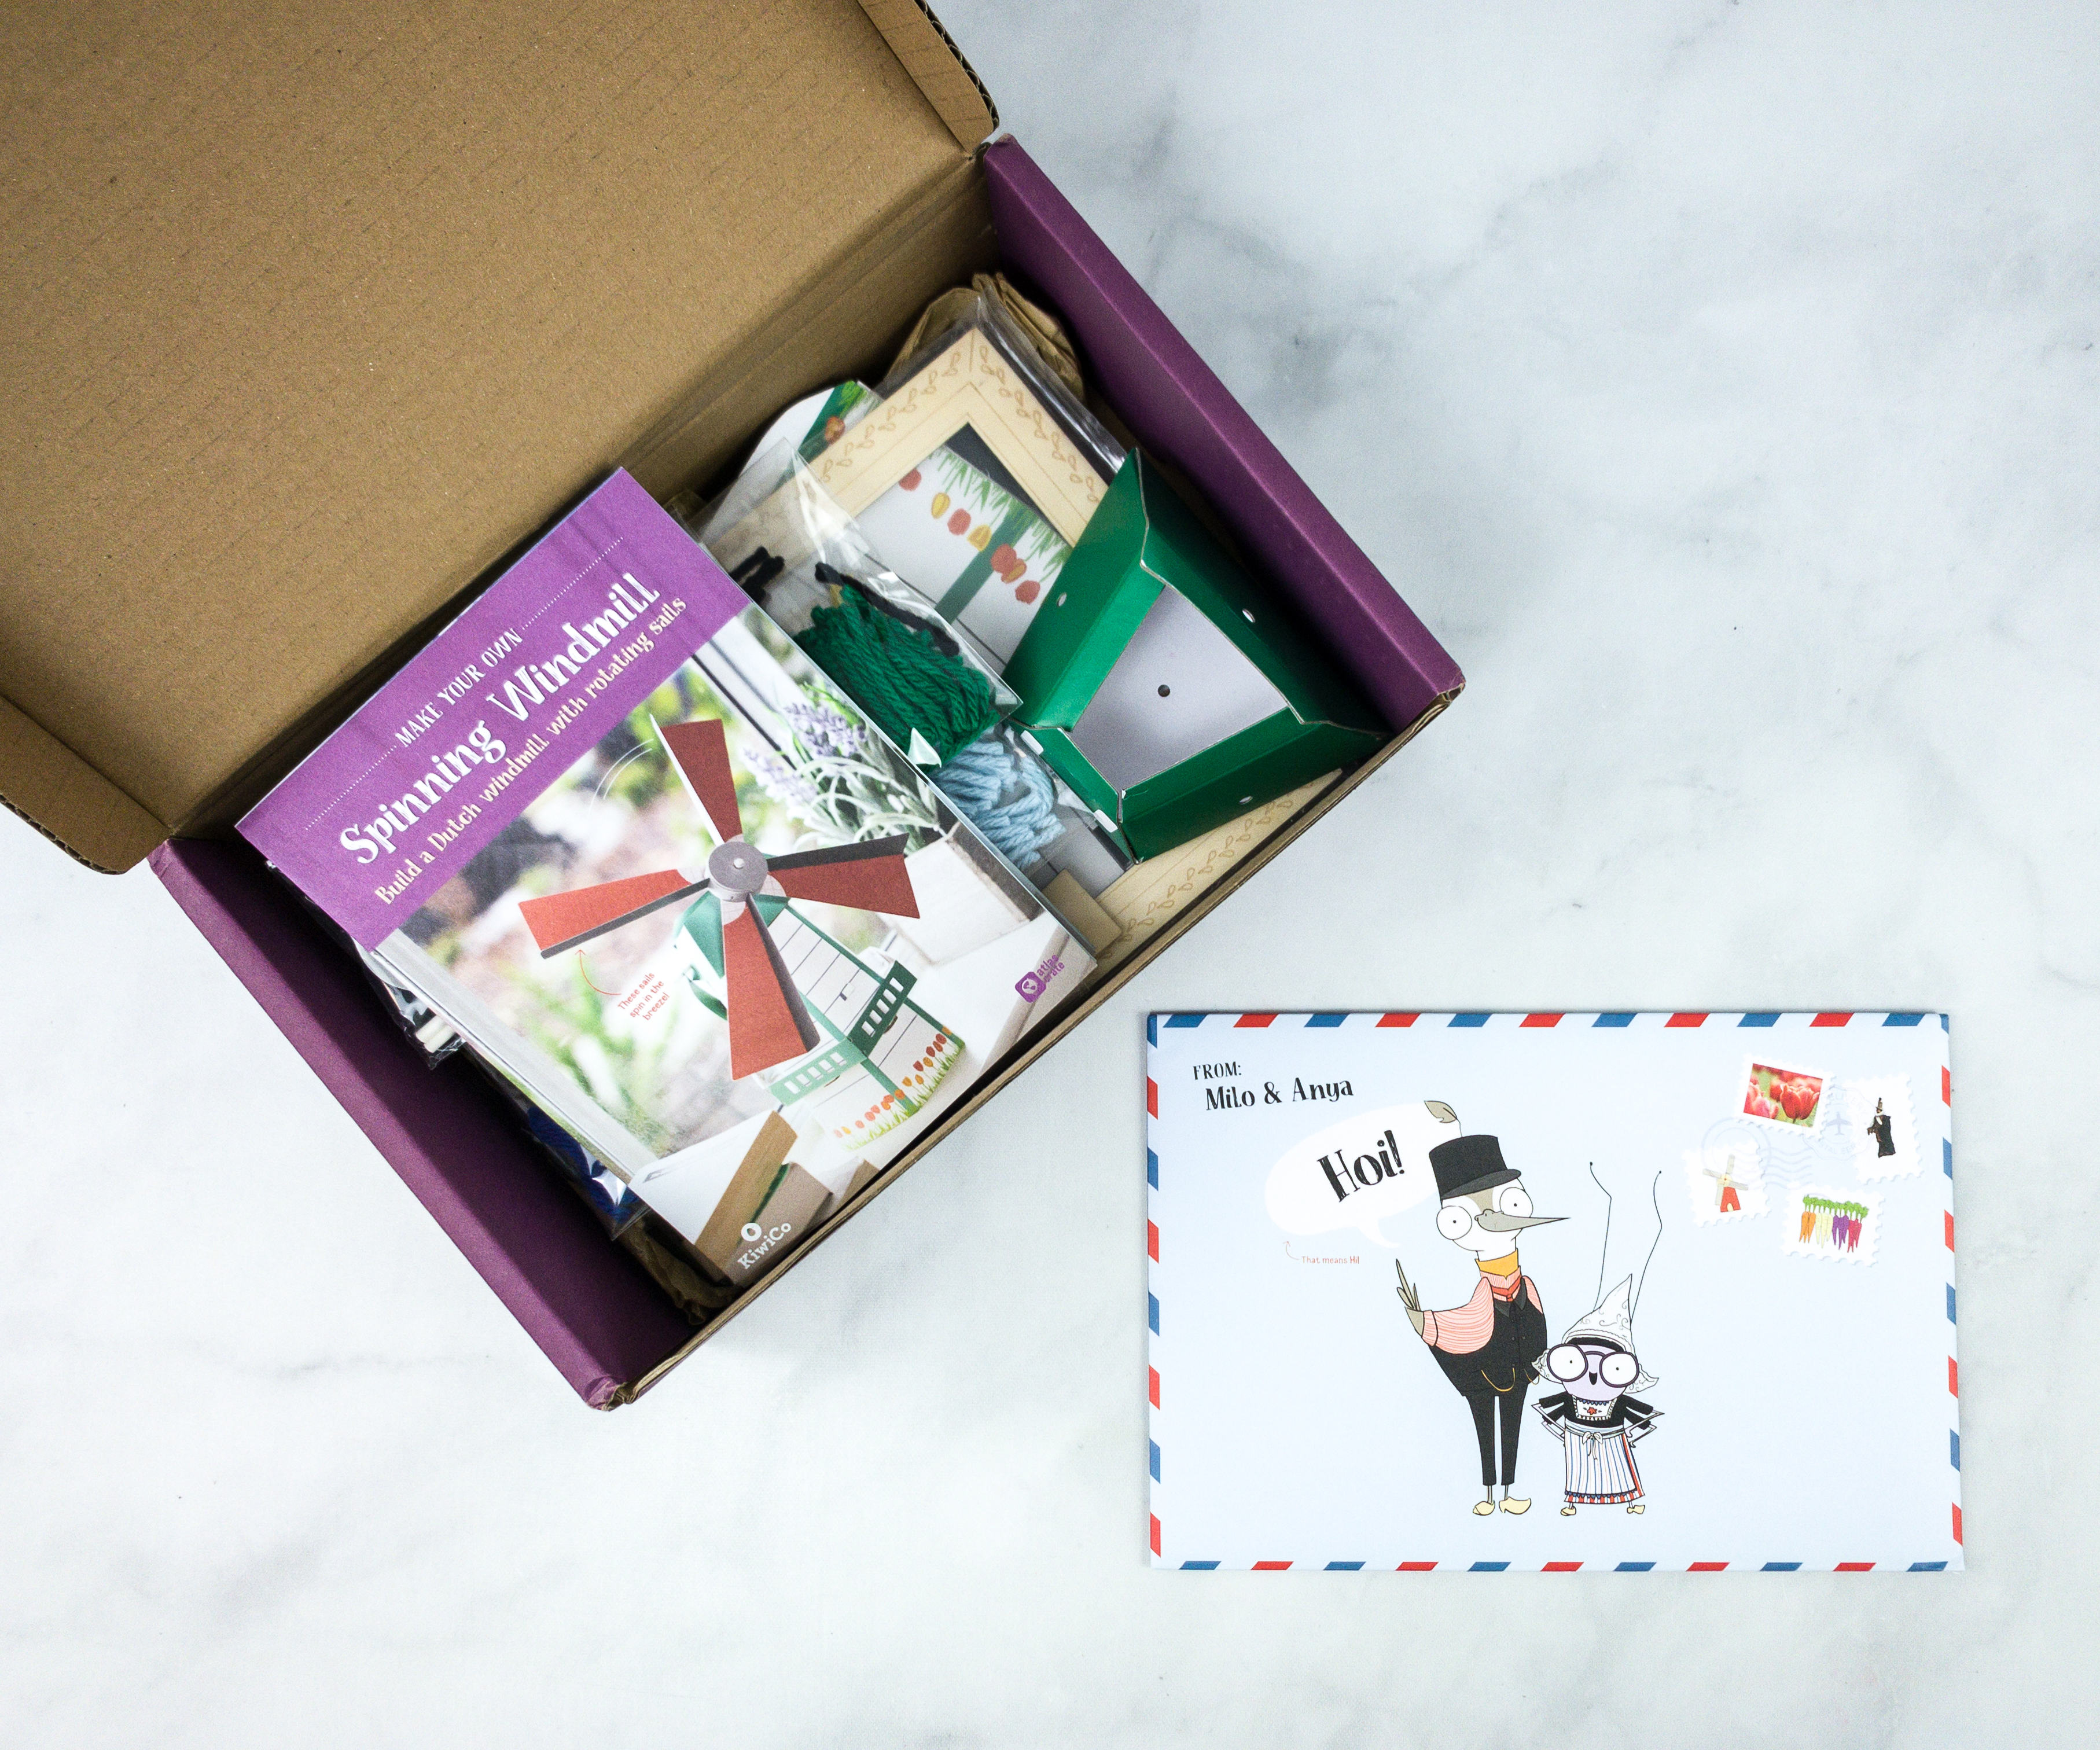
Upon opening, we are welcomed by the cards and pamphlets that are essential to the activities. This subscription emphasizes learning through creative play as they provide in this box everything the kids might need. It builds a sense of adventure, an appreciation of other cultures, builds a sense of global citizenship and opportunity for parents and grandparents to bond with children.
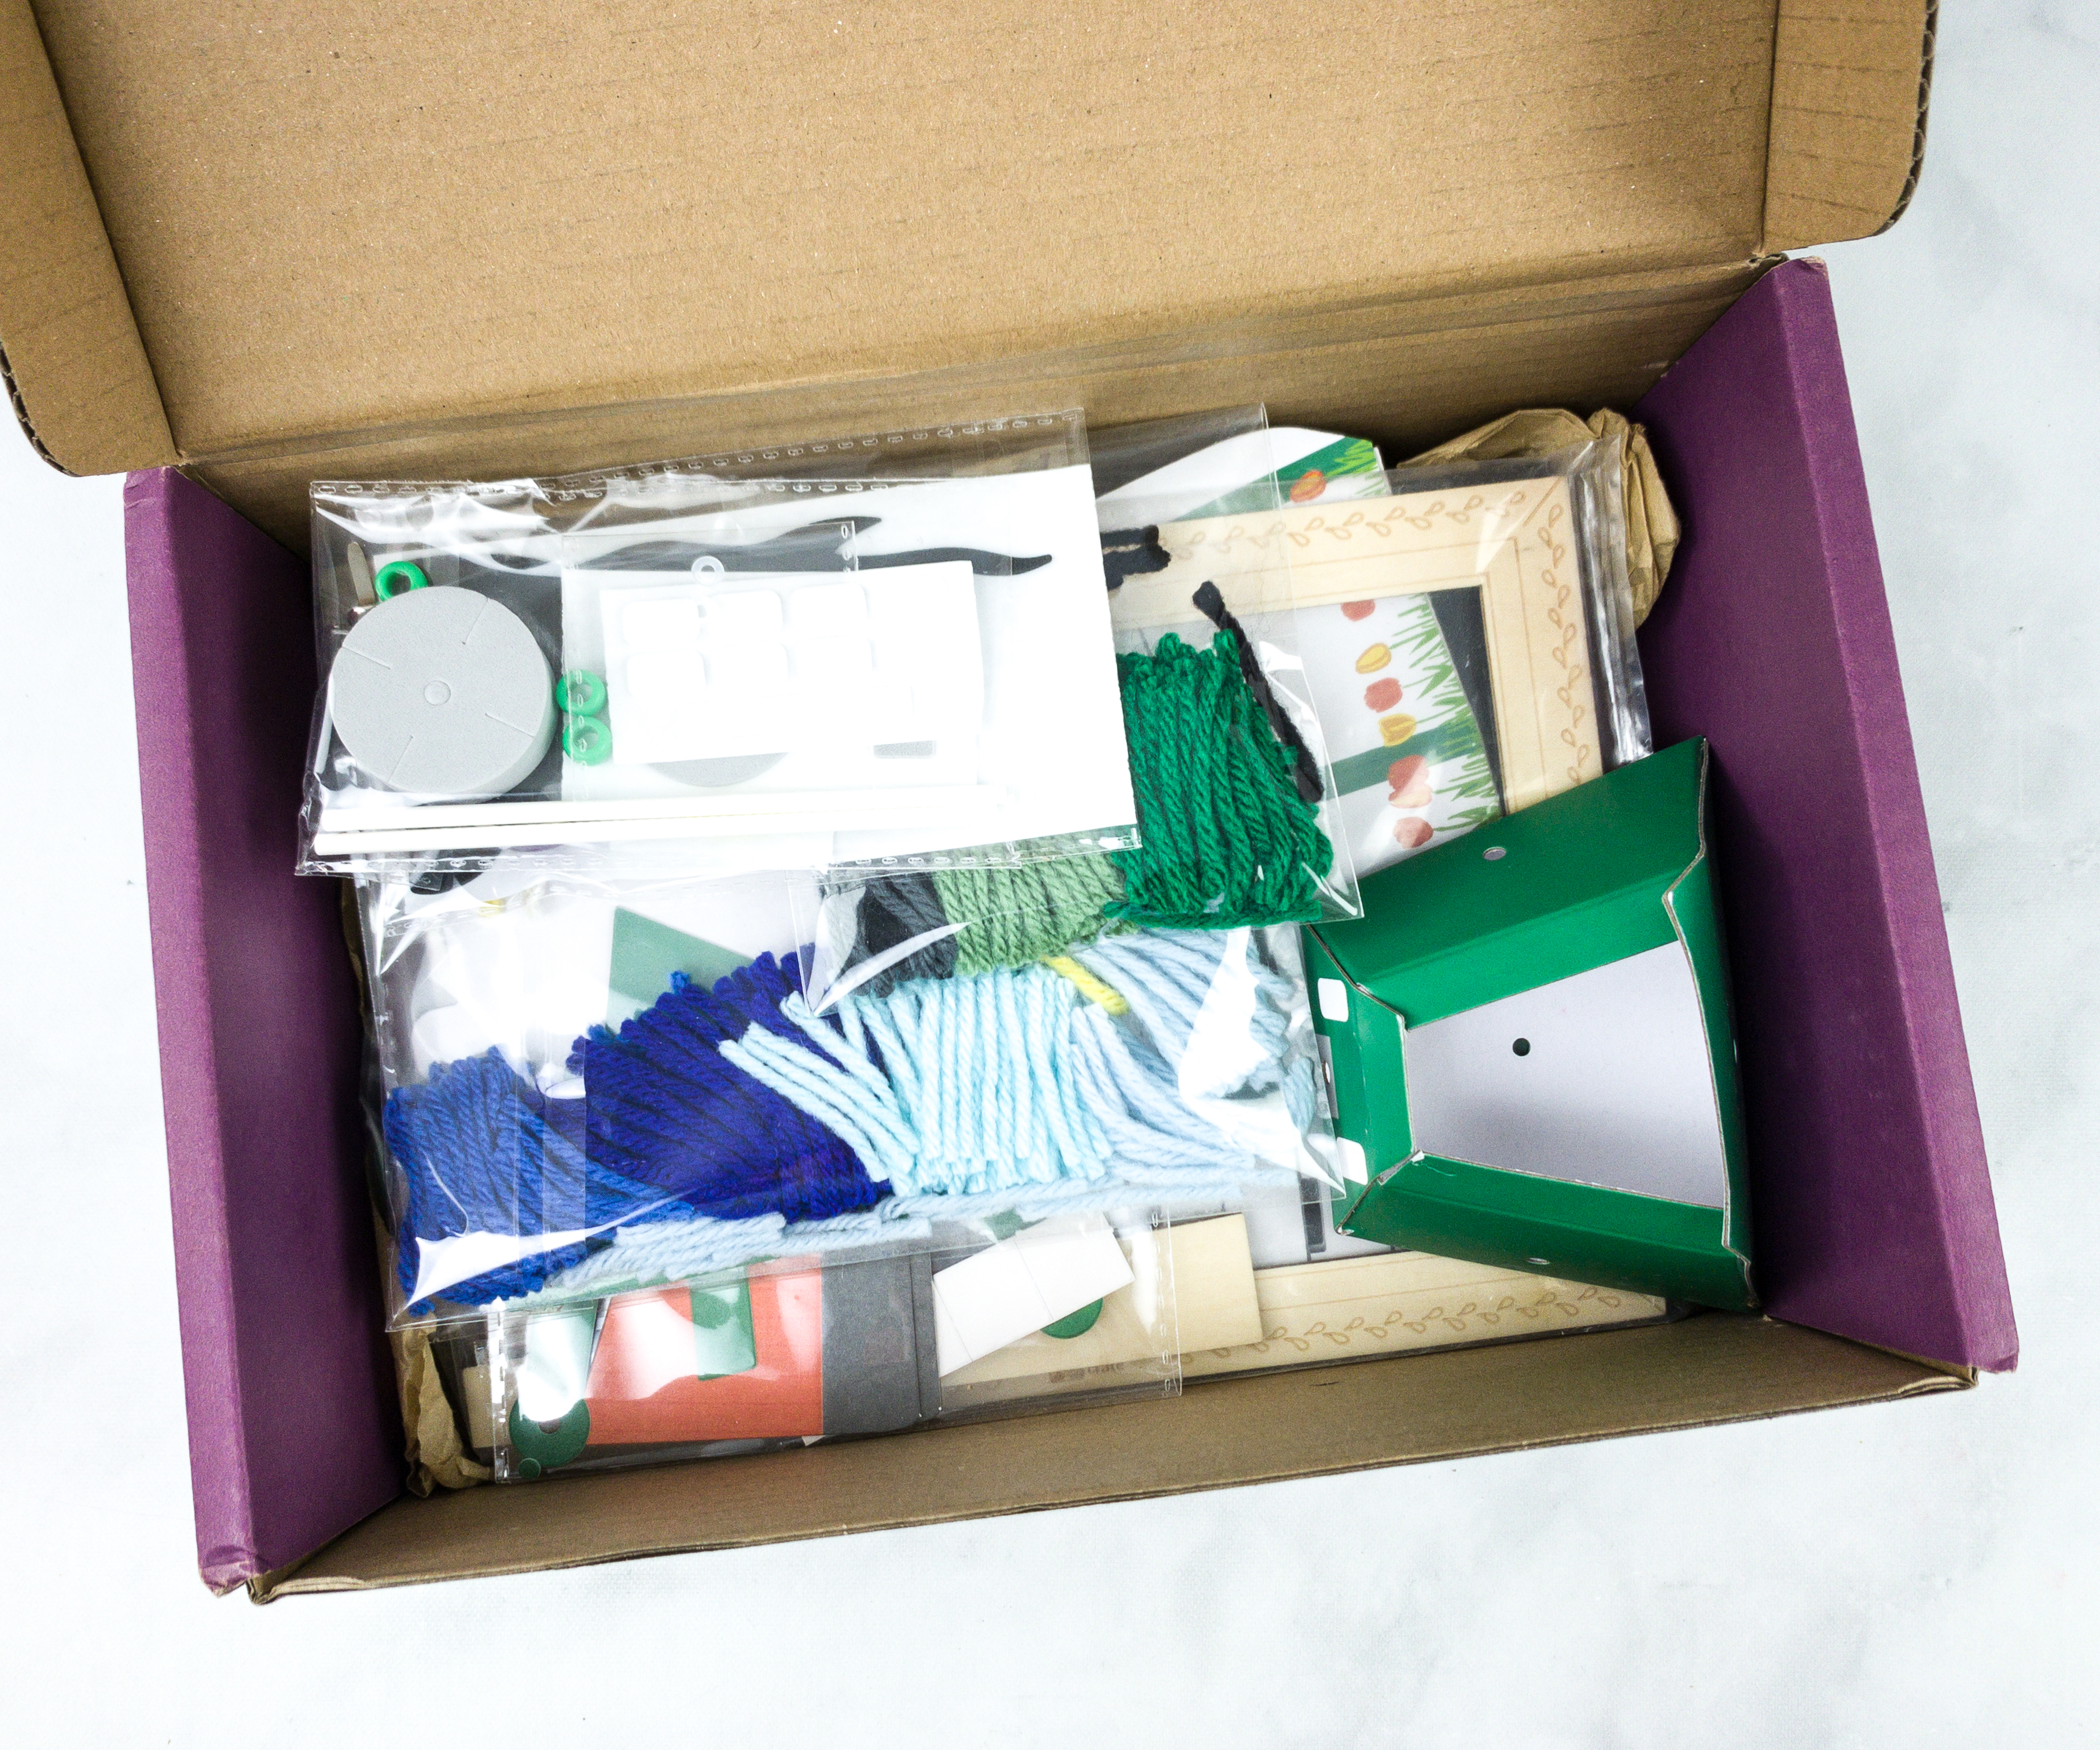
All the items are neatly stacked inside!
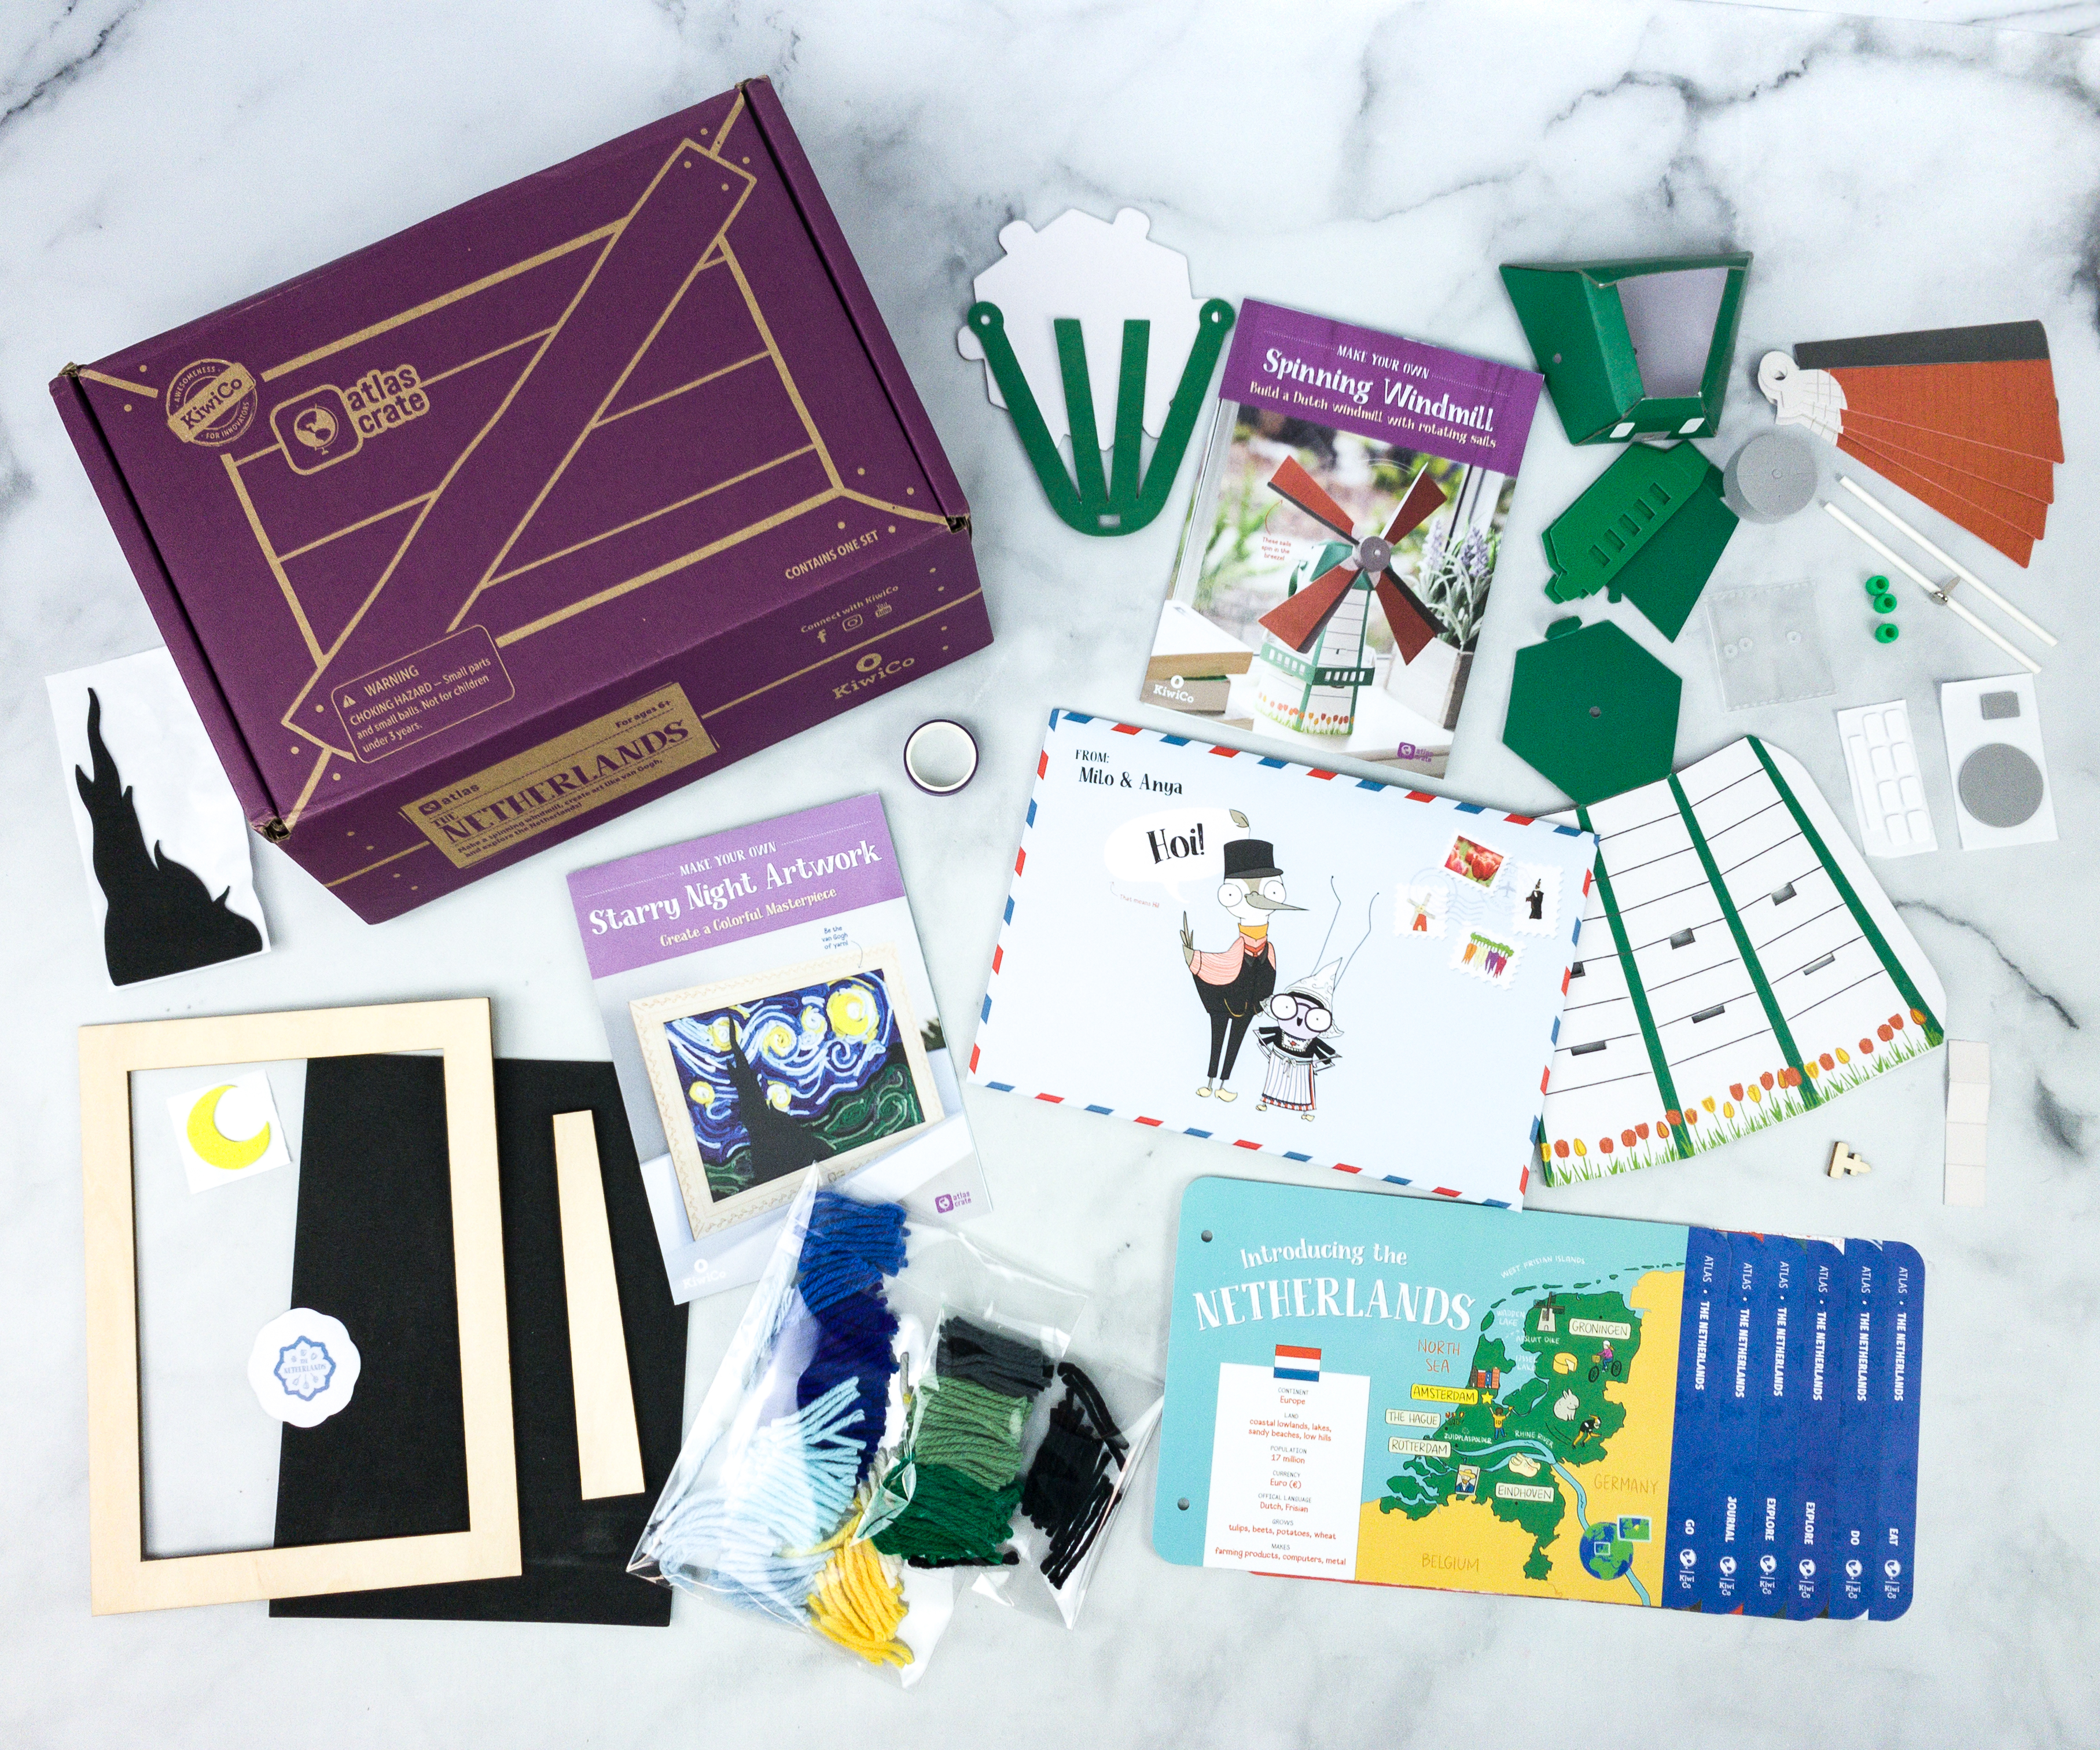
Everything in the crate!
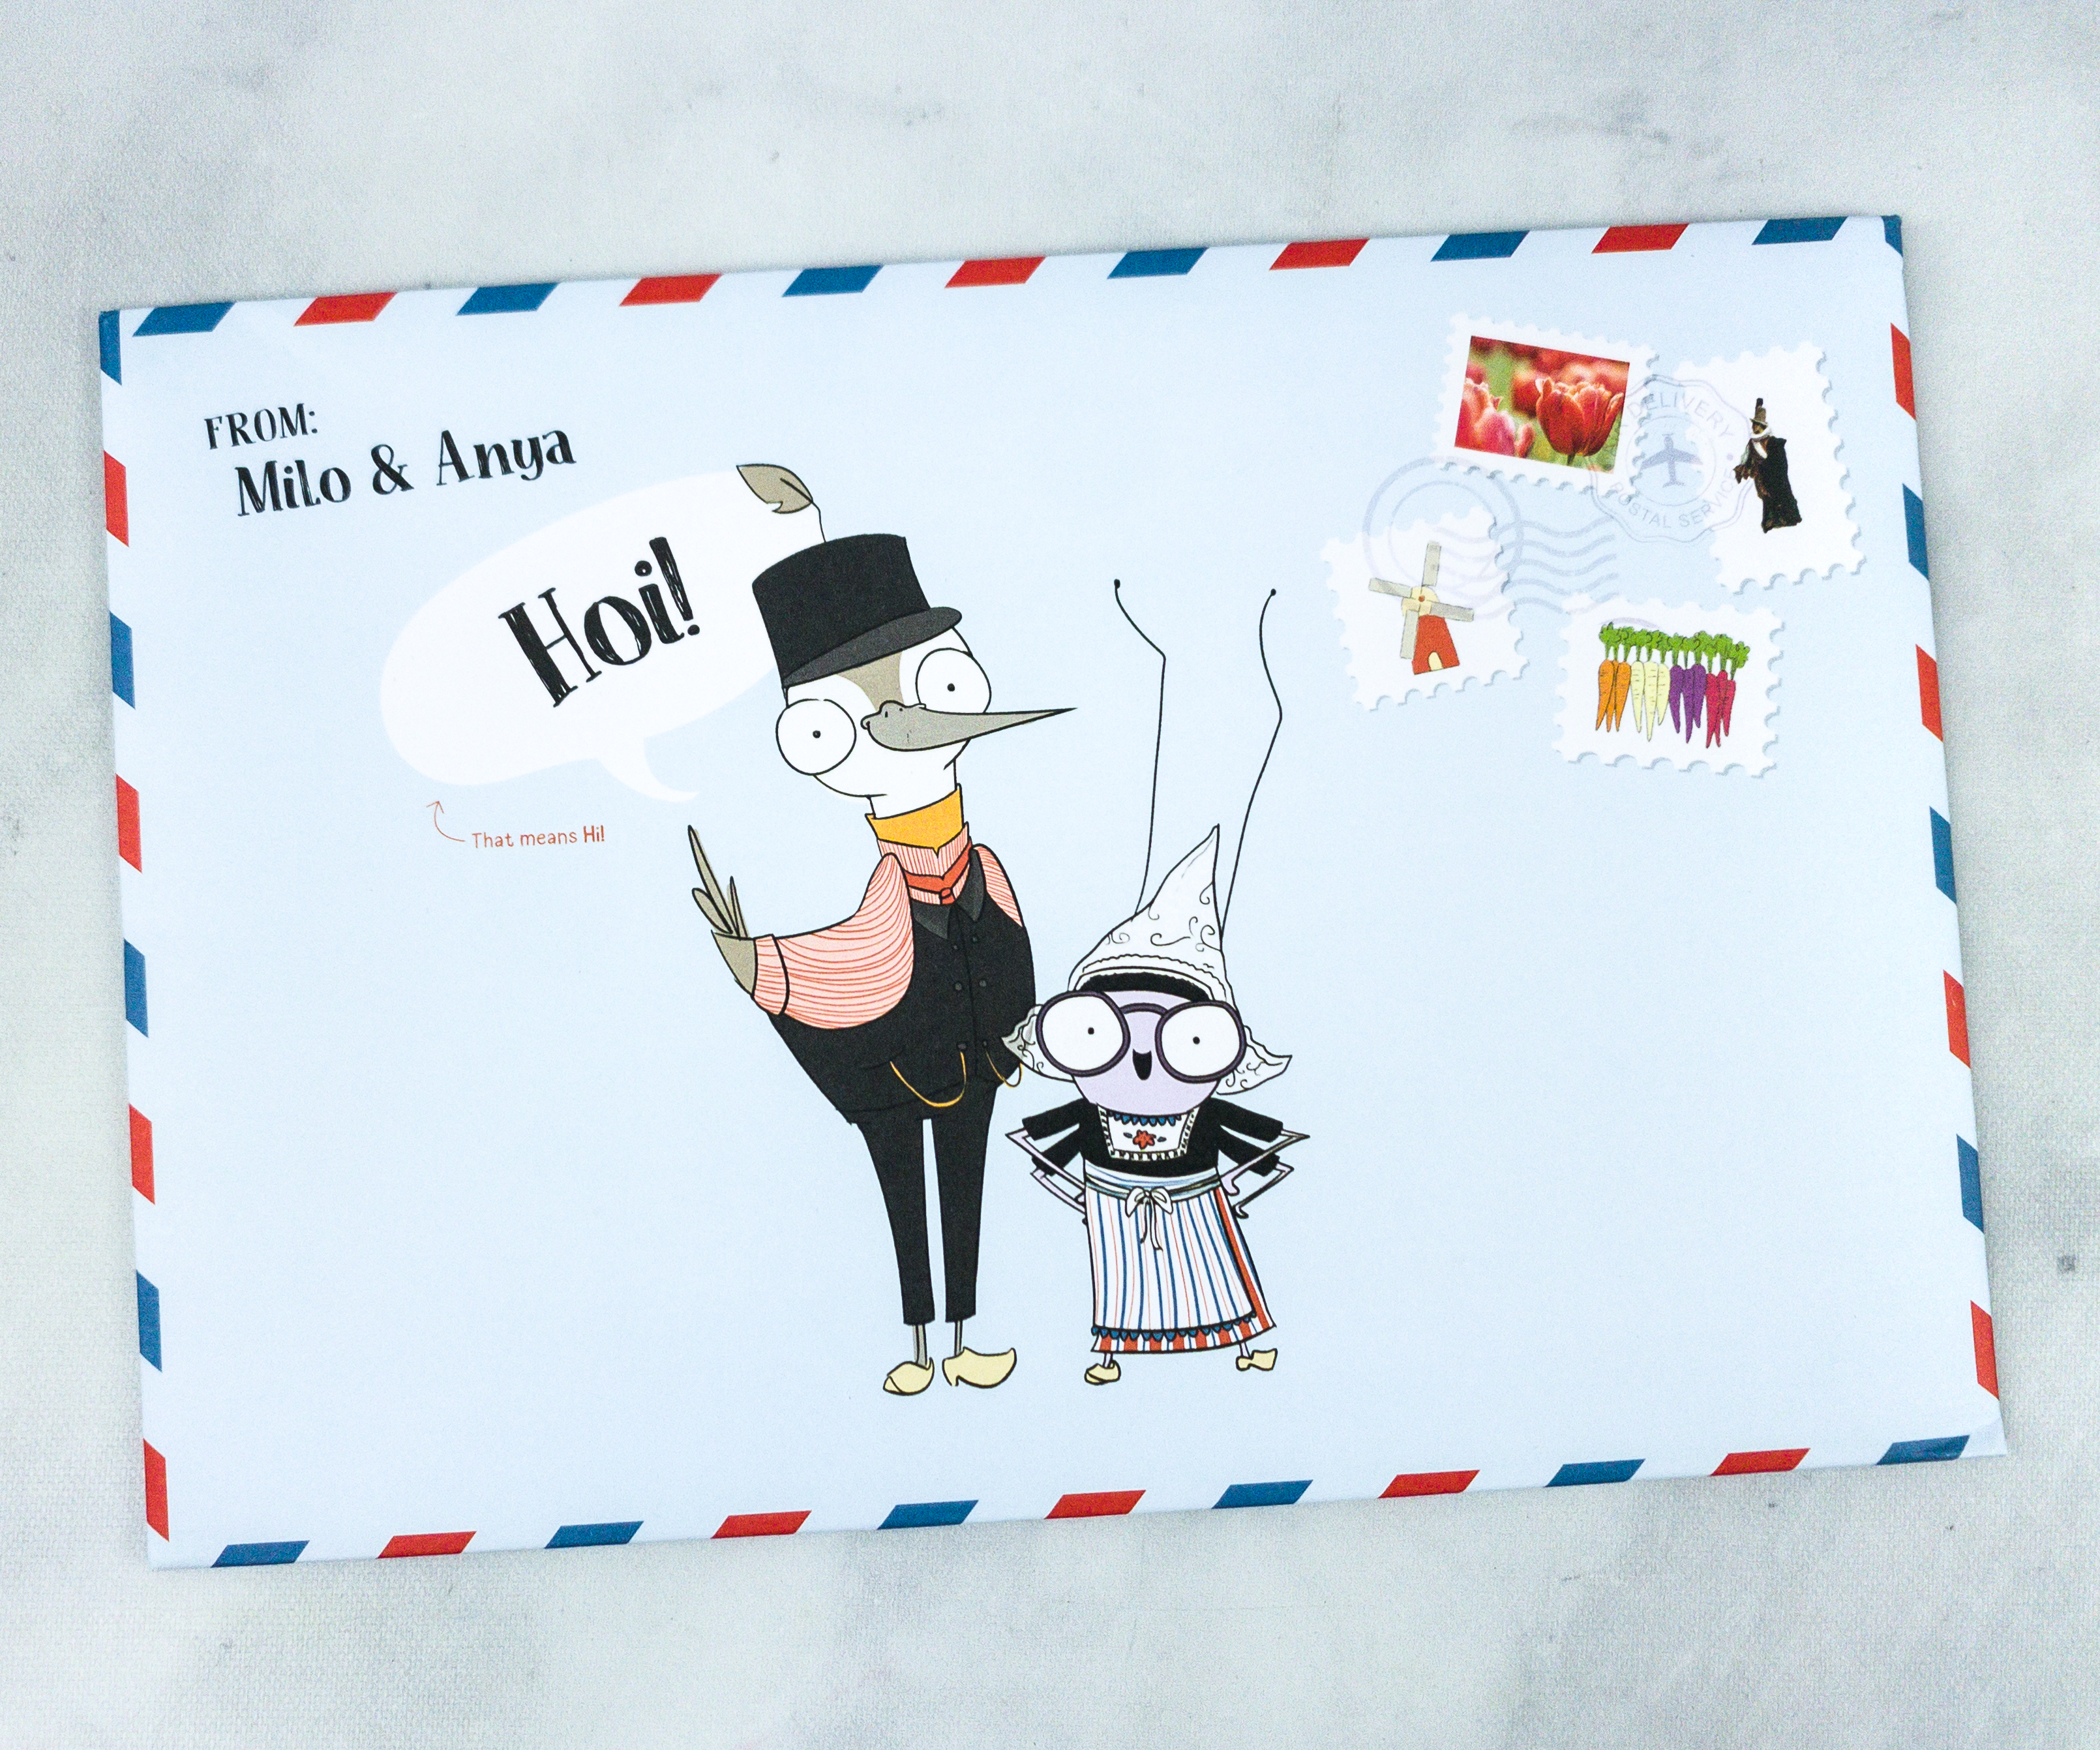
“Hoi!” means “Hi!” in The Netherlands.
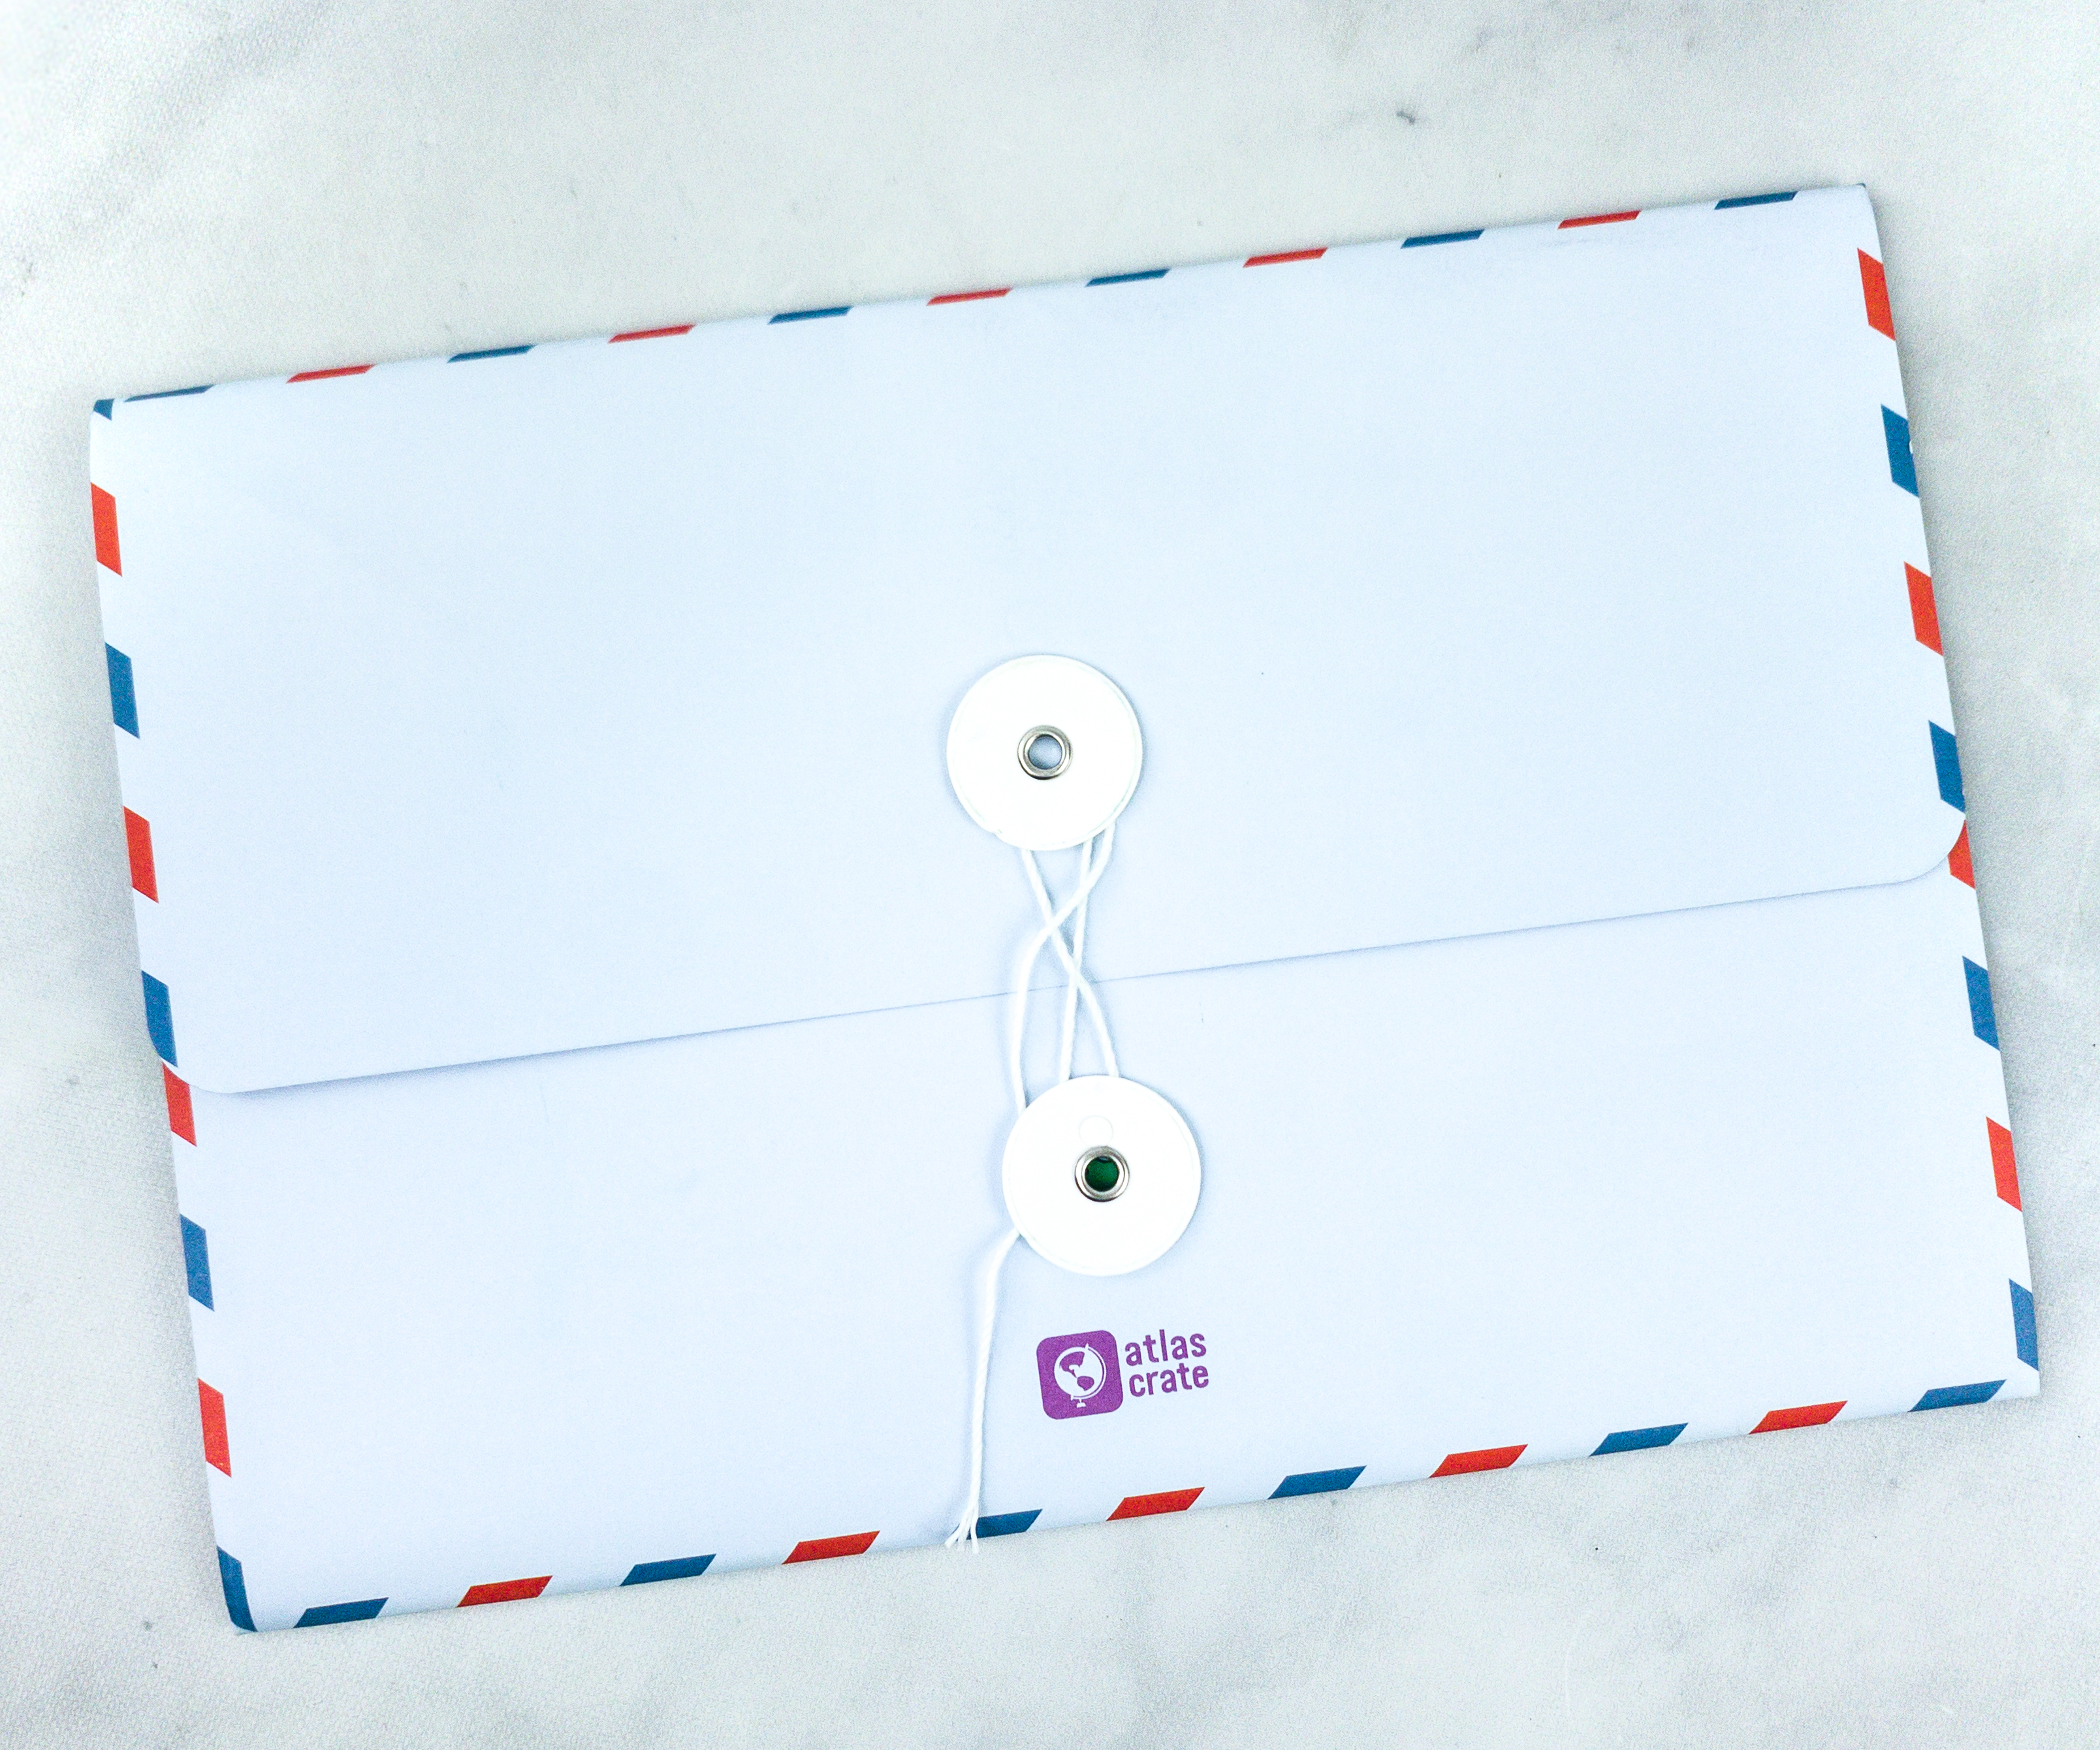
The cute mailing envelope comes with string lock.
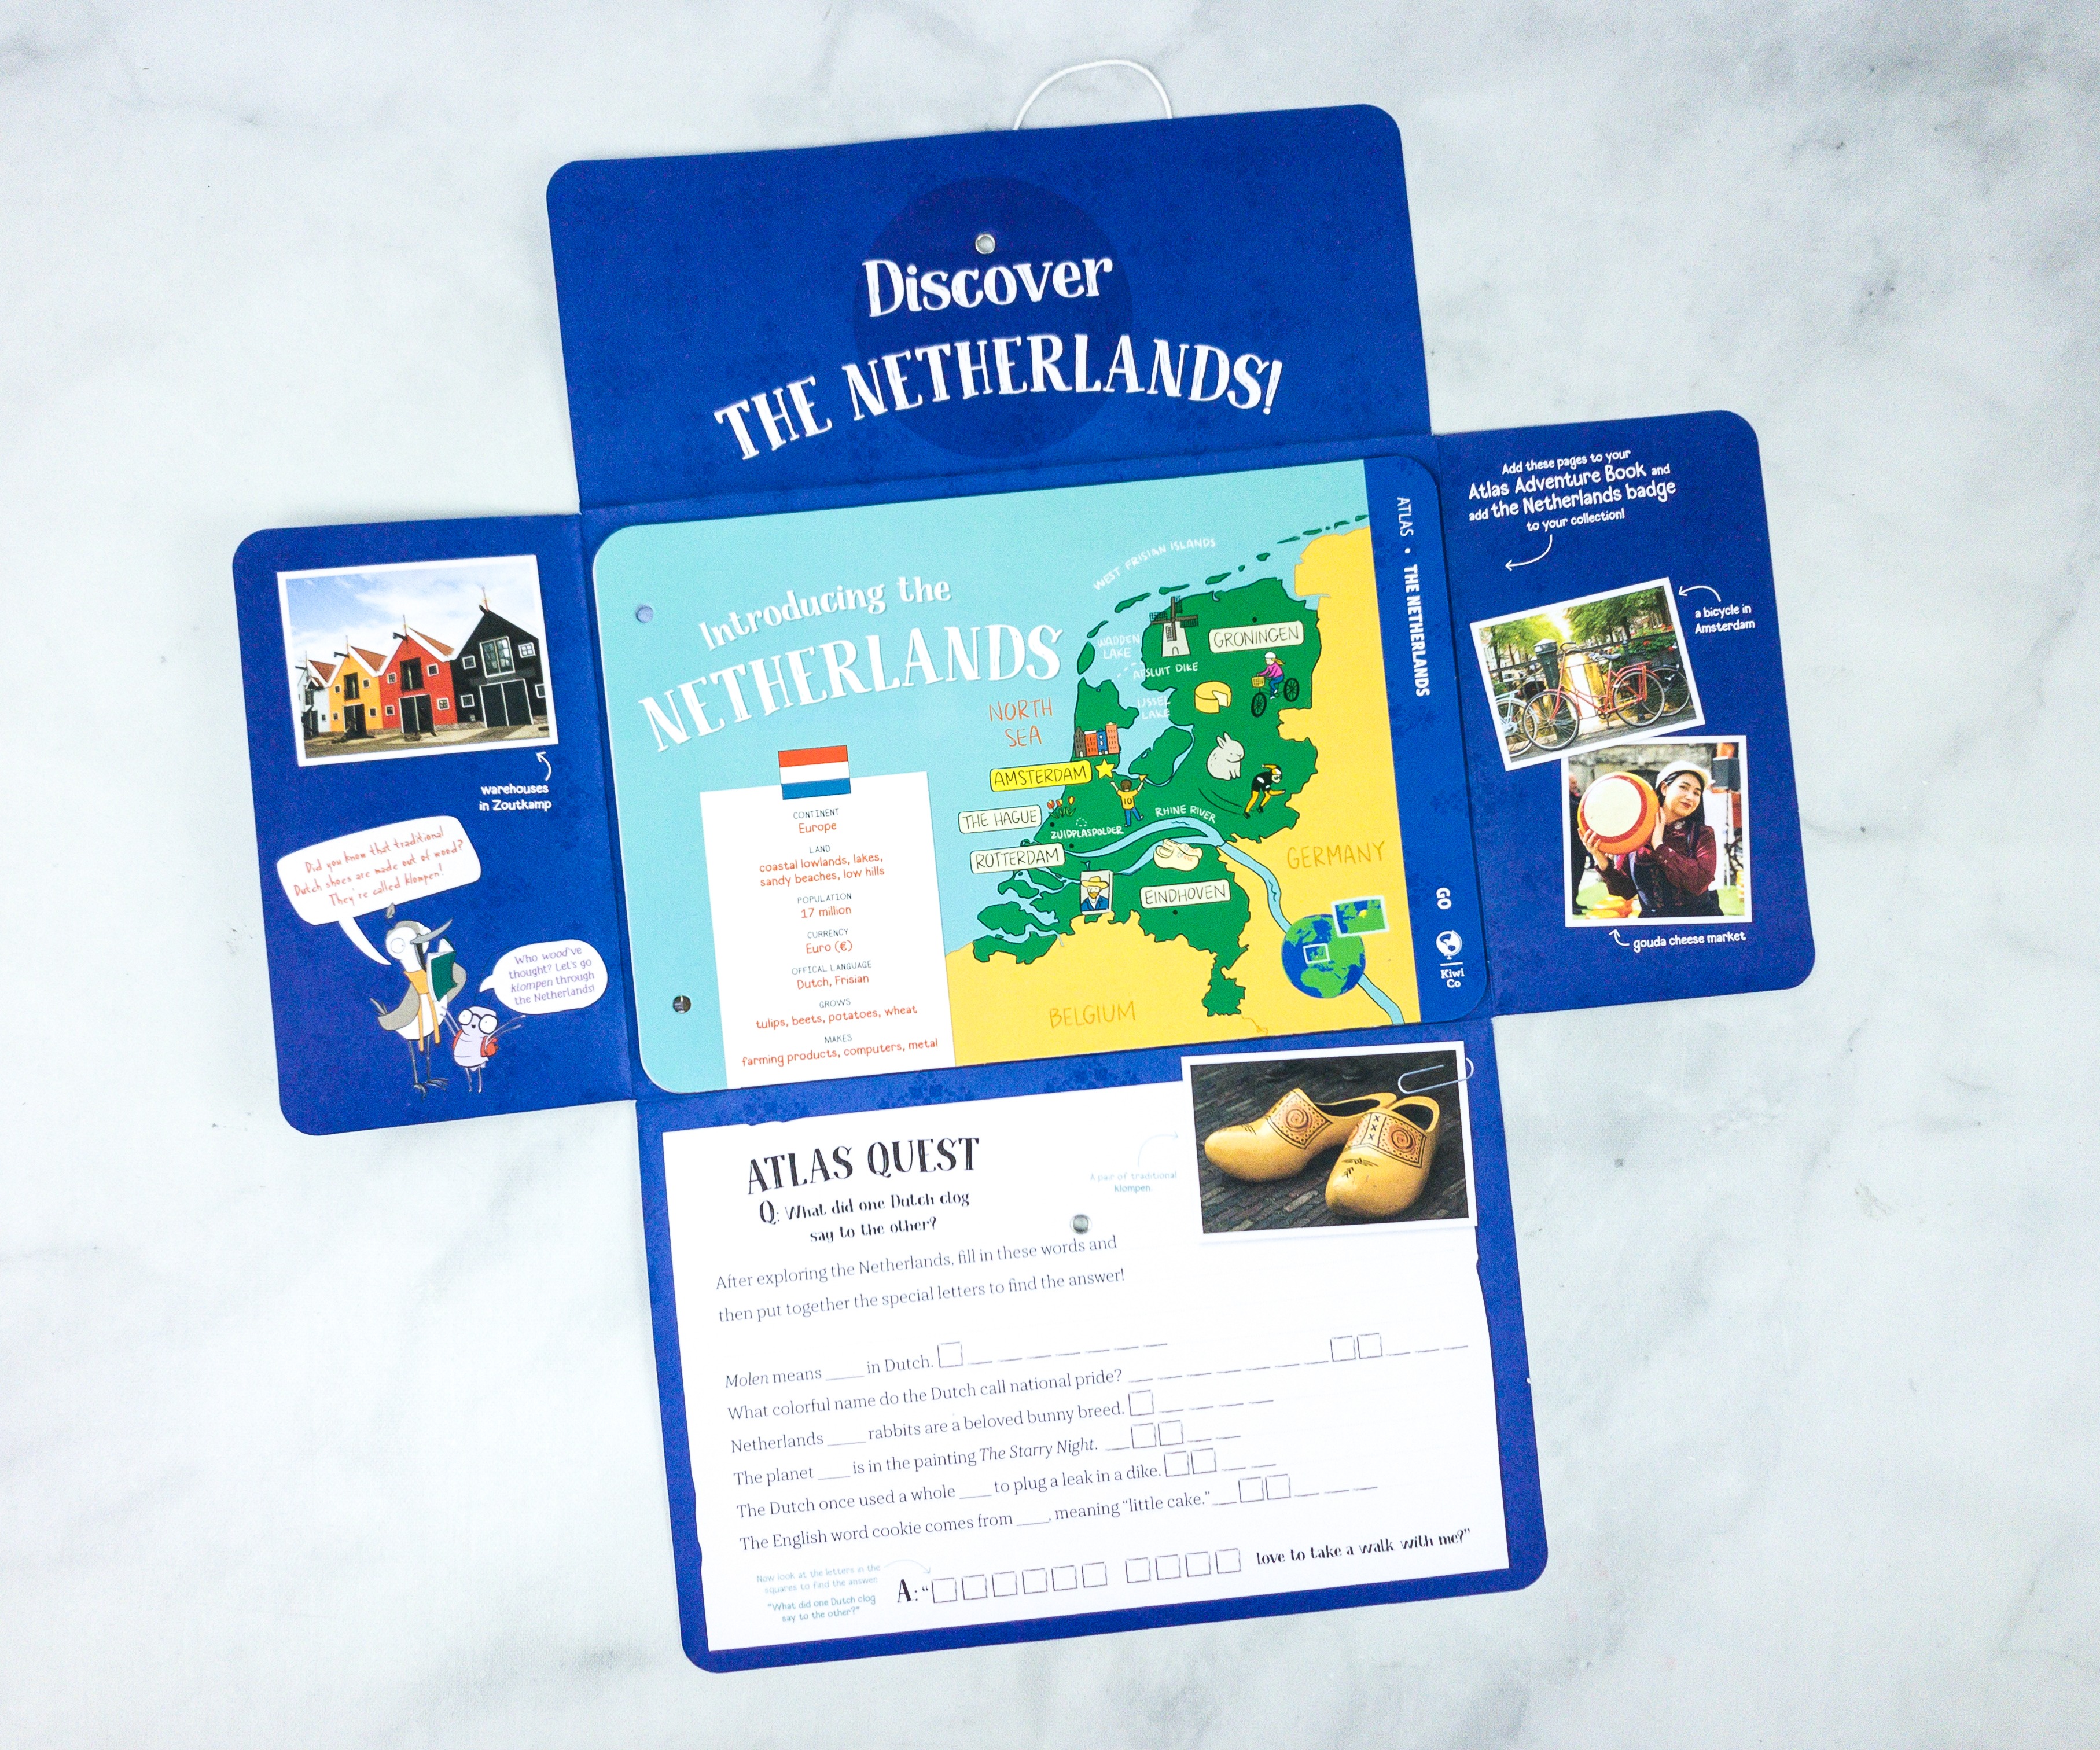
It opens up to show us an introduction to The Netherlands.
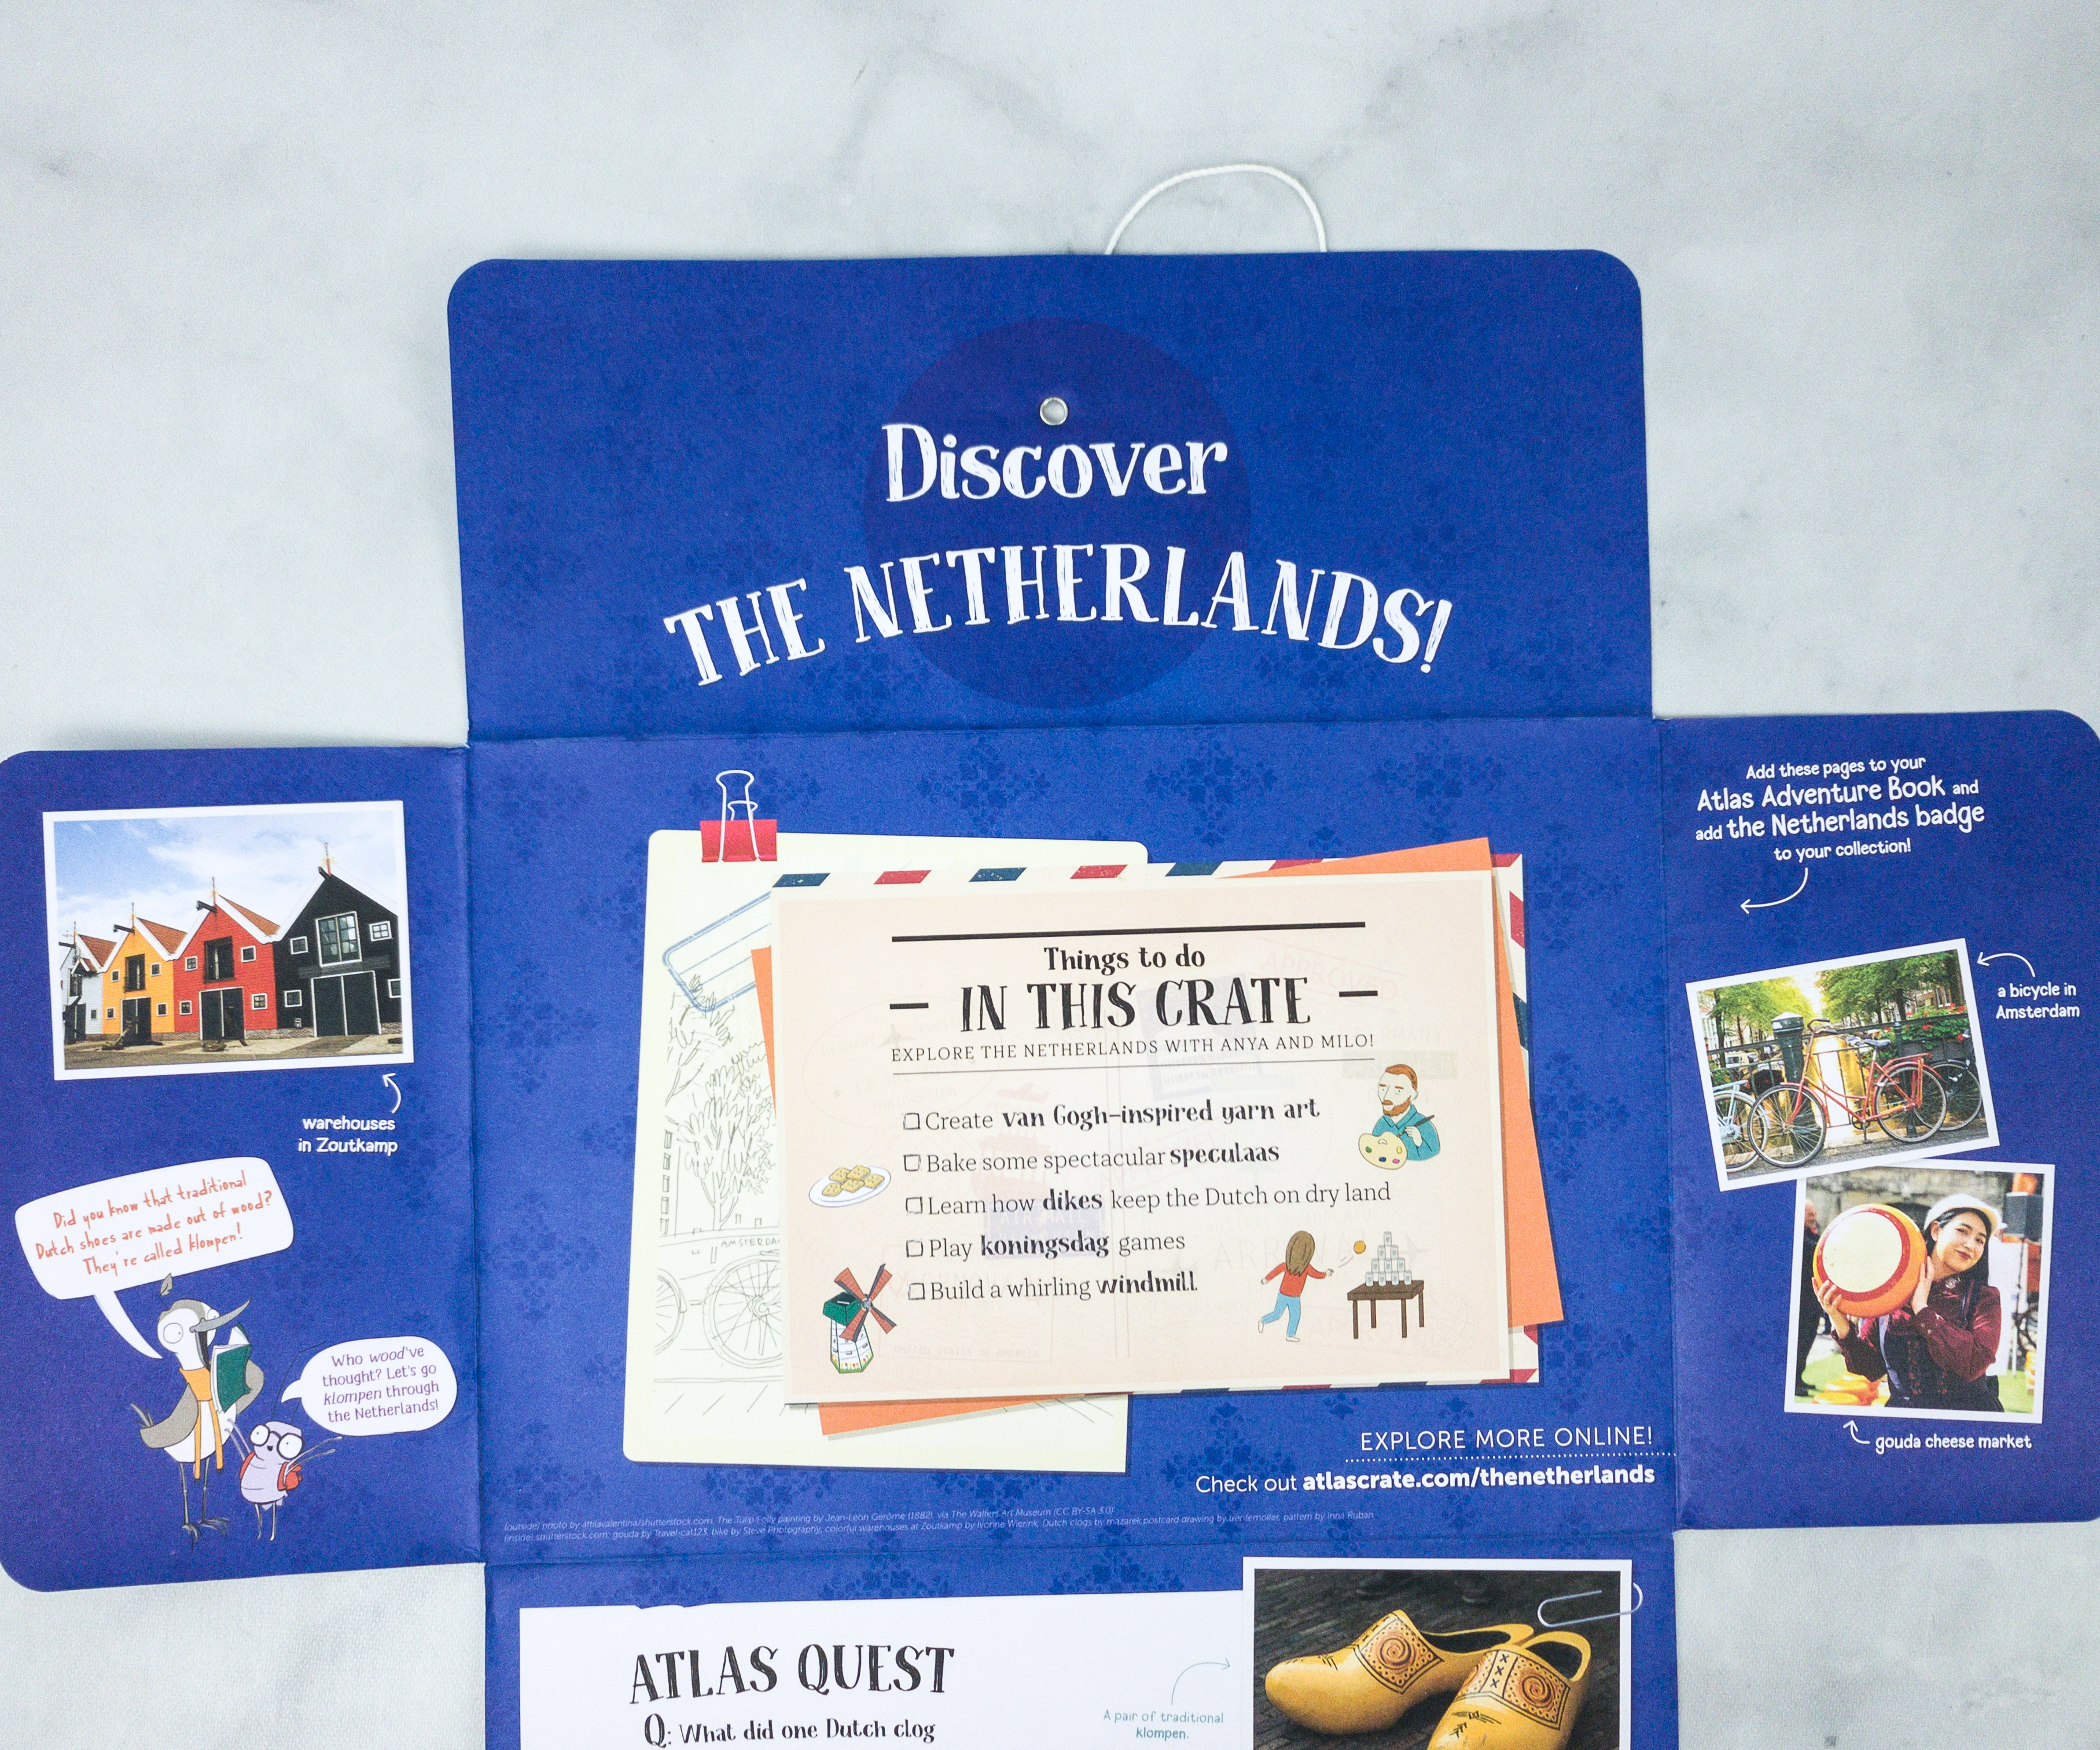
Every flap of the envelope has information about the box. We are also given a beautiful surprise of trivia cards filled with fascinating facts and photos from the featured country.
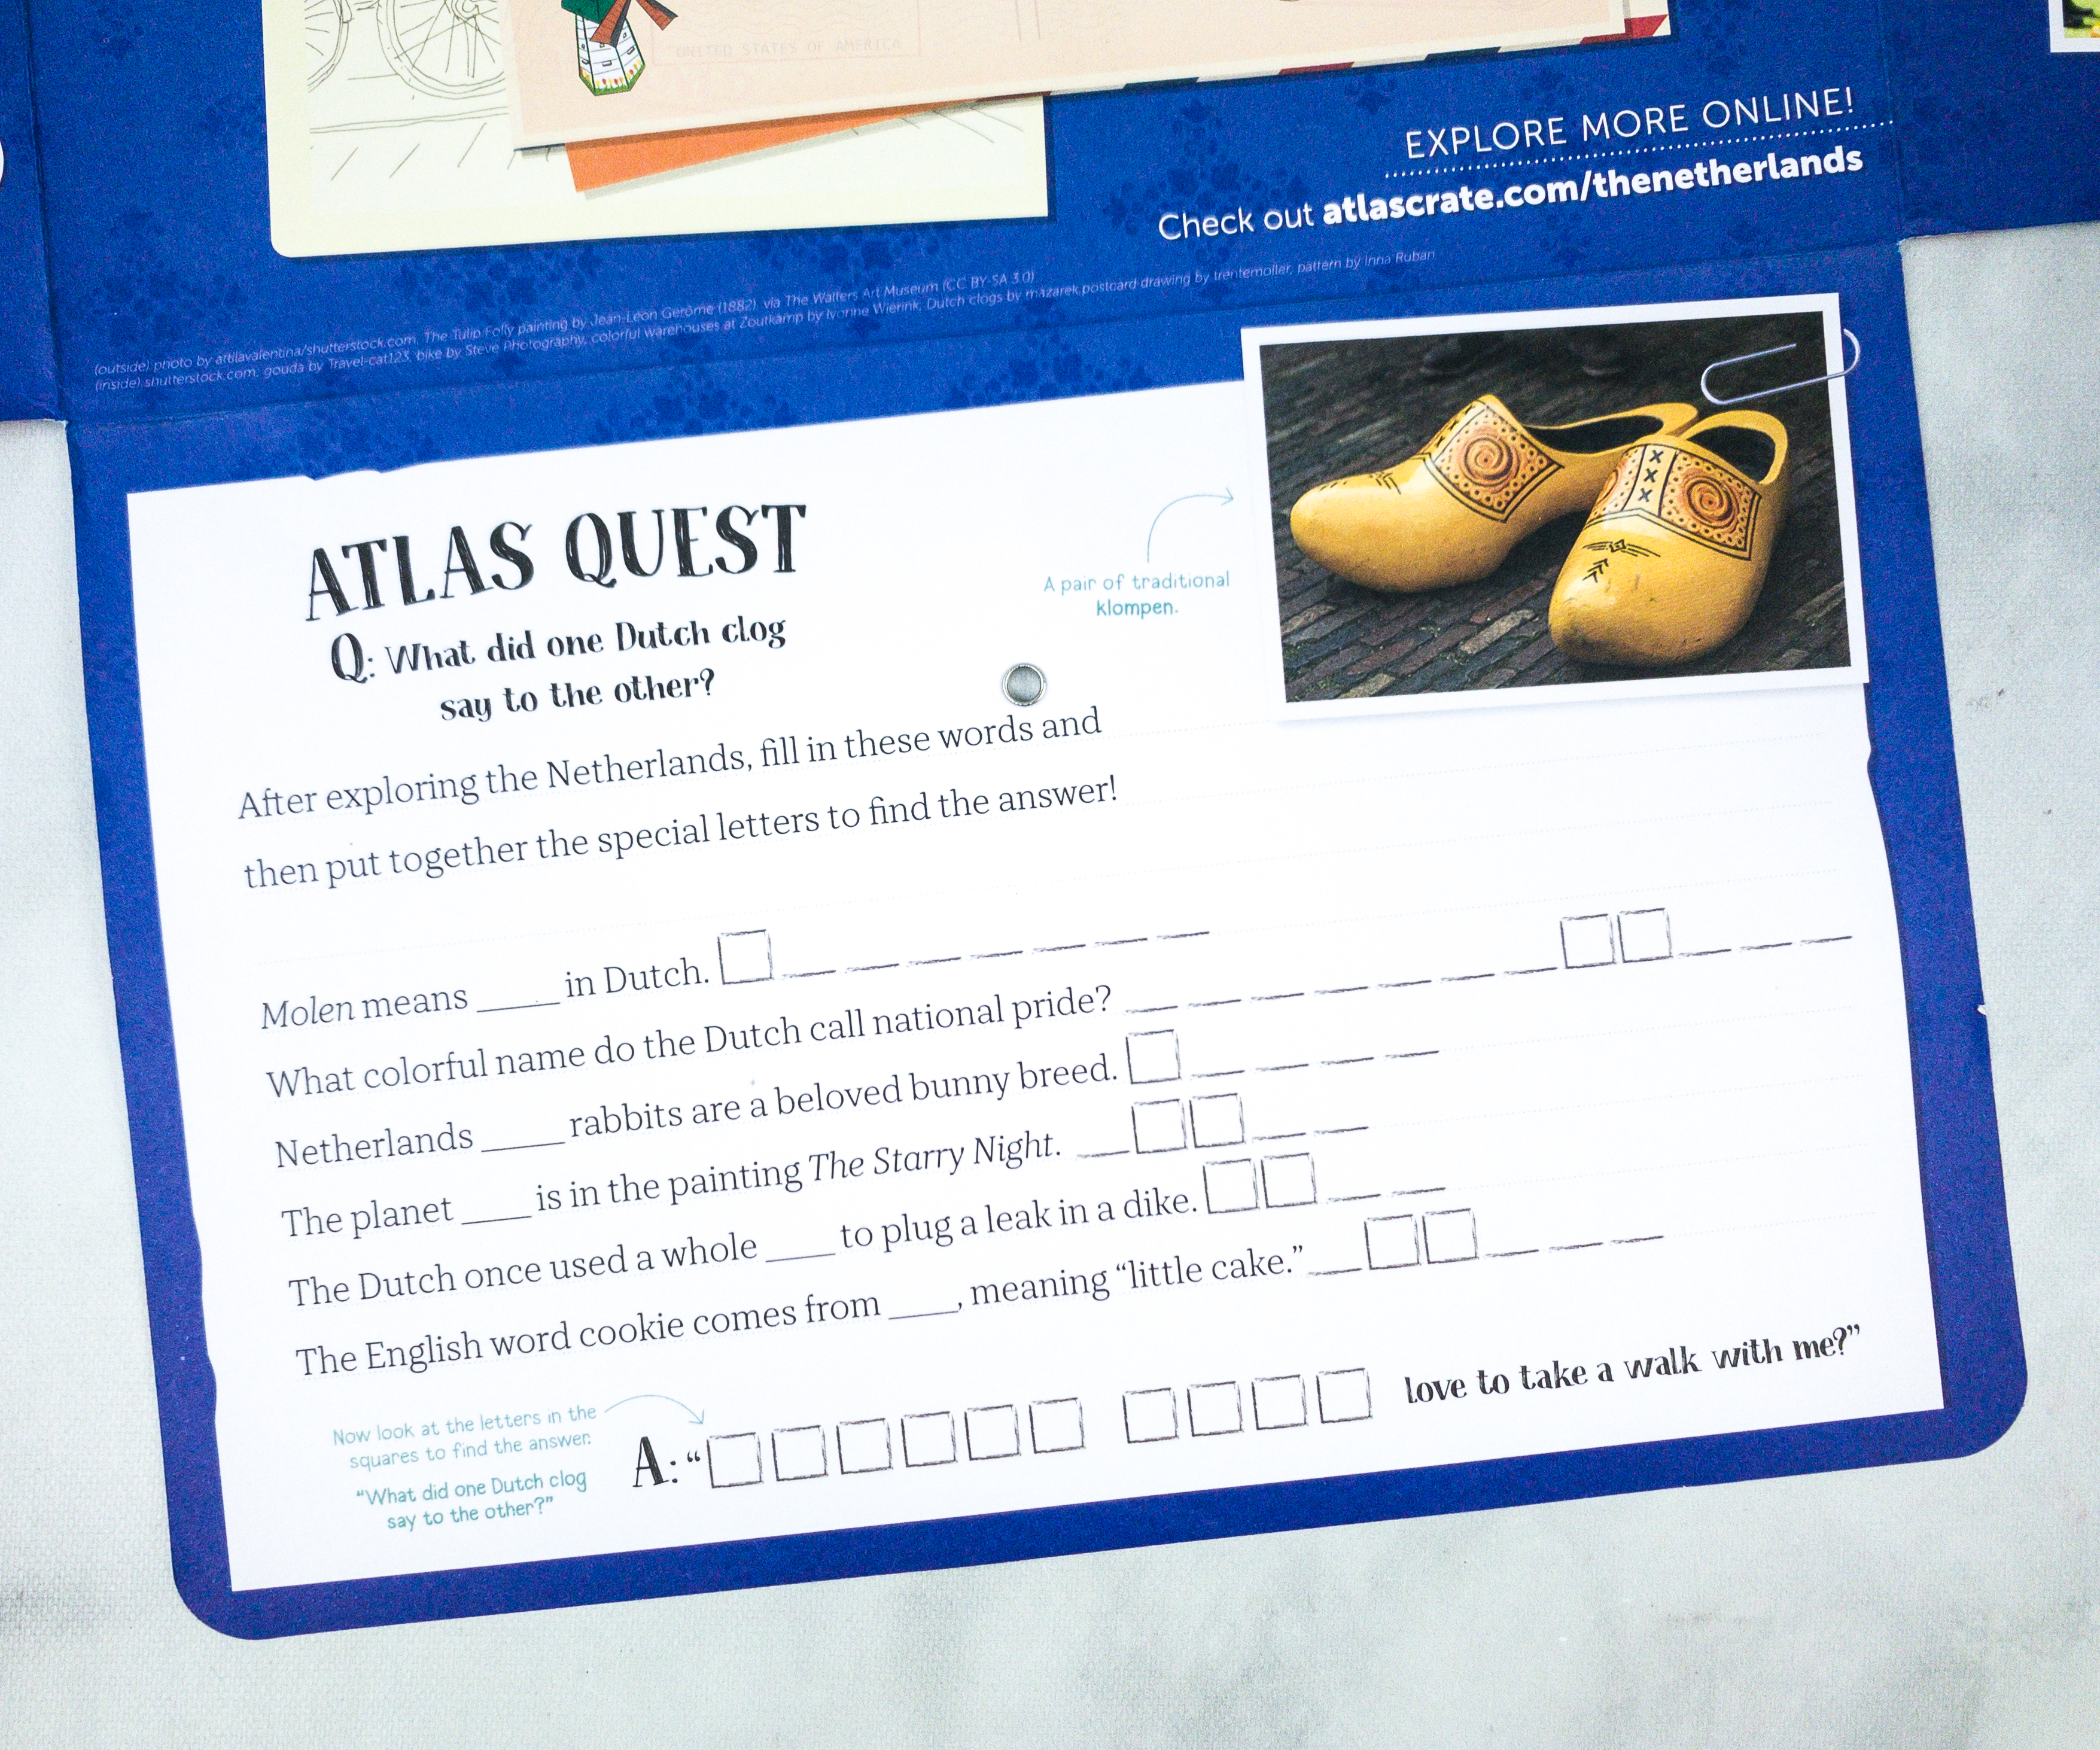
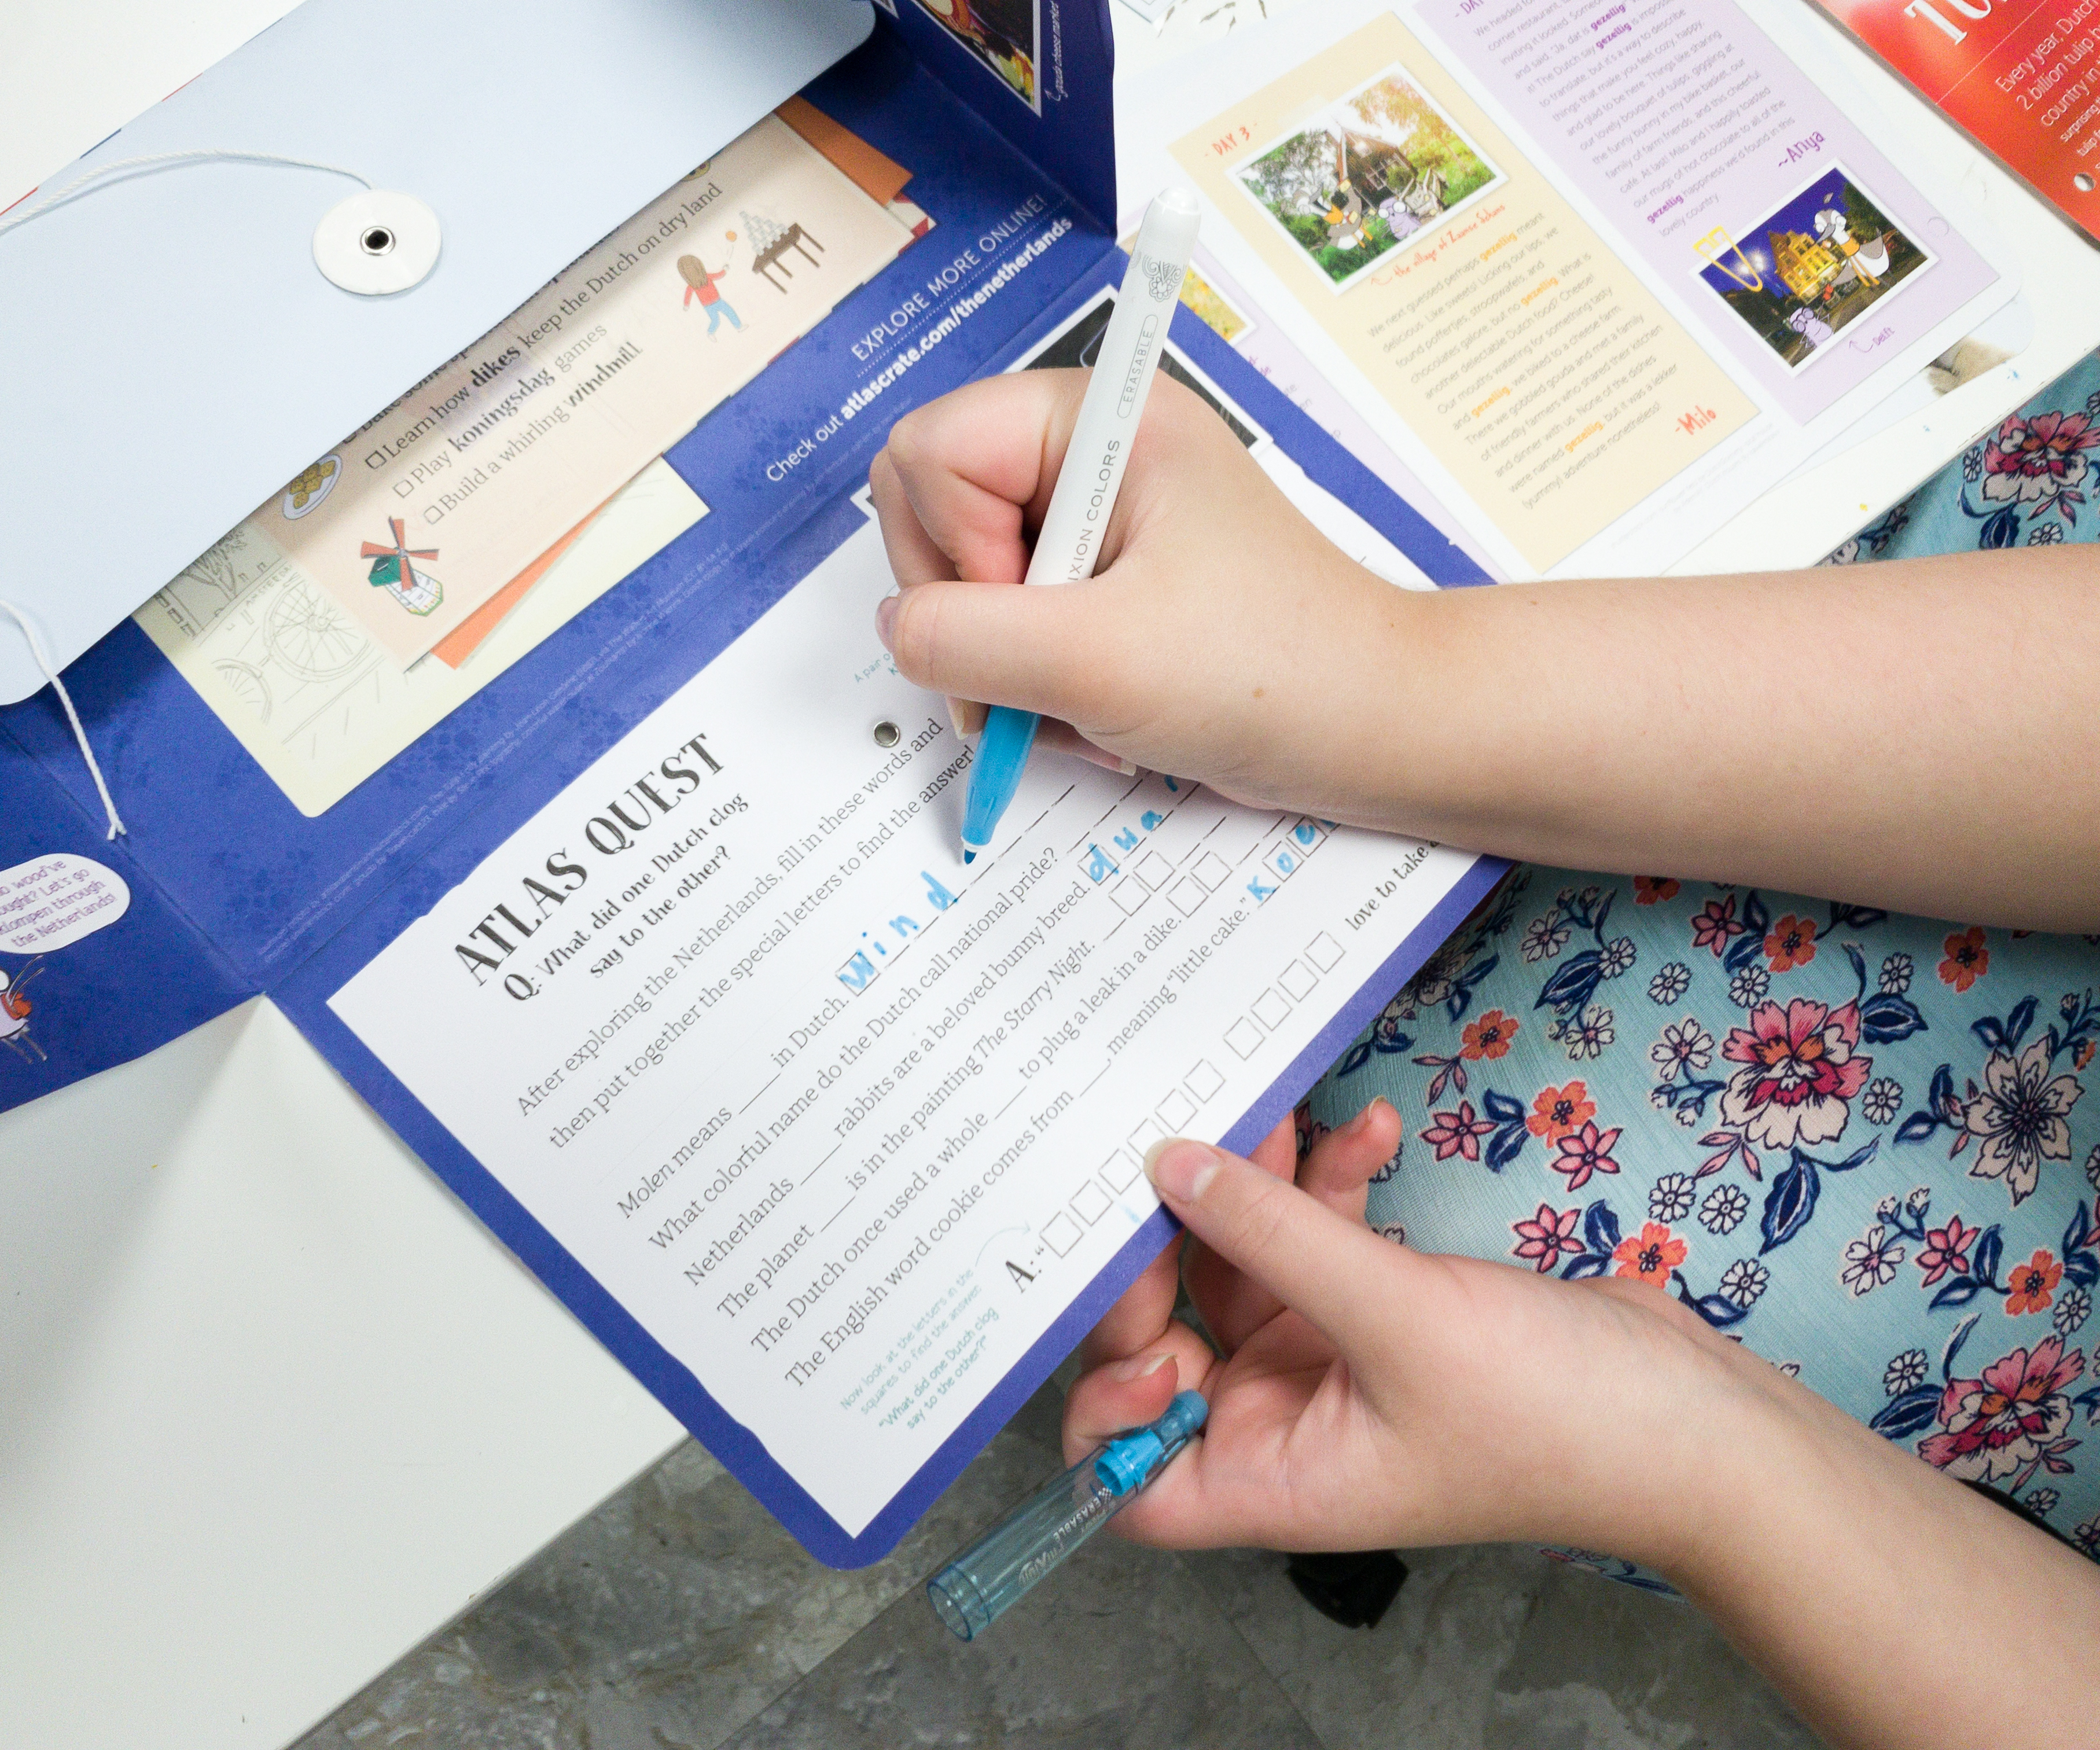
One of the flaps has Atlas Quest, which you’ll need to fill out after exploring the country!
You can explore more online after you get your box with additional activities and book suggestions! Atlas Crate recommends All in a Drop: How Antony van Leeuwenhoek Discovered an Invisible World and Vincent Can’t Sleep: Van Gogh Paints the Night Sky.
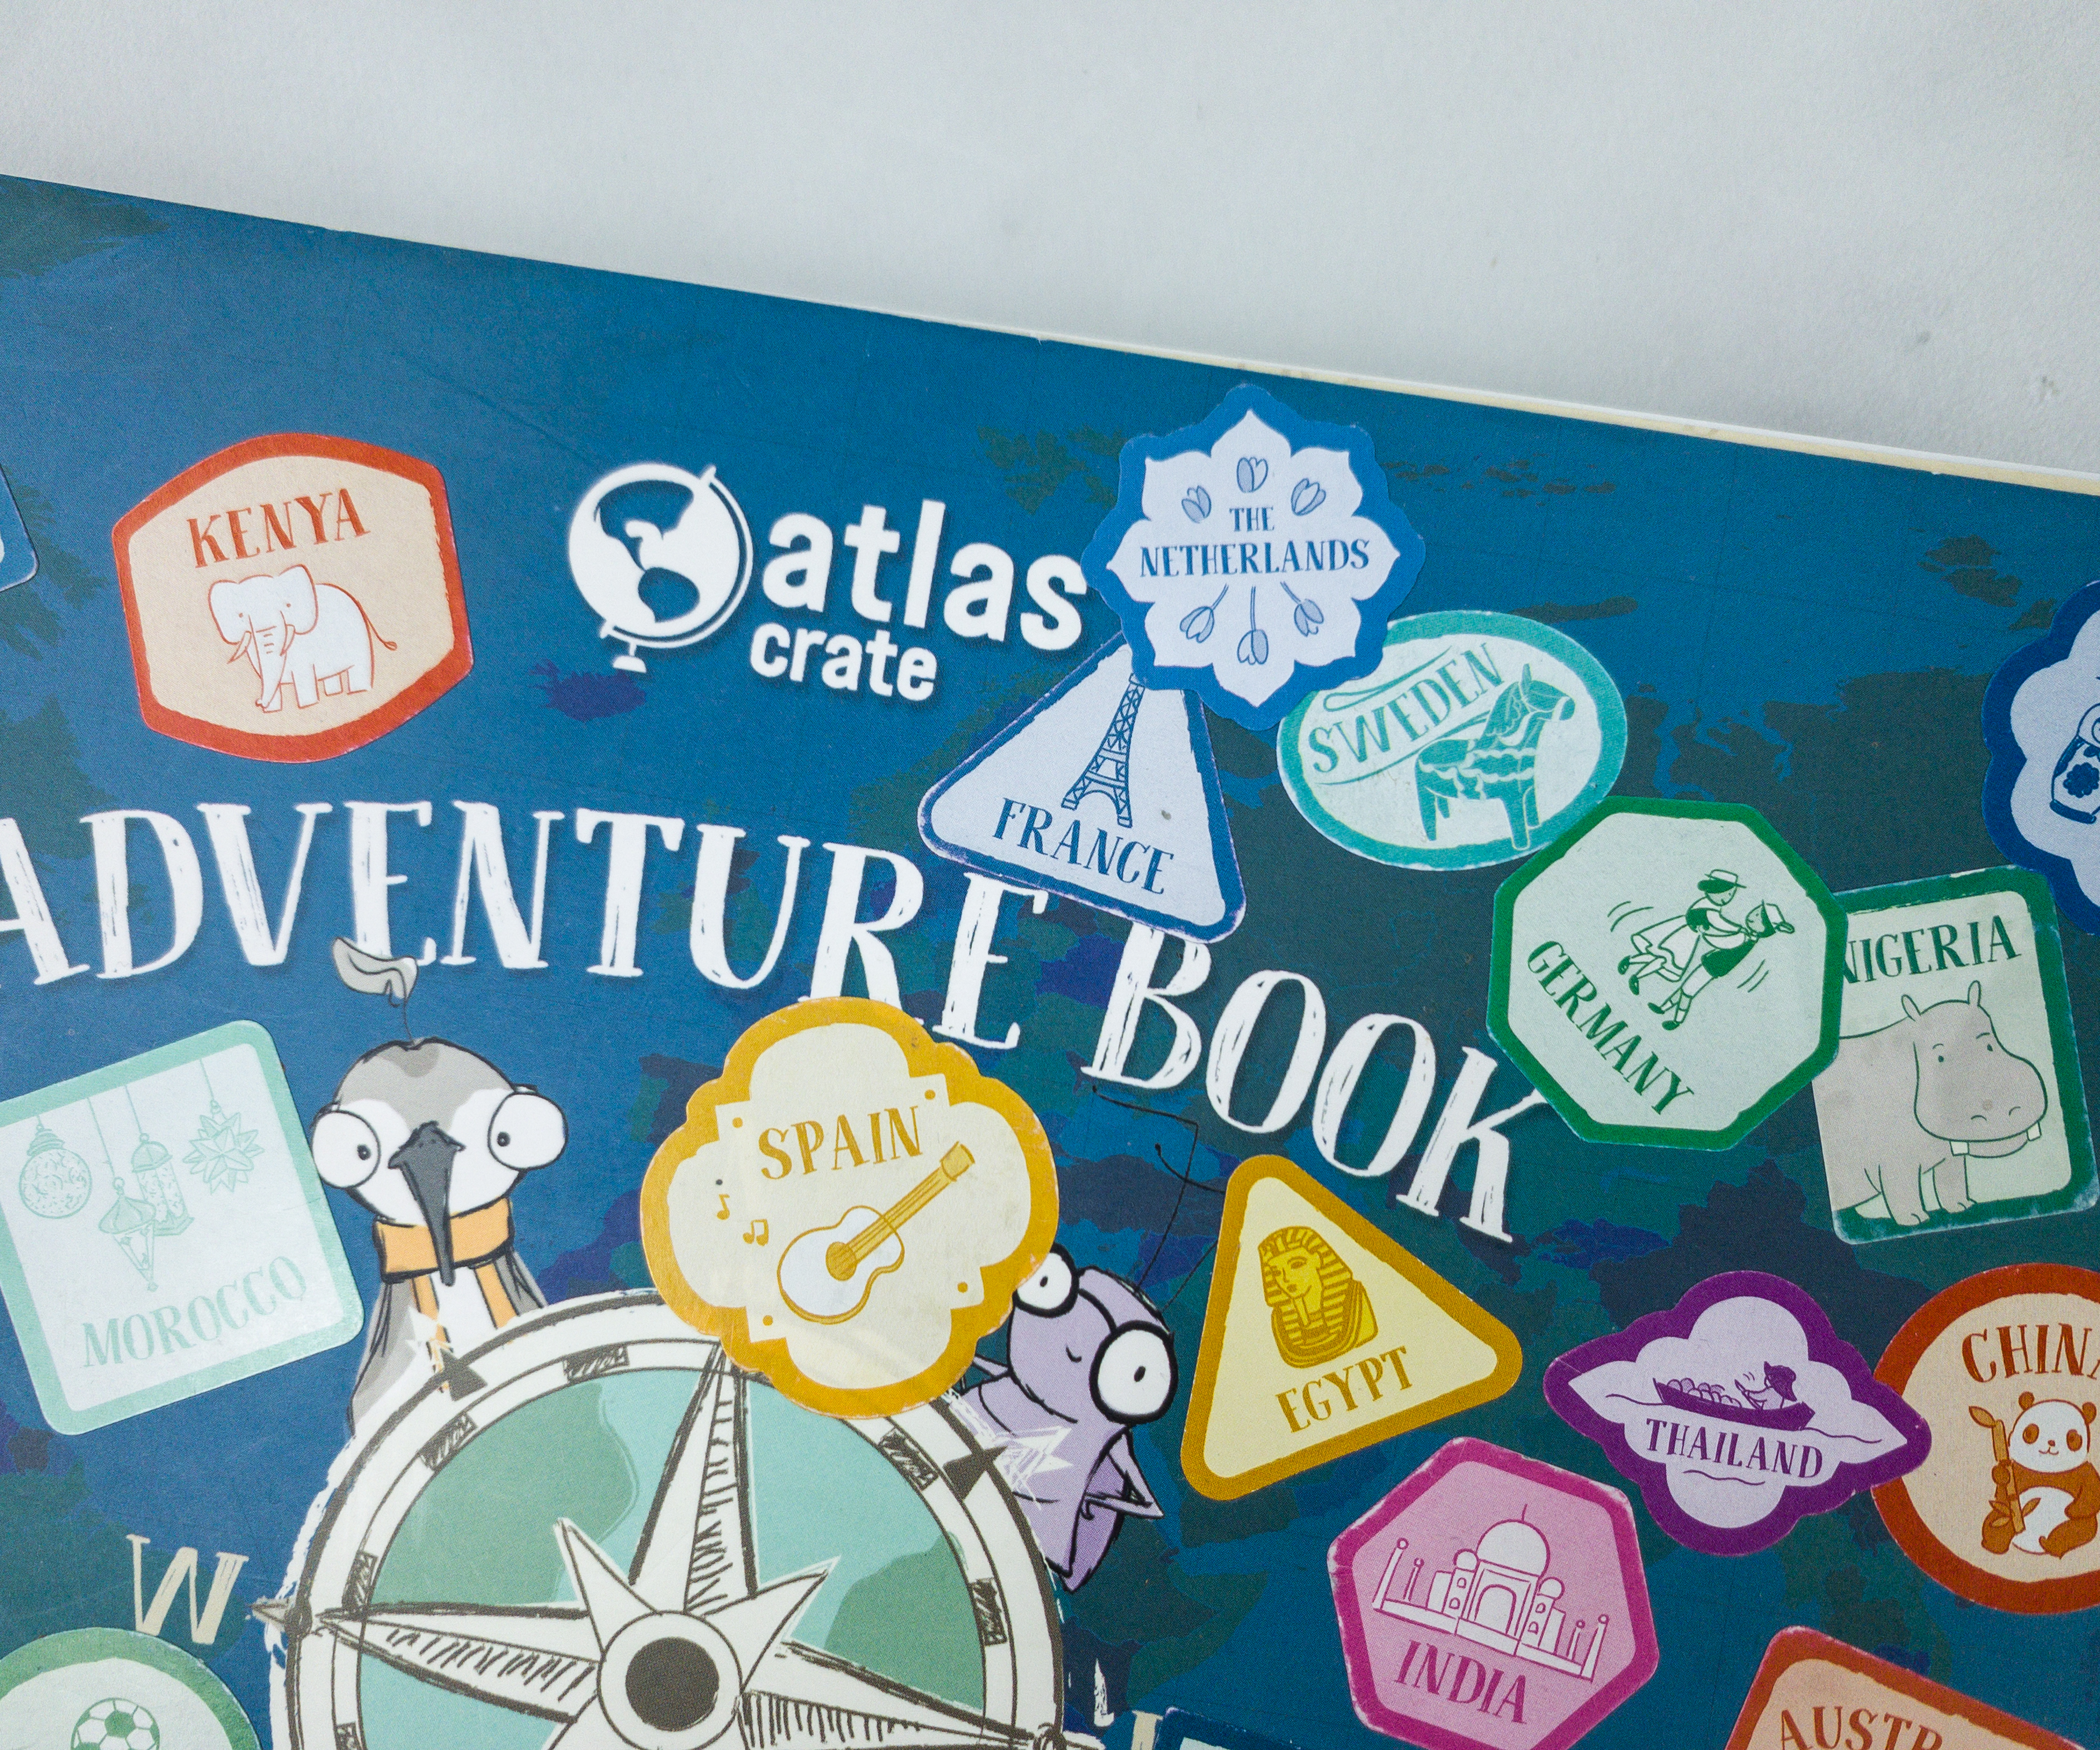
Atlas Crate Adventure Book
Missed our first review? You’ll get the rings in your first box, which will always start with the WORLD crate. Check out that review here!
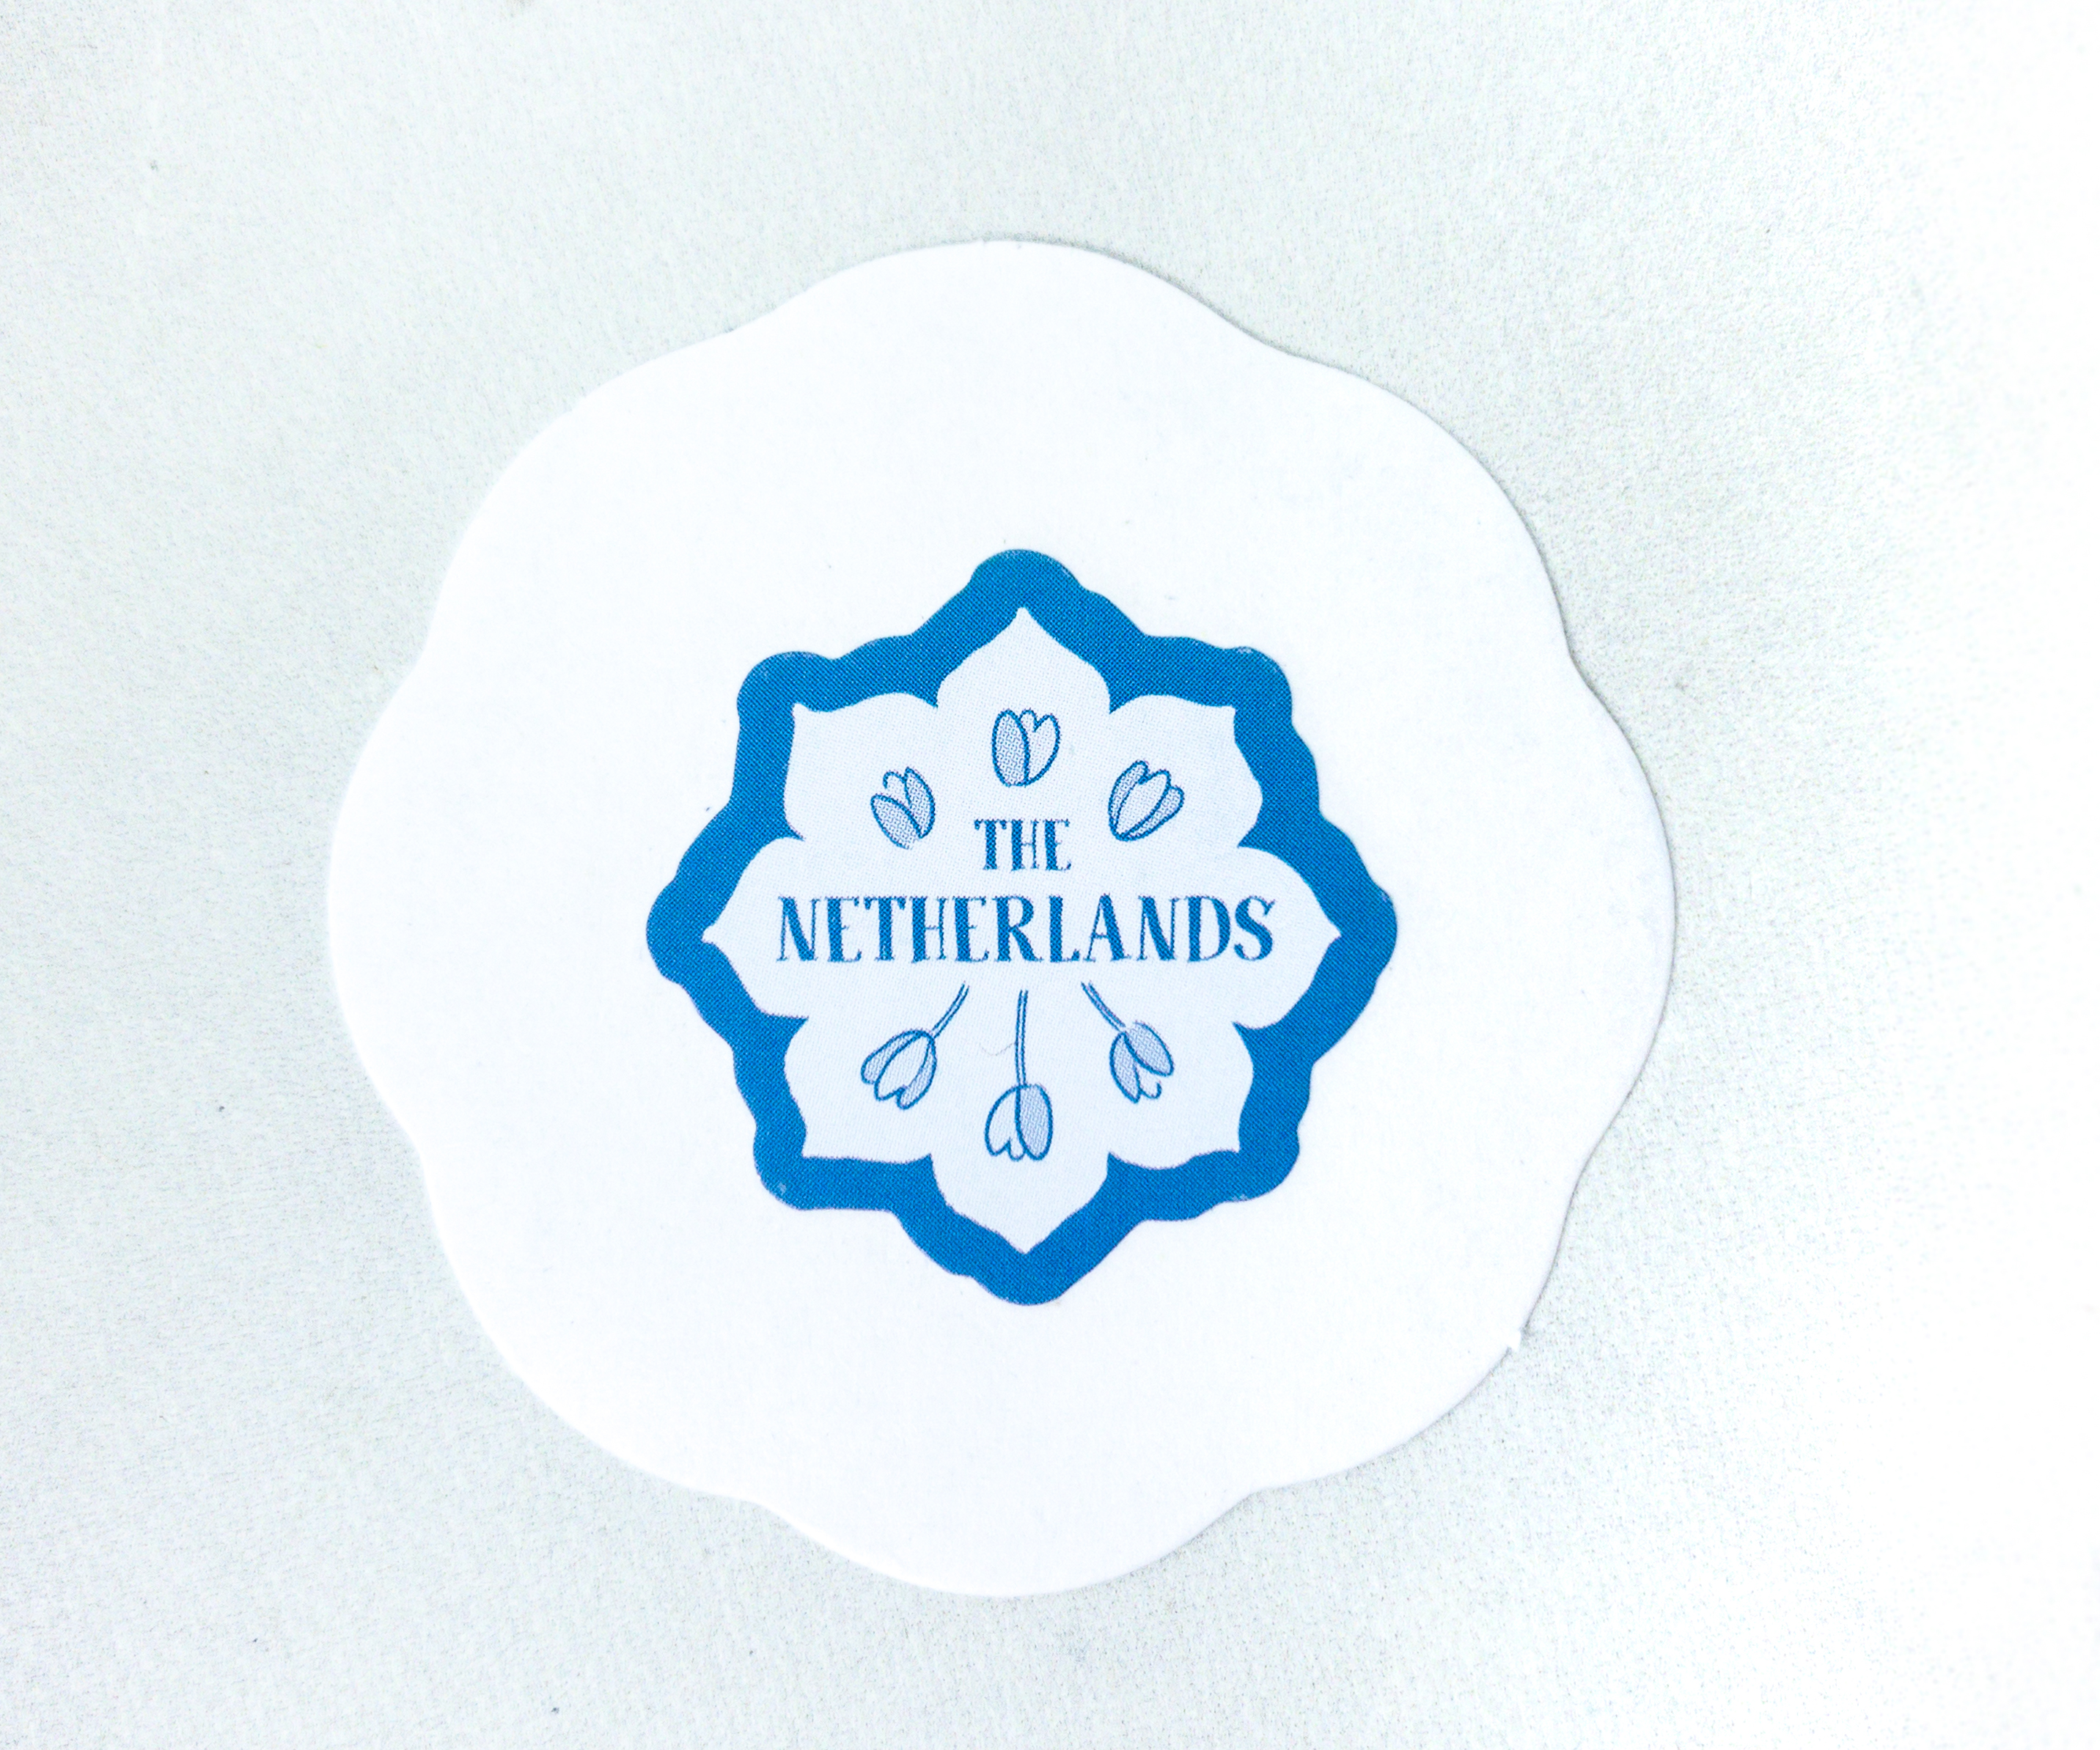
Each month, we also get a sticker that represents the featured country. This month’s sticker features tulips, the national flower of The Netherlands!
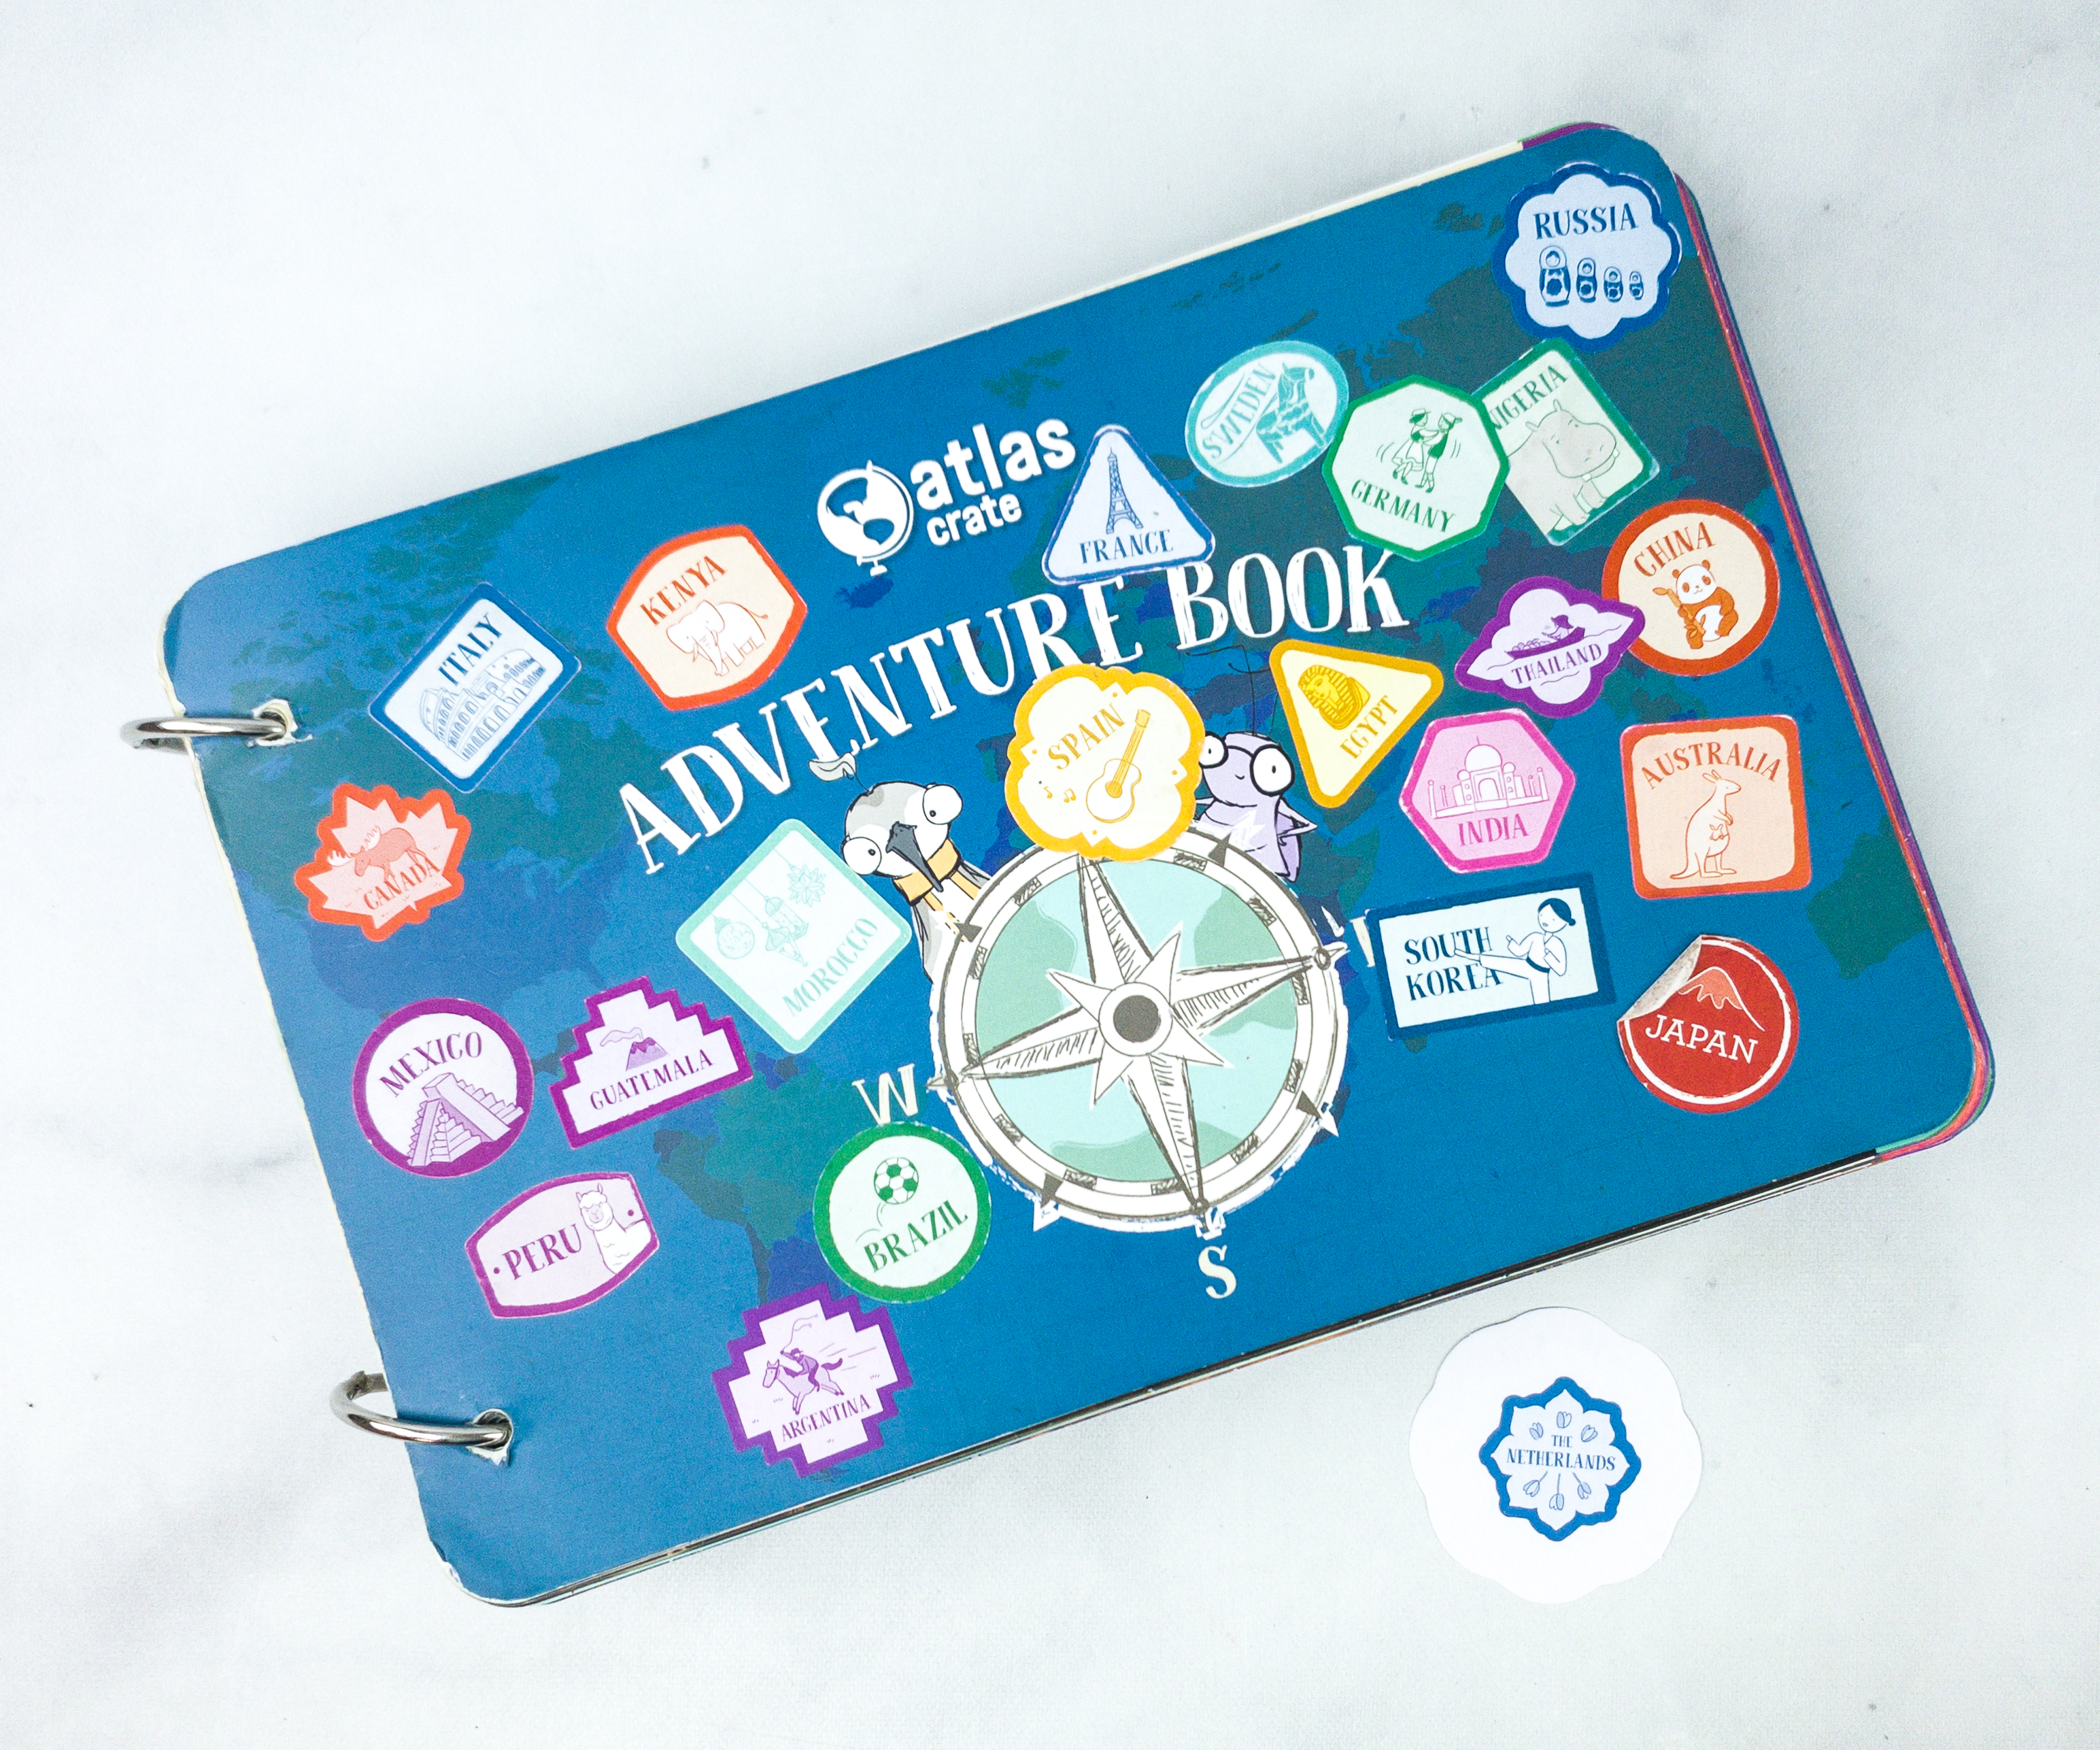
We placed our newest sticker on the Adventure Book, along with the other countries that we have already explored!
There you go! We’ve explored so many places already!
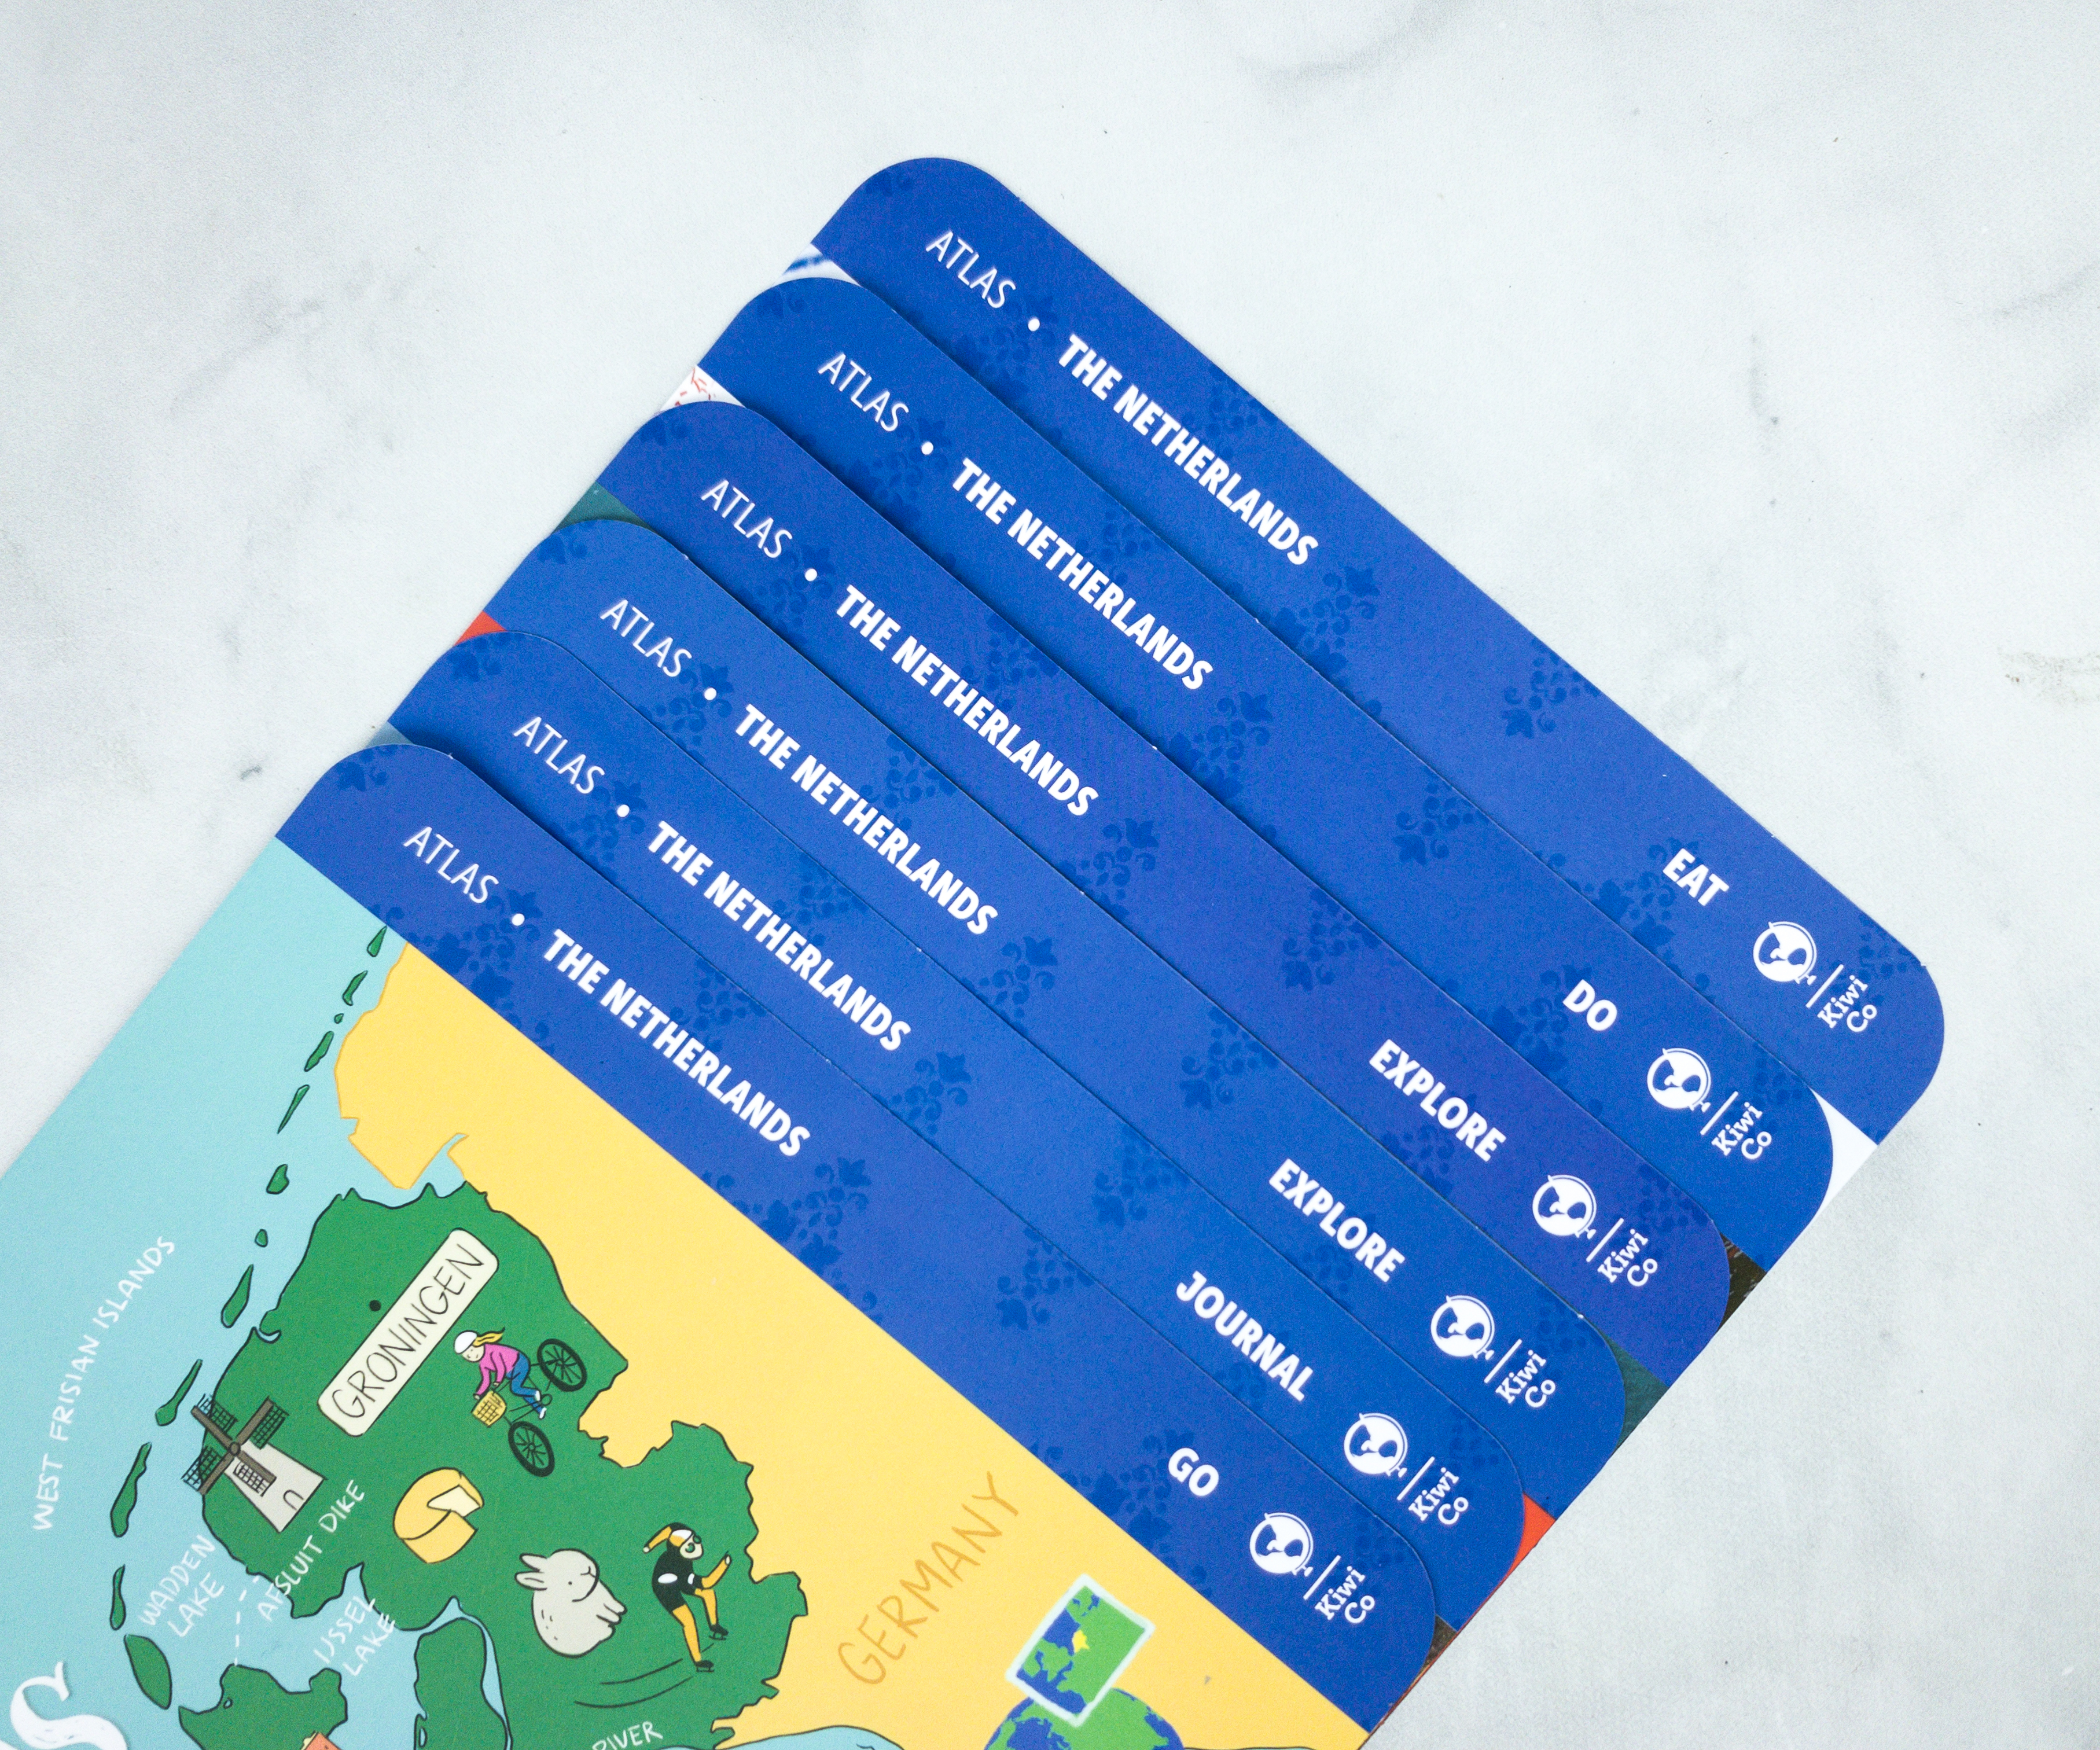
The table of contents is on the edge of each page for easy reading, just like how a travel book works.
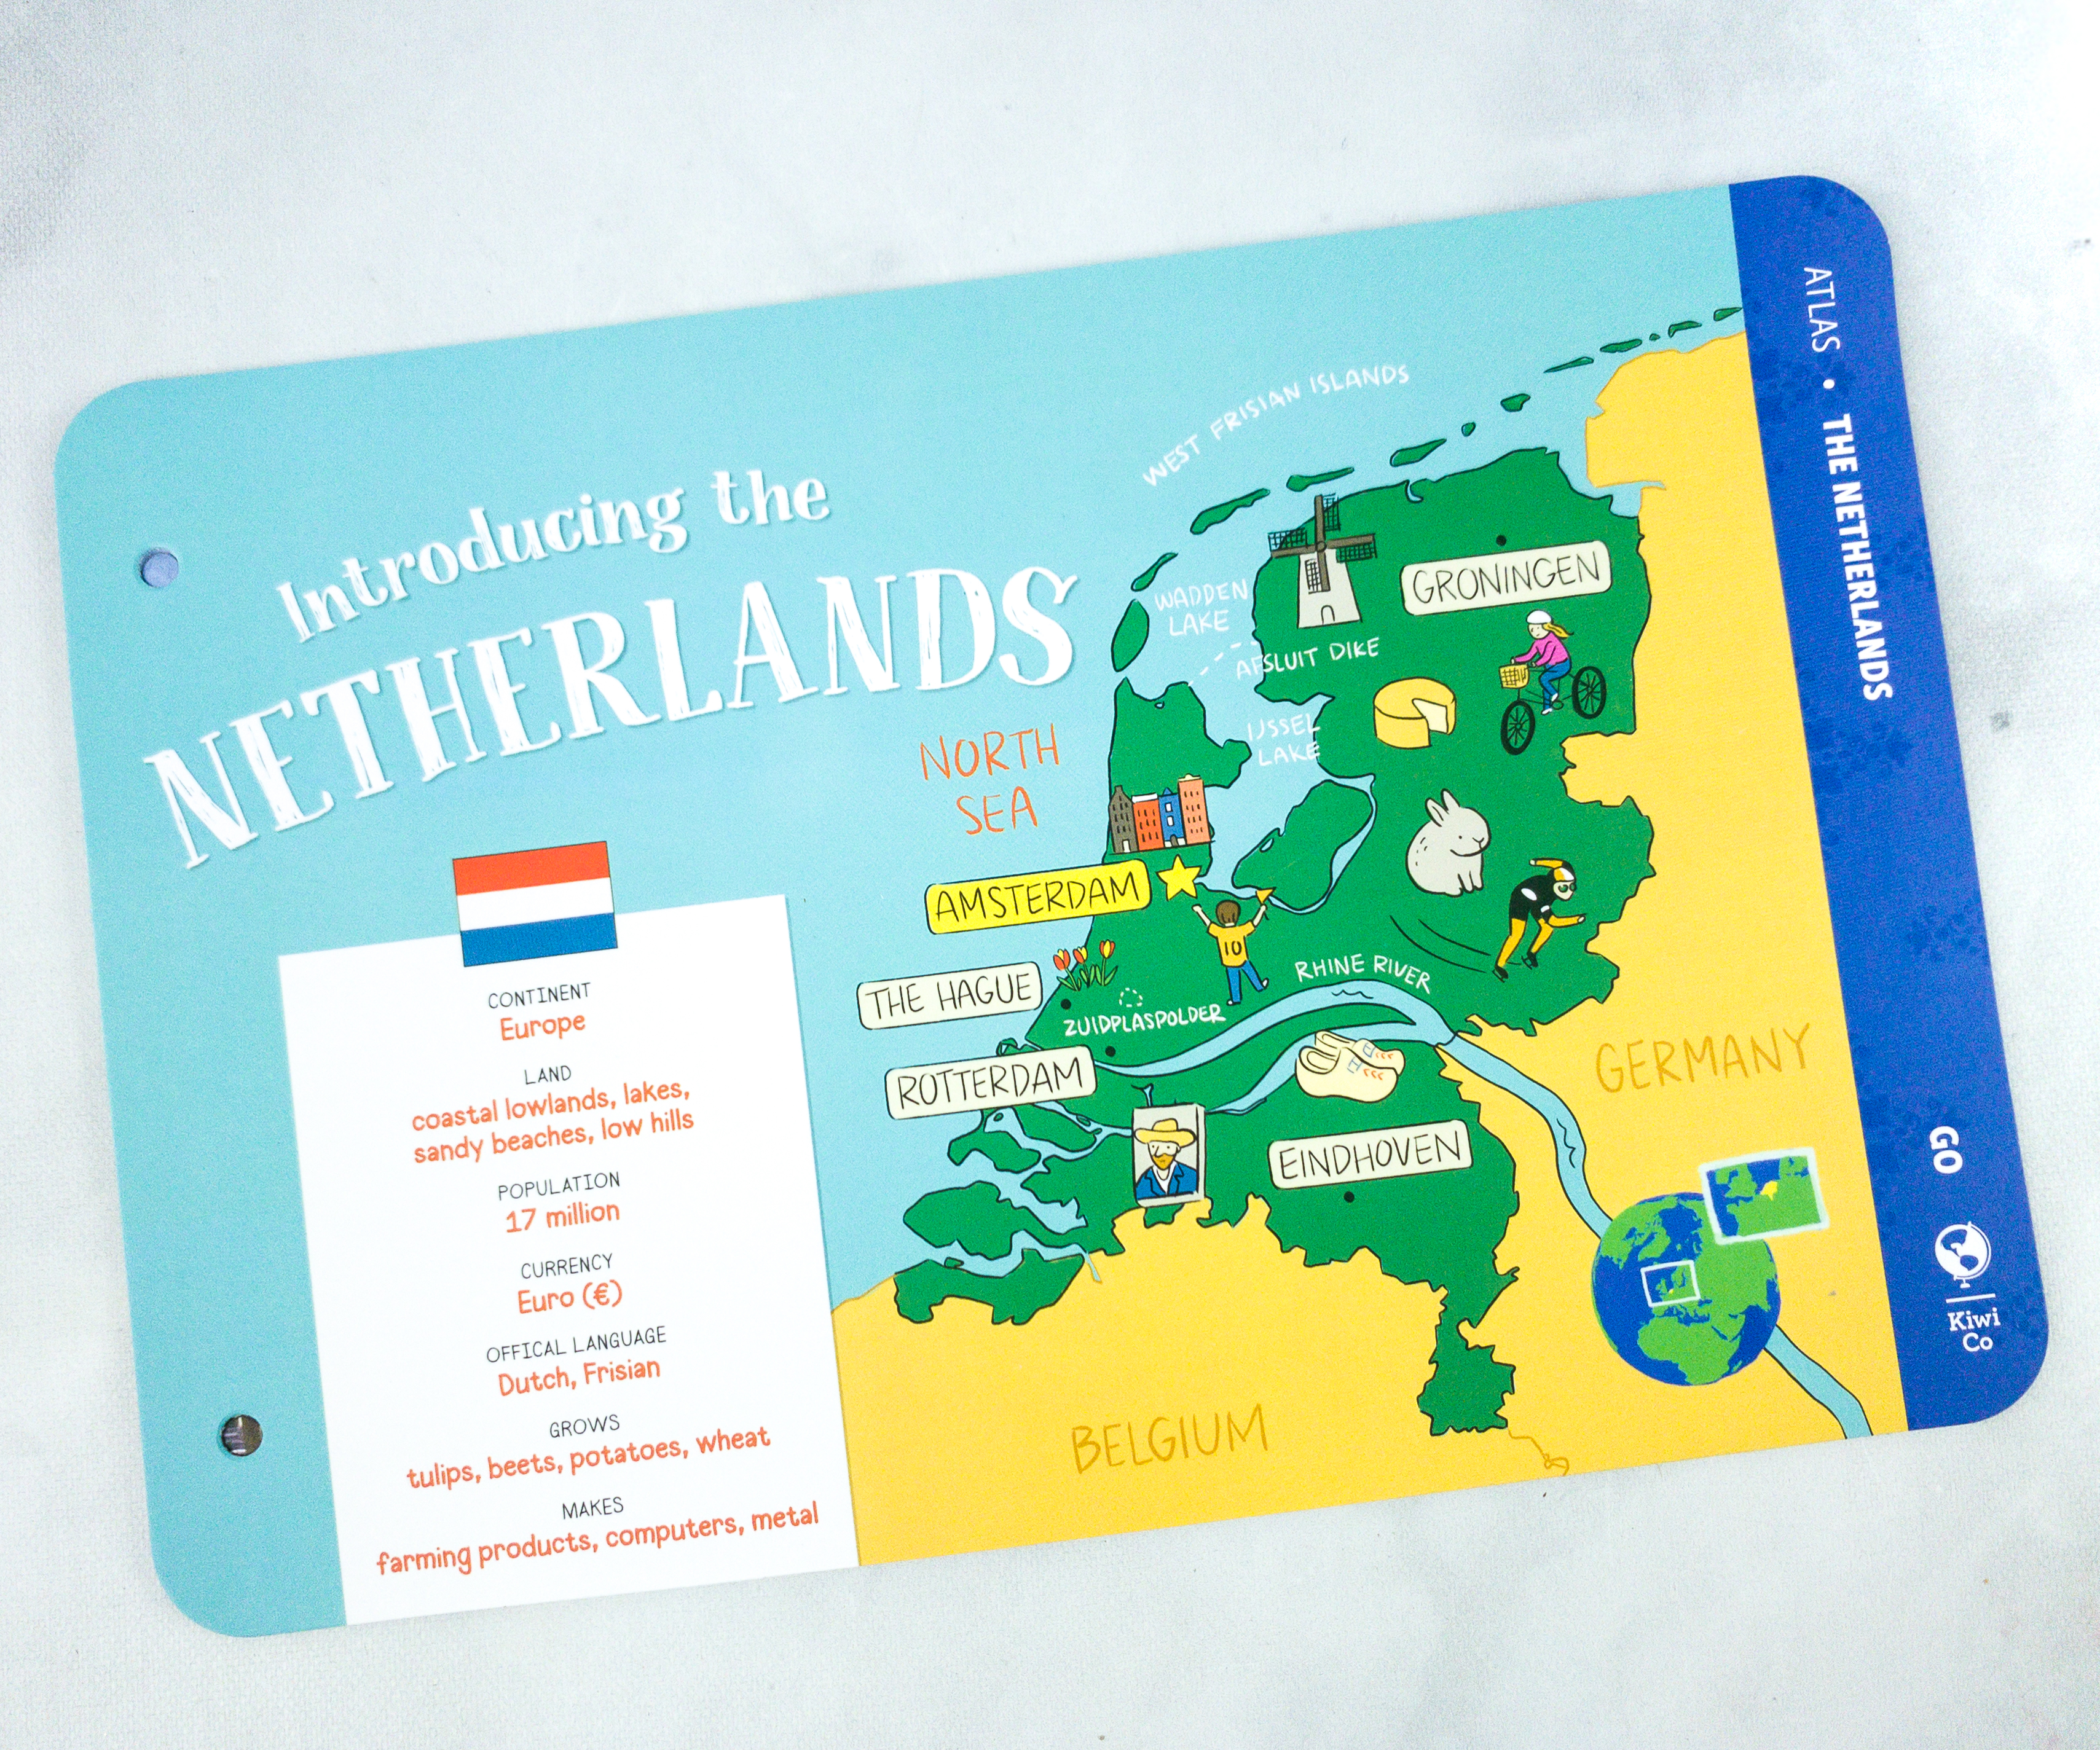
This booklet also comes with a cute illustration of the country’s map with some fun facts and drawings of The Netherlands’ notable events, sports, places, and products.
Atlas Crate Activities
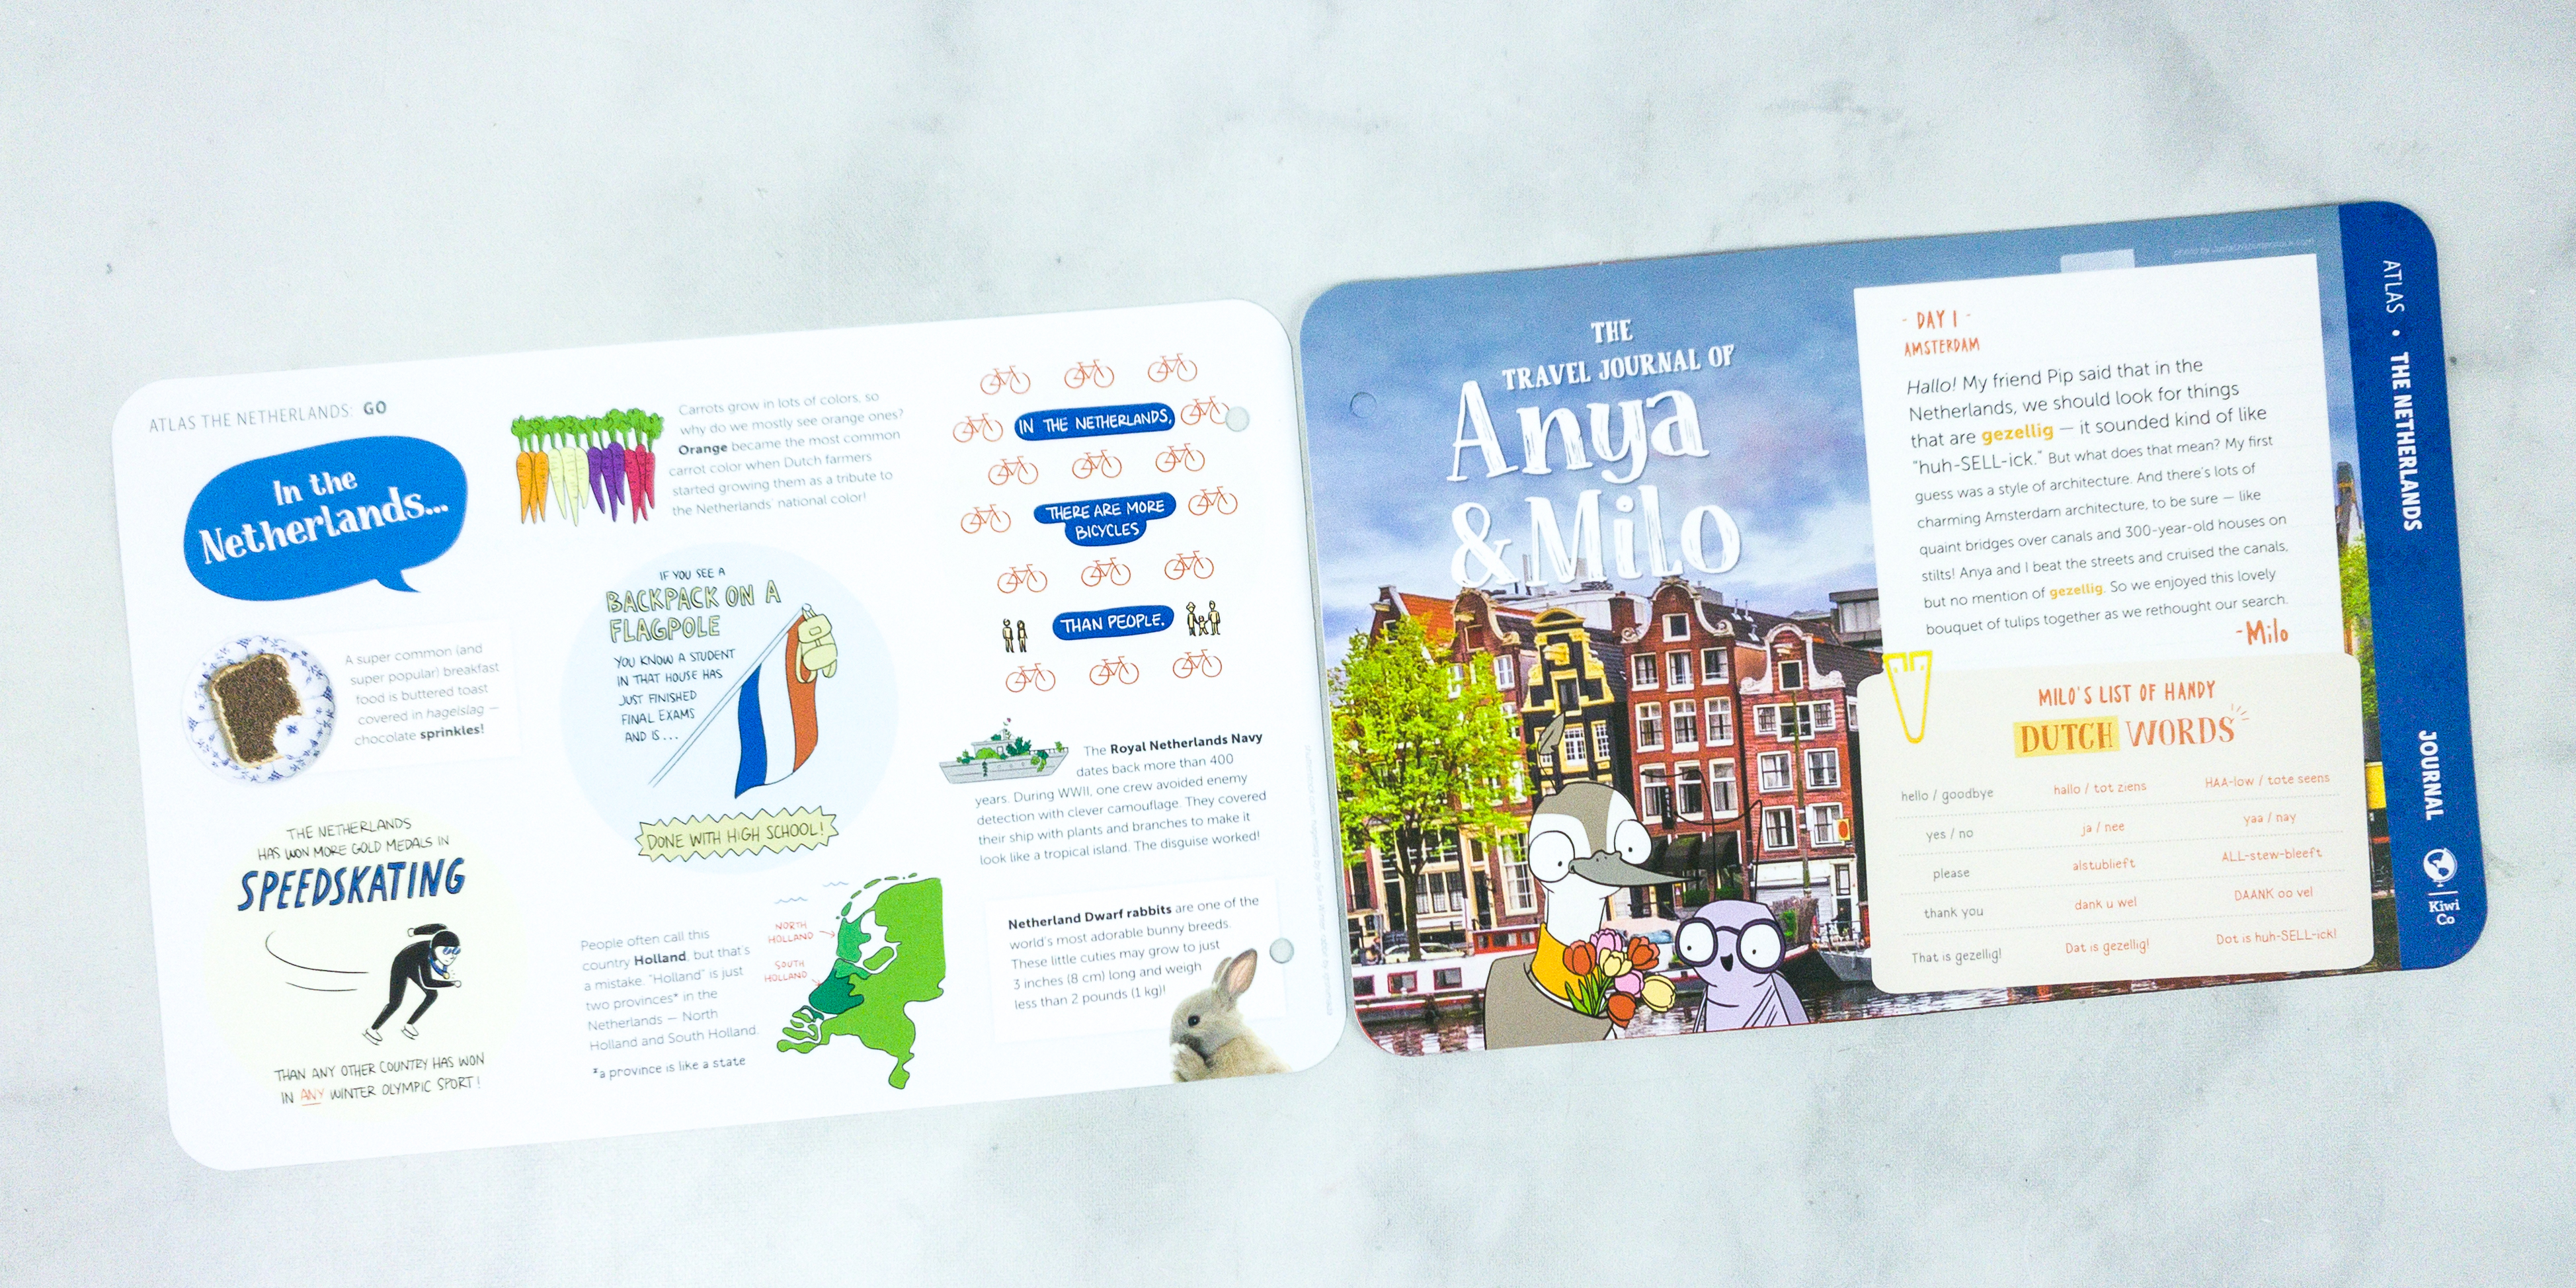
These pages feature the beginning of the adventures of Anya and Milo in the beautiful country of The Netherlands.
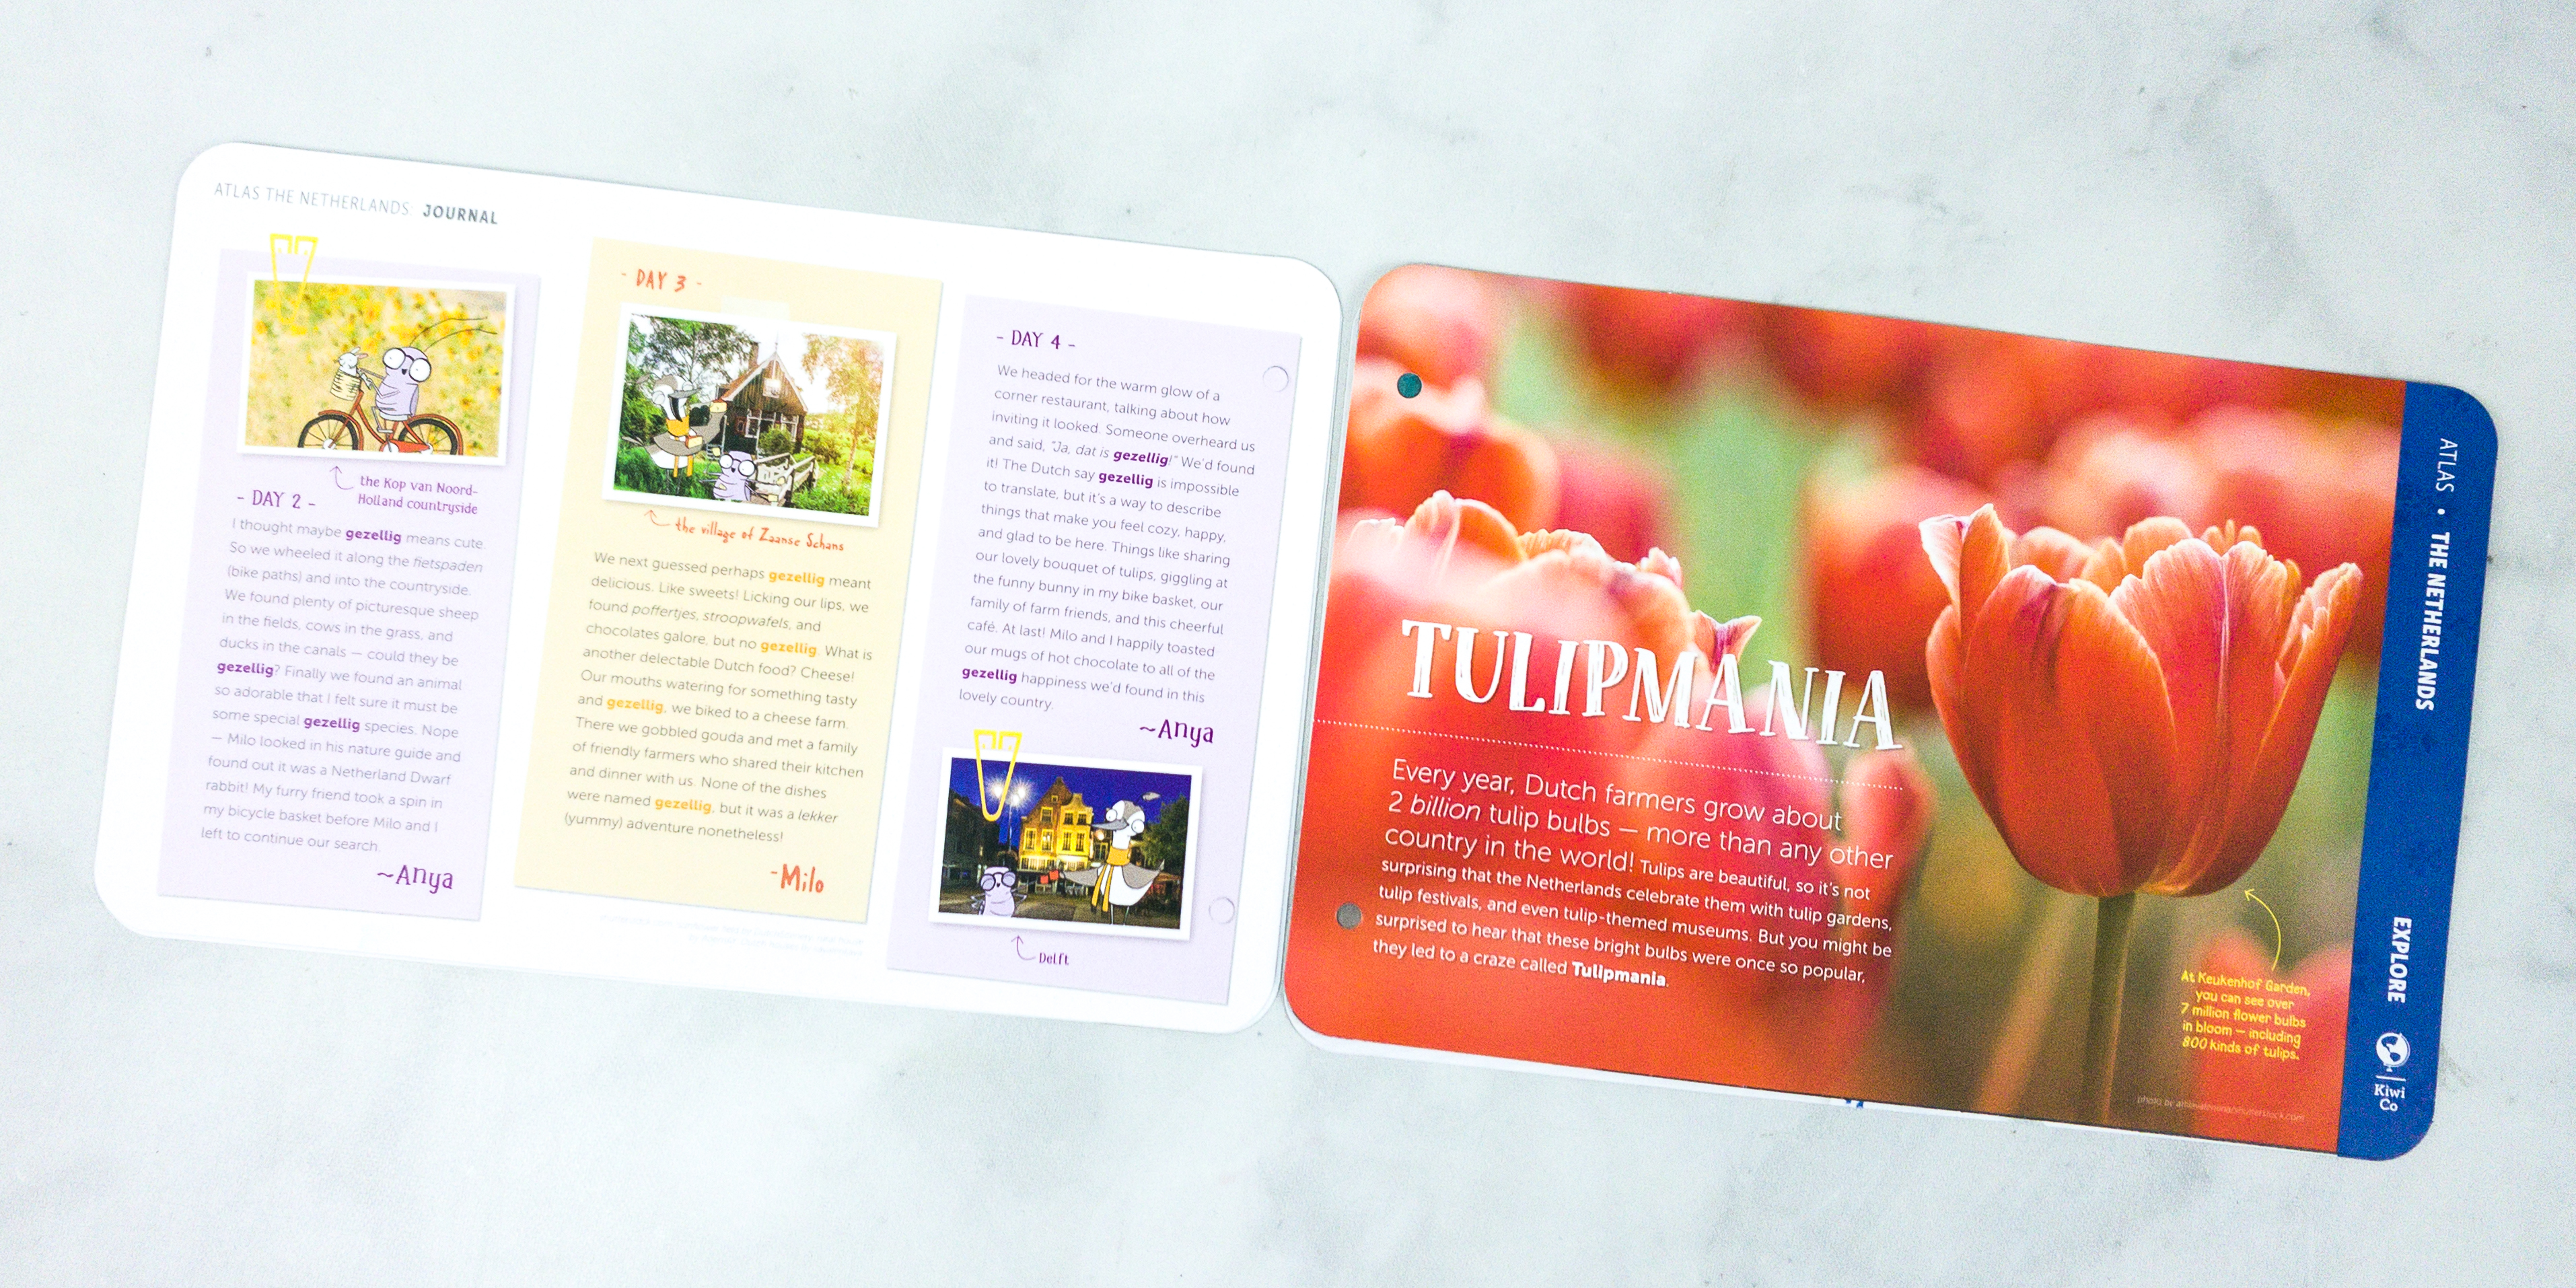
Their first stop is the Kop van Noord Holland countryside which is located in the northern part of Amsterdam. They also went to the village of Zaanse Schans and to Delft which is known for its historical connections with the reigning House of Orange-Nassau.
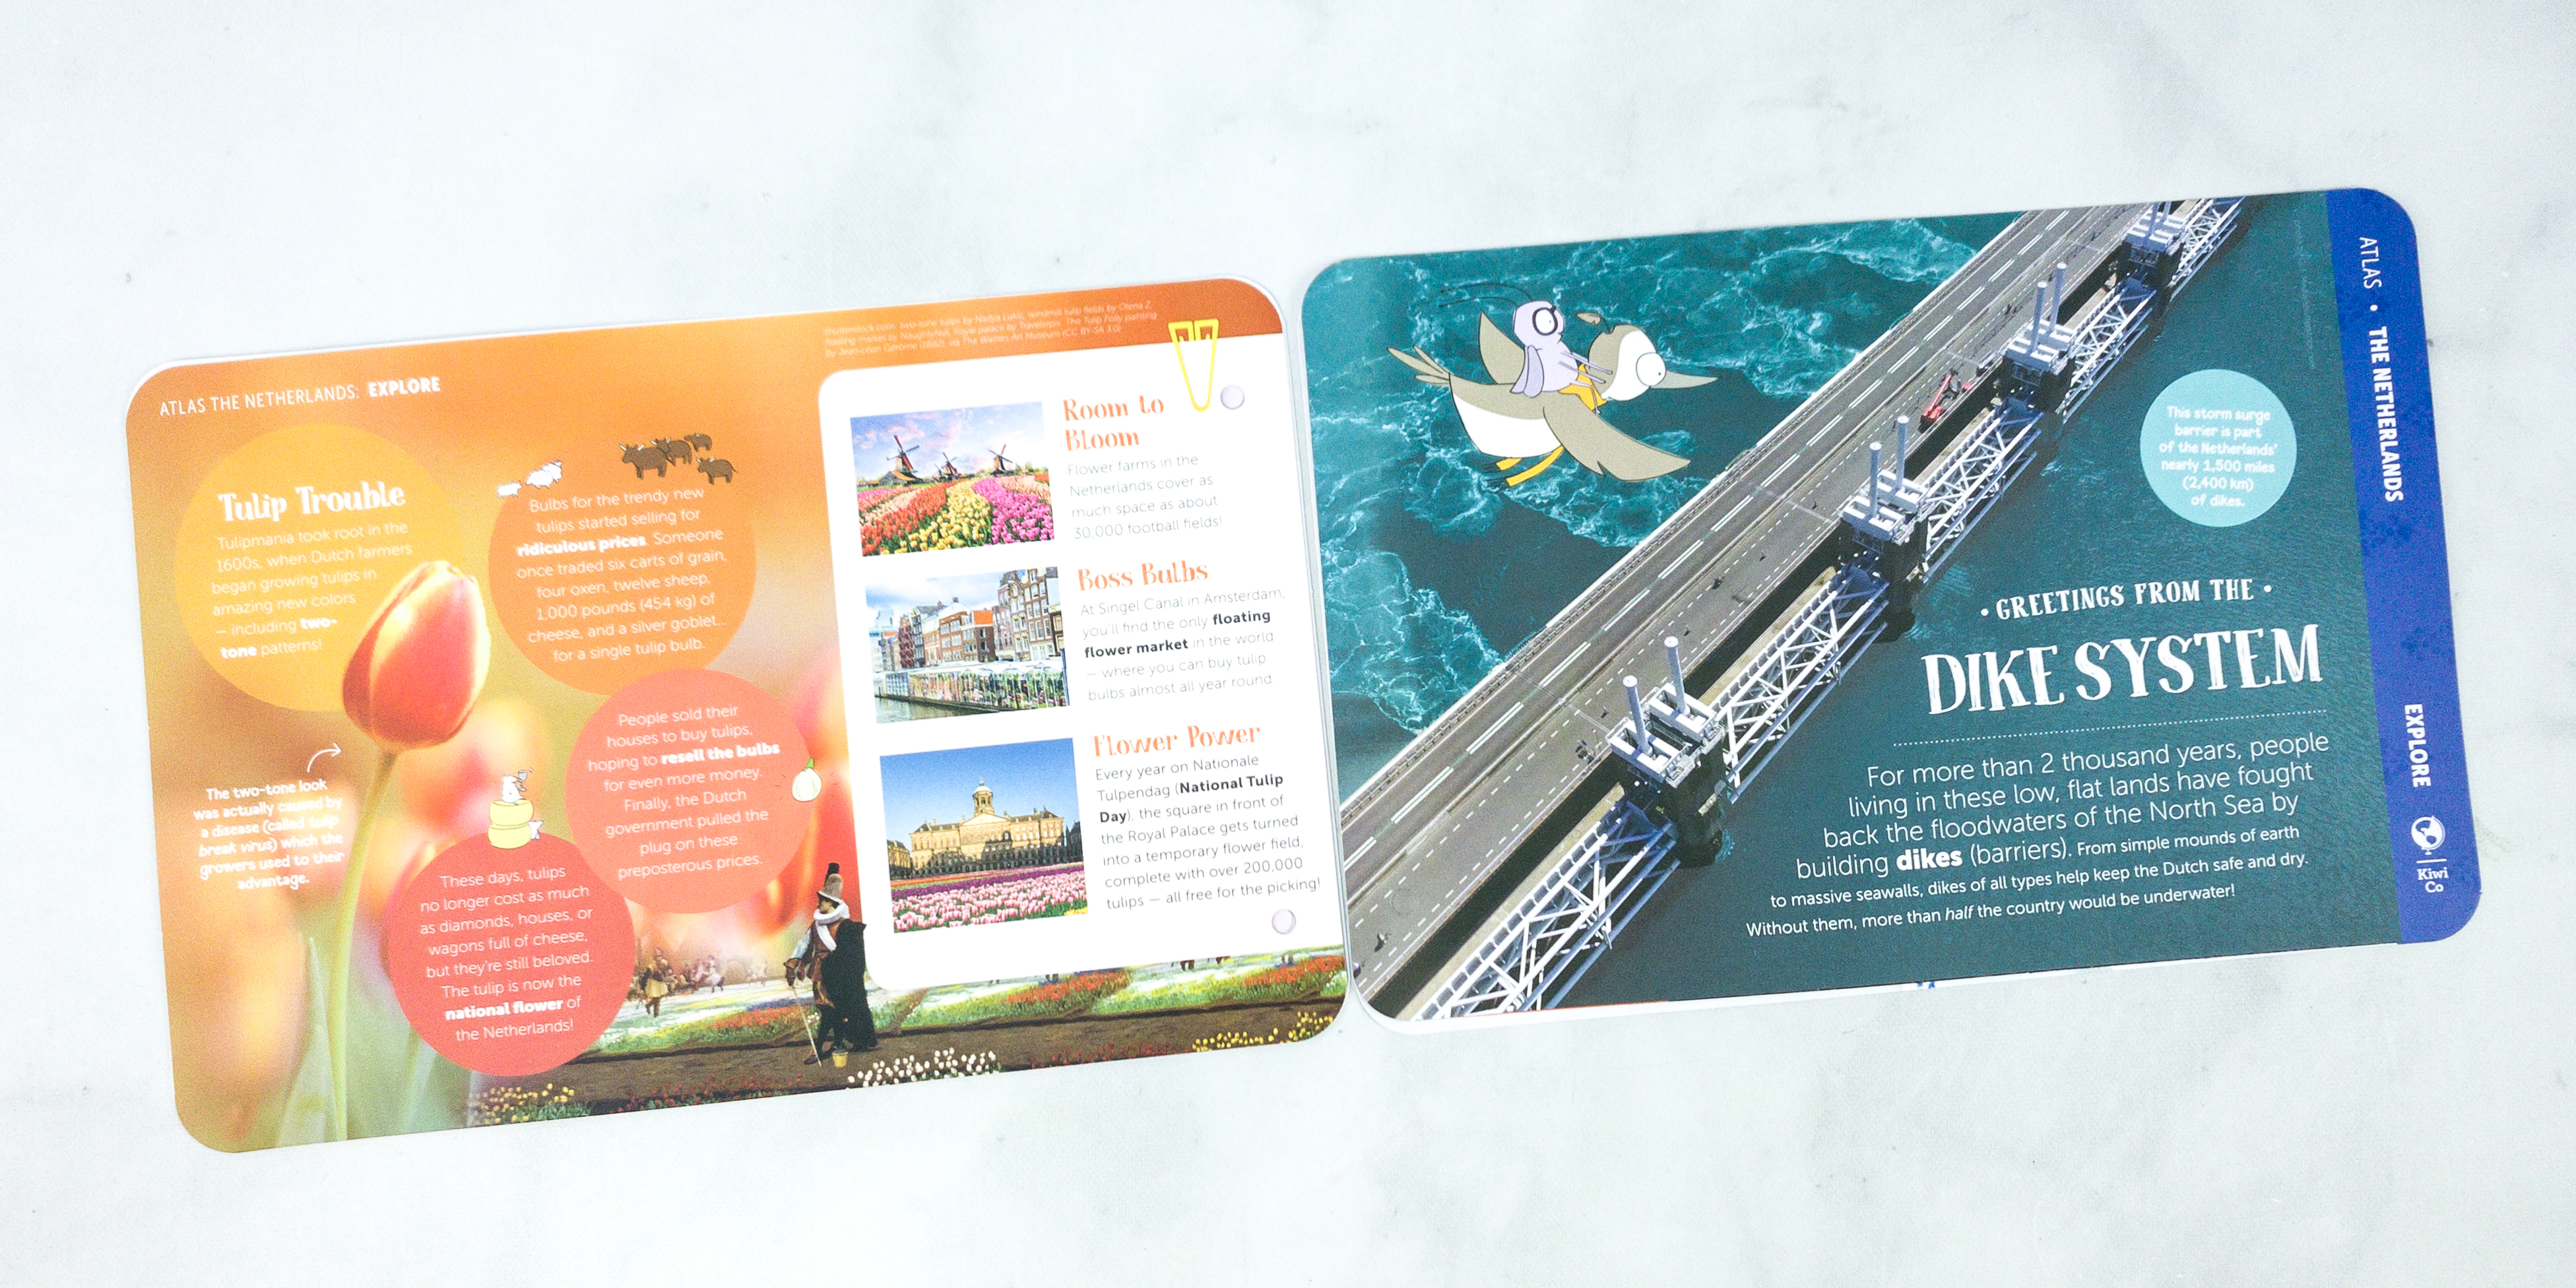
This part of the booklet introduces us to The Netherlands’ national flower, Tulip. There’s also a feature about the country’s unique Dike System.
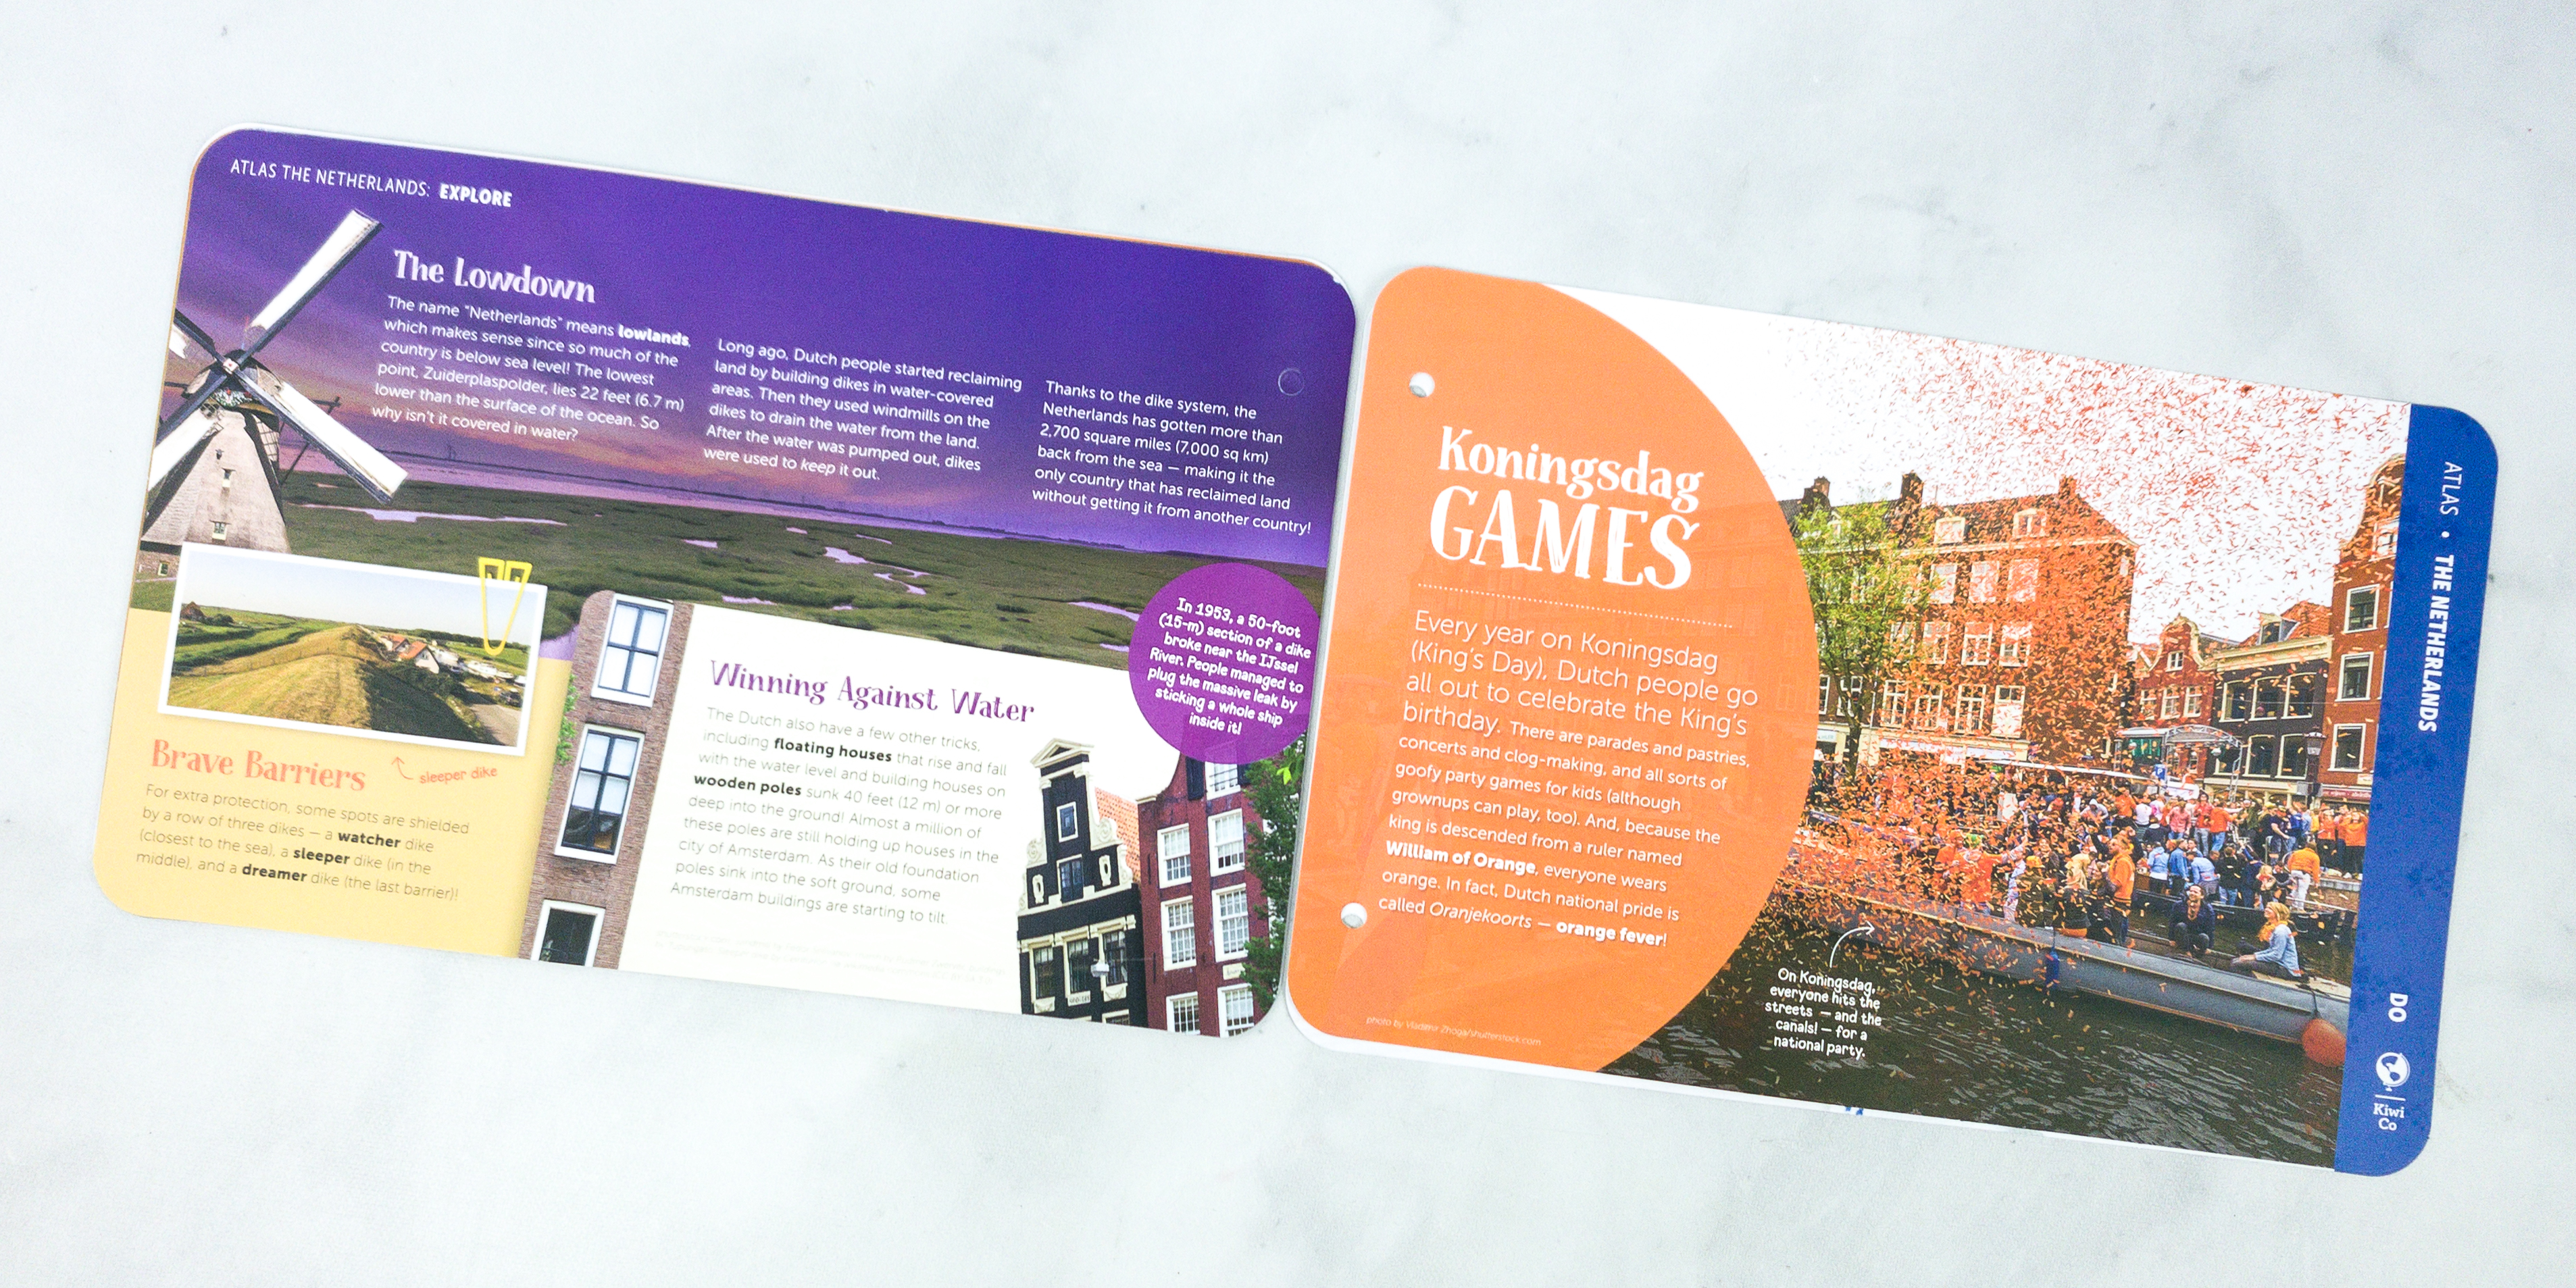
The Netherlands is also known as The Lowdown because most parts of this country are lower than the sea level. They also explained how their dike system drains the water on the land and keeps them out for good.
Atlas Crate Recipe
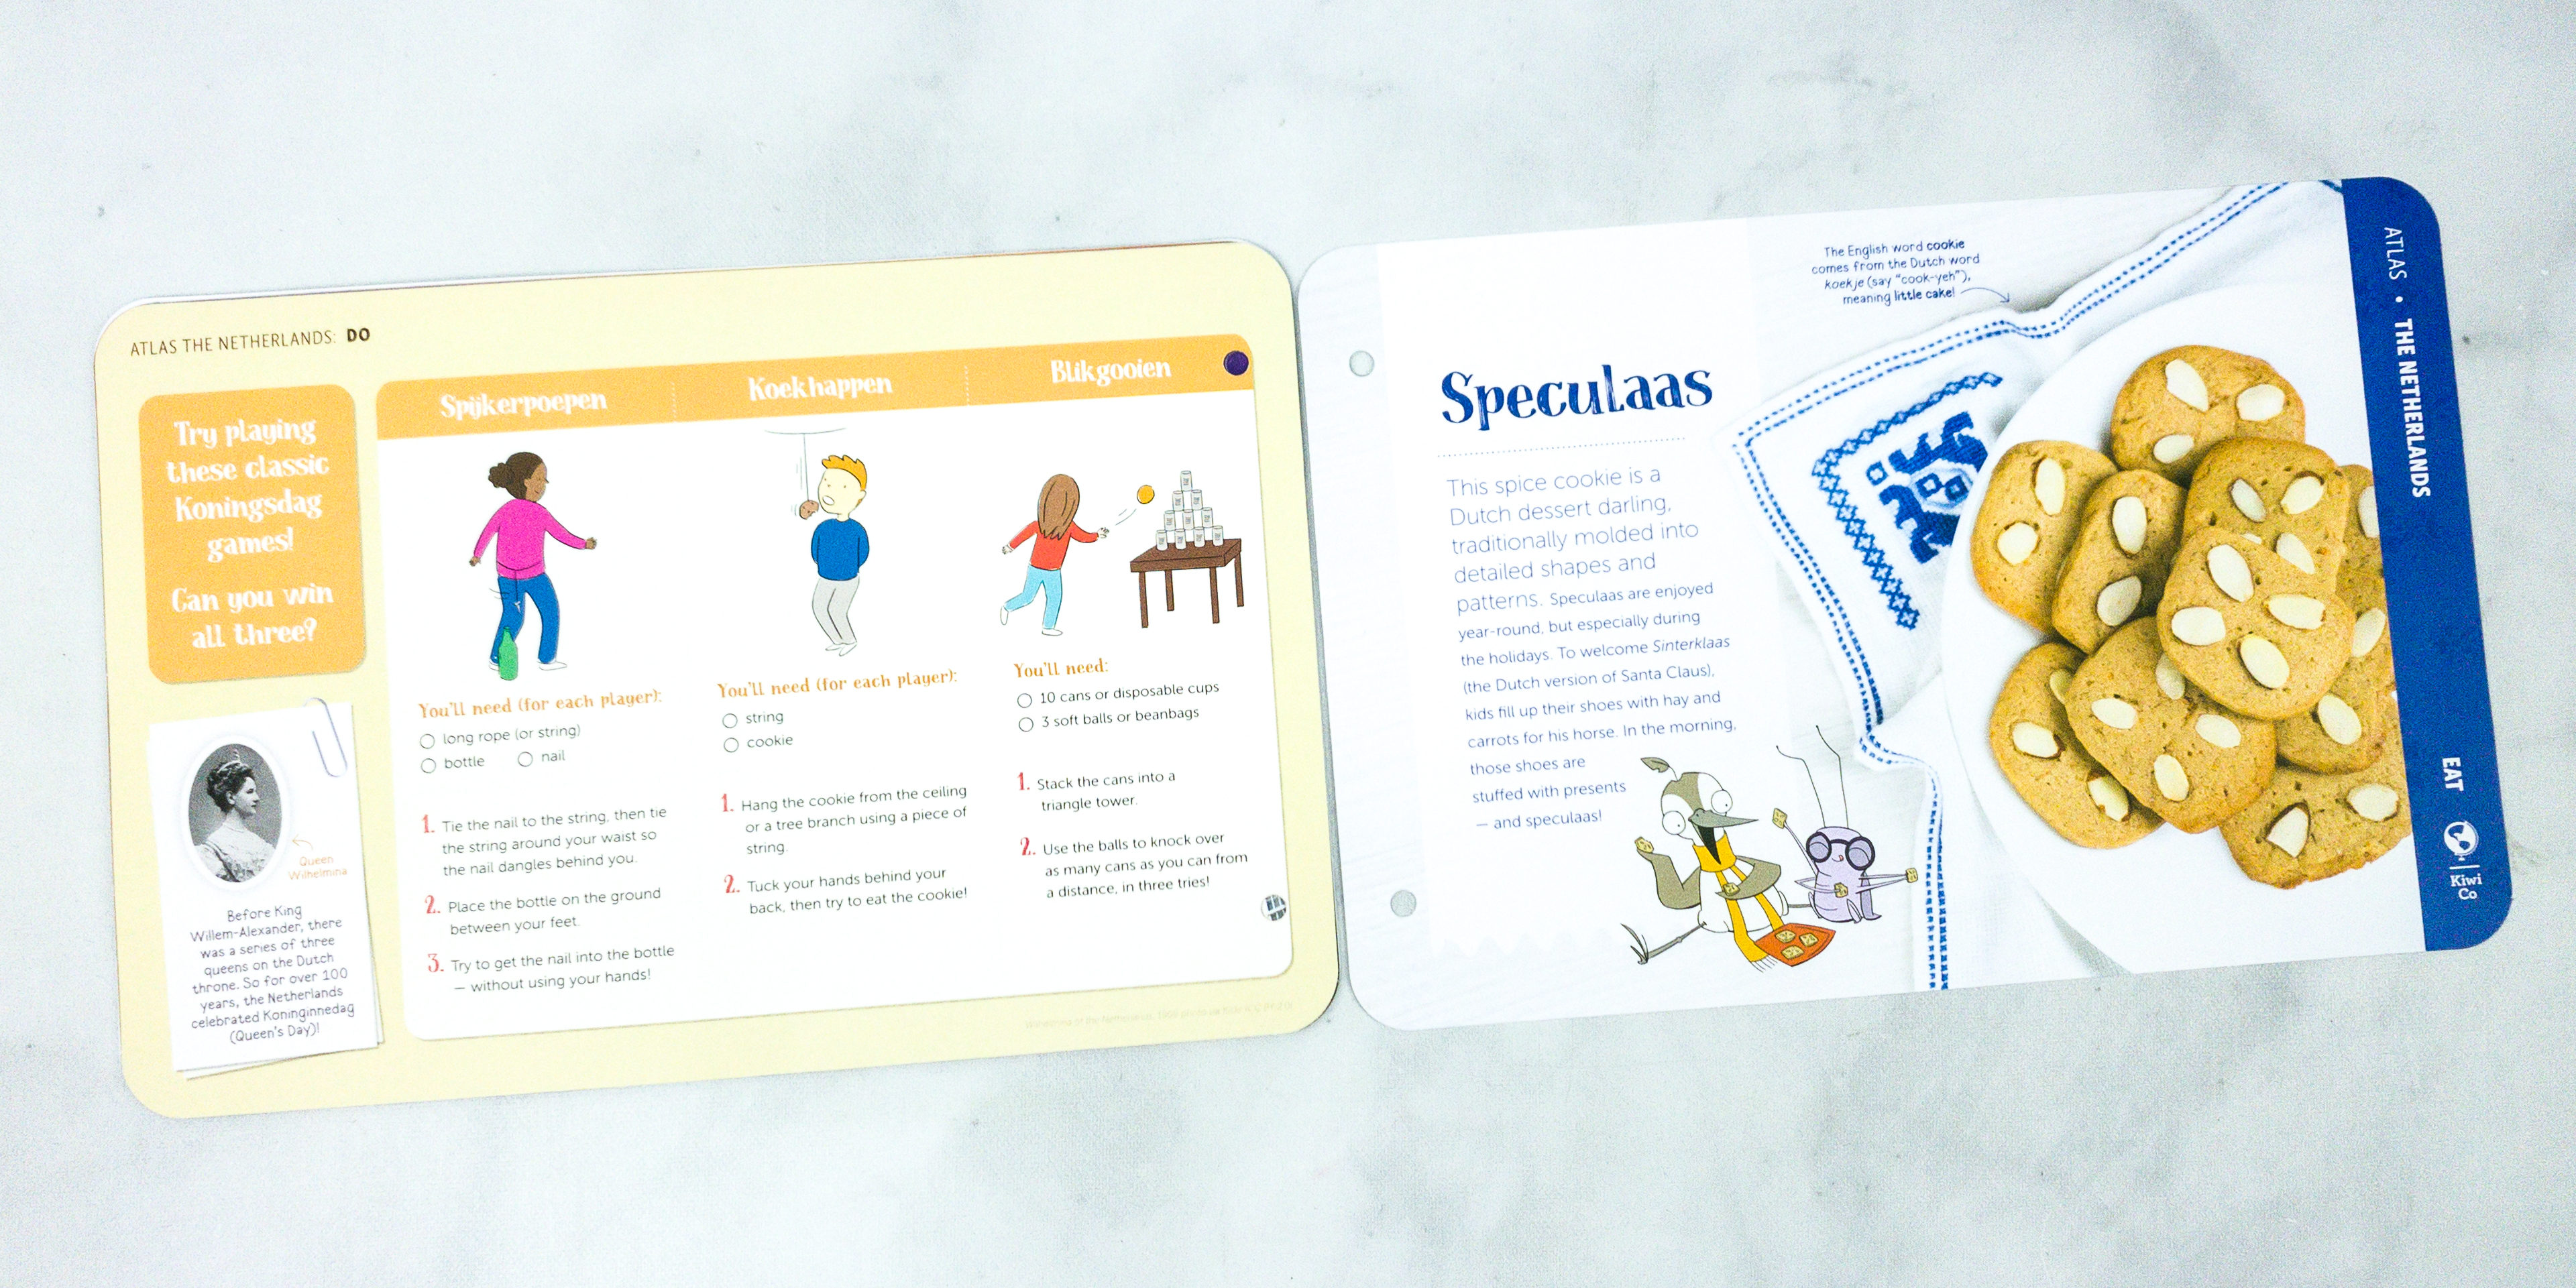
This month’s featured recipe is the Speculaas. It is a spiced shortcrust biscuit that is traditionally baked for consumption on or before the St. Nicholas’ Day.
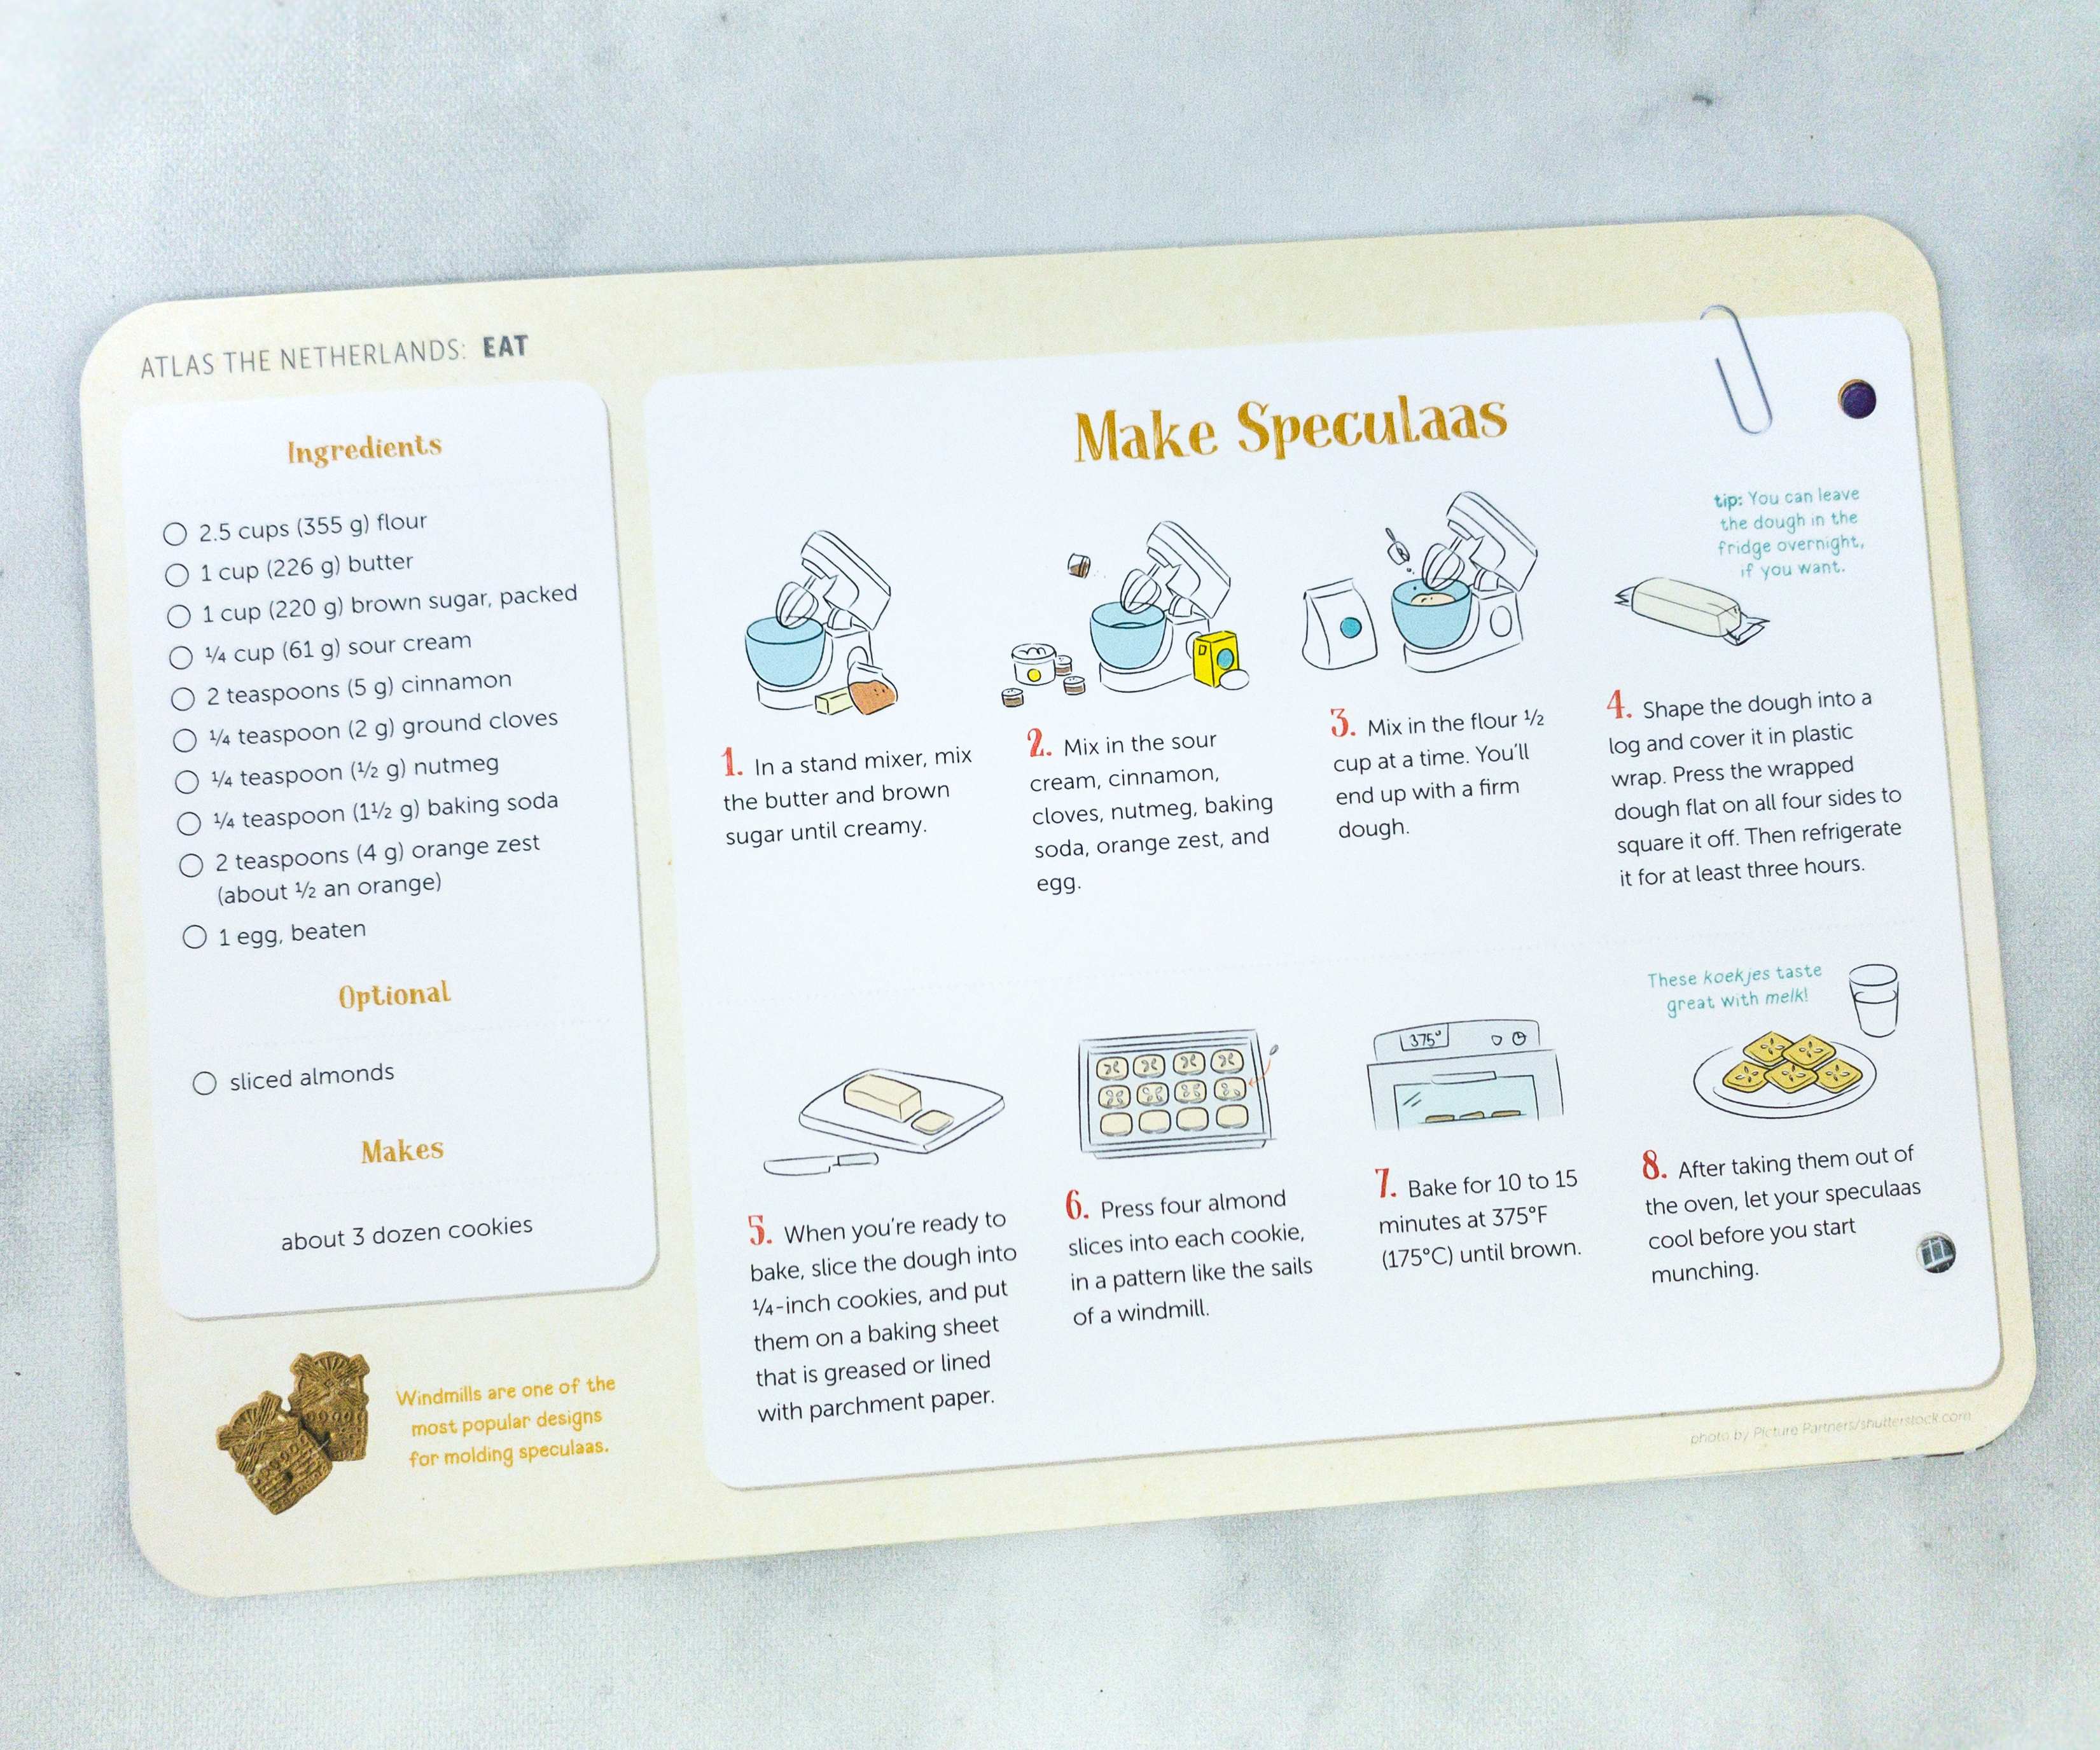
This part of the booklet features everything you need to know in making your own Speculaas. For this recipe, we used flour, butter, brown sugar, sour cream, cinnamon, ground cloves, nutmeg, baking soda, orange zest, and egg. You can also try adding sliced almonds on the mix.
To make the biscuits, mix all the ingredients thoroughly and press the wrapped dough flat on all four sides to square it off. Refrigerate it for at least three hours, then slice it 1/4-inch thick each.
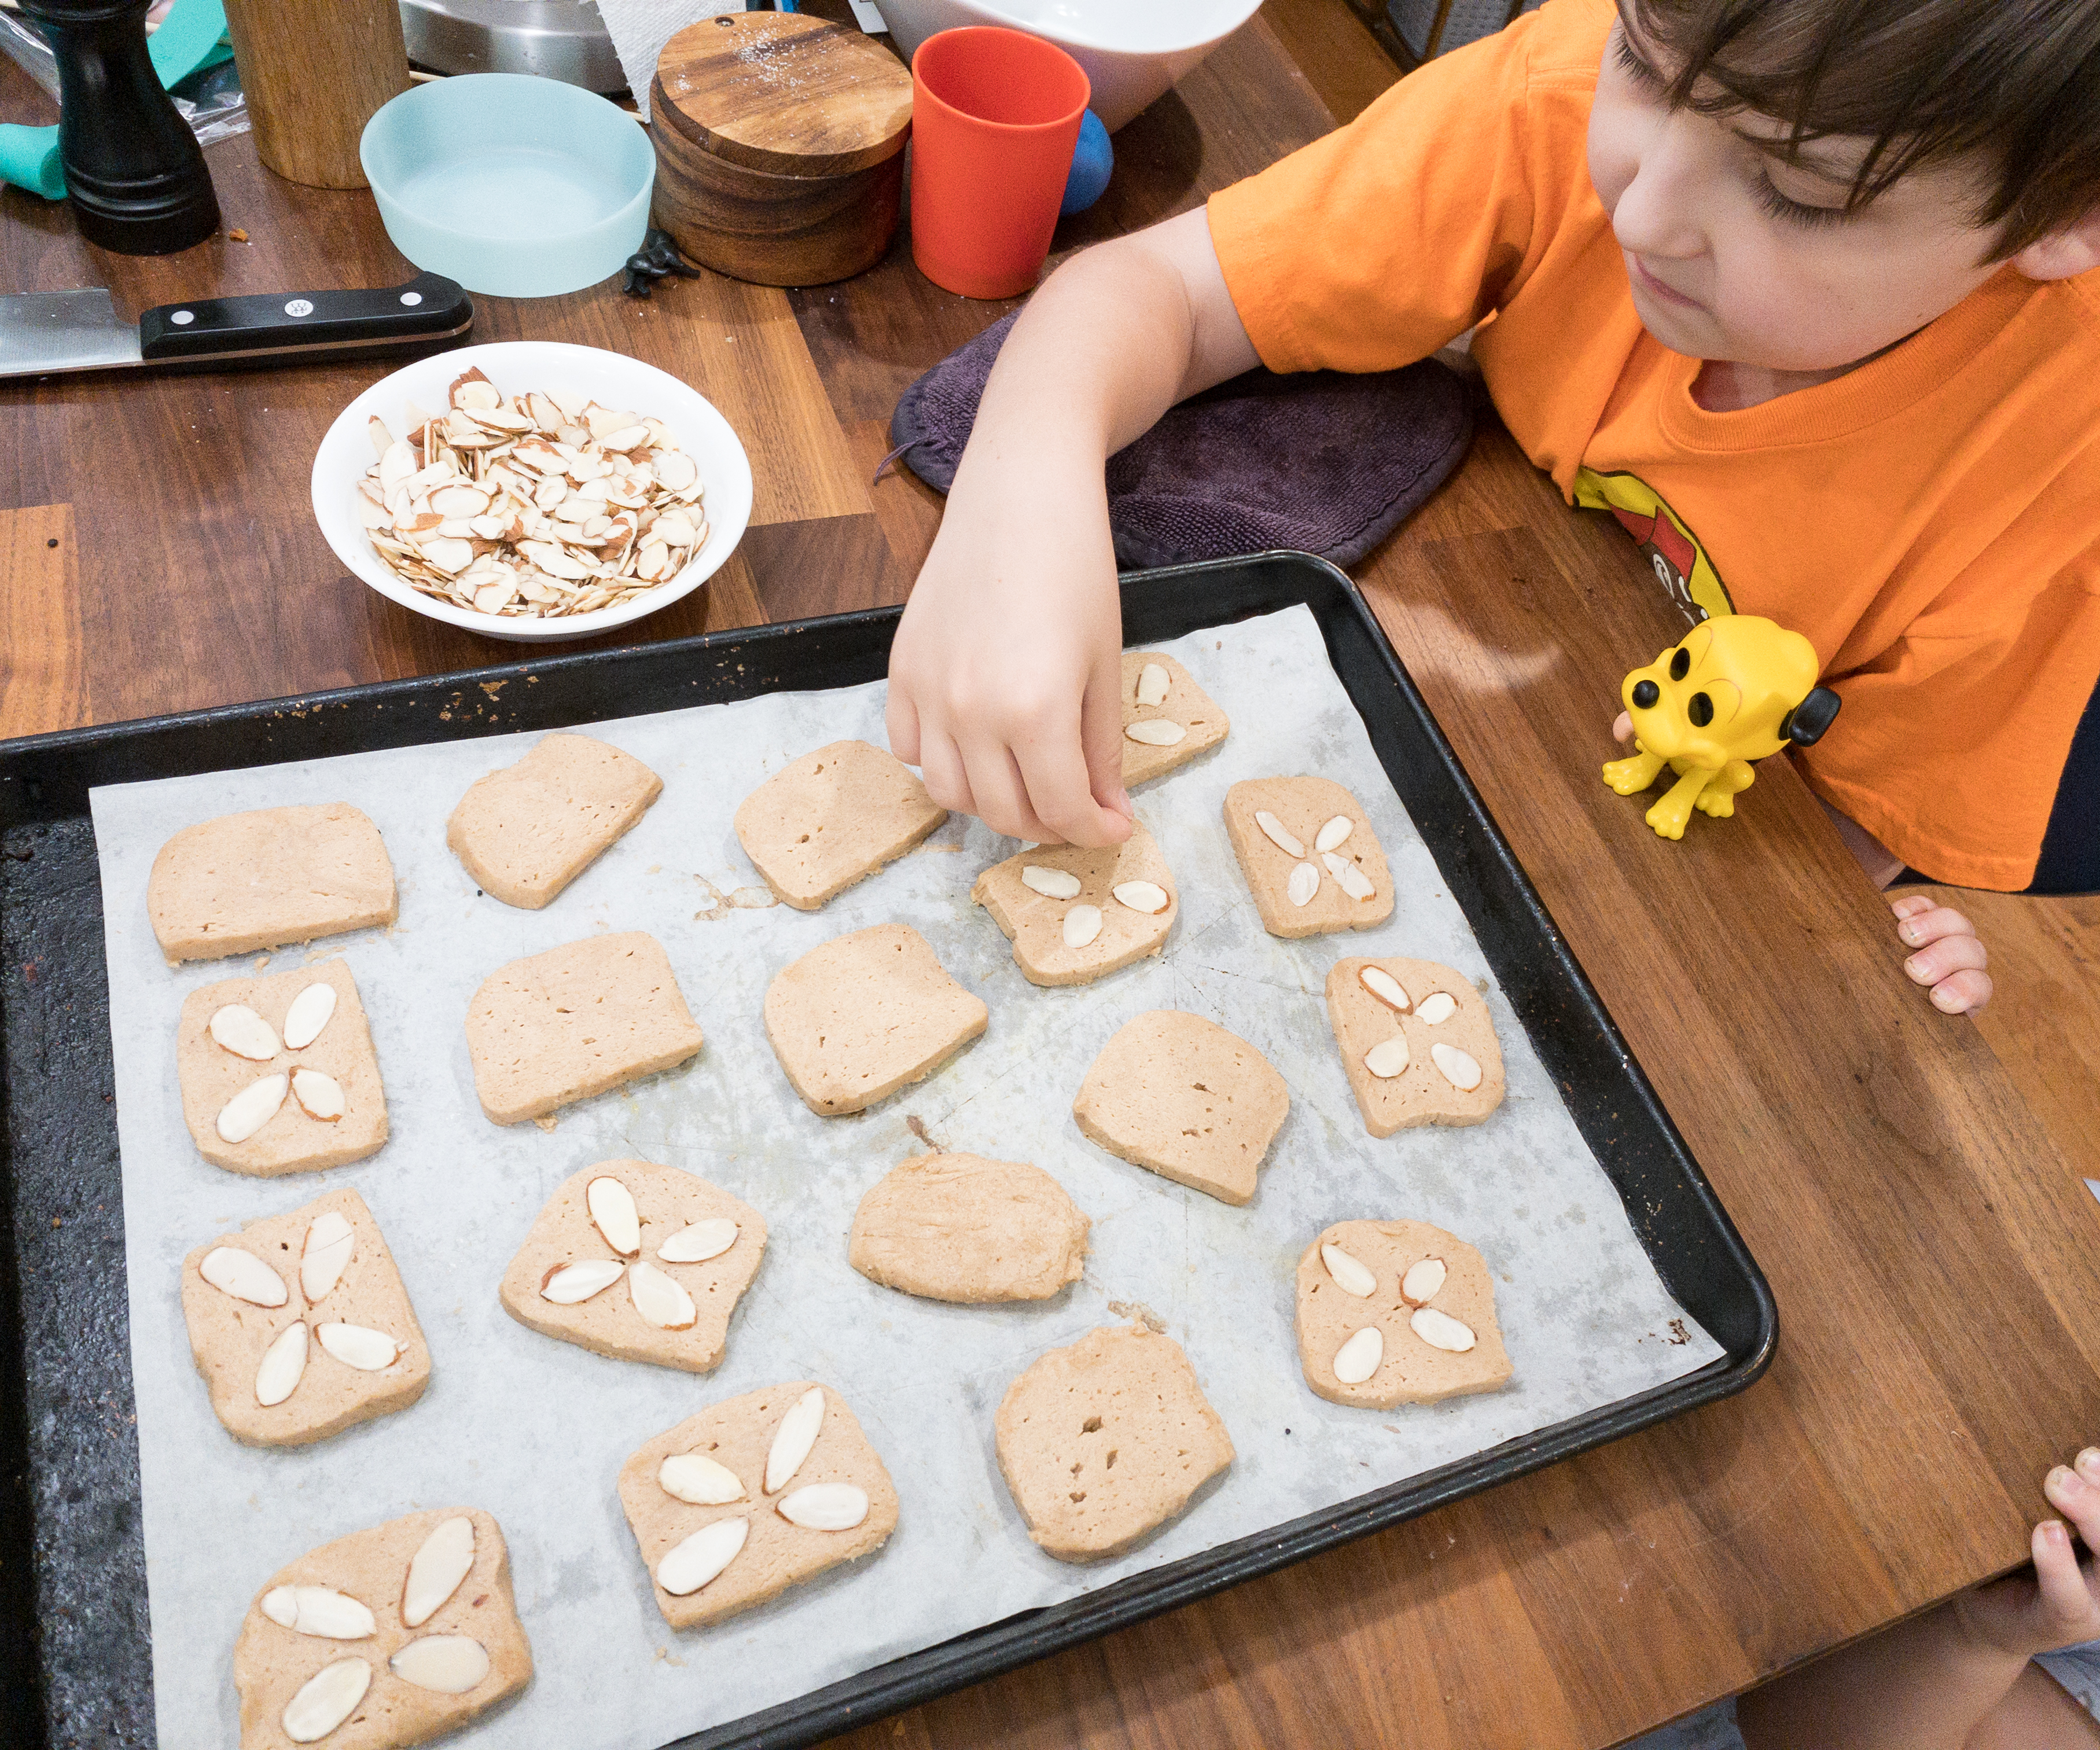
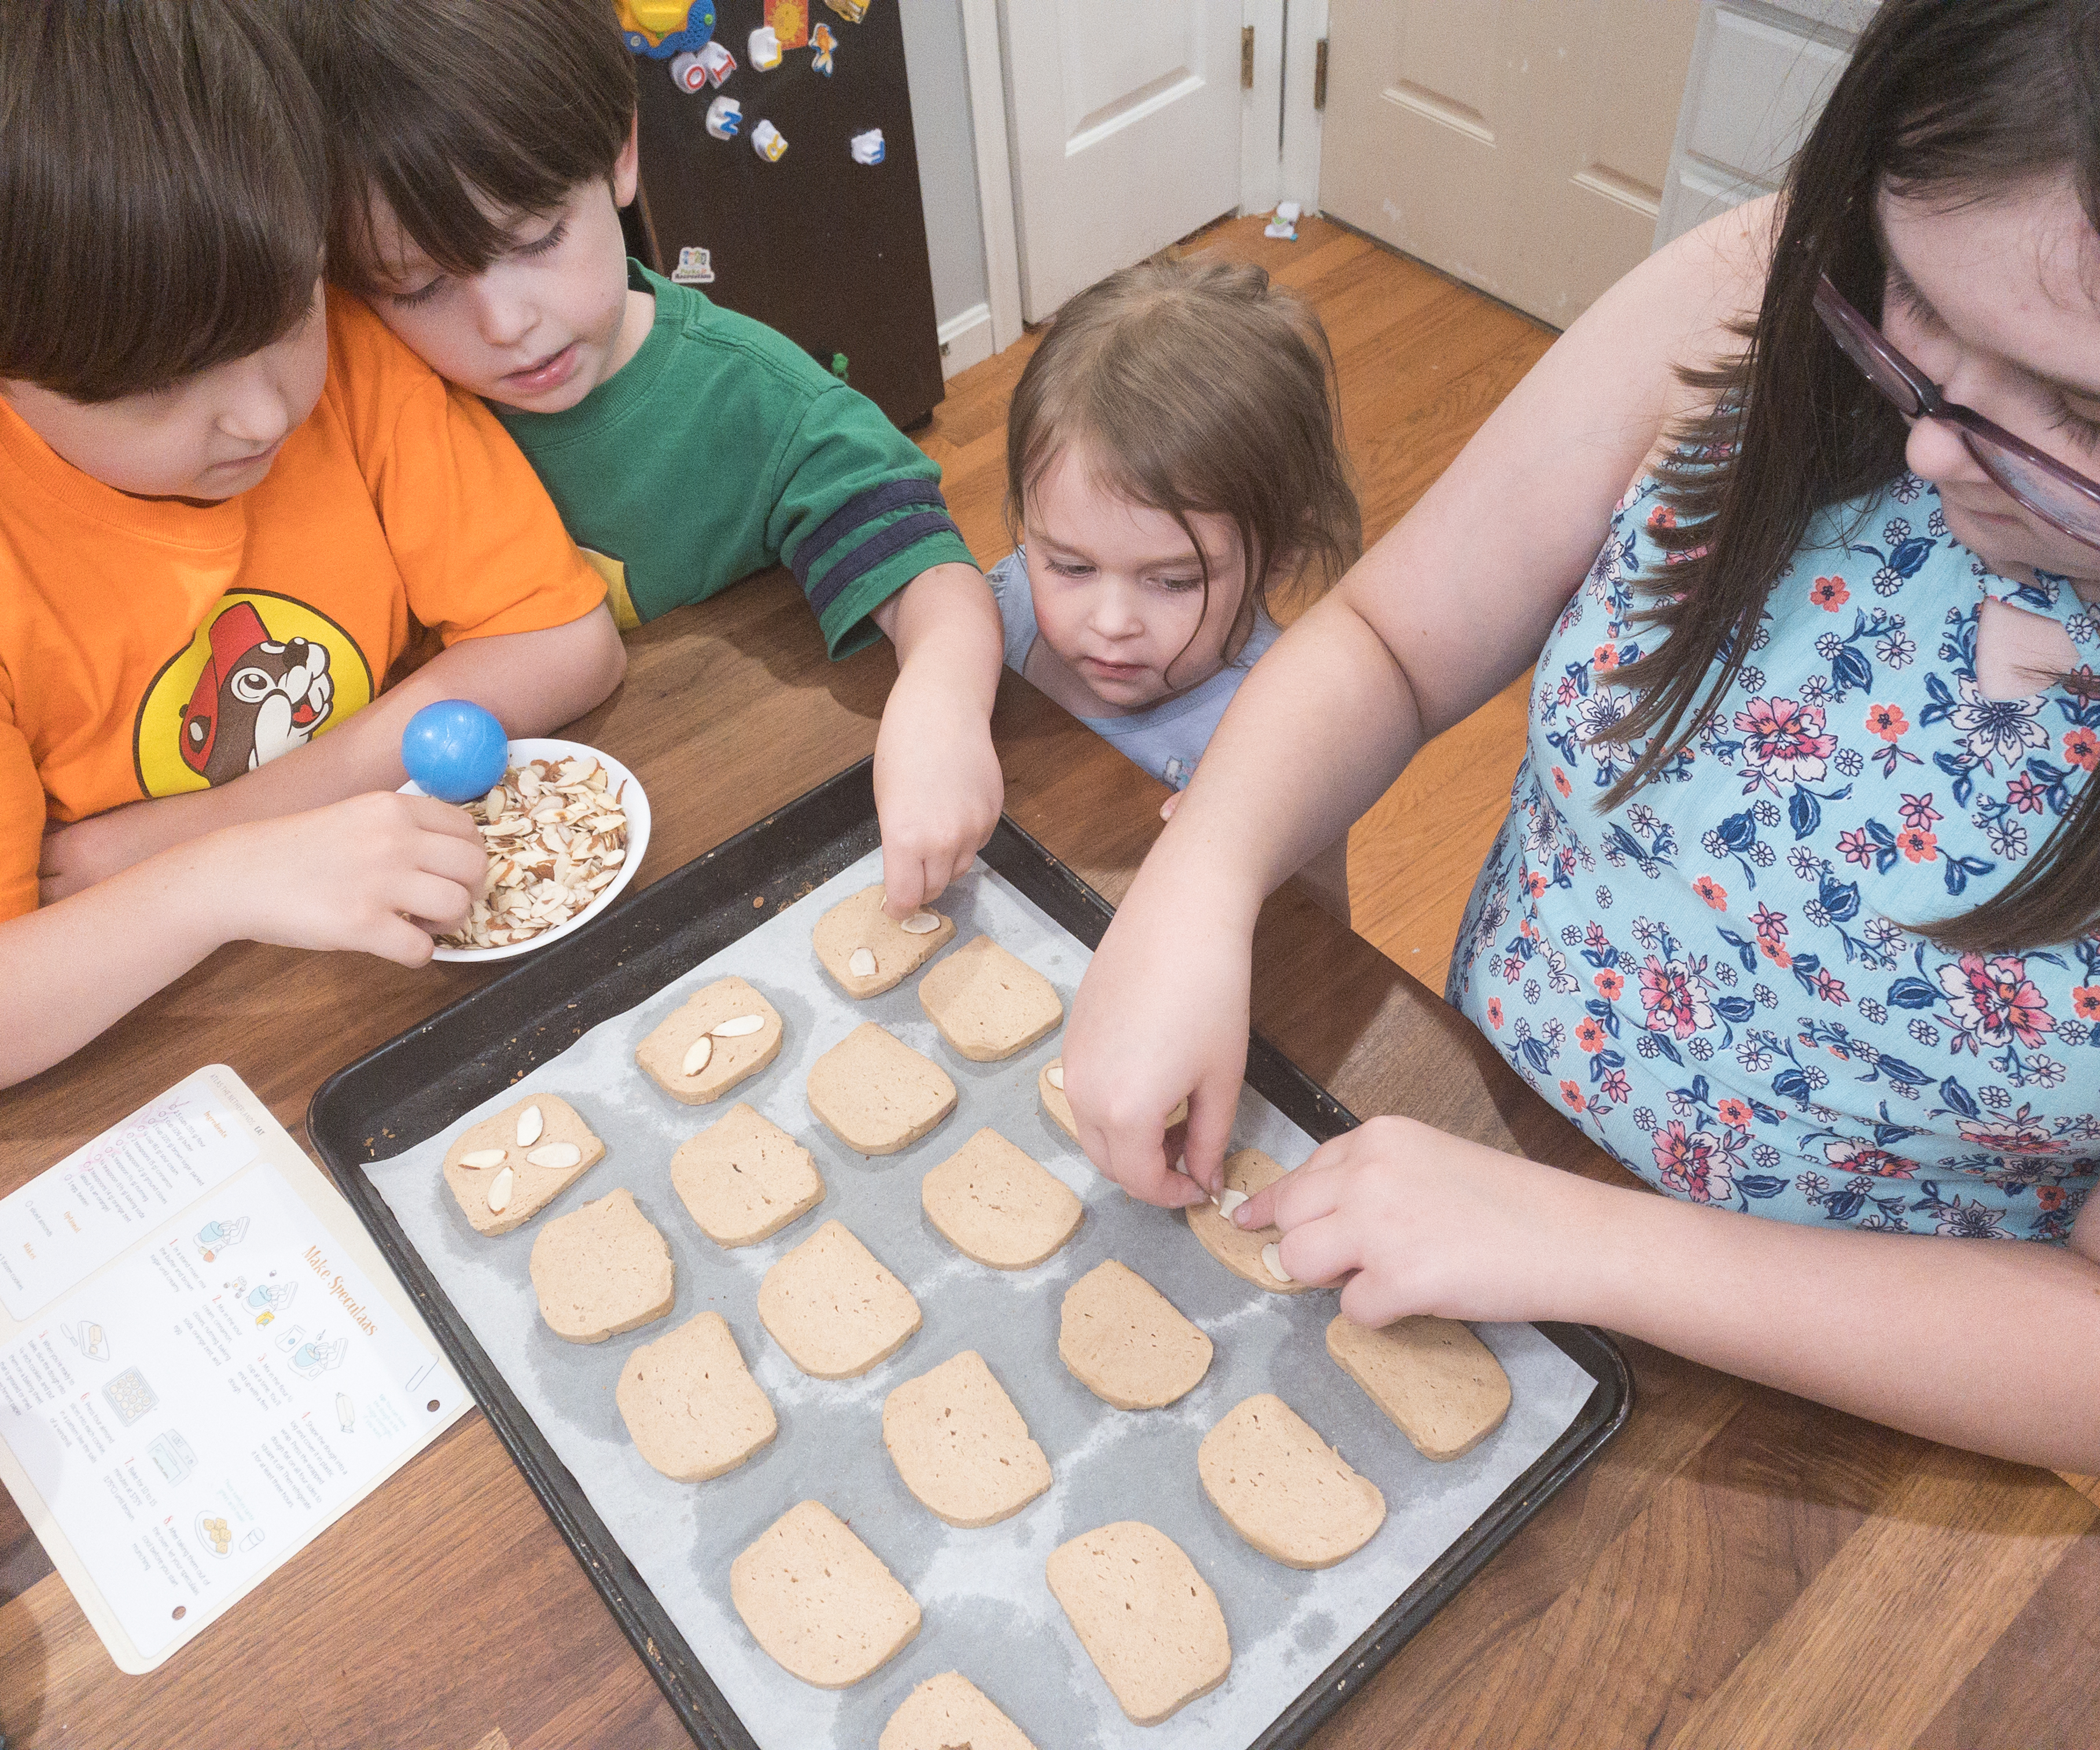
Put the cookies on the baking sheet that is greased or lined with parchment paper, then press four pieces of almond slices into each cookie and pattern it like the sails of a windmill.
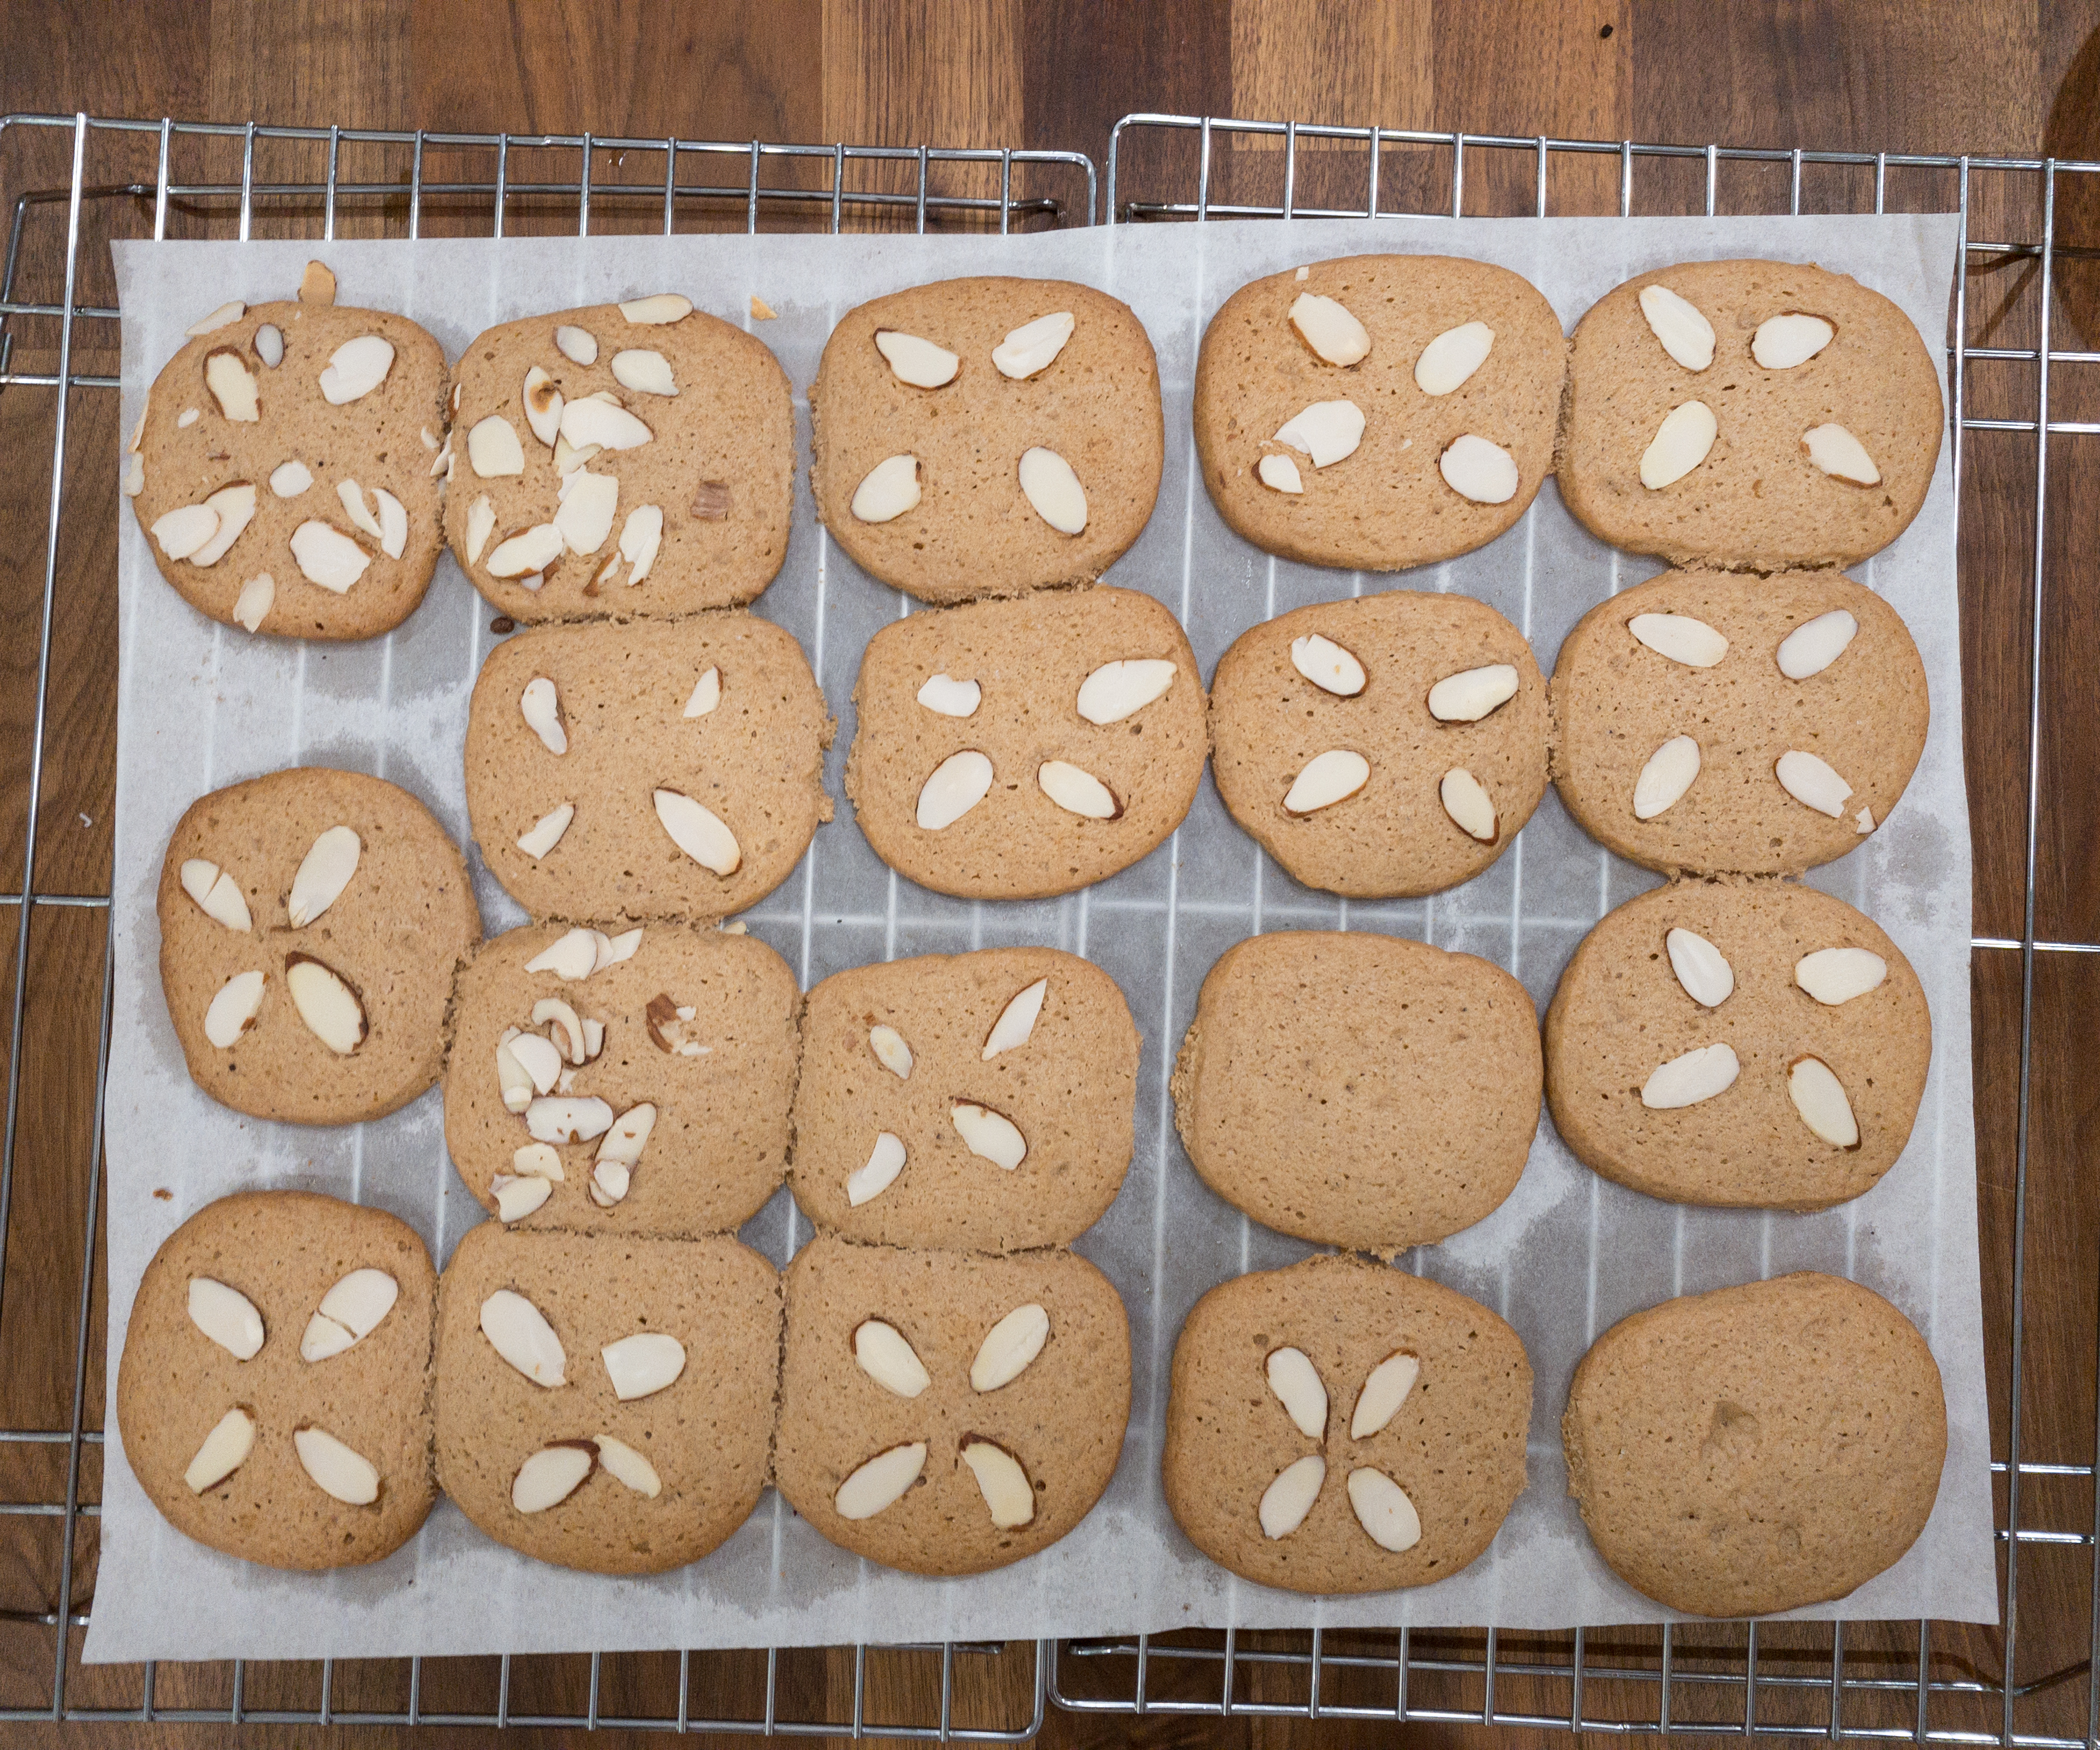
Bake the cookies for 10 to 15 minutes at 375 degrees Fahrenheit, or until it turns golden brown!
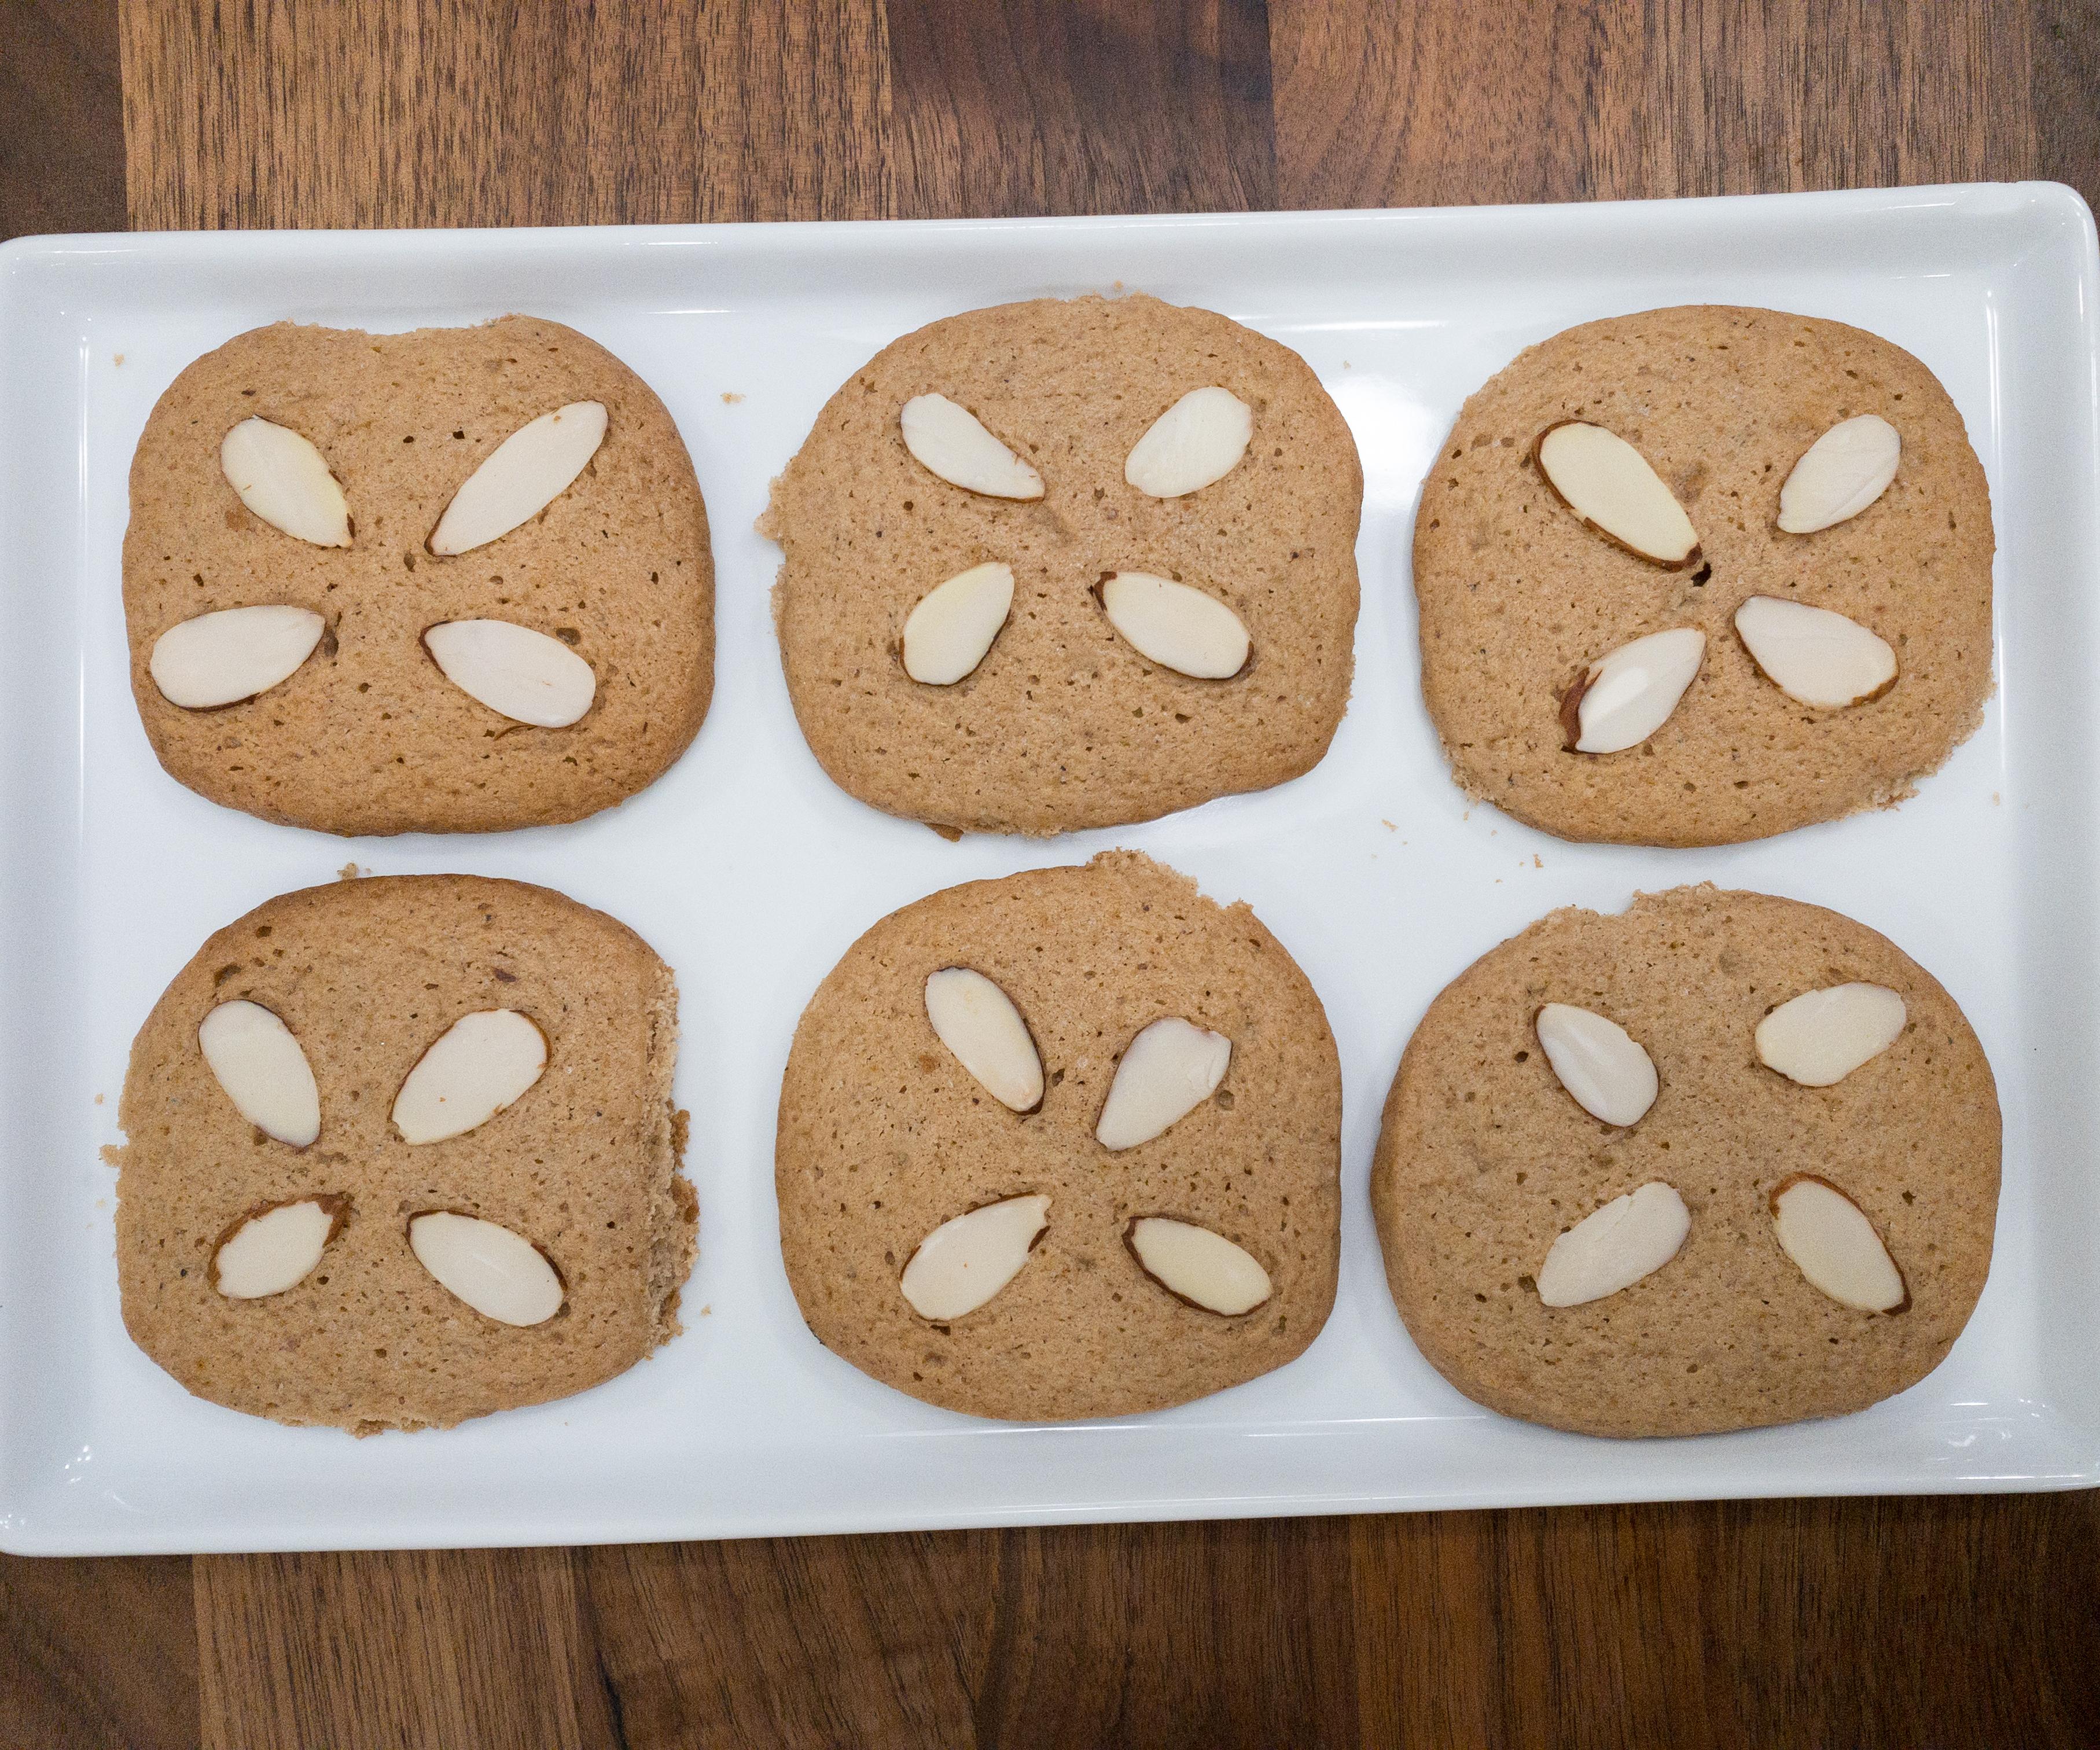
Once done, take the cookies out and place them on a tray to cool down.
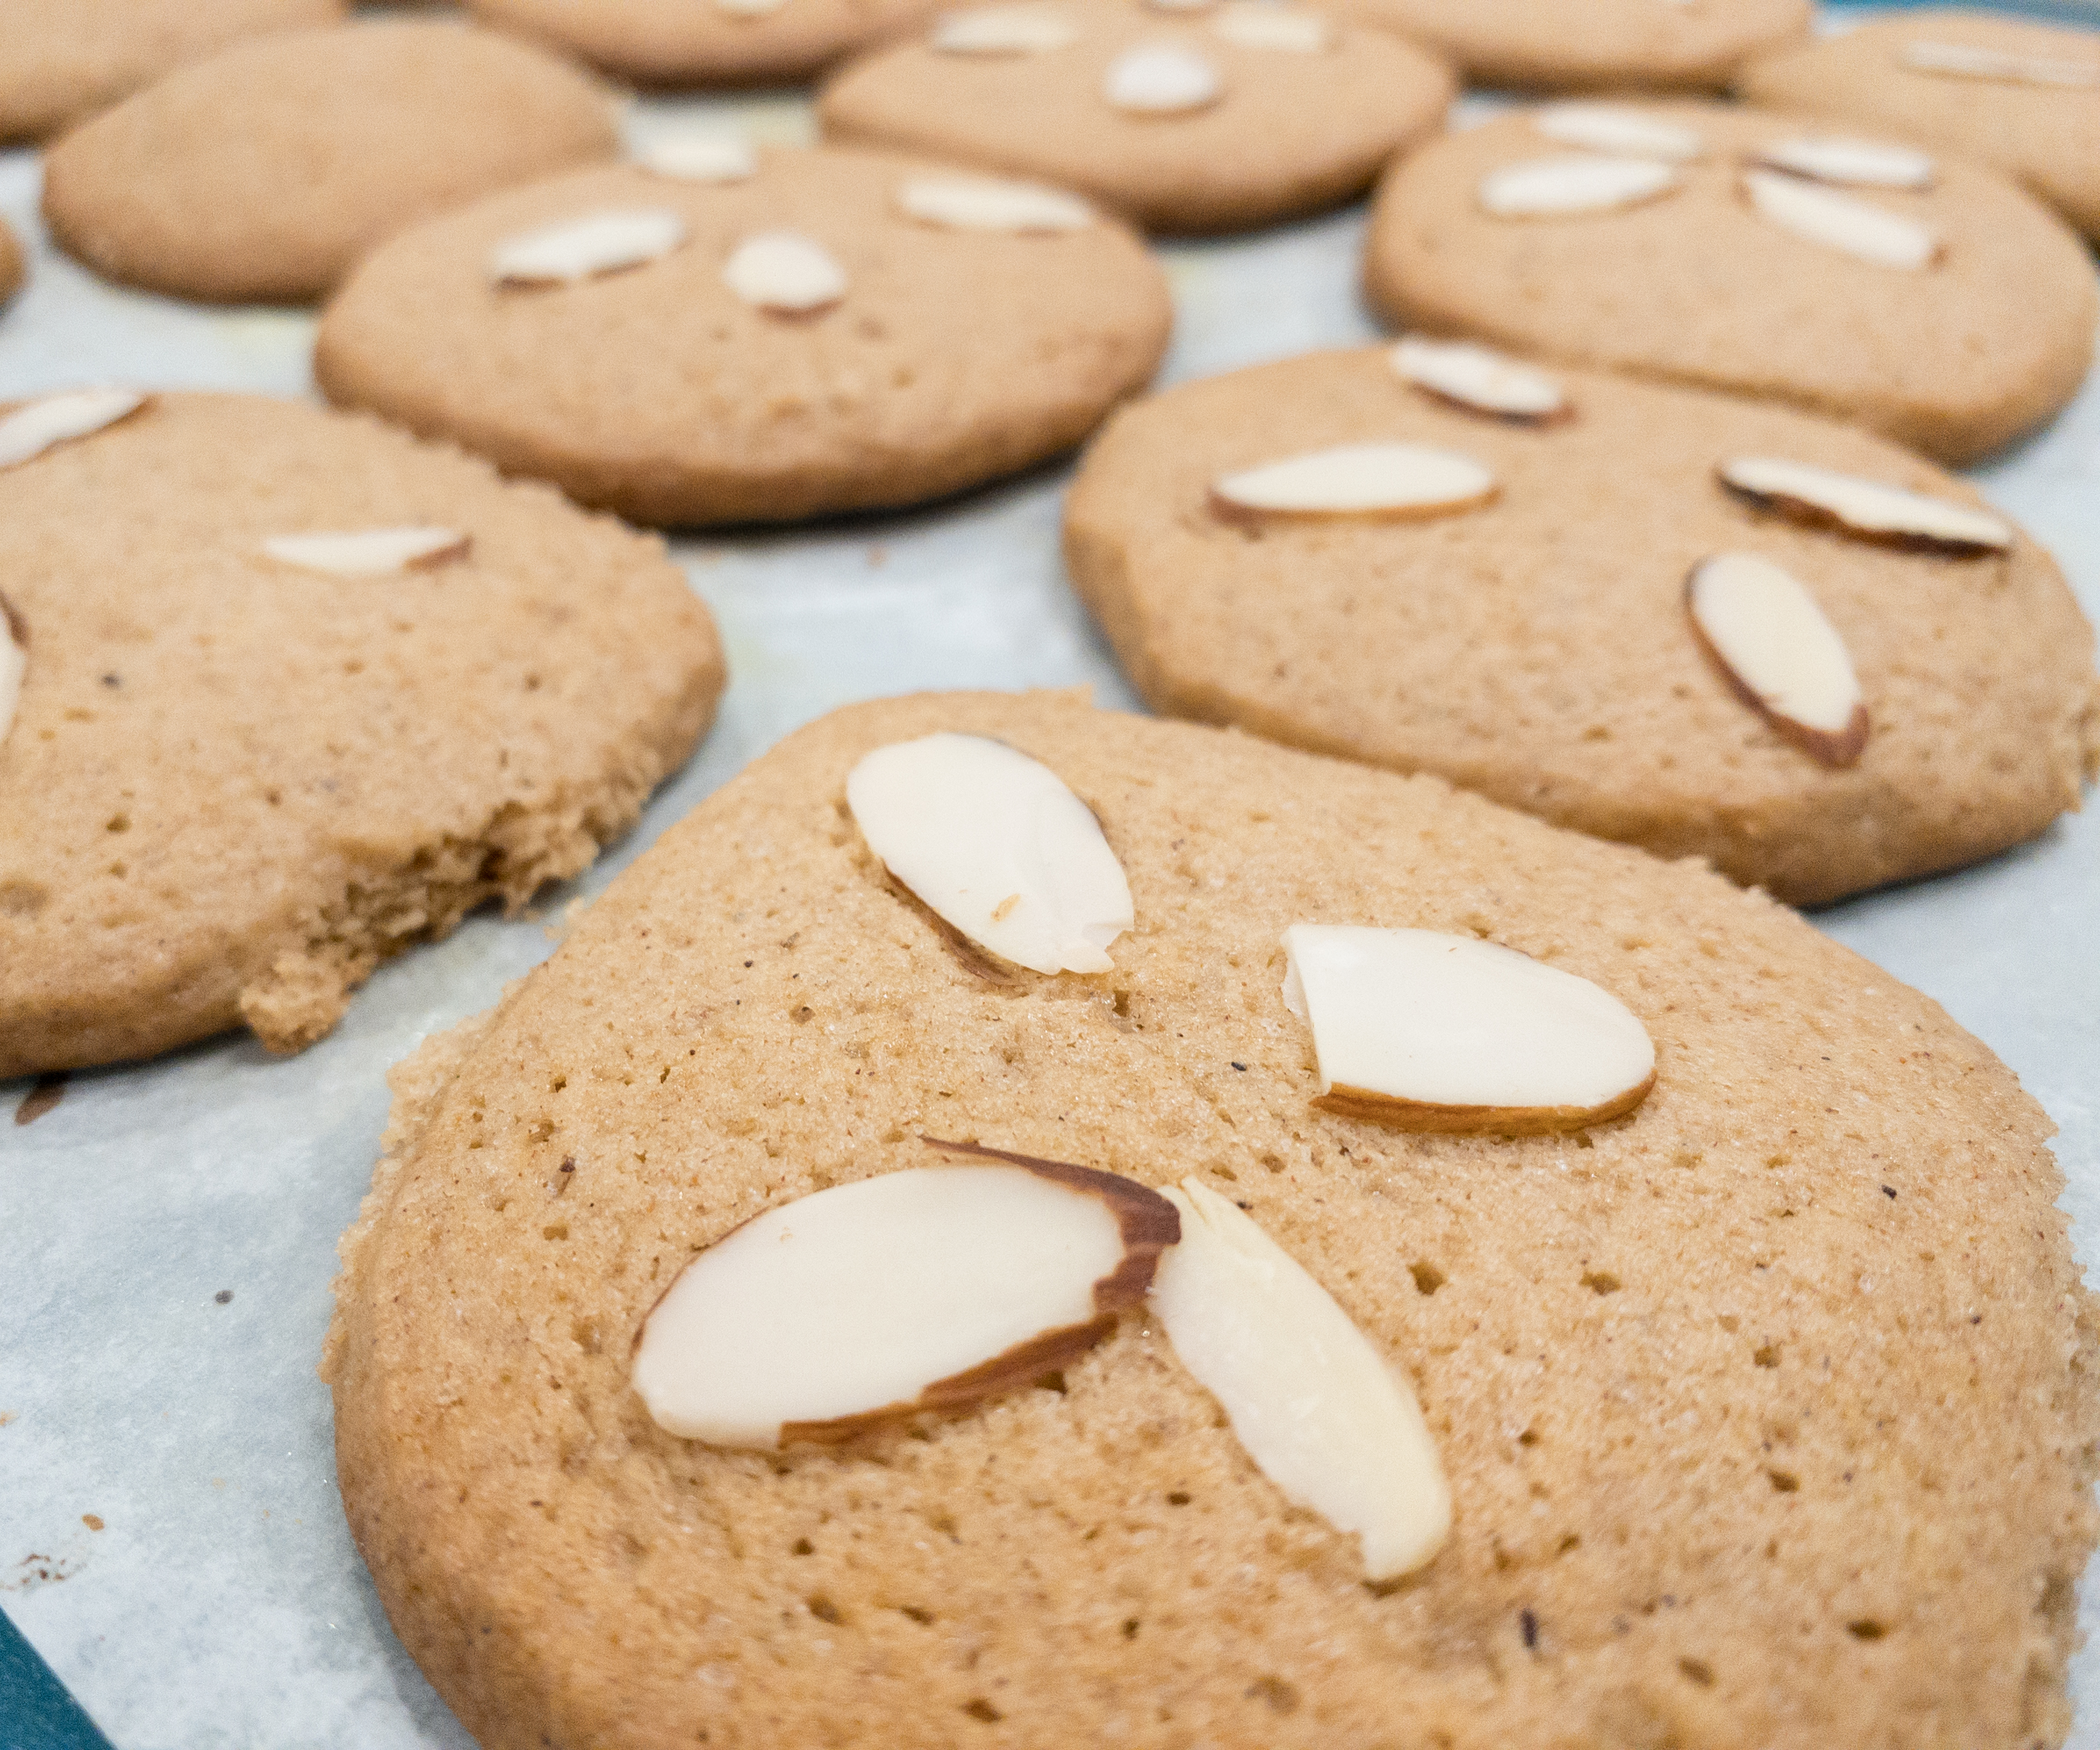
Our version of Speculaas turned out great. These luscious cookies are best consumed together with a delicious cup of milk! Yum!
Atlas Crate Projects
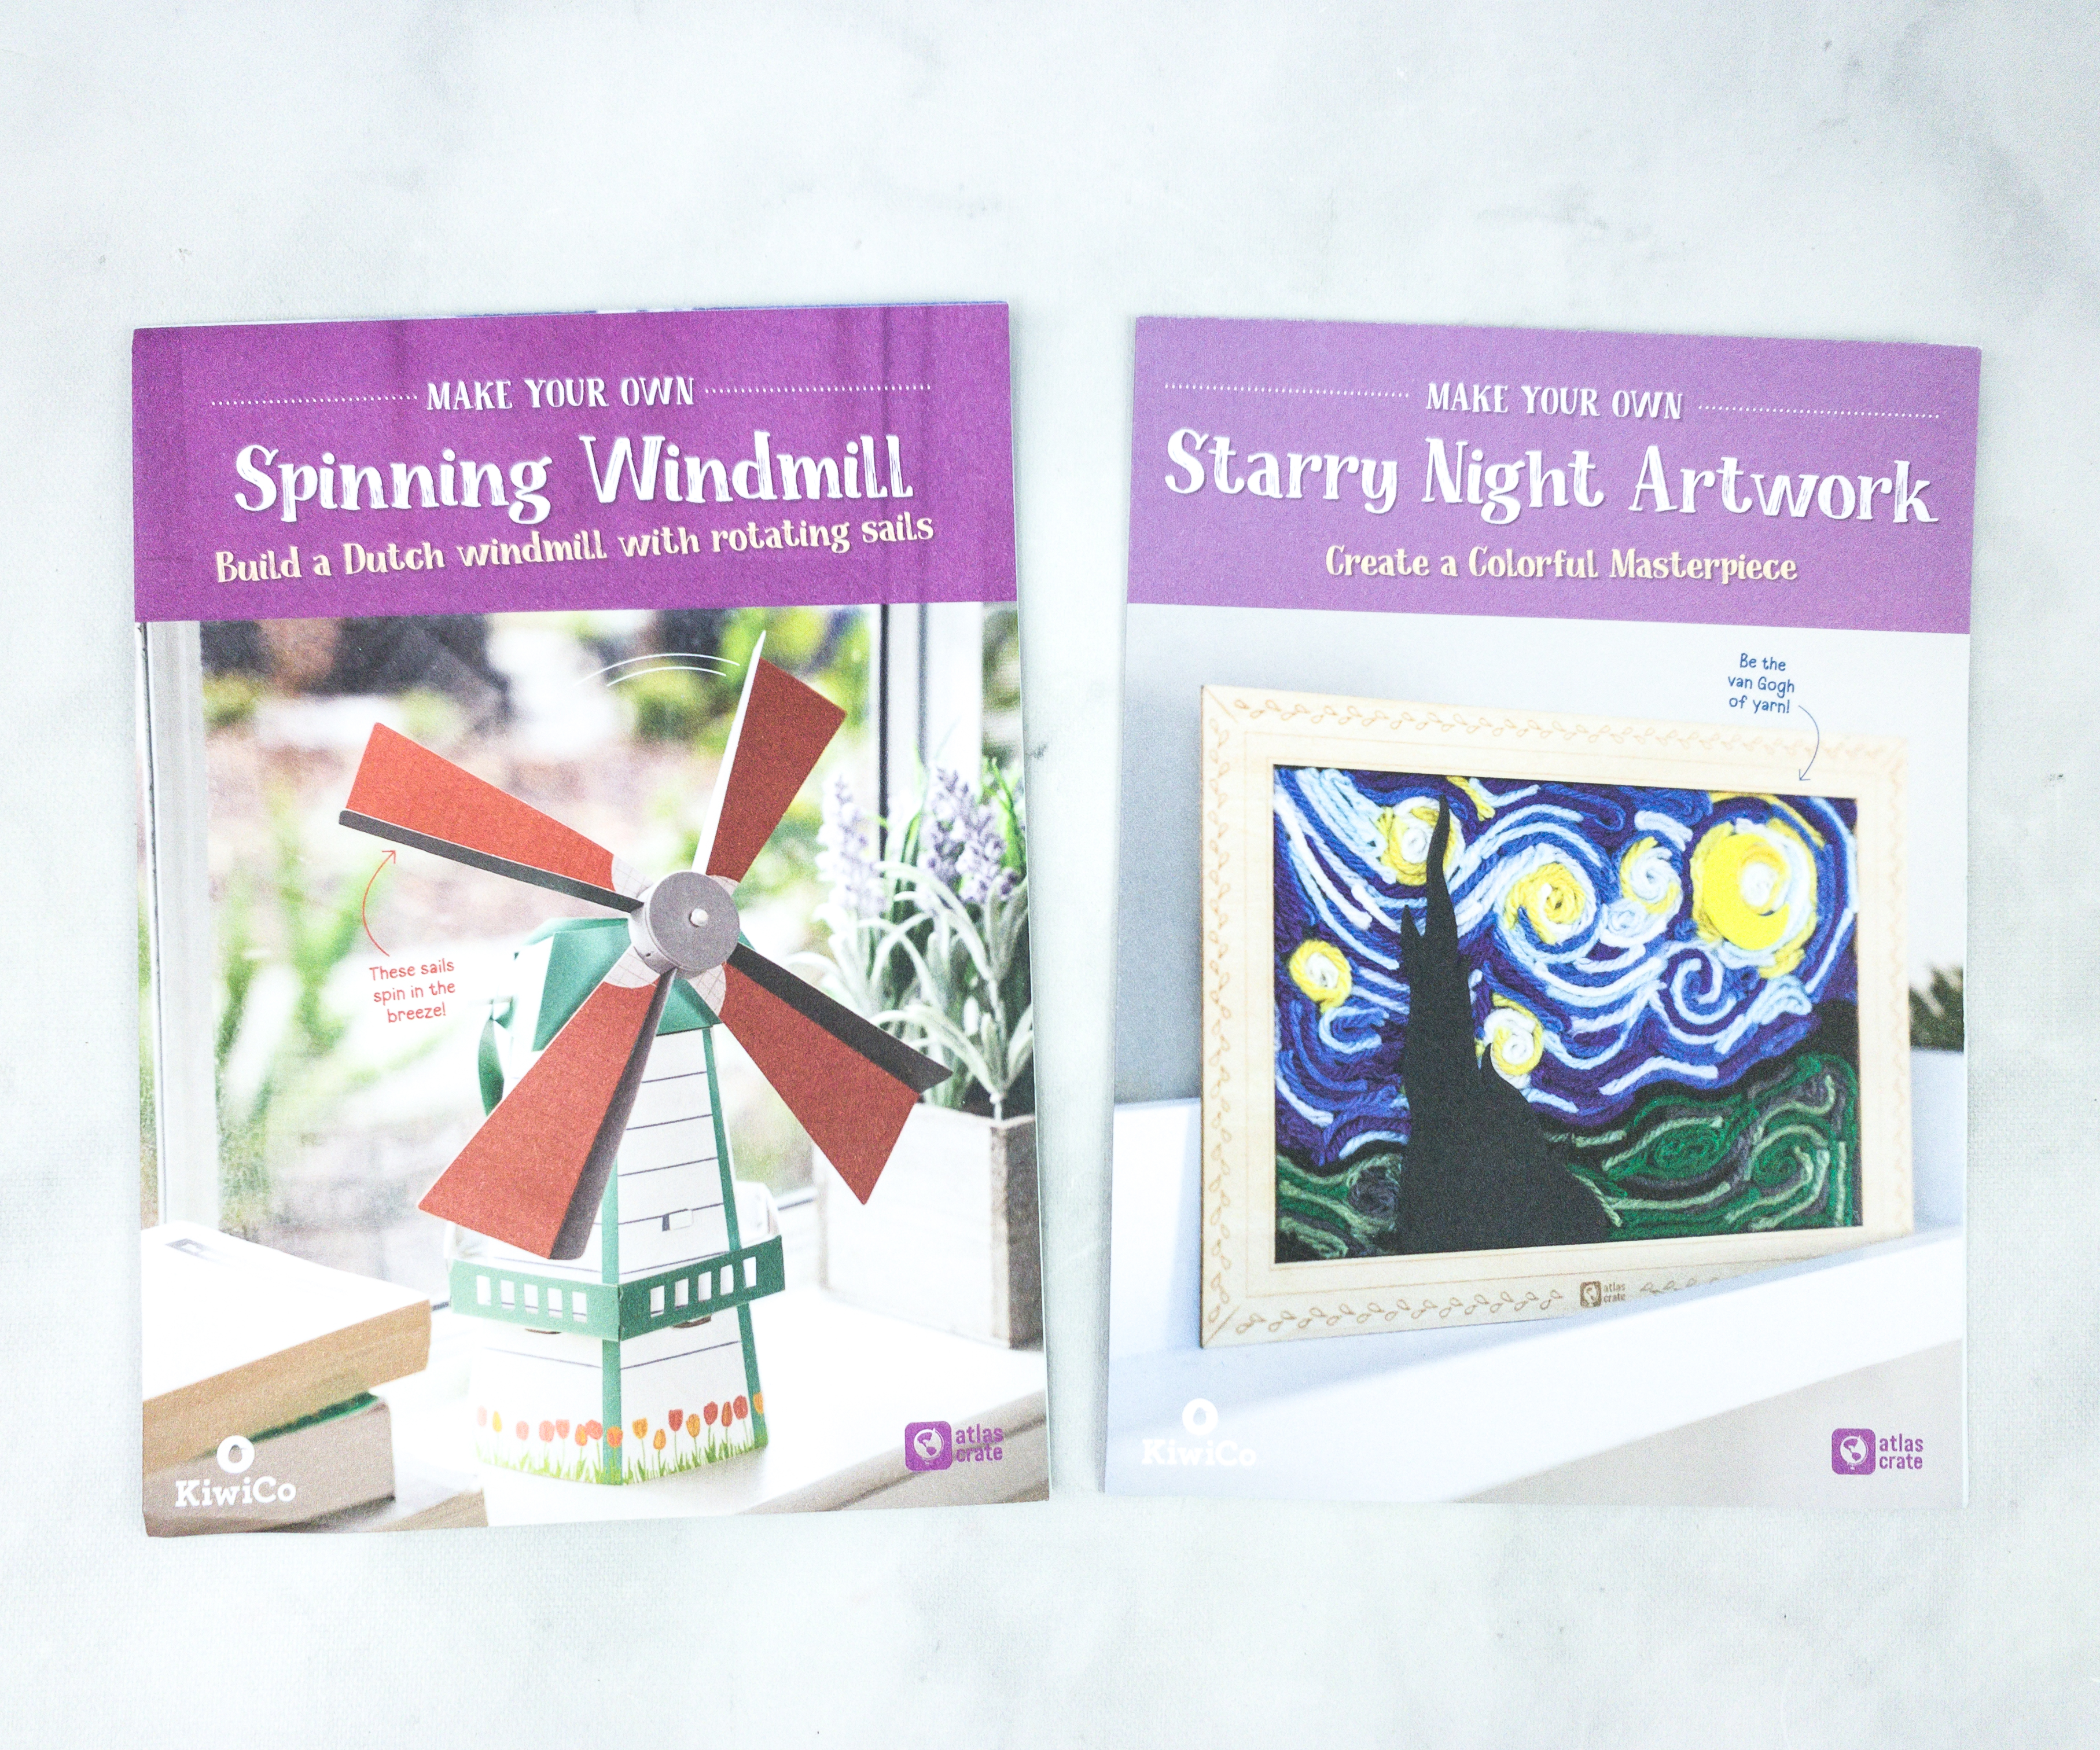
For this month’s Atlas Crate projects, we are making our own Spinning Windmill and Starry Night Artwork!
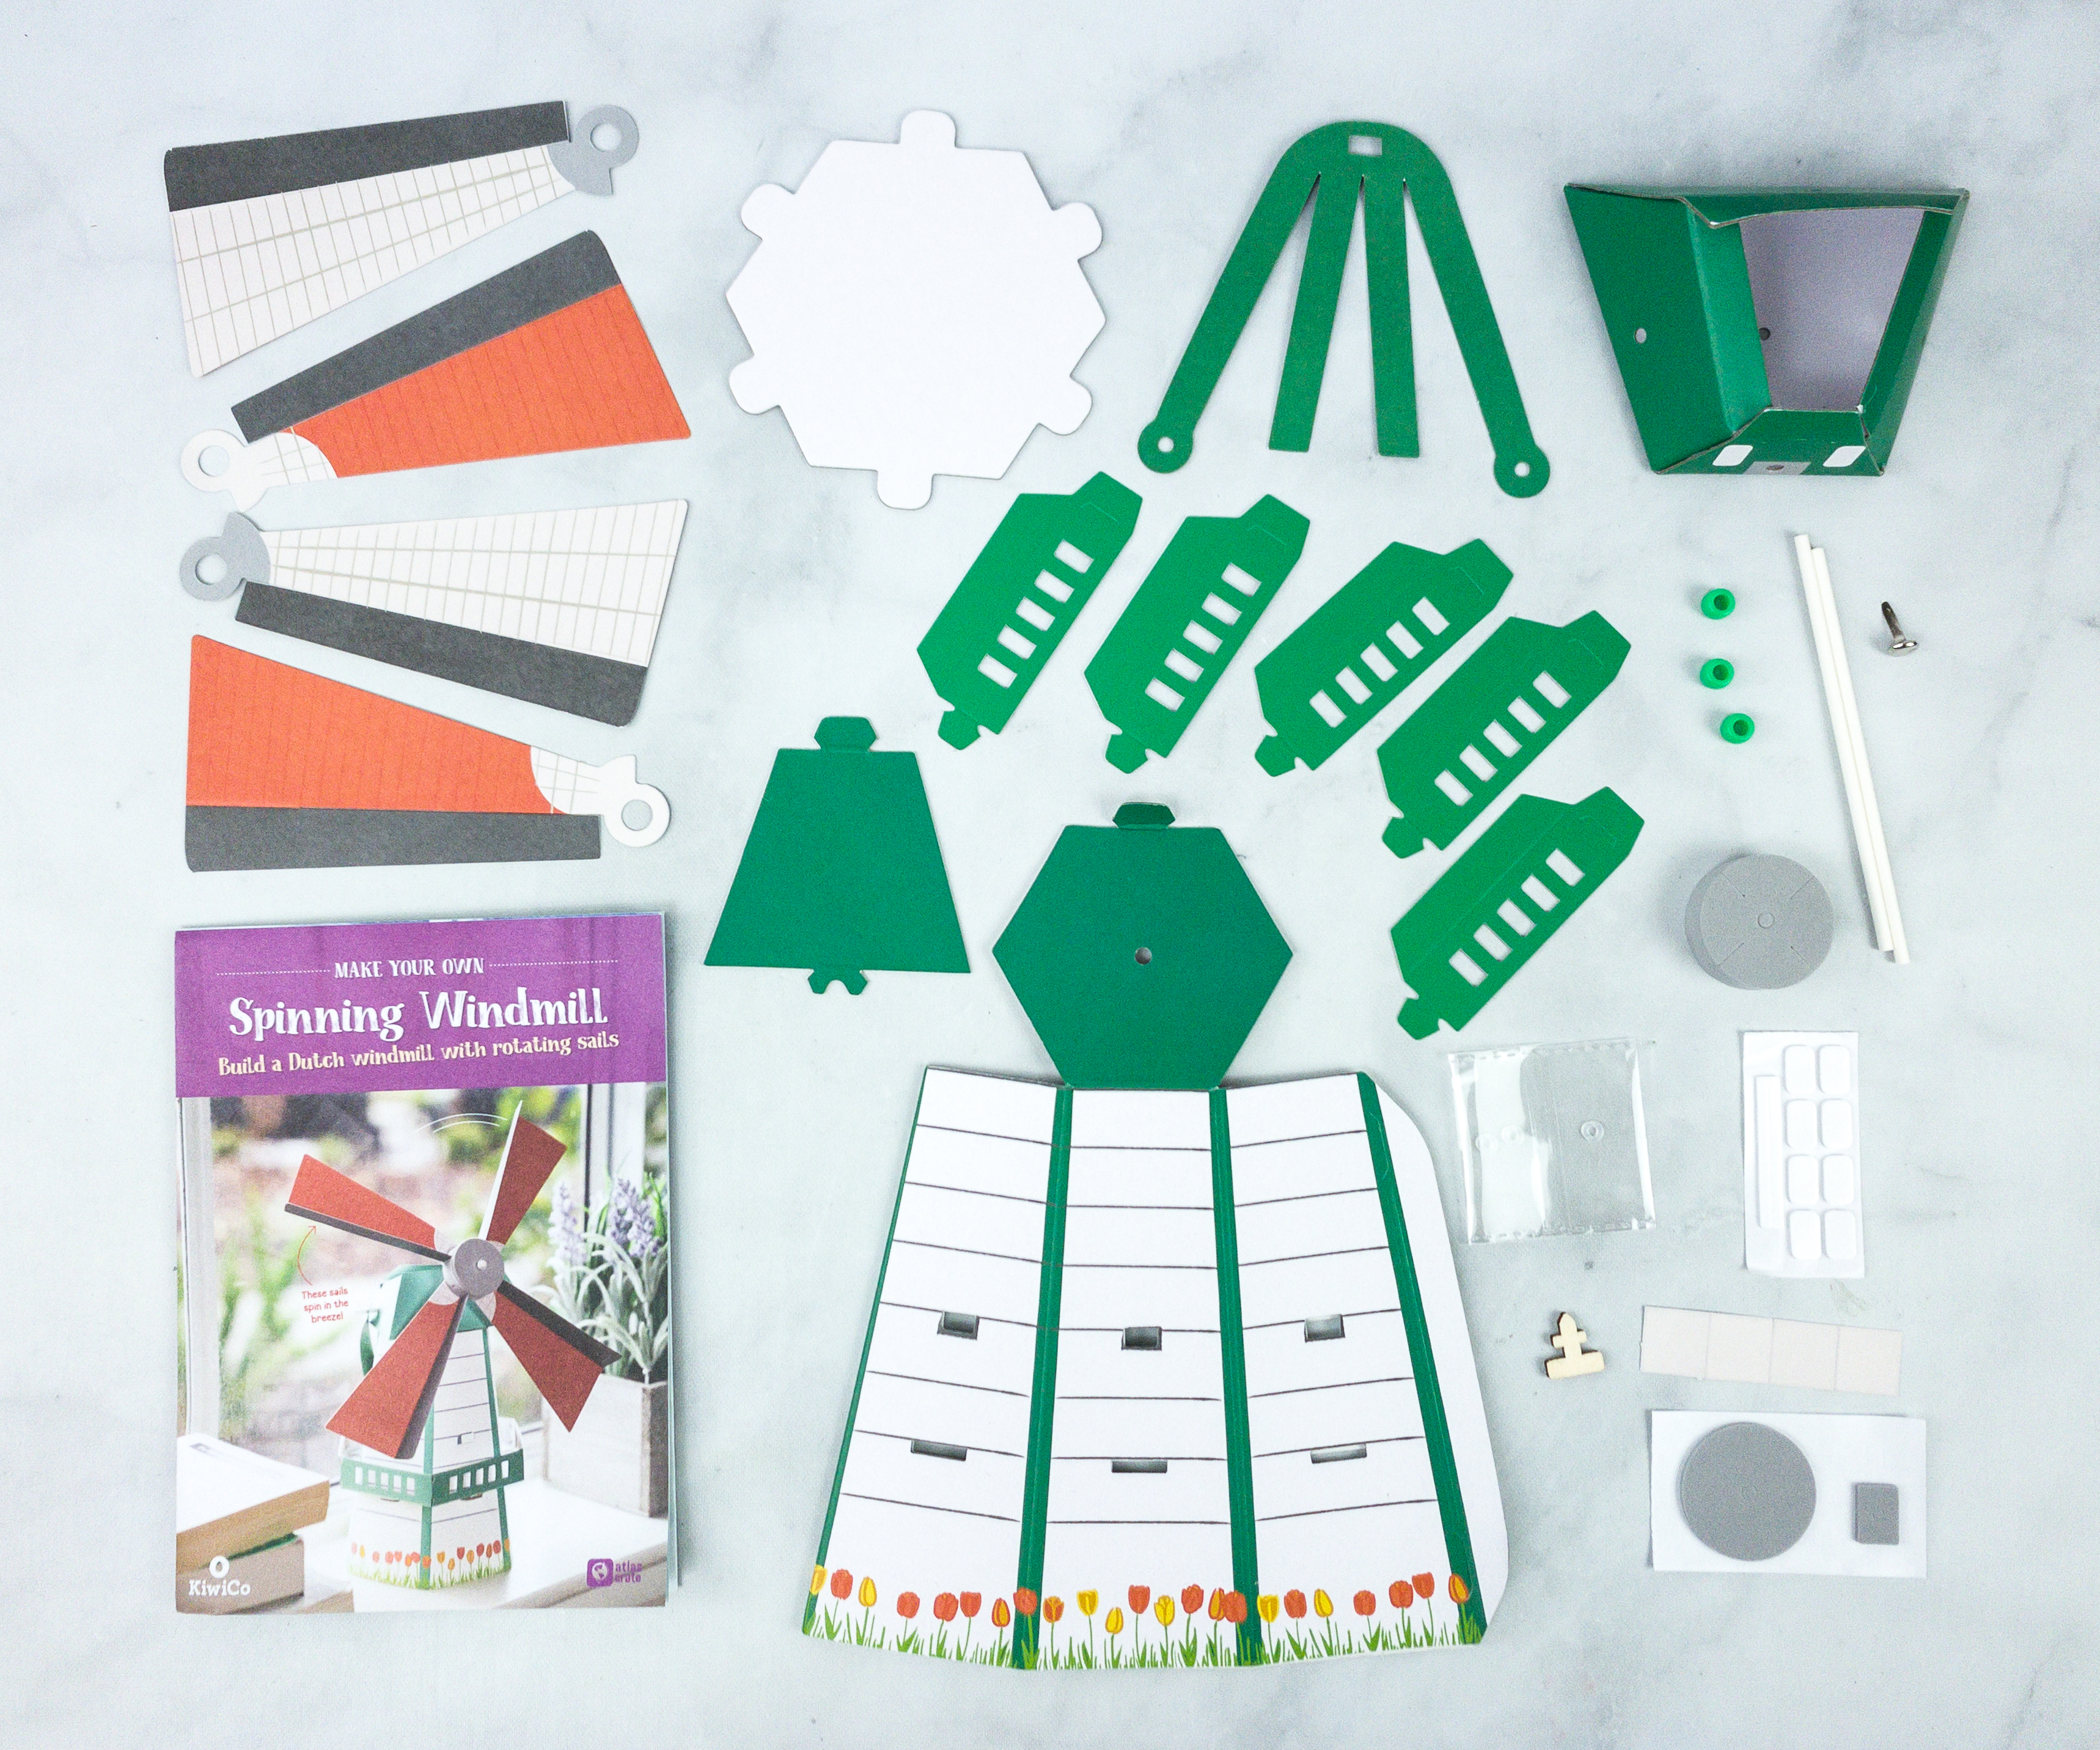
Activity #1: Spinning Windmill. For the first project, we are provided with all the parts of building the windmill: sail wheel, thin foam circle, stick, beads, base, brad, cap, clear rings, anchor, anchor key, roof, and balcony pieces.
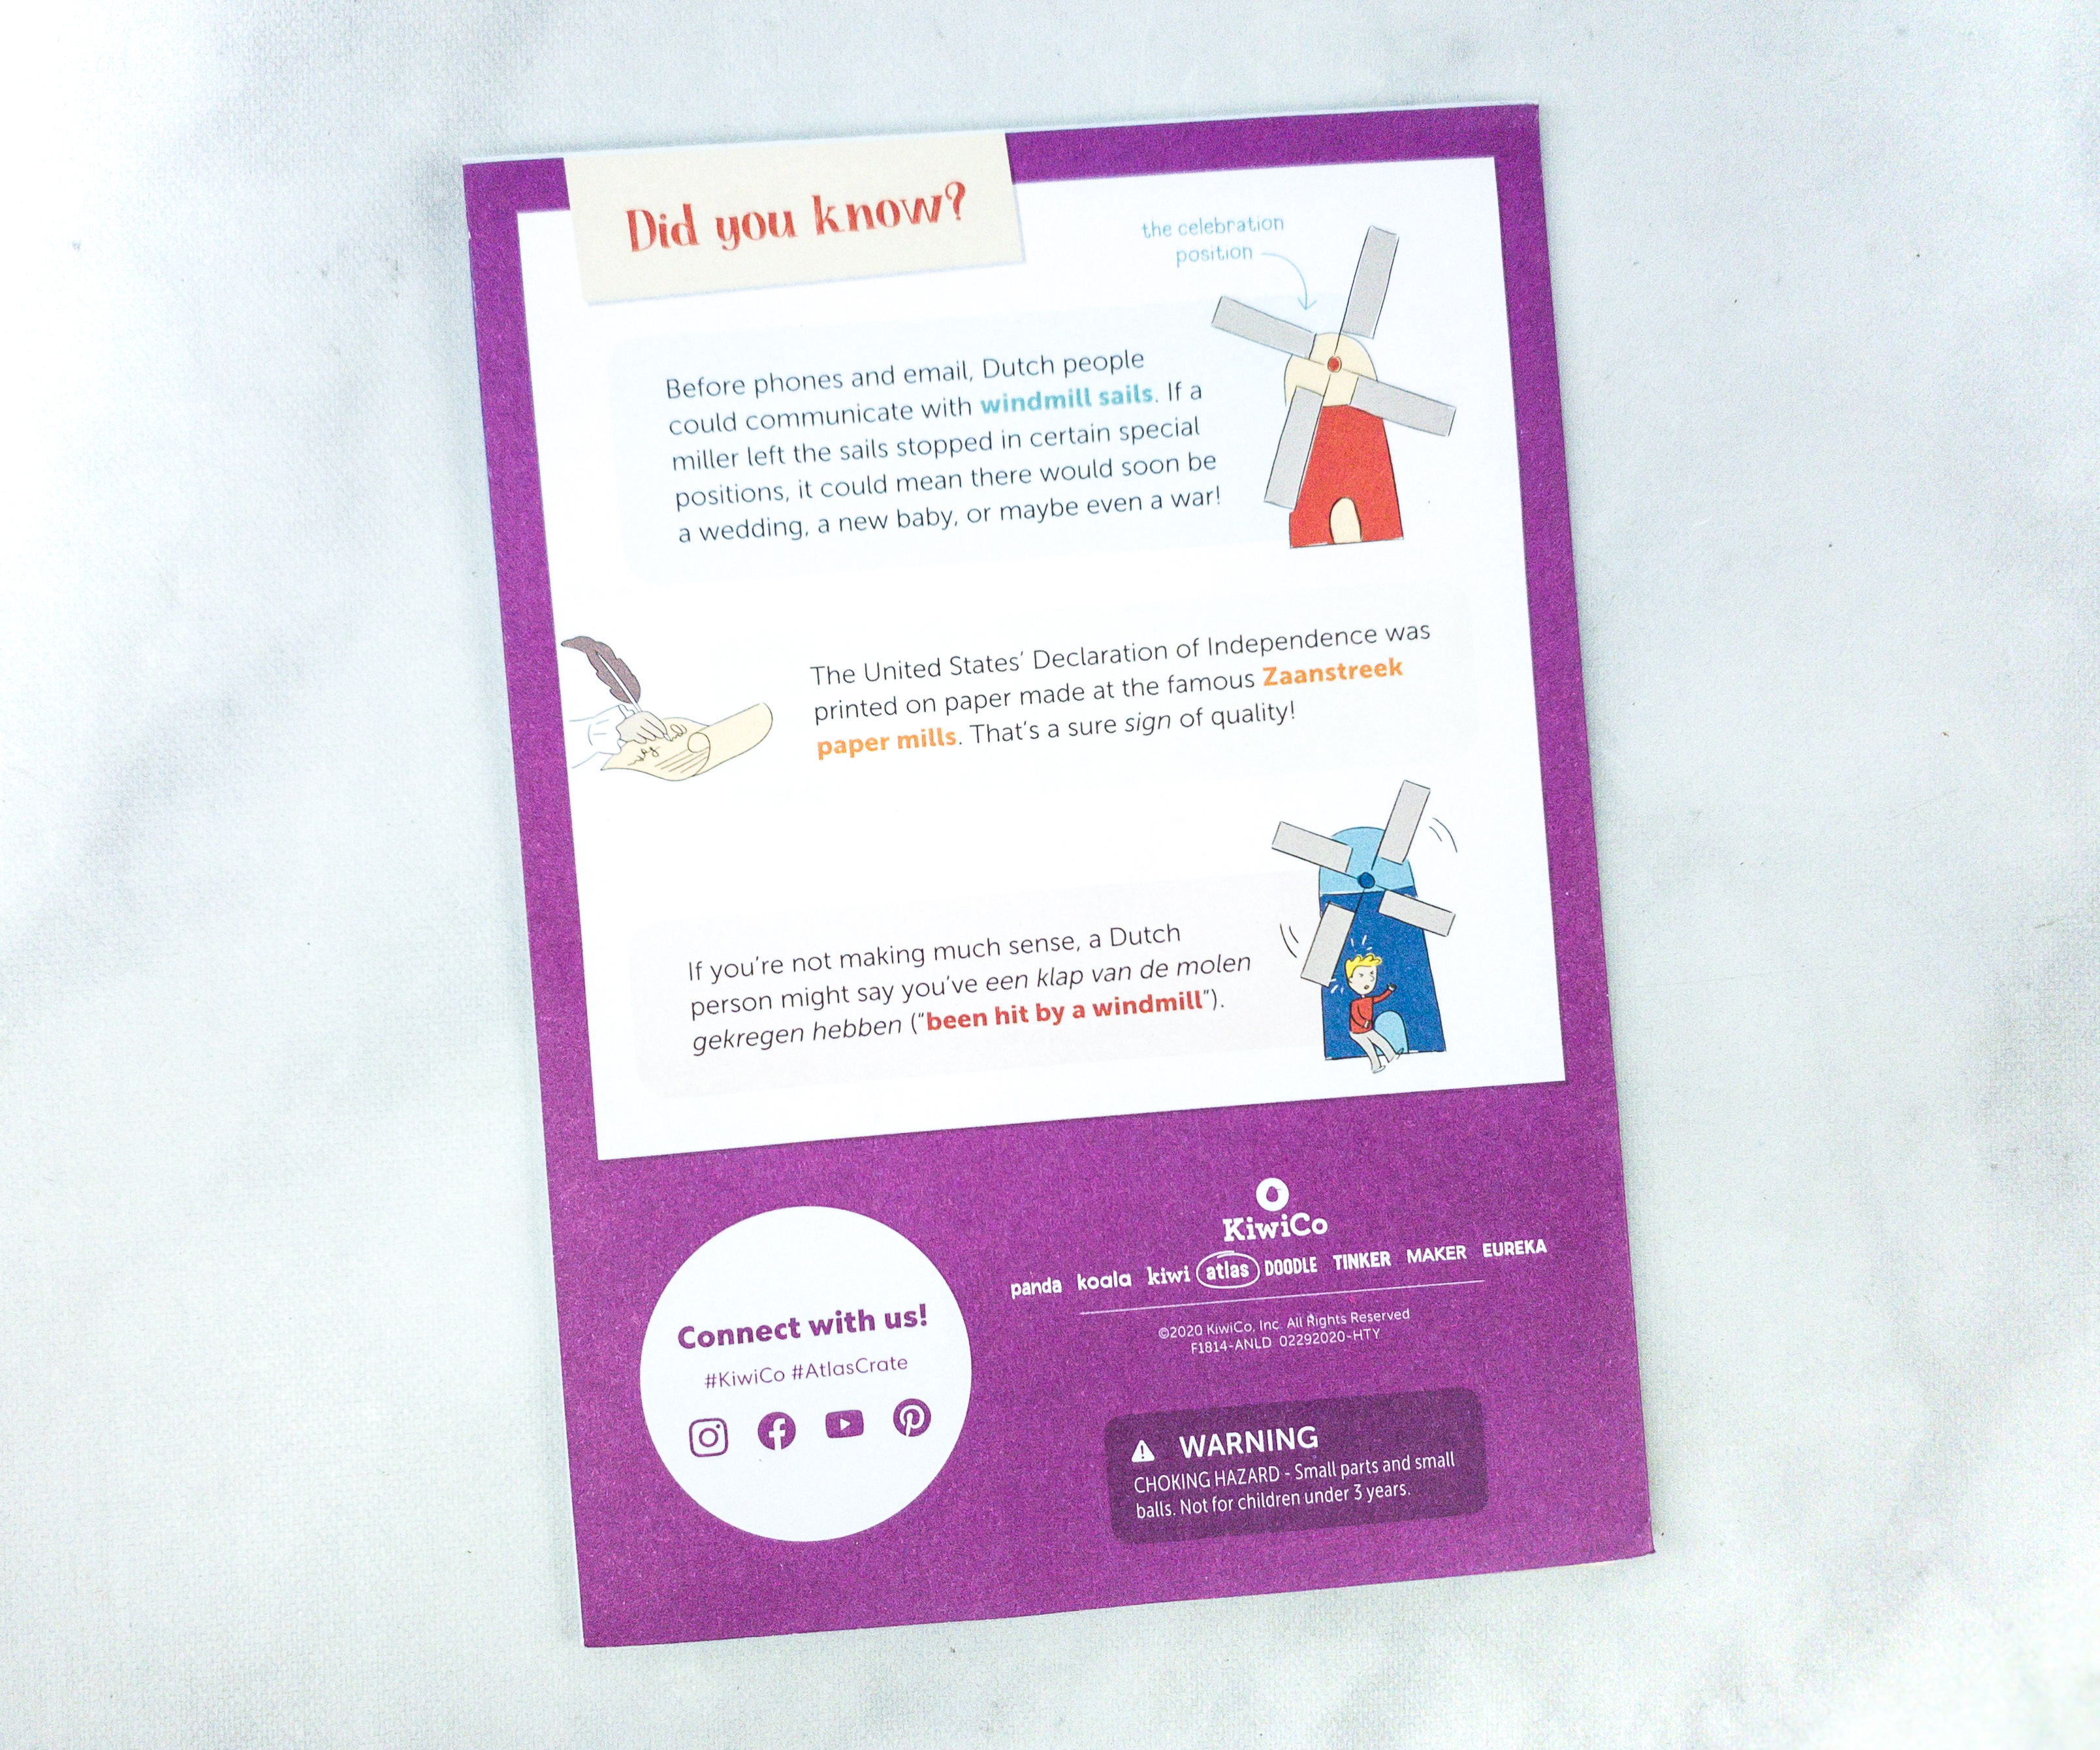
Featured at the back of the booklet are some fun facts and trivia about windmills!
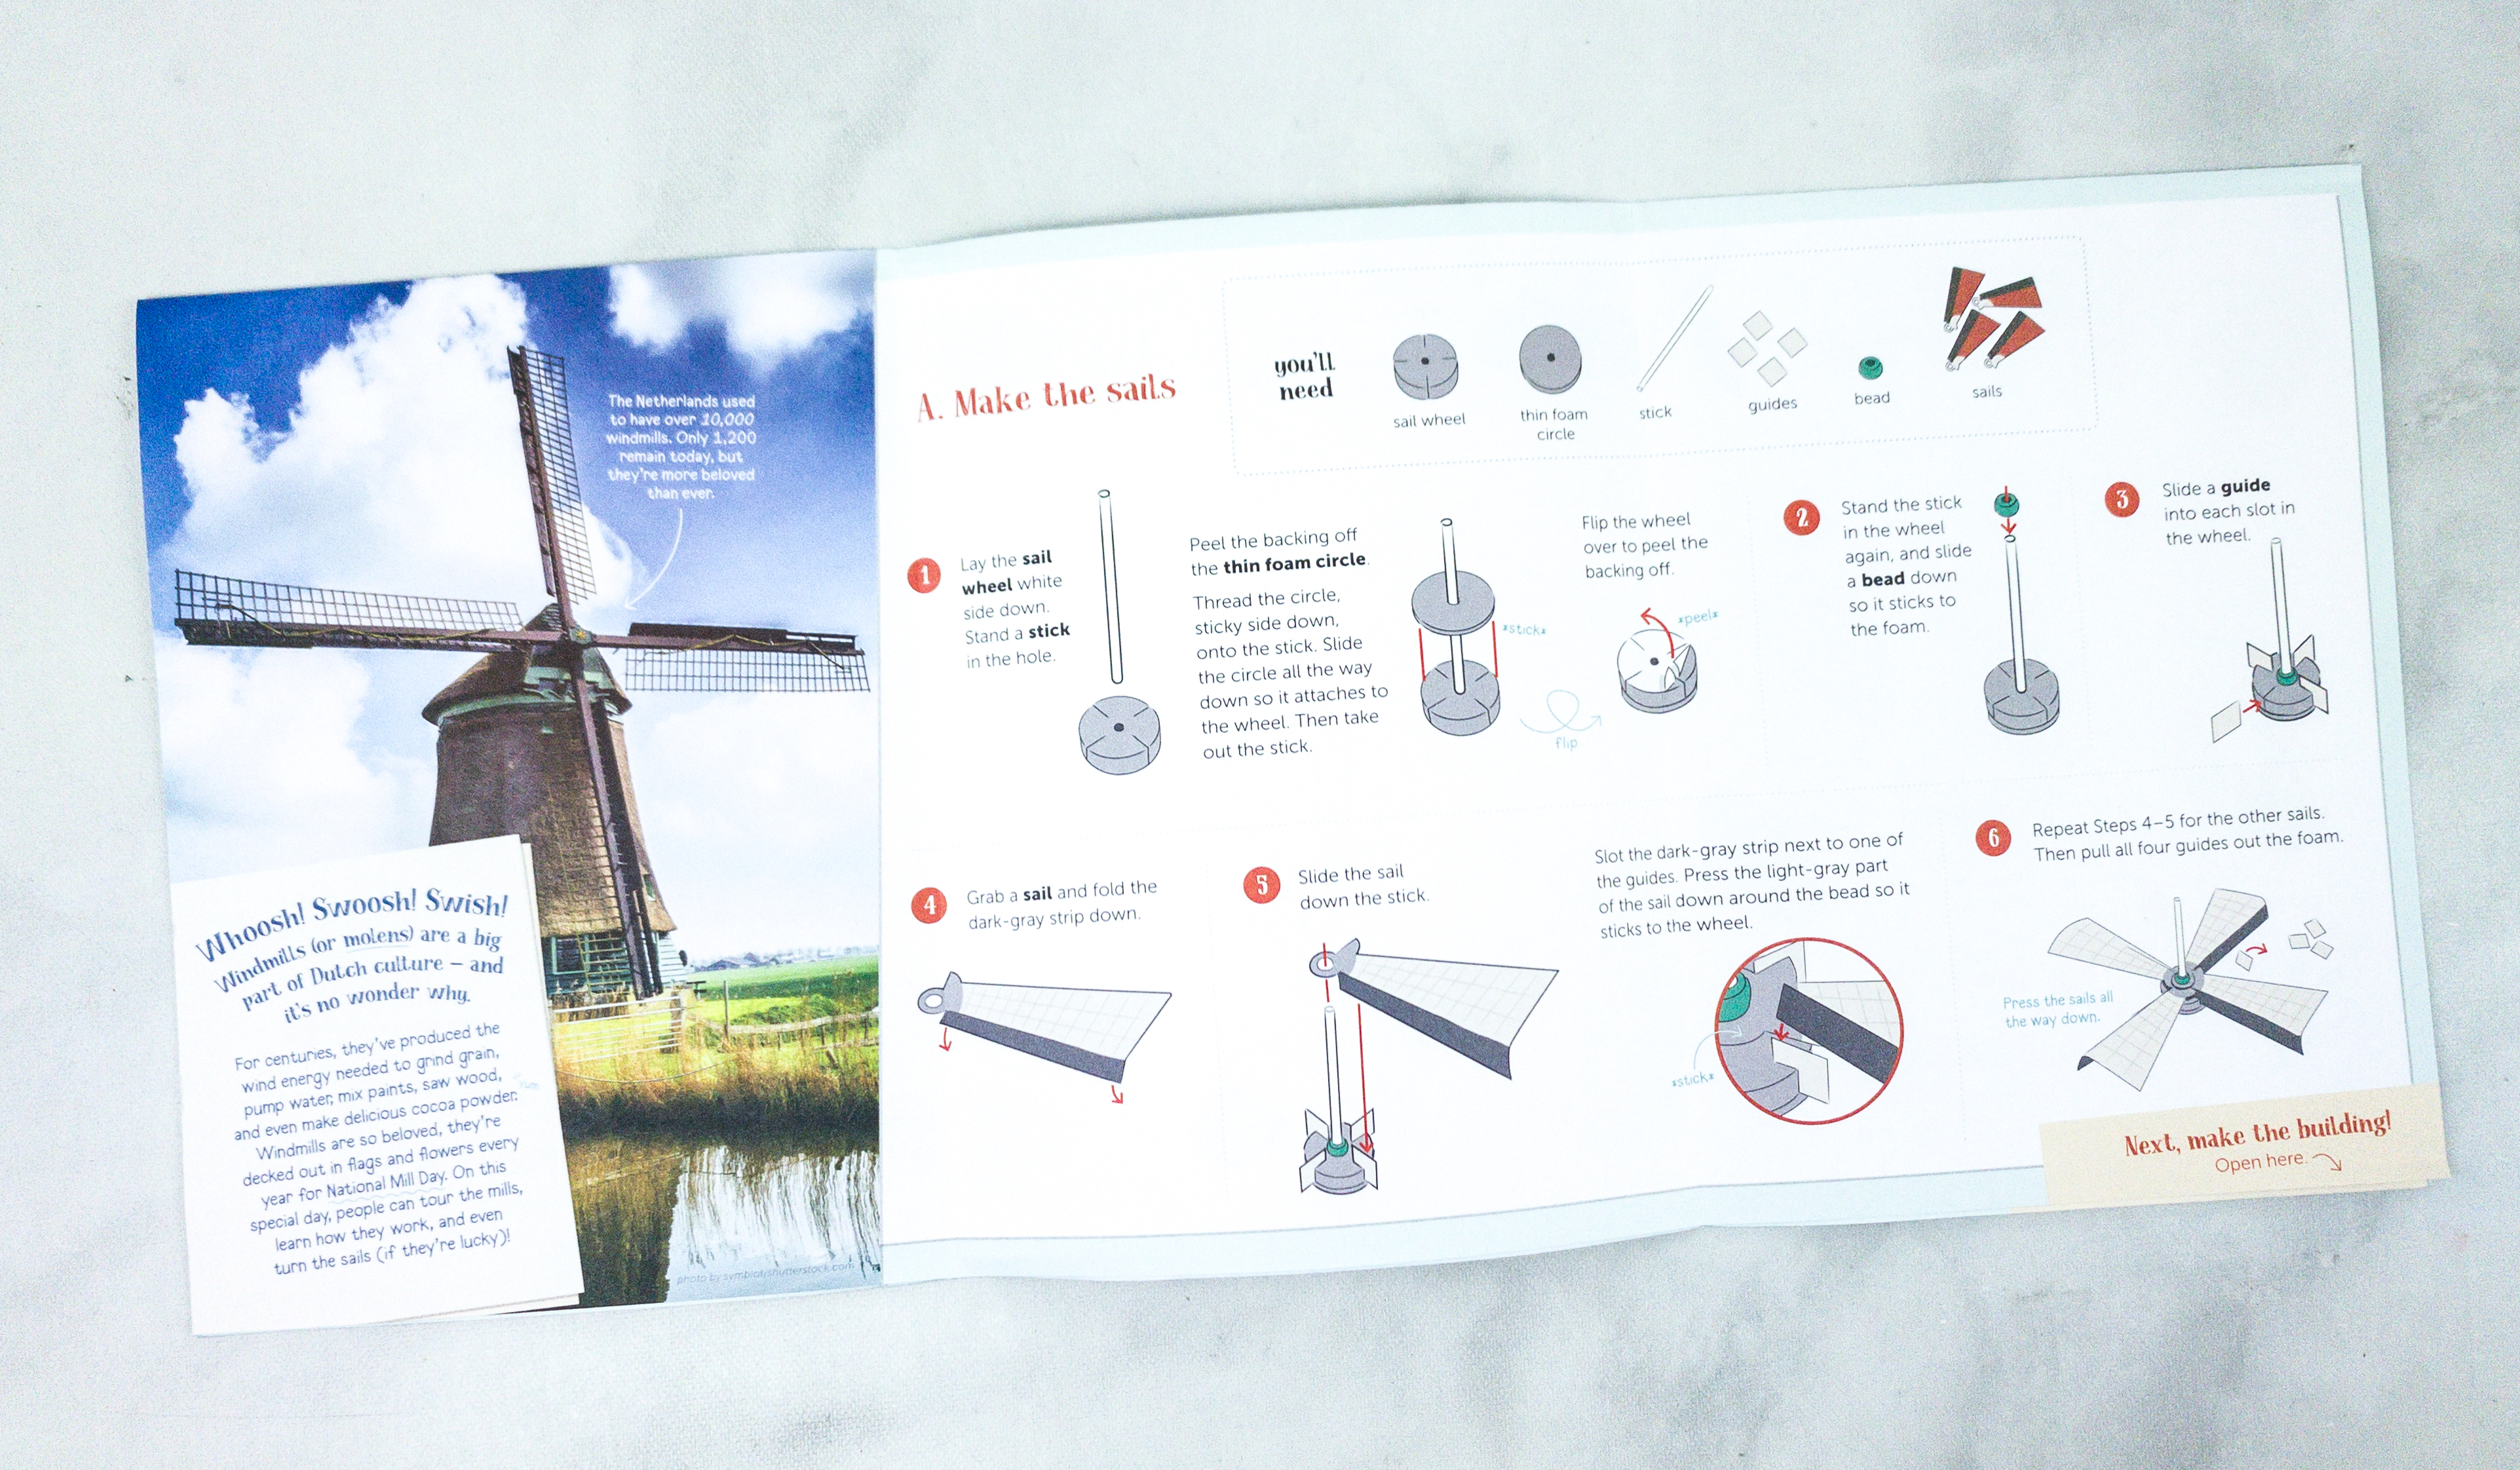
Inside is an instruction sheet that contains all the details, tips, and techniques in building the project.
This project is divided into four different parts: creating sails, making the building, attach the sails, and finish the windmill!
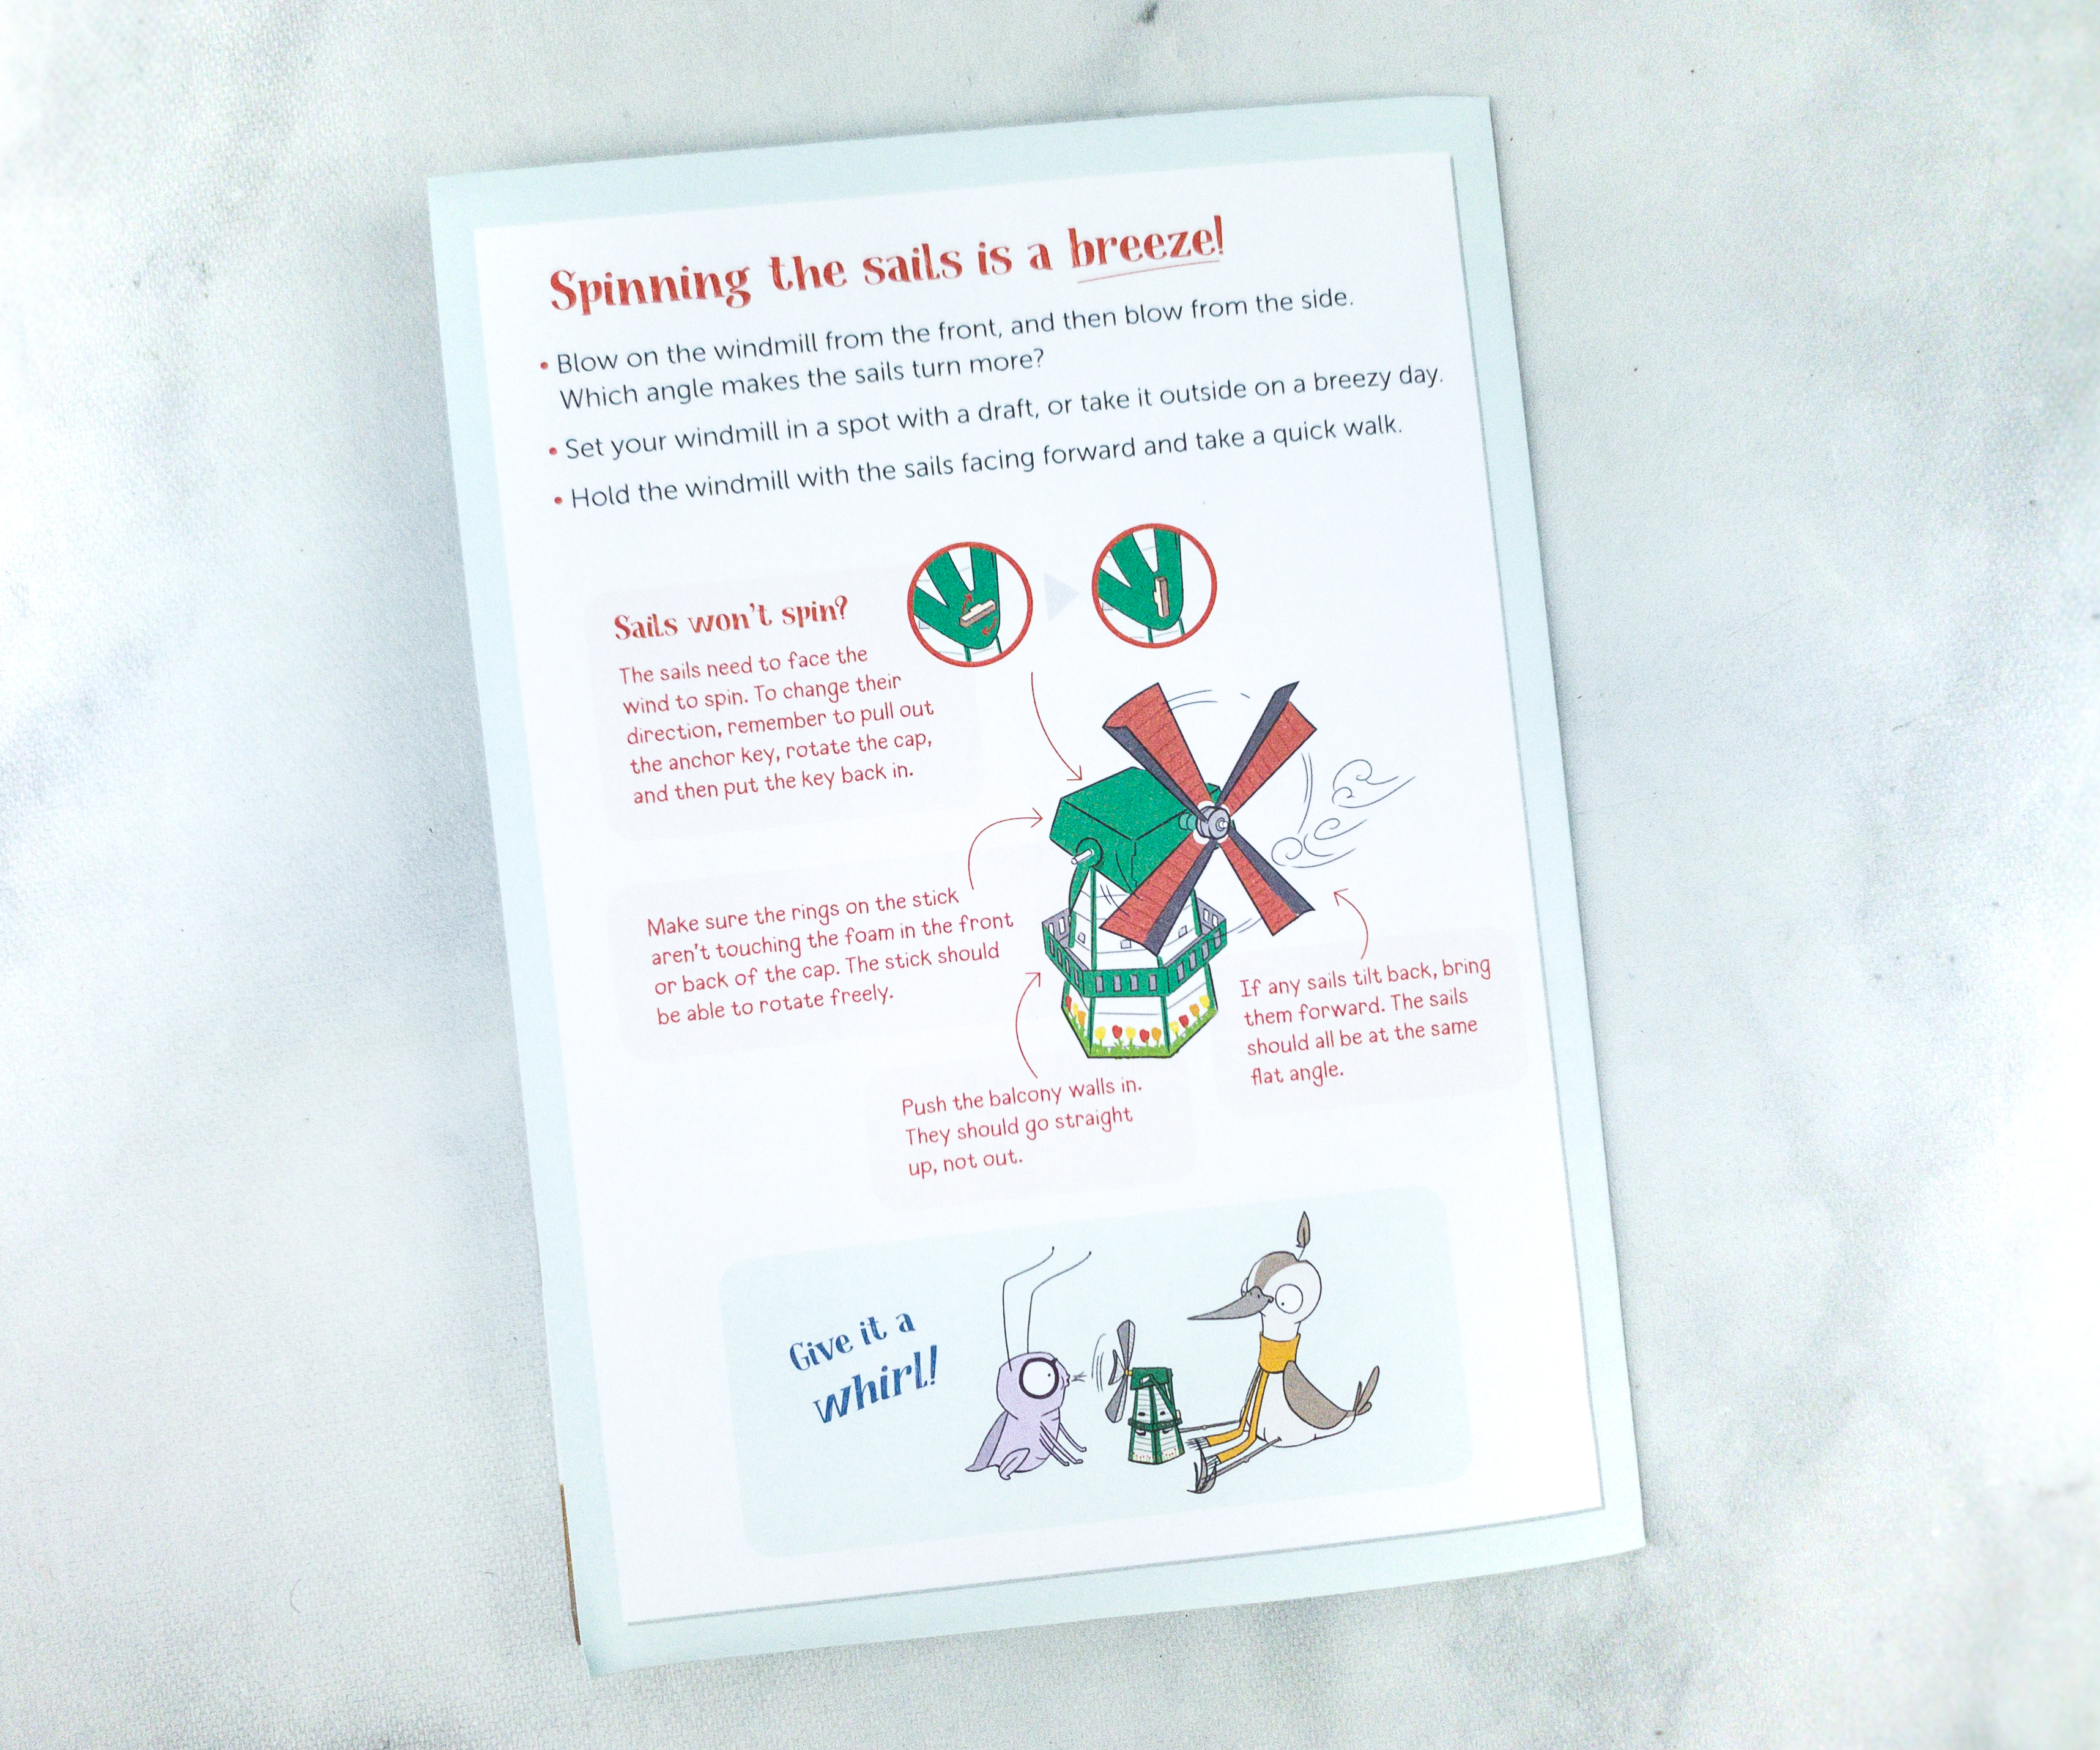
This part of the booklet features the different ways you can test your windmills. It also contains some troubleshooting tips in case your sails won’t spin.
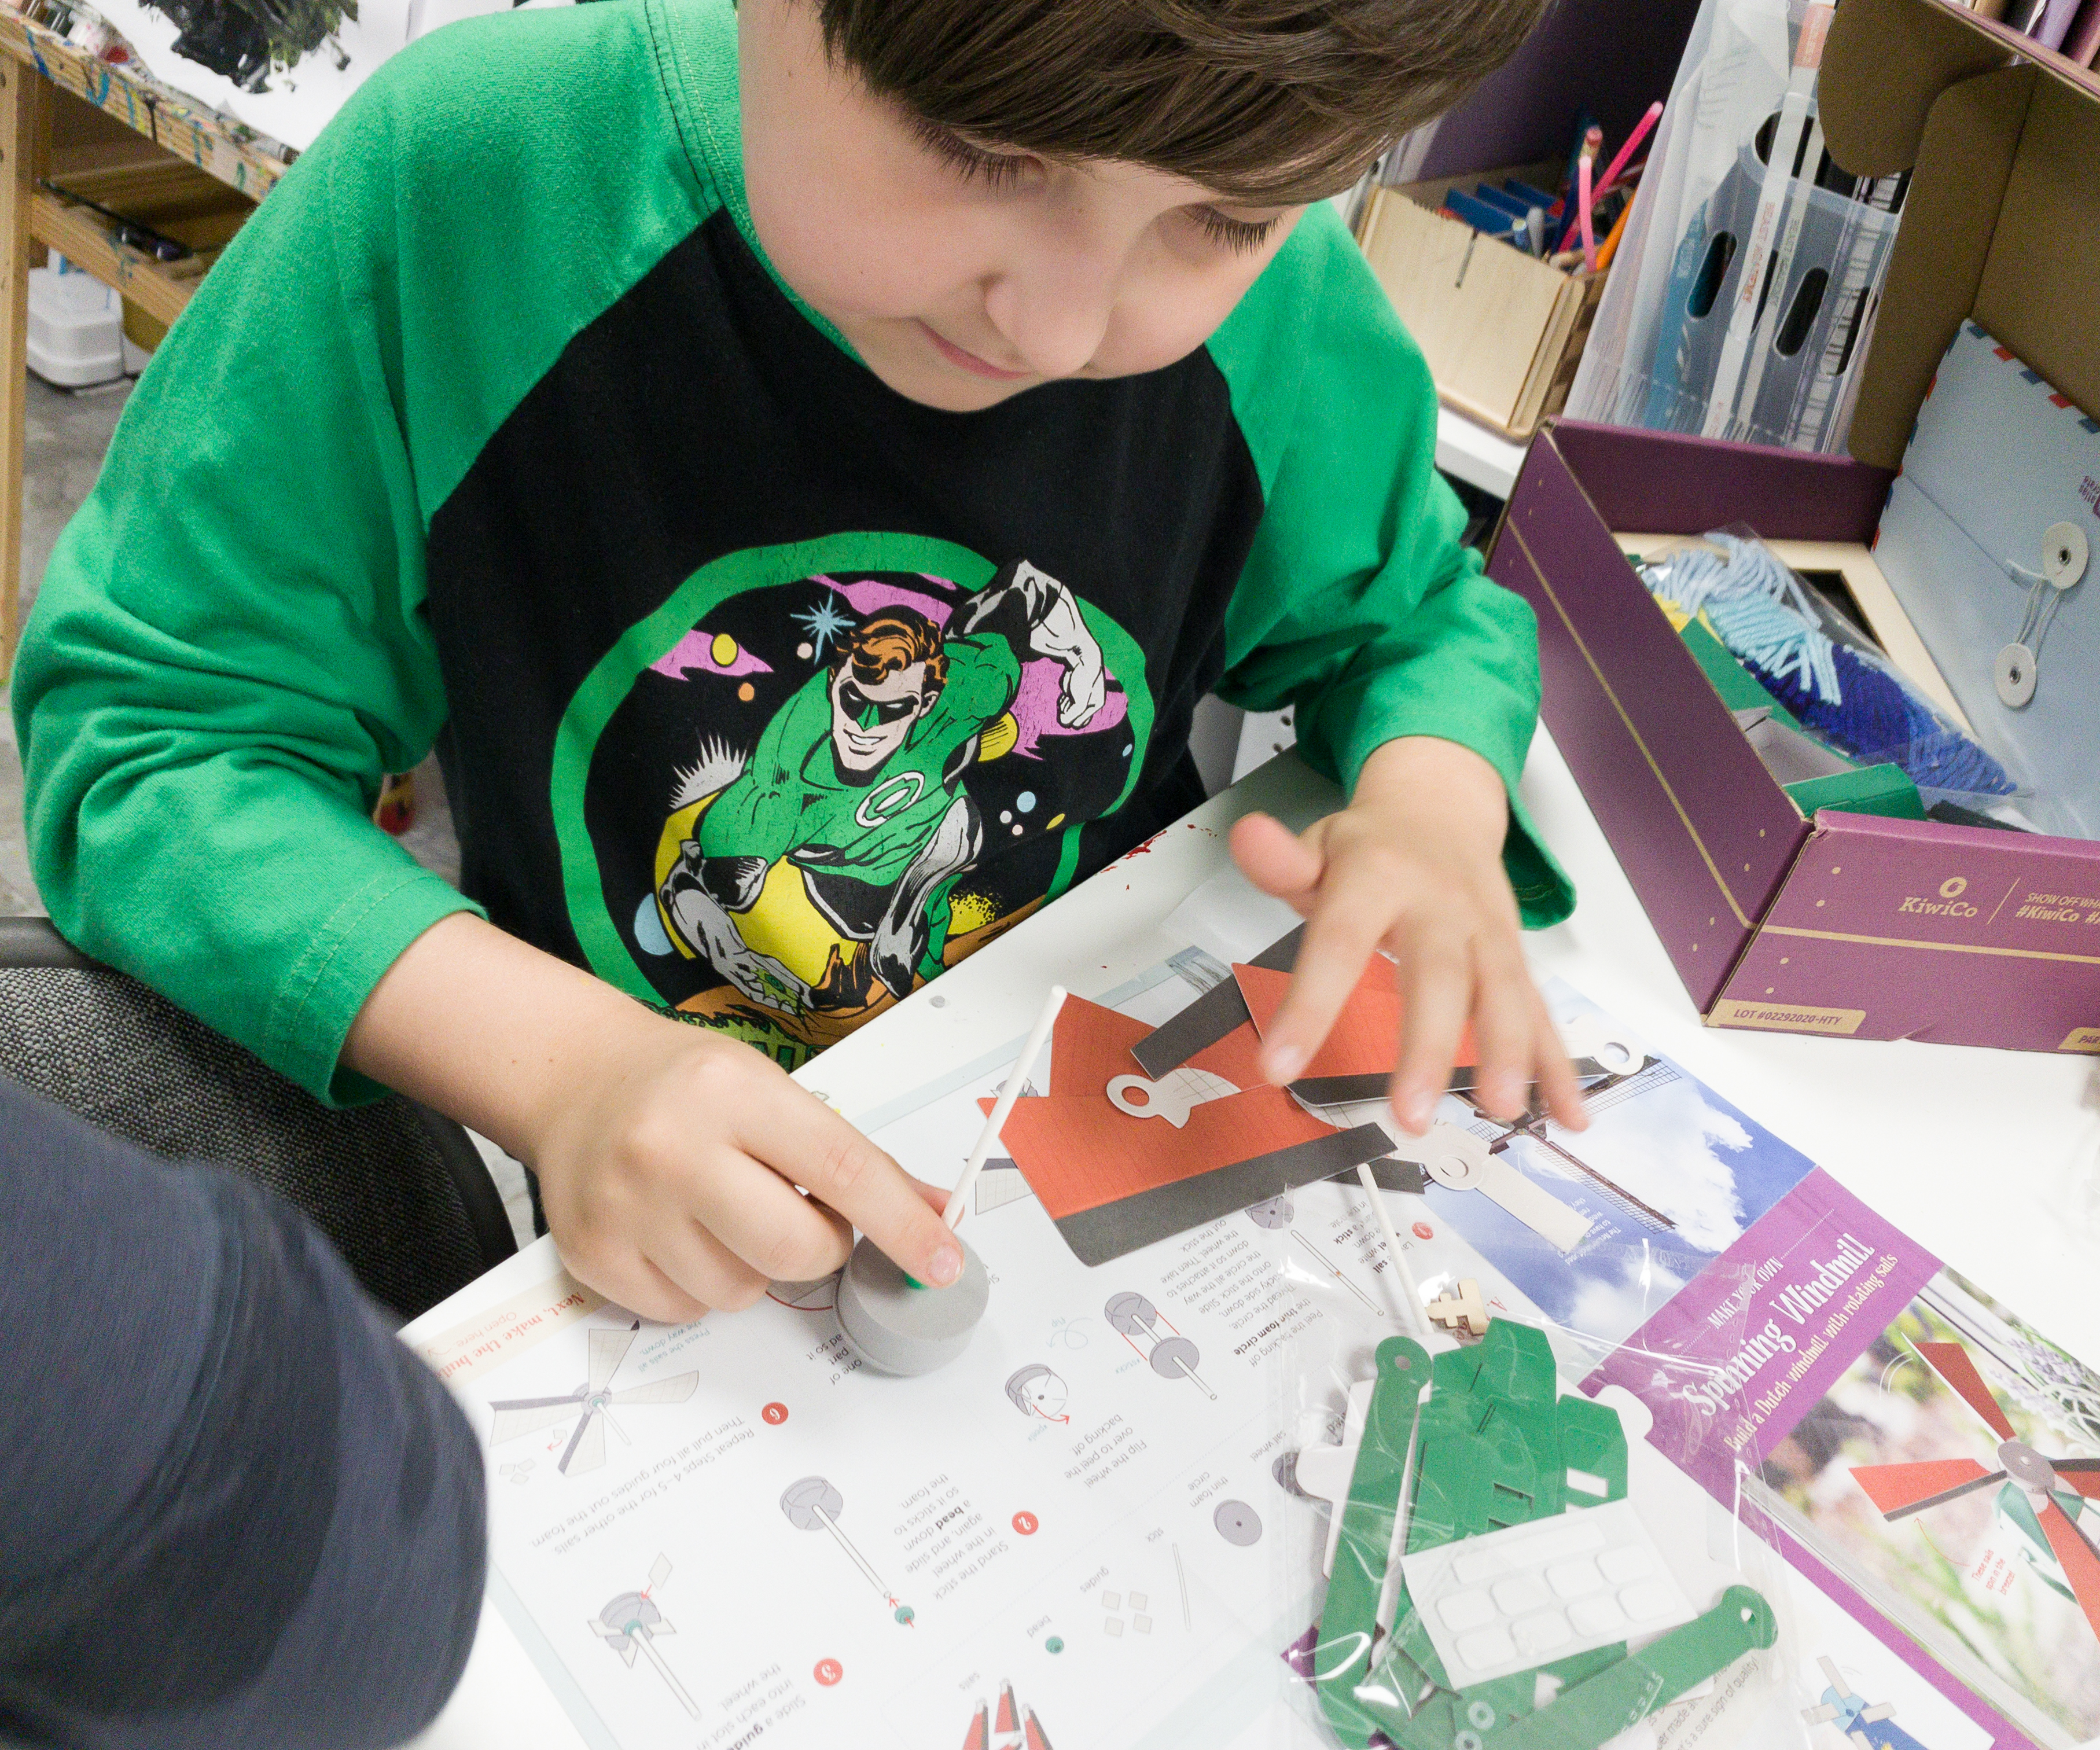
My son started by poking the stick on the sail wheel. He slid the thin foam circle all the way down so it attaches to the wheel.
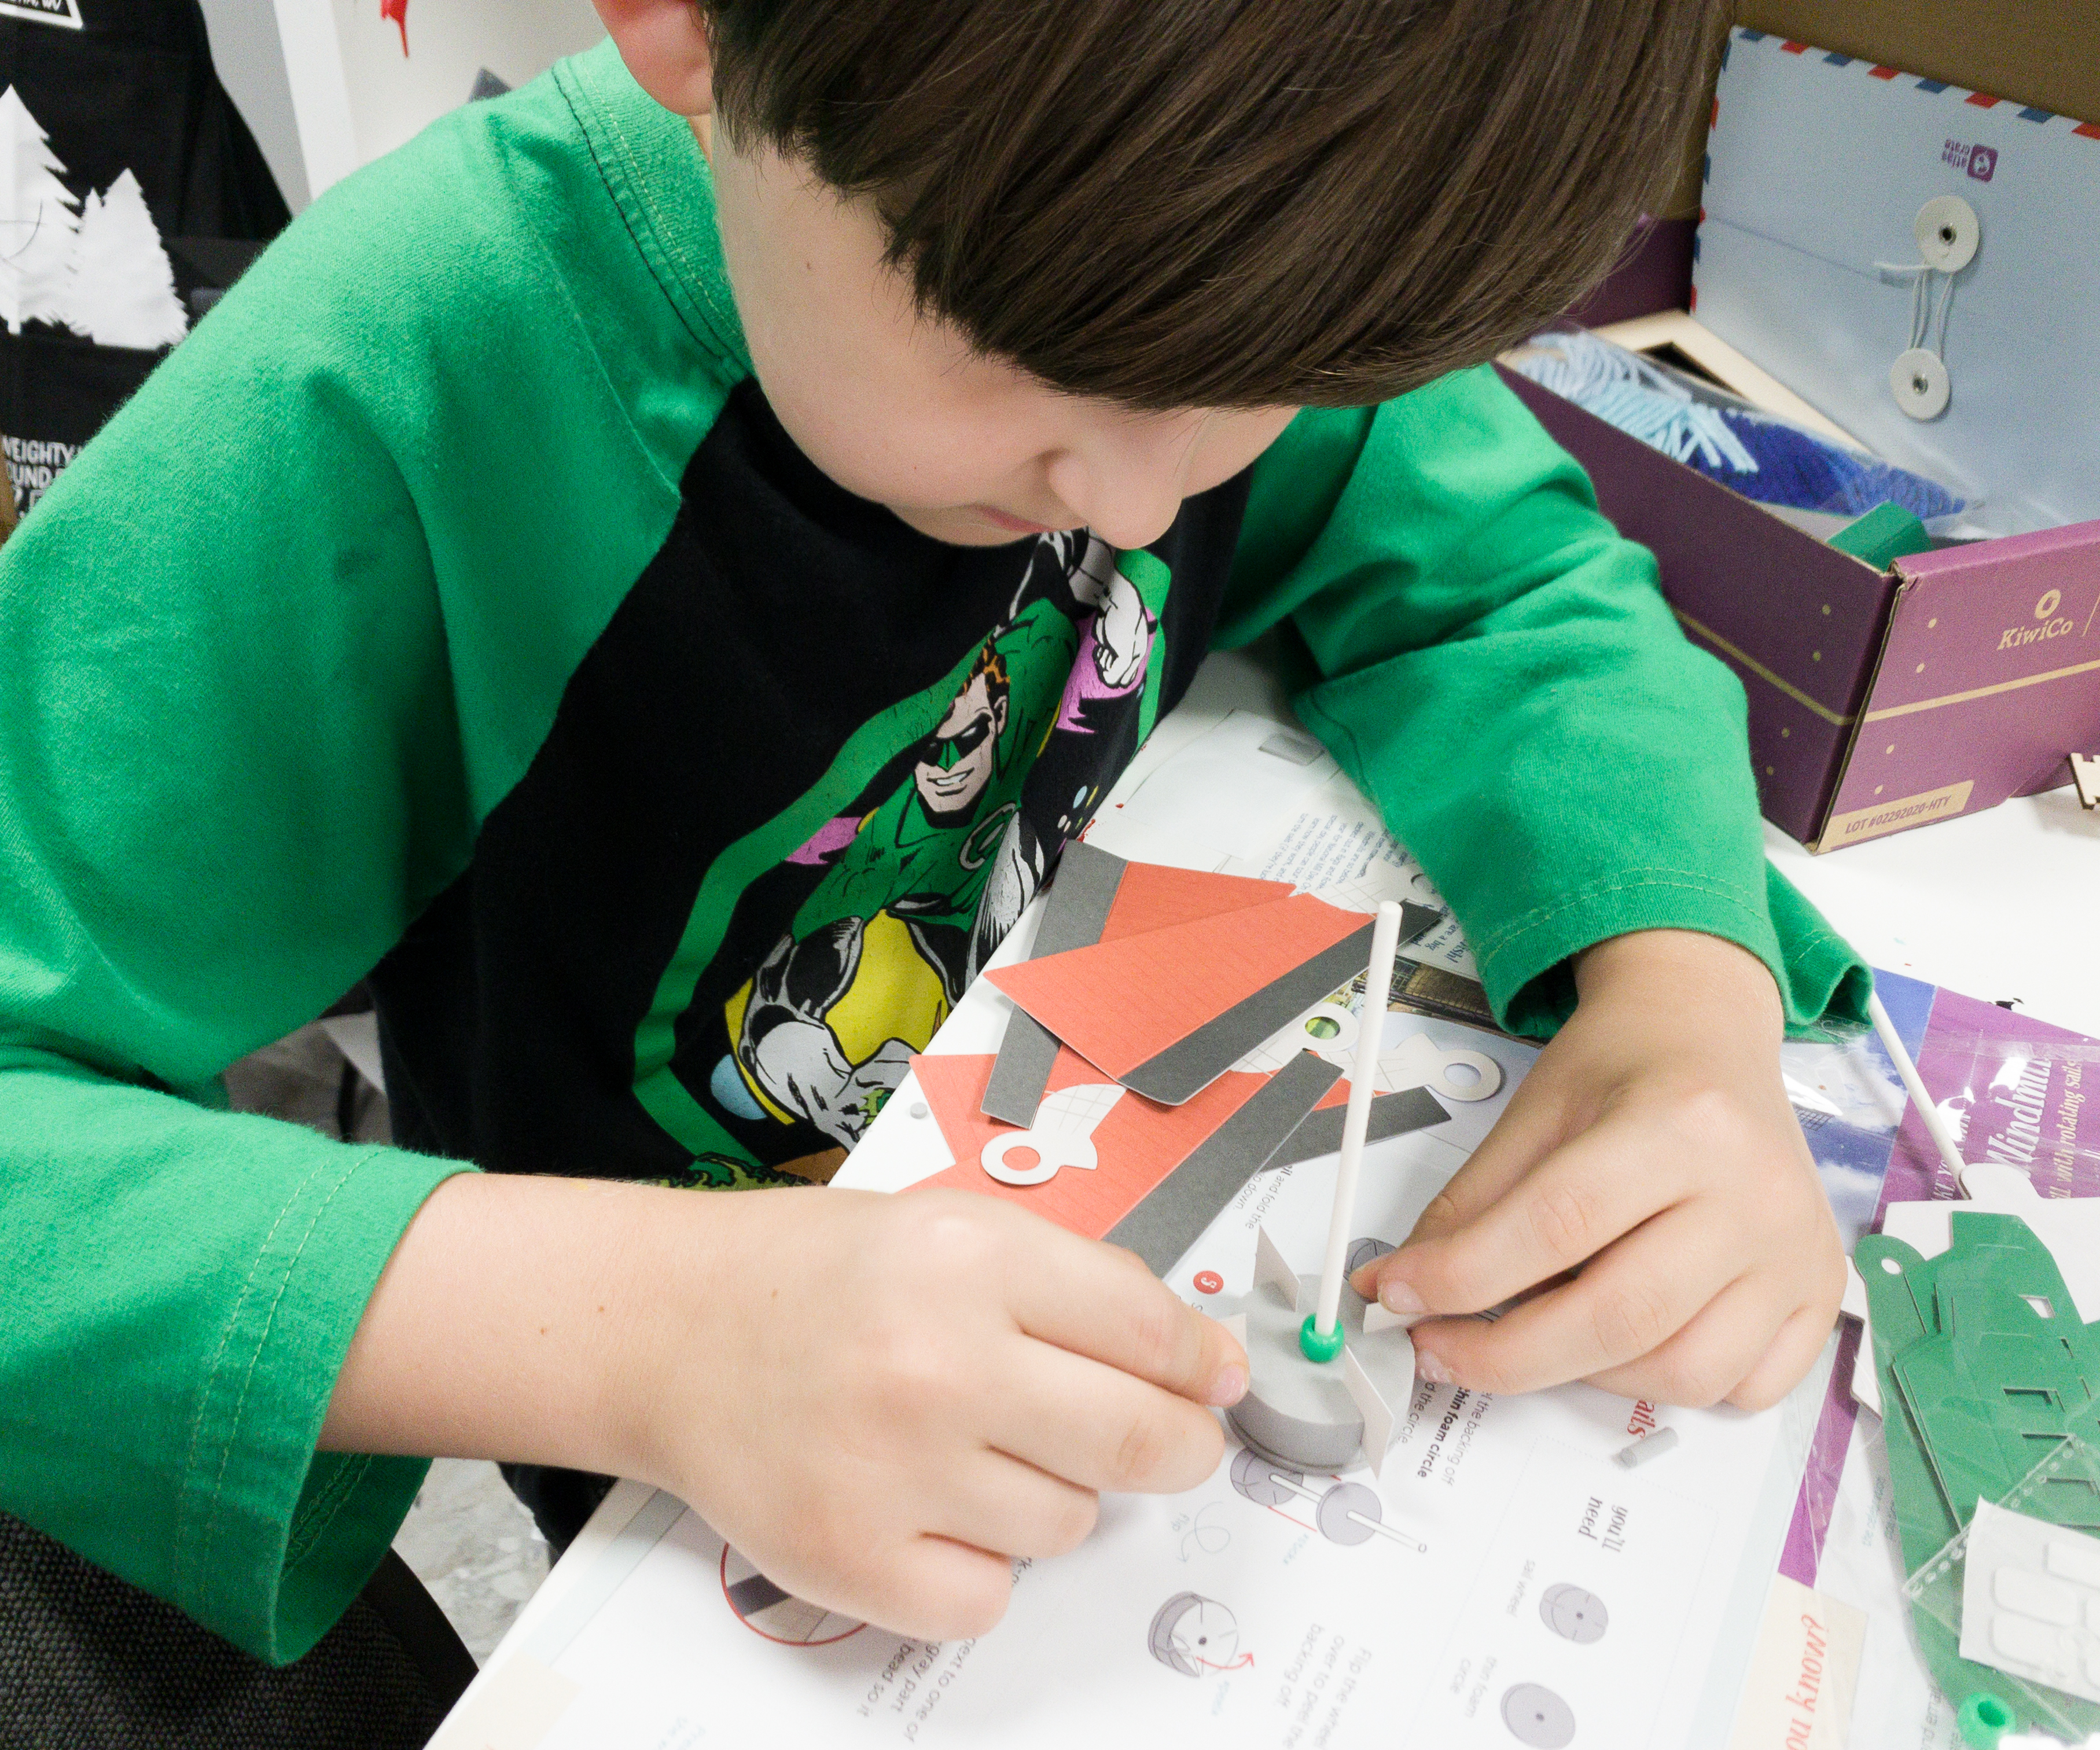
He added the green bead and then slid the guides into each slot in the wheel.

Next, he folded the sail and carefully inserted it on the stick, then put the dark-gray strip next to one of the guides. He pressed the light-gray part of the sail down around the bead so it sticks to the wheel. He repeated the same procedure for the remaining sails.
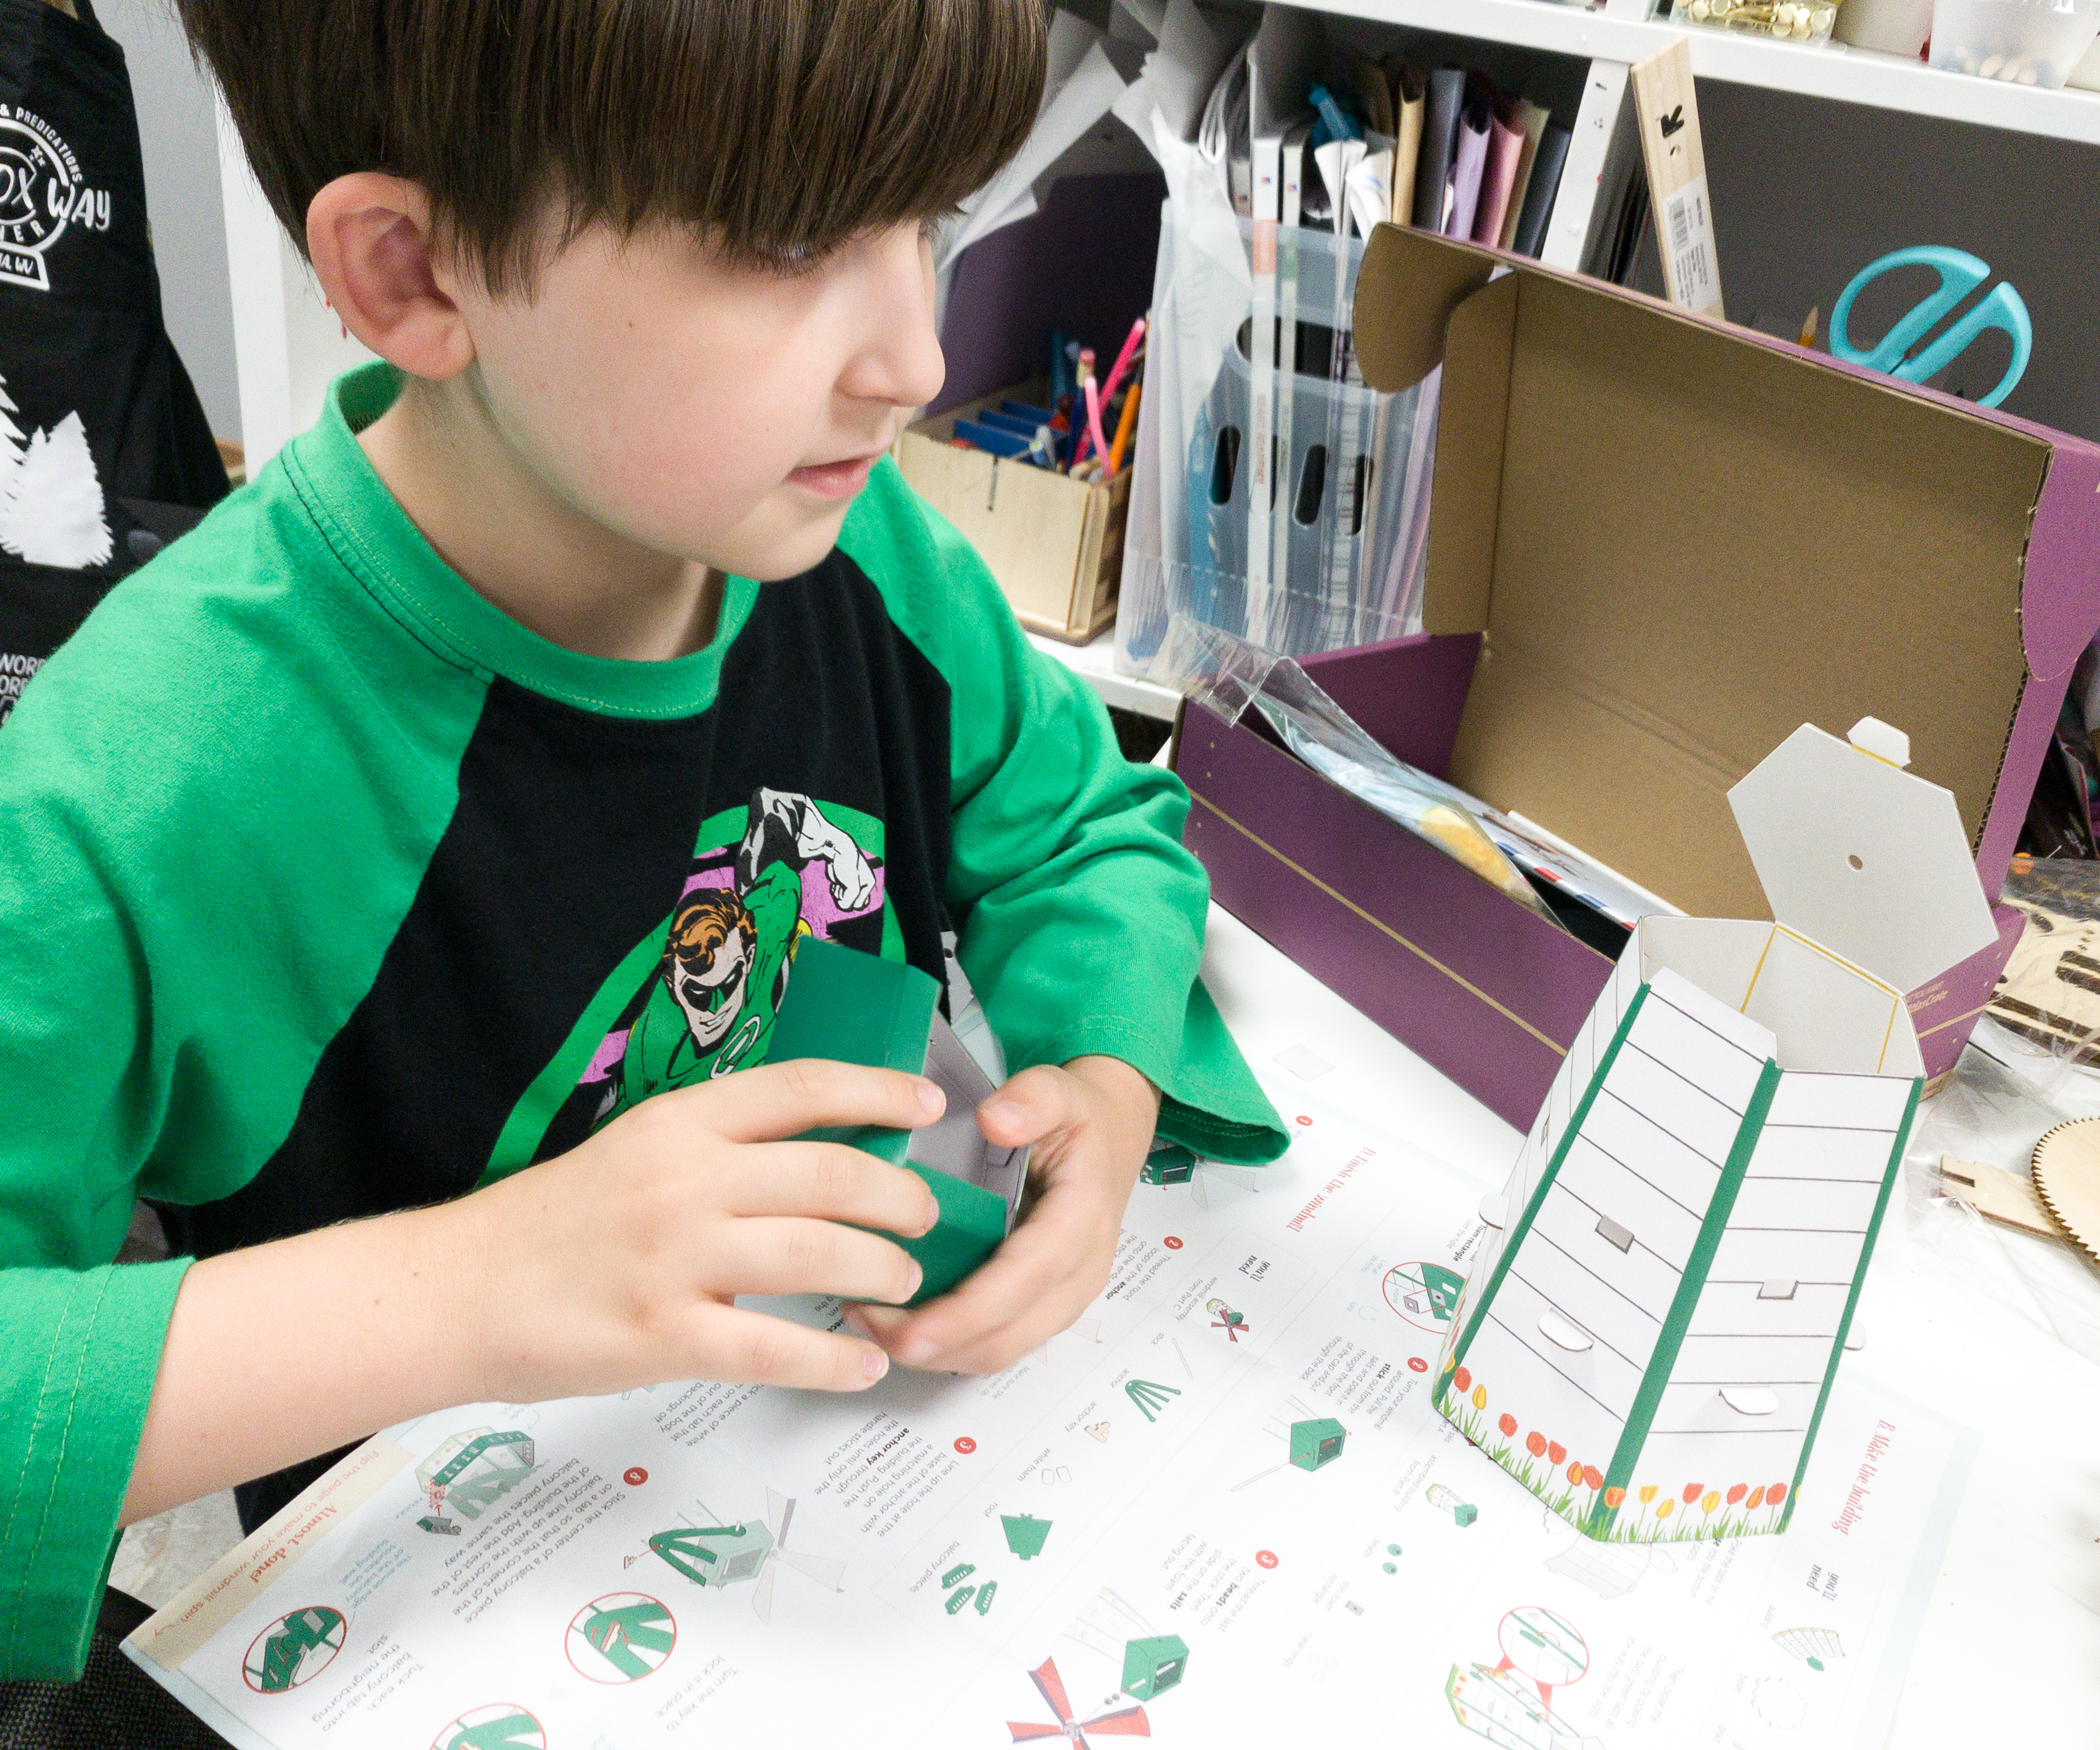
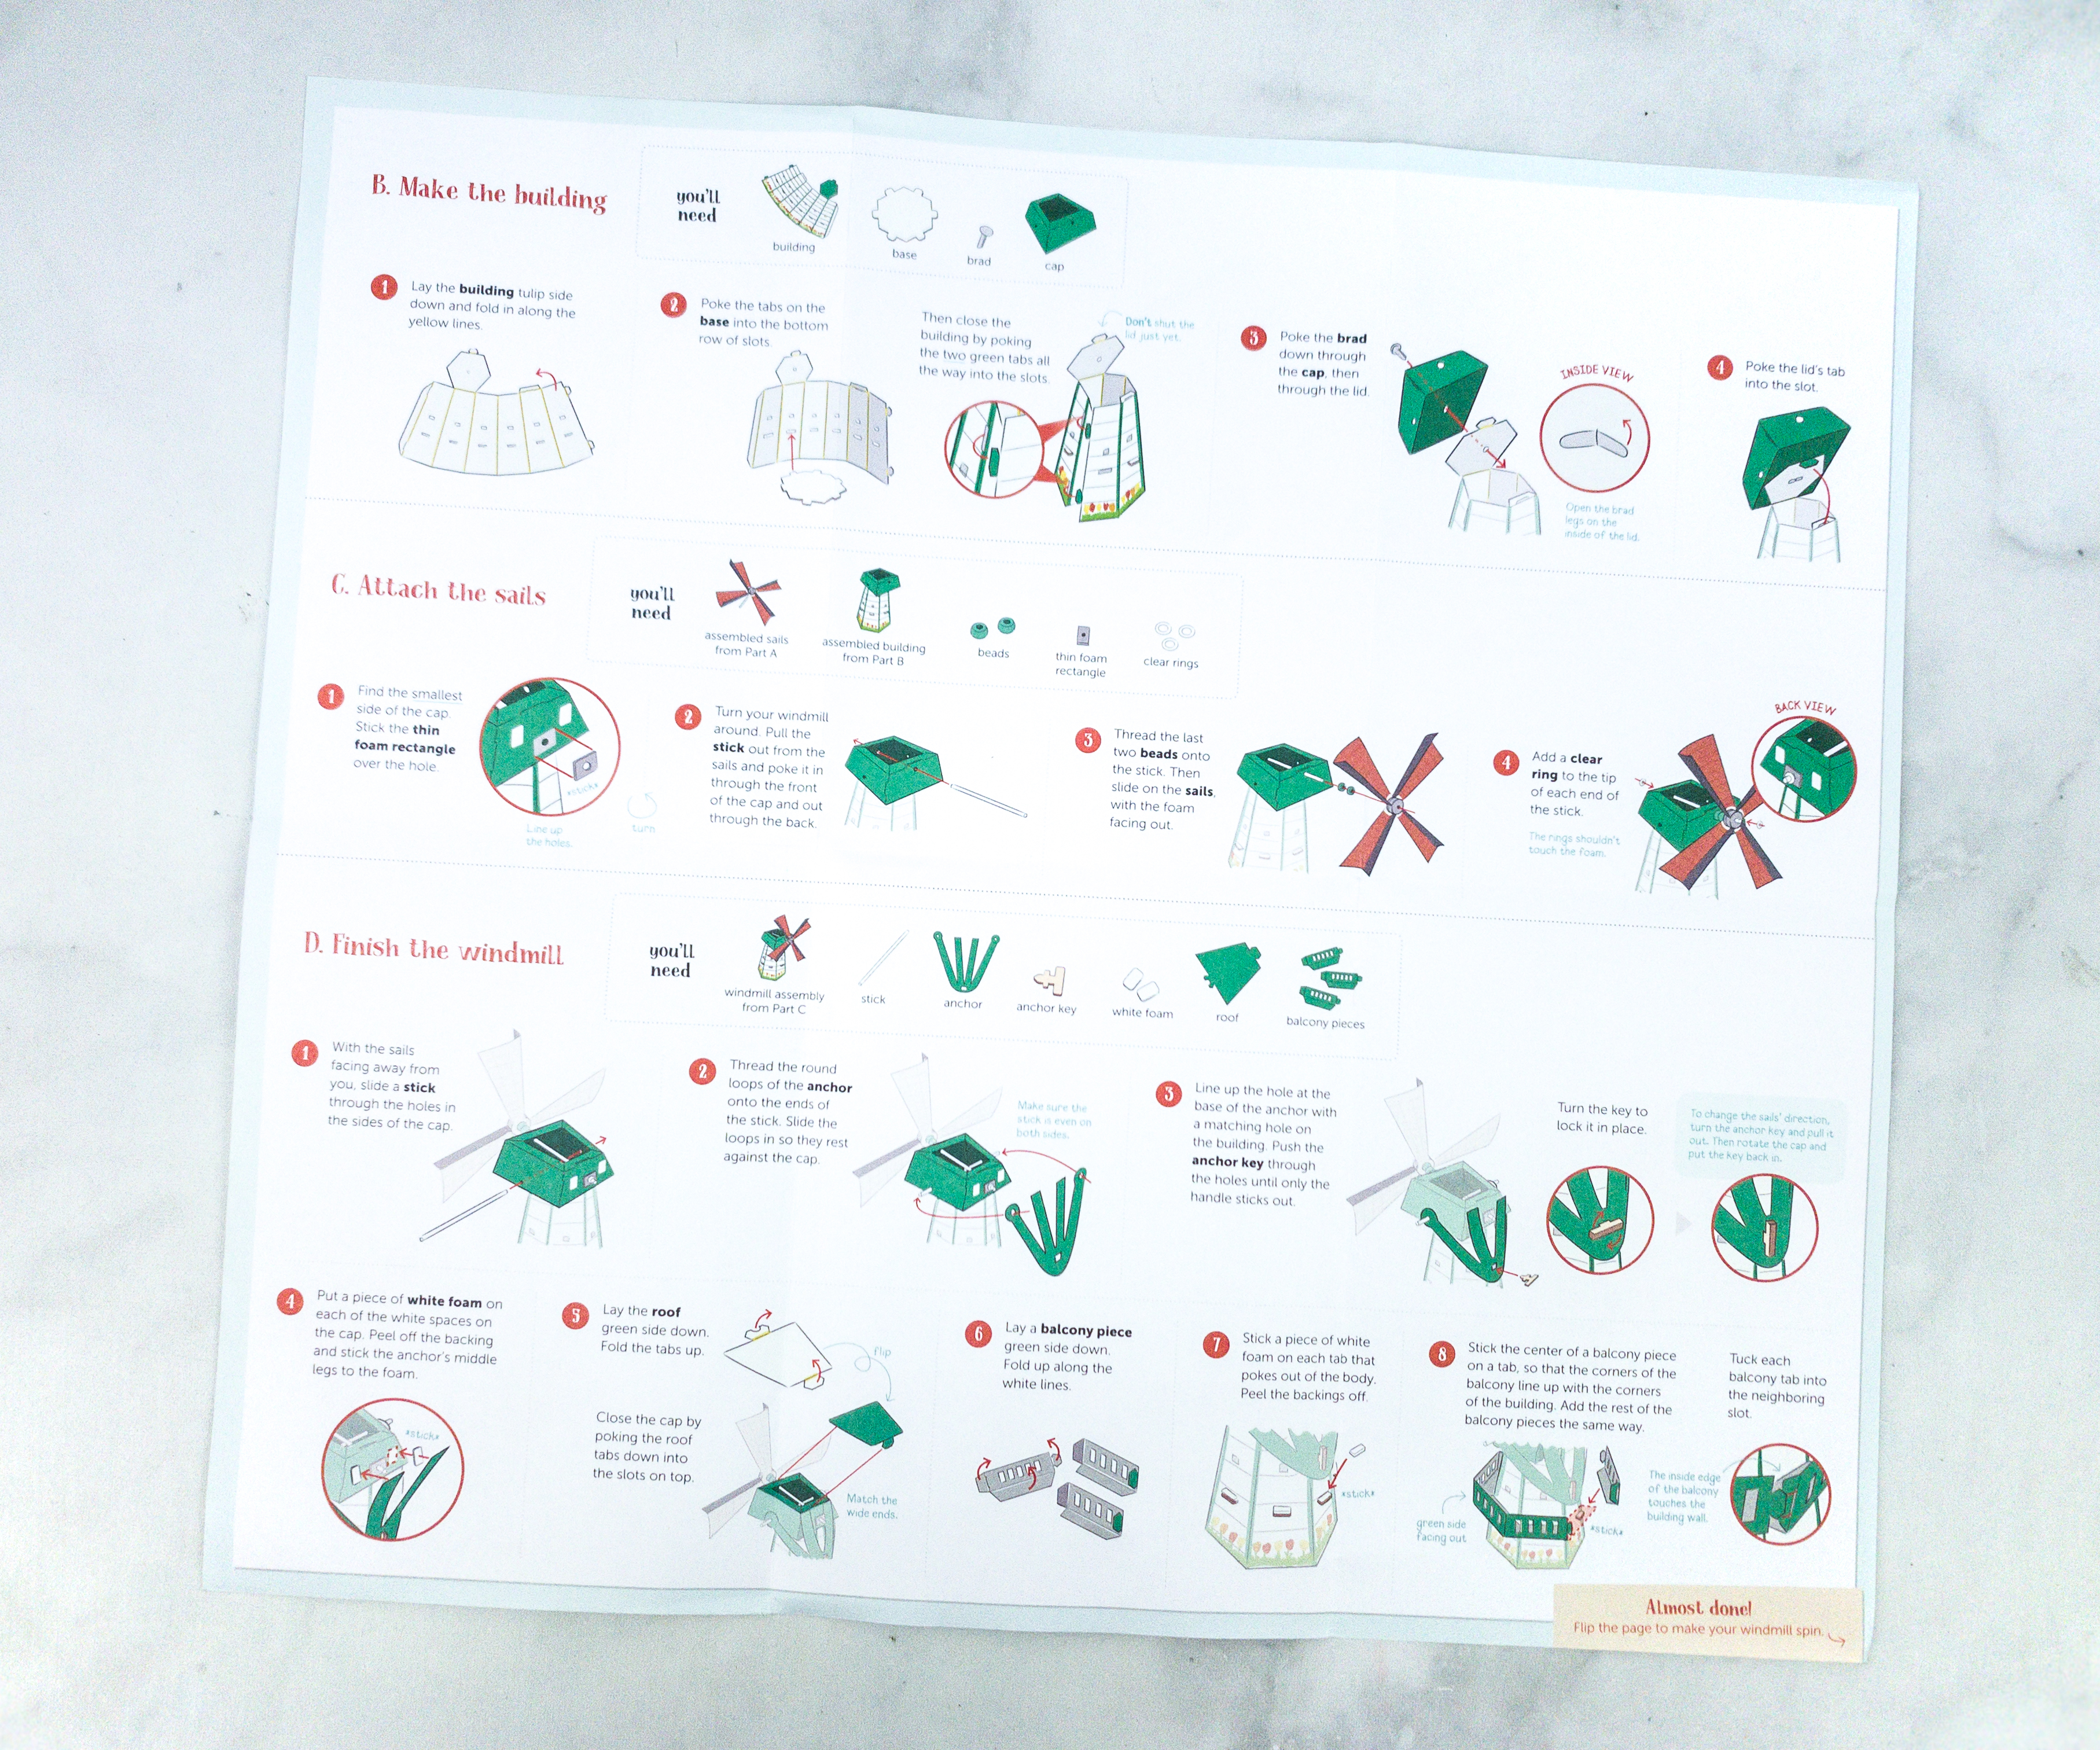
Now, it’s time to assemble the building! My son folded the part with yellow lines, poked the tabs on the base into the bottom row of slot, then lock-closed it by poking the two green tabs all the way into the slots. He finished it by adding the green-colored cap on top of the building and locking it using the brad.
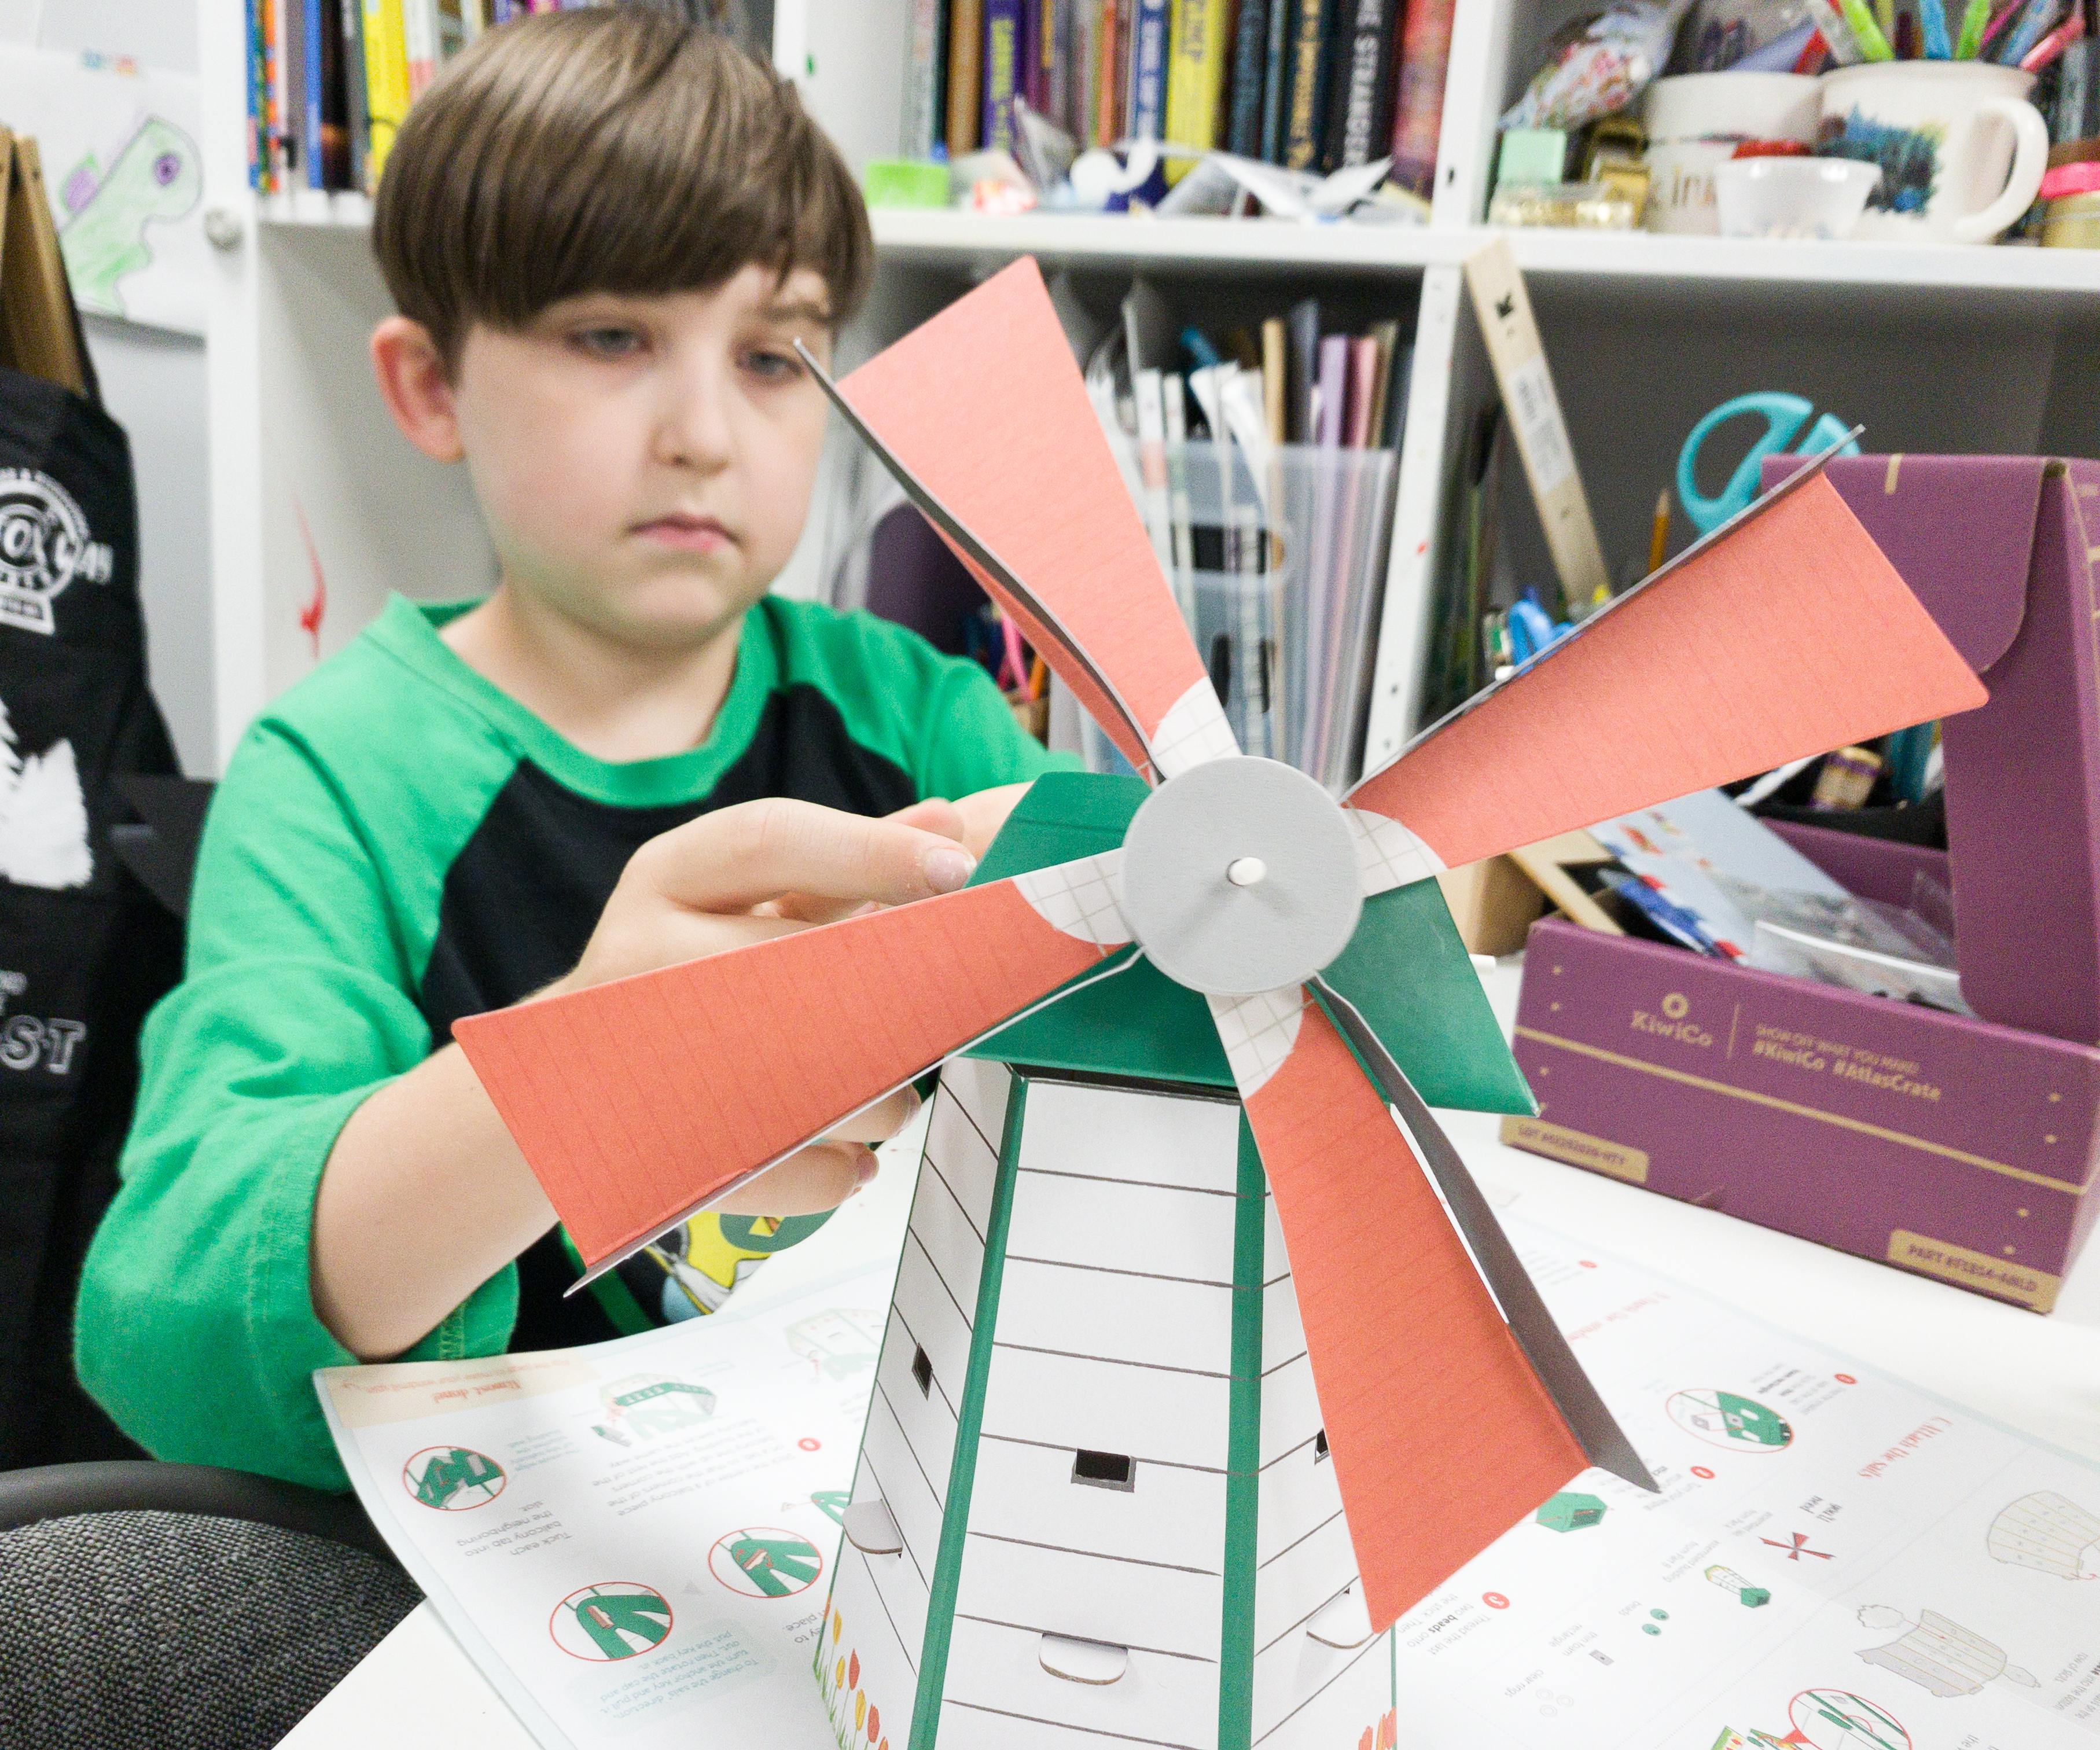
My son attached the sail to the building by sticking the thin foam rectangle over the hole and poking the stick through the cap. He also thread the last two beads and slid on the sails with the foam facing outside.
The next step is to slide a stick through the holes in the side of the cap, then thread the round loops of the anchor onto the ends of the stick and then stick the anchor’s middle legs to the foam located at the back of the roof.
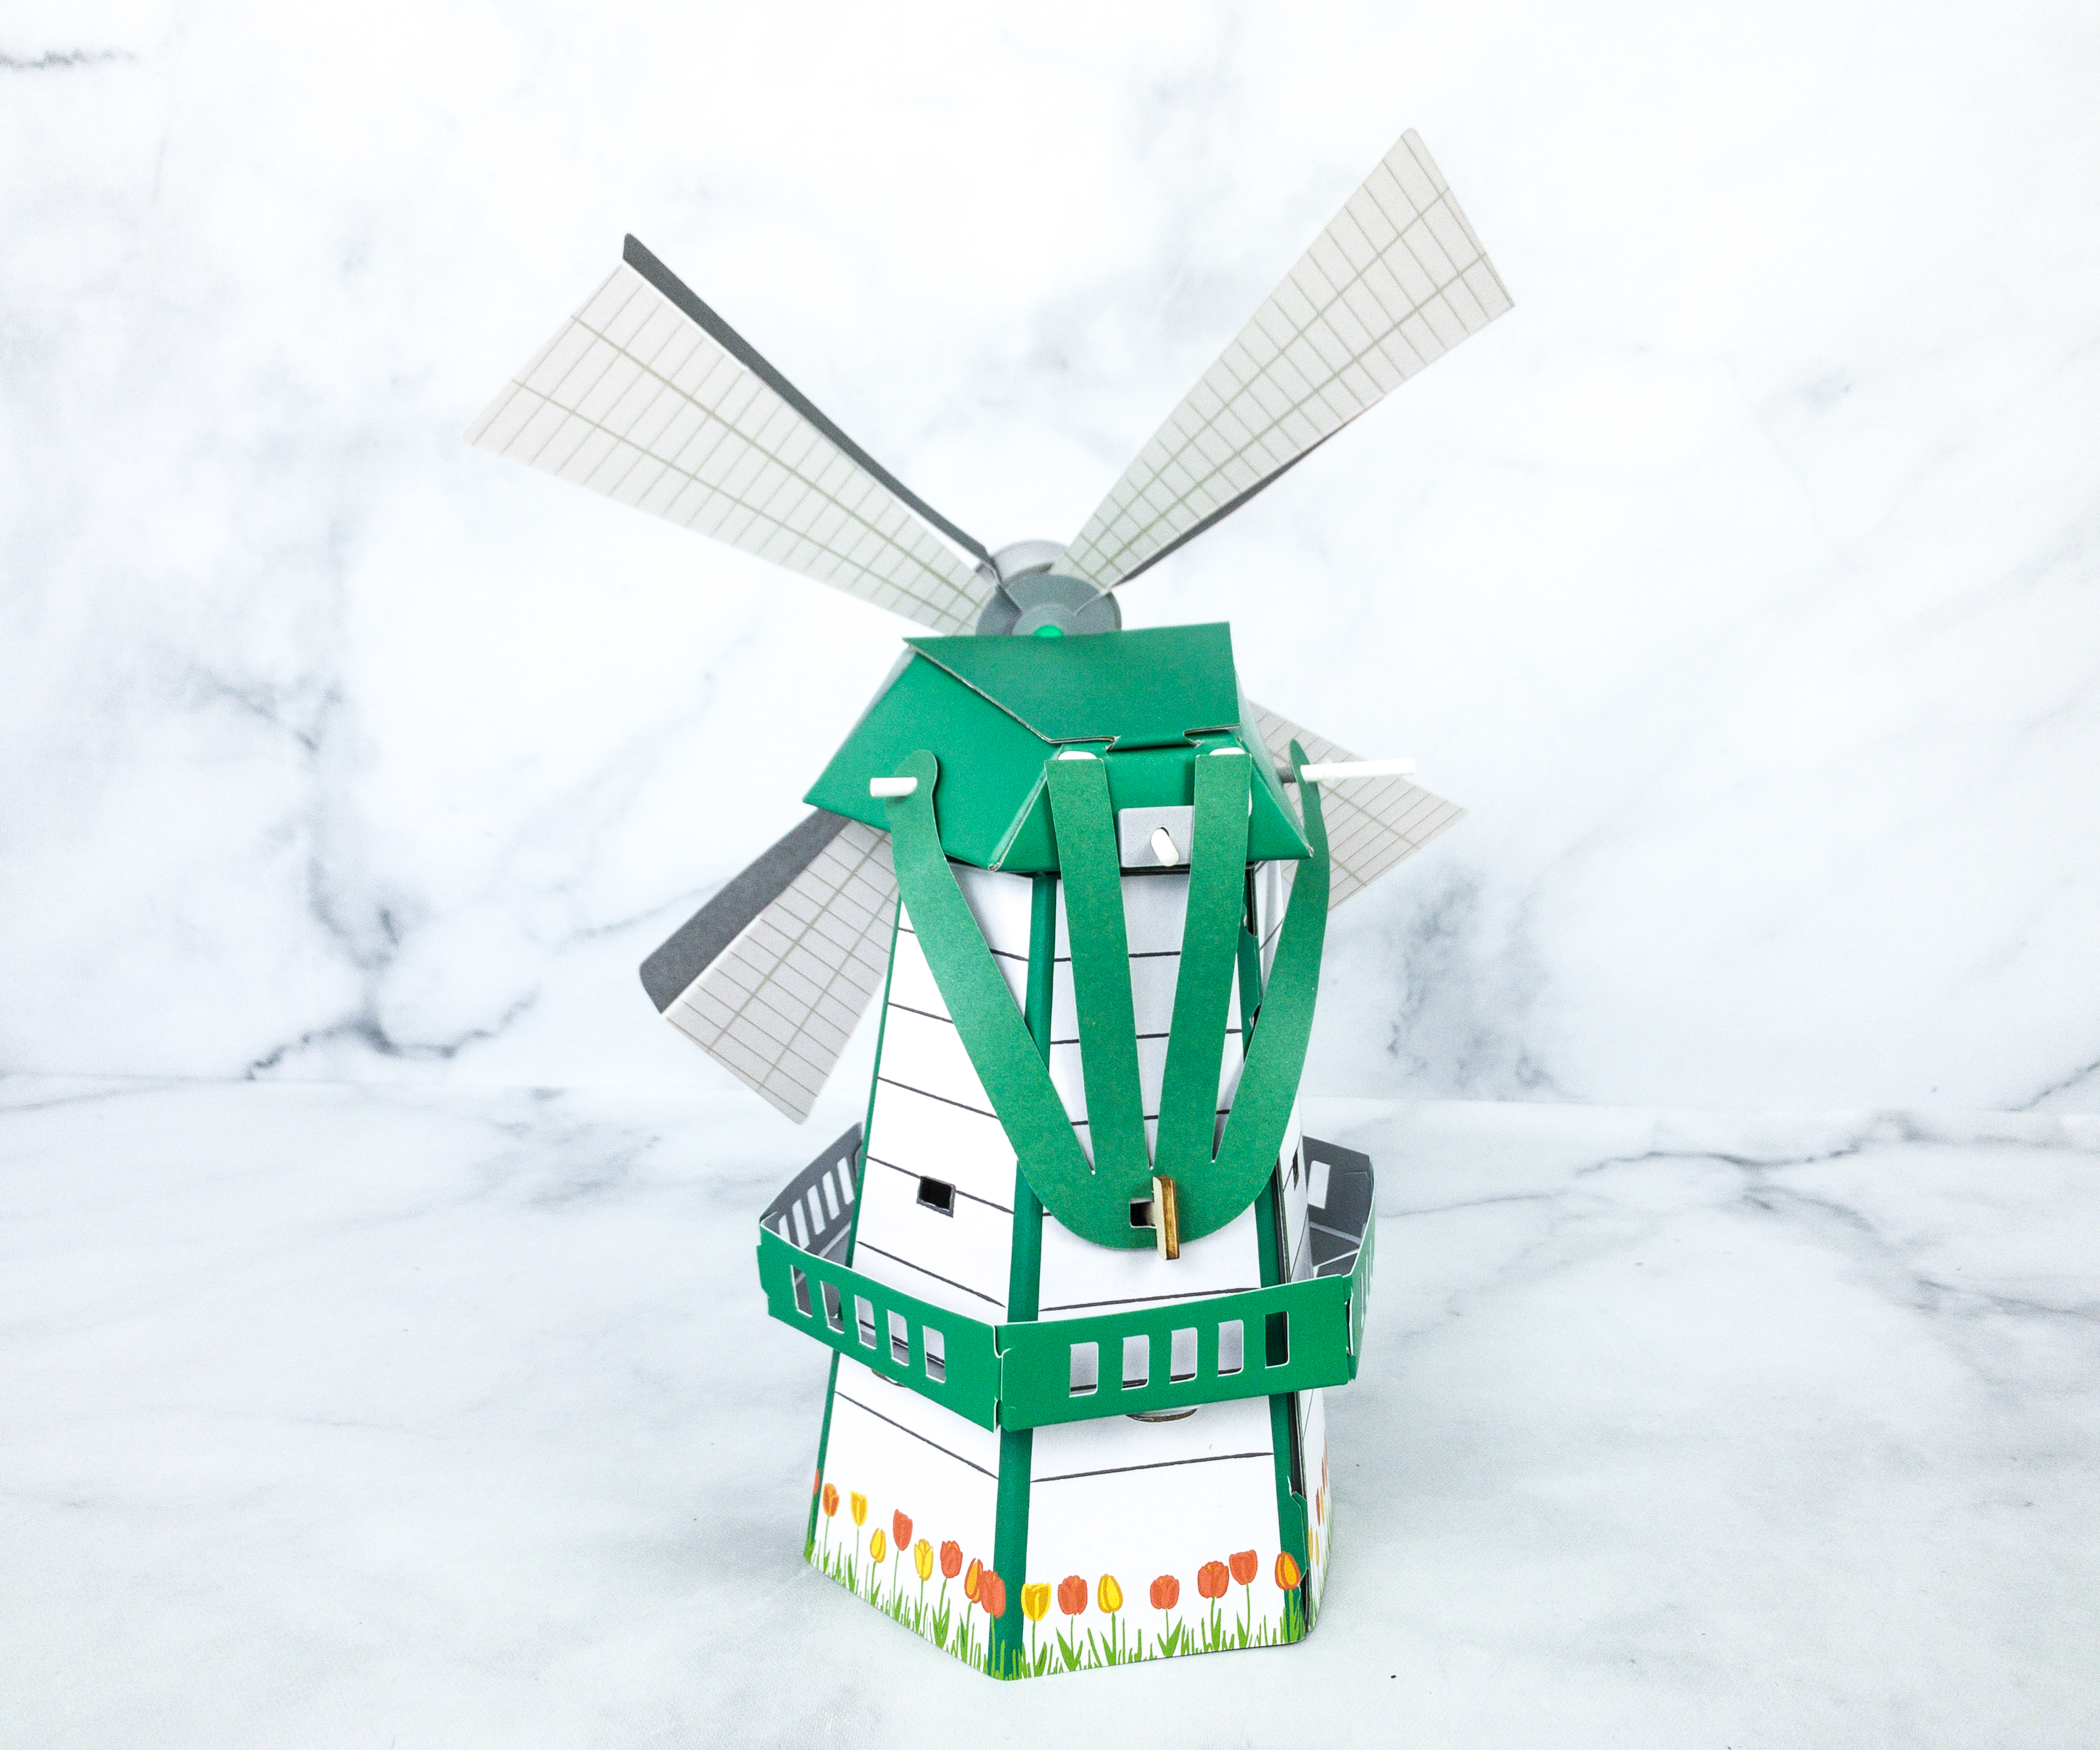
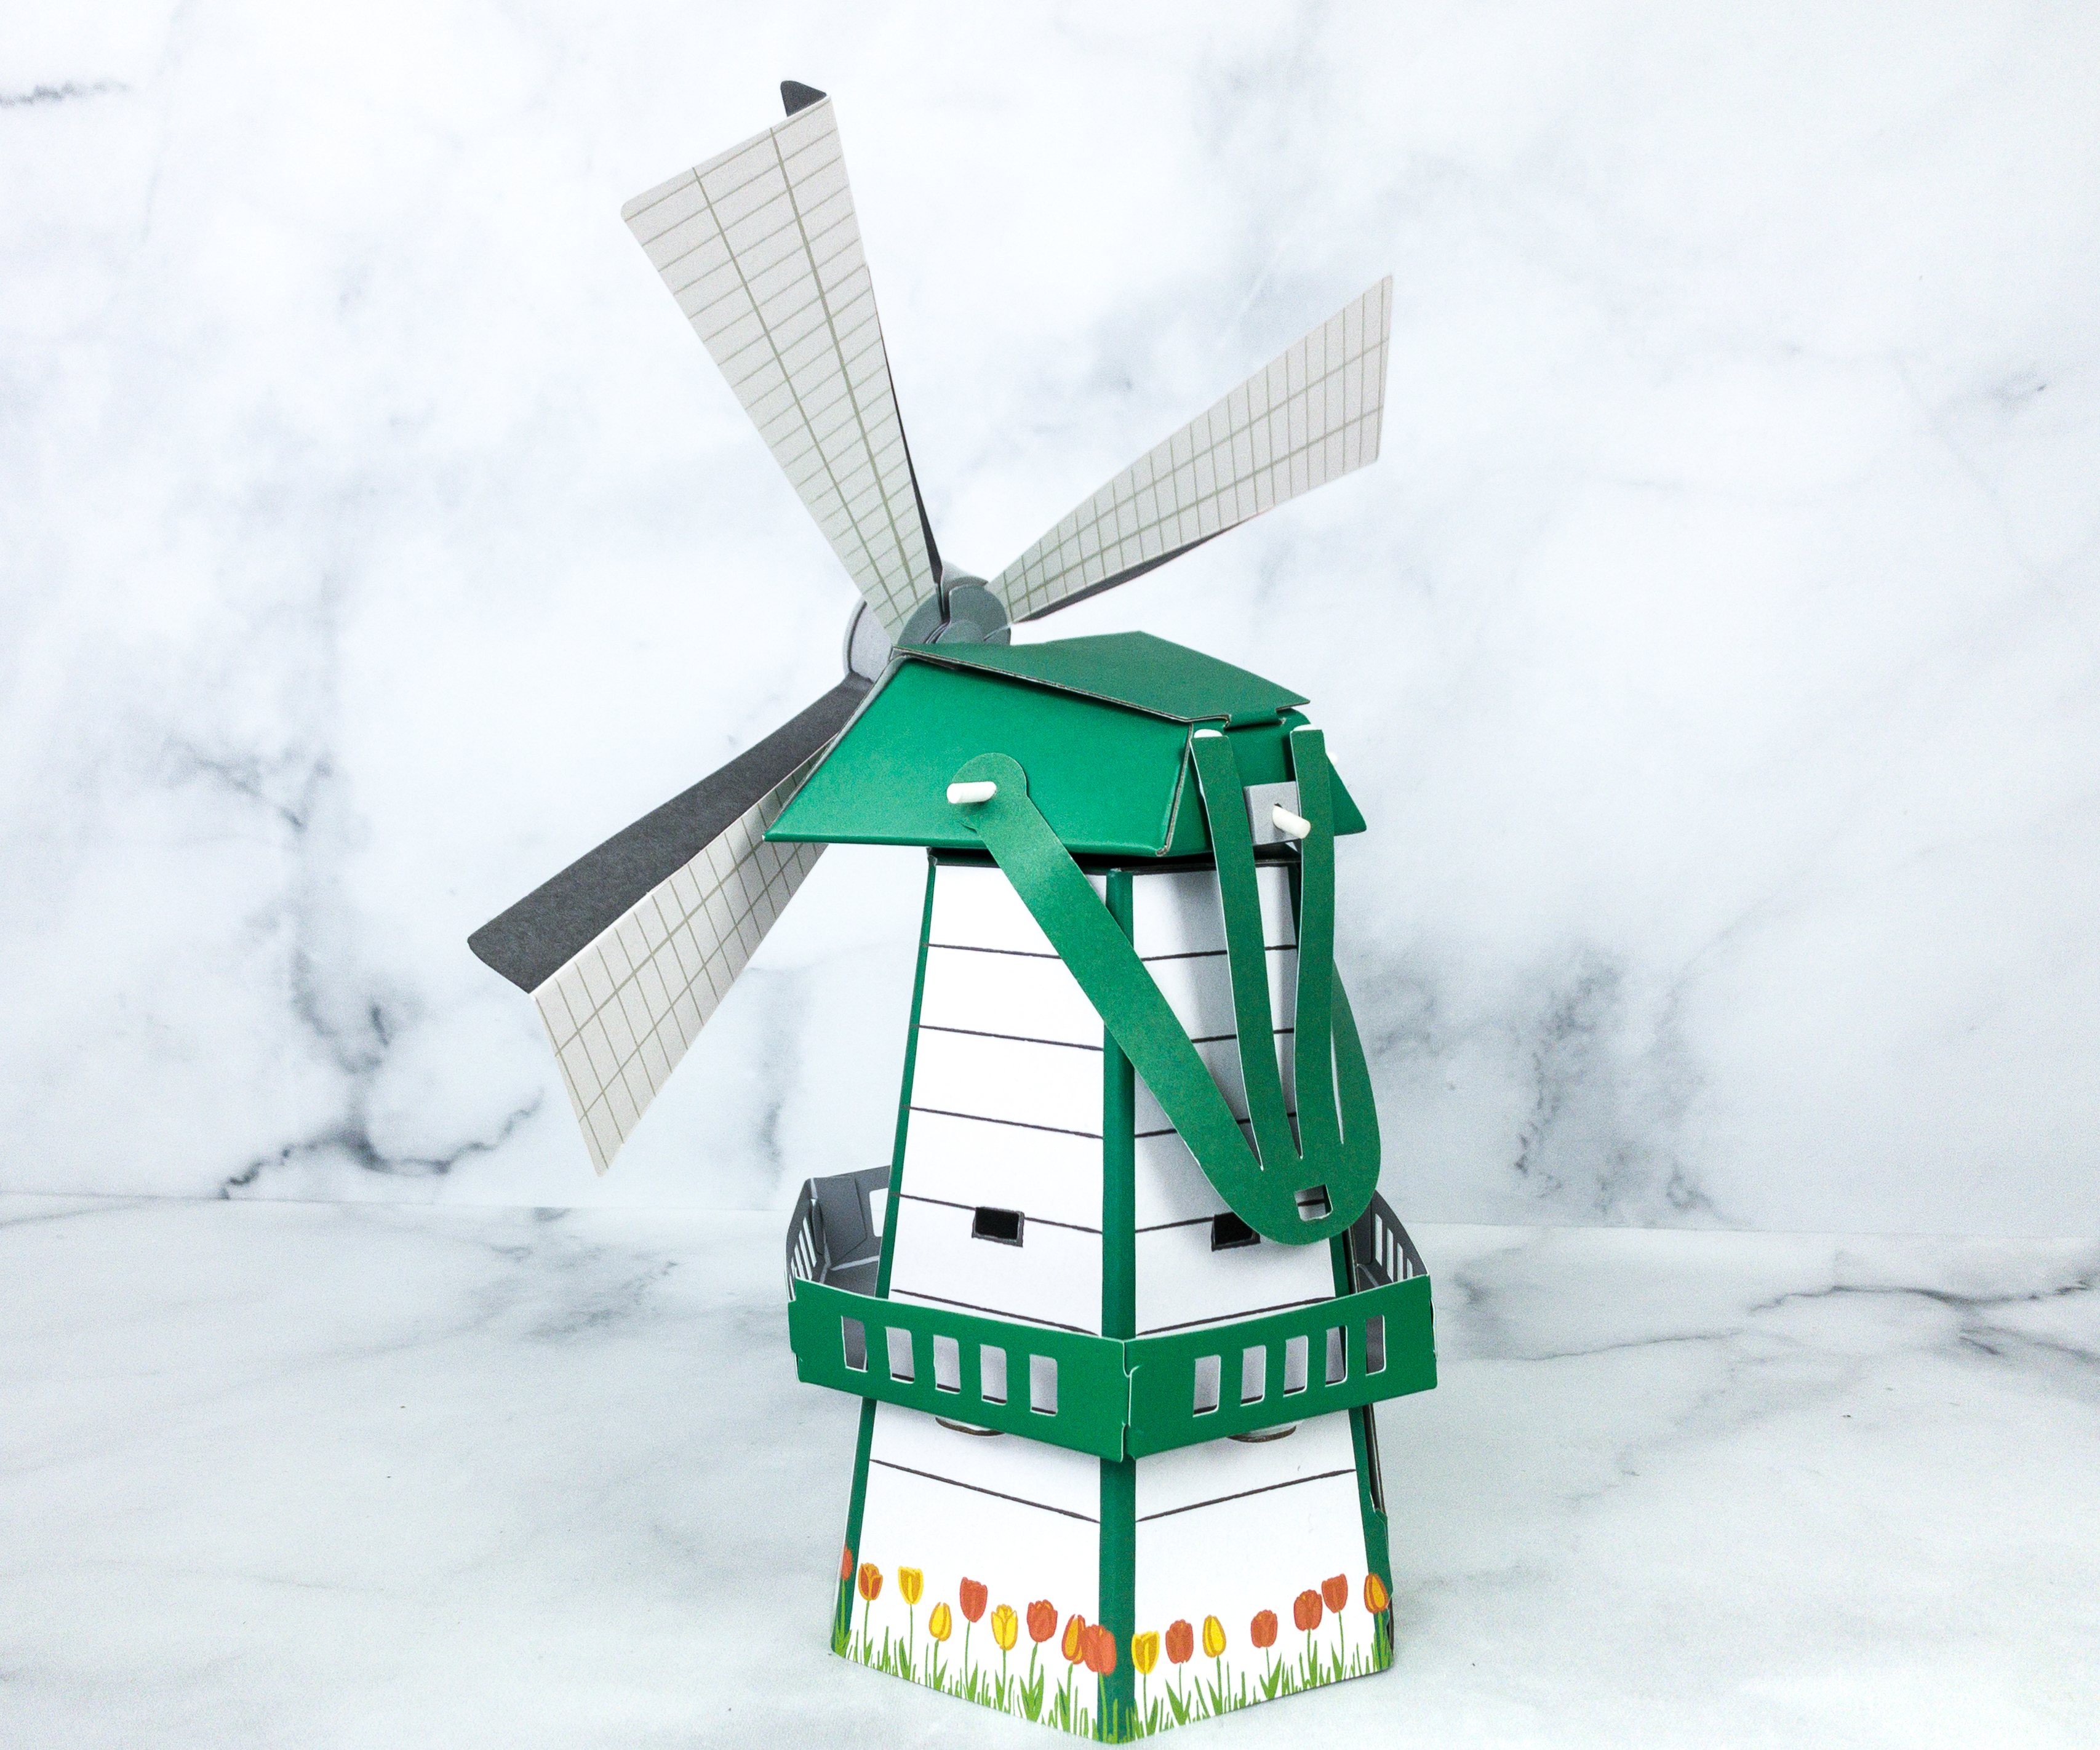
Lastly, line-up the hole at the base of the anchor with the hole on the building, and lock it in place using the anchor key. Stick the balcony piece on a tab and add the rest of the balcony pieces by tucking each balcony tab into the neighboring slot.
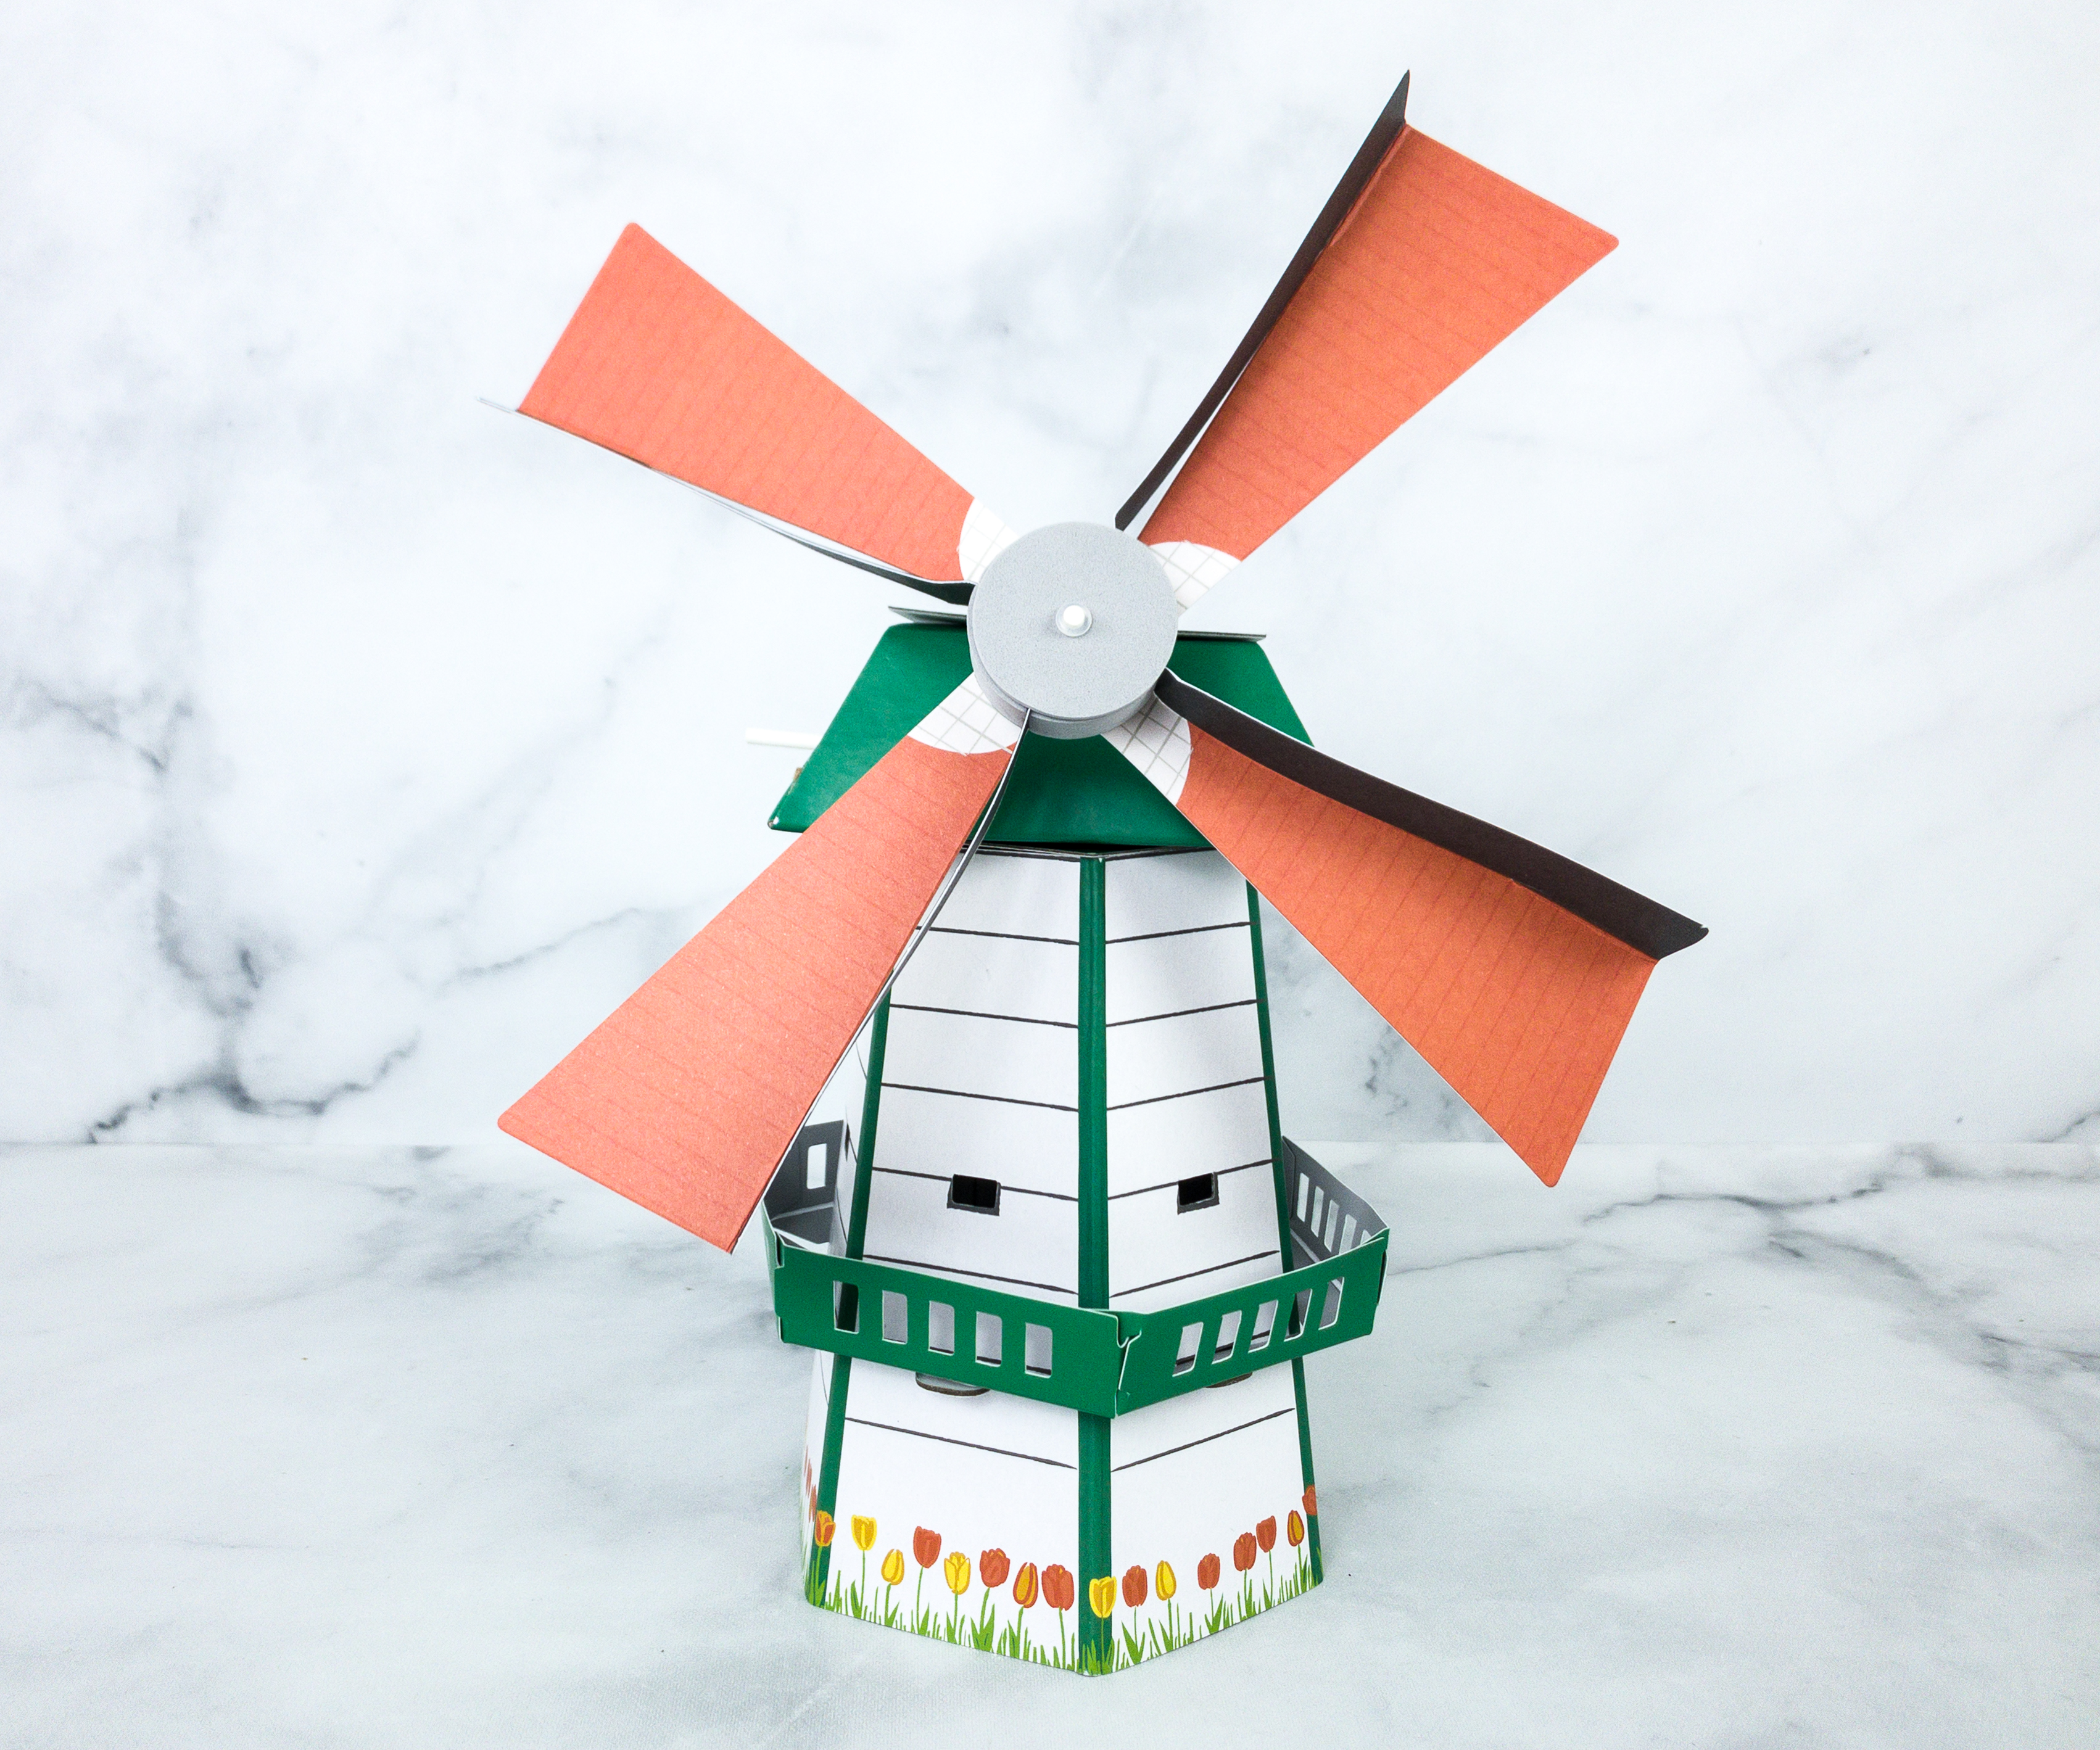
Here’s how the windmill should look like once completely done!

Activity #2: Starry Night Artwork. For the second project, we used a foam mat, frame, tree and moon template, tape, yarn, stand, and thin foam strips.
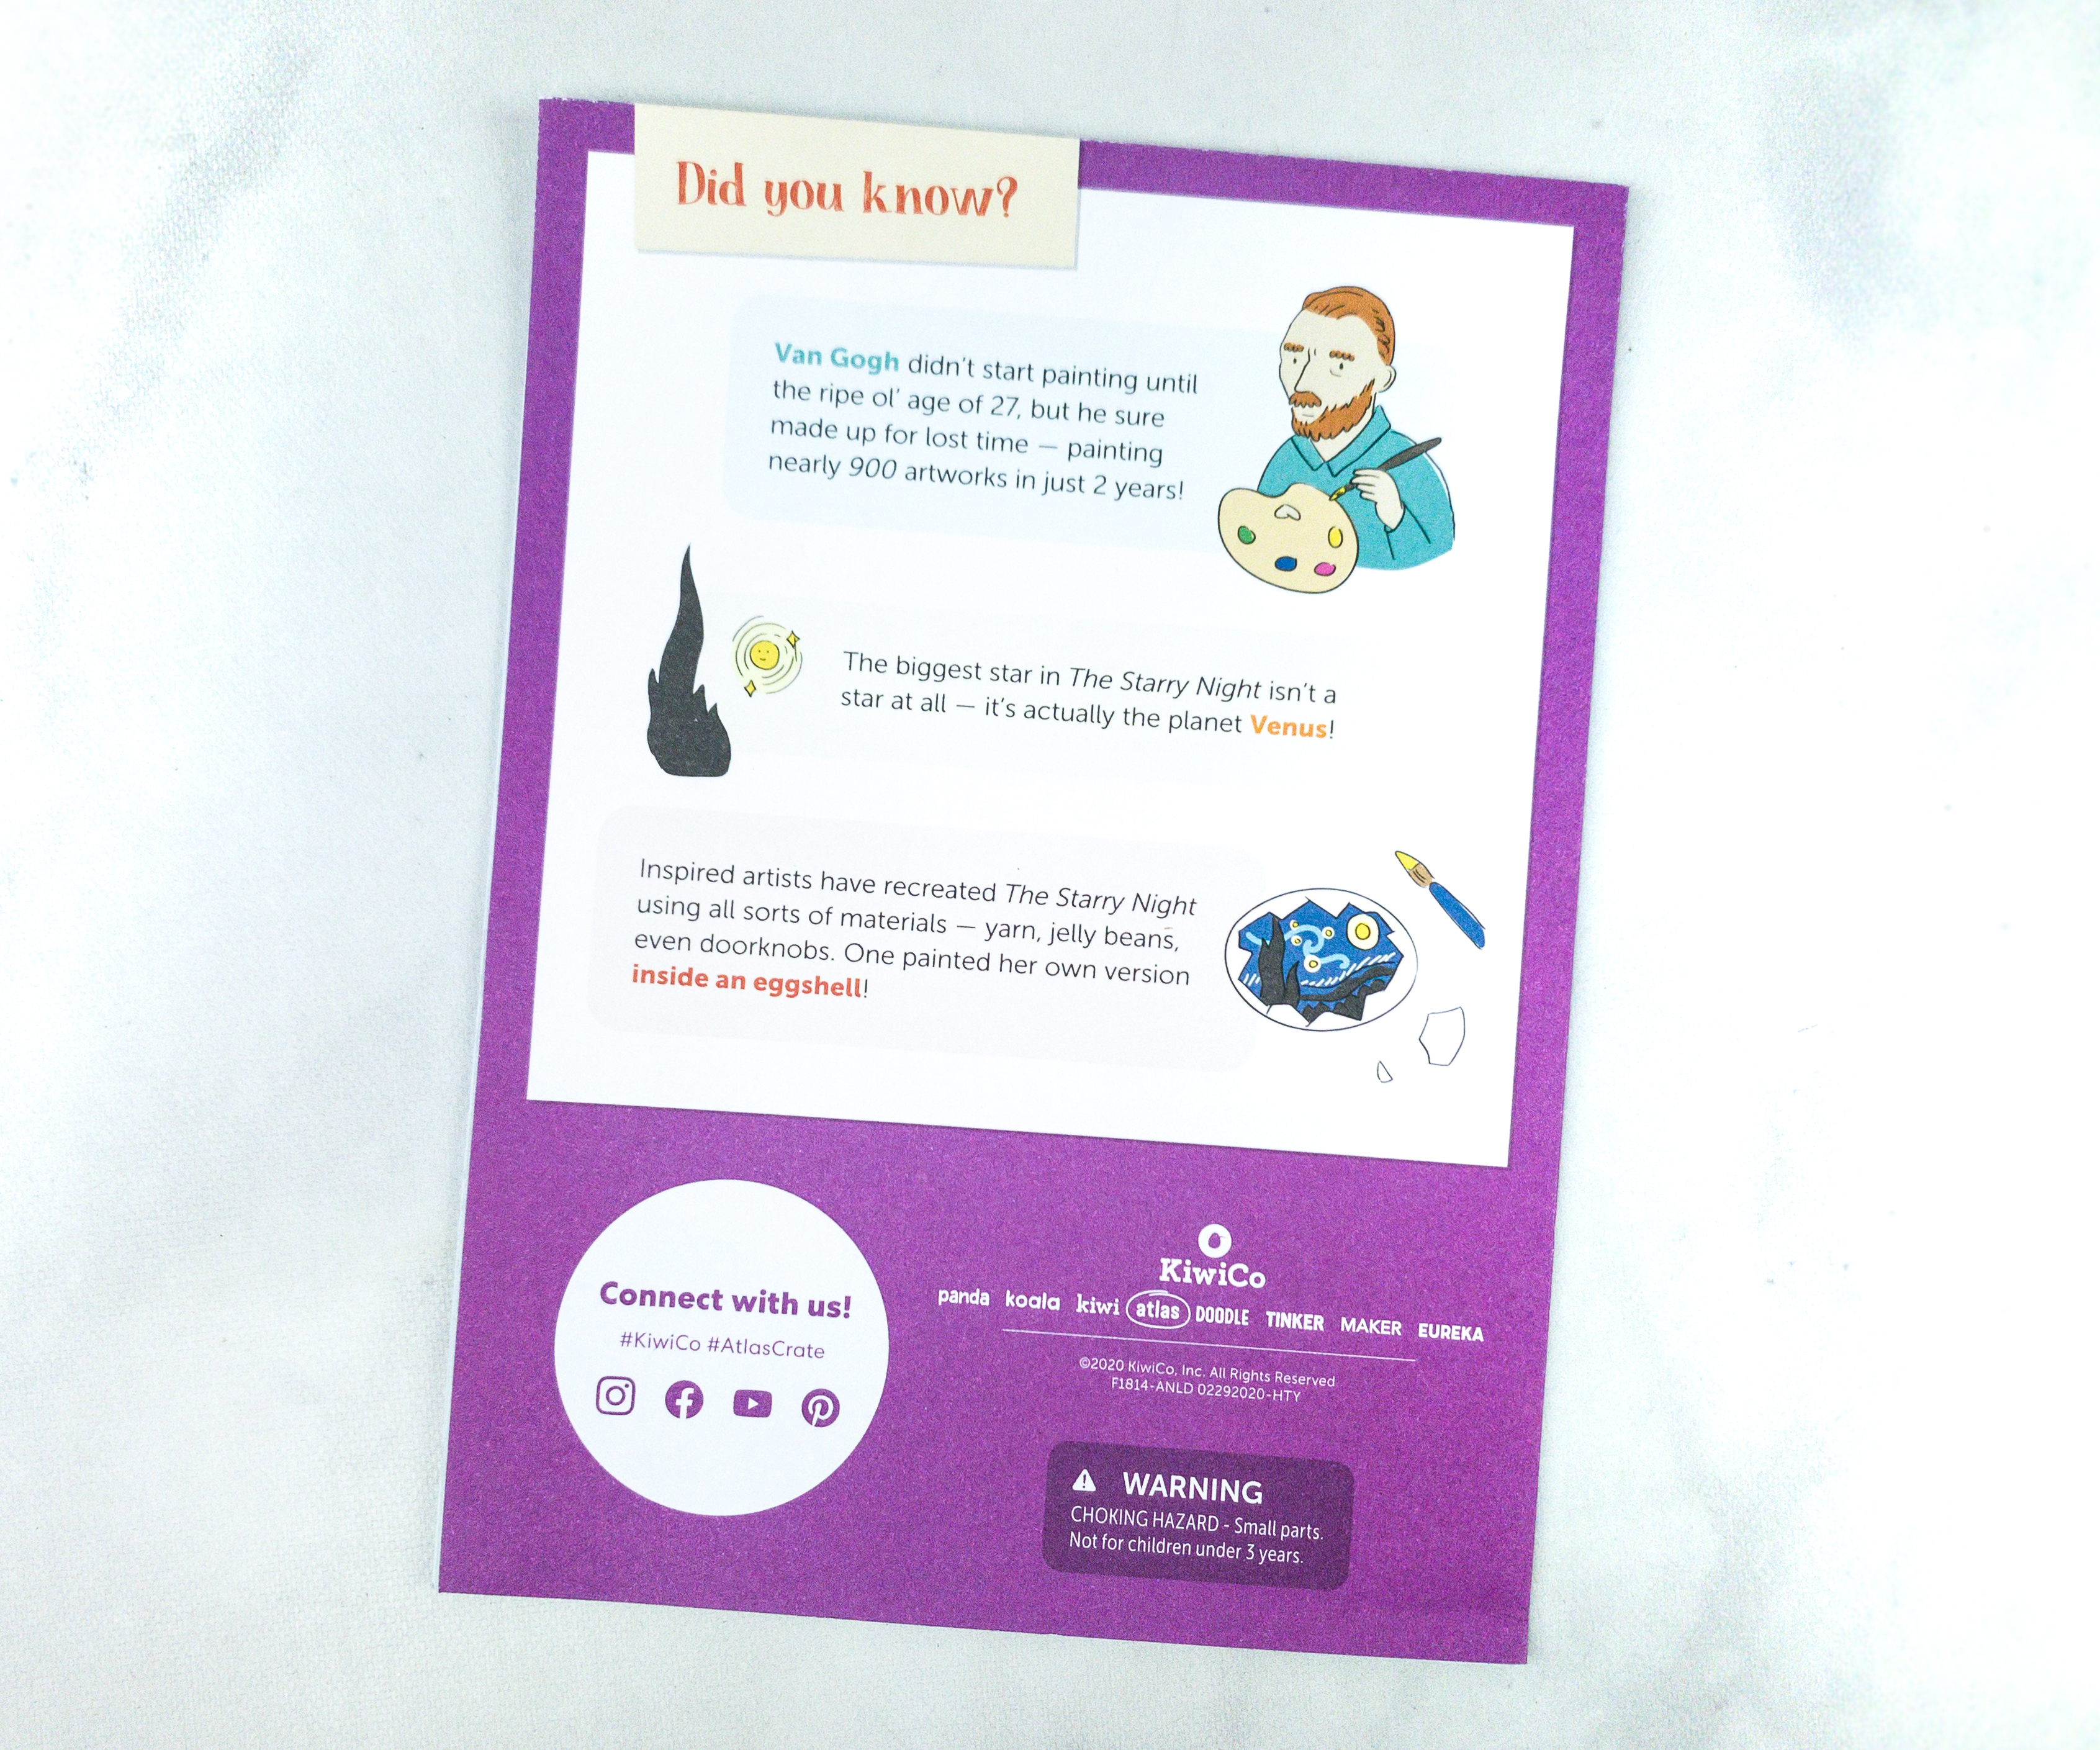
Featured at the back of the booklet are some fun facts about Van Gogh and his famous masterpiece, The Starry Night.
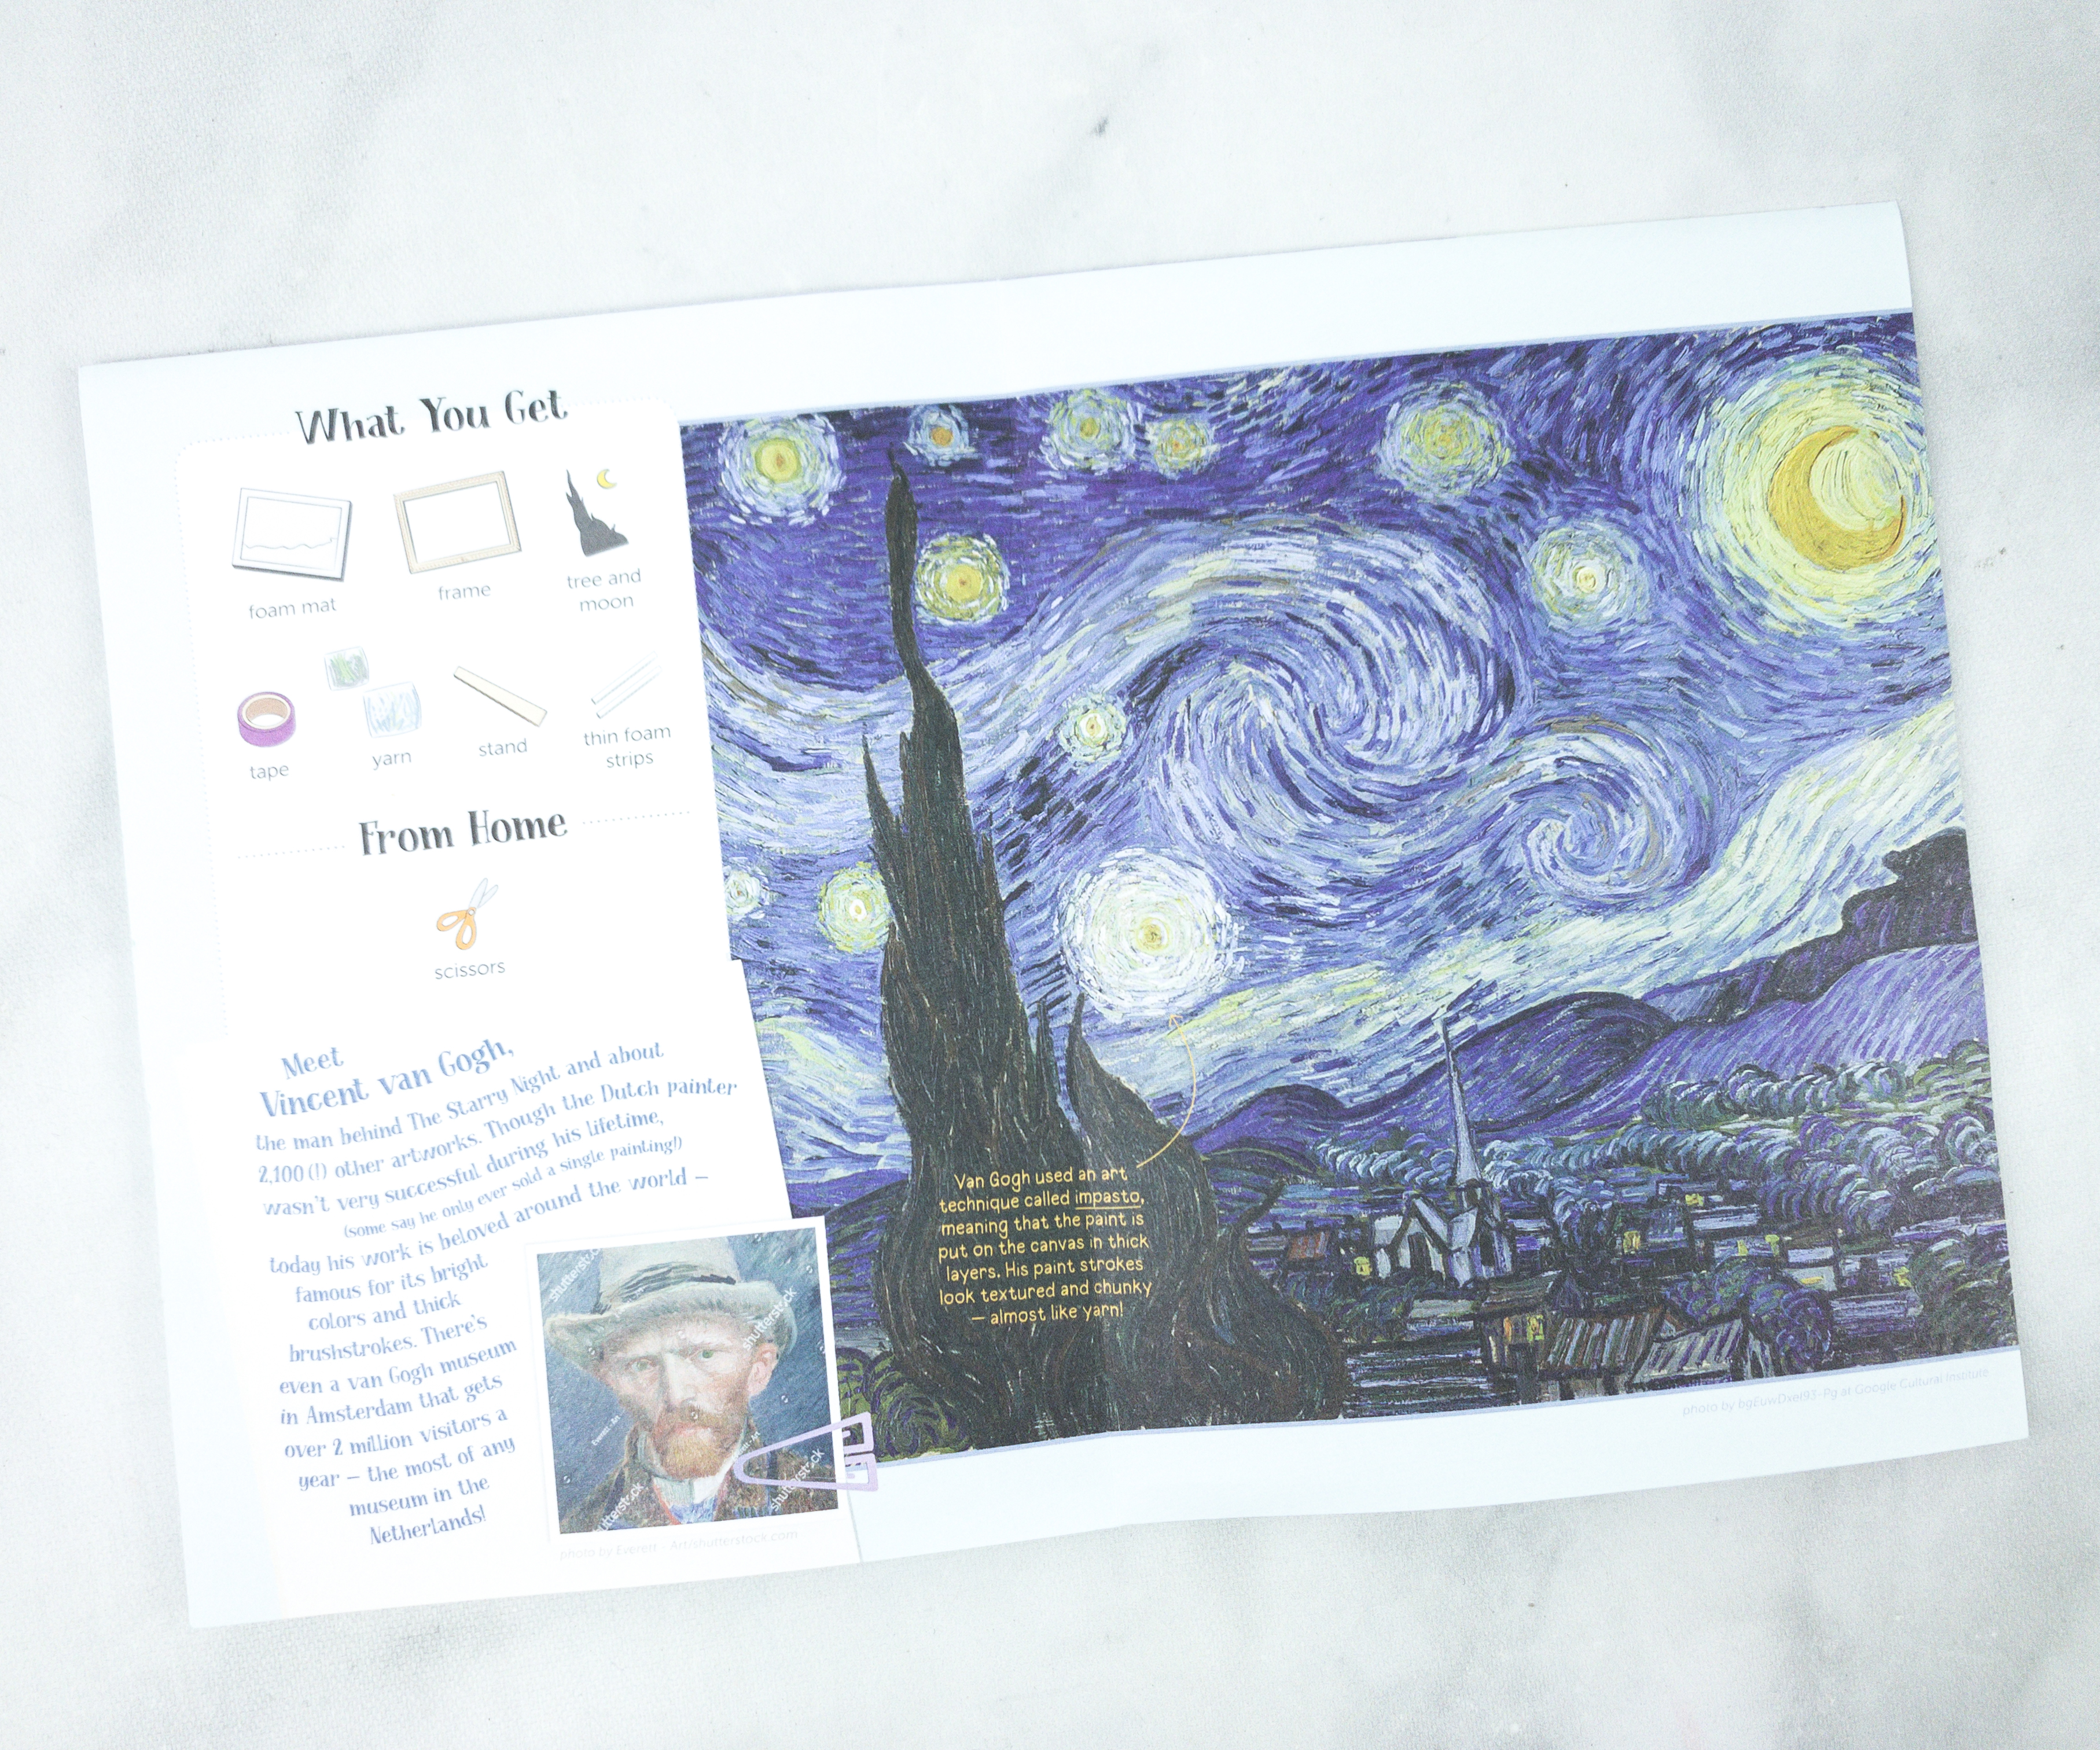
Vincent van Gogh. The man behind the Starry Night and about 2,100 other artworks. Though the Dutch painter wasn’t very successful during his lifetime, today his work is beloved around the world – famous for its bright colors and thick brushstrokes. There’s even a van Gogh museum in Amsterdam that gets over 2 million visitors a year – the most of any museum in the Netherlands!
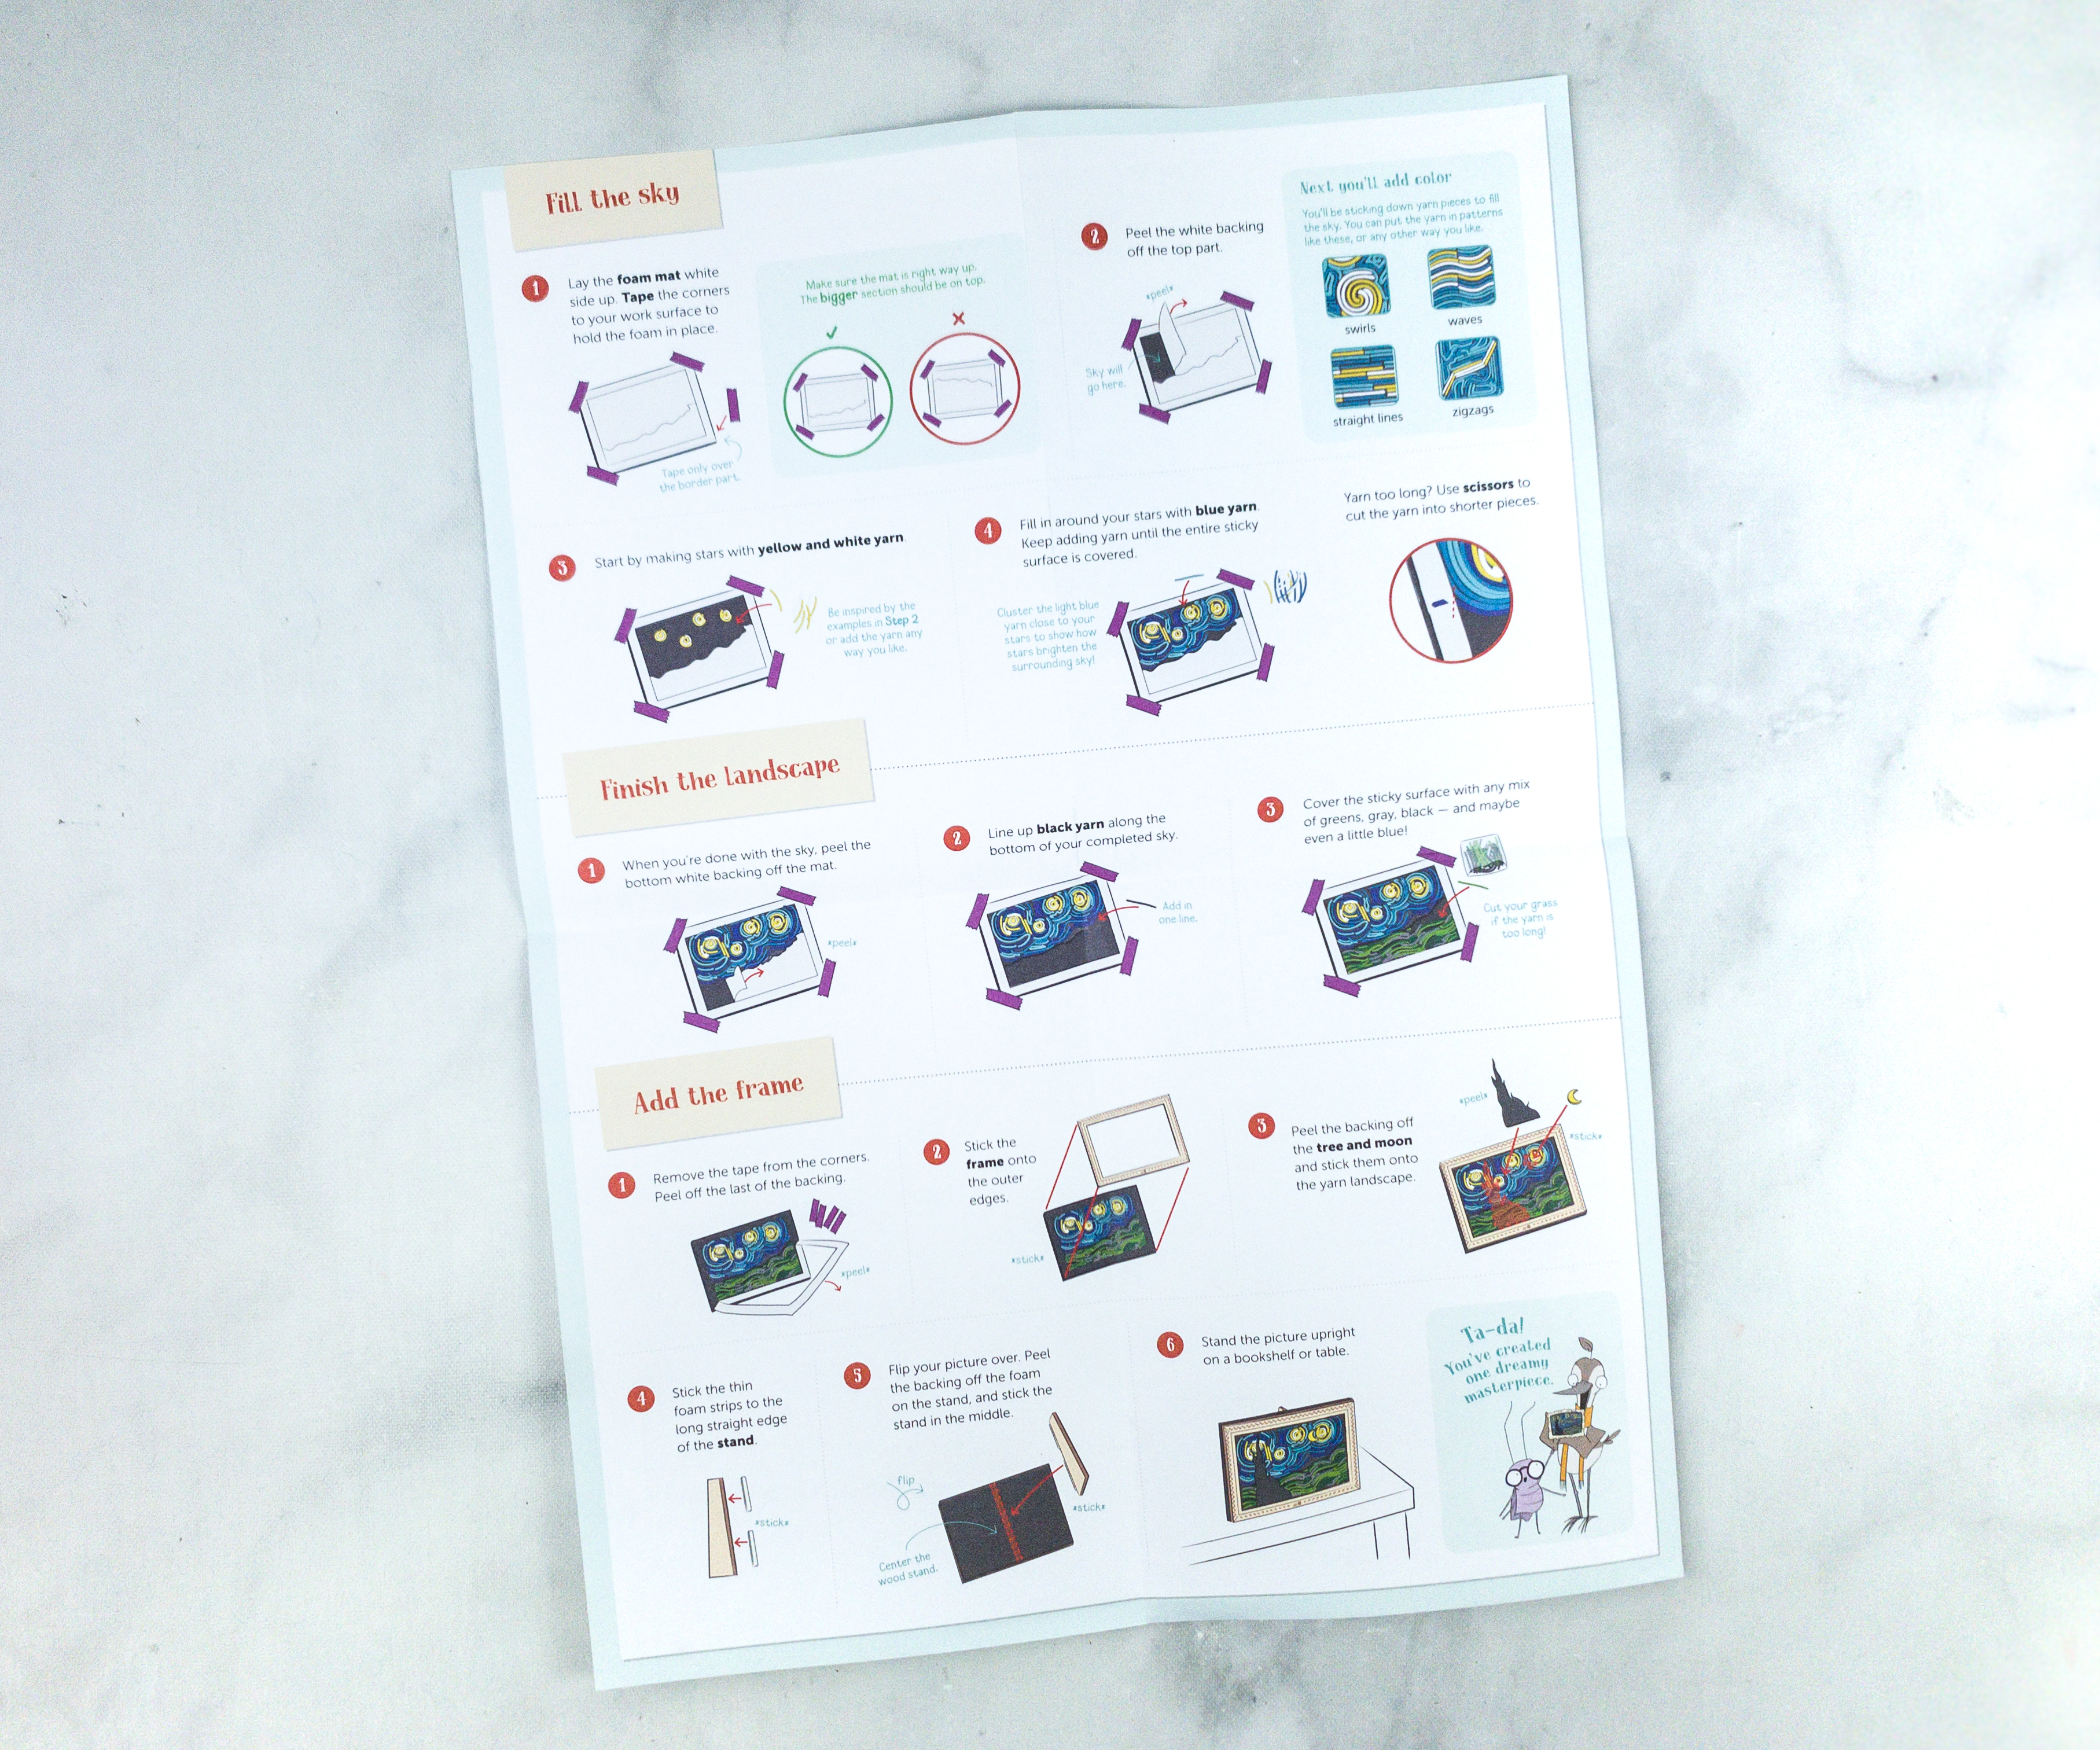
Just like the first activity, this booklet also came with a detailed instruction sheet.
First, lay the foam mat with the white side up. Tape the corners of the frame to make sure that it won’t easily be moved while you are working on it.
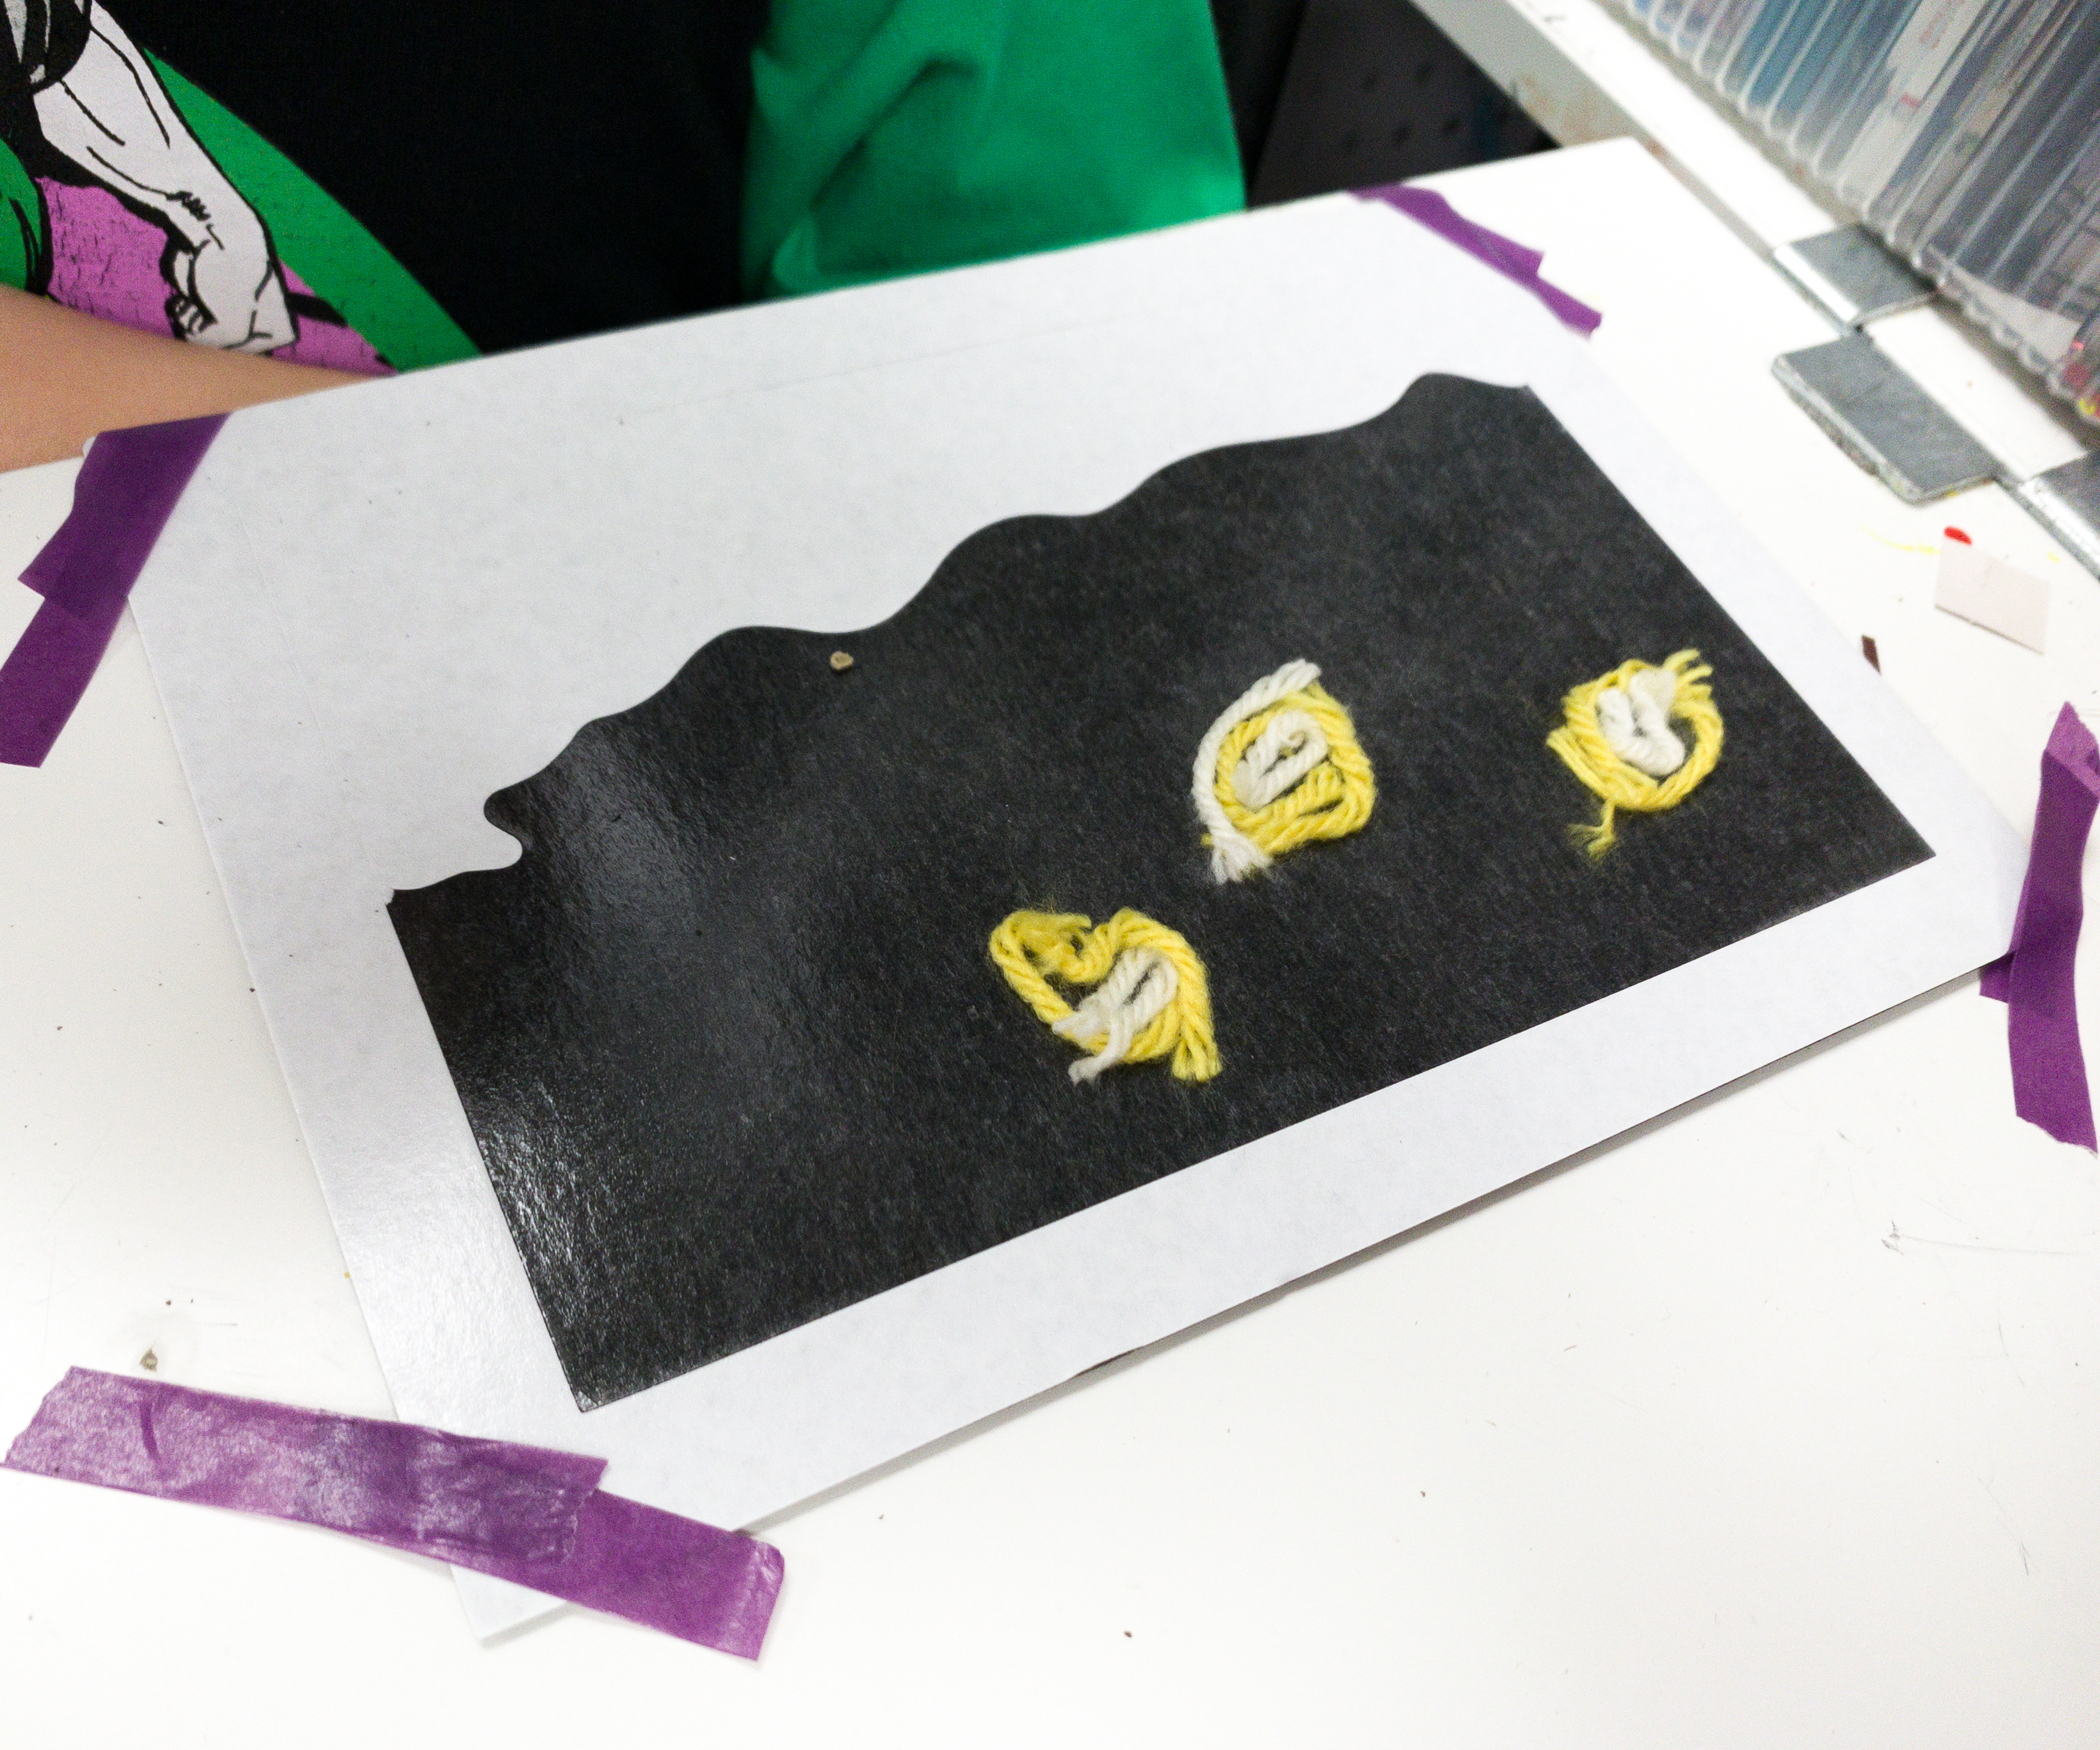
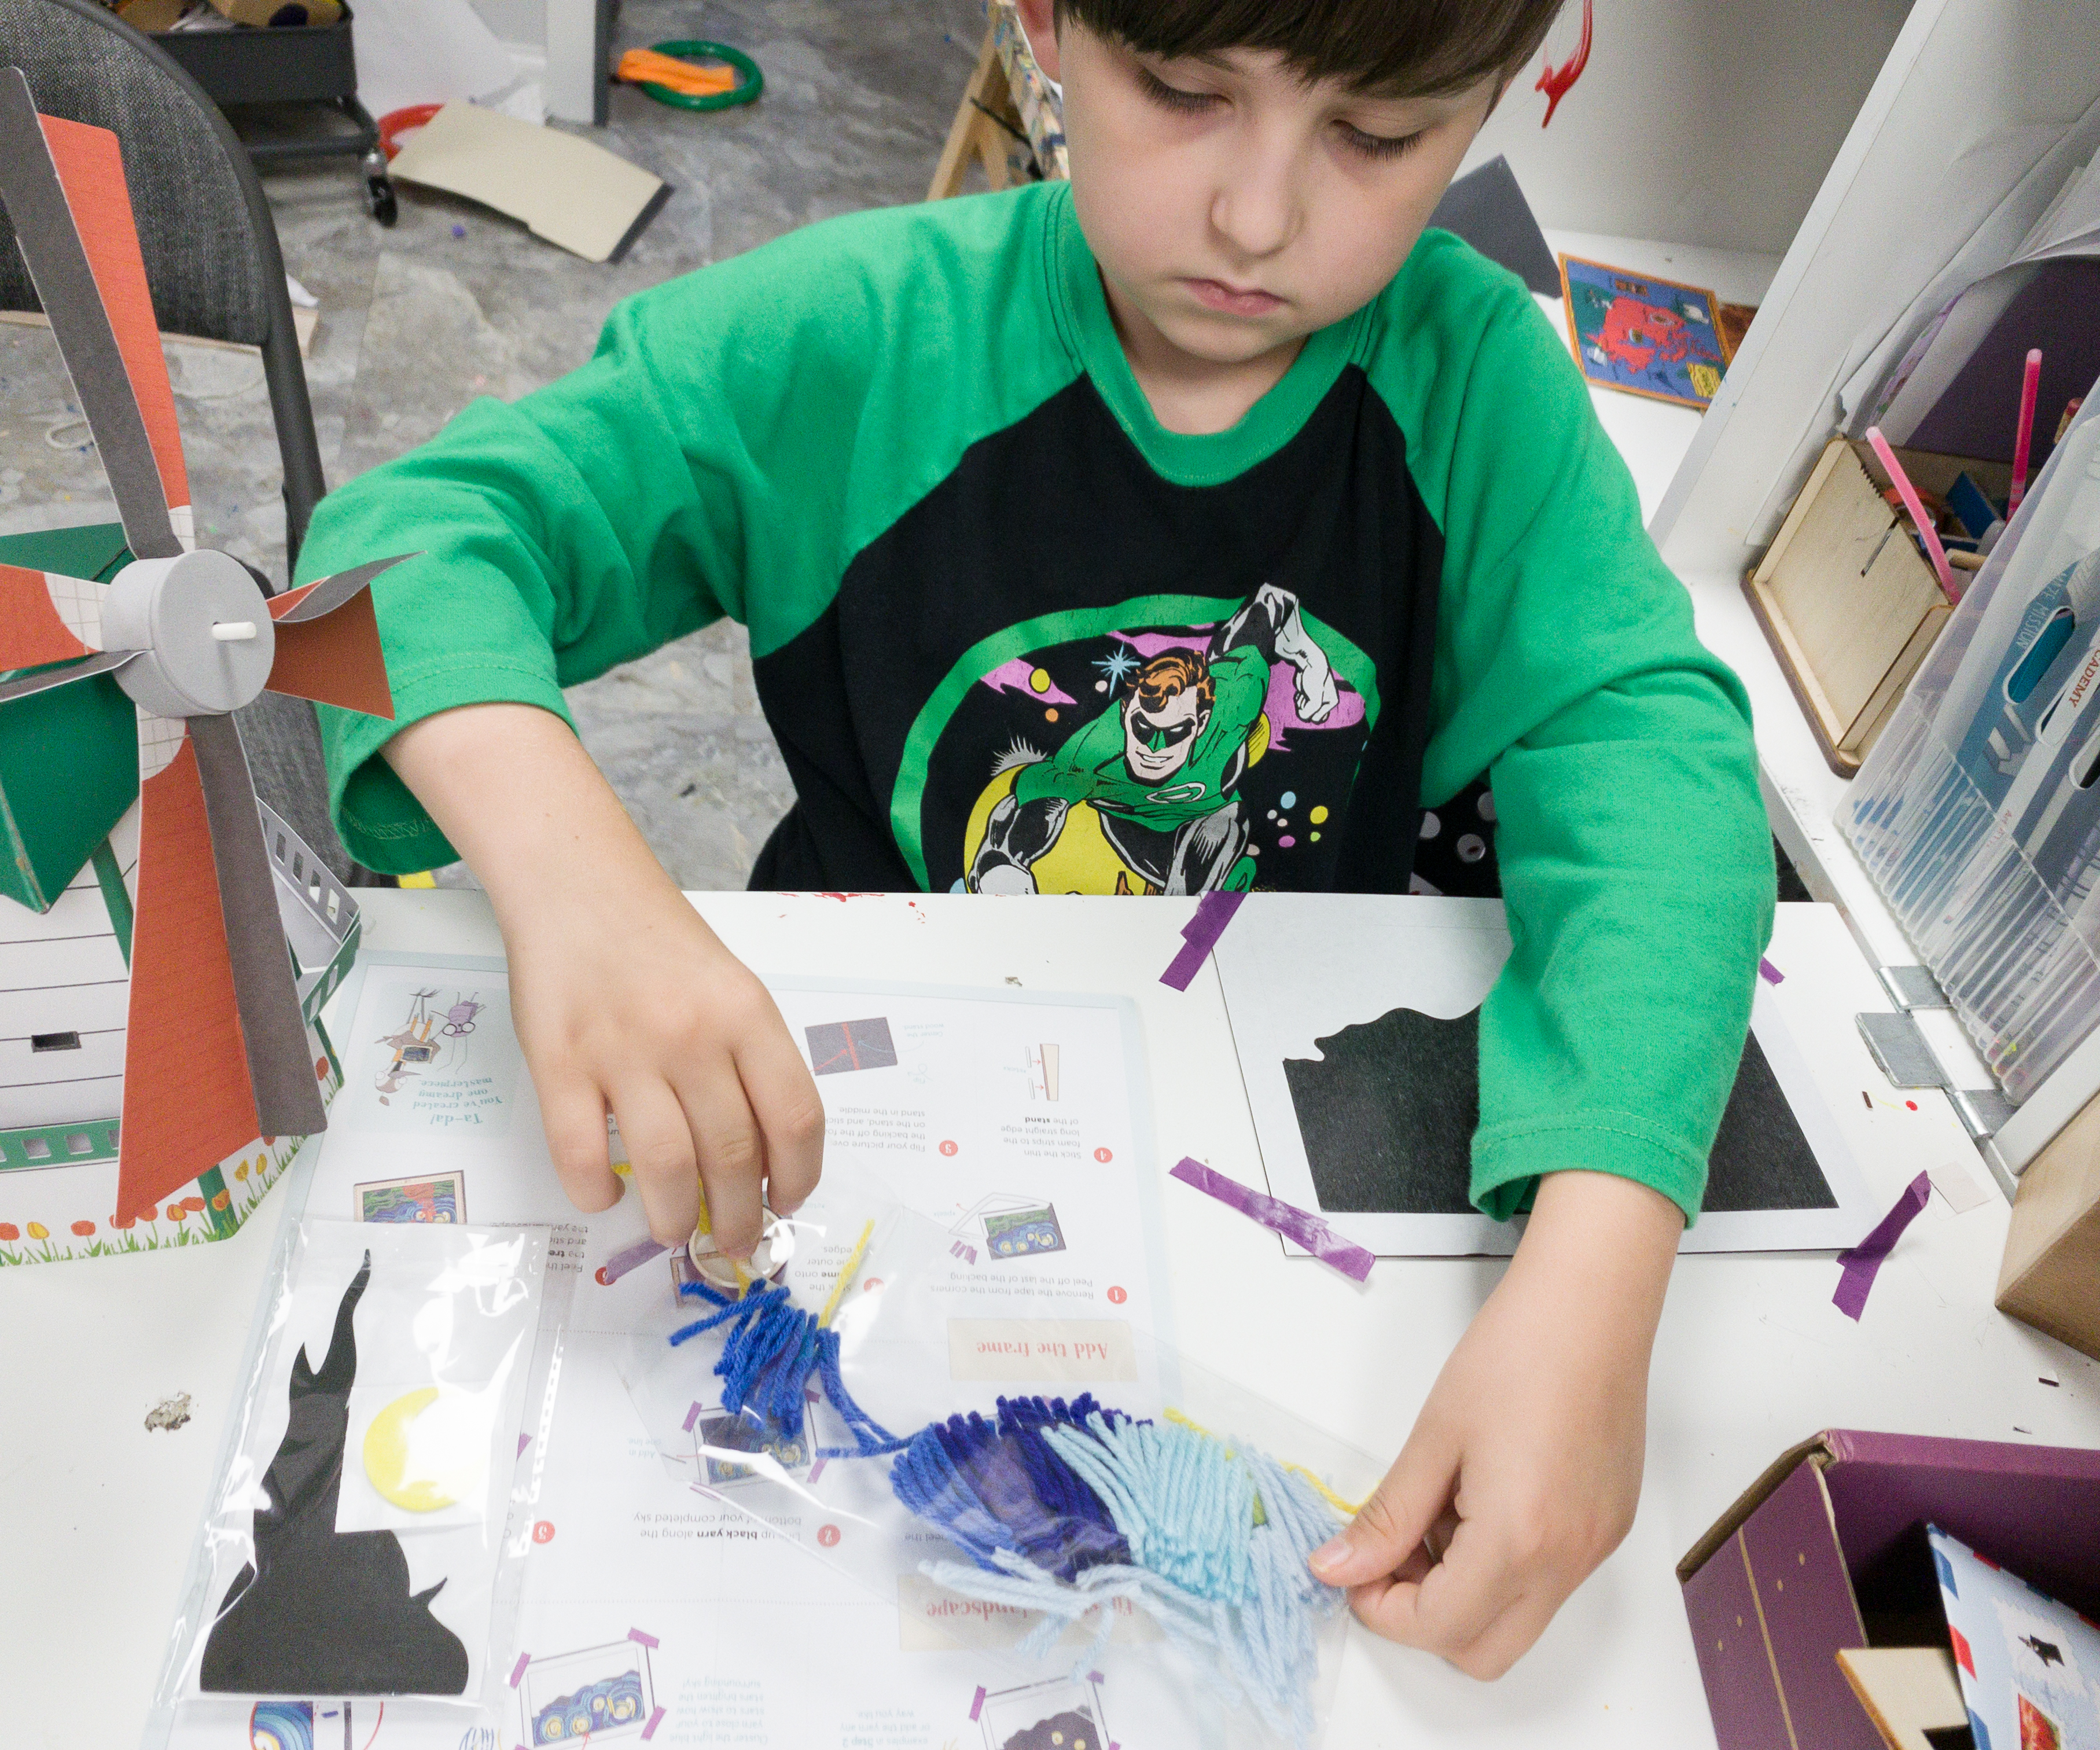
Next, peel the white backing off the top part and start making stars using the yellow and white yarns.
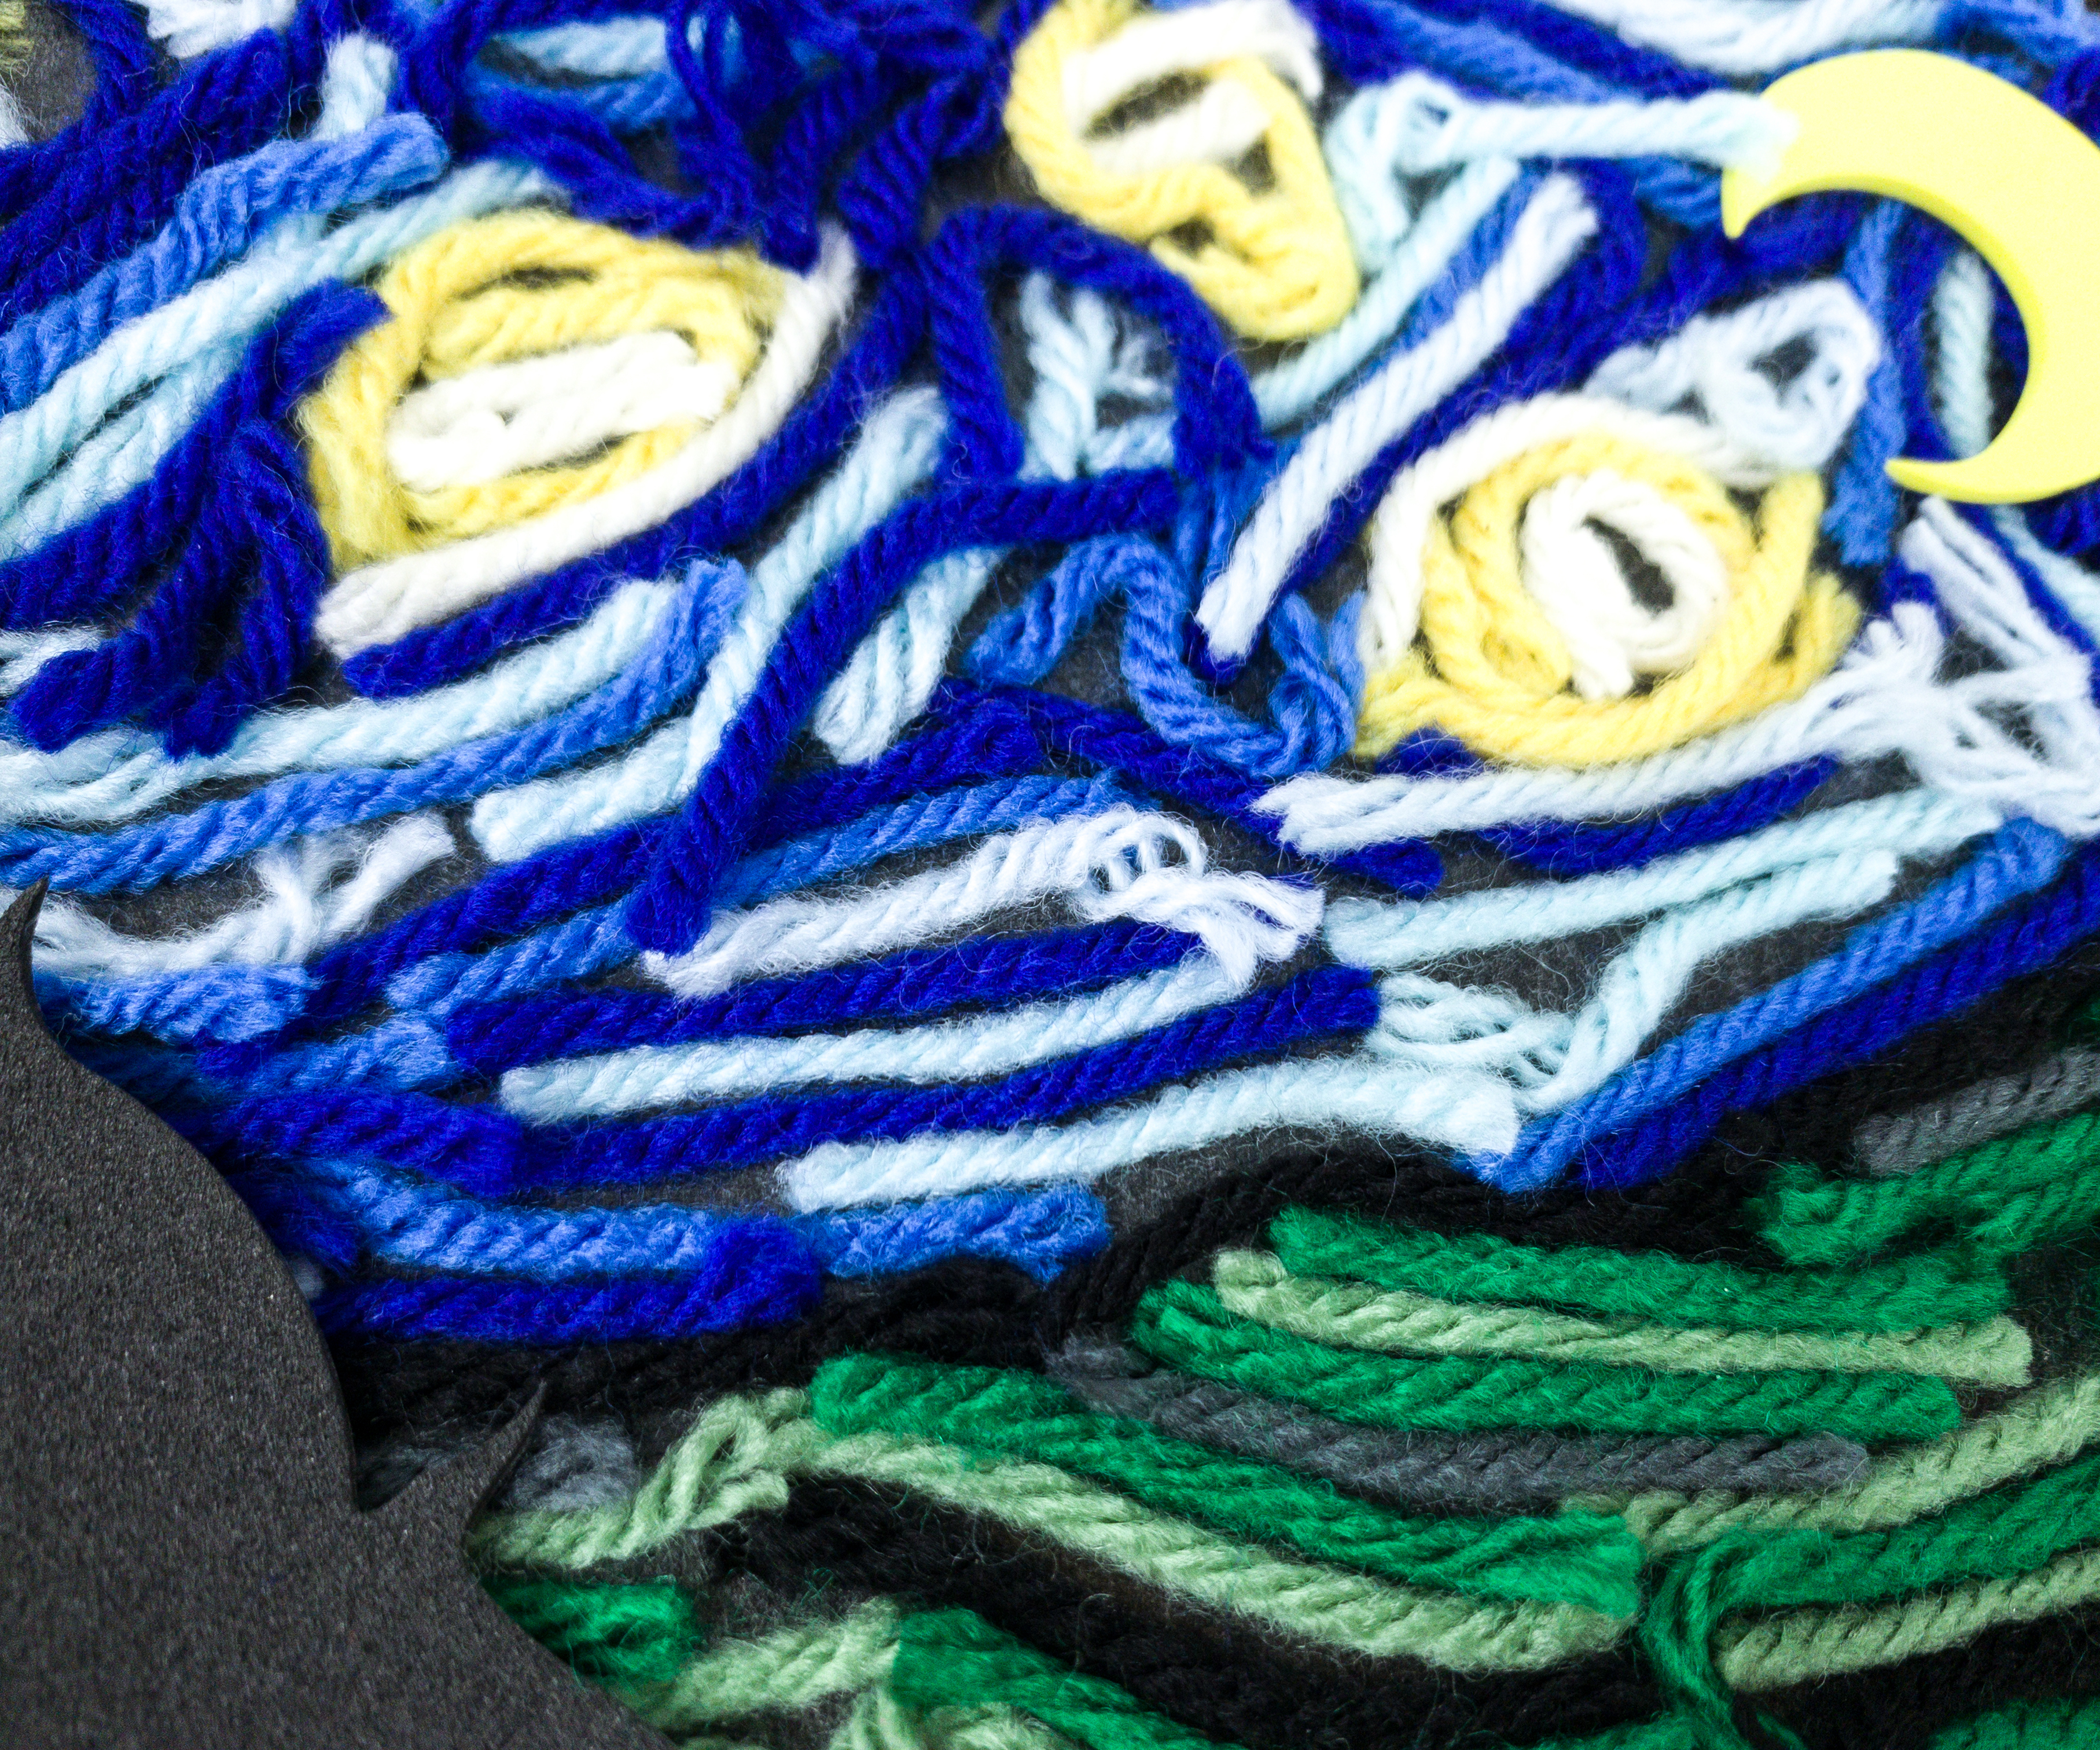
Once the upper part of the frame is filled with blue yarn, you can now peel the rest of the sticky frame and line up the black yarn along the bottom of your completed sky. It serves as the boundary between the sky and the ground.
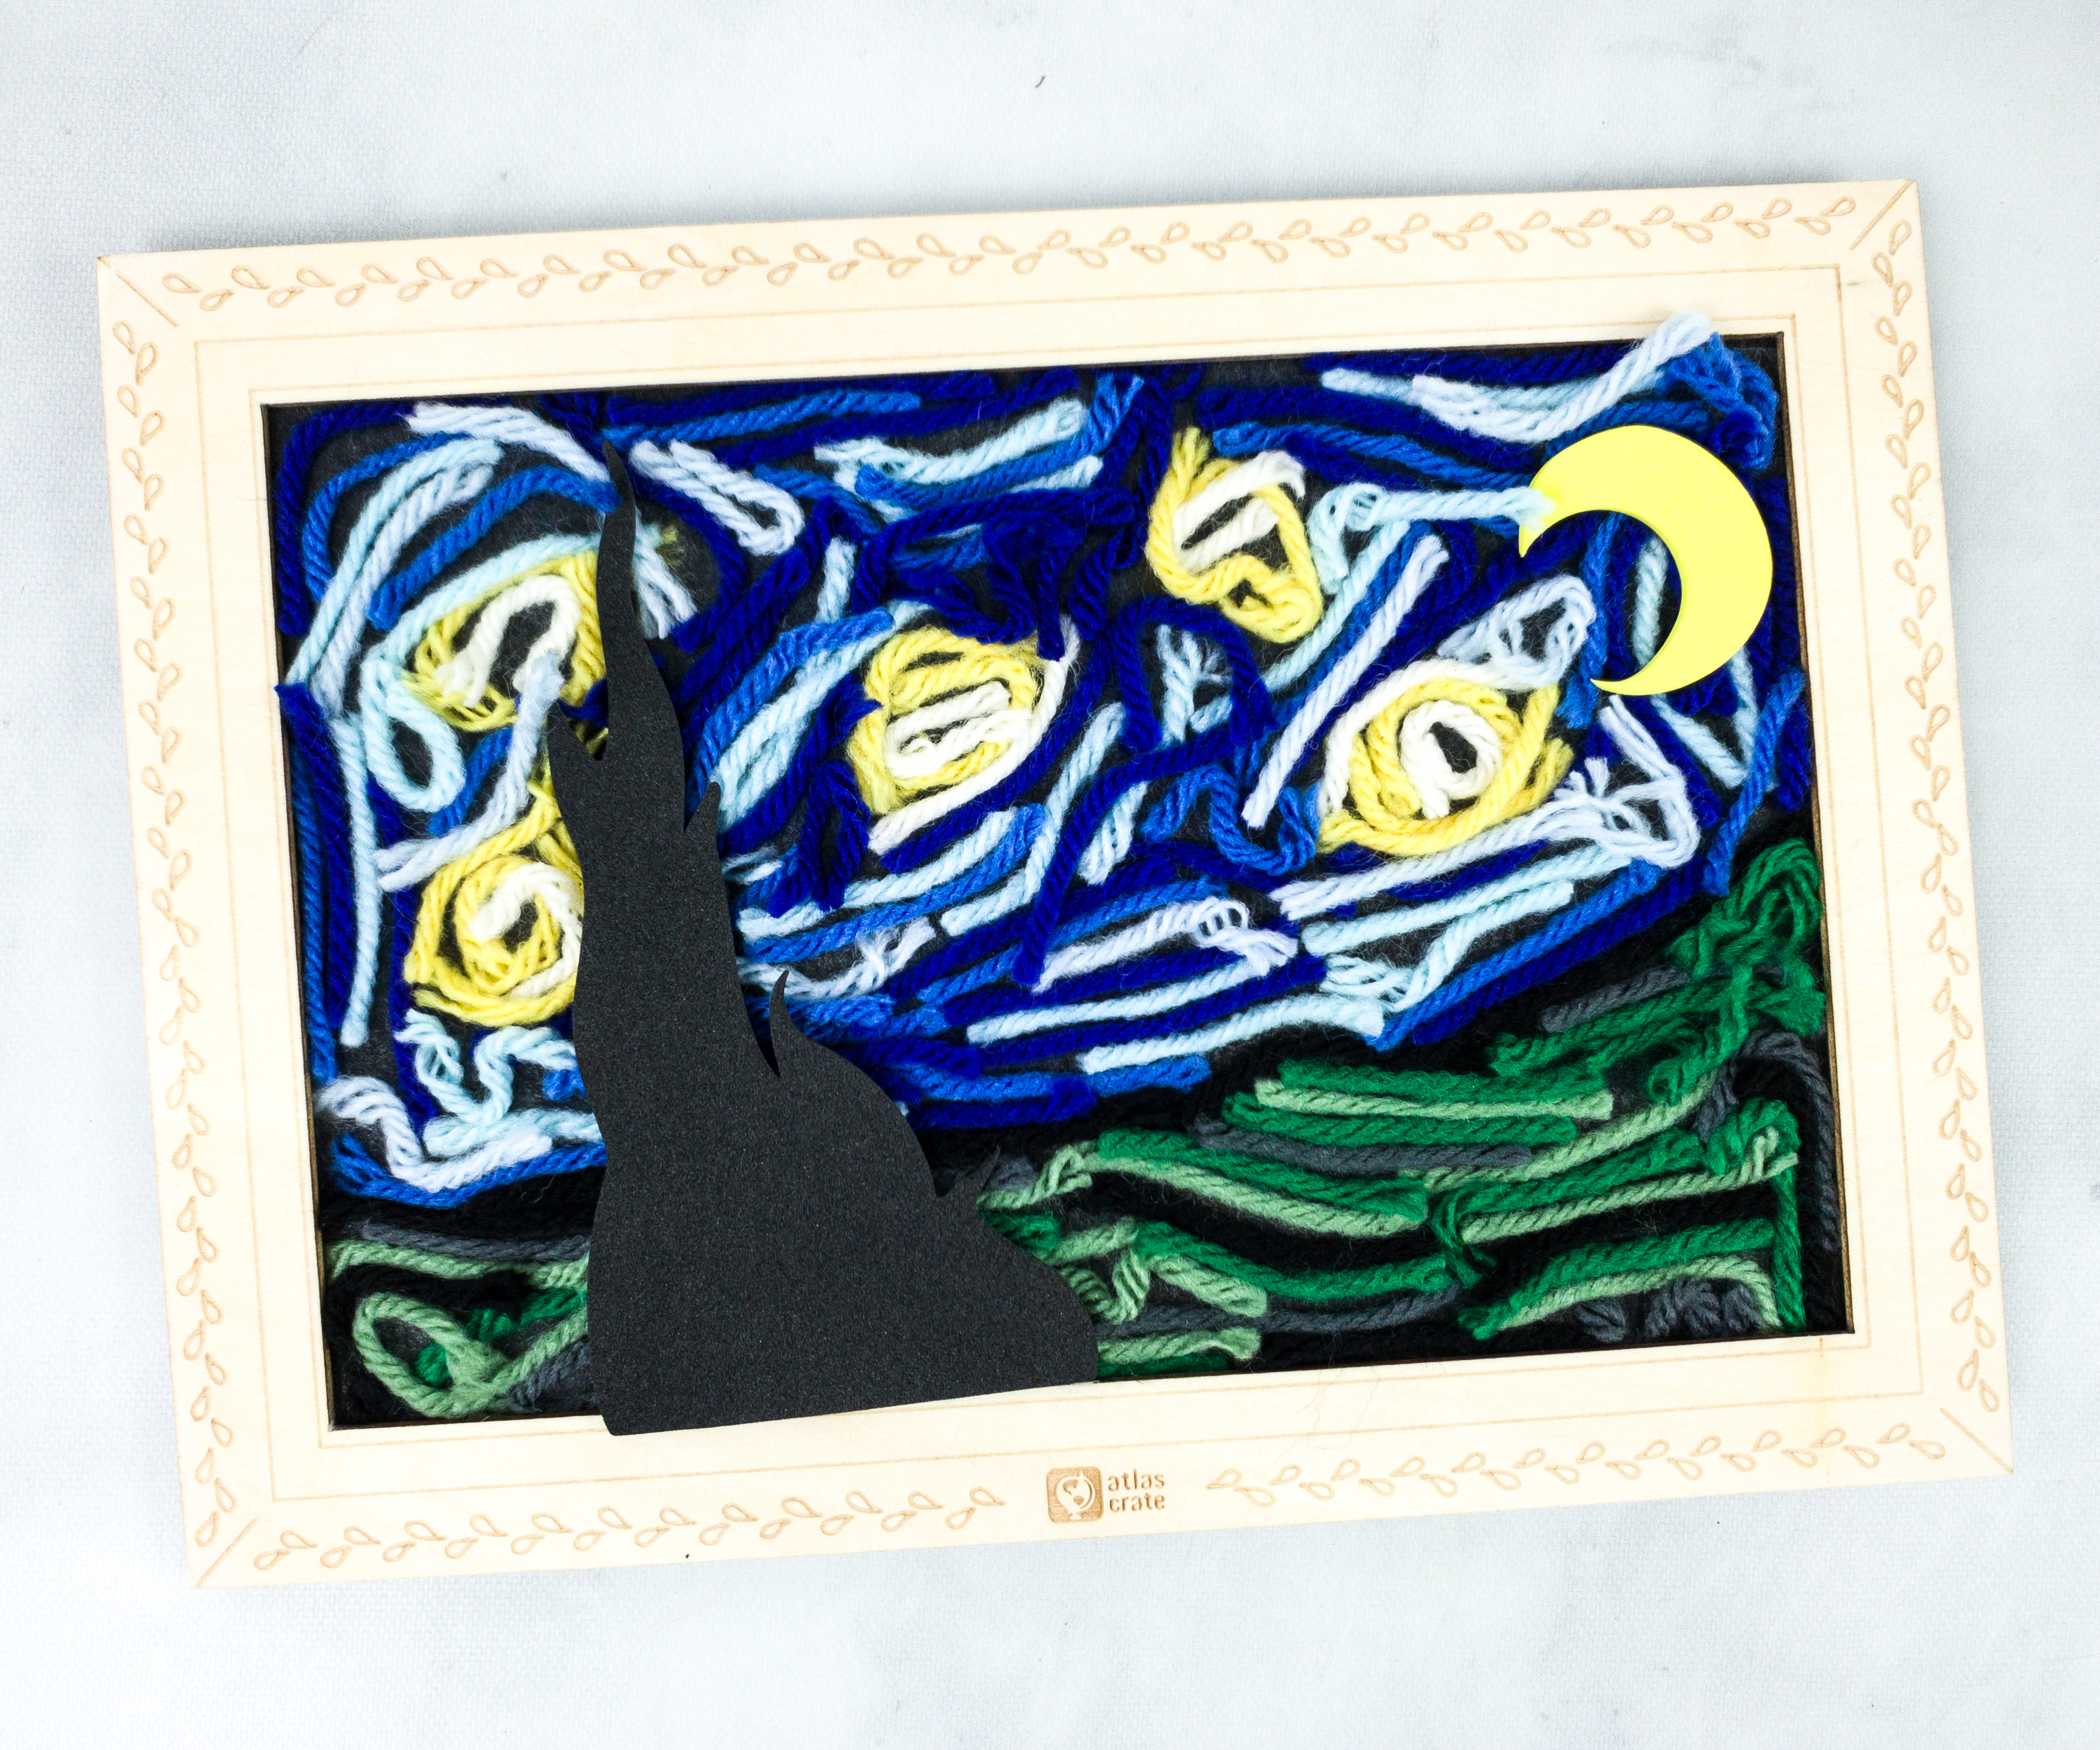
Now, cover the rest of the sticky surface using the green and gray yarns! I absolutely LOVE how this turned out!

Remove the tape from the corners, and stick the frame onto the outer edges, and add the tree and the moon cutouts and stick them onto the yarn landscape.

Finally, stick the thin foam strips to the long straight edge of the stand and stick the stand in the middle part of the frame.
This month’s Atlas Crate brought us to The Netherlands, a beautiful country that is filled with fantastic history, culture, and beautiful places! My kids enjoyed everything in this crate, from the activities, recipes, trivia, and of course their amazing projects that feature a great connection with the highlighted country. My children have learned a lot of fascinating things about The Netherlands, like their beautiful tulips and amazing windmills. My kids also enjoyed their homemade Speculaas cookies! All in all, it gave us an excellent experience. The crate made a fun bonding time for time for our family. It’s great for homeschoolers or just about anyone looking for fun, hands-on activity boxes for children!
What do you think of KiwiCo’s Atlas Crate?


Comments