Raddish is a monthly kids’ activity box centering around food and cooking! Designed for kids 4 to 14+, each themed box will include 3 illustrated recipe guides, 3 culinary skill cards, a creative kitchen project, kid-friendly tools and collectibles such as Table Talk cards, a culinary tool, and an iron-on Raddish patch. Themes range from Seasonal Spotlights to Global Cuisine and Creative Cookery to Holiday Celebrations. Although the ingredients are not included, they email you a shopping list for each month’s recipes before your kit is shipped.
DEALS:
- Get $20 off on a 12 month membership! Use coupon code CHEF20.
- Get a FREE Apron with 6+ month membership! Deal applies automatically, just VISIT AND SUBSCRIBE.
They offer a monthly membership for $24/month, a 6-month membership for an upfront payment of $132 ($22/month), and a 12-month membership for an upfront payment of $240 ($20/month). For those who are getting the 6 and 12-month memberships, expect a free apron in your box.
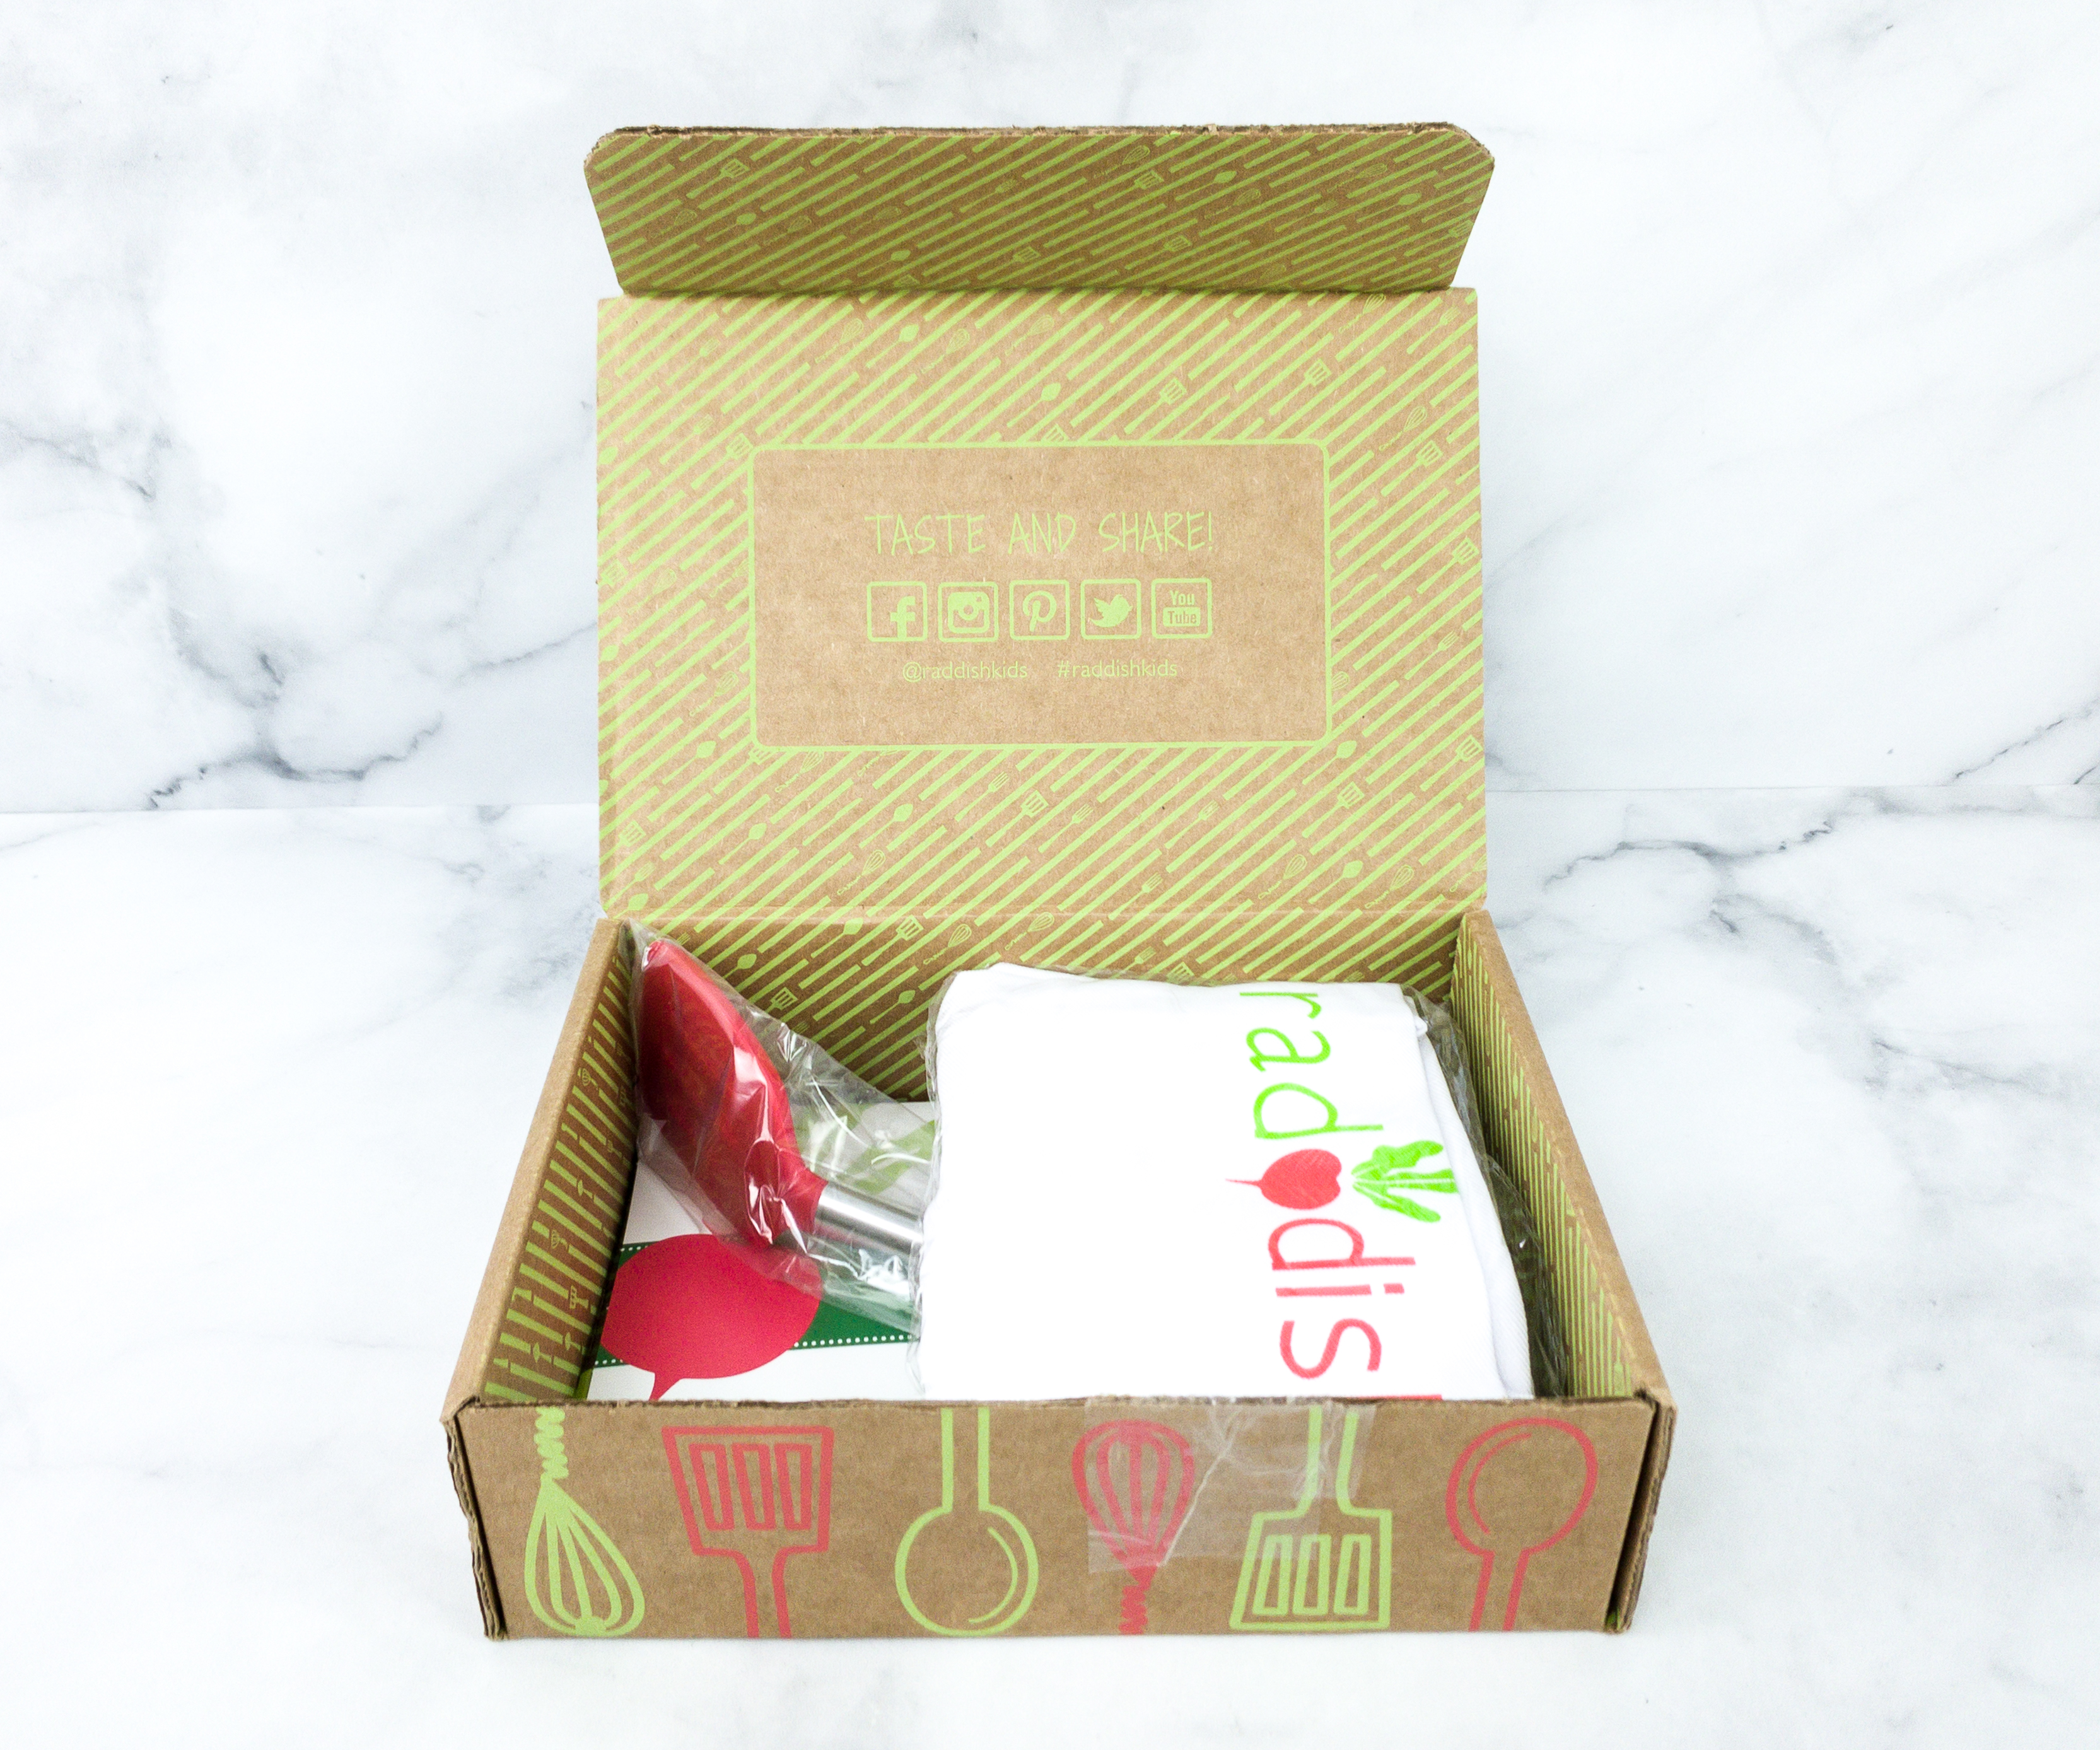
Featured on the inner part of the box’s flap are Raddish Kids’ social media handles where you can share your cooking experience.
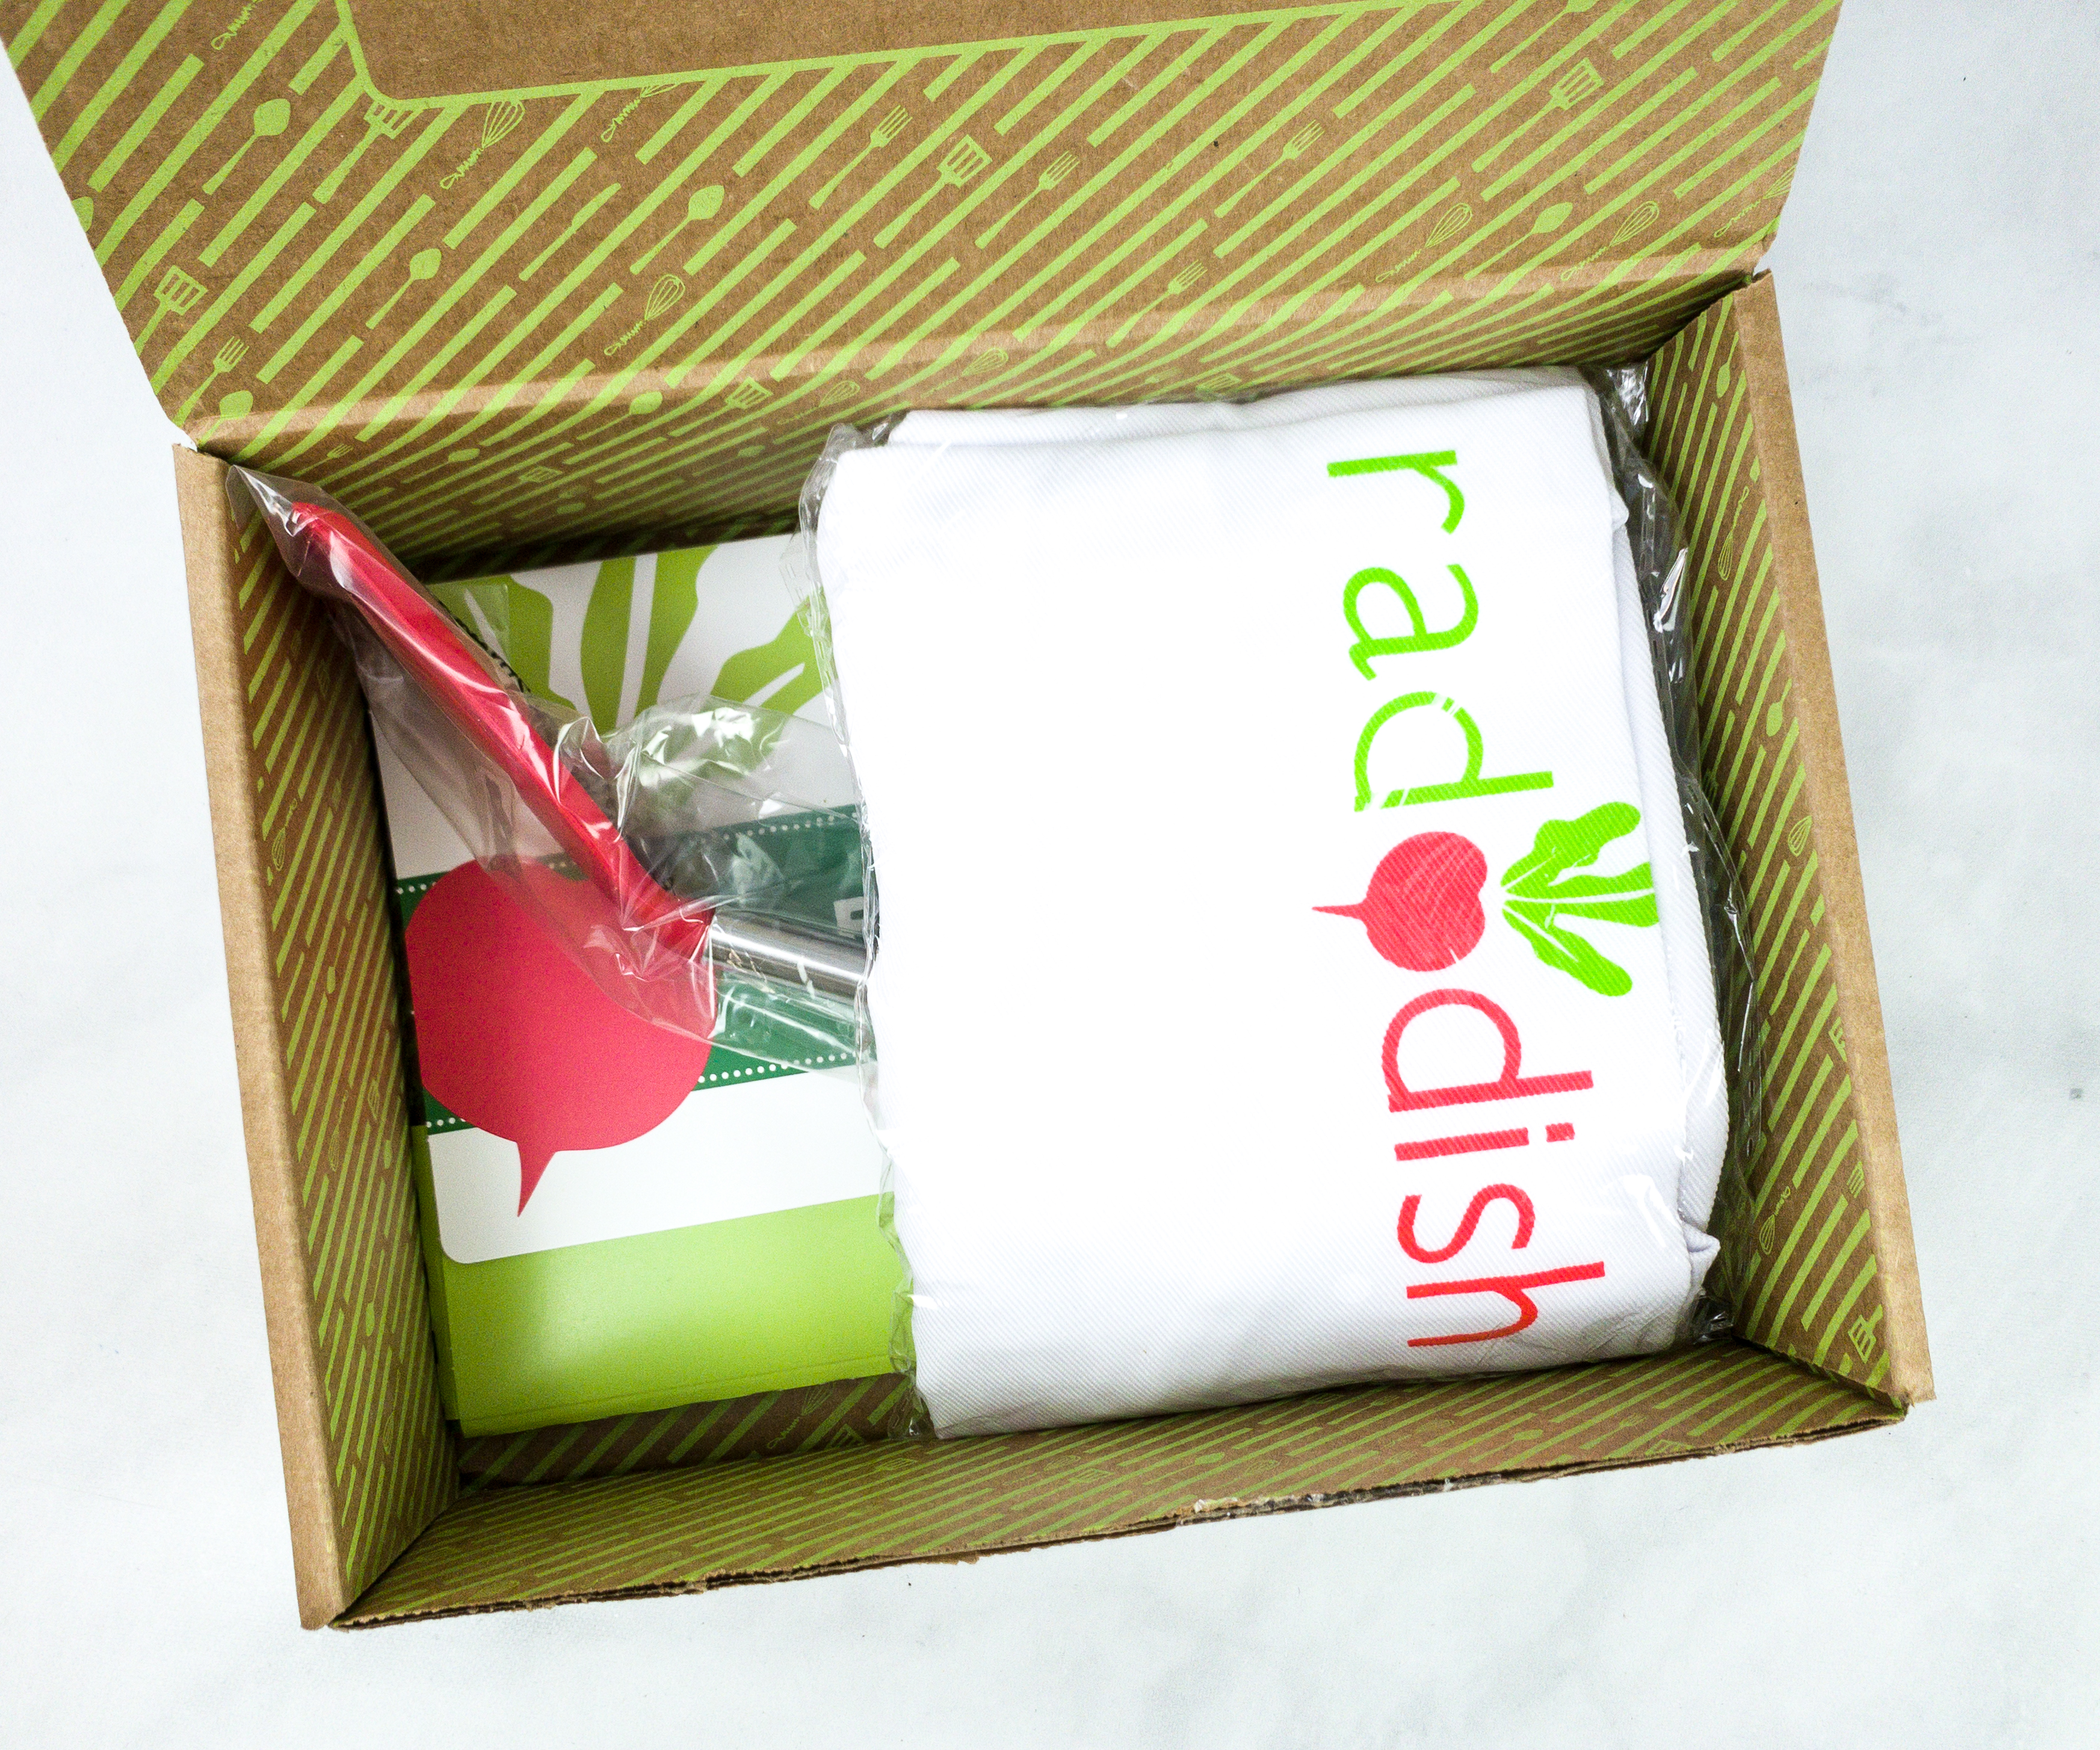
All the items were neatly packed inside the box.
This month’s theme is Edible Elements!
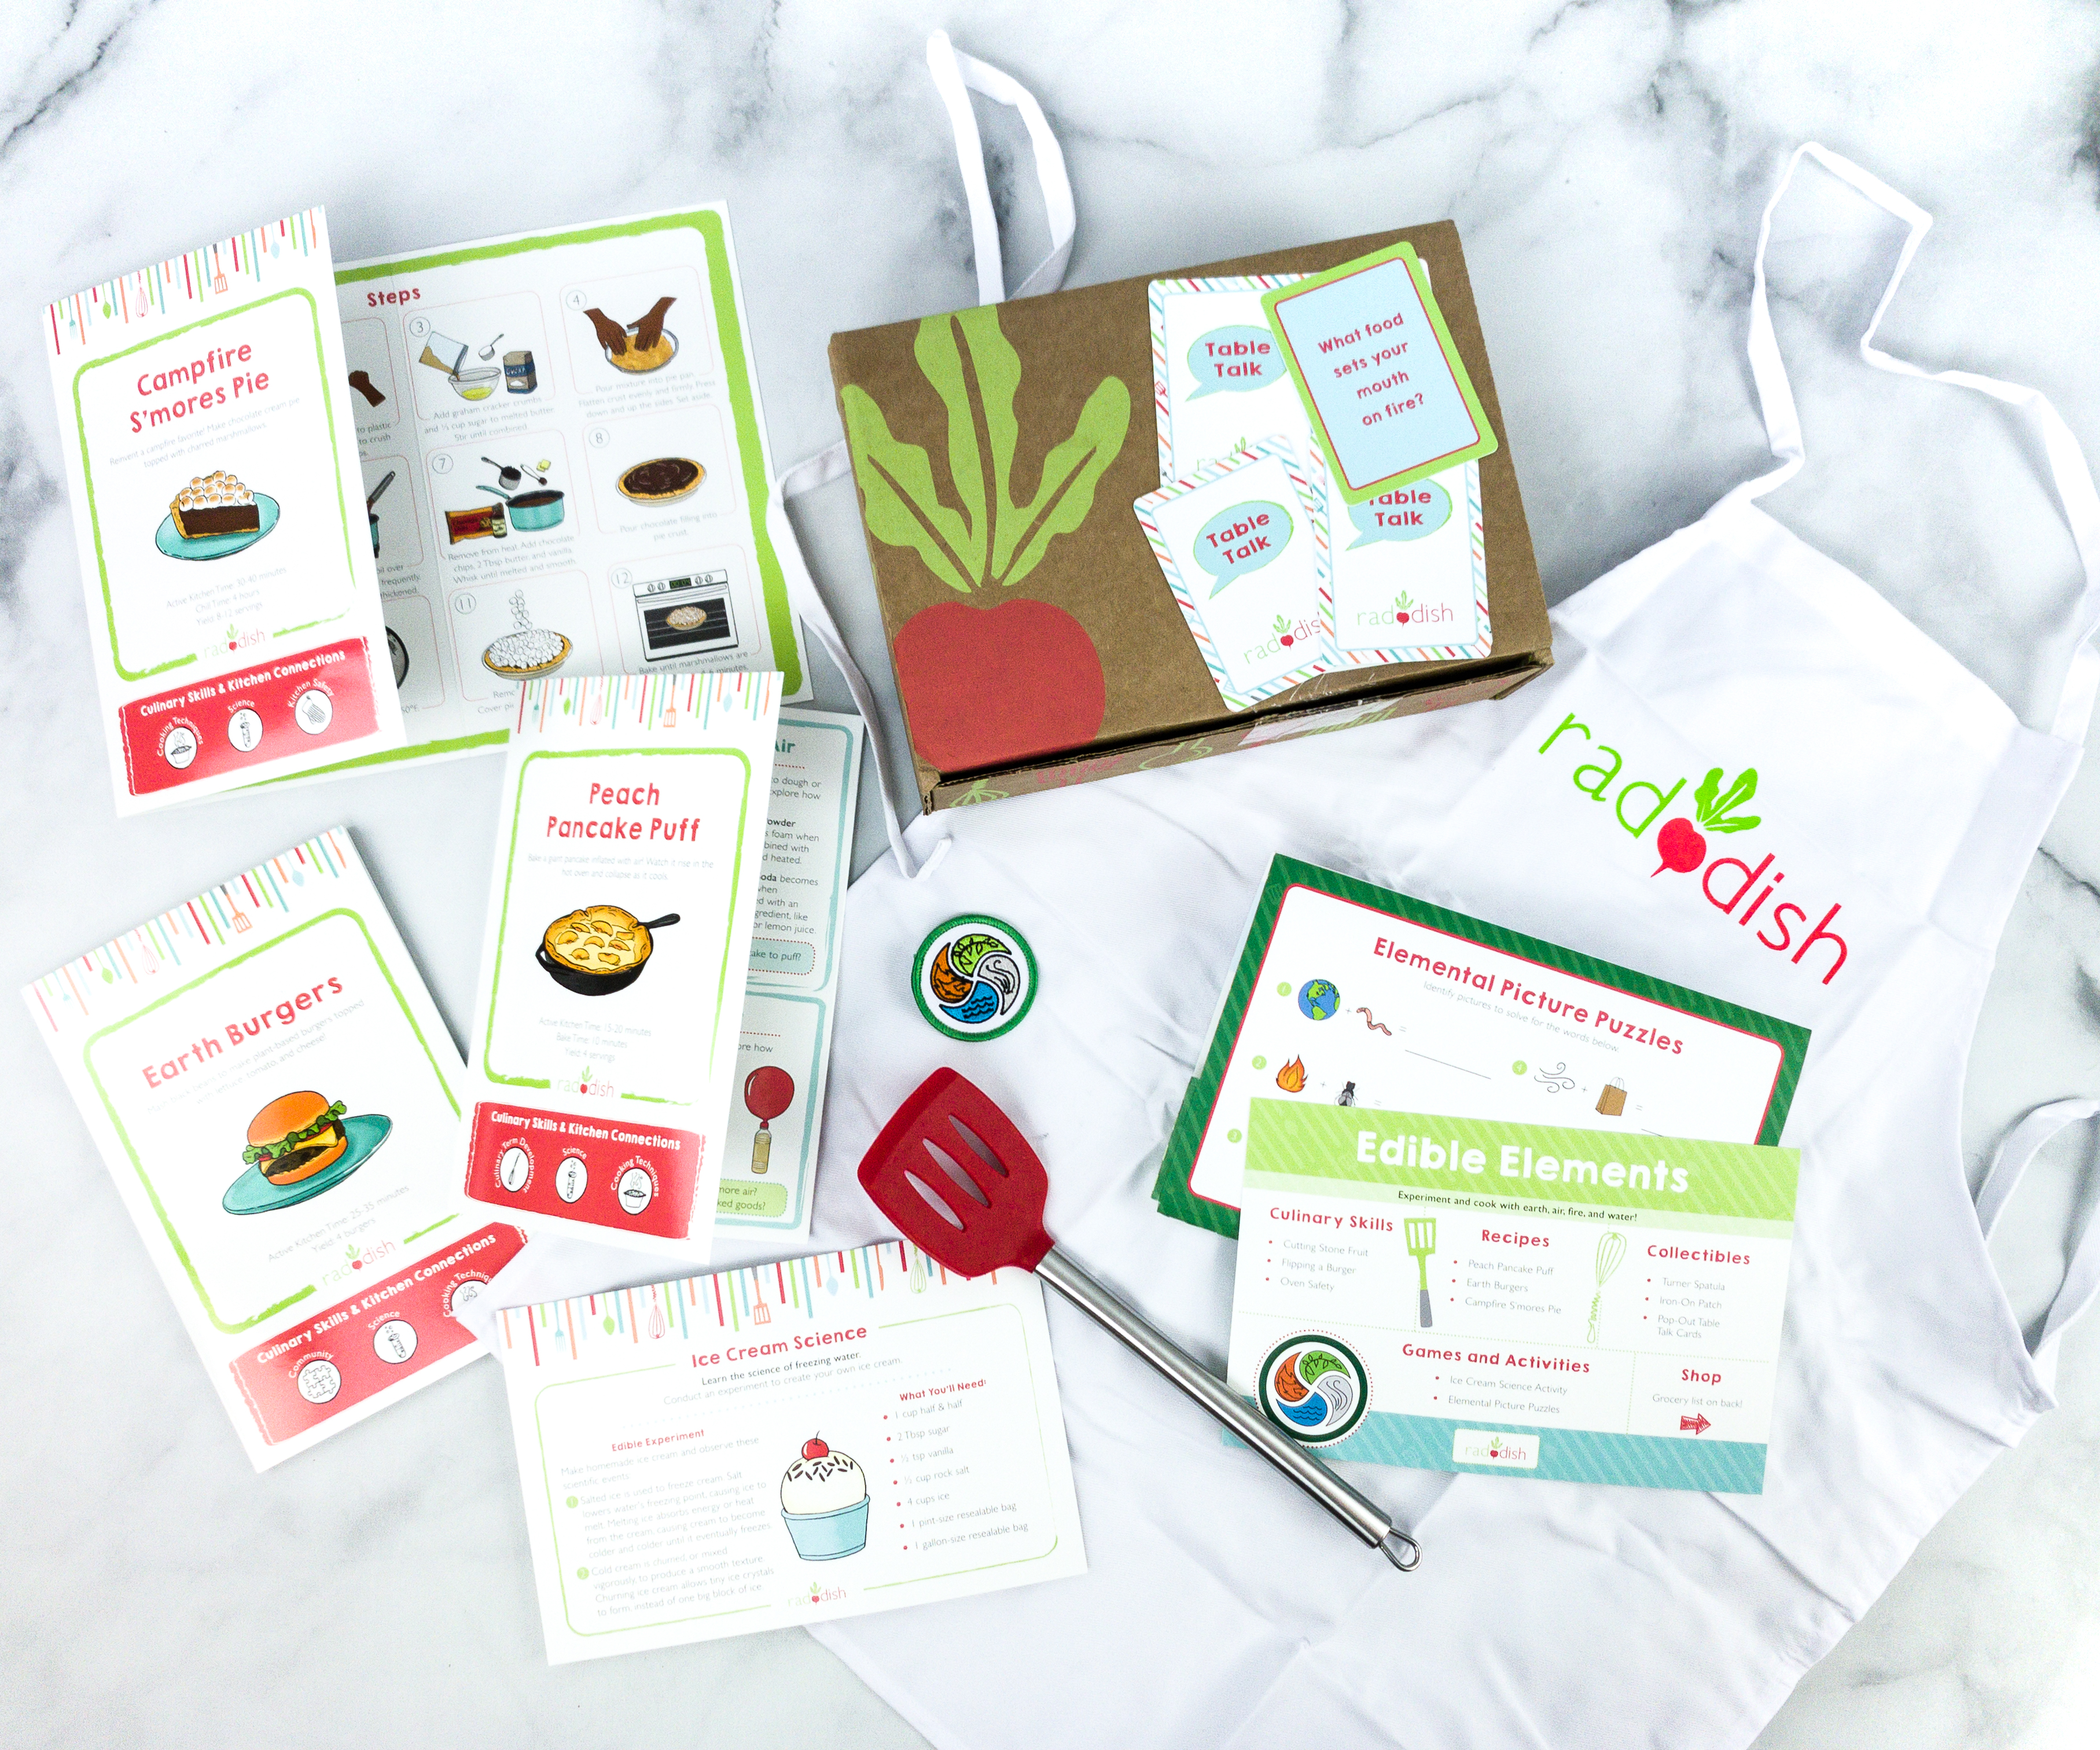
Everything in my June 2020 box! If you subscribe for a year, the apron is automatically included!

Every box comes with a featured tool. This month, we got a turner spatula!
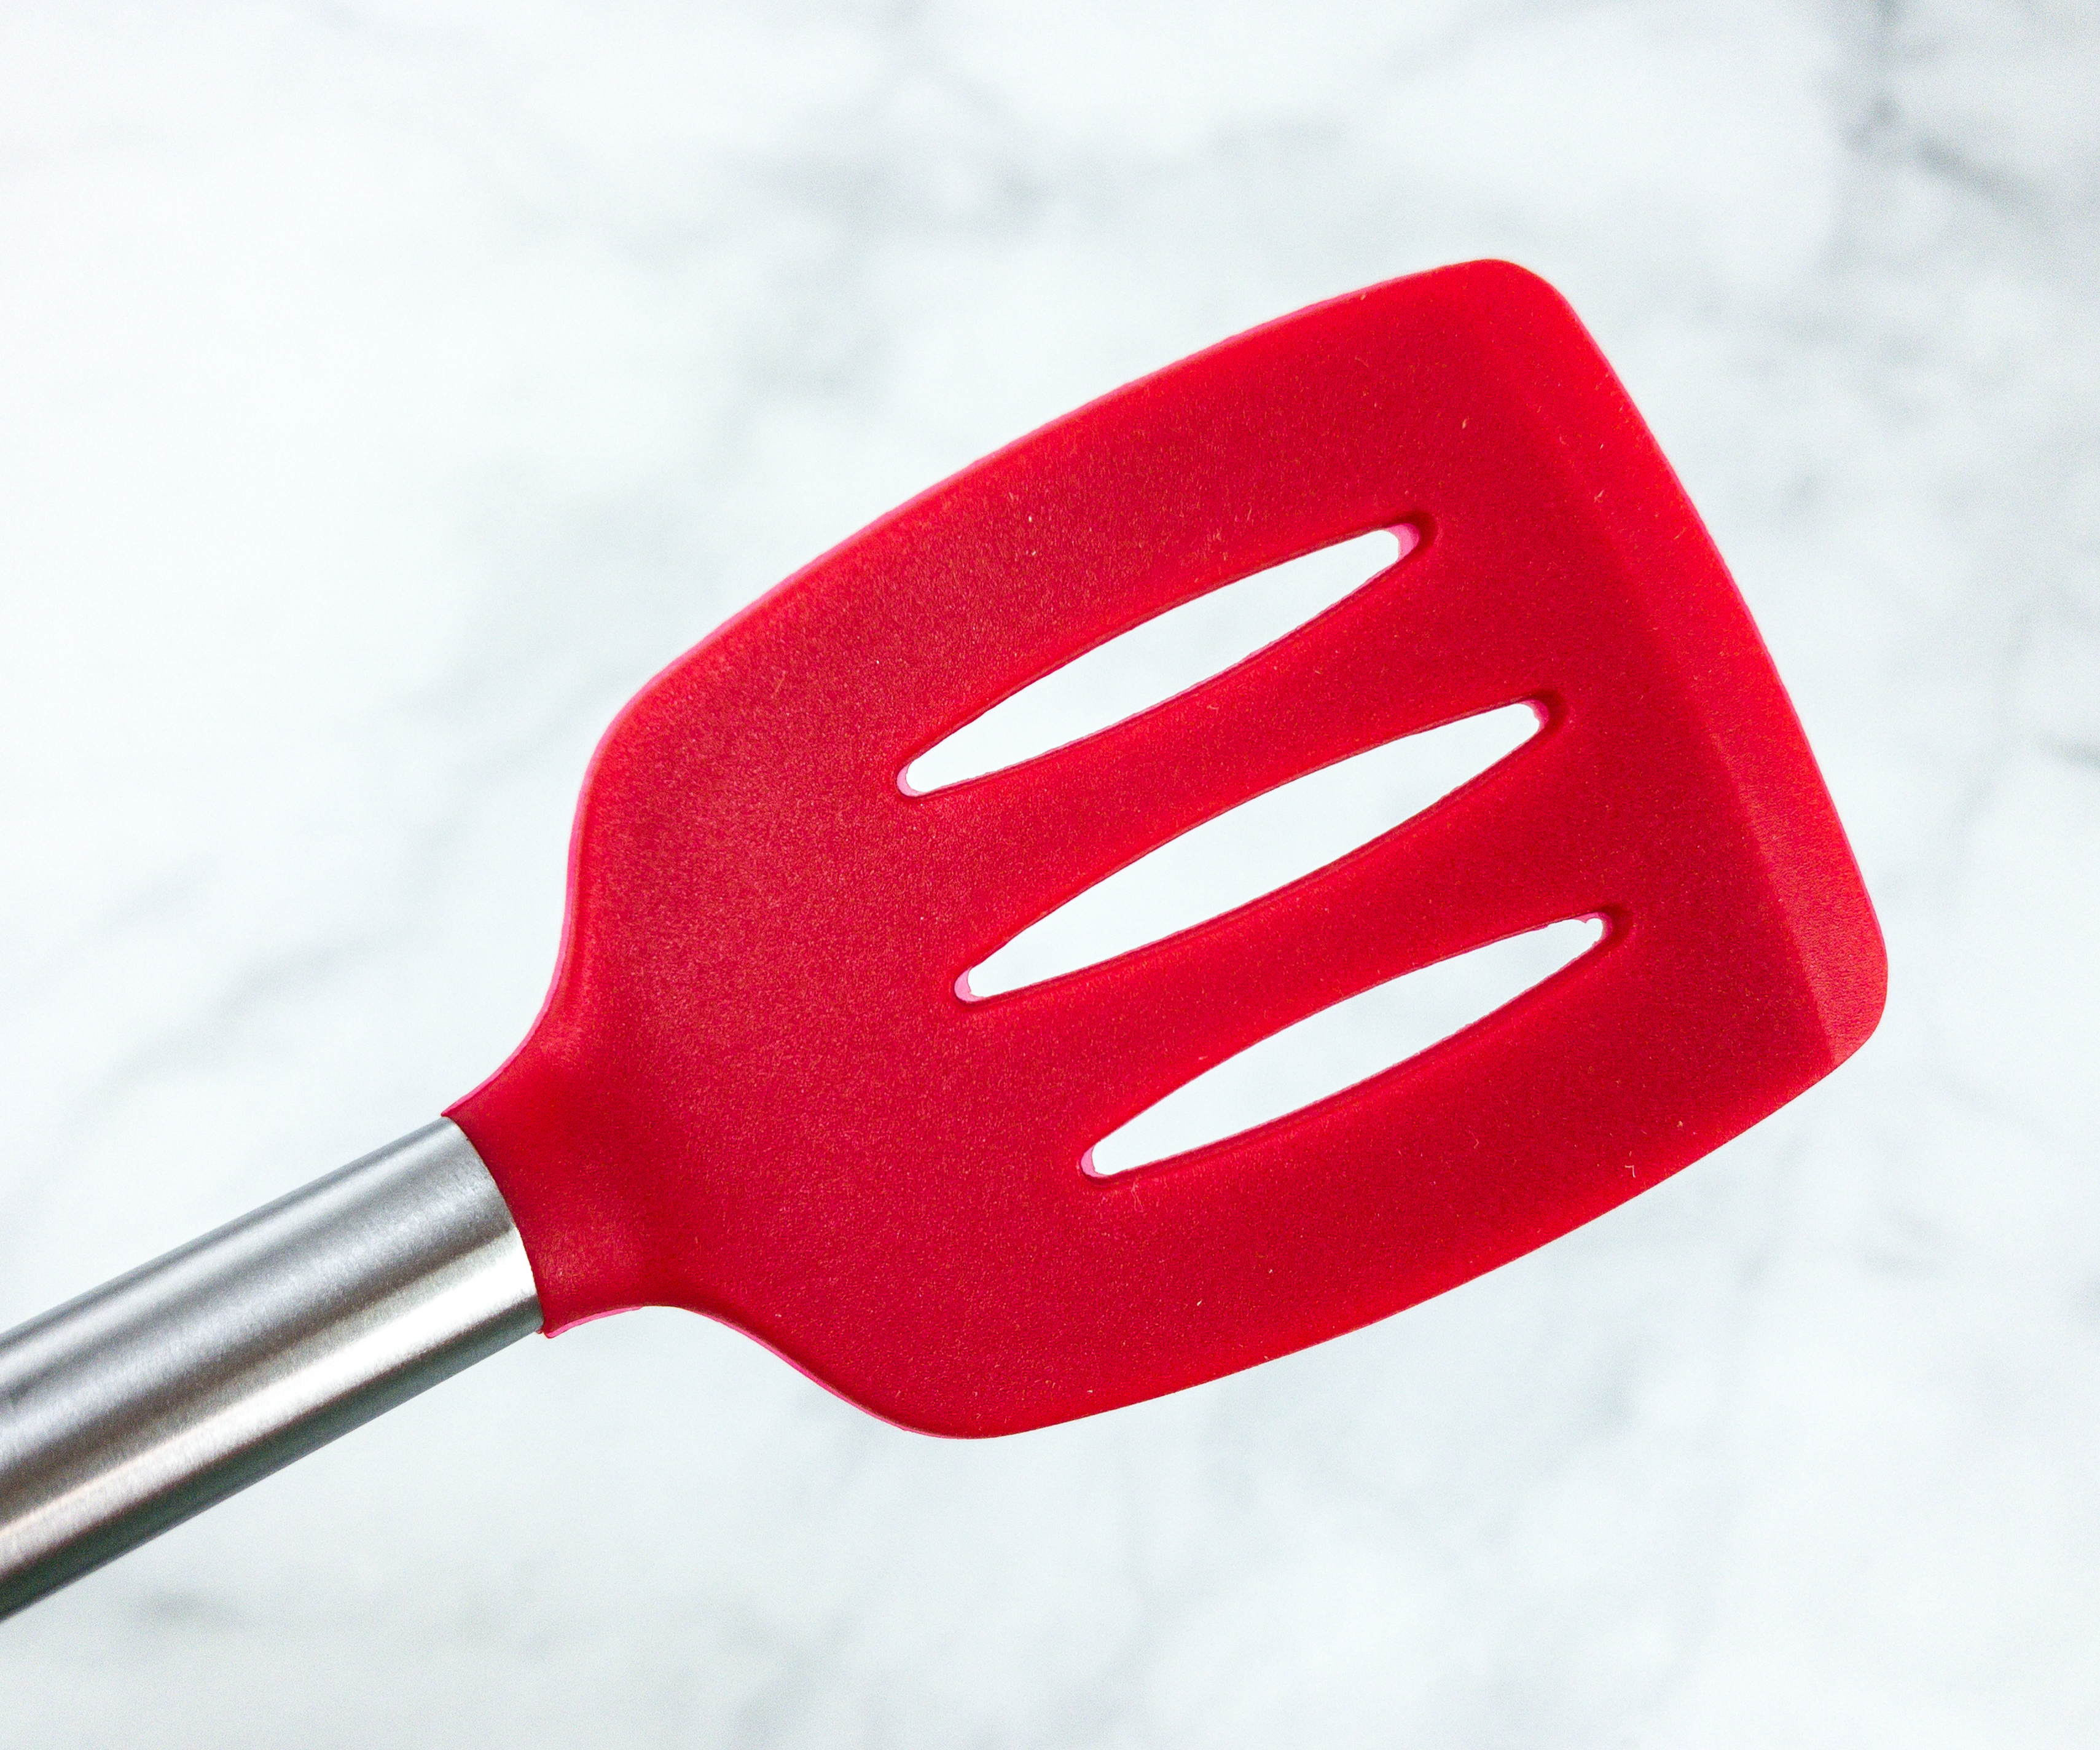
The flat part is in red. With this, even kids can easily flip food on a pan like pancakes or burger patties.
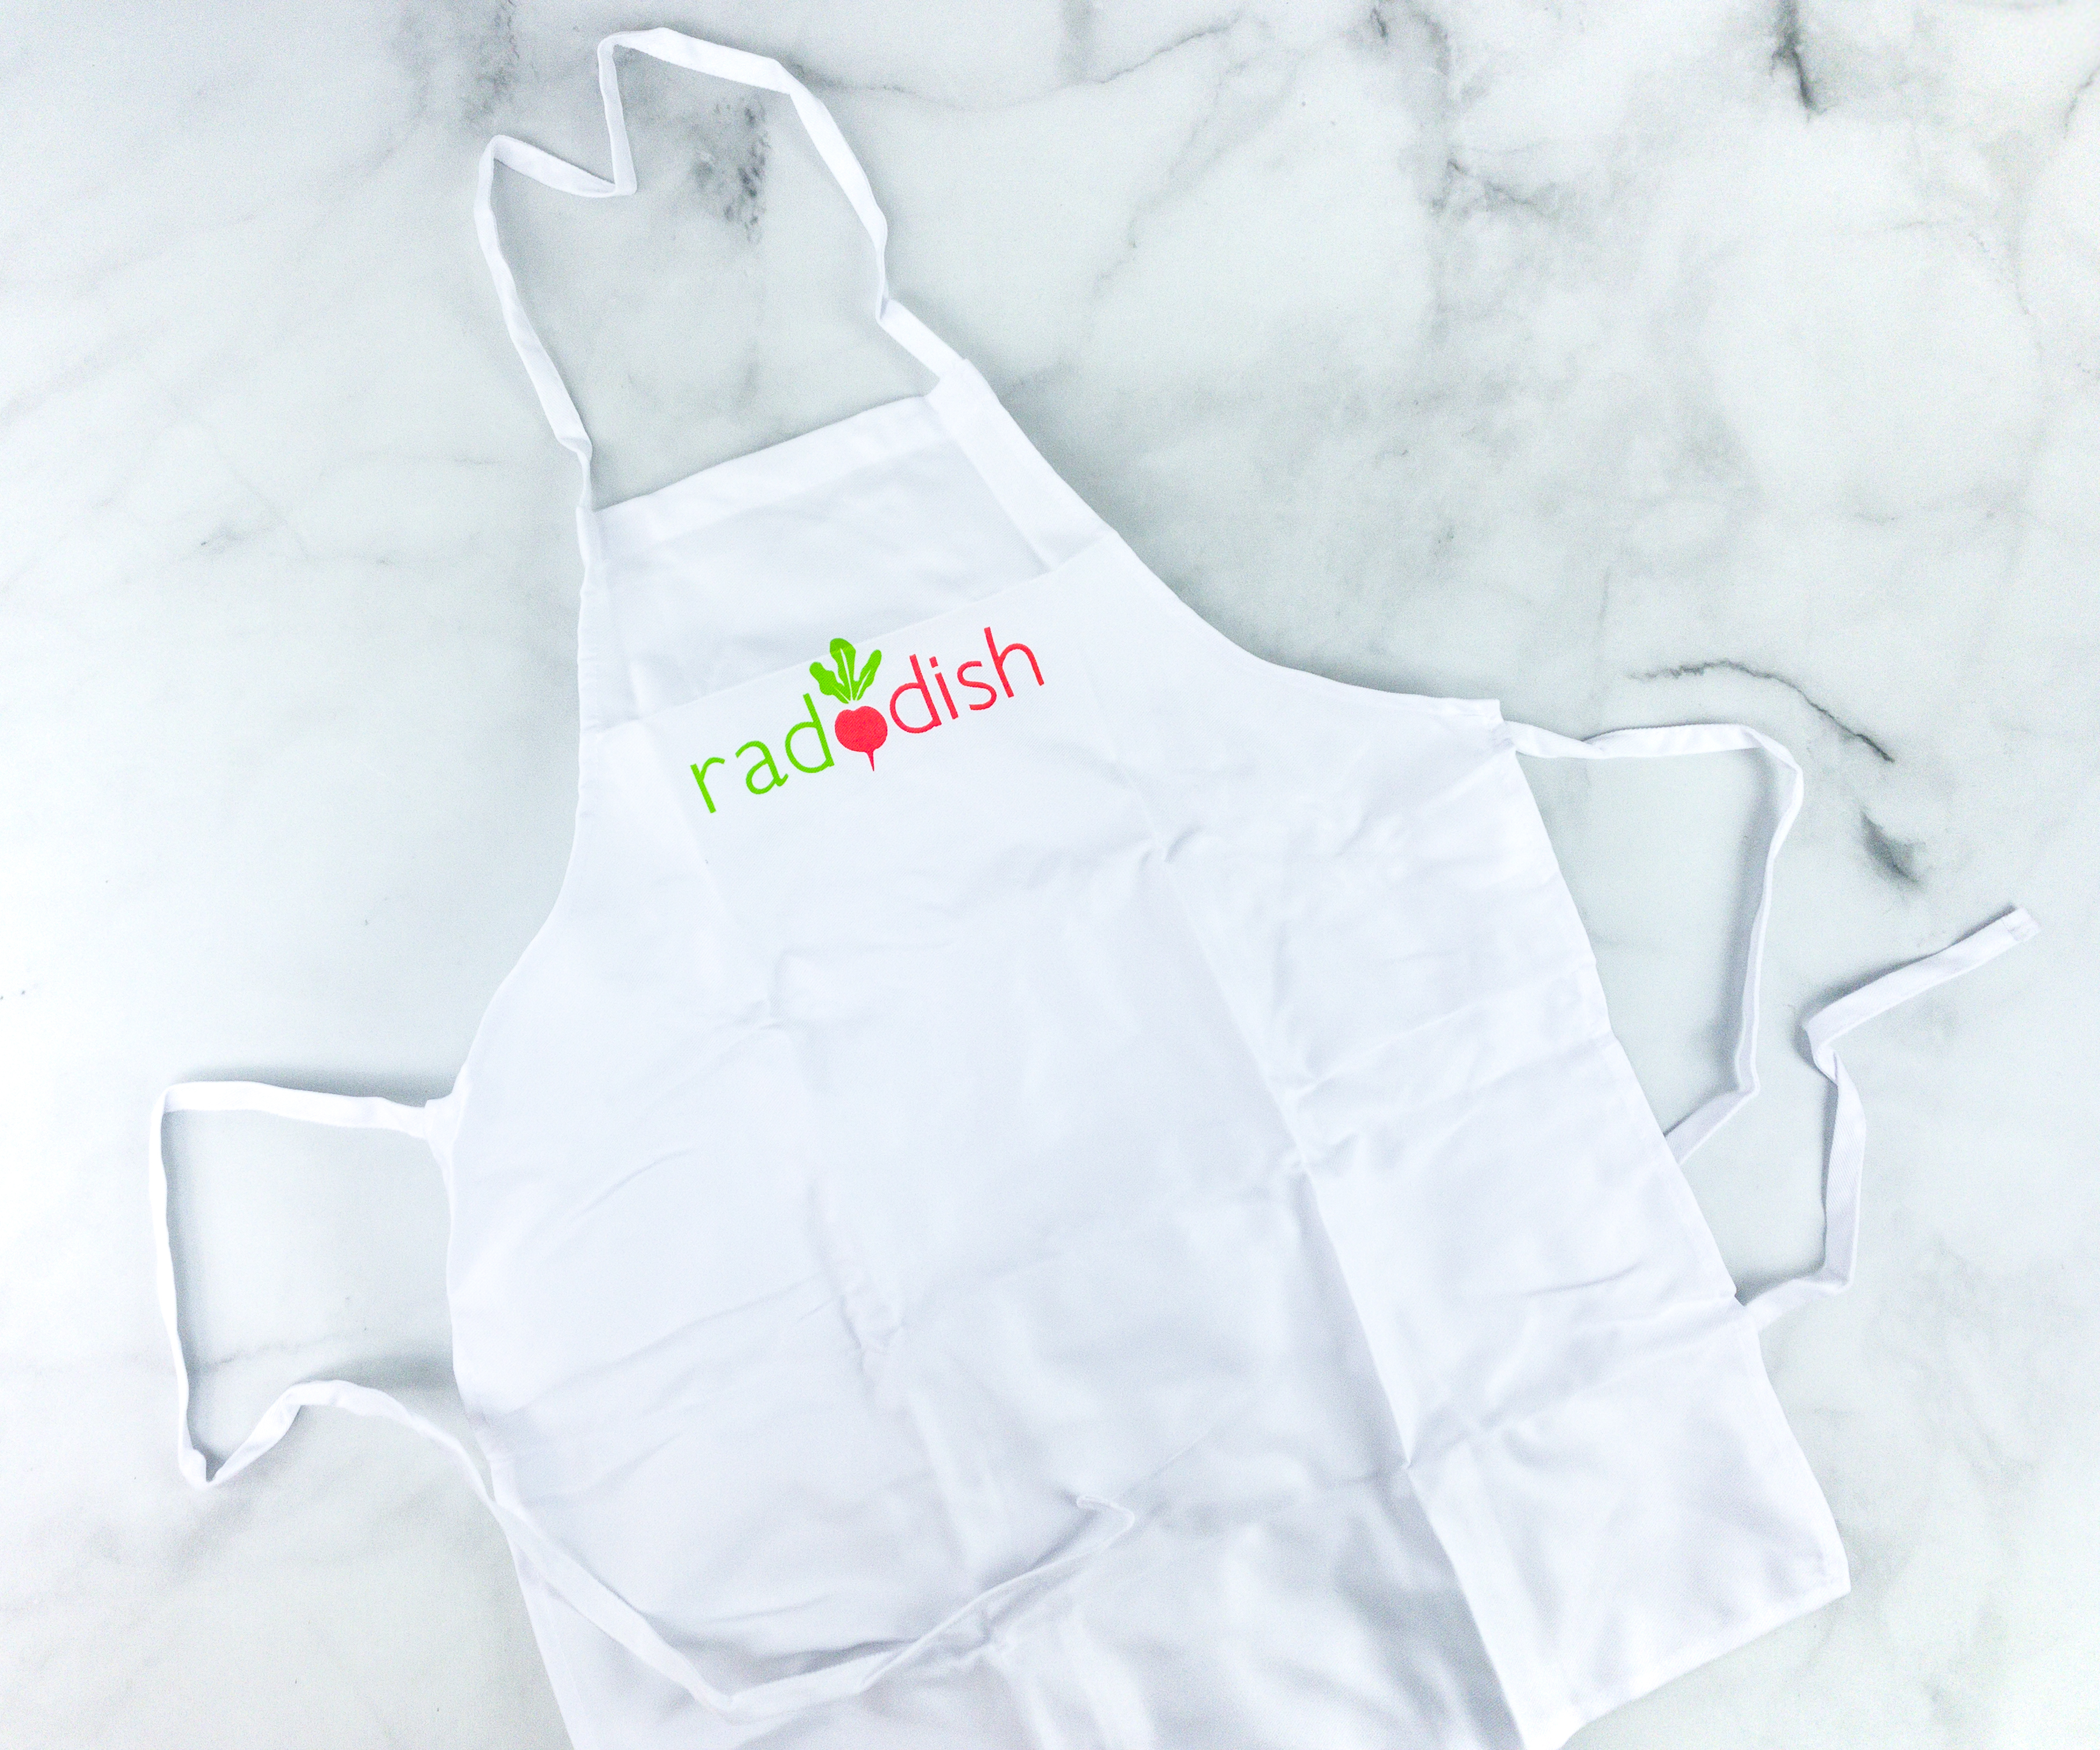
We also have a white apron in the box. This can be used not just for the first box but for the rest of the boxes as well.
Featured on the chest part of the apron is the subscription’s logo. My kids like this apron so much because it’s so lightweight and convenient to wear.
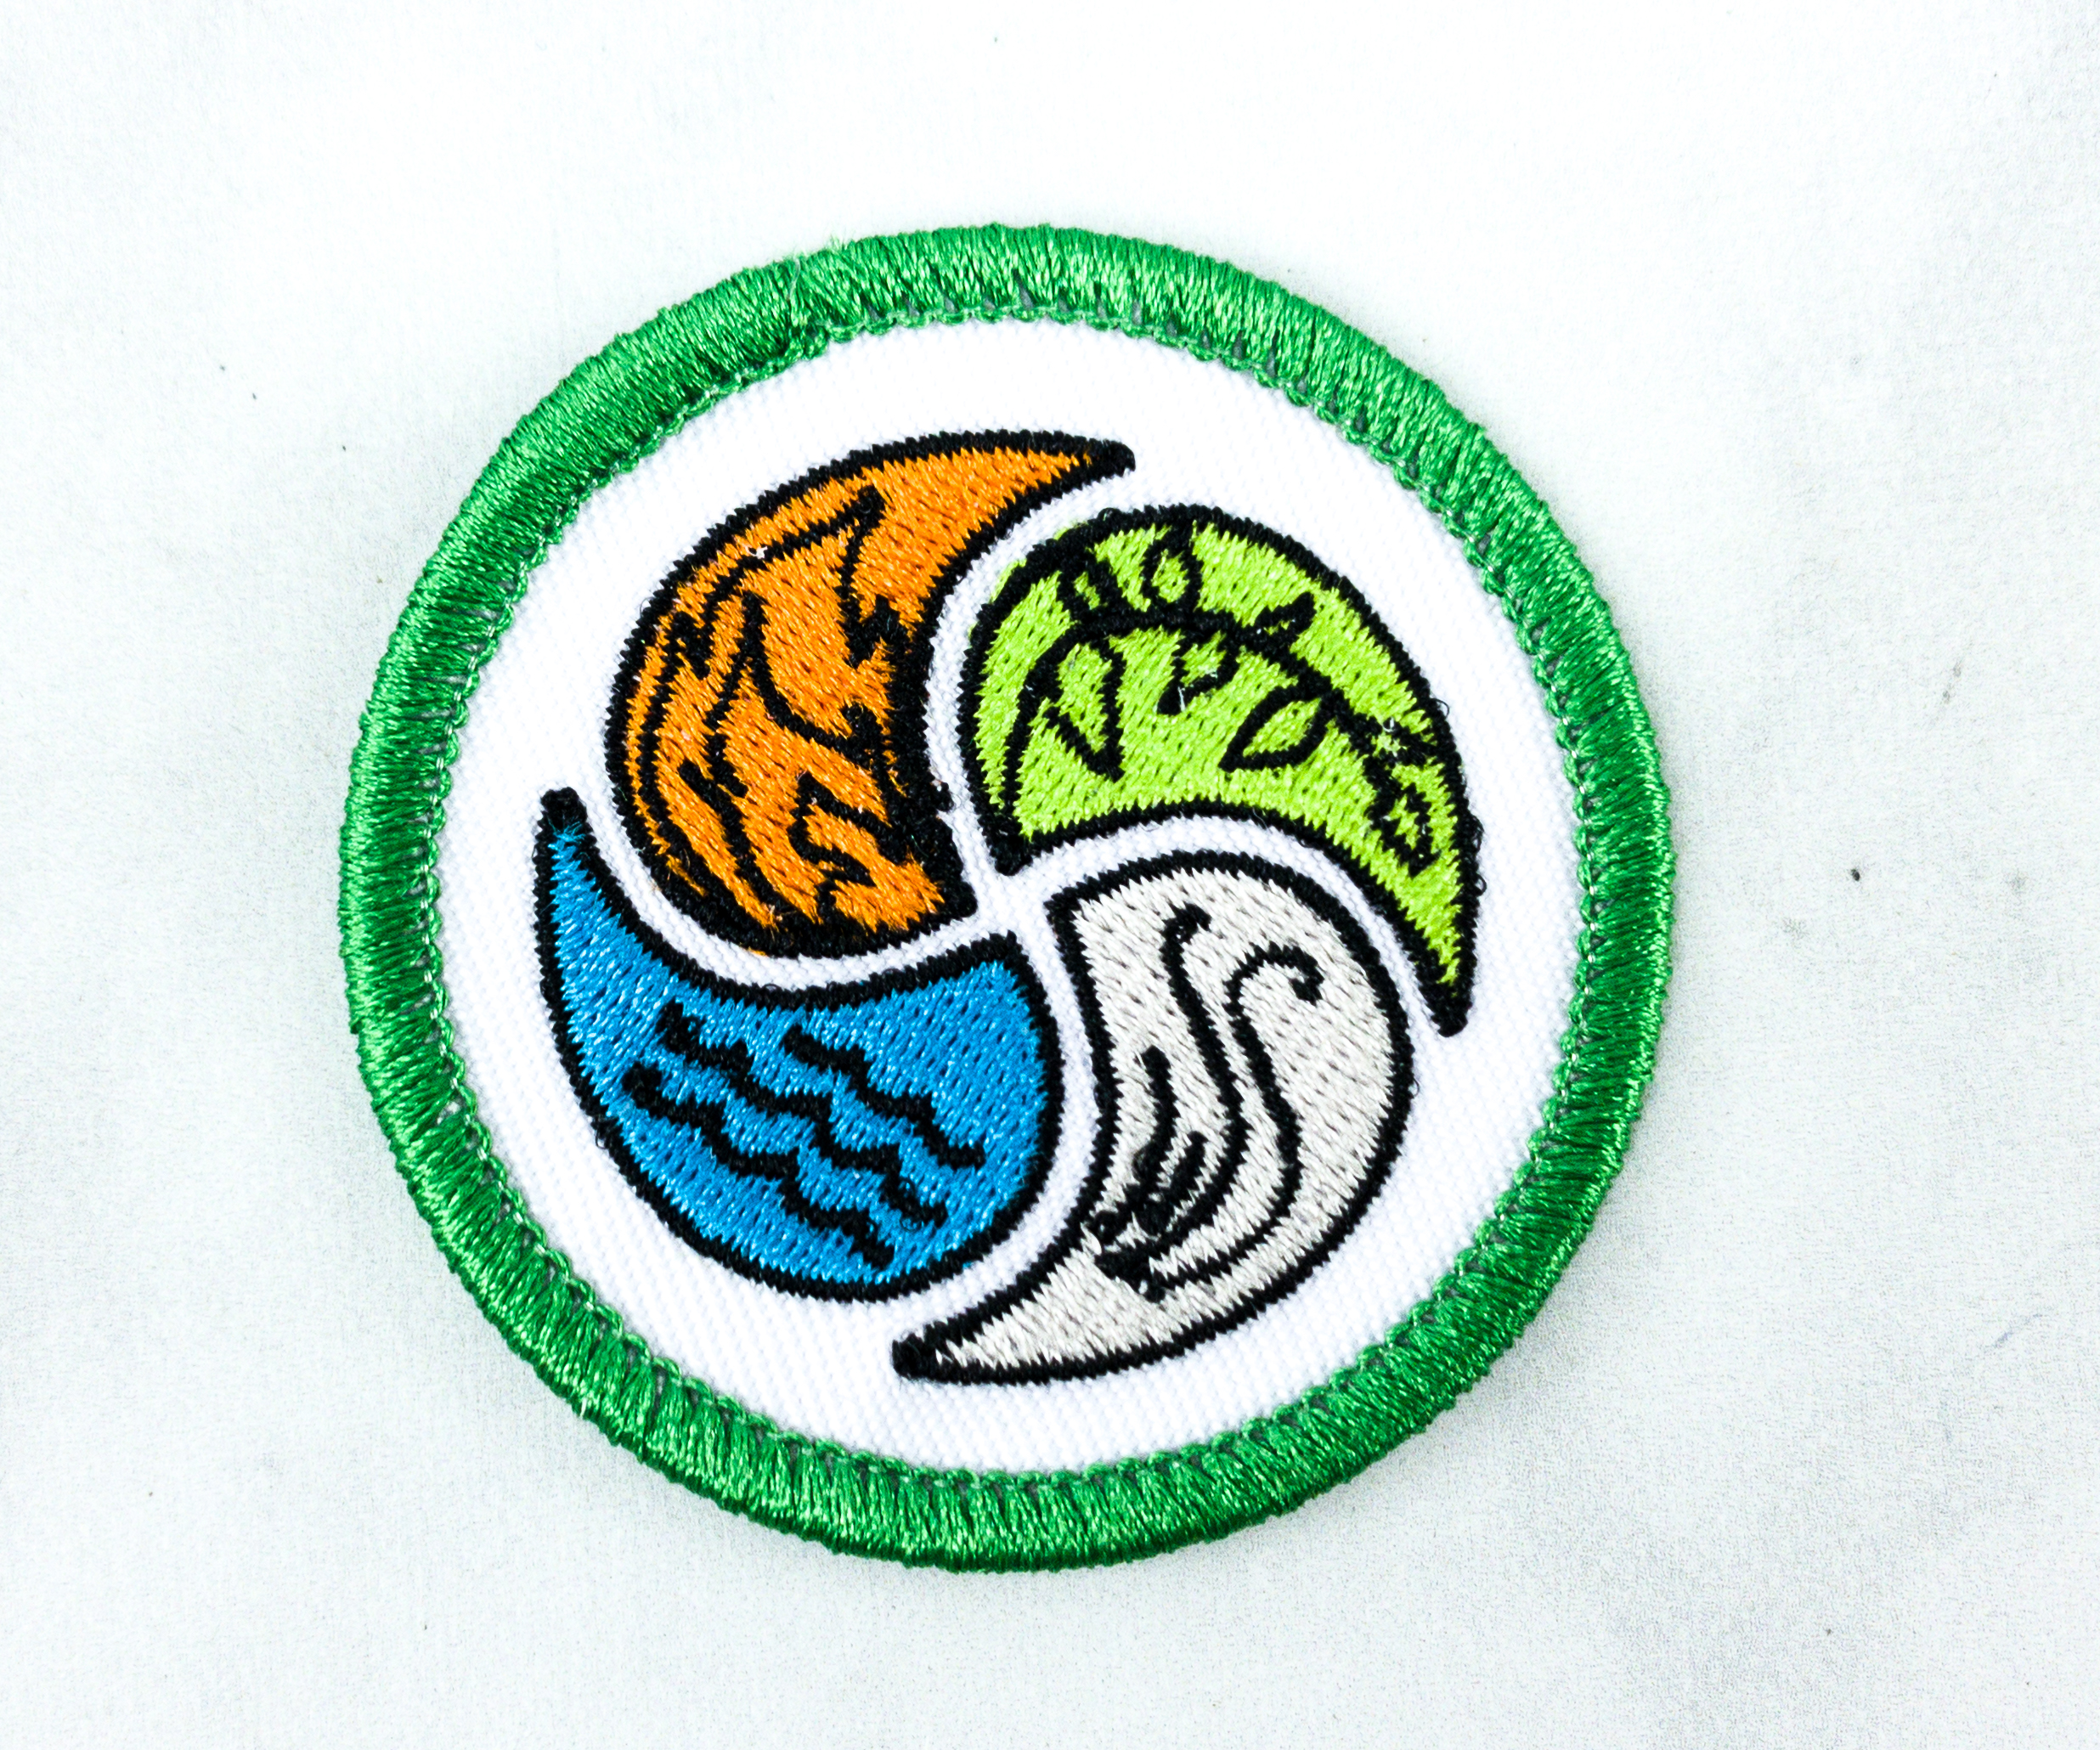
Another bonus item is a colorful apron patch that features the four elements: fire, water, wind, and earth.

Inside the envelope are small cards containing some culinary skill lessons, guides with fun and exciting activities!
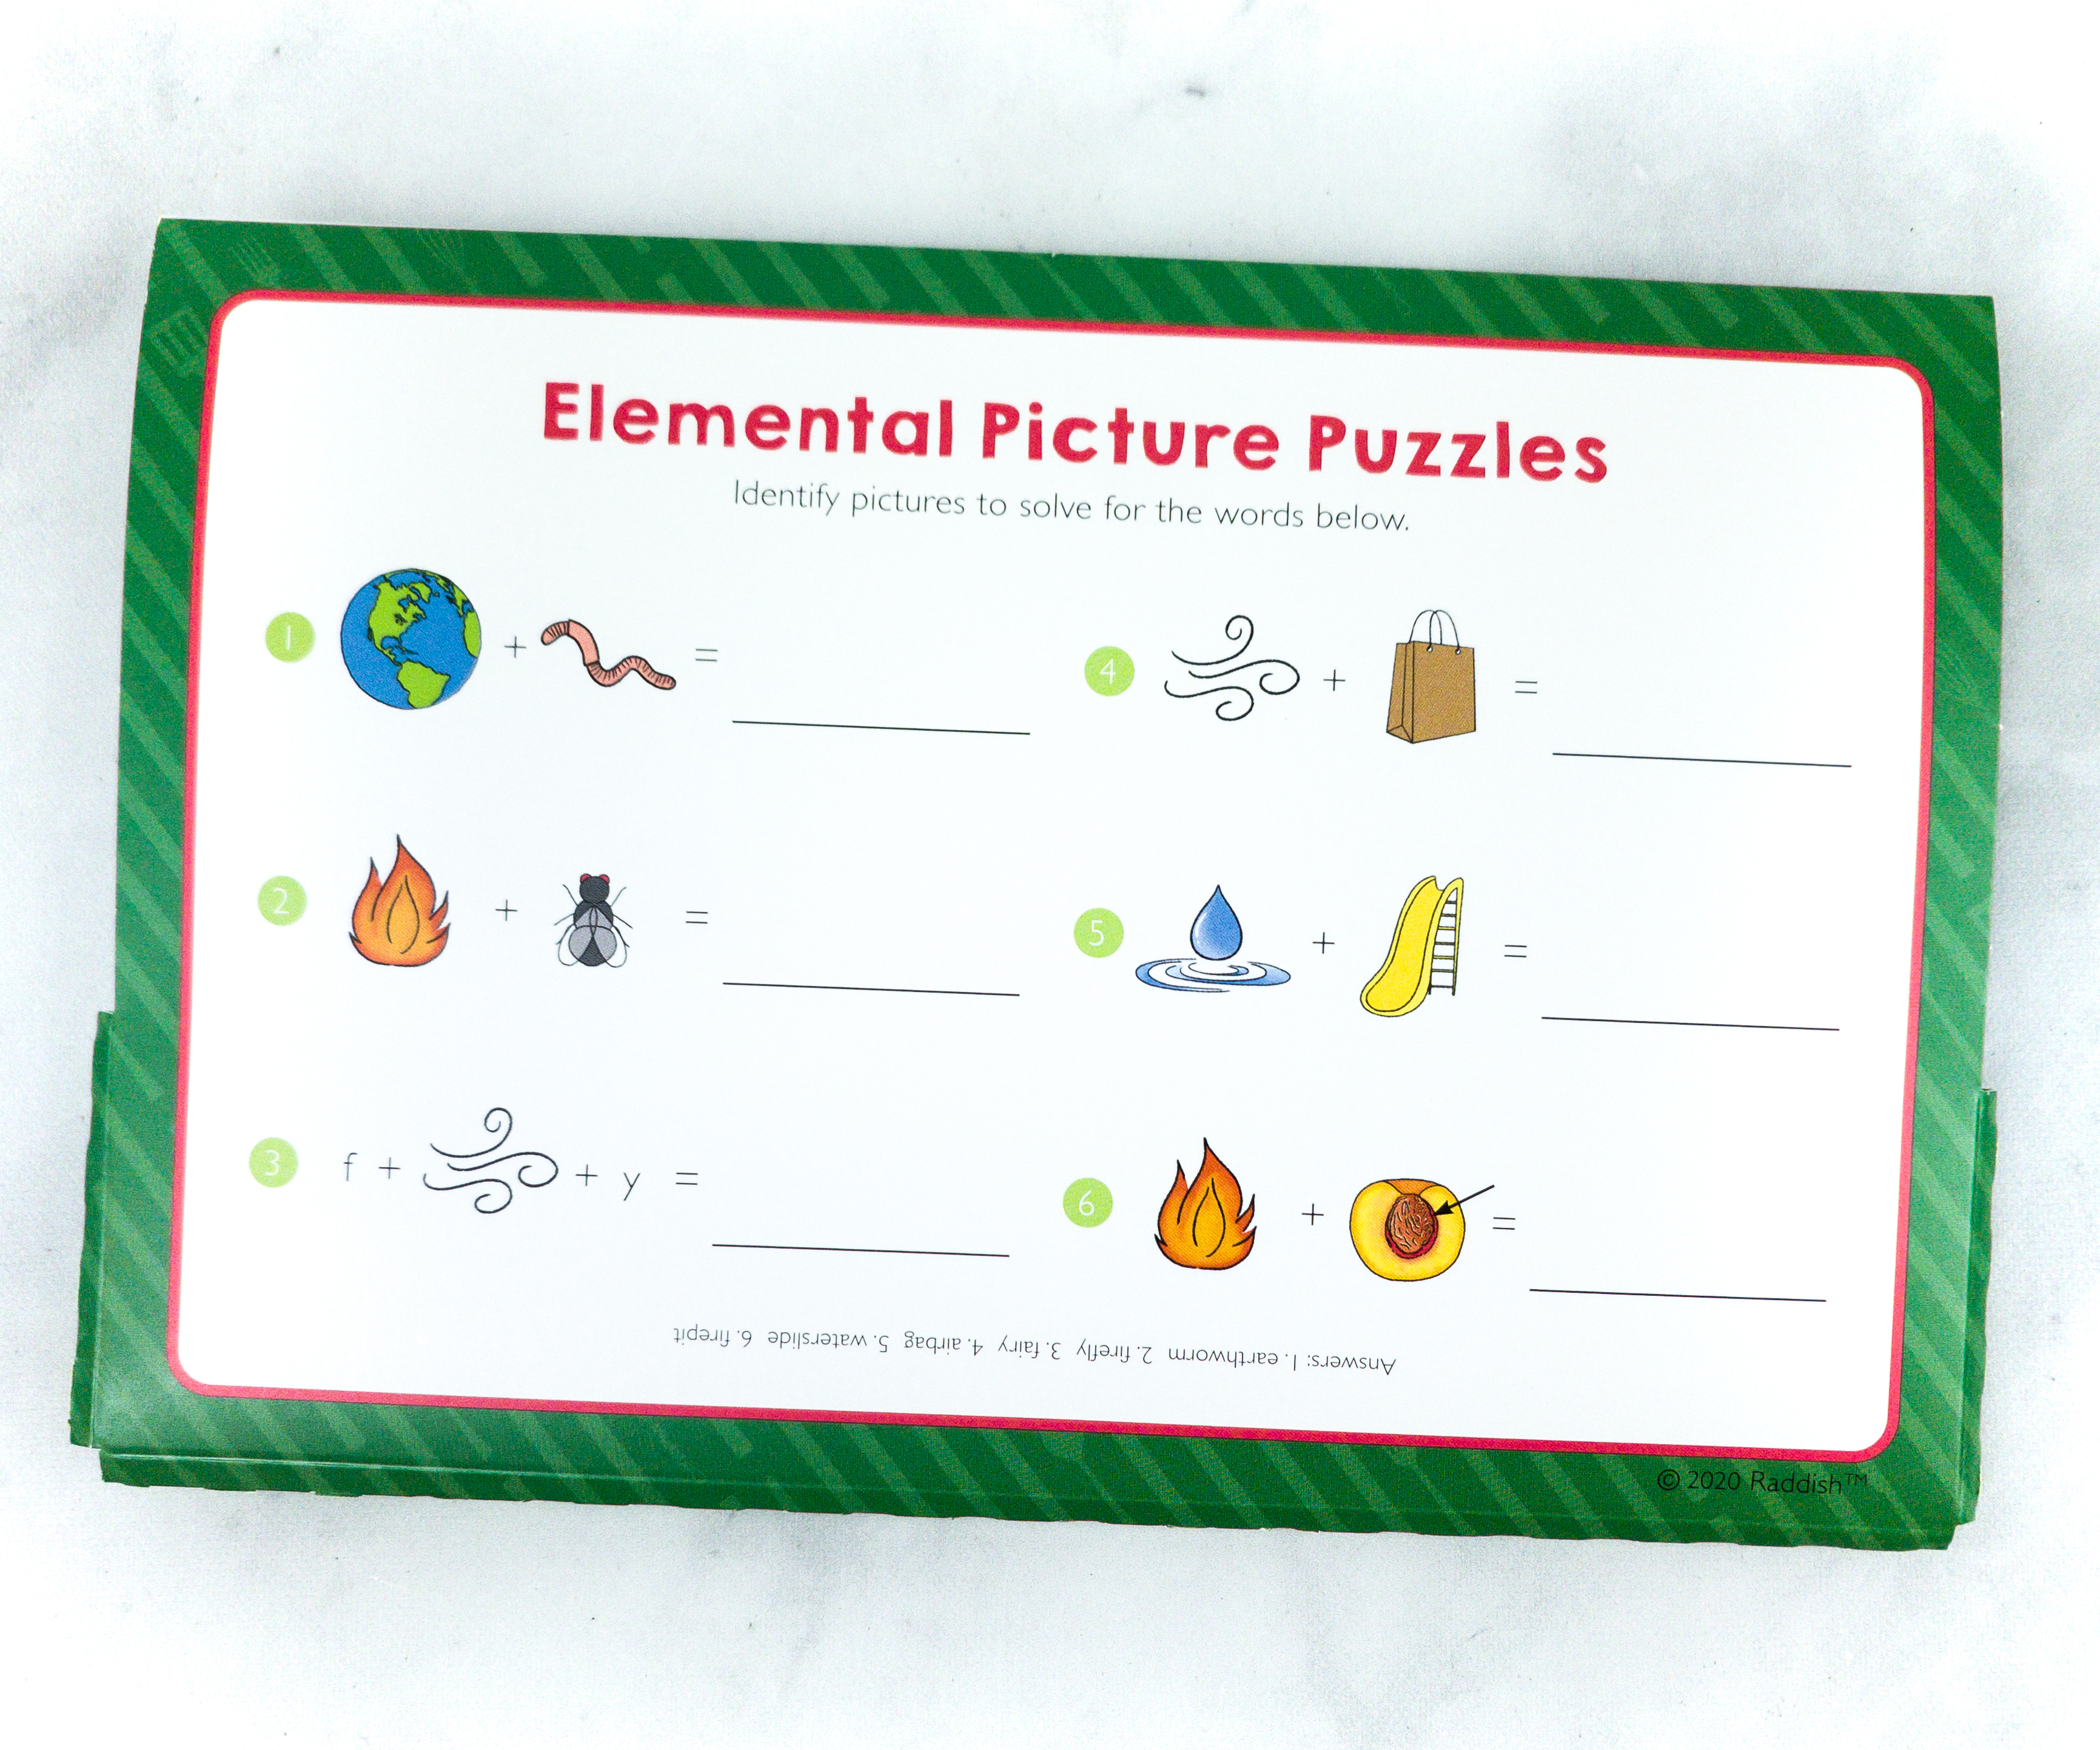
Featured at the back of the envelope is an Elemental Picture Puzzle!
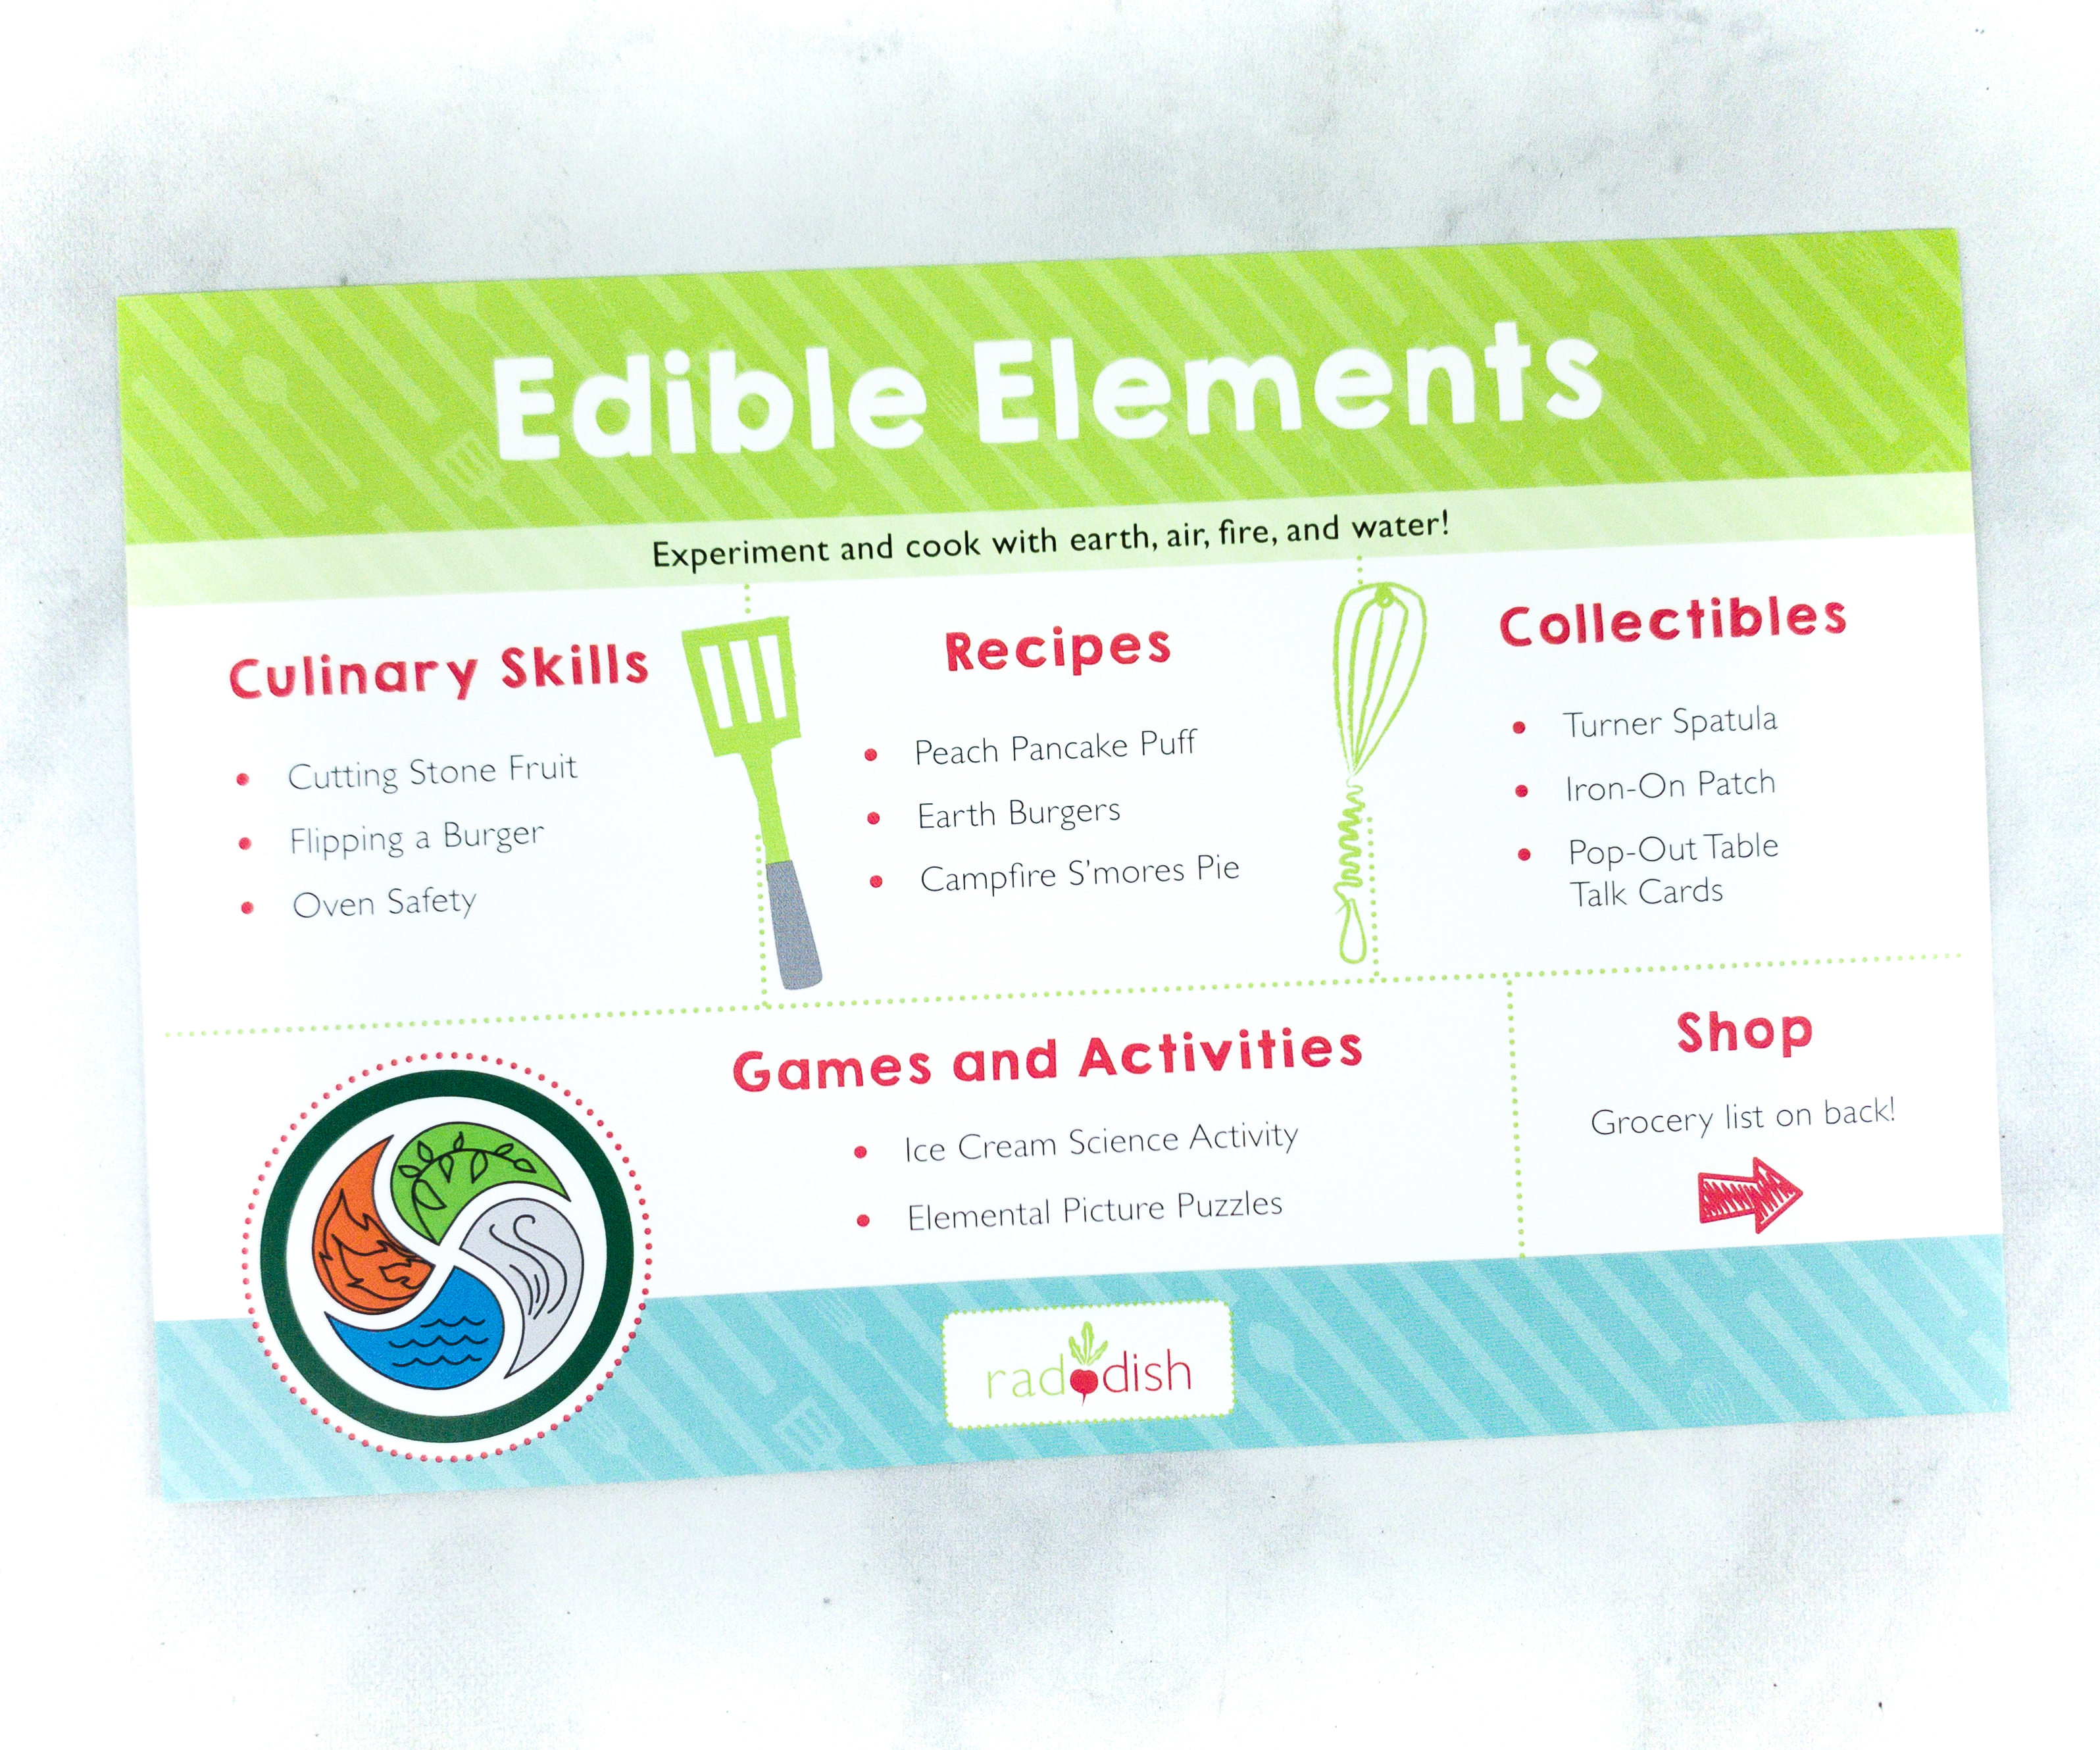
This card contains all the information you need to know about this month’s box. It lists all the culinary skills your kids will be acquiring, the recipe names, collectibles, and other games and activities.
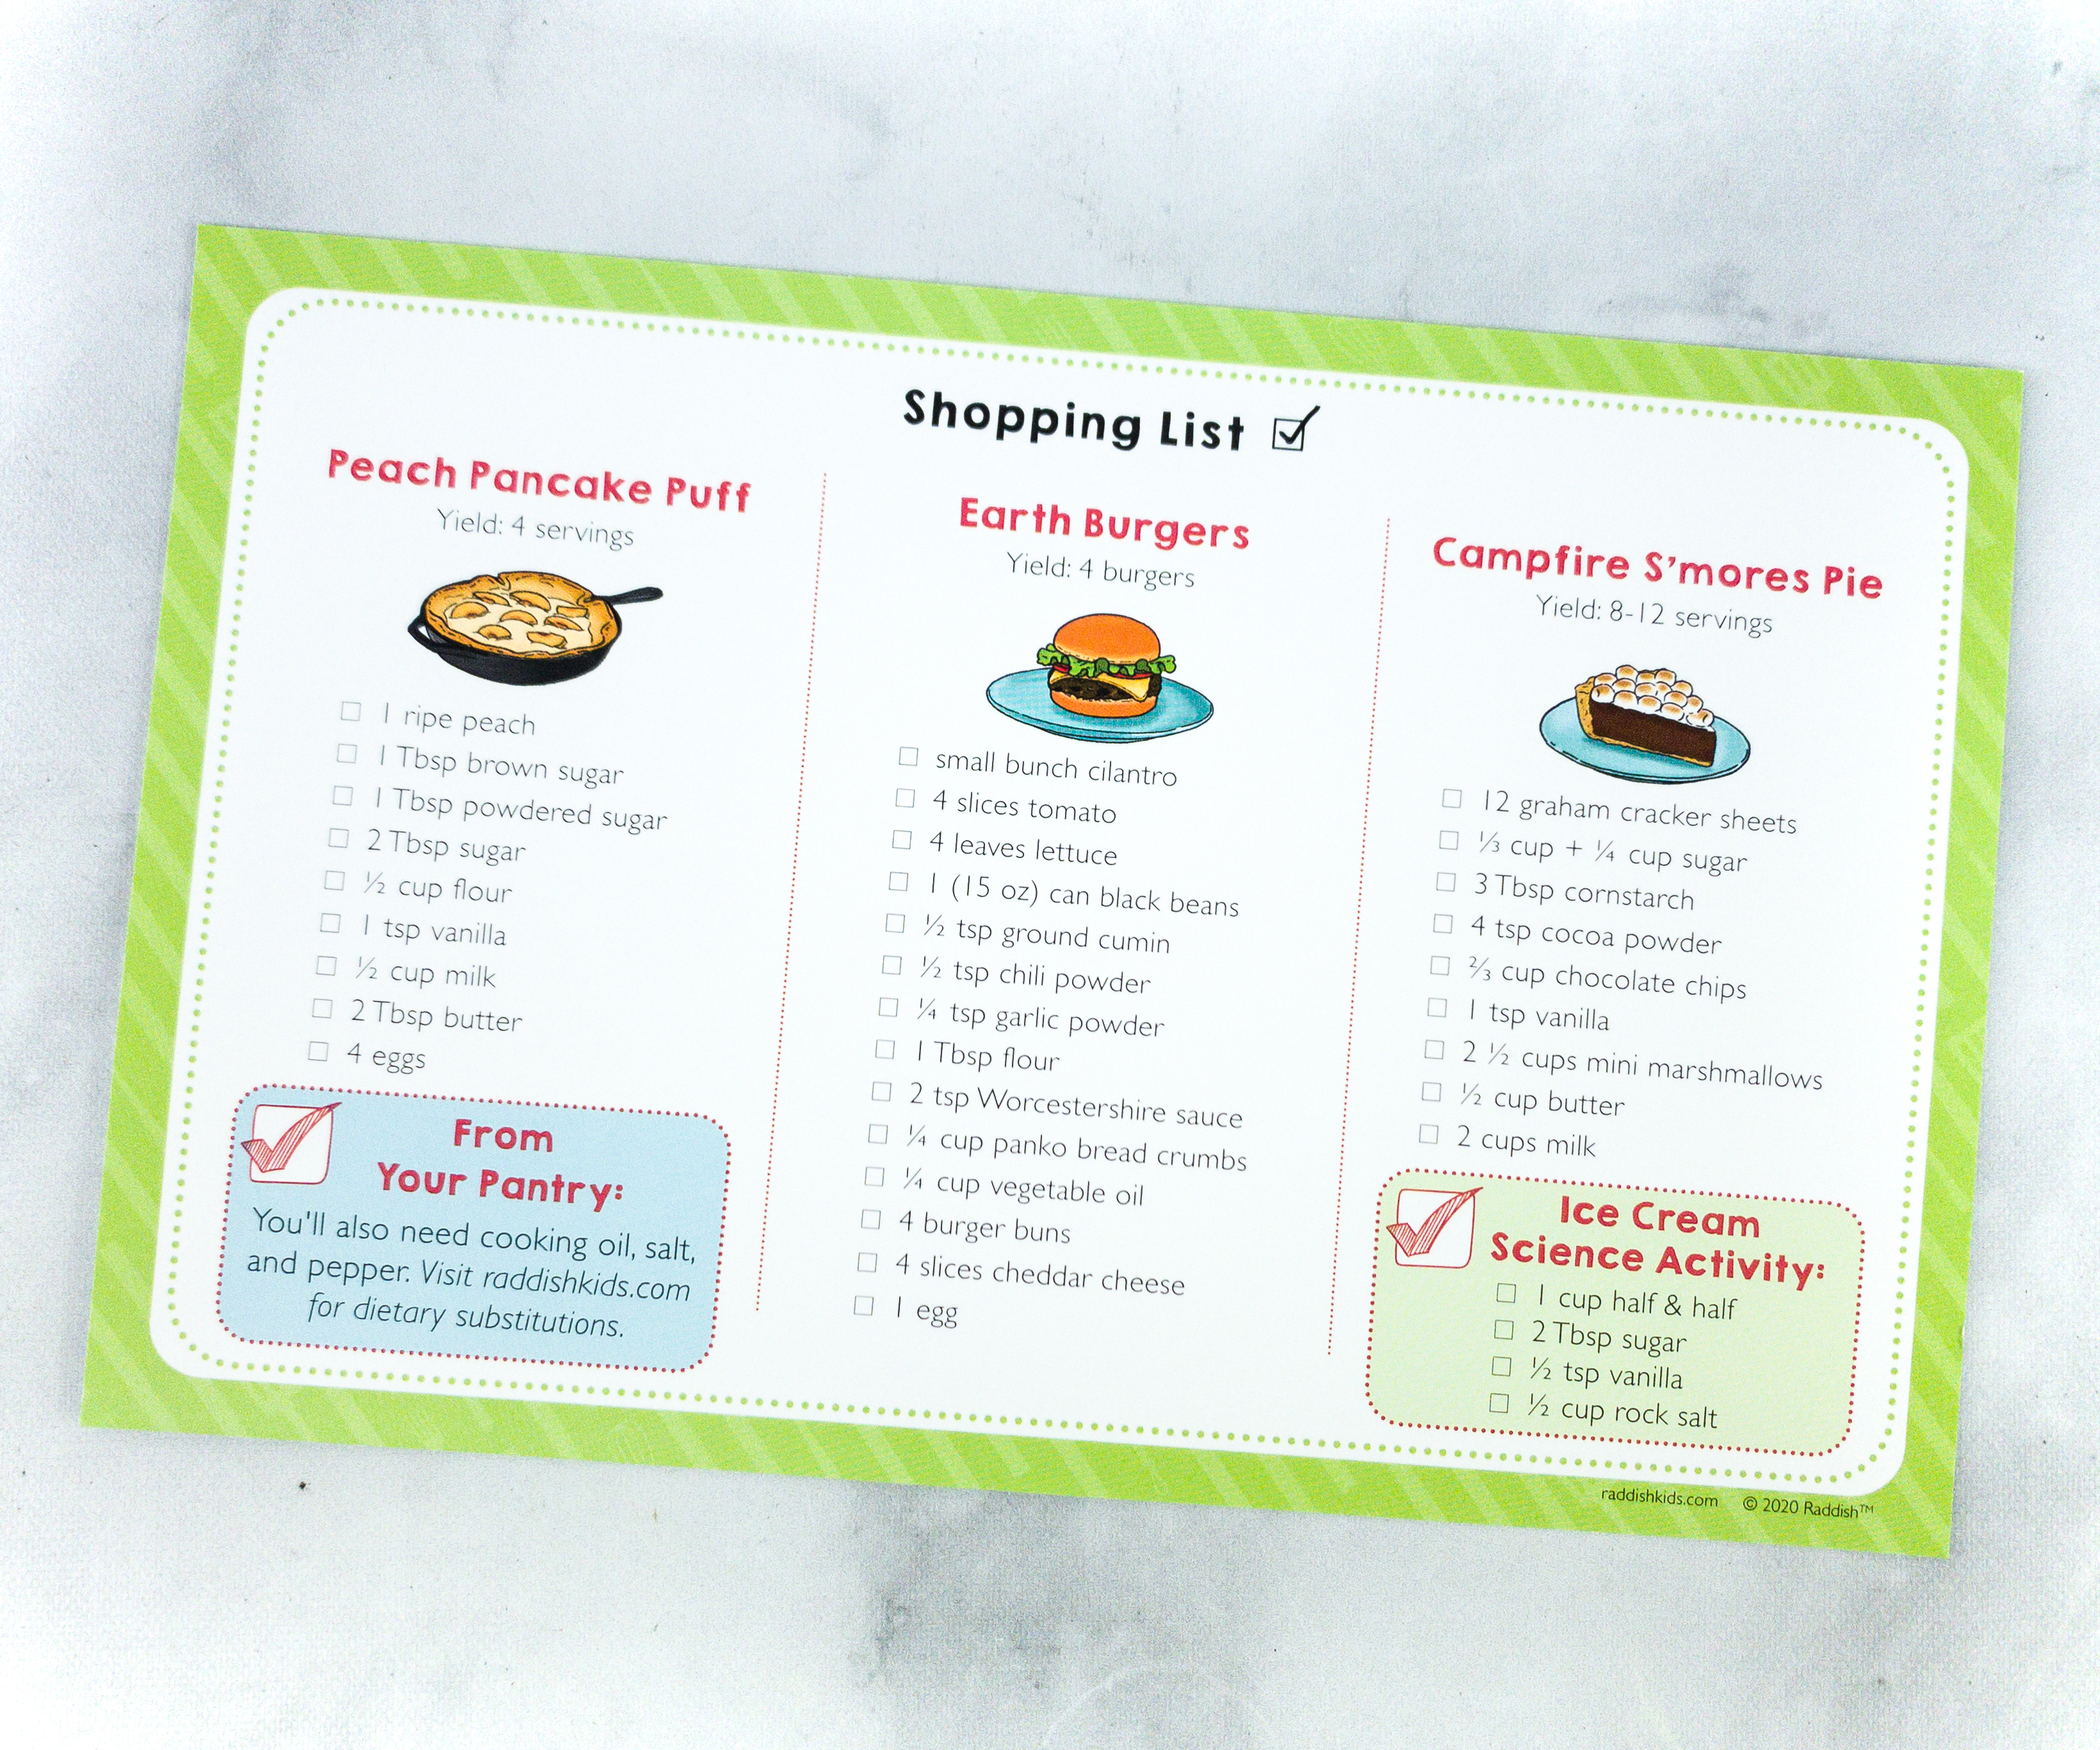
The back of the card provides a complete grocery list for all the featured recipes this month. The recipes are Peach Pancake Puff, Earth Burgers, and Campfire S’mores Pie.

Aside from the delicious recipes we got, we also received an exclusive Table Talk conversation starter cards.
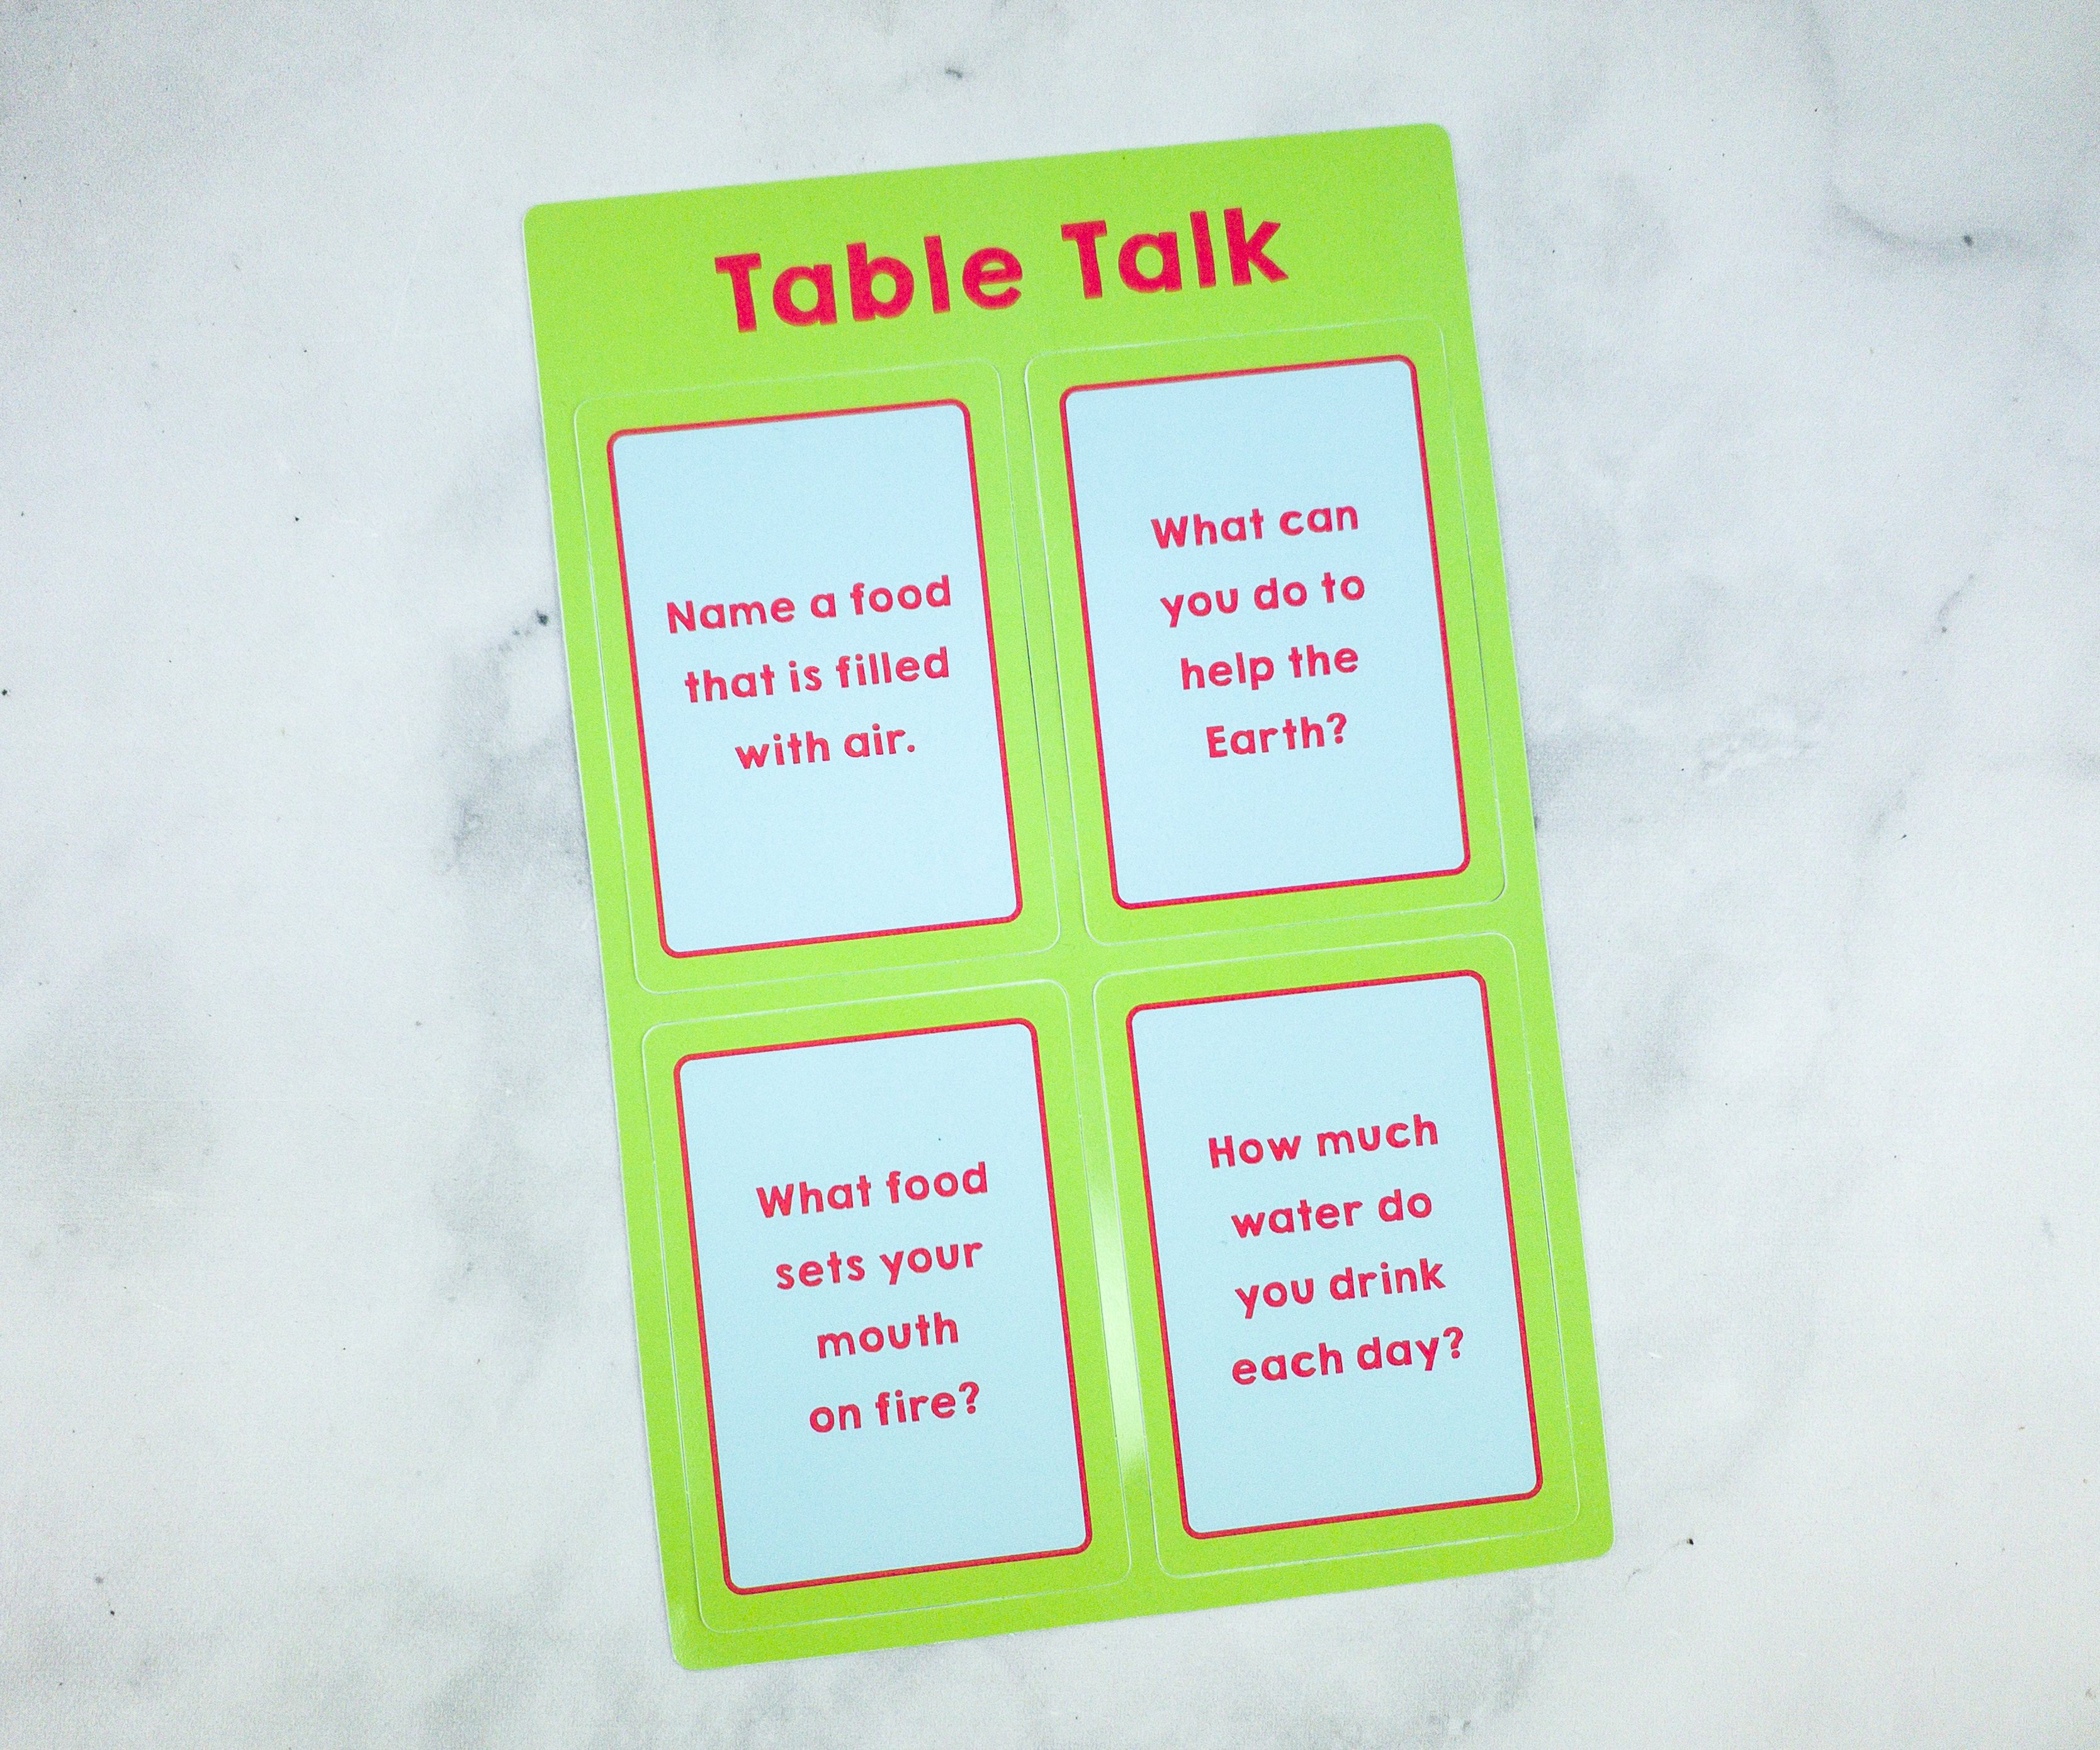
We also received exclusive Table Talk conversation starter cards.
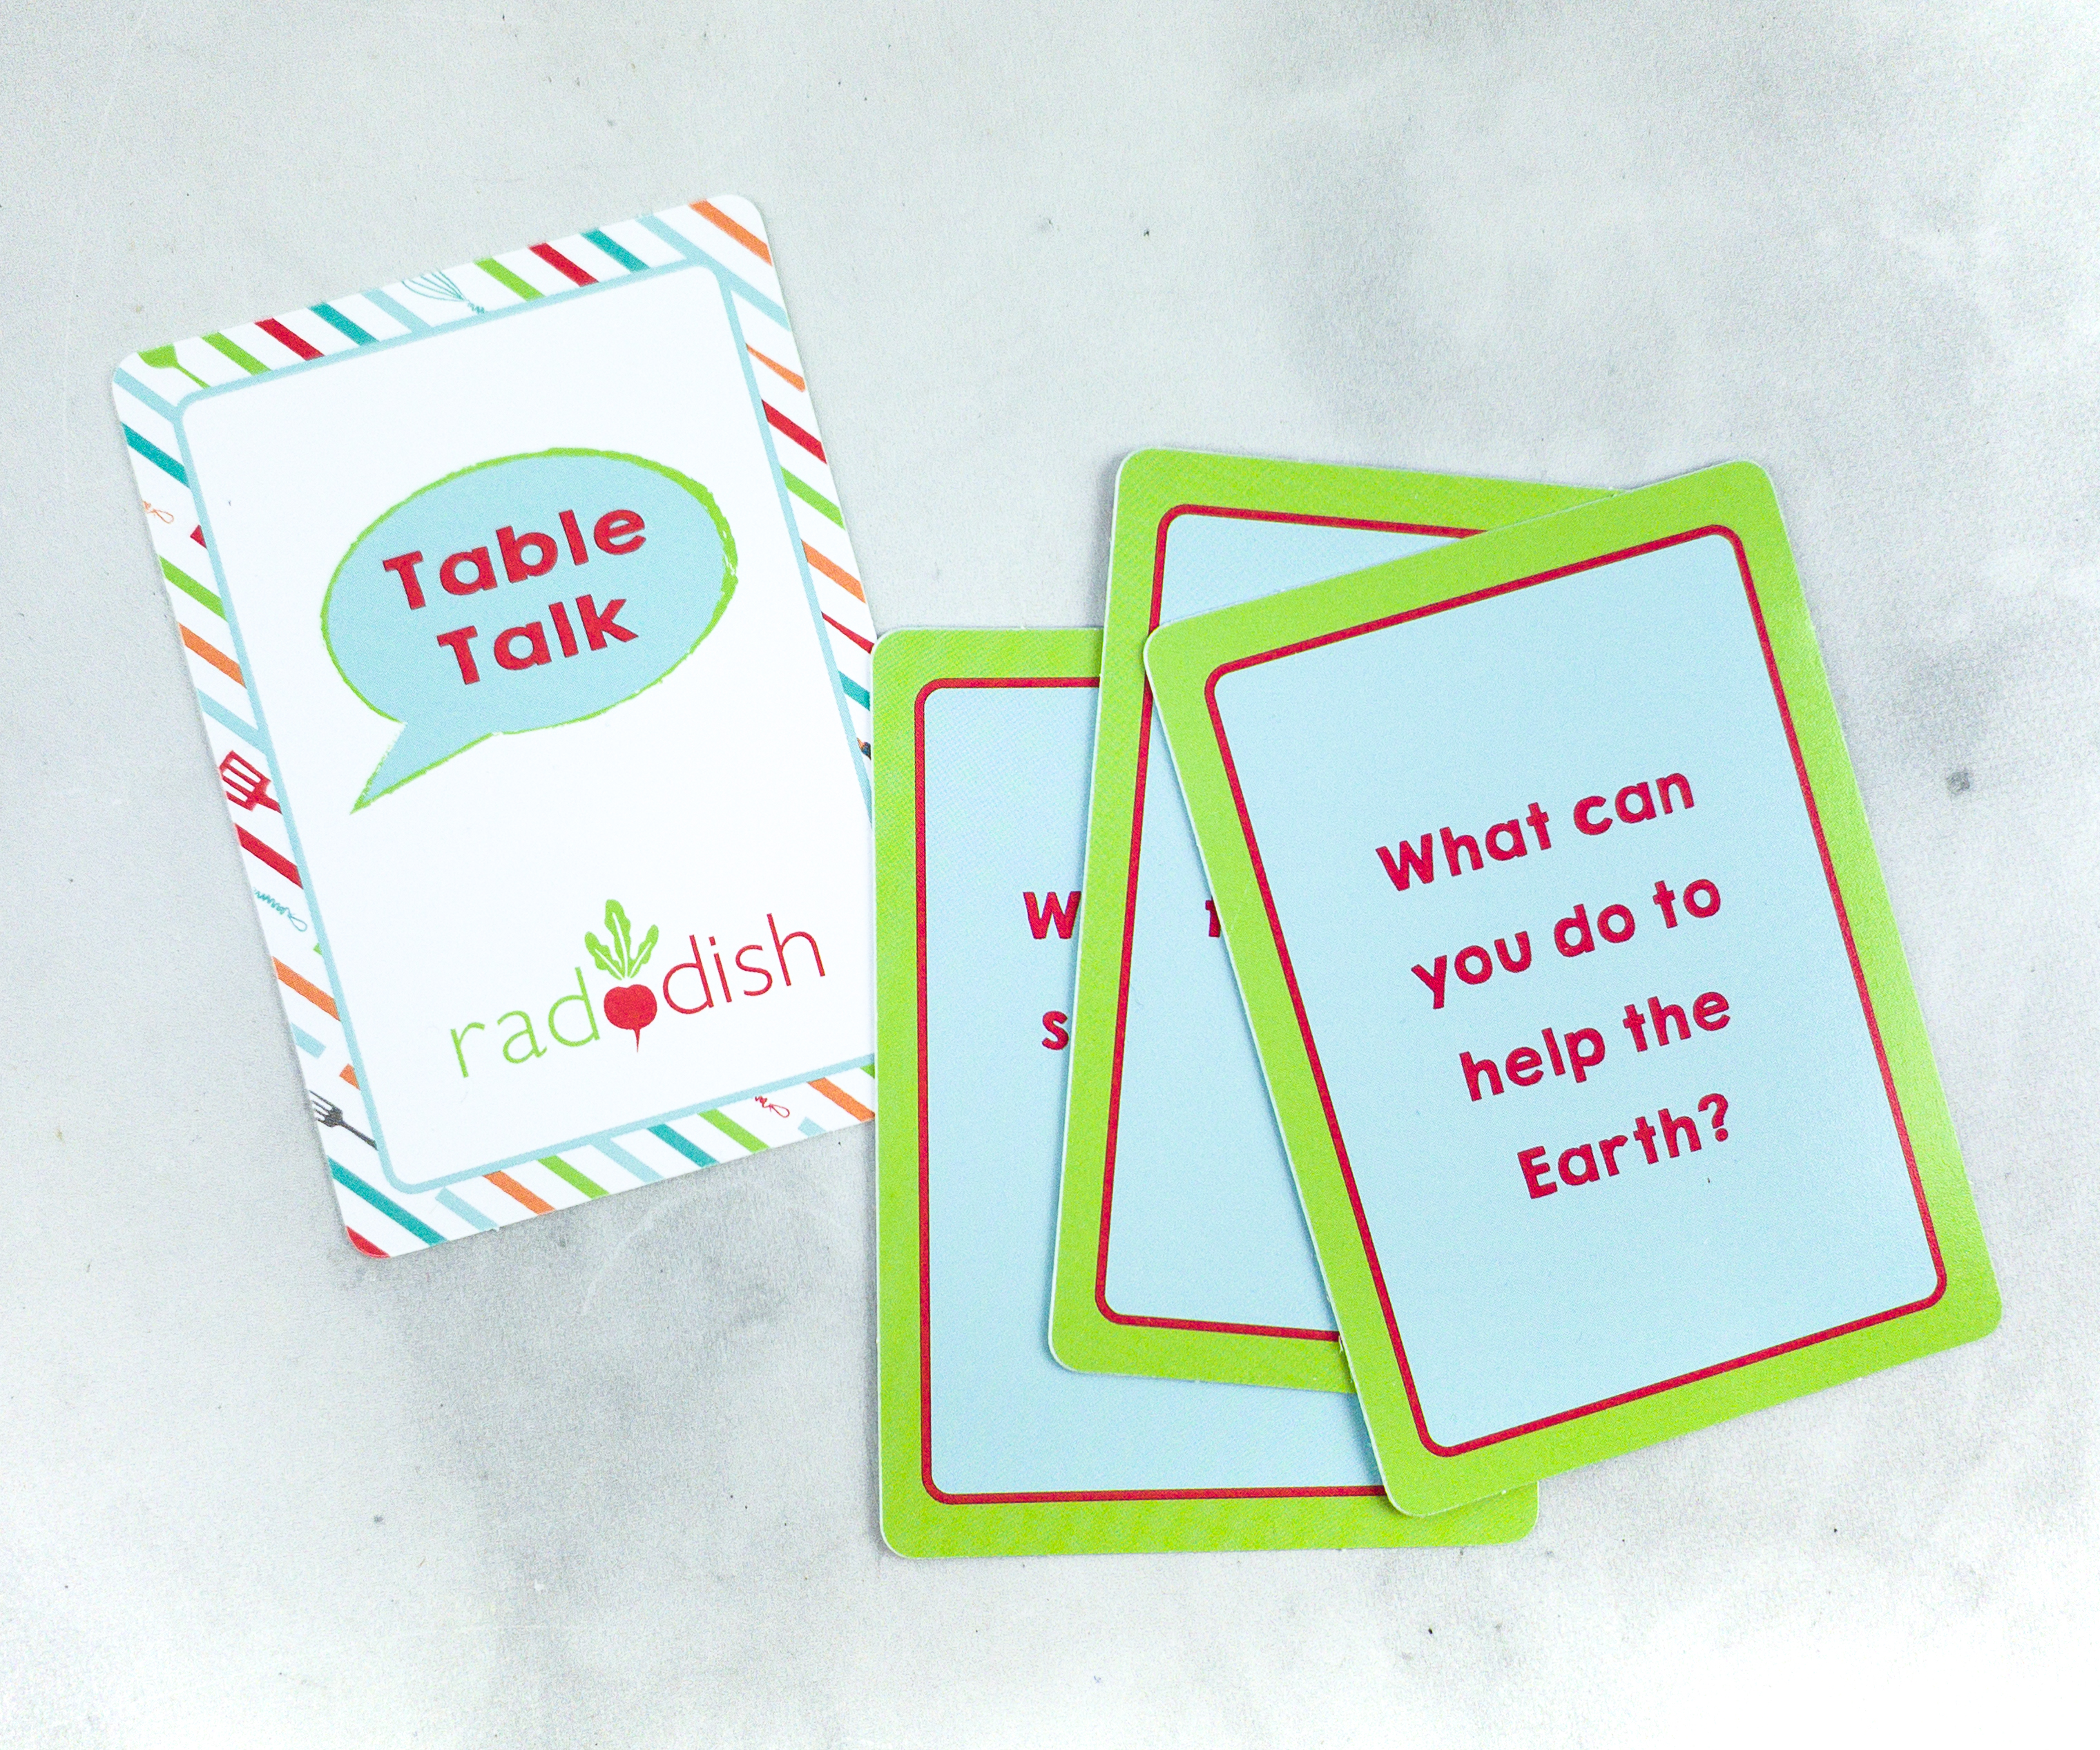
Each card contains some questions for a great table talk conversation.
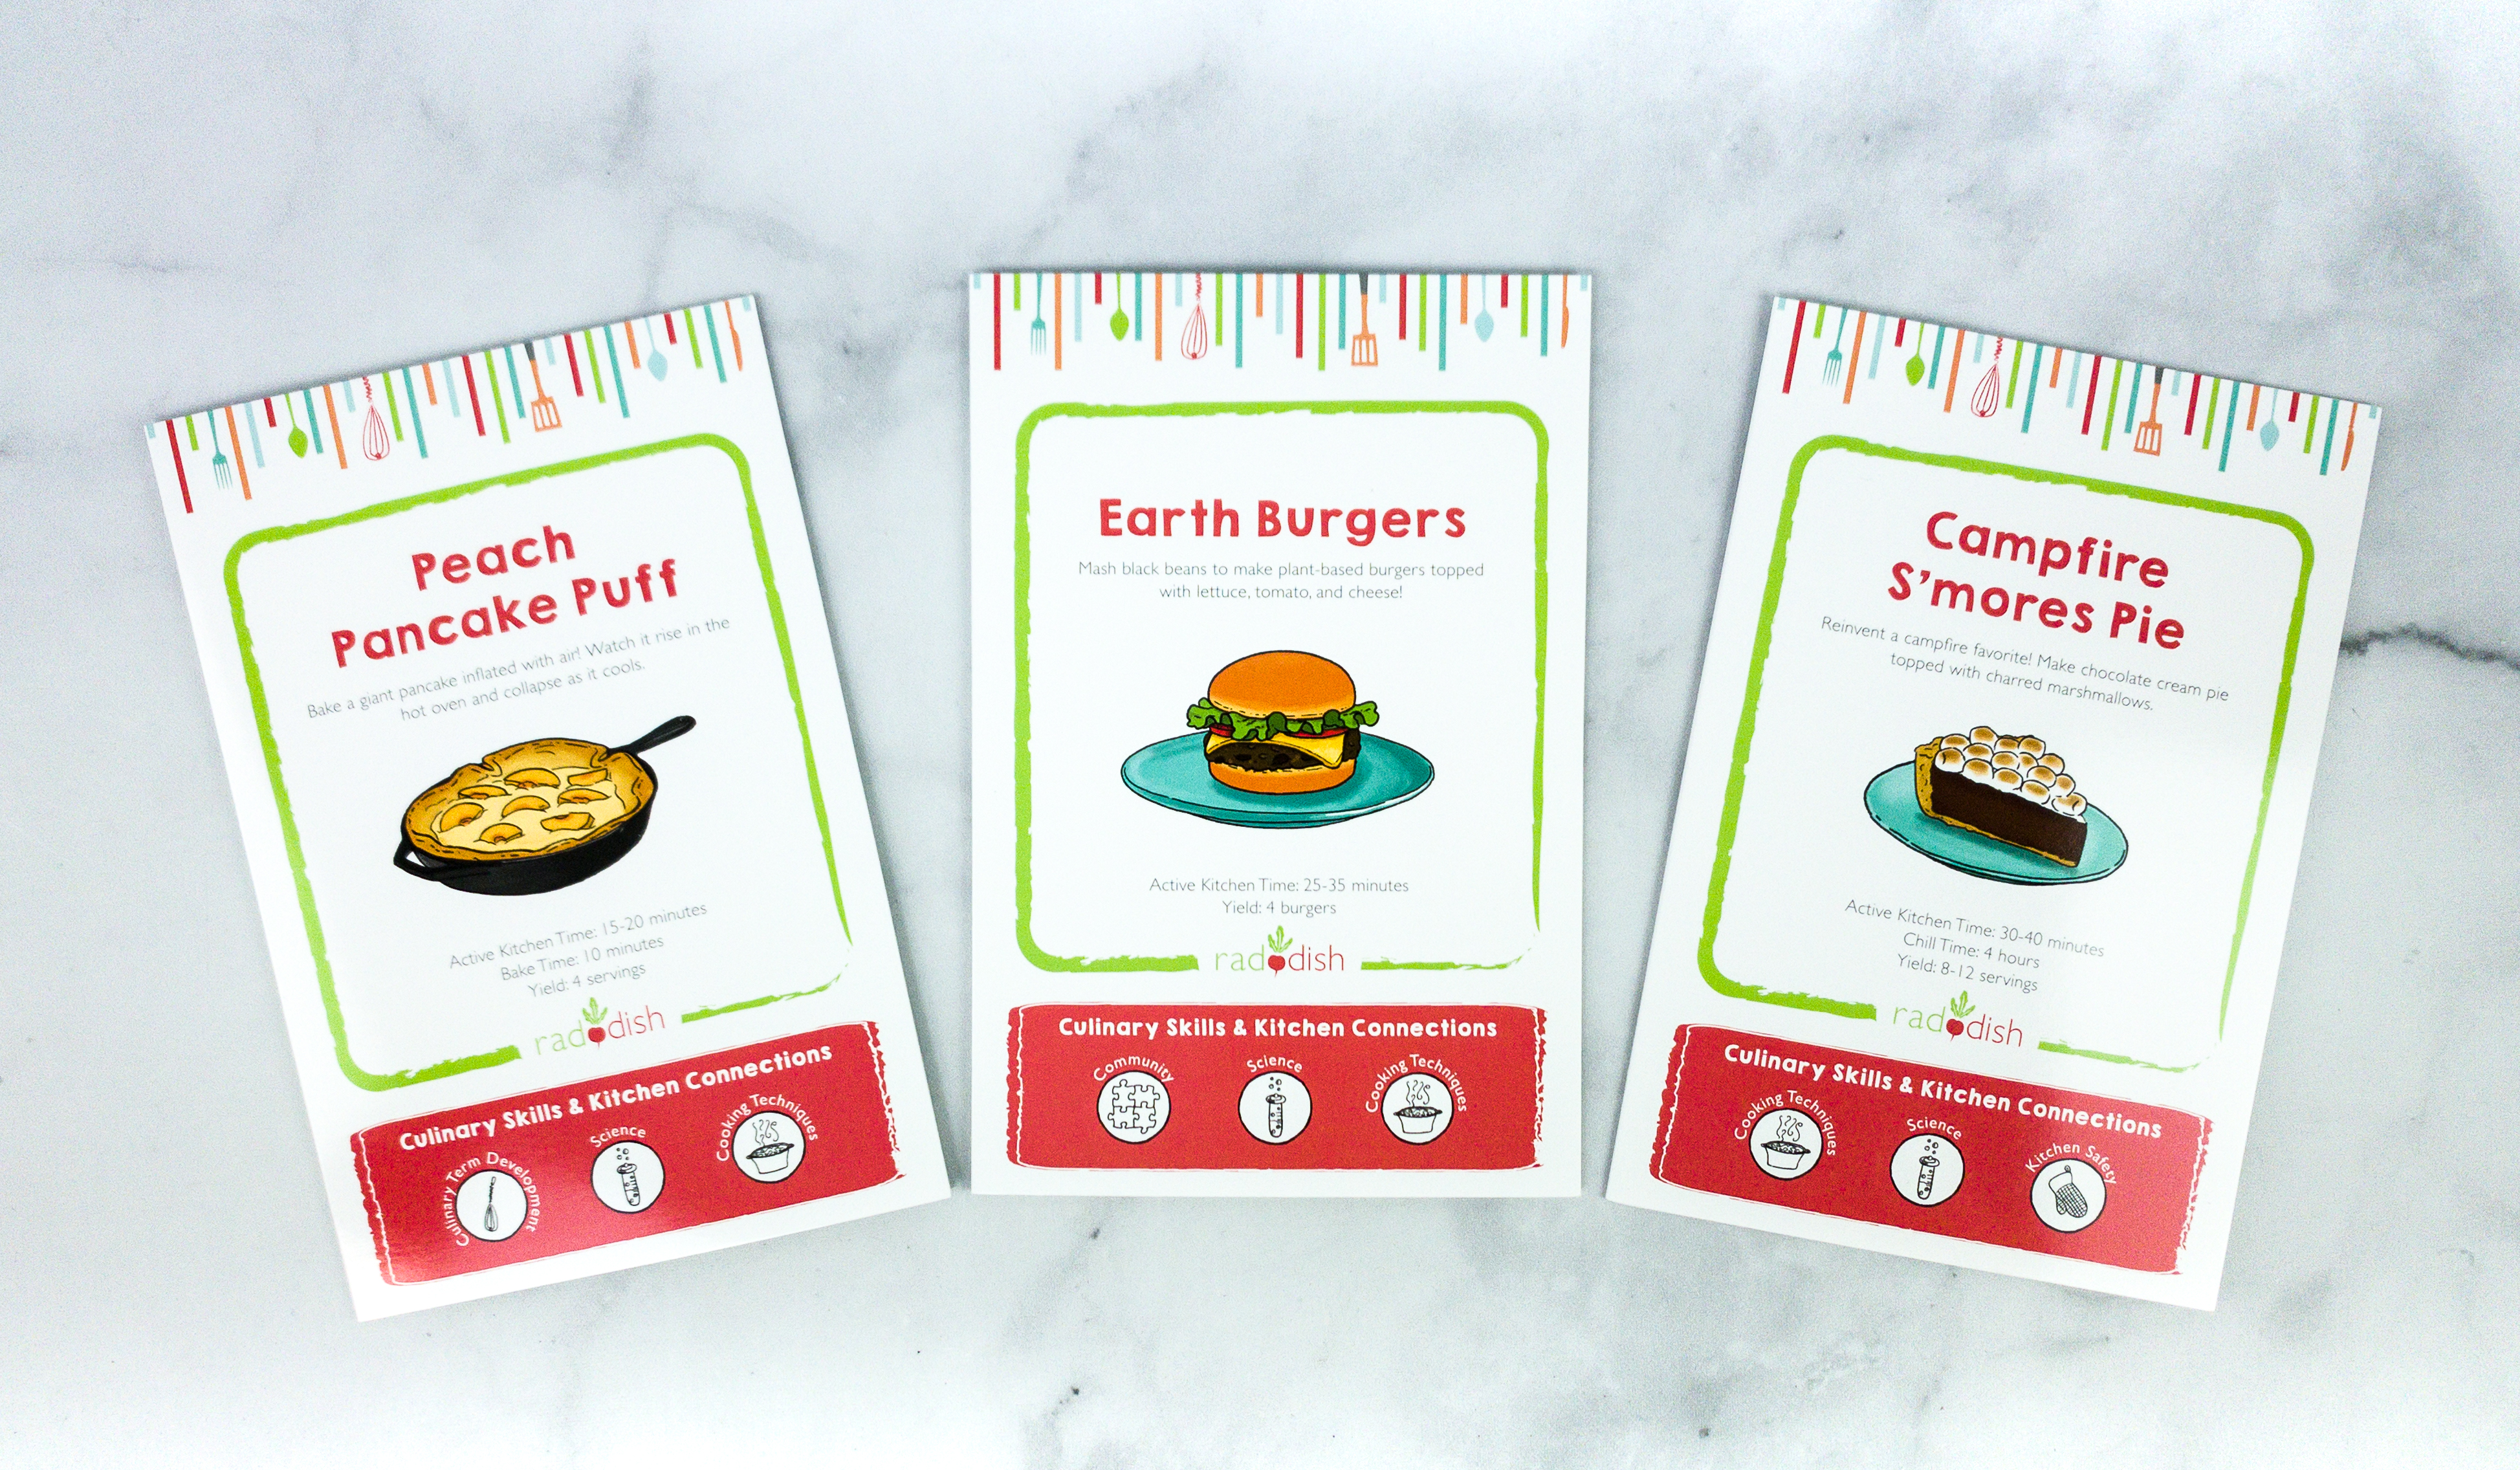
Here are this month’s recipe guides!
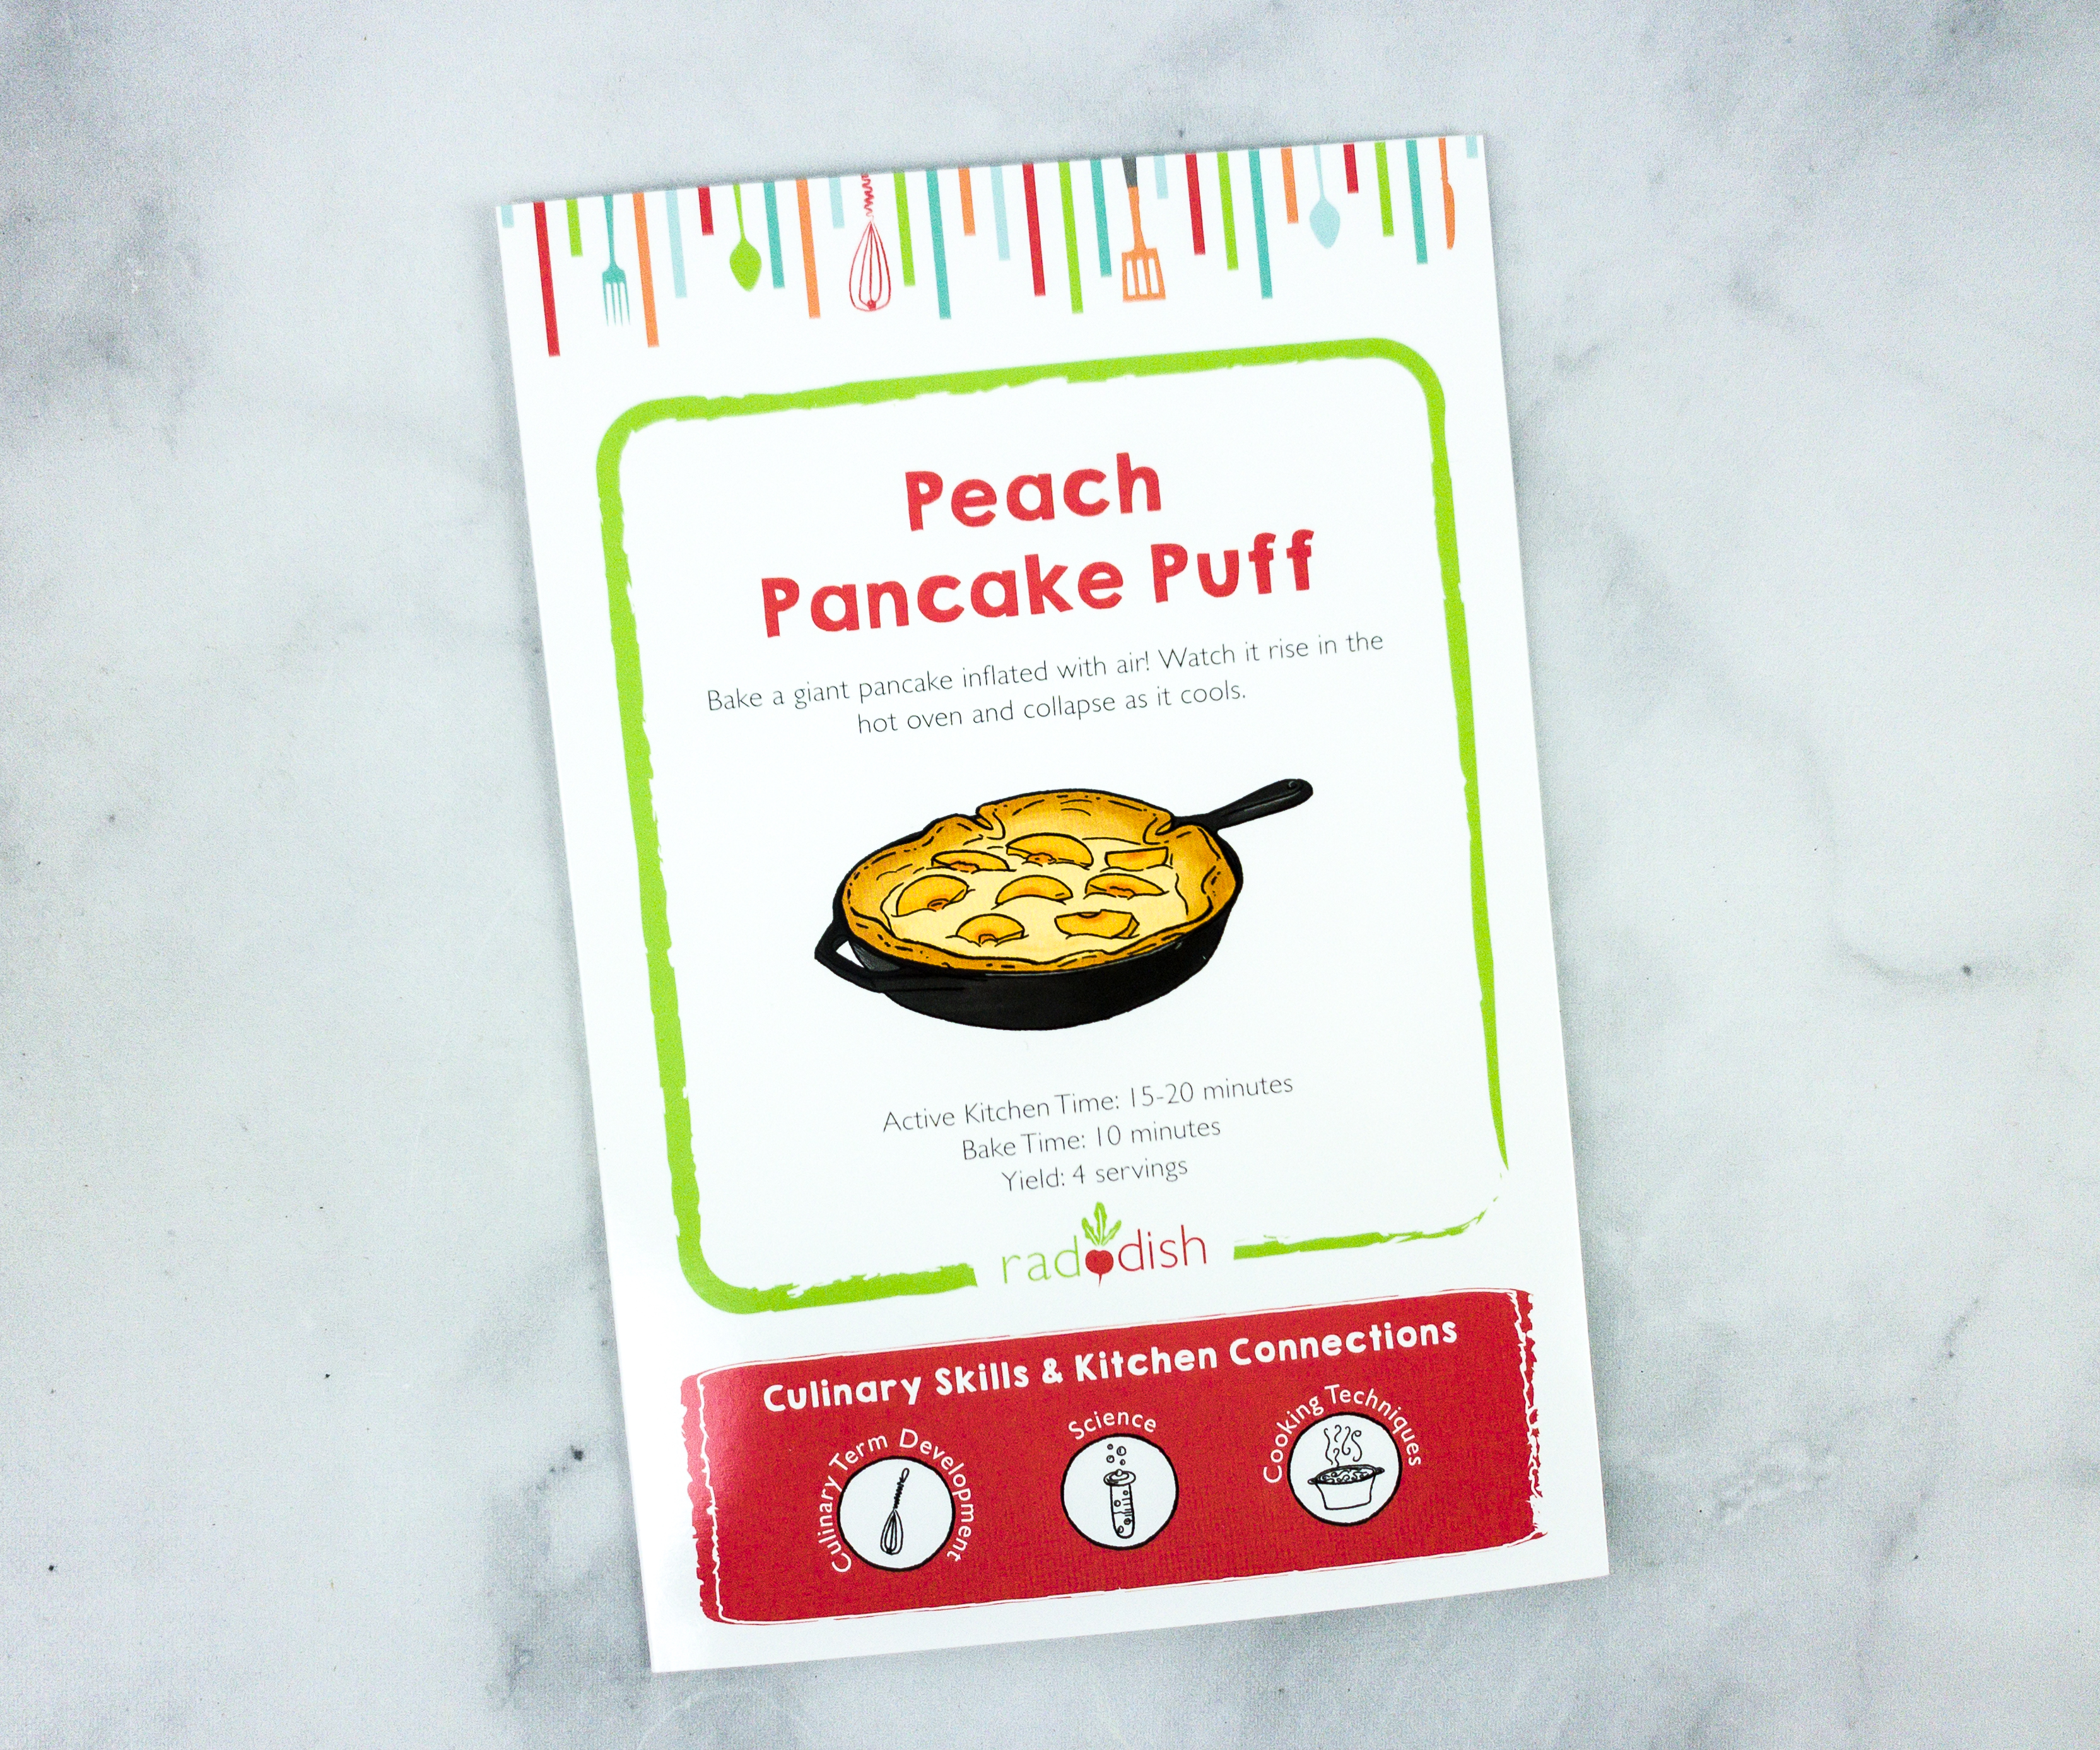
The first recipe is Peach Pancake Puff. It’s a bake giant pancake inflated with air that rises in the hot oven and collapses as it cools.
Active Kitchen Time: 15-20 minutes
Bake Time: 10 minutes
Yield: 4 servings
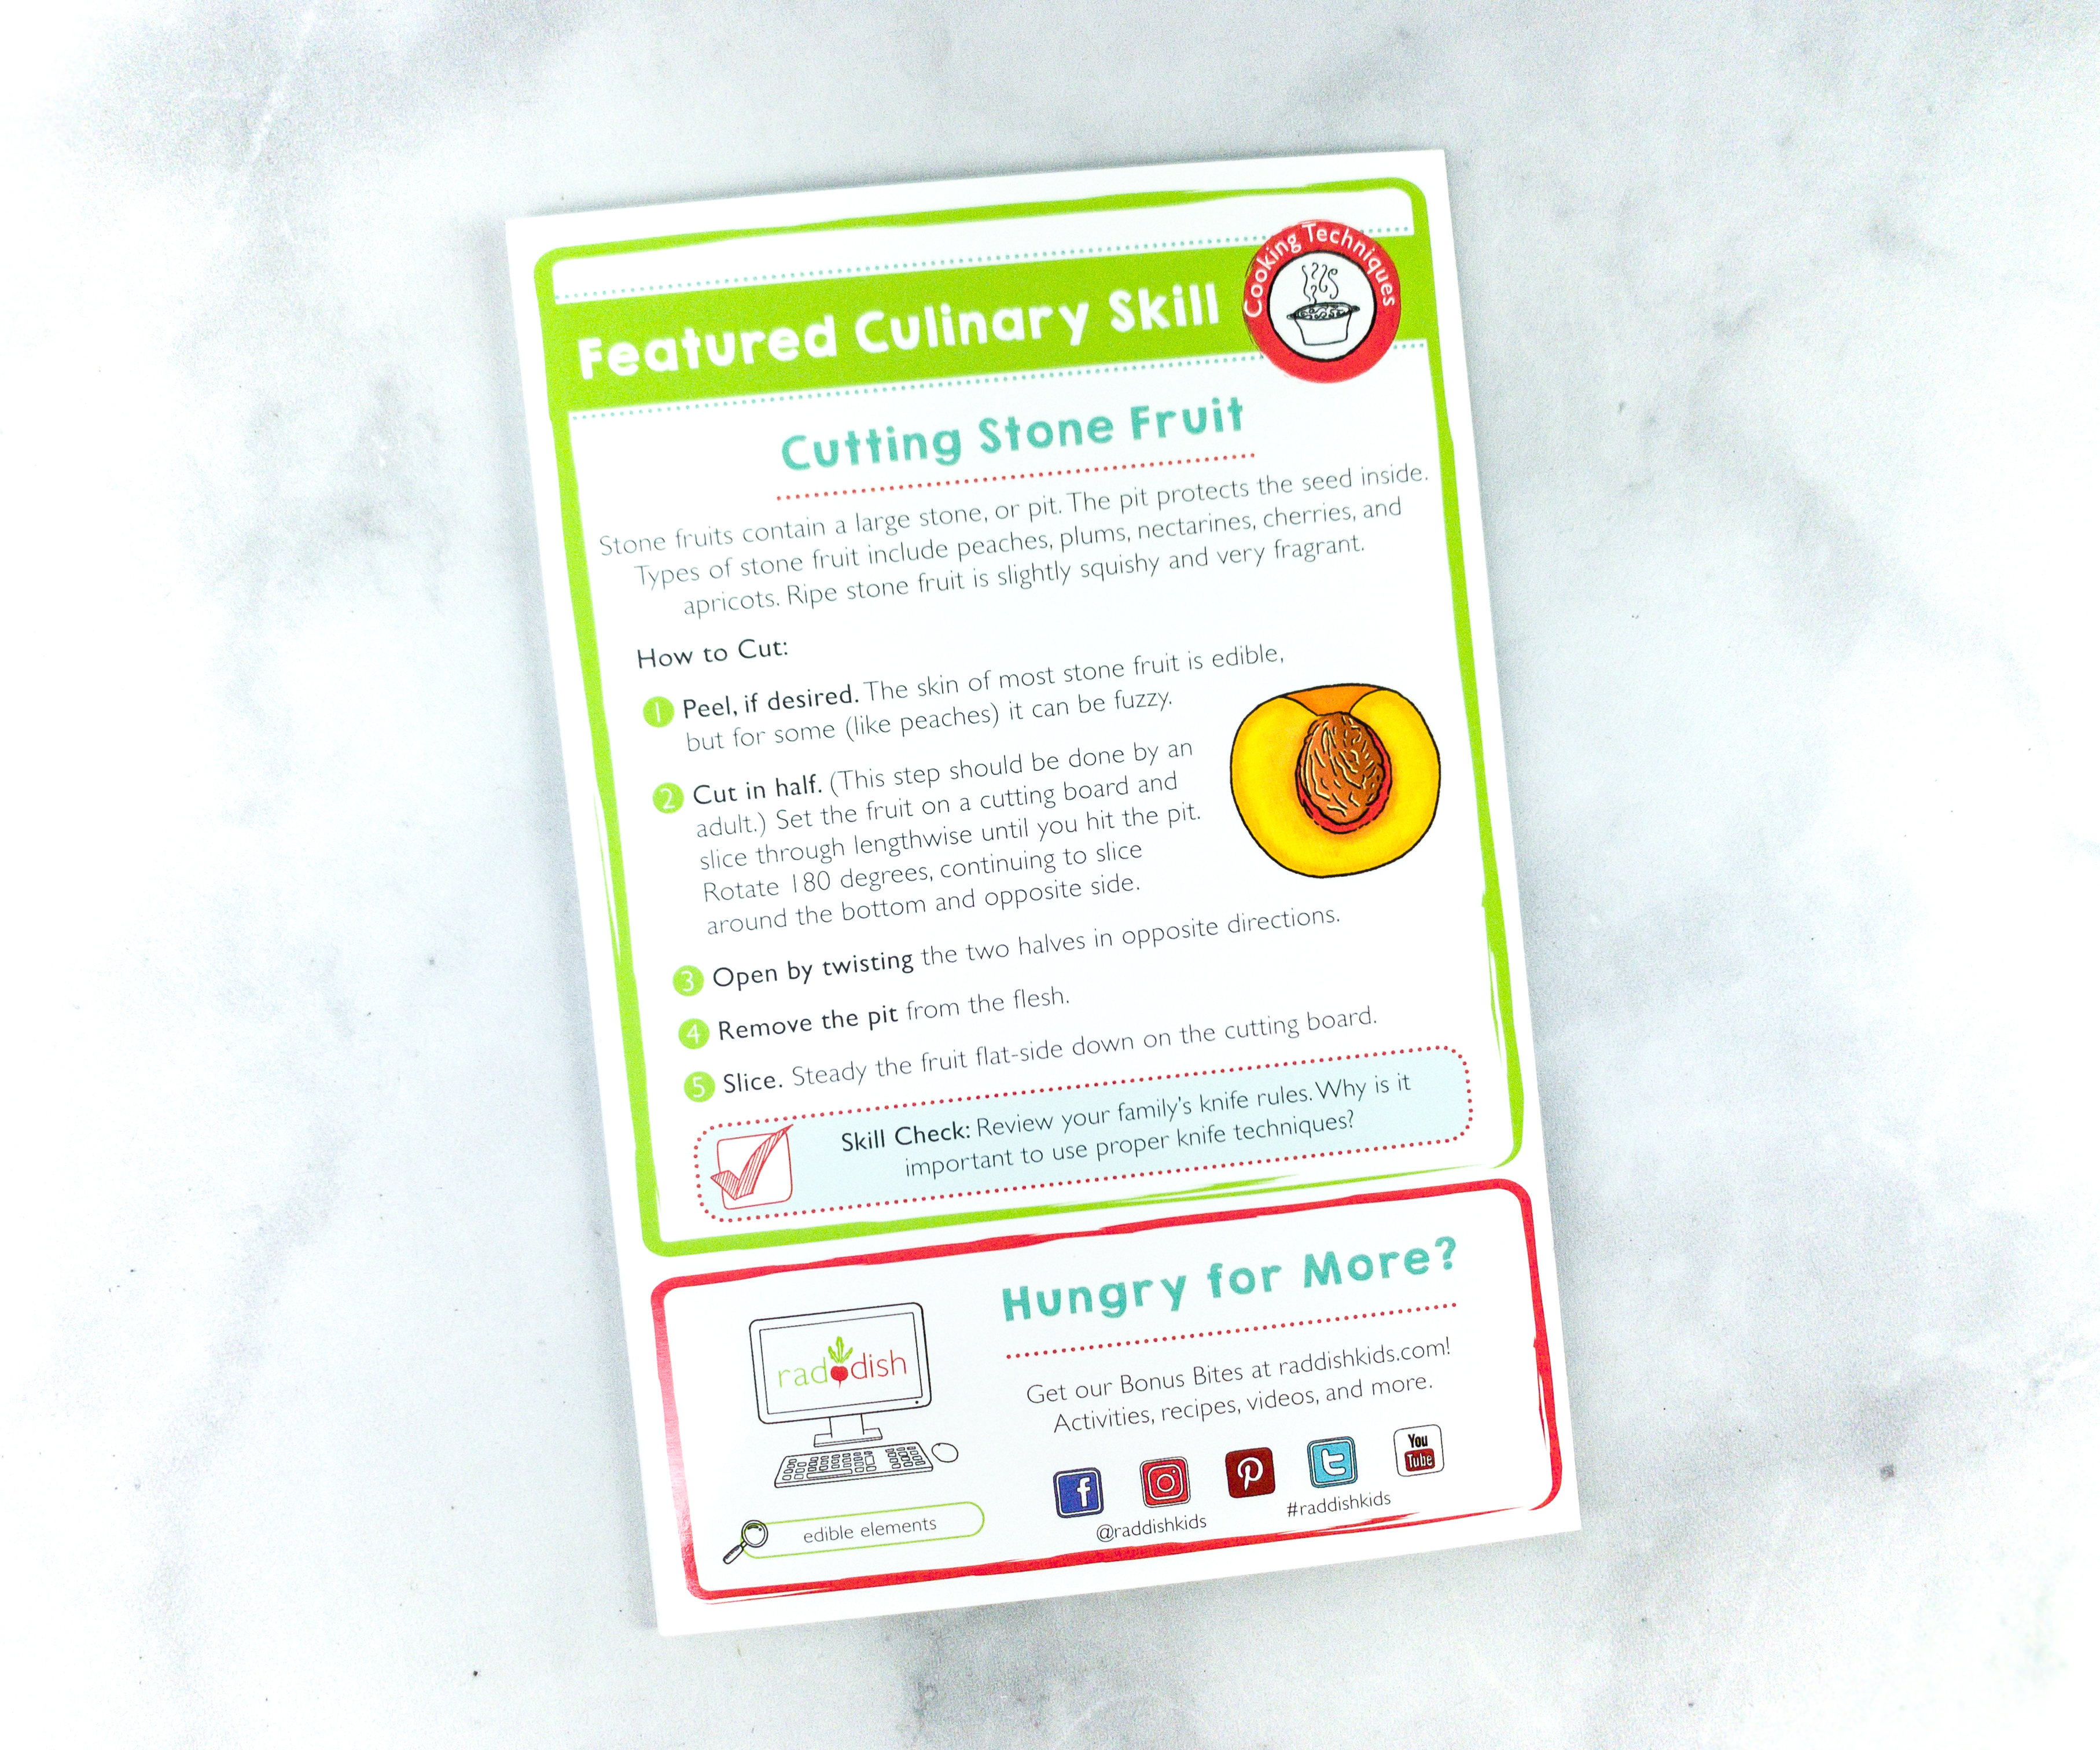
The back of the recipe guide contains the featured culinary skill. For this recipe, it’s cutting stone fruit!
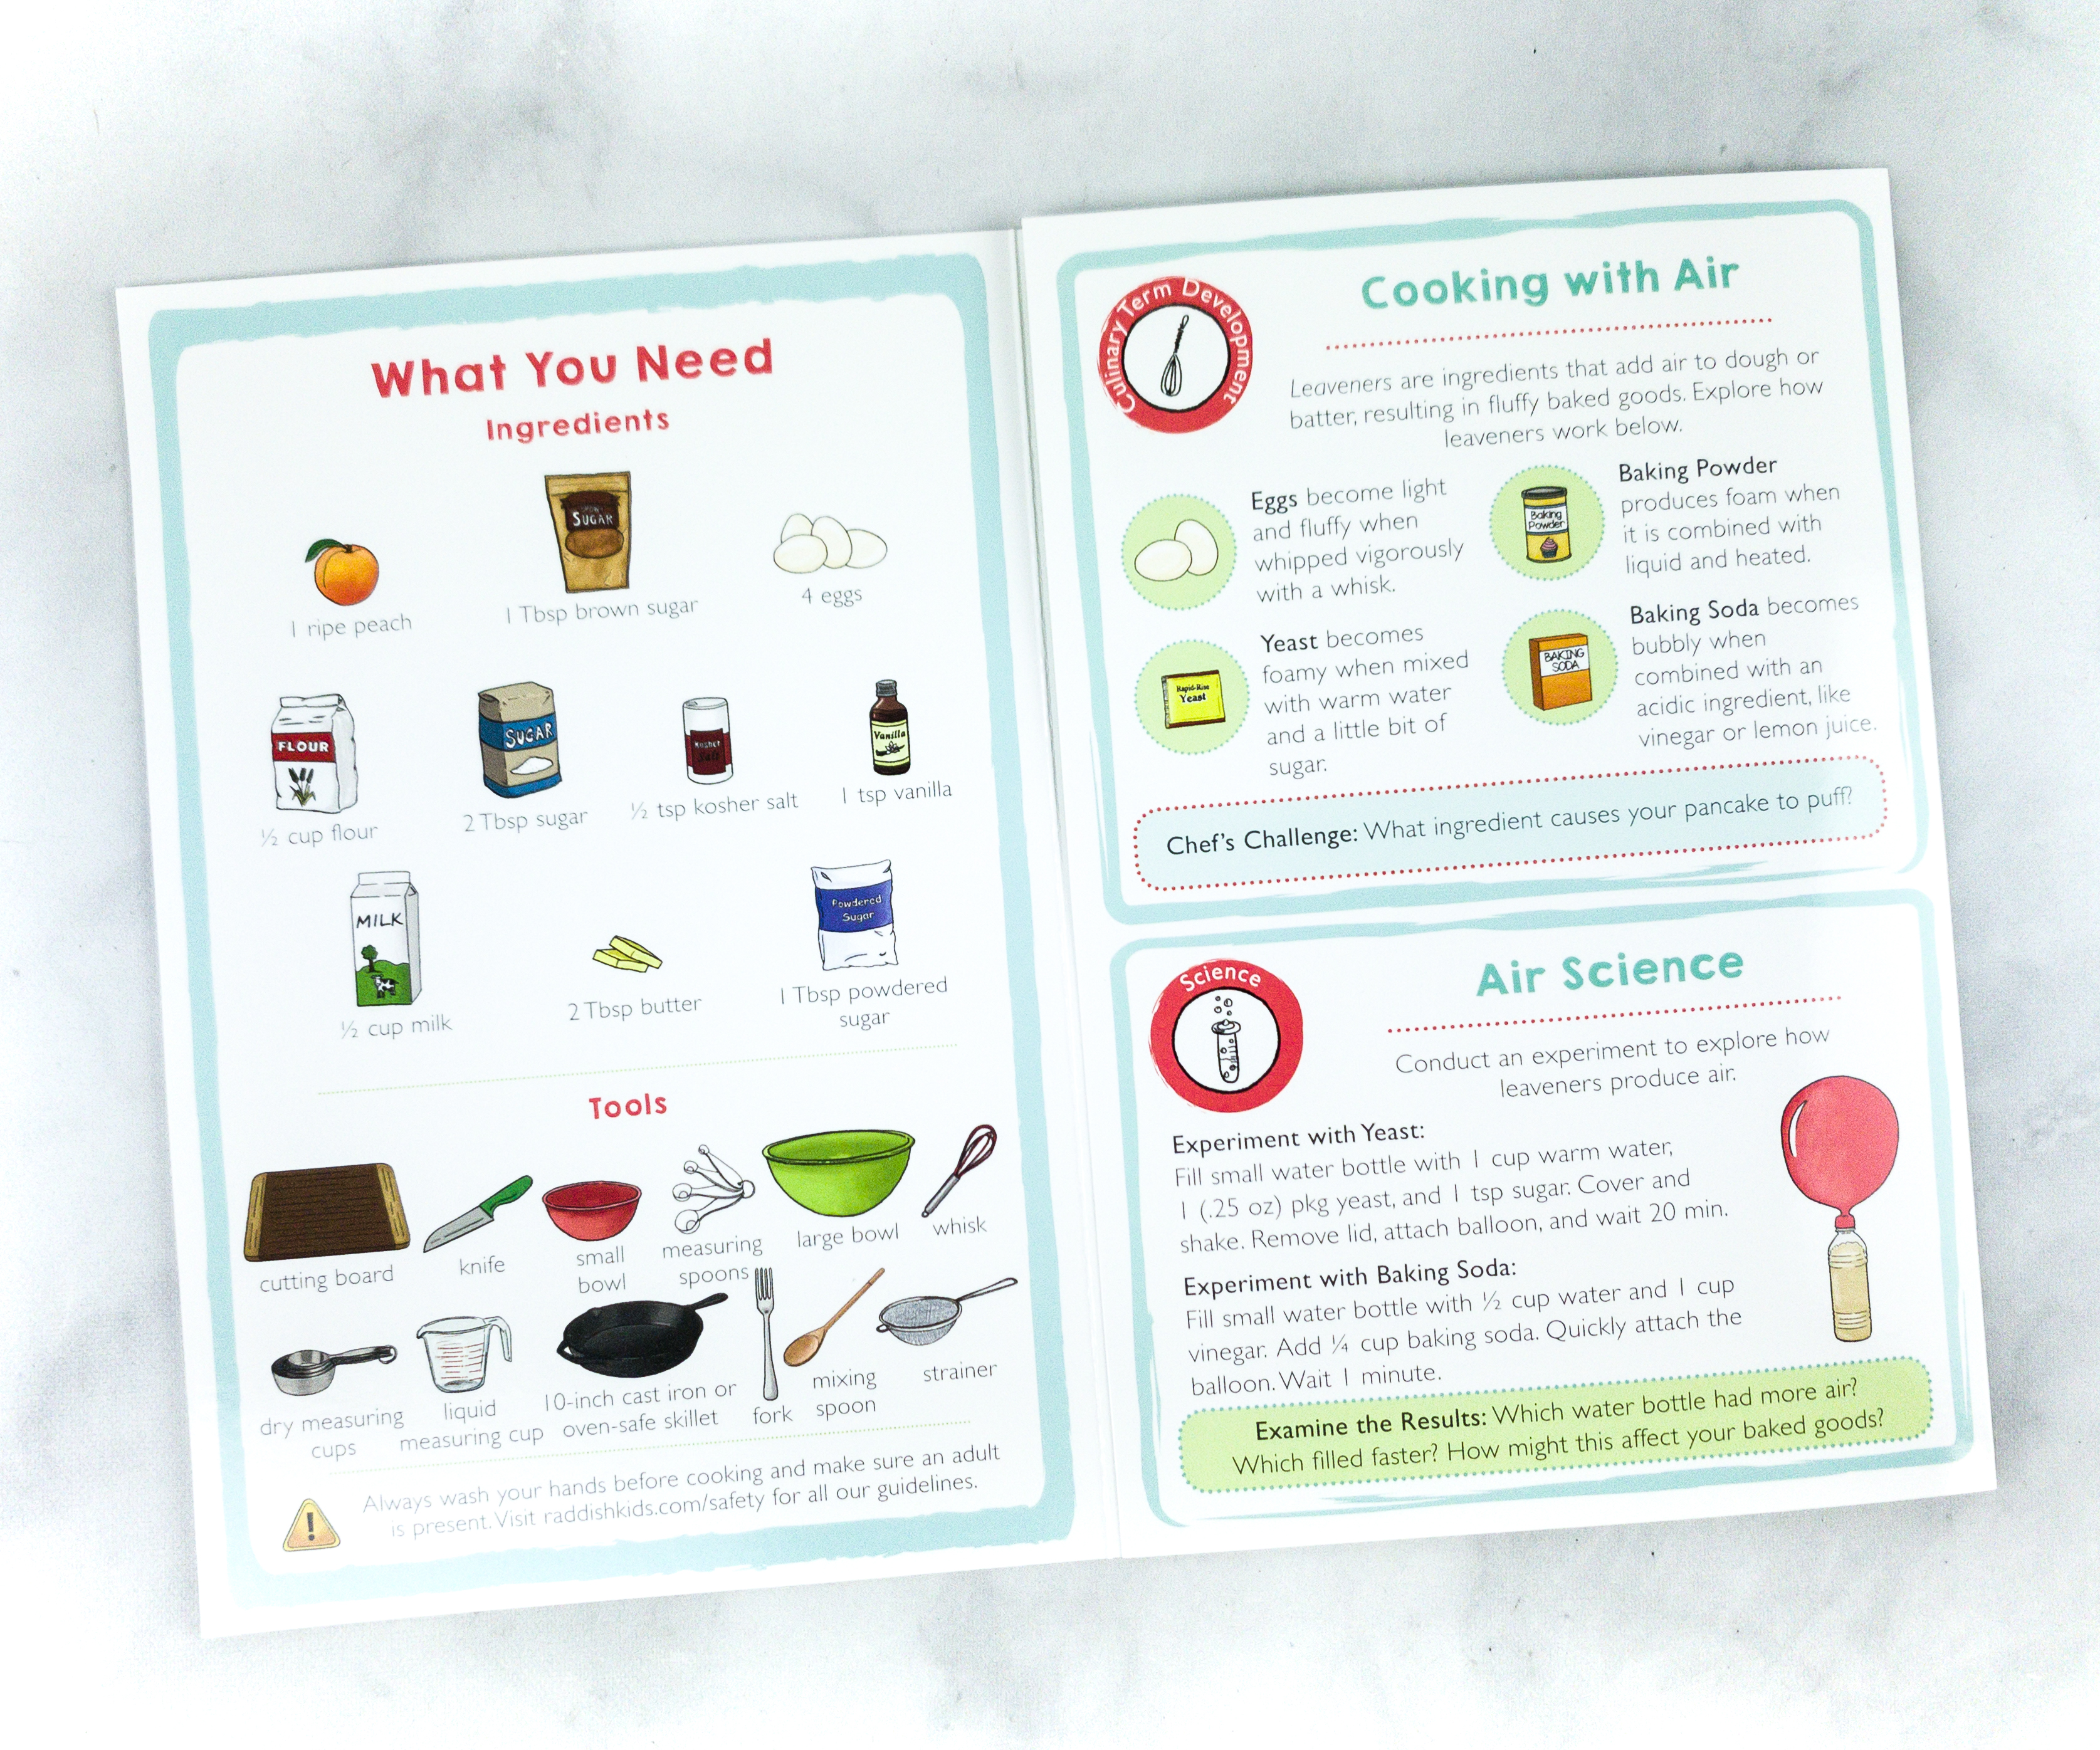
Inside the booklet are the recipe’s ingredients and tools for the project. There’s also a portion on this page where we could learn some simple science about air and how it affects the yeast and baking soda.
Ingredients for this recipe are ripe peach, brown sugar, eggs, flour, sugar, kosher salt, vanilla, milk, butter, and powdered sugar.
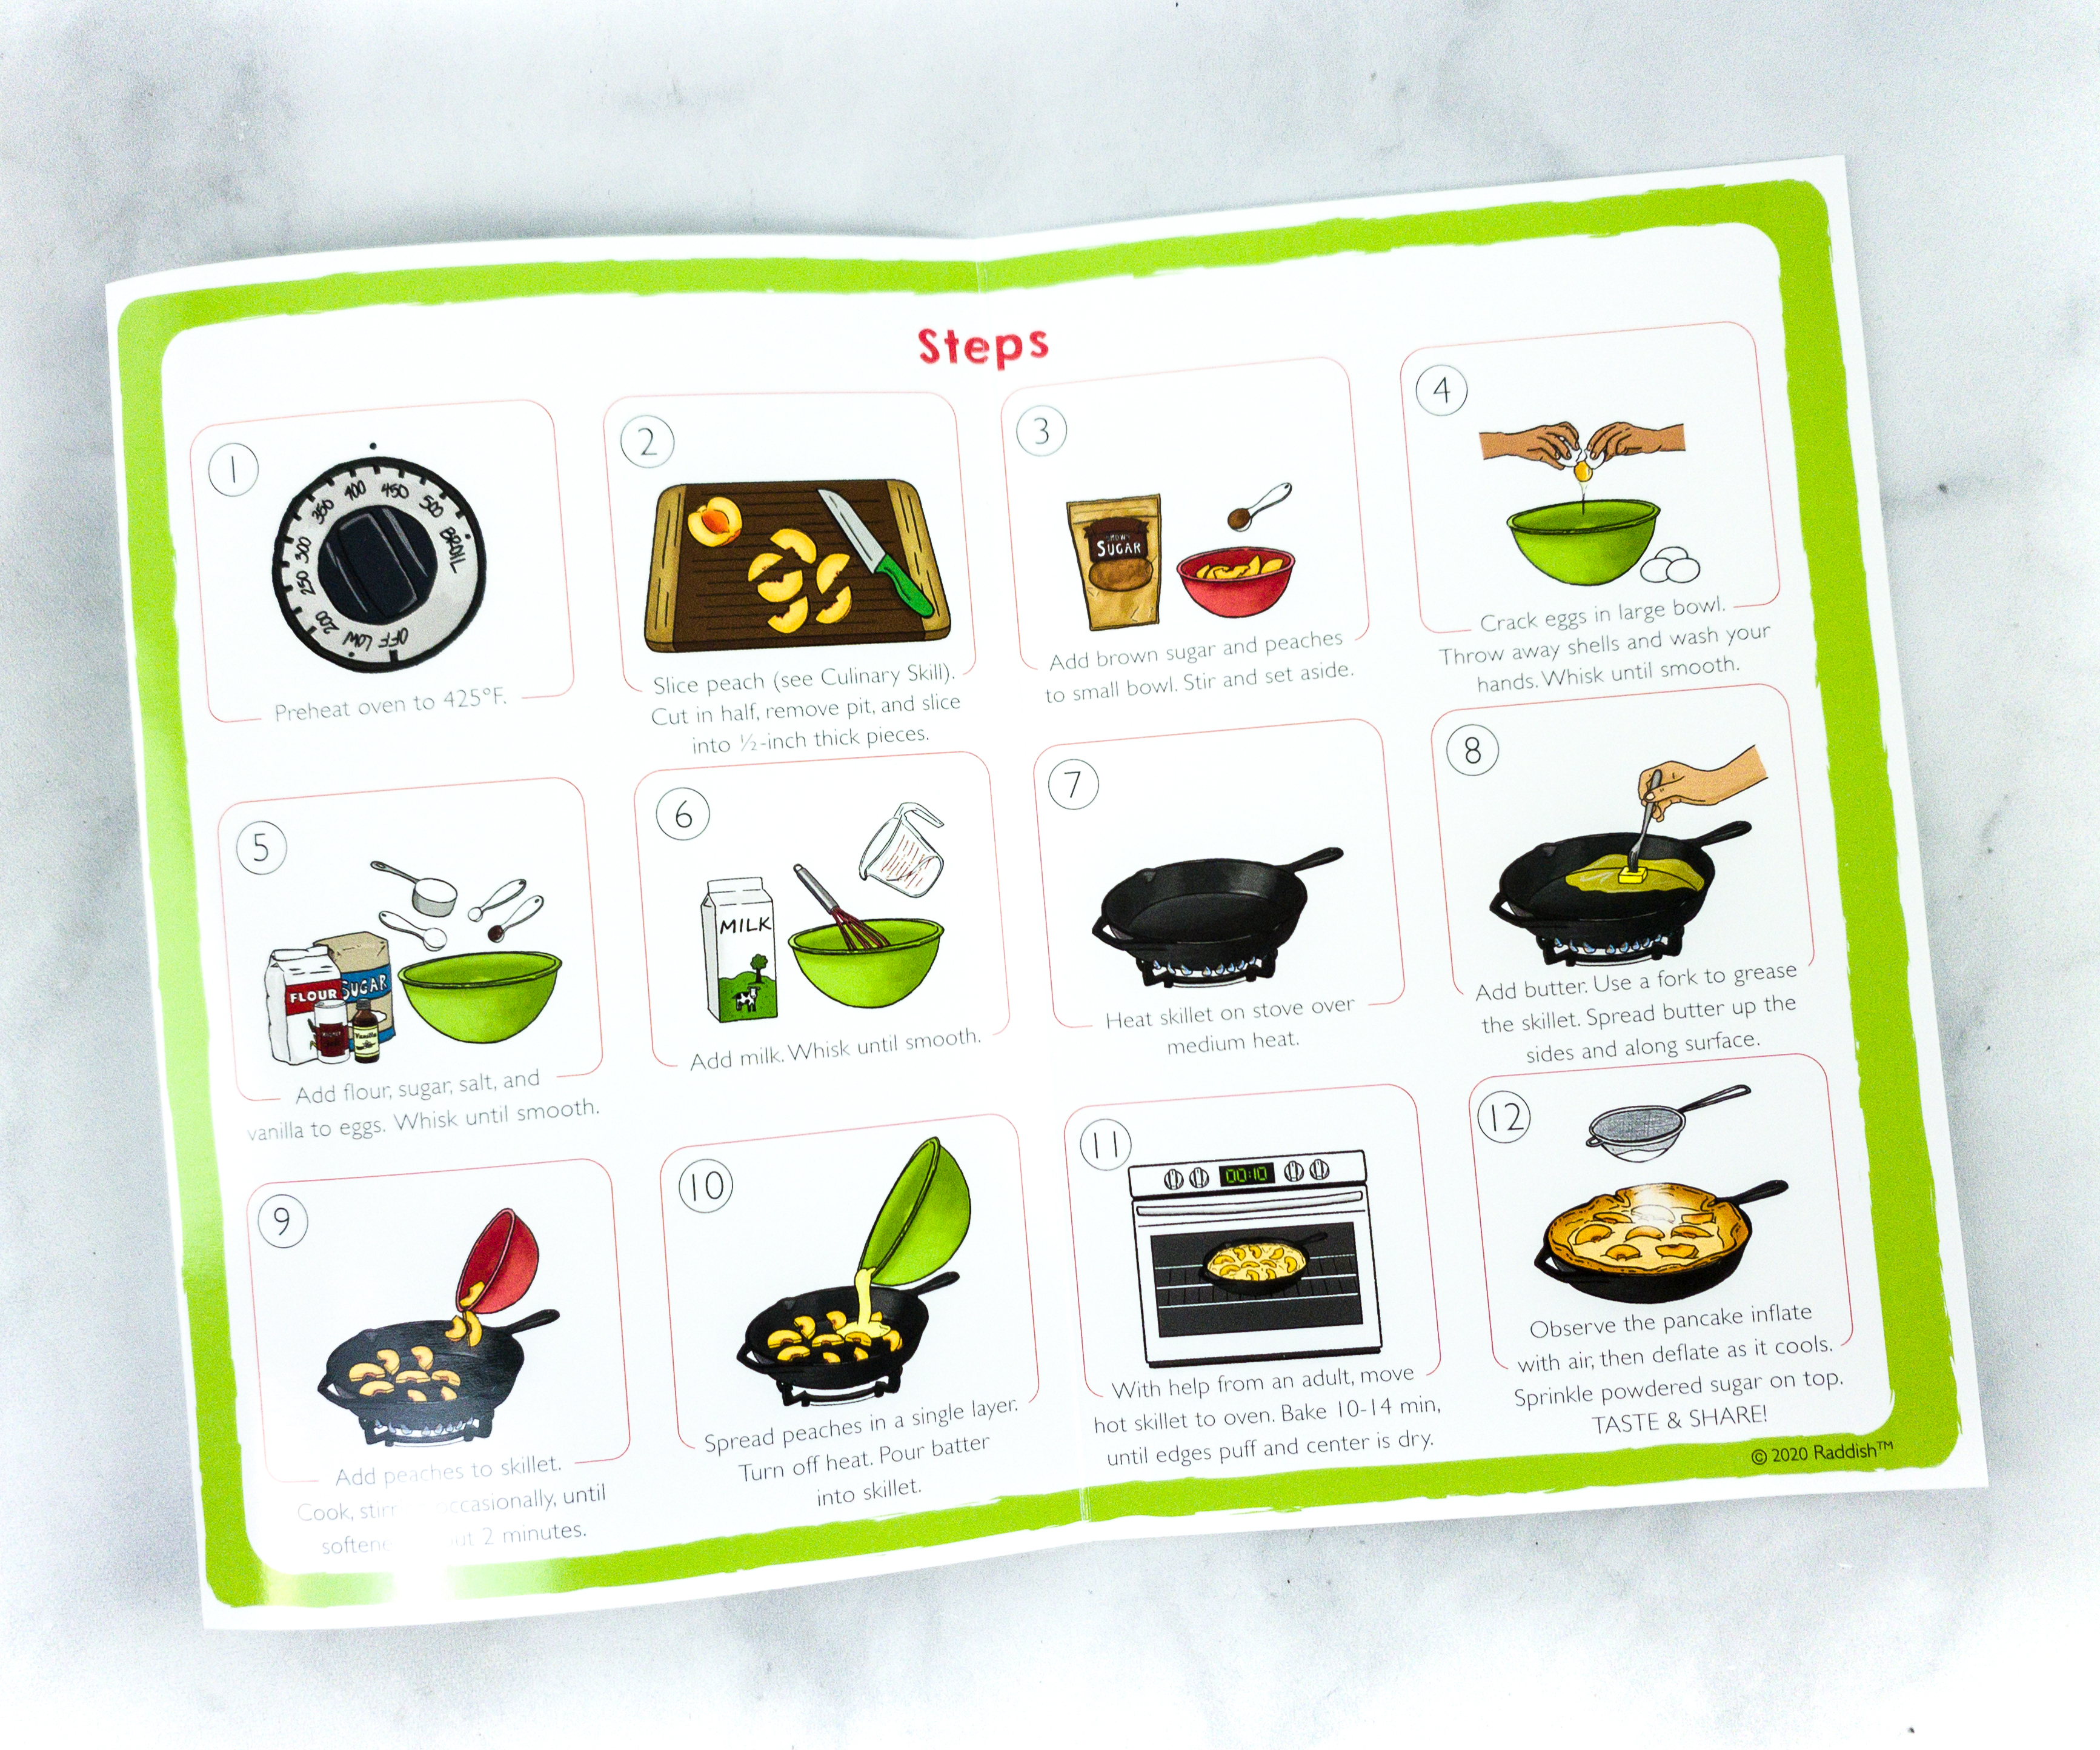
This recipe guide is so informative and very convenient to use, they even provided us an illustration so you’ll know if you’re on right track.
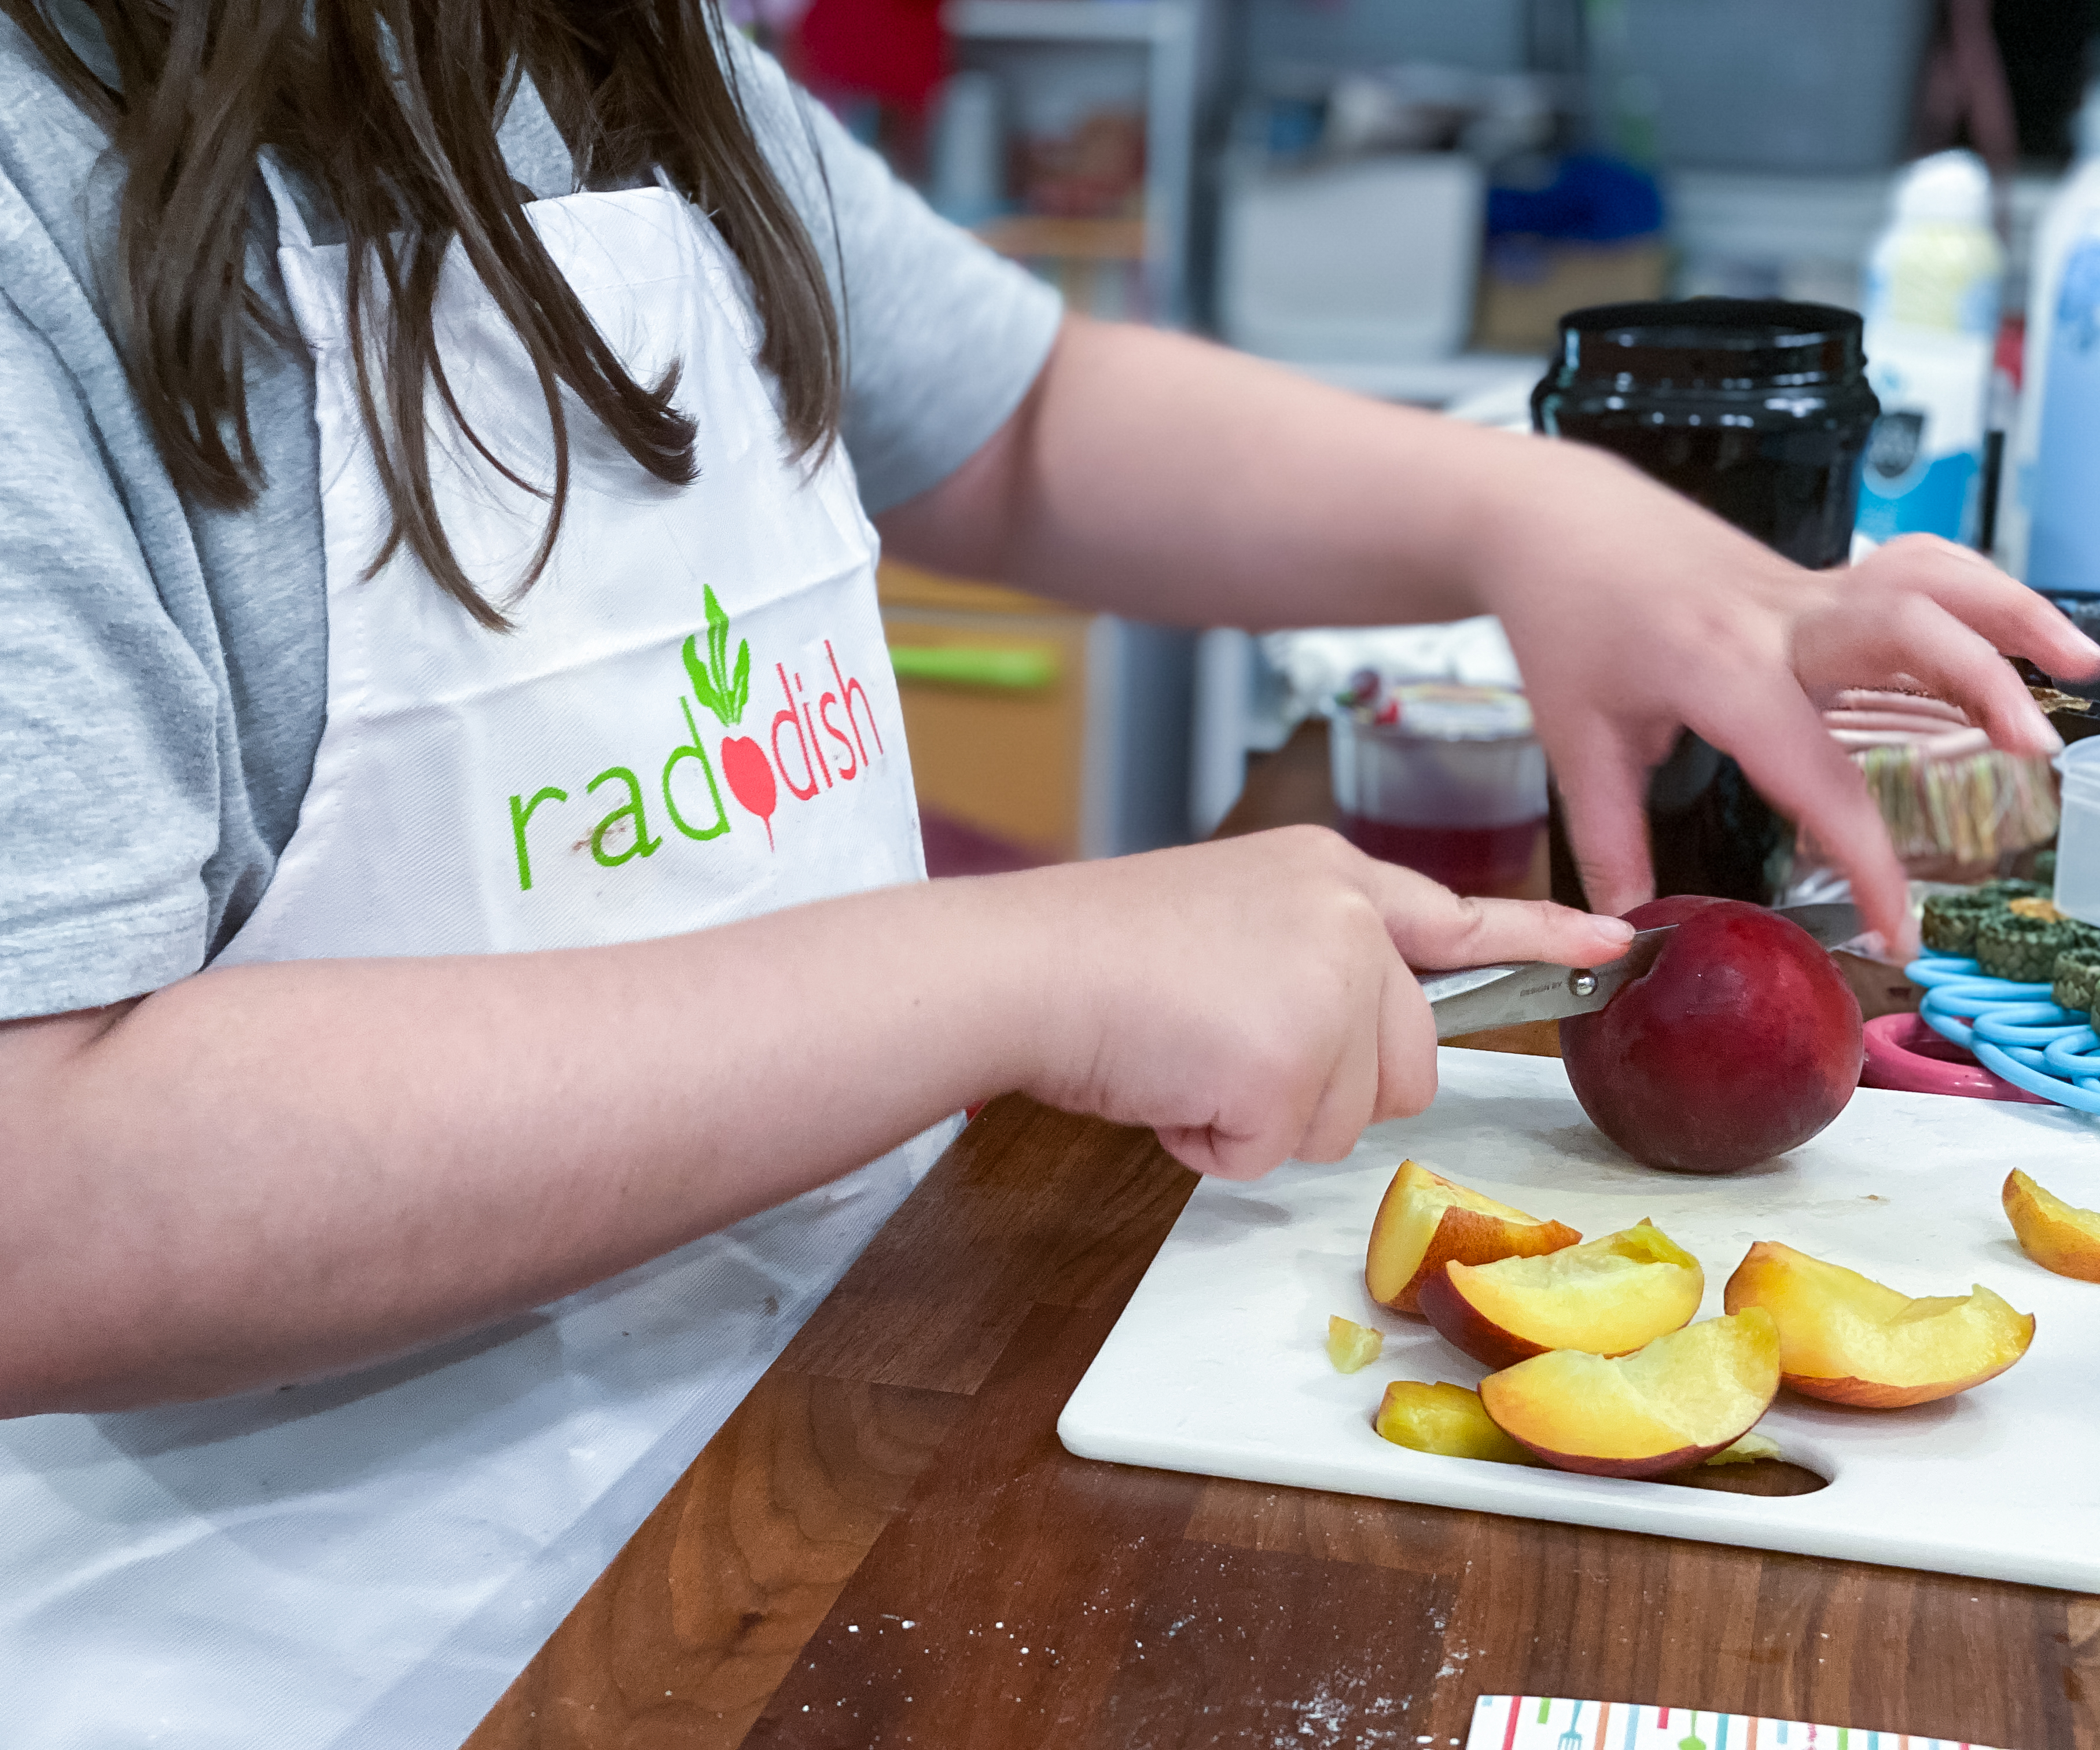
My daughter started by slicing the peaches. She cut it in half, removed the pit, and sliced them into 1/2 inch thick pieces. Then, she transferred the sliced peaches to a small bowl and mixed it with brown sugar.
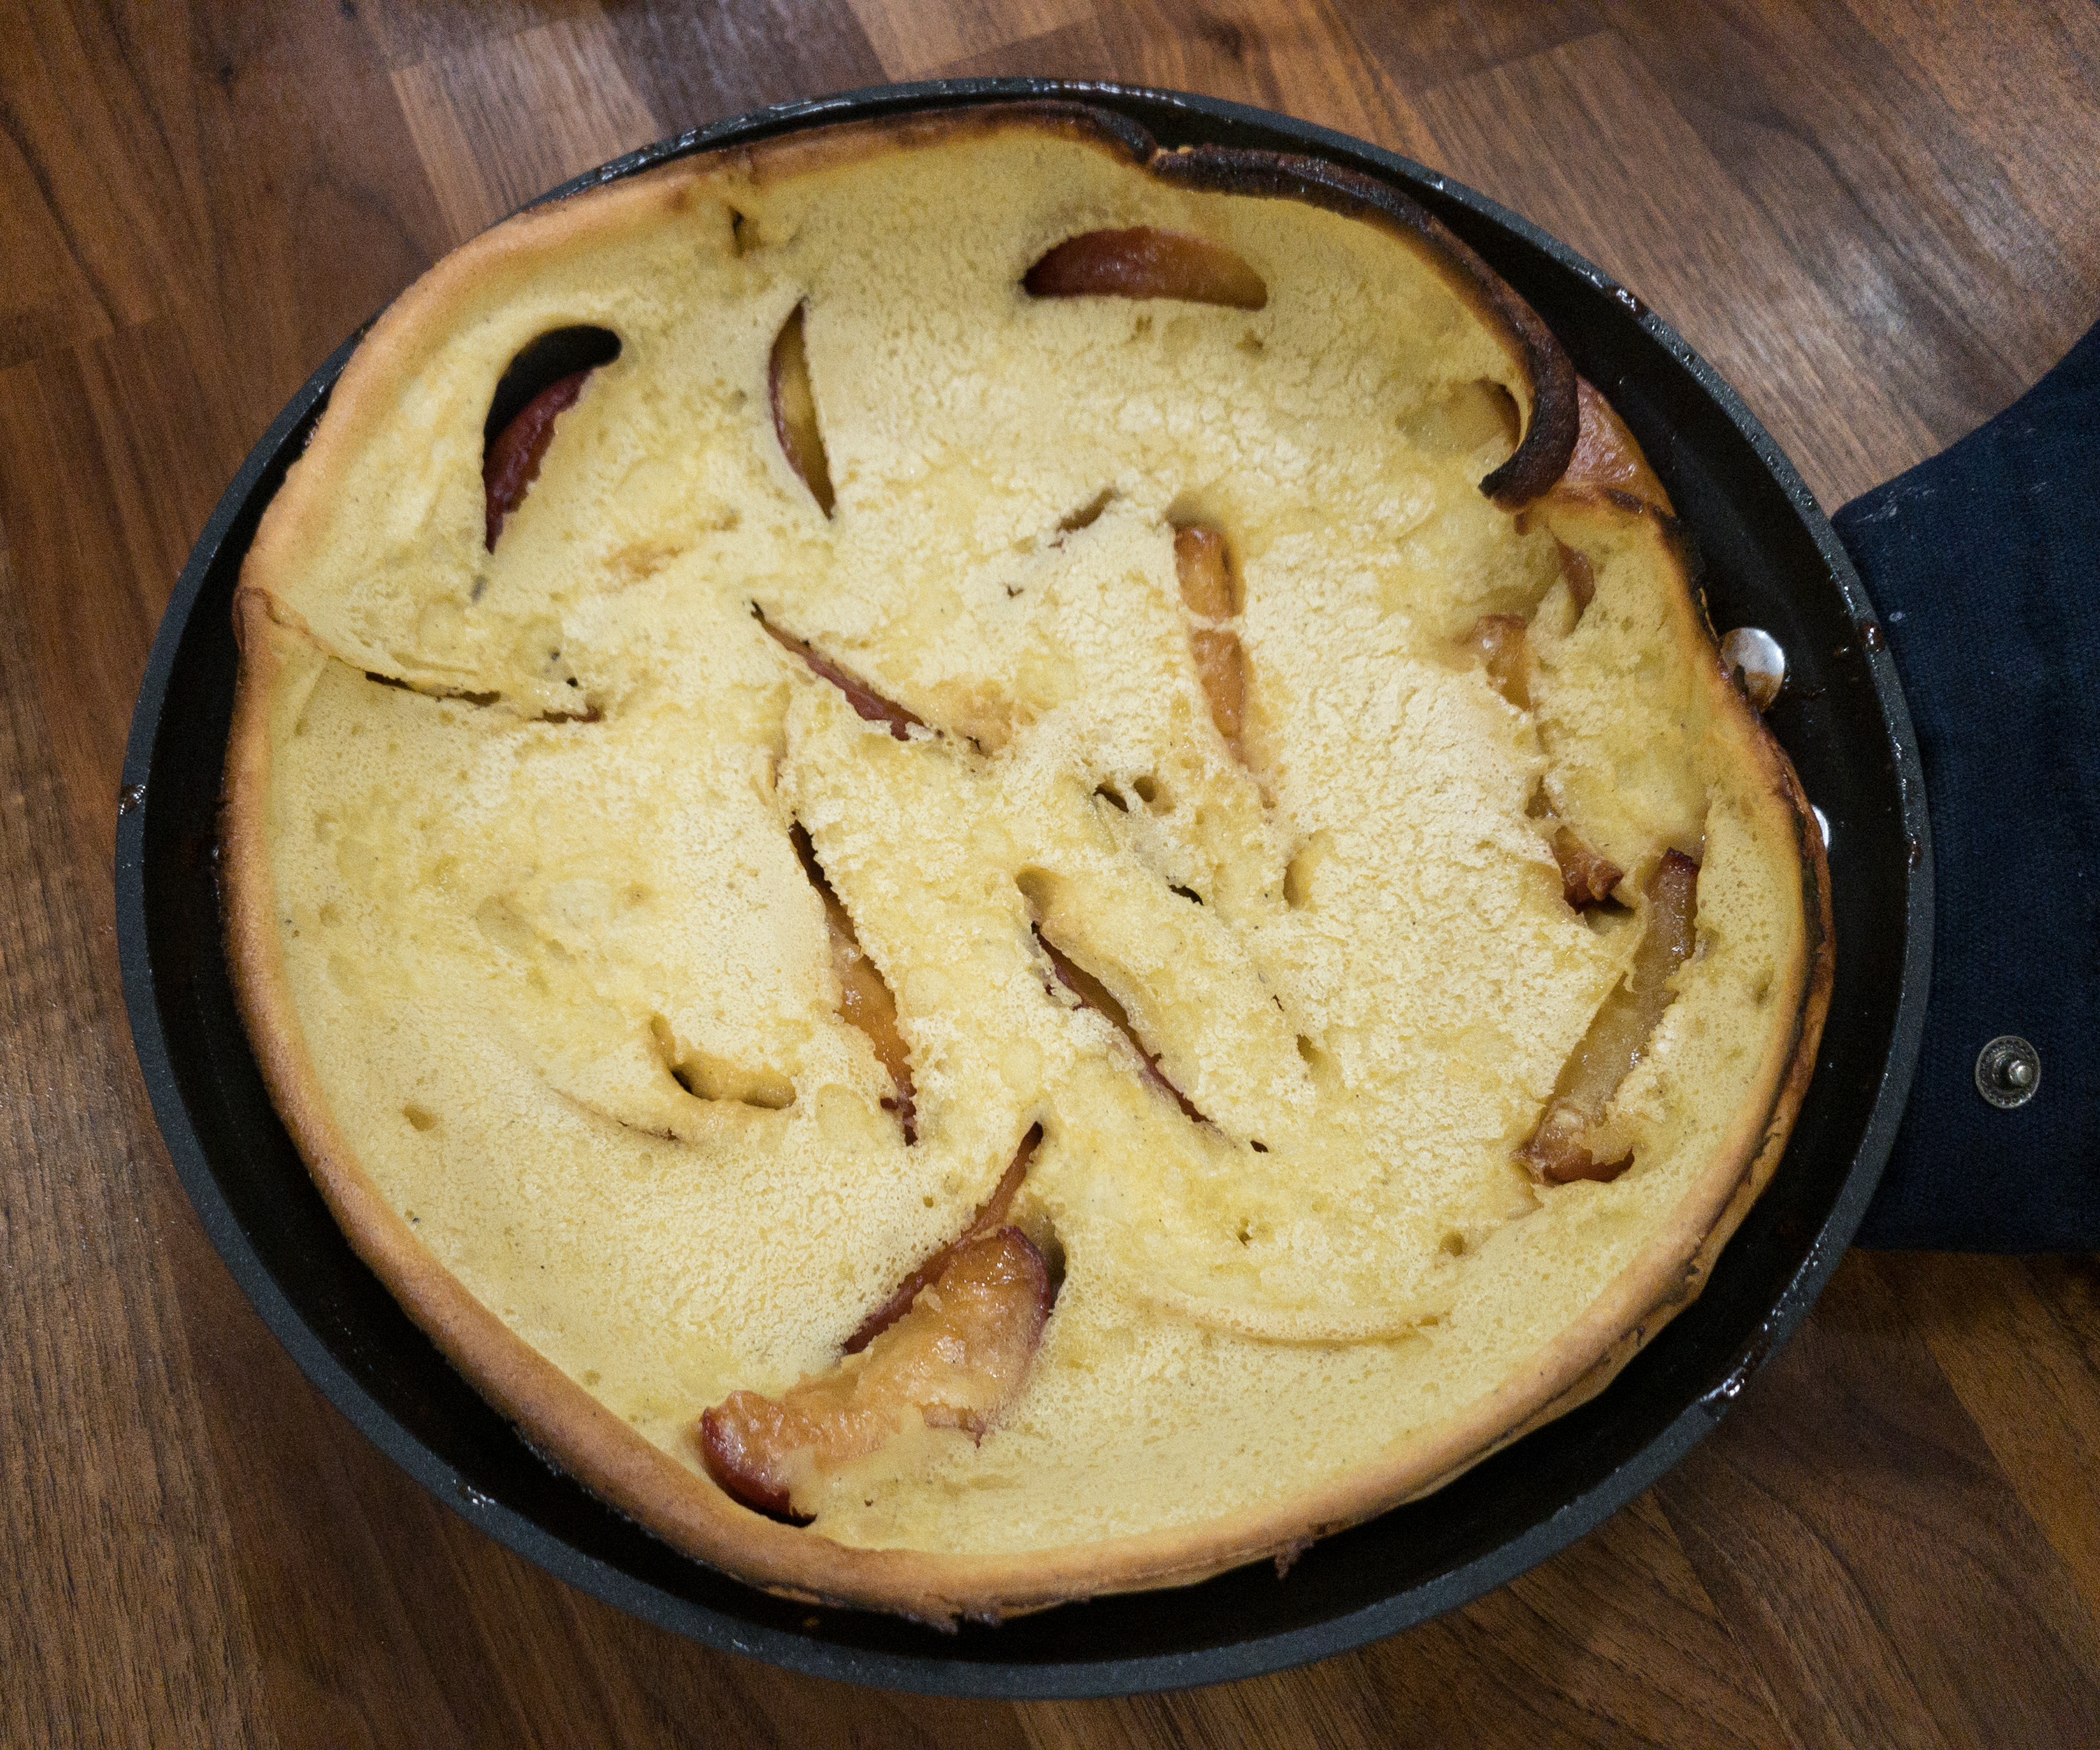
For the pie, she cracked eggs on a large bowl and added sugar, salt, vanilla, and milk. Then, we placed the sliced peaches in the skillet and cooked it for around 2 minutes. The next step is to spread the peaches in a single layer, turn off the heat, and pour in the batter. Bake it for 10-14 minutes until the edges puff and the center is dry.
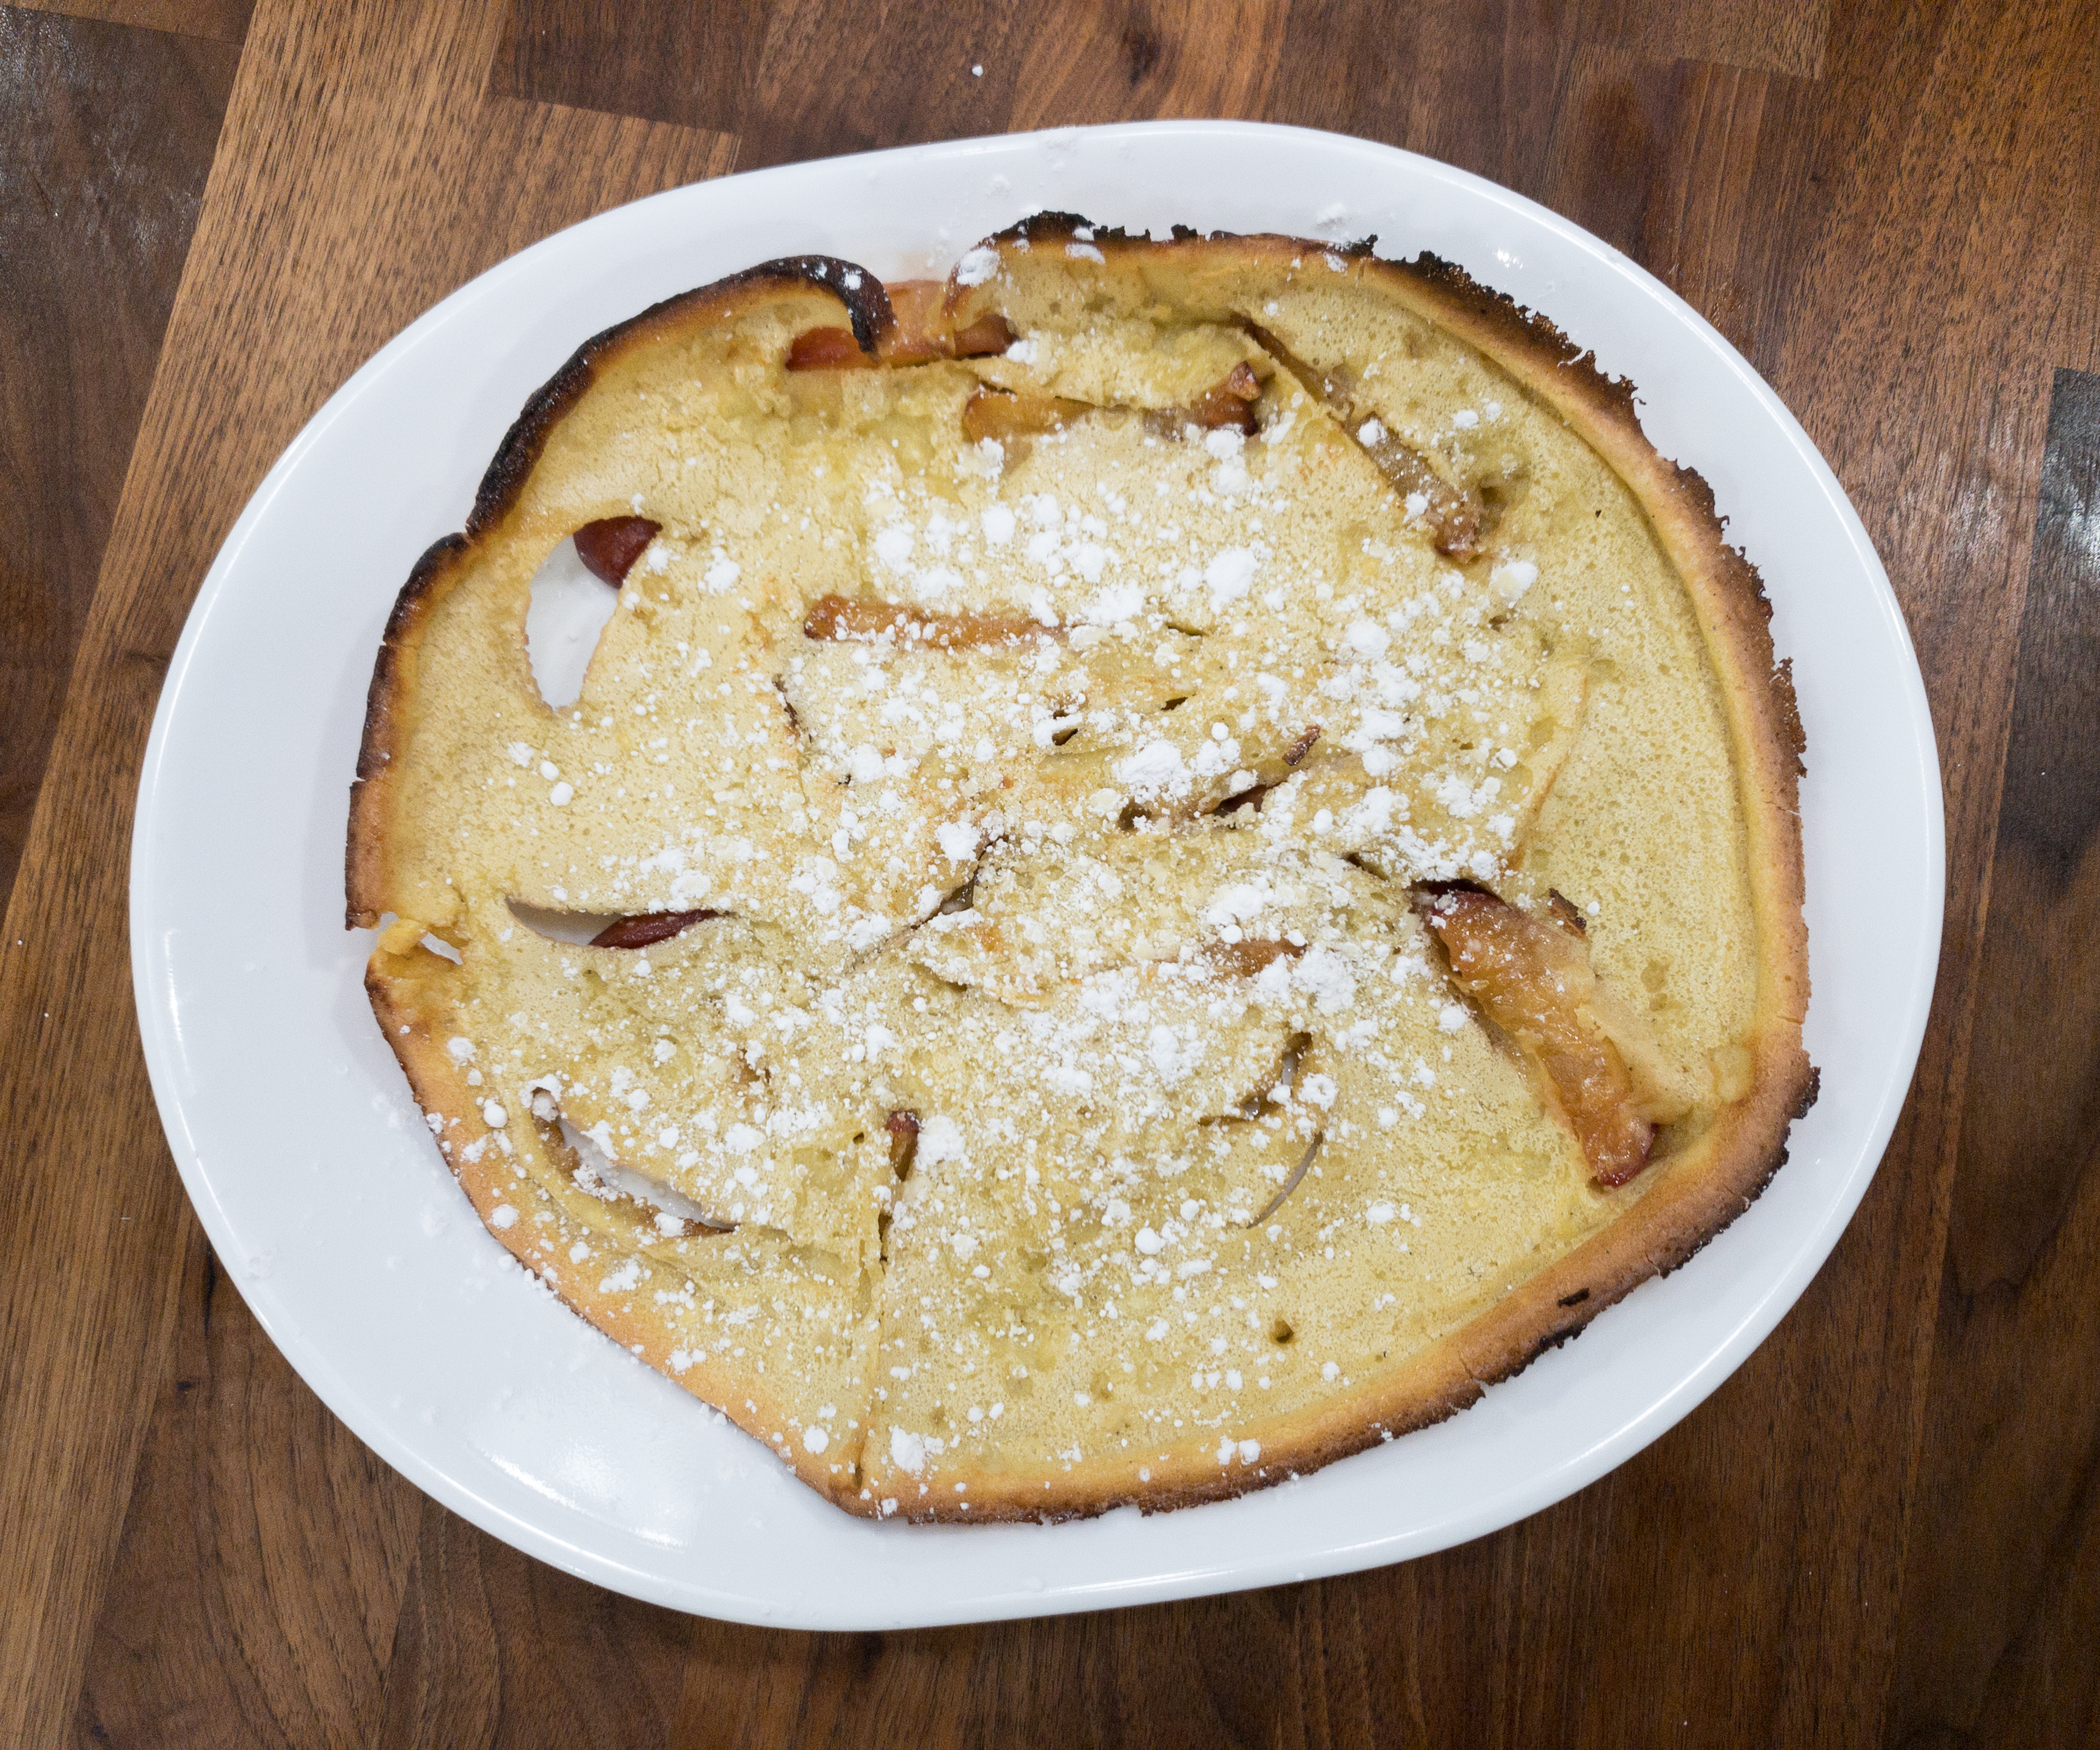
We transferred the pie to a huge plate, then sprinkled powdered sugar on top of it! Yum!
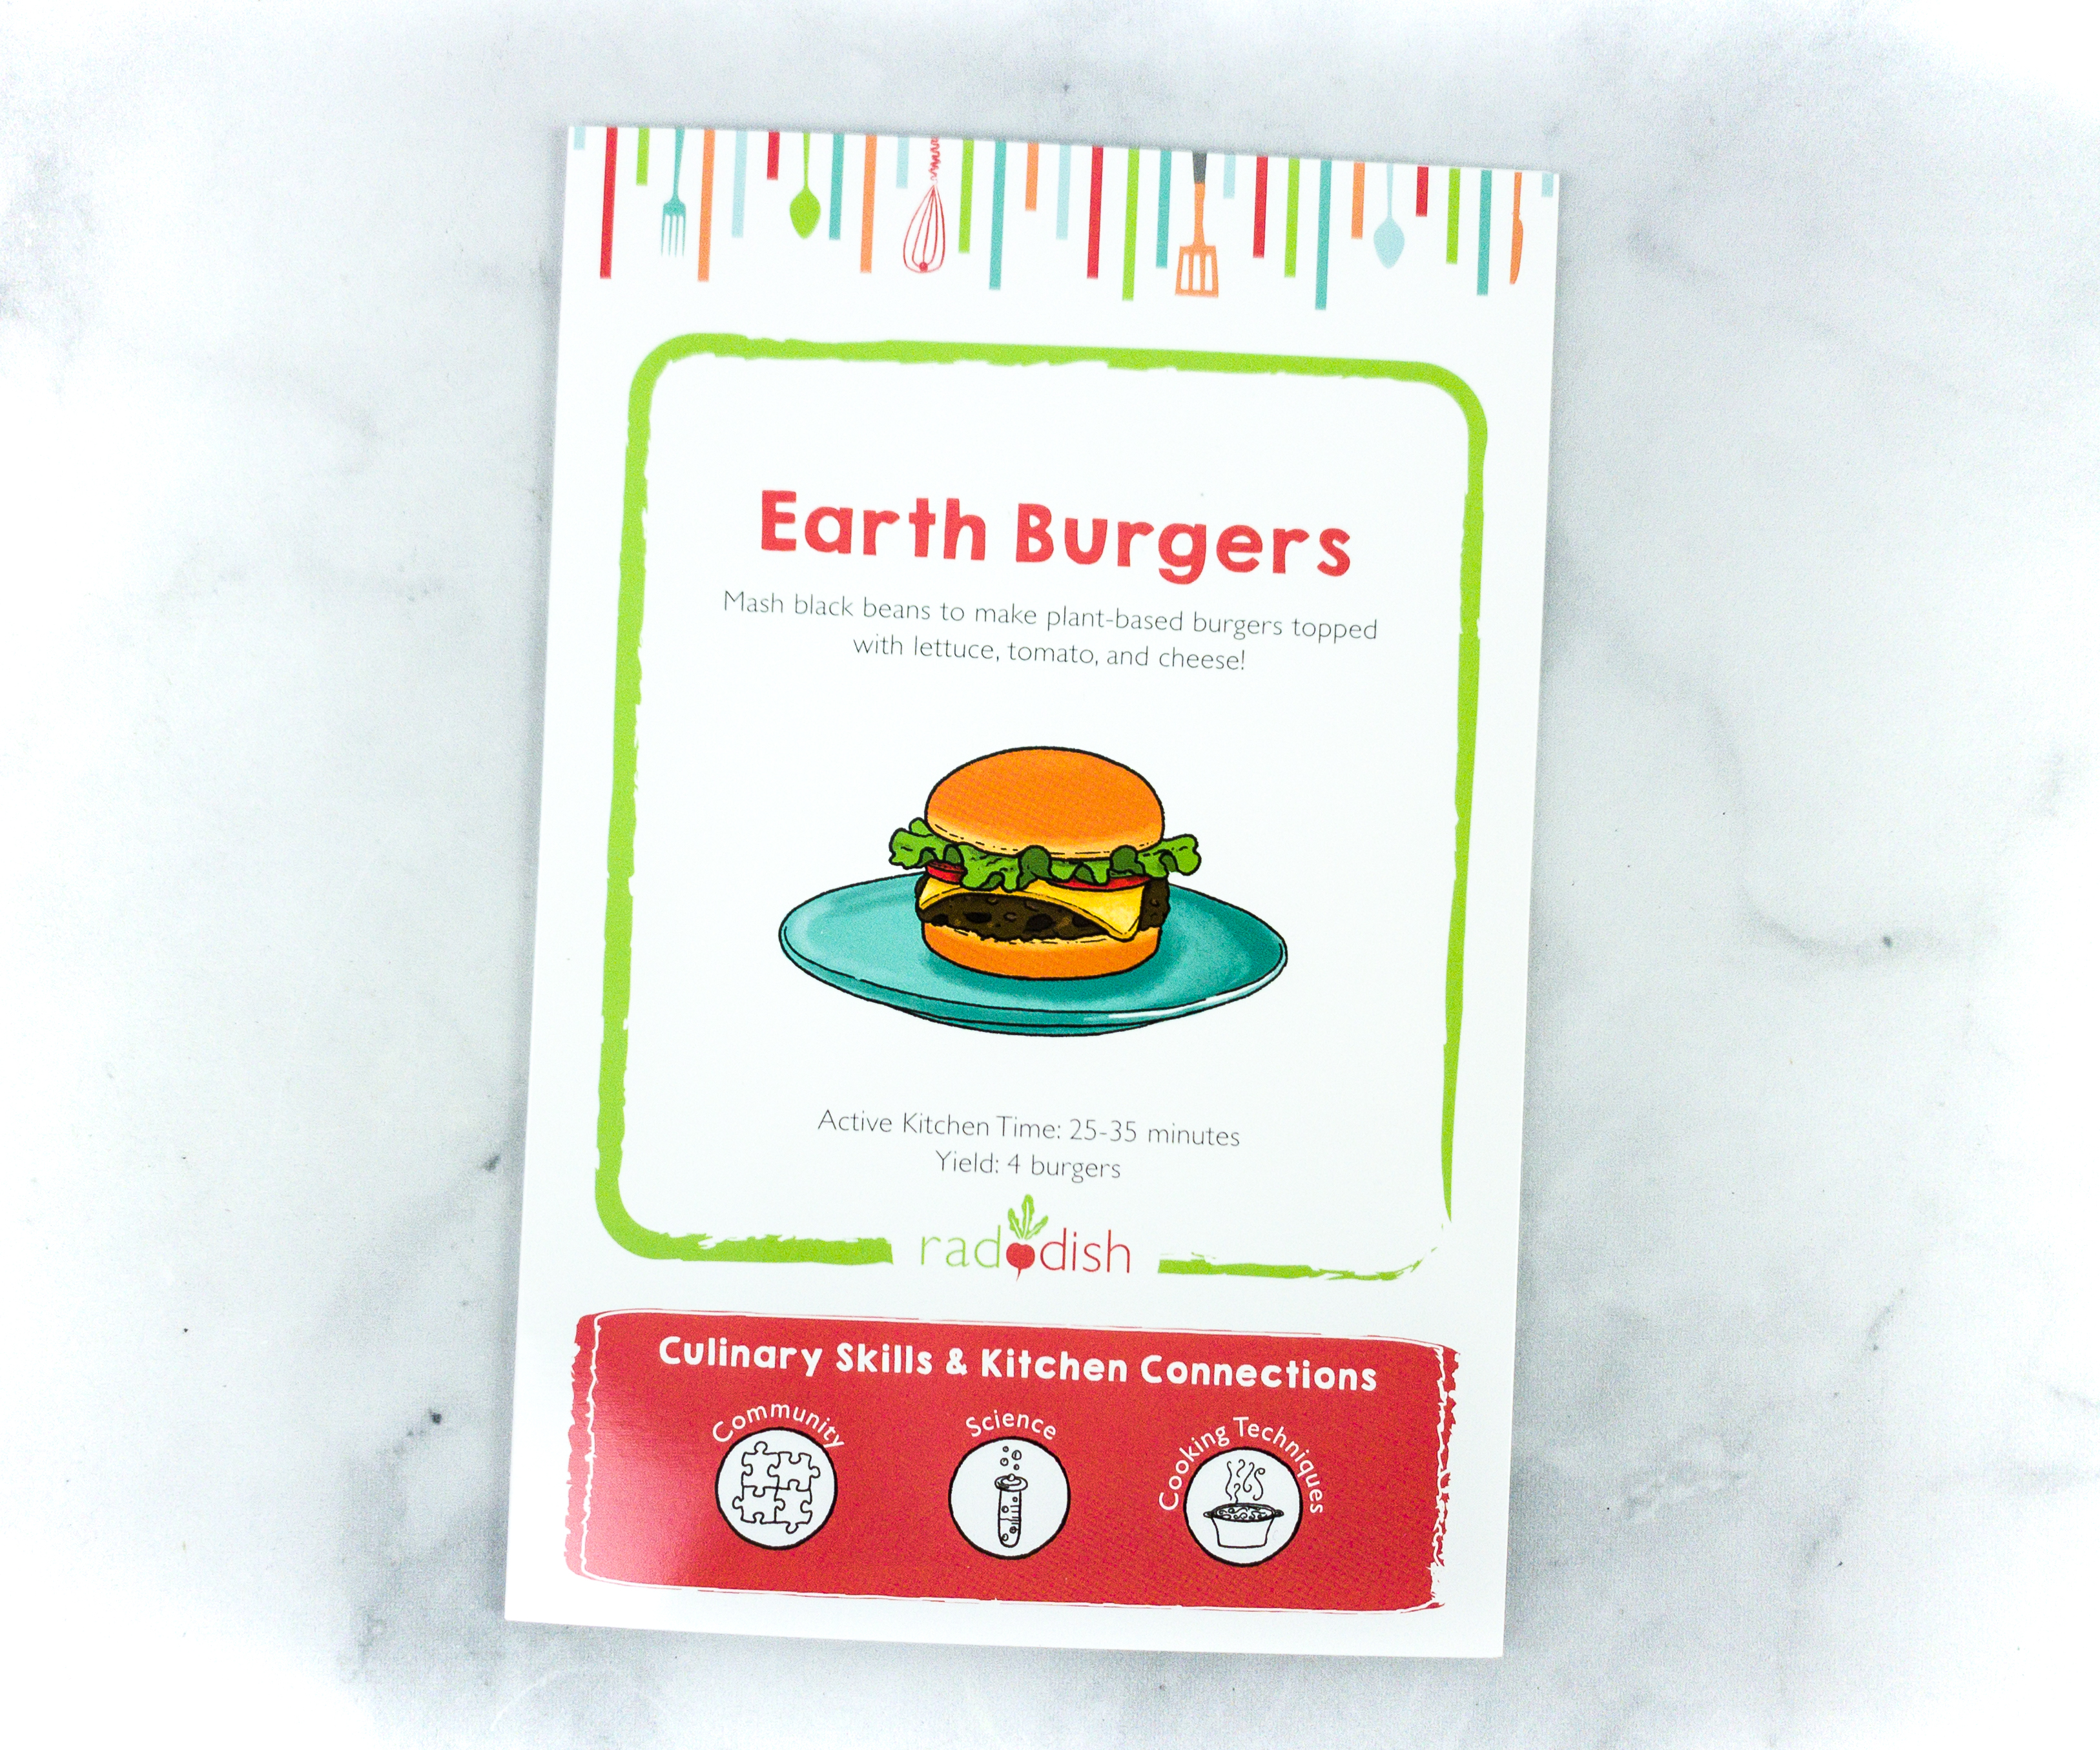
The second recipe is Earth Burgers. This one is a plant-based burger because it uses black beans!
Active Kitchen Time: 25-35 minutes
Yield: 4 burgers
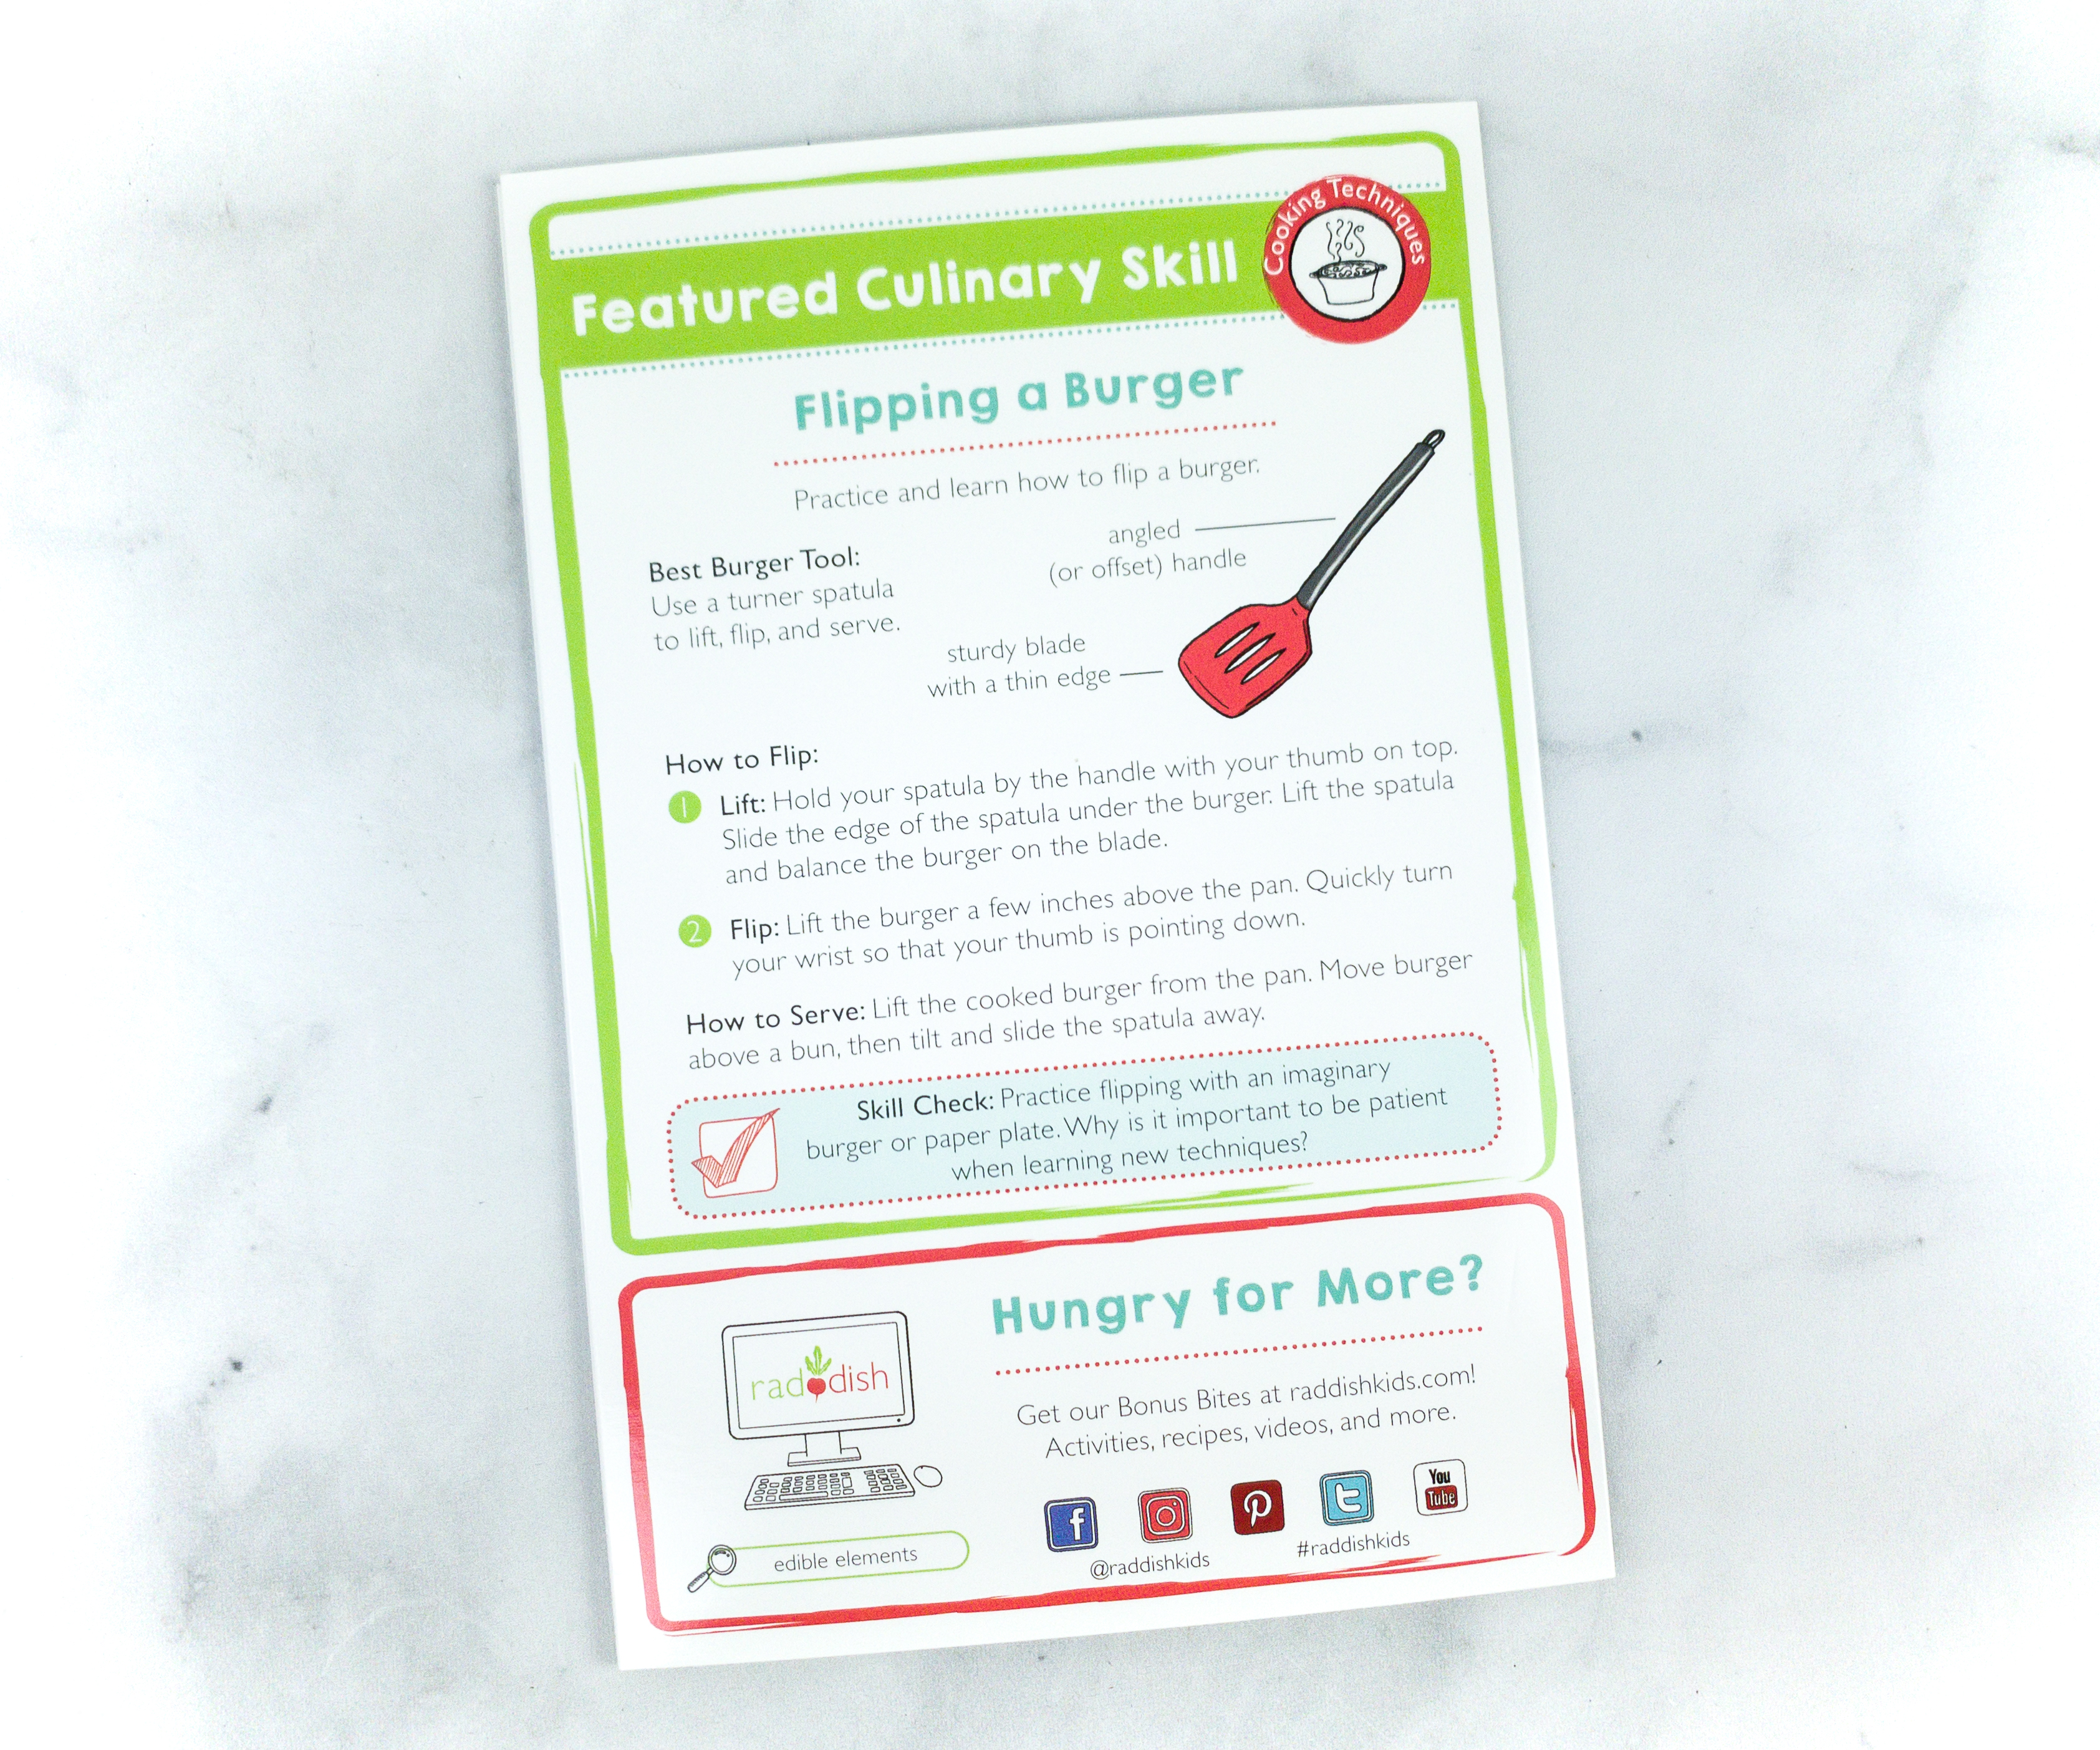
The featured culinary skill for this recipe is flipping the burger. The included spatula in this box can be used for this. They recommend practicing flipping first using an imaginary burger or a paper plate.
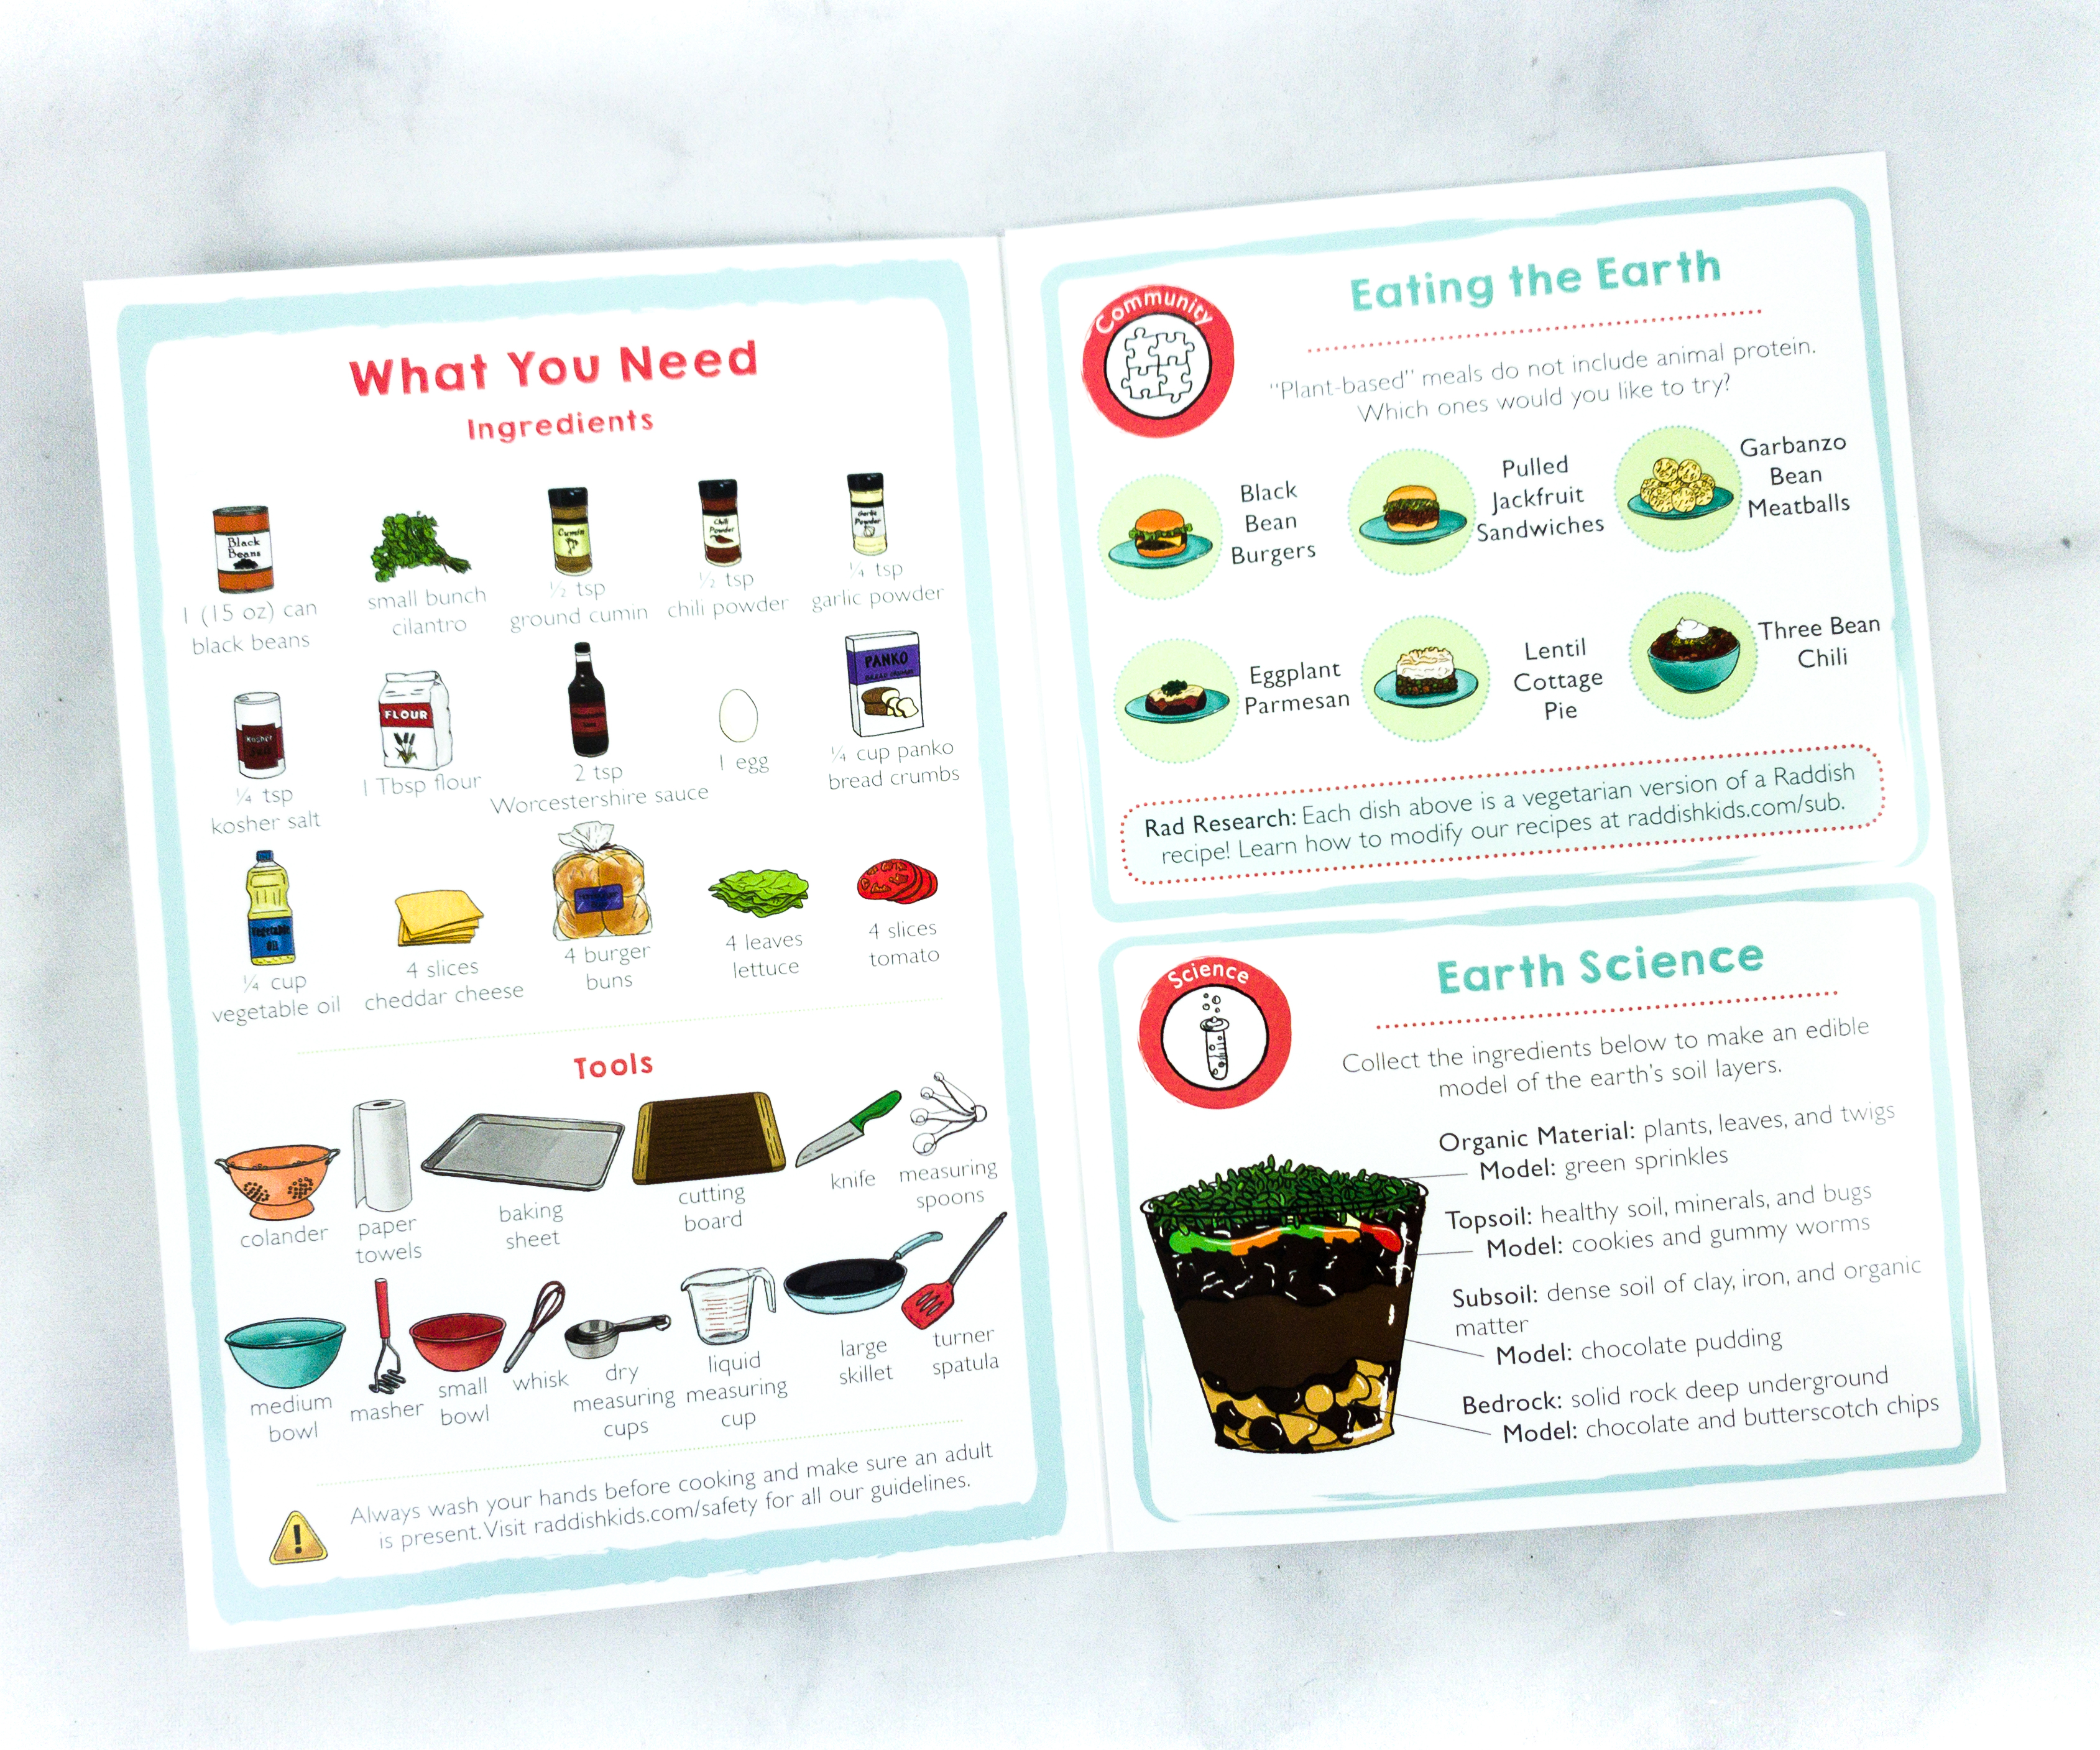
Aside from the ingredients and kitchen tools, this booklet also features other plant-based food and an edible model of the earth’s layers.
Here are all the ingredients needed for this recipe: a can of black beans, small bunch cilantro, ground cumin, chili and garlic powder, kosher salt, flour, Worcestershire sauce, cheddar cheese, burger buns, lettuce, tomatoes, and egg.
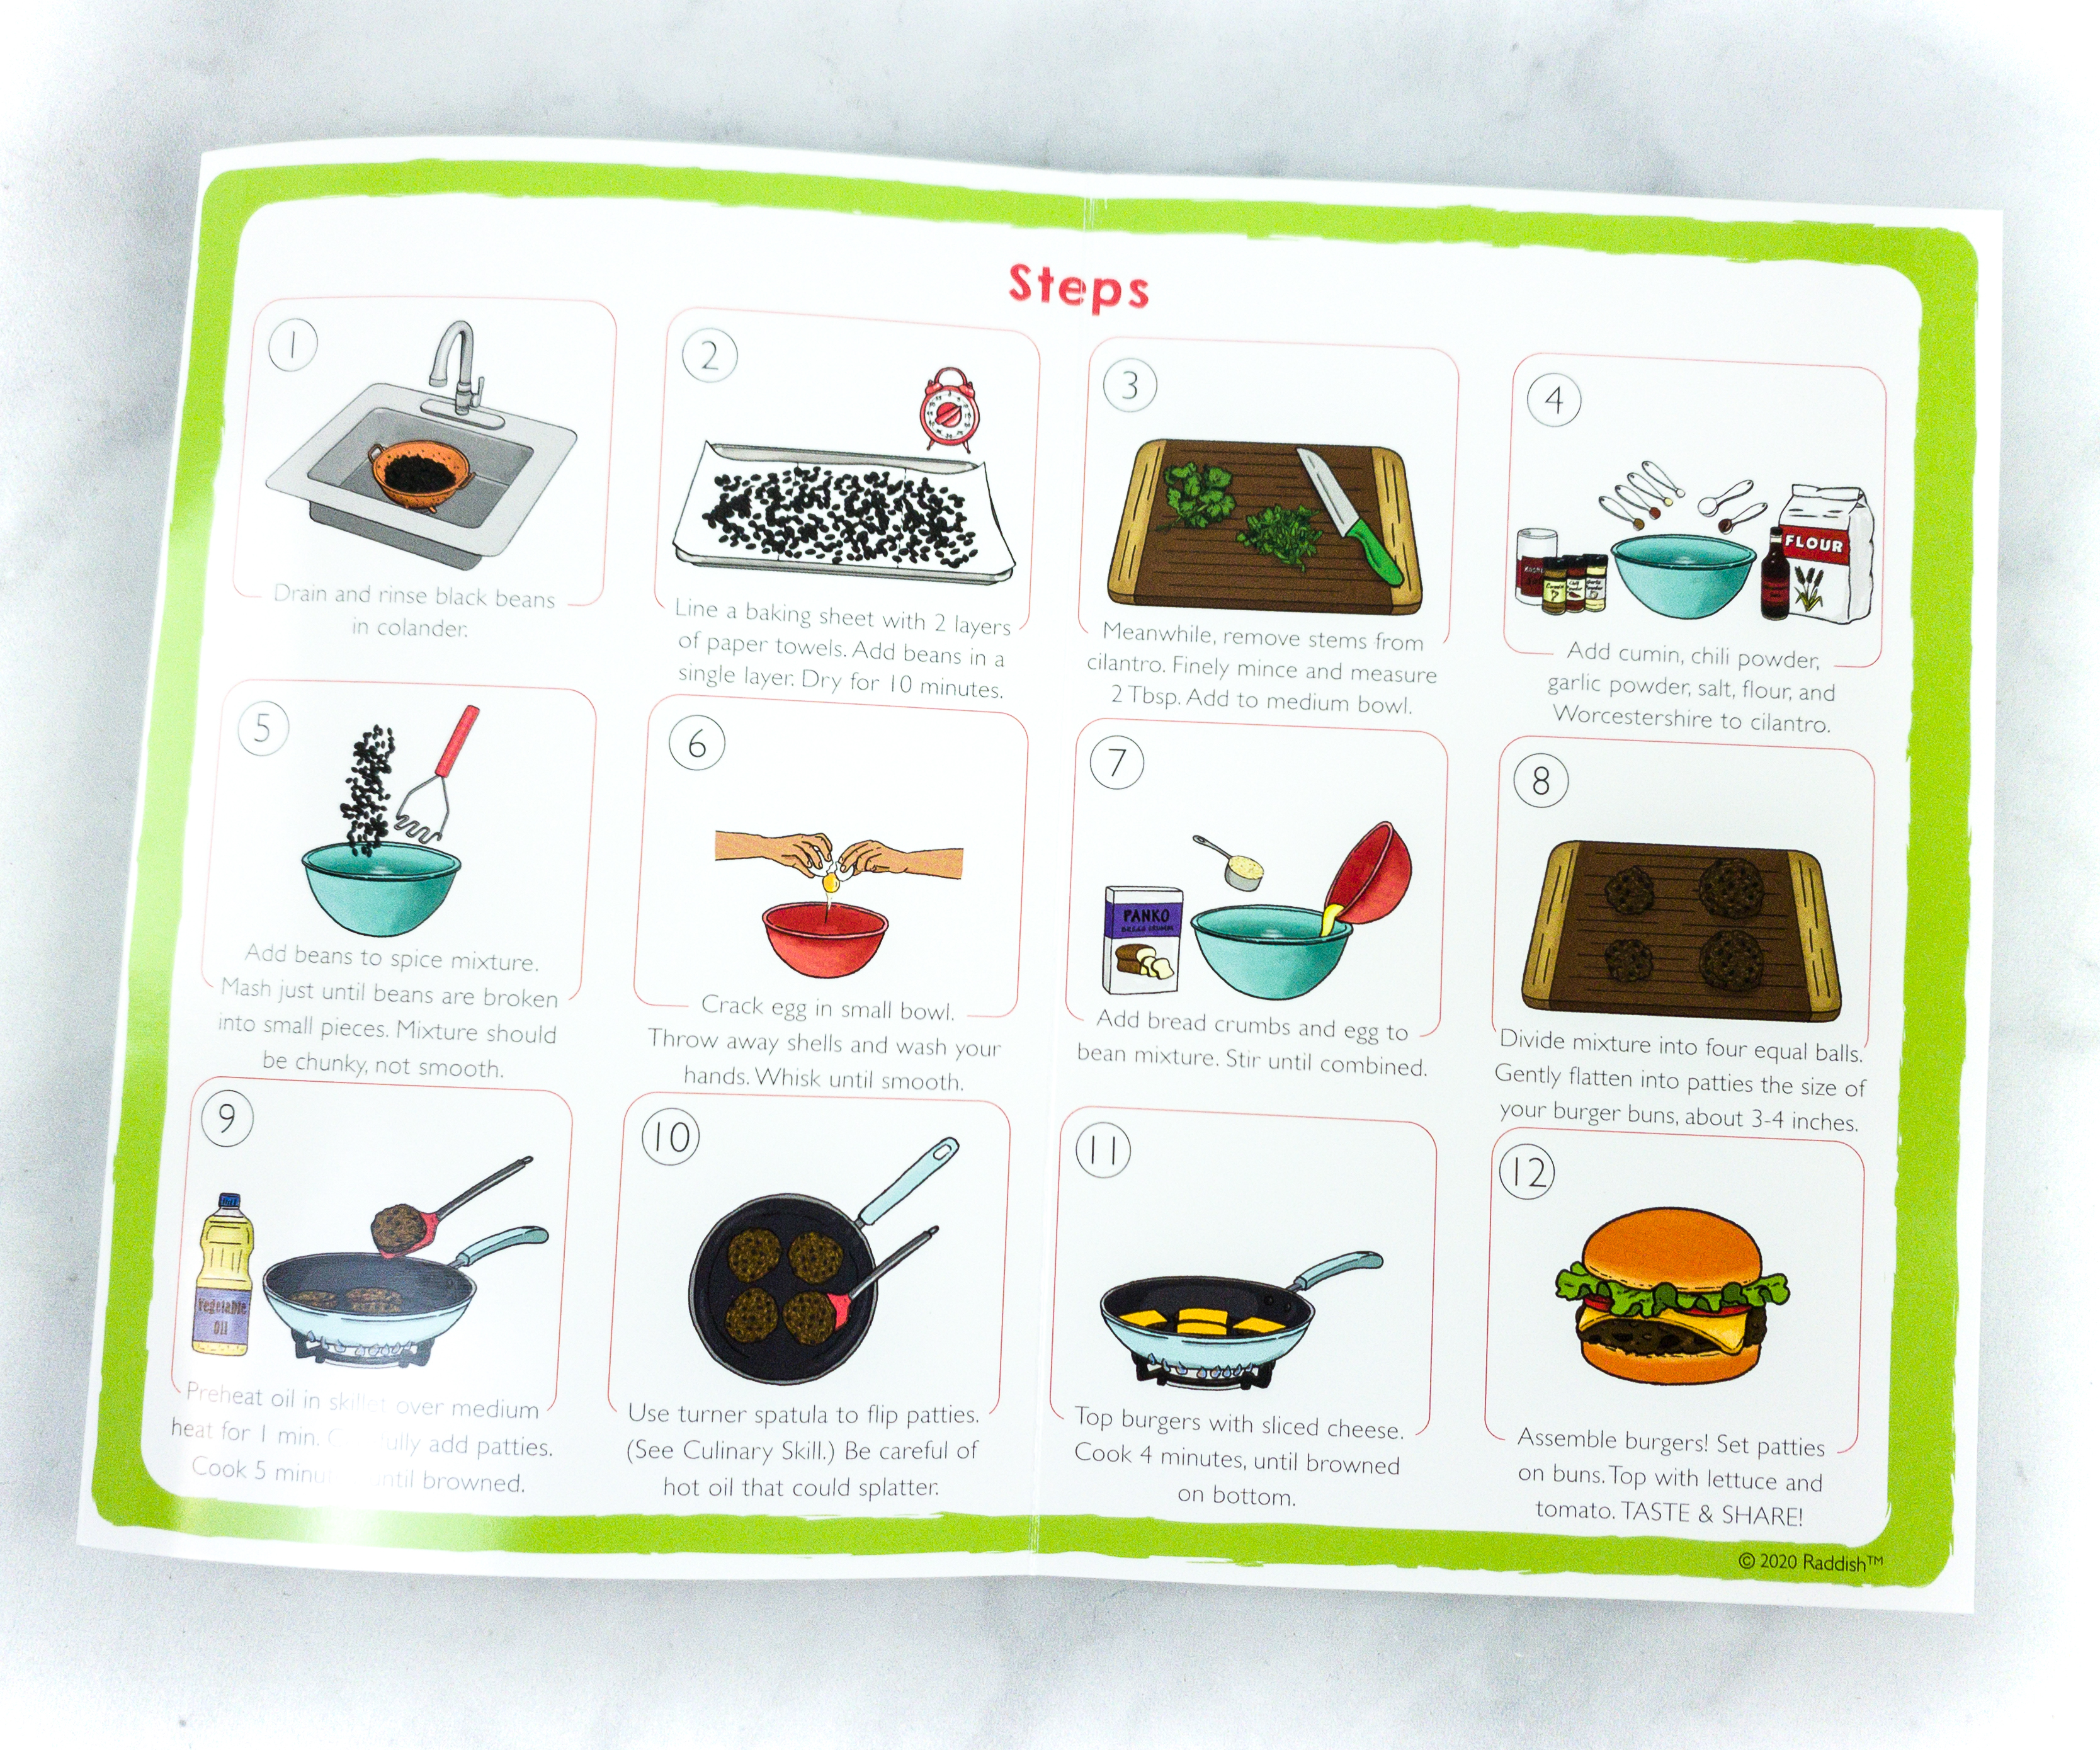
Again, the guide is detailed and easy to follow. The pictures were really helpful.
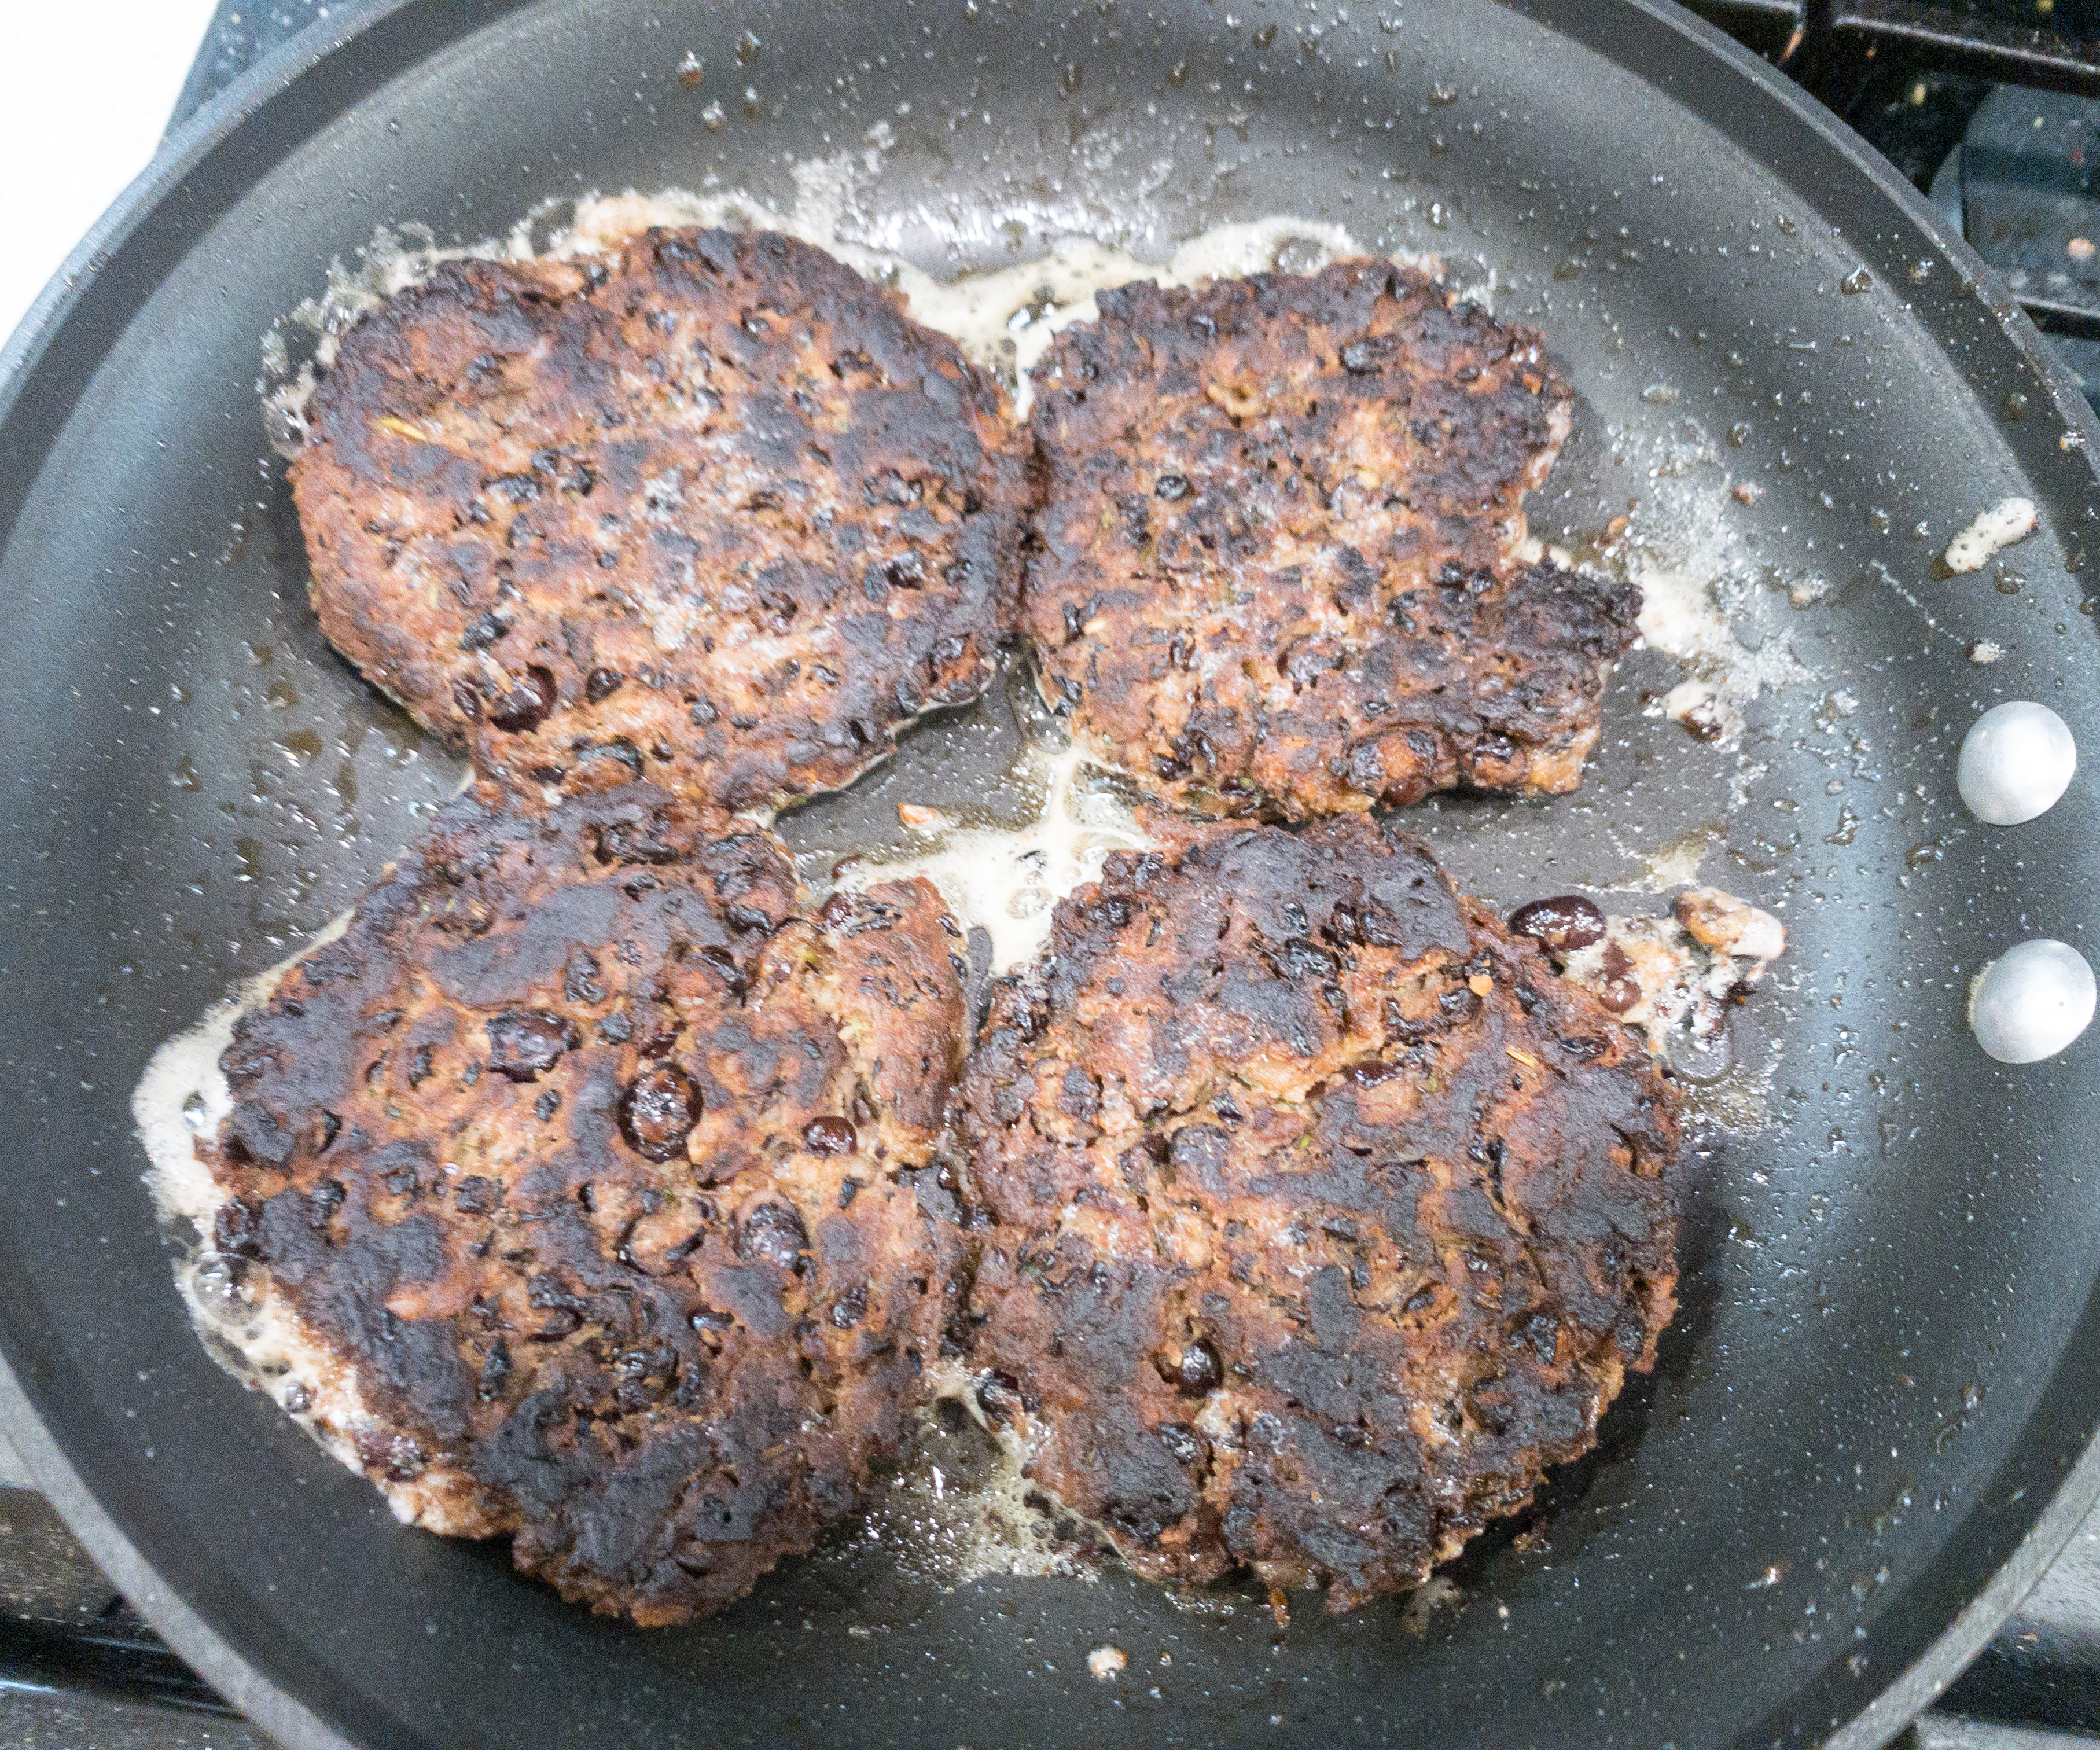
After working on the mixture, my daughter divided it into four equal balls, flattened the patties, and we cooked it in a small skillet for 5 minutes.
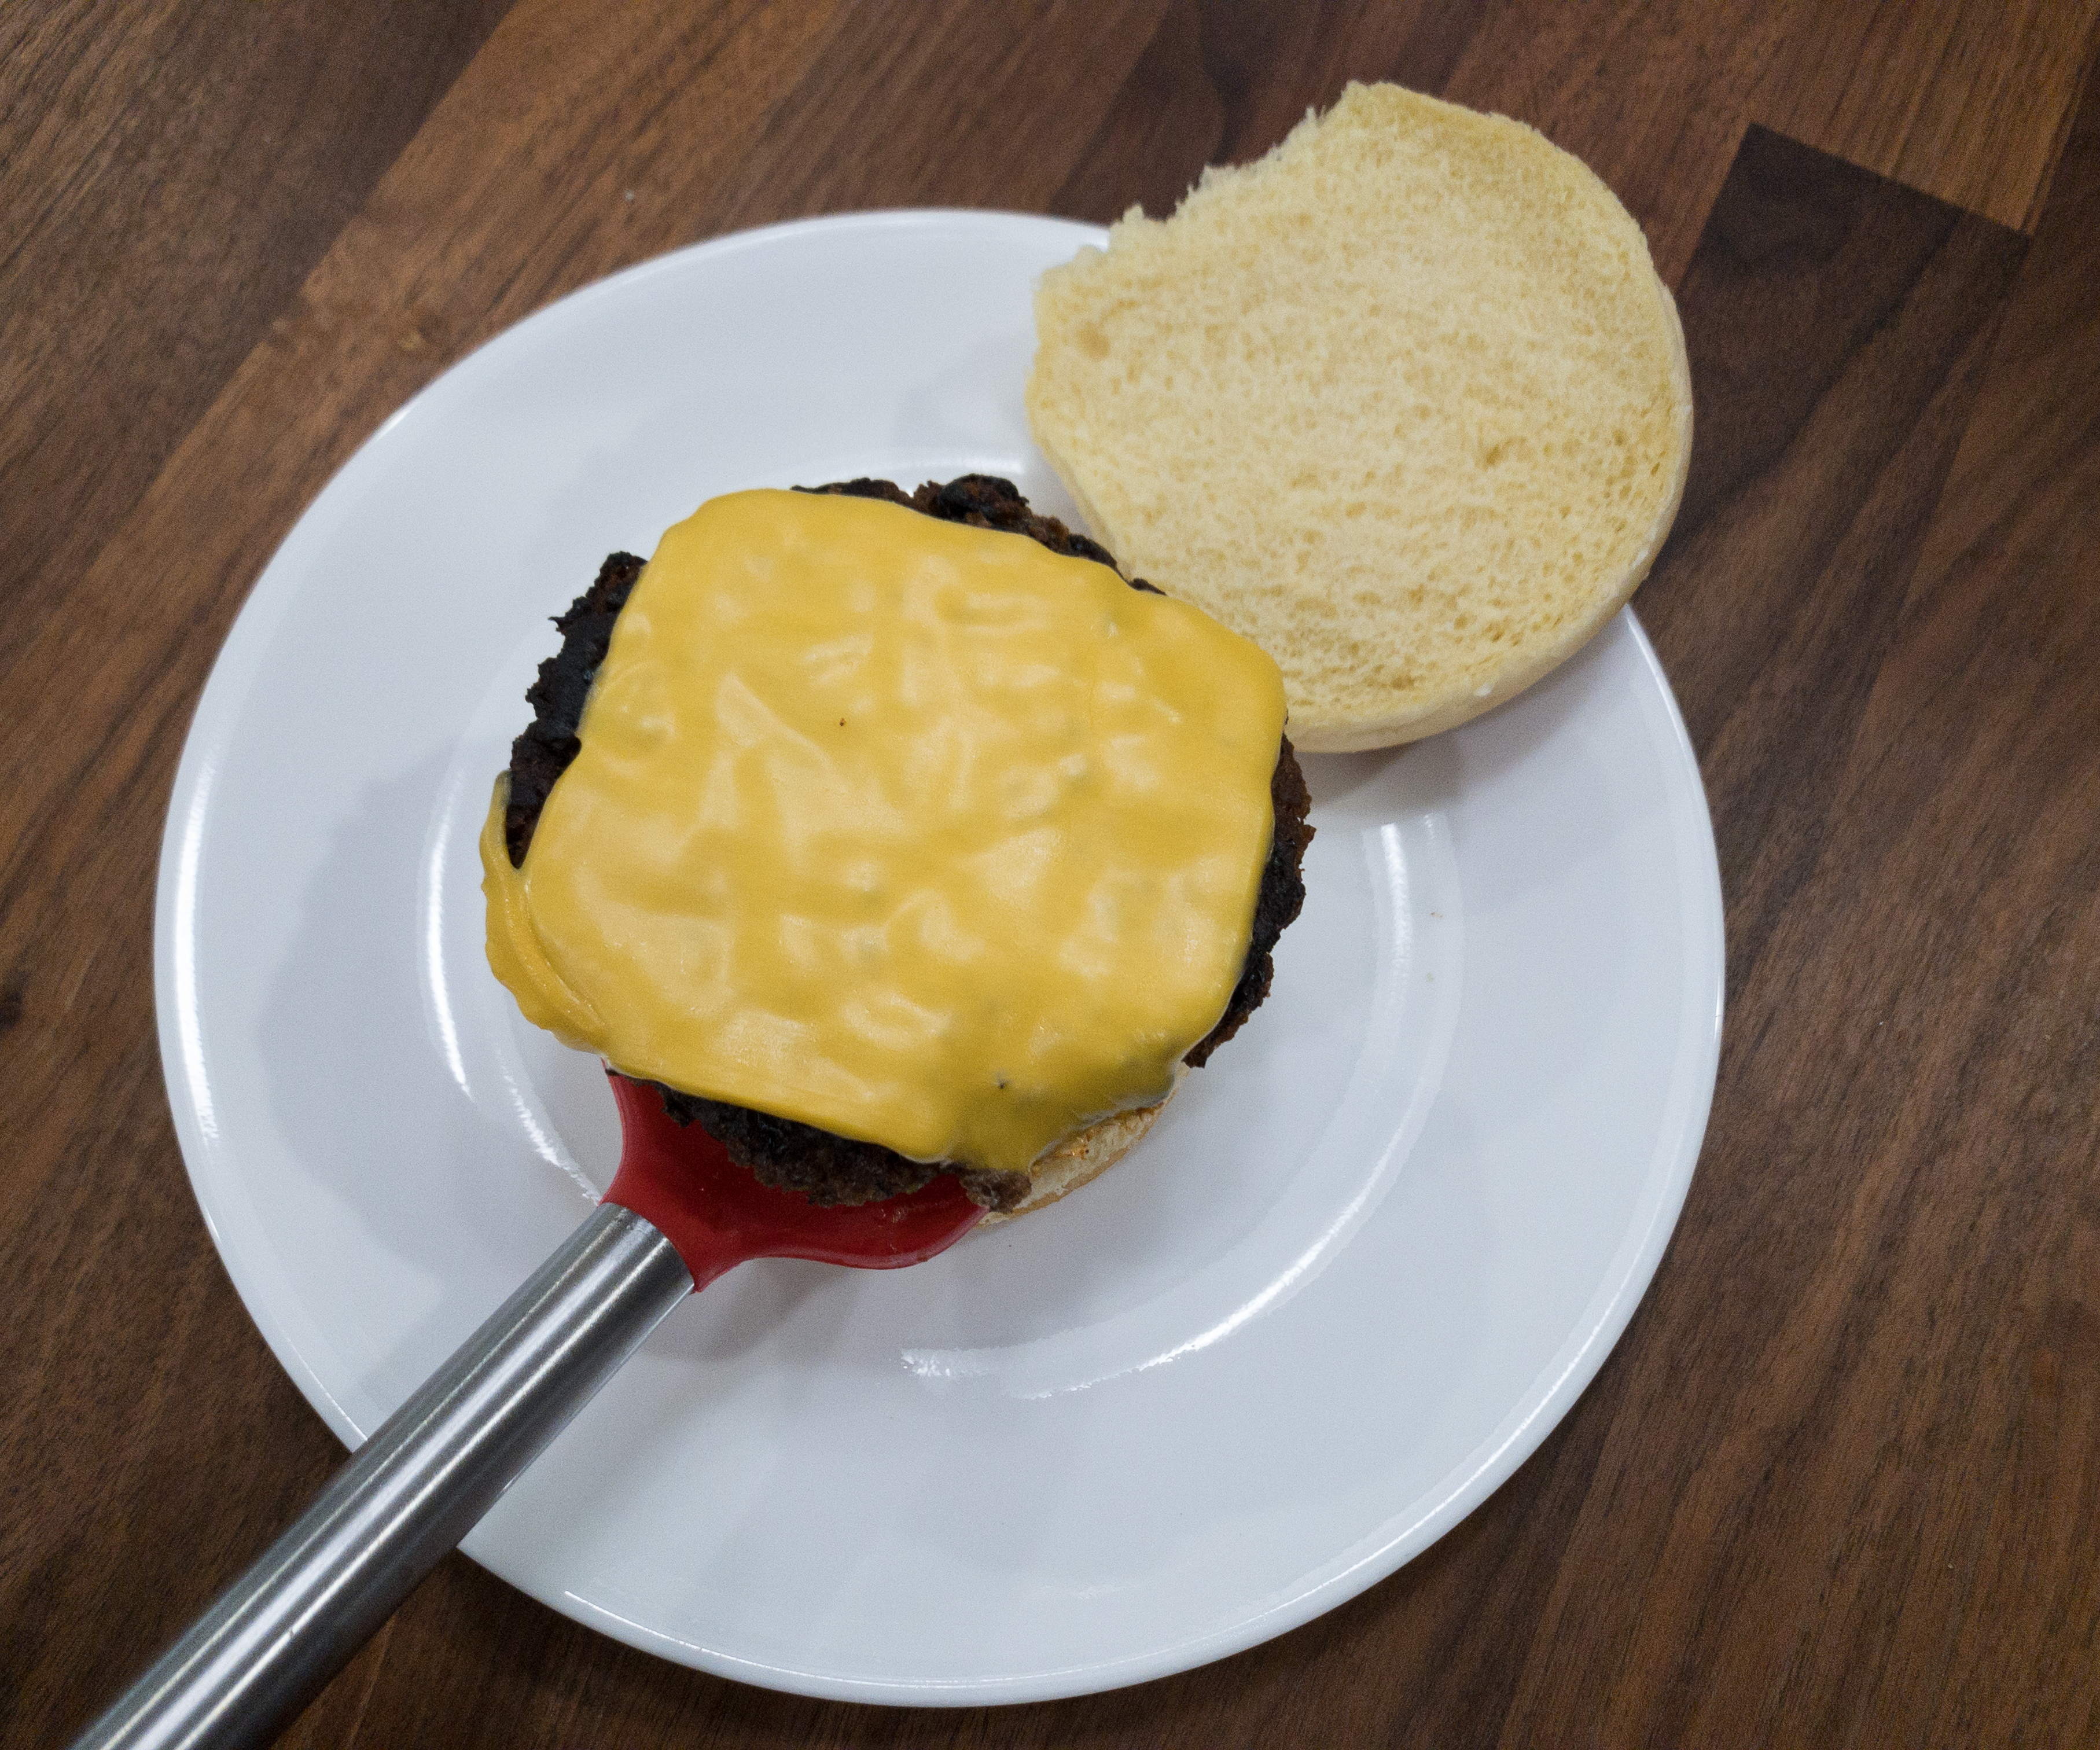
Once done, she topped the burger with sliced cheese and cooked it for another minute.

Using the spatula, she gathered the burger and placed it on one side of the buns and then arranged the lettuce and tomato on the other side.
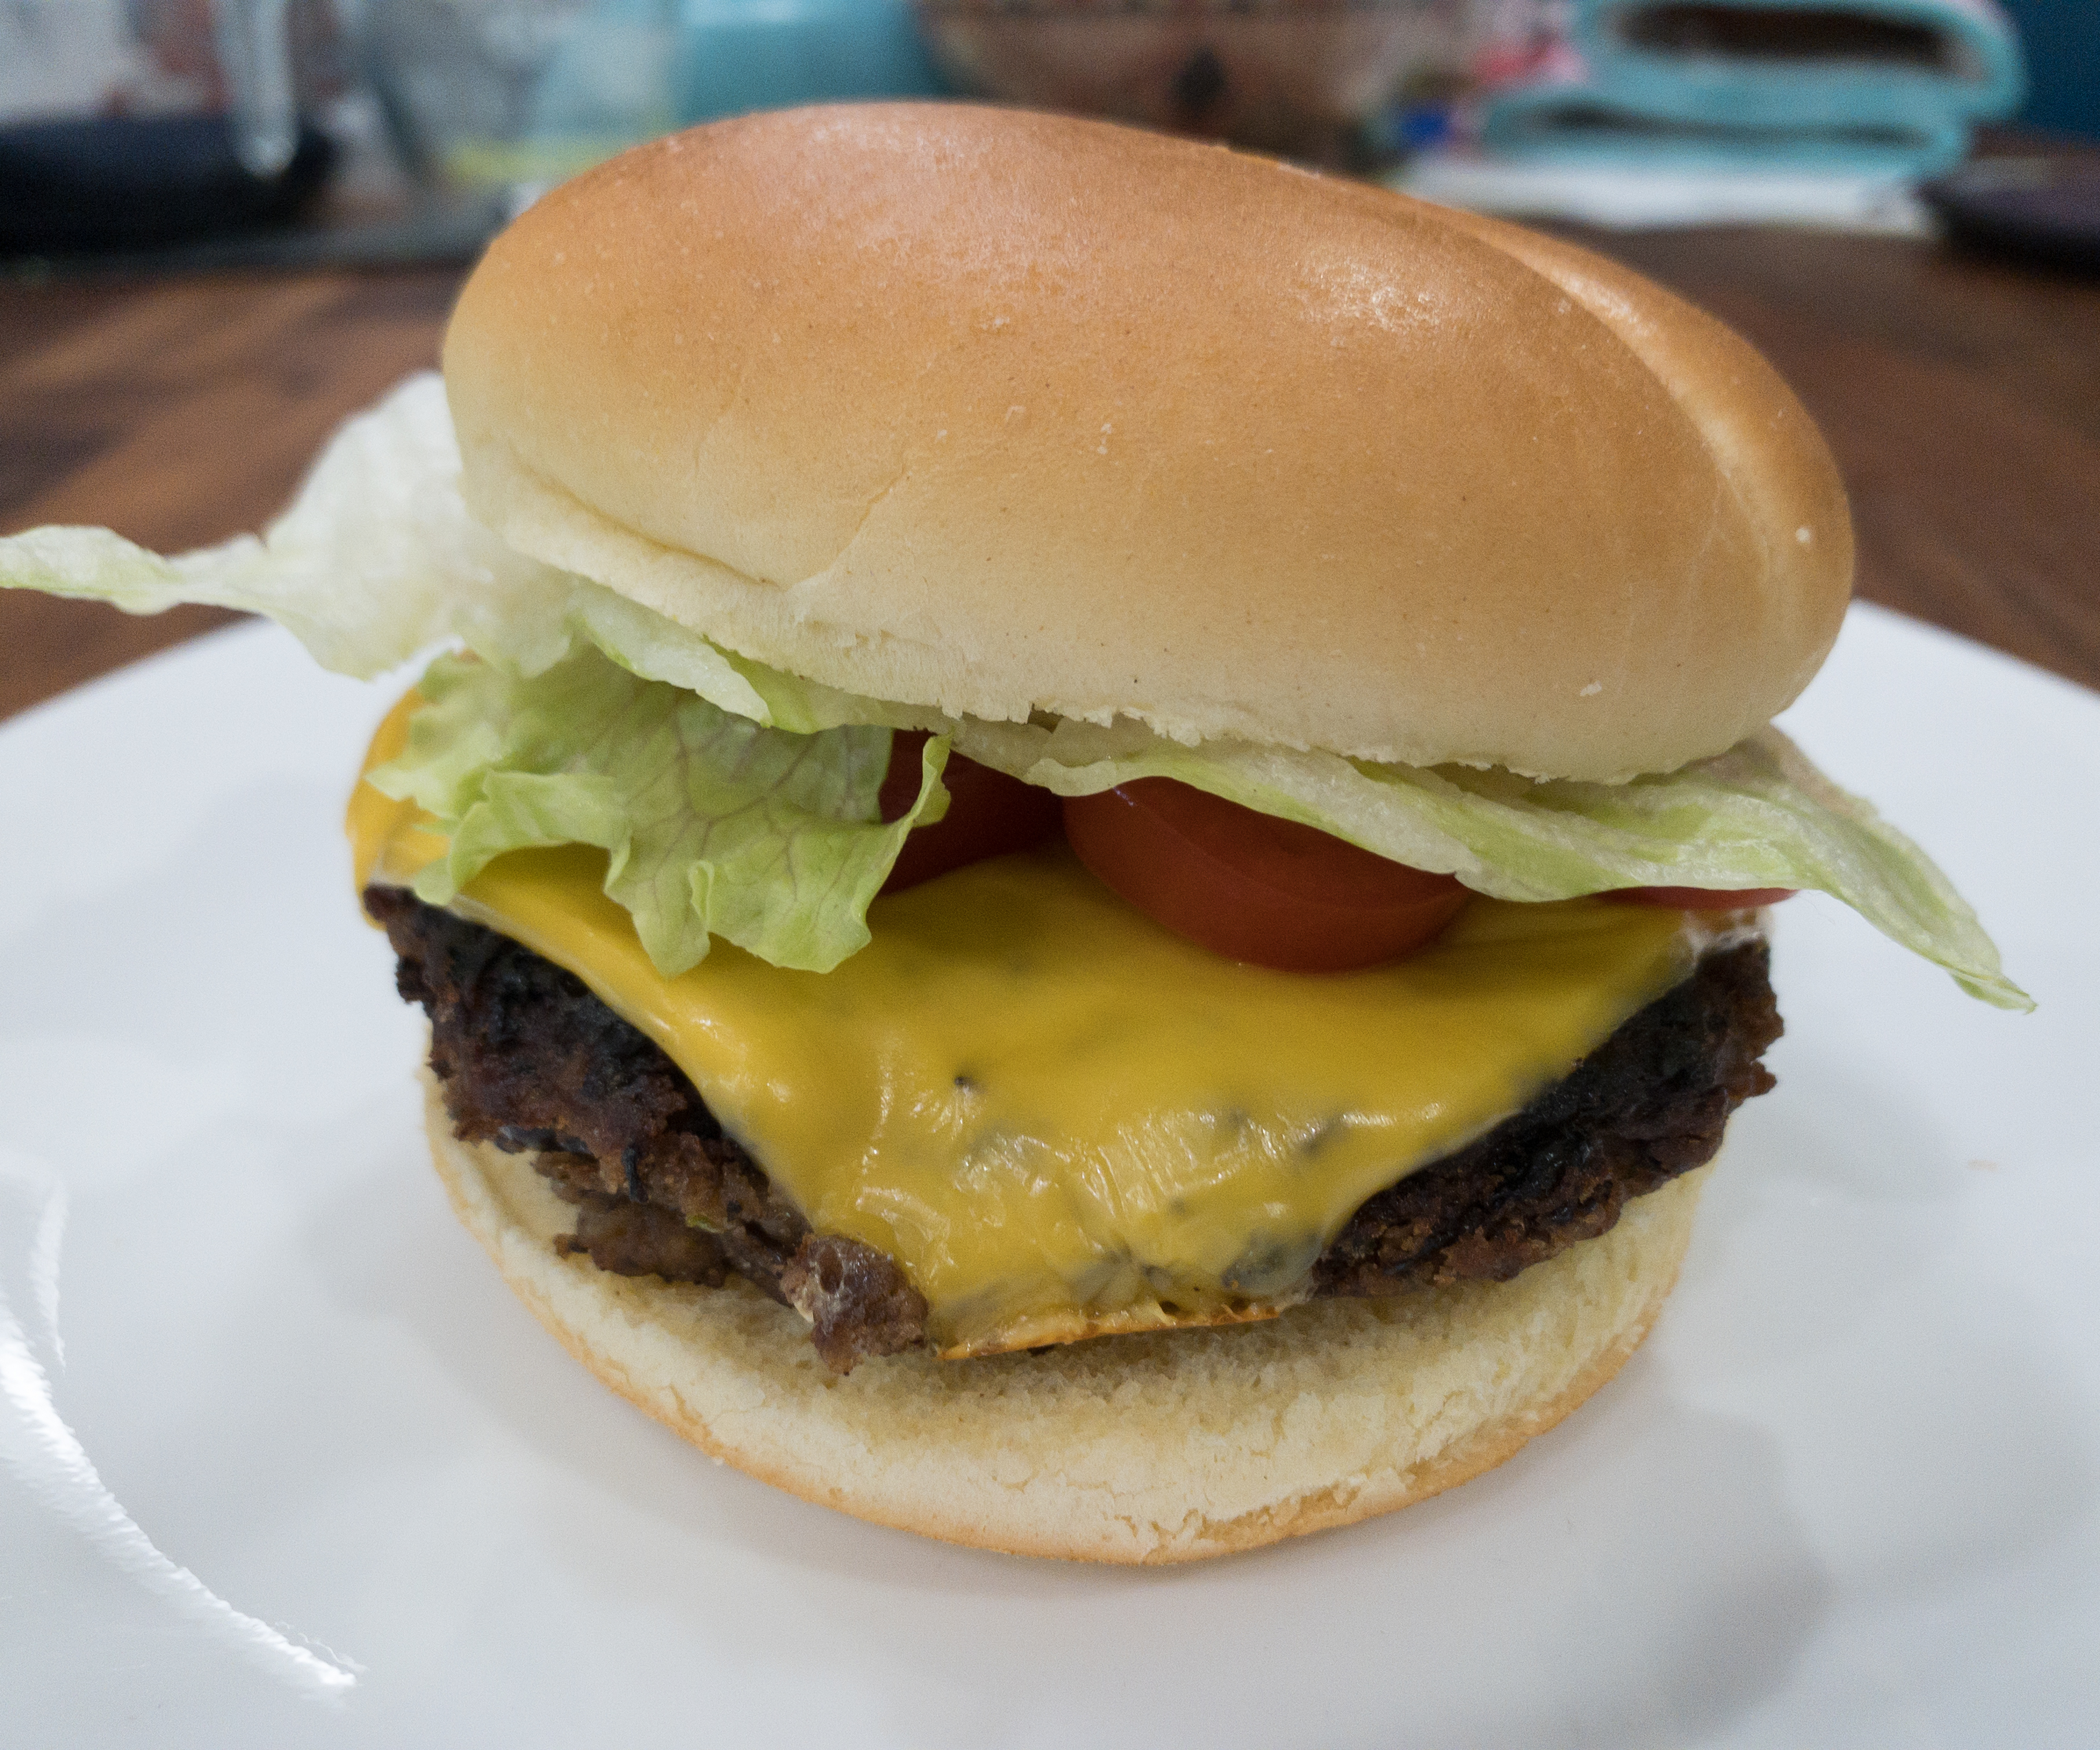
Here’s the finished Earth Burger!
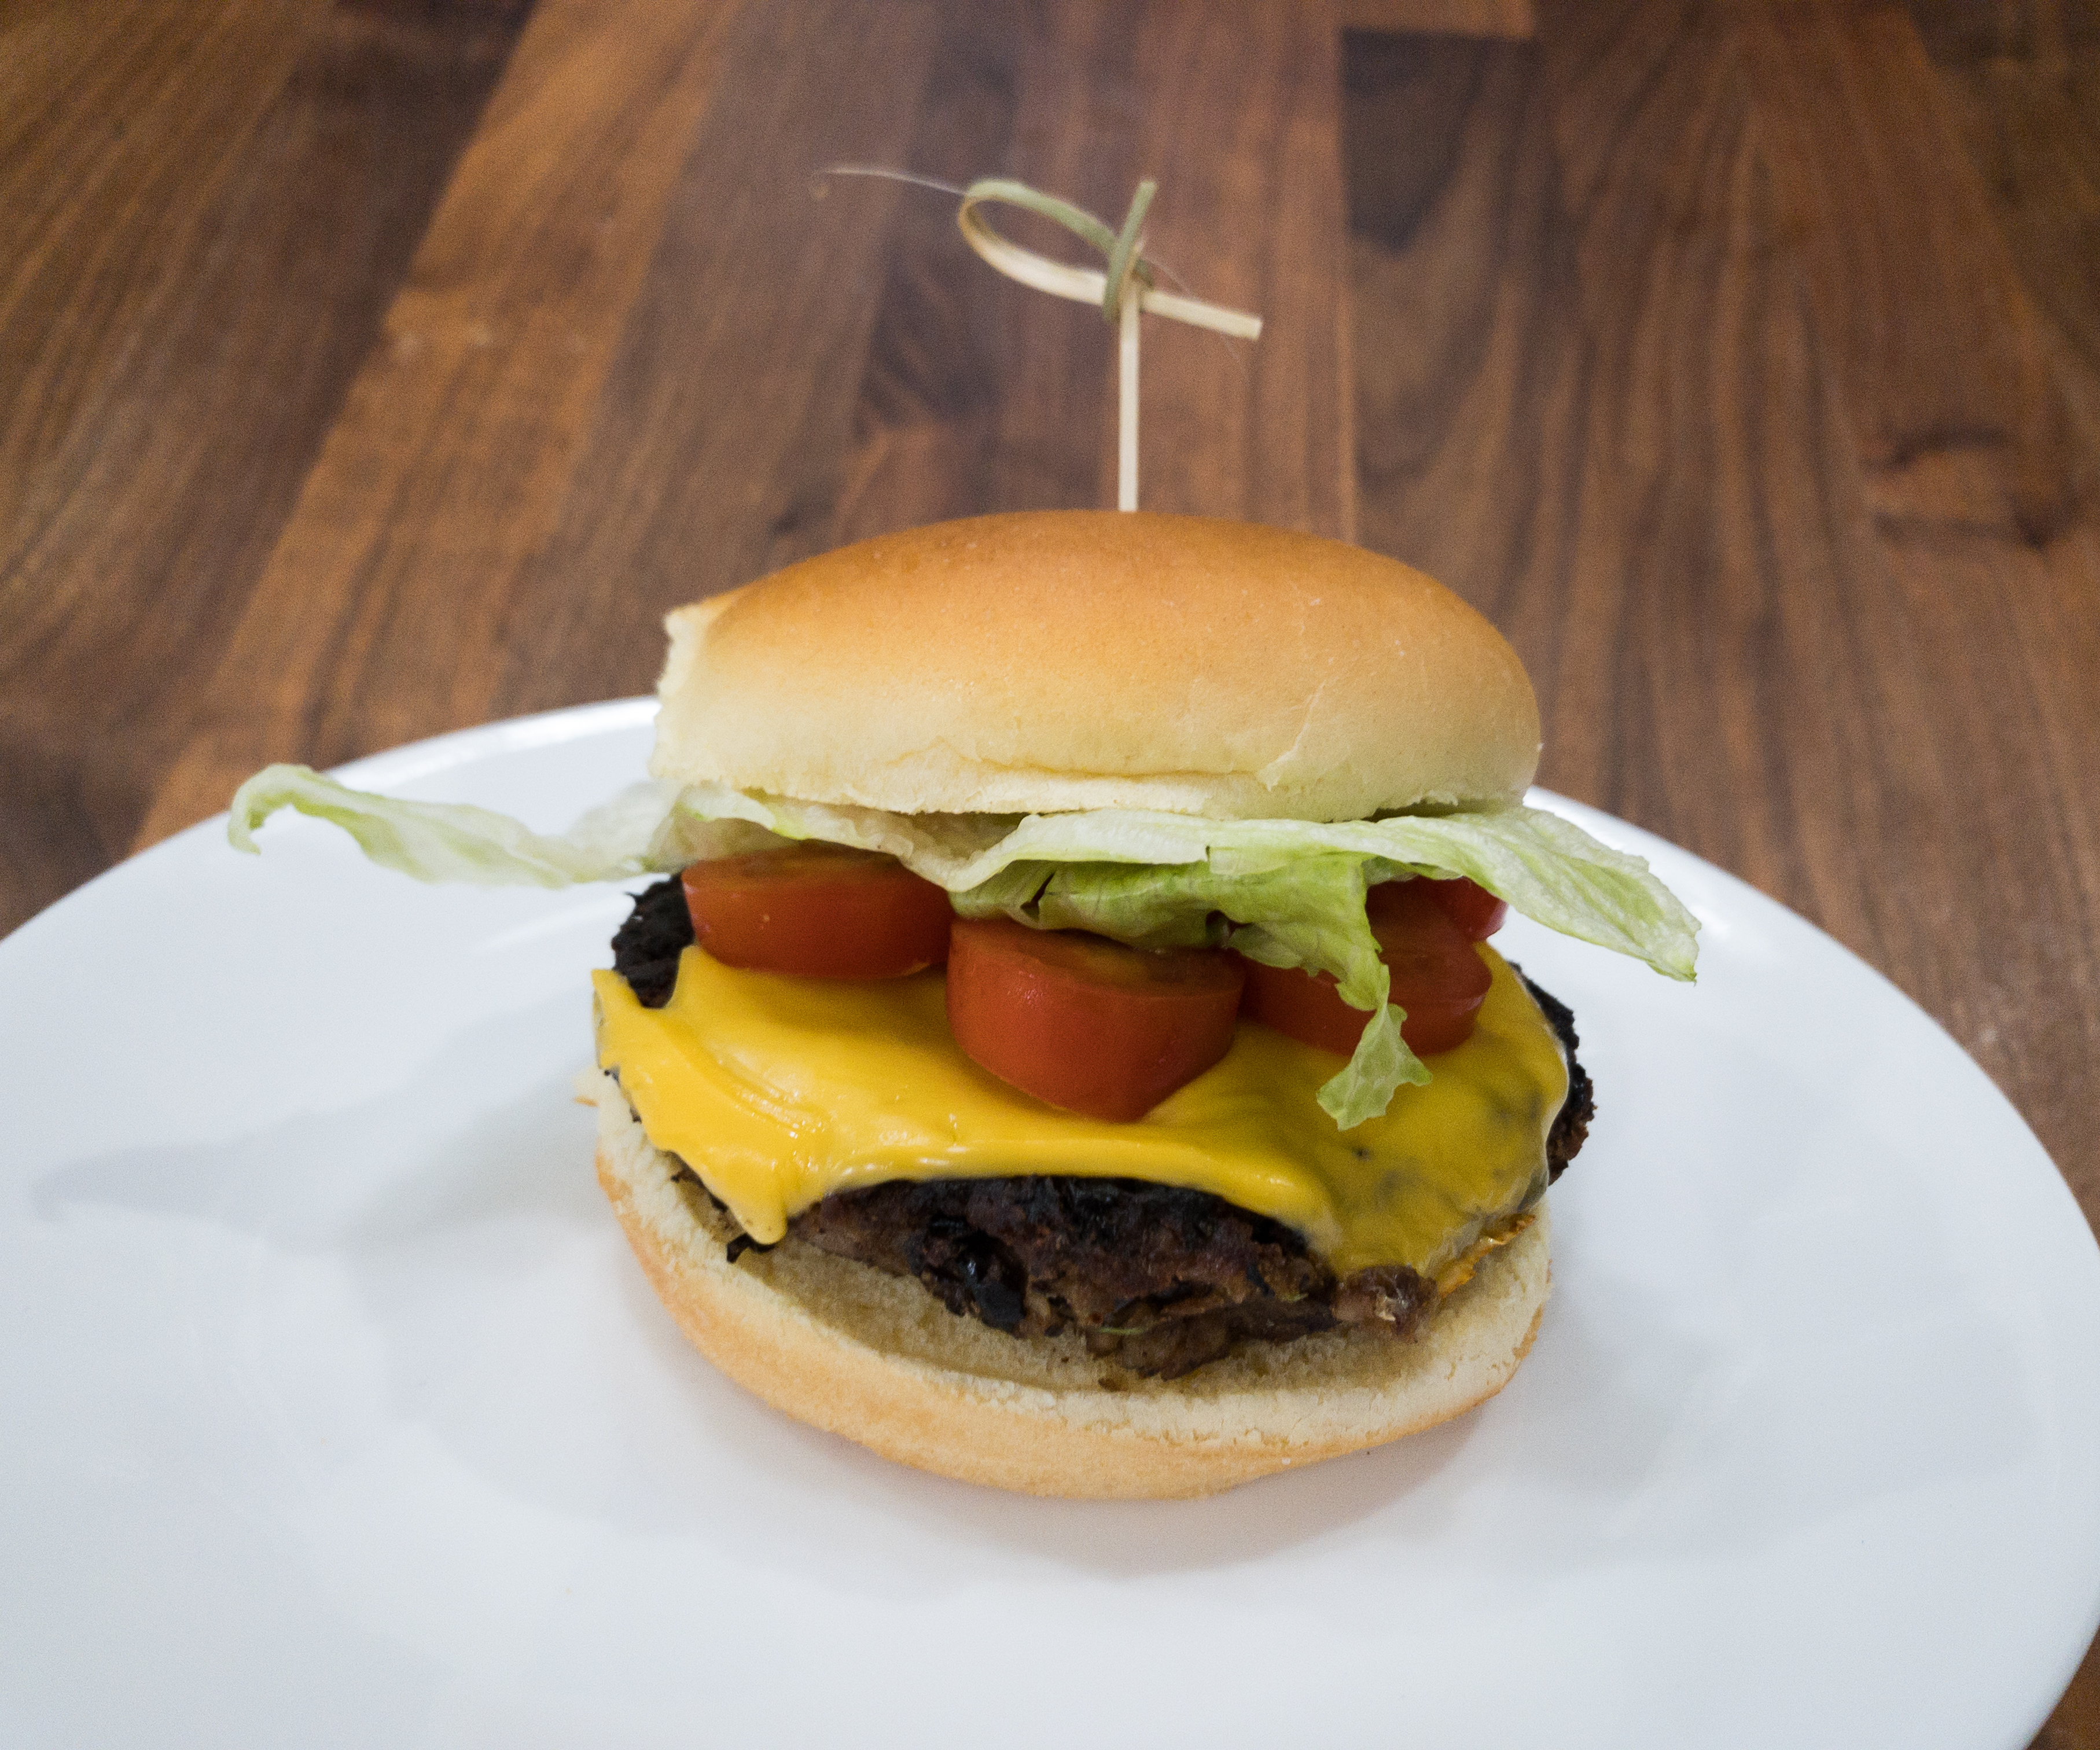
It doesn’t just look good, it was also really tasty!
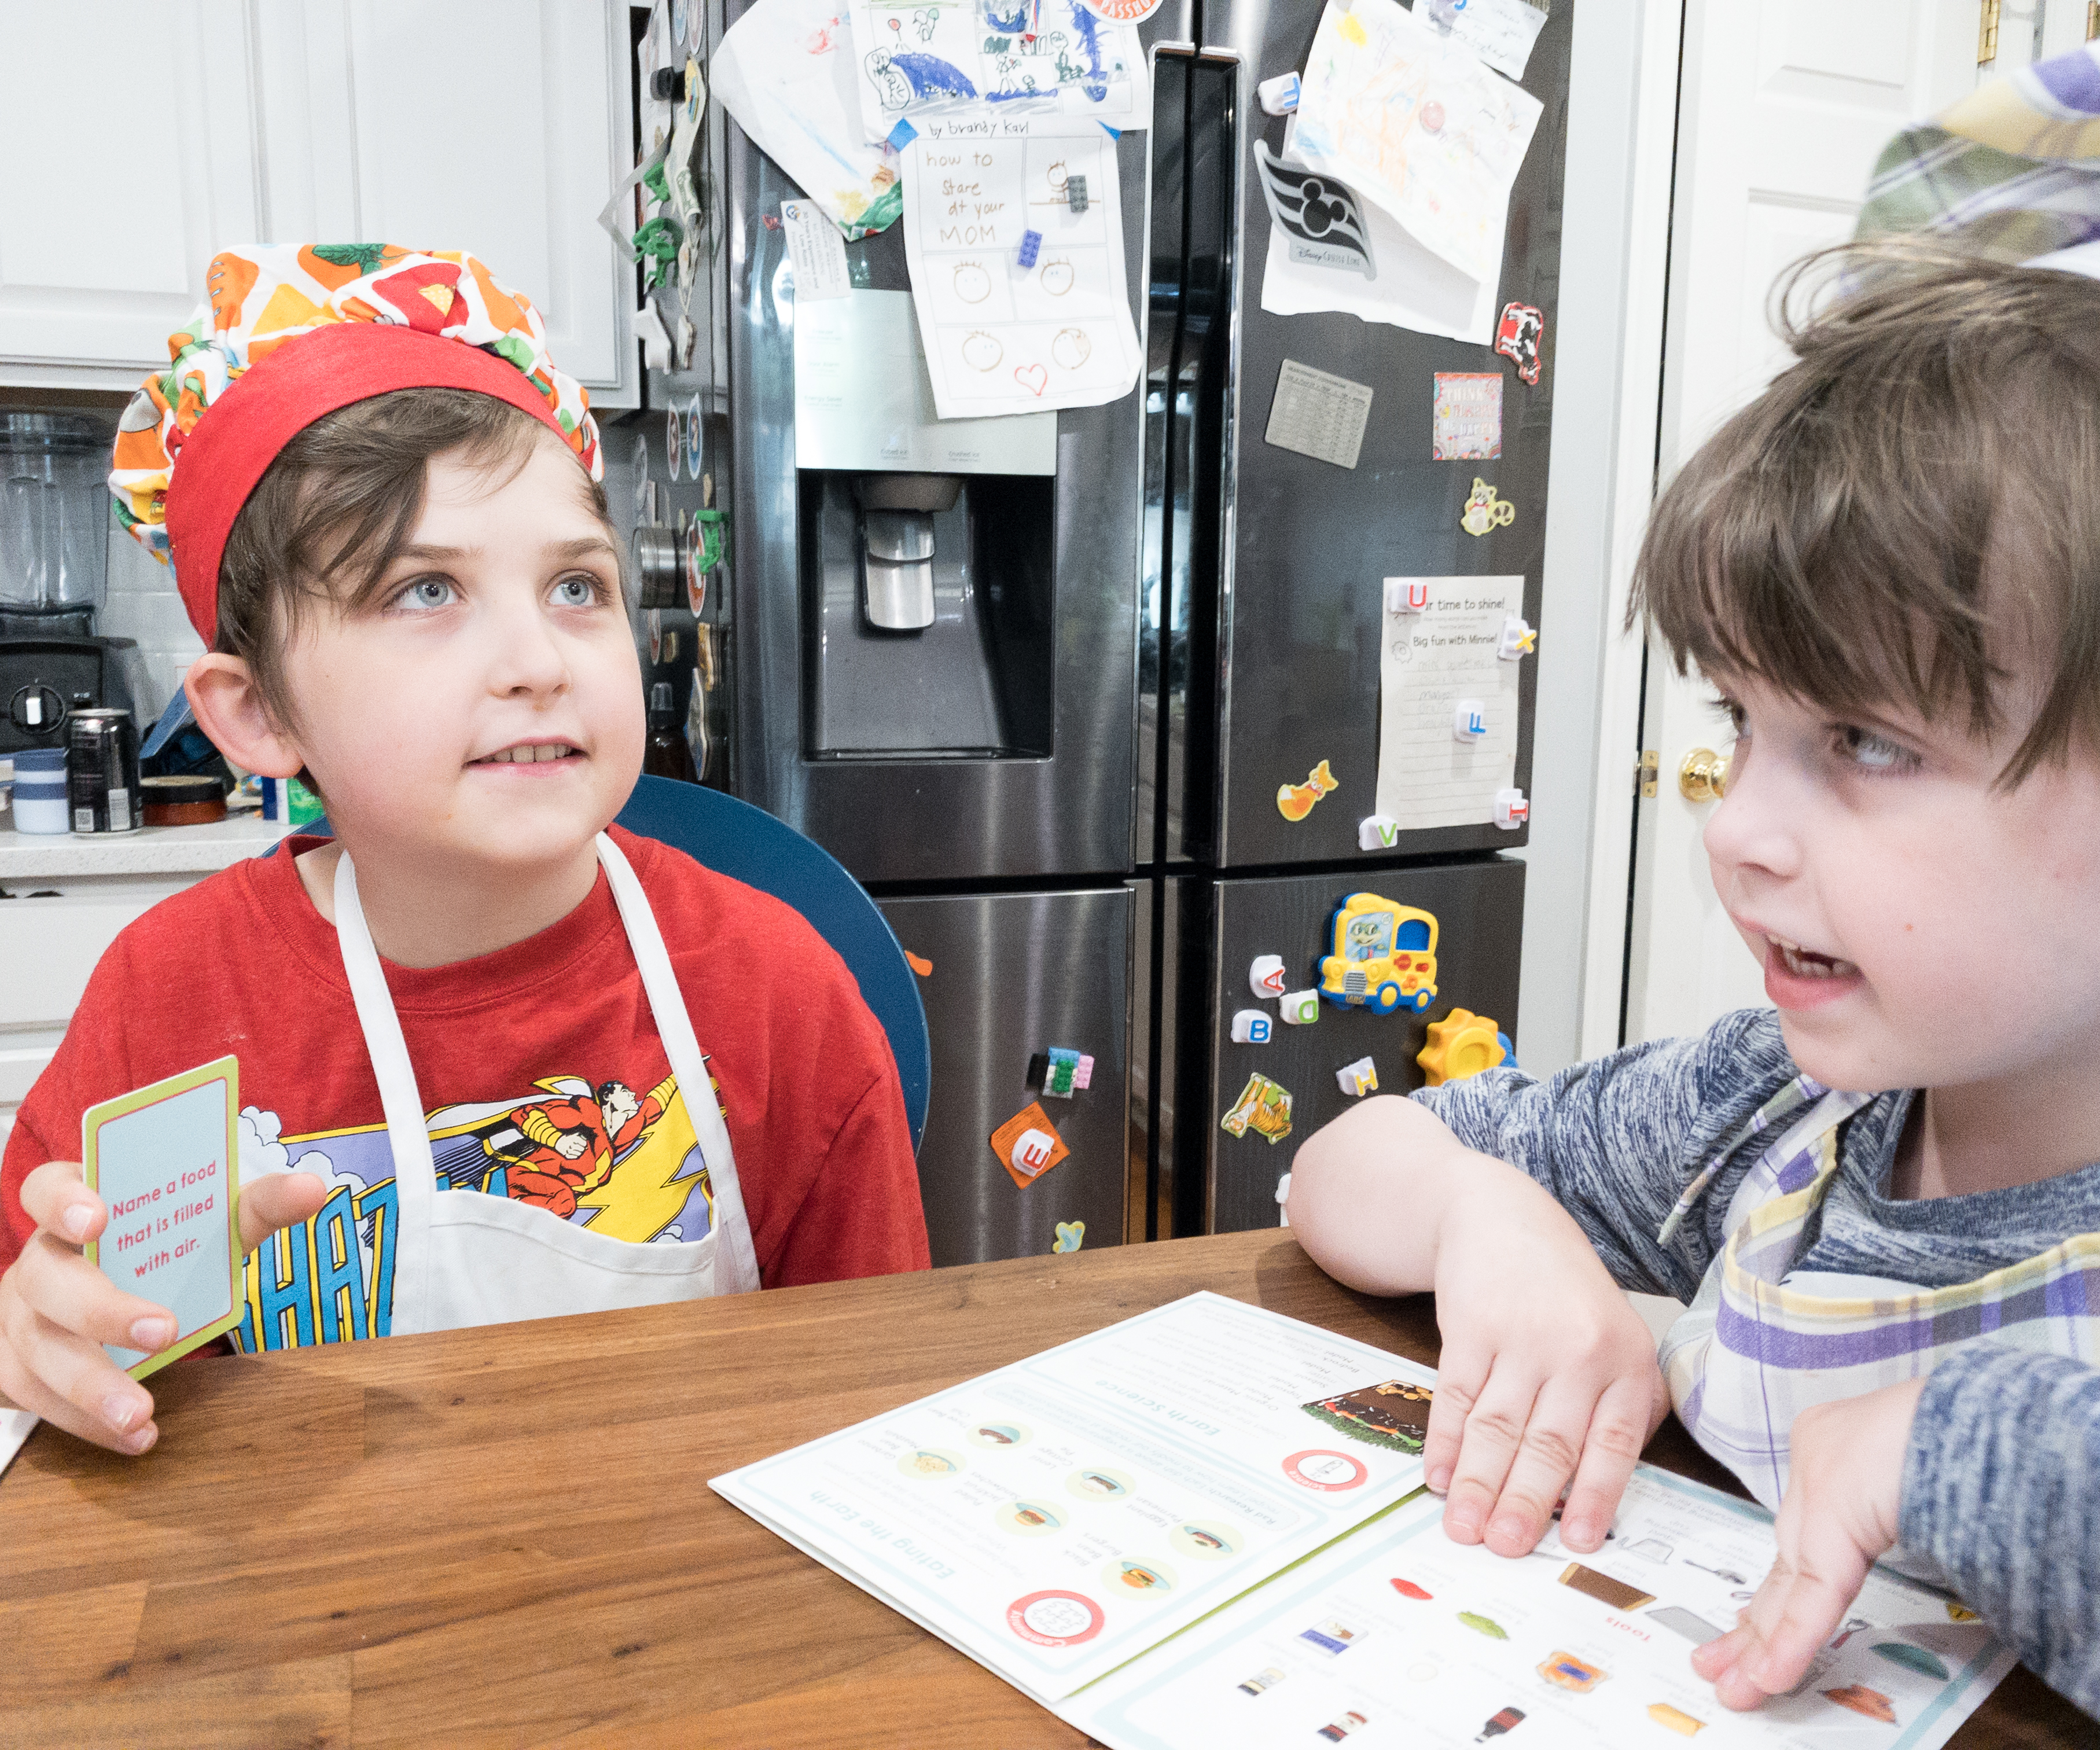
Having fun with the cards!
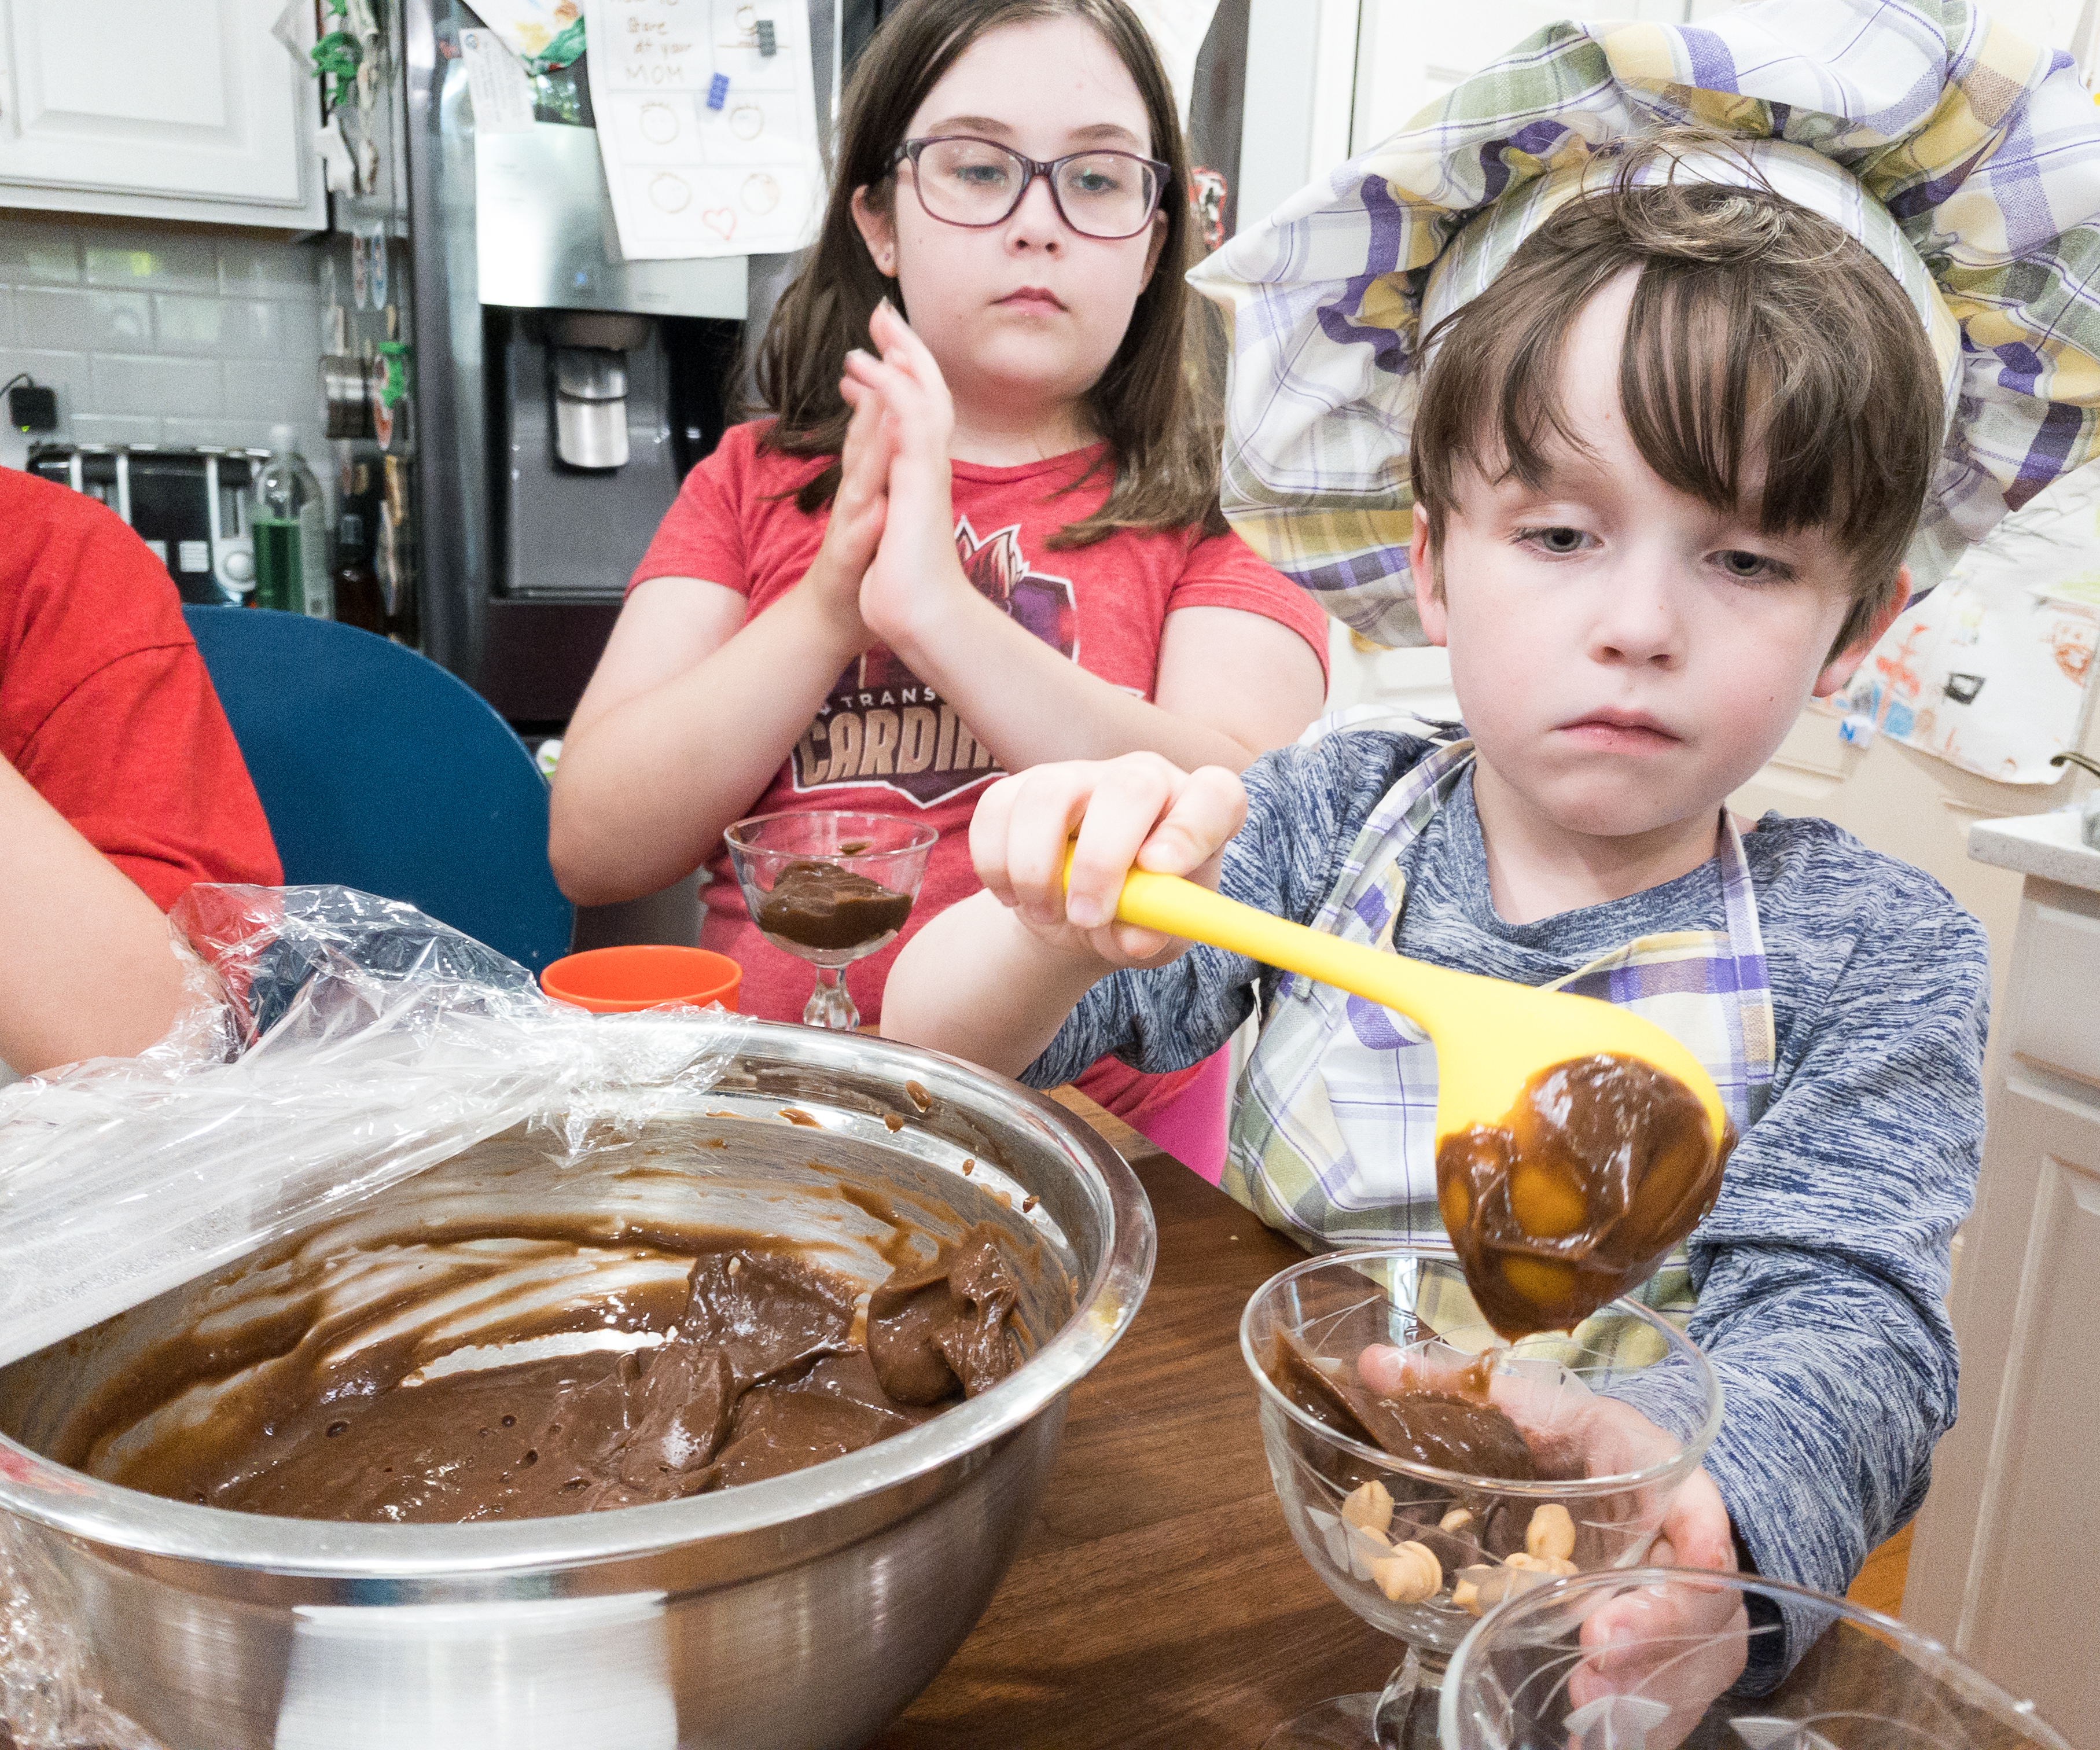
My kids also made an edible earth science model, as suggested in the booklet! They put chocolate and butterscotch chips at the bottom which represent the solid rock deep underground, followed by chocolate pudding that resembles dense soil.
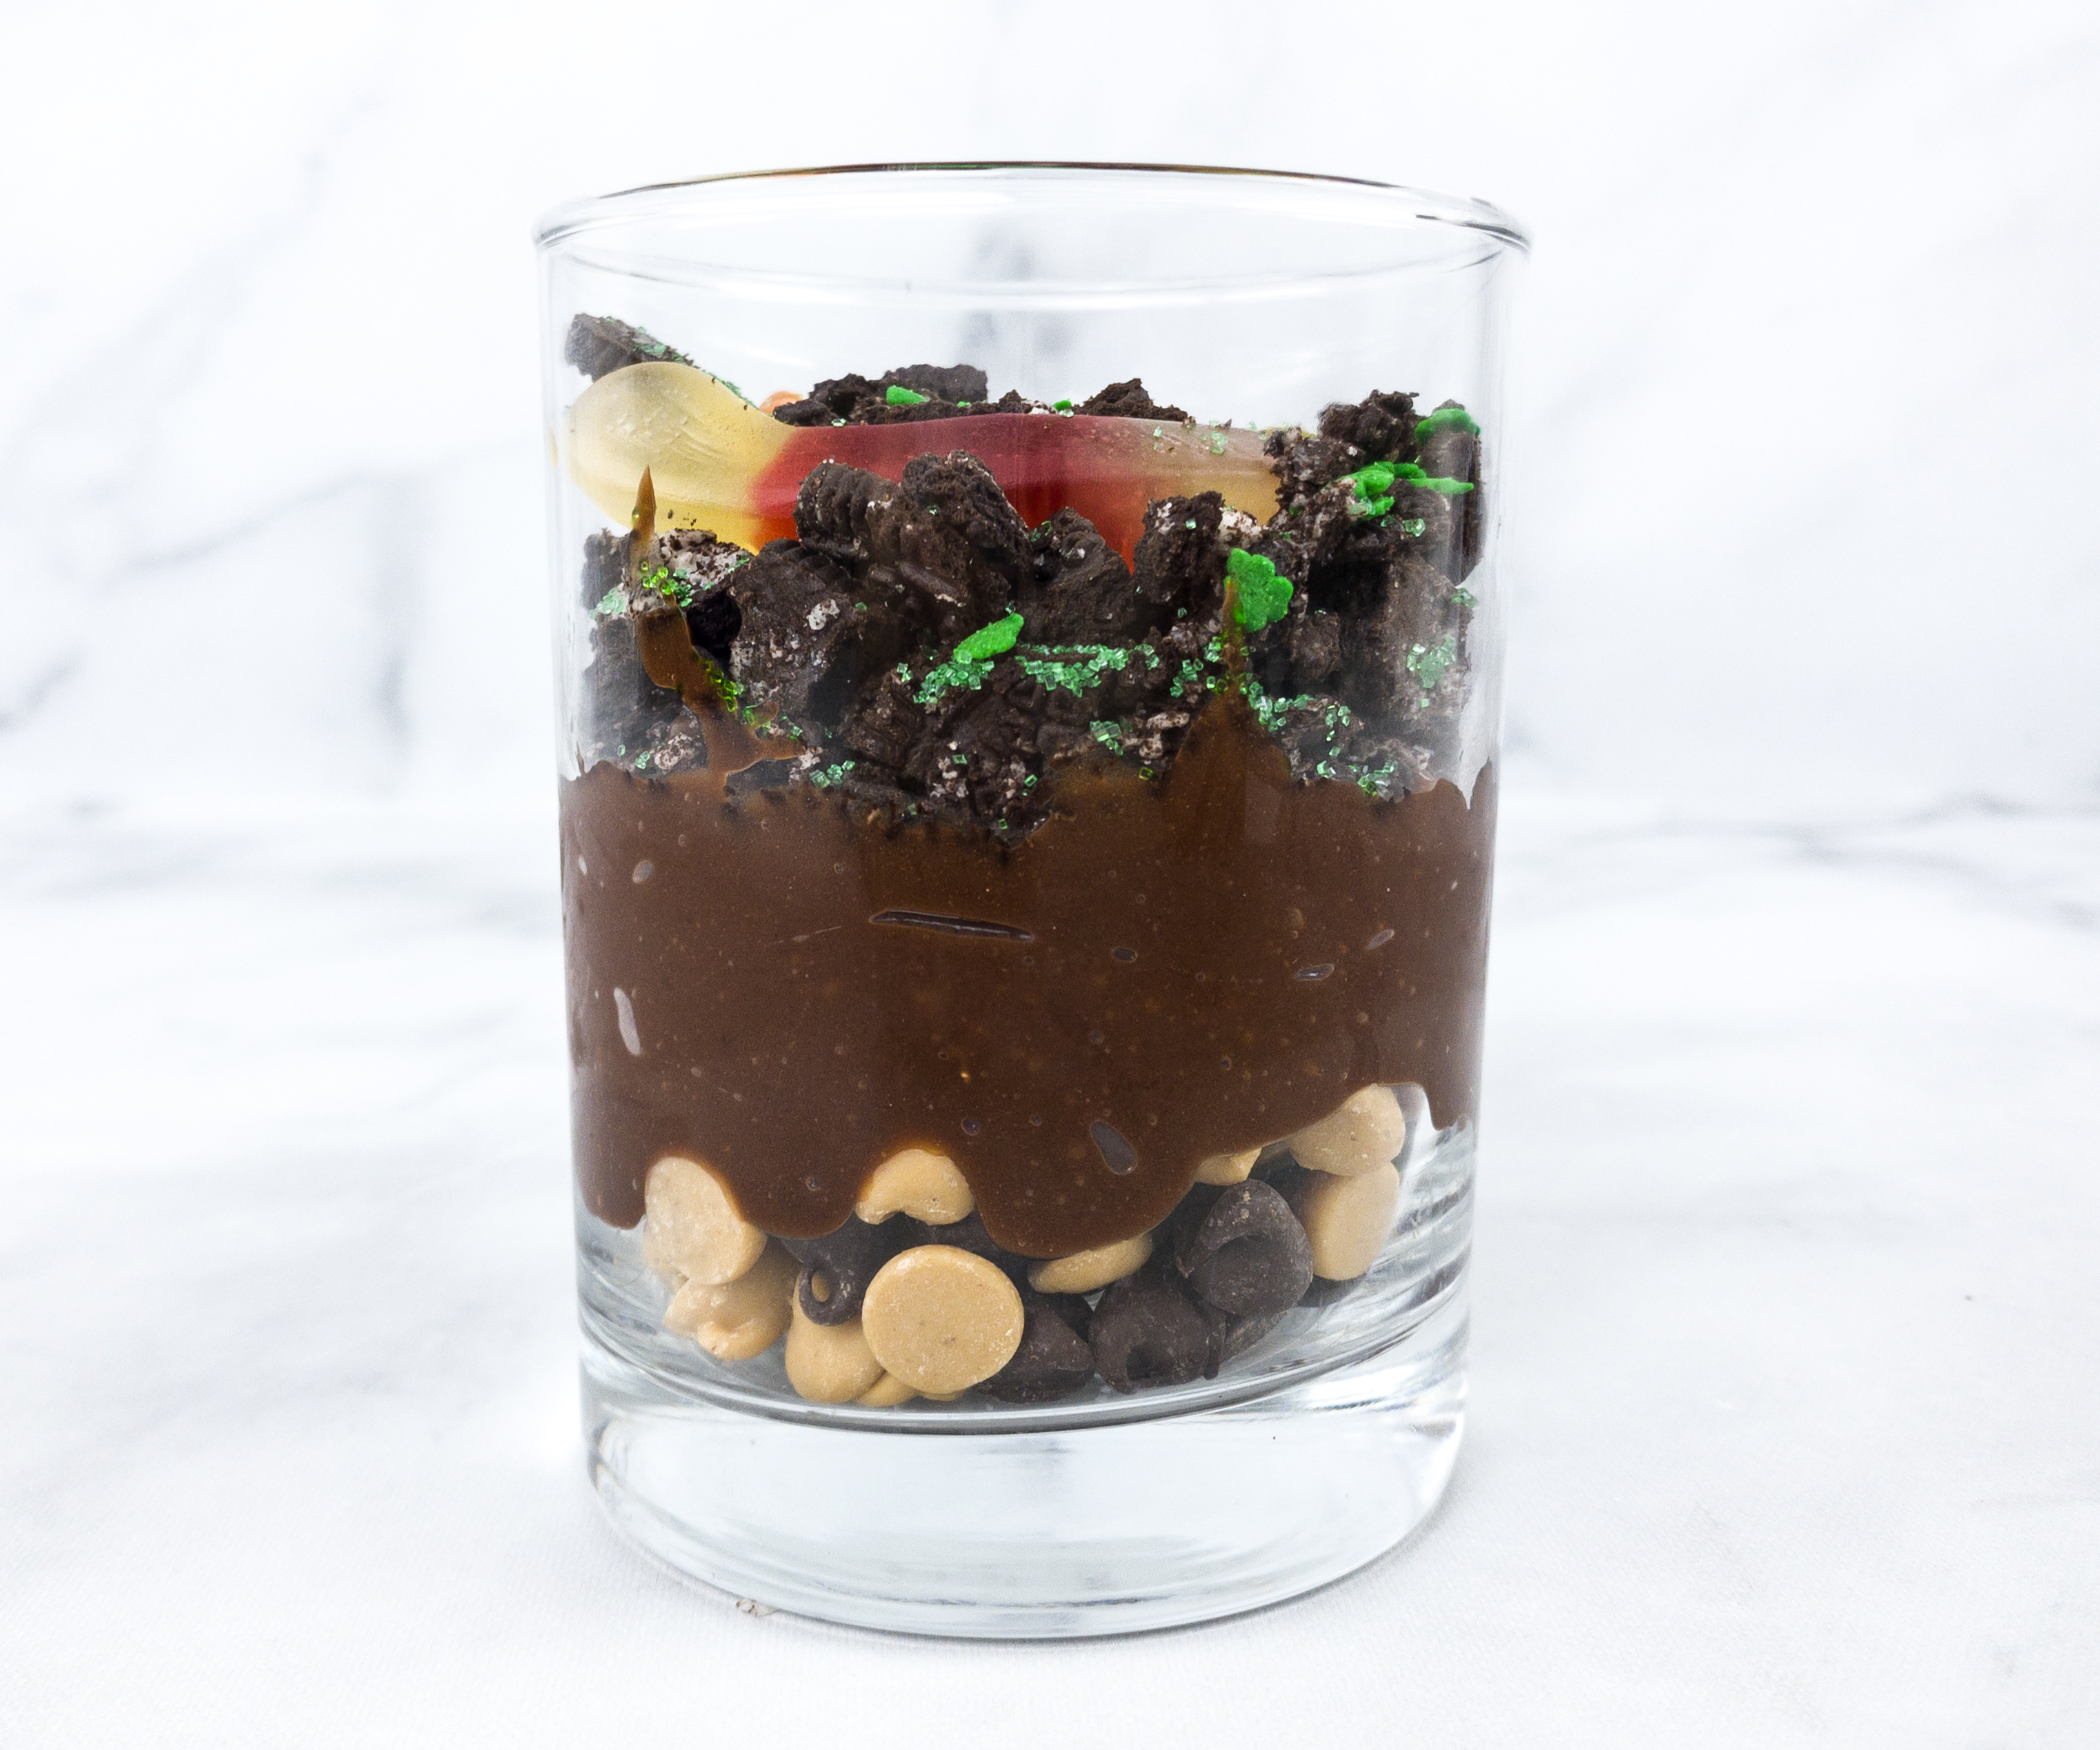
After the chocolate pudding, there’s the cookies and gummy worms. The toppers are green sprinkles that represent plants, leaves, and twigs!
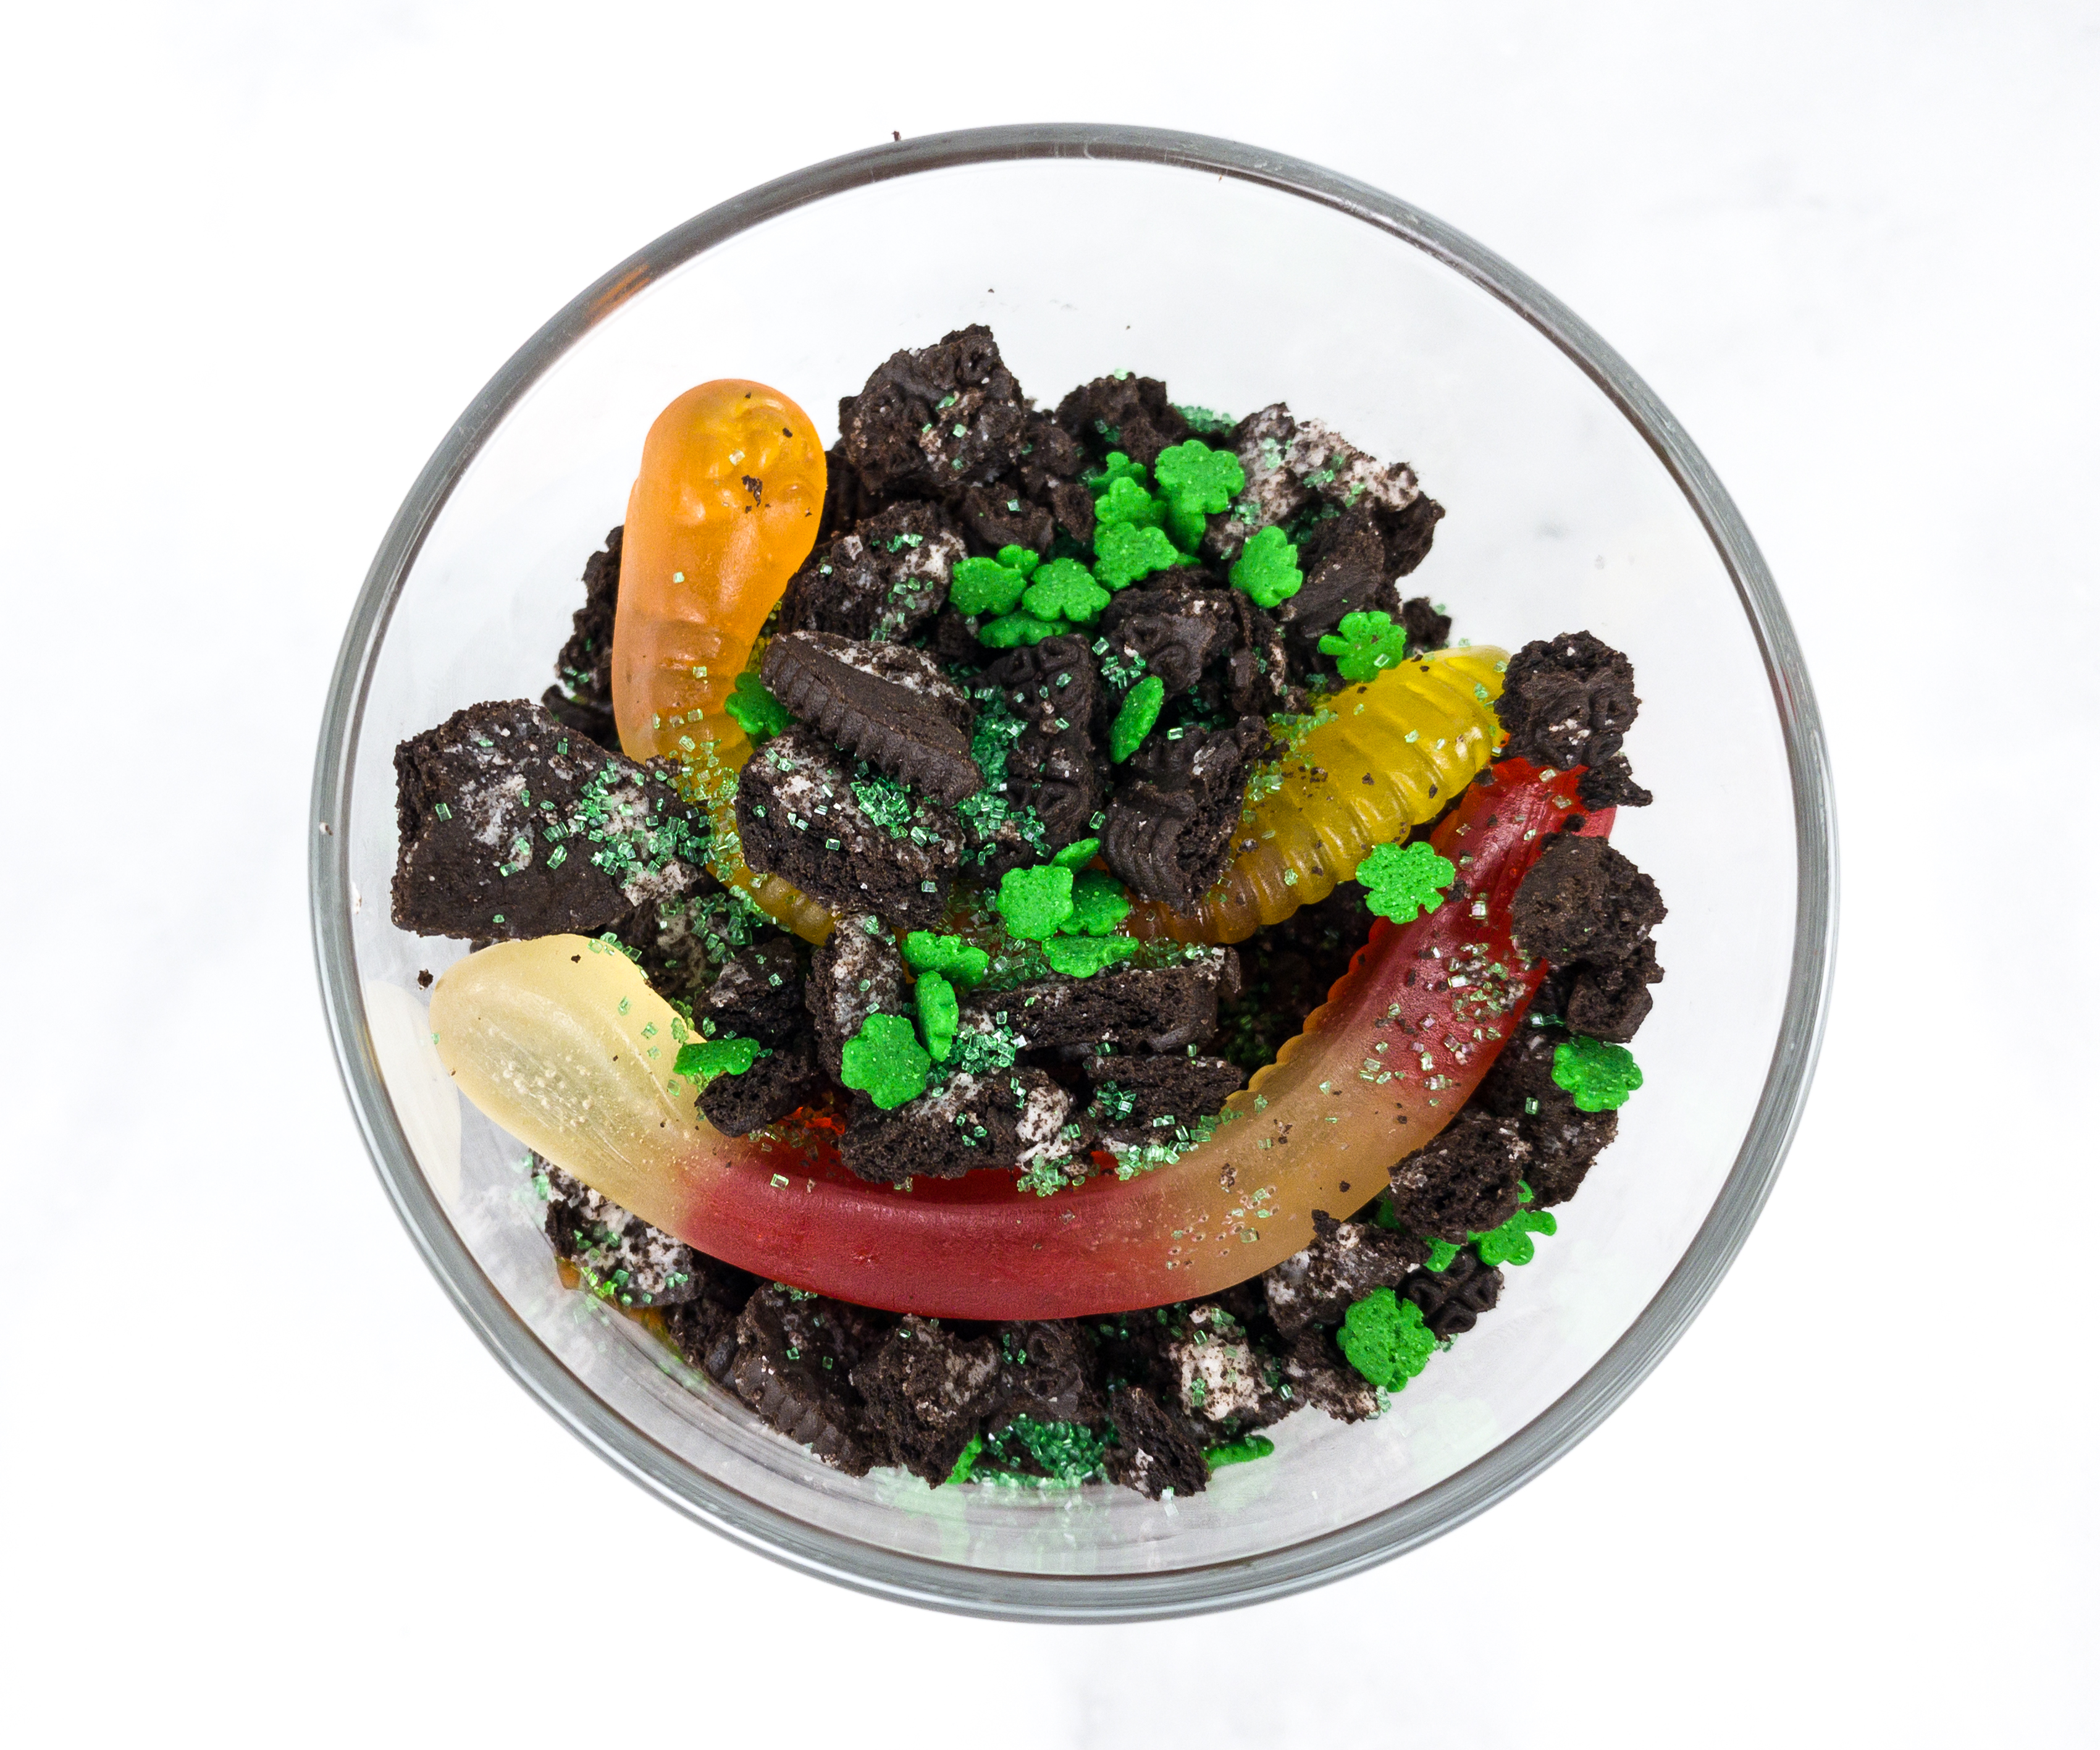
This earth science model looks really cool!
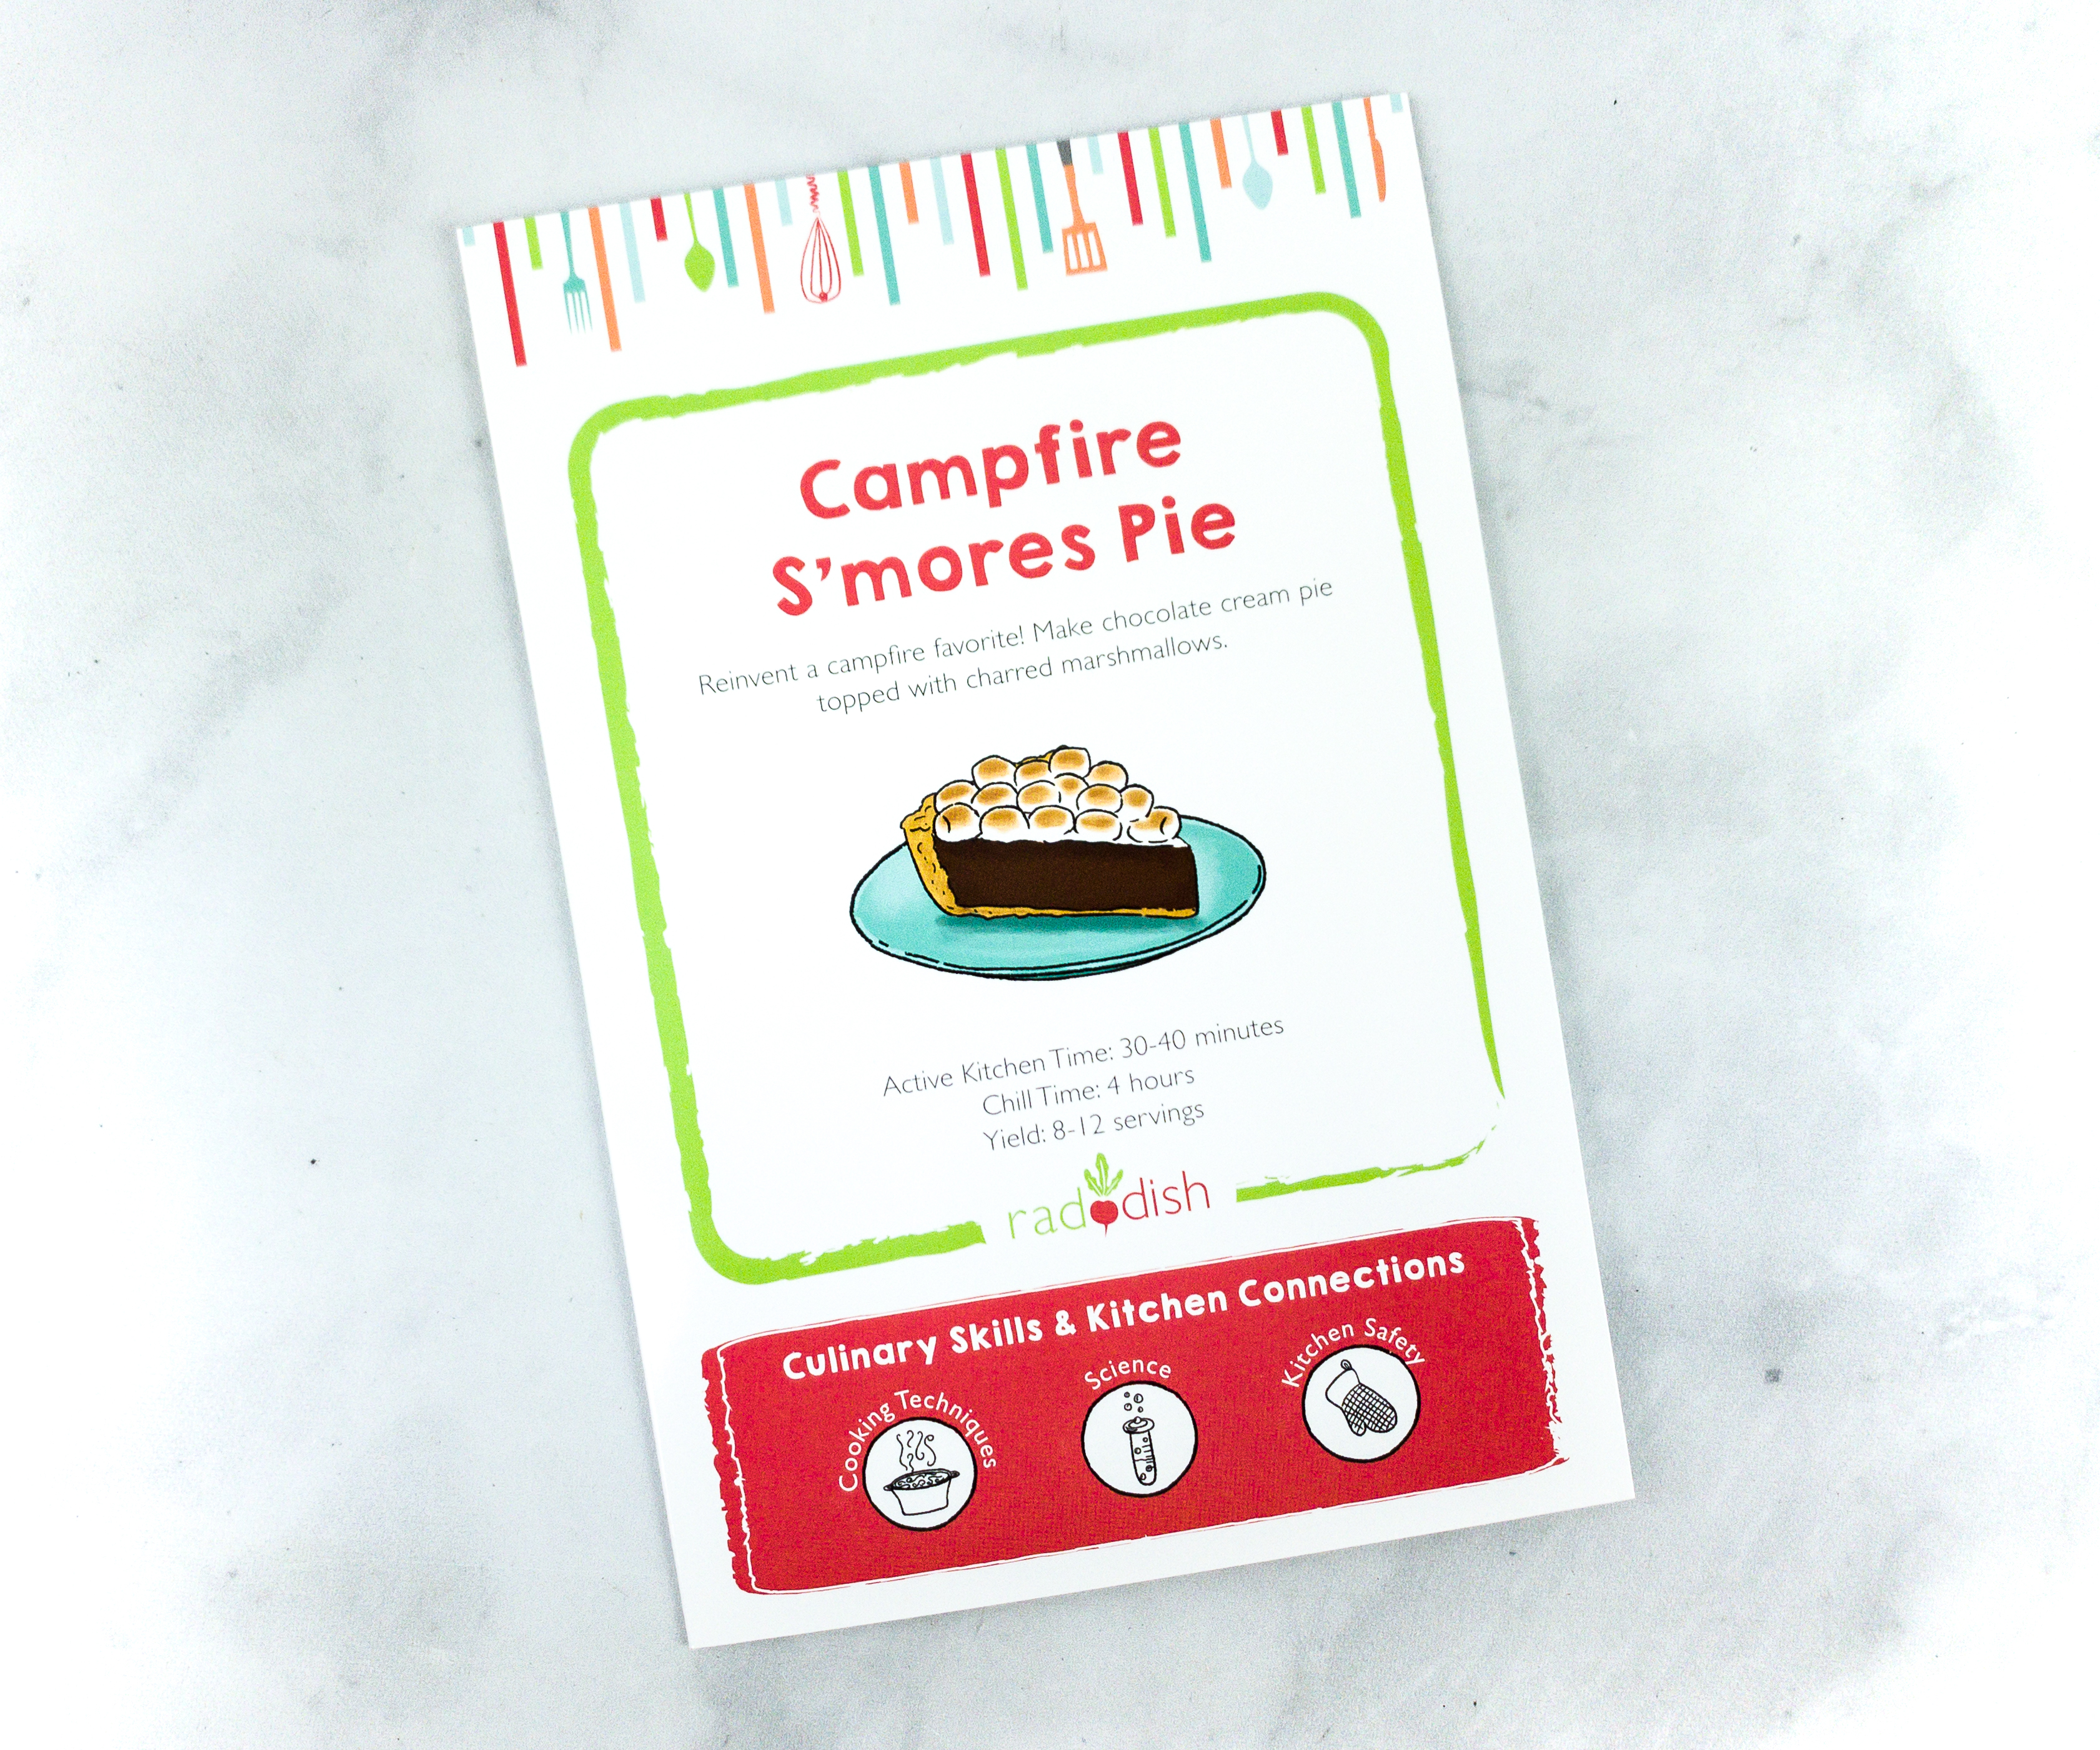
The third recipe is Campfire S’mores Pie. It’s a chocolate cream pie topped with charred marshmallows.
Active Kitchen Time: 30-40 minutes
Chill Time: 4 hours
Yield: 8-12 servings

The required culinary skill for this recipe is Oven Safety! It features the different parts of the oven and some safety tips.
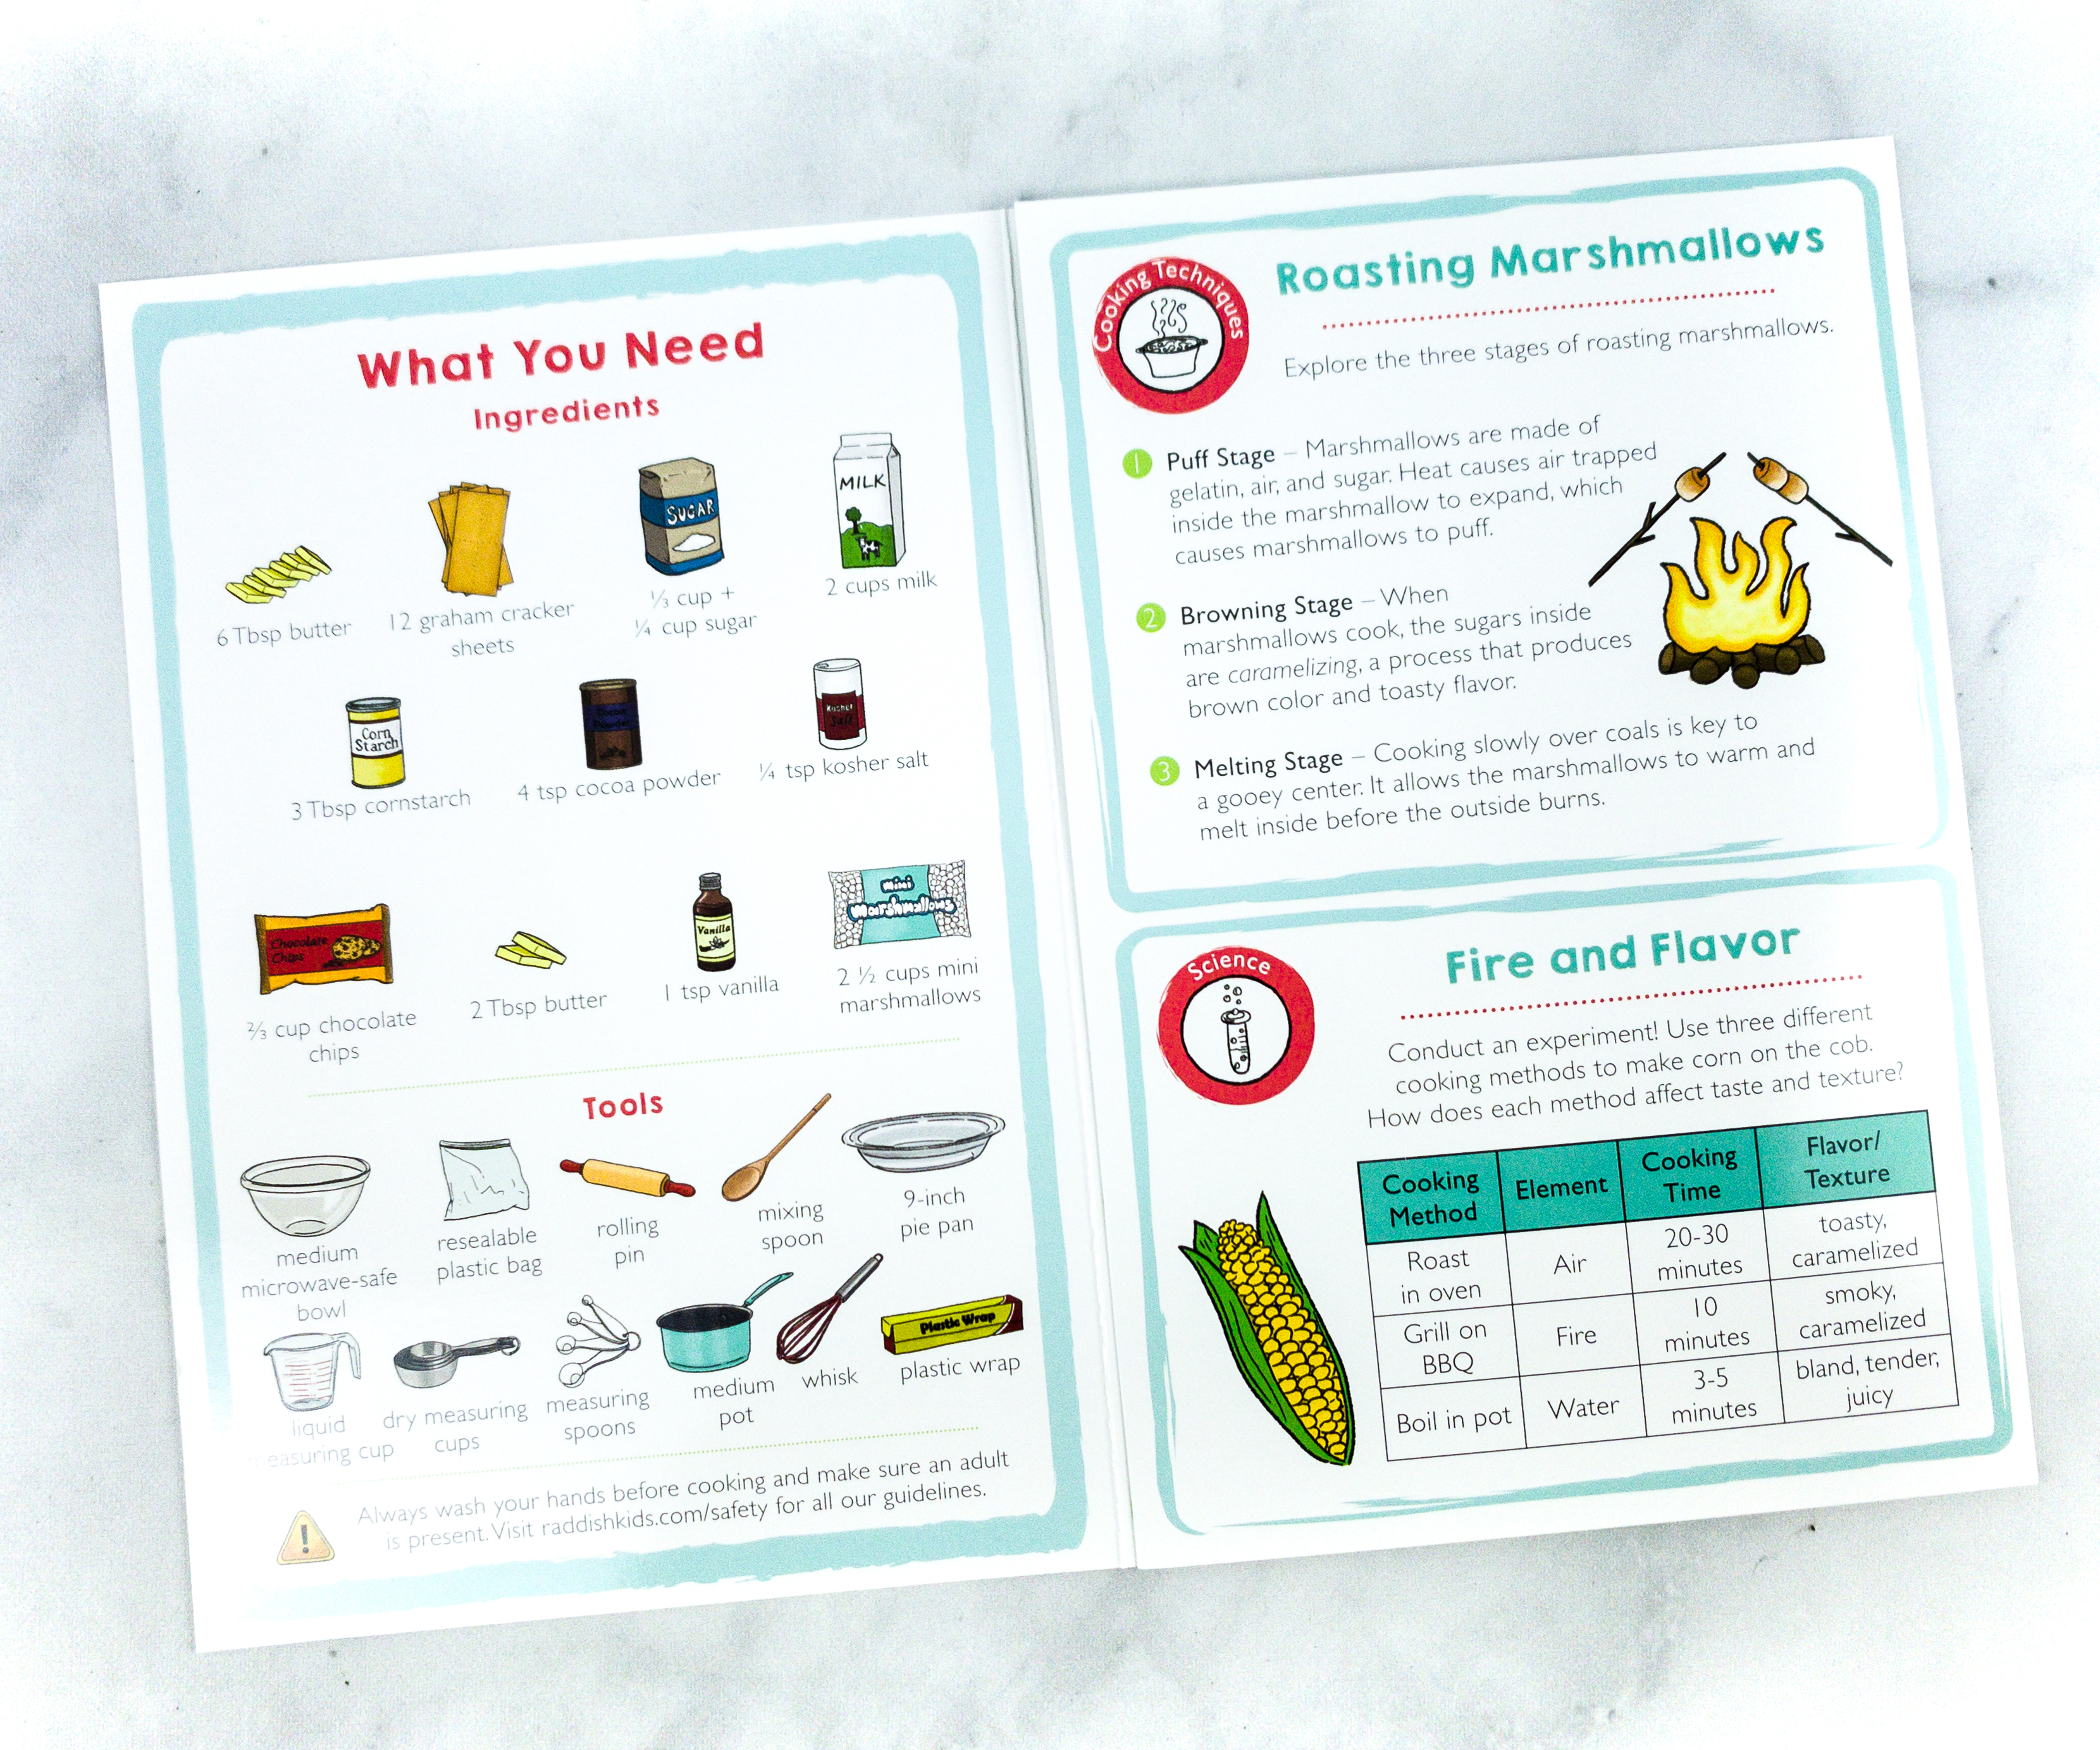
A portion of the booklet tells us how to roast marshmallows properly. There’s also an experiment about fire and flavor!
The ingredients for this recipe are butter, graham cracker sheets, sugar, milk, cornstarch, cocoa powder, kosher salt, chocolate chips, butter, vanilla, and mini marshmallows.
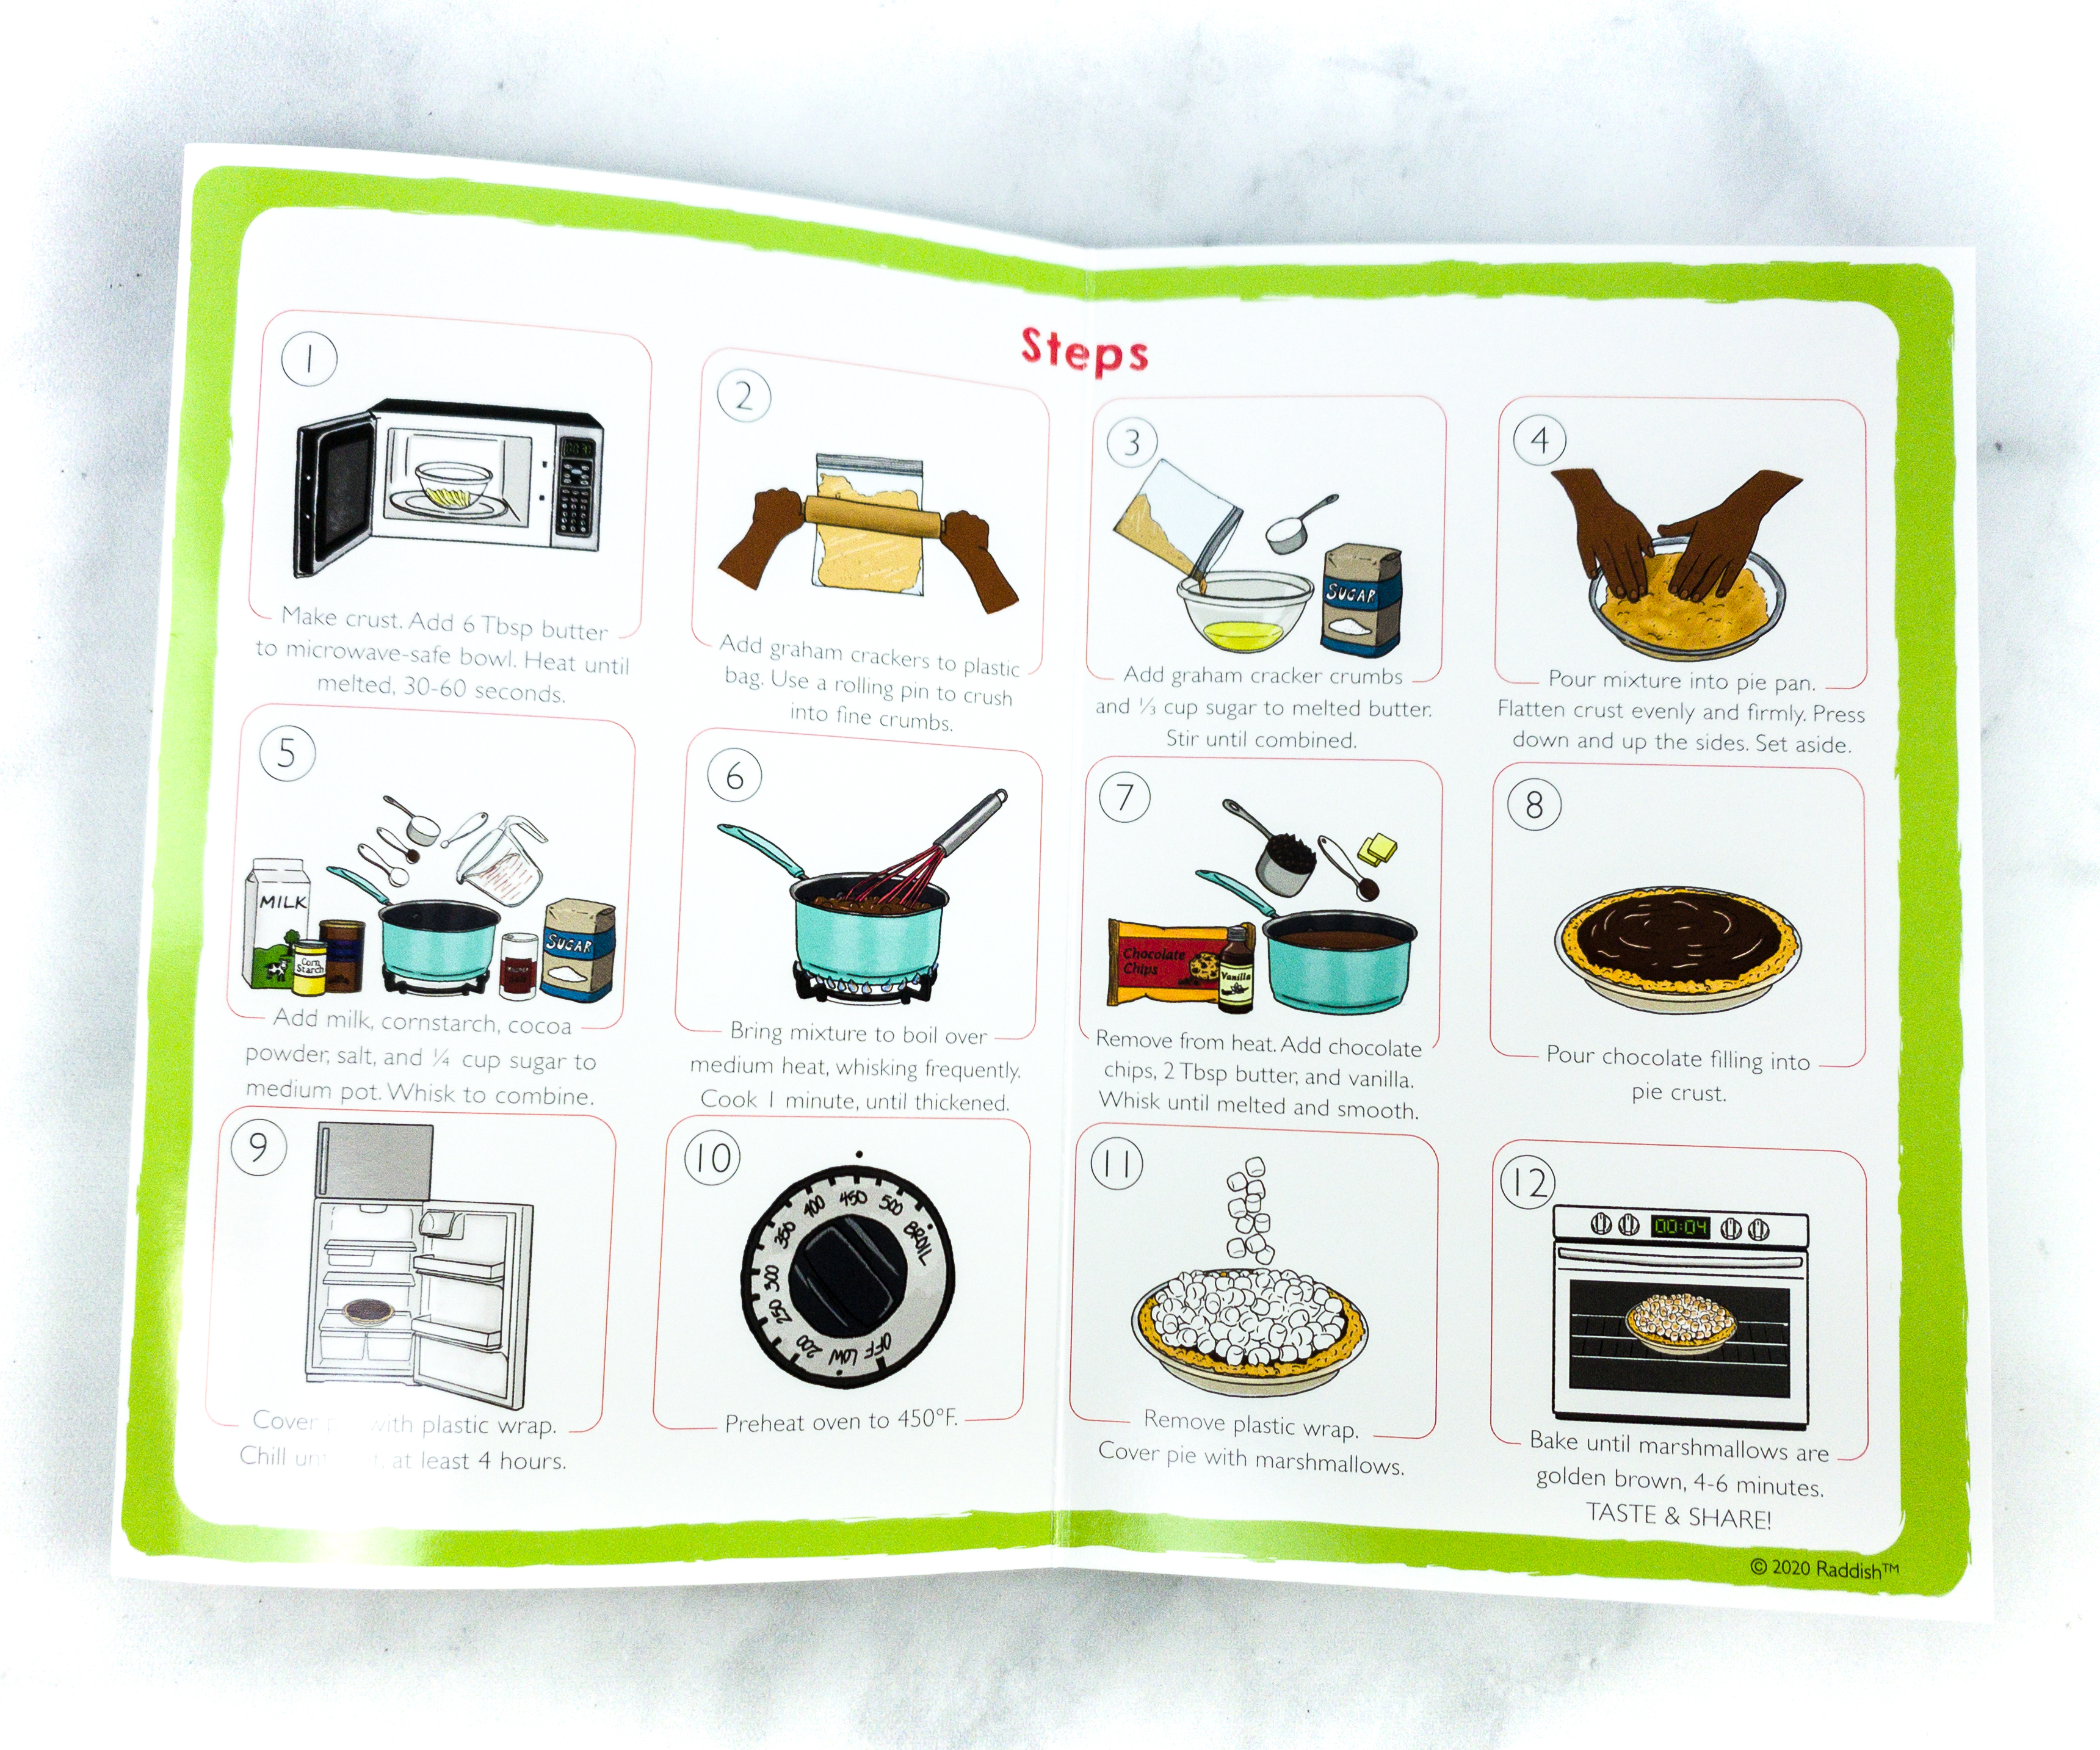
Because of the well-detailed procedure, my kids were able to make it without any problems.
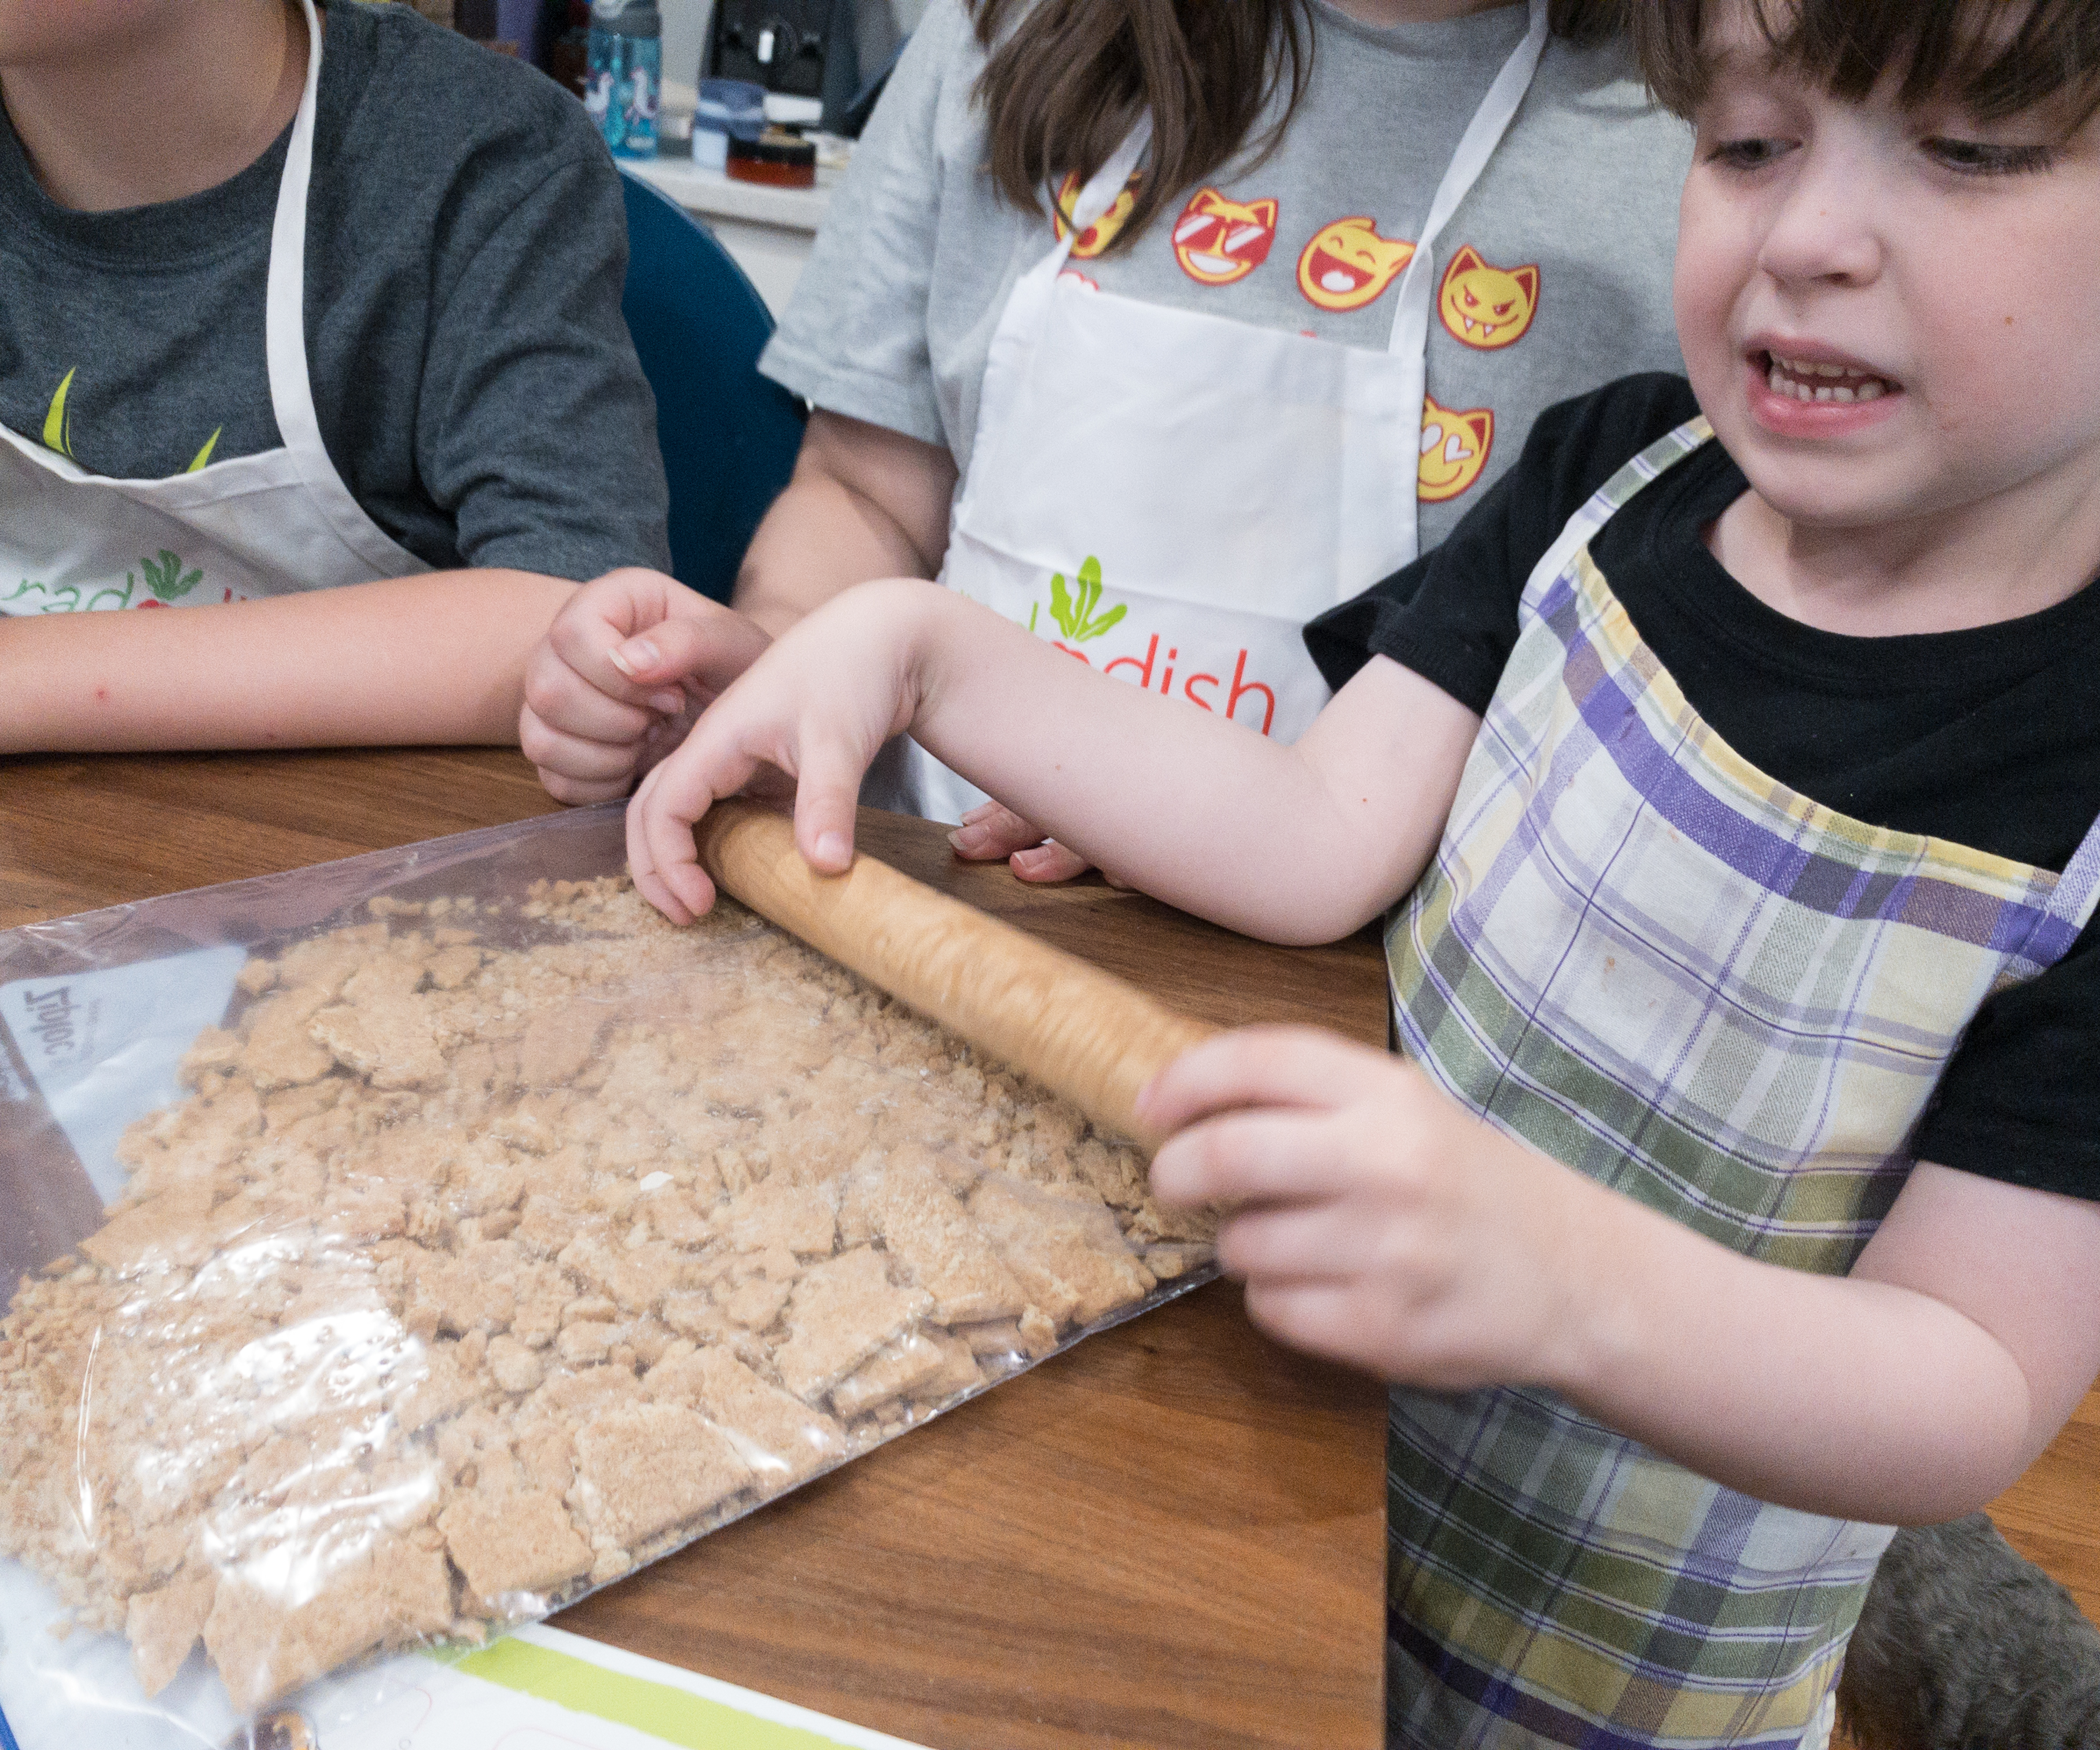
My kids started the project by working on the crust.
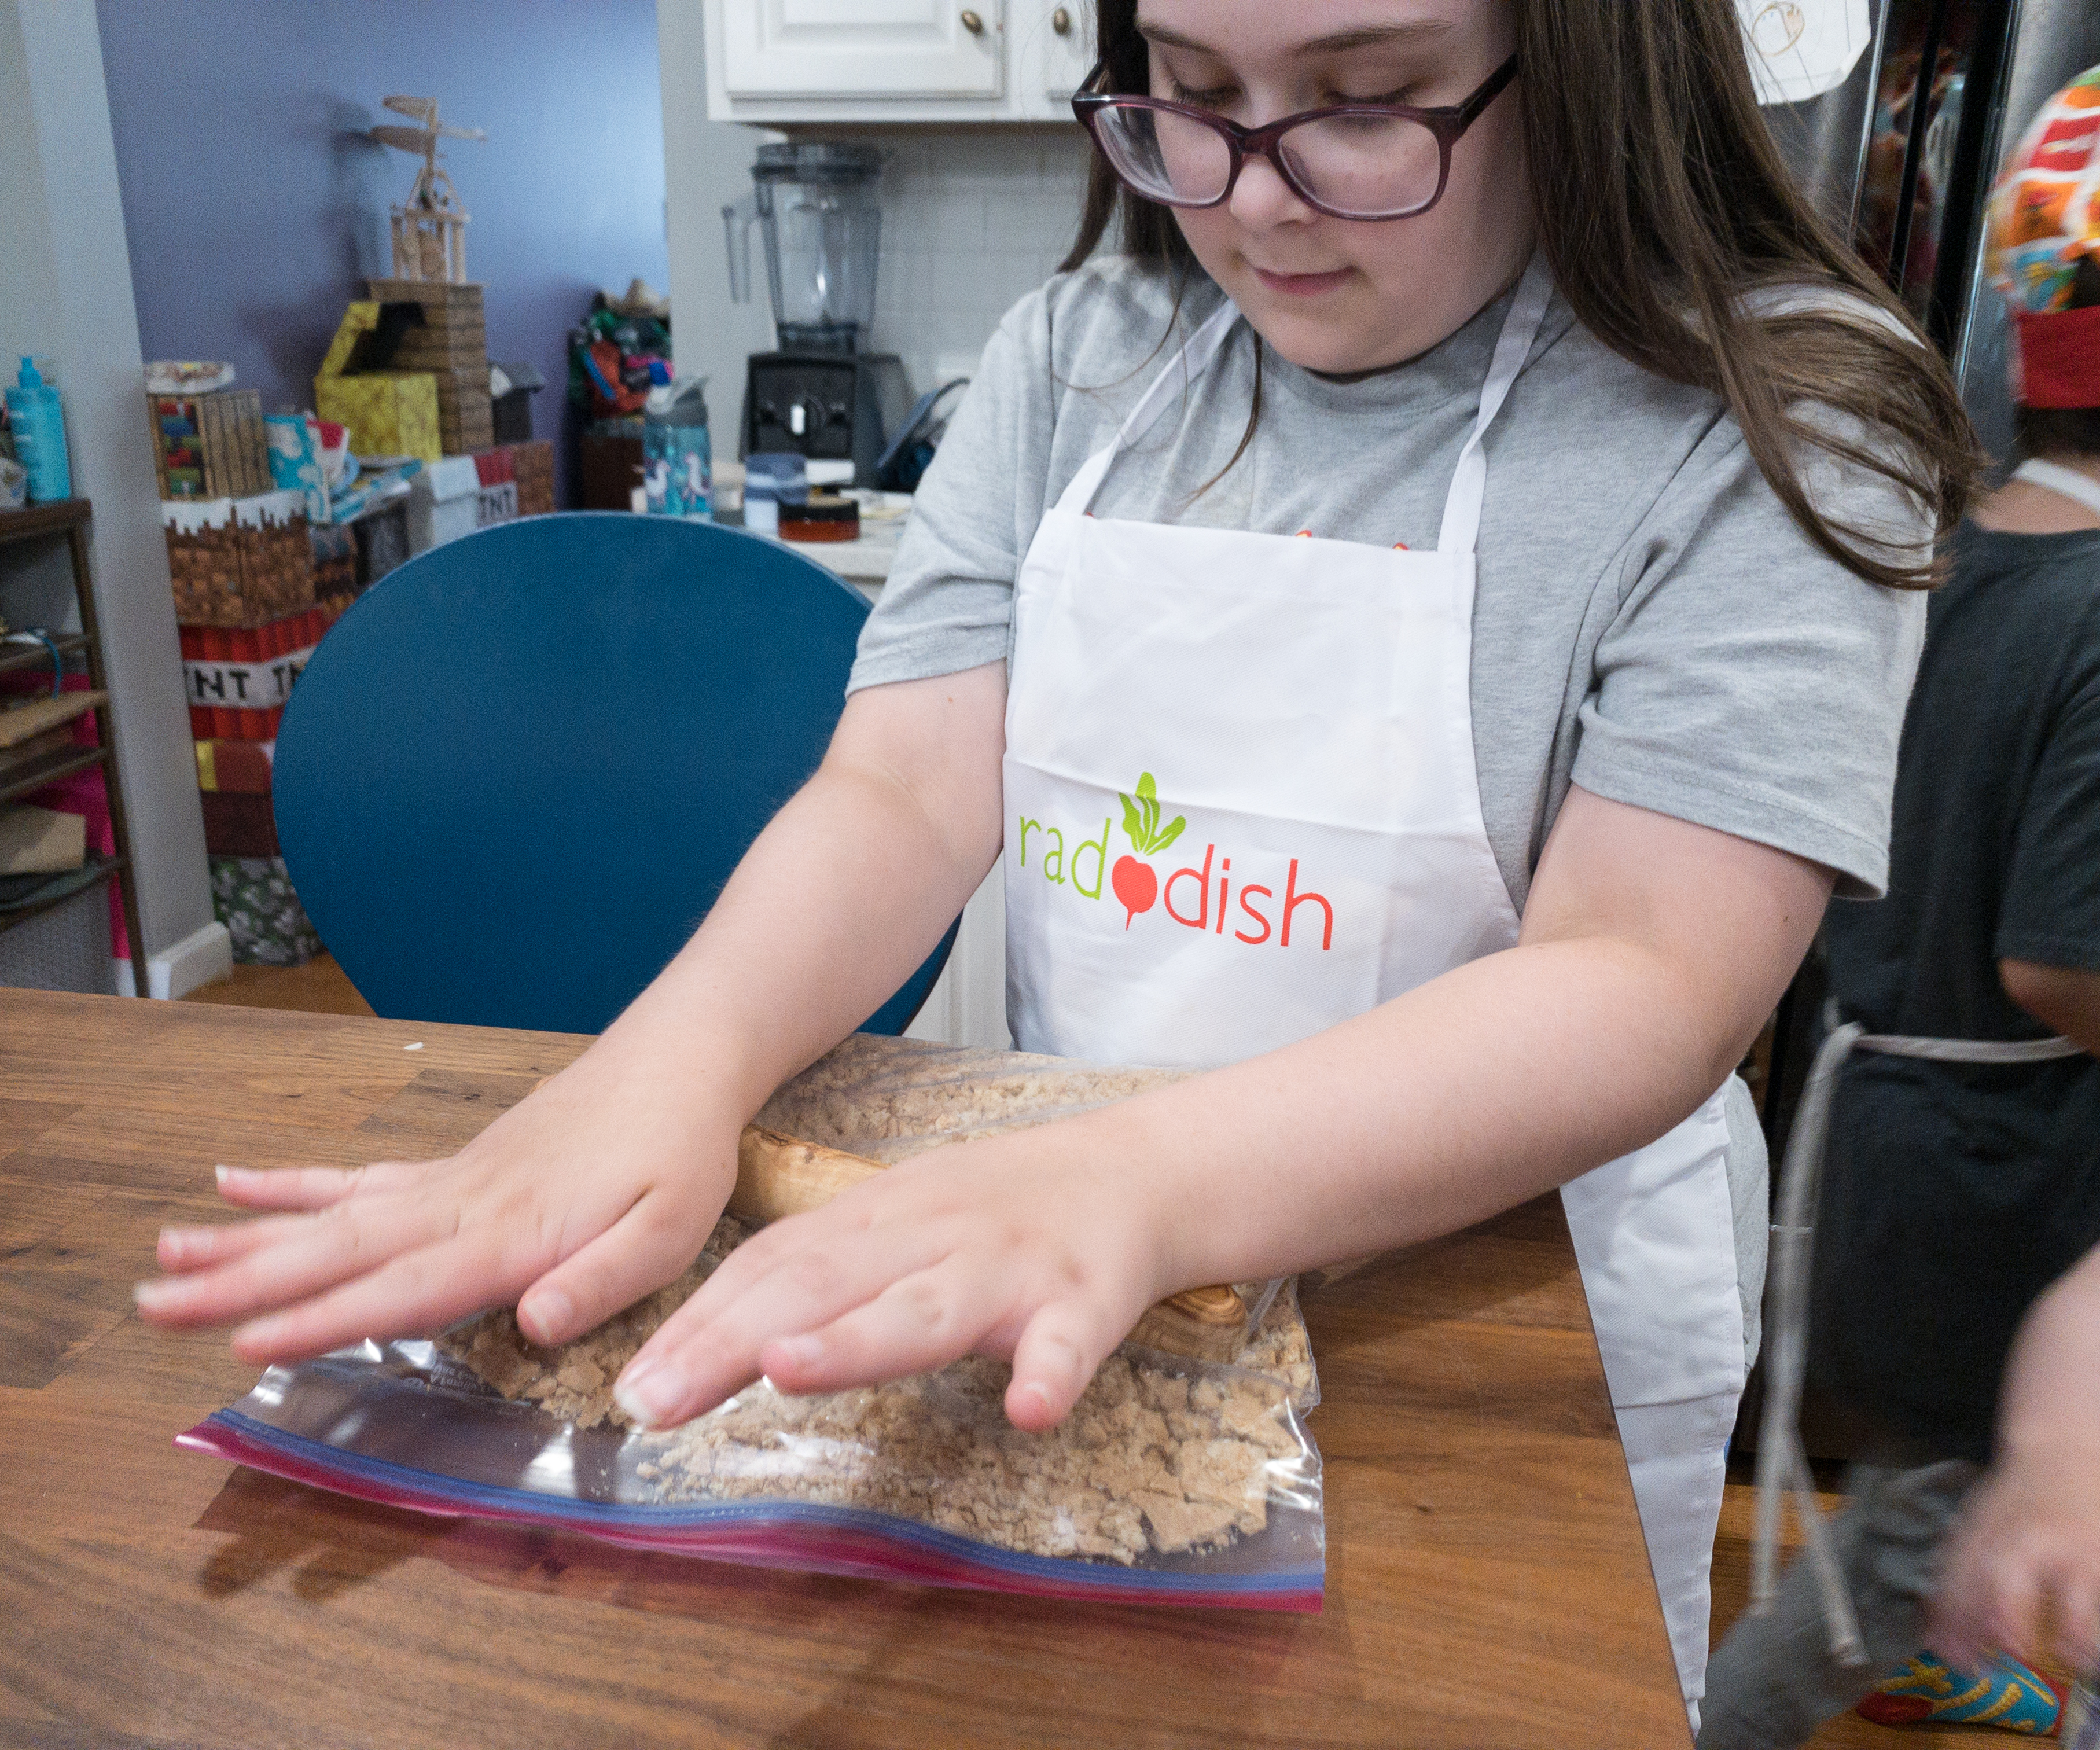
They put the graham crackers inside the plastic bag and crushed it into fine crumbs using the rolling pin.
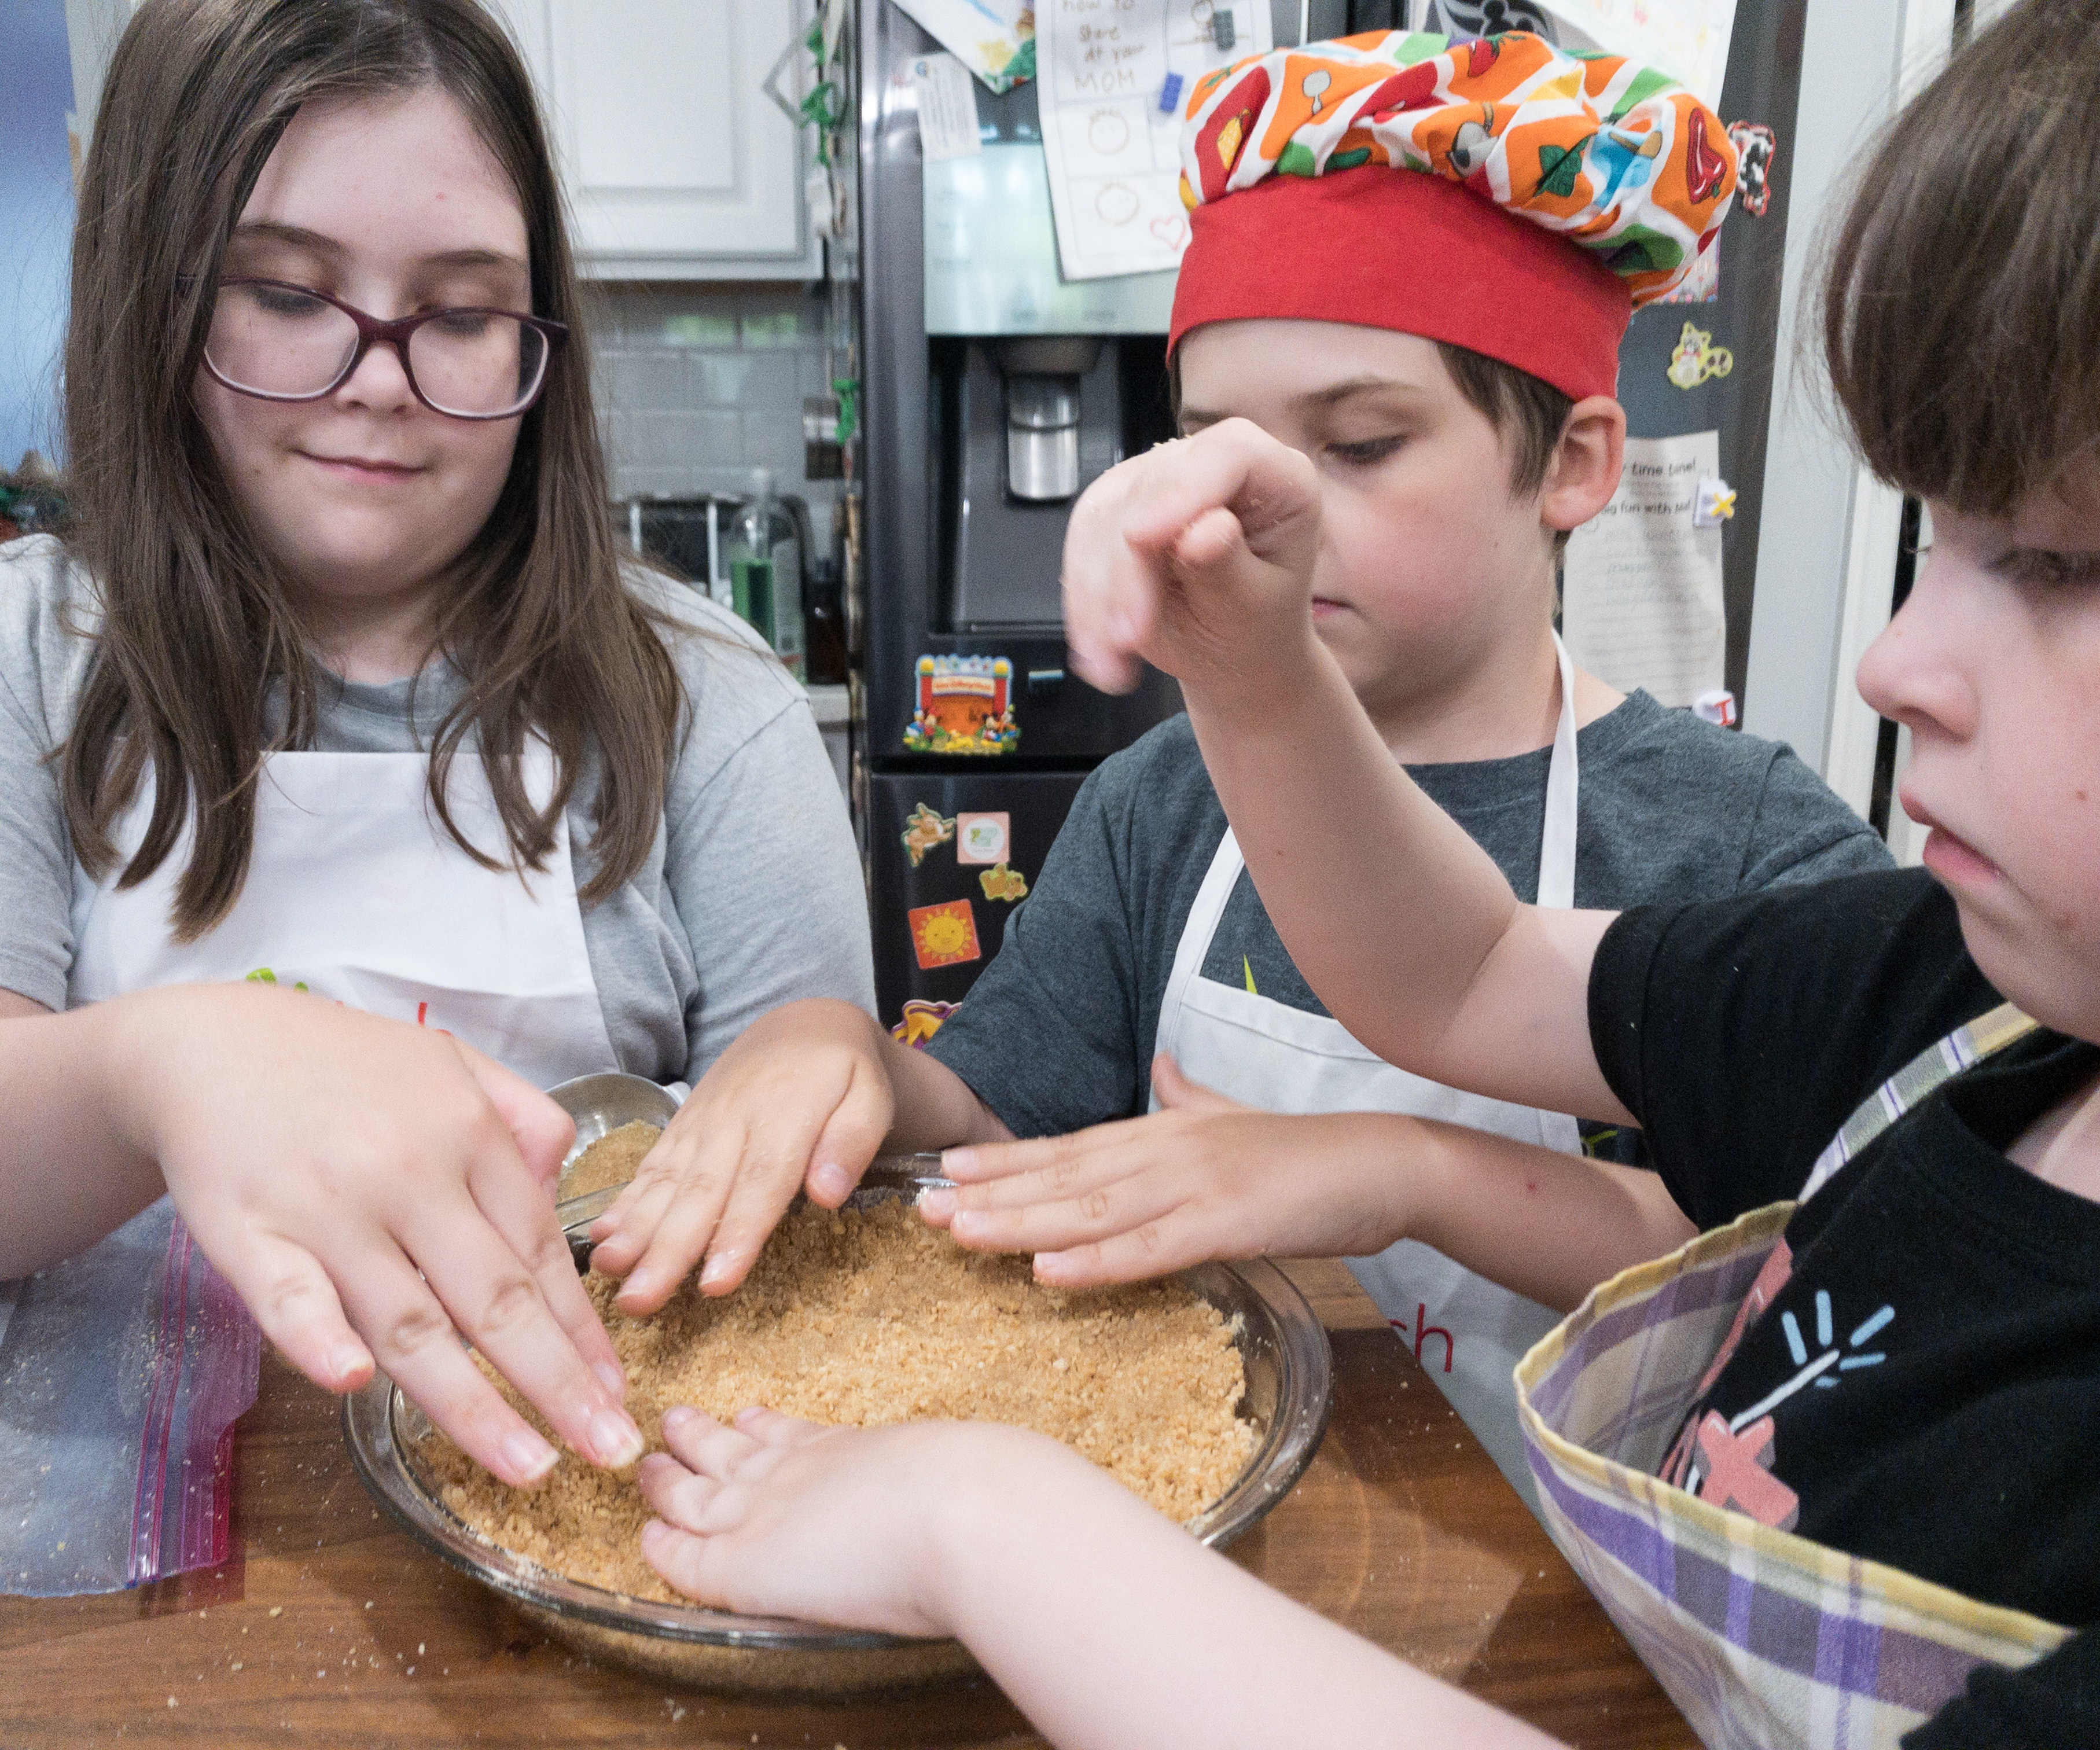
They poured the mixture into the pie pan and then flattened it by firmly pressing it down and up on the sides. When it’s done, we set it aside for a little while.
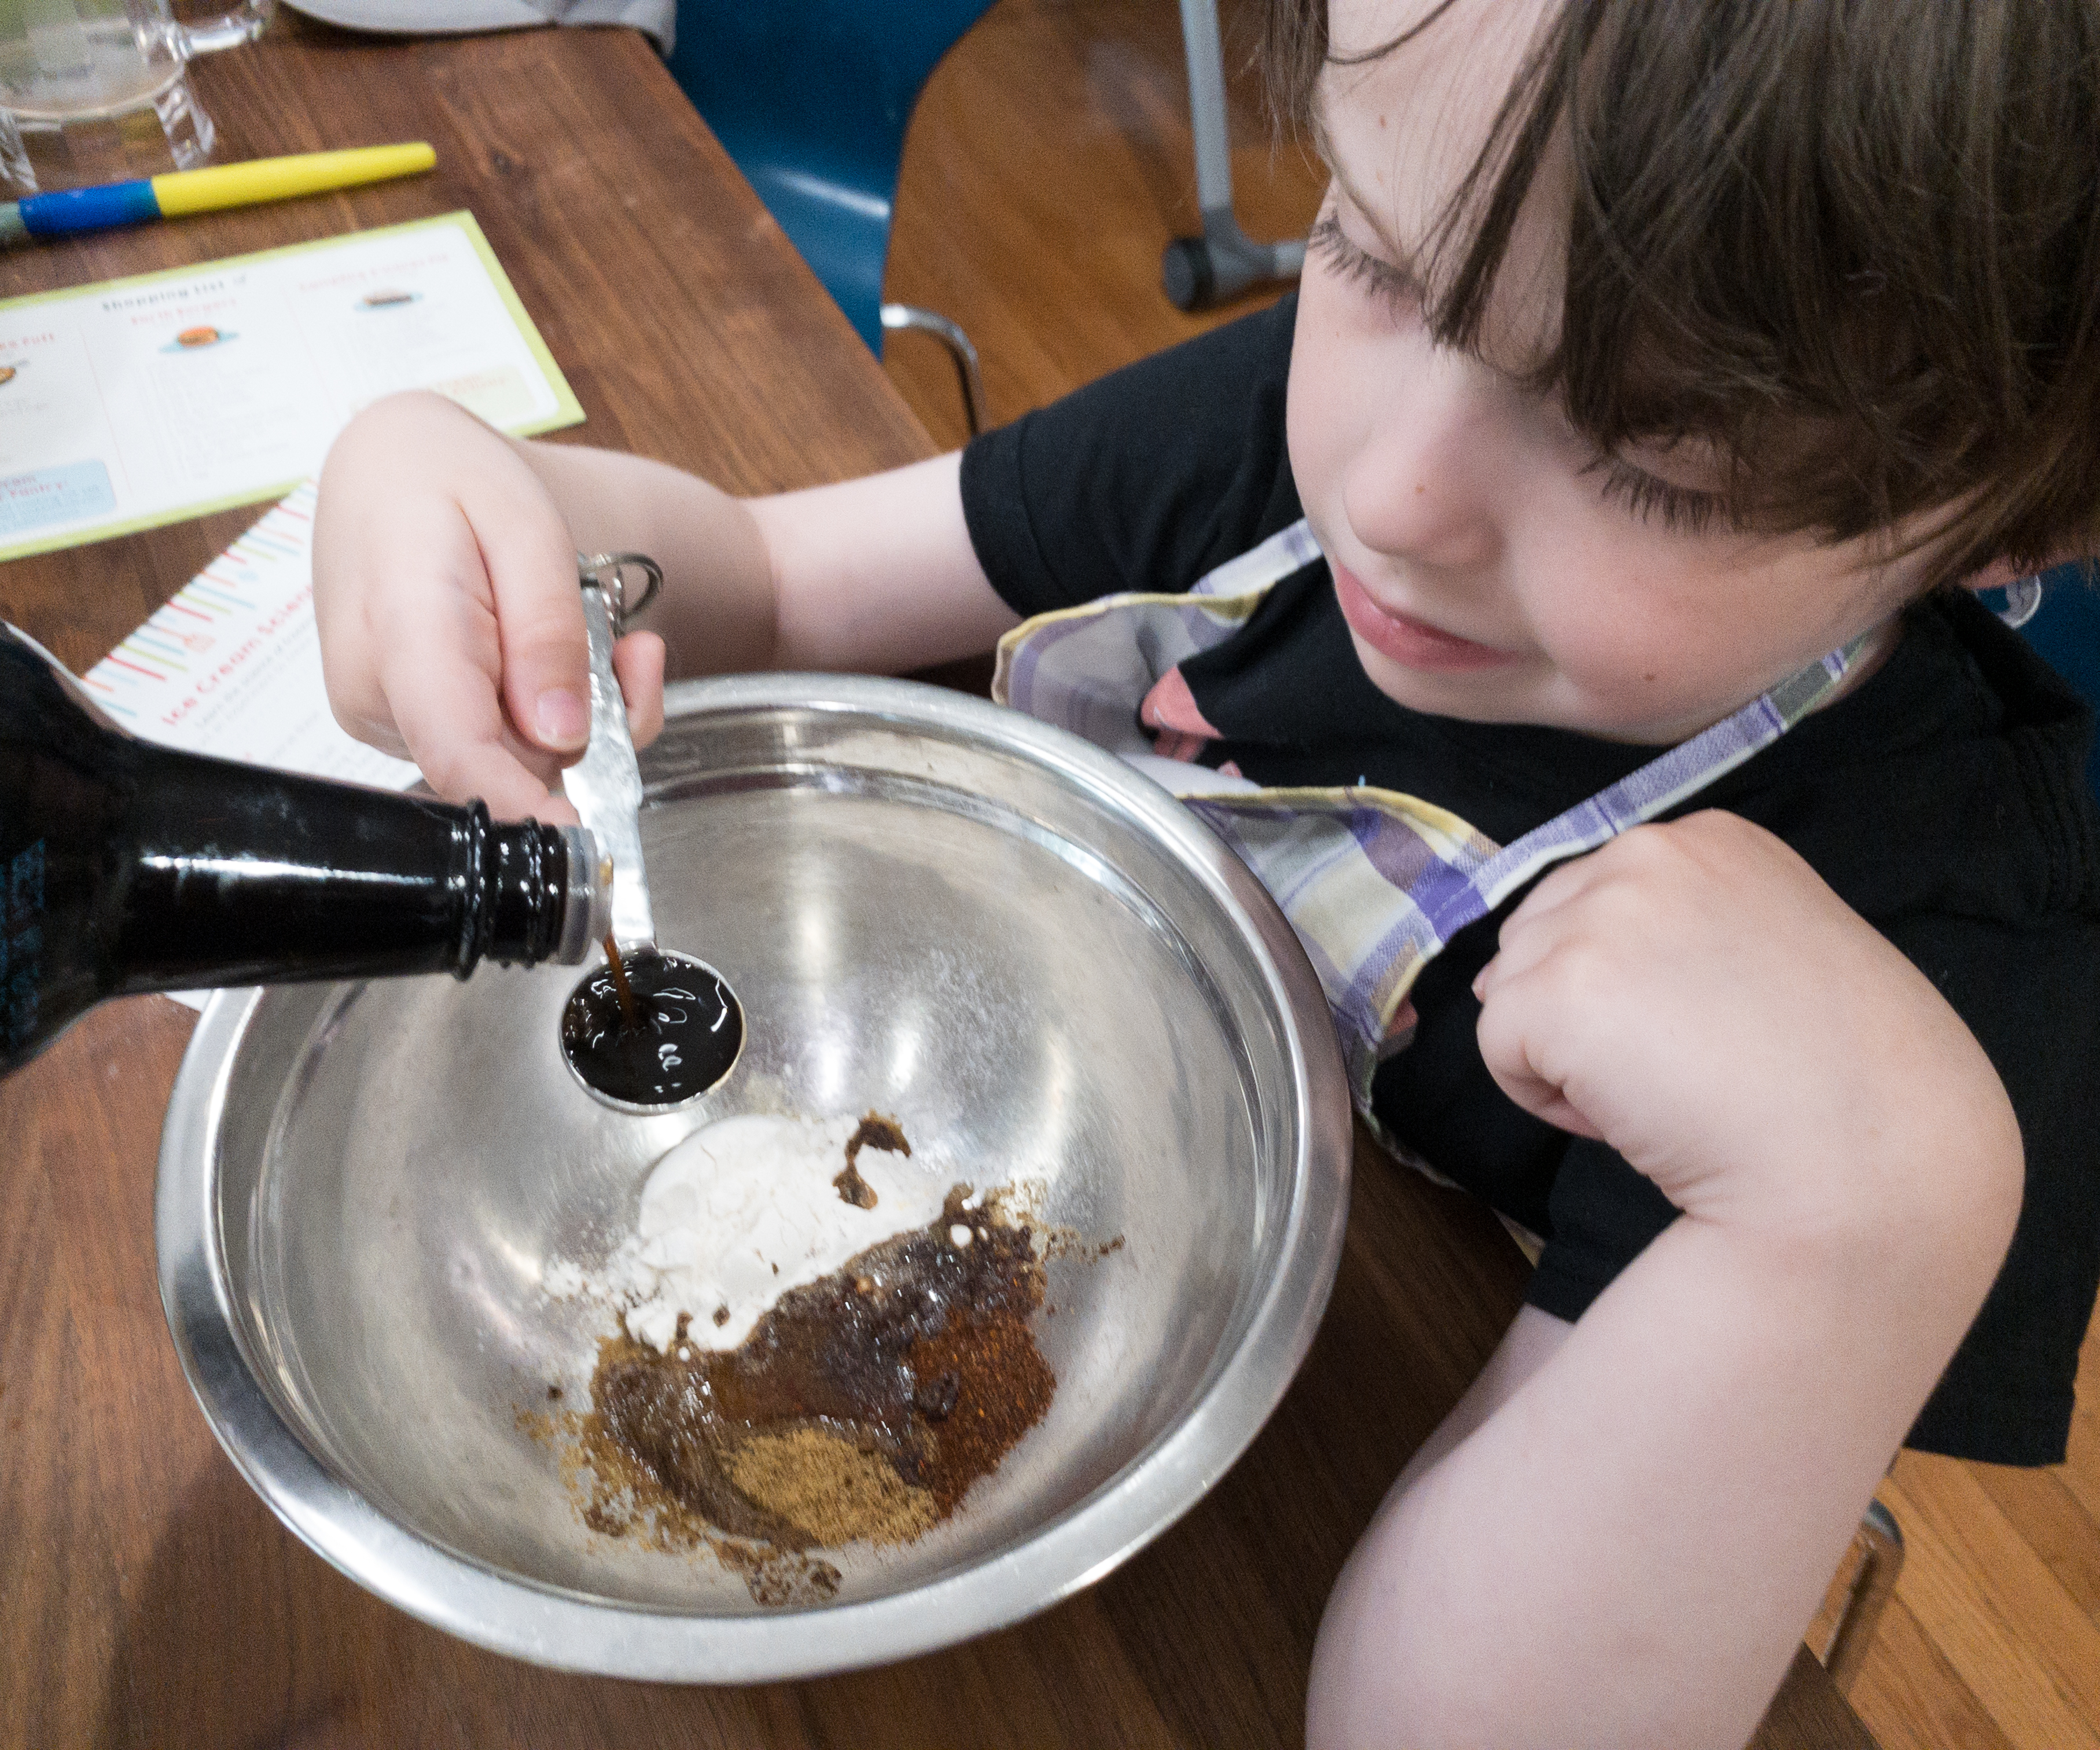
My younger son mixed the milk, cornstarch, cocoa powder, salt, and sugar in a medium-sized bowl.
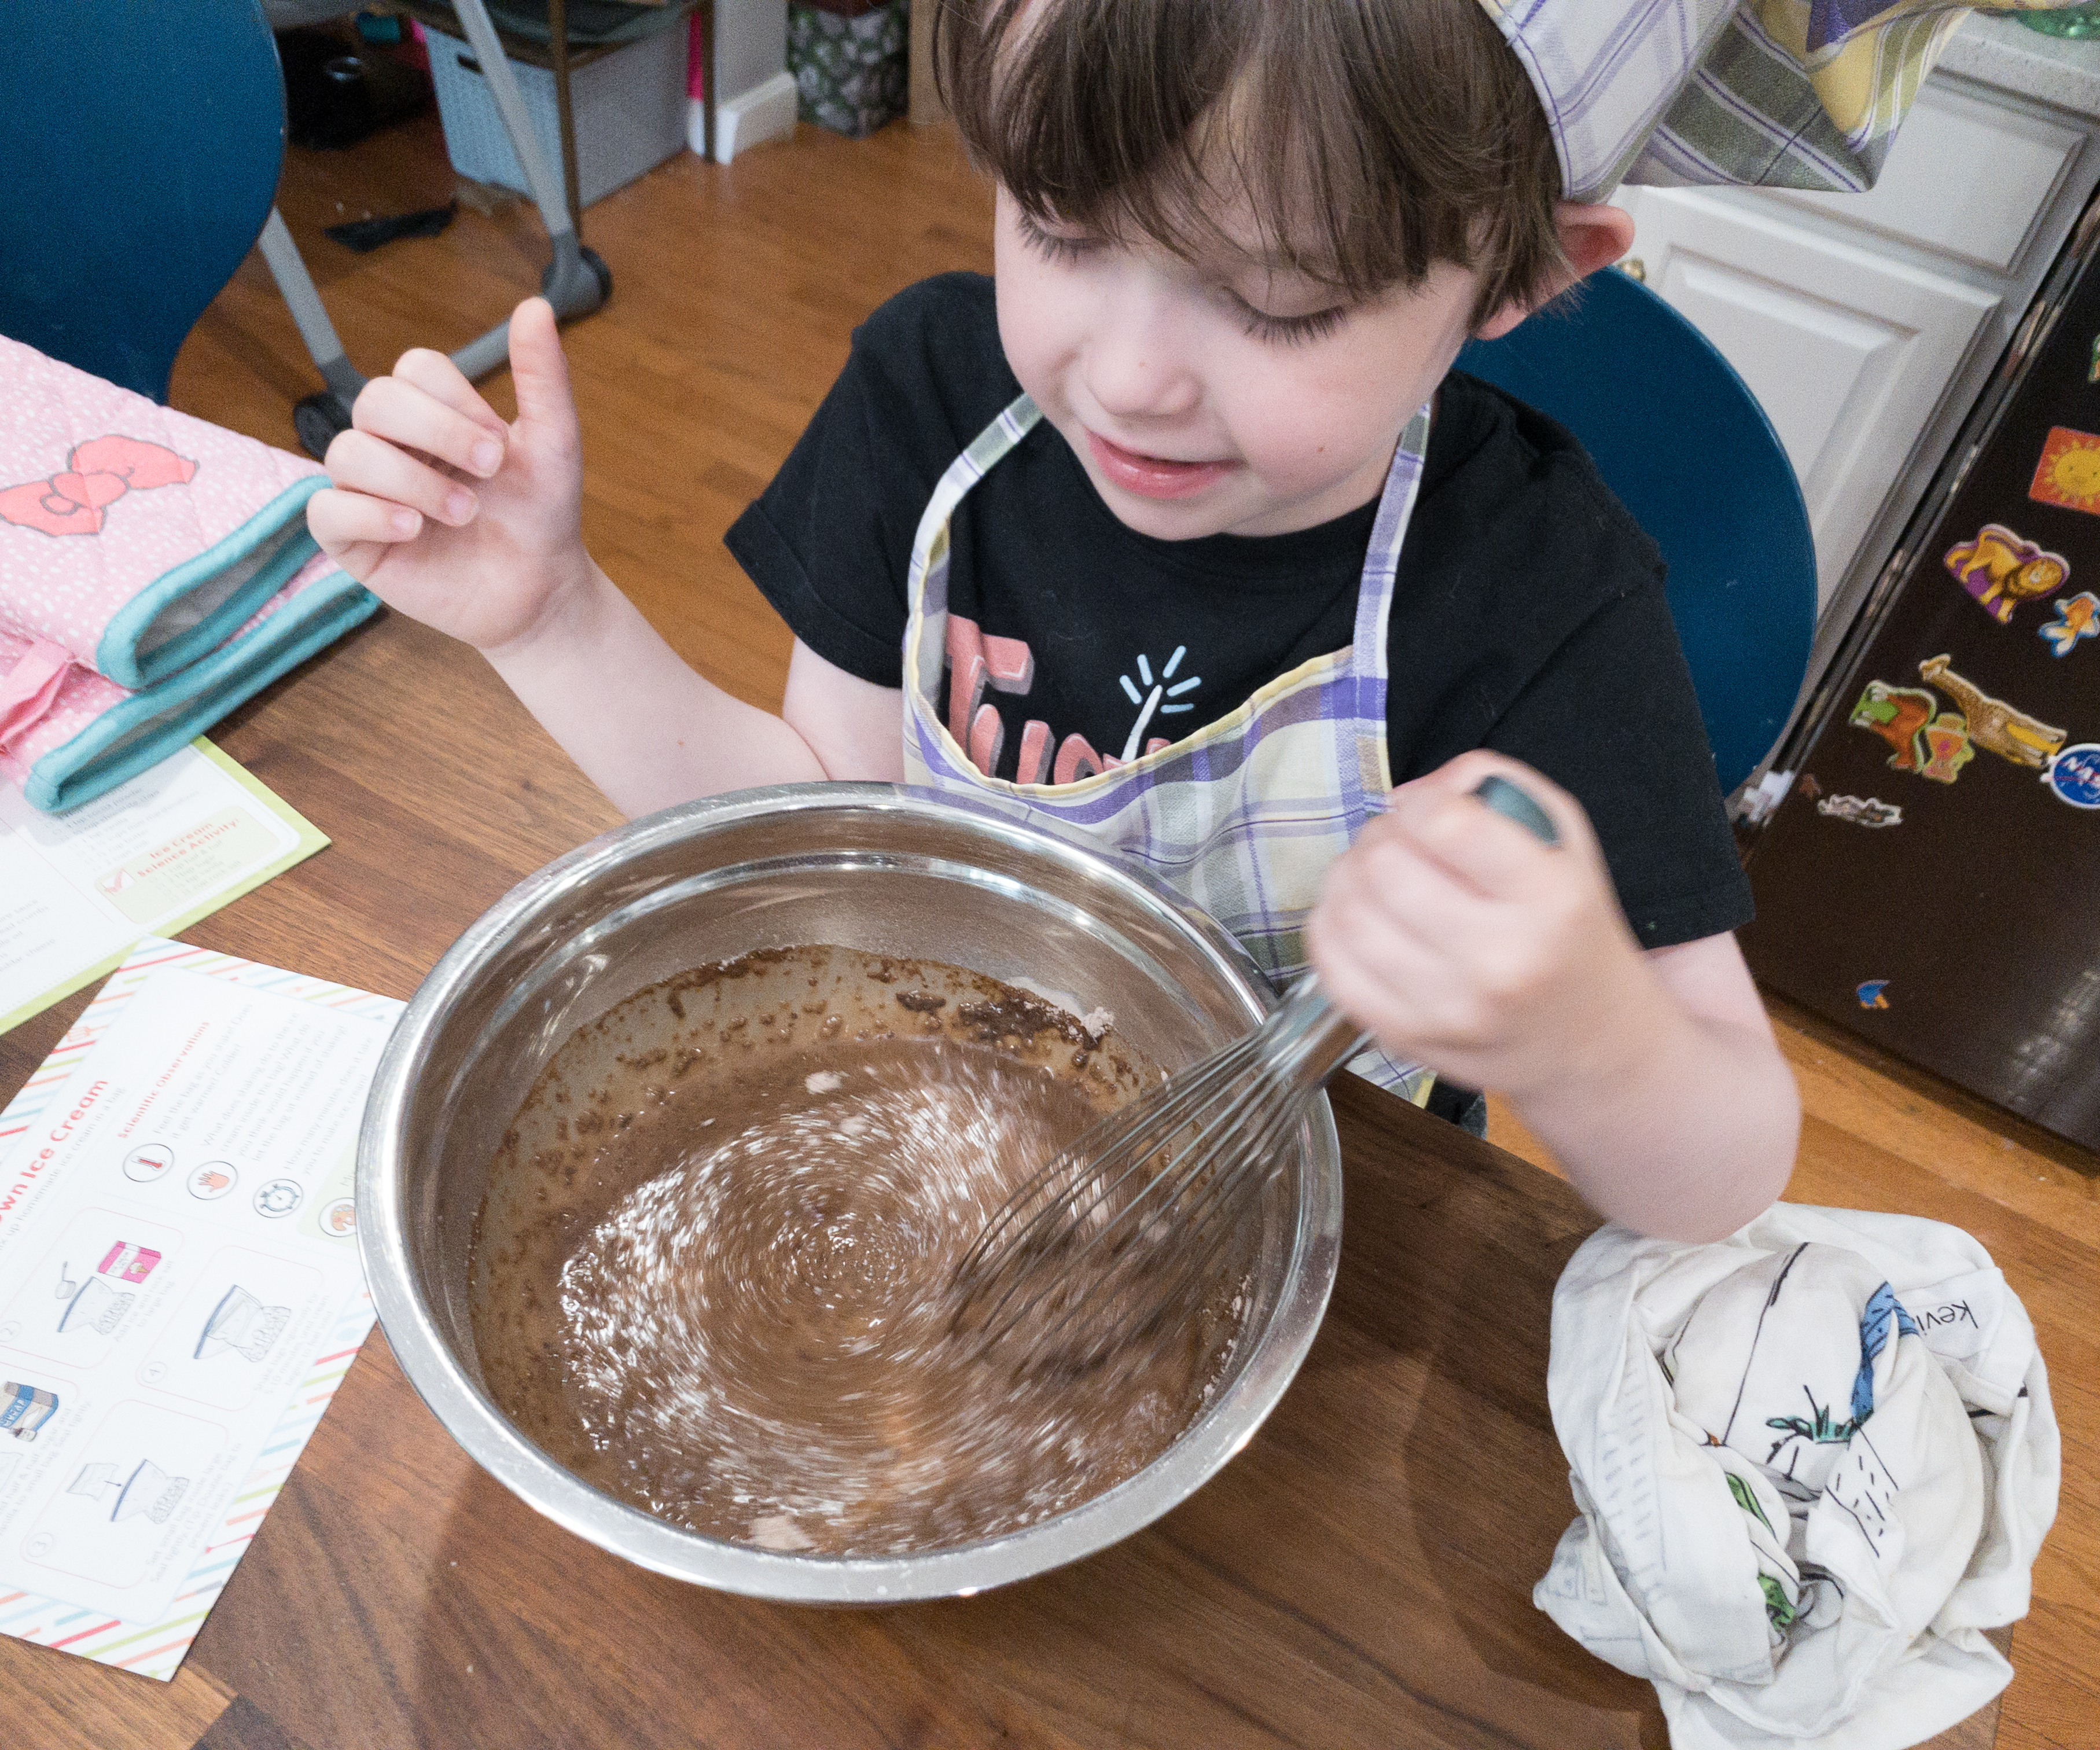
He also added a bit of water and then mixed it thoroughly. We also boiled this mixture over medium heat for a minute until it thickened.
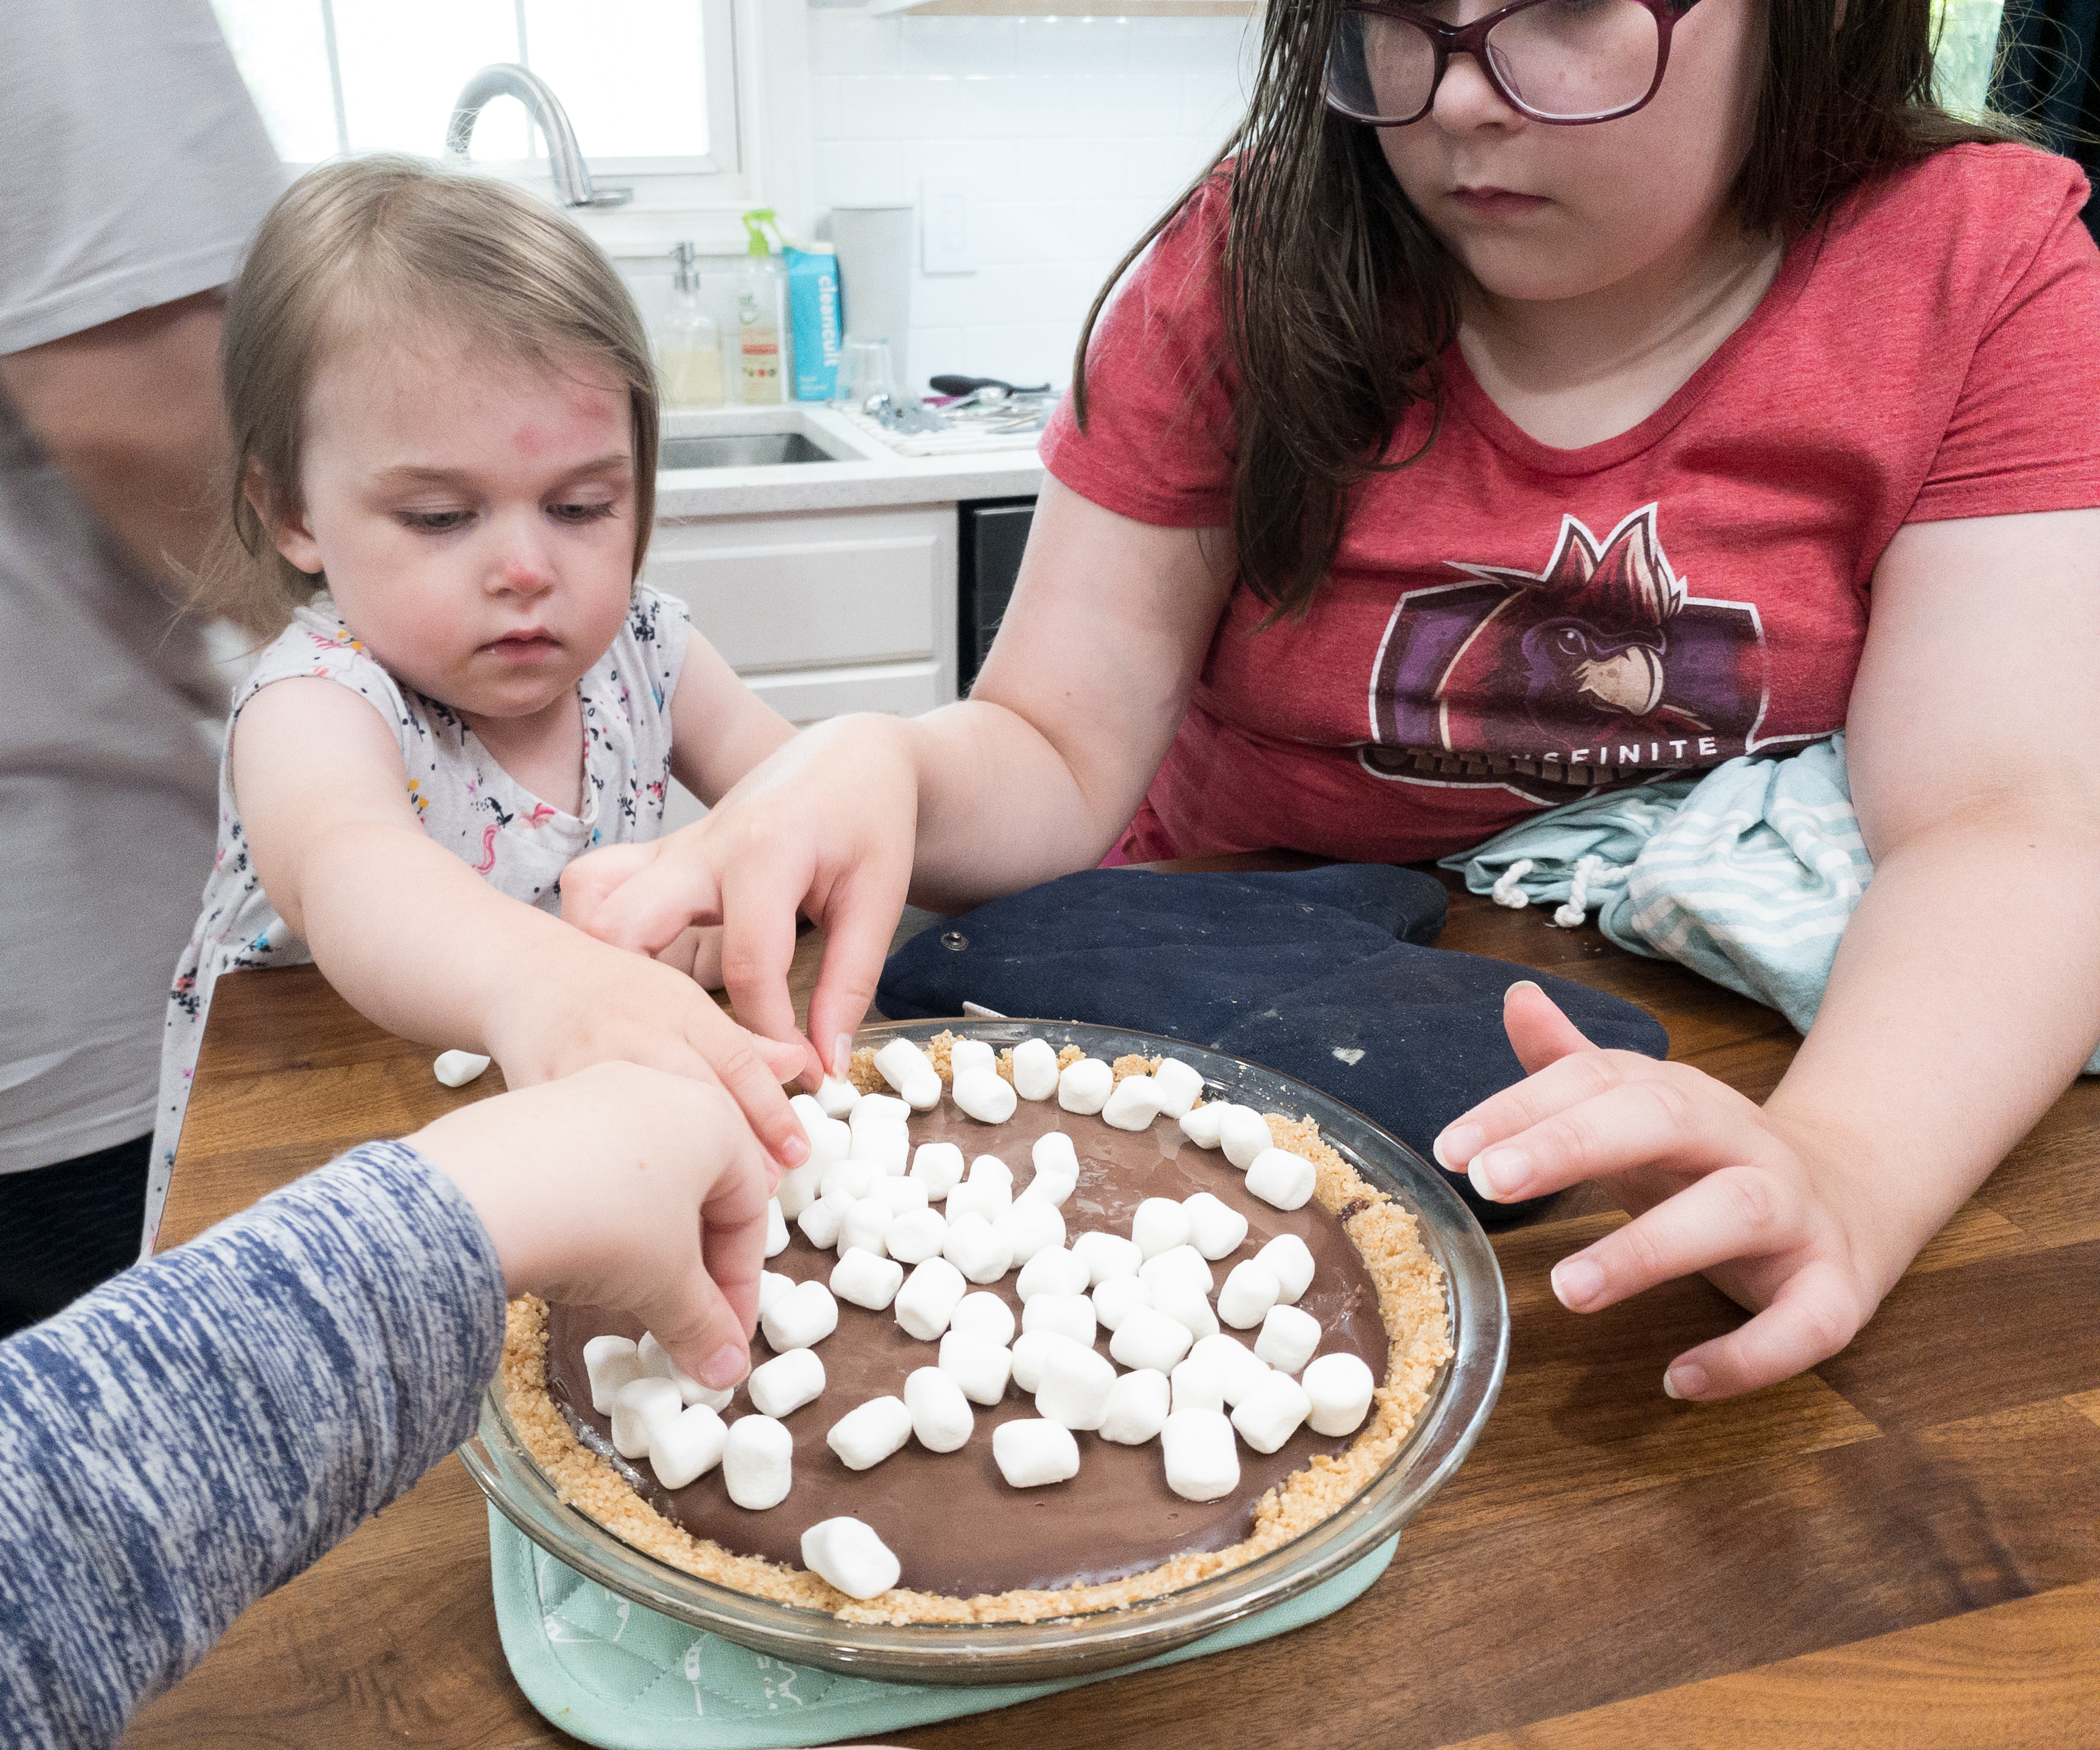
The next step is to pour the chocolate filling into the pie crust and then cover the pie with marshmallows.
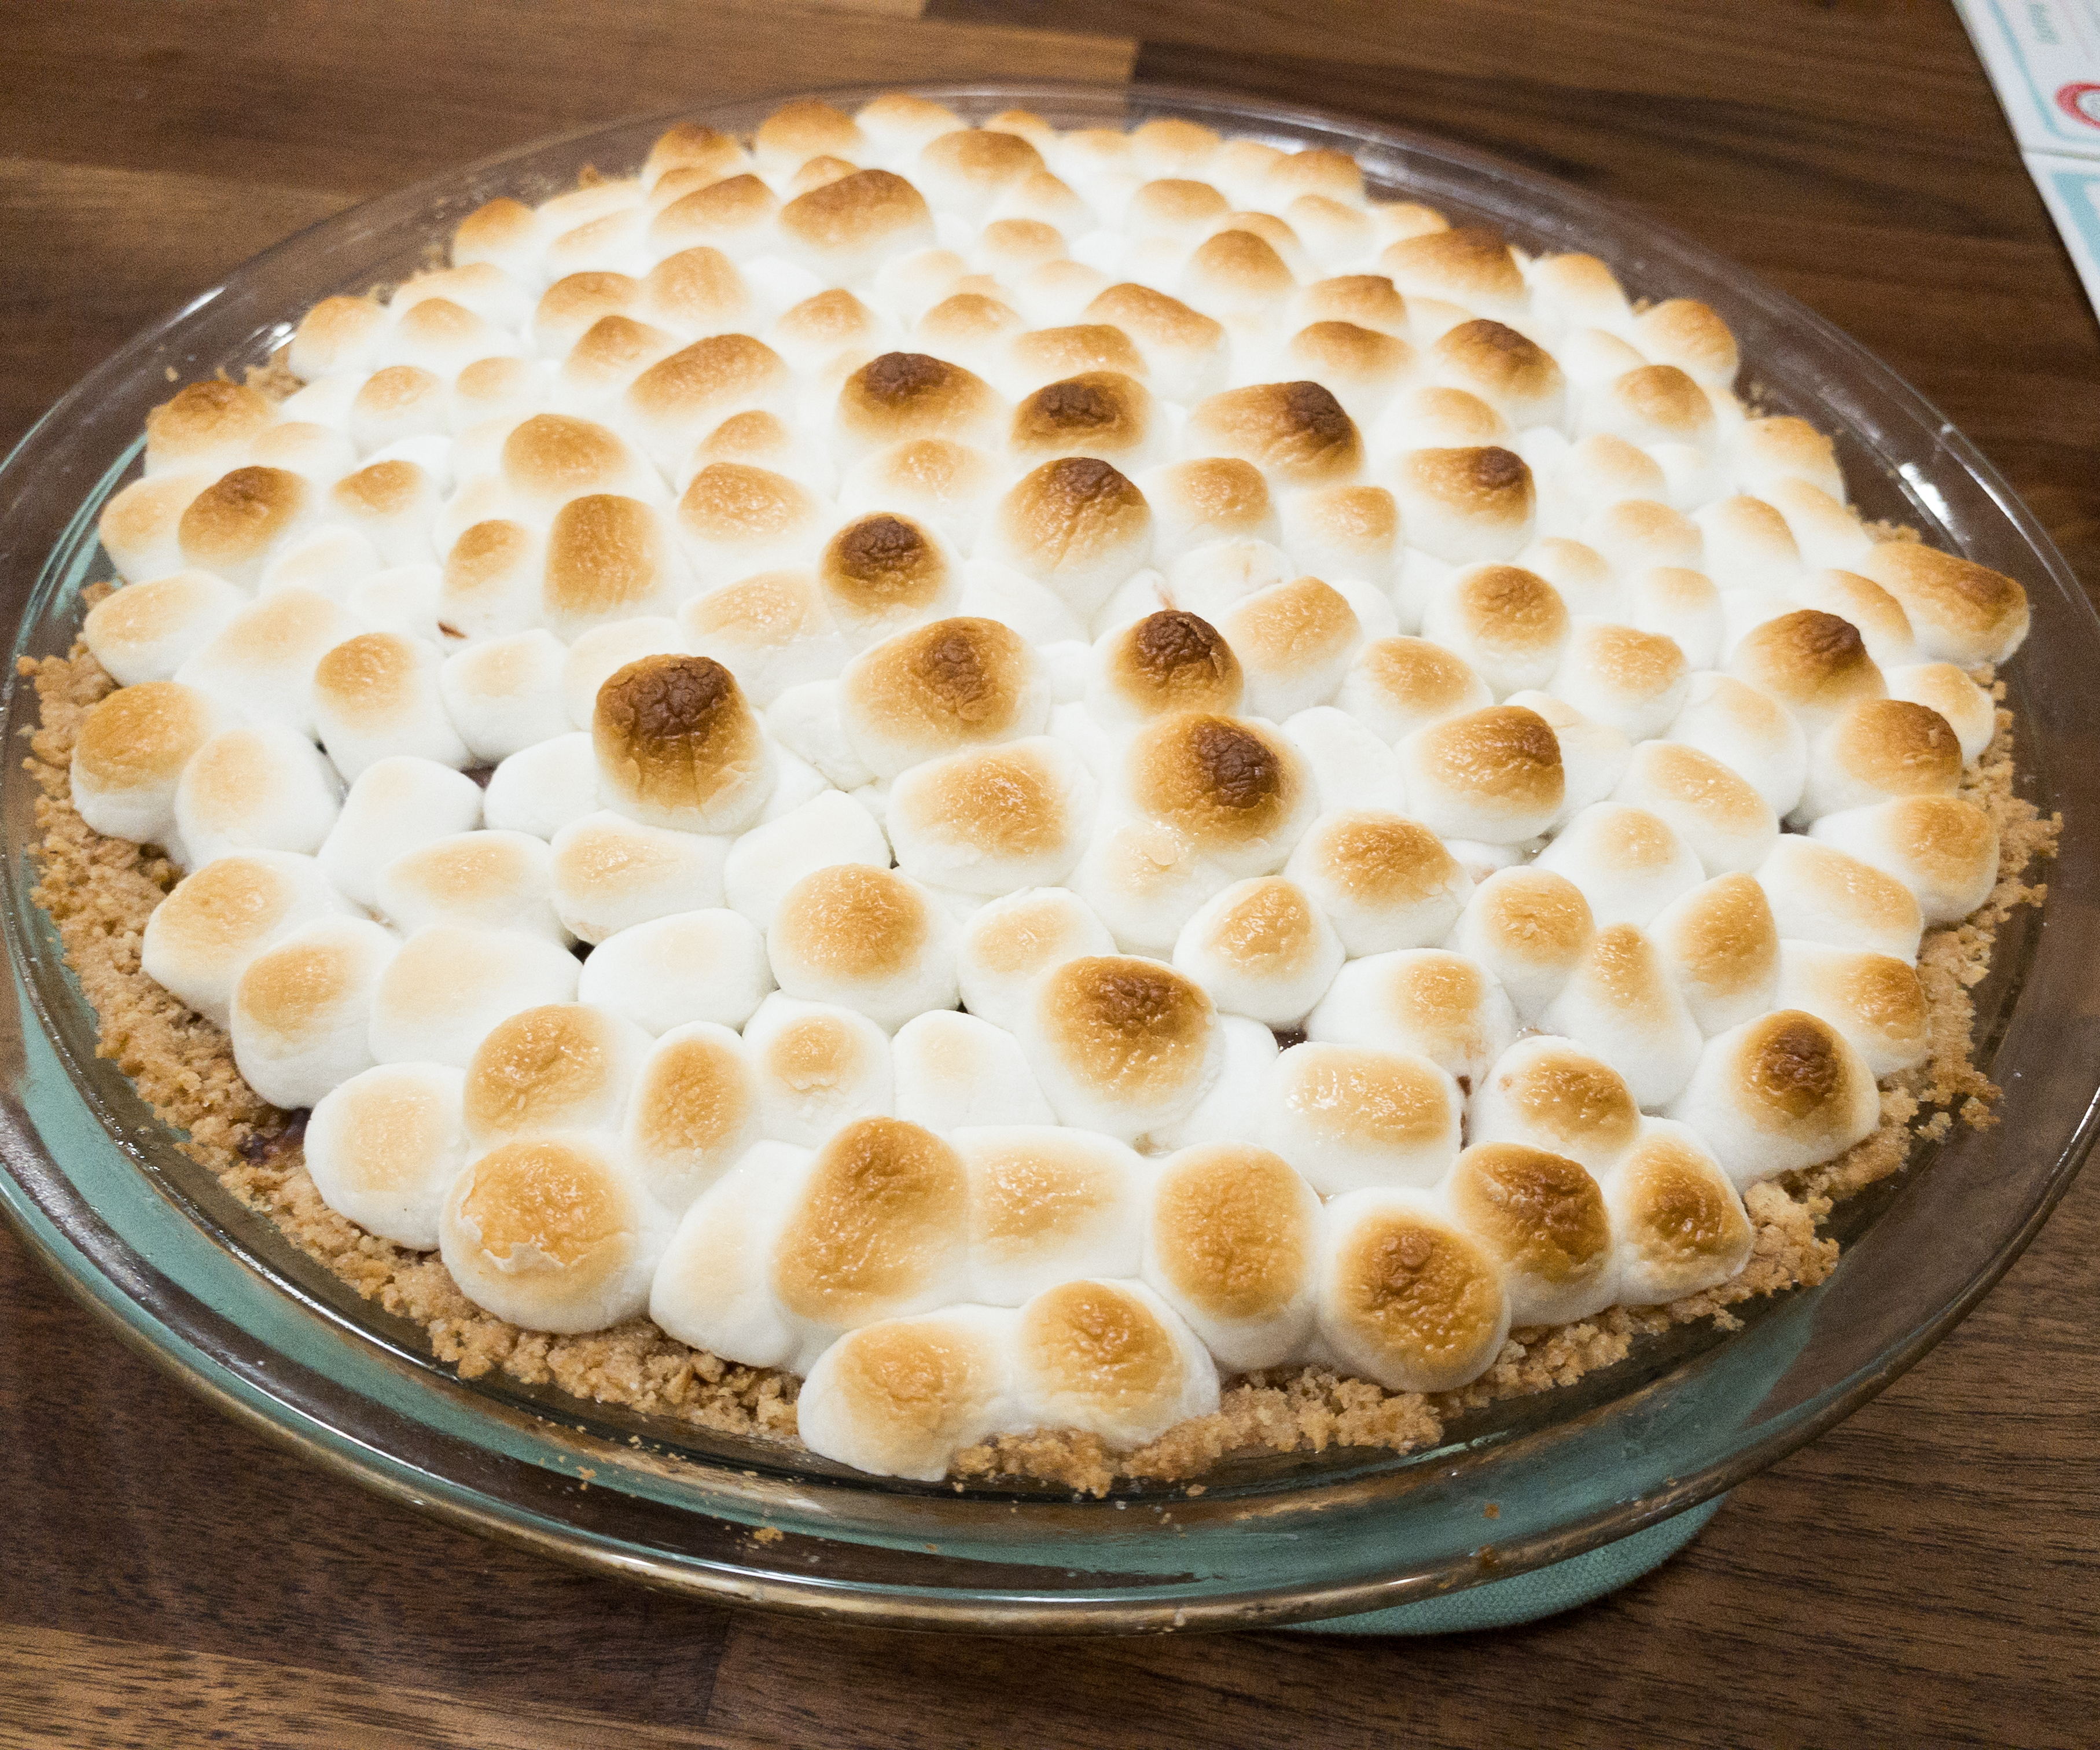
We baked the pie for 6 minutes, until the marshmallows turned golden brown.
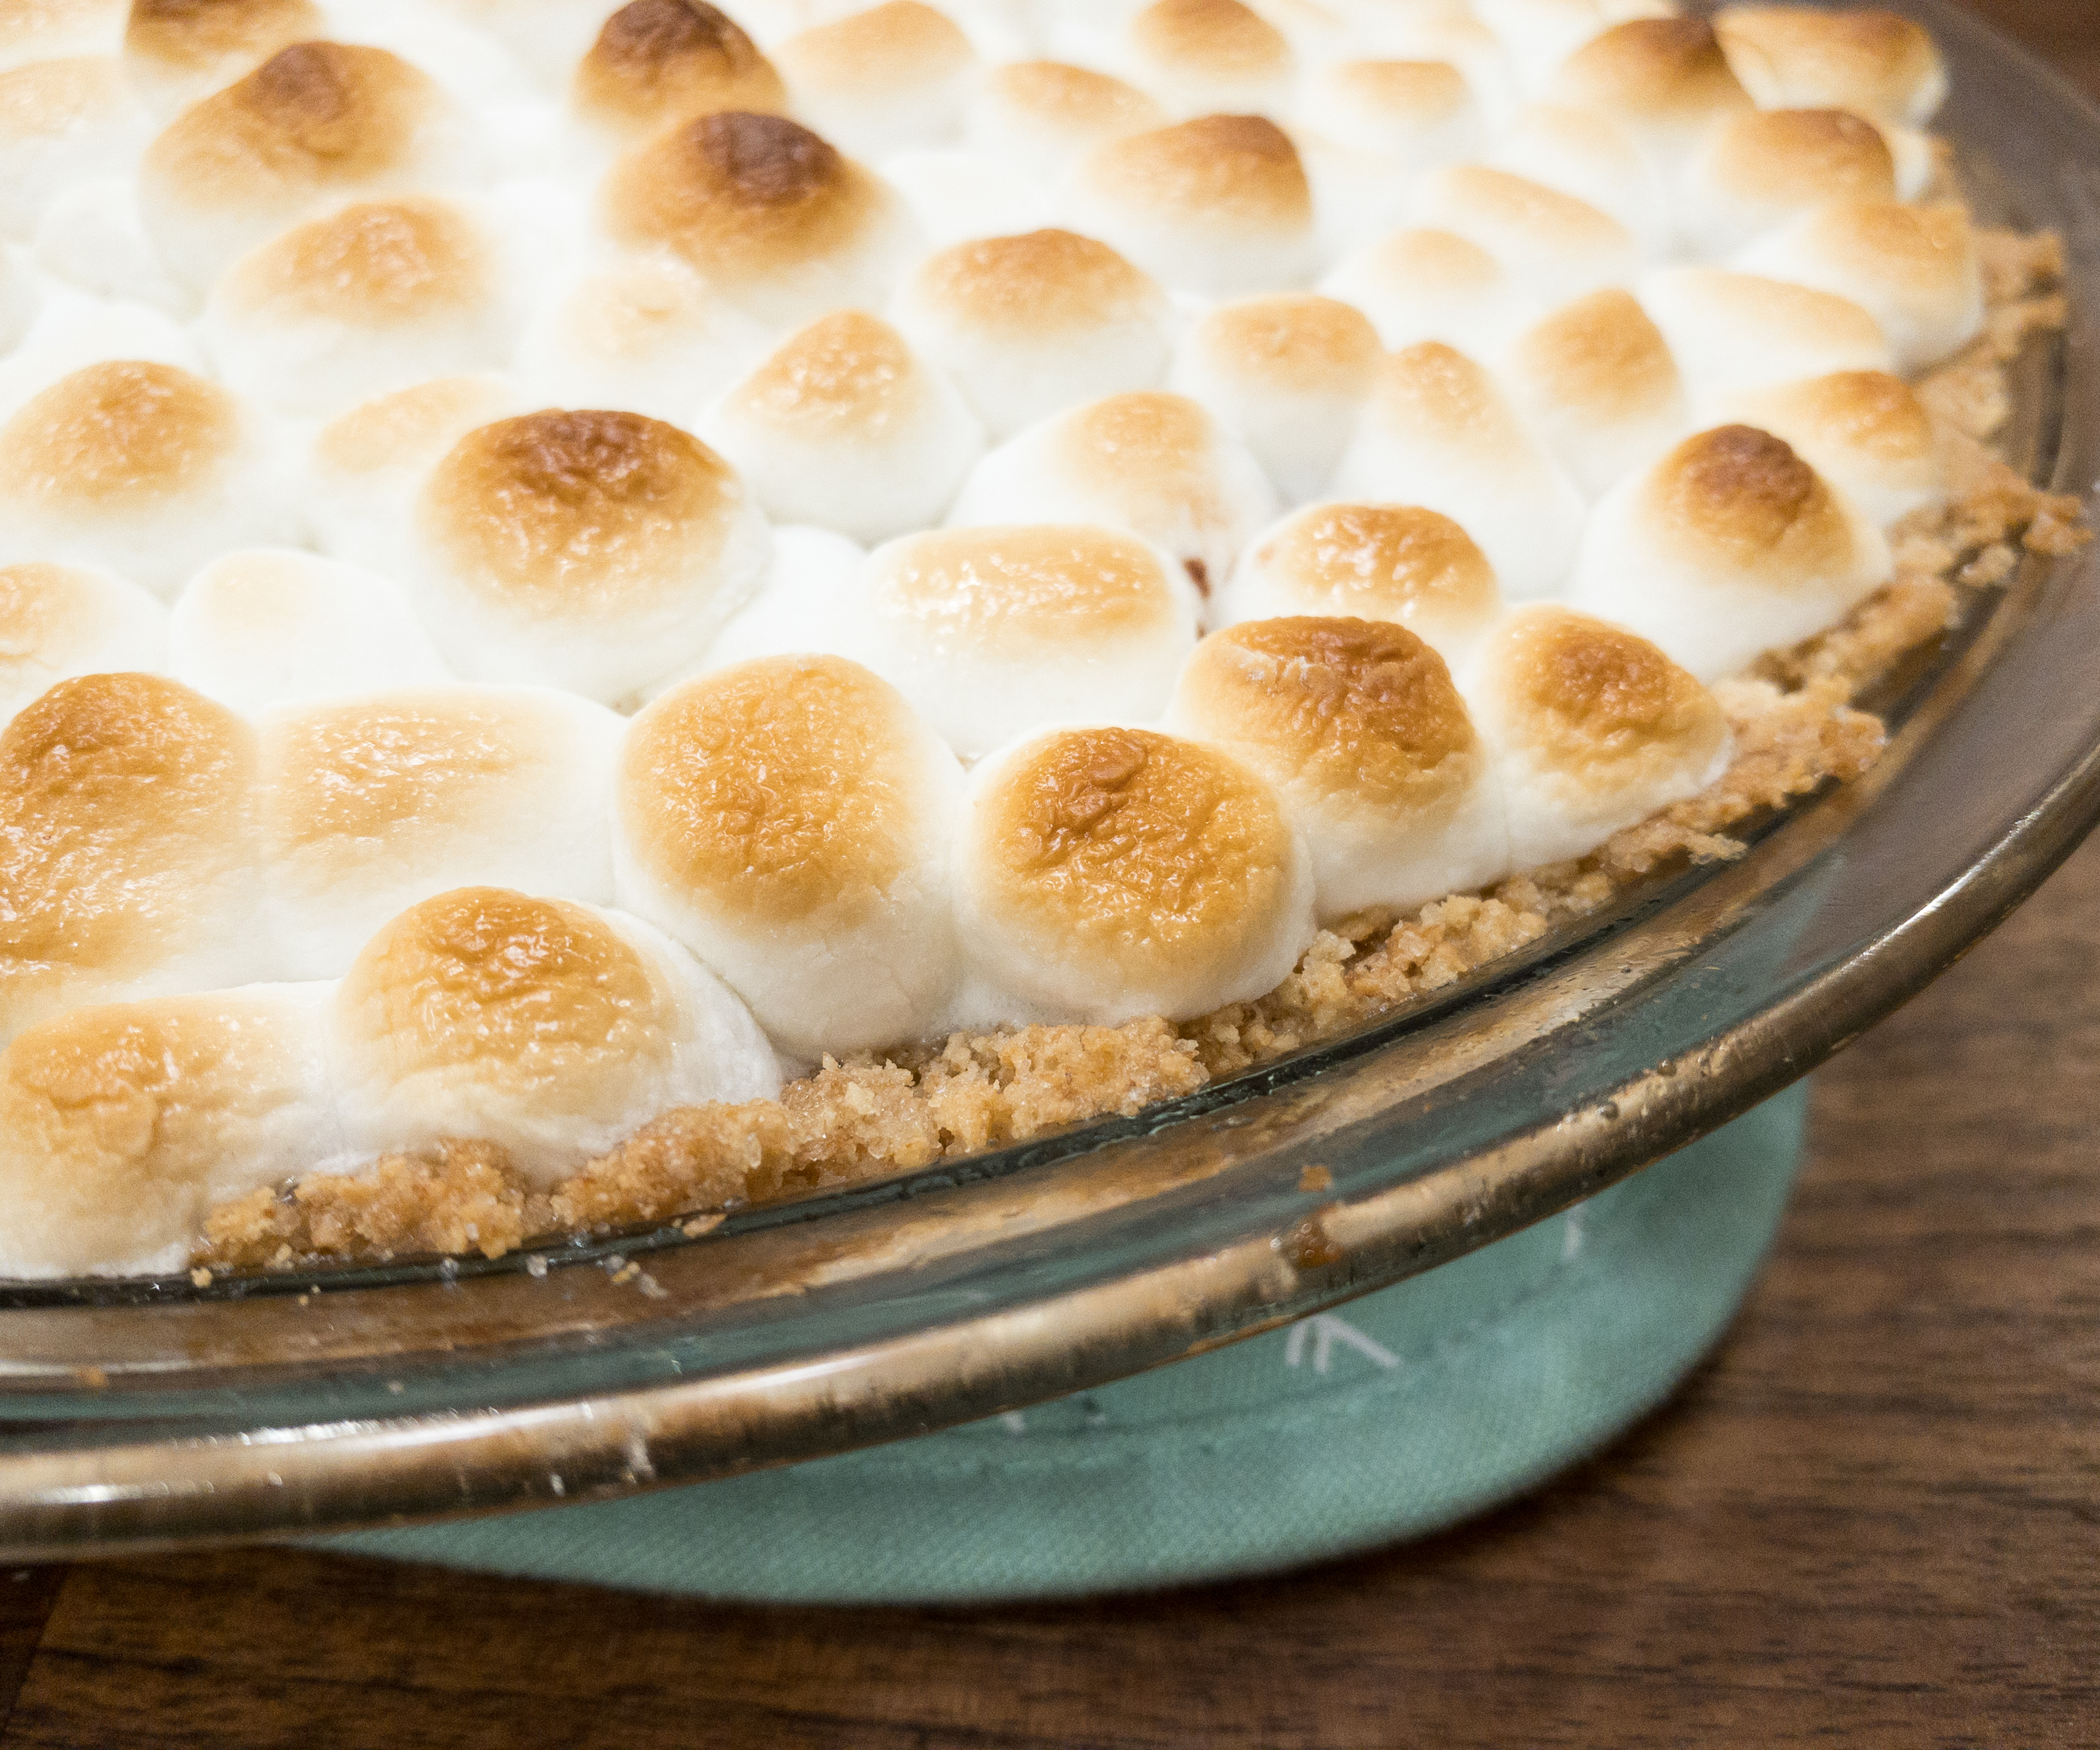
Once done, we removed it out of the oven and let it cool for a little while. Check out how fluffy the marshmallow toppings are!
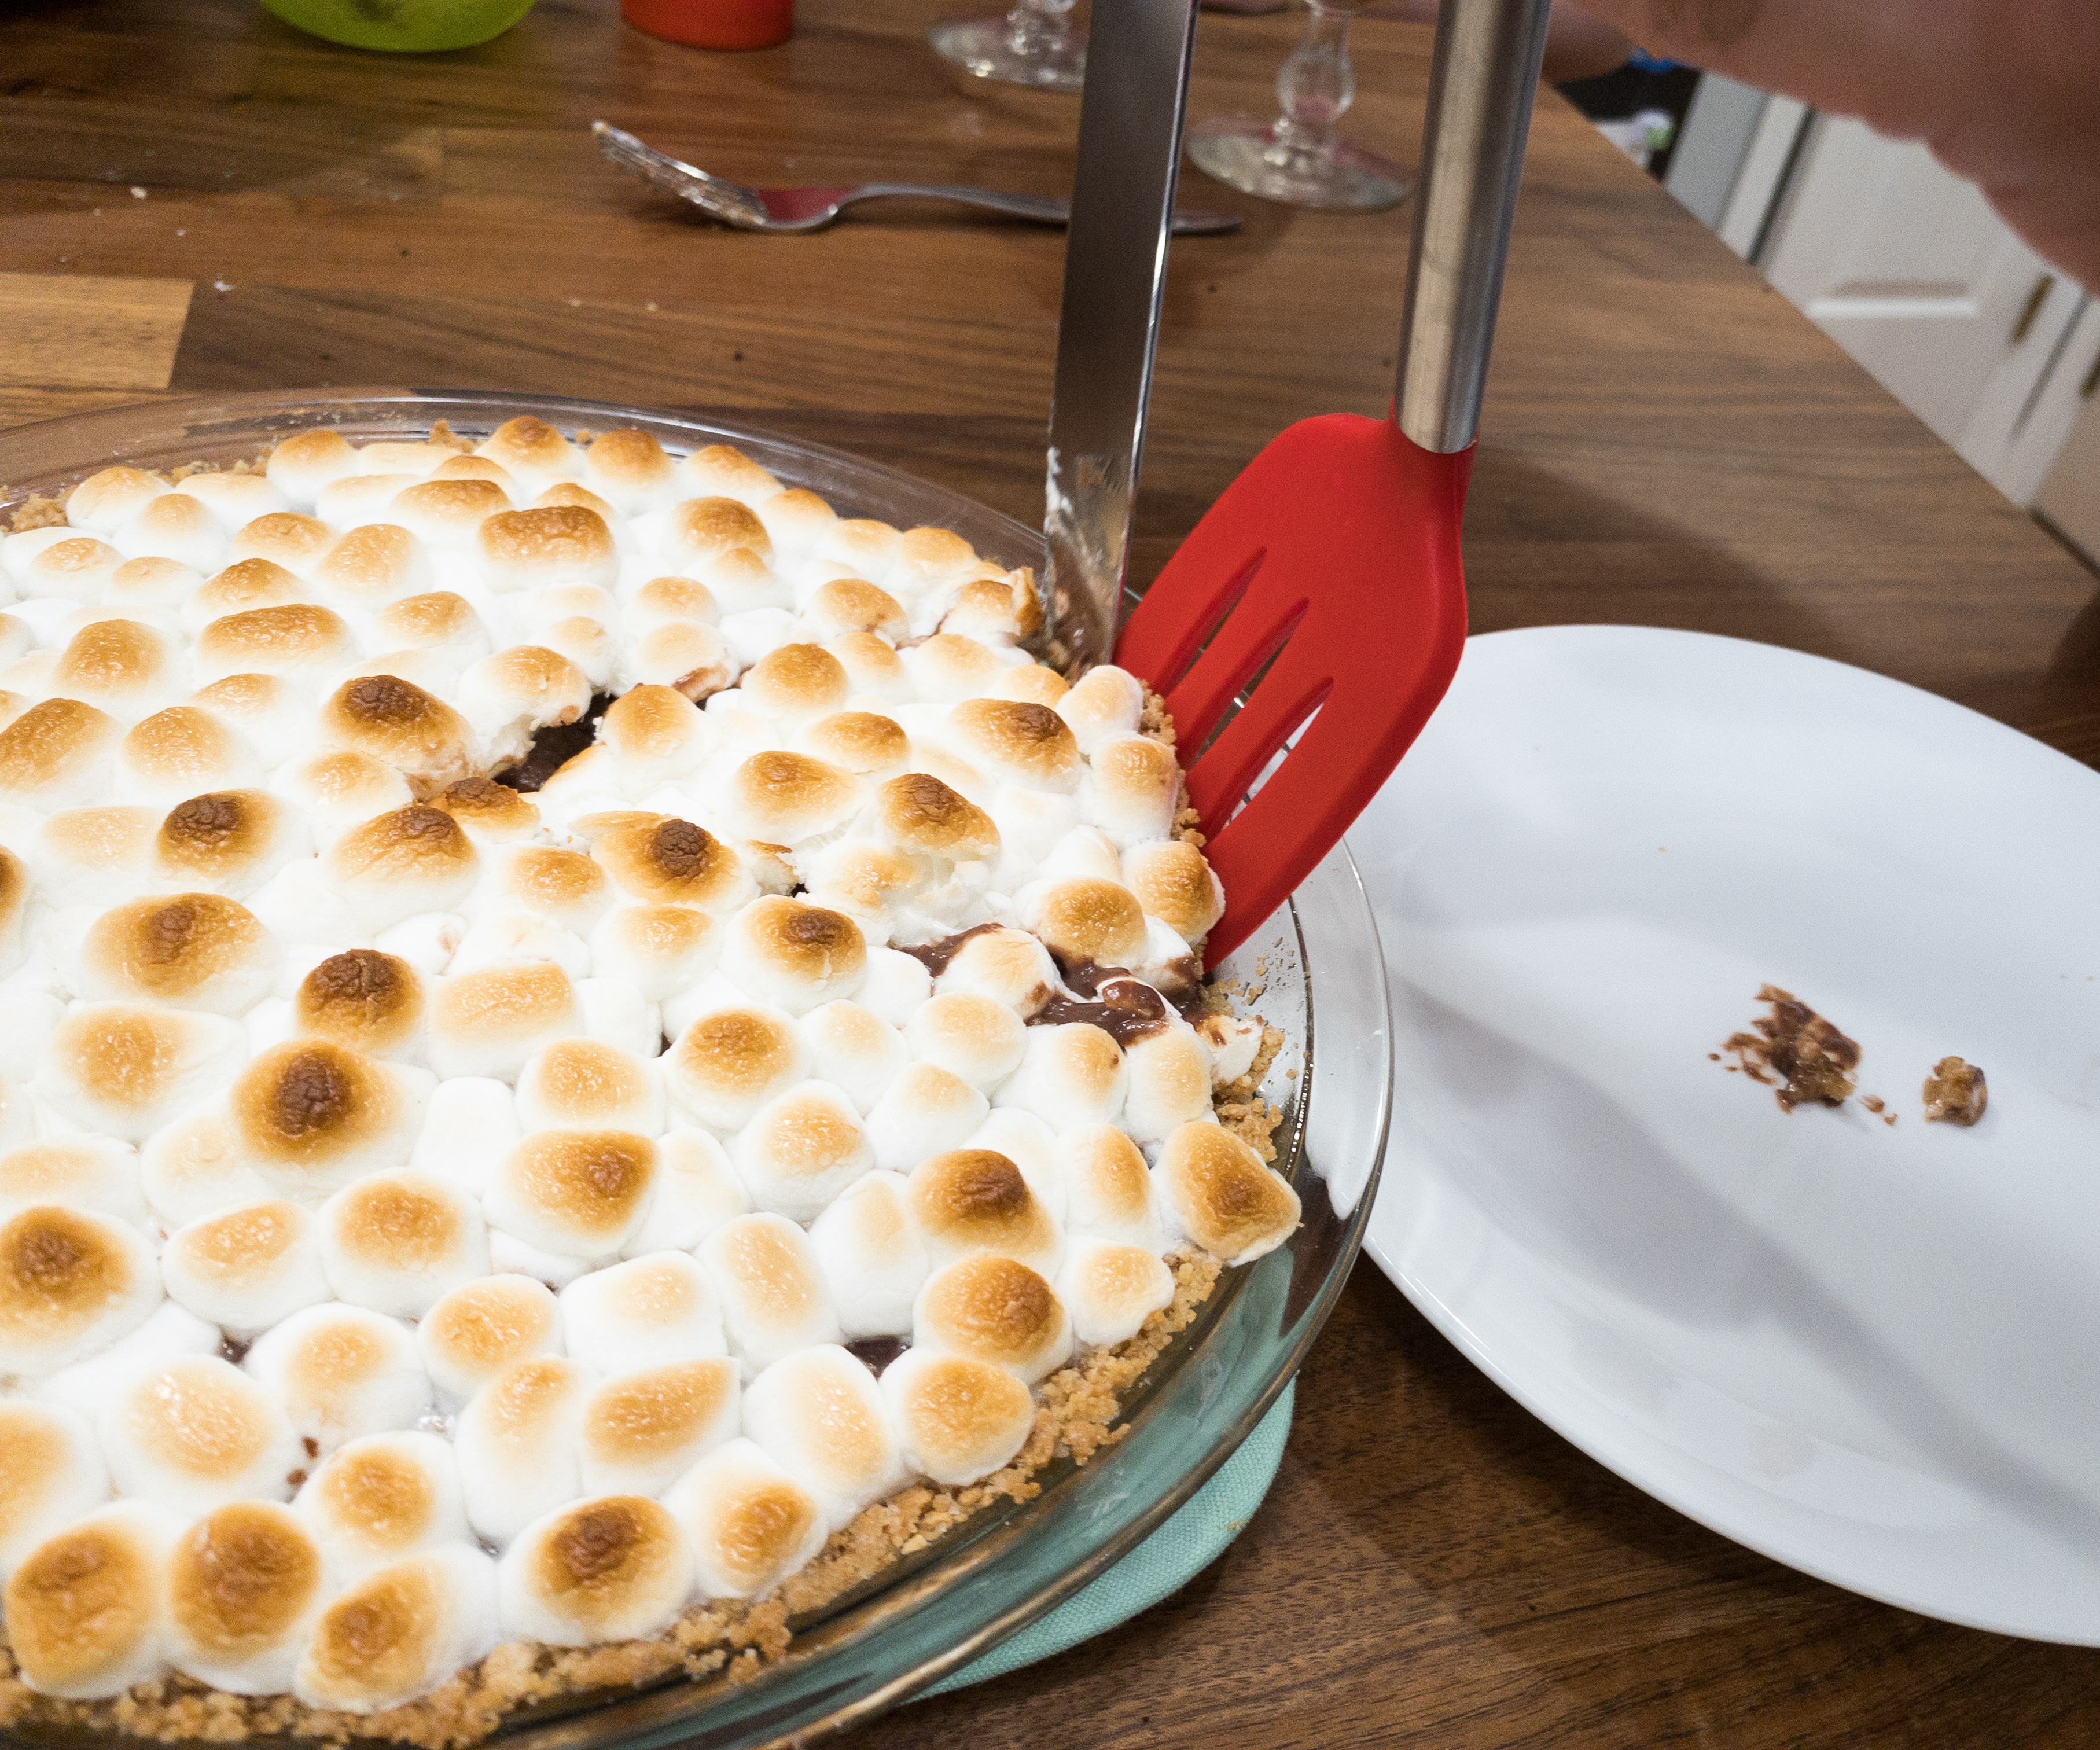
Using the knife and spatula, we sliced the pie to see how it looks inside.
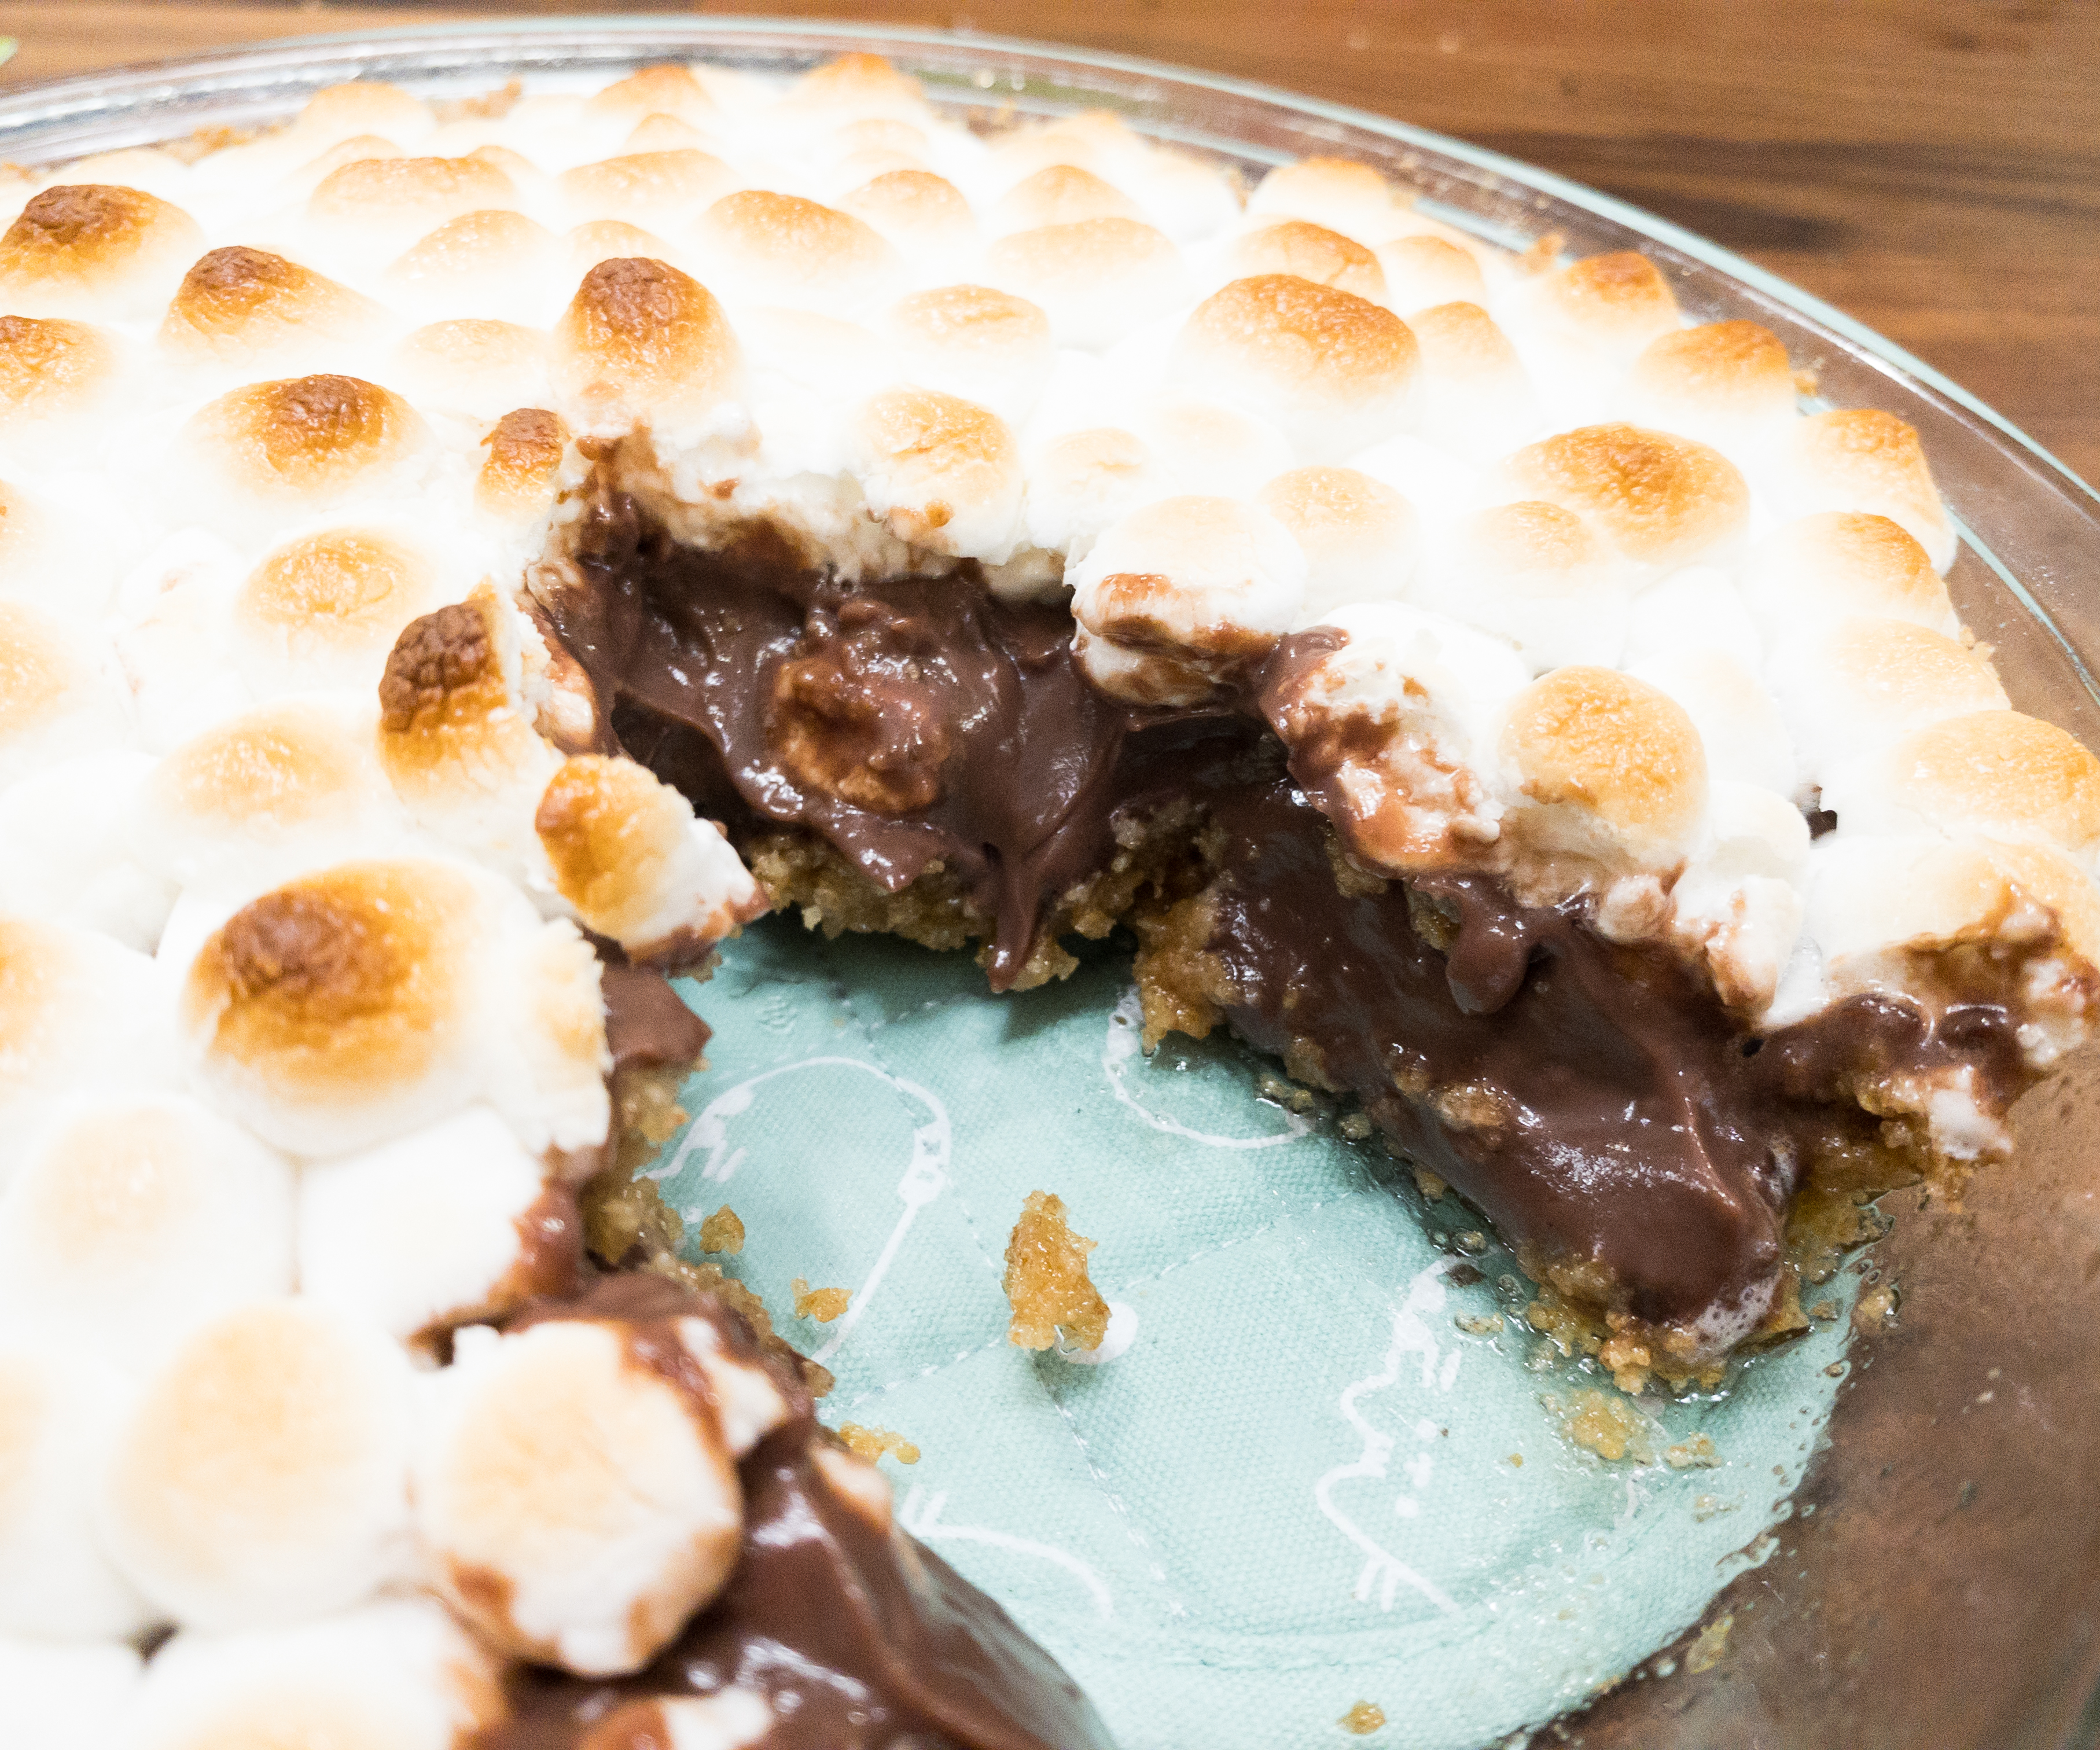
The chocolate mixture was so creamy. It looks so delectable and tastes really sweet!
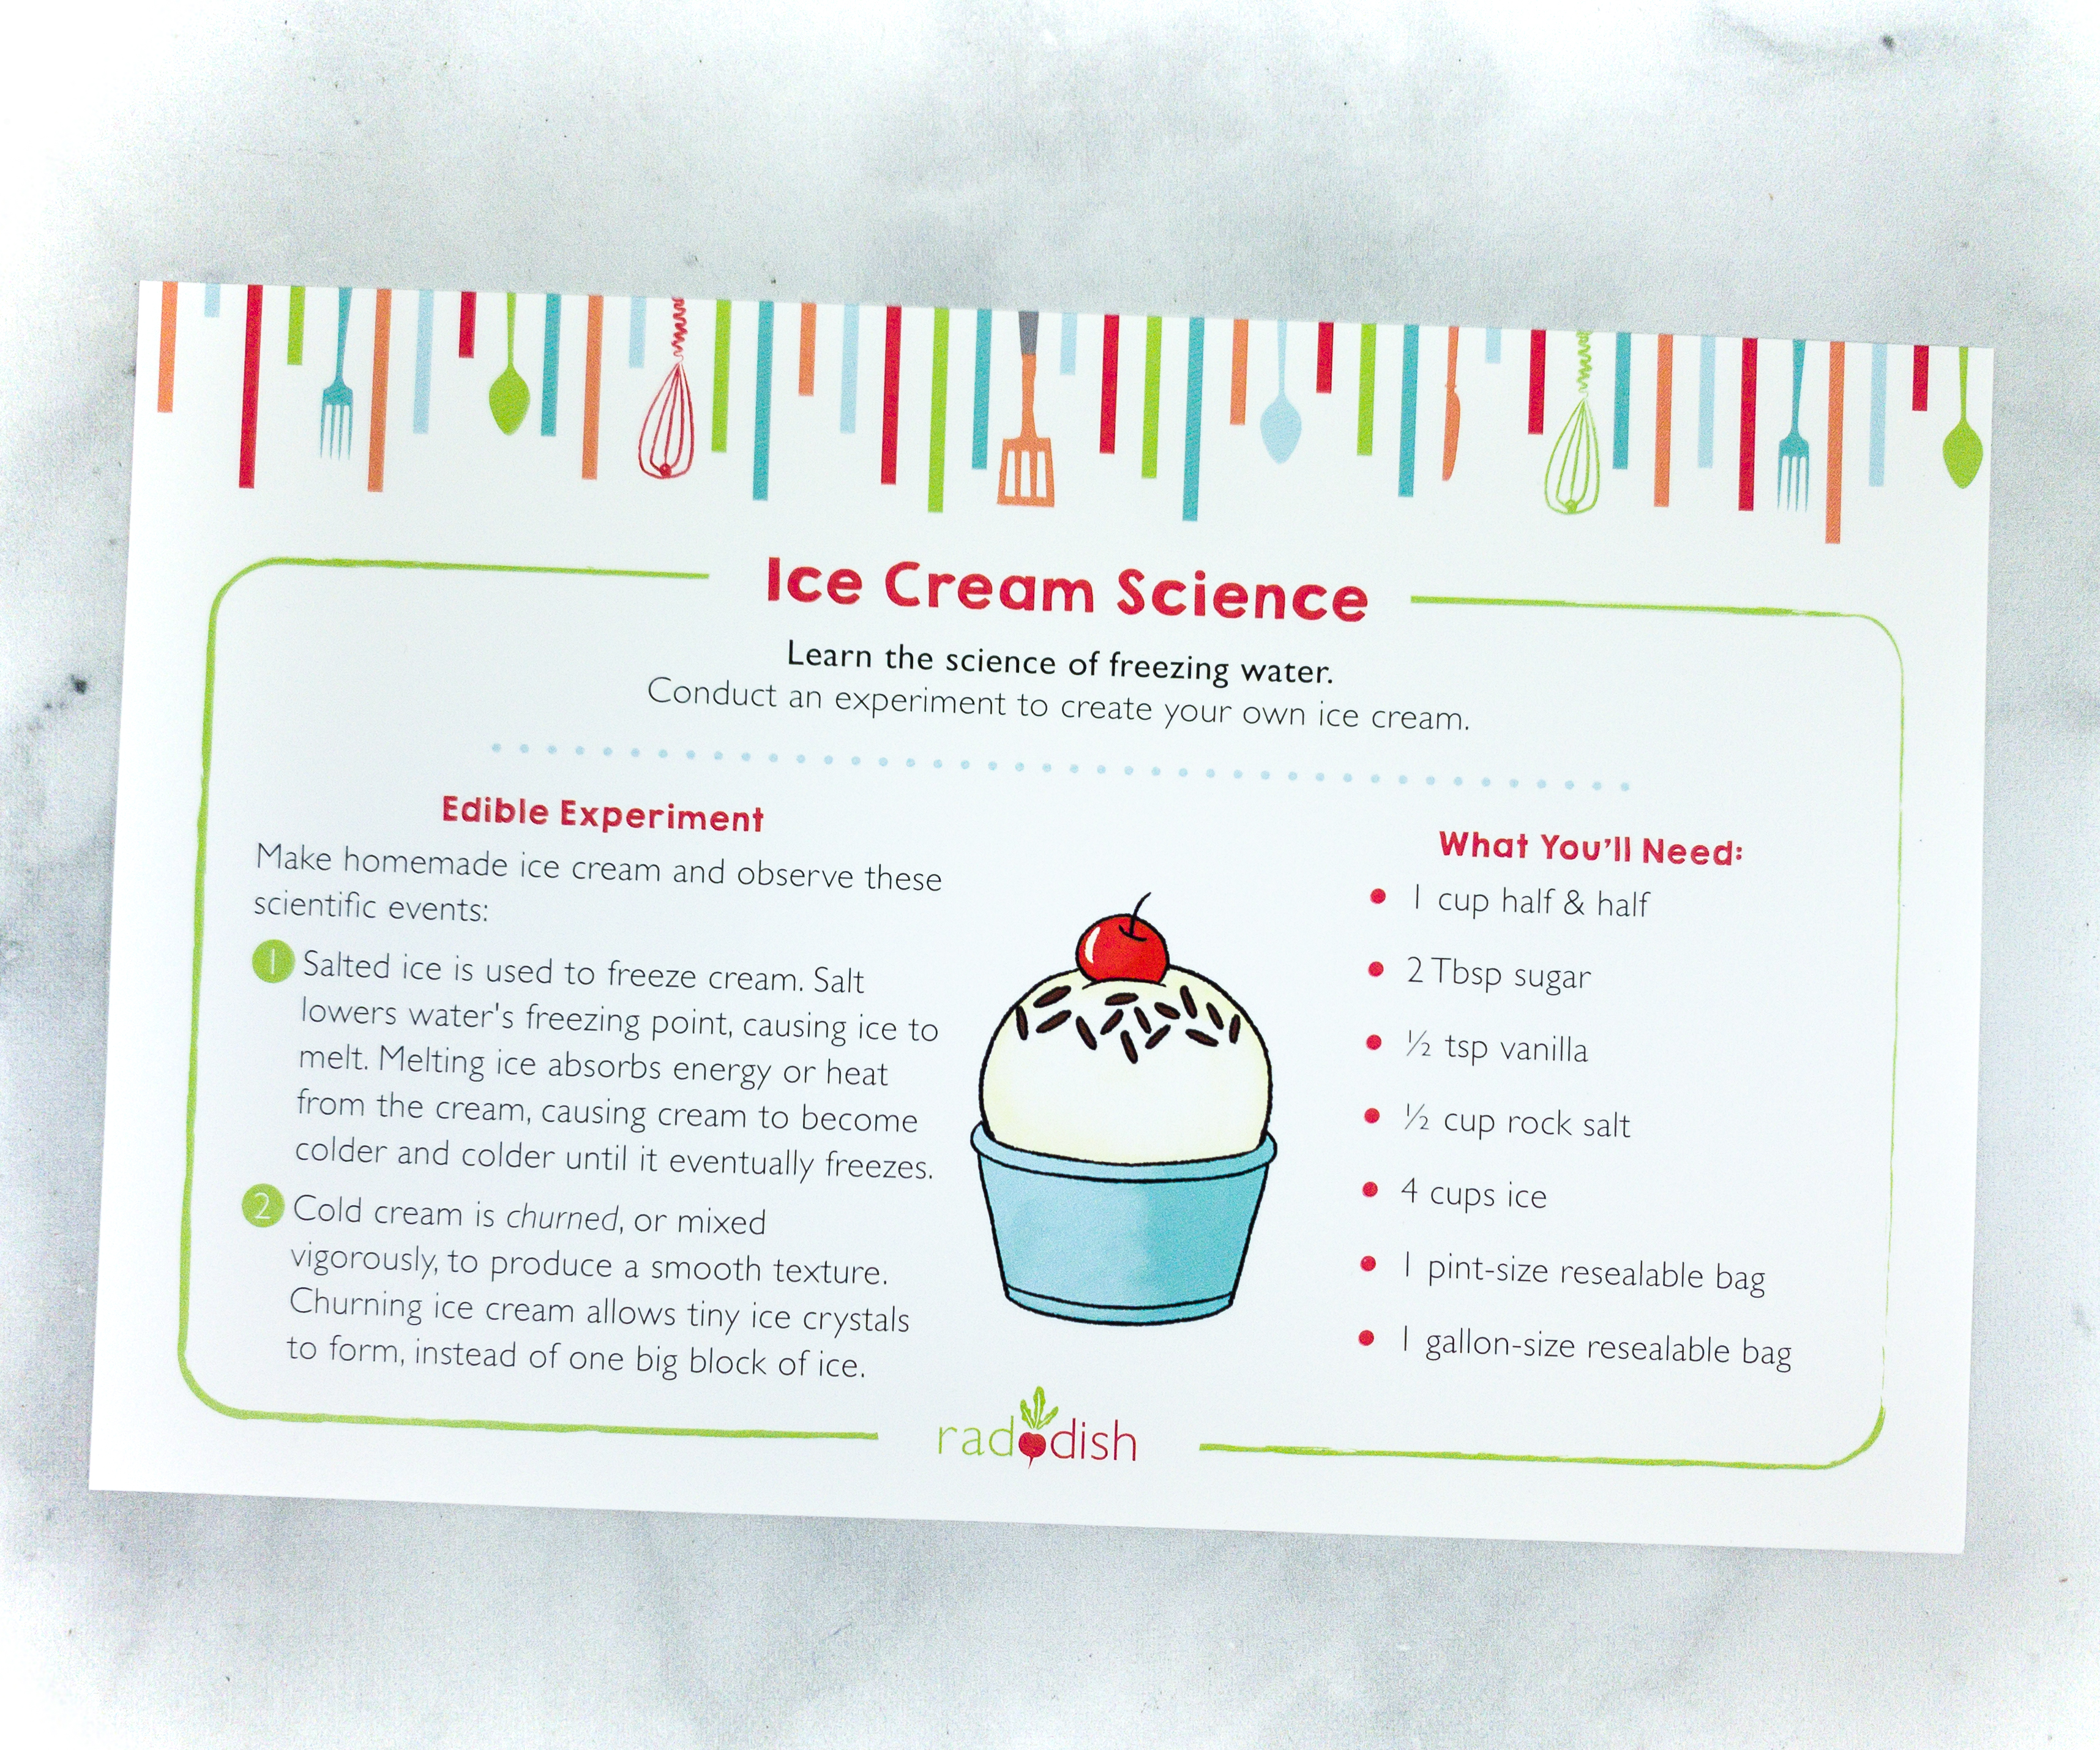
This month’s box also included an extra card that features the science of ice cream!
For this edible experiment, we used half & half, sugar, vanilla, rock salt, and ice. We also used a pint-size and a gallon-size resealable bag.
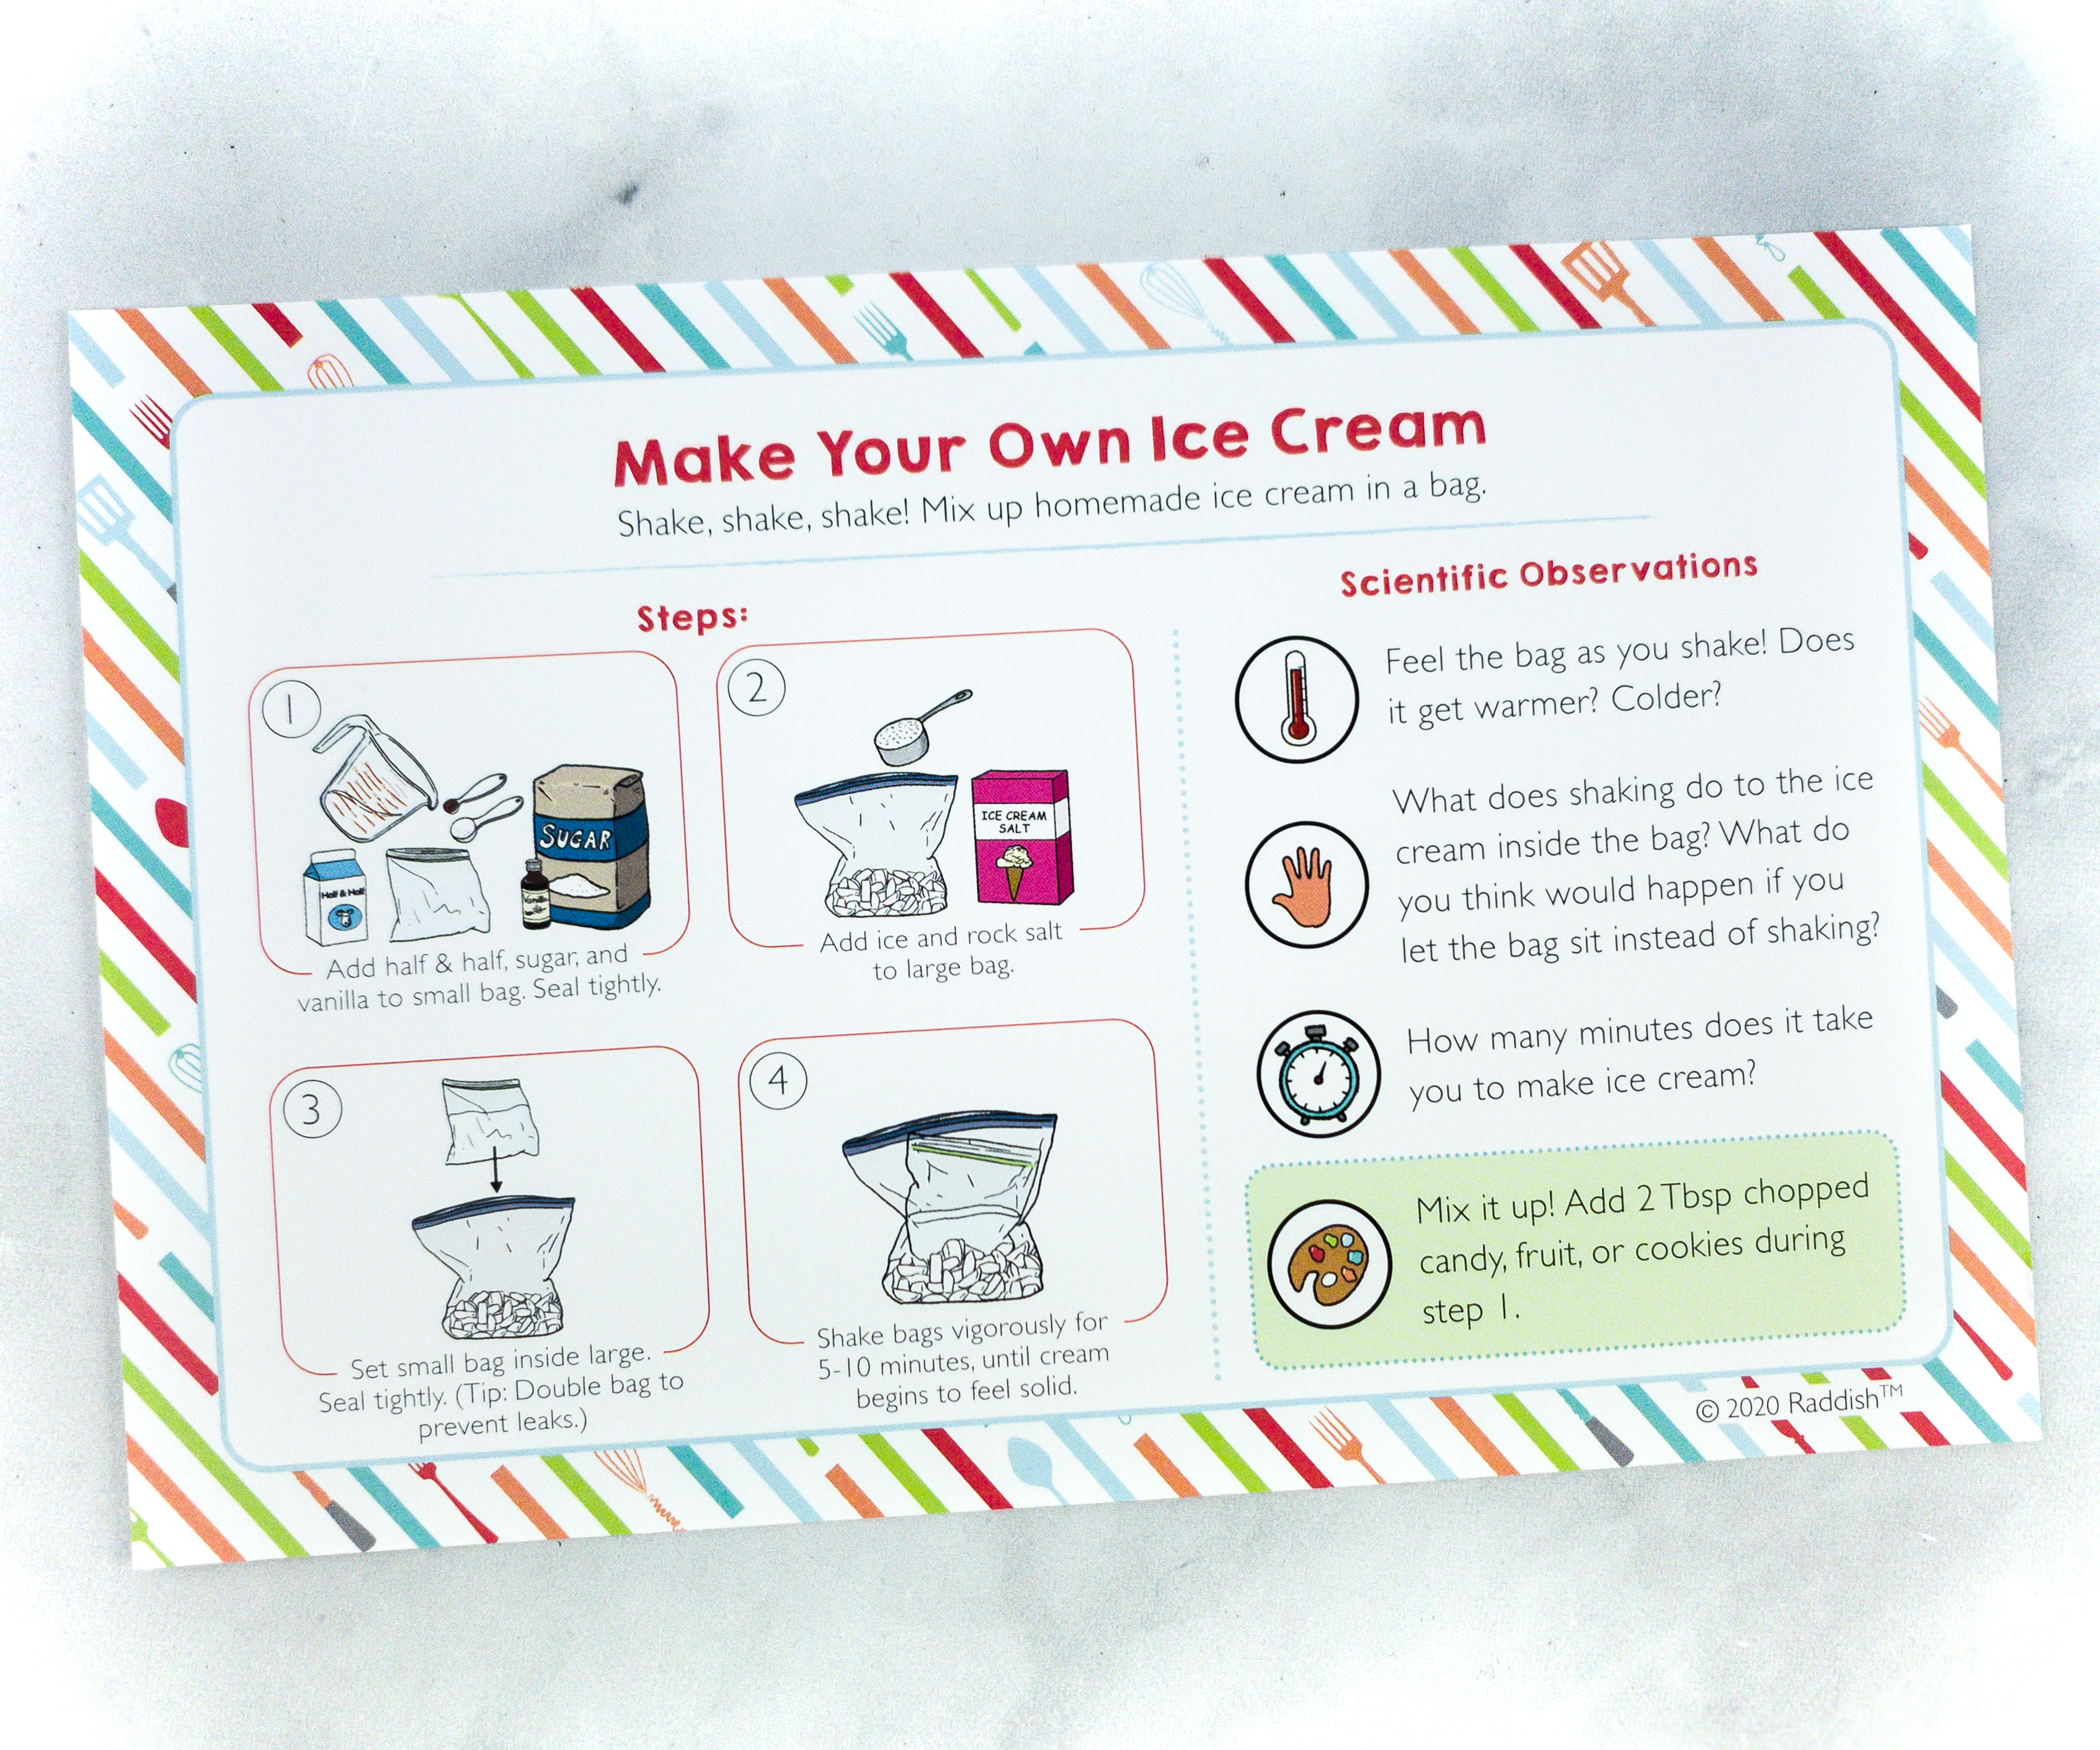
There are only 4 steps in making this homemade ice cream!
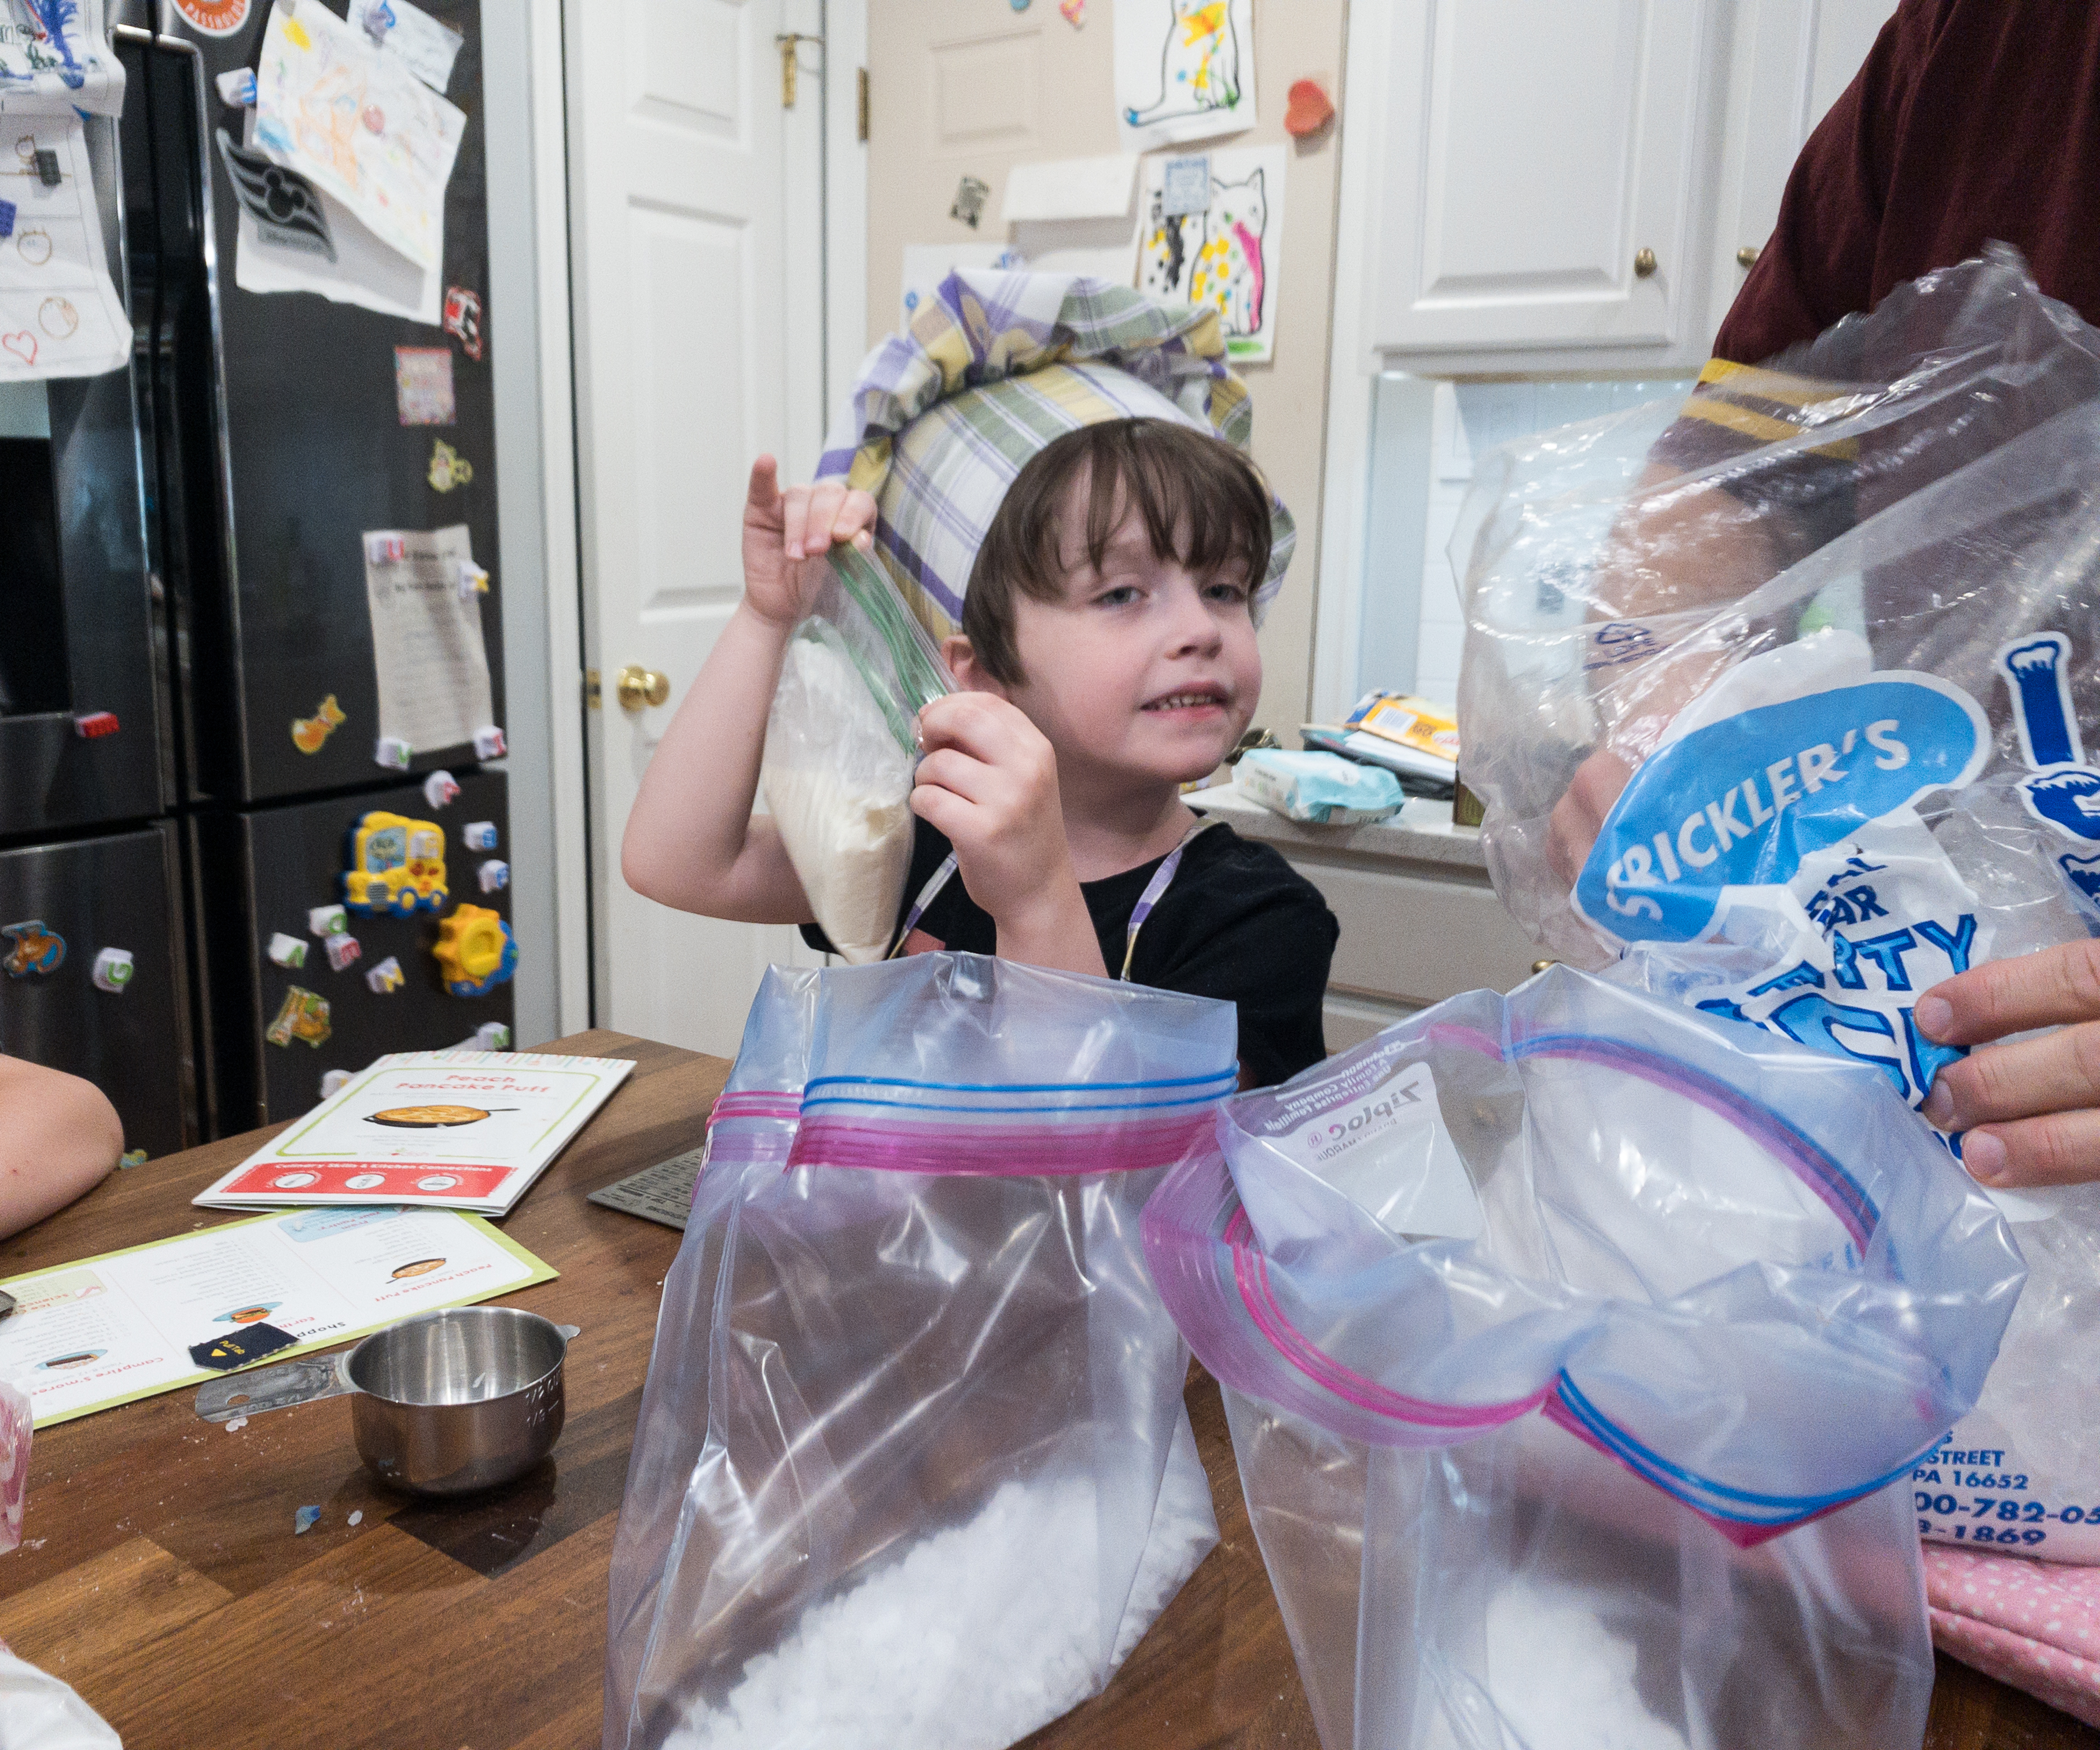
My kids put the sugar and vanilla inside the small resealable bag and sealed it tightly.
Then, they placed the ice tubes inside the bigger resealable bag, as well as rock salt. They also sealed it tightly.
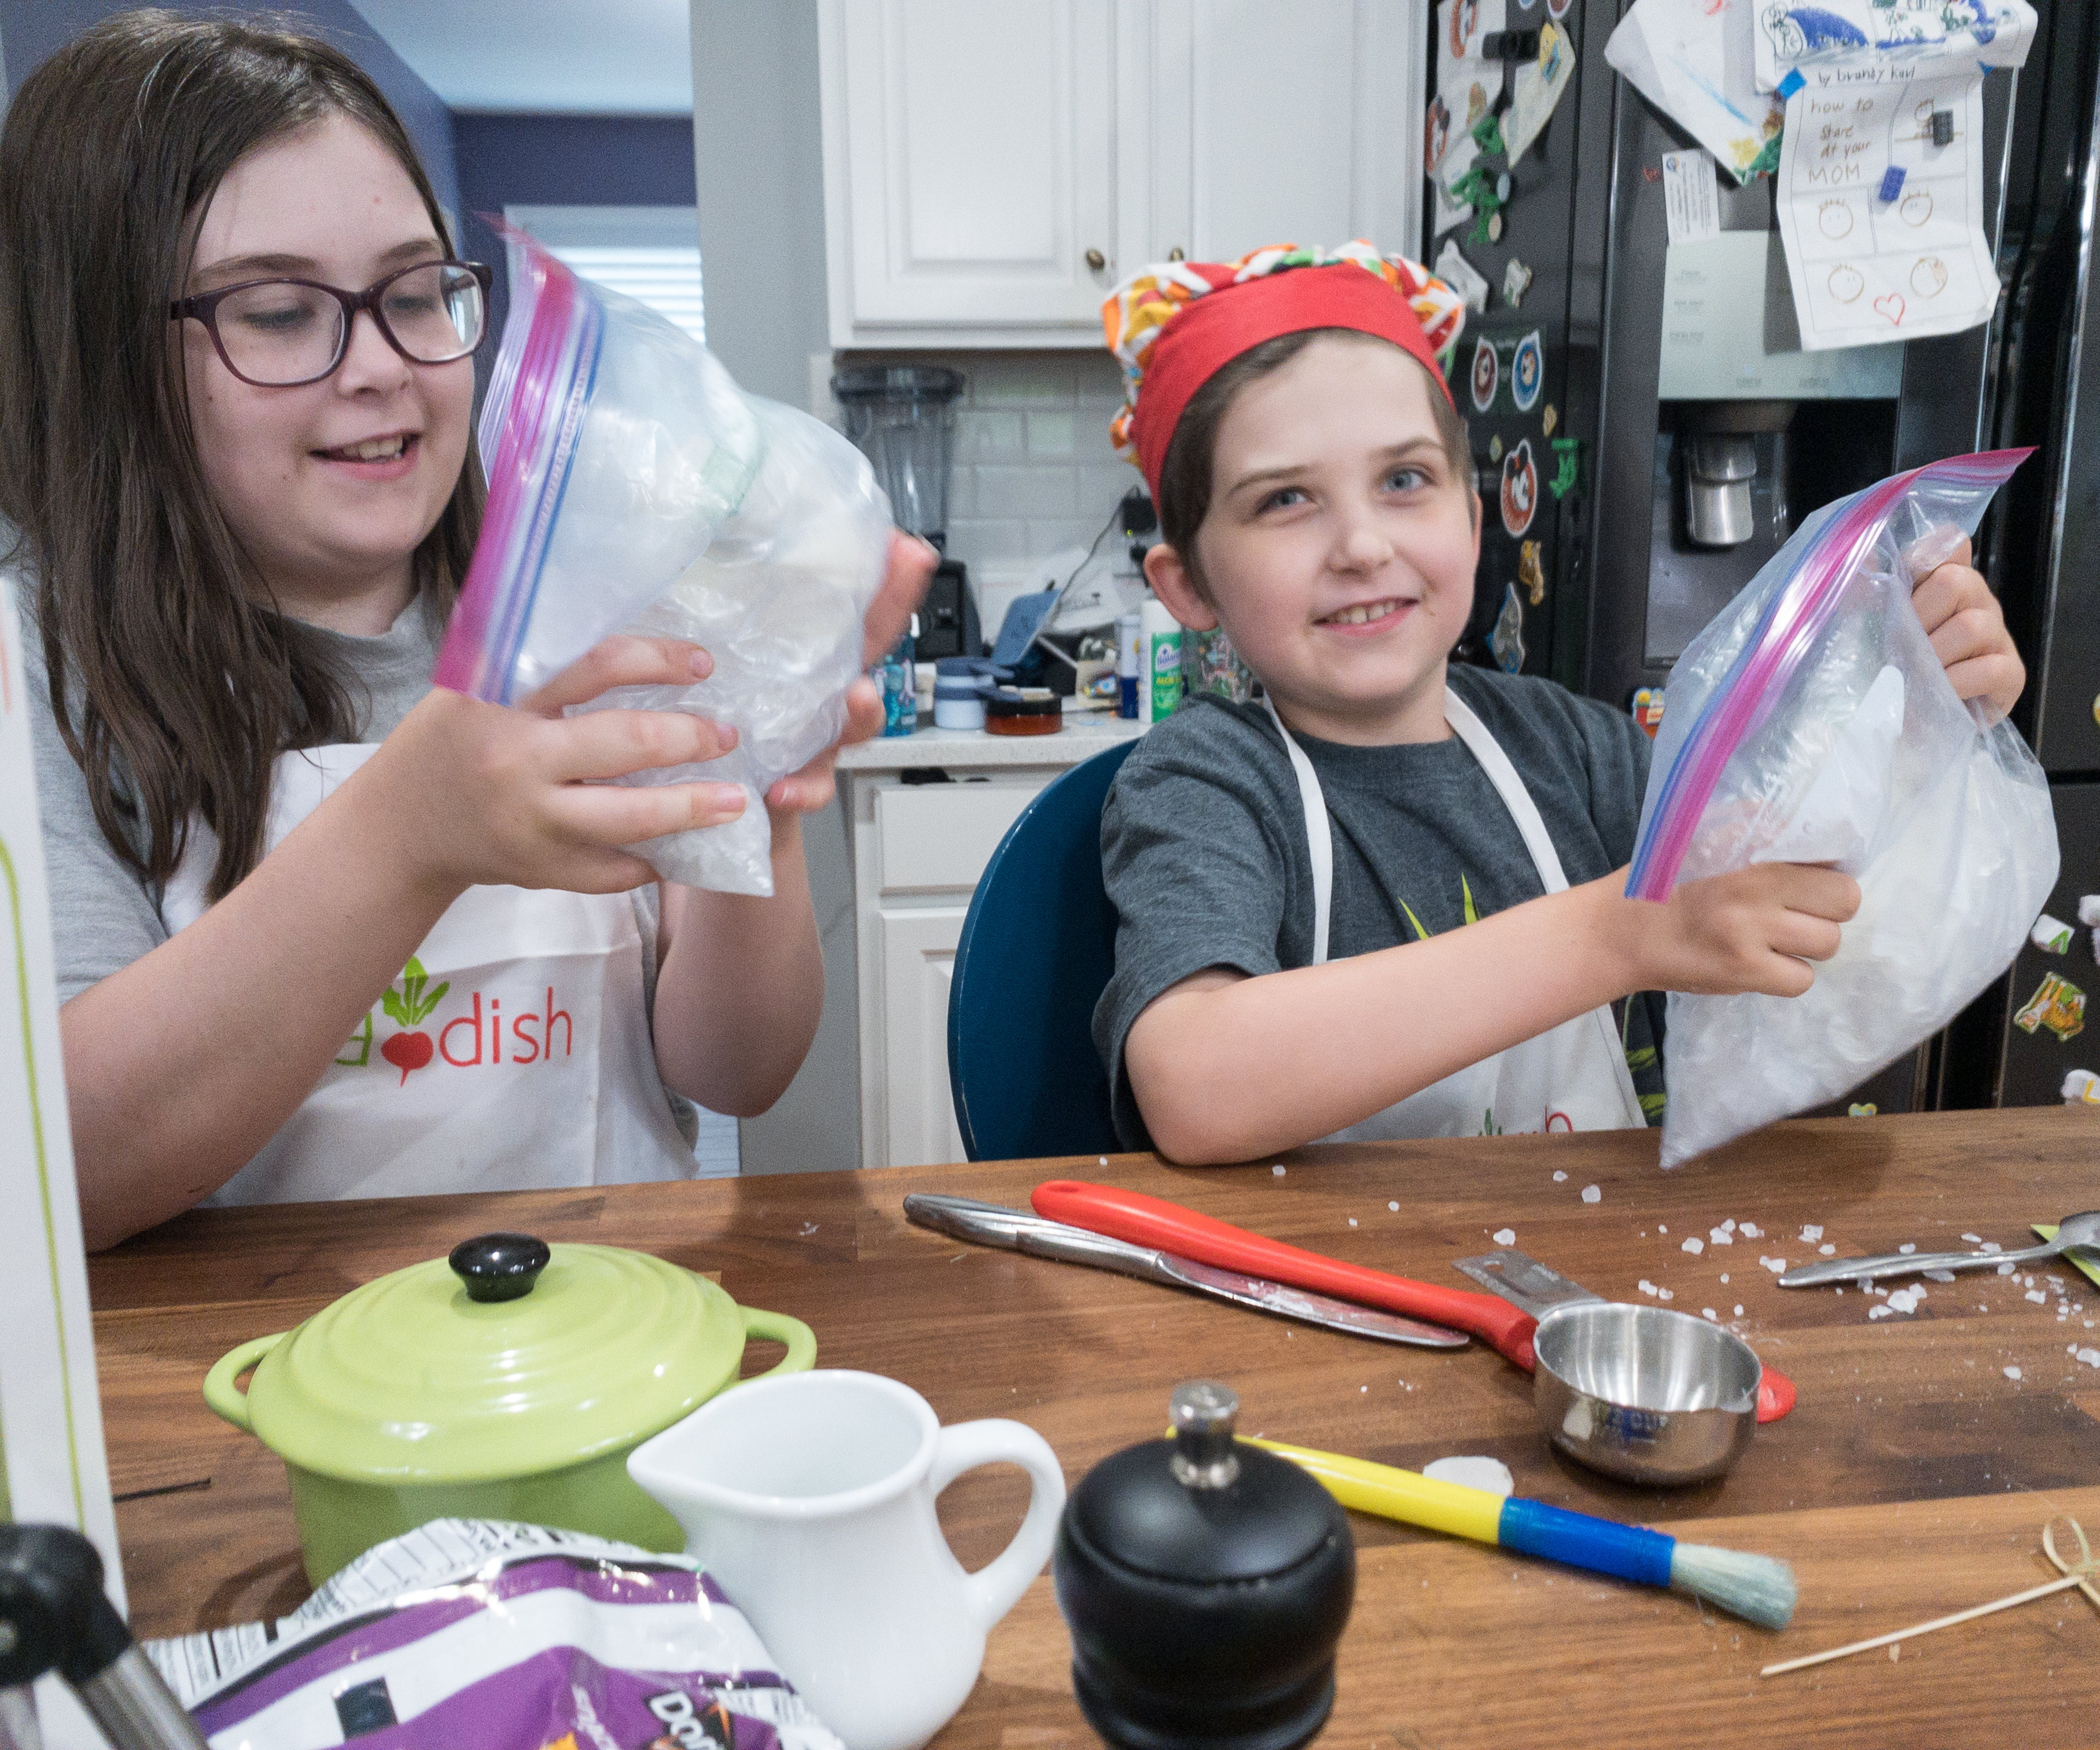
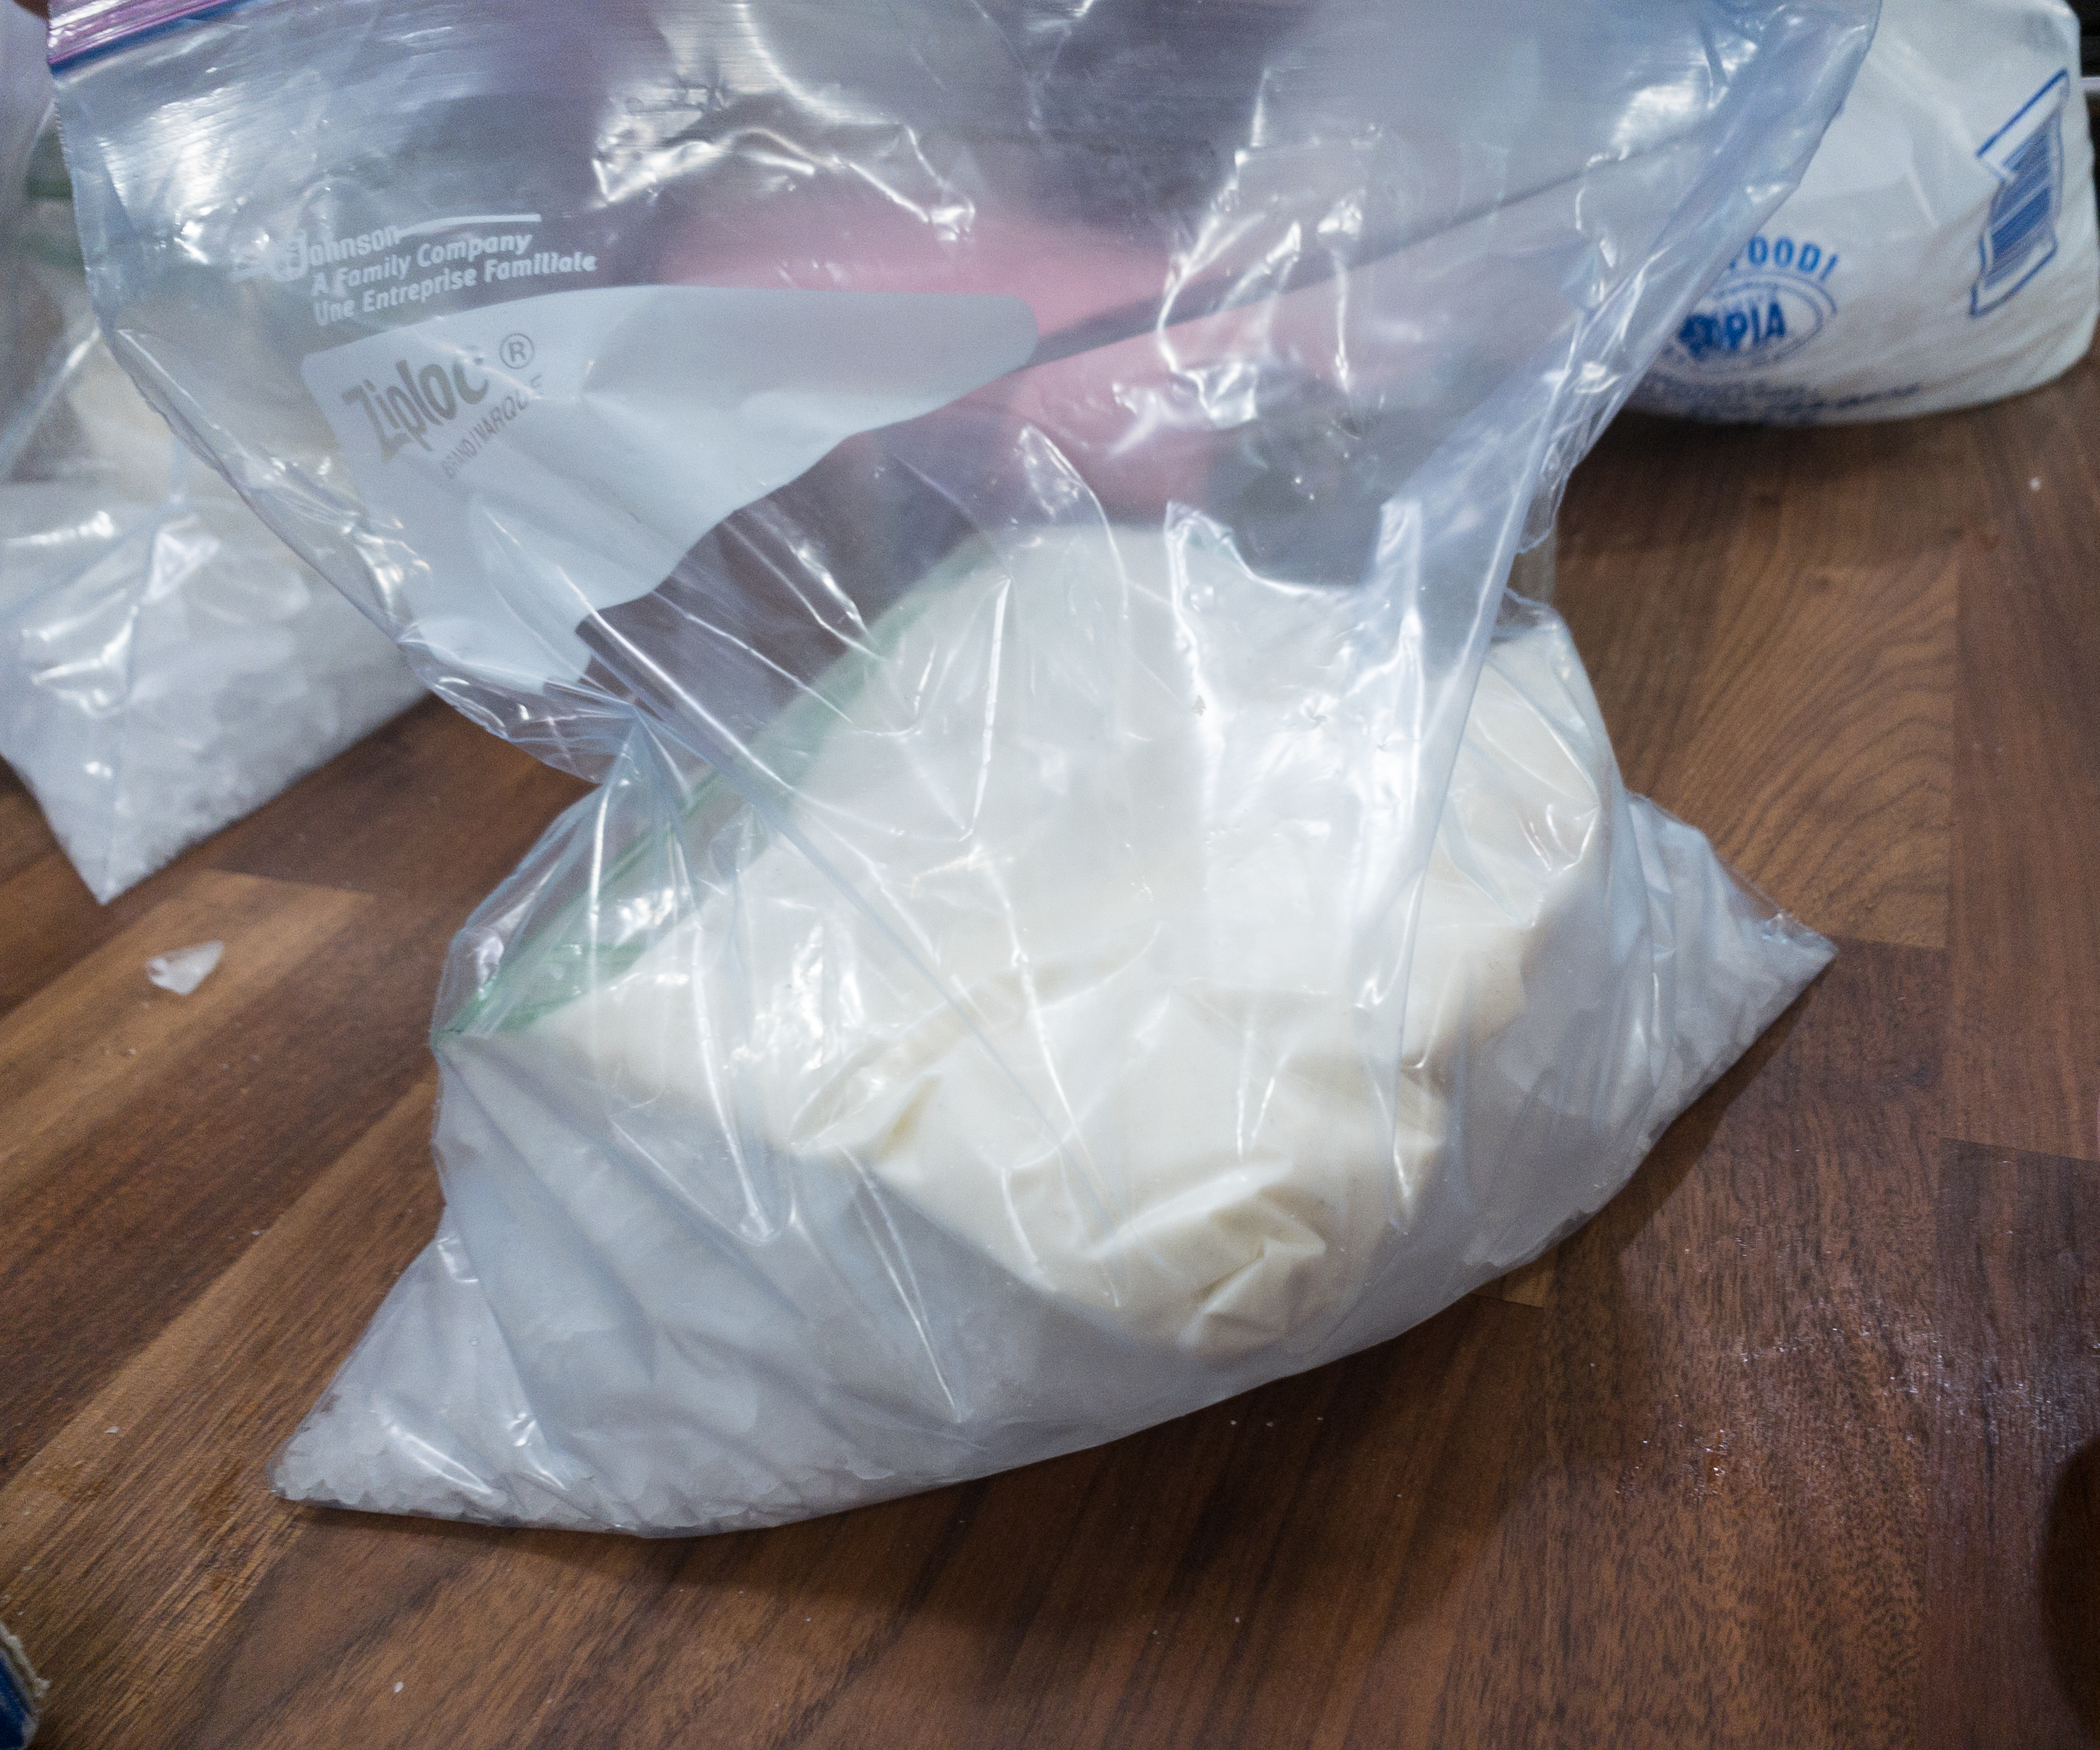
The next step is to place the smaller bag inside the bigger bag and then shake it vigorously for 5-10 minutes, or until the cream begins to feel solid.
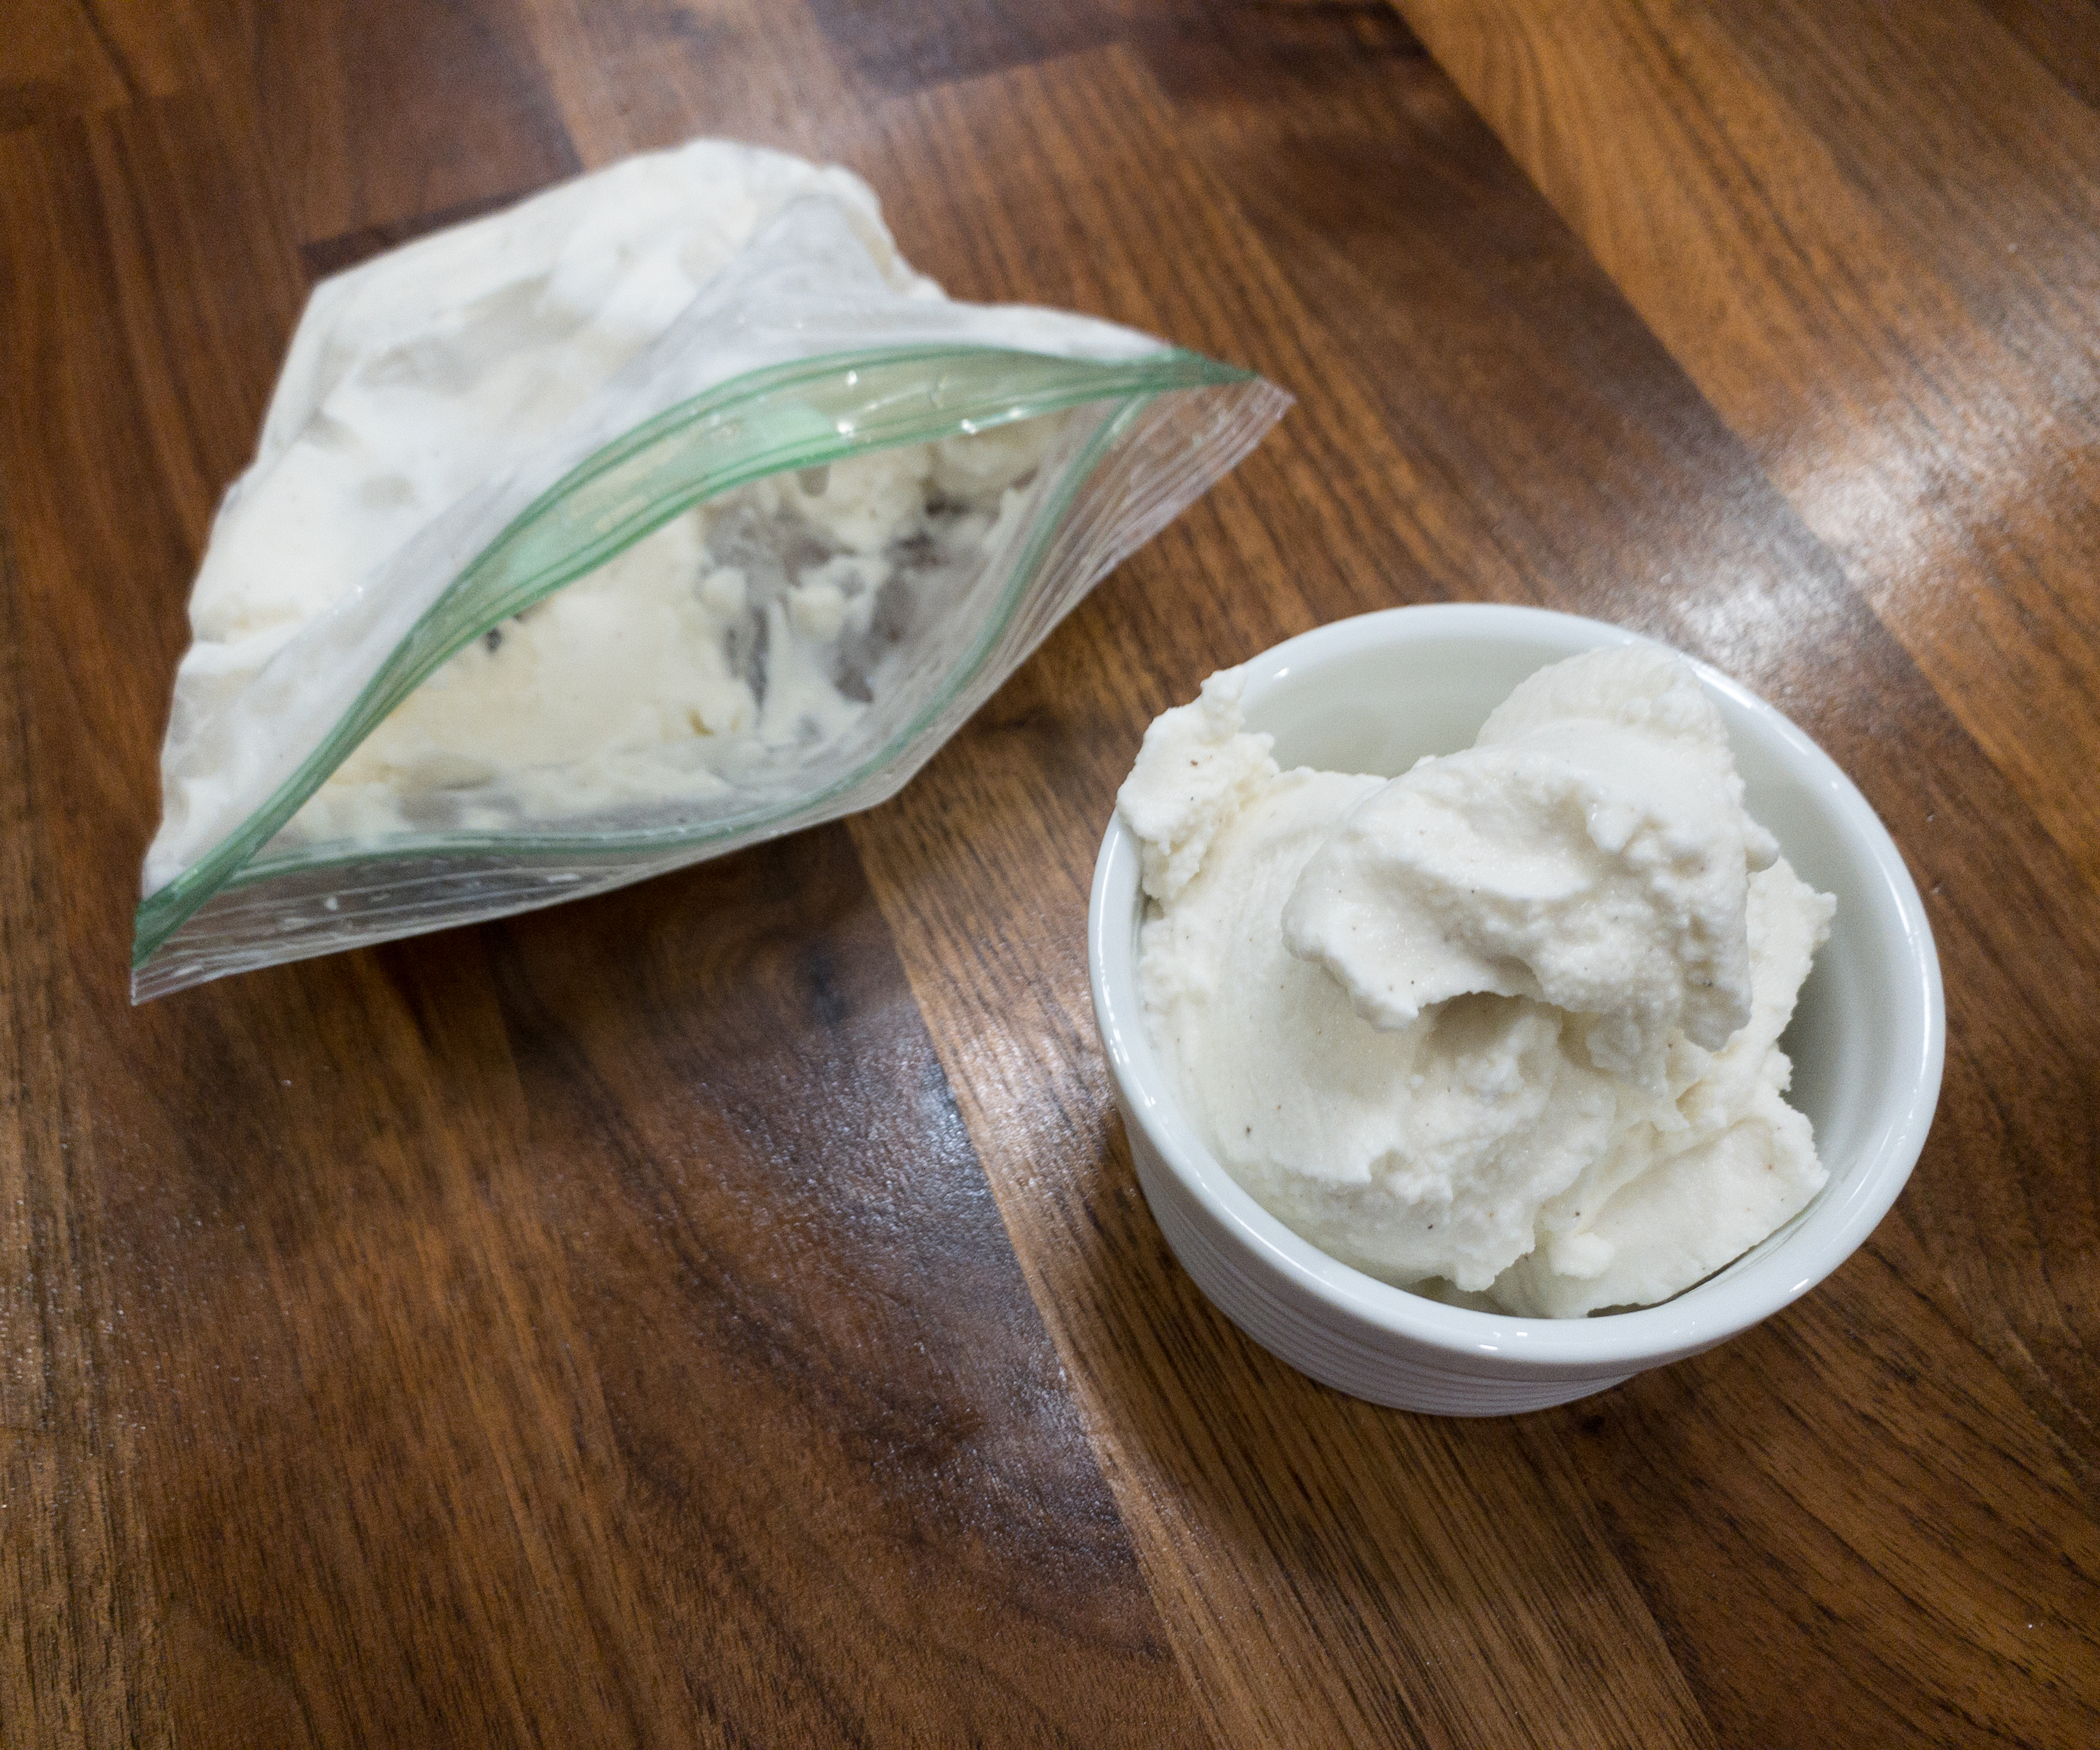
Here’s how the ice cream looks like once it’s done!
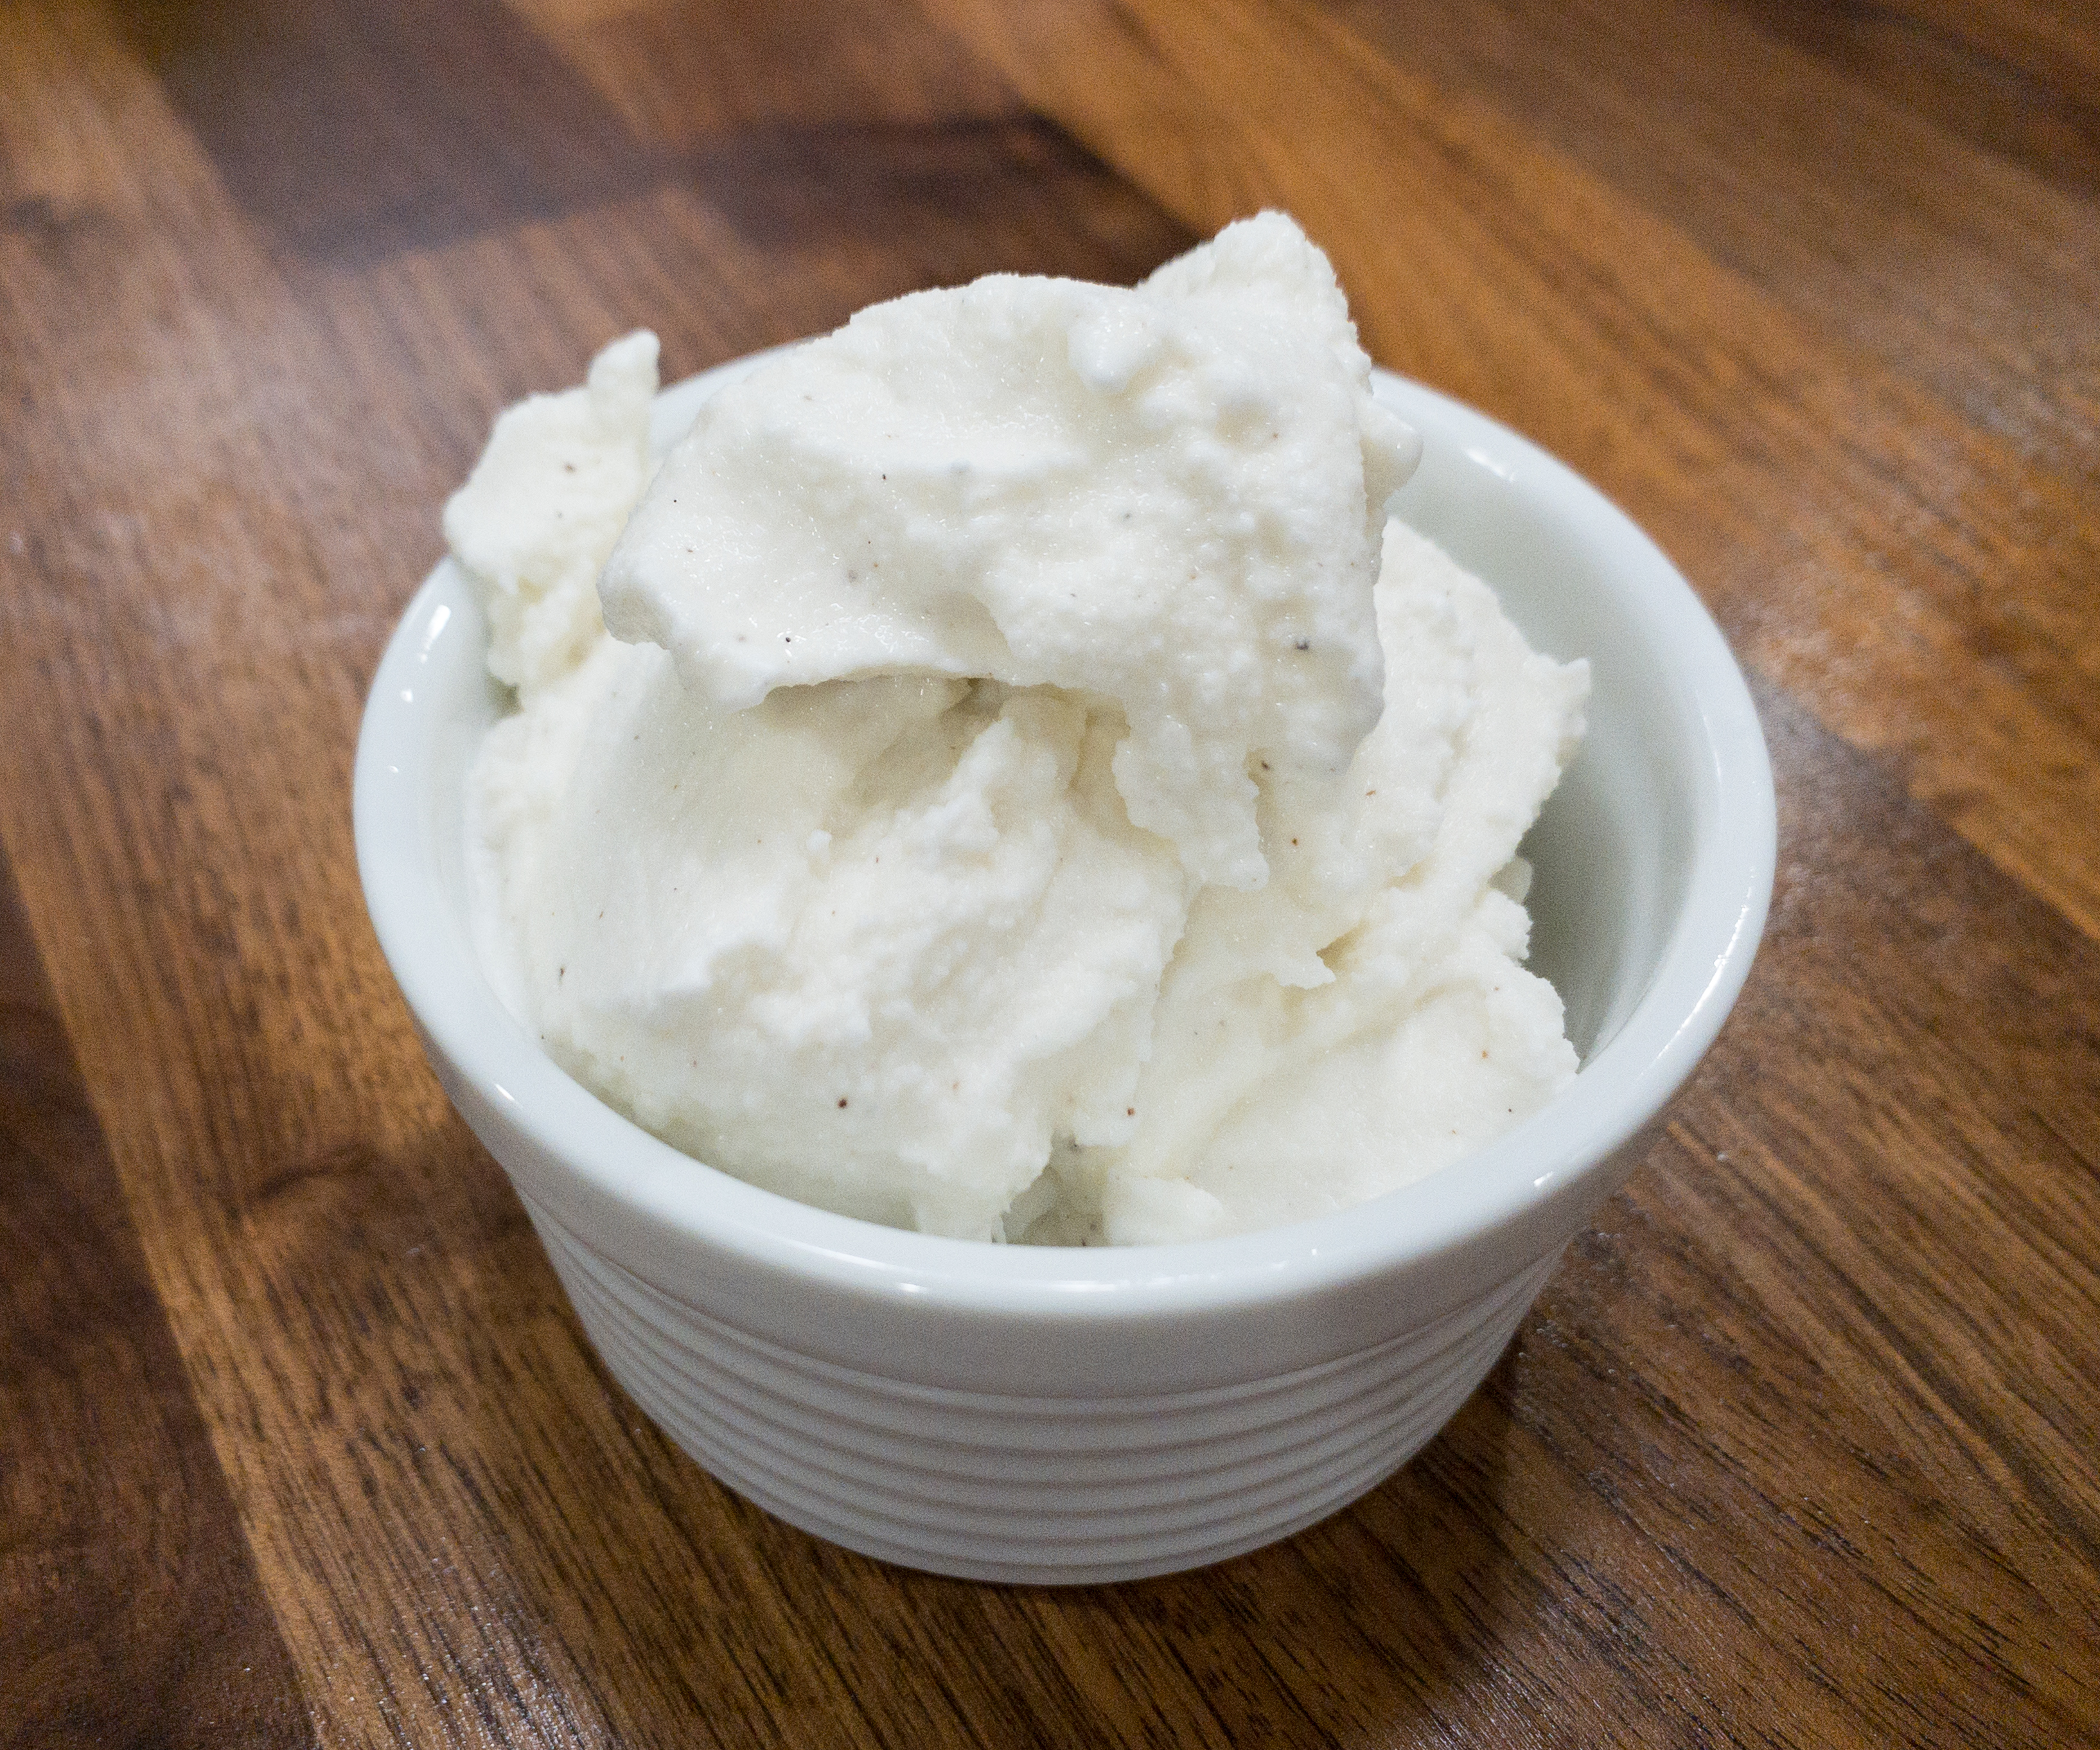
After transferring the homemade ice cream on the cup, it’s time to dig in! It was so delicious!
Raddish Kids is a fun cooking subscription for kids! The recipes they provide are kid-friendly, and so far, everything they have sent was a hit with my kids. This month, my kids’ favorite recipe is S’mores Pie. They also enjoyed making the suggested experiments, which are the edible earth science model and the homemade ice cream. Through this subscription, my kids learn new cooking skills which makes them confident to work in the kitchen and they pick up new science-related lessons as well! We had no problems shopping for the supplies because they provide a shopping list! It’s a fantastic box overall, and it’s perfect for kids looking for new activities to do at home!
What do you think of this month’s box?


Comments