Tinker Crate is a subscription box that inspires kids to learn about science, engineering, and technology, all while having lots of fun. Each month, the box explores a field of study within a STEM (Science, Technology, Engineering, and Math) discipline. Kids practice their problem-solving skills and learn how to engage in both structured and open-ended exploration and investigation. Most boxes walk the tinkerers through the construction of fairly complex mechanical devices.
DEAL: Use this link to save 30% on your first box of Tinker Crate! (or Kiwi Crate and the KiwiCo family subscriptions Koala Crate, Doodle Crate, Tinker Crate, Panda Crate, Maker Crate, and Eureka Crate).
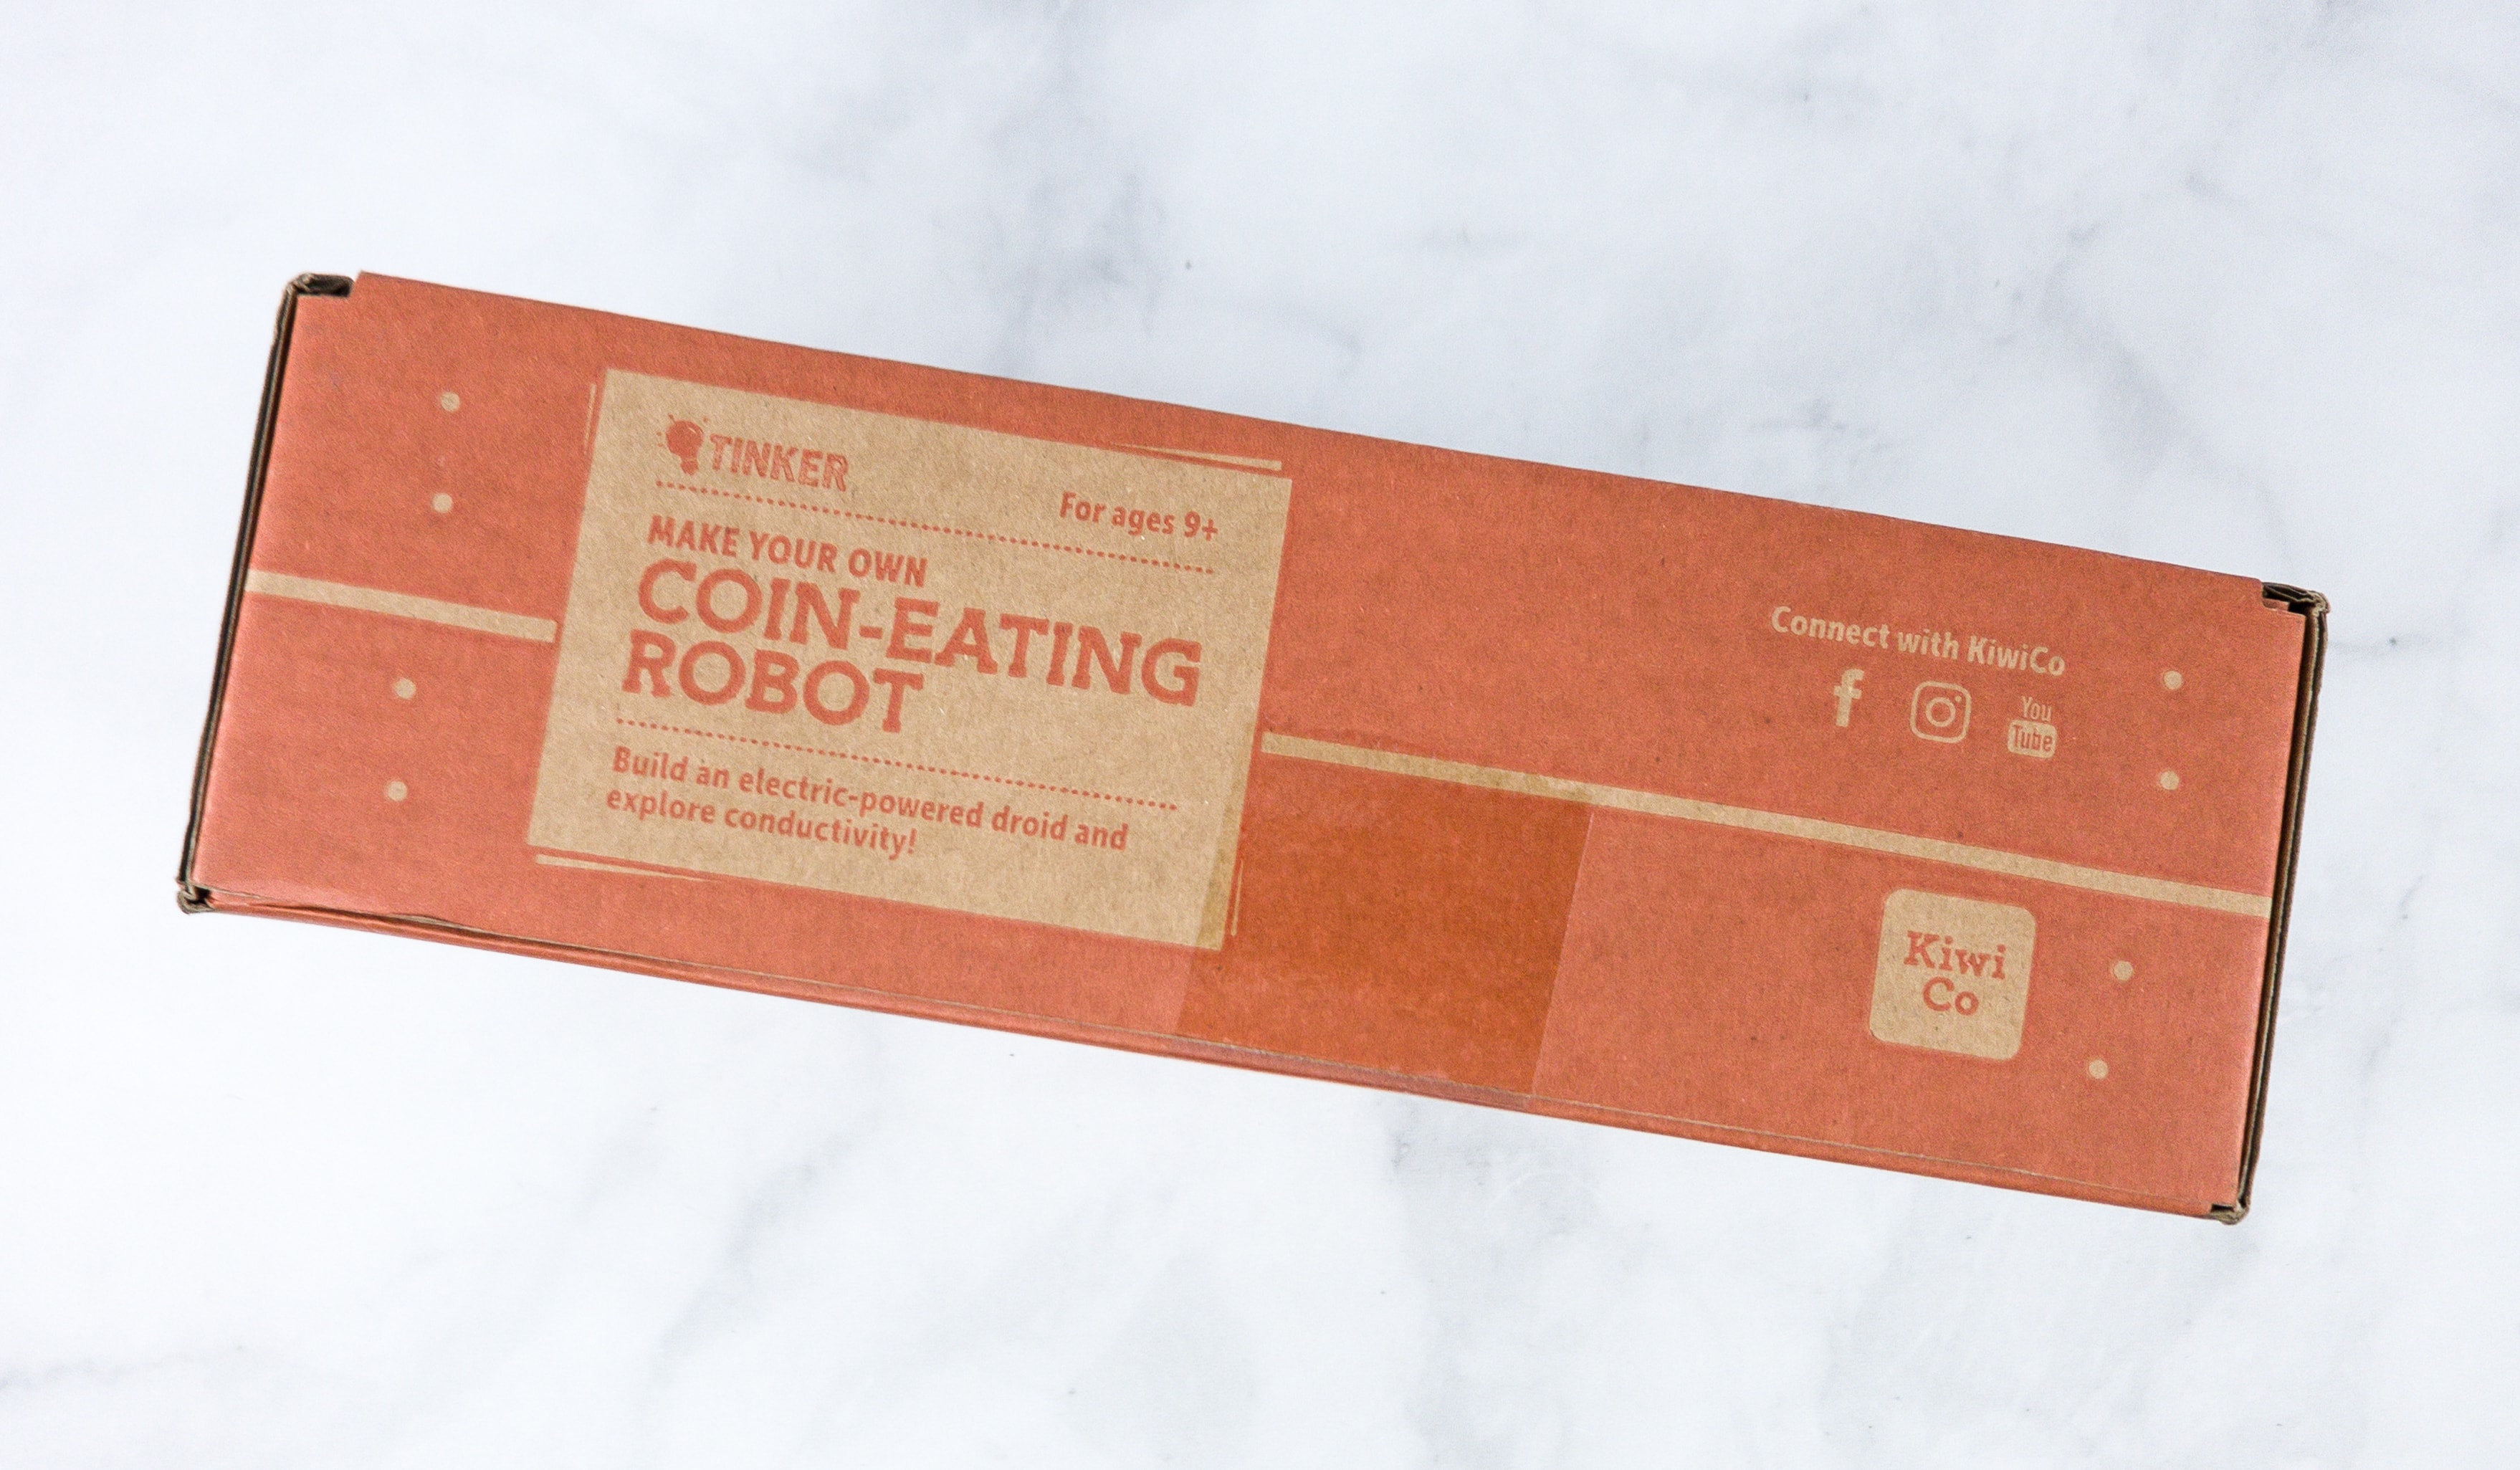
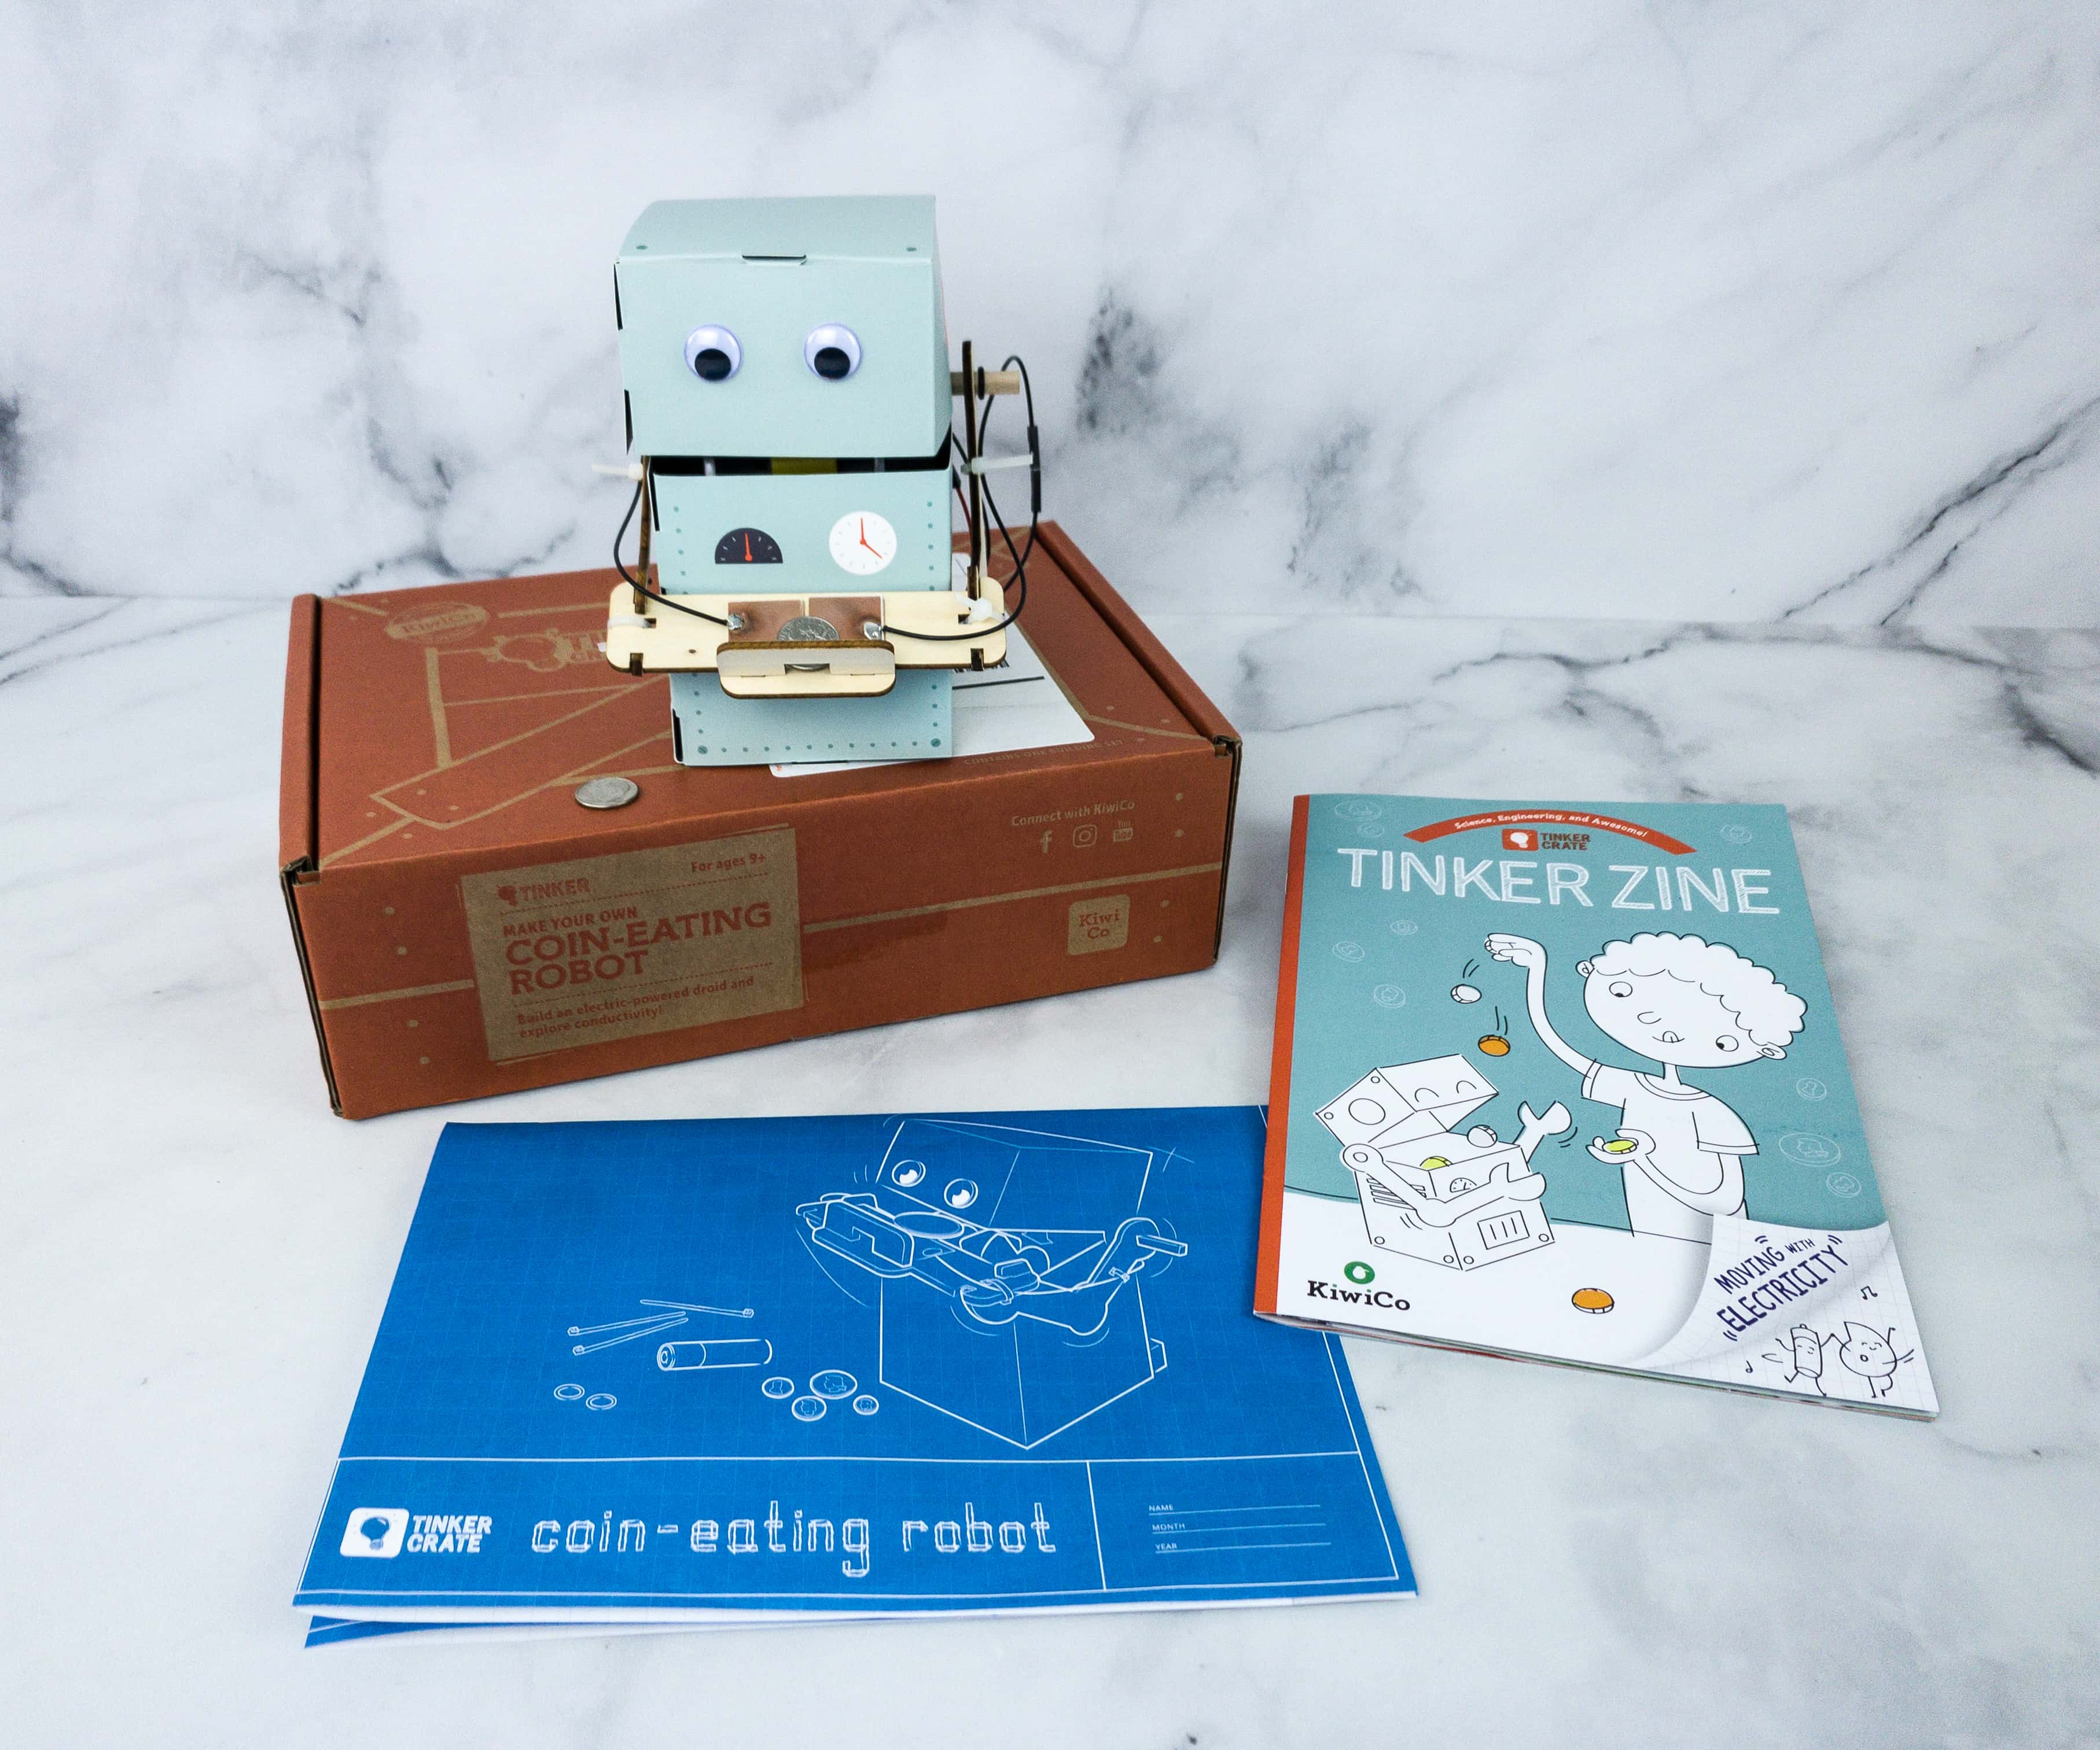
This month, we are building our own COIN-EATING ROBOT!
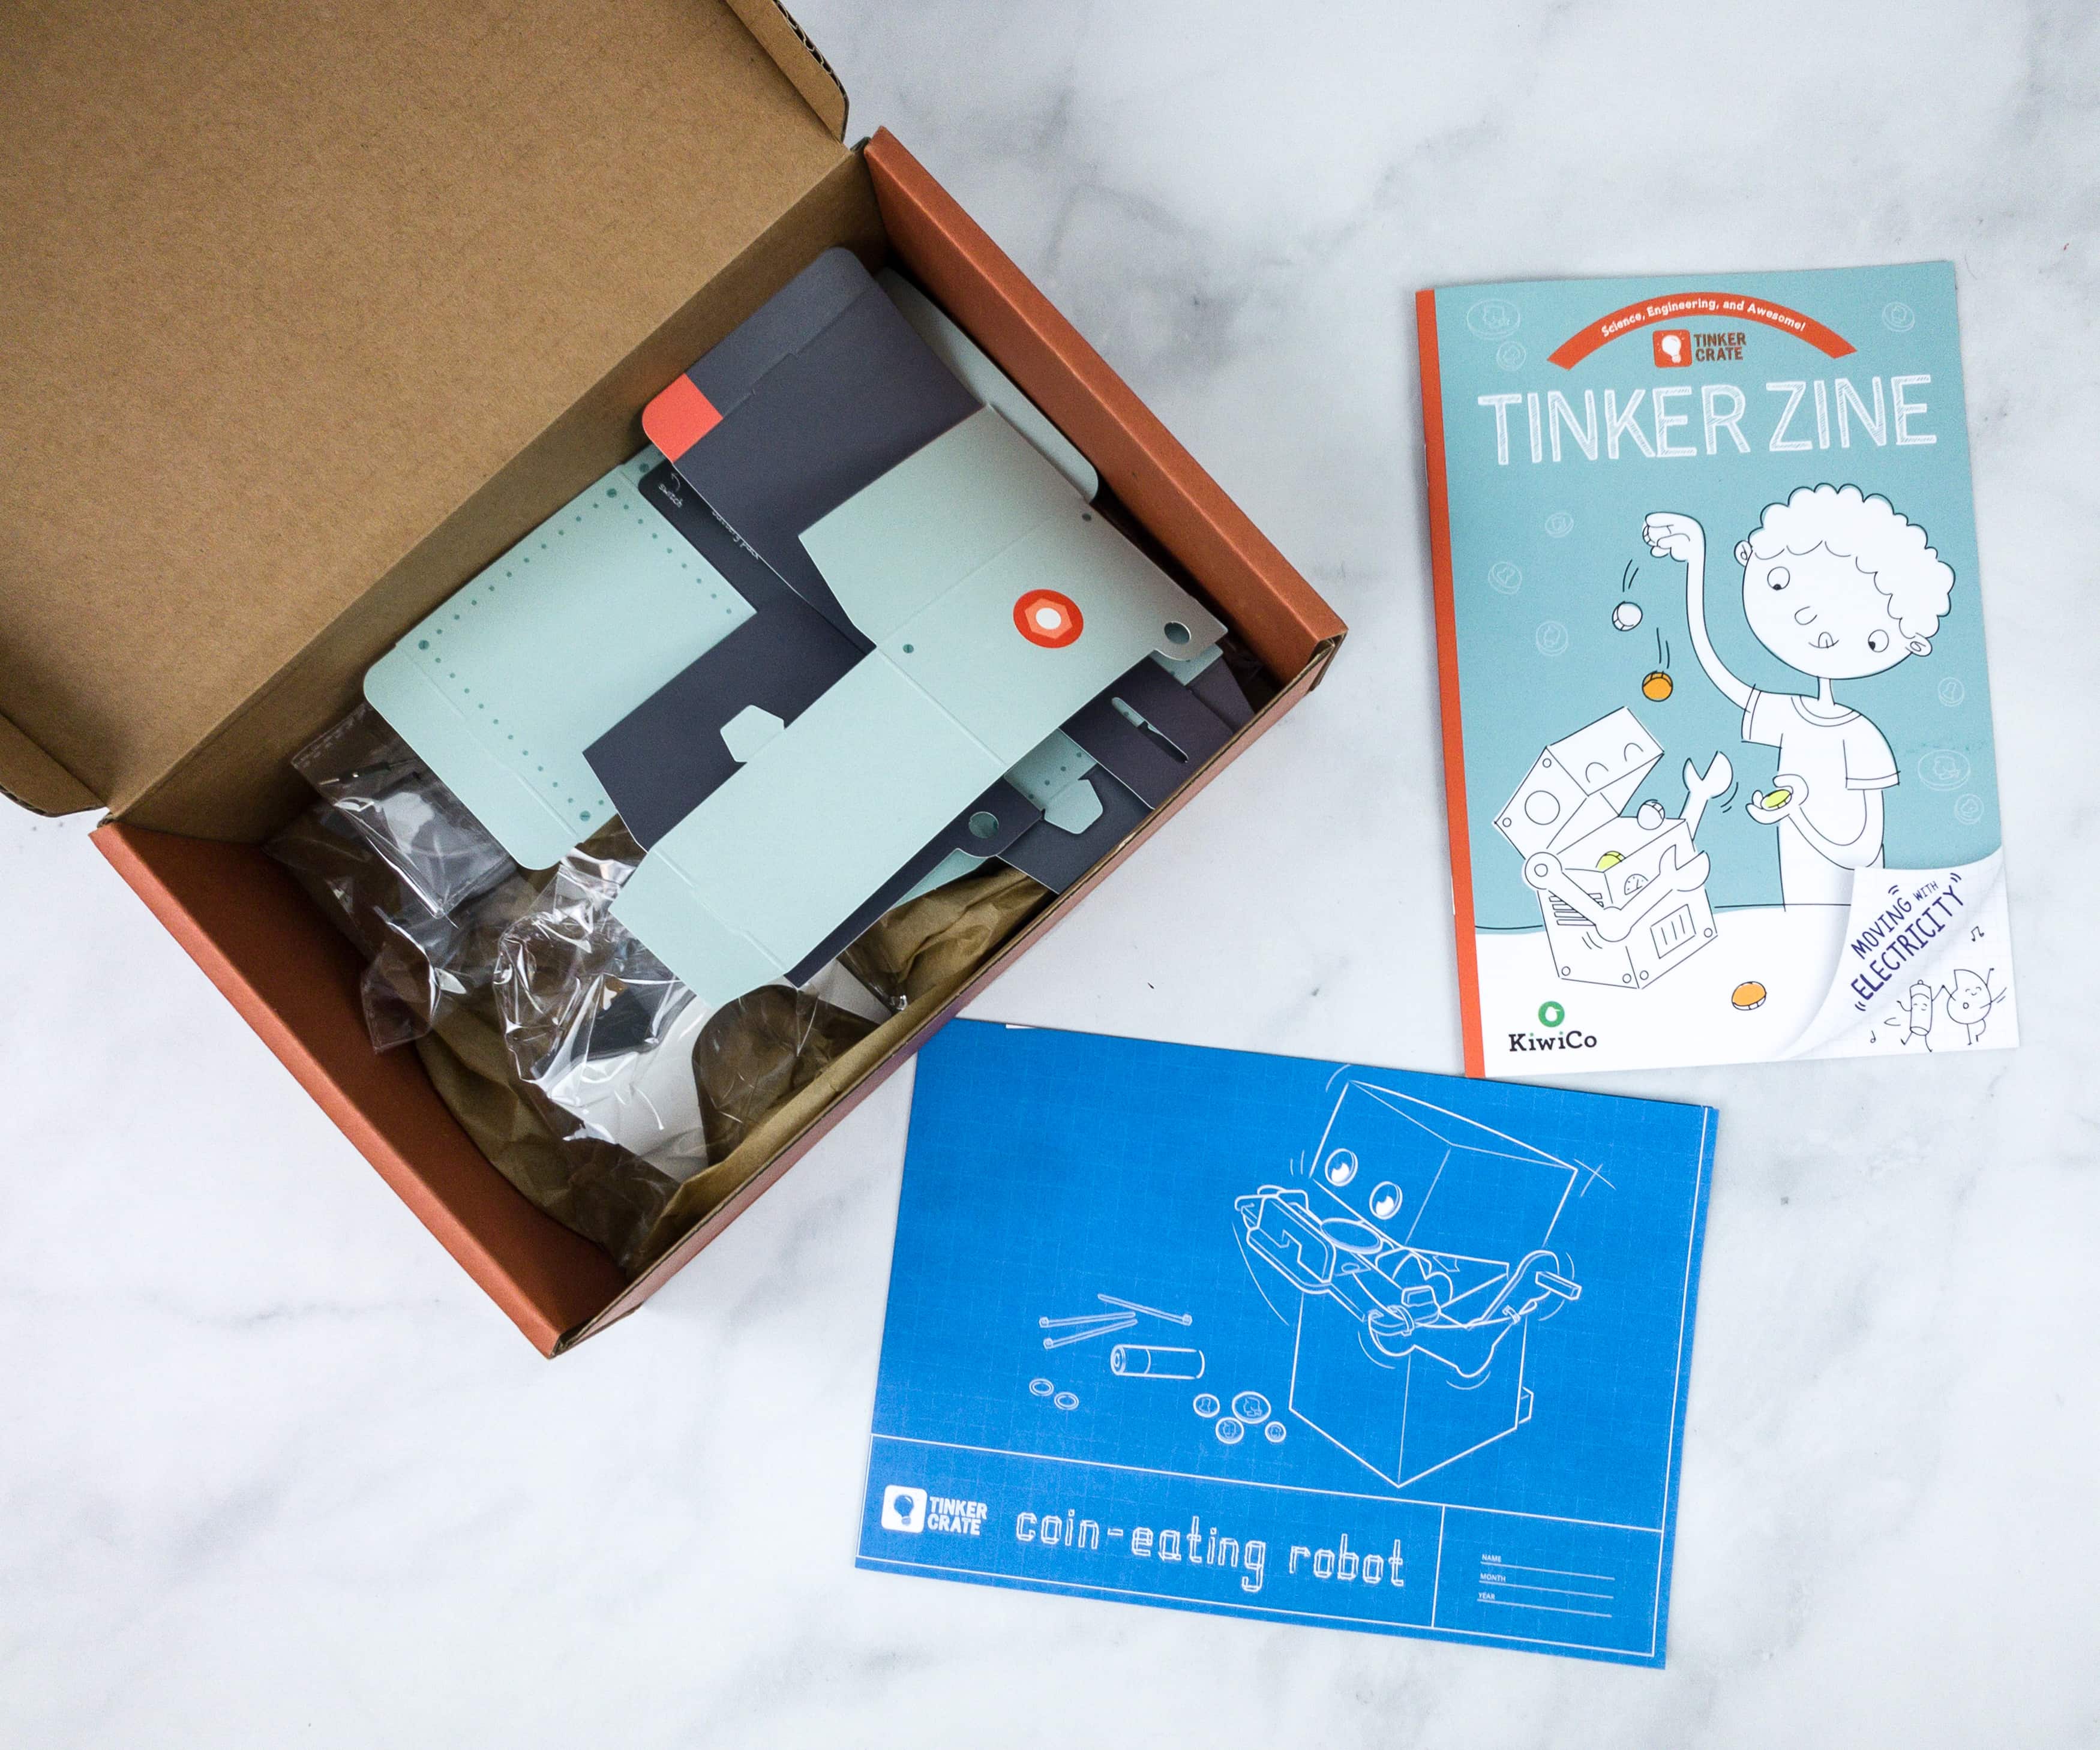
Everything arrives together in a single Tinker Crate – the supplies, a fold-out instruction sheet, and the Tinker Zine.
Tinker Zine
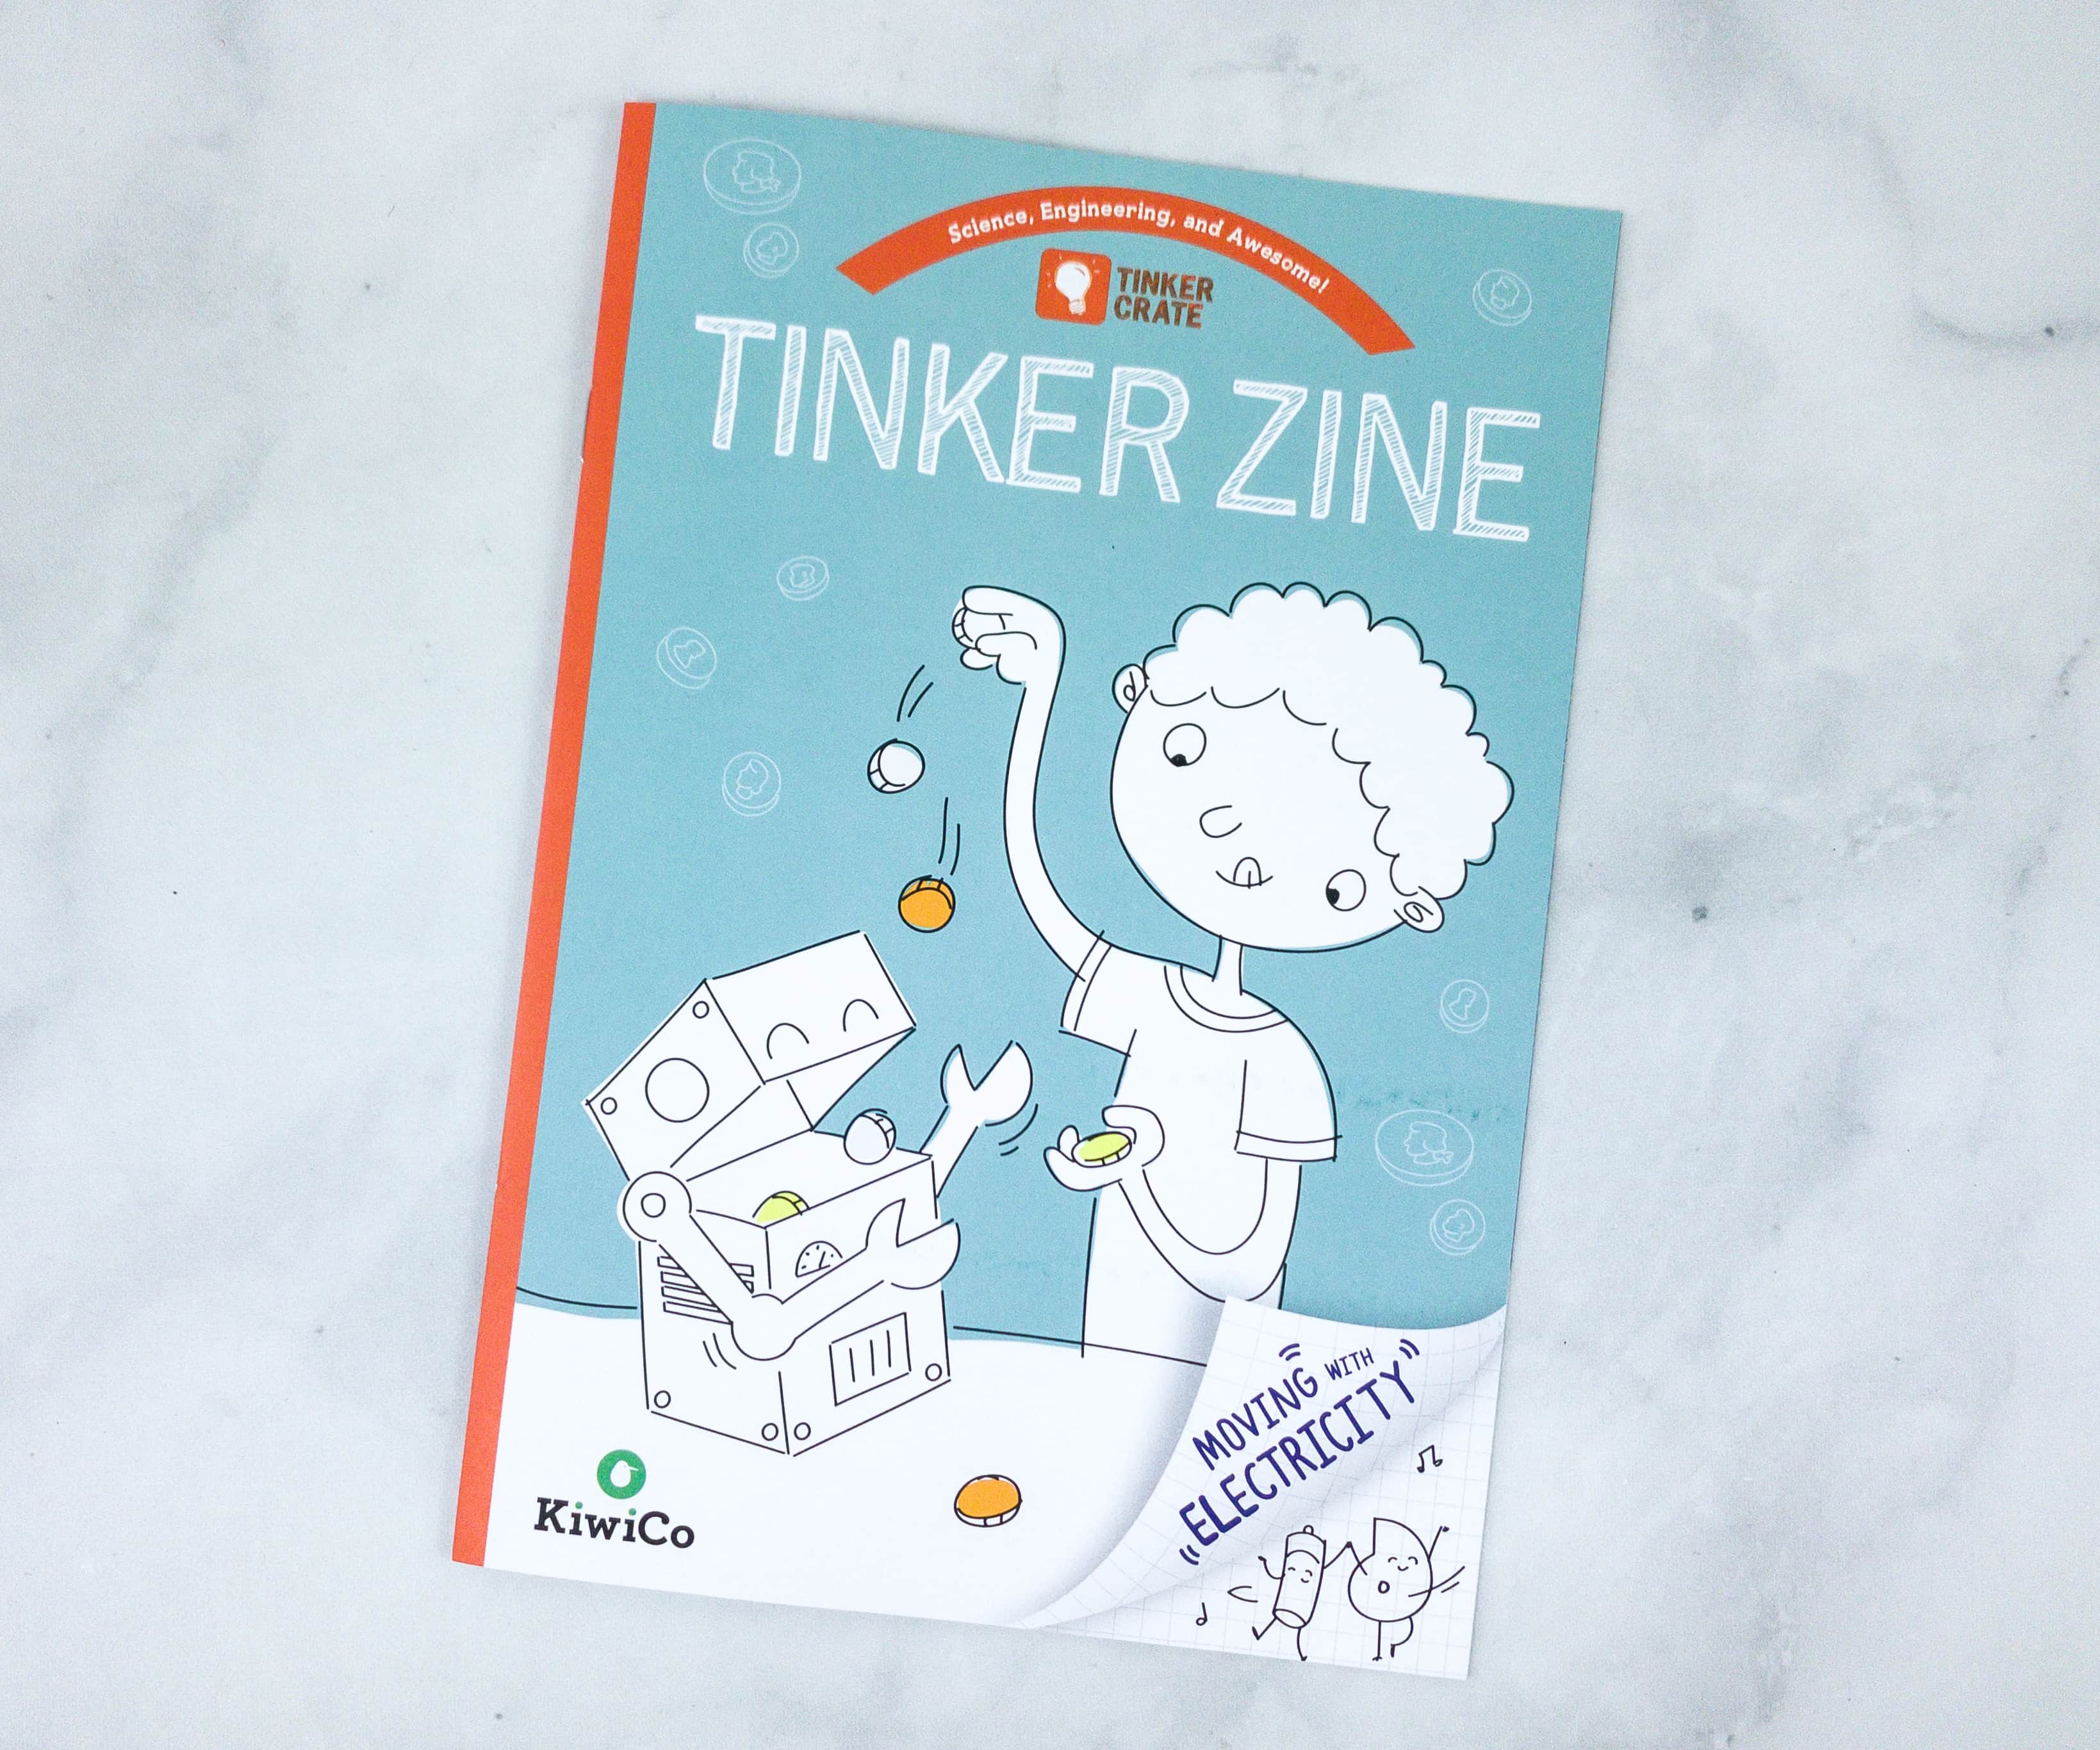
The main project is always a great hands-on activity and a great demonstration of the scientific principles featured in the box, but the Tinker Zine is full of well-written, historically and scientifically accurate background and explanatory materials. This where the lessons really take shape!
Tinker, Create, Innovate
KiwiCo equips the next generation of innovators with the tools and confidence for creative exploration and problem solving.
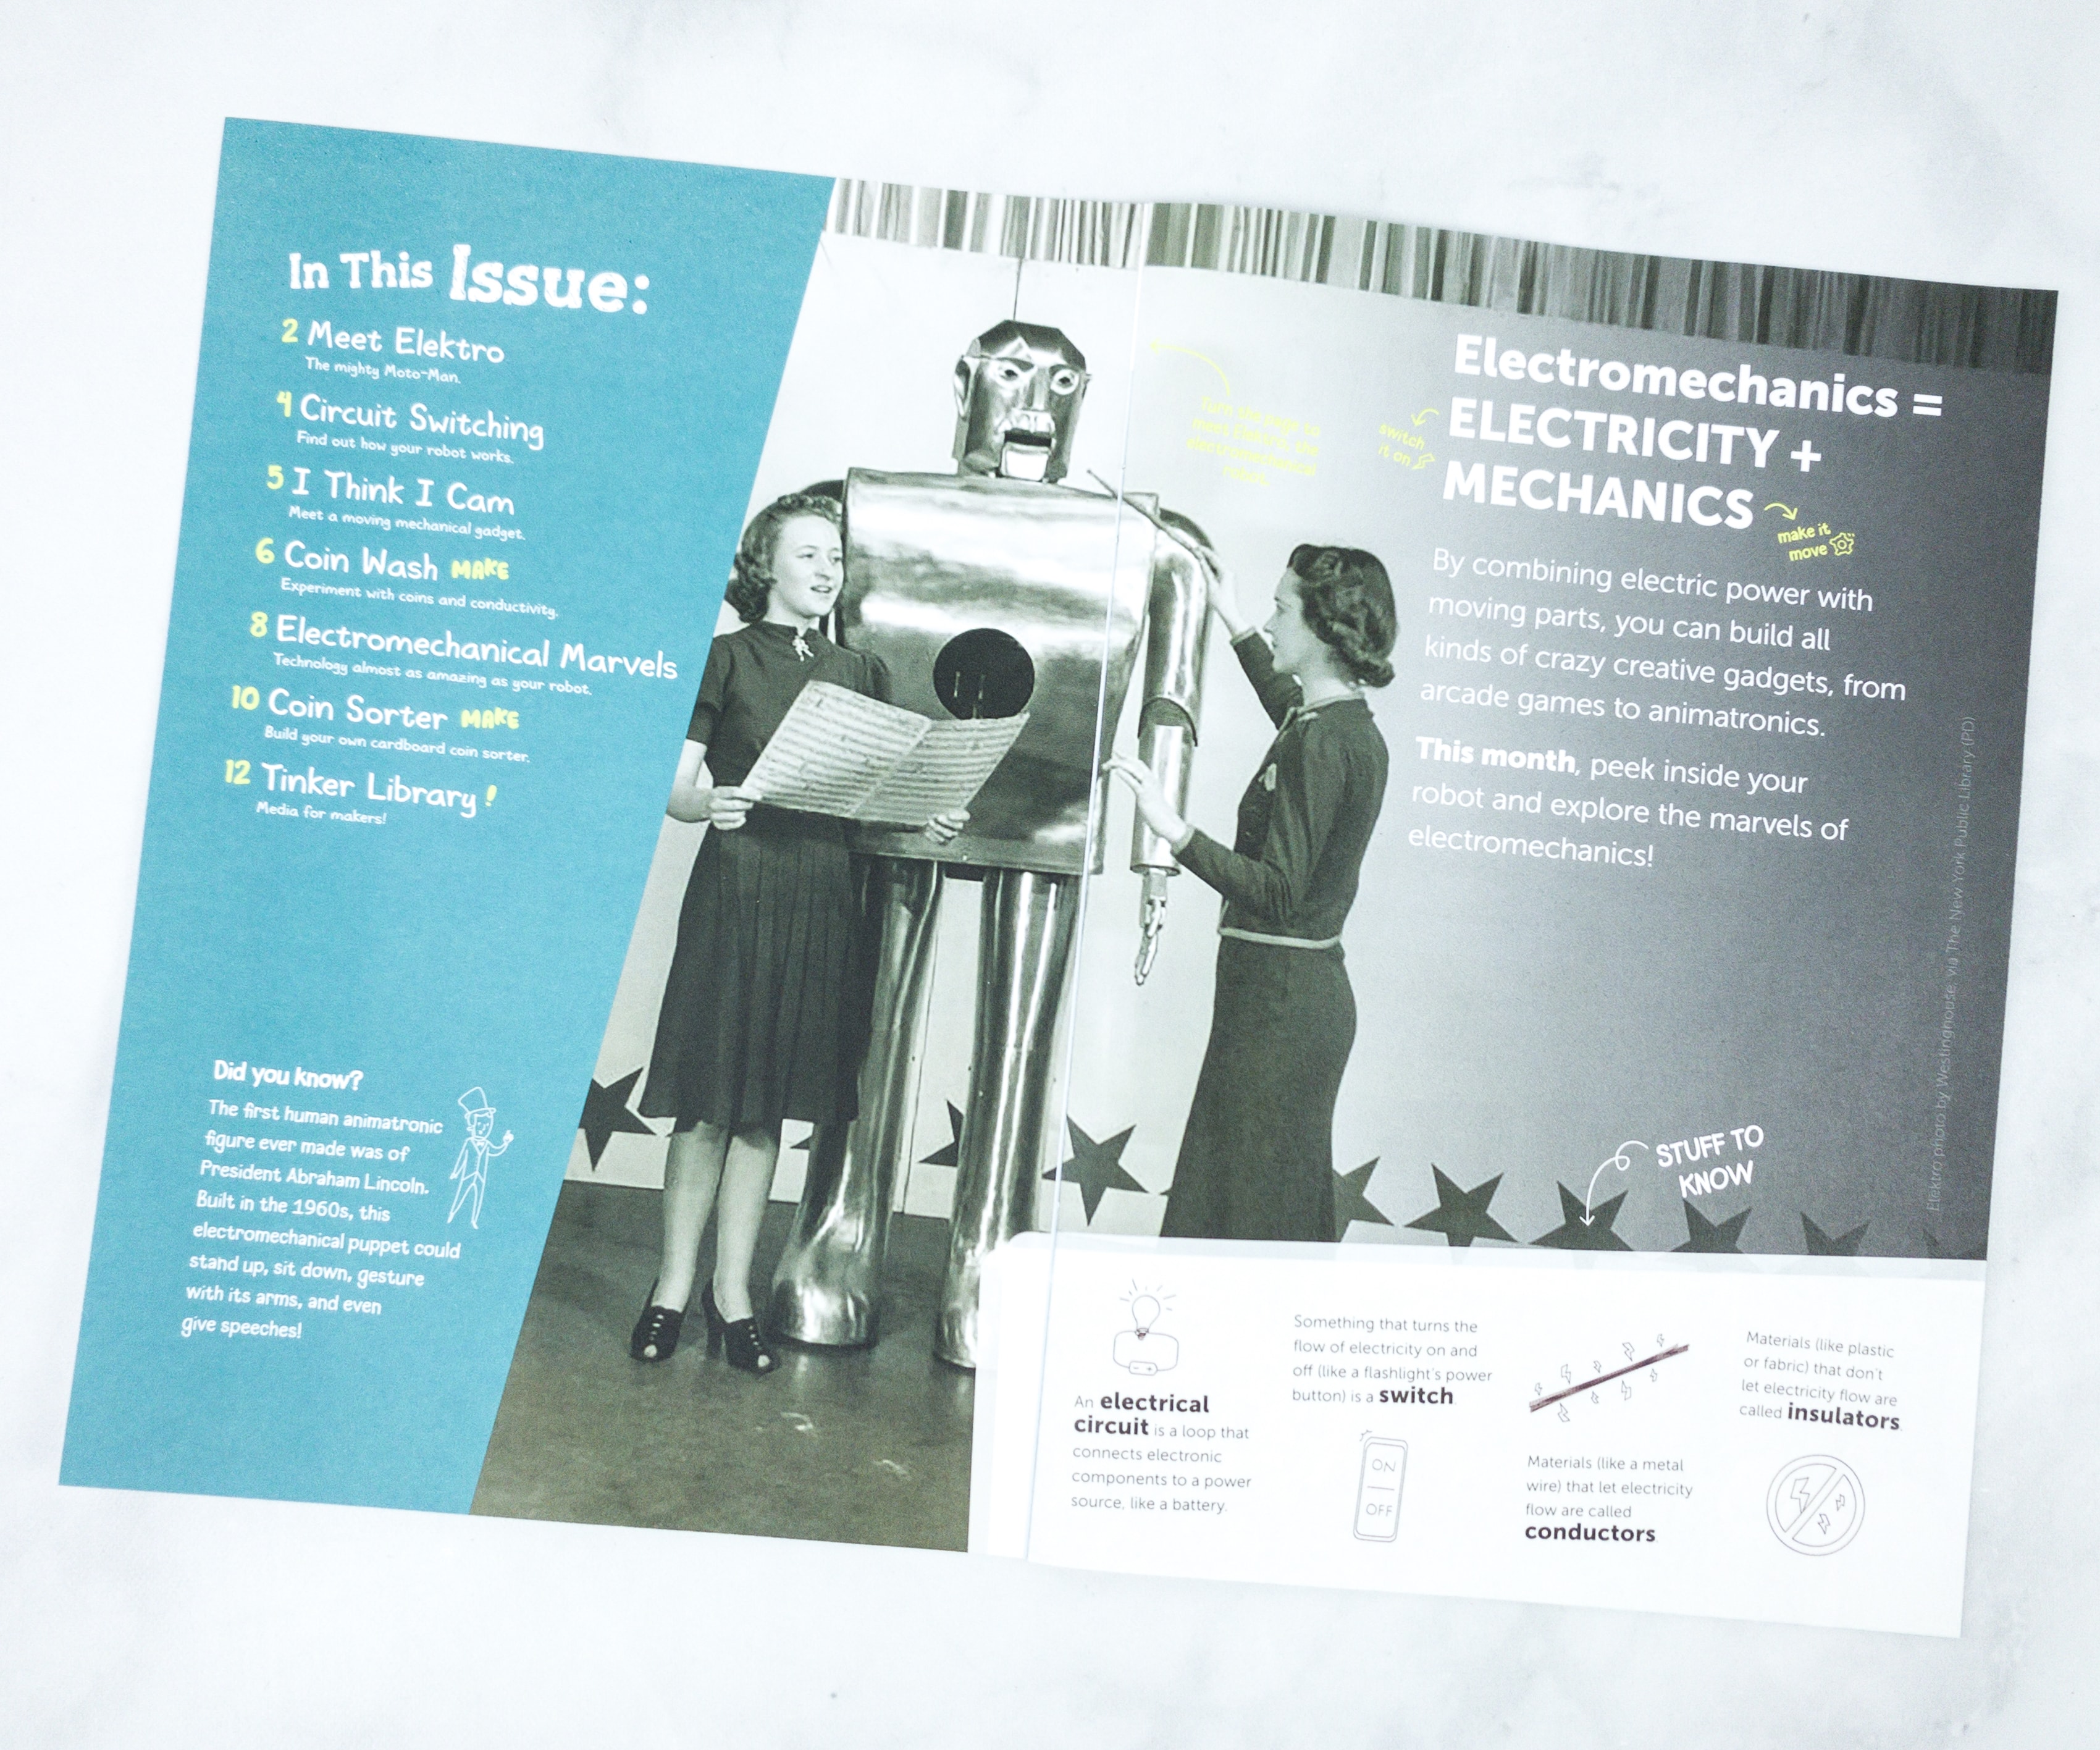
This month’s Tinker Zine discusses everything we need to know about electromechanics!
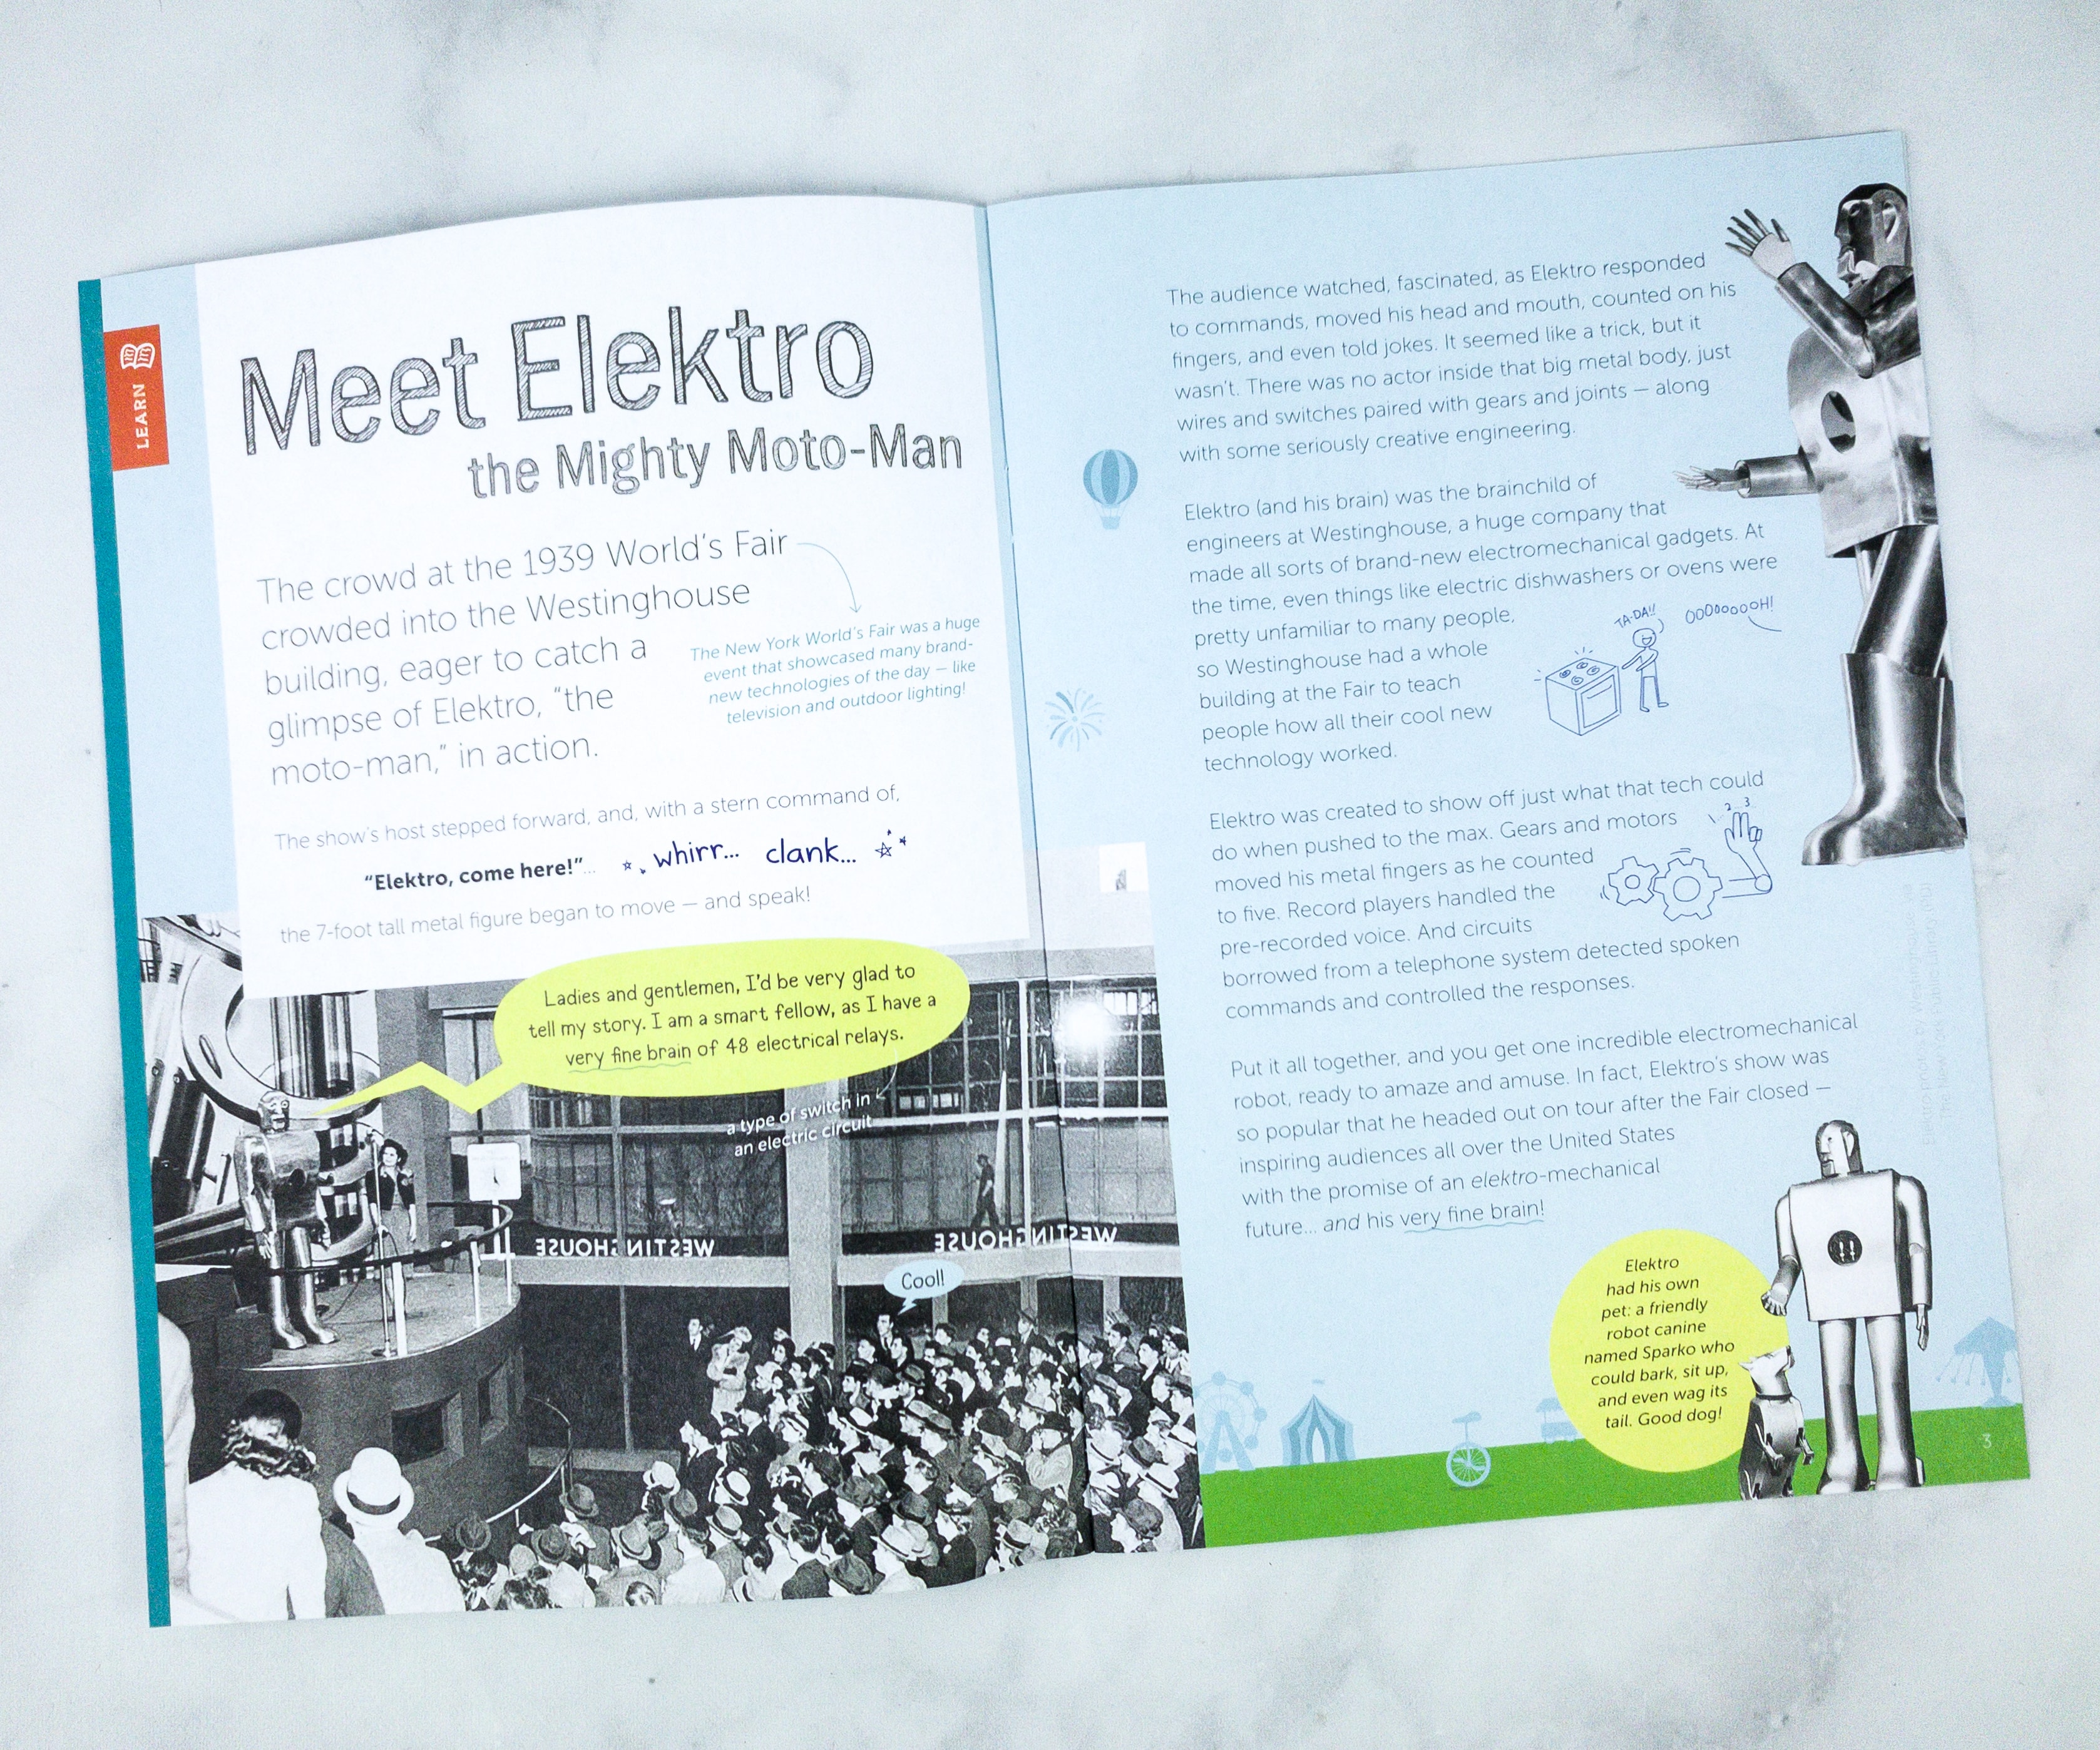
The Tinker Zine is an excellent resource for clearly articulated explanations of its mechanical and electronic concepts. They always incorporate diagrams and several real-life examples to illustrate the lessons. Featured in this part of the booklet is Elektro, the mighty moto-man!
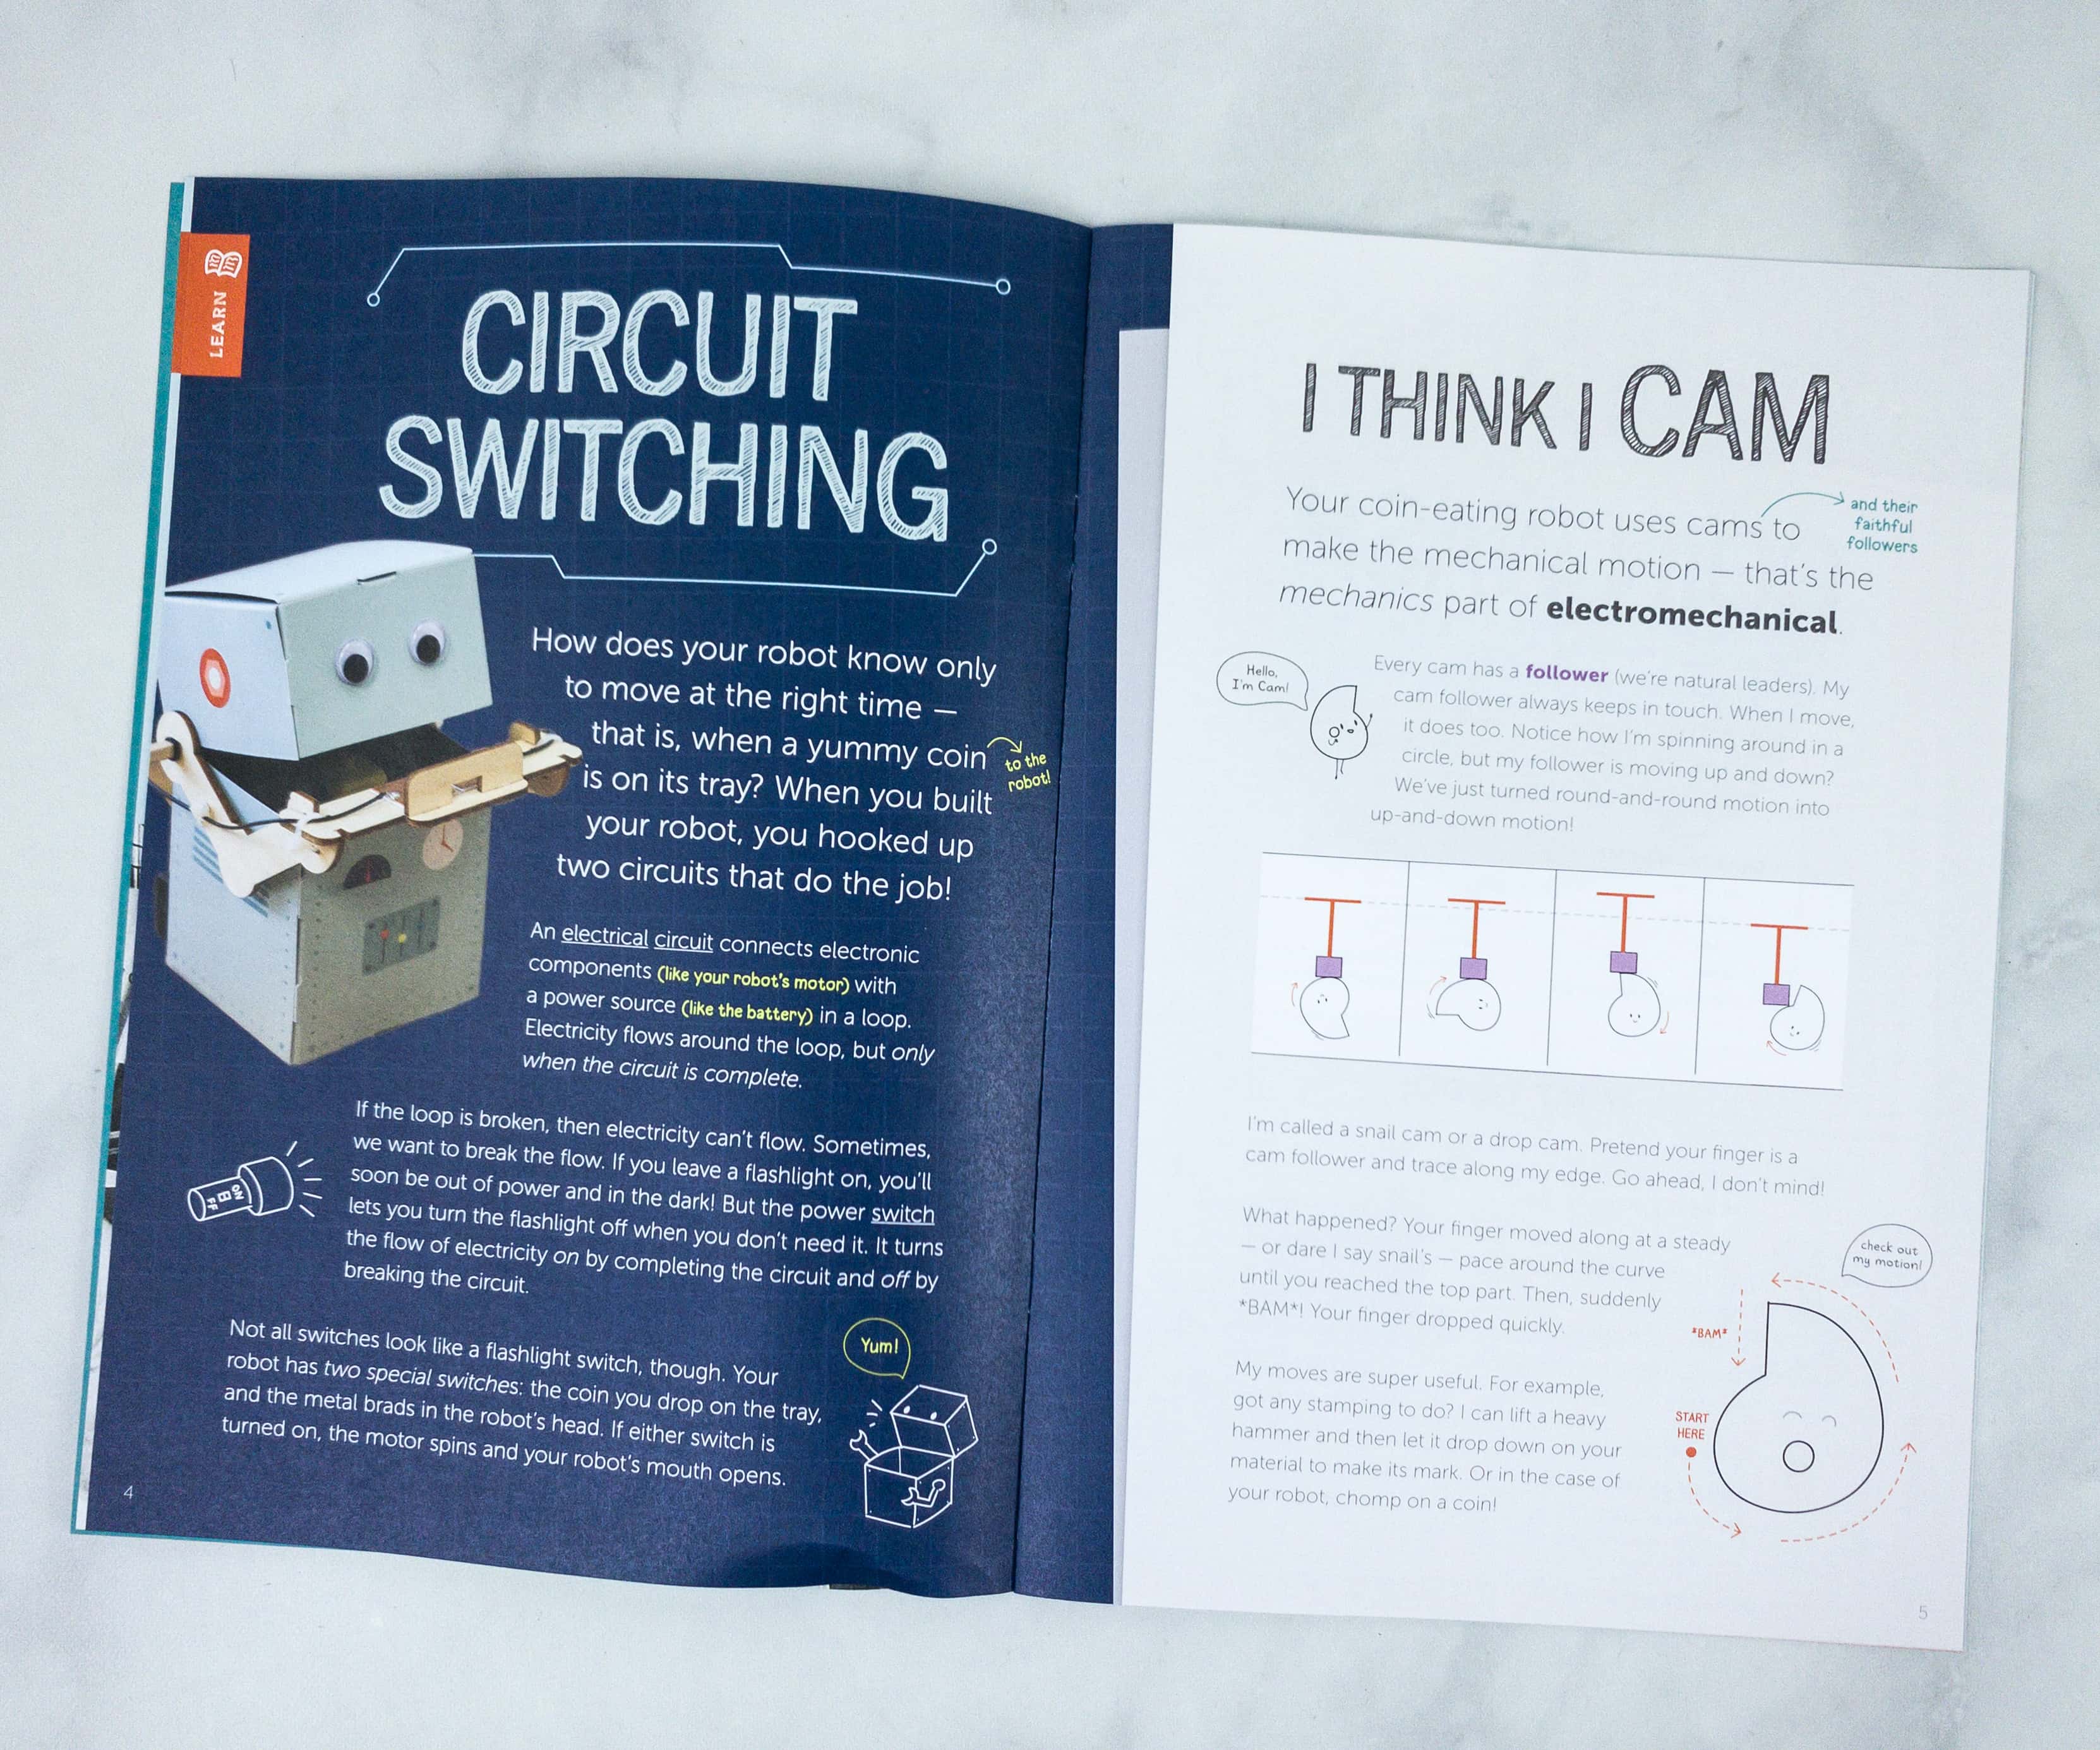
This article explains how circuit switching works, and how it affects our coin-eating robot project. It also points out the connection of electromechanics in building a variety of useful and innovative machines such as the snail cam and coin-eating robot.
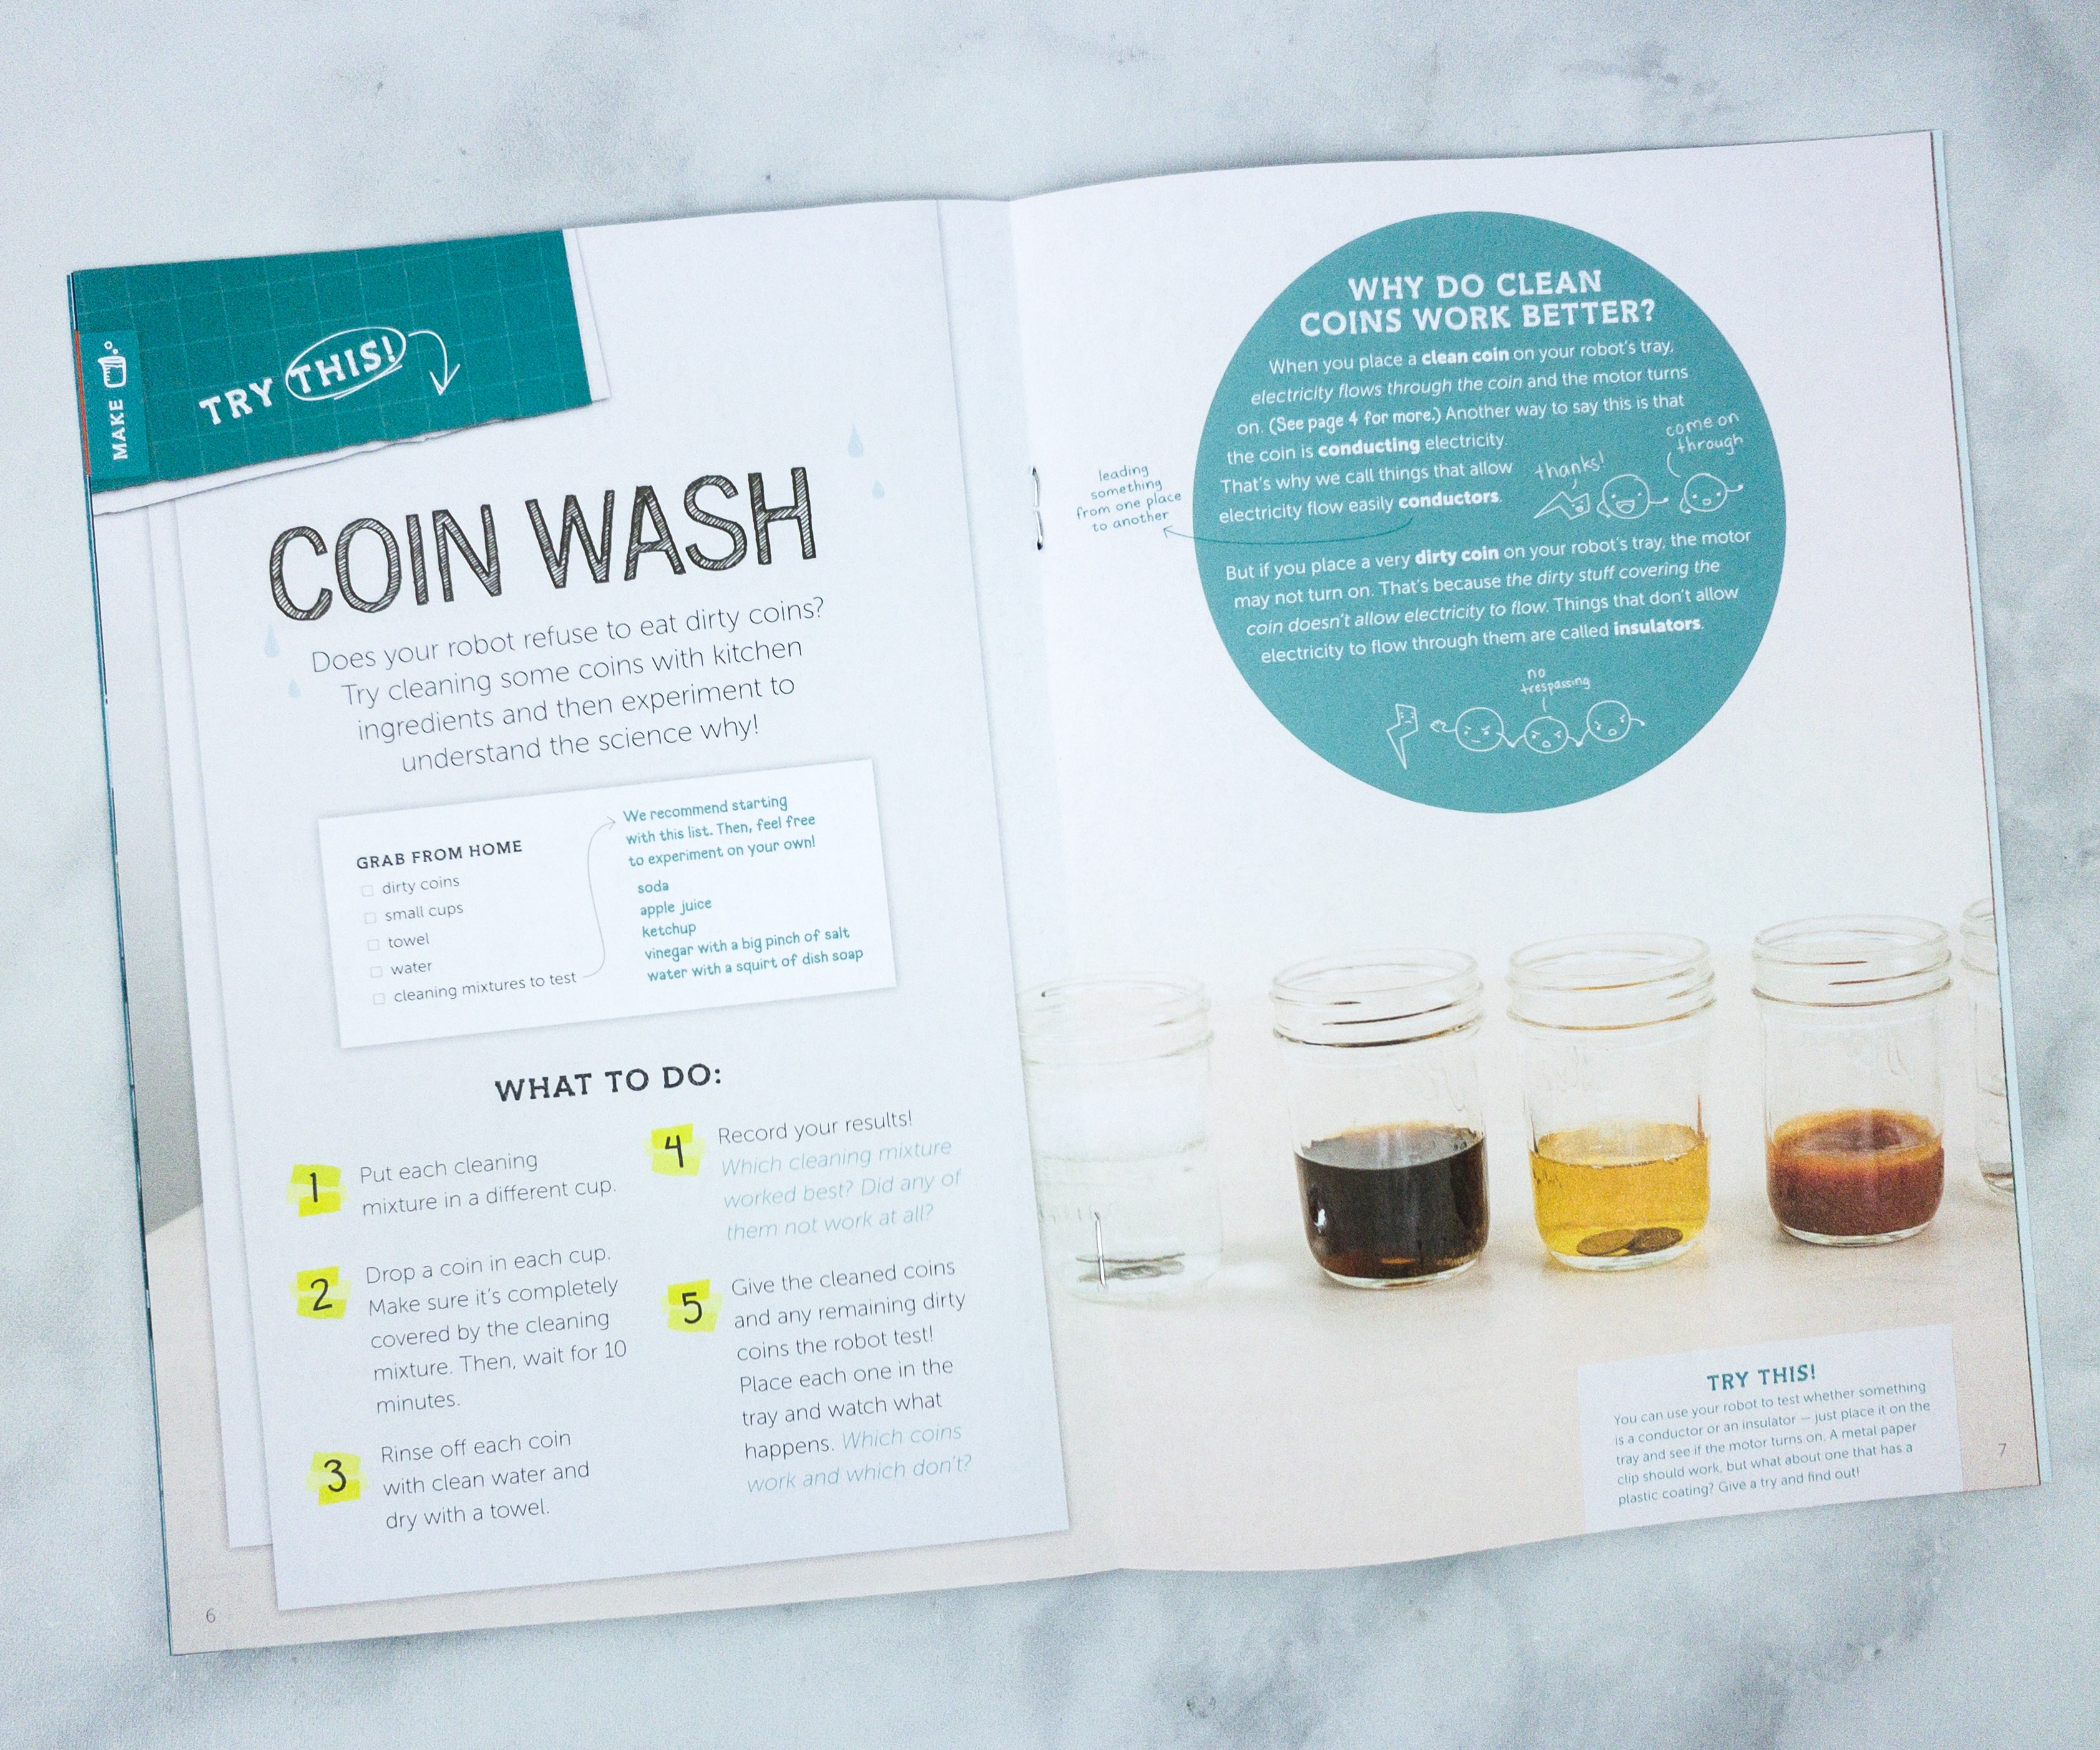
Metal is an excellent conductor of electricity, it makes the electric current flow through easily. Any dirt on the metal may delay, if not totally shut down, the flow of electricity. So it is safe to say that a clean coin makes a better conductor than a dirty one.
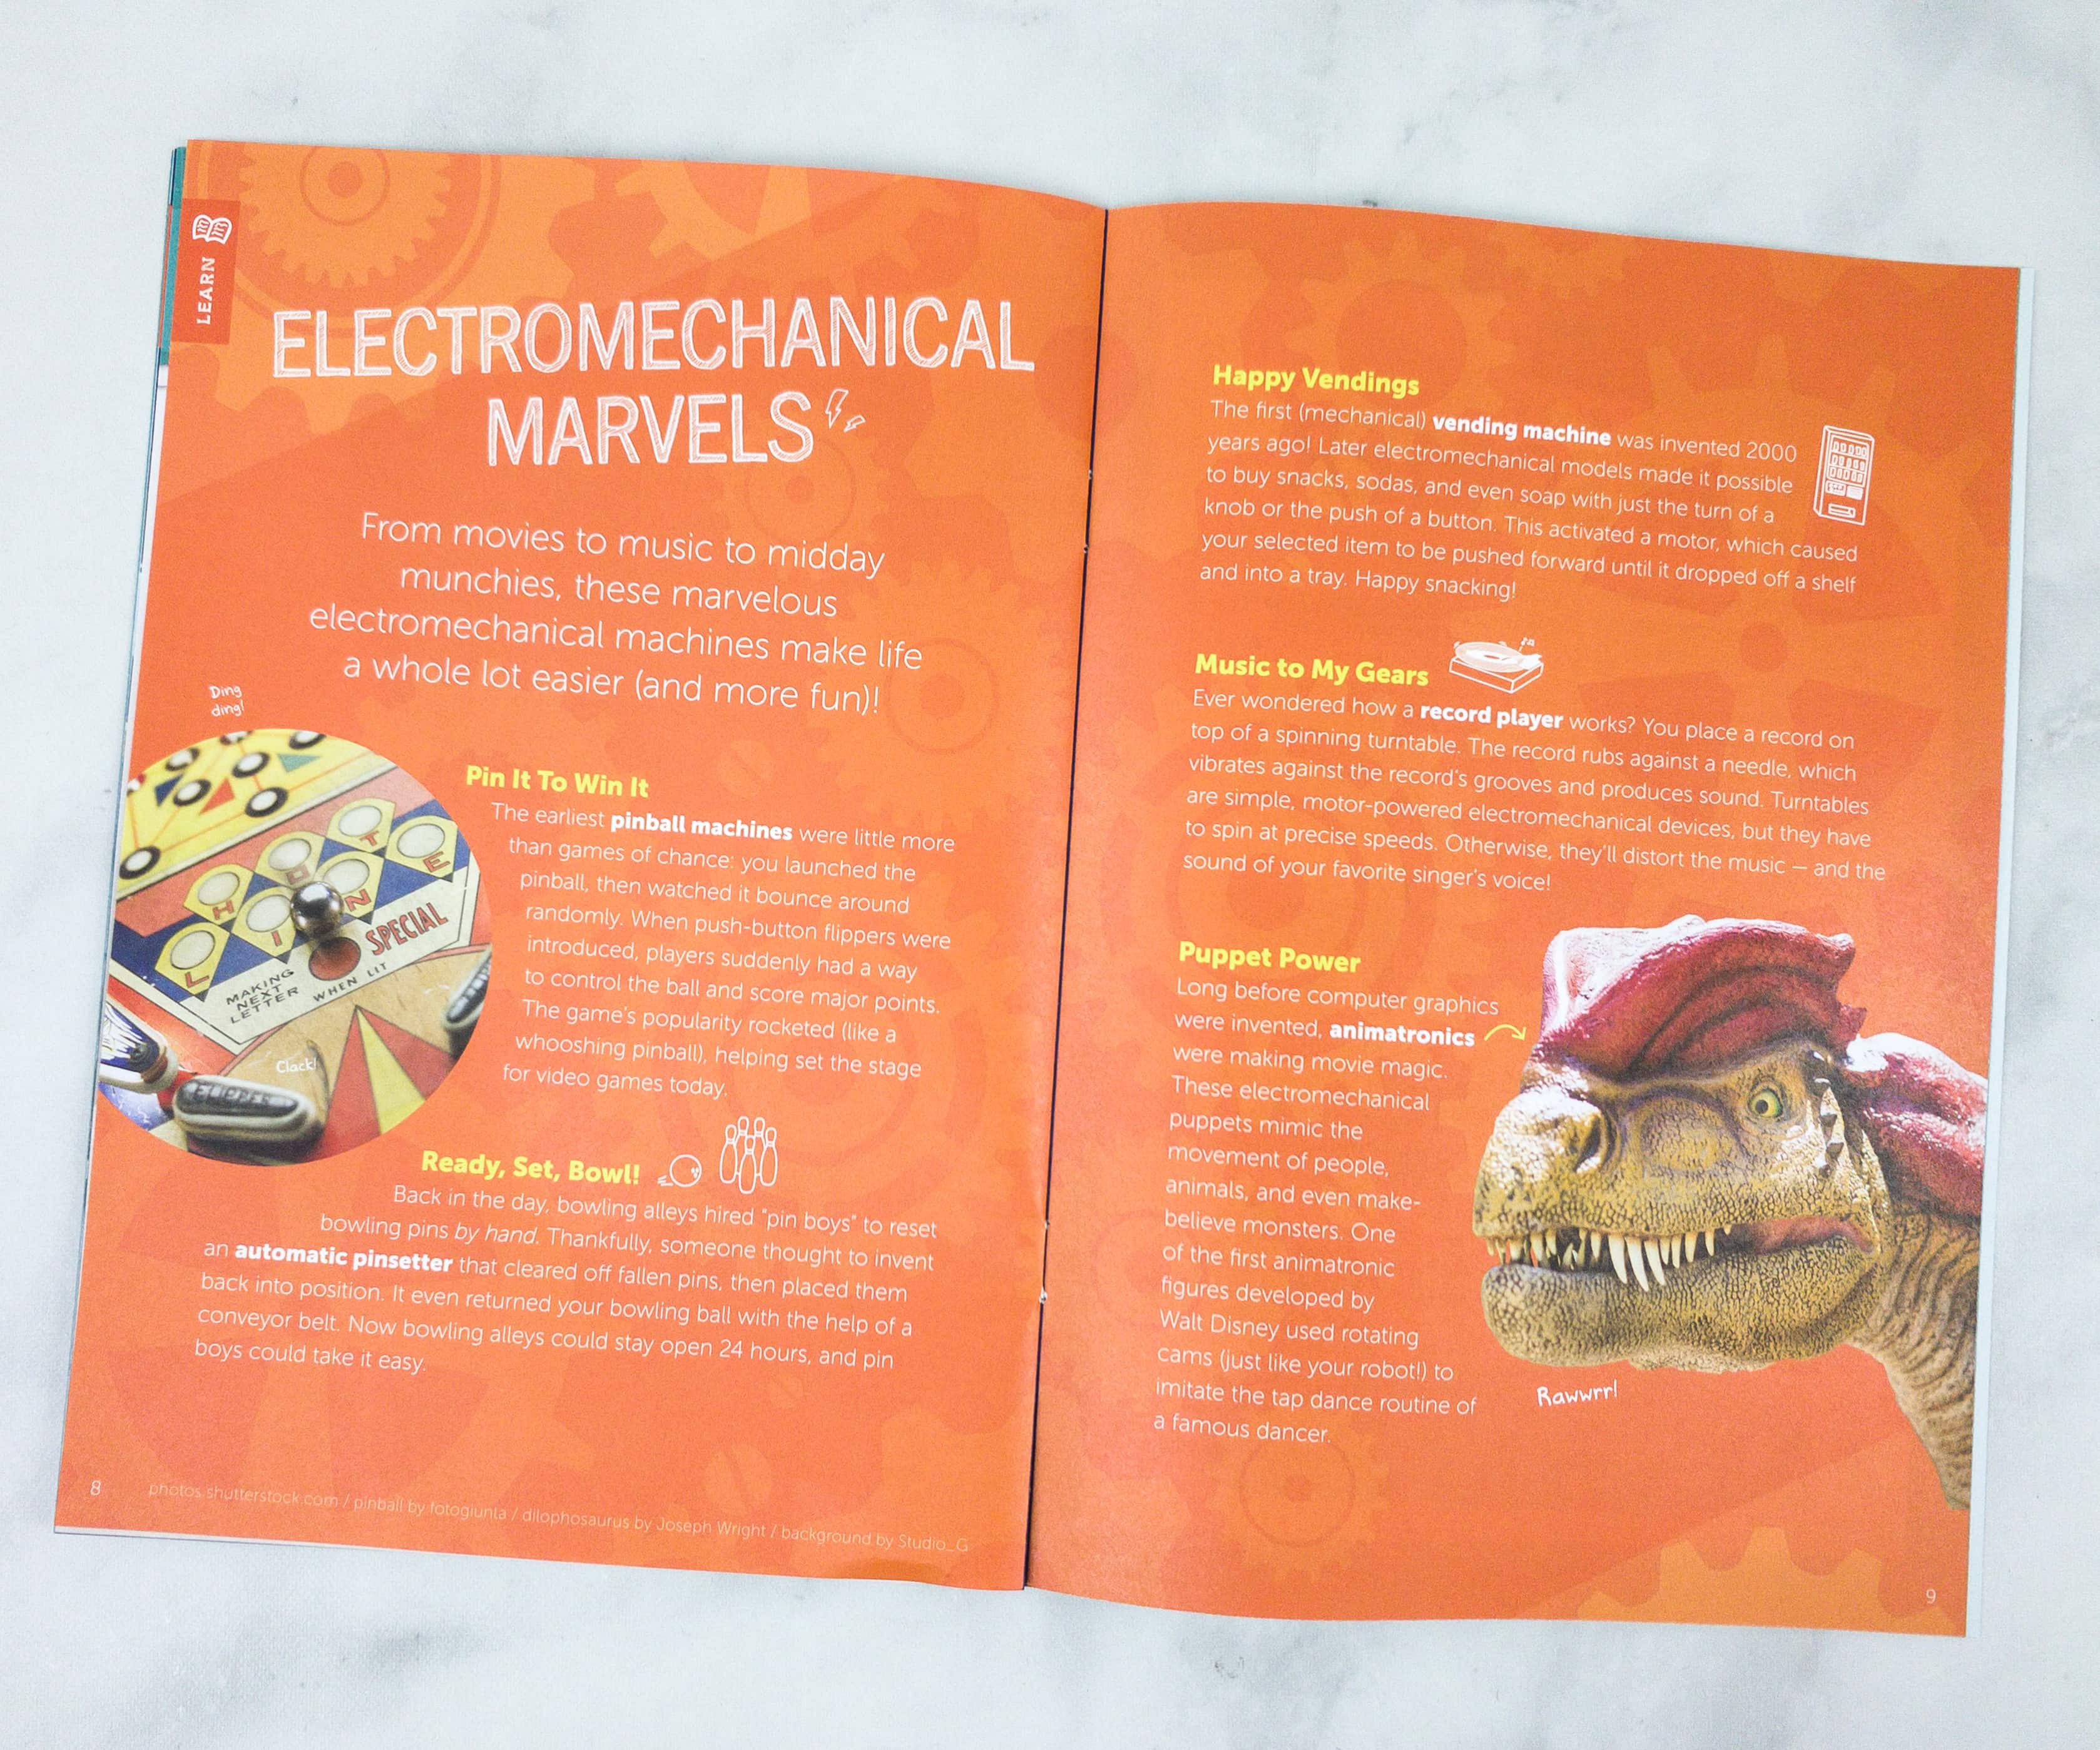
Meanwhile, these pages feature a variety of machines that uses electromechanical technology to make life easier. Here are some of the machines that were mentioned in this article: pinball machine, automatic pinsetter, vending machine, record player, and animatronics.
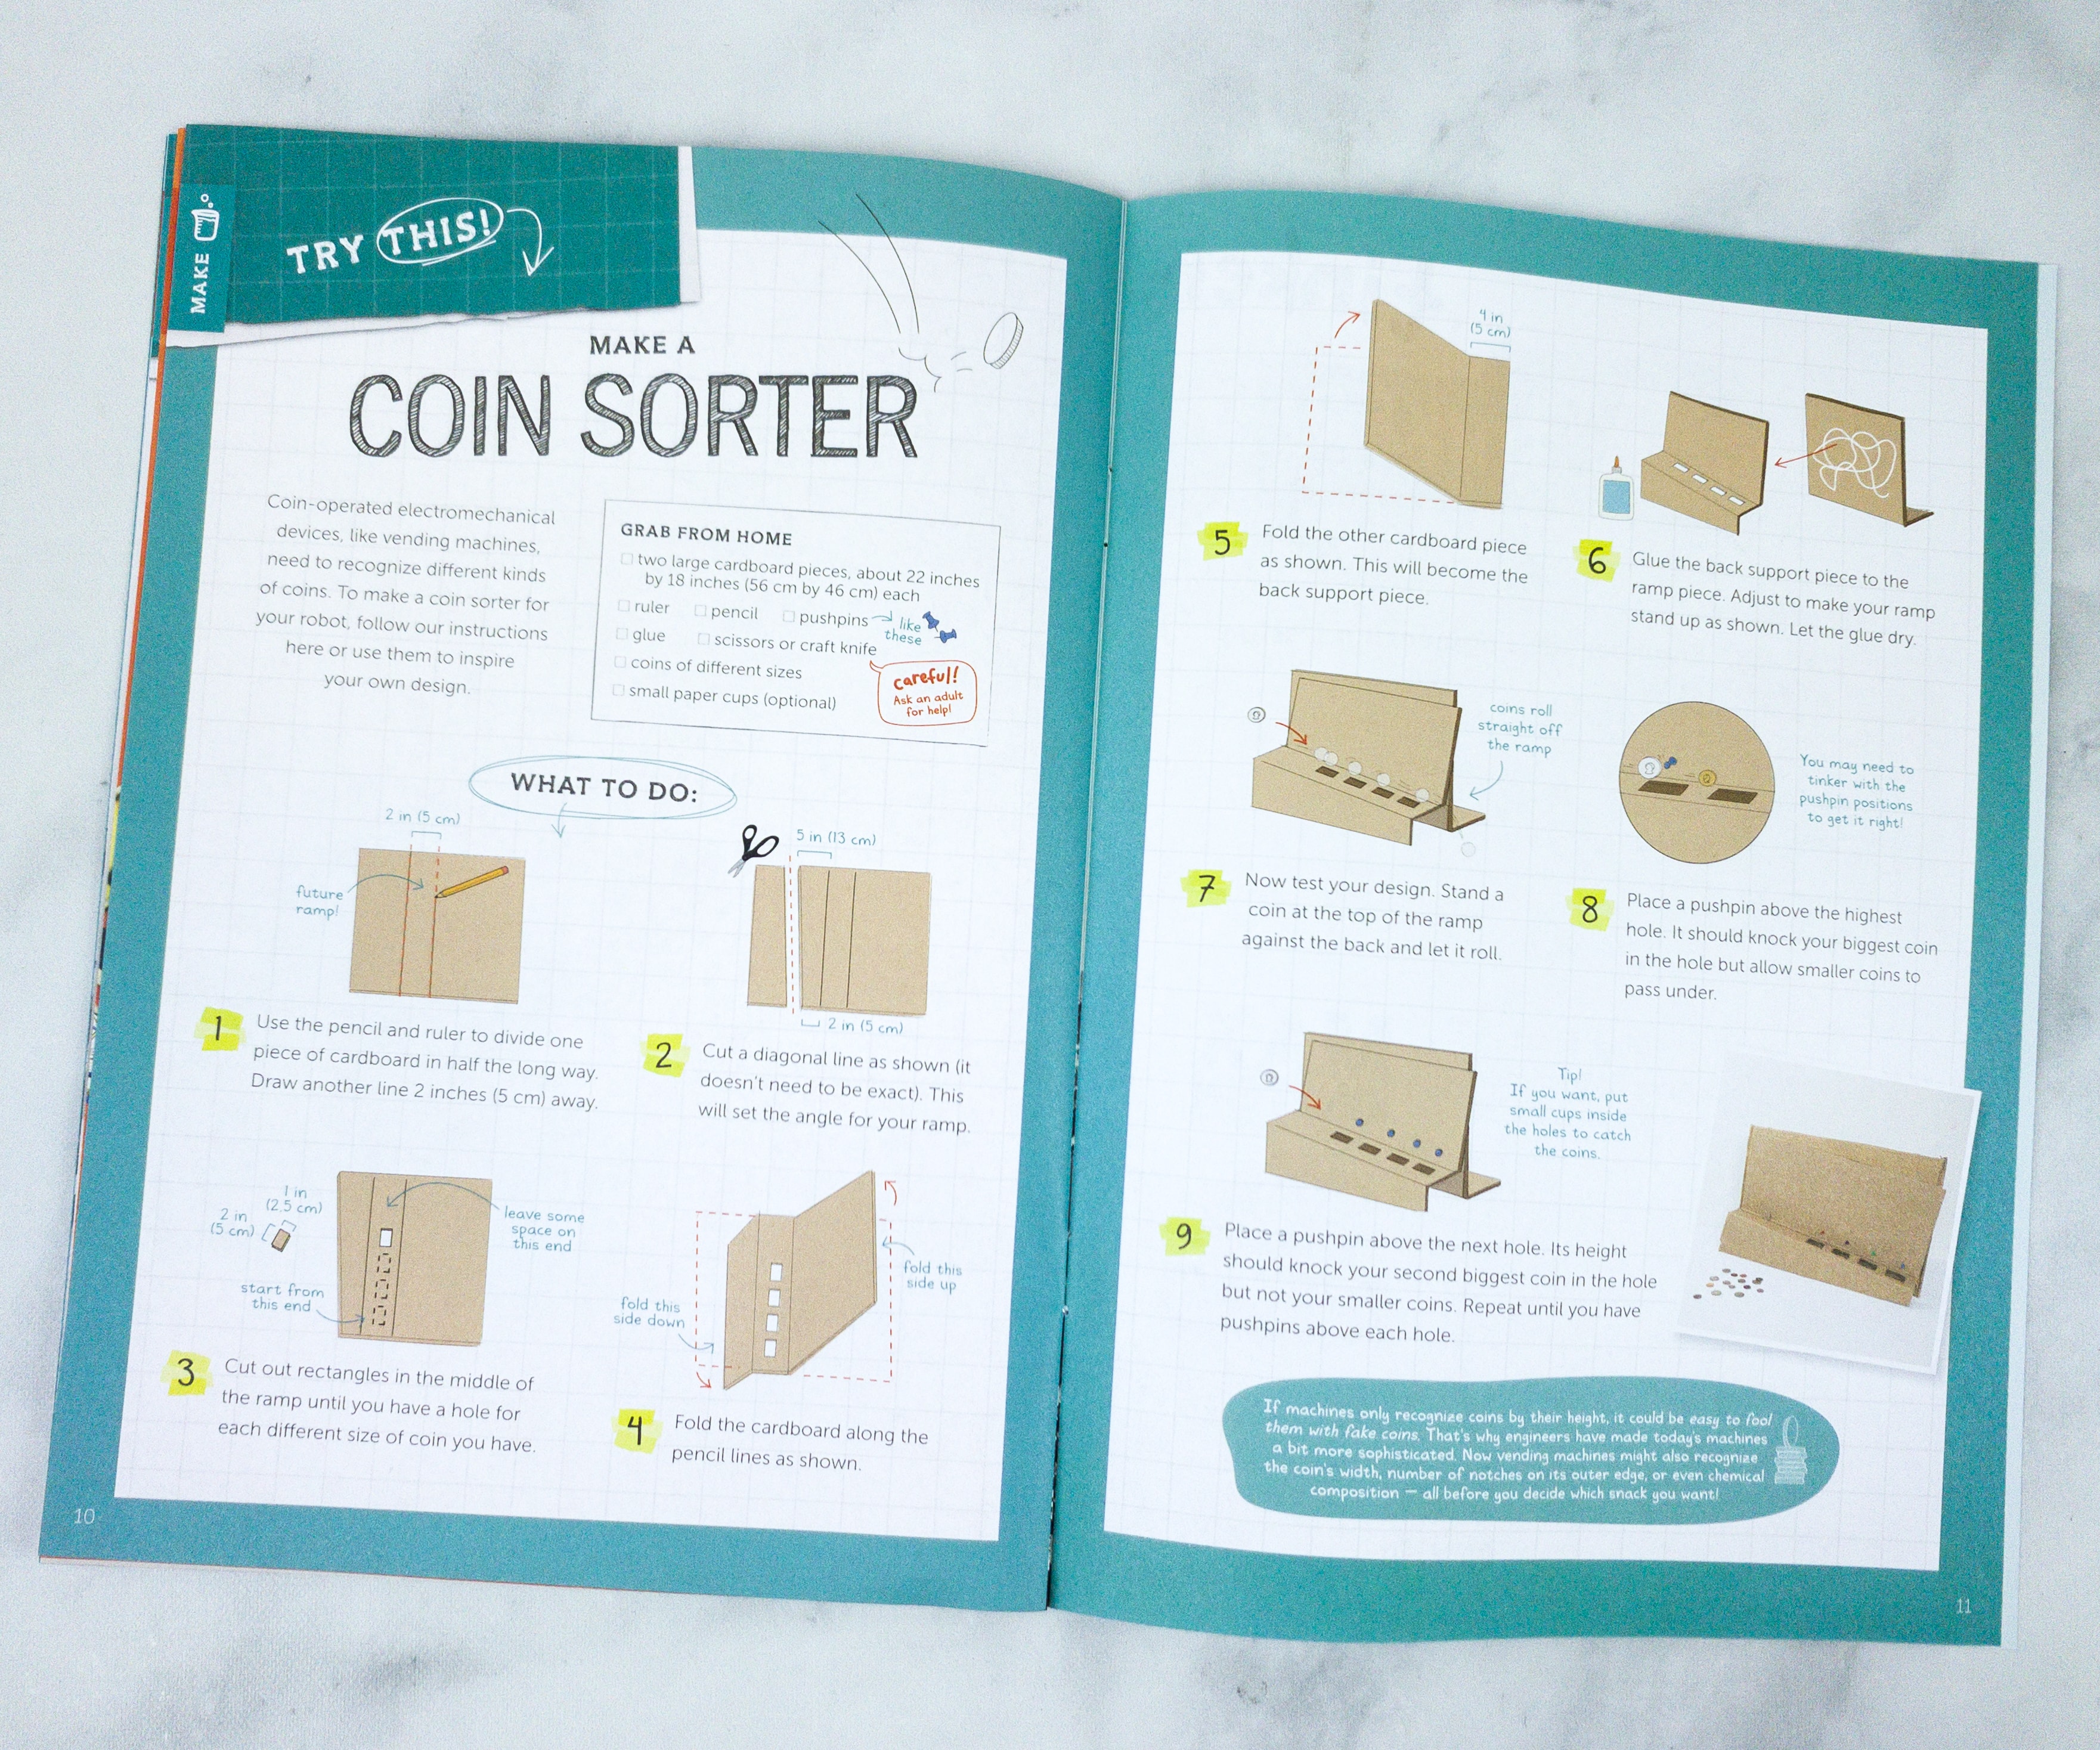
This booklet also suggests an additional activity related to this month’s main project. This month, it’s a coin sorter that we can use along with the robot!
Tinker Crate Blueprint + Materials
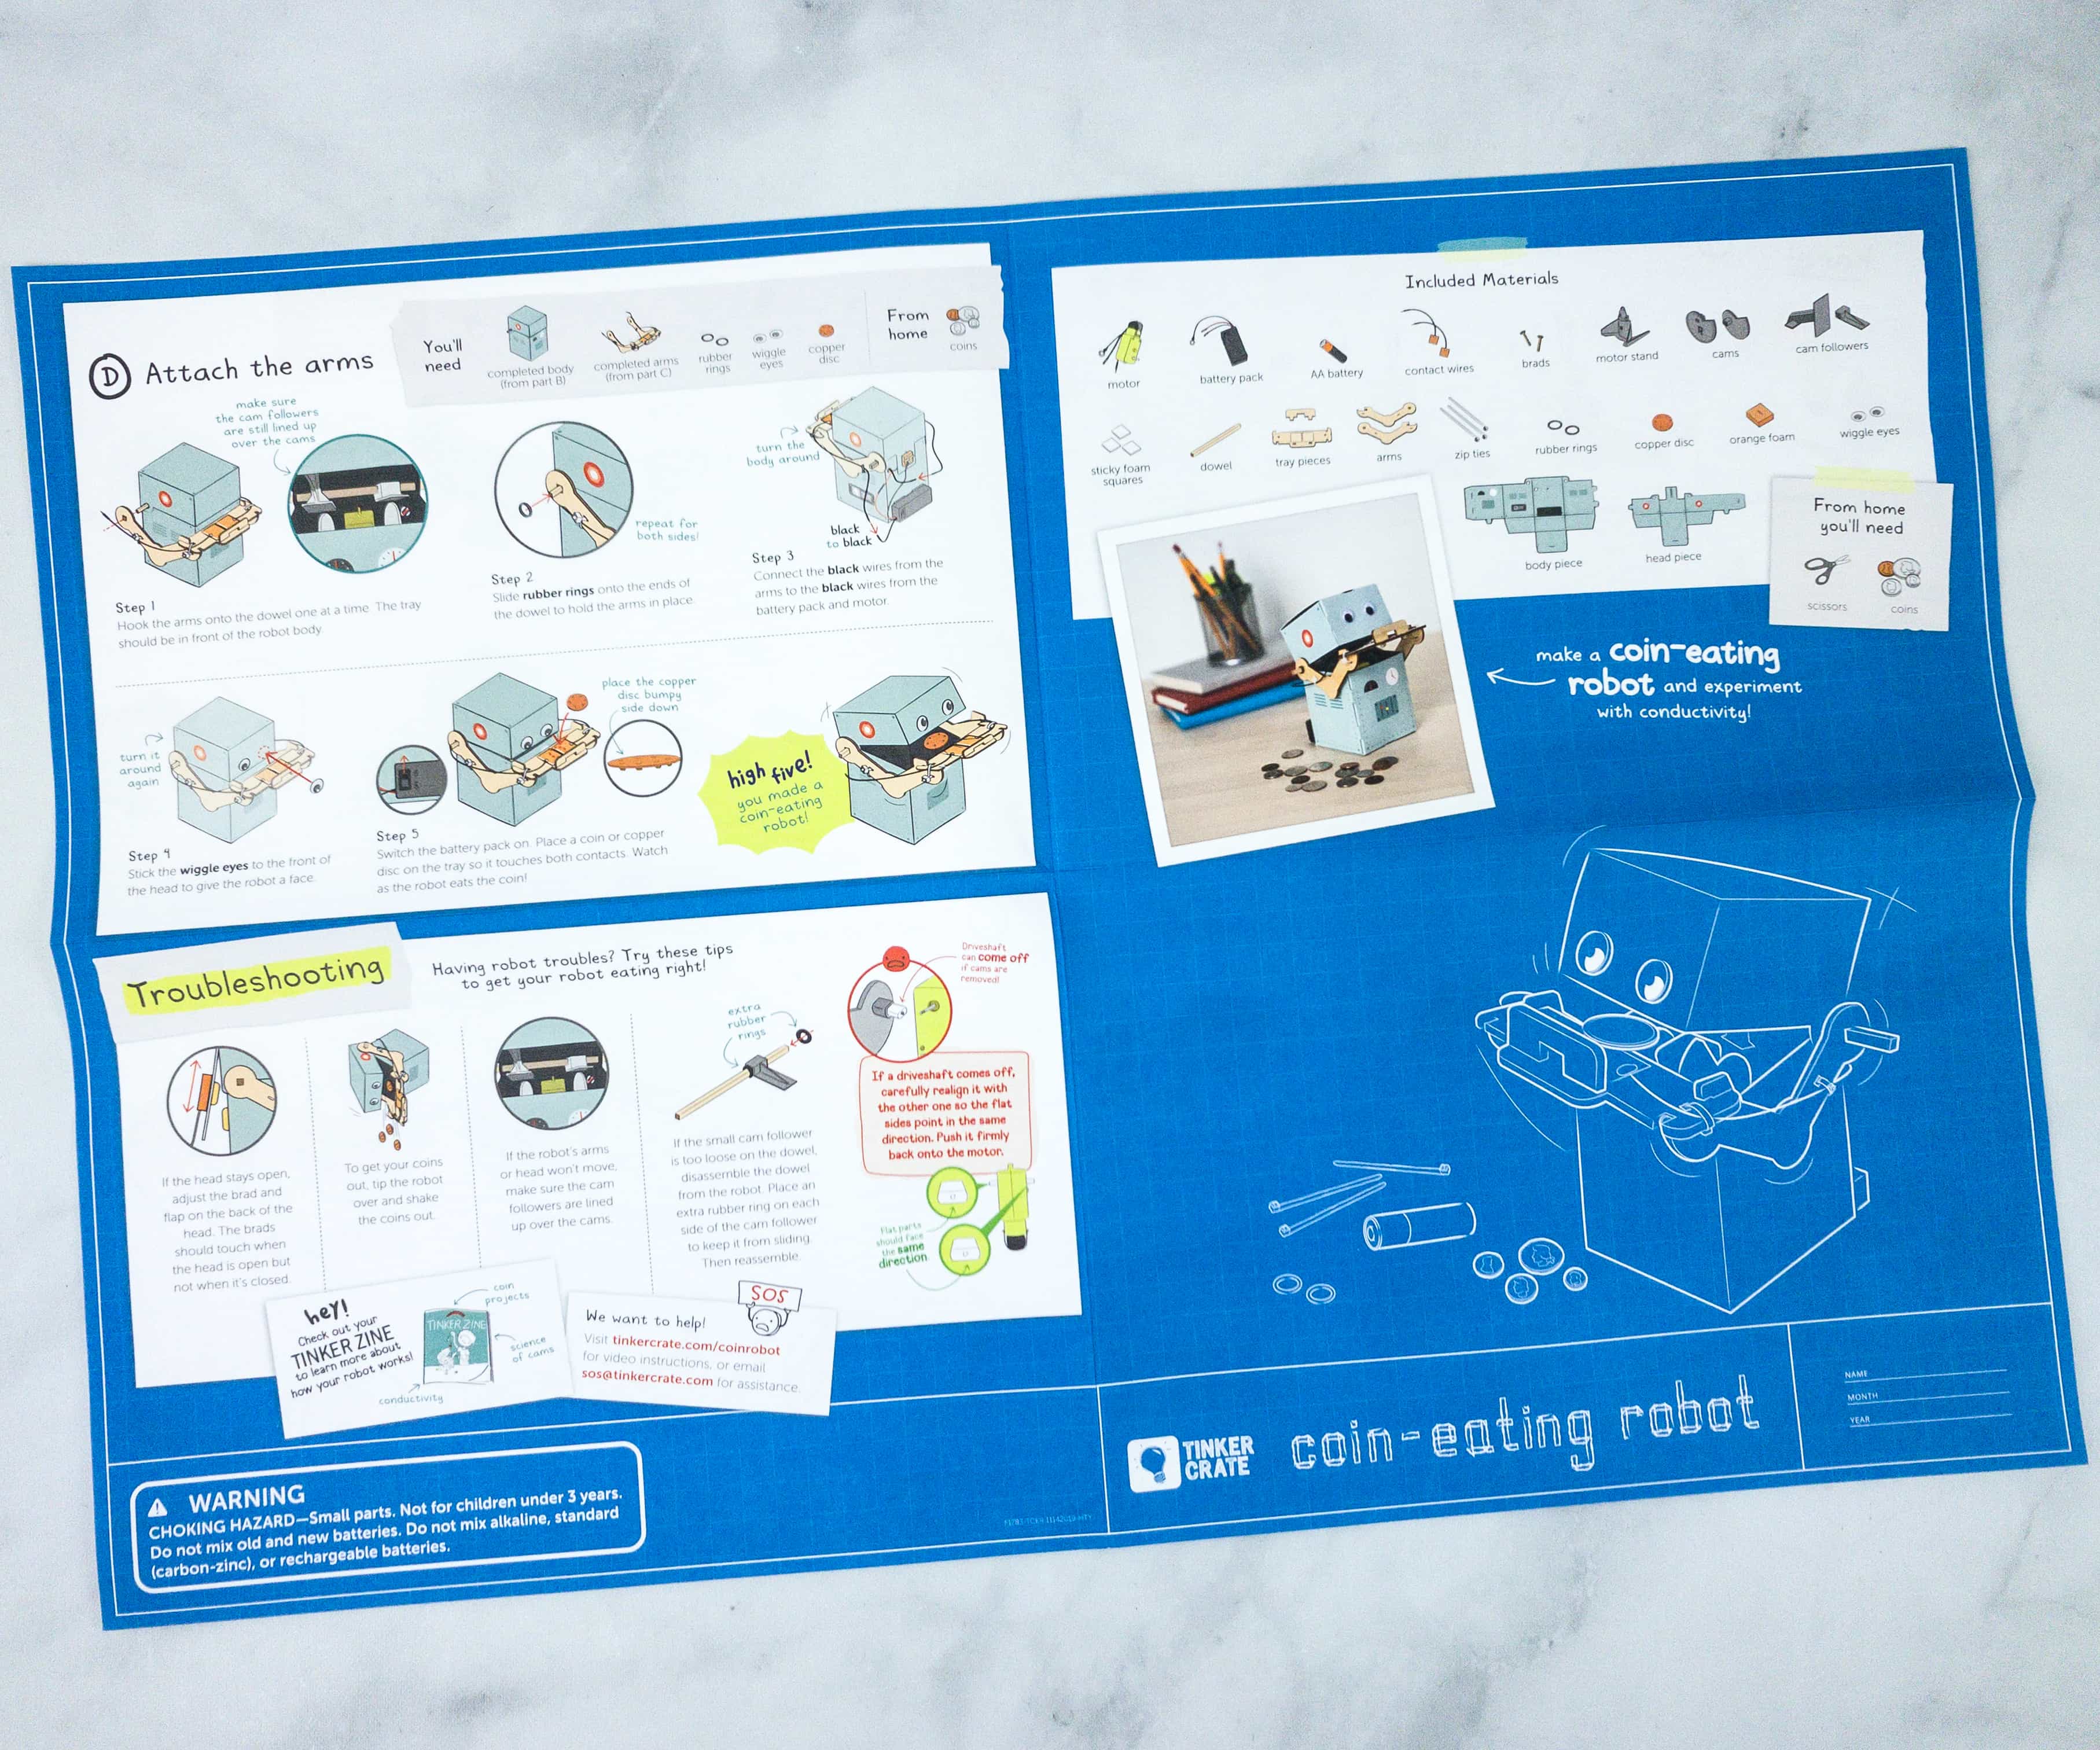
The instructions and other project info are printed on a faux blueprint fold-out sheet.
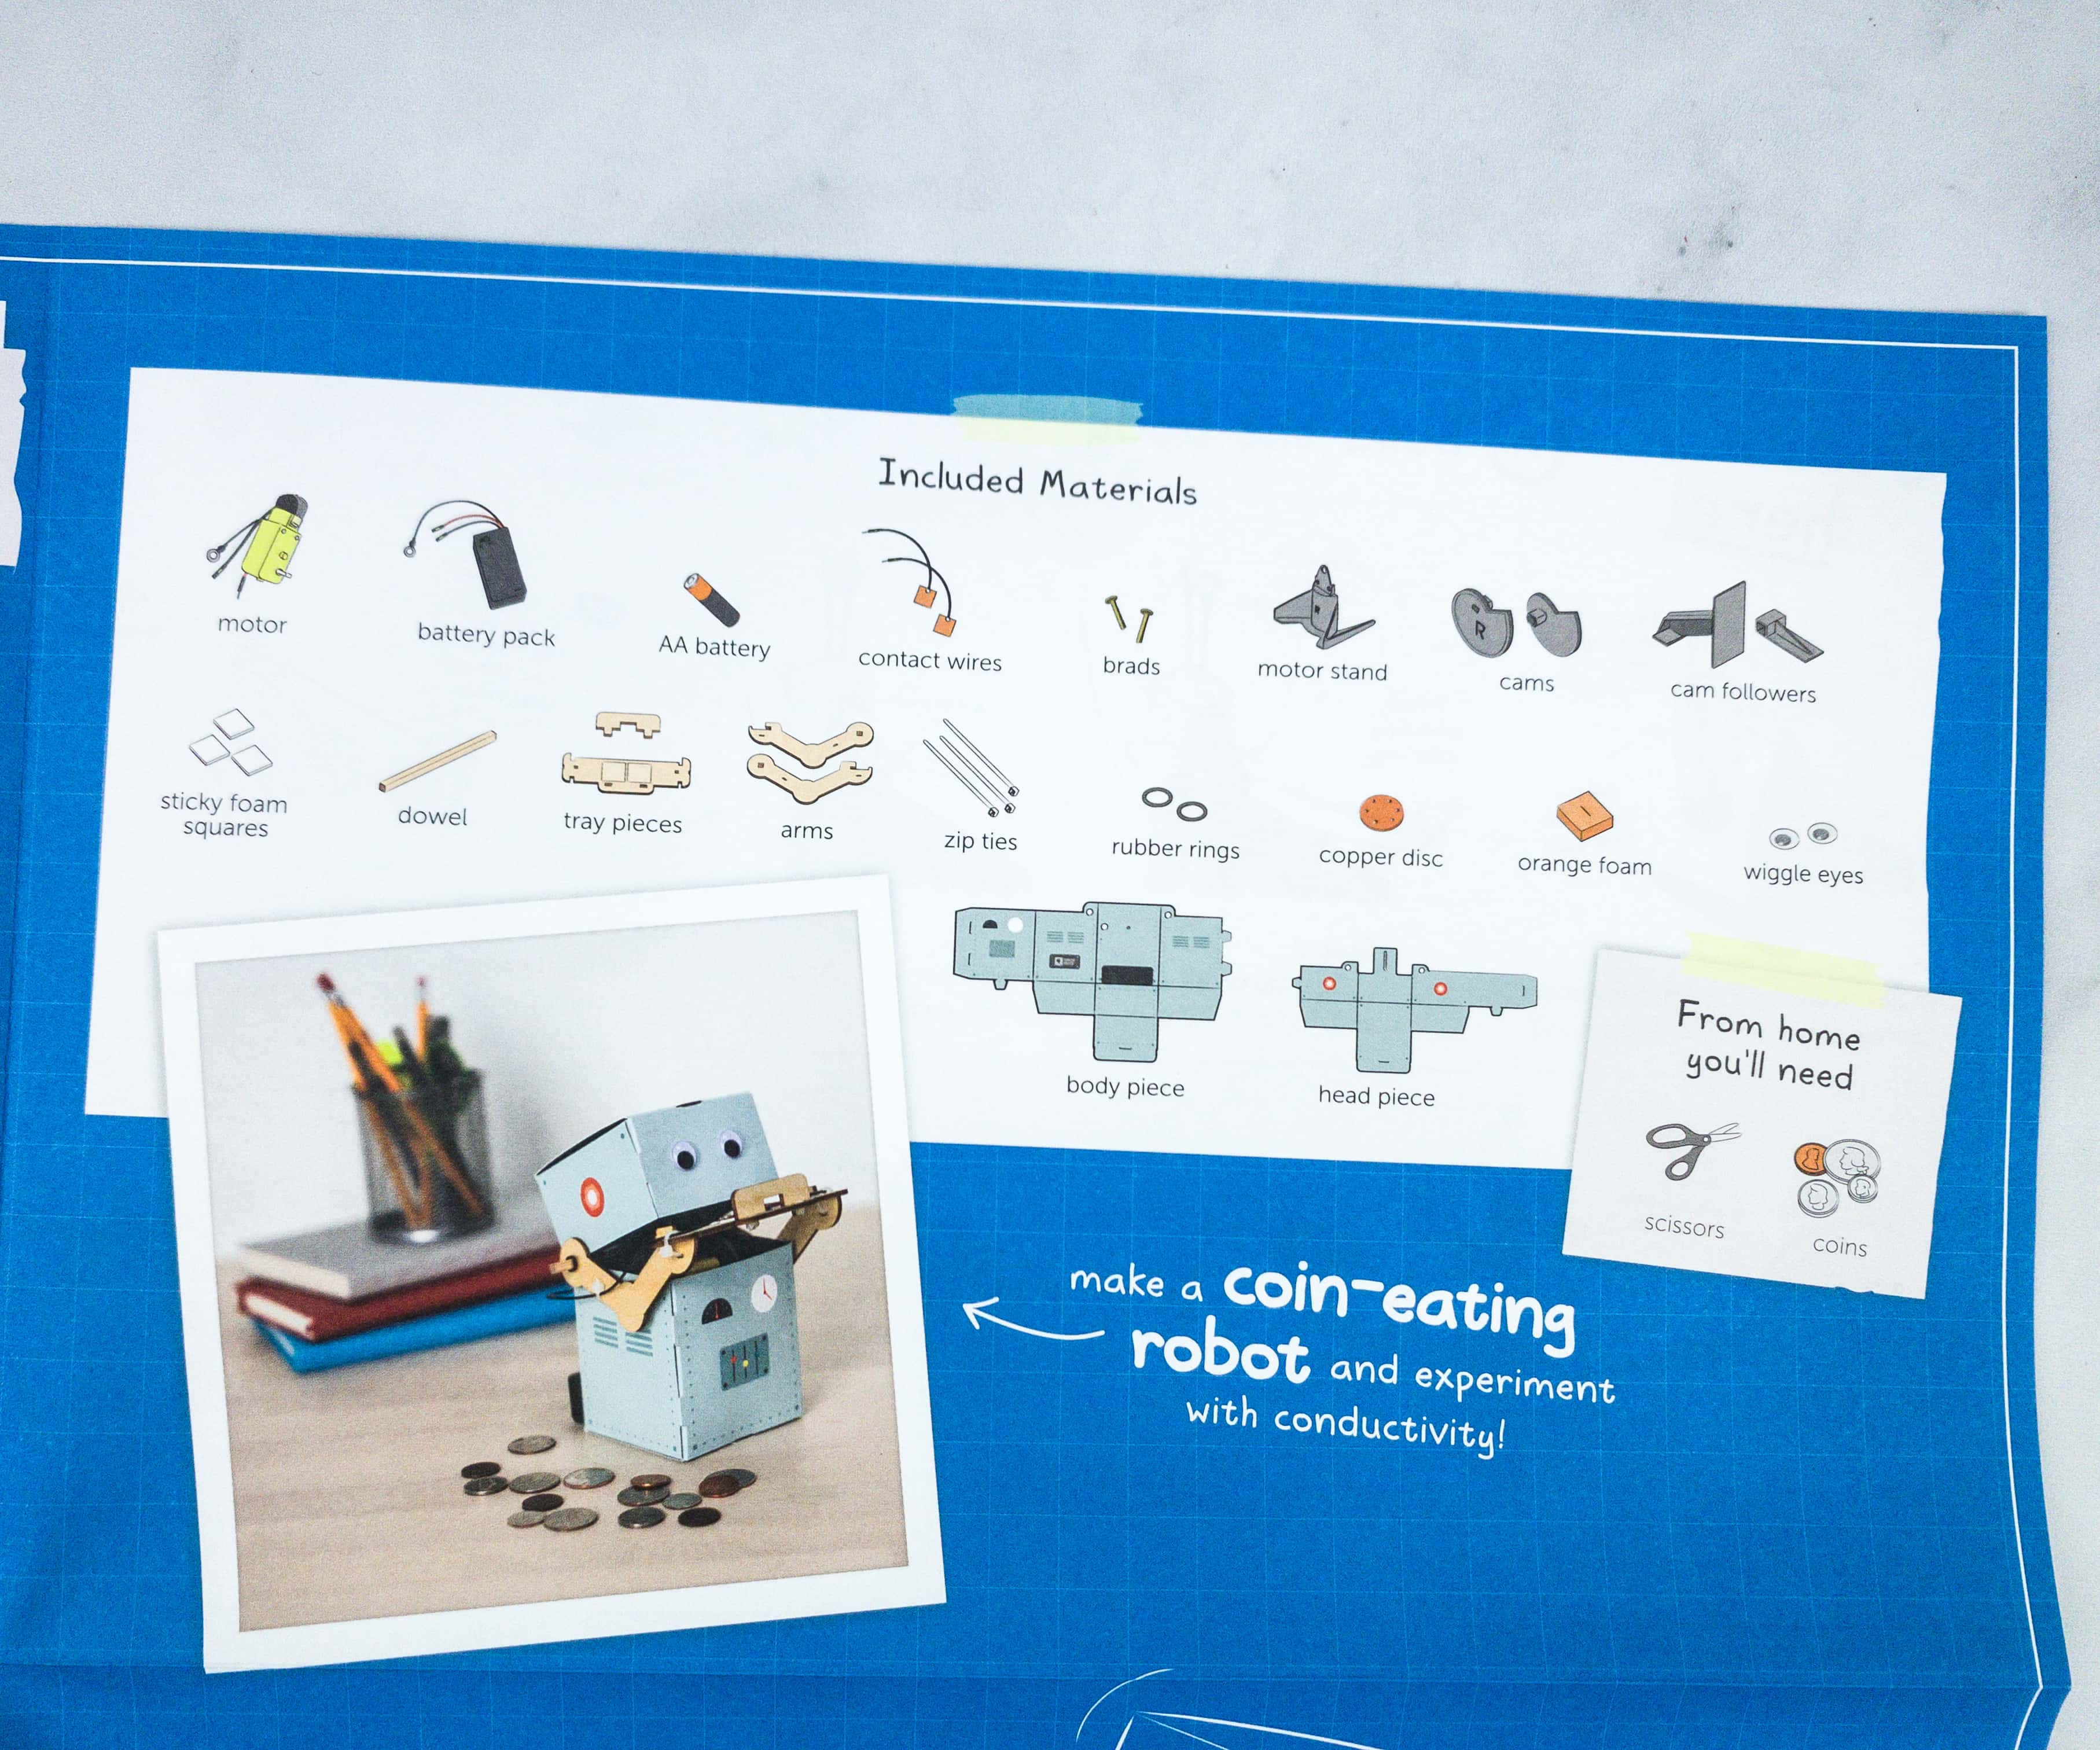
One side of the sheet has pointers for using your newly-constructed device, plus an inventory of all the supplies provided in the Crate.
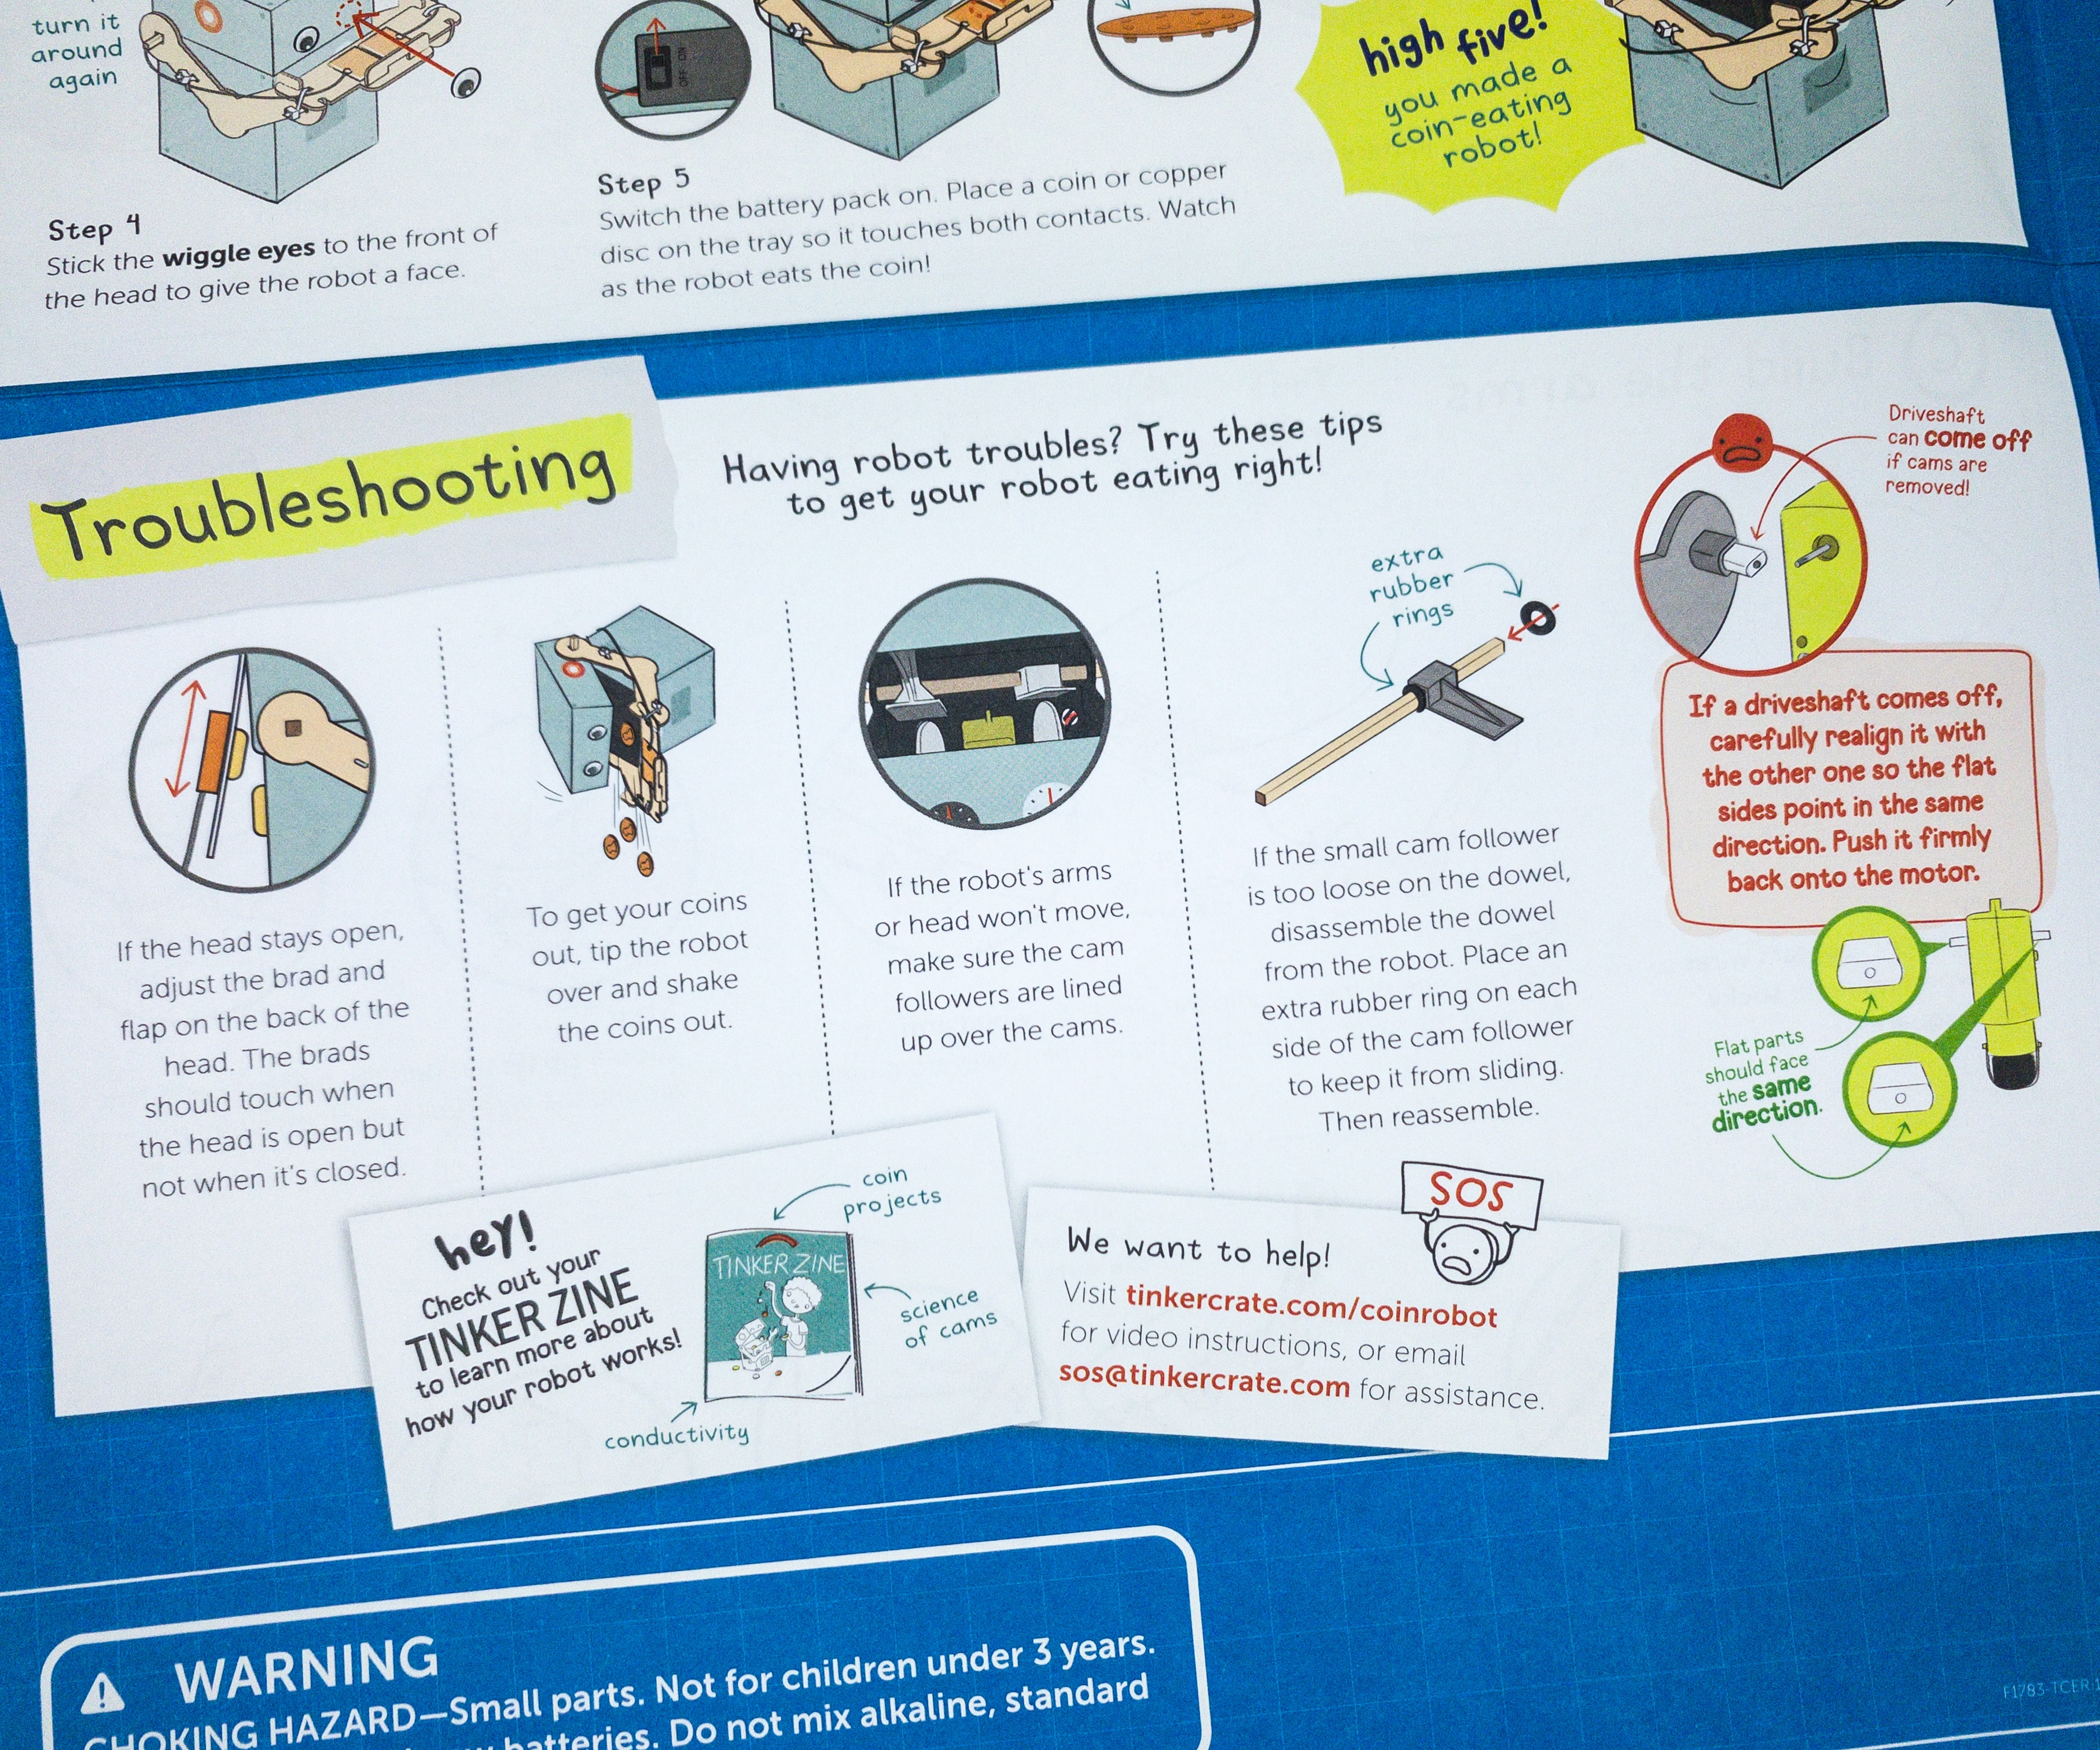
If you are having trouble making the project, you can also visit their website for more detailed video instructions.
Tinker Crate Activities
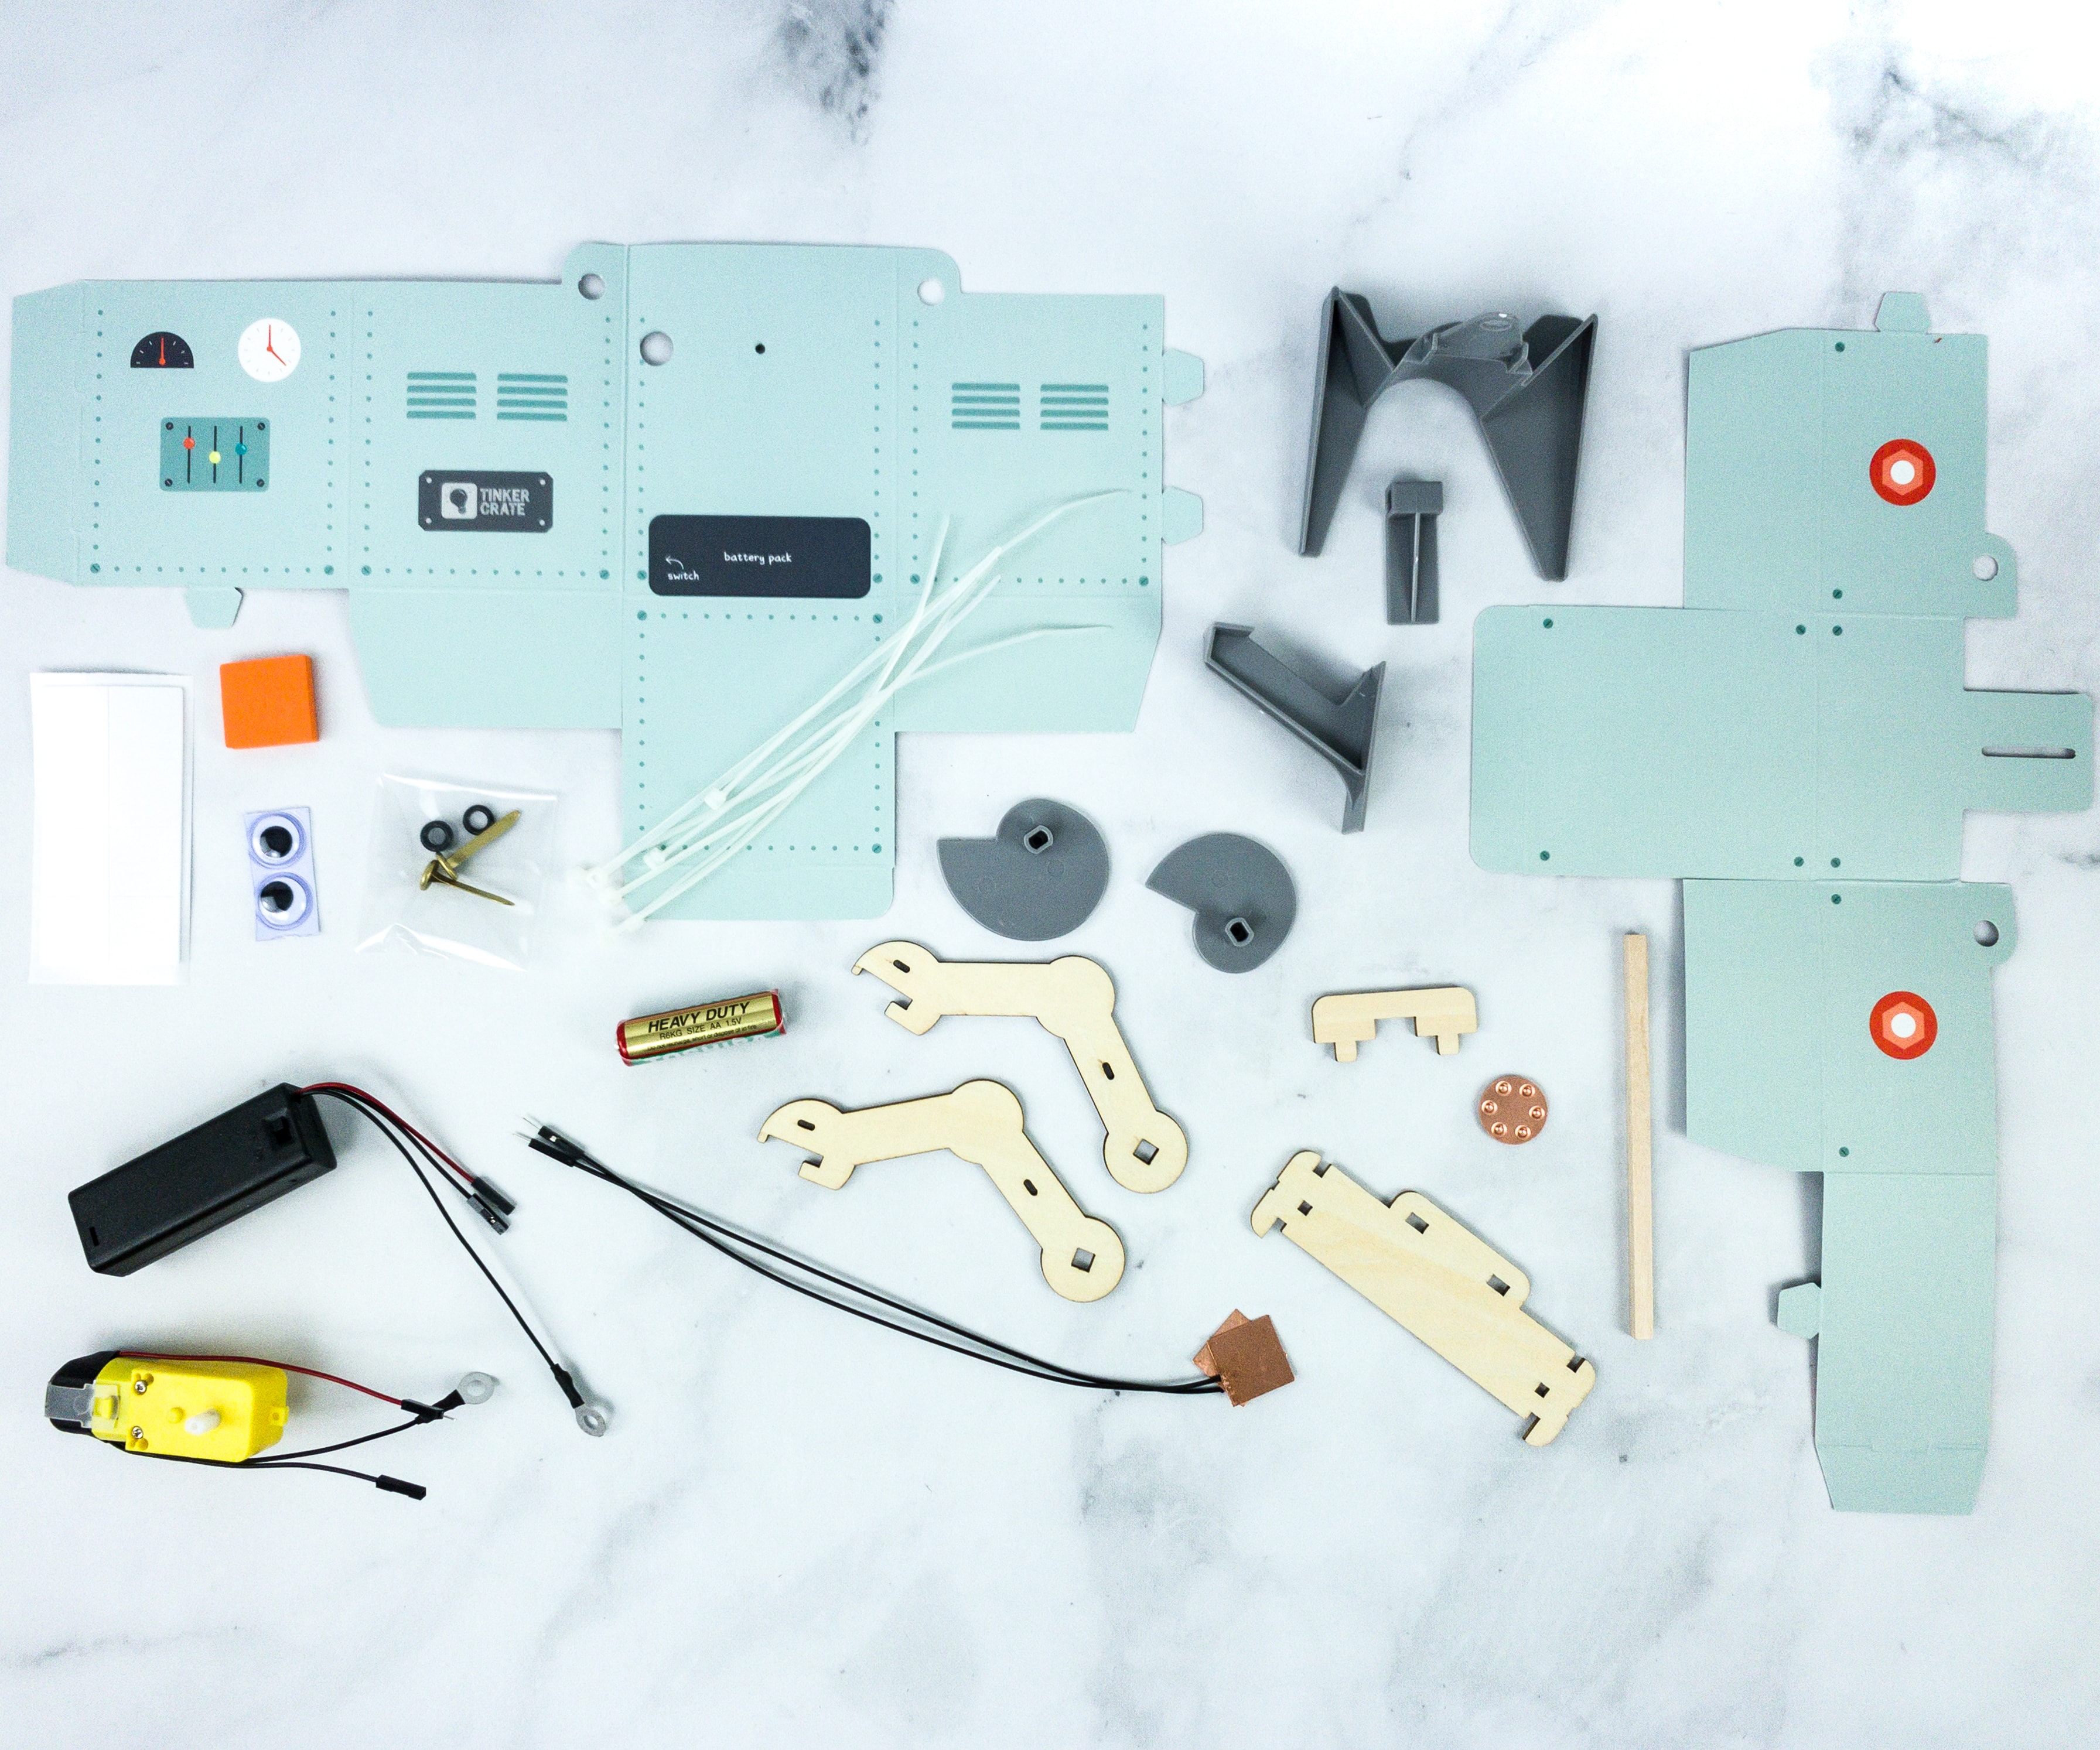
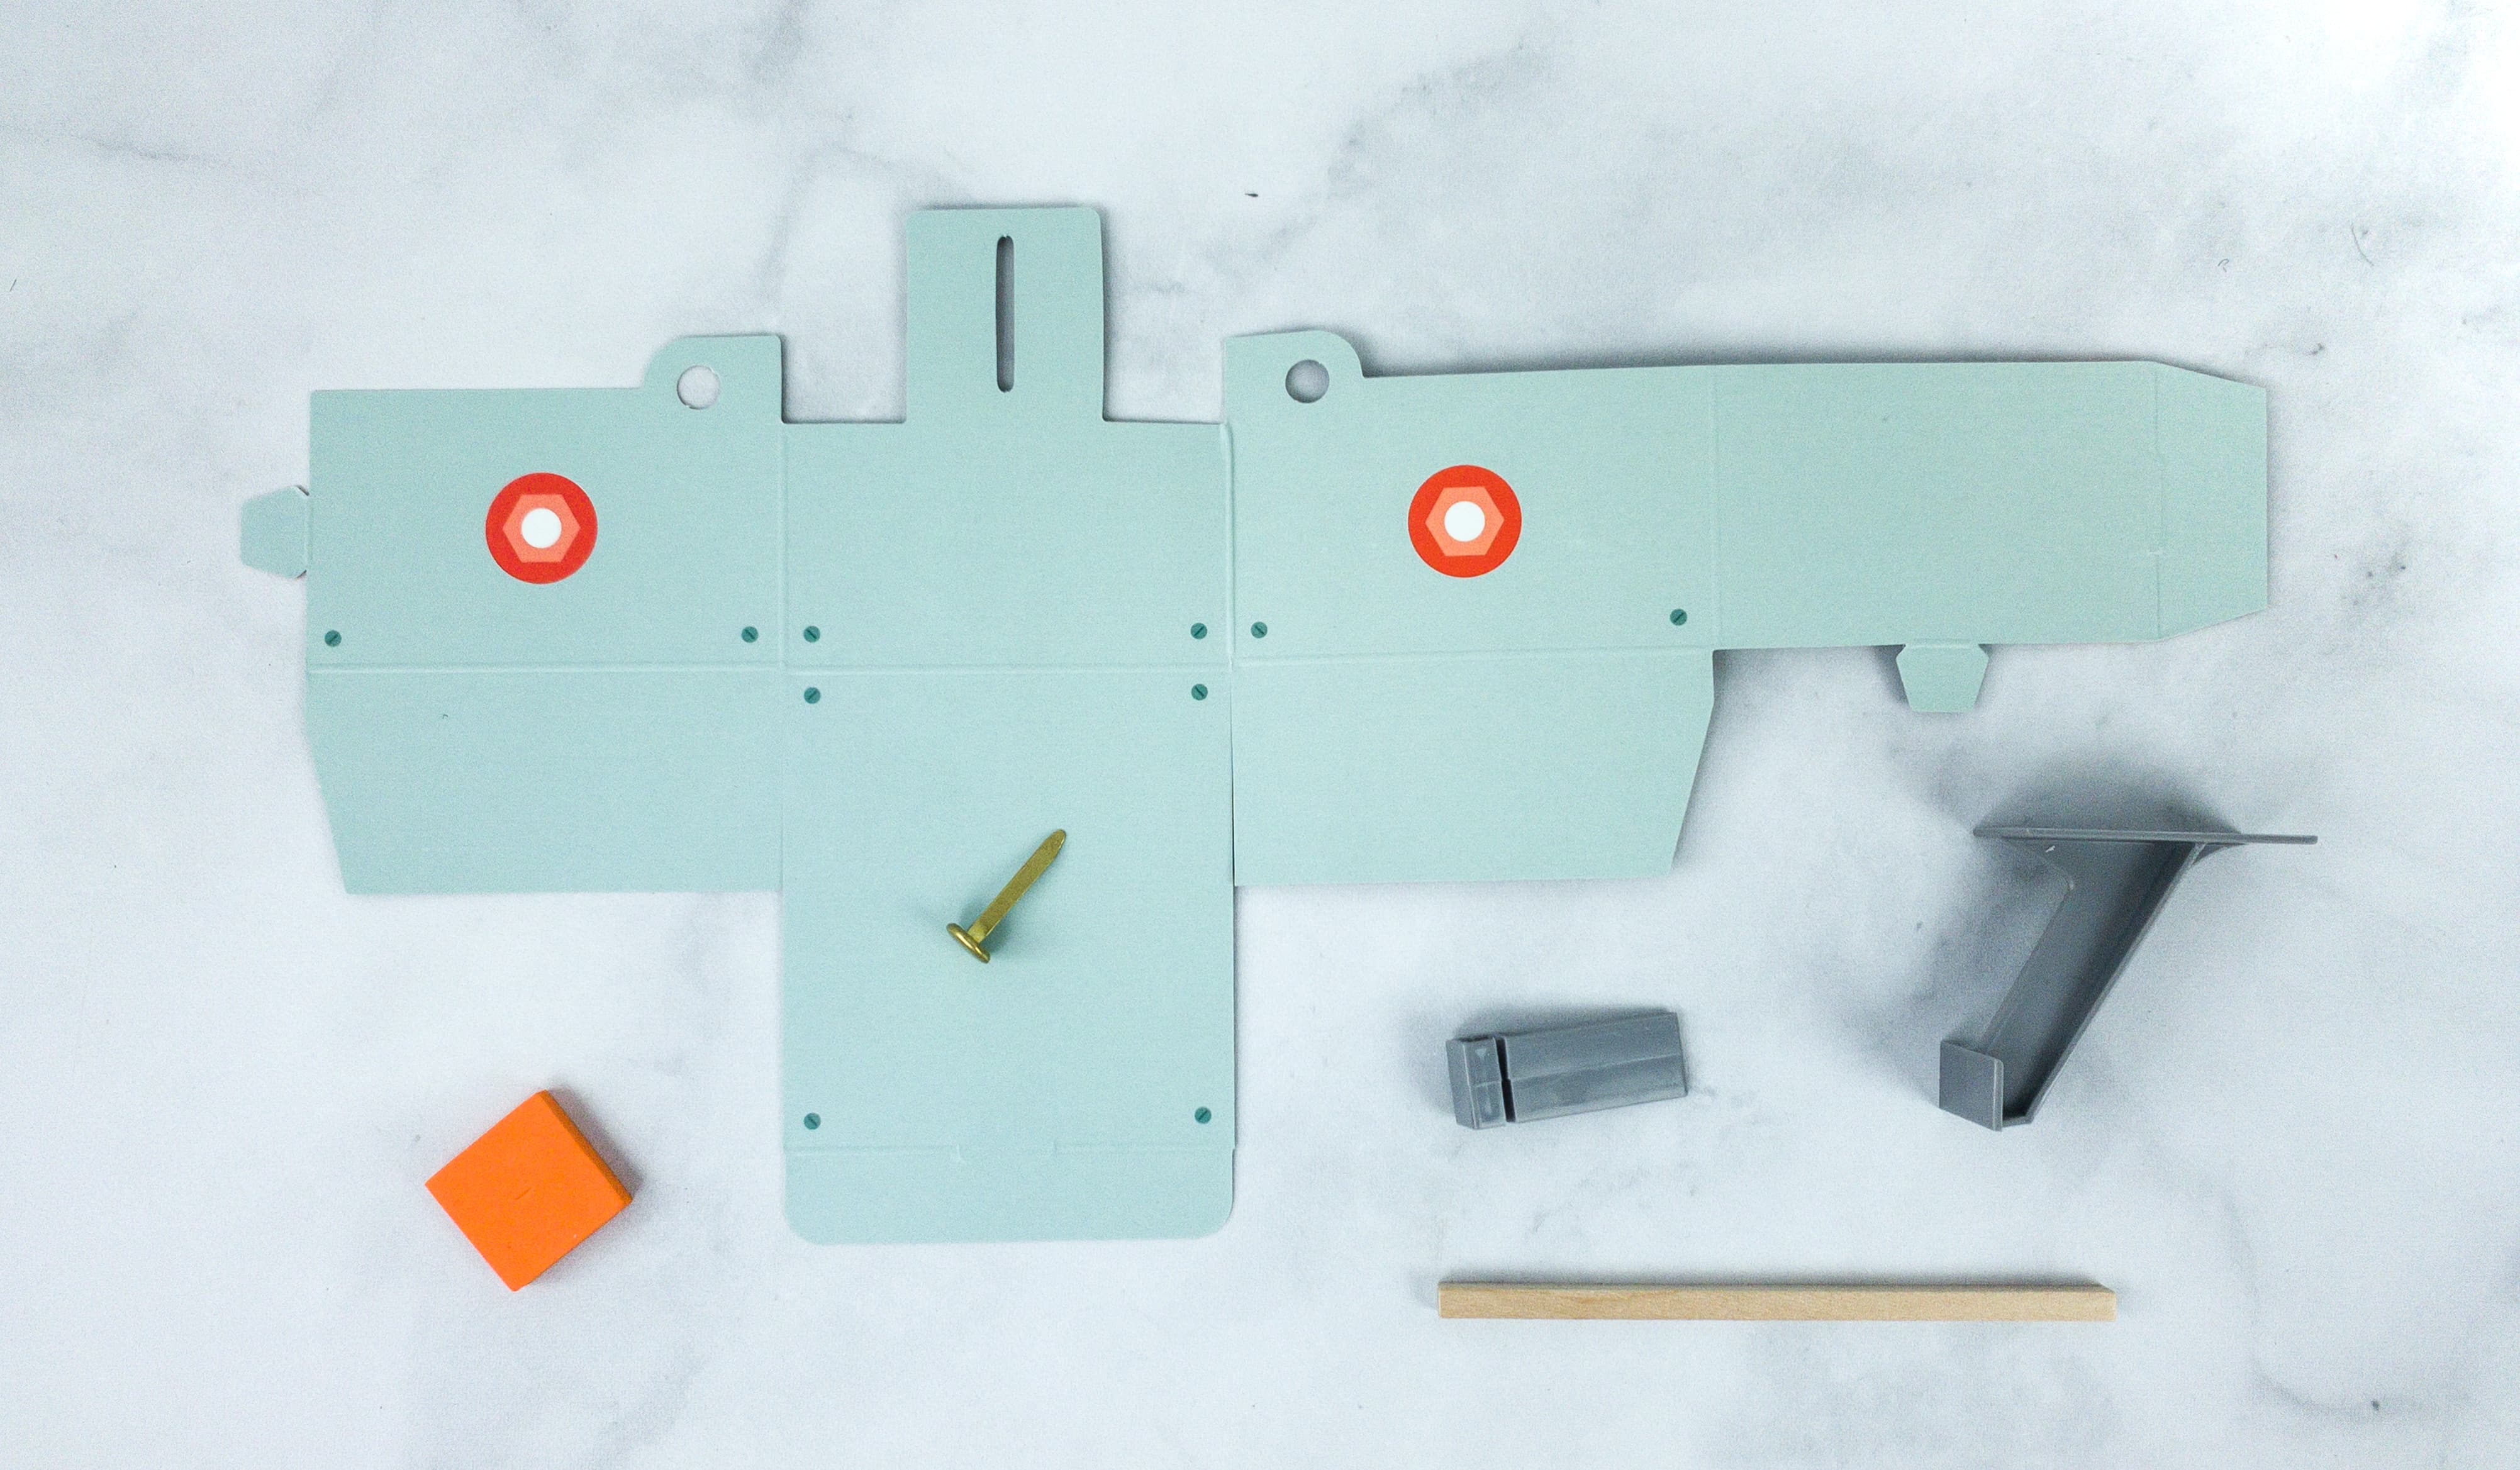
The kit includes all the materials needed to construct your own coin-eating robot.
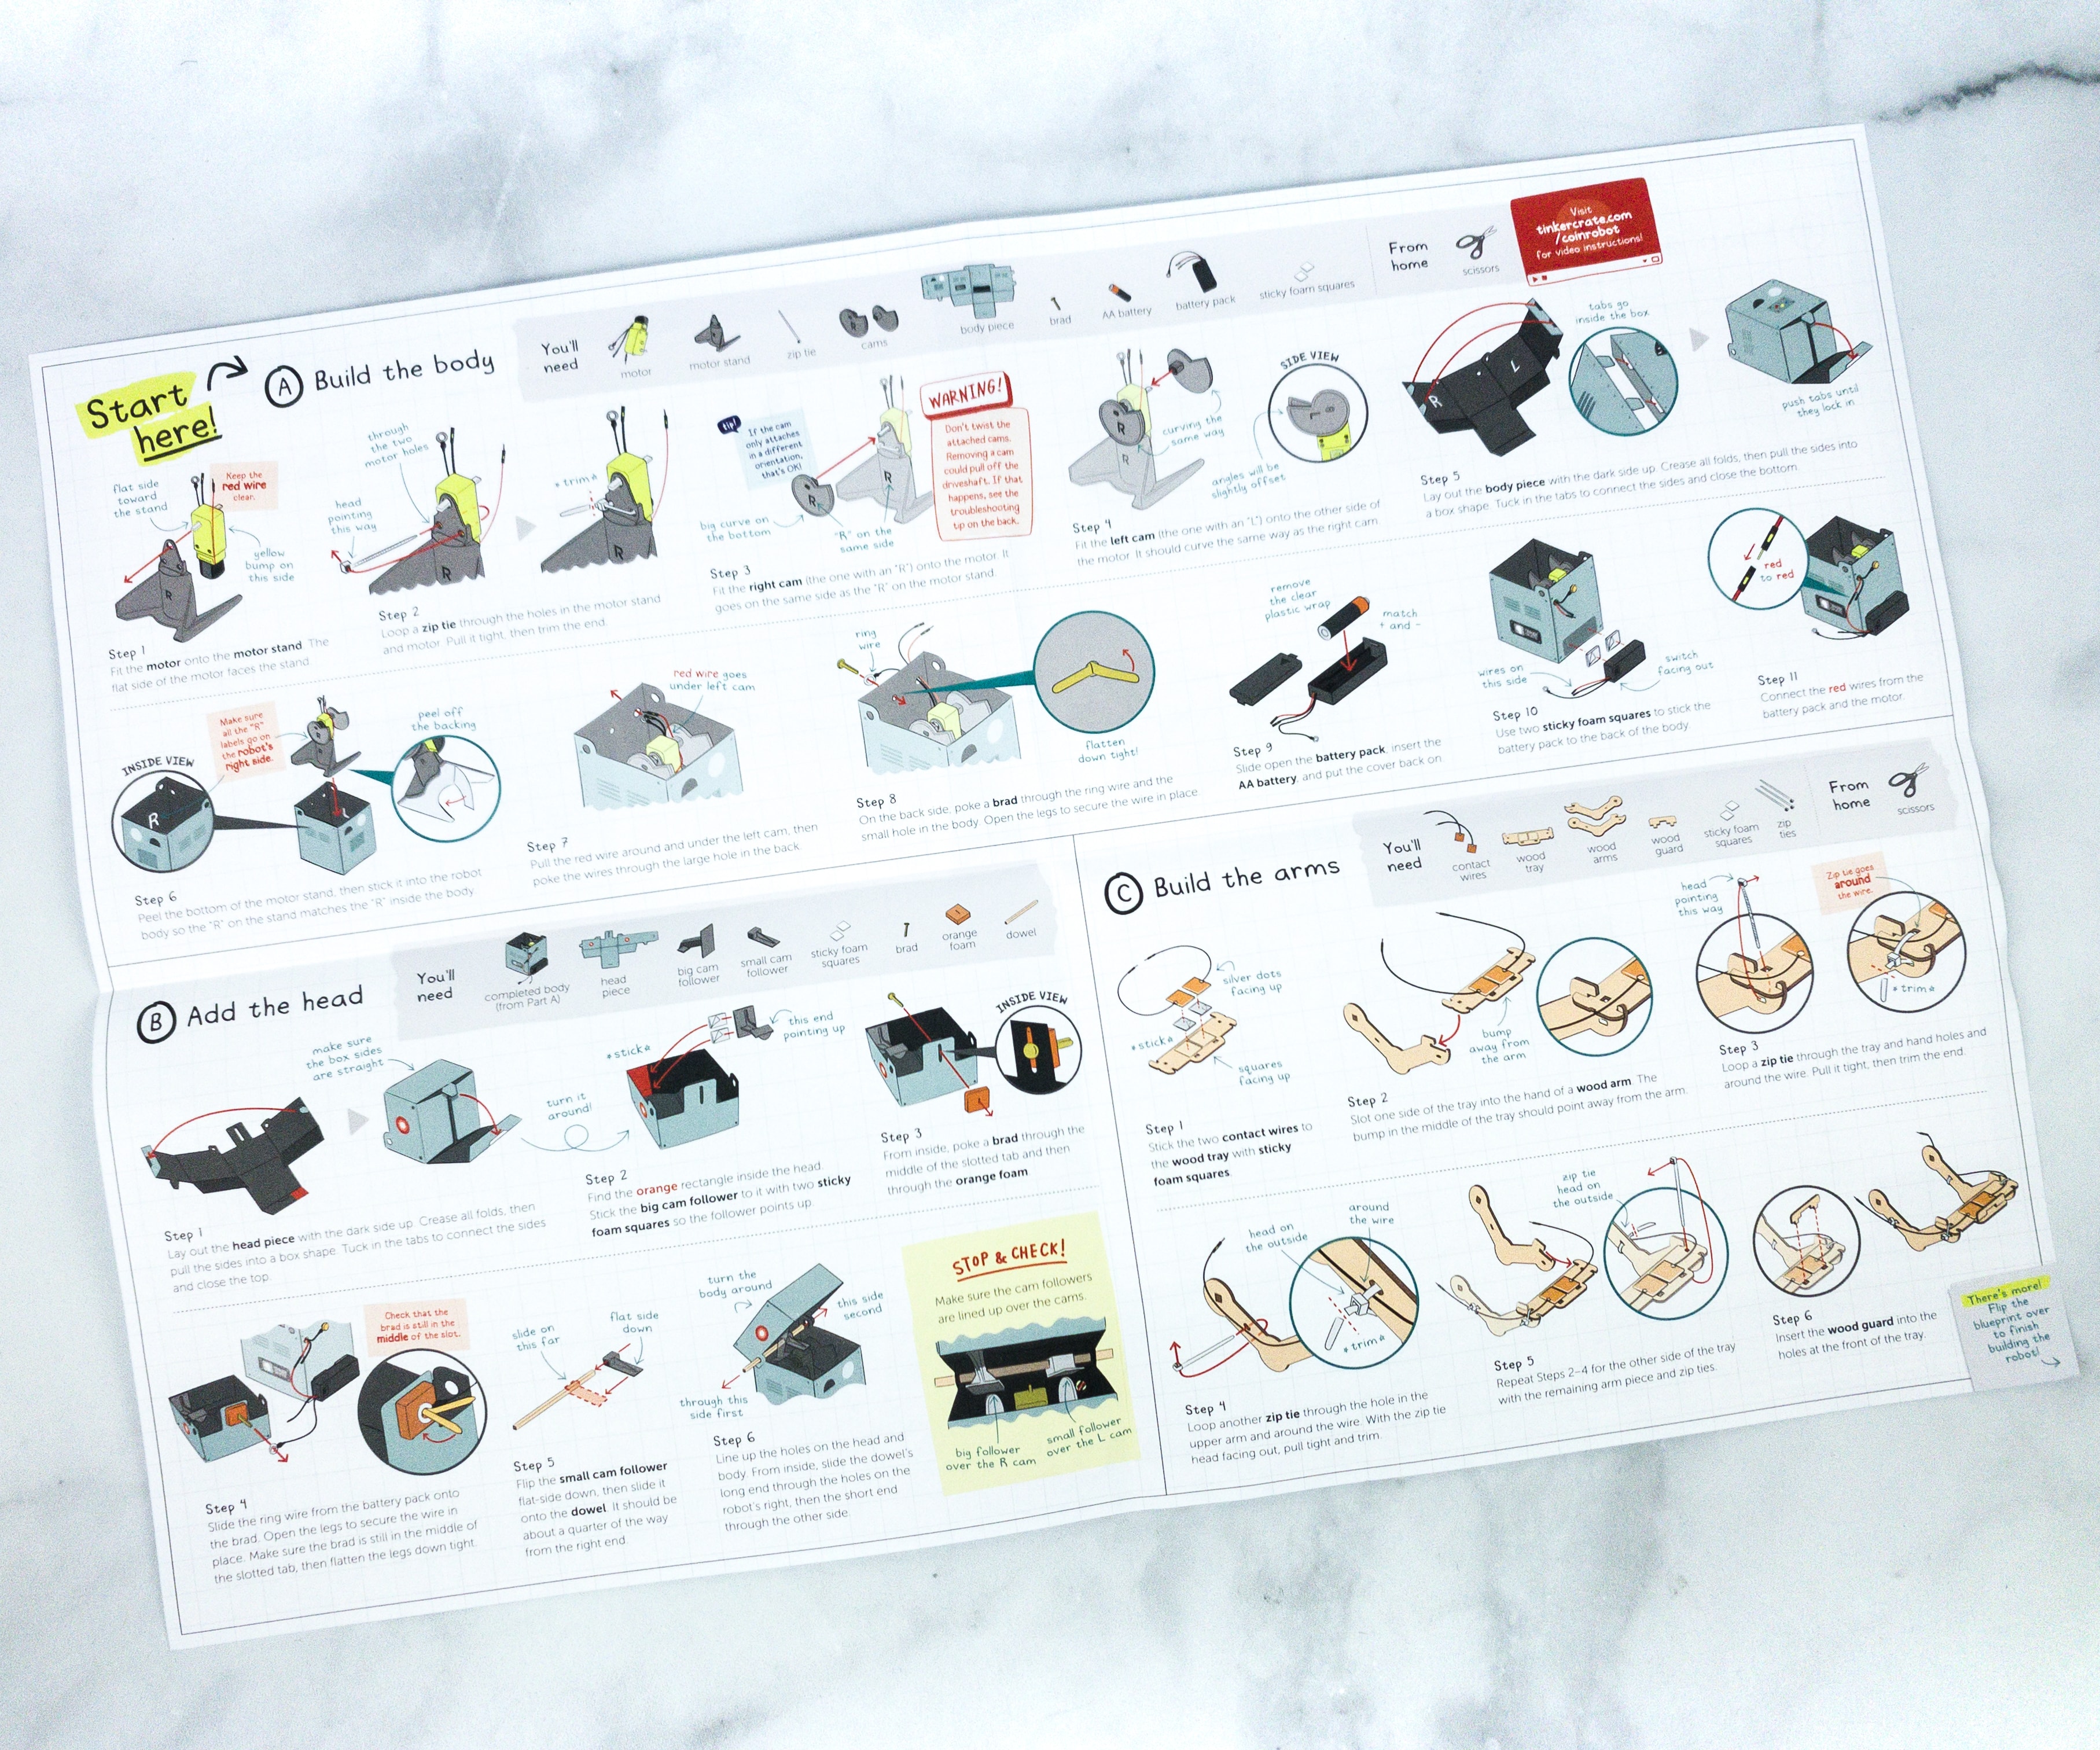
This sheet comes with illustrations of all the materials needed for each portion of the assembly. It’s so helpful, especially for those complex builds.
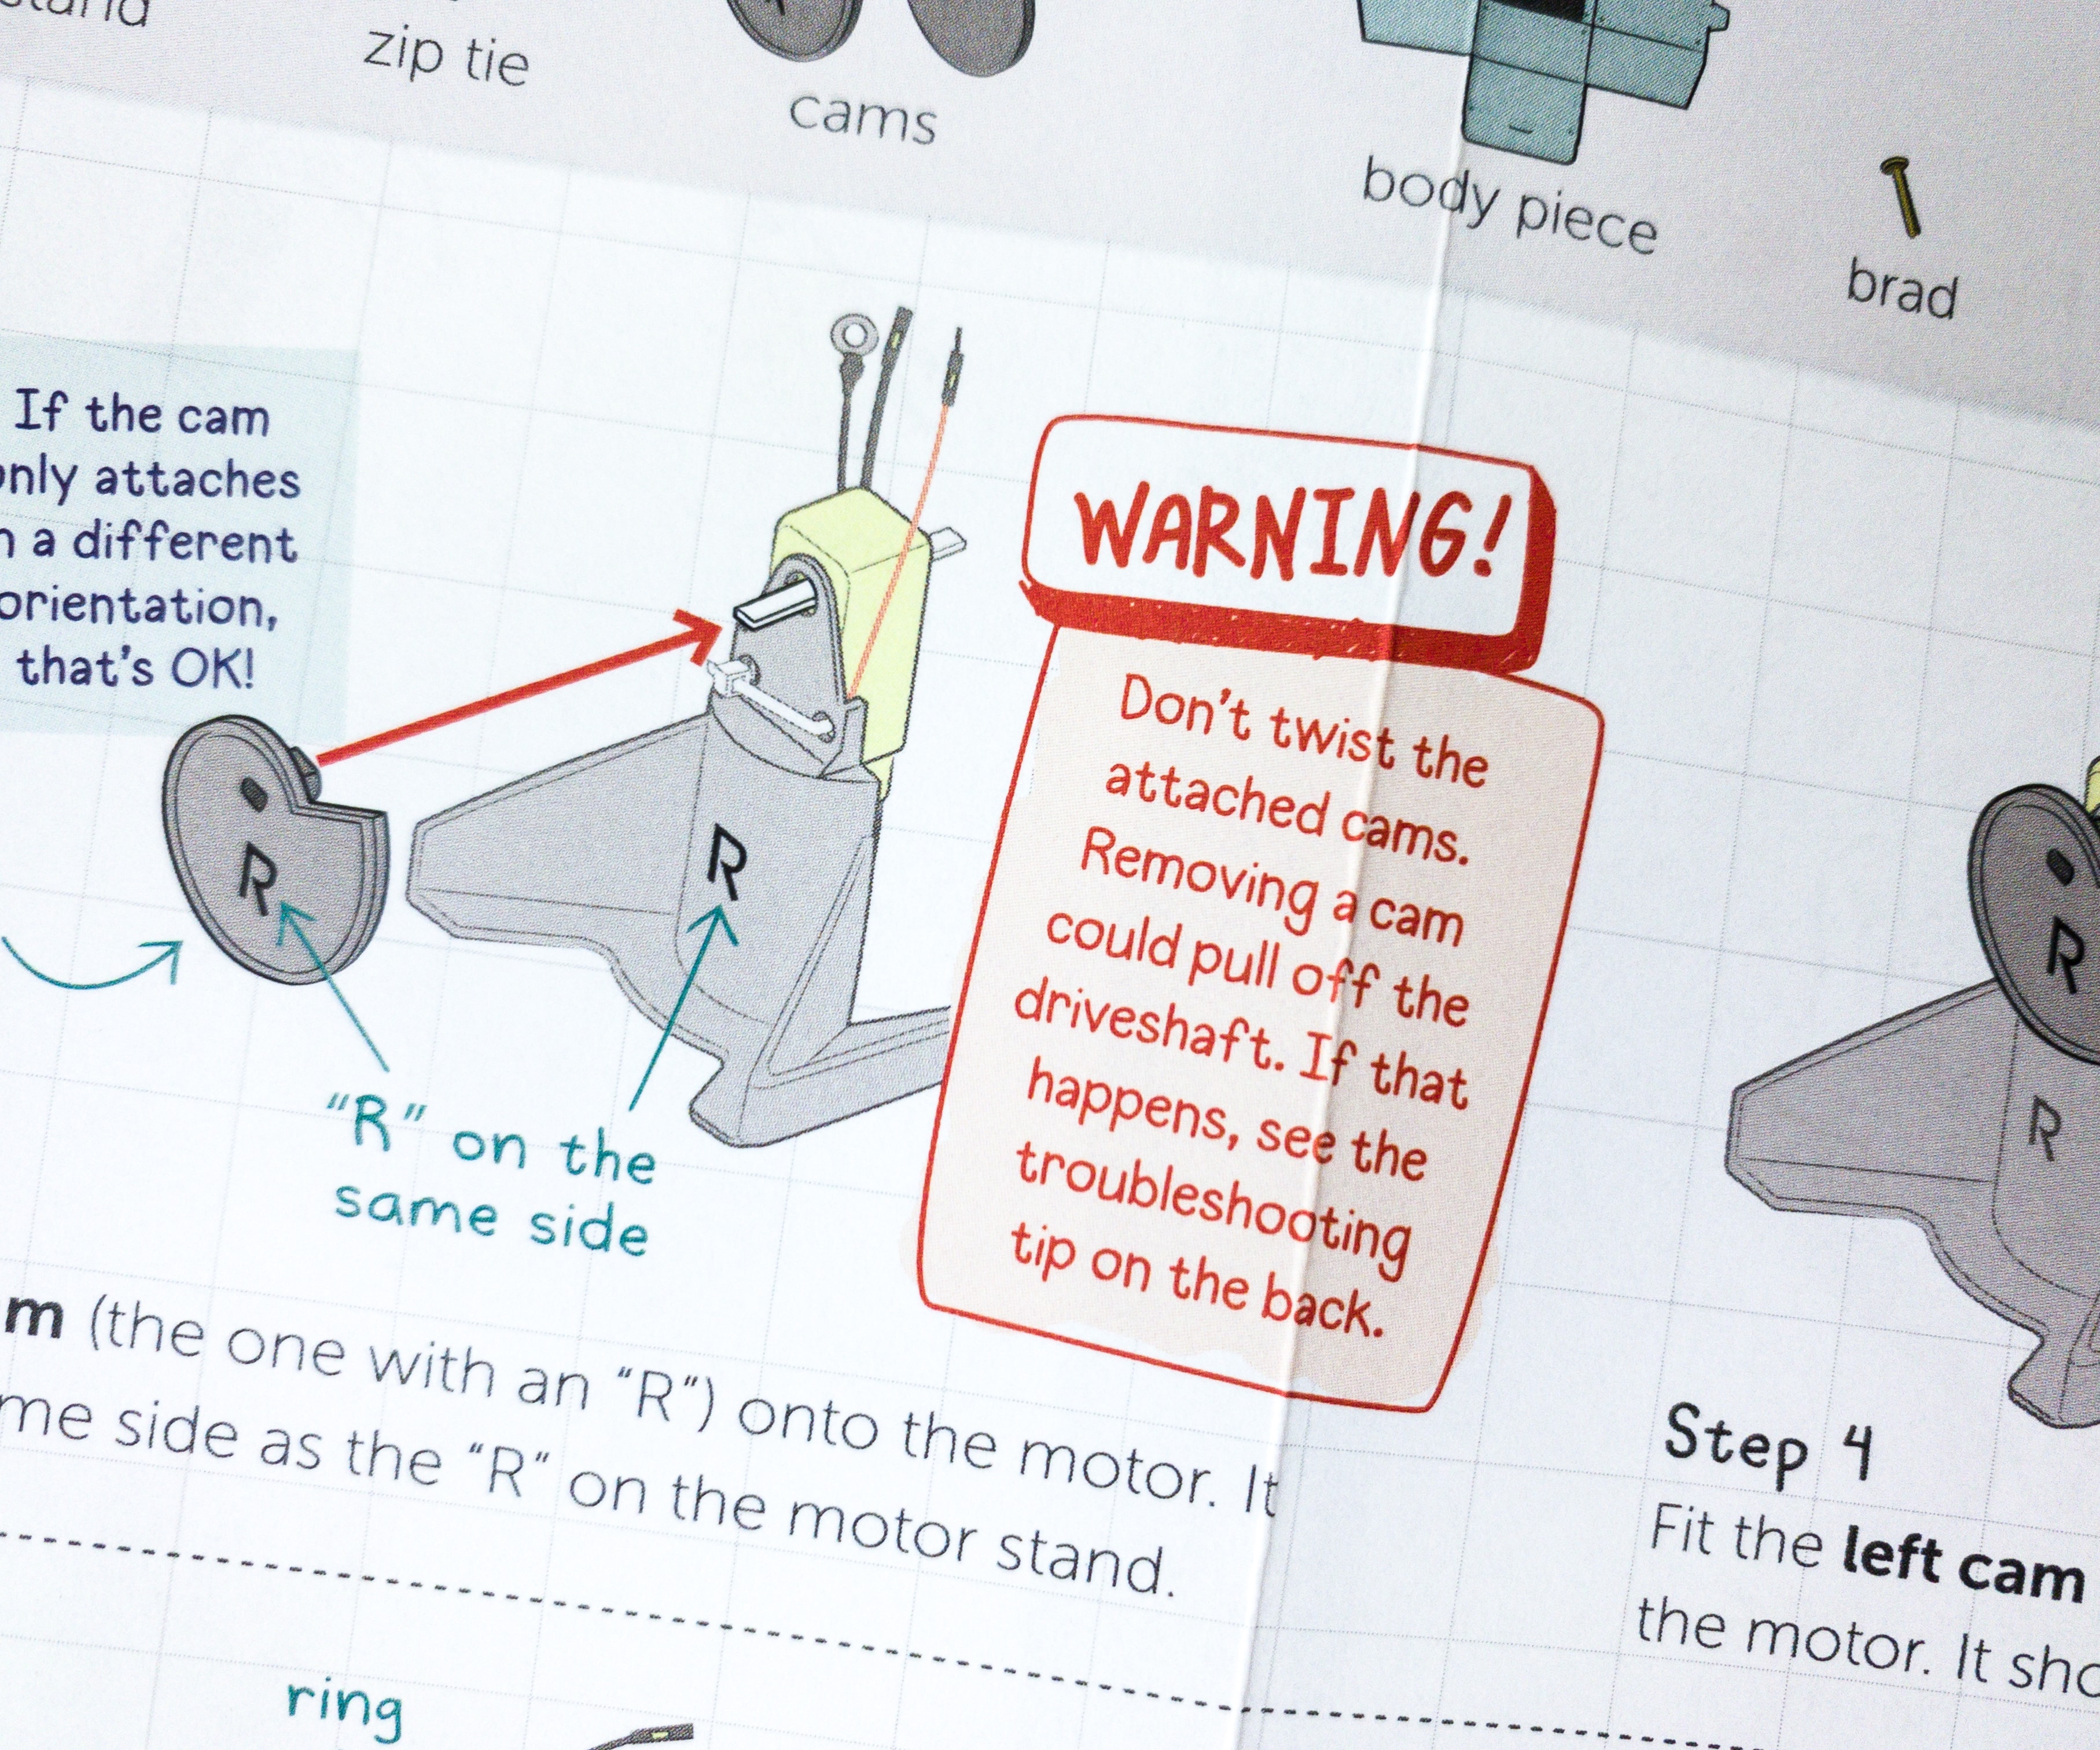
According to this part of the sheet, you don’t have to twist the attached cams, because removing it could pull off the driveshaft and may cause another trouble.
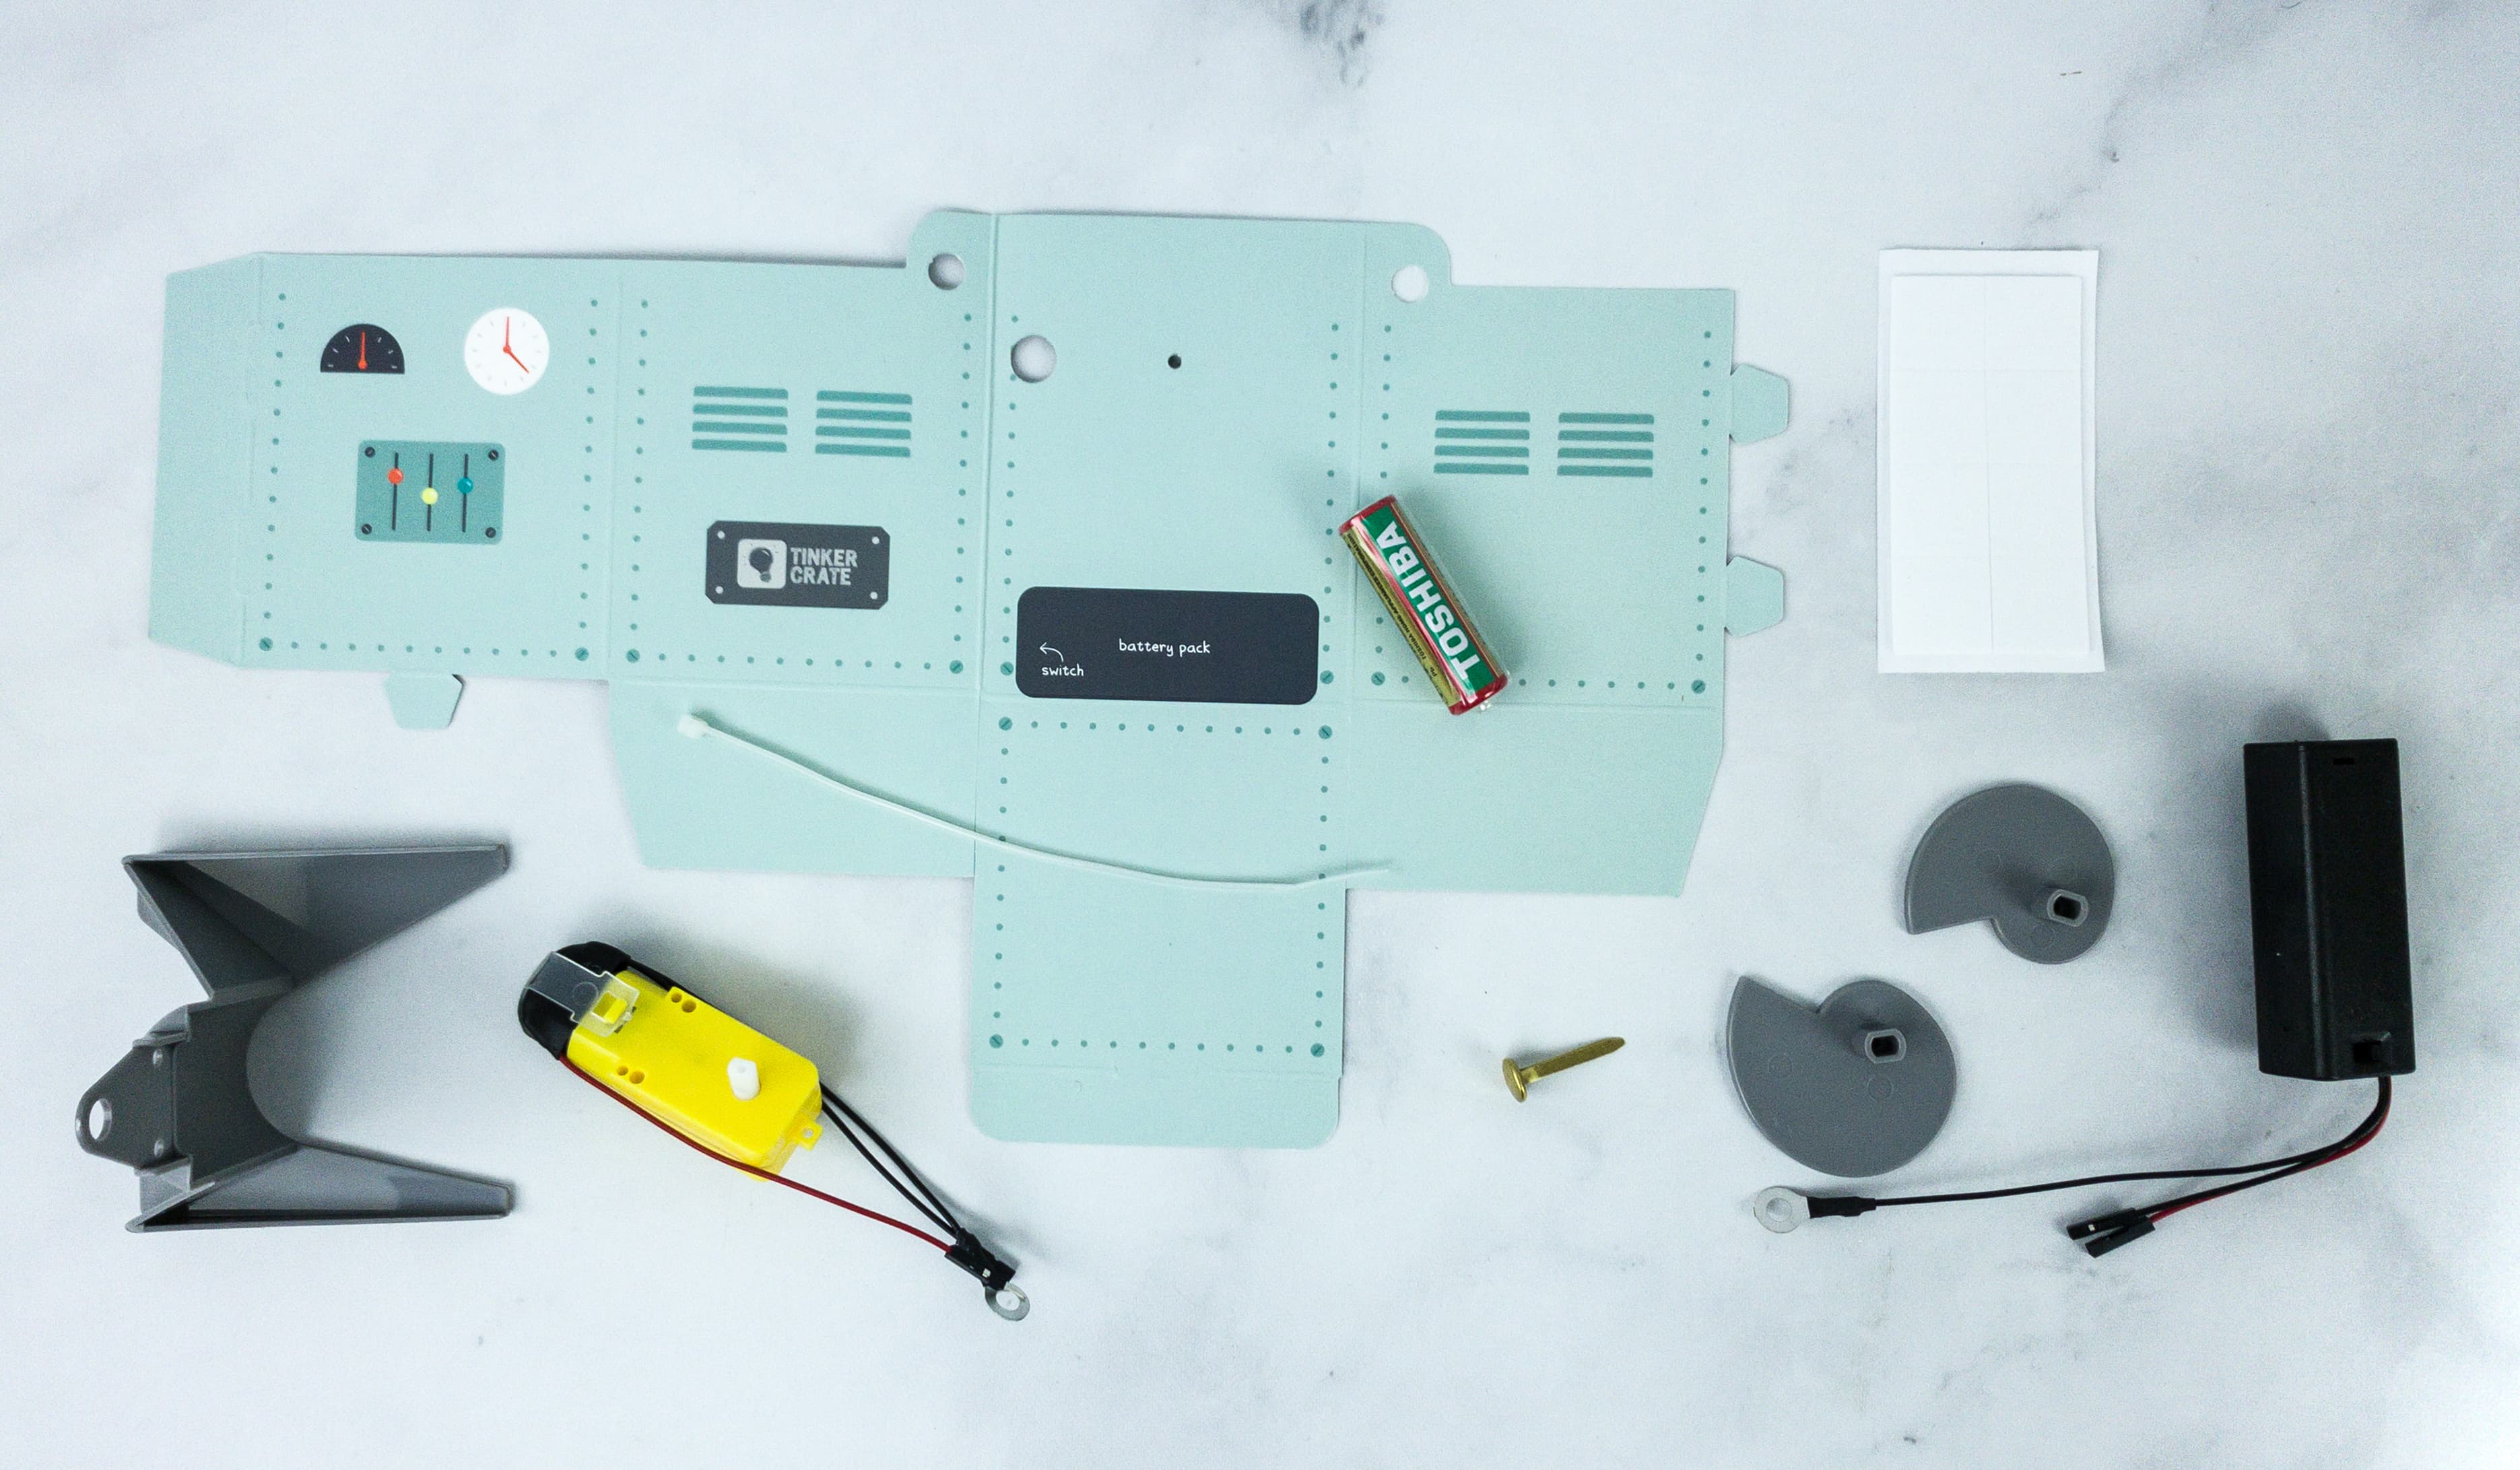
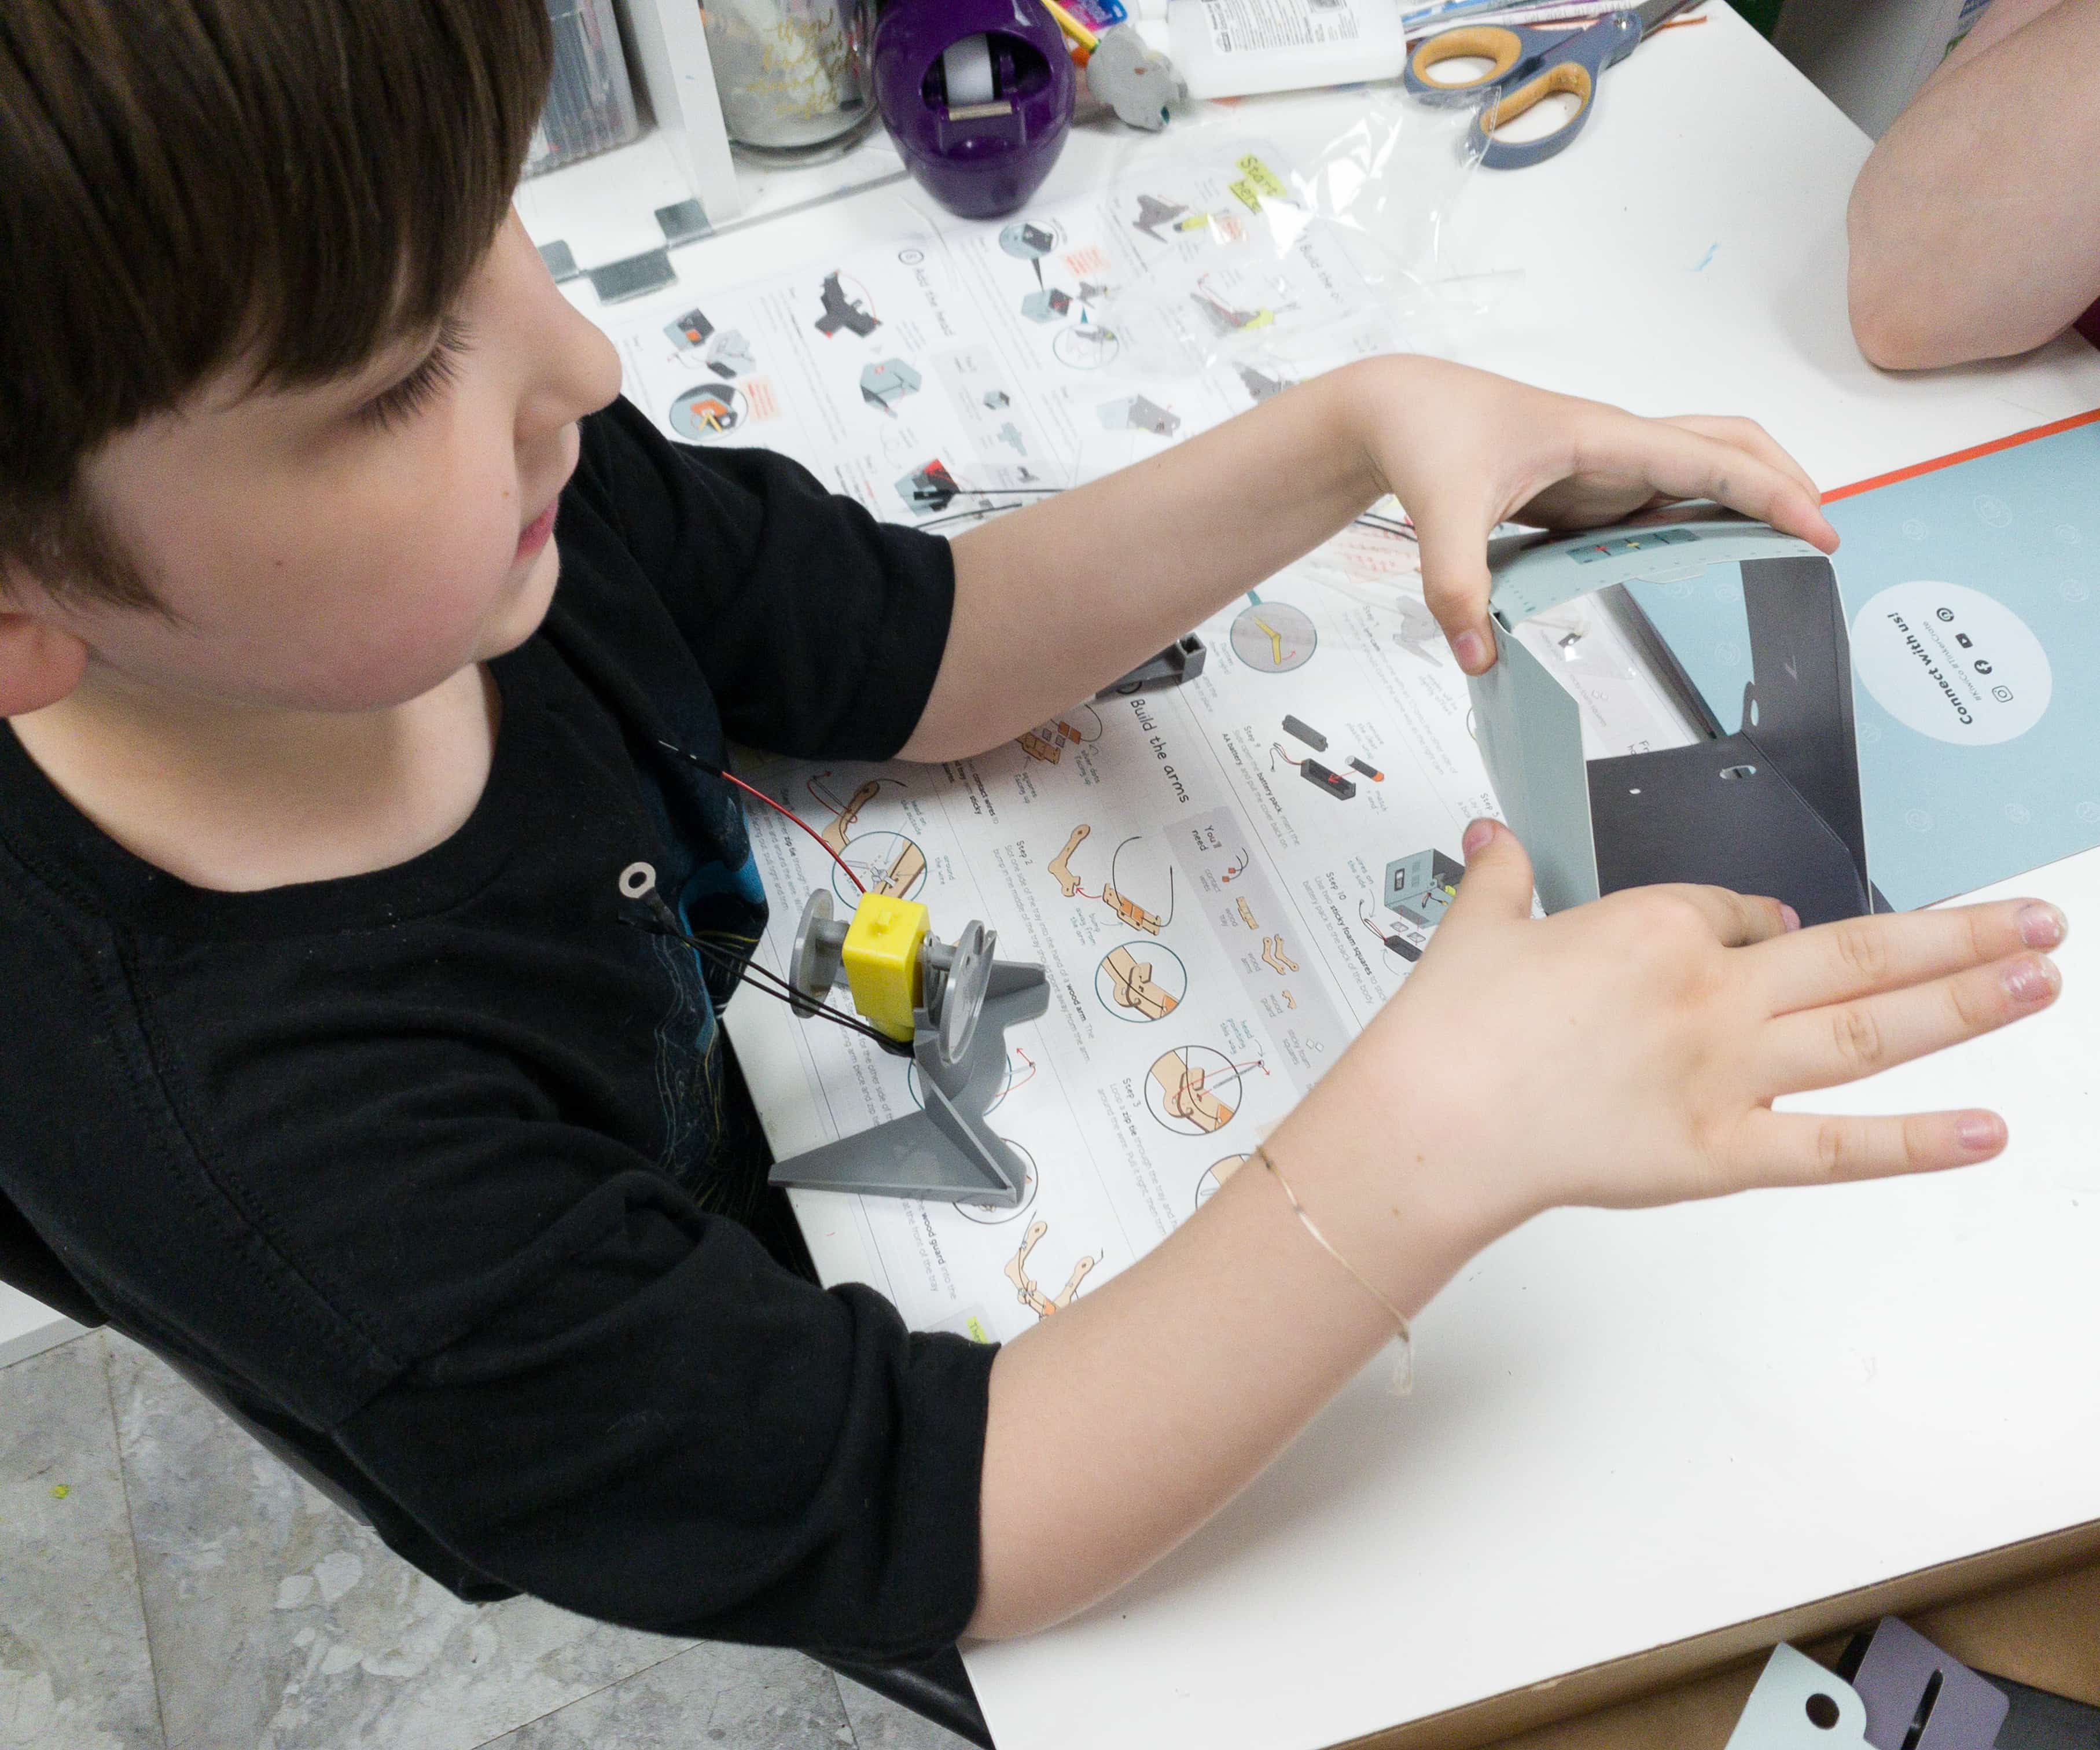
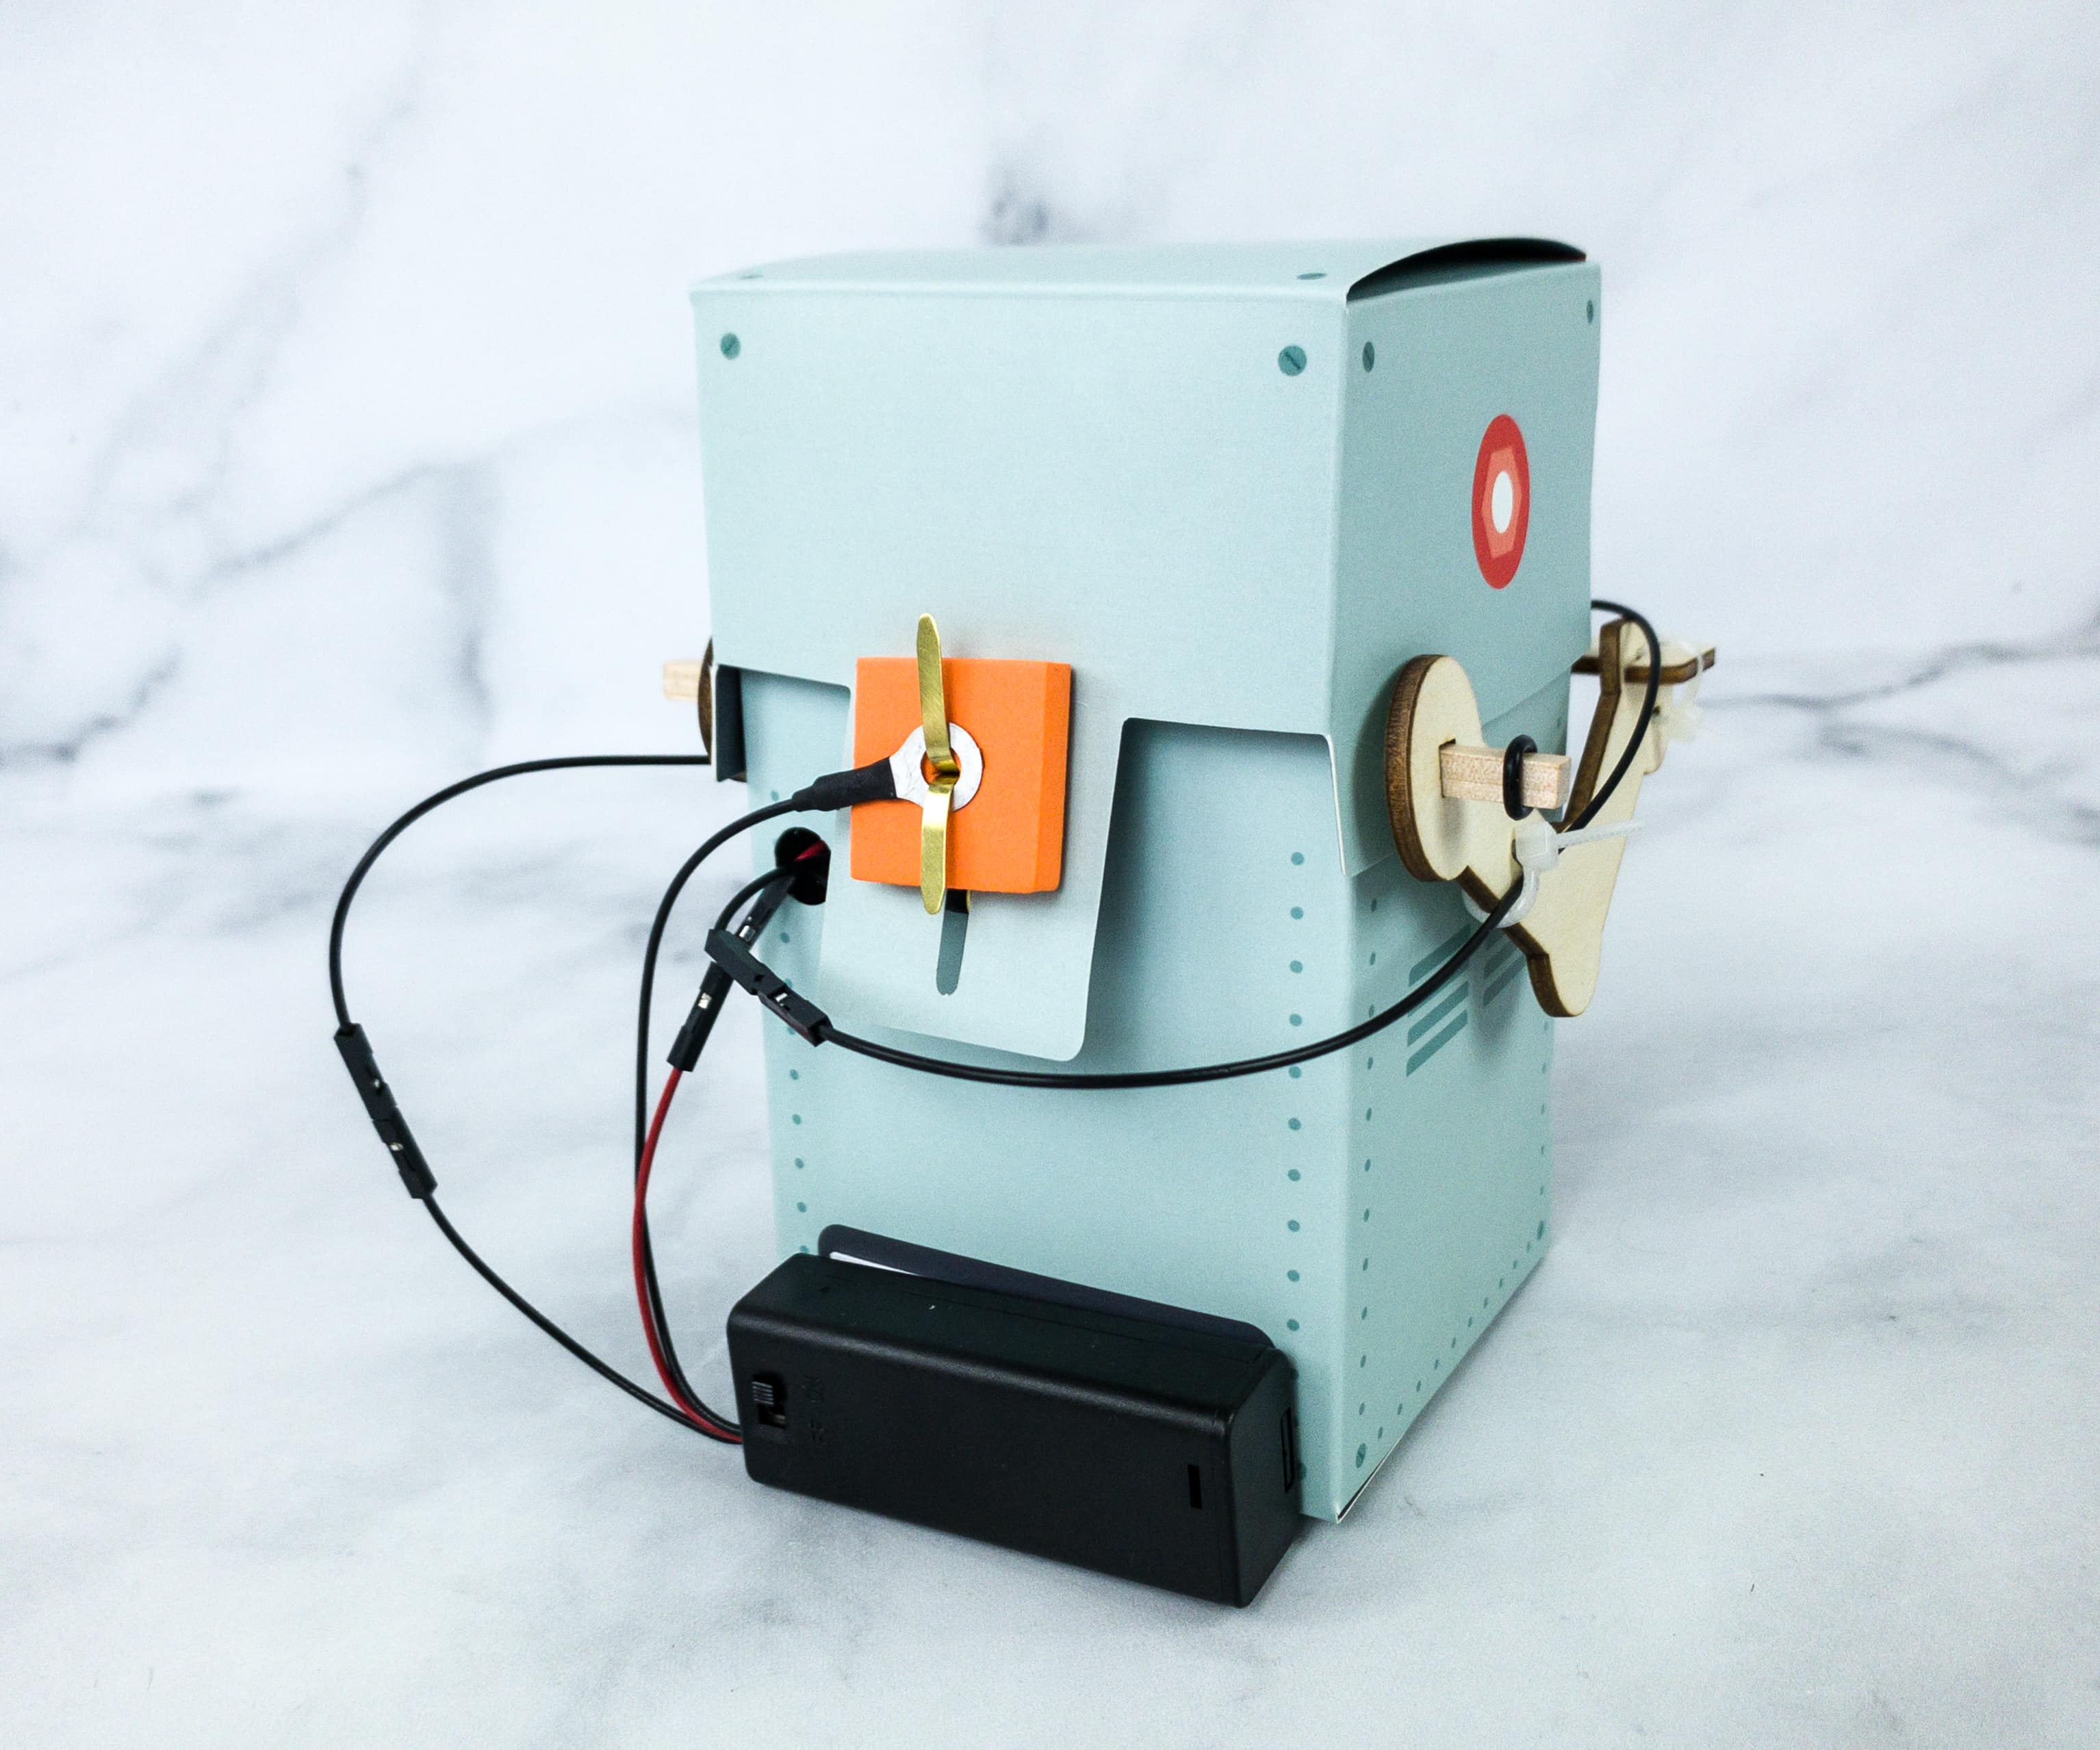
For the first part of the project which is building the robot’s body, we used the body piece, motor, motor stand, brad, cams, battery, battery pack, sticky foam squares, and zip tie.
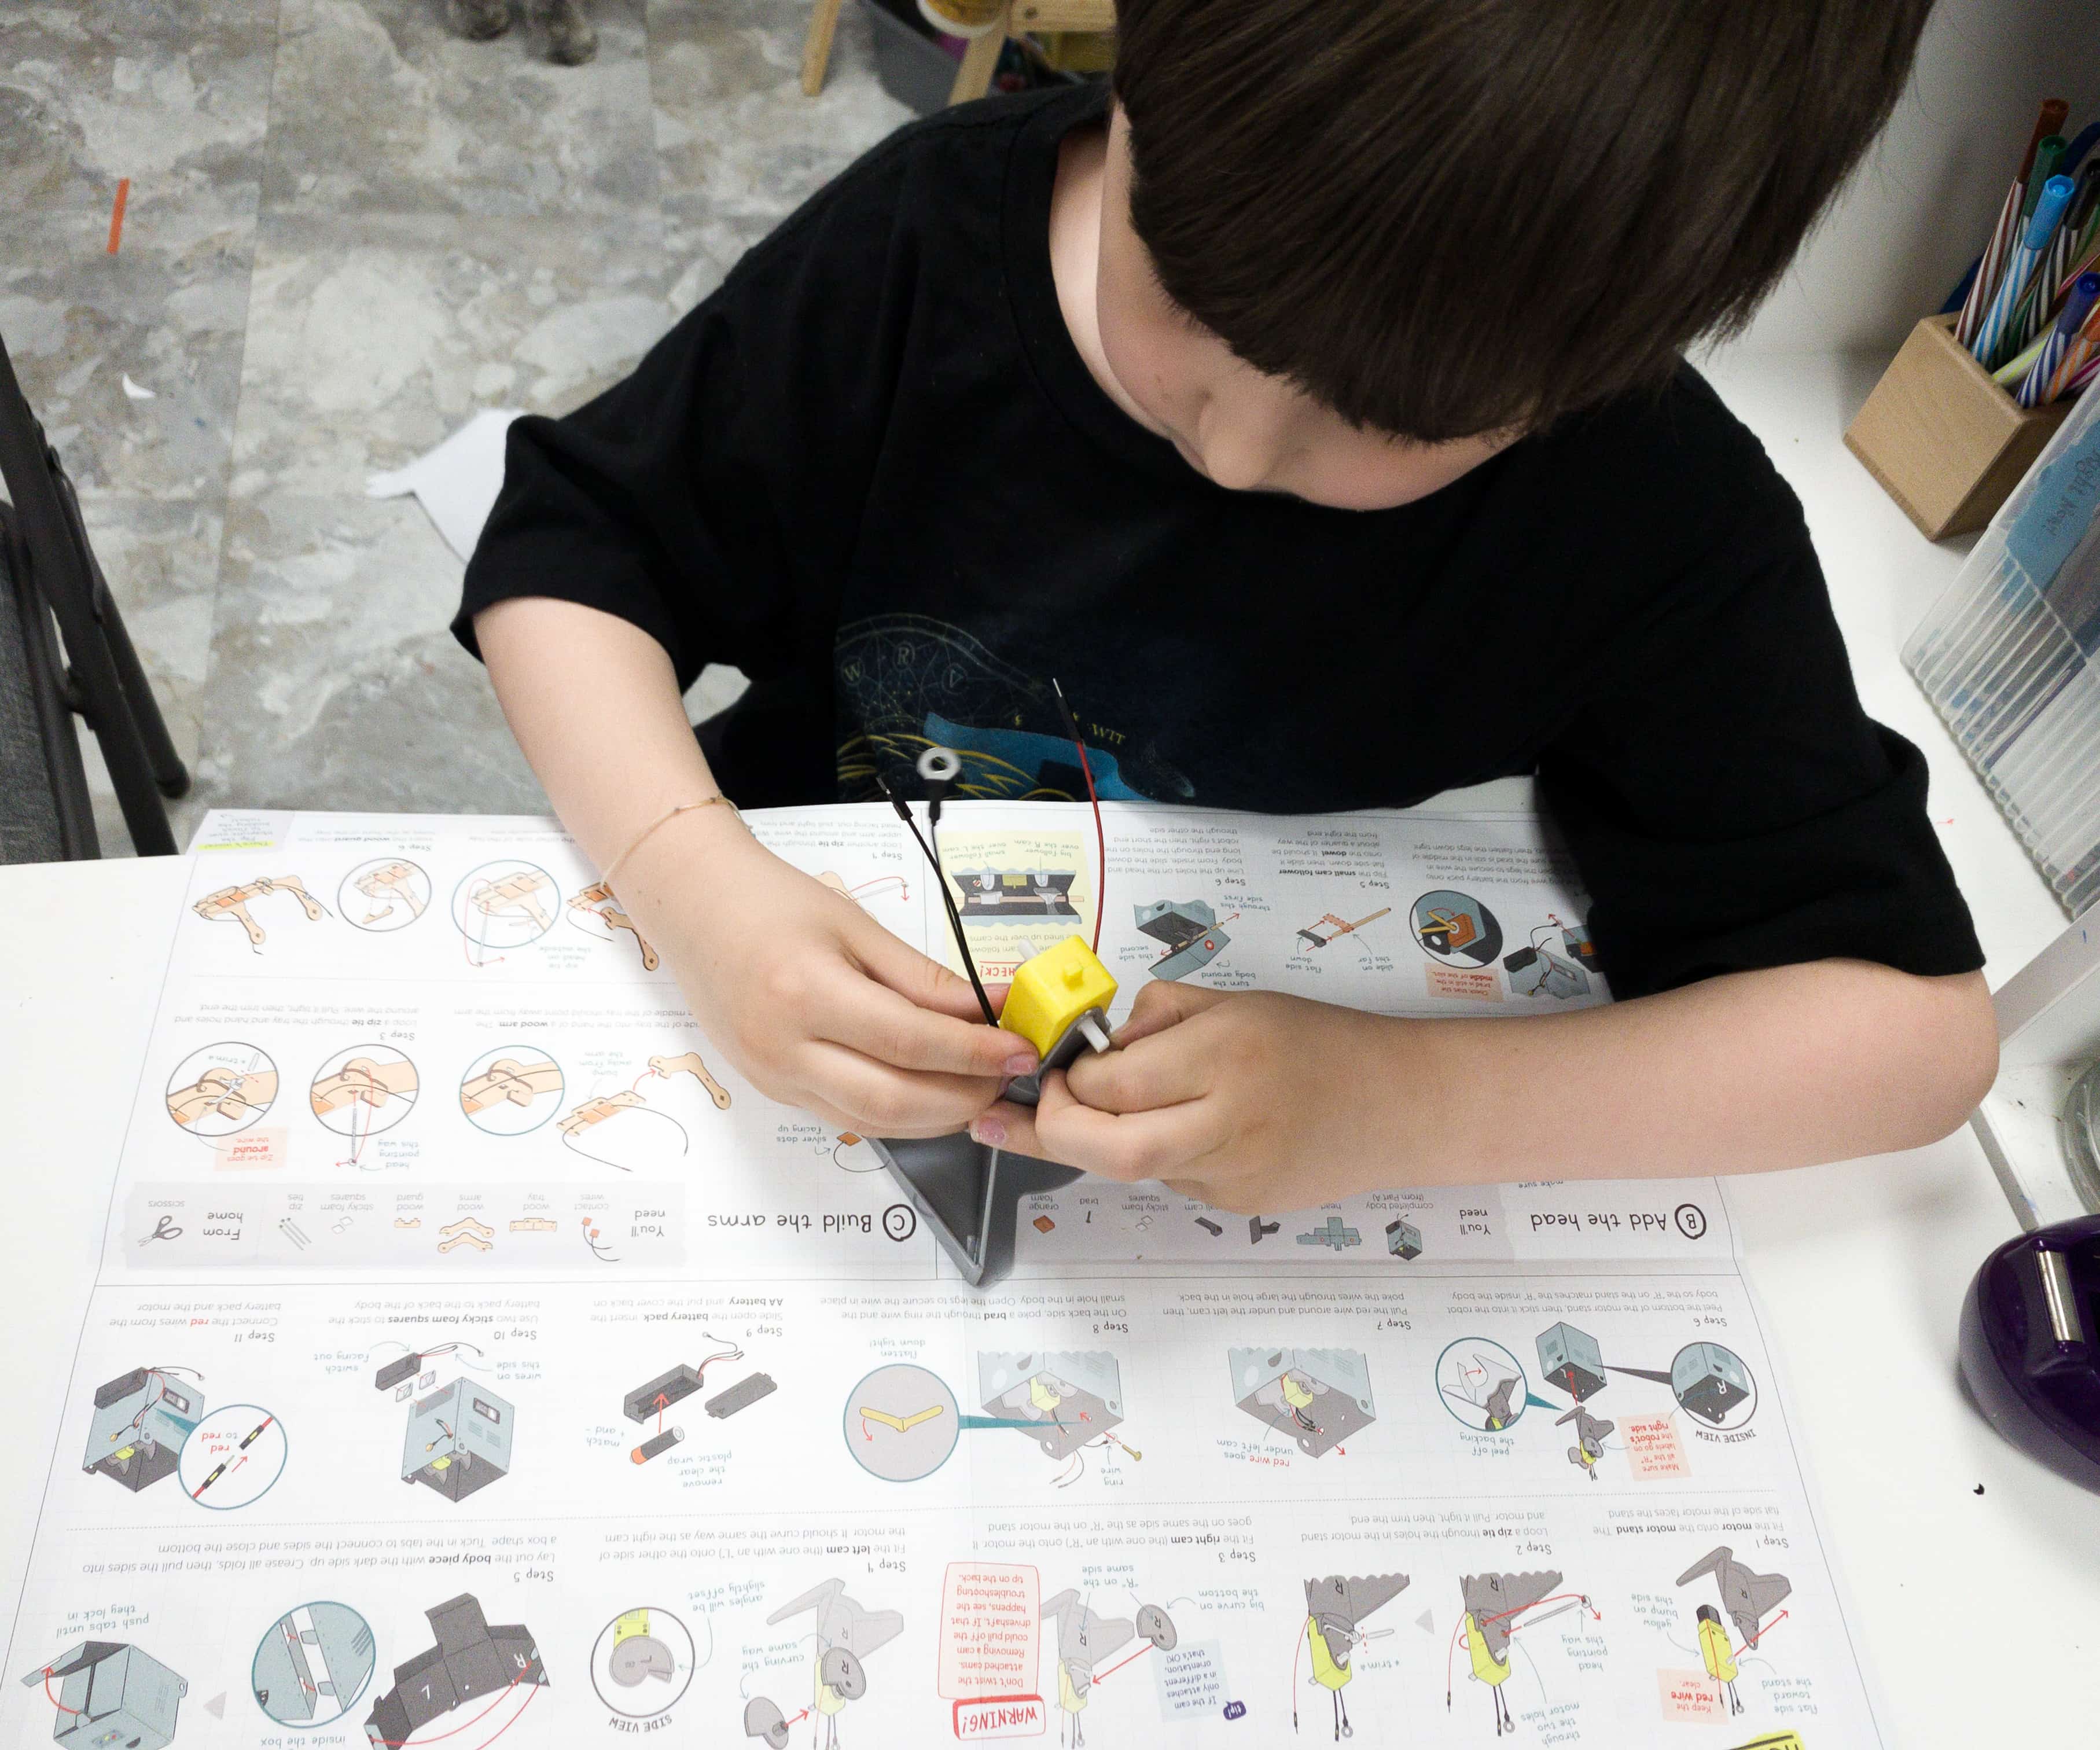
My son started building the motor stand. He installed the flat part of the motor and then stuck it on the motor stand.
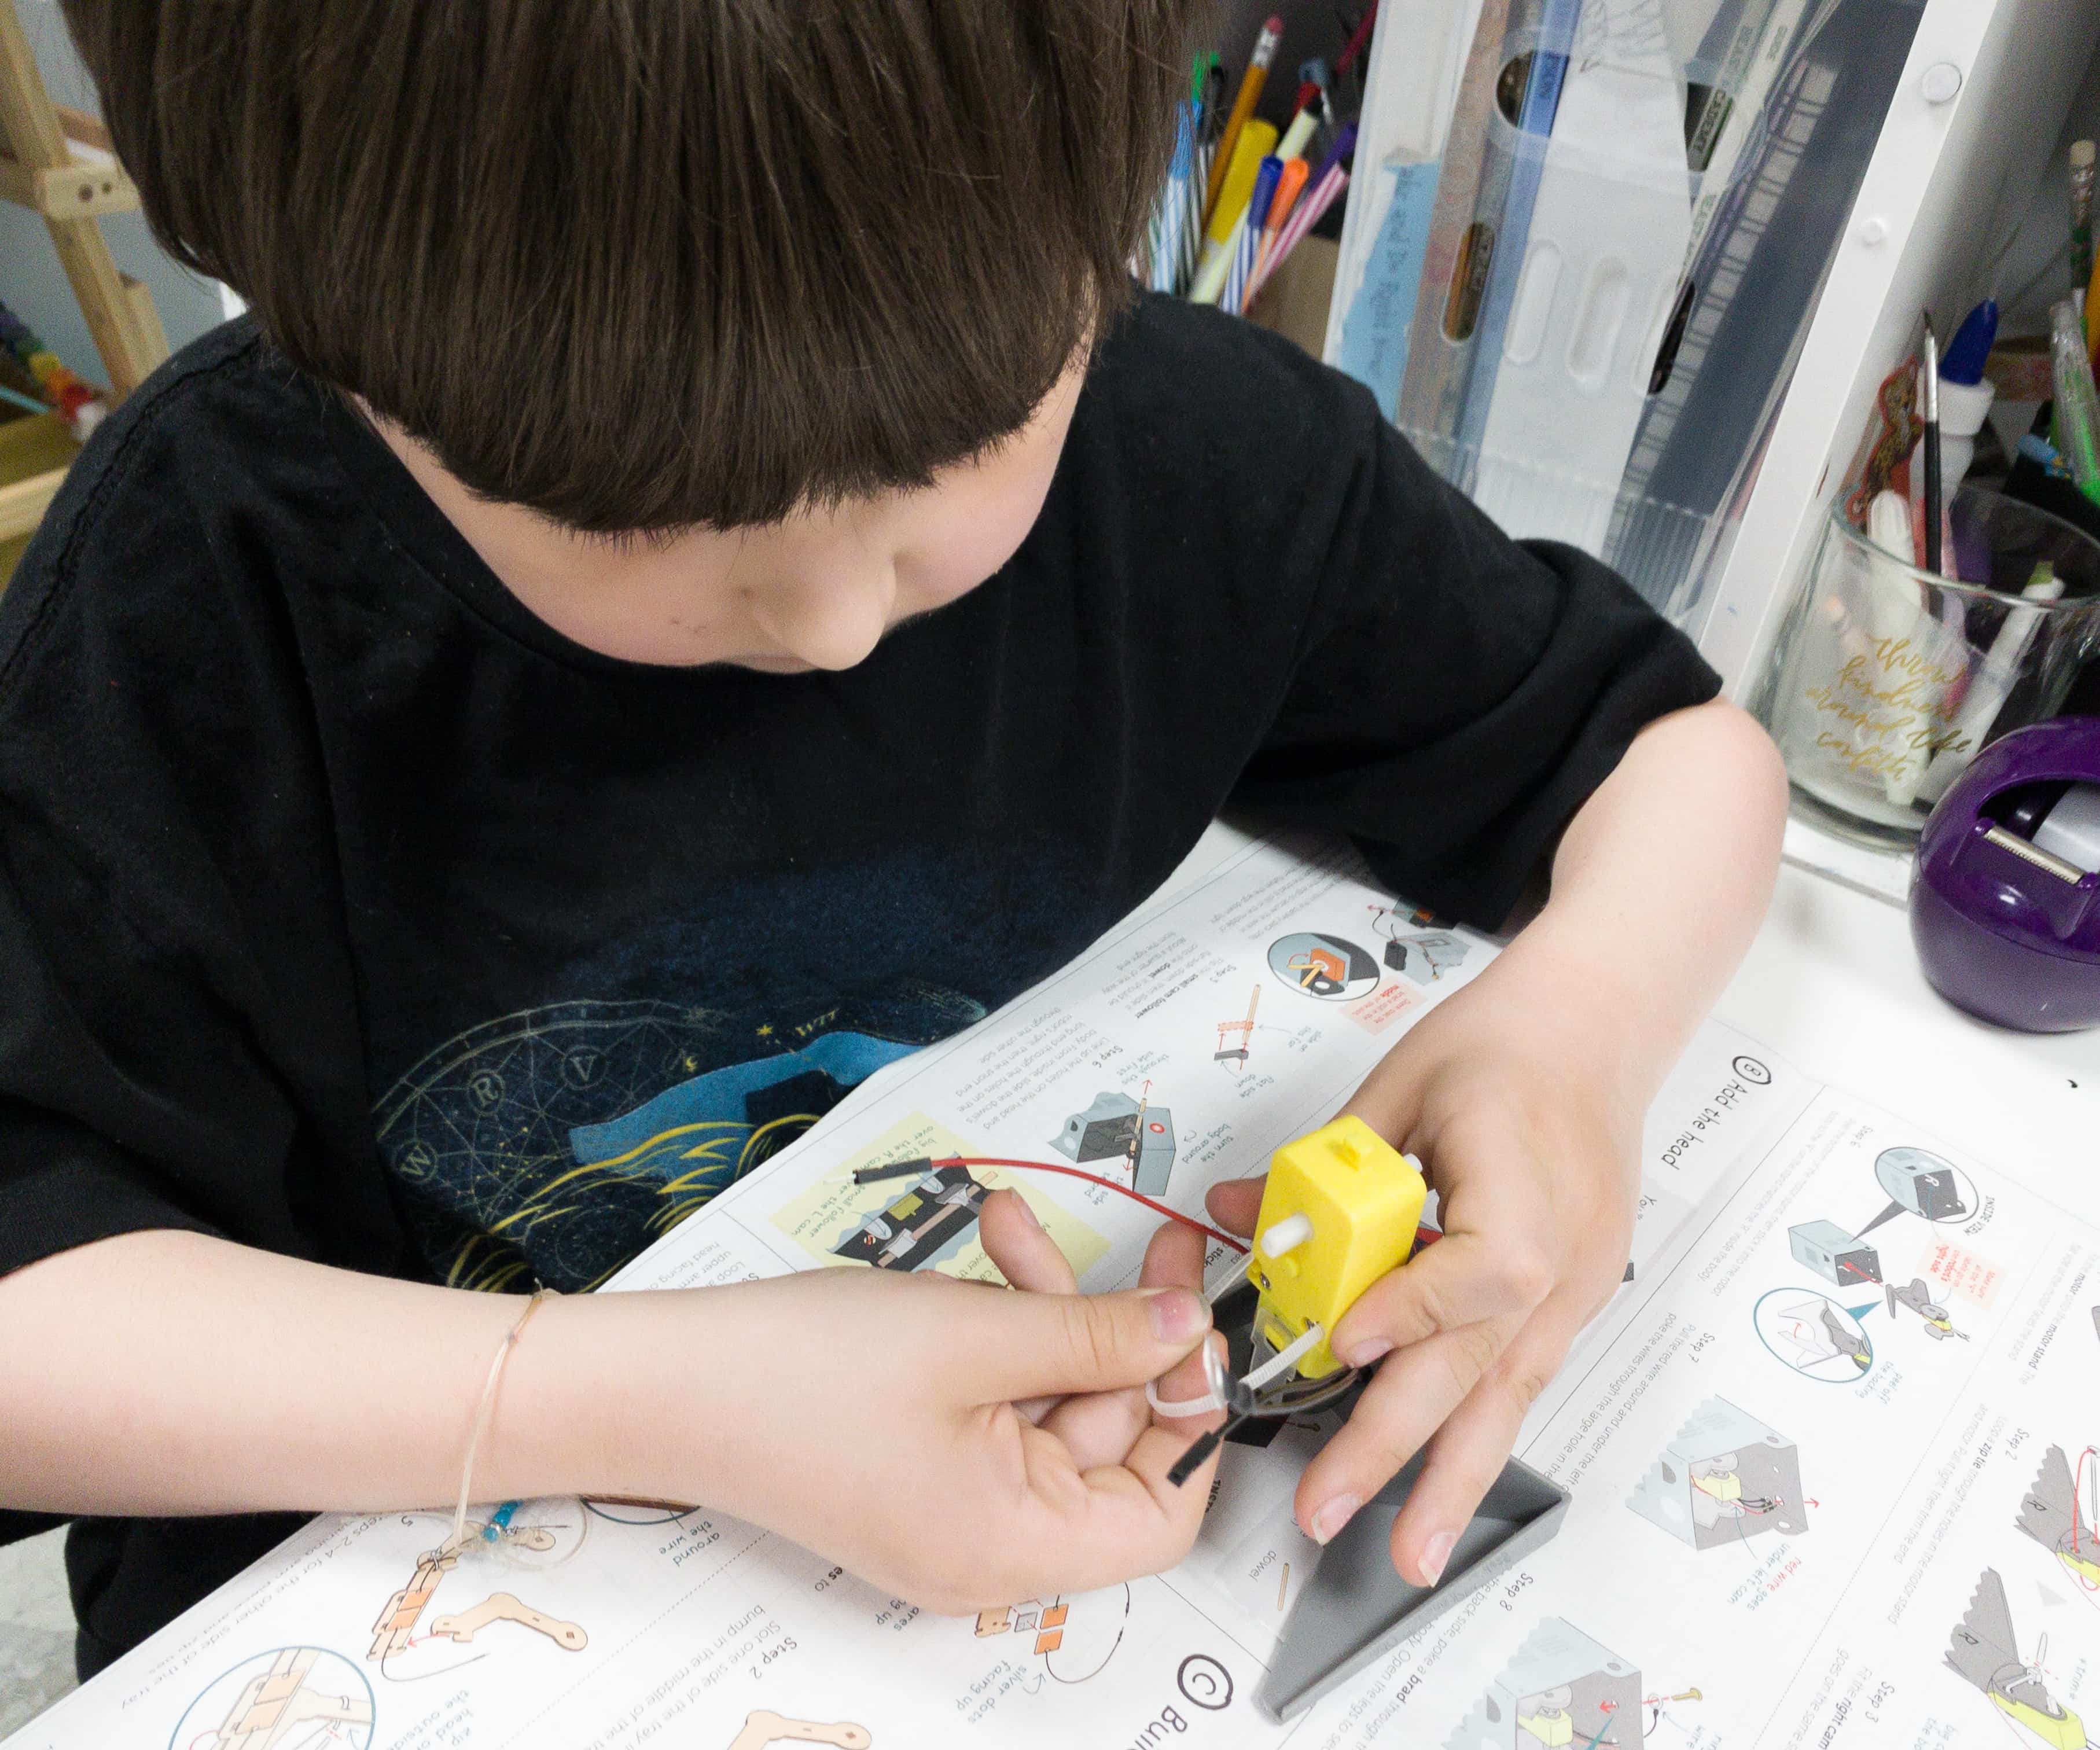
Then, he looped the zip tie through the holes on the stand and around the motor, then locked it up by pulling the zip tie tightly.
My son laid out the body piece and carefully folded it to form a box and then tucked in the tabs to connect the sides and close the bottom part.
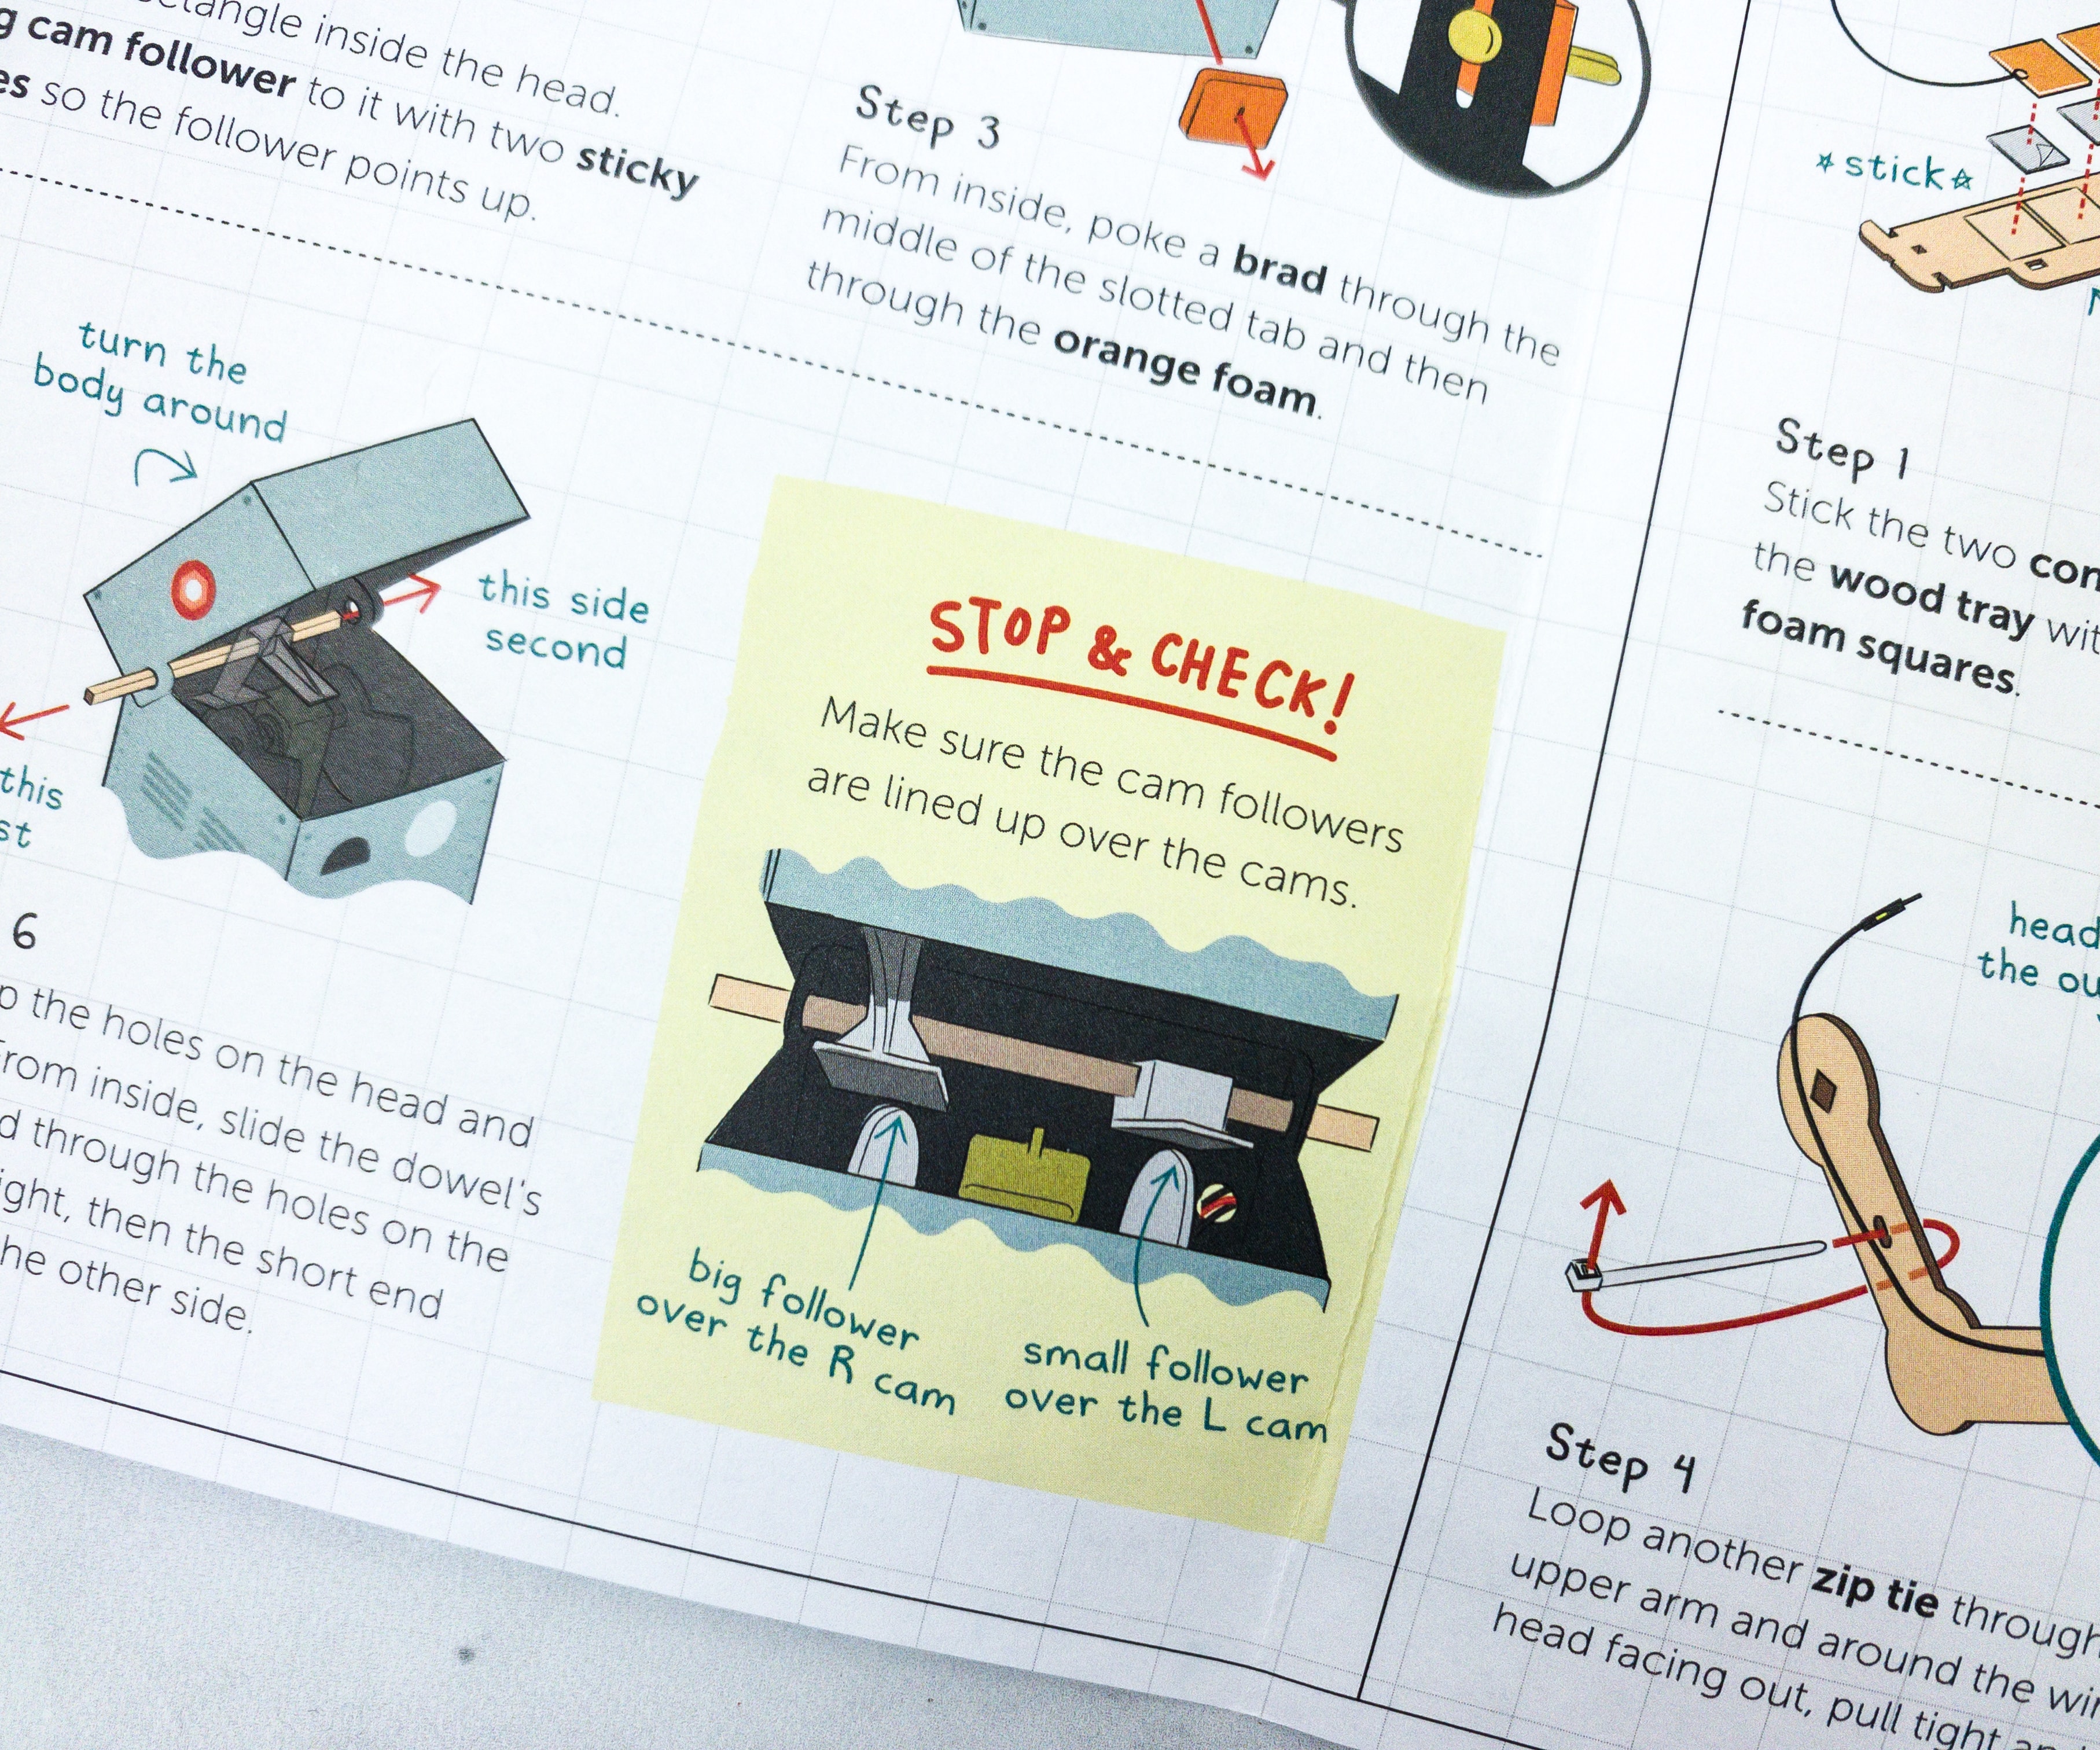
What we love about the instruction sheet is that it has a stop and check portion. It’s better to check the project every now and then for errors, so you don’t have to start over later!
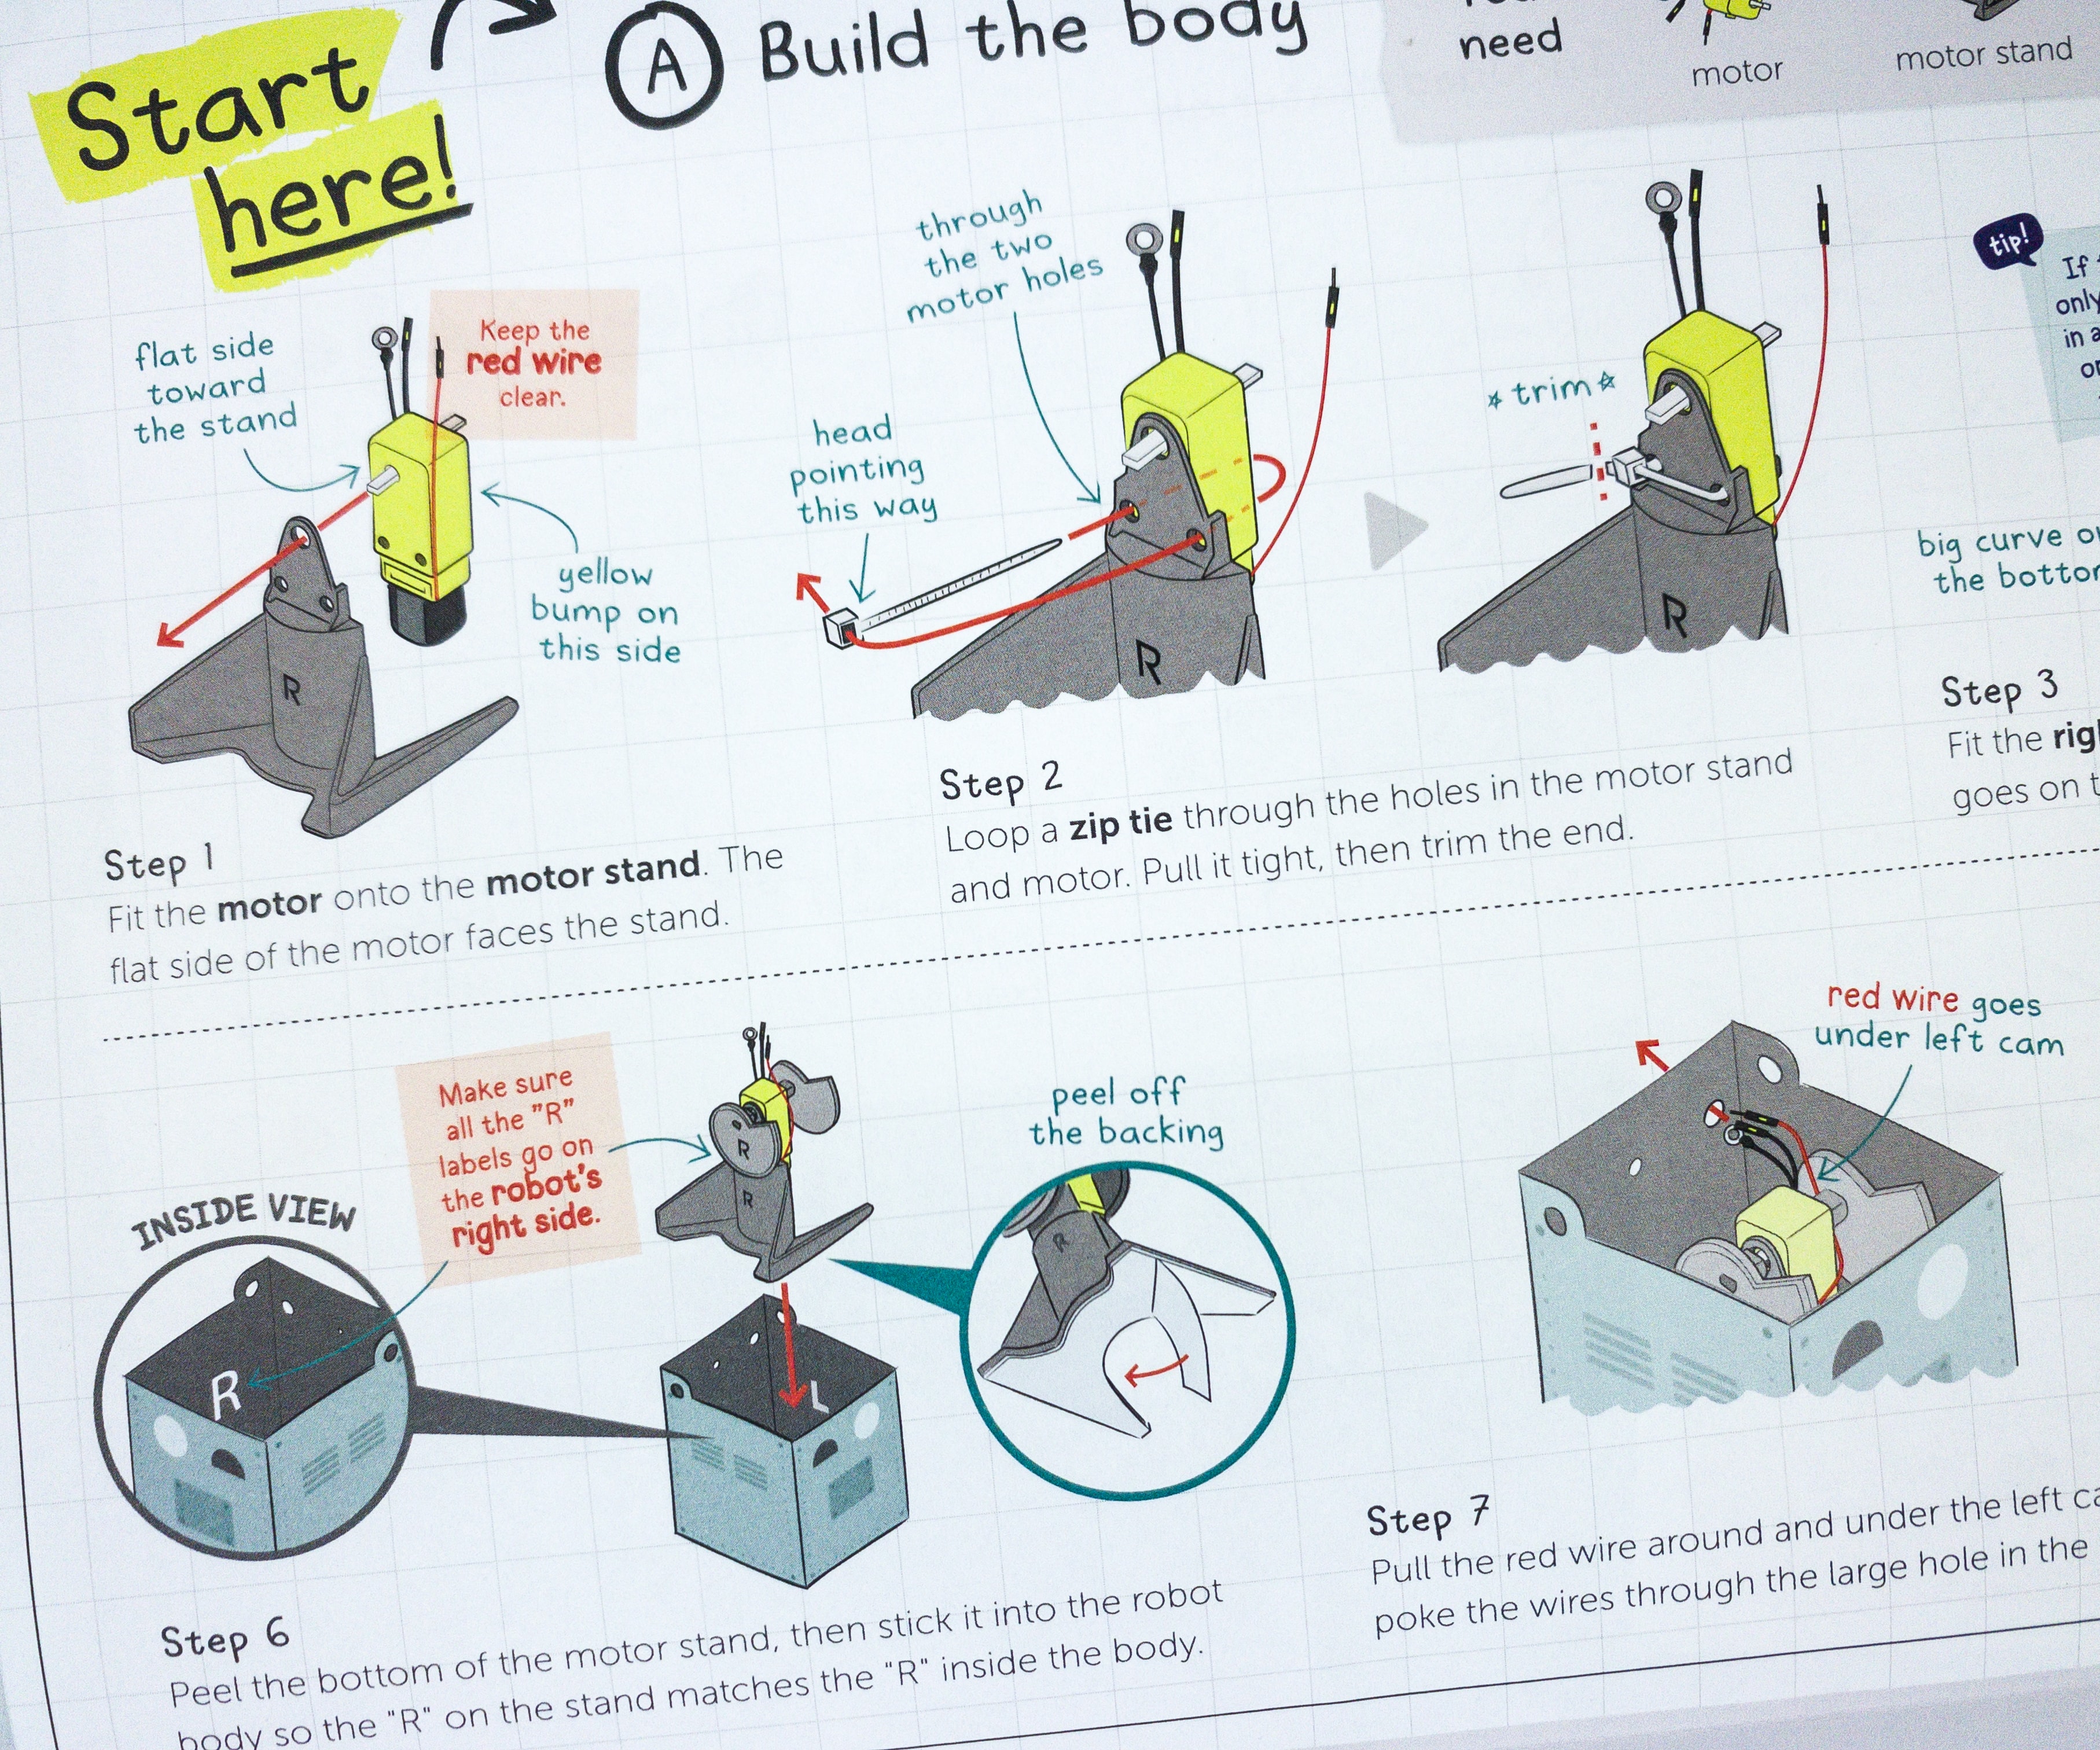
For the next step, my son peeled the bottom part of the stand and stuck it inside the box. He also made sure that all the “R” labeled parts were on the robot’s right side. Then, he pulled the red wire around the left cam and poked it through the large hole in the back.
The second and third part of the project is building the robot’s head and arms, and adding it to the body. For the head, we used the completed body from the first part, headpiece, big cam follower, small cam follower, sticky foam squares, brad, orange foams, and dowel.
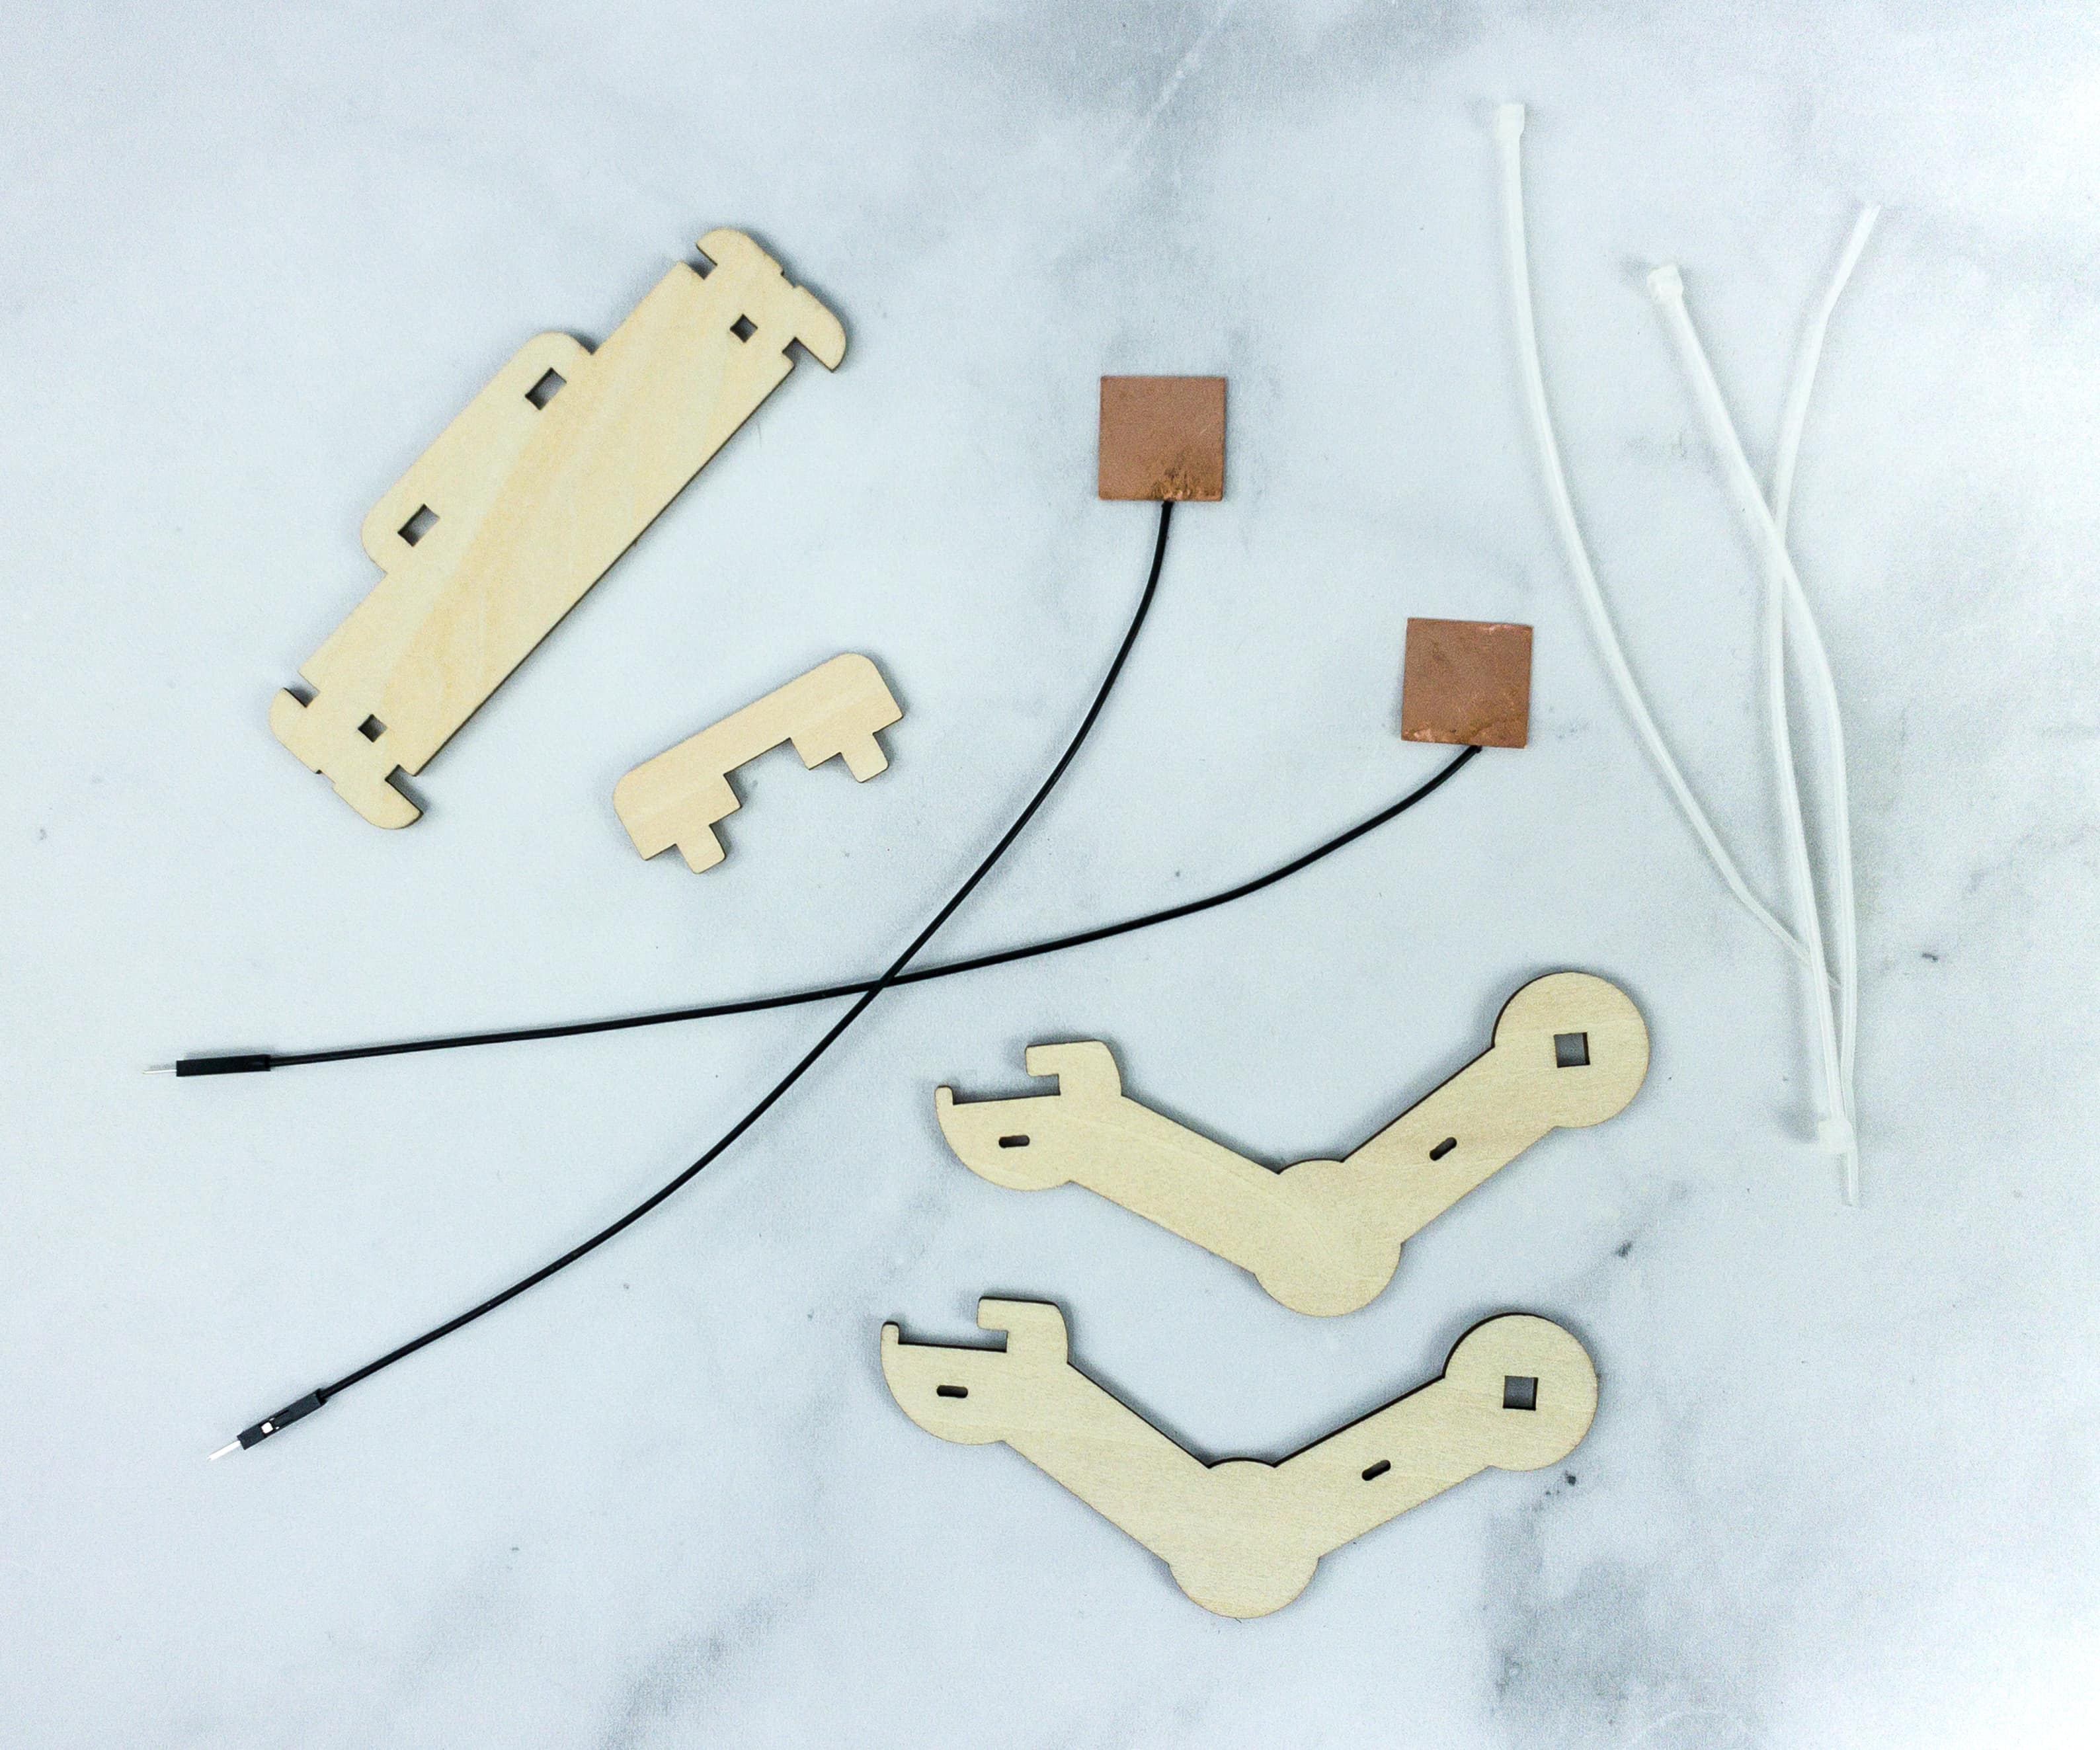
We also used contact wires, wood tray, wood arms, wood guard, sticky foam squares, and zip ties for the arms of the robot.
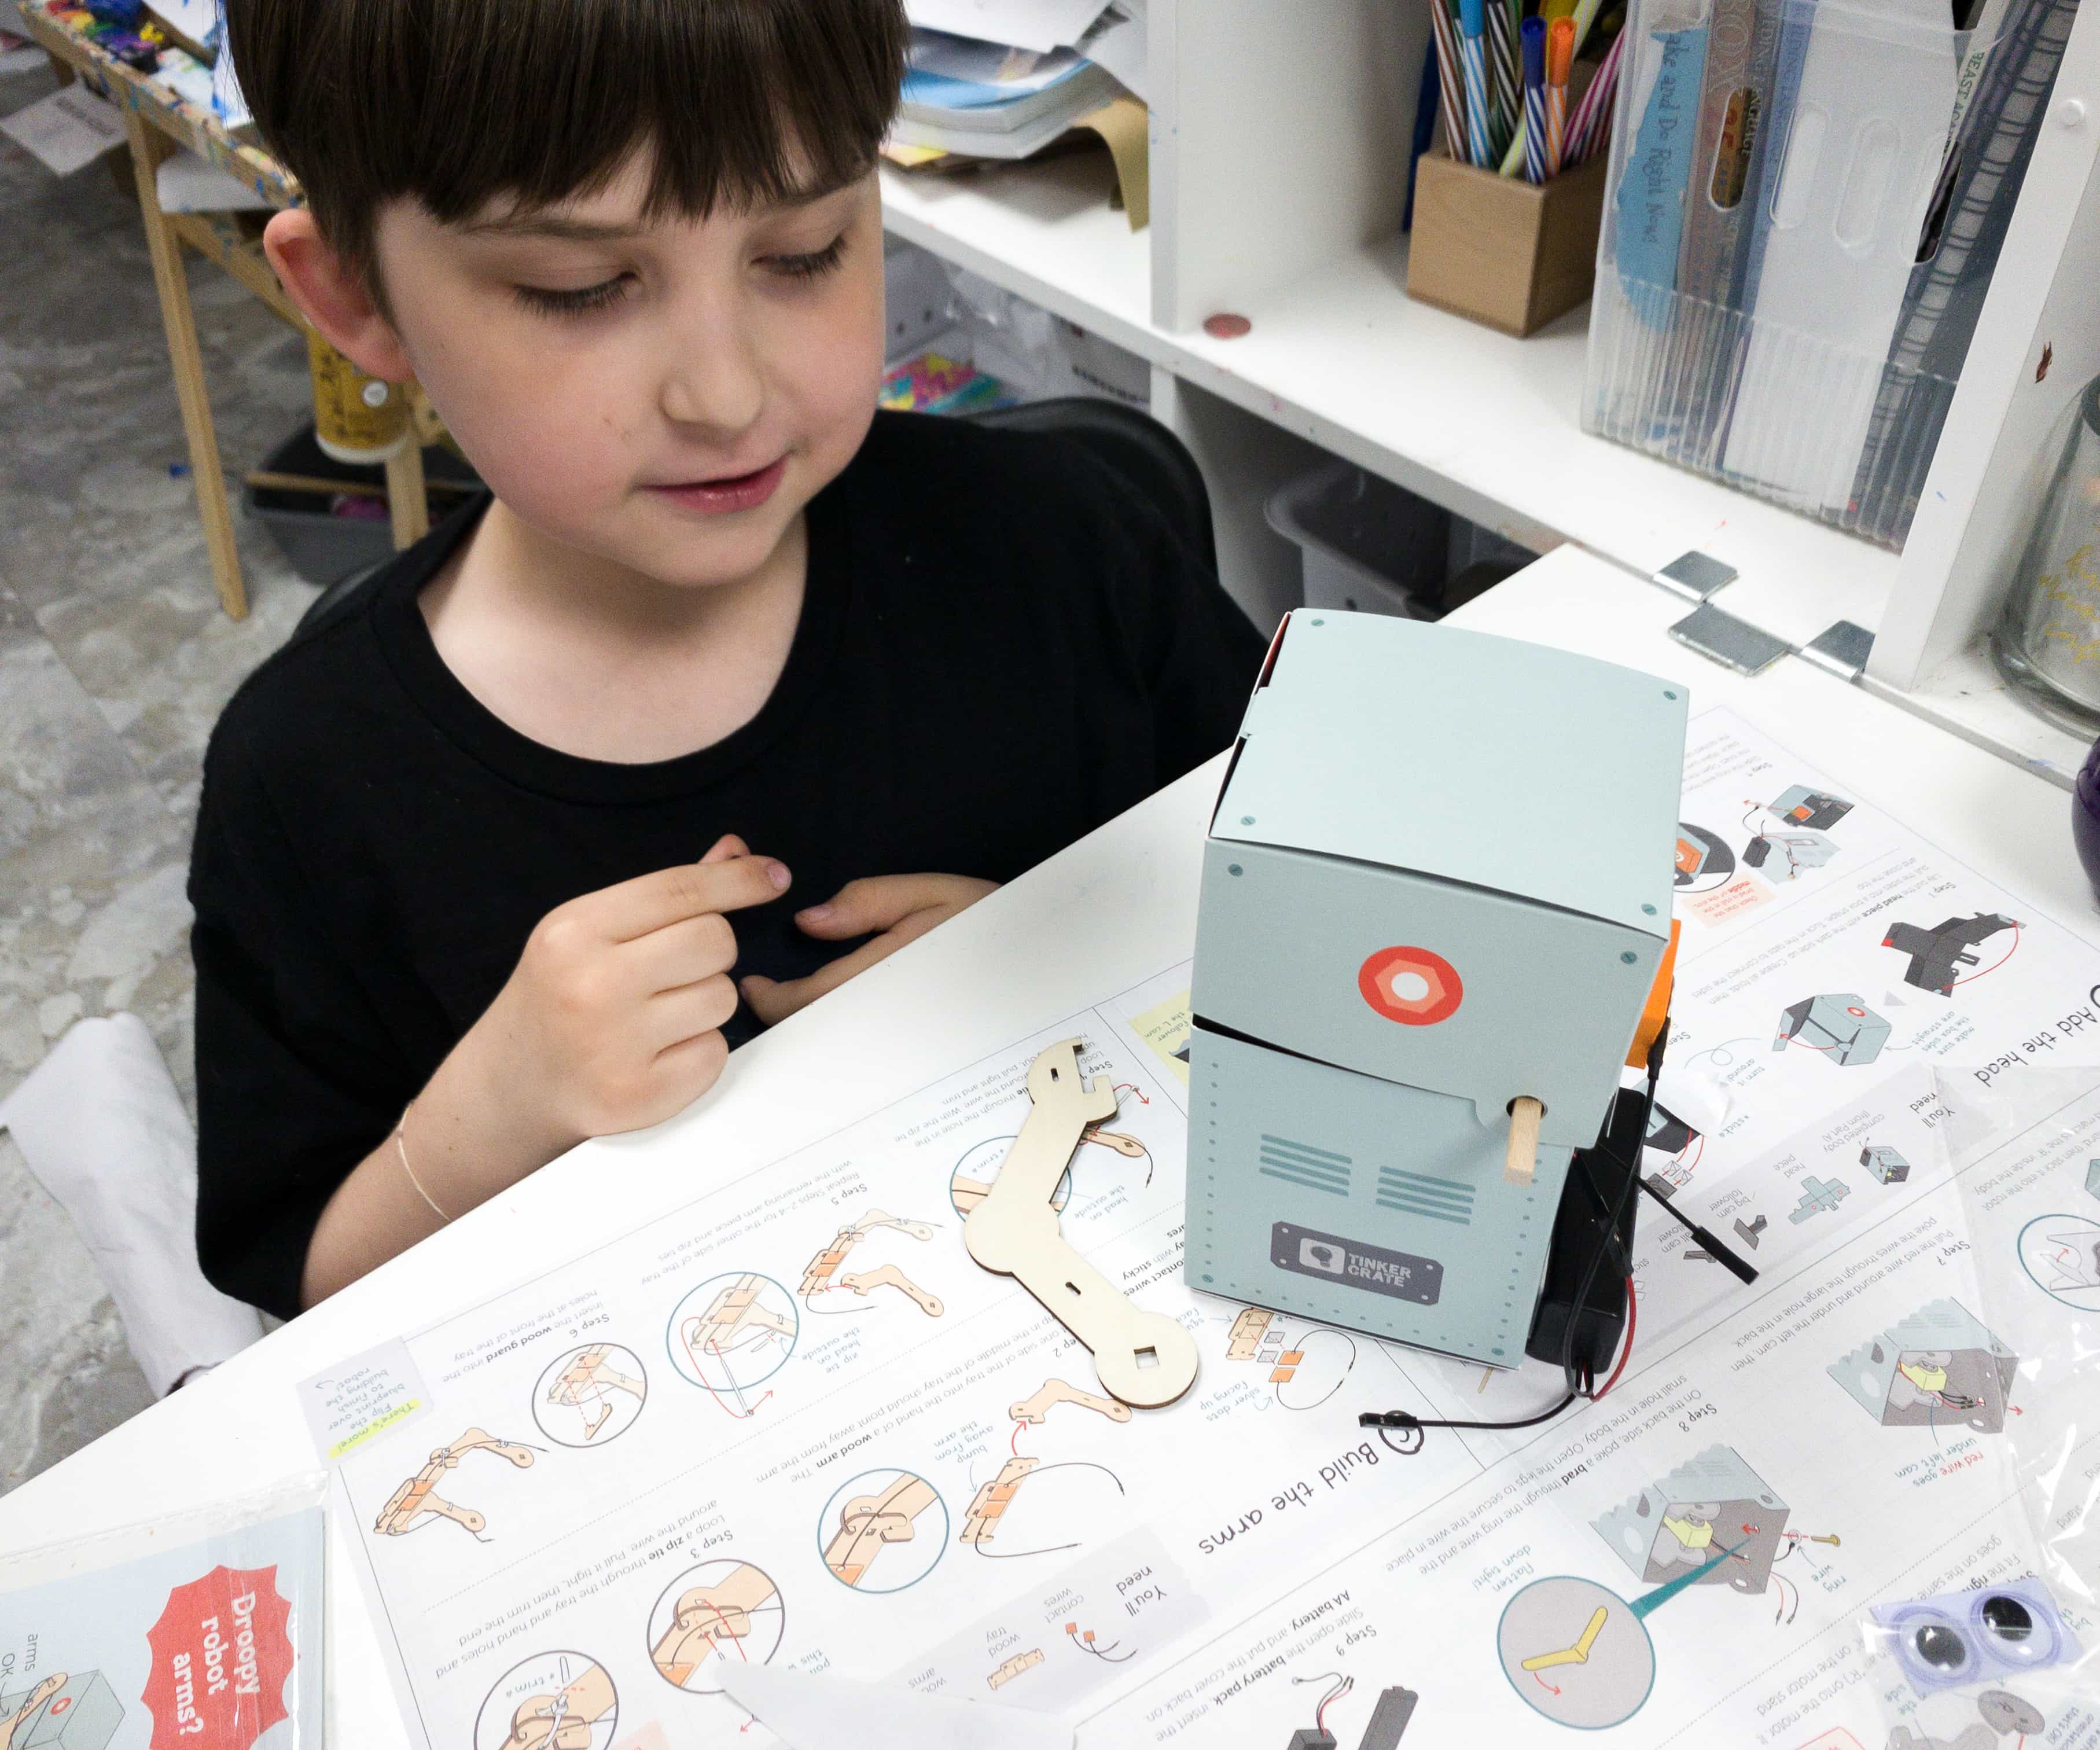
My son folded the headpiece with the dark side facing inside and tucked the tabs just like in the body. Afterward, he placed the big cam follower inside the head and put it in place using a pair of sticky foam squares. He also lined up the holes on the head and body from the inside, and carefully slid the dowel through the holes until it reached the other side.
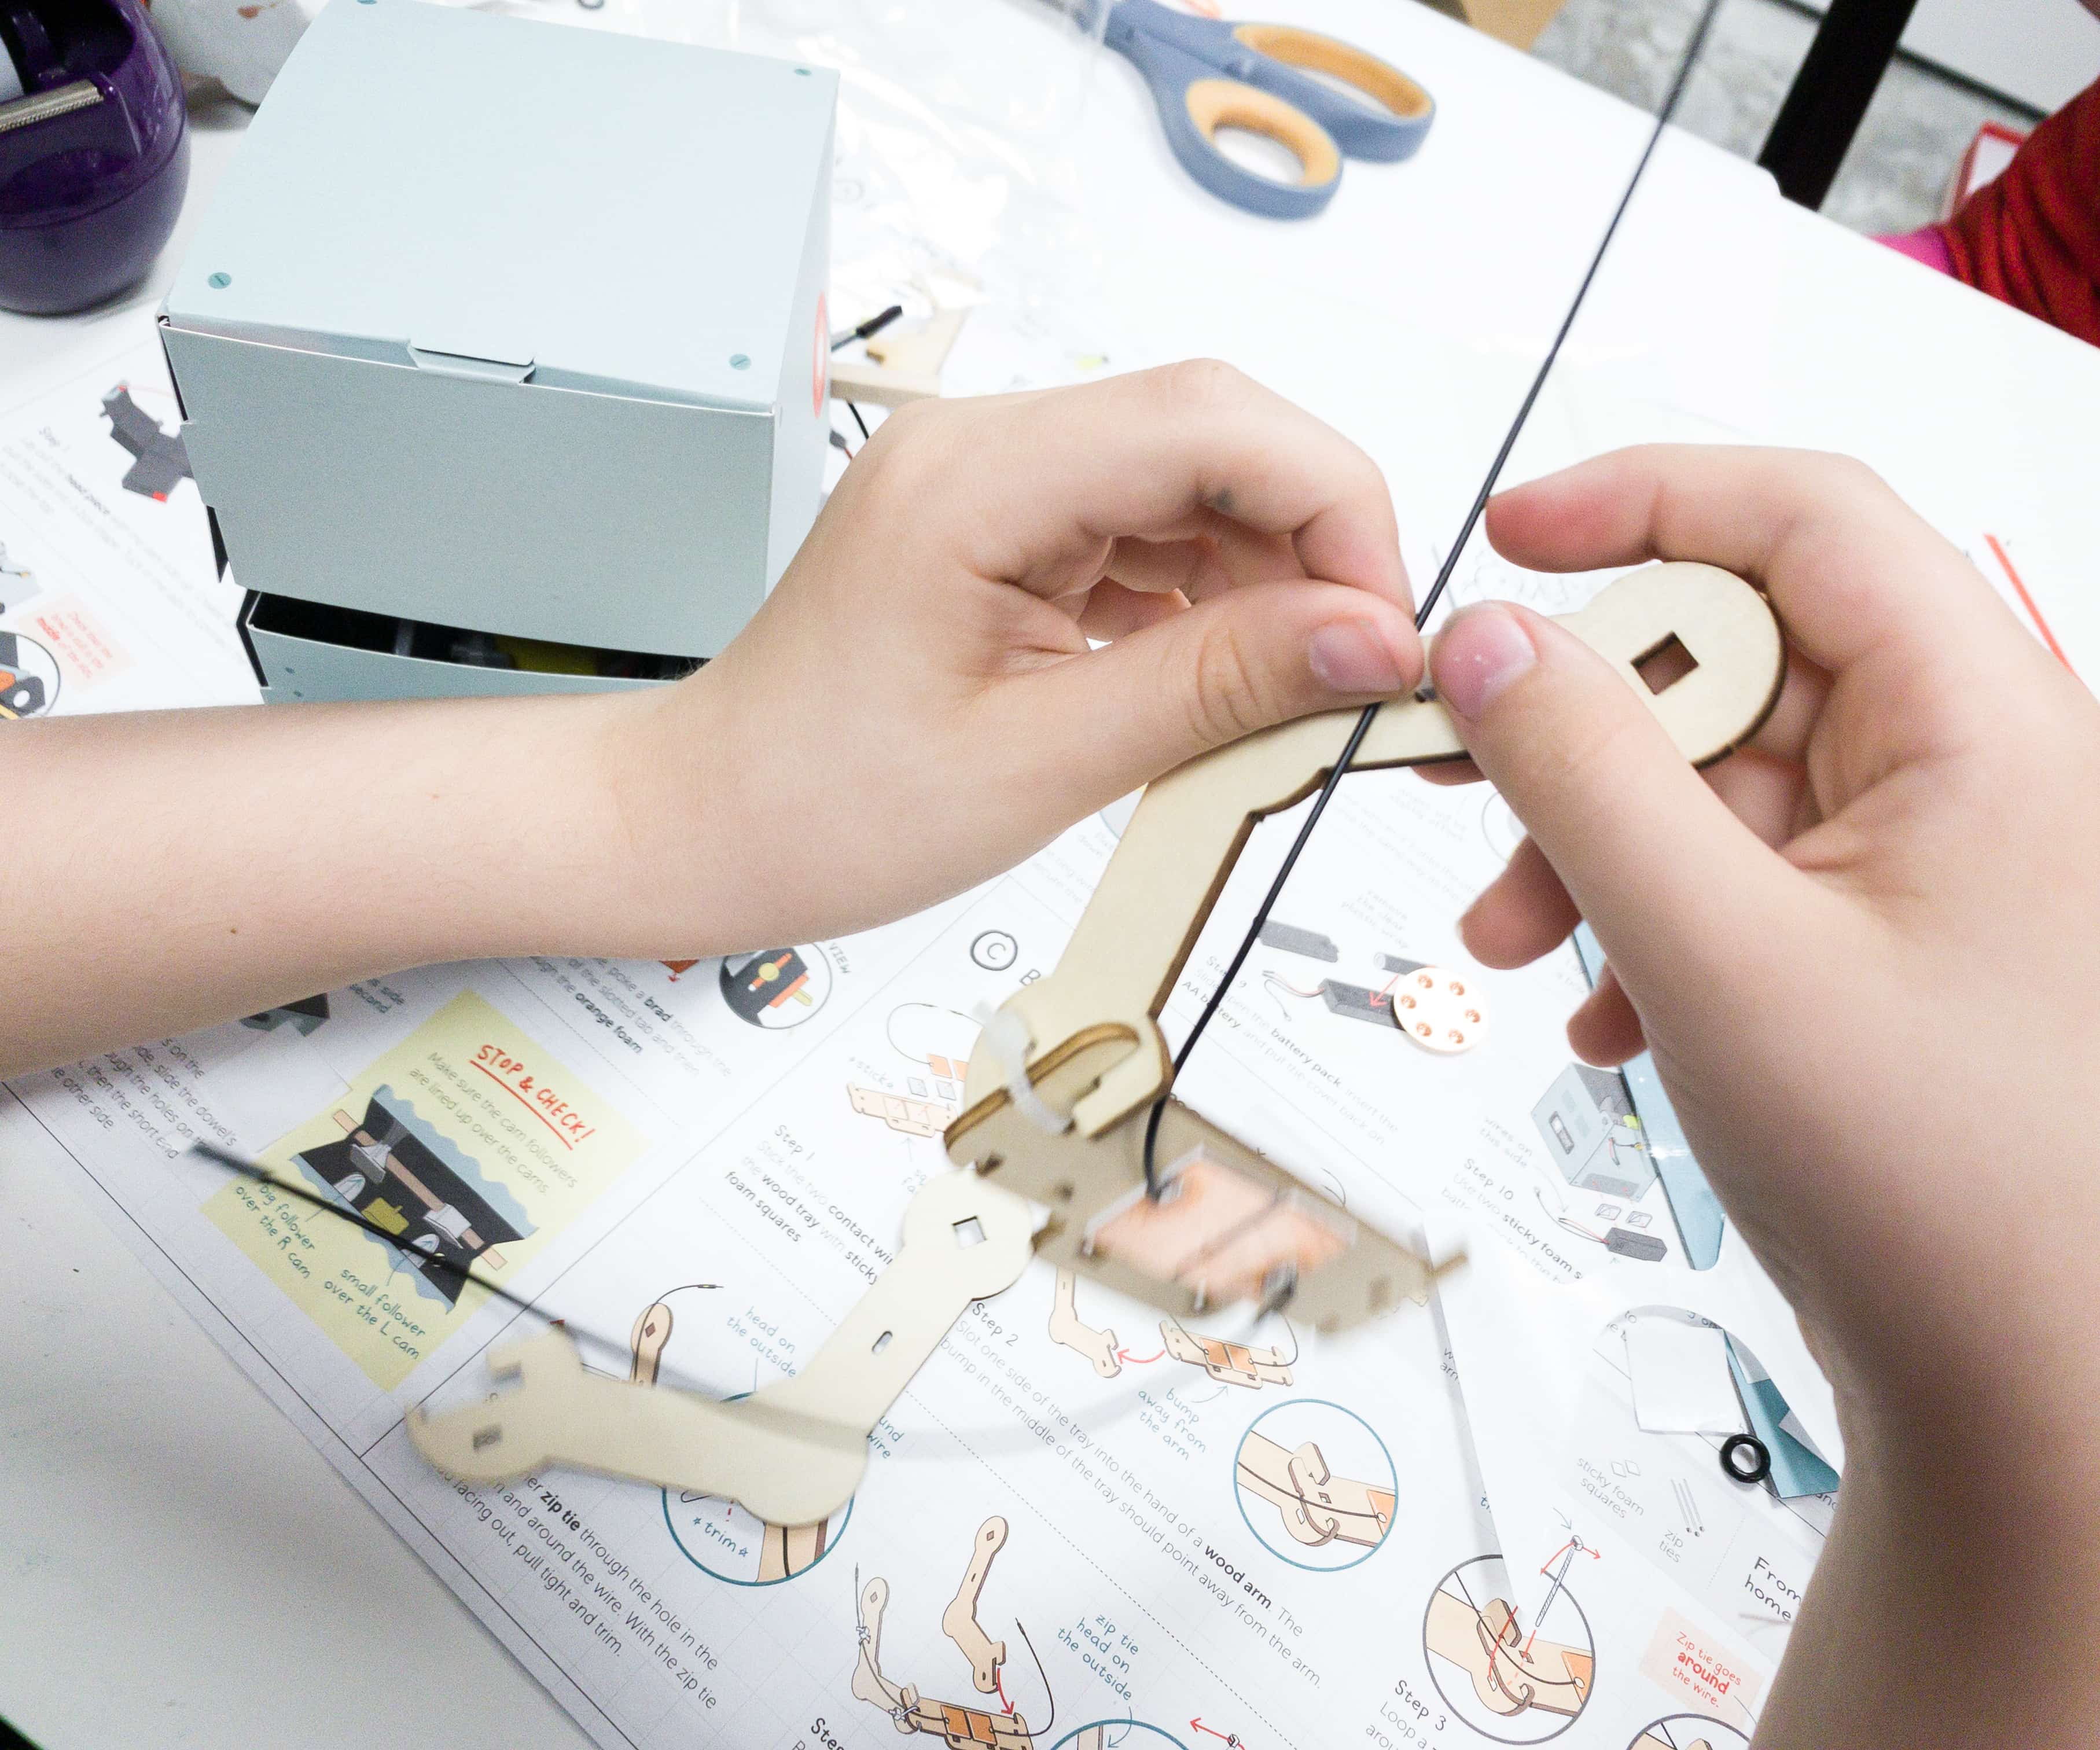
Next, he stuck the two contact wires to the wood tray using the sticky foam squares, then slotted one side of the tray into the hand of a wood arm and did the same to the other hand.
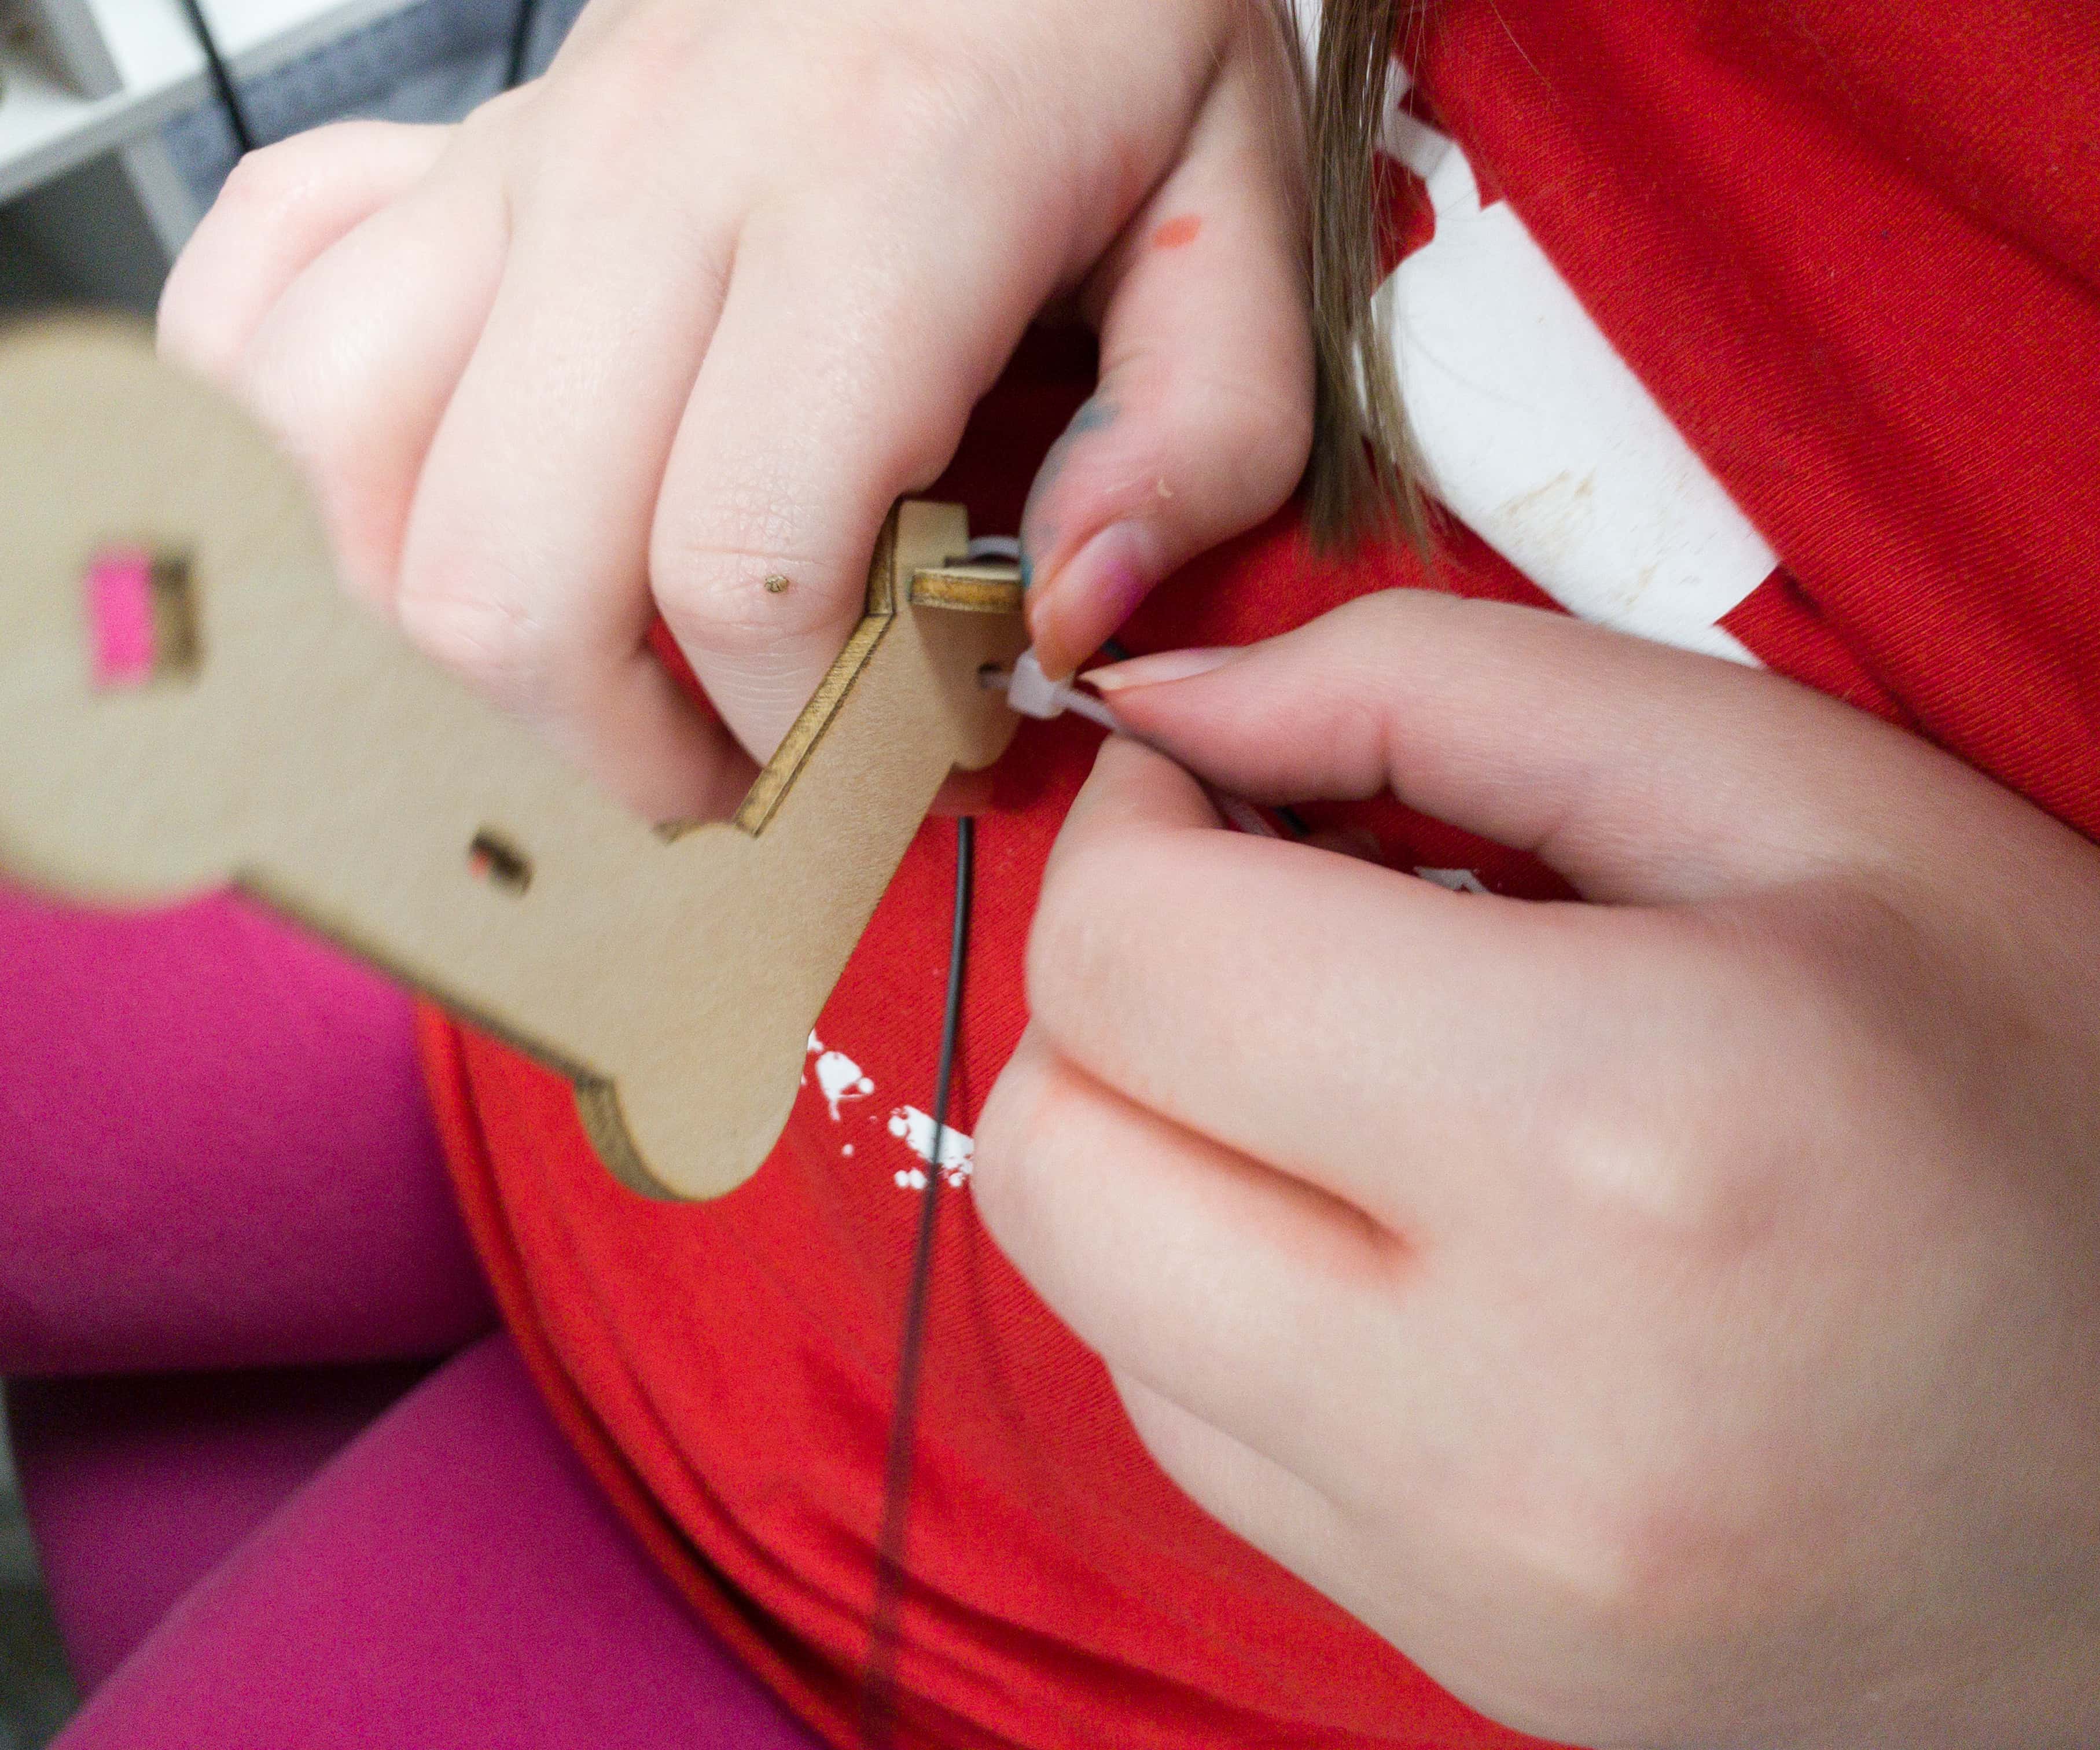
He also looped the zip ties through the tray and hand holes and around the wire, and then pulled it tight to lock.
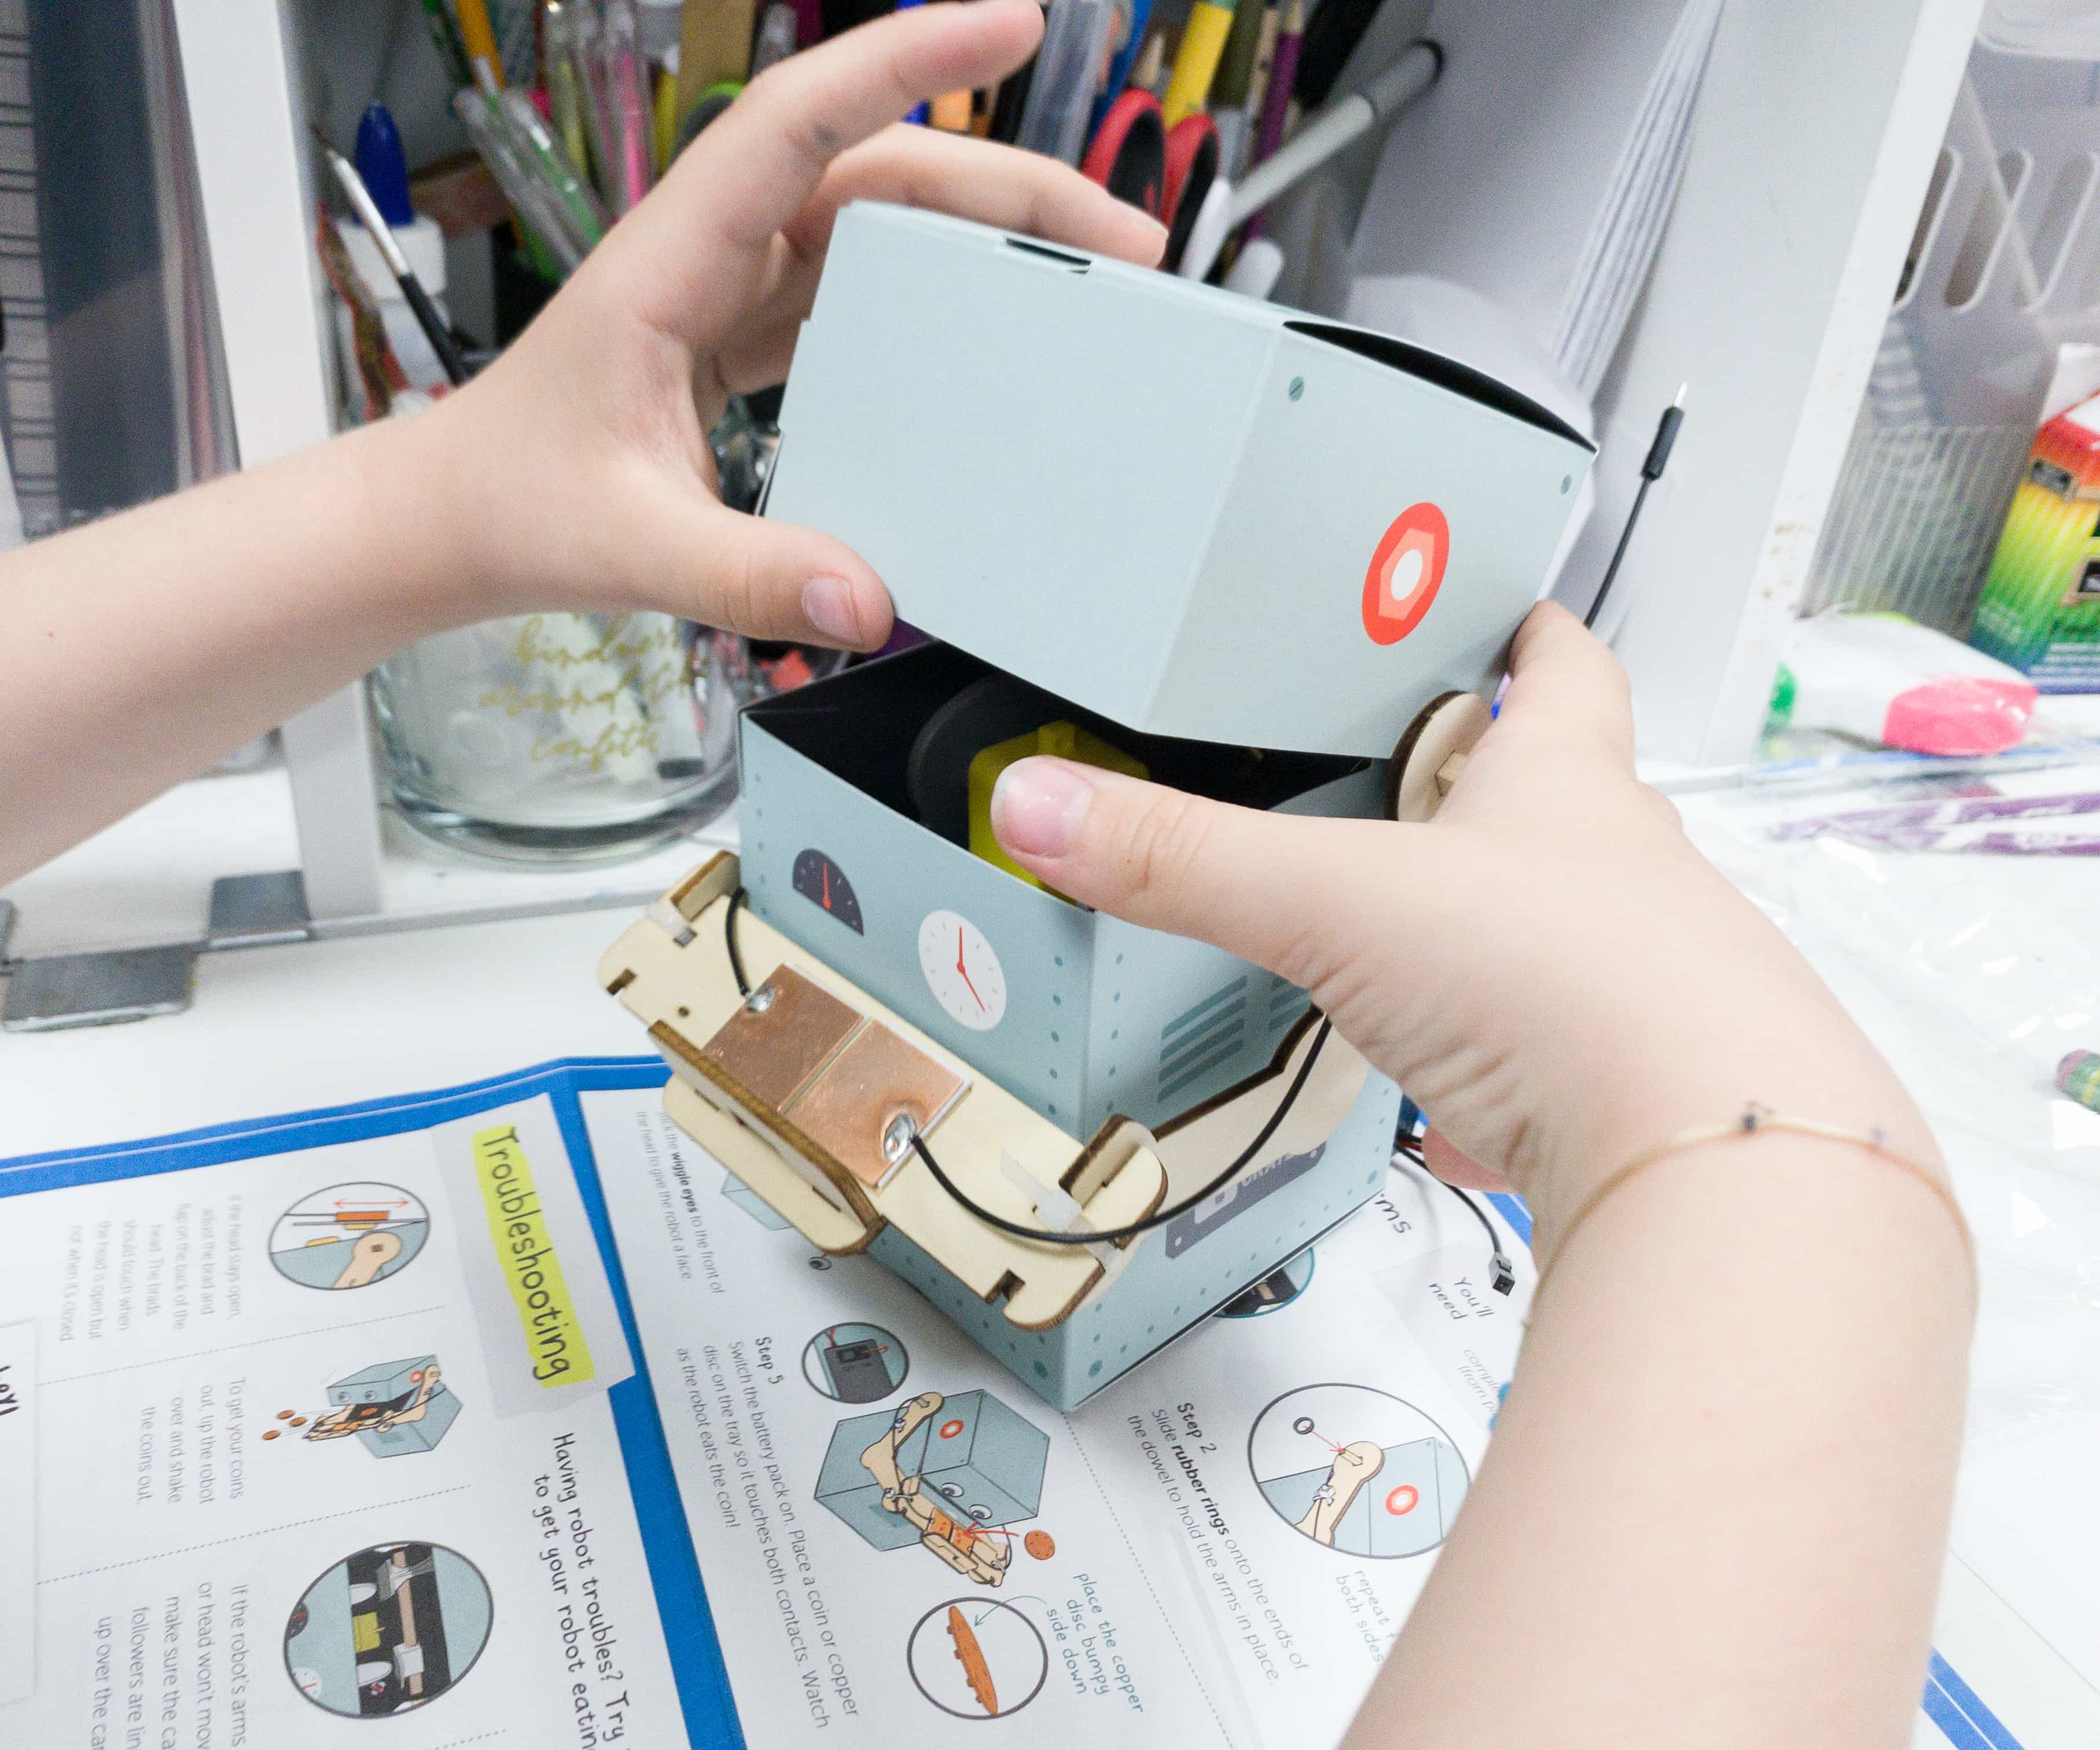
It’s almost complete! My son slid the completed arms on the dowel and locked them up using the rubber rings!
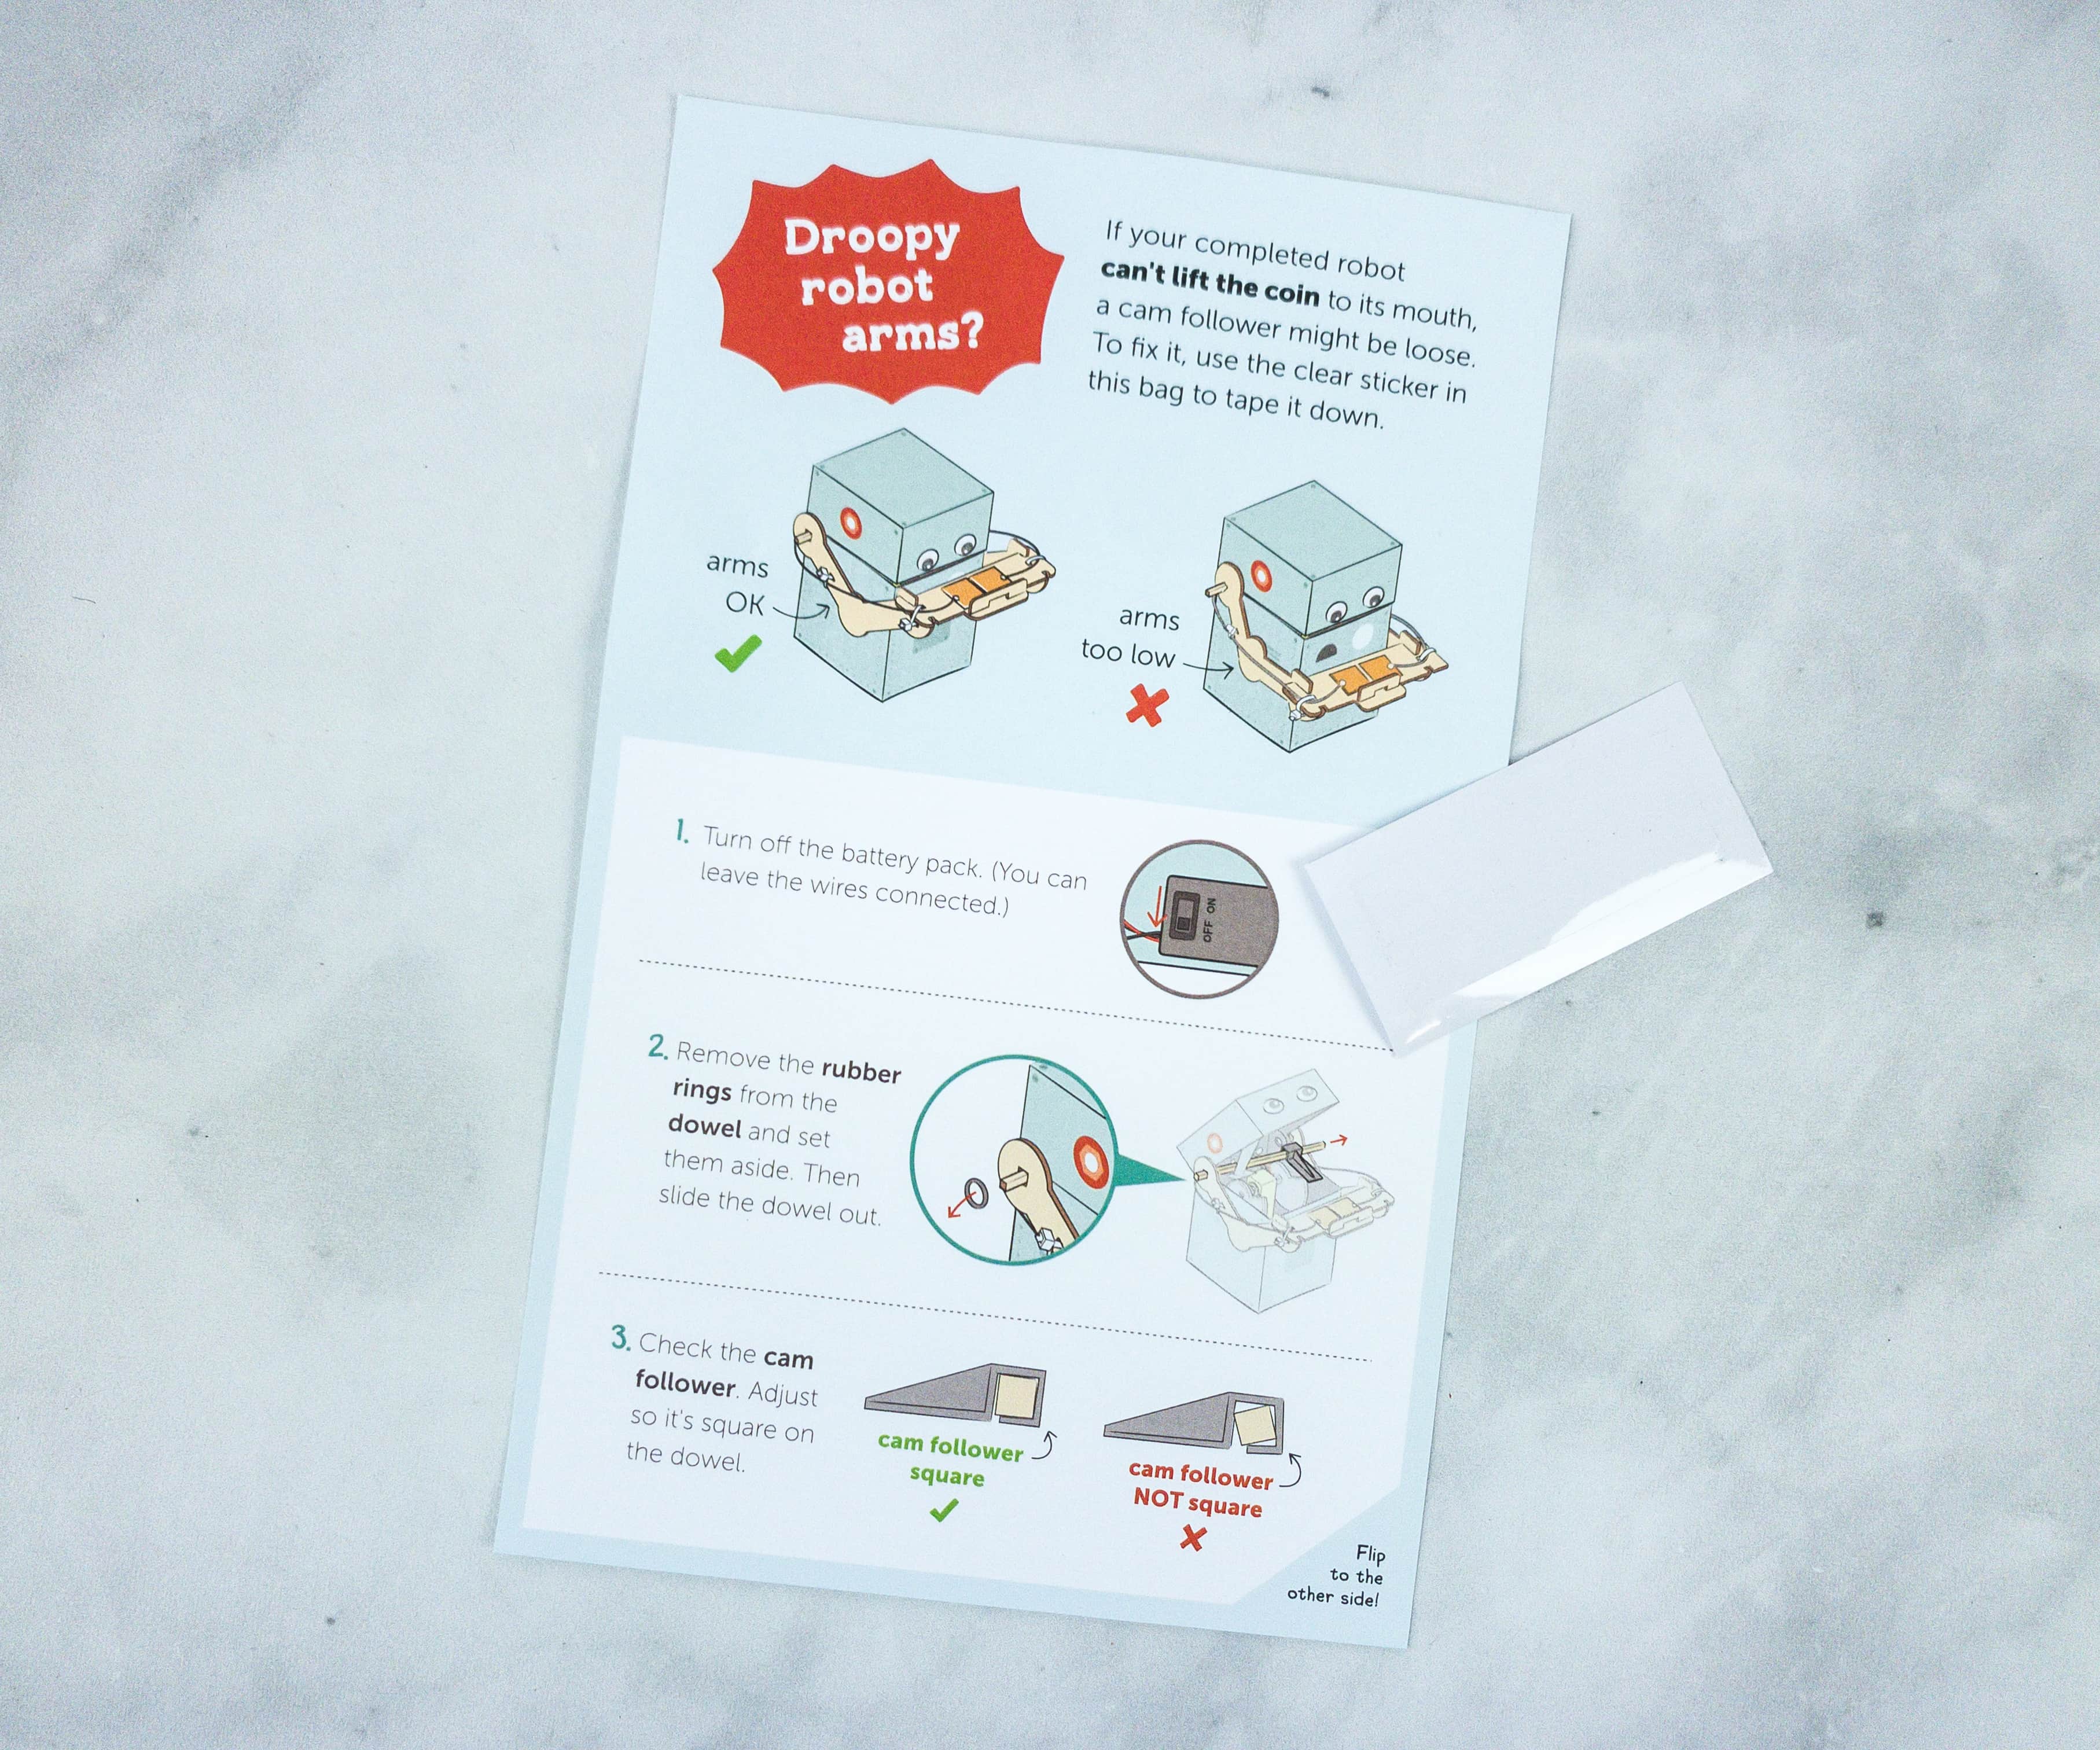
If the robot can’t lift the coin to the mouth, a cam follower might be loose. To fix, you can check the cam follower by adjusting its square on the dowel.
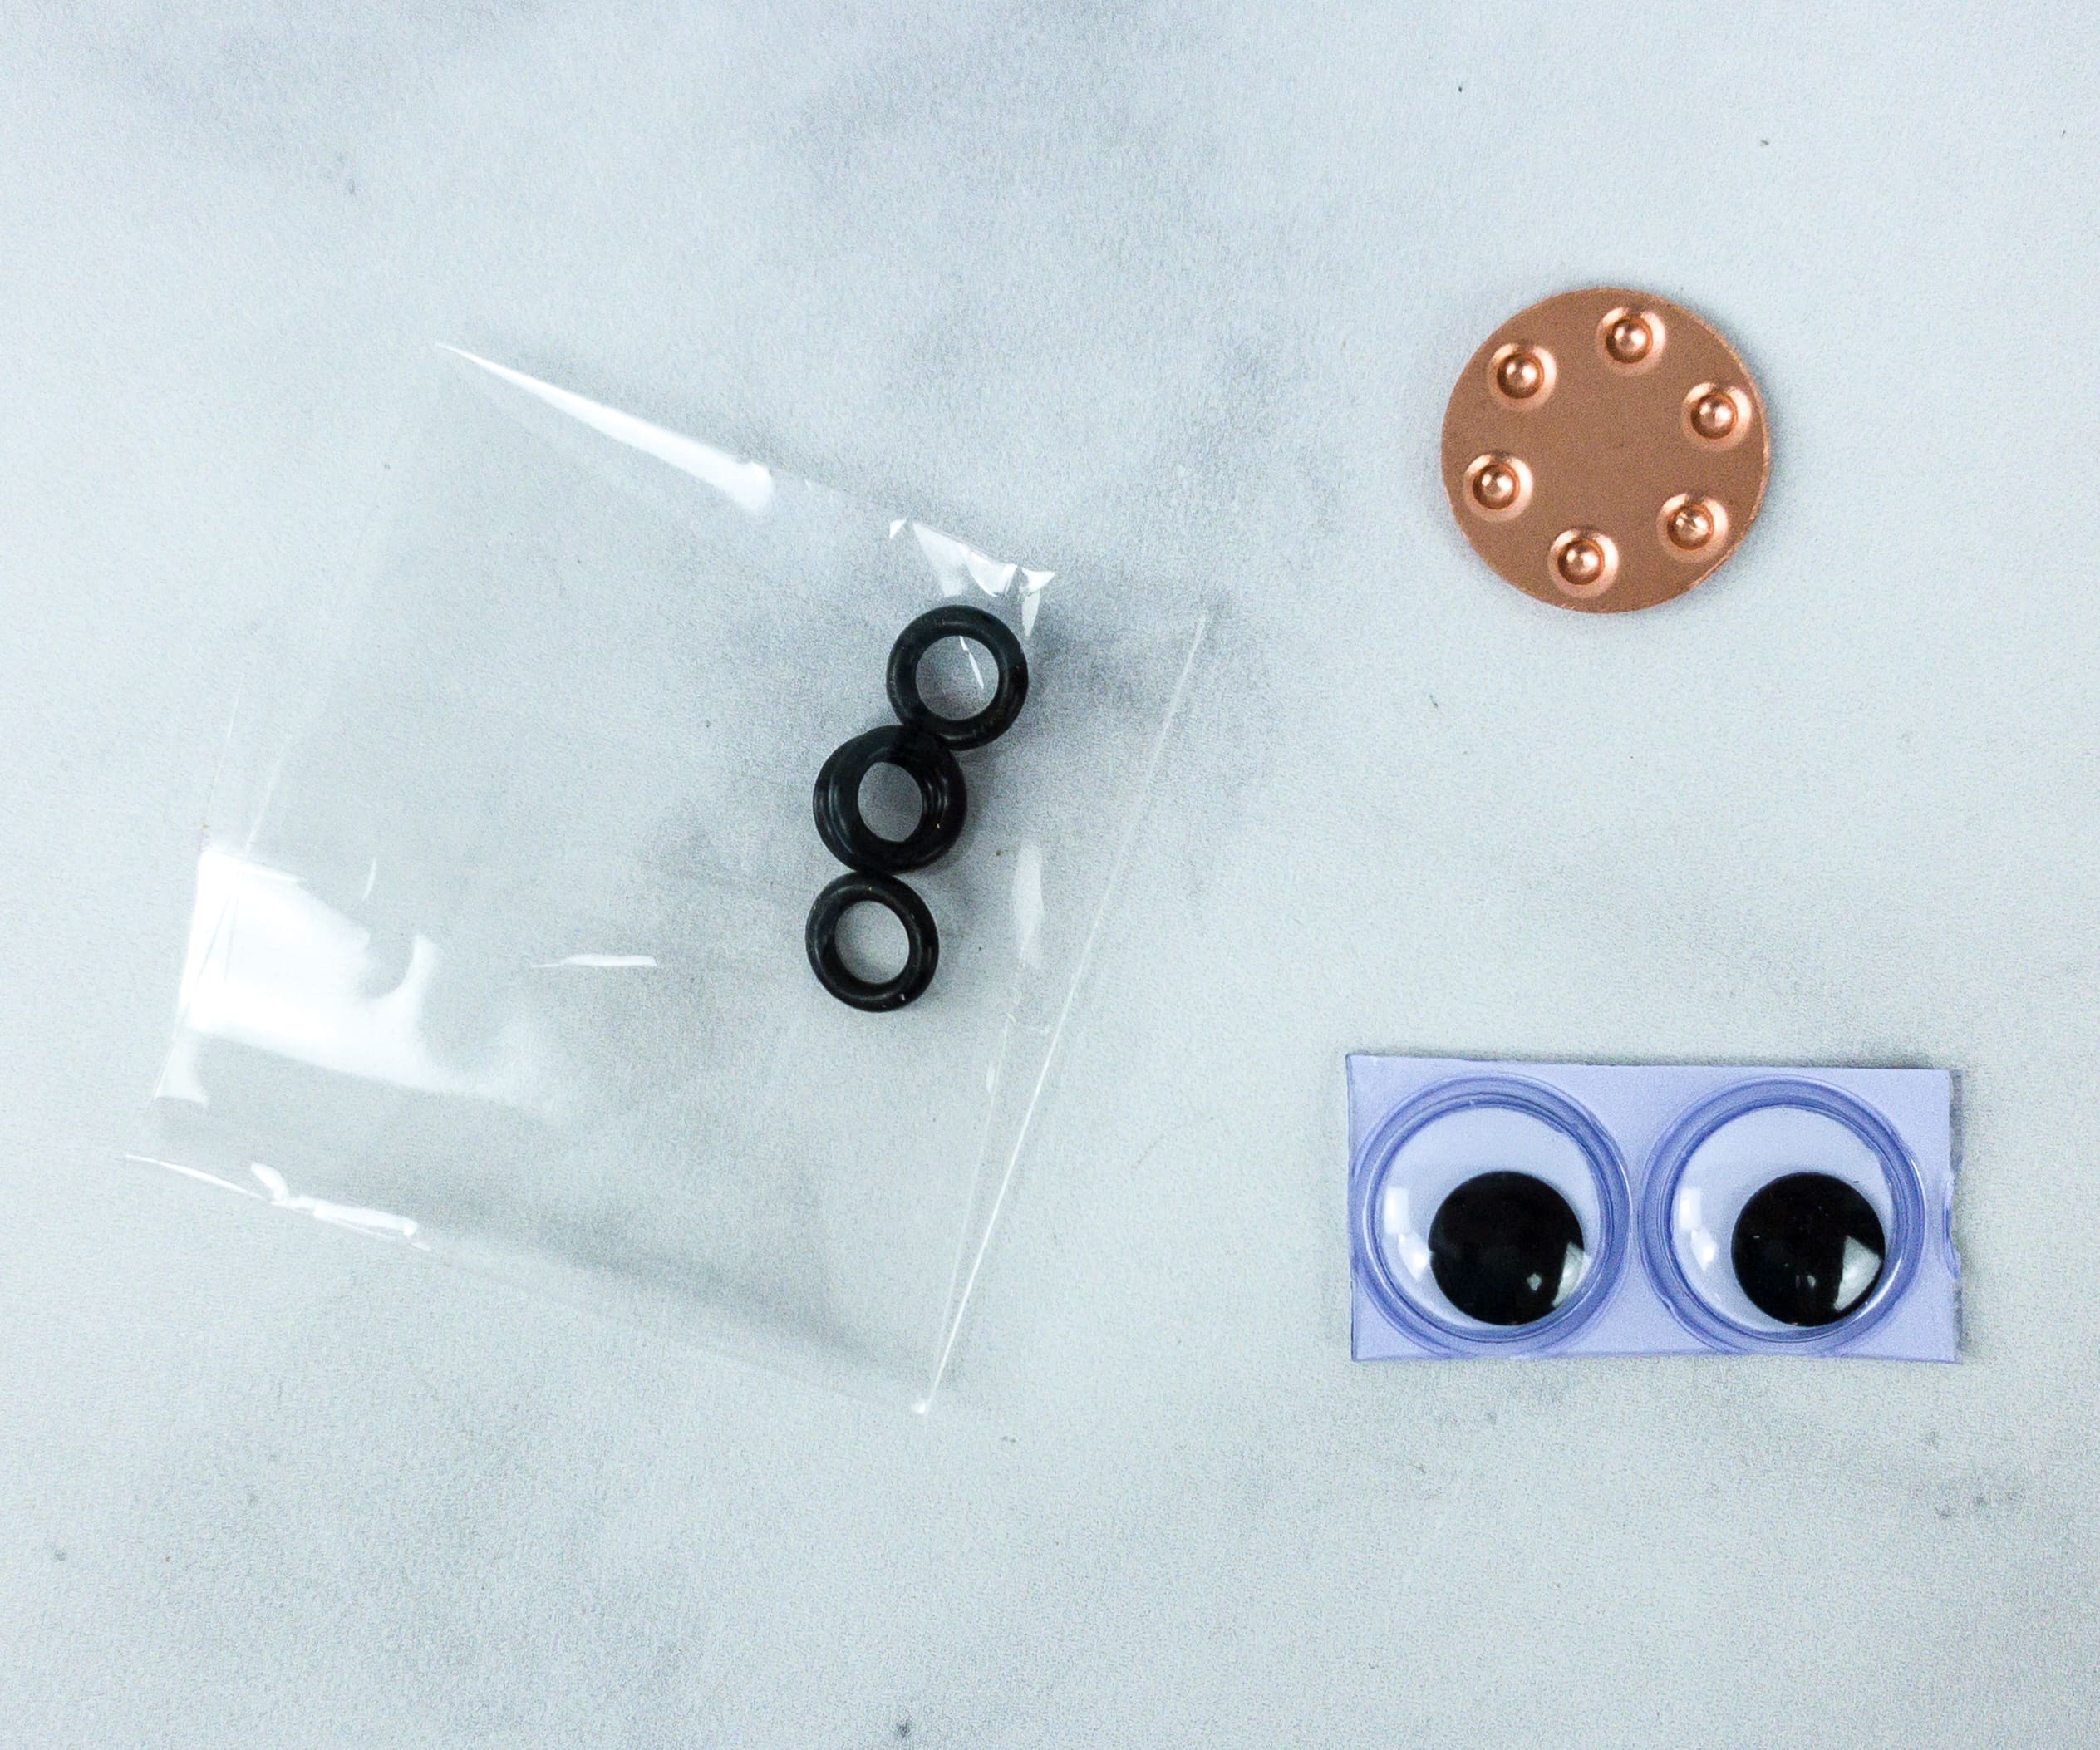
For the final touch, we used the rubber rings, a pair of eyes, and coin holder where we will place the coin to activate the robot.
To make it like a real robot, my son put the pair of eyes in front of the robot head. He also put the coin holder on top of the contact wires.
He locked the back of the head by flattening the brad along the wire directly connected on the battery pack.
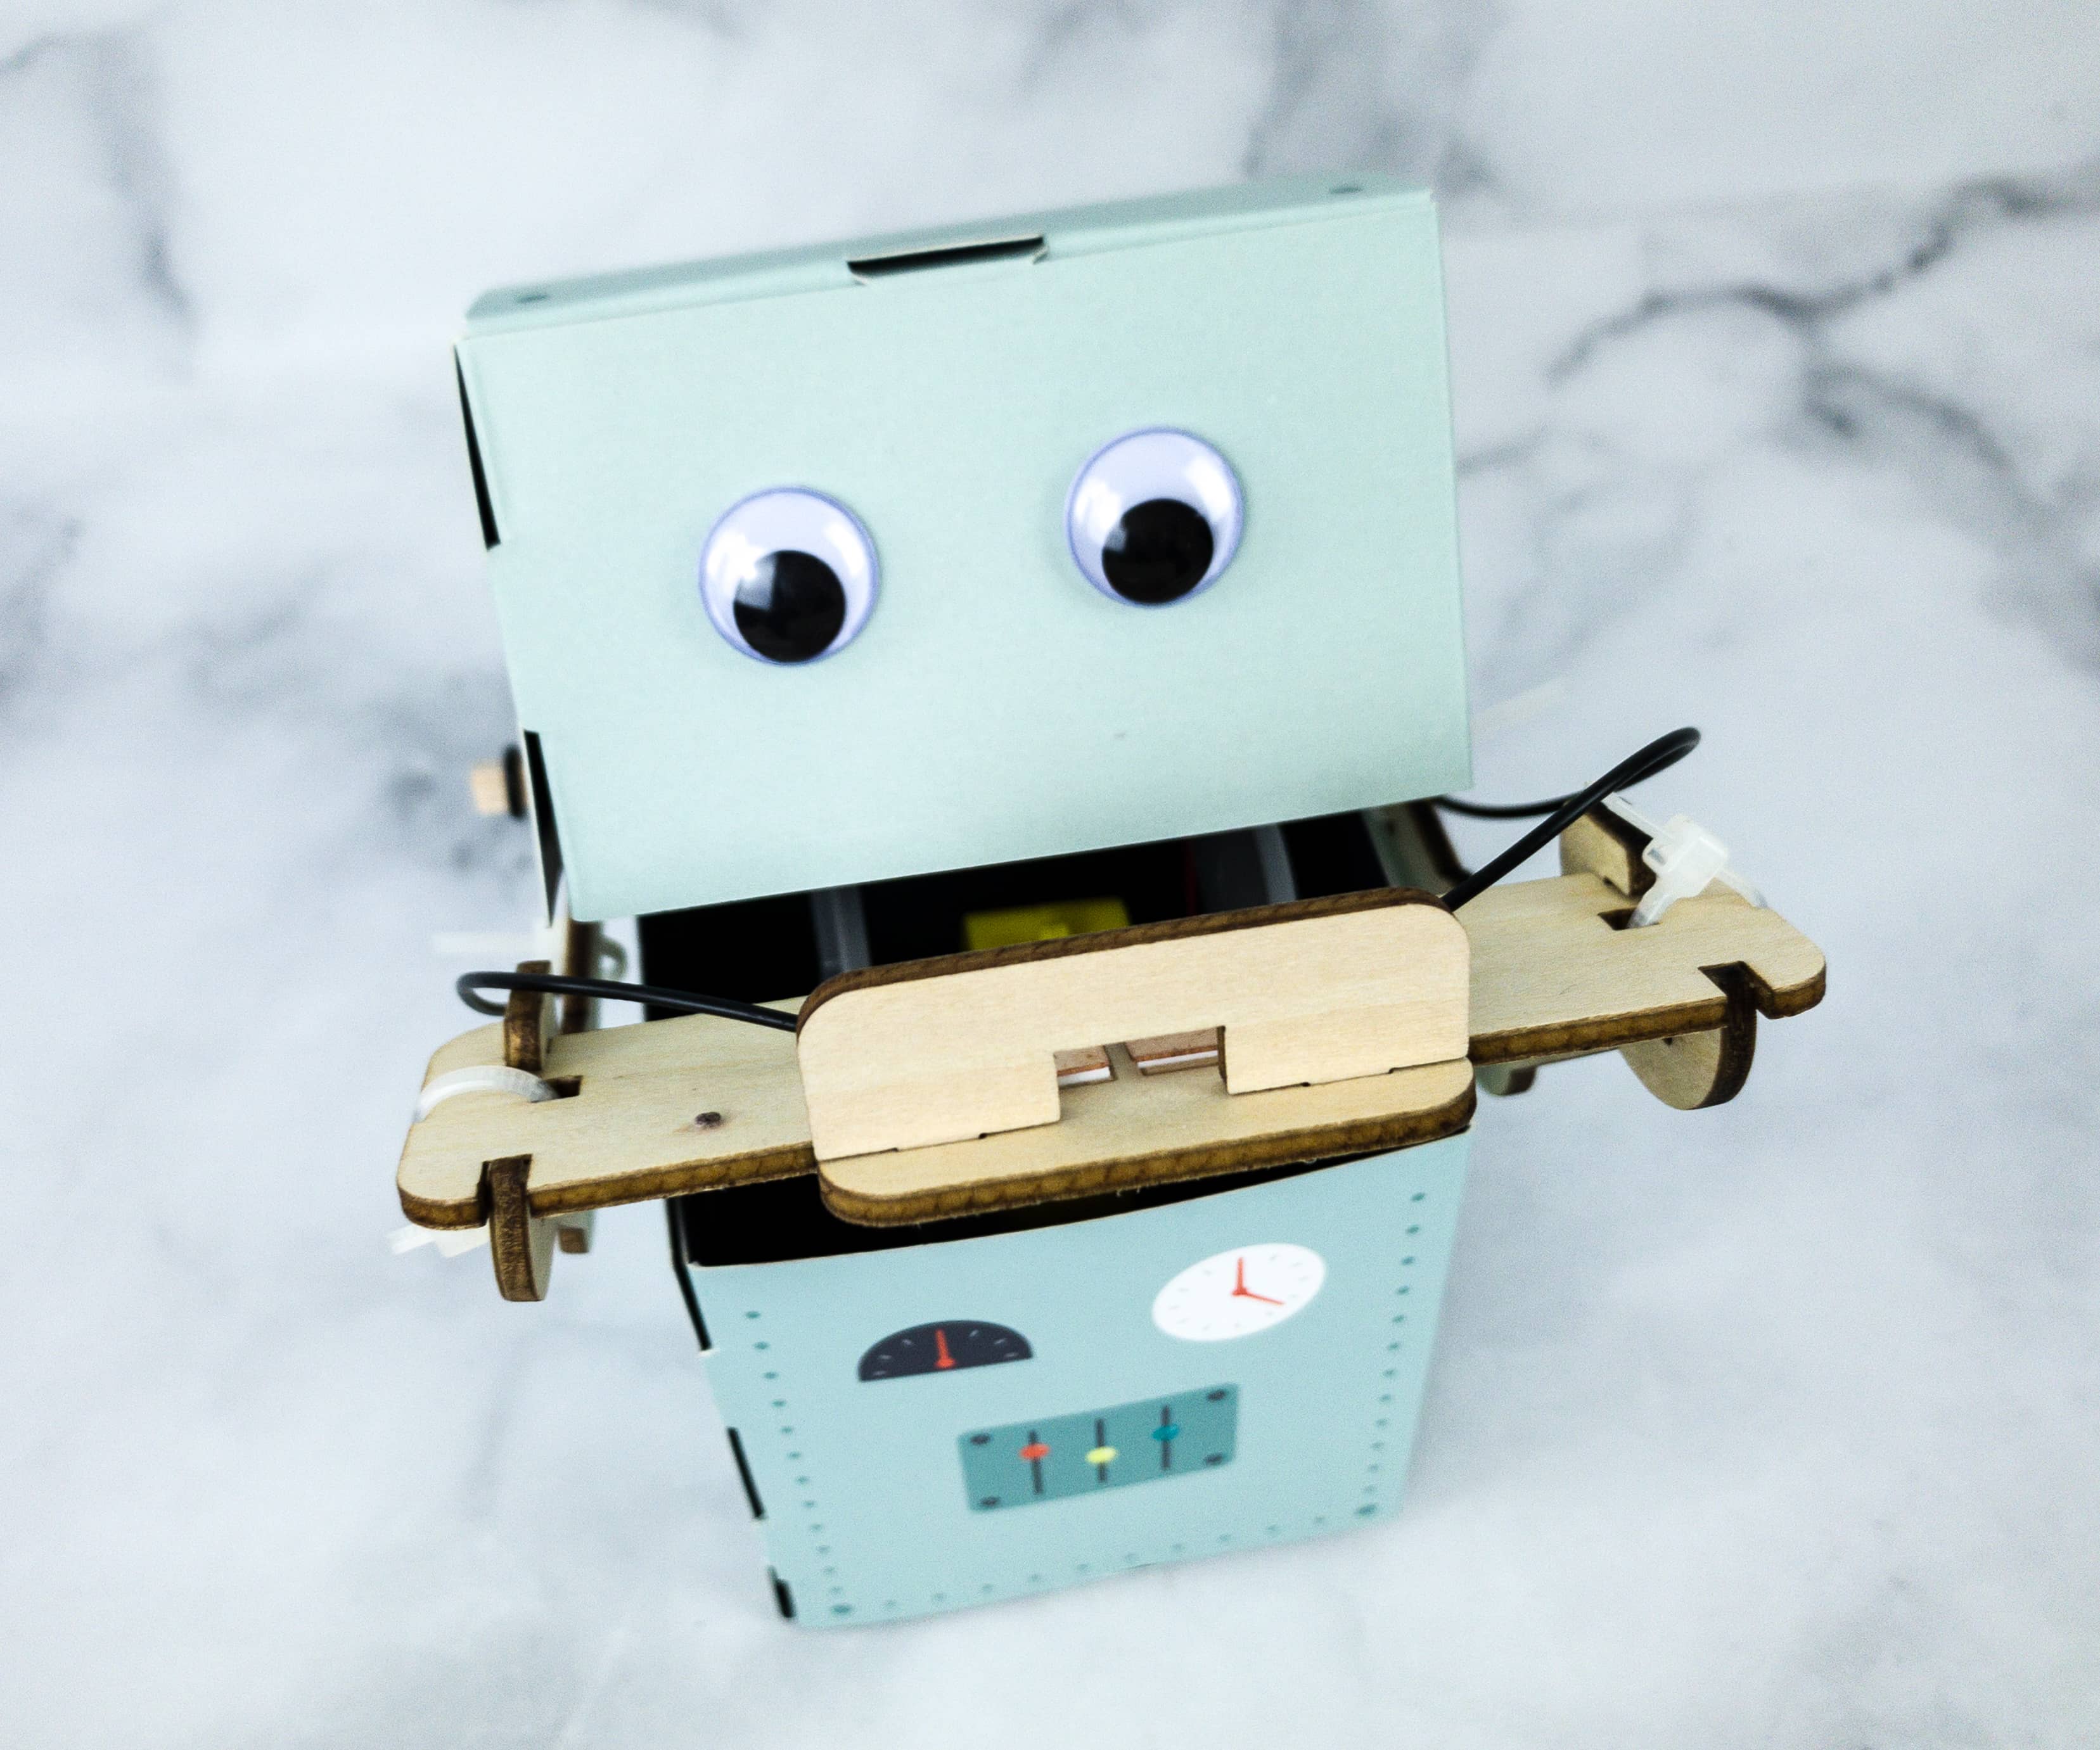
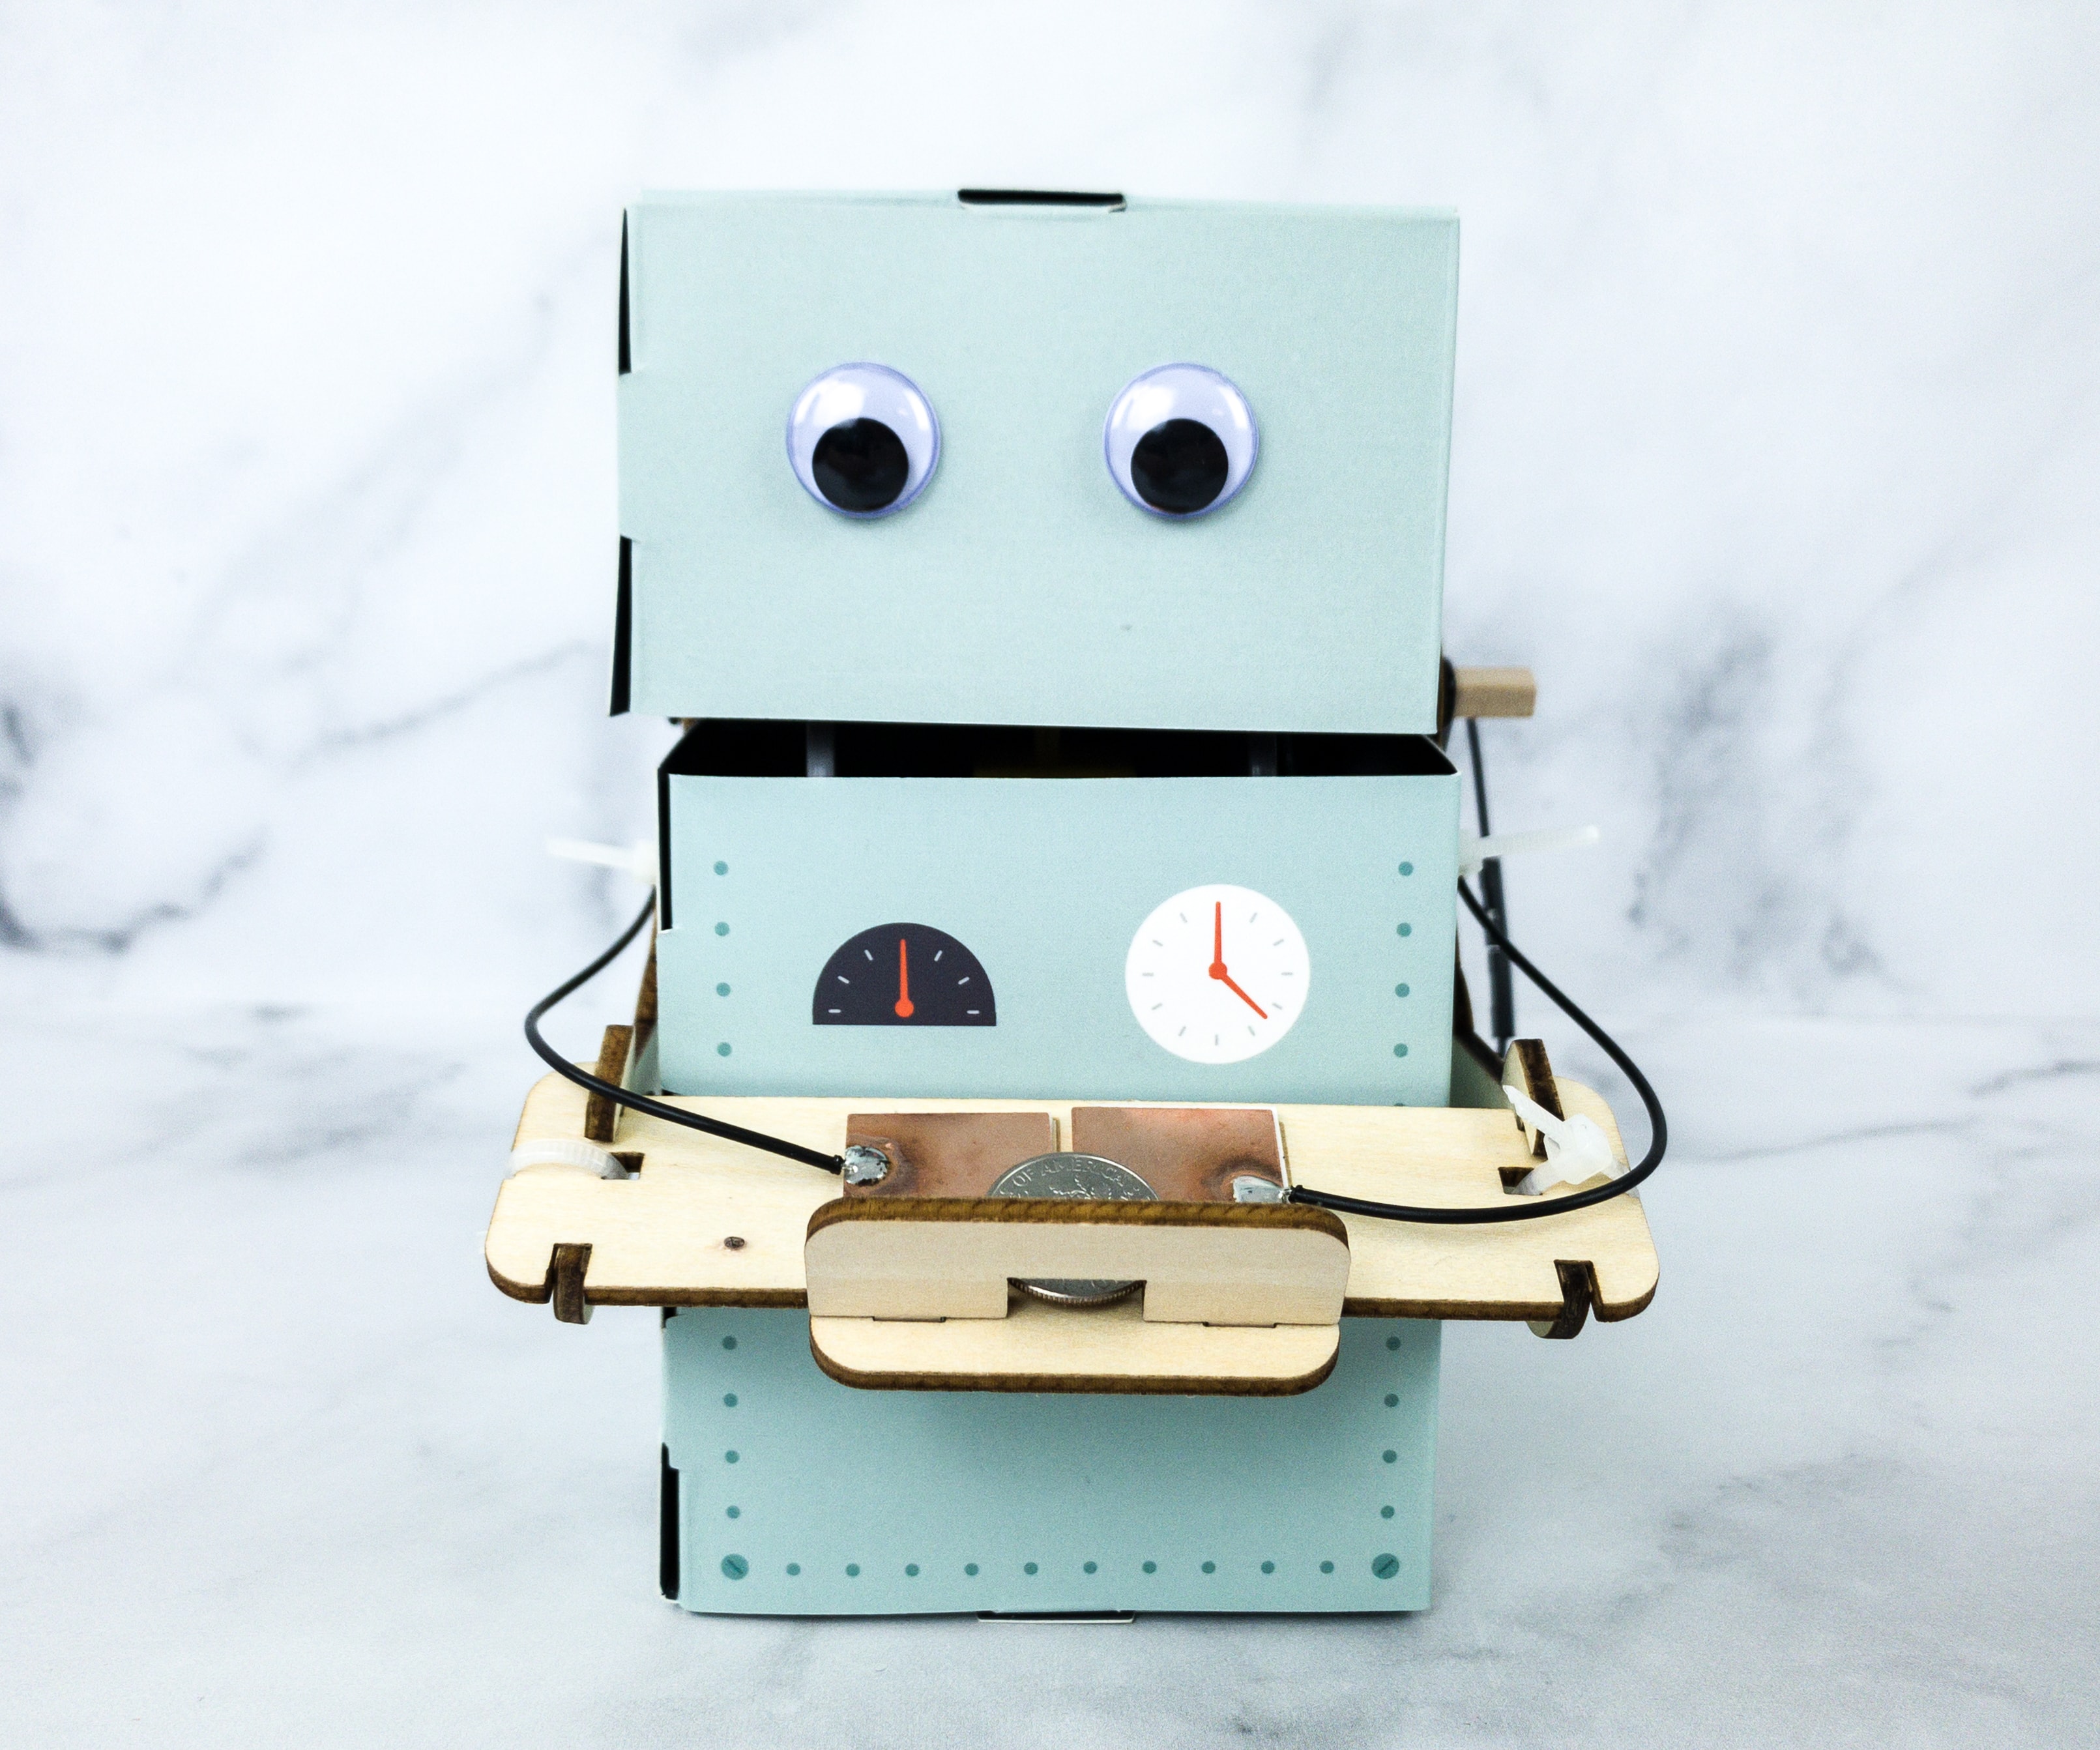
Now, it’s time to put the robot in action!
To activate, simply place the coin on the contact wire located in the middle of the tray, and see how the robot opens its mouth and eat the coin.
It works!
This robot looks really cute, my son loves it so much!
Tinker Crate Extensions
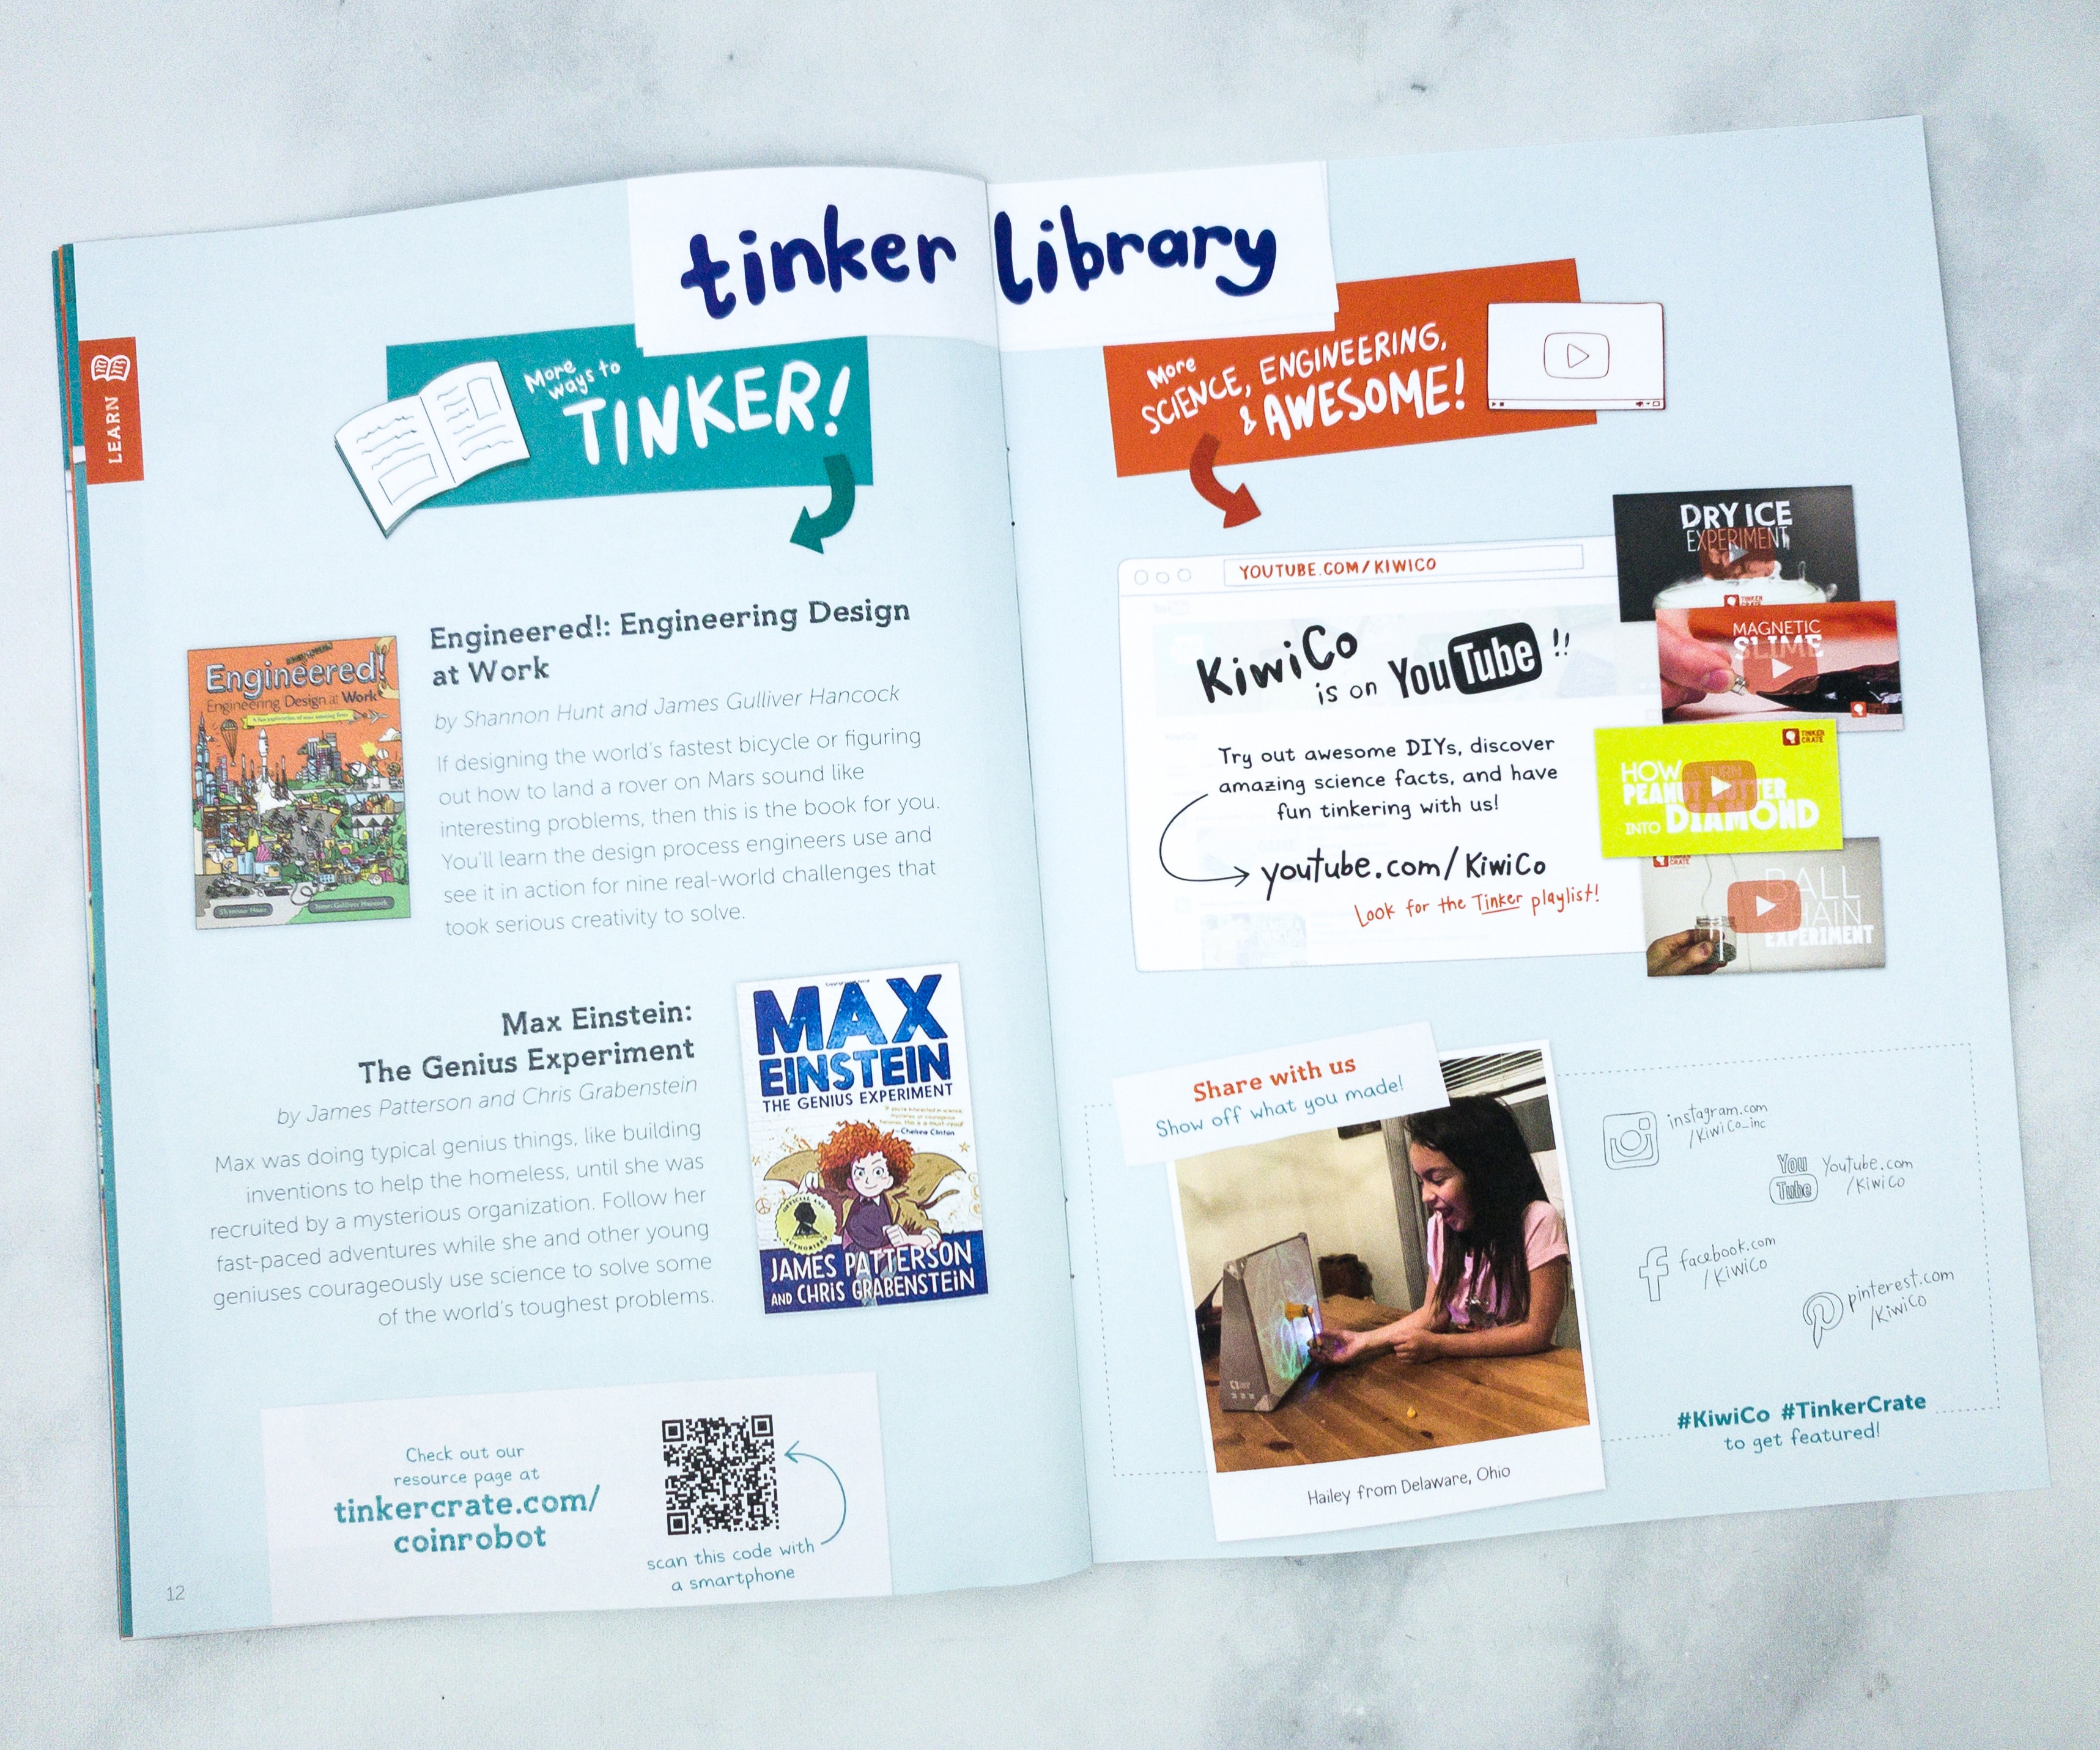
The Zine also provided more ways to tinker via the Tinker Library, where they suggest related literature for this month’s topic: Engineered!: Engineering Design at Work, and Max Einstein: The Genius Experiment!
My kids are into robotics, that’s why when they knew that this project is about building a coin-eating robot, they immediately went for it! As always, the booklet laid out the science and engineering concepts behind the project really well, and in a kid-friendly way at that. Tinker Crate projects are always interesting and enjoyable to work on and the coin-eating robot is definitely not an exception. They also provide most of the materials plus a detailed instruction manual, so you can get started as soon as the box arrives at your door. From STEM skills to problem-solving skills, kids can learn a lot from this subscription!
Have you tried Tinker Crate yet with your kids?


Comments