
Kiwi Crate is a kids’ craft and activity subscription that comes with everything you need to complete a great project or two, usually a pair of crafts that can be used as toys or playtime props. The box is geared for ages 5-8, and the projects are always age-appropriate, though some require more parental assistance than others.
Kiwi Crate is the most popular craft and activity subscription box for kids!
DEAL: Use this link to save 30% on your first box of Kiwi Crate! (or KiwiCo family subscriptions Tinker Crate, Koala Crate, Atlas Crate, Cricket Crate, and Doodle Crate).
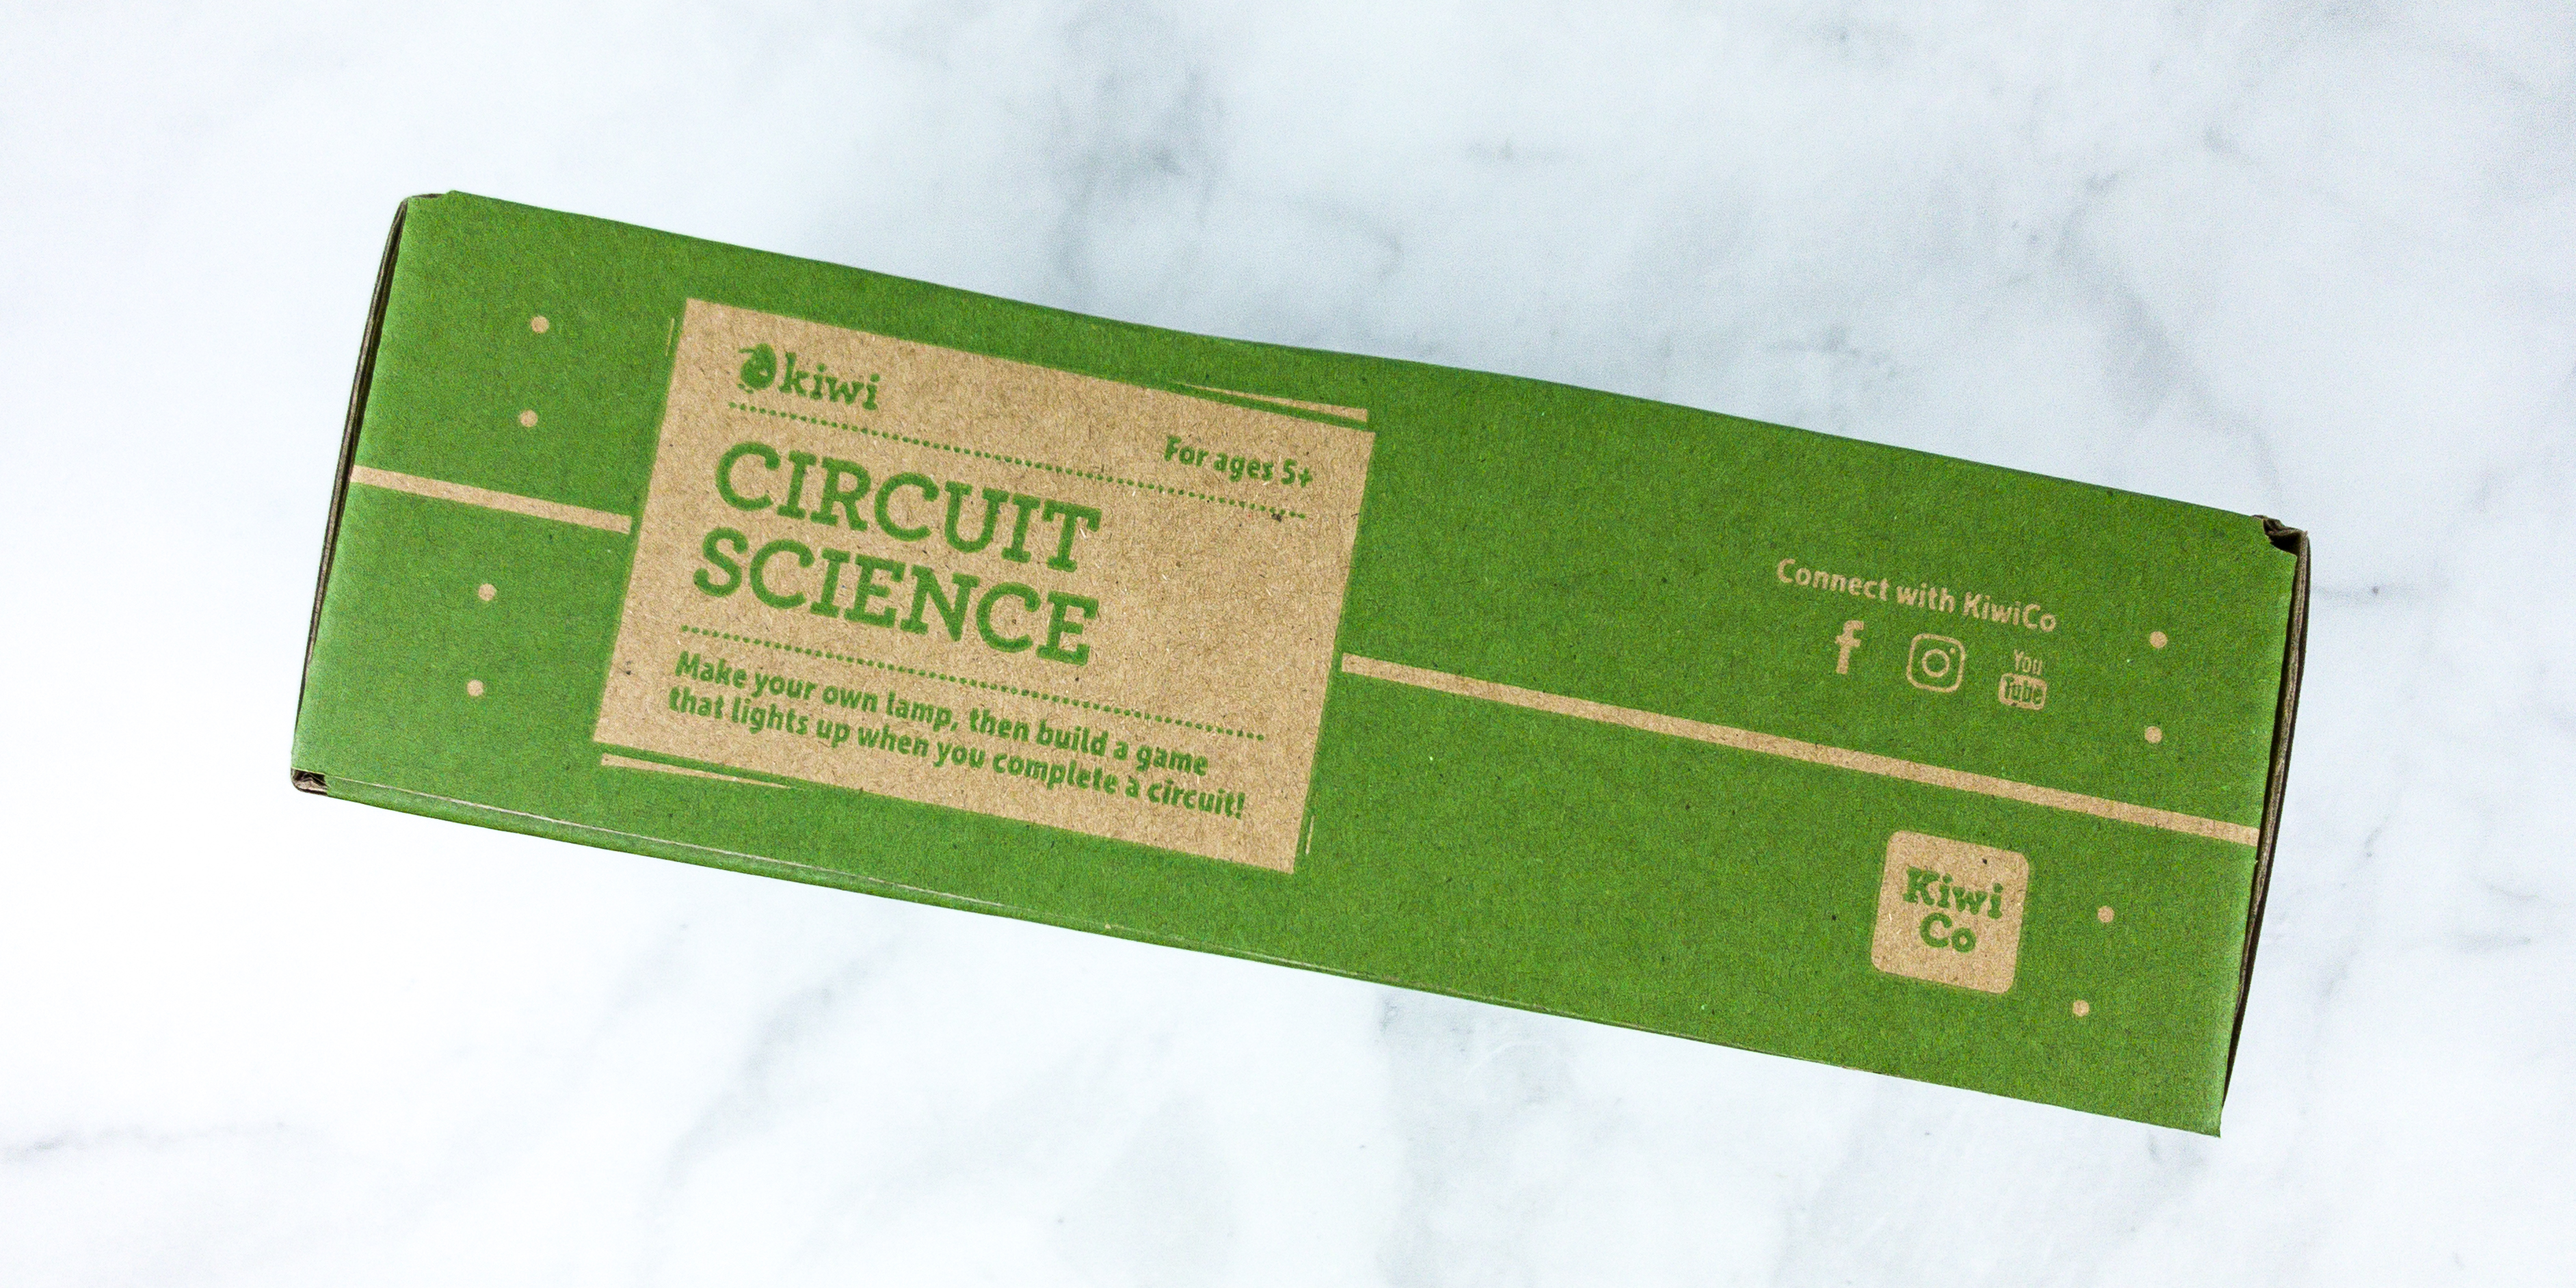
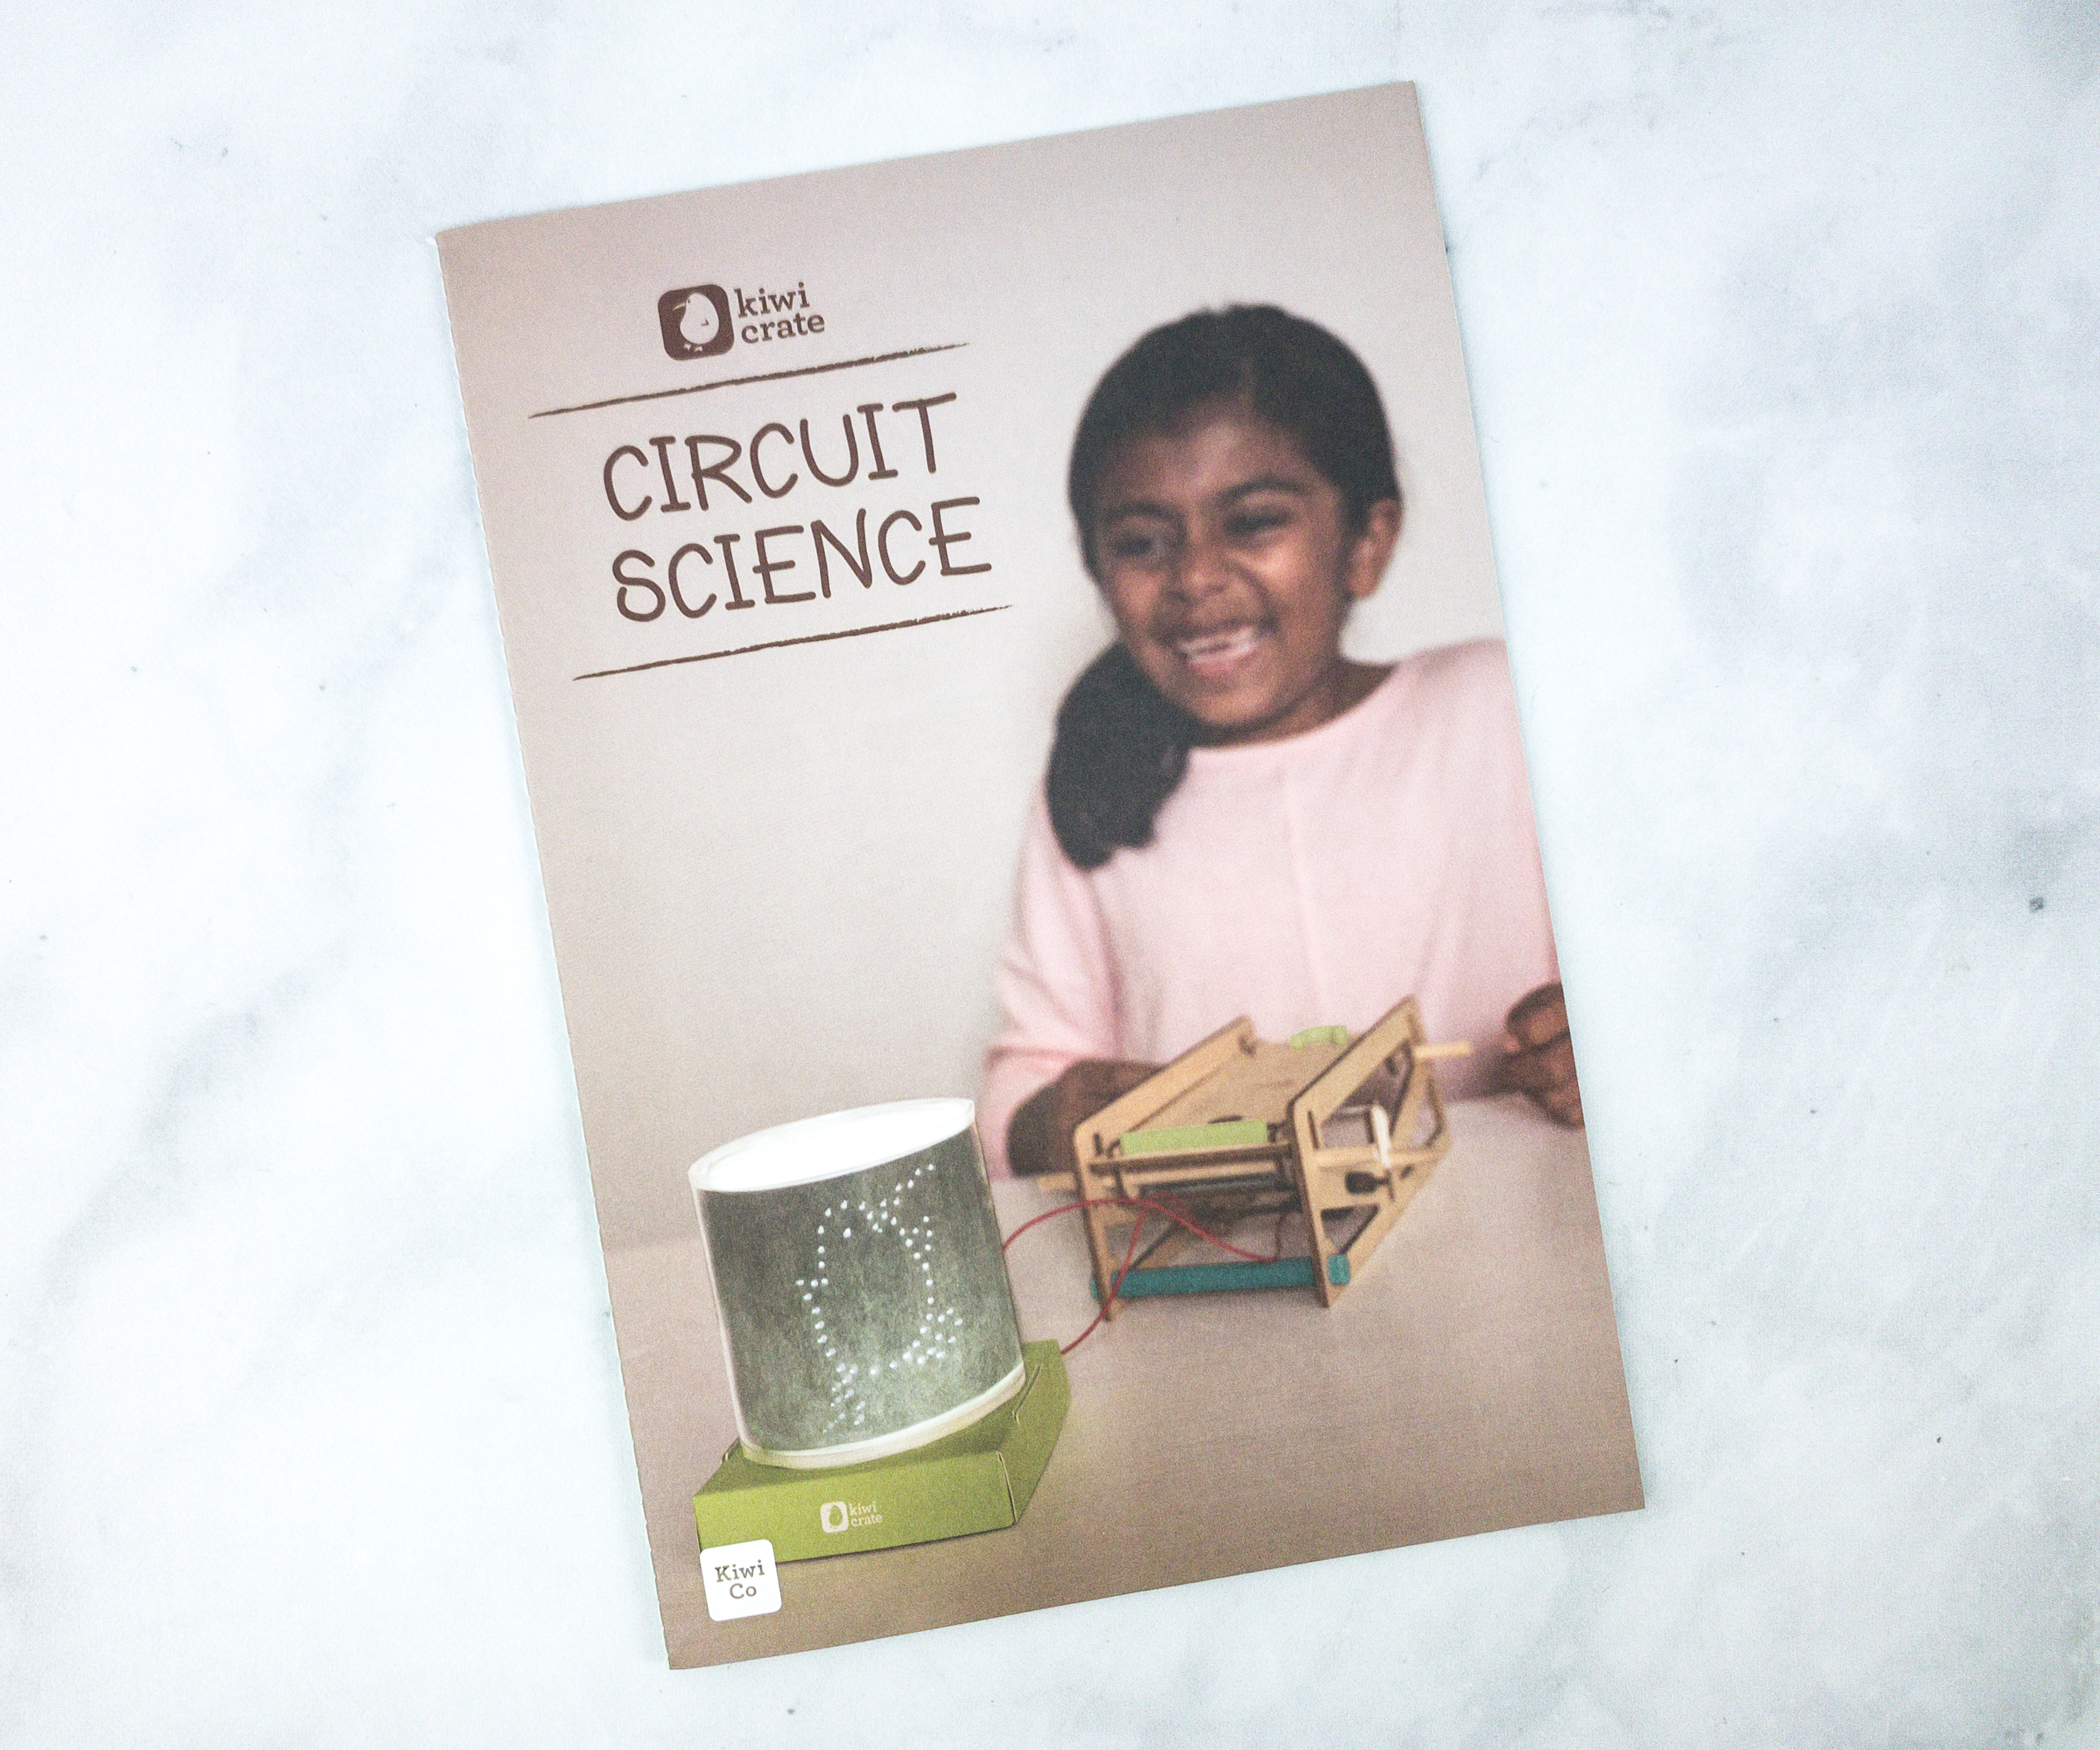
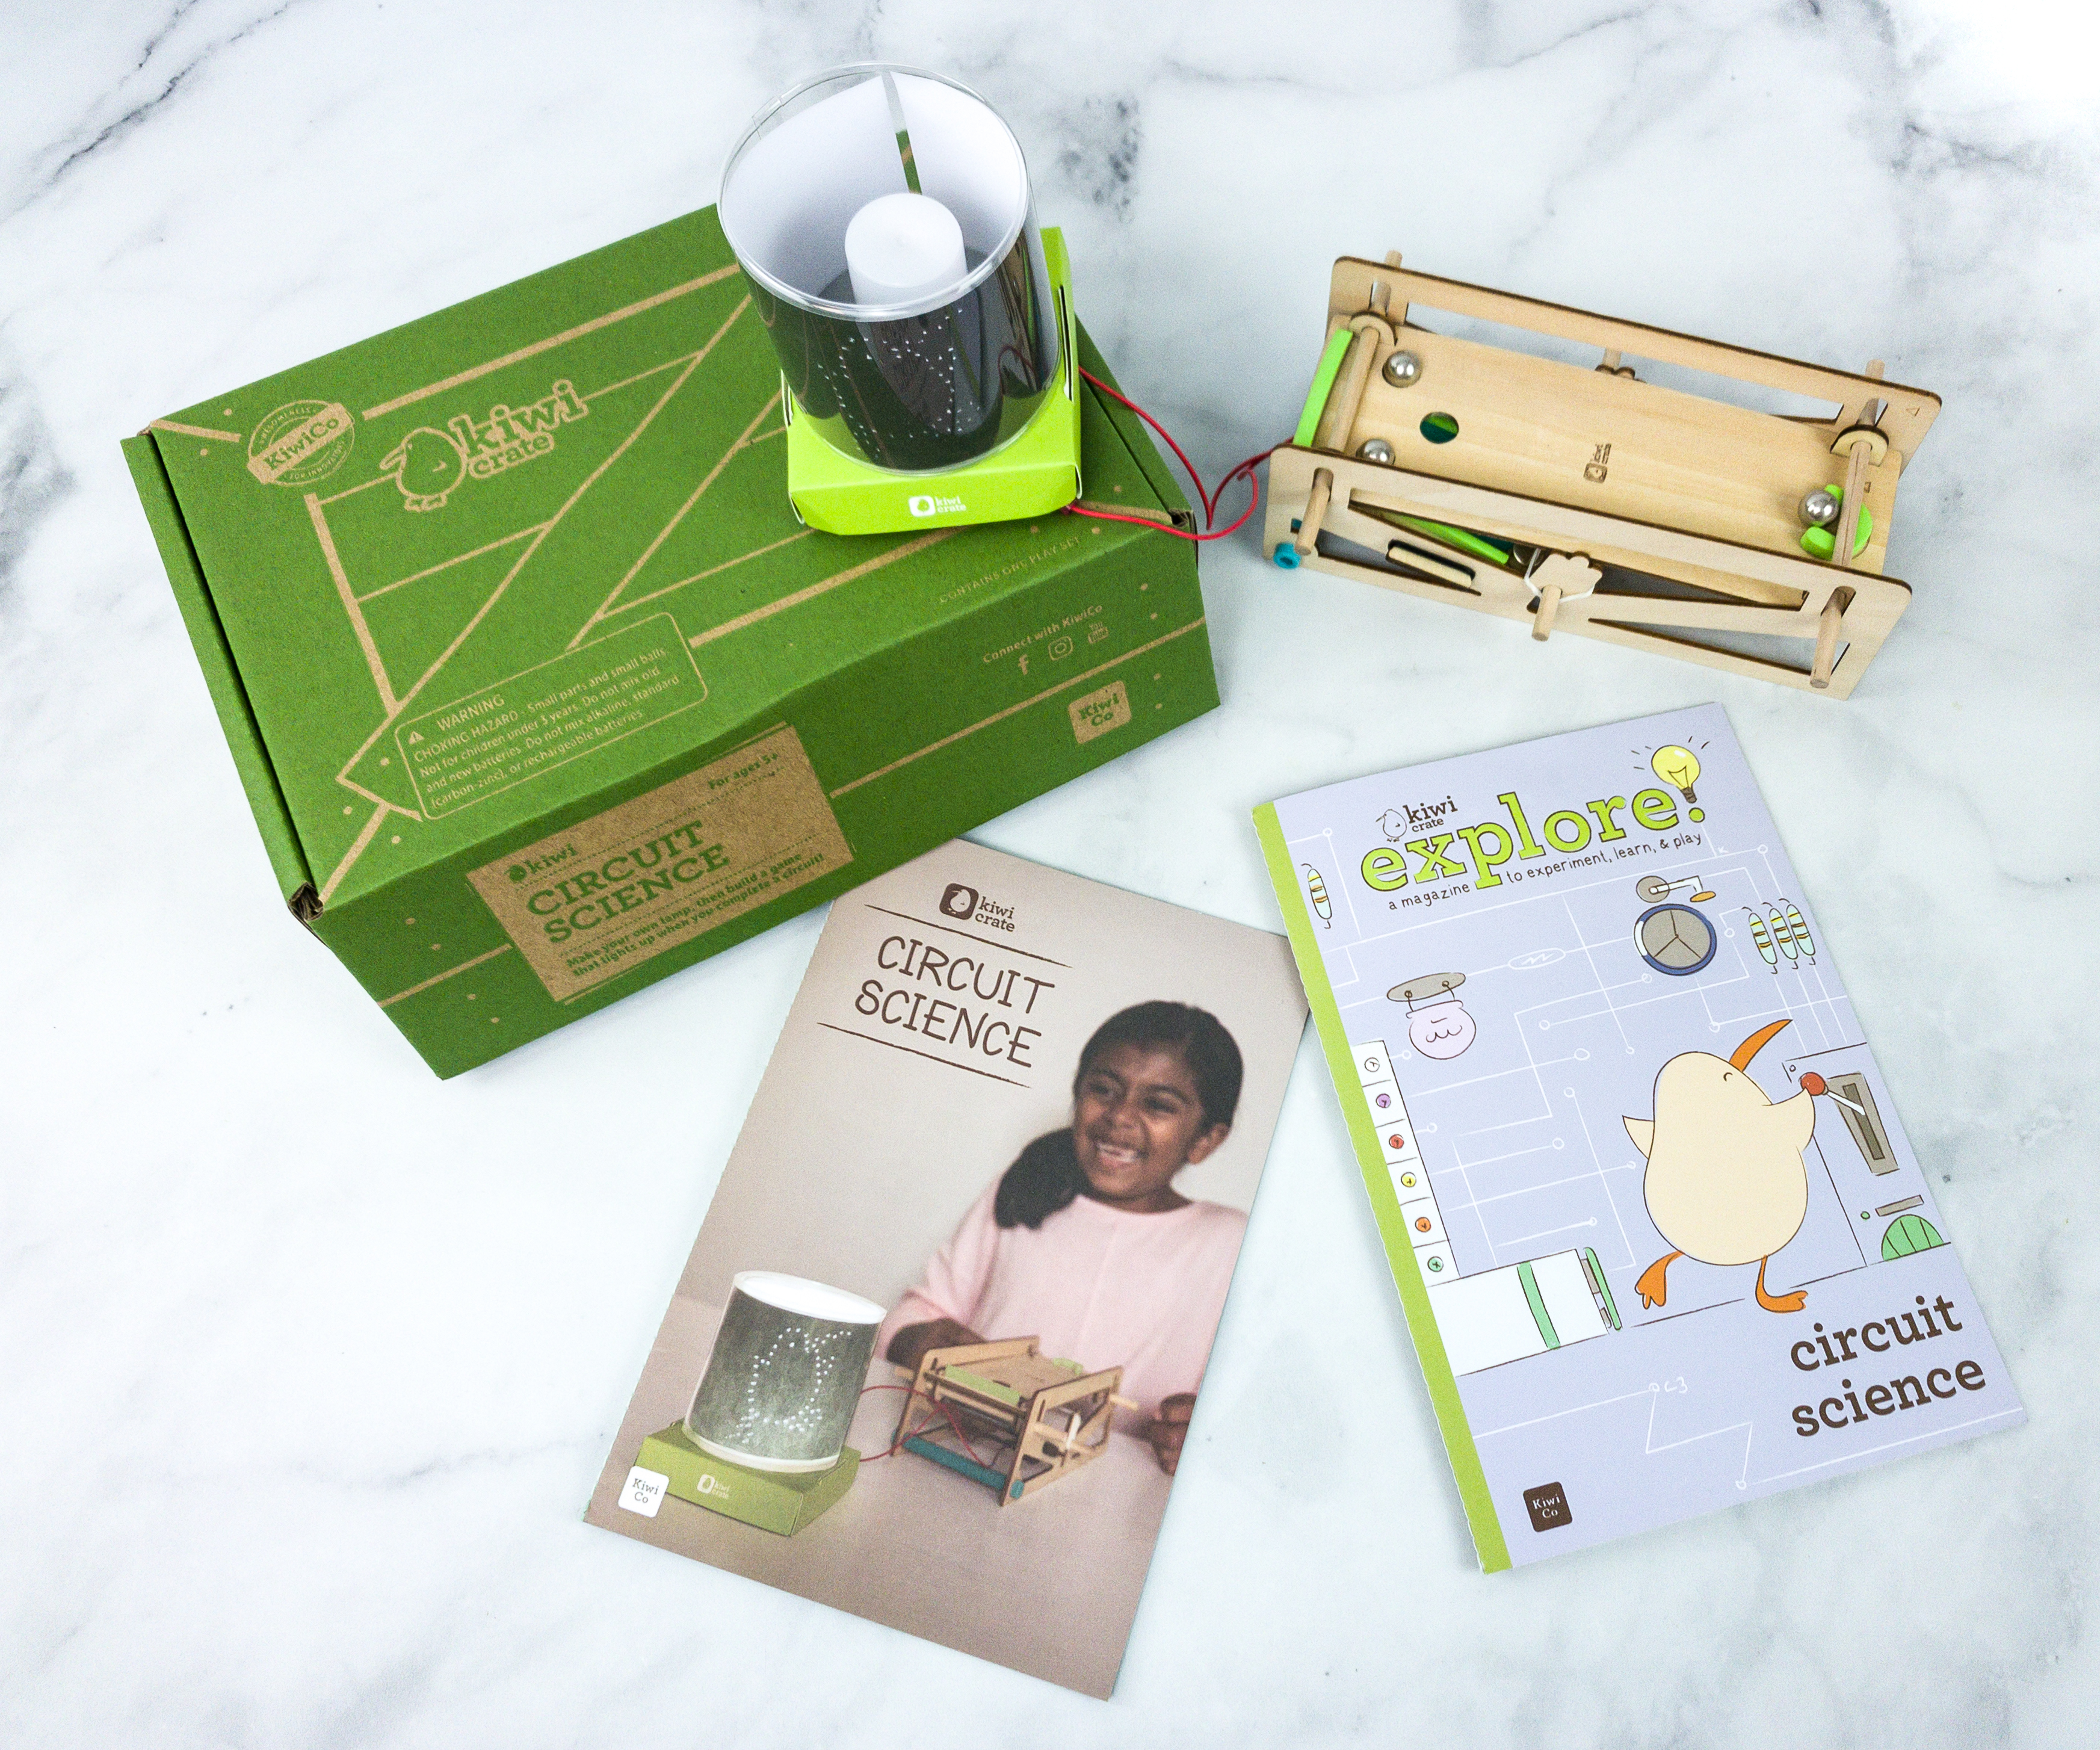
This month’s theme is CIRCUIT SCIENCE!
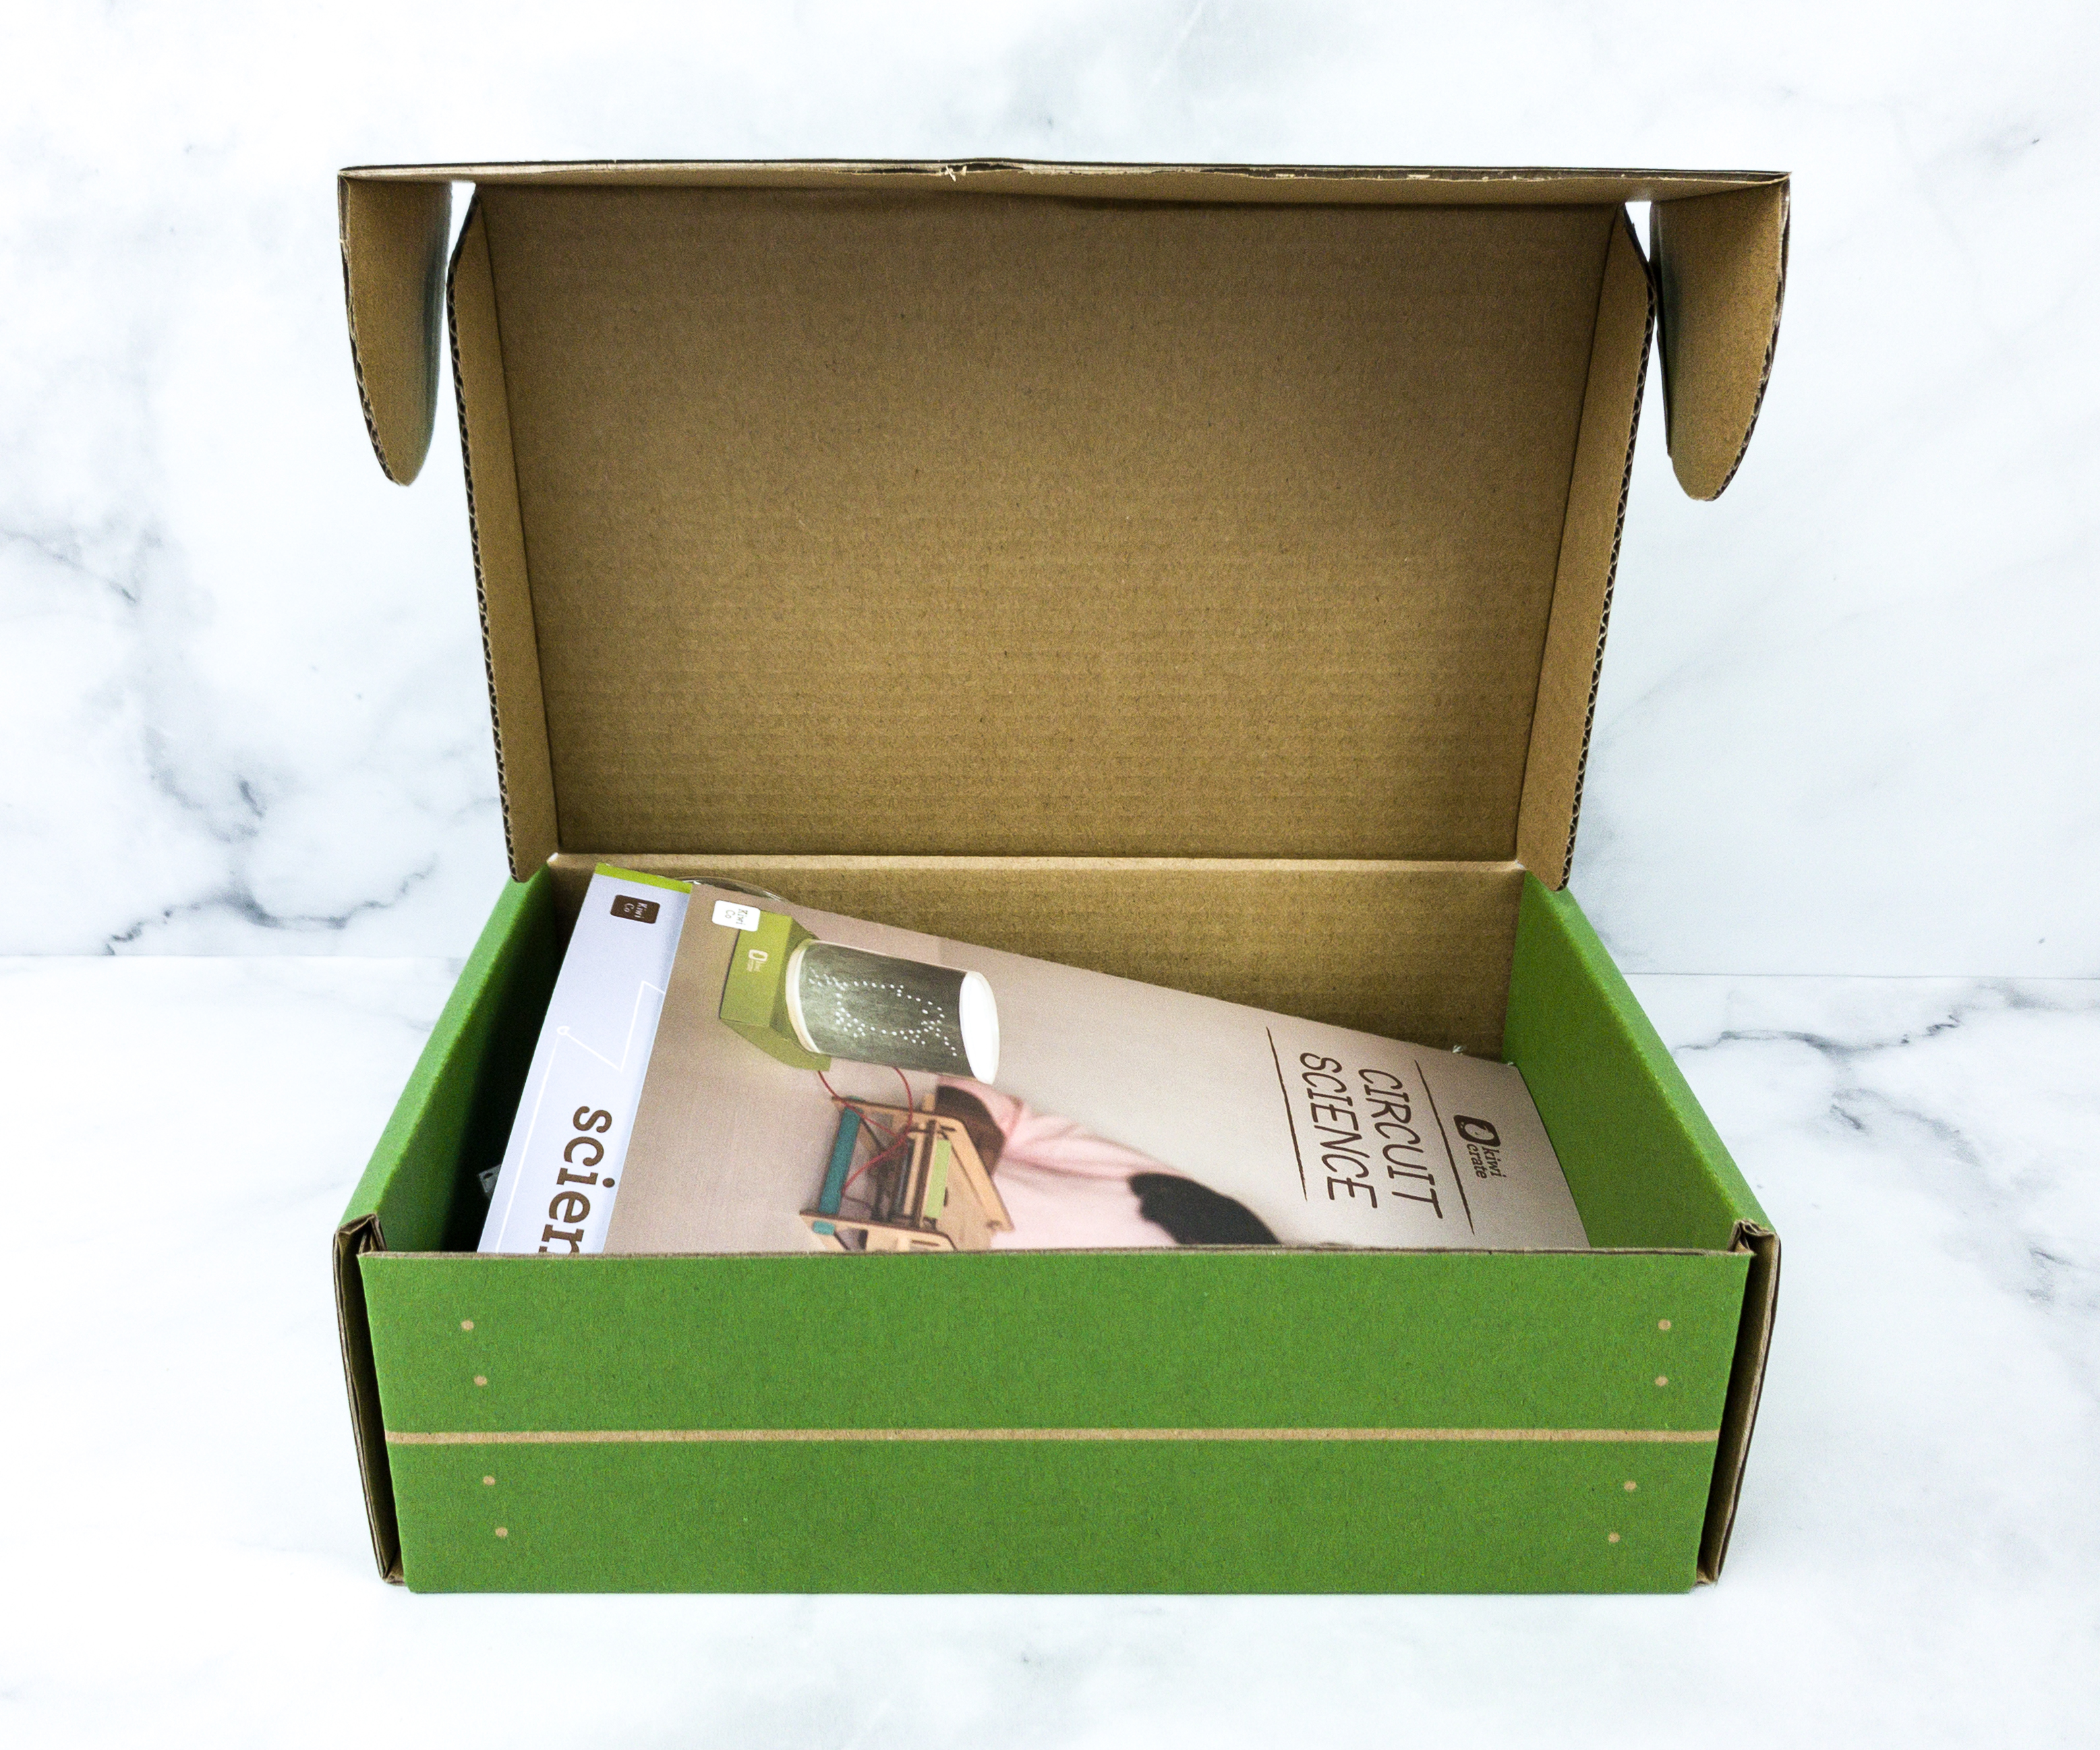
Everything was neatly packed in the box.
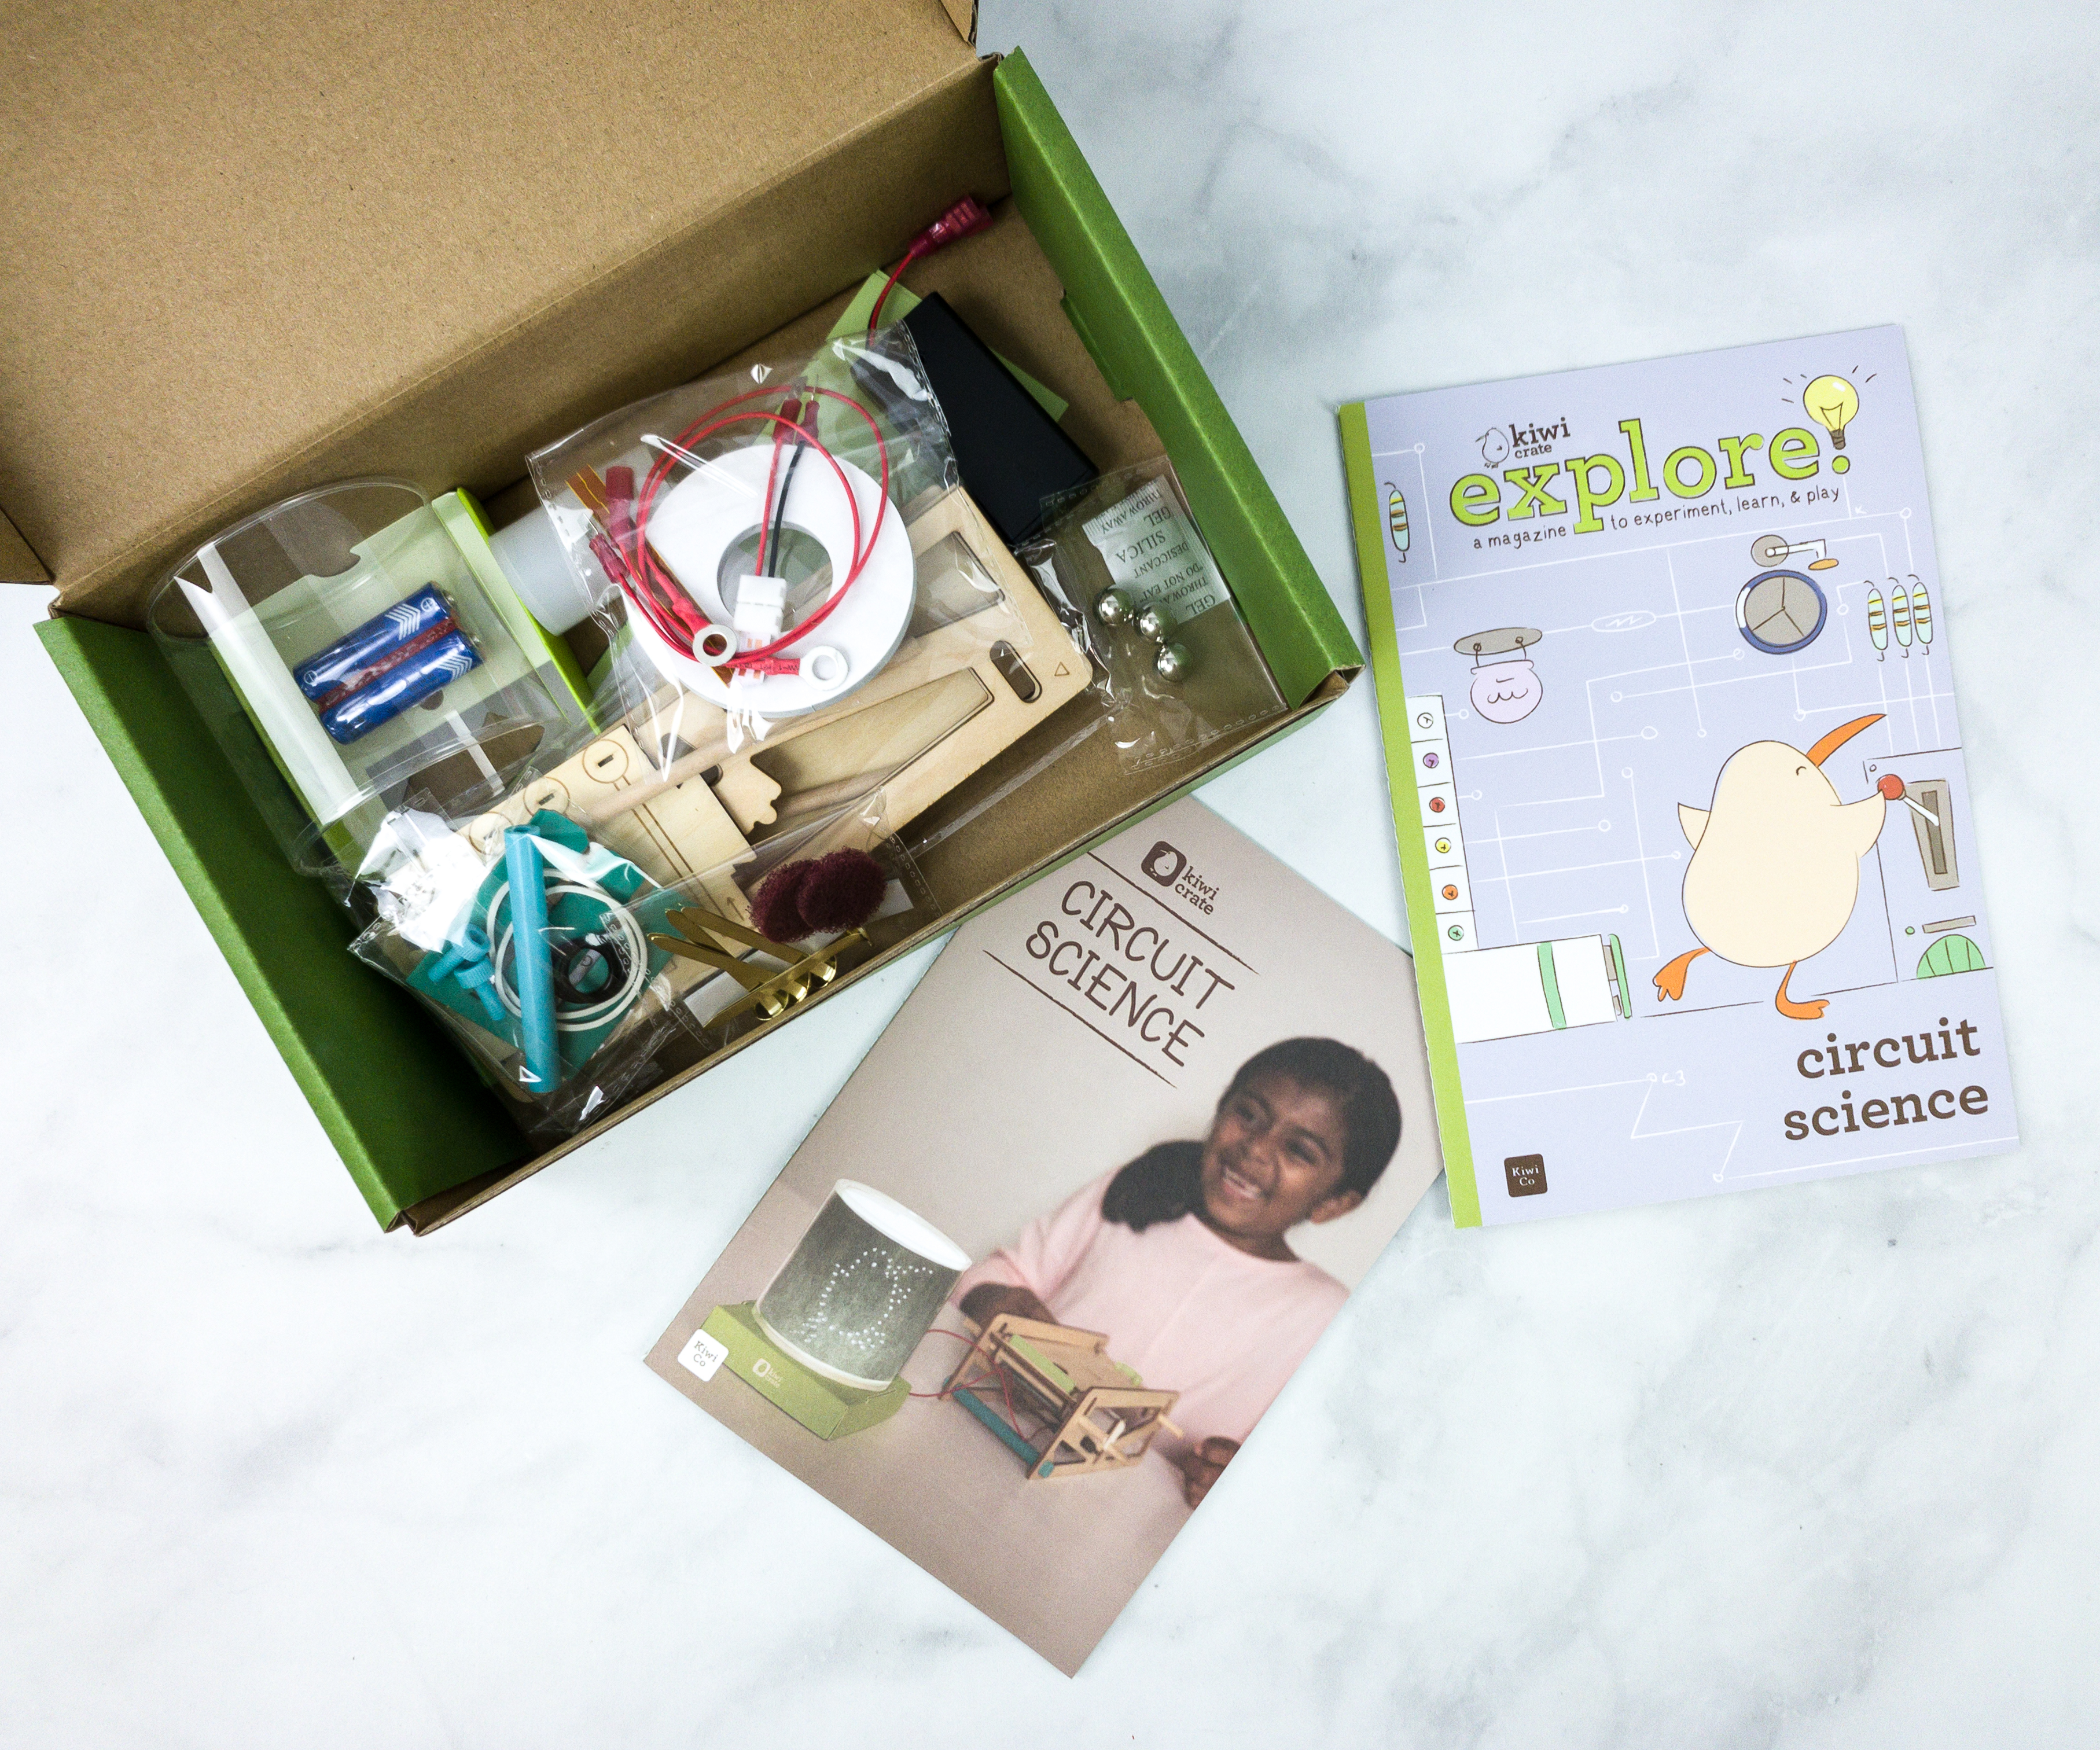
Kiwi Crate includes all necessary supplies for the featured activities, plus explore! magazine.
Rig up an electrical circuit that powers a lamp, complete with a unique punch-hole lampshade you designed yourself. Then engineer a game board that lights up when you complete the circuit, by tilting and guiding conductive balls into the right spots. Wire you still waiting around? Get building!
Explore! Magazine
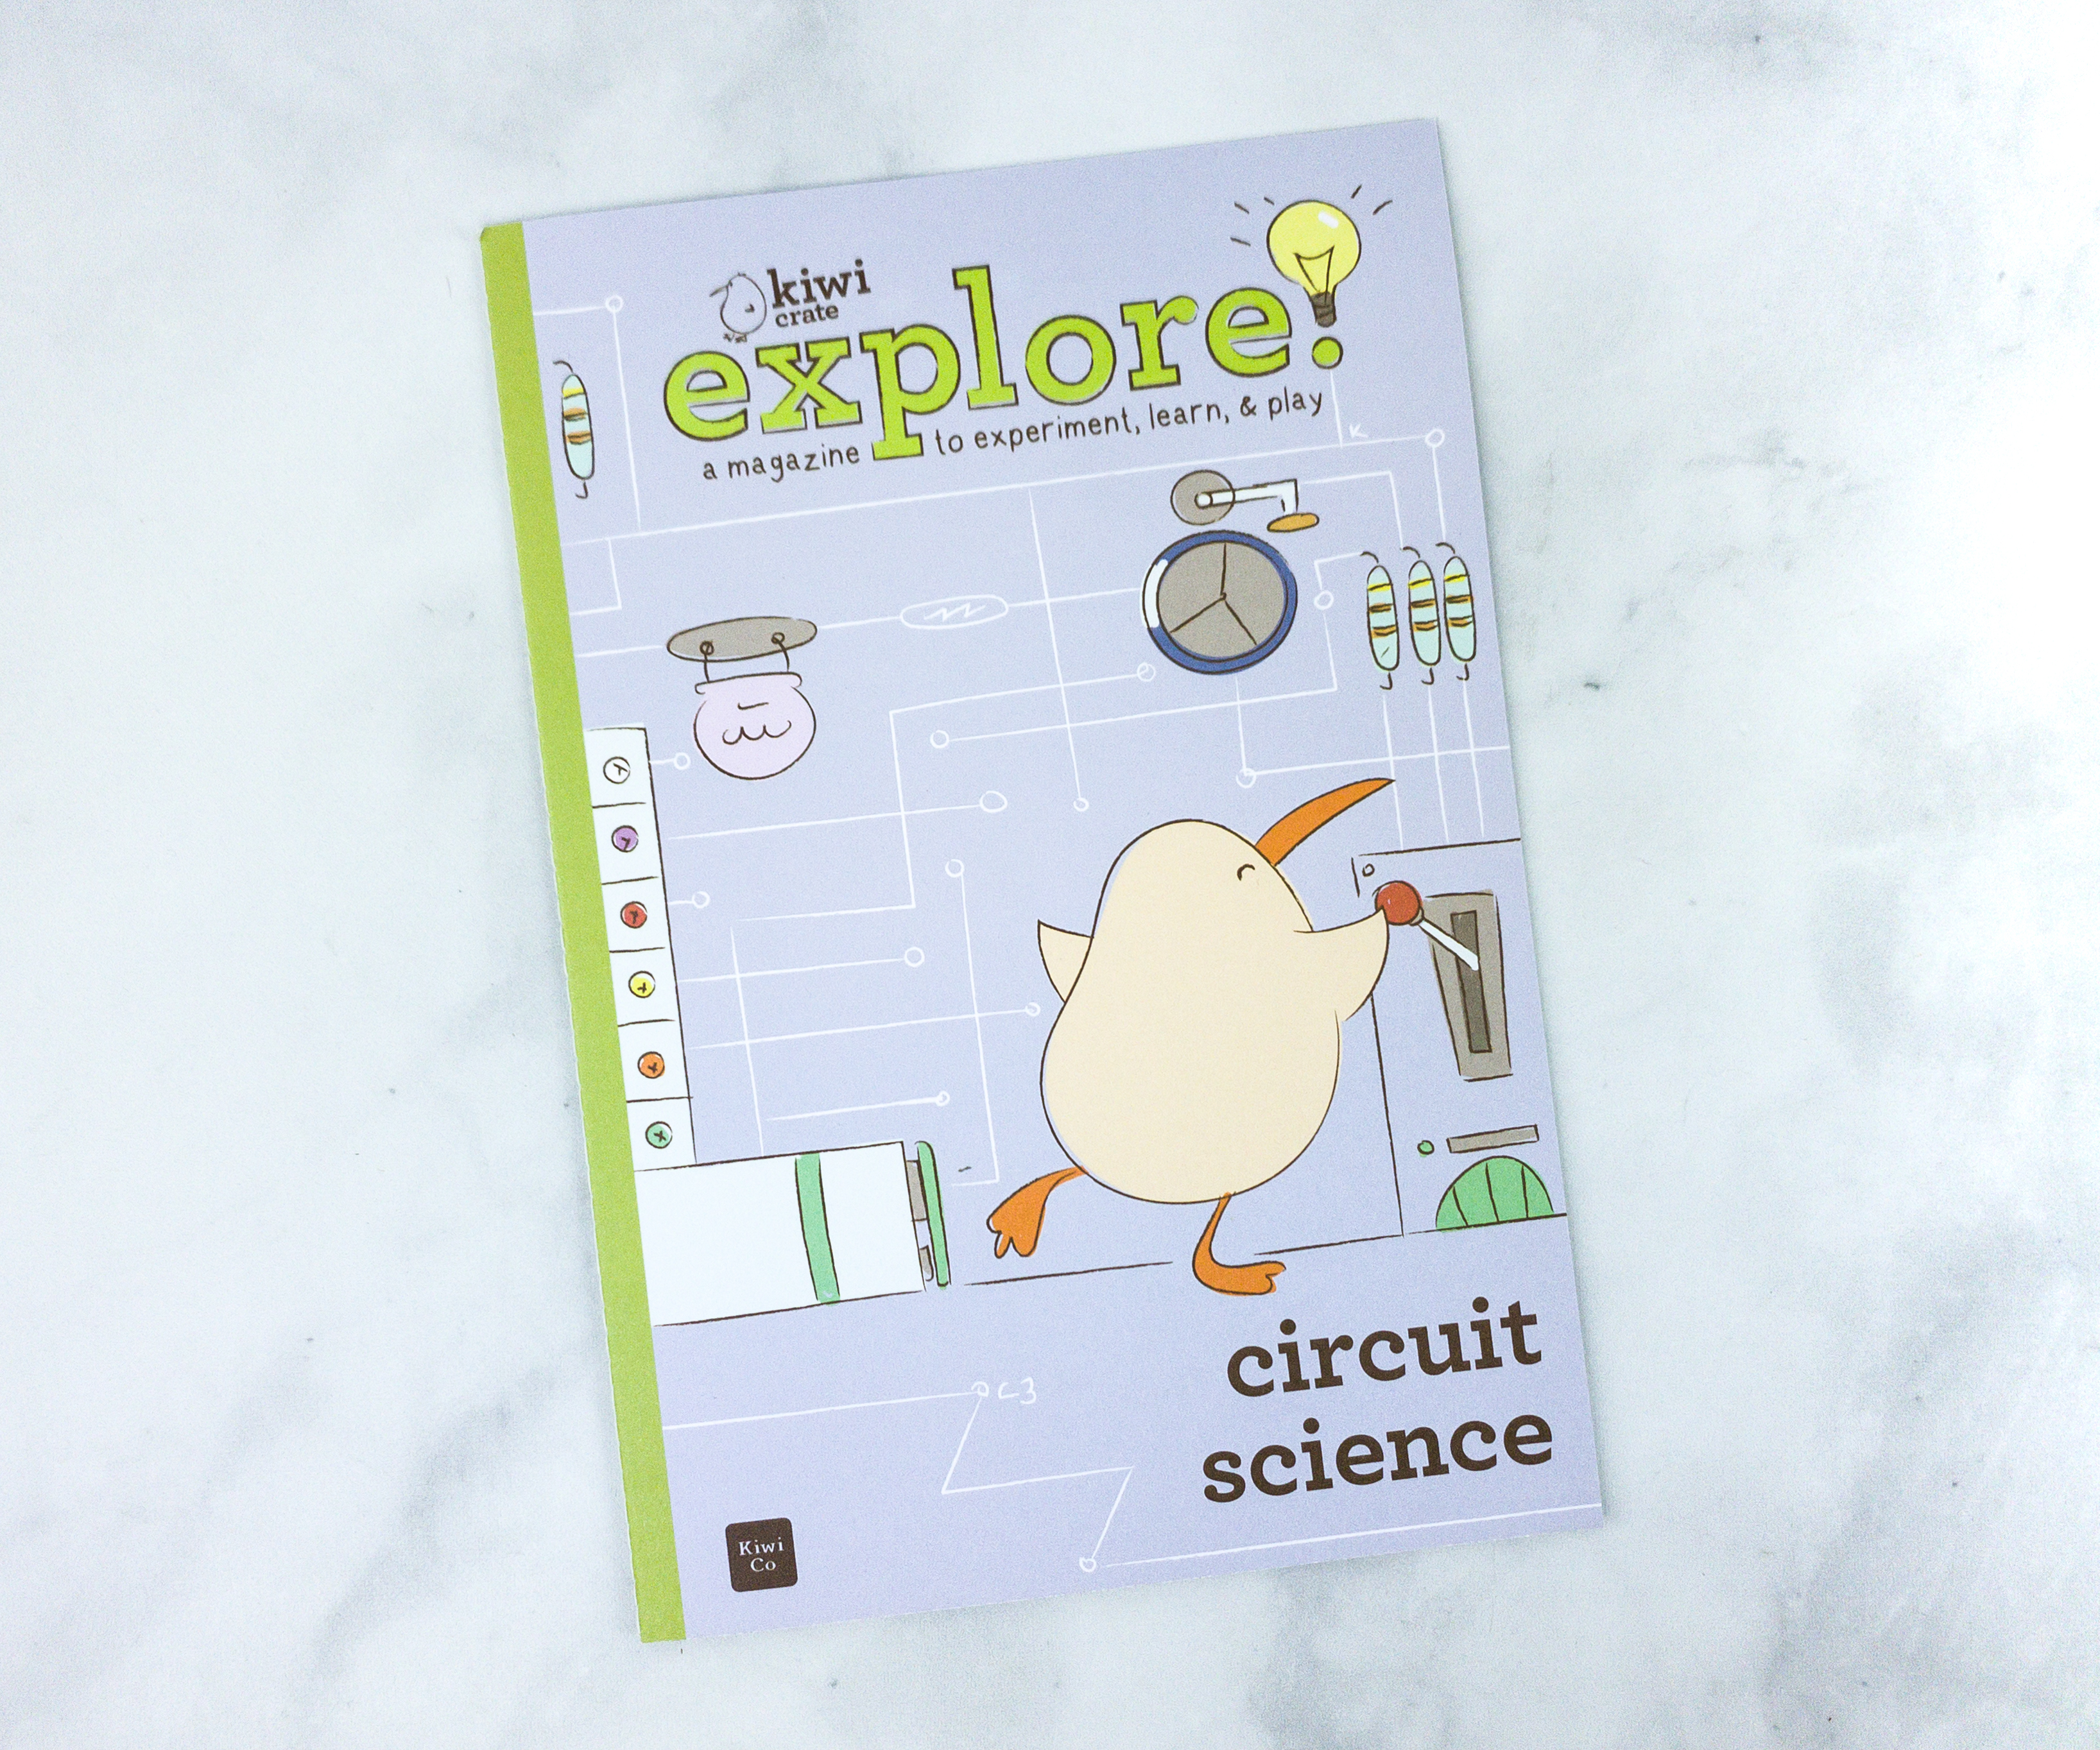
An issue of explore magazine is included in every Crate. It is full of fun content that brings the project to life. explore! has read, draw, learn, explore, eat, and make designated activities. There is really a lot to look at and read – a comic, puzzles, and games – and it really extends your young one’s engagement with the Crate. Each expands on the theme of the box, whether through factoids, drawing activities, or recipes, but the variation is helpful for engaging different learning styles and interests.


Tinker, Create, Innovate
KiwiCo equips the next generation of innovators with the tools and confidence for creative exploration and problem solving.
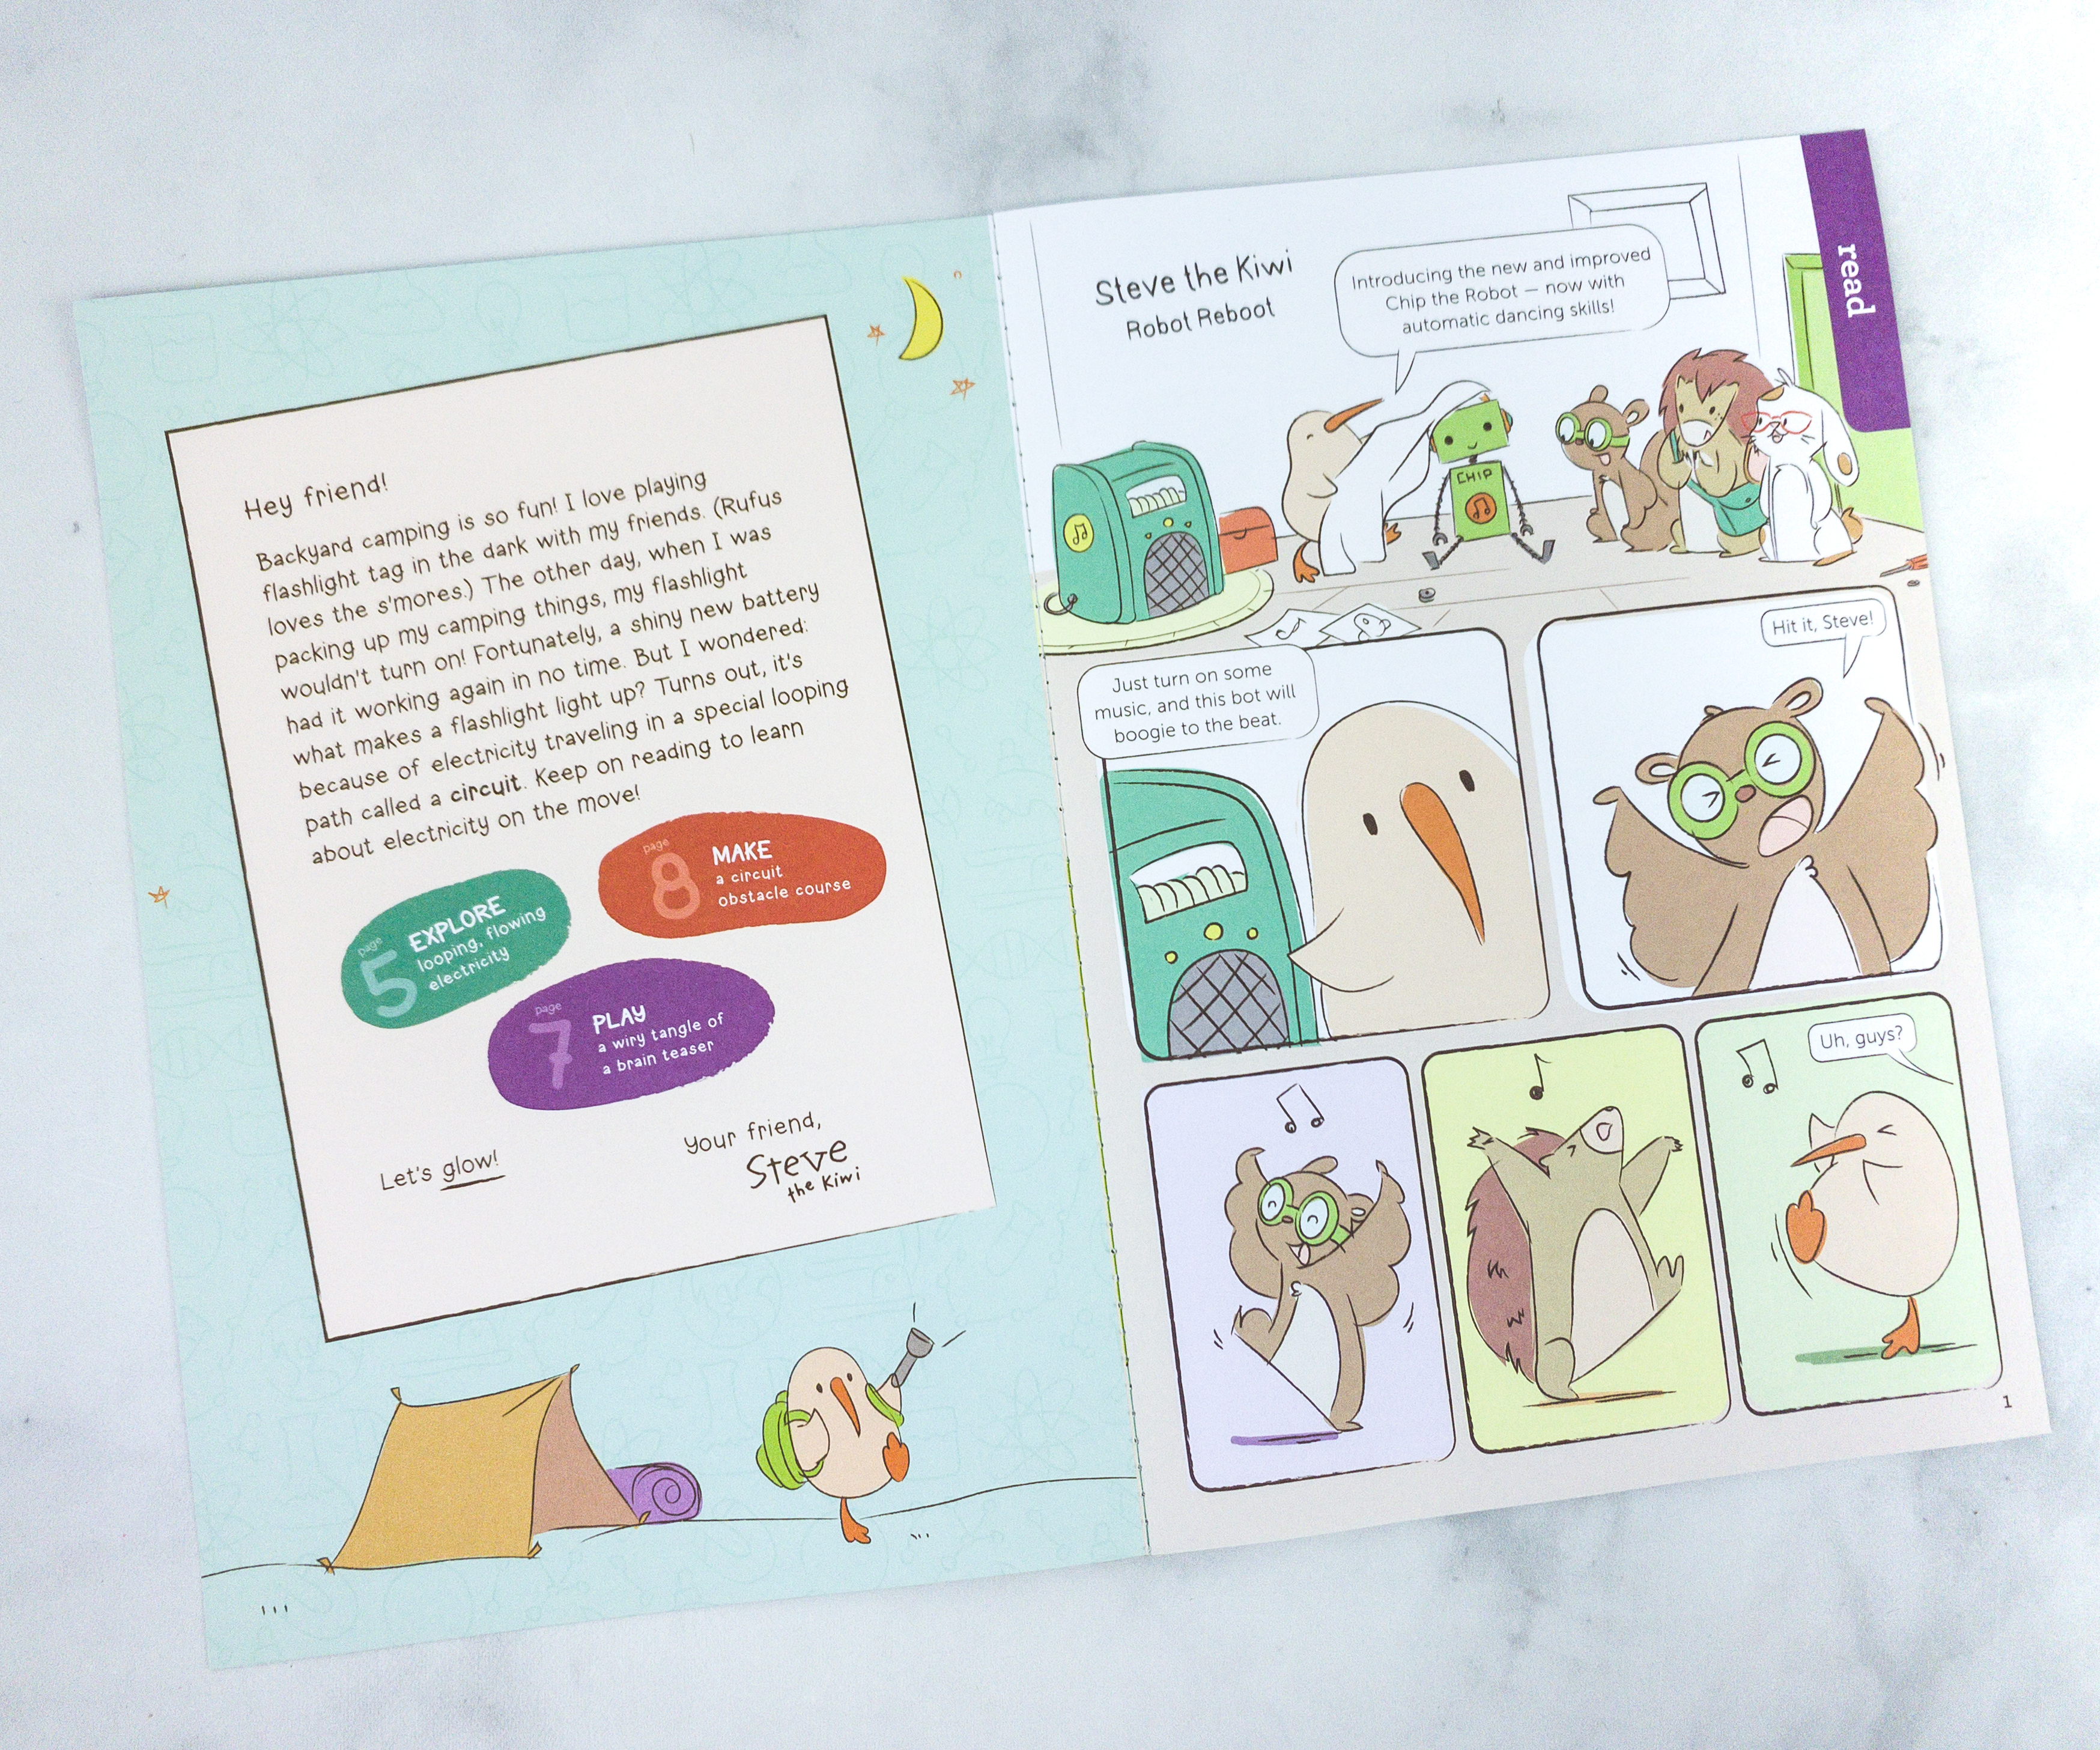
There is always a comic featuring Steve the Kiwi and his pals.
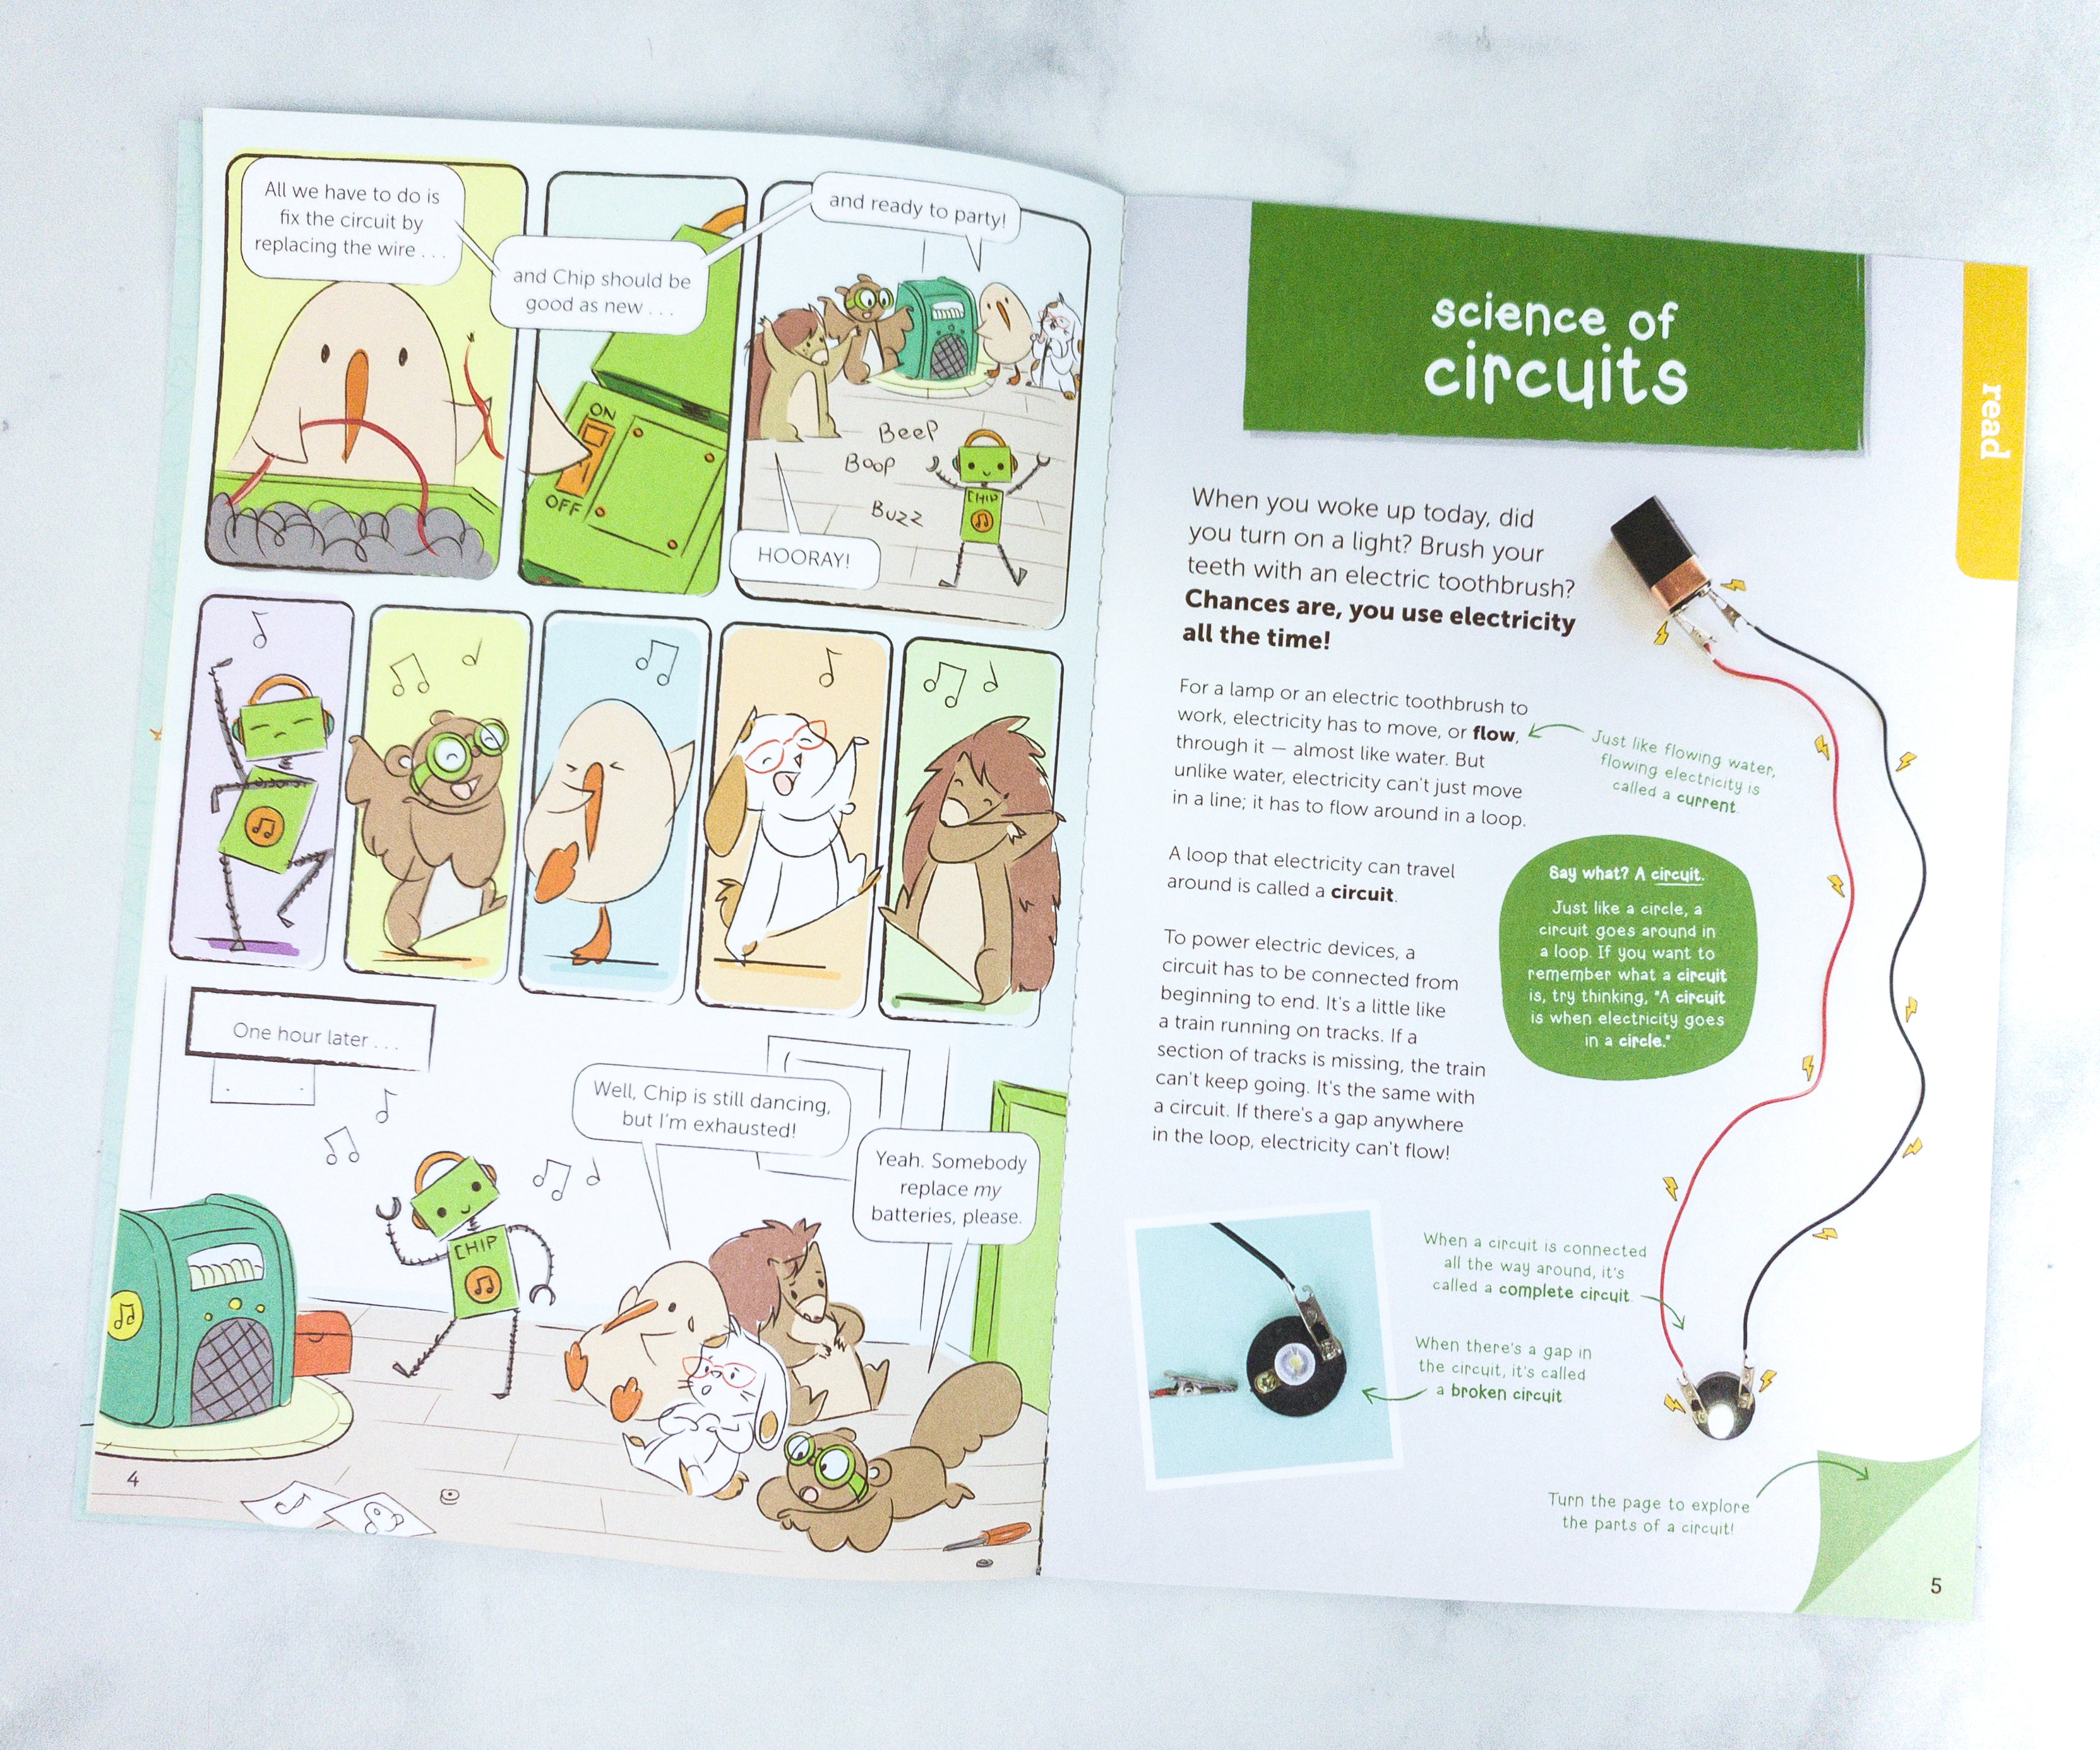
This magazine also includes a lot of historical and scientific information relating to the current theme including the science of circuits!
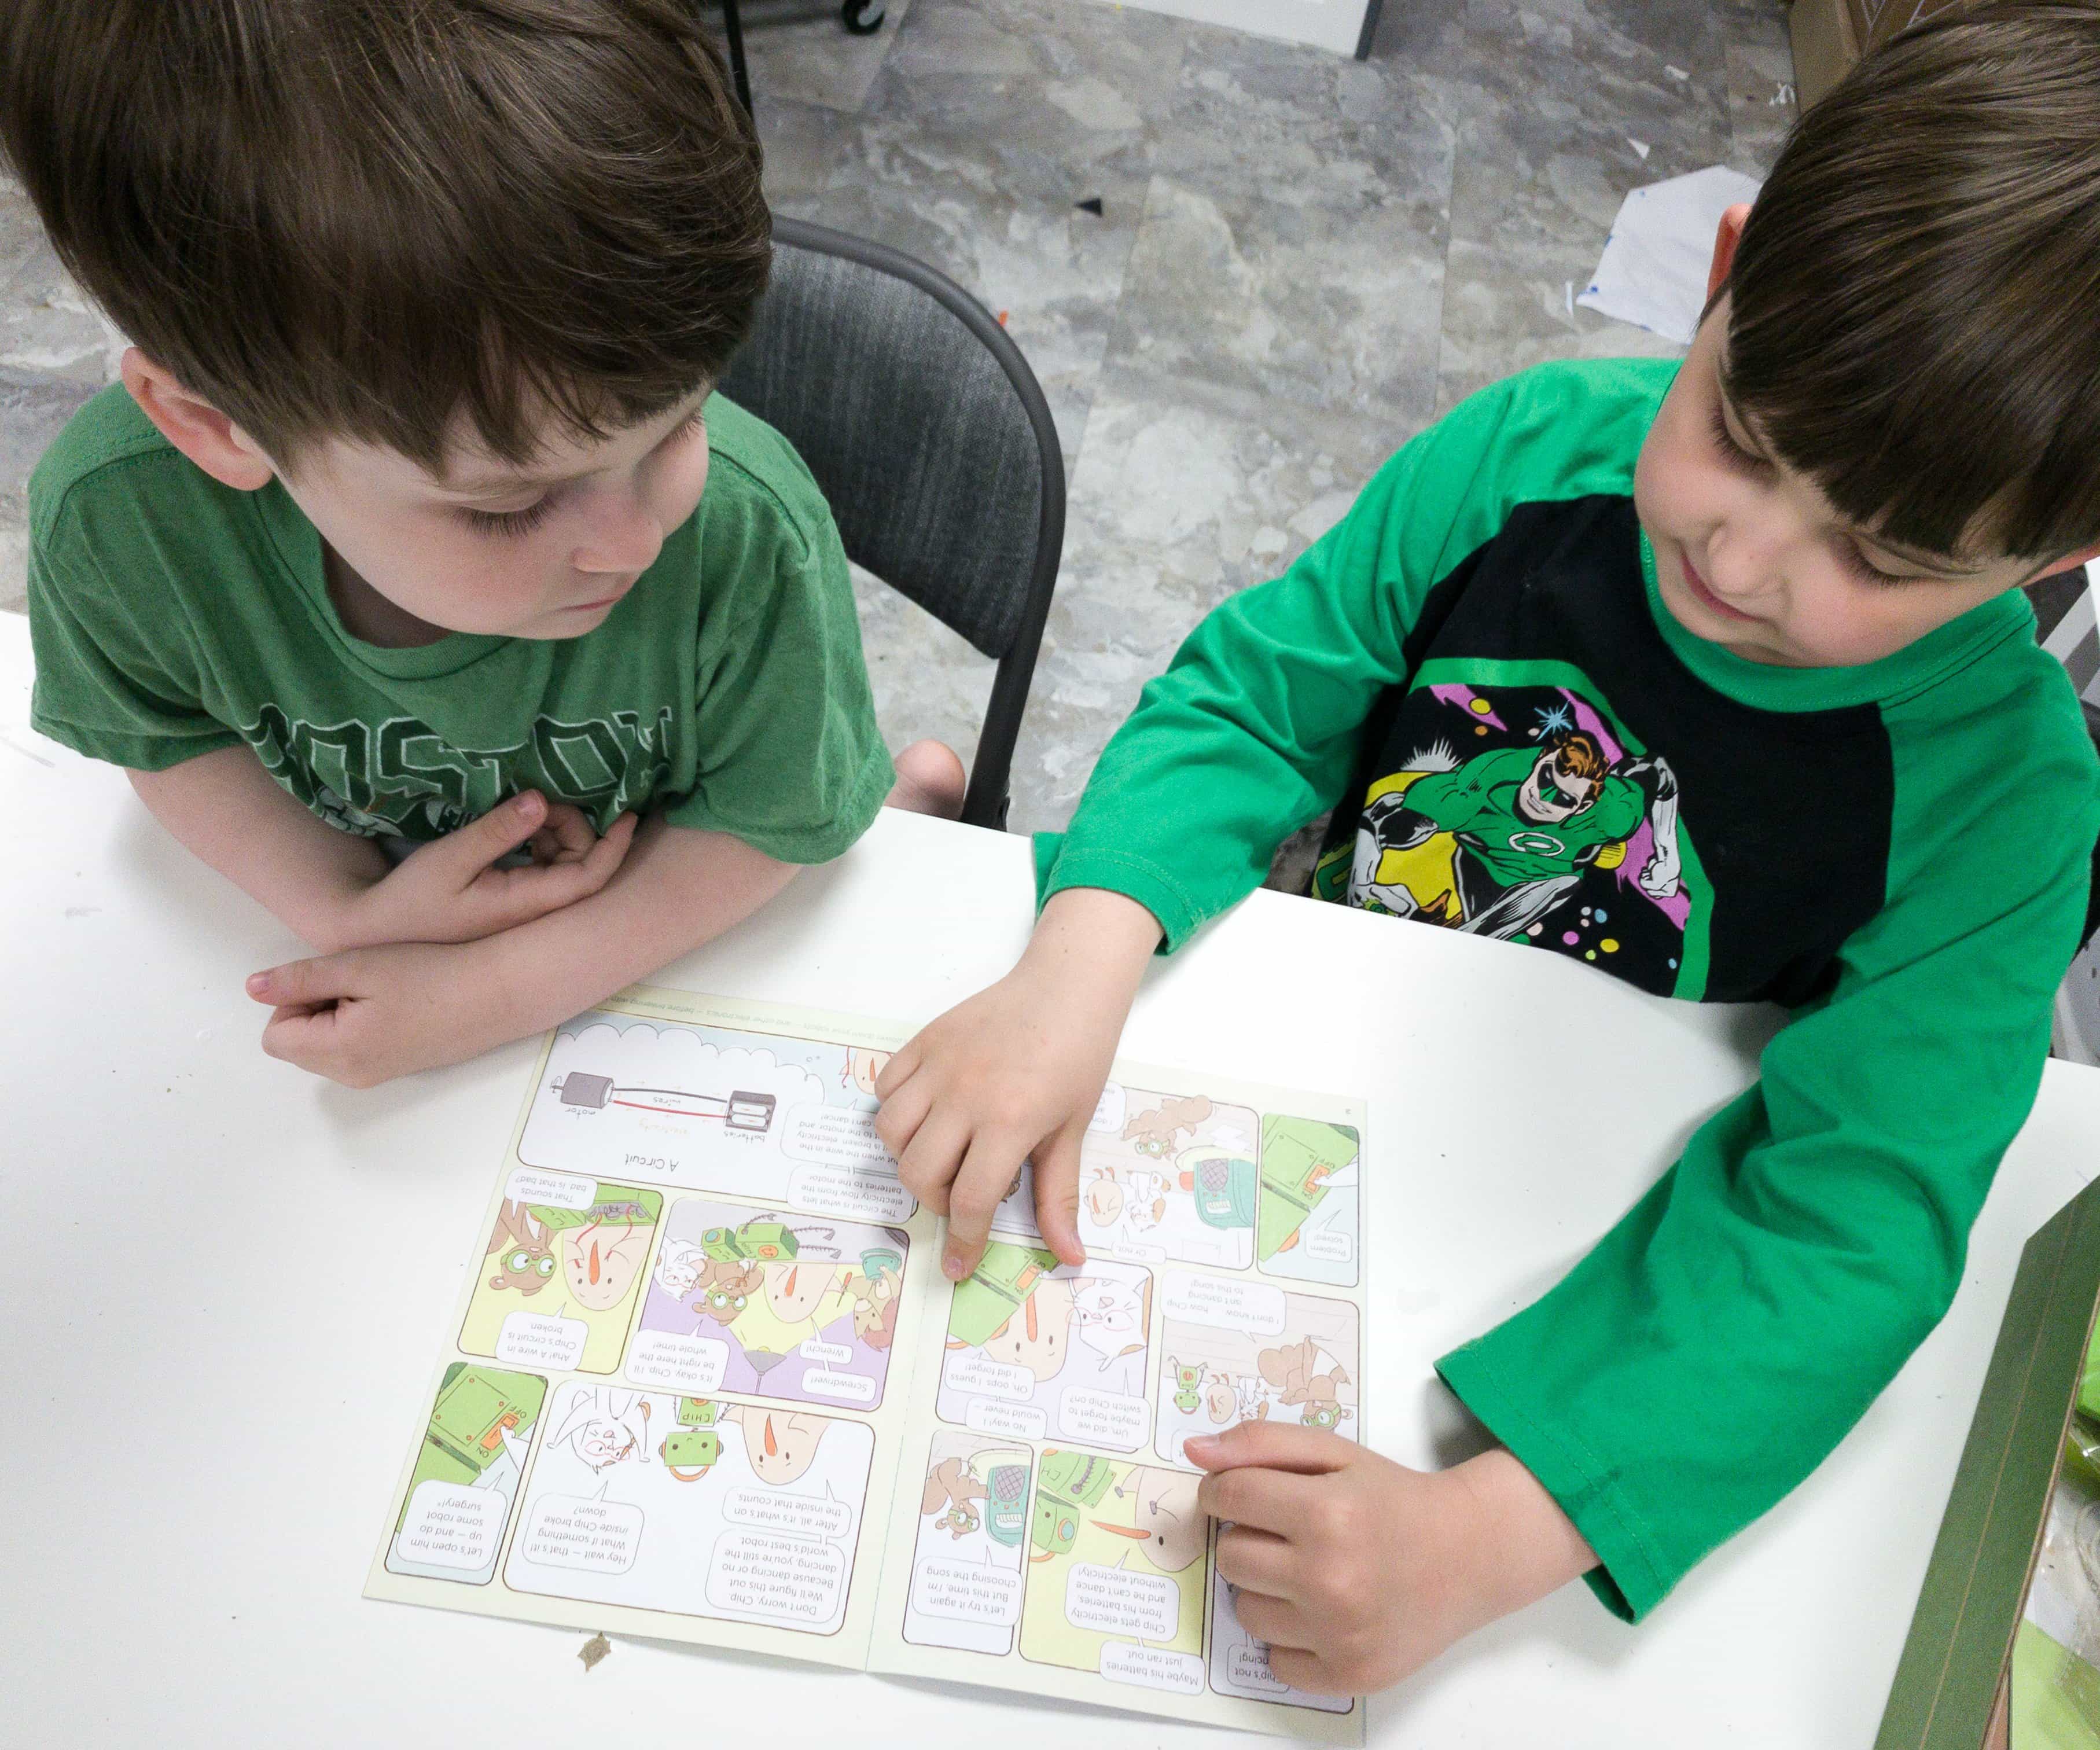
My kids read the magazine before starting the project and they enjoyed it!
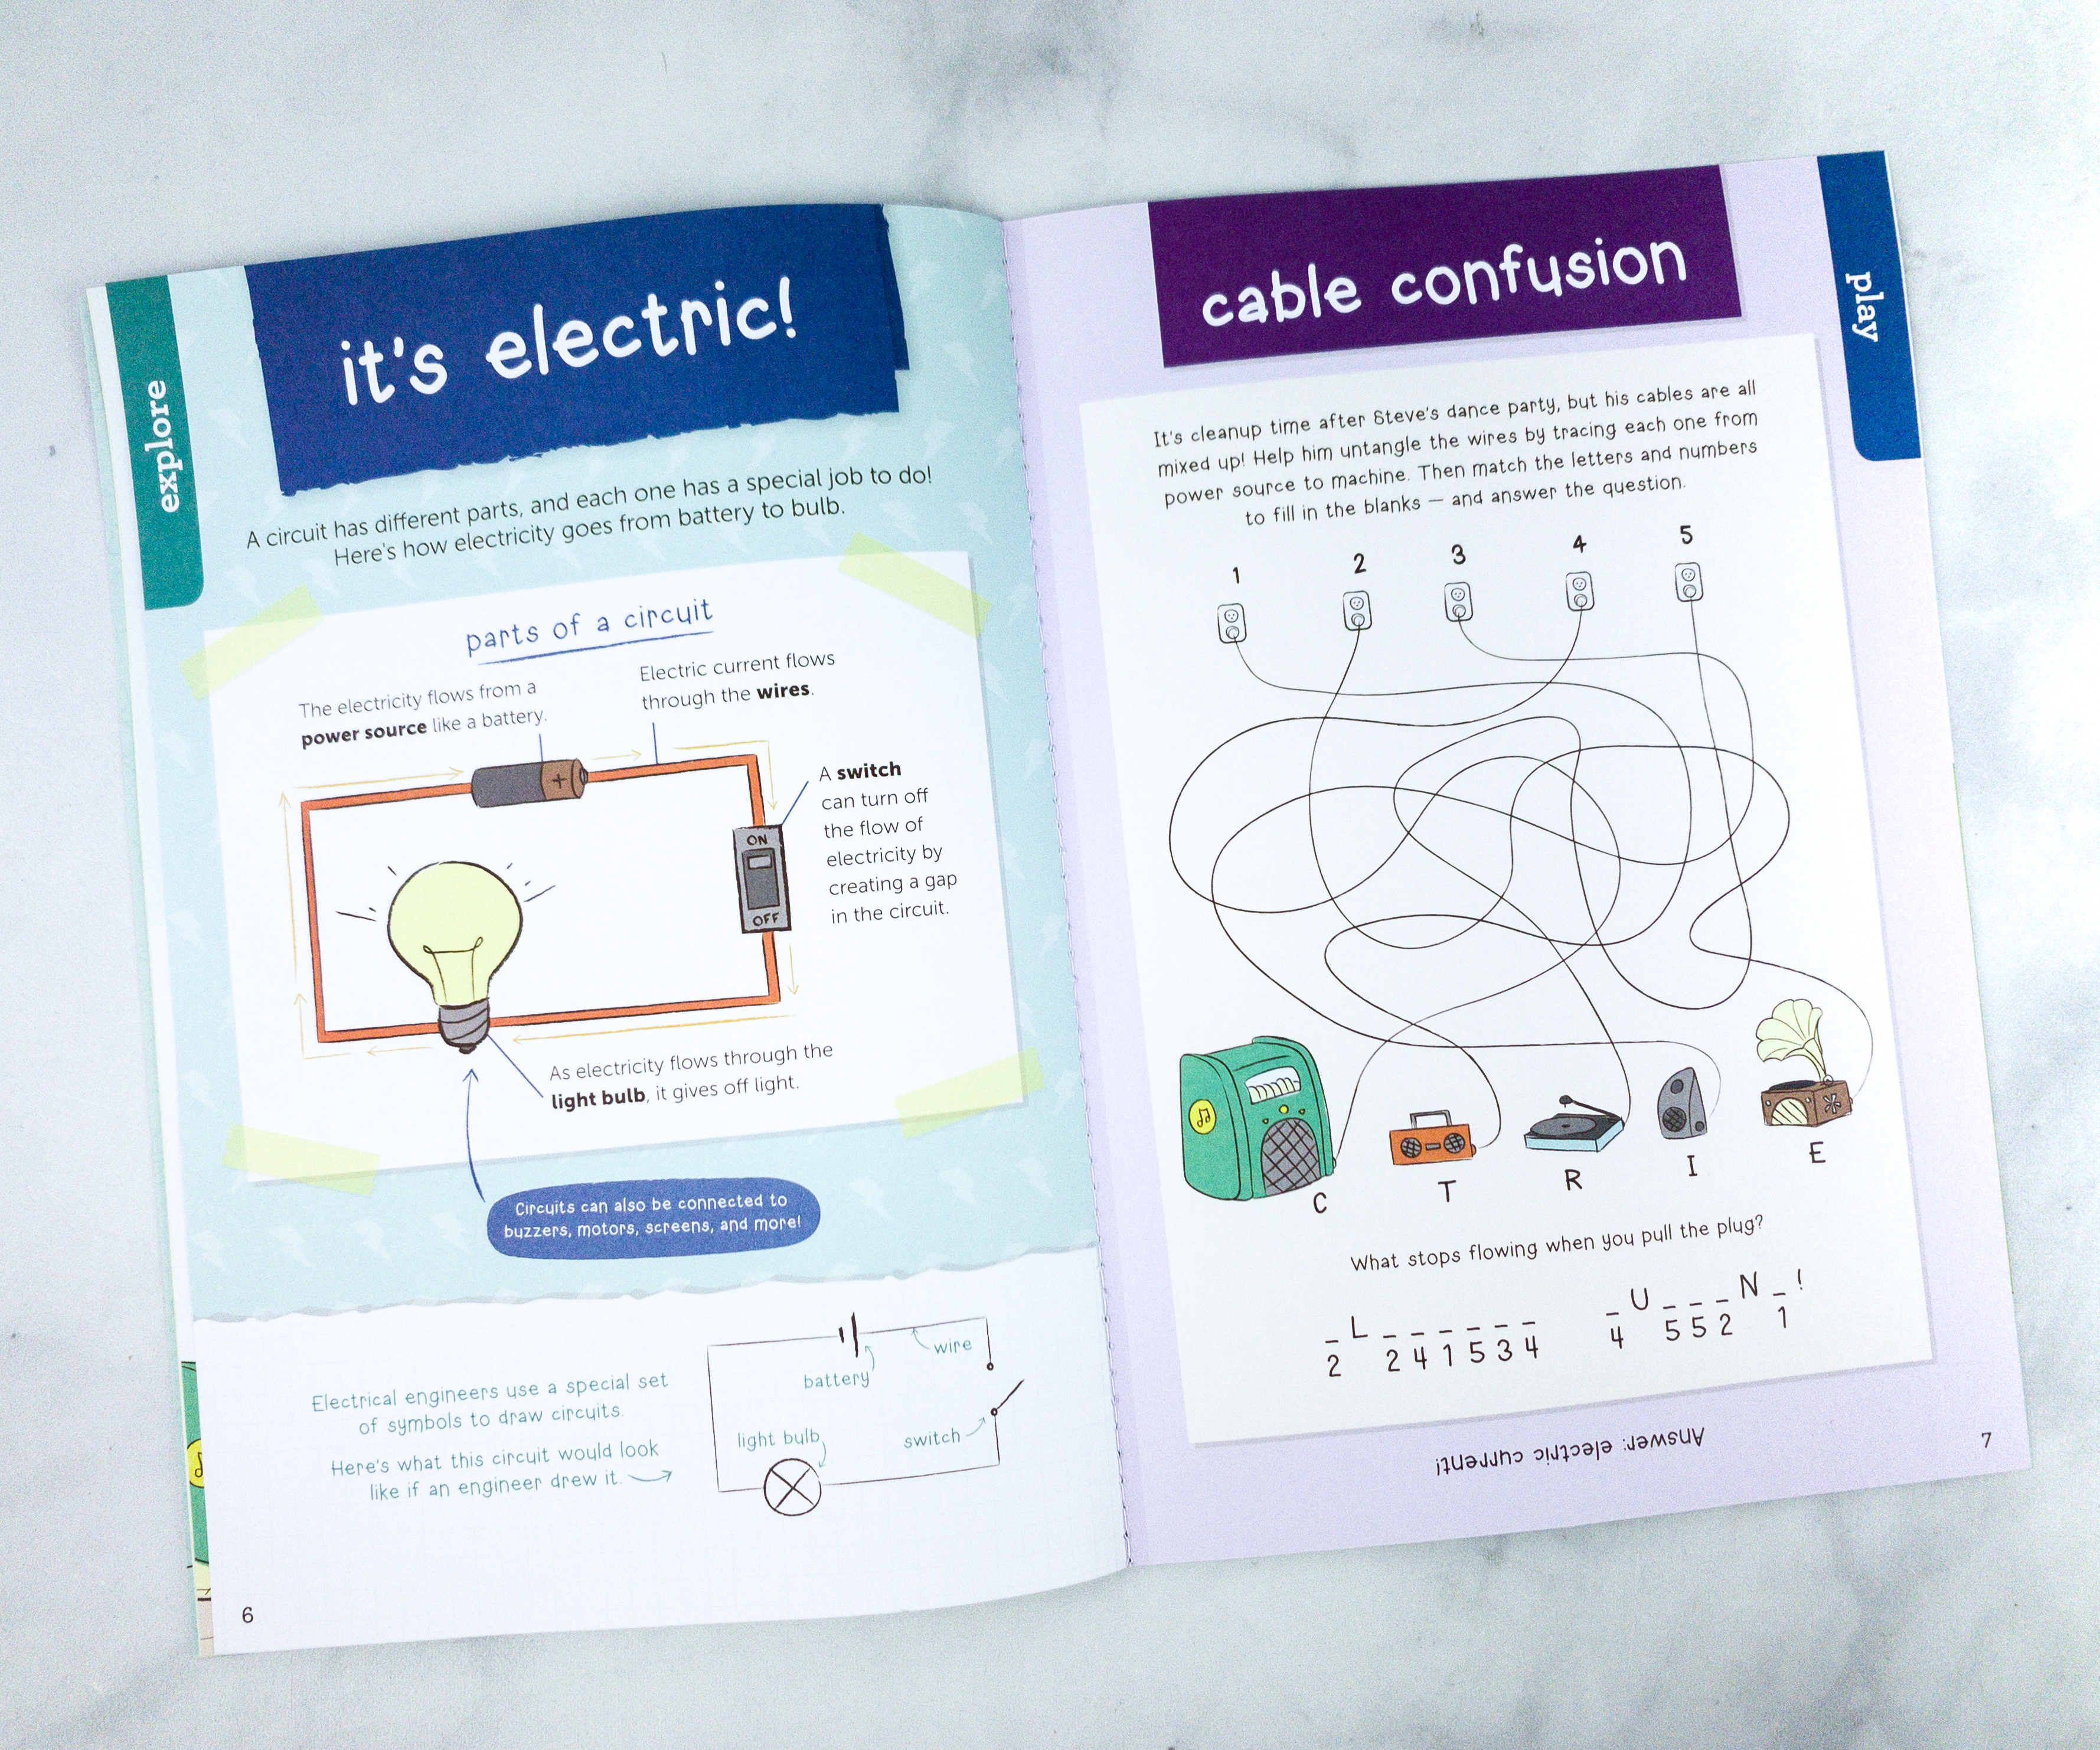
This part of the booklet features how a circuit works, and how the electricity goes from the battery to bulb.
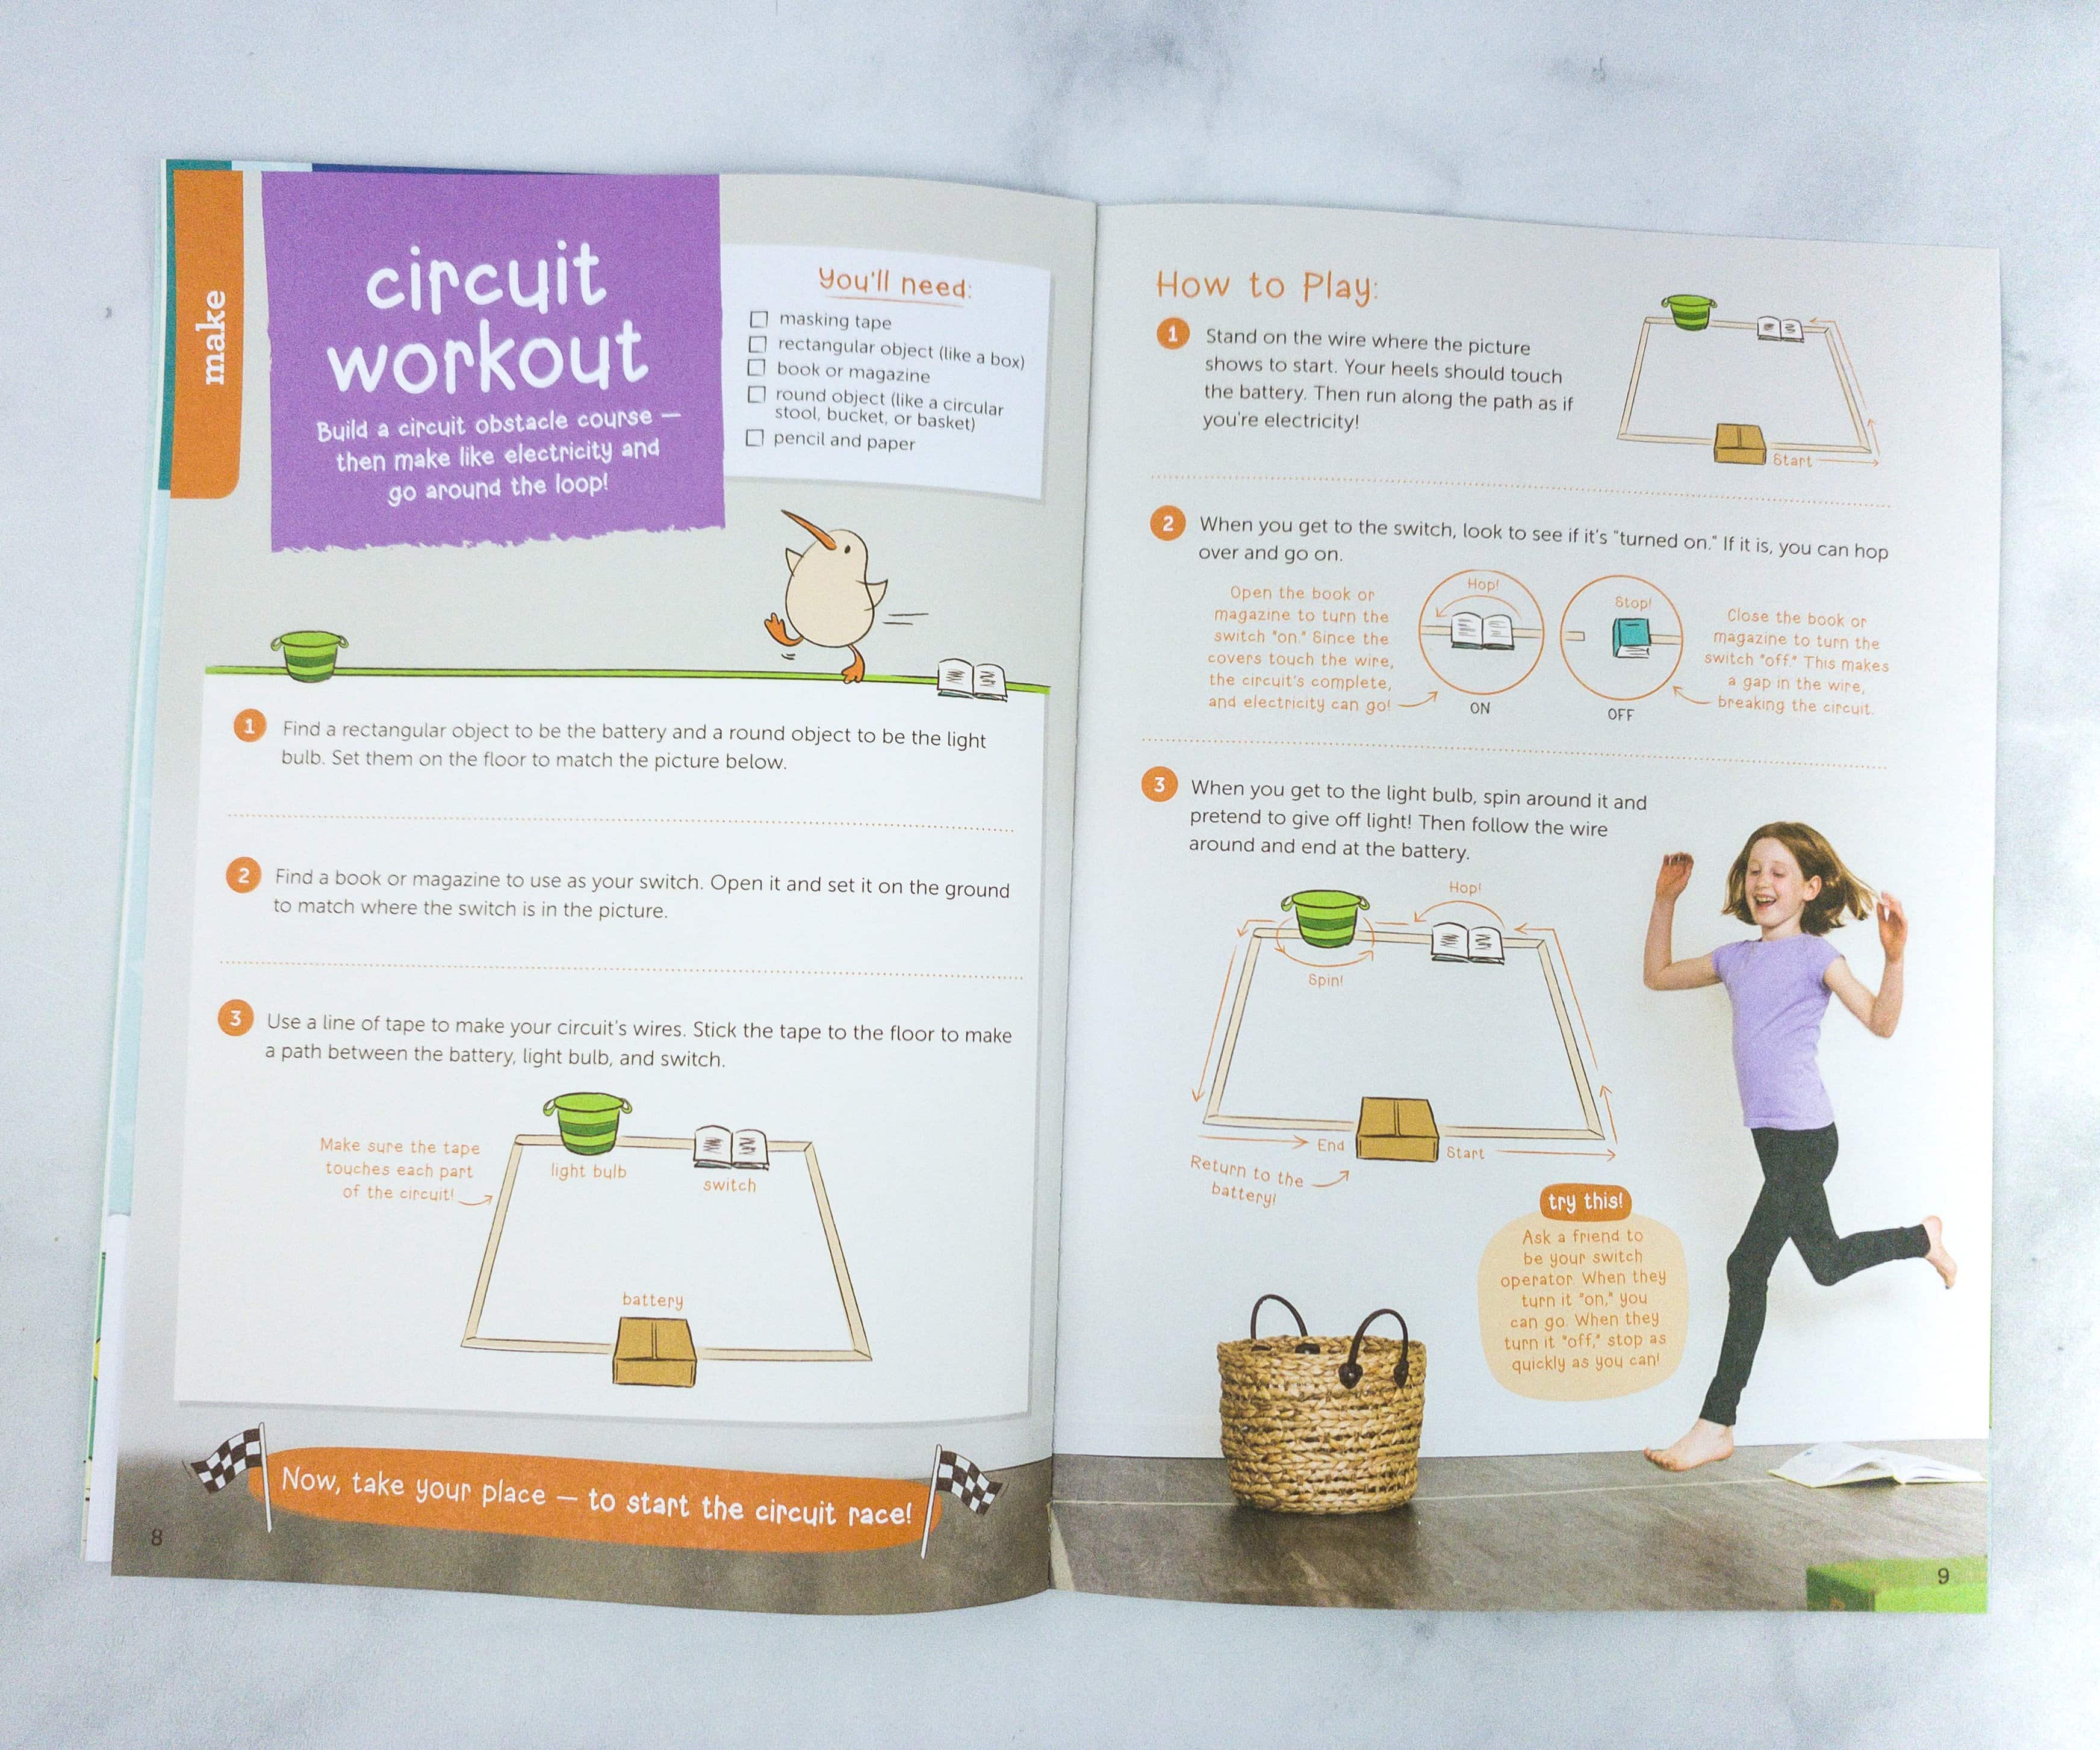
They also included a suggested activity, which is about building a circuit obstacle course.
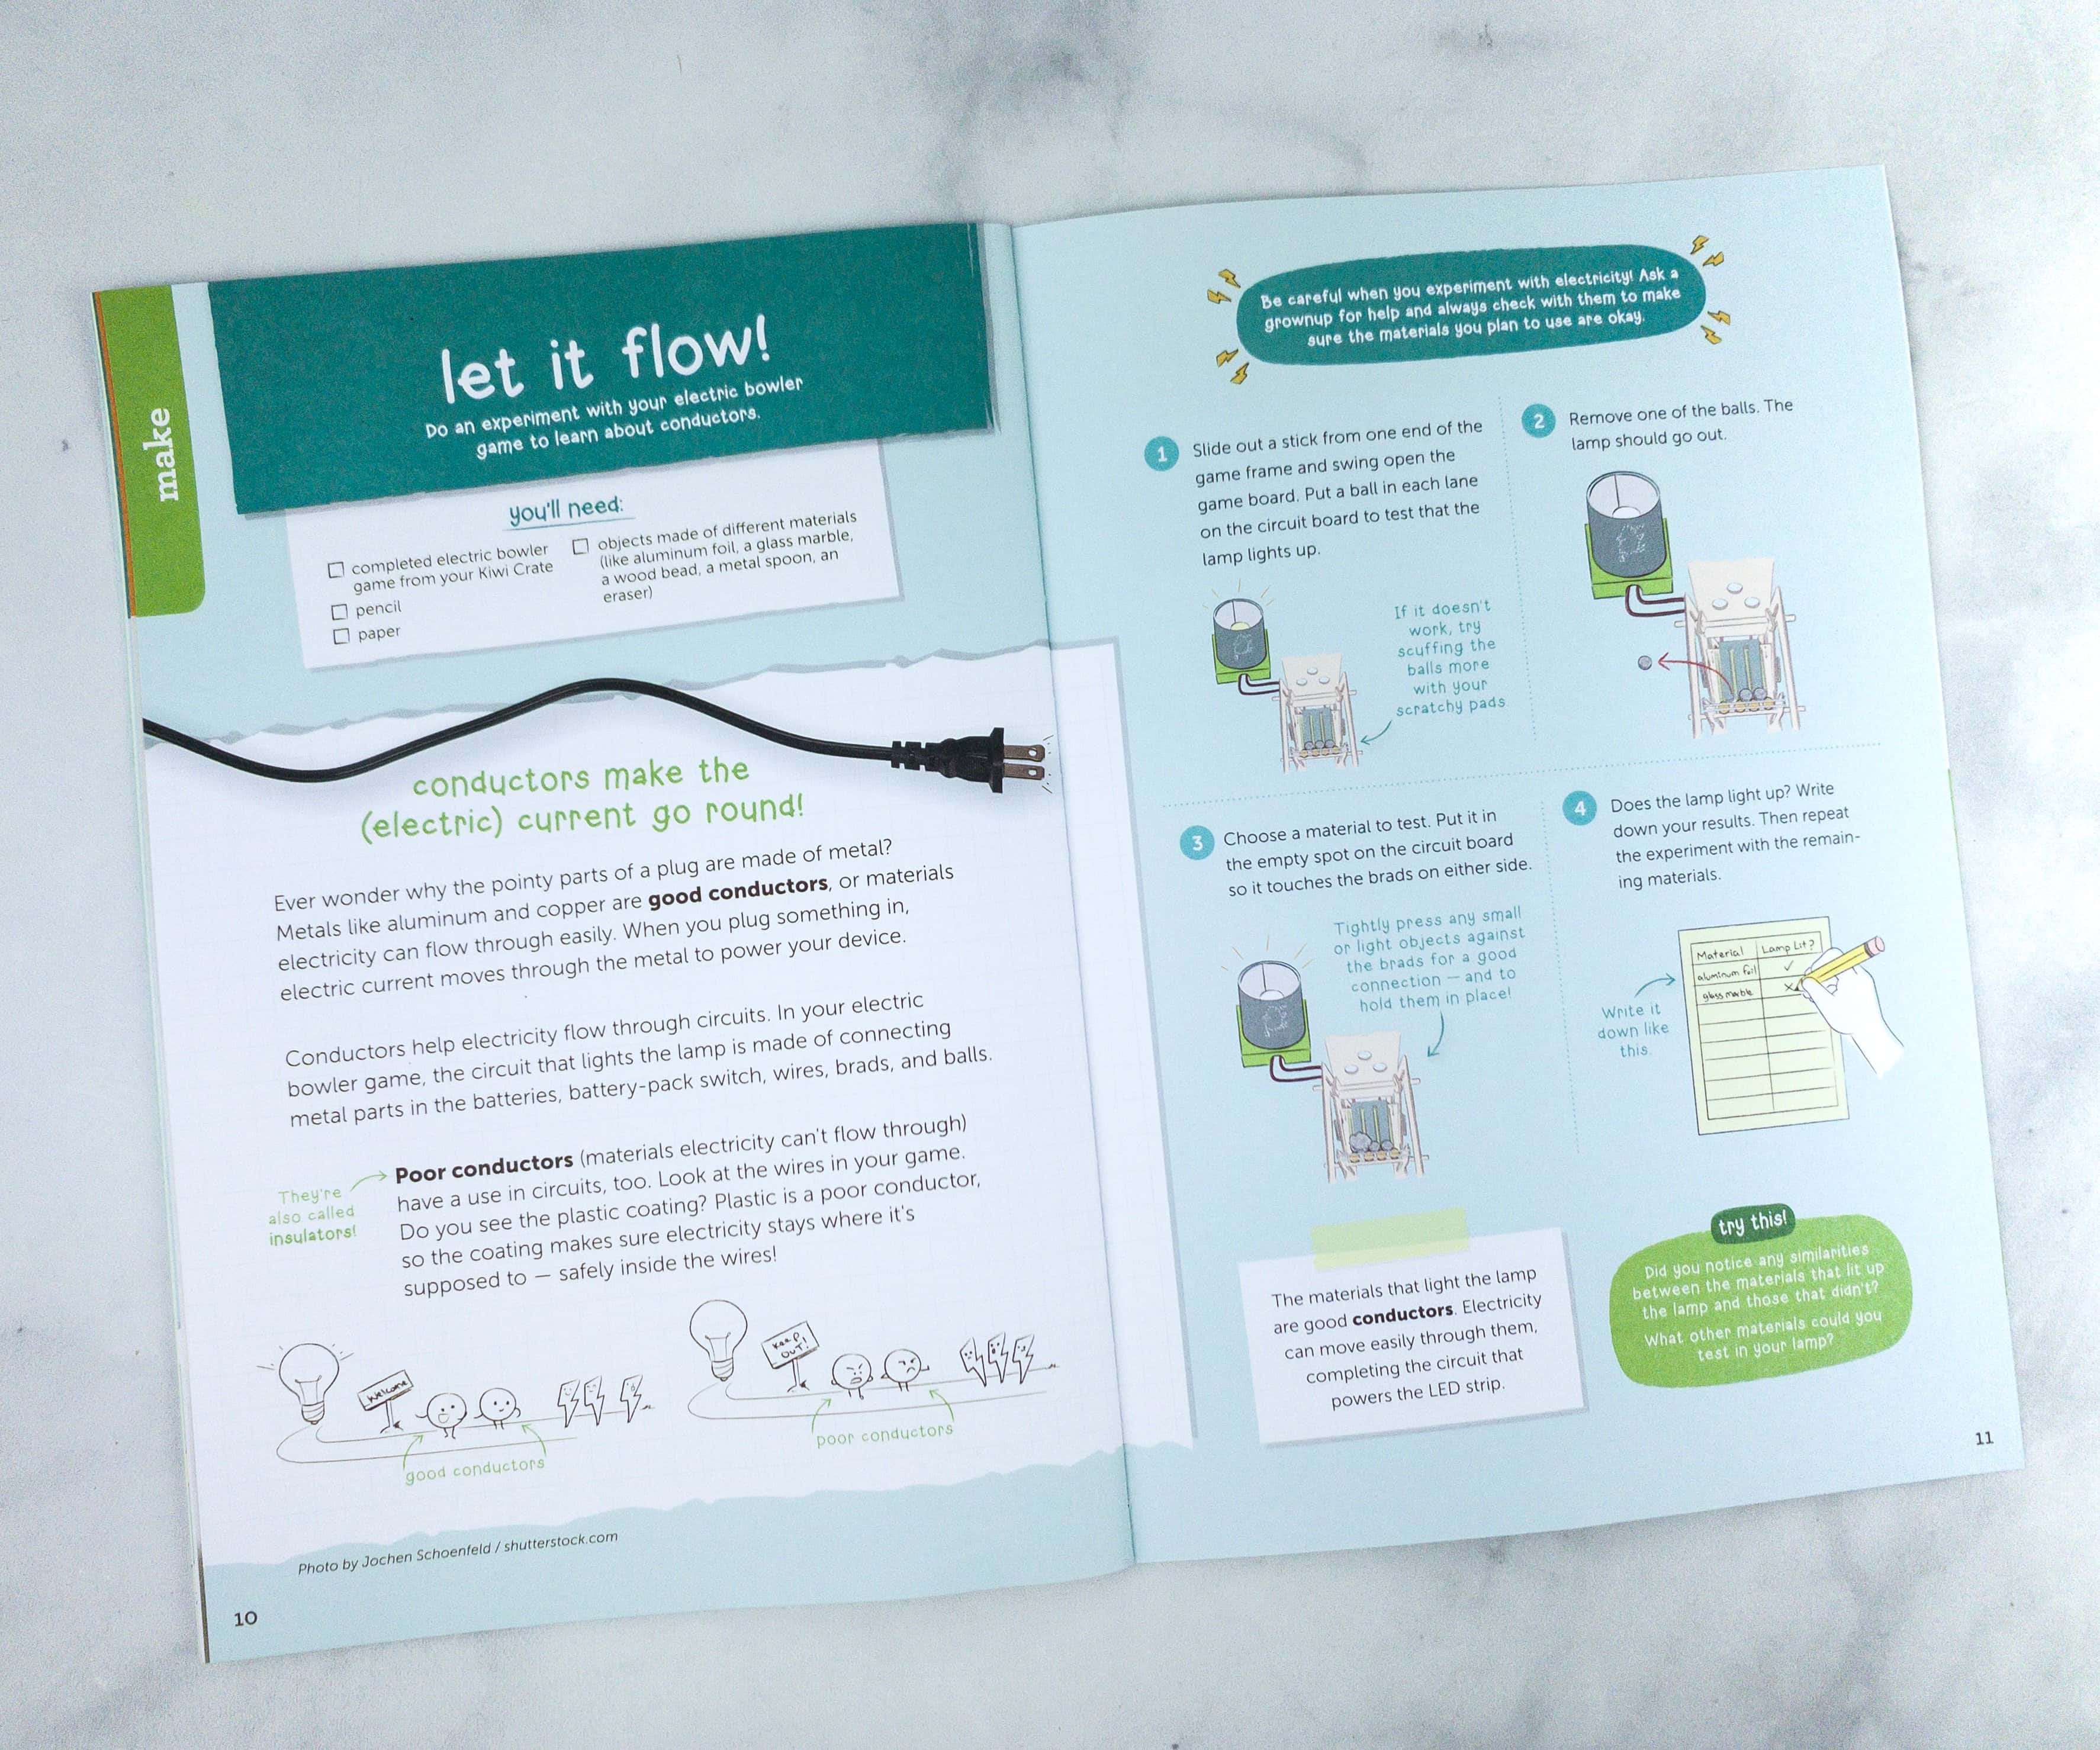
Another suggested activity is an experiment with the electric bowler, a game that will help kids understand more about conductors!
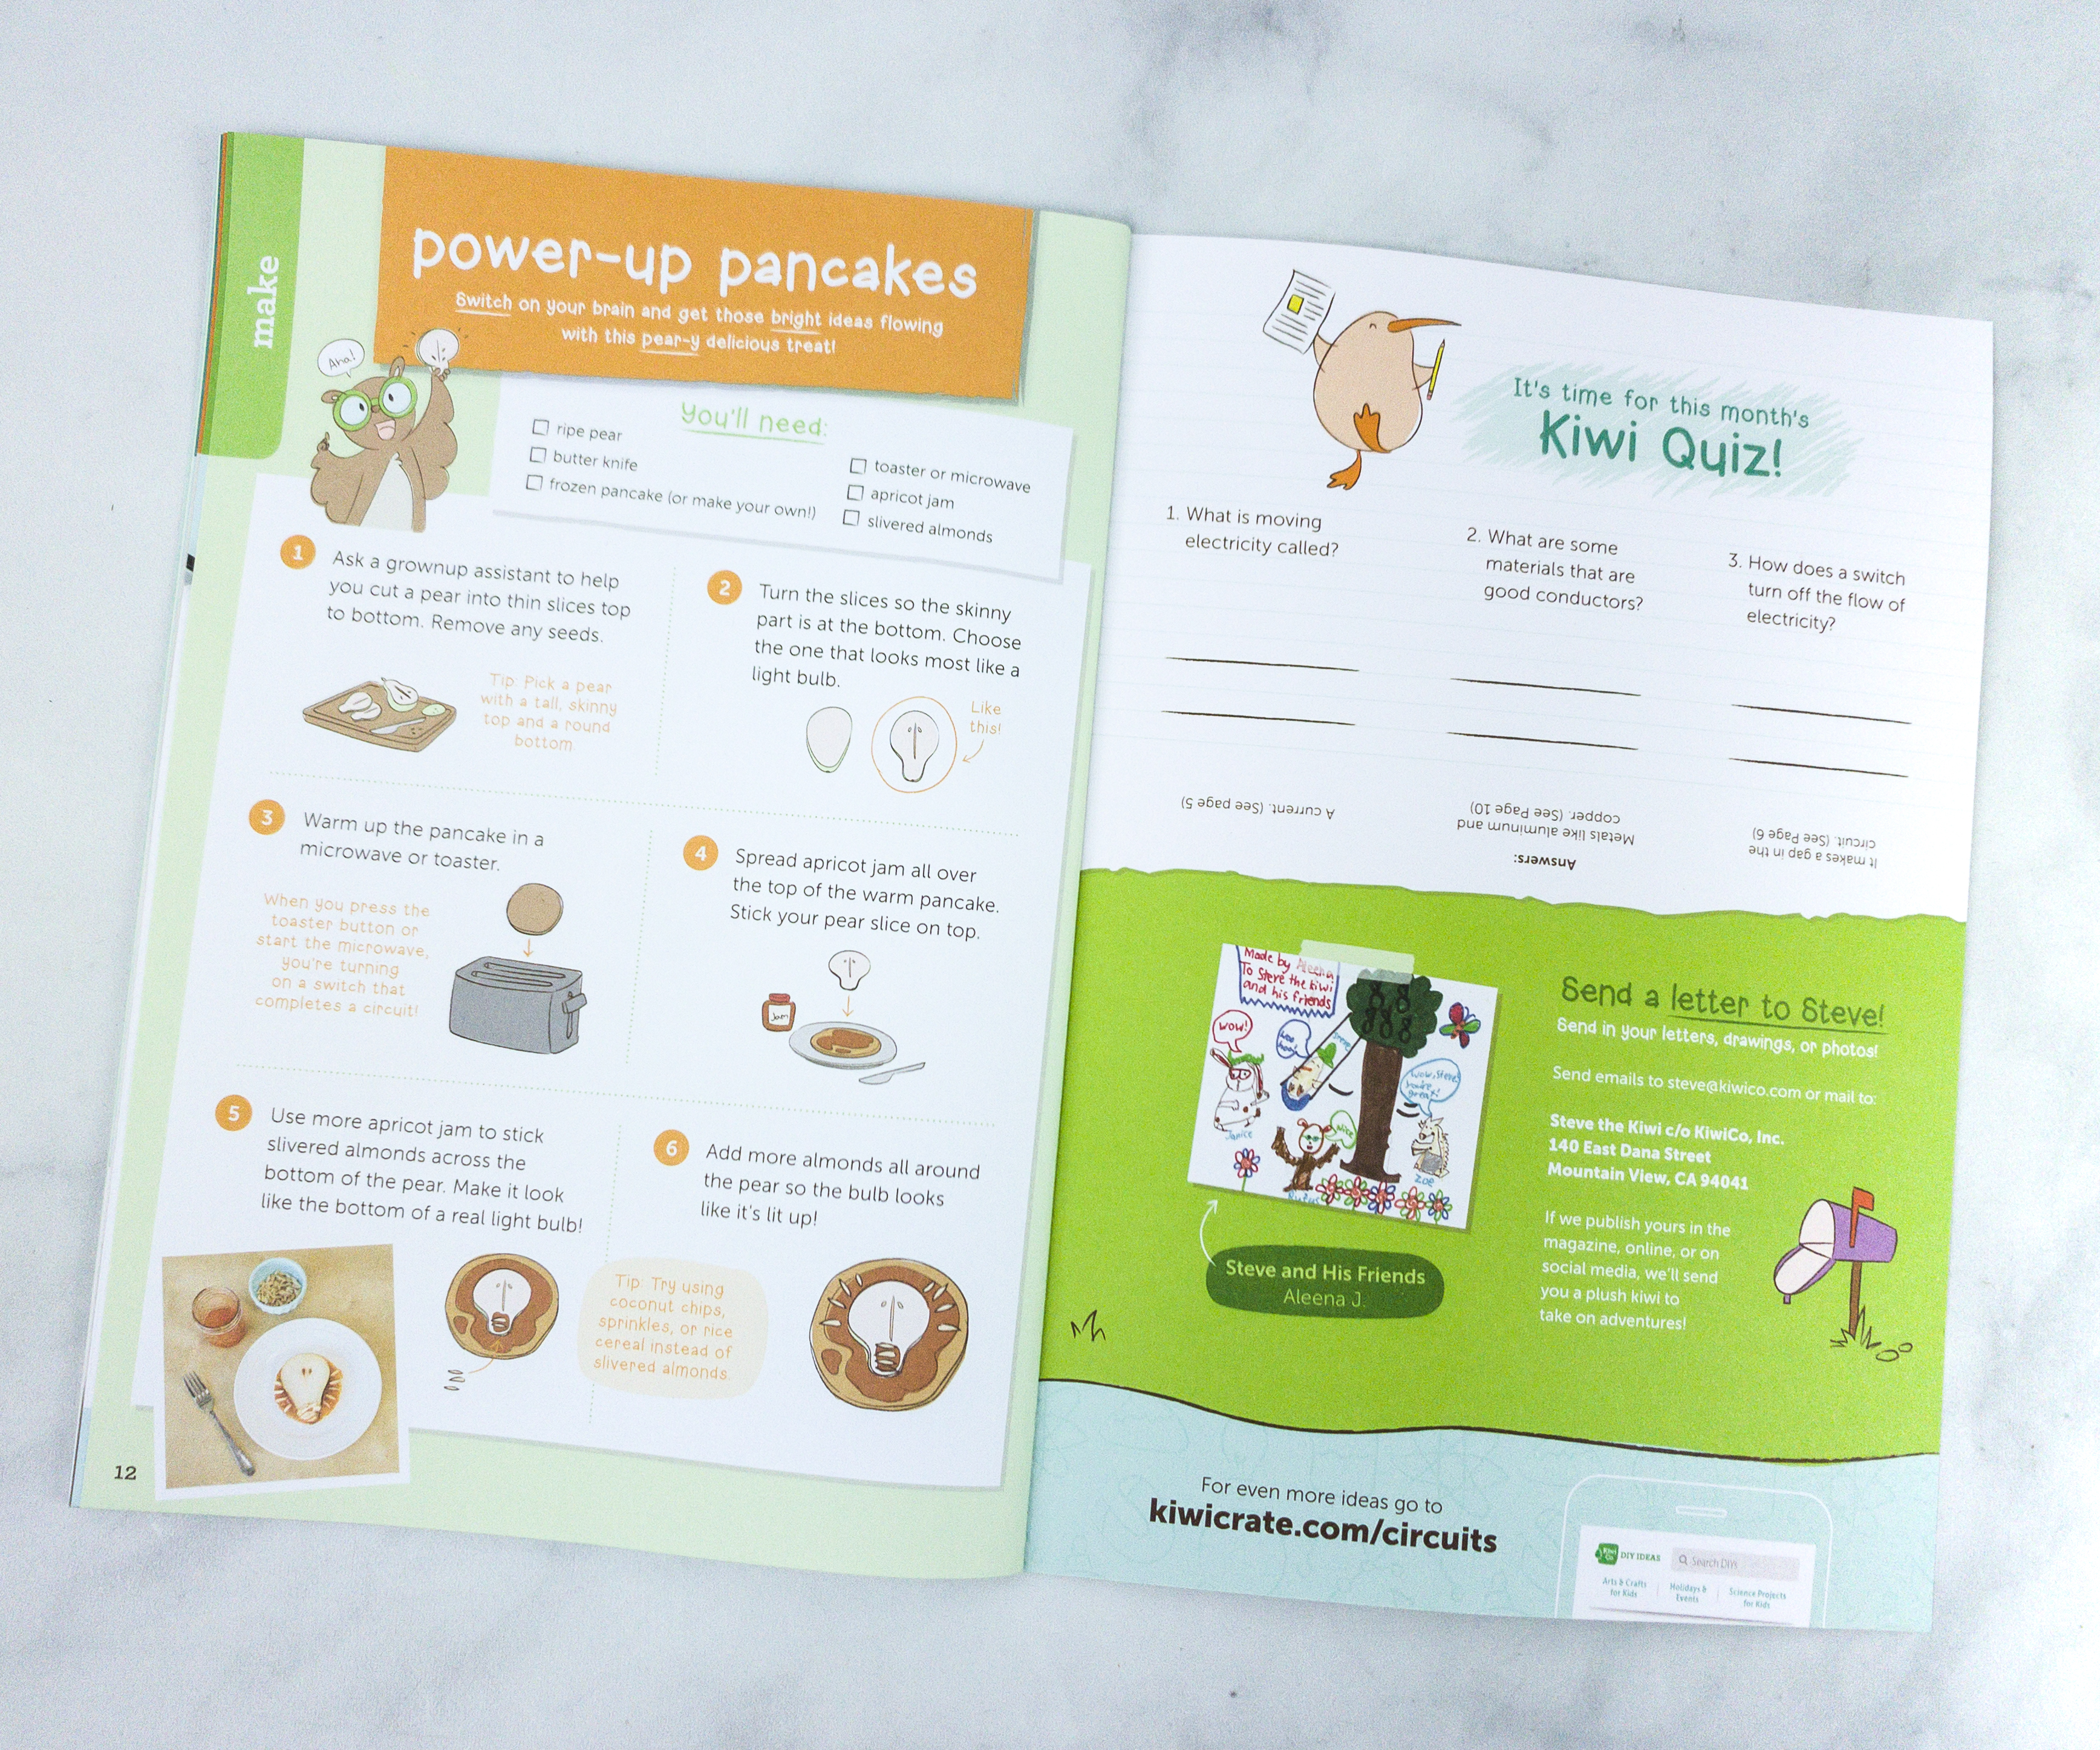
The booklet even introduced a yummy pancake recipe, they call it Power-up Pancakes! Also, there’s a Kiwi quiz on the next page, and you can also send a letter to Steve.
Kiwi Crate Crafts
The second booklet that comes in every crate is the actual instruction booklet for the crafts, and it often includes additional activities beyond the extension projects included in explore!
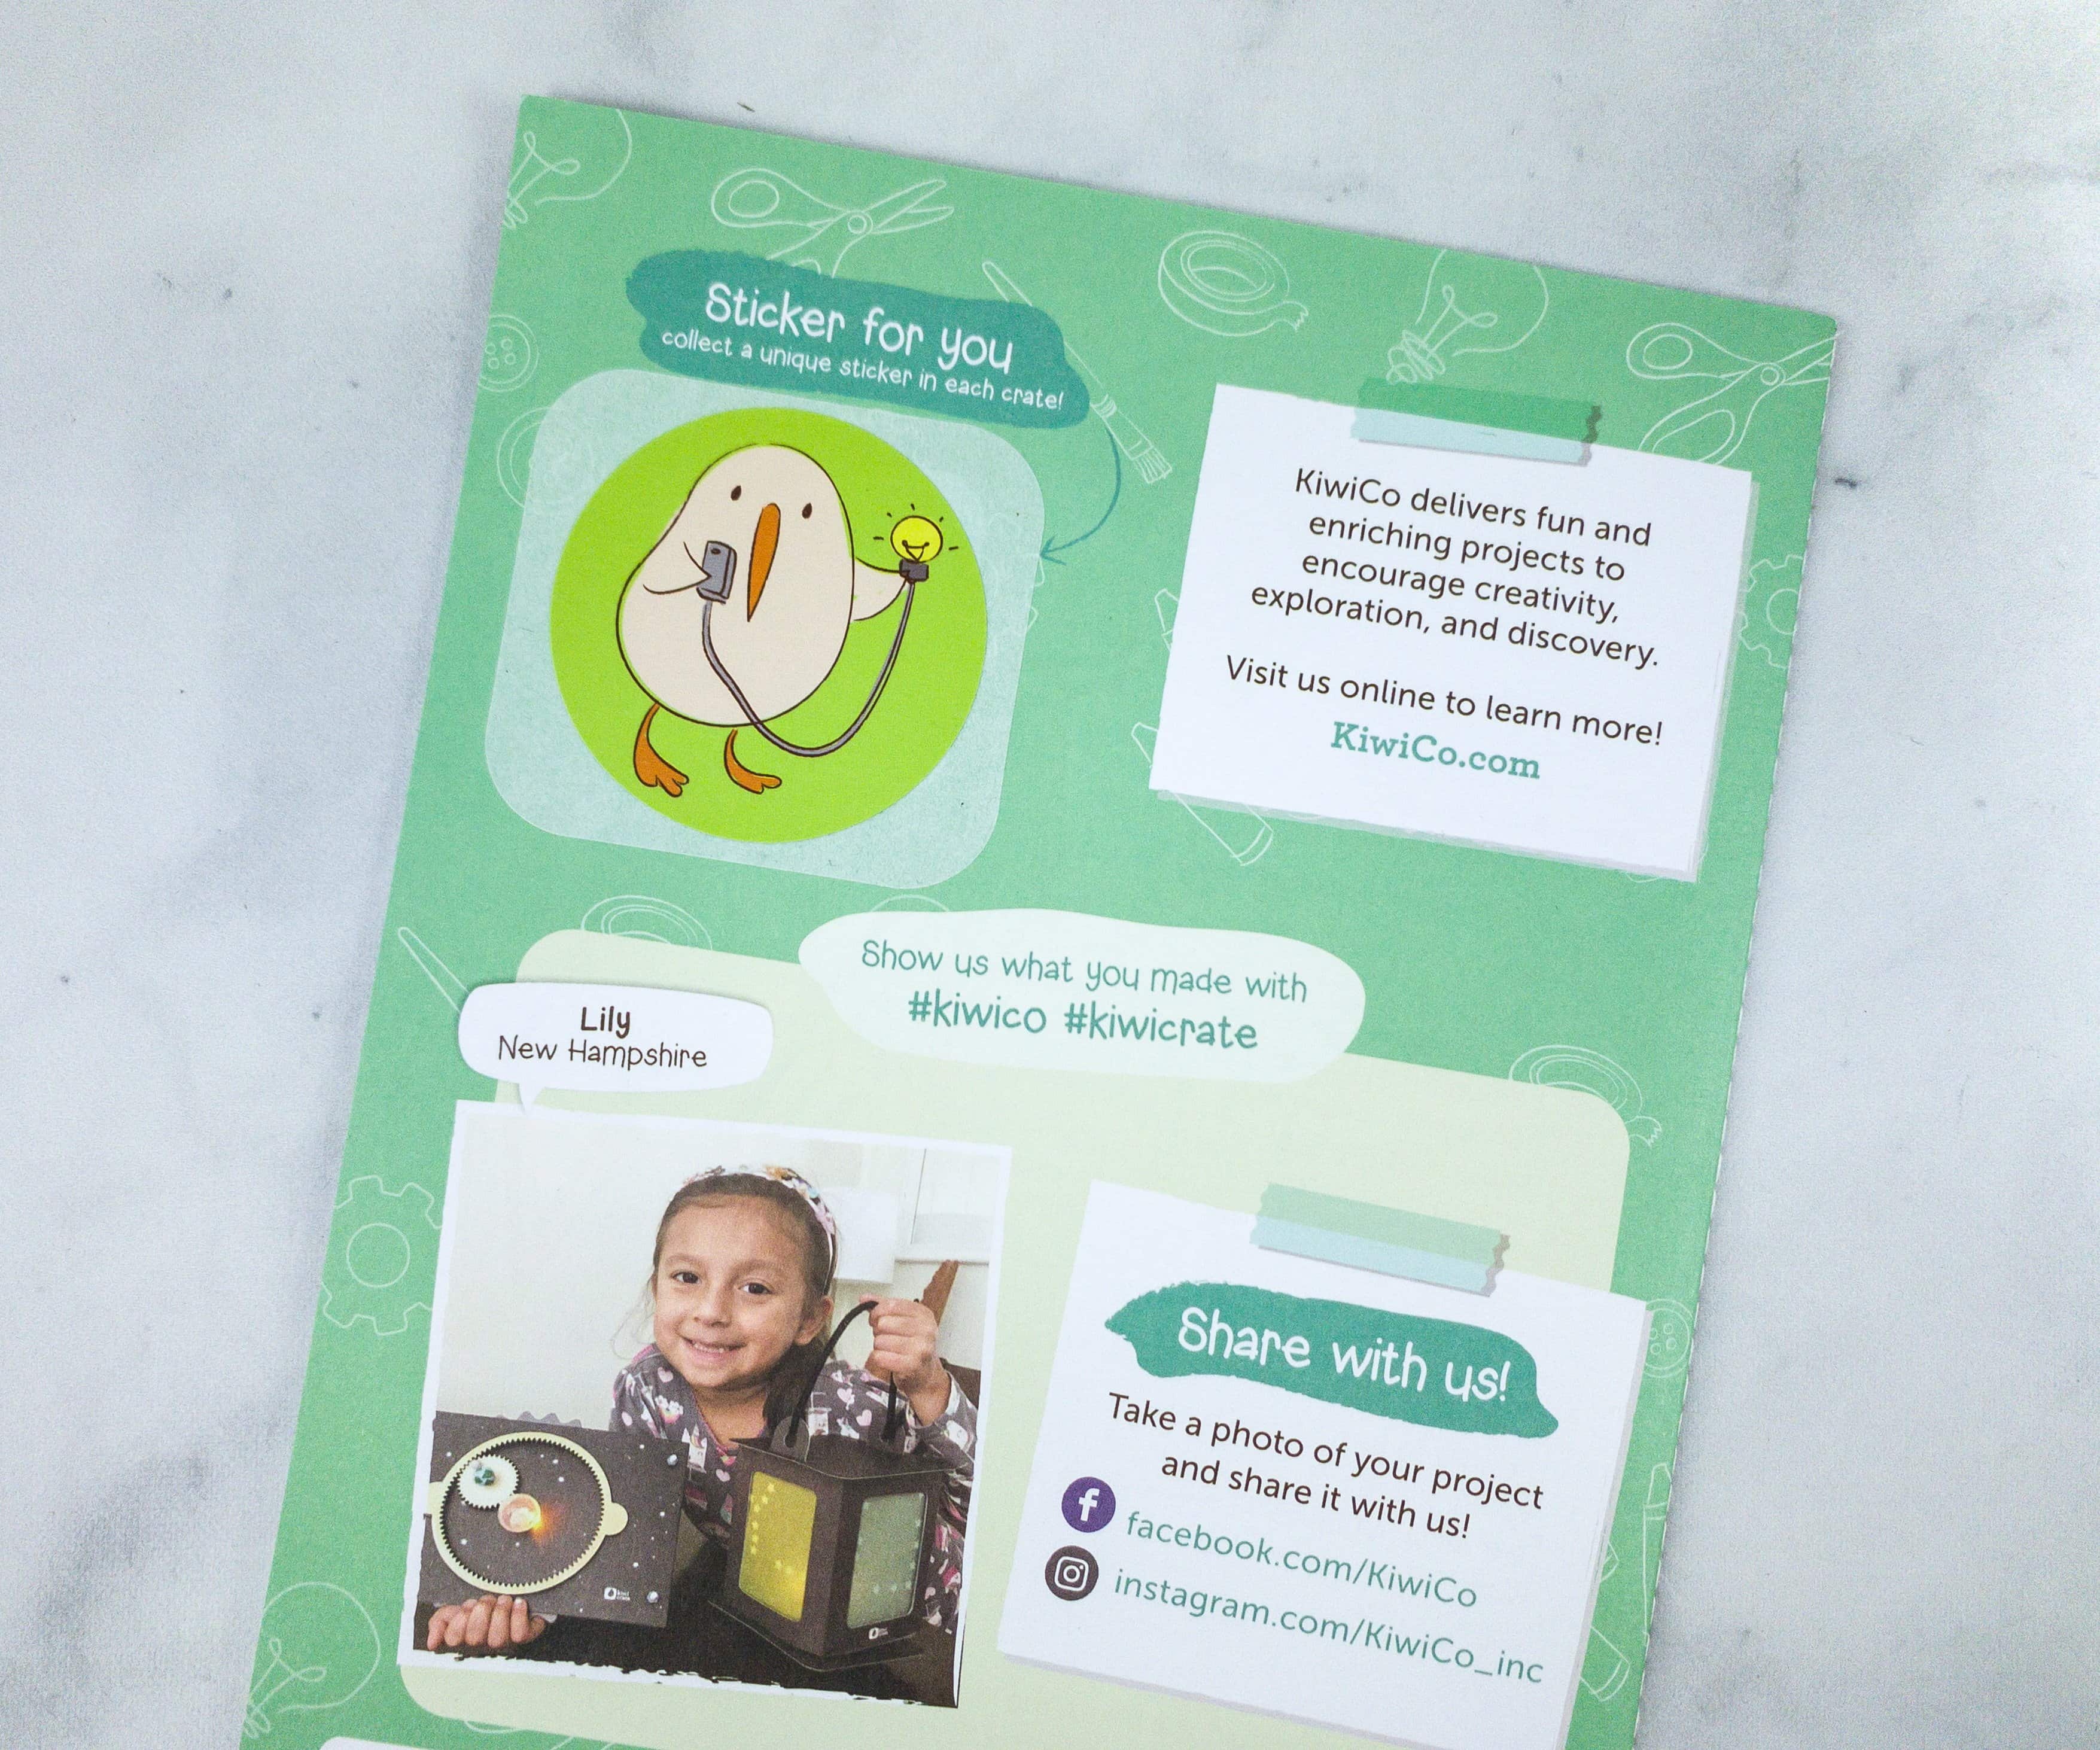
Every Kiwi Crate comes with a unique Steve sticker (like your merit badge for completing the box). The first box of an annual subscription includes a poster for displaying your earned stickers.
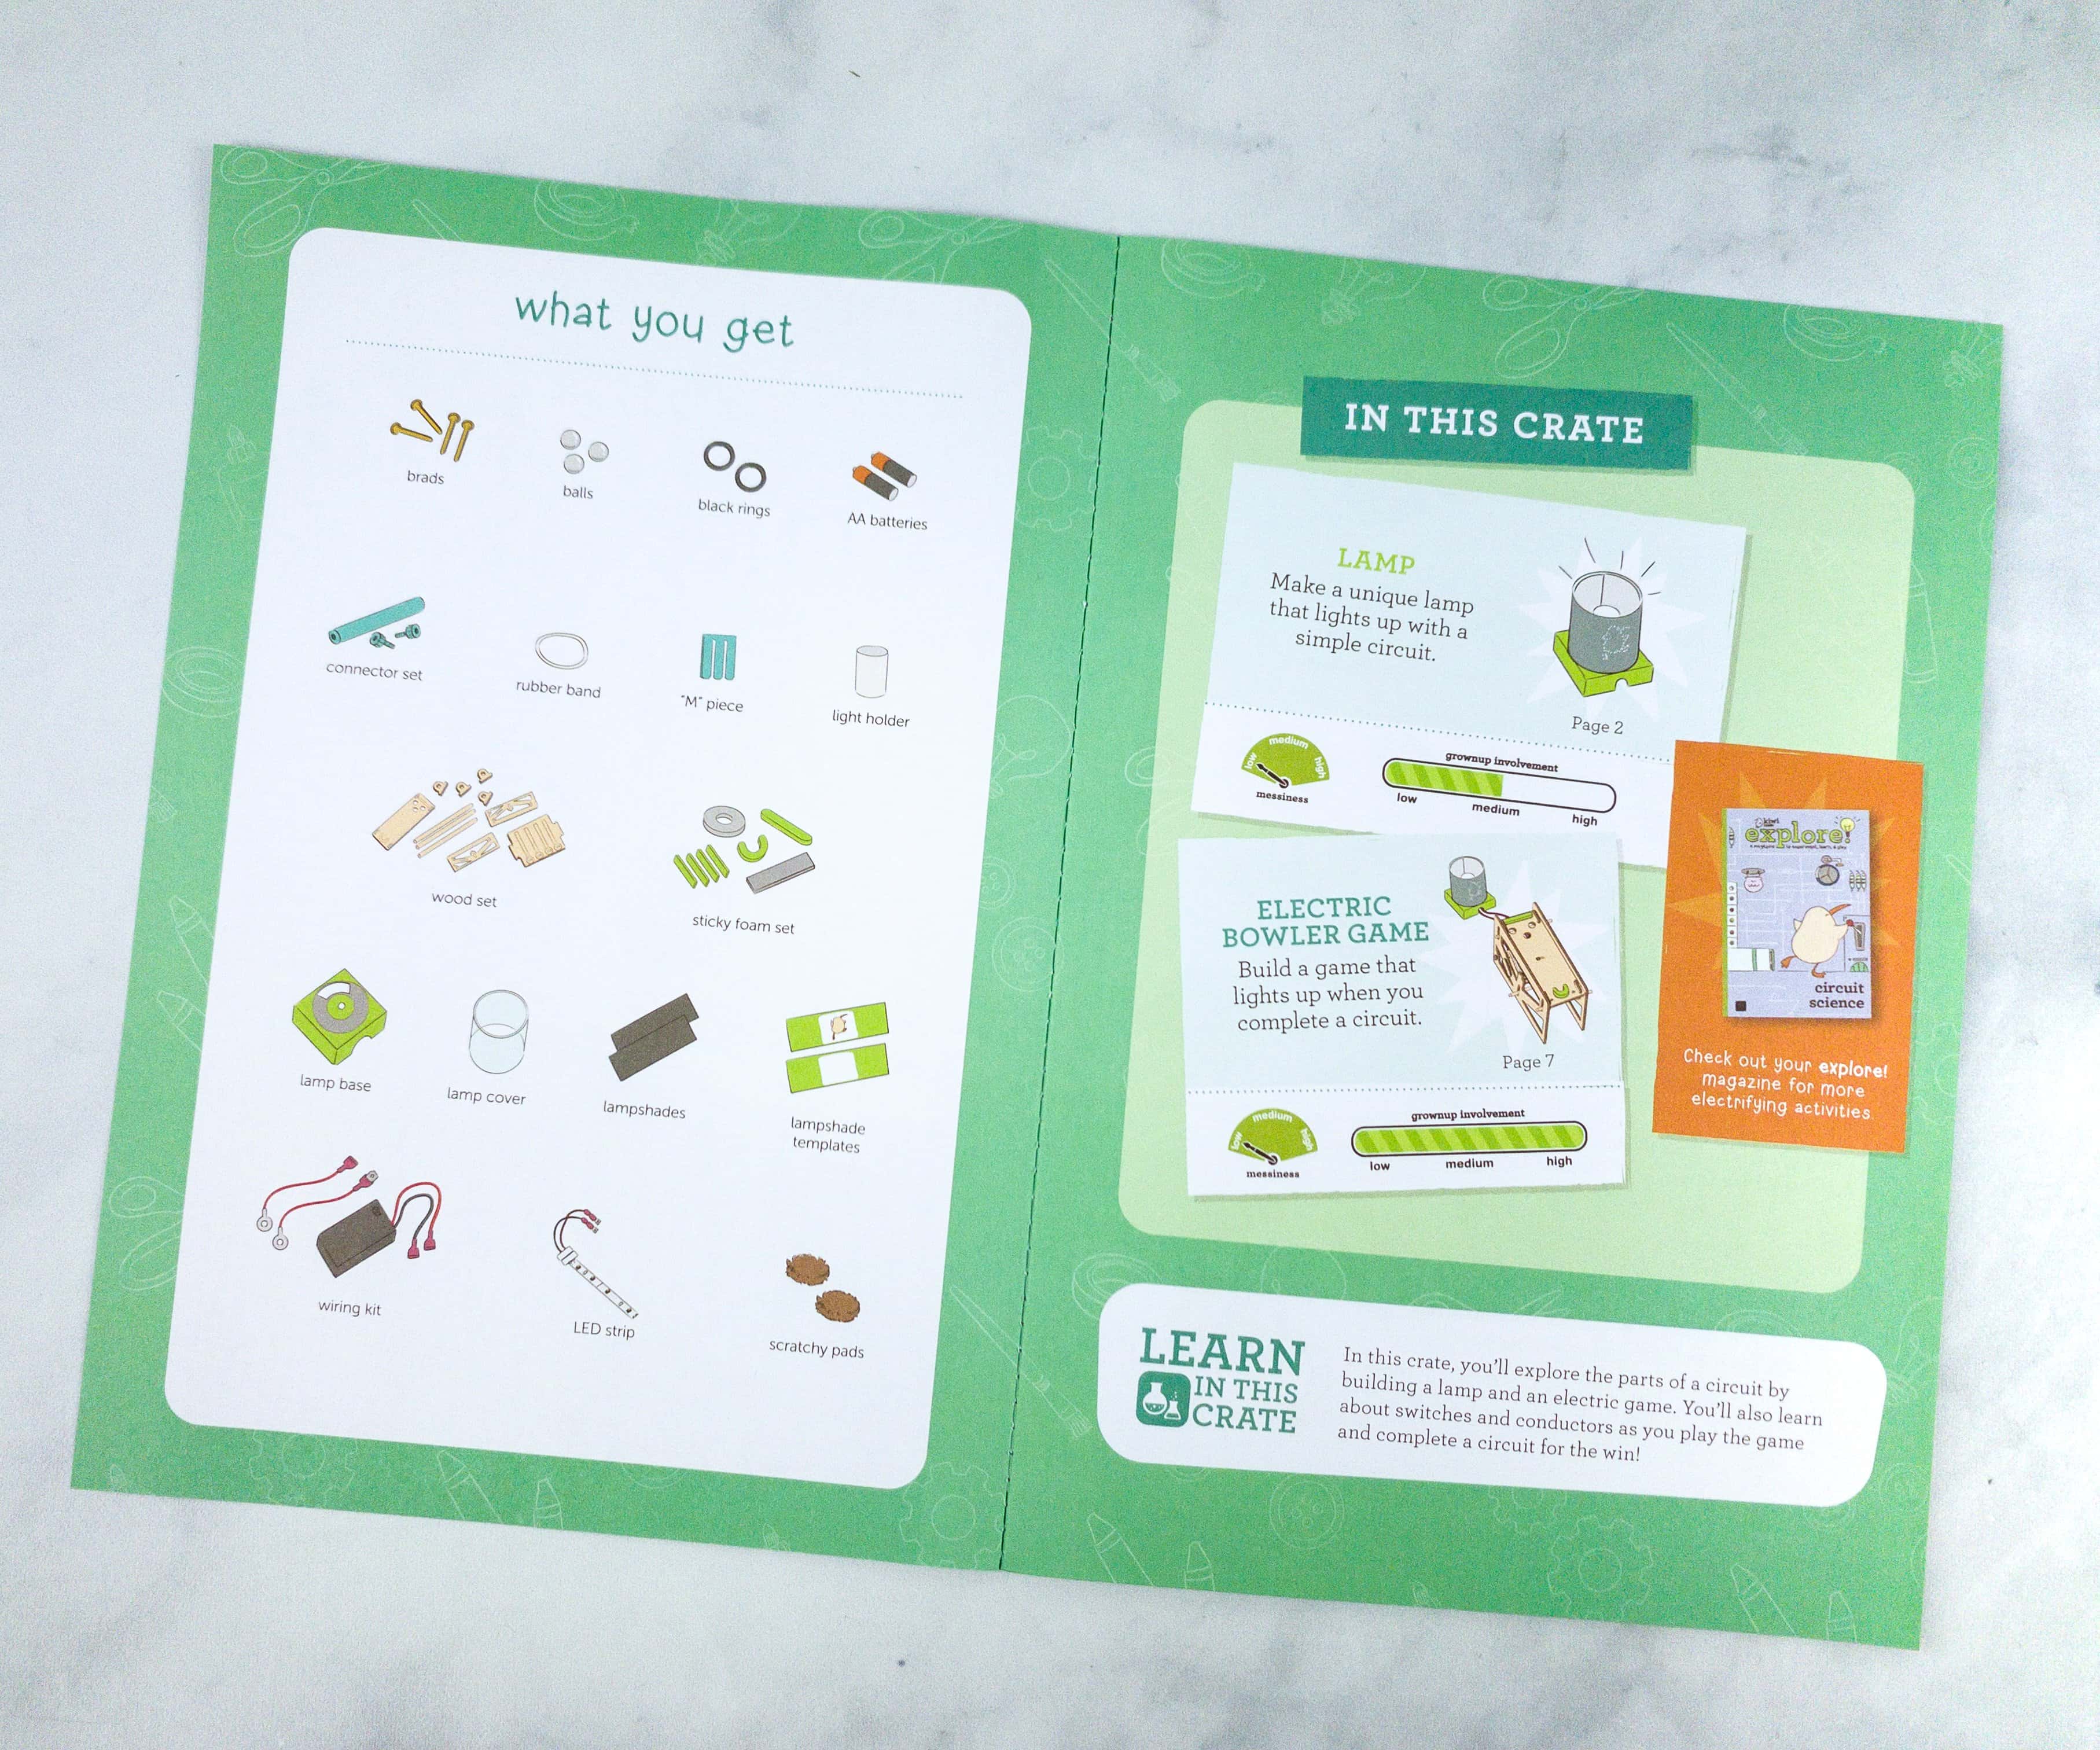
The booklet contains a list of all the supplies they provided for the crafts. It also has a rating of messiness and parental involvement for each activity.
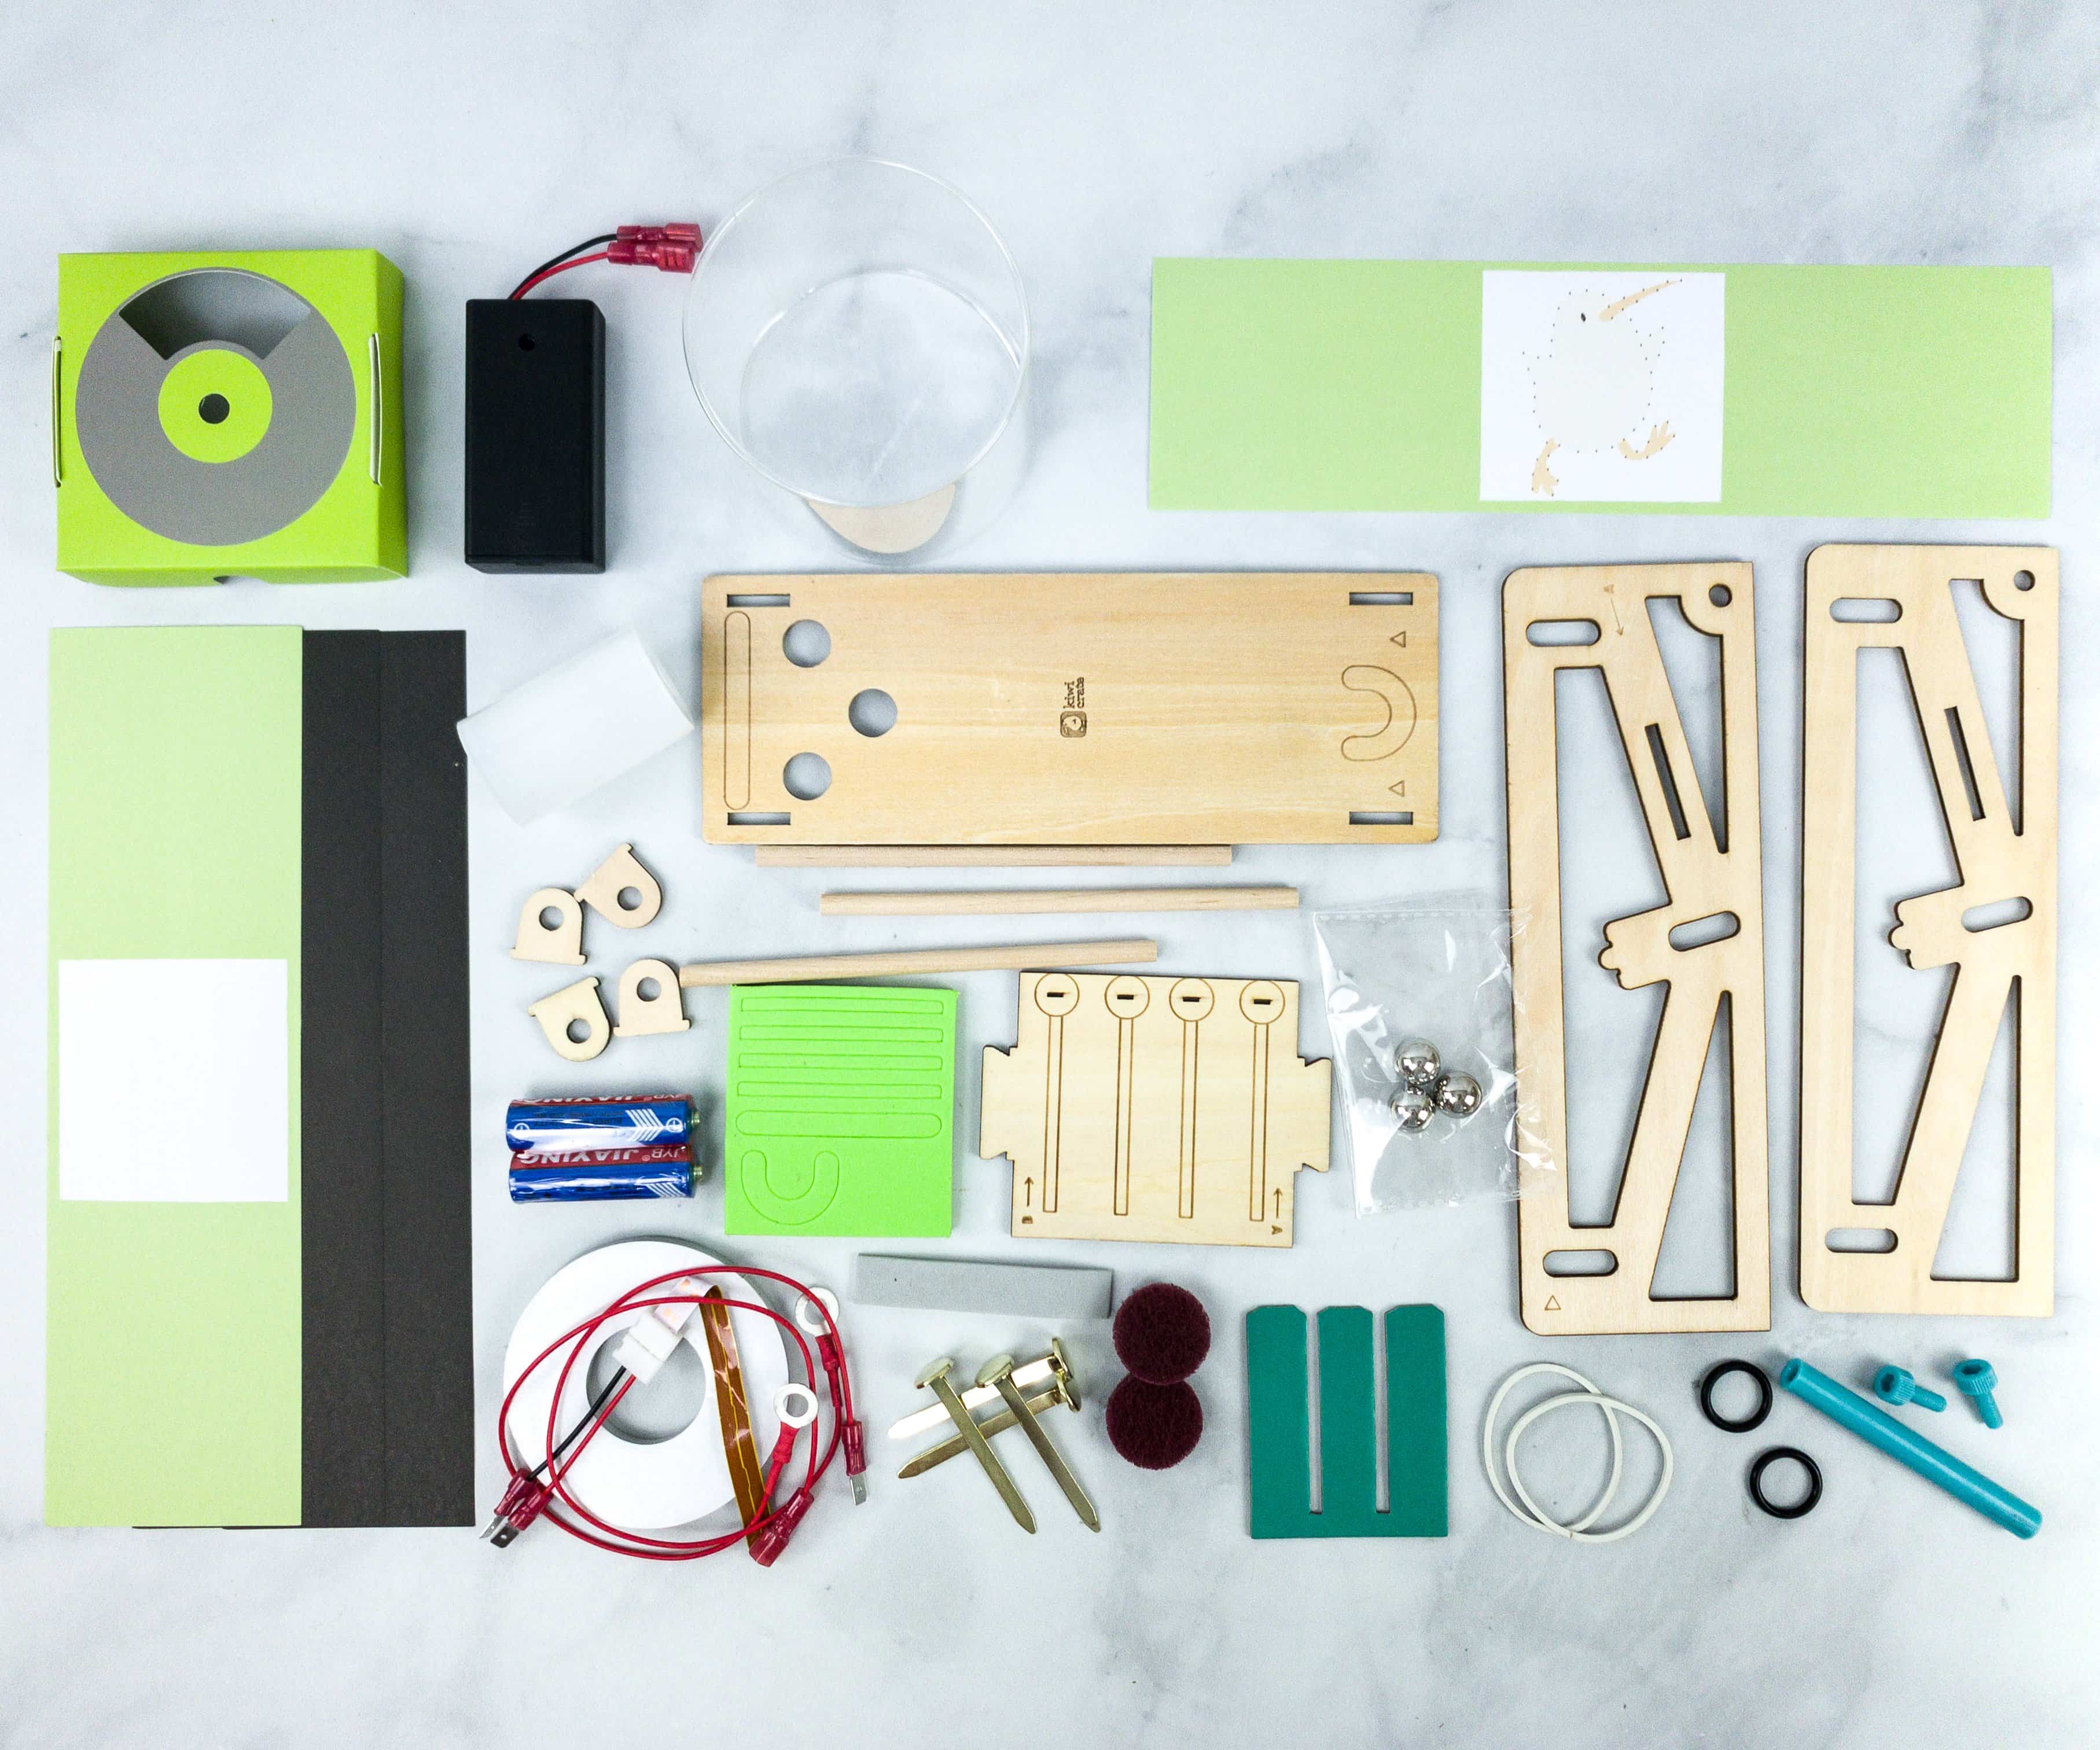
Here are all the items for this month’s Circuit Science project!
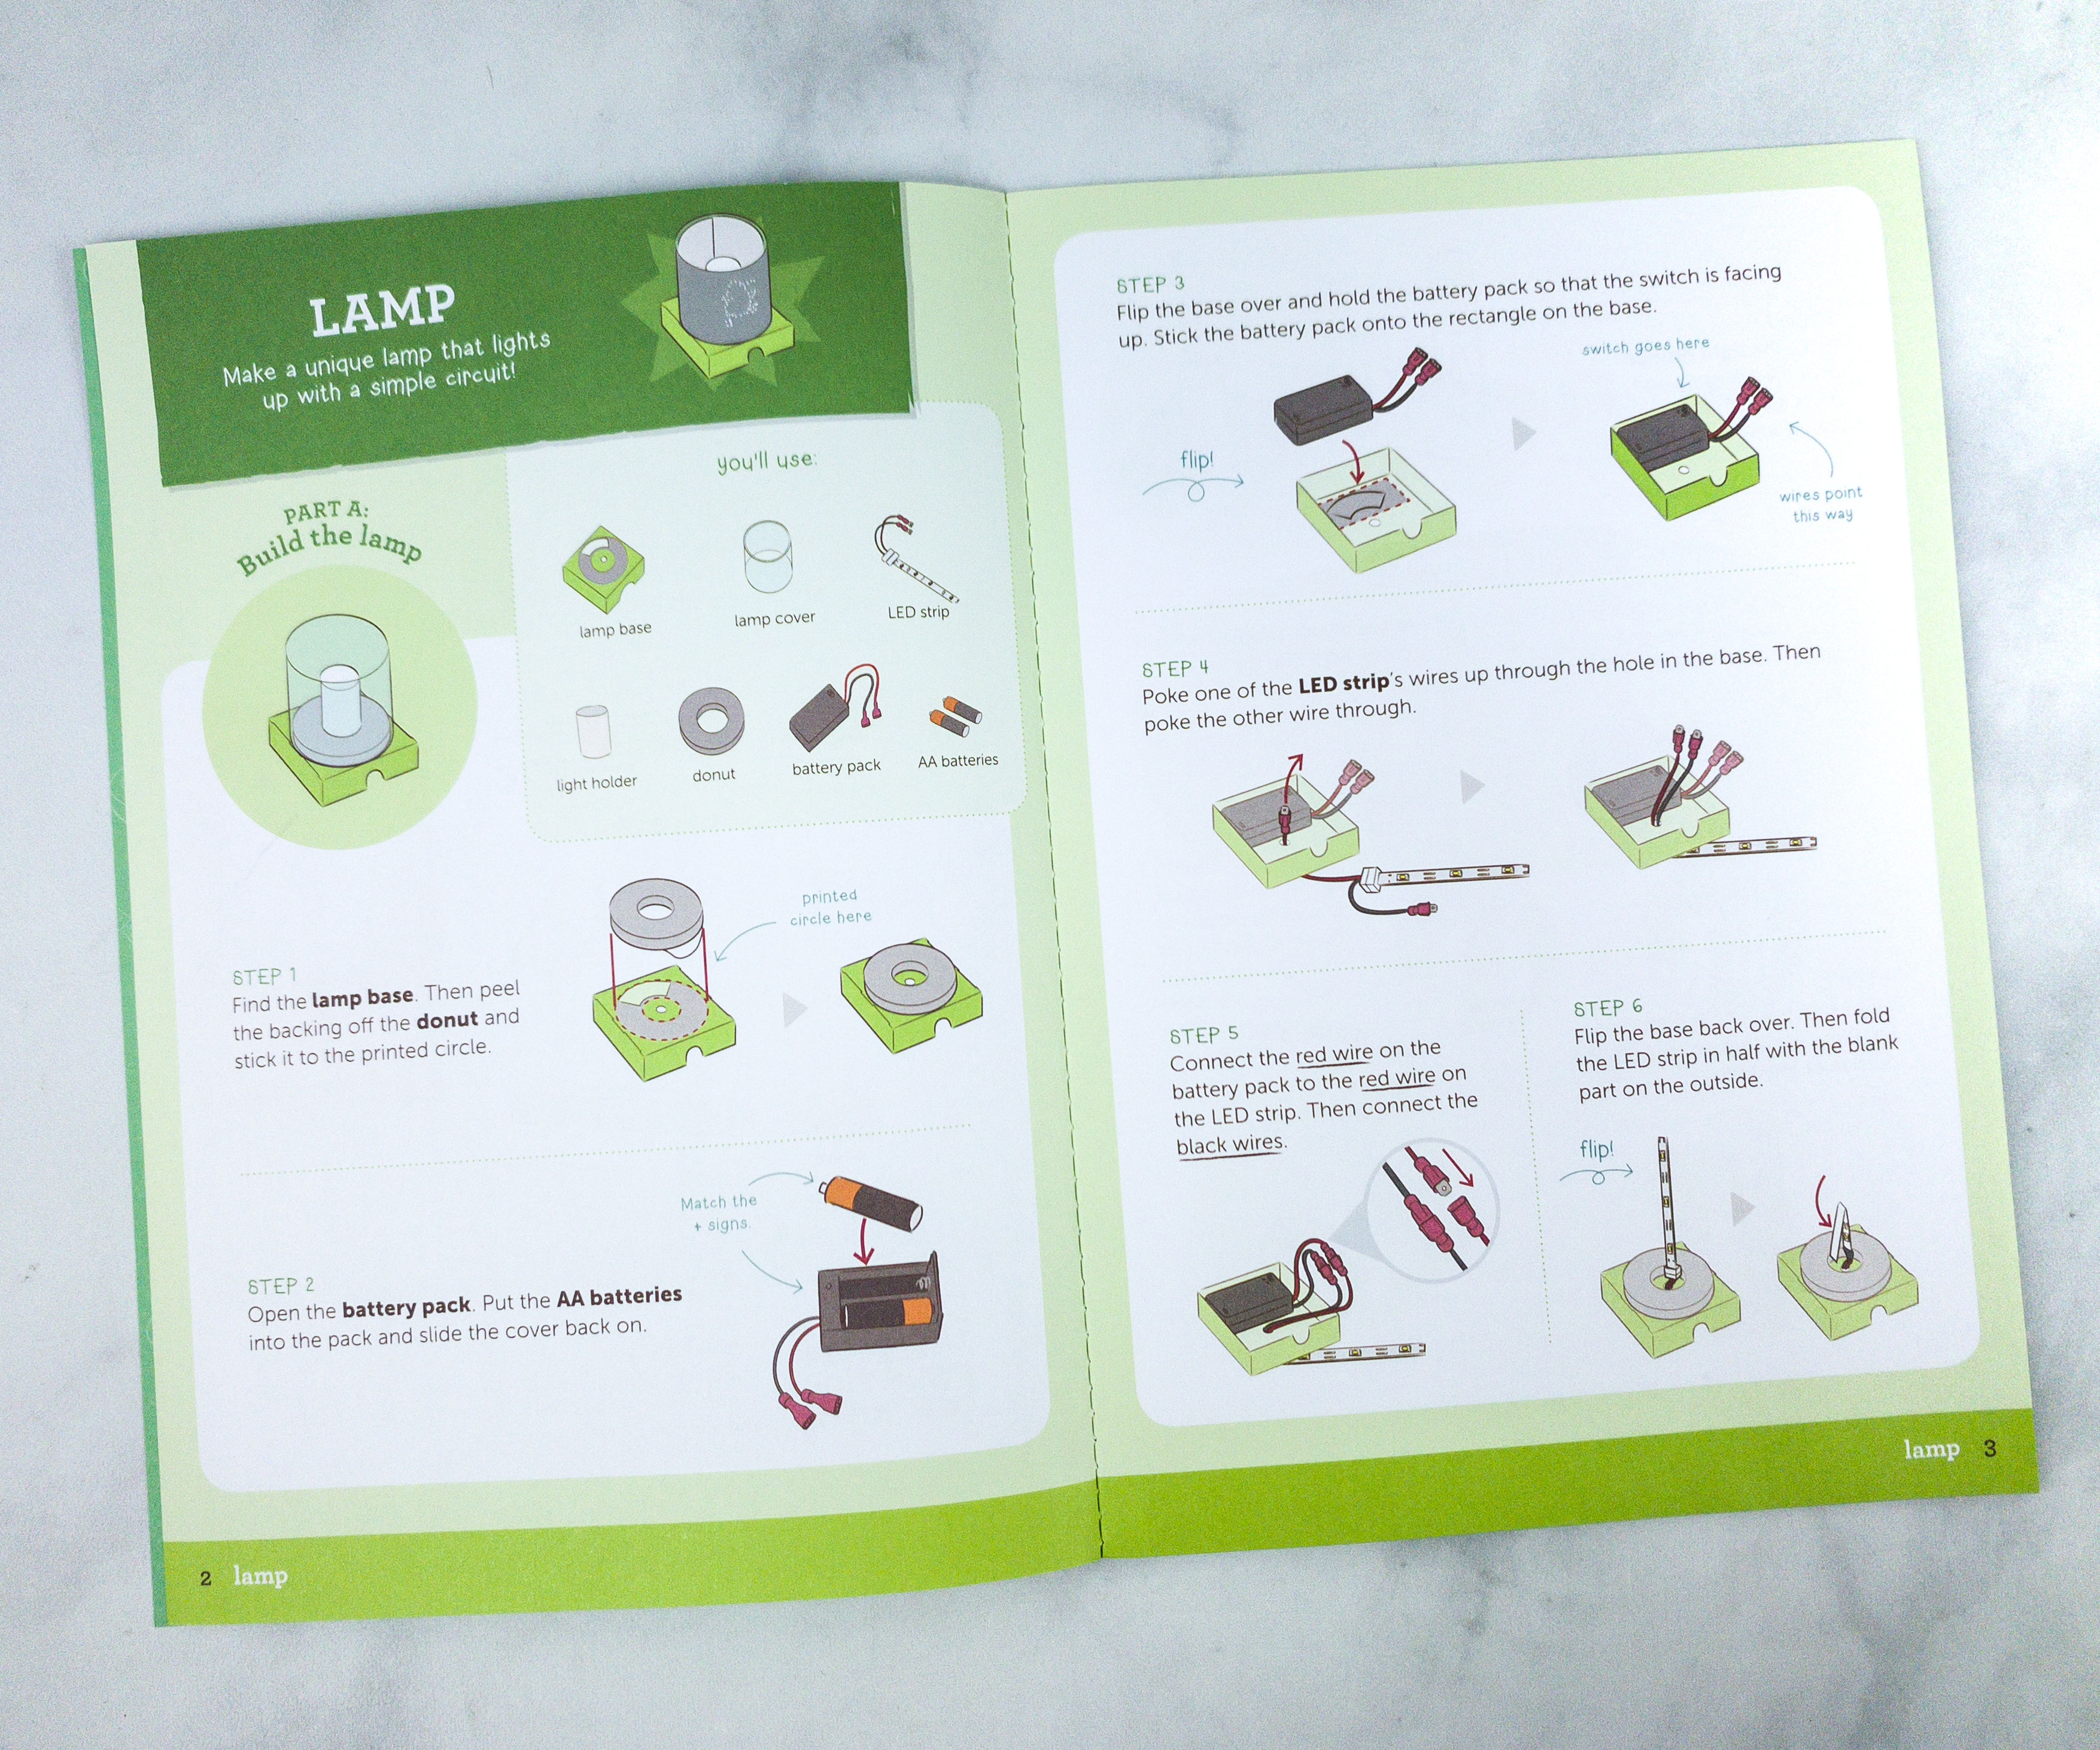
For the first activity, we’re making a lamp!
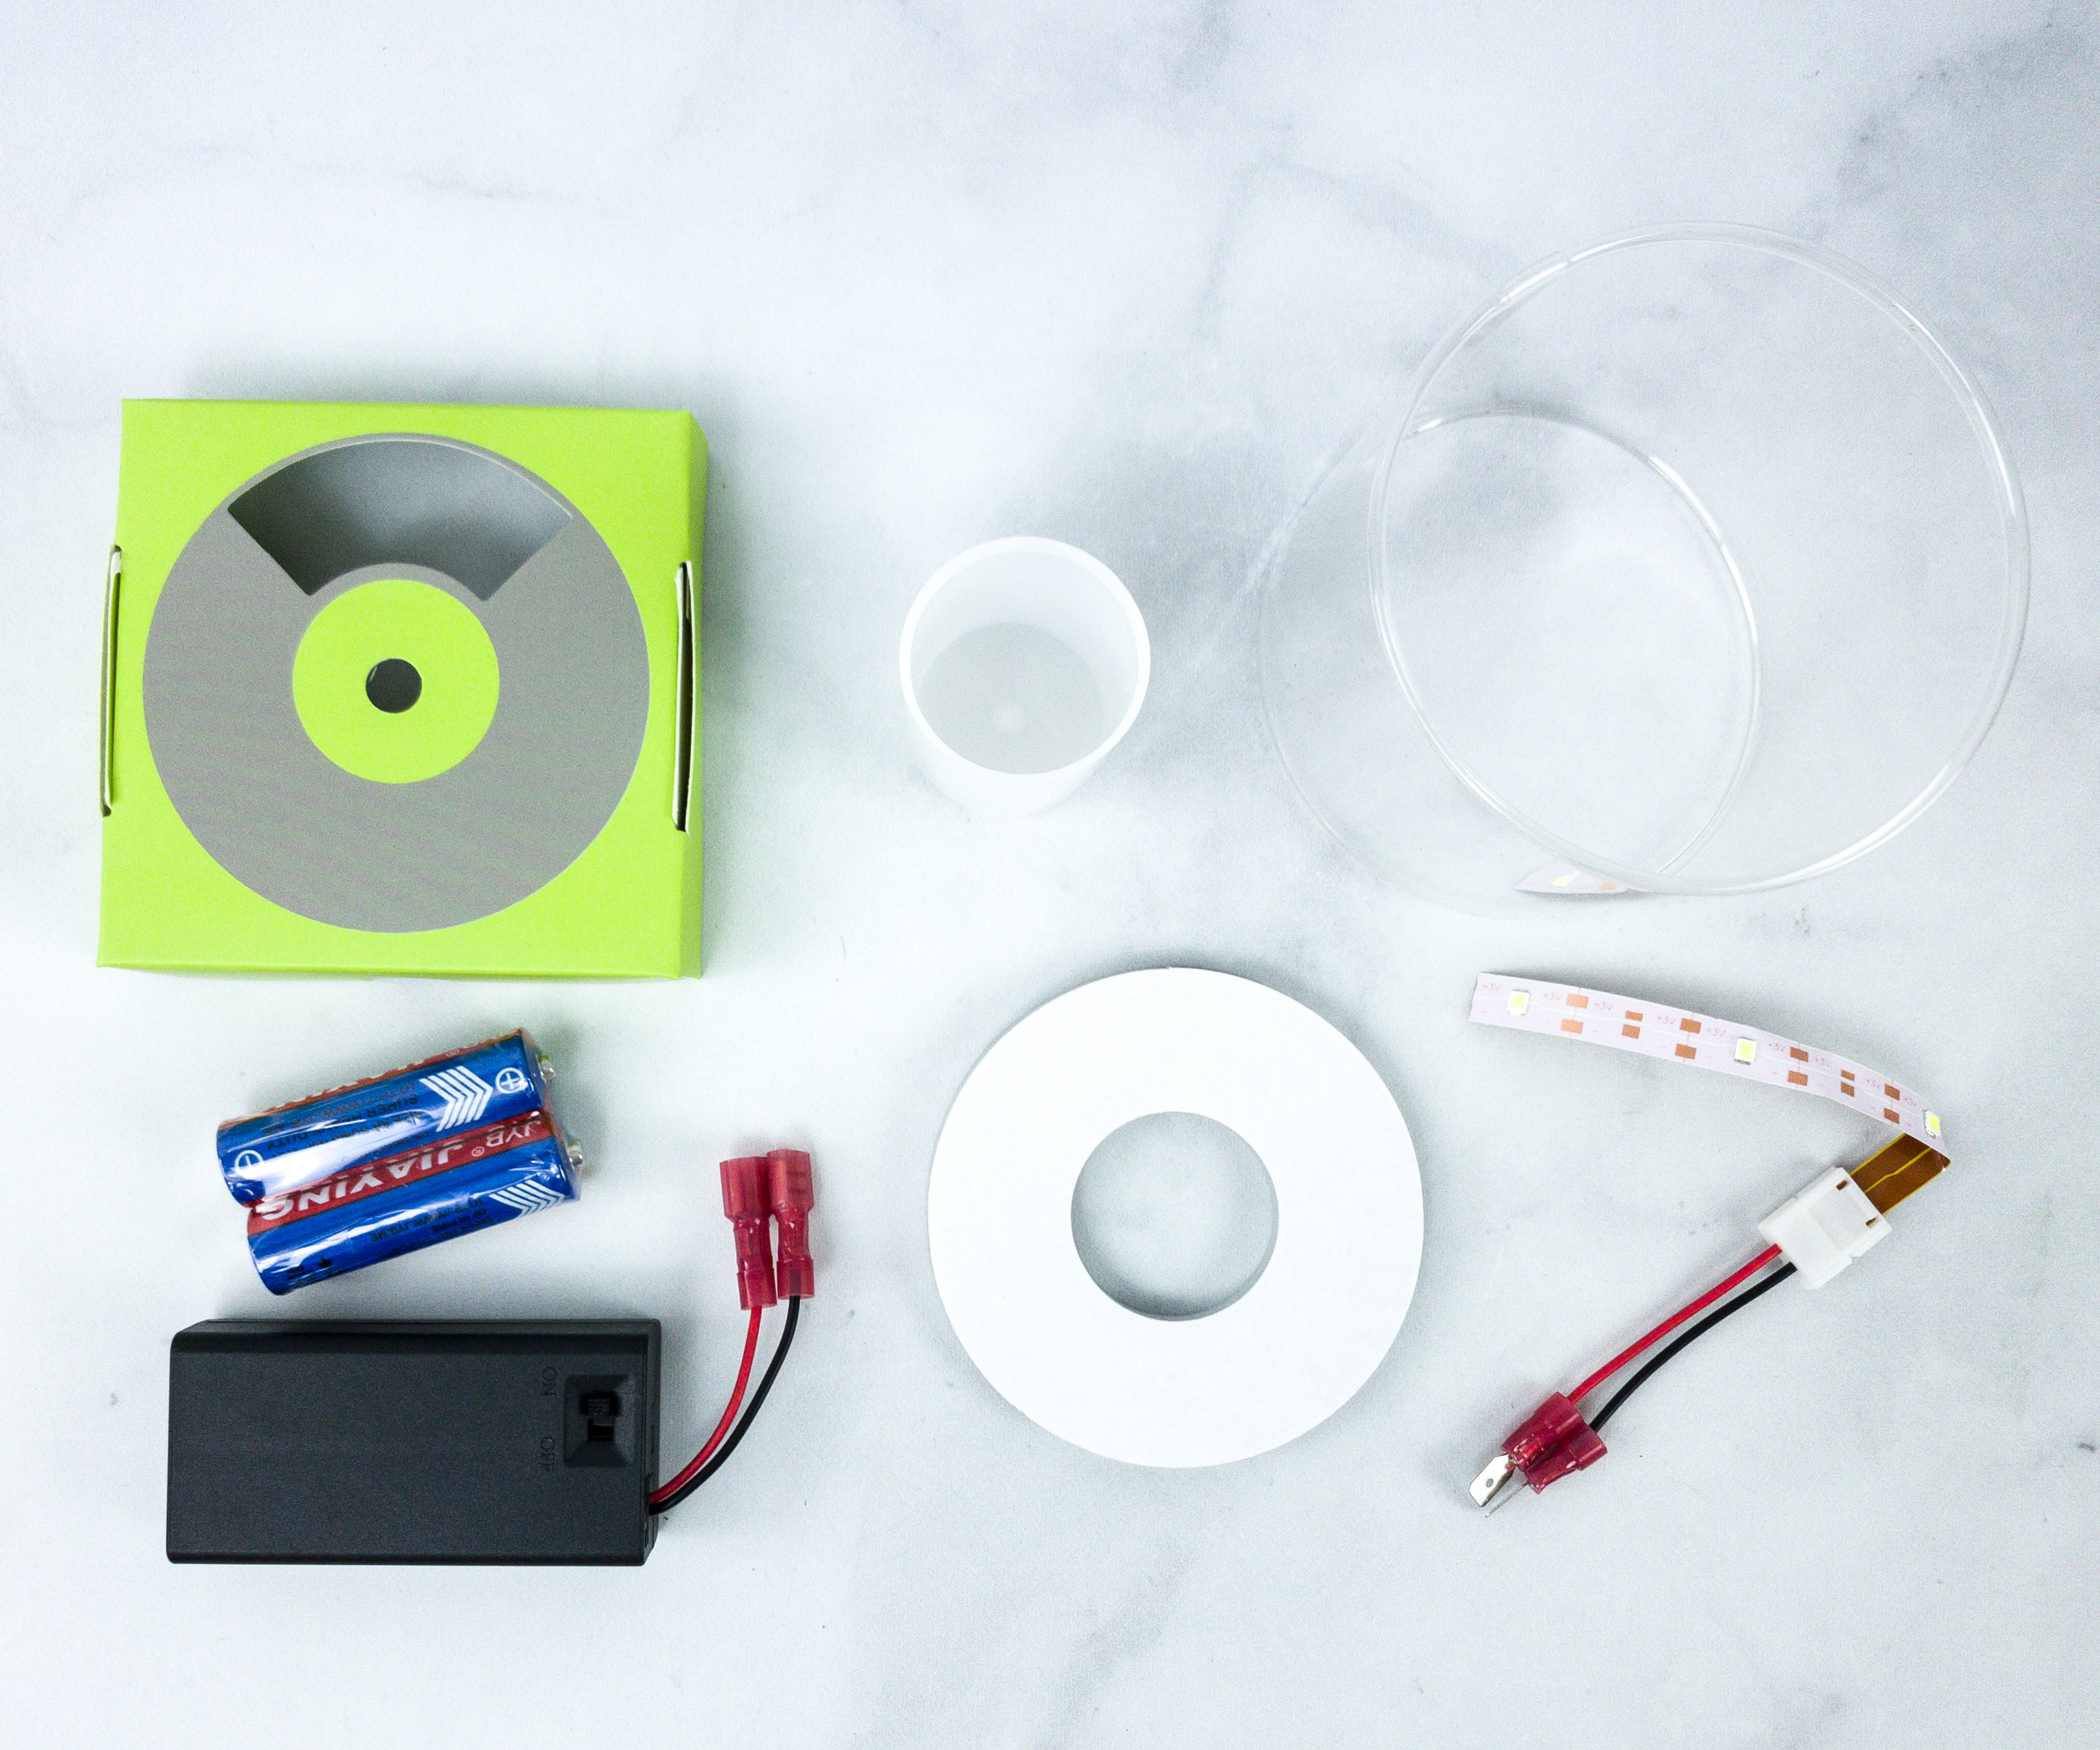
We used the following materials: lamp base, lamp cover, LED strip, light holder, donut, battery pack, and AA batteries.
Like any other building activity, the magazine also comes with troubleshooting. It’s a great help if ever you encounter some problems with what you are building or crafting.
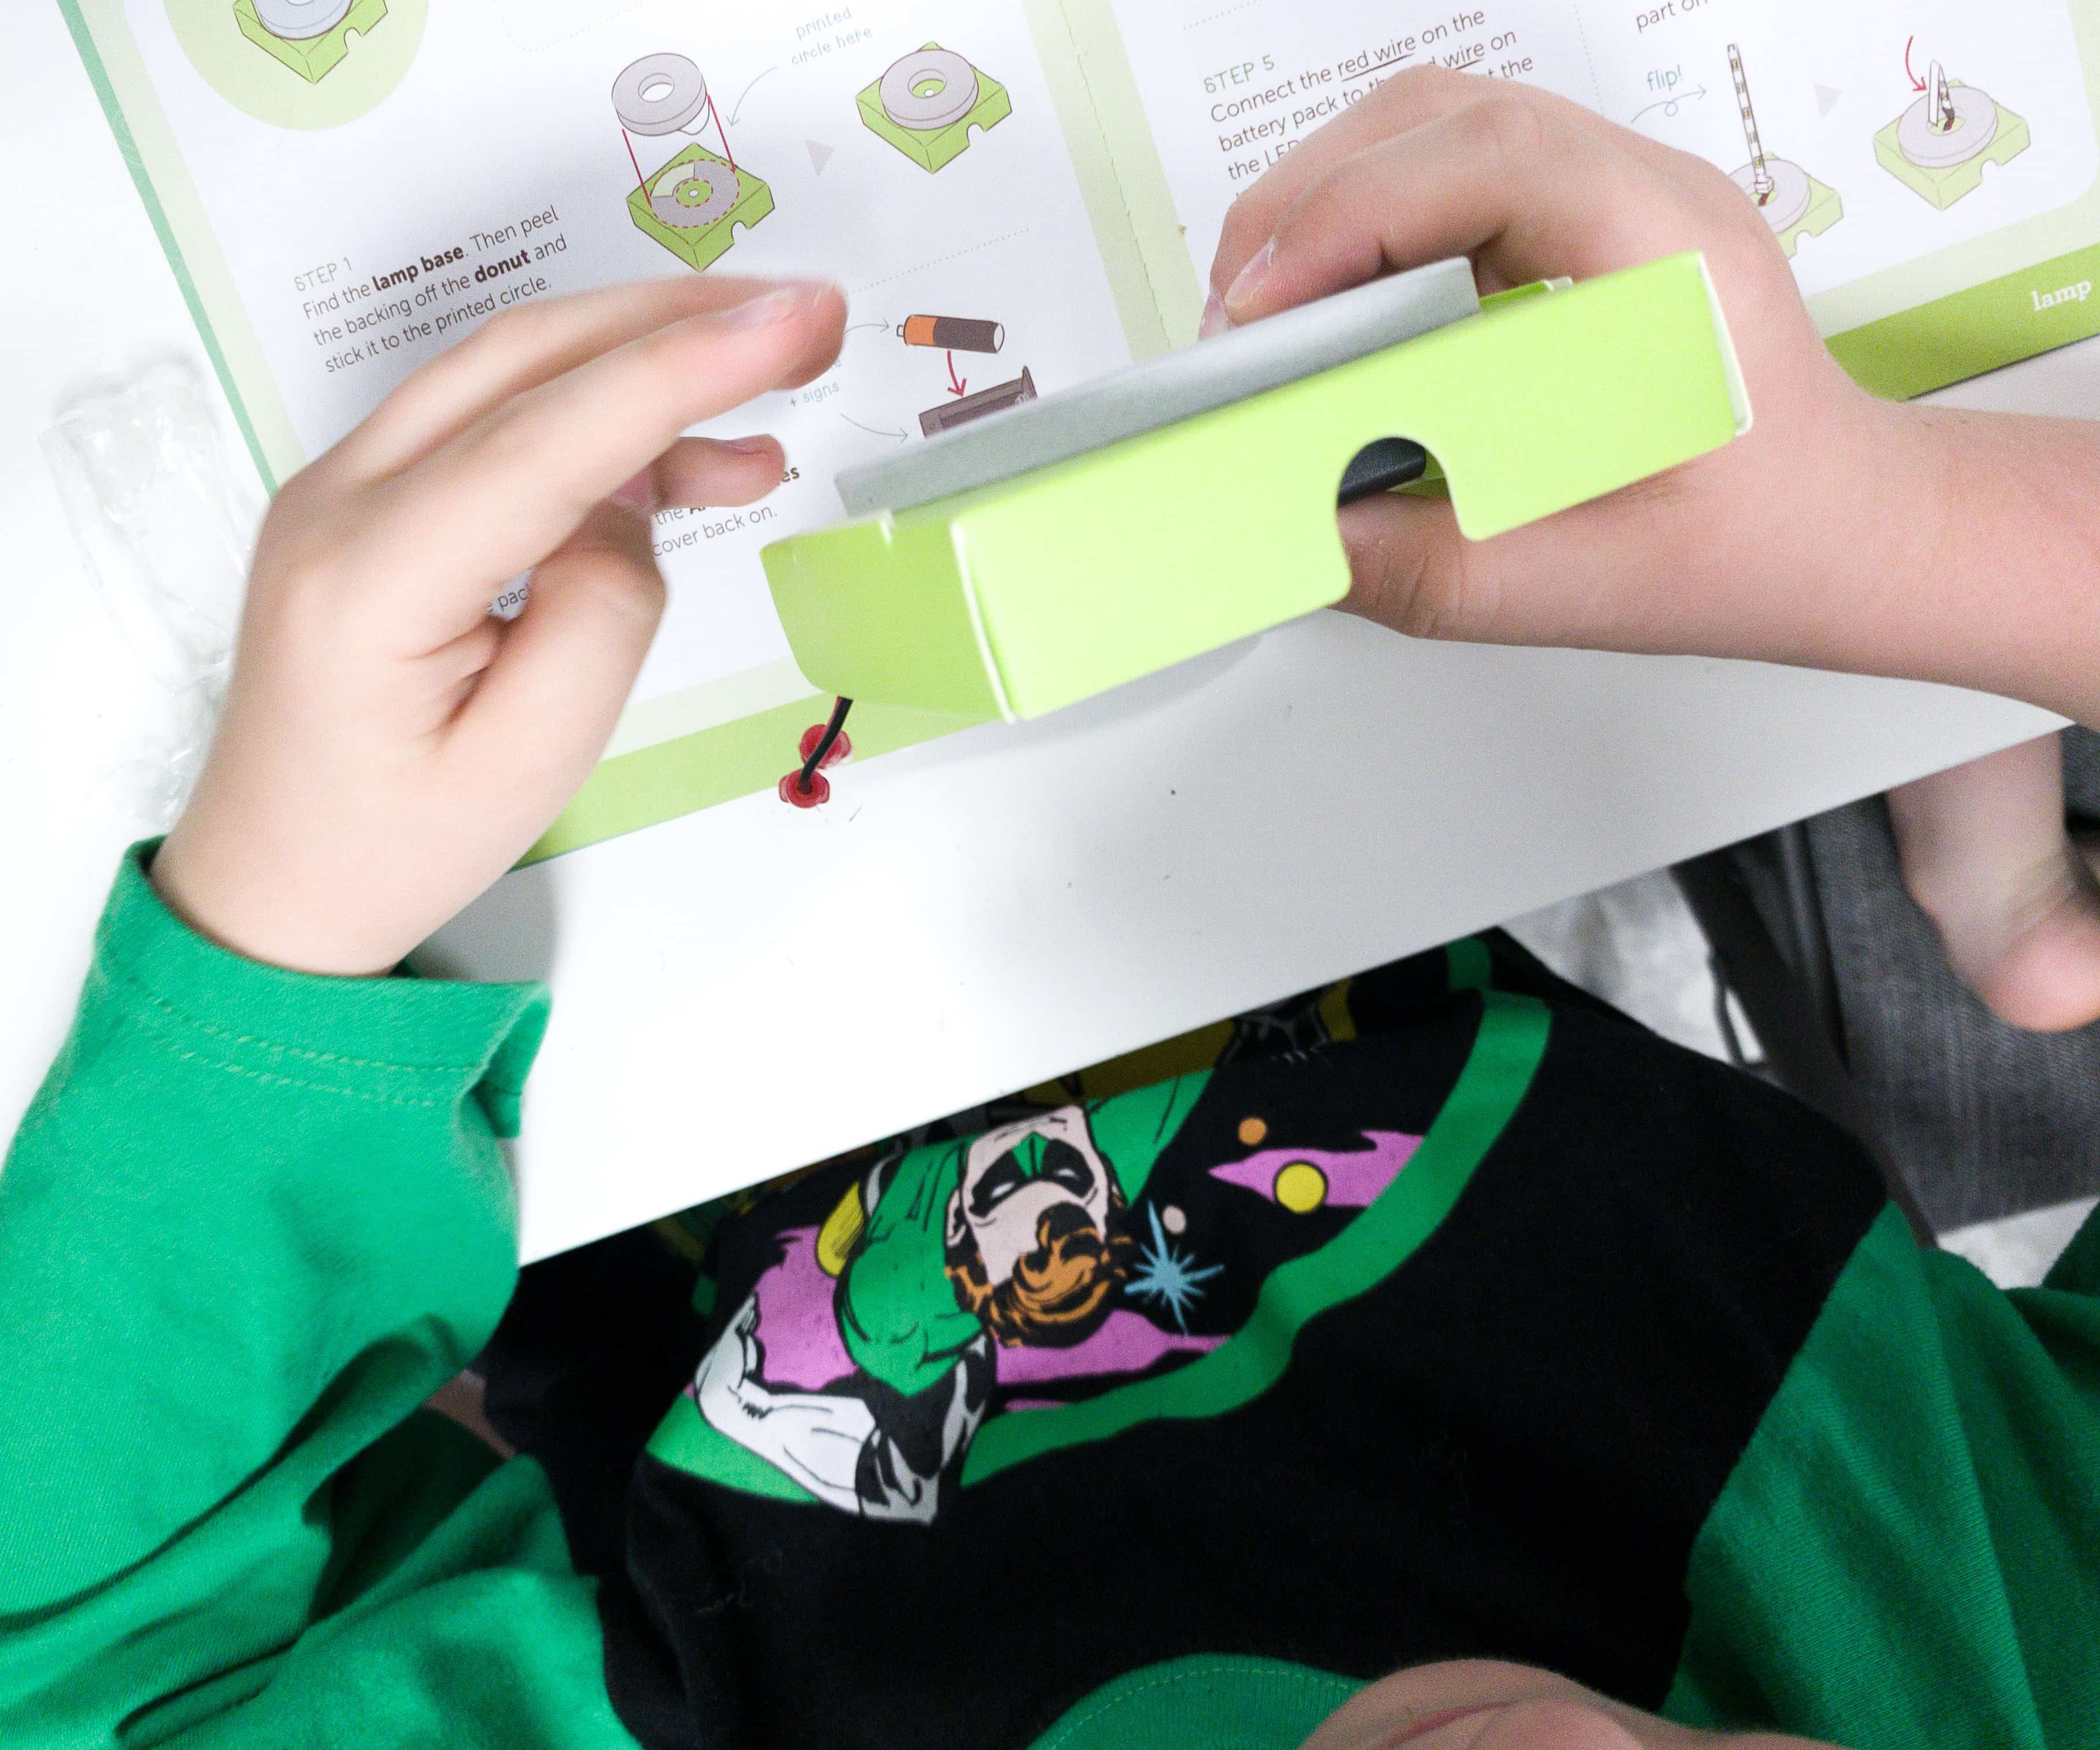
My son started by peeling the back of the donut and sticking it to the printed circle.
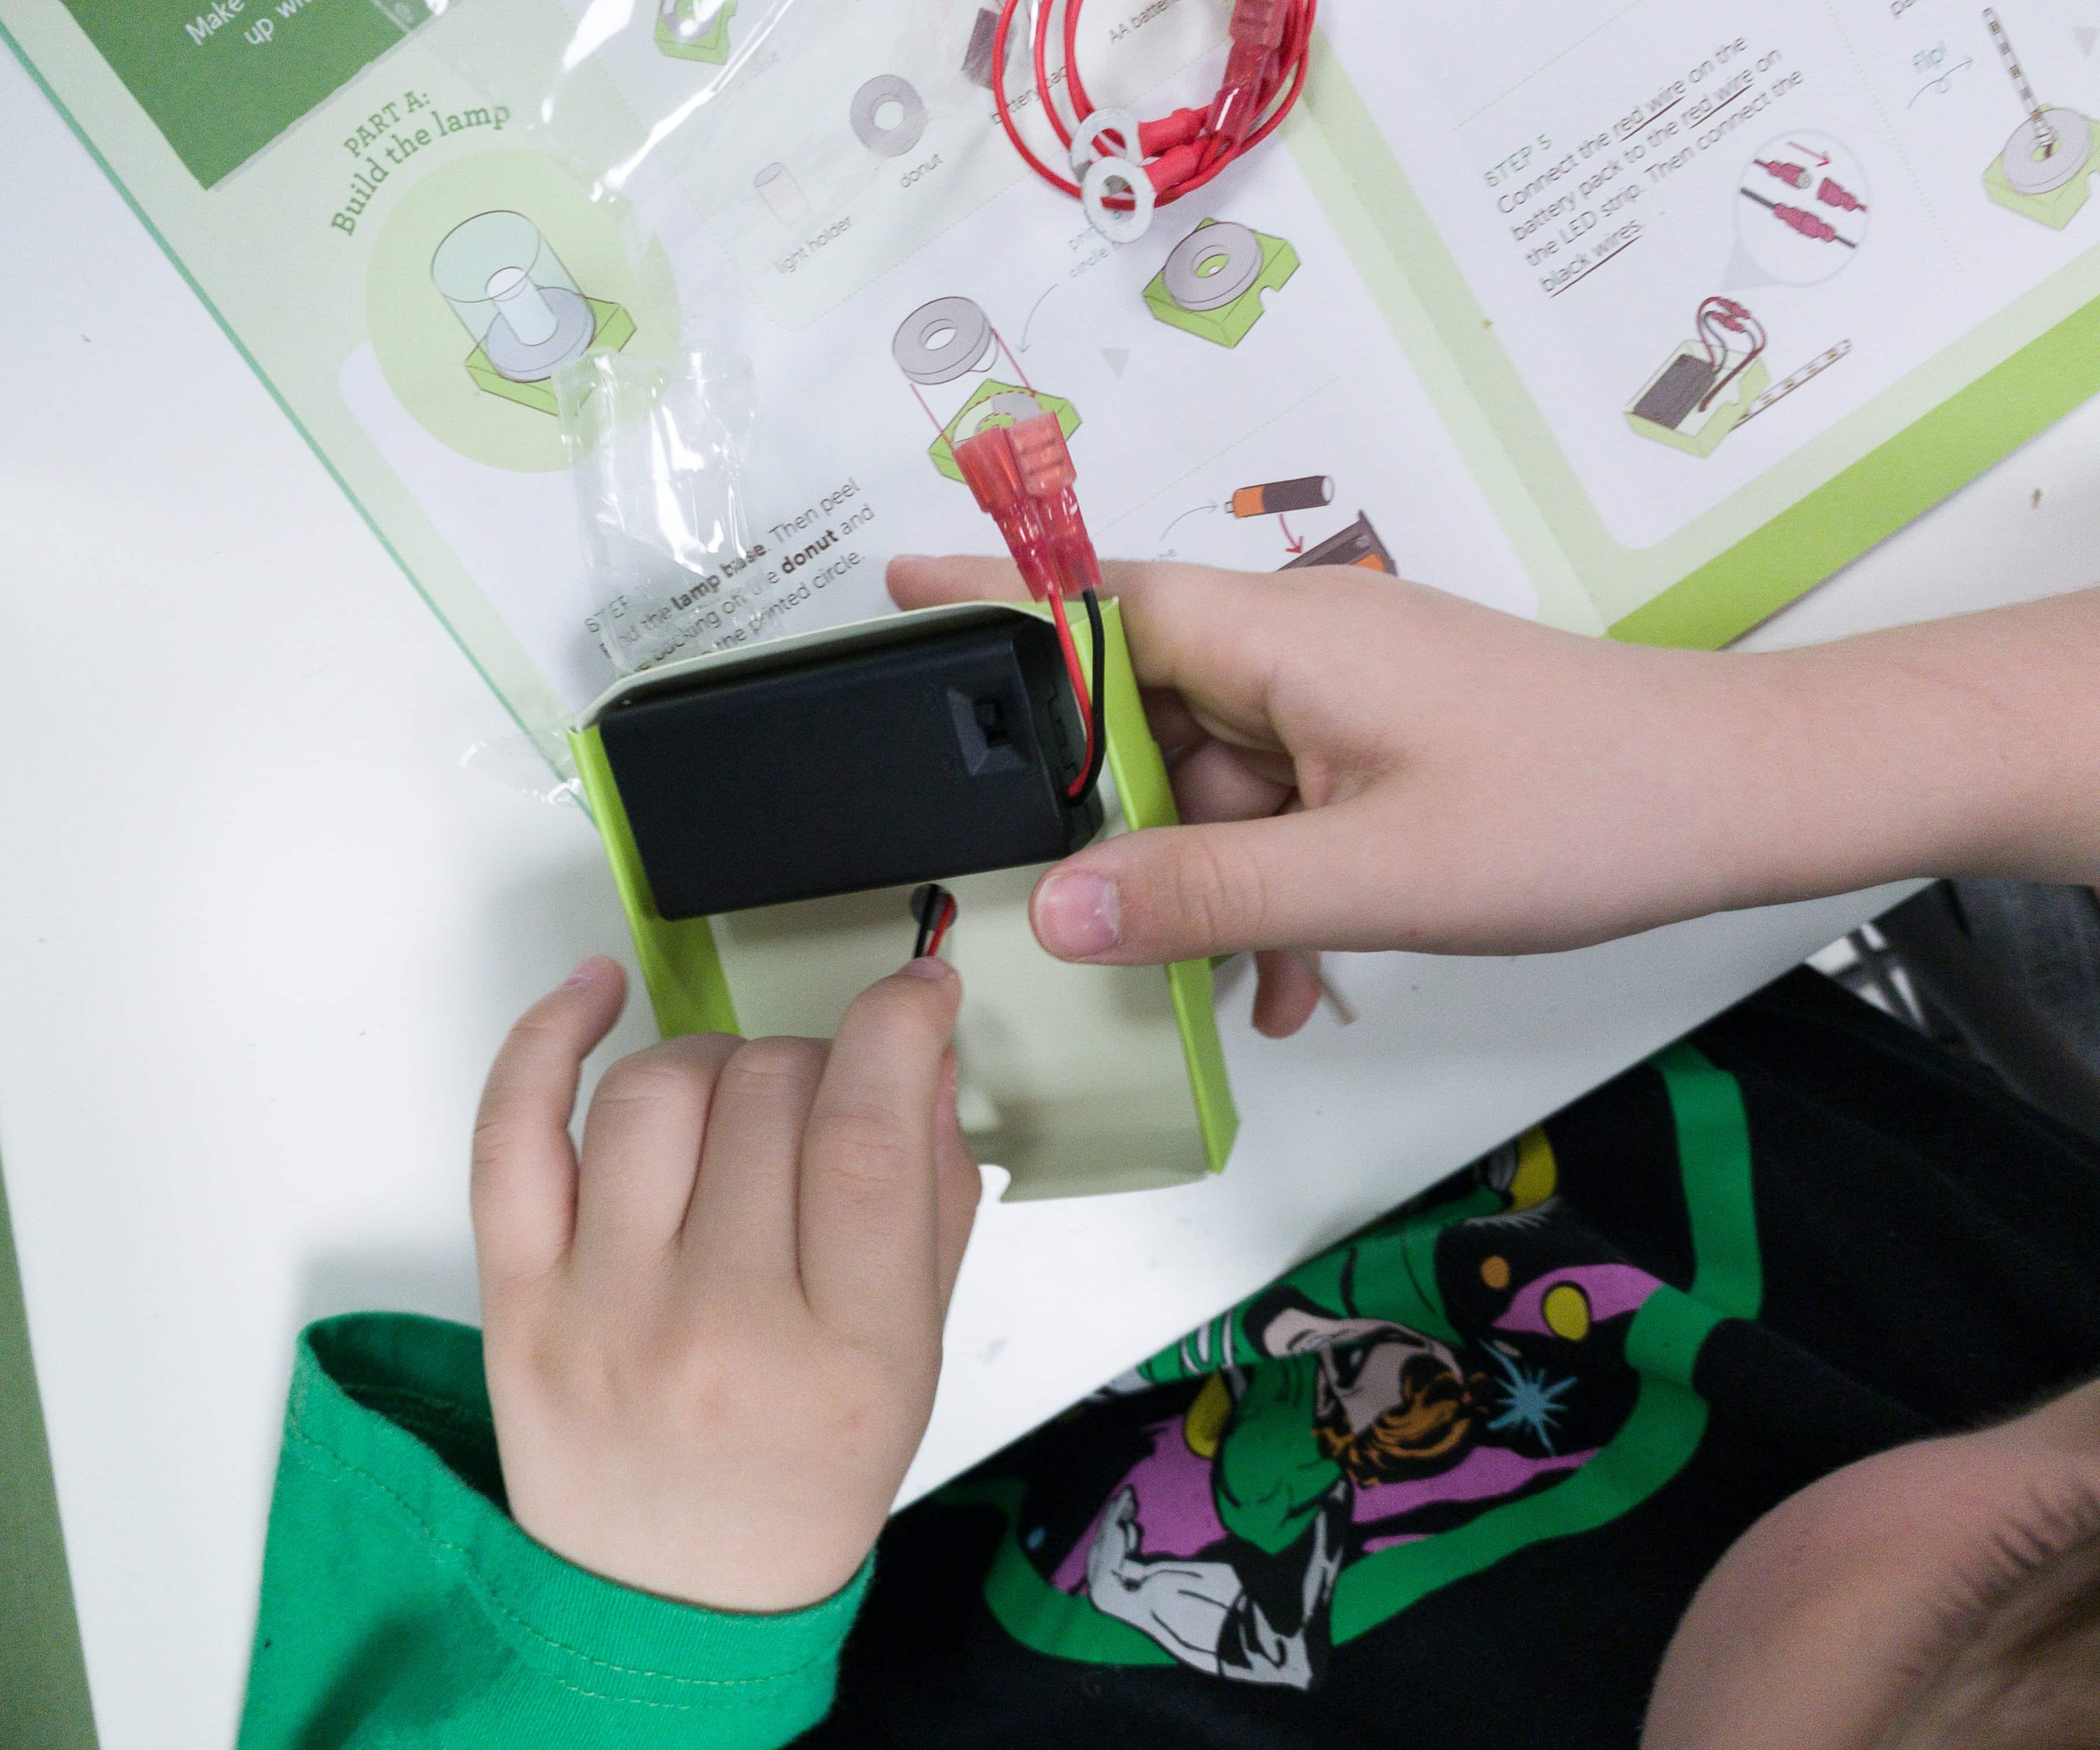
Then, he put the battery pack onto the rectangle marking on the base and poked the LED strips wire up through the hole in the base.
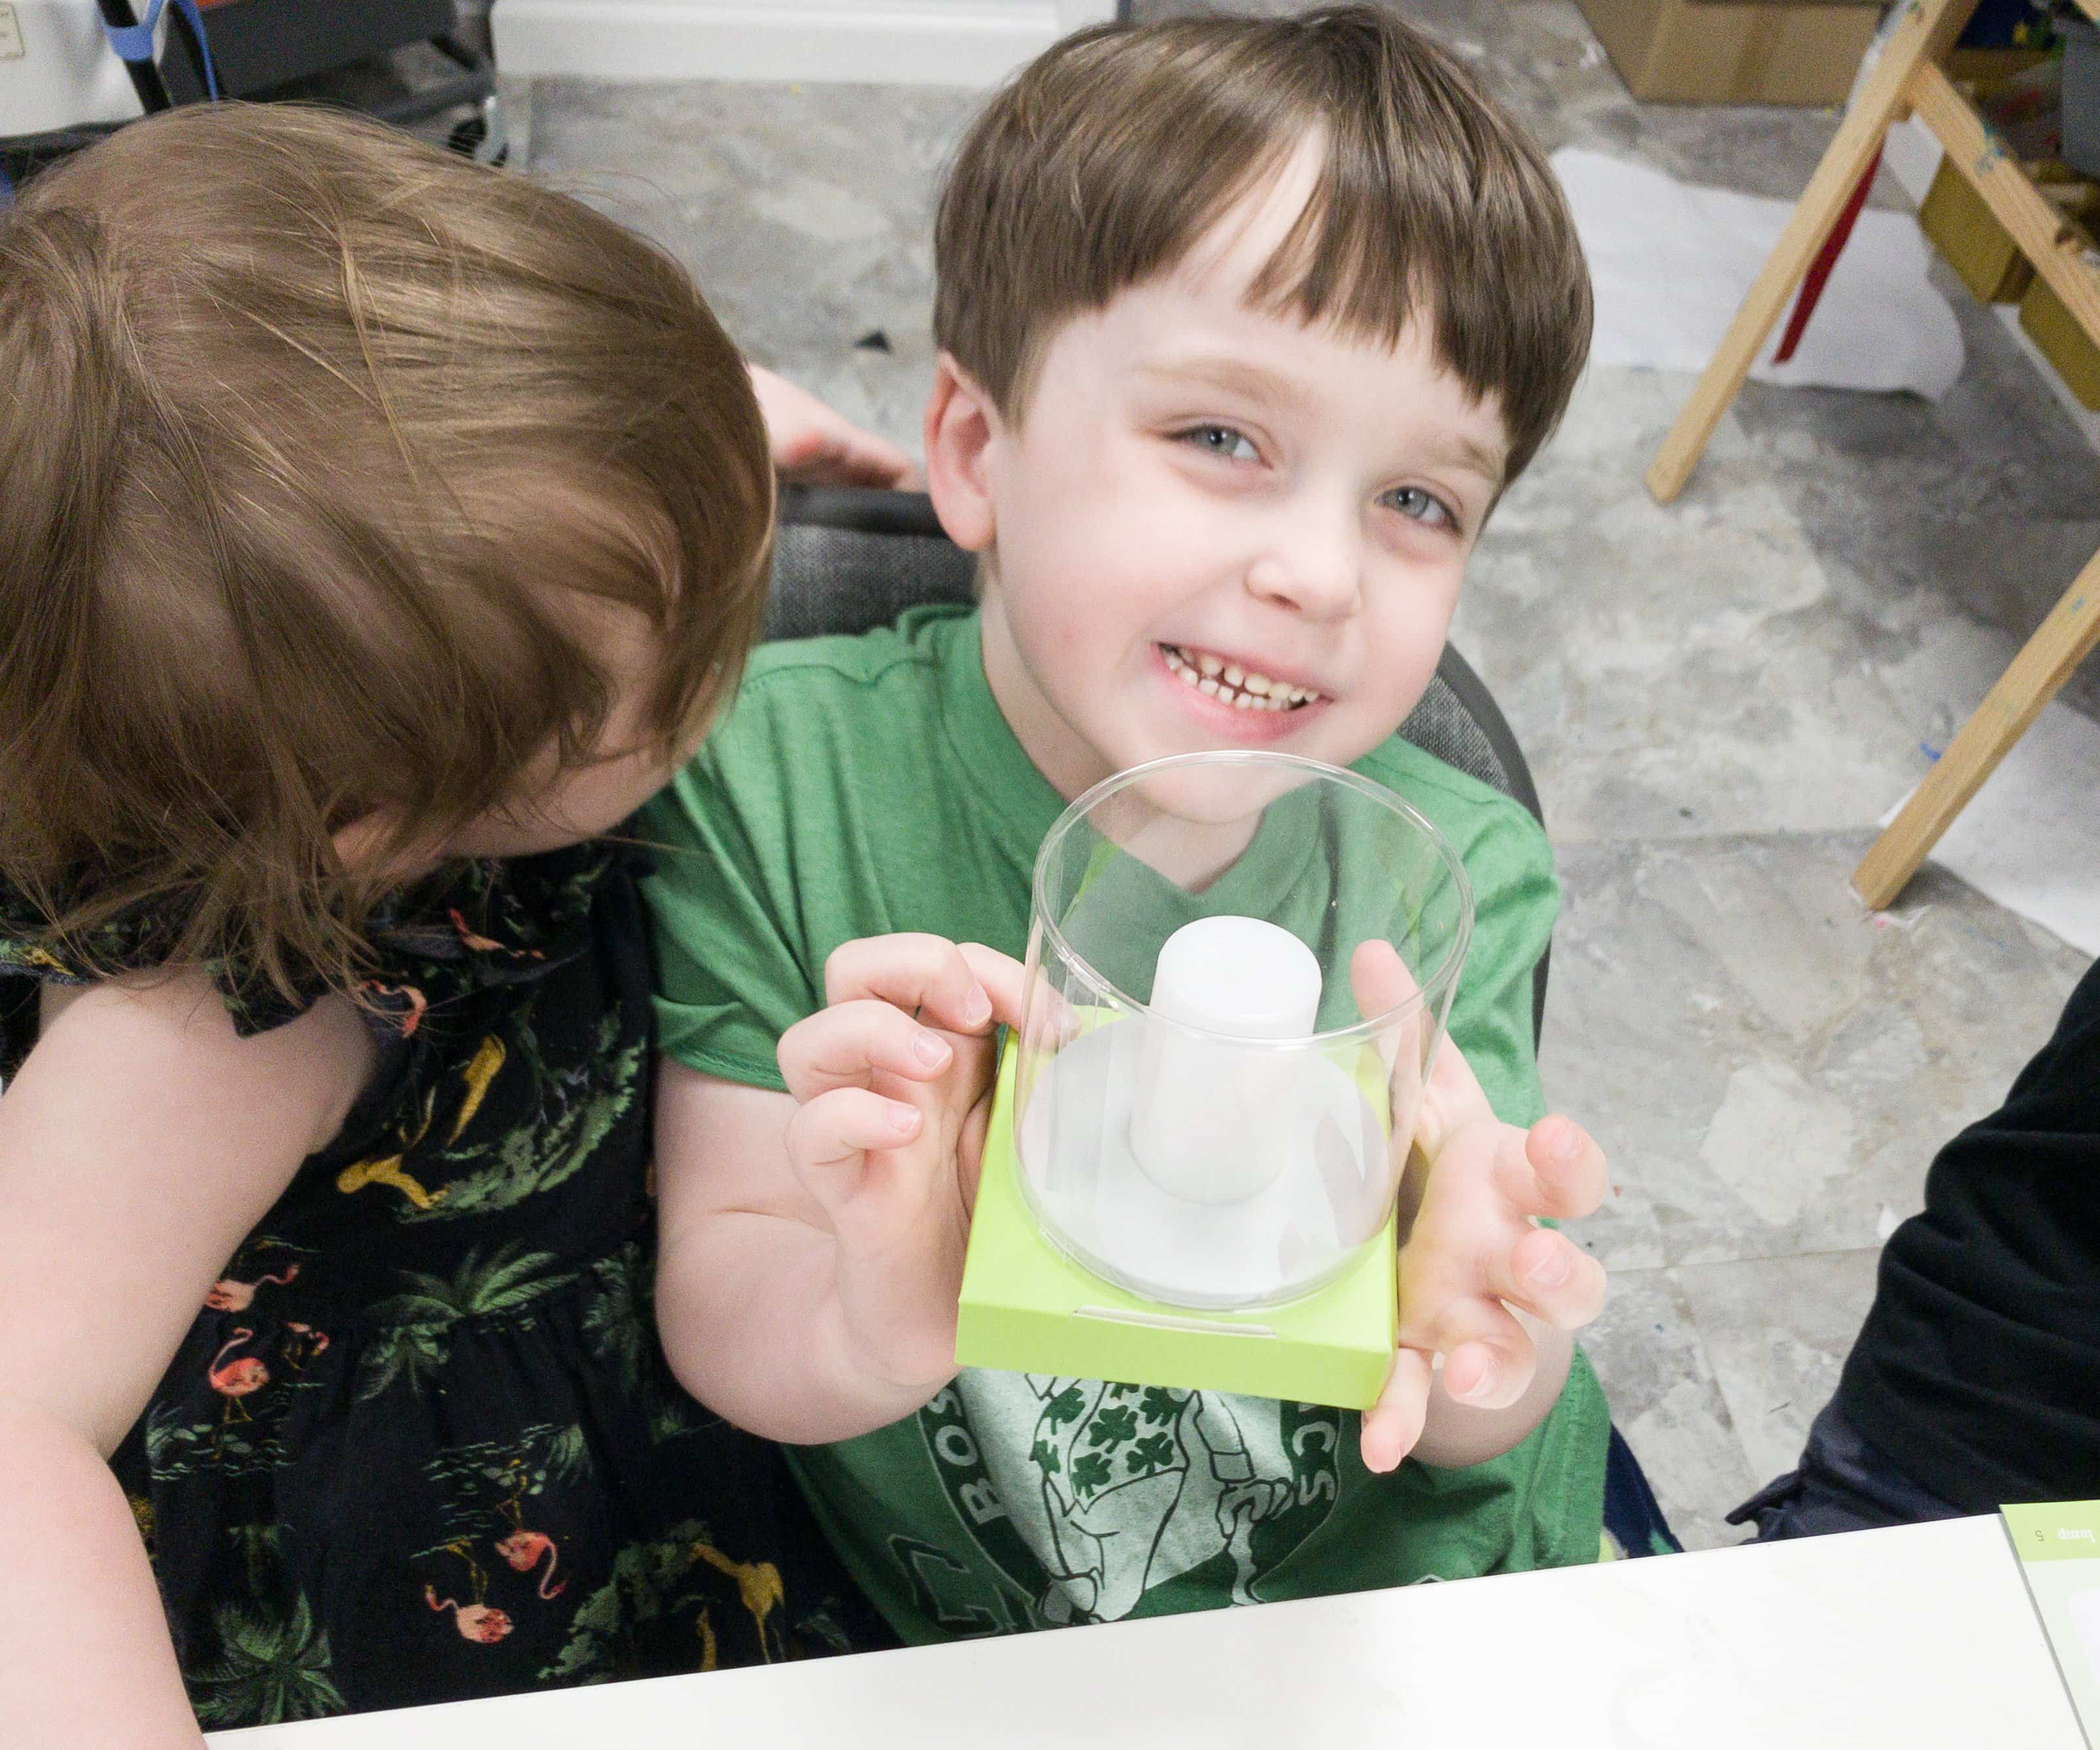
Next, he folded the blank part of the strip and covered it with the light holder followed by the lamp holder.
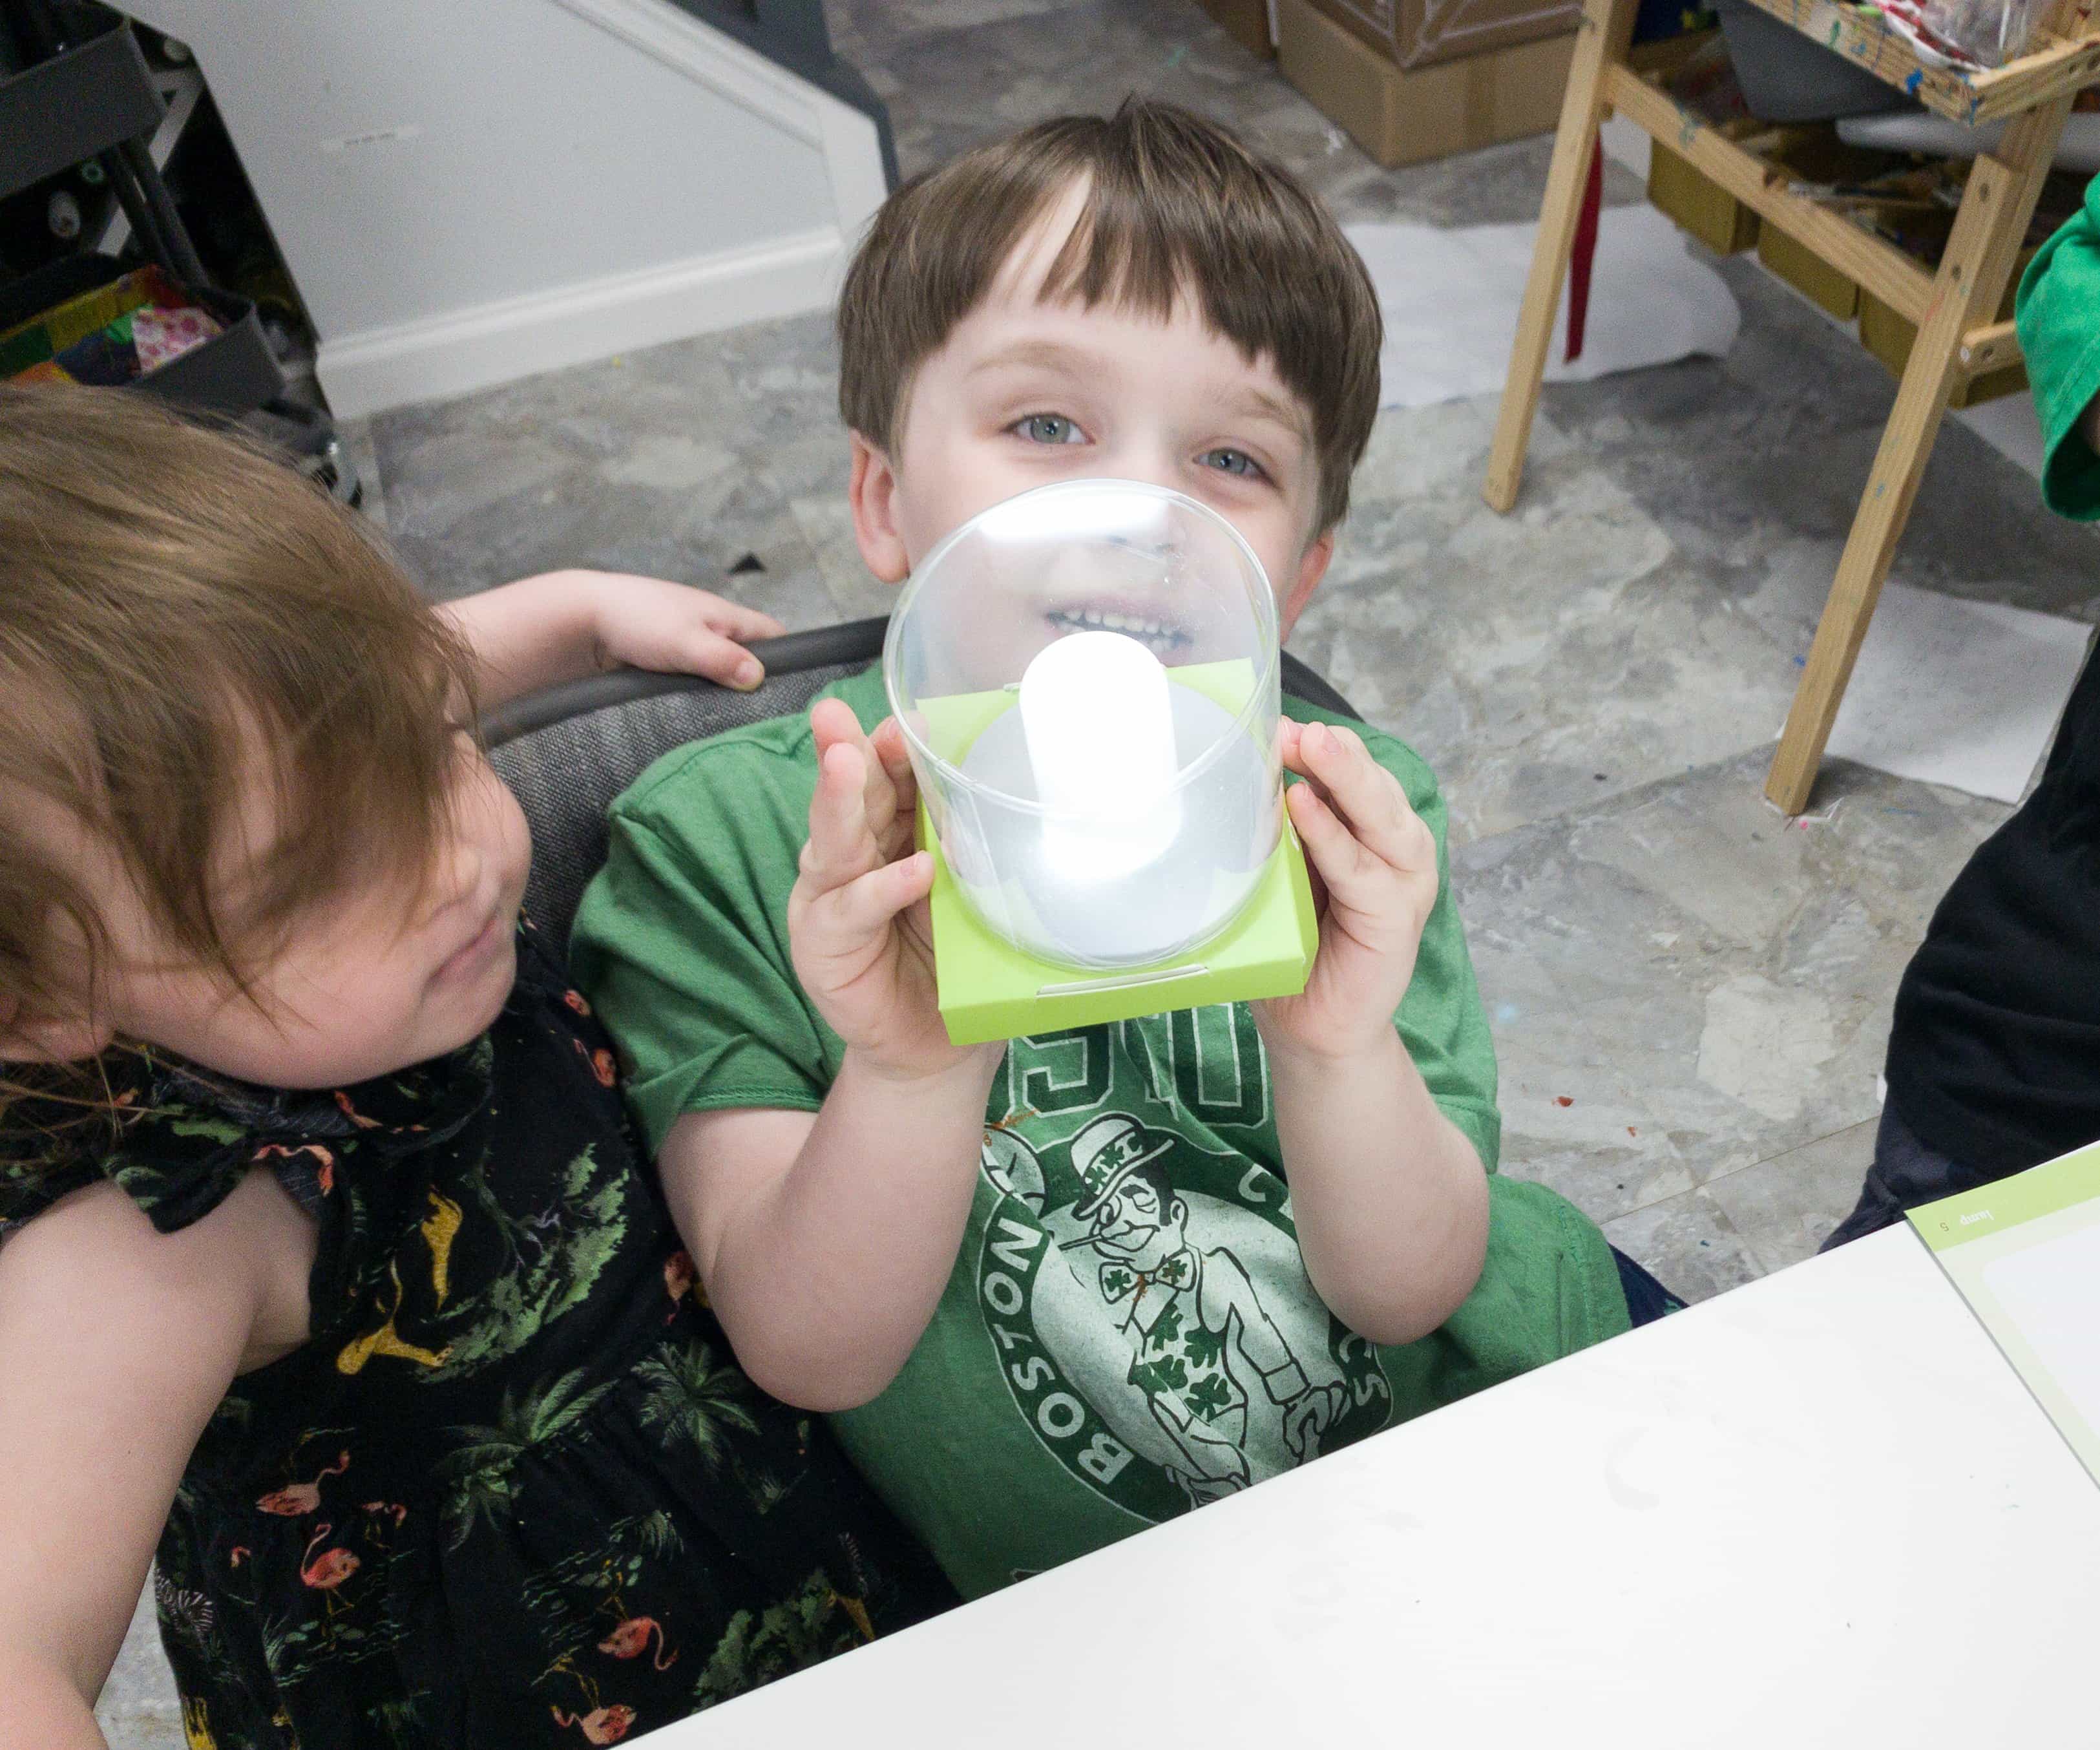
After that, he tested the lamp by switching them on. It worked!
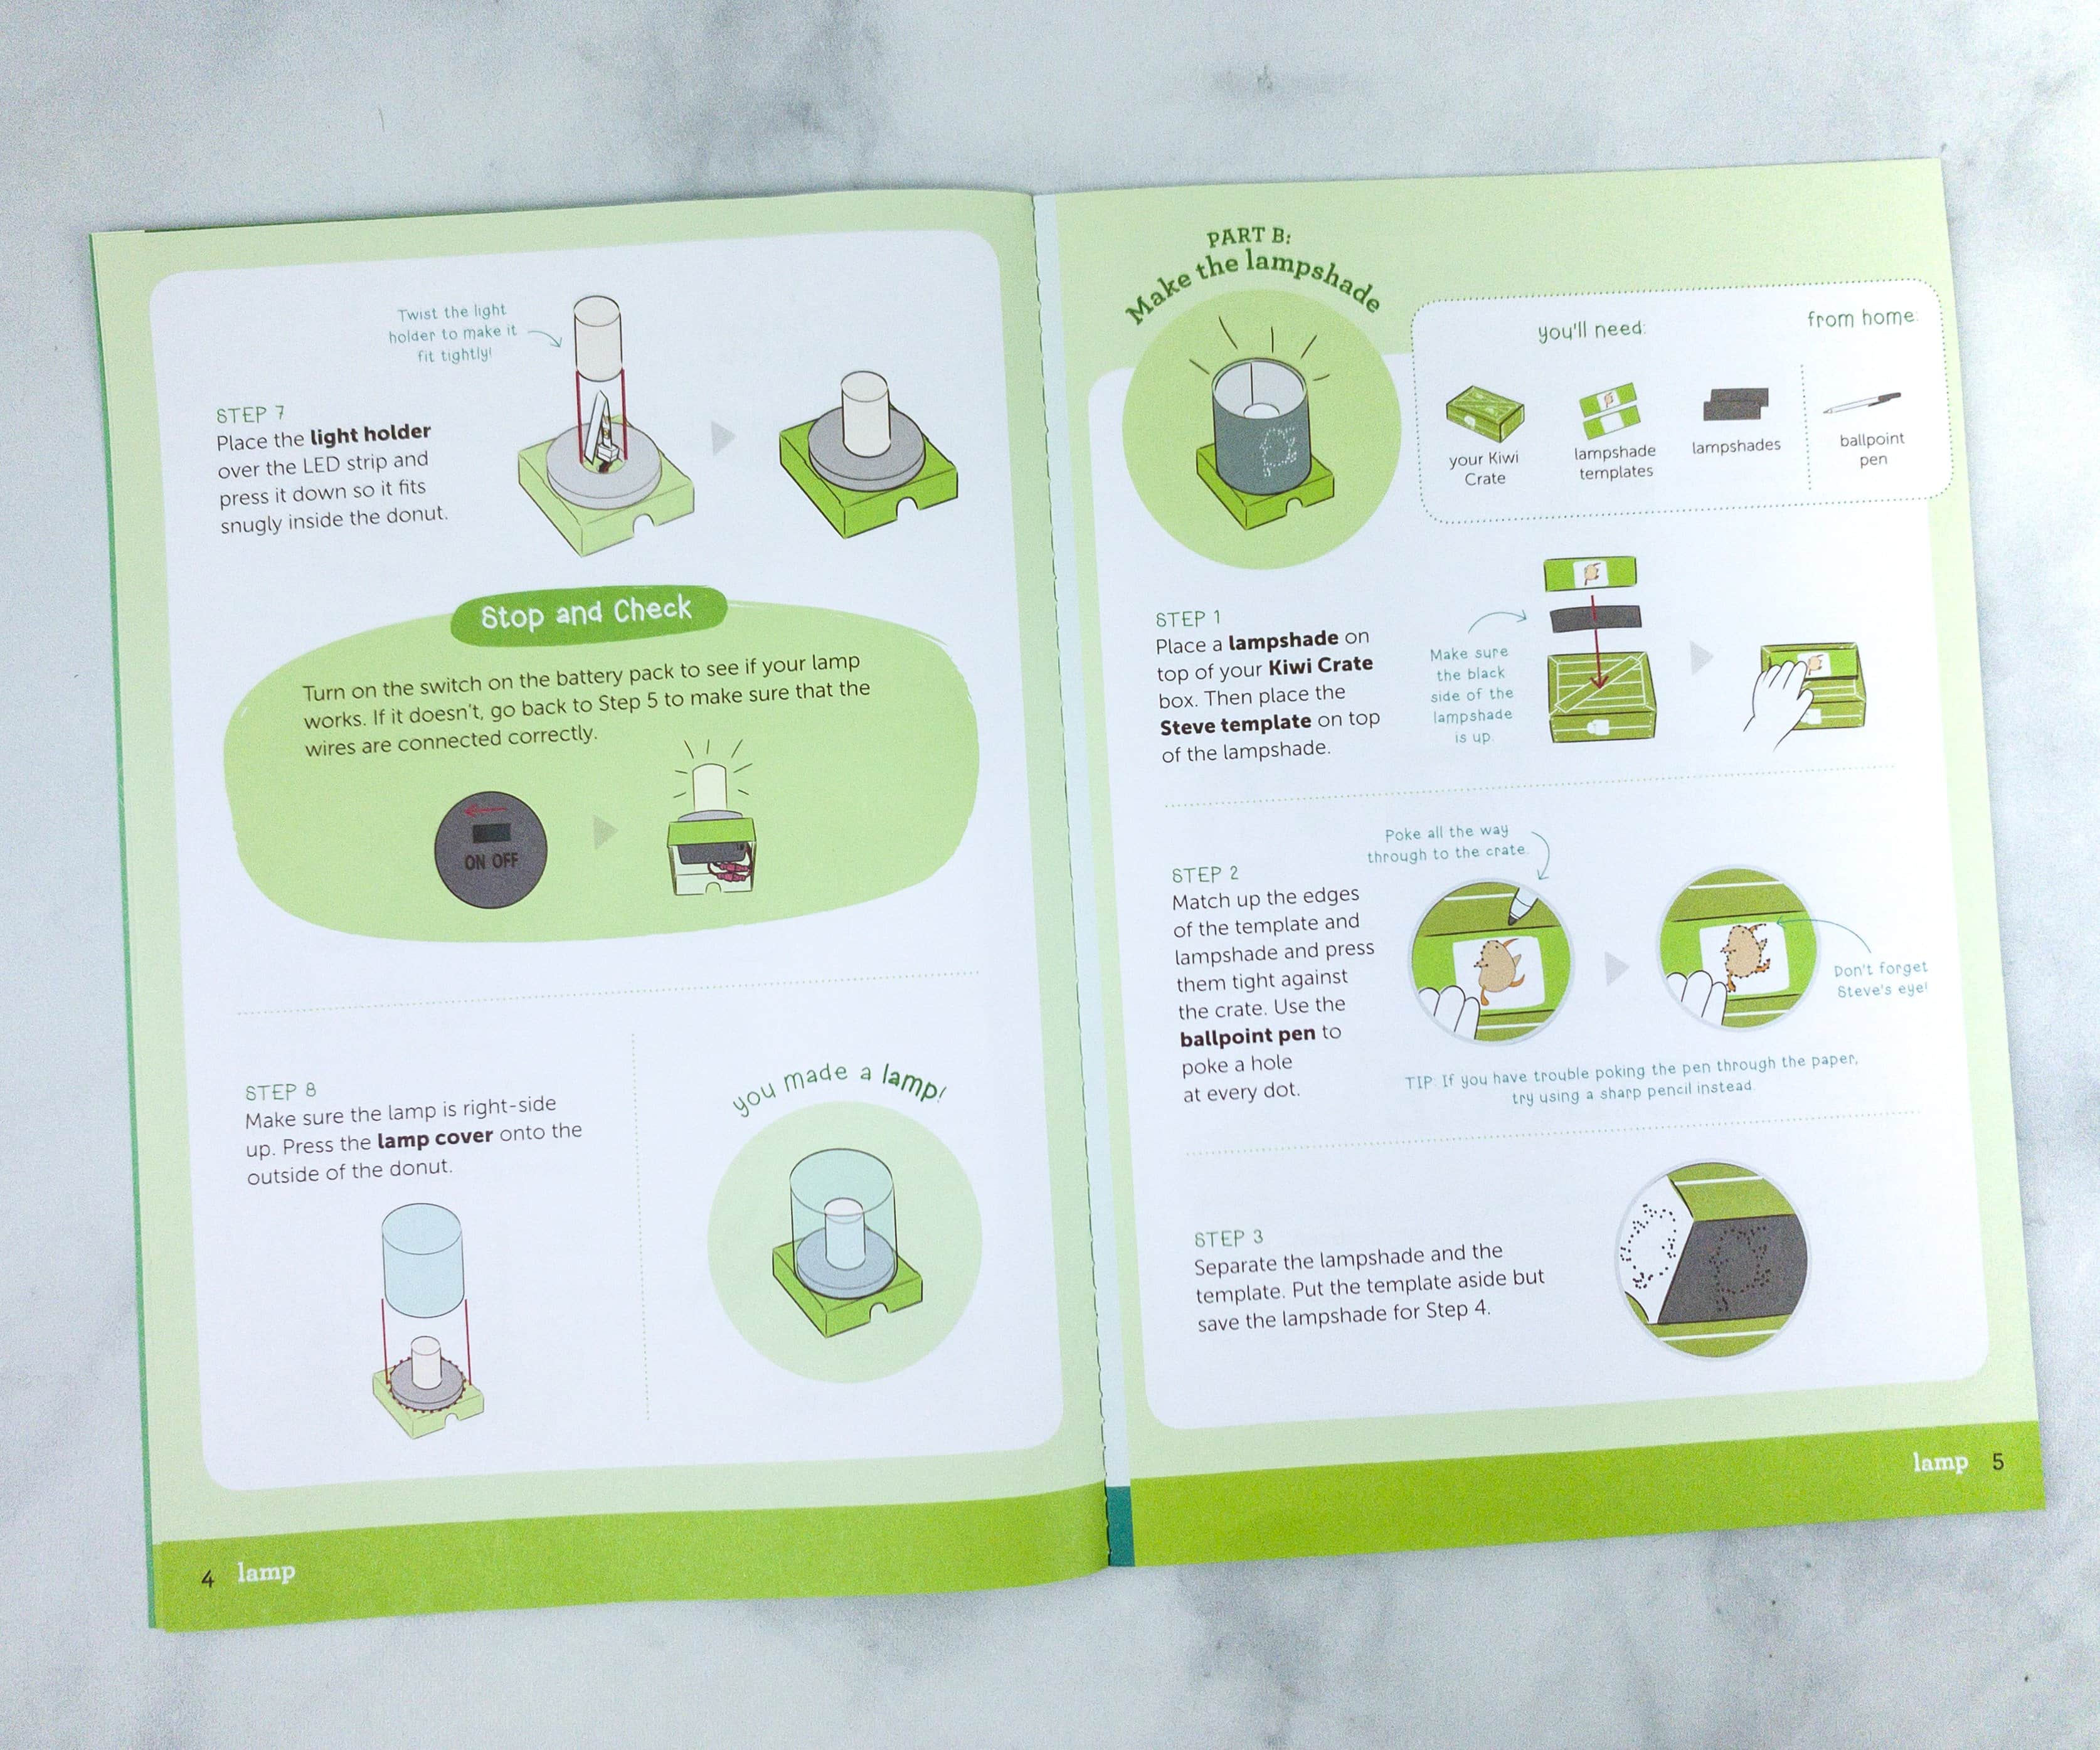
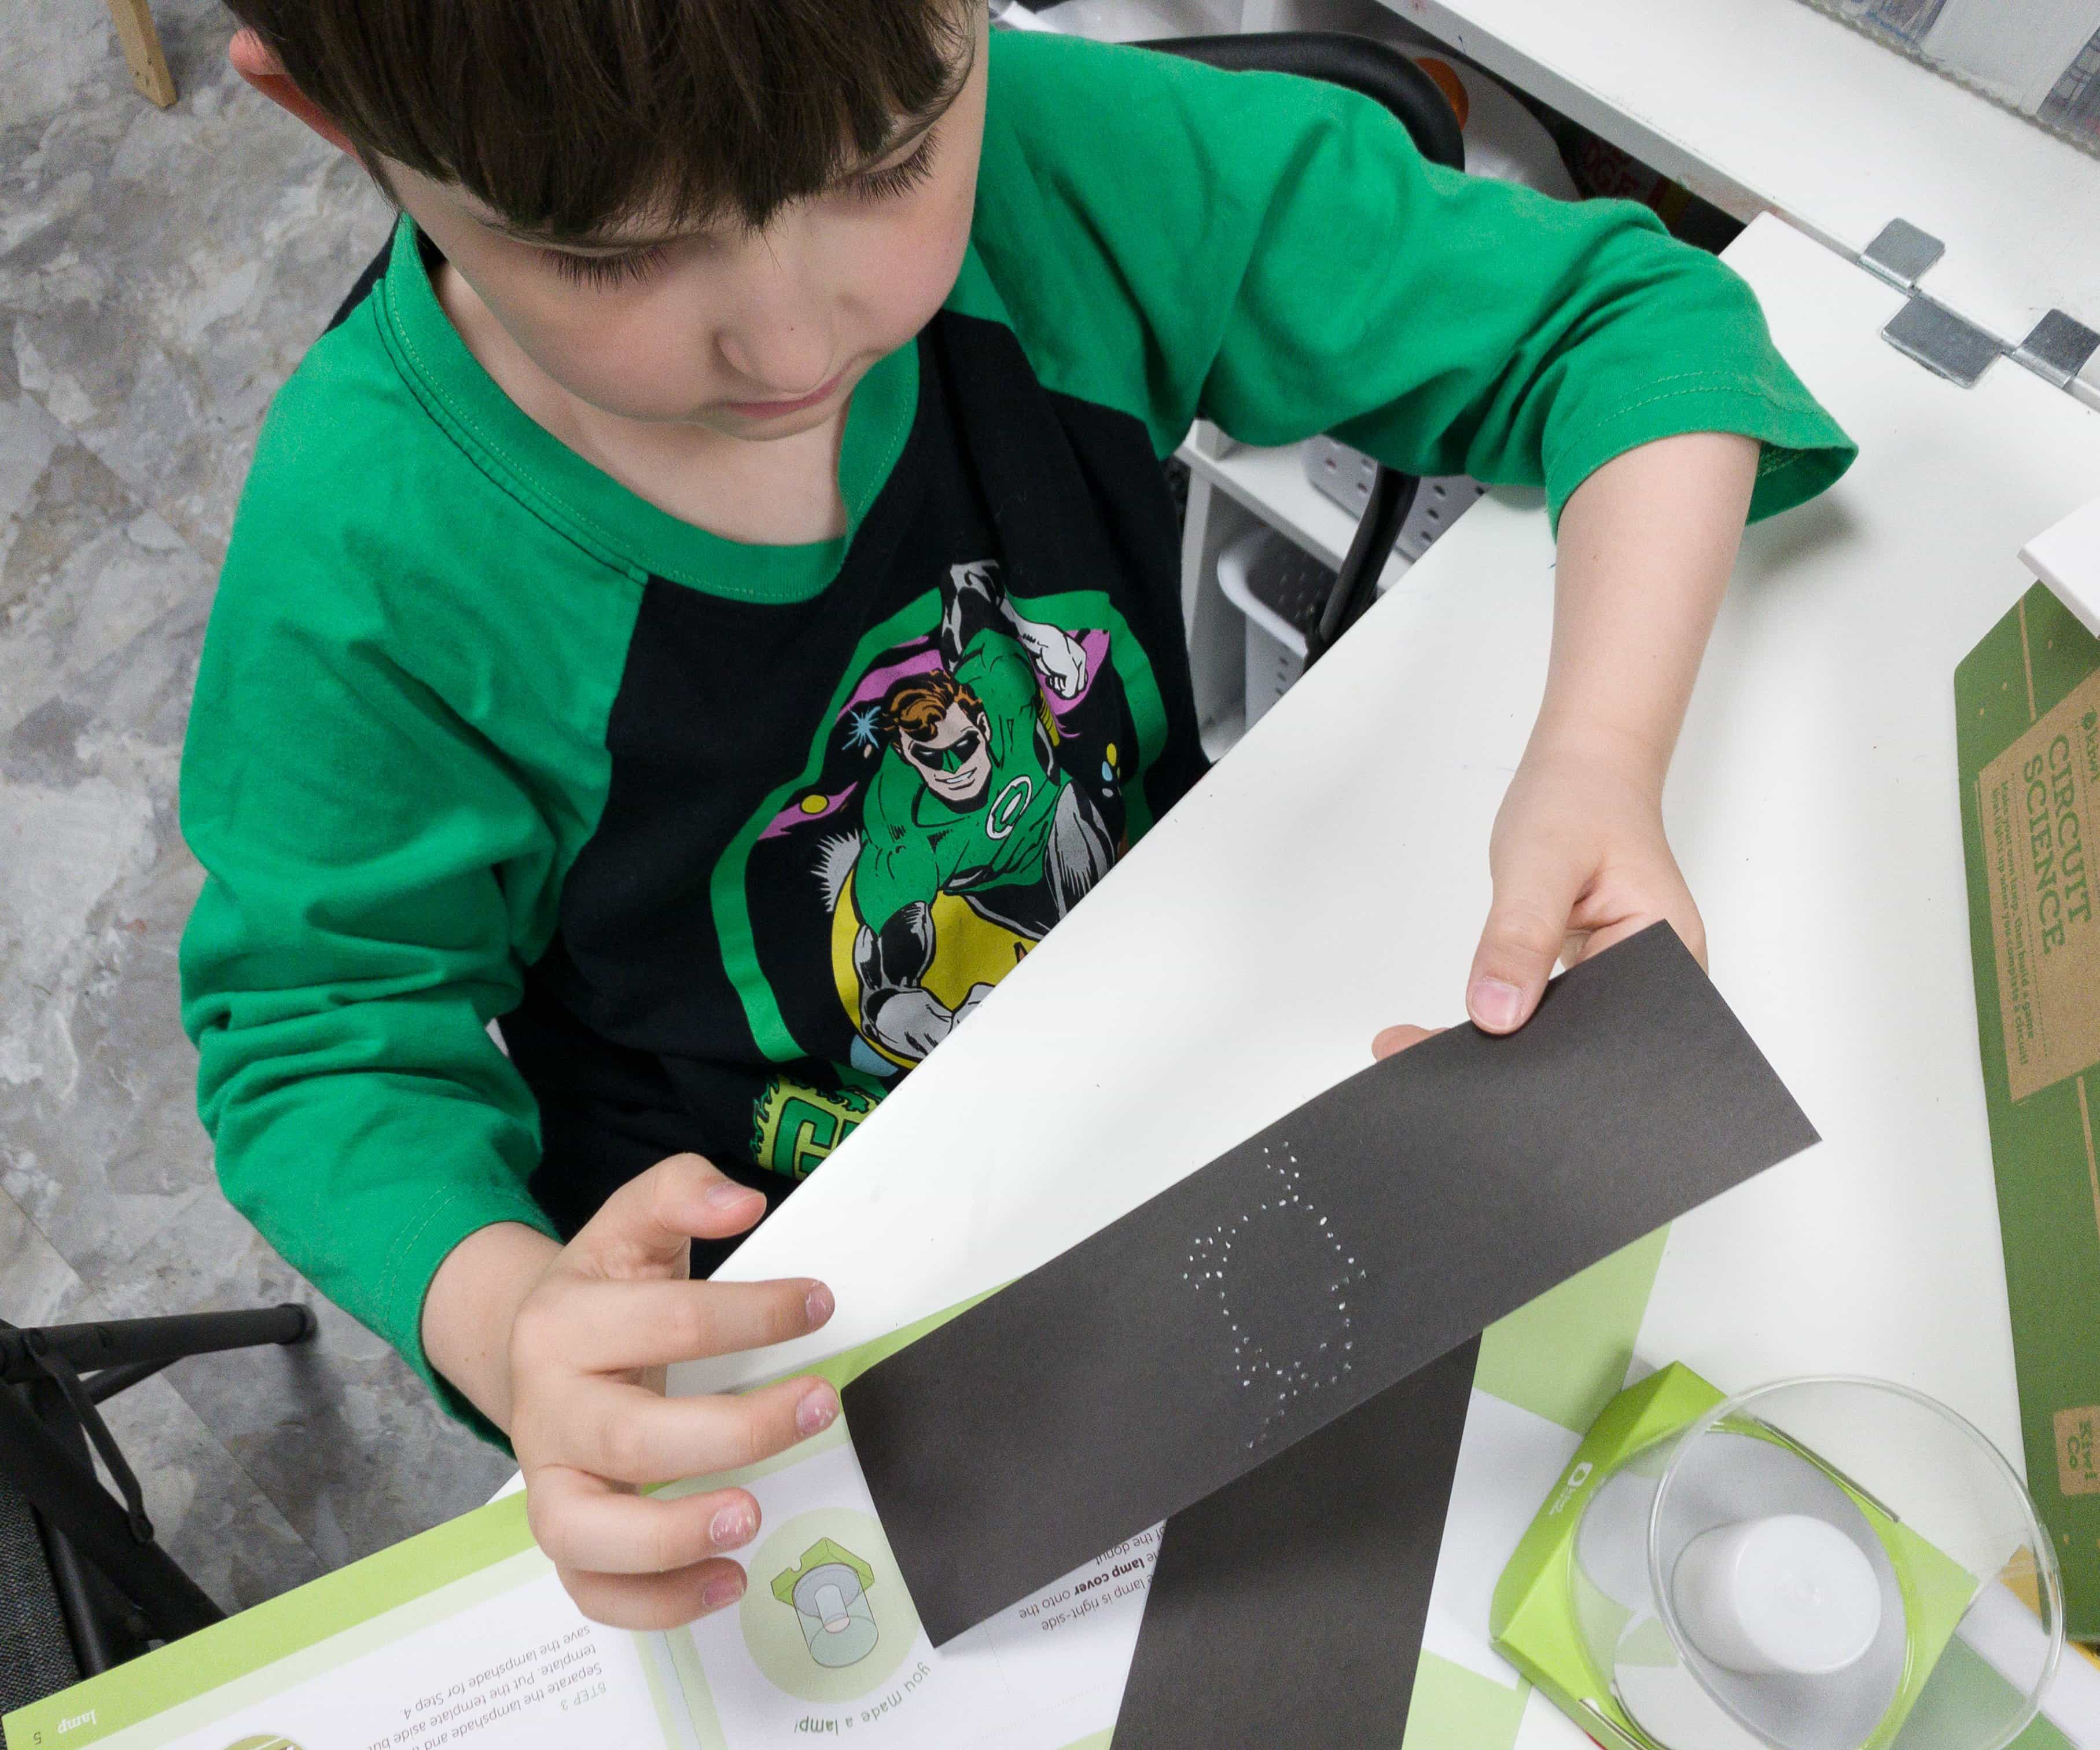
Once my younger son was done with the lamp, my older son proceeded to the next step which is designing the lamp.
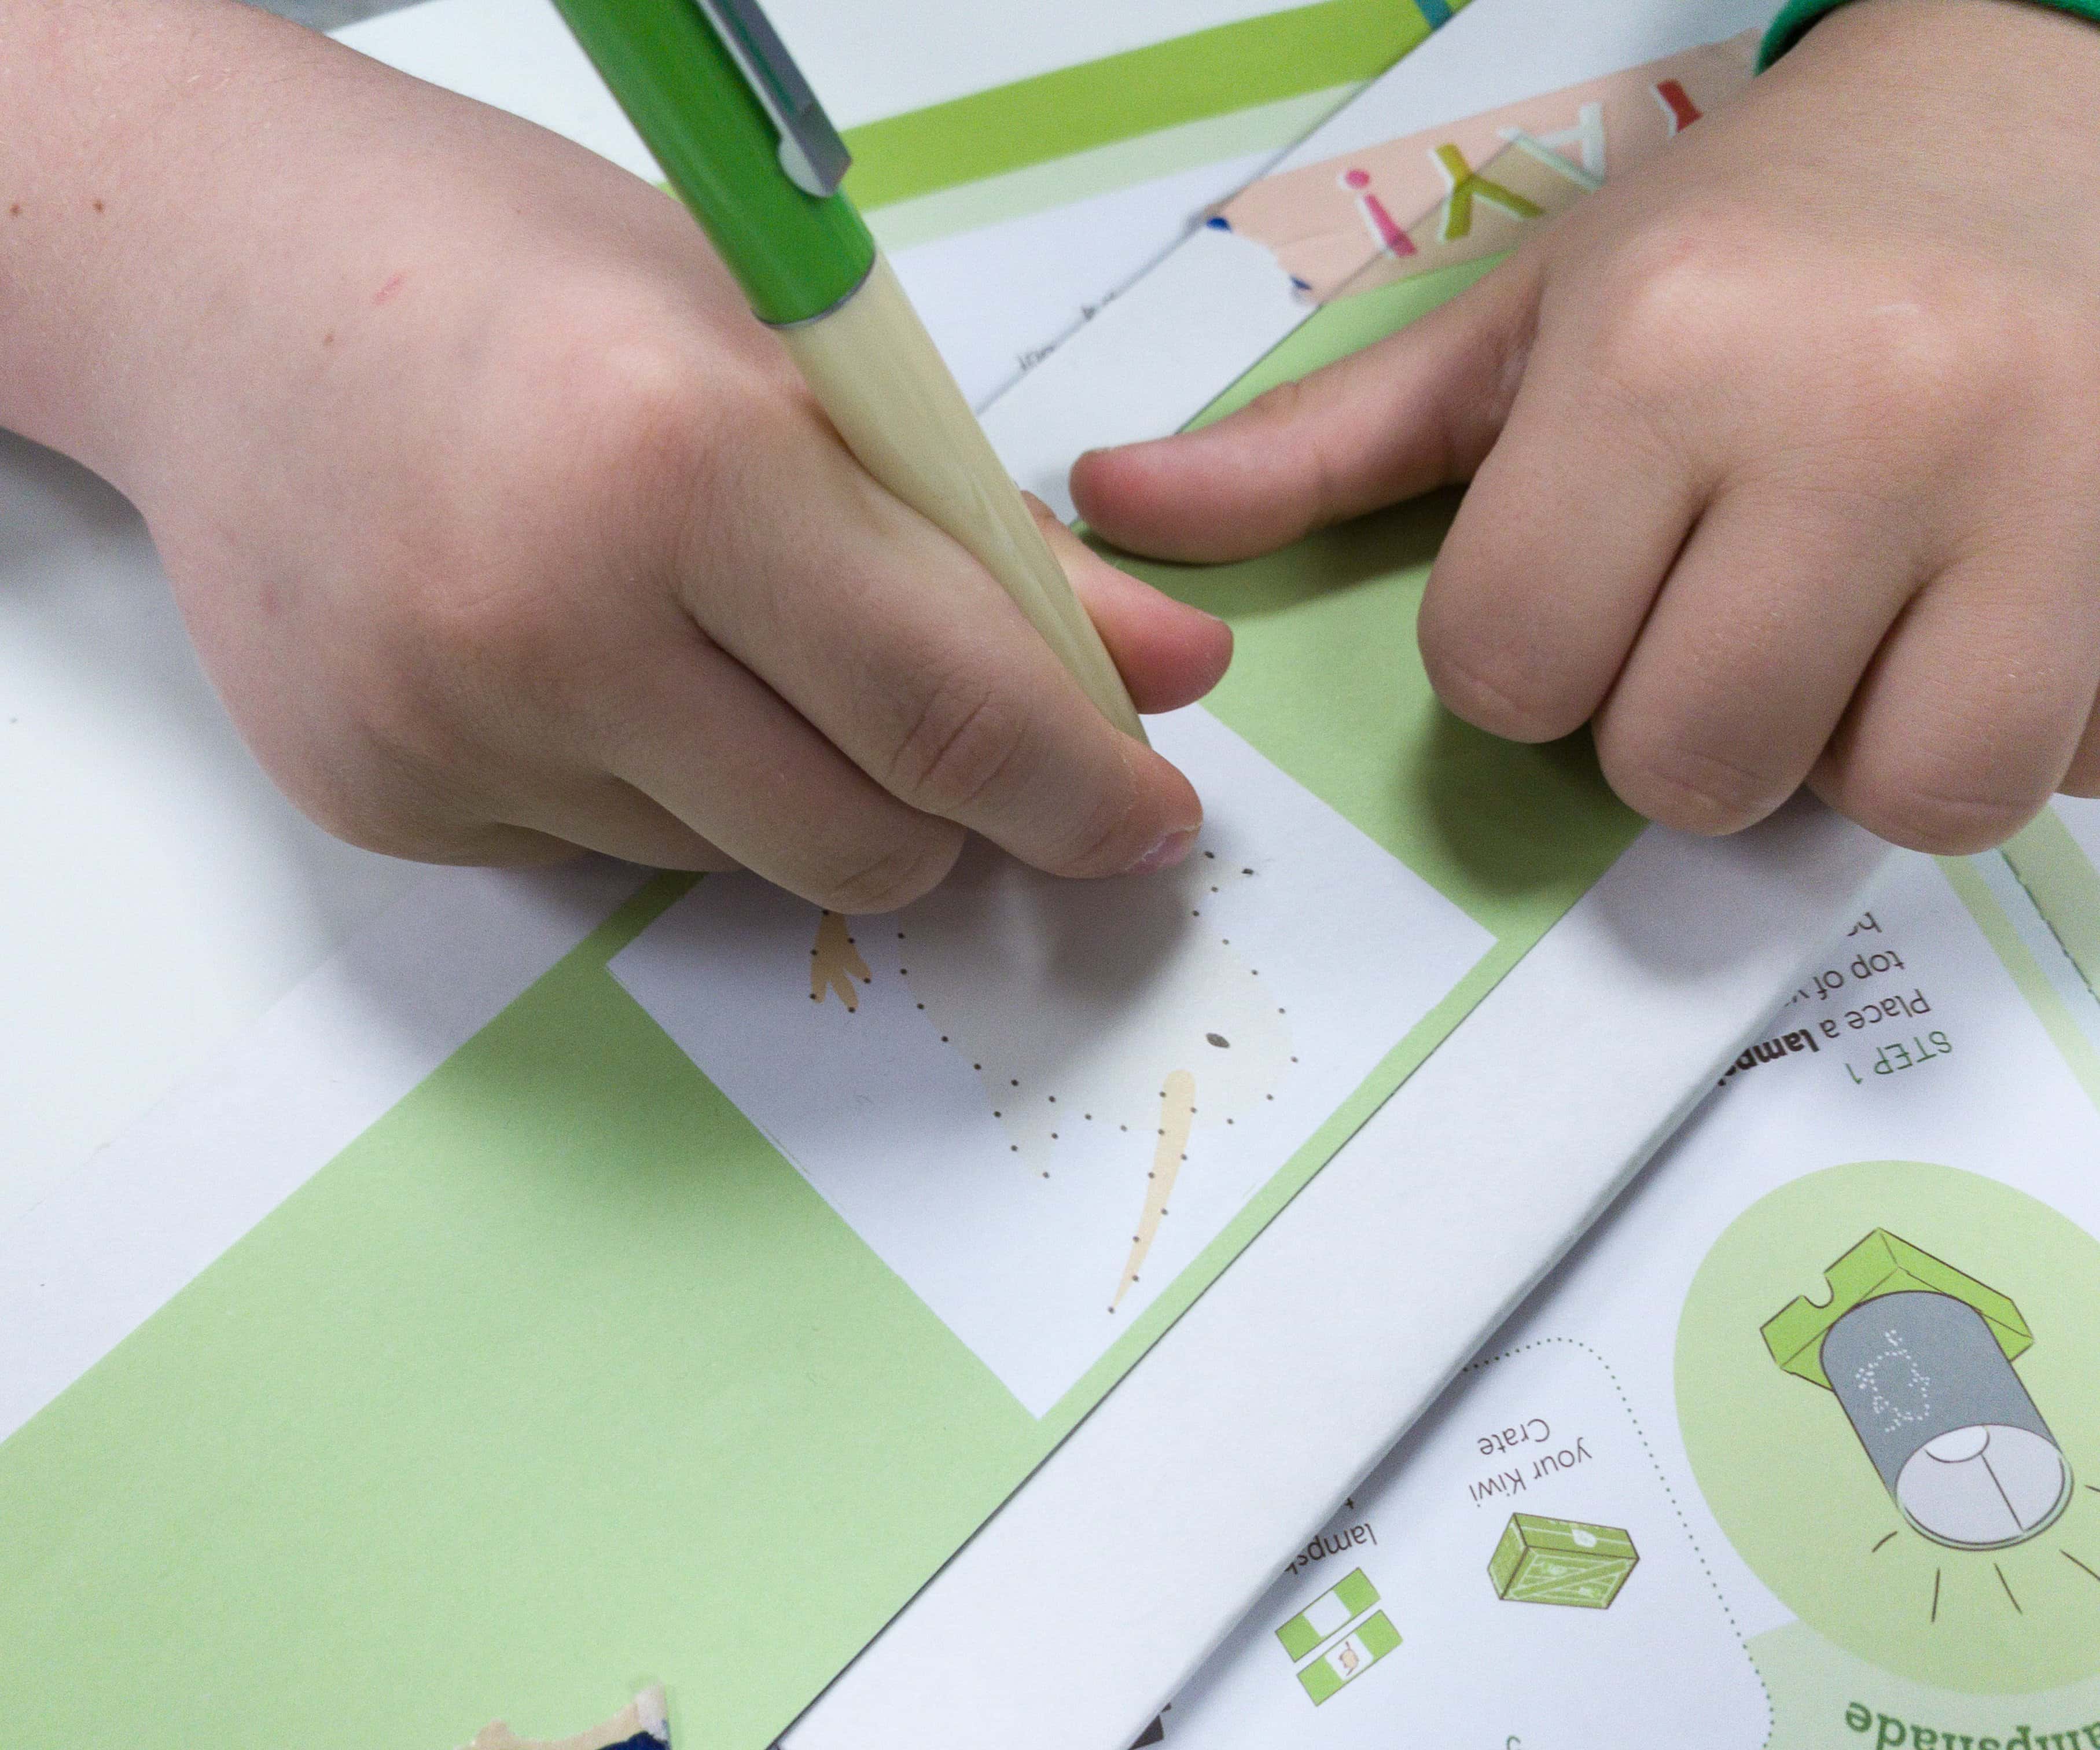
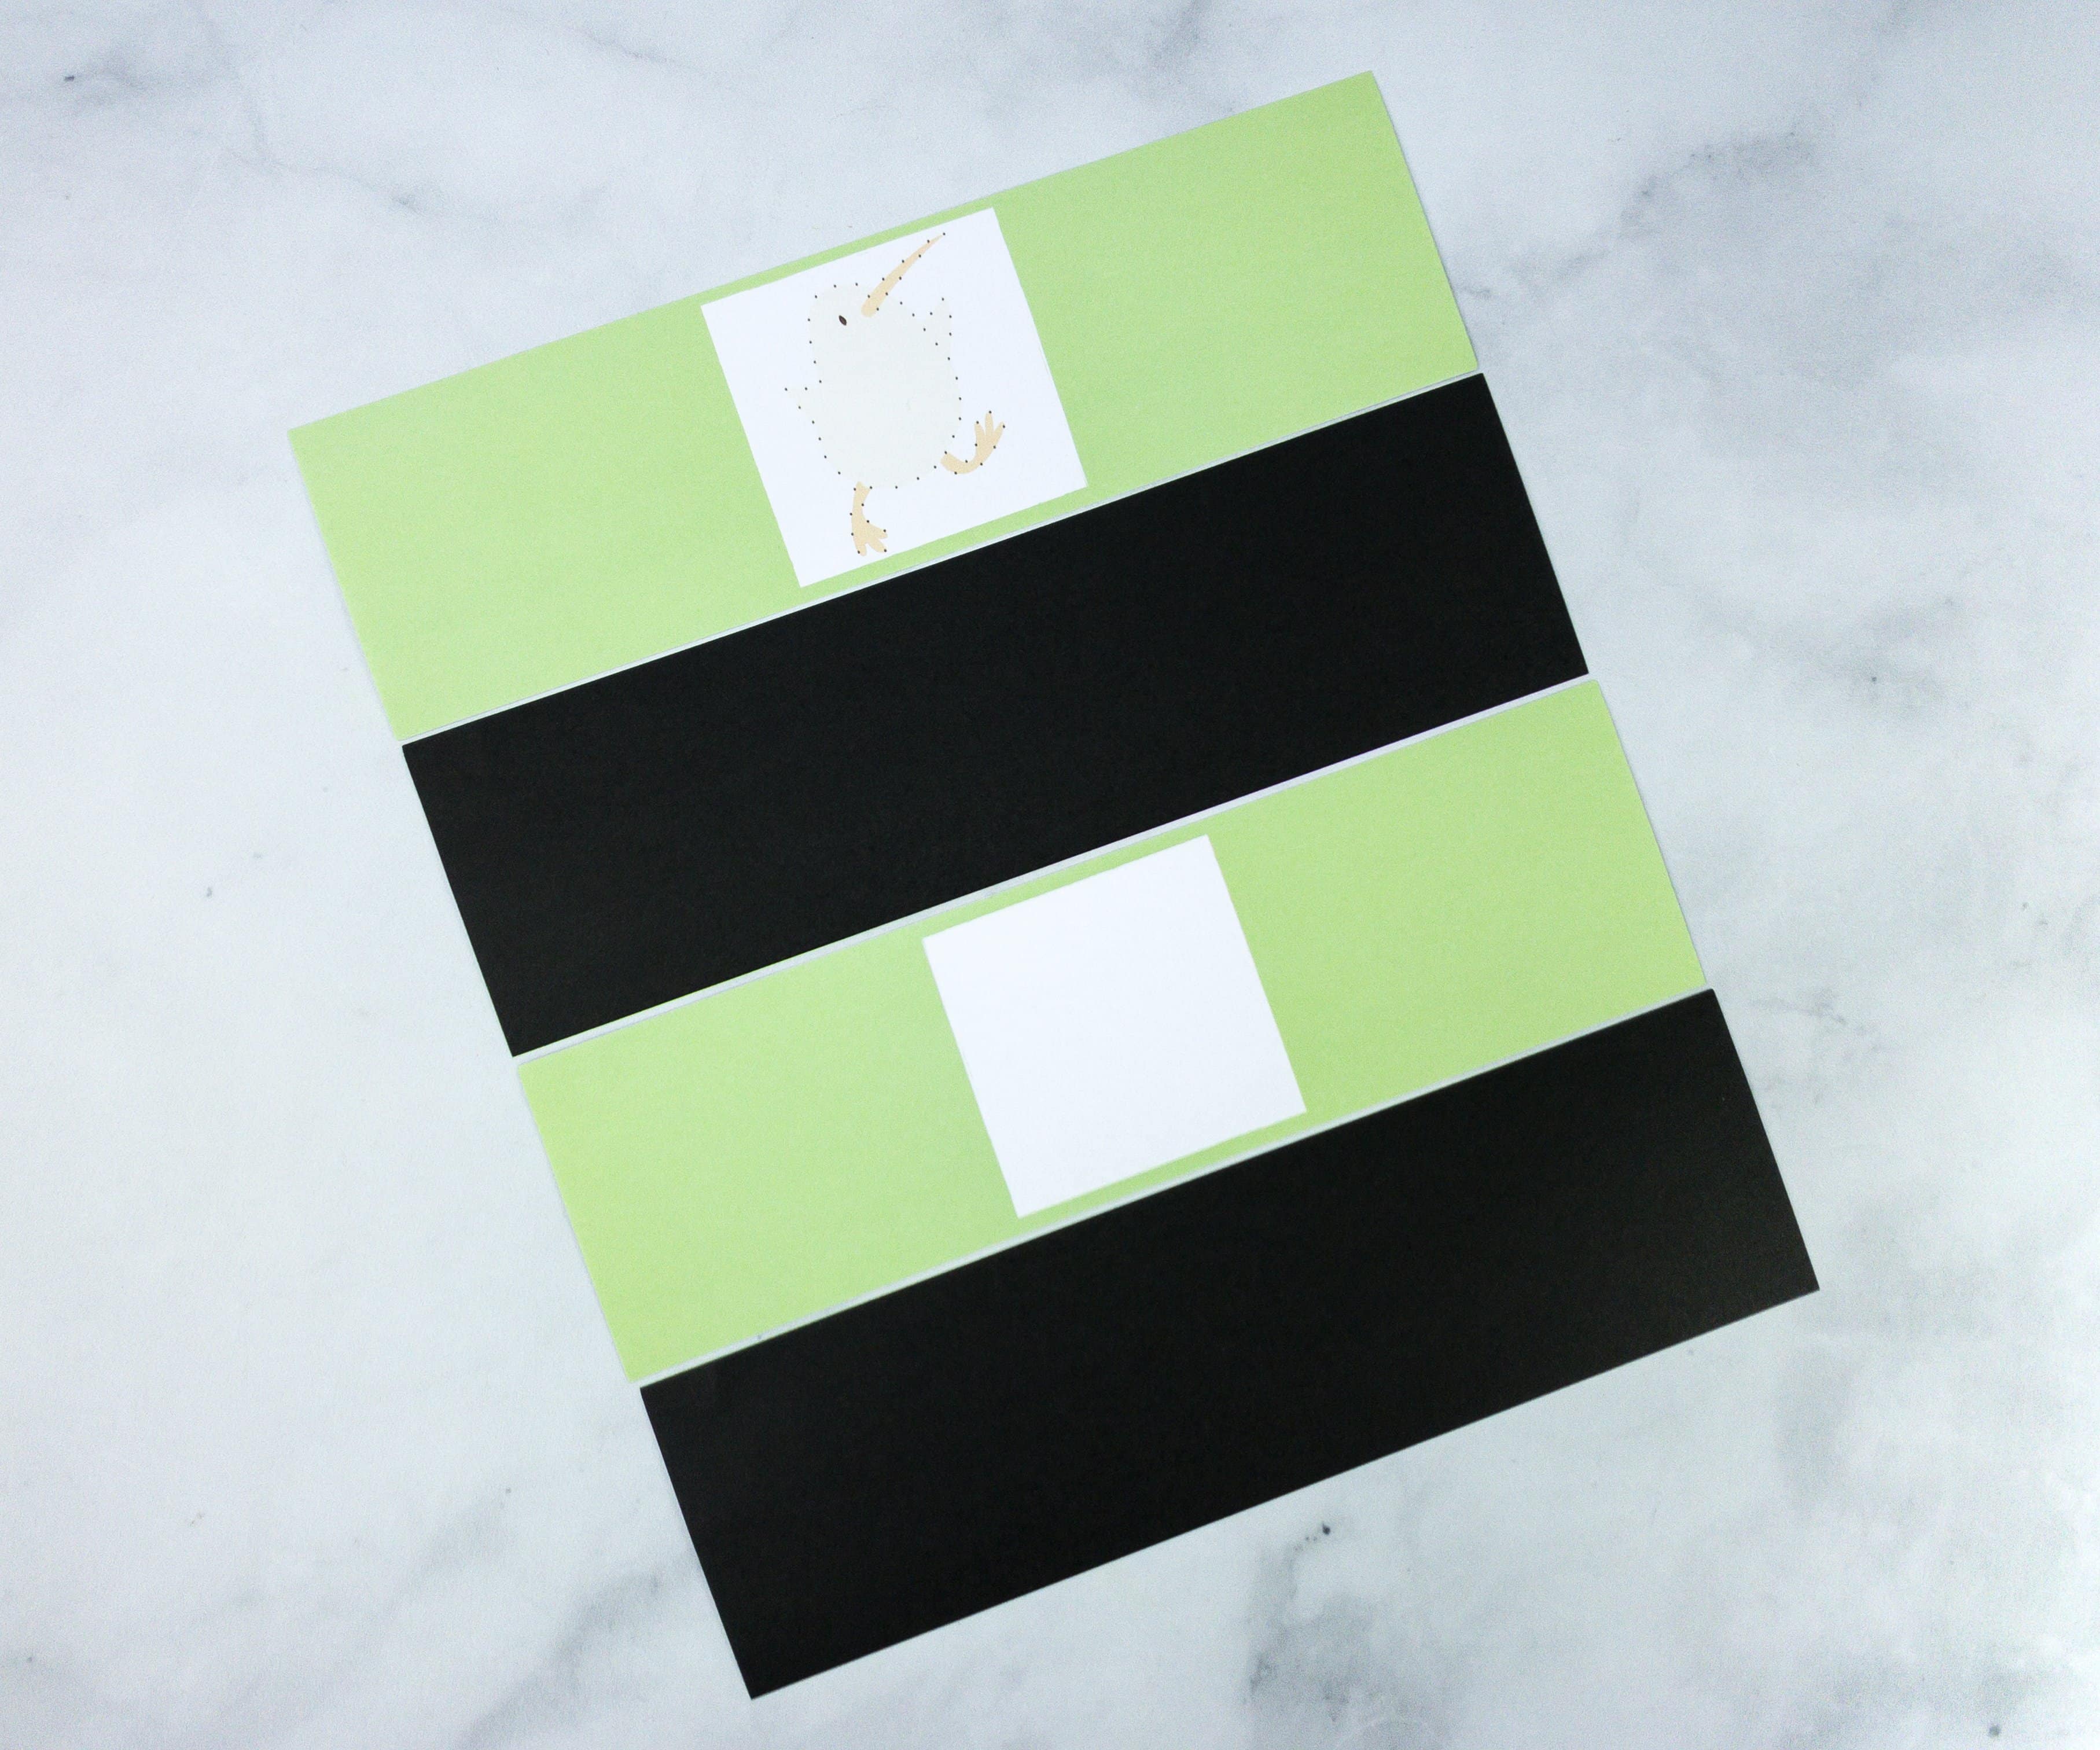
He traced Steve’s figure on the paper by poking a hole on it using the point of the ballpen.
For the next step, he rolled the lampshade up with the black side out and connected both ends of the paper until he formed a circle!
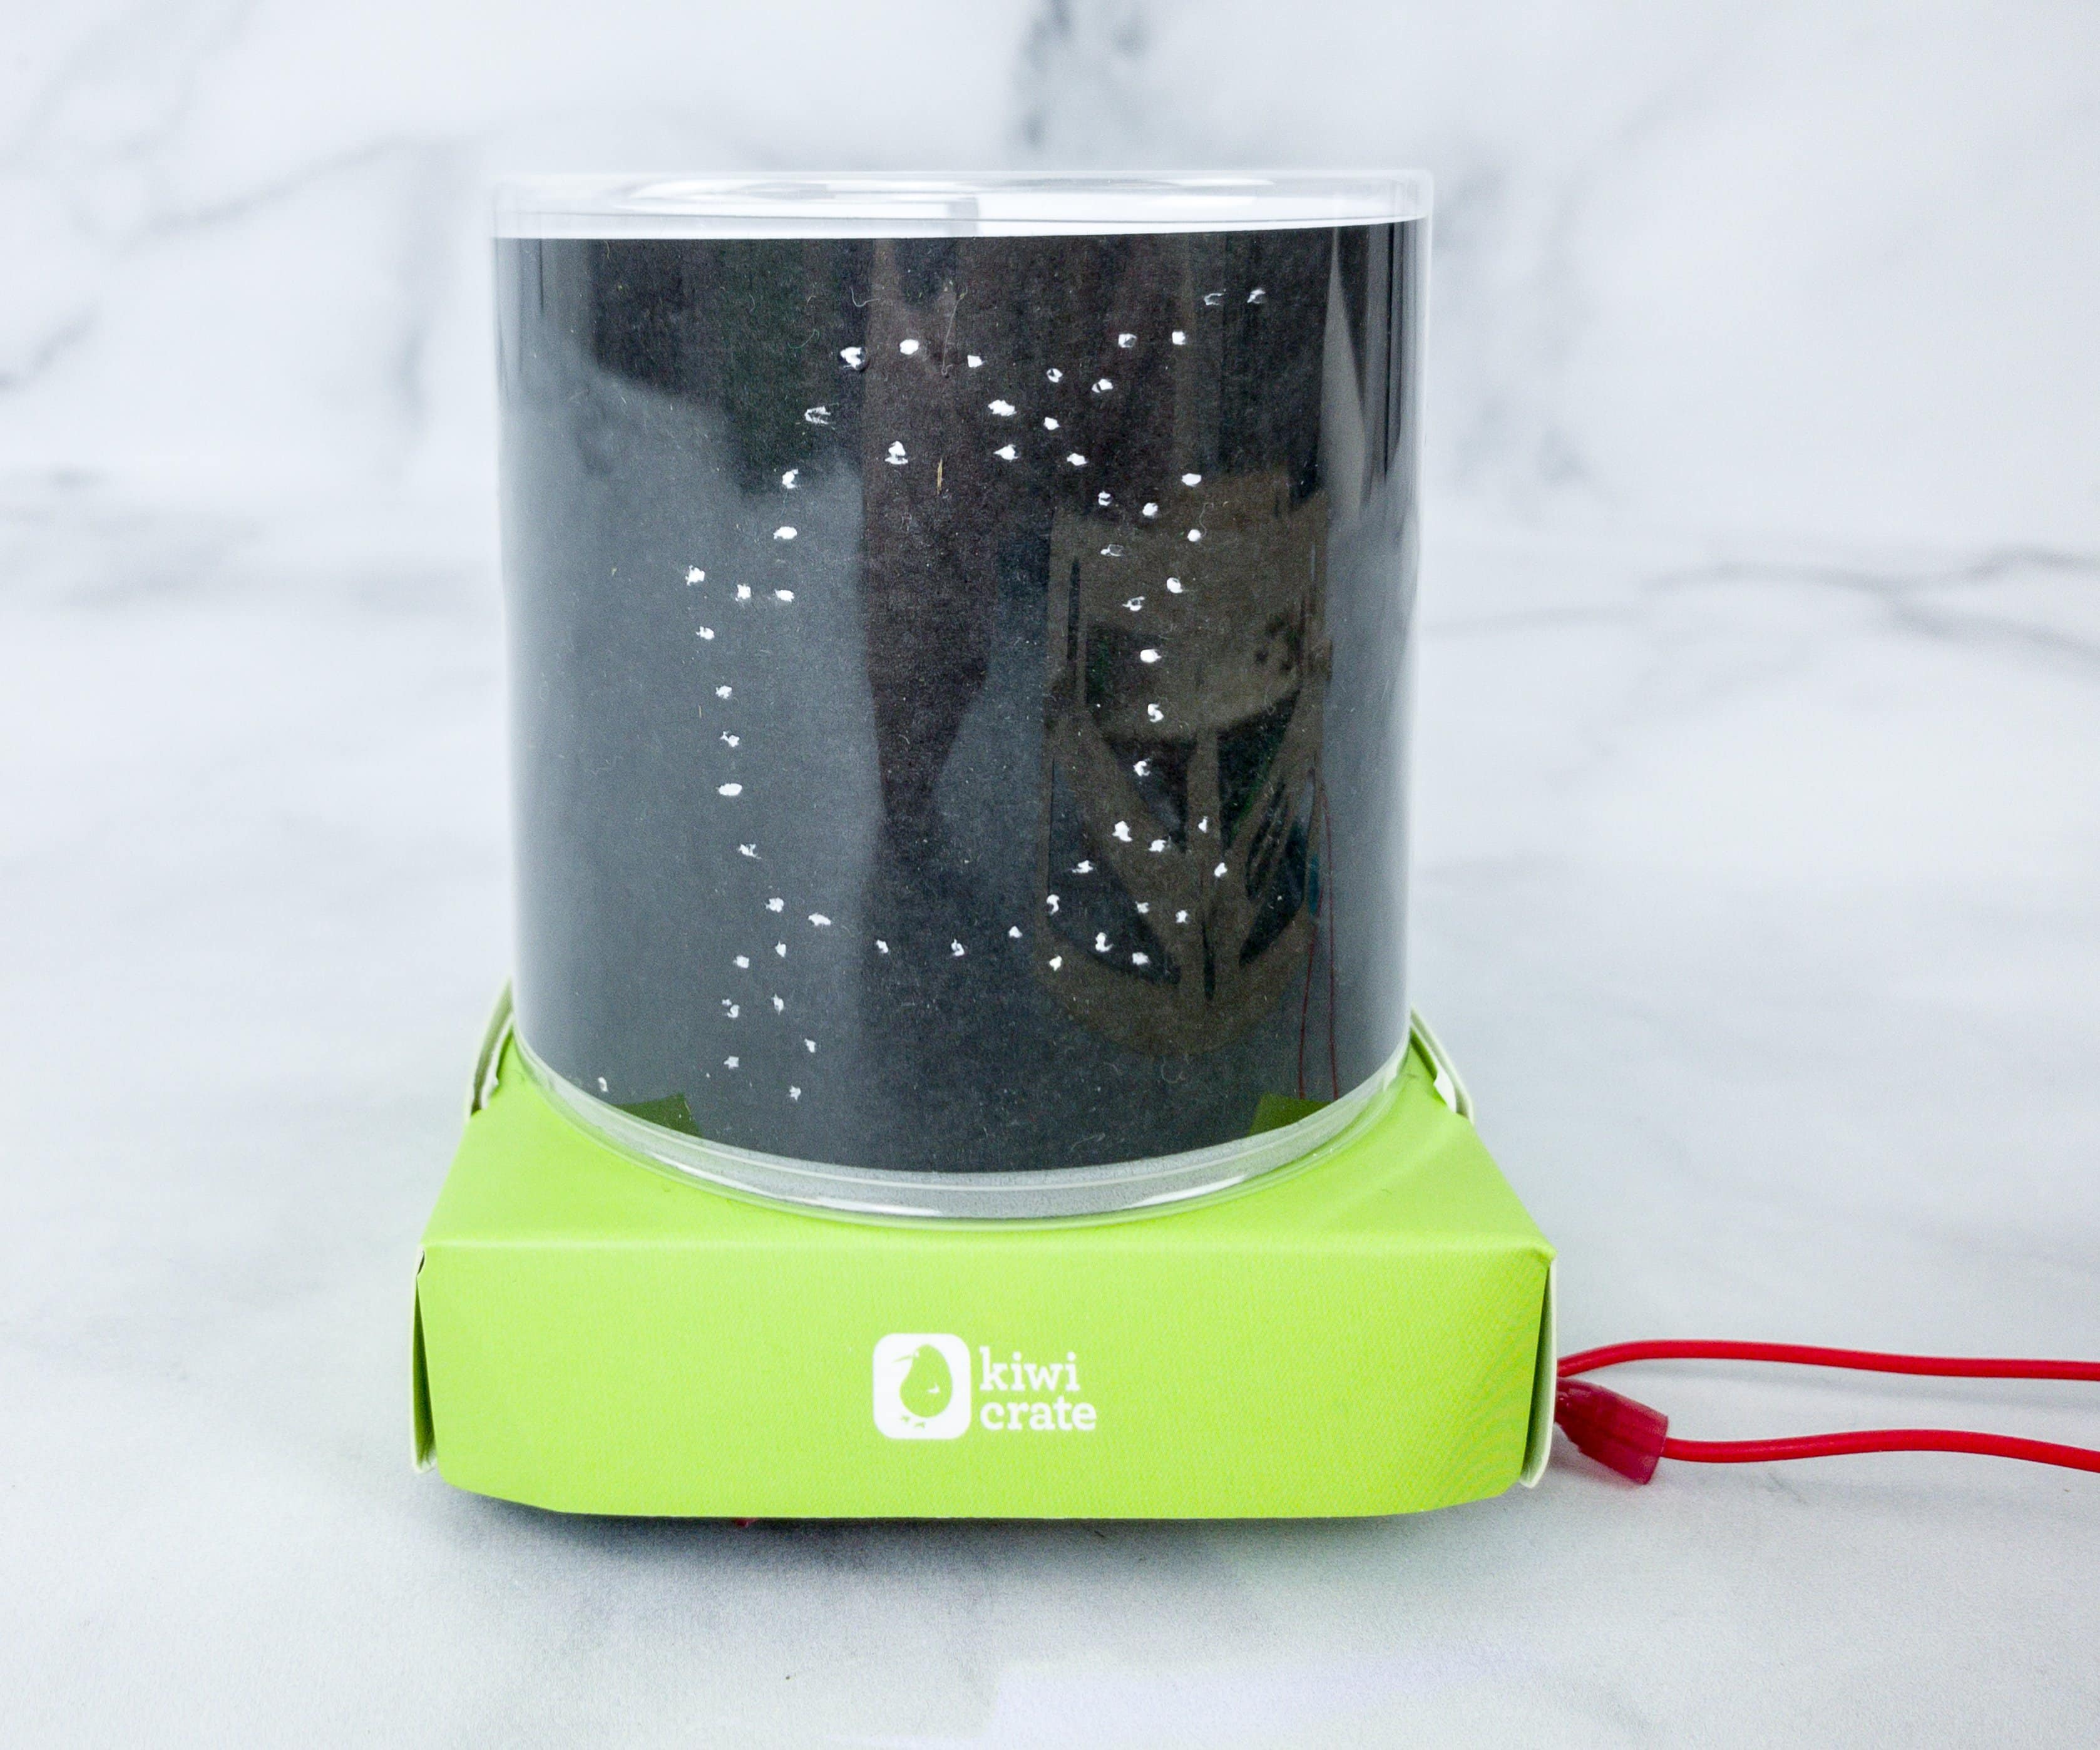
Lastly, he put it inside the lamp cover and switched the lamp on to light up Steve!
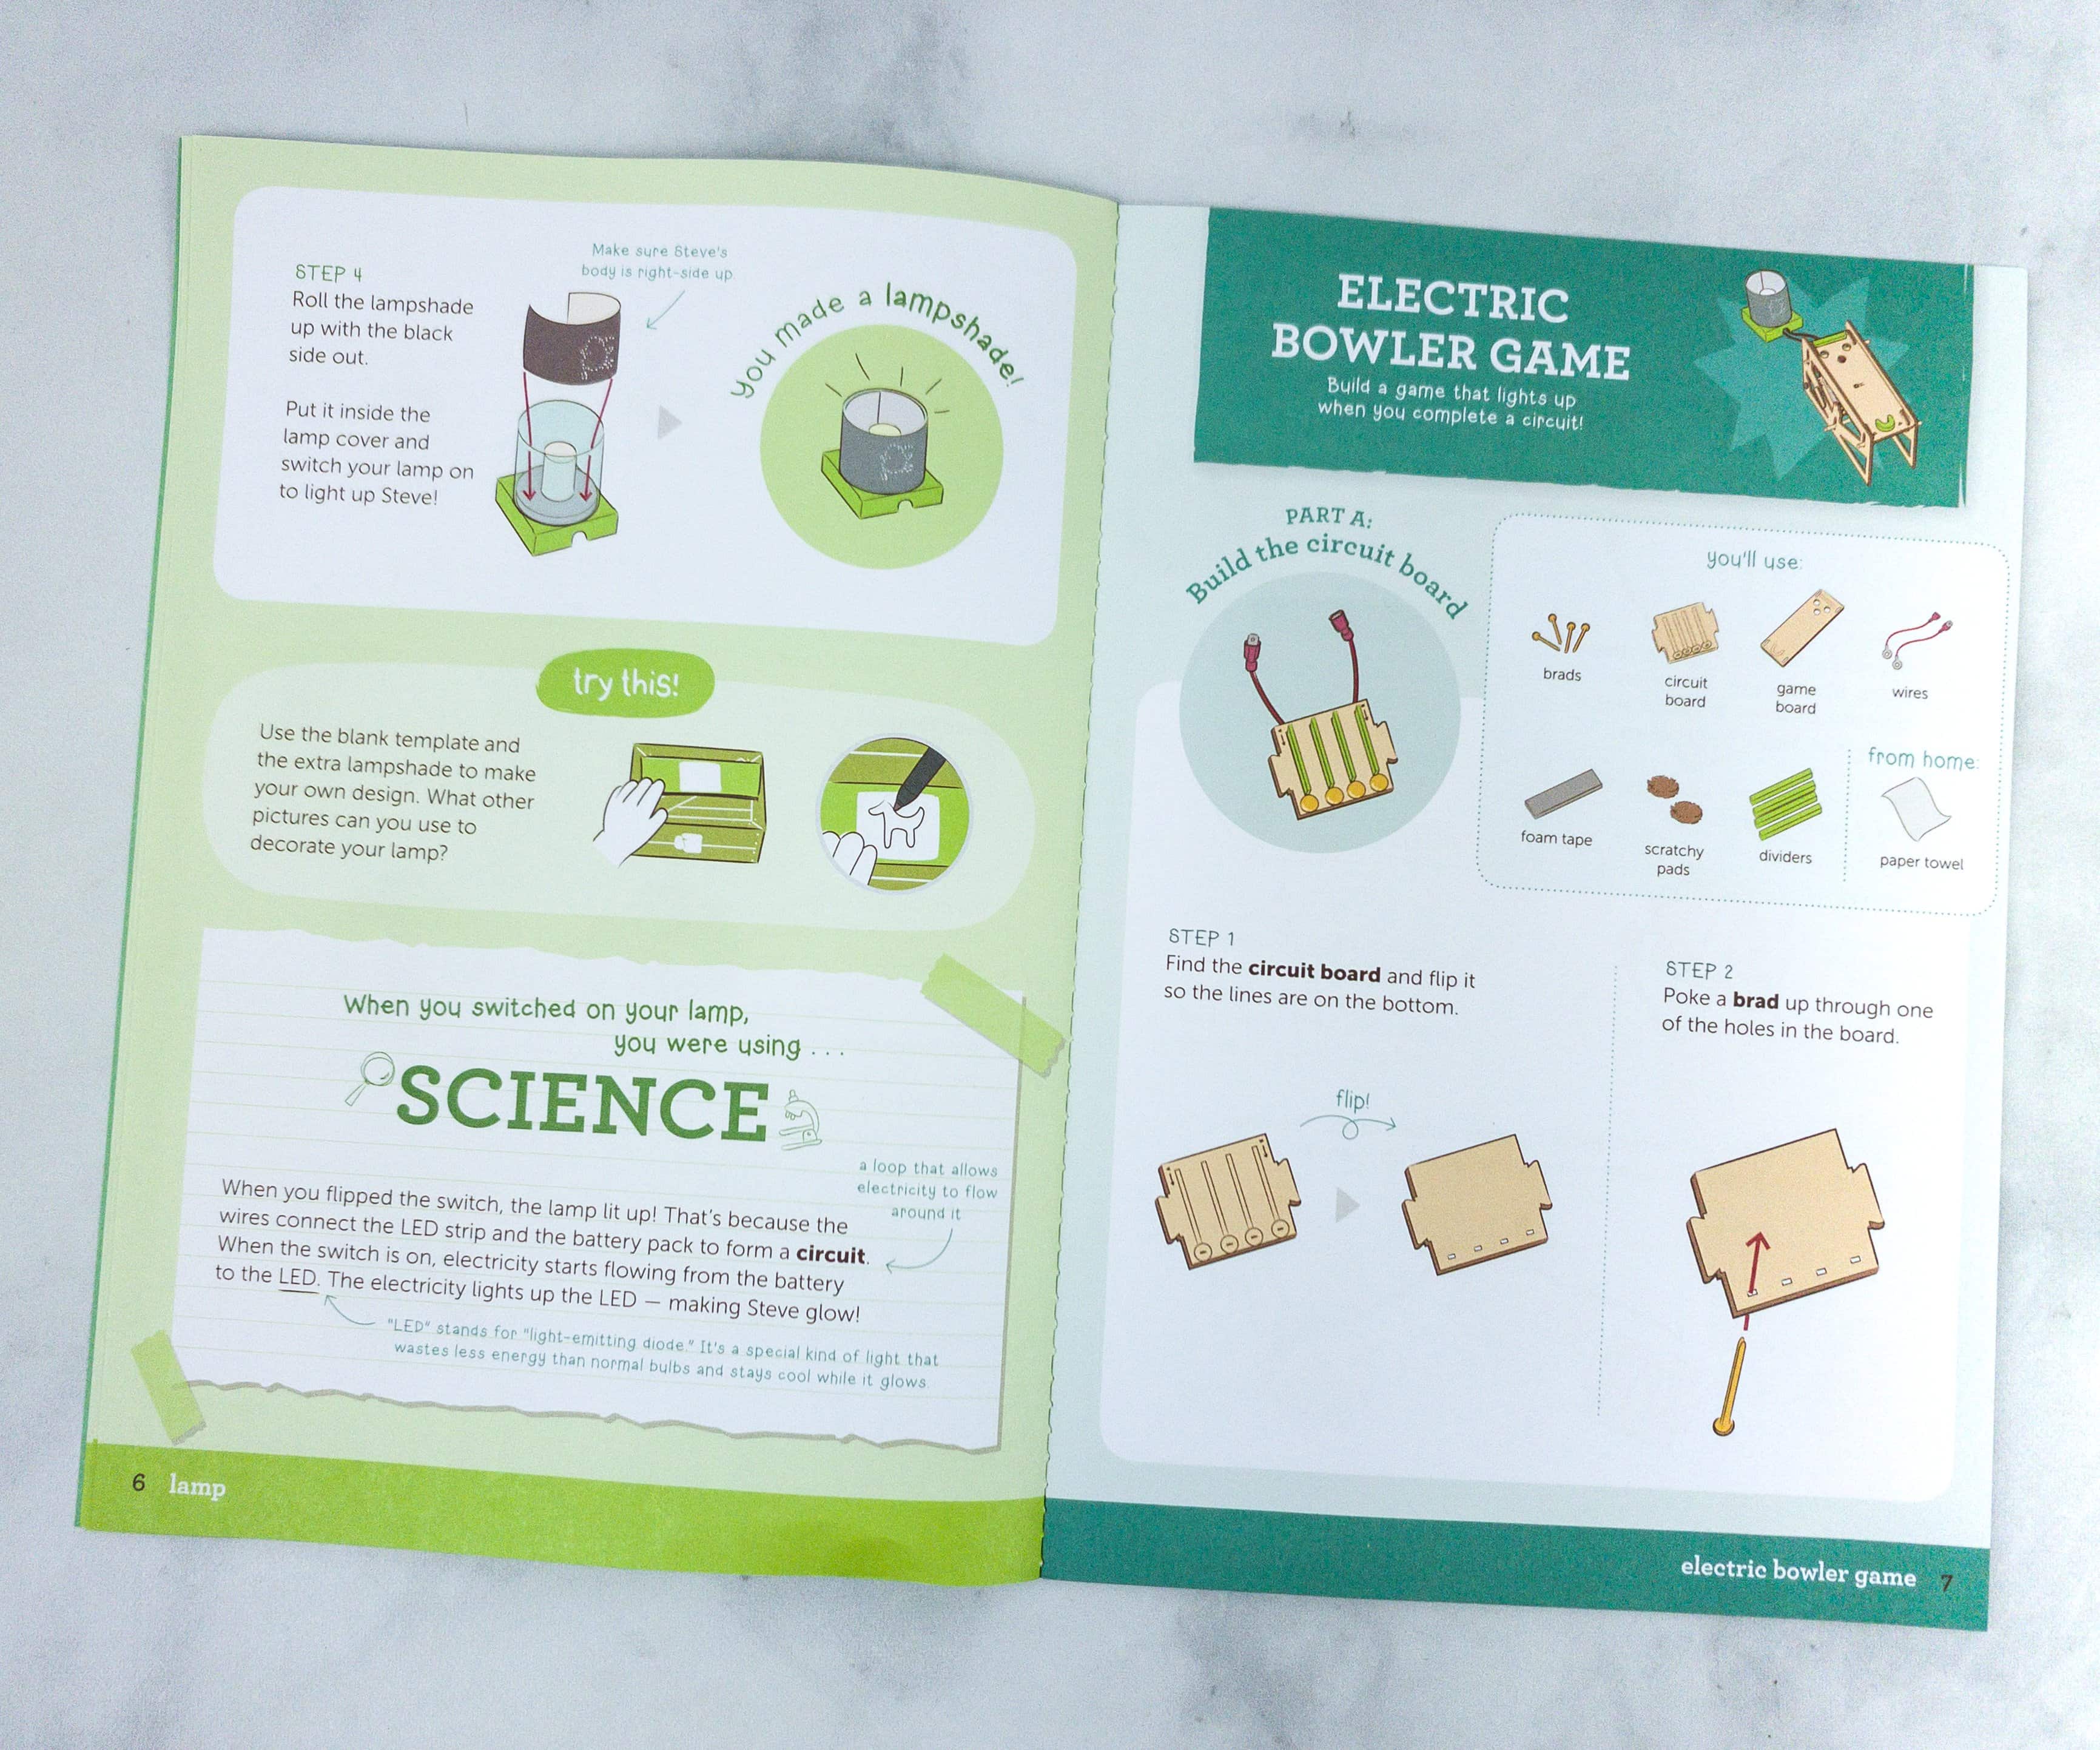
The second project is called the Electric Bowler Game, it’s a game that lights up when a circuit is completed.
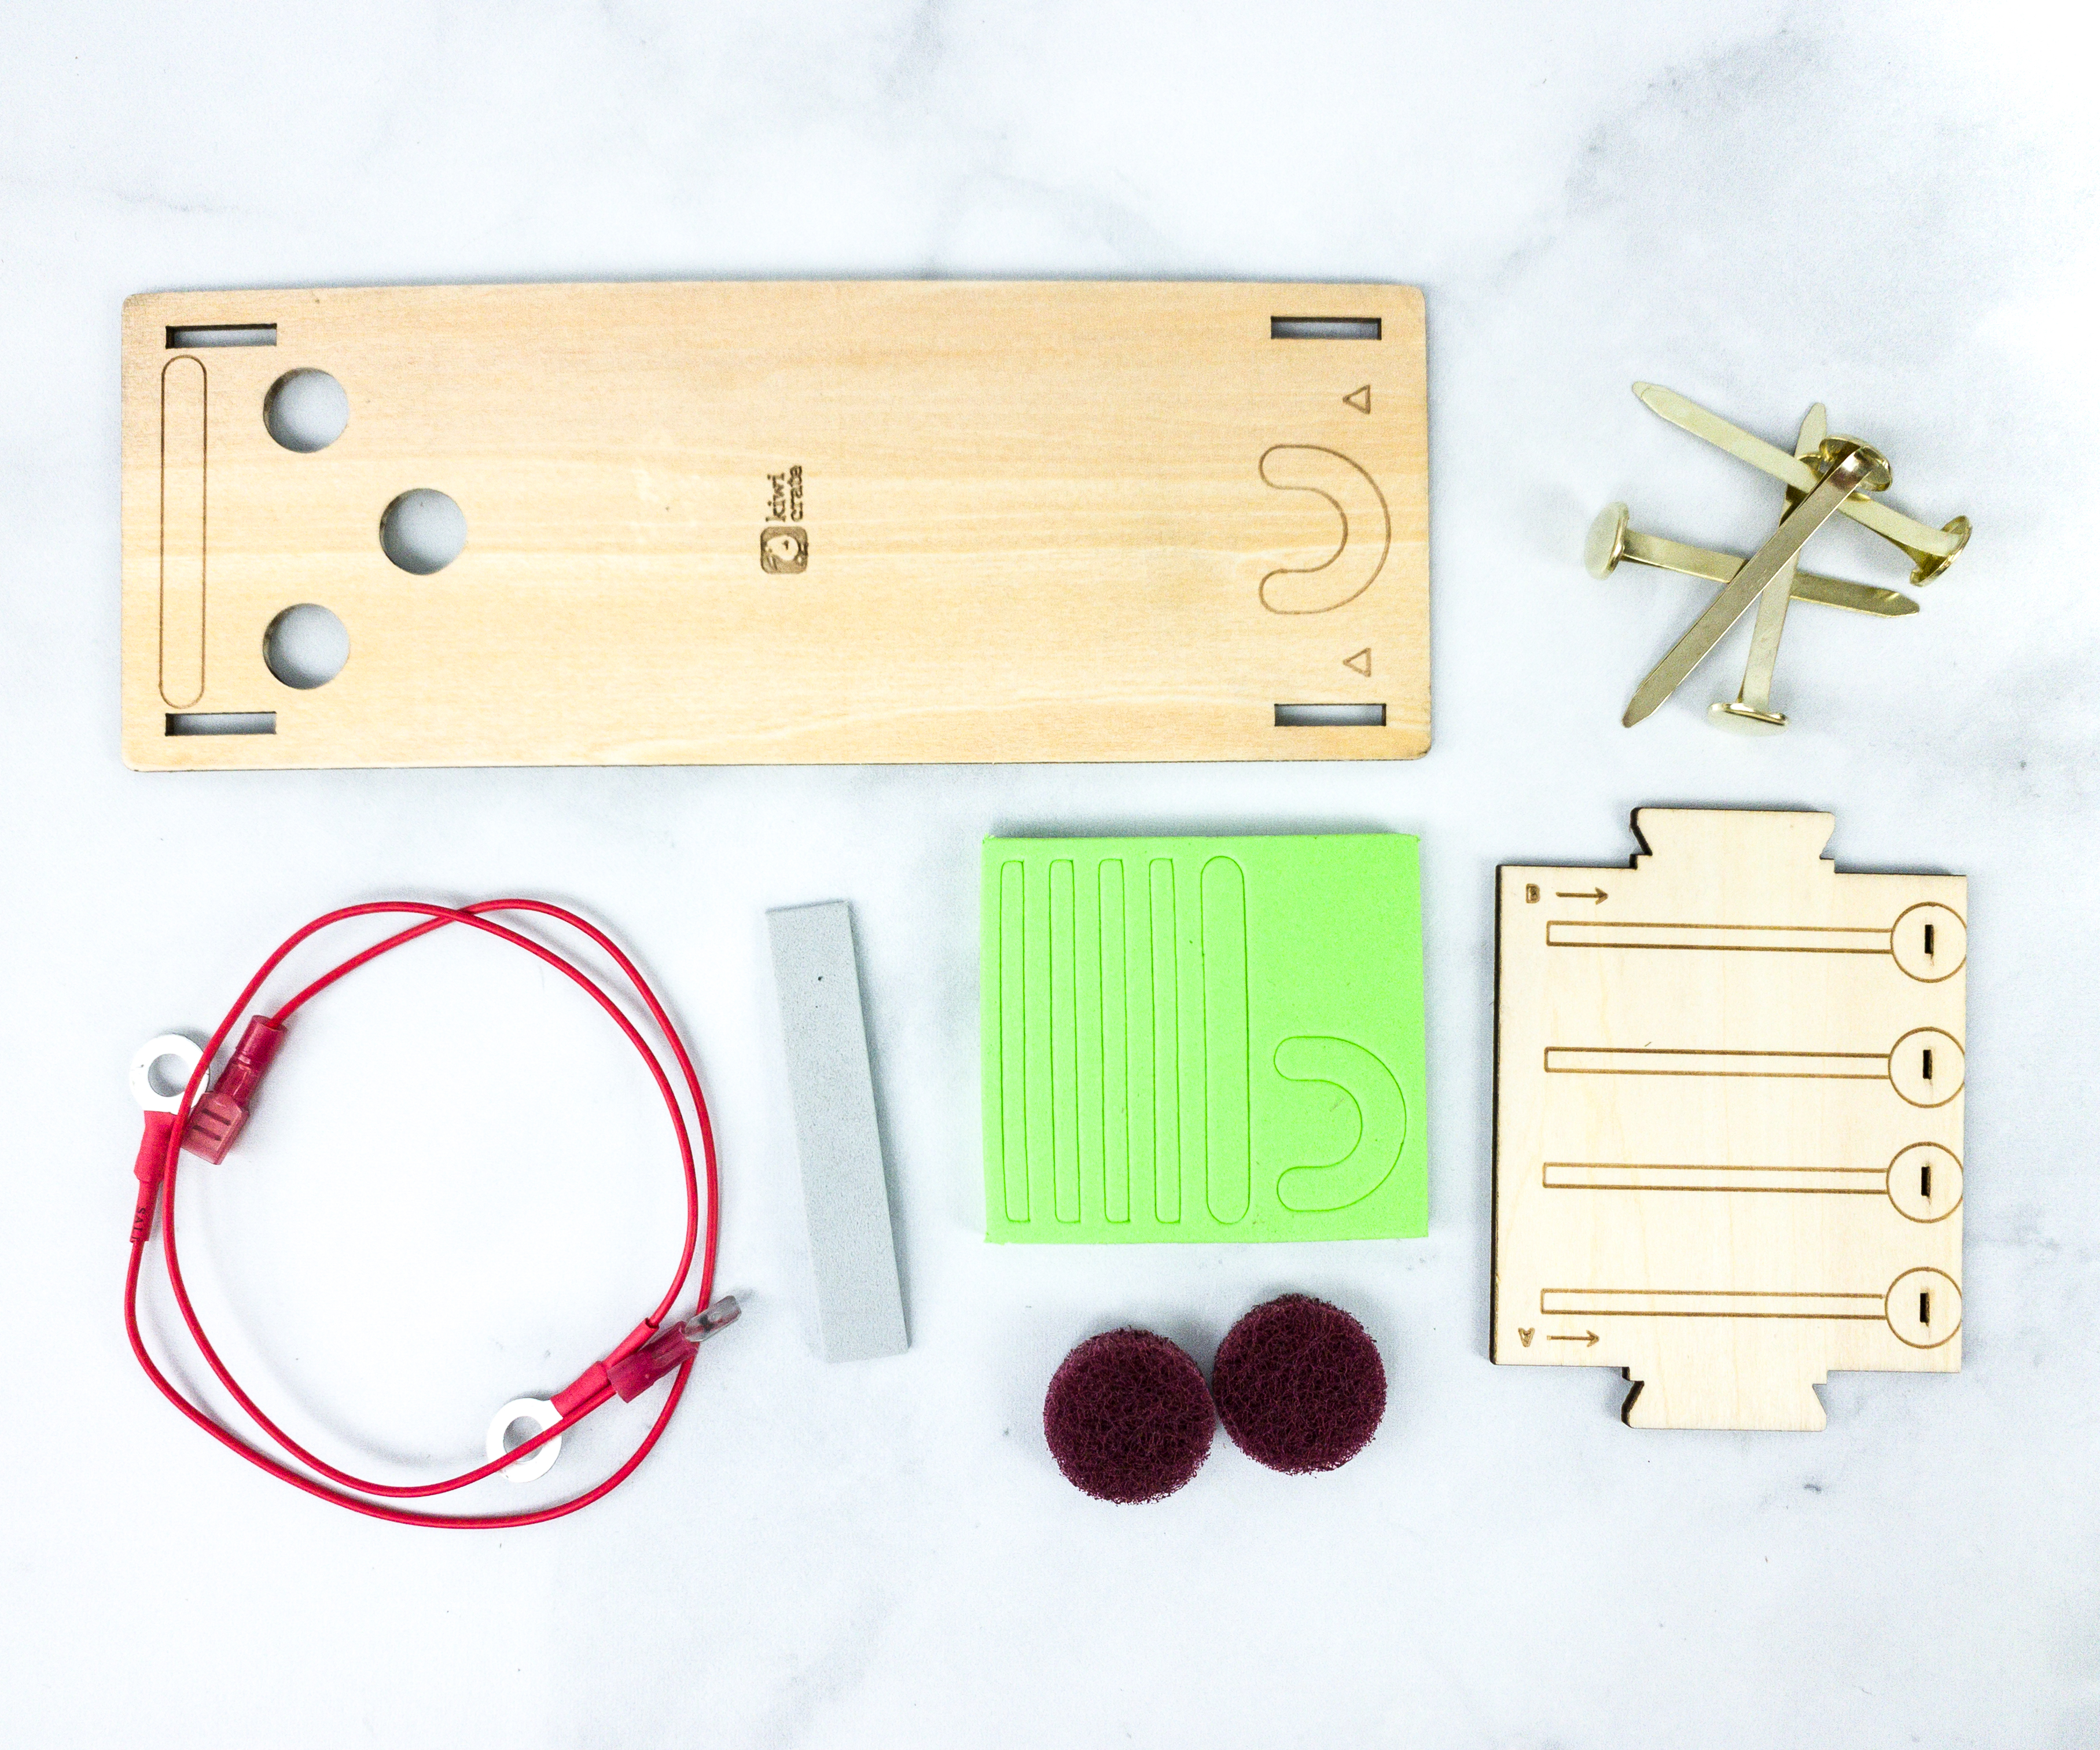
For the first part of the electric bowler, the materials include circuit board, game board, wires, foam tape, scratchy pads, dividers, and brads. We also used towels from our house!
Like the first project, this one also comes with a troubleshooting section which helps us solve the possible problems we may encounter while doing the project.
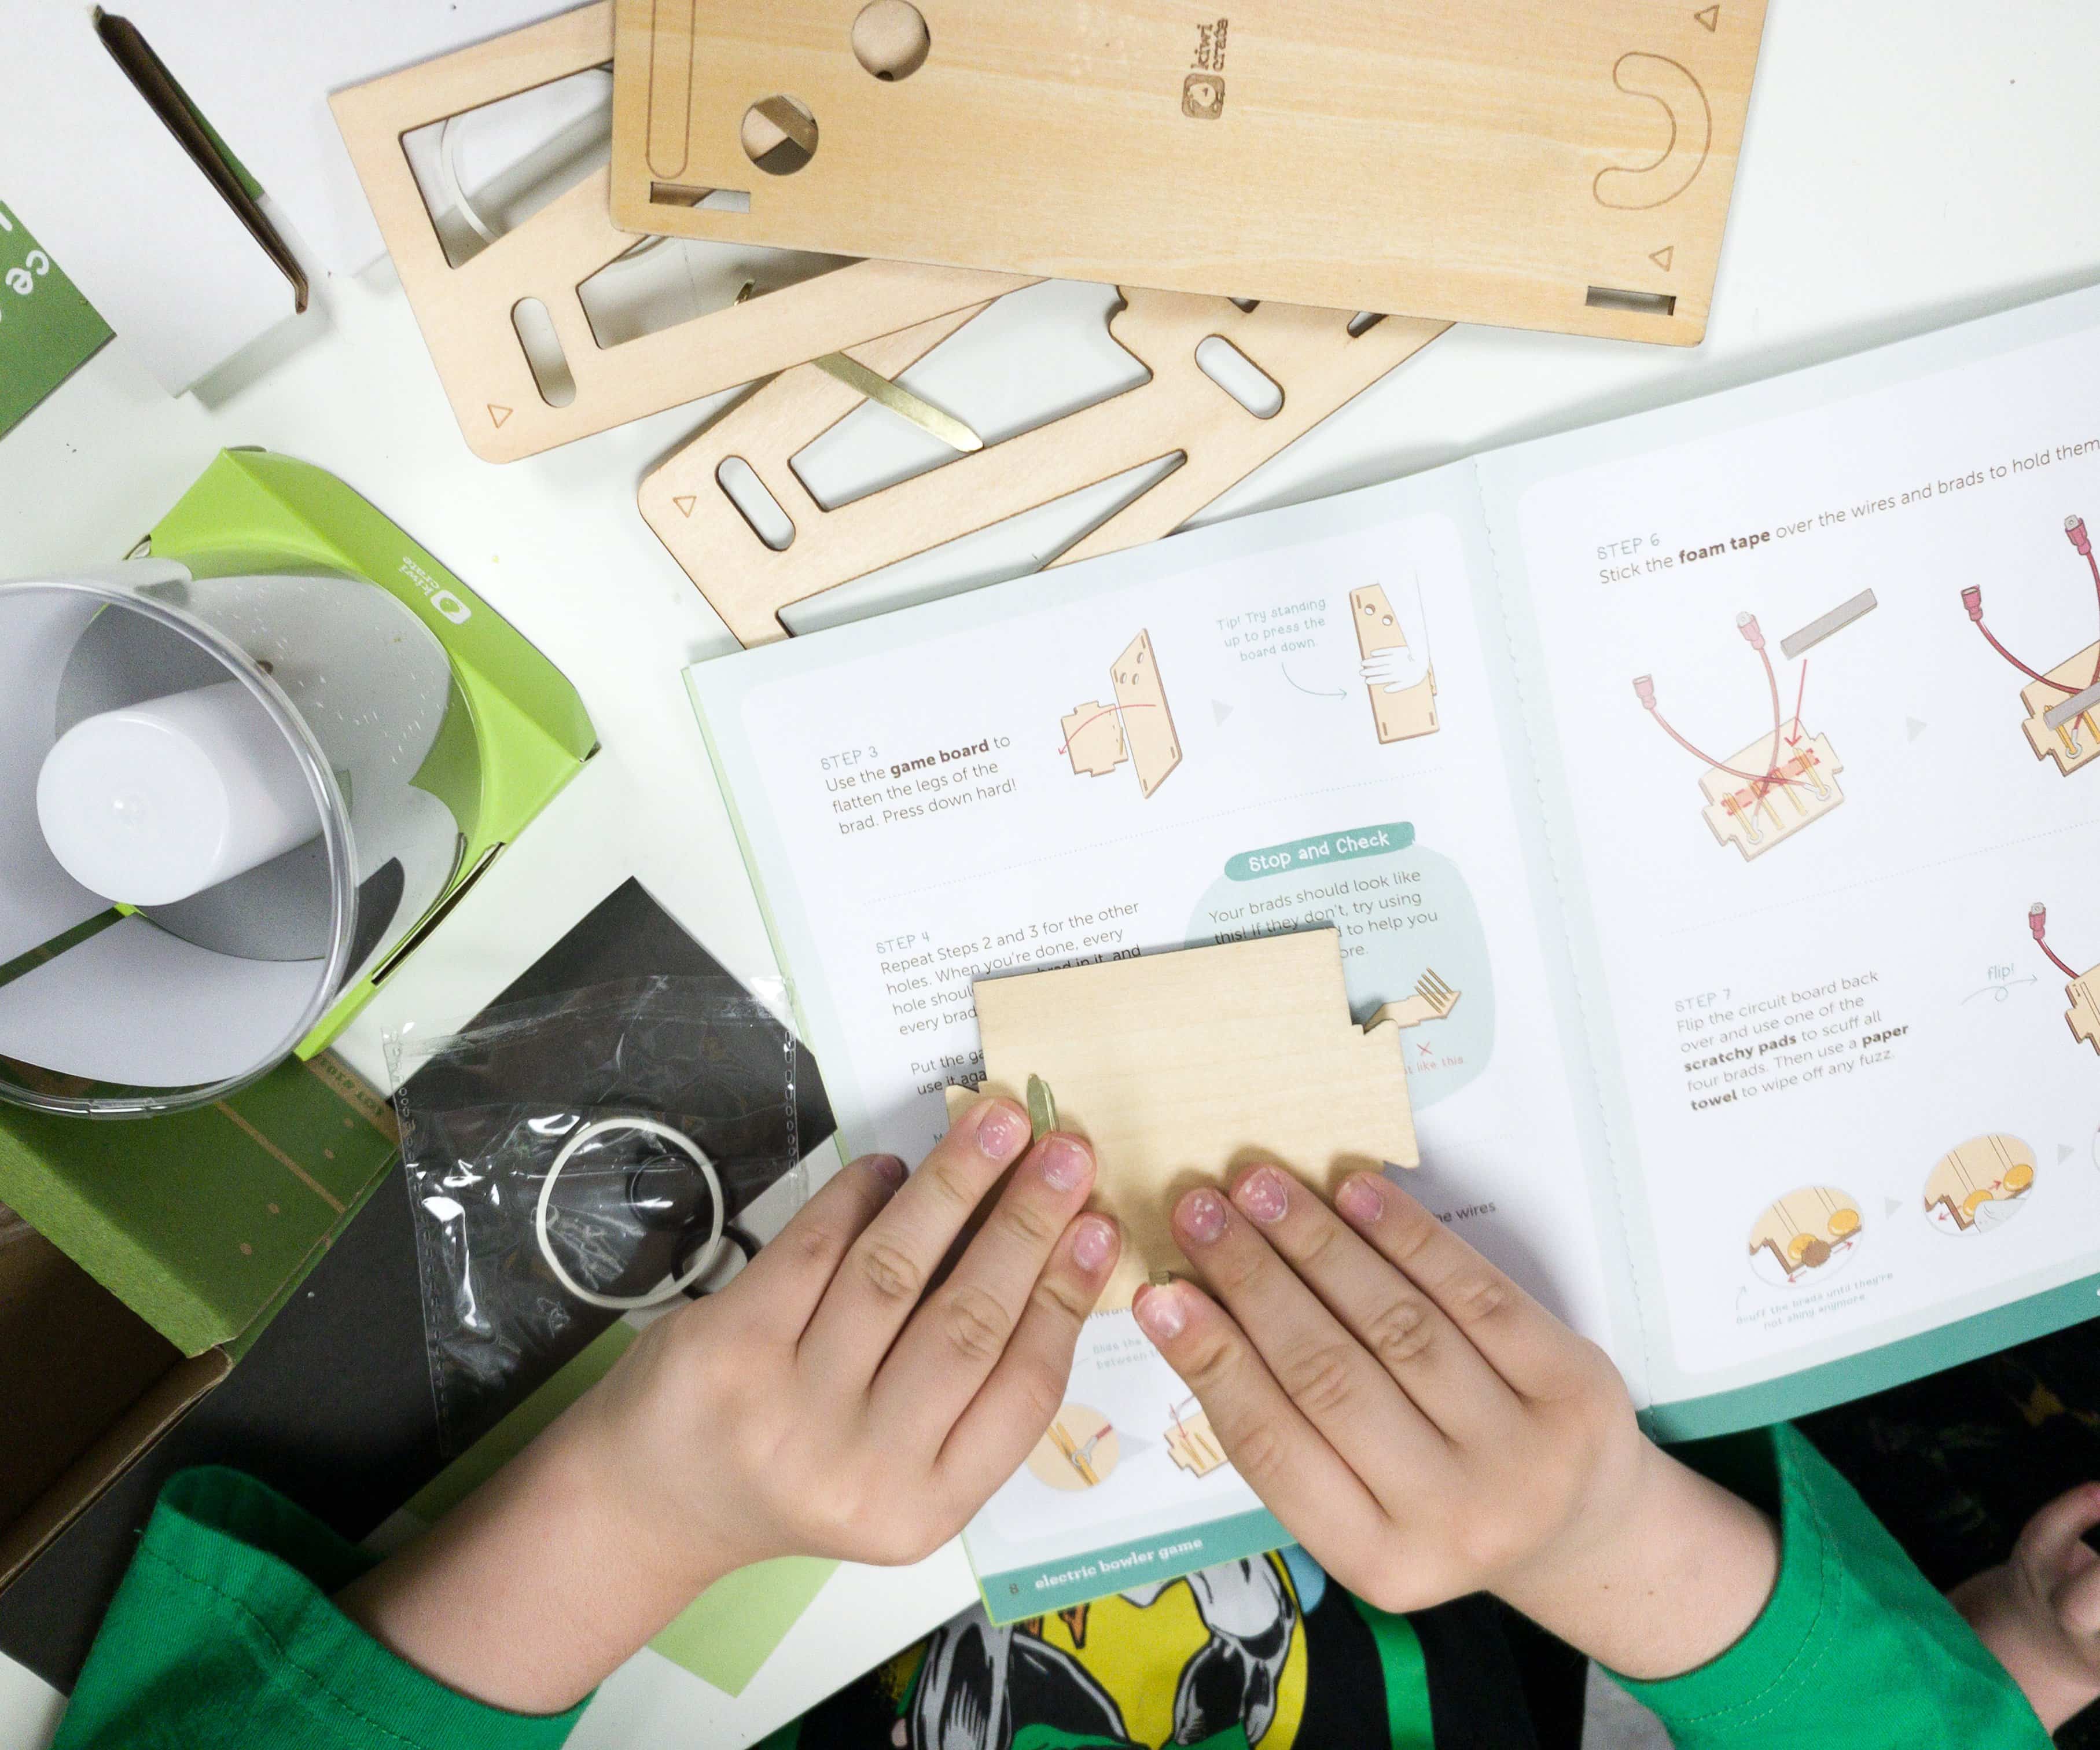
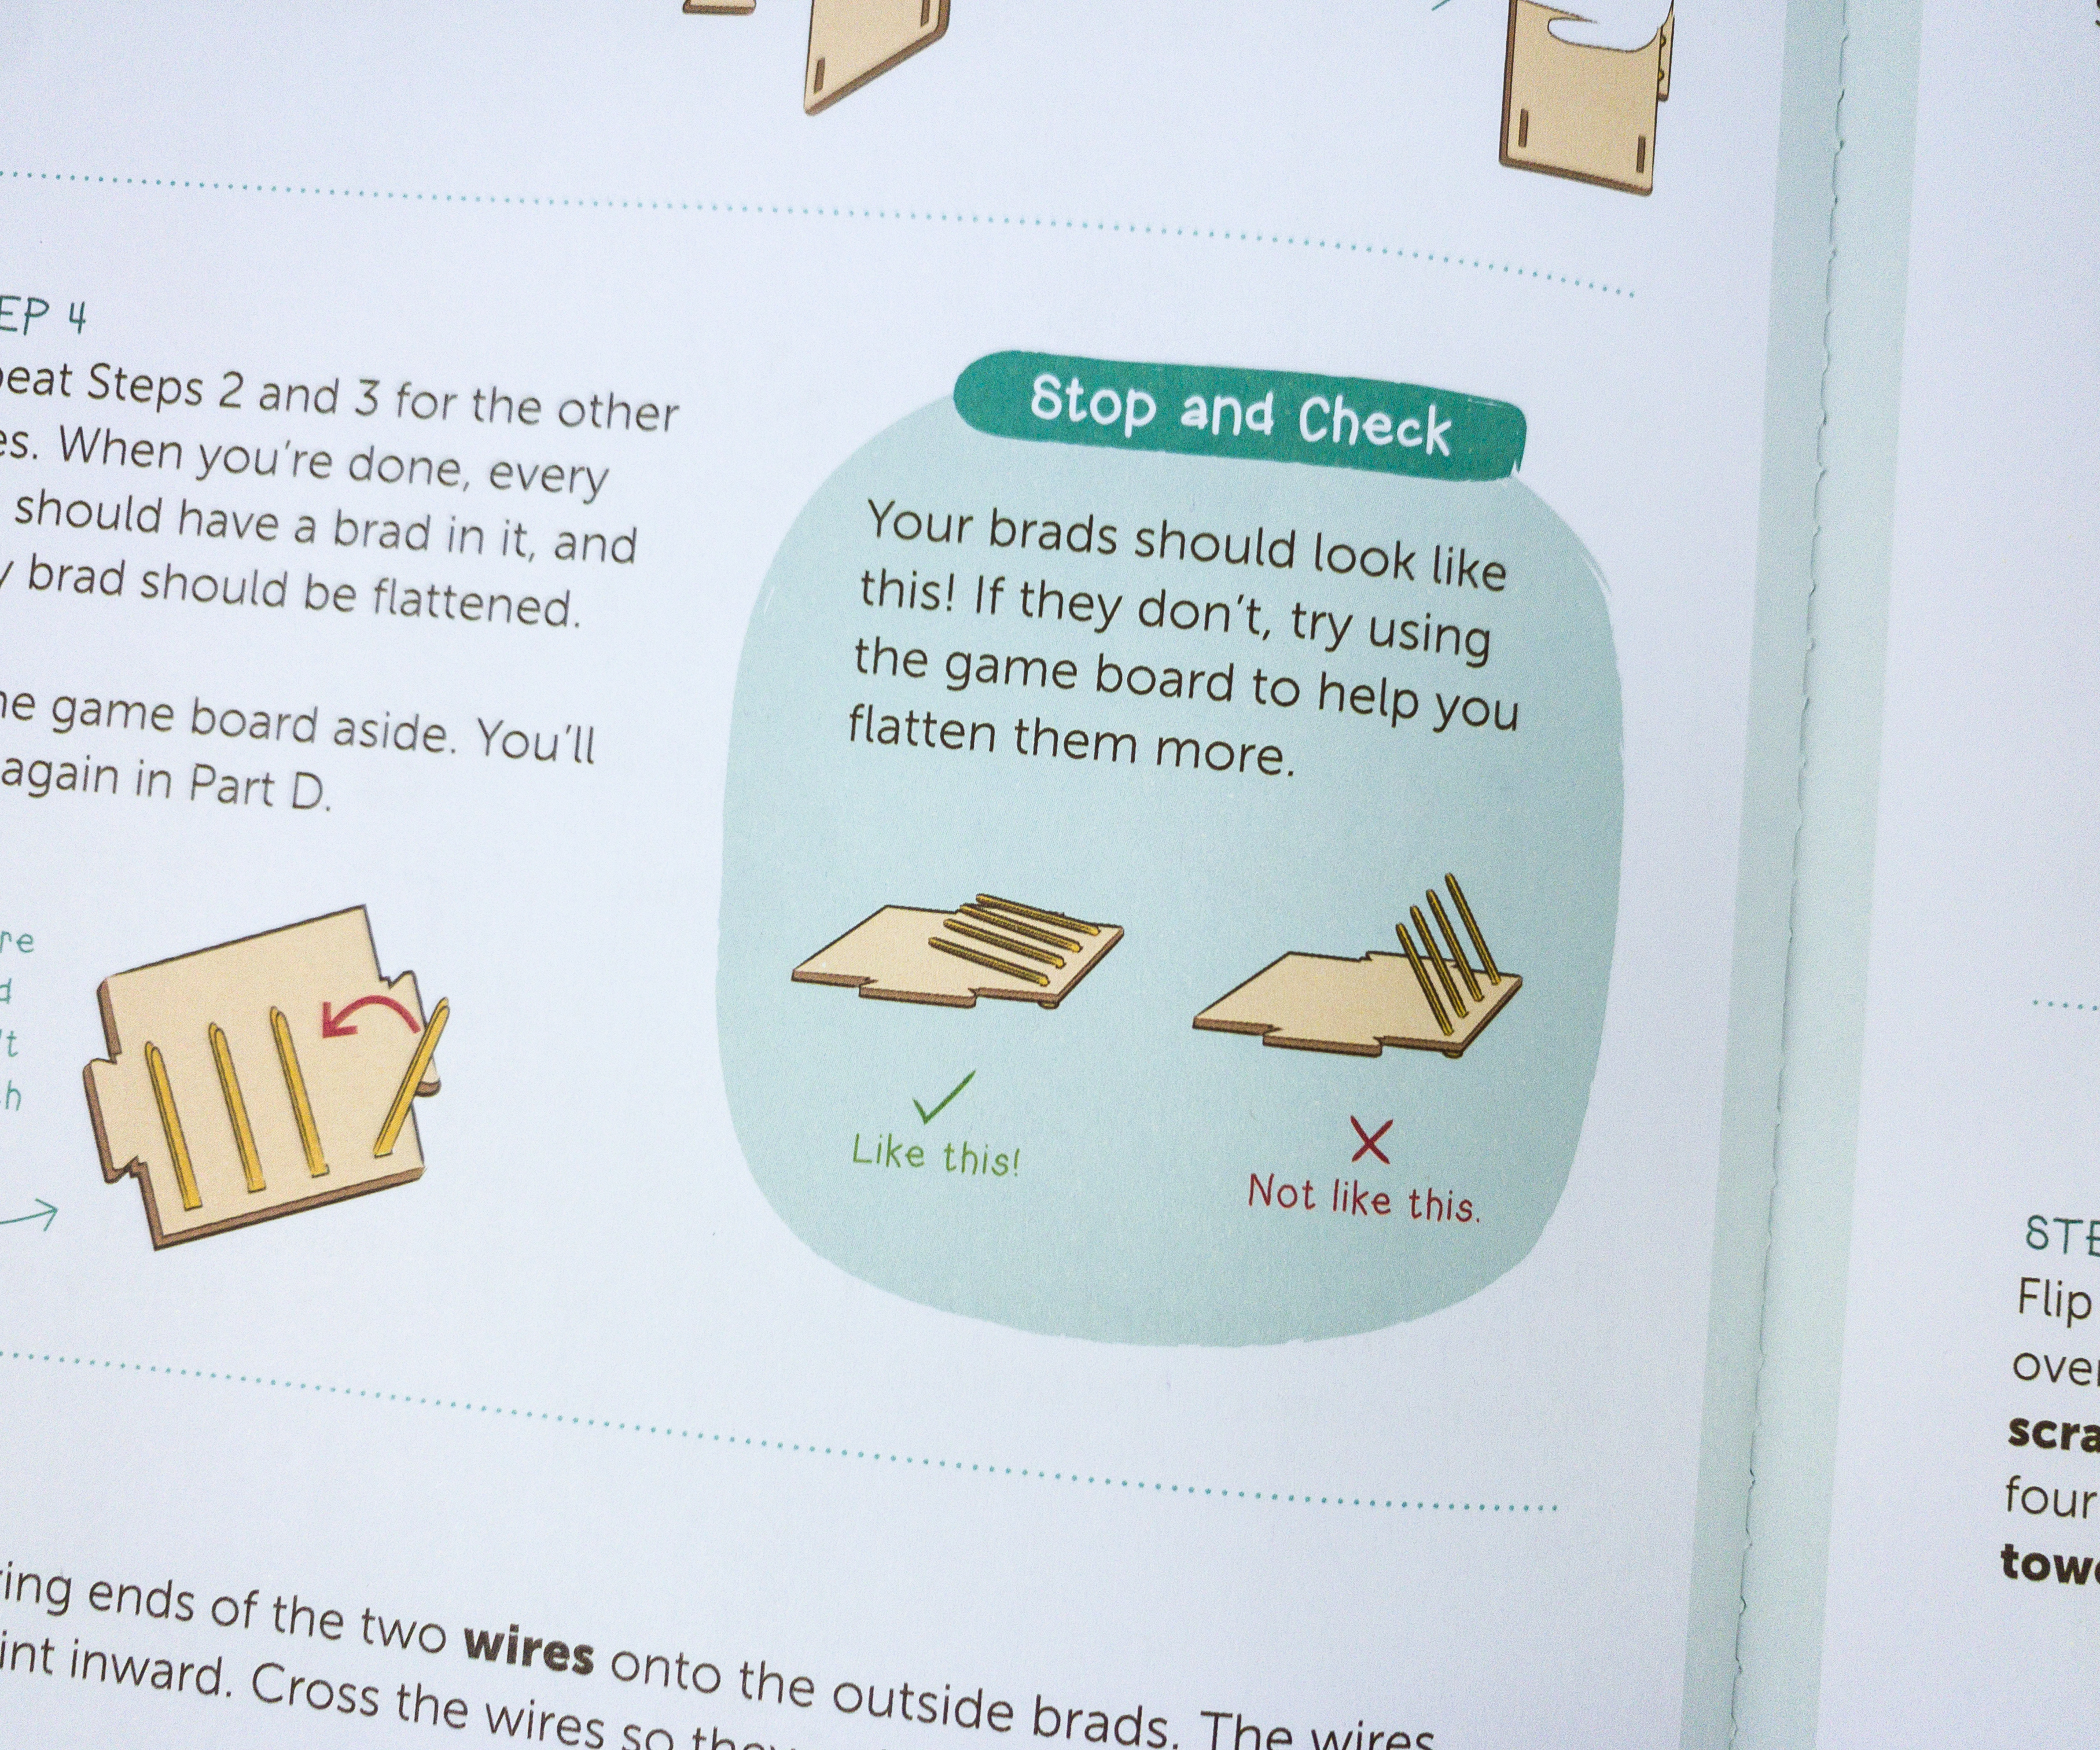
My son grabbed the circuit board, flipped it, and poked a brad on one of the holes in the board. Using the game board, he also flattened the legs of the brad by pressing it down hard. Then, he repeated the second and the third step for the rest of the holes.
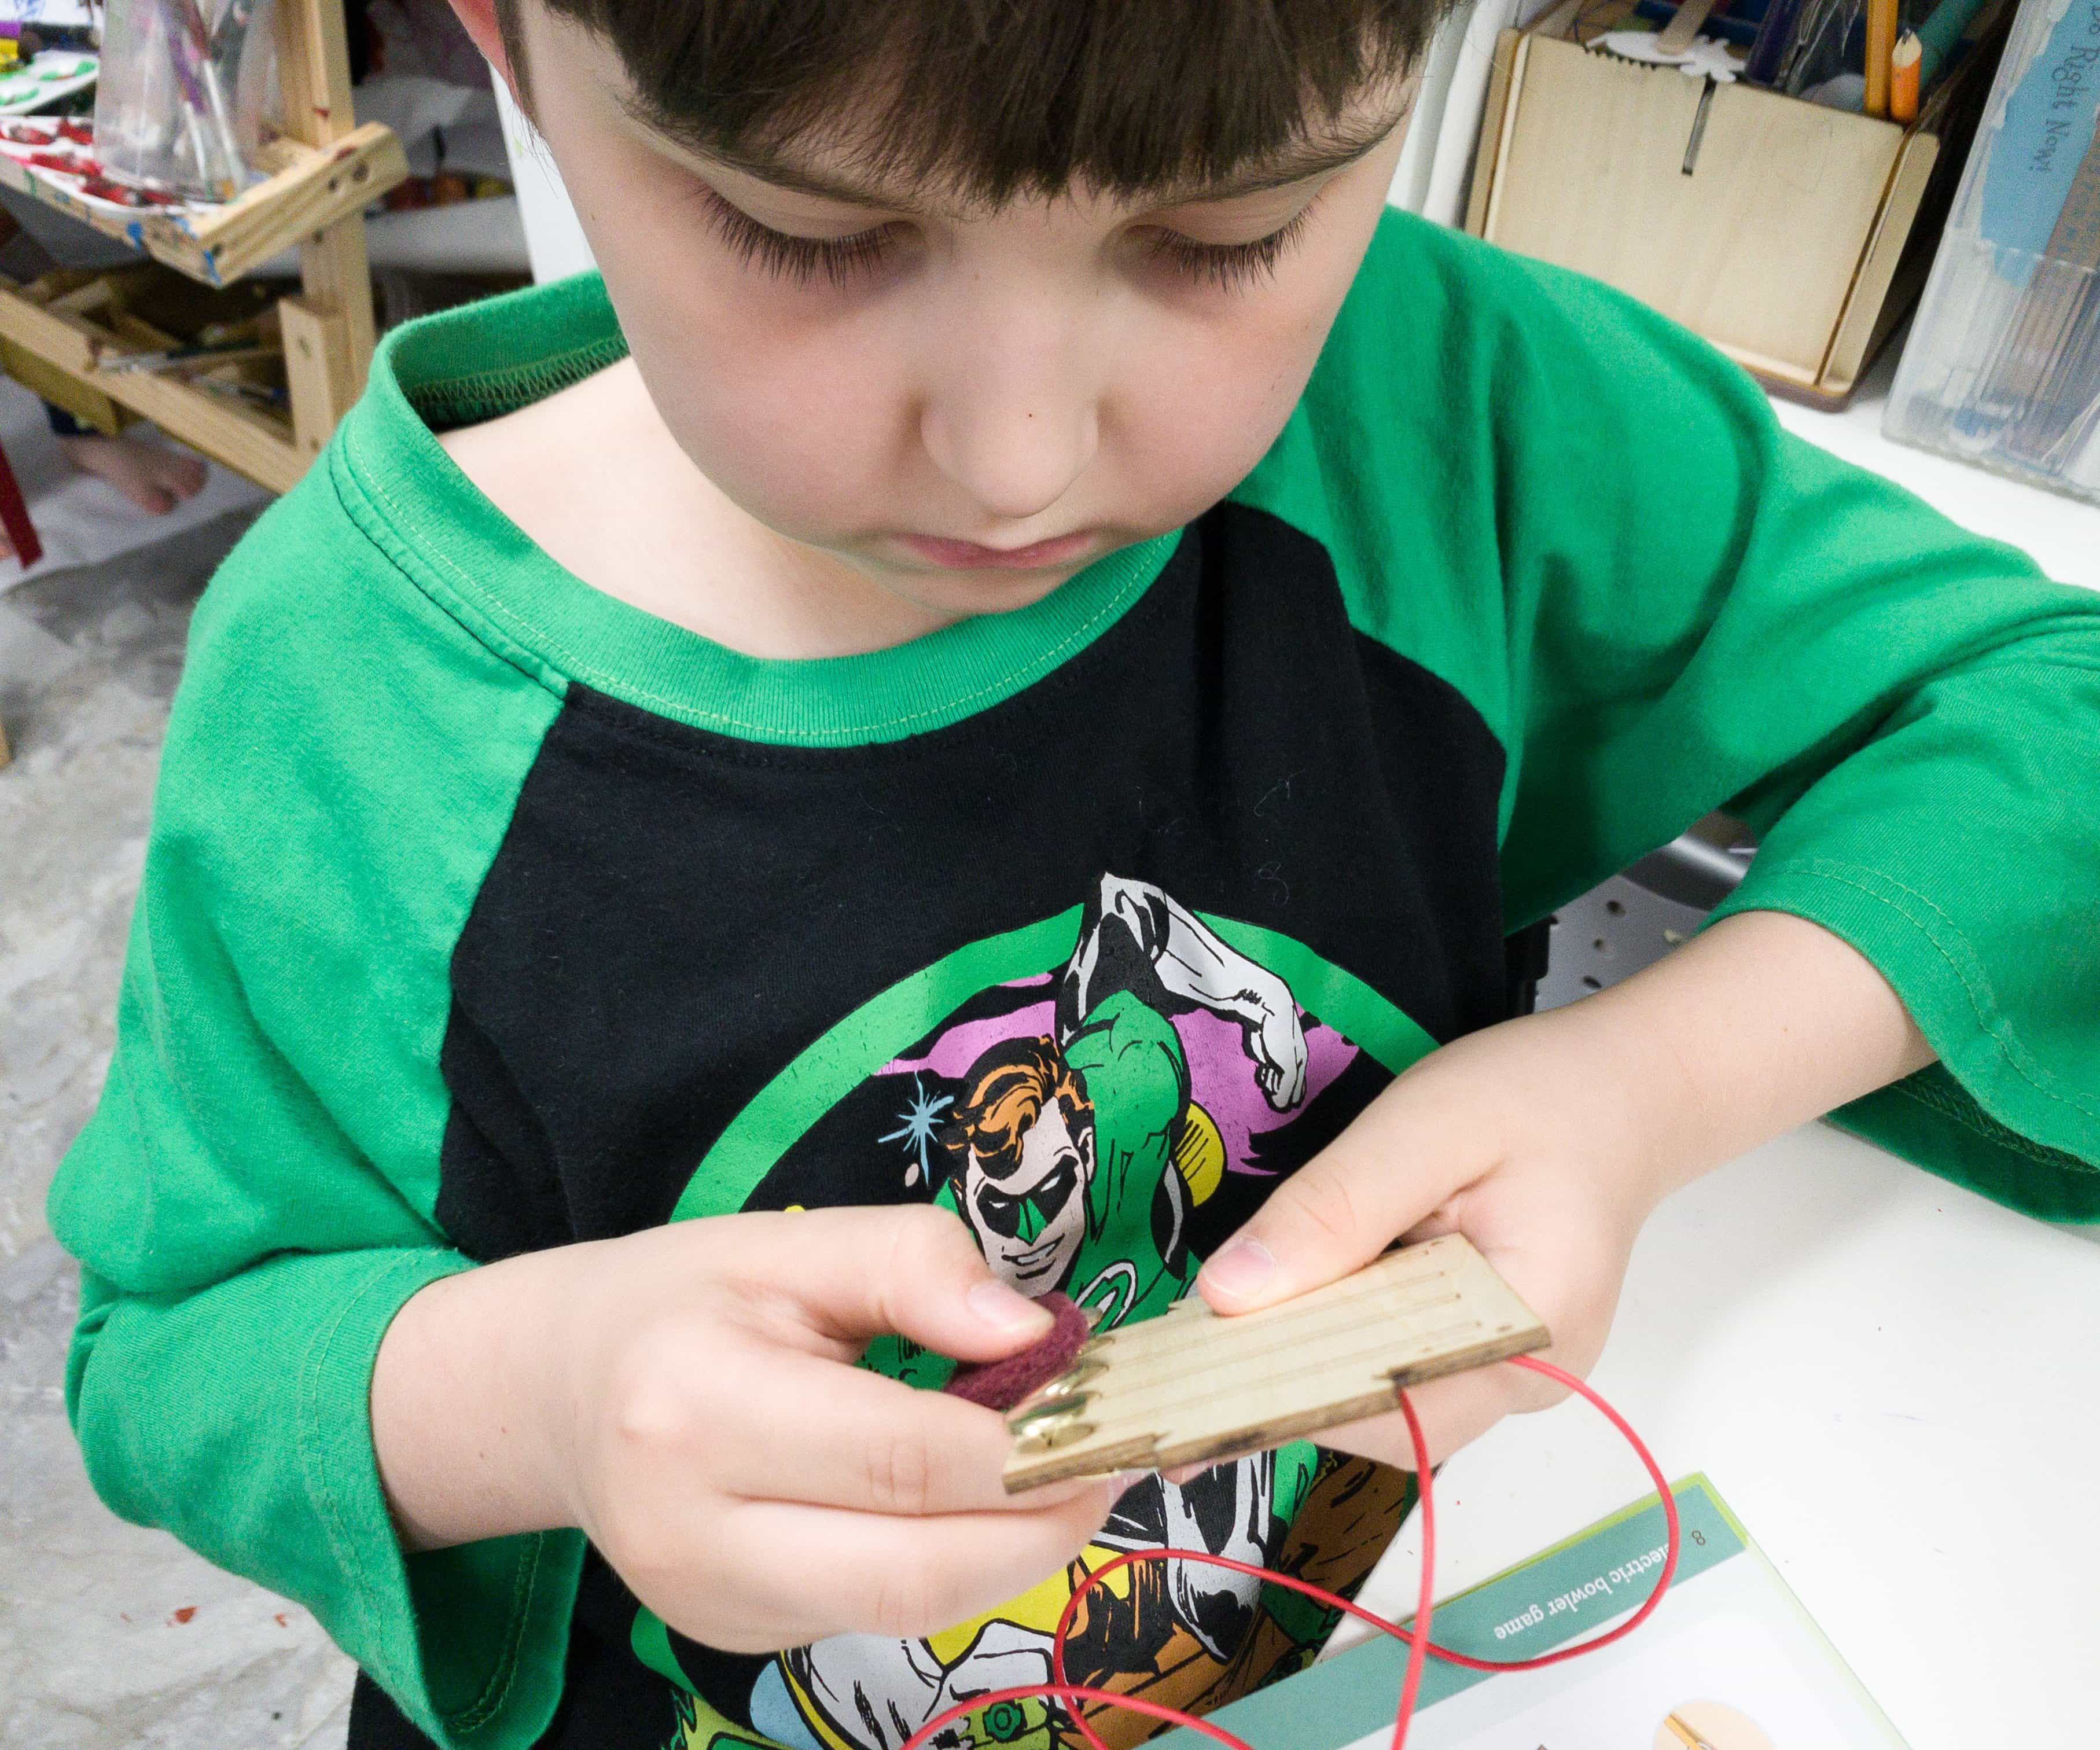
The next step is to rub all four brads thoroughly. My son did it using the scratchy pads and then he also got a paper towel to wipe off any fuzz.
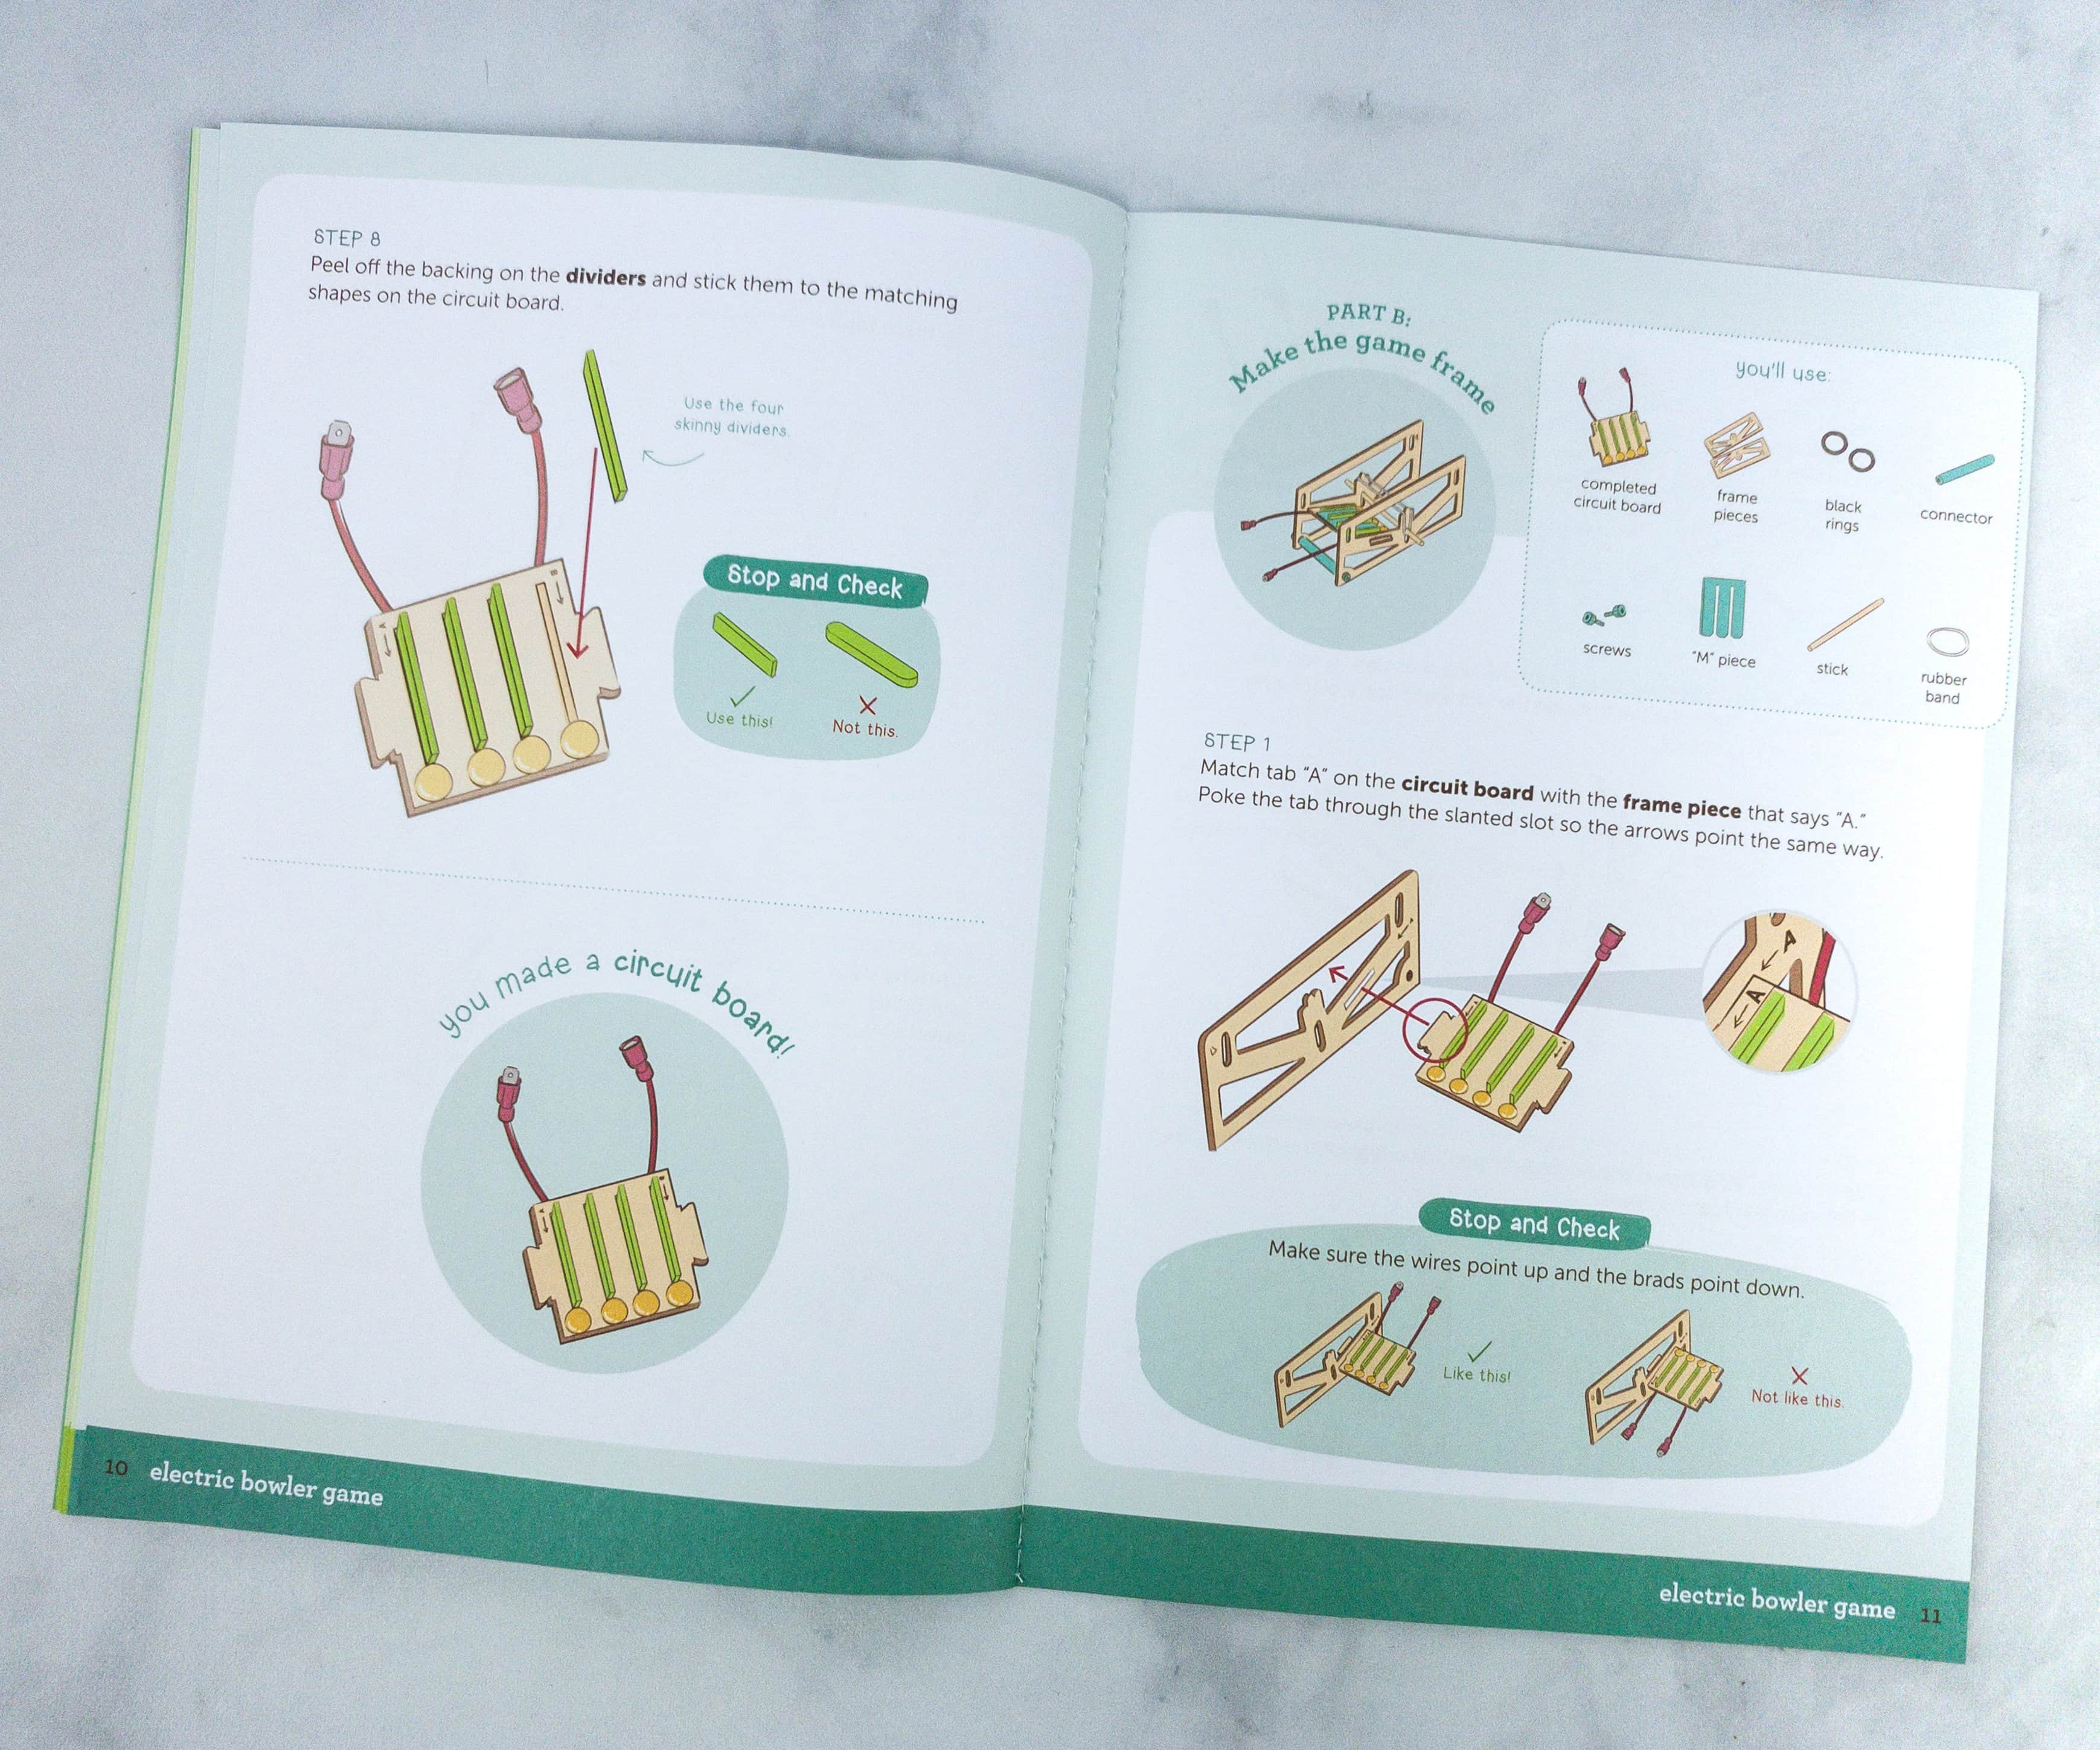
For the final step, we put the green dividers on the circuit board!
Tip: Look at the stop and check section to see how the divider should be positioned.
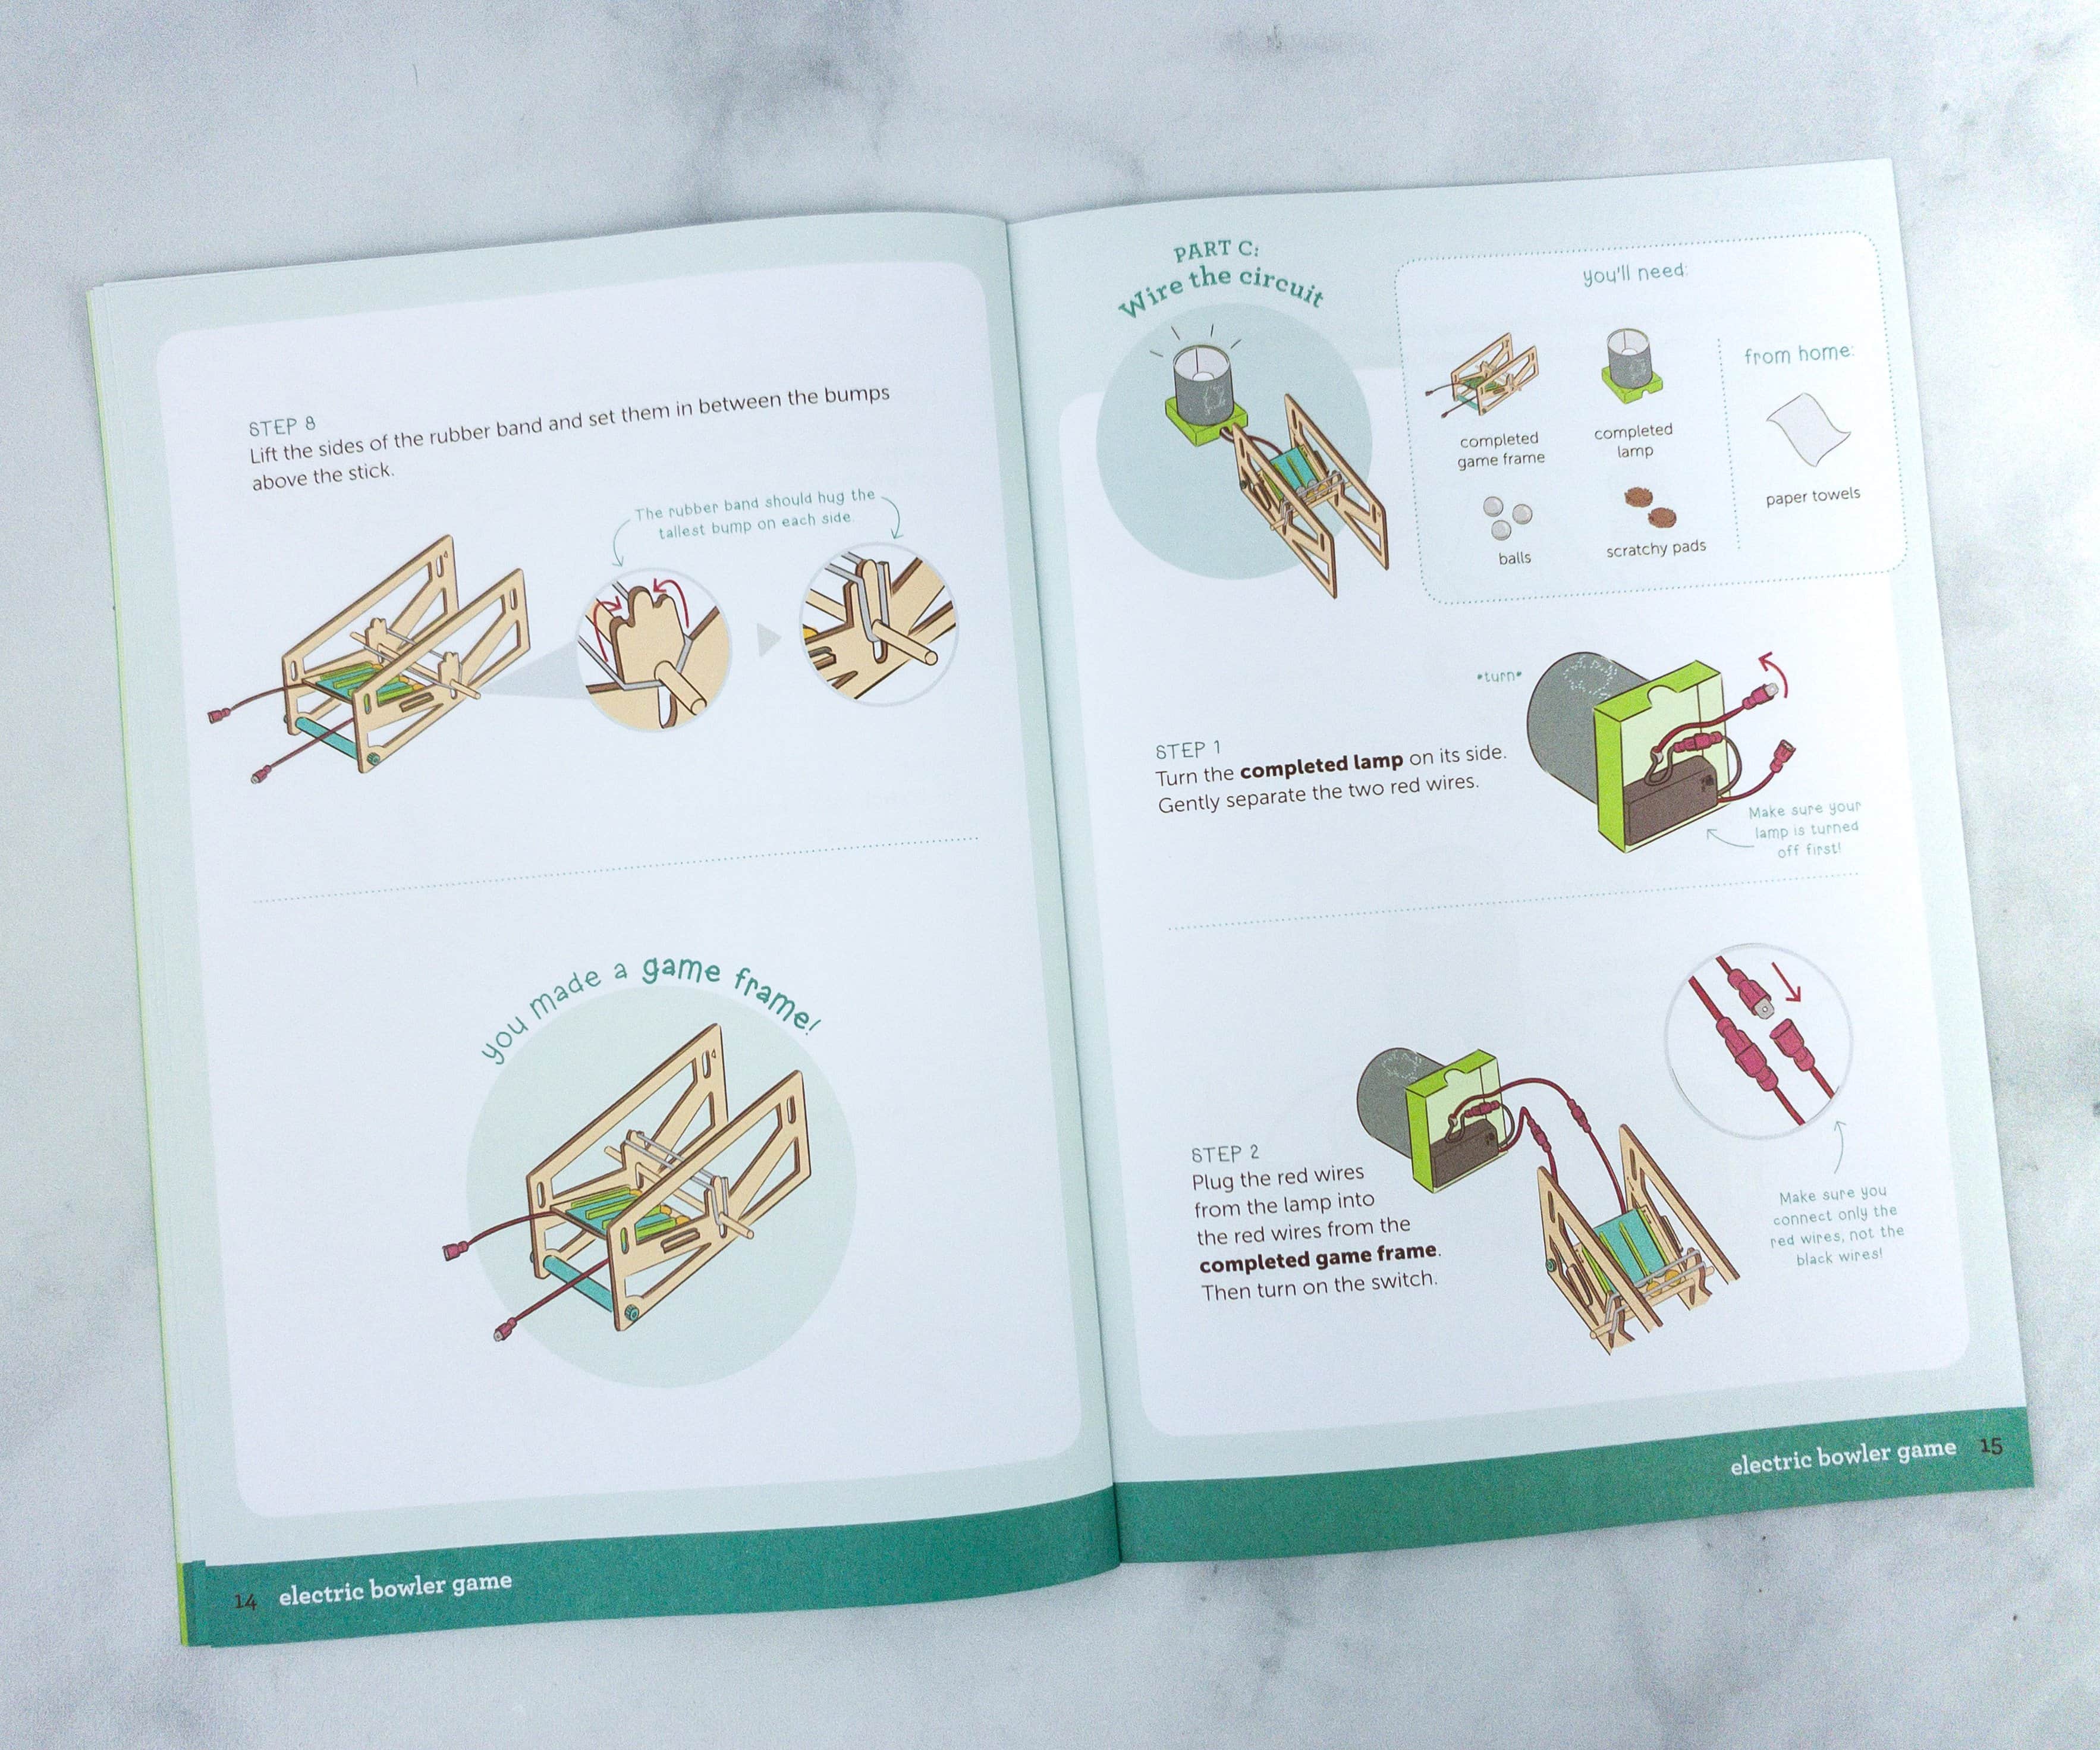
The second and third part of the project is about building the frame and wiring the circuit.
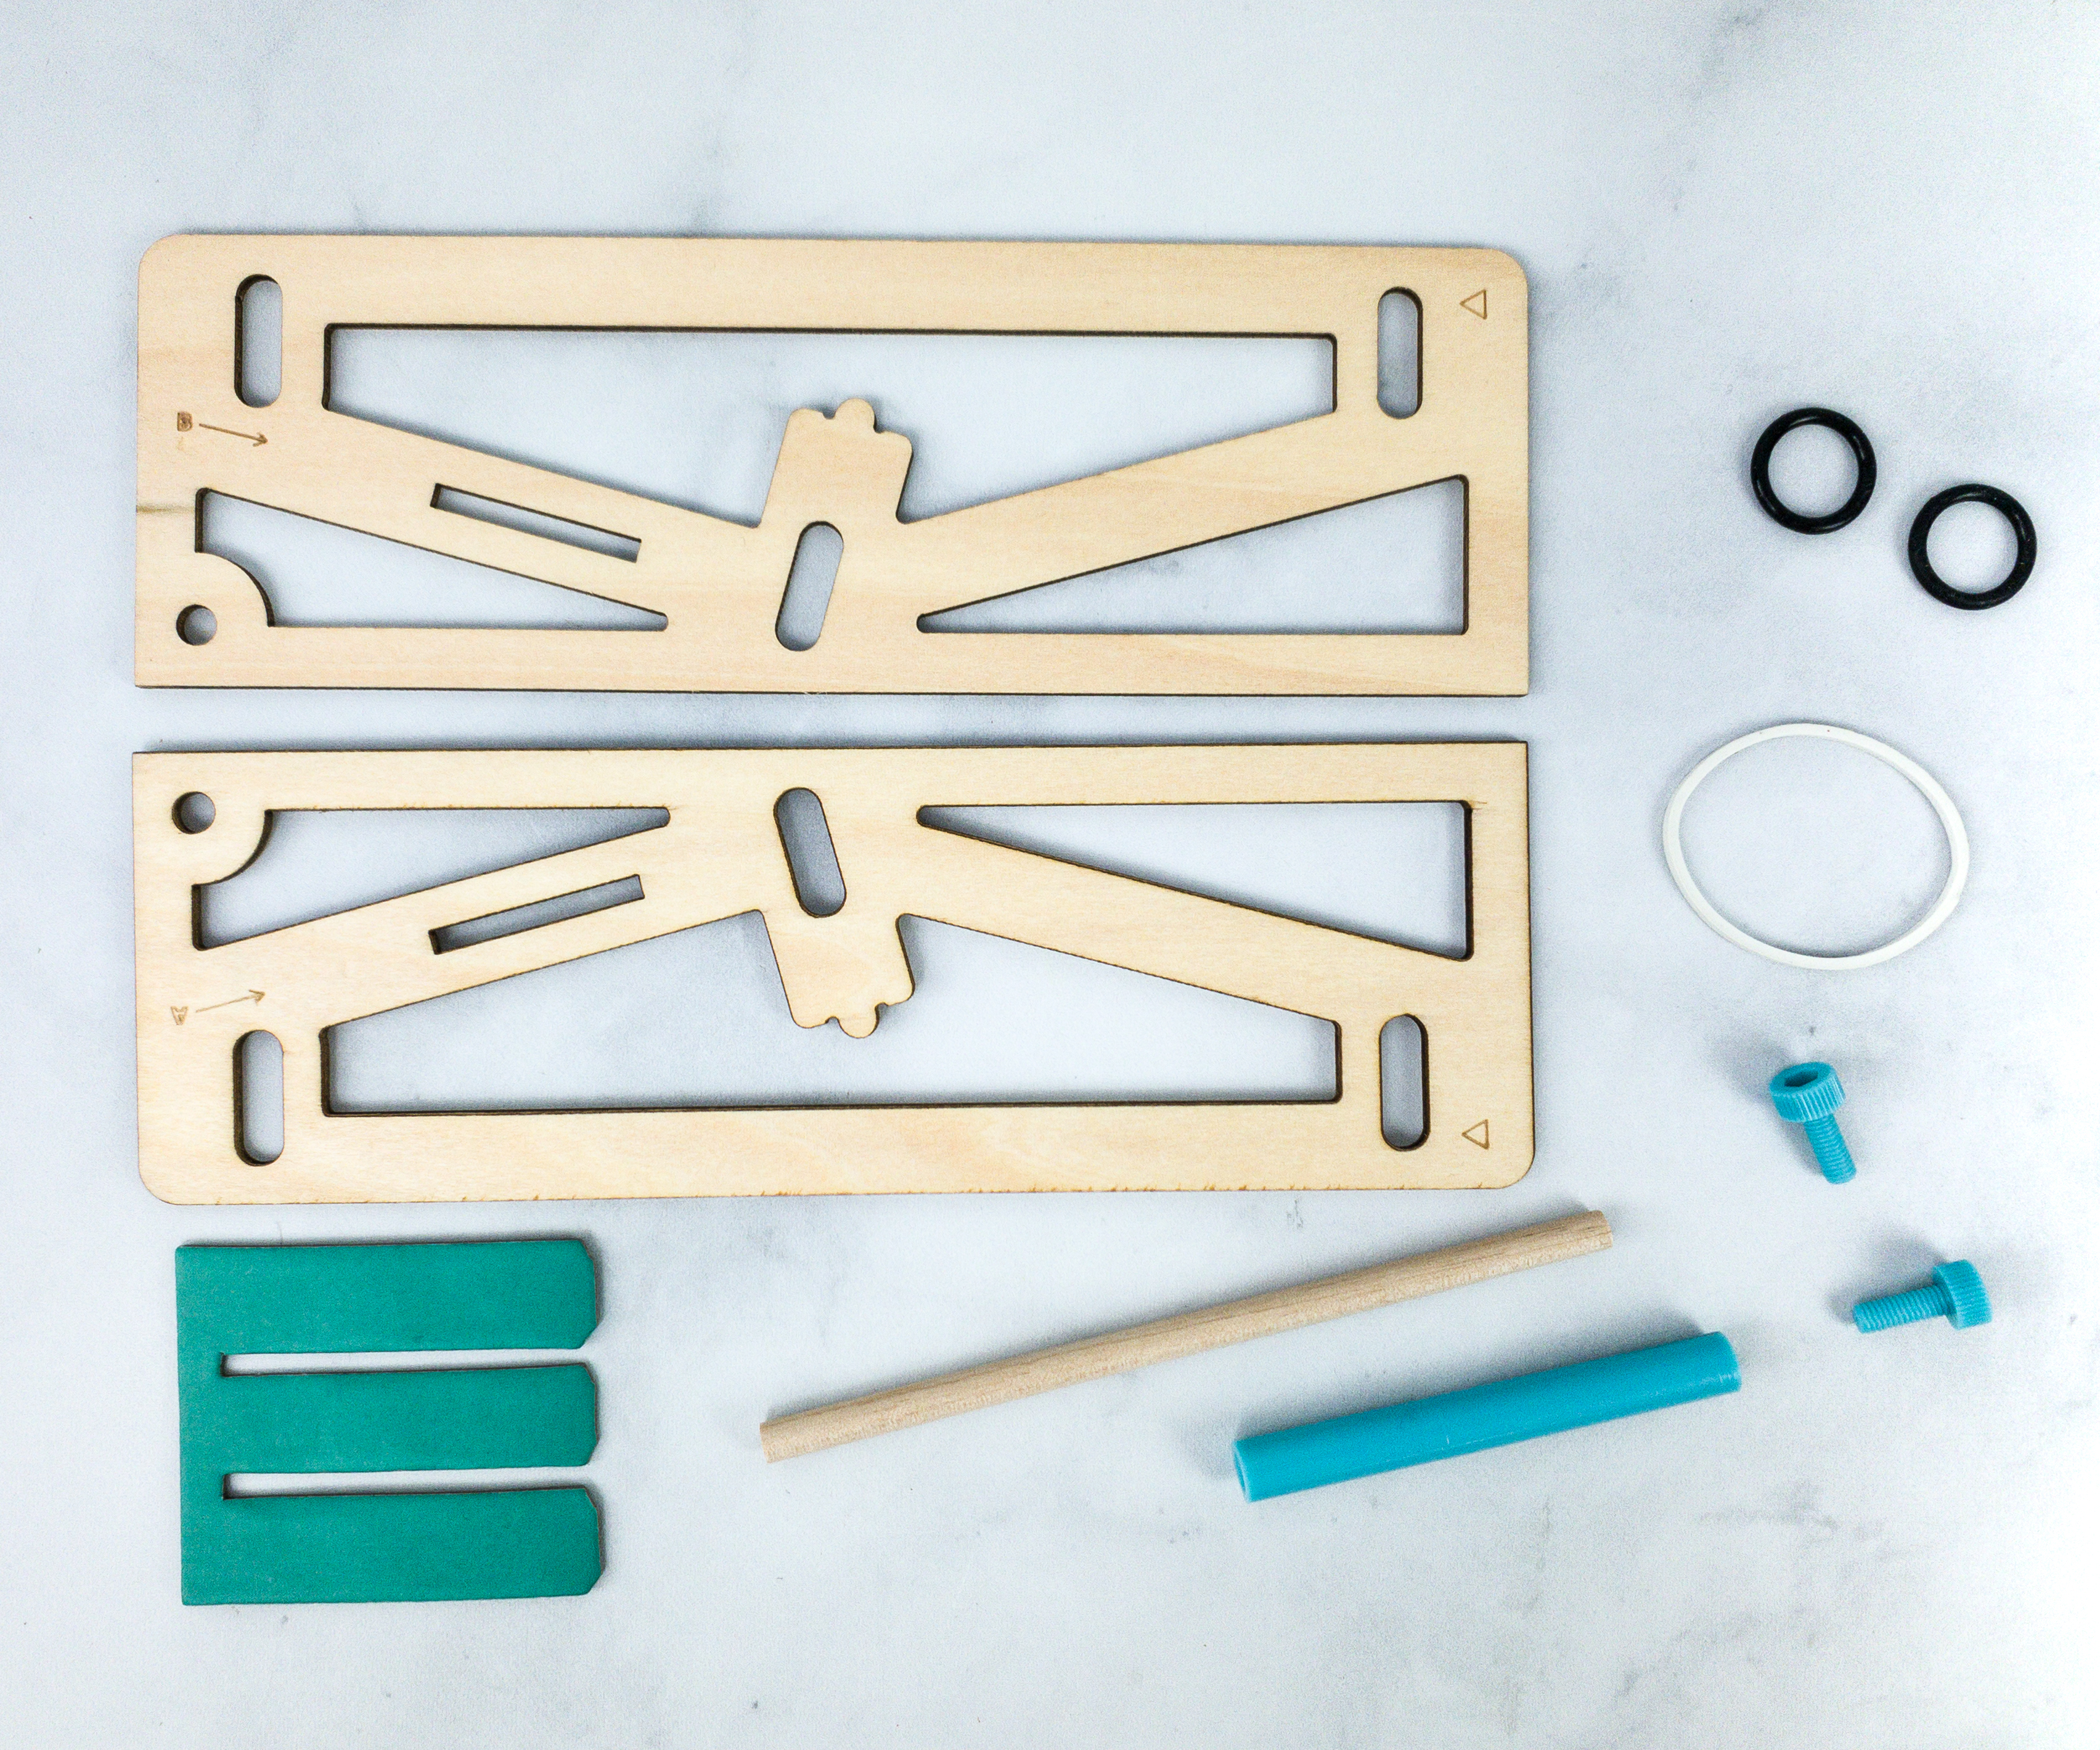
For this part, they provided frame pieces, black rings, connectors, screws, an “M” piece, and a rubber band.
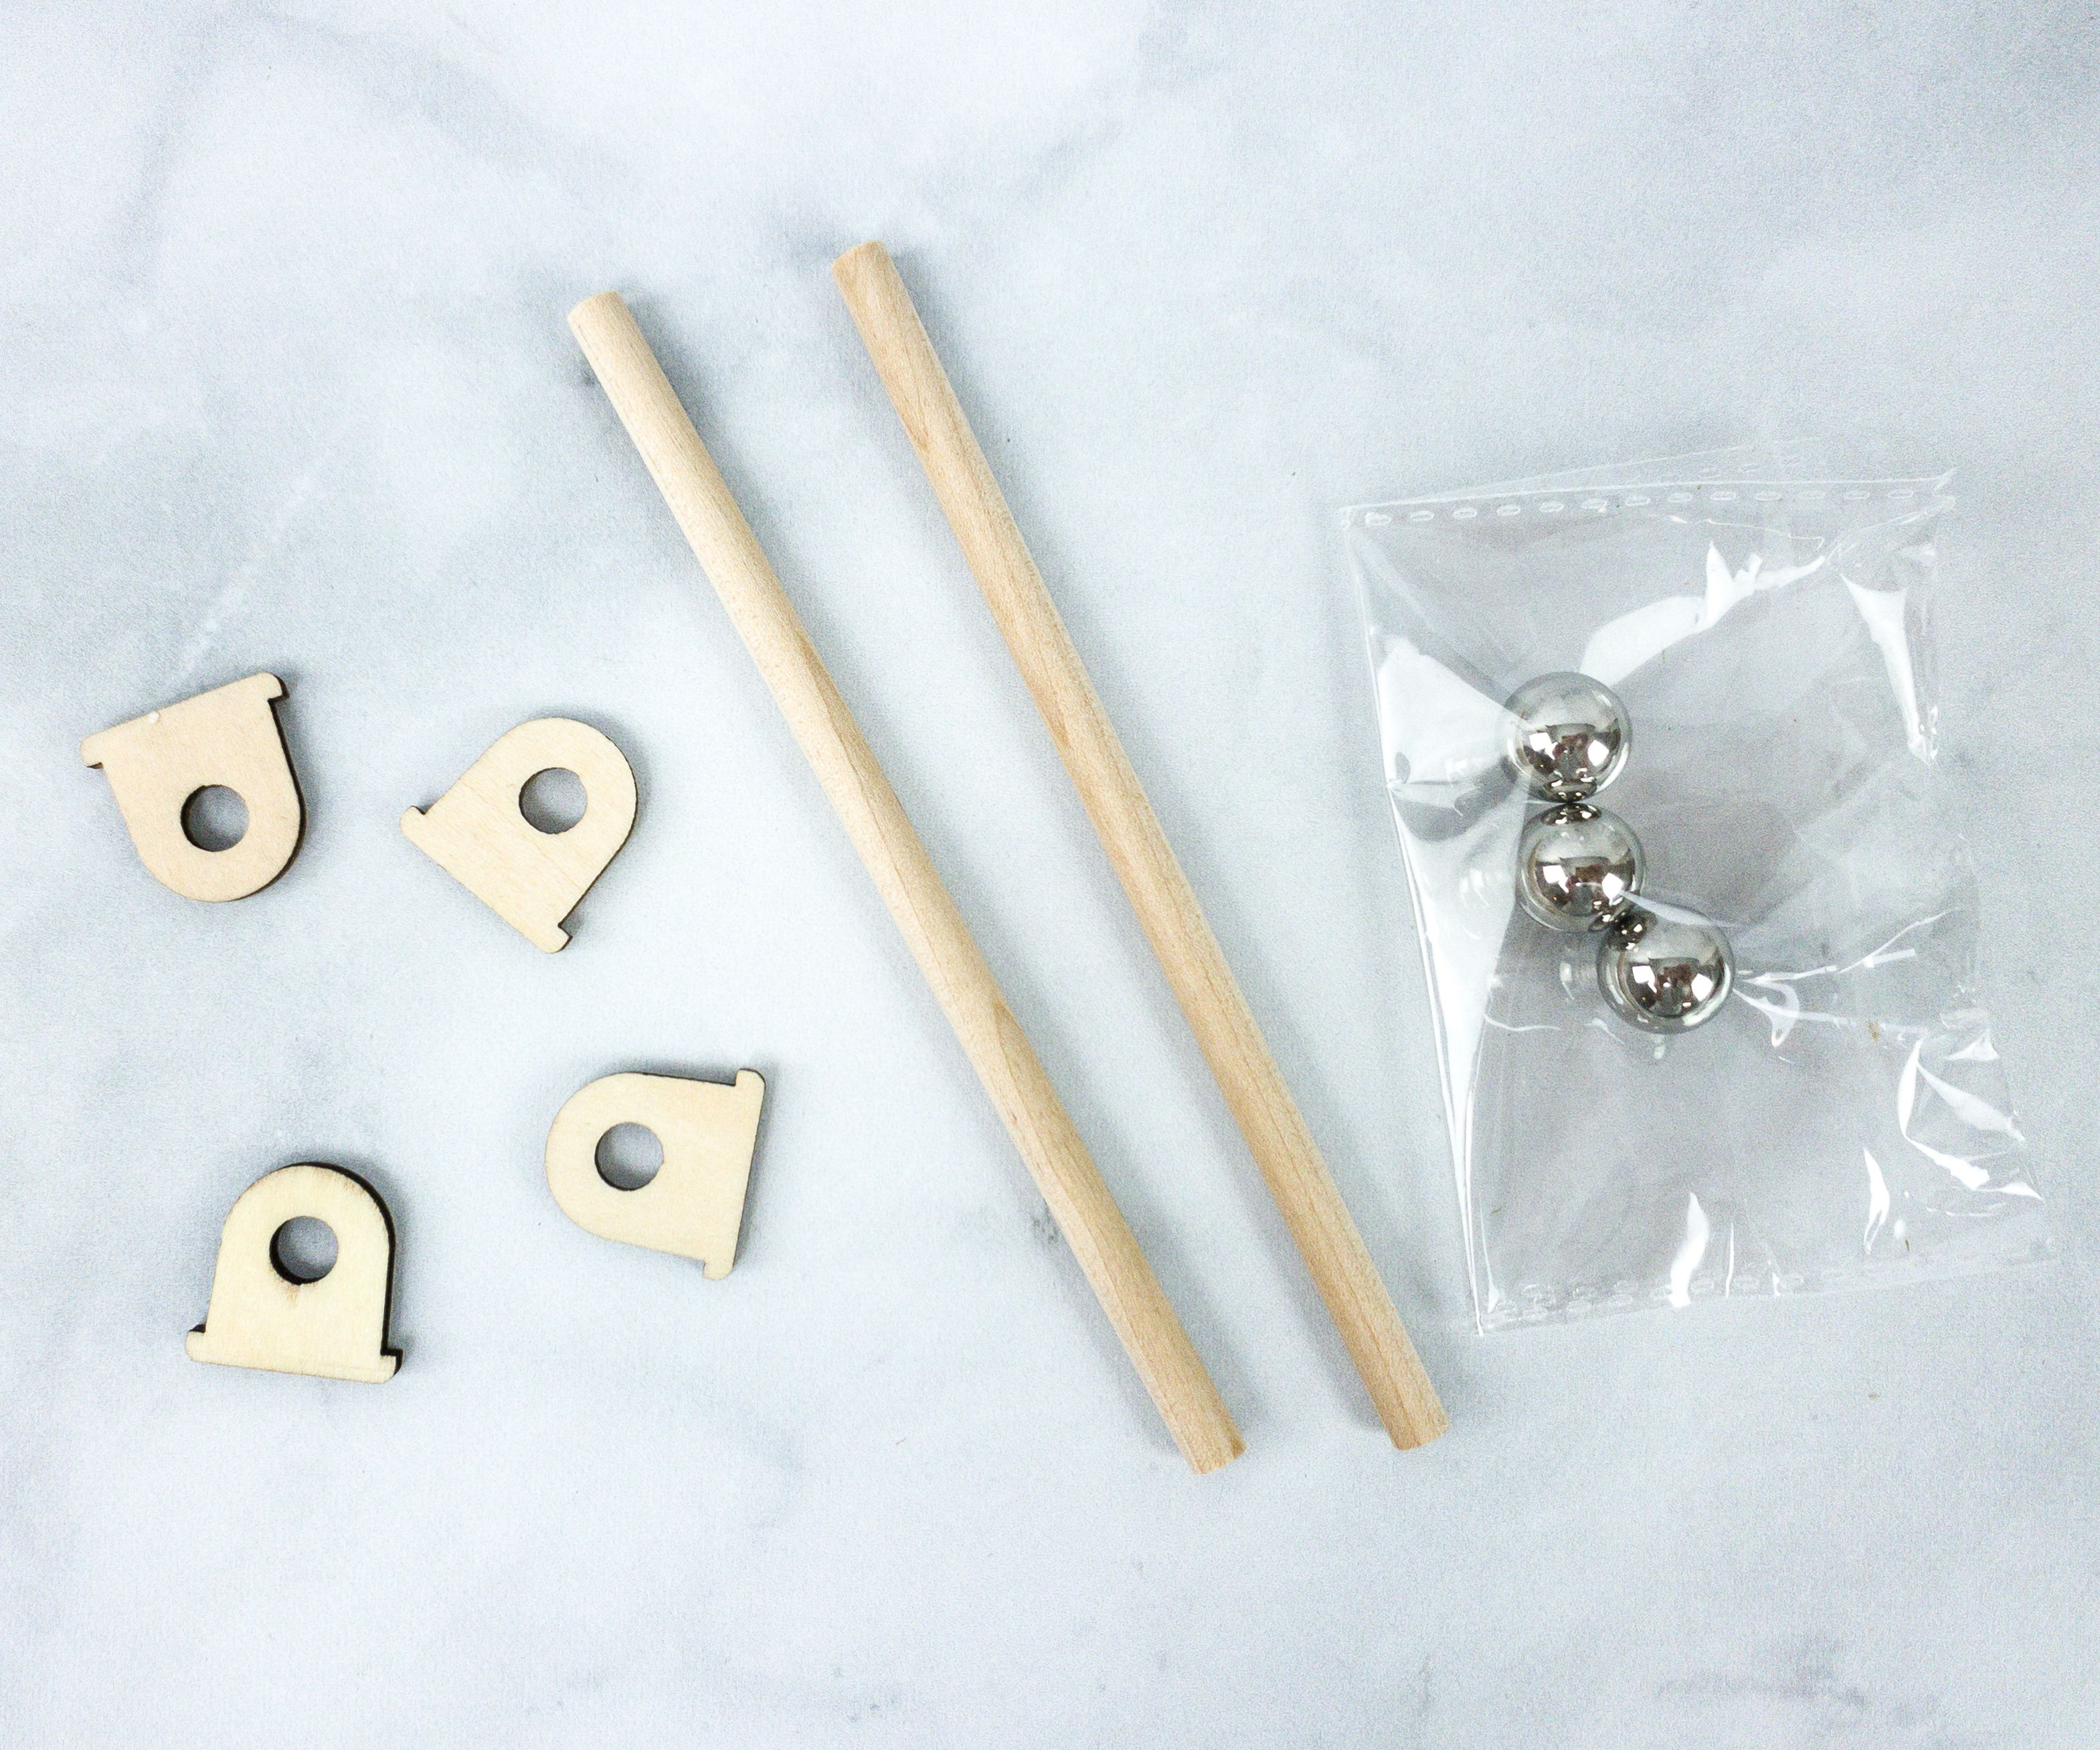
There are also sticks, metal balls, and stick holders.
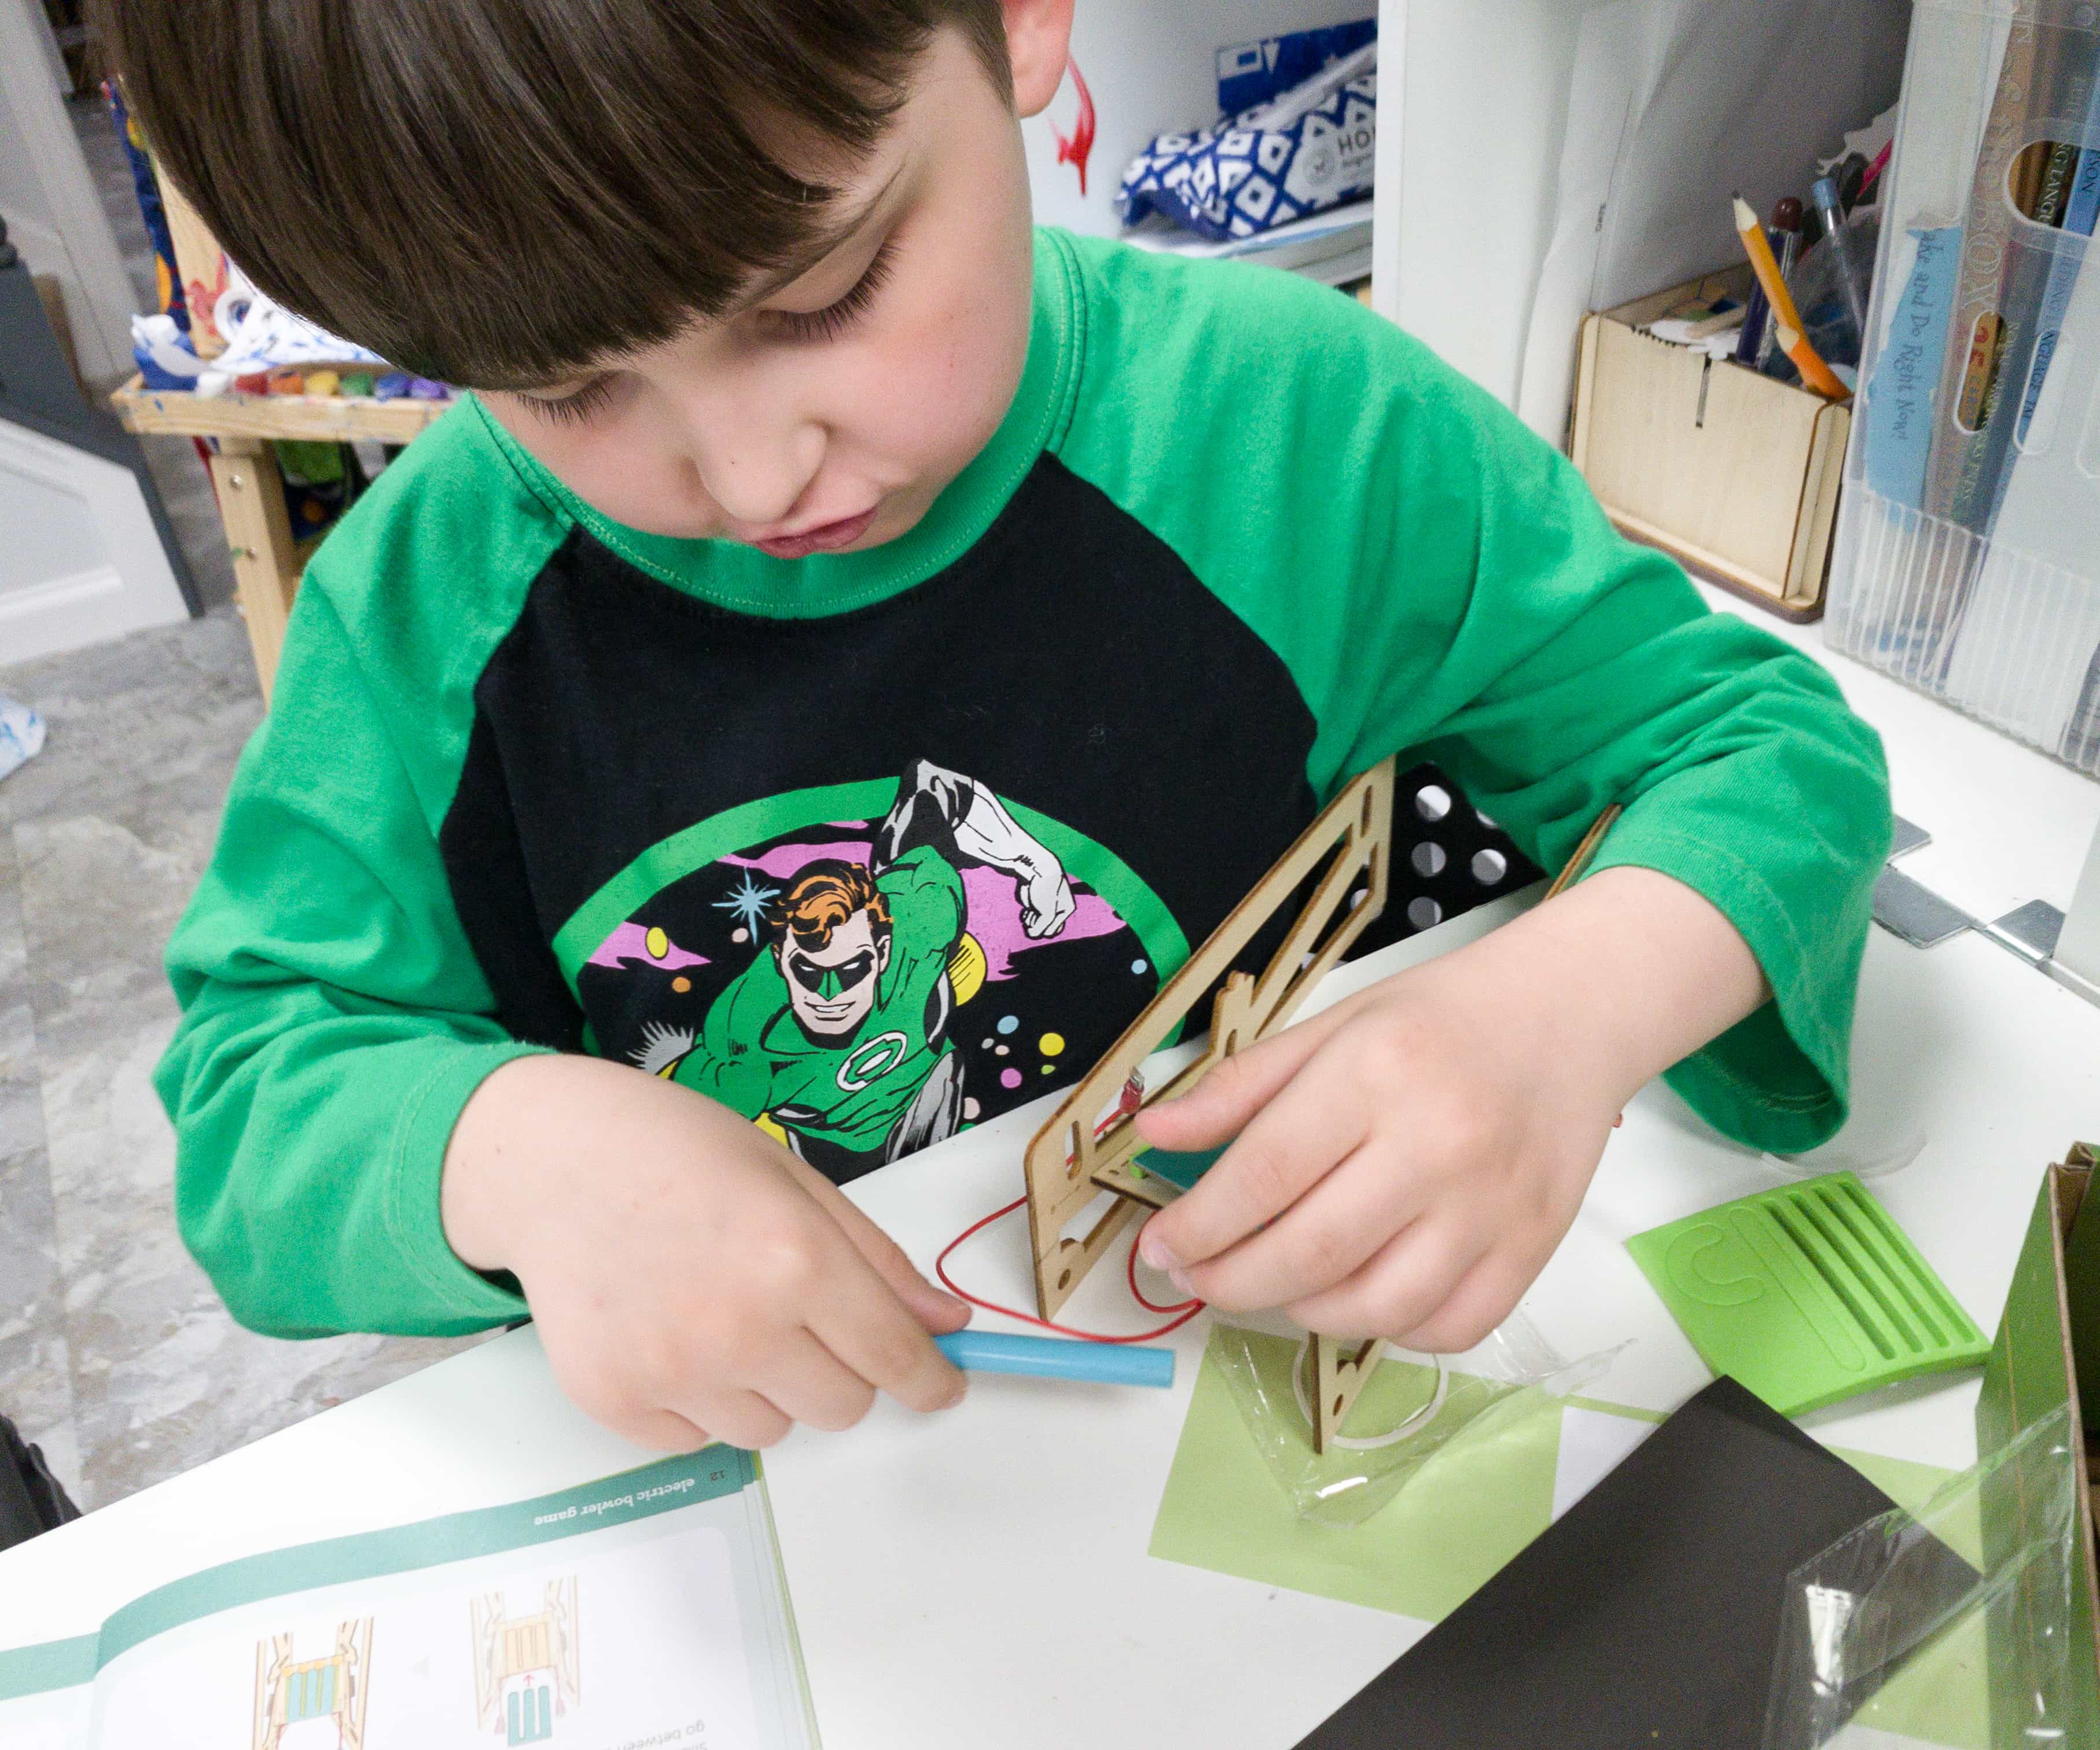
My son connected the frame pieces to the circuit board and made sure that the wires on the circuit board are pointed upward and the brad is positioned on top.
He fortified the frame’s connection using the blue connector and the wooden sticks and locked it using the white rubber band.
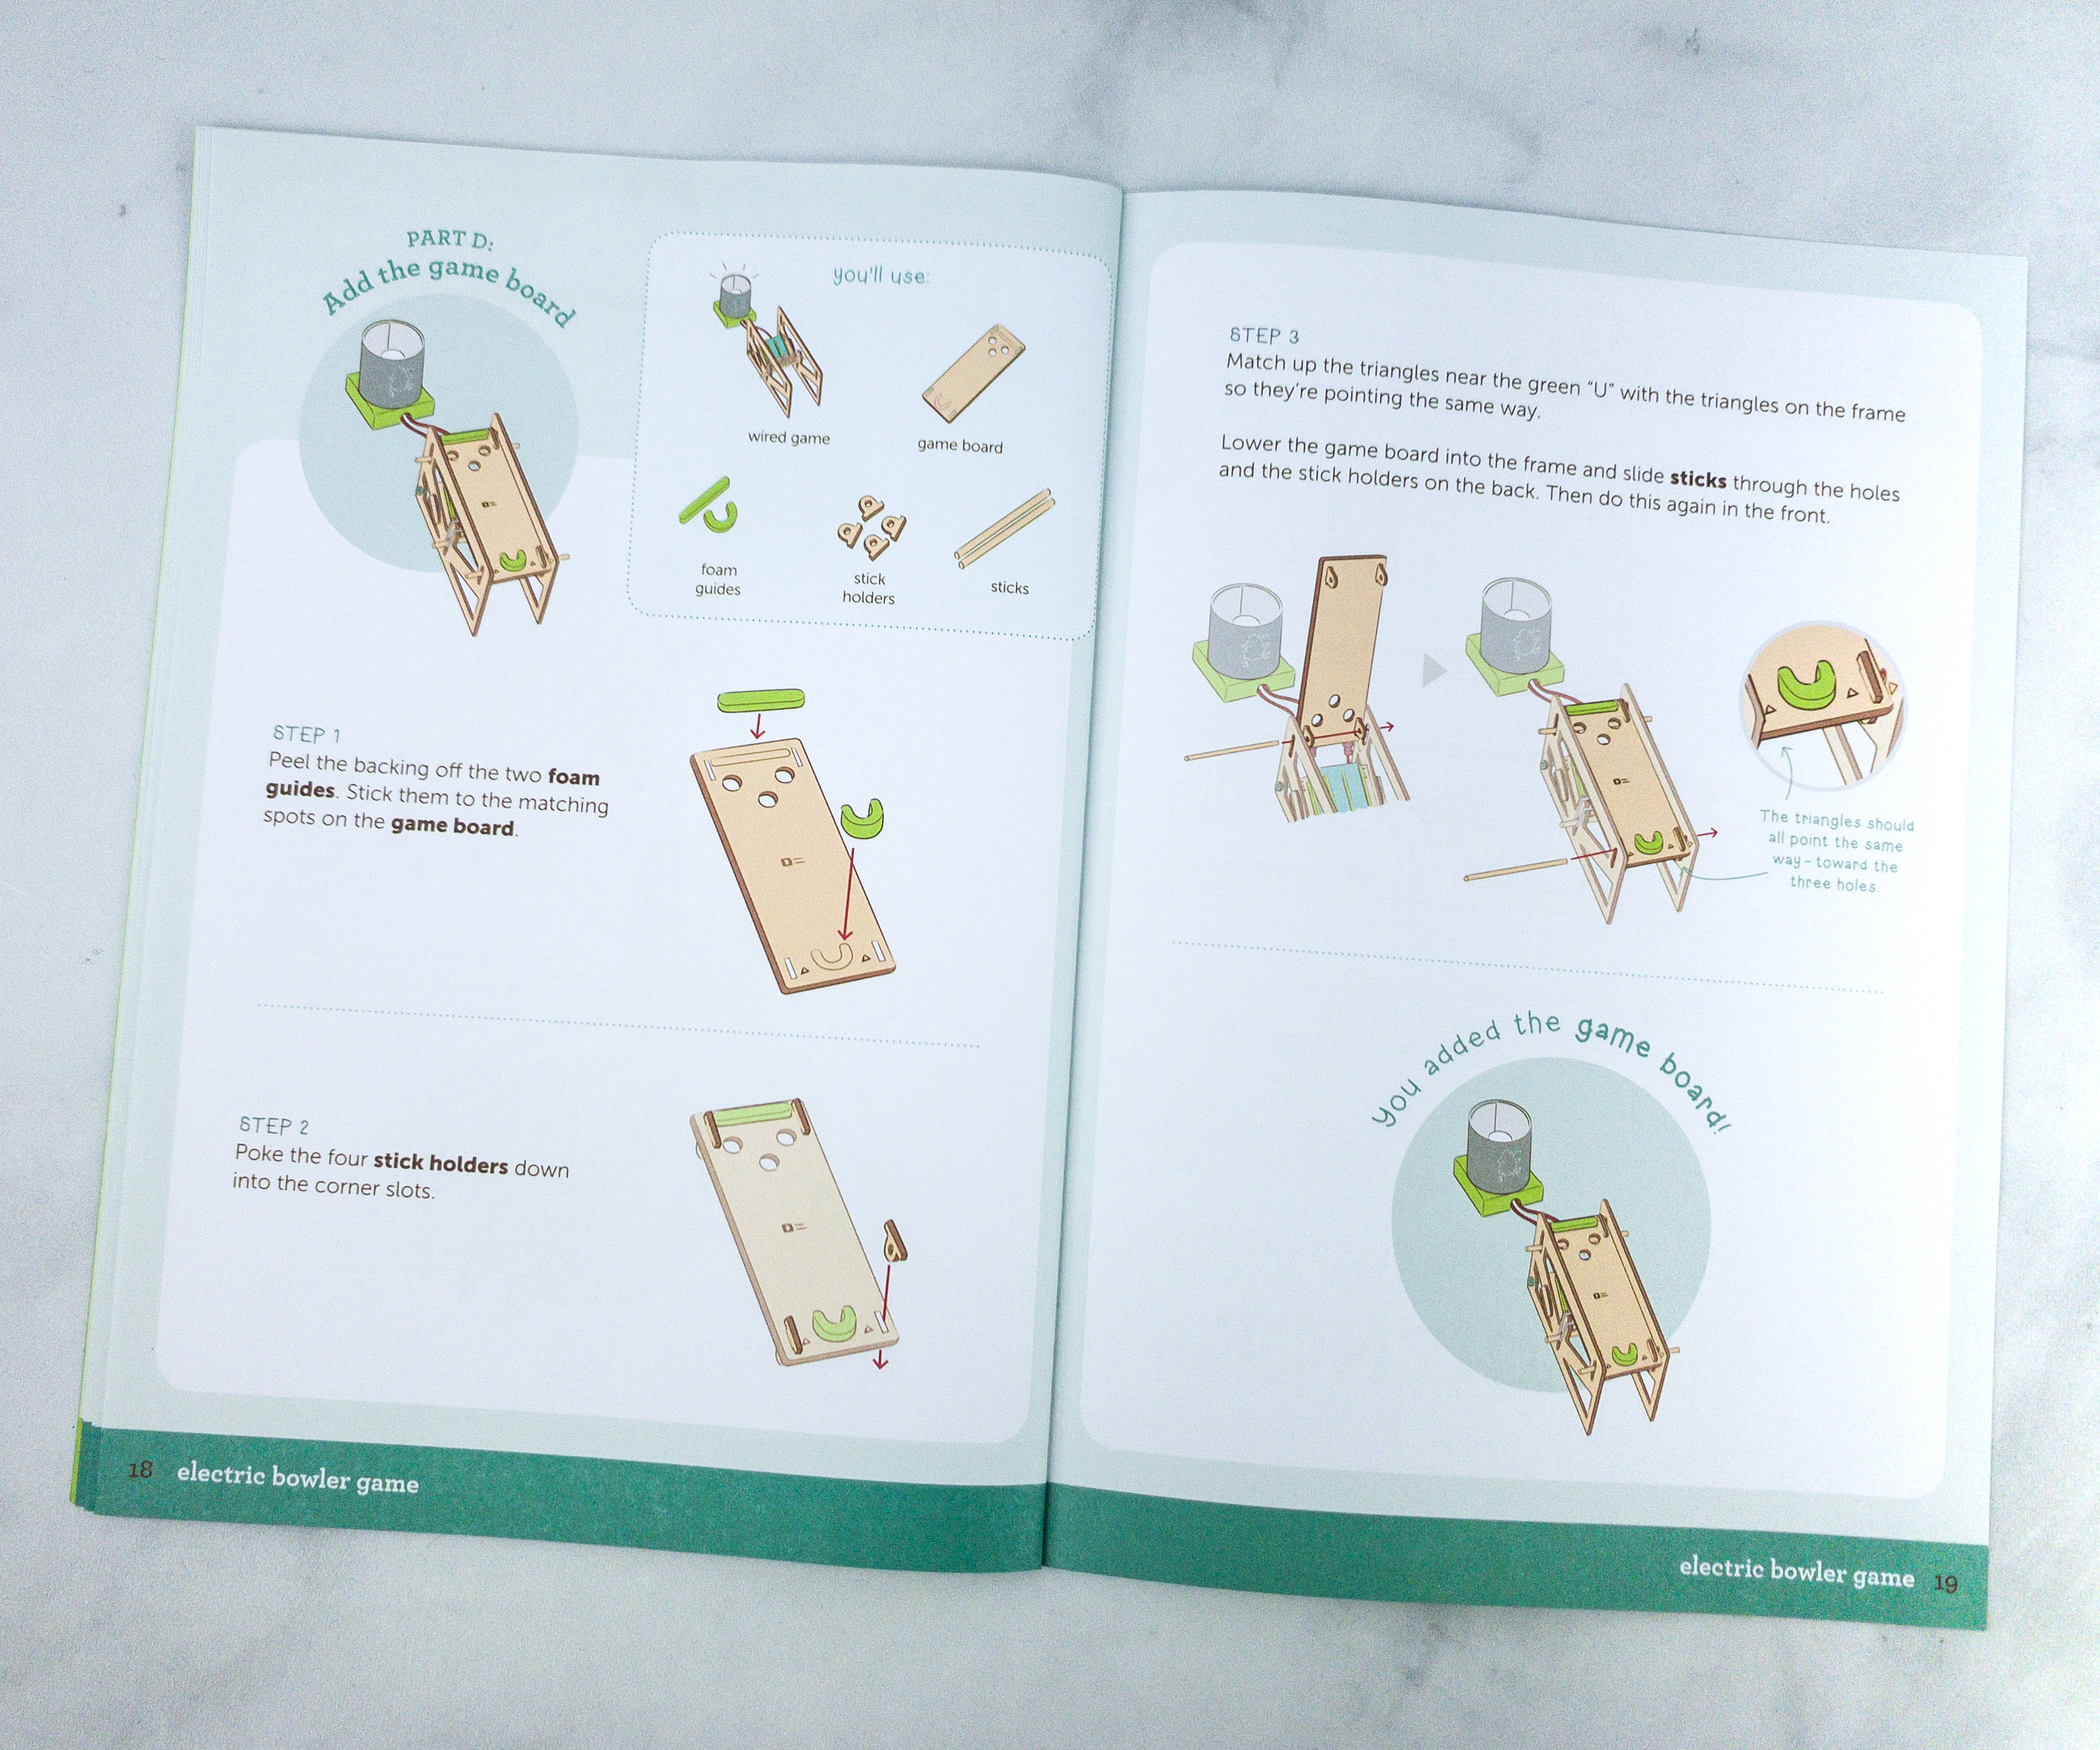
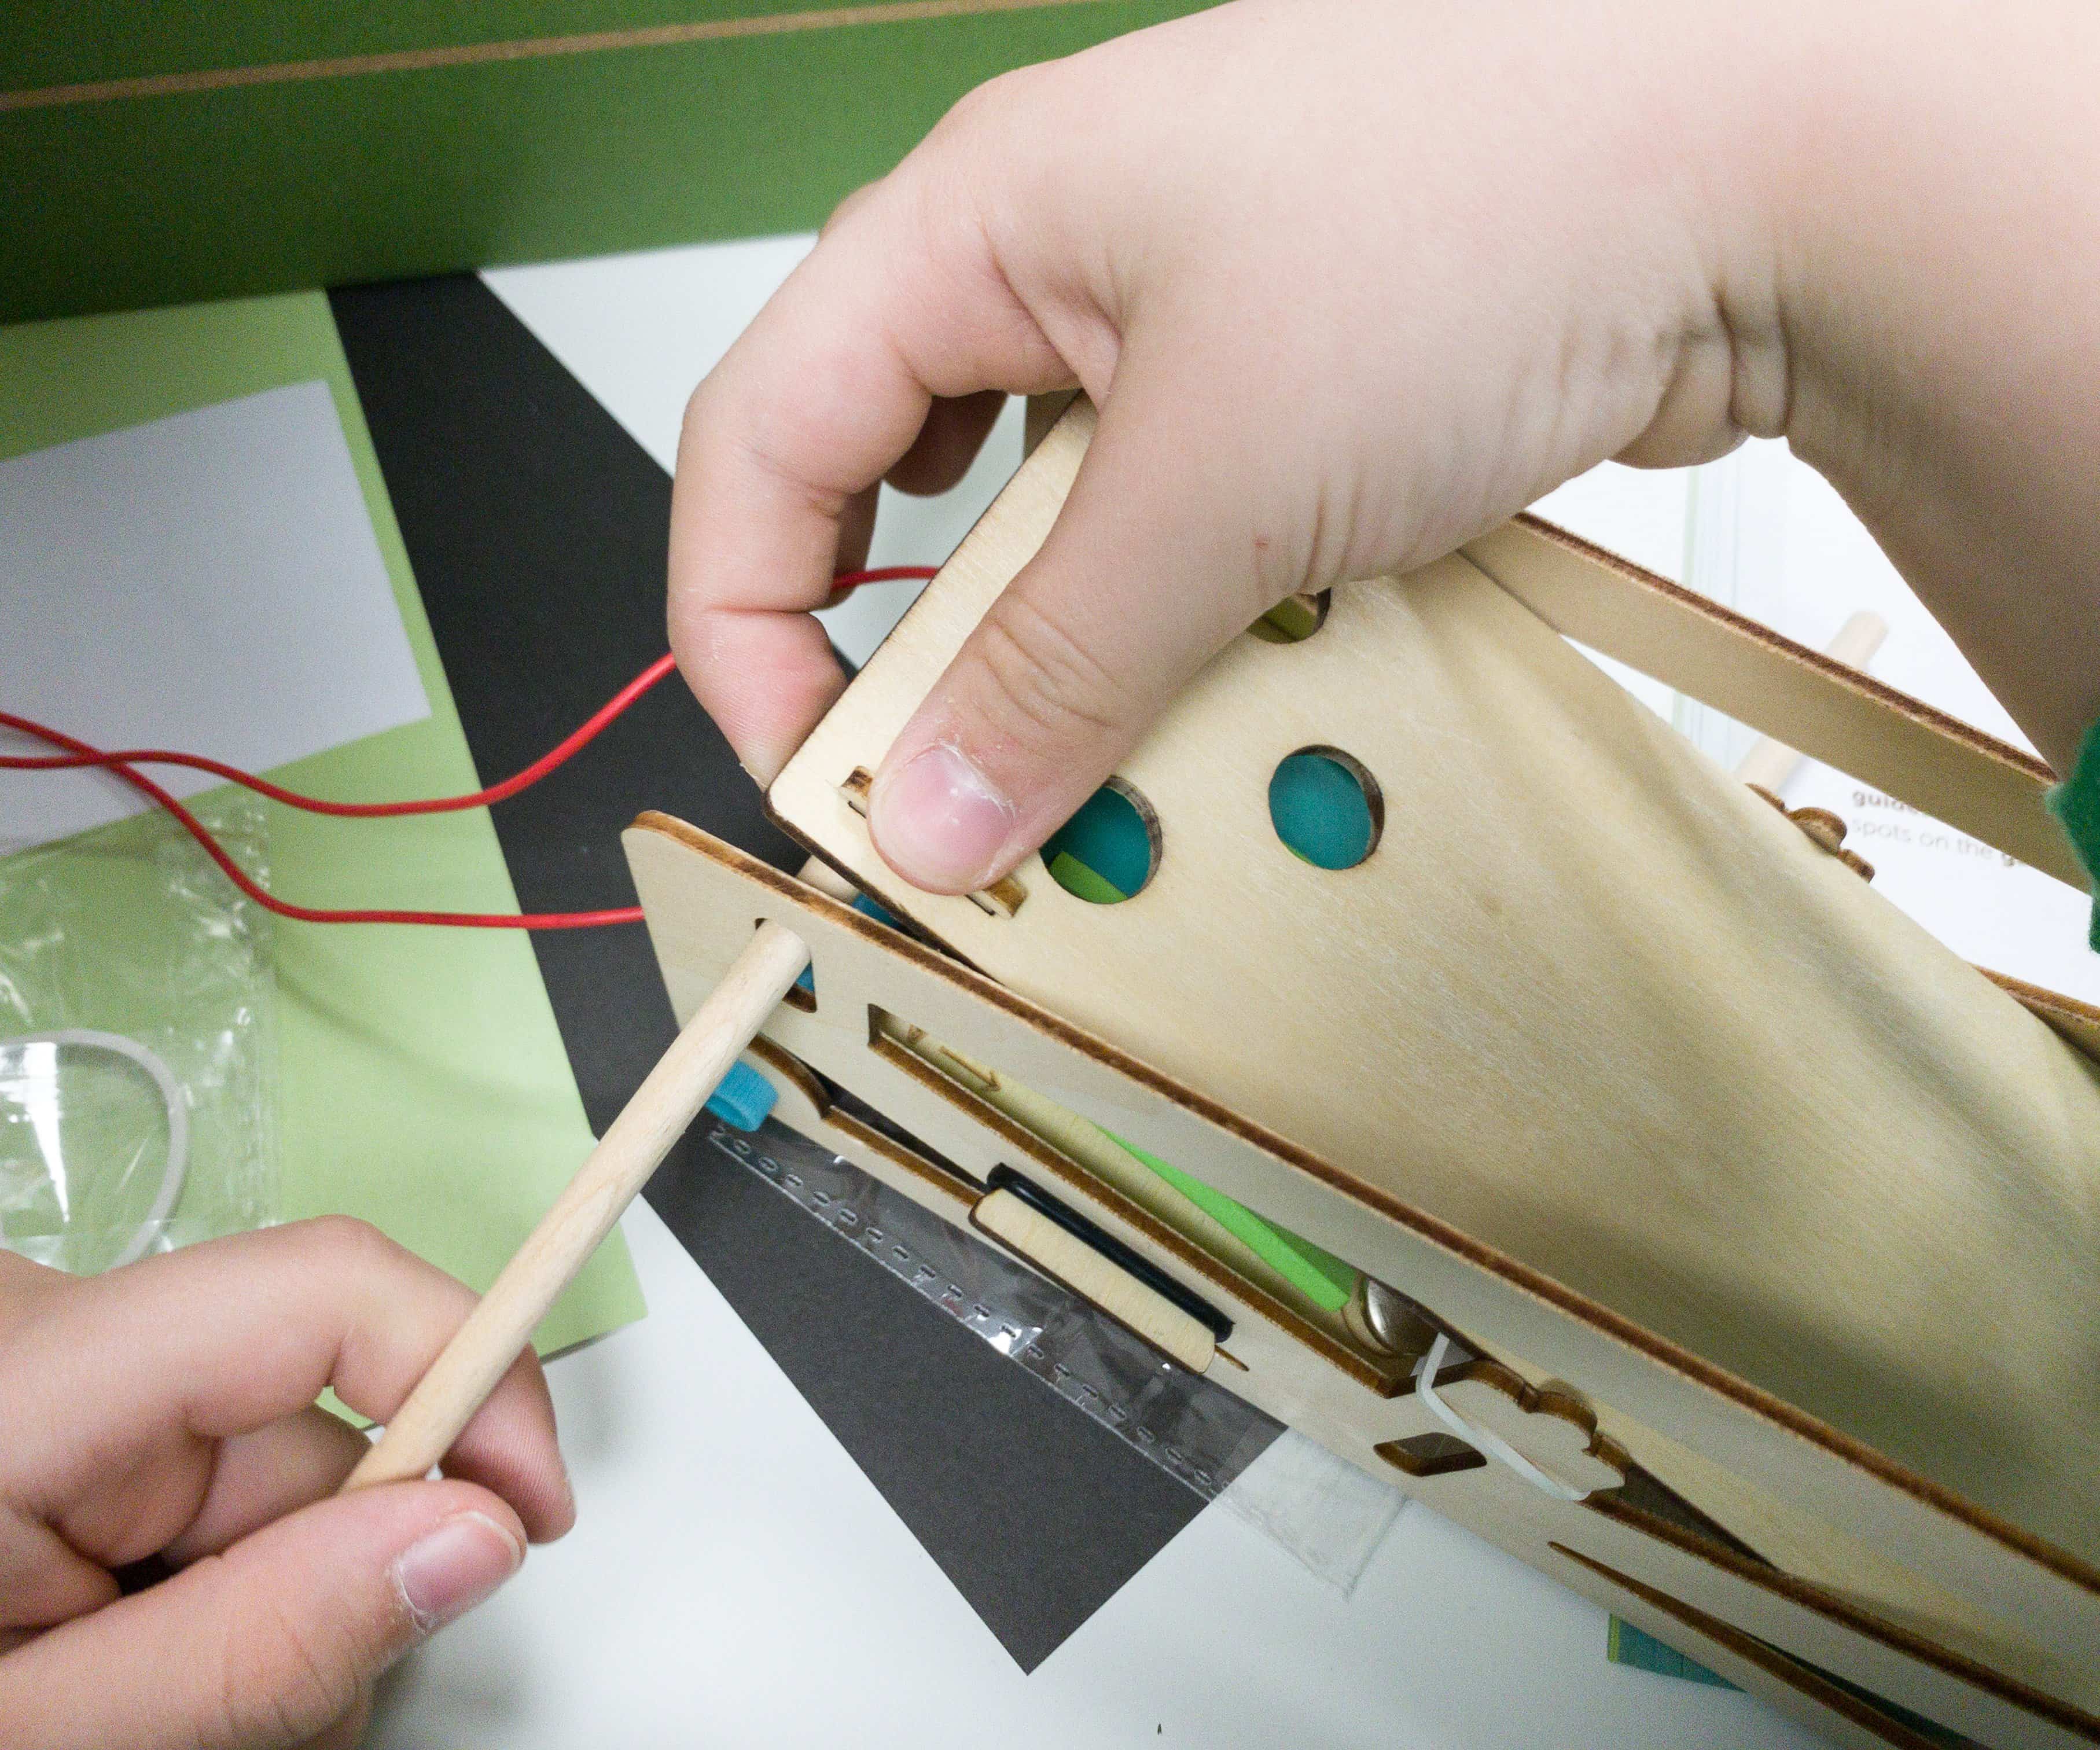
The final part of the project is adding the game board to the frame and circuit.
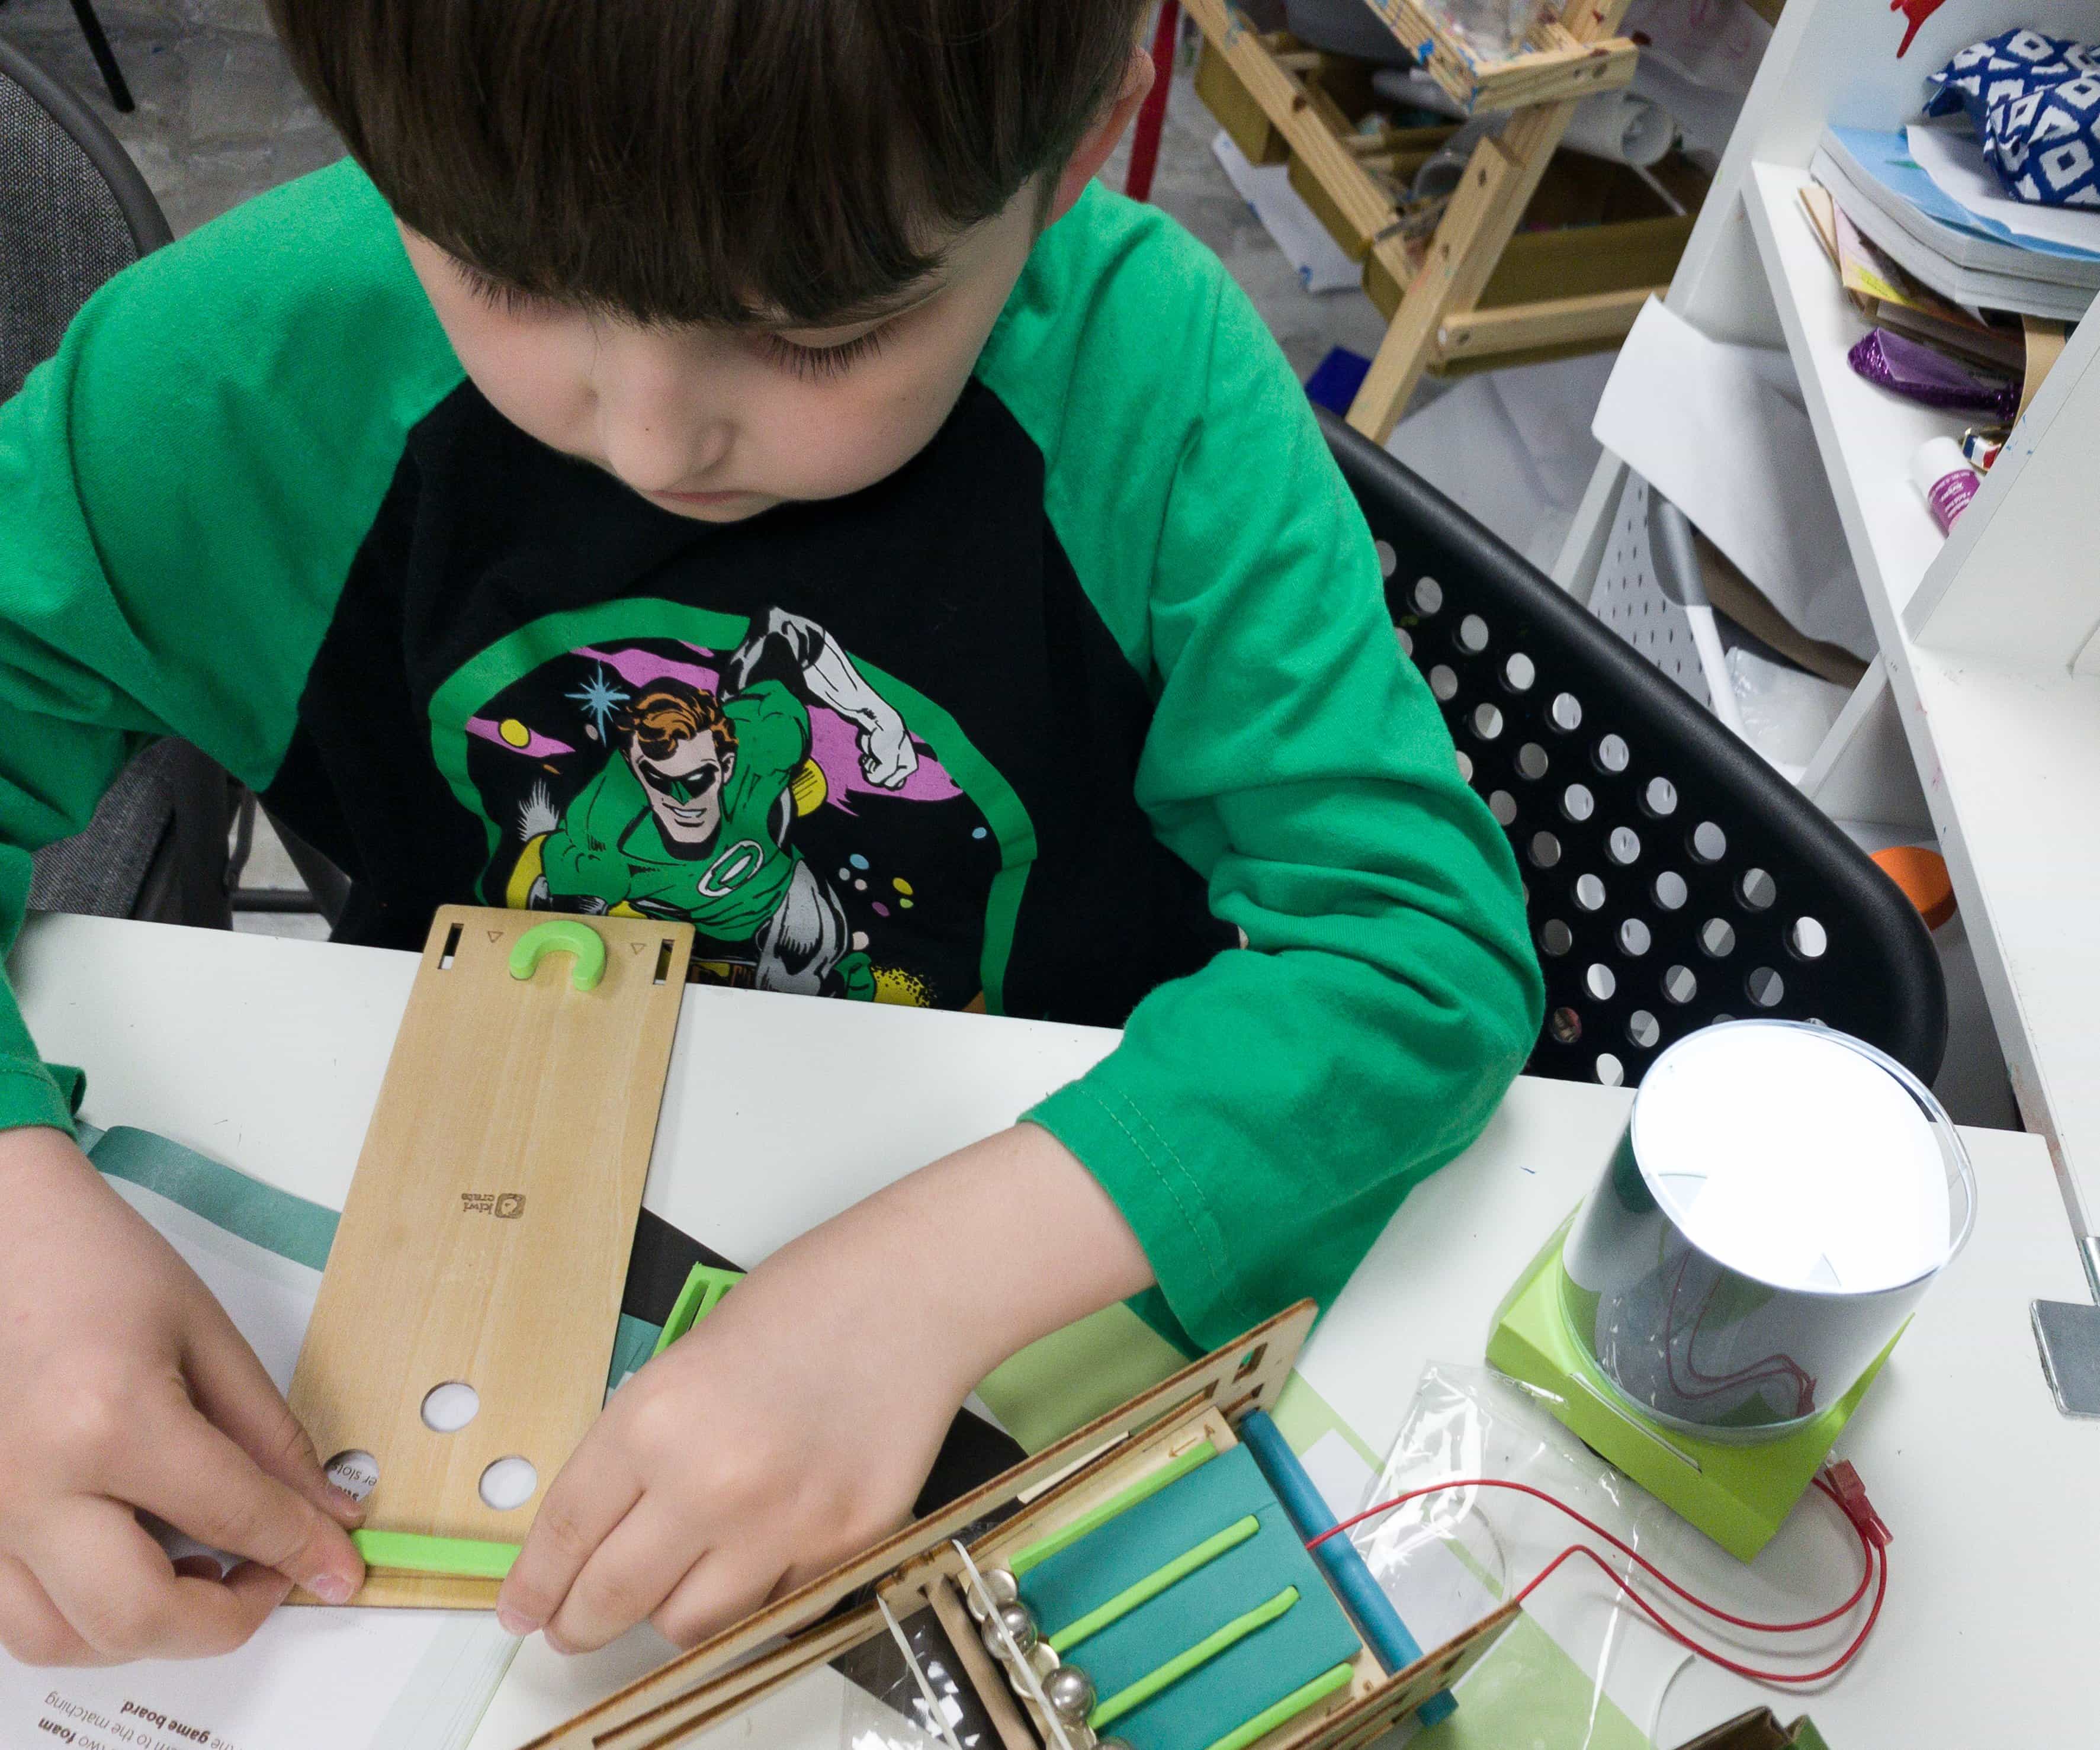
My son started by peeling off the back of the foam and sticking them to the game board.
He poked all four stick holders down the corners of the board and secured it by carefully sliding the sticks through the holes and the stick holders.
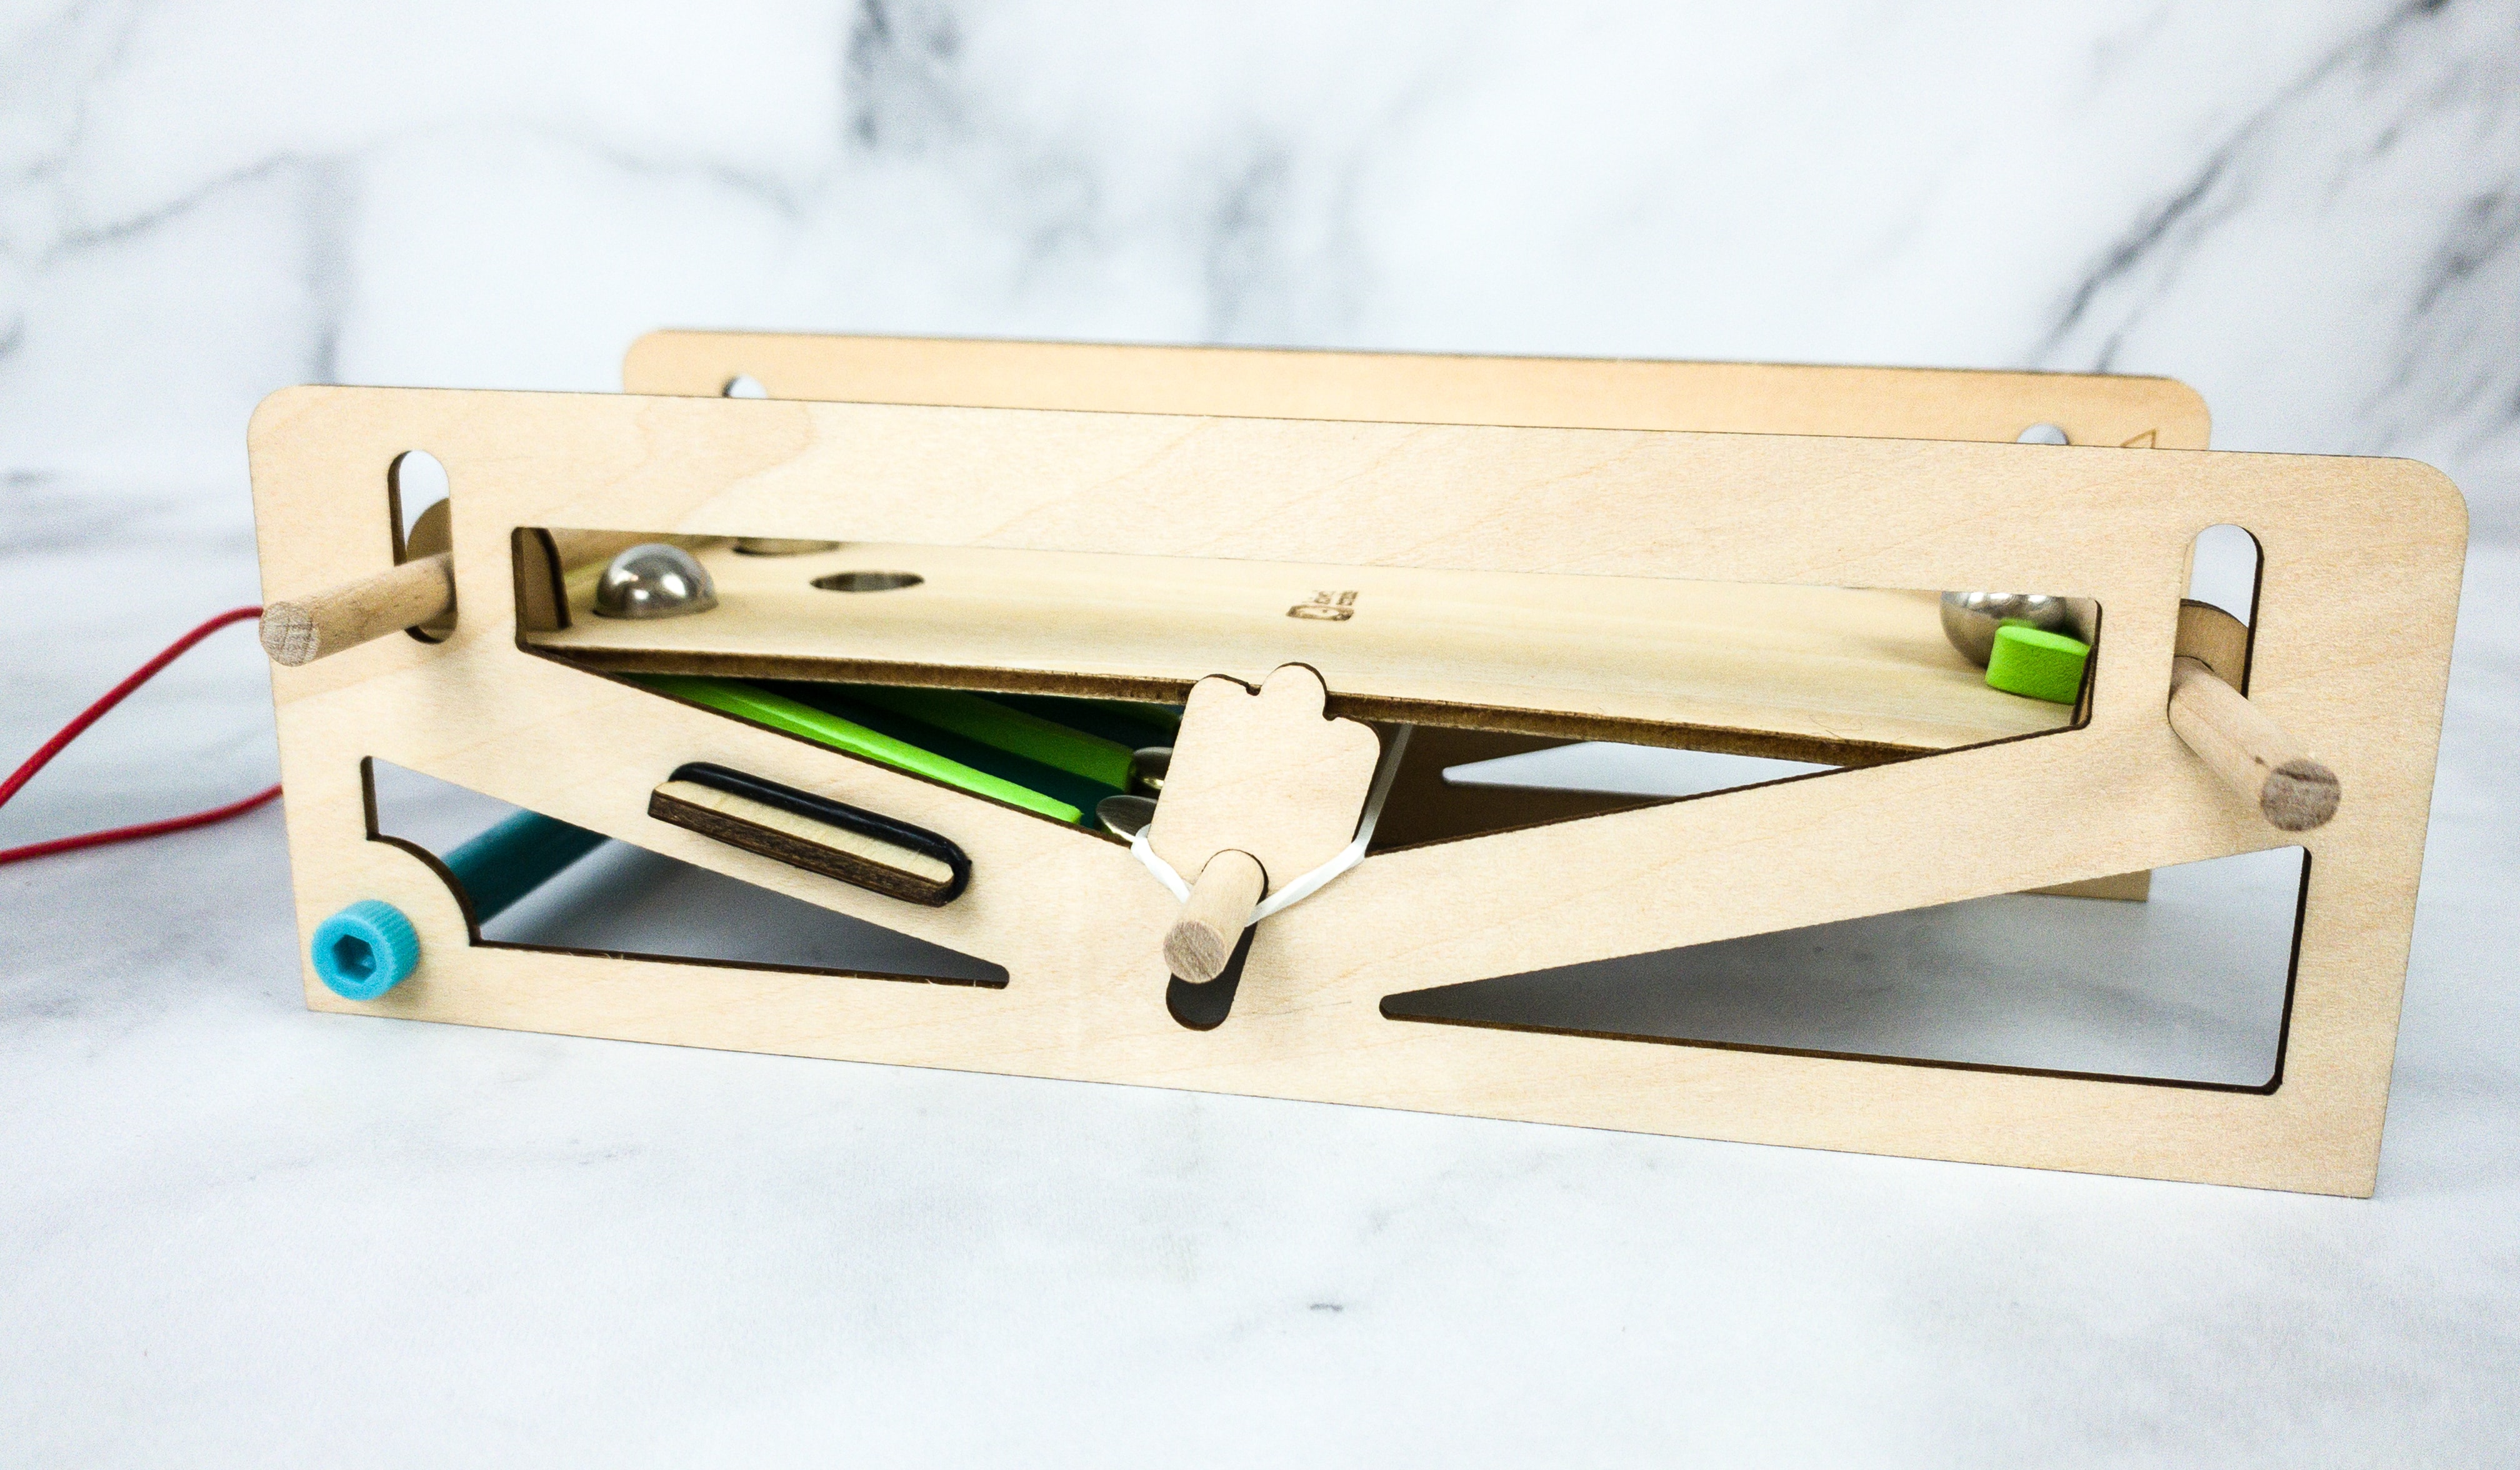
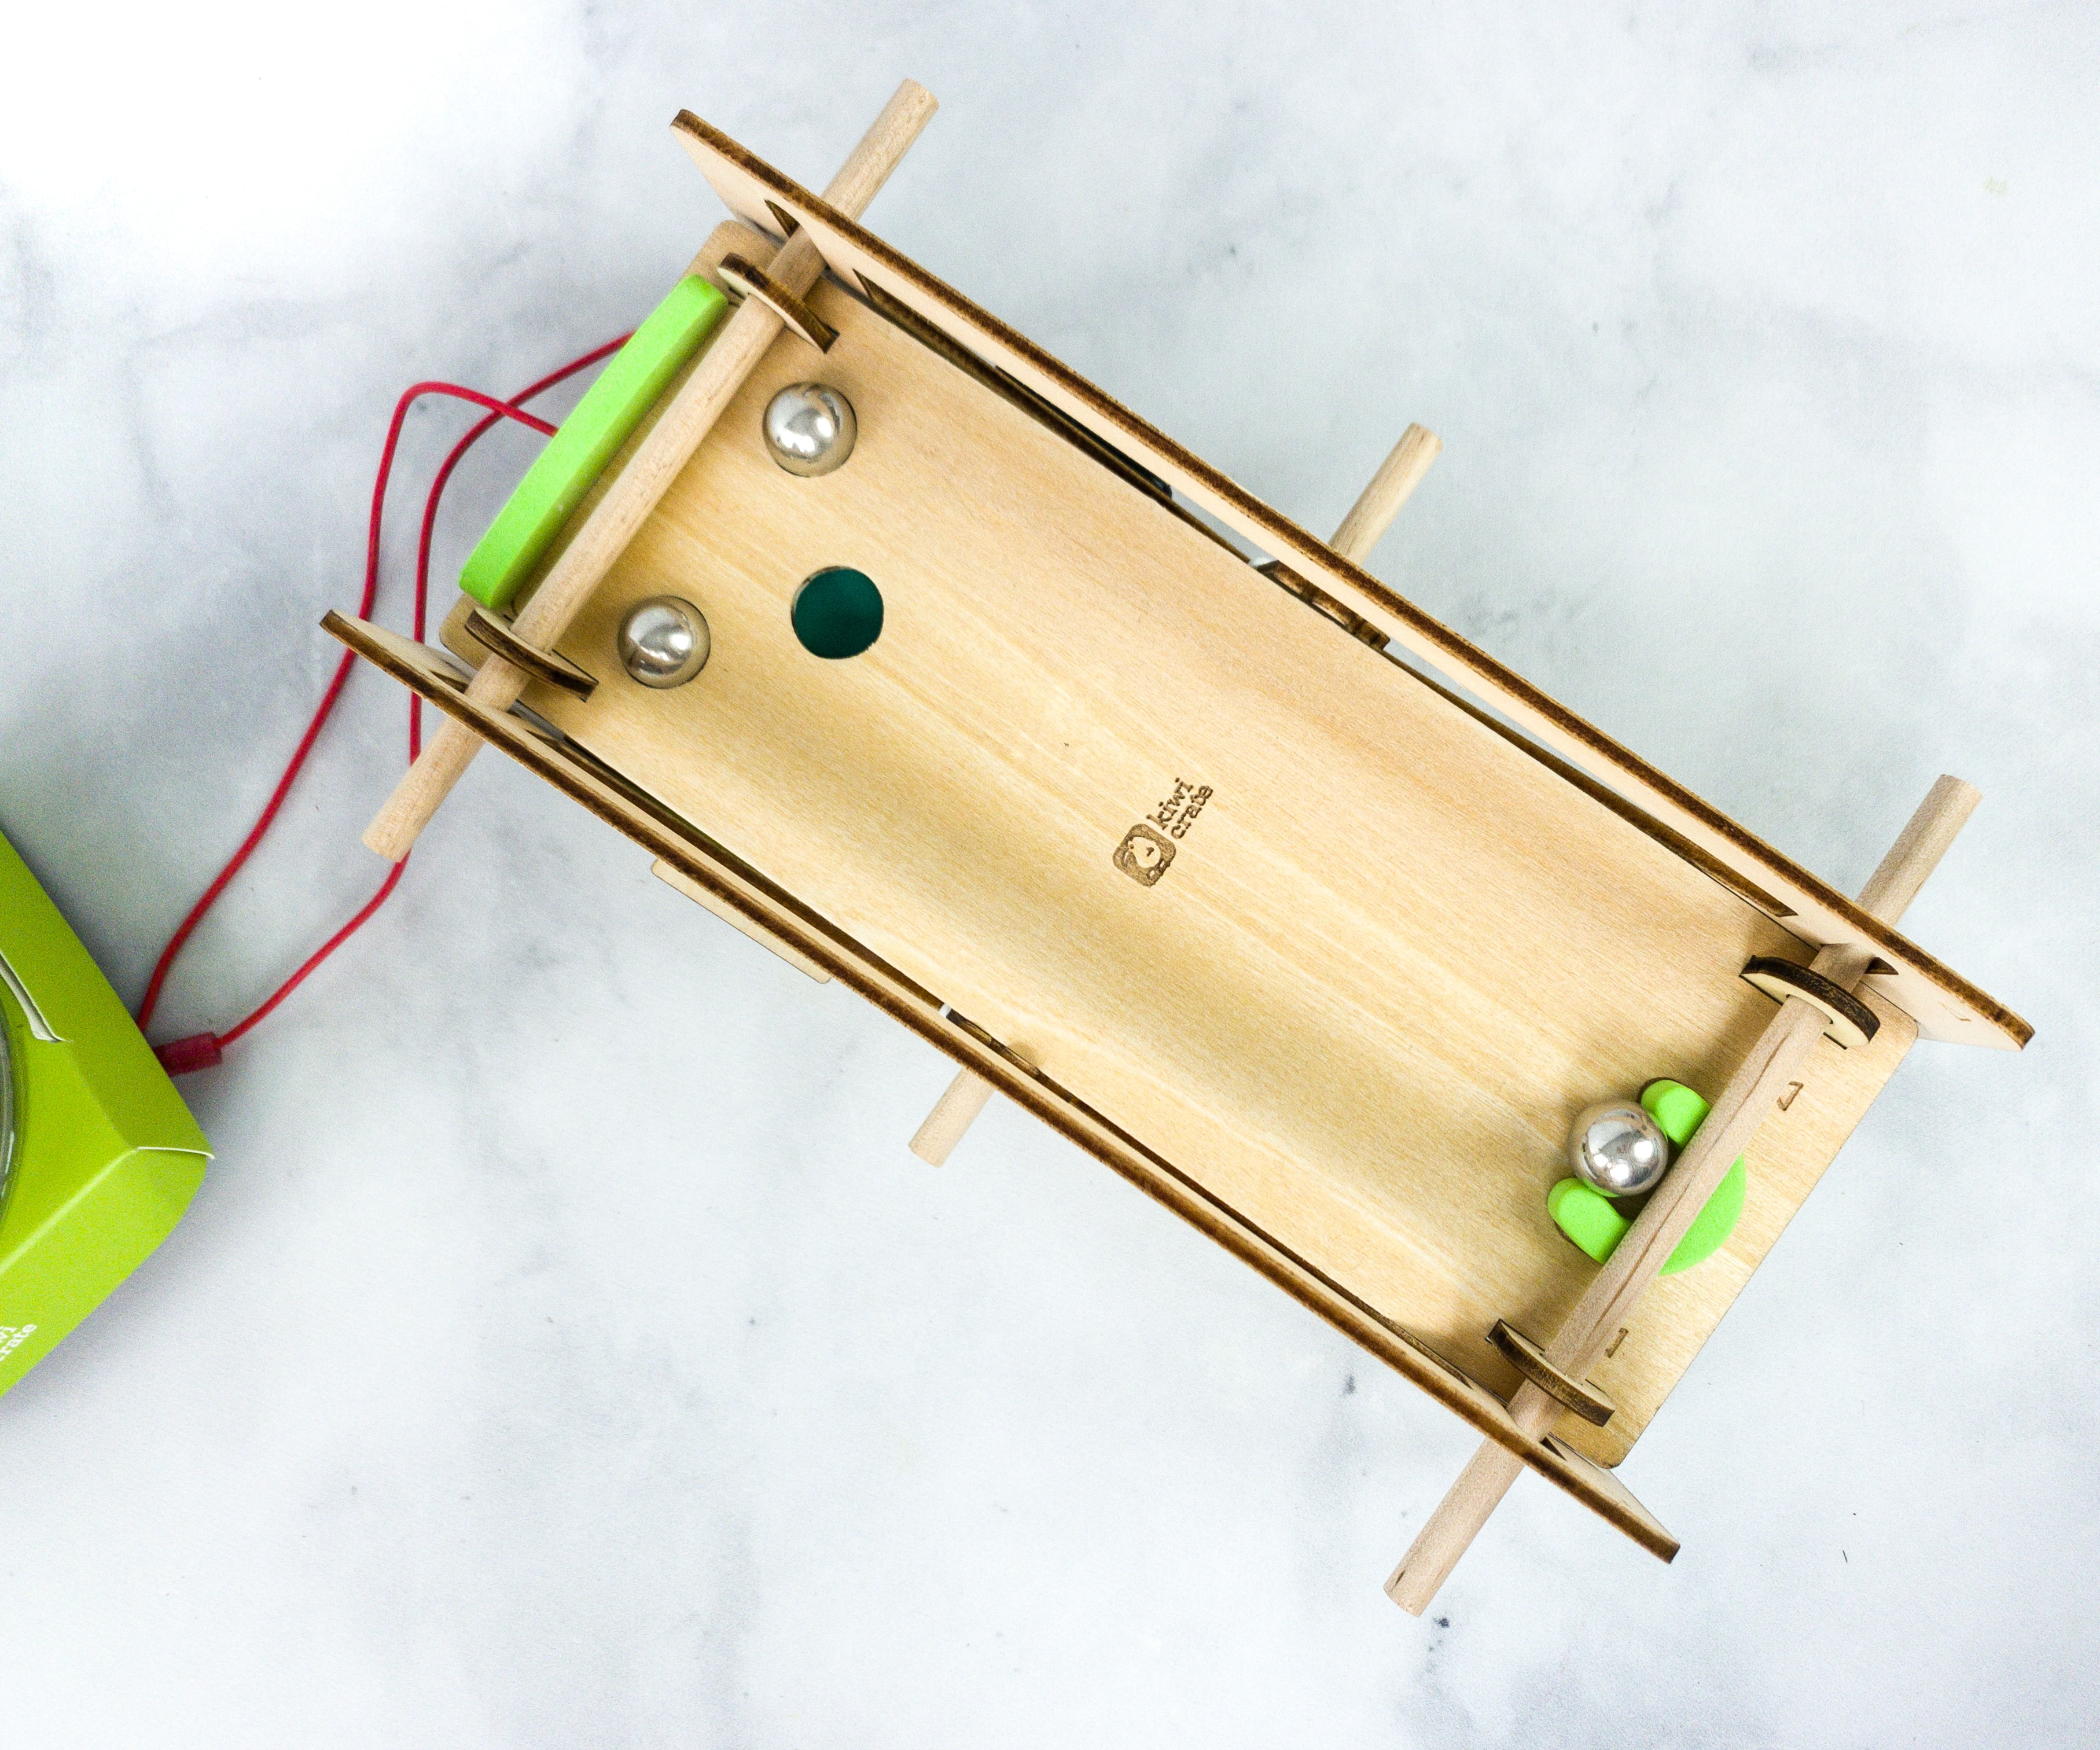
This is how it should look like after adding the game board to the frame and circuit.
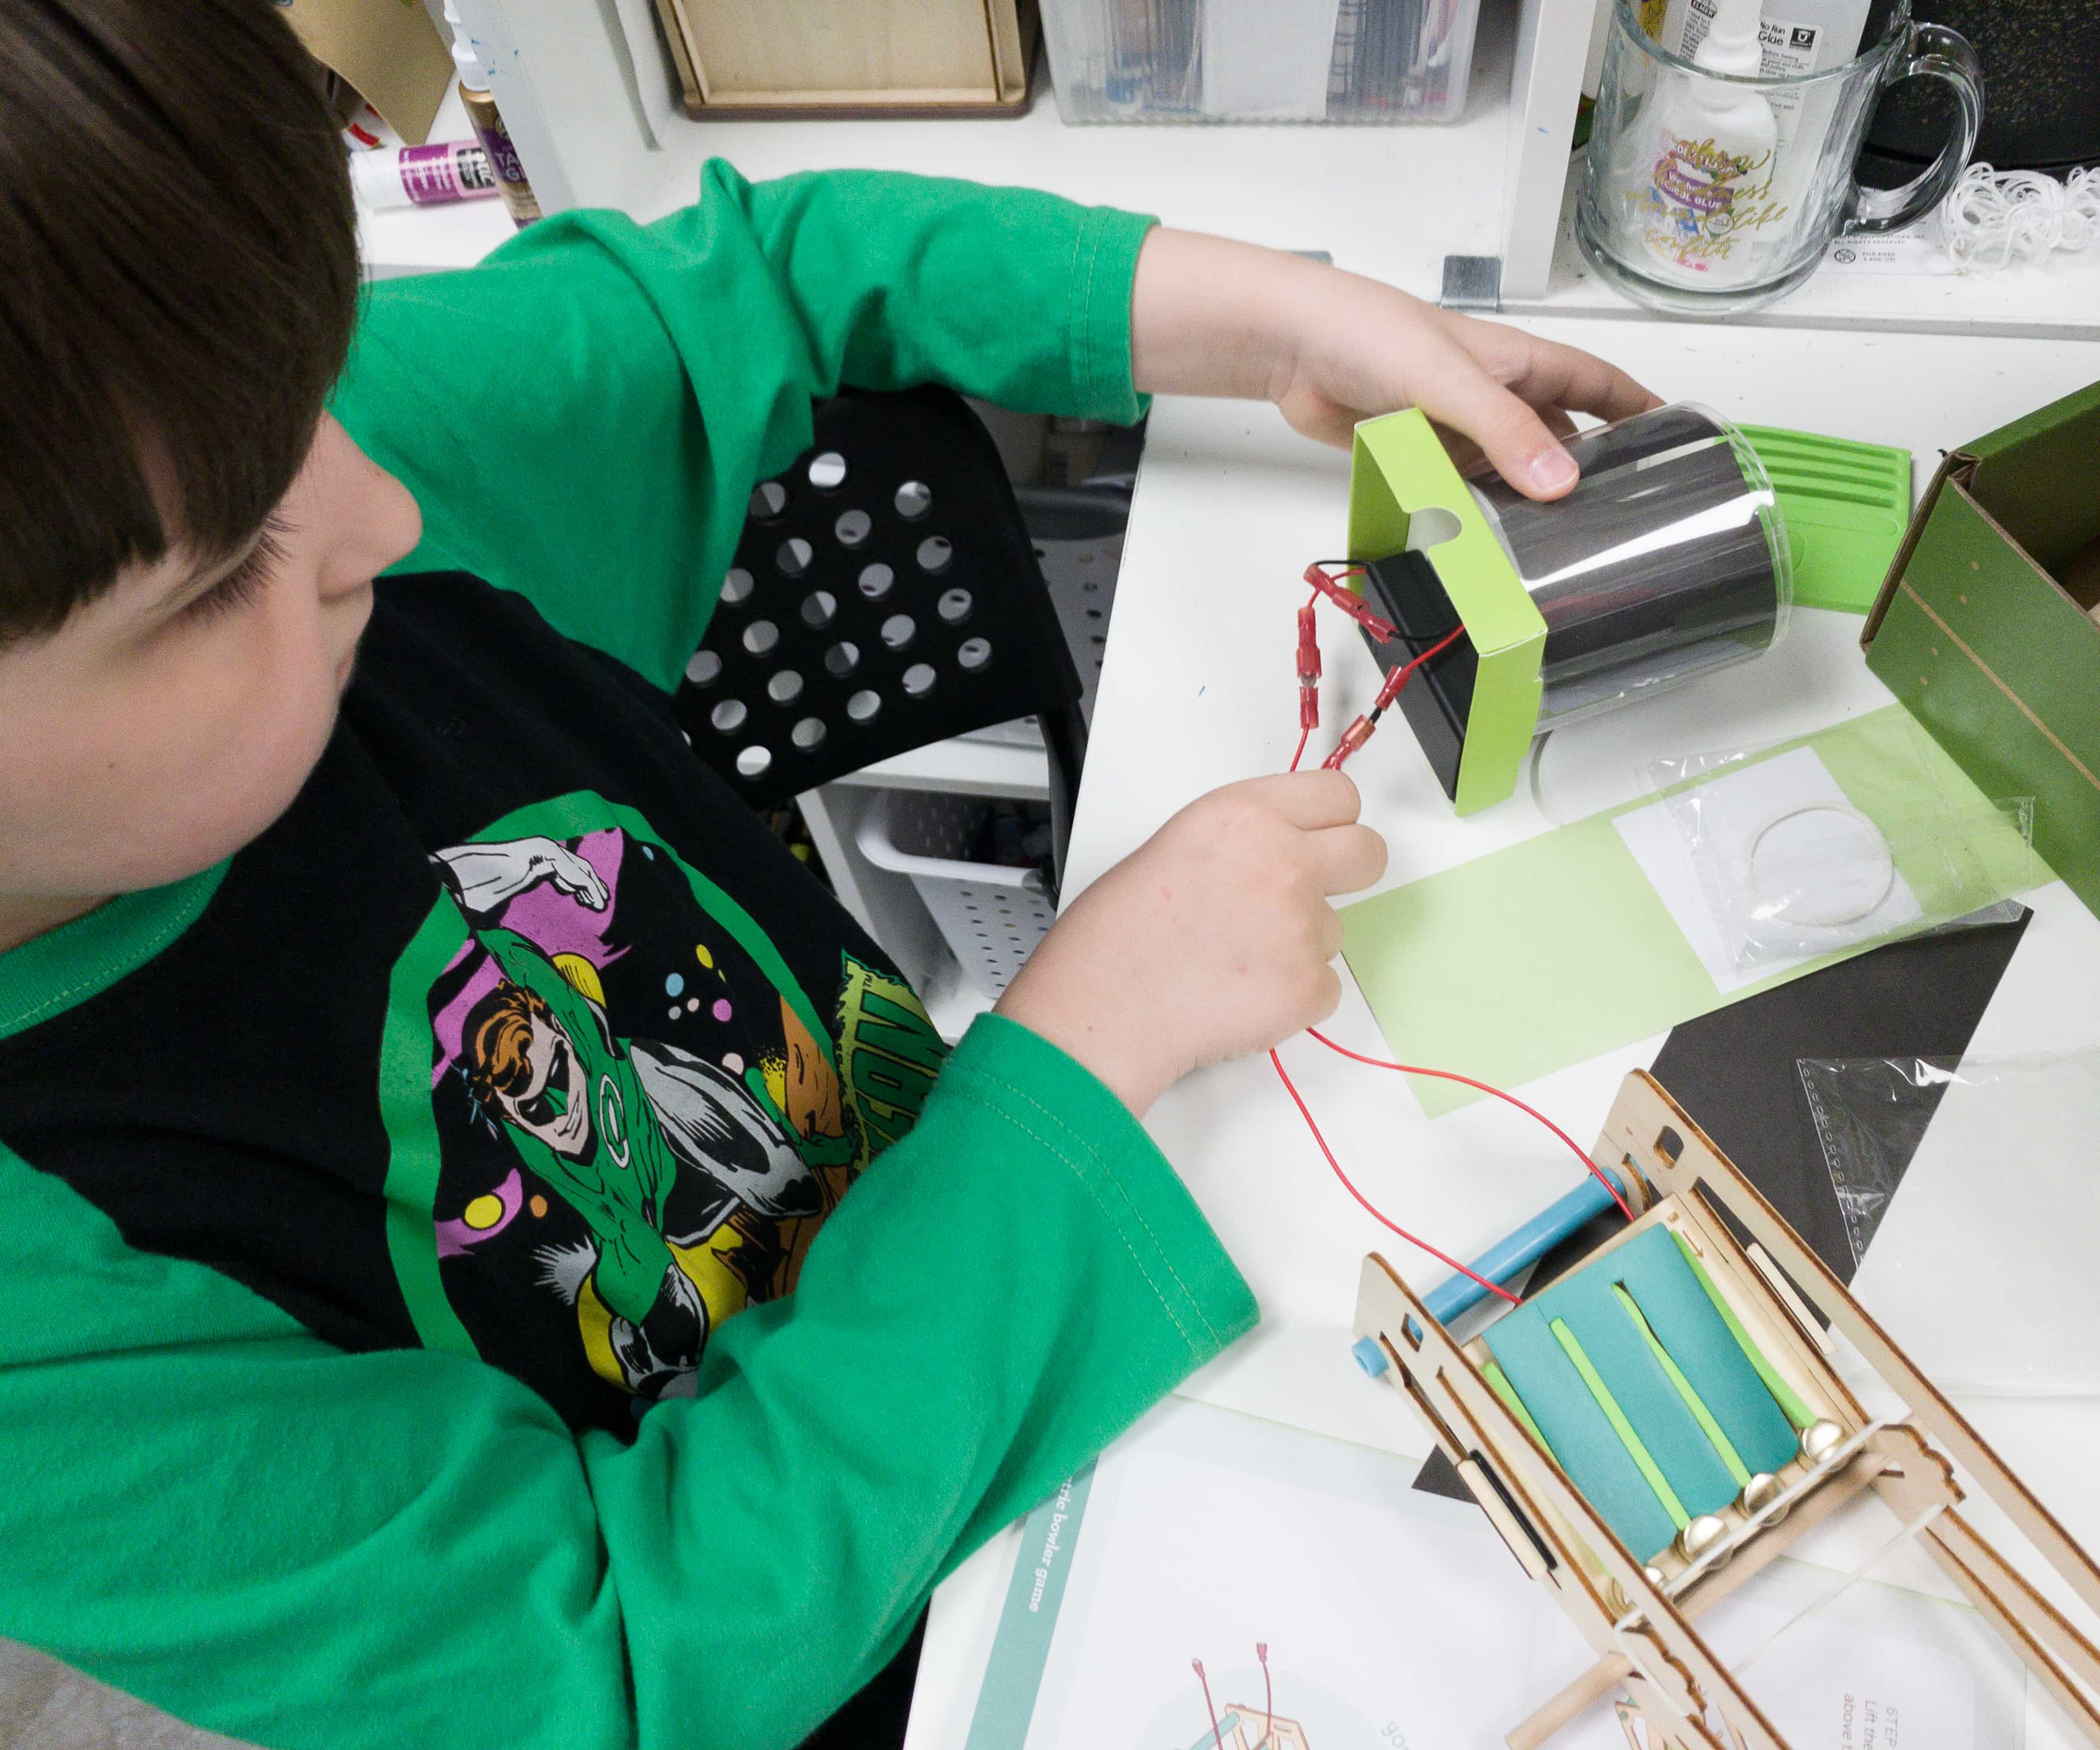
Once done, he connected the cable’s circuit to the lamp’s cable and tested it!
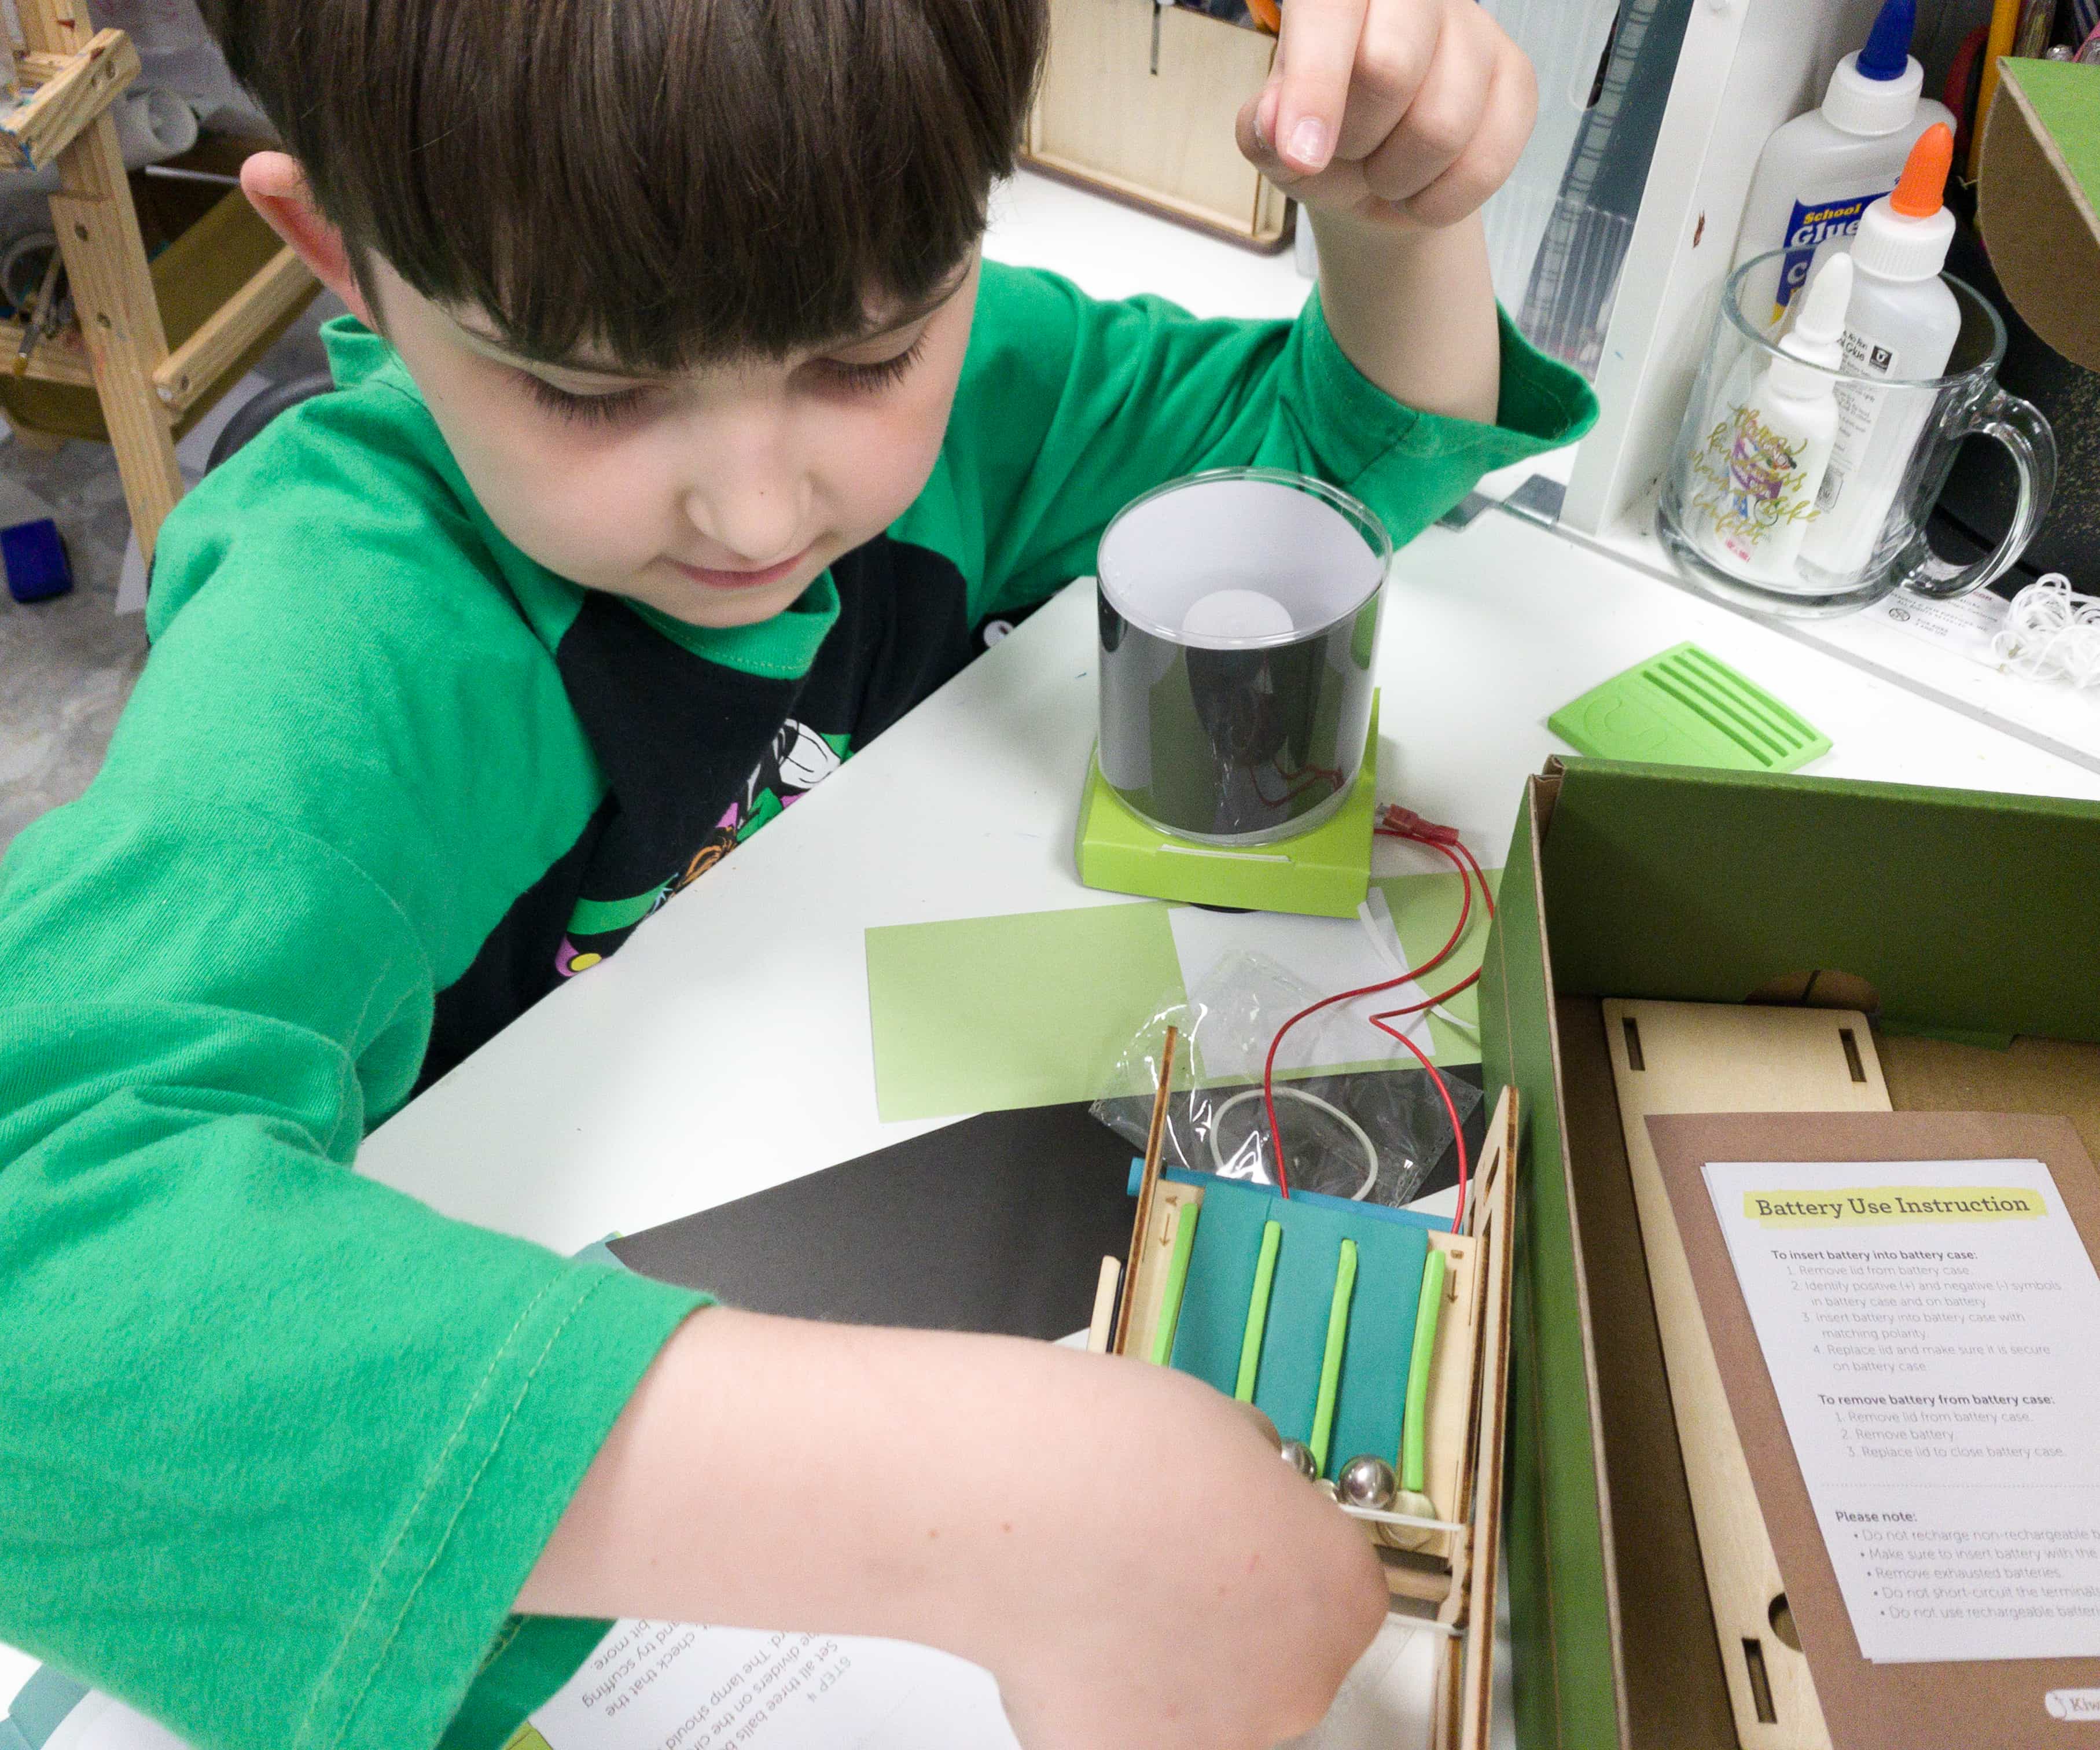
The goal of the game is to shoot the metal balls on the holes and let it slide down the brads.
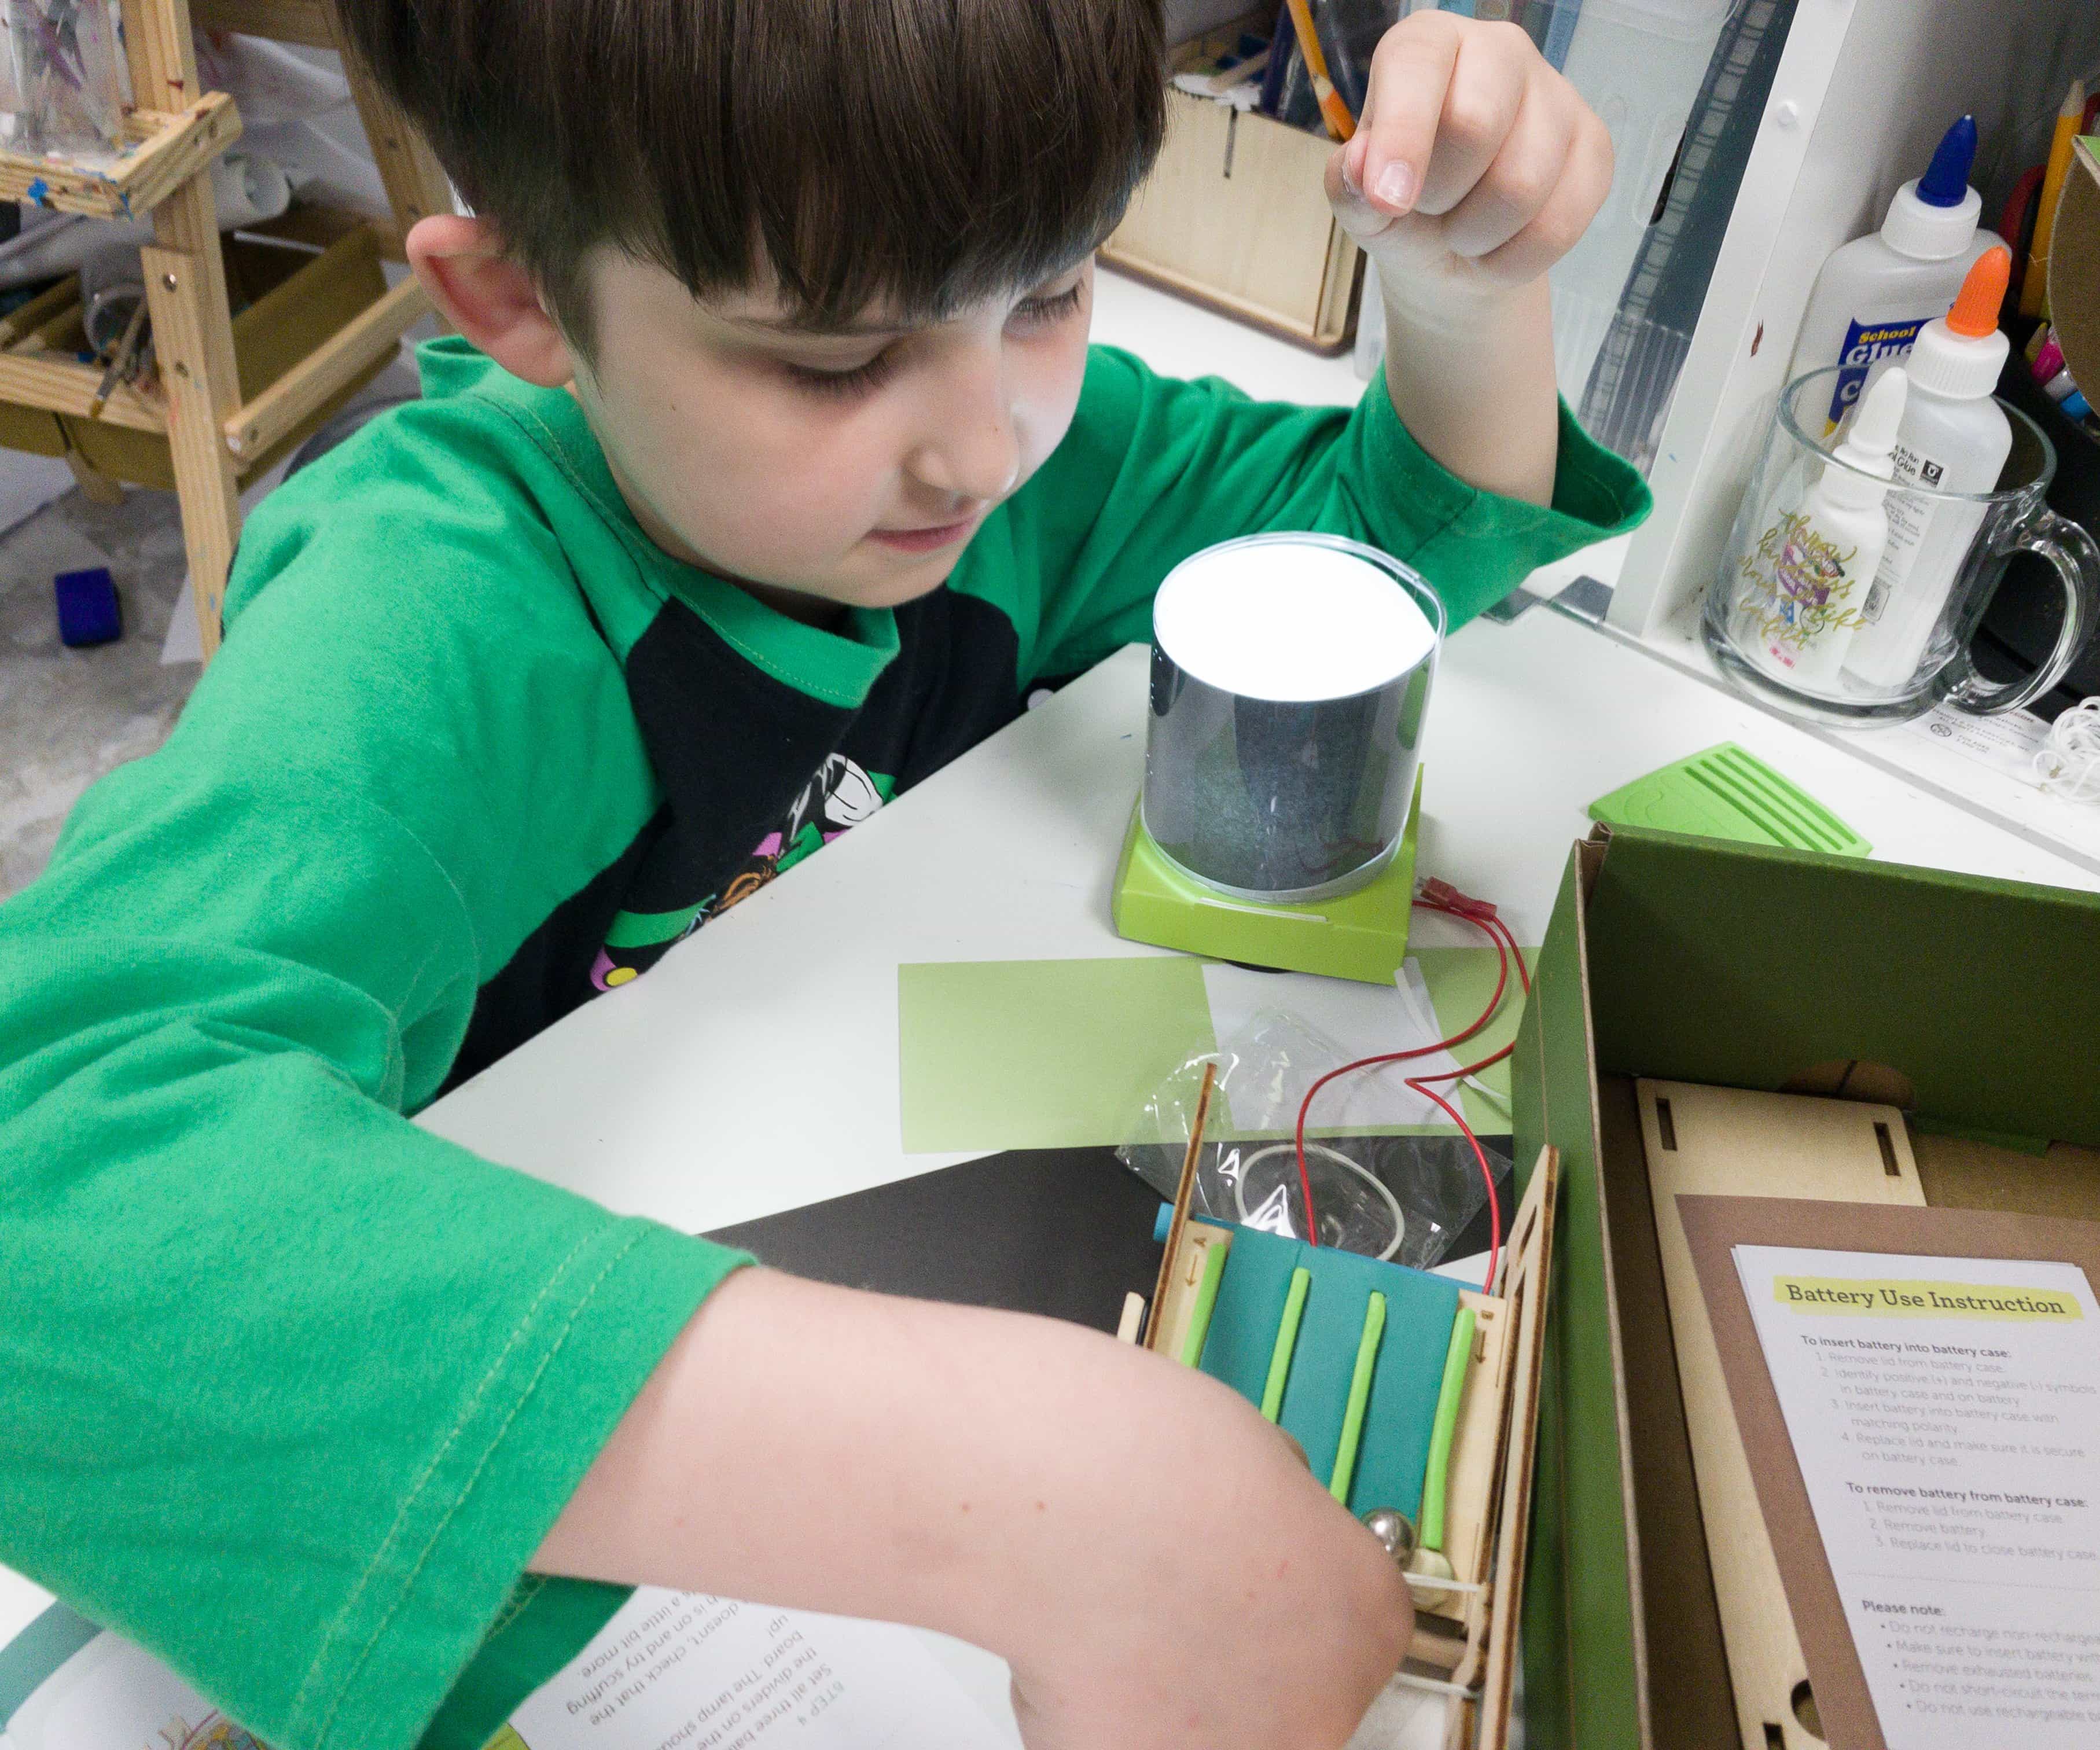
Once all the balls touch the brads, the lamp should light up. It was a success for the lamp my kids made!
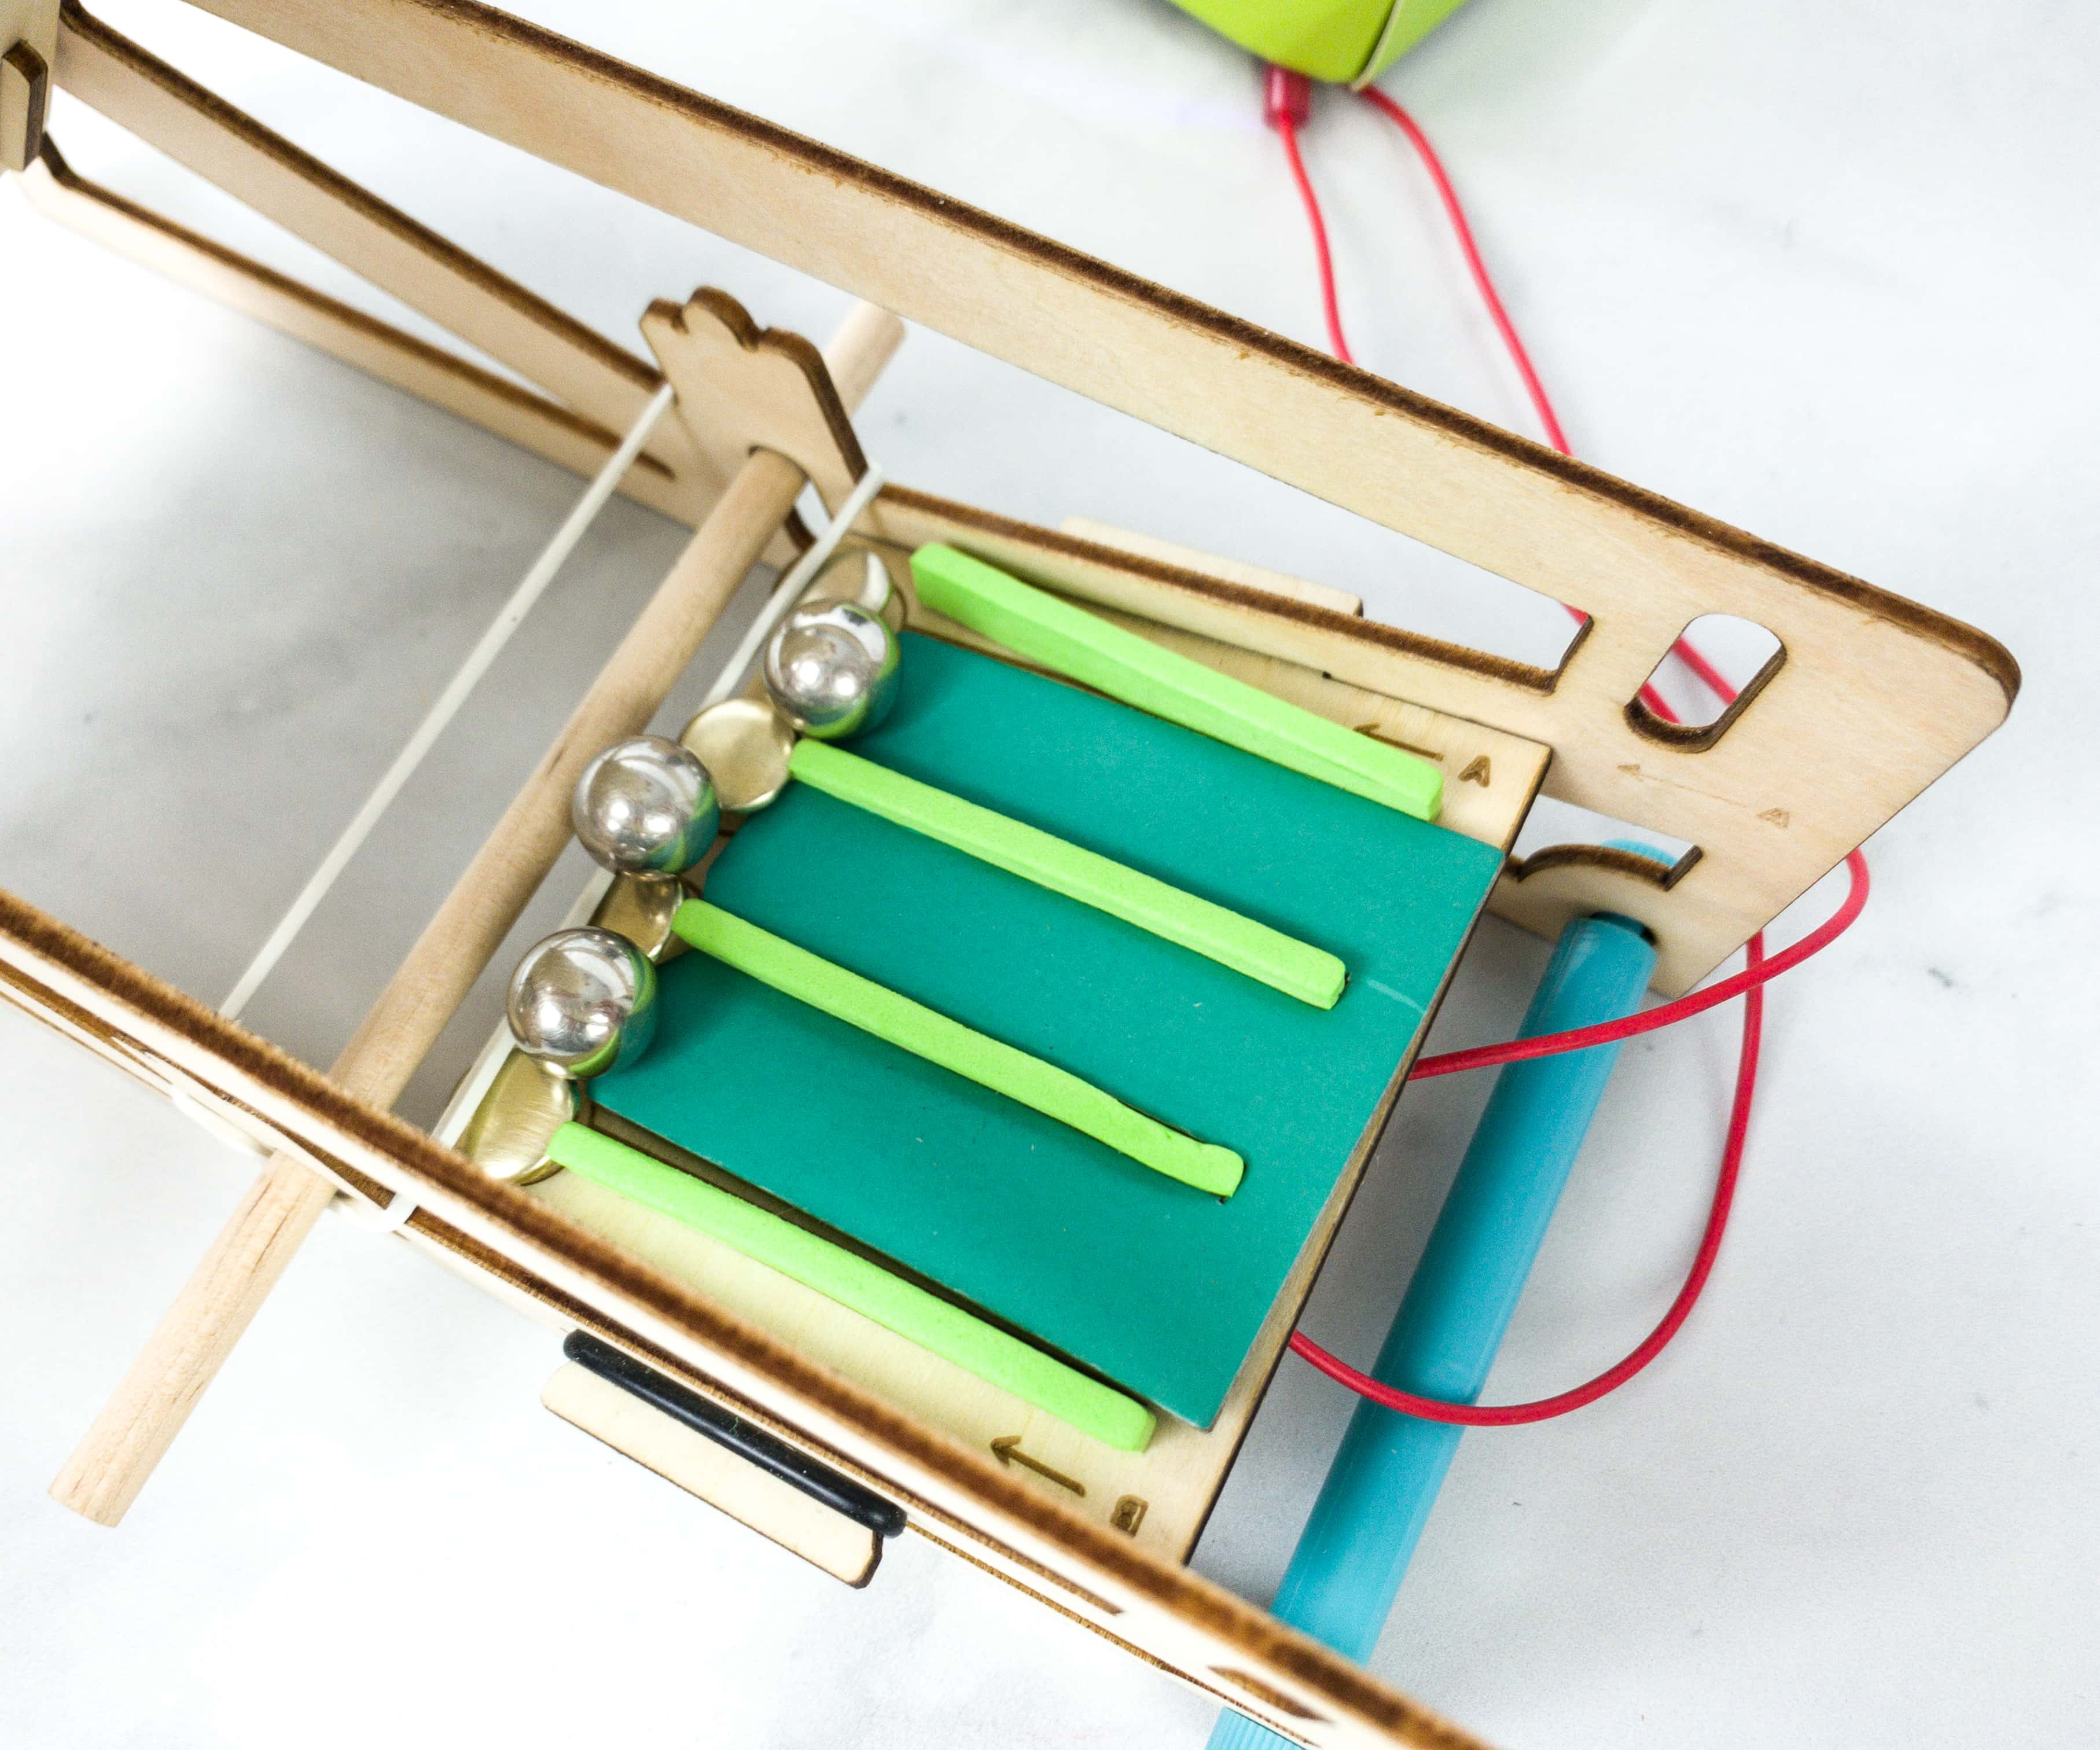
The lamp lights because of the metal balls. They are great conductors of electricity, serving as the connector that lets the electricity flow through.
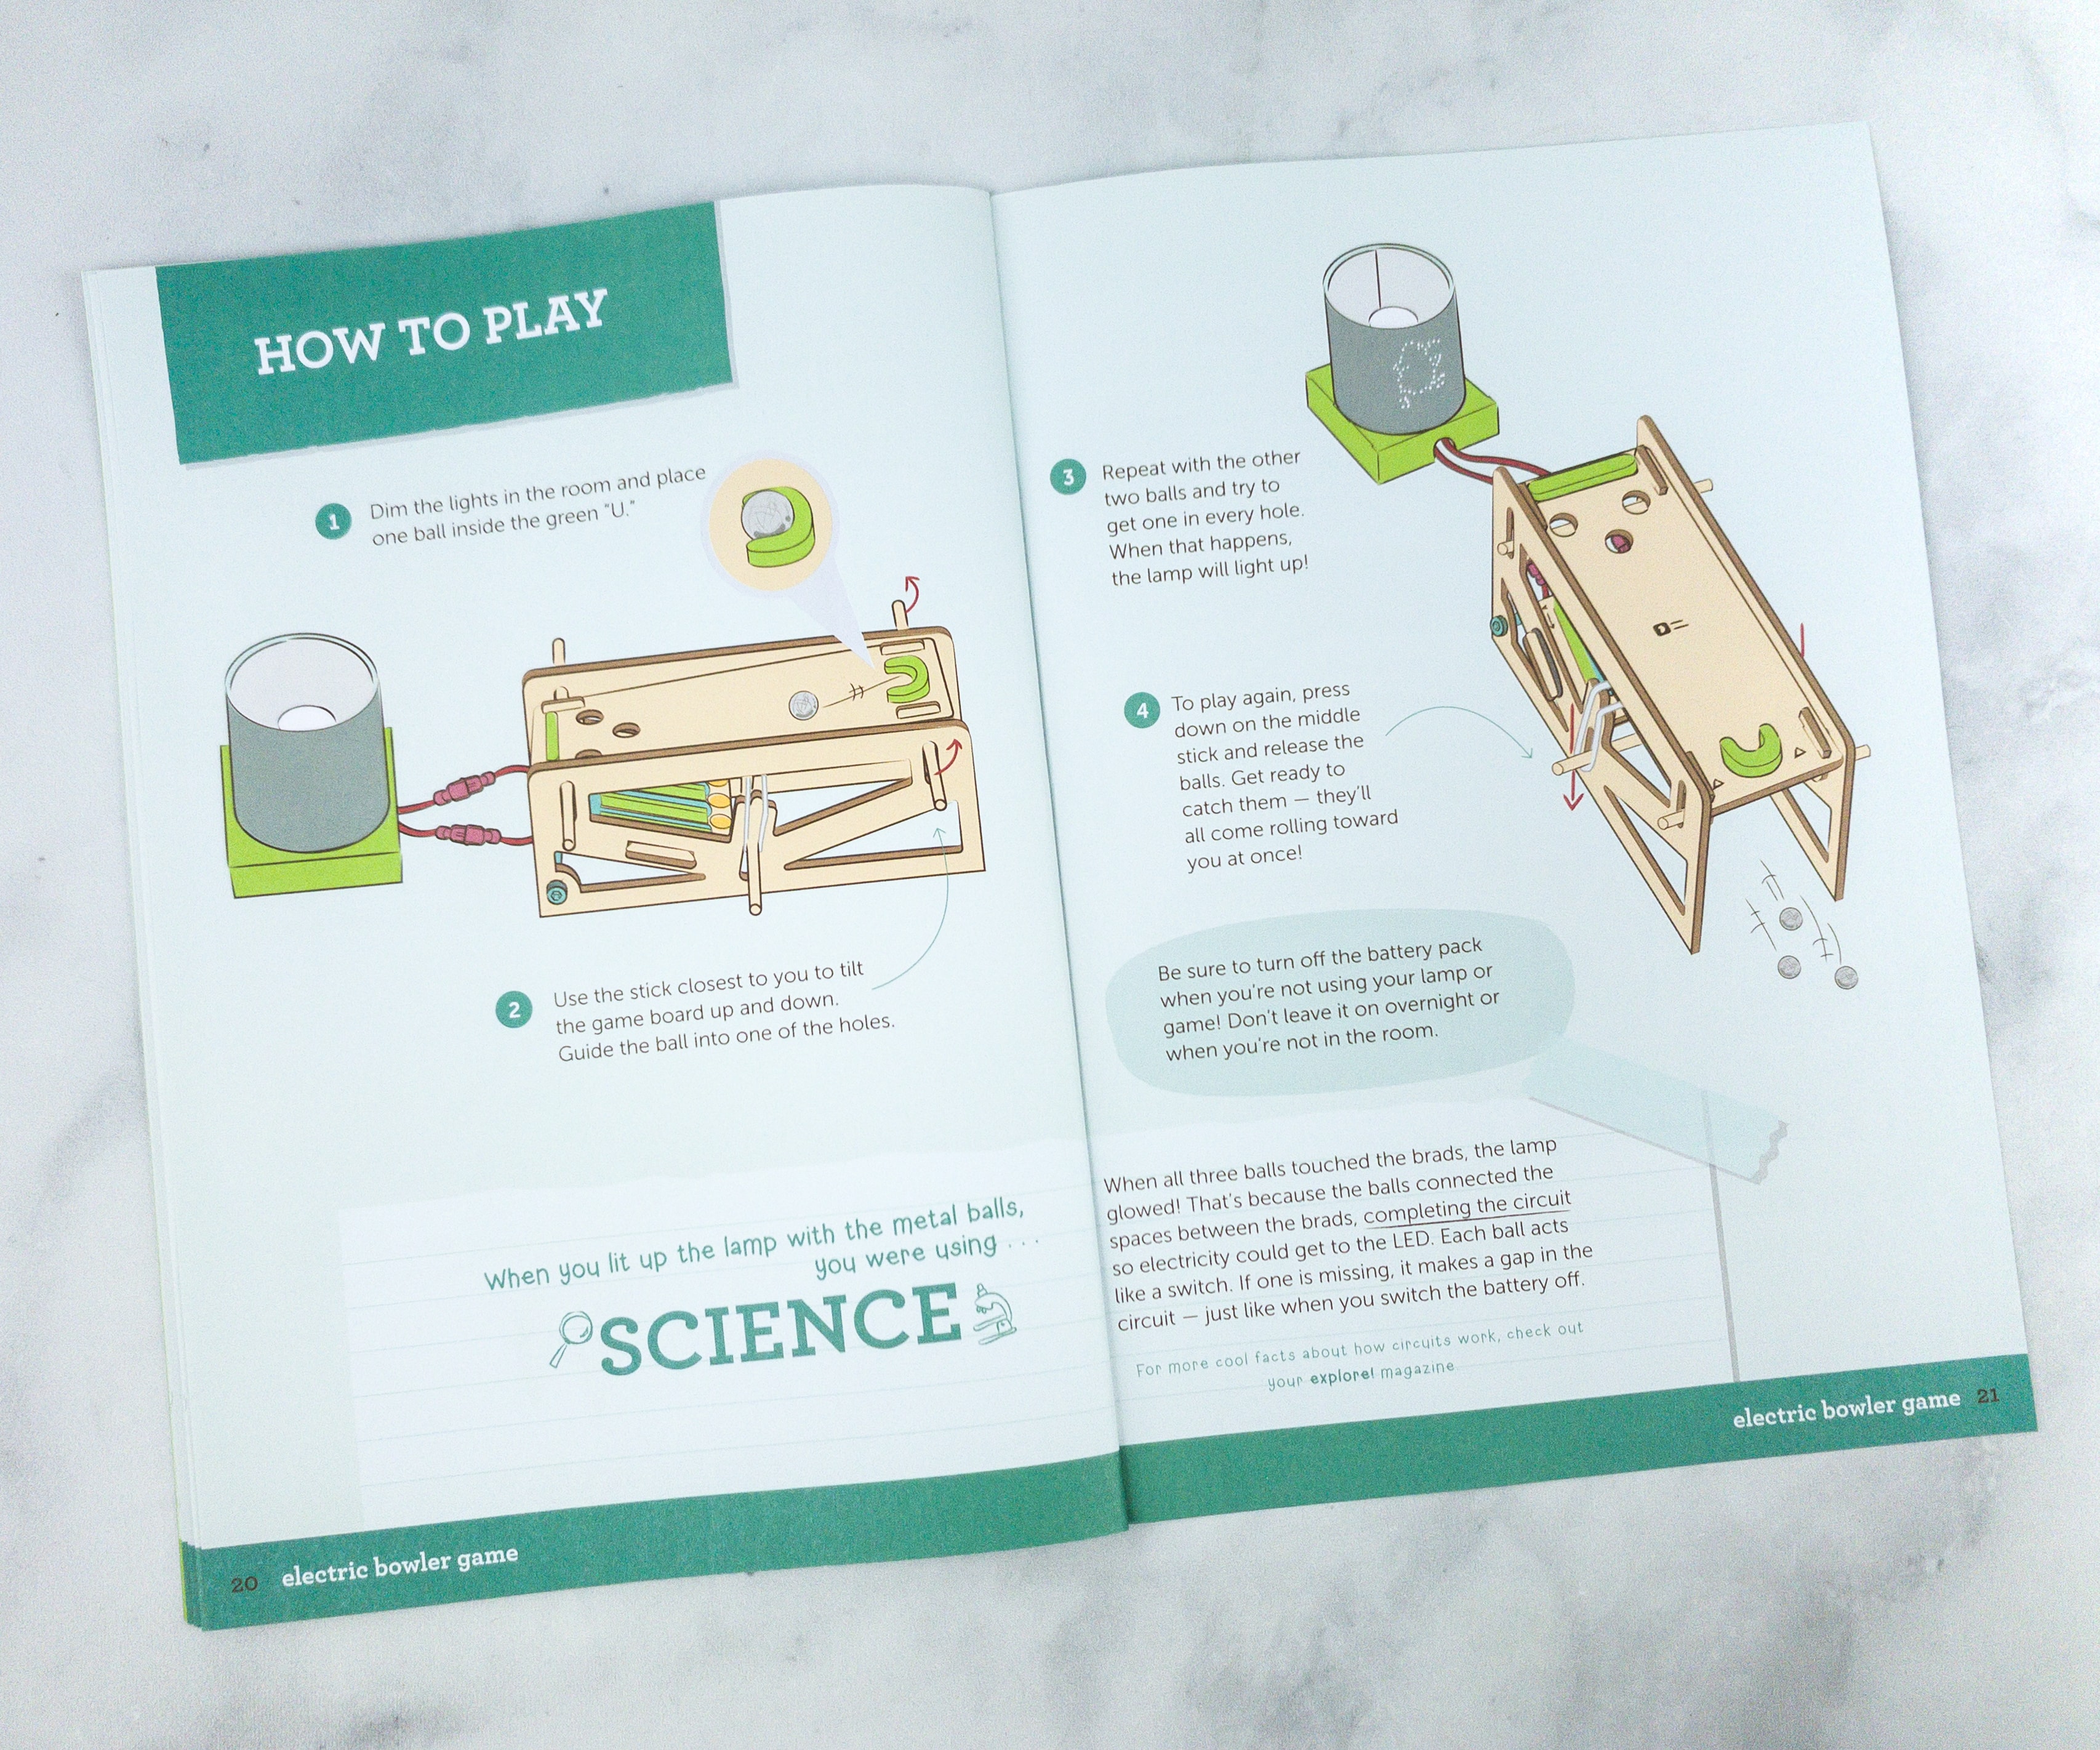
This part of the booklet teaches us how to play this Electric Bowler Game!
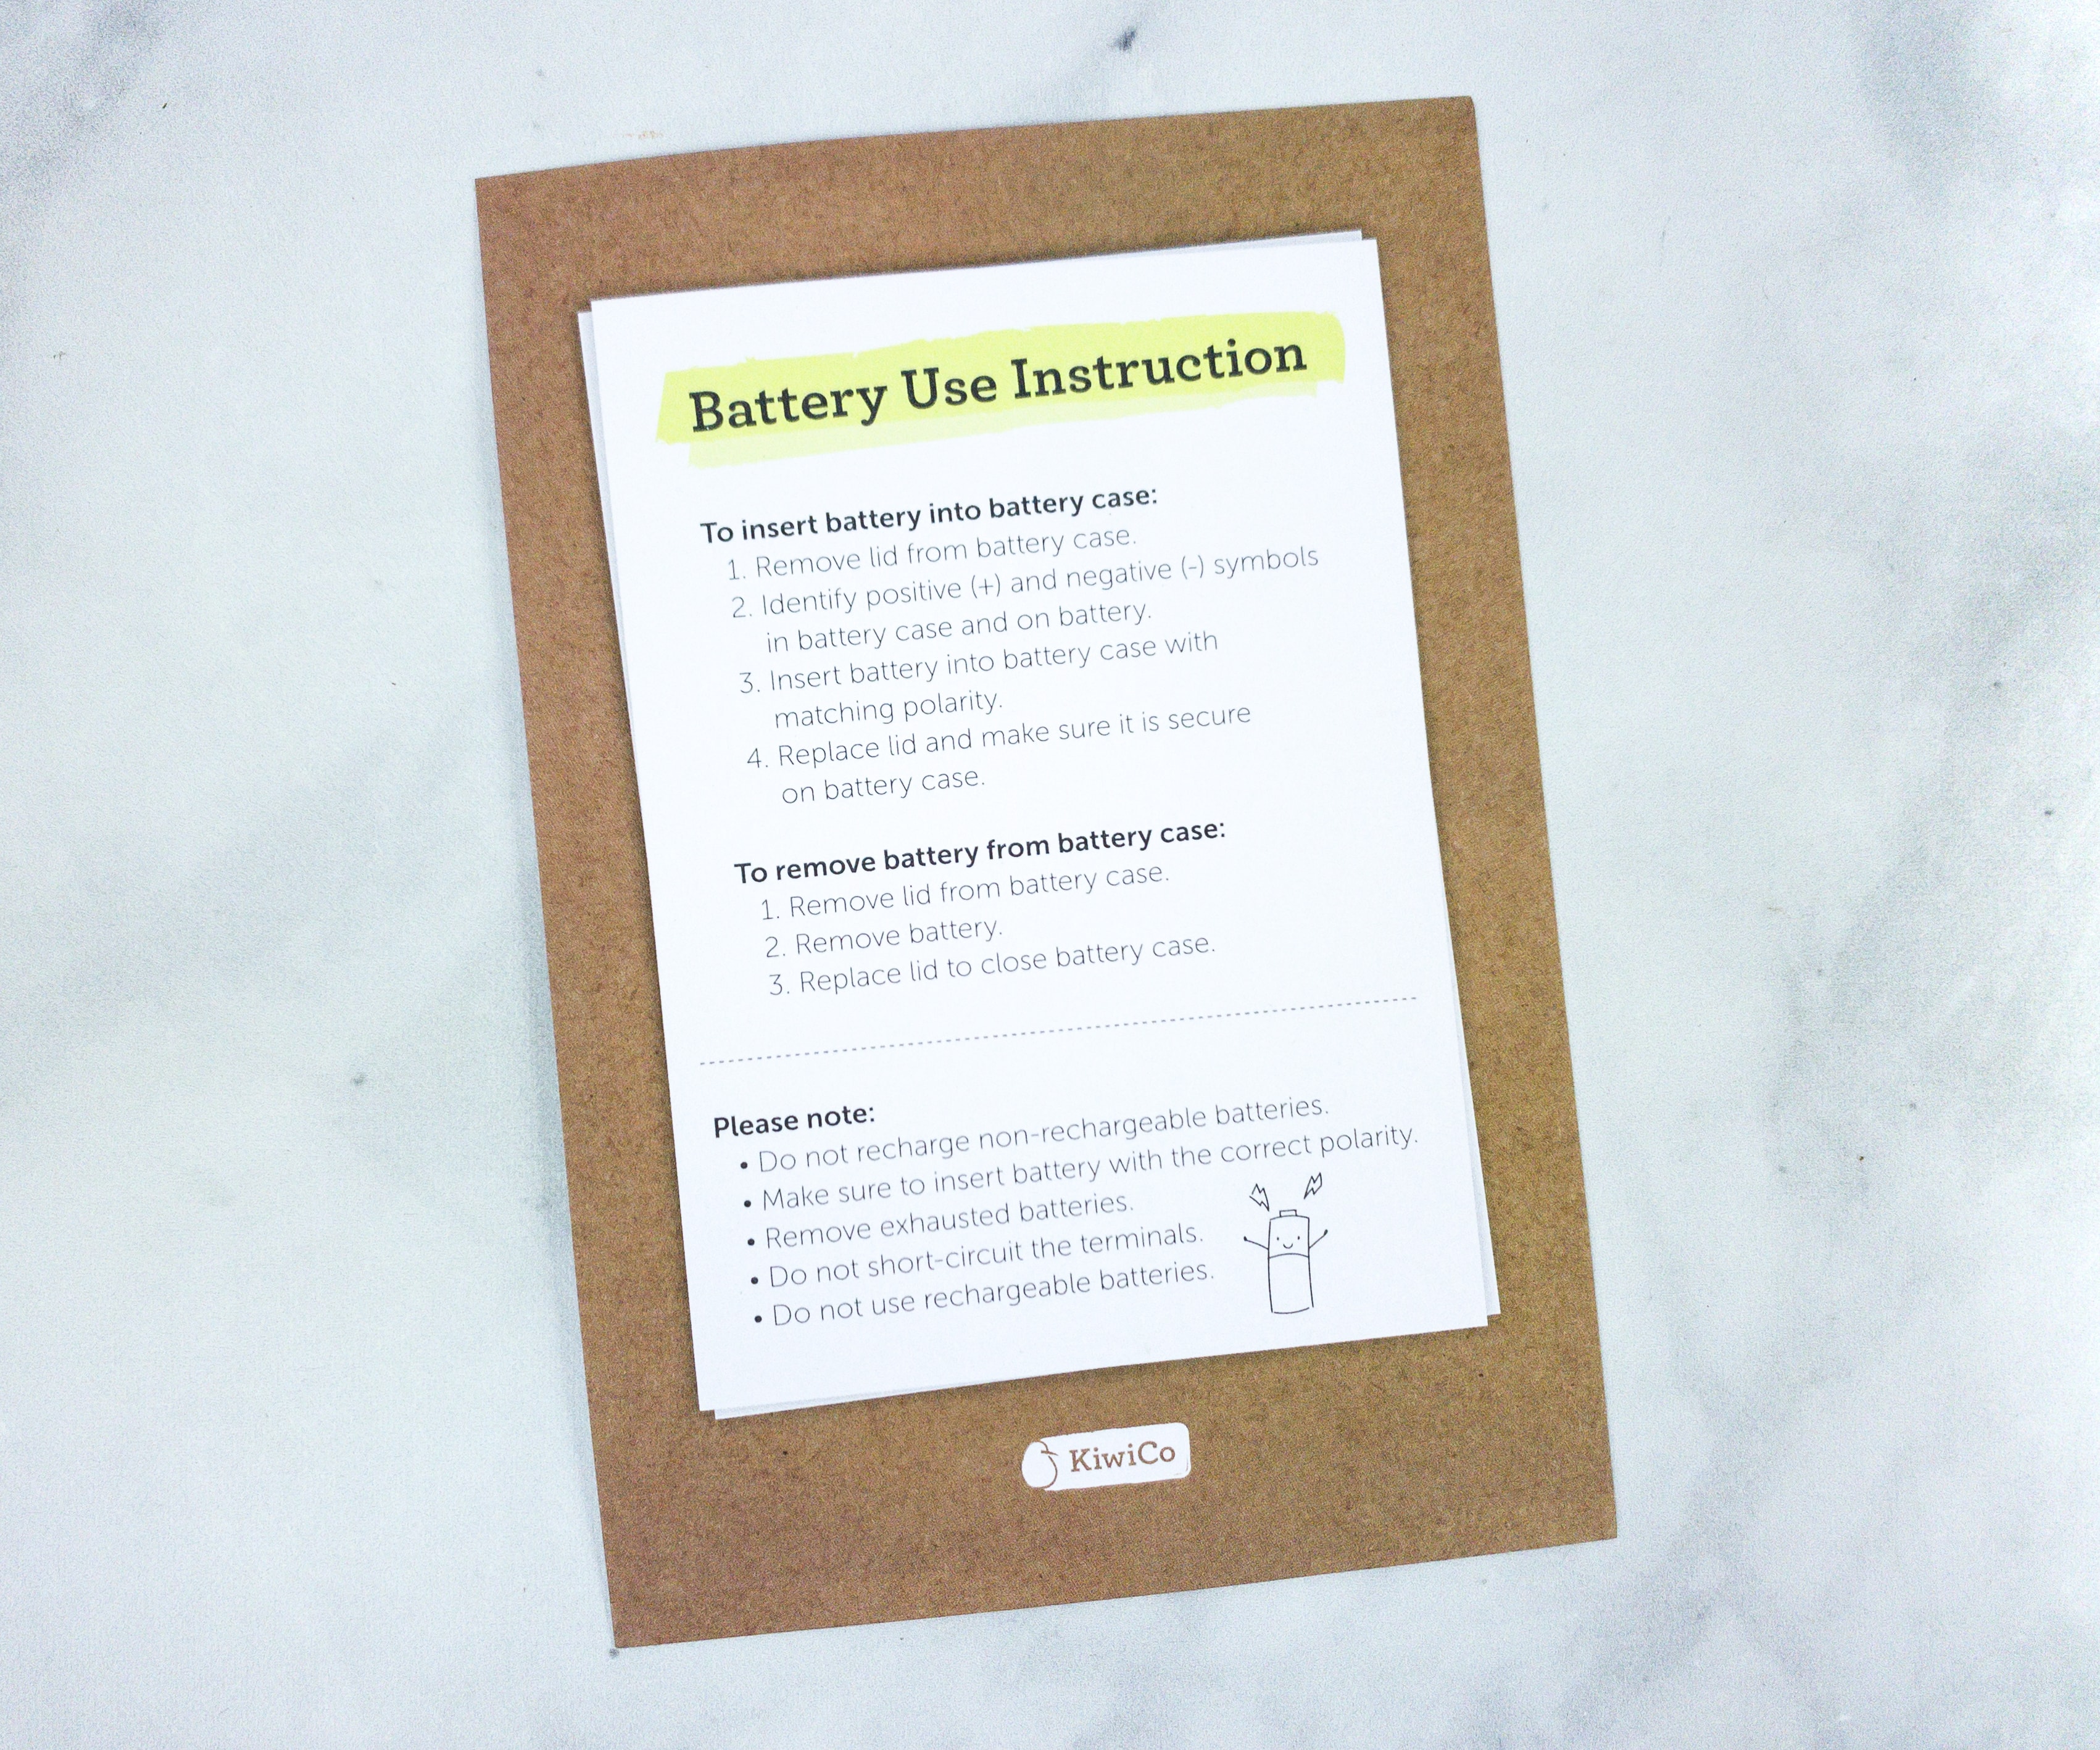
They even included a battery instruction manual to make sure that the batteries are placed correctly.
It’s another fun Kiwi Crate box! My kids worked on a lamp this month and they learned all about circuit science. What’s great about this subscription is that they teach more than just science concepts. These activities also enhance kids’ problem-solving skills, as well as their ability to follow instructions. We also love the well-detailed booklet that comes in every crate. It contains everything we need to know about the project, as well as other fun activities that my kids enjoy. Of course, we also appreciate that they provide all the items we need for the projects so we can start right away. It’s a fantastic box and definitely one of our favorite activity subscriptions for kids!
Did you enjoy this month’s activity? Let us know in the comments!
Visit Kiwi Crate to subscribe or to find out more about this fantastic kids’ craft subscription box!


Comments