Green Kid Crafts is a monthly arts and crafts subscription for kids. Each themed box includes 4-6 projects that involve Science, Technology, Education, Art, and Math (STEAM) plus a 12-page magazine that contains instructions and explanations. Materials are green and eco-friendly! They currently have 3 subscription types available:
- Junior Discovery Box Subscription for ages 2-4 ($24.95 a month)
- Discovery Box Subscription for ages 5-10+ ($24.95 a month)
- Sibling Box Subscription for ages 2-10+ with two sets of each project kit ($44.95 a month)
This is a review of the Discovery box!
DEAL: Save 50% on your first box! Use coupon code HELLOSUB50.

The box itself is in green, with cute doodles on it.
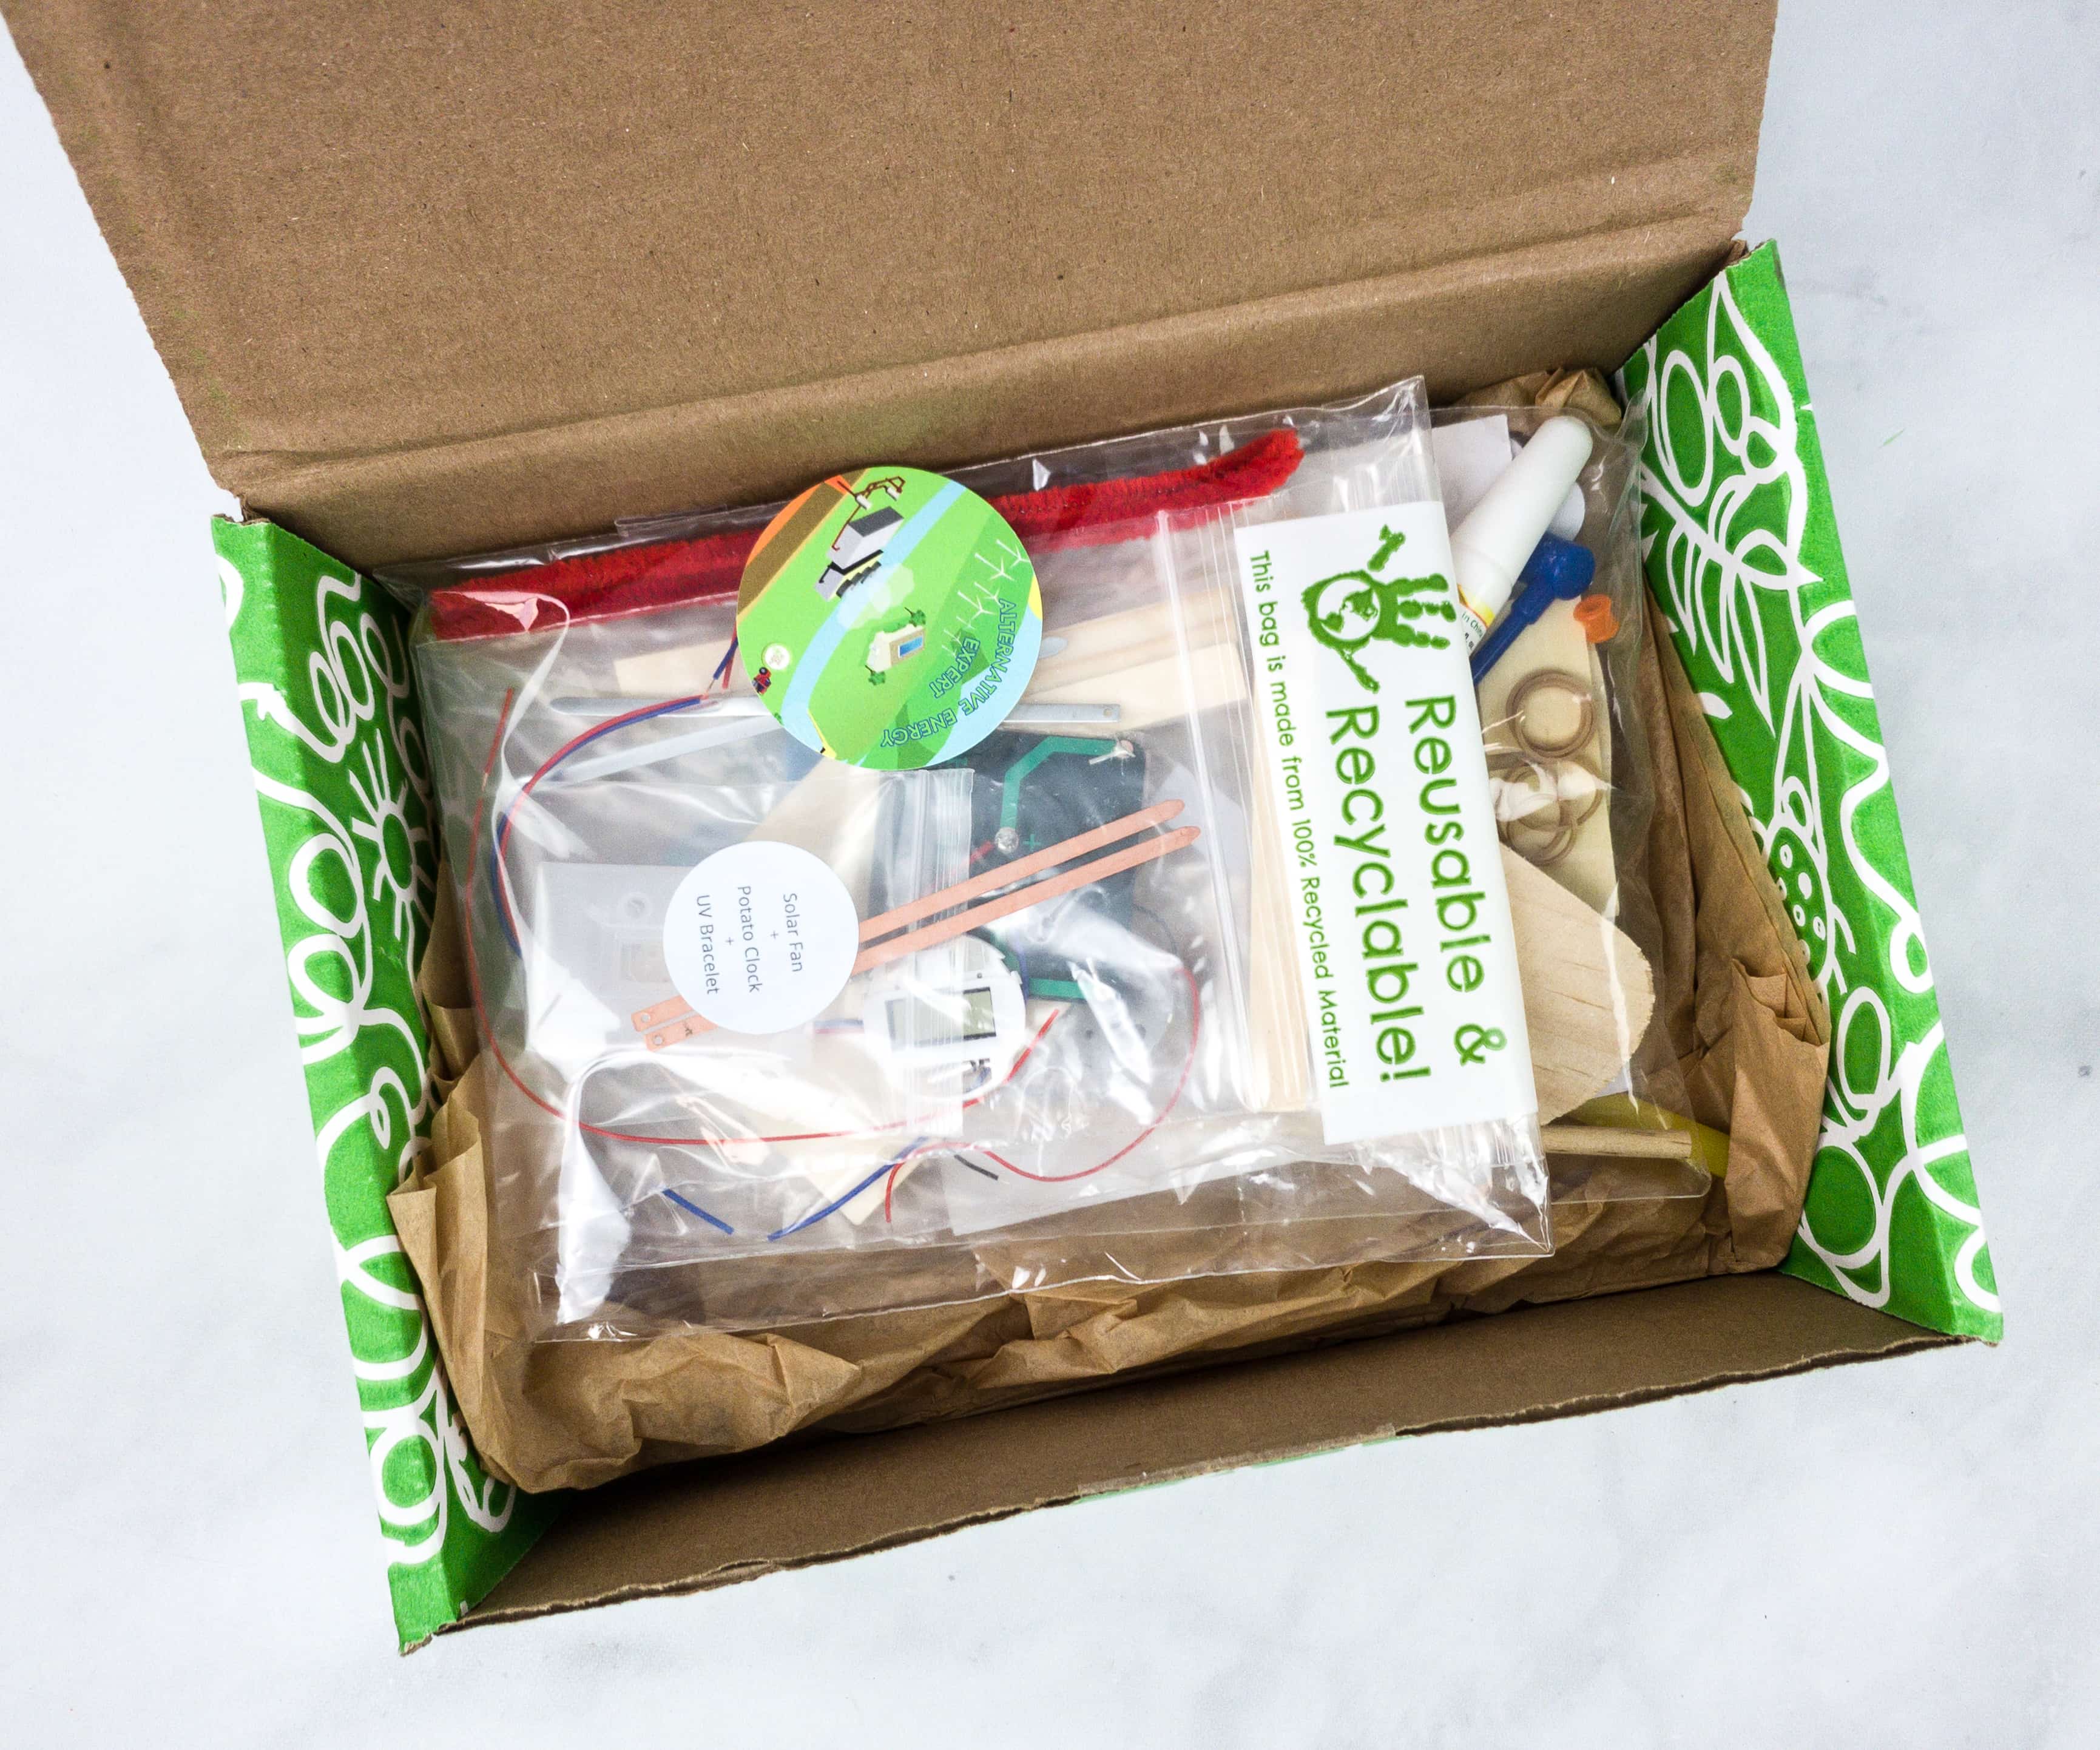
All the items are packed neatly inside.
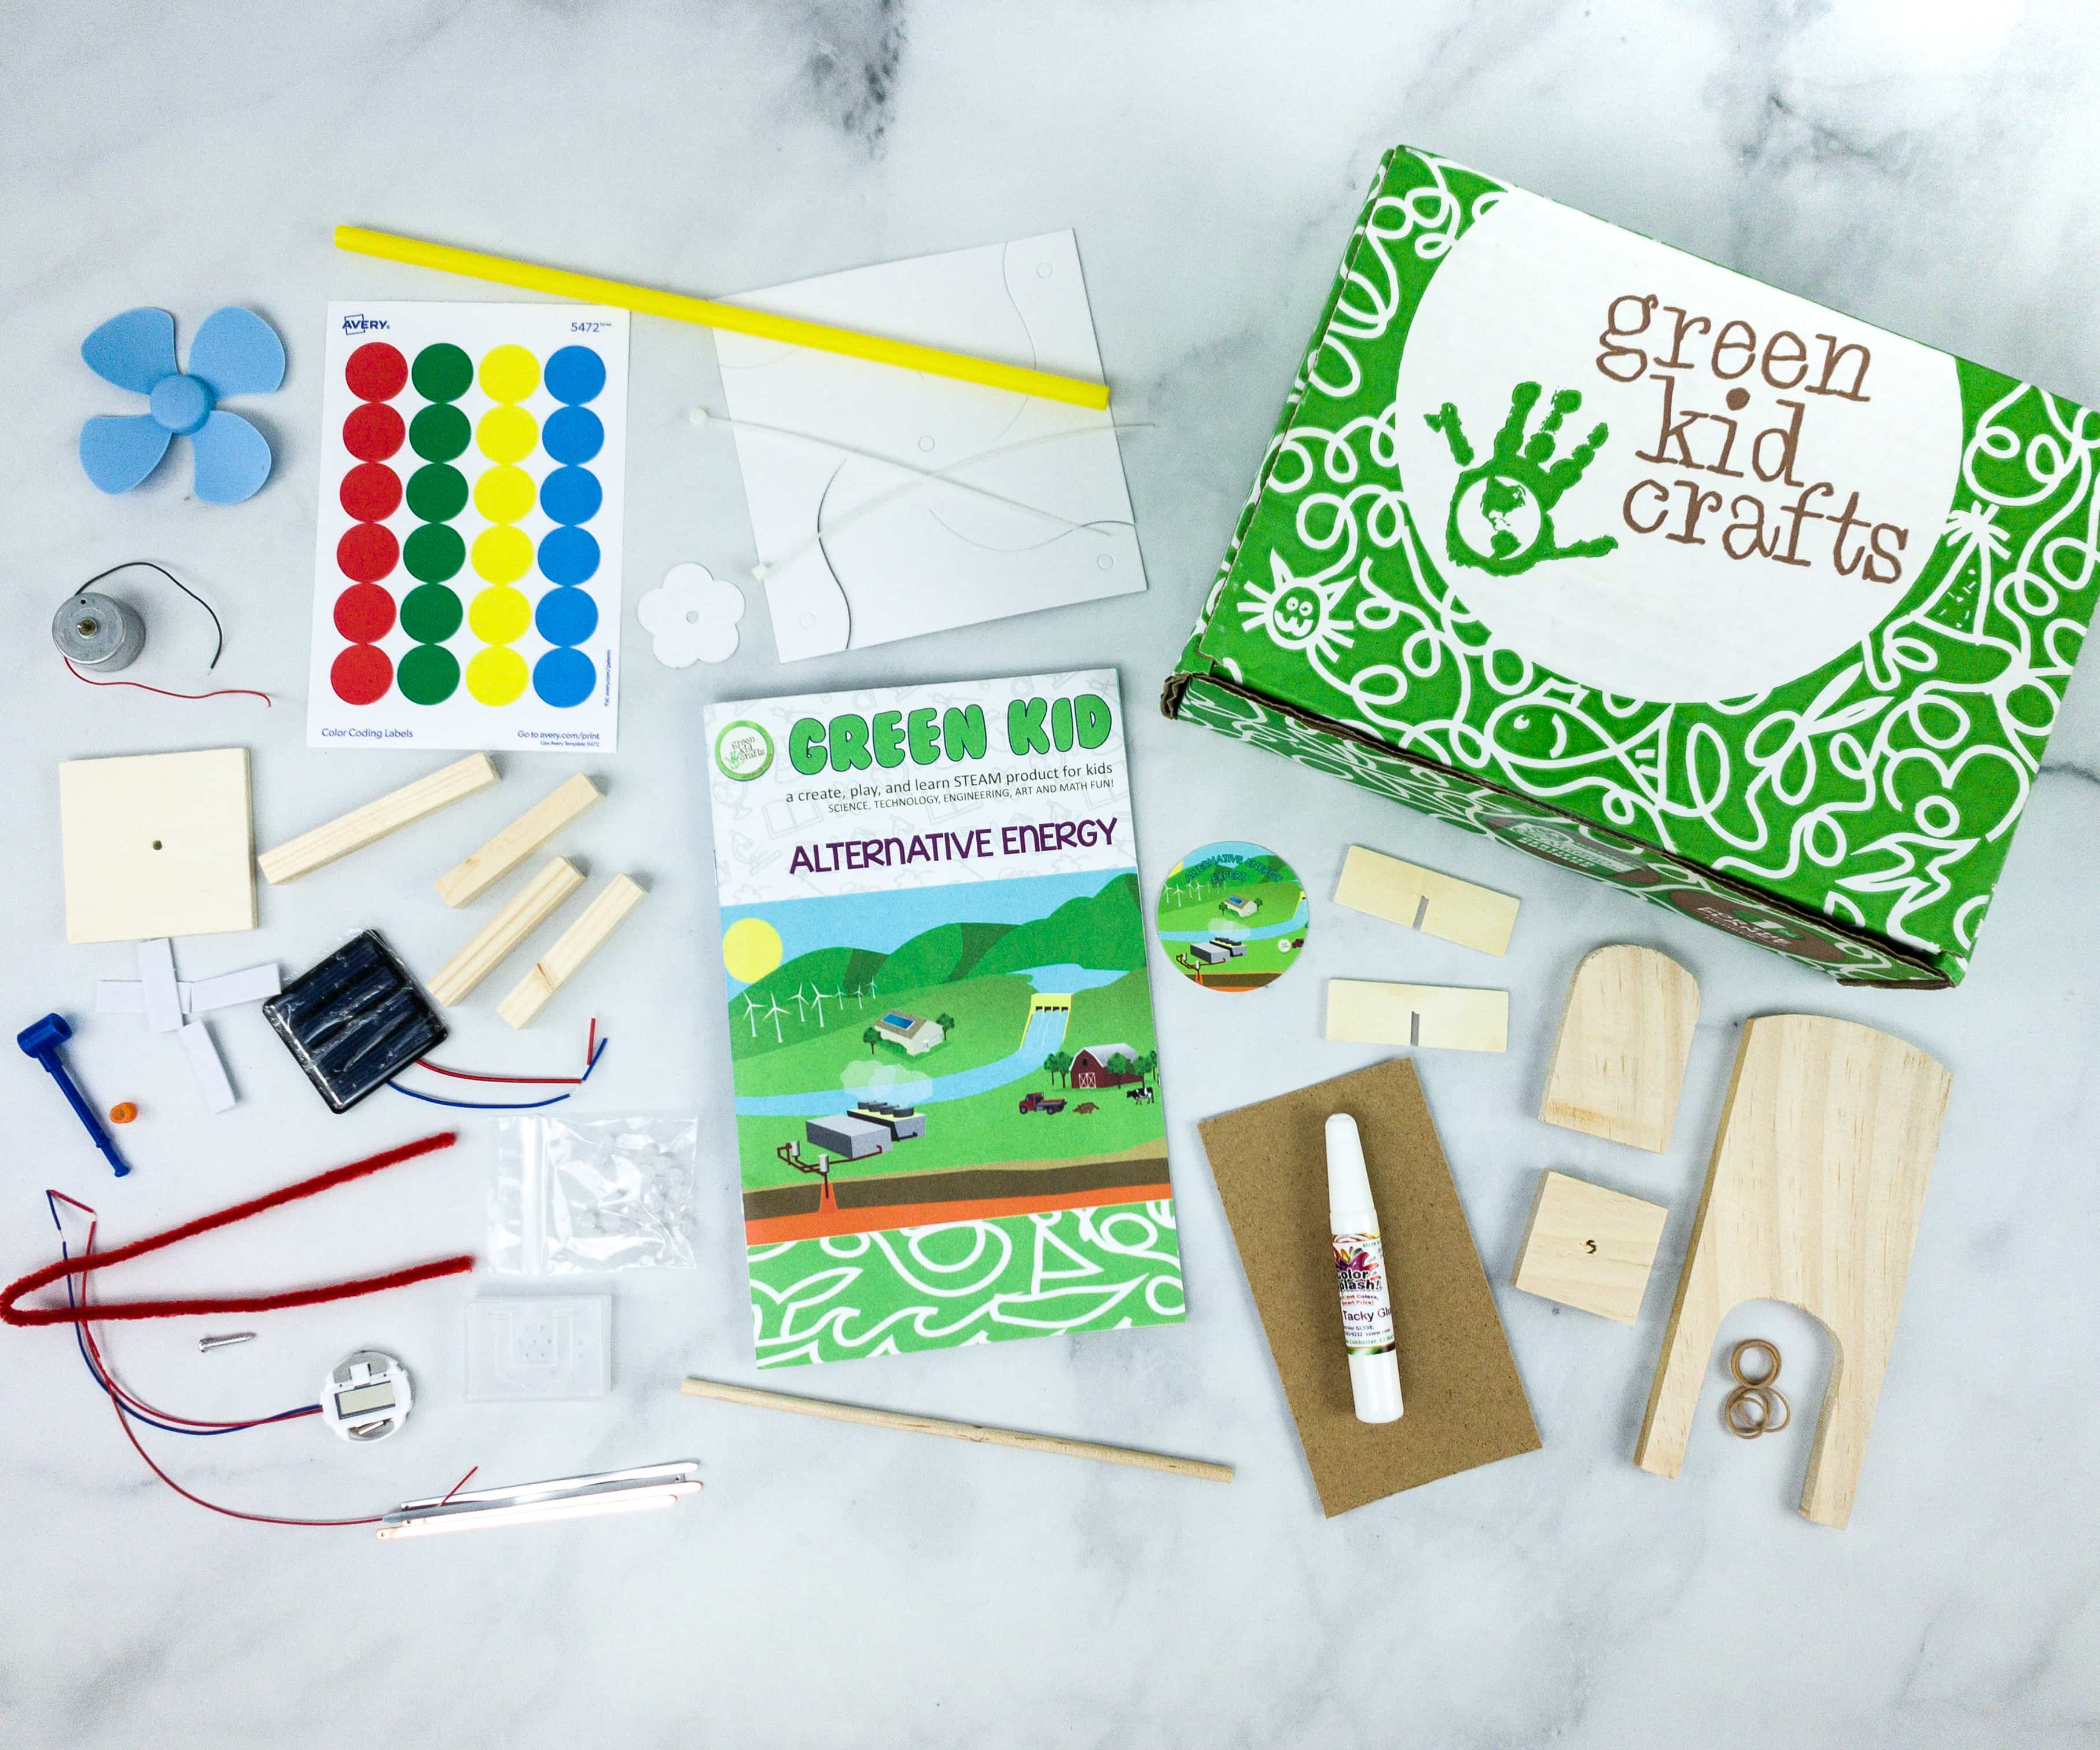
Everything in my box!
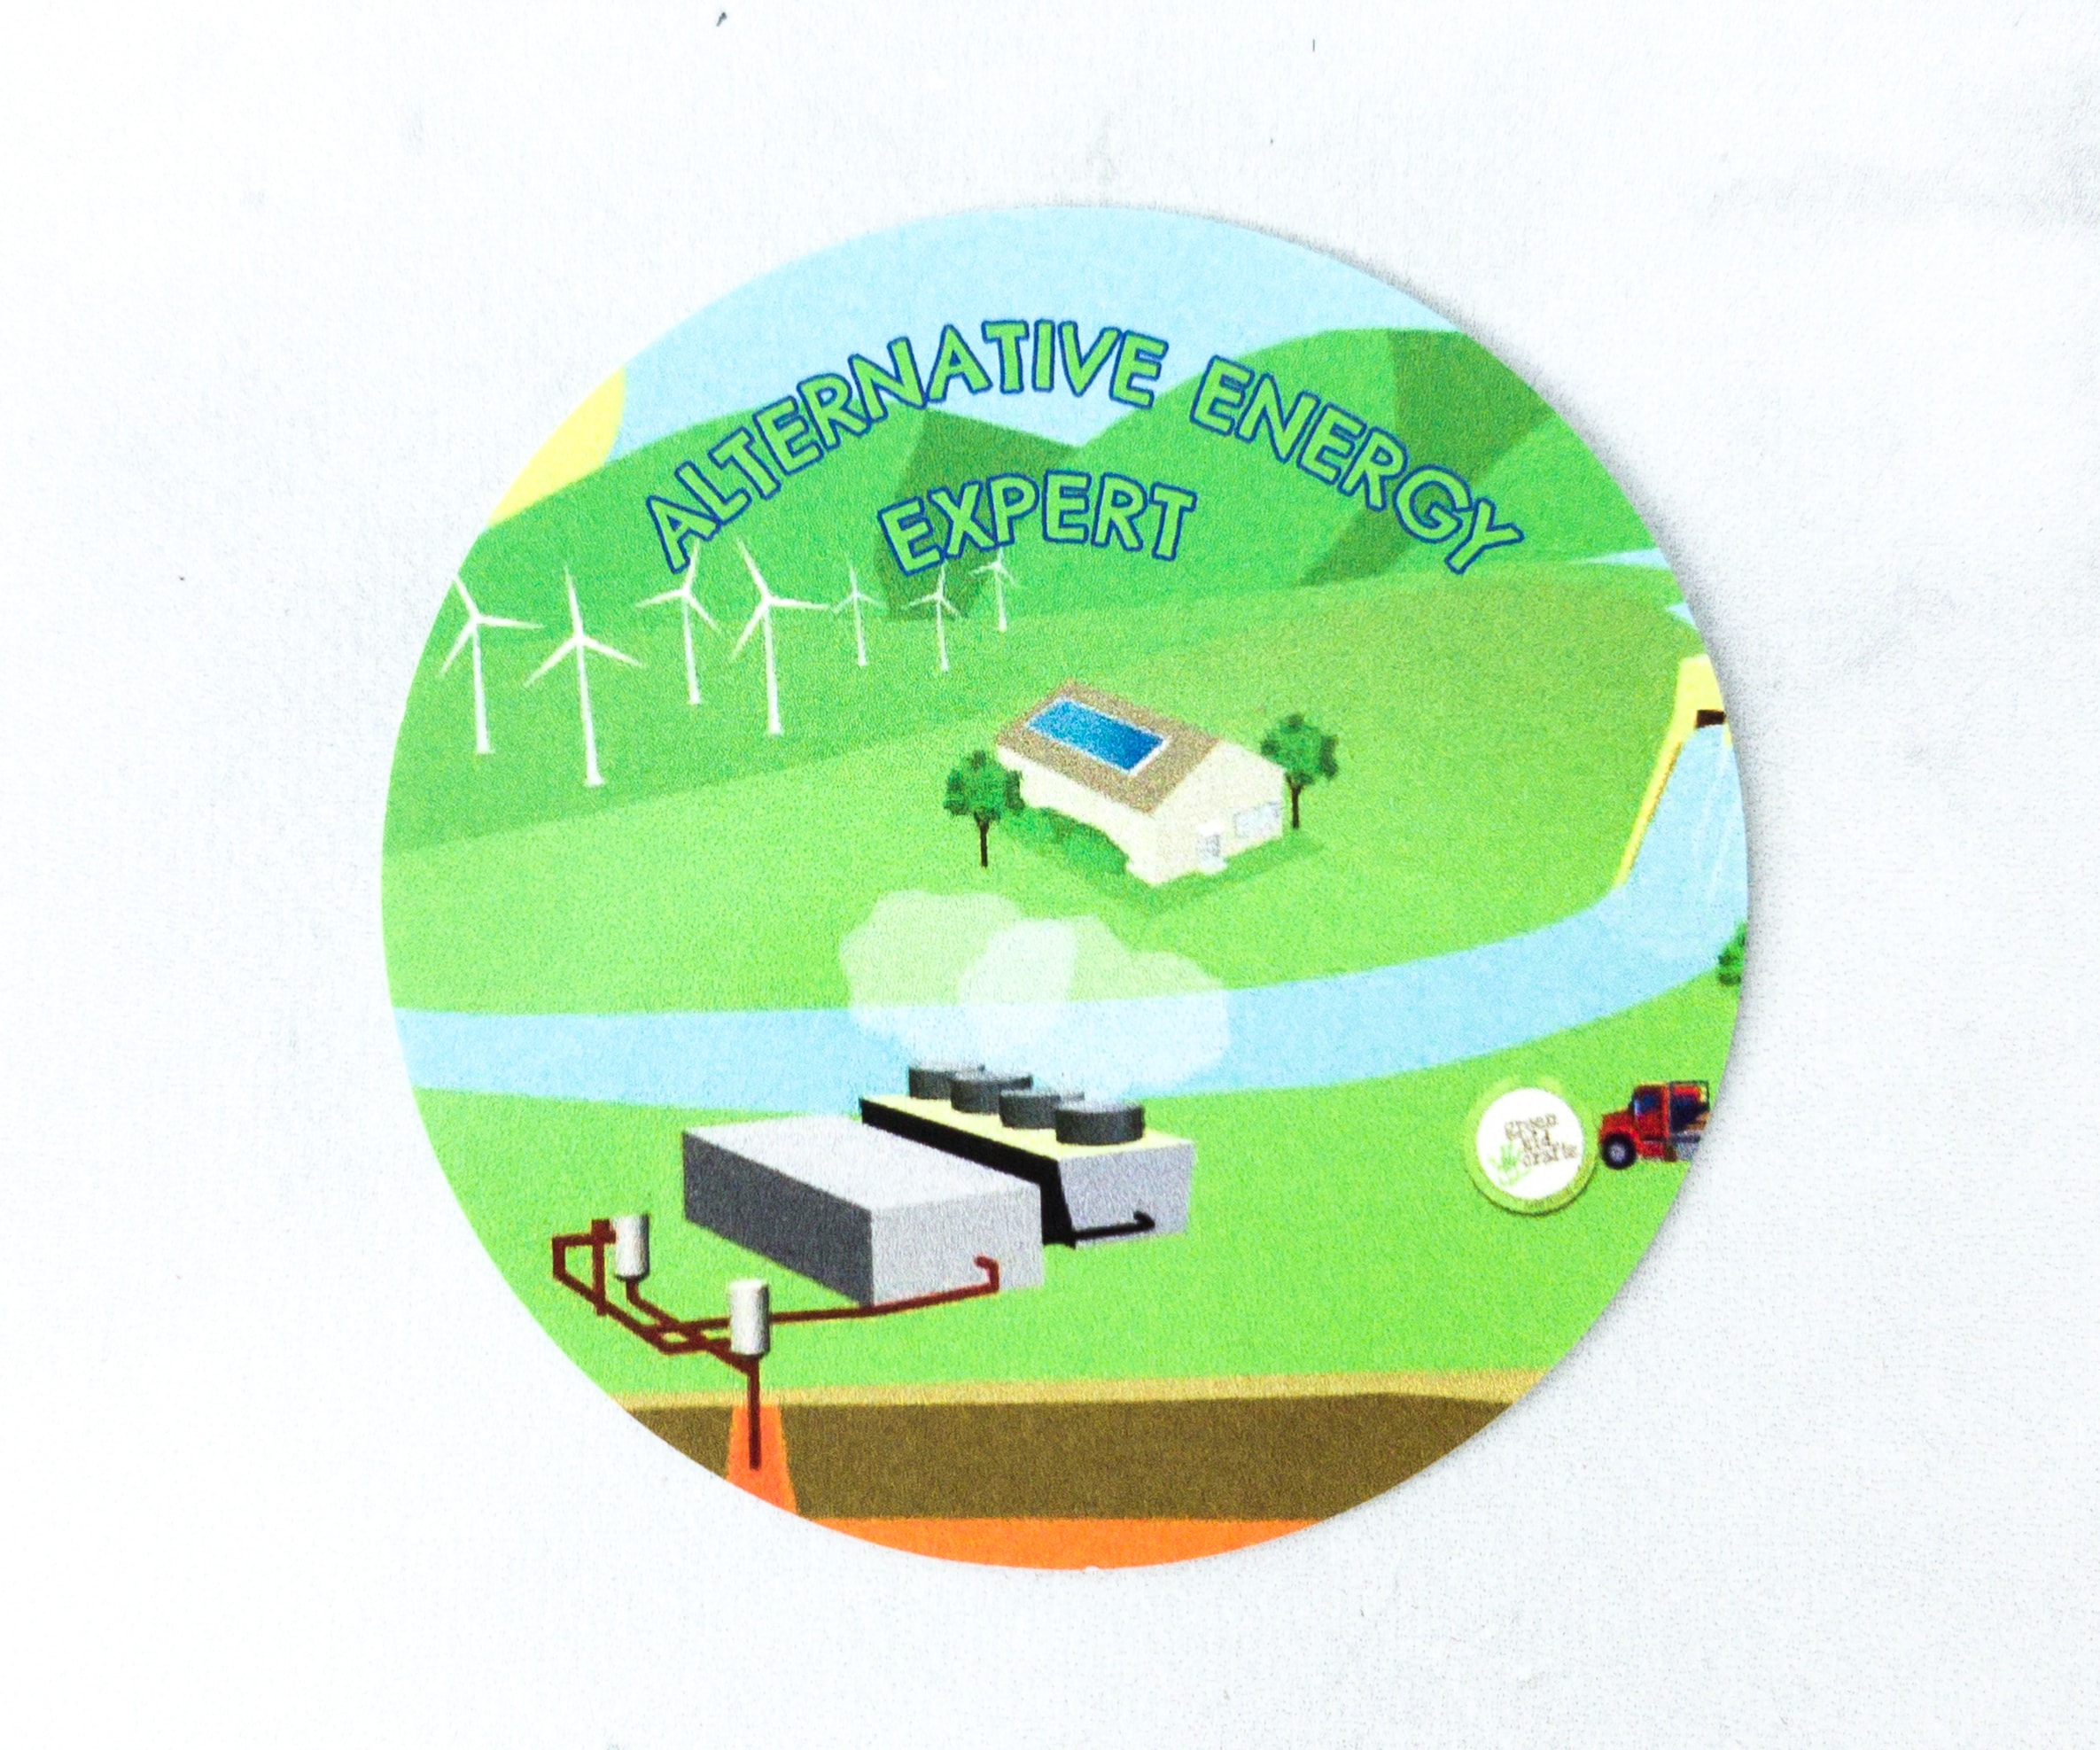
Each month you’ll get a special badge that you can collect and stick on a badge sheet. This month, it’s the Alternative Energy Expert badge!
This box’s theme is ALTERNATIVE ENERGY.
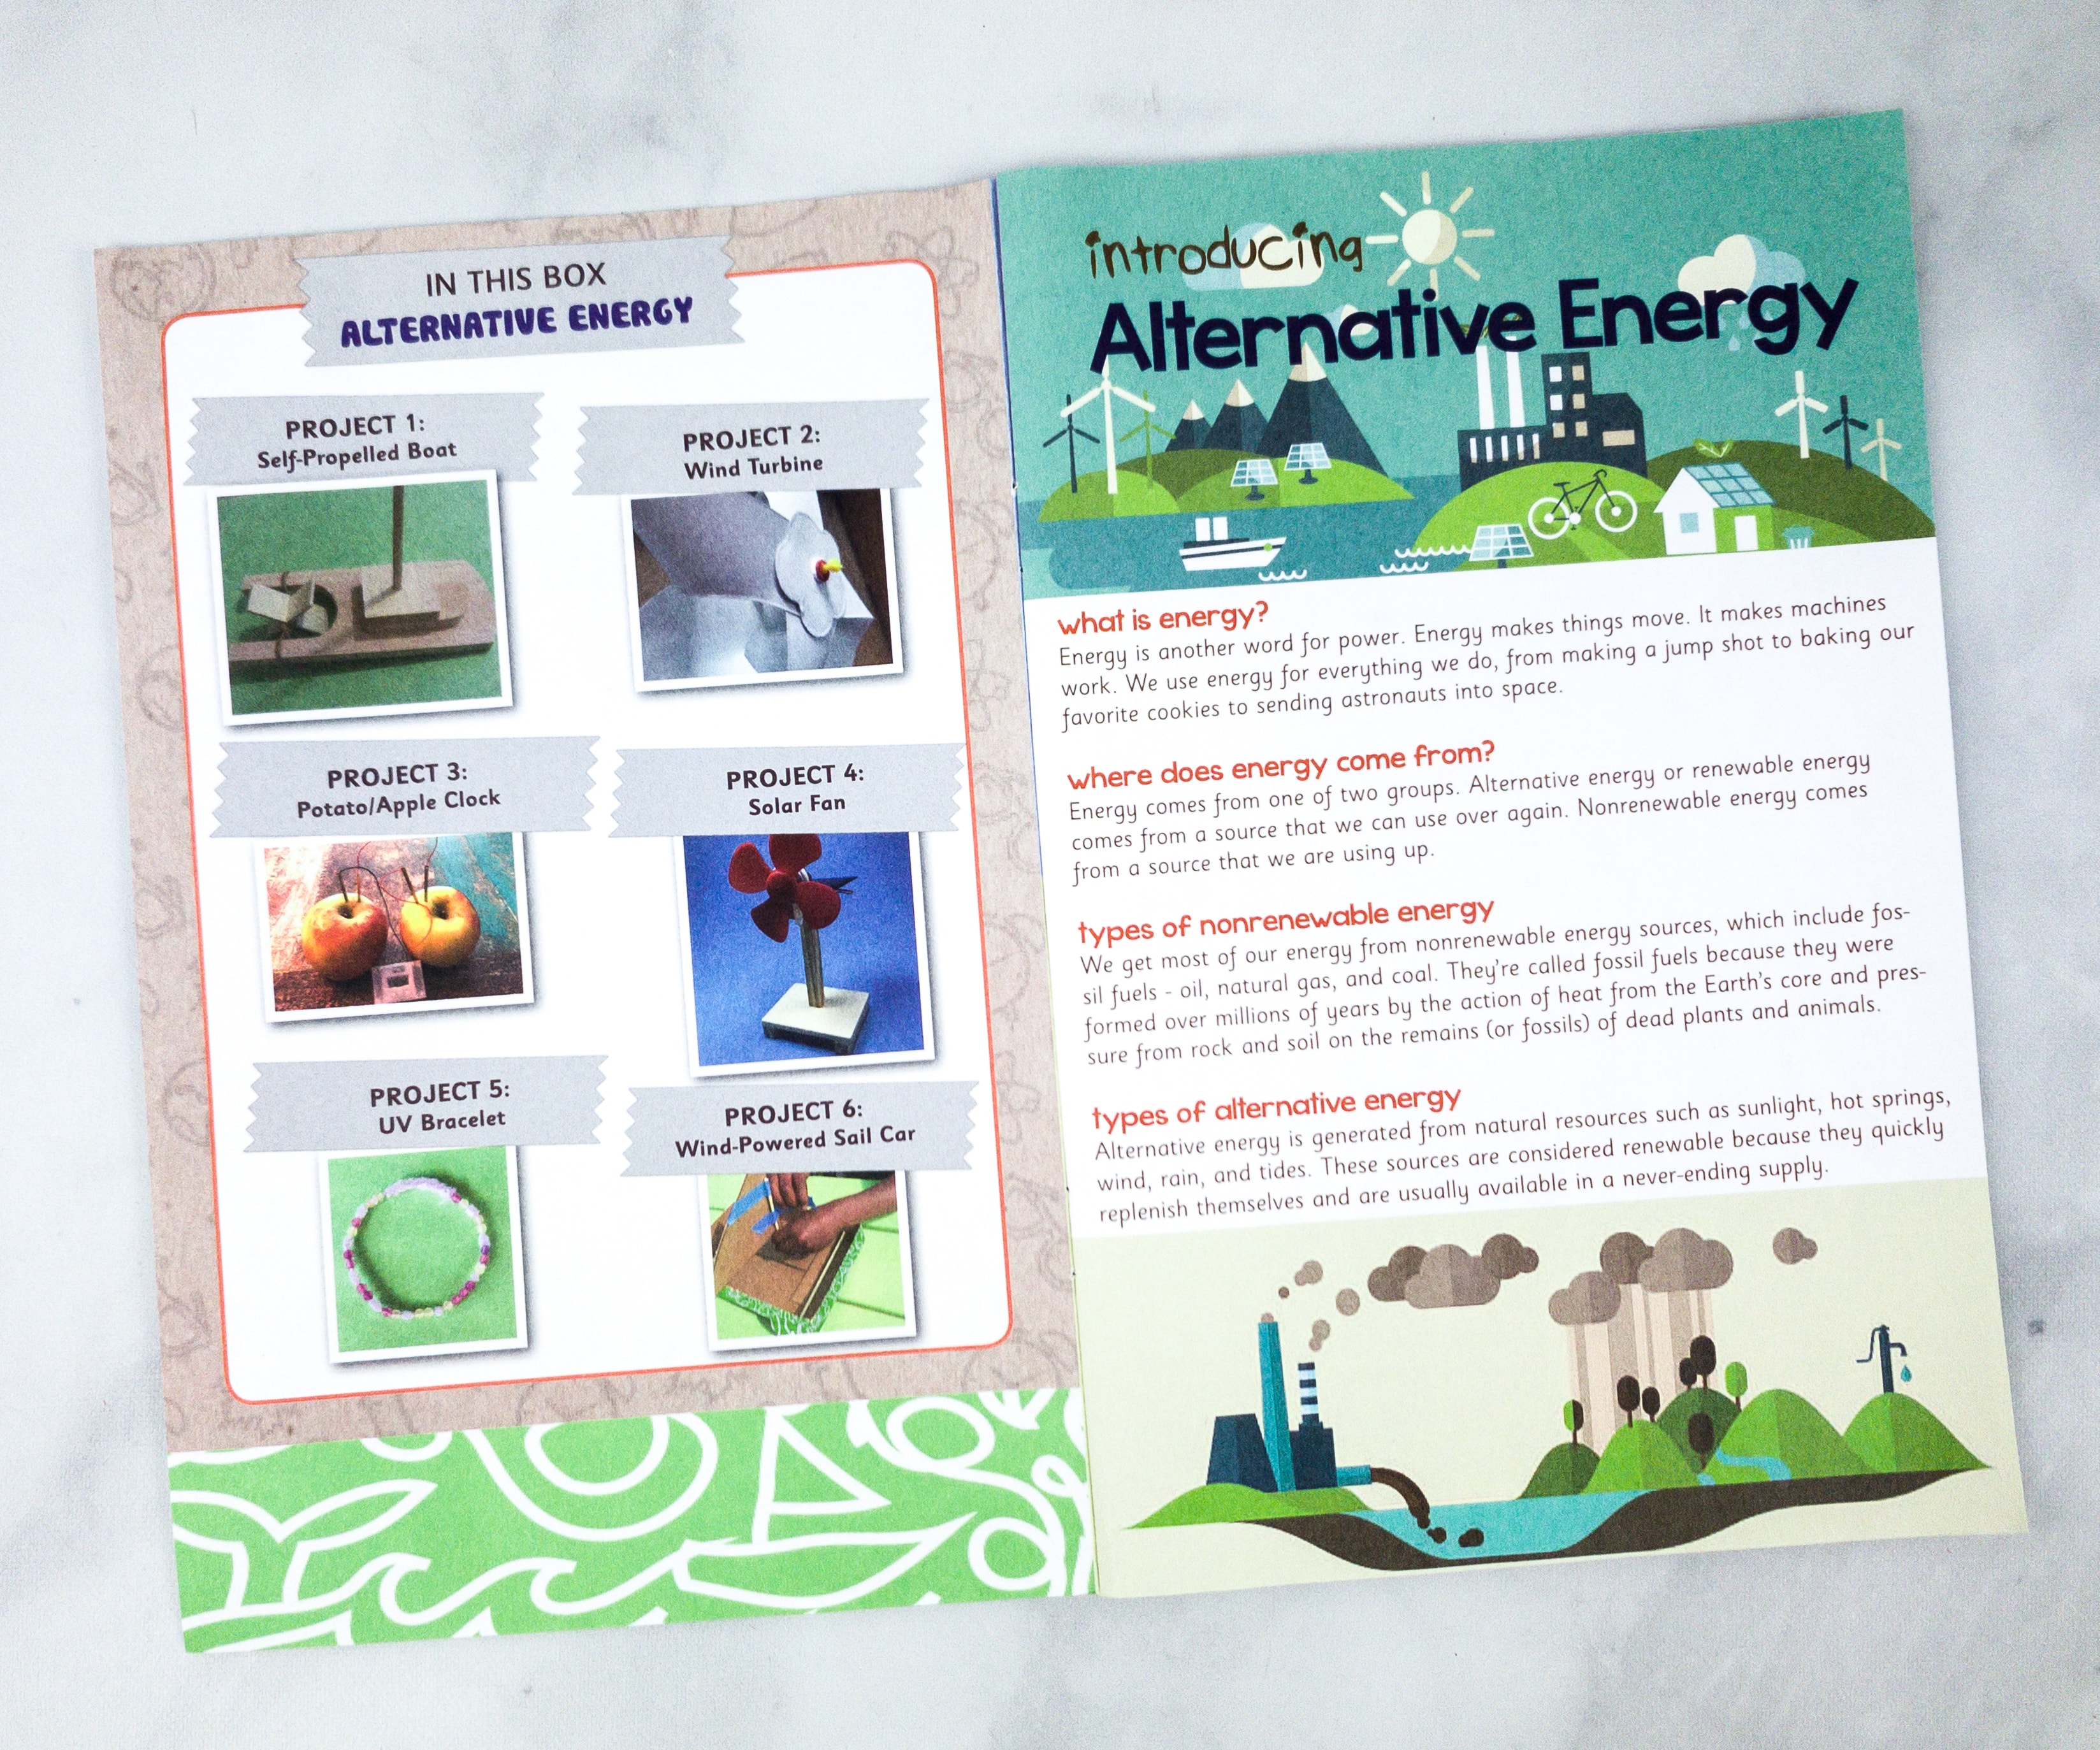
The booklet provides essential information about the subscription and a variety of projects that you can work on. Here’s a brief article introducing alternative energy!
The booklet is well-detailed and very informative.
It provides us with complete instructions and details for each and every project.
There’s a total of 5 projects for this month’s activity box! Aside from the projects, the booklet also comes with a lot of cool on-page activities for your kids to enjoy.
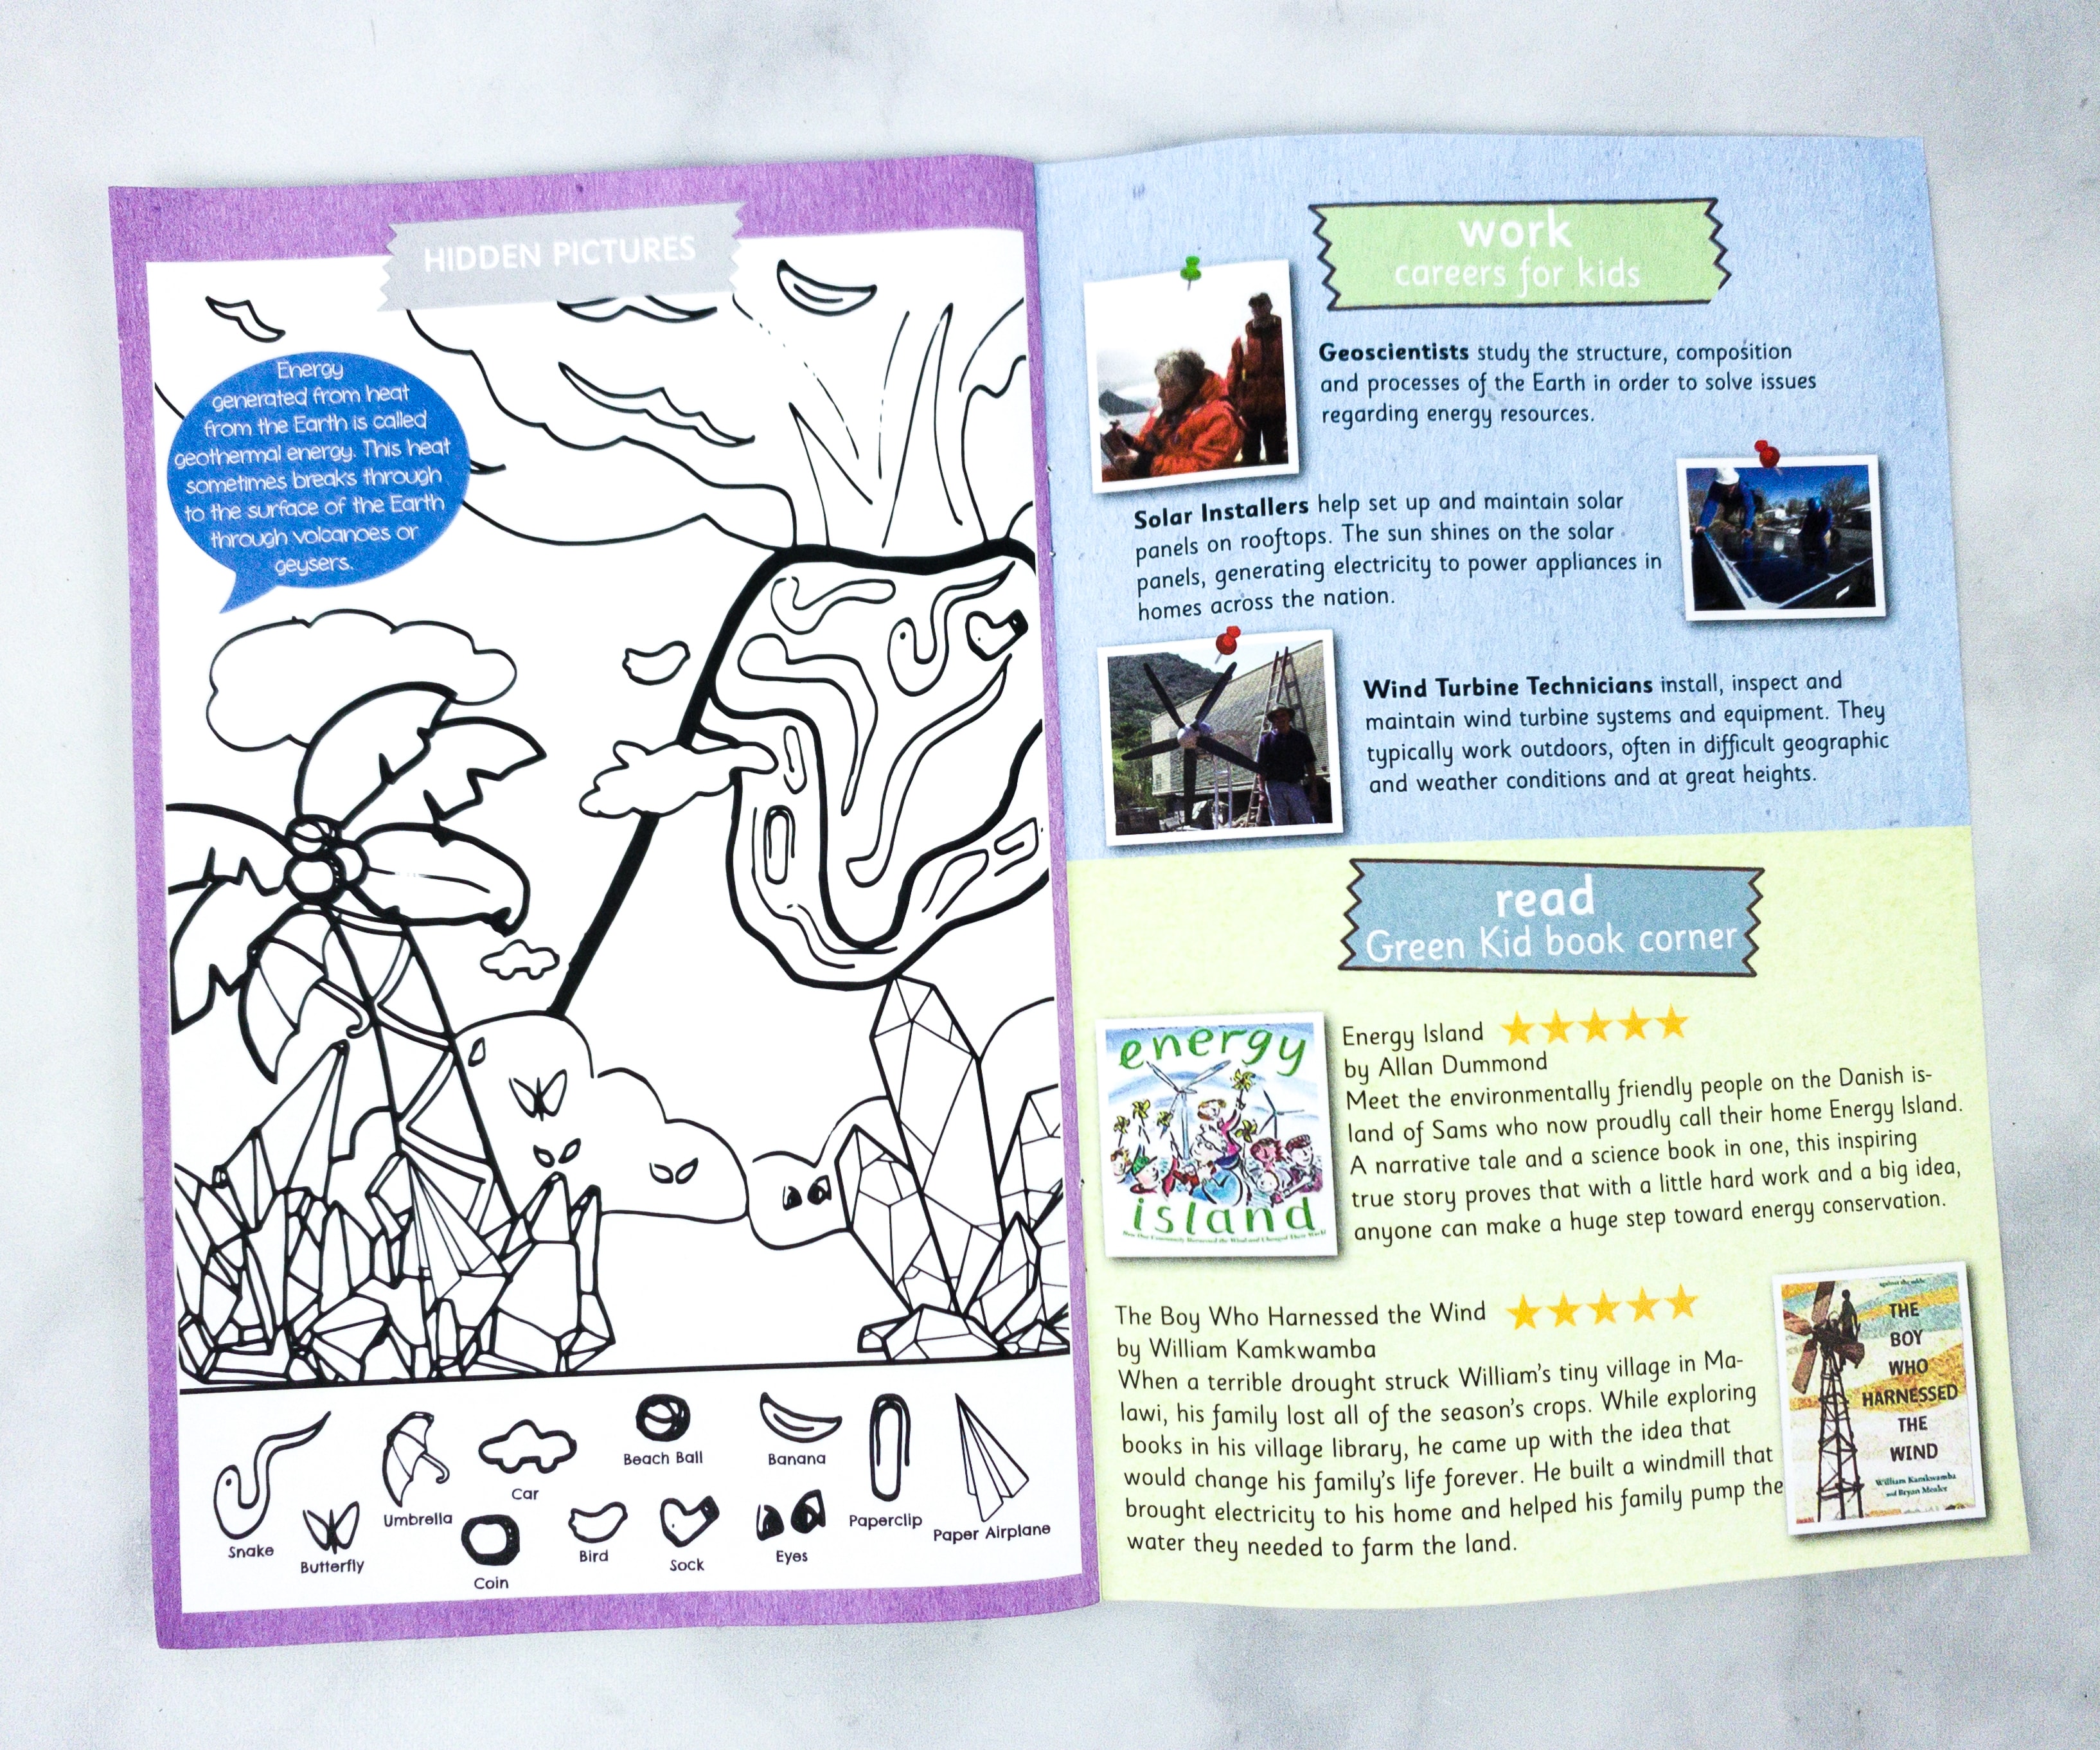
One of the fun activities in the booklet is Finding the Hidden Picture. The other page even suggests a books for supplemental reading: Energy Island by Allan Dummond and The Boy Who Harnessed the Wind by William Kamkwamba.

Each project comes in separate plastic containers to avoid mixing of items.
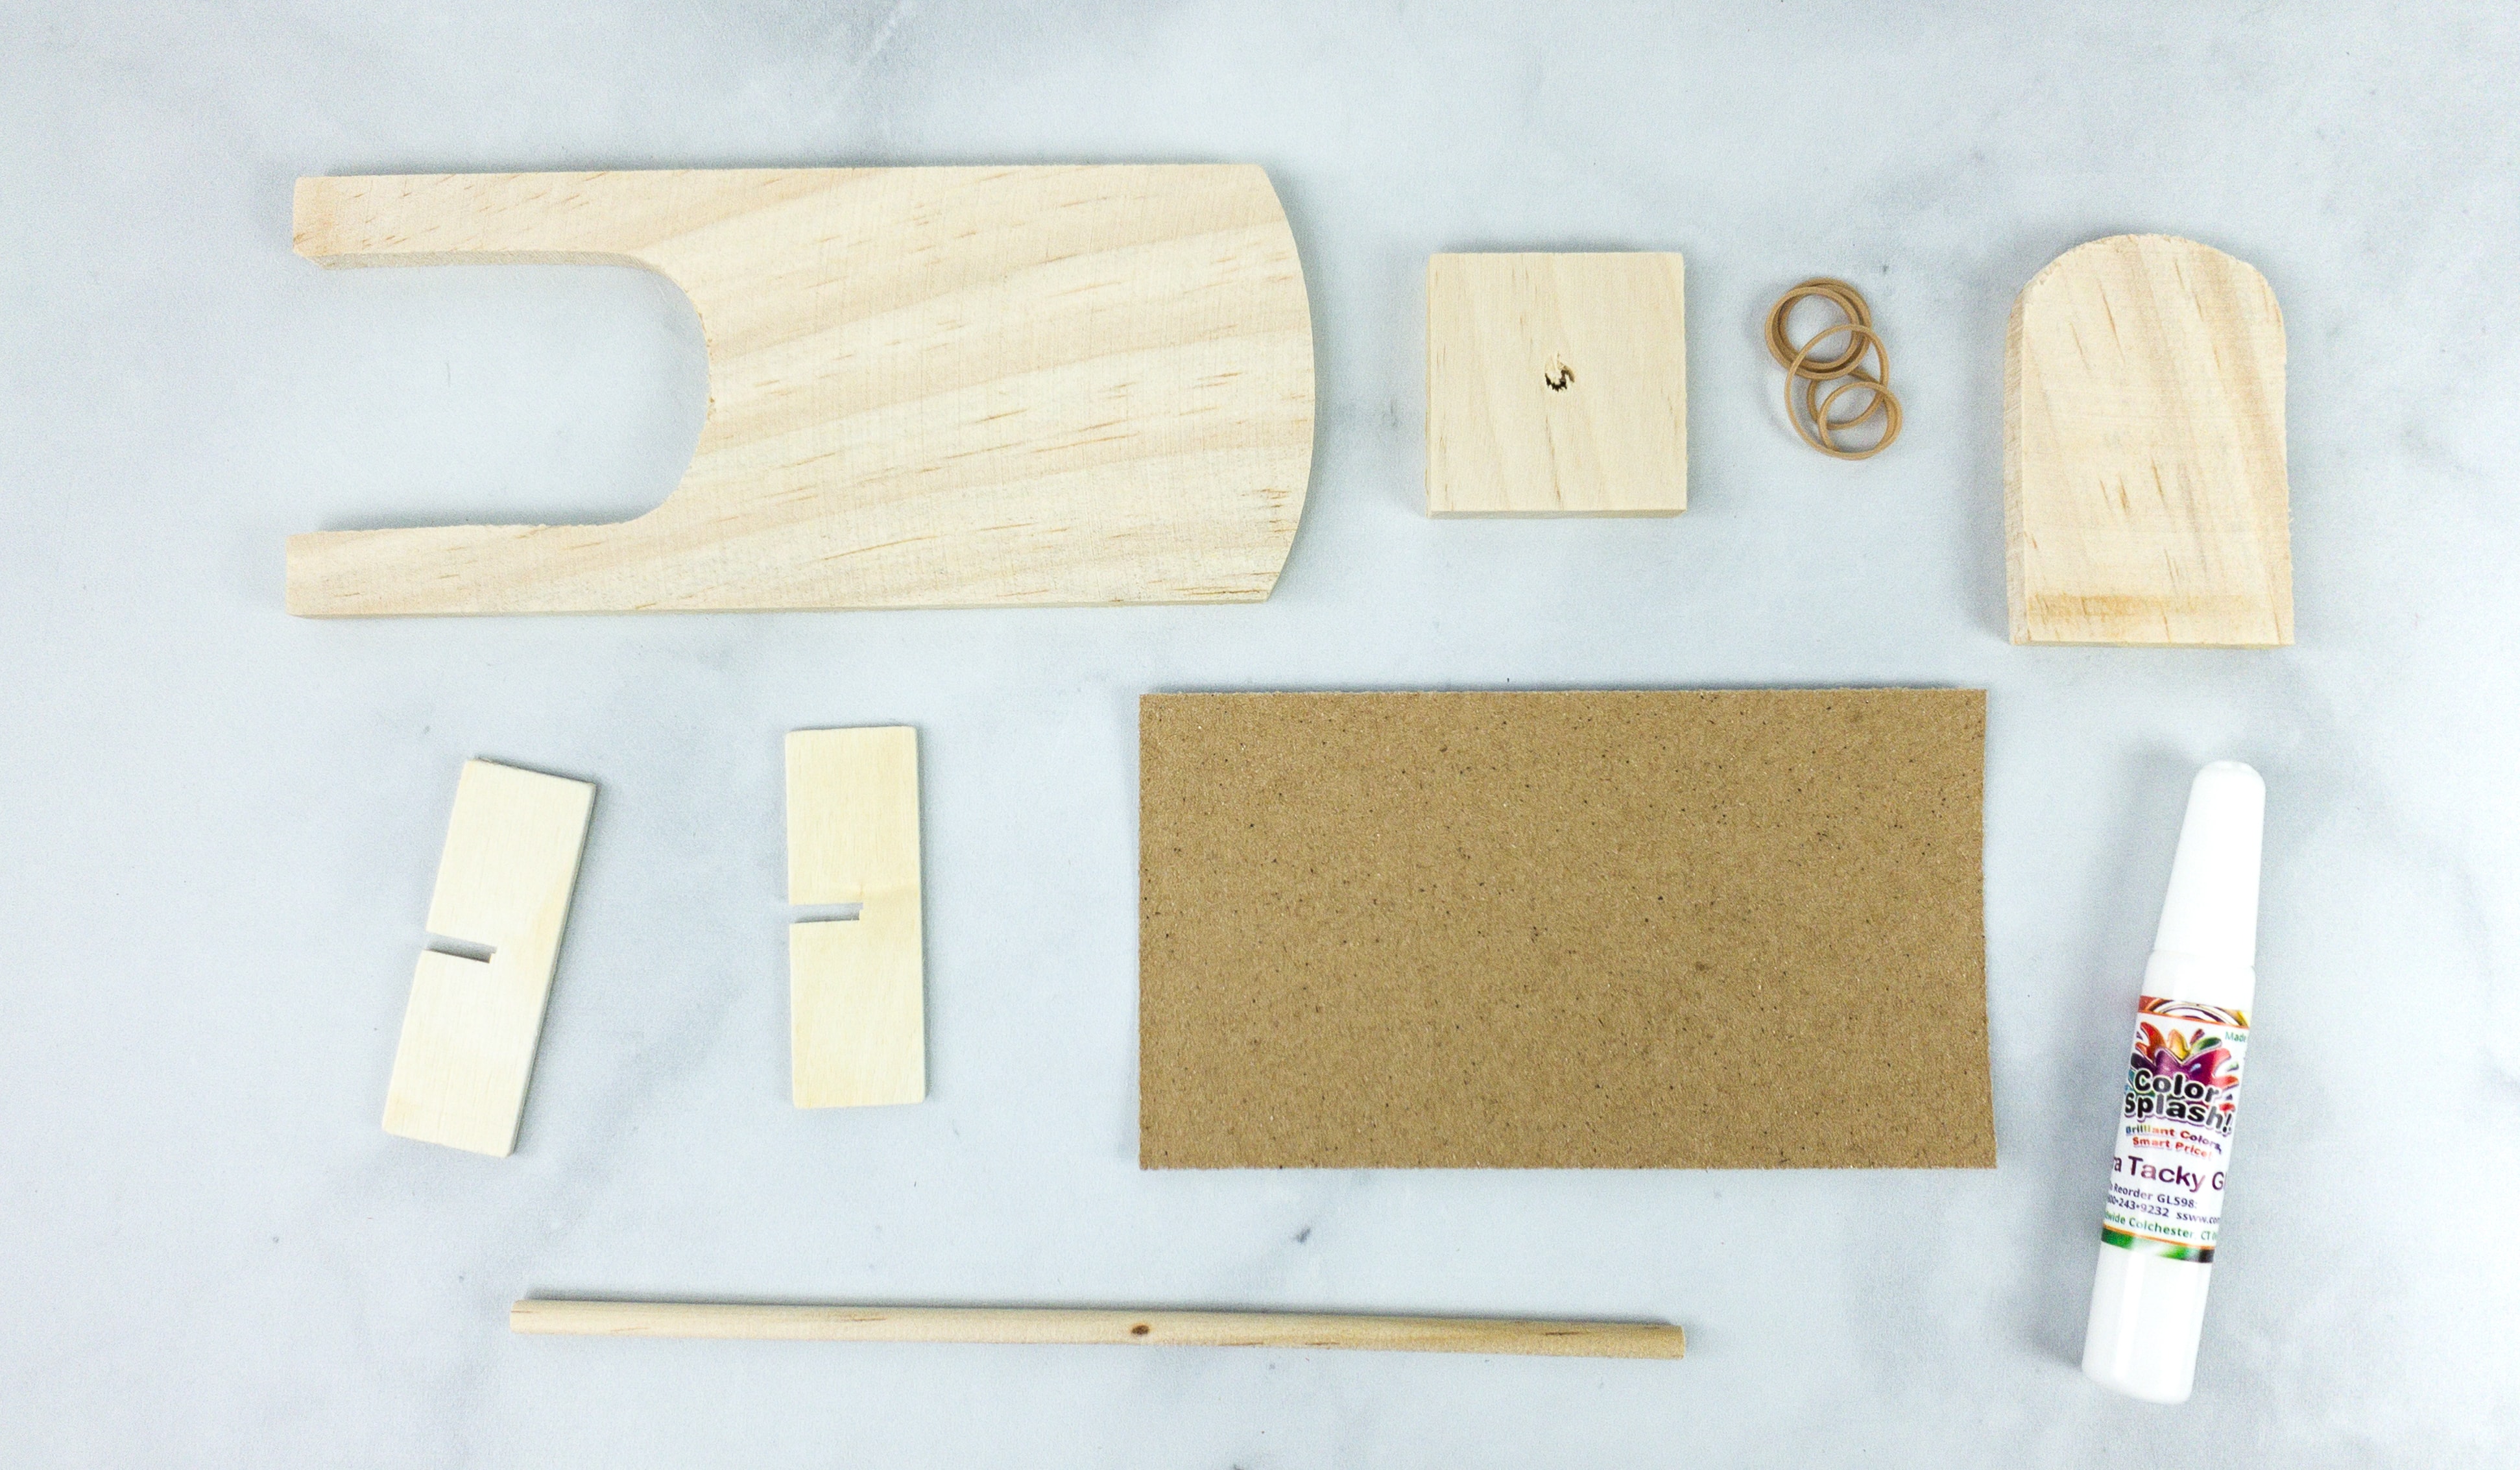
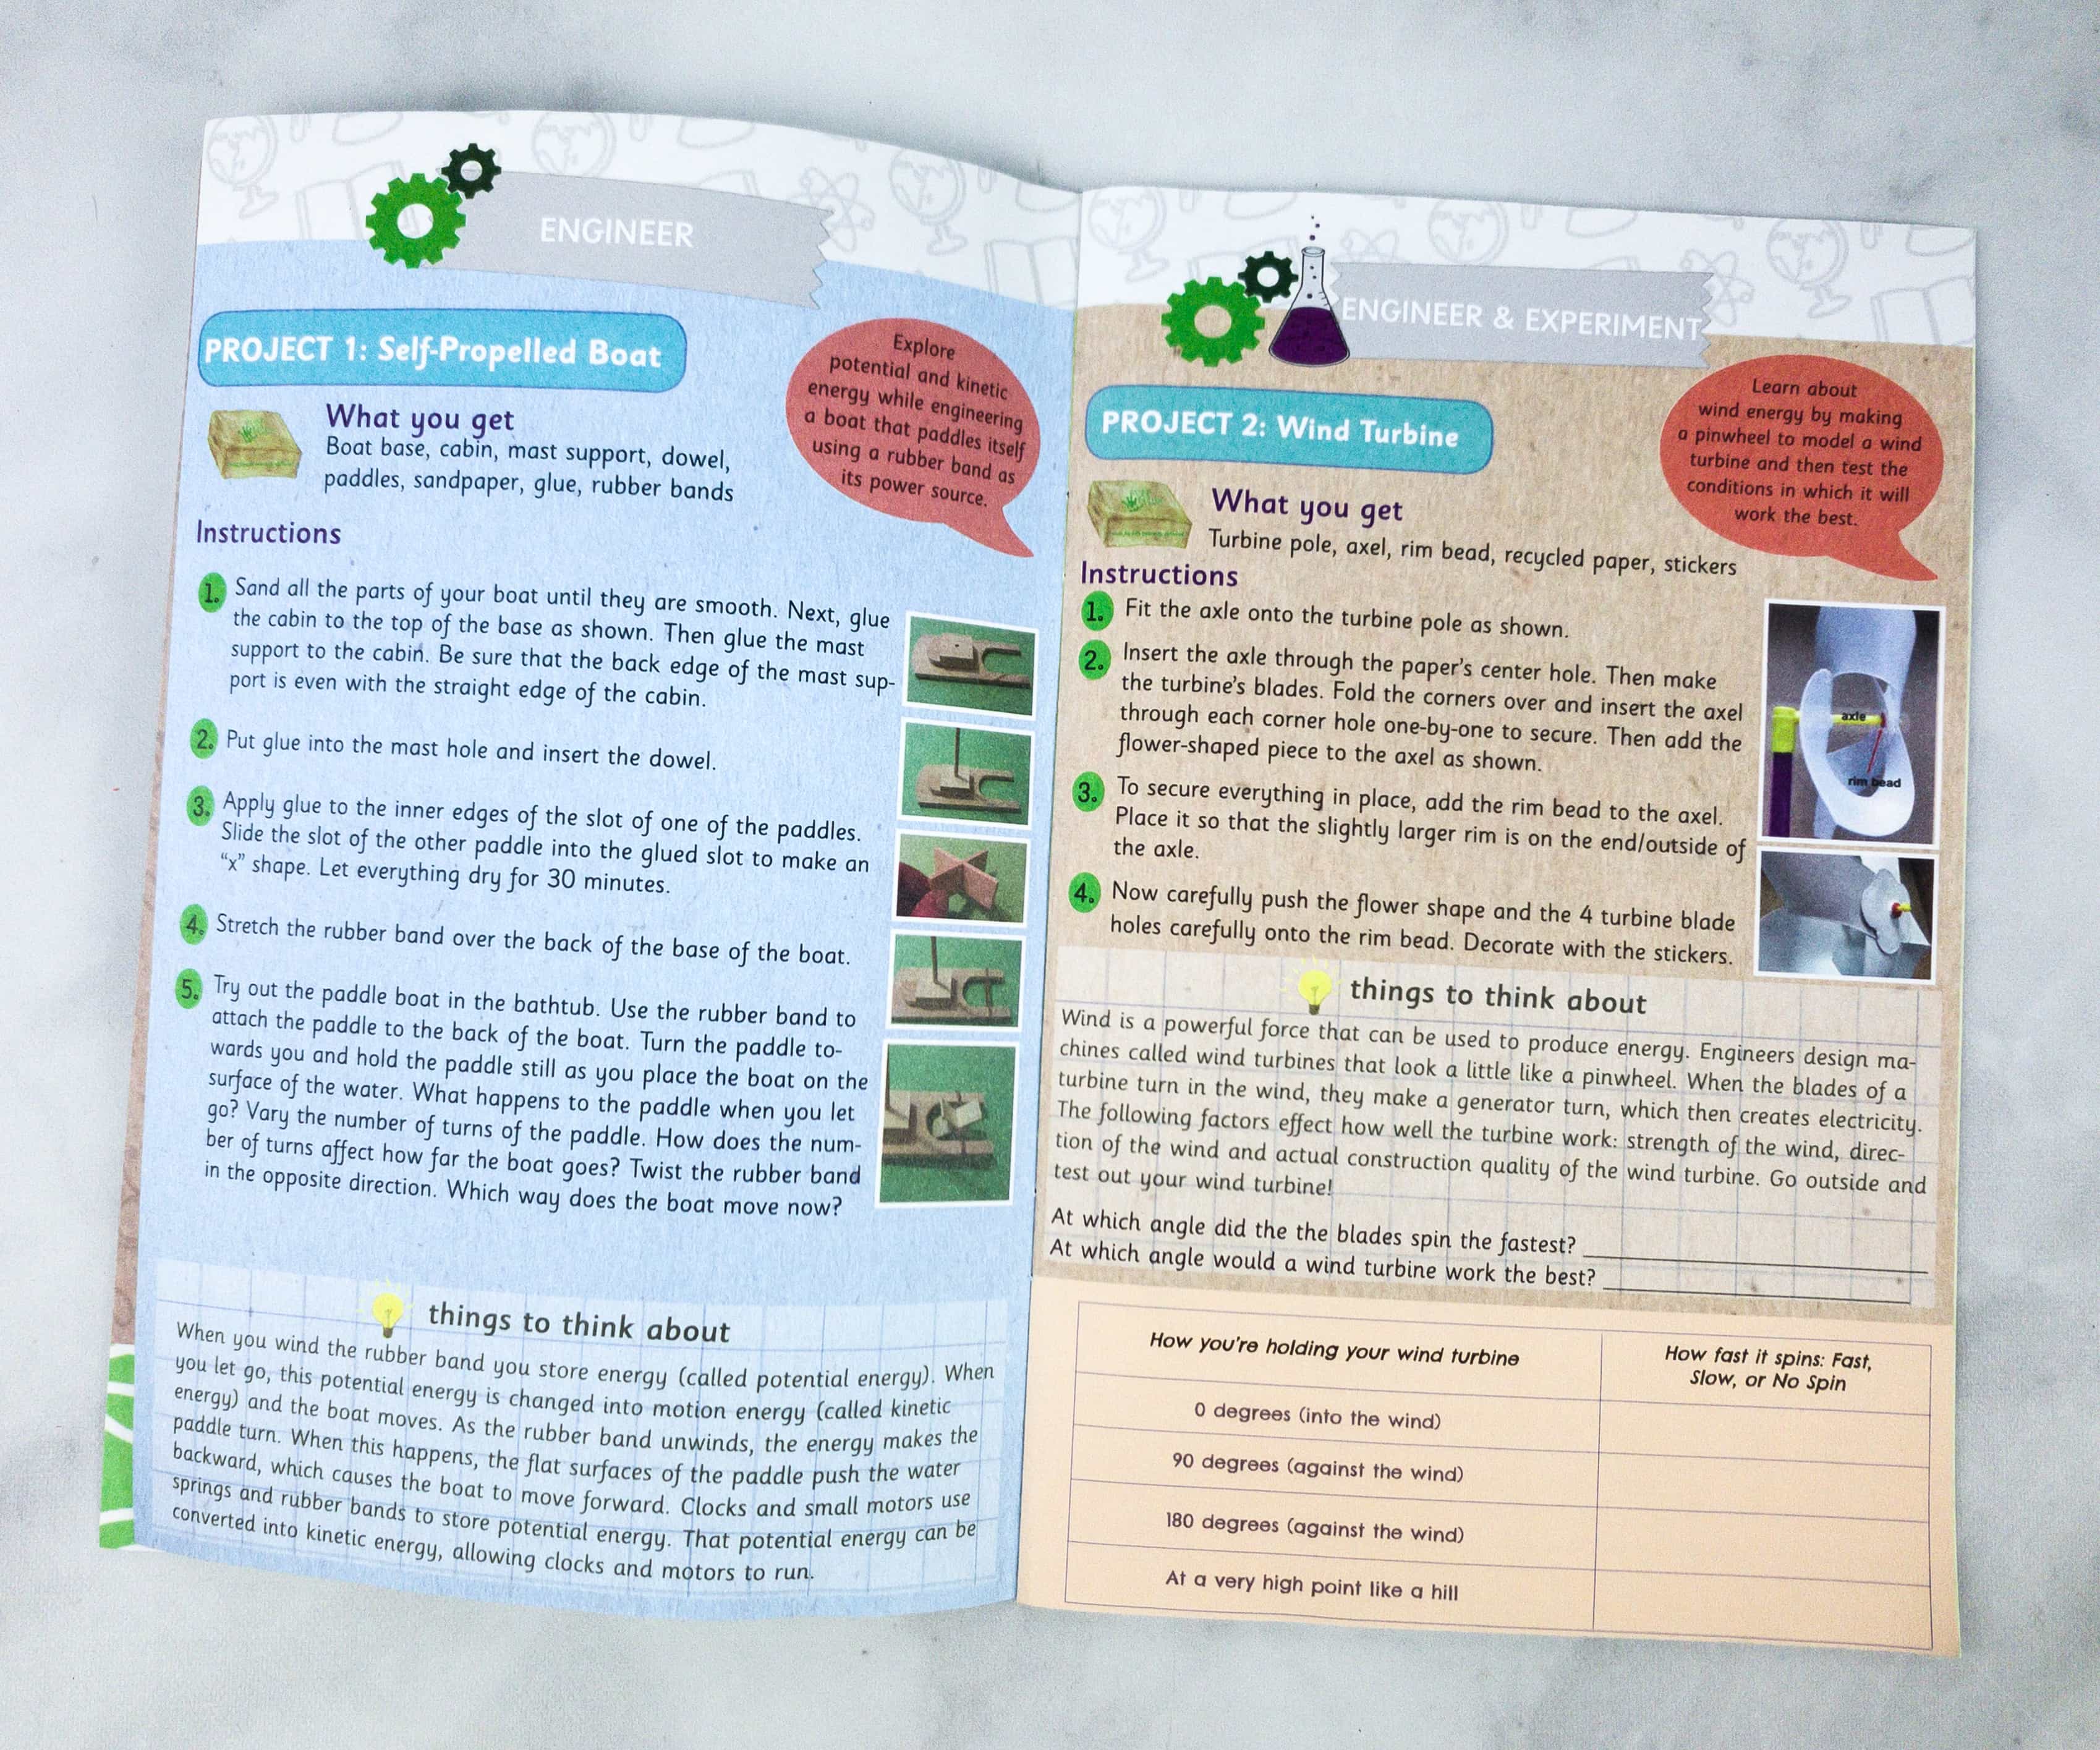
Project #1: Self-Propelled Boat. For the first project, we used the wooden set including a boat base, cabin, mast support, dowel, paddles, sandpaper, glue, and rubber bands.
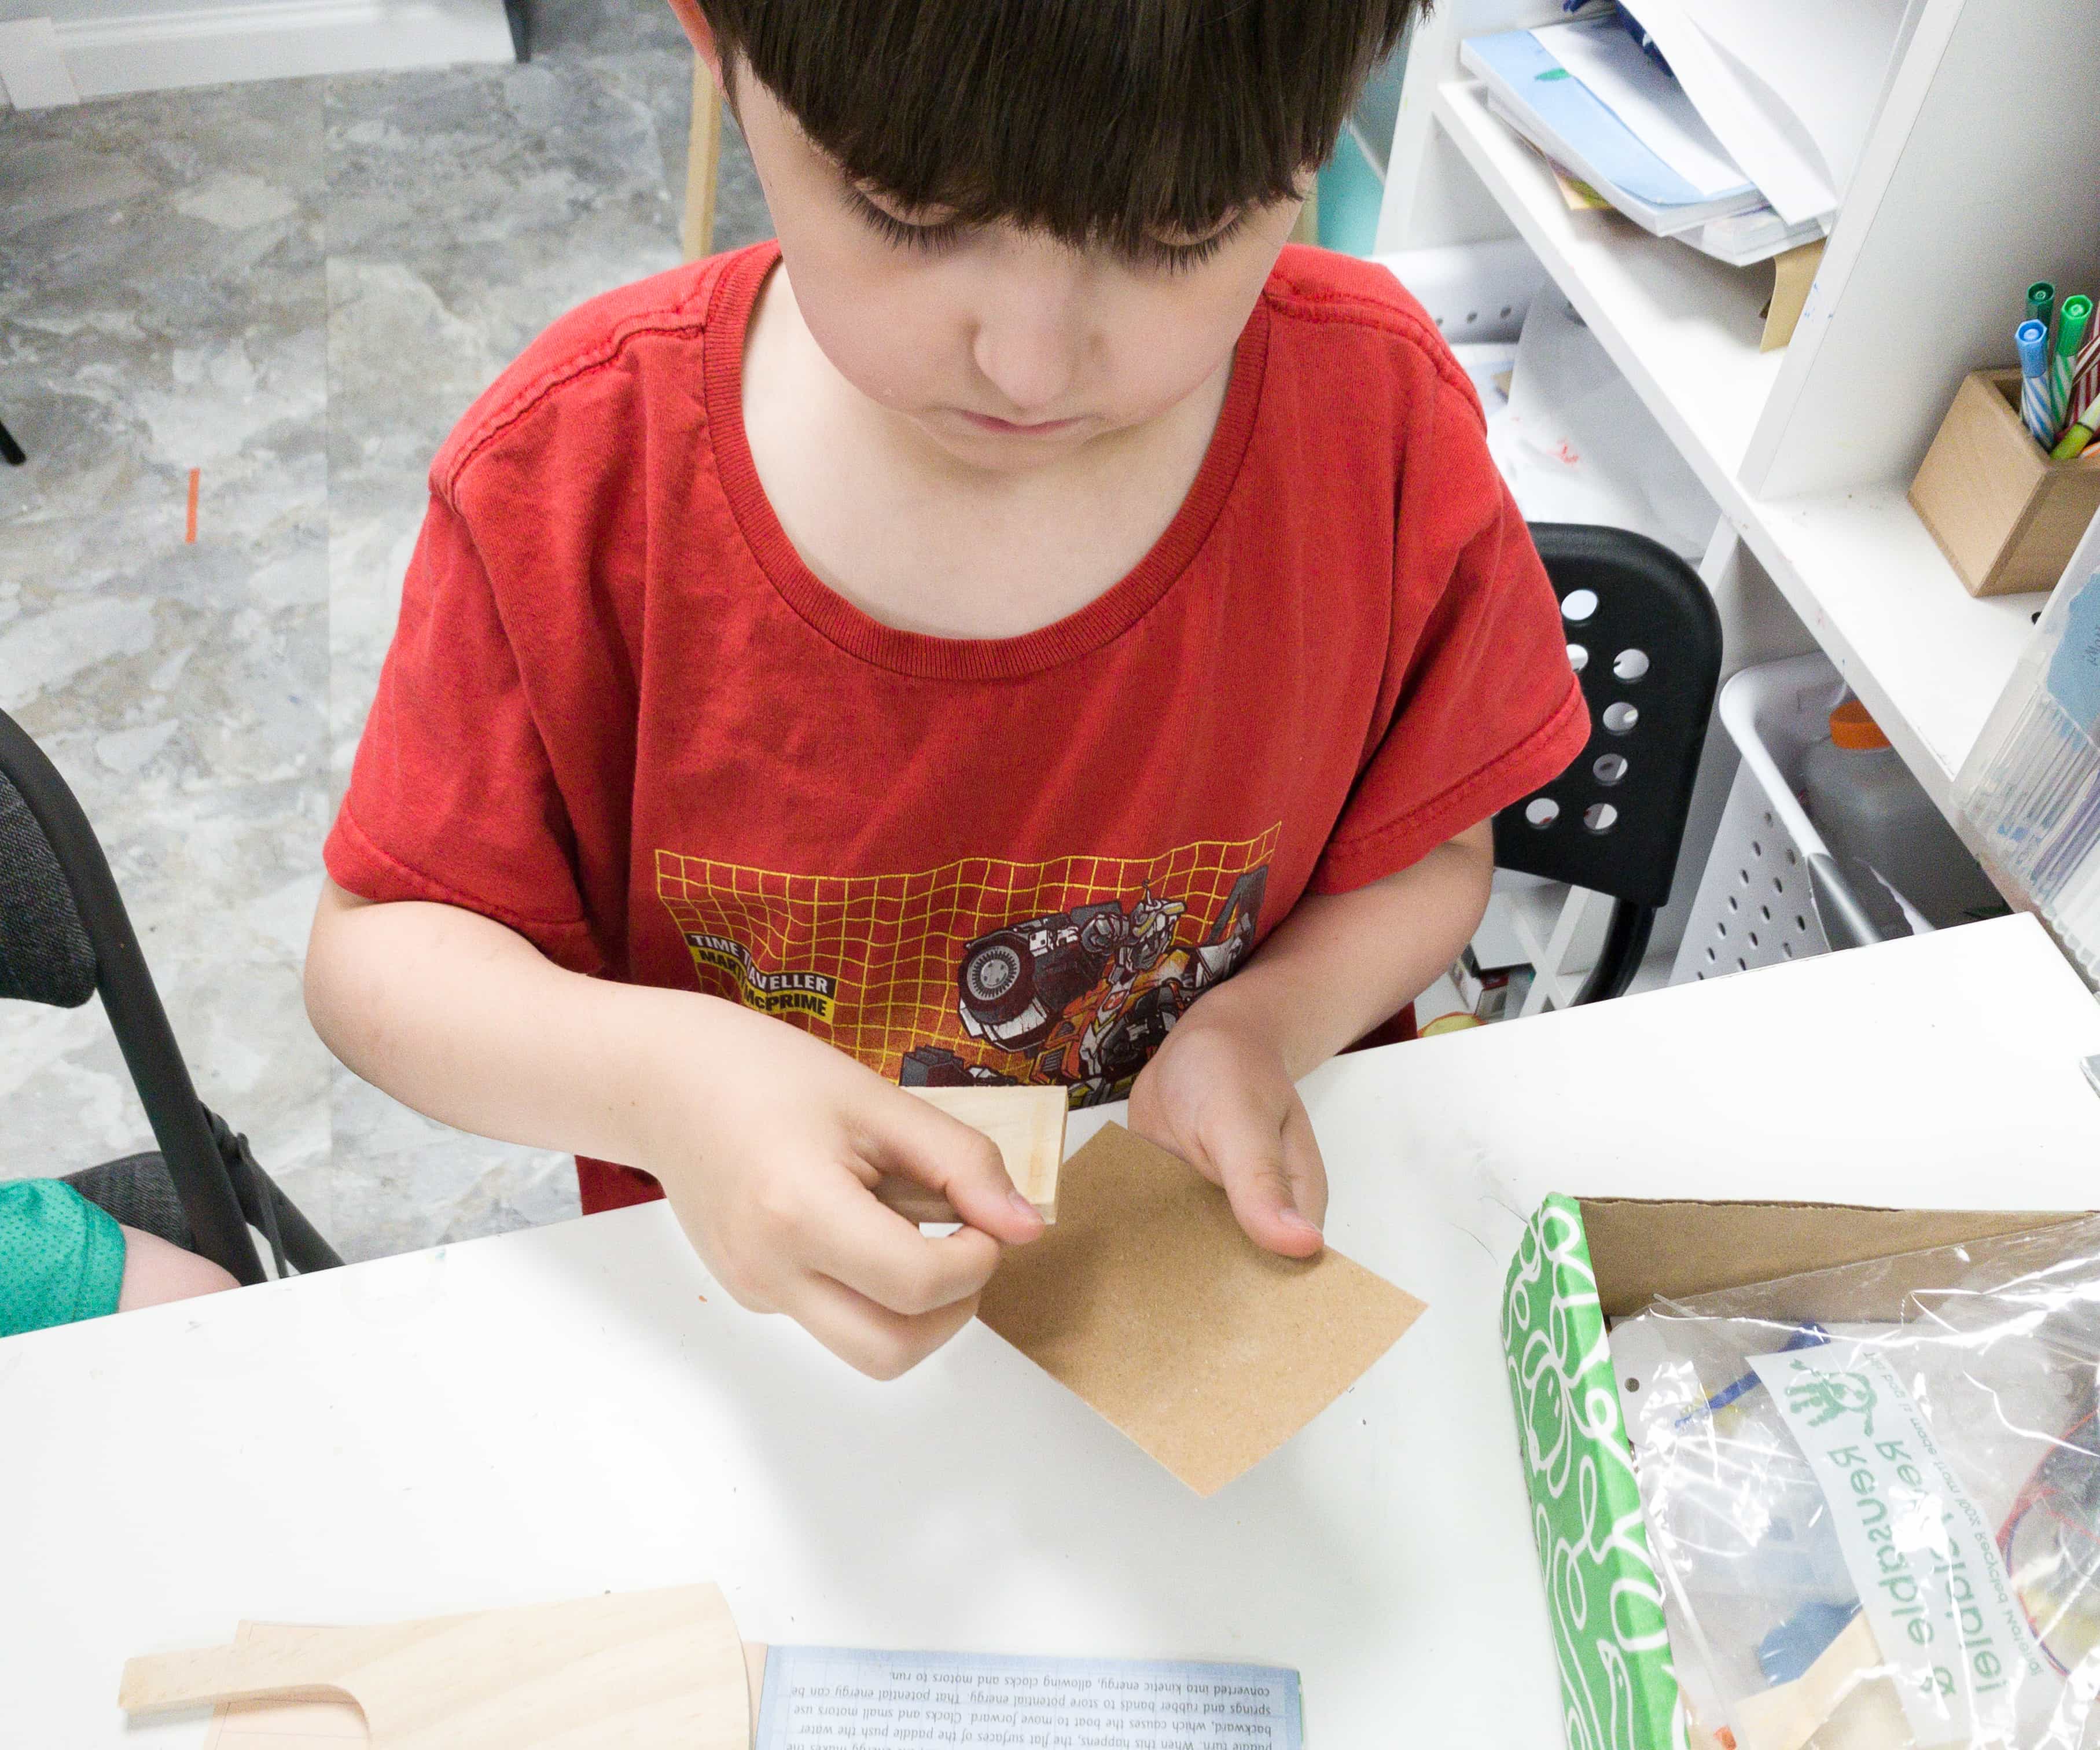
My son started the project by sanding all the parts of the wooden boat.

He sanded them until the surface became smooth.
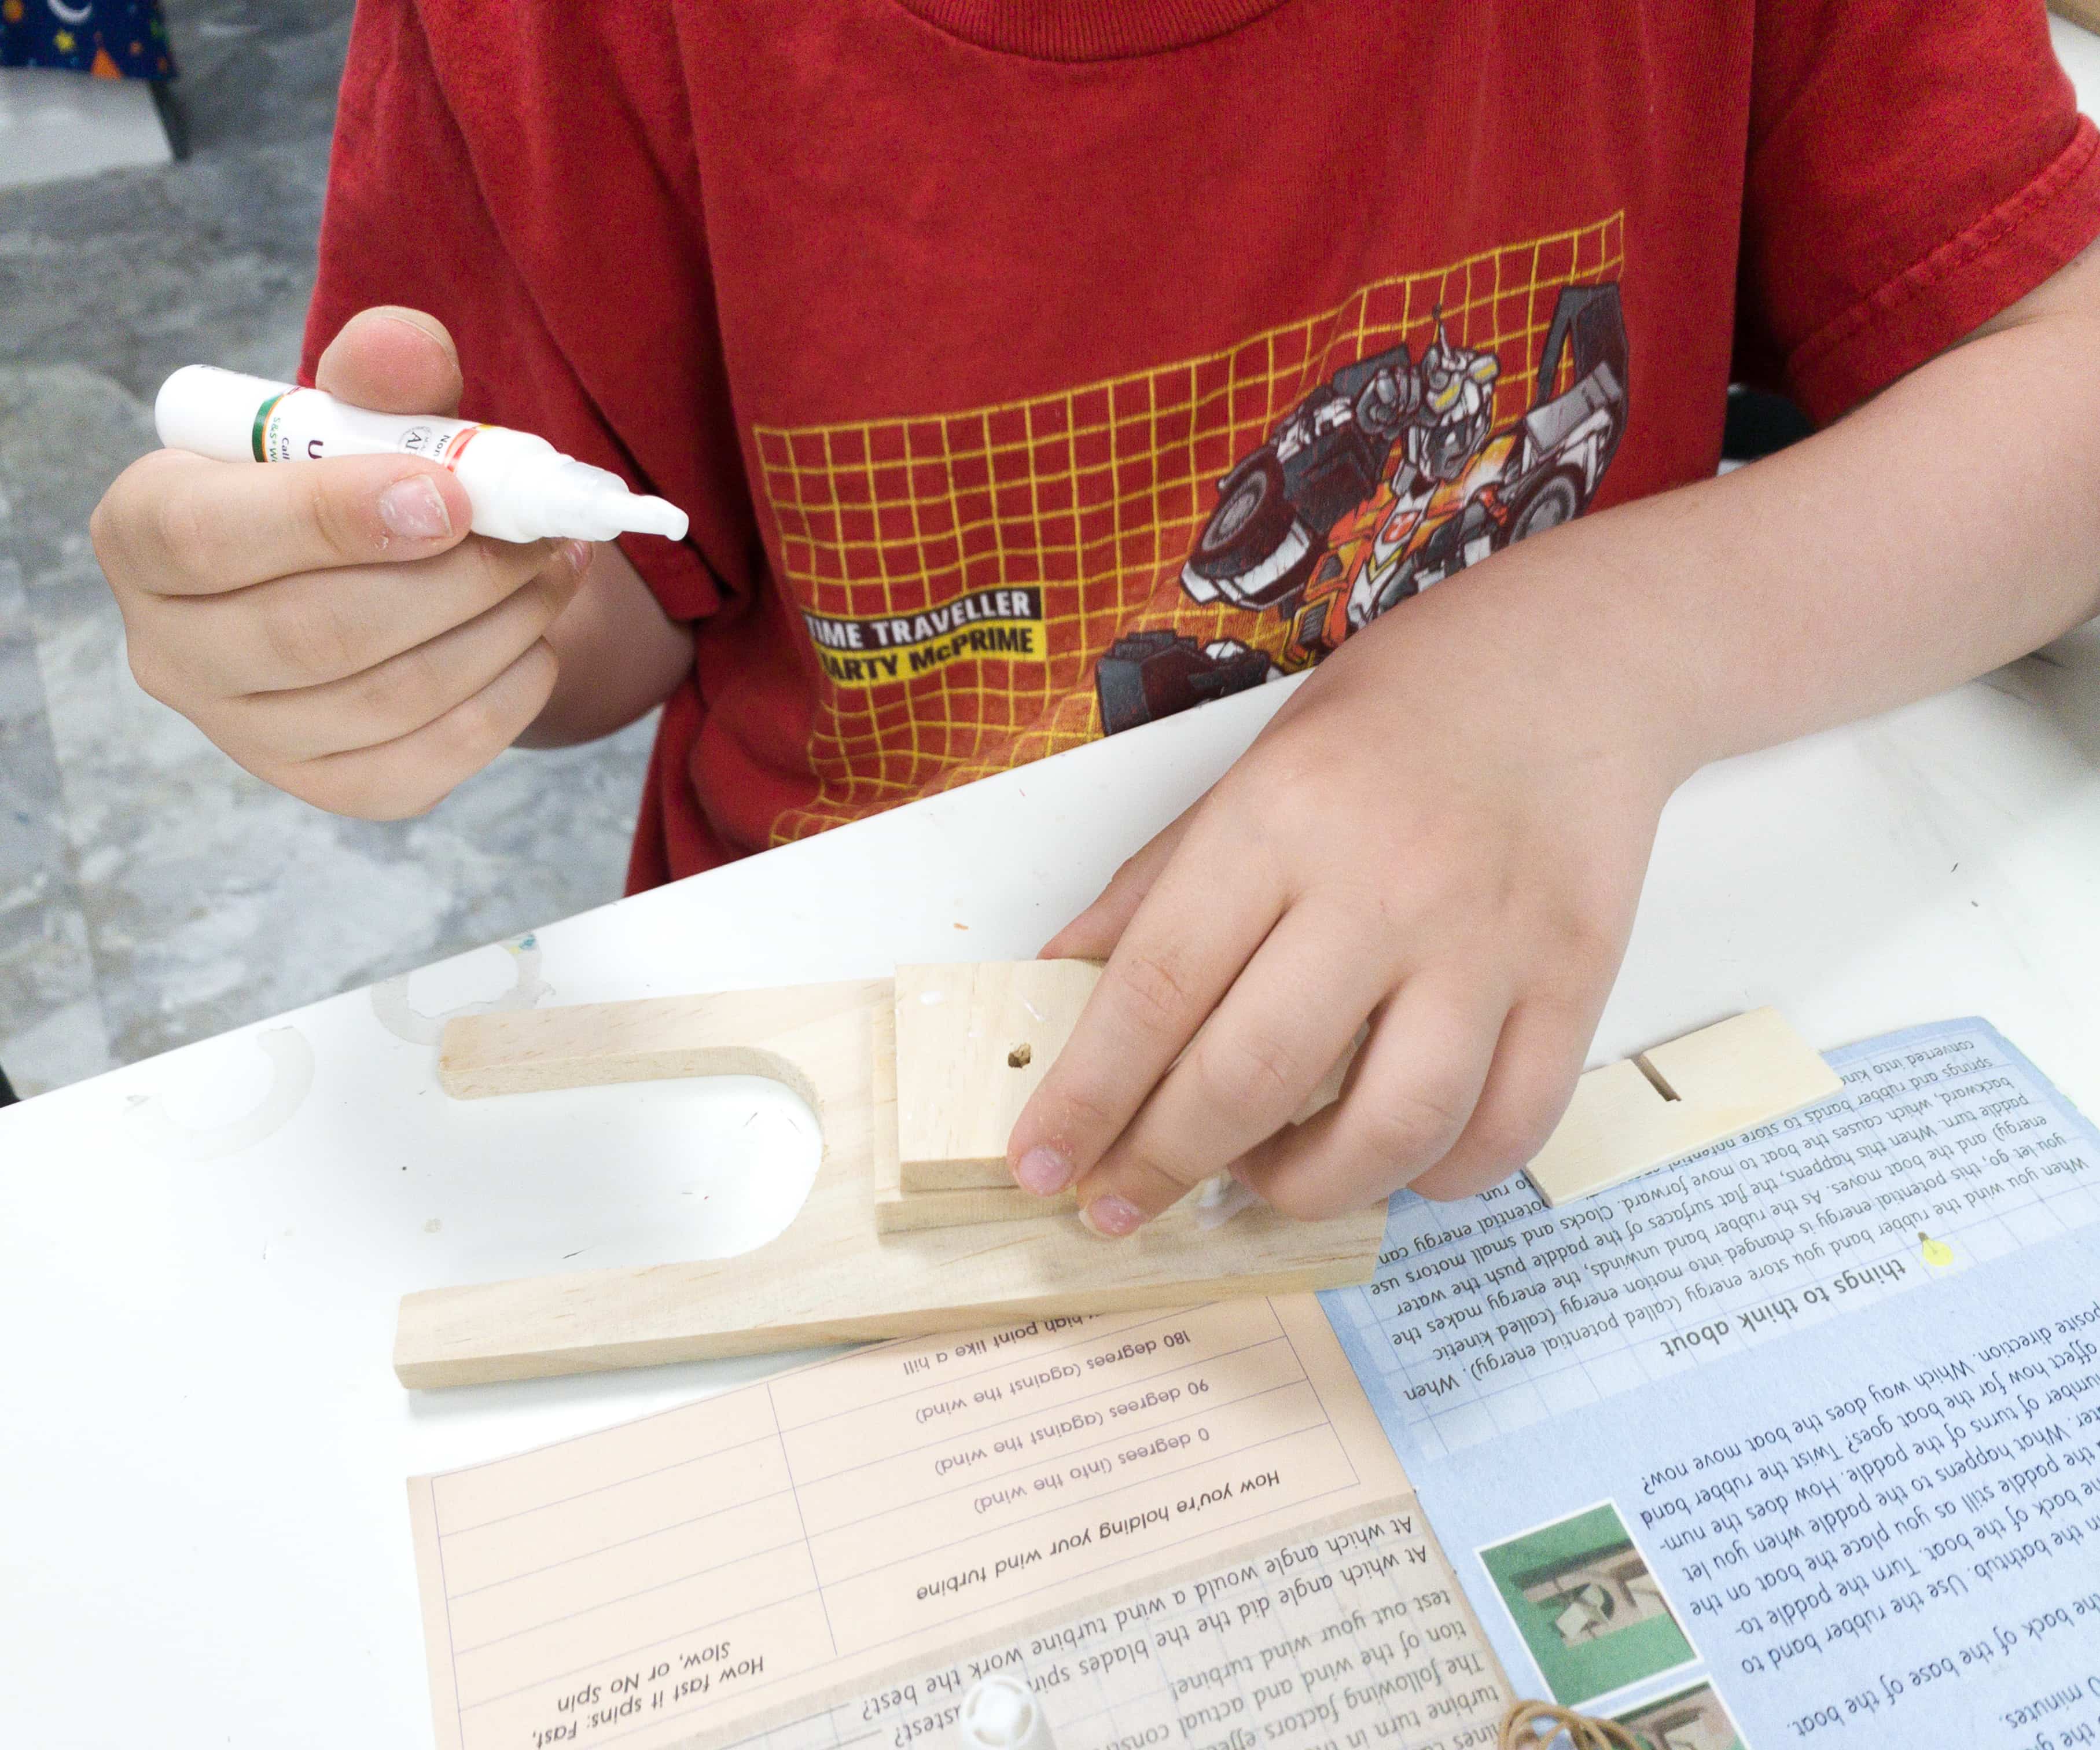
Next, he glued the cabin to the top of the base and then followed it up with the mast support. For this step, you just have to make sure that the mast support is evenly leveled with the edge of the cabin.
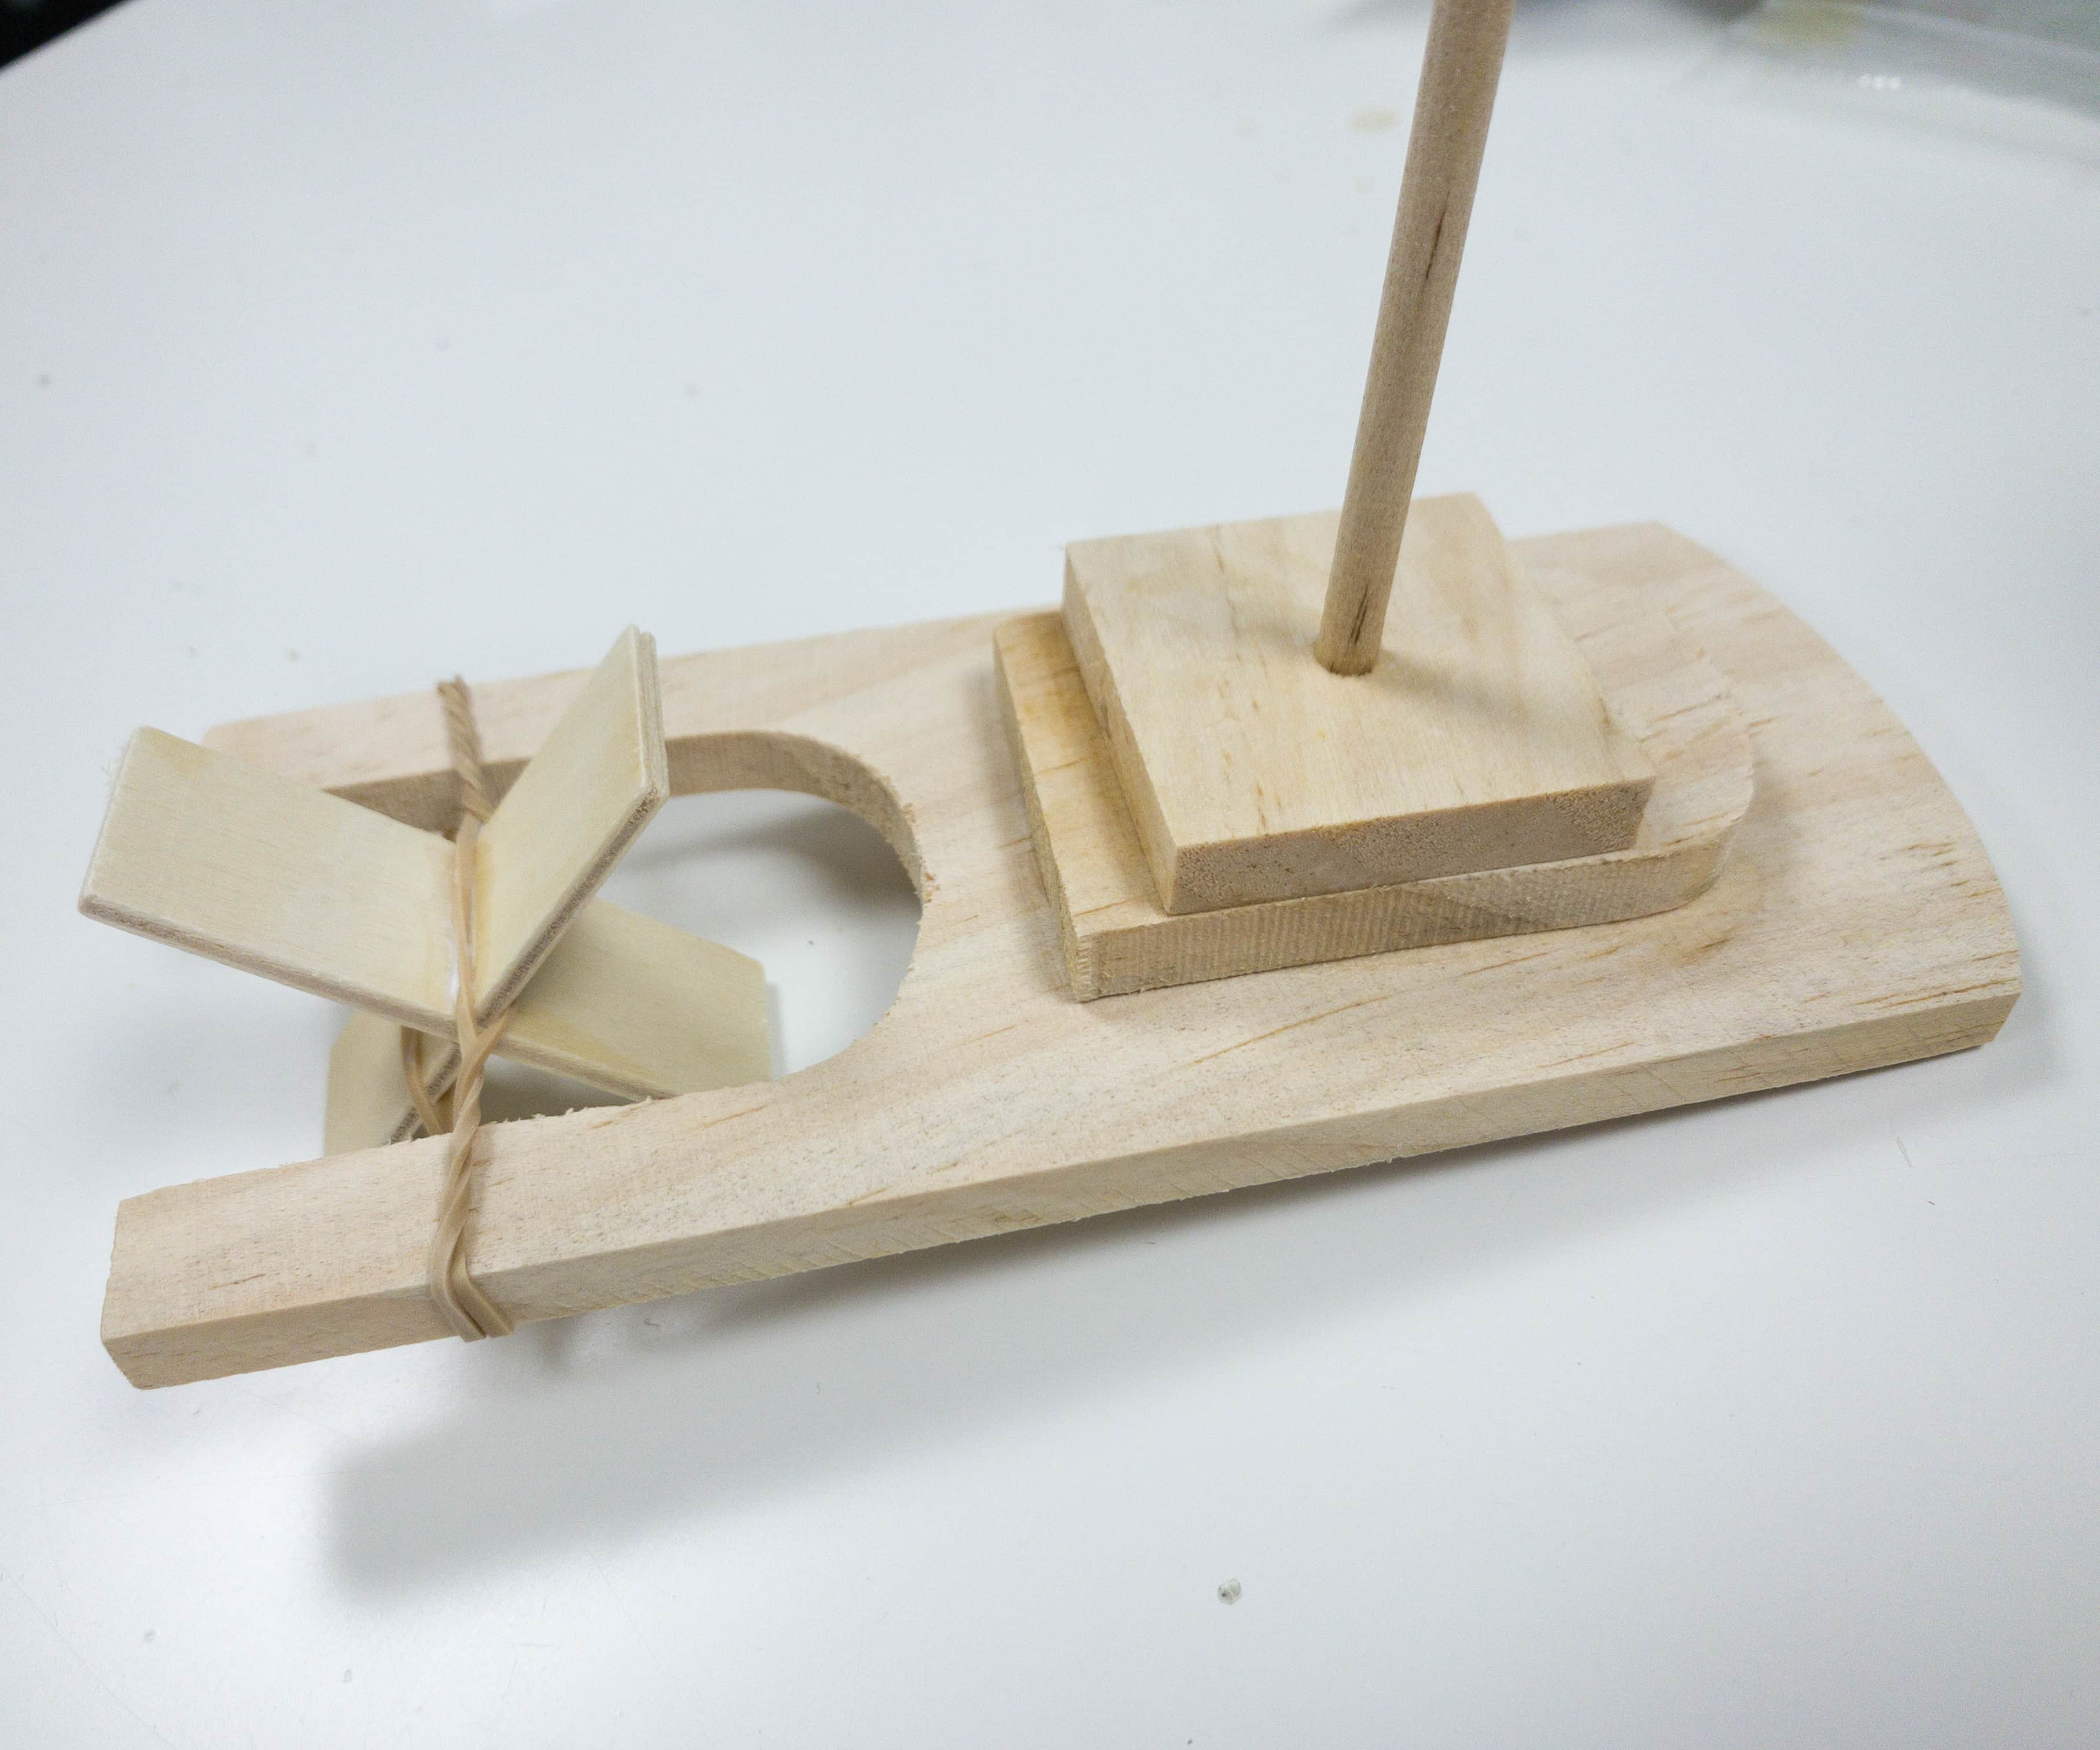
Now, it’s time to apply glue to the inner edges of the slot of one of the paddle and slide the slots of the other paddle into the glued slot to form an “x” shaped paddle. After this, you just have to wait for everything dry for 30 minutes.
Once the glued parts are dried, just stretch the rubber band over the back of the base of the boat. It’s where you’ll attach the paddle.
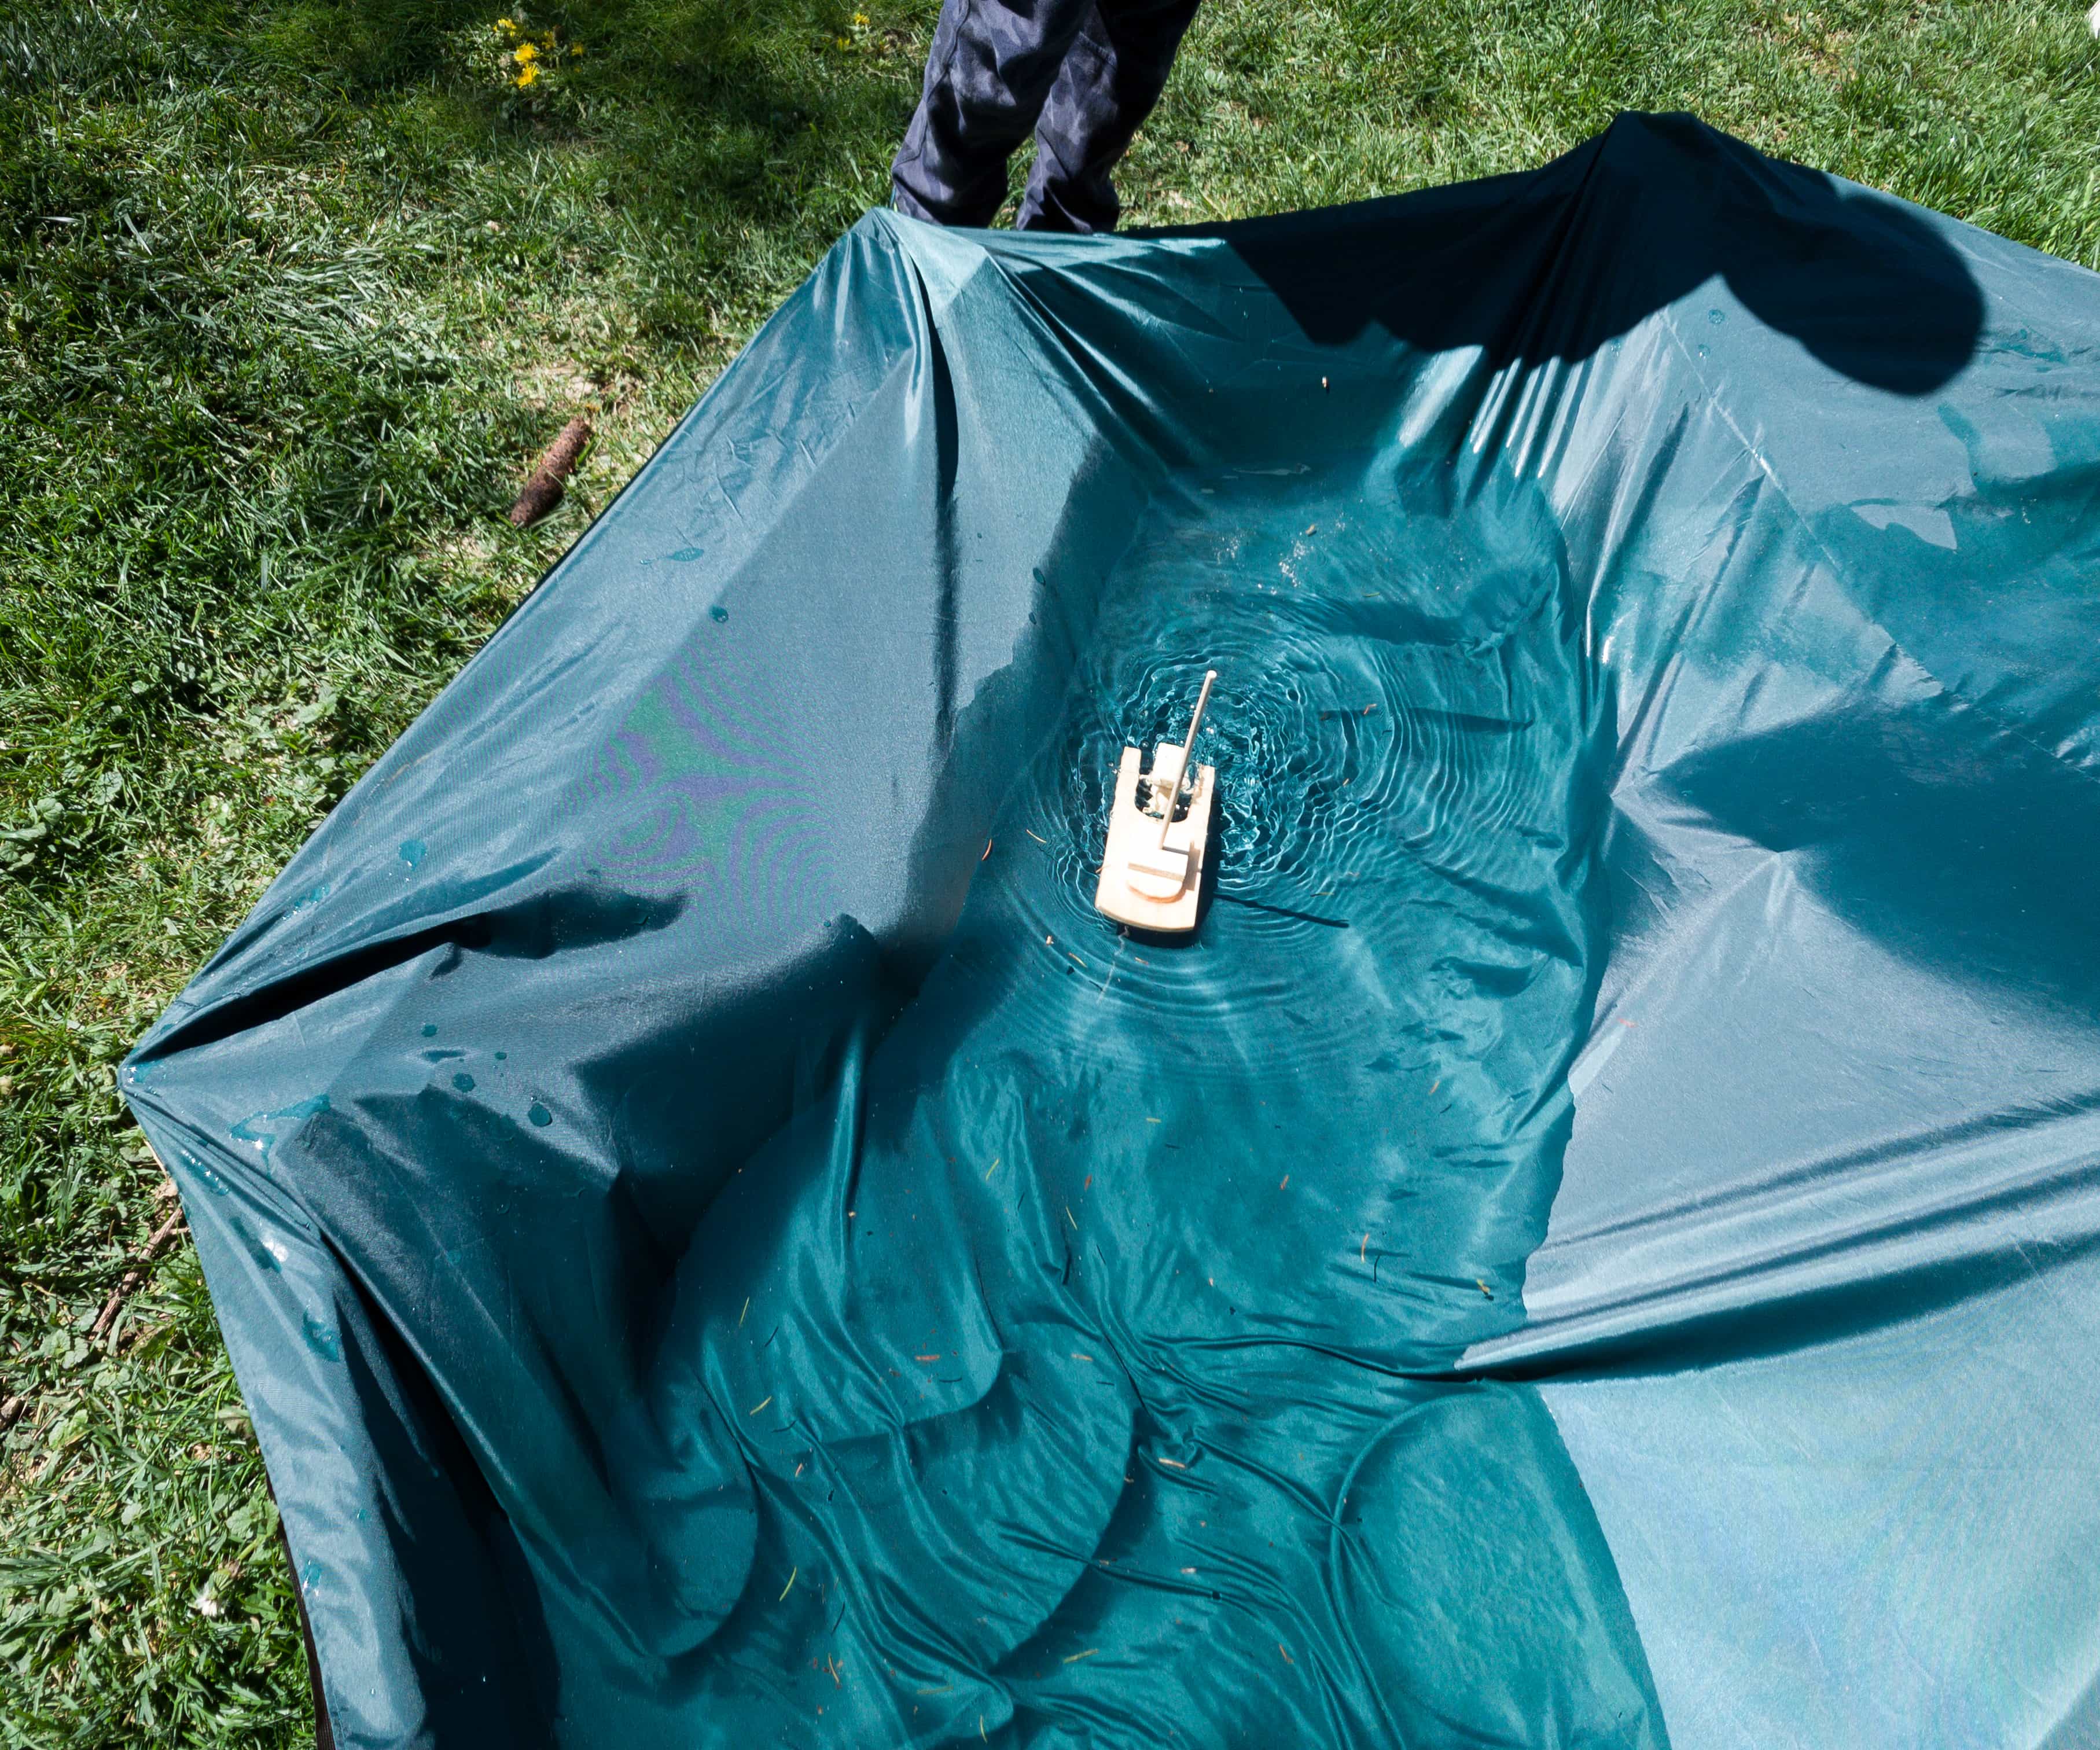
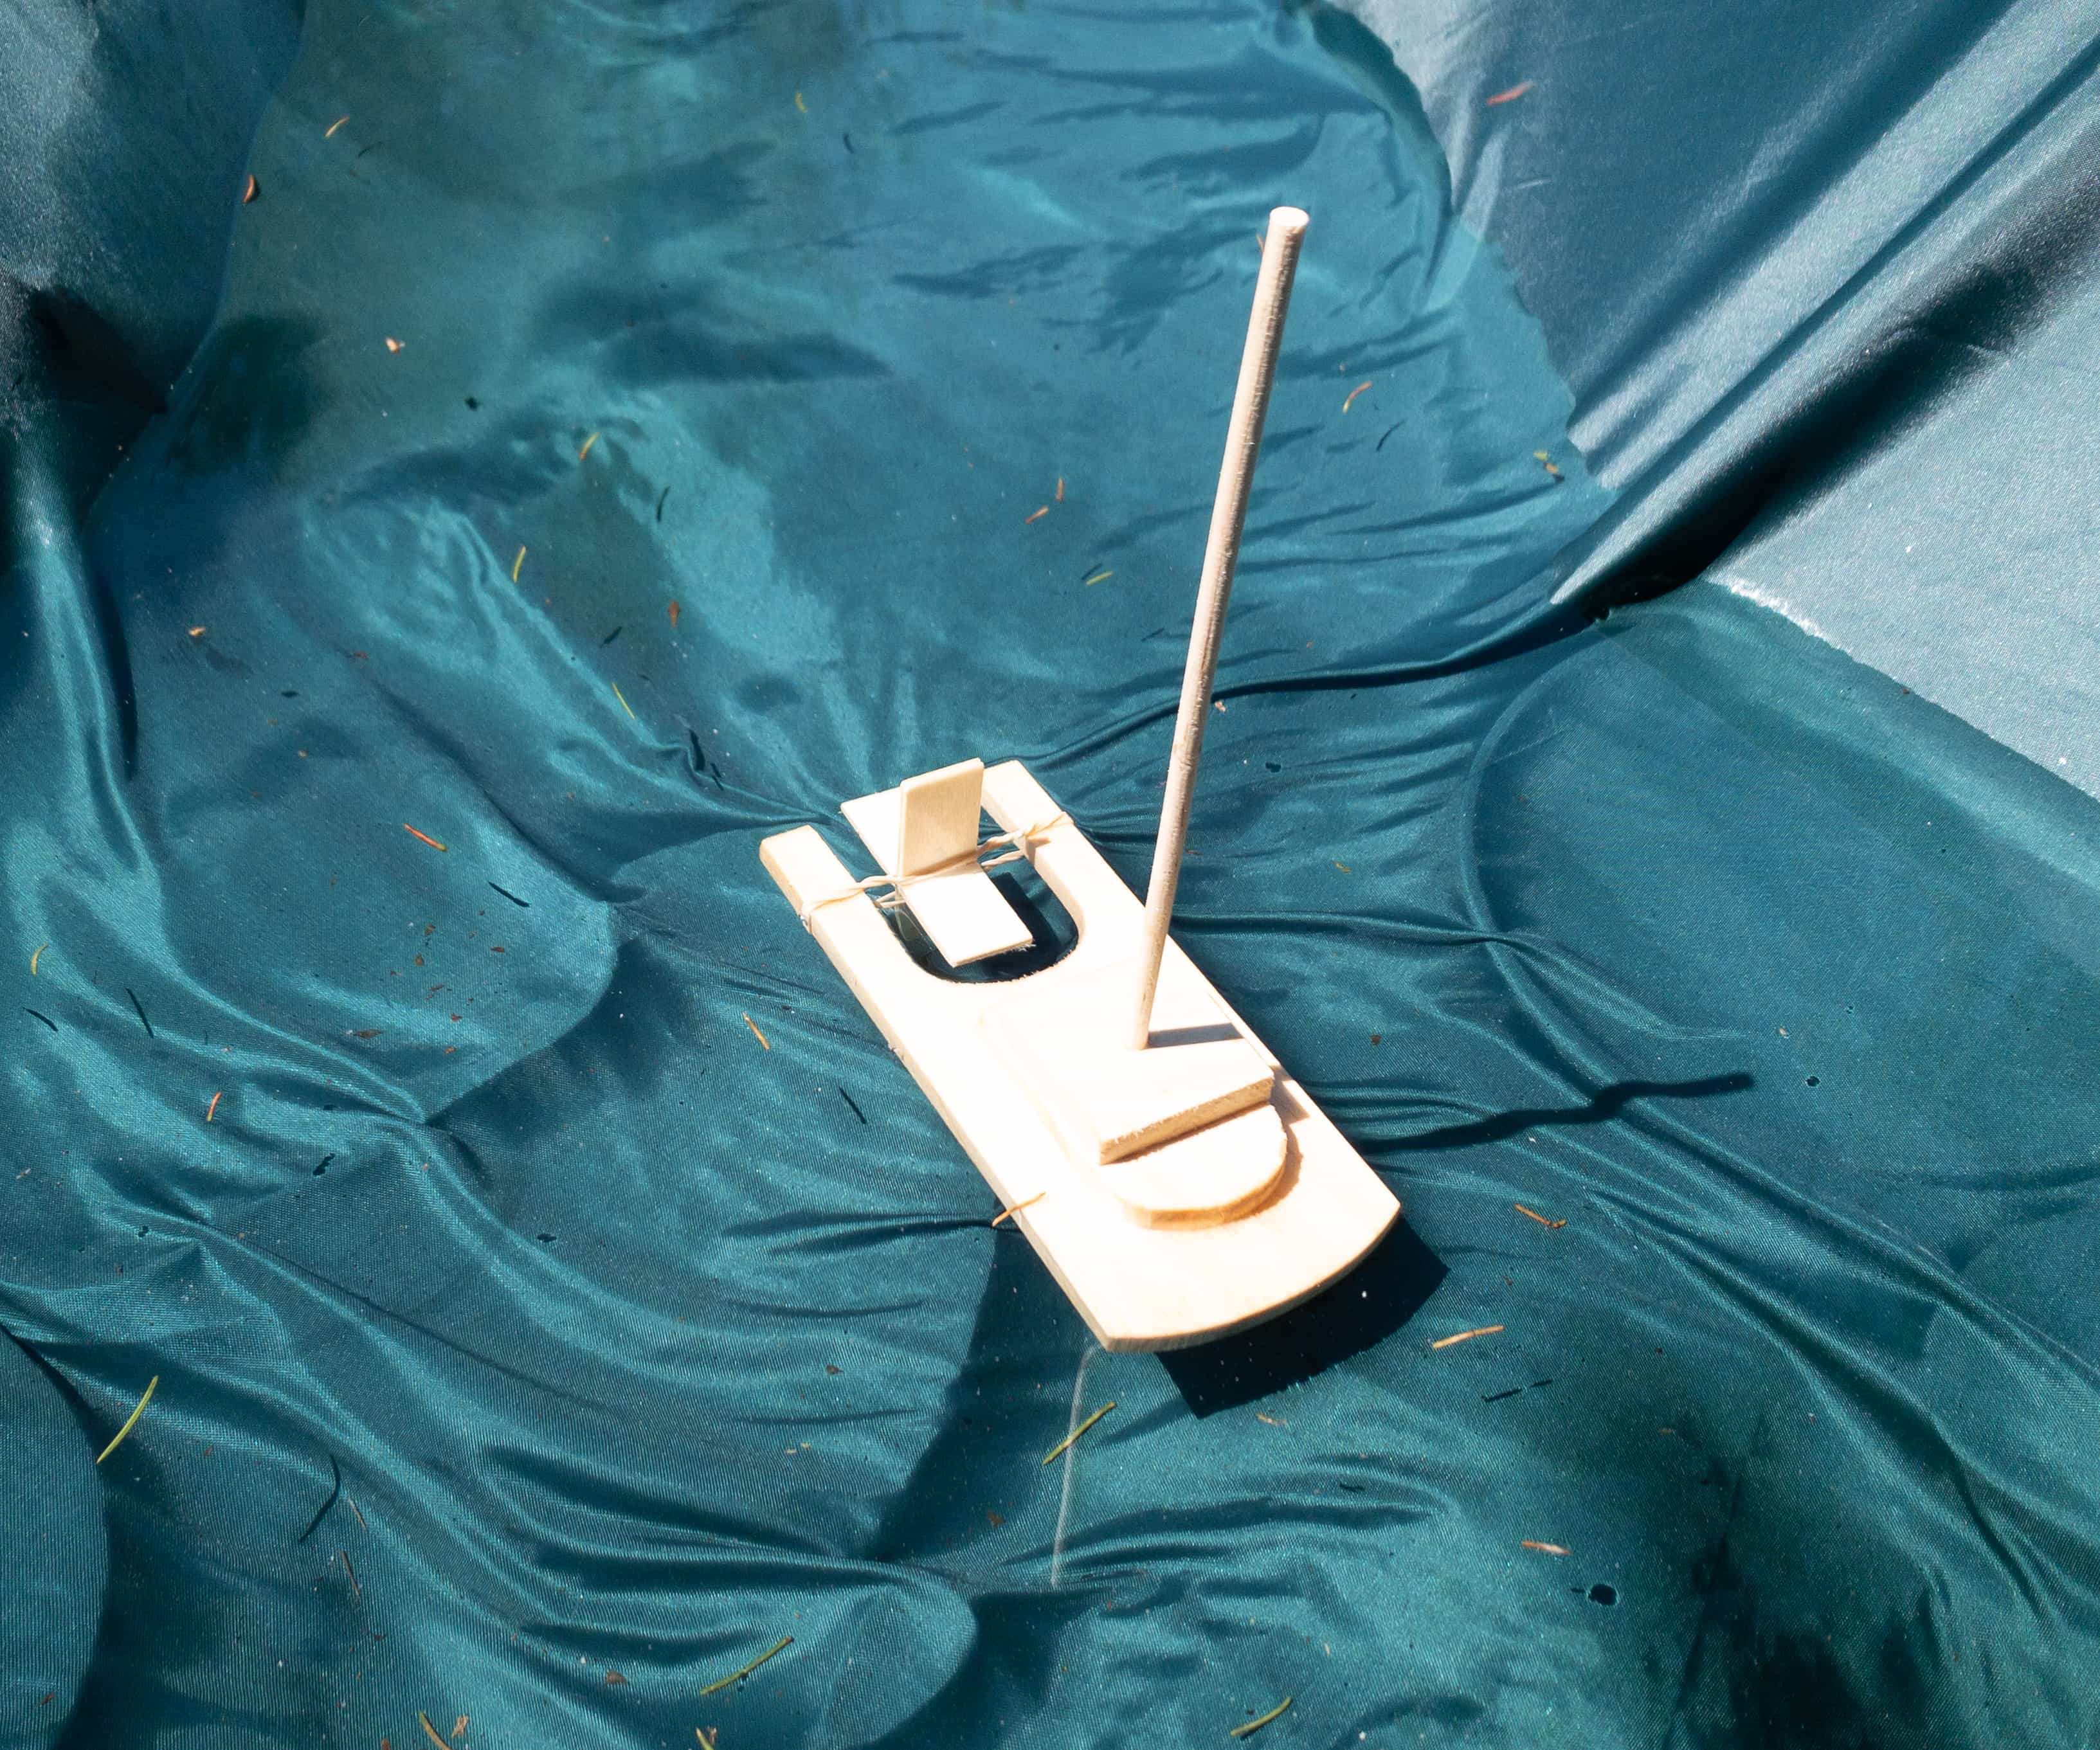
The paddleboat can be used in a bathtub or a swimming pool. Just turn the paddle towards you and hold it still while carefully placing it on the surface of the water. Release the boat and observe how the boat moves forward as the paddle turns due to the strain made by the rubber.
The harder you rotate the paddle, the stronger and faster the boat will travel. So amazing!
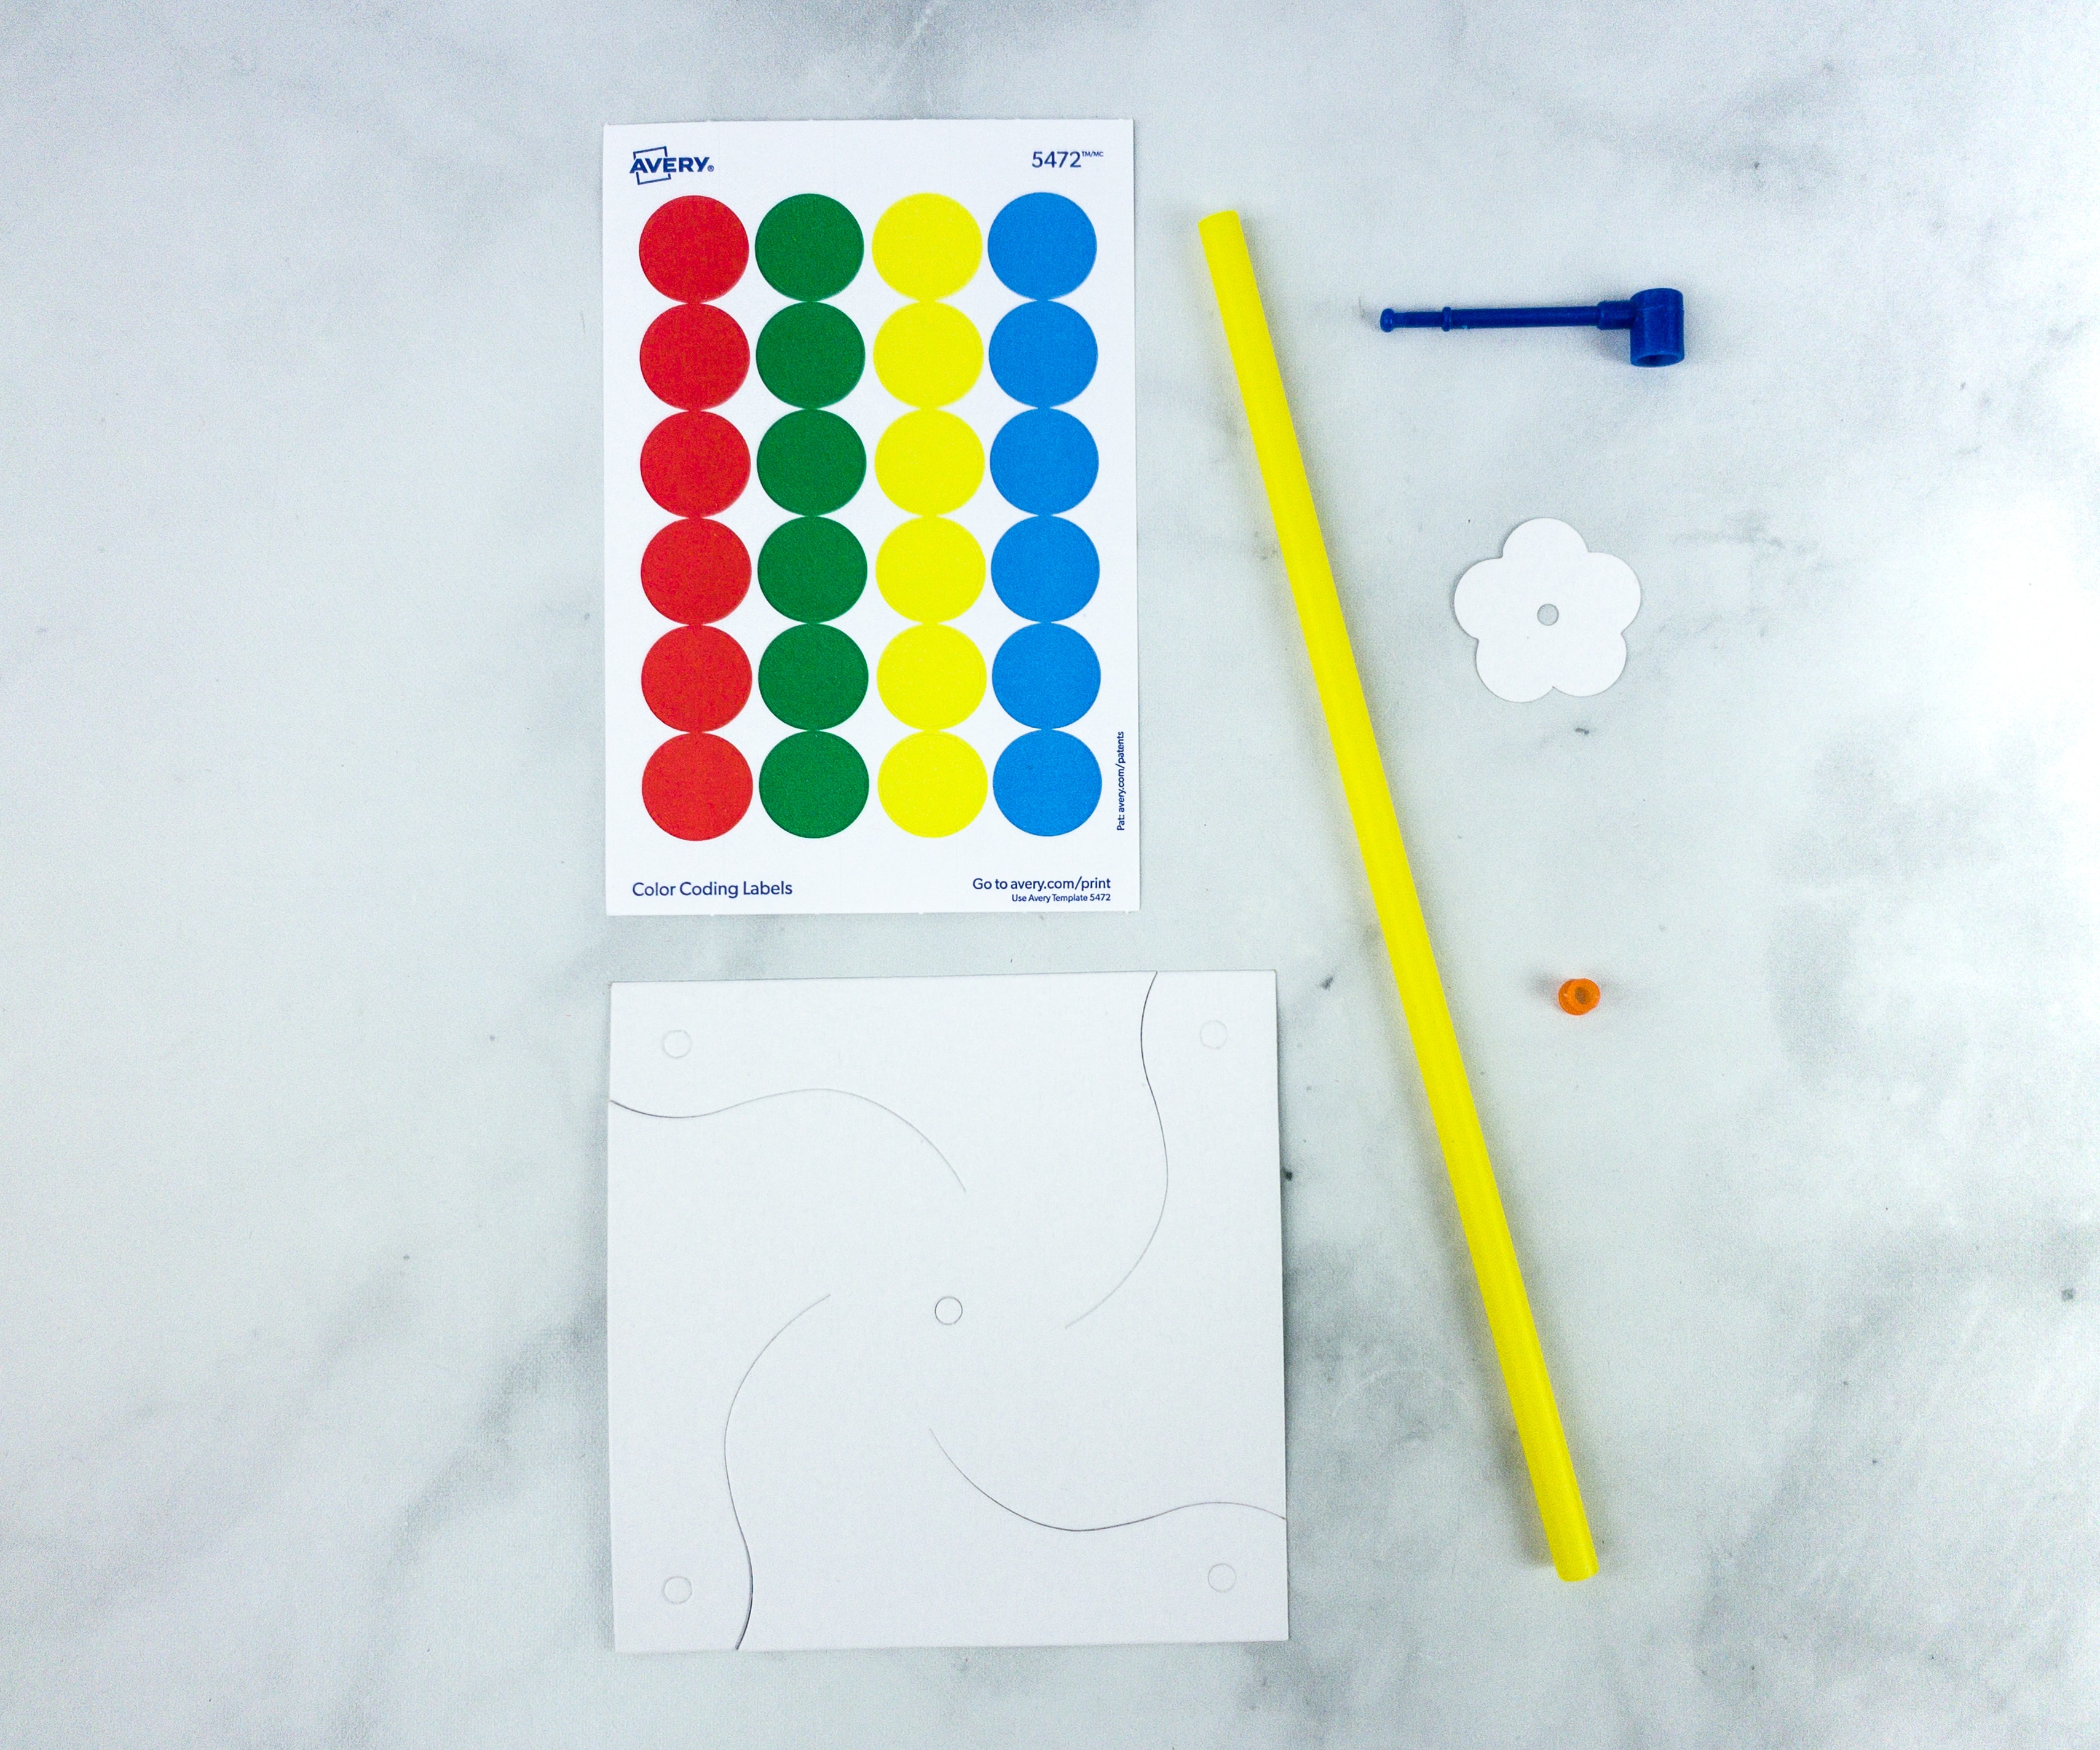
Project #2: Wind Turbine. We used turbine pole, axle, rim bead, recycled paper, and stickers for our Wind Turbine project.
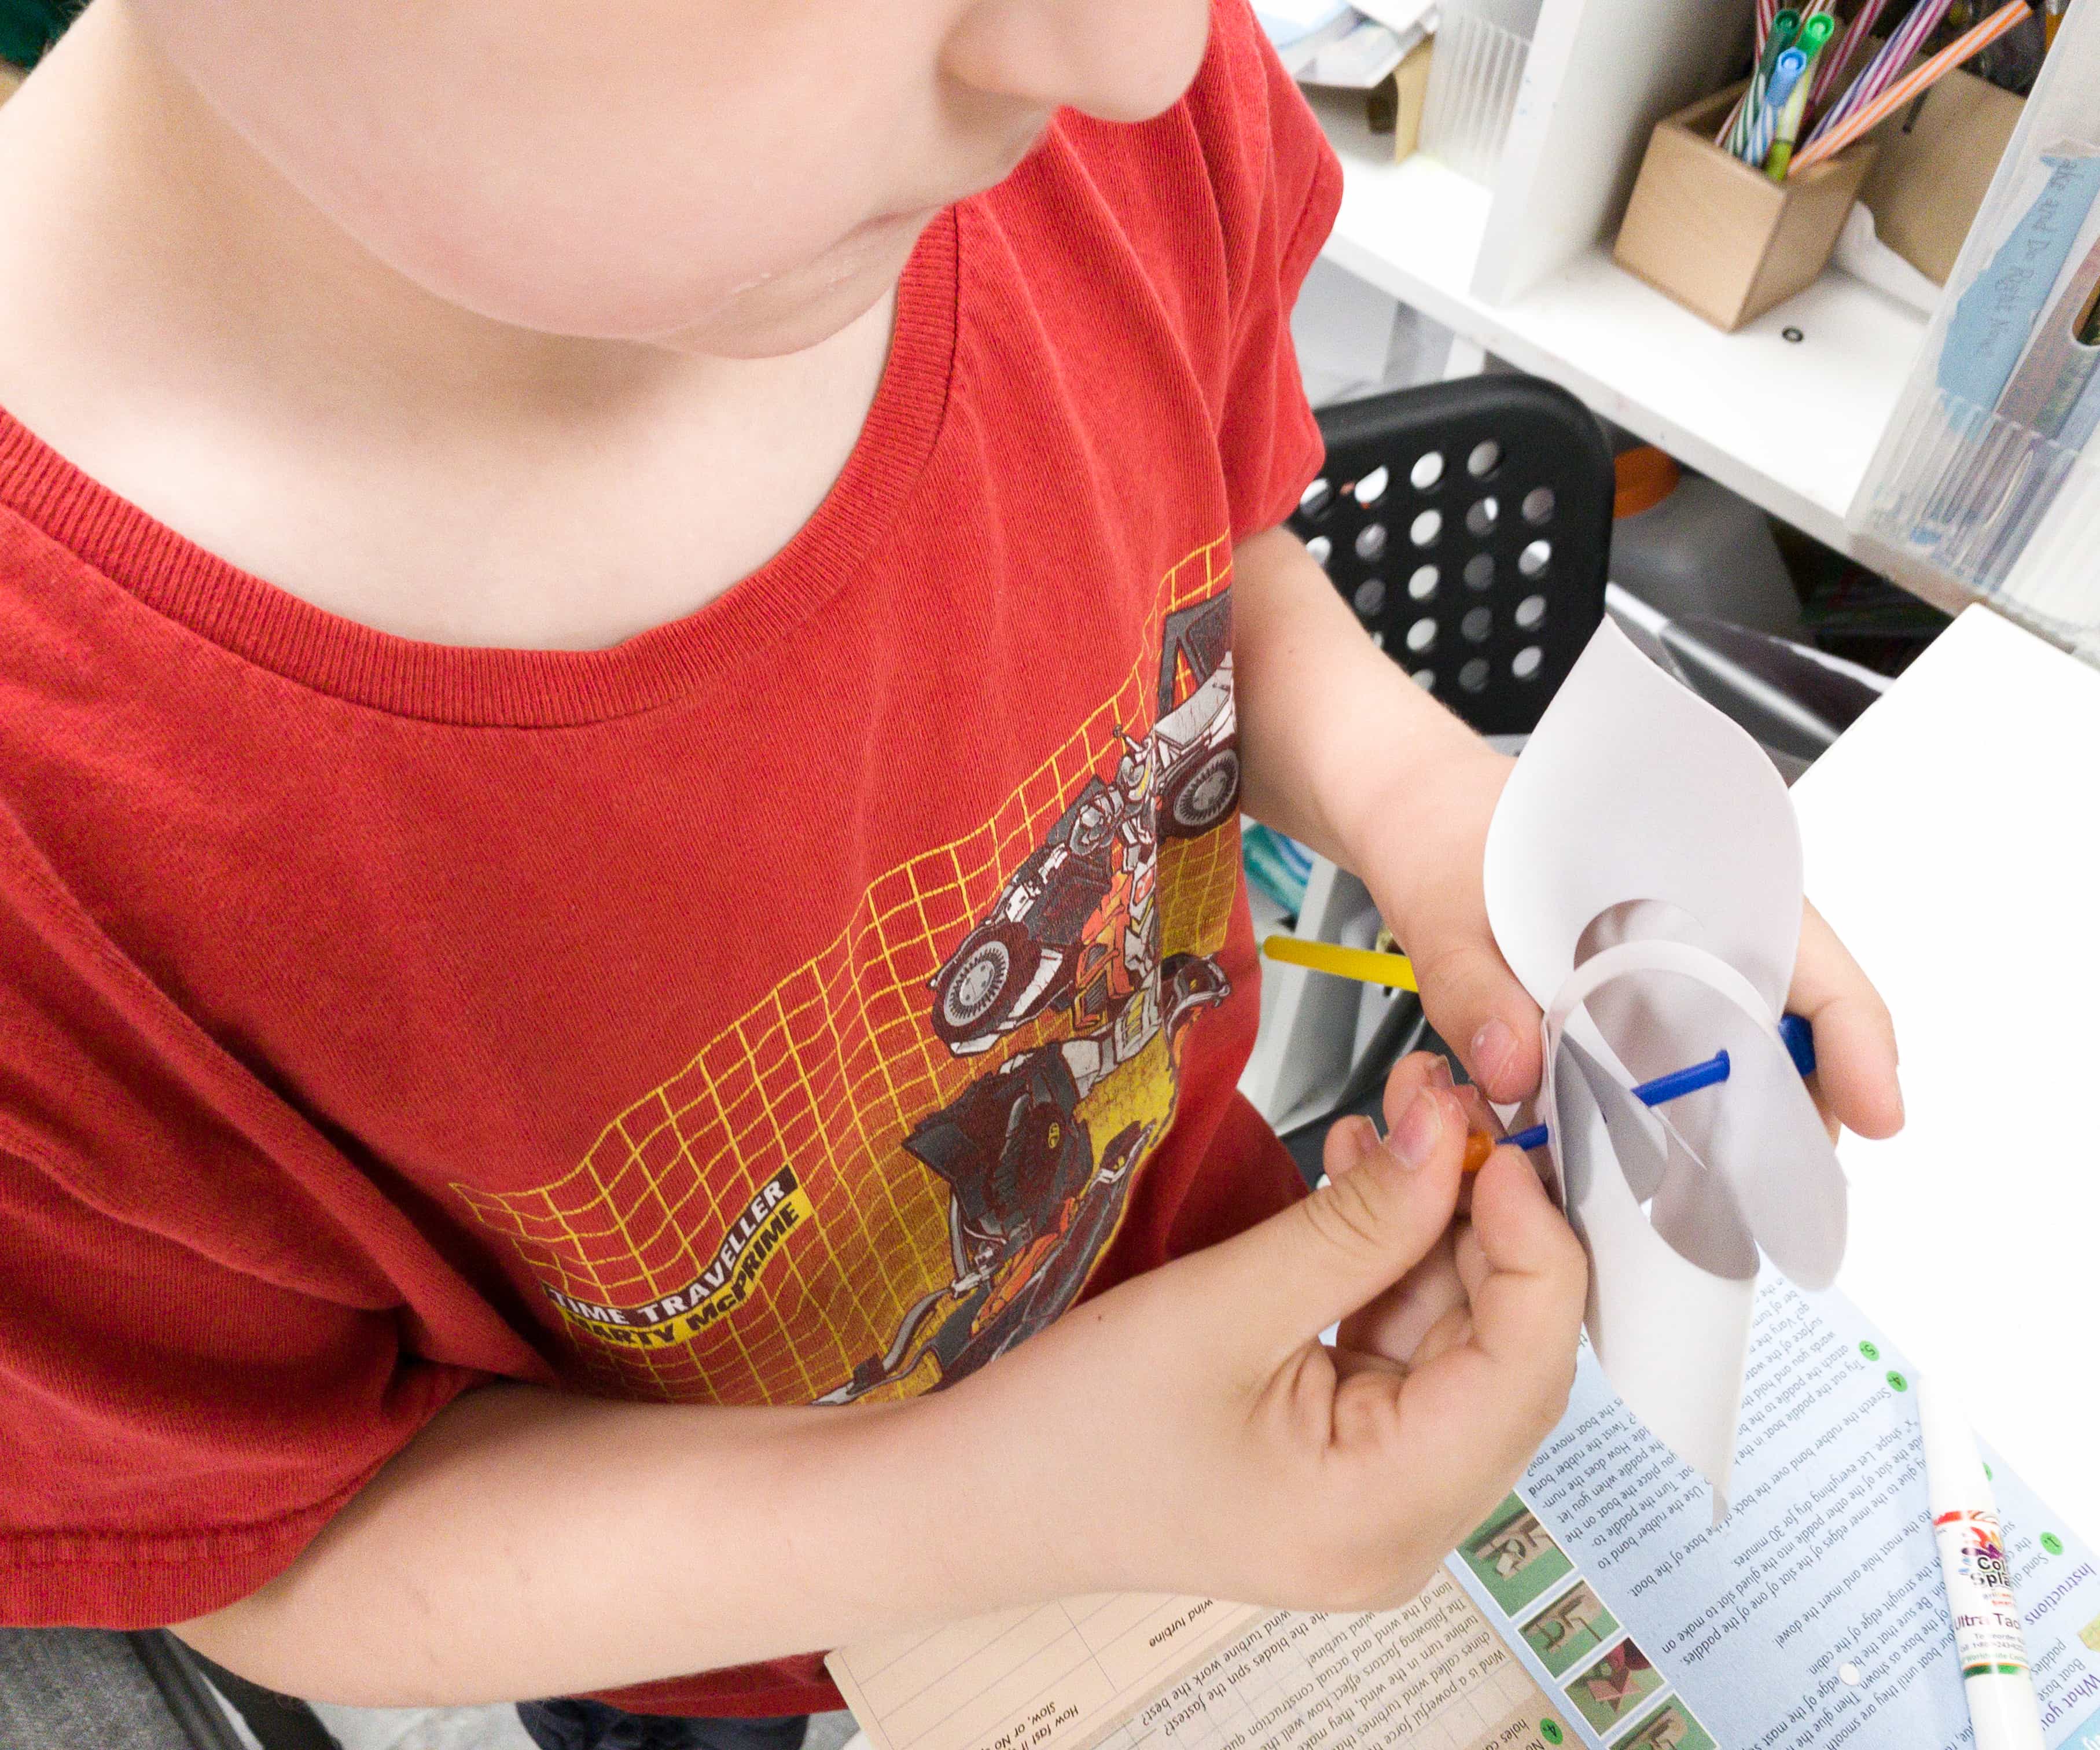
First, my son fitted the axle onto the turbine pole and then inserted the axle through the paper’s center hole. He also fixed the turbine’s blades and added the flower-shaped piece to the axle.
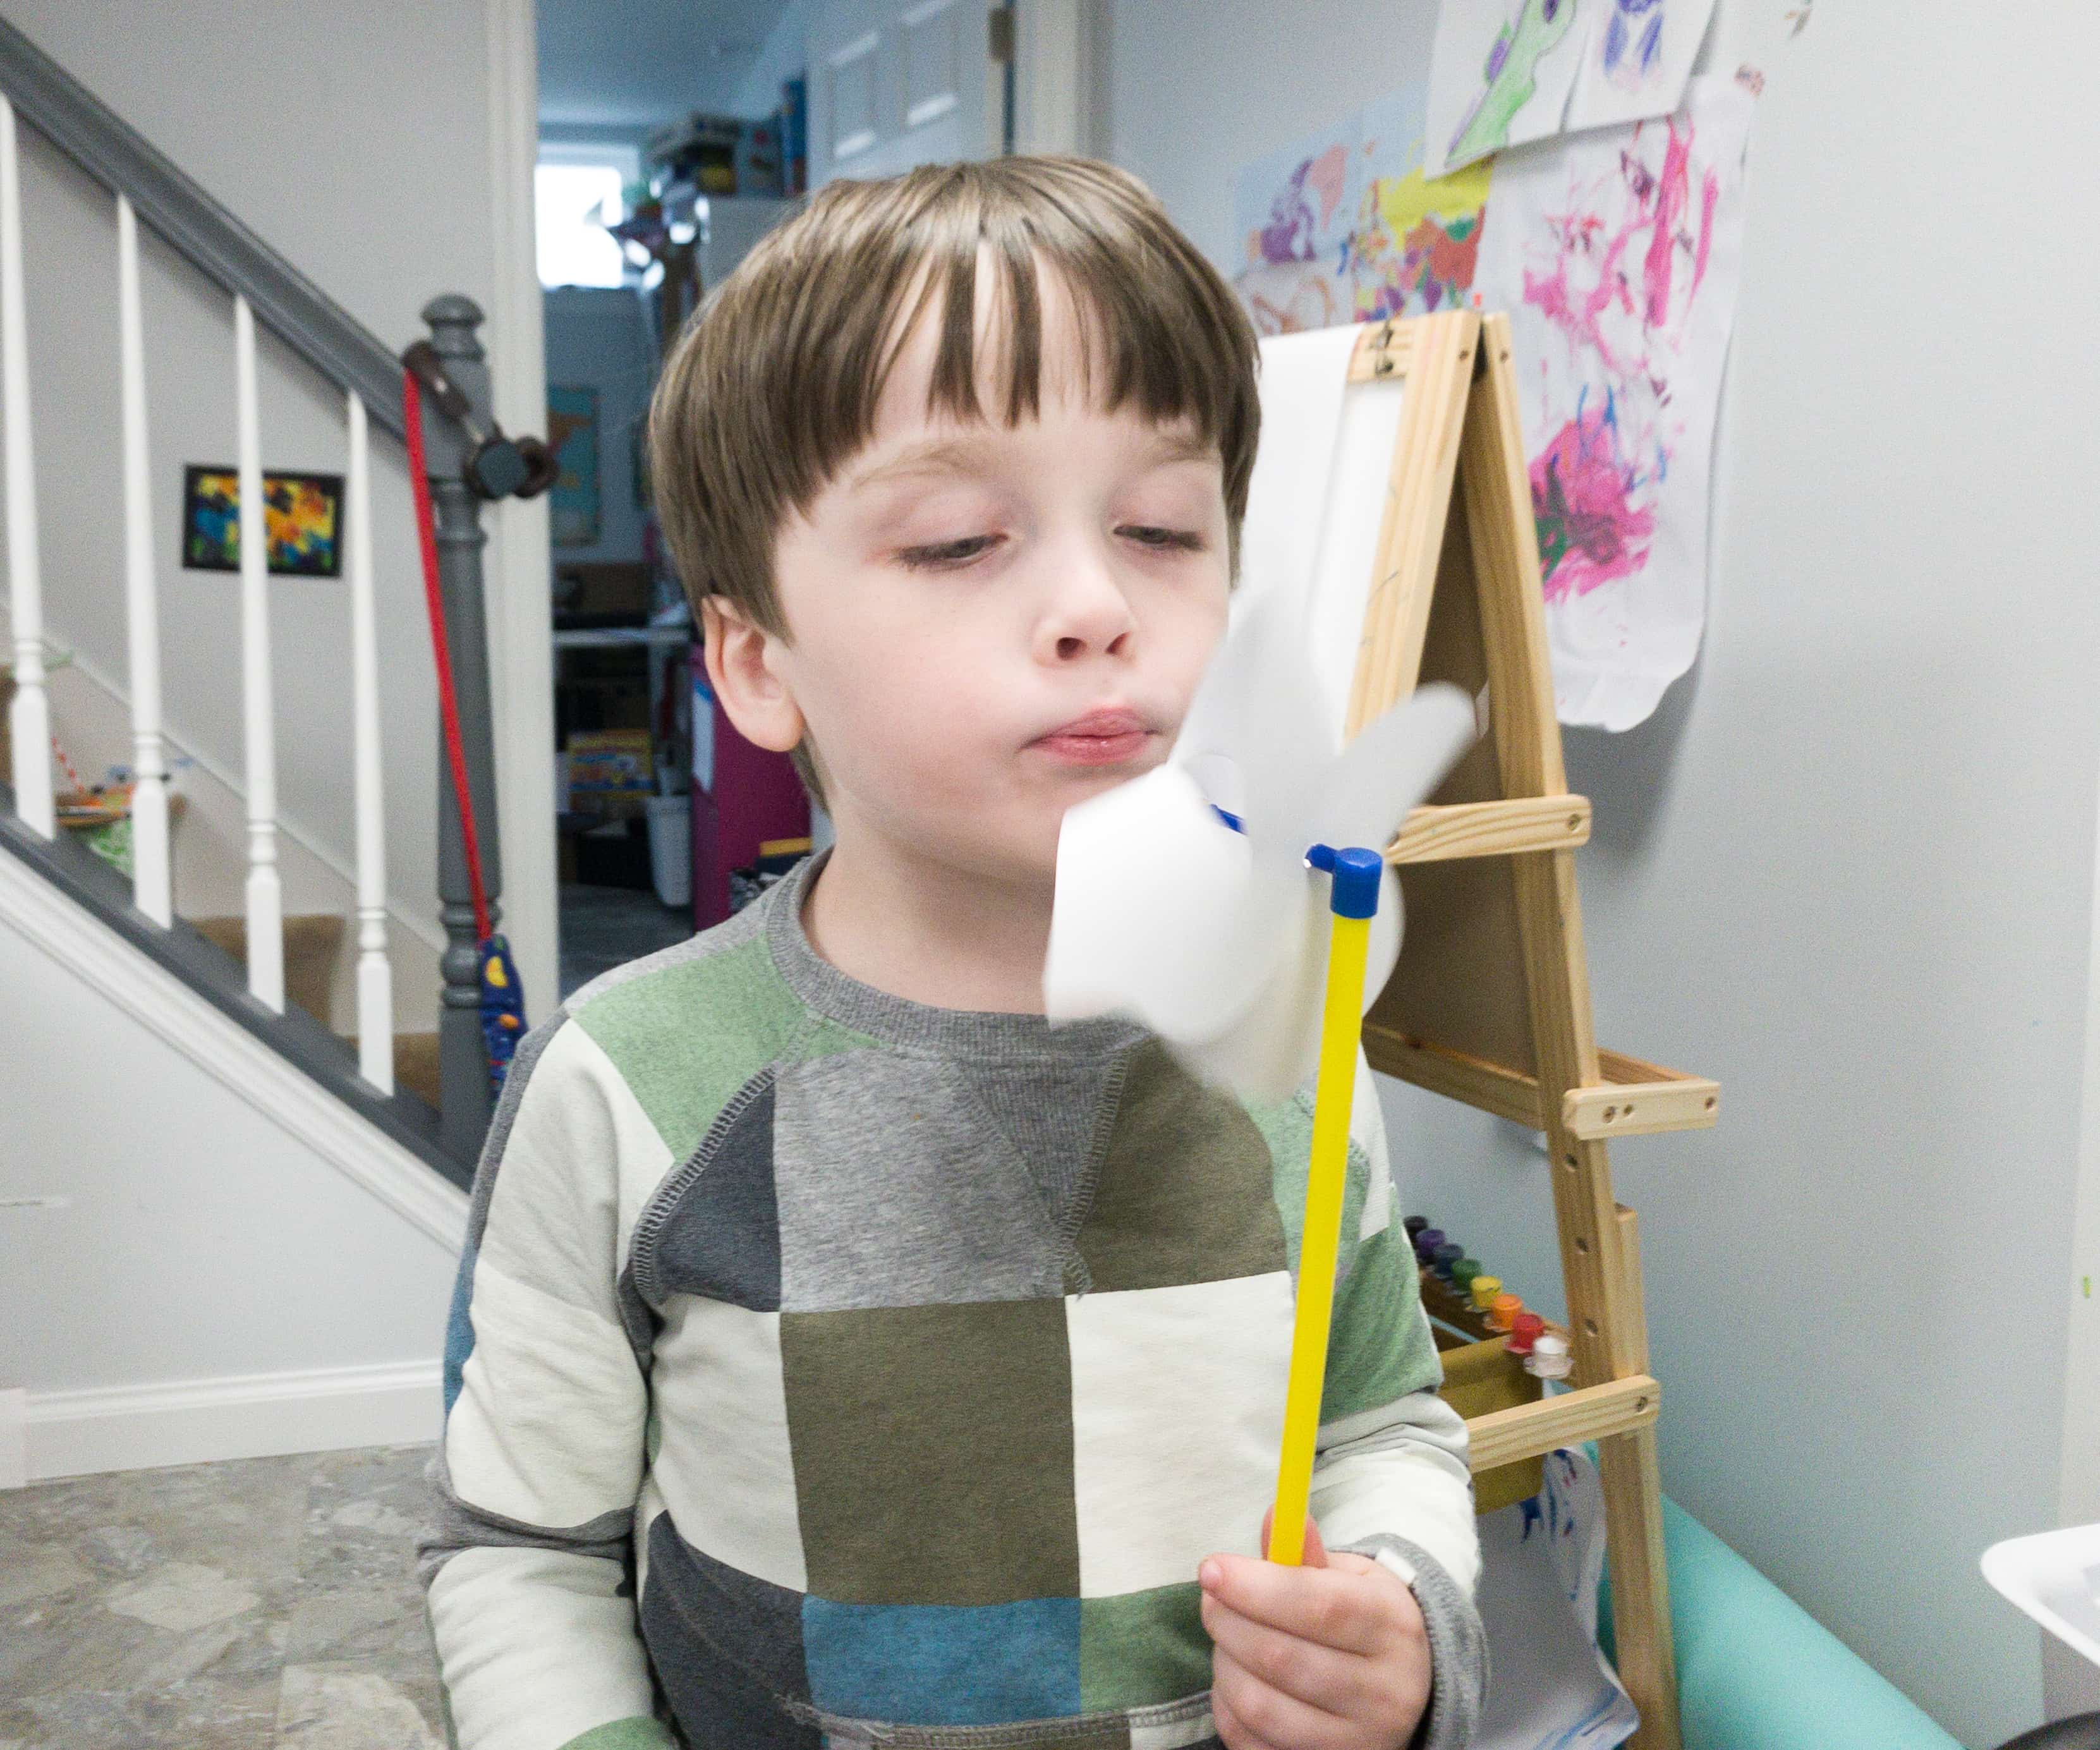
After making the turbine, you can test-run it by blowing a strong wind straight through the turbine just like what my son did.
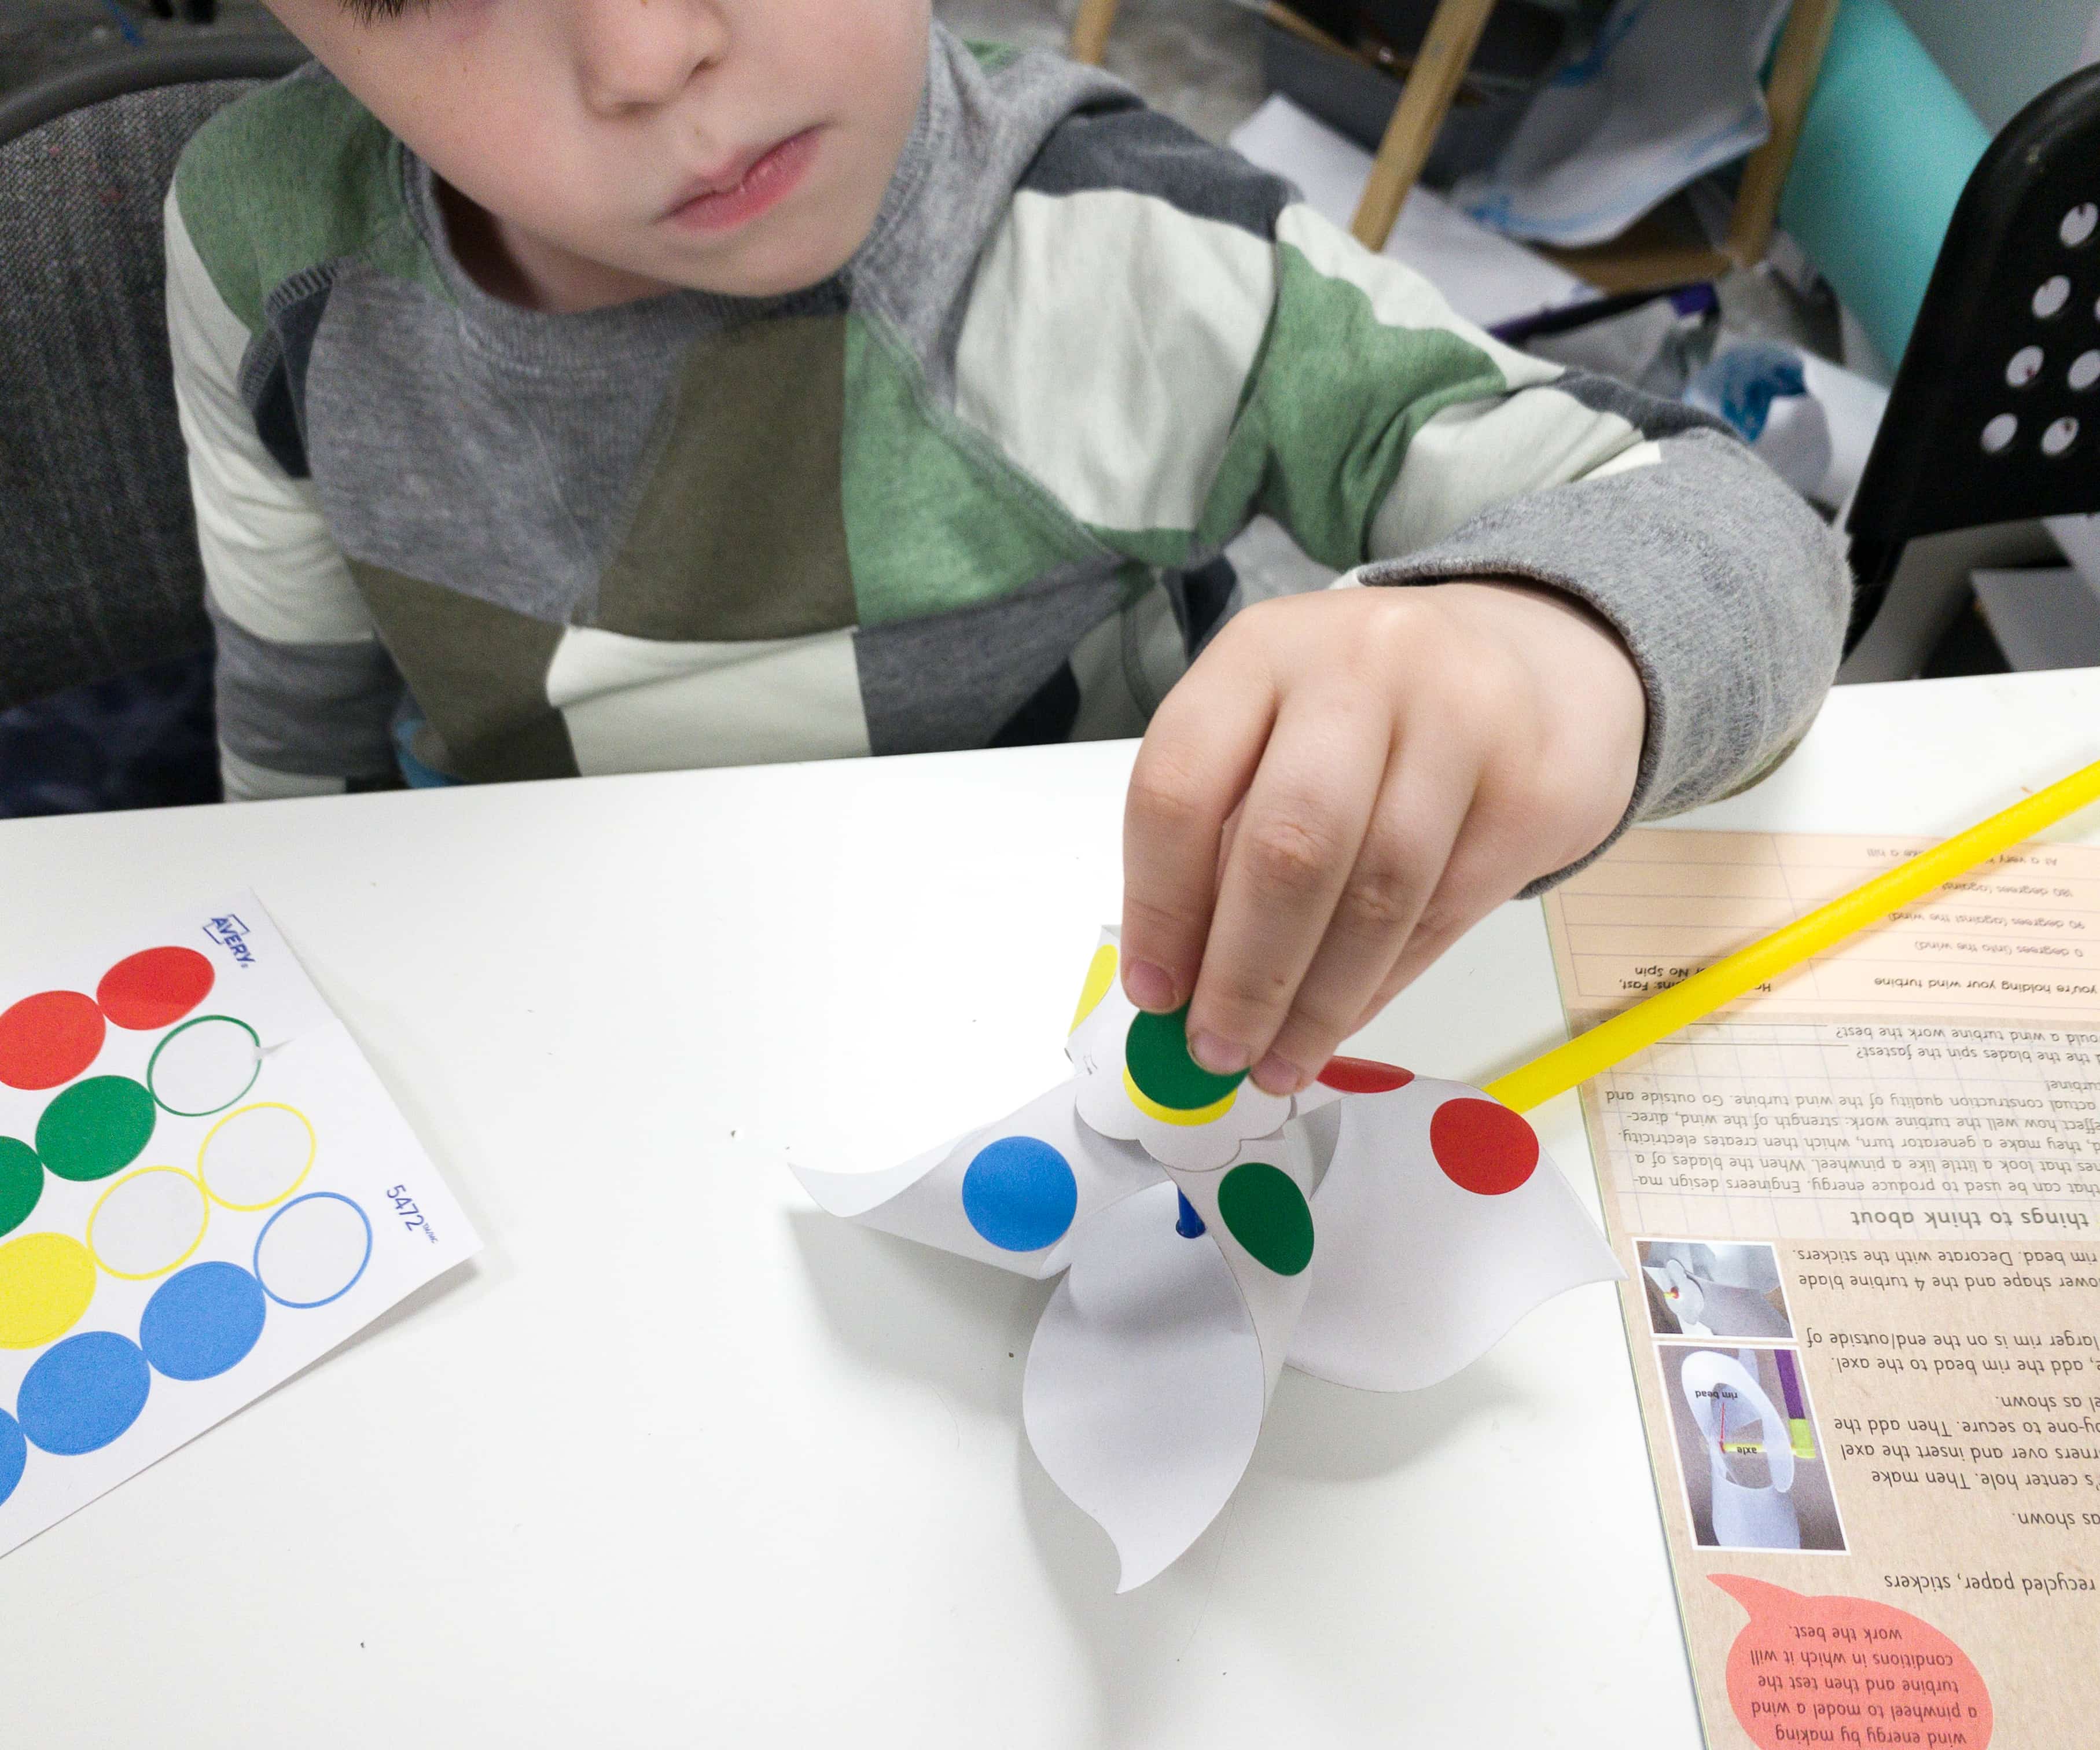
Once you made sure that the turbine works, you can proceed to the next step which is the designing of the turbine.
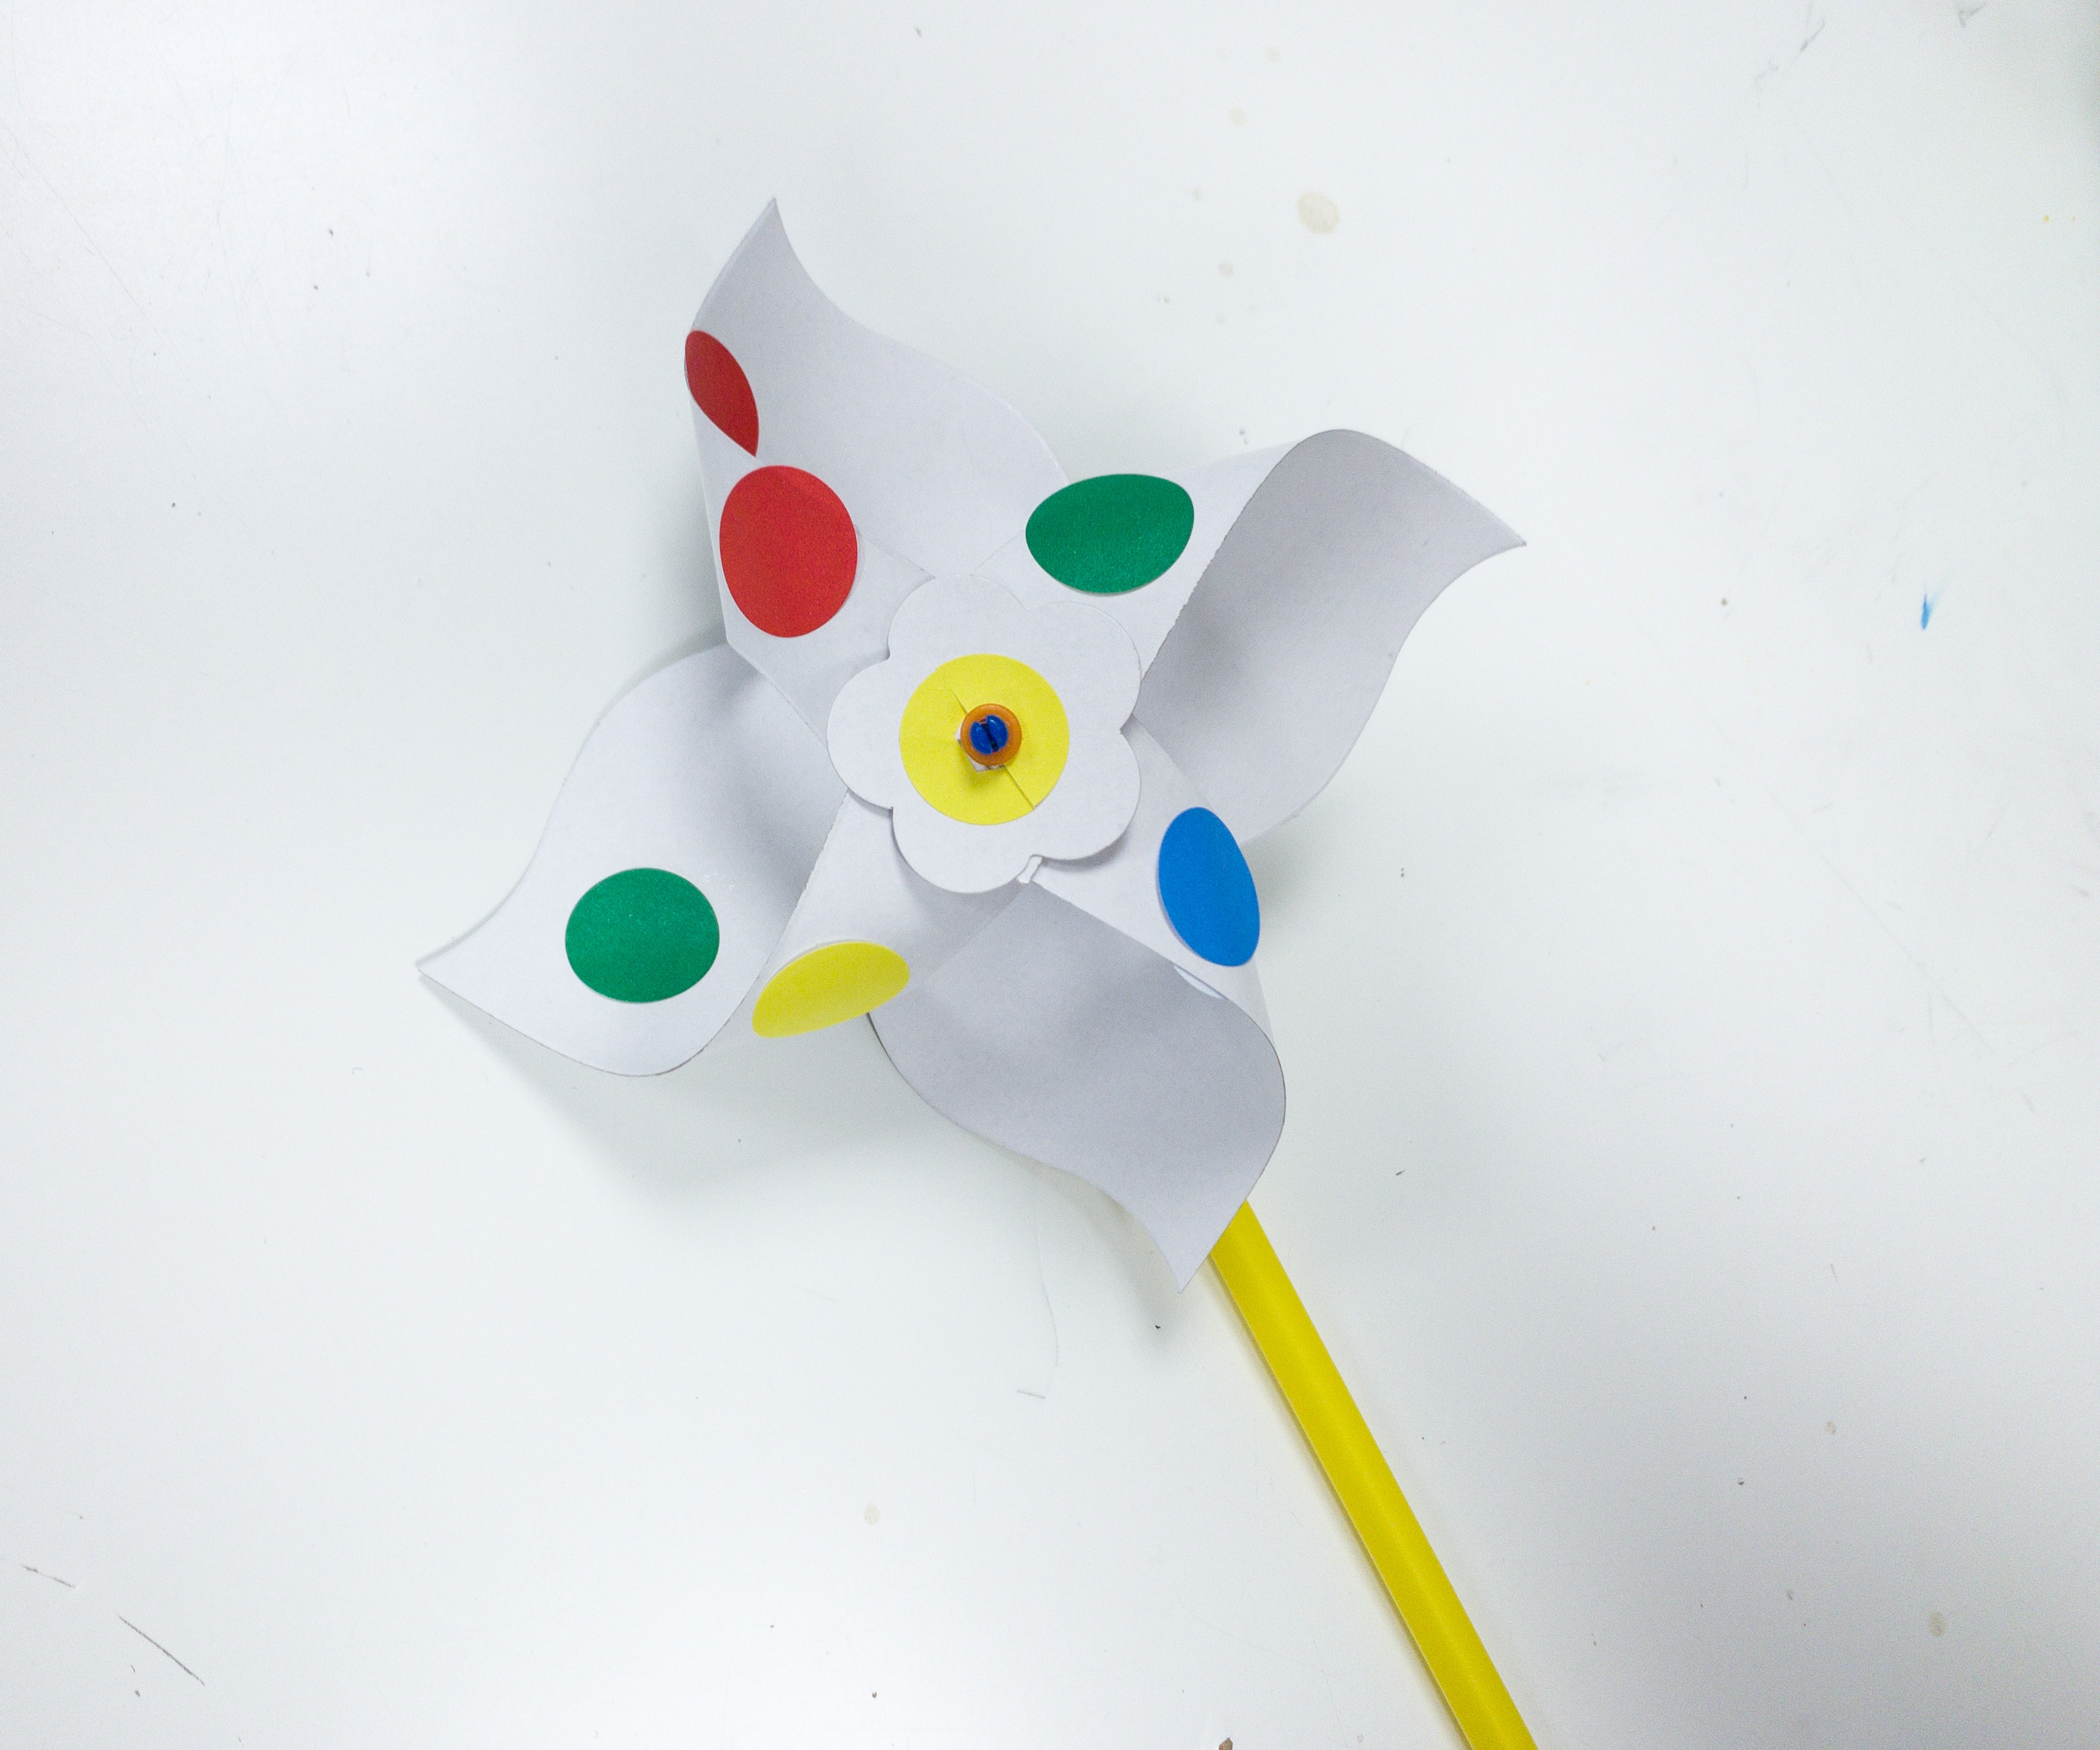
My kids just placed some circle-shaped stickers around the turbine to make it a little more colorful and eye-catching!
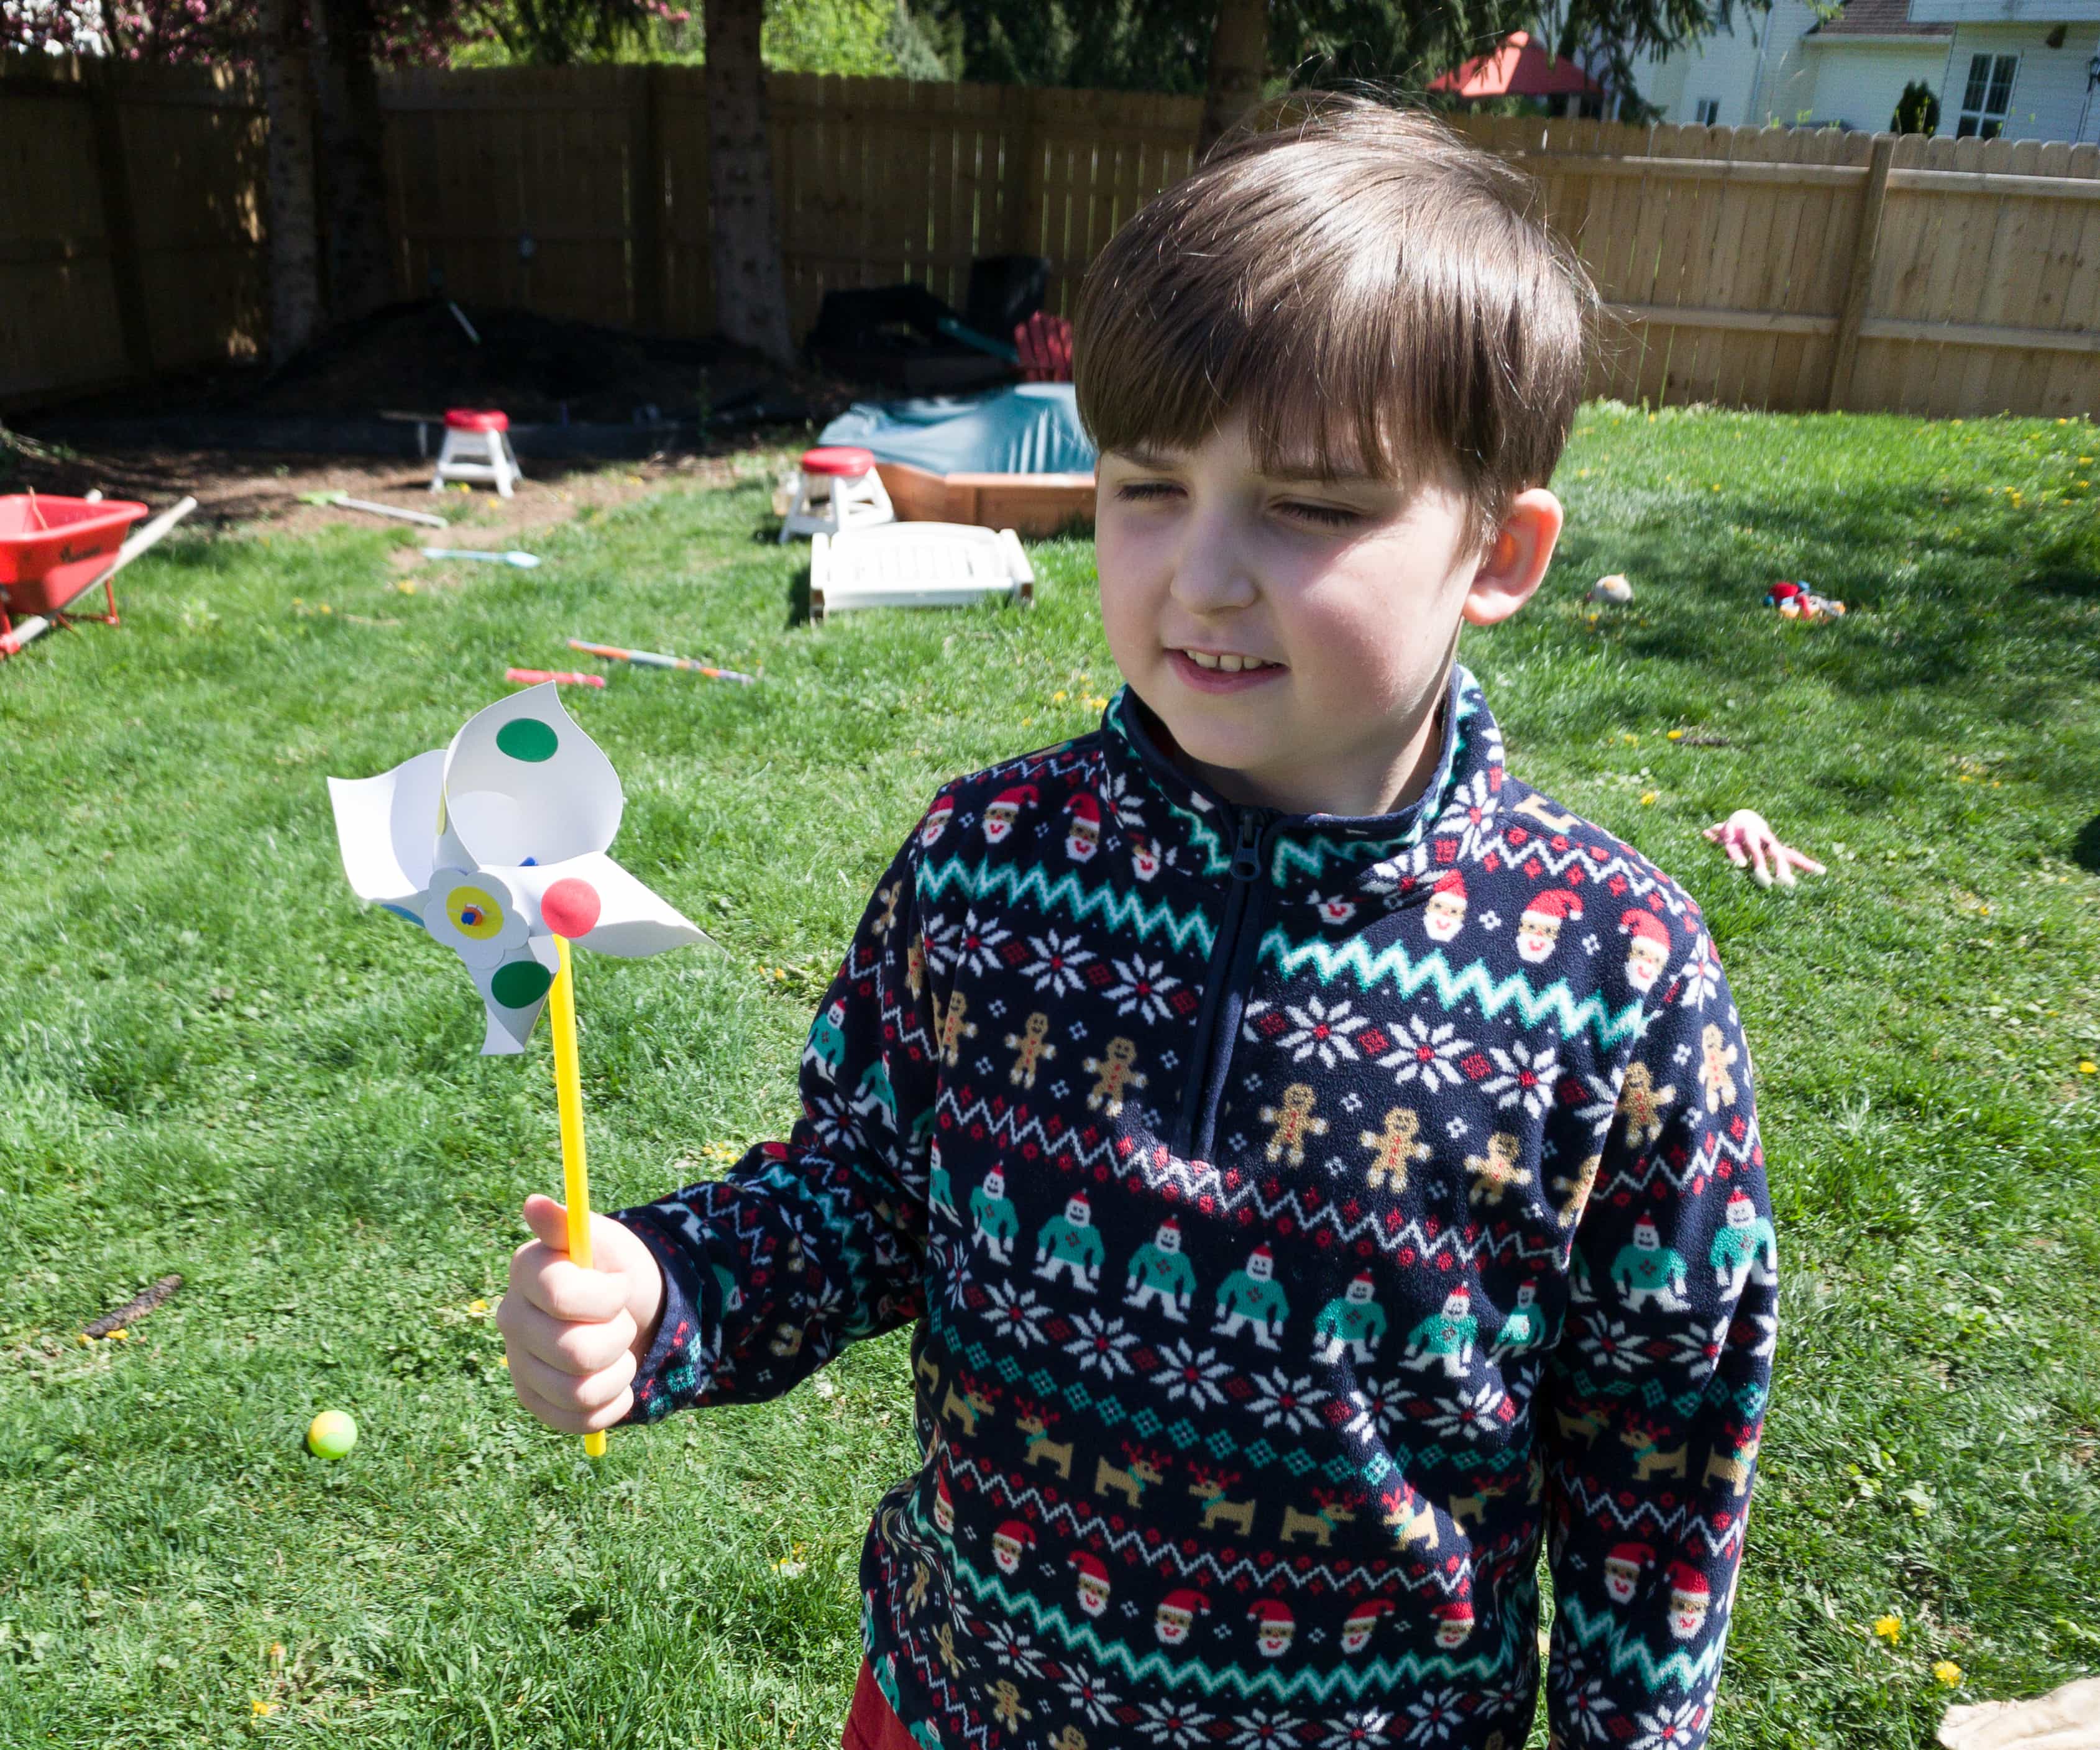
It’s time to test our new wind turbine using the actual blow of wind from the outside!
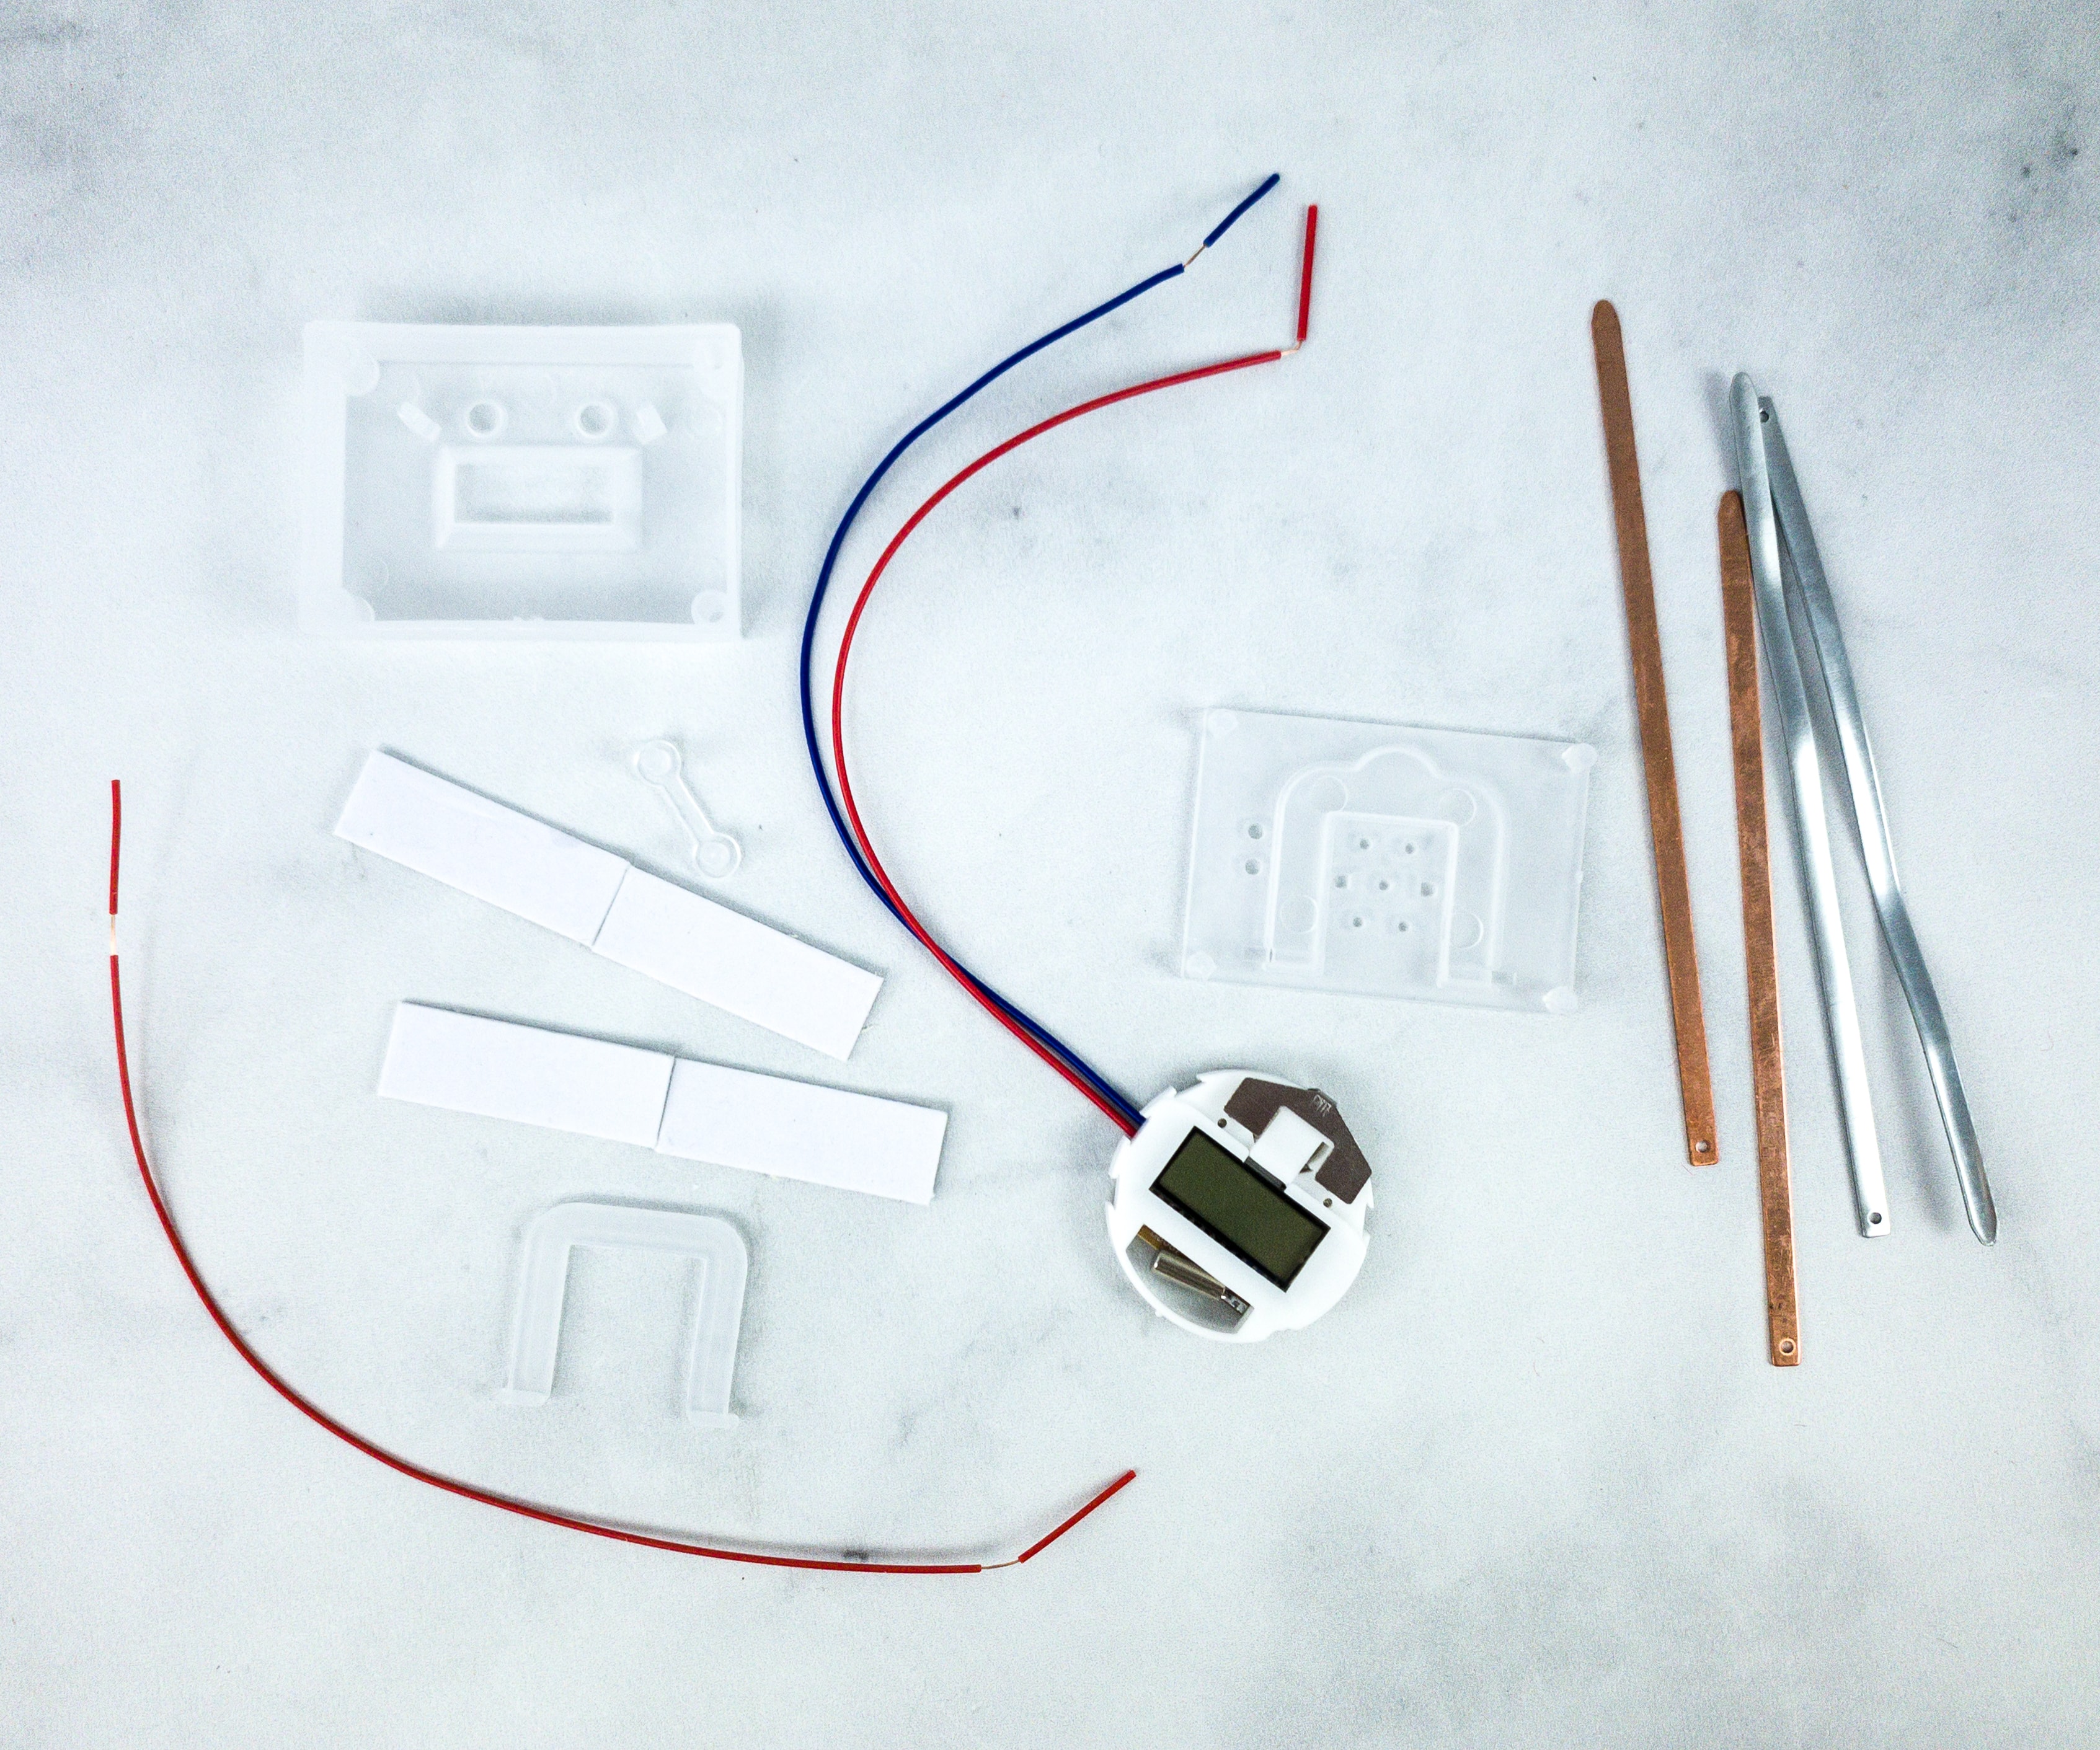
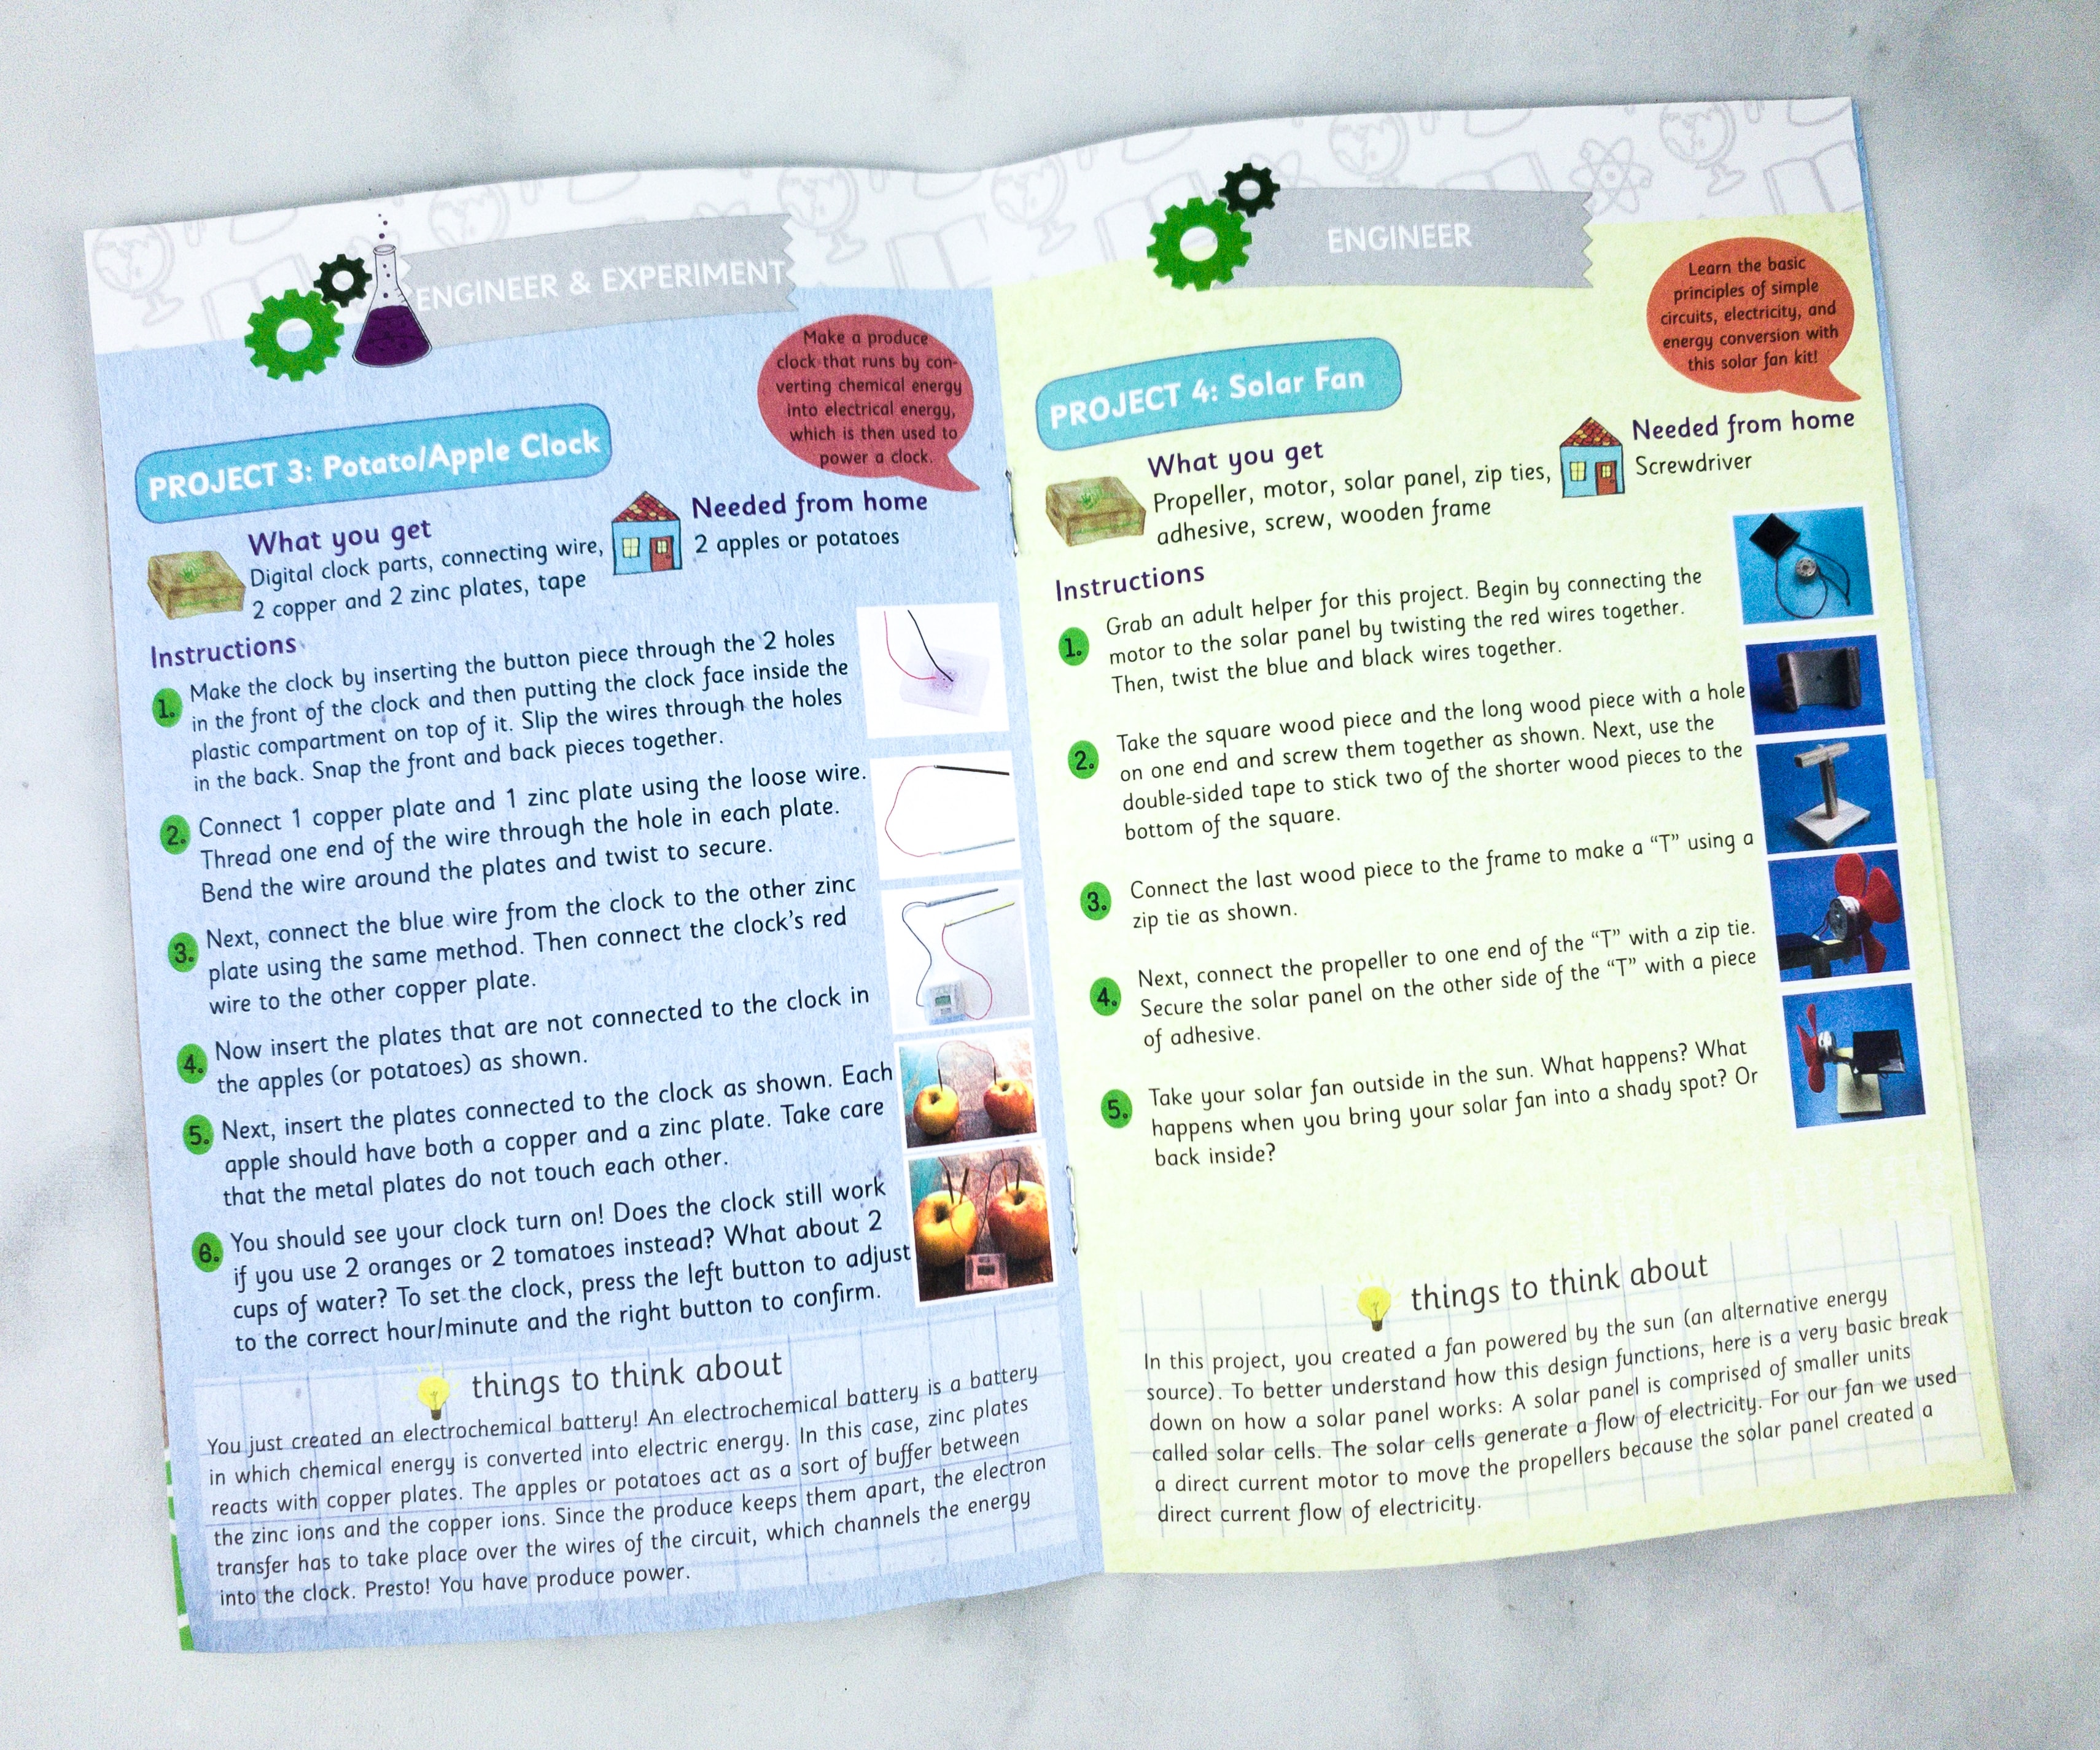
Project #3: Potato/Apple Clock. For the third project, we used digital clock parts, connecting wire, 2 coppers and 2 zinc plates, and tape. We also used potatoes from our kitchen.
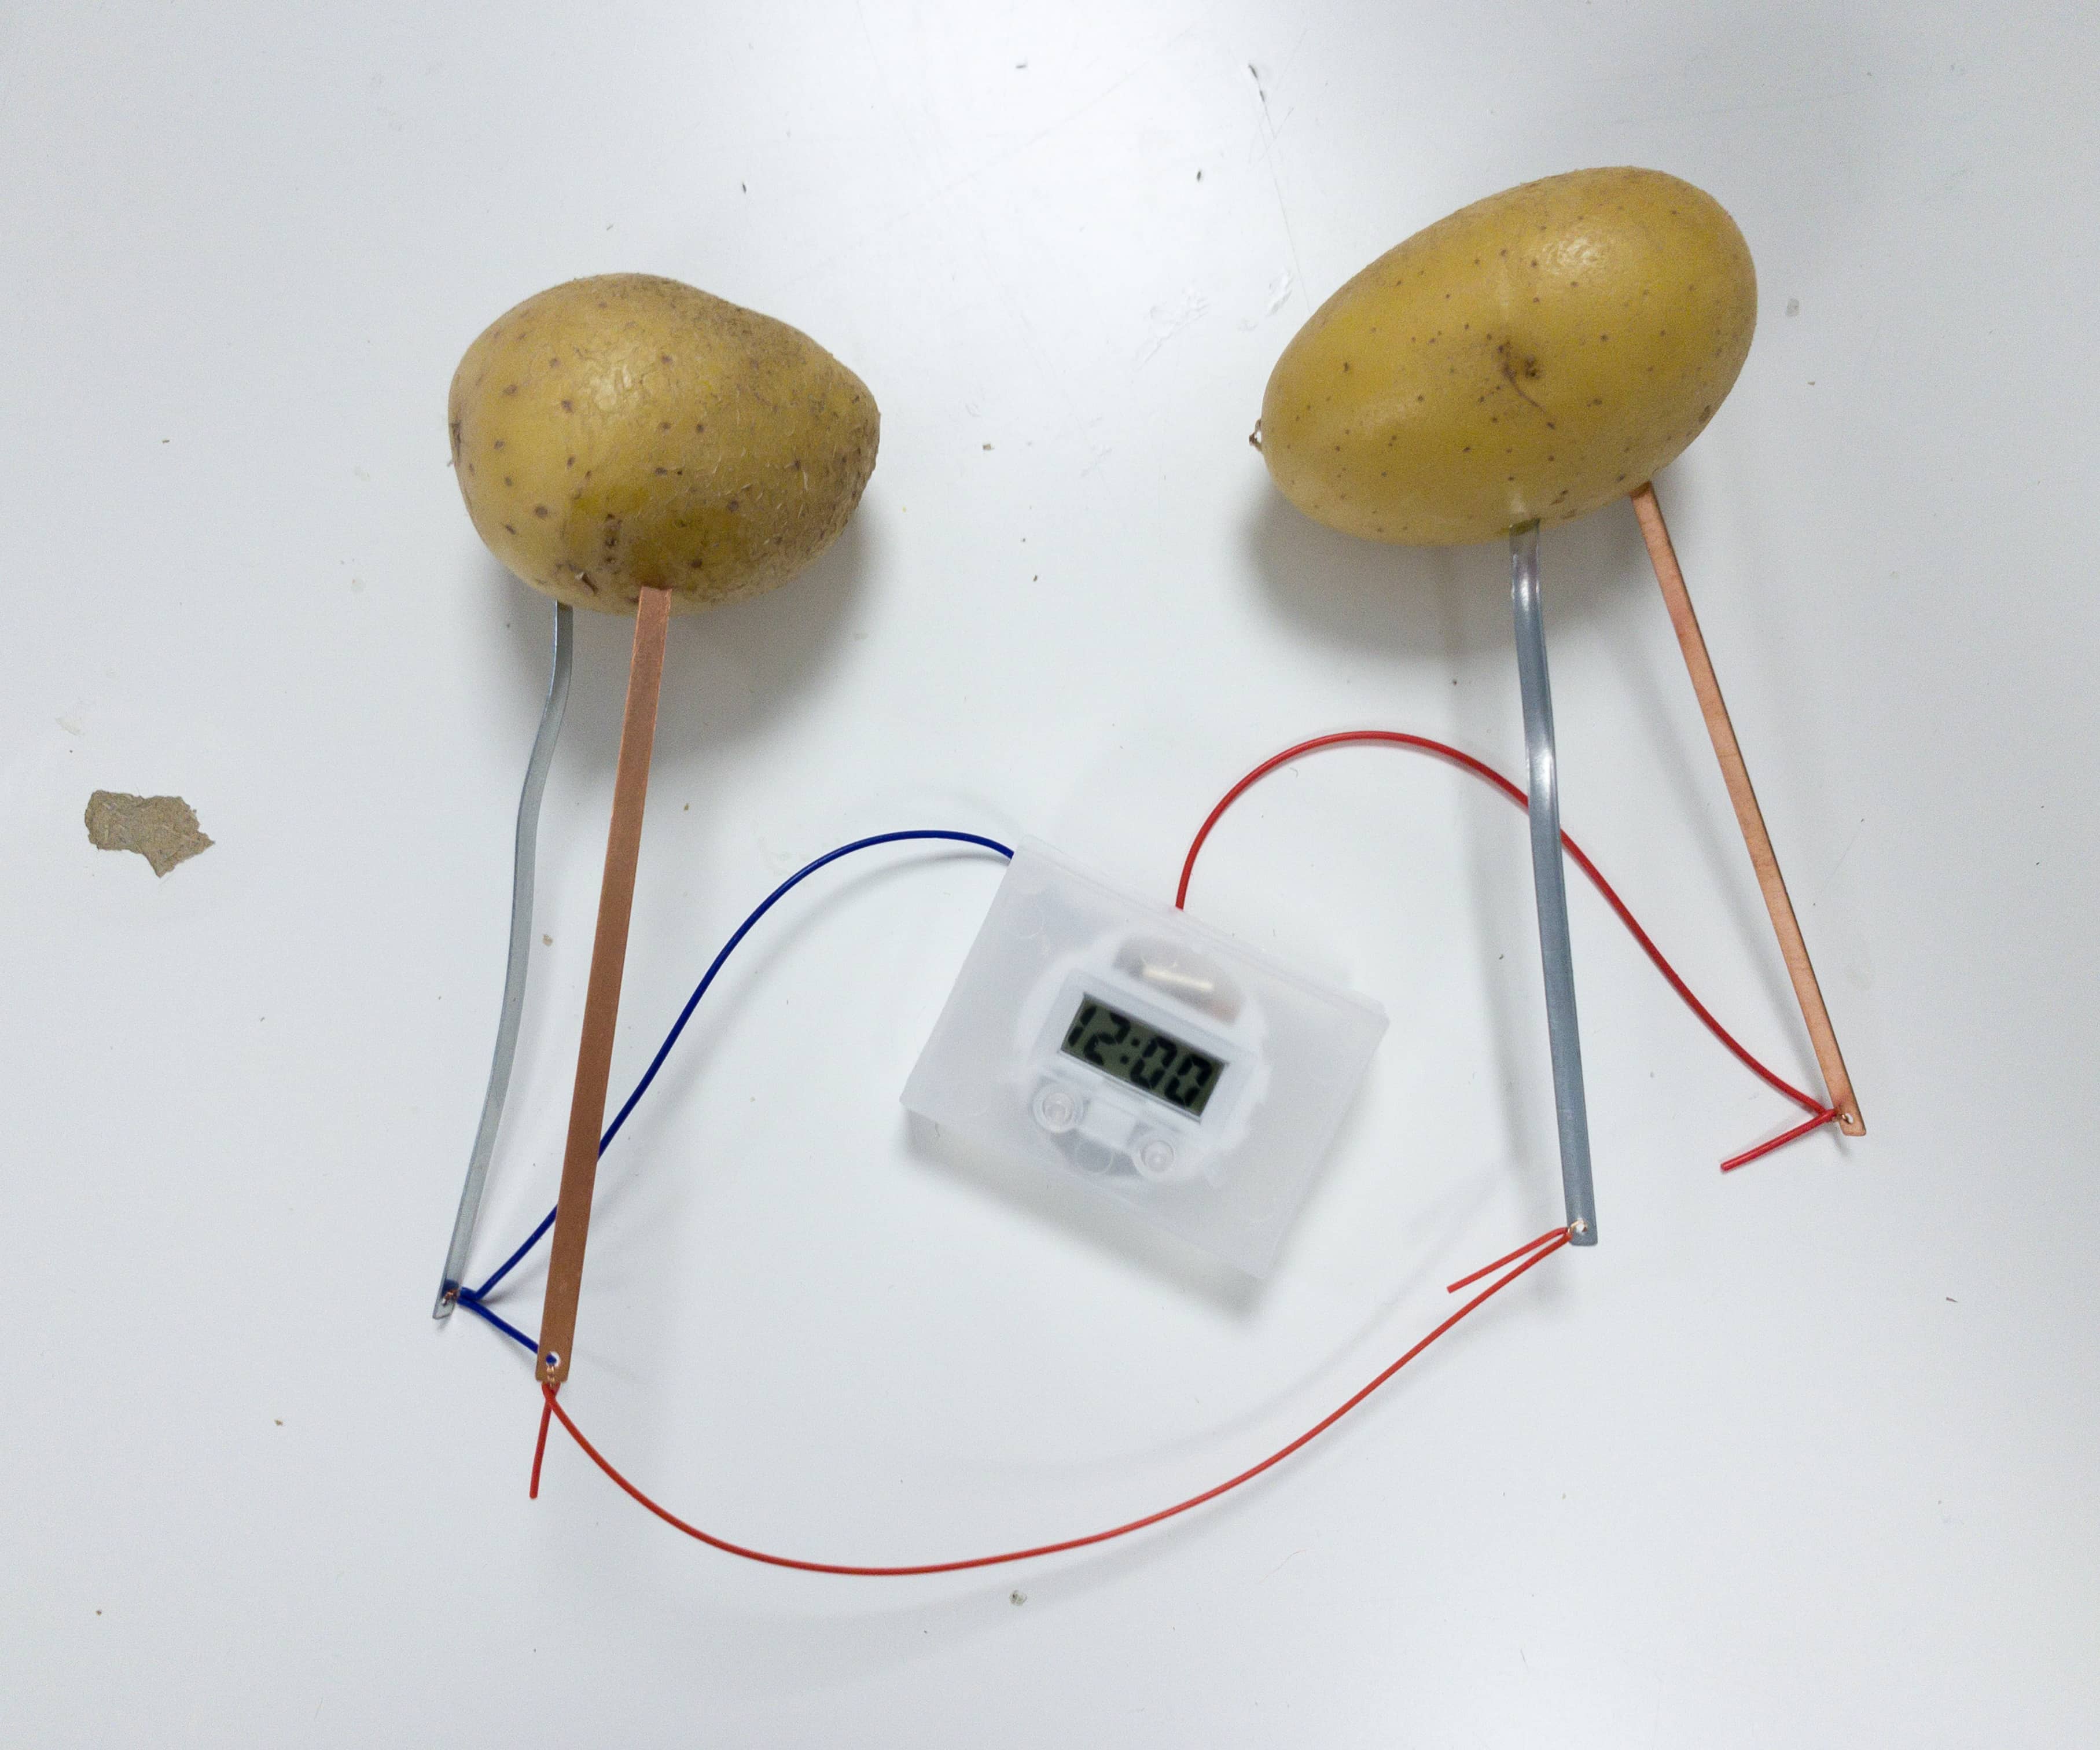
This project is made to see if we can operate a clock using only apples or potatoes as the source of energy. We started the project by connecting the wire inside the clock and then connect 1 wire to the copper plate and the other to the zinc plate.
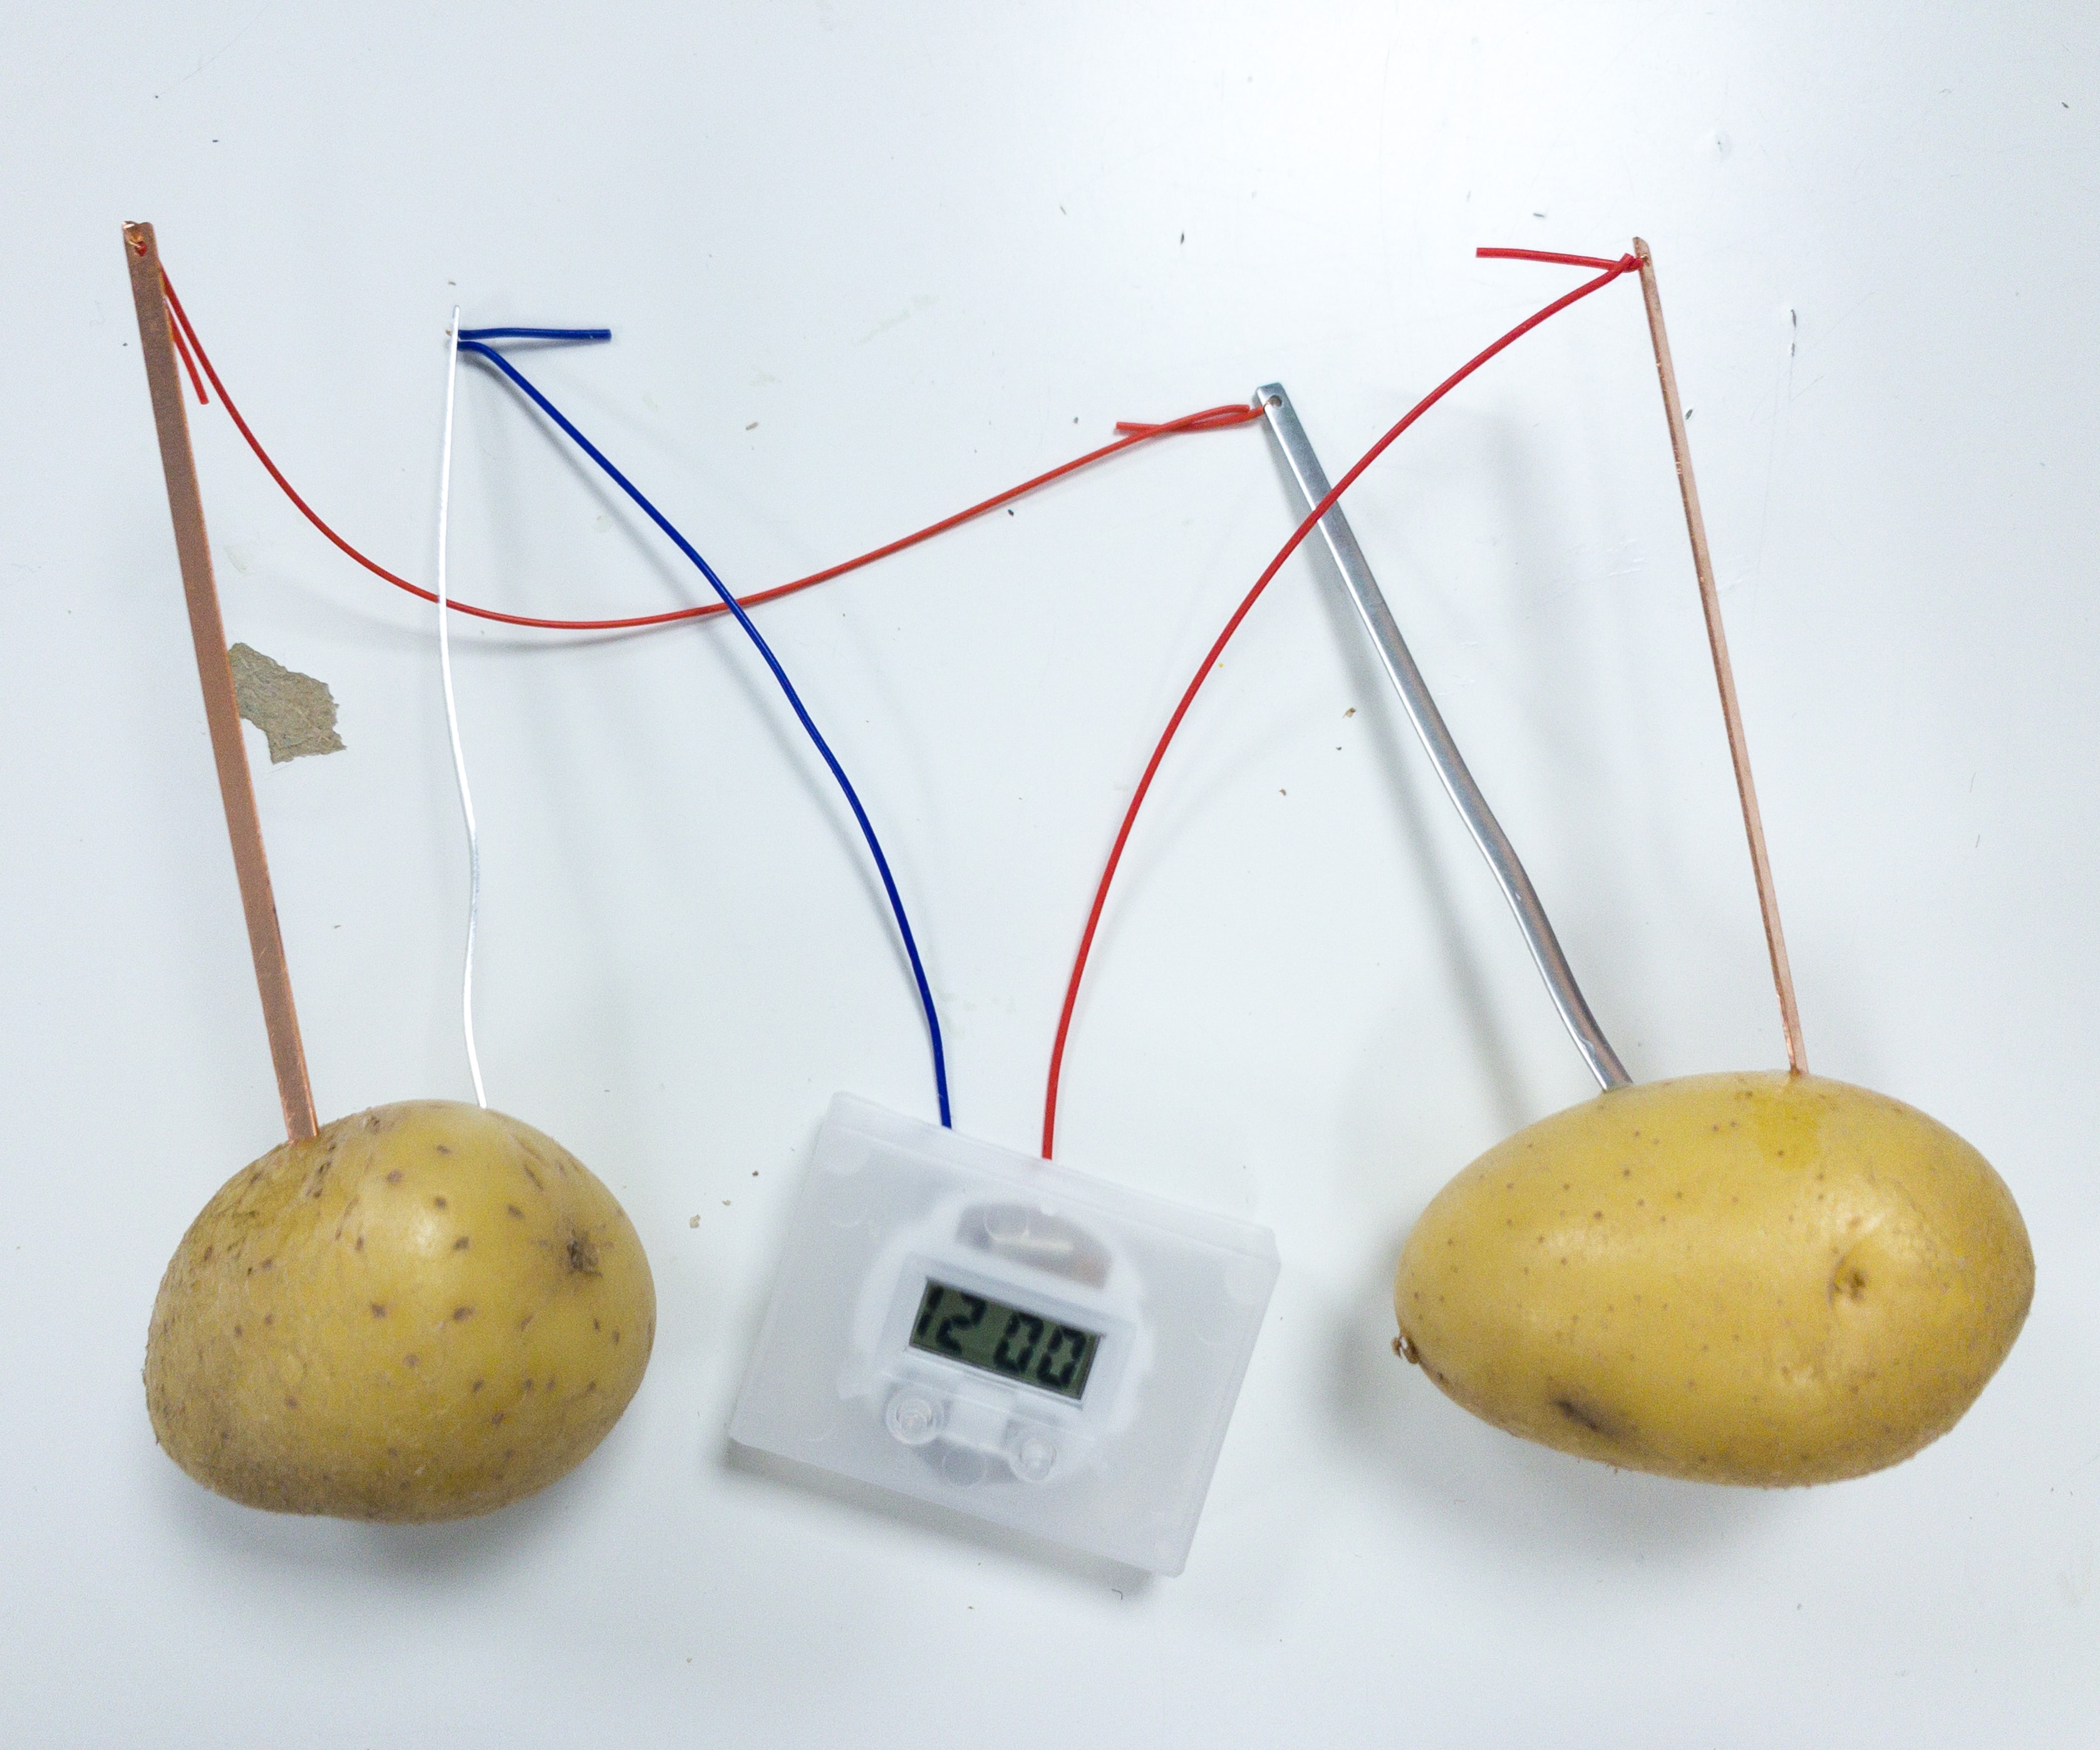
Once done, you just have to stick the other end of the copper and zinc plate to the potatoes and see your clock to turn on!
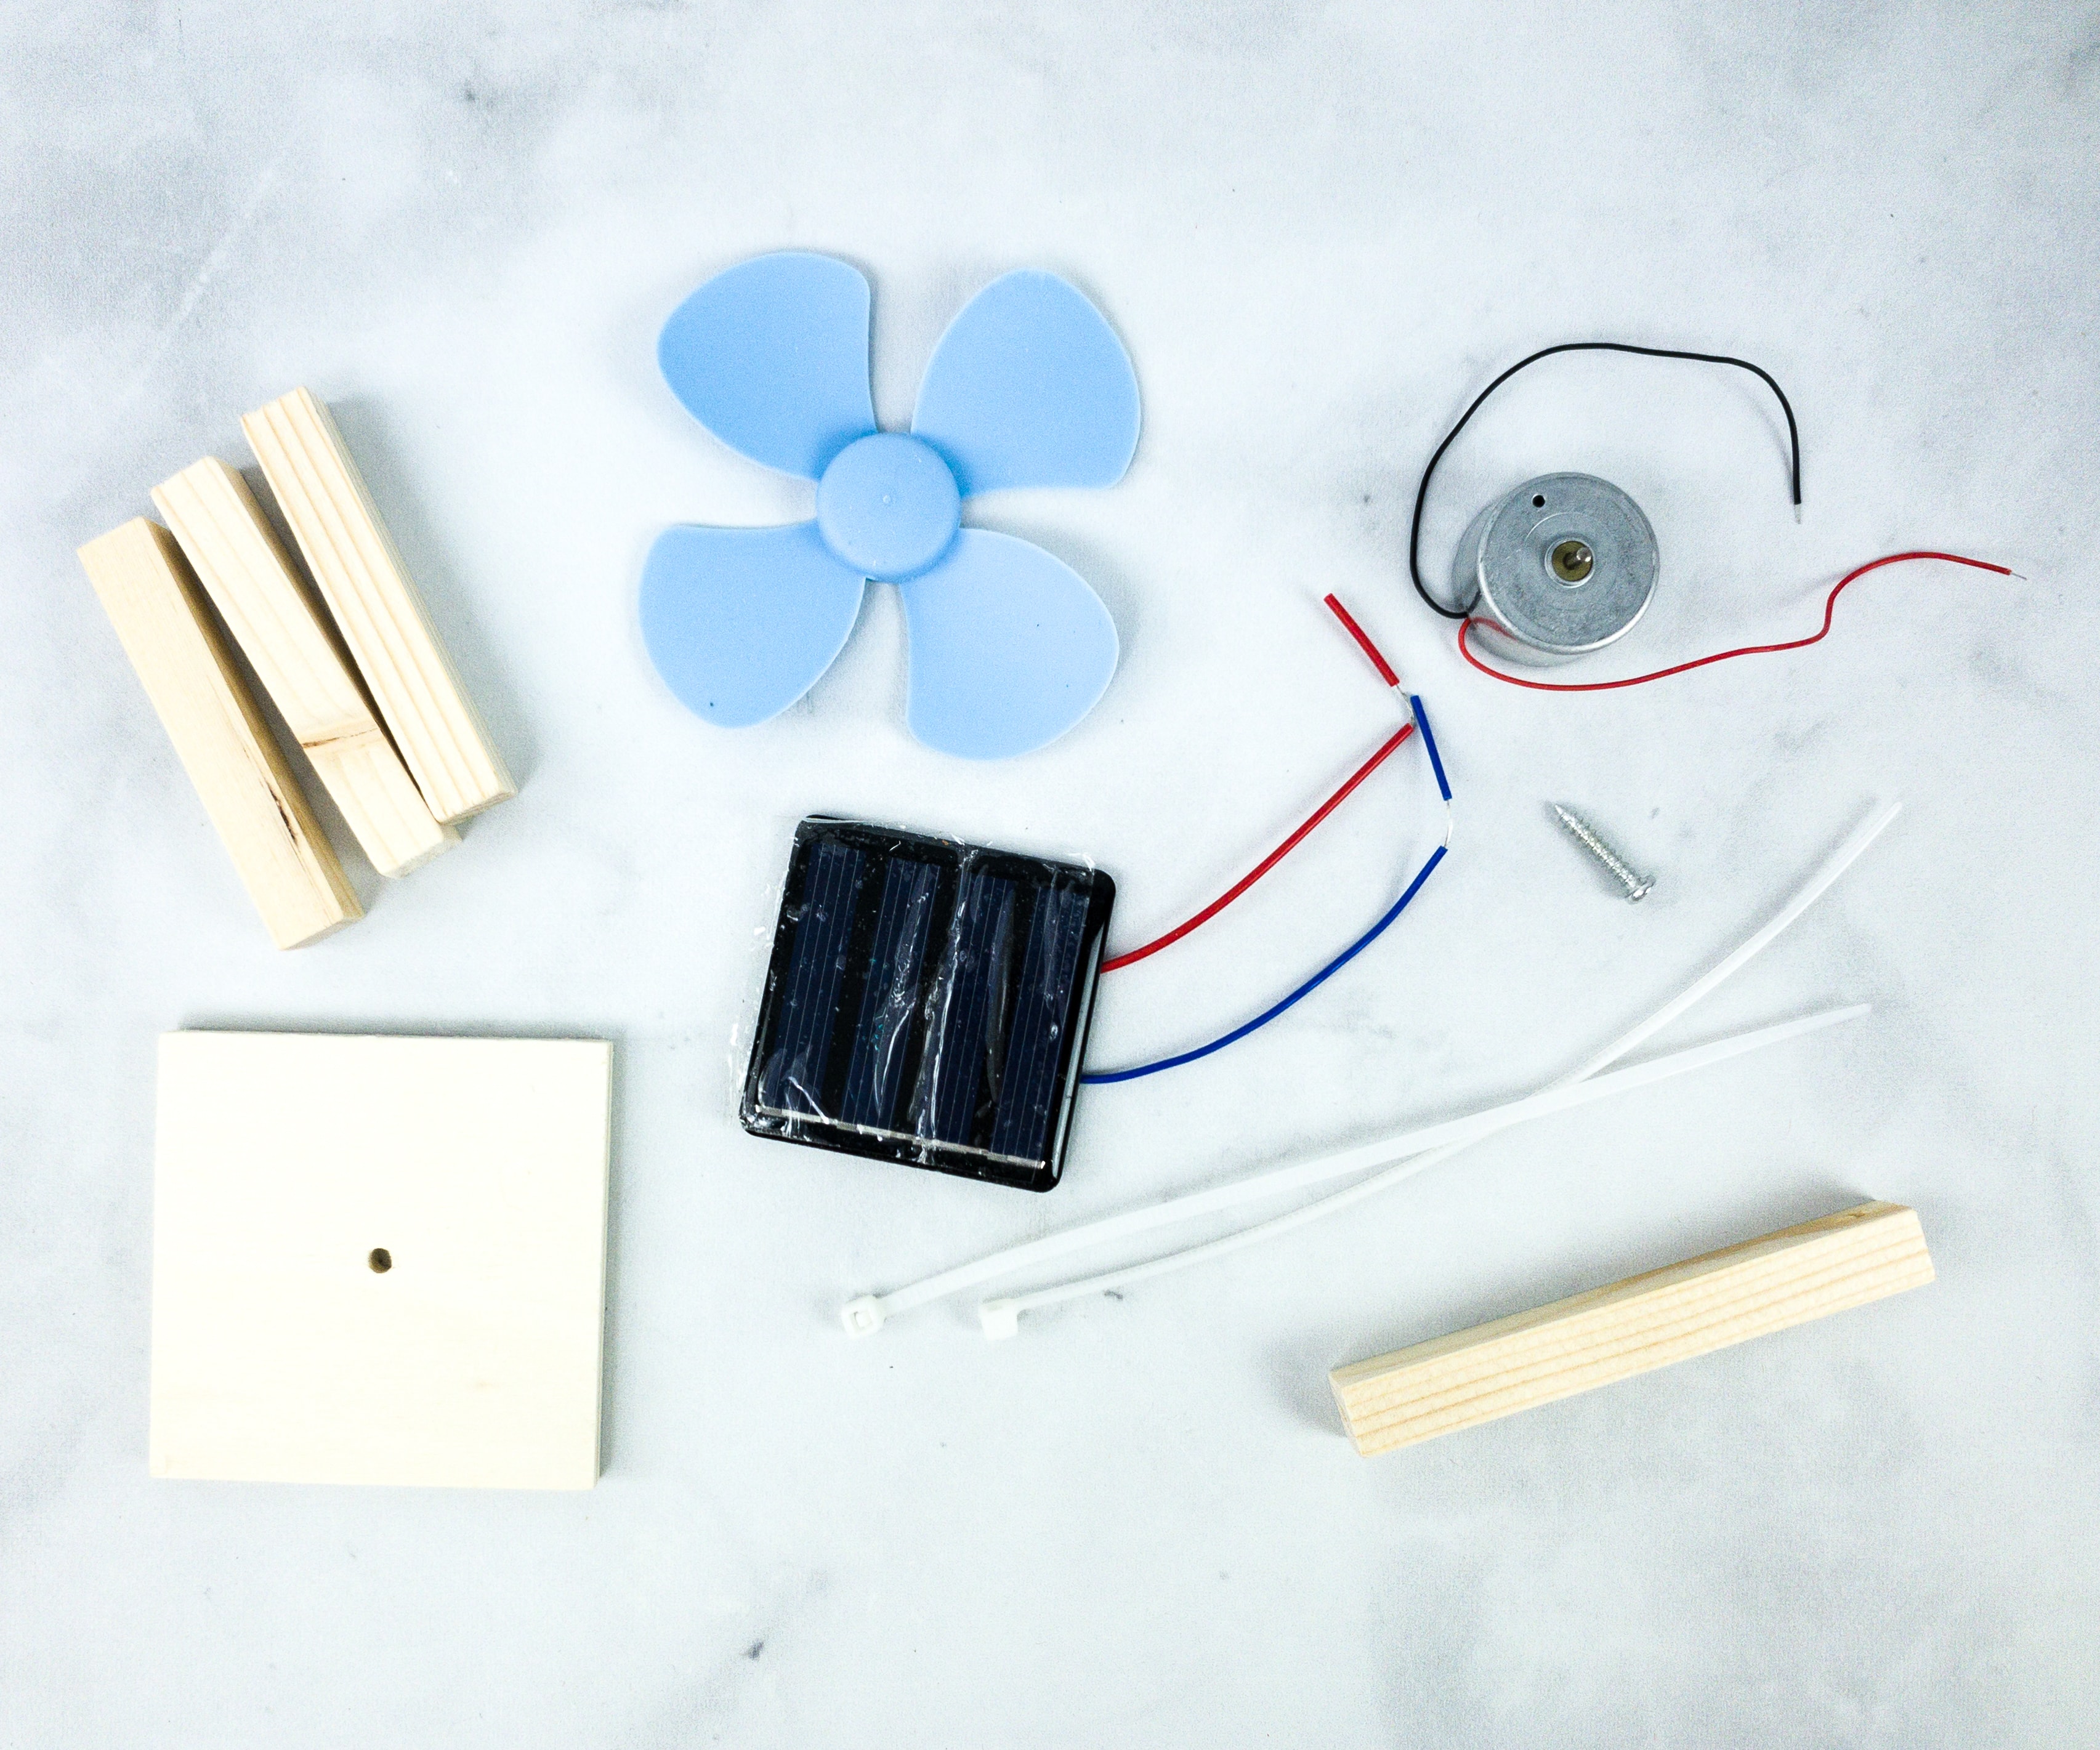
Project #4: Solar Fan. We used the propeller, motor, solar panel, zip ties, adhesive, screw, and wooden frame on our 4th project.
We begun by connecting the motor to the solar panel by twisting the two red wires, and the blue and black wires together.
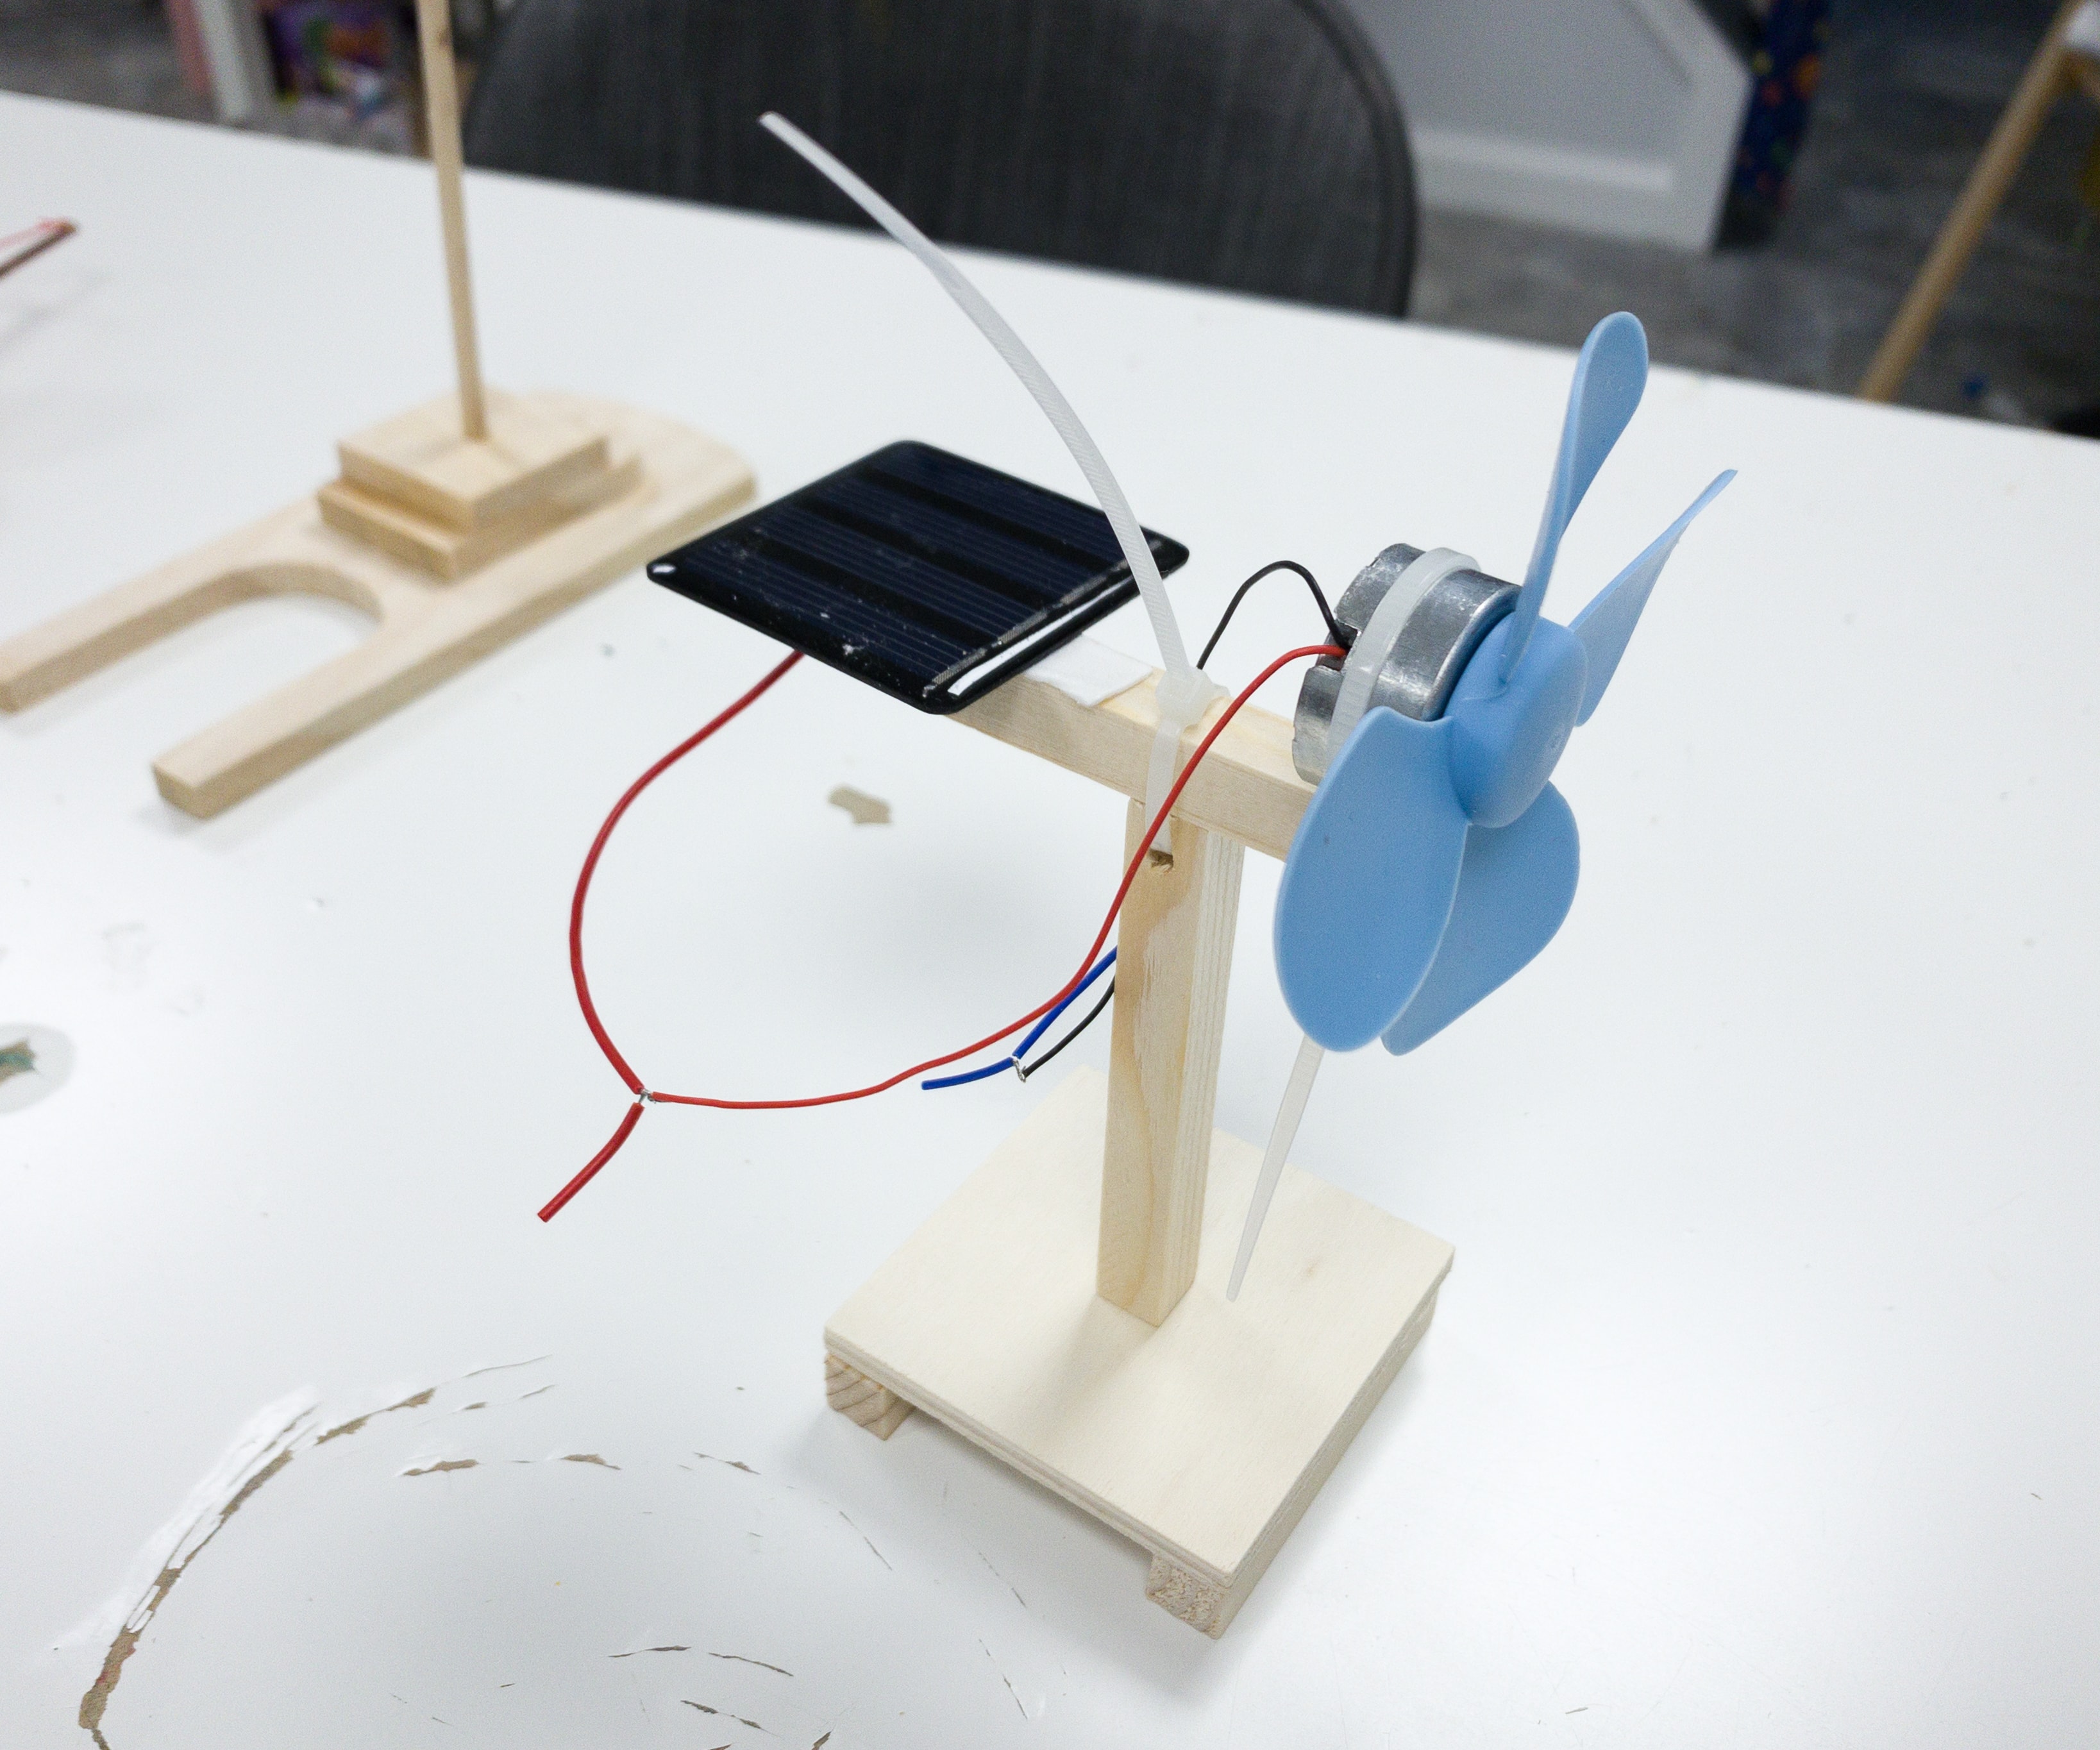
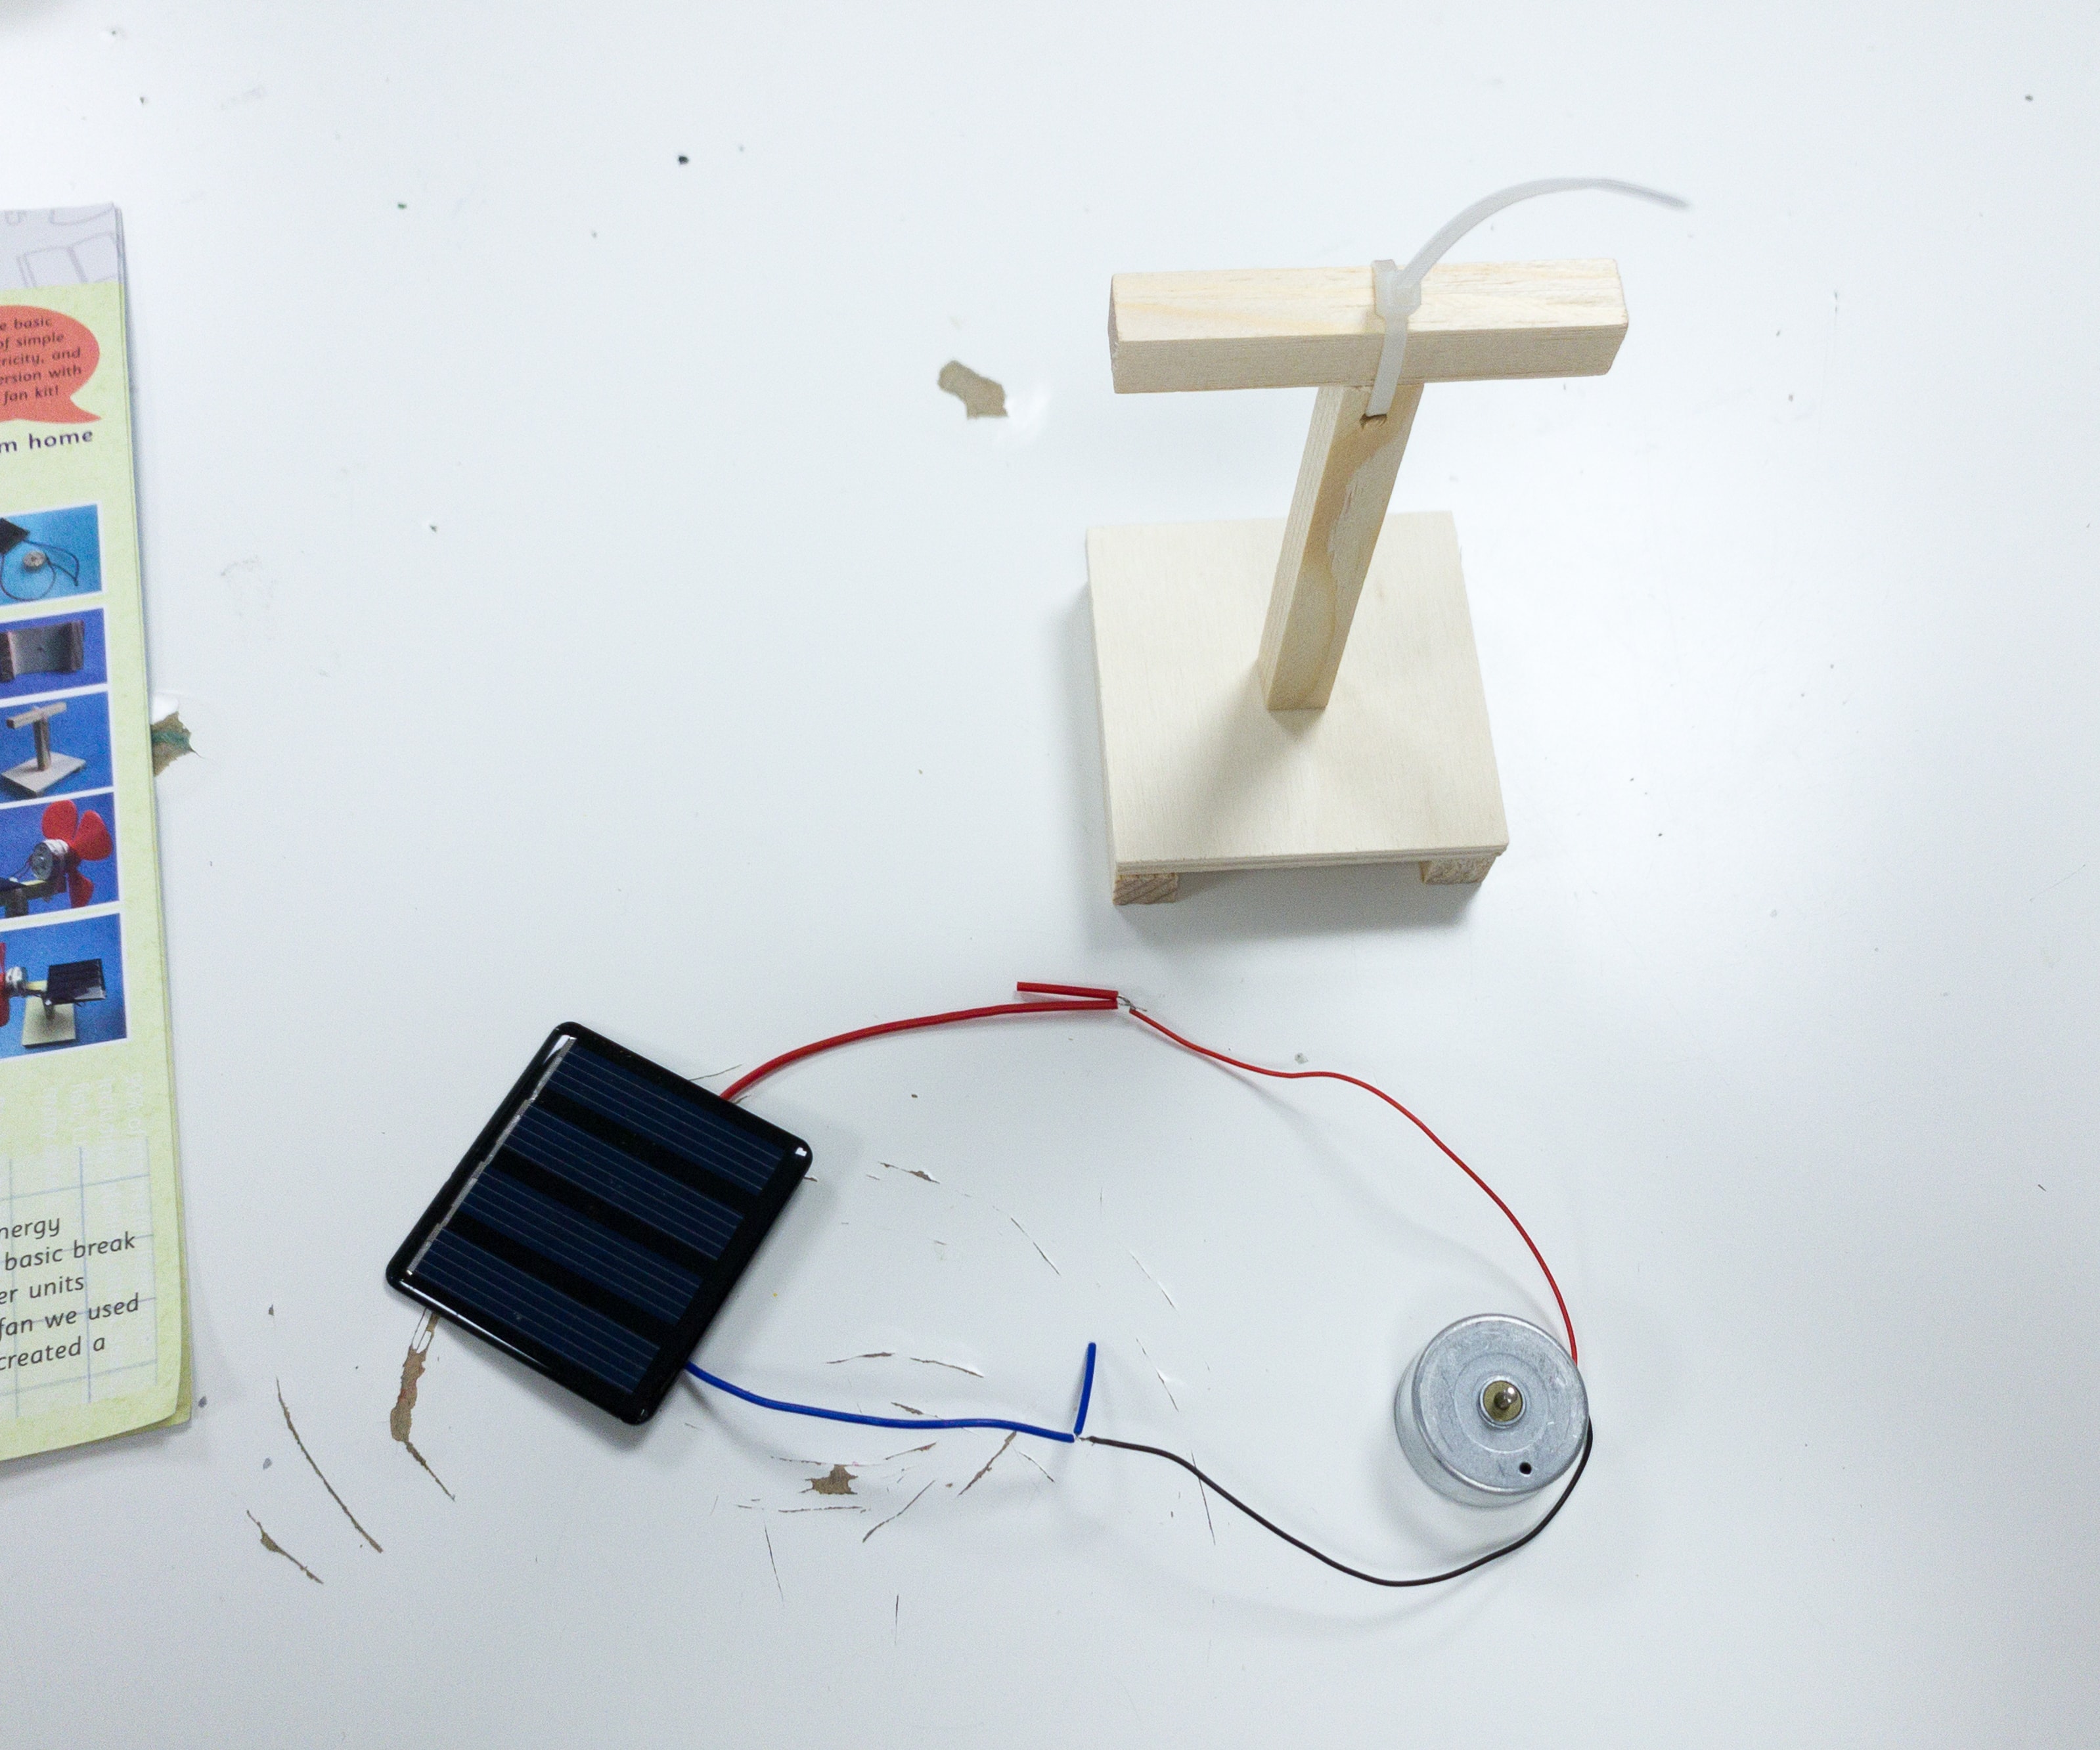
Next, we stuck the solar panel and the motor with the propeller on top of the wooden stand. You can also lock the motor using the zip tie to make sure it won’t fall off.
Here’s how our solar fan looked like when done!
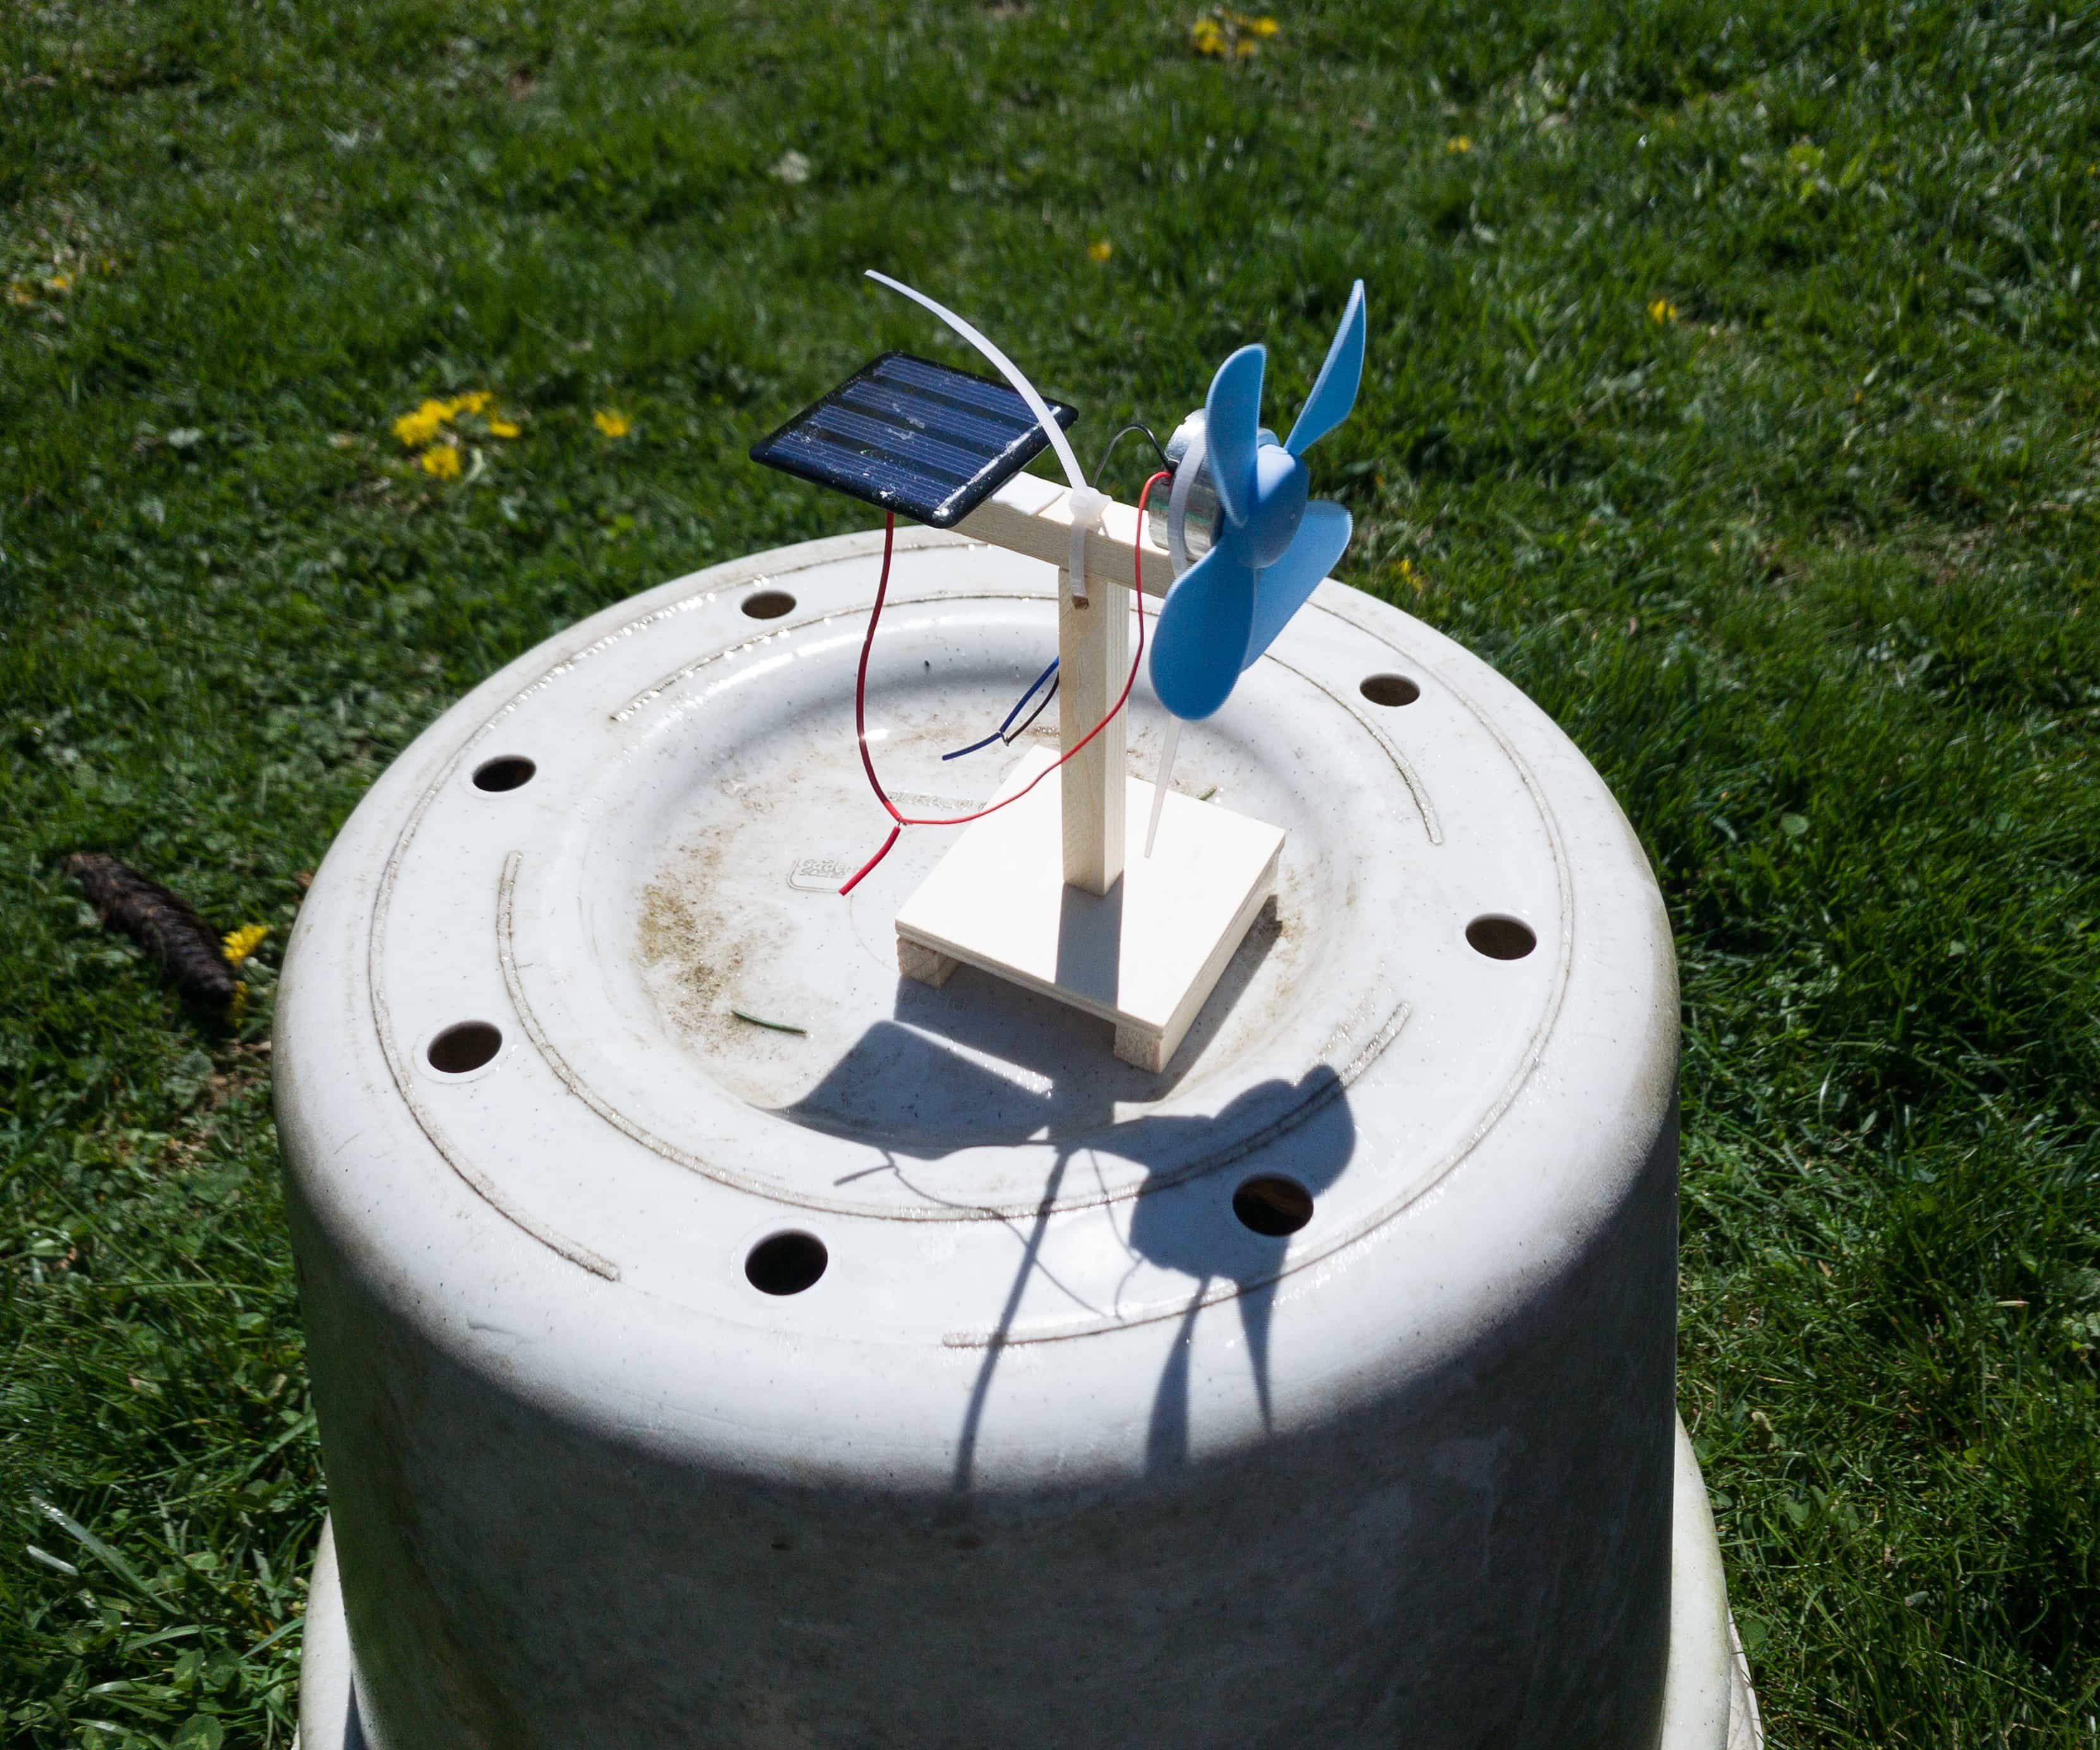
We took the fan outside and let the panel absorb some solar energy and convert it to electrical energy that makes the motor and the propeller move. There we have our own solar-powered fan!
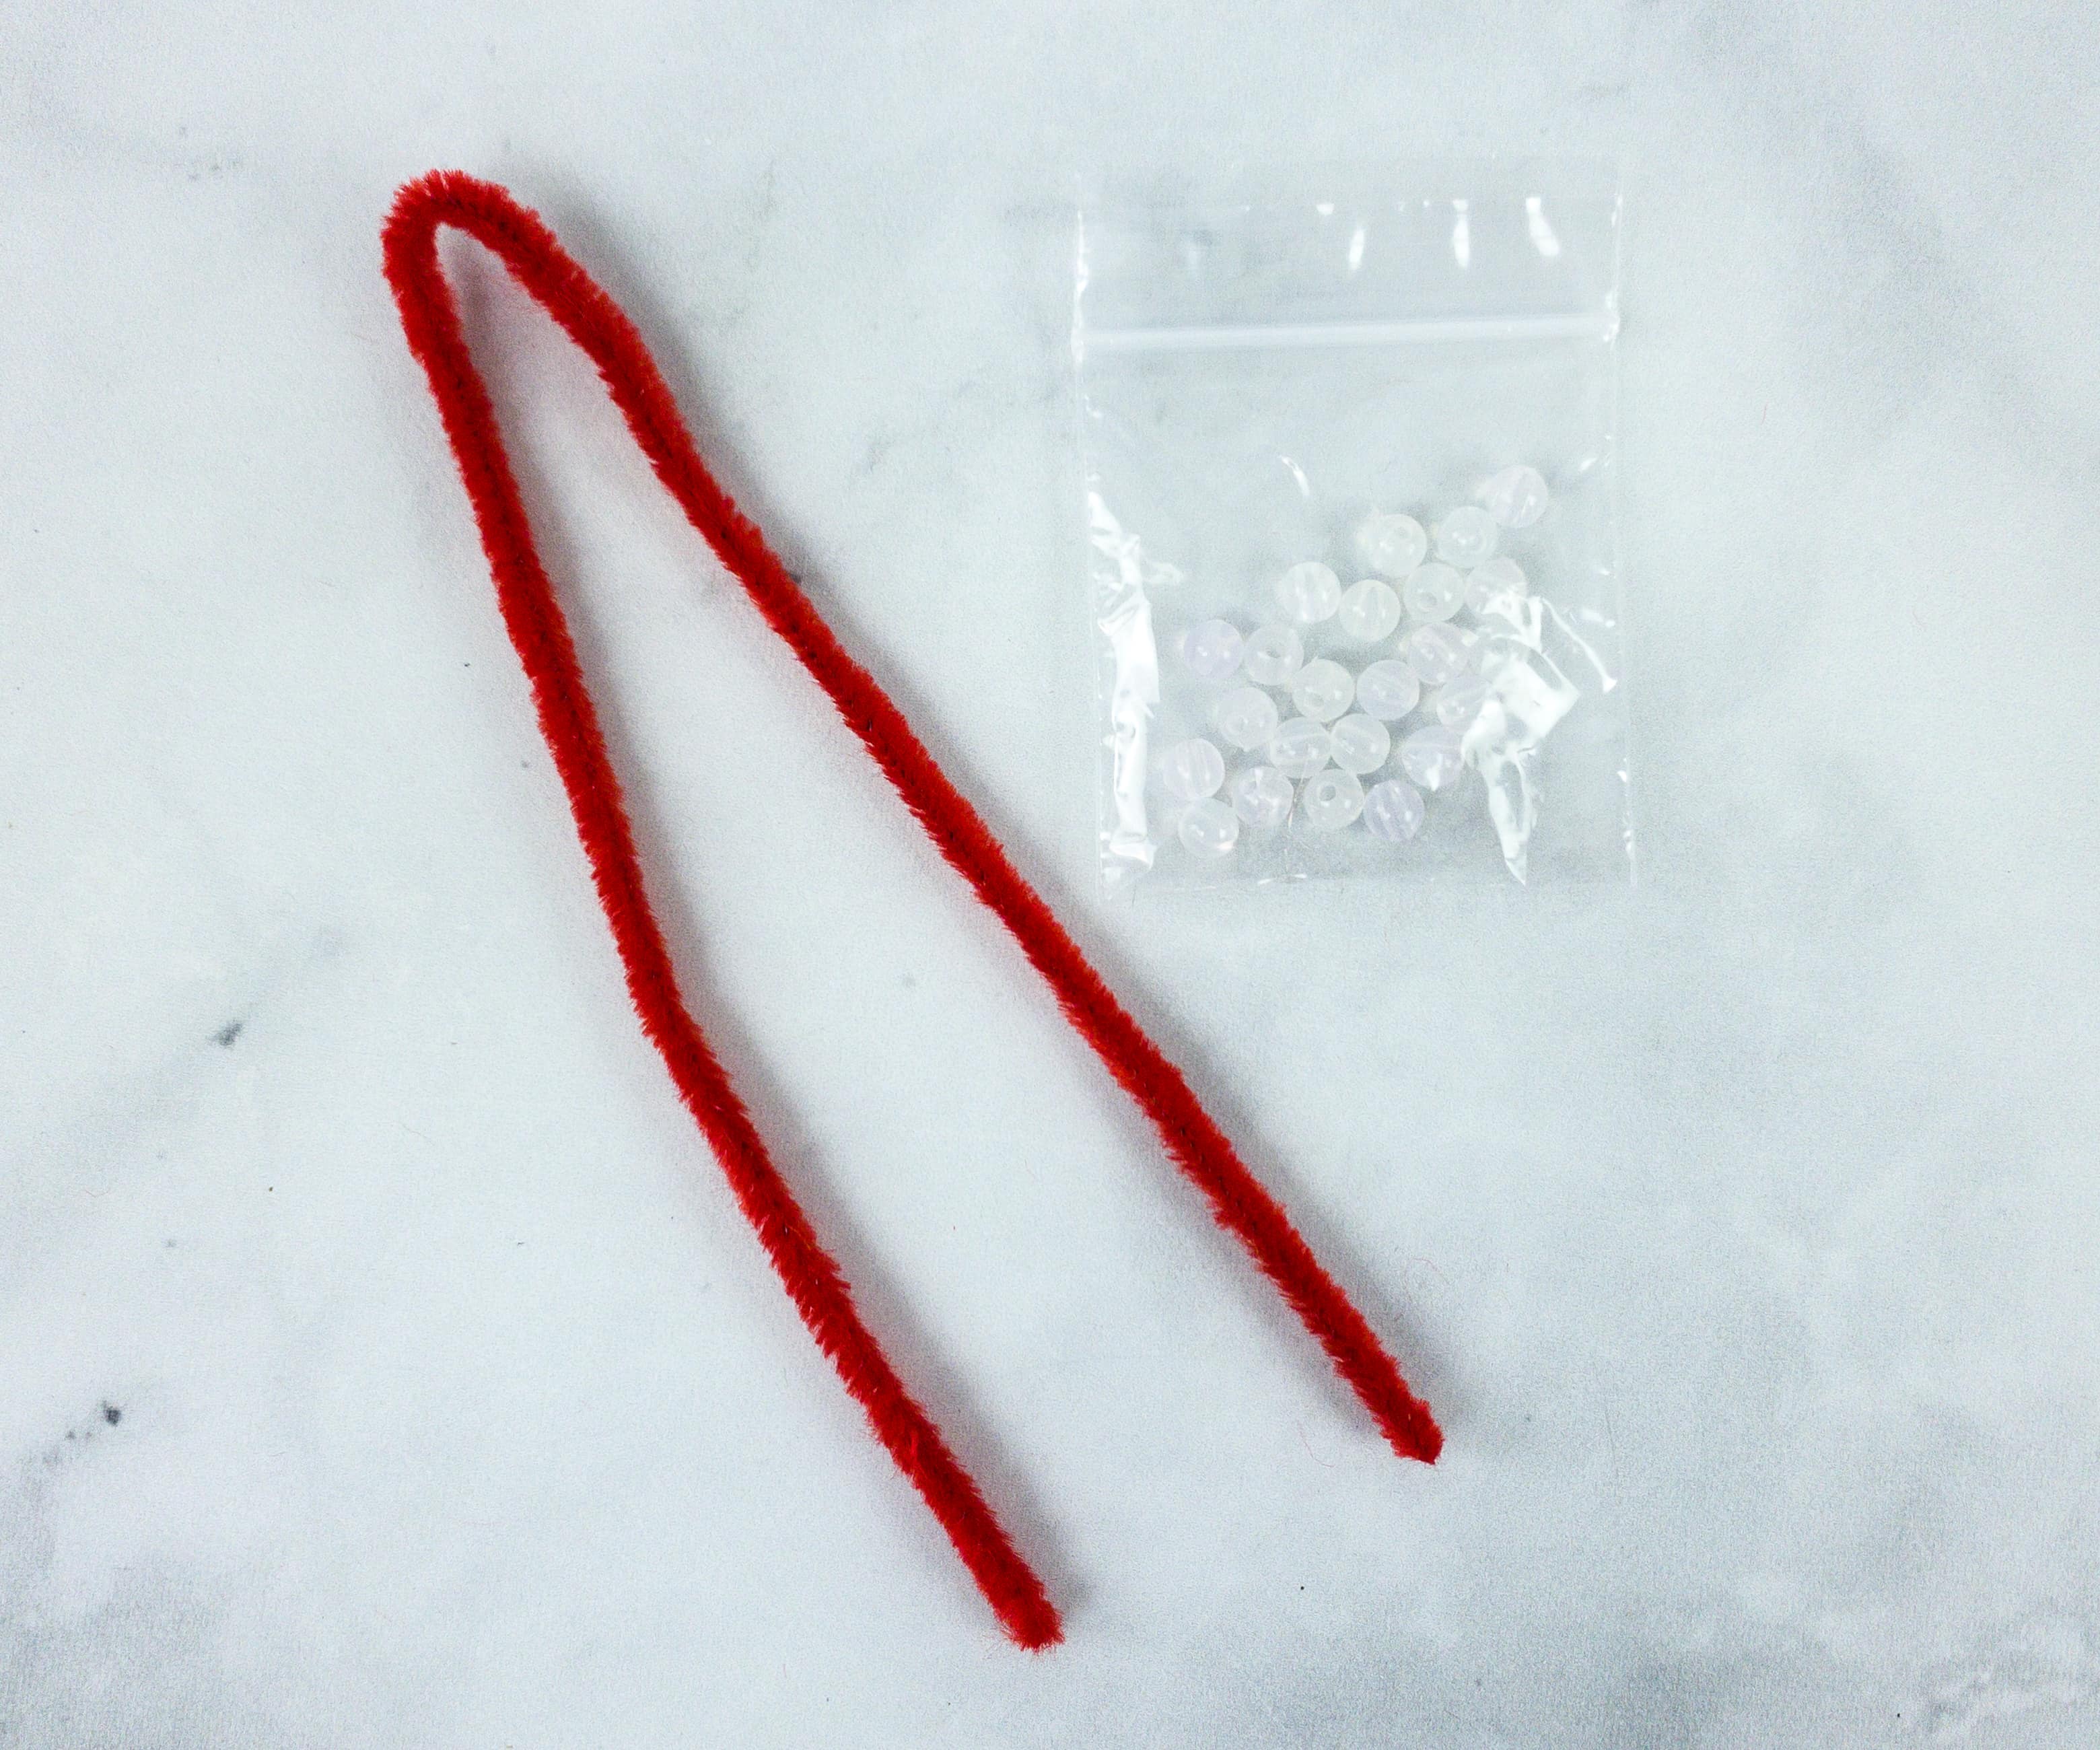
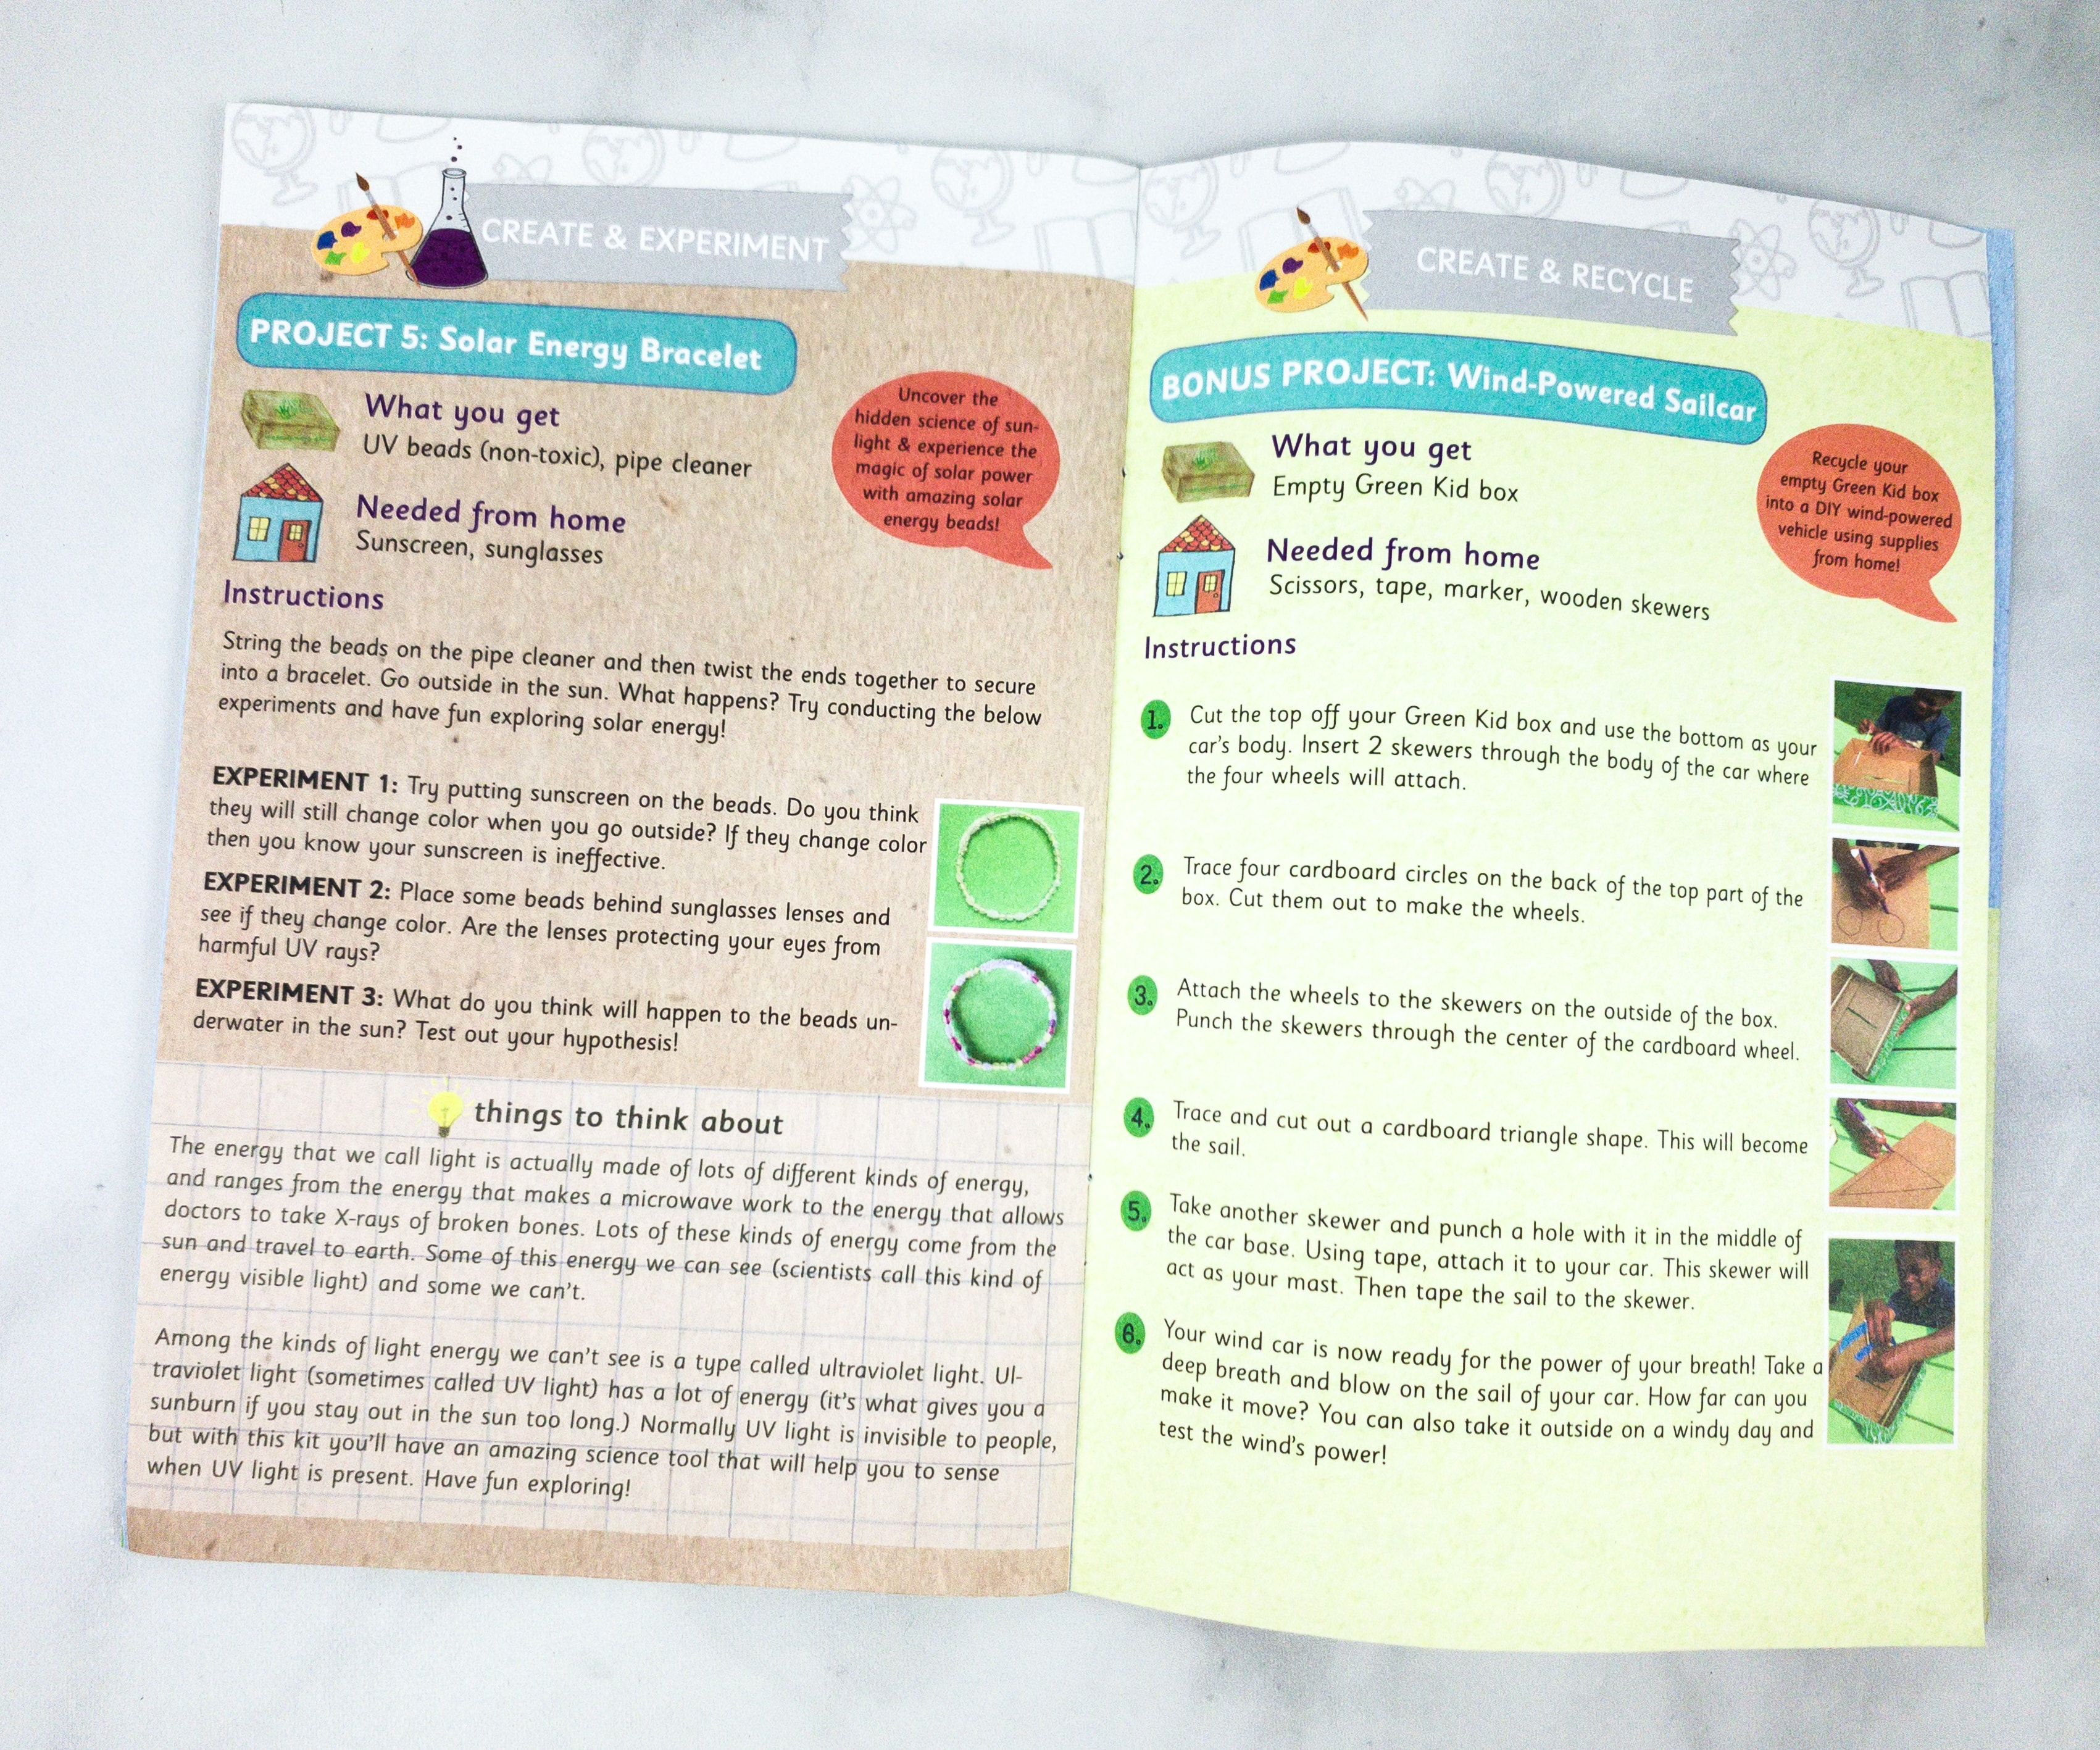
Project #5: UV Bracelet. For the last project which is the UV bracelet, we used non-toxic UV beads and pipe cleaner.
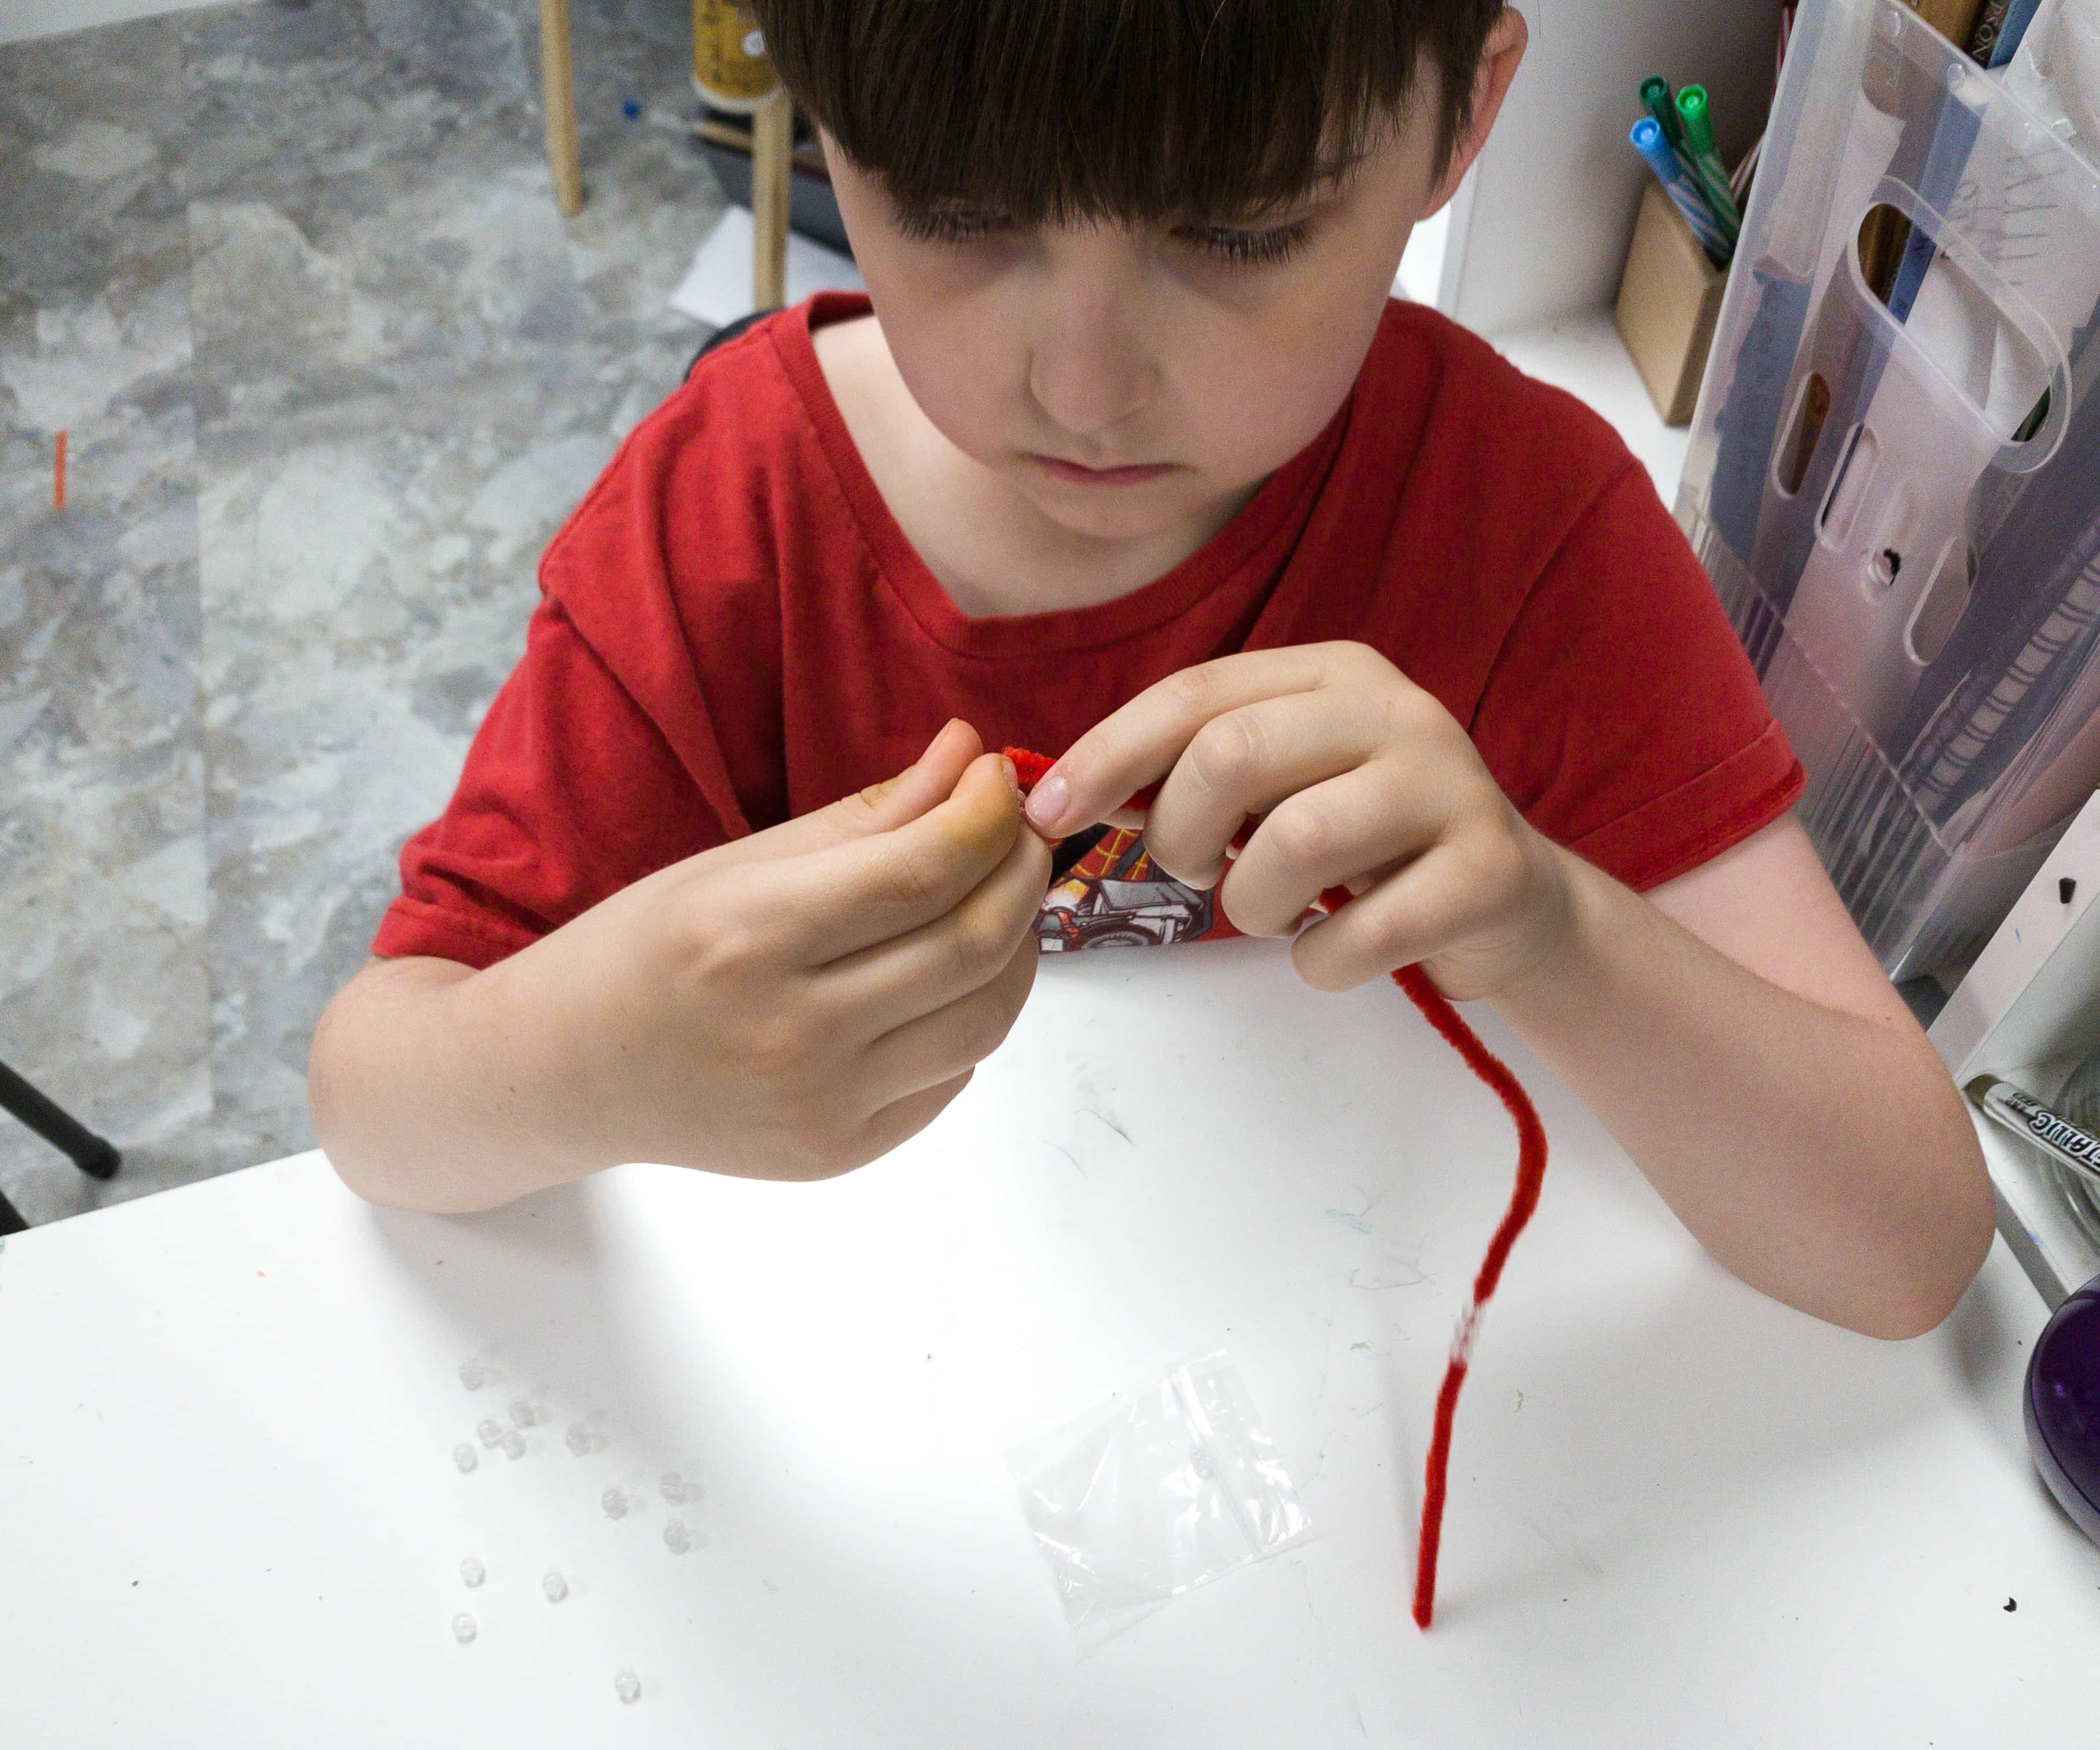
This project is so easy to do! My son just inserted the all UV beads on the pipe cleaners.
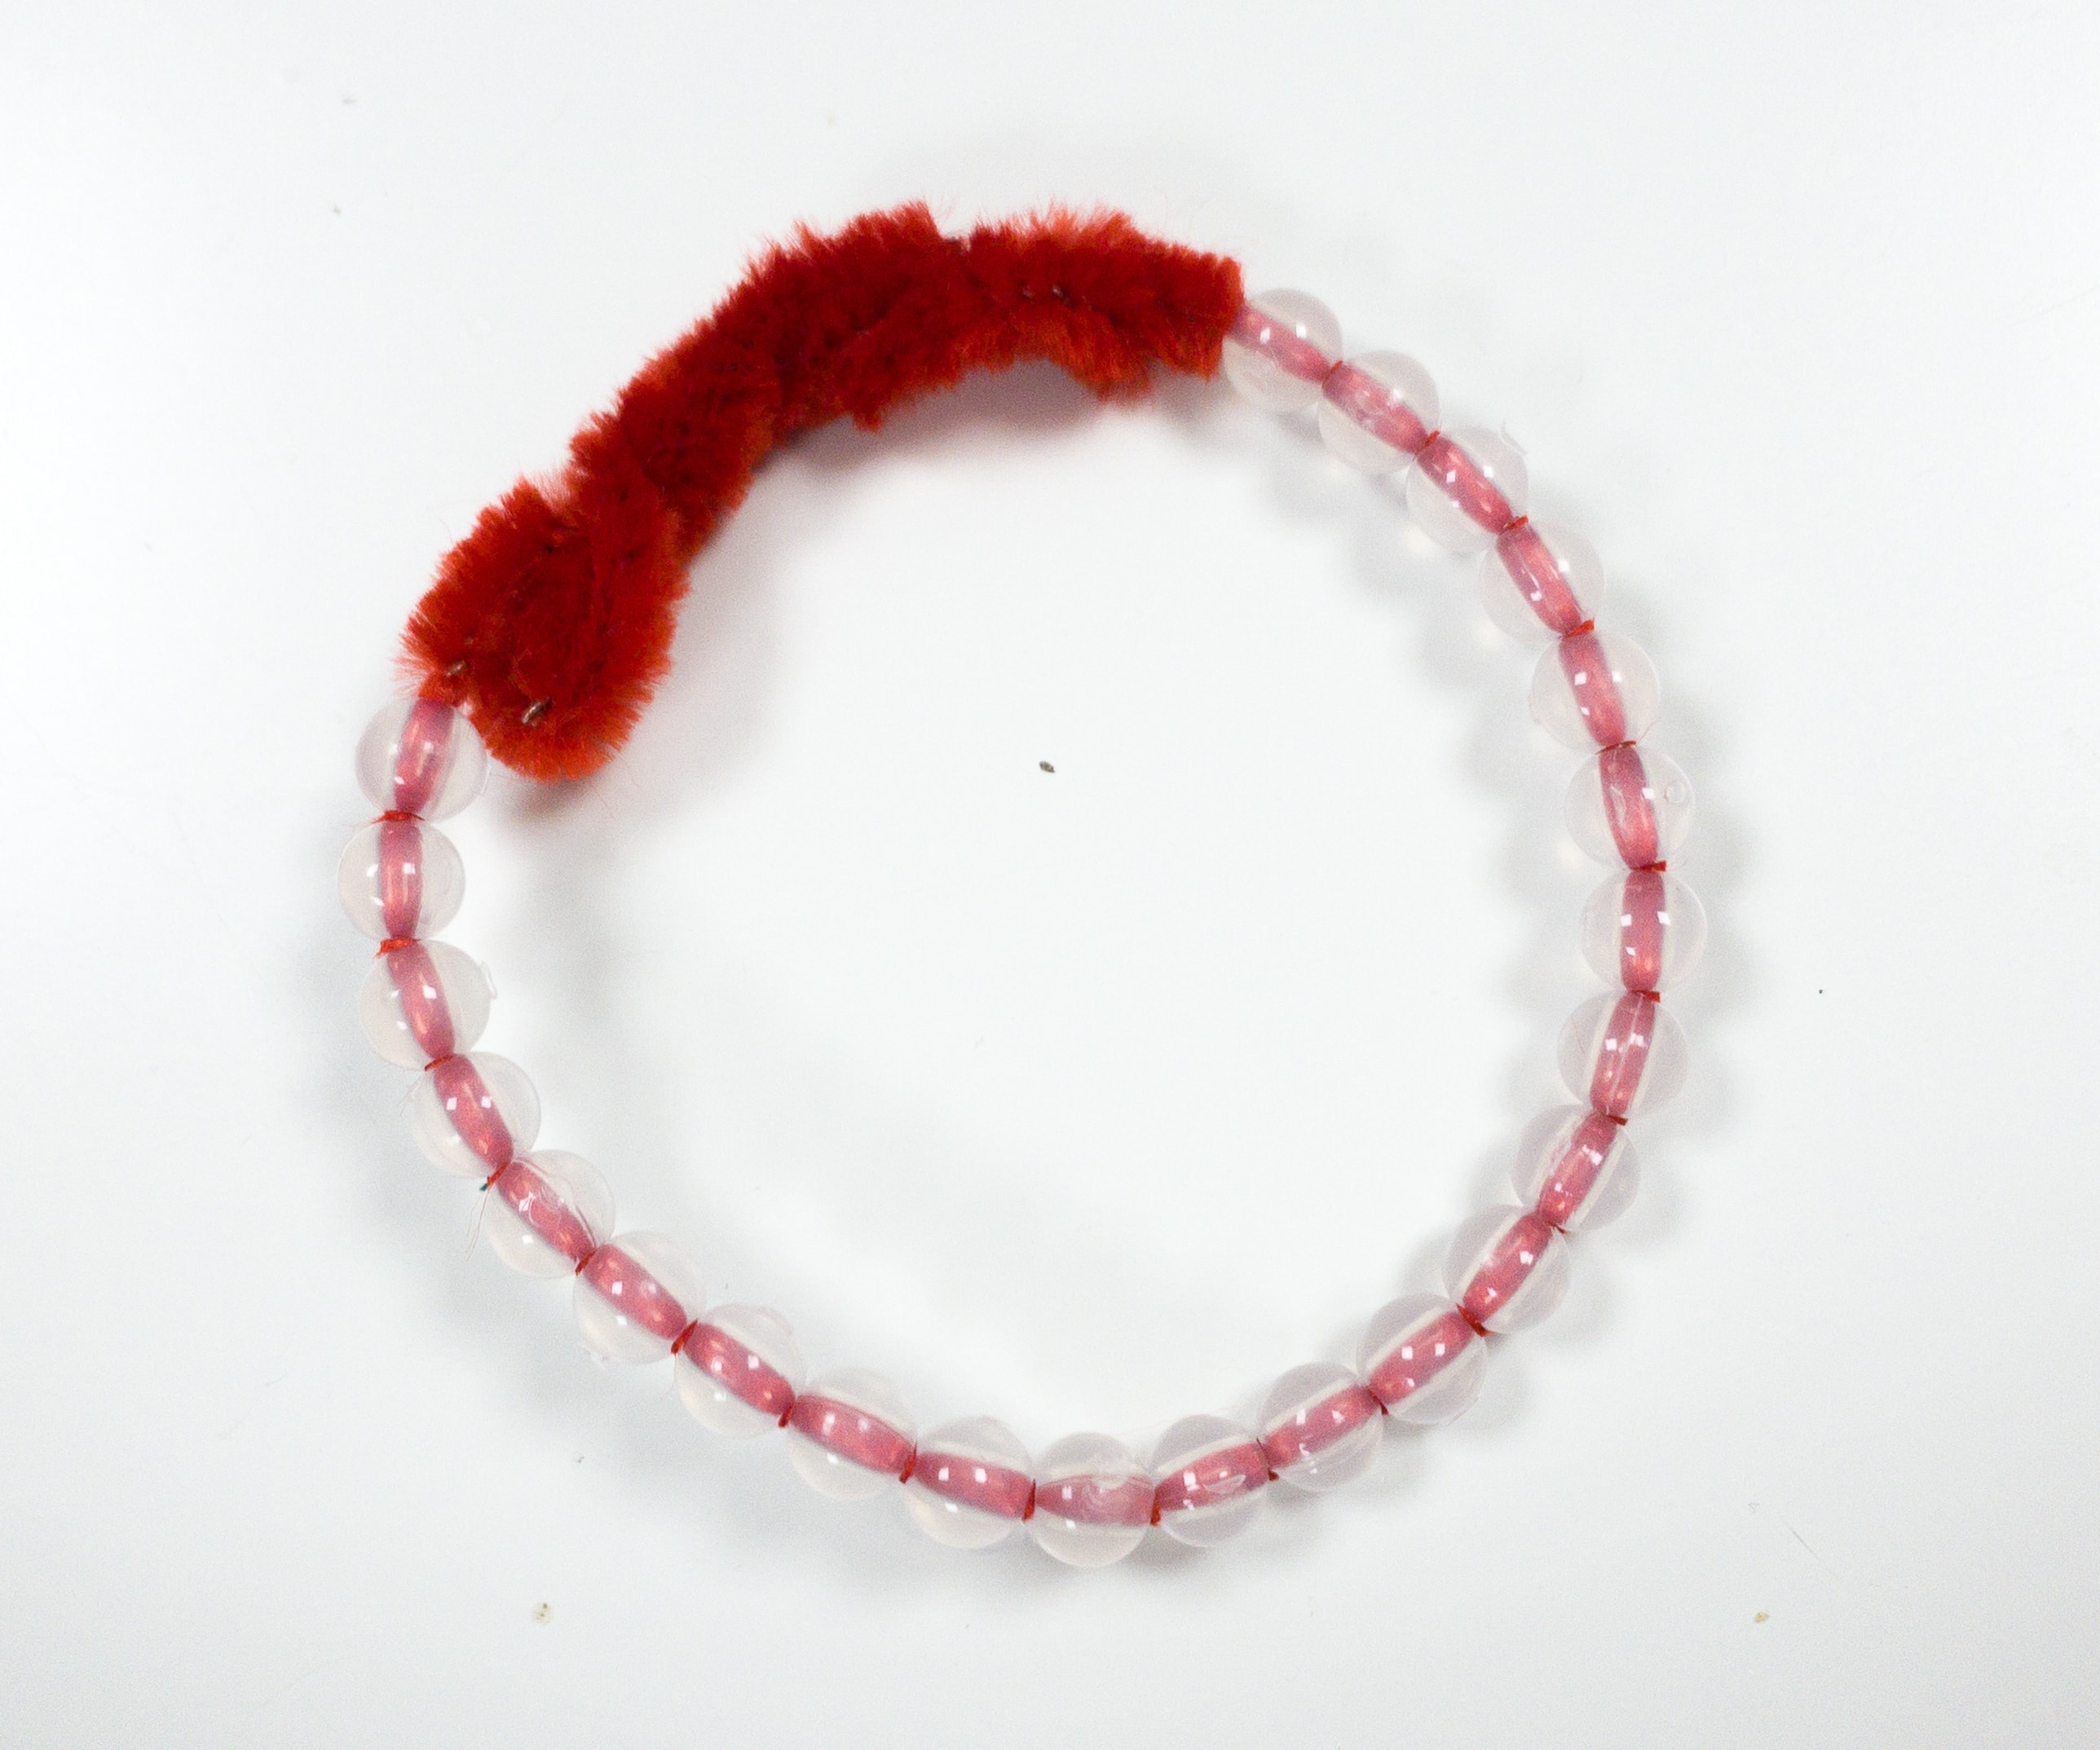
Once all the beads are placed, he locked it by twisting both ends of the pipe cleaner together.
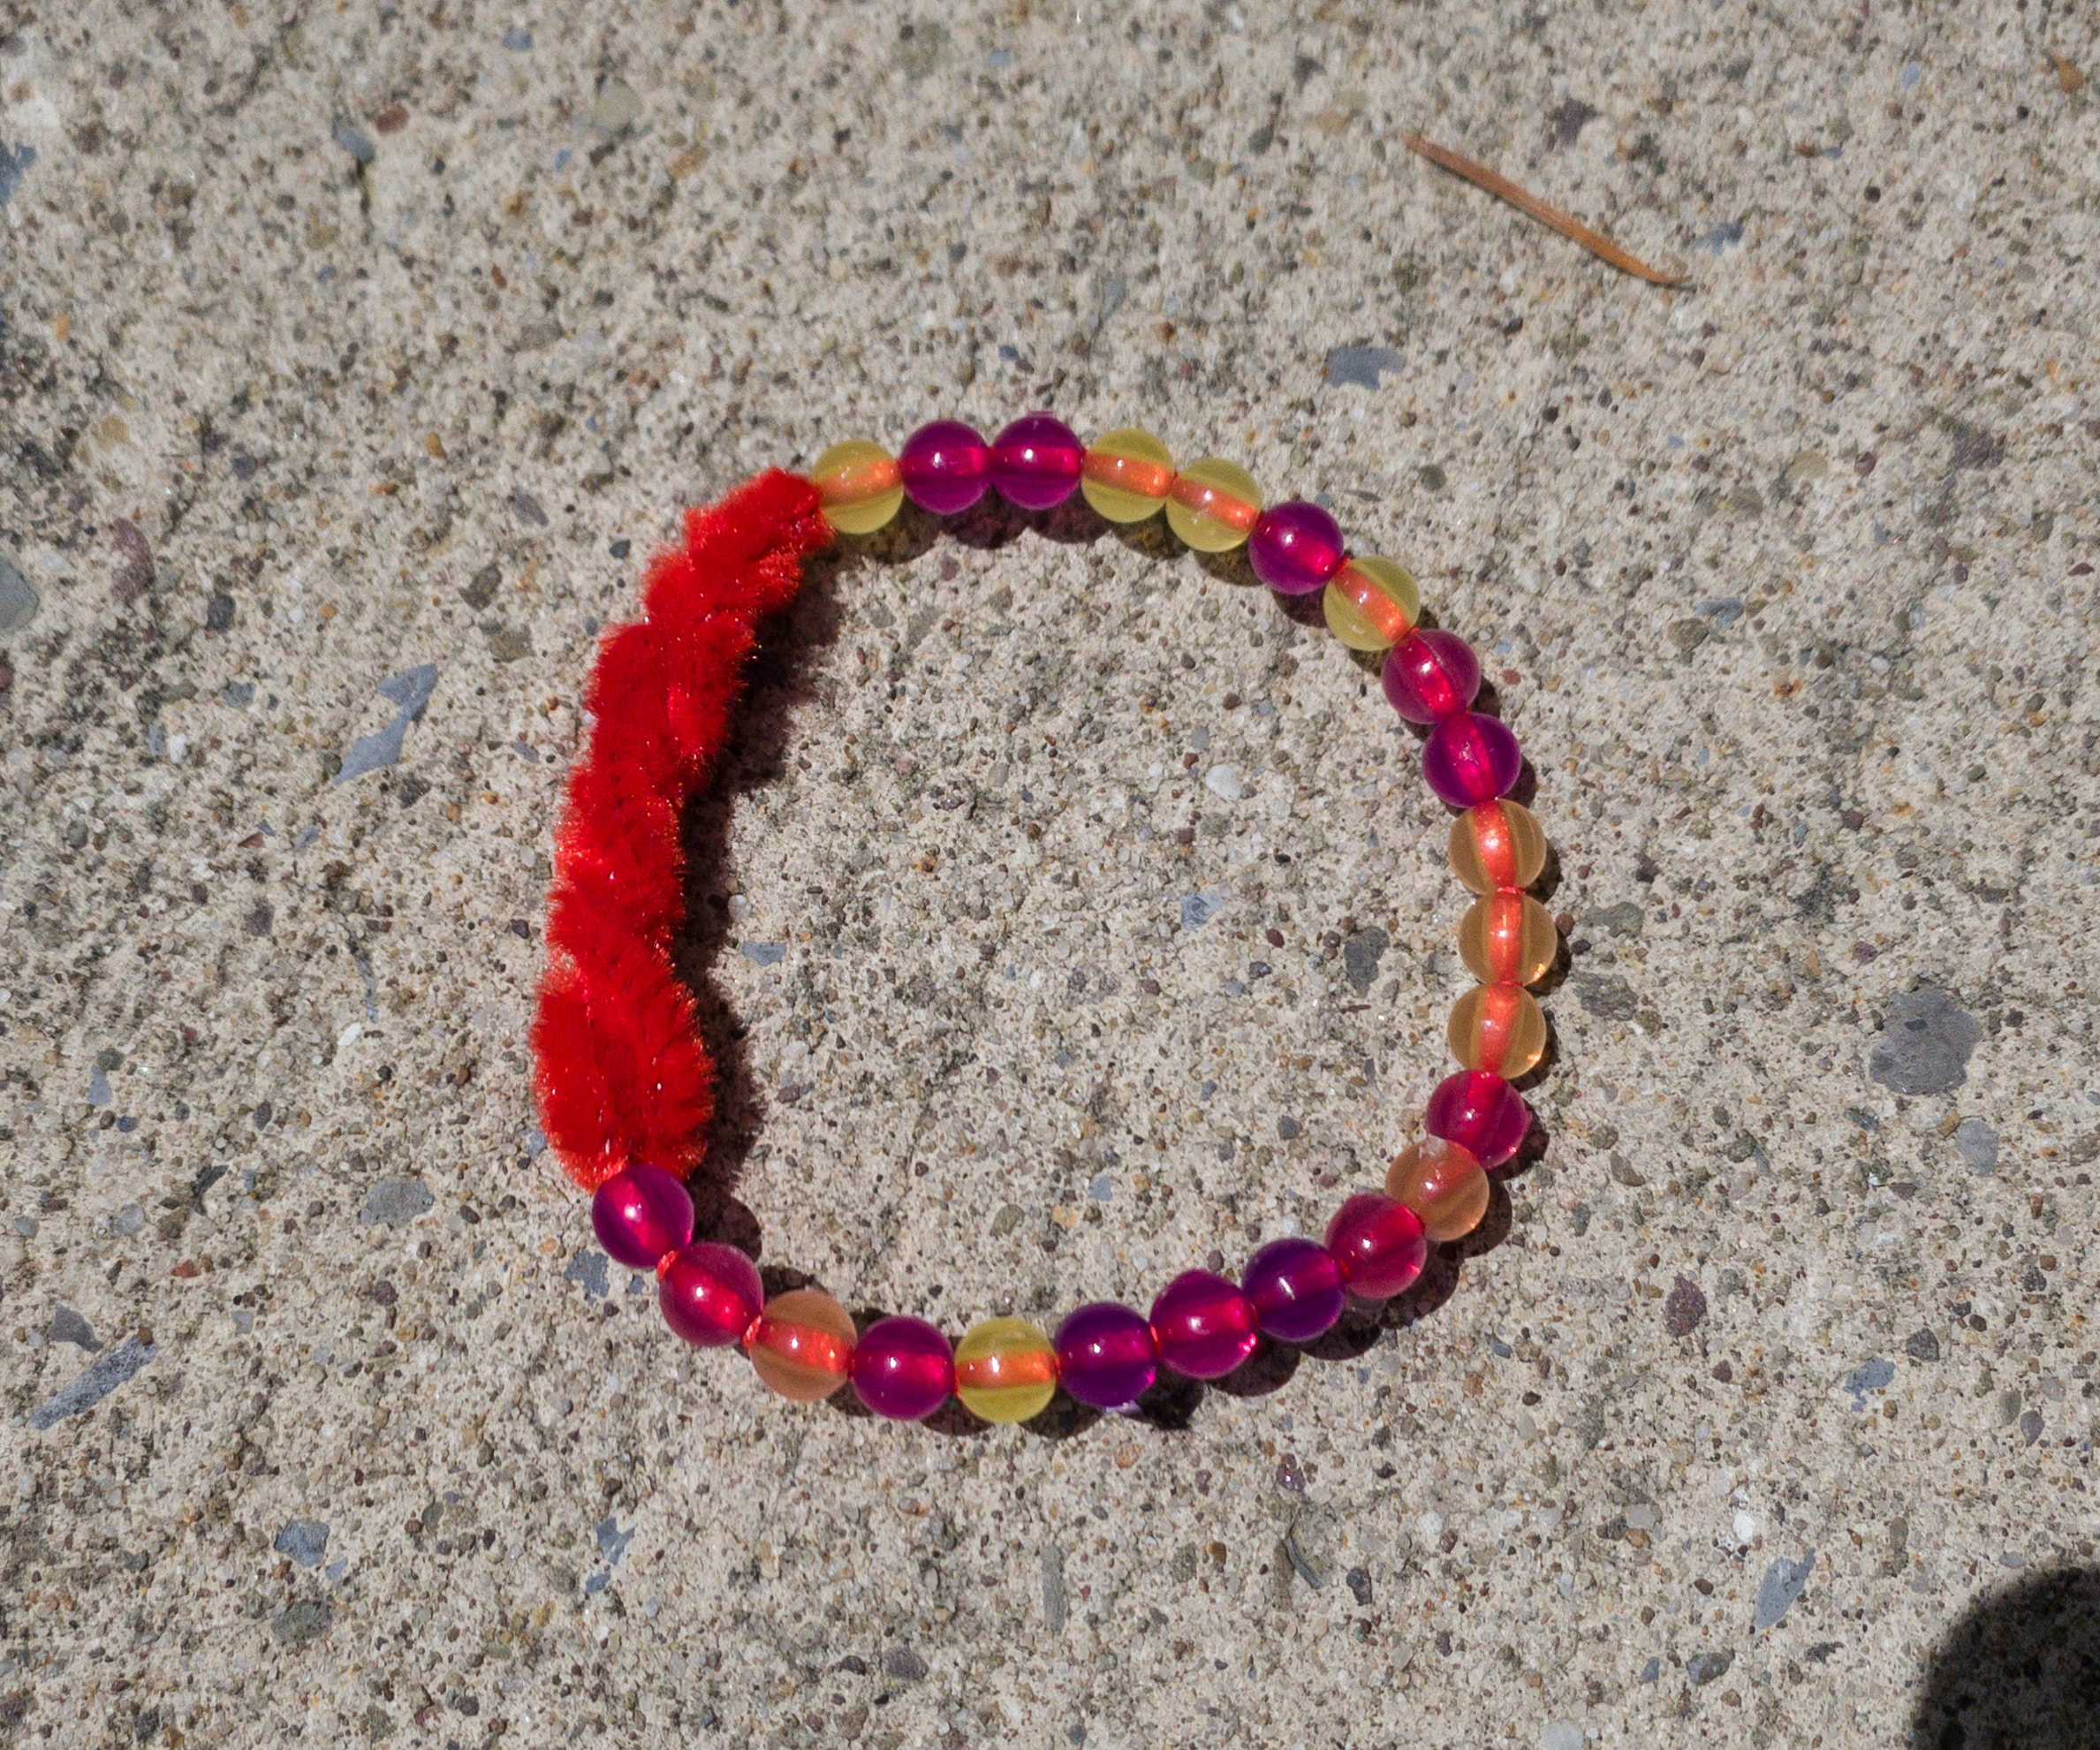
When we exposed it to sunlight, the beads changed to yellow, orange, and purple colors. It’s so cool!
It’s another fun batch of science activites from Green Kid Crafts box! This activity box gets the kids creative, and it also teaches them important science concepts. There are 5 projects in this month’s box, and most of the materials are already included so my kids were able to finish them in no time. They loved all the activities but their favorite is definitely the boat. They were also pretty amazed at how the potatoes can turn on a digital clock. All in all, it’s a great educational box, ideal for homeschoolers or simply for parent-child bonding!
Has your family tried Green Kid Crafts?


Comments