Eureka Crate is a monthly STEM and maker subscription box that teaches kids and adults how to apply principles of science and math to make awesome things you will love to use every day – from an articulated desk lamp to an electric pencil sharpener to a wooden ukulele. Every Eureka Crate includes an engineering project, detailed step-by-step instructions, everything you need to complete the project, a Maker’s Guide that explains all the design, process, and engineering behind the design, plus a design challenge to take your project knowledge to the next level!
DEAL: Save 30% on your first month! Just use this link to subscribe, no coupon code required! You can also use the same link to save 30% on the first month of any other KiwiCo crate – just check out this page to discover which box is right for you.
Eureka Crate is KiwiCo’s latest subscription! Eureka Crate is designed for ages 14-104. If you’re ready to graduate from KiwiCo’s other boxes or just can’t get enough (or are just too old for their other subscriptions), you’ll love this box, which is designed to create a hands-on learning experience using everyday items to delve deeply into the science and math principles they embody, along with the design process of the month’s project.
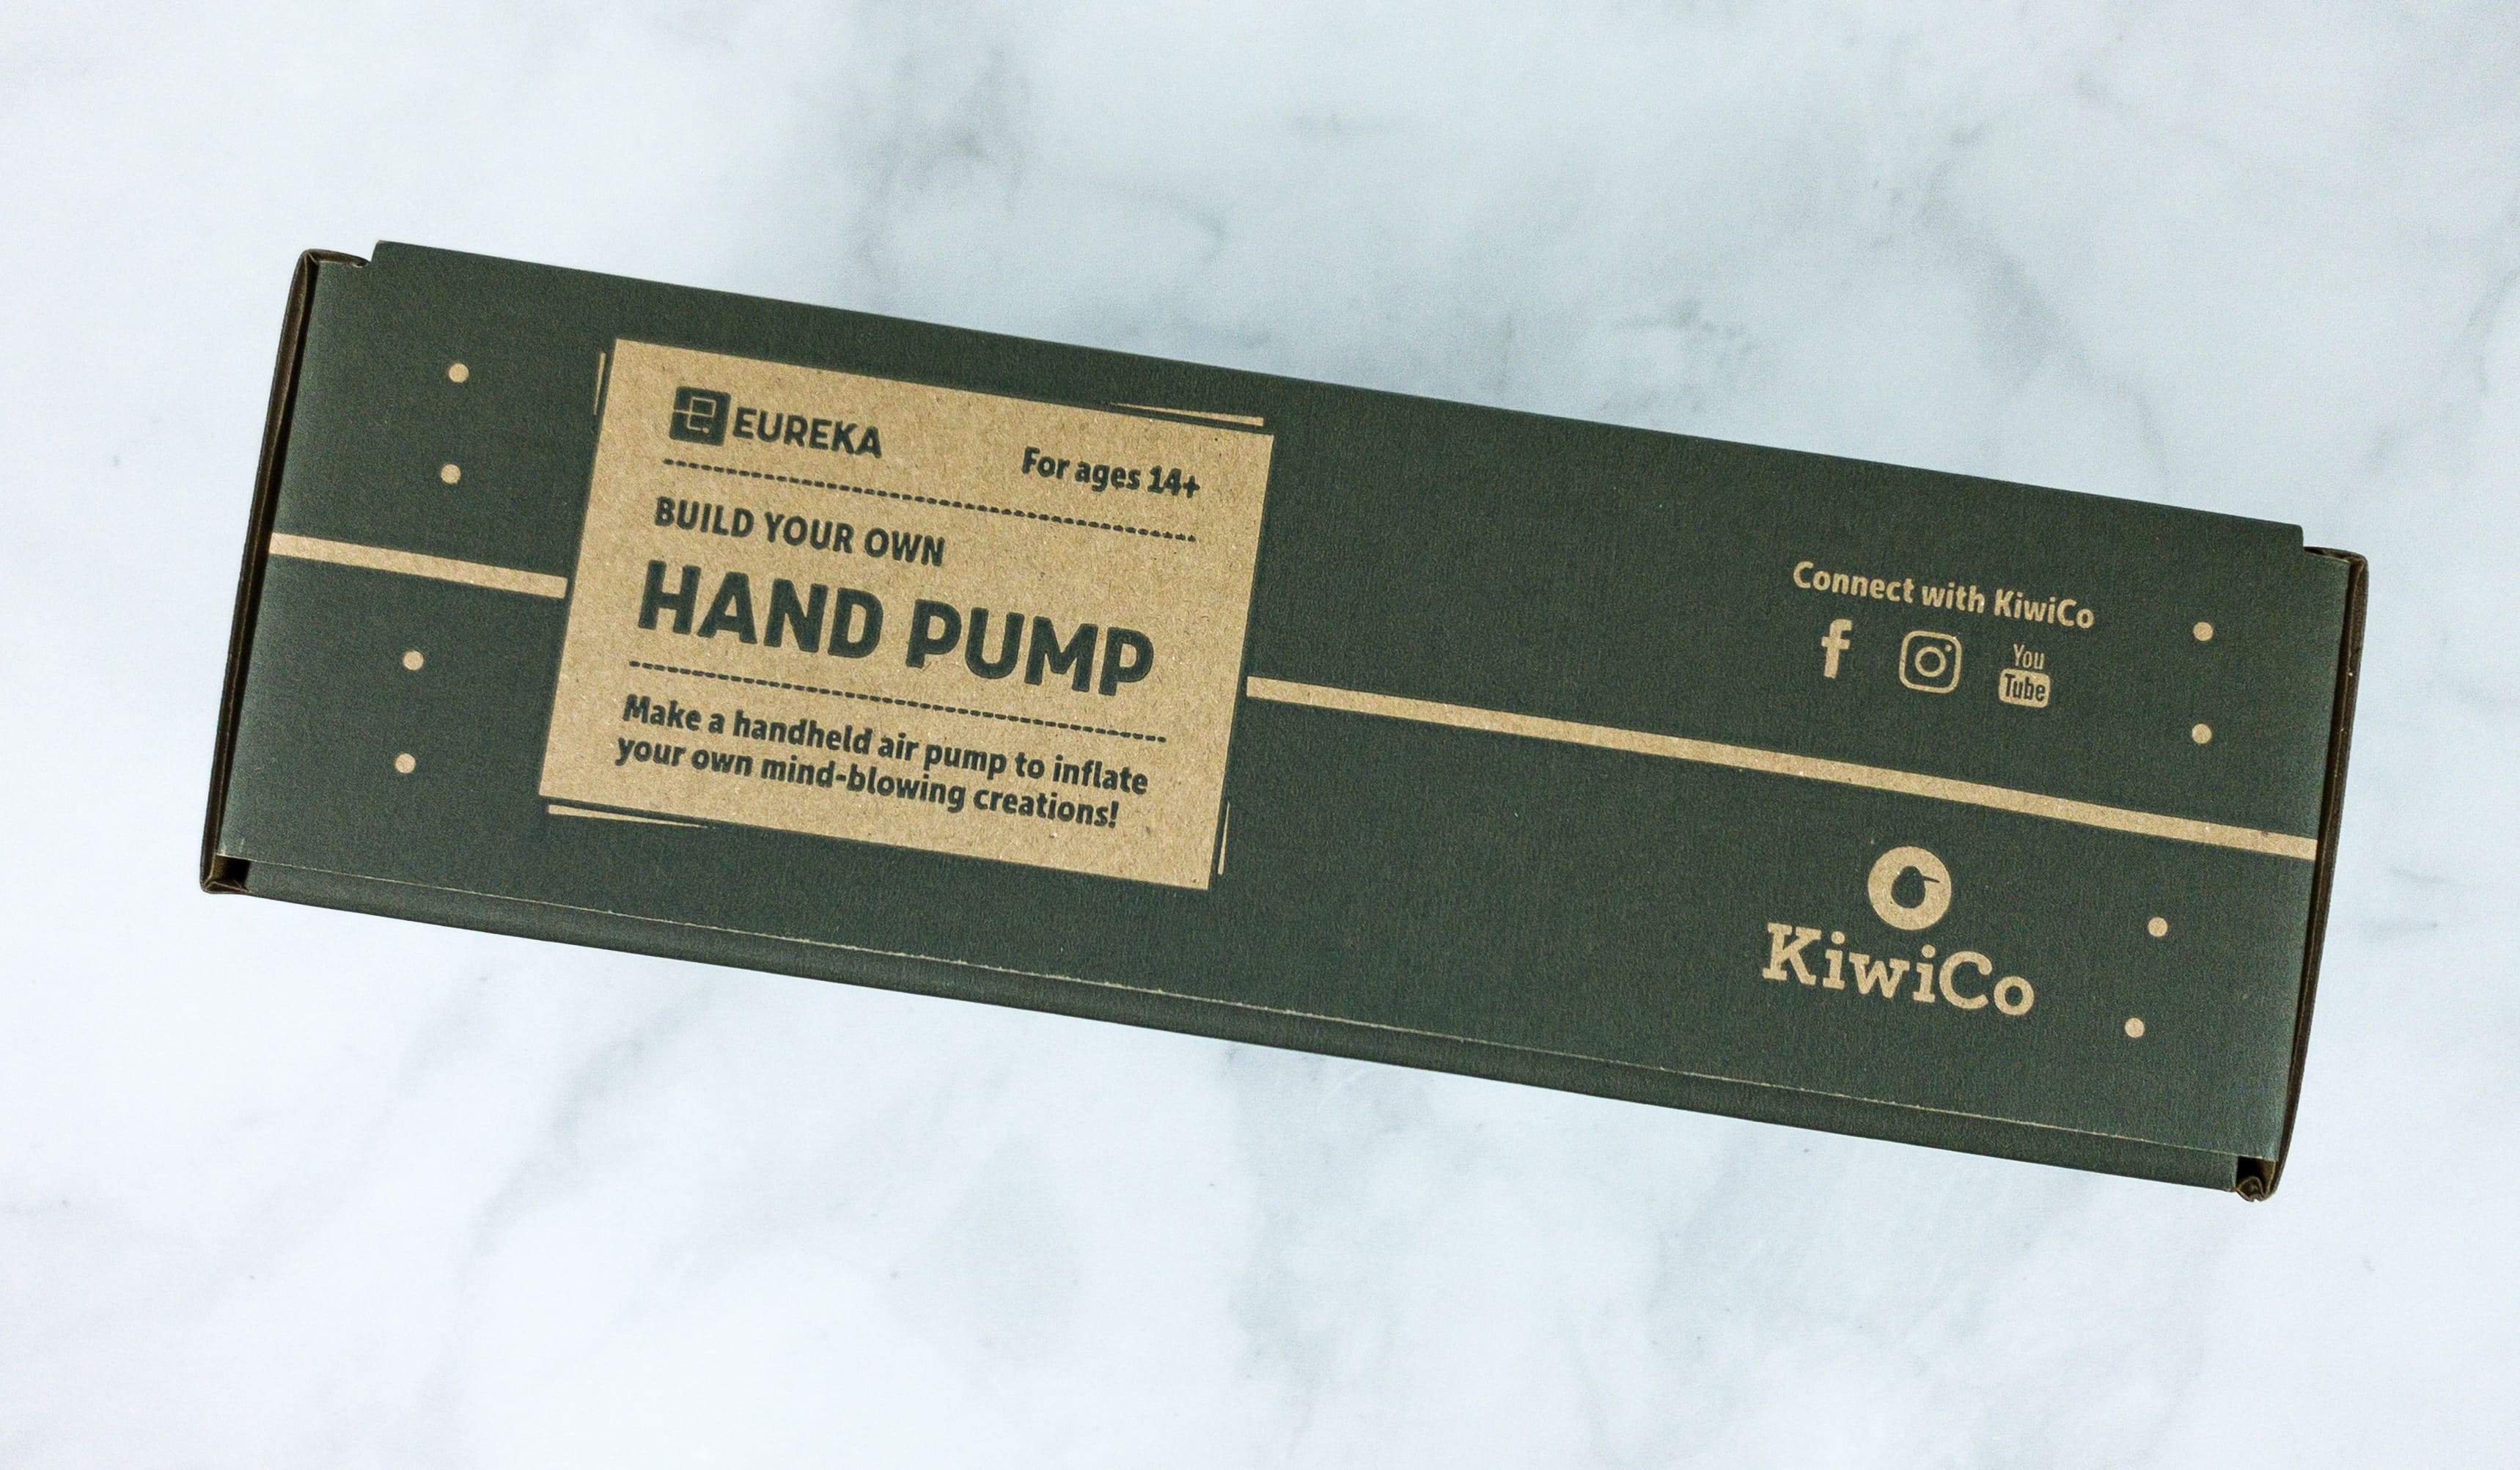
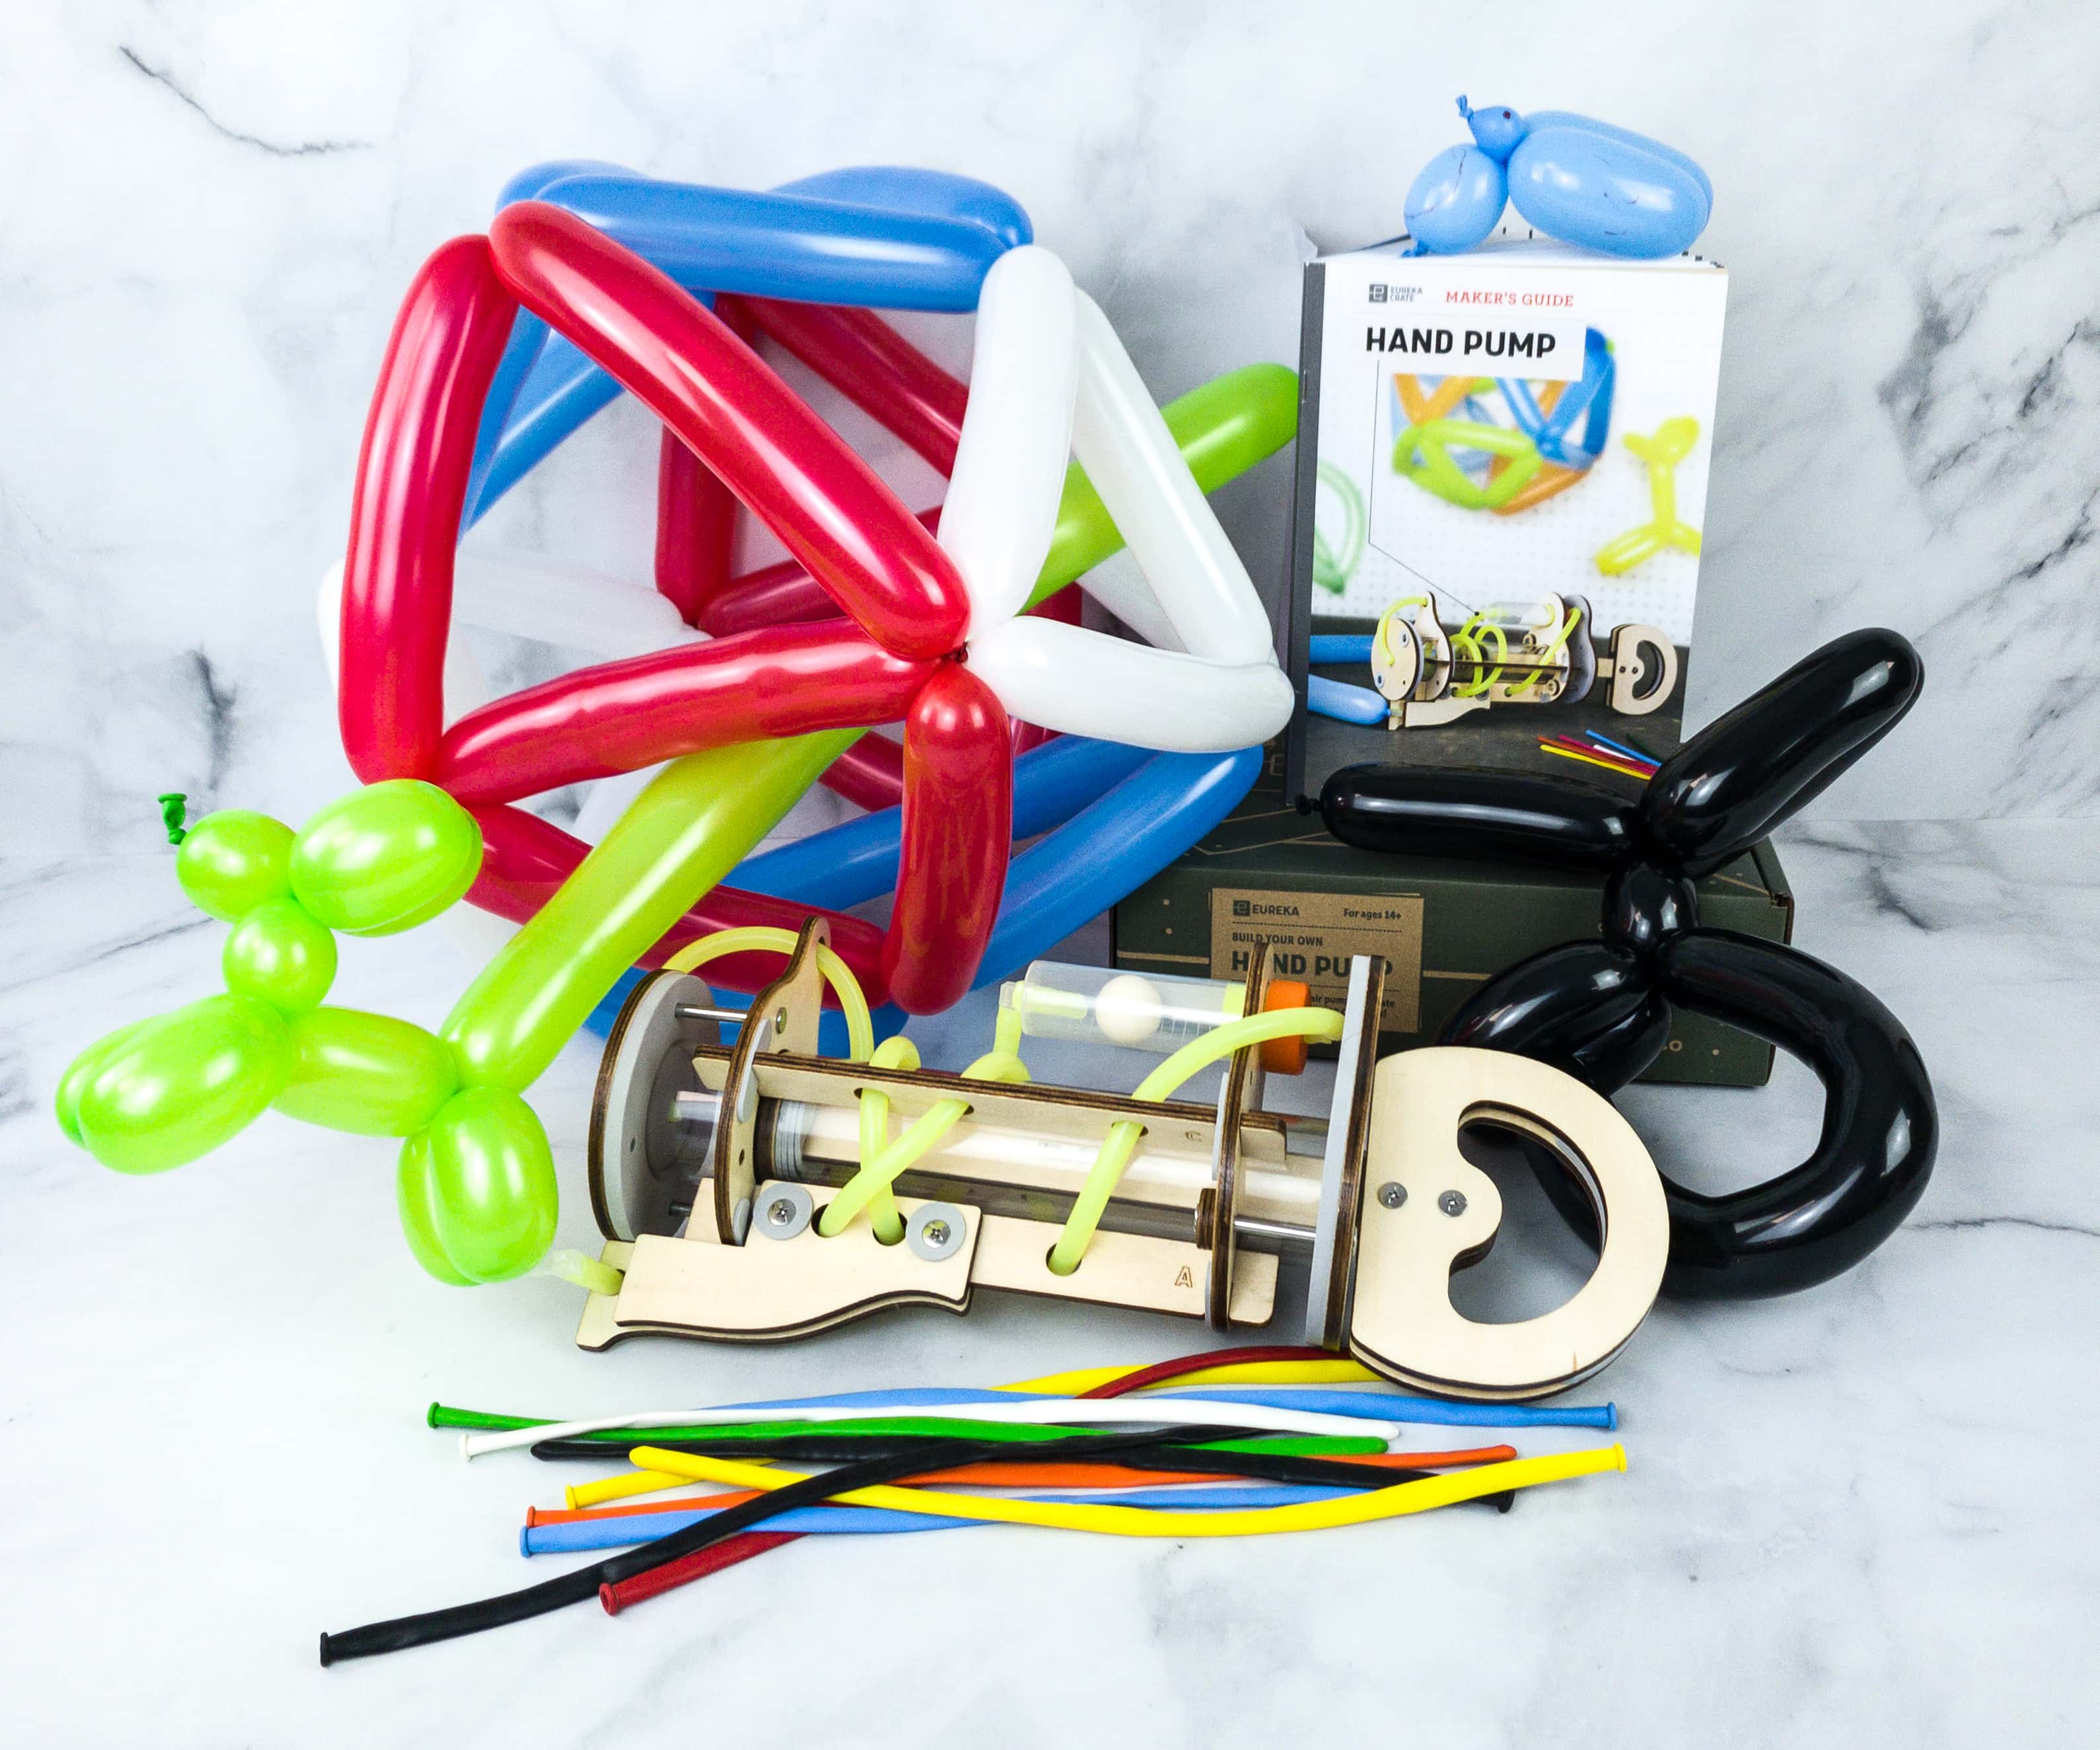
This month, we’re making a Hand Pump!
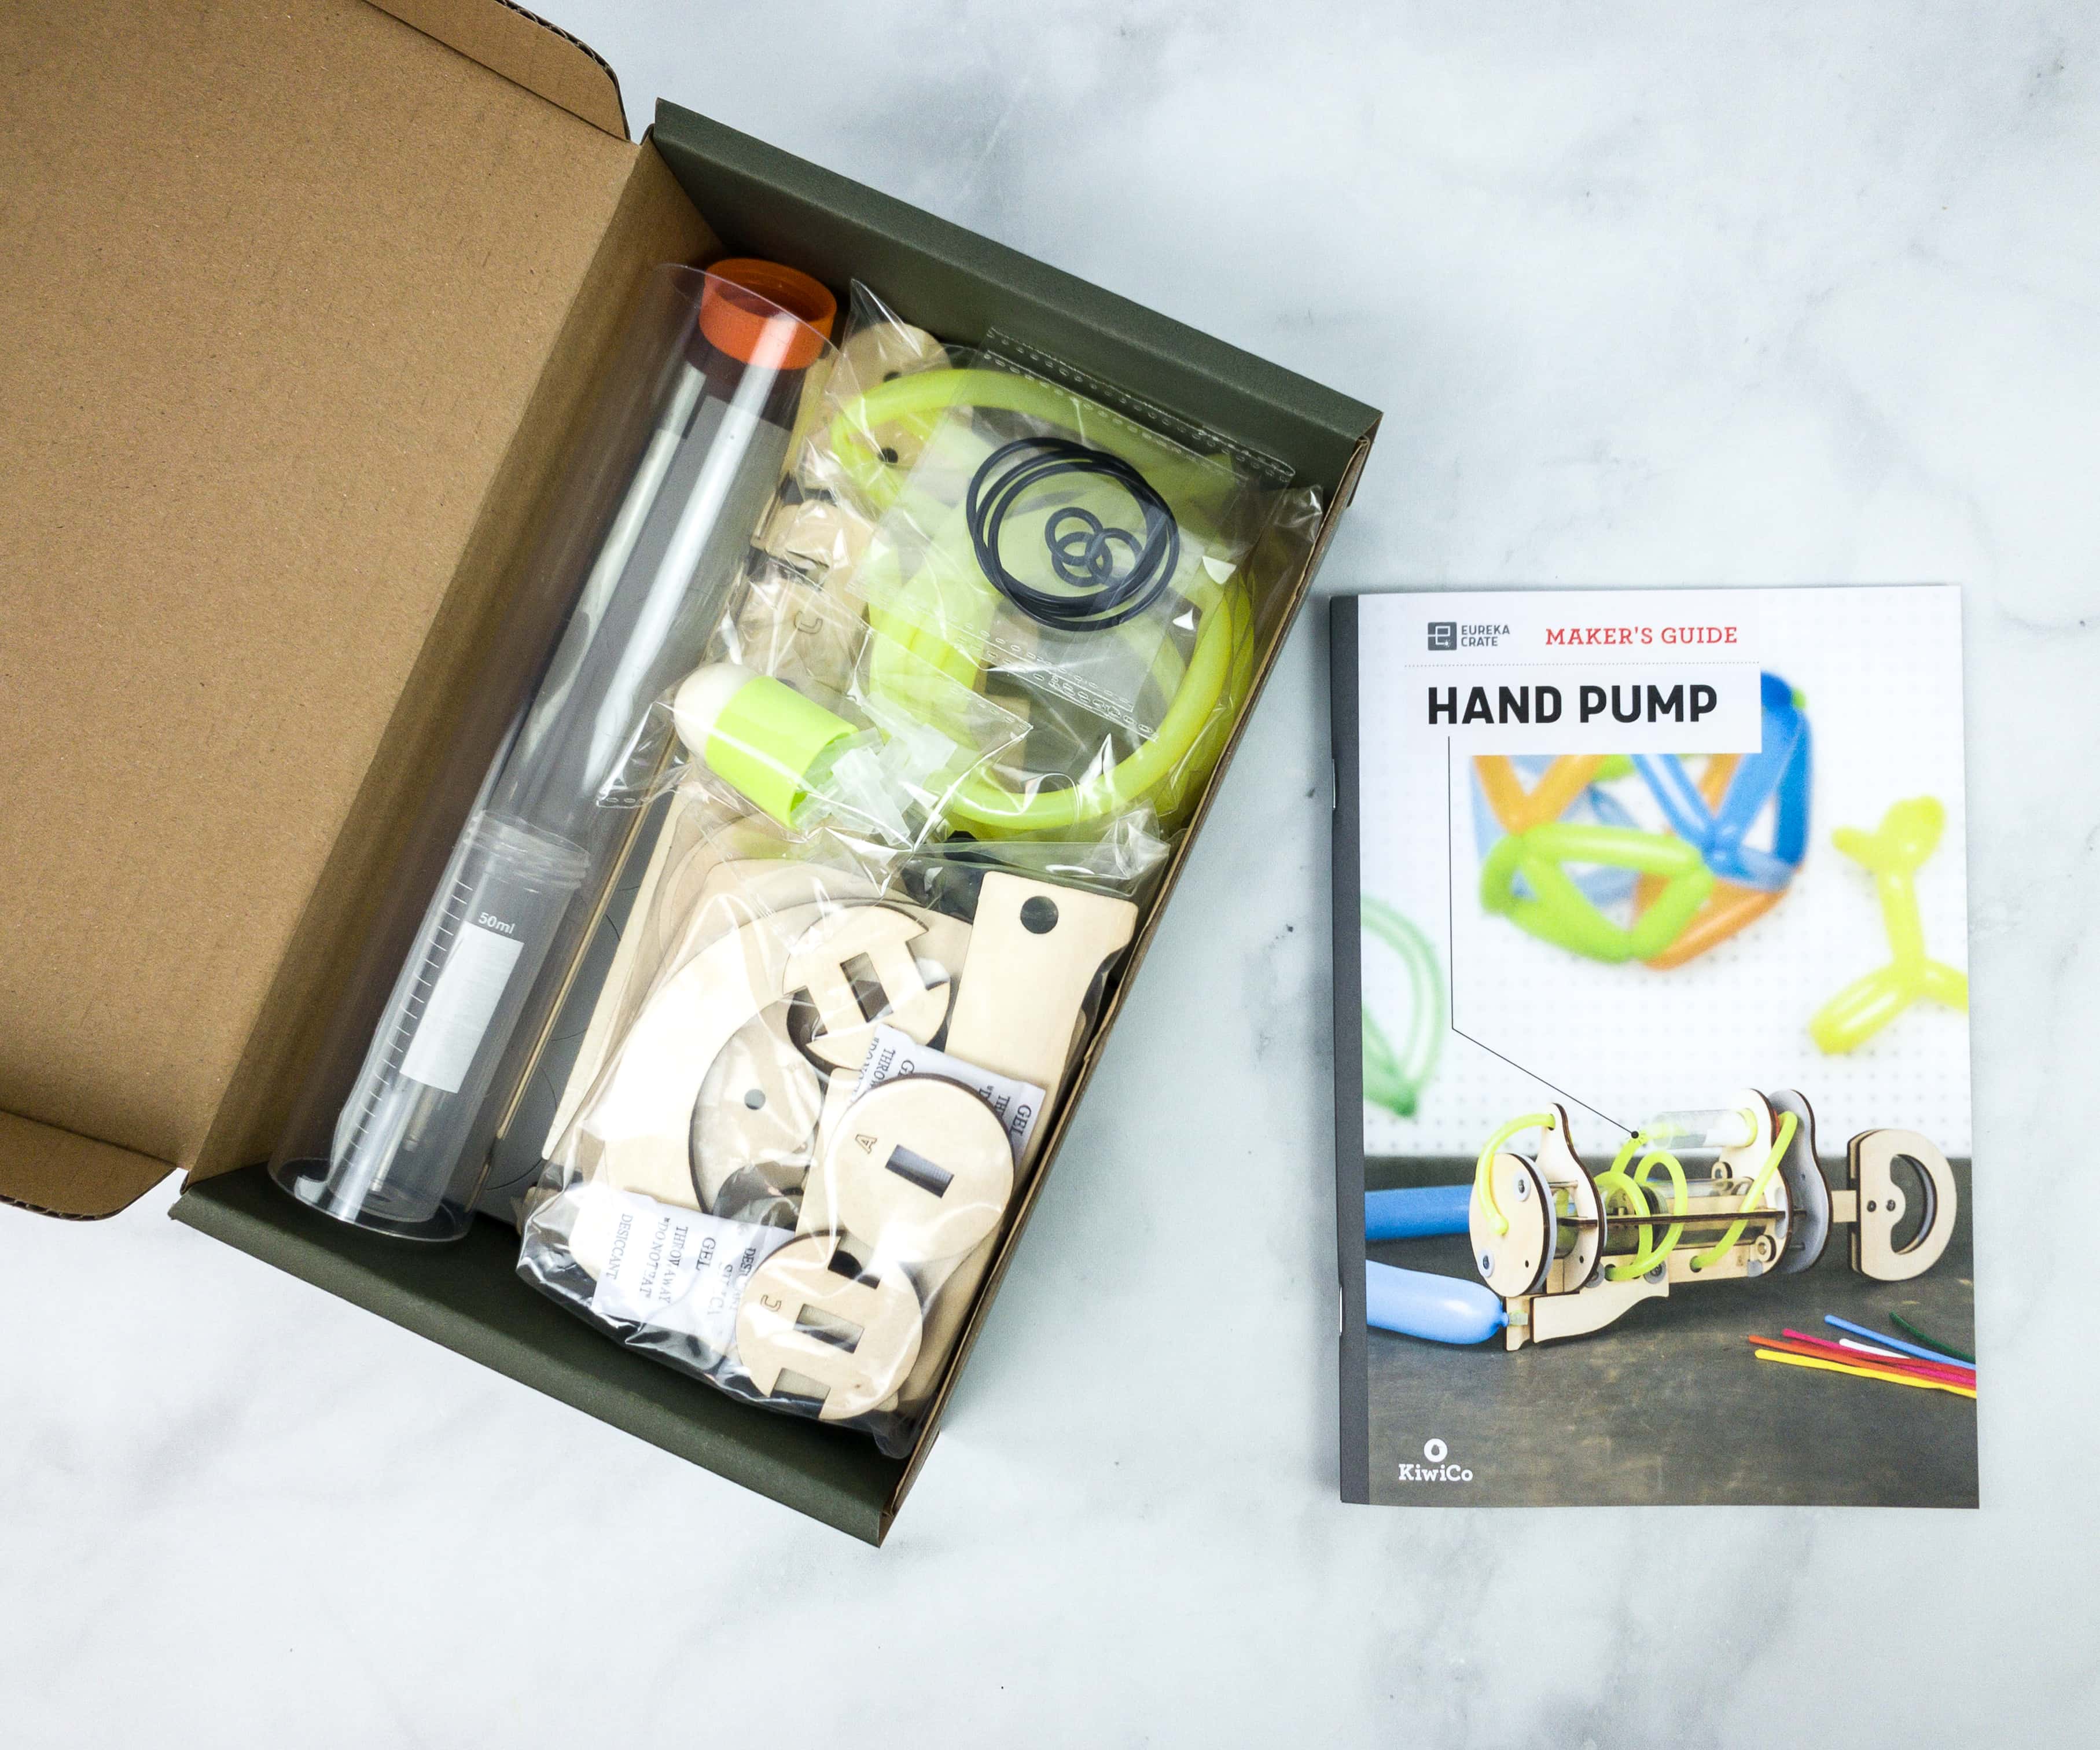
Like the other crates from KiwiCo, Eureka Crate includes a booklet.
One of KiwiCo’s goals is to equip the next generation of innovators with the tools and confidence for creative exploration and problem-solving.
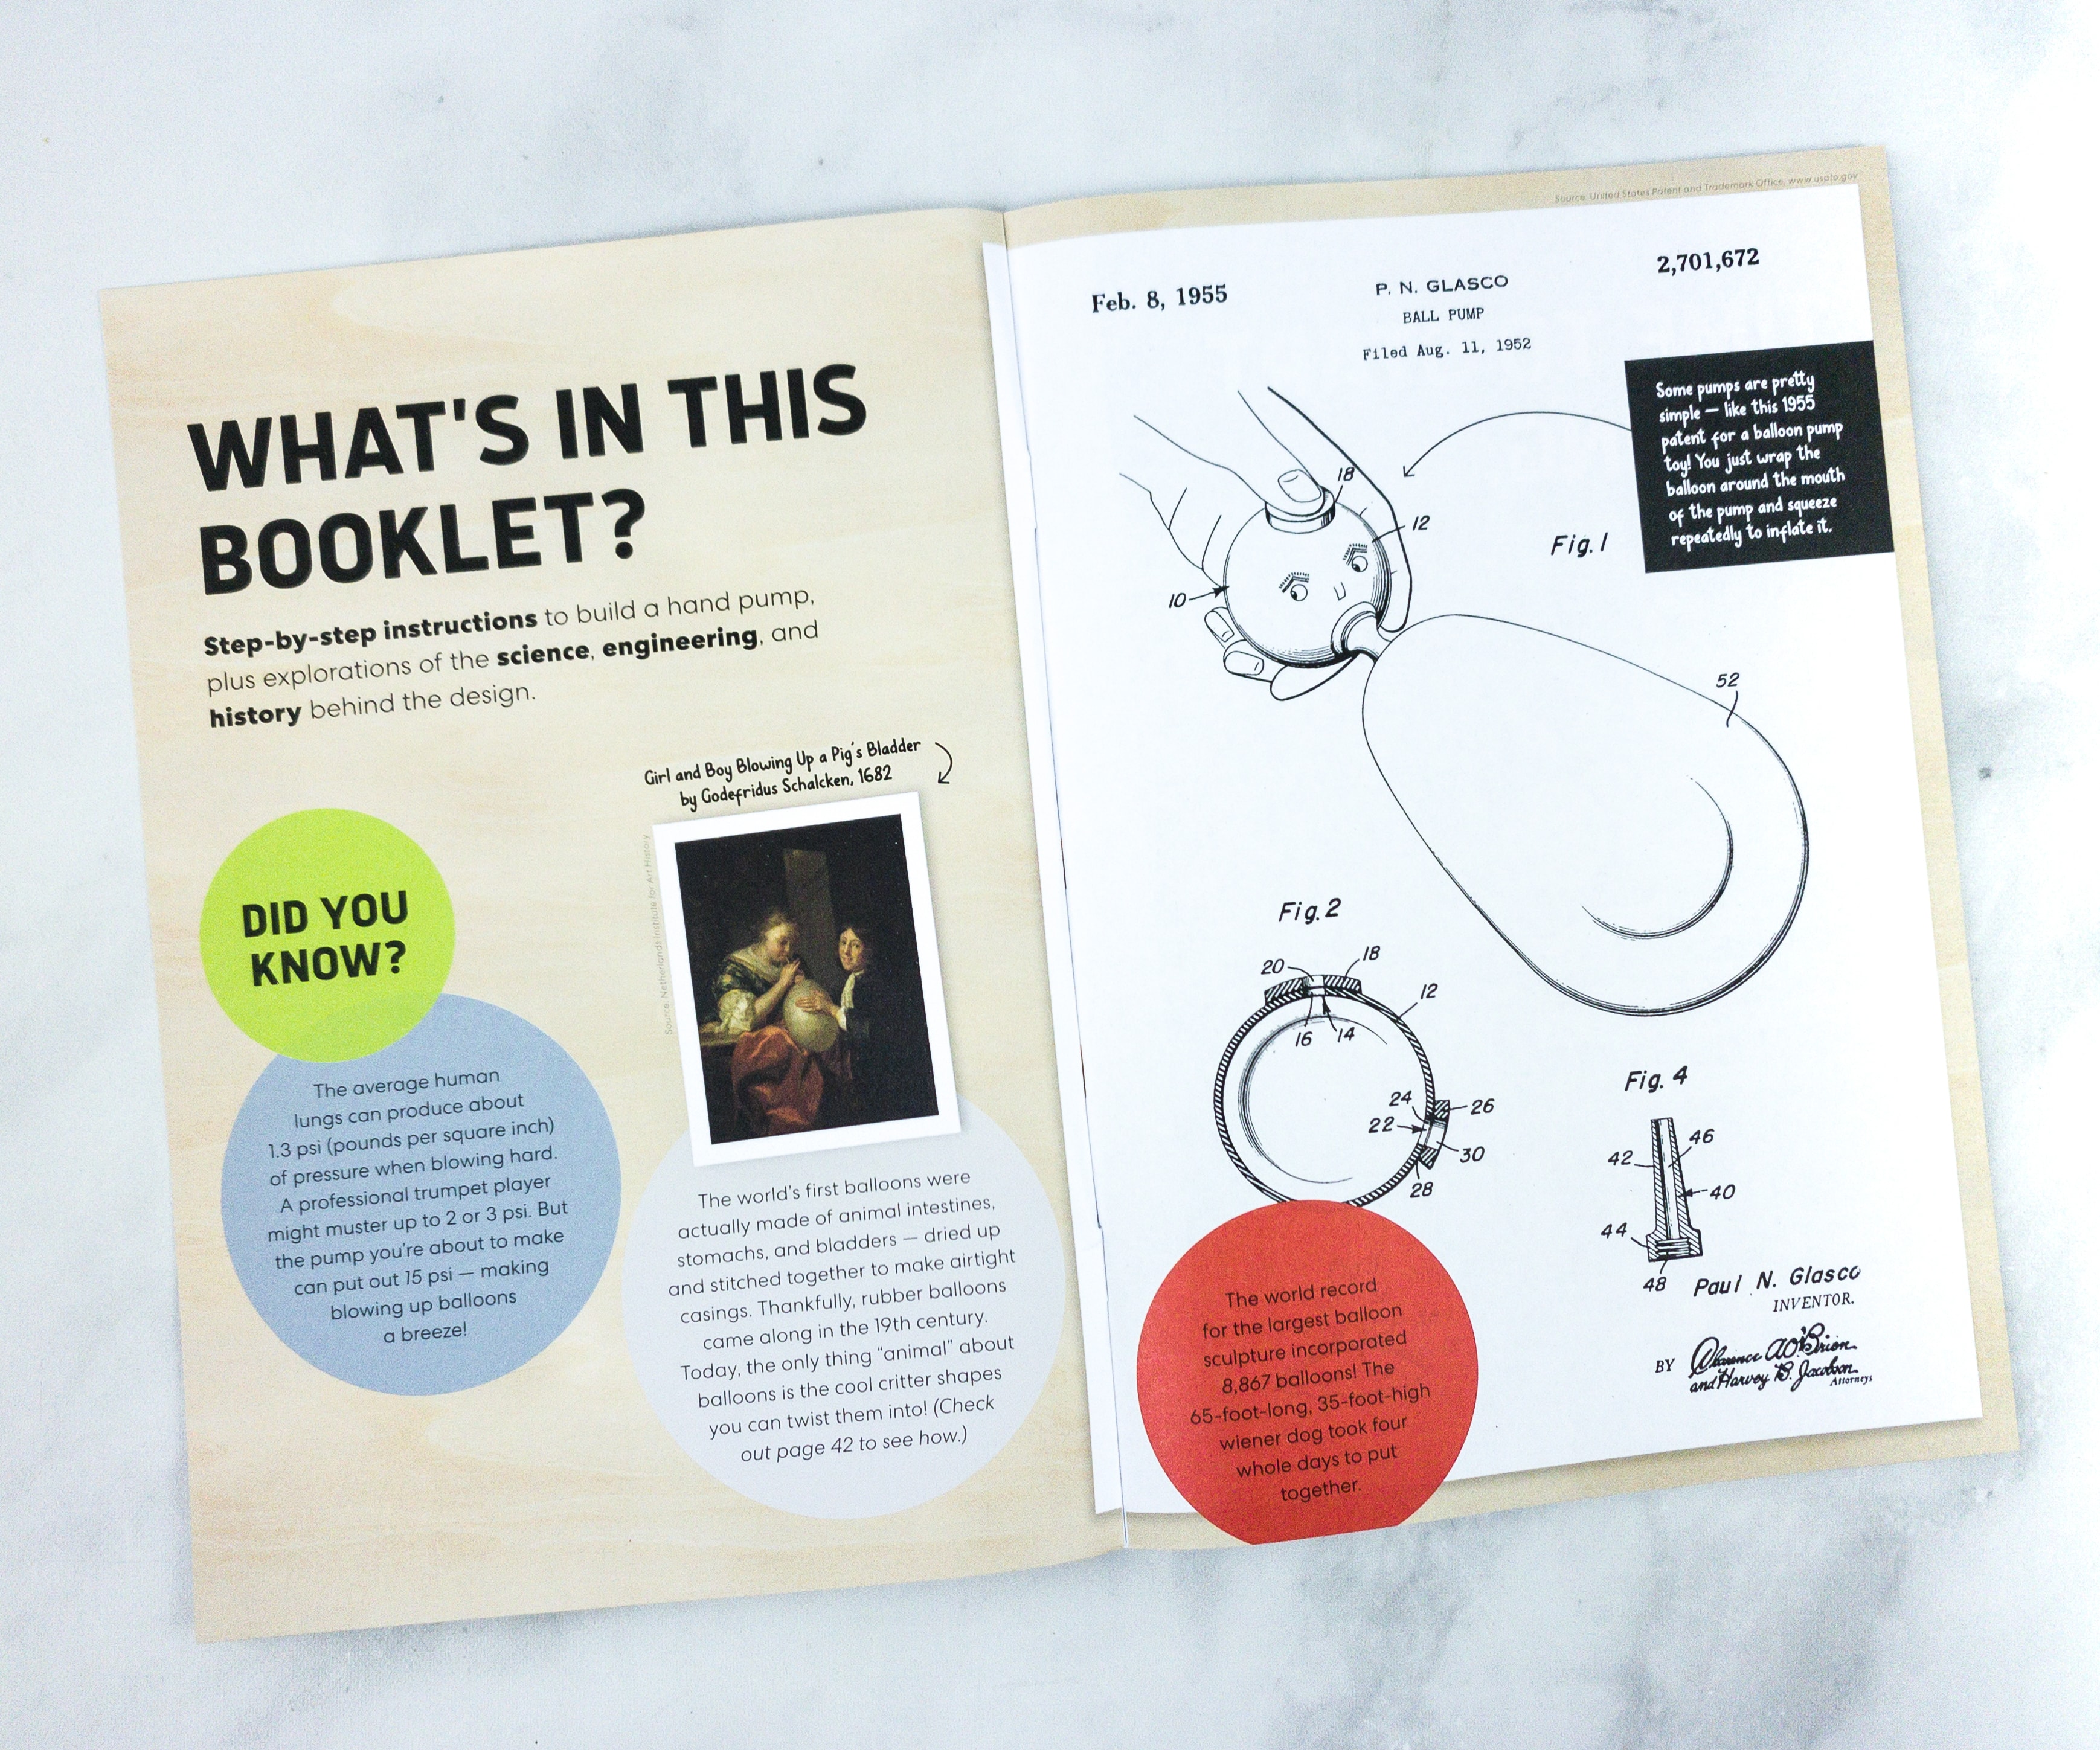
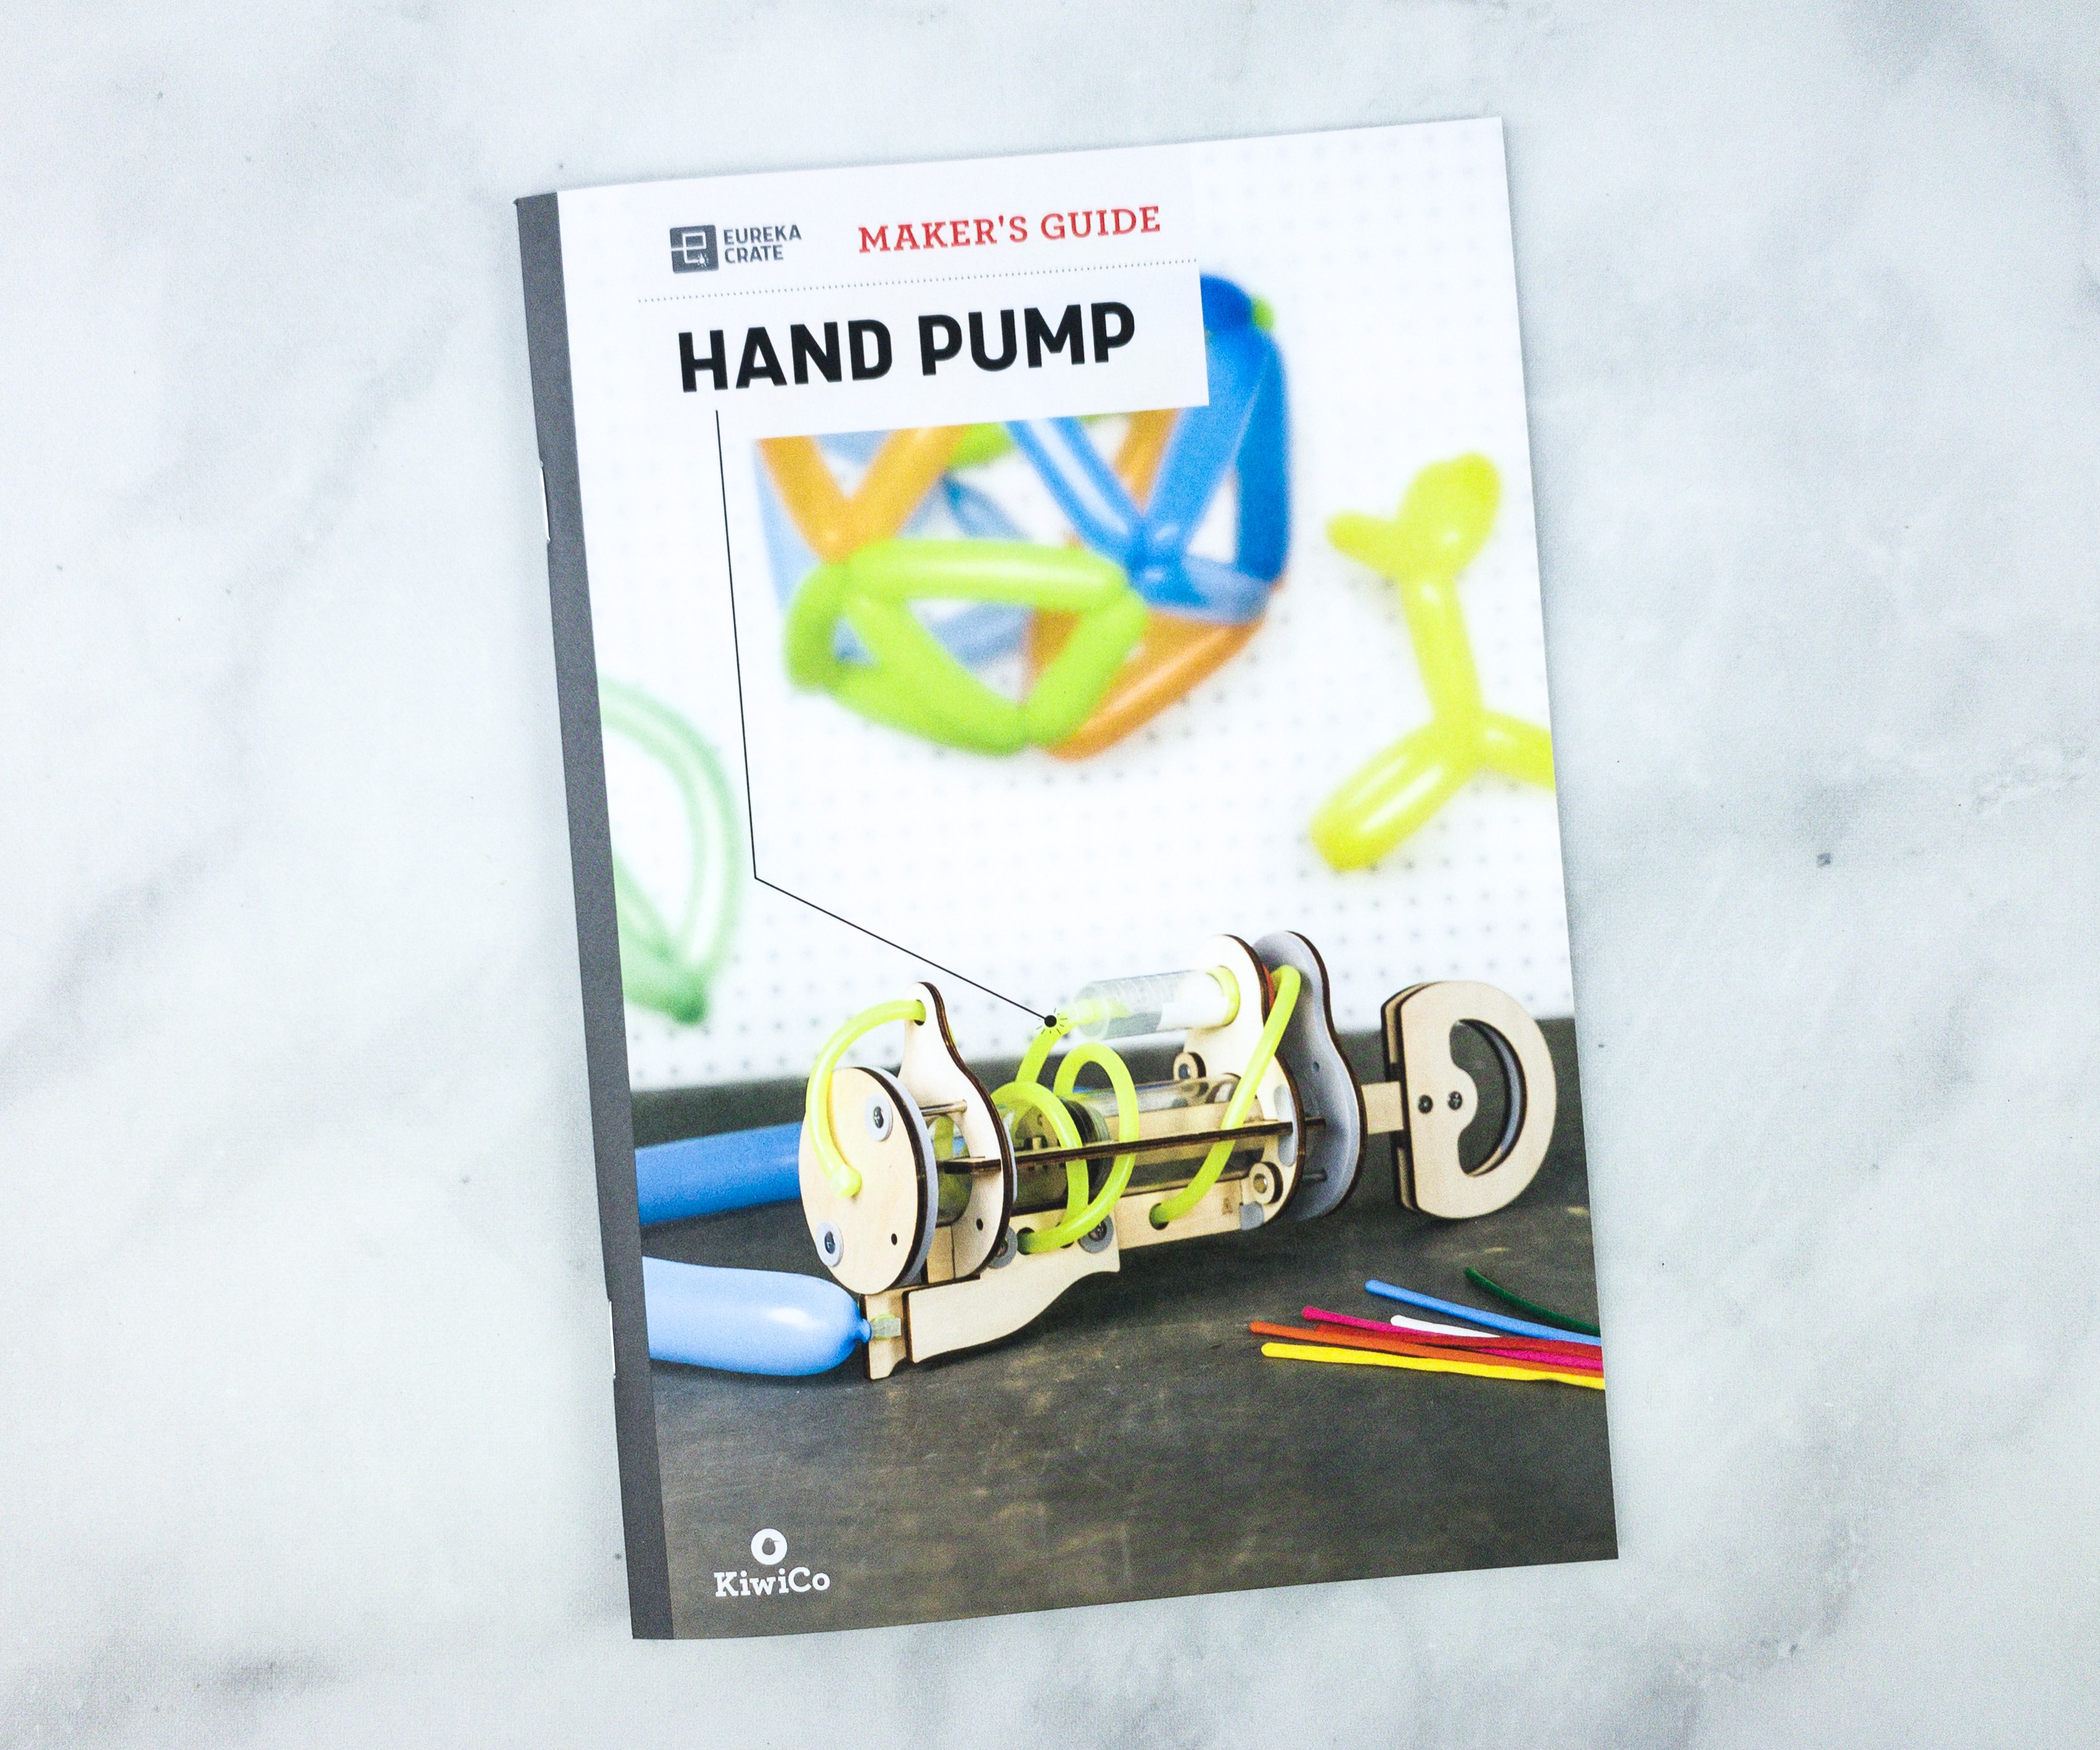
The booklet shares a complete history and details about this month’s project. They also included some fun facts and trivia related to the theme.
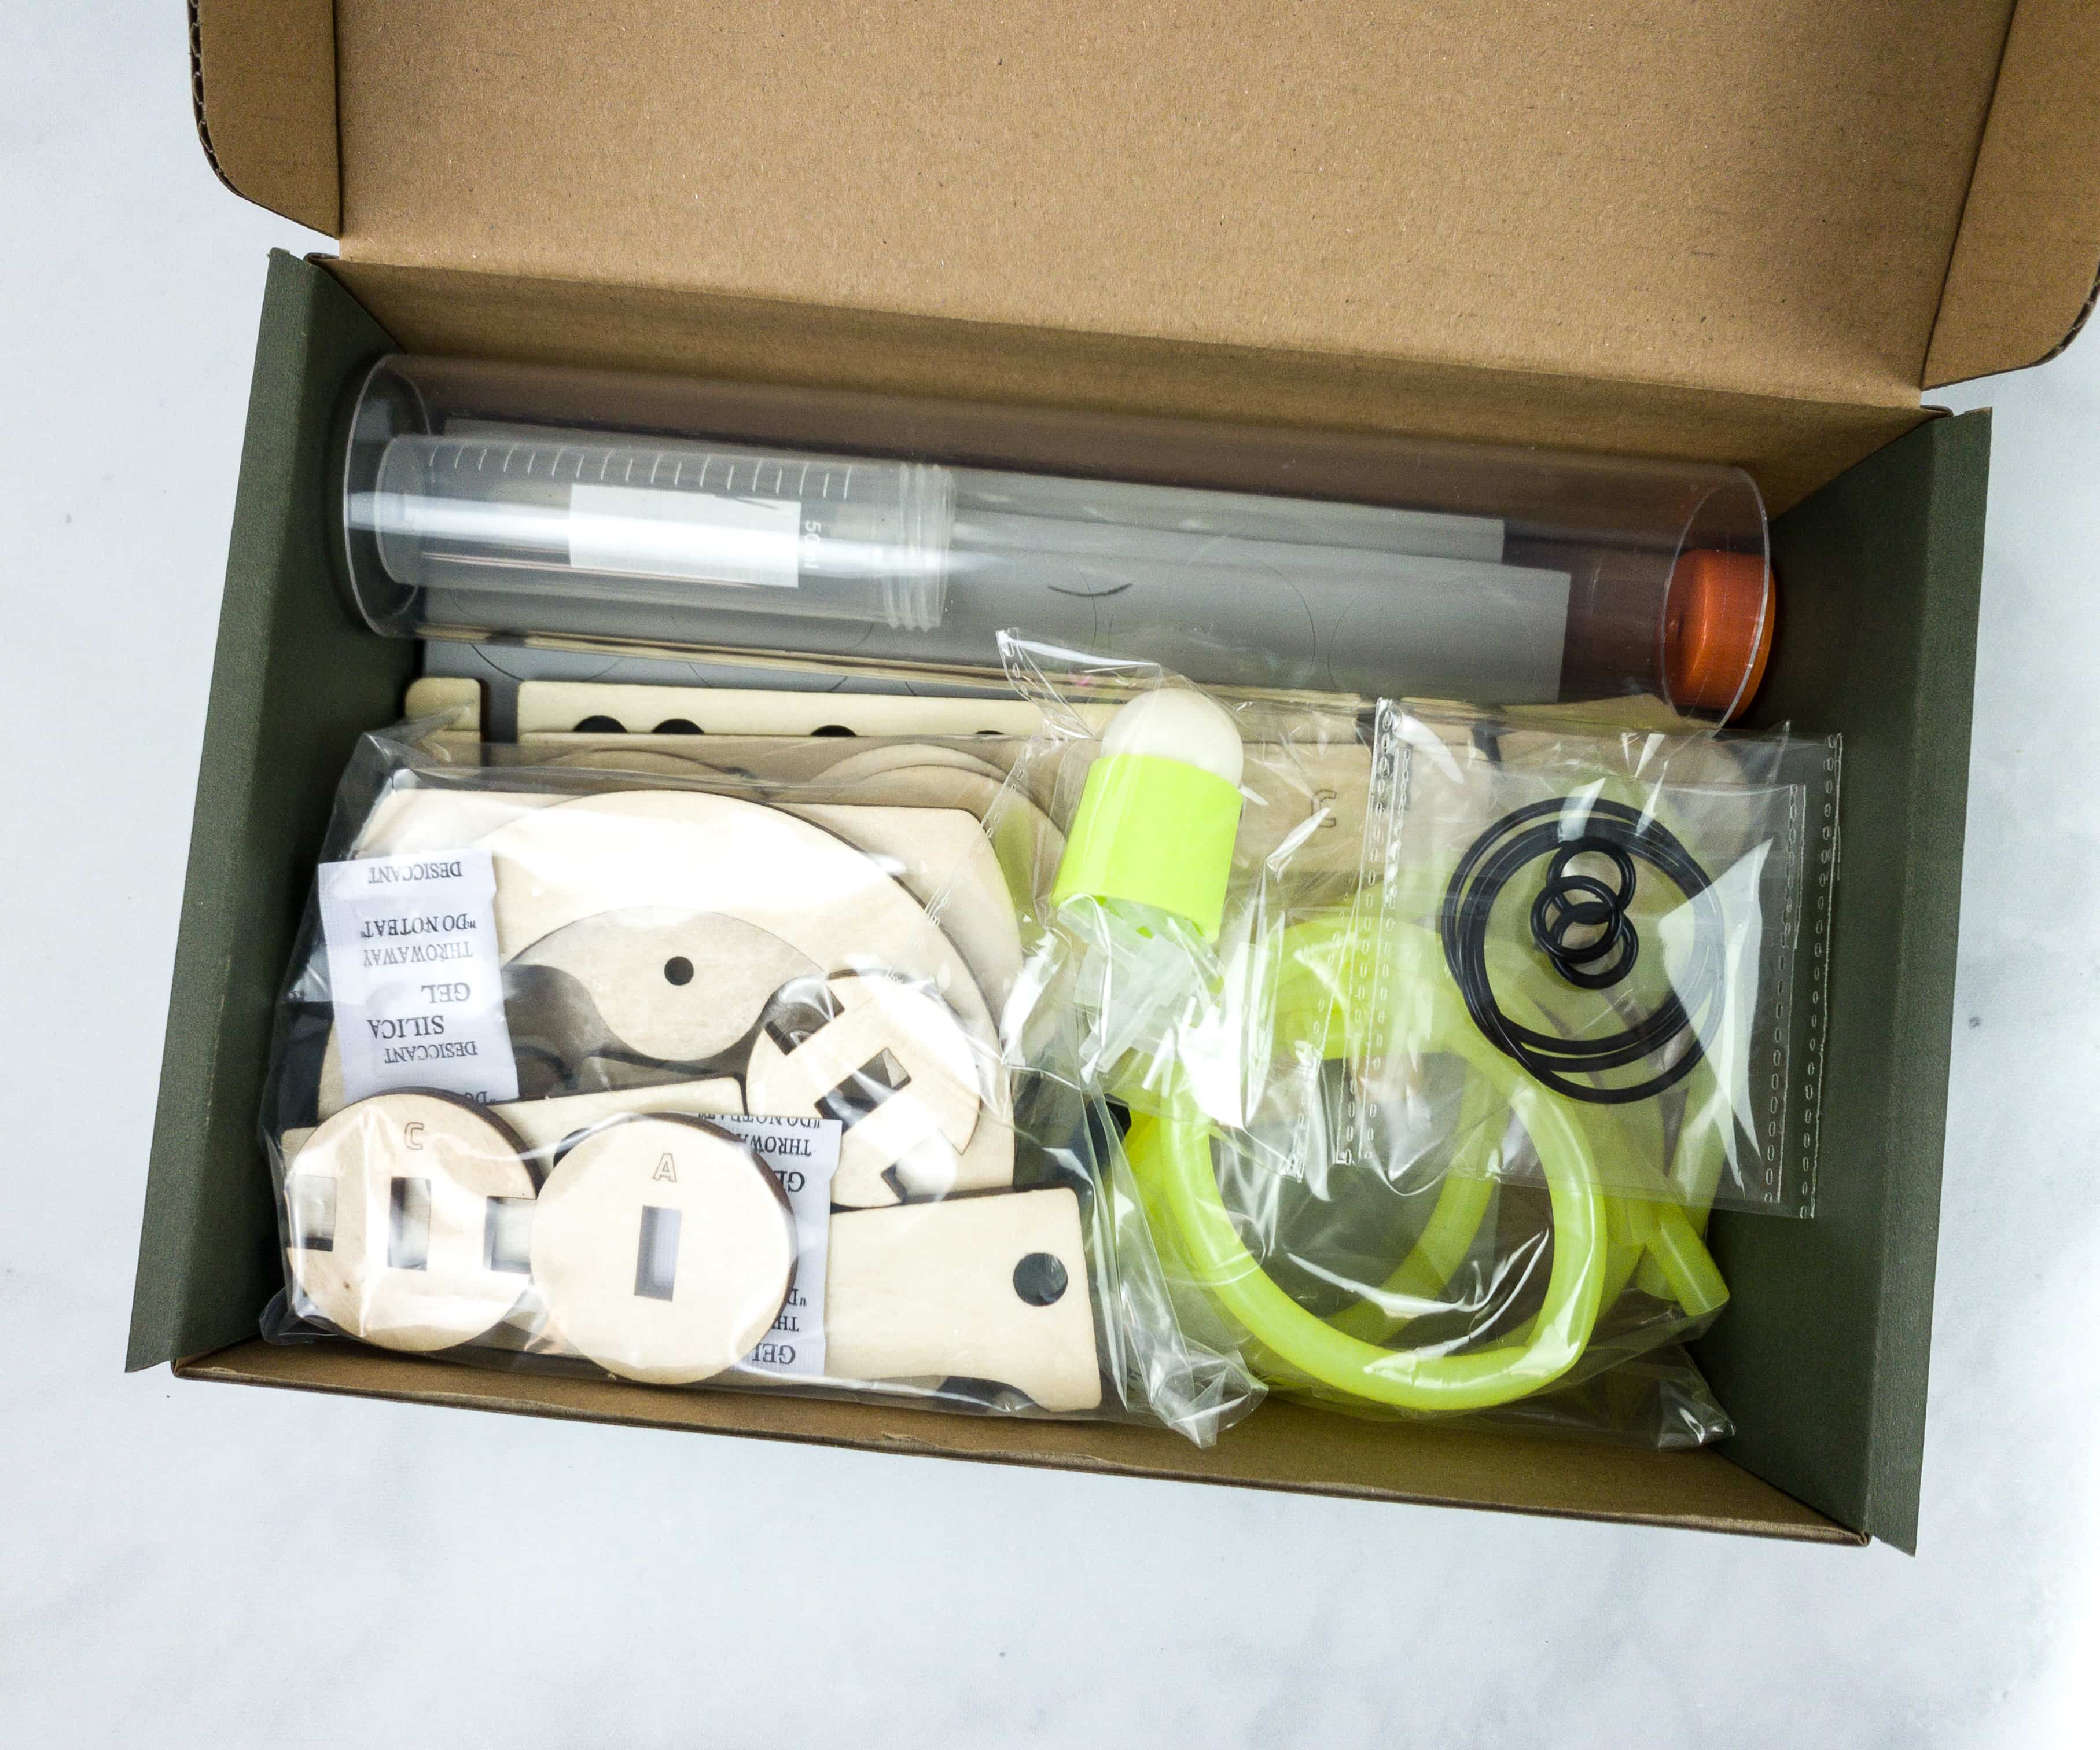
Most of the items inside the box are separately packaged.
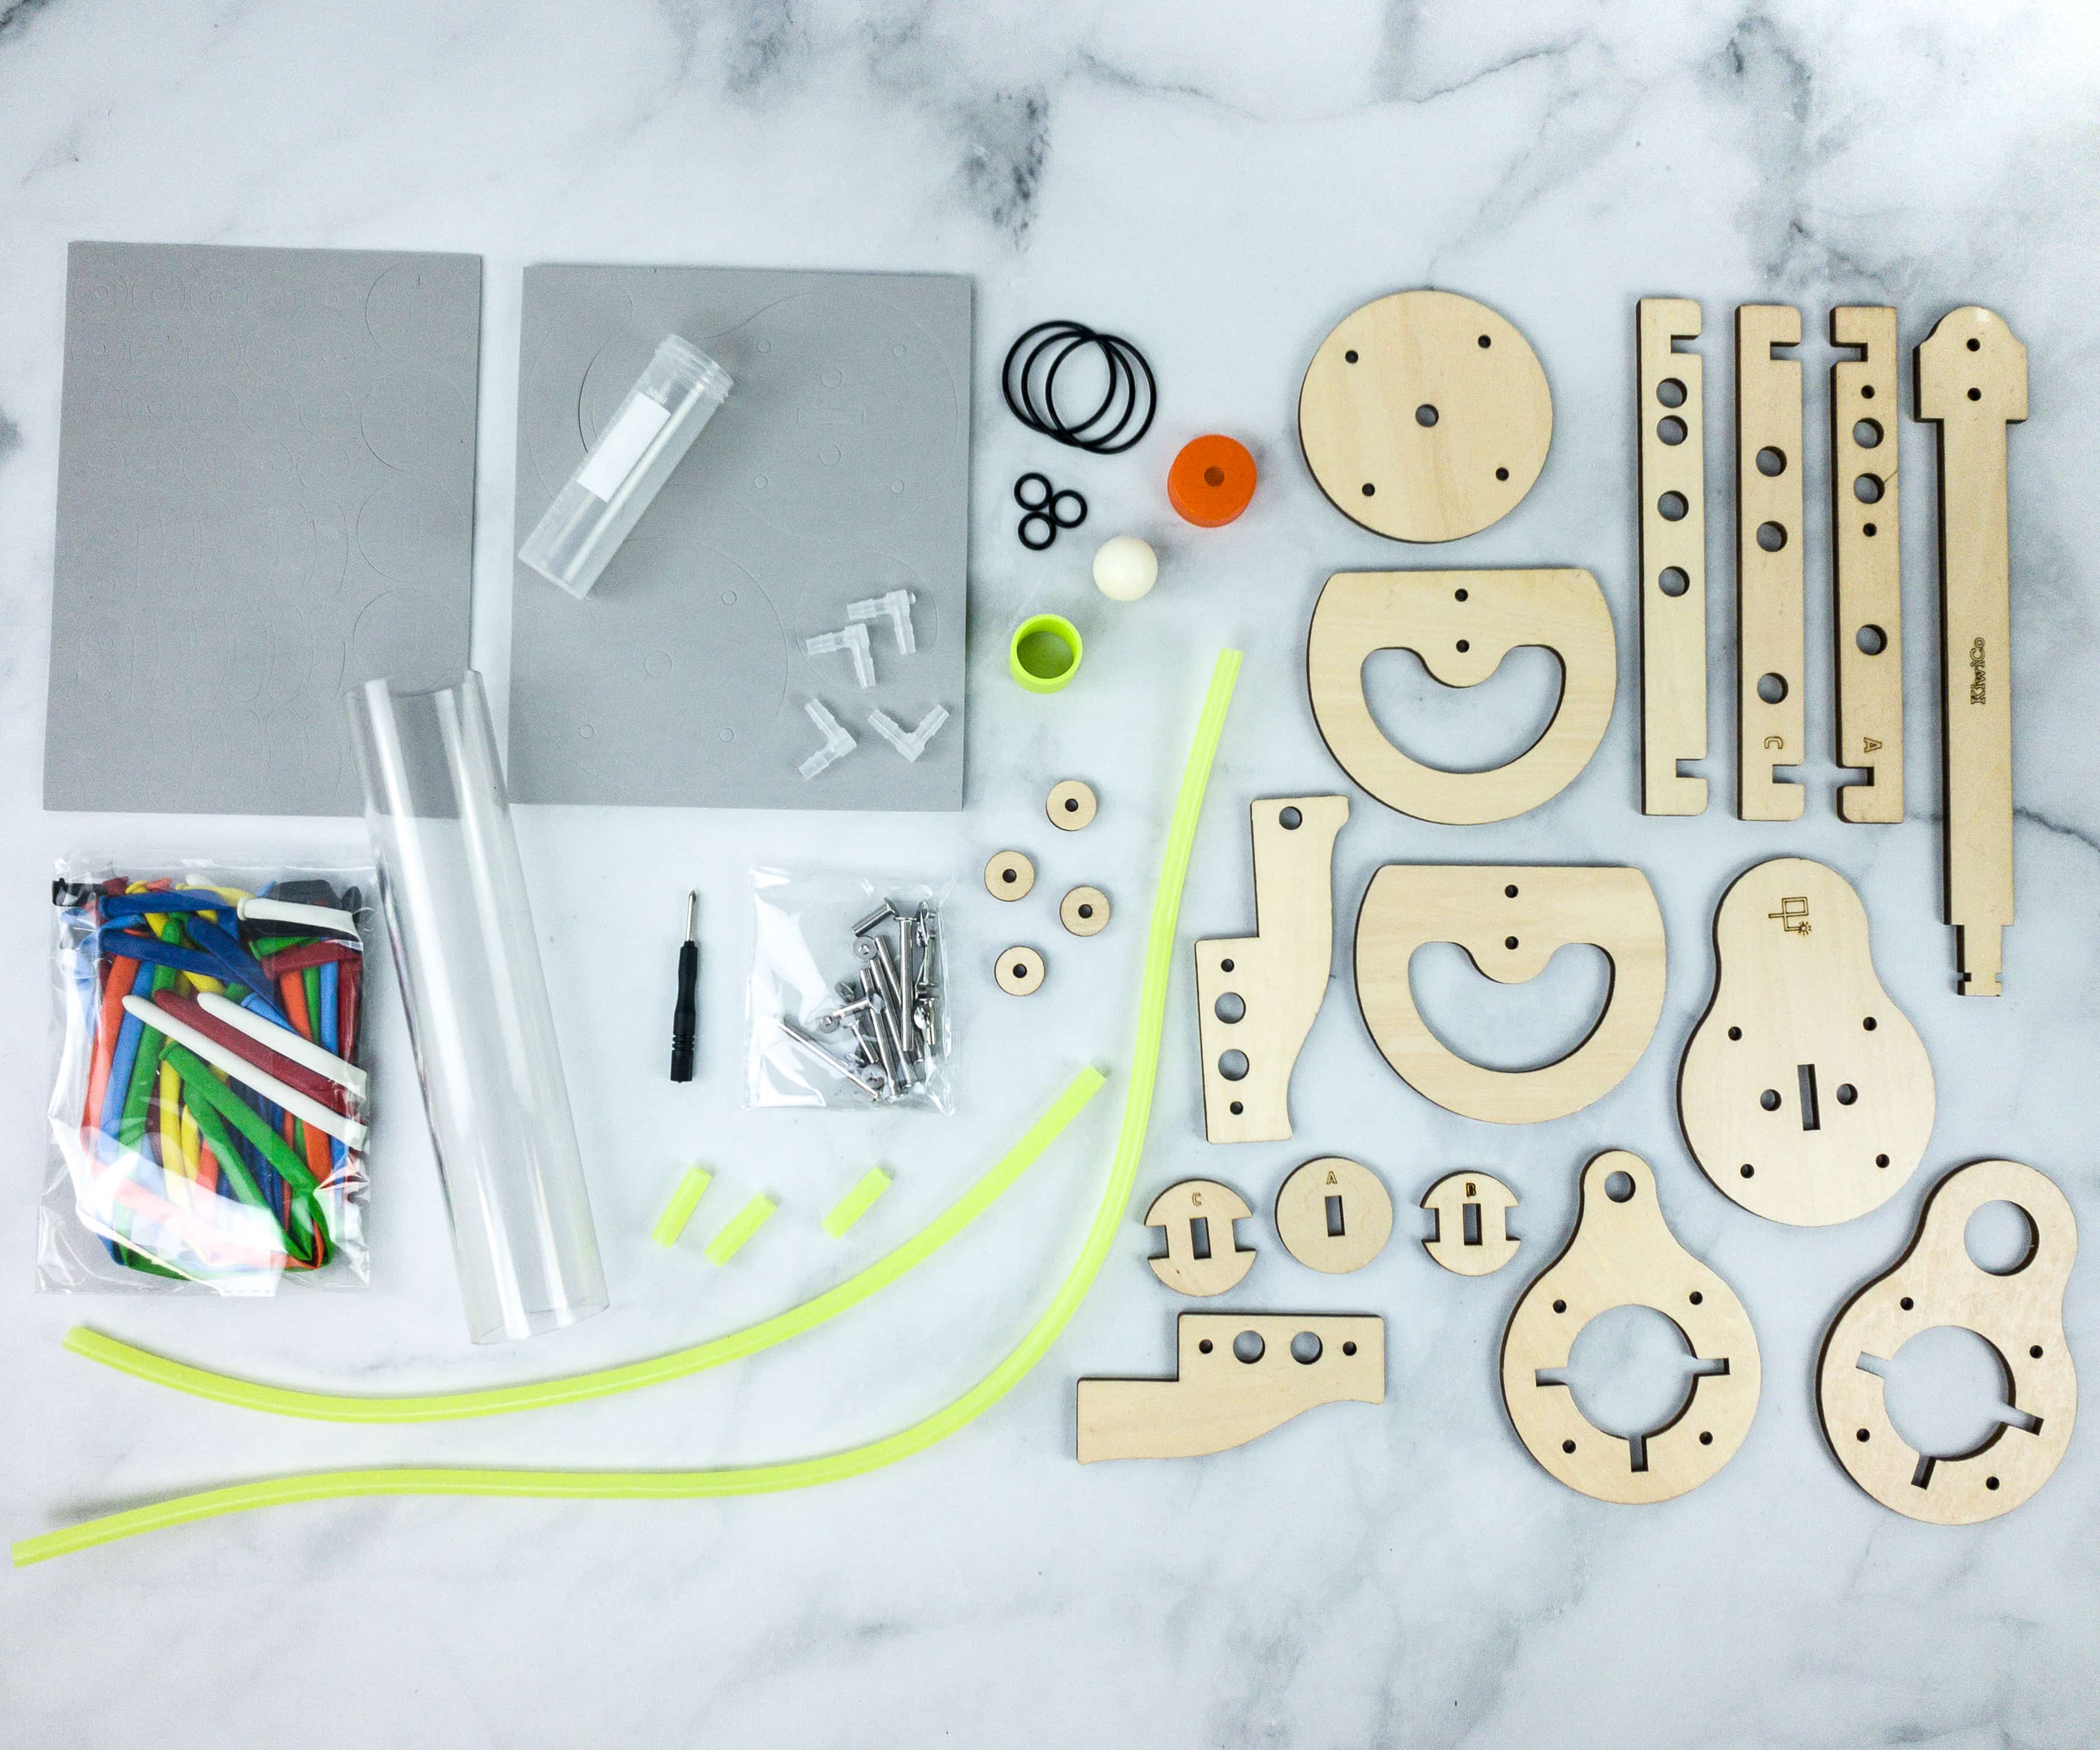
Everything in this month’s box!
Eureka Crate Maker’s Guide
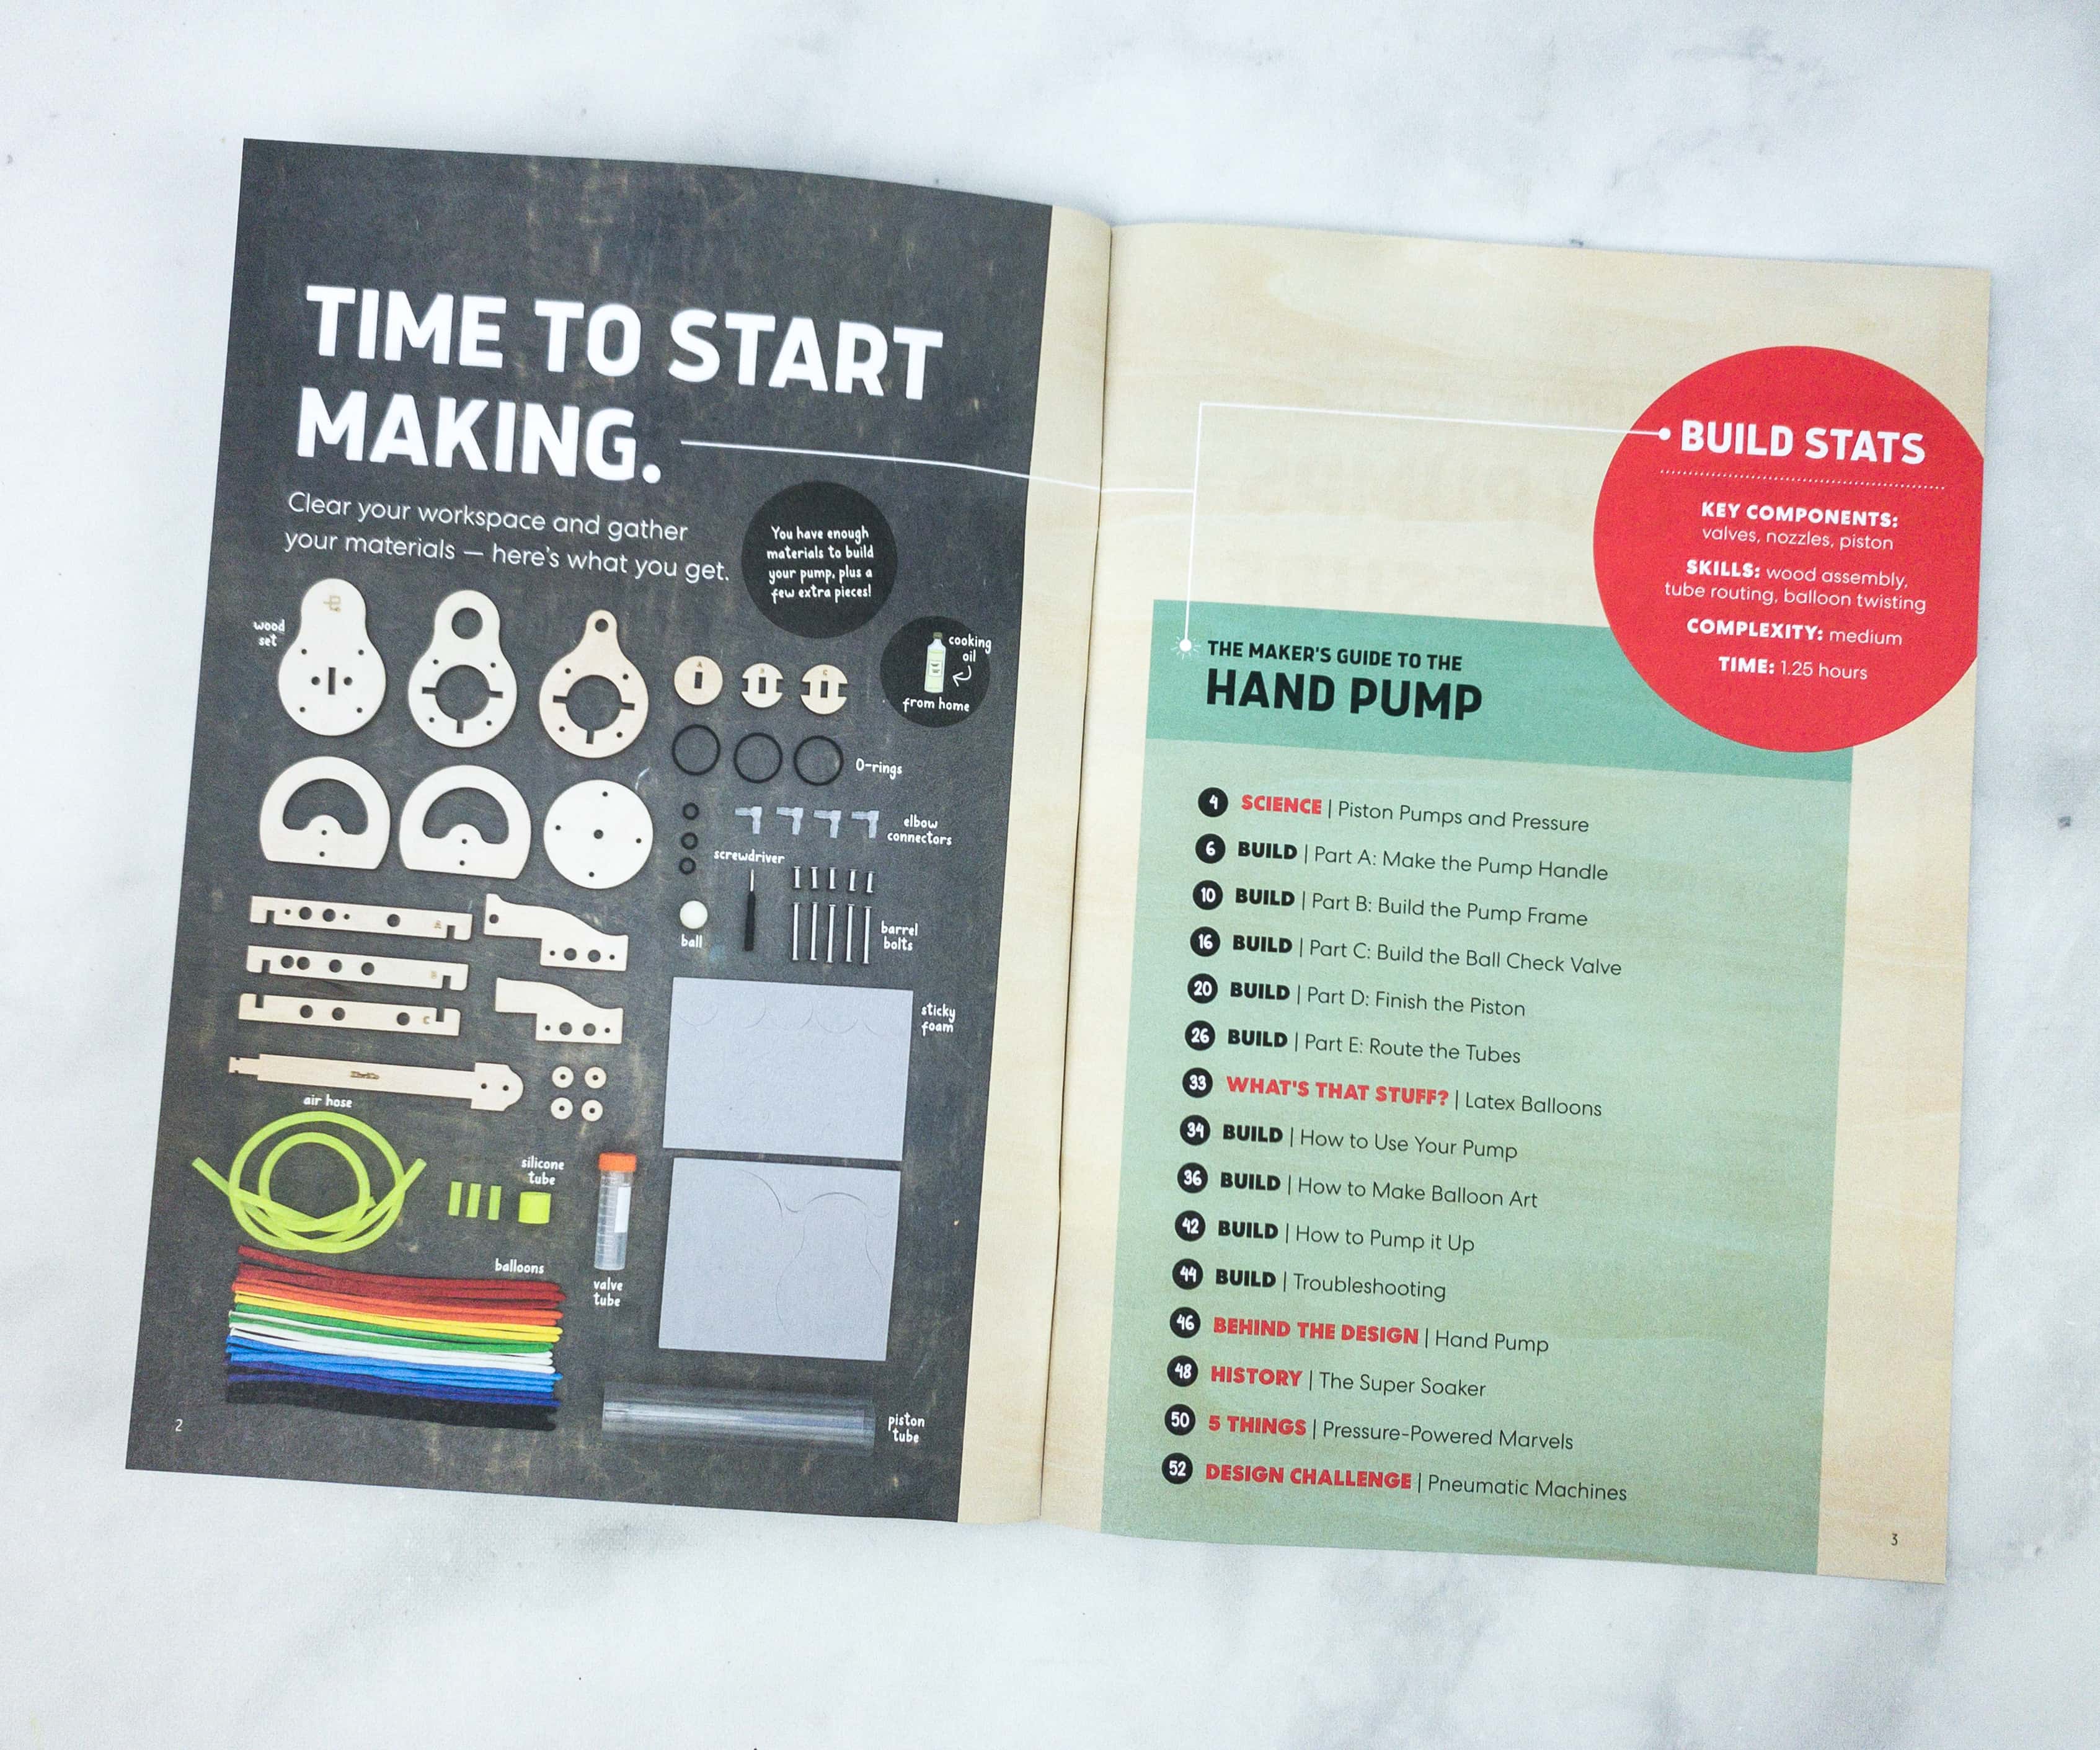
This booklet means business as it jumps right to the activity.

This page is dedicated to discuss everything about the piston pumps and pressure.
The tiny little balloons in this crate need a whole lot of air pressure to blow up — more than your lungs can manage easily. Instead, you’ll provide the push you need with a piston pump.
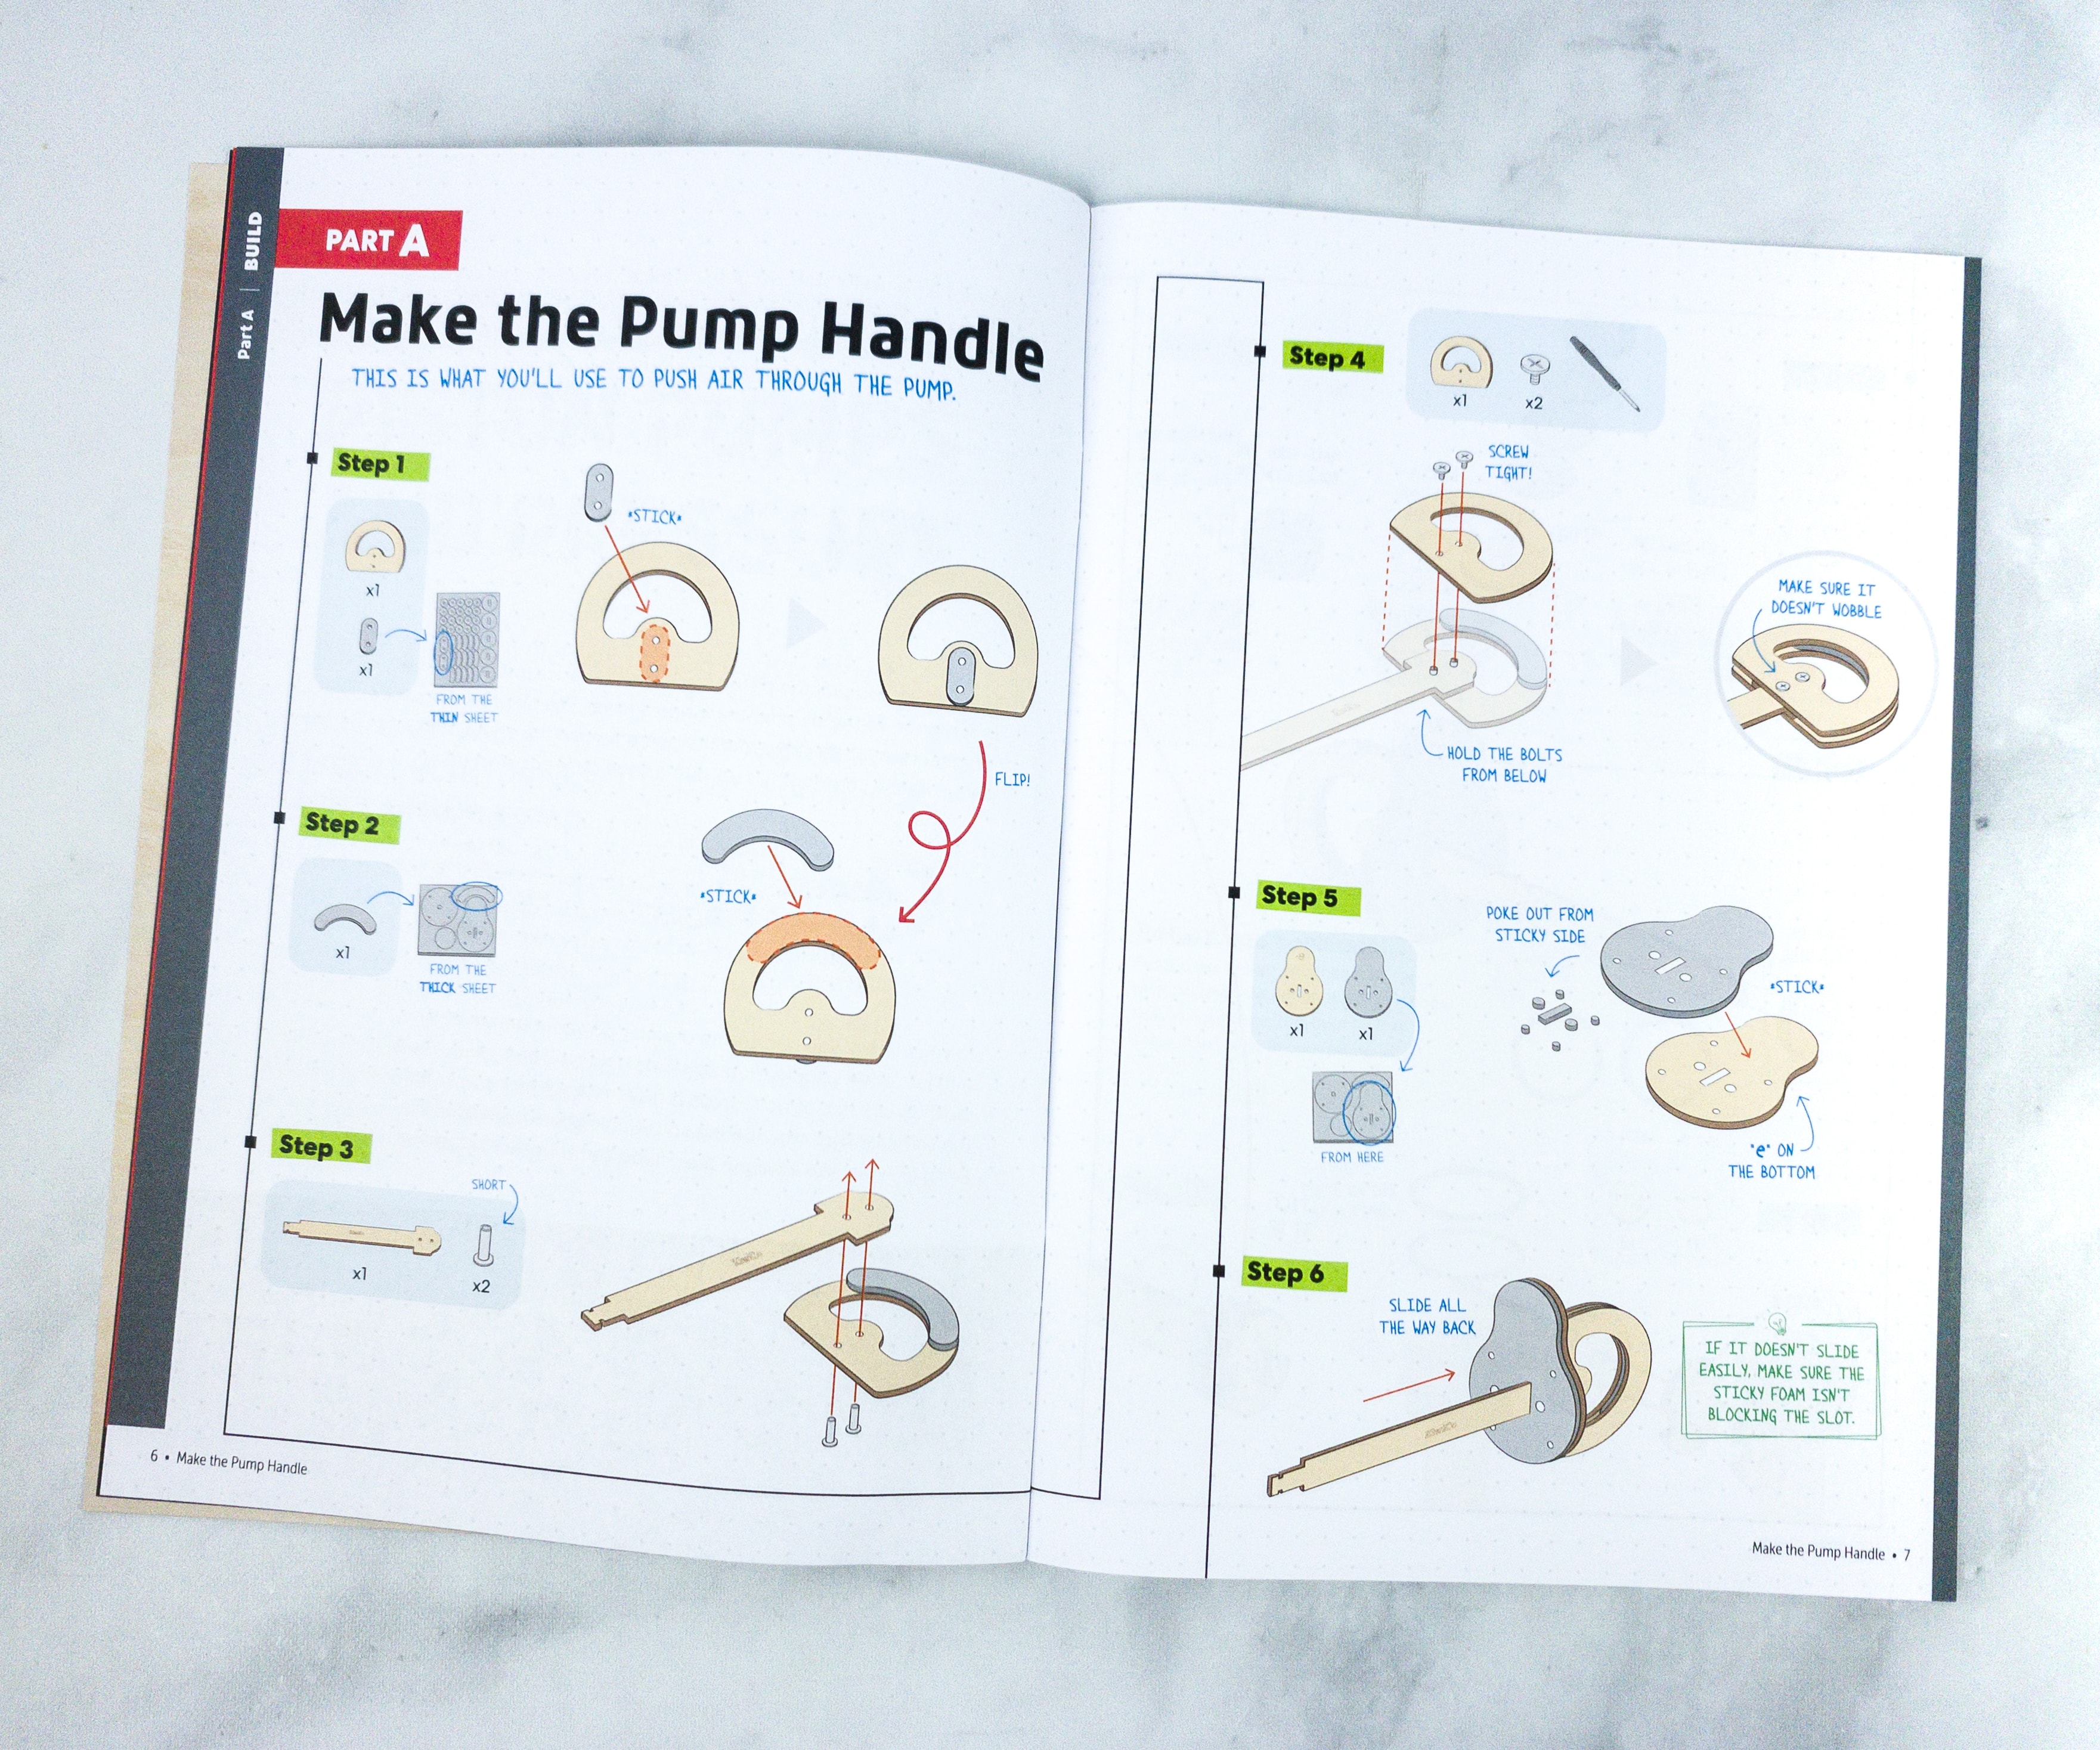
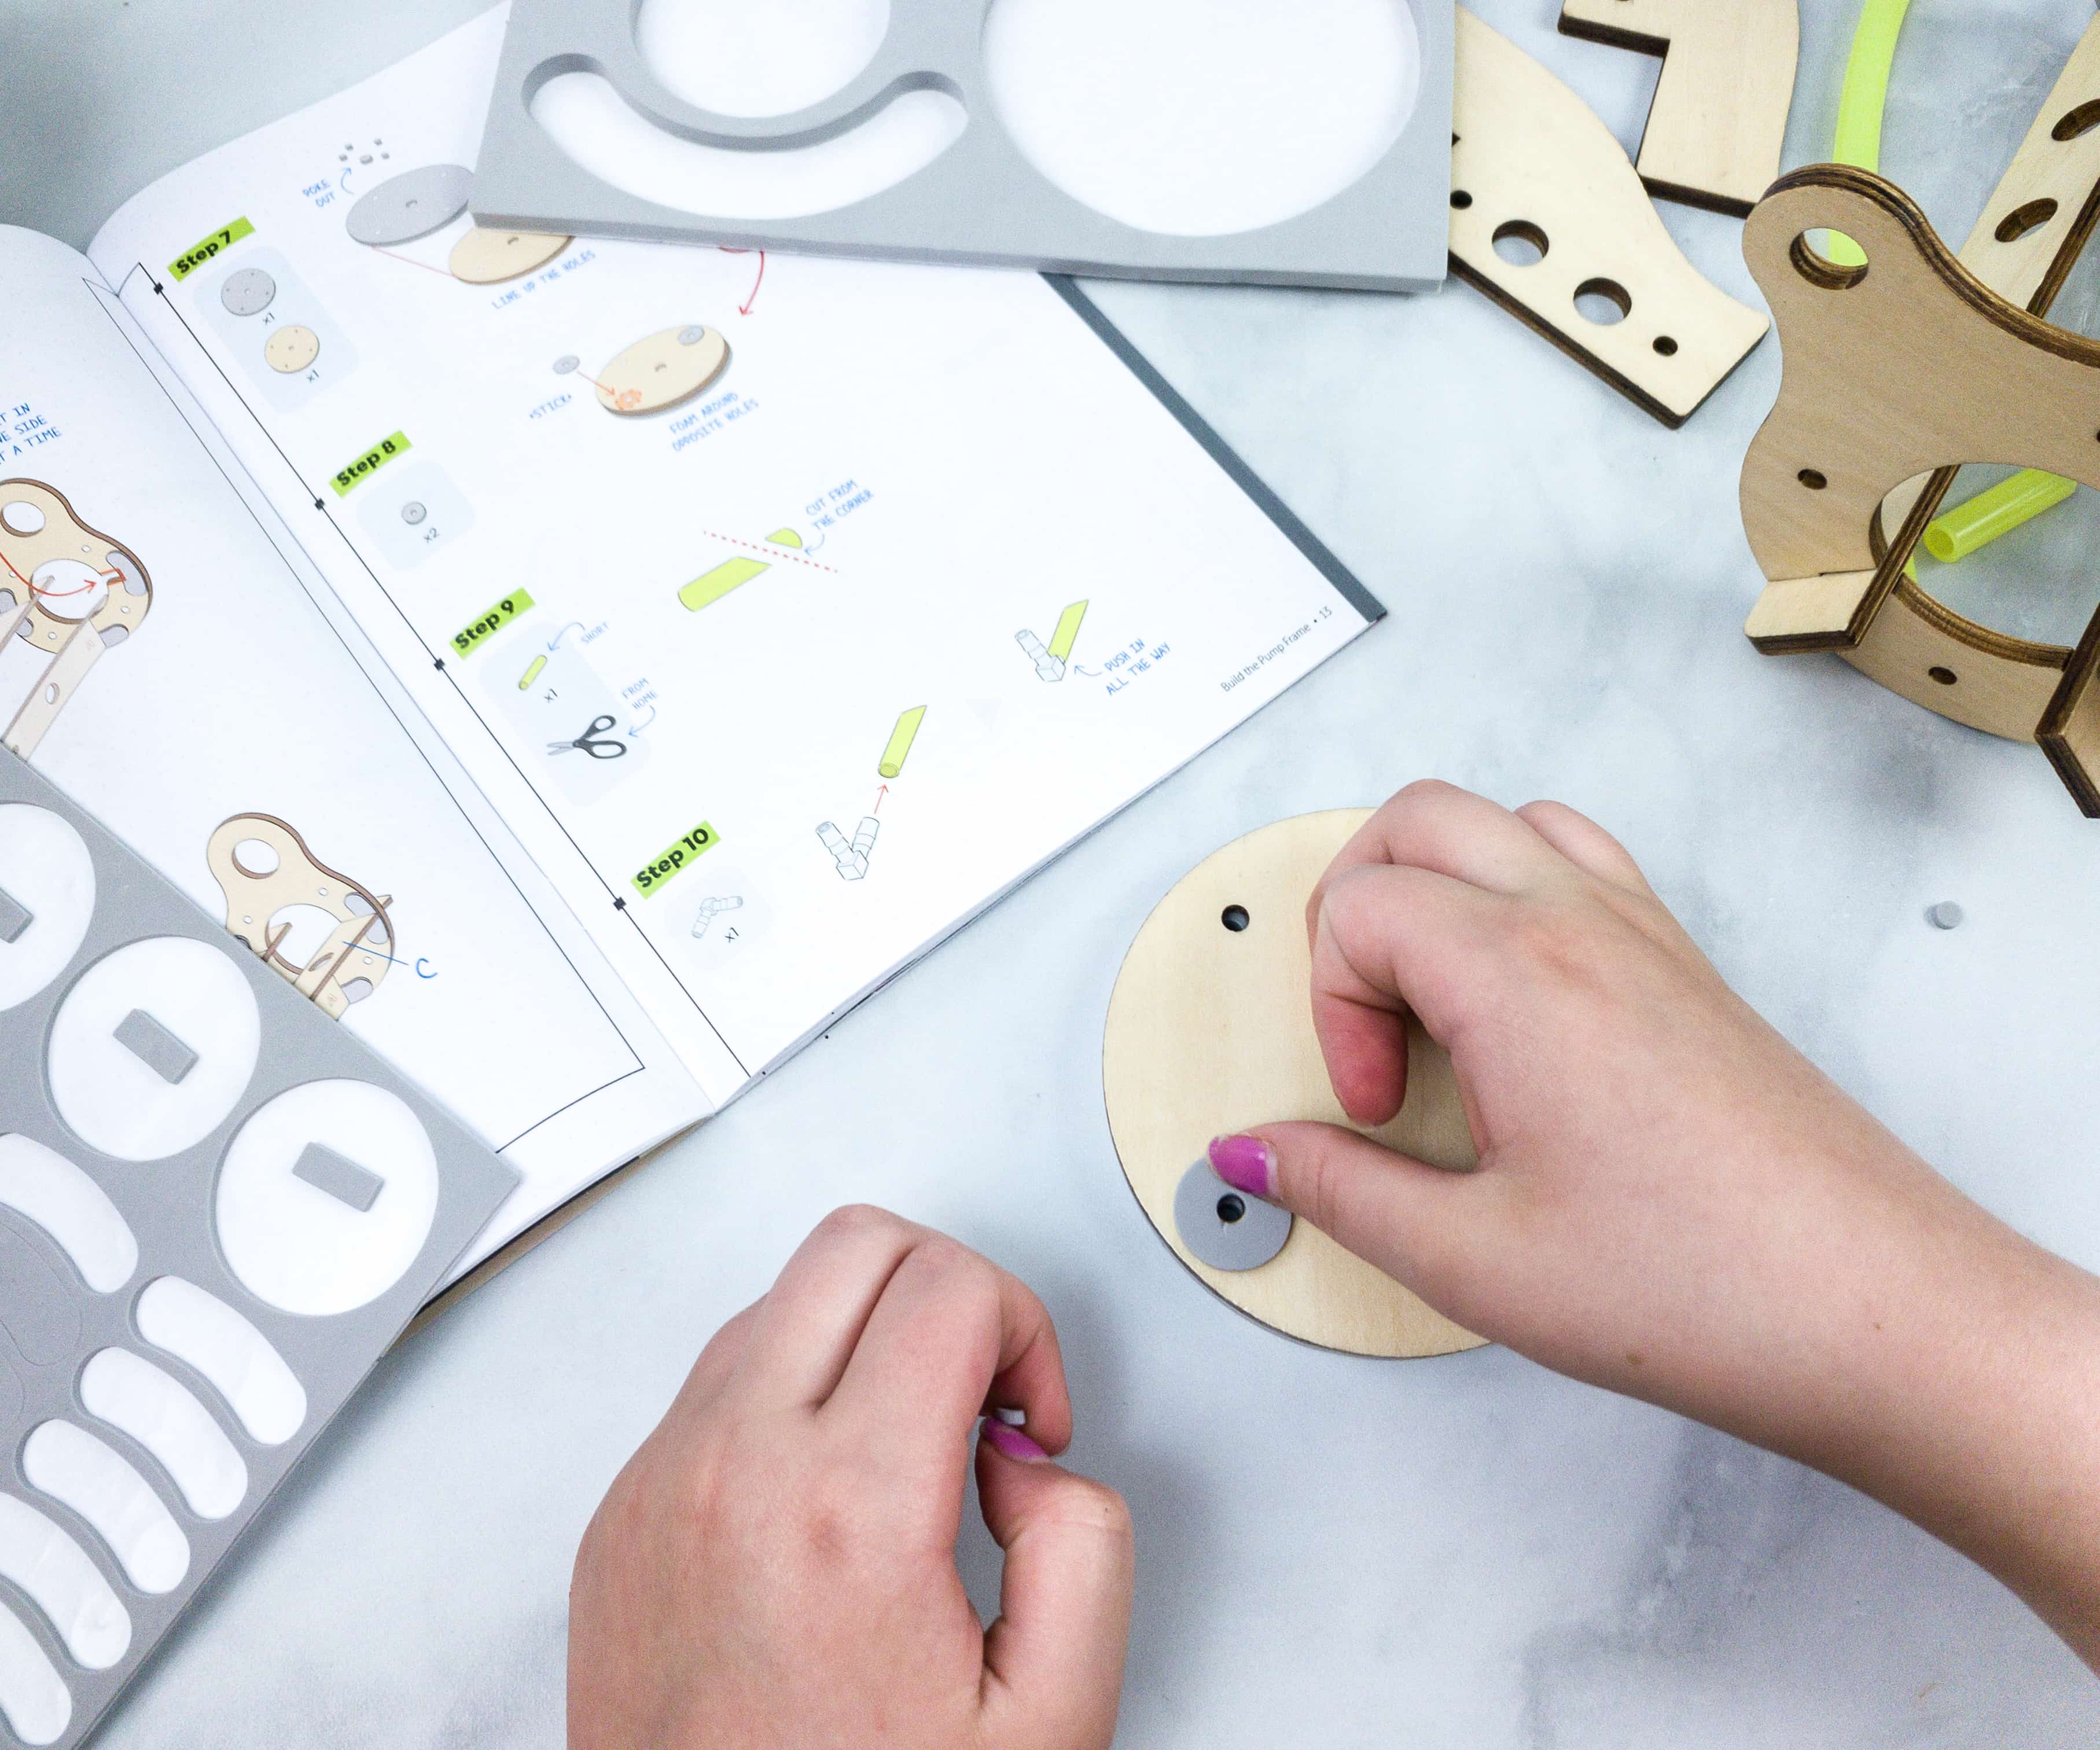
For the first part, we made the pump handle. This pump is needed to push the air through the pump.
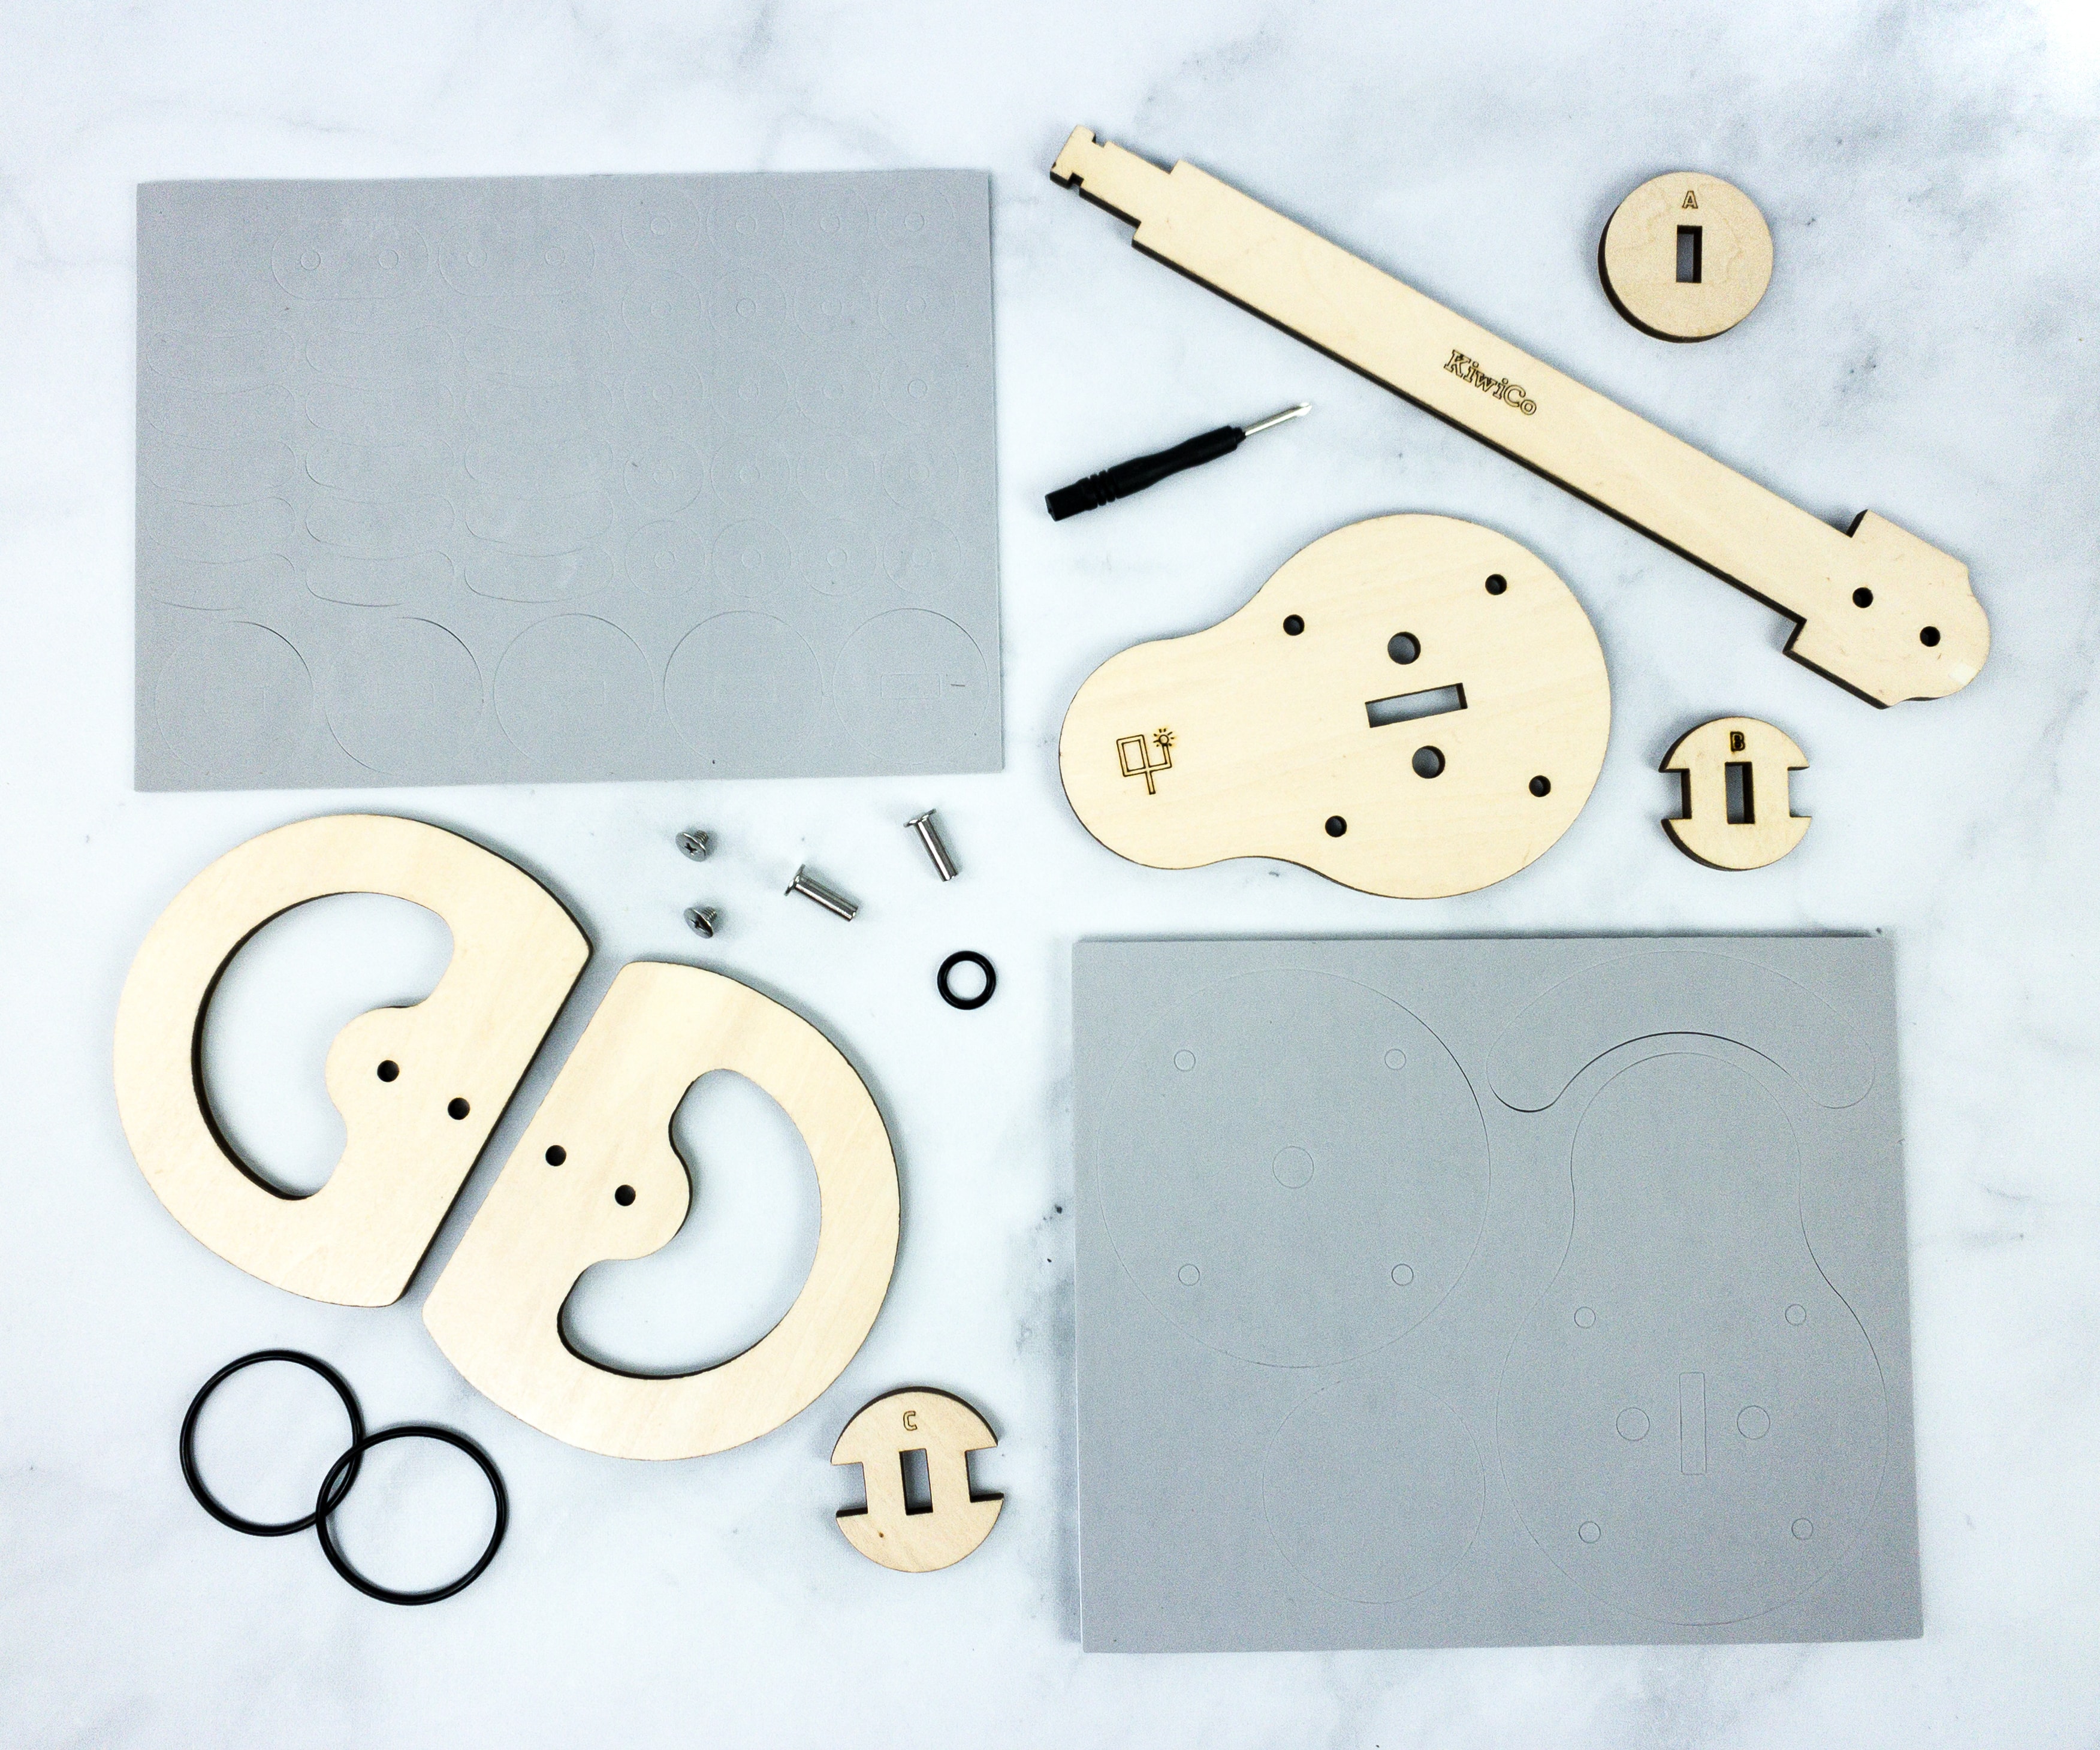
The crate provided everything we needed, including the wood set, screwdriver, barrel bolts, sticky foam, and O-rings.
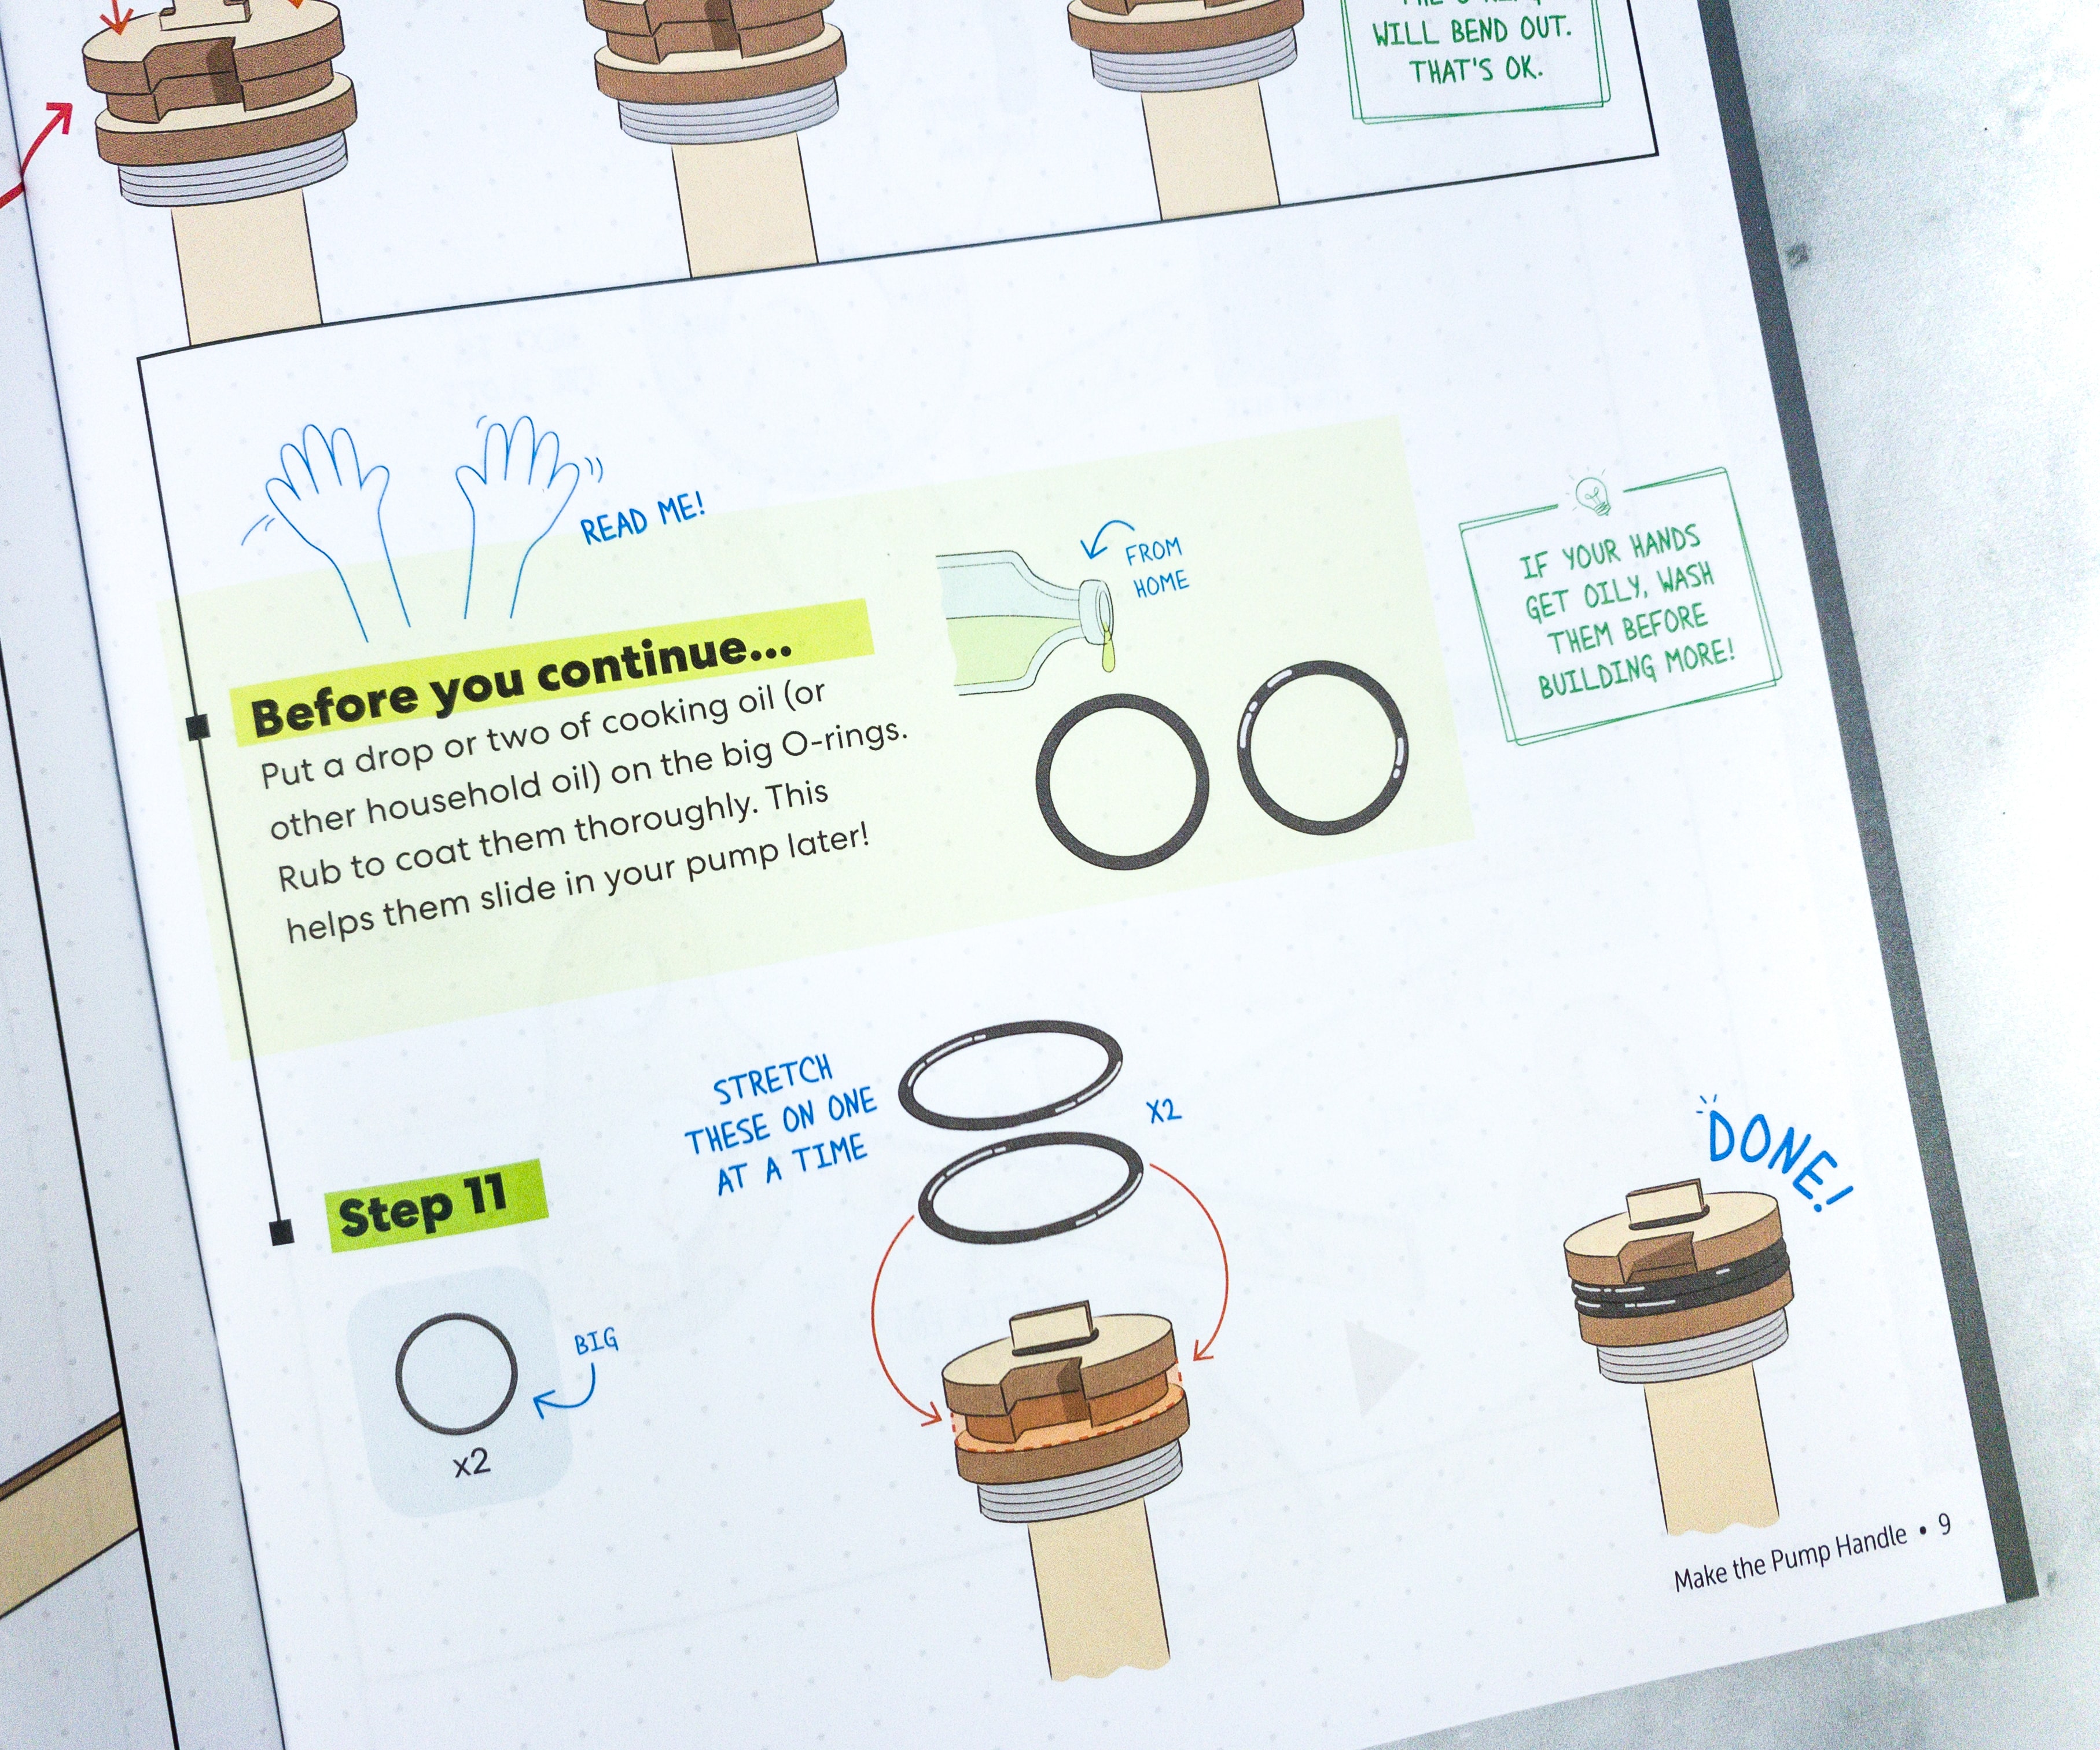
The booklet suggests putting a drop or two of cooking oil on the big O-rings. This will help them slide in your pump later on!
My daughter started off by arranging all the materials, making sure that all the pieces needed are on hand.
Then, she carefully stuck the sticky foam to their respective wood set.
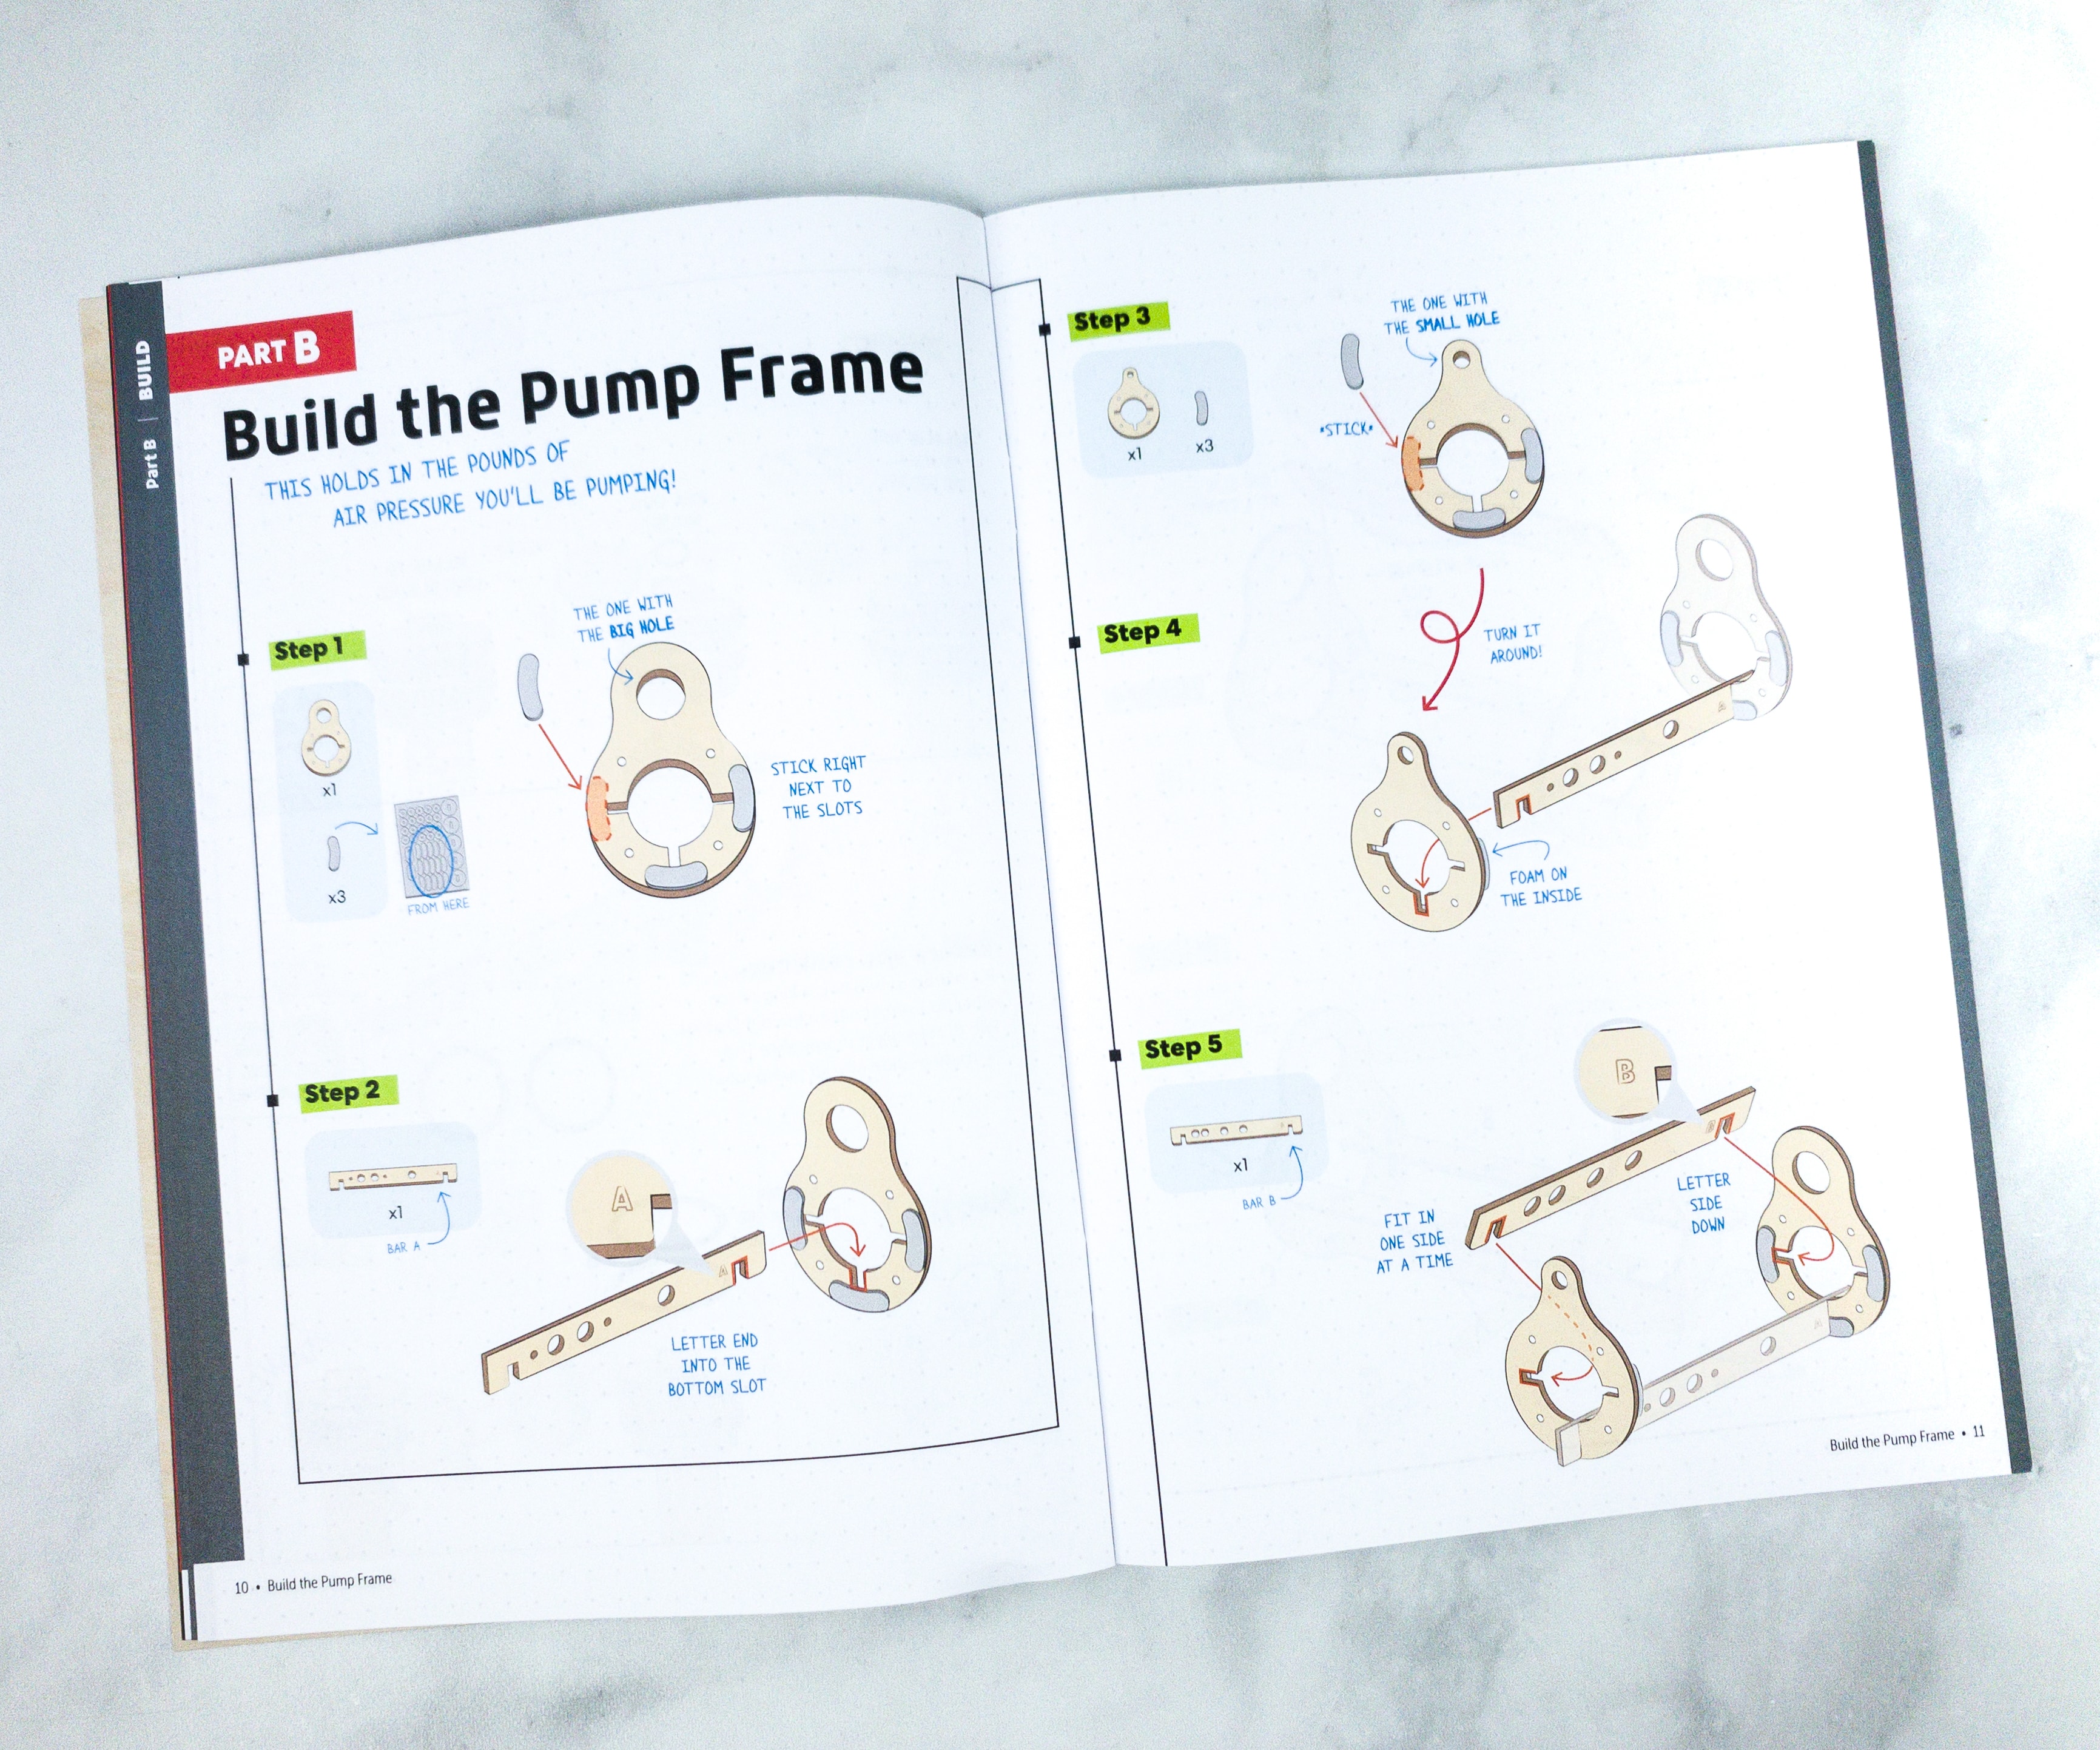
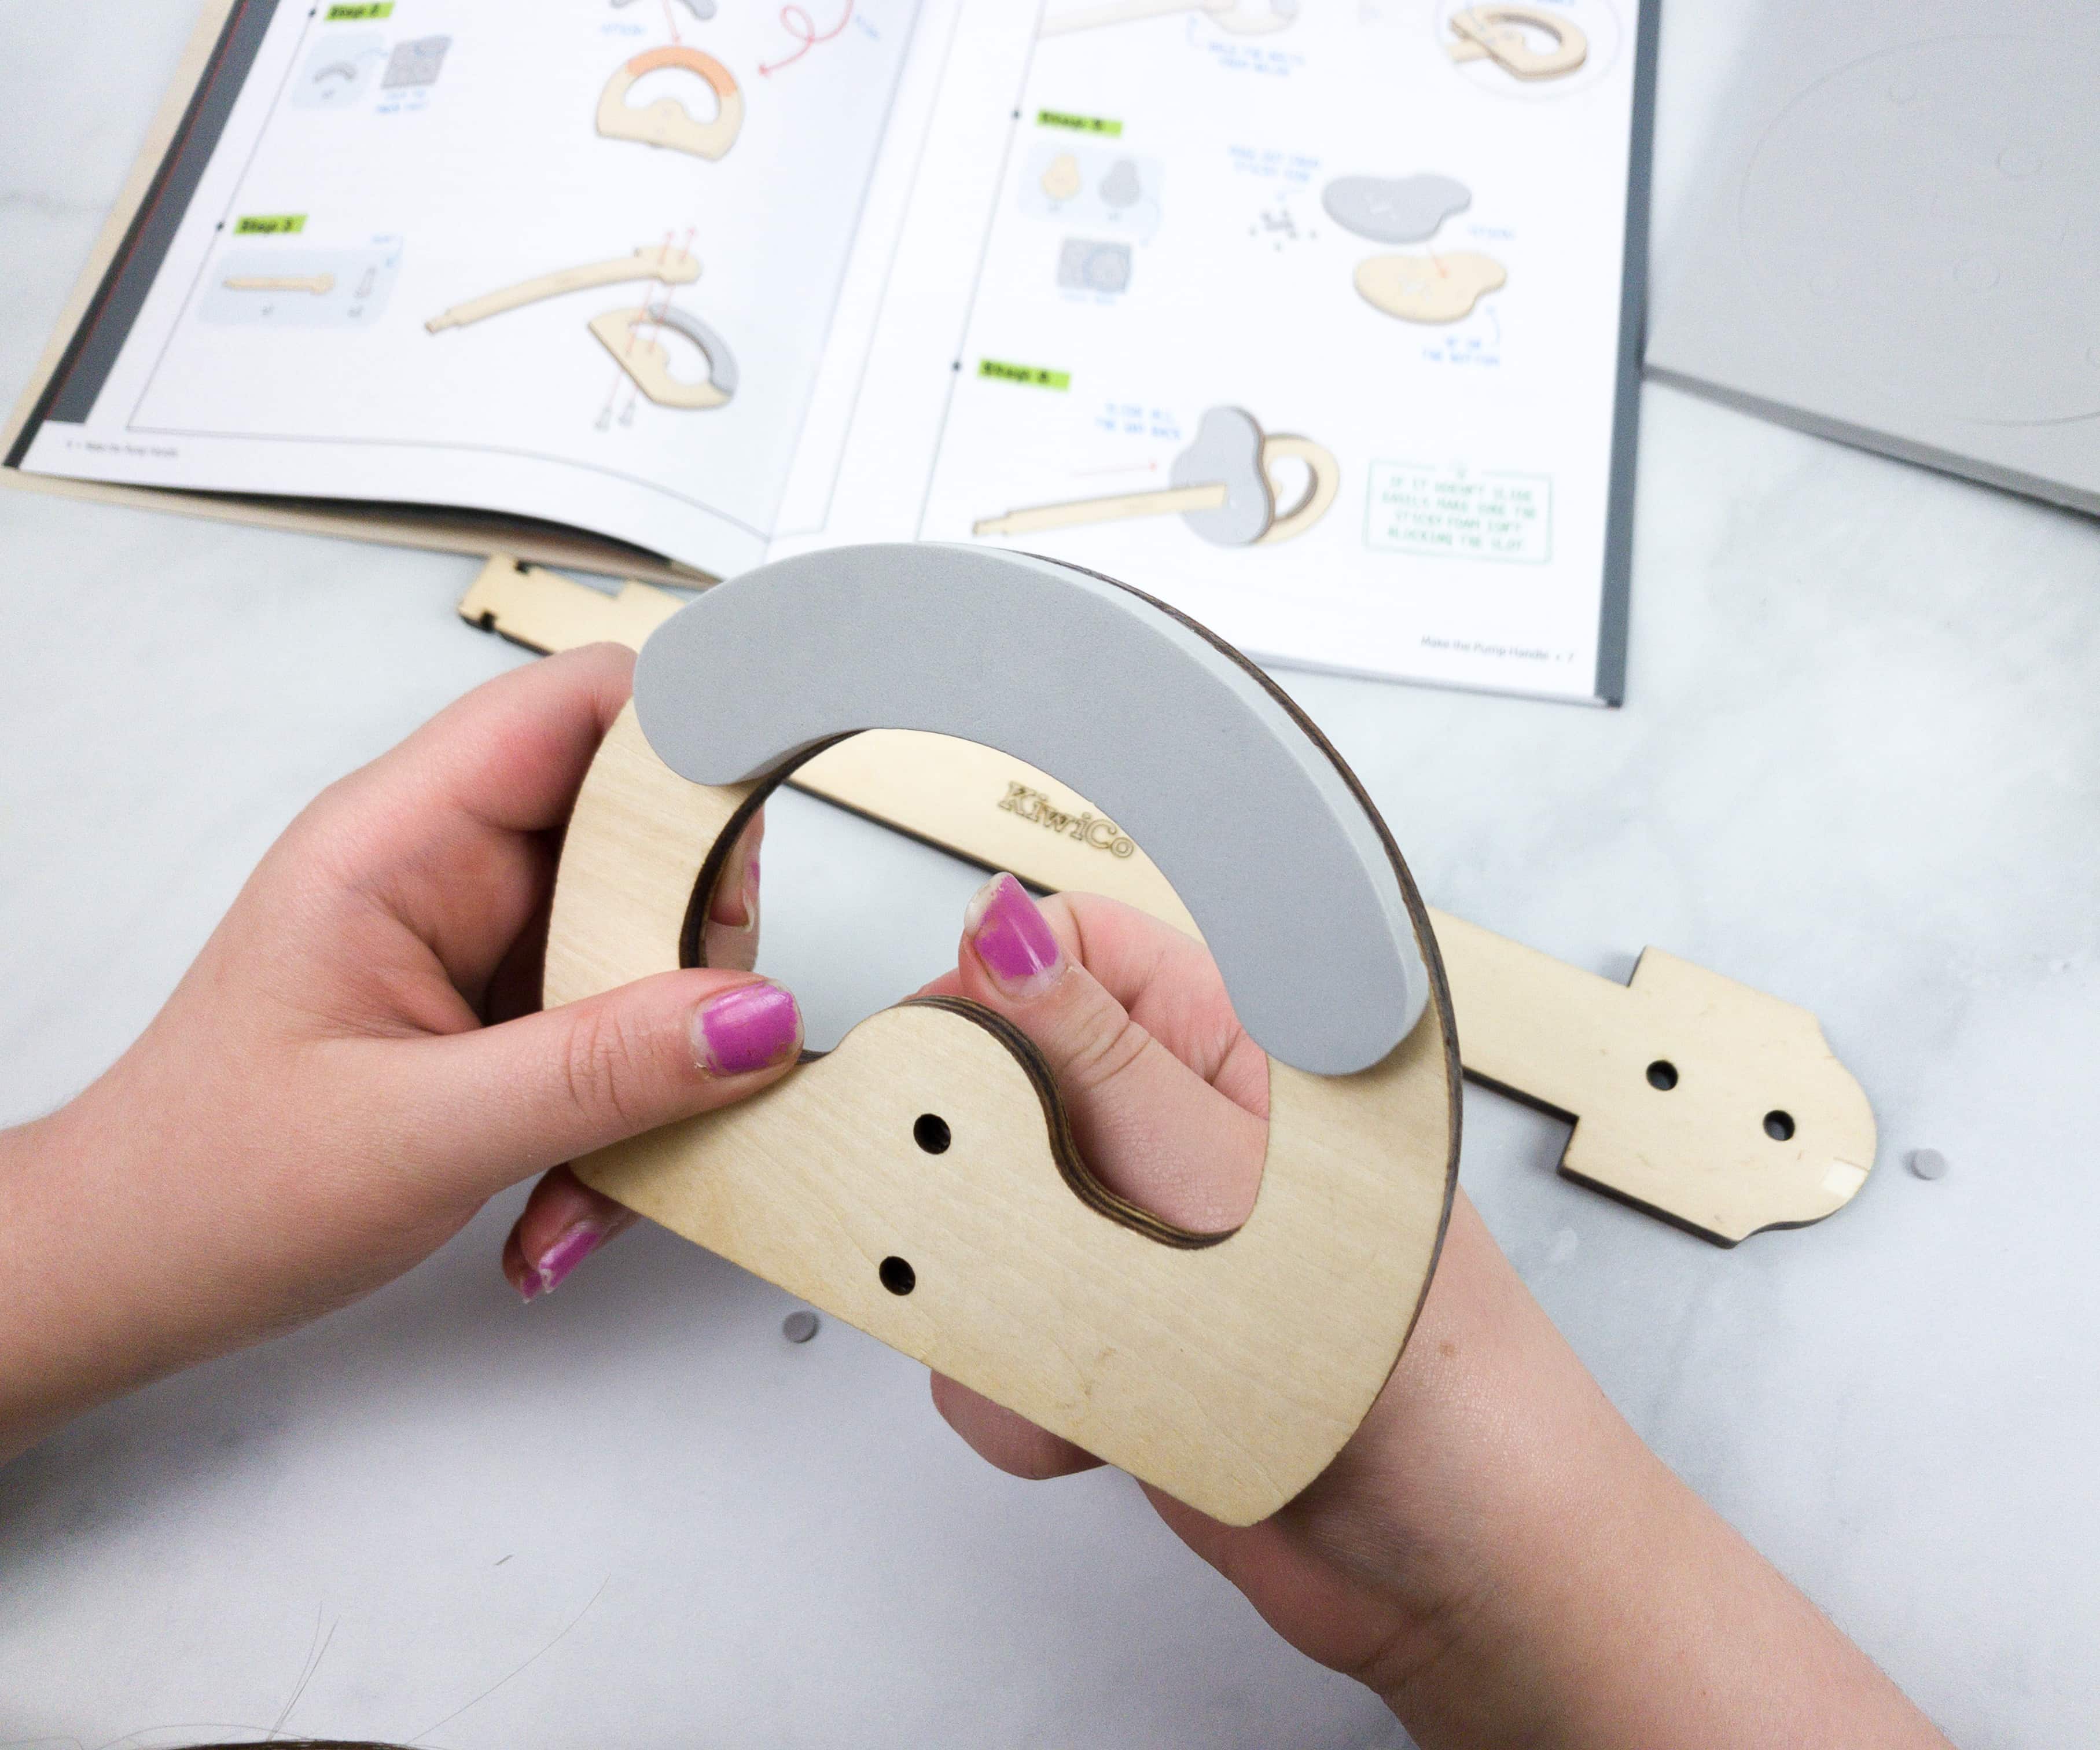
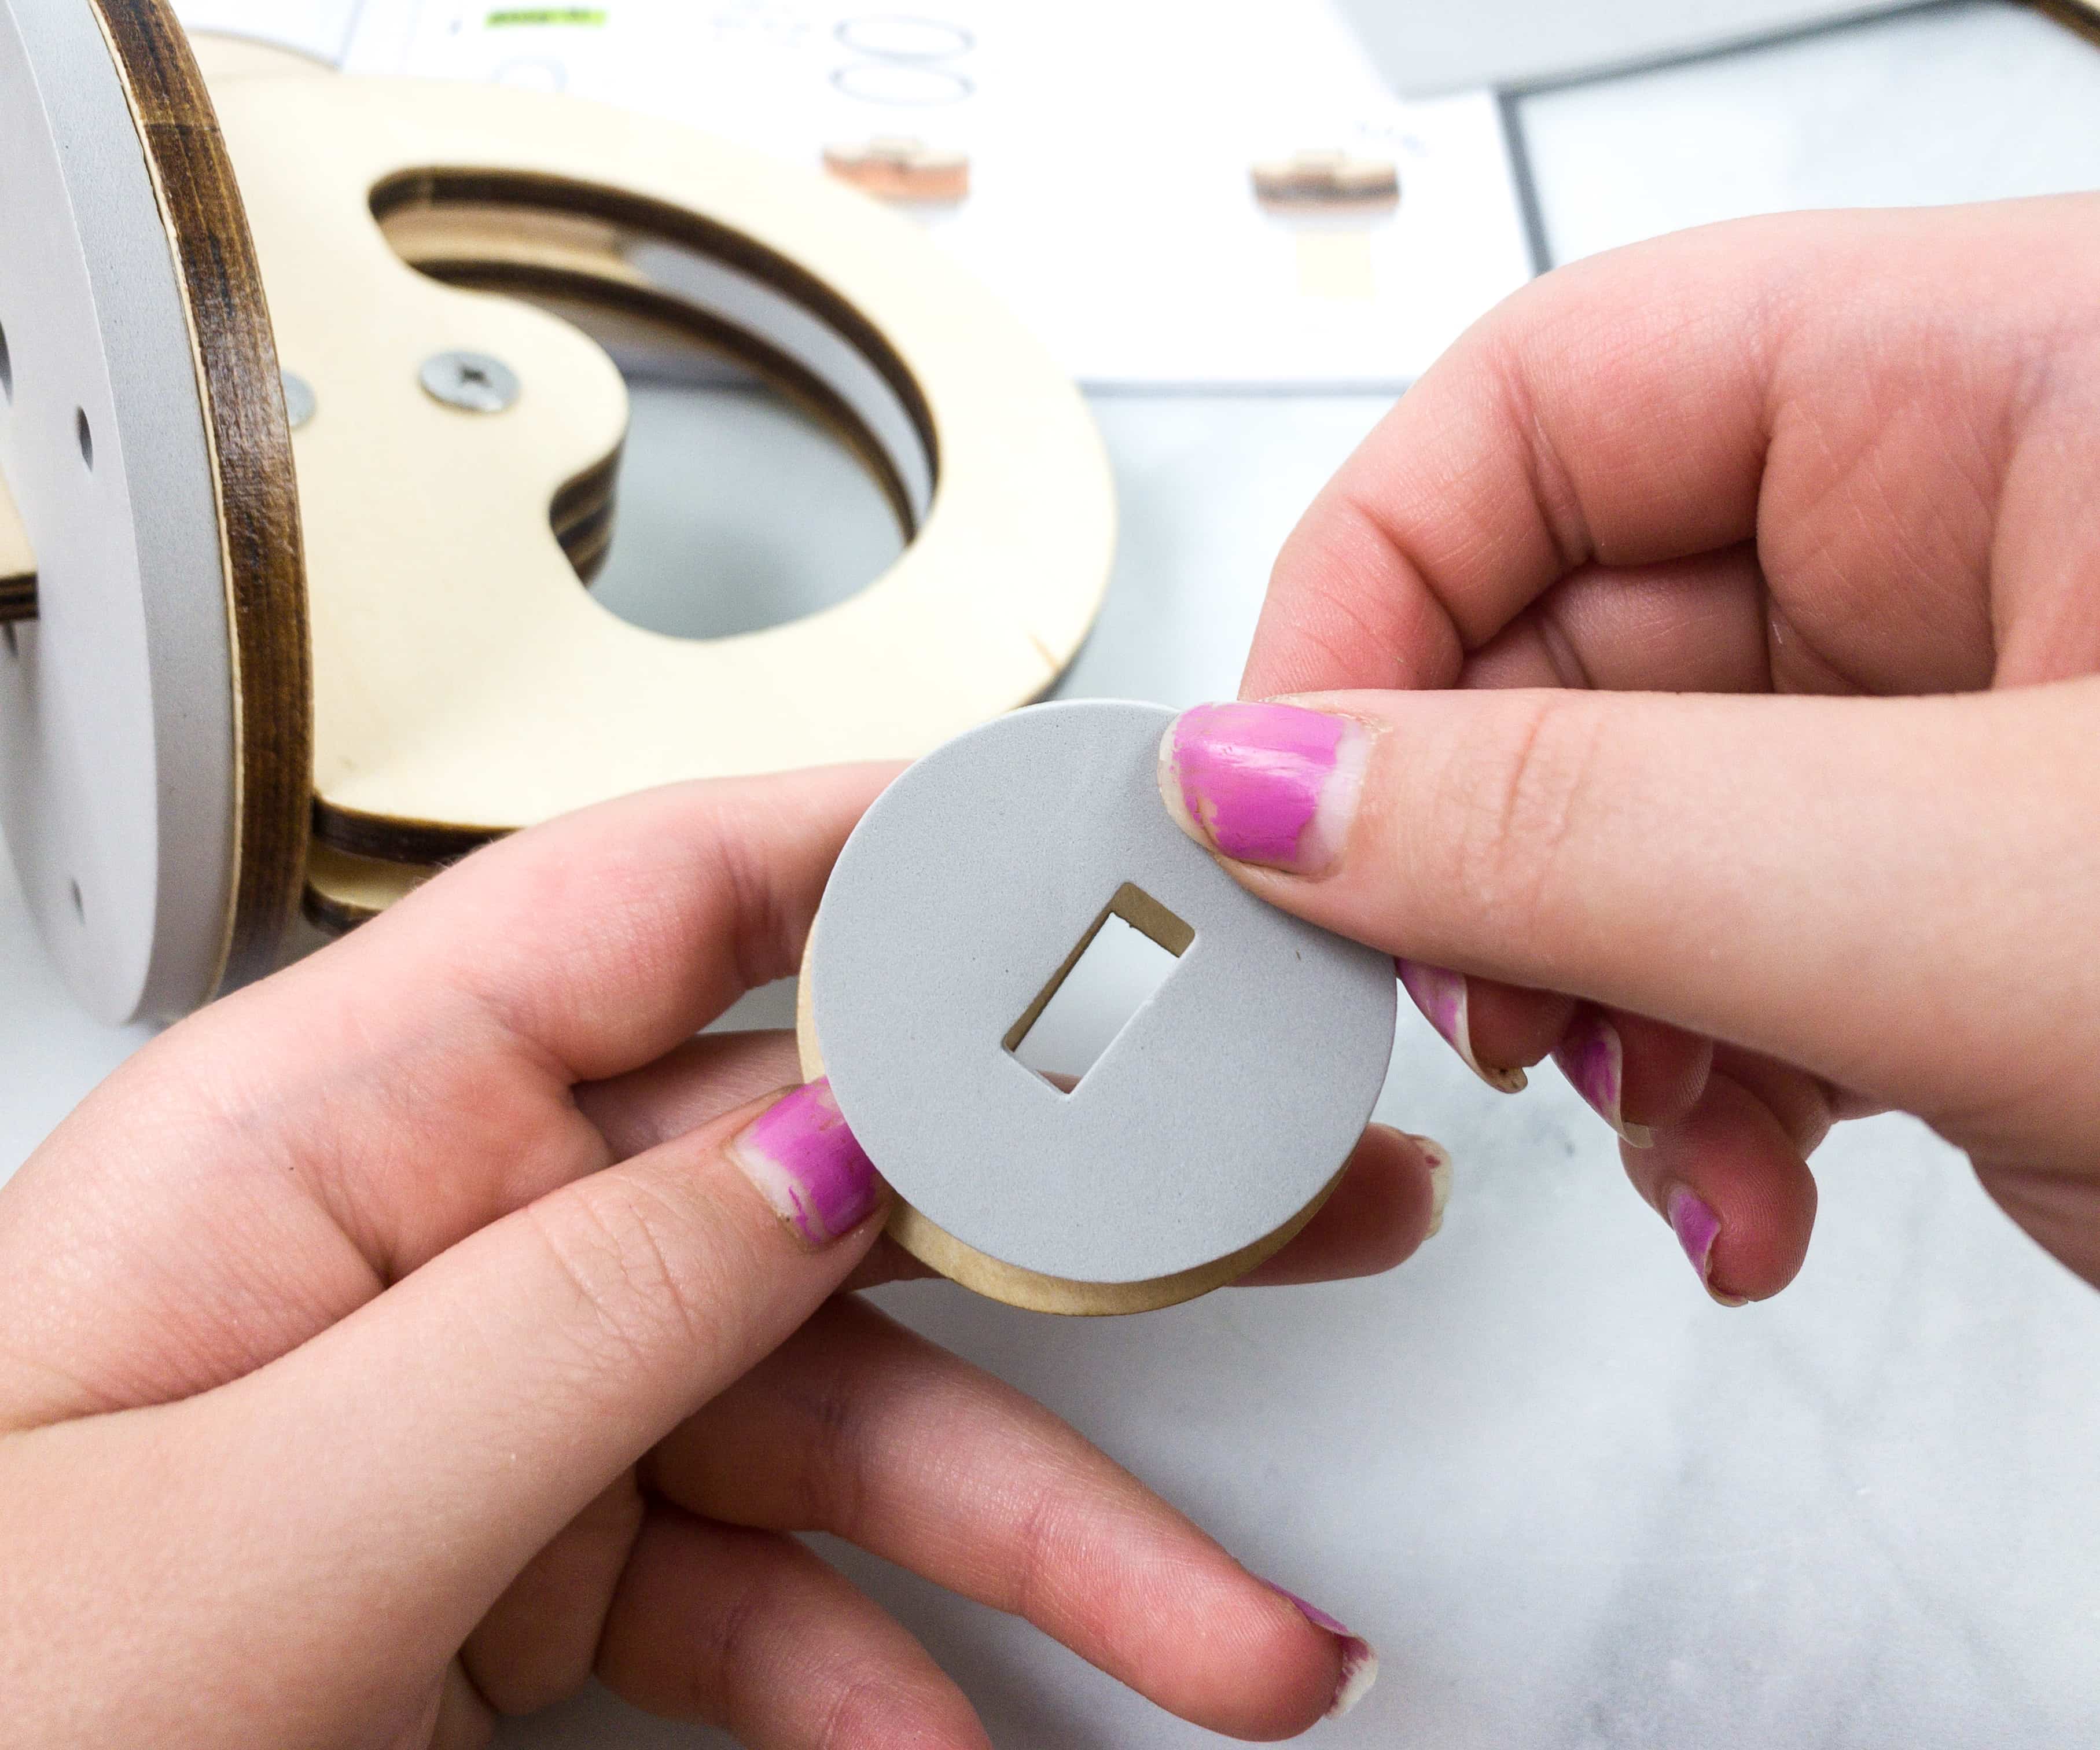
For the second part of the project, we built the pump frame. It is the one who holds in pounds of air pressure that you’ll be pumping.
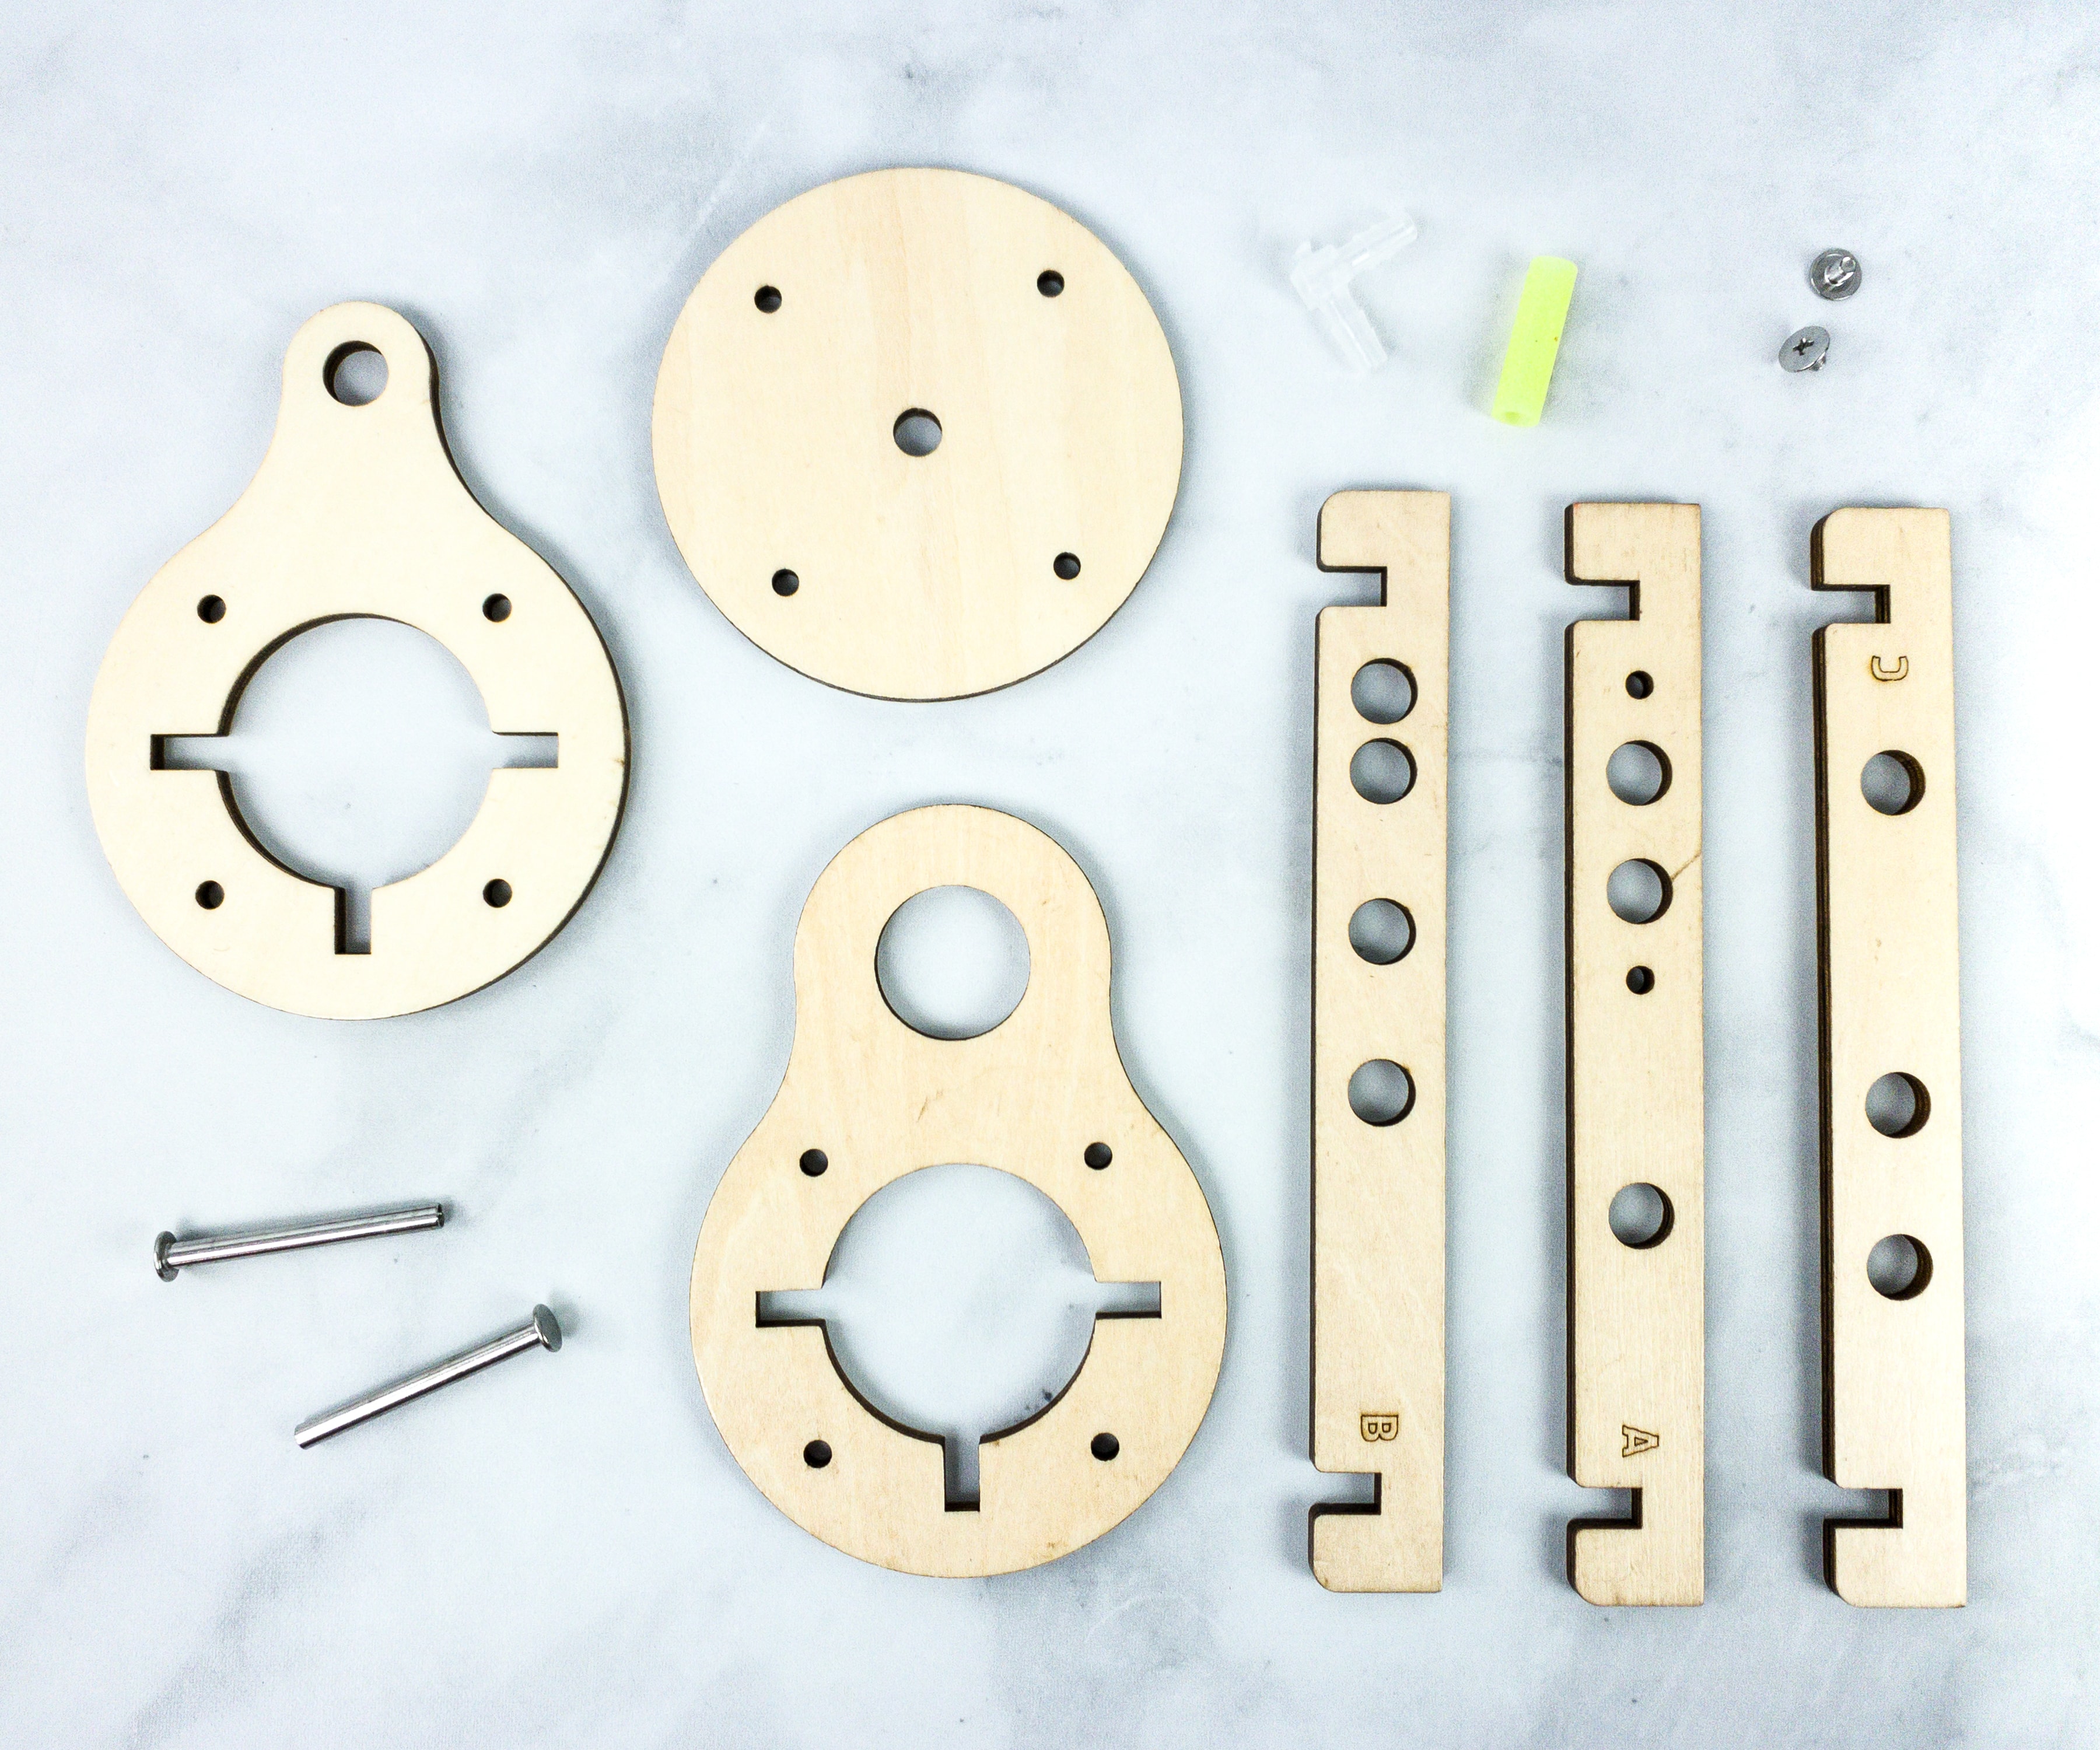
Just like the first part, we used a variety of wood sets, long barrel bolts, silicone tubes, and screws.
My daughter also used a lot of sticky foams to put the wood set together.
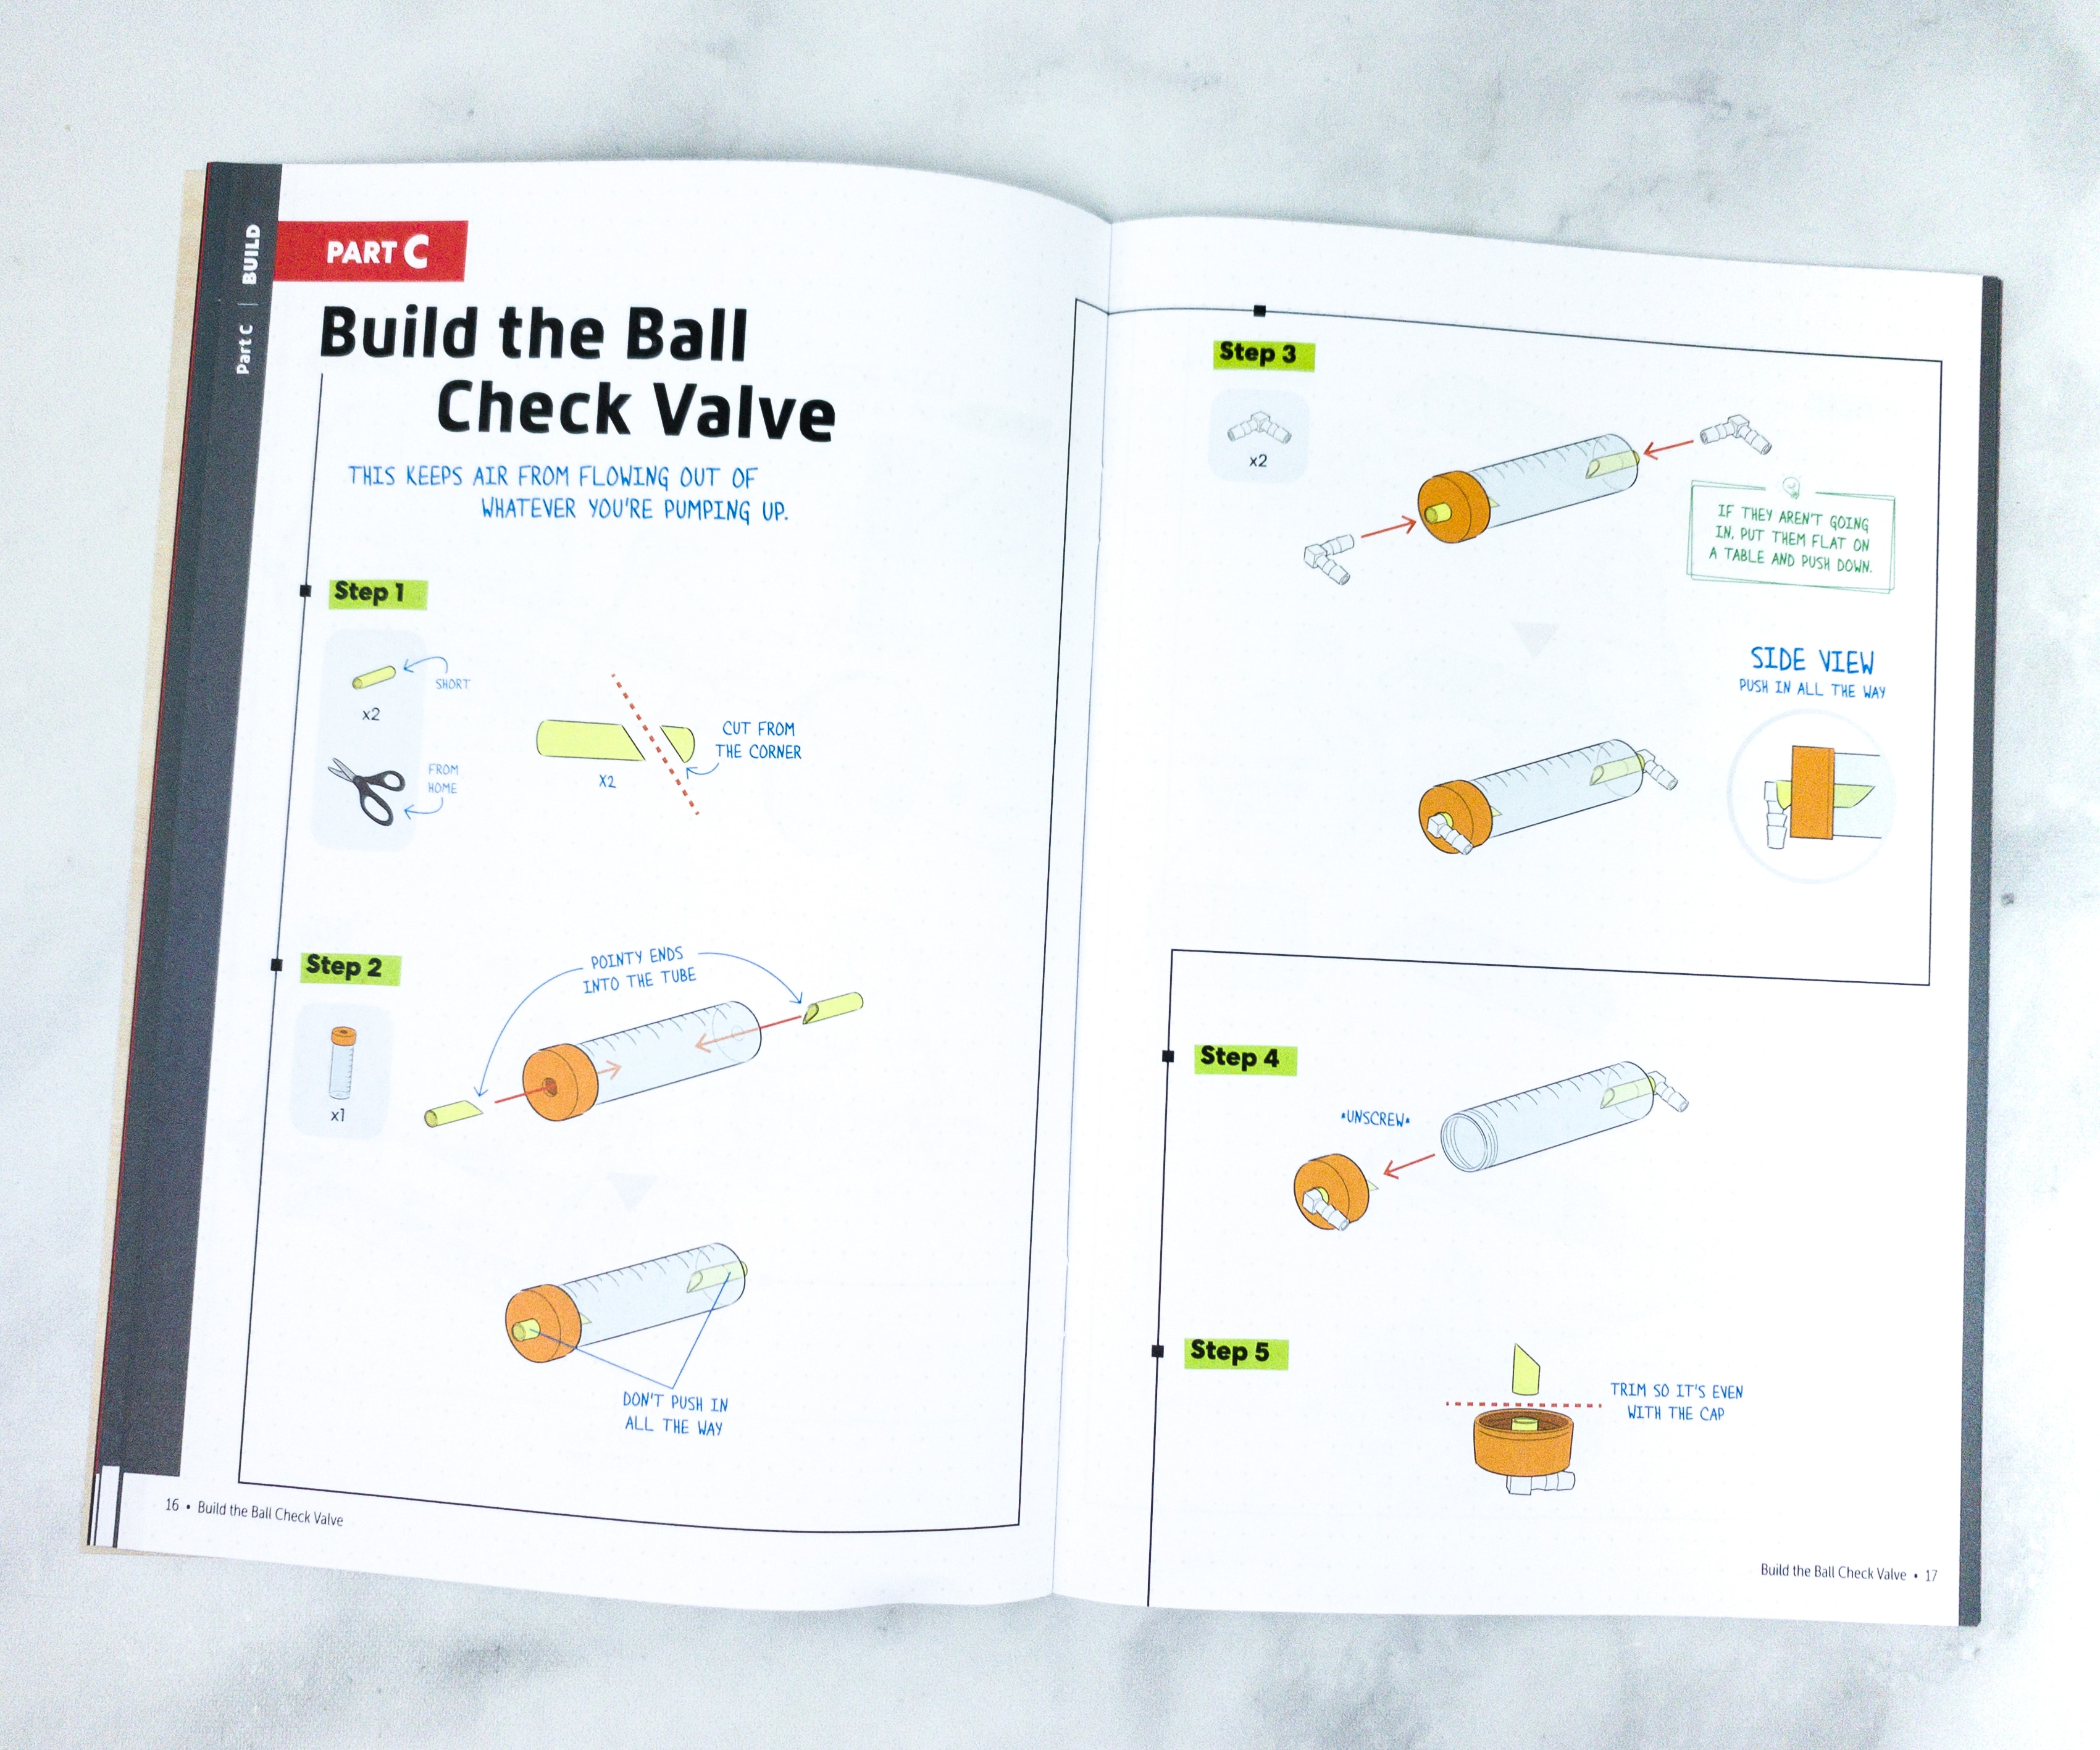
The third part of the project is building the check valve, and for that, we used a valve tube, elbow connector, large and small silicone tubes, and ball.

Using these pieces, you can keep the air from continuously flowing out of whatever you’re pumping up.
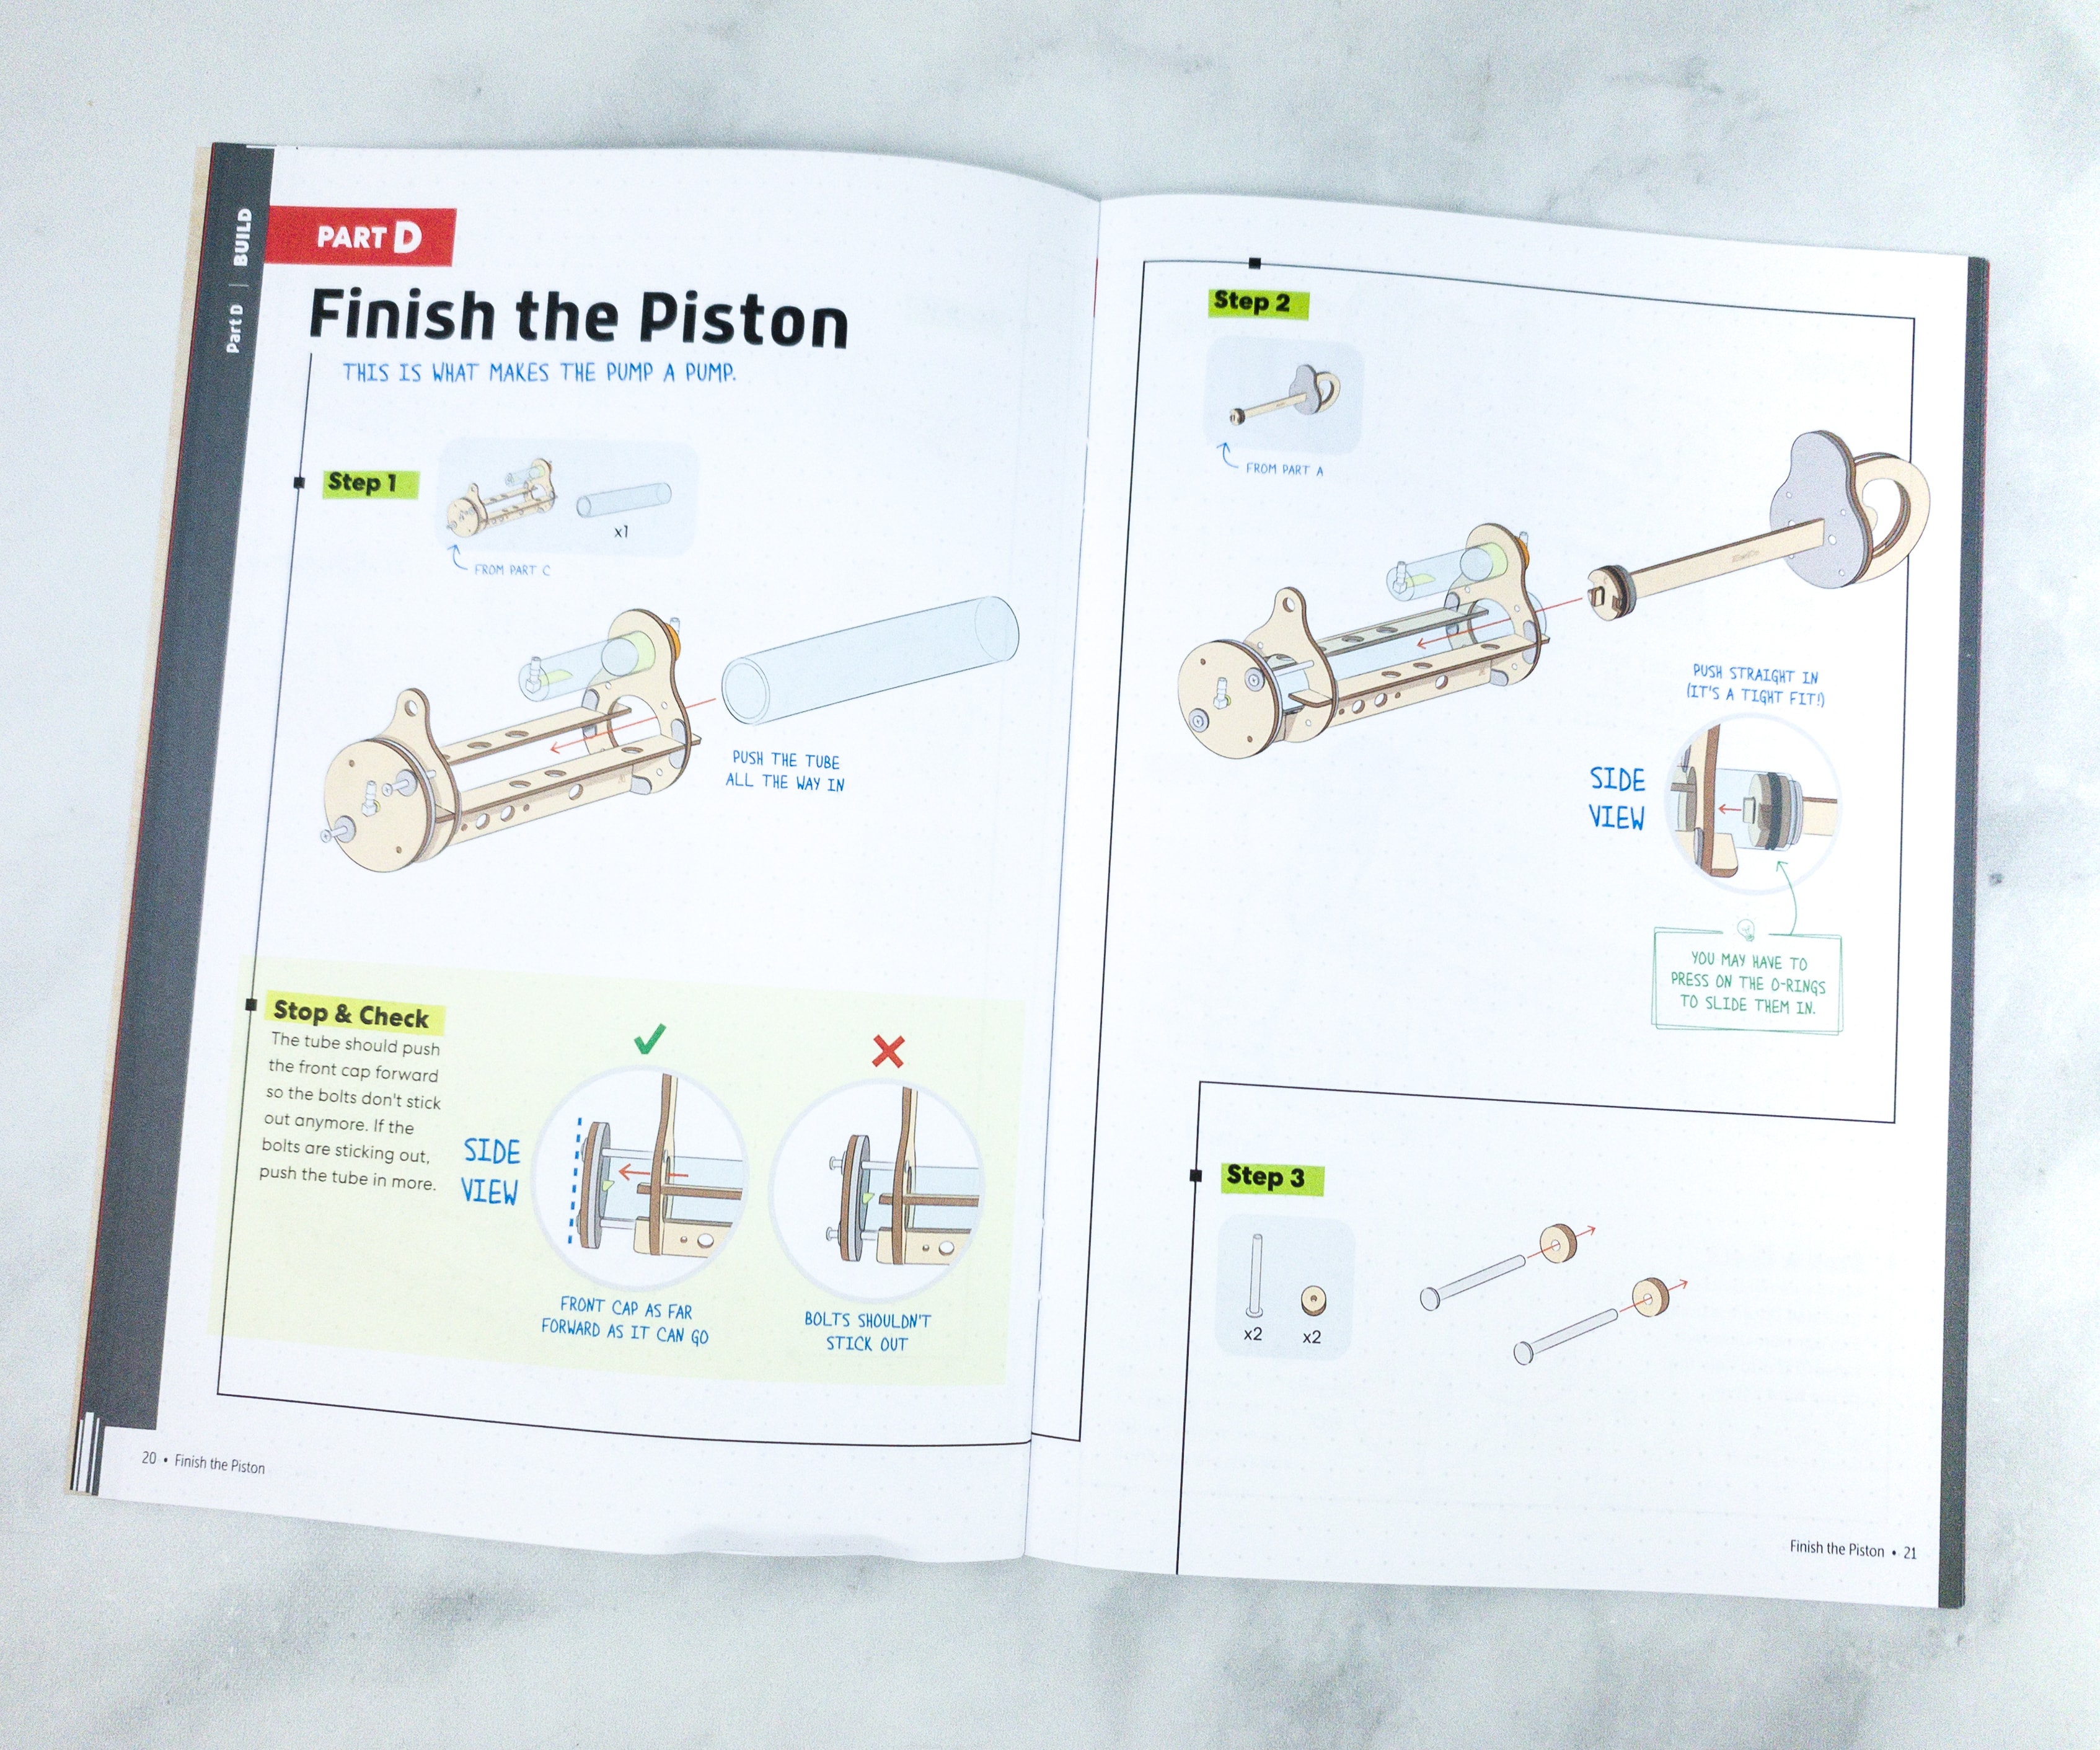
The fifth part of the project is what makes the pump a pump.
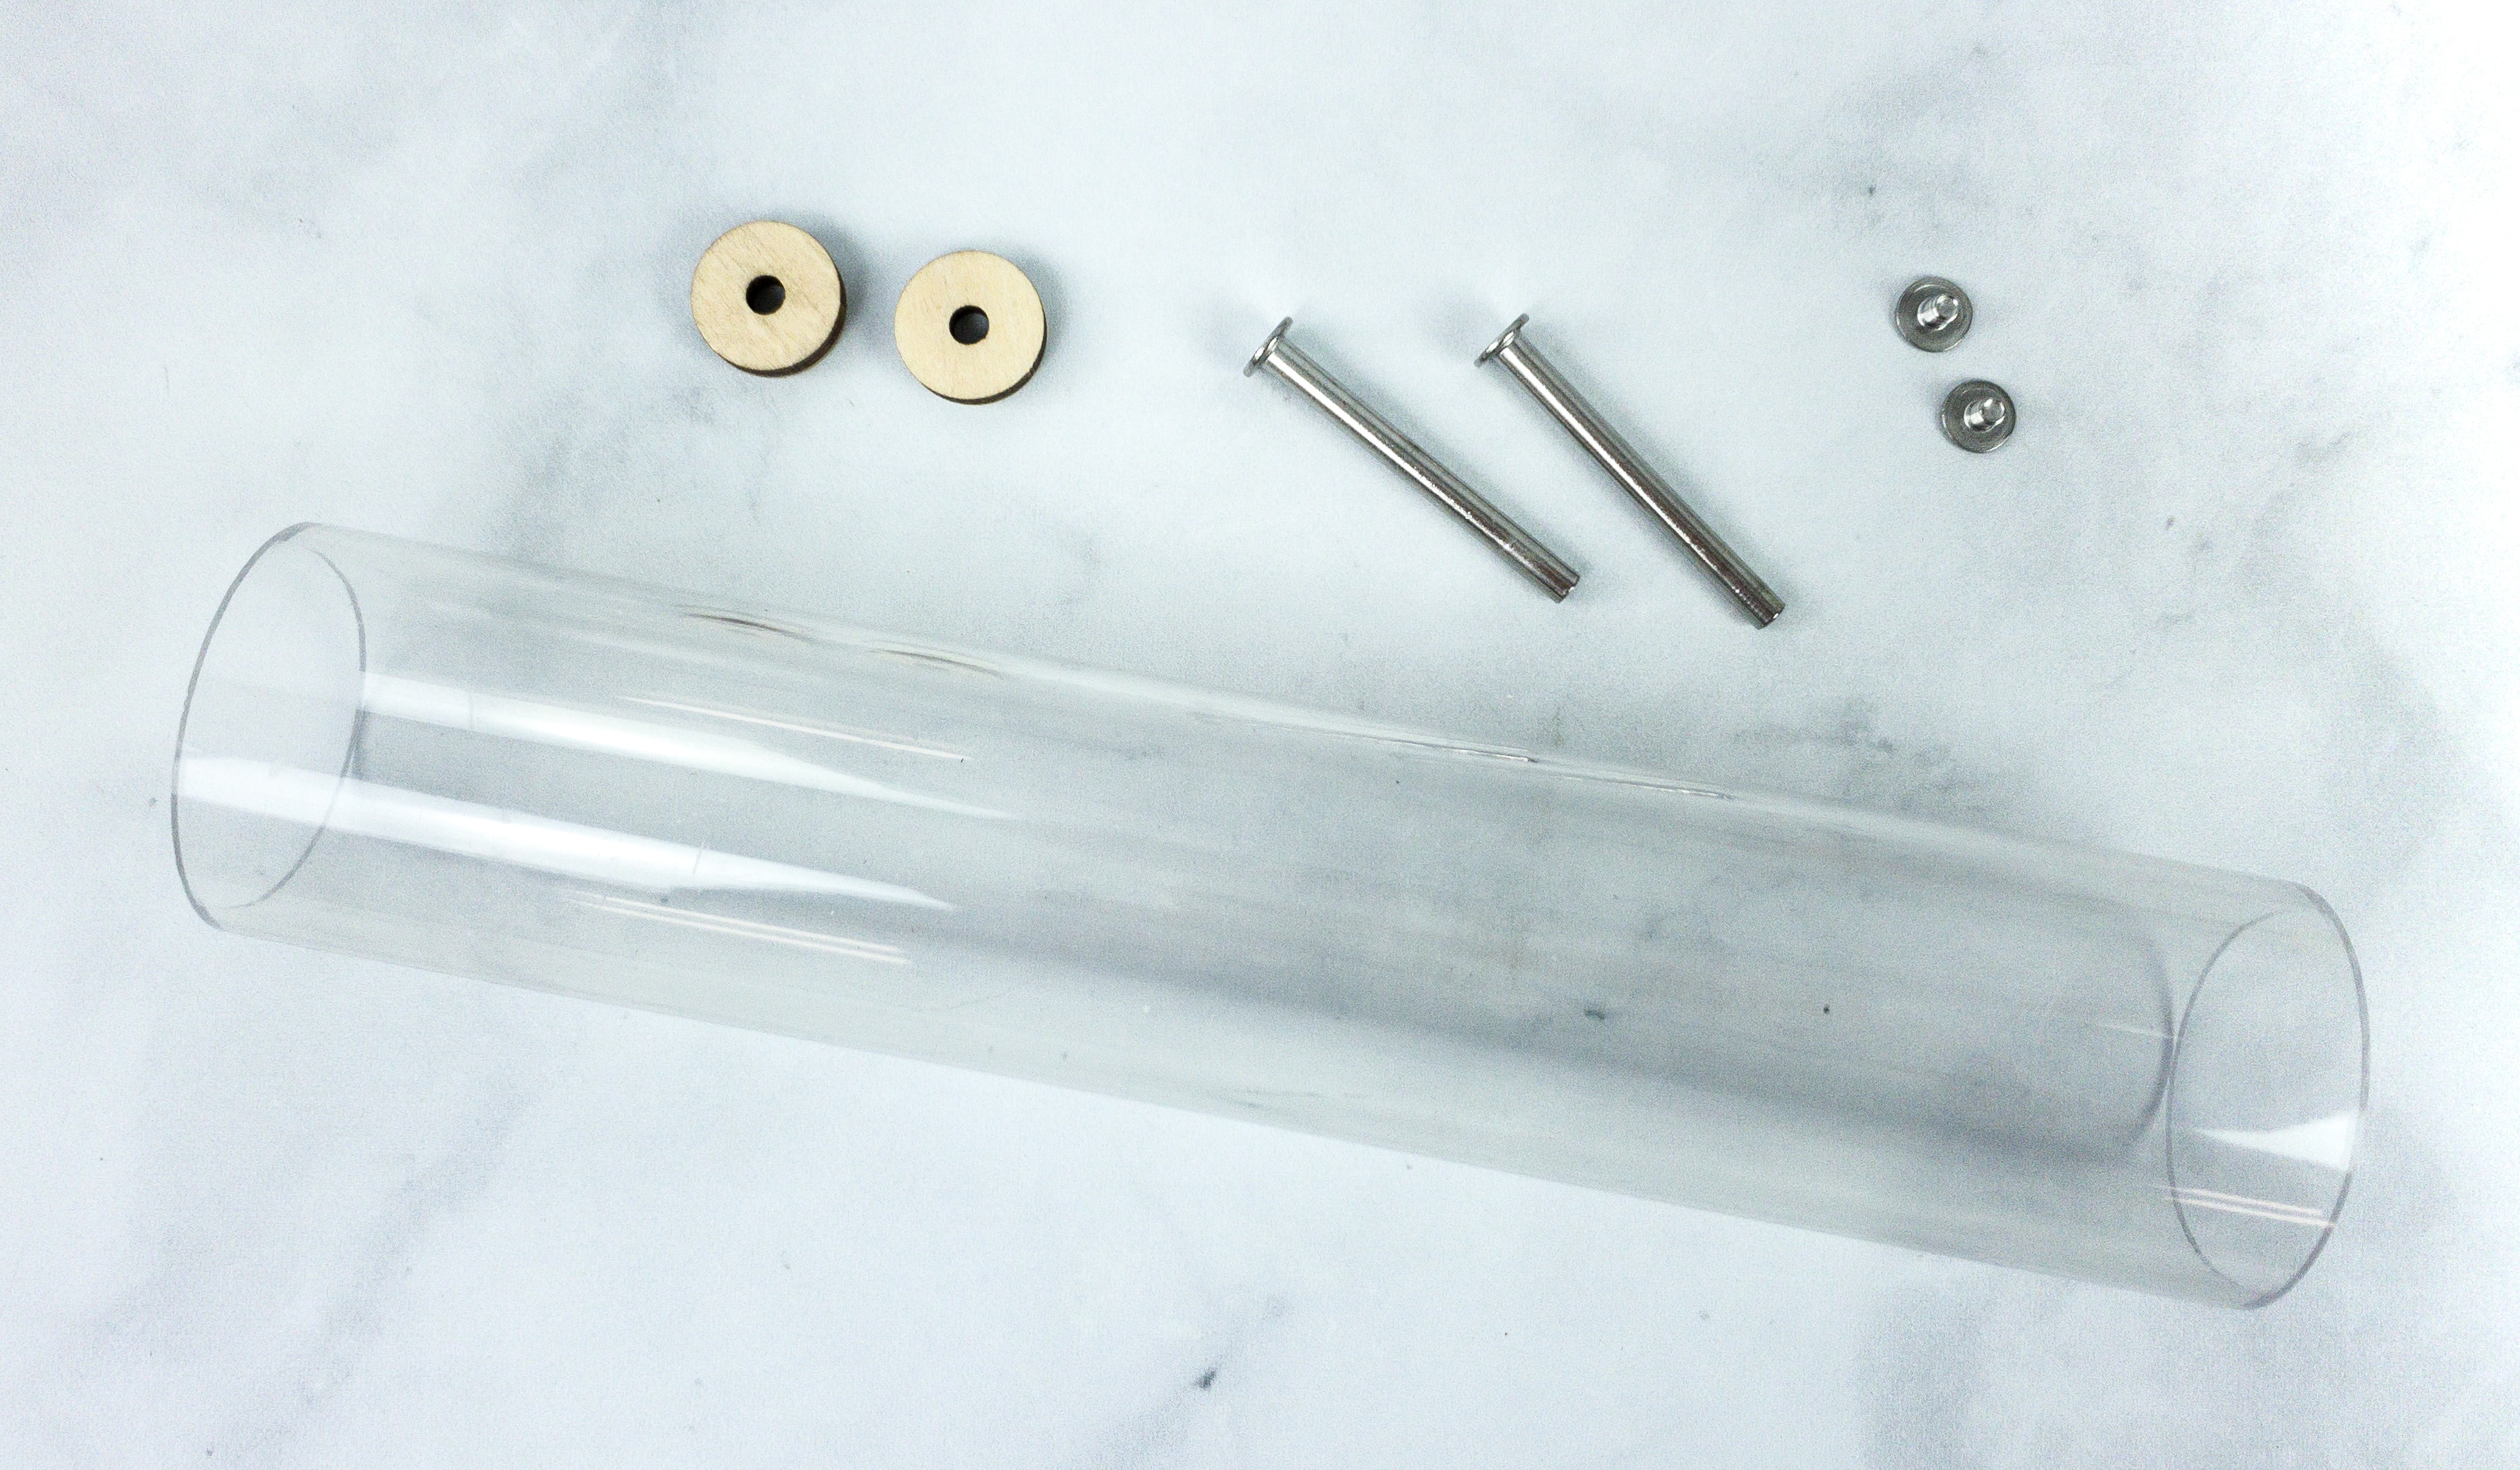
For this part, we used the completed pump frame, pump handle, and check valve. We also used long barrel bolts, screws, and piston tube.
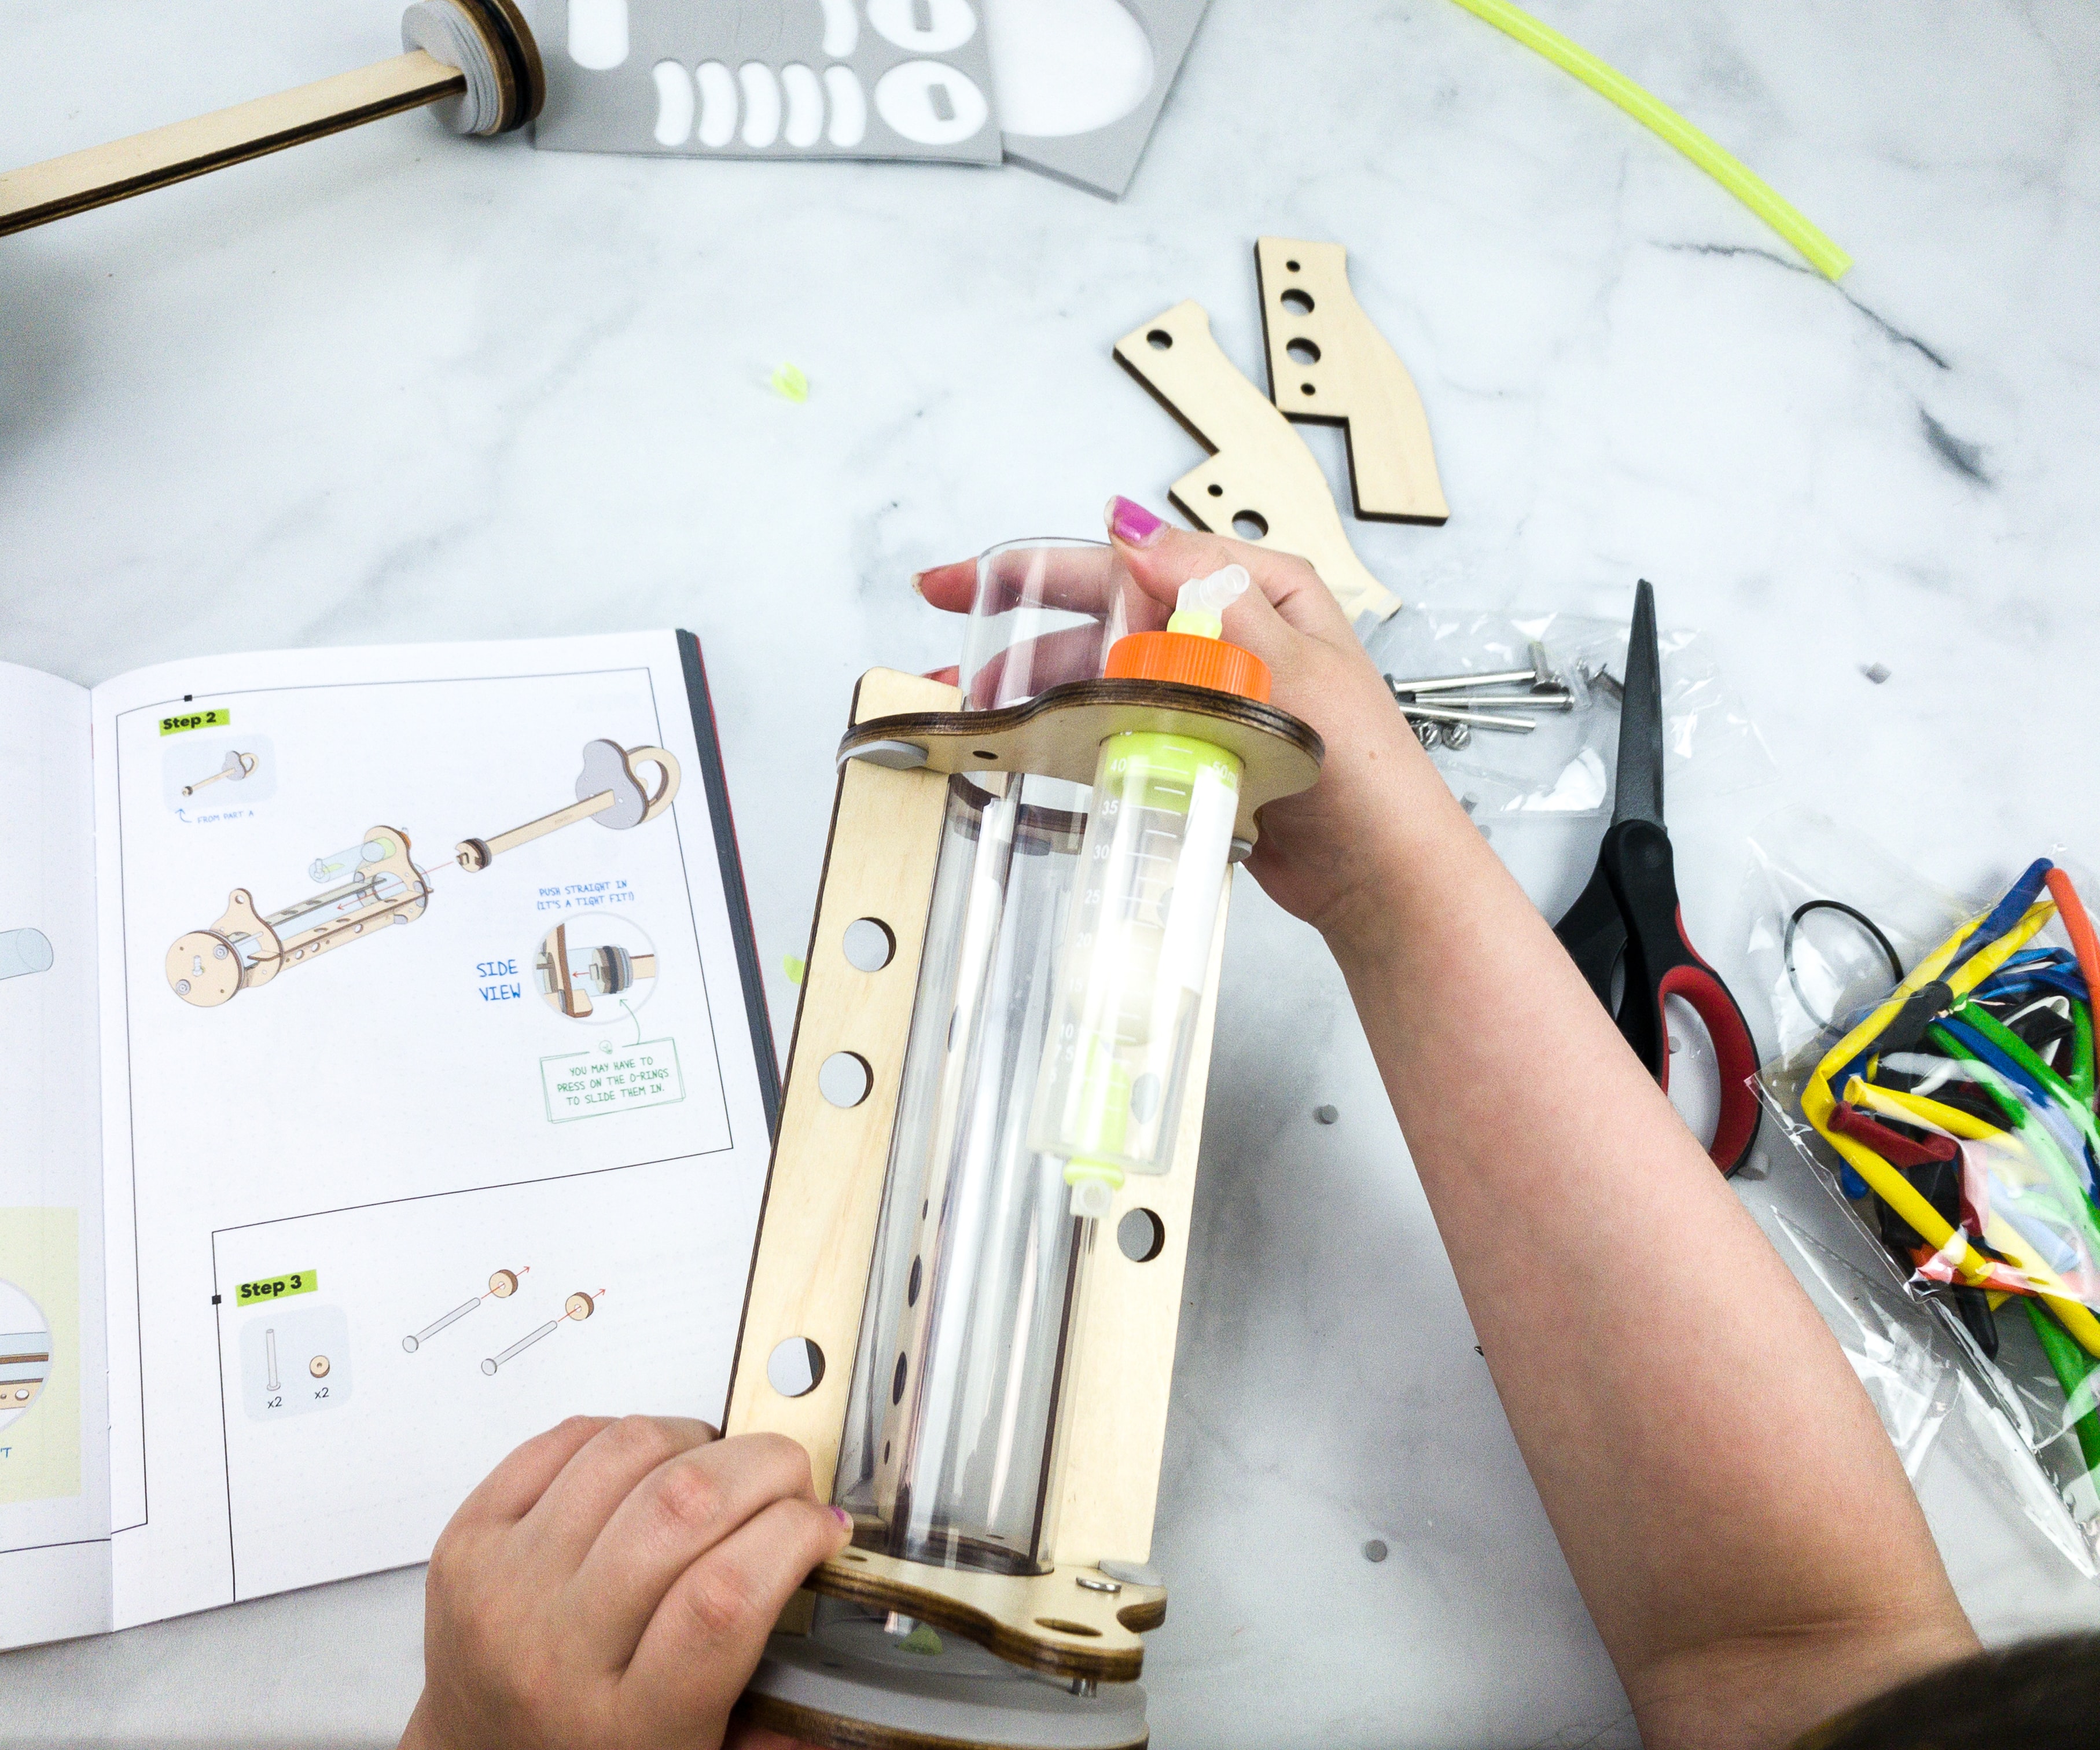
At first, it looks a little complicated, but as my daughter assembled it, we realized that all she just needs to do is just slide the piston tube and the check valve on the pump frame and lock it using the pump handle.
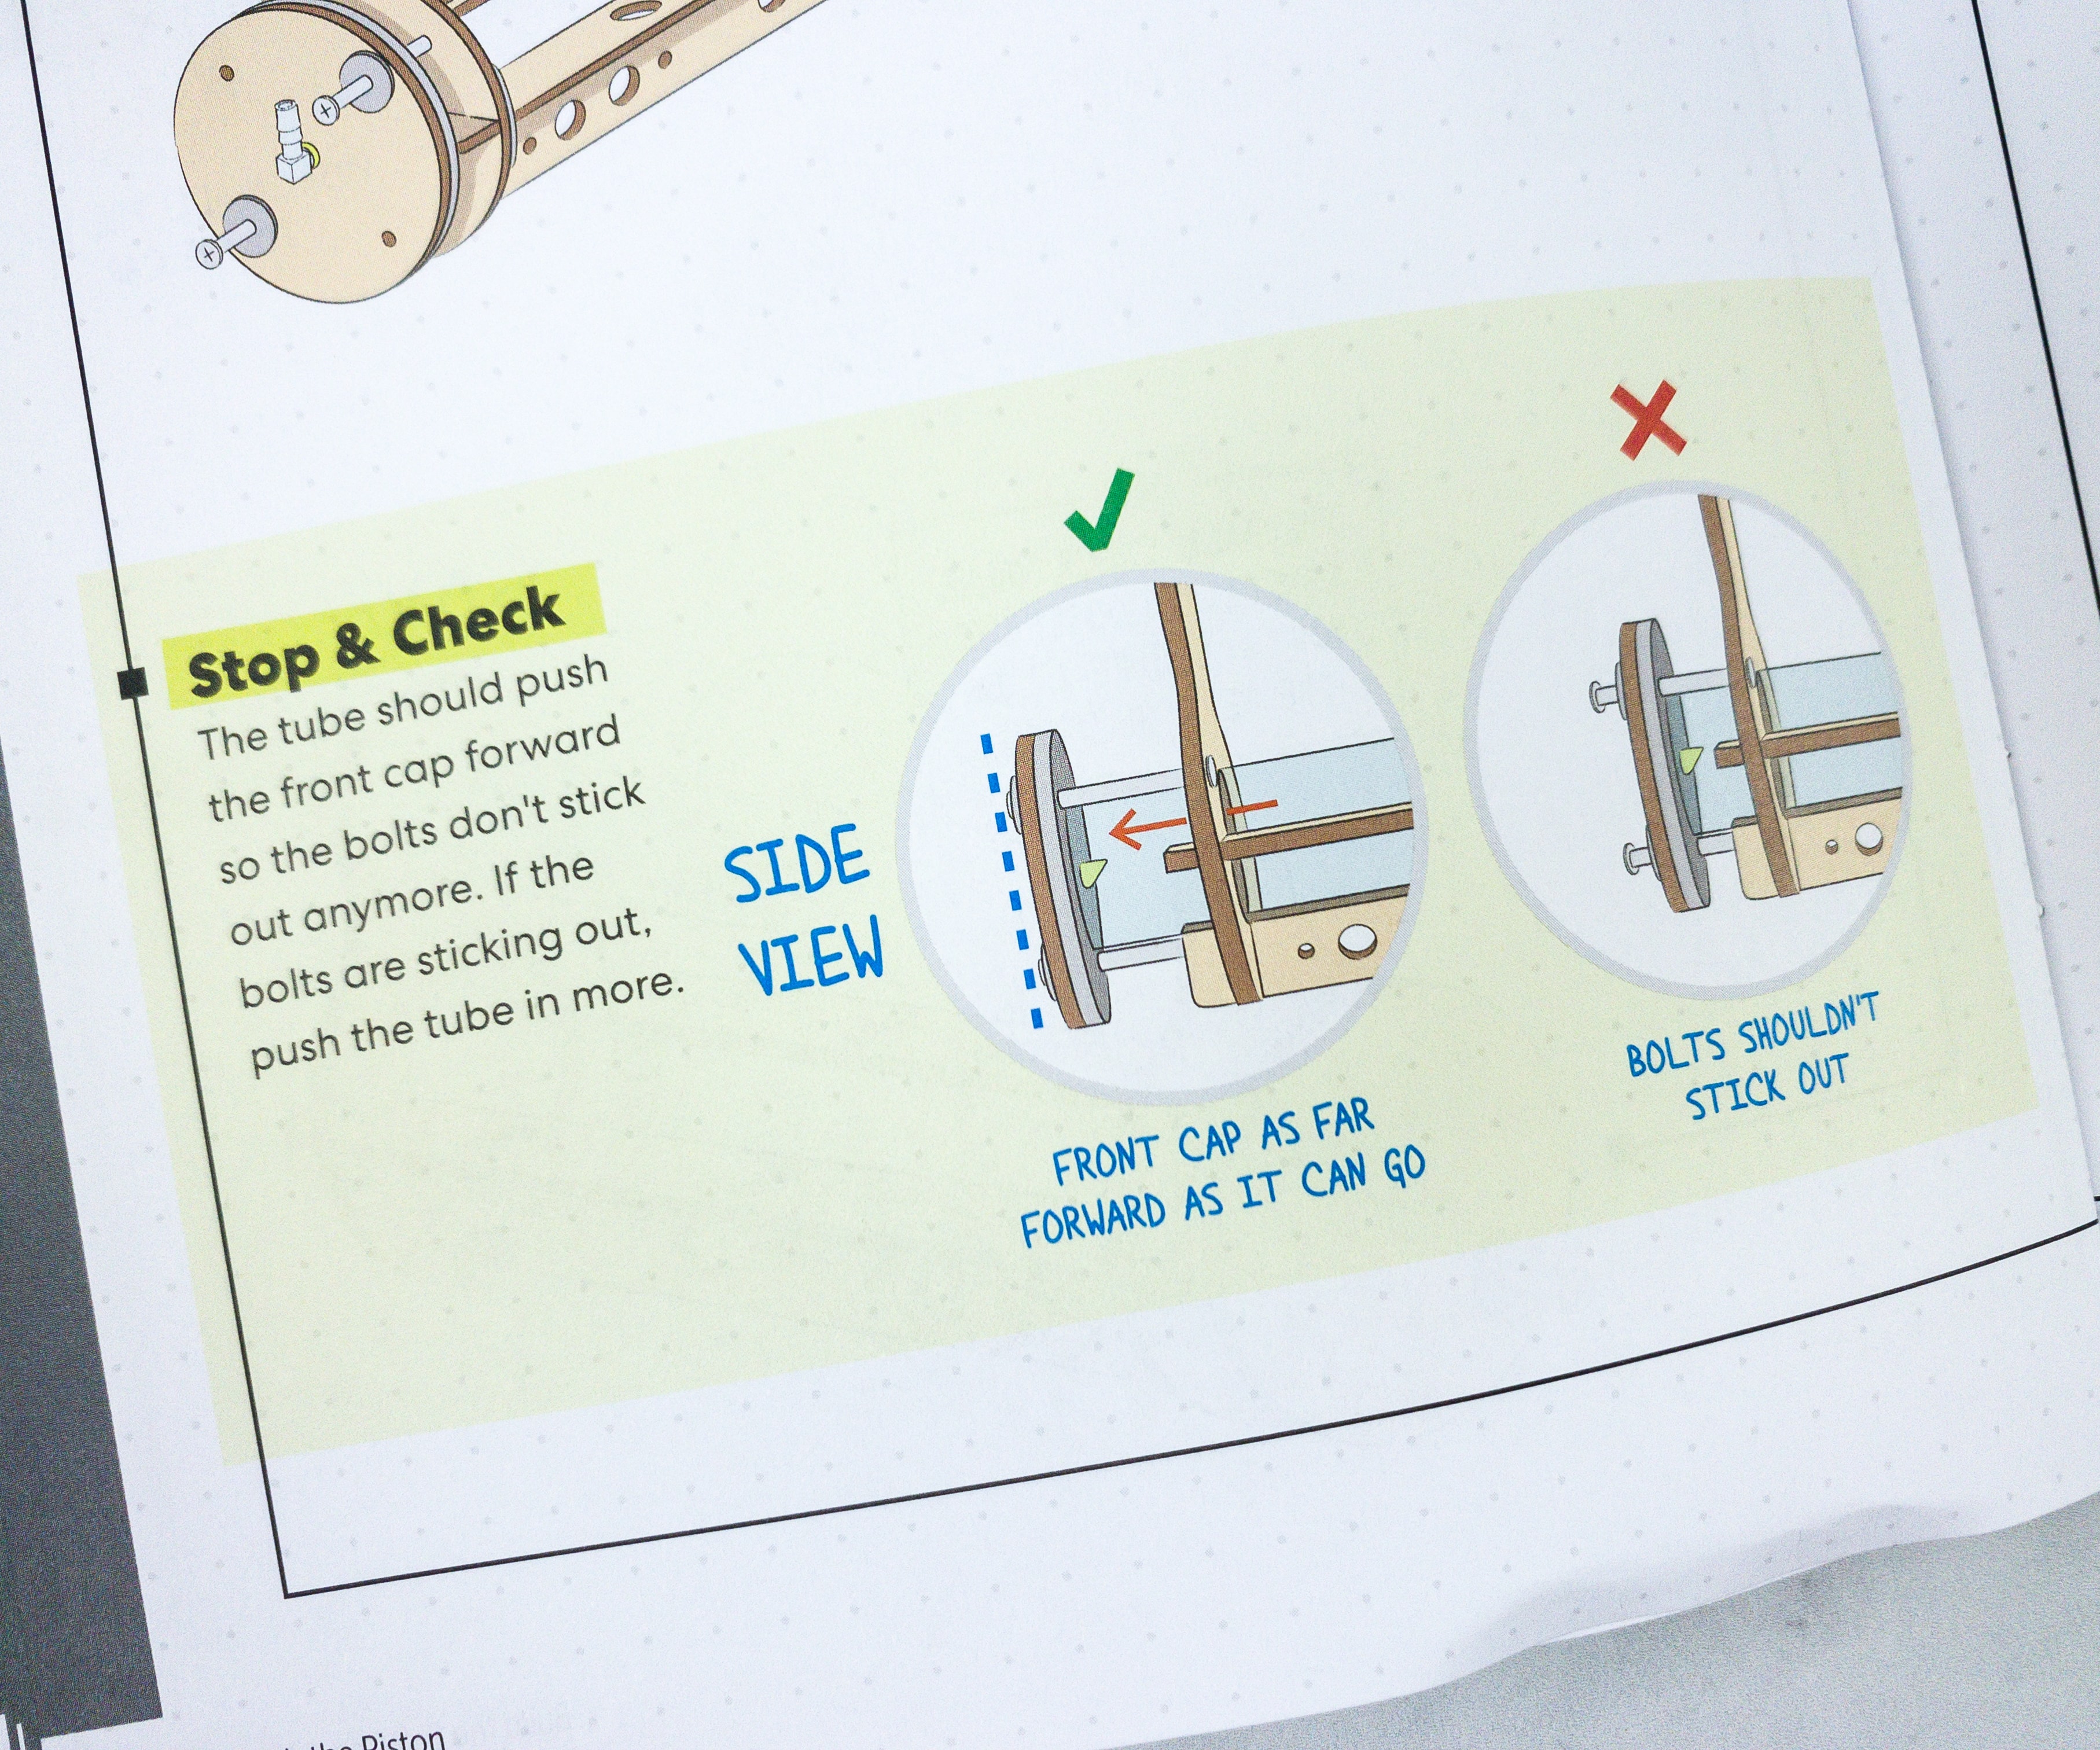
For the stop and check portion, we need to make sure that the tube pushes the front cap forward, so the bolts don’t stick out. If the bolts are still sticking out, then push the tube in more.
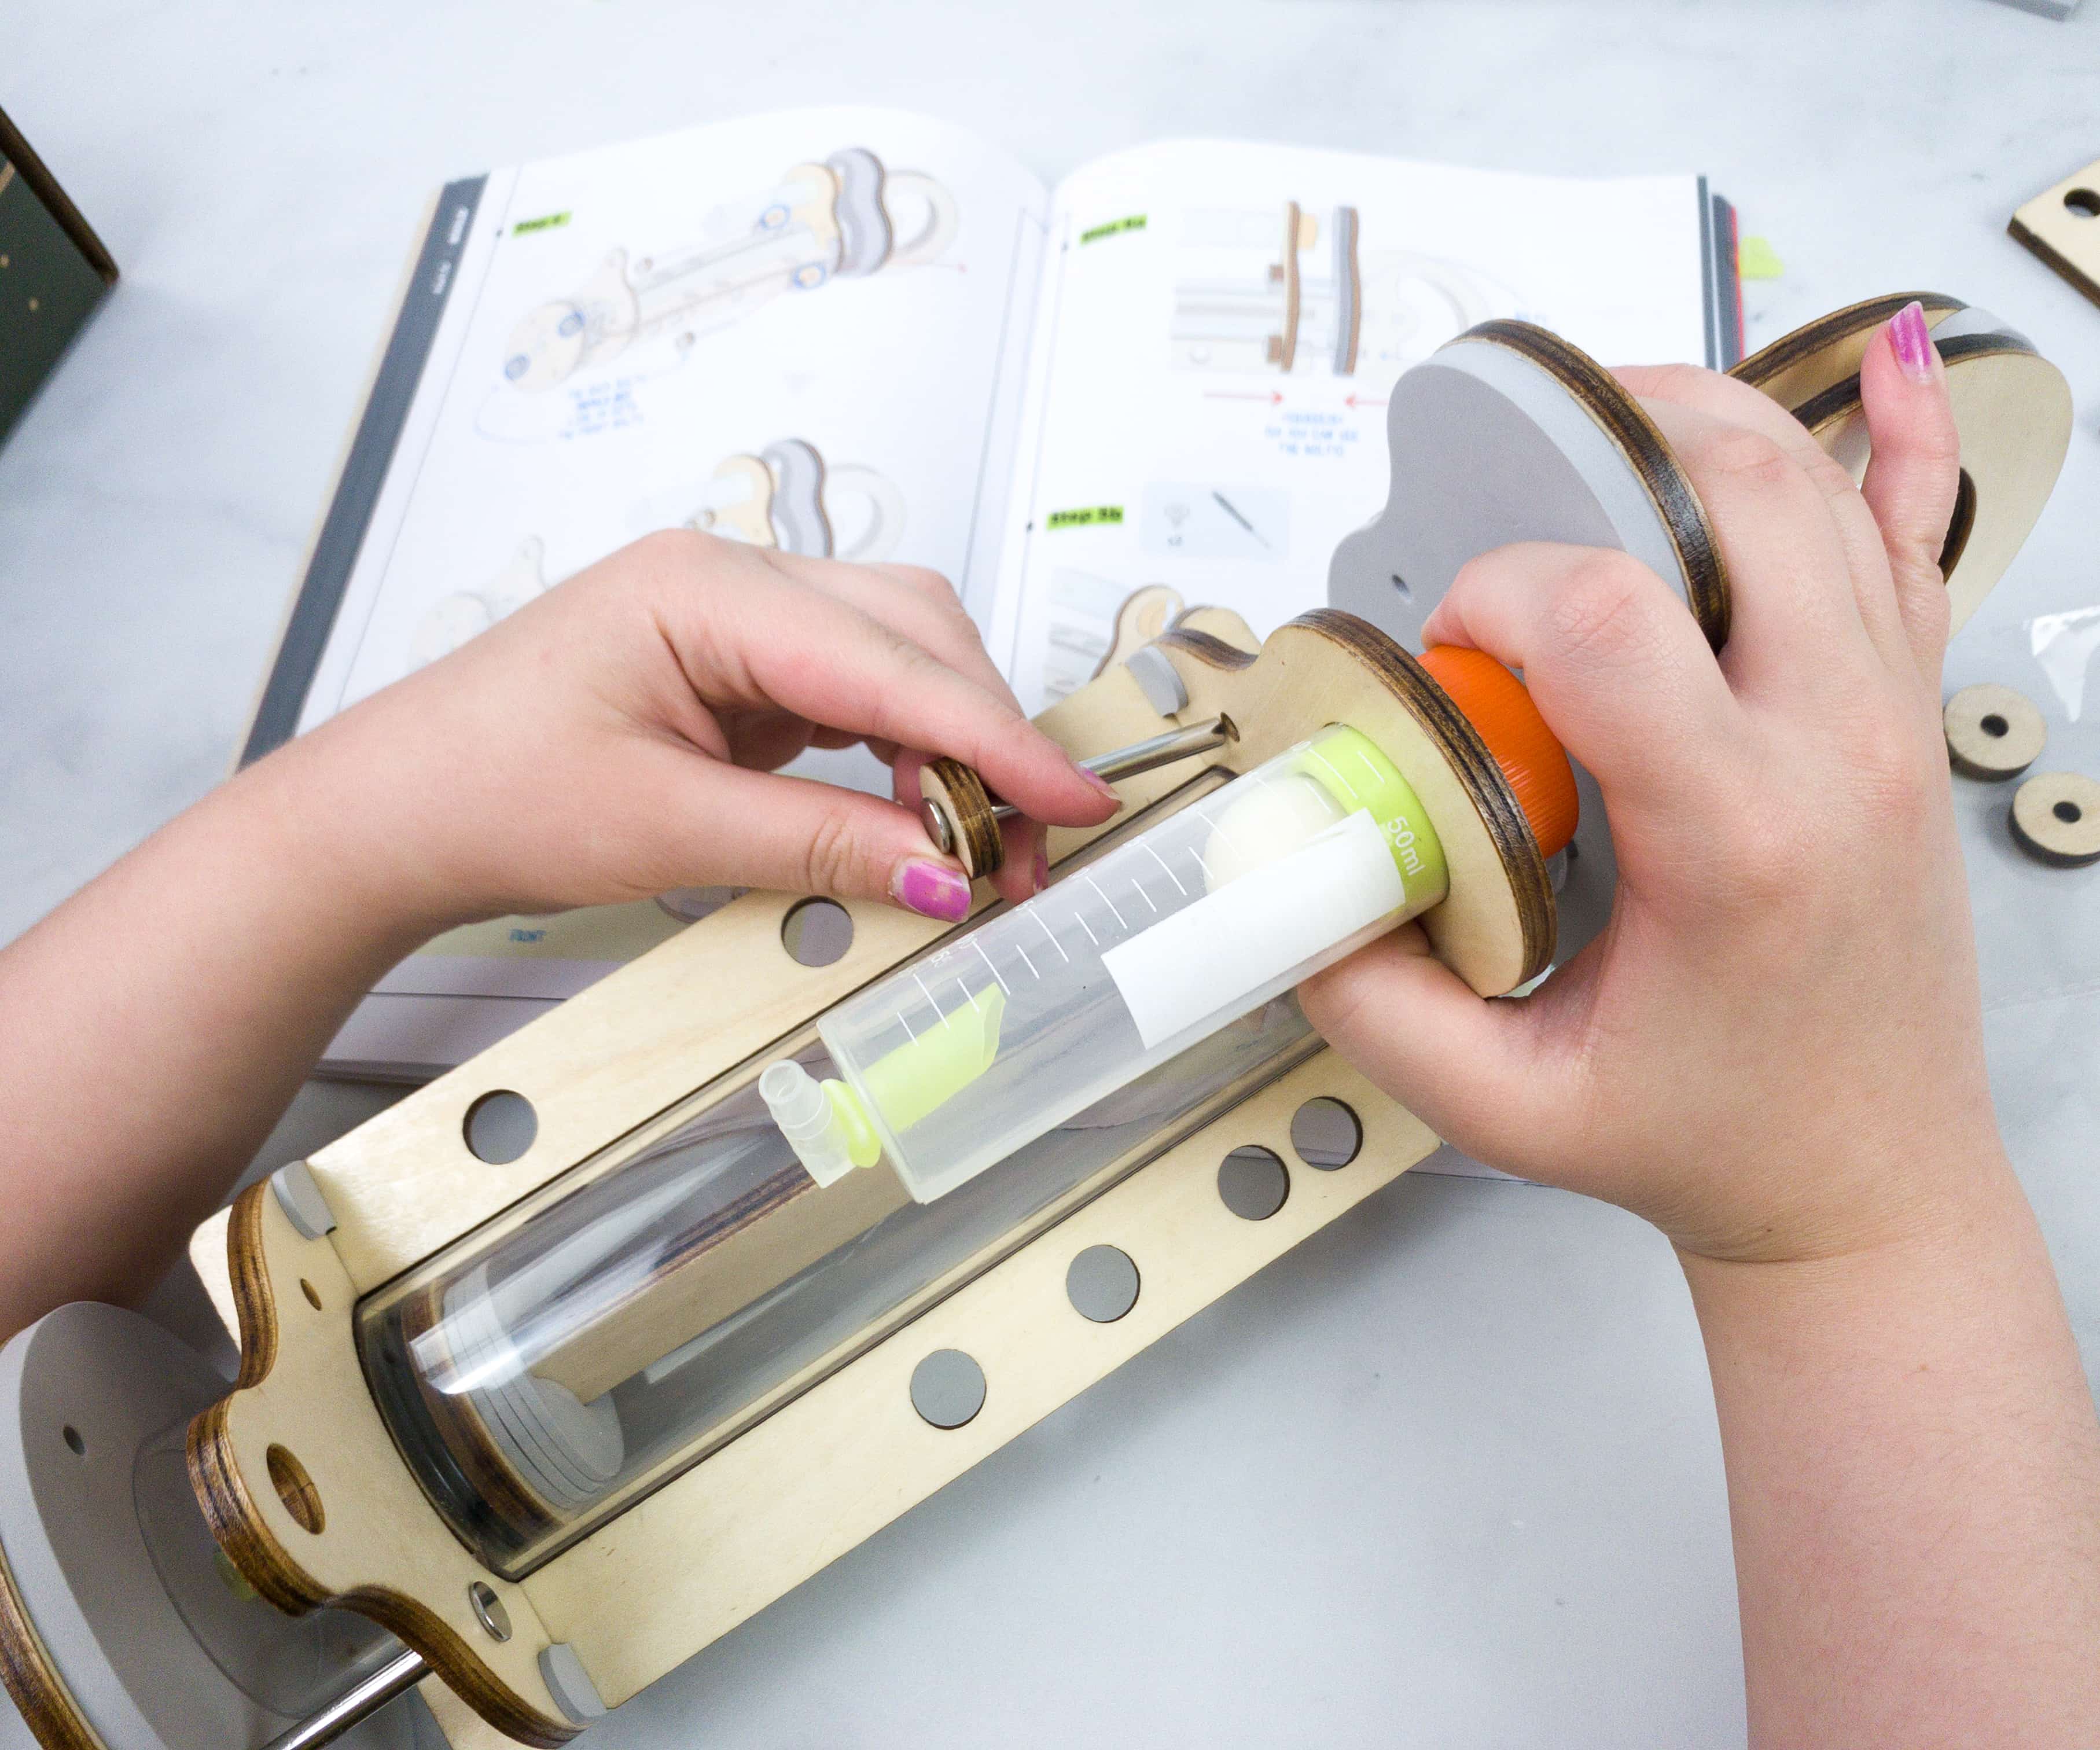
Once you ensure that every bolt is not sticking out anymore, slightly tighten them using the screws.
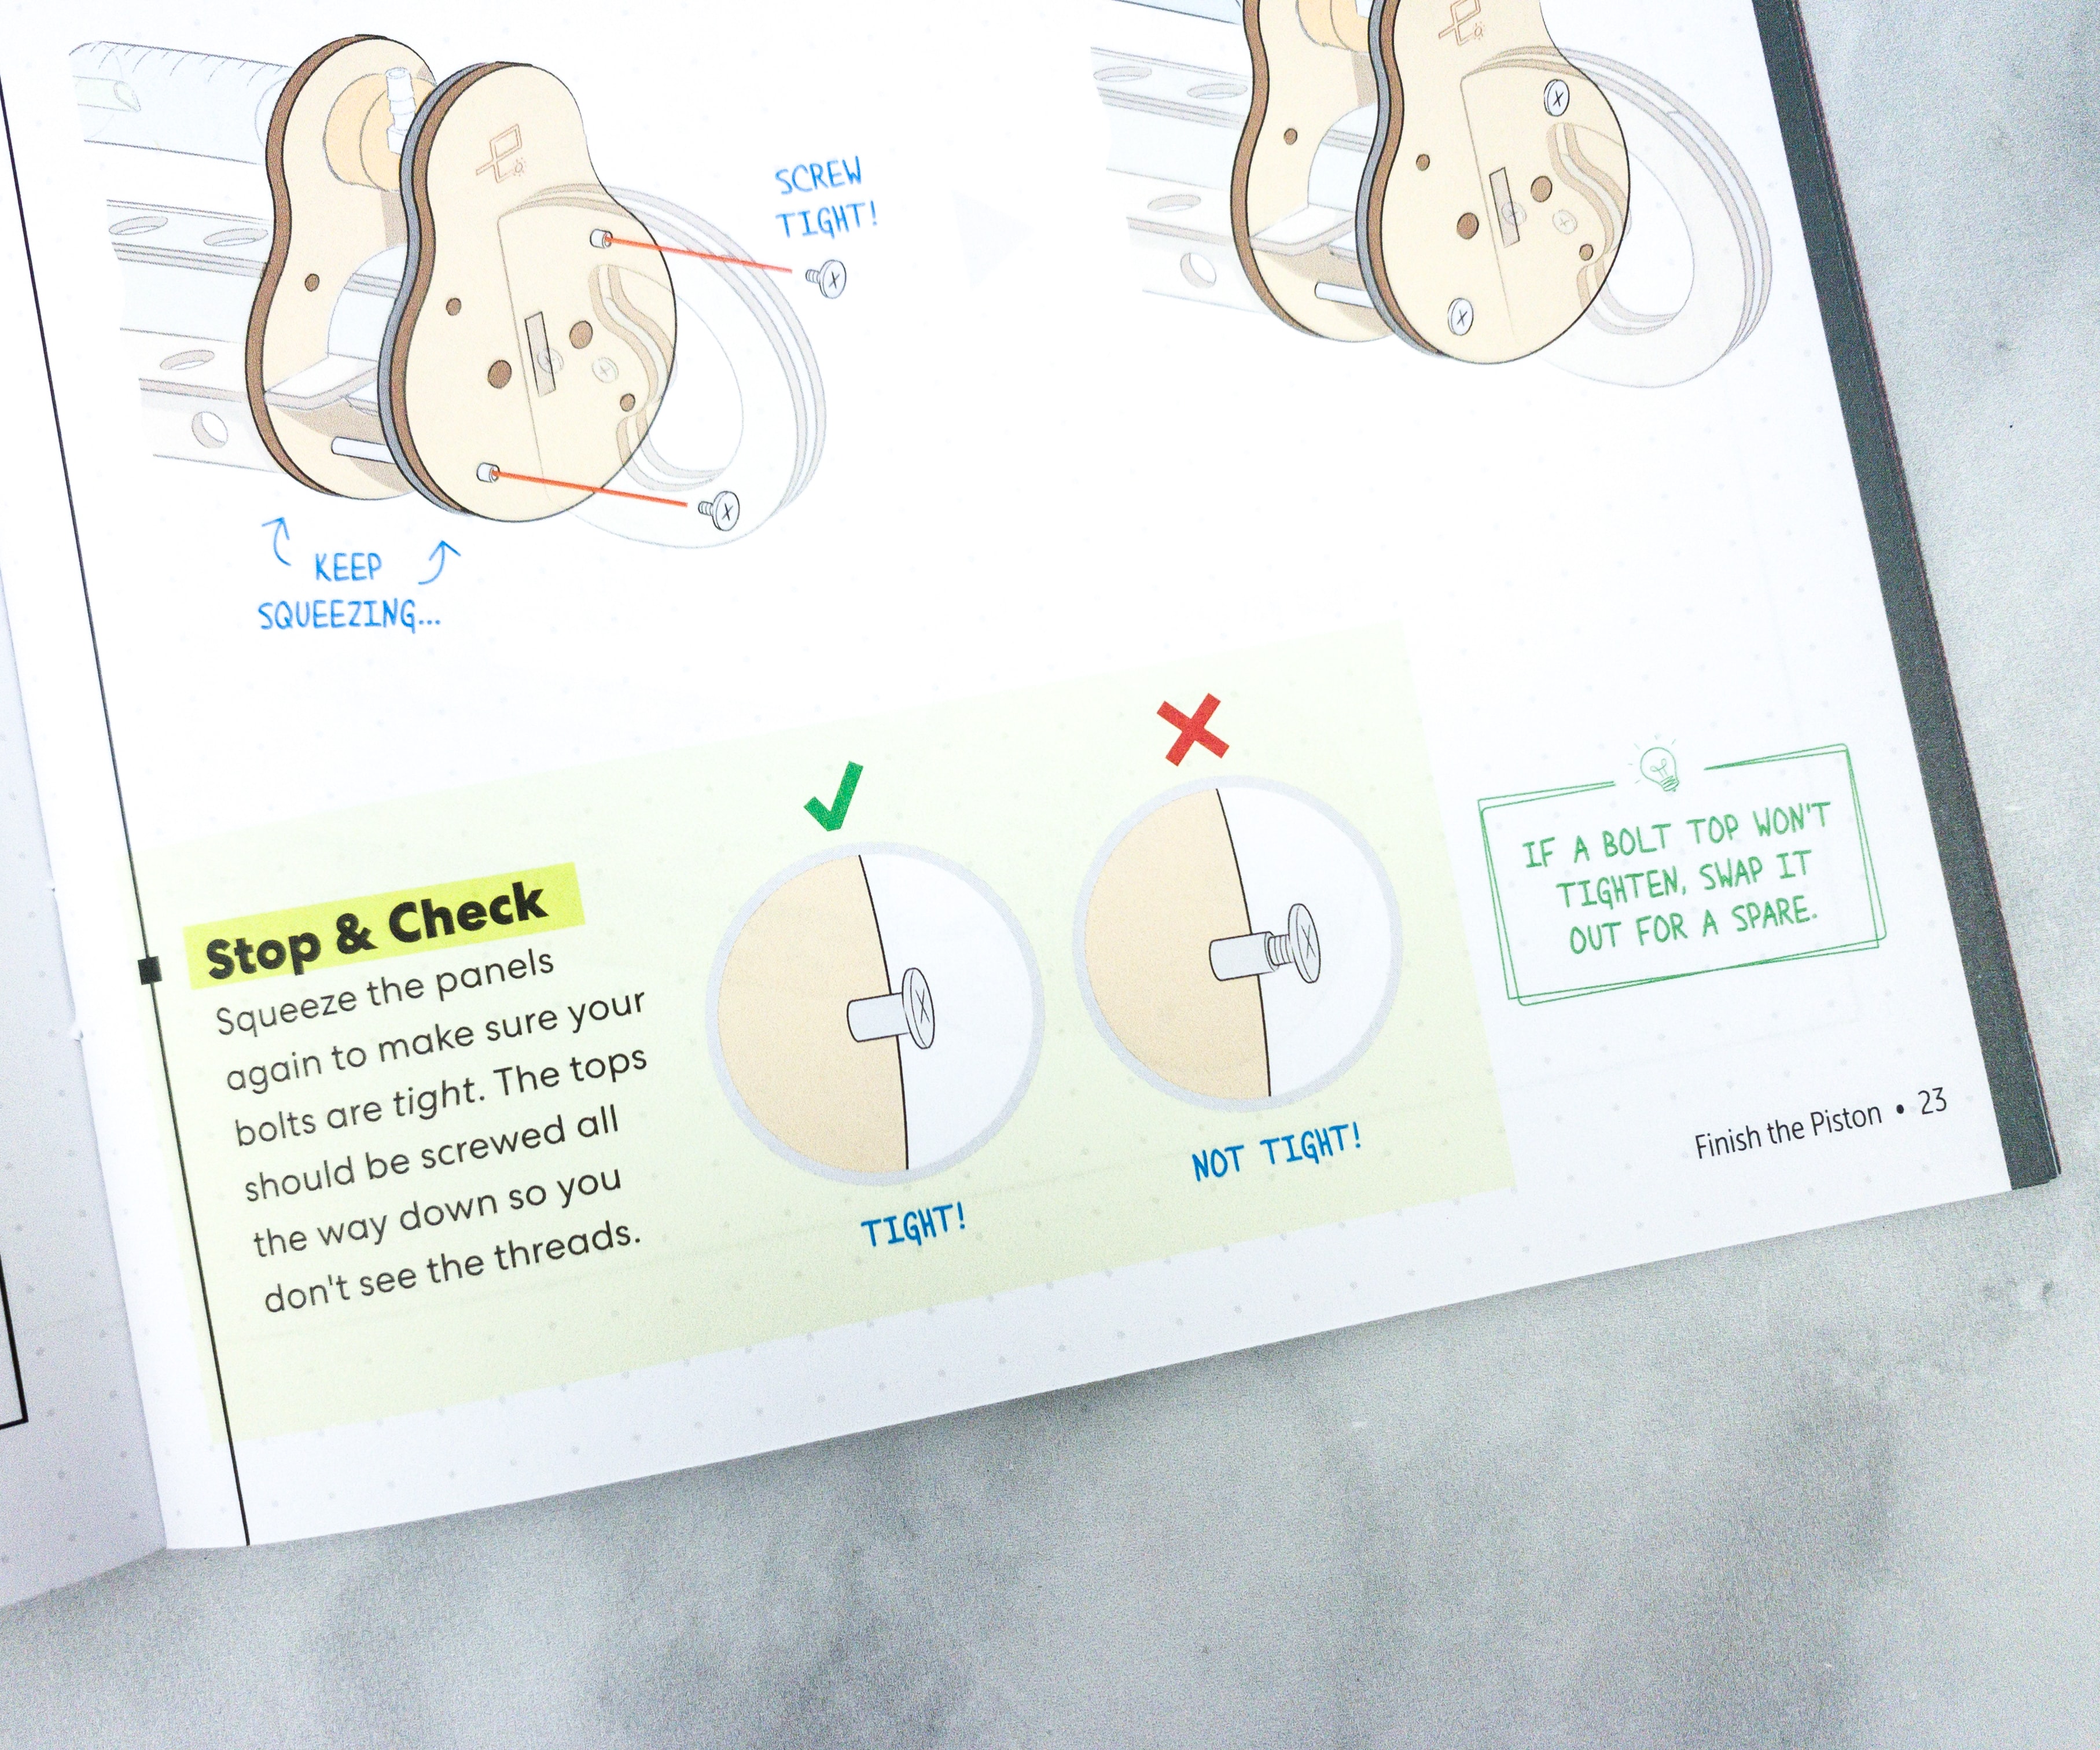
Here’s how the screw should look like when tightened!
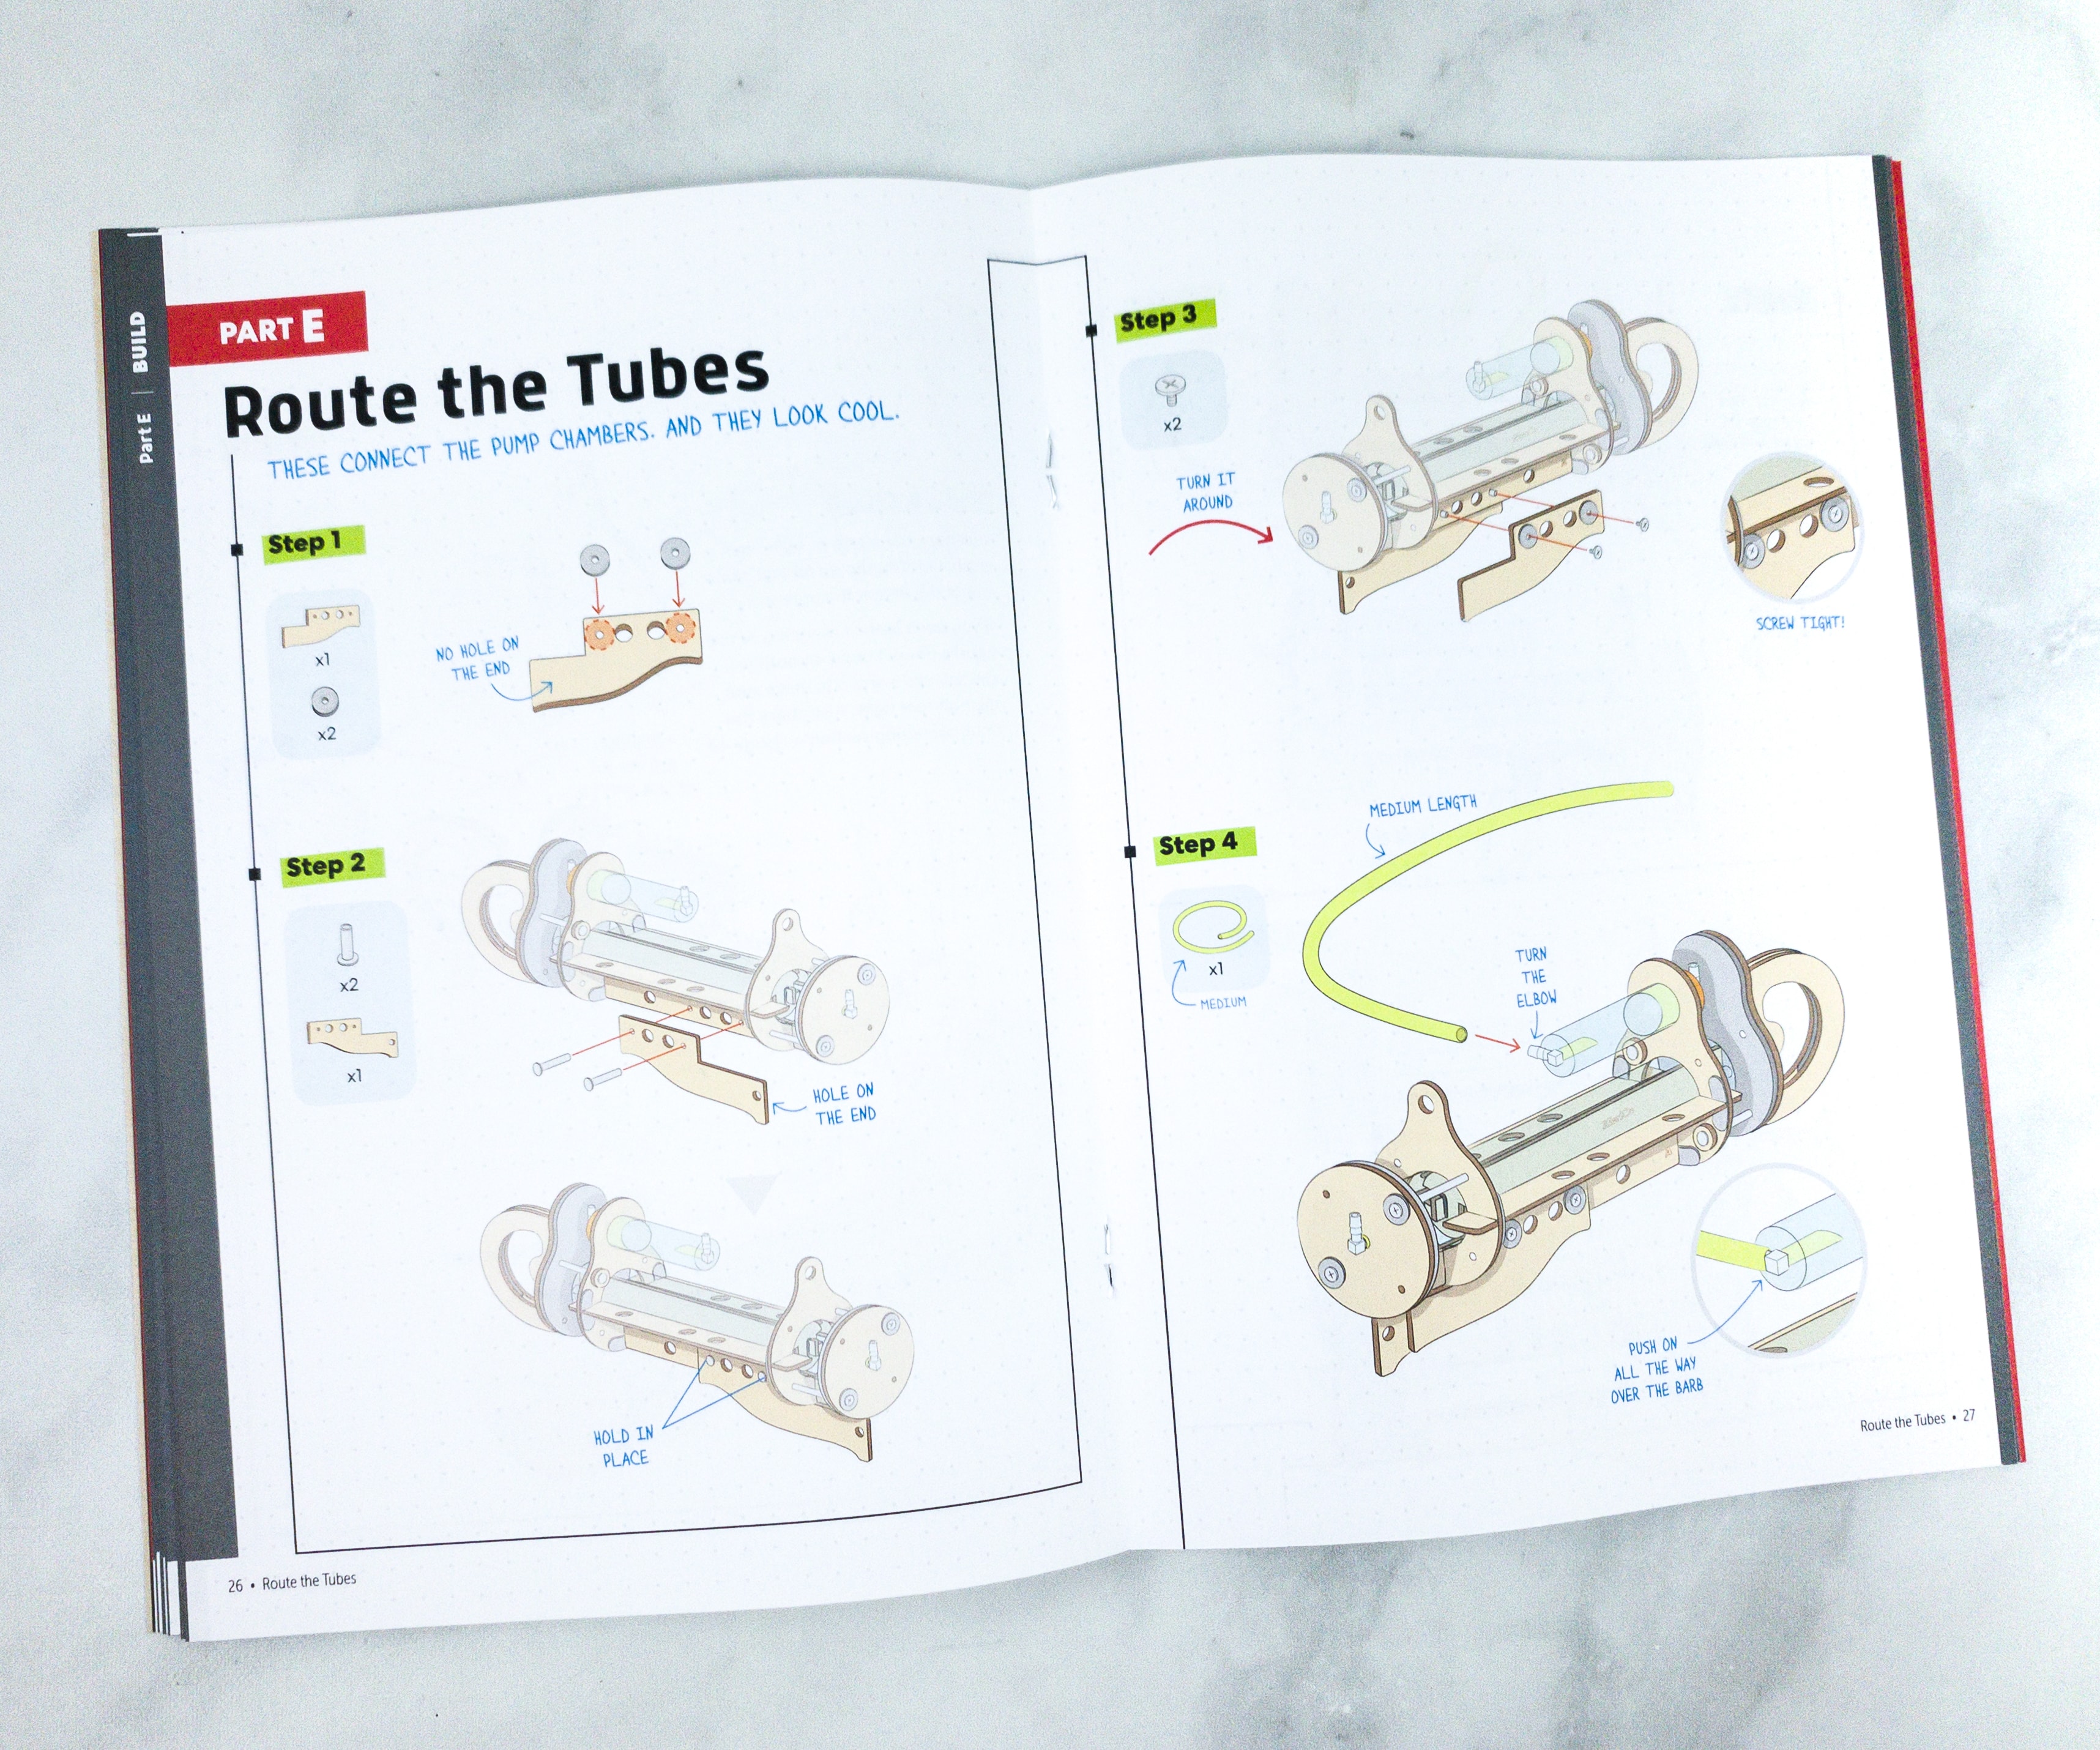
The last part of the project is routing the tubes, meaning both pump chambers should be connected. Well, it also makes the project look better.
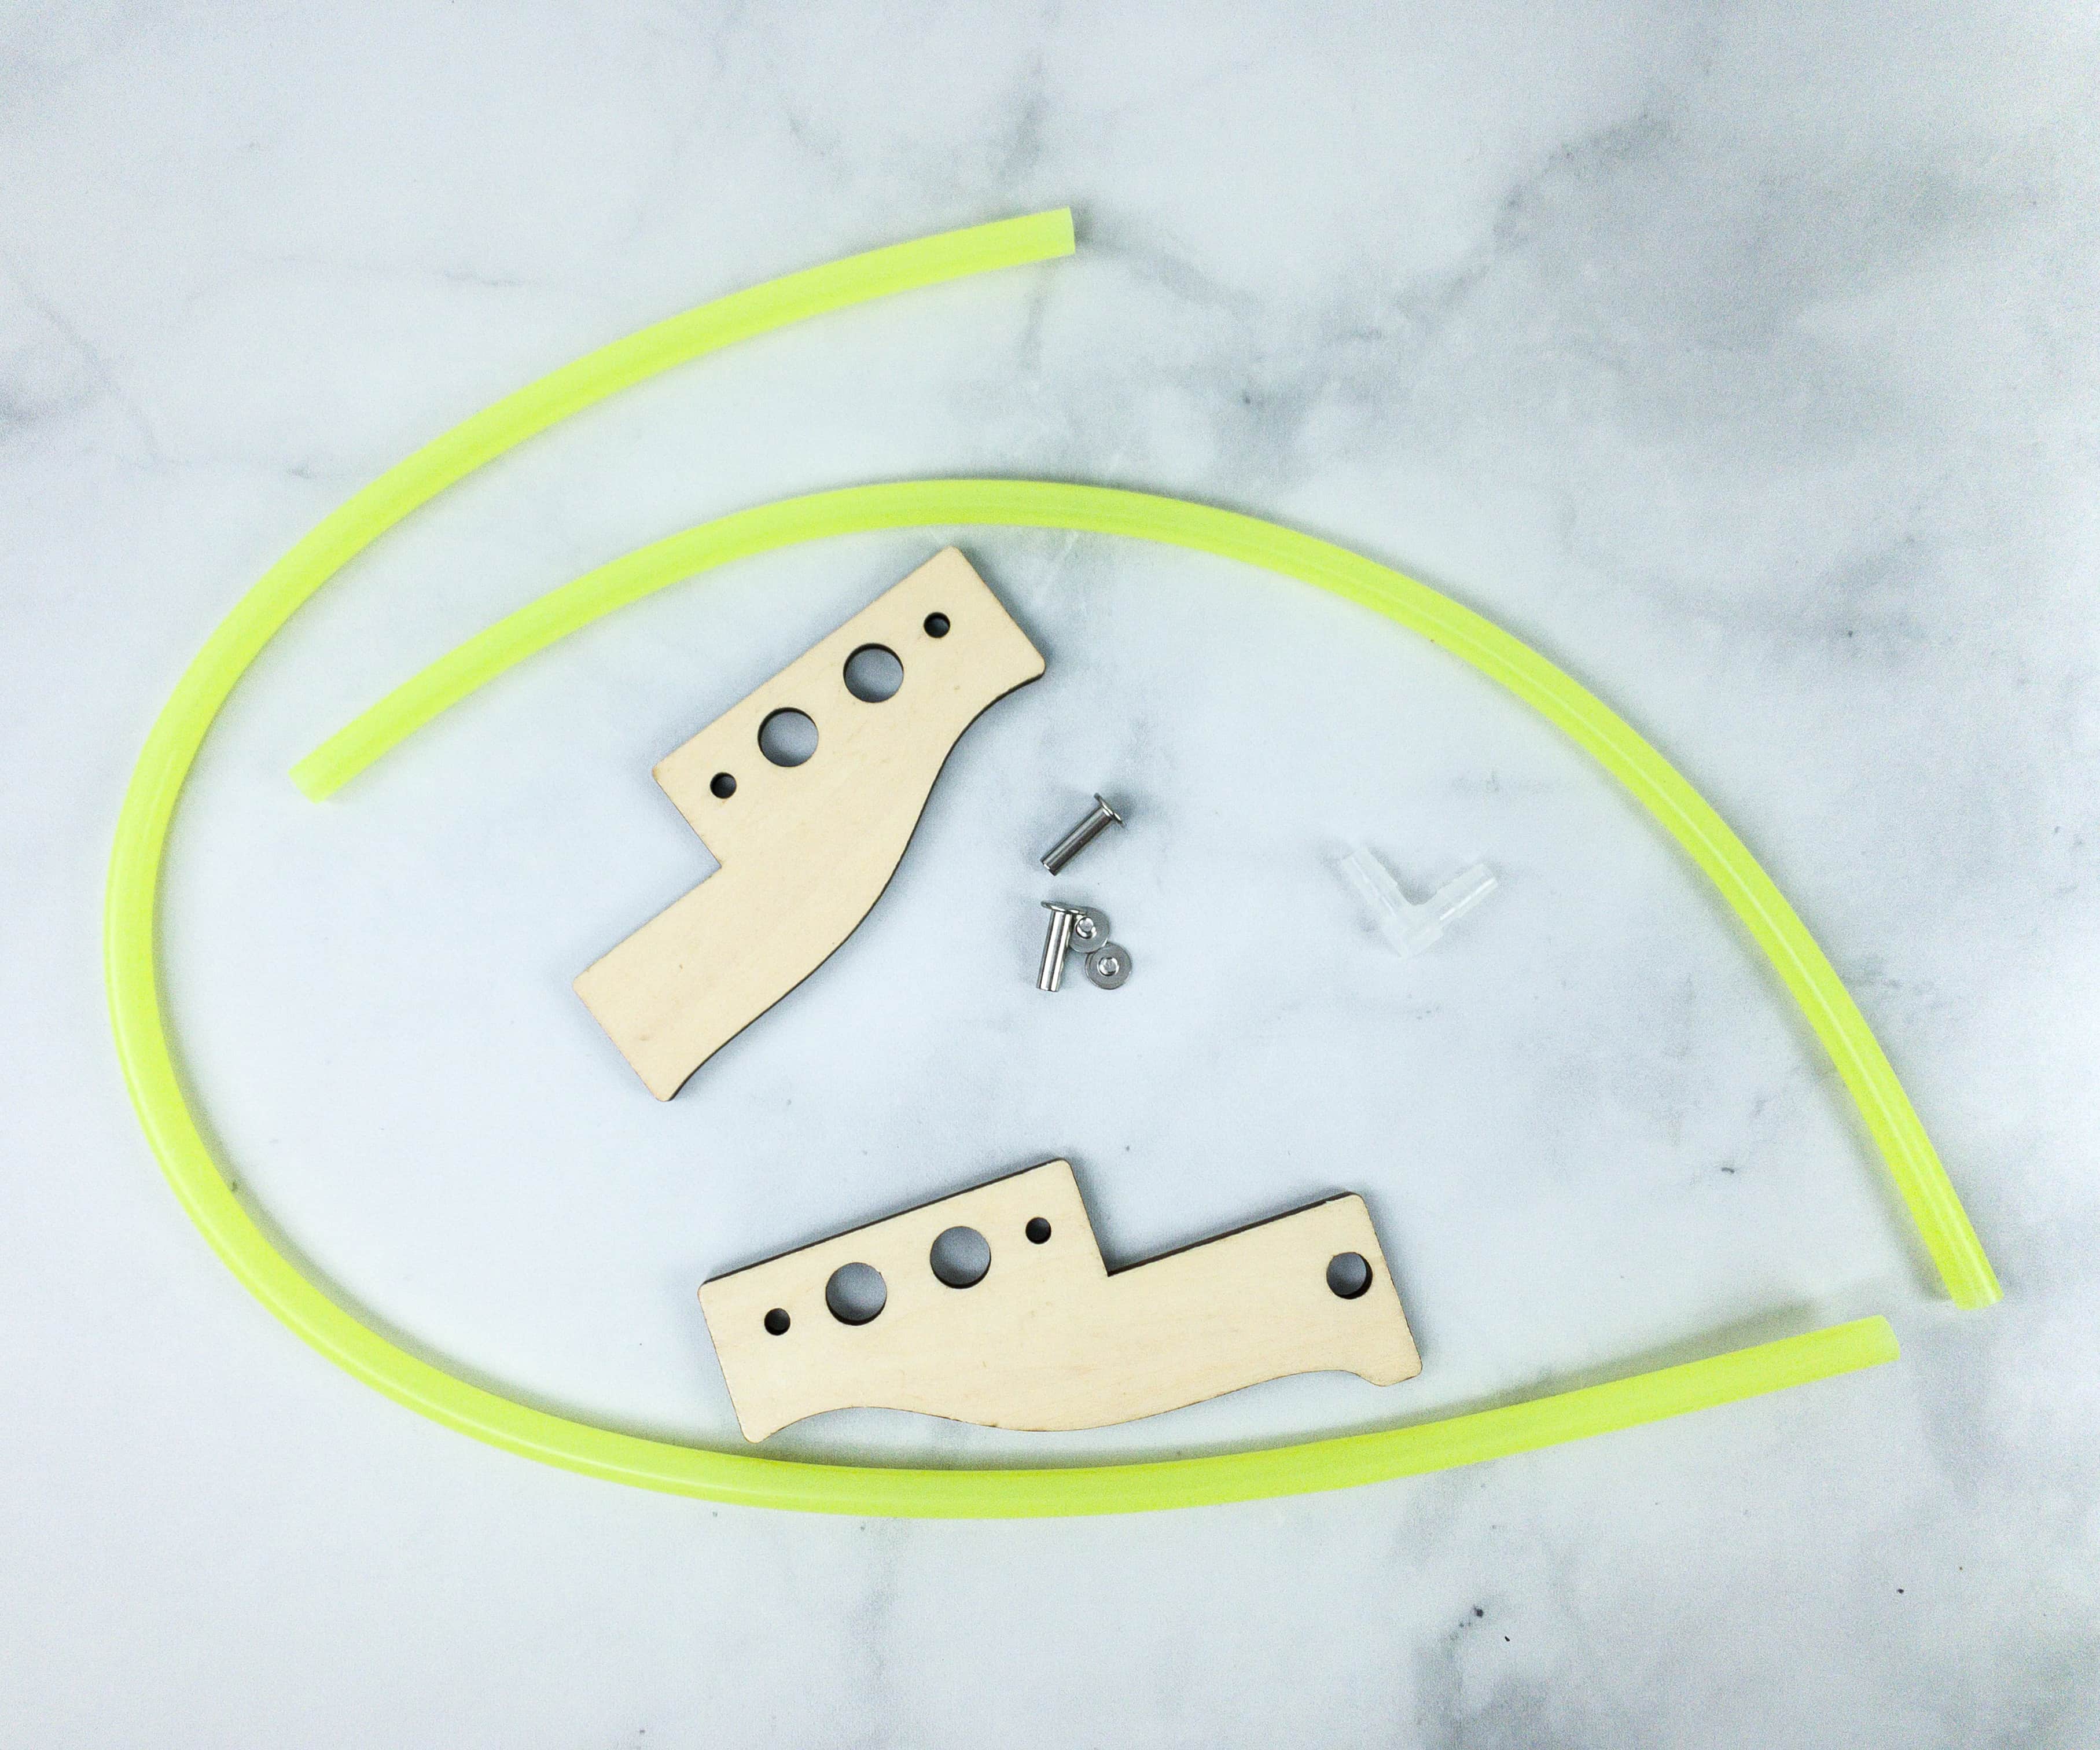
For this part, we used a pair of air hose, wood set, short barrel bolts, screws, and elbow connector.
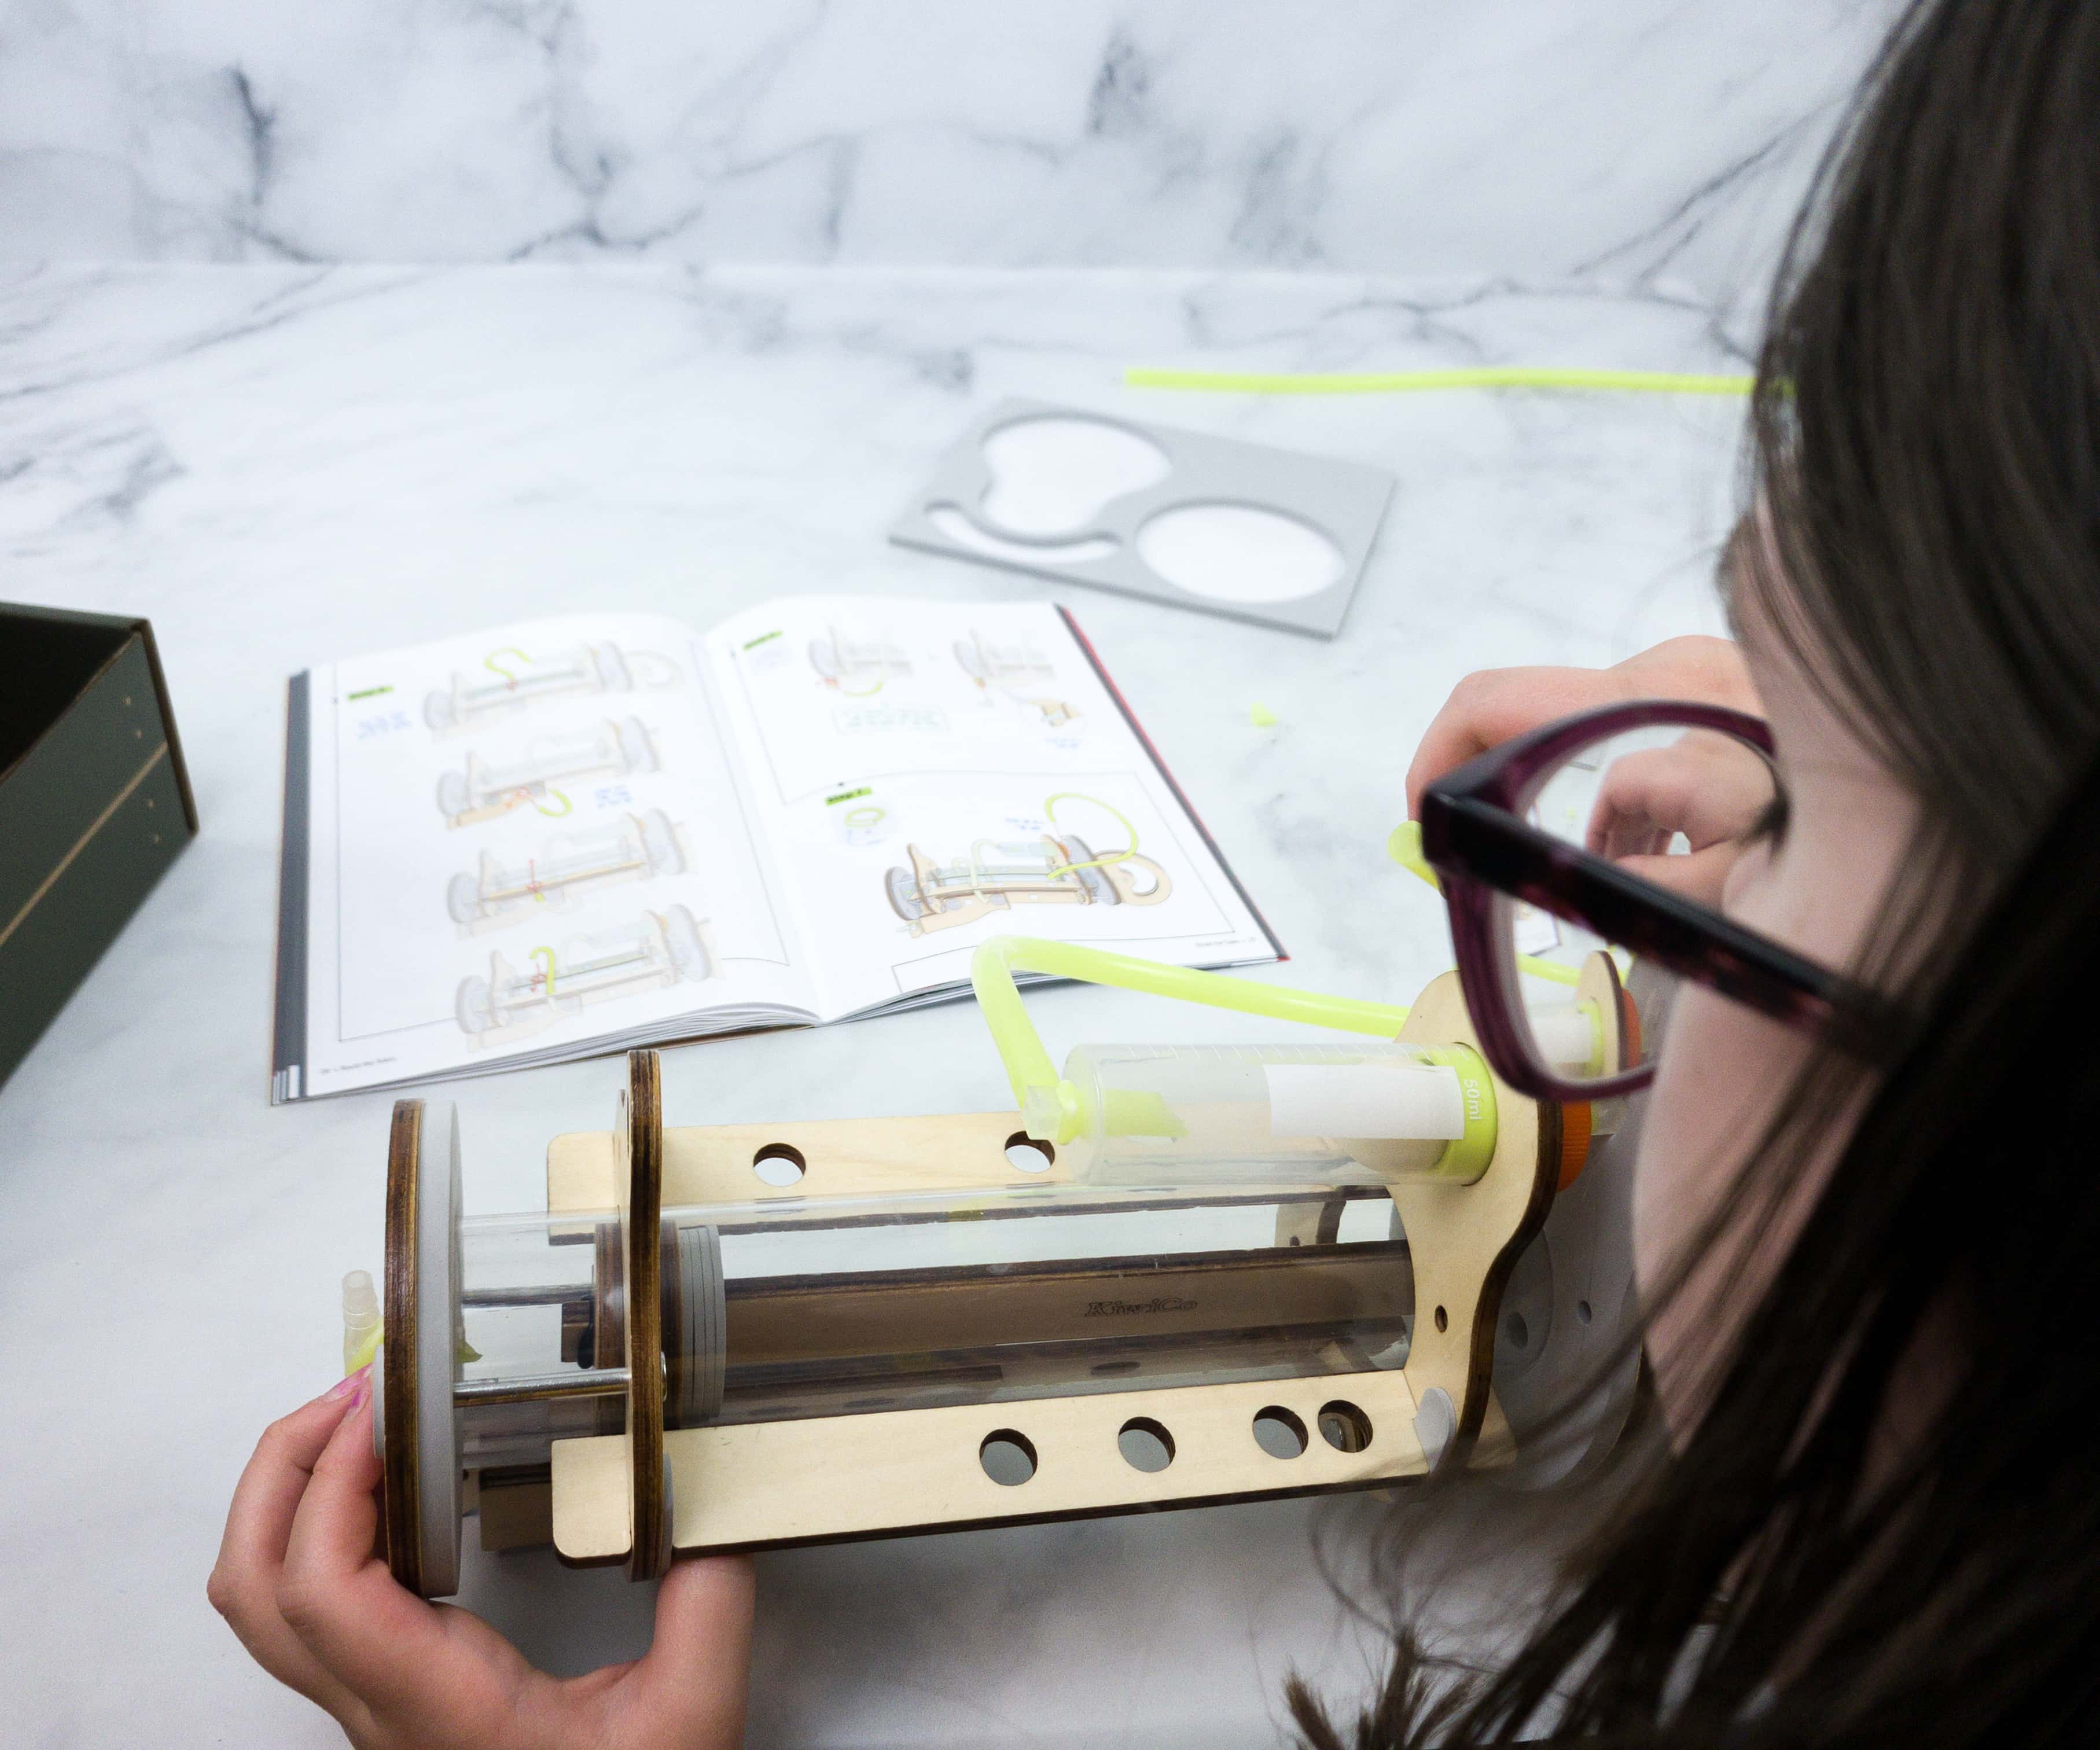
My daughter put the elbow connector on the check valve, attached the air hose, and poked it to the hole around the frame. Lastly, she stuck it to the elbow connector located in front of the pump.
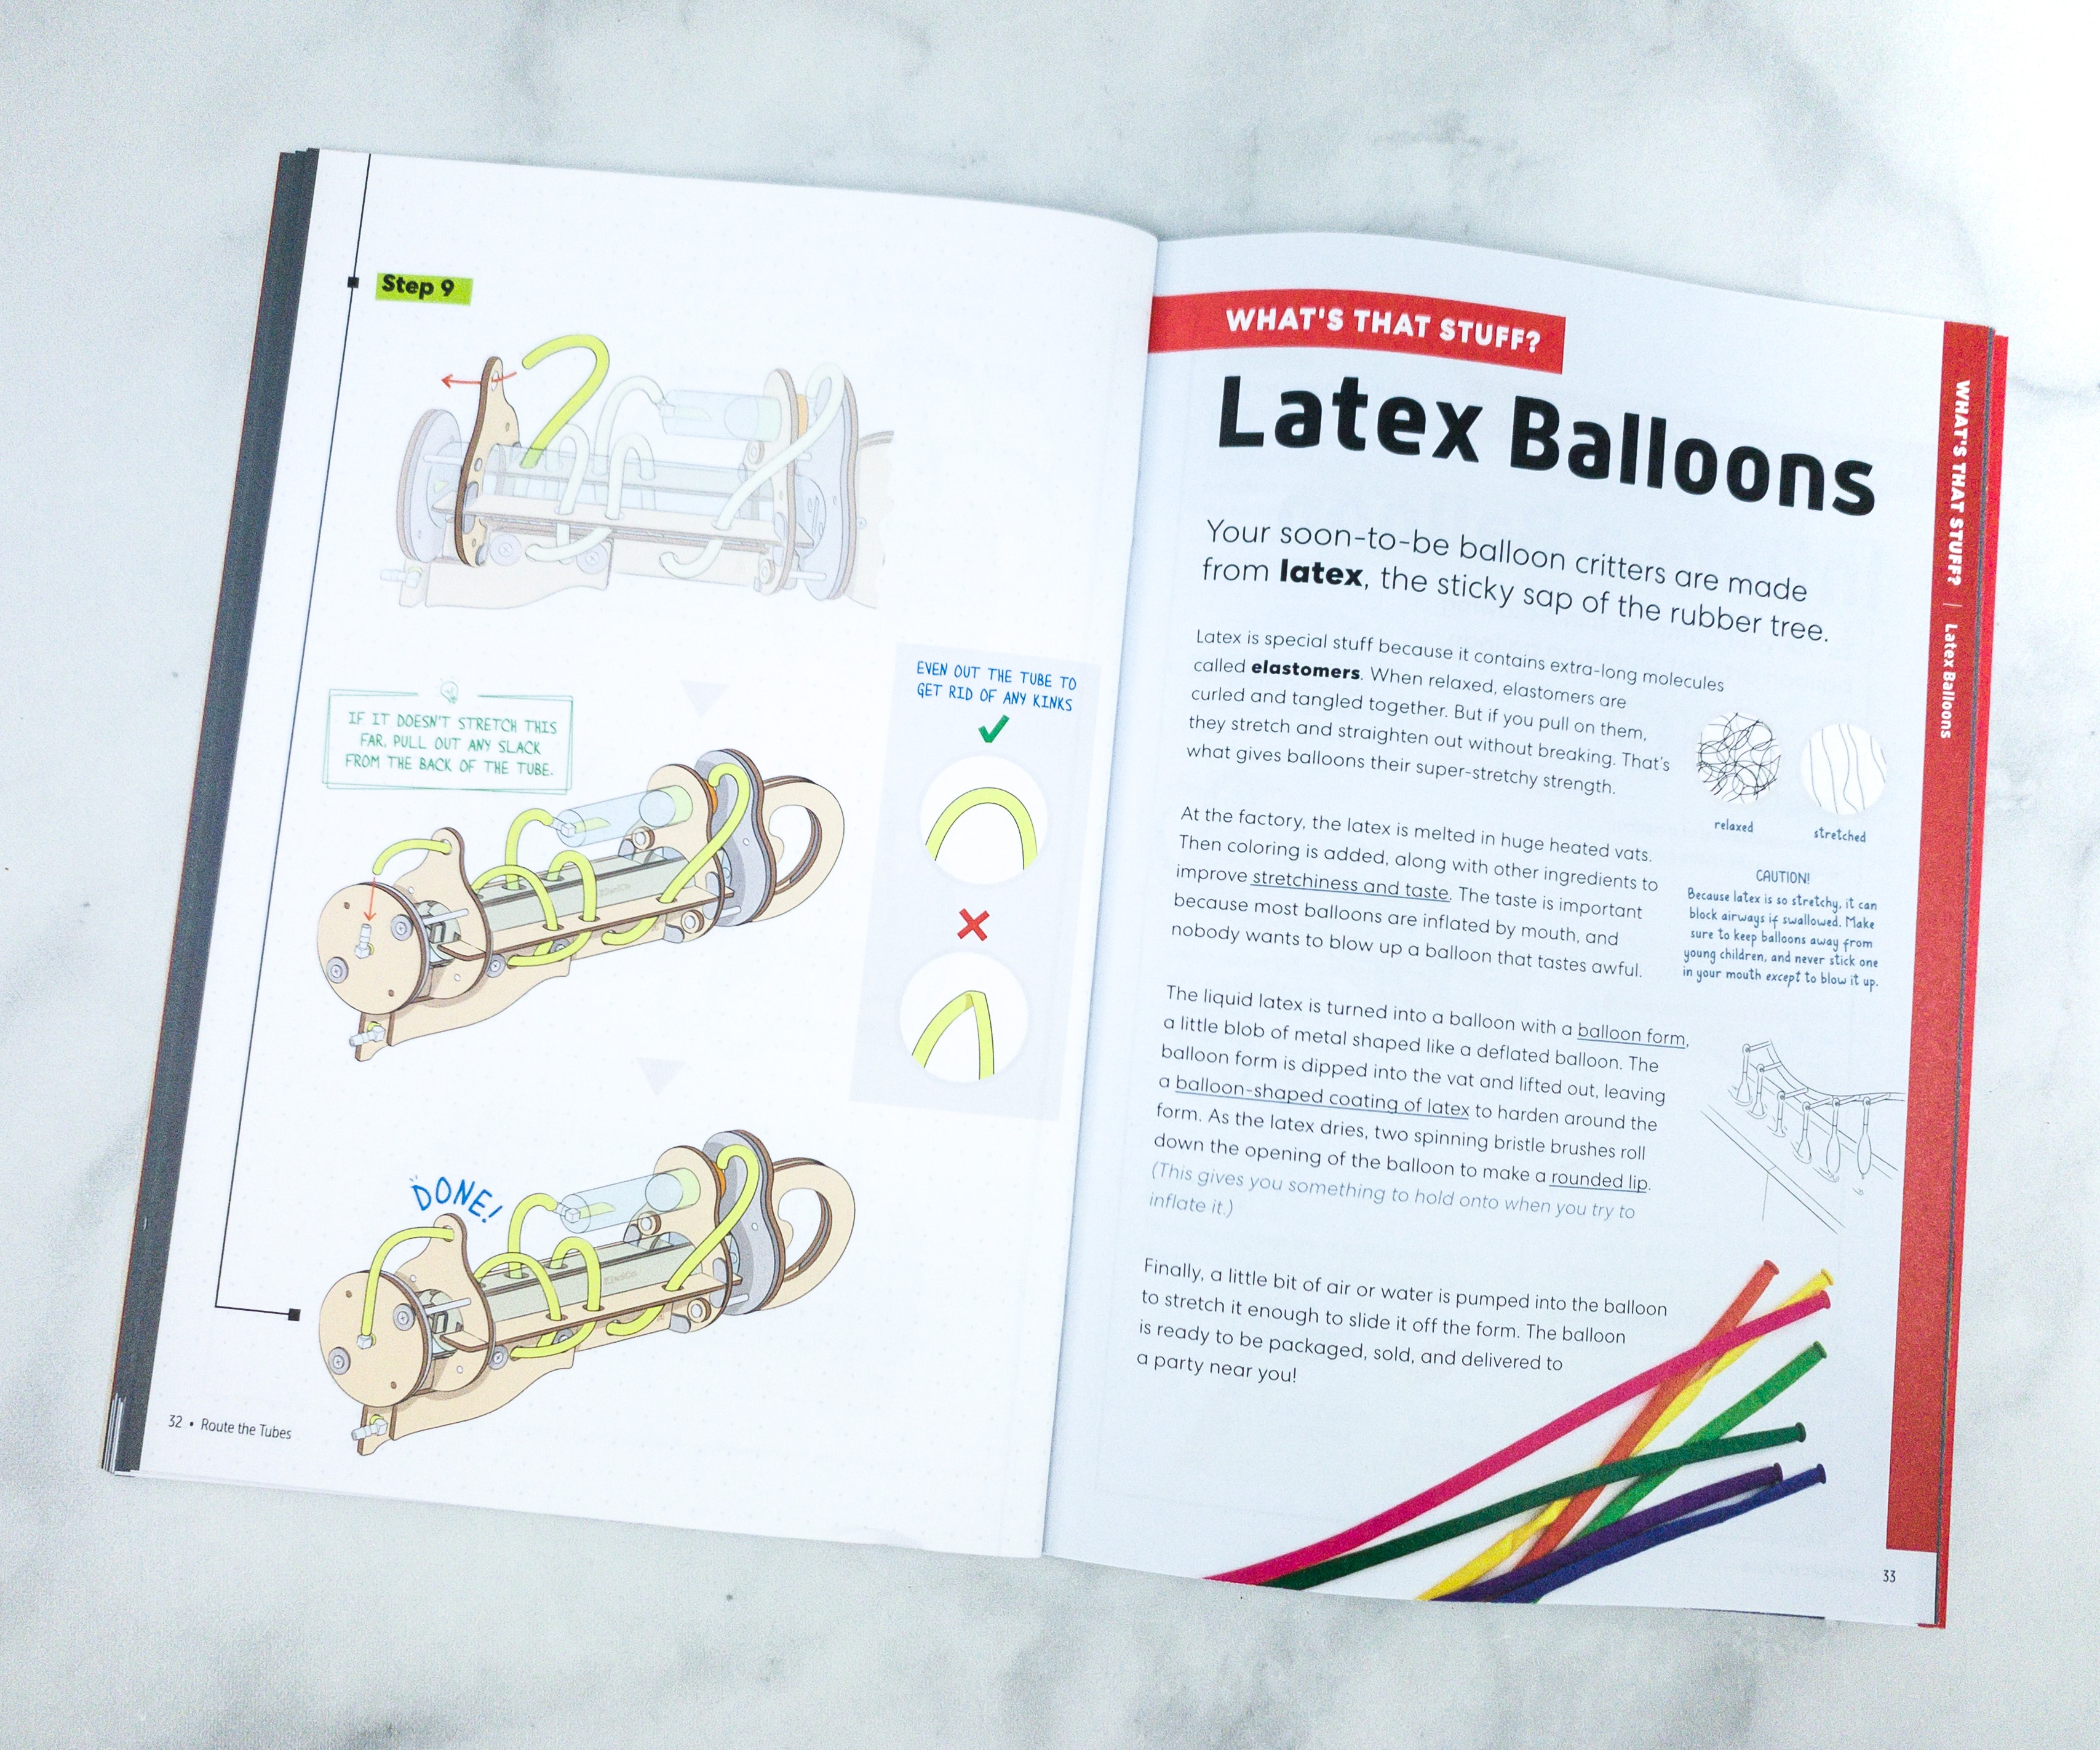
For it to work effectively, you have to make sure that the air hose is placed evenly to avoid any kinks that may disrupt the flow of the air.
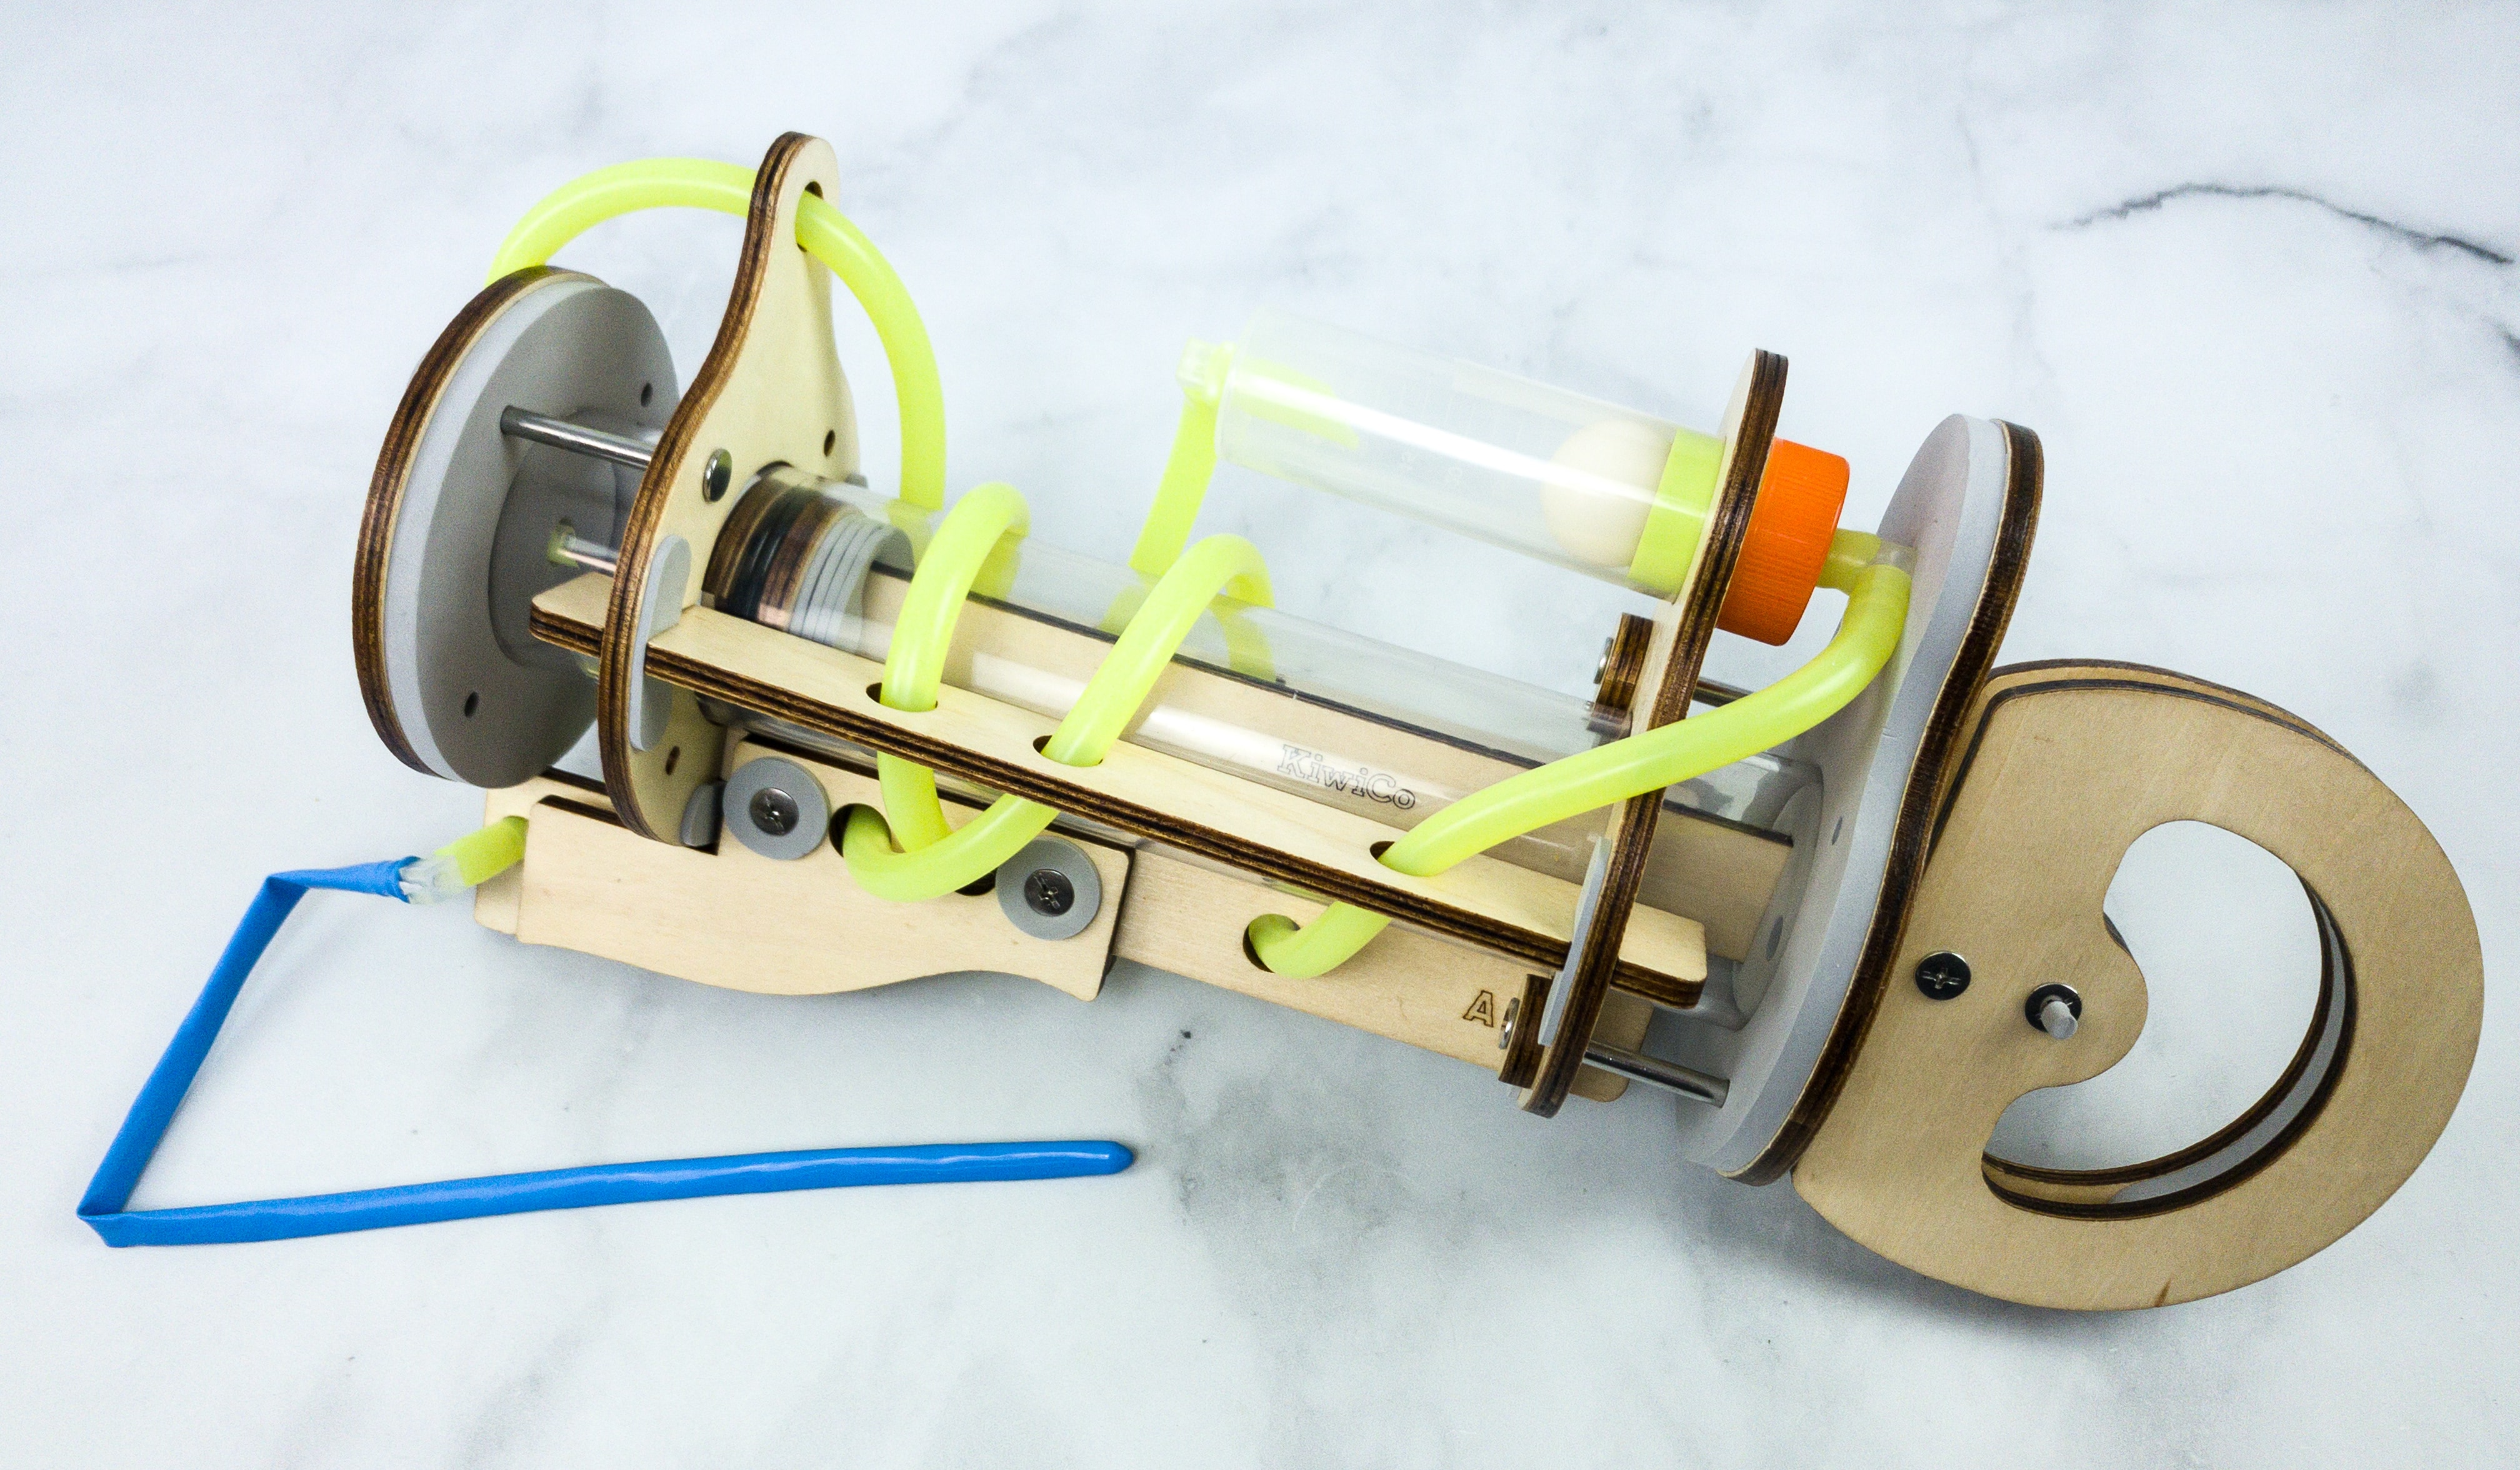
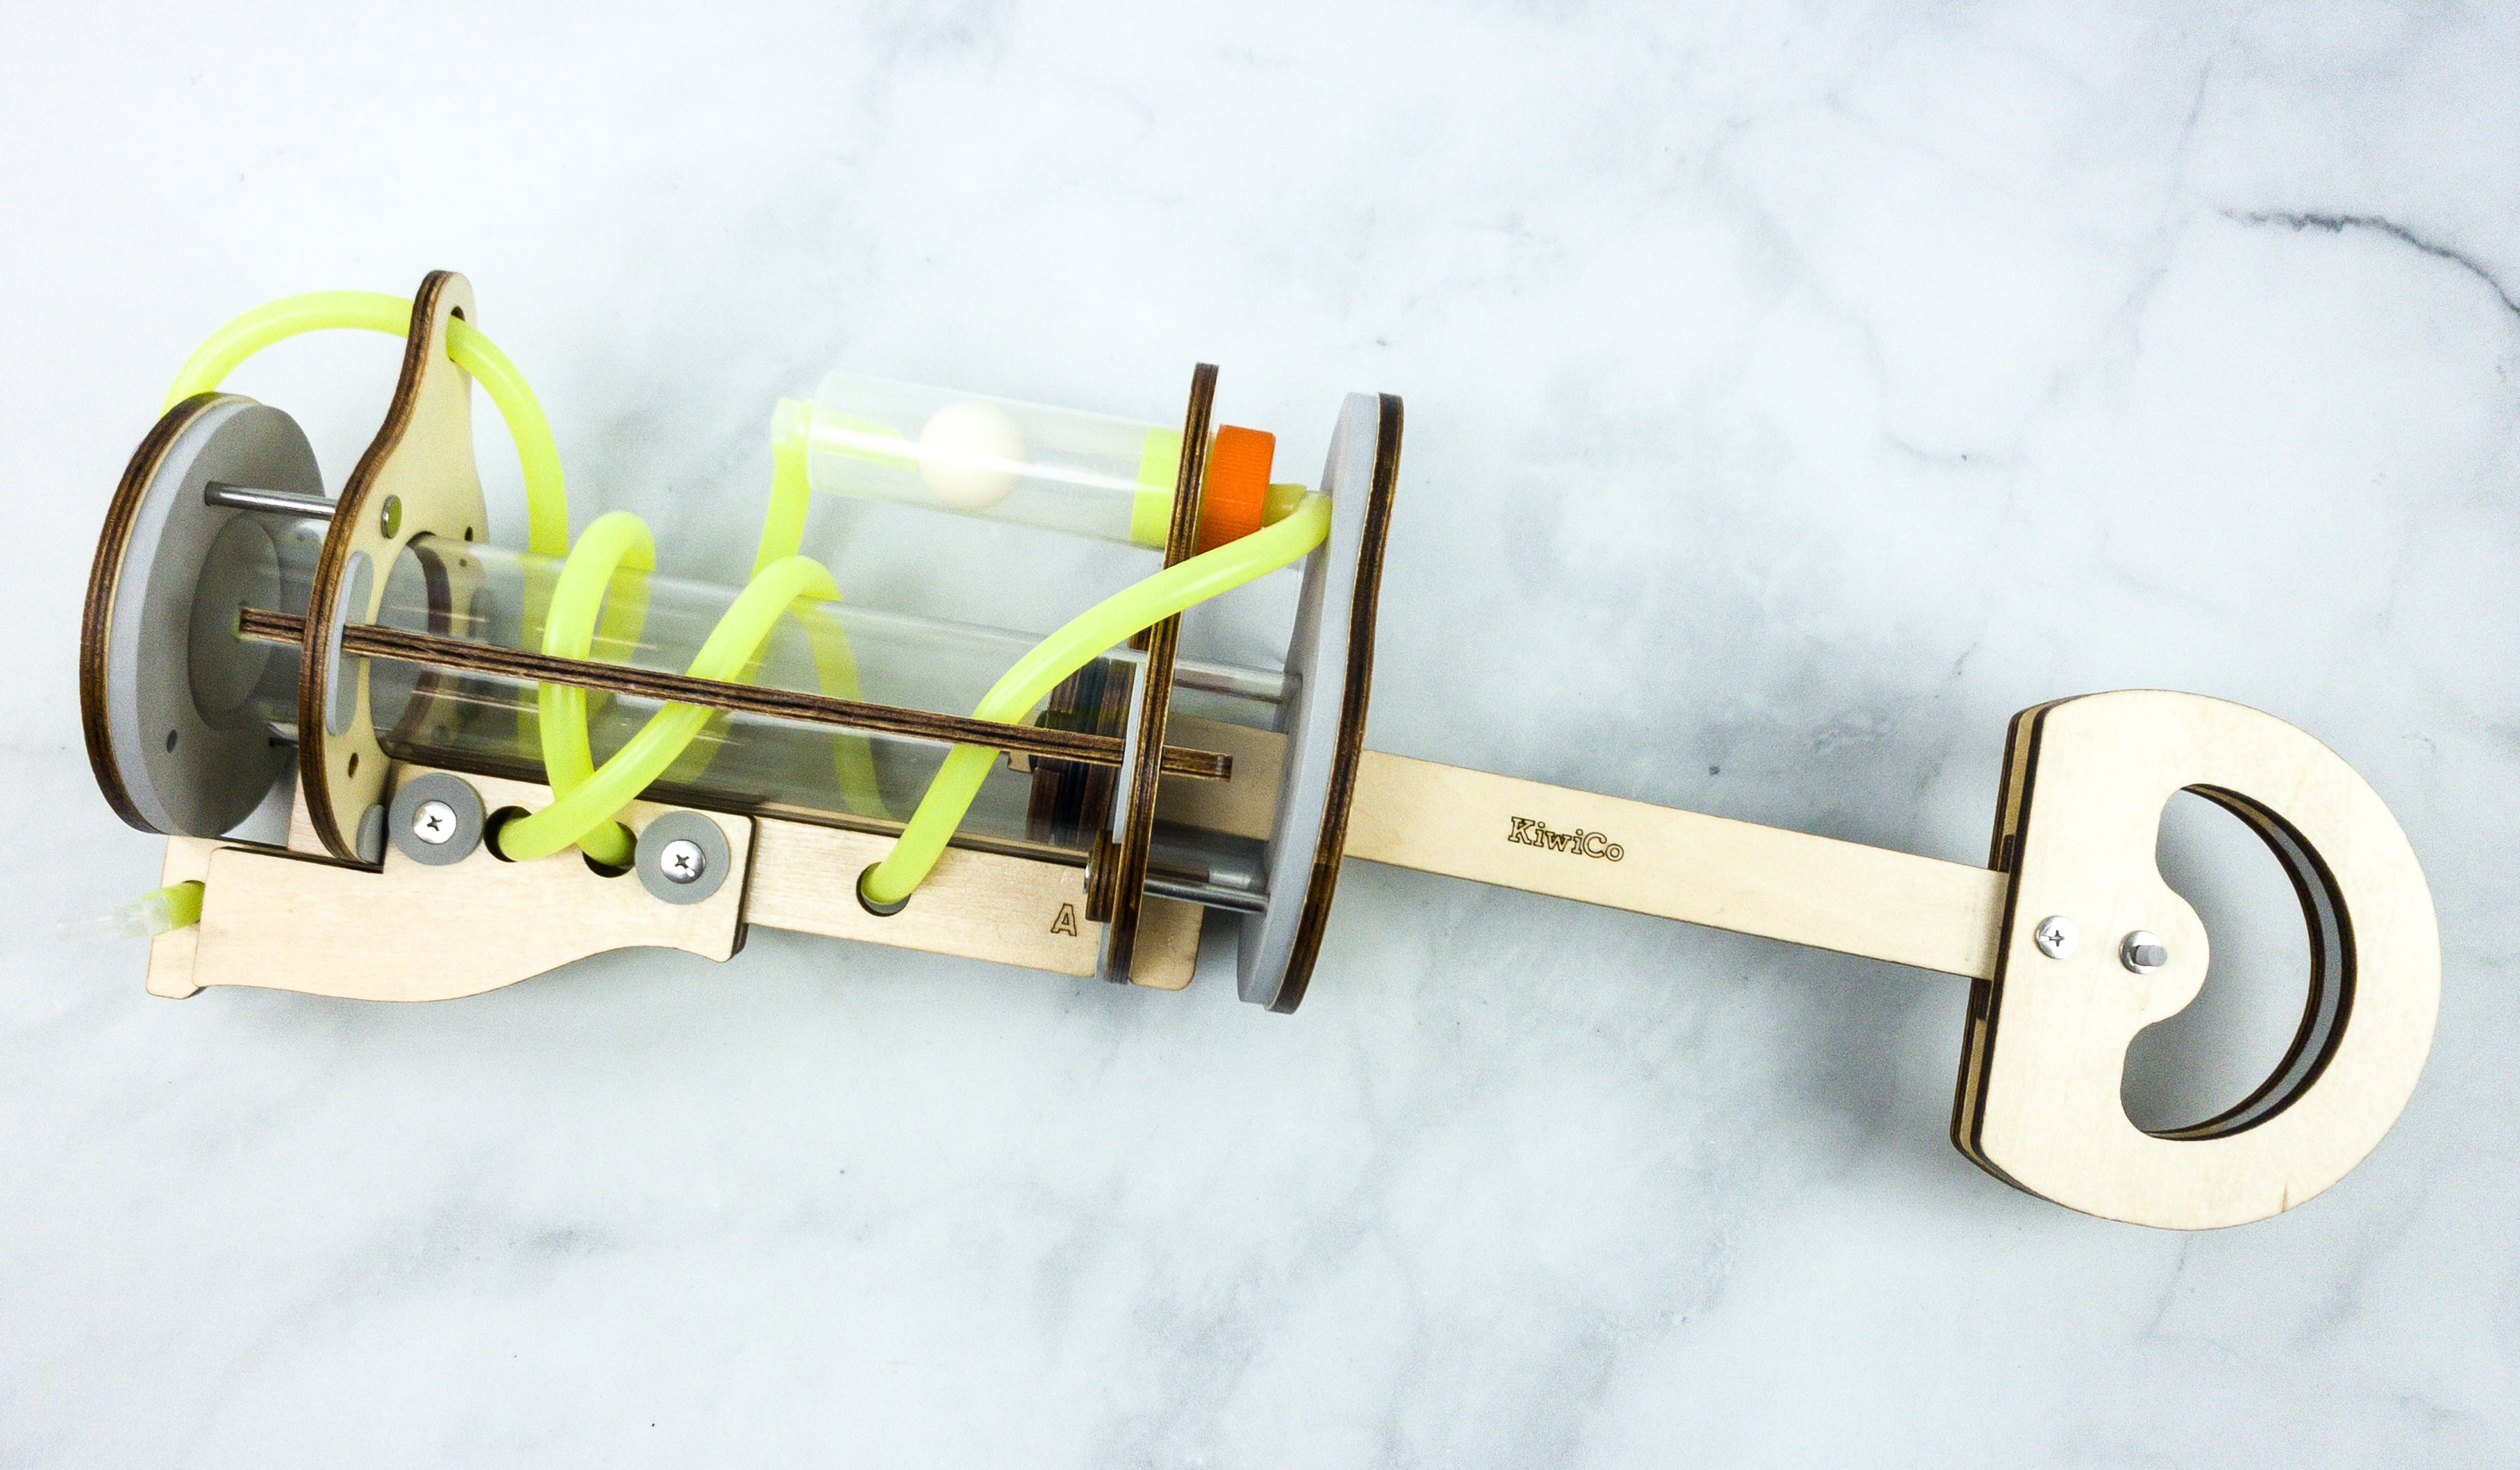
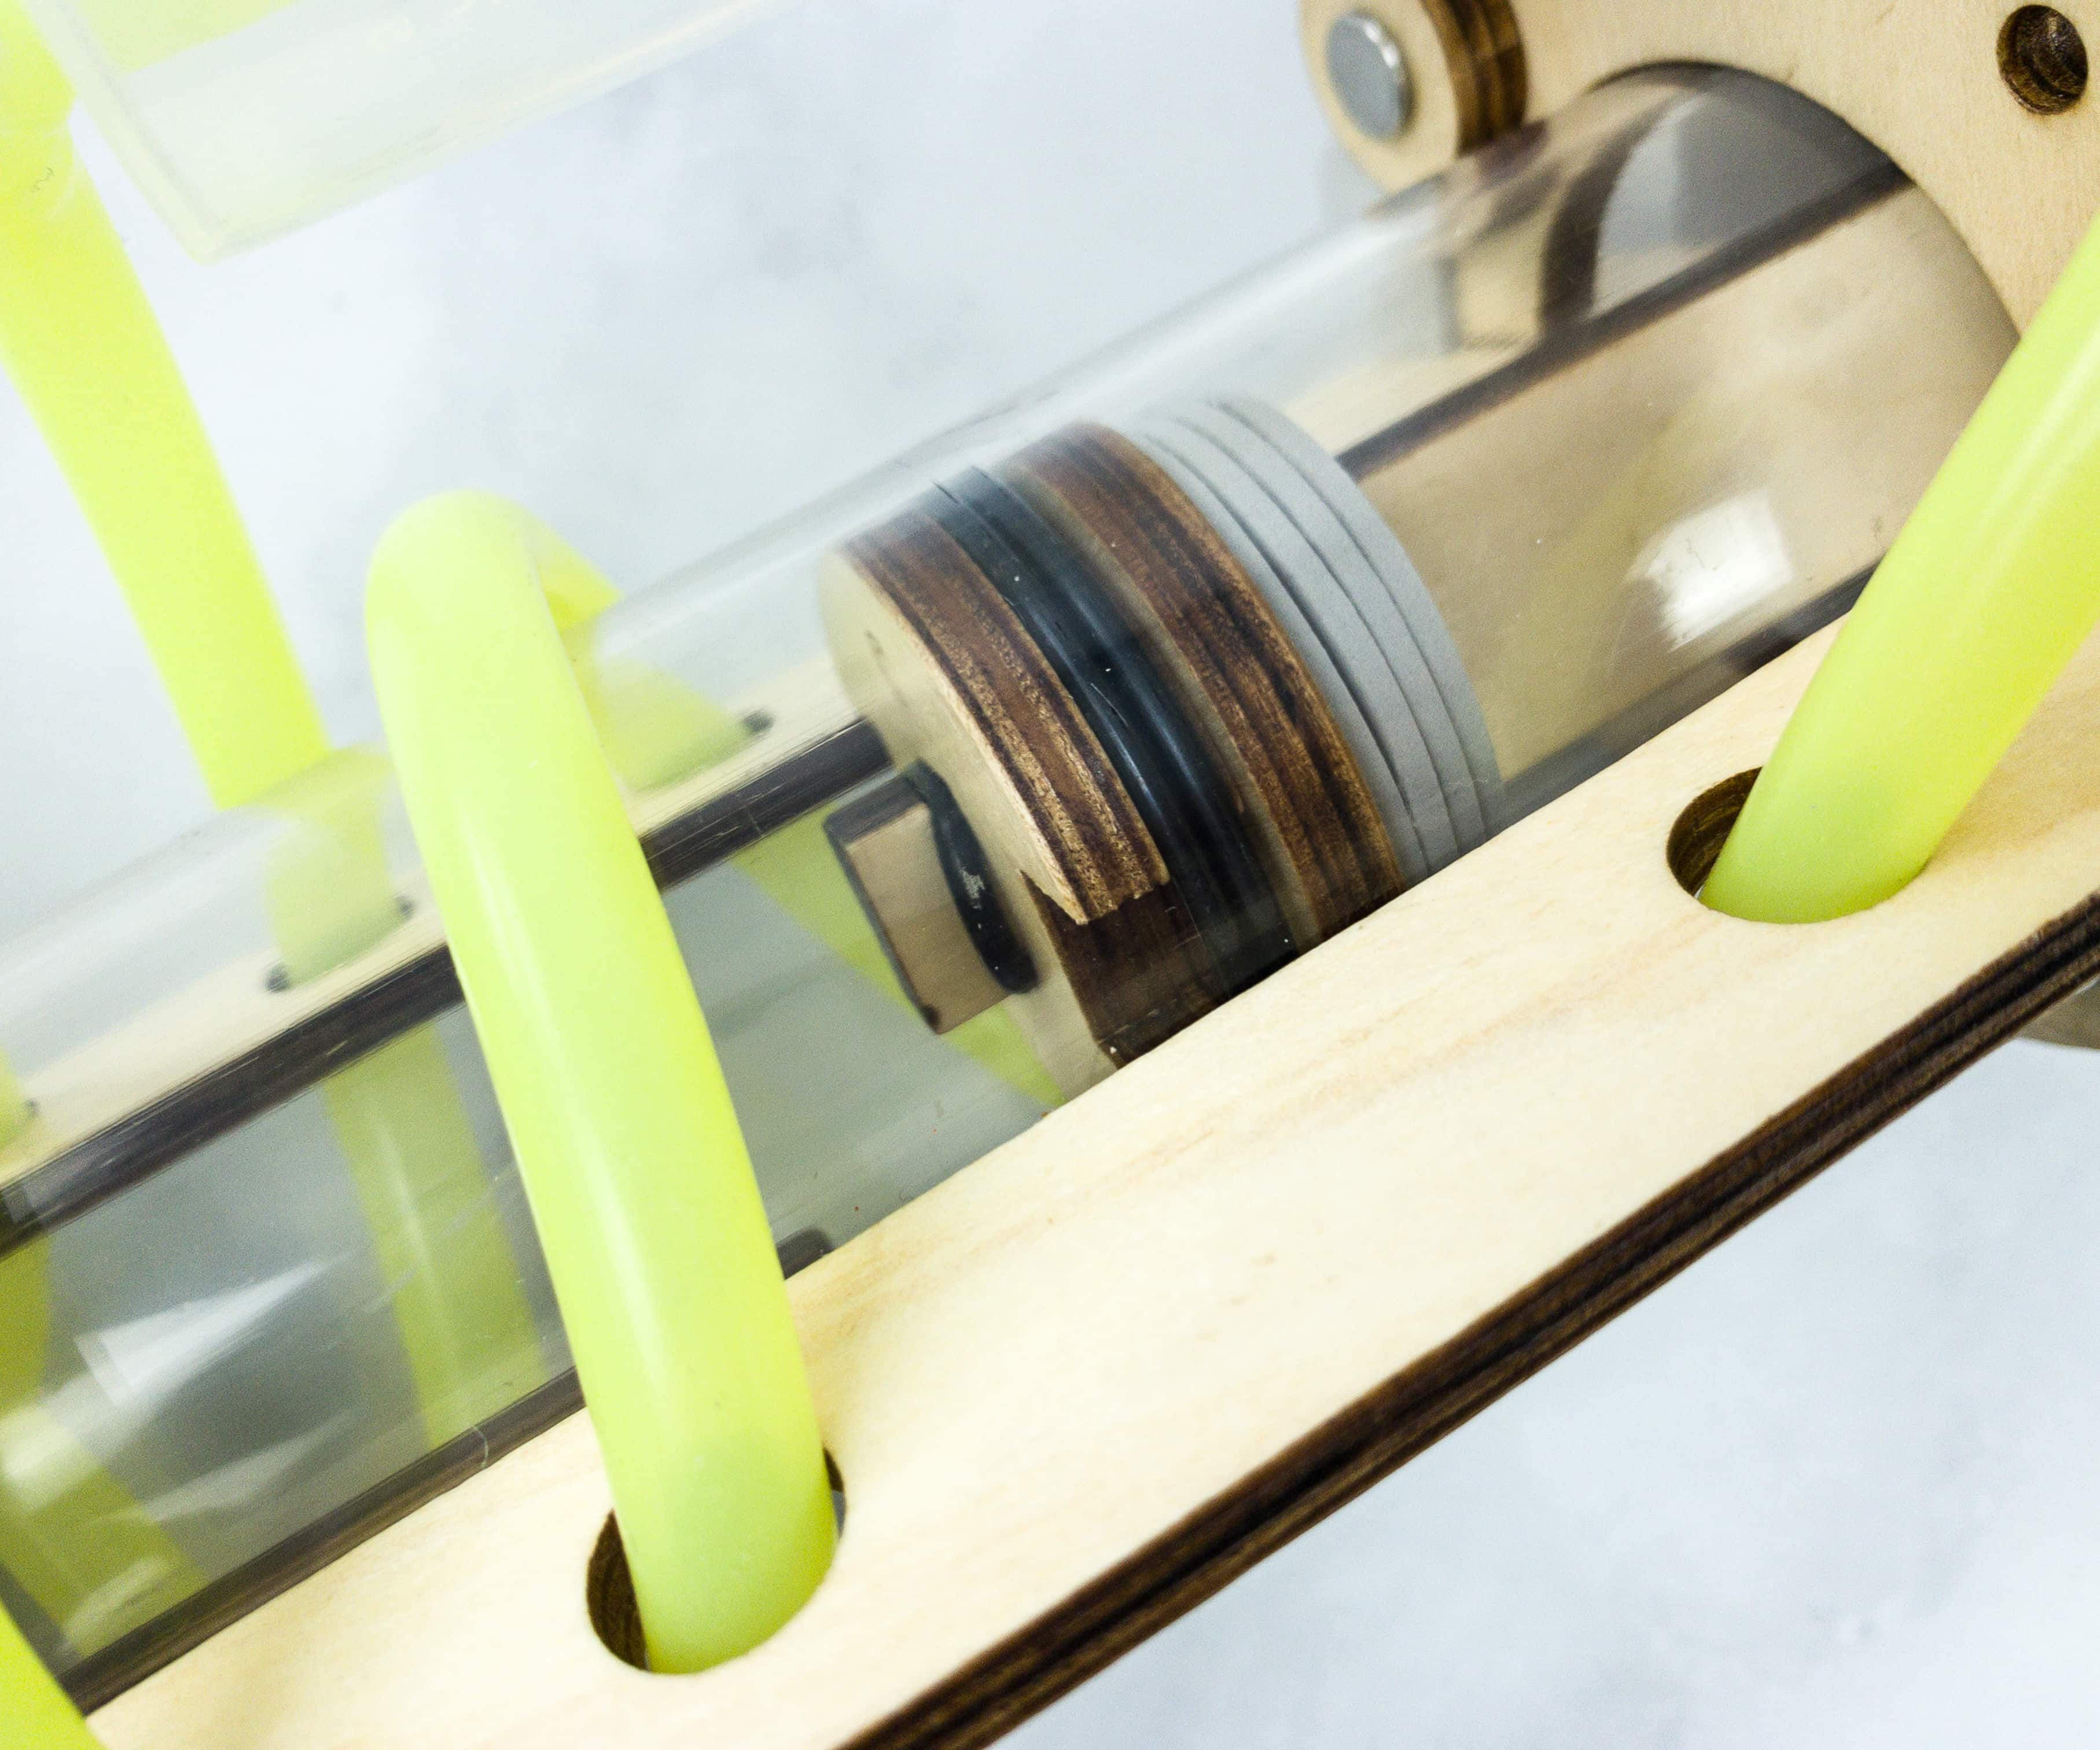
Here’s how the pump should look like when done!
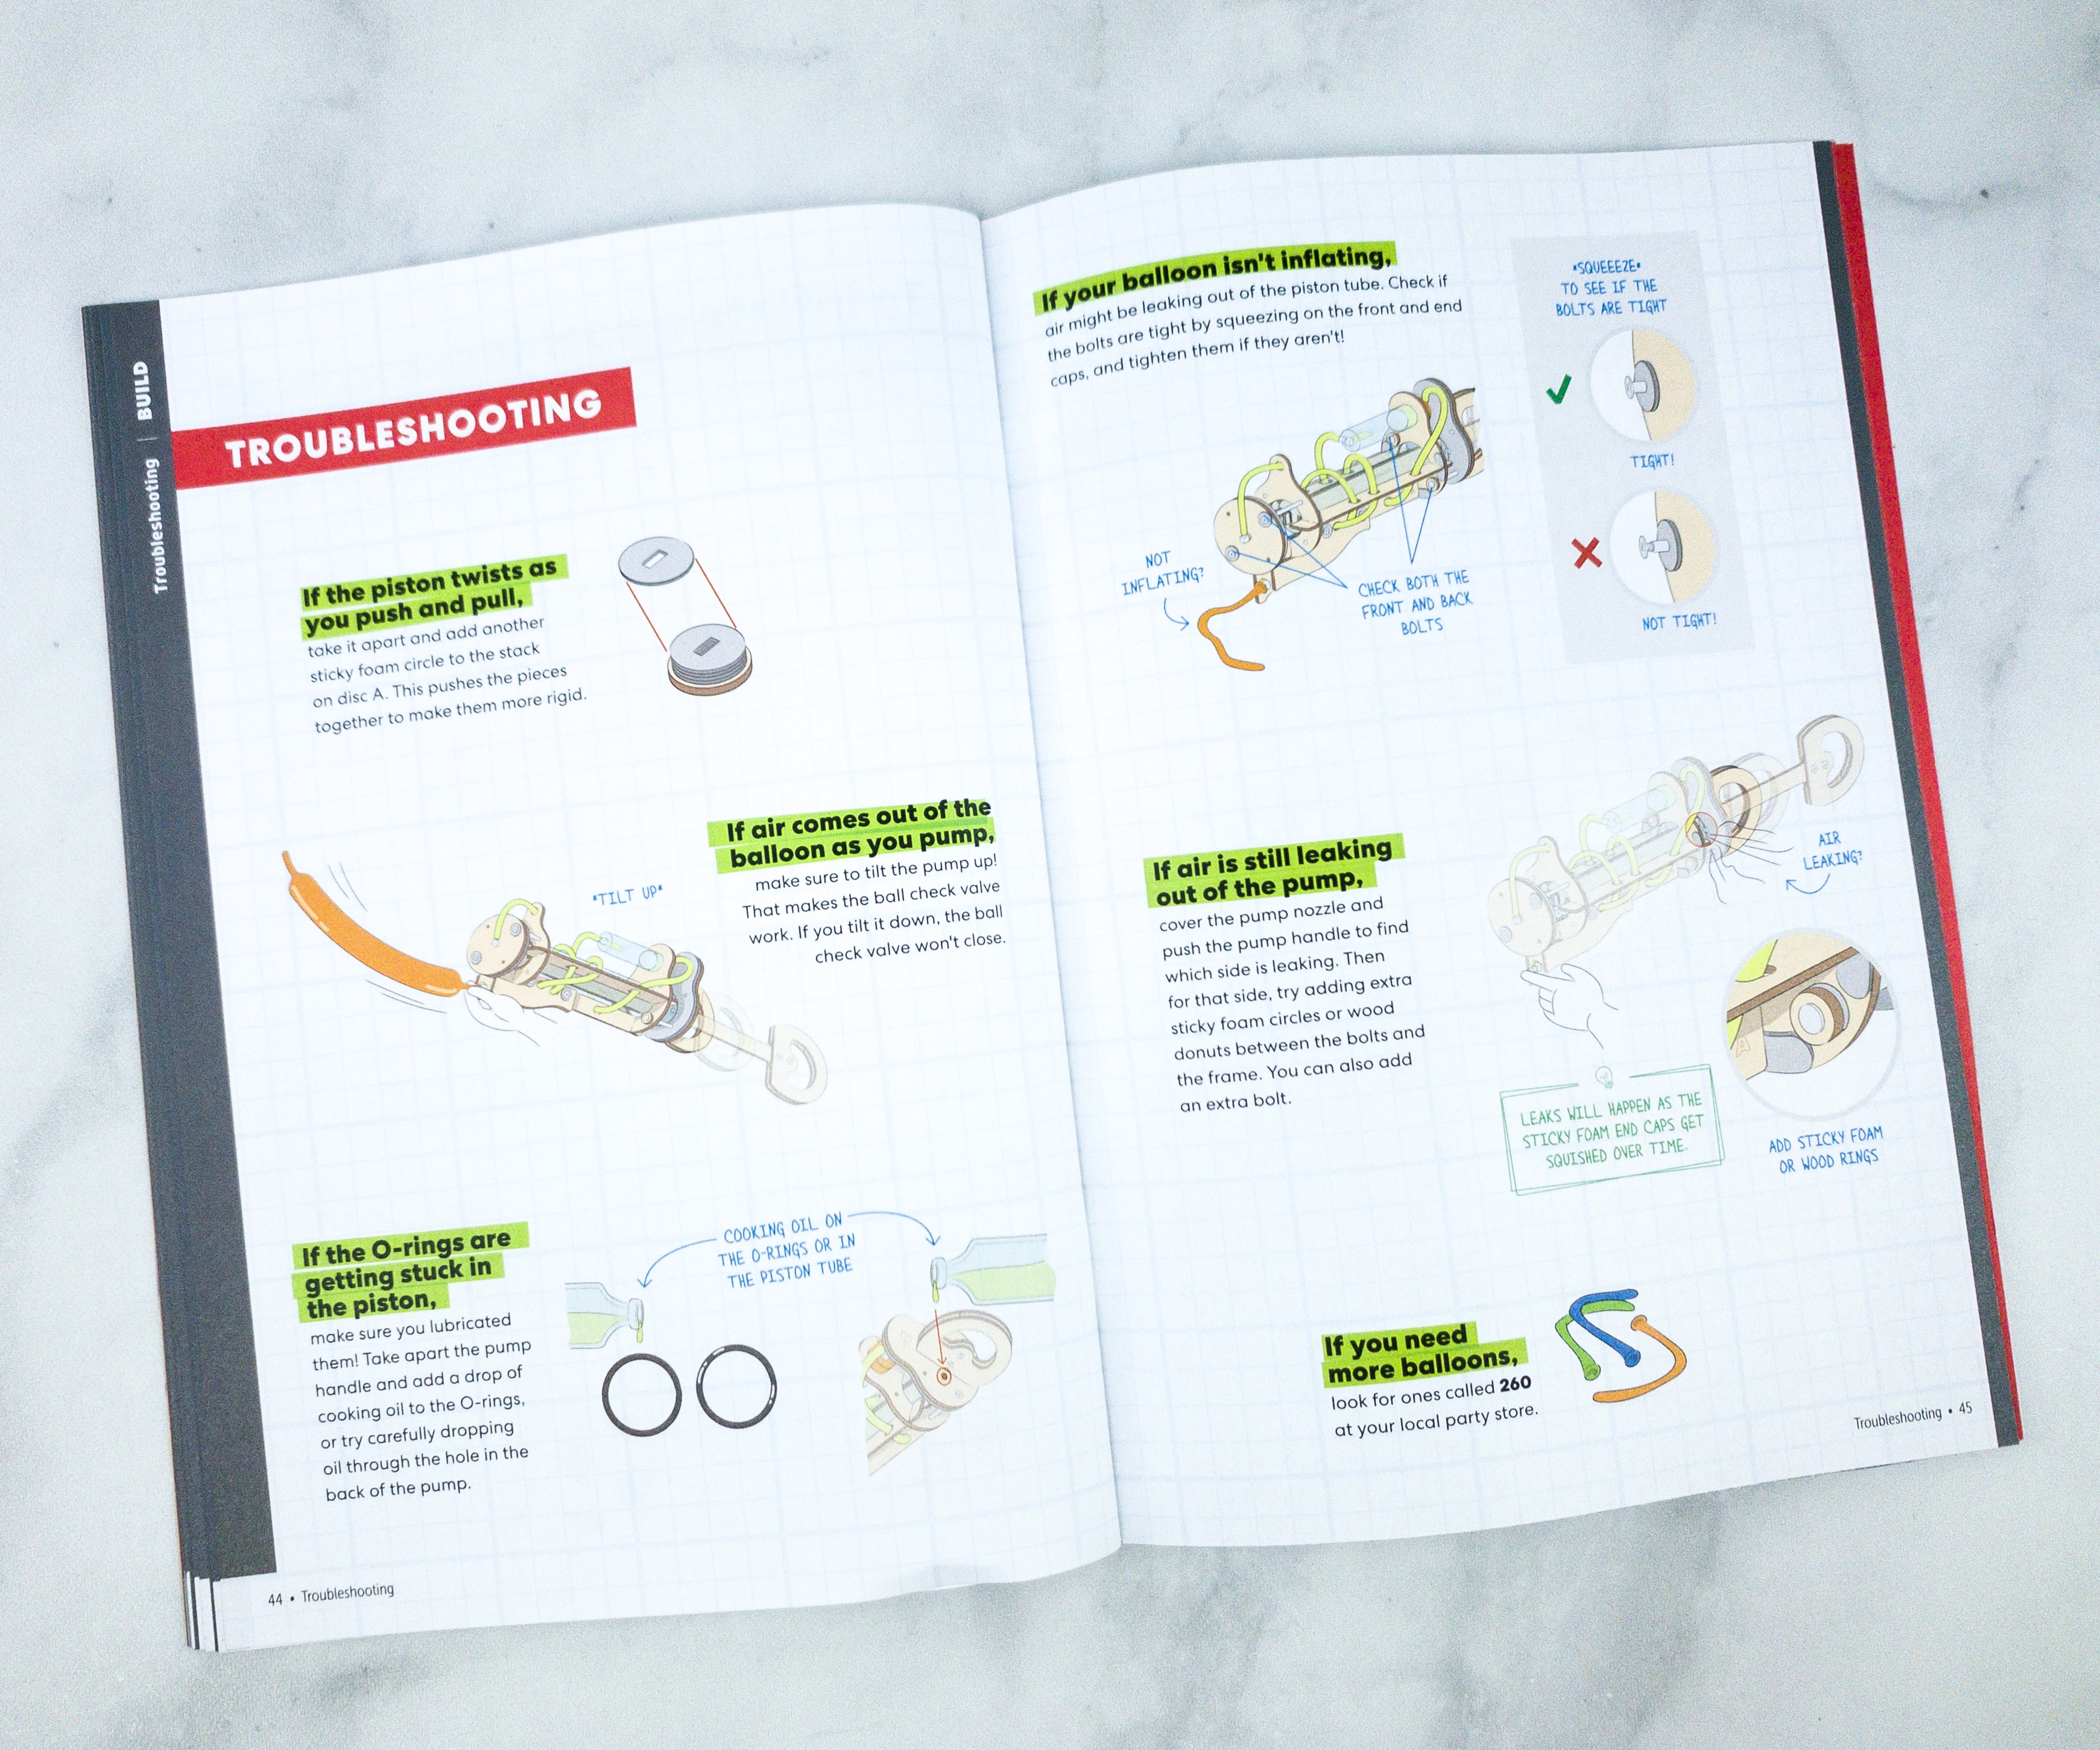
If the pump cannot produce enough air to inflate a balloon, this is the right page to turn to. It features a variety of troubleshooting techniques to correct your hand pump. My daughter totally forgot the cooking oil (it’s detailed in the instructions) and this was super helpful in figuring out how to fix the build!
It’s time to use our hand pump!
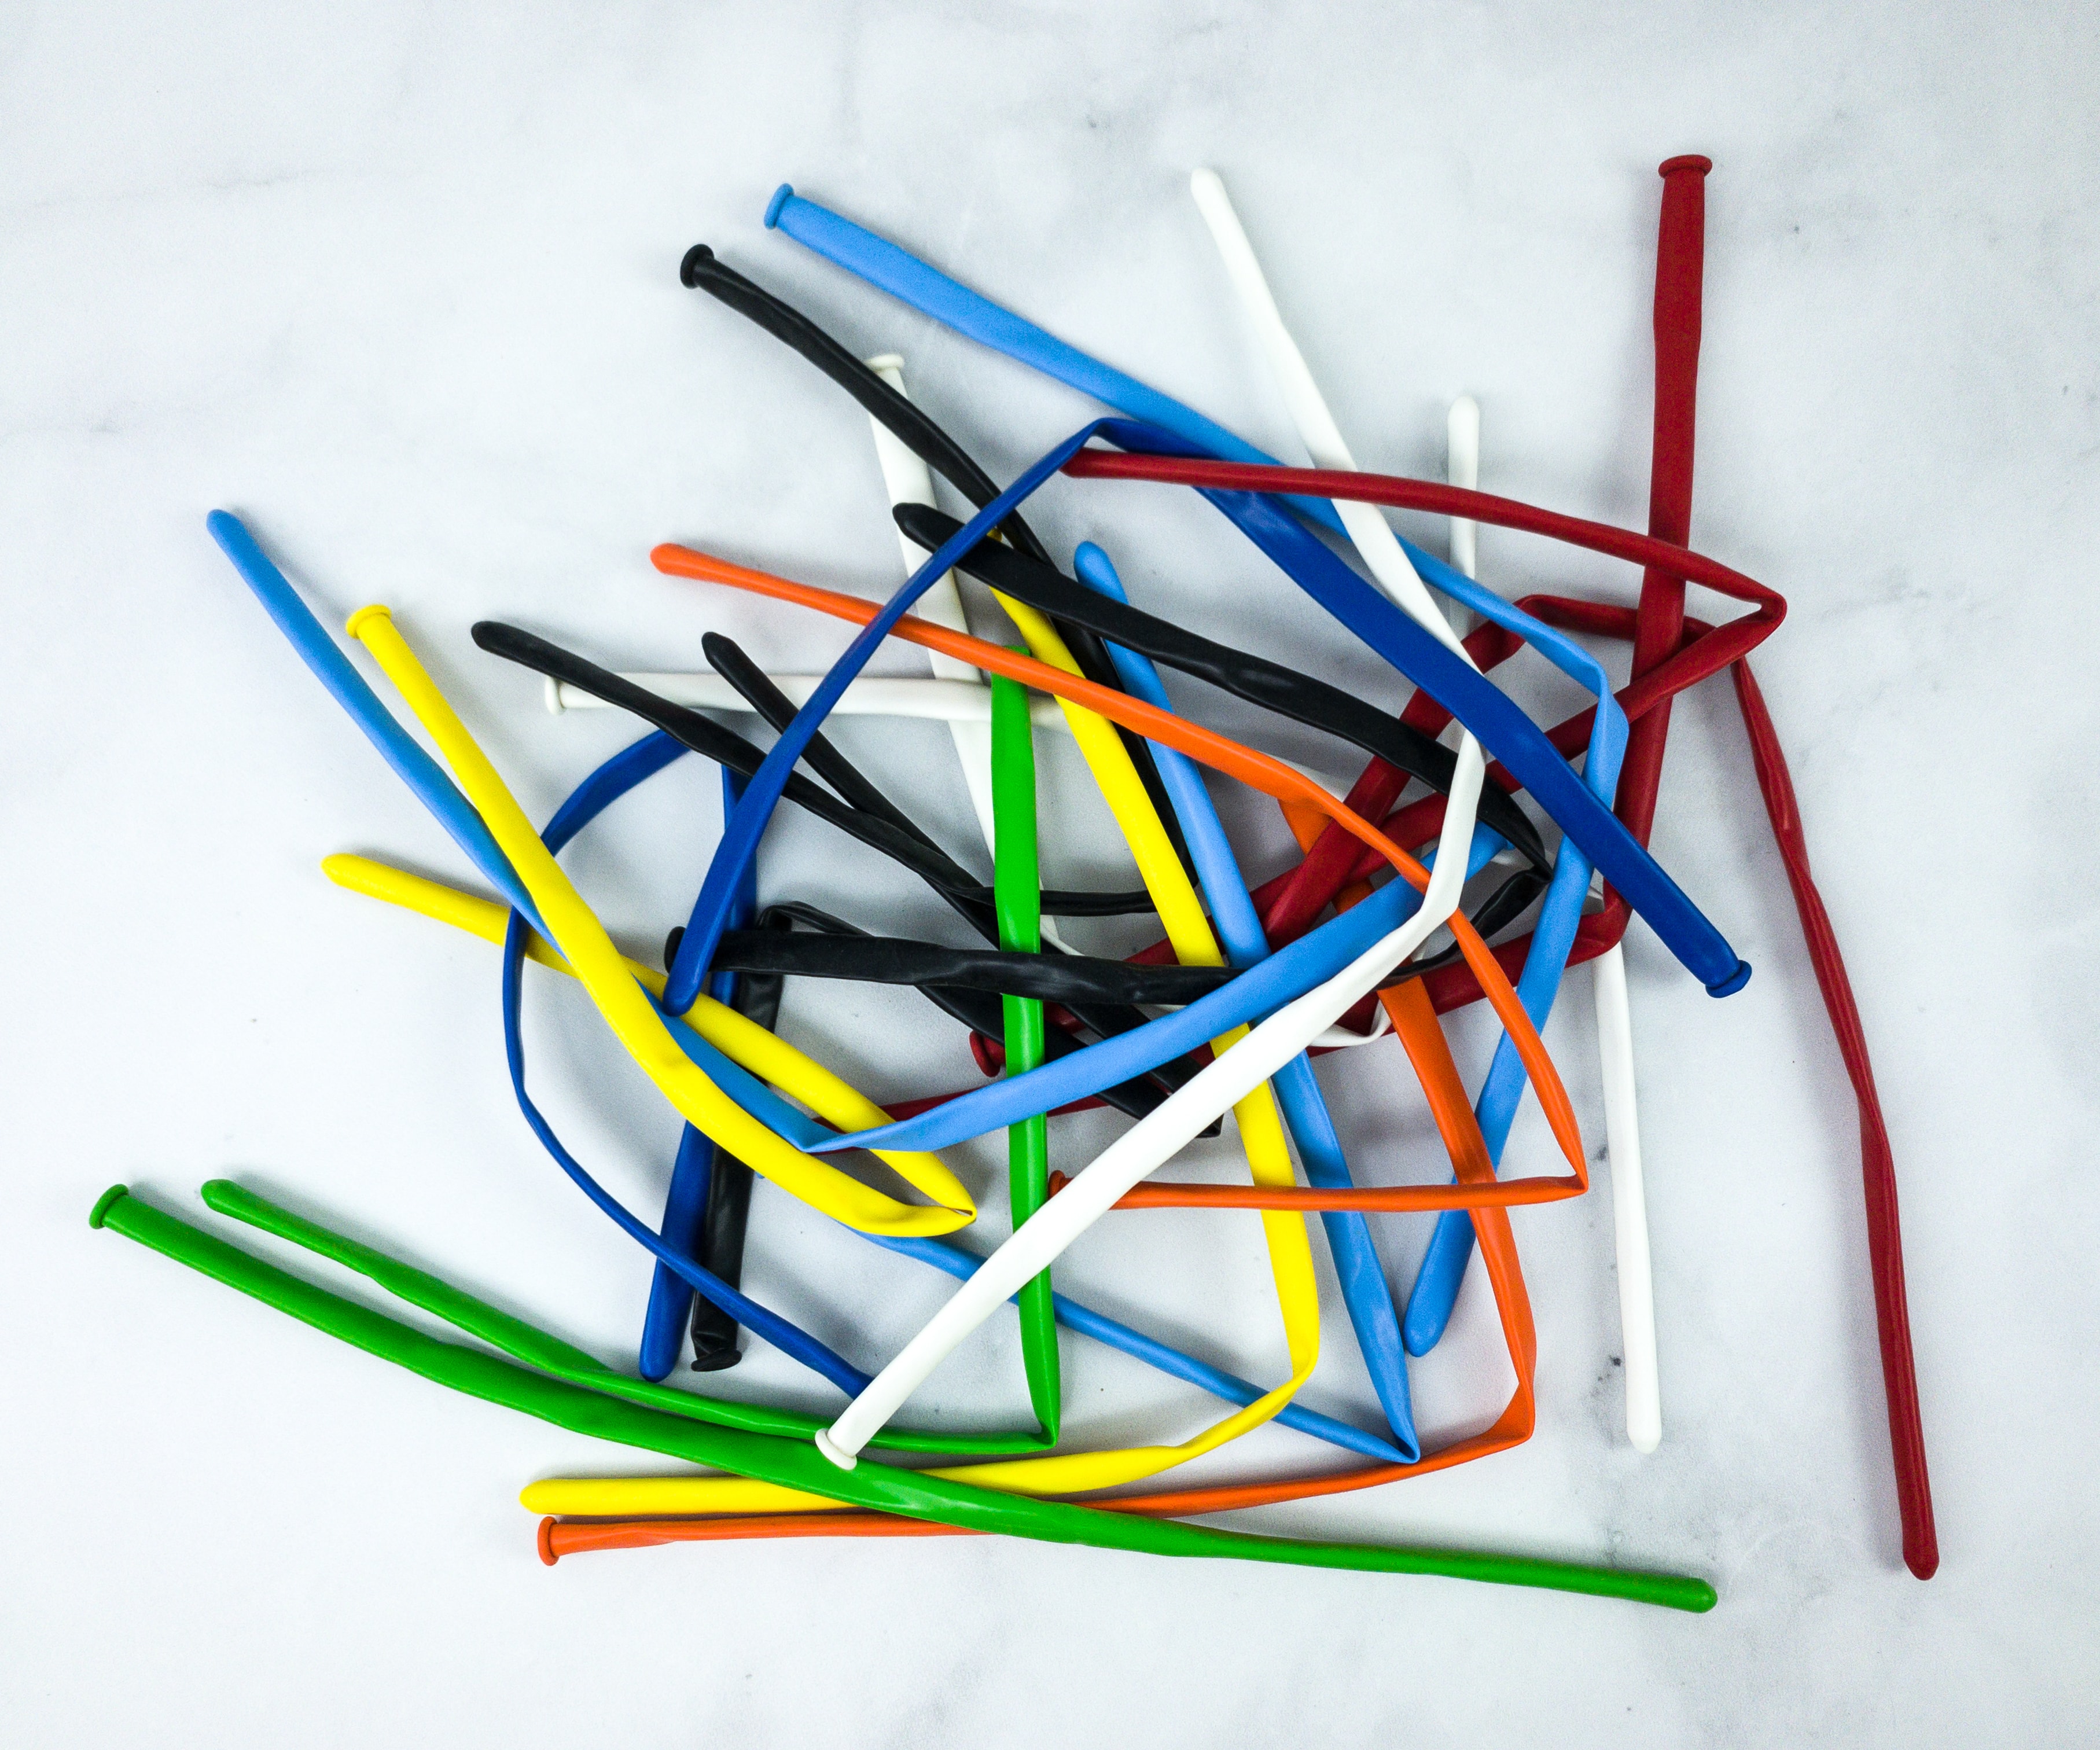
The crate also provided a lot of long and colorful latex balloons!
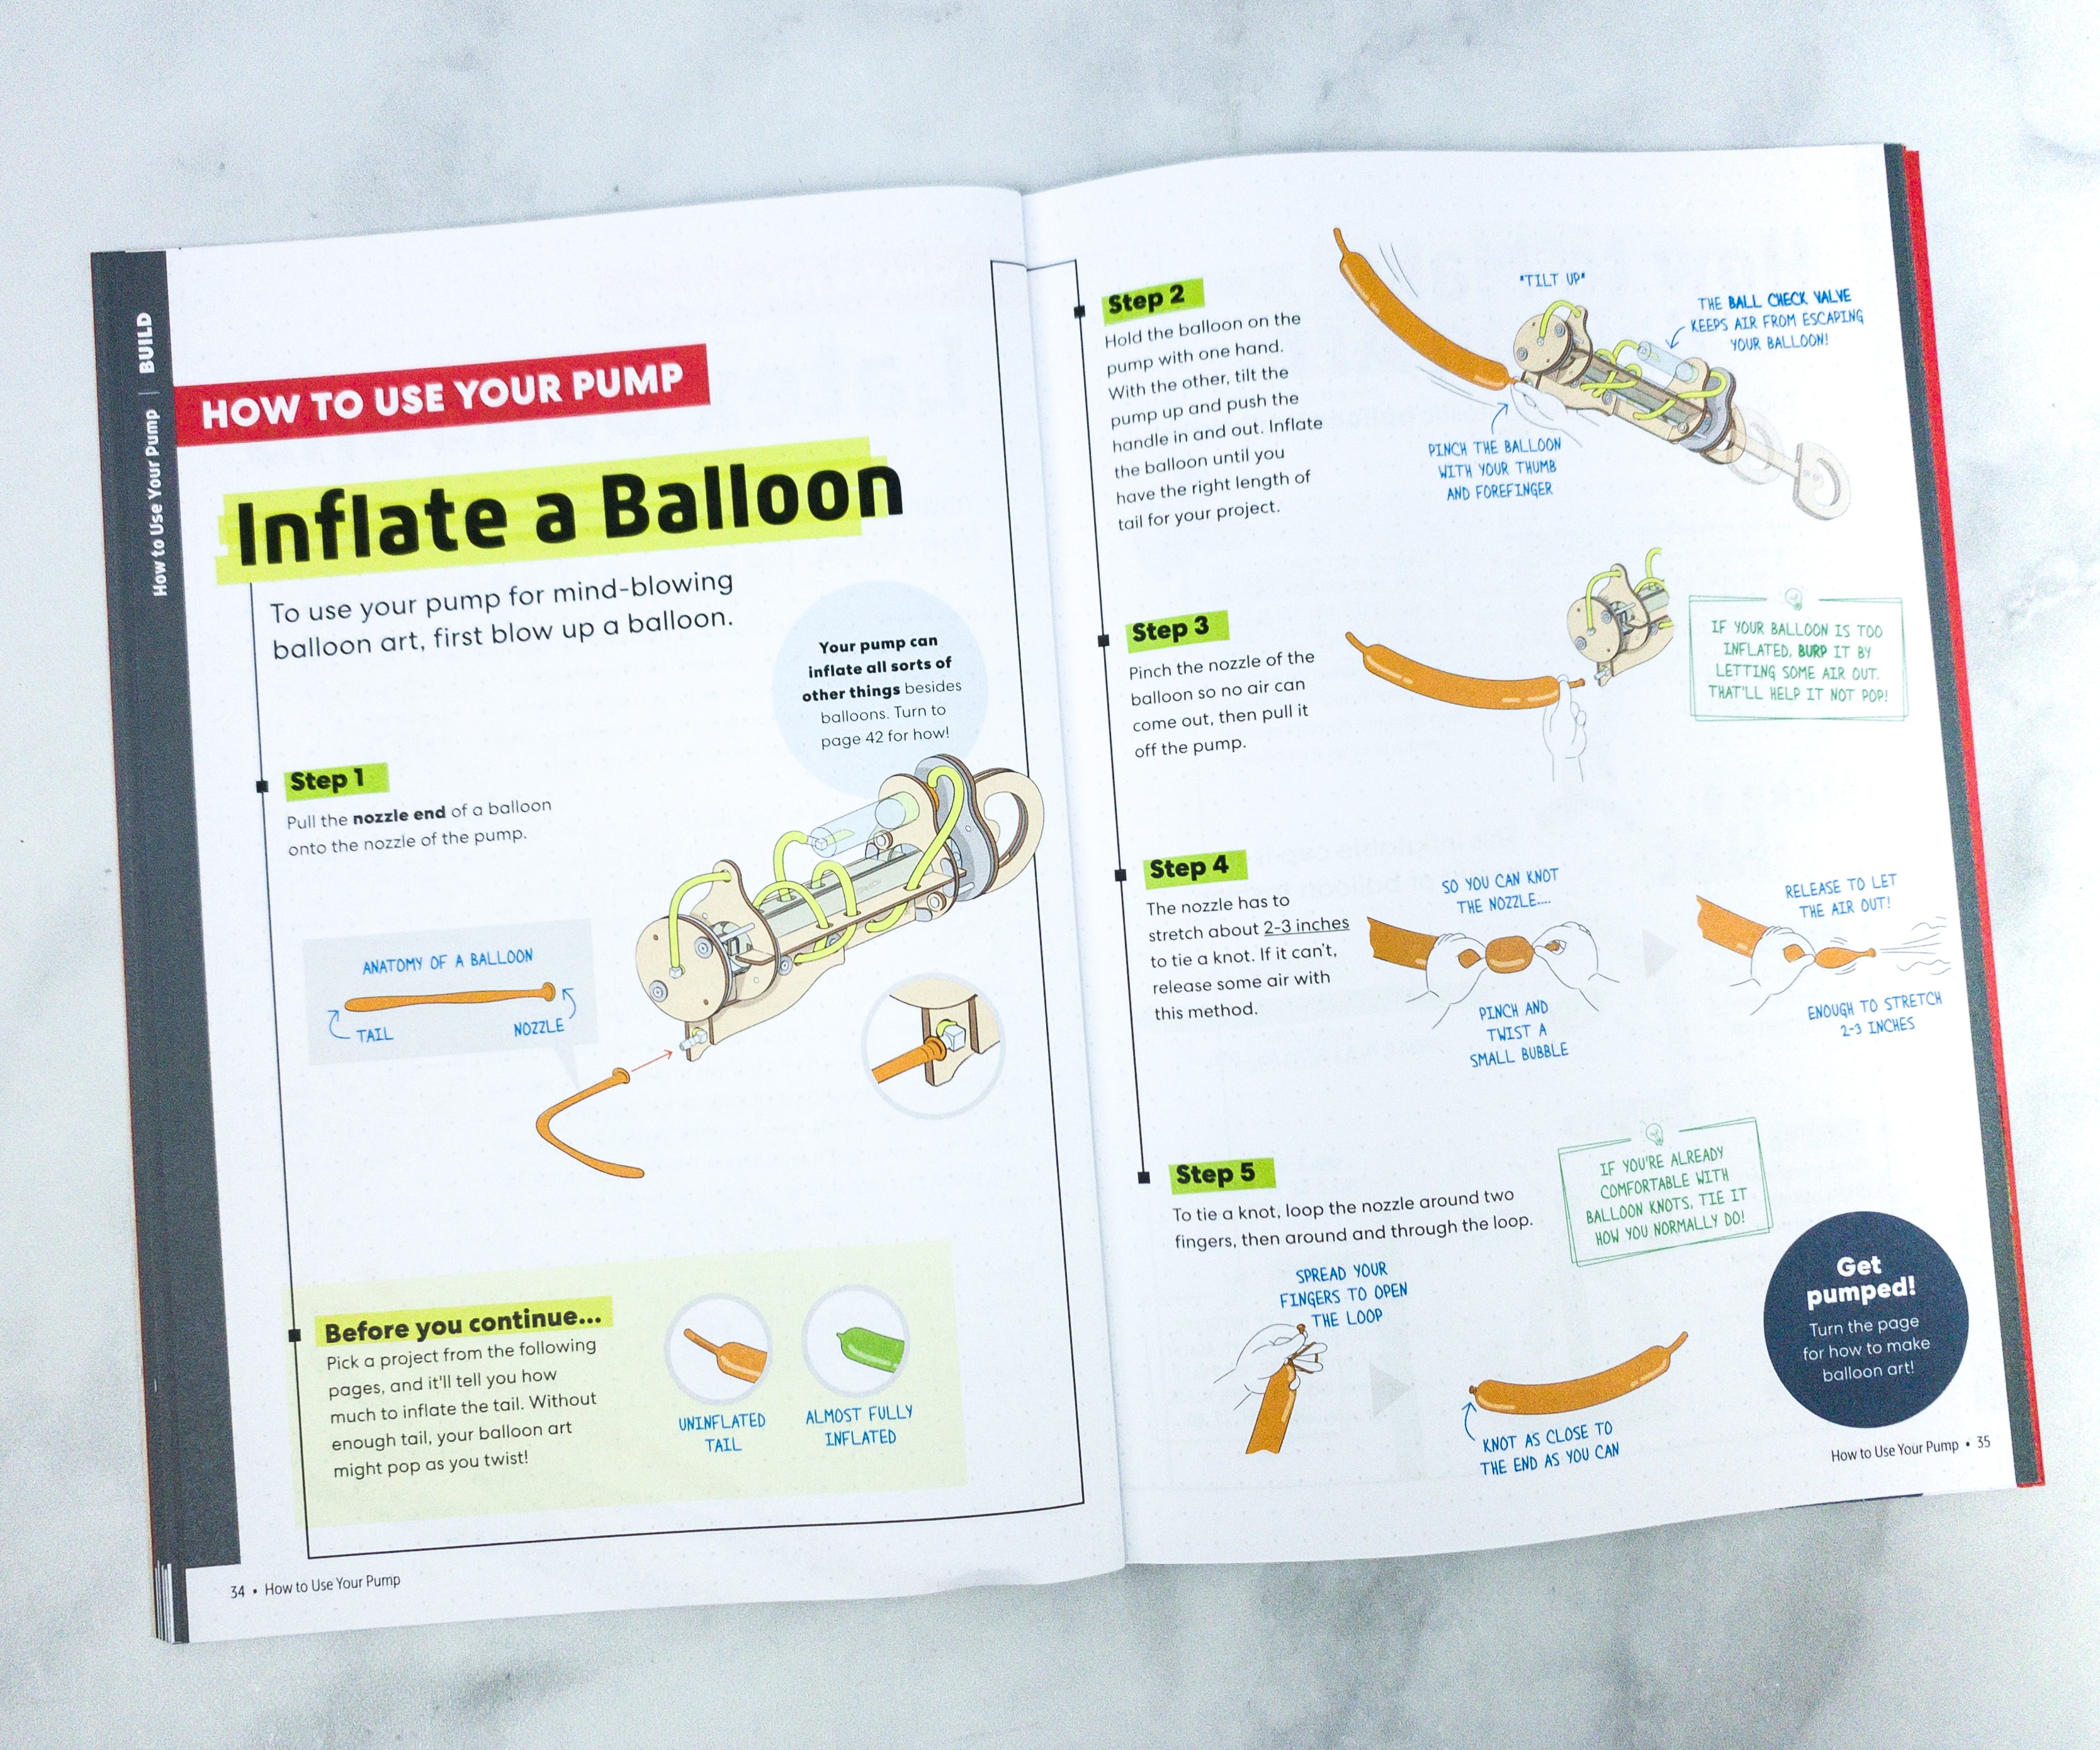
They also provided instructions for inflating the balloons.
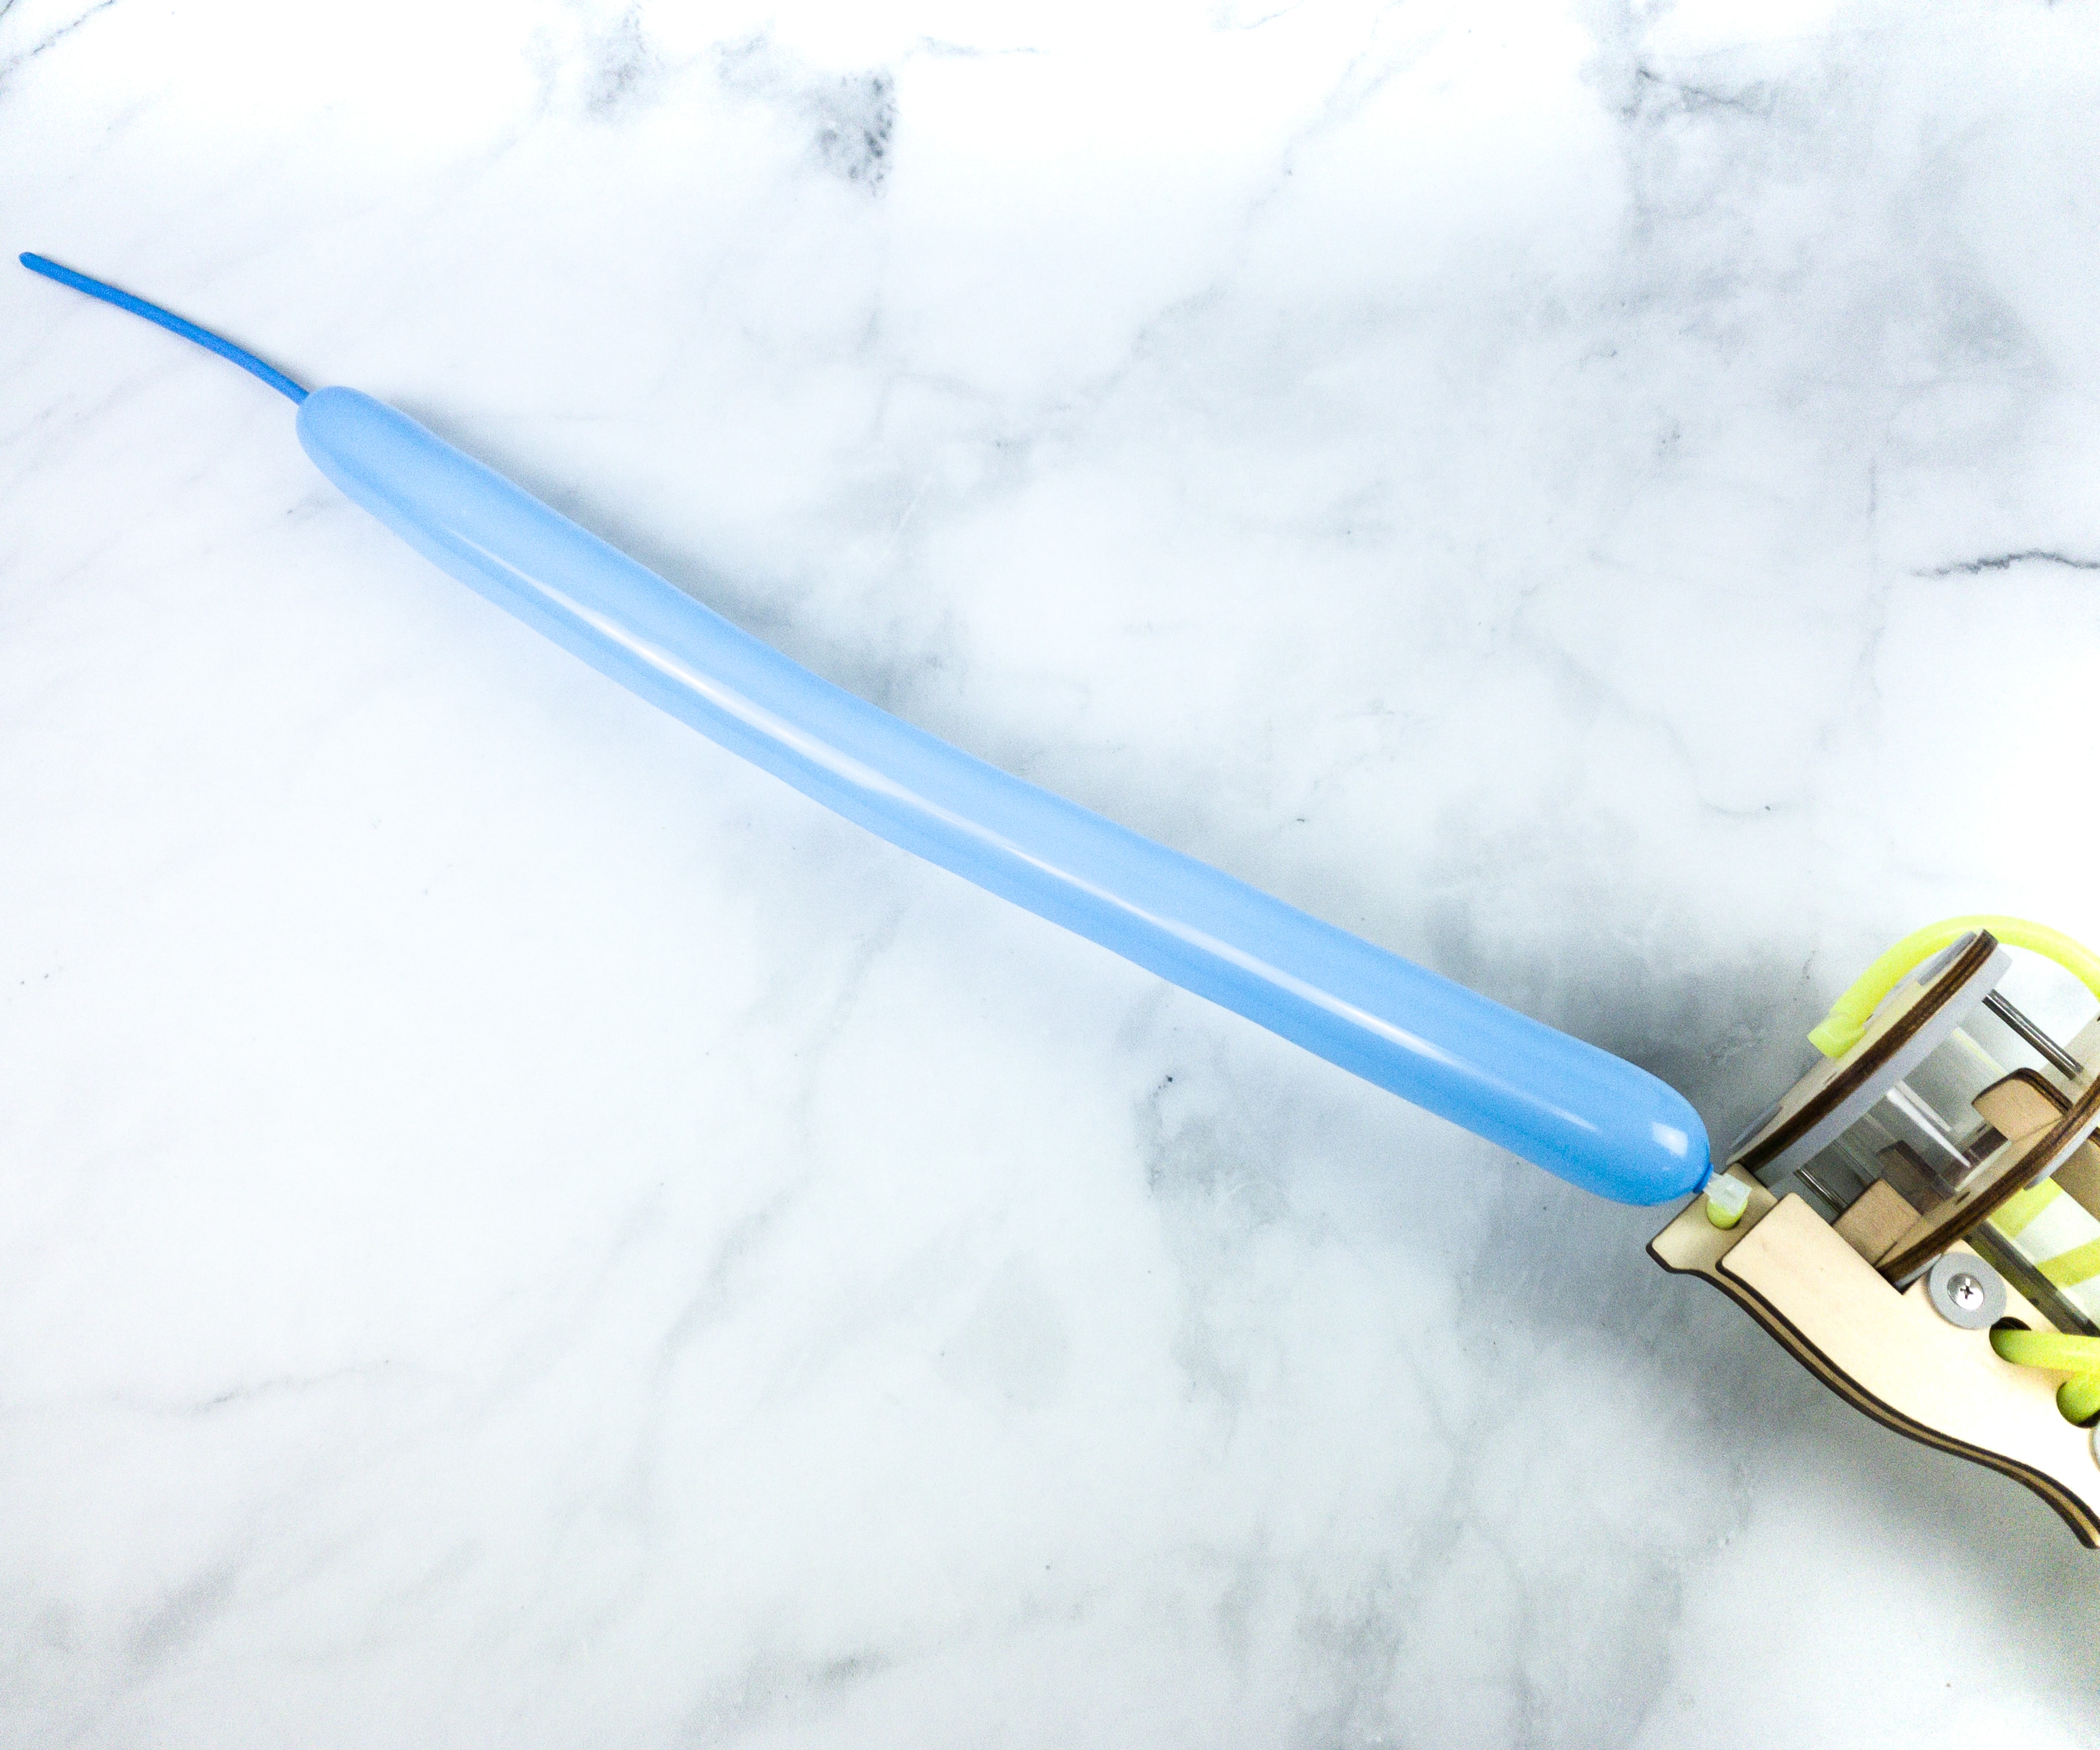
To use, simply put the nozzle end of the balloon onto the nozzle of the pump. Hold the balloon on the pump with one hand and using the other hand tilt the pump up and push the handle in and out.
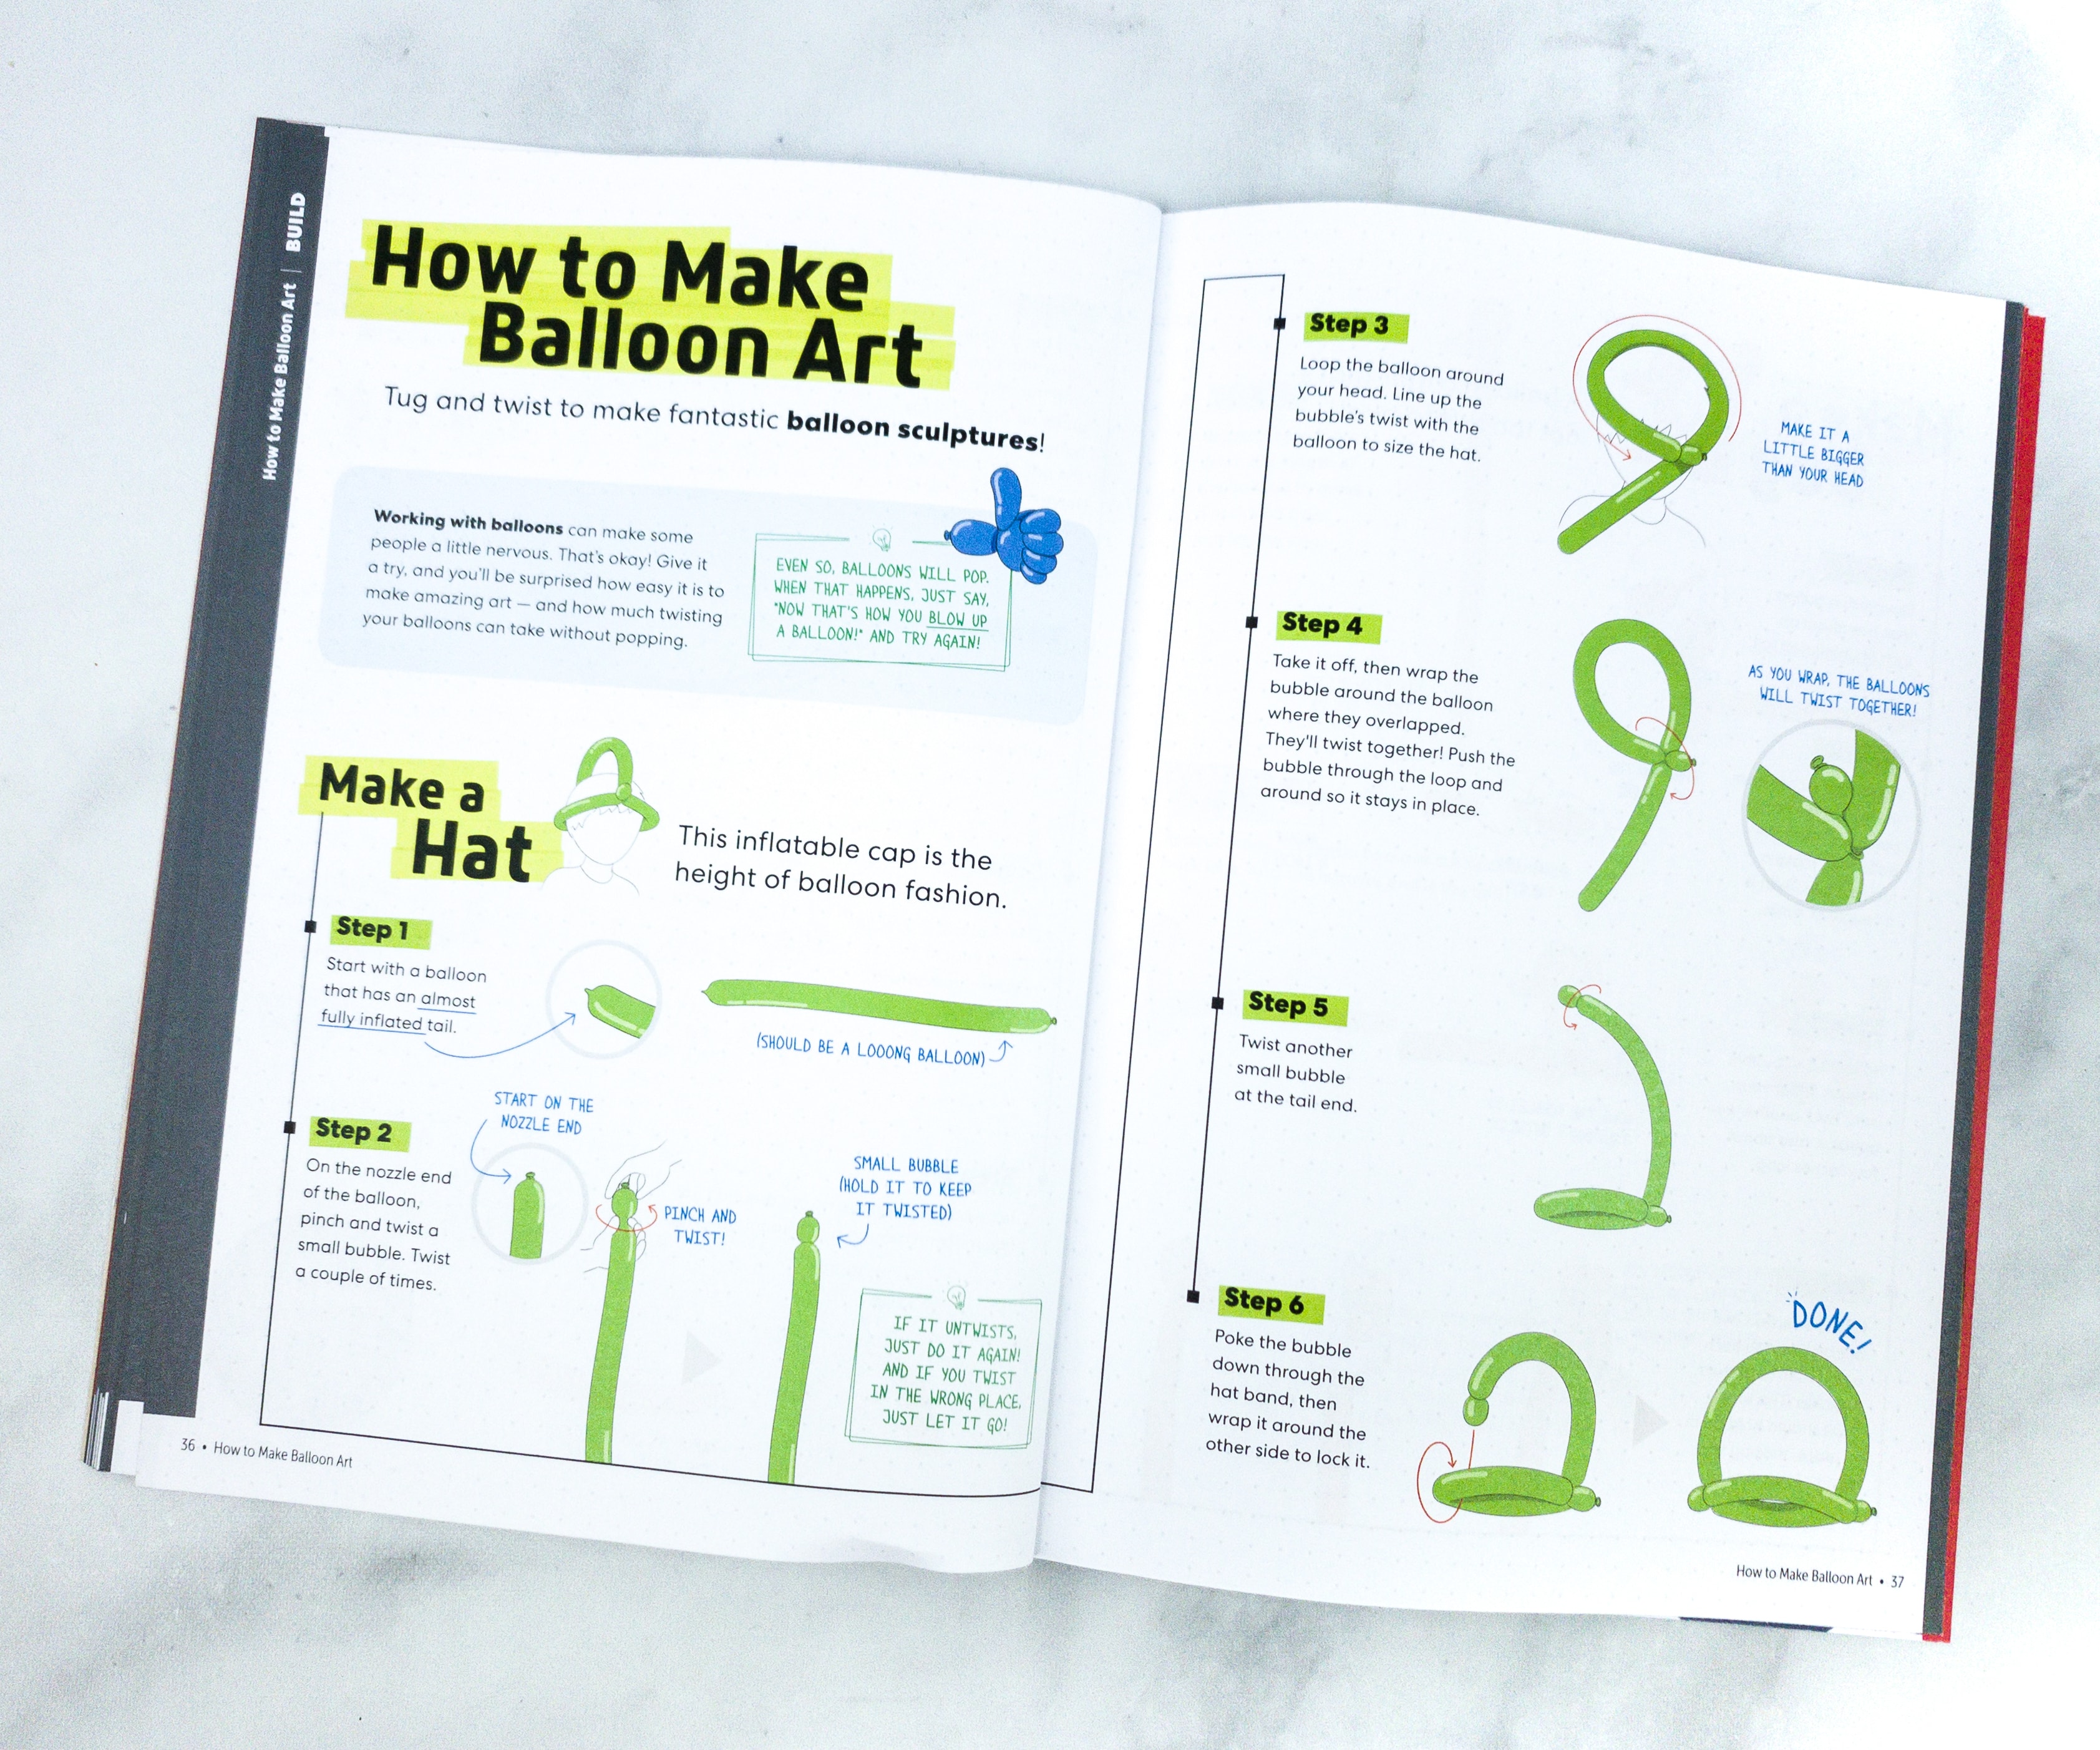
Once we have fully inflated the balloons, the next thing to do is to make a fantastic balloon art!
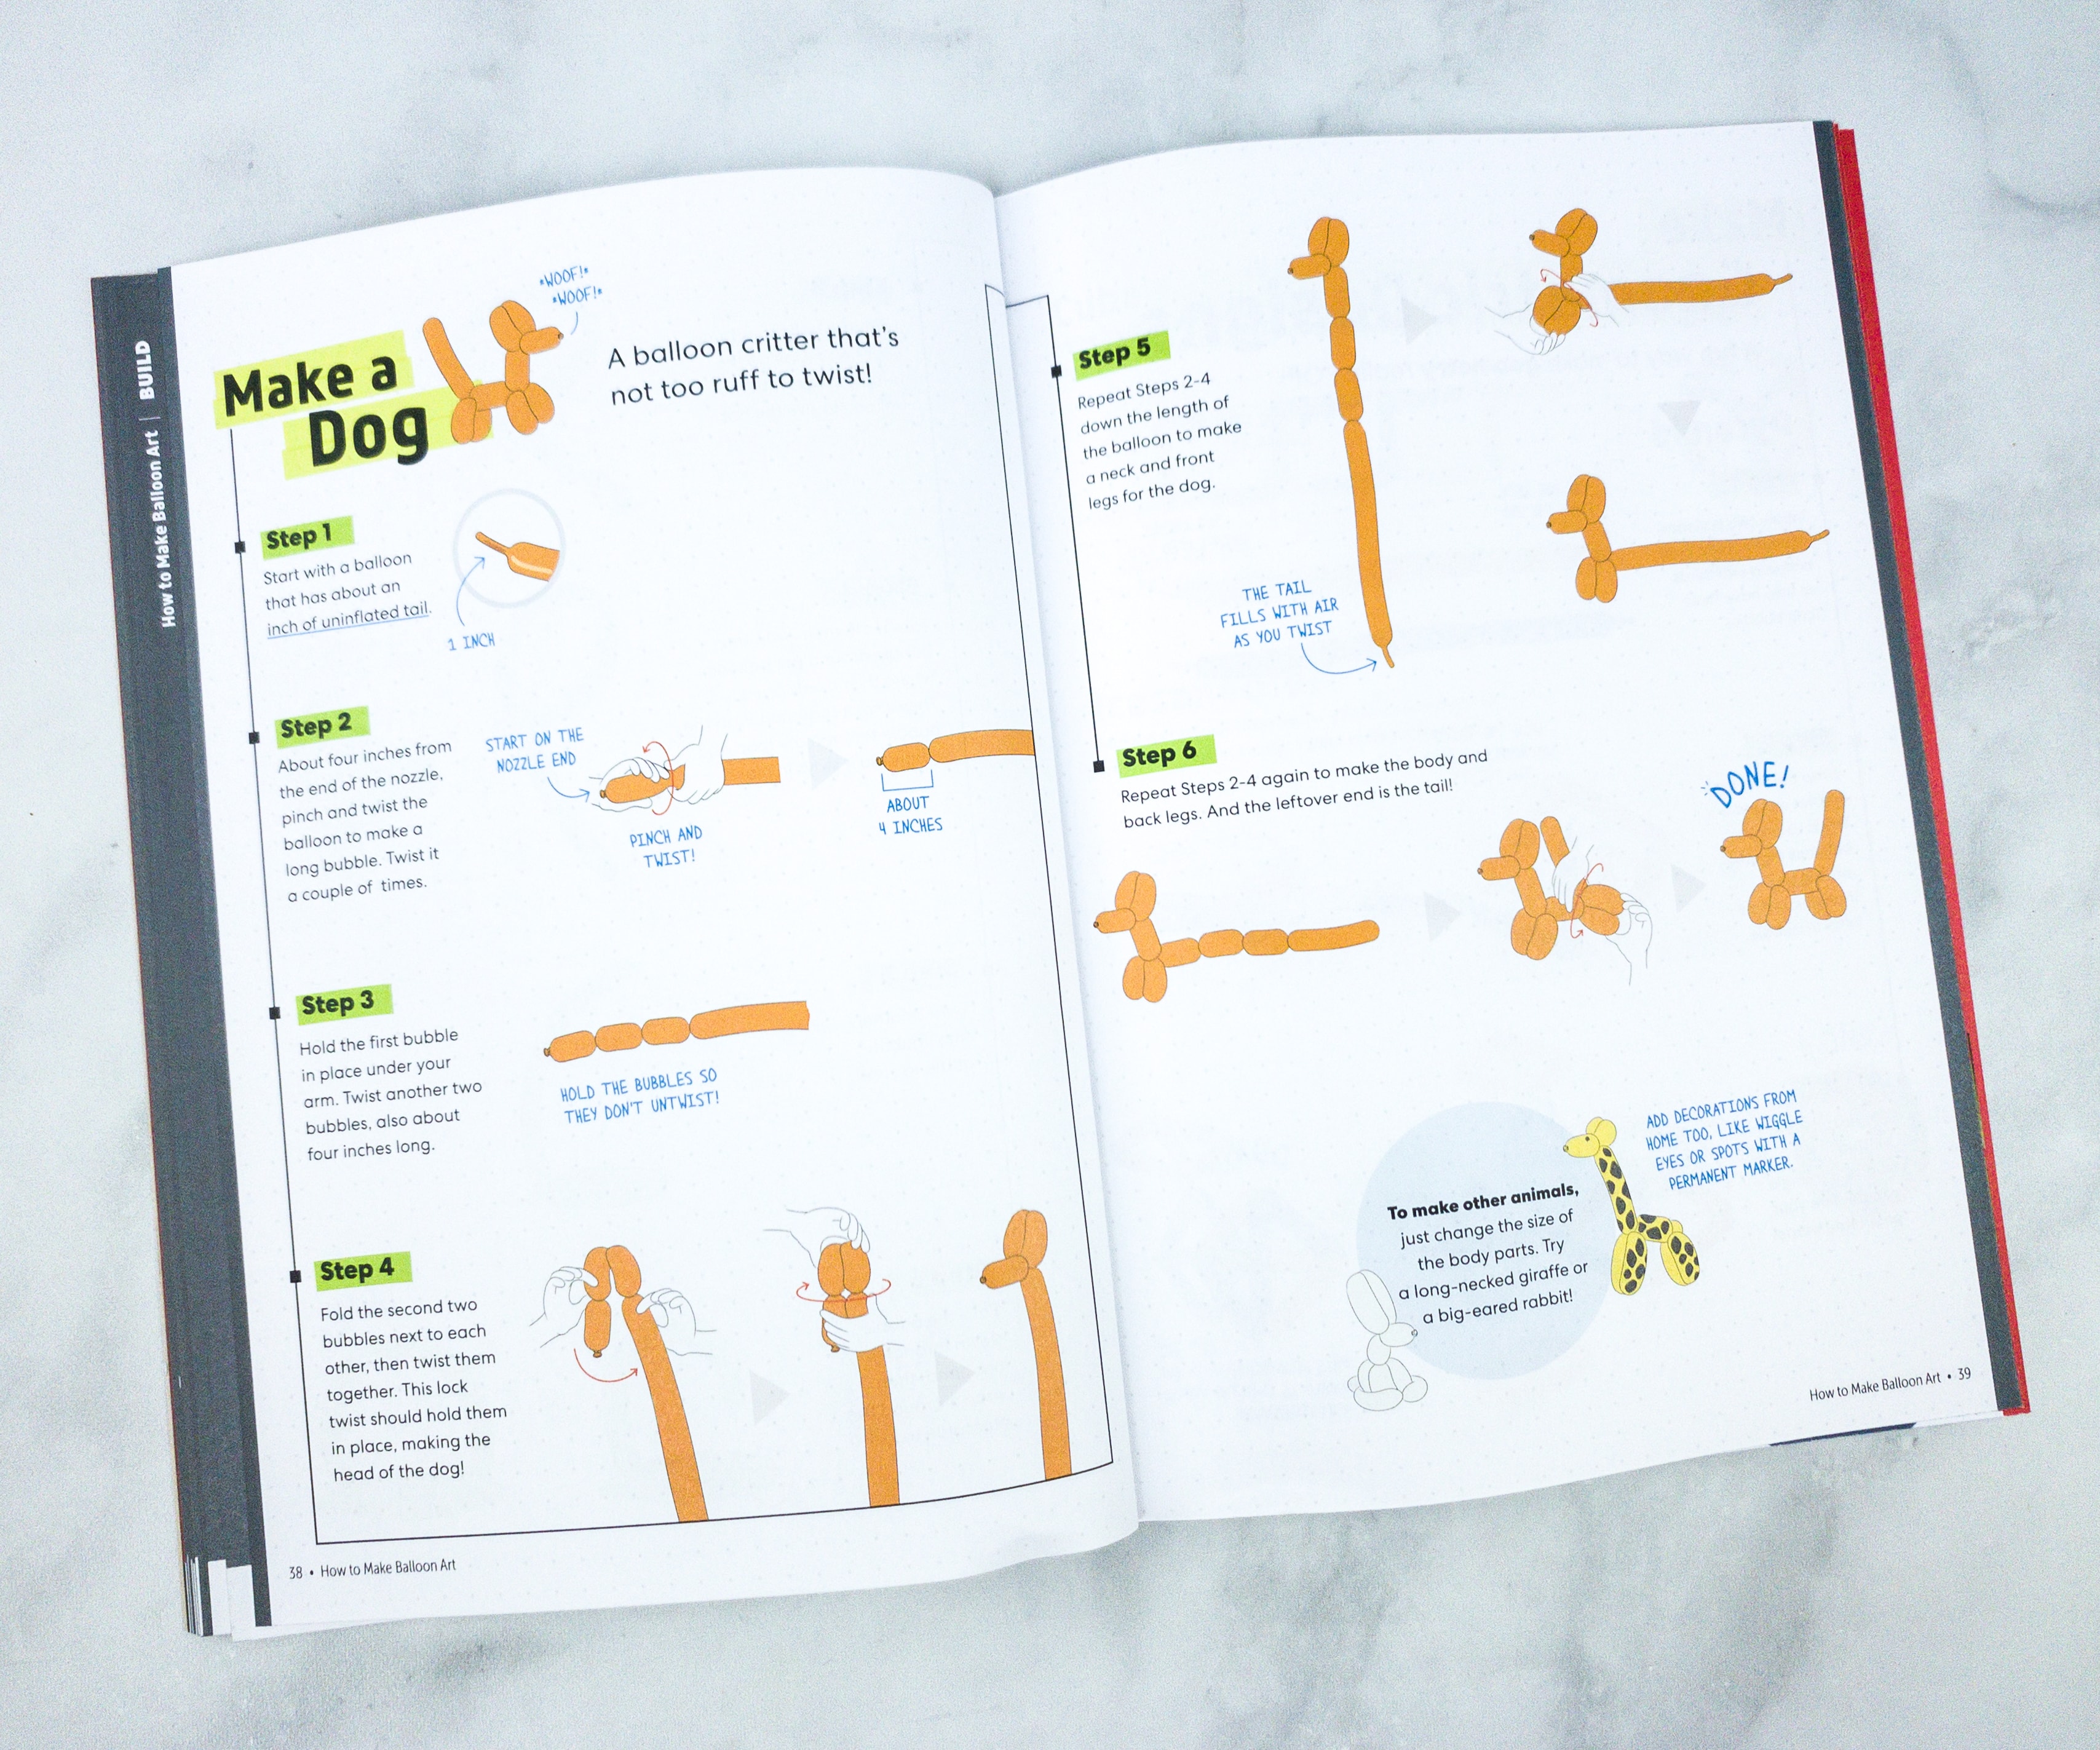
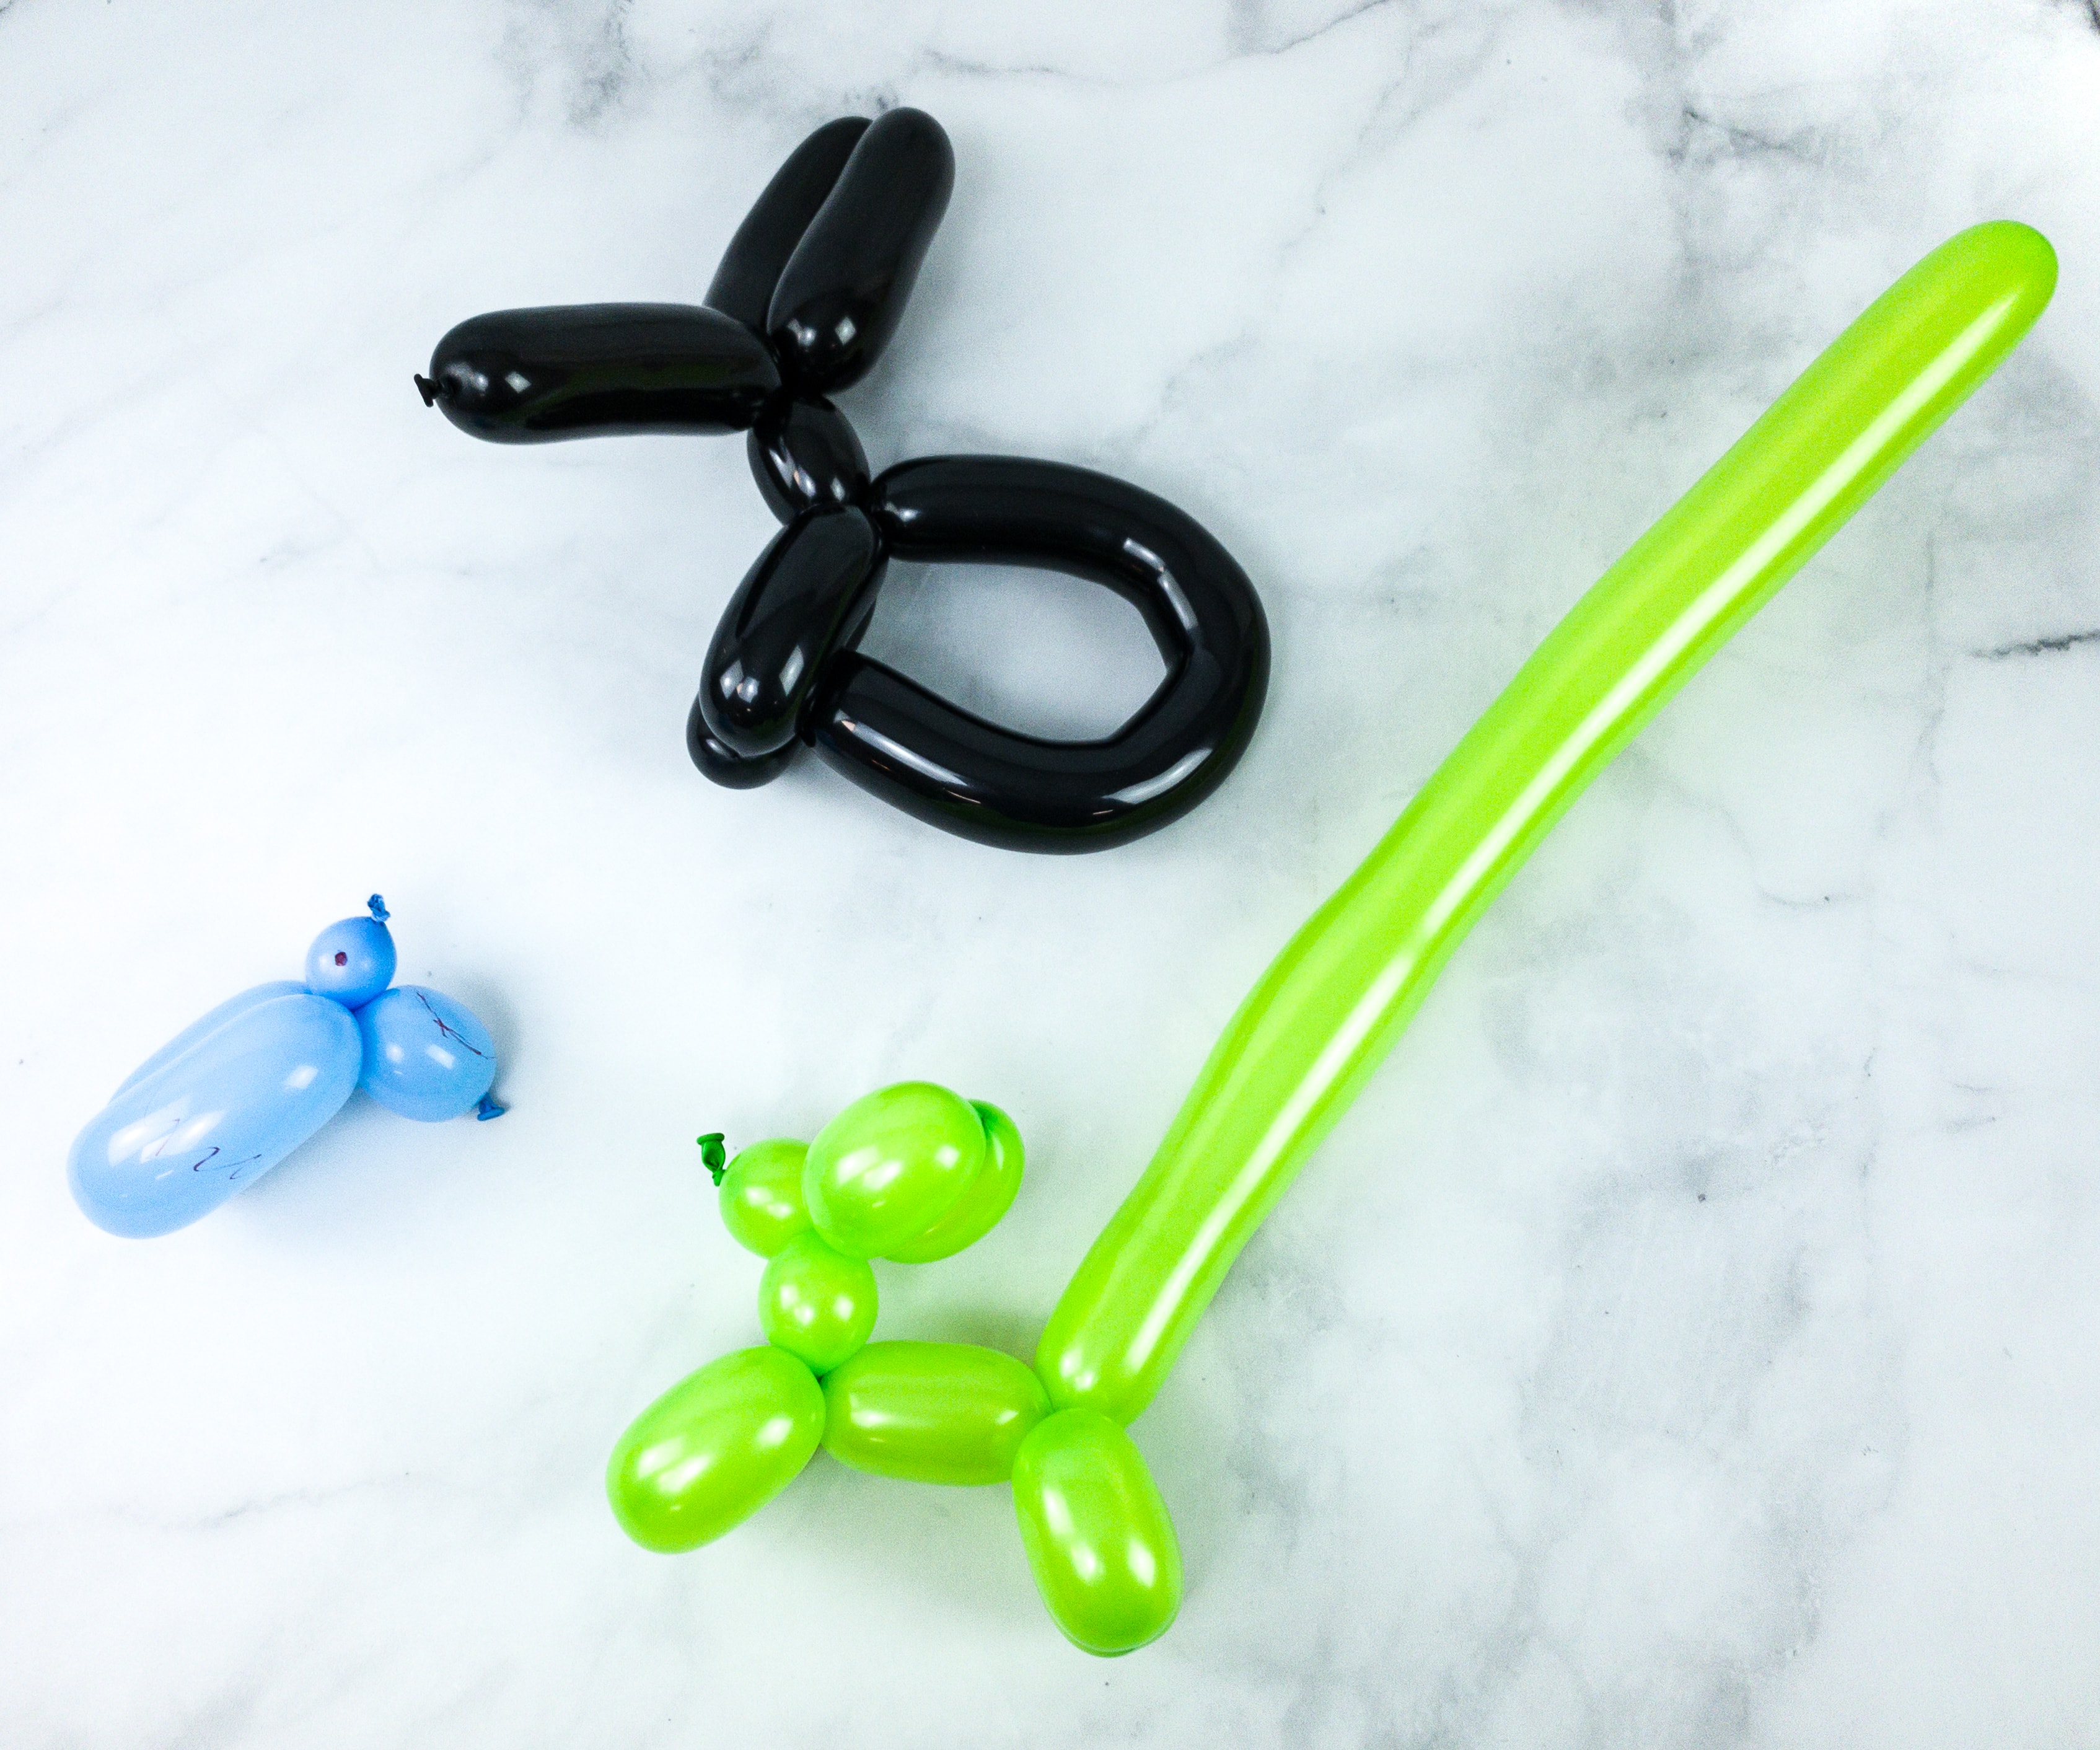
We started off by making a cute dog balloon art.
It’s so easy to do, all you just need is carefully twist certain parts of the inflated balloon.

We’ve got a lot of balloons to twist here!
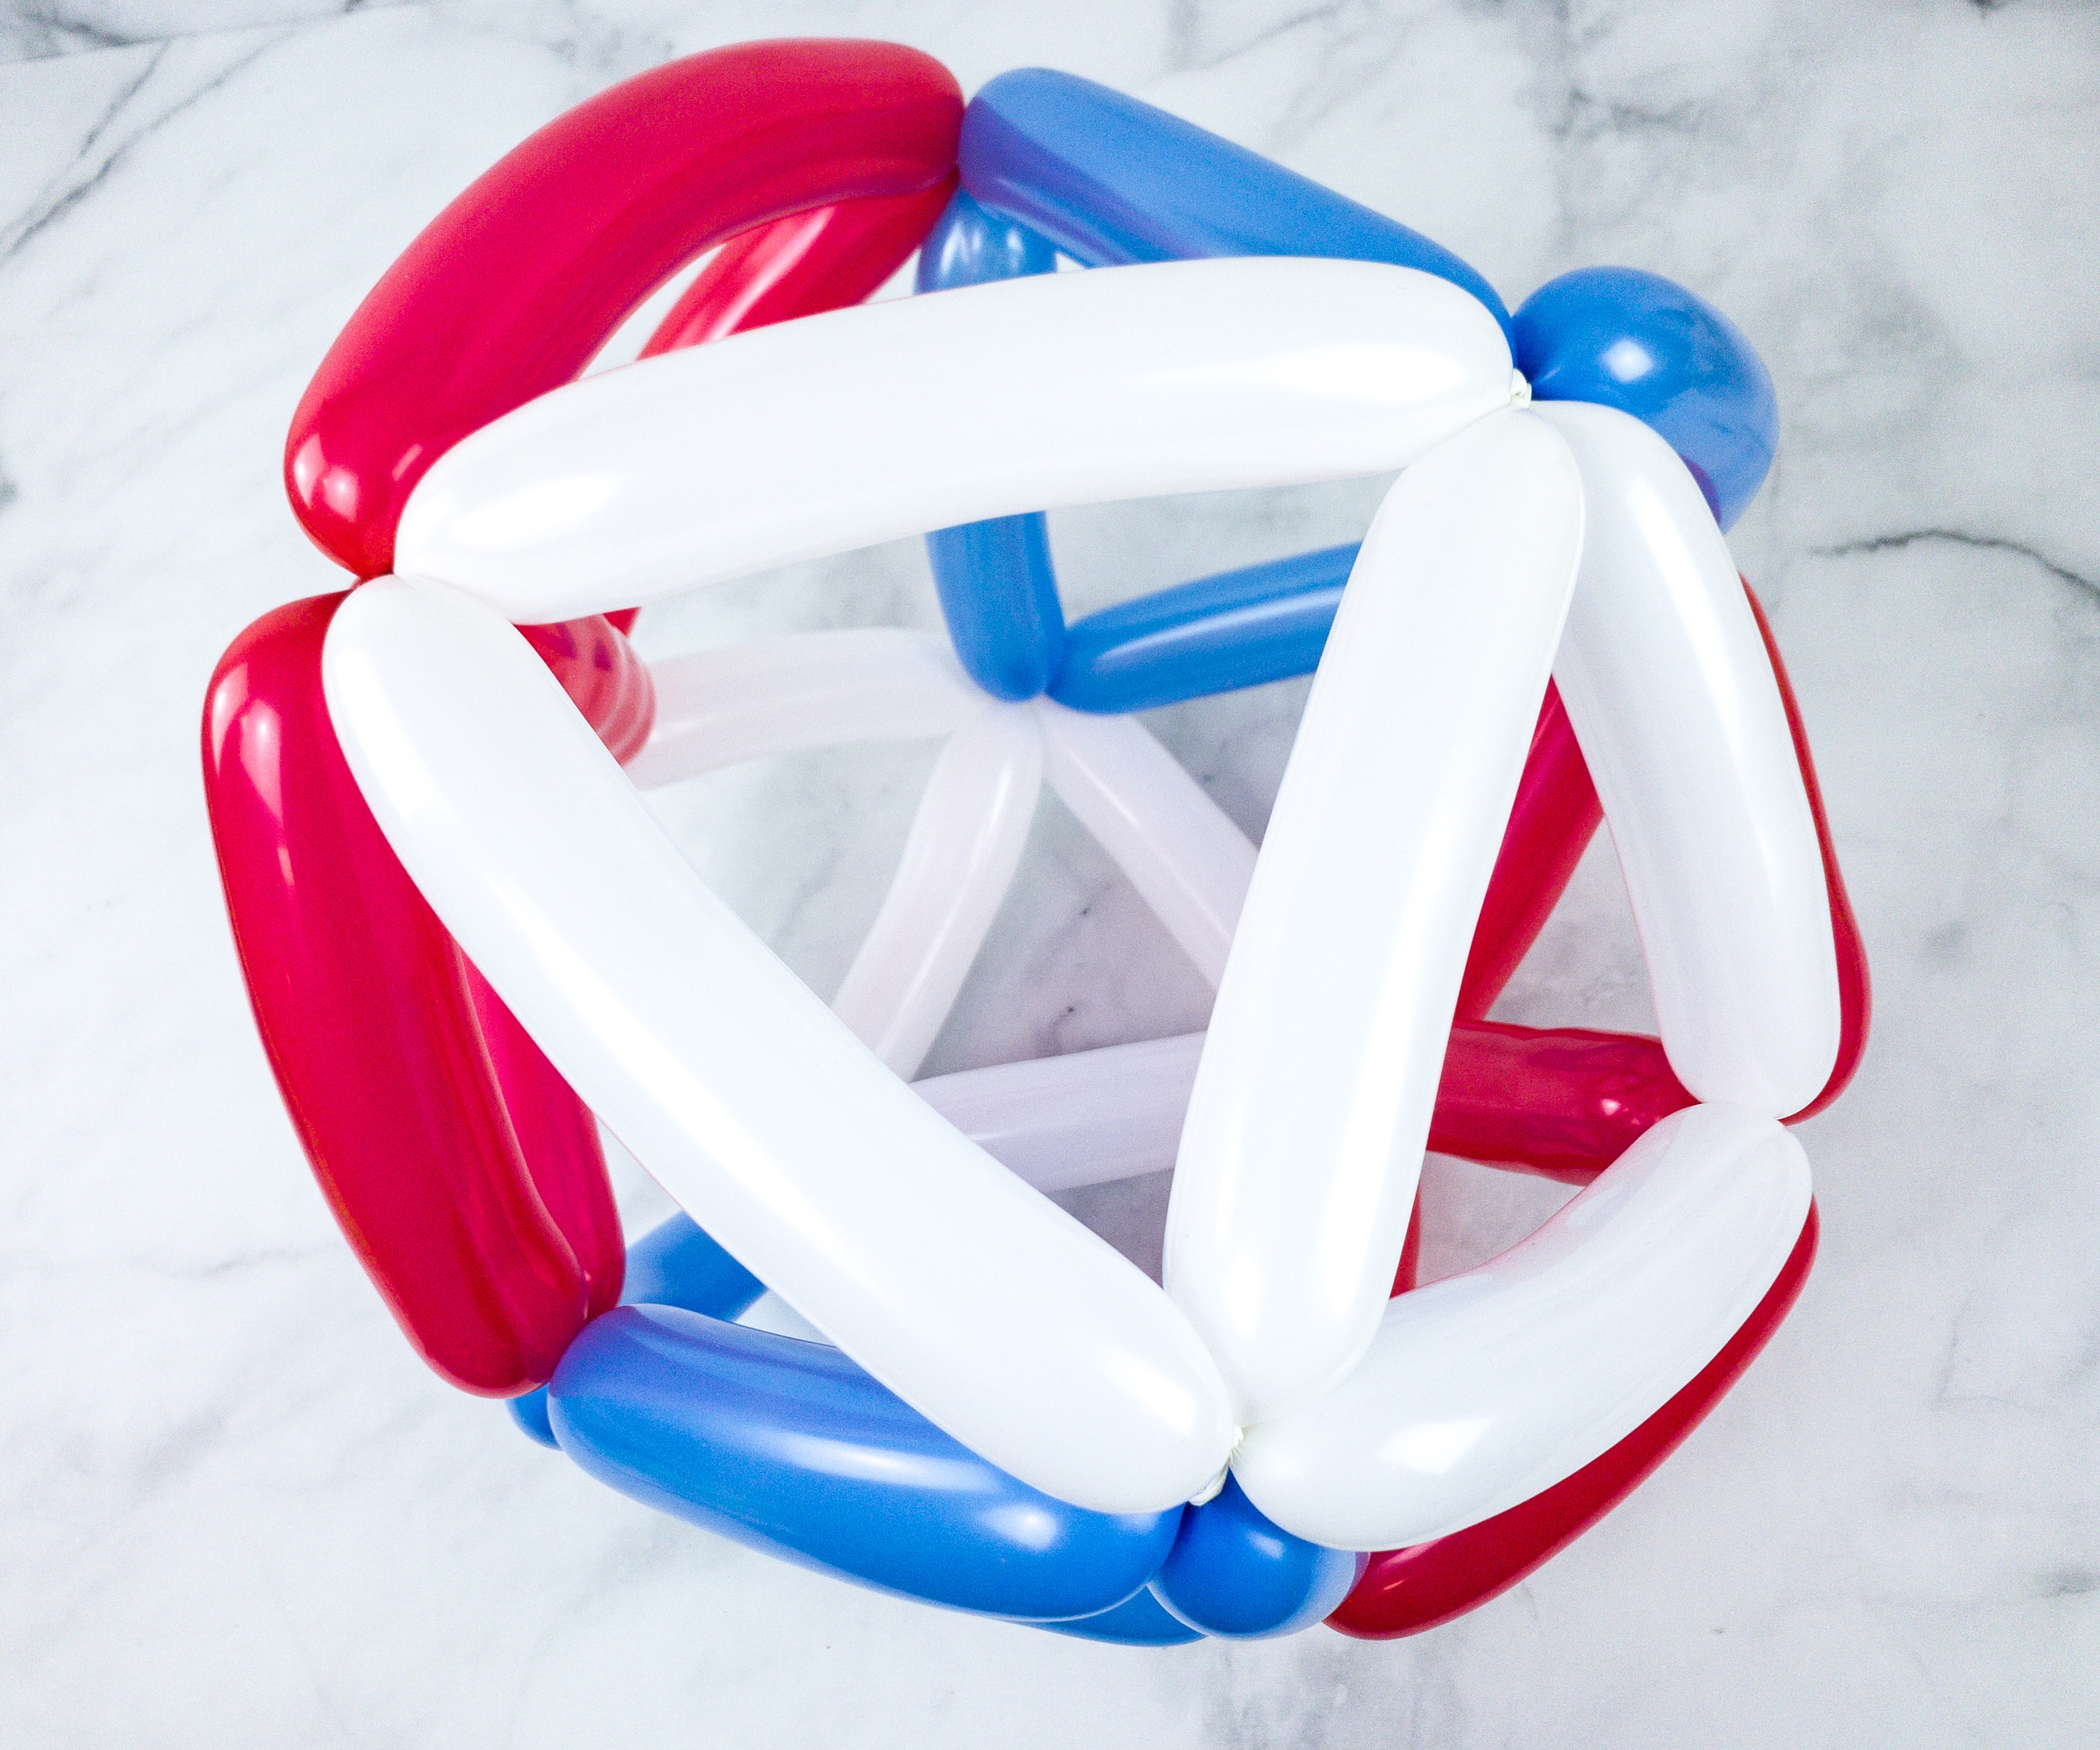
After inflating the red, white, and blue balloons, we combined them and formed a unique soccer ball!
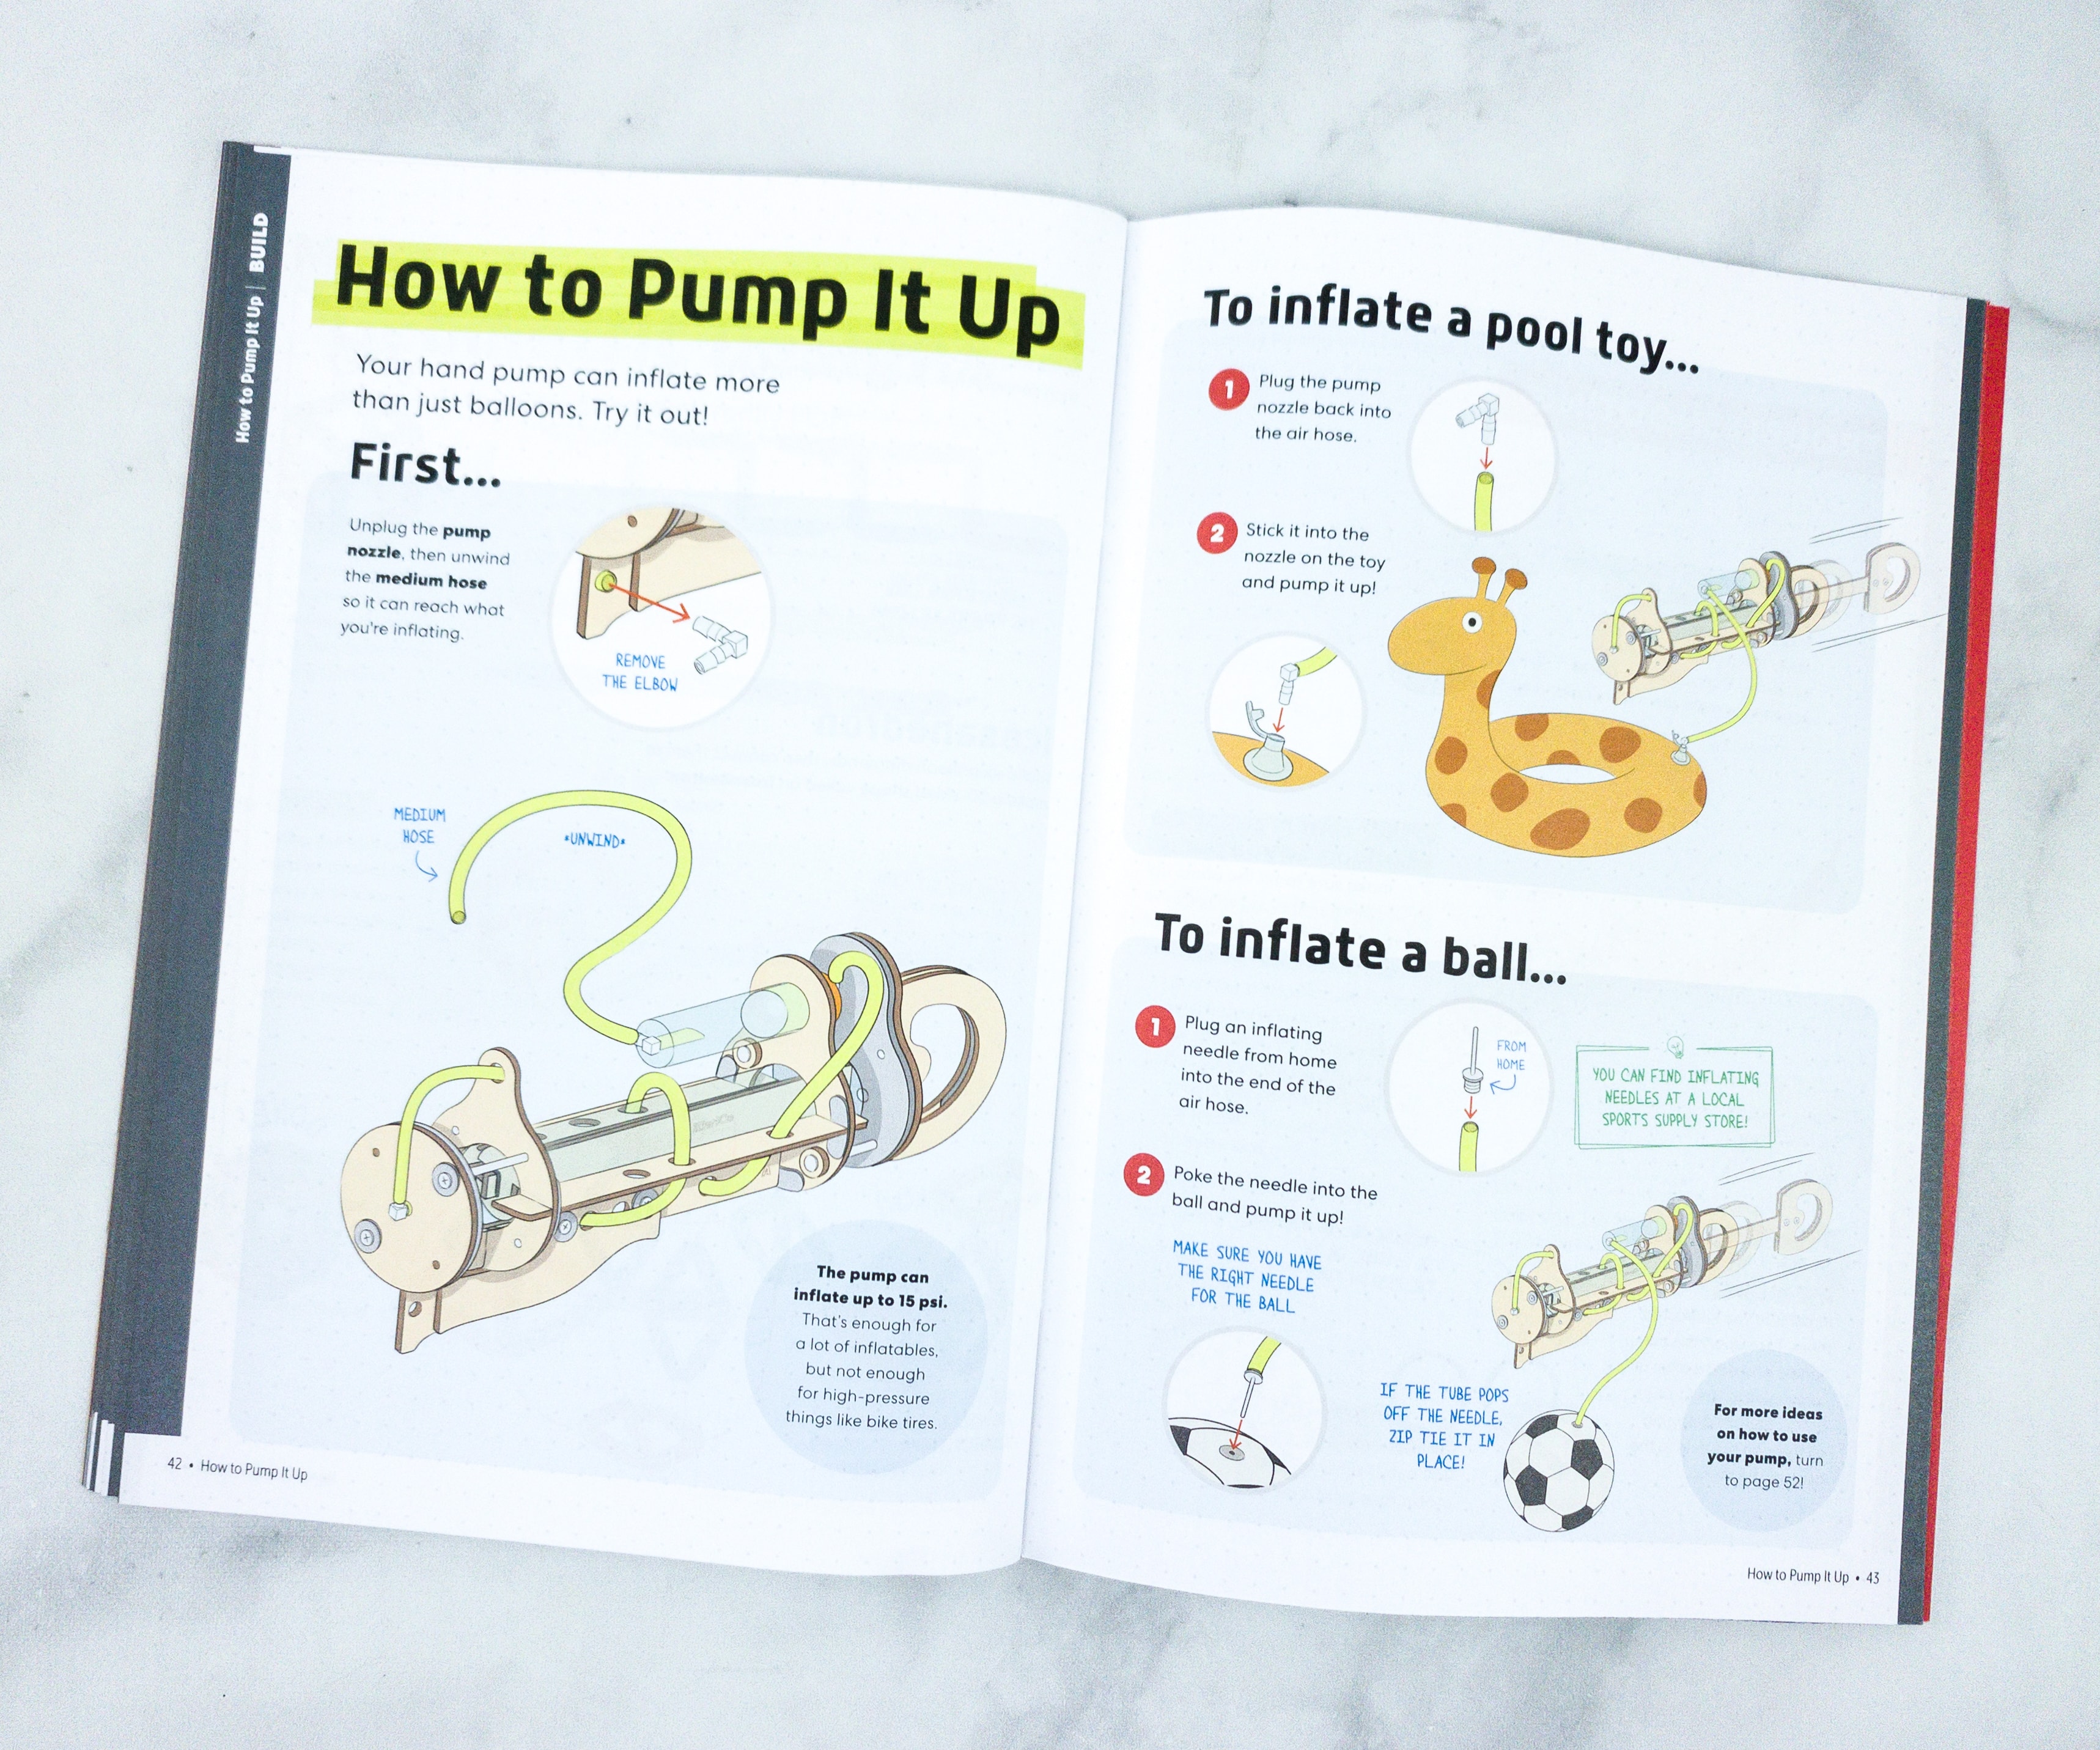
There are the other things we can inflate using the hand pump, like pool toys and balls! The booklet also provided handy instructions for inflating those items.
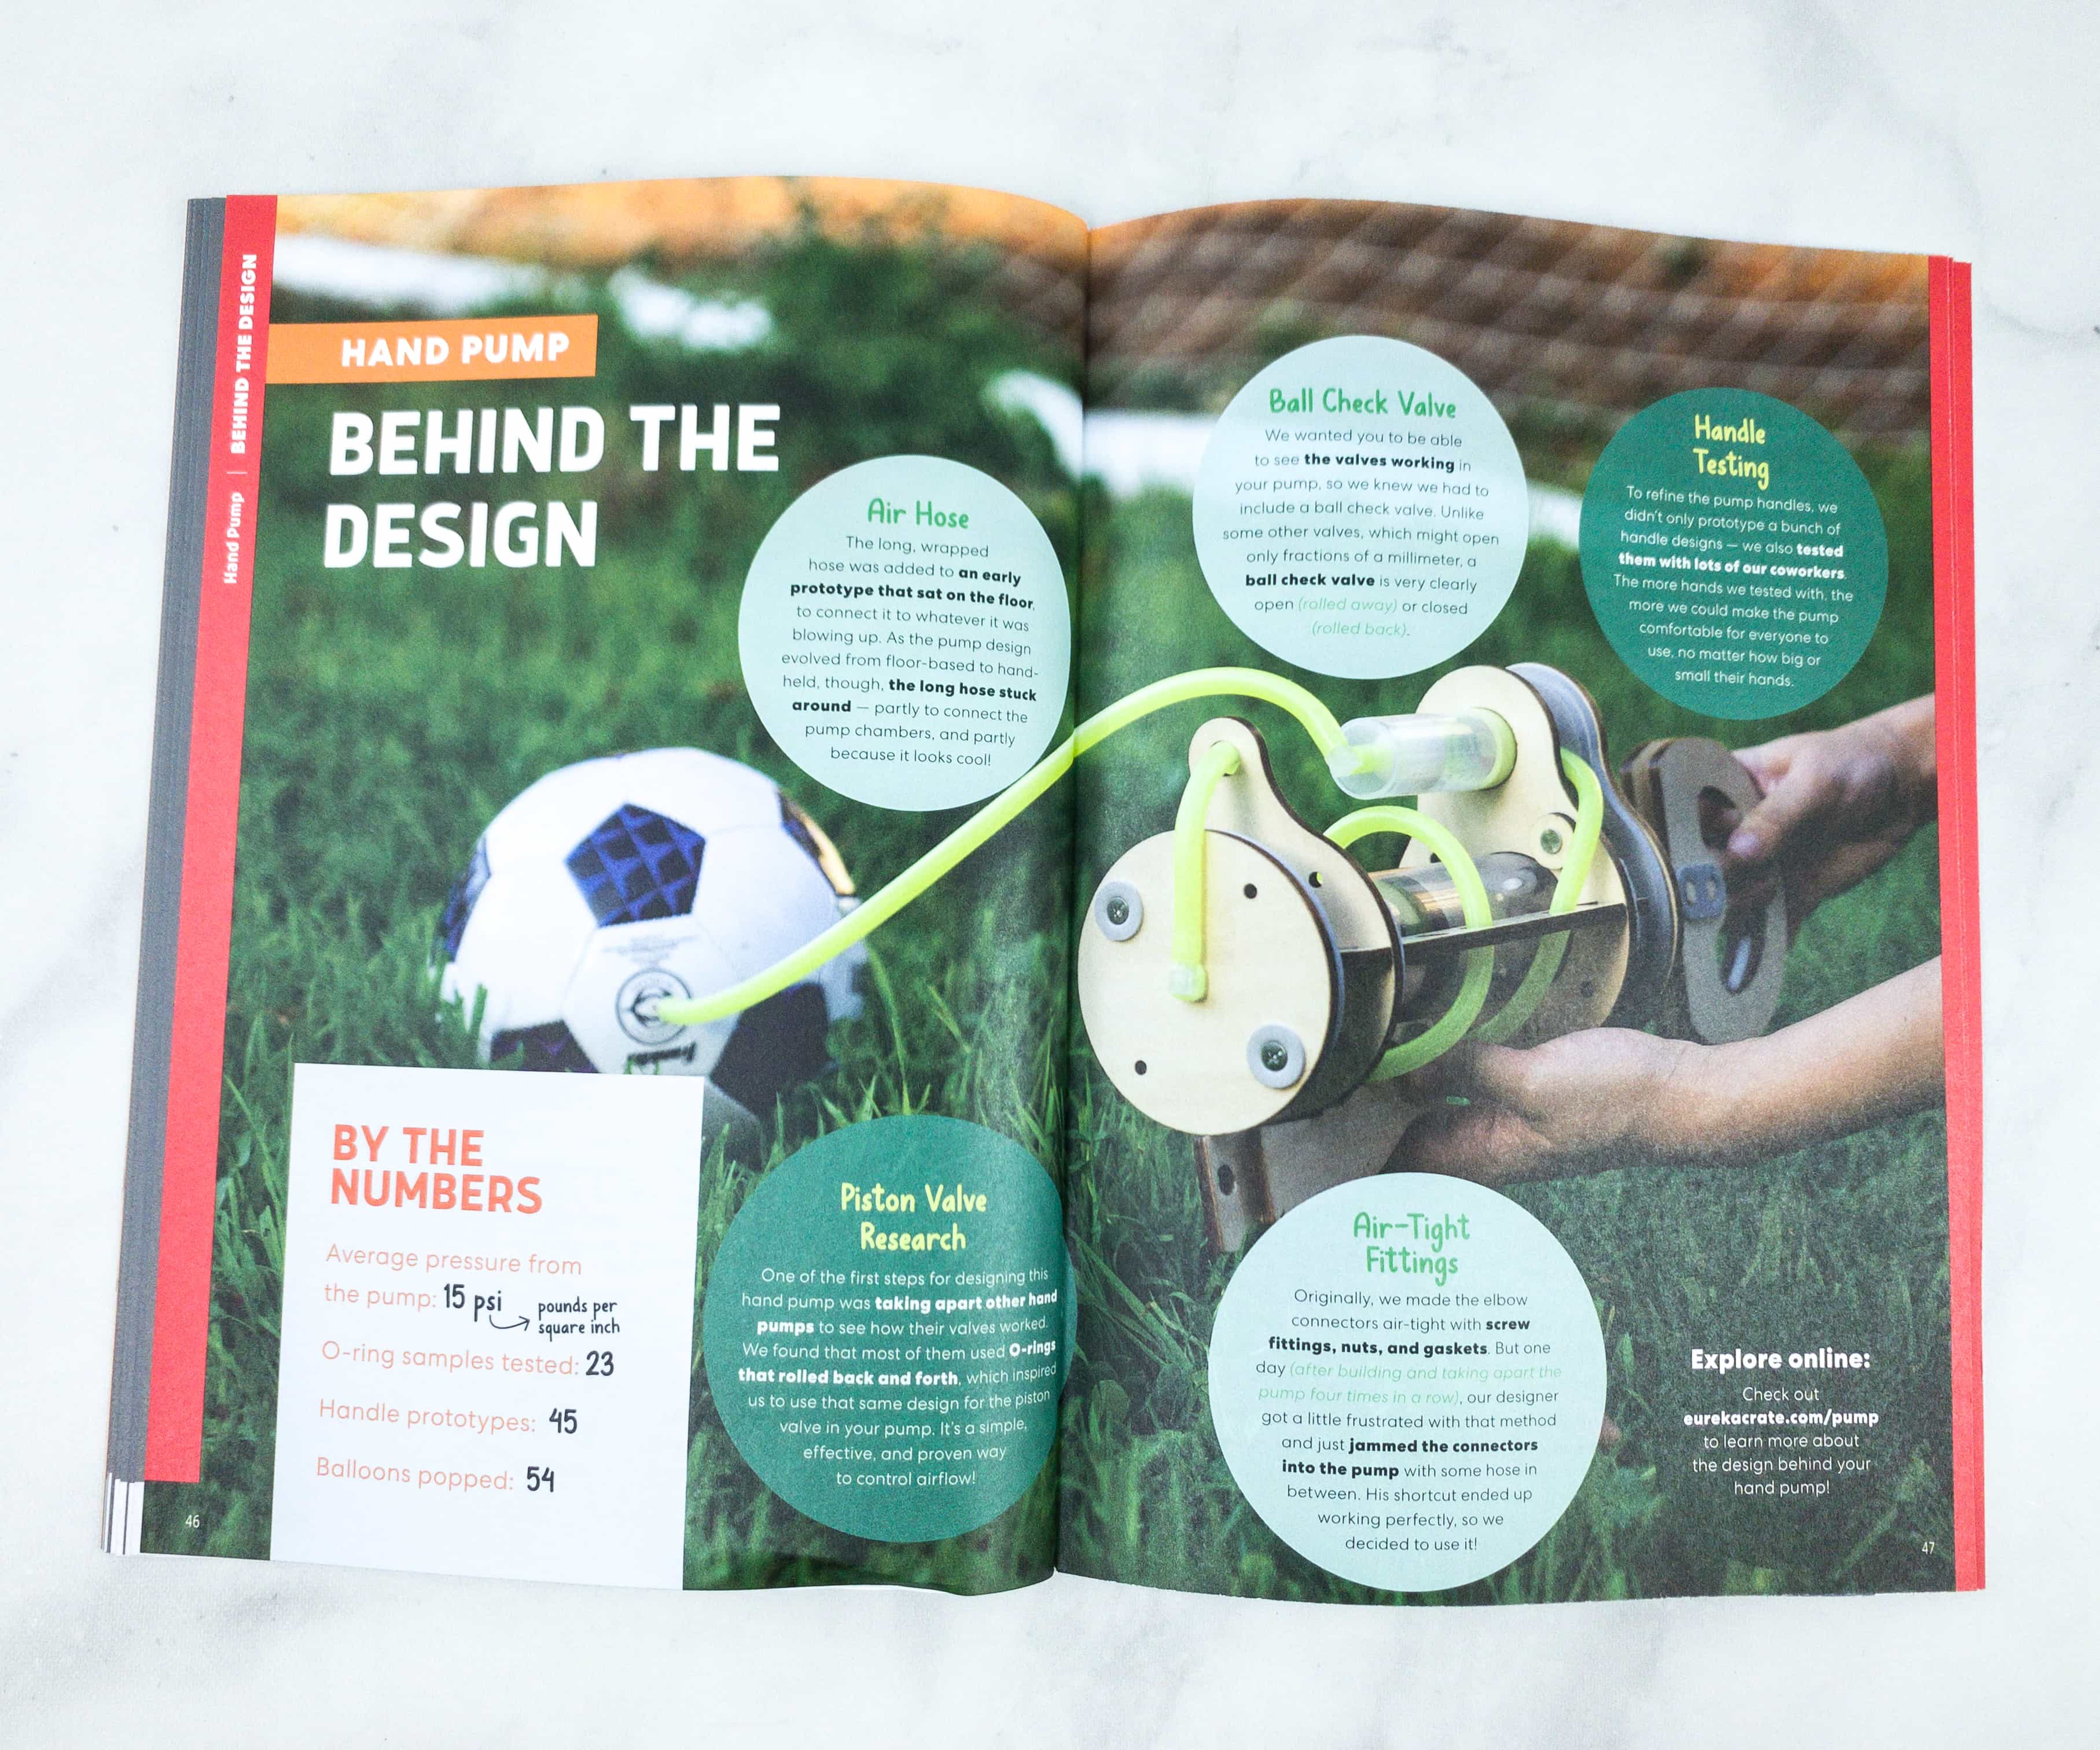
Of course, they didn’t forget to include trivia about hand pumps and the idea behind the design!
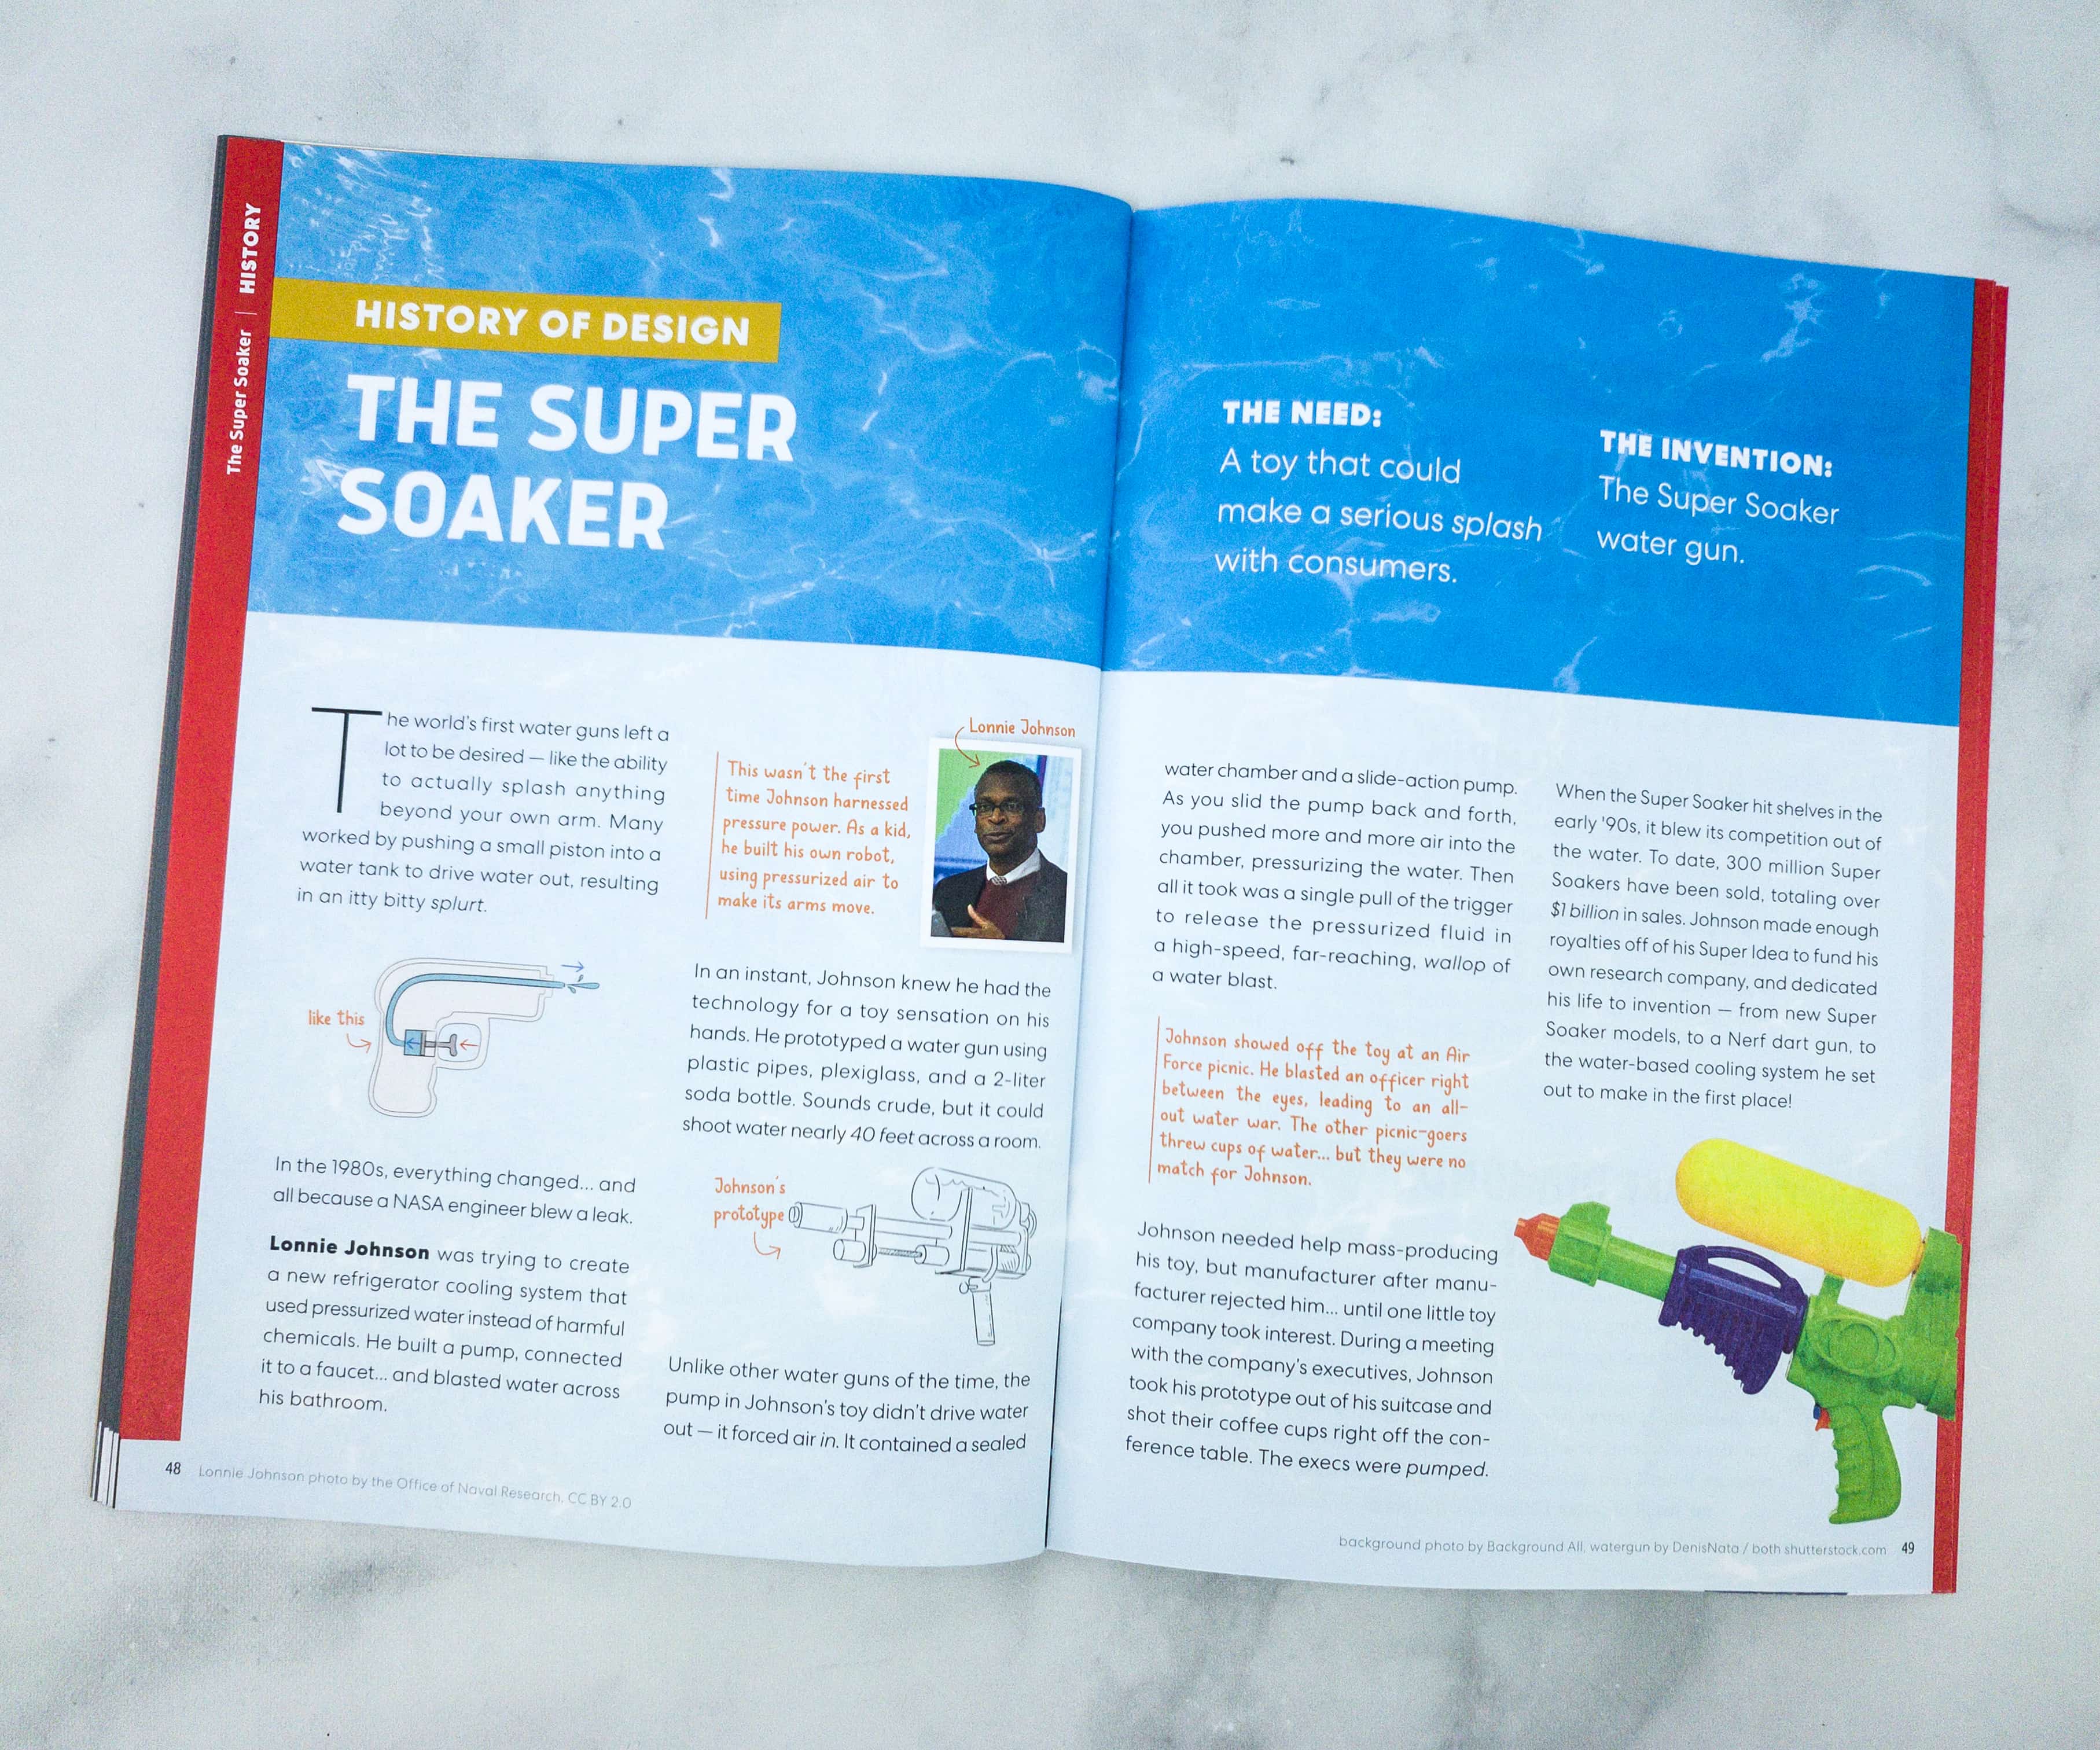
They even shared the history of The Super Soaker, or the water gun we all know today. Apparently, it was invented by NASA Engineer Lonnie Johnson!
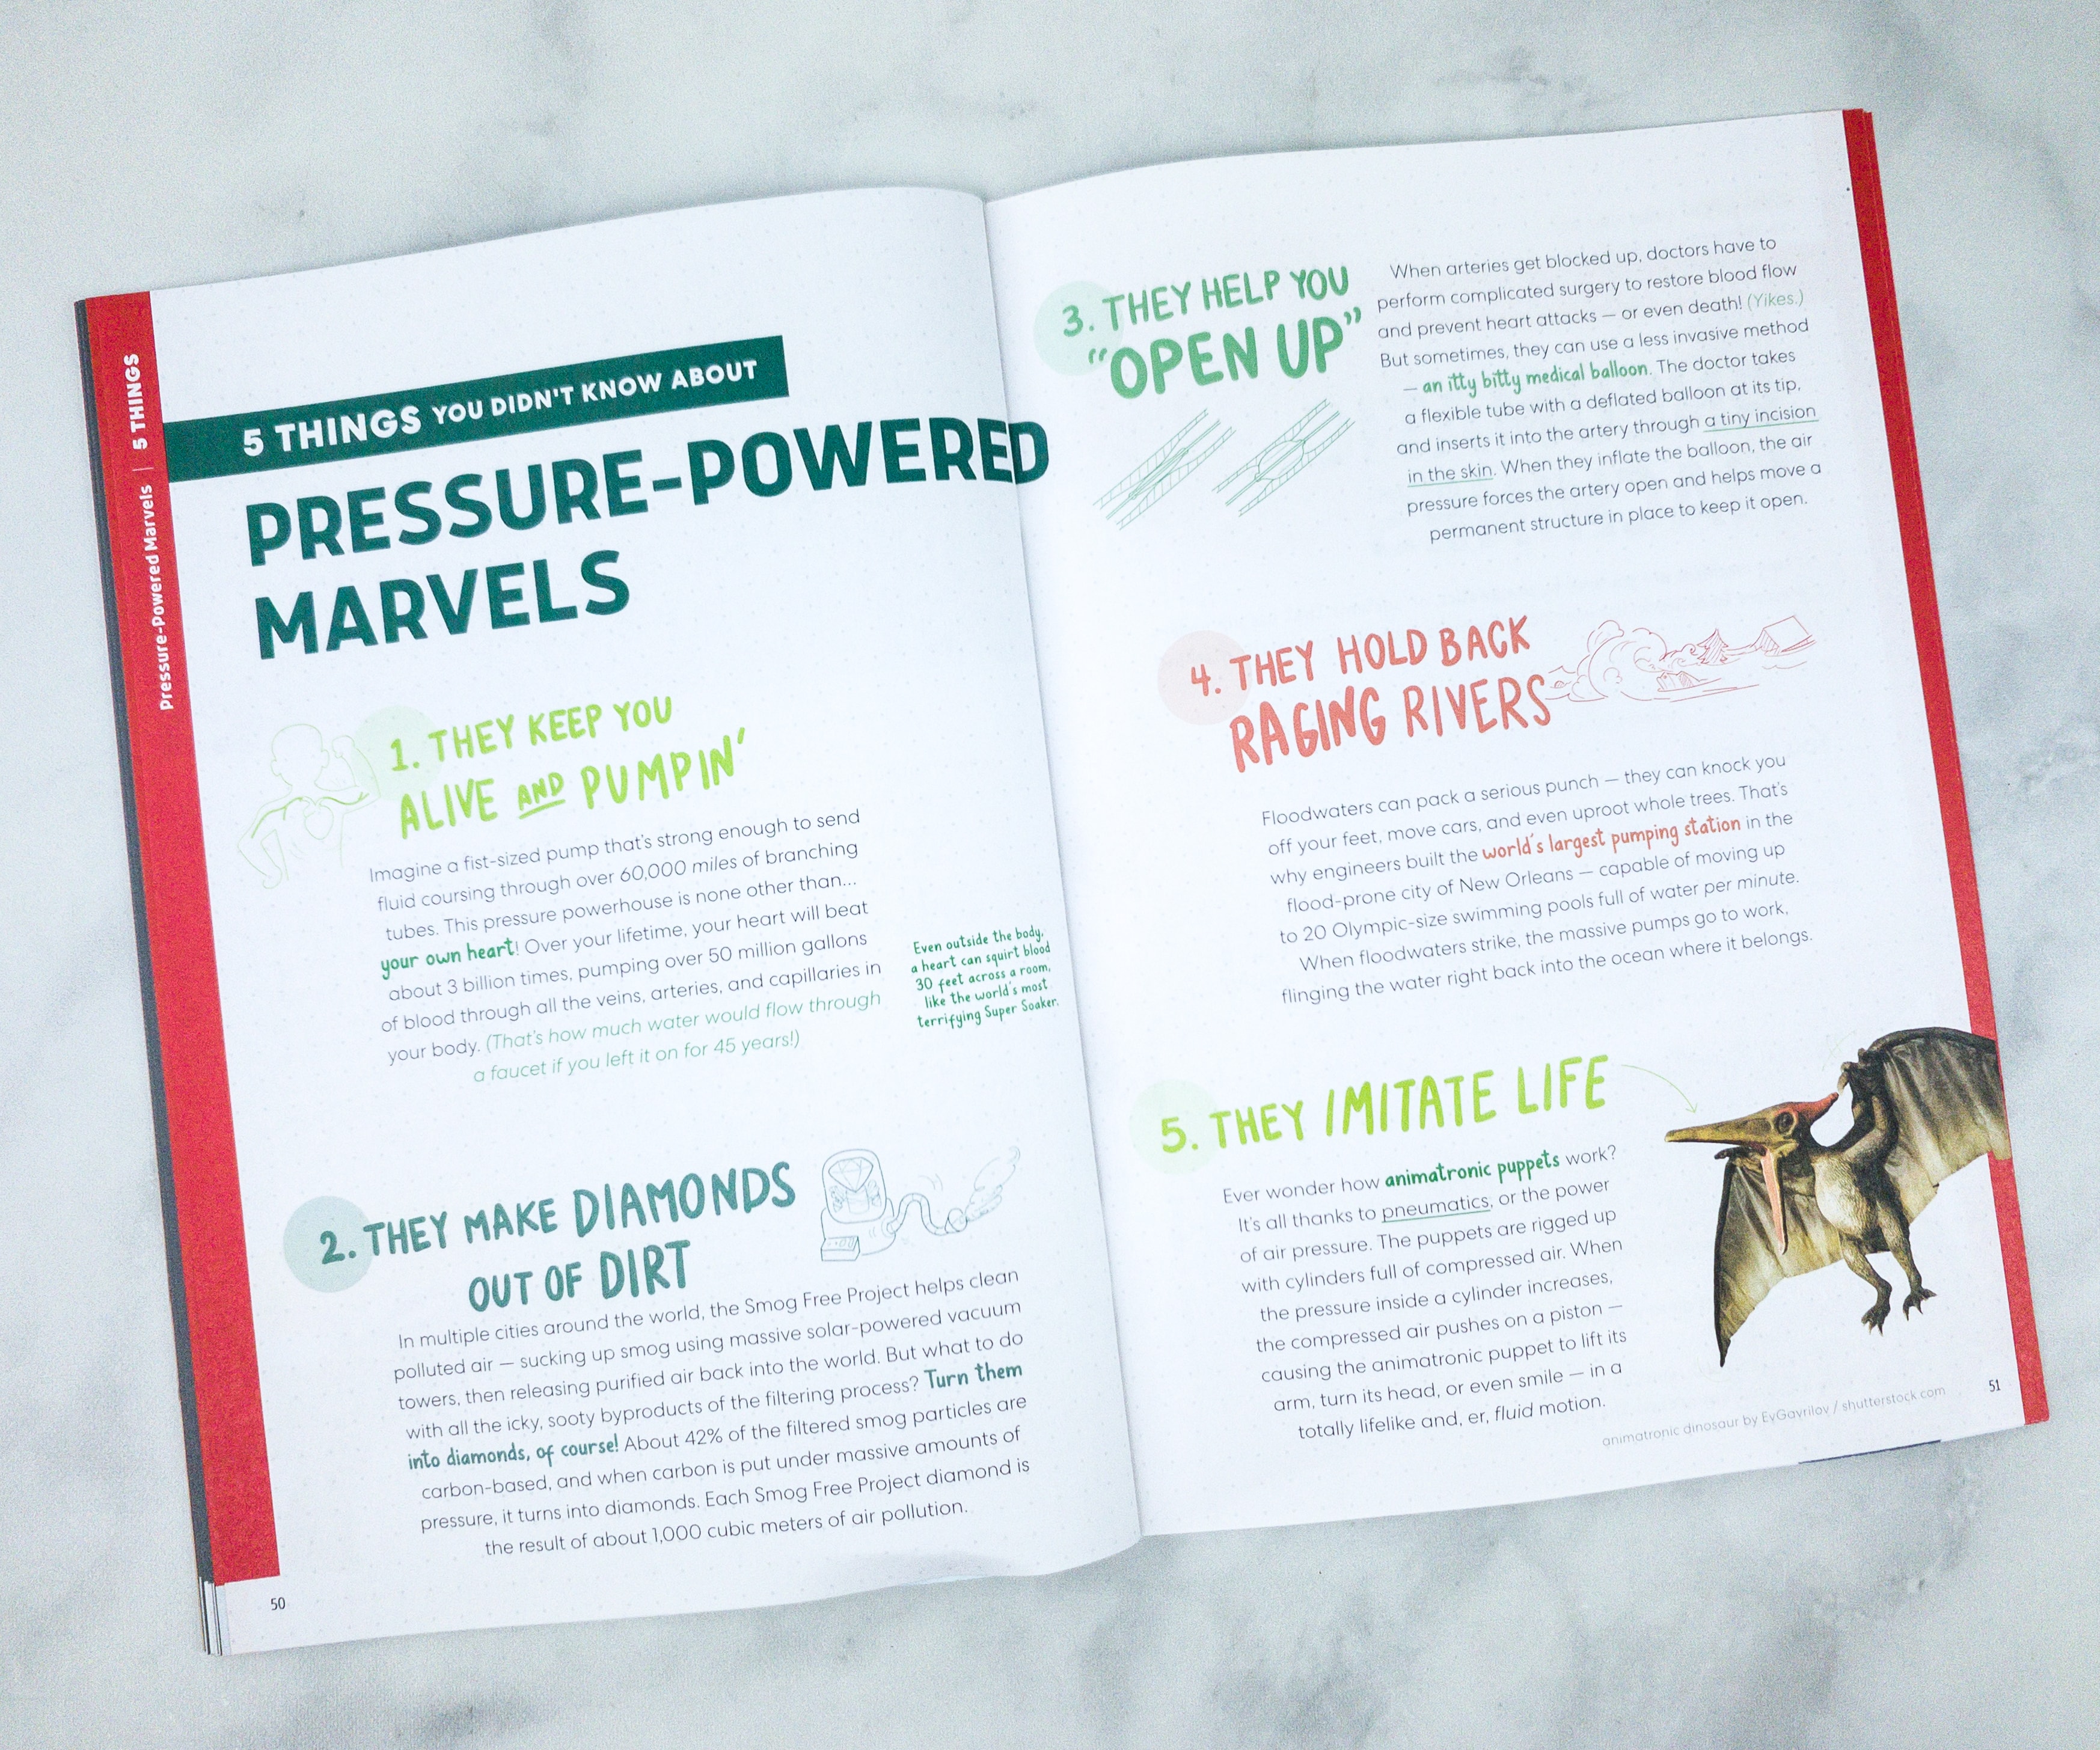
Another article is about things that are powered by pressure, just like the pump we just made.
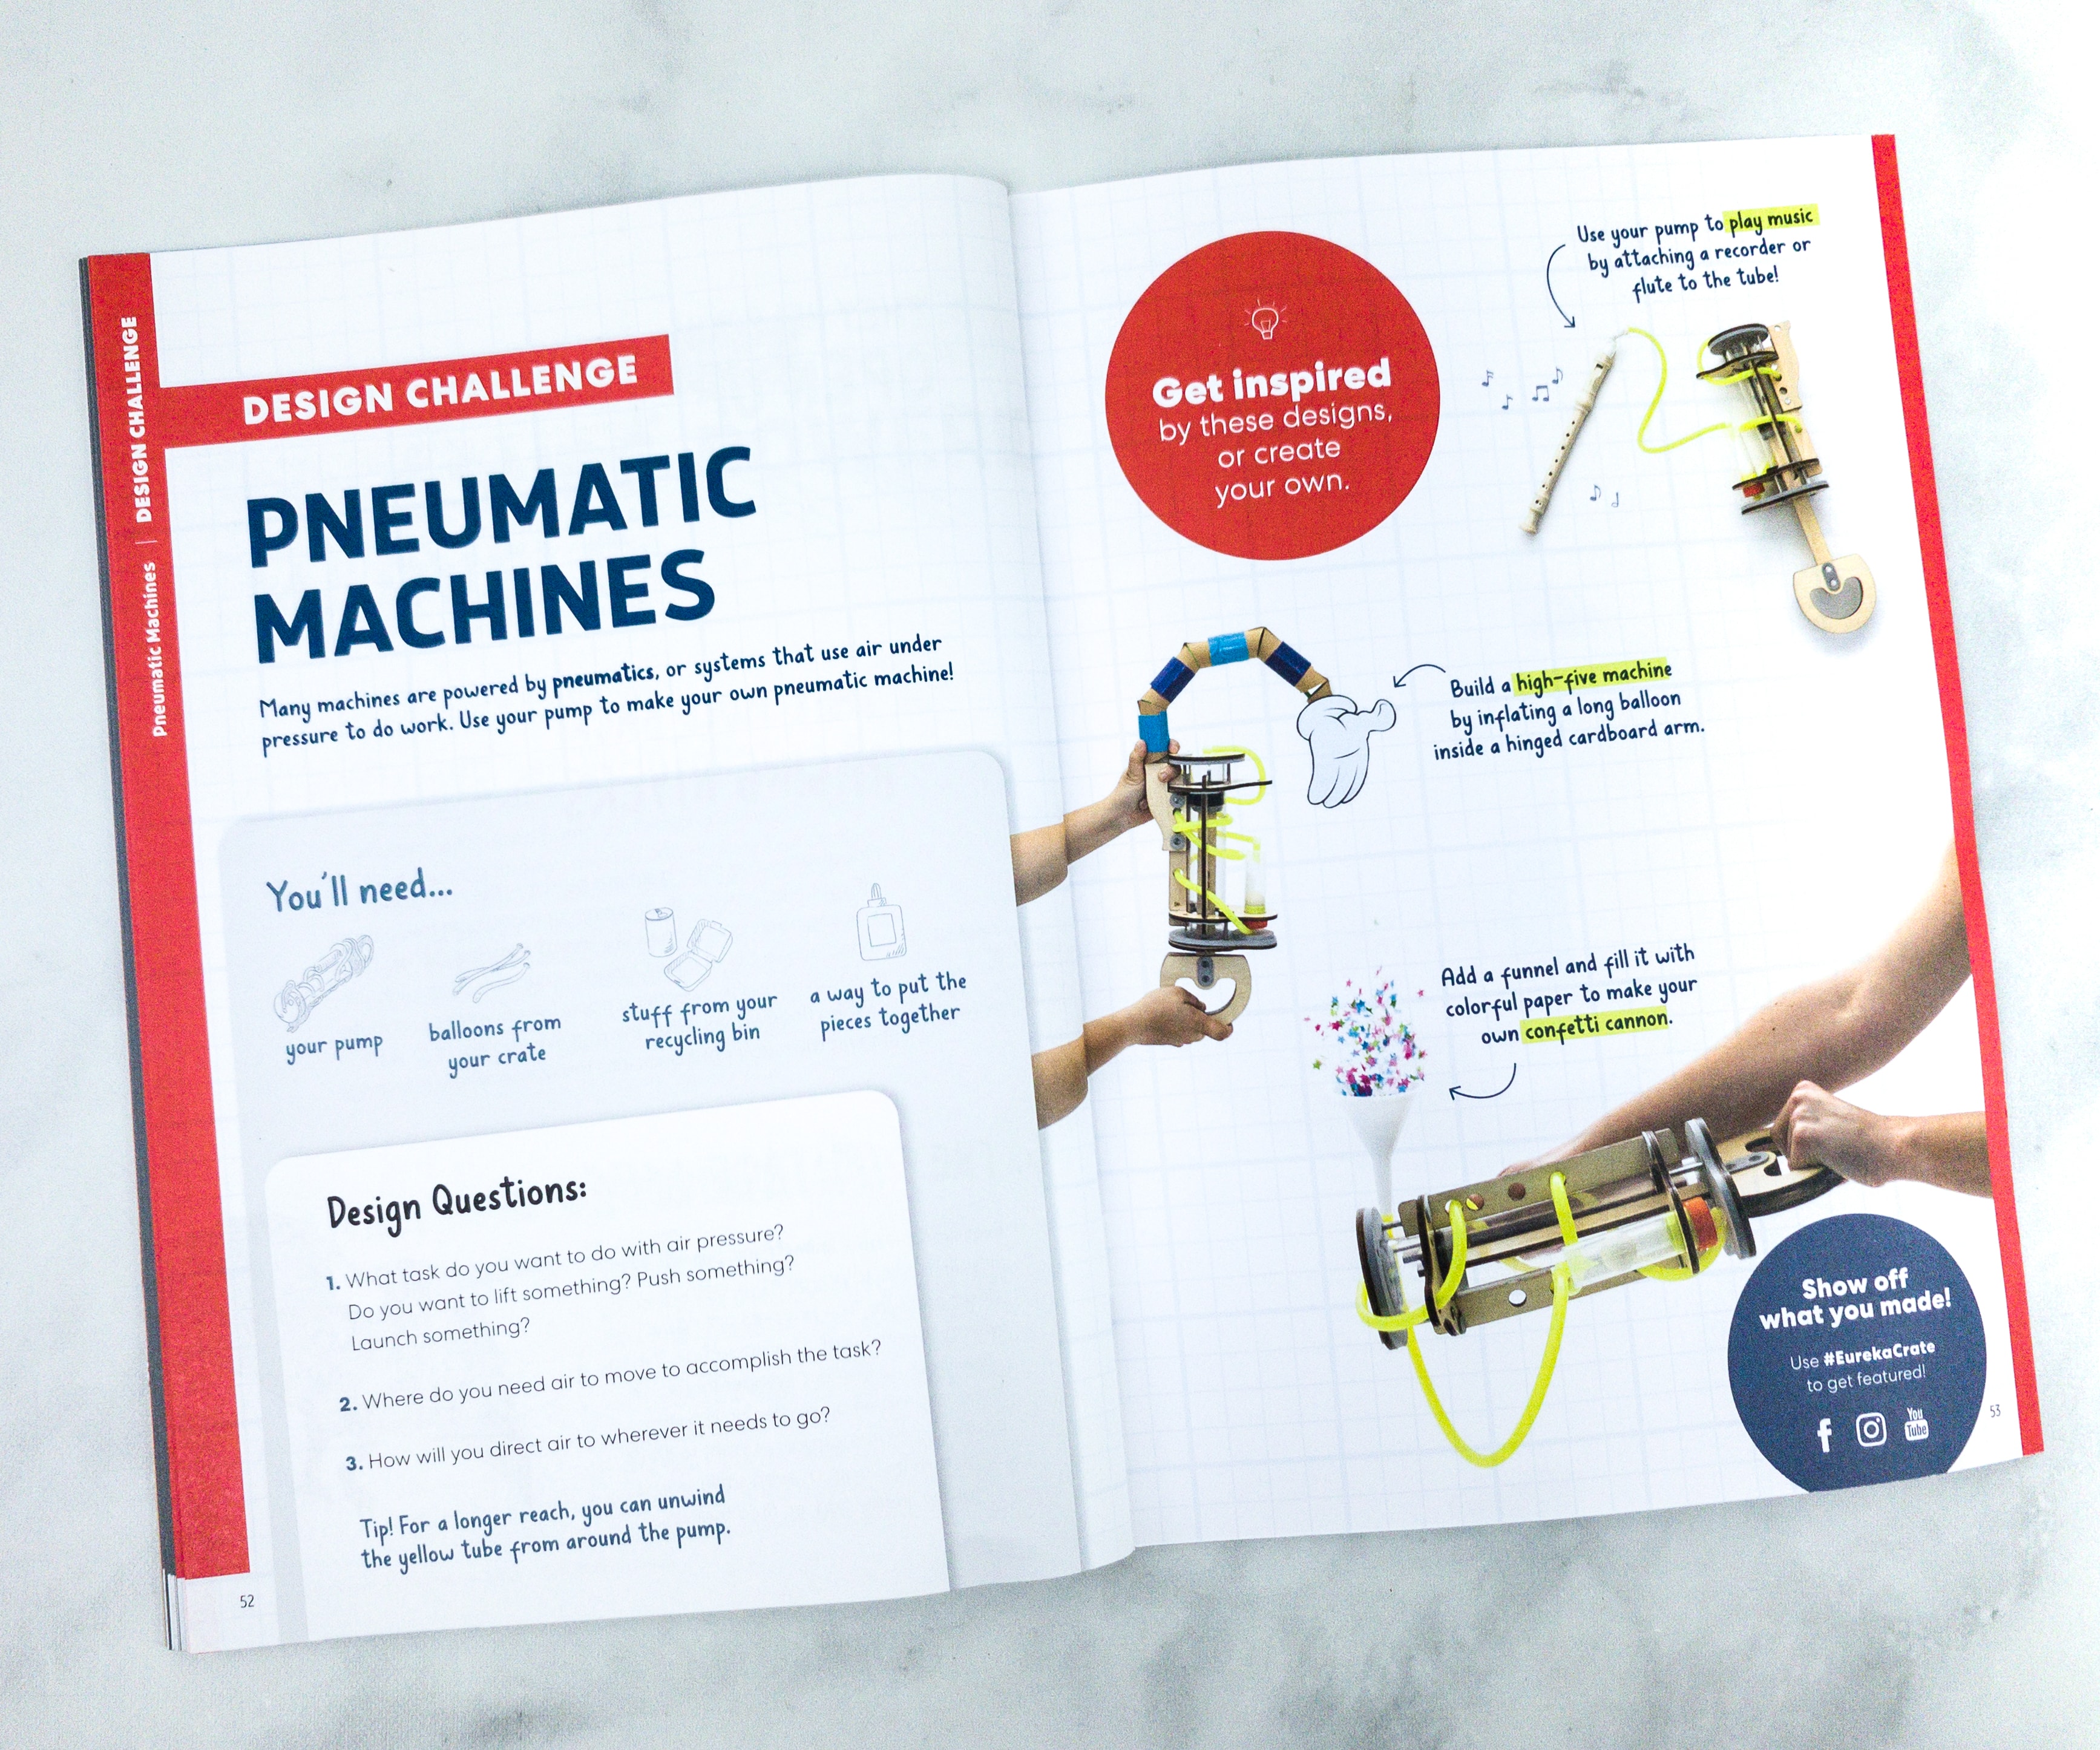
For the Design Challenge, they featured pneumatic machines. These machines that use air pressure to basically do work for them. They even included some designs that you can try.
This crate turned out to be a great one! We really had so much fun!
Eureka Crate is as awesome as always! They’re quite consistent in coming up with exciting STEM projects for older teens and even for adults. Each box contains everything we need to build the project plus an information-packed booklet. My daughter finished making the hand pump without much difficulty and she also enjoyed inflating balloons using it, as well as making balloon art! Anyone can really learn a lot of things from this crate, including engineering concepts and even history. t’s really a well-rounded learning experience, no matter what age you’re in!
What do you think of this month’s Eureka Crate?


Comments