Tinker Crate is a subscription box that inspires kids to learn about science, engineering, and technology, all while having lots of fun. Each month, the box explores a field of study within a STEM (Science, Technology, Engineering, and Math) discipline. Kids practice their problem-solving skills and learn how to engage in both structured and open-ended exploration and investigation. Most boxes walk the tinkerers through the construction of fairly complex mechanical devices.
DEAL: Use this link to save 30% on your first box of Tinker Crate! (or Kiwi Crate and the KiwiCo family subscriptions Koala Crate, Tadpole Crate, Atlas Crate, Doodle Crate, and Eureka Crate).

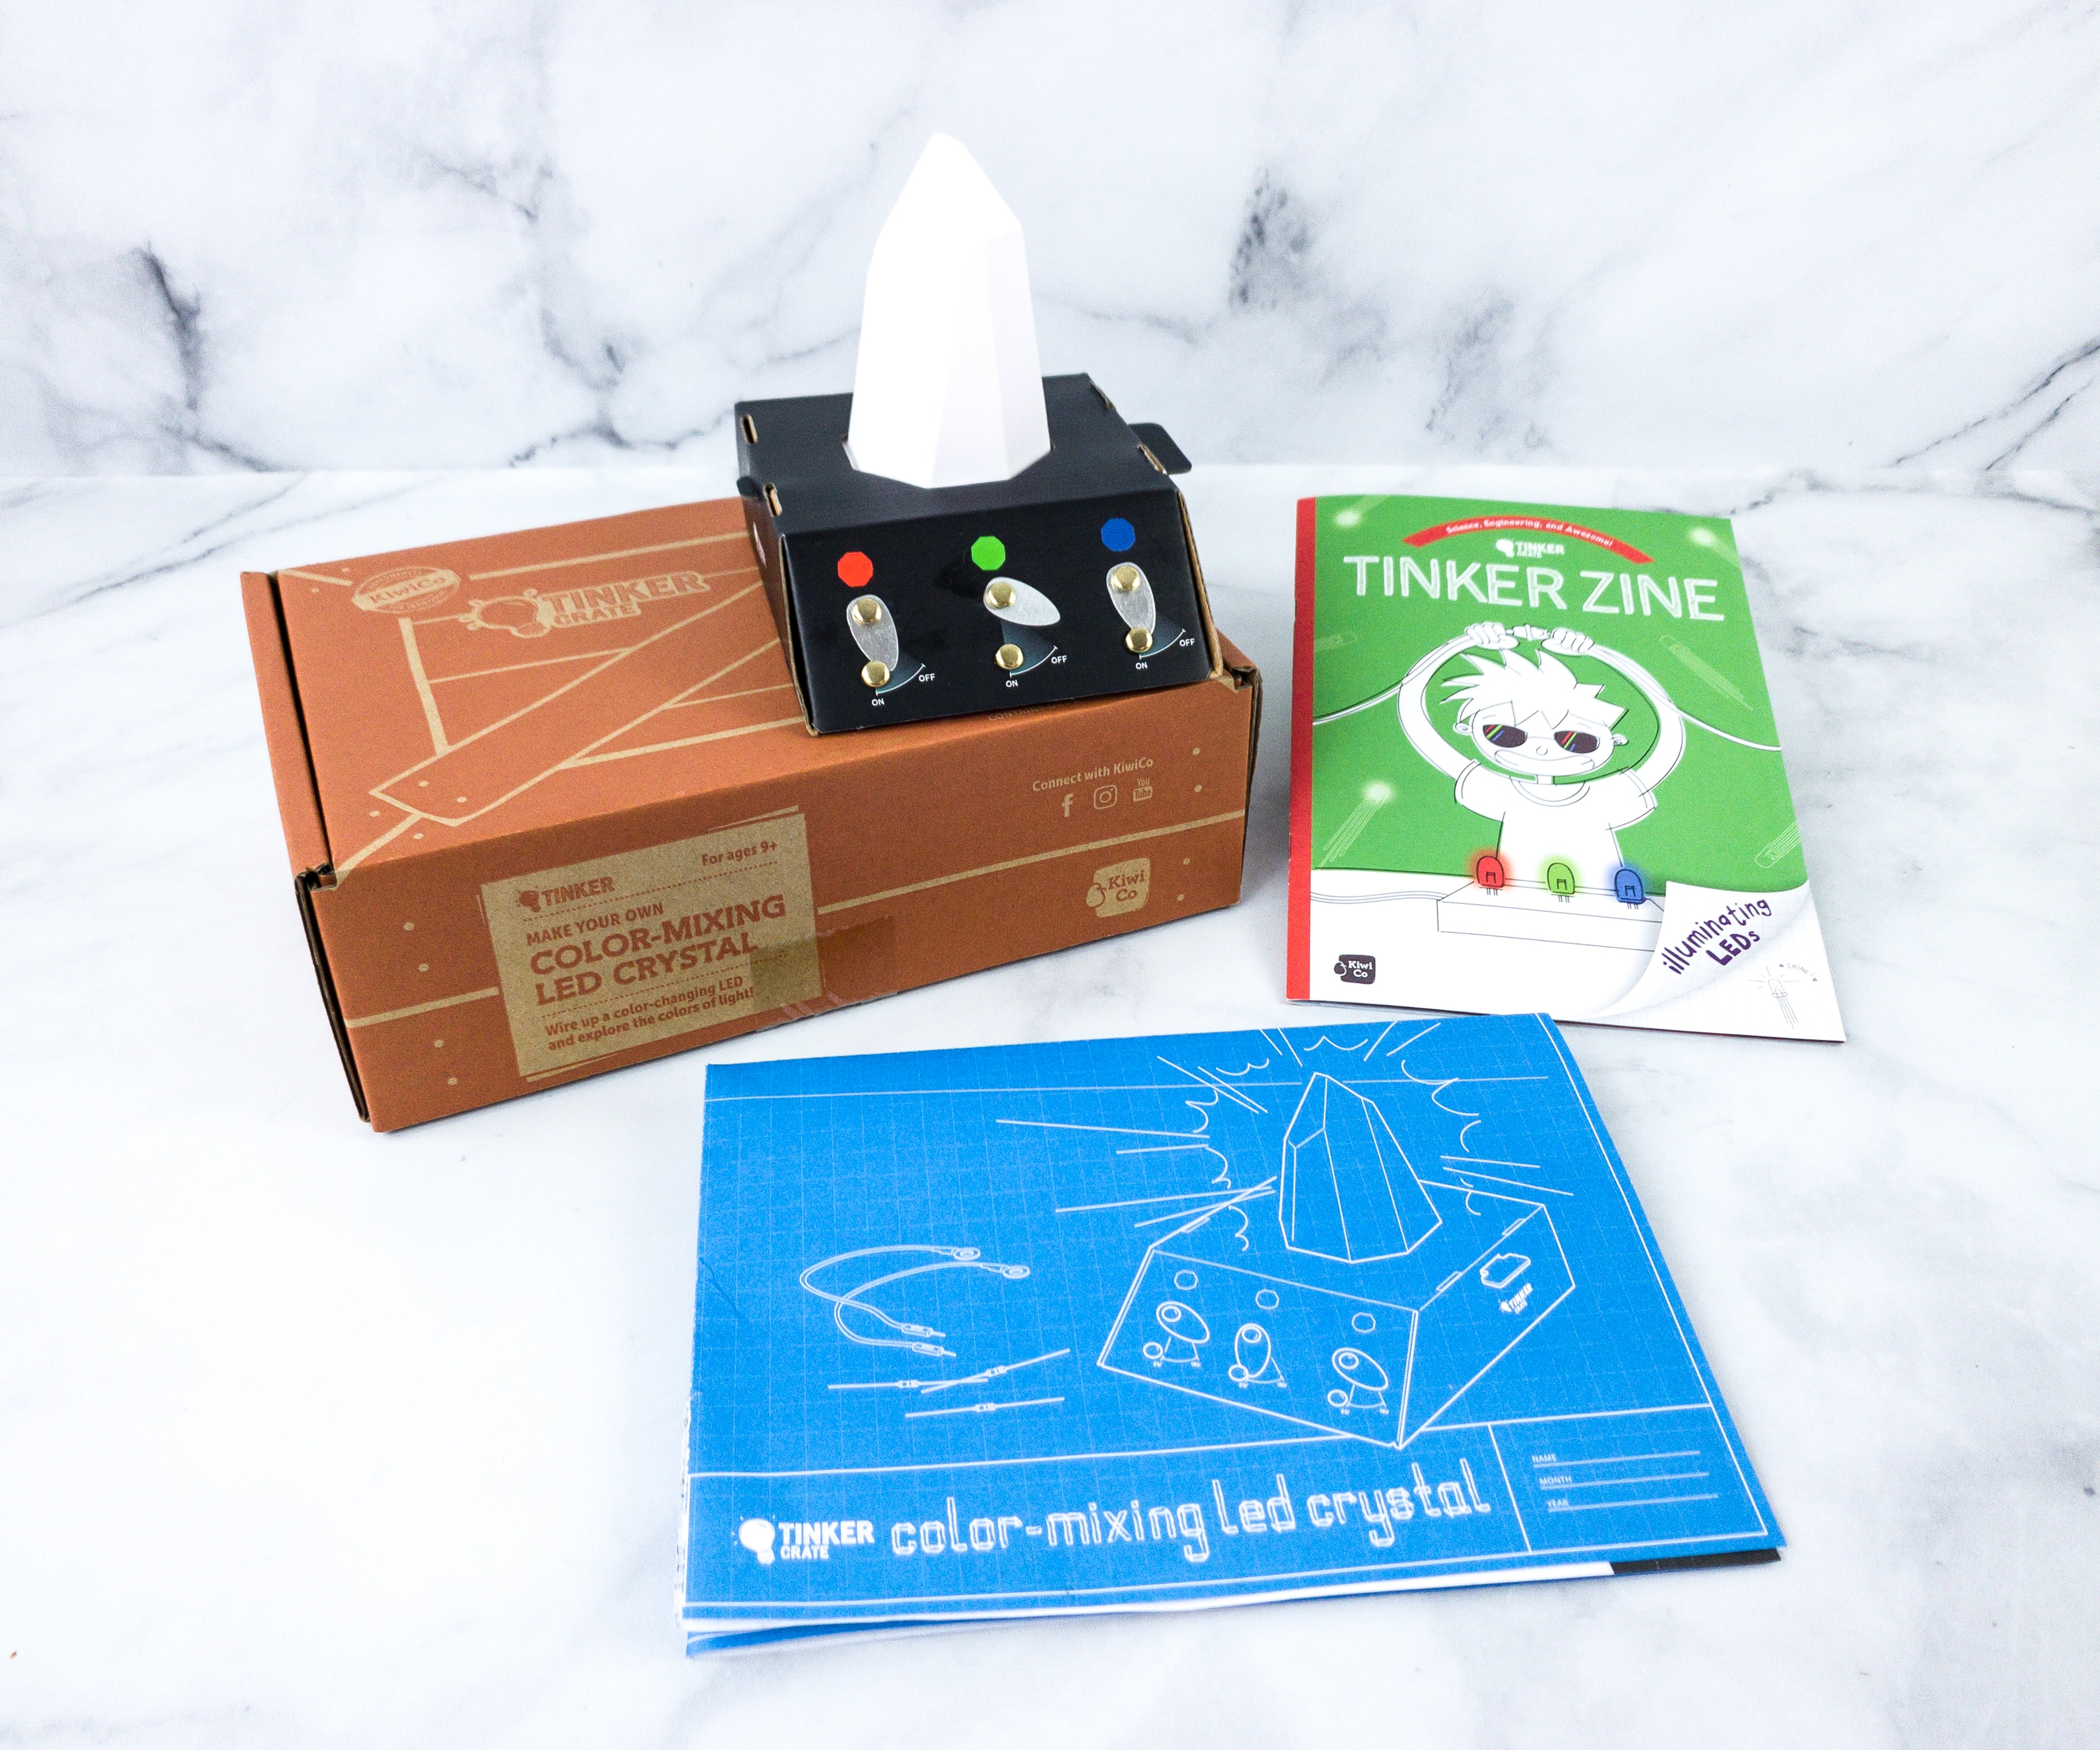
This month, we are building our own COLOR-MIXING LED CRYSTAL!
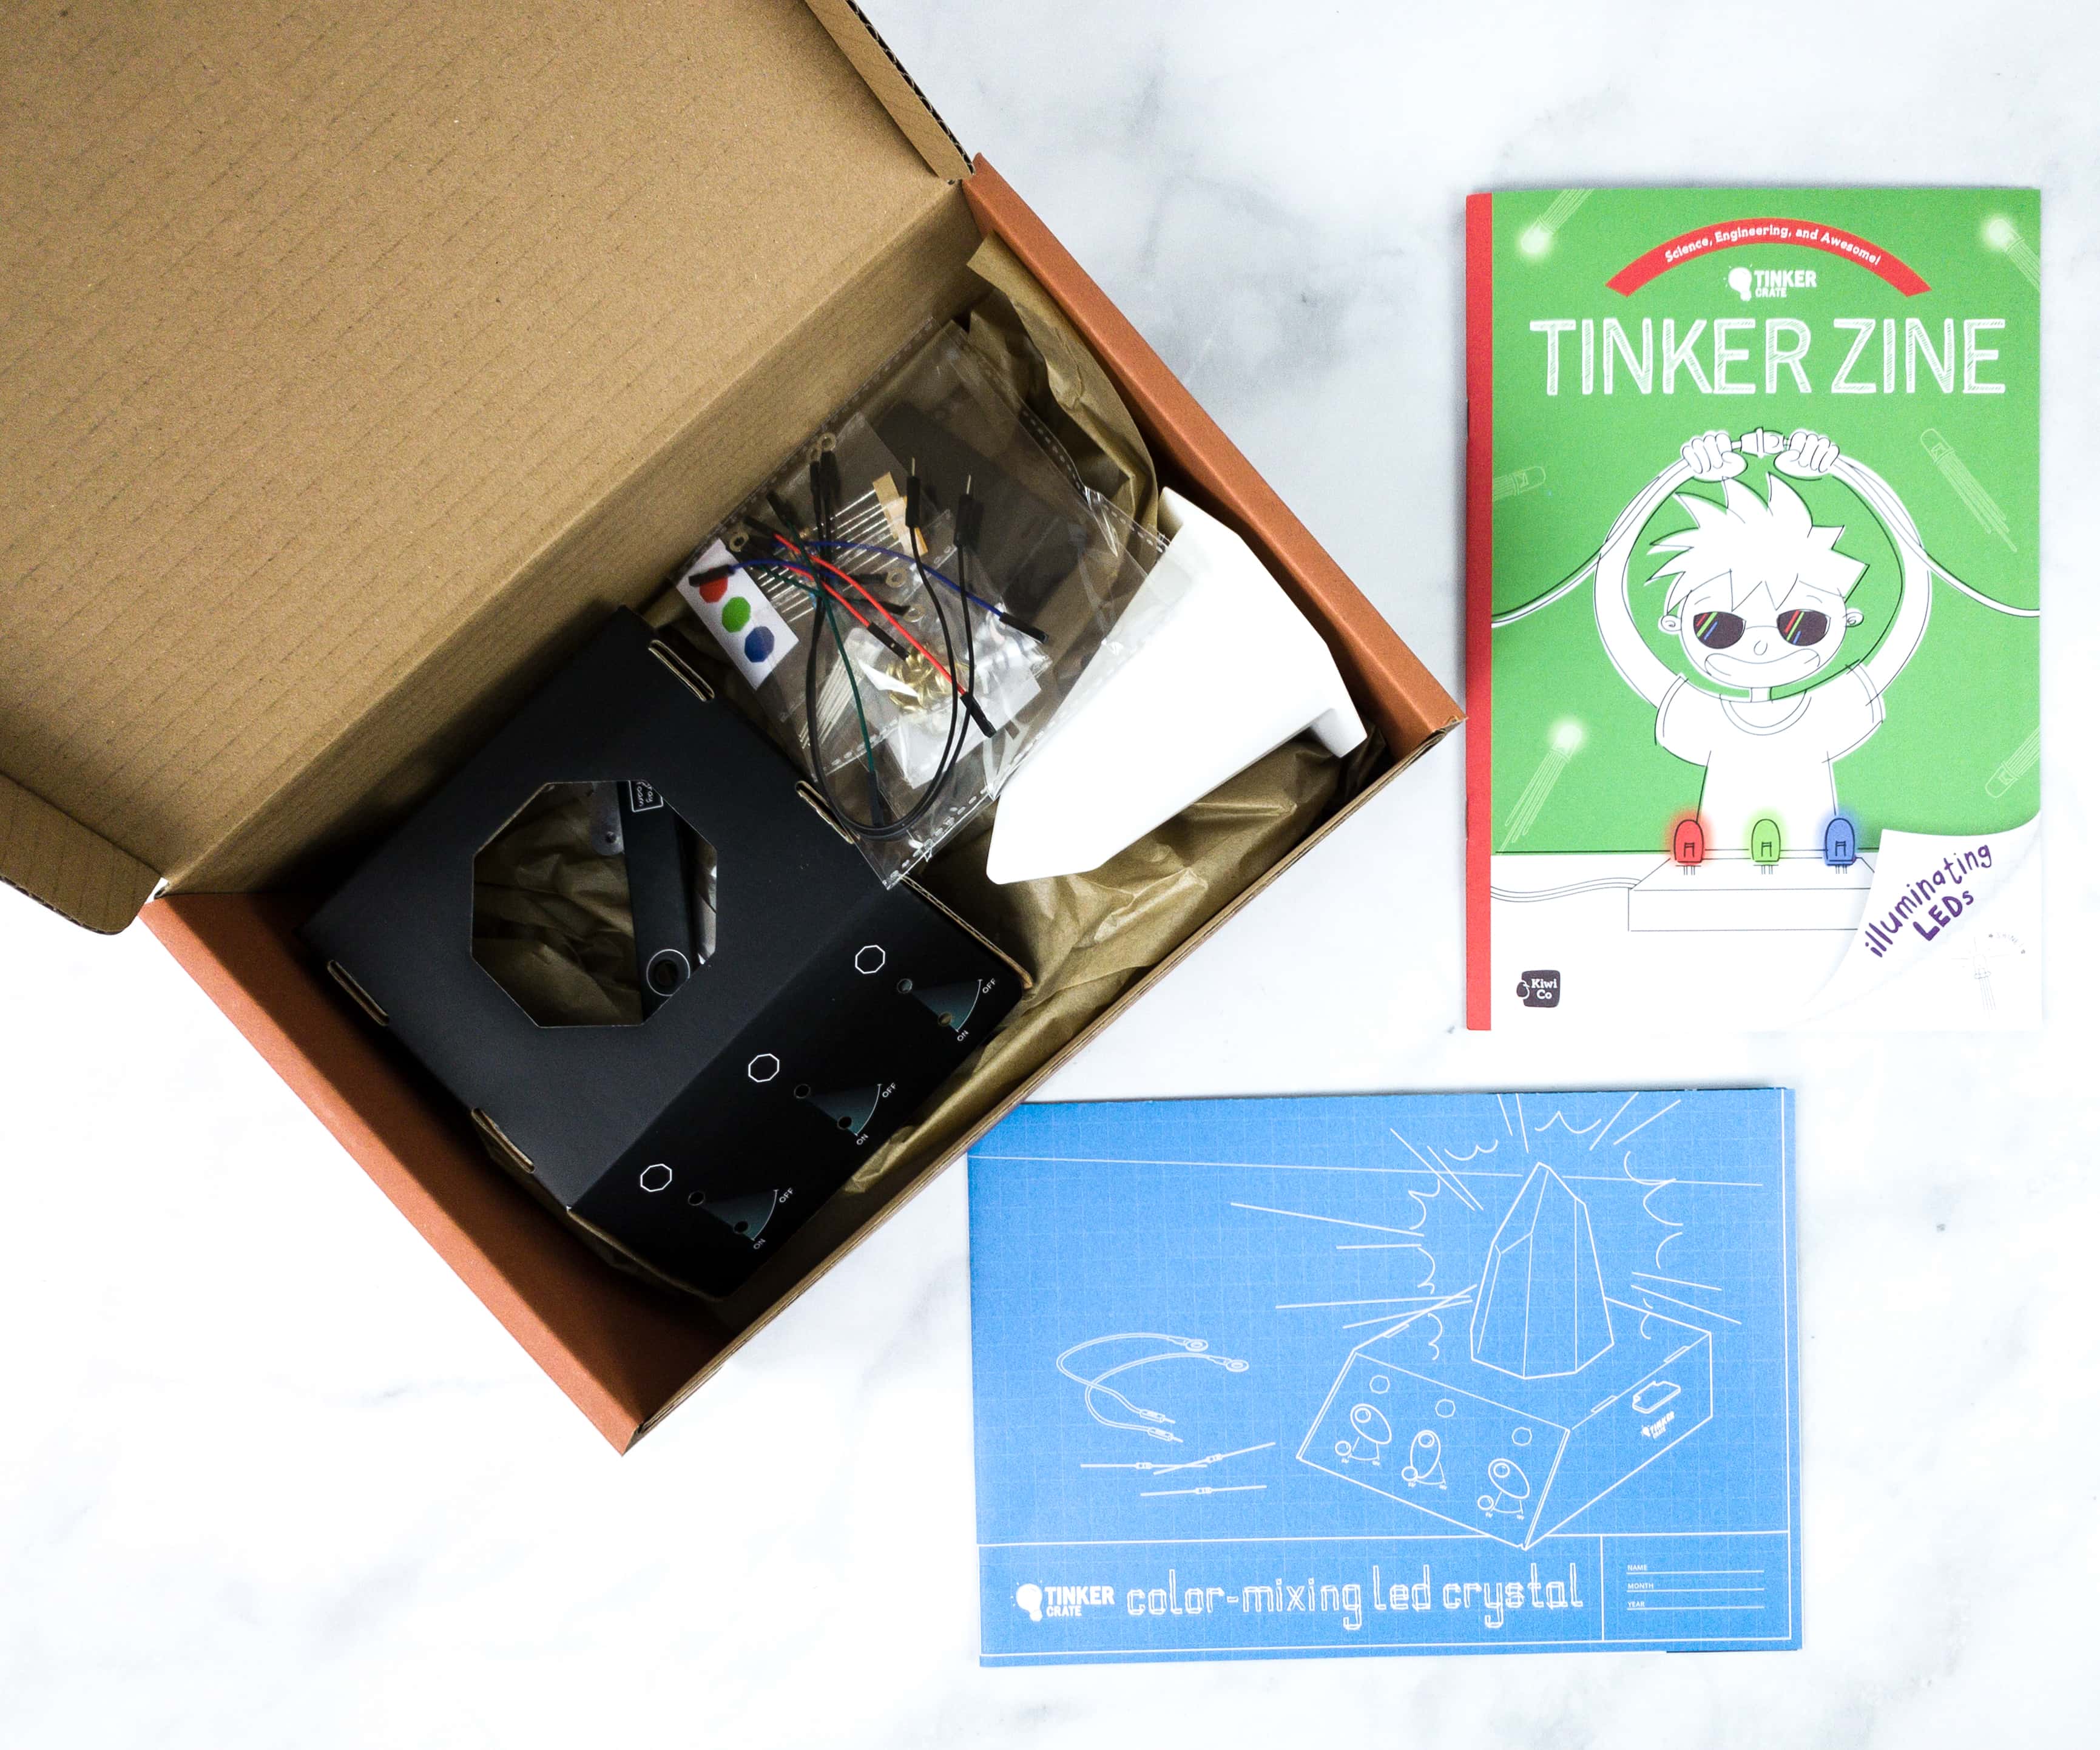
Everything arrives together in a single Tinker Crate – the supplies, a fold-out instruction sheet, and the Tinker Zine.
Tinker Zine

The main project is always a great hands-on activity and a great demonstration of the scientific principles featured in the box, but the Tinker Zine is full of well-written, historically and scientifically accurate background and explanatory materials. This where the lessons really take shape!
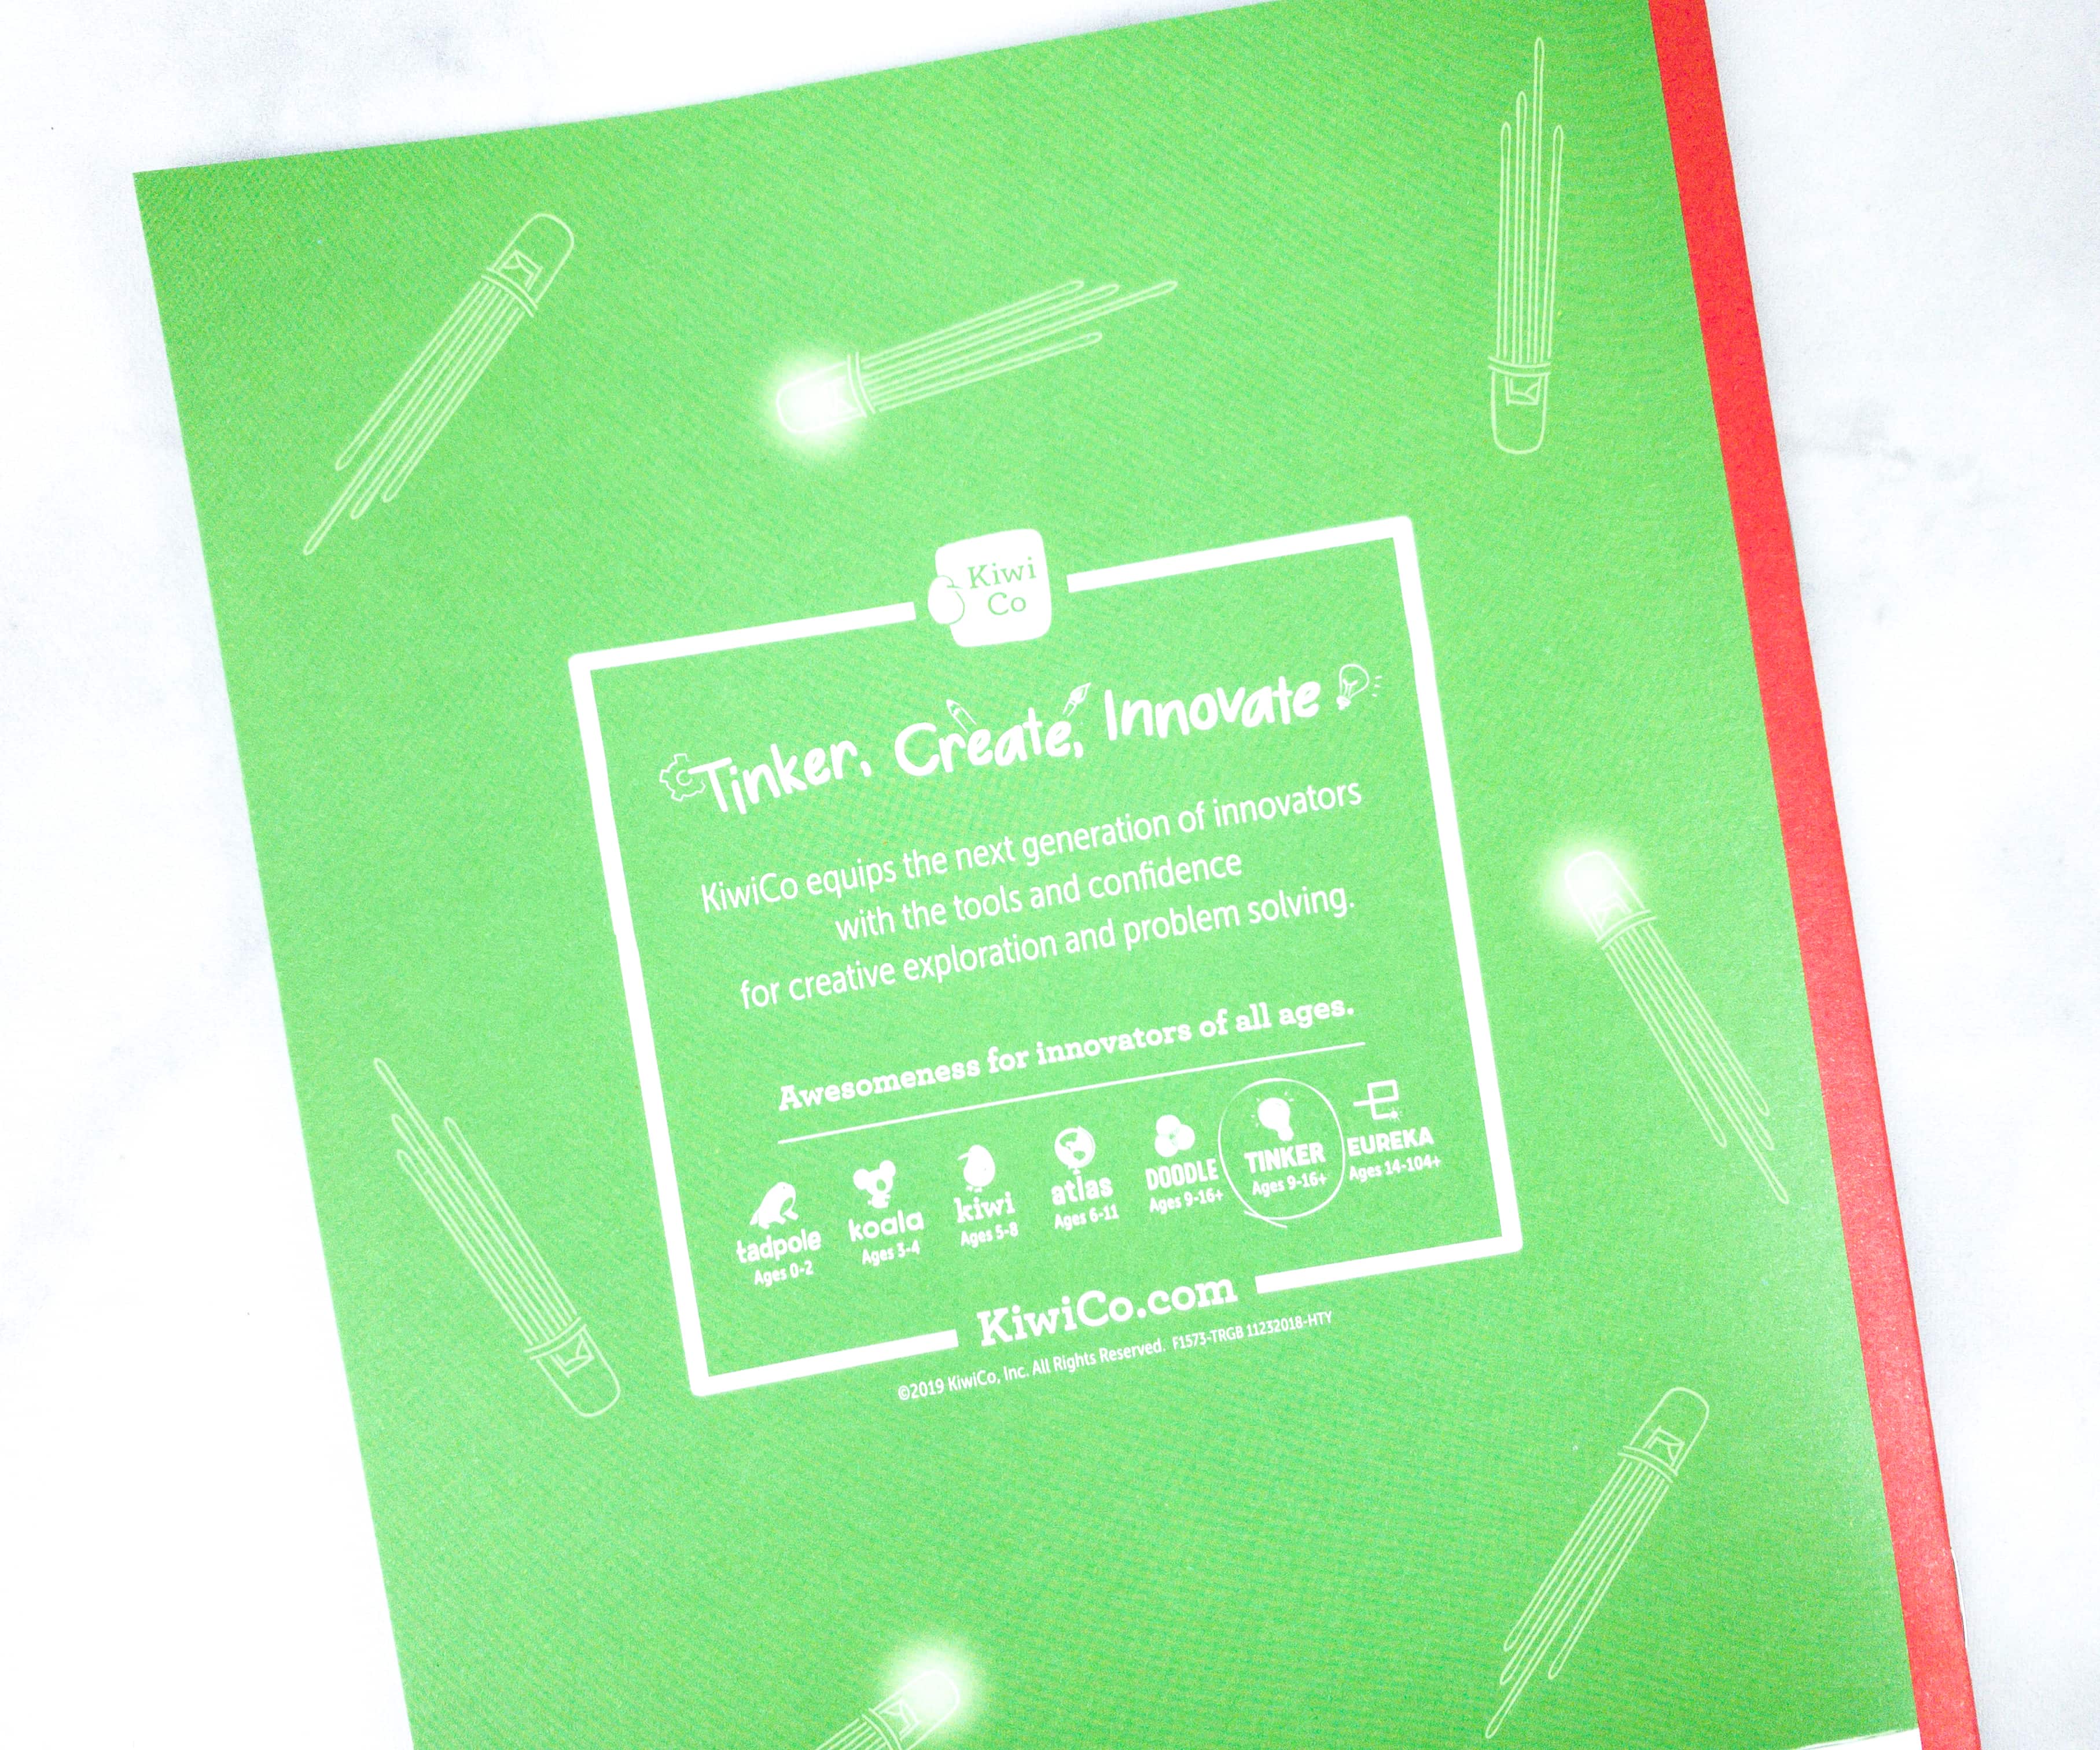
Tinker, Create, Innovate
KiwiCo equips the next generation of innovators with the tools and confidence for creative exploration and problem solving.
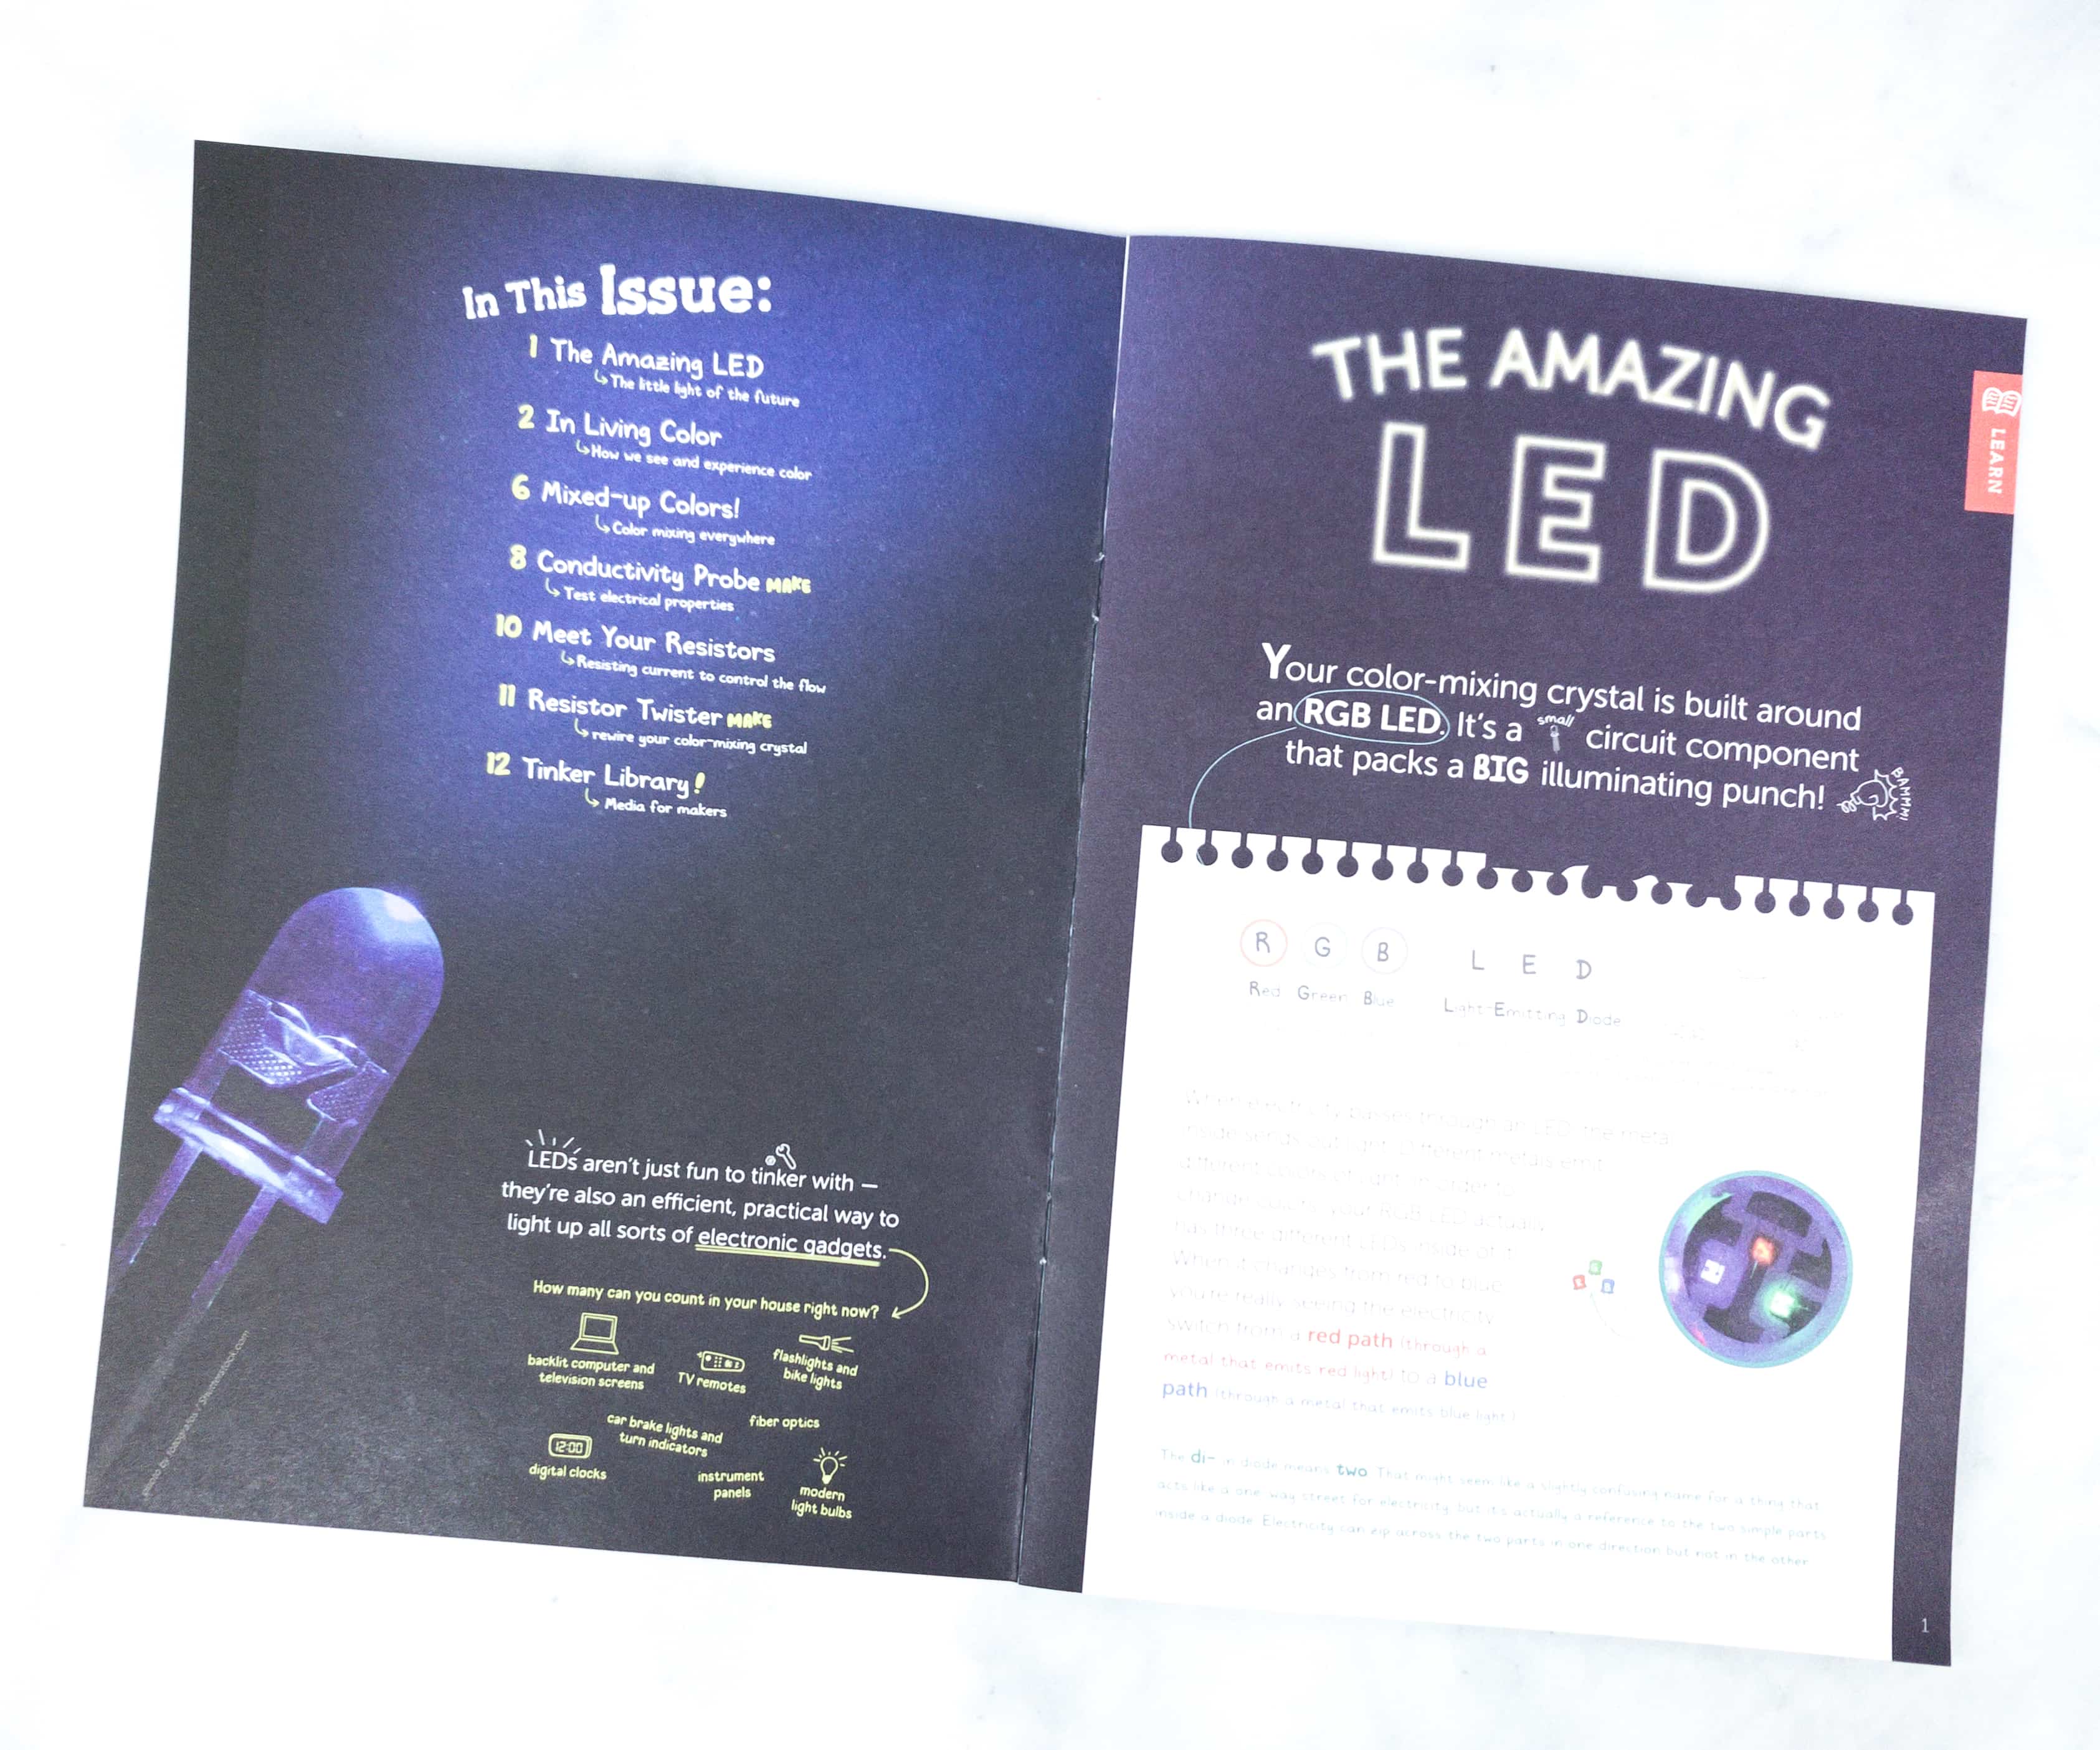
This month’s Tinker Zine discusses everything we need to know about LEDs!
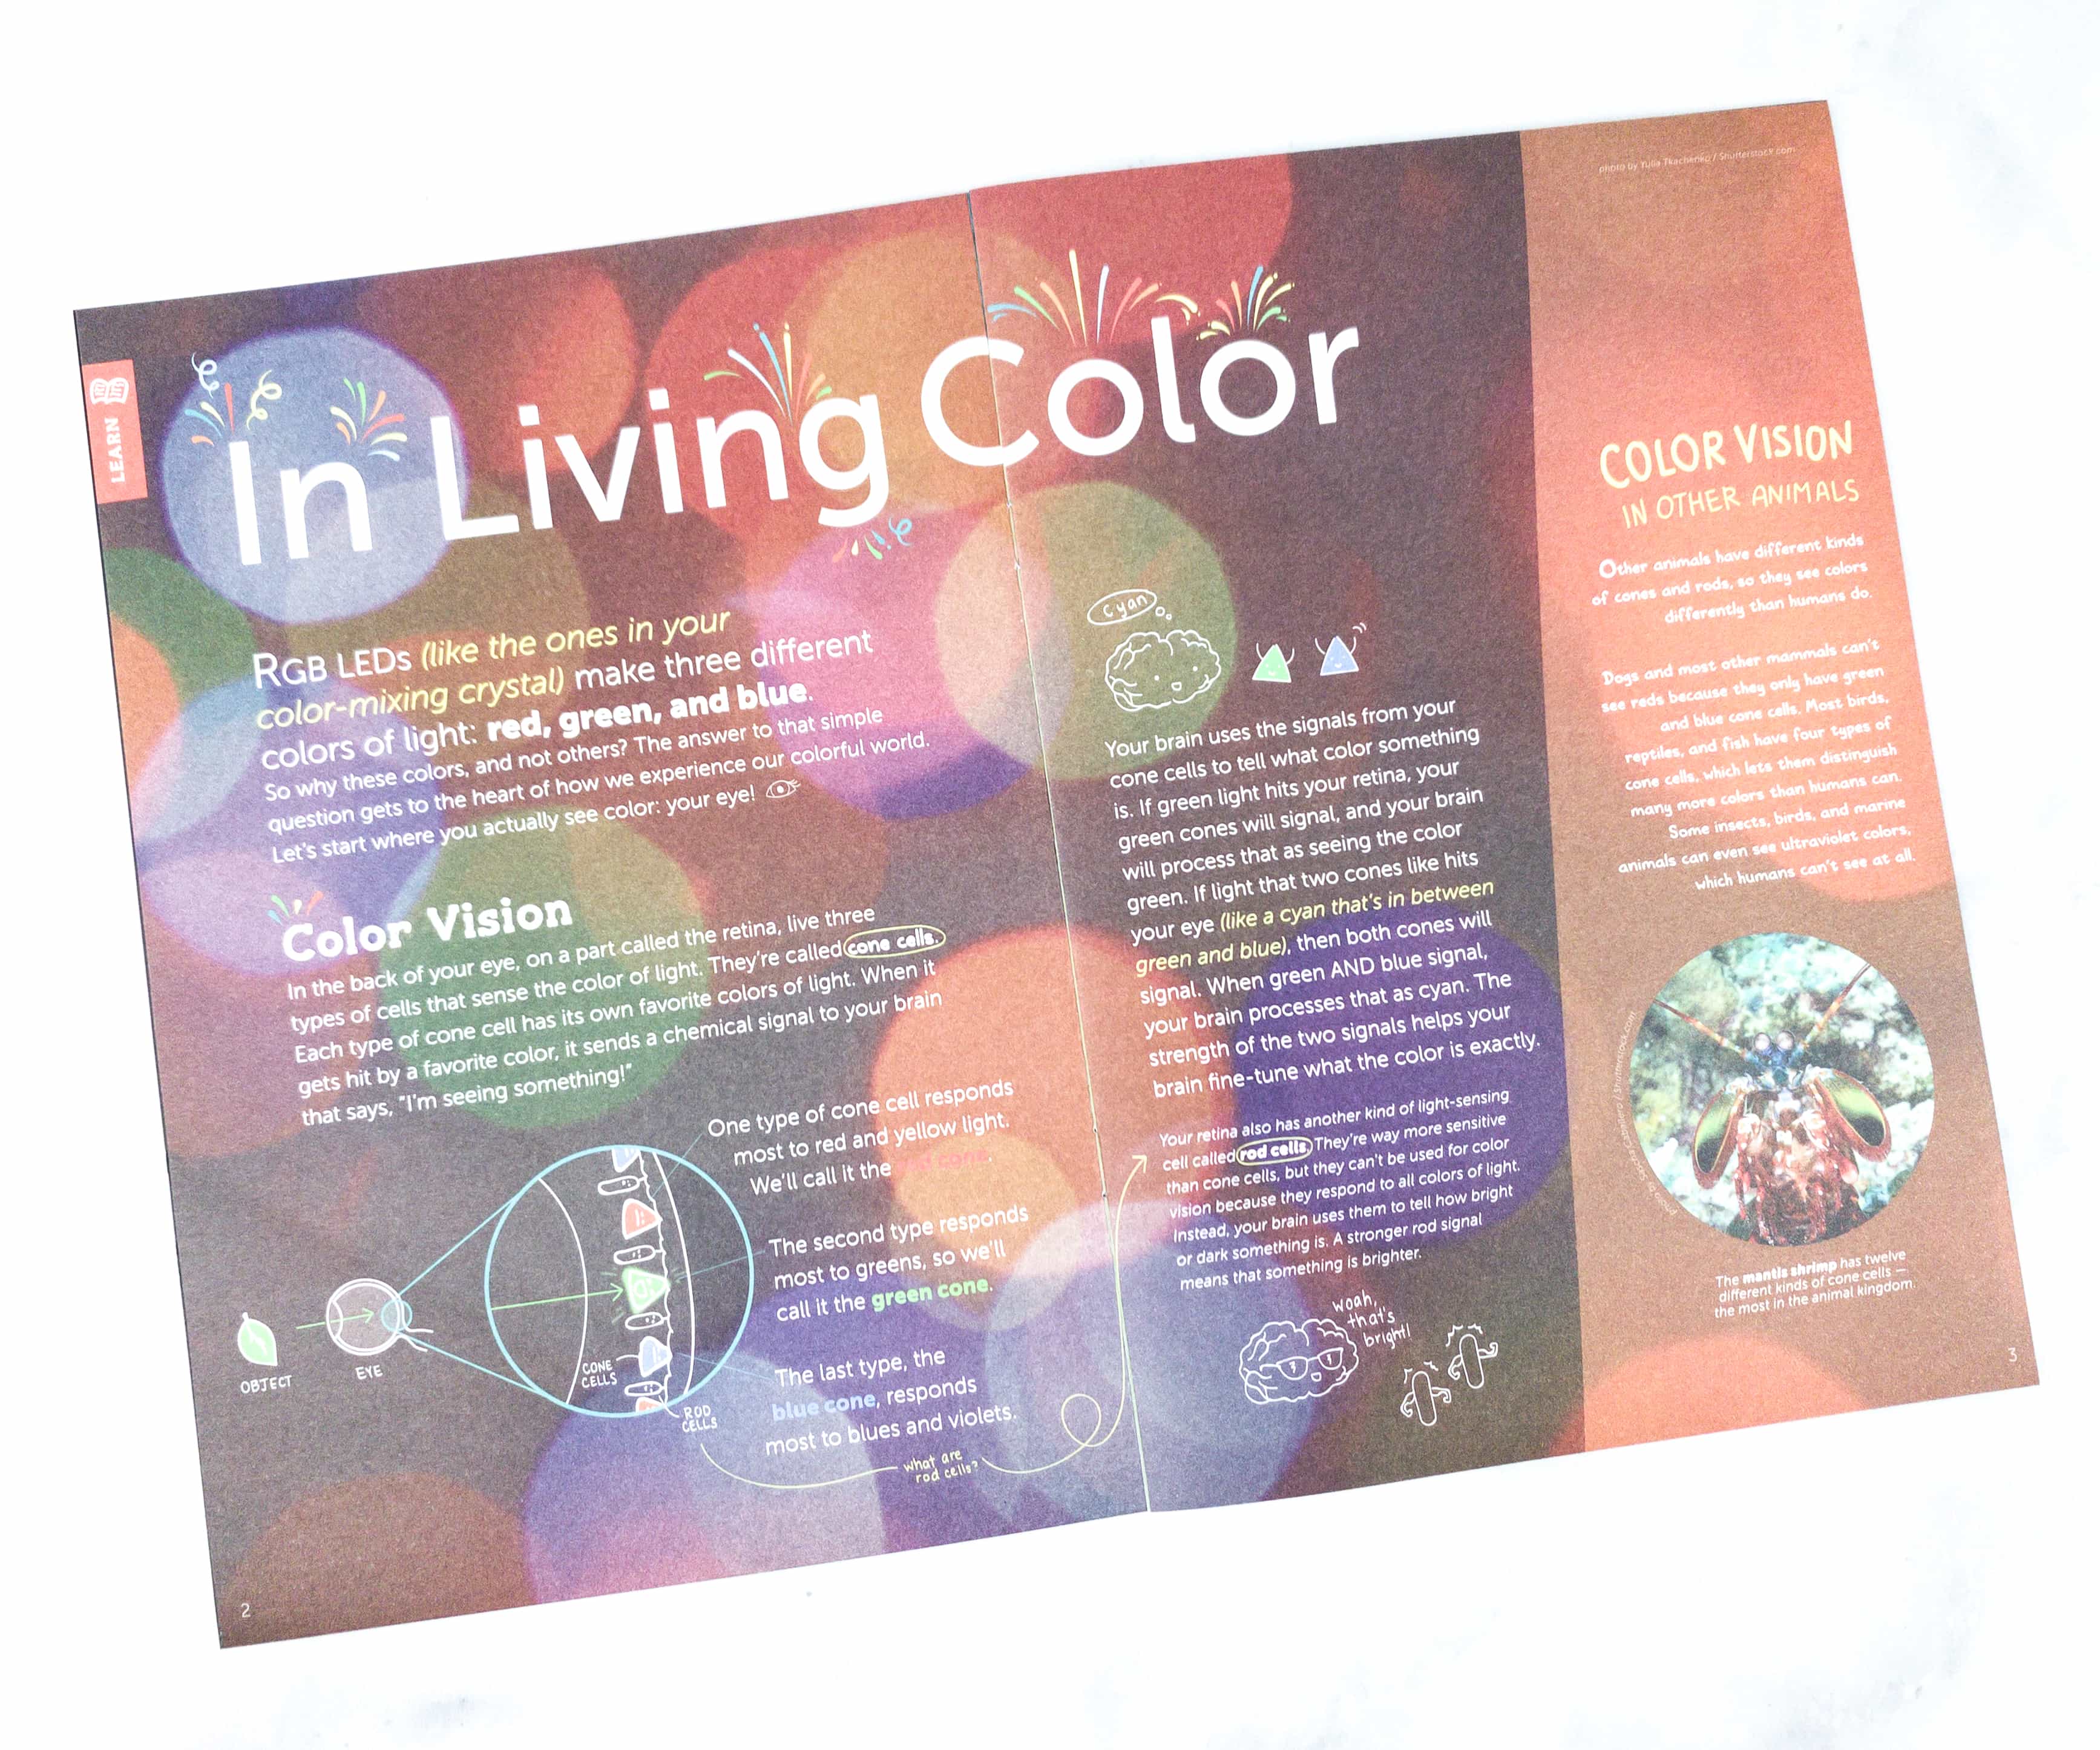
The Zine’s articles are in-depth, and they use accurate scientific terminology to describe the explored phenomena, yet it’s really well suited to the target age.
The pedagogical approach is great for a variety of learners – historical examples are used to illustrate the scientific principles in action, and there is always a balance of text, pictures, diagrams, and hands-on activities.
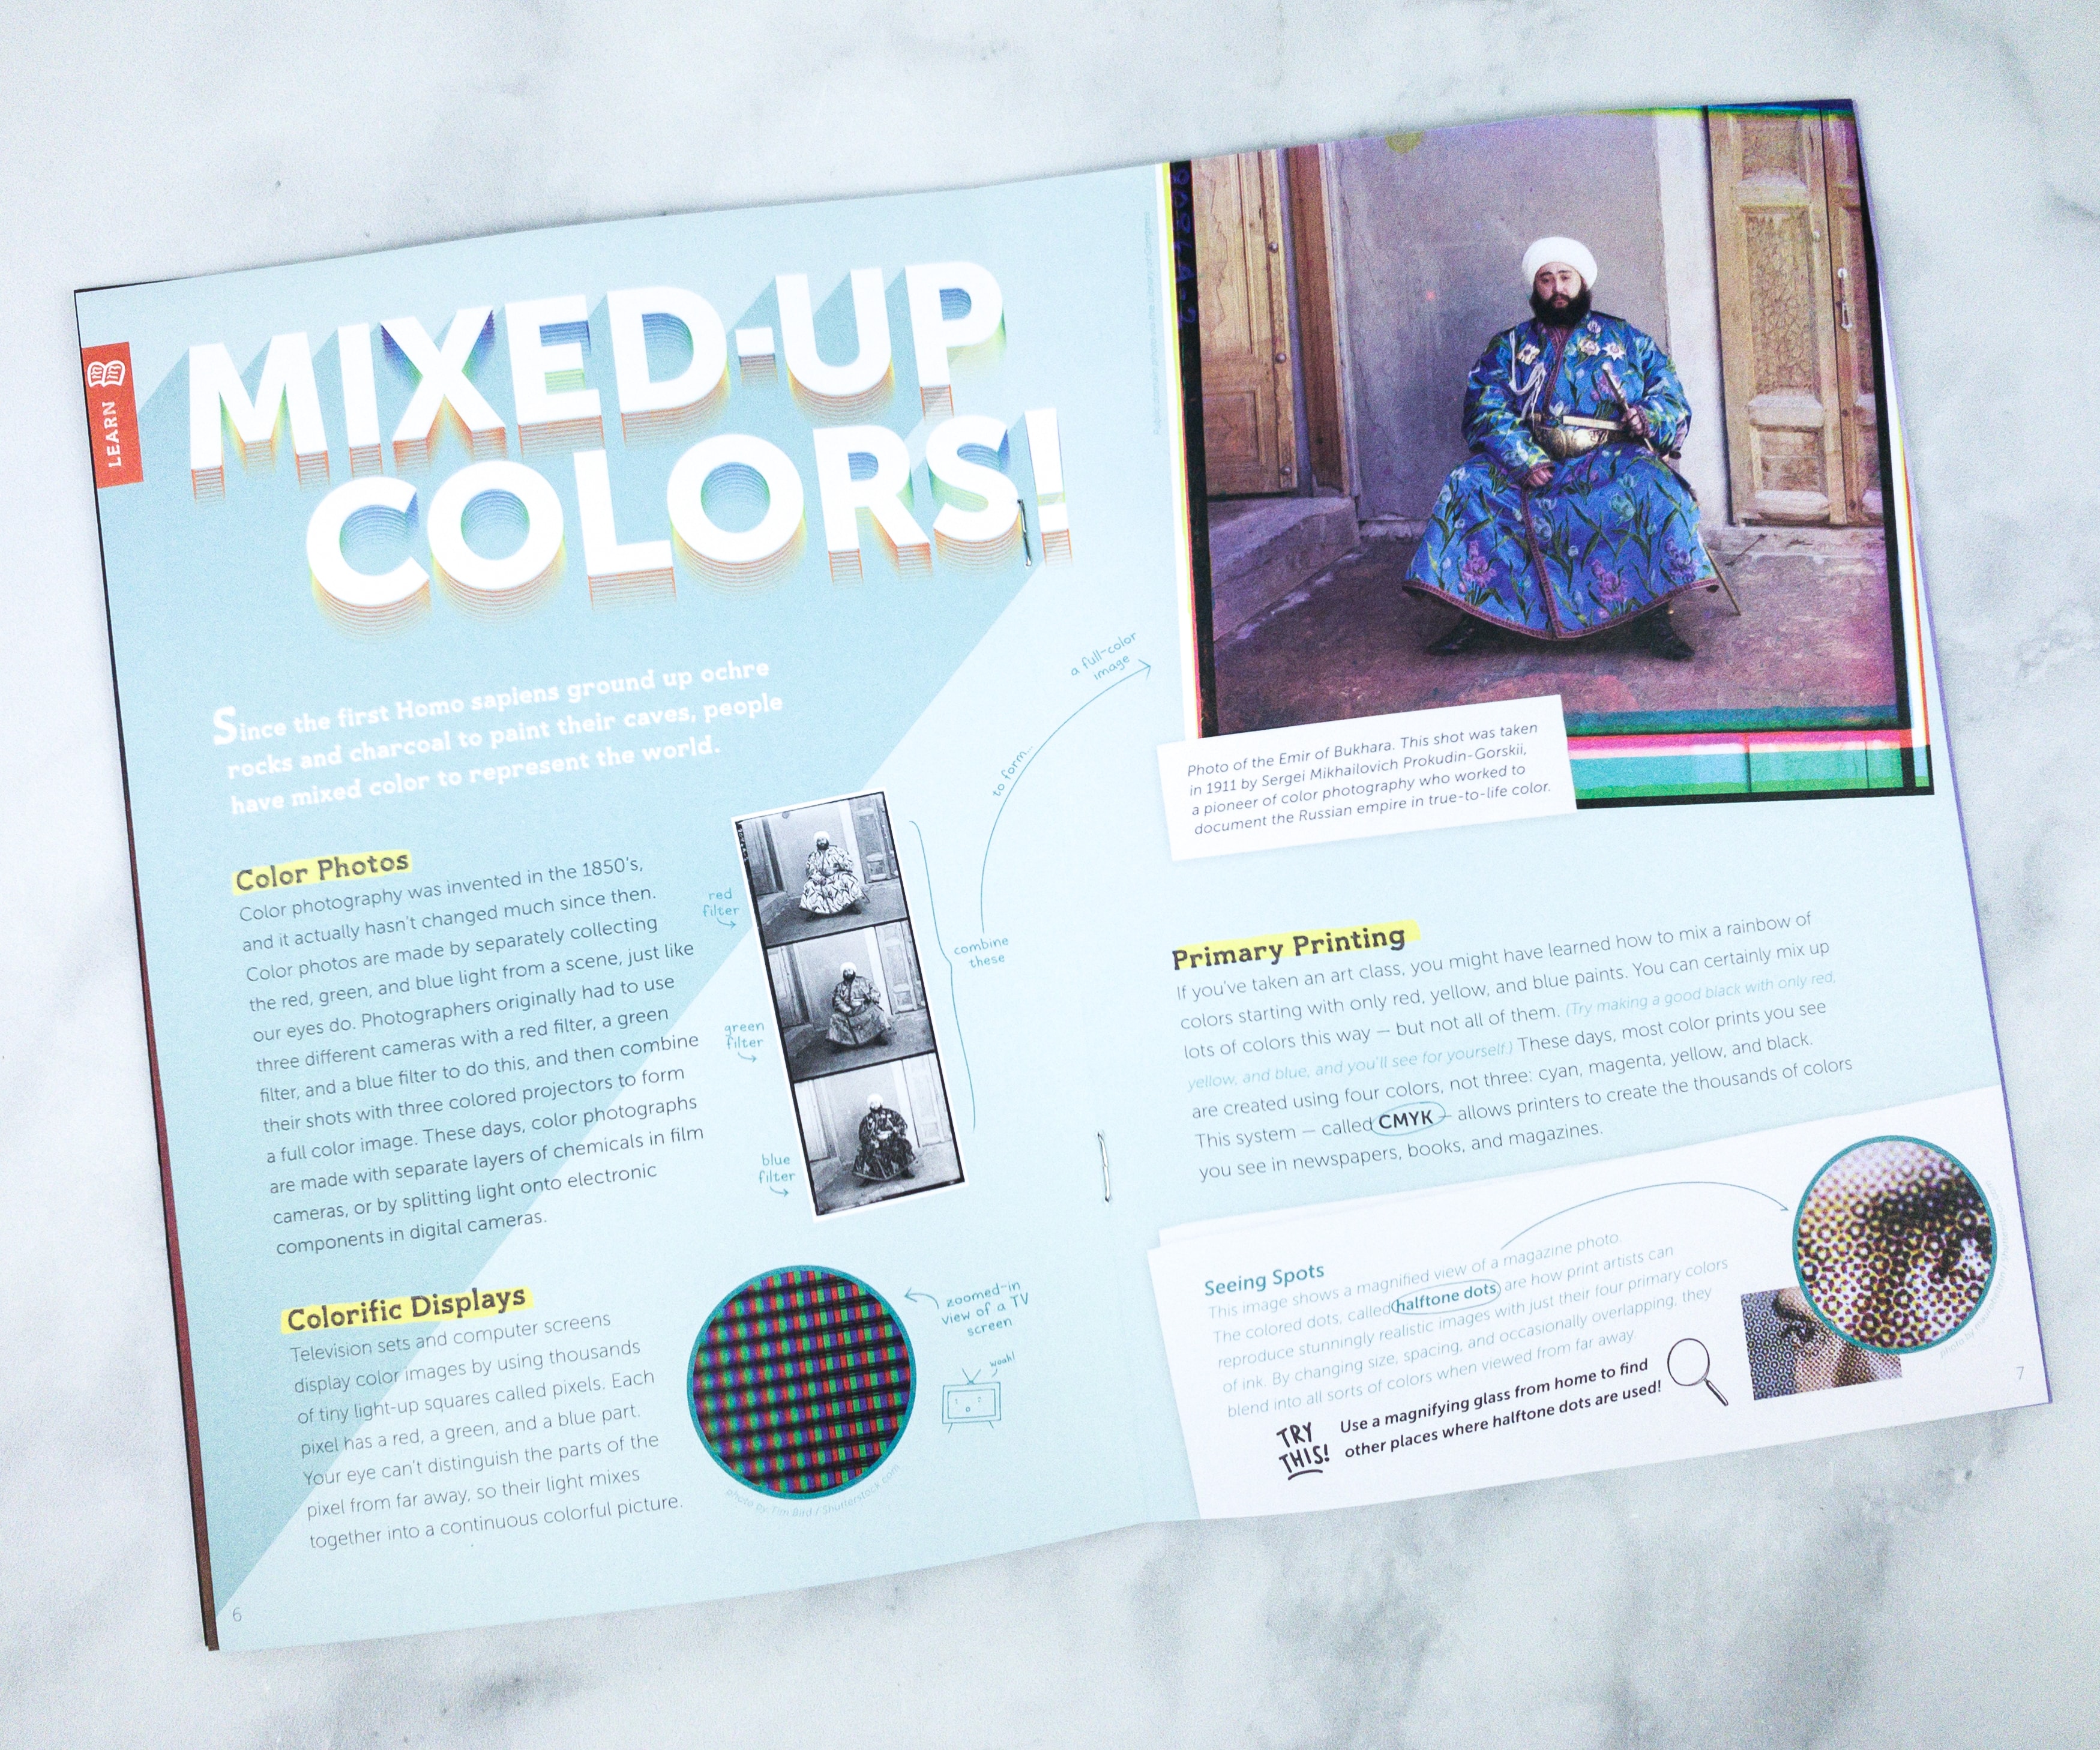
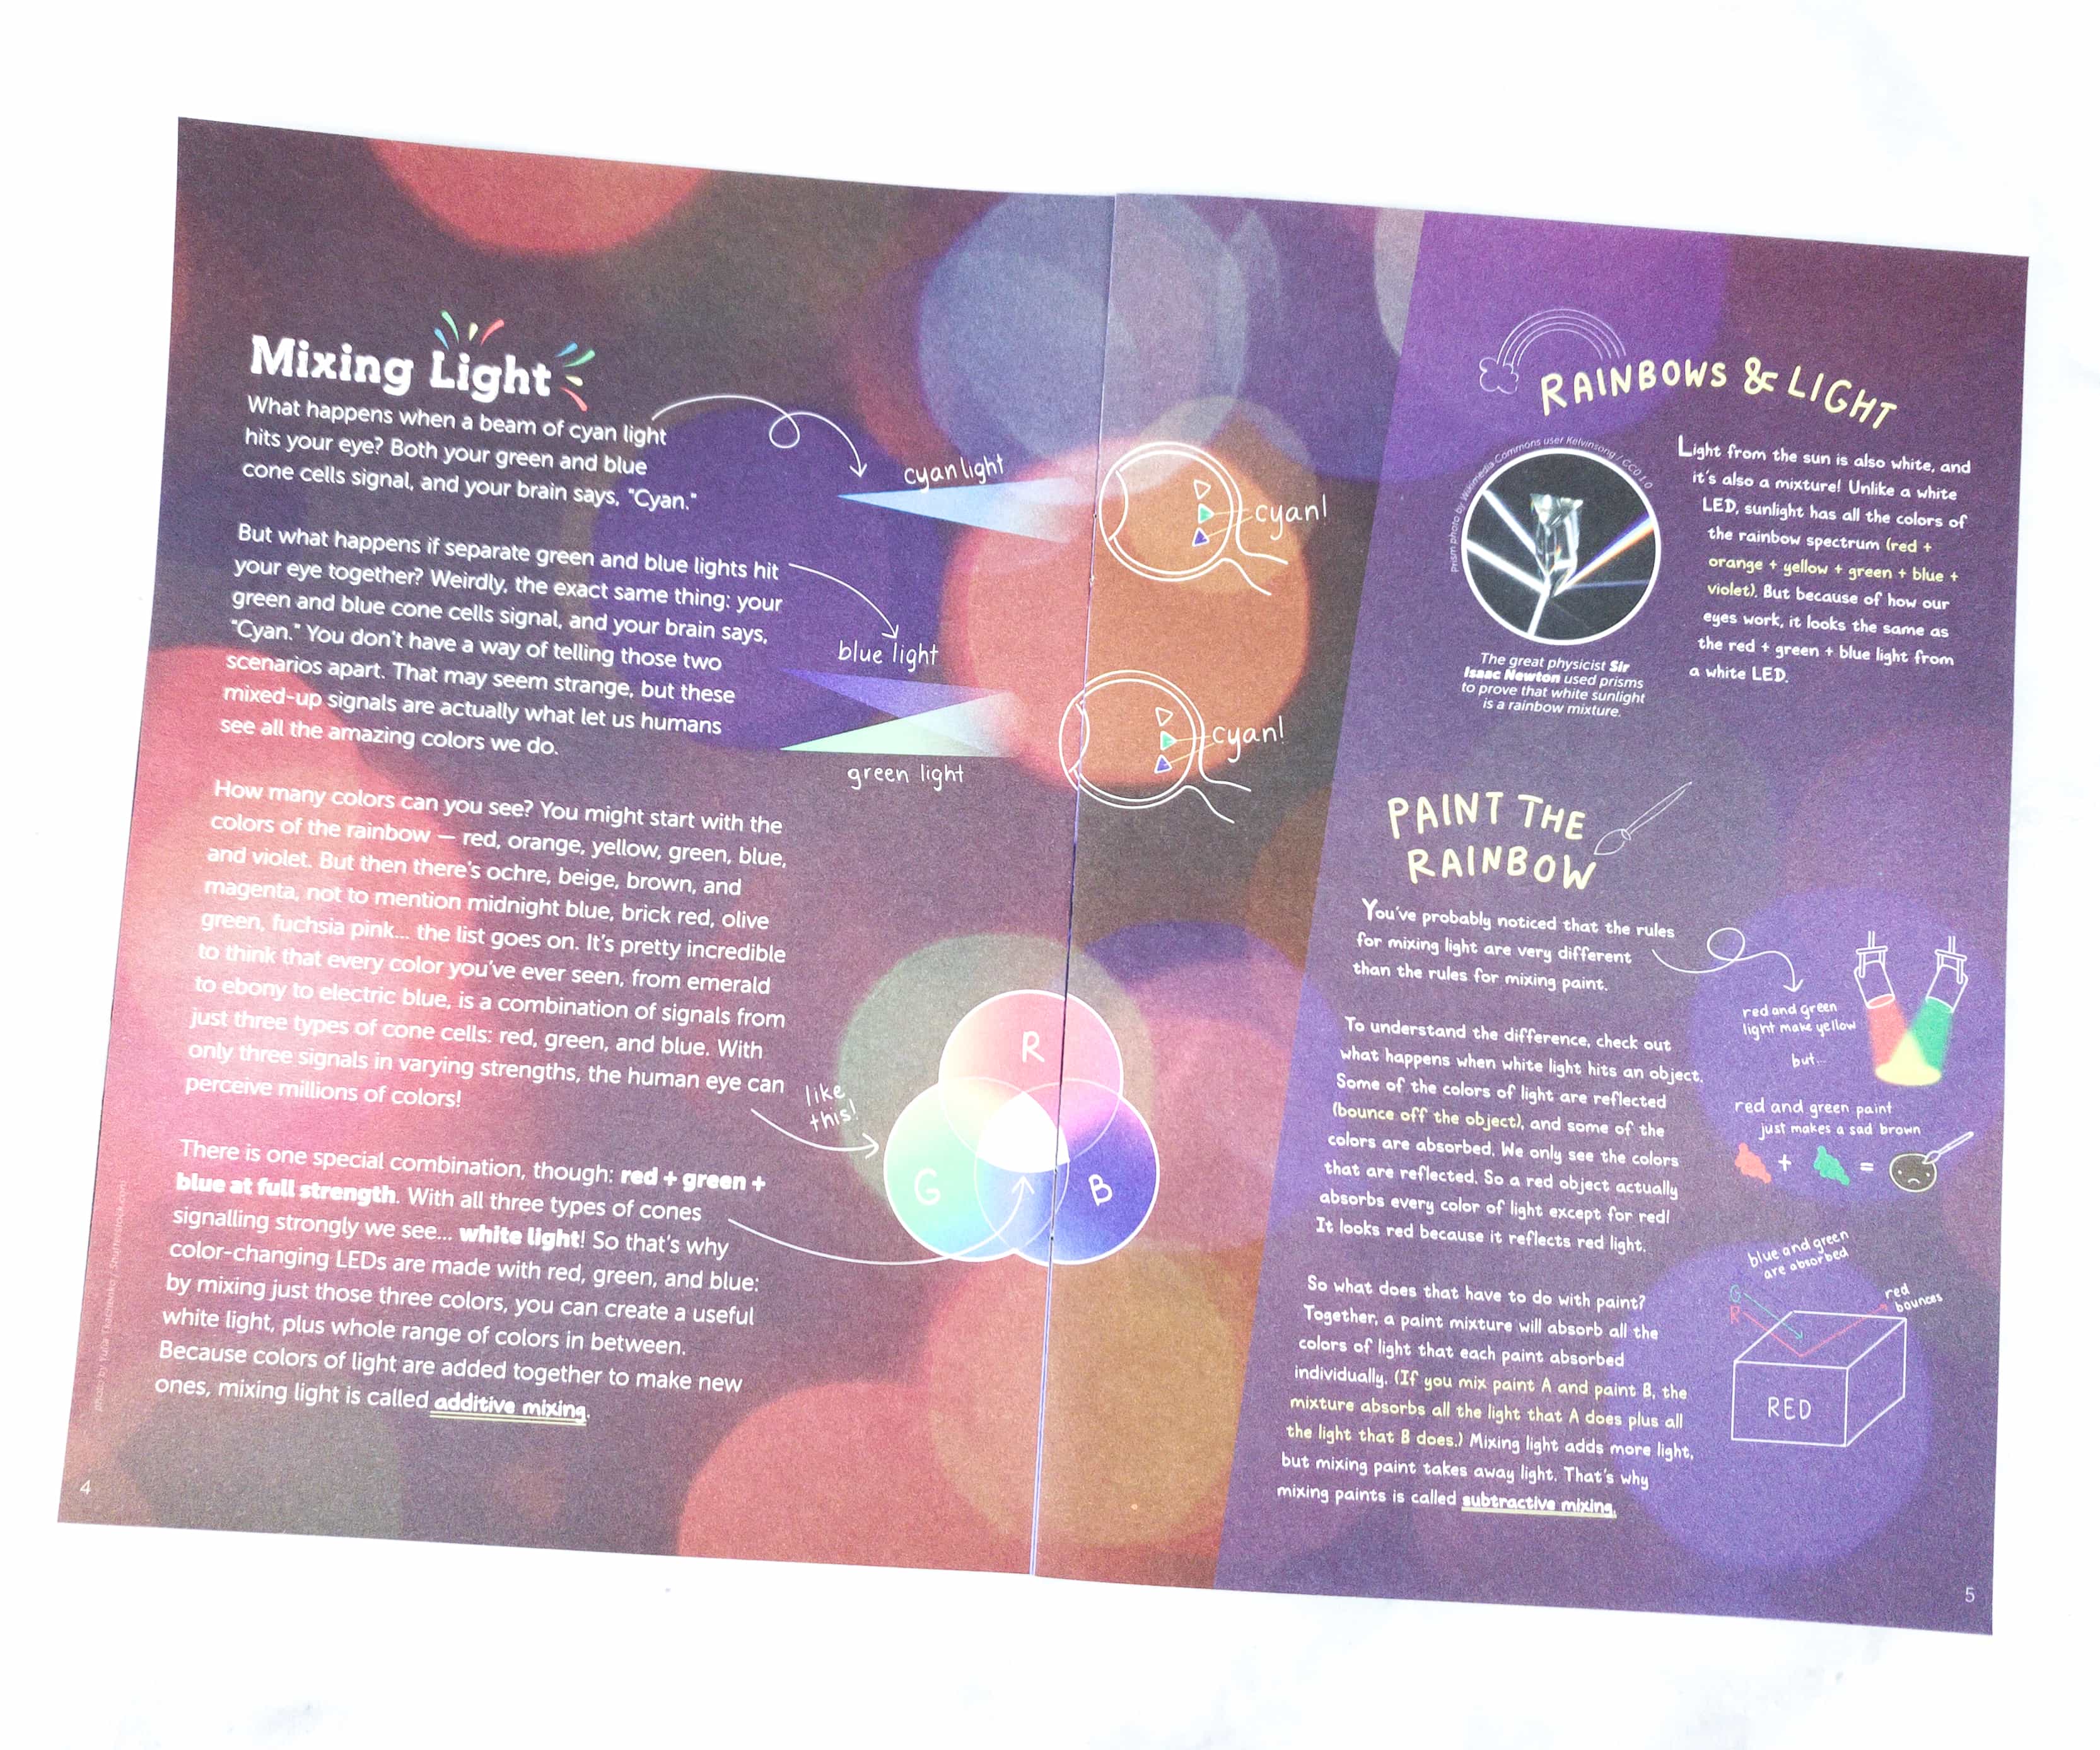
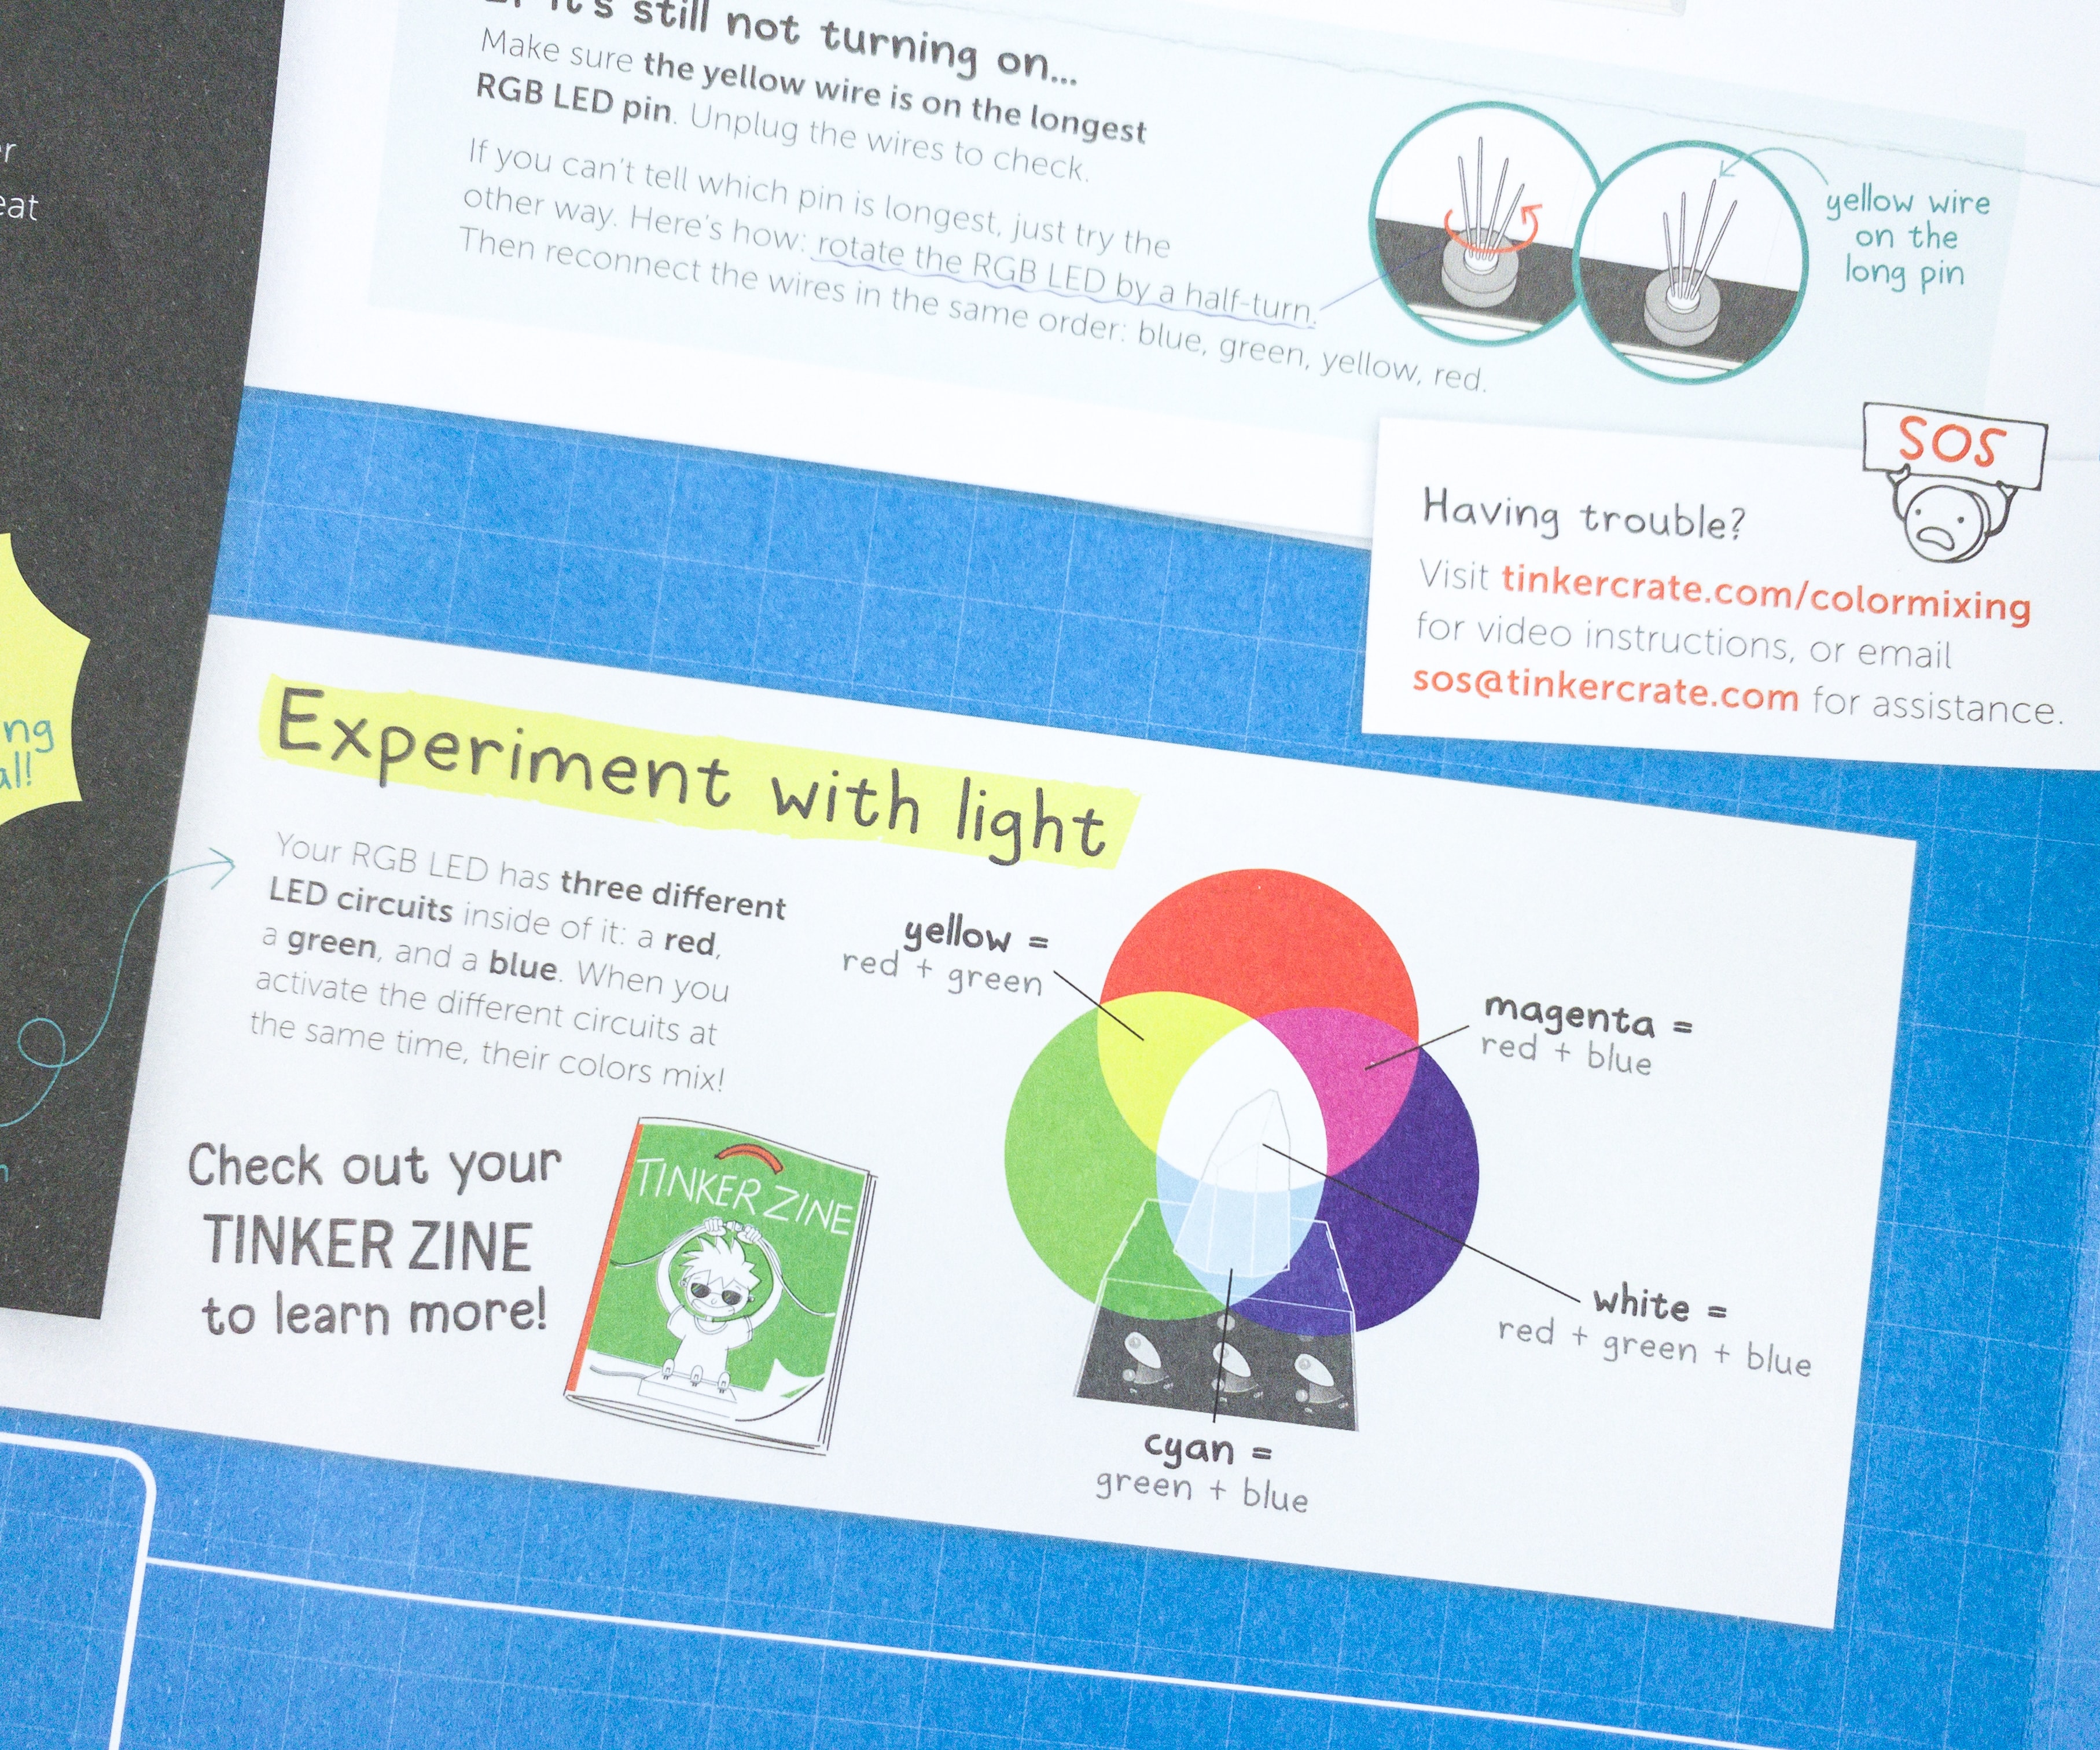
This edition had some really great articles about mixed-up colors.
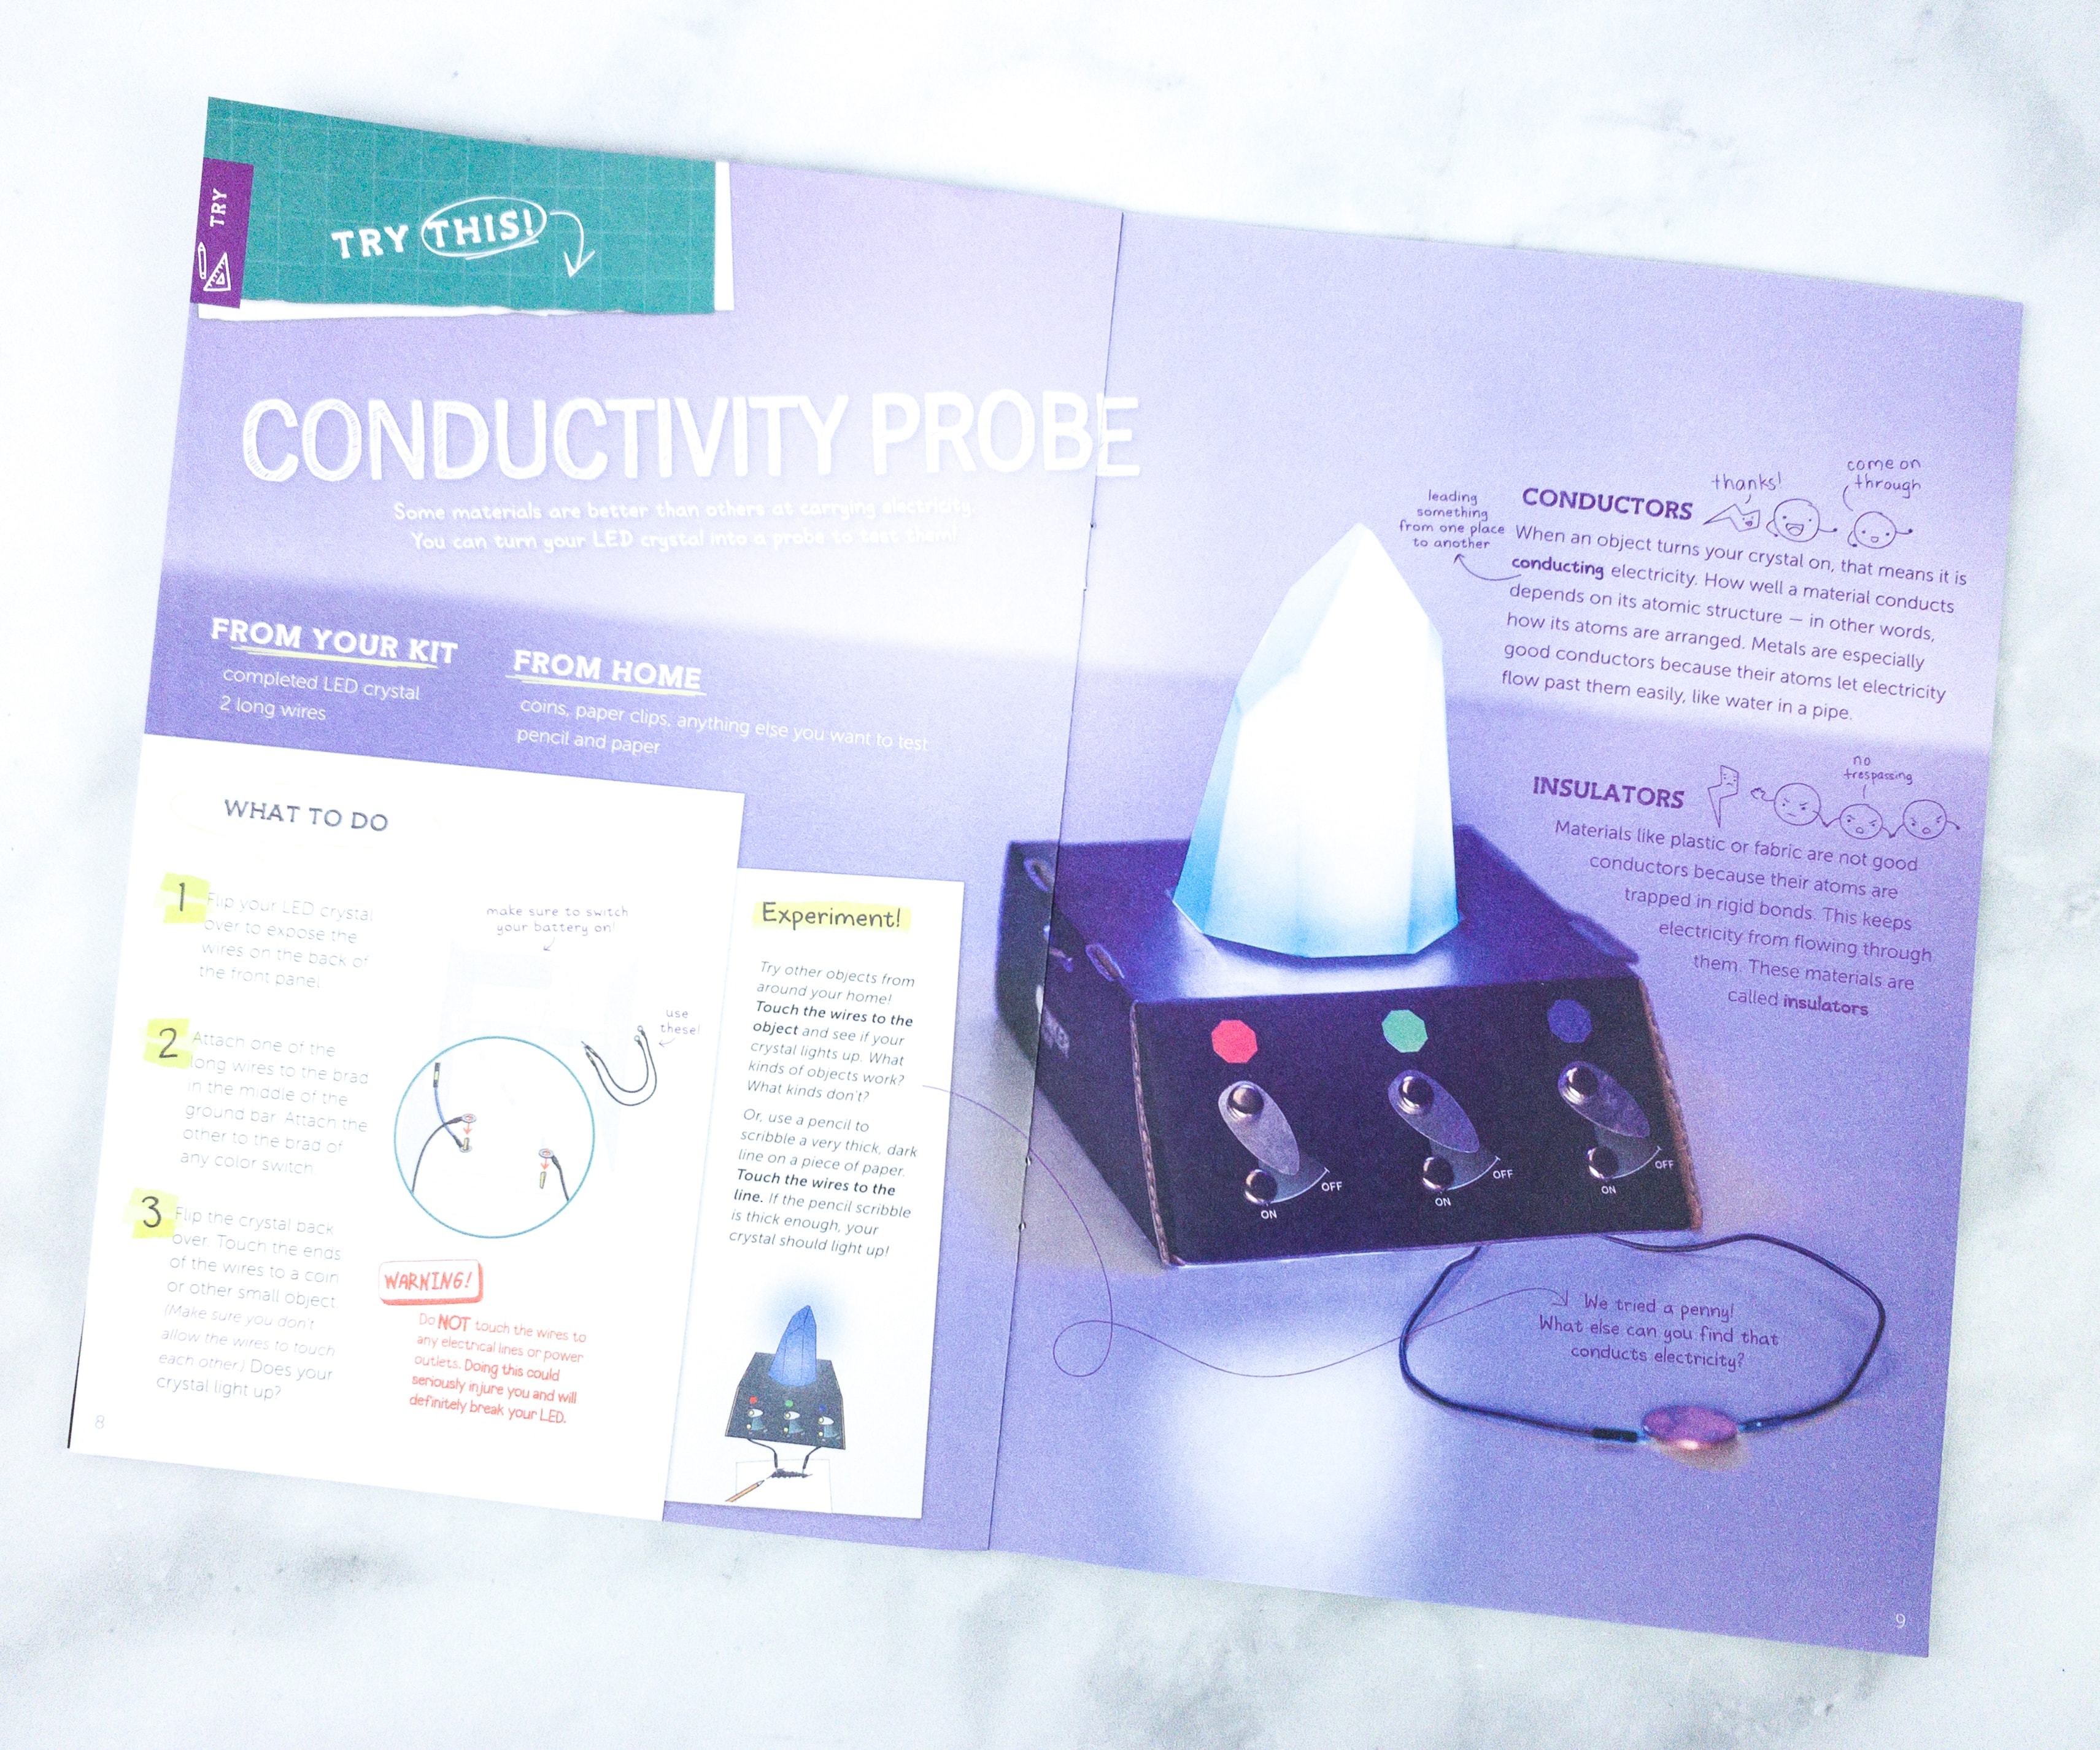
Meanwhile, these pages are all about conductors and insulators. There’s even an experiment that involves items from the kit and several items from home.
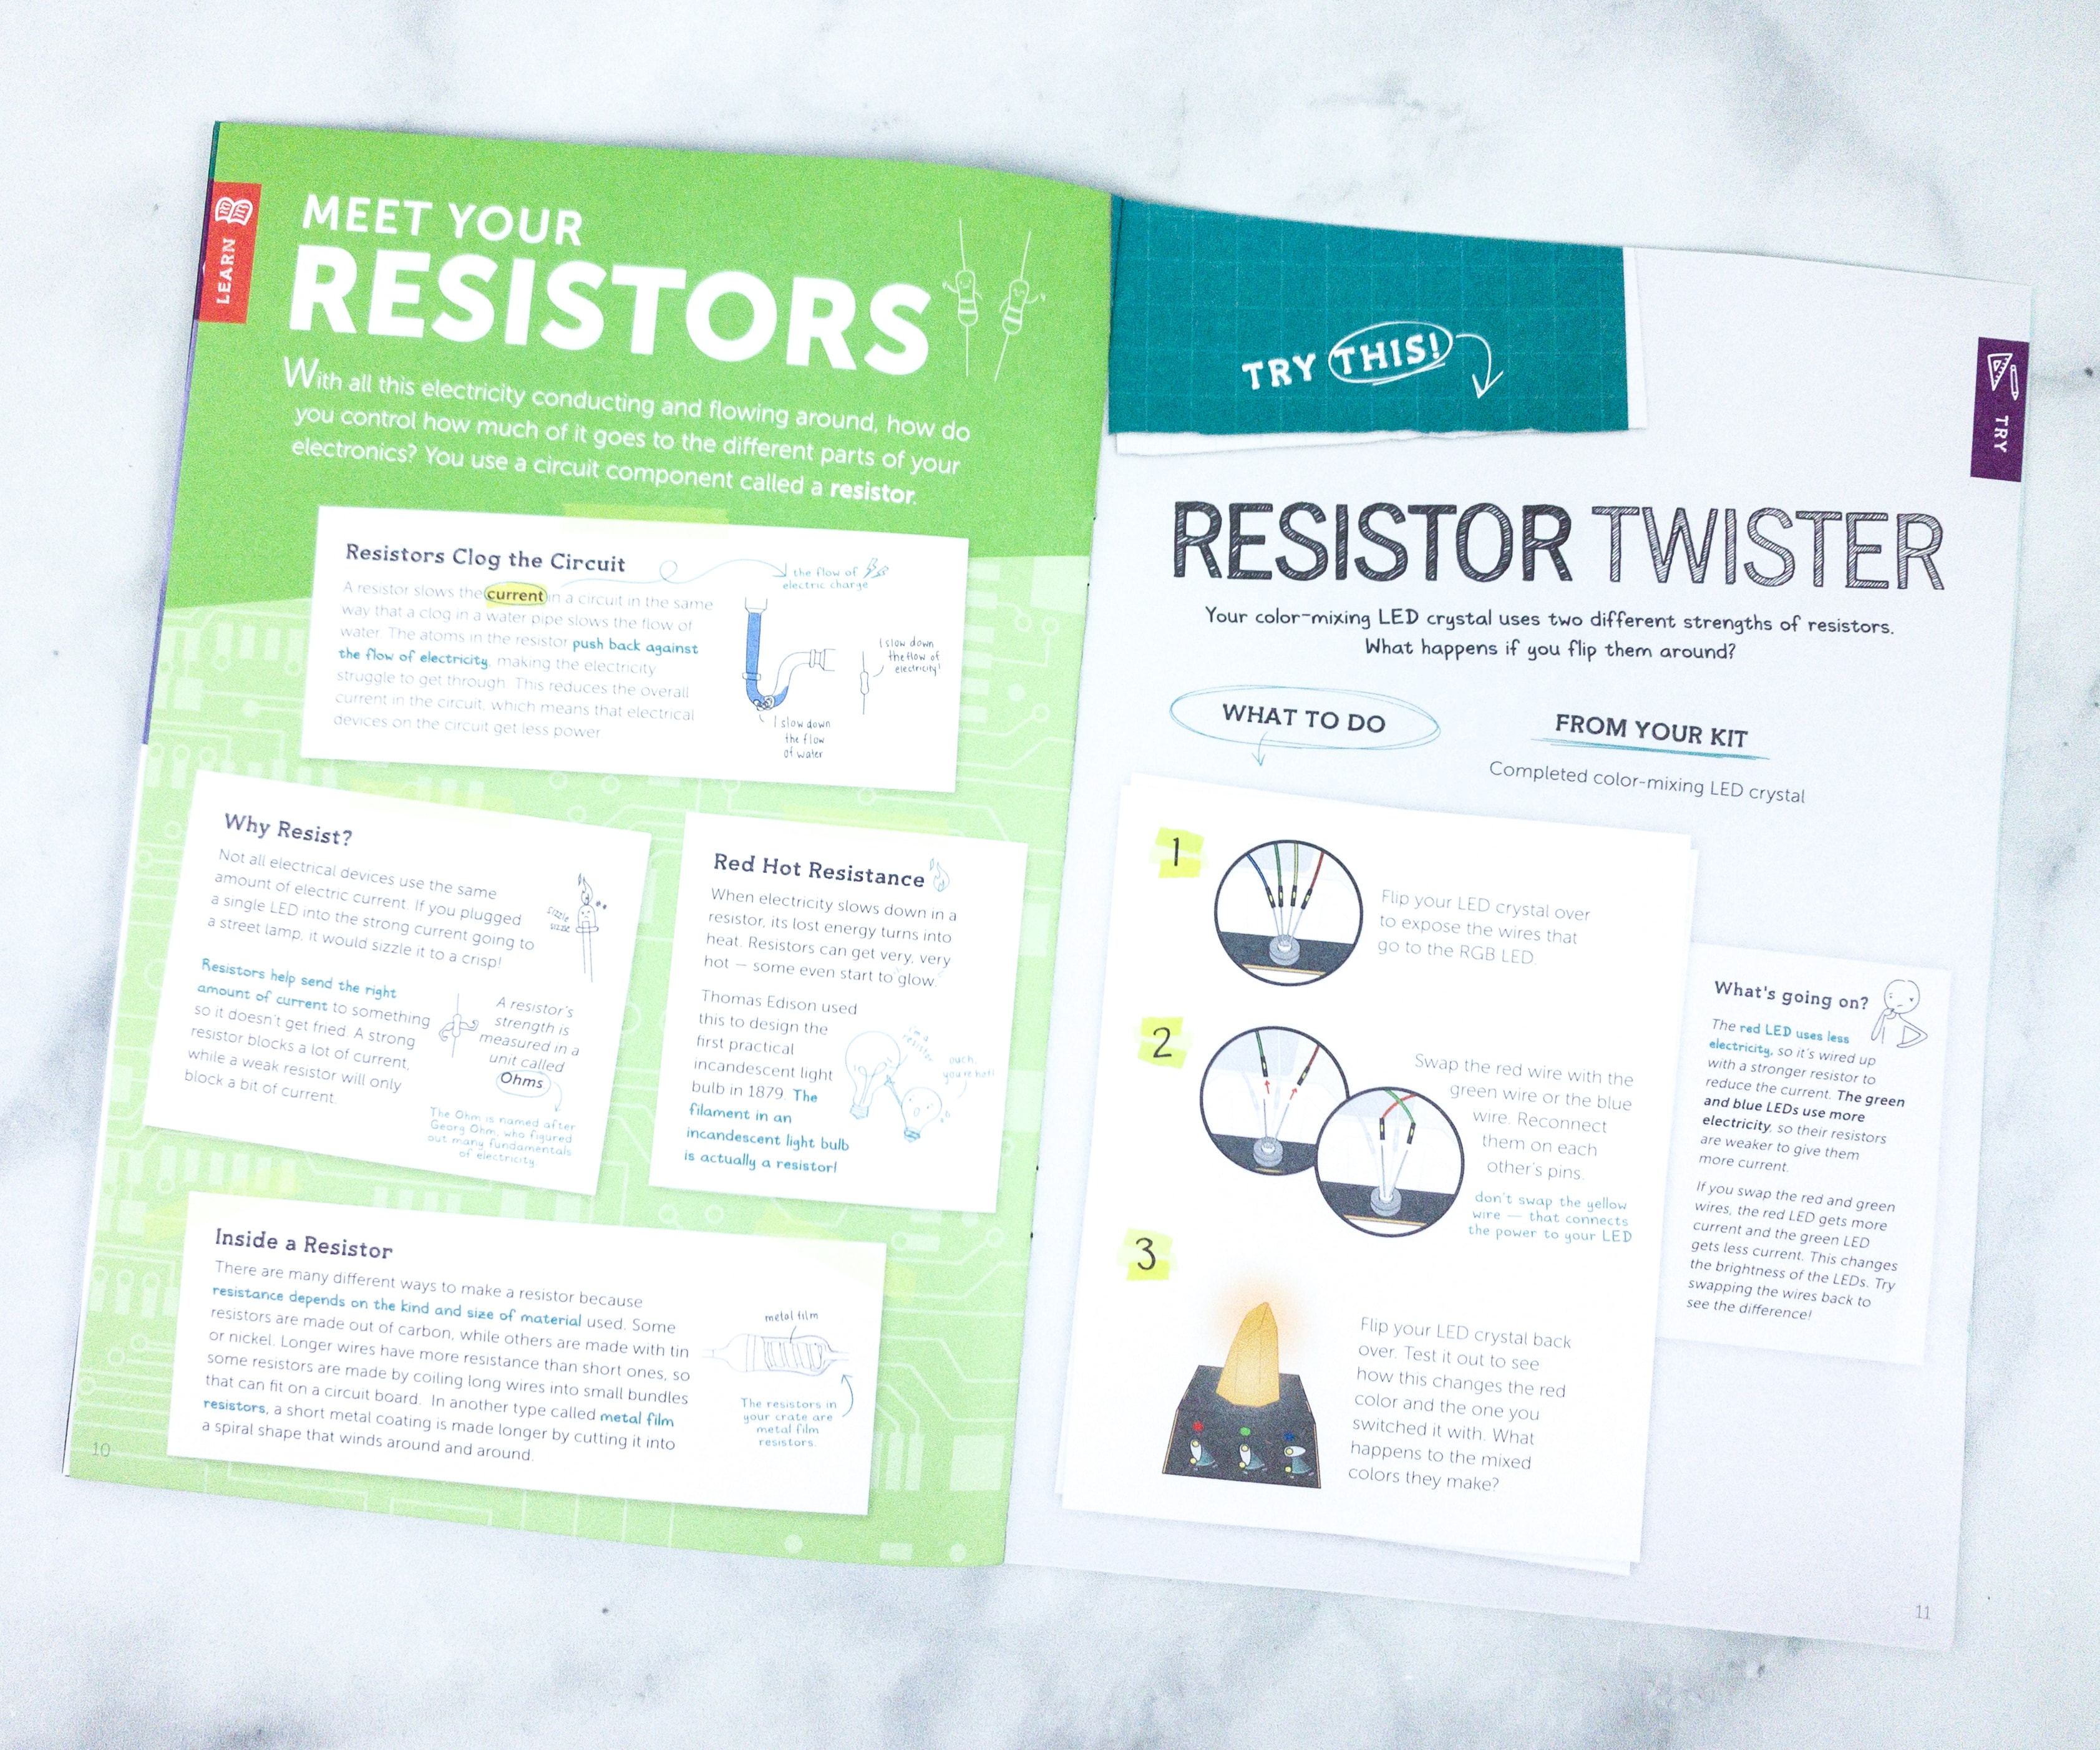
Of course, there’s also an article that tells us about resistors. These pages thoroughly explain the importance of resistors and how switching the wires will provide variation of brightness and colors.
Tinker Crate Blueprint + Materials
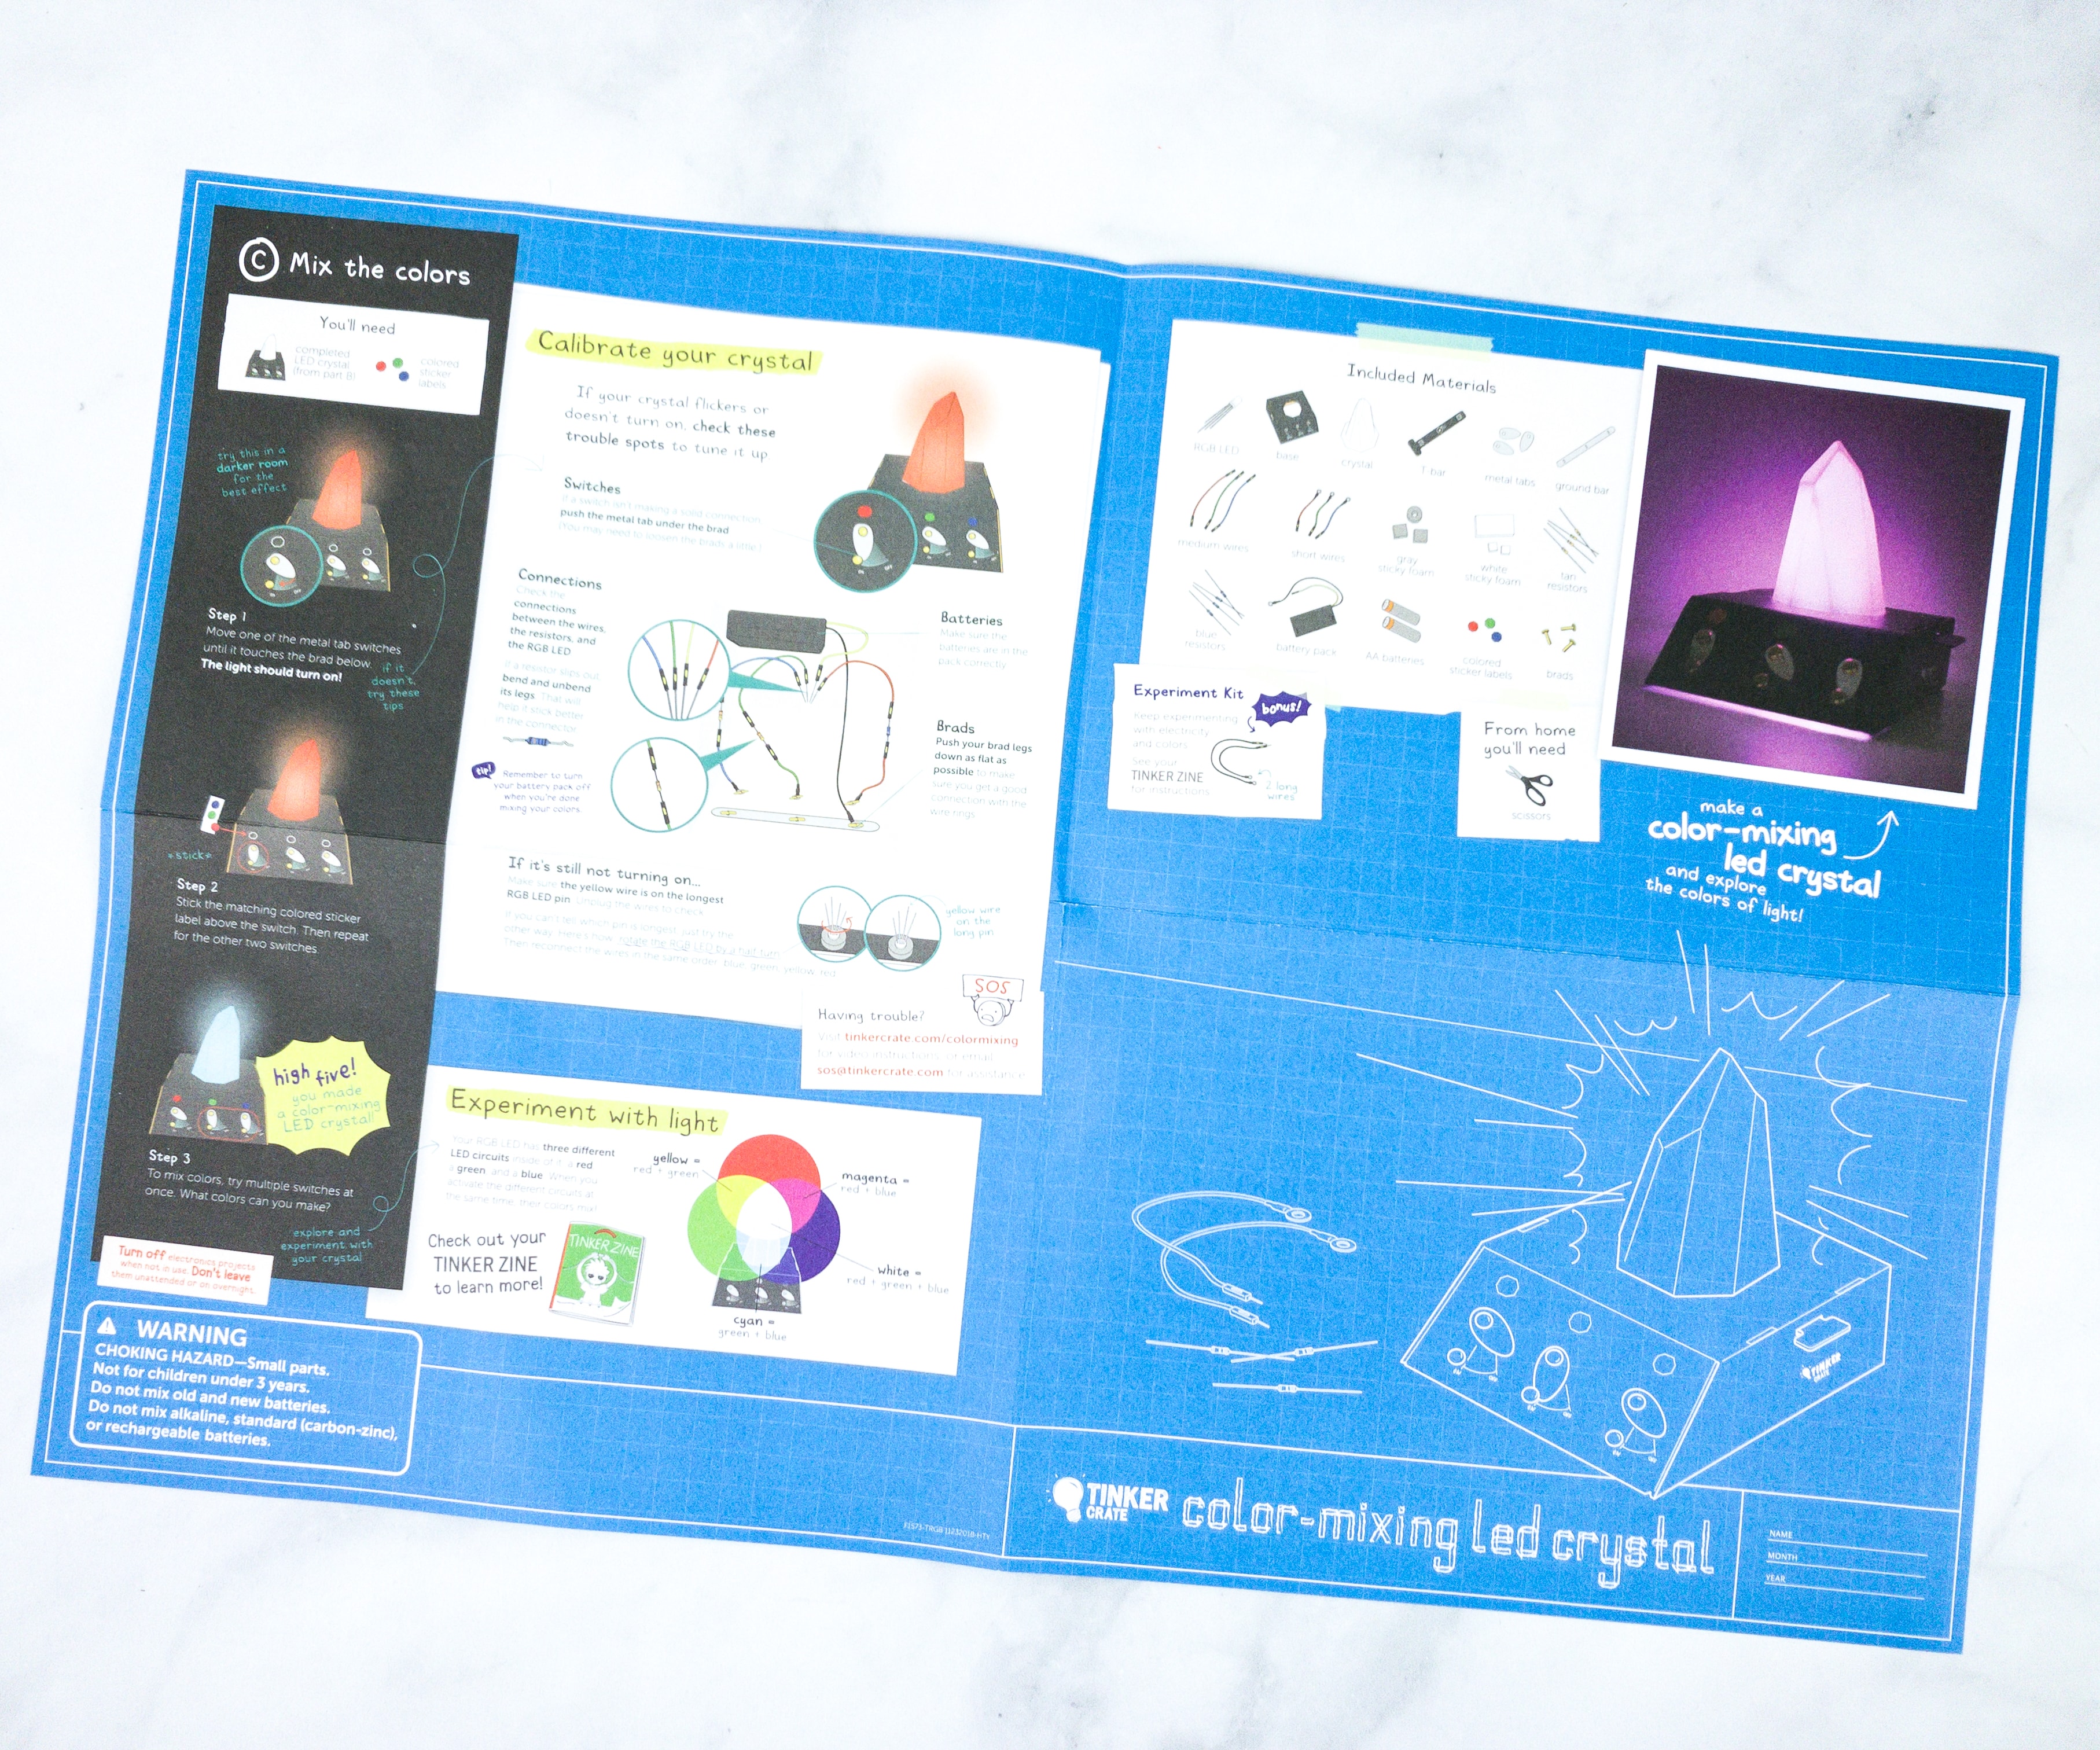
The instructions and other project info are printed on a faux blueprint fold-out sheet.
One side of the sheet has pointers for using your newly-constructed device, plus an inventory of all the supplies provided in the Crate.
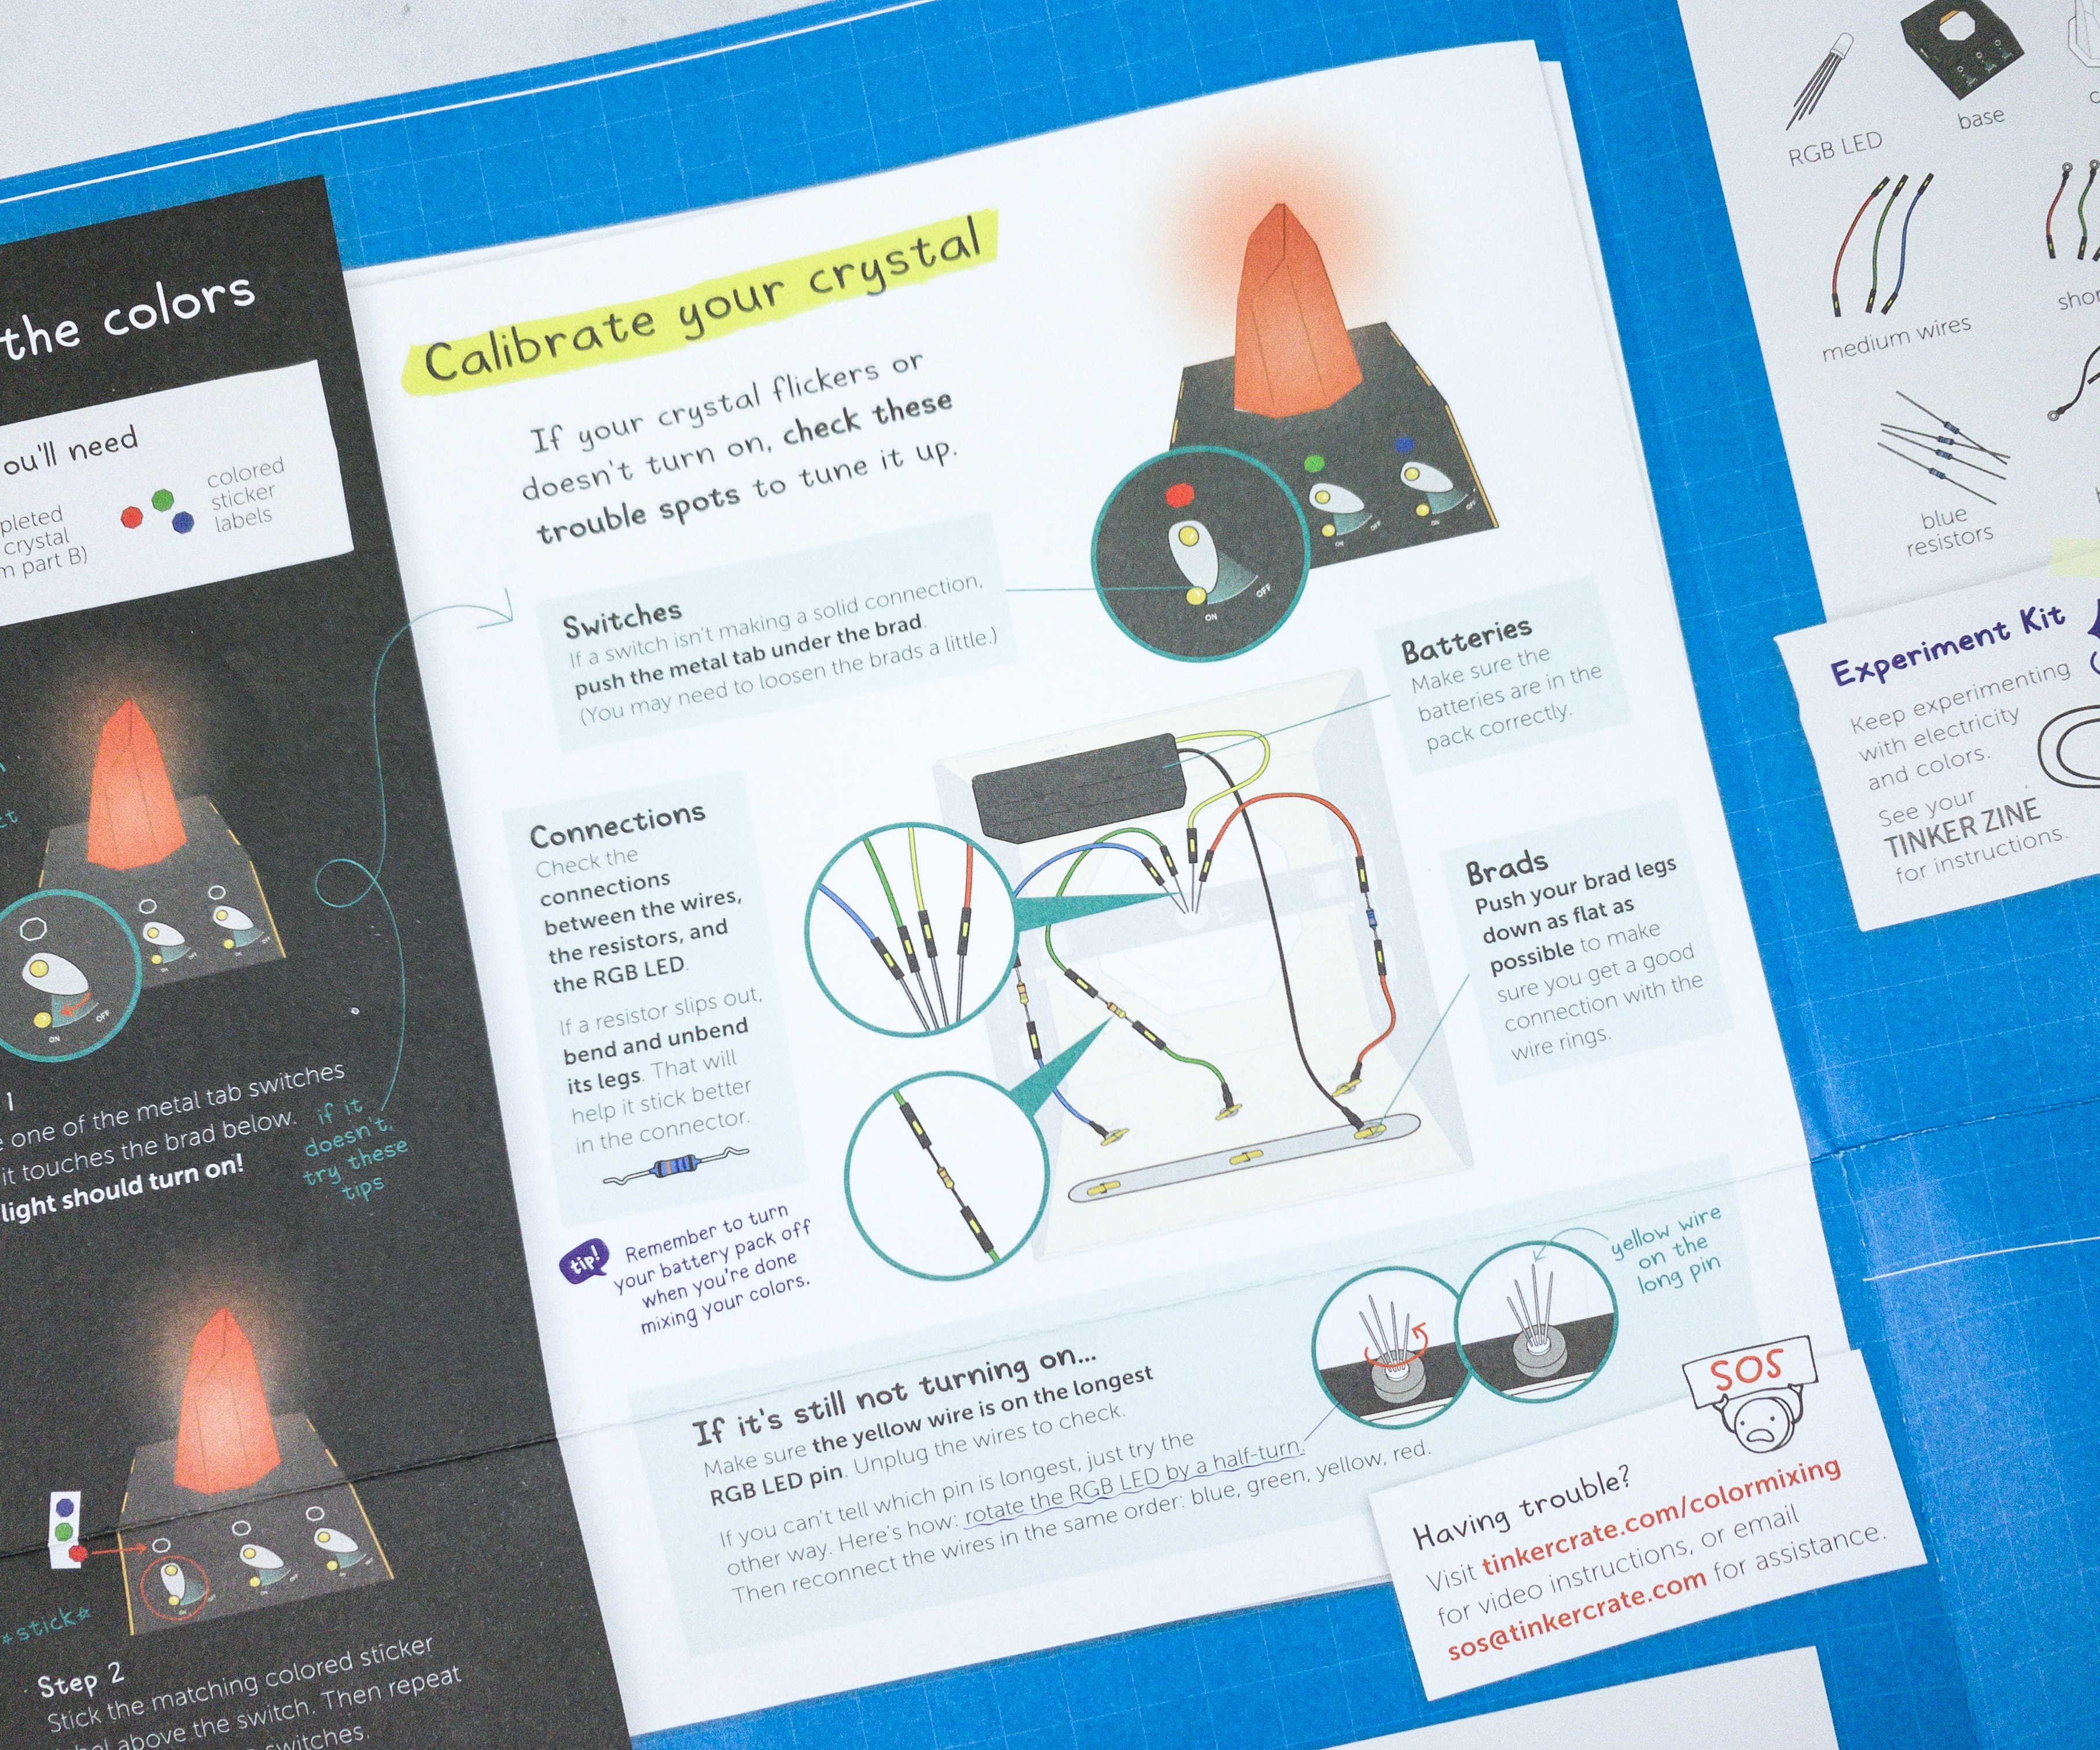
If you are having trouble making the project, you can also visit their website for more detailed video instructions.
Tinker Crate Activities

The kit includes all the materials needed to construct your own color-mixing LED crystal.
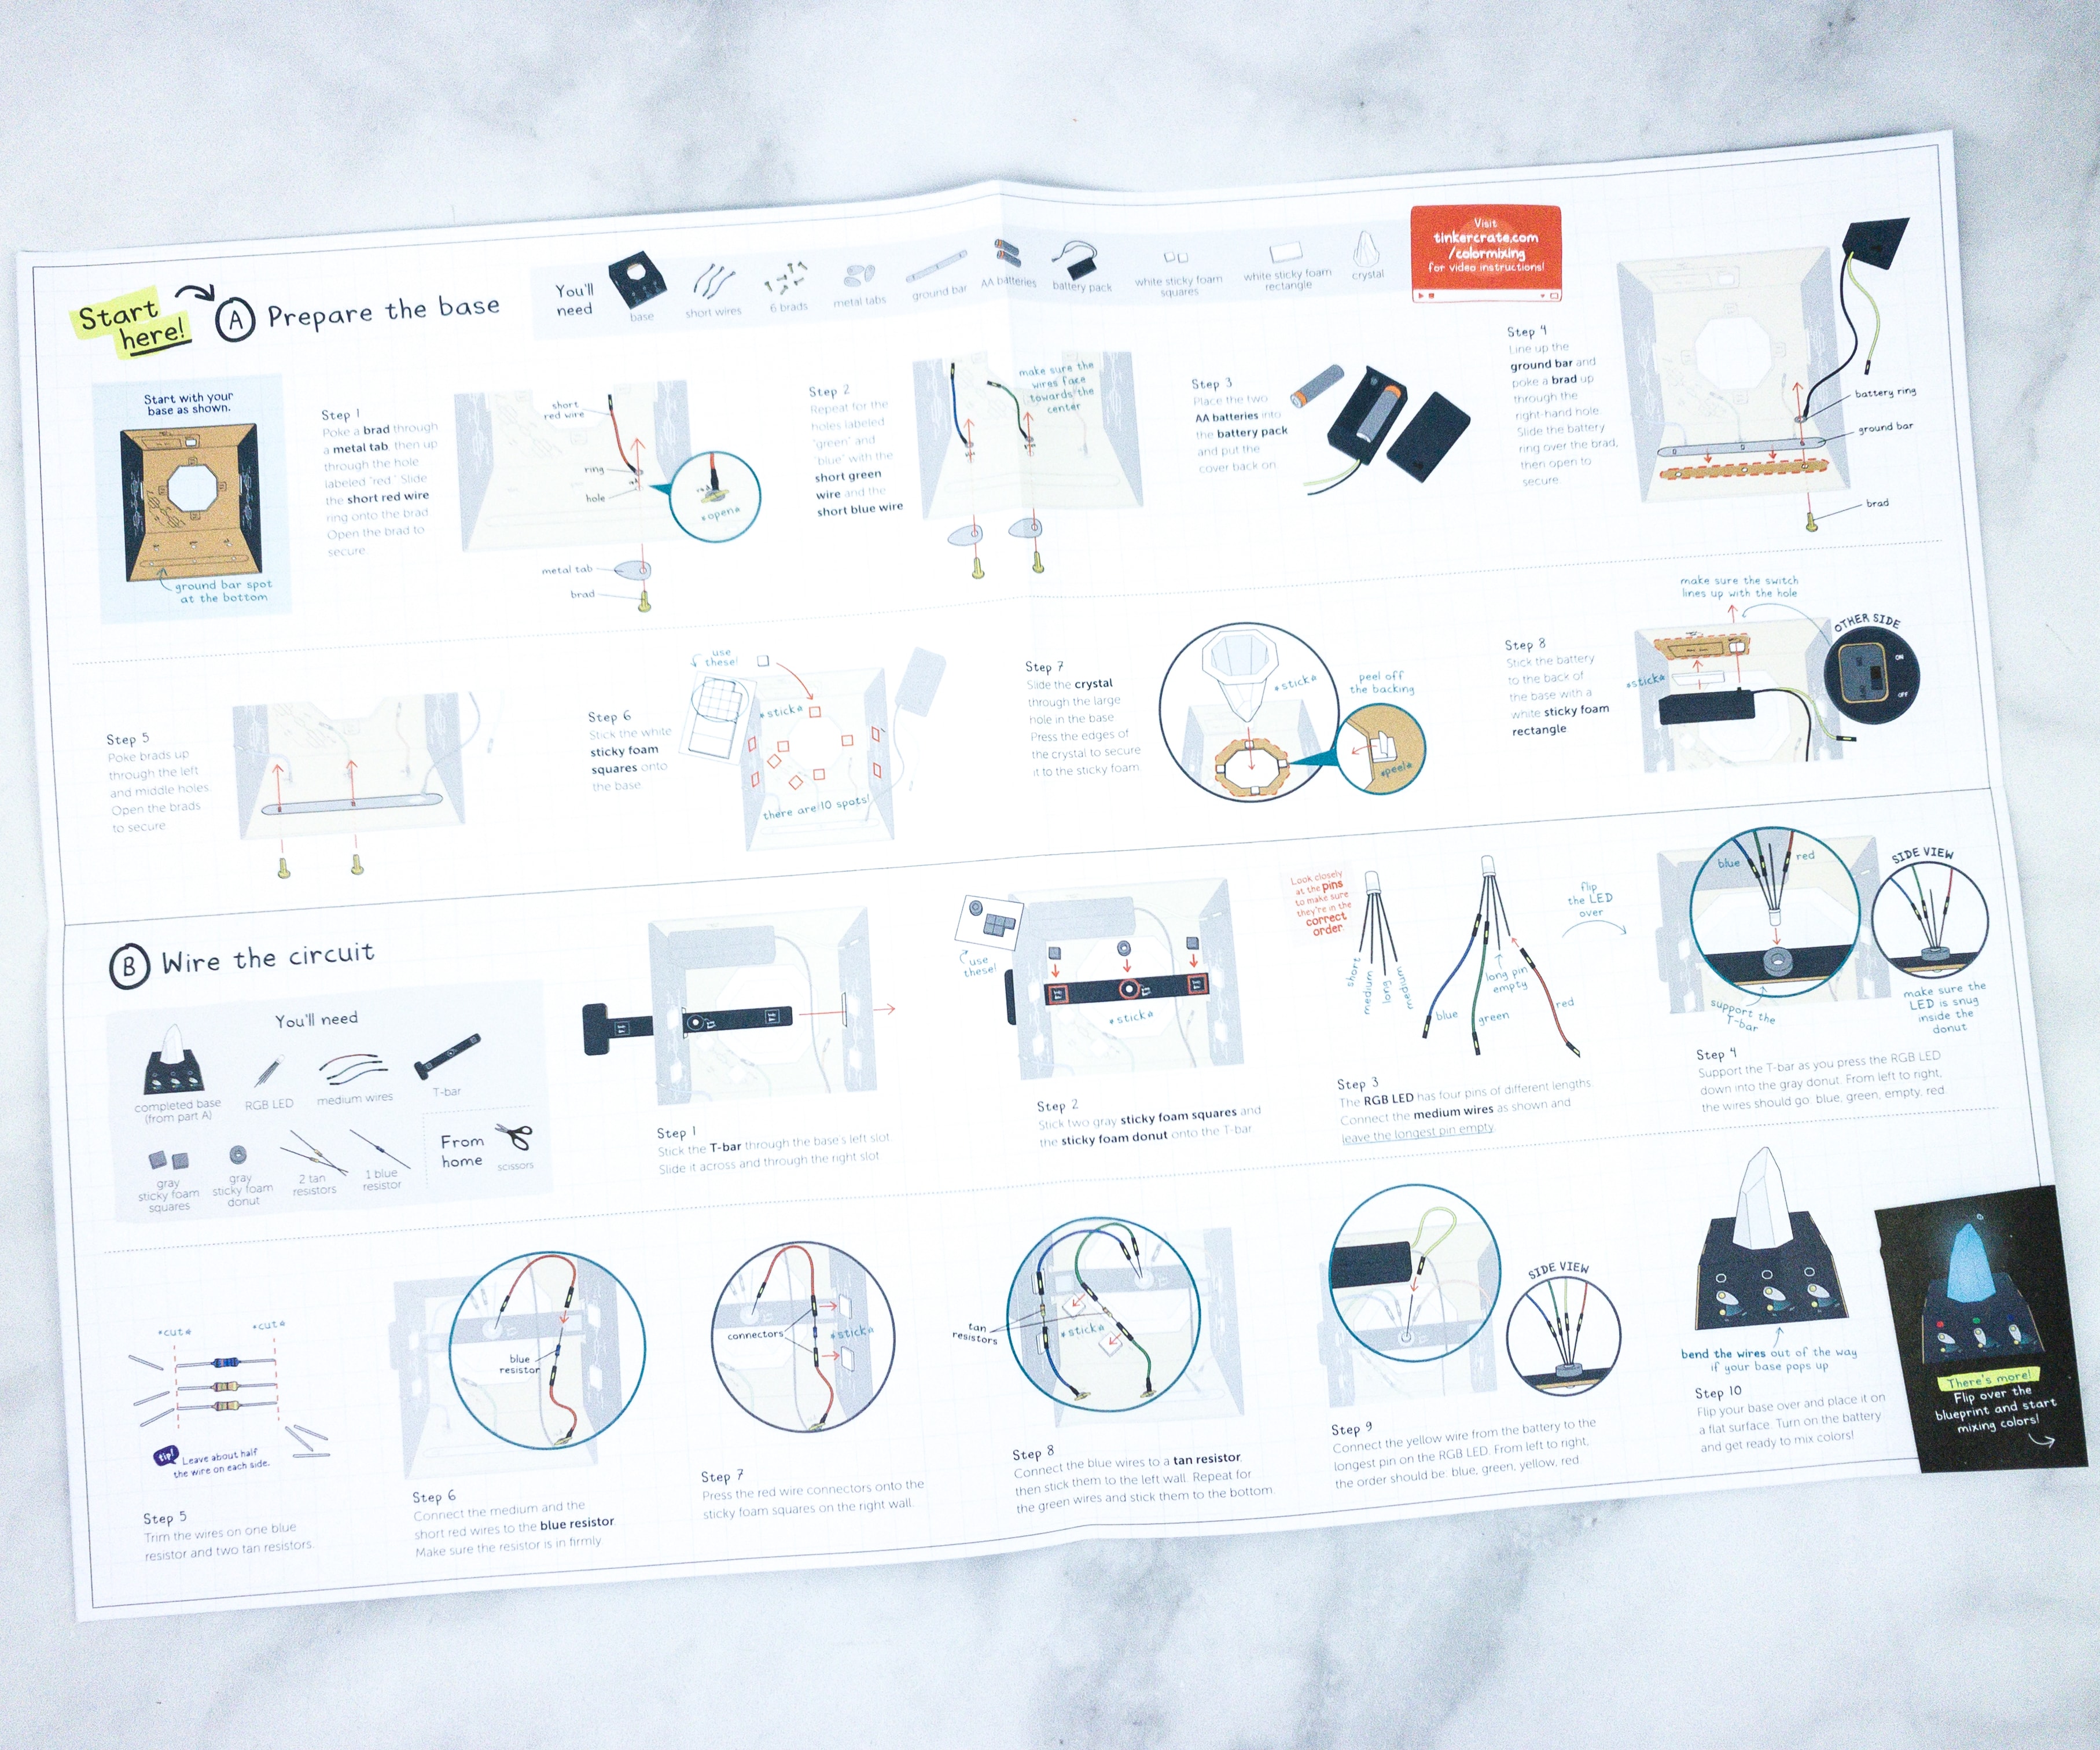
This sheet comes with illustrations of all the materials needed for each portion of the assembly. It’s so helpful, especially for those complex builds.
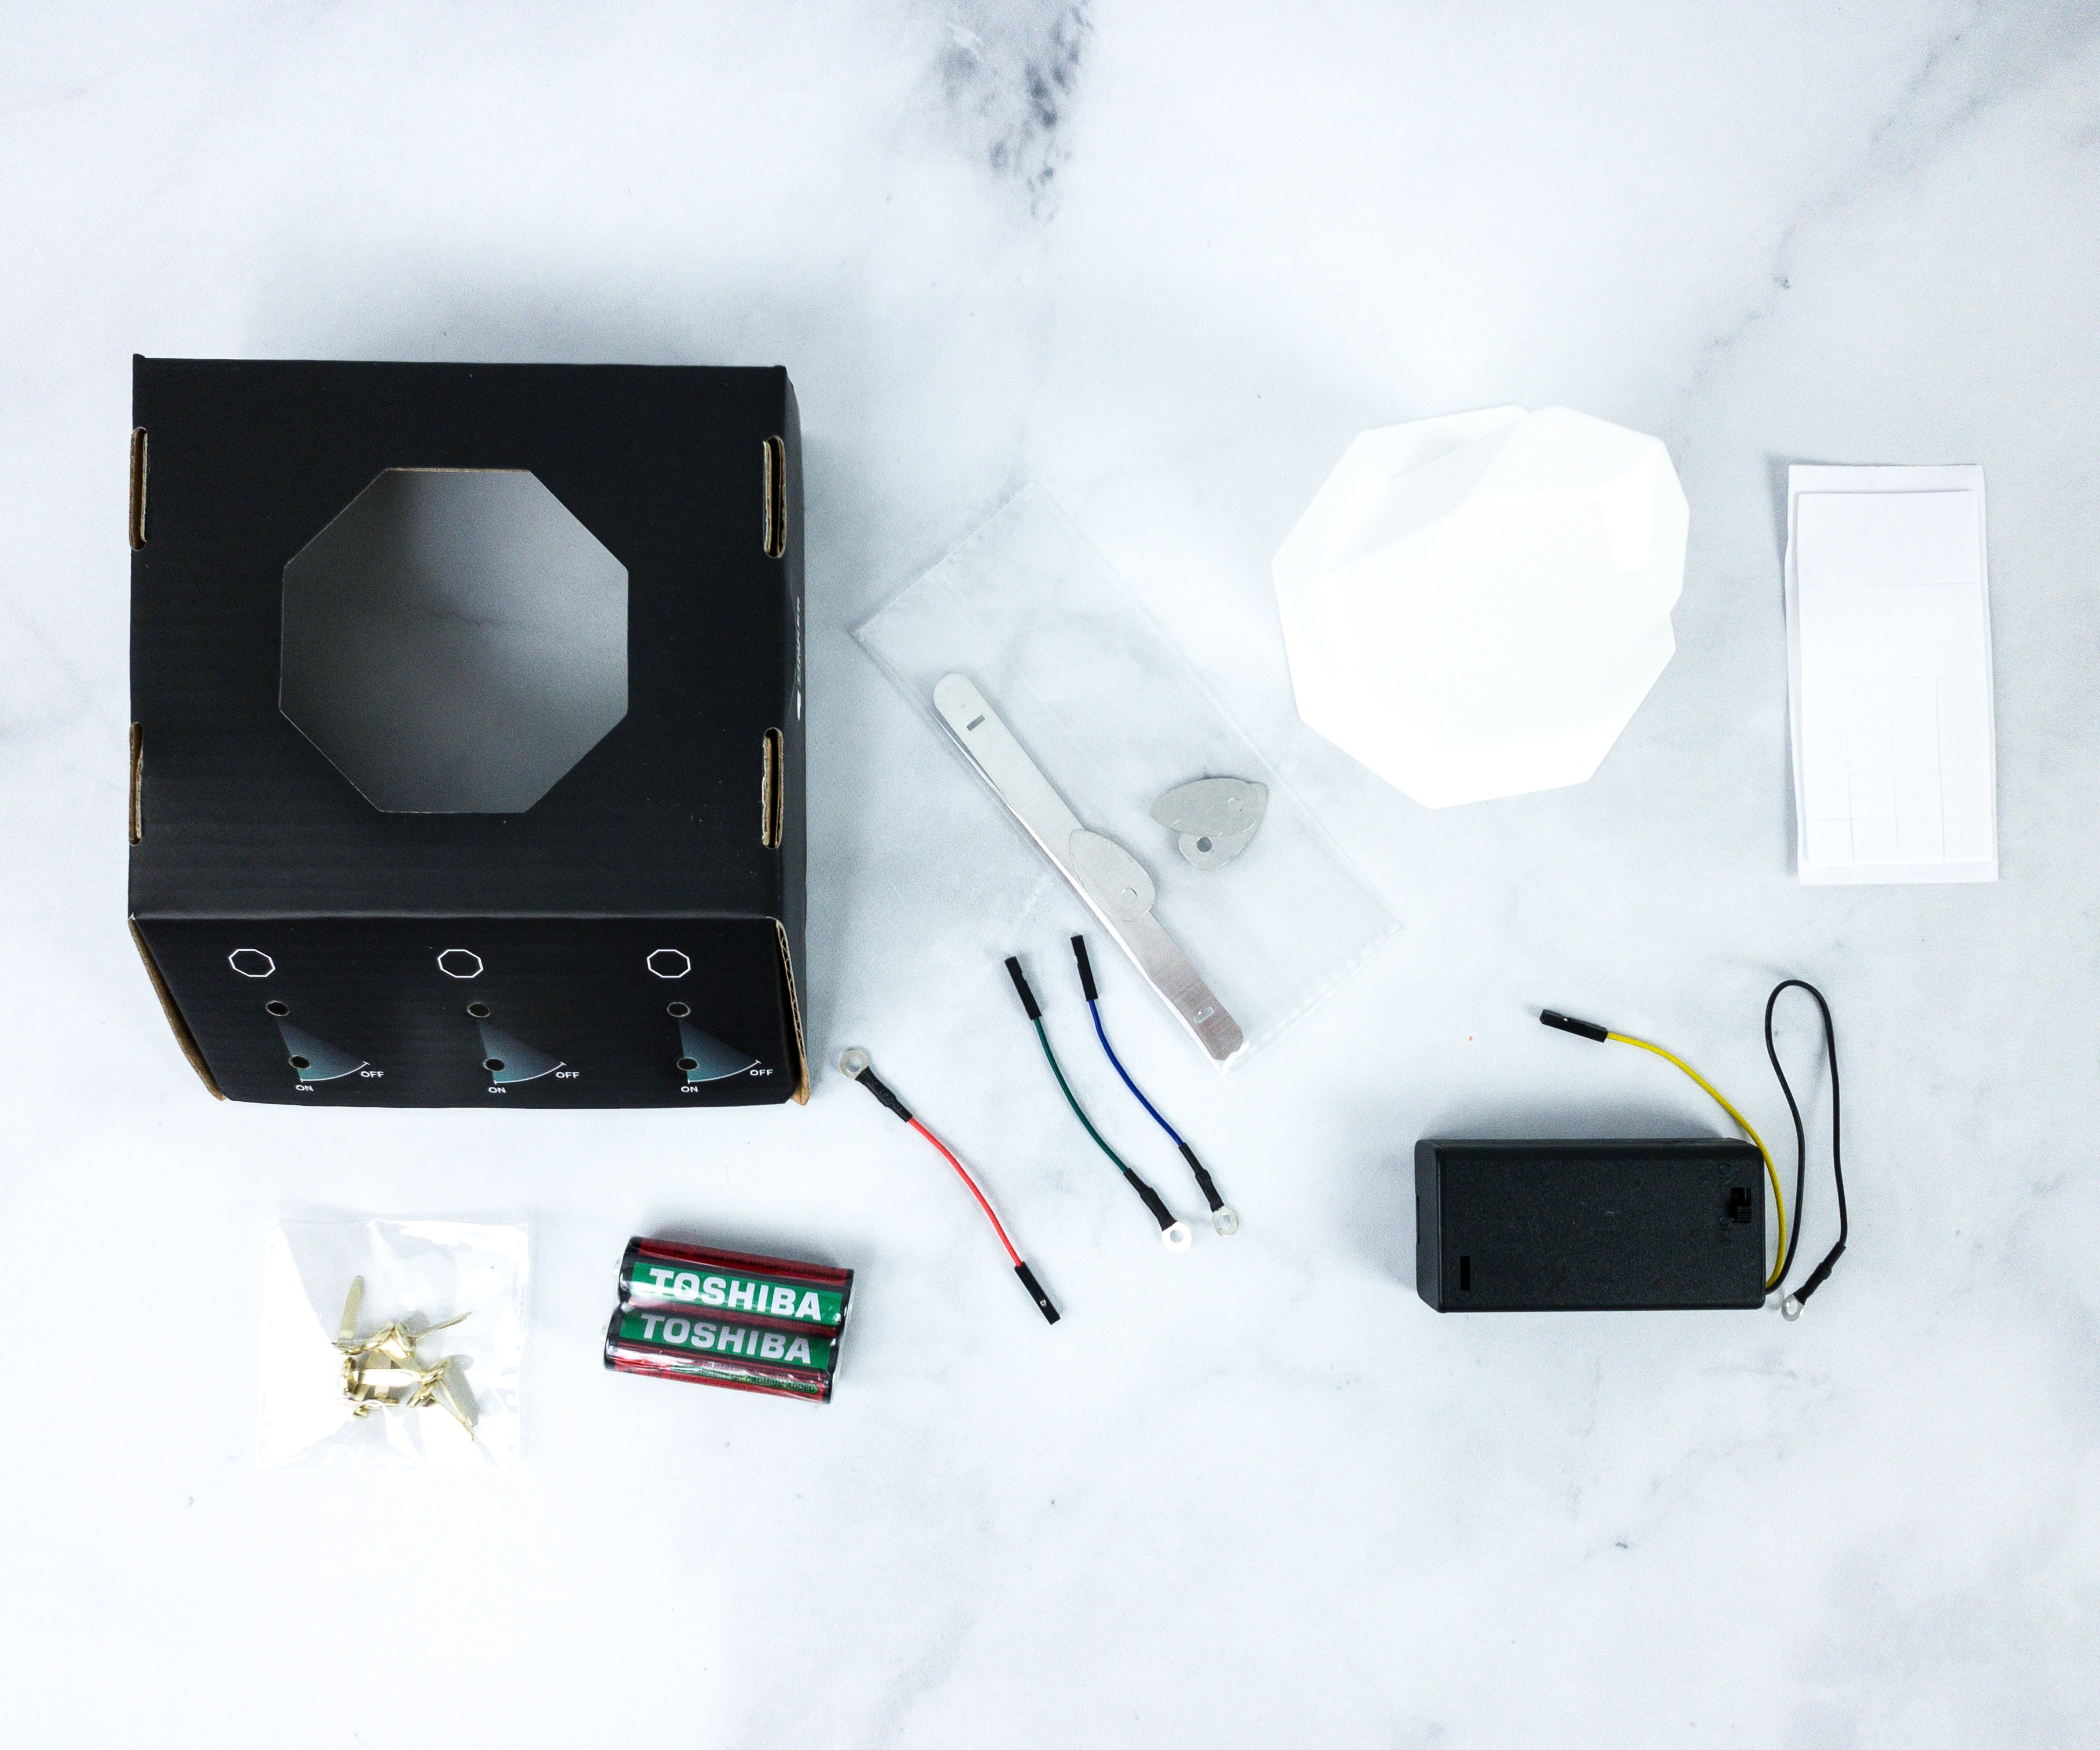
For the first part of the project, we used a carton base, short wires, brads, metal tabs, ground bar, AA batteries, battery pack, white sticky foam squares and rectangles, and crystal.
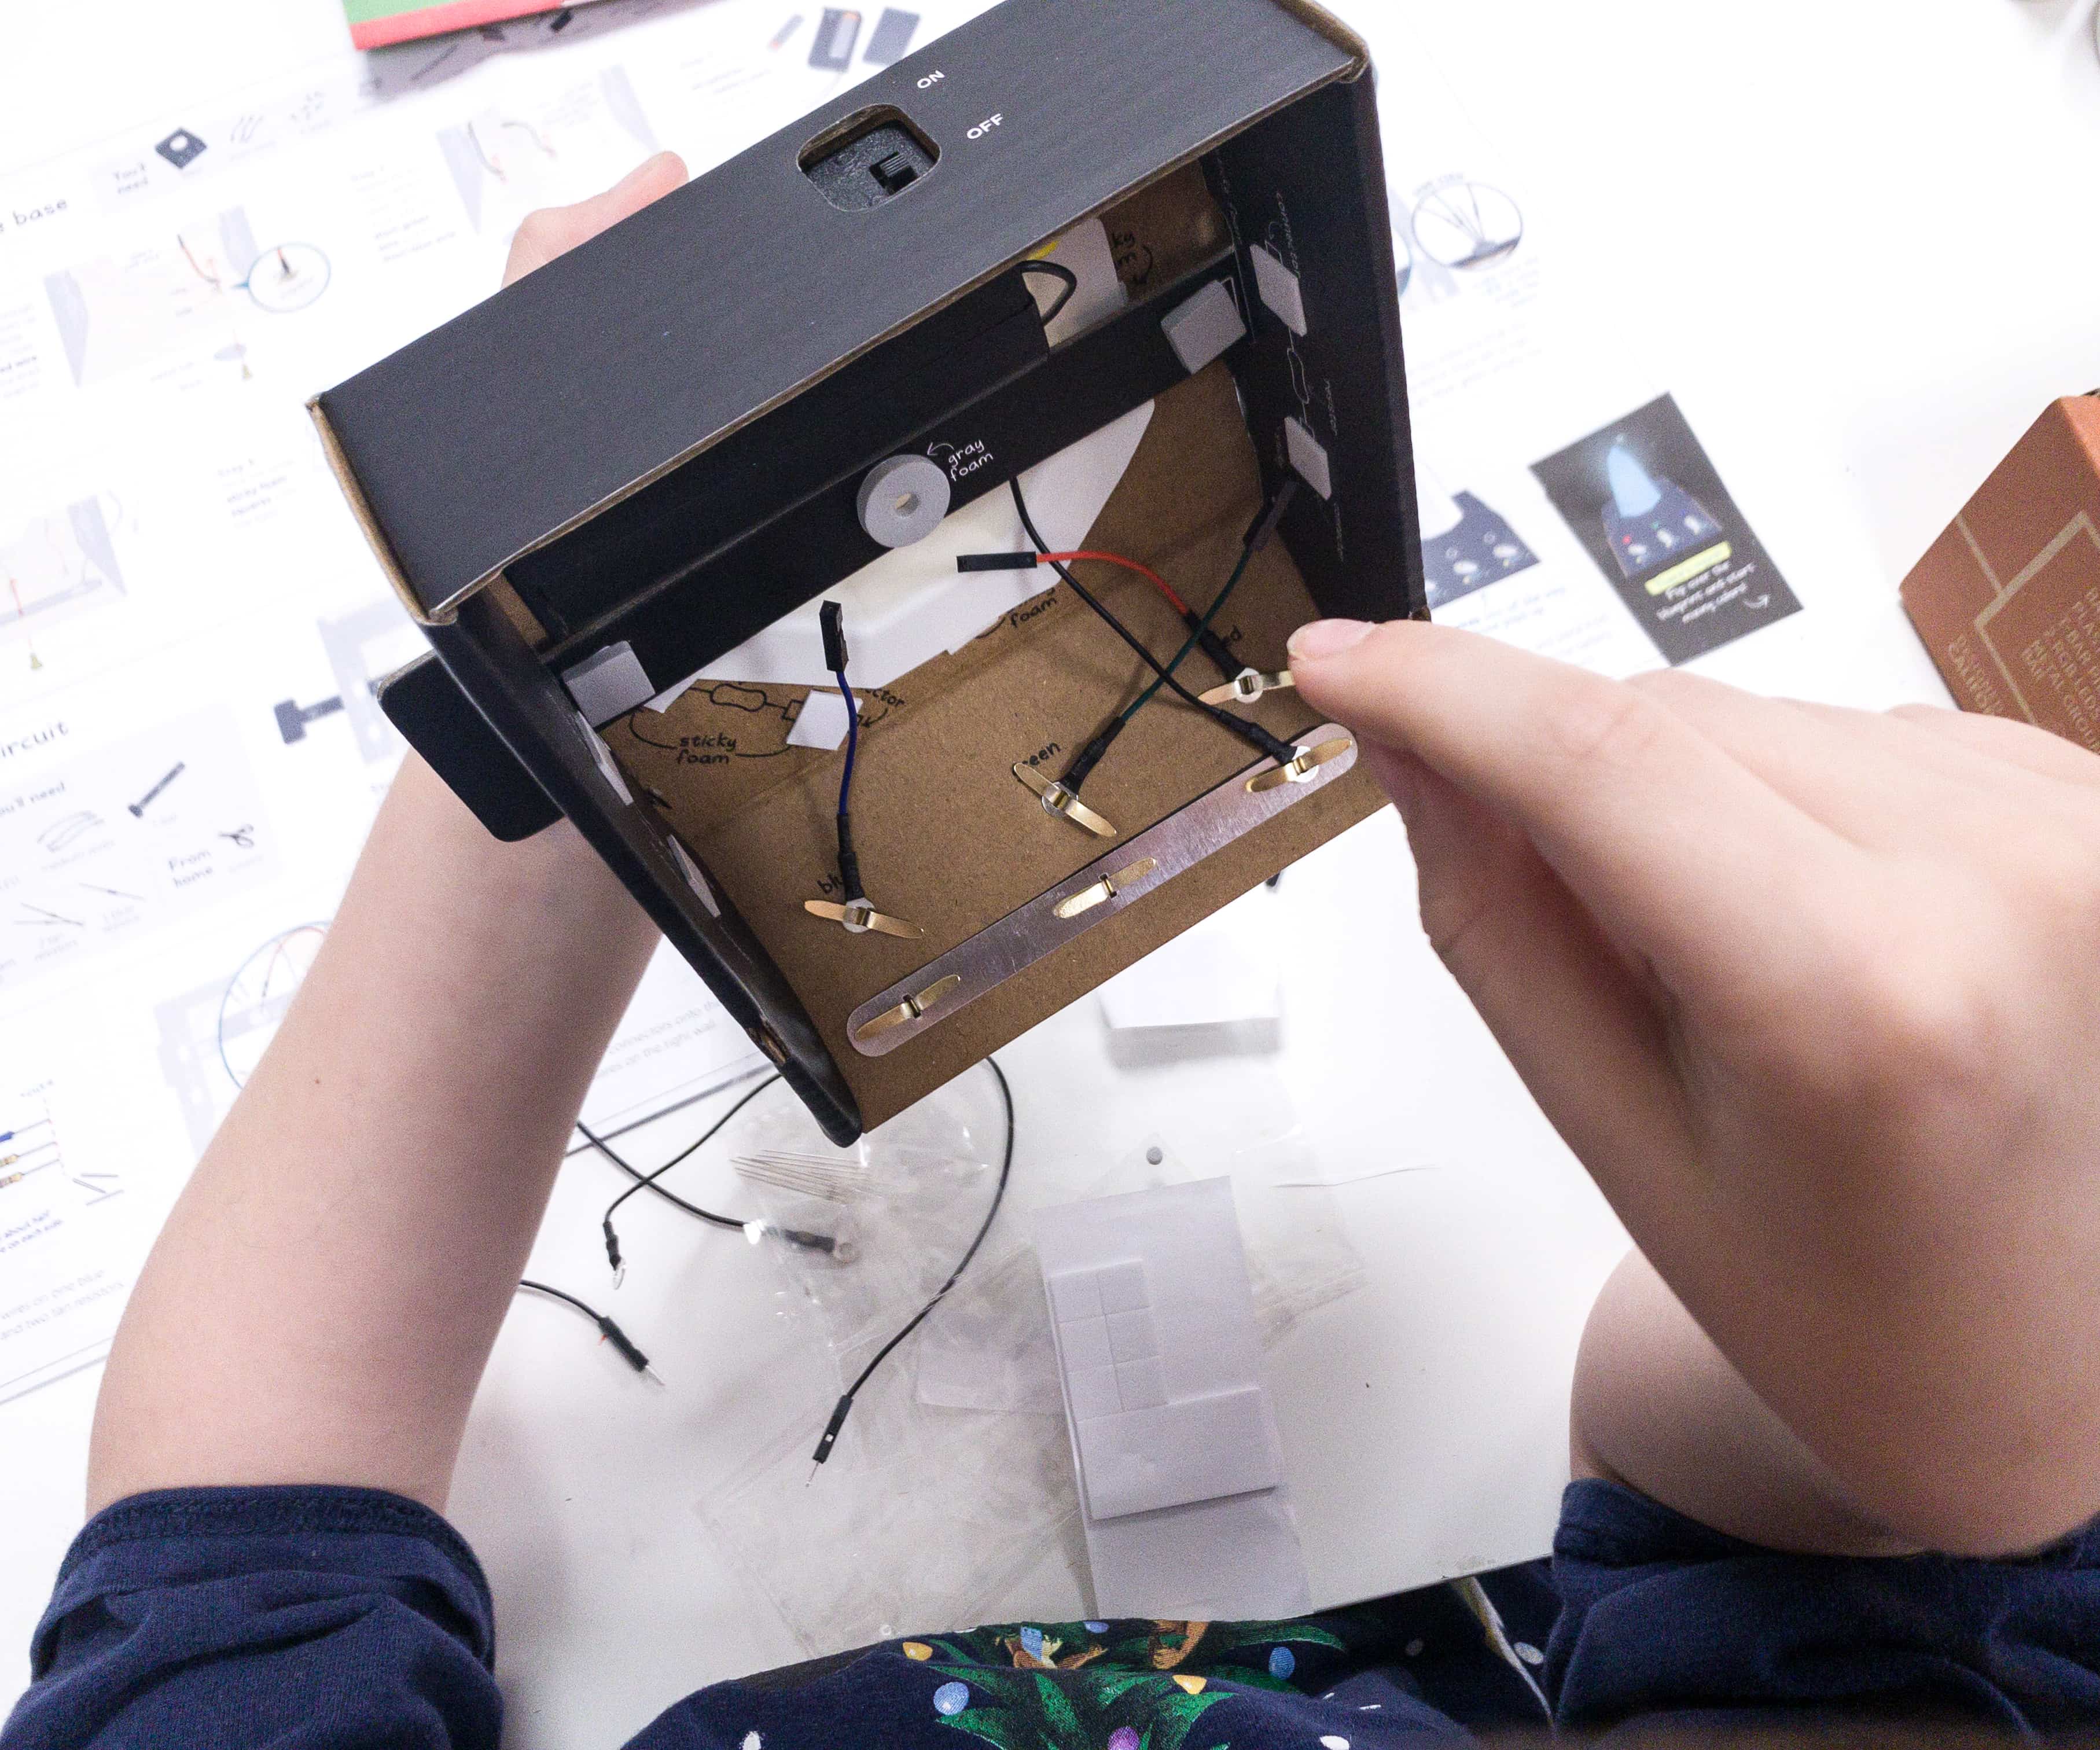
My kids started the project by assembling the base of the crystal. They installed the ground bars together with the short wires and battery pack that are all located on the bottom part of the box.

After installing the wires in the box, they slid the crystal through the large hole in the base and secured it using the white sticky foam squares.
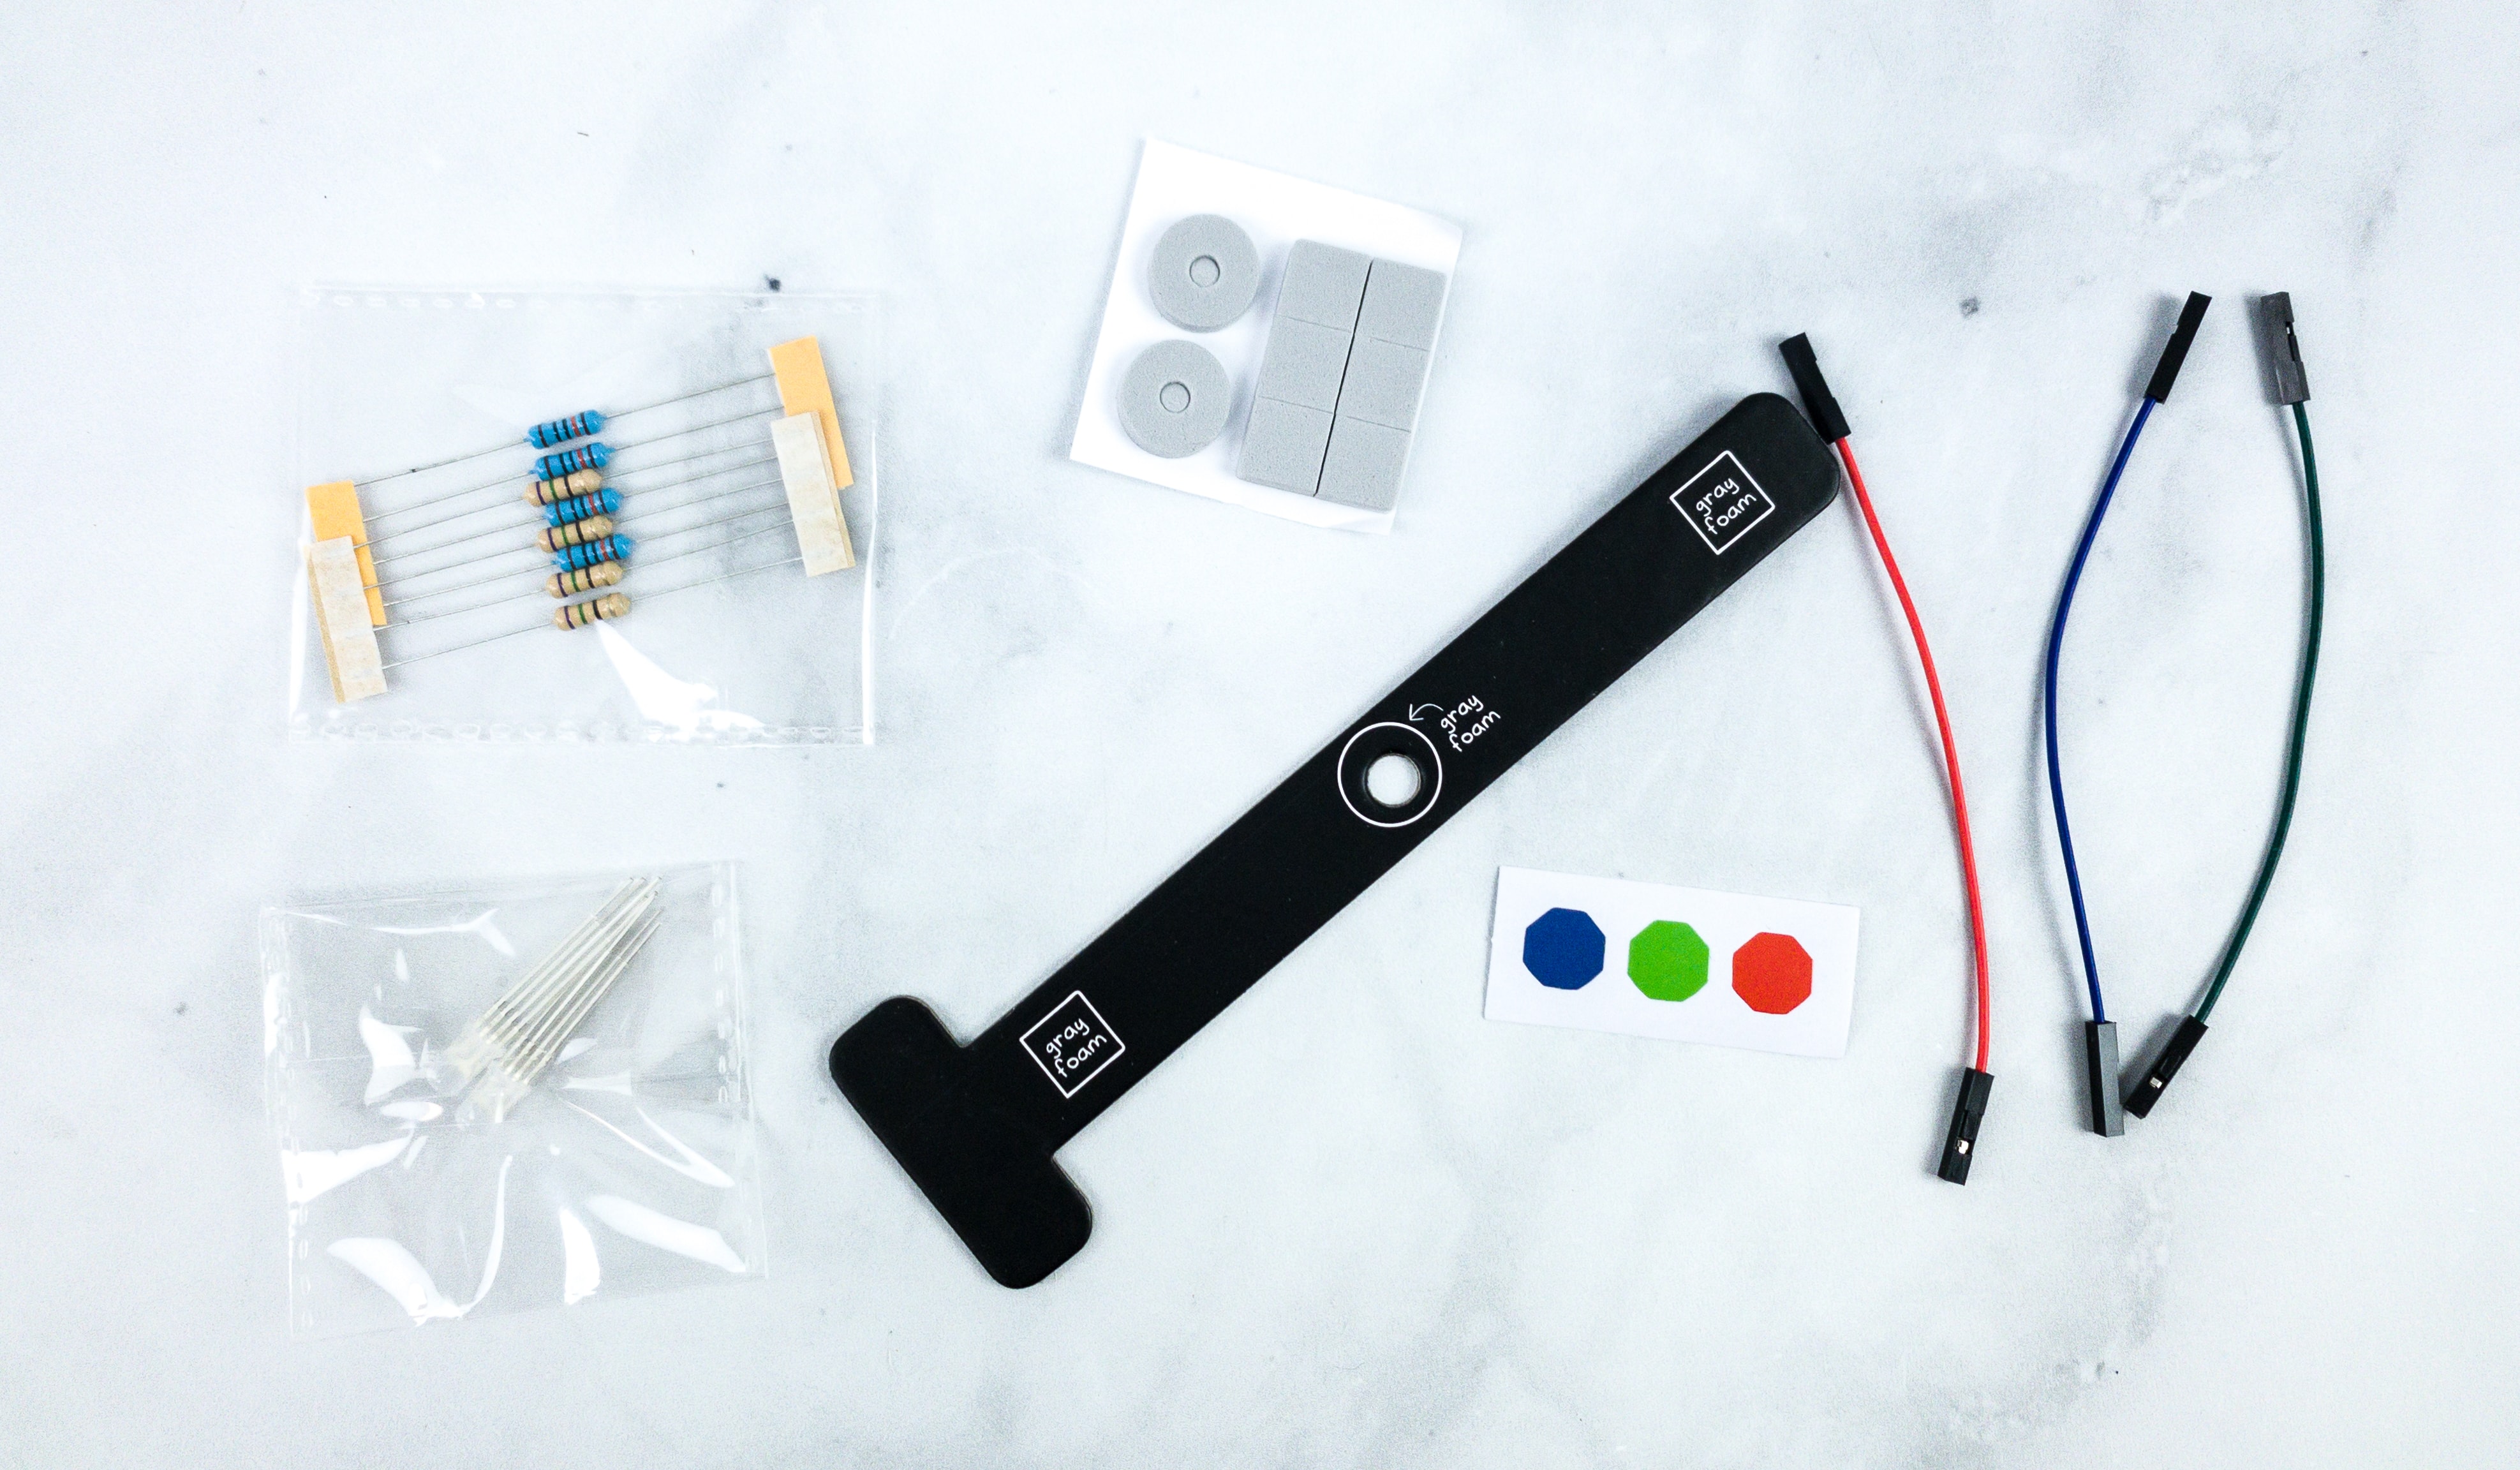
The next part of the project is the wiring of the circuit. For this part, we used the completed base, RGB LED, medium wires, T-bar, gray sticky foam square and donut, 2-tan resistors, and 1-blue resistor.
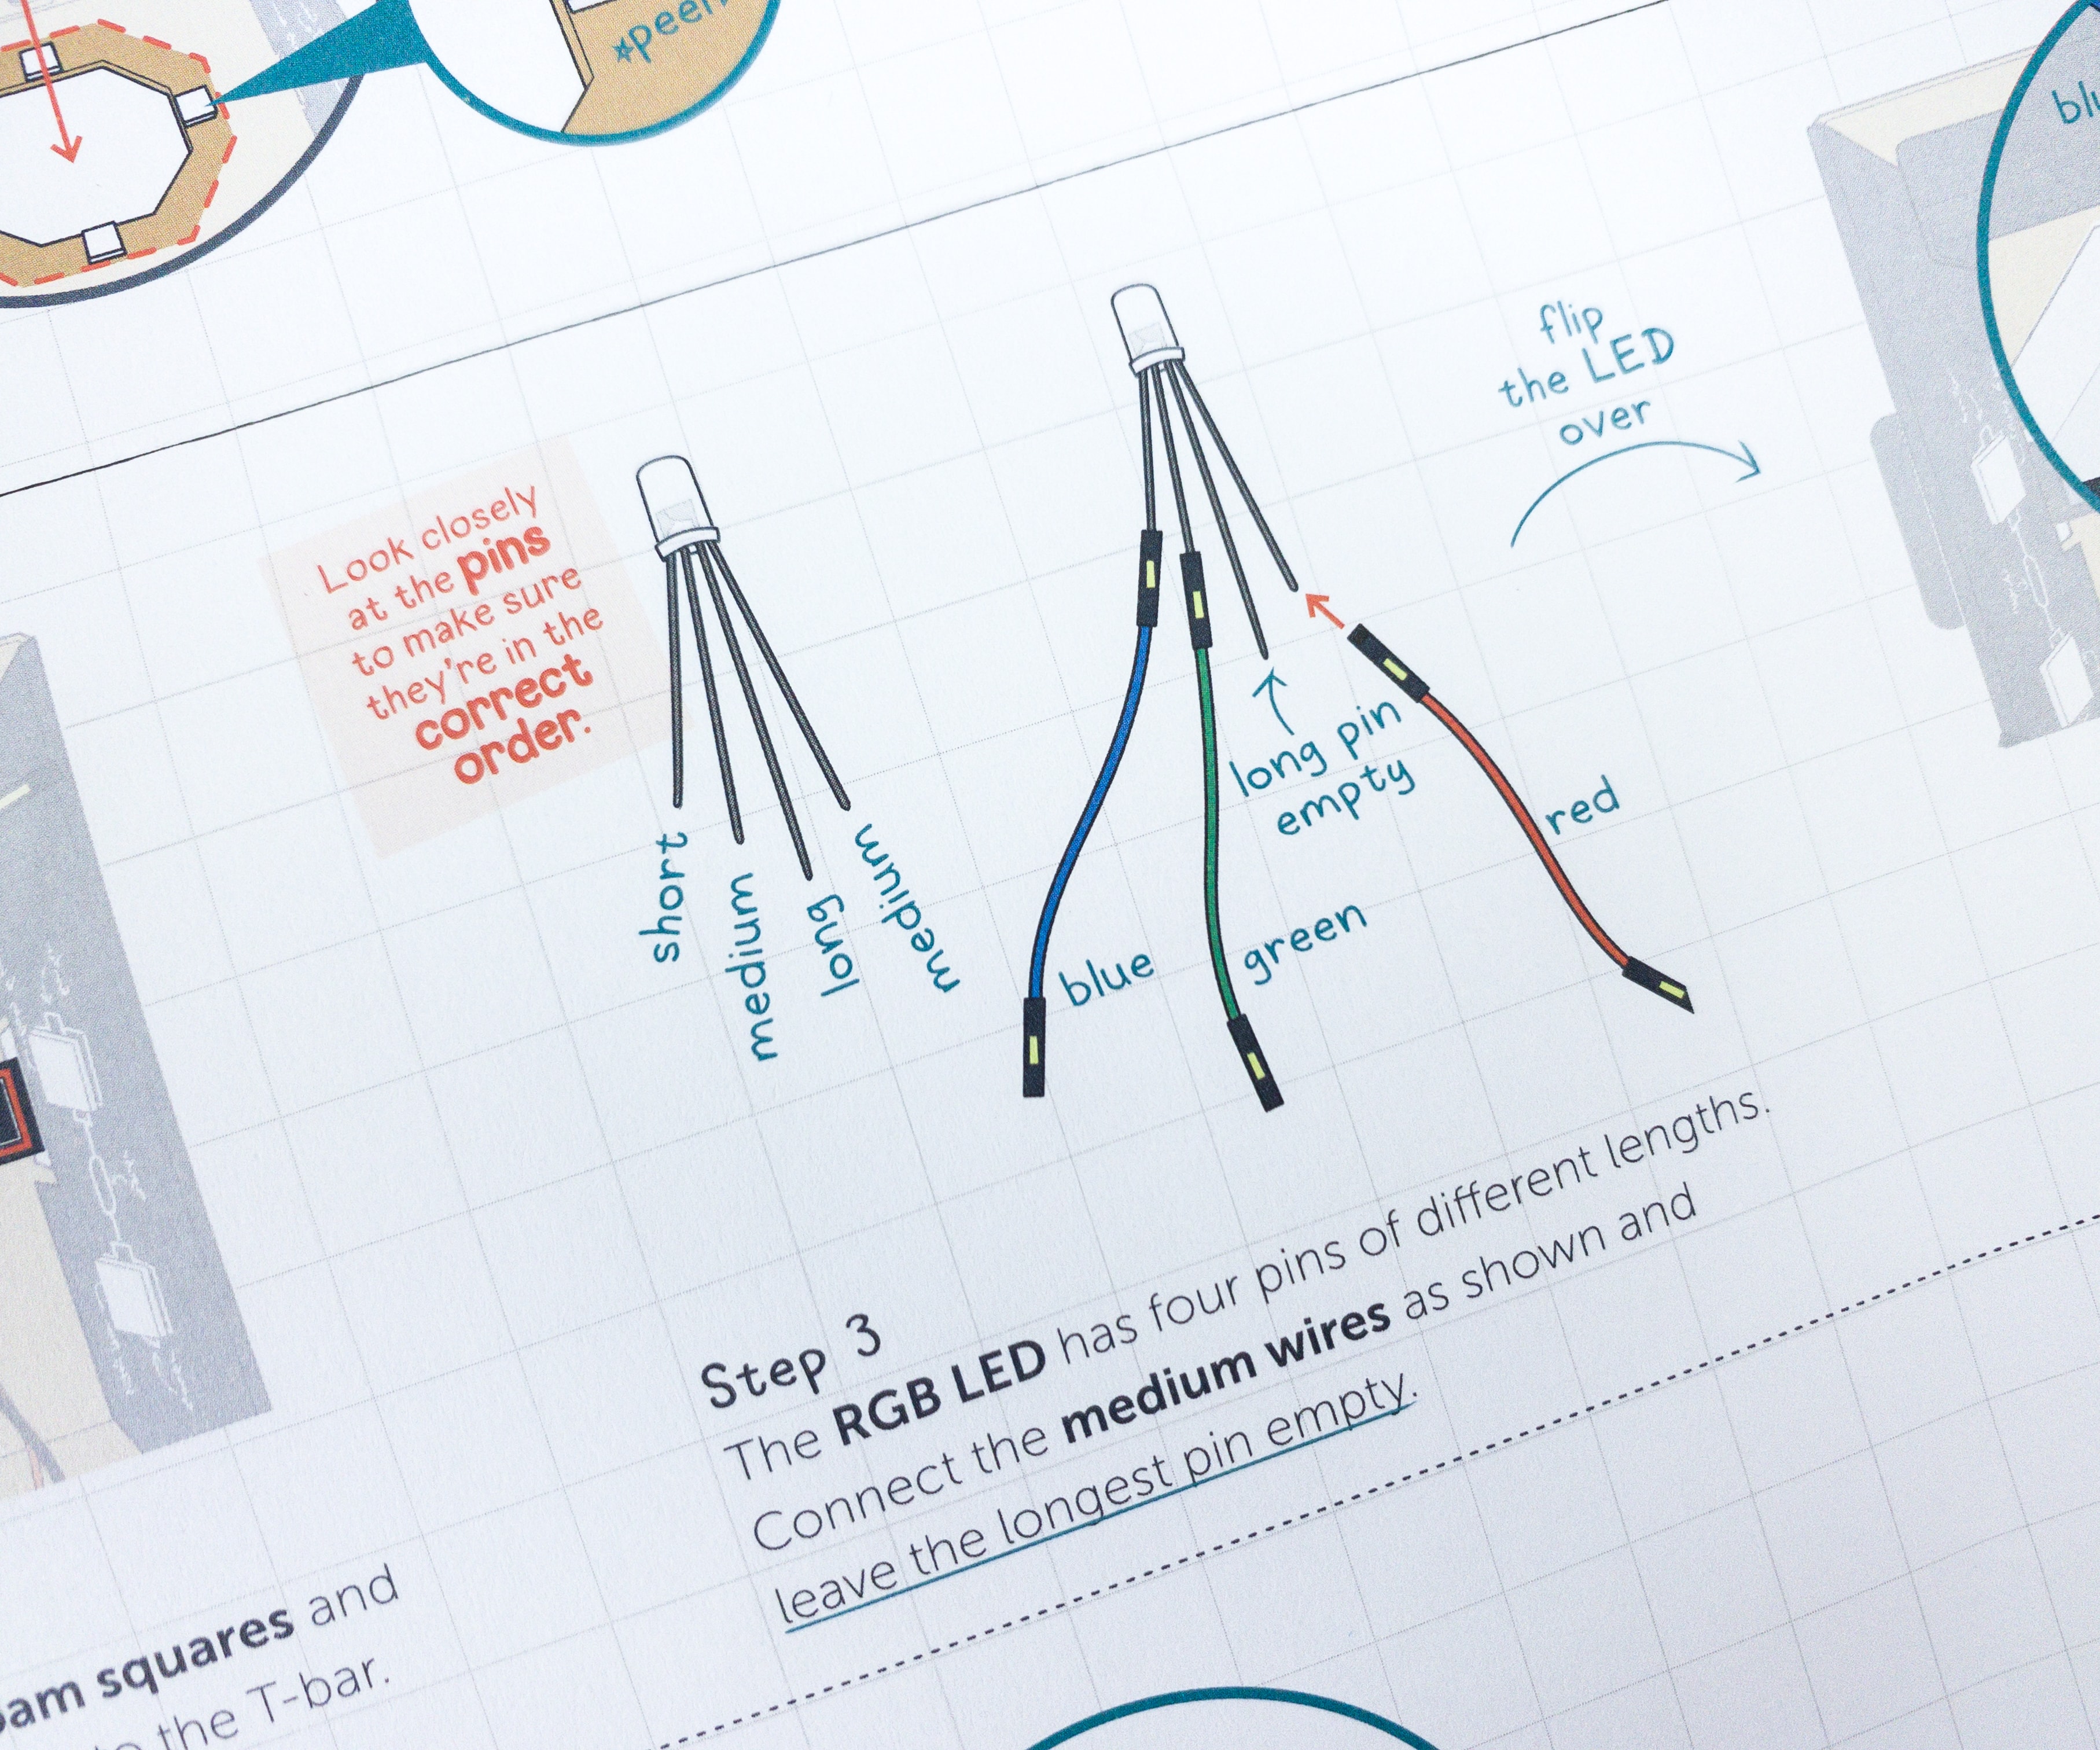
According to this part of the sheet, the pins and the wires should be placed in the correct order.
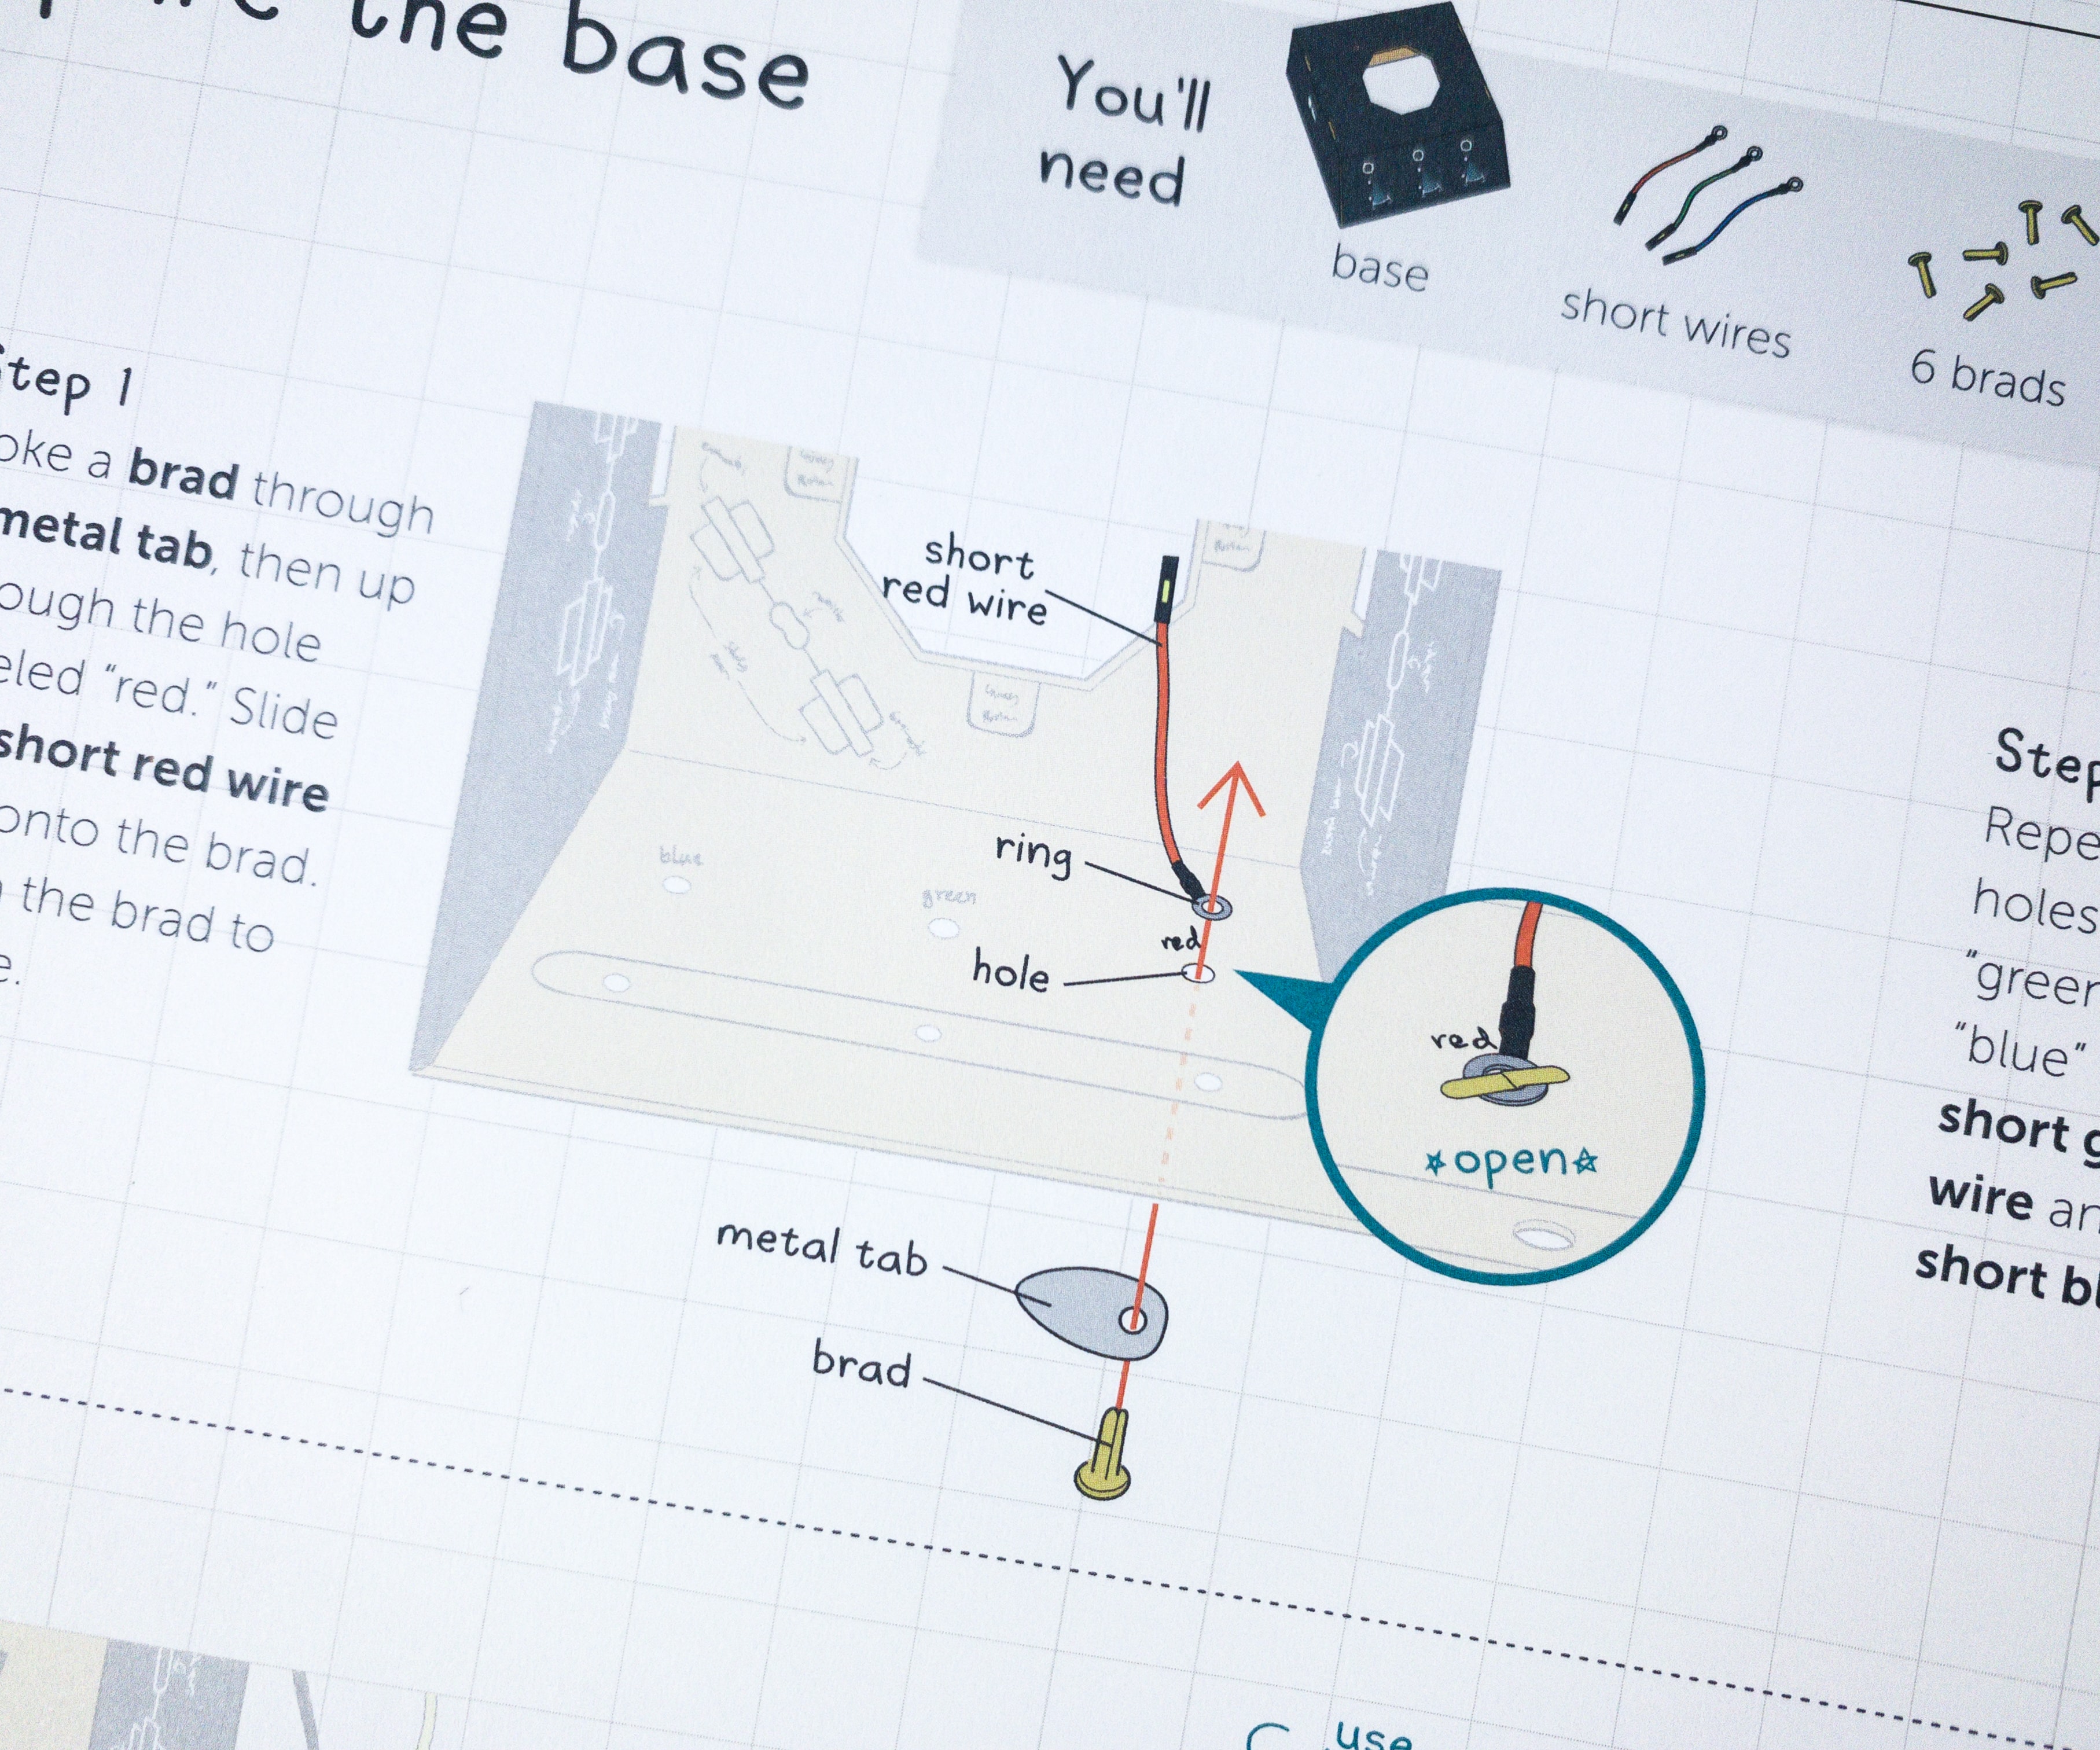
There’s also a lot of explanatory blurbs, close-ups of technical areas, and arrows to show where parts should be placed.
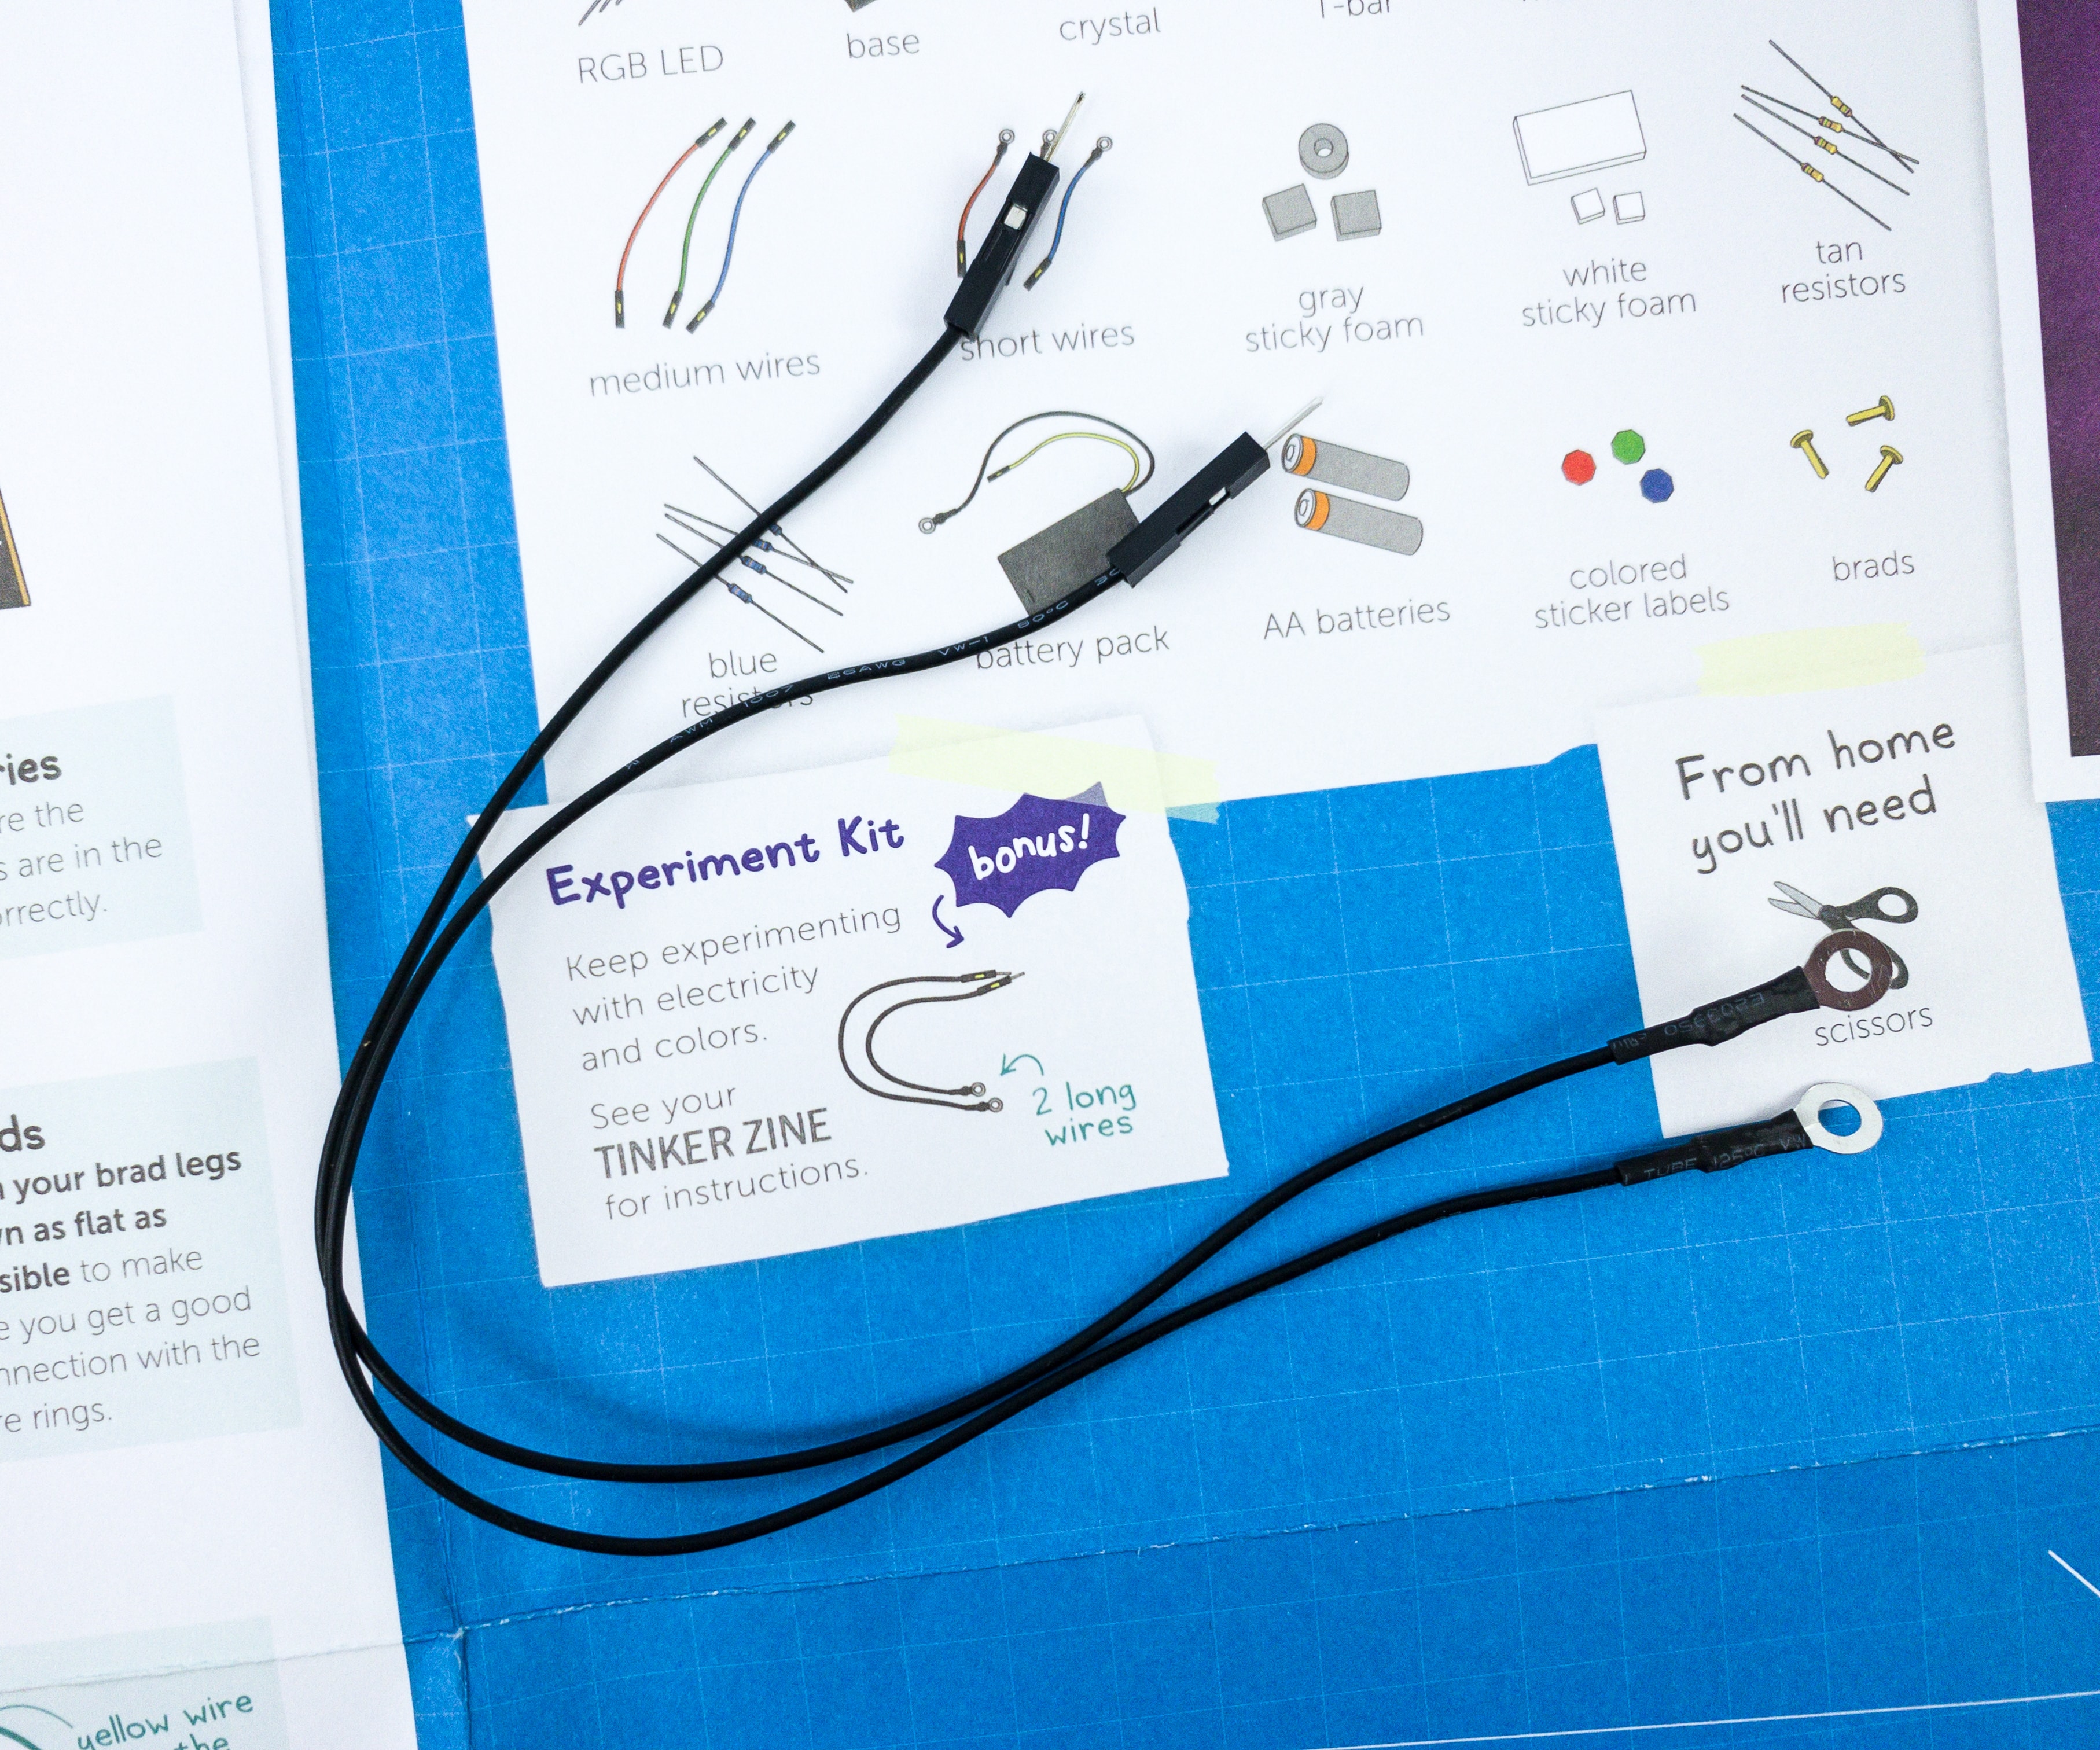
This month’s bonus item is a pair of long wires that you can use for experimenting with electricity and colors.
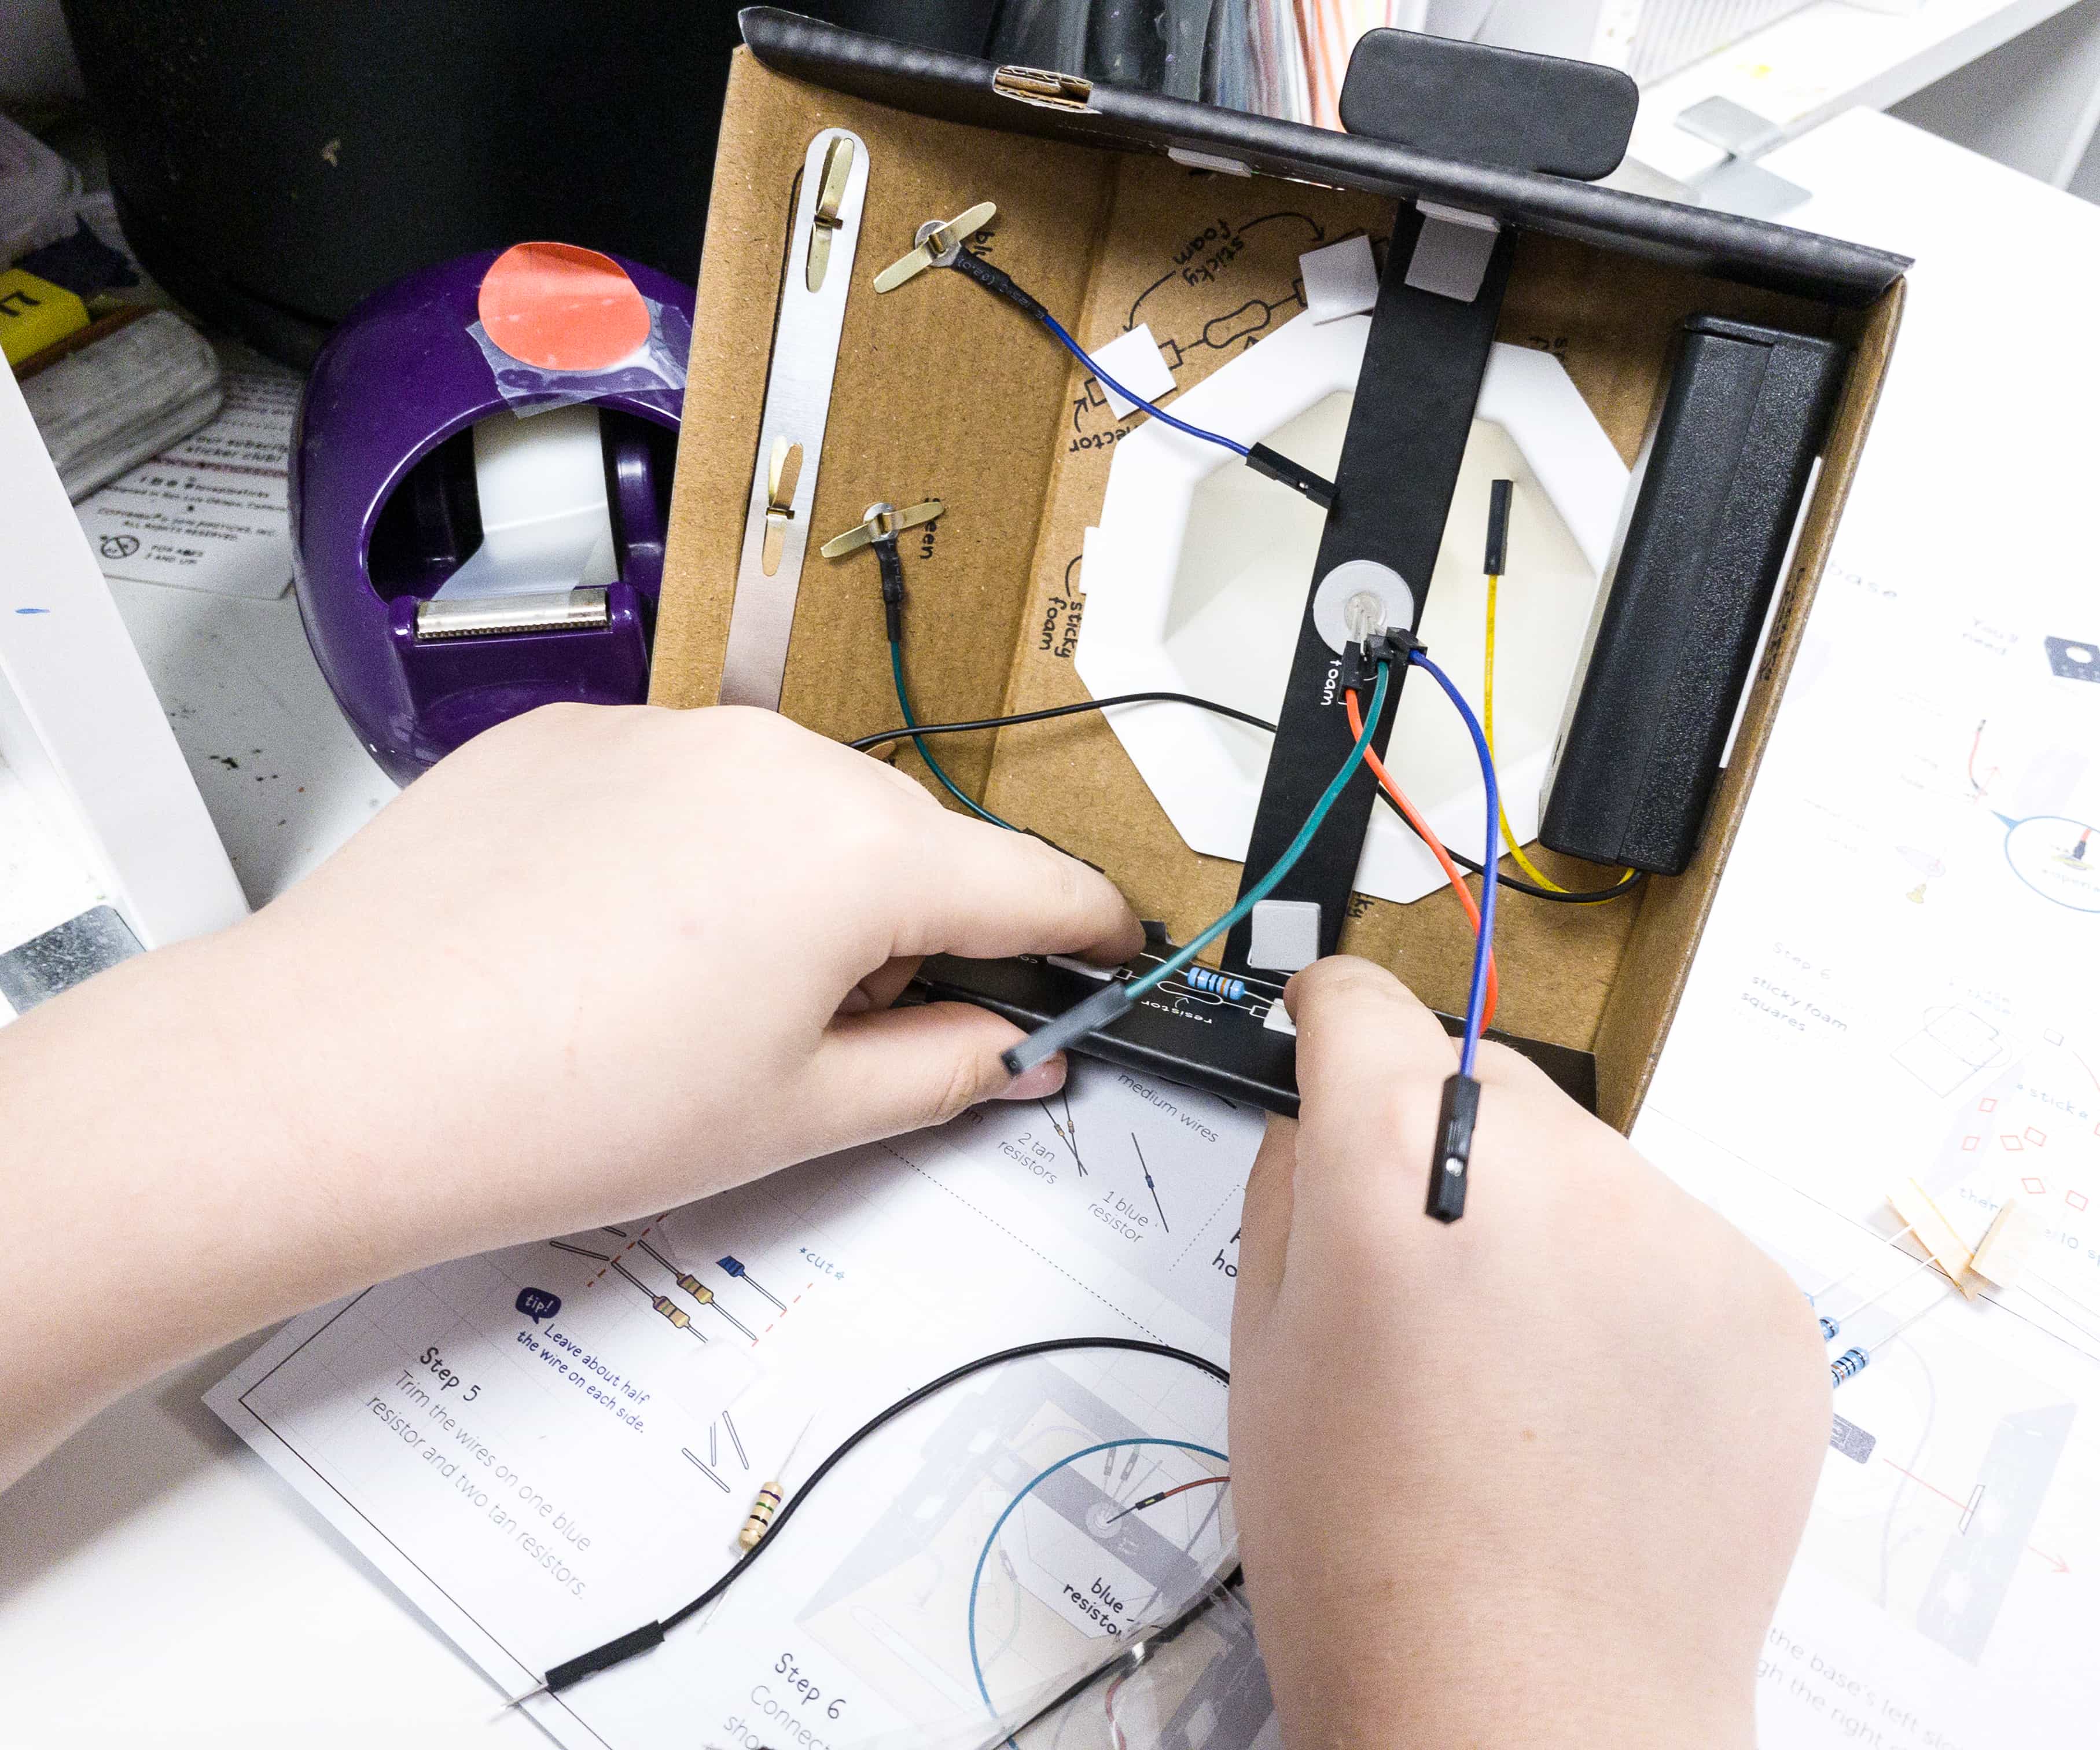
After my son has set the RGB LED, he carefully placed it through the hole on the T-bar and connected them to the resistors.
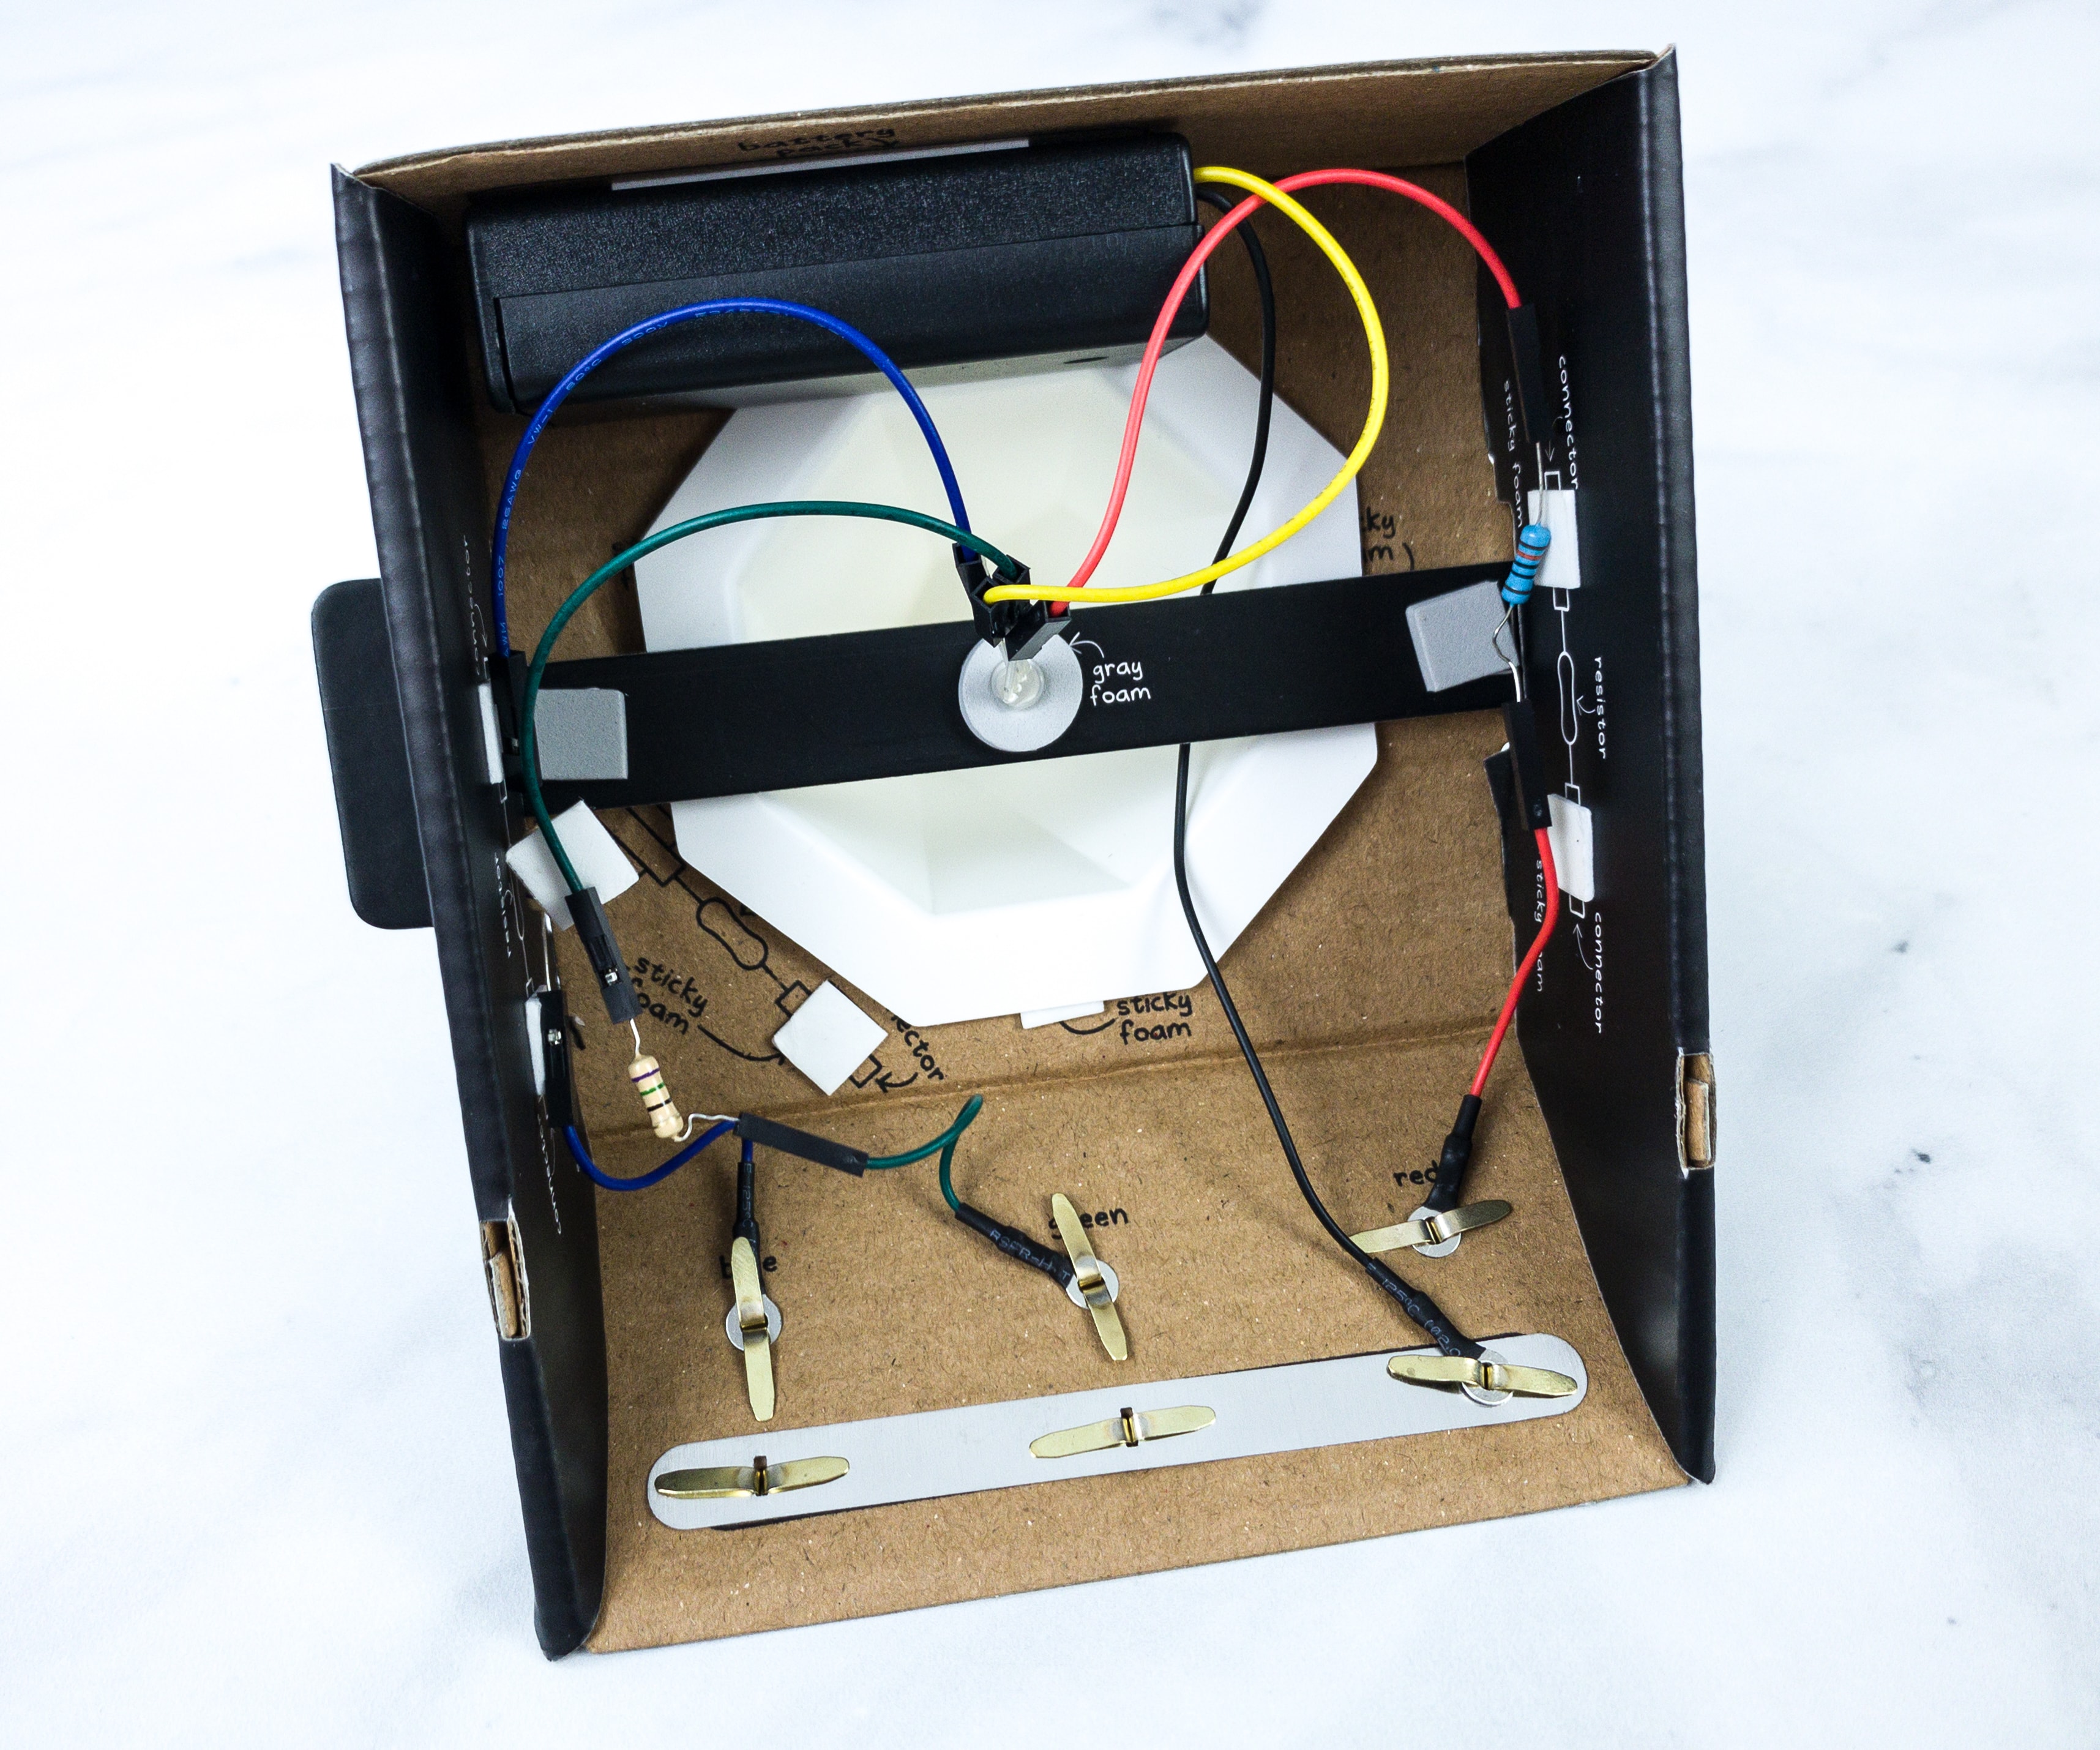
Connect the medium and the short red wires to the blue resistor and the blue wires to the tan resistor. Finally, connect the yellow wire from the battery to the longest pin on the RGB LED.
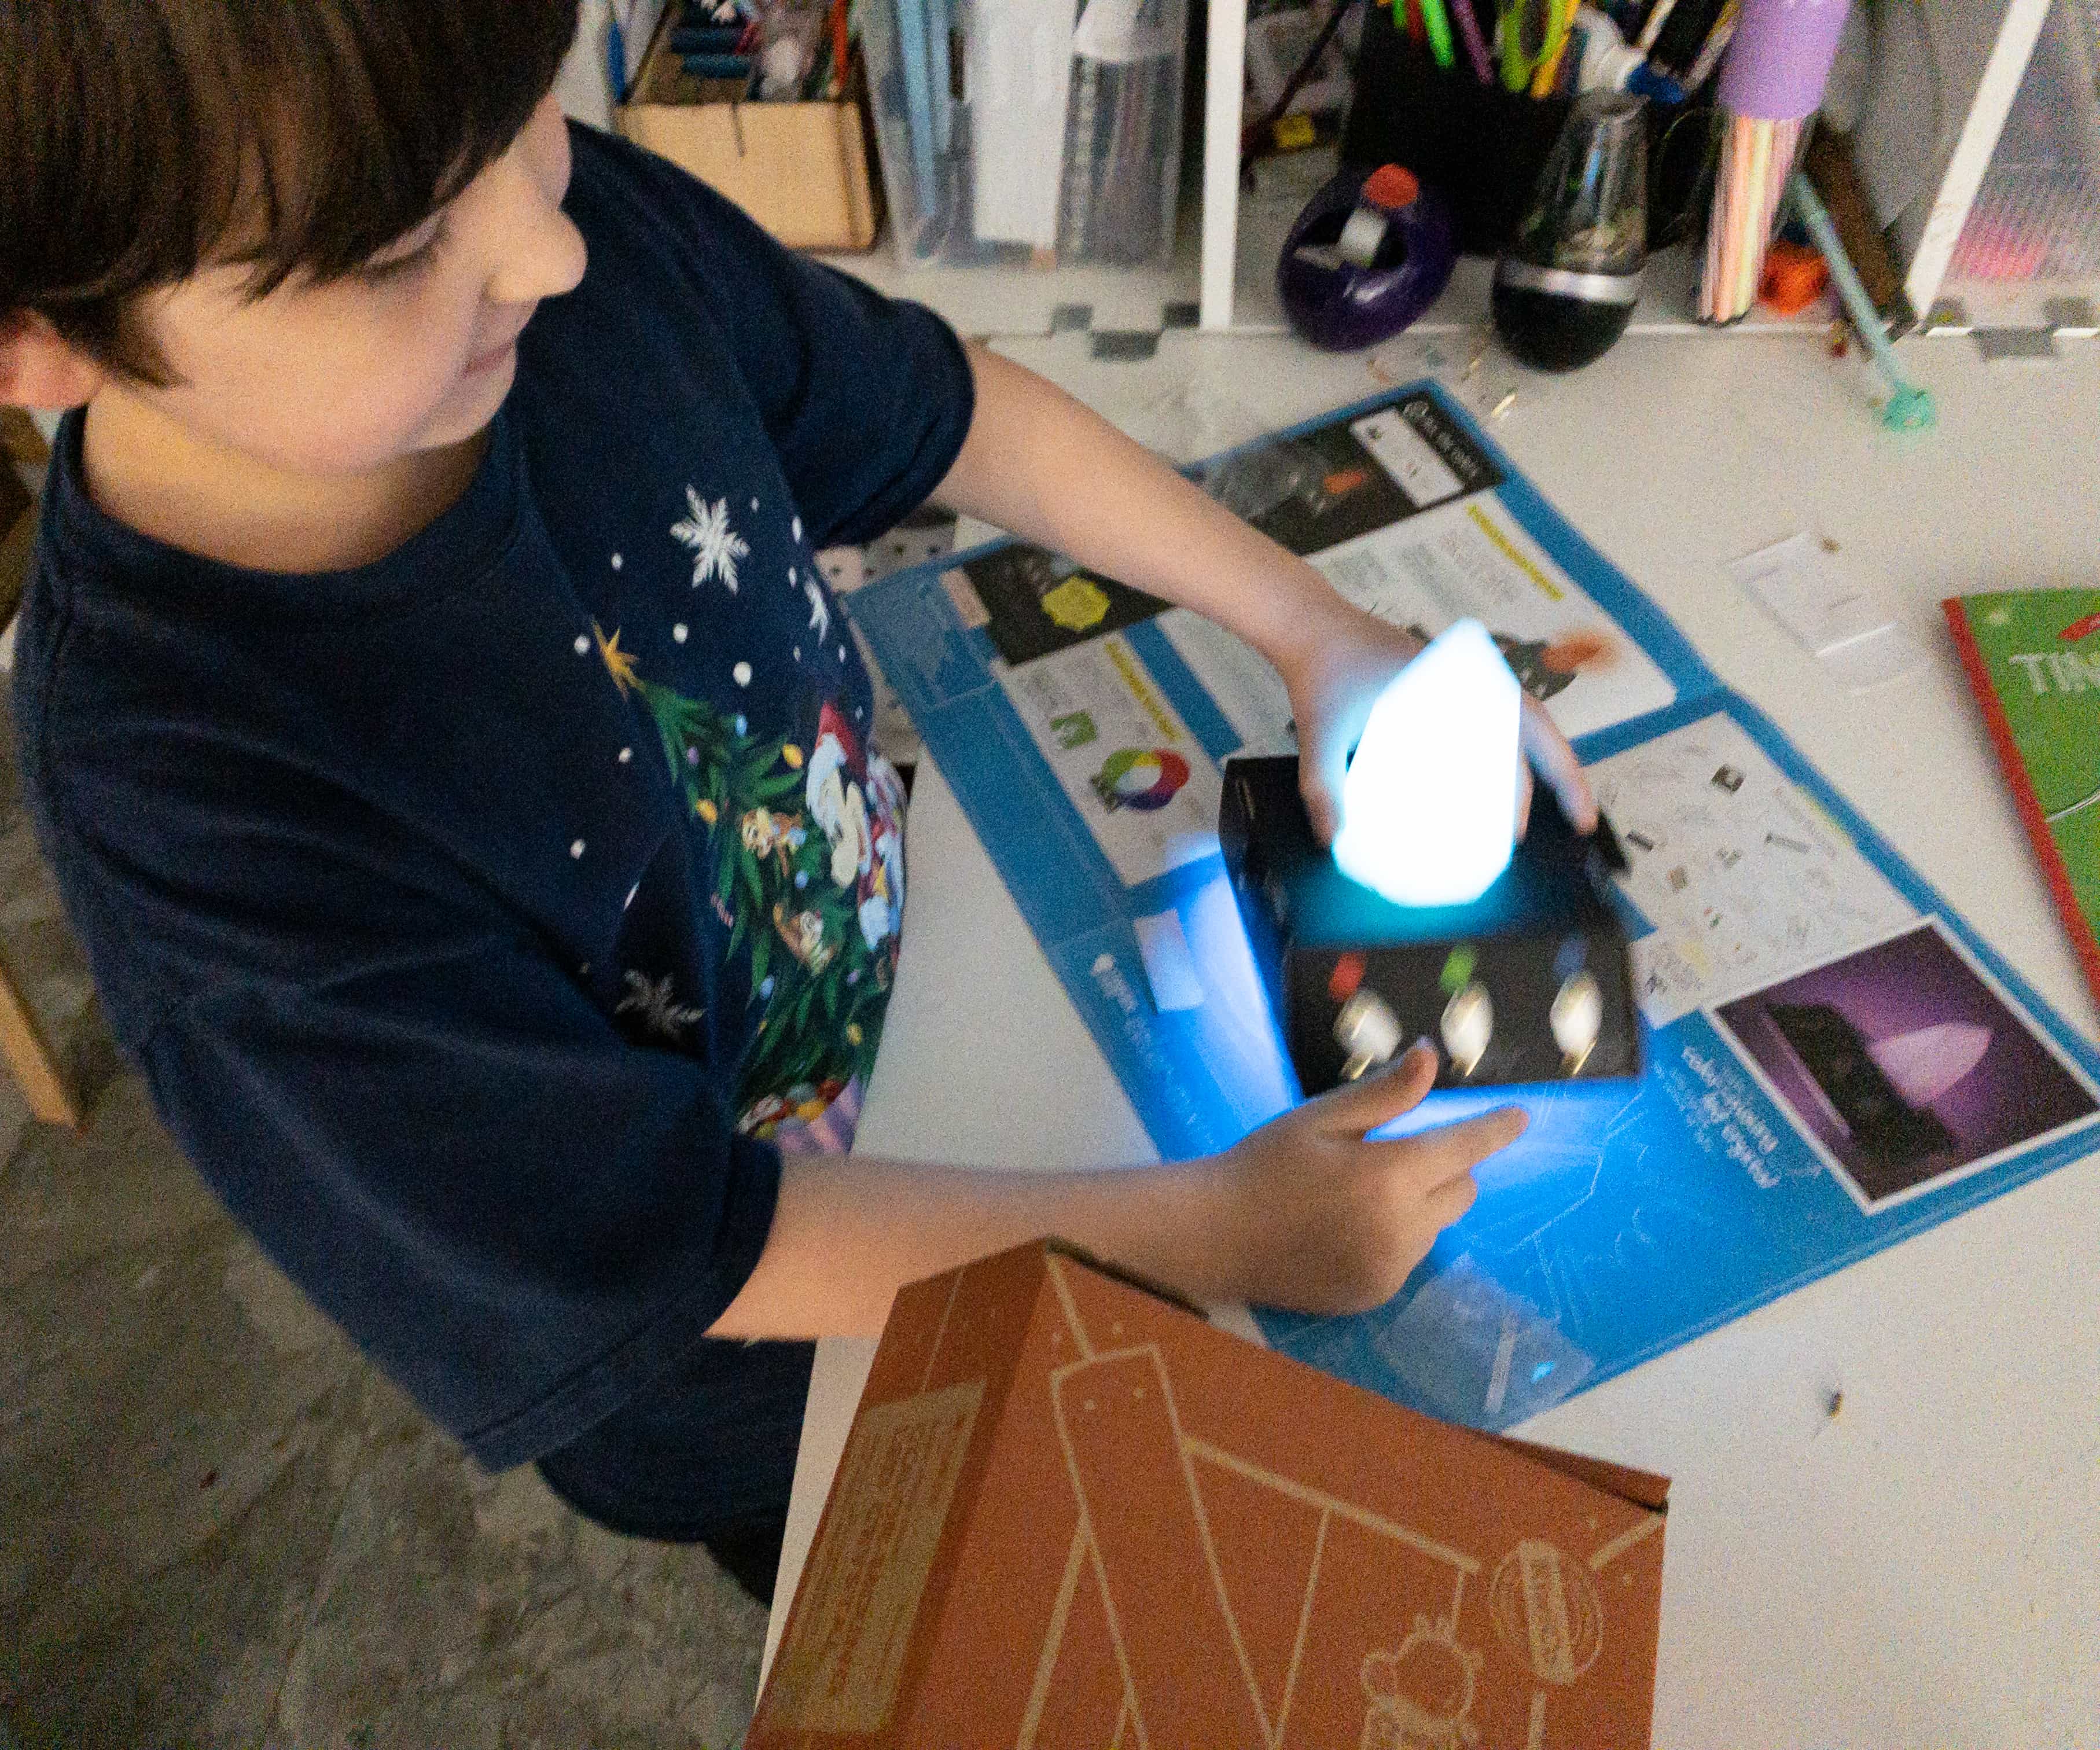
My son immediately flipped the base, installed the battery, and one-by-one turned the switches on. It’s to make sure that all of them work well.
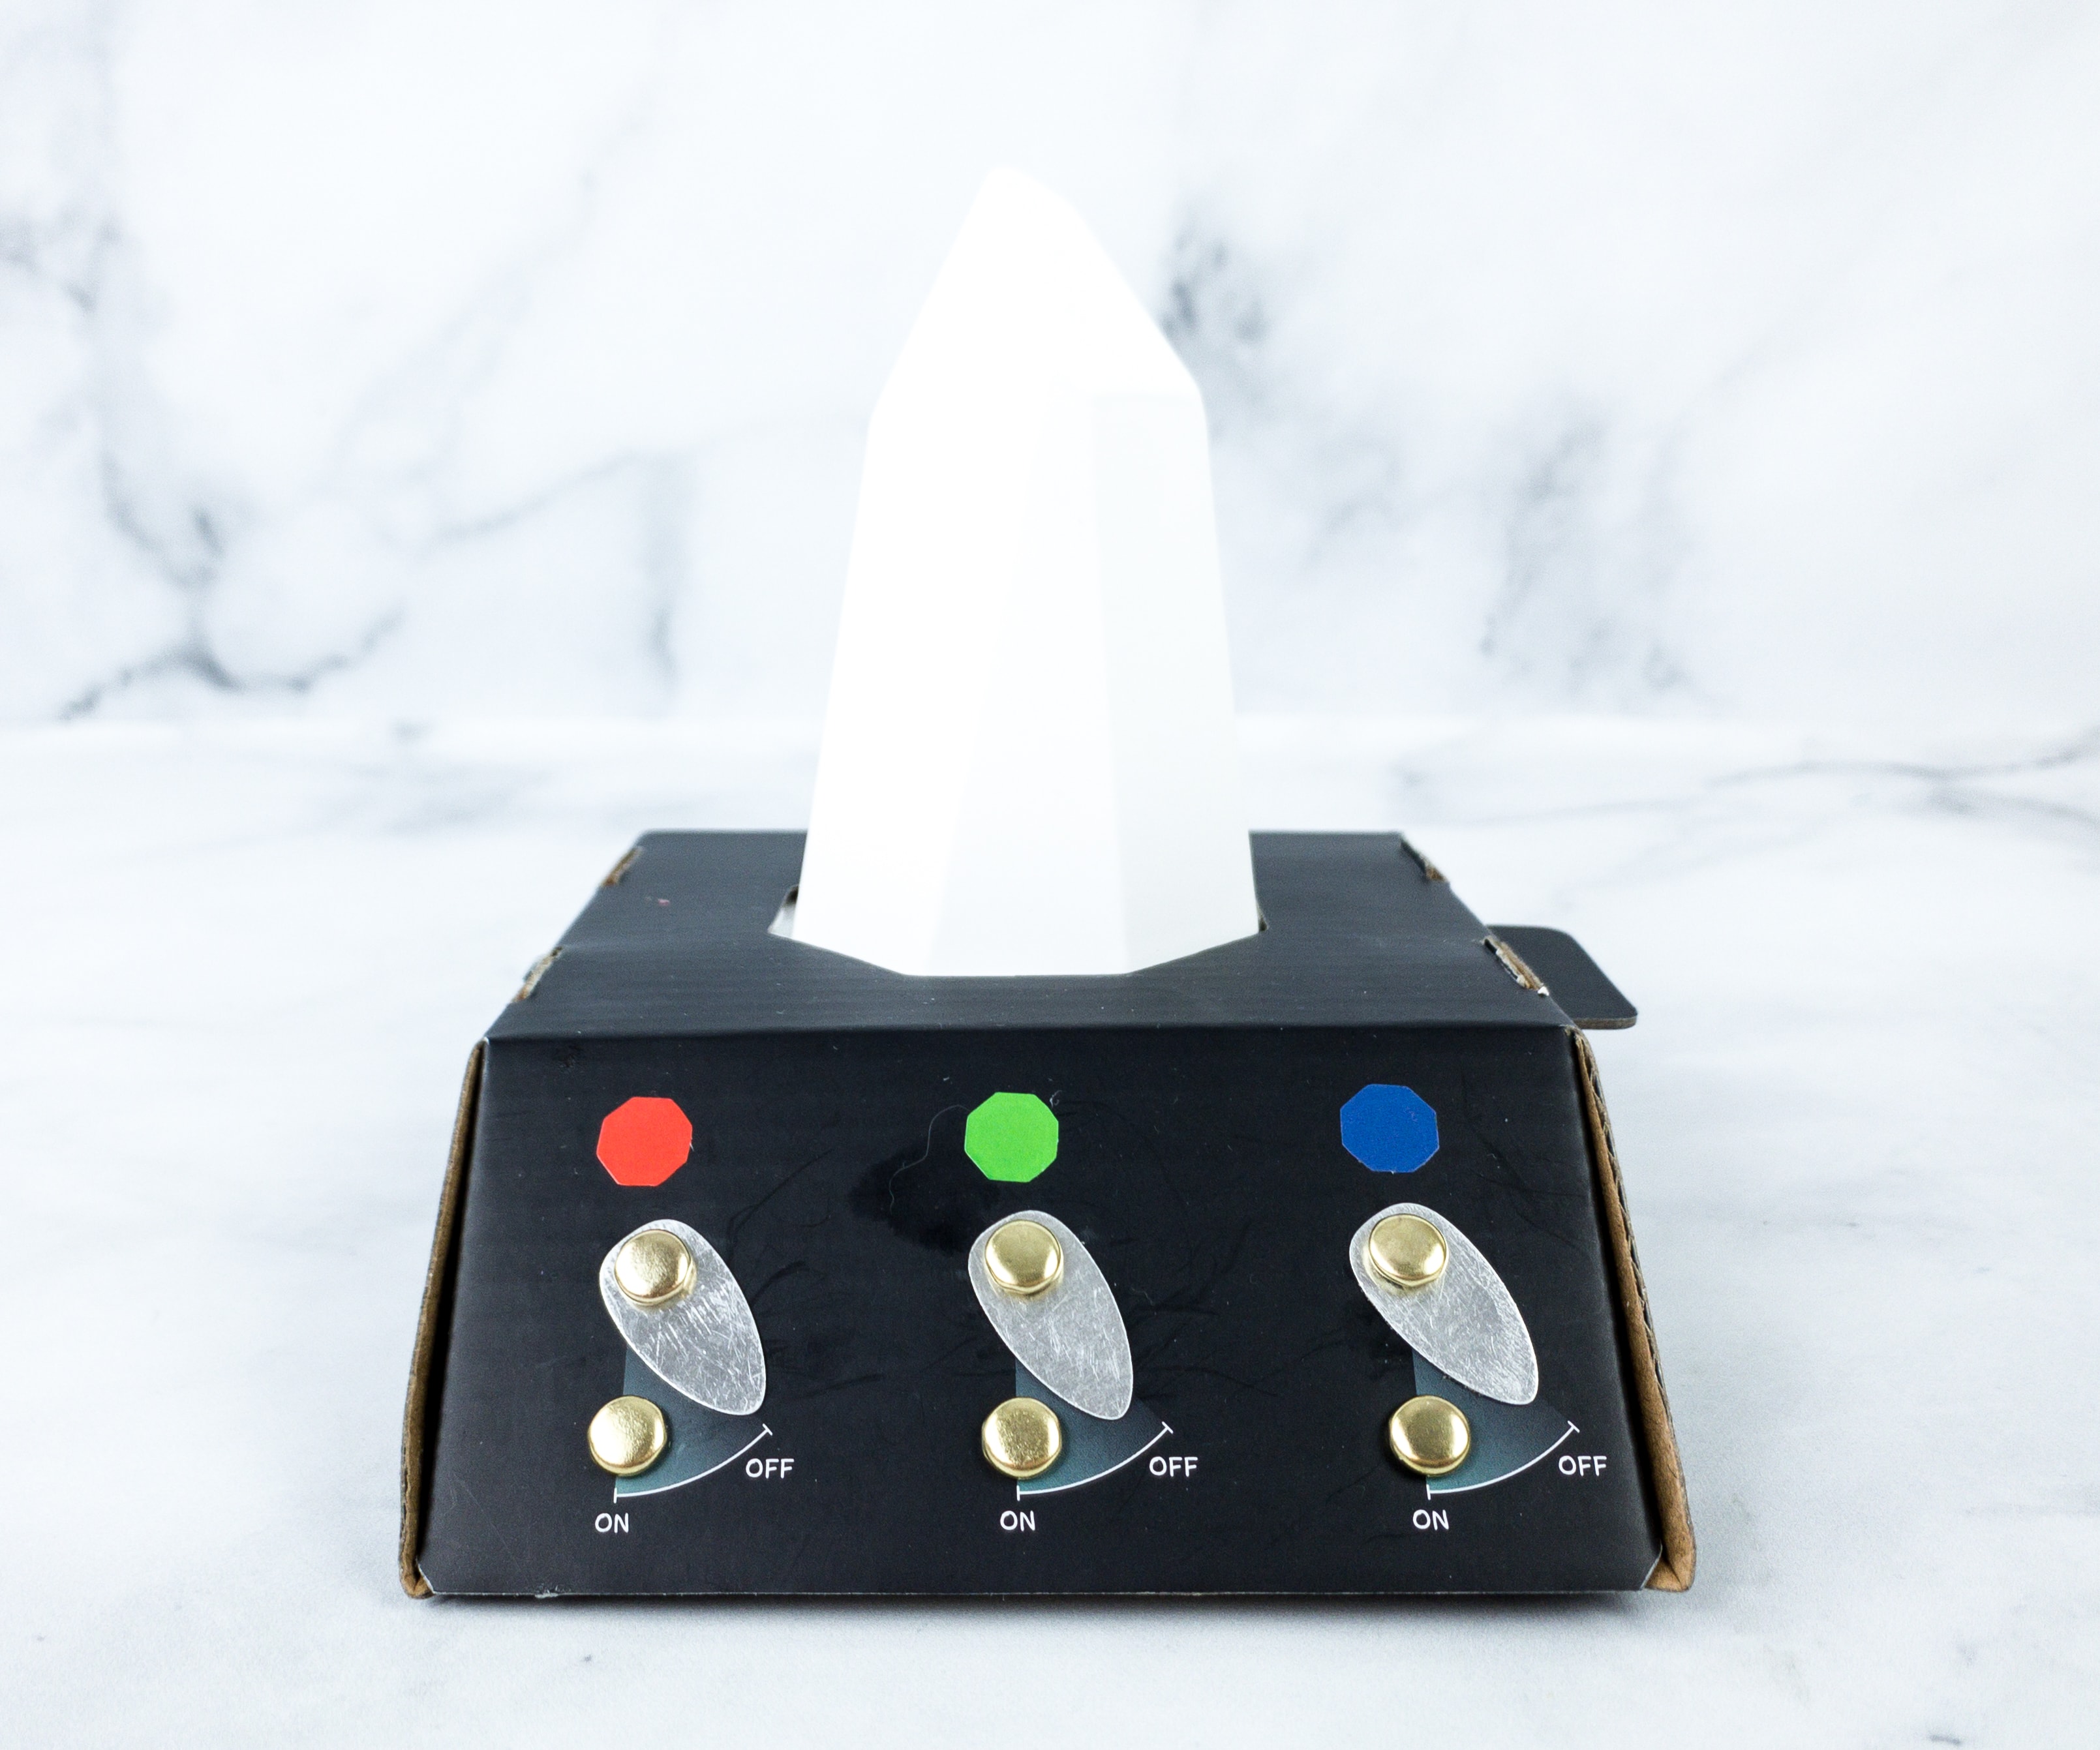
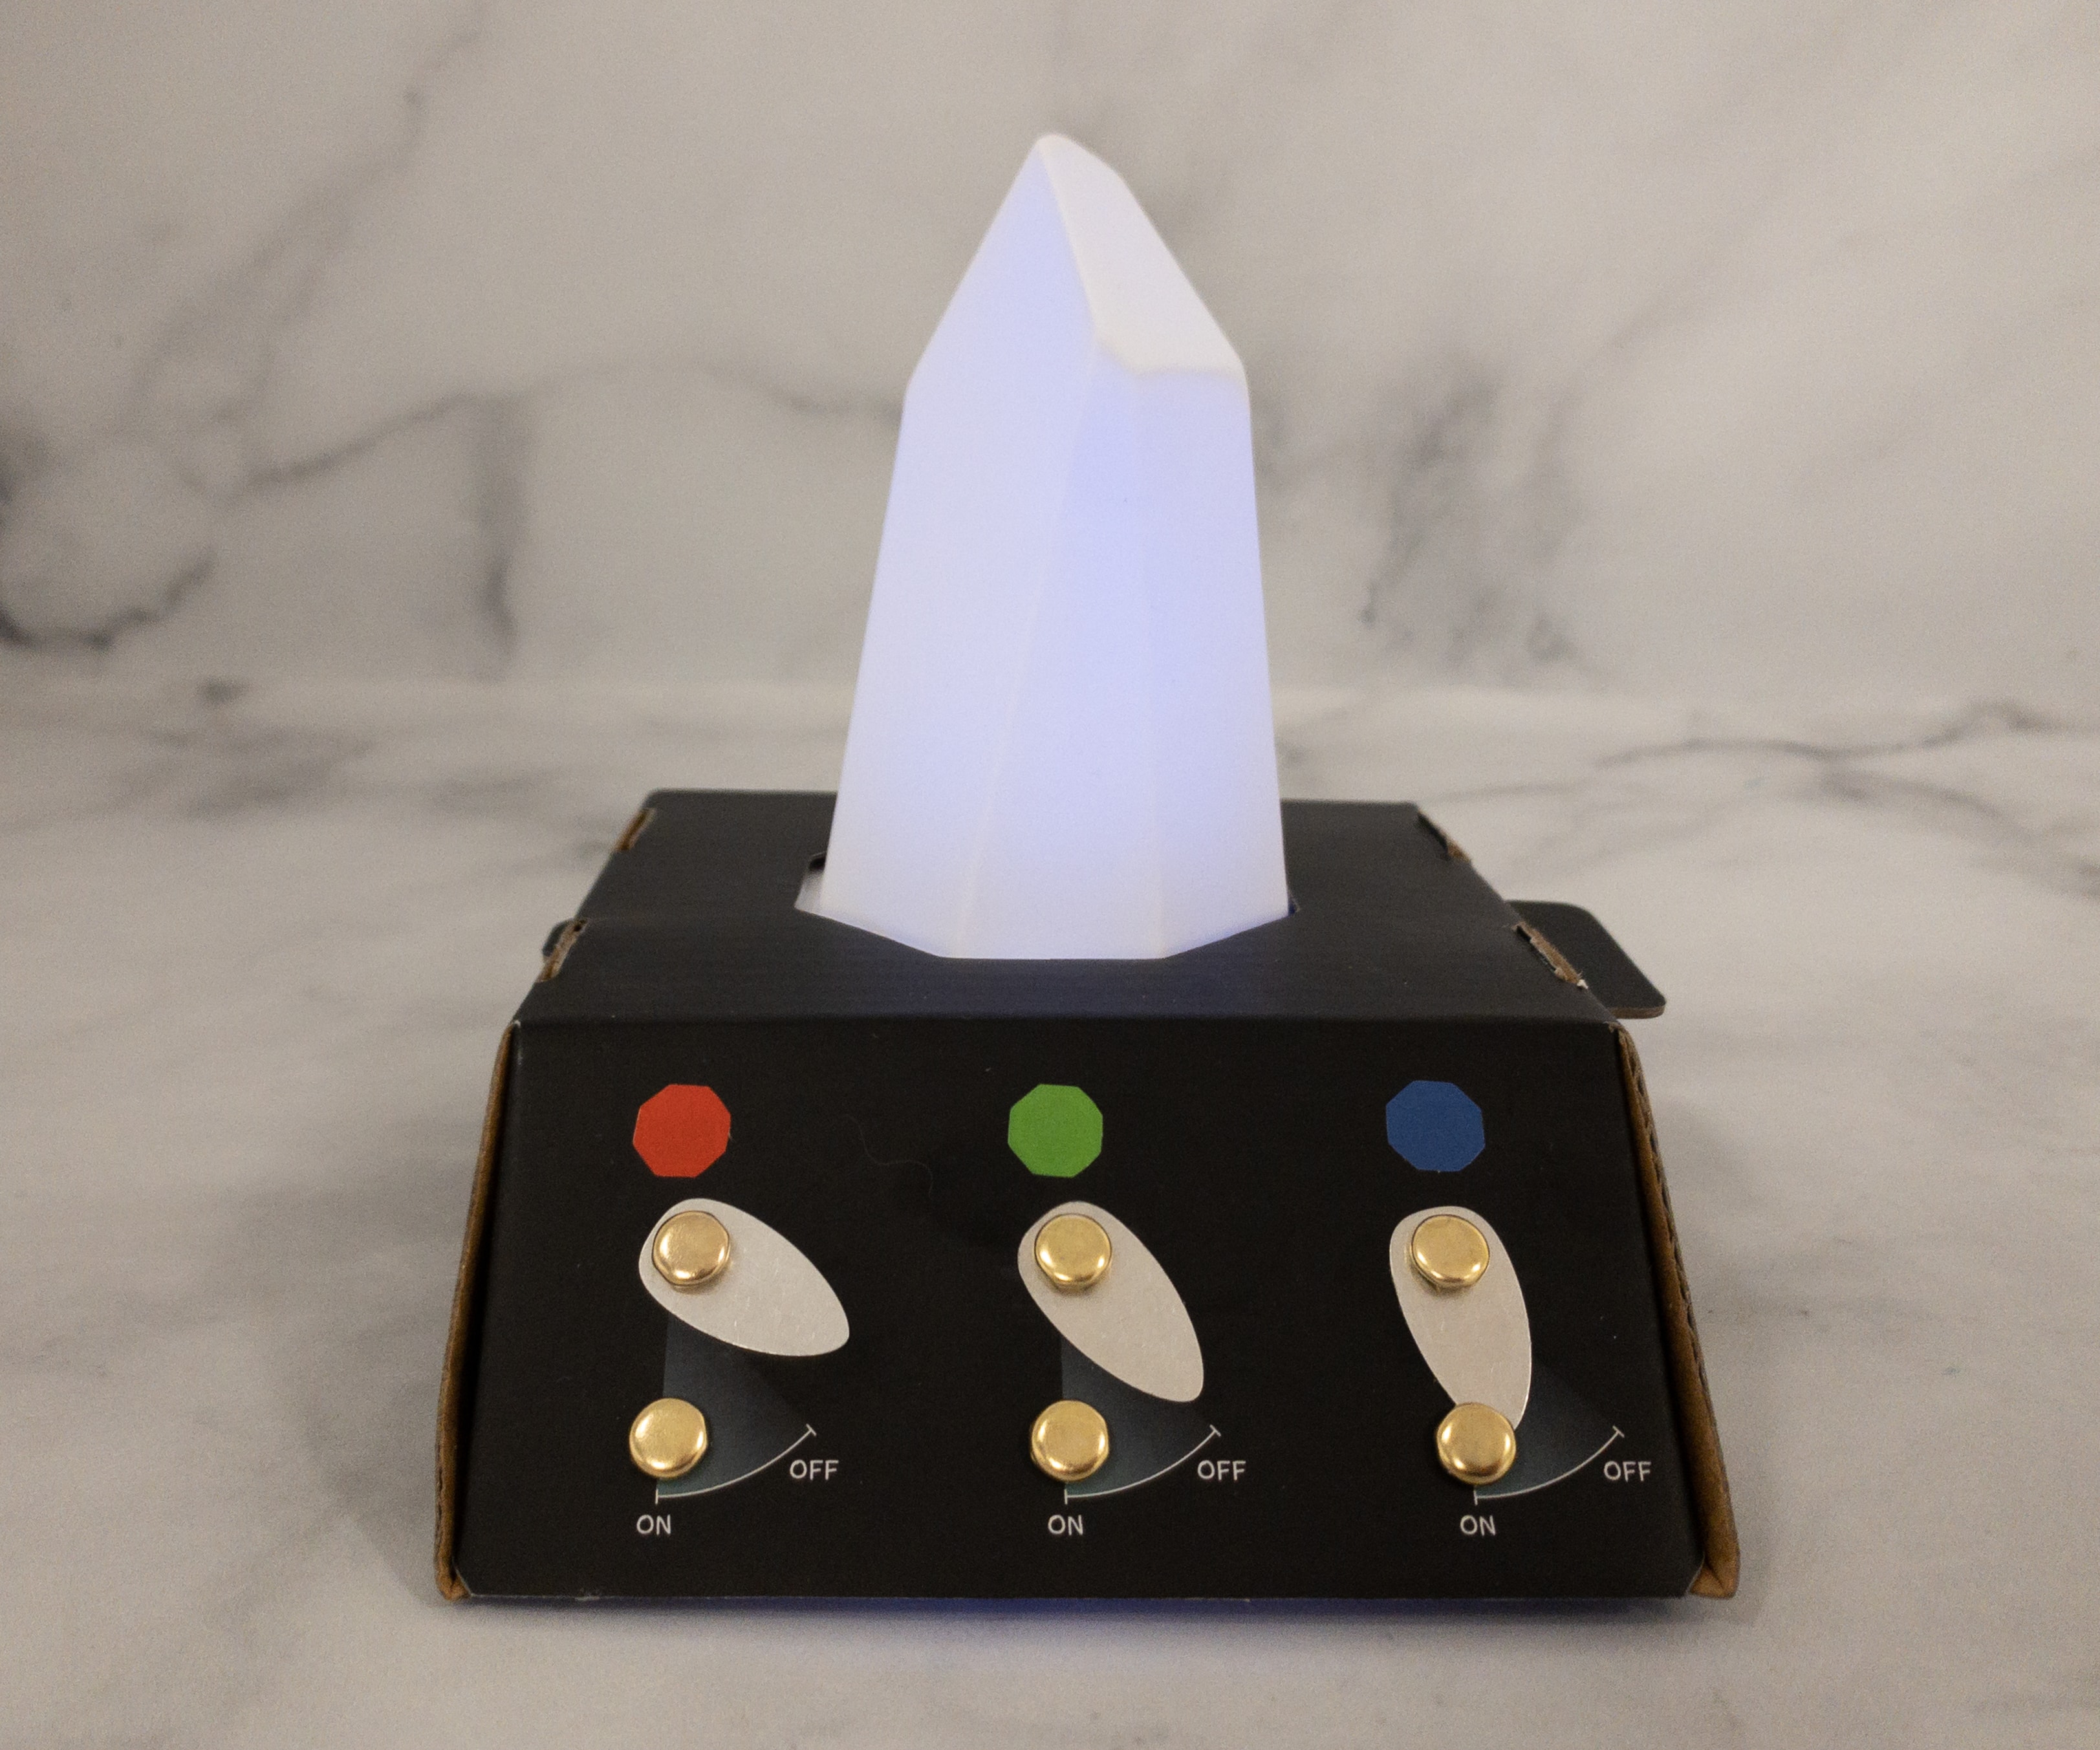
Here’s how the project should look like once done!

We activated the red switch, and the crystal turned red!
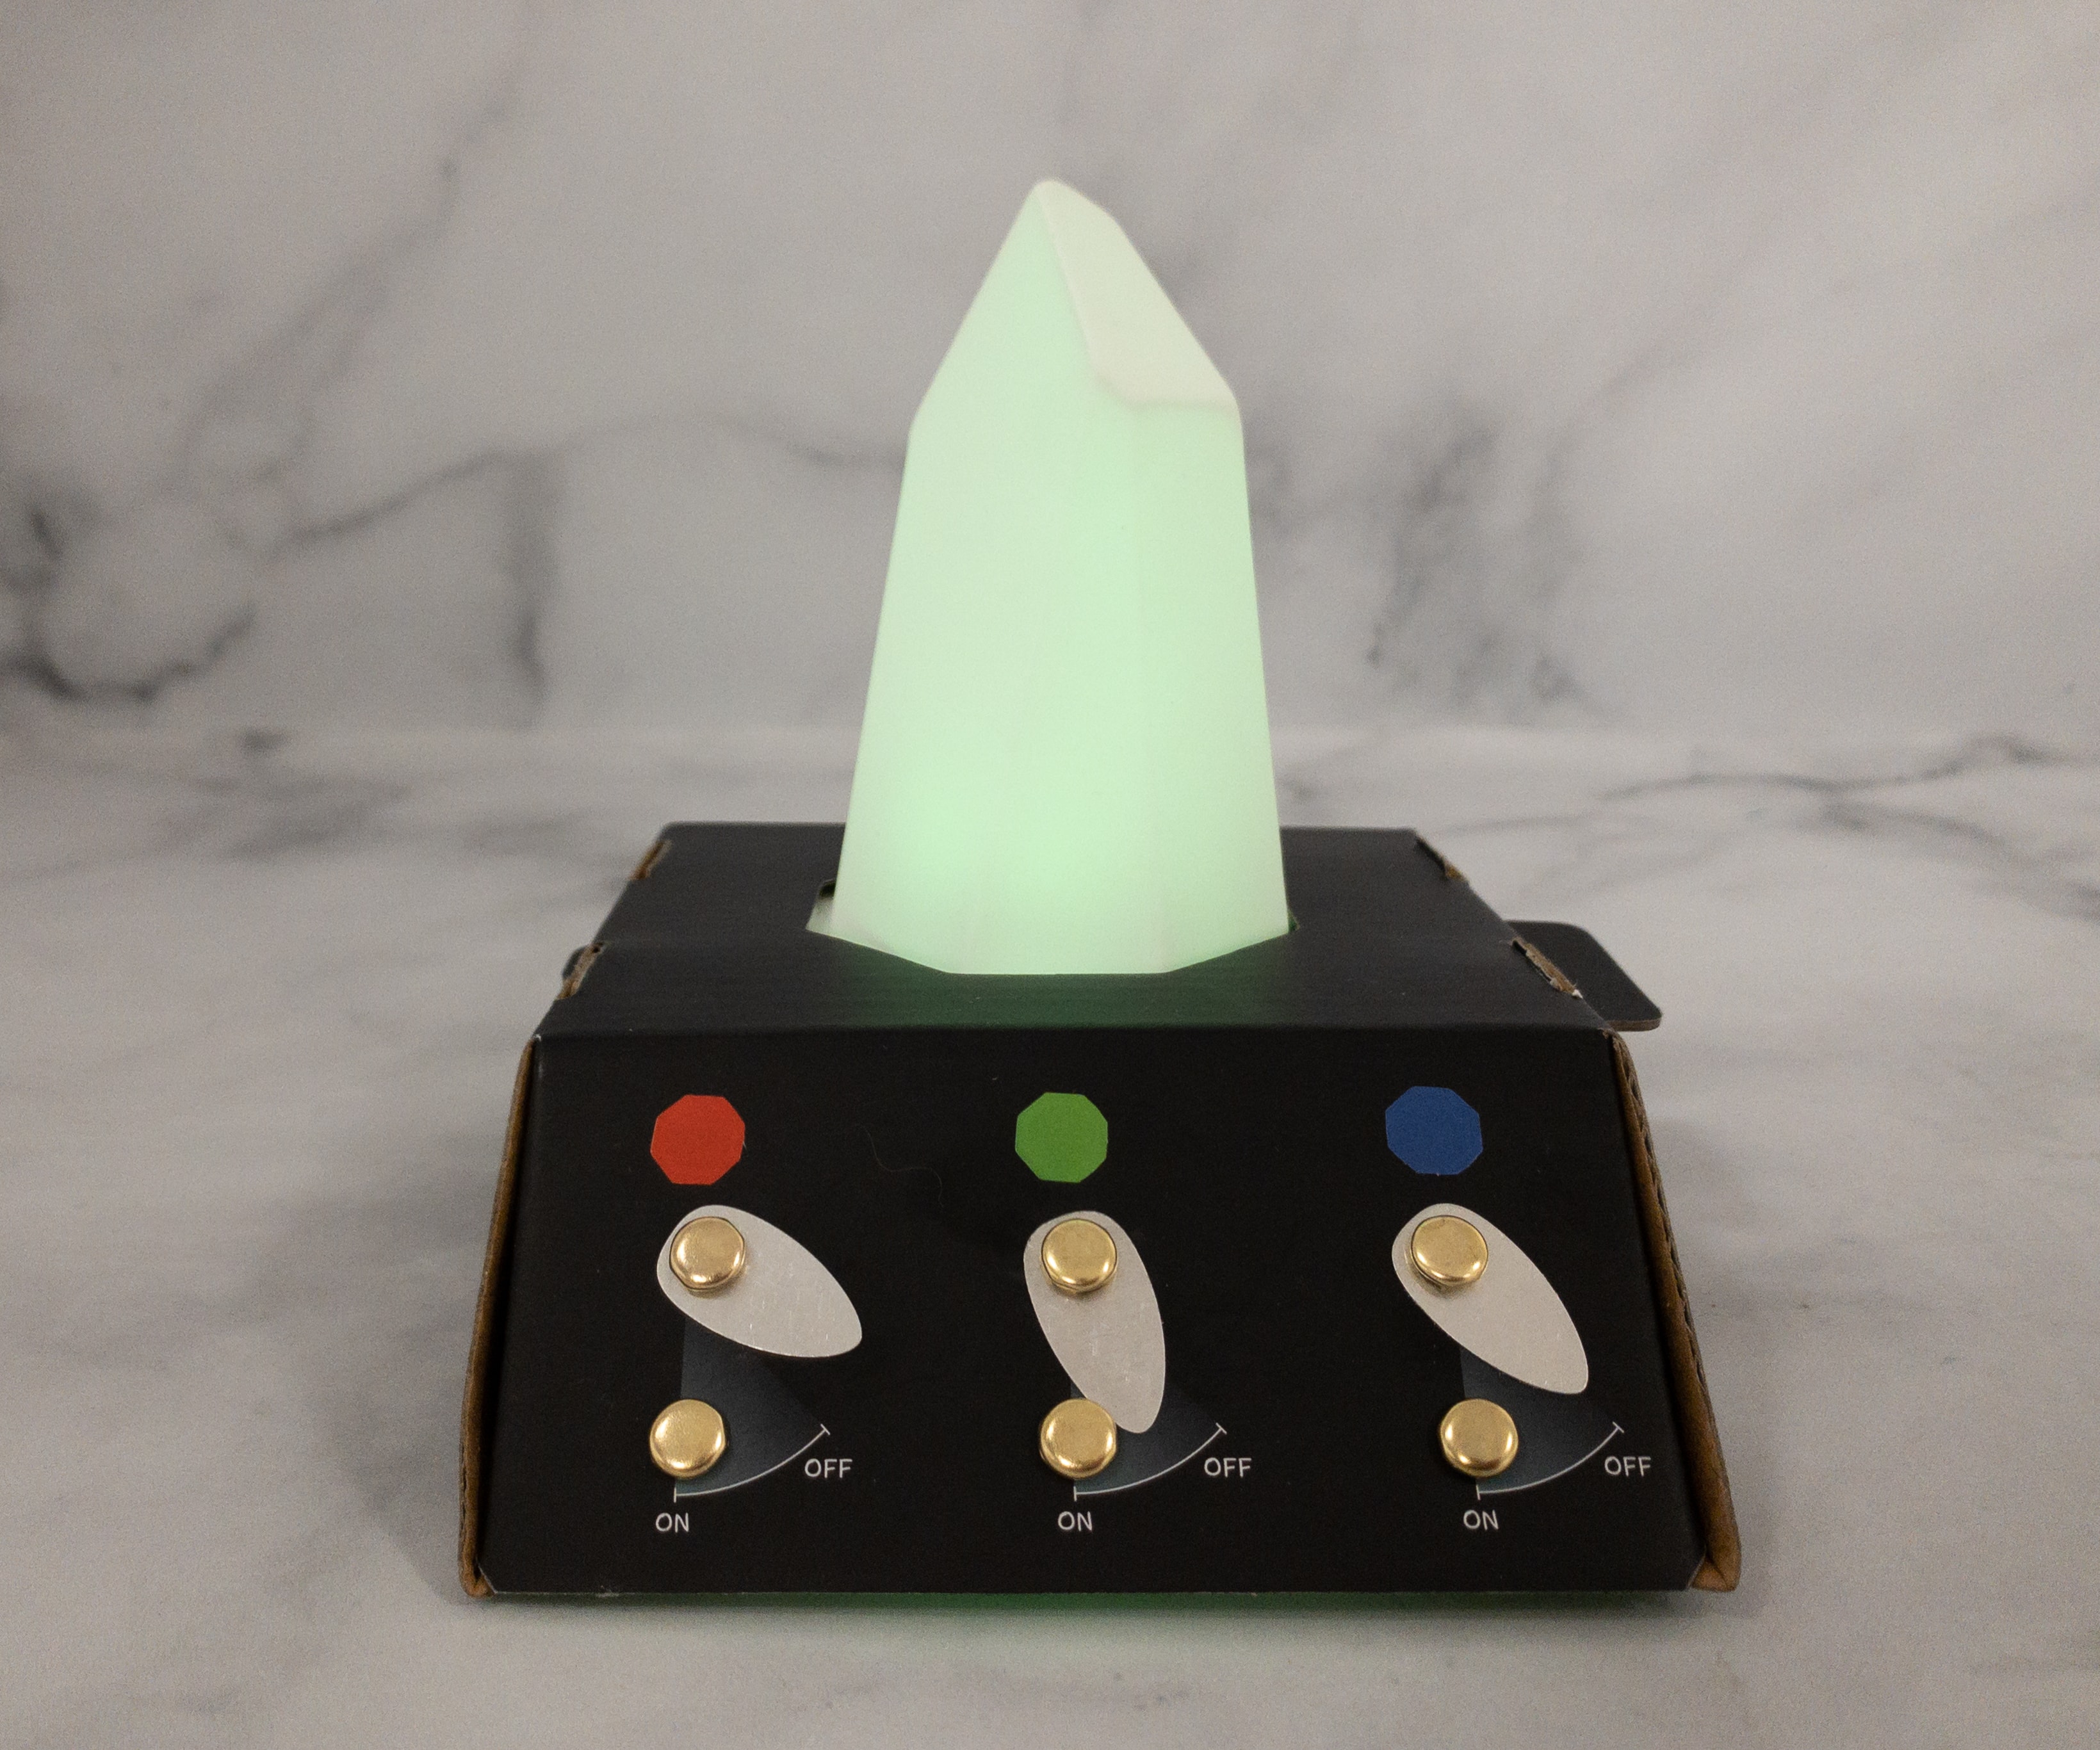
Here’s how it looks like when the green light is activated!
The blue light is also pretty cool!
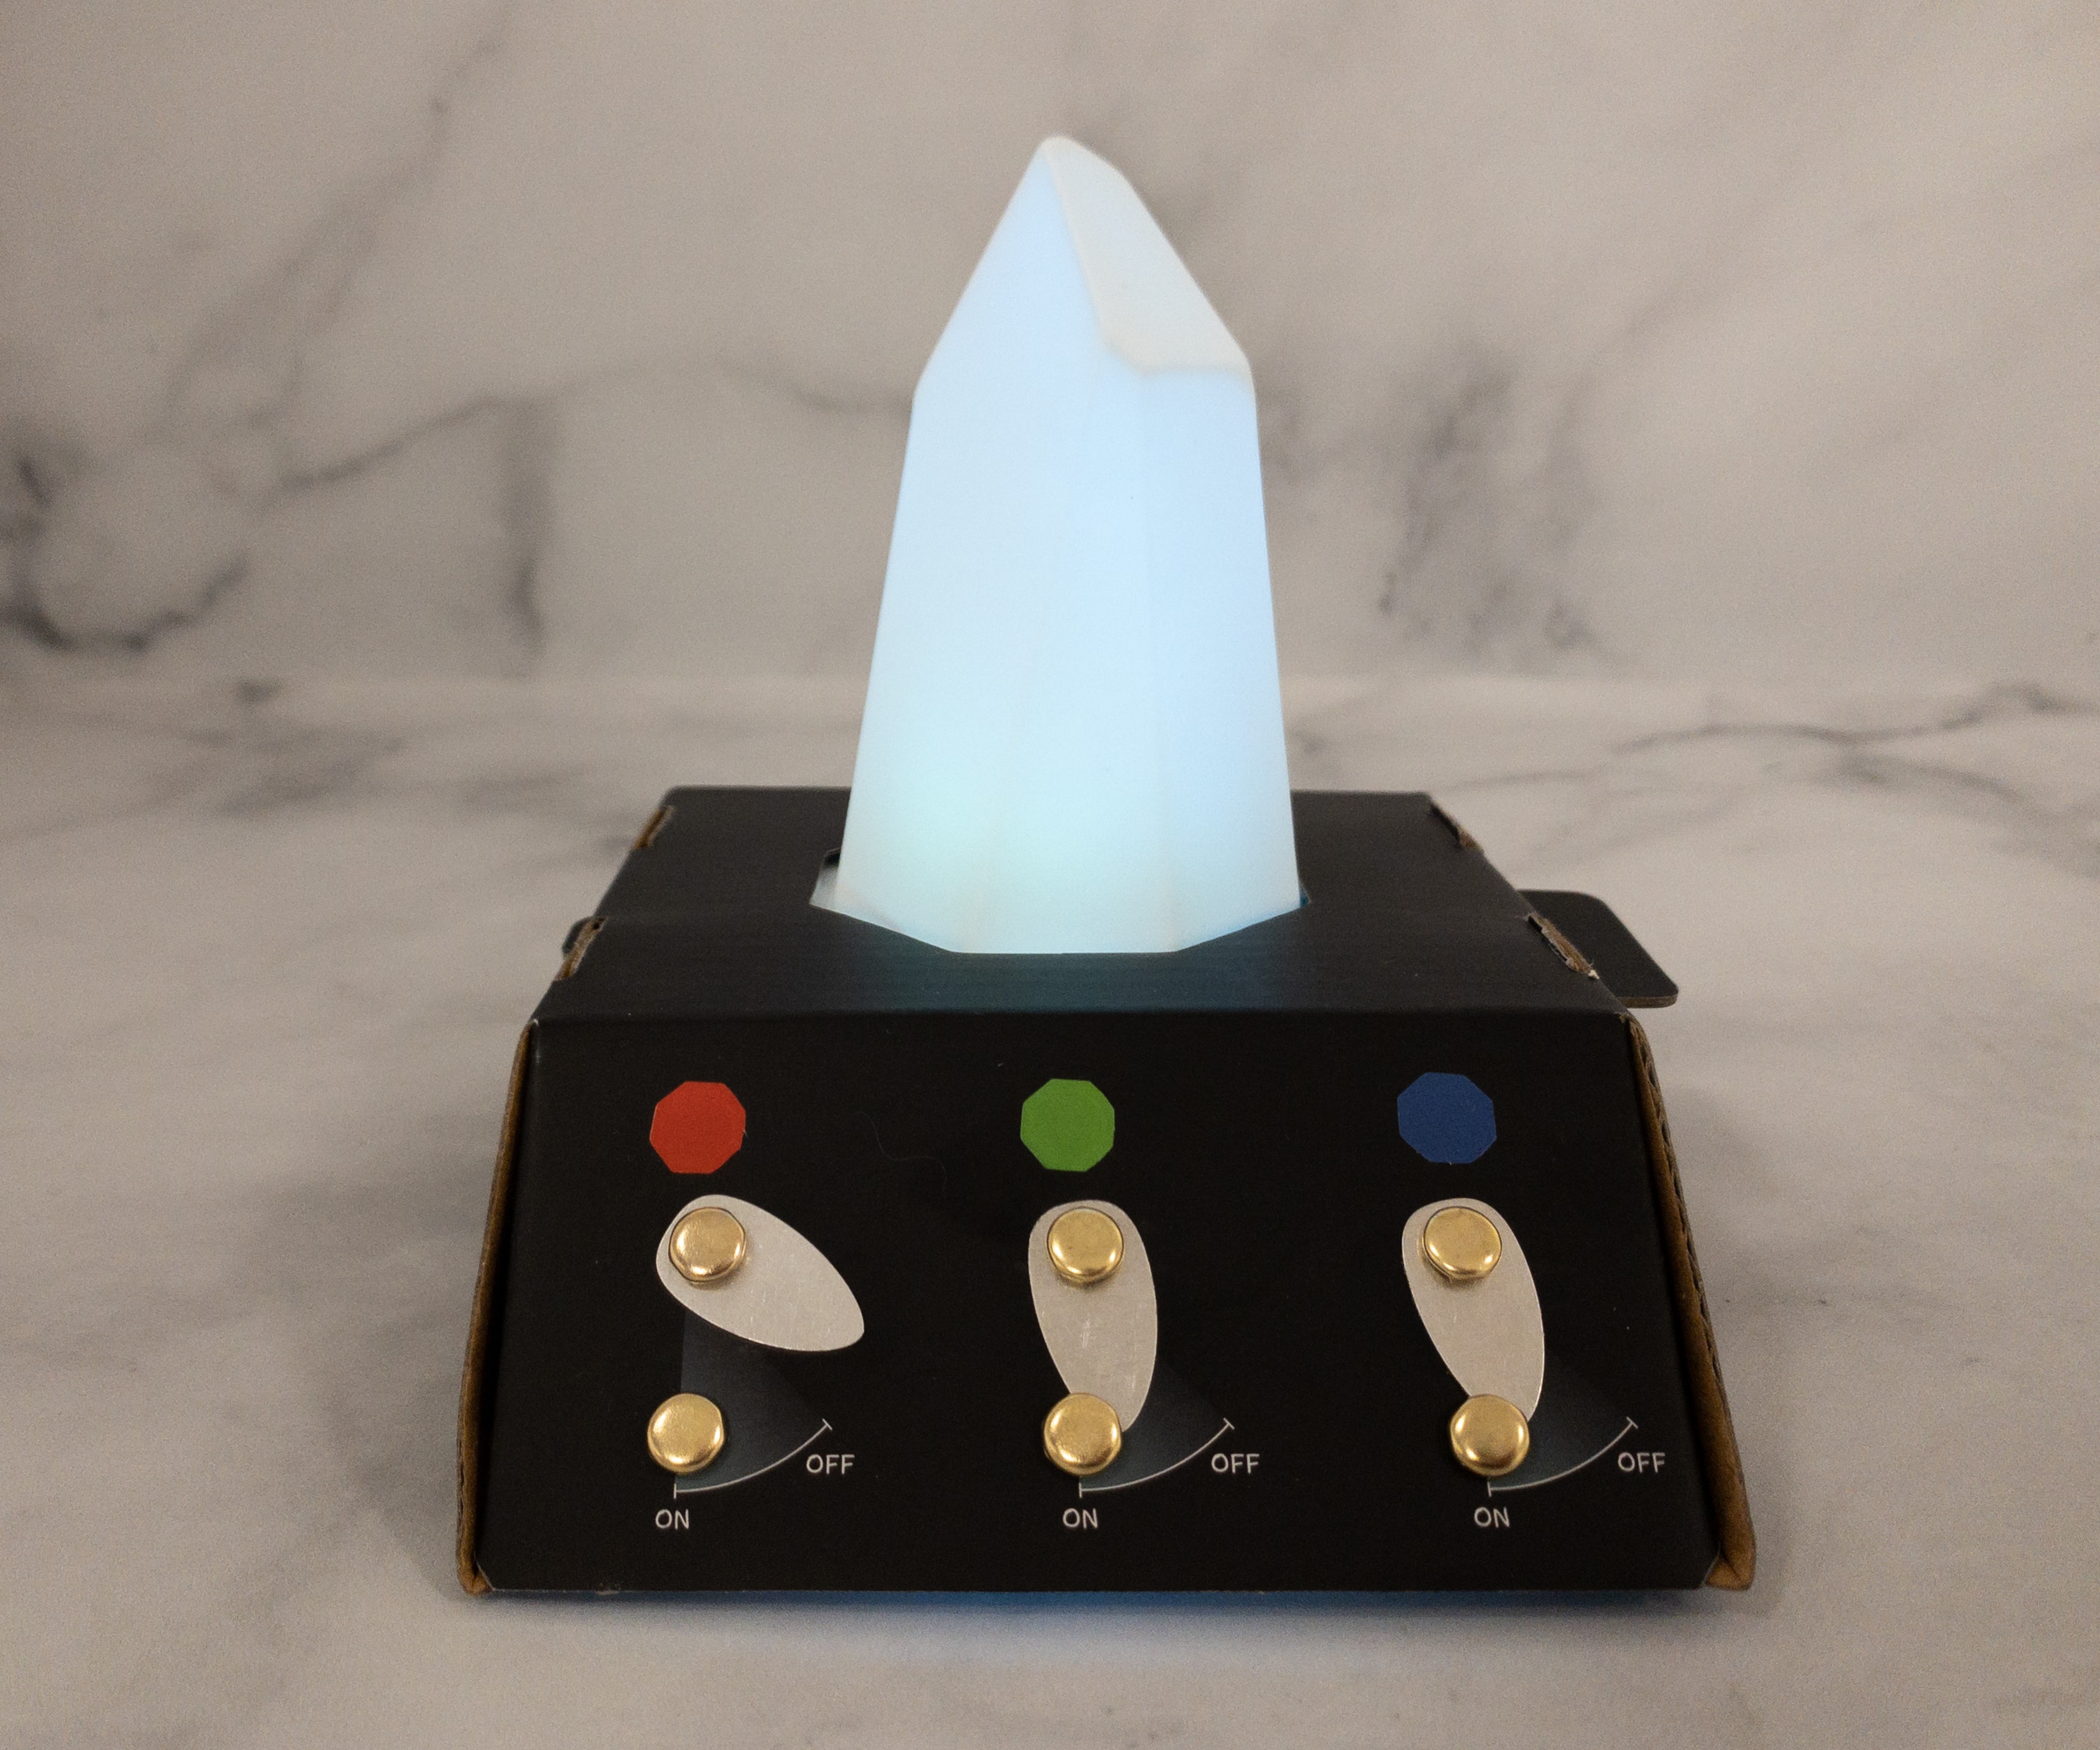
We also tried mixing in the colors by activating the green and the blue switches, and it the crystal turned blue-green.

We switched on the red and the blue lights, and we expect it to be purple. But it turns out to be more of a light red or pinkish with a little shades of blue.
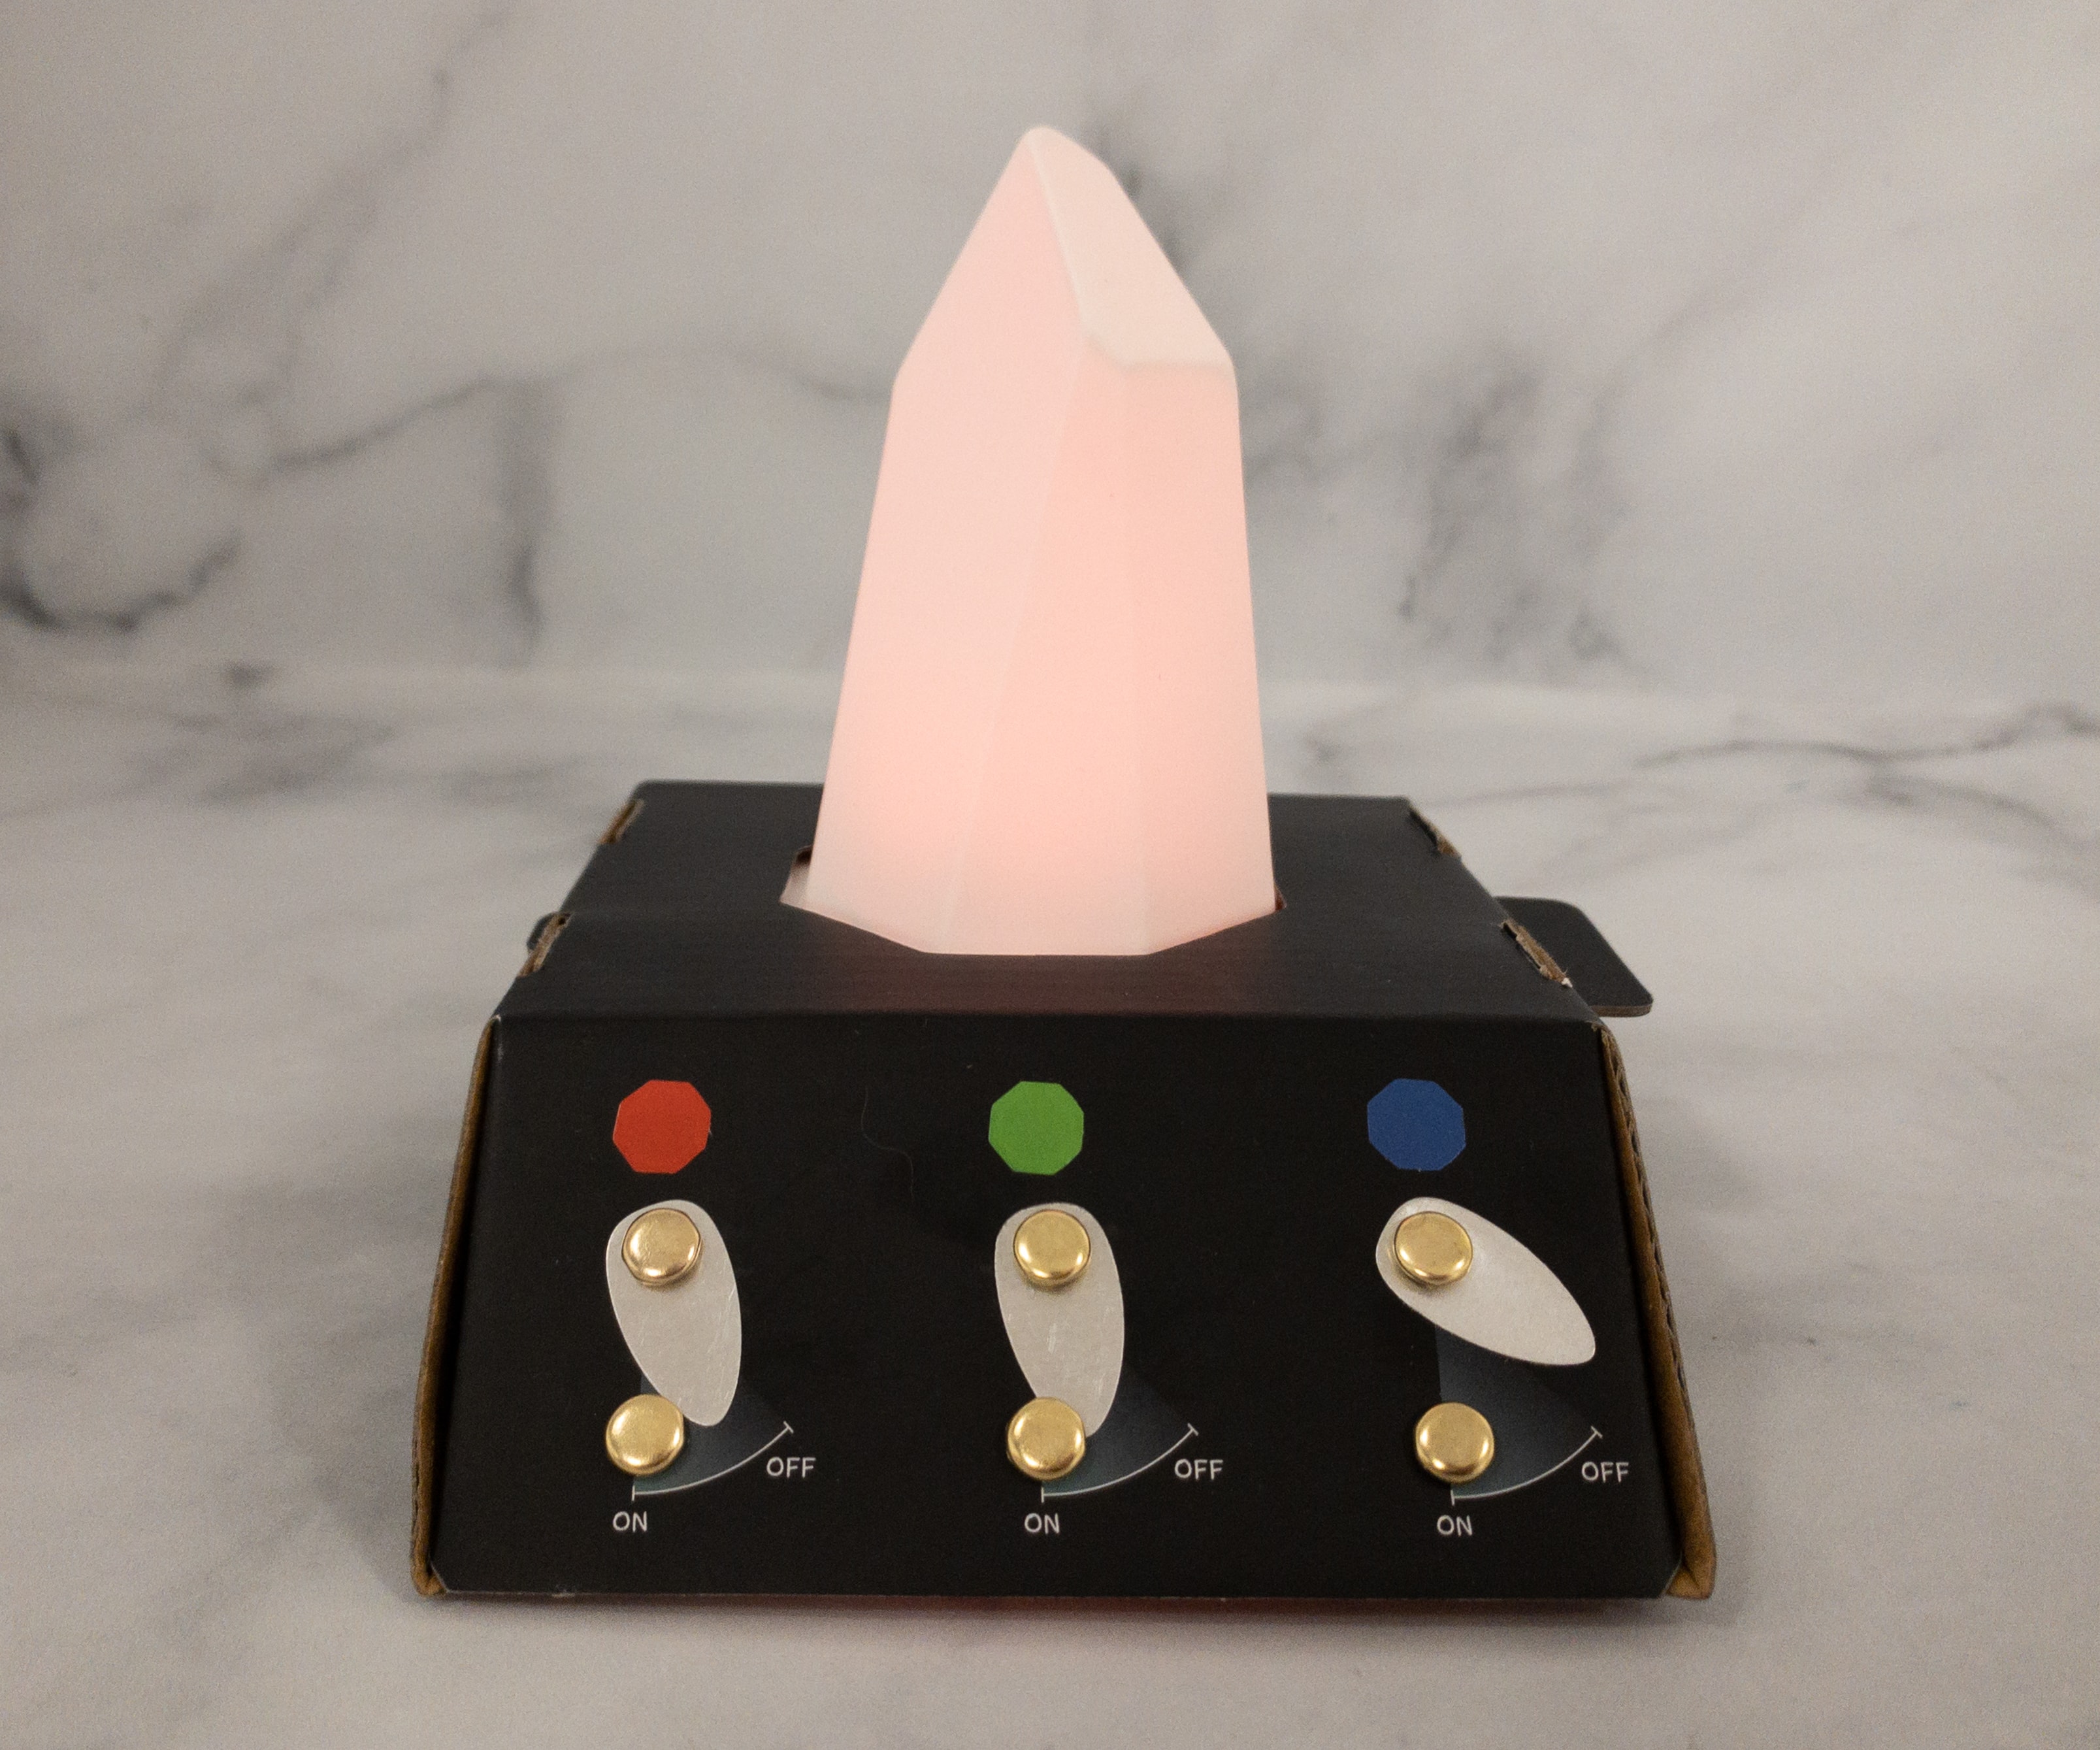
We also got the same color when we activated the green and red switches.
My kids were so amazed by the LED Crystal!
My kids really had a great time working with these projects!
Tinker Crate Extensions
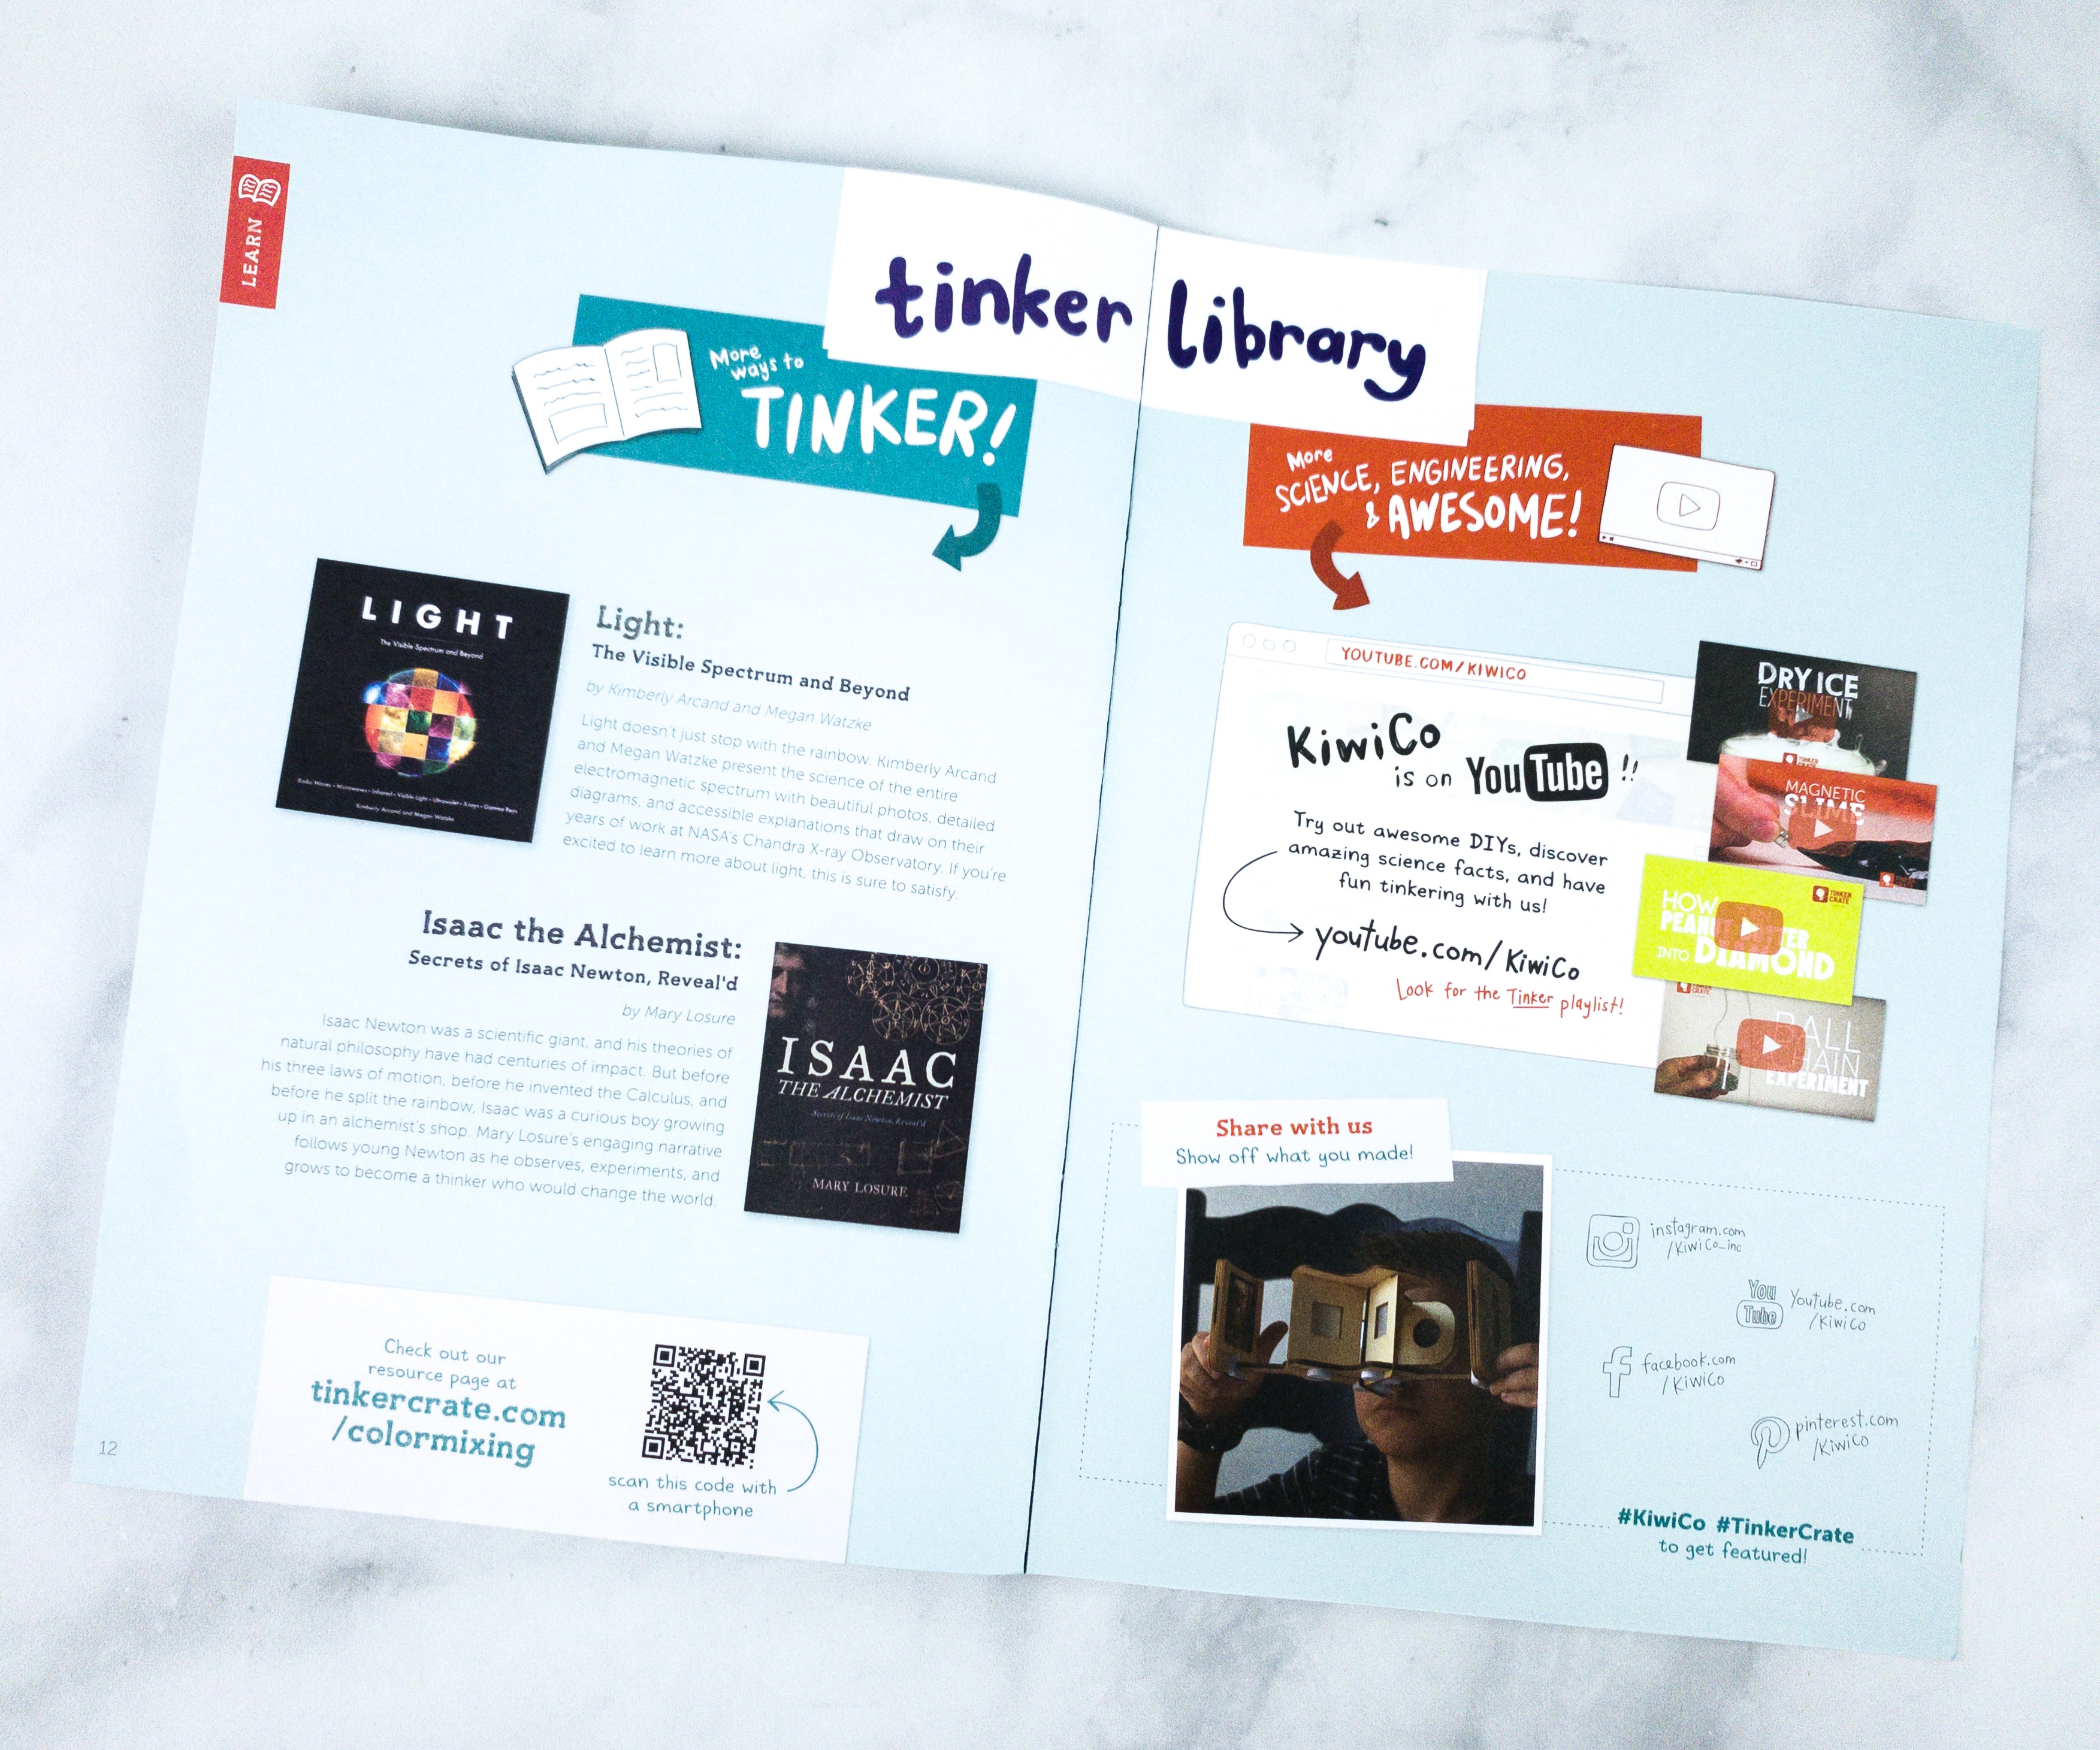
The Zine also provided more ways to tinker via the Tinker Library, where they suggest related literature for this month’s topic: Light: The Visible Spectrum and Beyond, and Isaac the Alchemist: Secrets of Isaac Newton, Reveal’d.
We’ve done another amazing project from Tinker Crate and my kids enjoyed it so much! They’ve been quite consistent in providing us with great STEM activities which not just challenges the kids, but also further improves their creativity and enhances their problem-solving skills. This is definitely one of the best subscriptions to try for STEM education at home!
Have you tried Tinker Crate yet with your kids?


Comments