
Eureka Crate is a monthly STEM and maker subscription box that teaches kids and adults how to apply principles of science and math to make awesome things you will love to use every day – from an articulated desk lamp to an electric pencil sharpener to a wooden ukulele. Every Eureka Crate includes an engineering project, detailed step-by-step instructions, everything you need to complete the project, a Maker’s Guide that explains all the design, process, and engineering behind the design, plus a design challenge to take your project knowledge to the next level!
DEAL: Save 30% on your first month! Just use this link to subscribe, no coupon code required! You can also use the same link to save 30% on the first month of any other KiwiCo crate – just check out this page to discover which box is right for you.

Eureka Crate is KiwiCo’s latest subscription! Eureka Crate is designed for ages 14-104. If you’re ready to graduate from KiwiCo’s other boxes or just can’t get enough (or are just too old for their other subscriptions), you’ll love this box, which is designed to create a hands-on learning experience using everyday items to delve deeply into the science and math principles they embody, along with the design process of the month’s project.

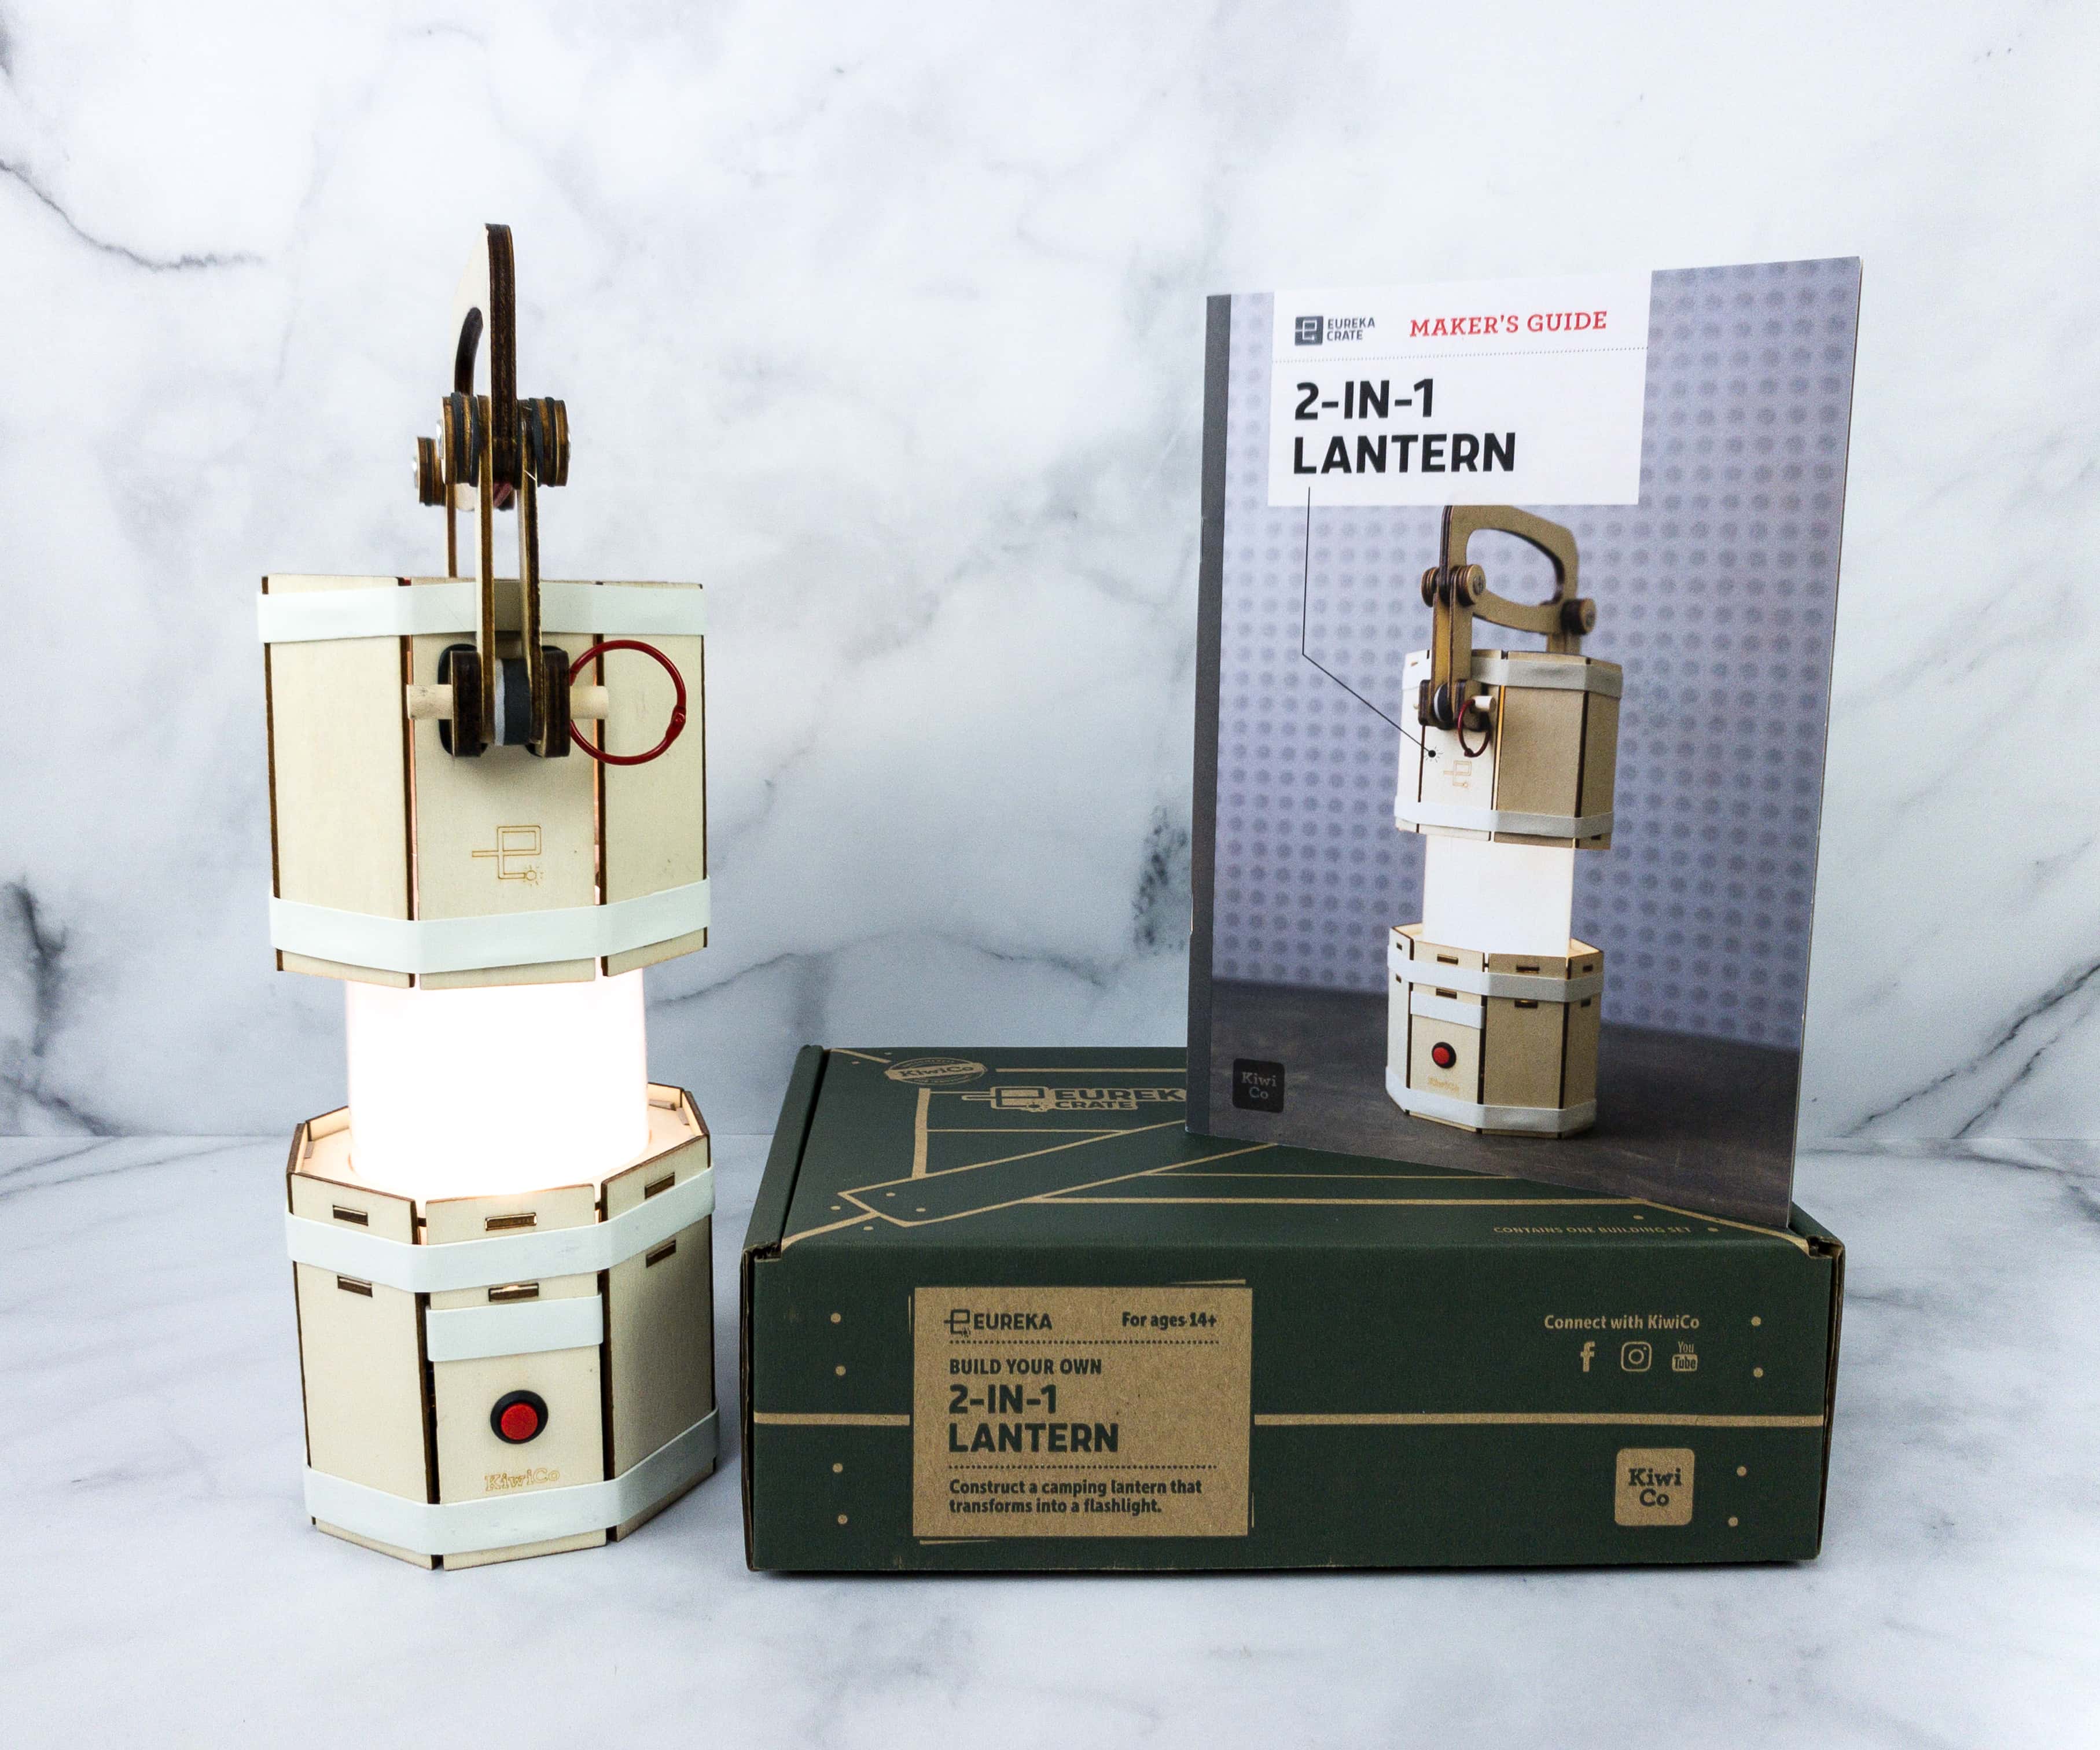
This month, we’re making a 2-in-1 Lantern!

Like the other crates from KiwiCo, Eureka Crate includes a booklet.

One of KiwiCo’s goals is to equip the next generation of innovators with the tools and confidence for creative exploration and problem-solving.

The booklet shares a complete history and details about this month’s project. They also included some fun facts and trivia related to the theme.

Everything inside the box is separately packaged.
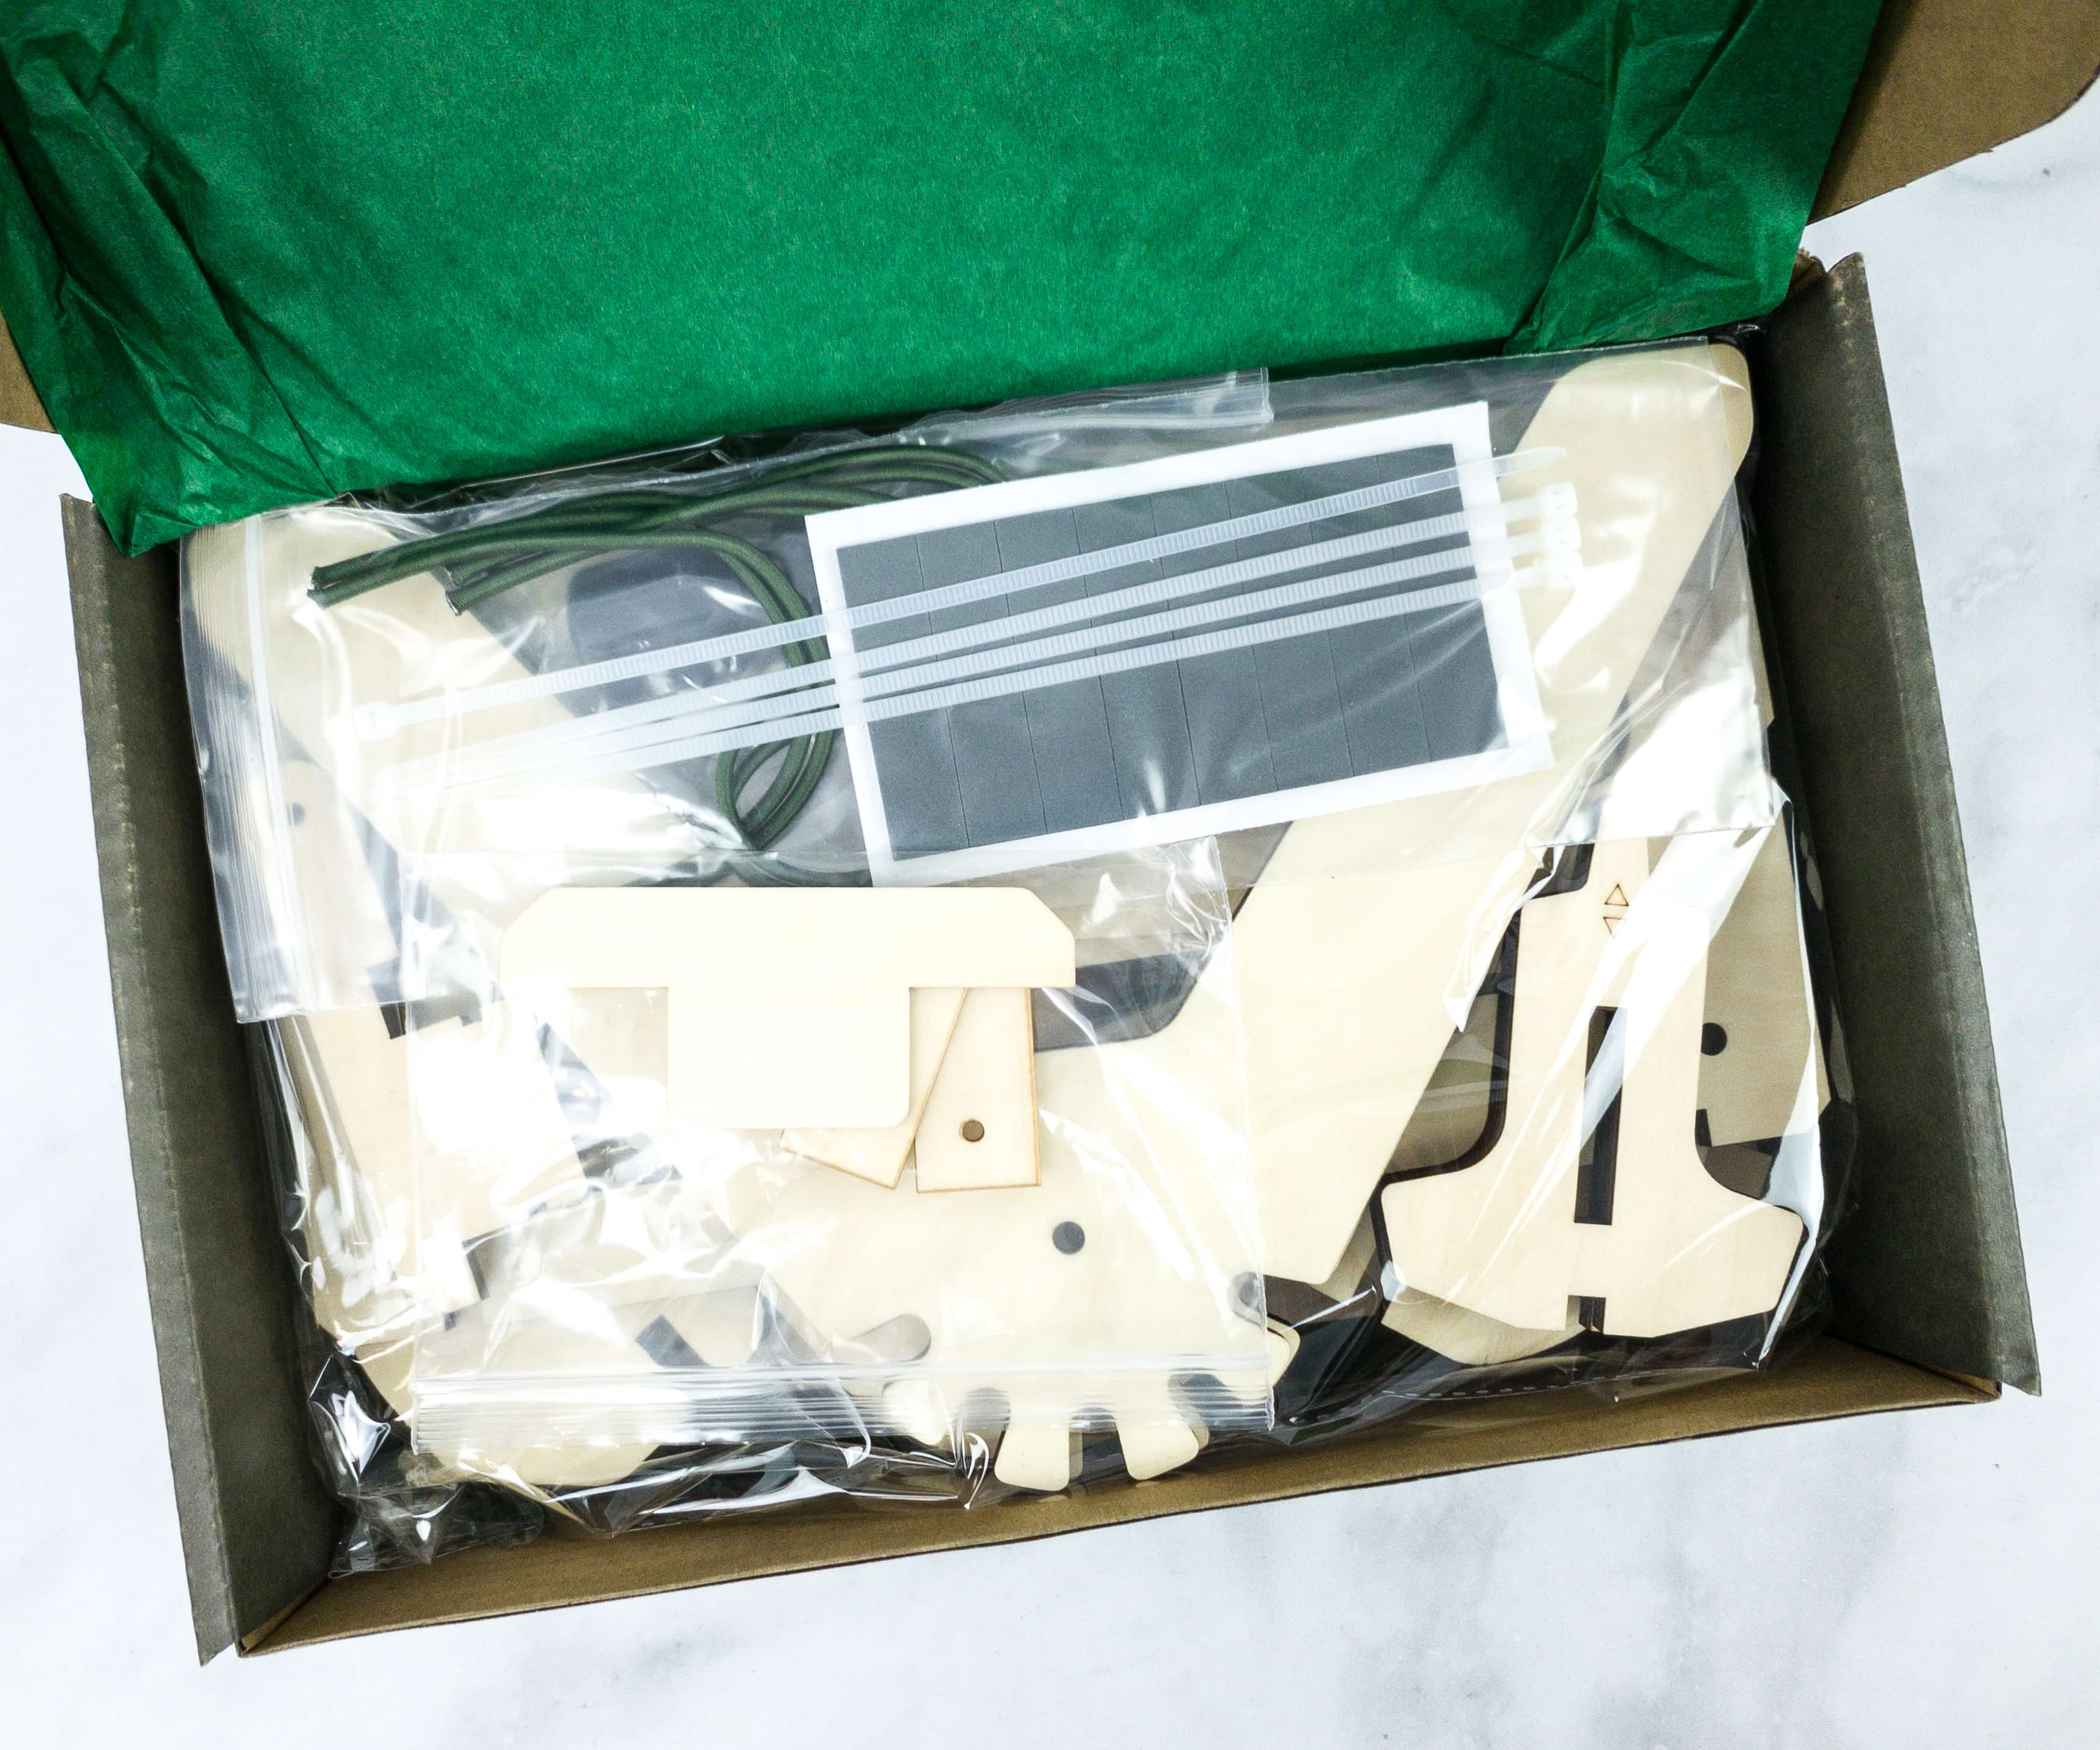
They’re all protected by green tissue paper as well.

Everything in this month’s box!
Eureka Crate Maker’s Guide

This booklet means business as it jumps right to the activity.

For the first part, we made the light source, which will light up the lantern/flashlight.

The create provided everything we needed, including the wood set, battery pack, rubber band, AA batteries, nuts, bolts, button switch, LED chip, and clear stickers.

Here are the other materials we need to complete this project! There are so many parts to build and connect so you should read the instructions thoroughly and look at the illustrations and compare the parts so that you can easily build them.

Every now and then, there’s a stop and check reminder so you can be sure that you’re doing the right thing.

The booklet also explains some steps further, like this one that says if the pieces slip around as you stretch the rubber band, you can hold them in place with your knees.

We used the clear stickers to assemble the LED switch.

We’re so happy that the LED worked well!

As we finished the LED set-up, the booklet provided us more ideas about the LED chip that we used. LED means light-emitting diode and that it is made of two small pieces of metal that light up when electricity jumps from one piece to the other.

To finish the base, we used the other wood pieces, rubber bands, nuts and bolts, plastic tube, and the frosted sheet.

We lined up the holes on the plastic tube first.

It’s also a good thing that the booklet is showing illustrations of even the assembly of small parts of the project, so the kids can easily copy or compare them.

Here, we’re almost done building the middle part of our lantern. The adhesives hold the wood pieces together.

To ensure that everything is held together, we also used a rubber band.

After completing this part, we needed to check by comparing it to what’s in the booklet.

For part C, we added the reflector, which will funnel the light for the flashlight to work.

For this part, we used the other wood pieces, nuts and bolts, and the reflector cone.

It’s like making a shiny fan!

After folding the cone, we attached it to one of the wood rings.

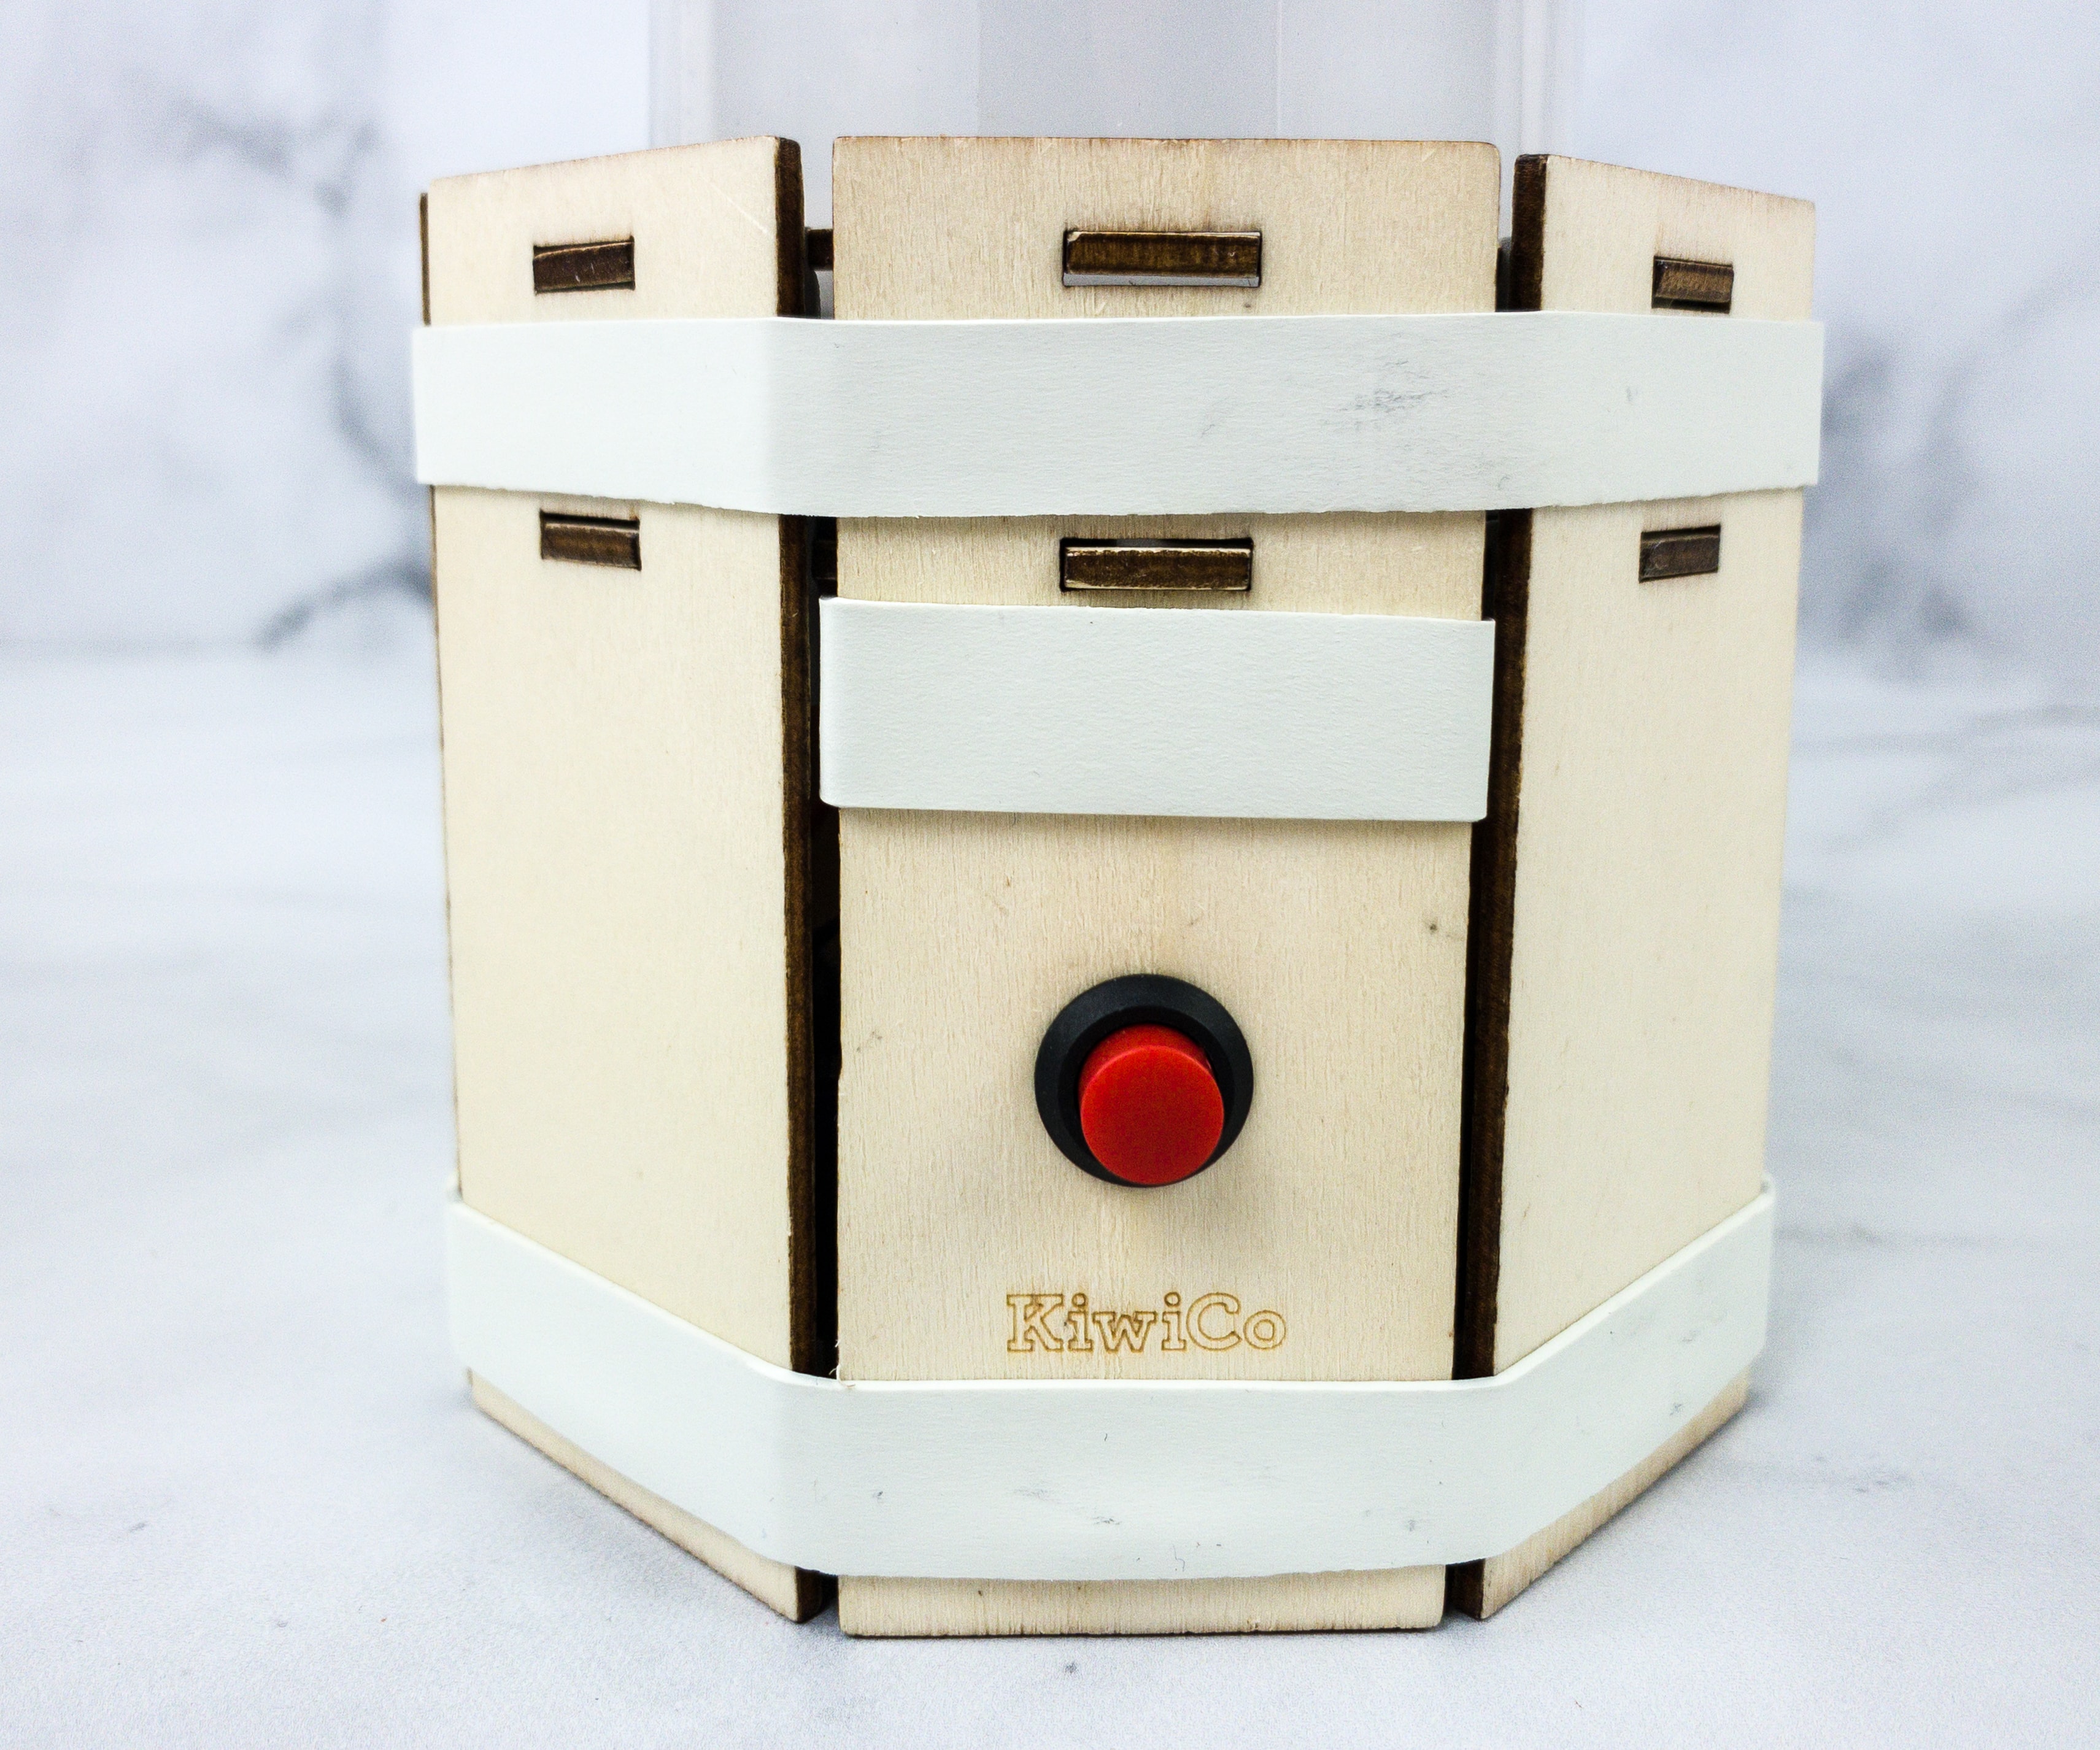
For this part, we needed to finish the top so that the lantern can slide apart to transform.

The lantern is almost complete! We just need to finish off the sides that will let the lantern transform!

We added the other wood pieces on the top part.

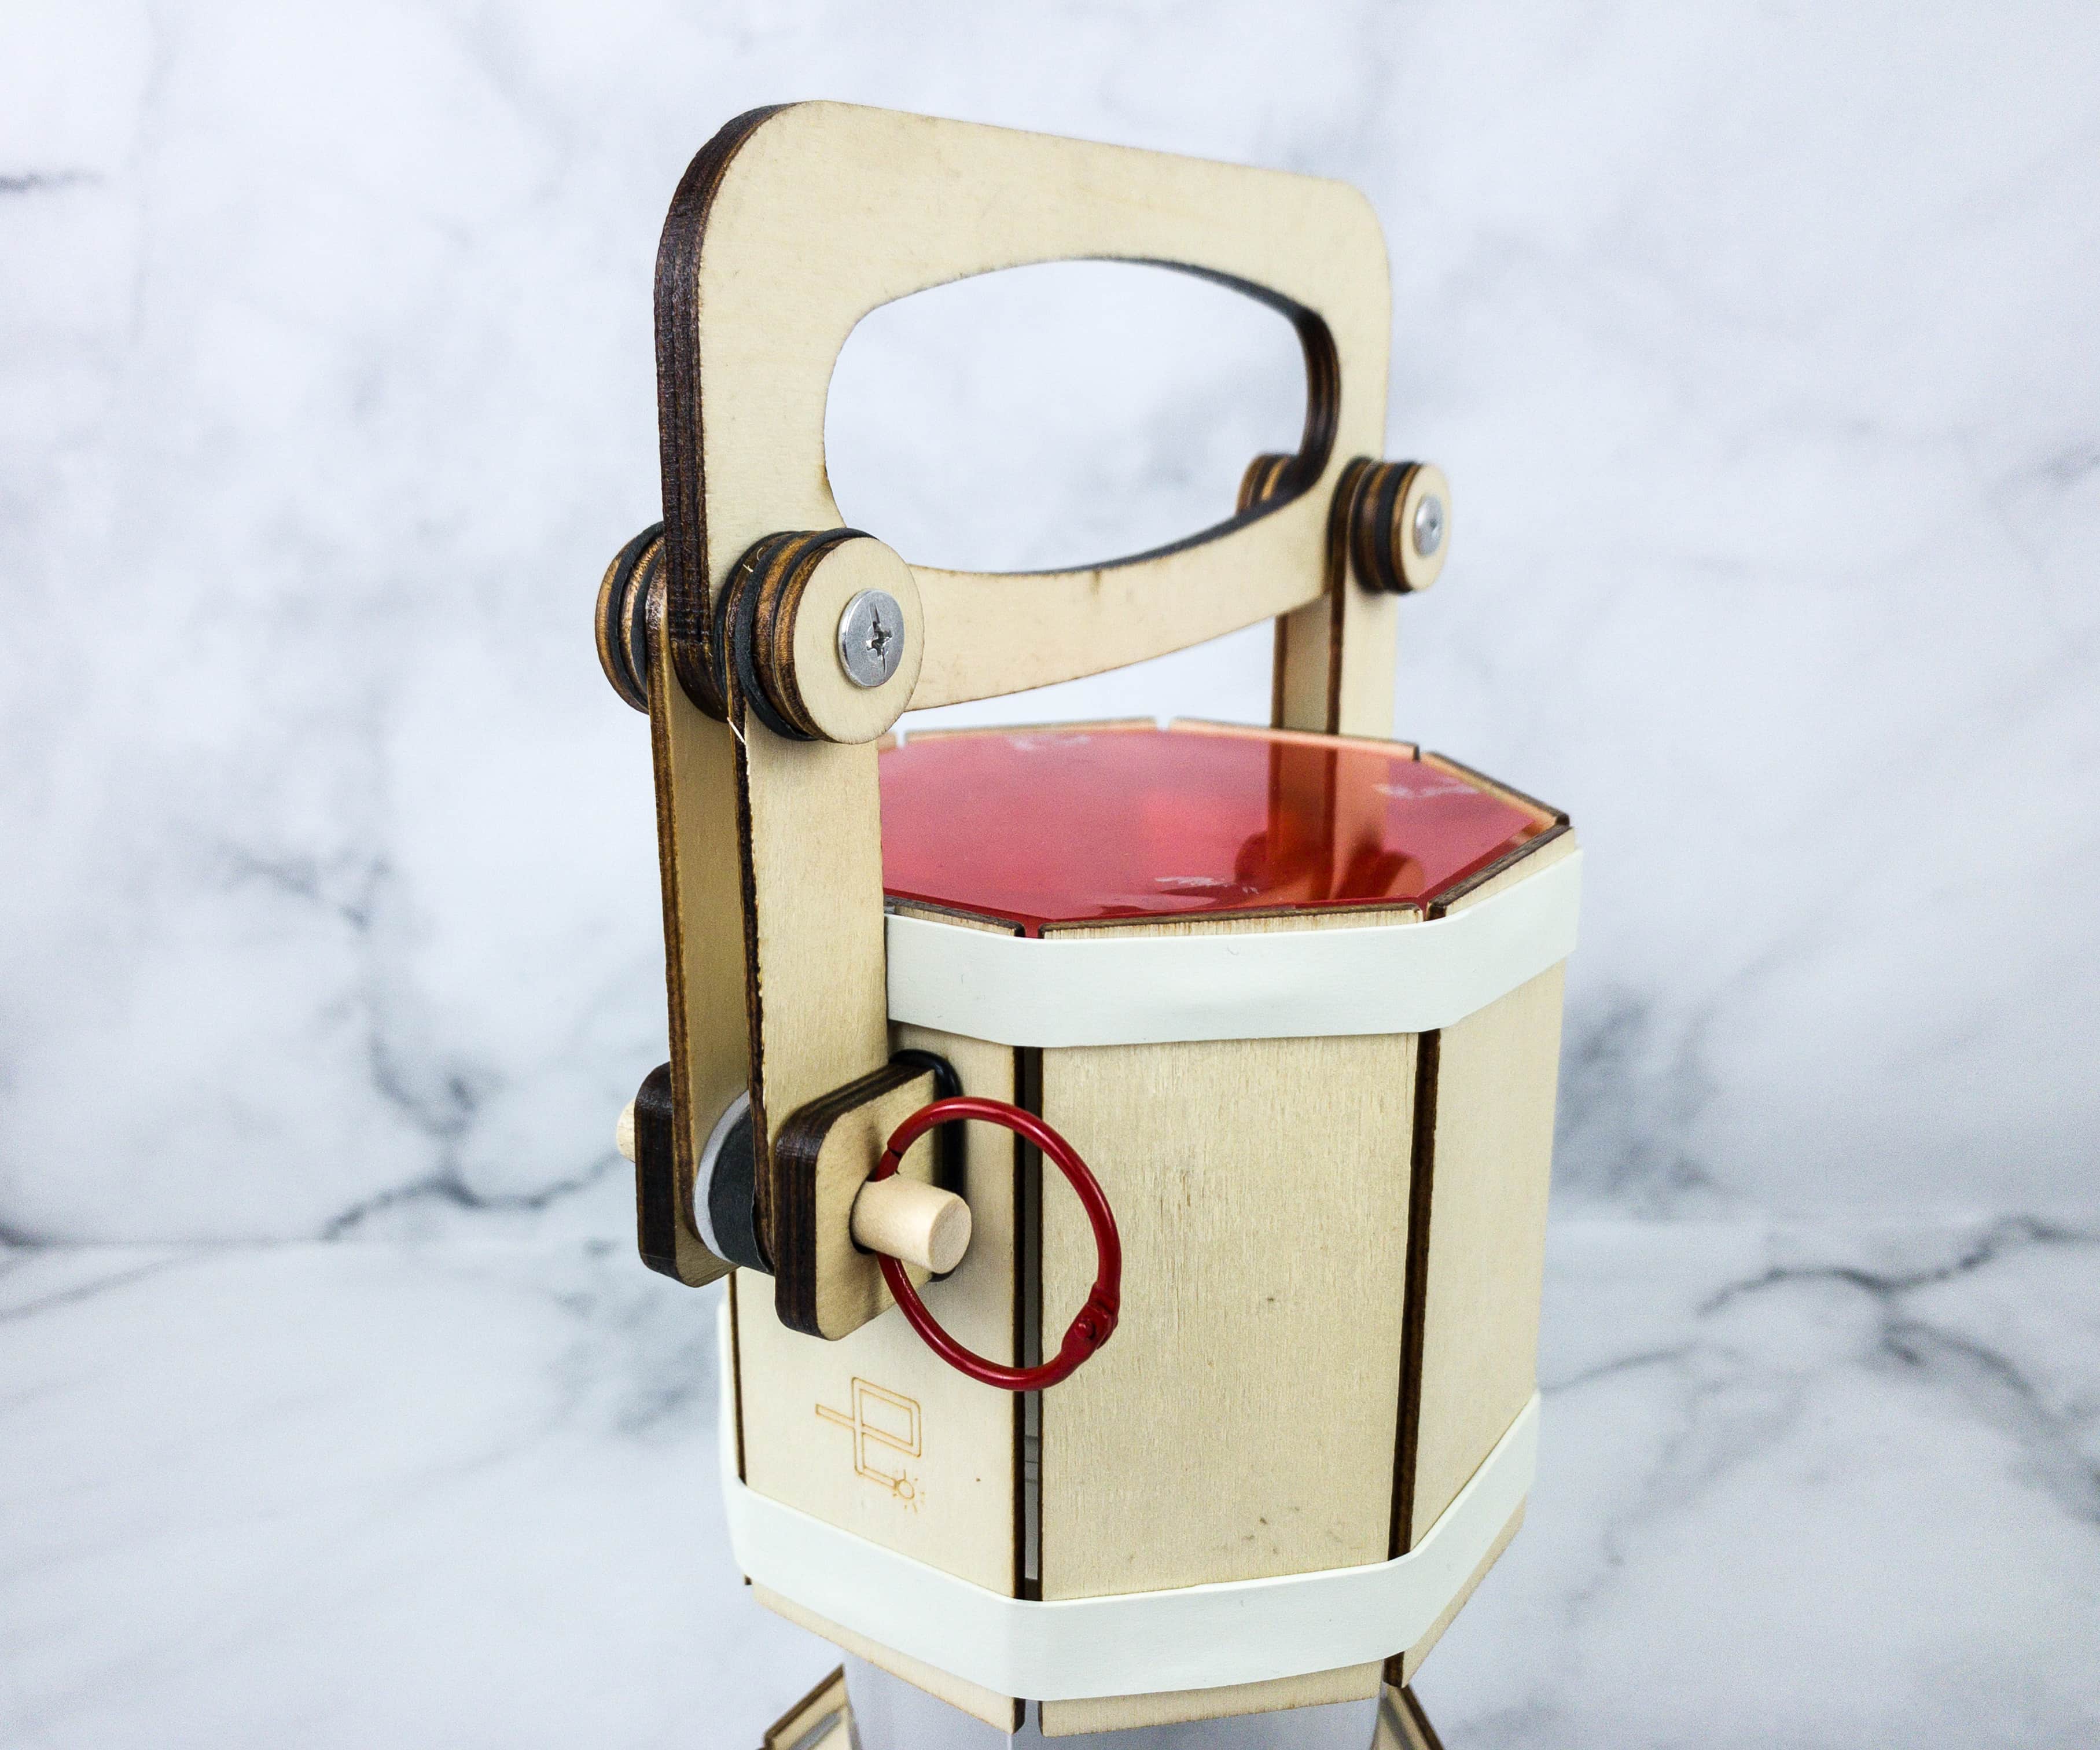
Lastly, we added a handle to this lantern so that we can easily hold it.

Along with the remaining wood pieces, we used some nuts and bolts, dowels, and O-rings for the handle.

Adding the handle is really easy, we just needed to ensure that it’s tight and secured in place.

The booklet also contains instructions on how you can use the final output as a lantern, or flashlight. It also included instructions on how to transform it.

It’s unavoidable to encounter some difficulties and problems, so the booklet also included troubleshooting tips for when the LED isn’t giving a steady, bright light, or when you need to replace the batteries, or when the top of the lantern is not closing.

Here’s how you can easily transform the lantern to a flashlight, by moving the handle!

To experiment, we tried night vision!

You can also add a red filter to the flashlight for this experiment.

The box included a red filter that fits the flashlight top.

We added adhesives on the side and put the filter on top of it.
Then, we’re ready! By using the red filter, we can illuminate things to see better at night, as it doesn’t destroy too much rhodopsin.

The booklet also provided us more information about this fun project, like the history behind the design.

There’s a full article on how they put the science to work with Reflection!
Your lantern can shed a soft glow, or it can become a flashlight that casts a long and focused beam. Each mode reflects light in a different way.

They also included the history of flashlights in the booklet.

Another feature is about portable light sources!

For the Design Challenge, they’re encouraging us to make a hands-free lamp. They also included some design inspirations. You can also show-off what you made and use the hashtag #EurekaCrate to get featured on their social media accounts.

We tried to light the lantern first.

Then, we transformed it into a handy flashlight.

The flashlight is really bright!

Here is the flashlight with the added red filter for night vision.

The 2-in-1 lantern is one that we can keep on our bedside table in case of emergencies!

Here it is, as a lantern! It’s like a robot that we can transform from one form to the other!
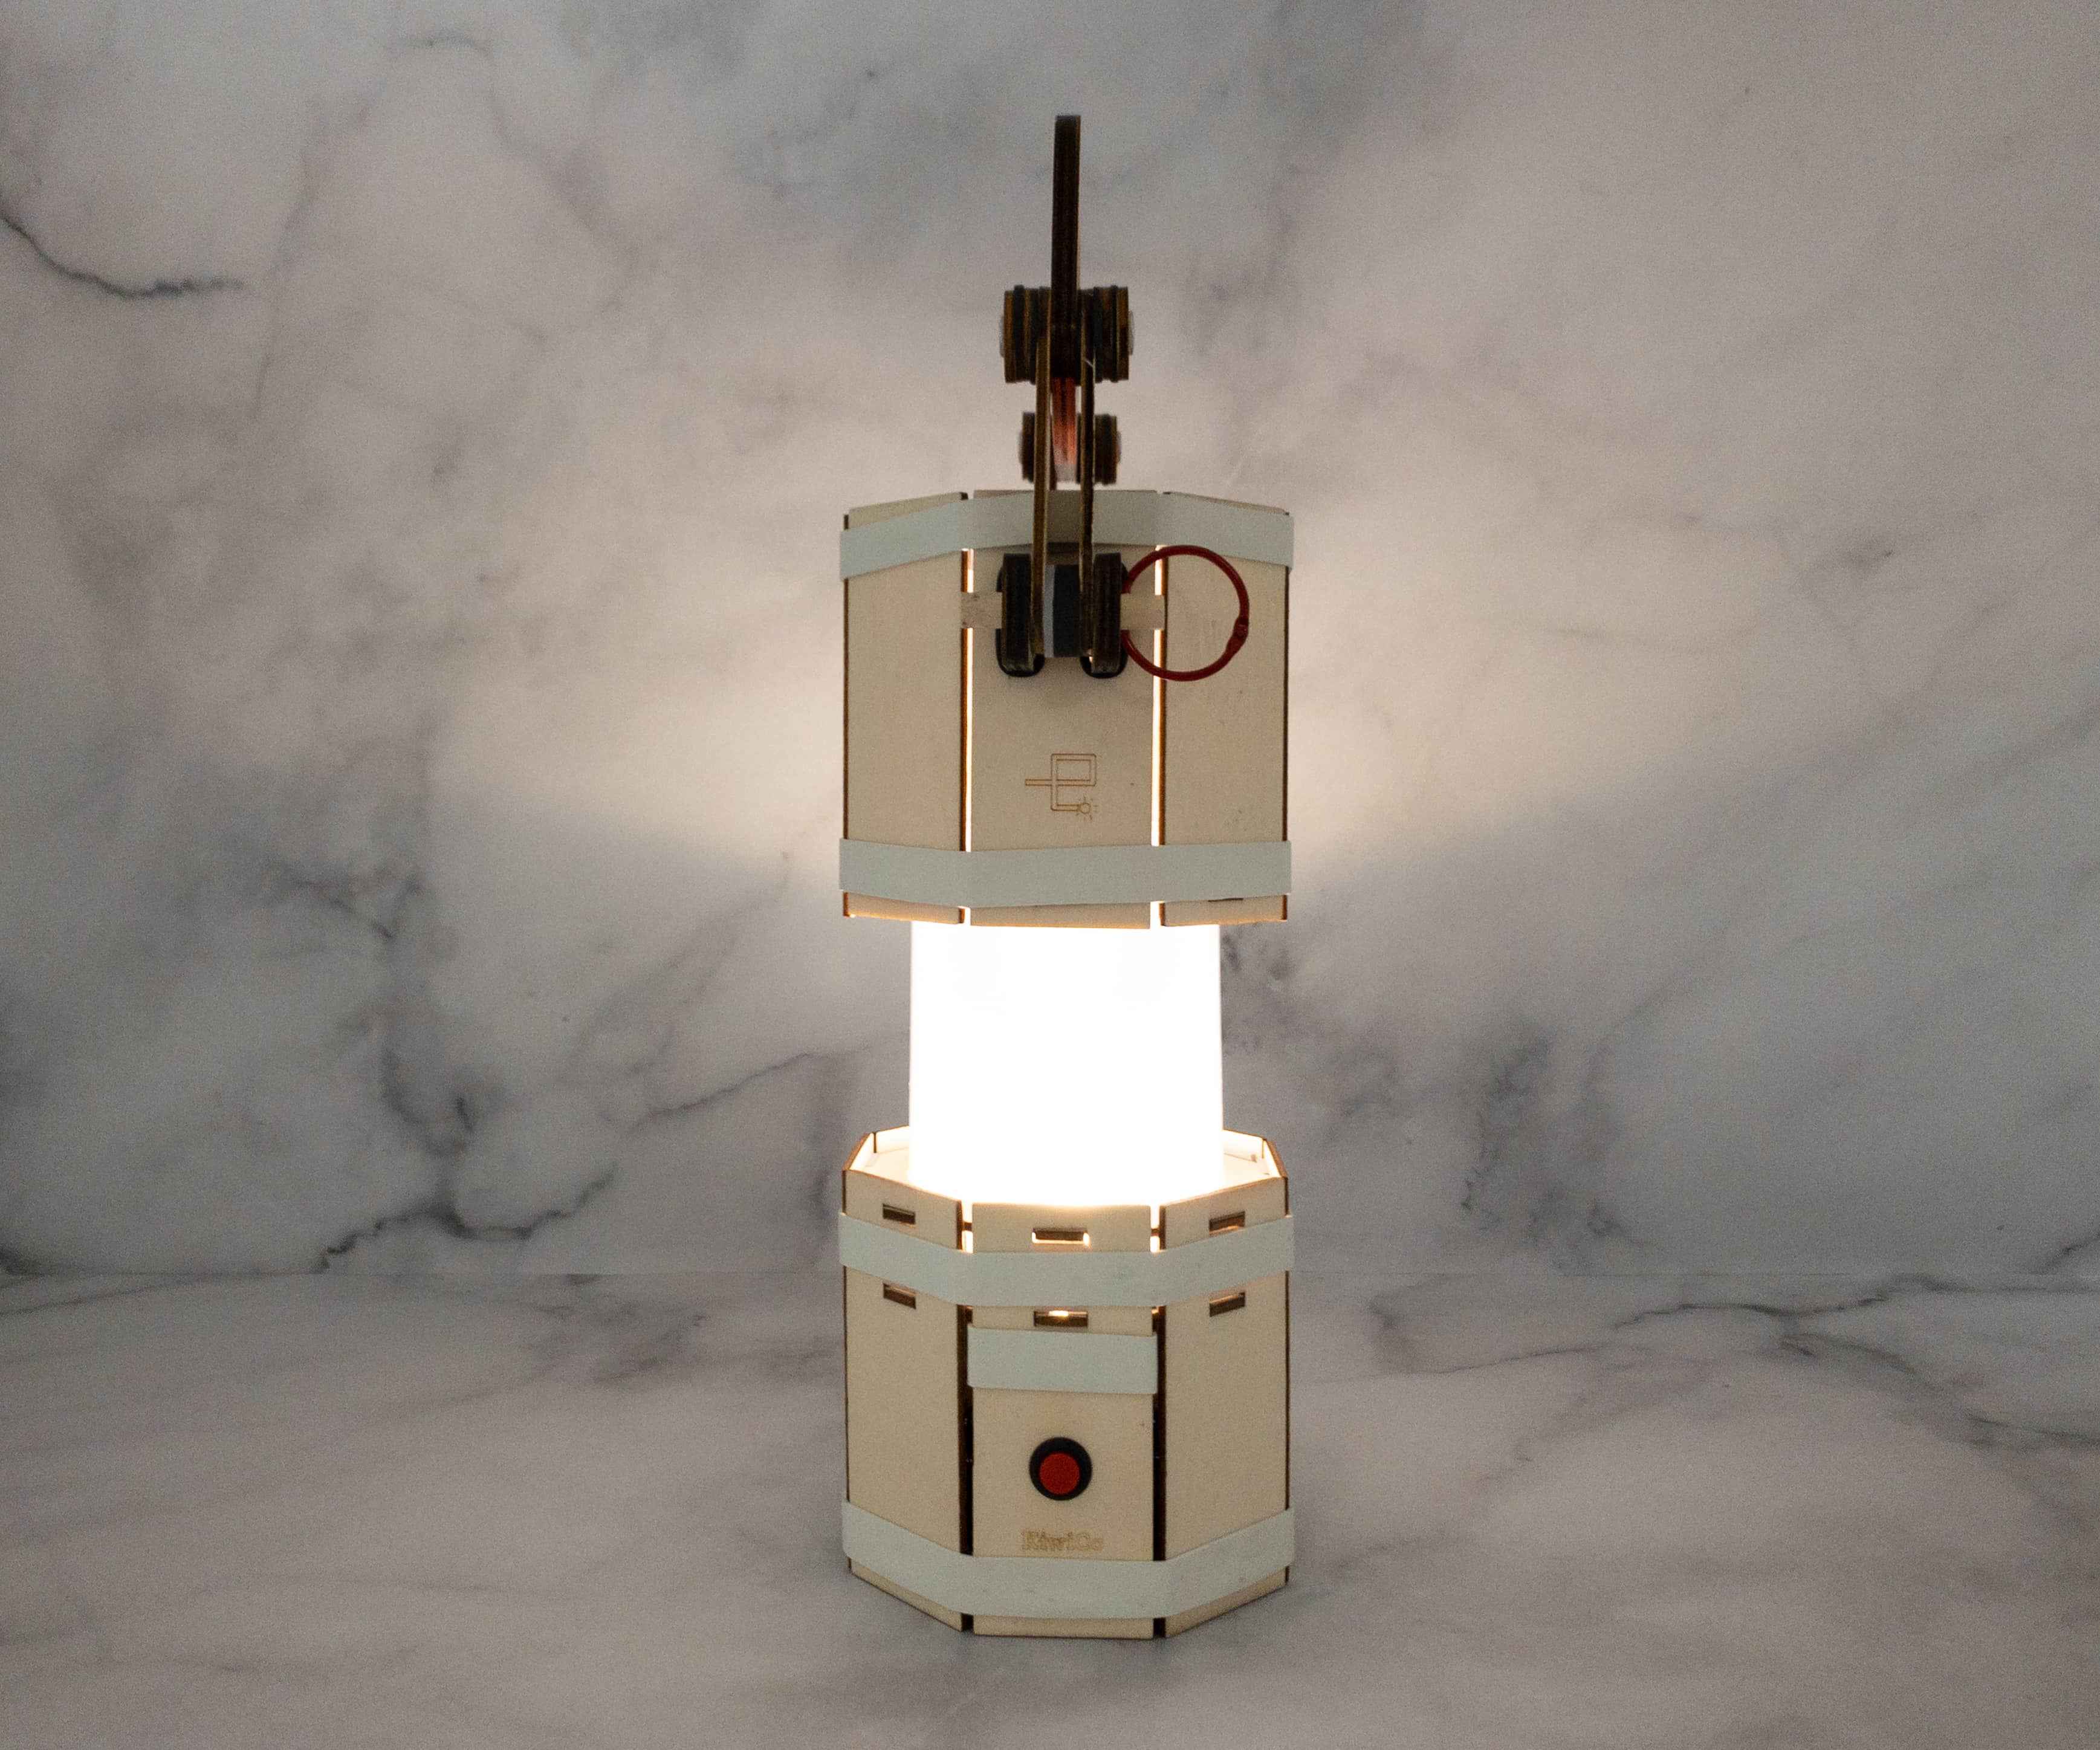
We tried to light it up in the dark, and it illuminates amazingly!
This is actually one of the best projects we did from Eureka Crate!
Our lantern is really useful, and we can also bring it during campings or even just for late-night reading sessions!

We can easily turn it to a flashlight as well. It’s great to have two types of light sources in one object!
It’s yet another useful and fun project to build! We’re excited whenever the projects from this crate involve electric circuits and battery packs, and this 2-in-1 lantern didn’t disappoint. We’re also happy about the finished product as it’s useful whether for the home or outdoors. The booklet is a fun read as well, as it contains lots of information about the science and history behind the project. It’s a great box overall, and it made a great bonding time for our family. This lantern is definitely one of the best projects we’ve encountered from this subscription!
What do you think of this month’s Eureka Crate?


Comments