Kiwi Crate is a kids’ craft and activity subscription that comes with everything you need to complete a great project or two, usually a pair of crafts that can be used as toys or playtime props. The box is geared for ages 5-8, and the projects are always age-appropriate, though some require more parental assistance than others.
Kiwi Crate is the most popular craft and activity subscription box for kids!
DEAL: Use this link to save 30% on your first box of Kiwi Crate! (or KiwiCo family subscriptions Tinker Crate, Koala Crate, Atlas Crate, Cricket Crate, and Doodle Crate).
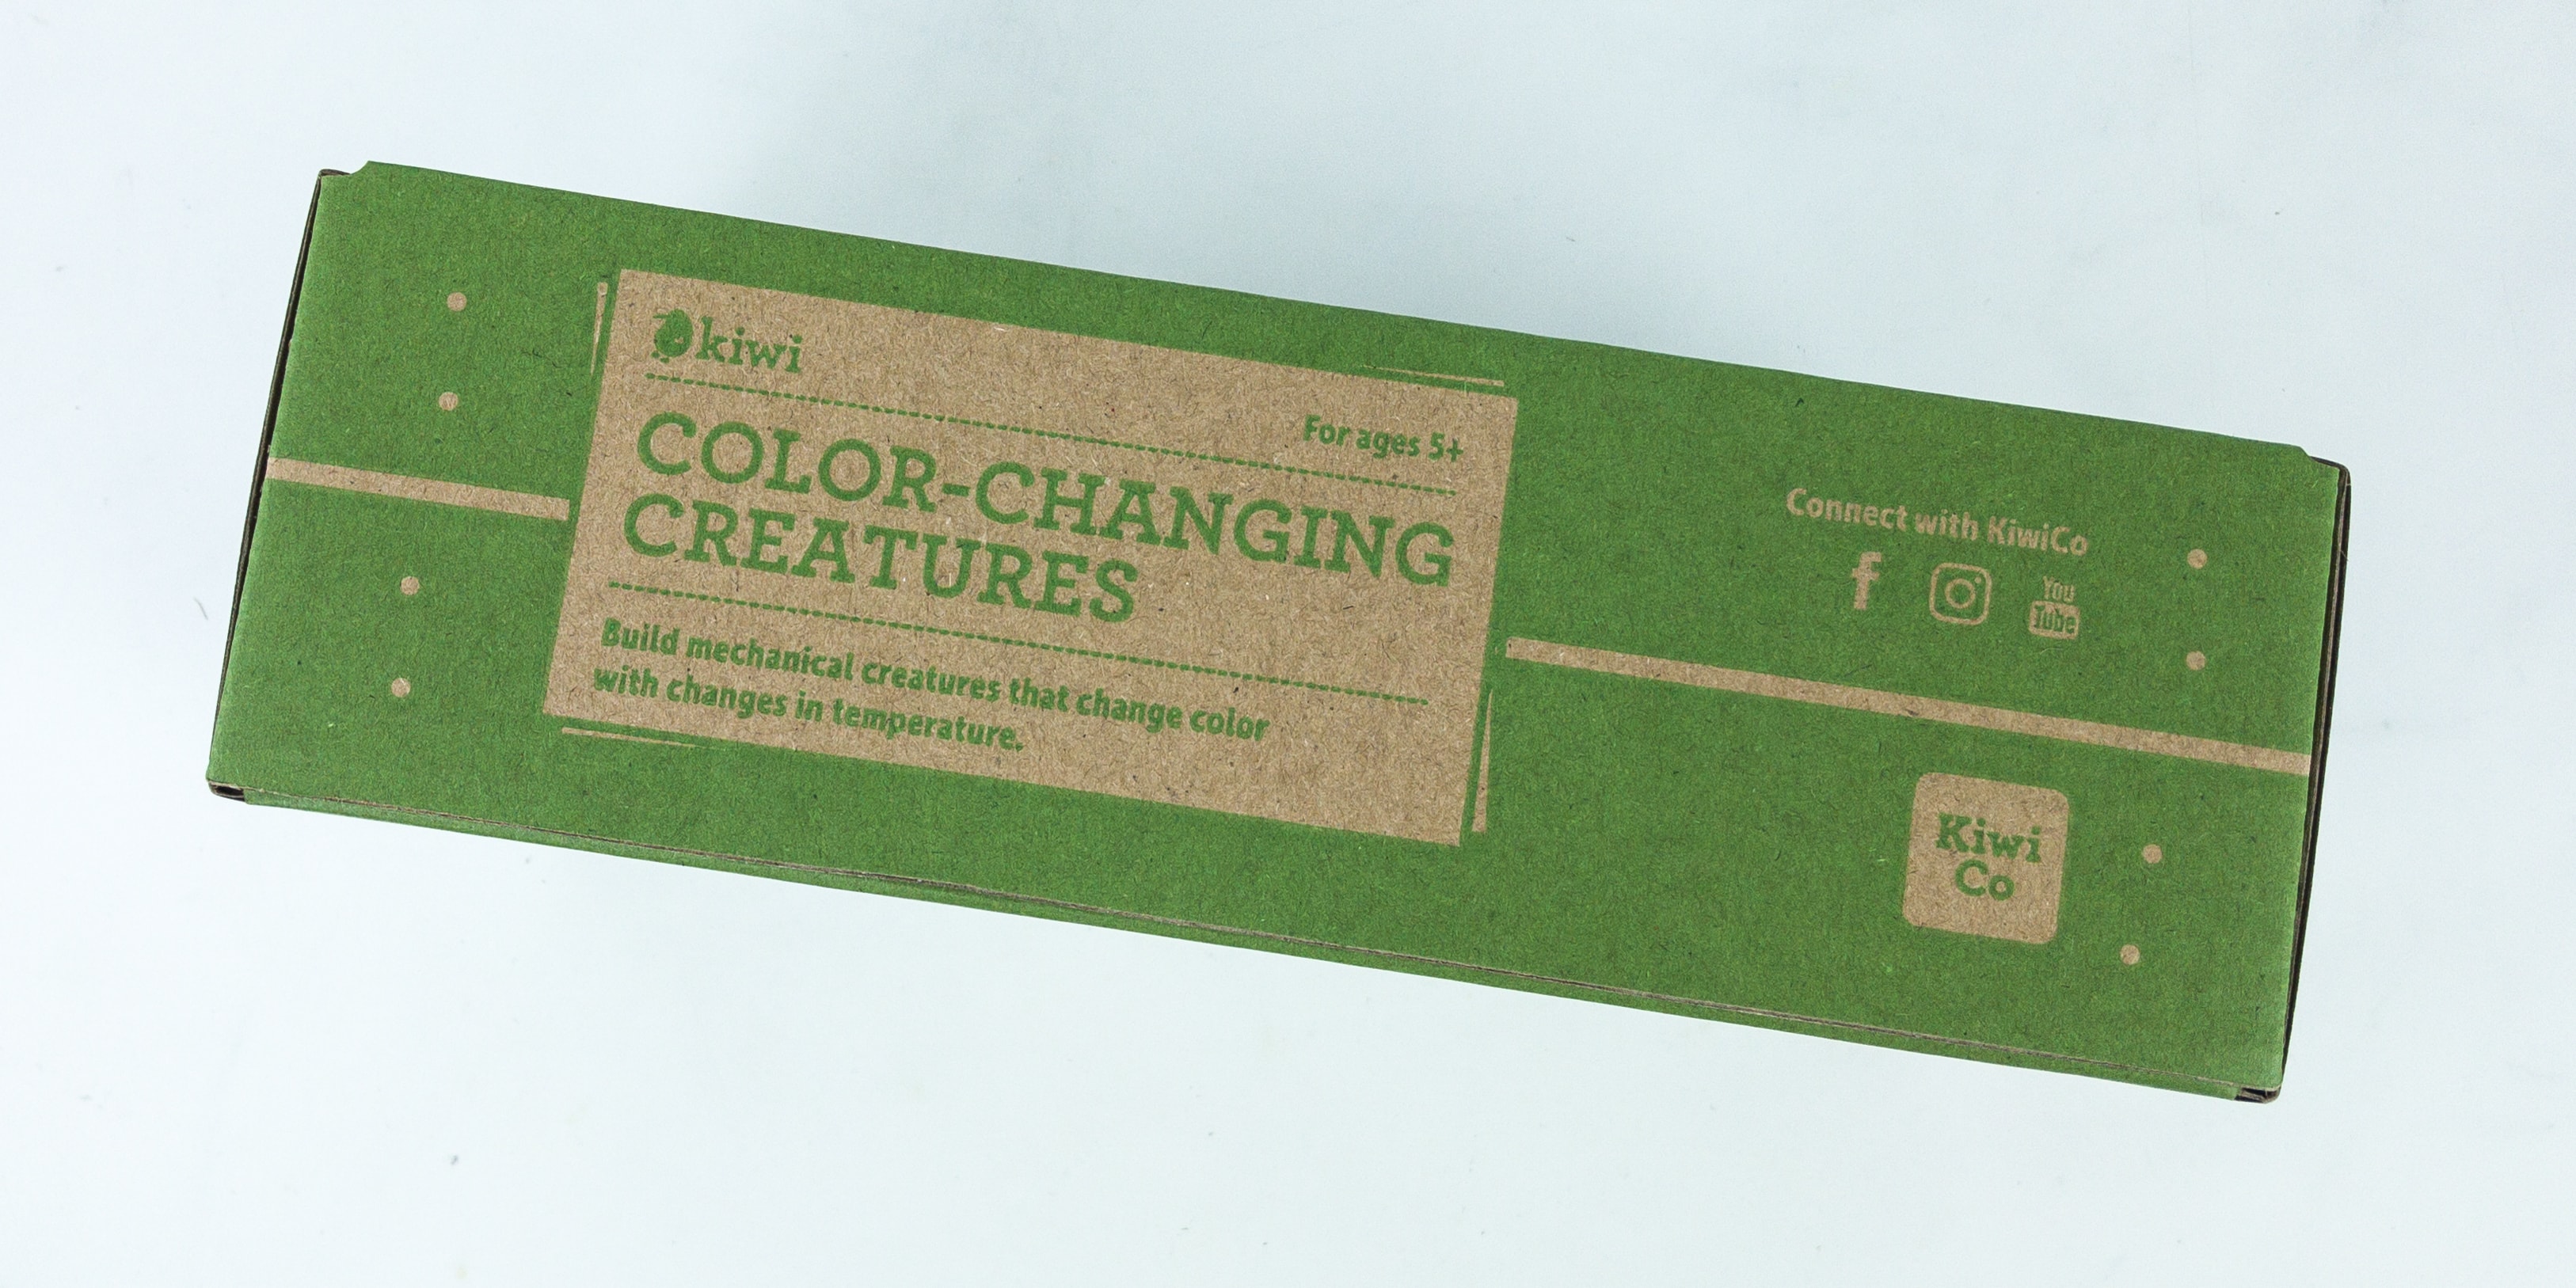
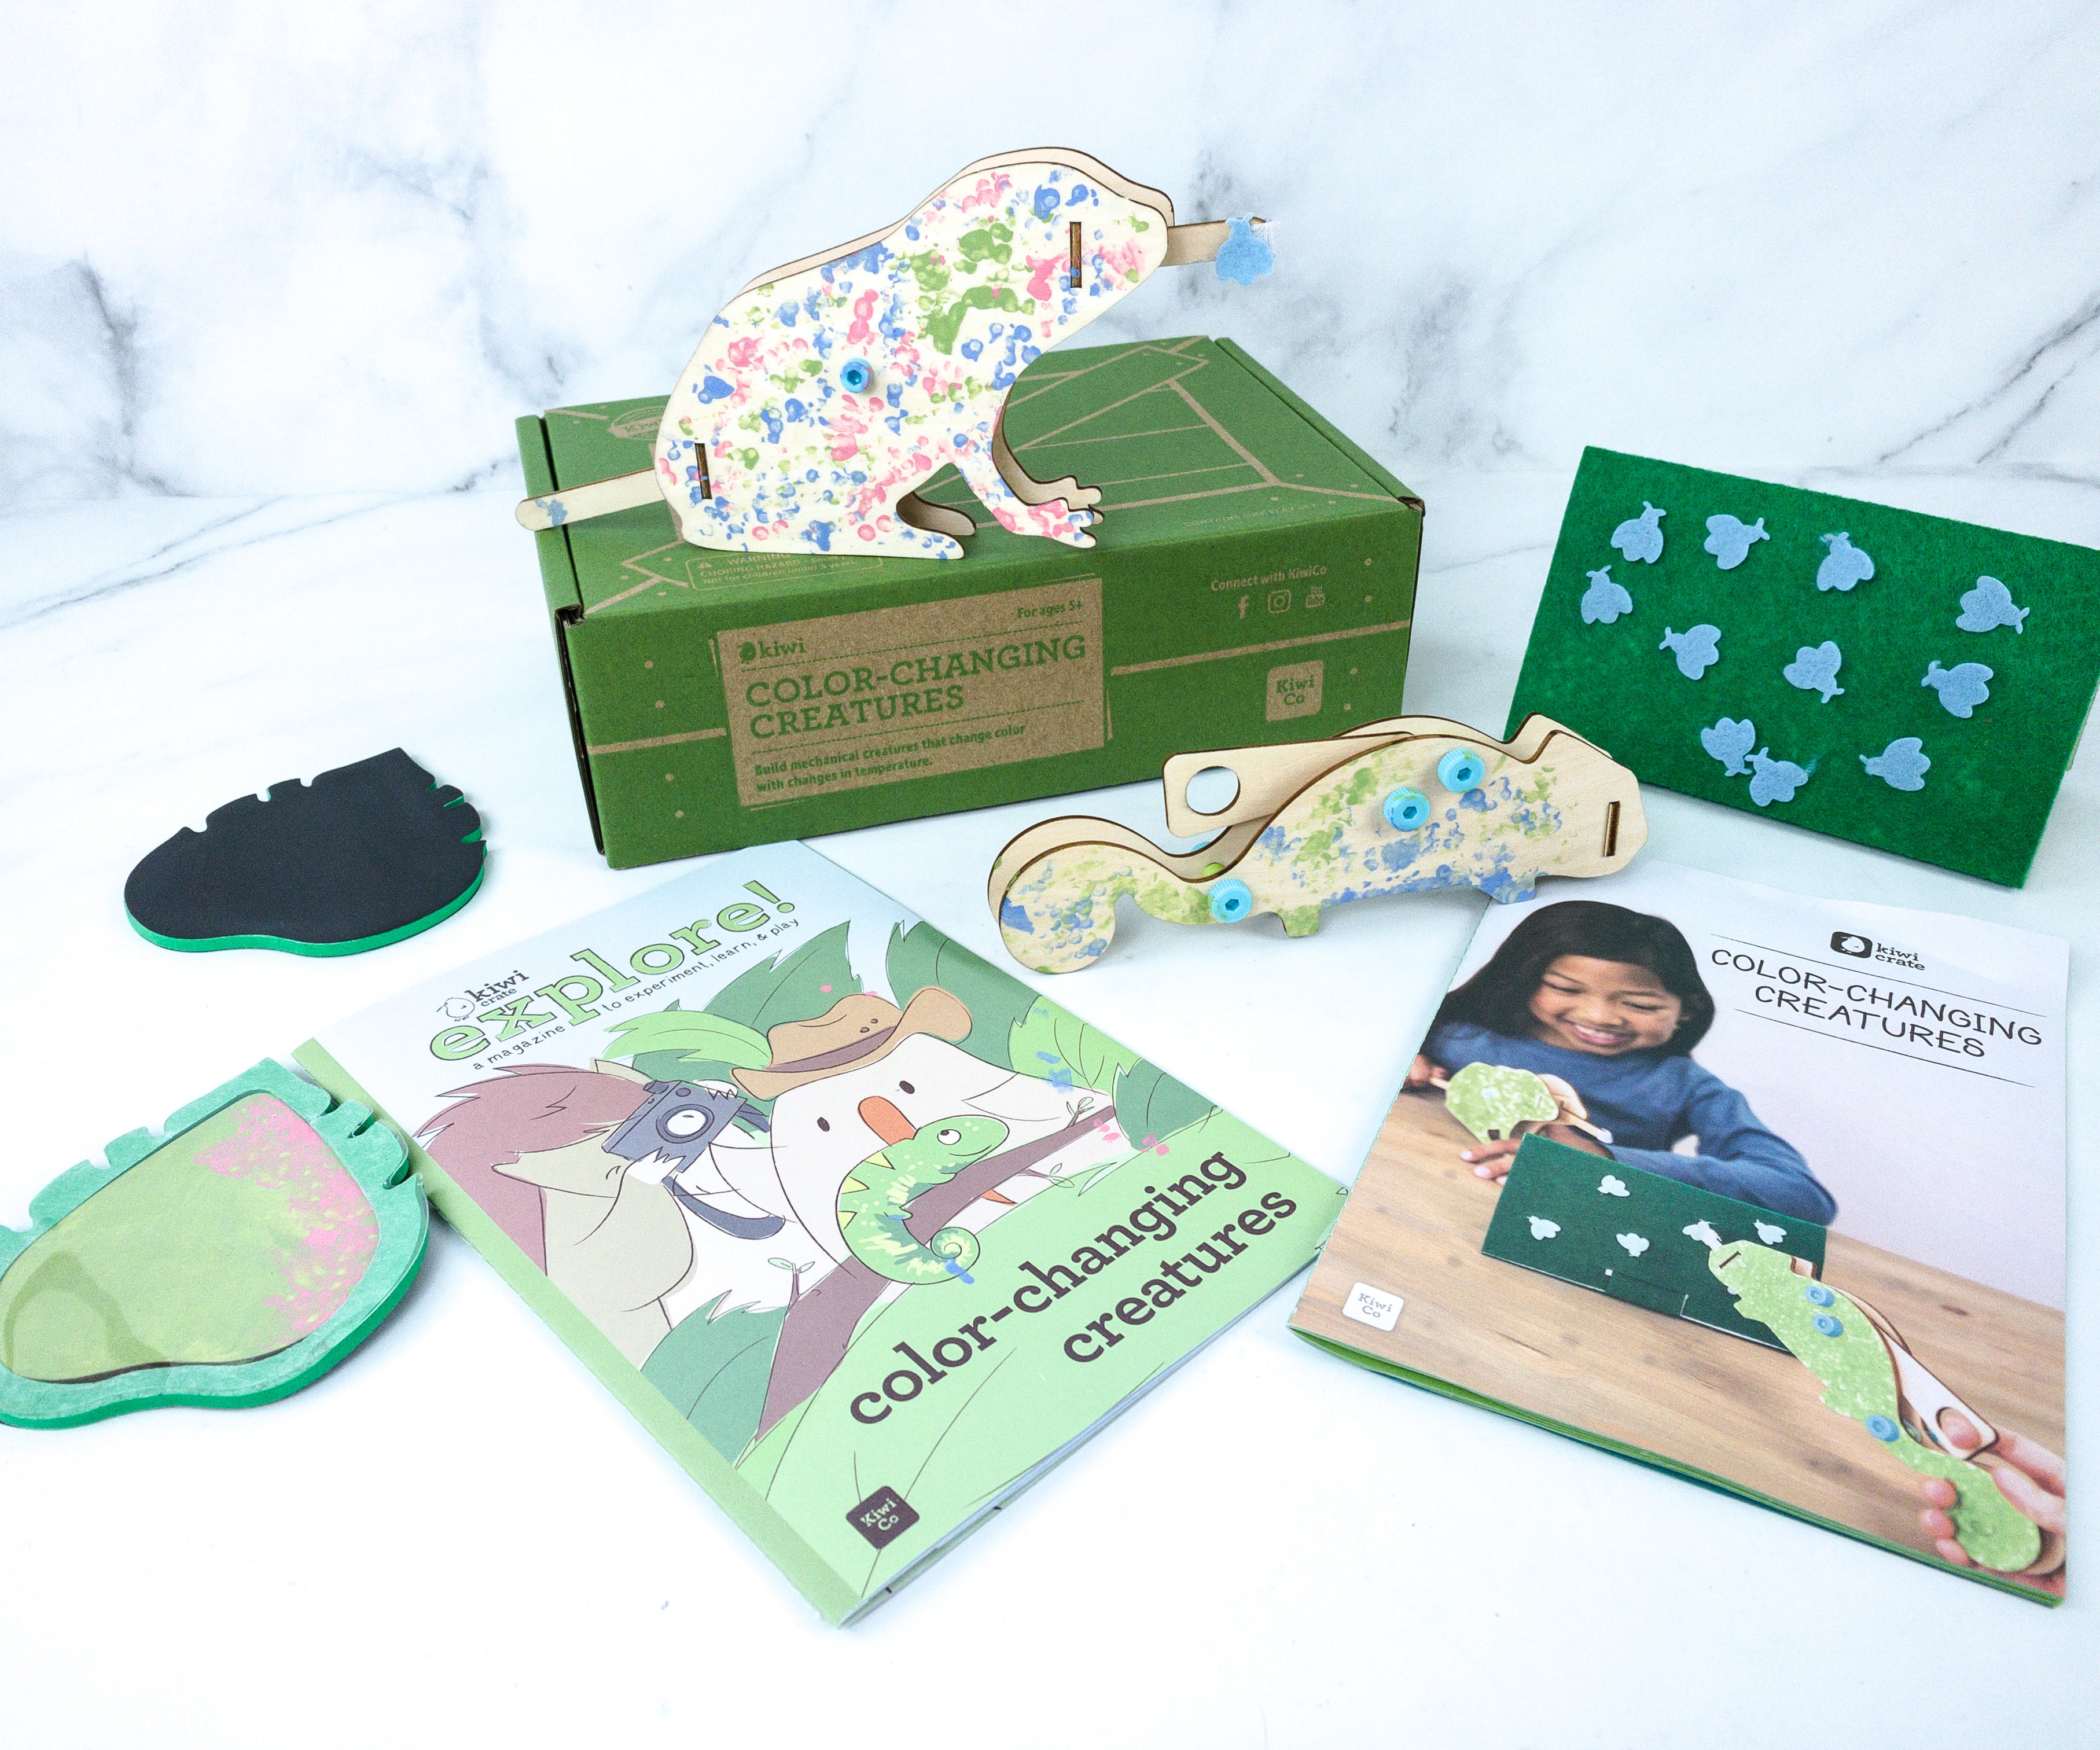
This month’s theme is COLOR-CHANGING CREATURES!
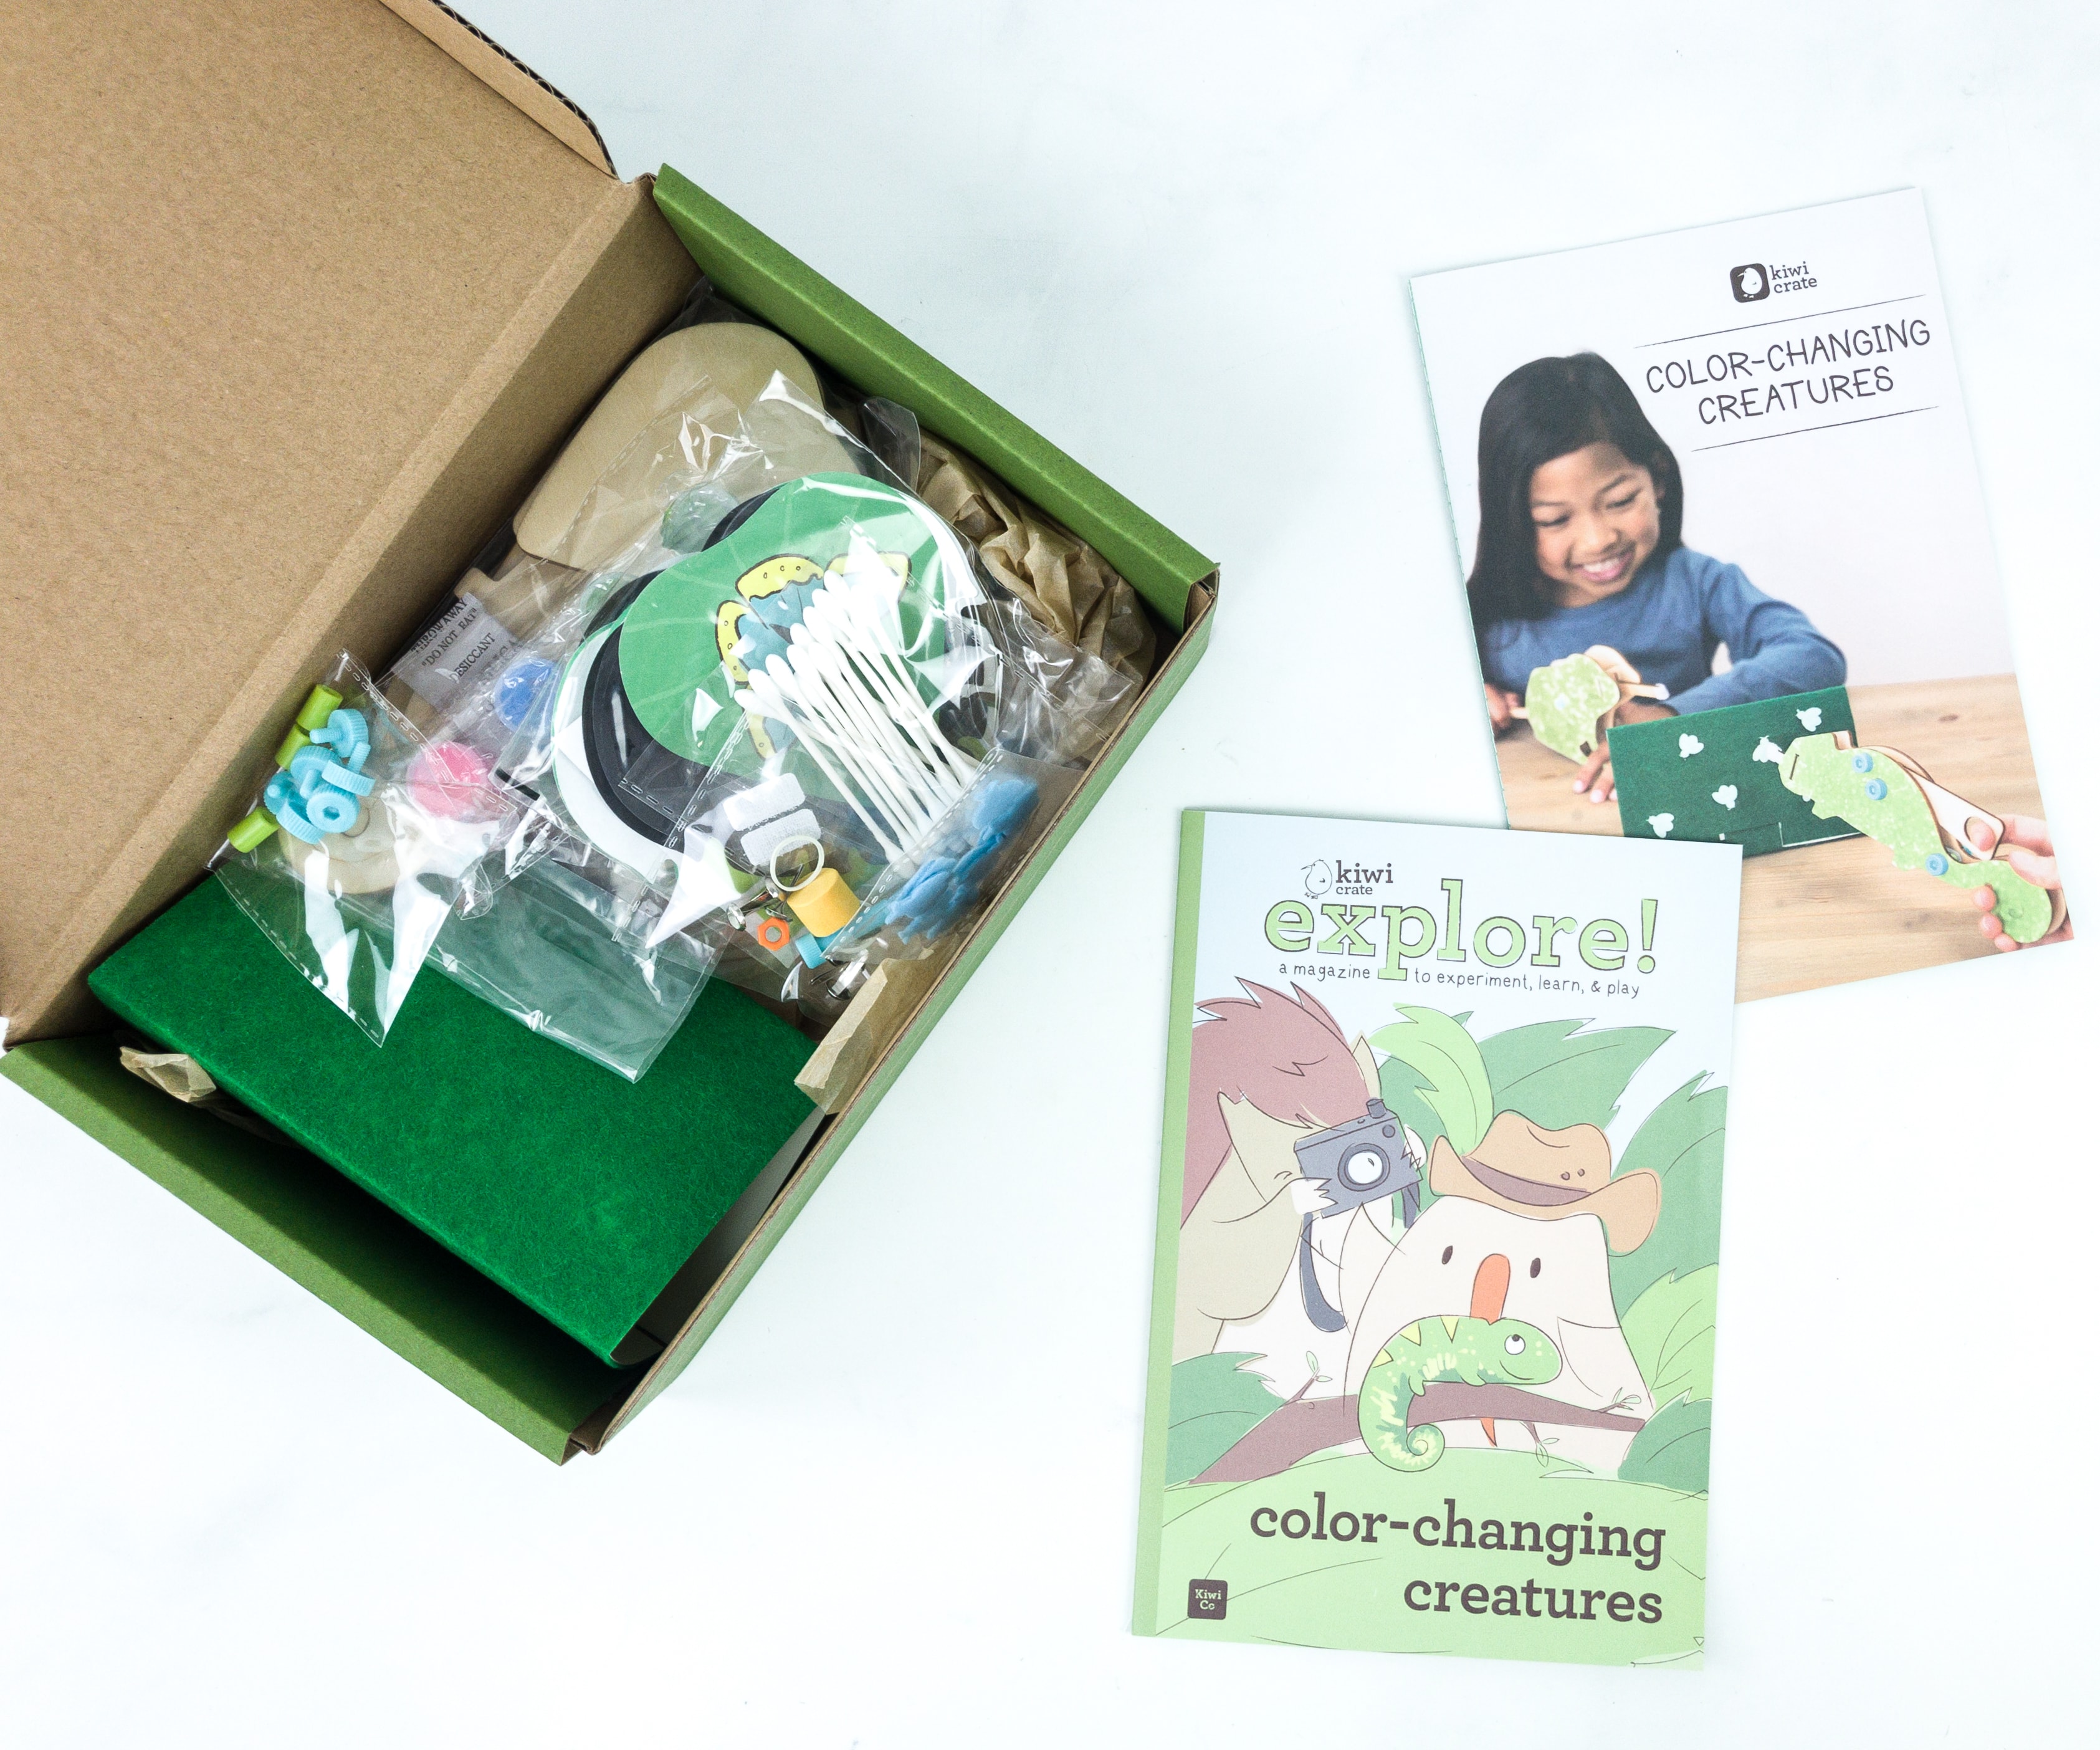
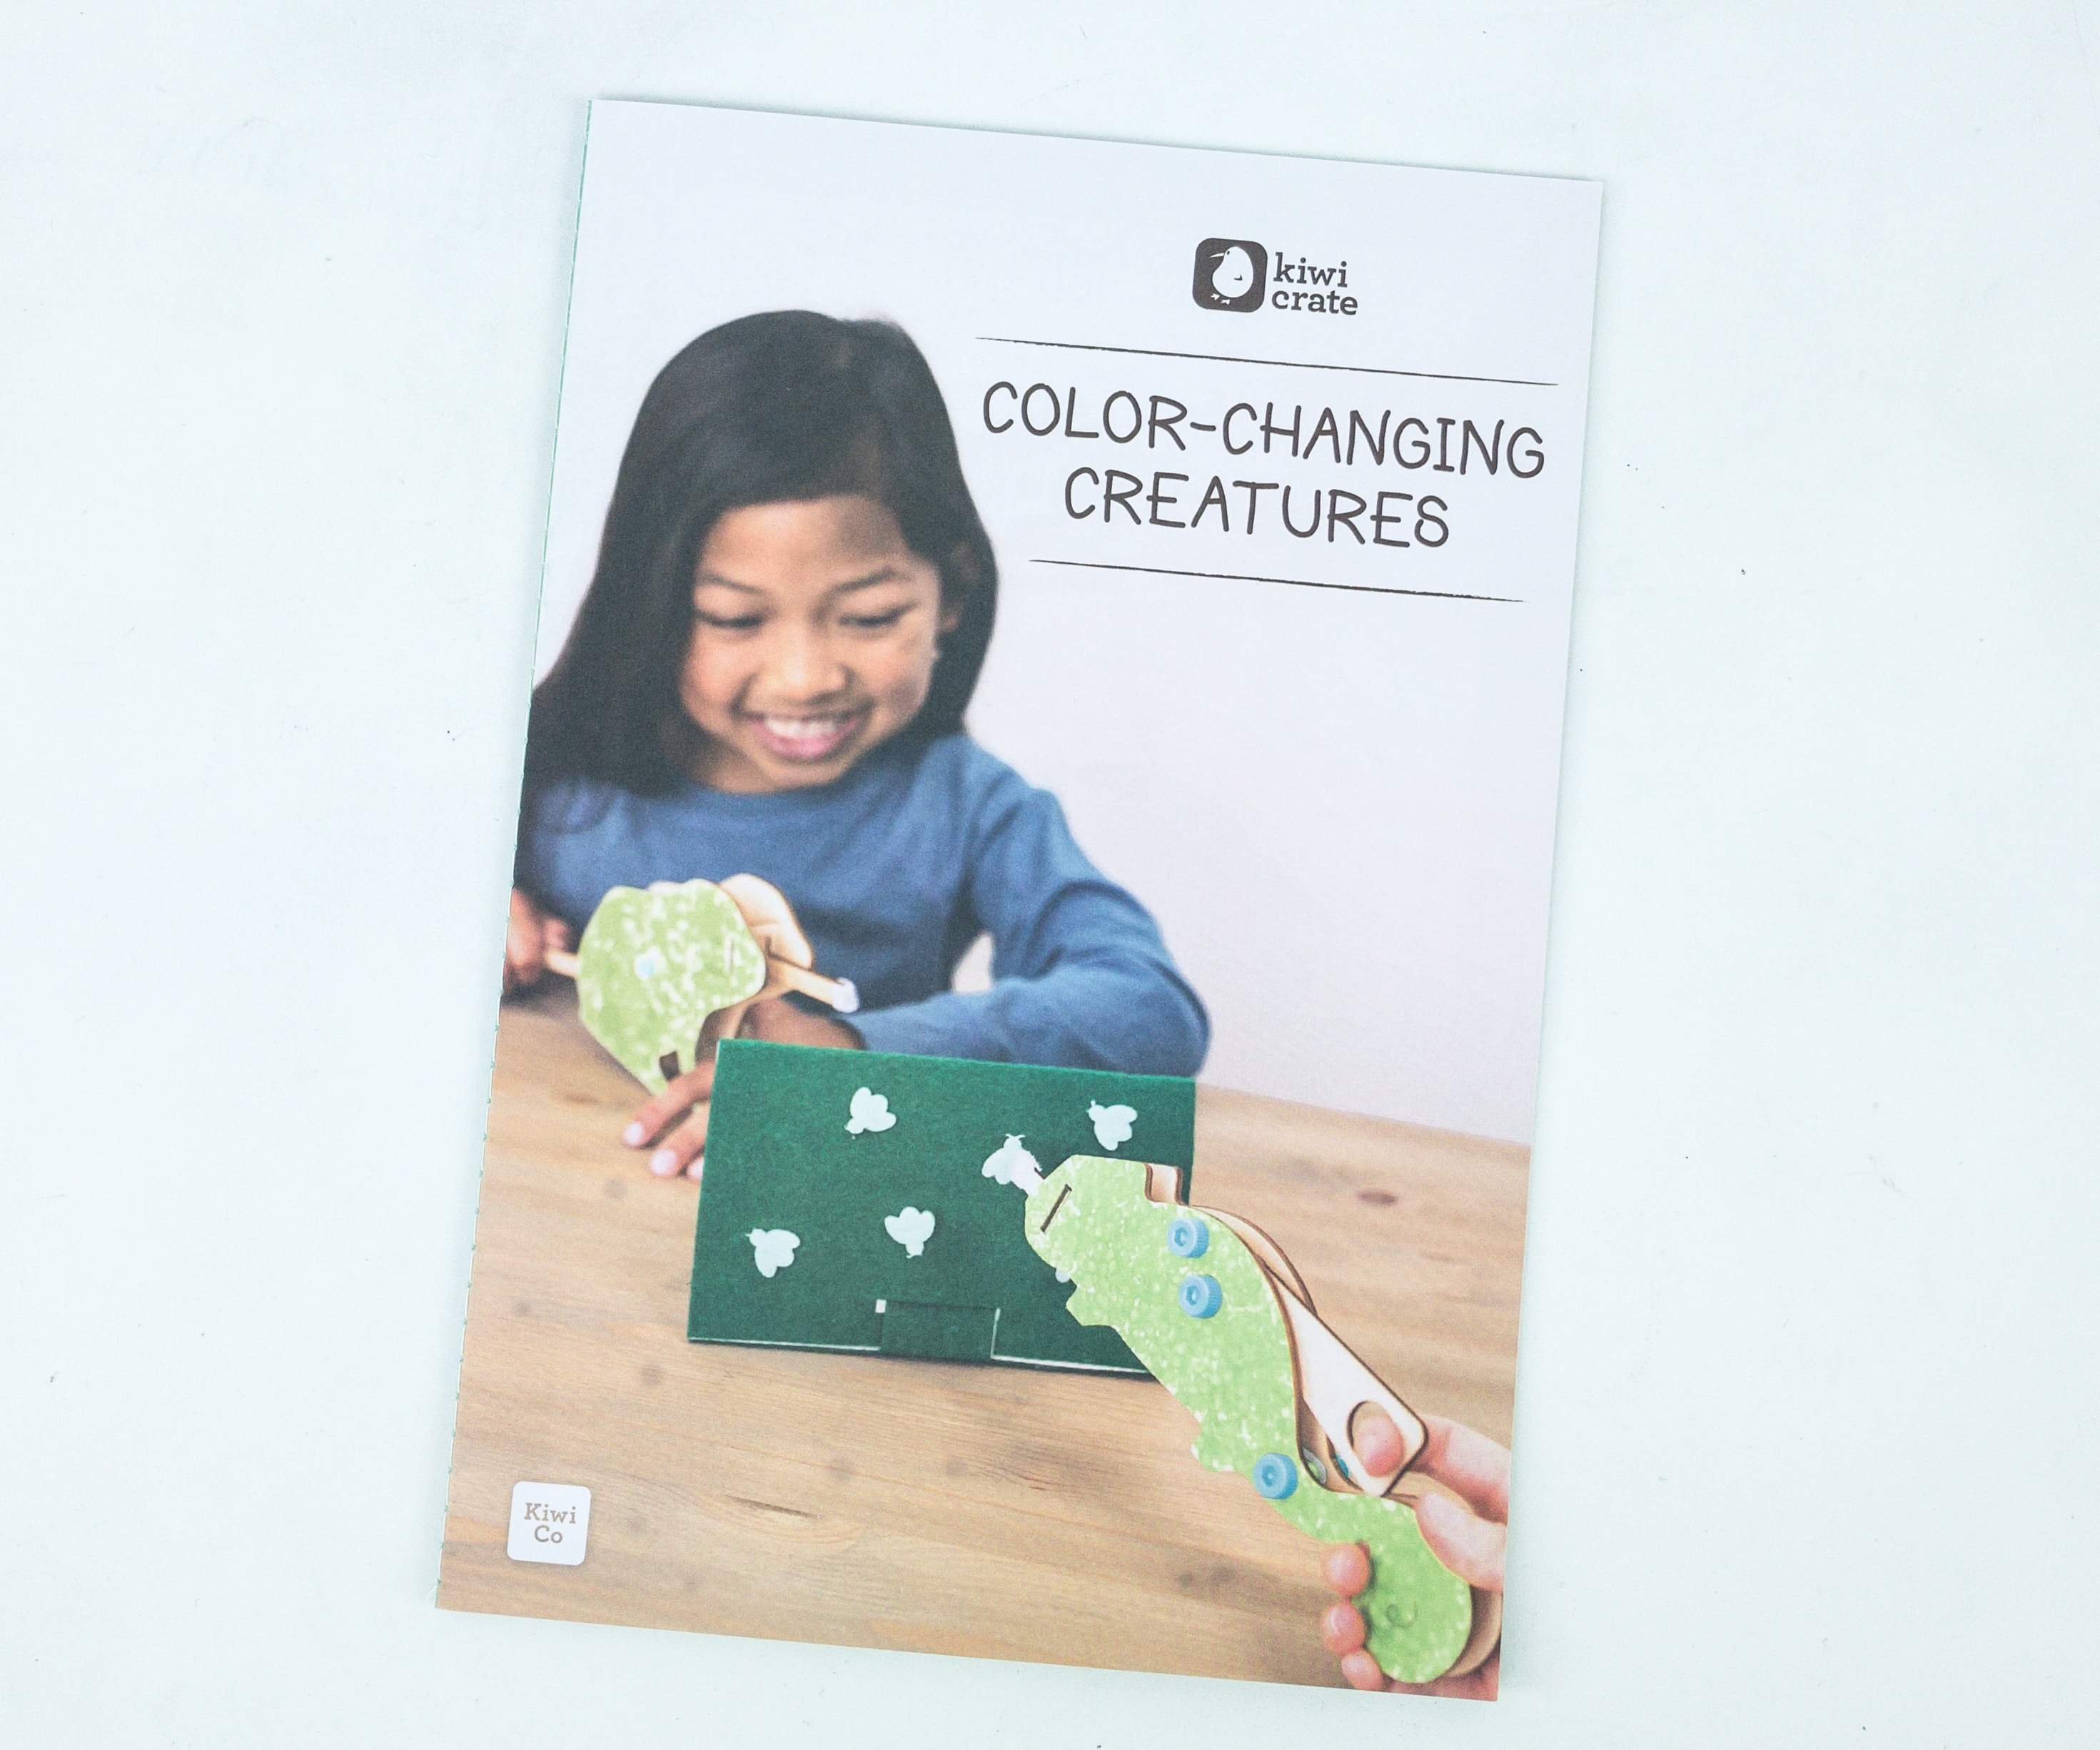
Kiwi Crate includes all necessary supplies for the featured activities, plus explore! magazine.
Engineer a pair of linkage-powered critters that stick their tongues out when you pull a tab, then use them to play a felt fly-catching game. Paint your critters with thermochromic paint that changes color when heated. Finish off by crafting a set of color-changing coasters!.
Explore! Magazine
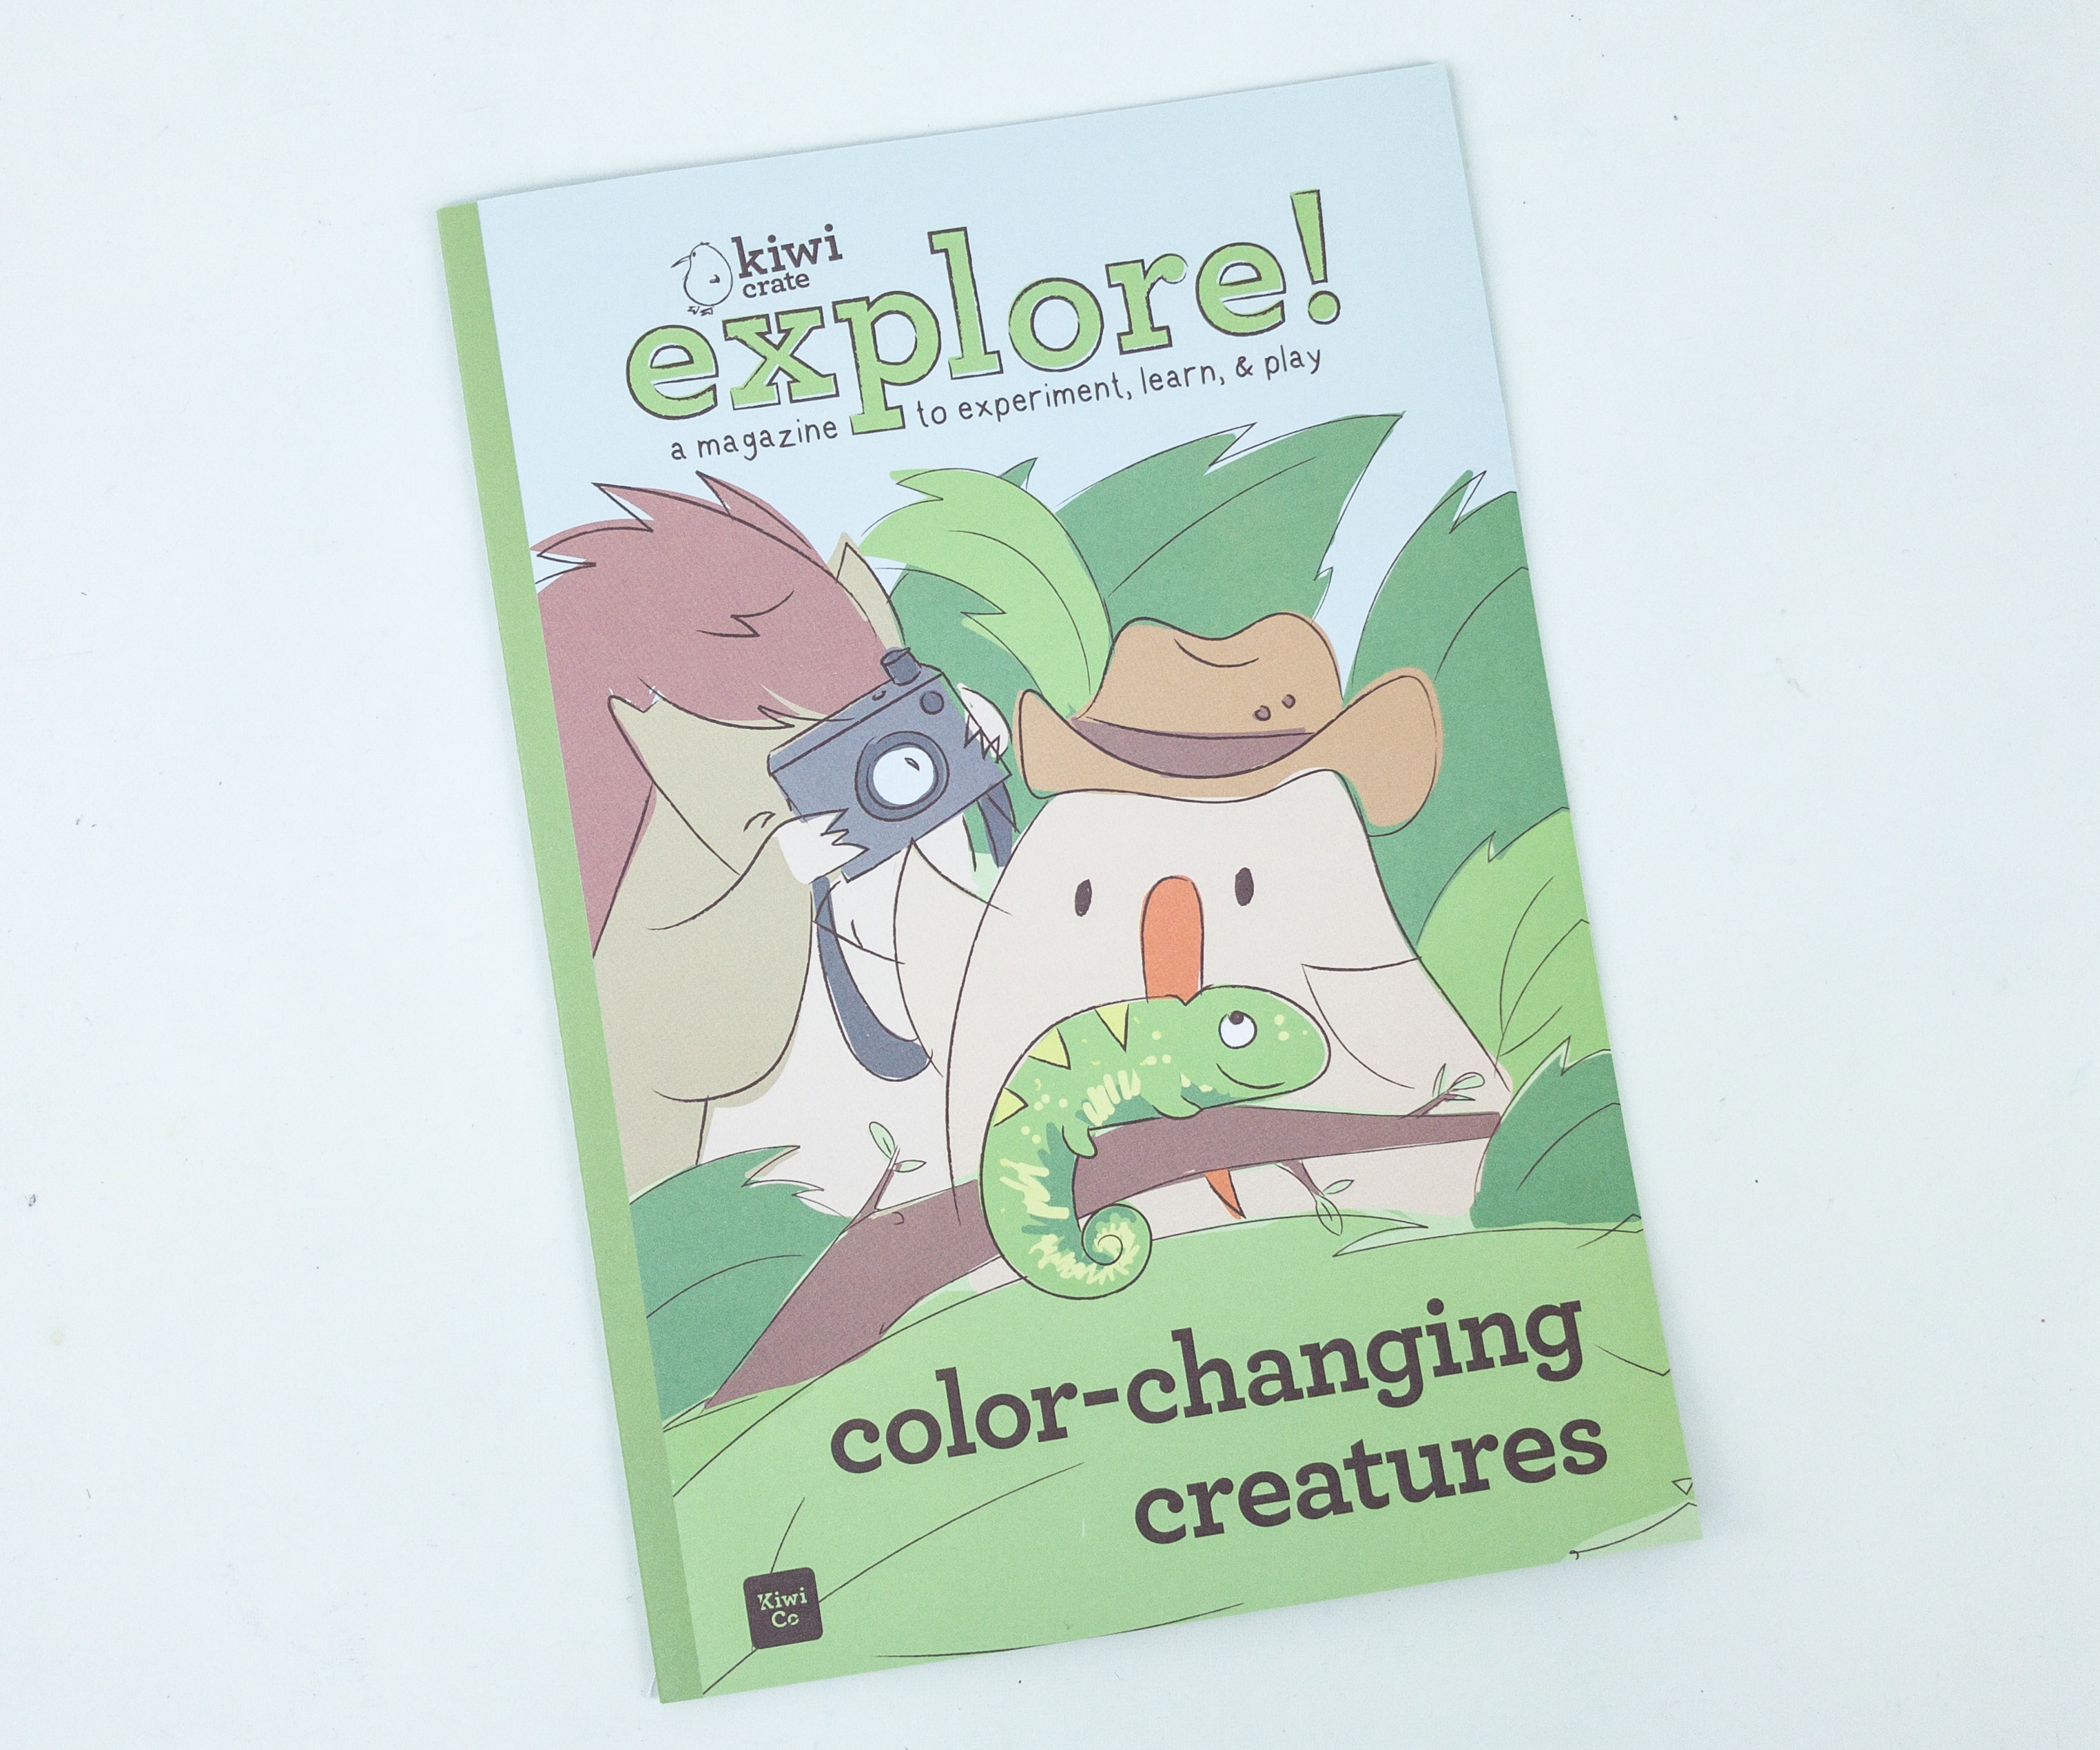
An issue of explore magazine is included in every Crate. It is full of fun content that brings the project to life. explore! has read, draw, learn, explore, eat, and make designated activities. There is really a lot to look at and read – a comic, puzzles, and games – and it really extends your young one’s engagement with the Crate. Each expands on the theme of the box, whether through factoids, drawing activities, or recipes, but the variation is helpful for engaging different learning styles and interests.

Tinker, Create, Innovate
KiwiCo equips the next generation of innovators with the tools and confidence for creative exploration and problem solving.
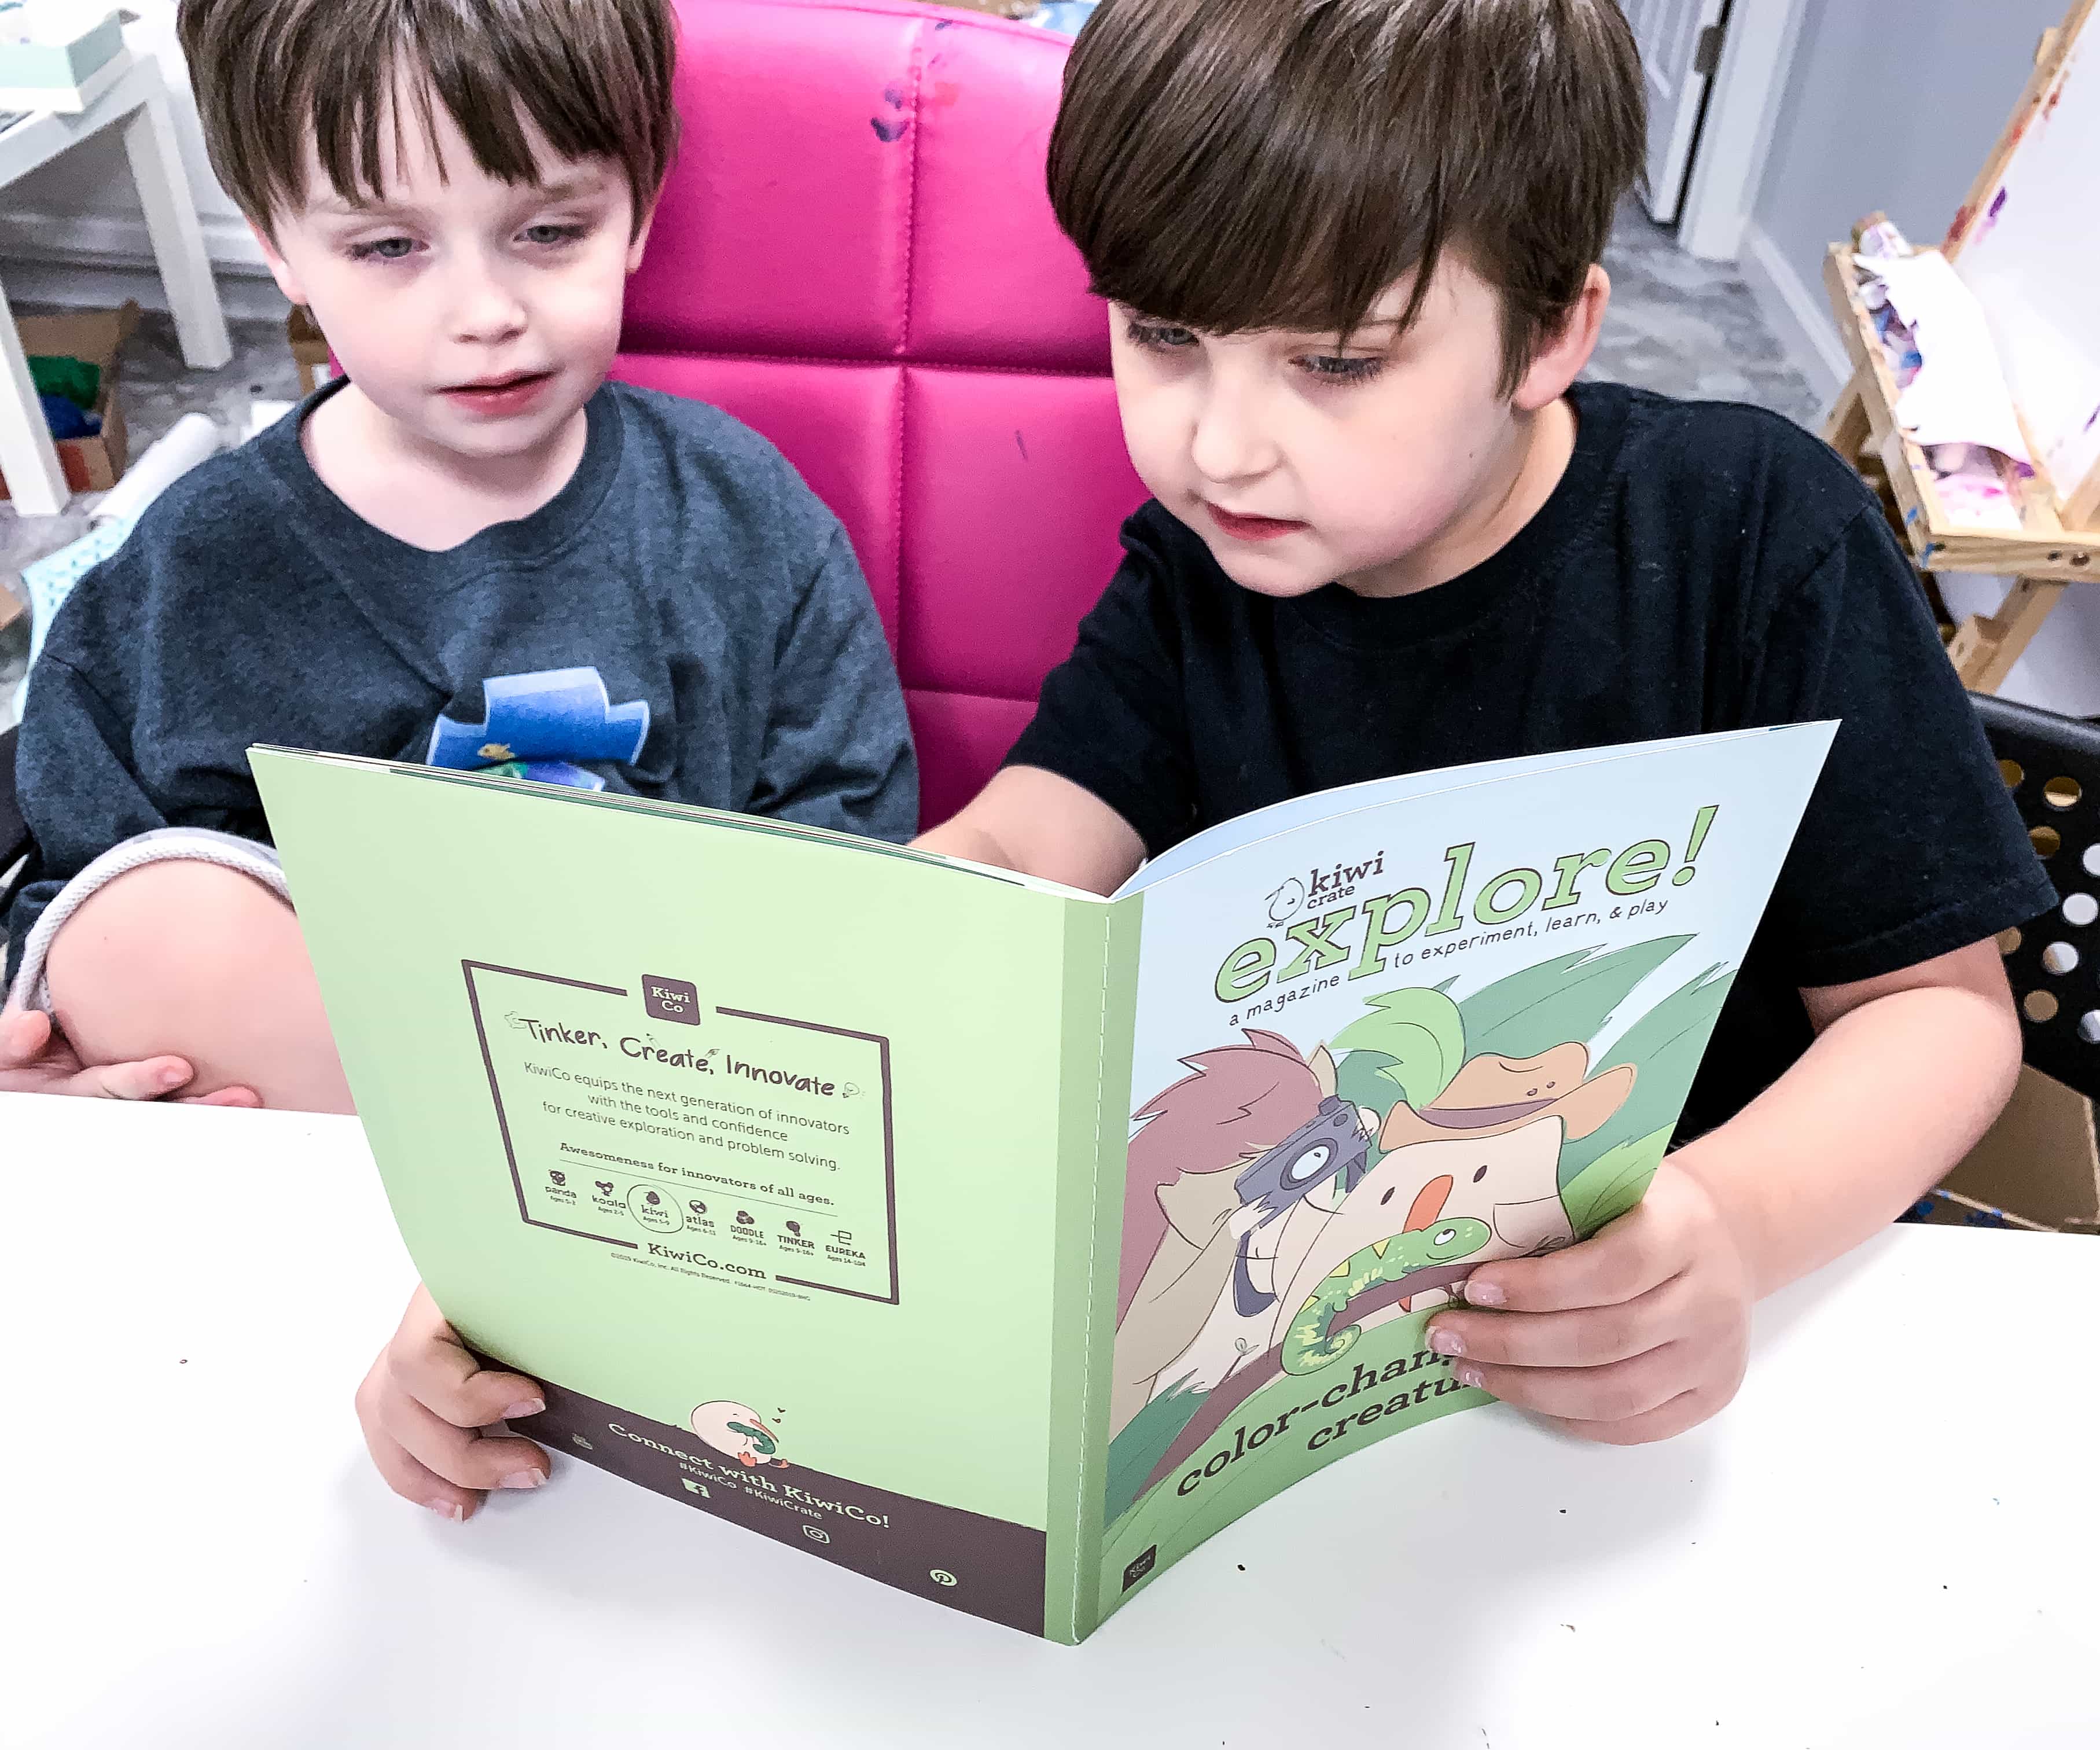
My kids love reading this magazine, they find it truly enjoyable!
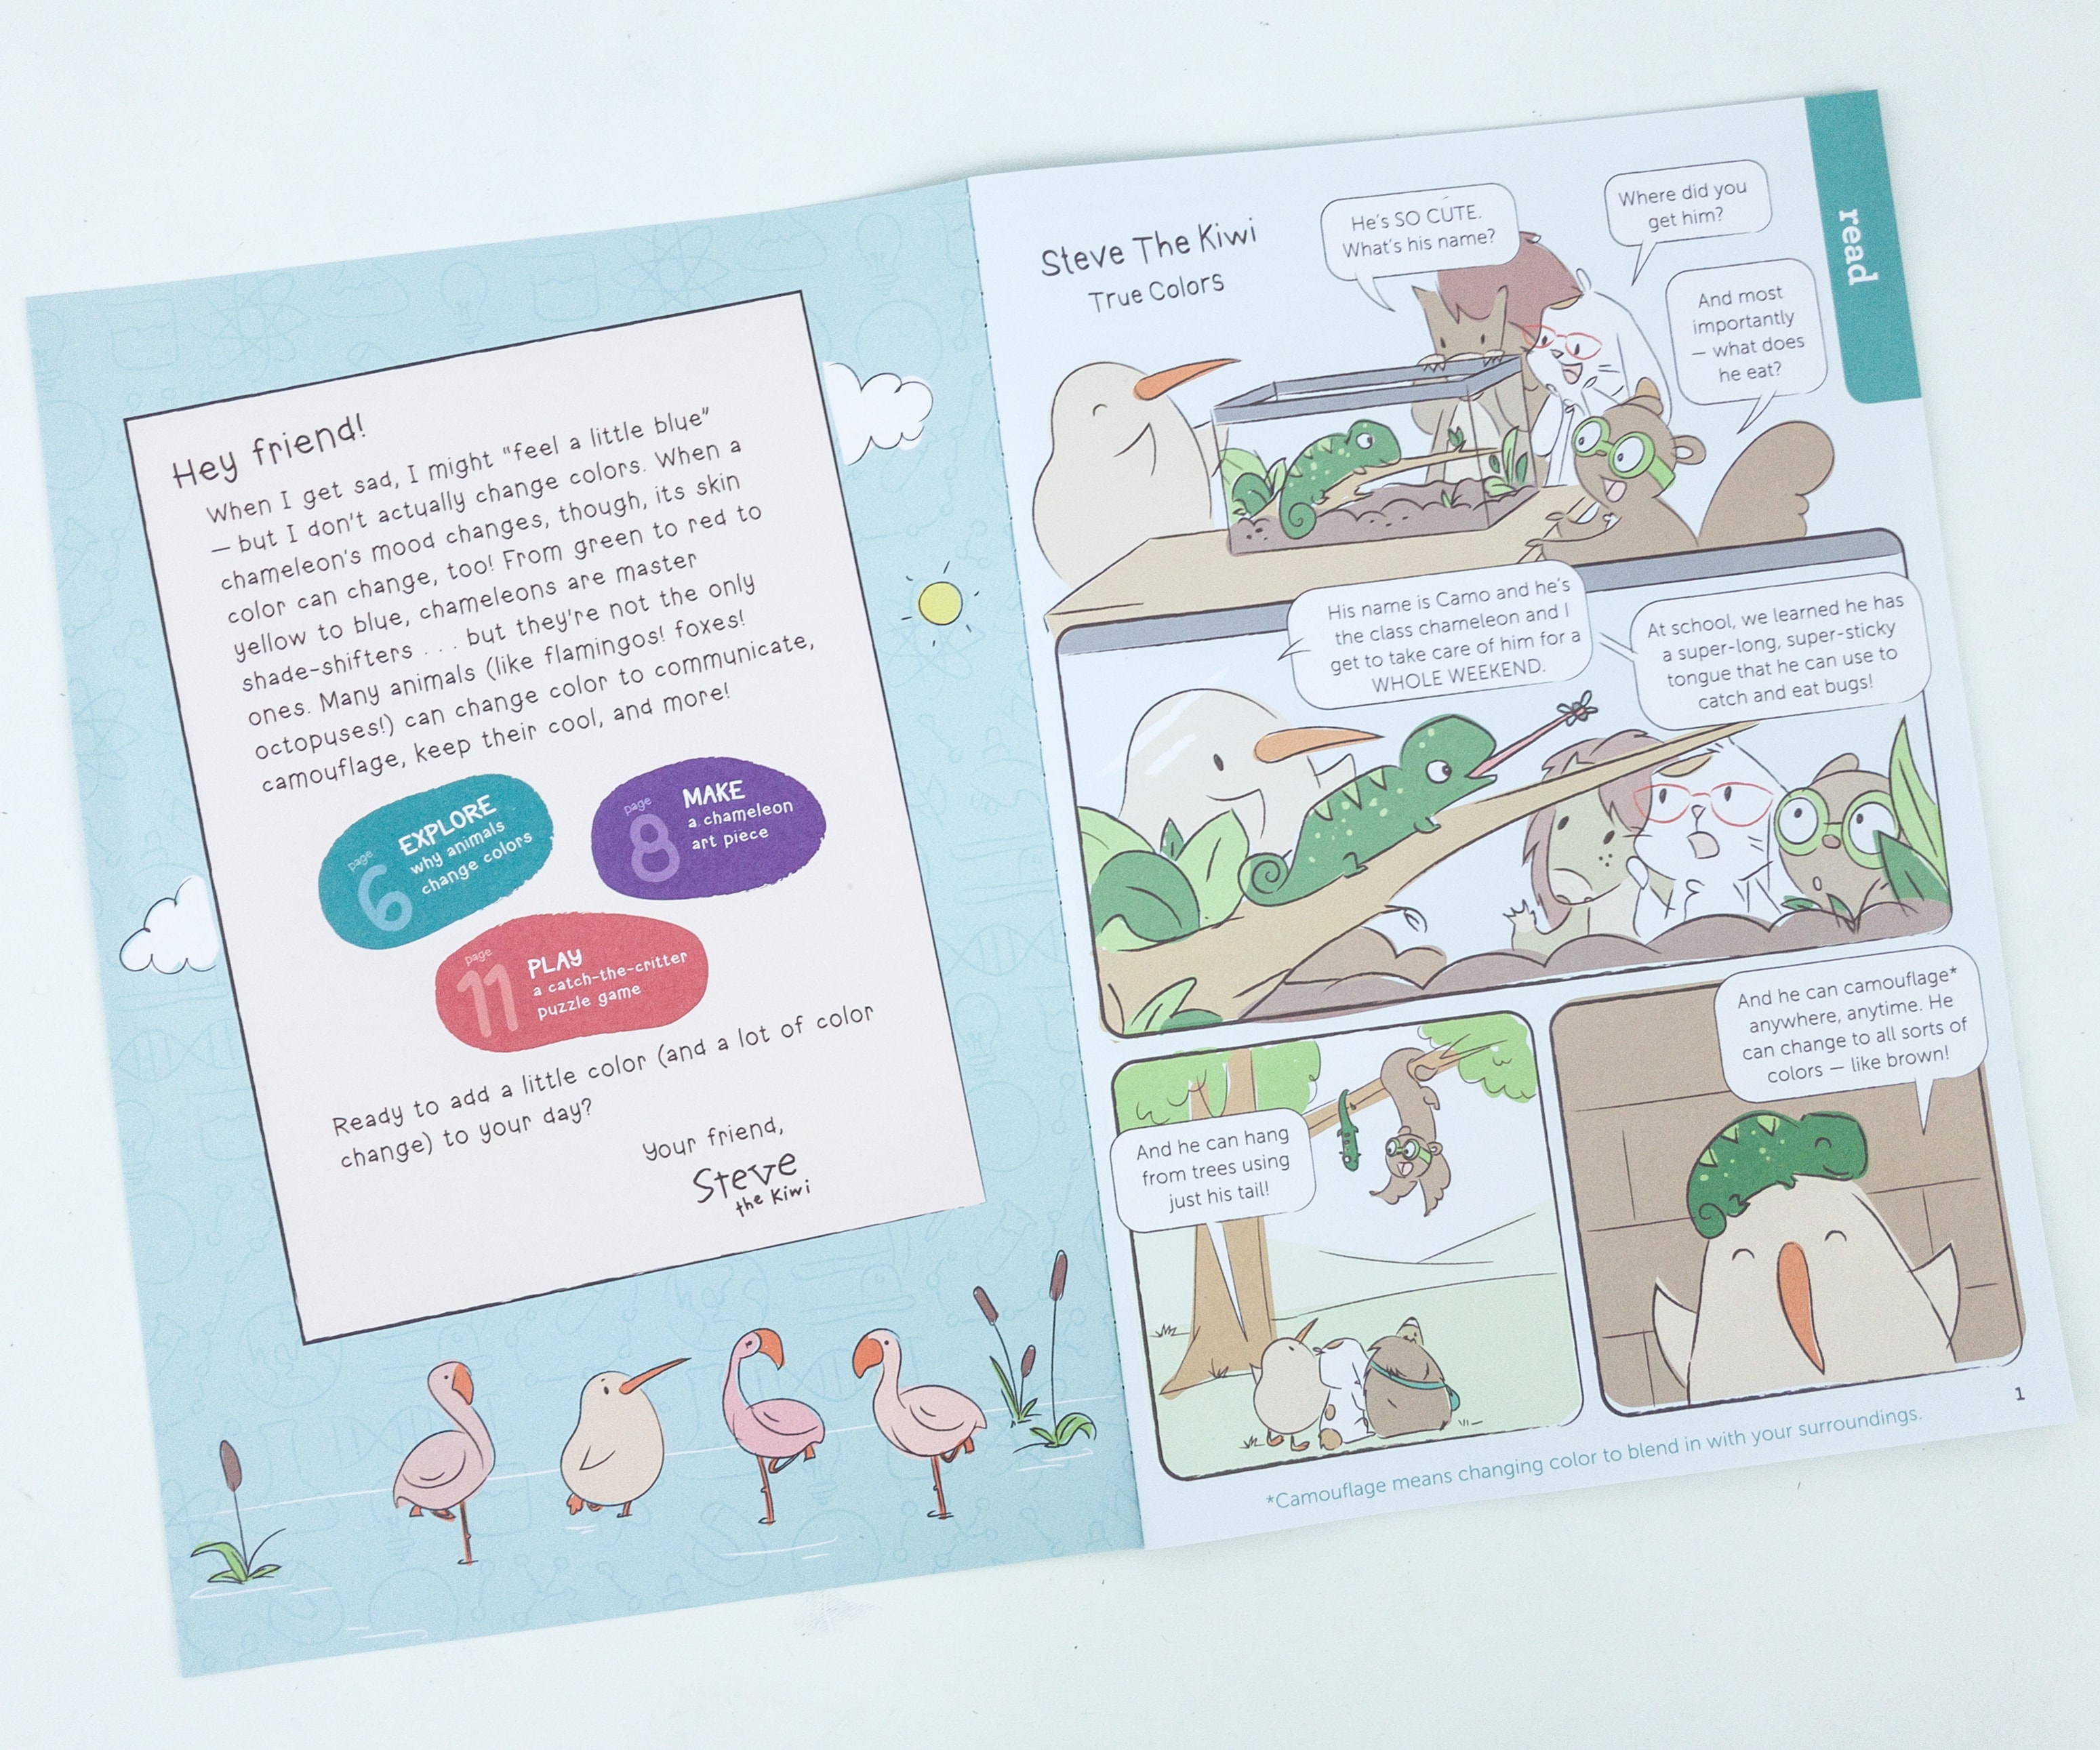
There is always a comic featuring Steve the Kiwi and his pals.
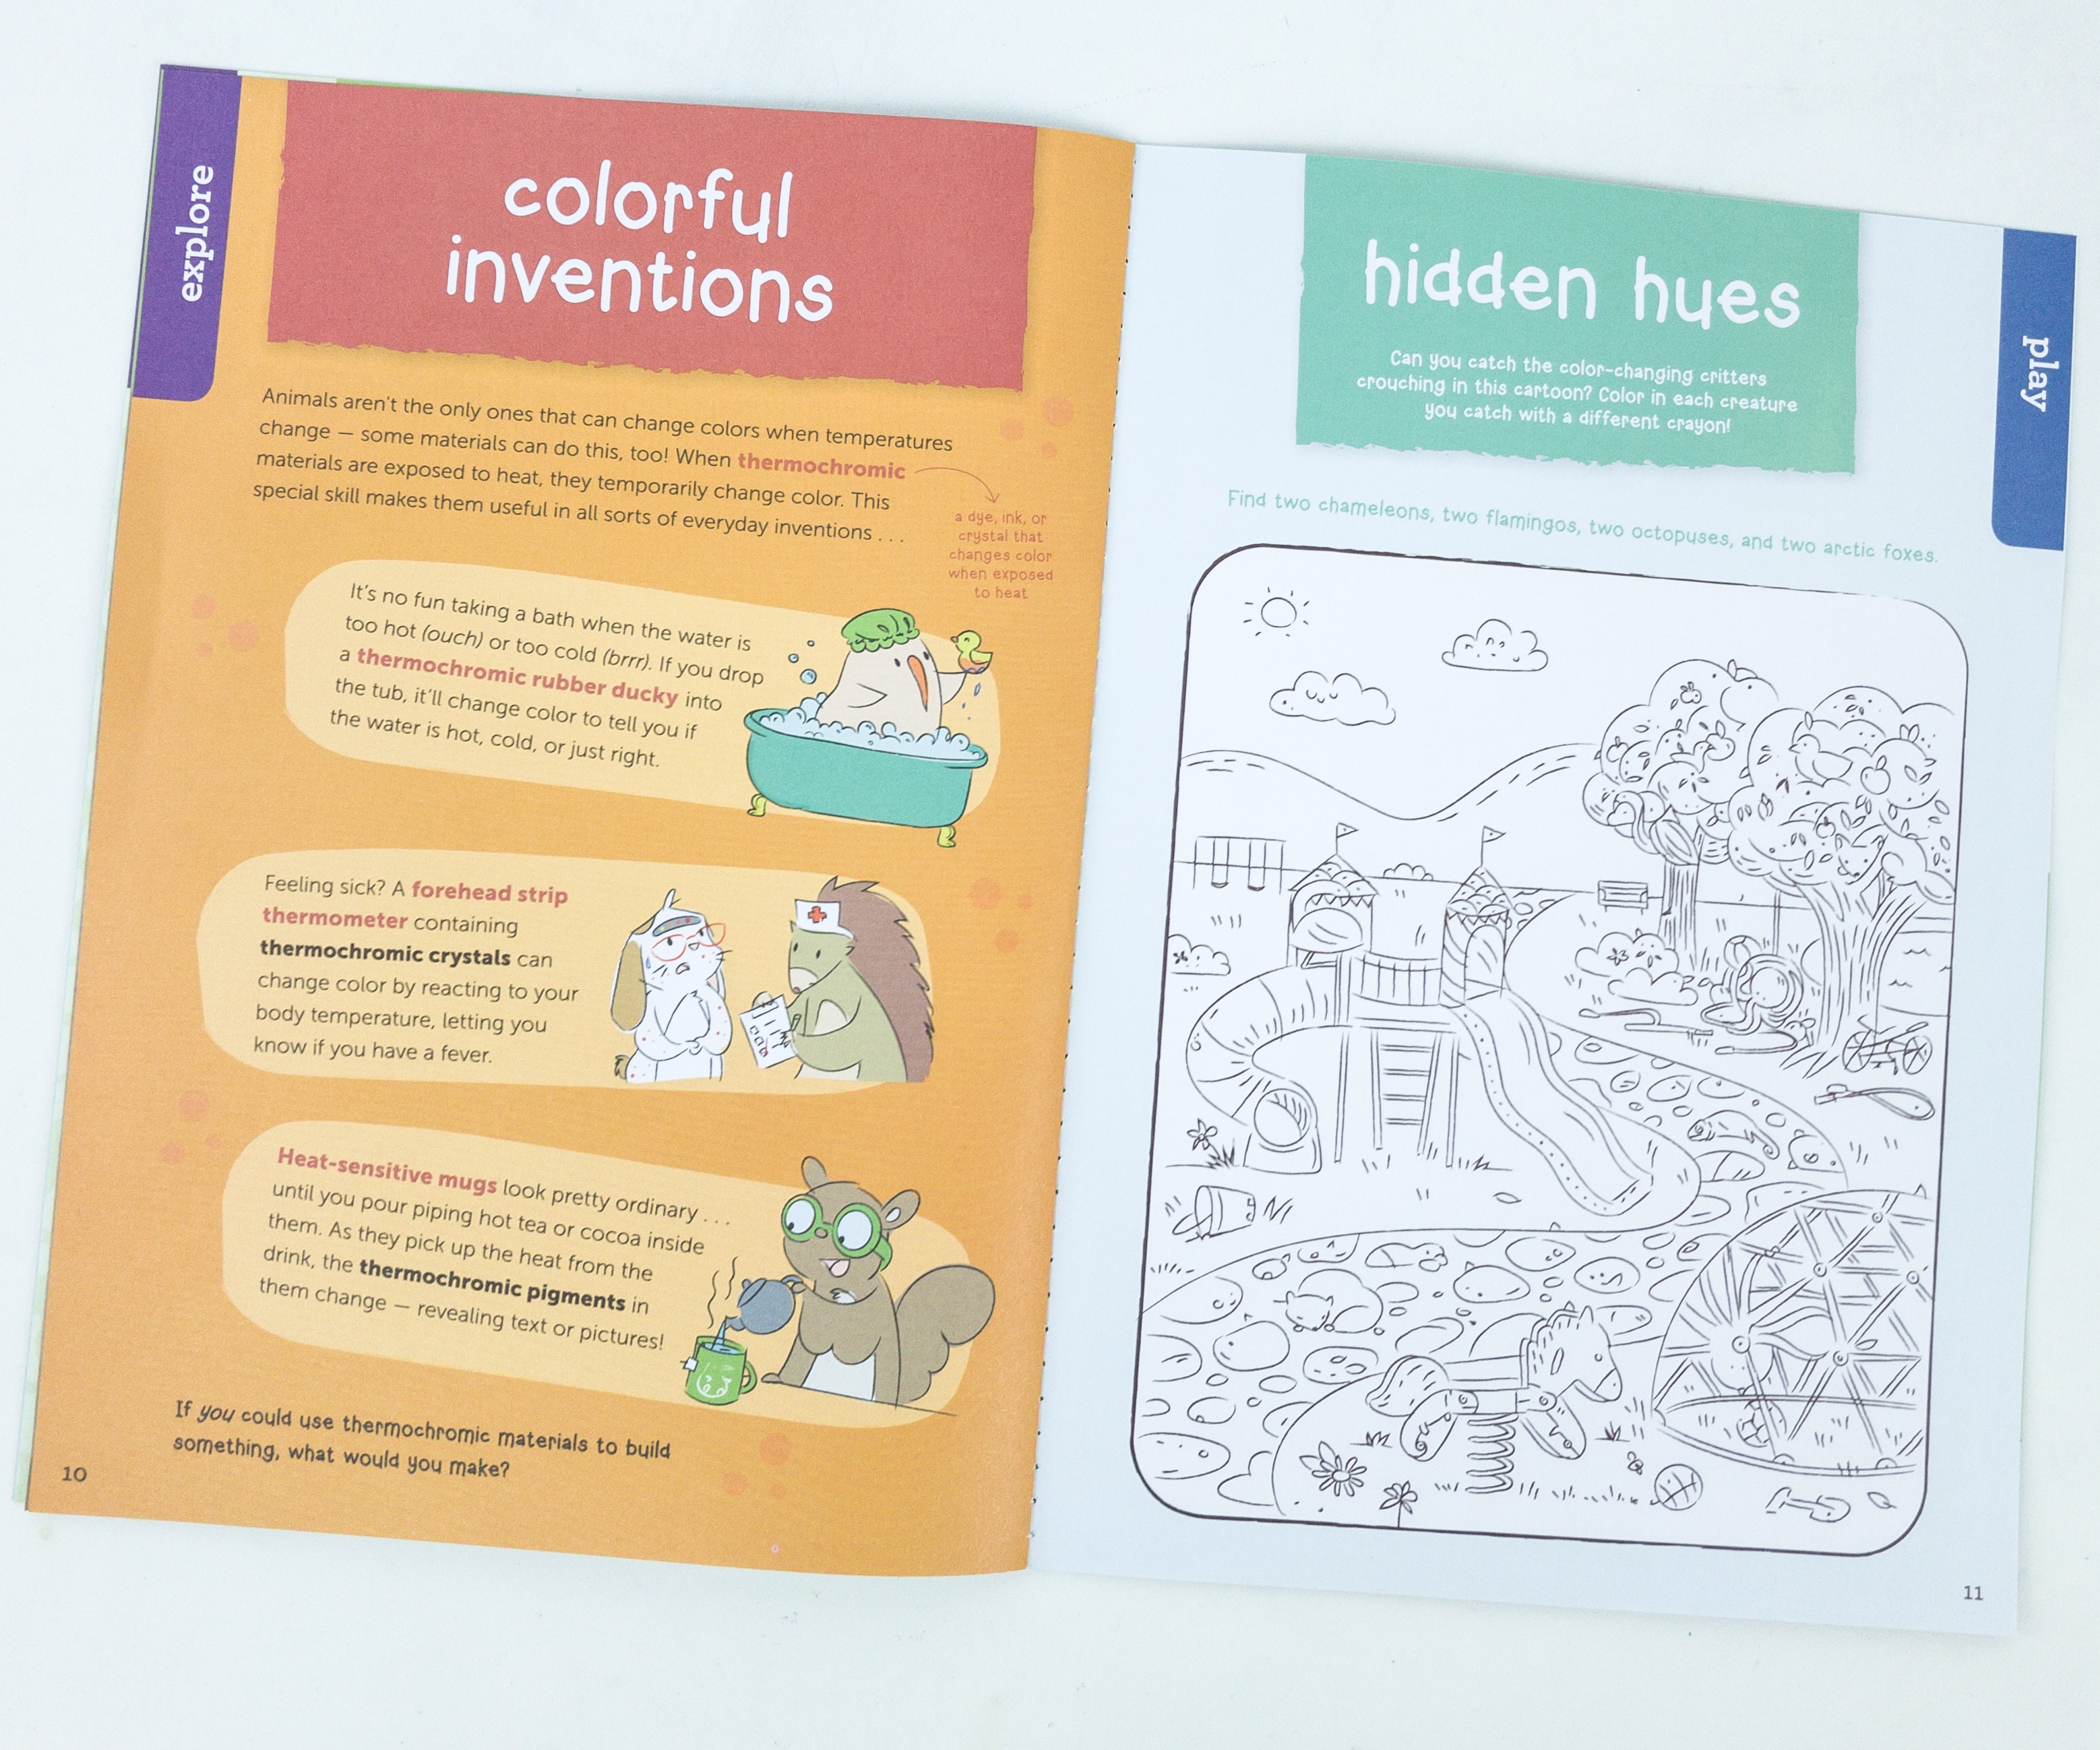
This magazine also includes a lot of historical and scientific information relating to the current theme including some colorful inventions!
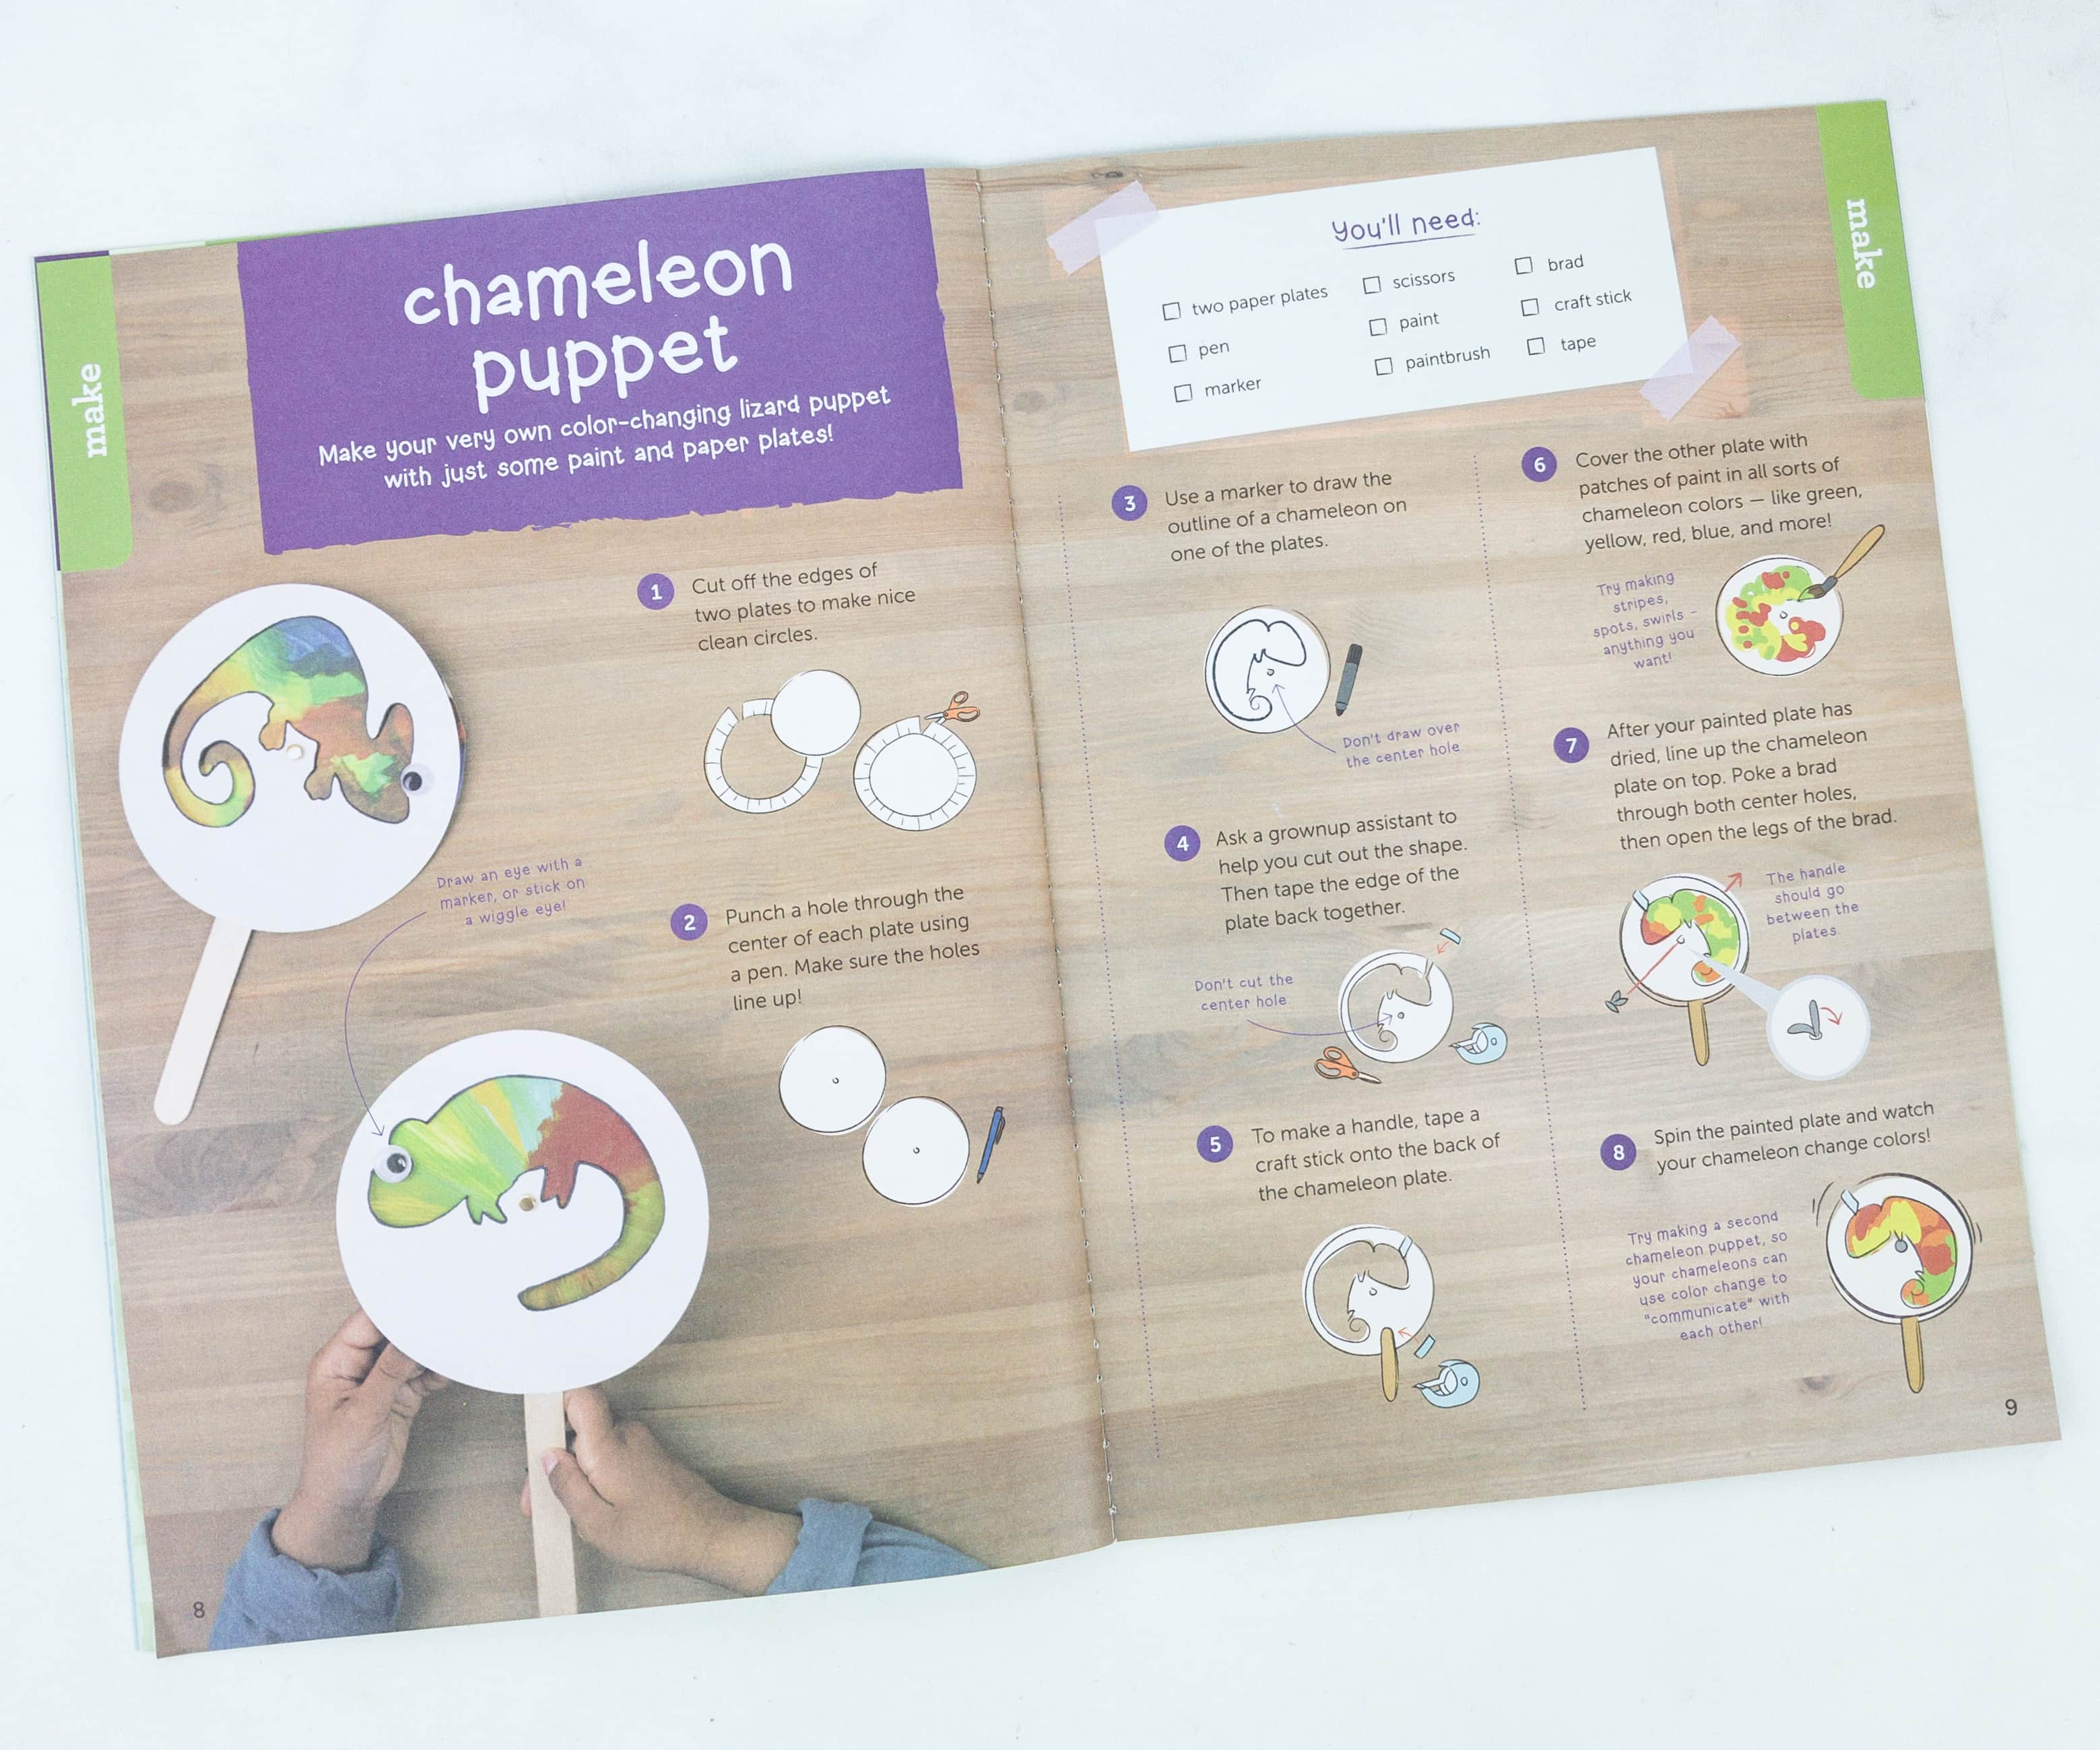
This month’s suggested activity is Chameleon Puppet, it’s a cute color-changing lizard puppet using some paint and paper plates!
Kiwi Crate Crafts
The second booklet that comes in every crate is the actual instruction booklet for the crafts, and it often includes additional activities beyond the extension projects included in explore!
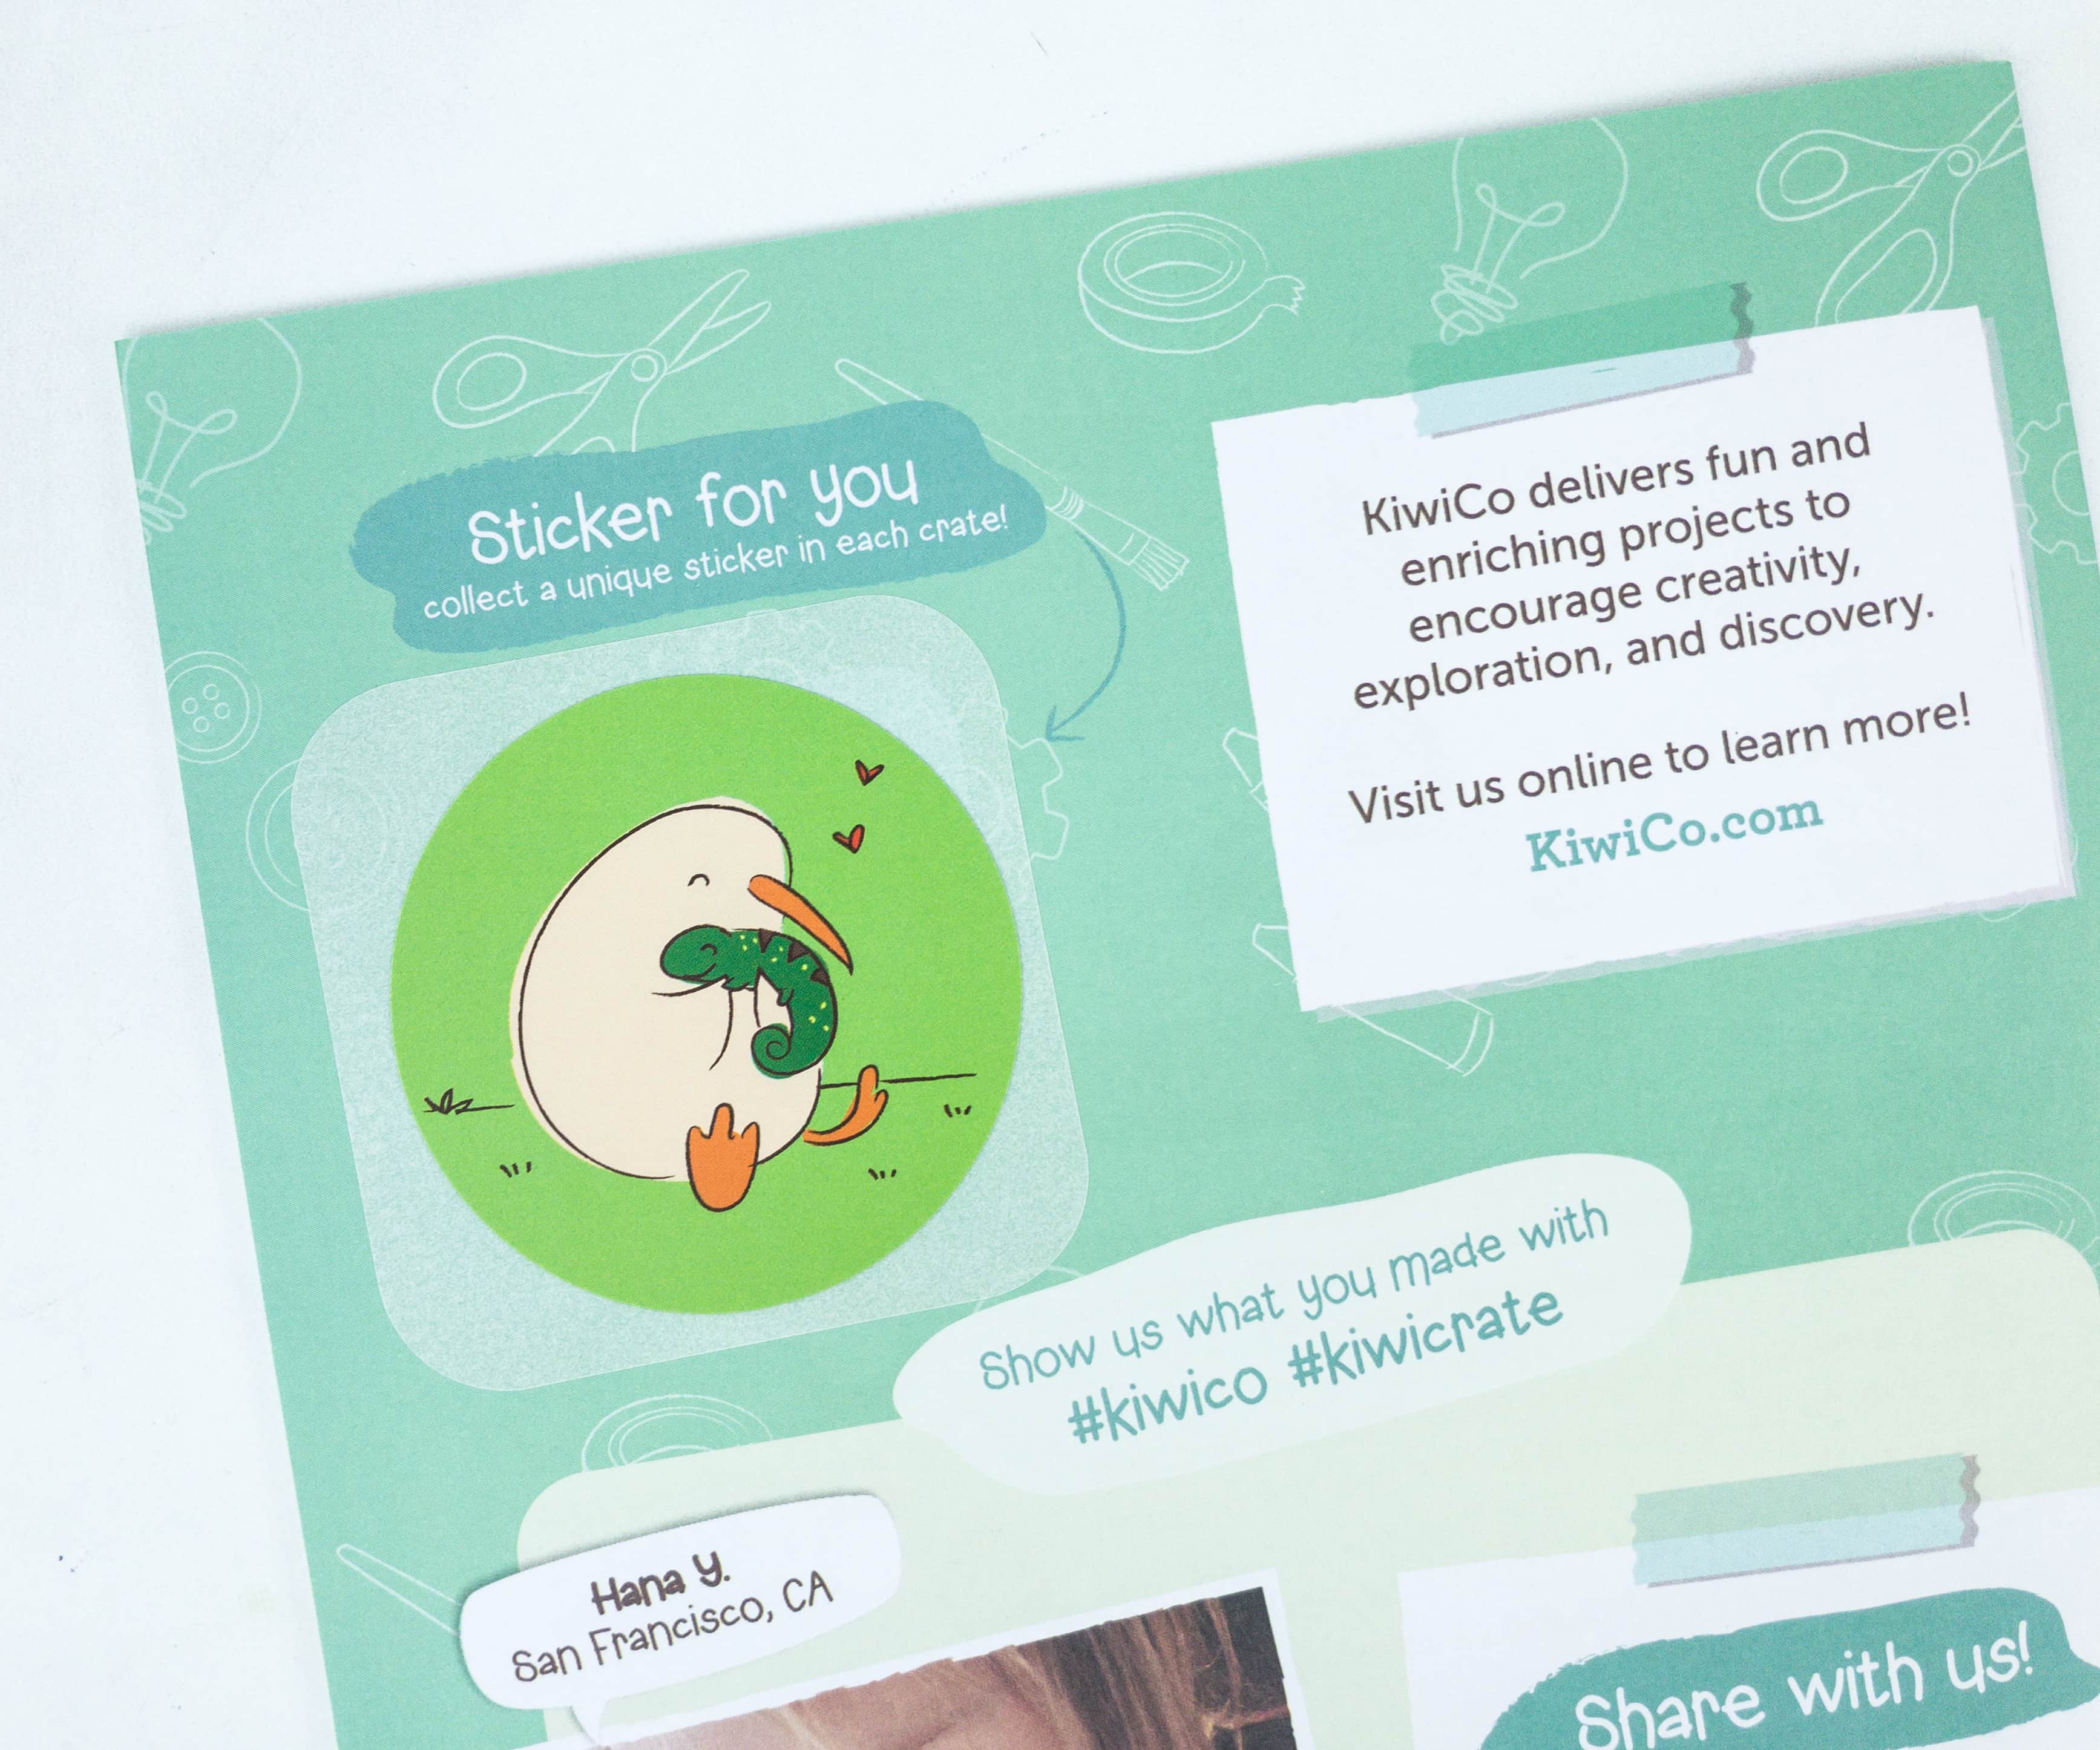
Every Kiwi Crate comes with a unique Steve sticker (like your merit badge for completing the box). The first box of an annual subscription includes a poster for displaying your earned stickers.
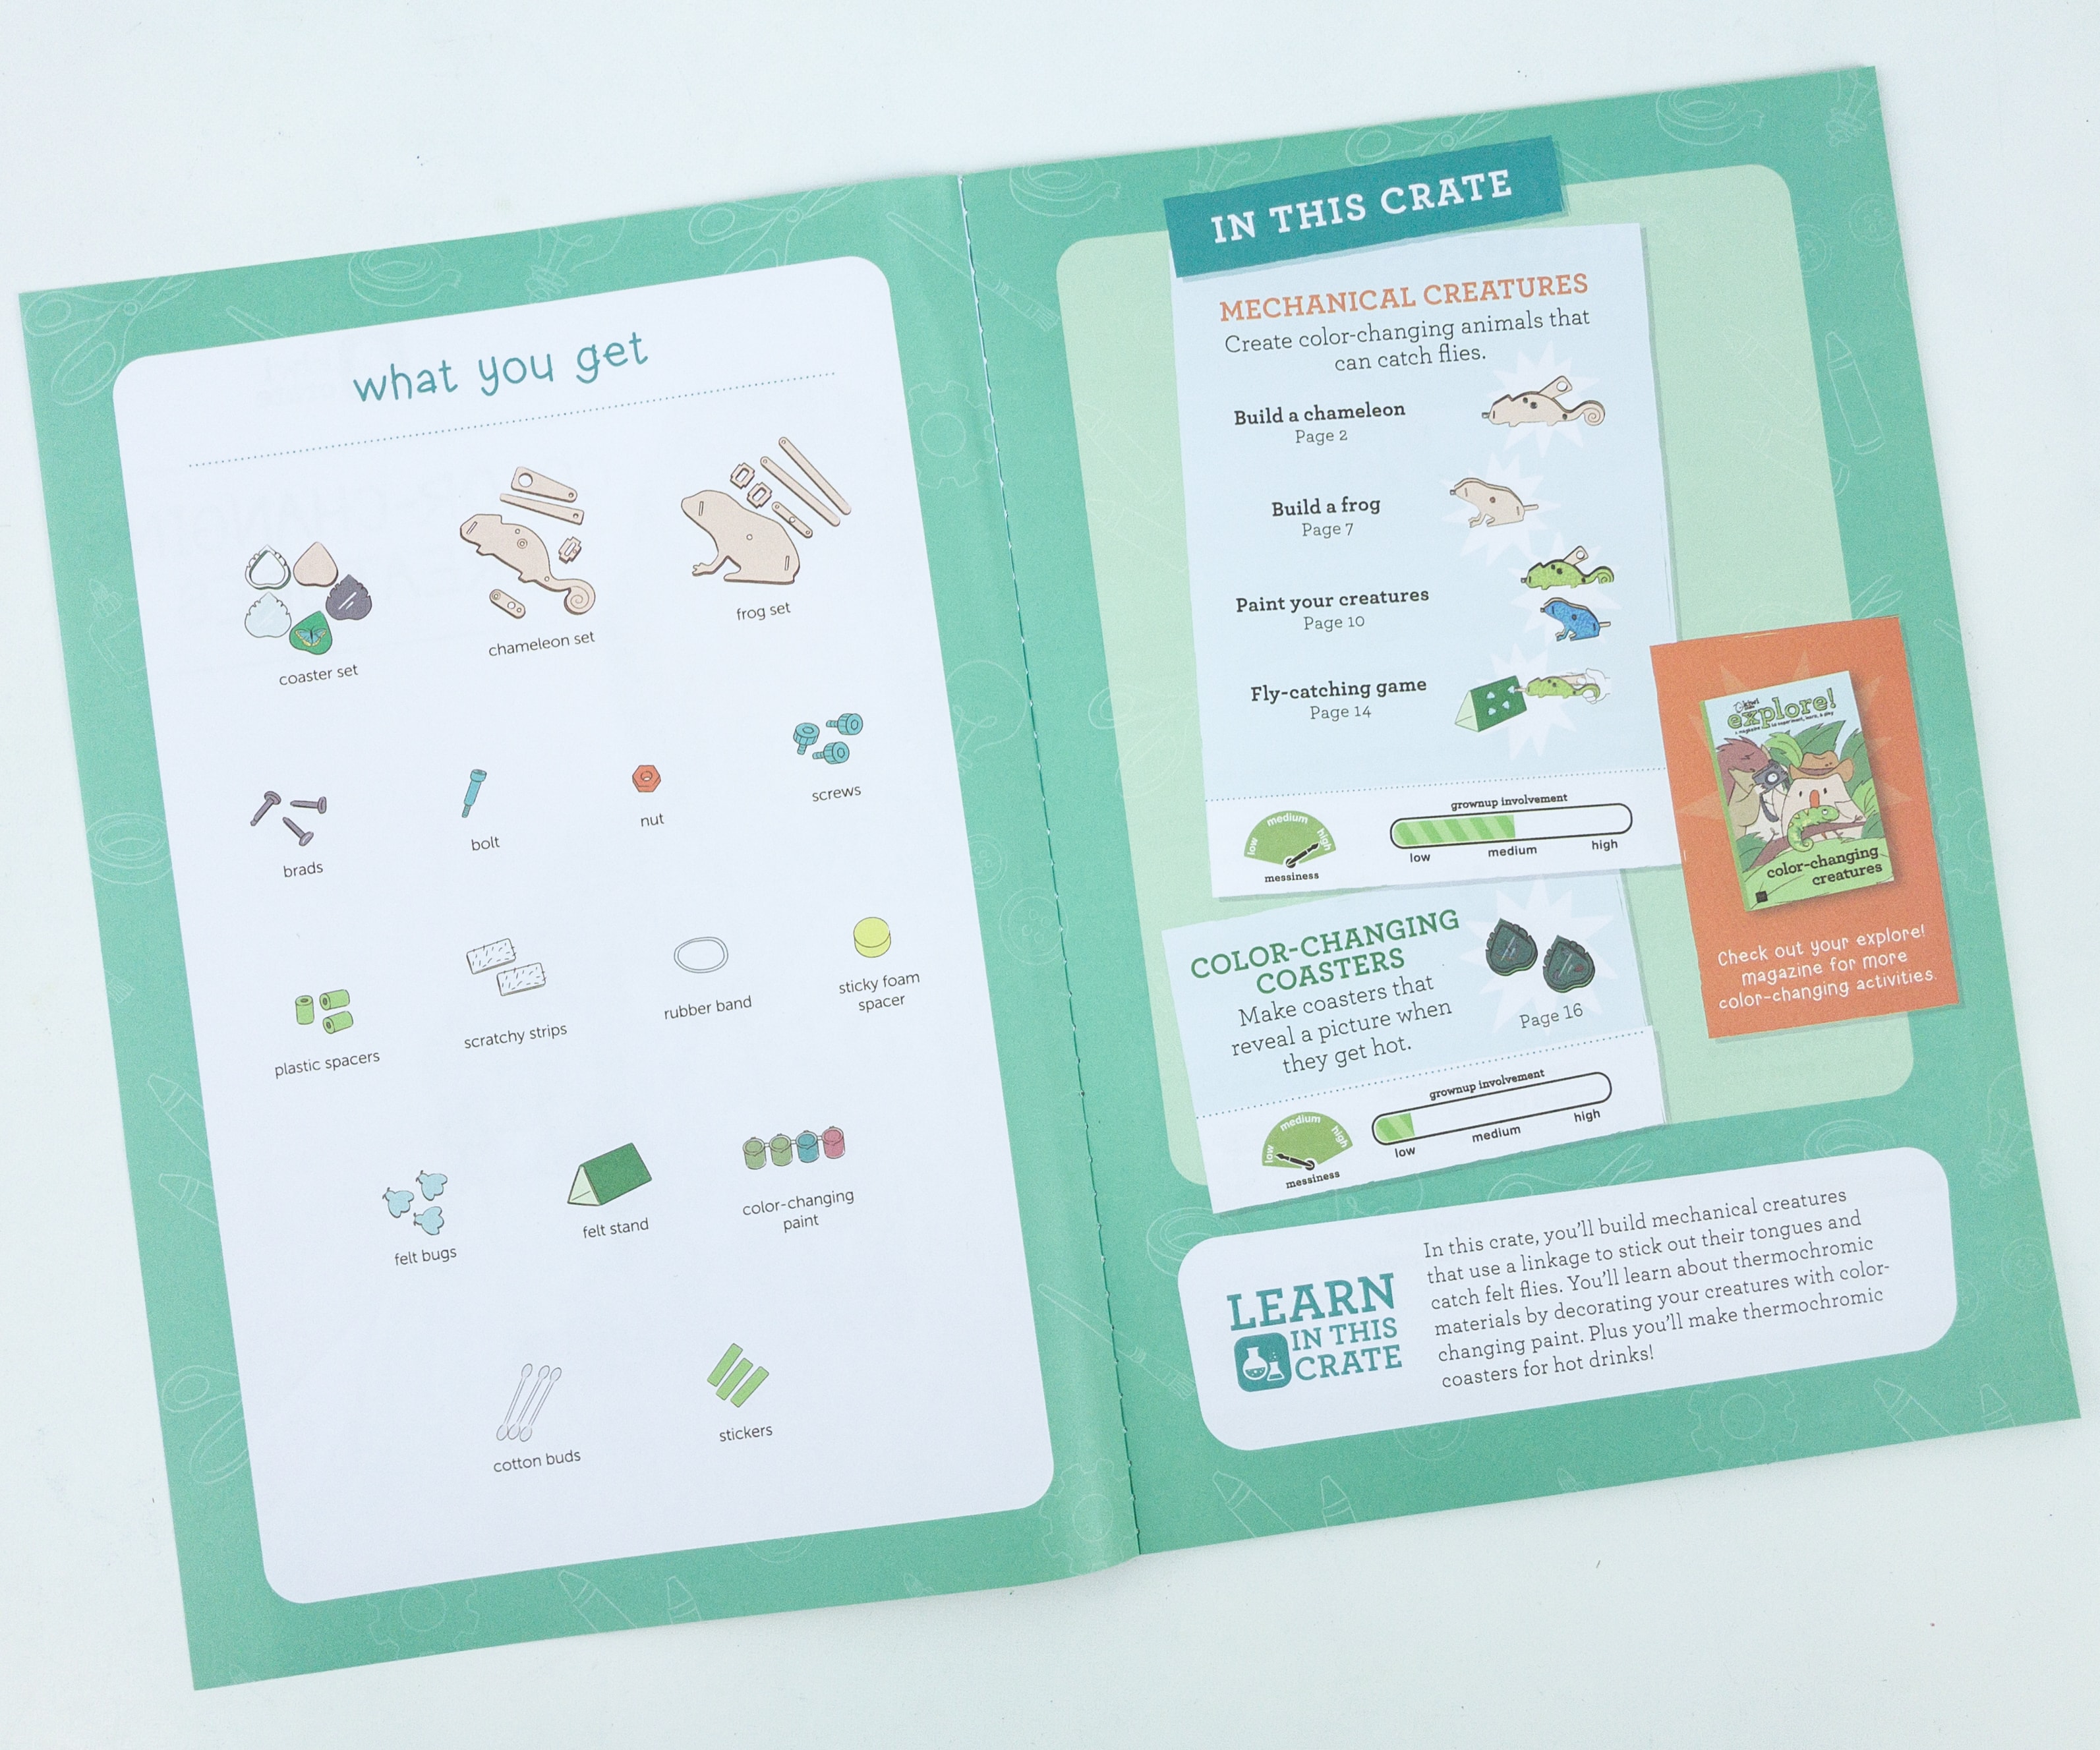
The booklet contains a list of all the supplies they provided for the crafts. It also has a rating of messiness and parental involvement for each activity.
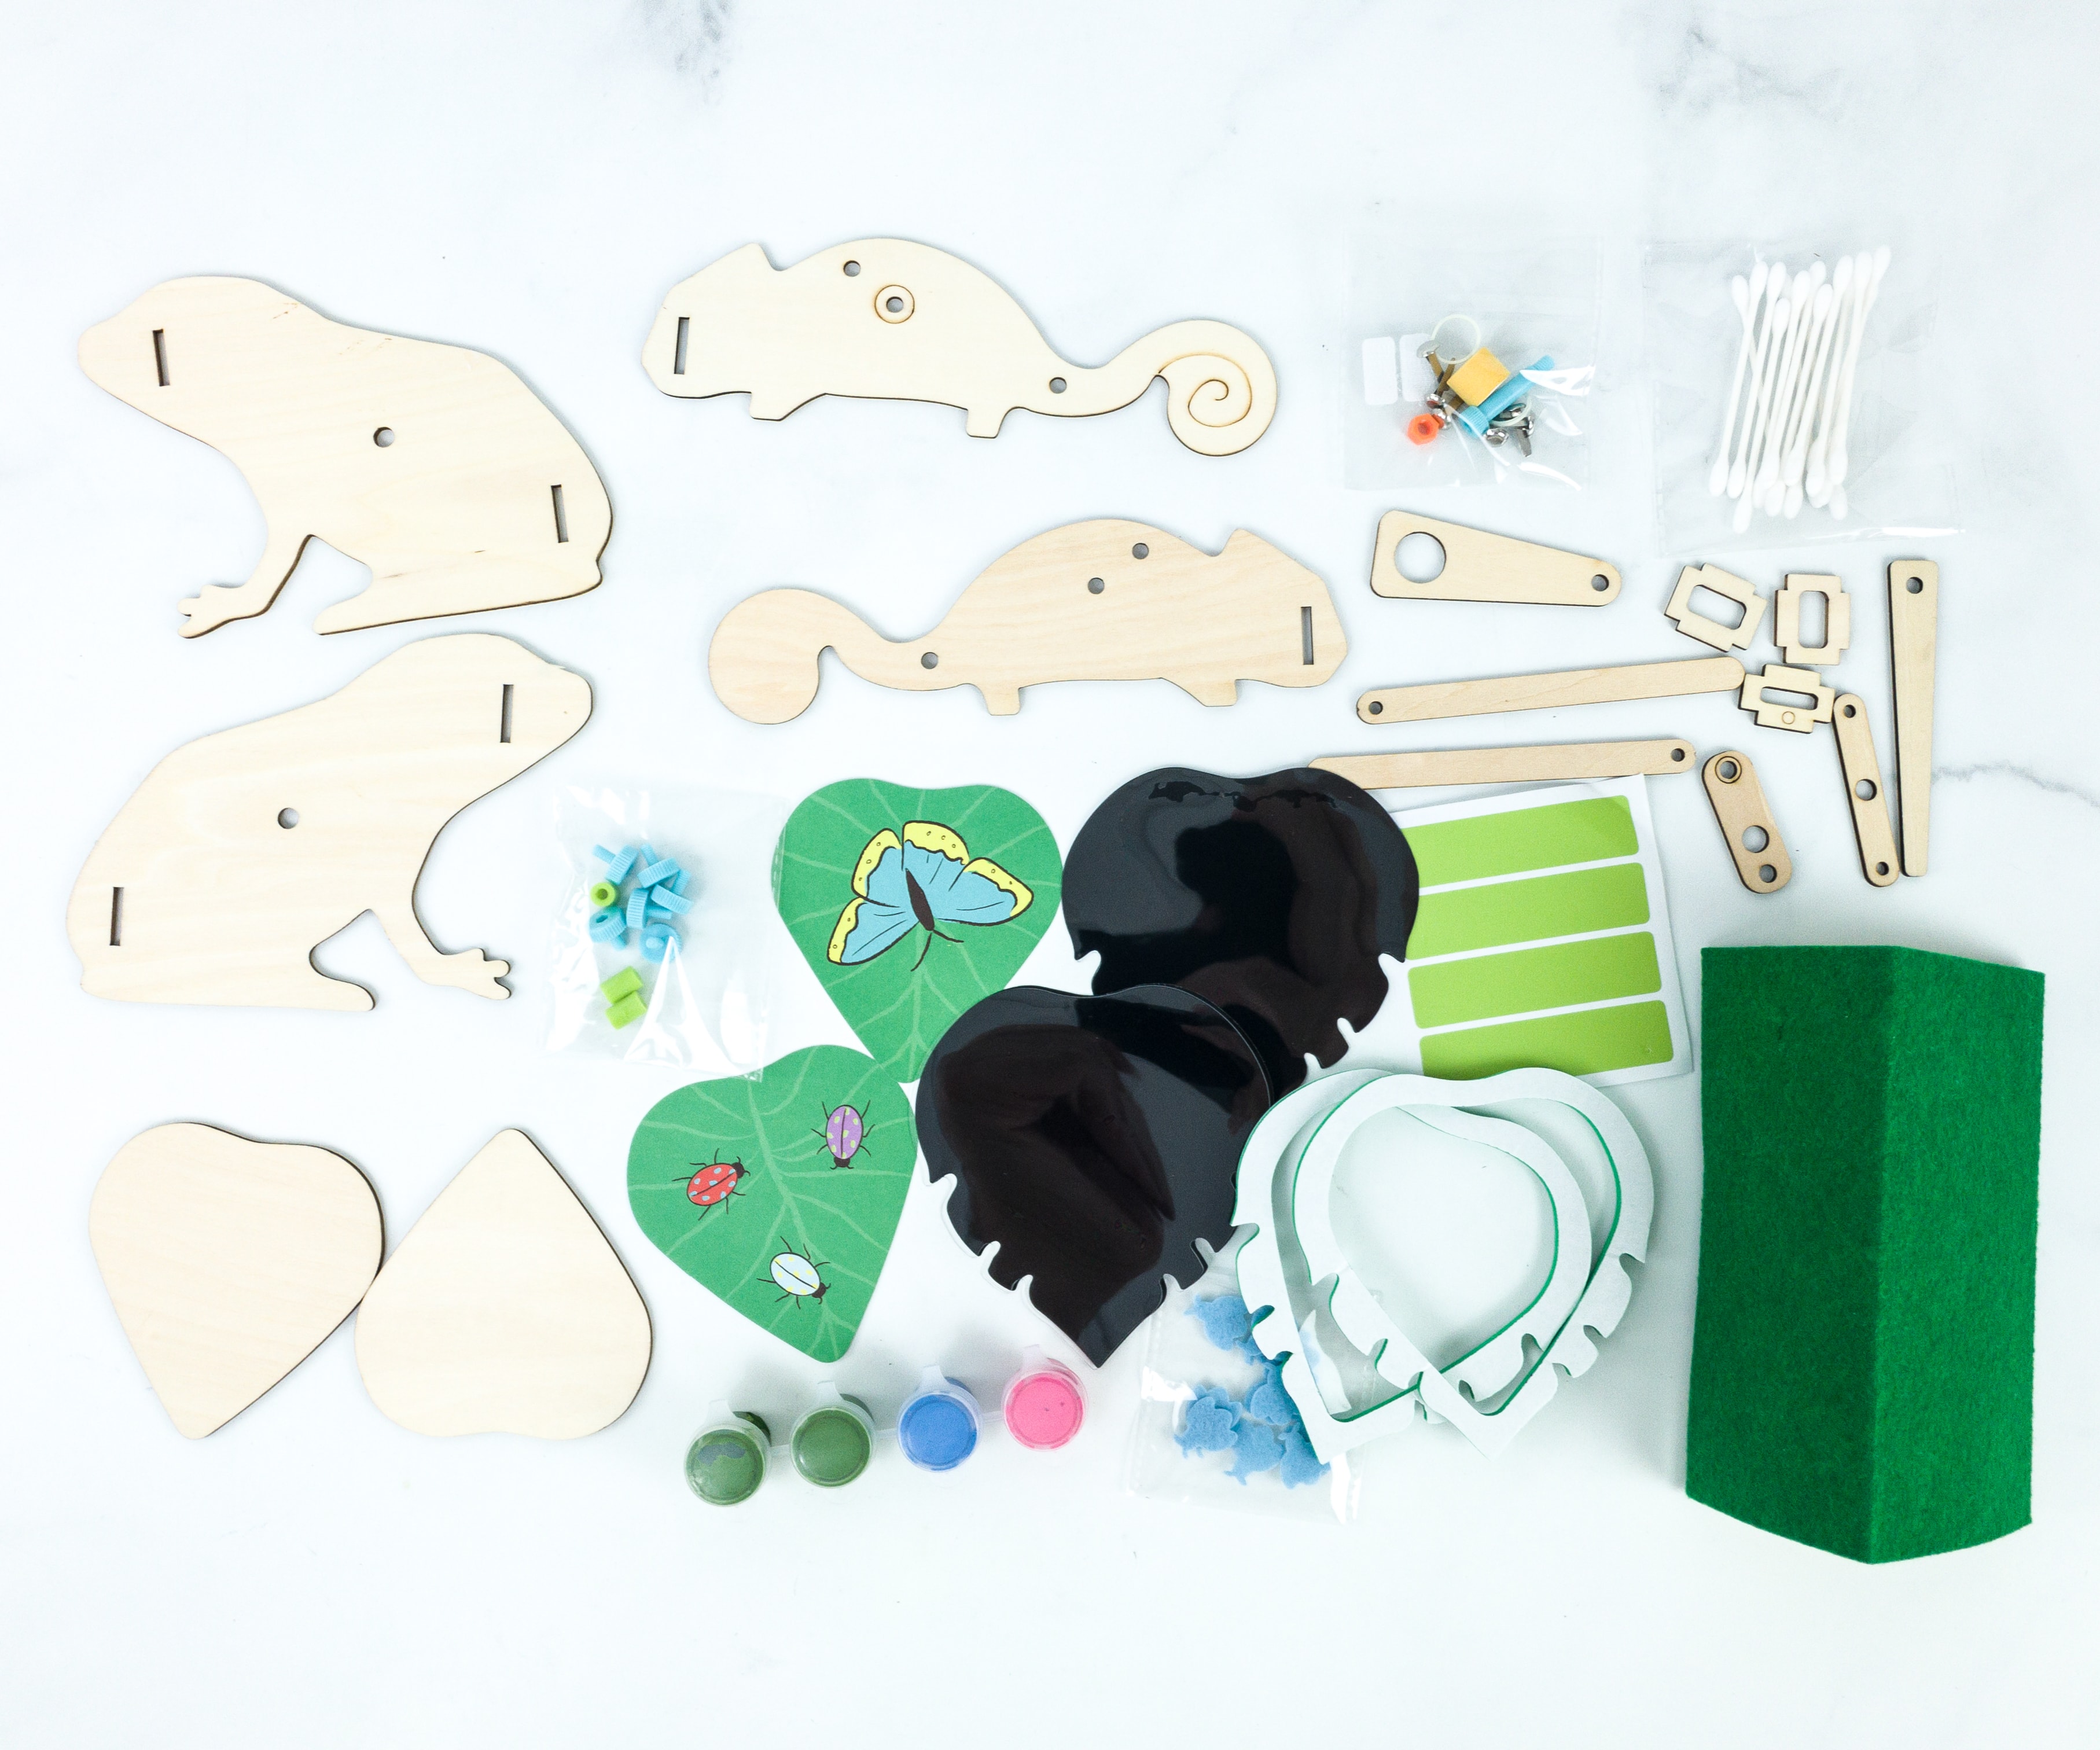
Here are all the items we need for this month’s color-changing creatures!
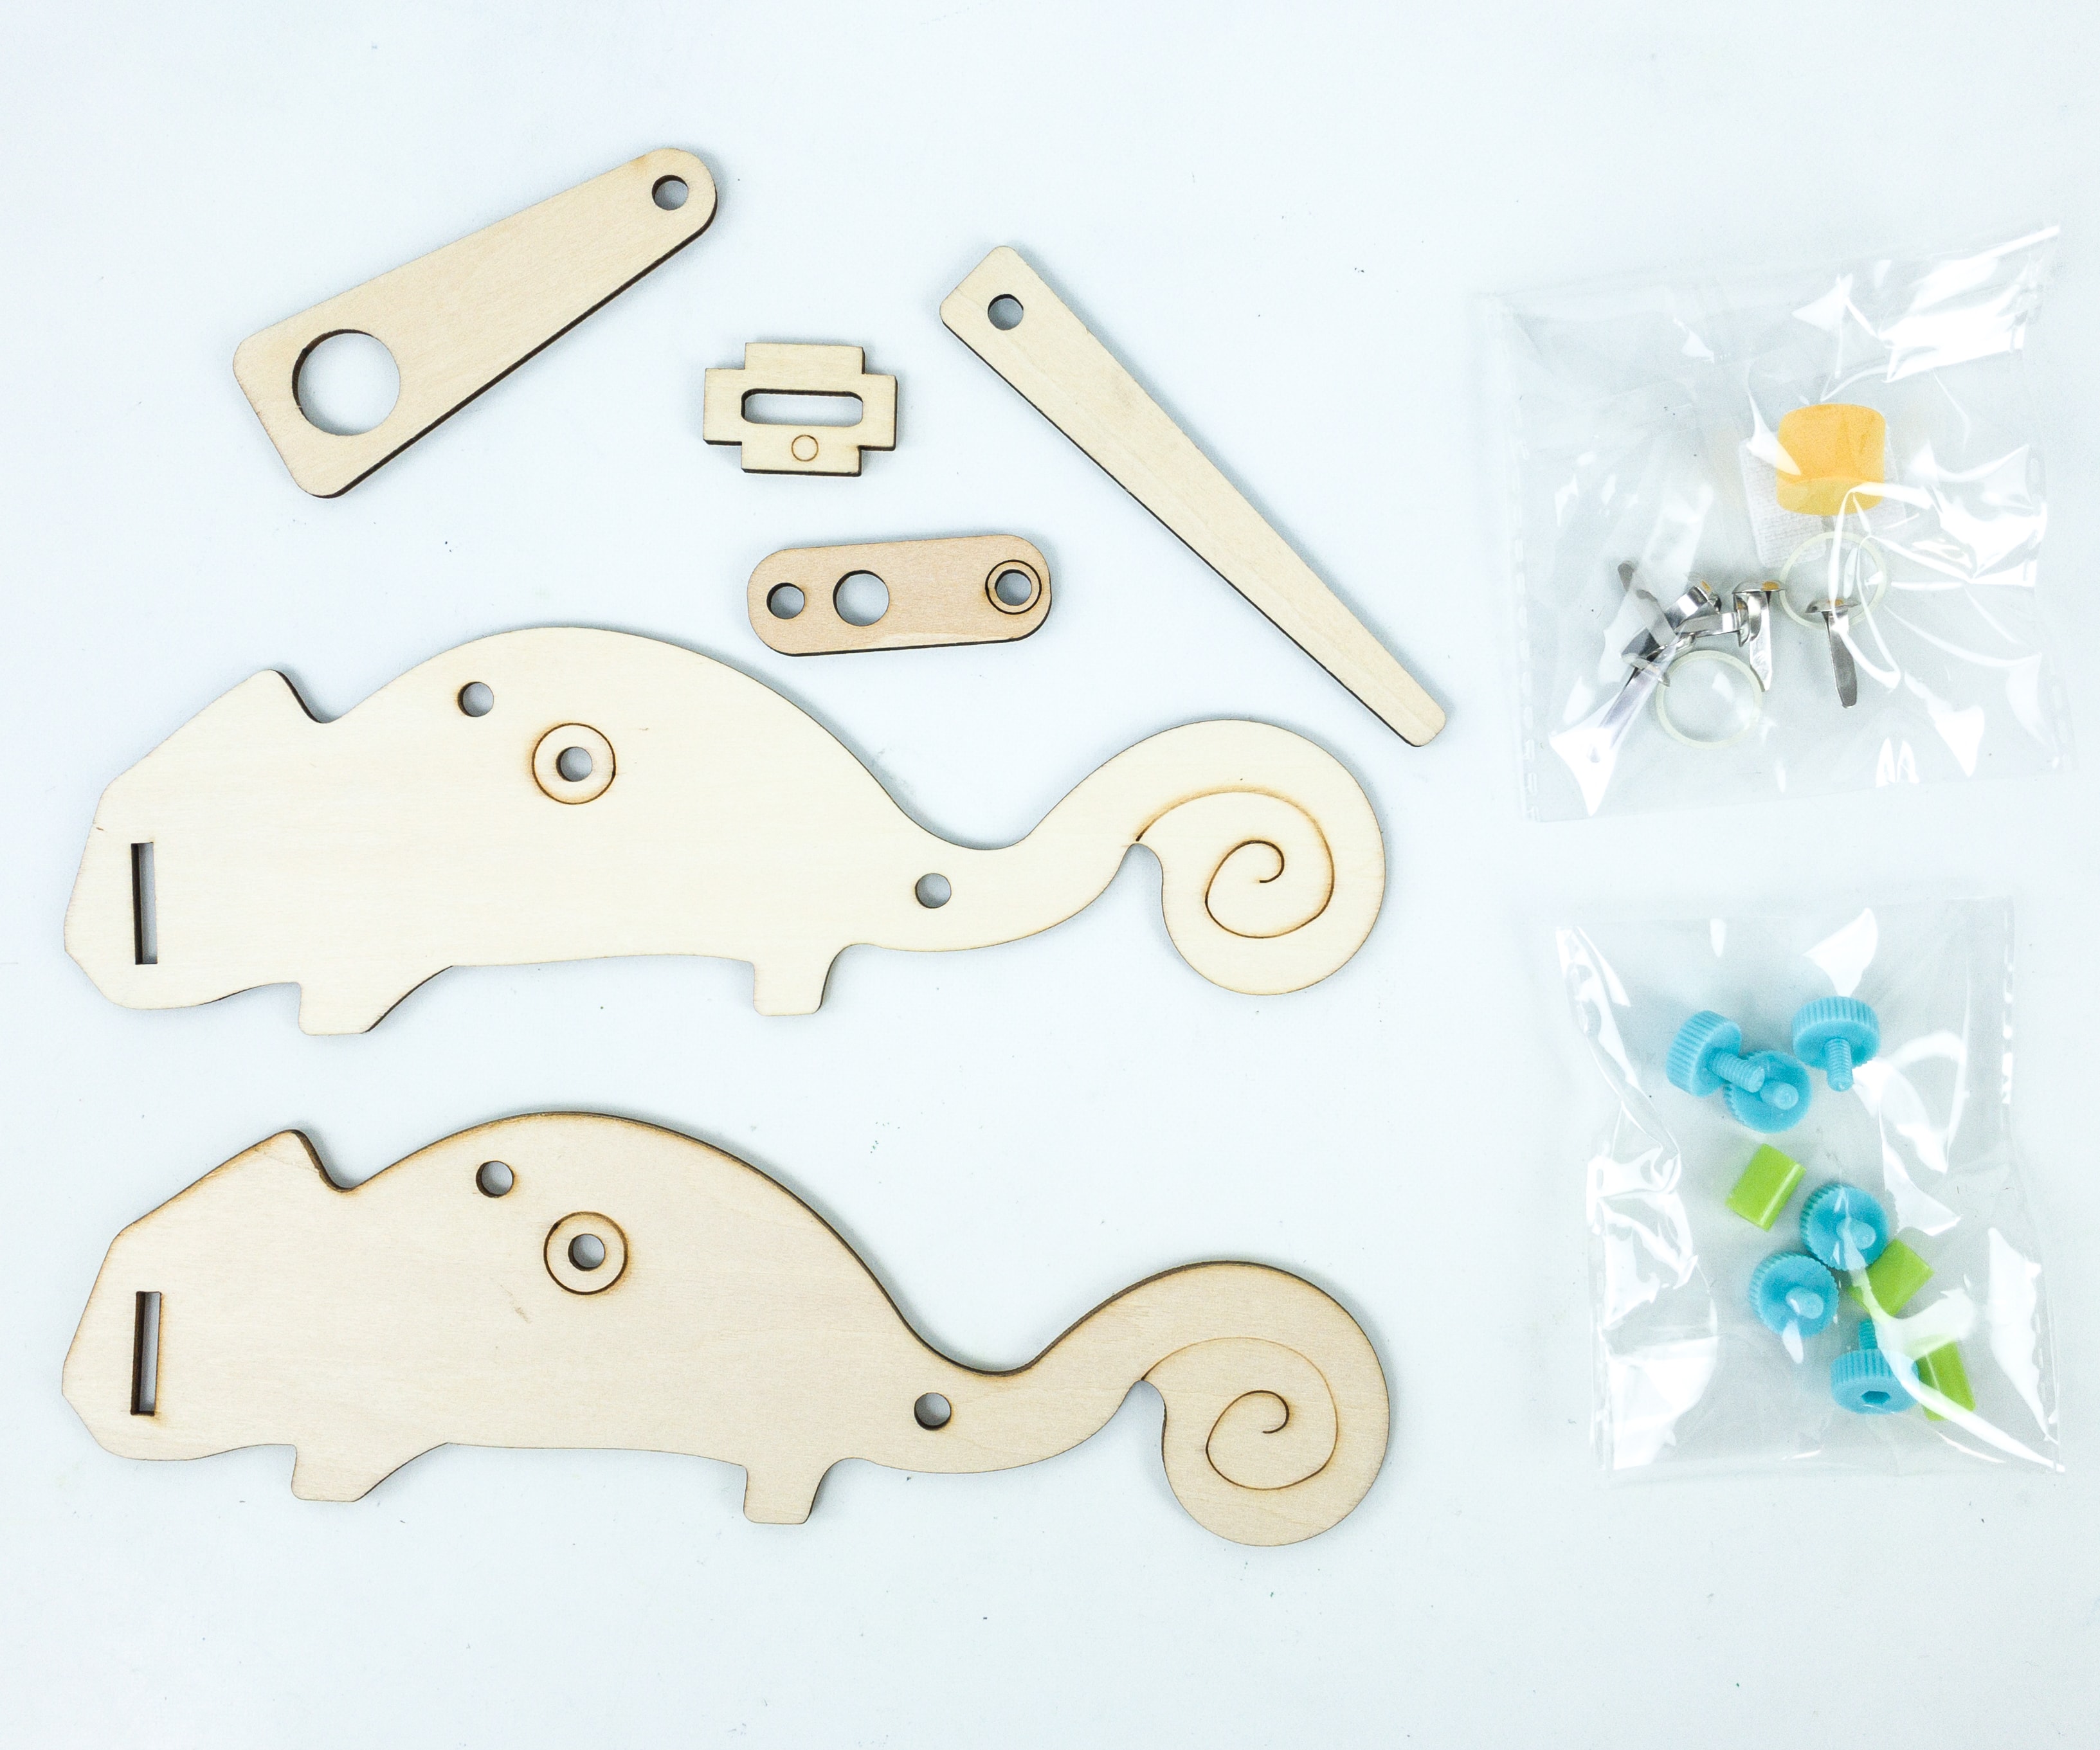
In building the chameleon, we used the wooden chameleon set, sticky foam, brads, bolts, screws, and rubber band.
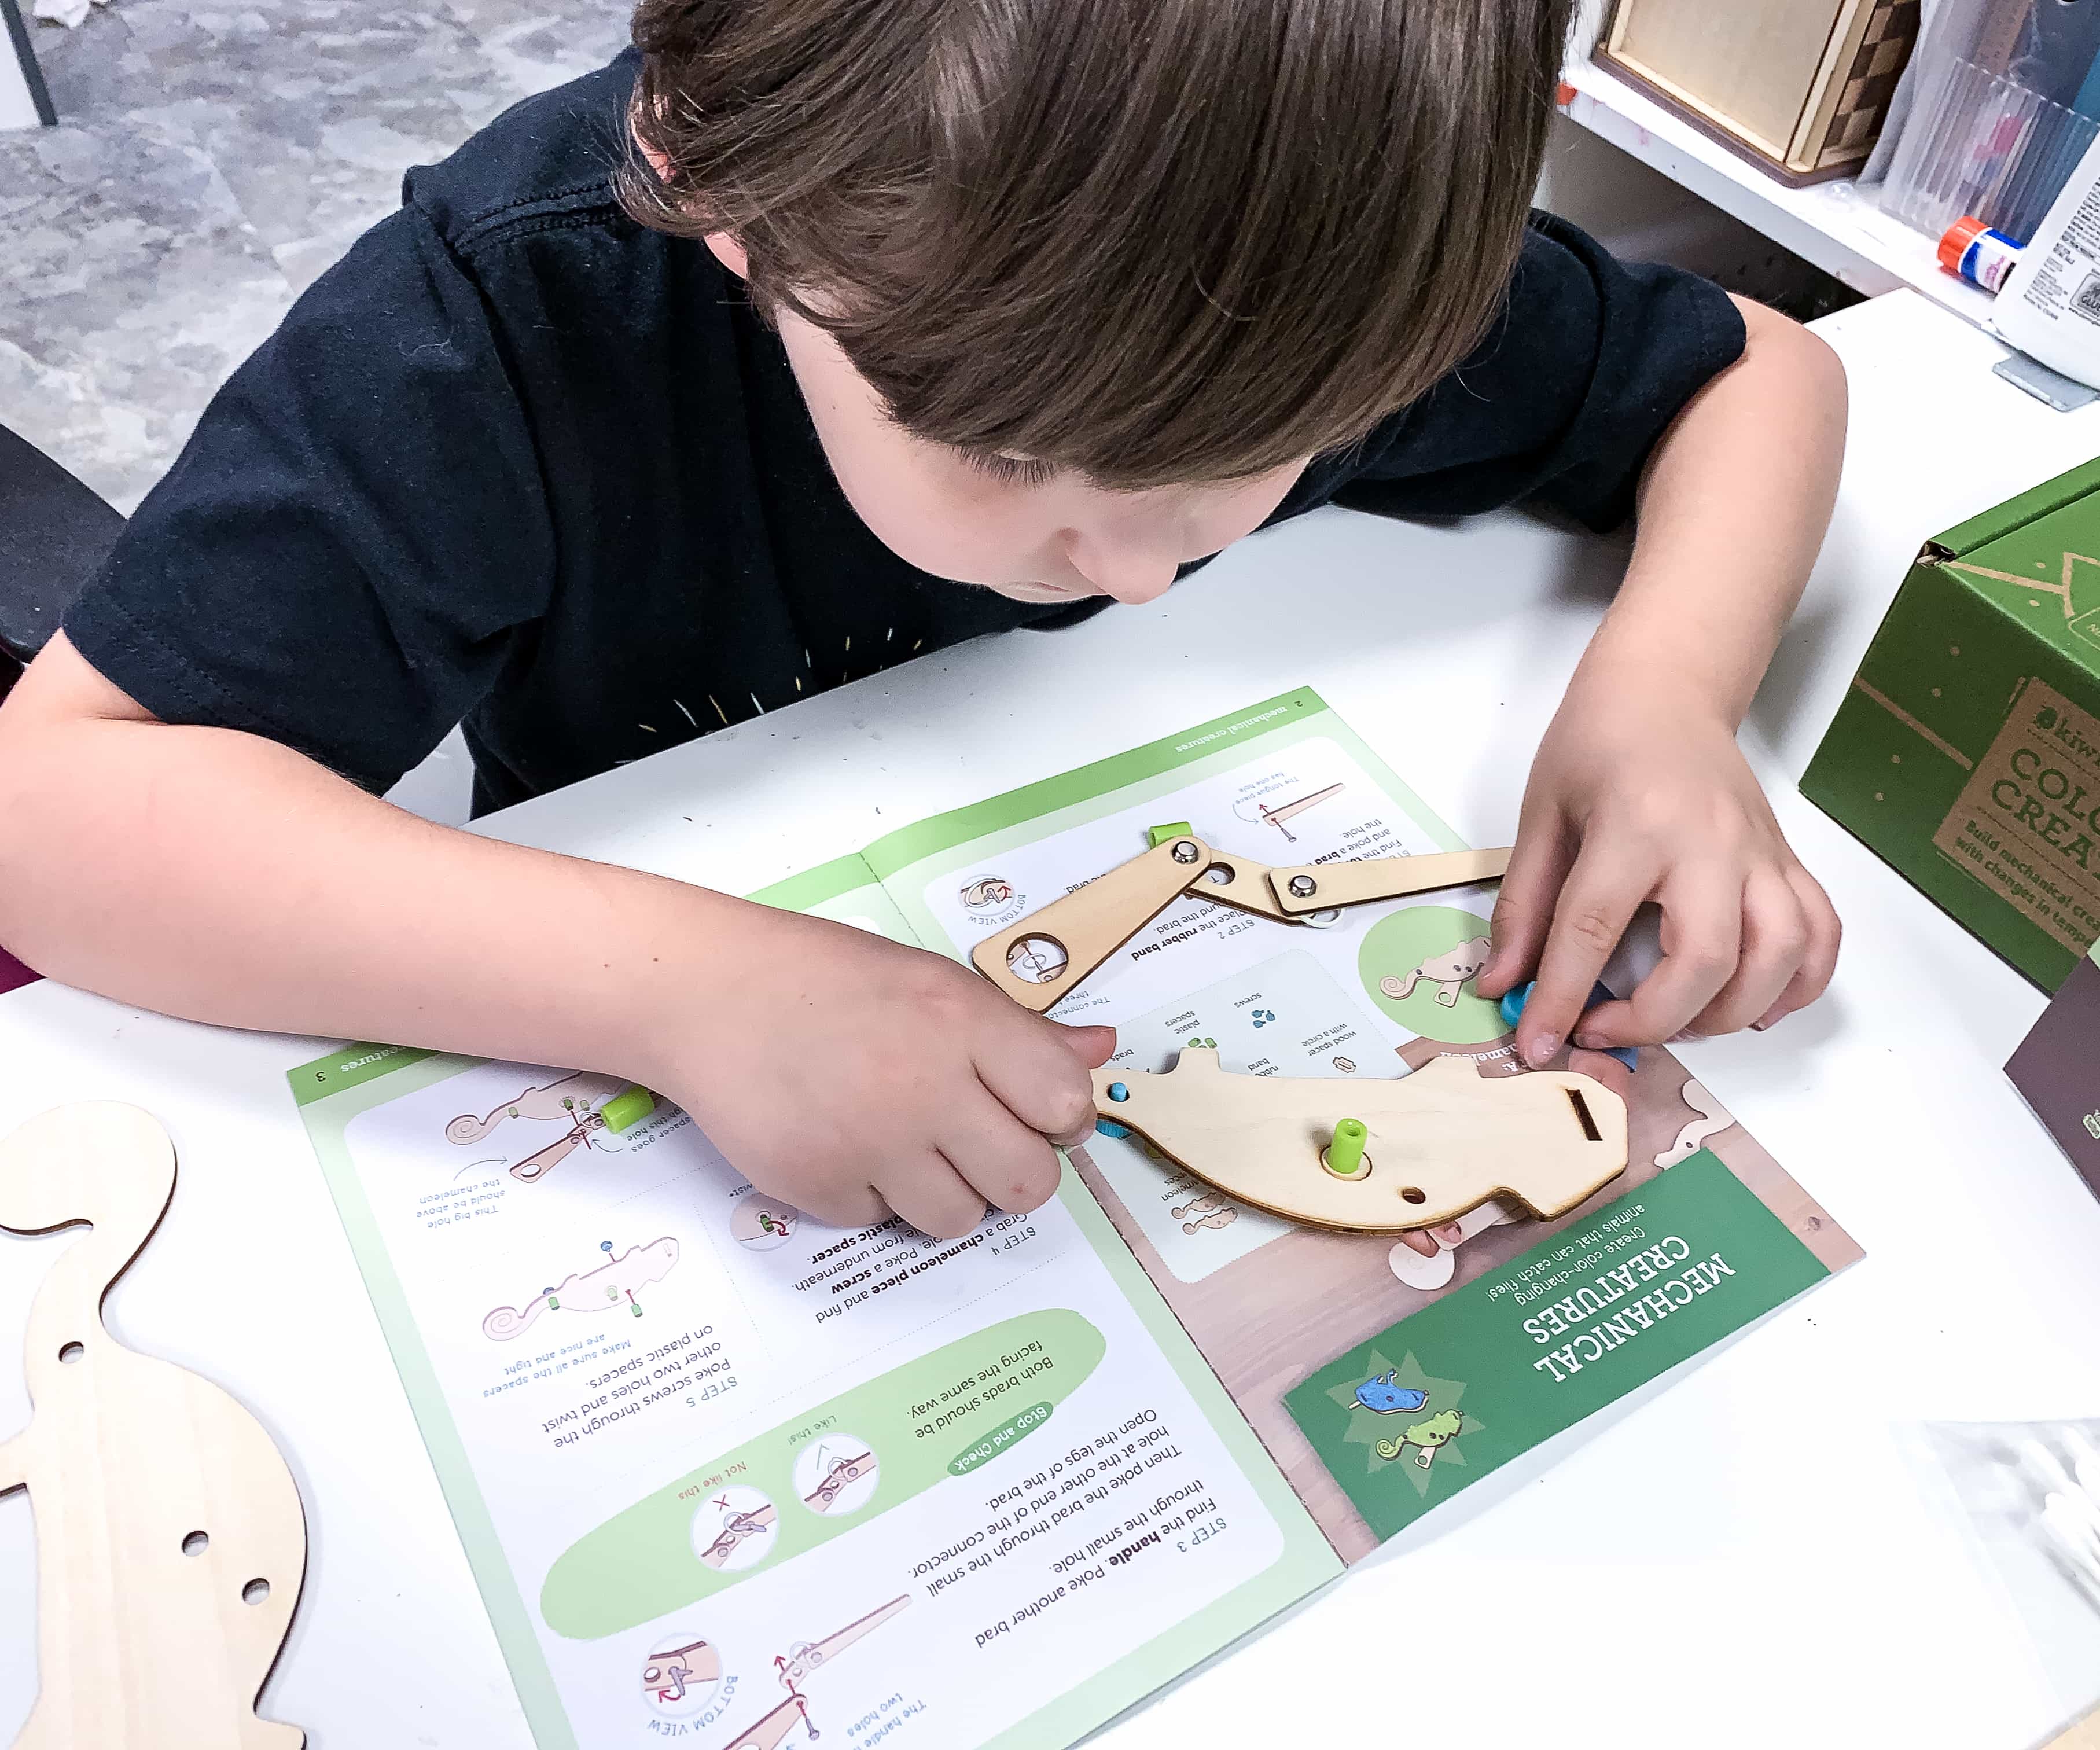
First, get the chameleon wood piece and poke screws on the hole and twist on the plastic spacers. Make sure that each one is tightly done.
Once done with the chameleon, the next step is to work on the handle by simply poking the brad through the small hole at each end of the connector, and lock it by opening the legs of the brad.

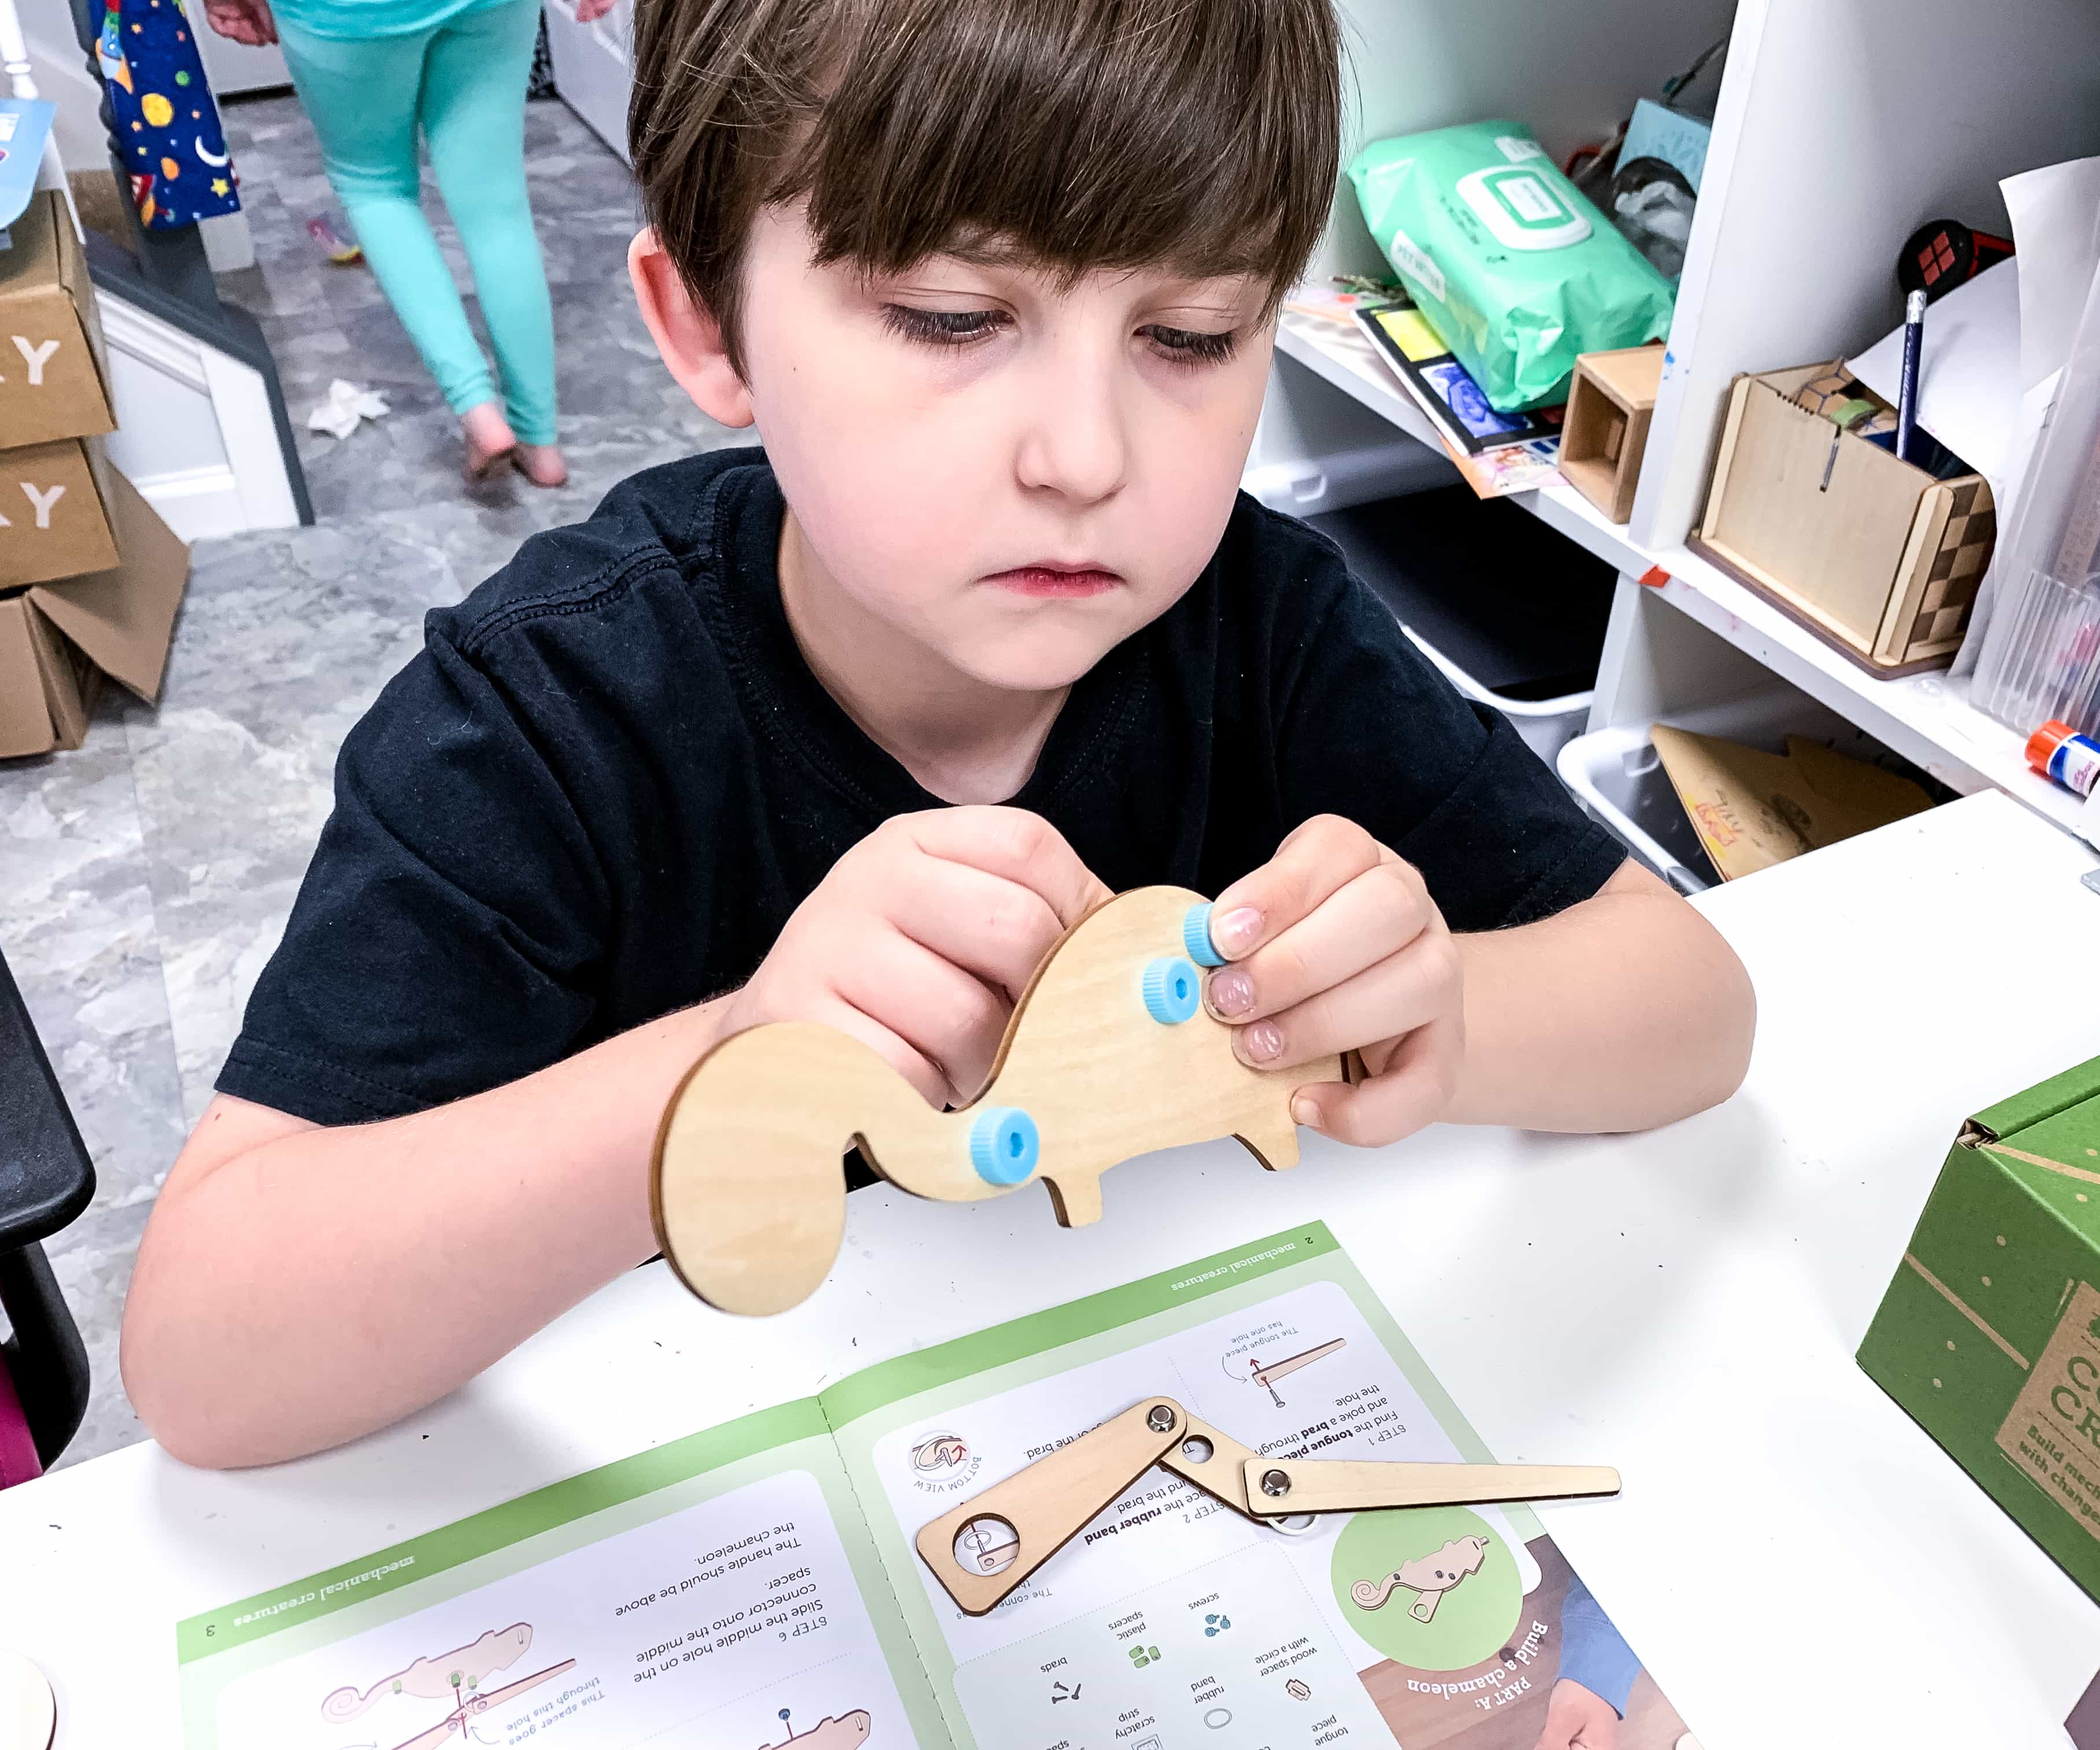
Get the other side of the chameleon wood and lock it using the screws!
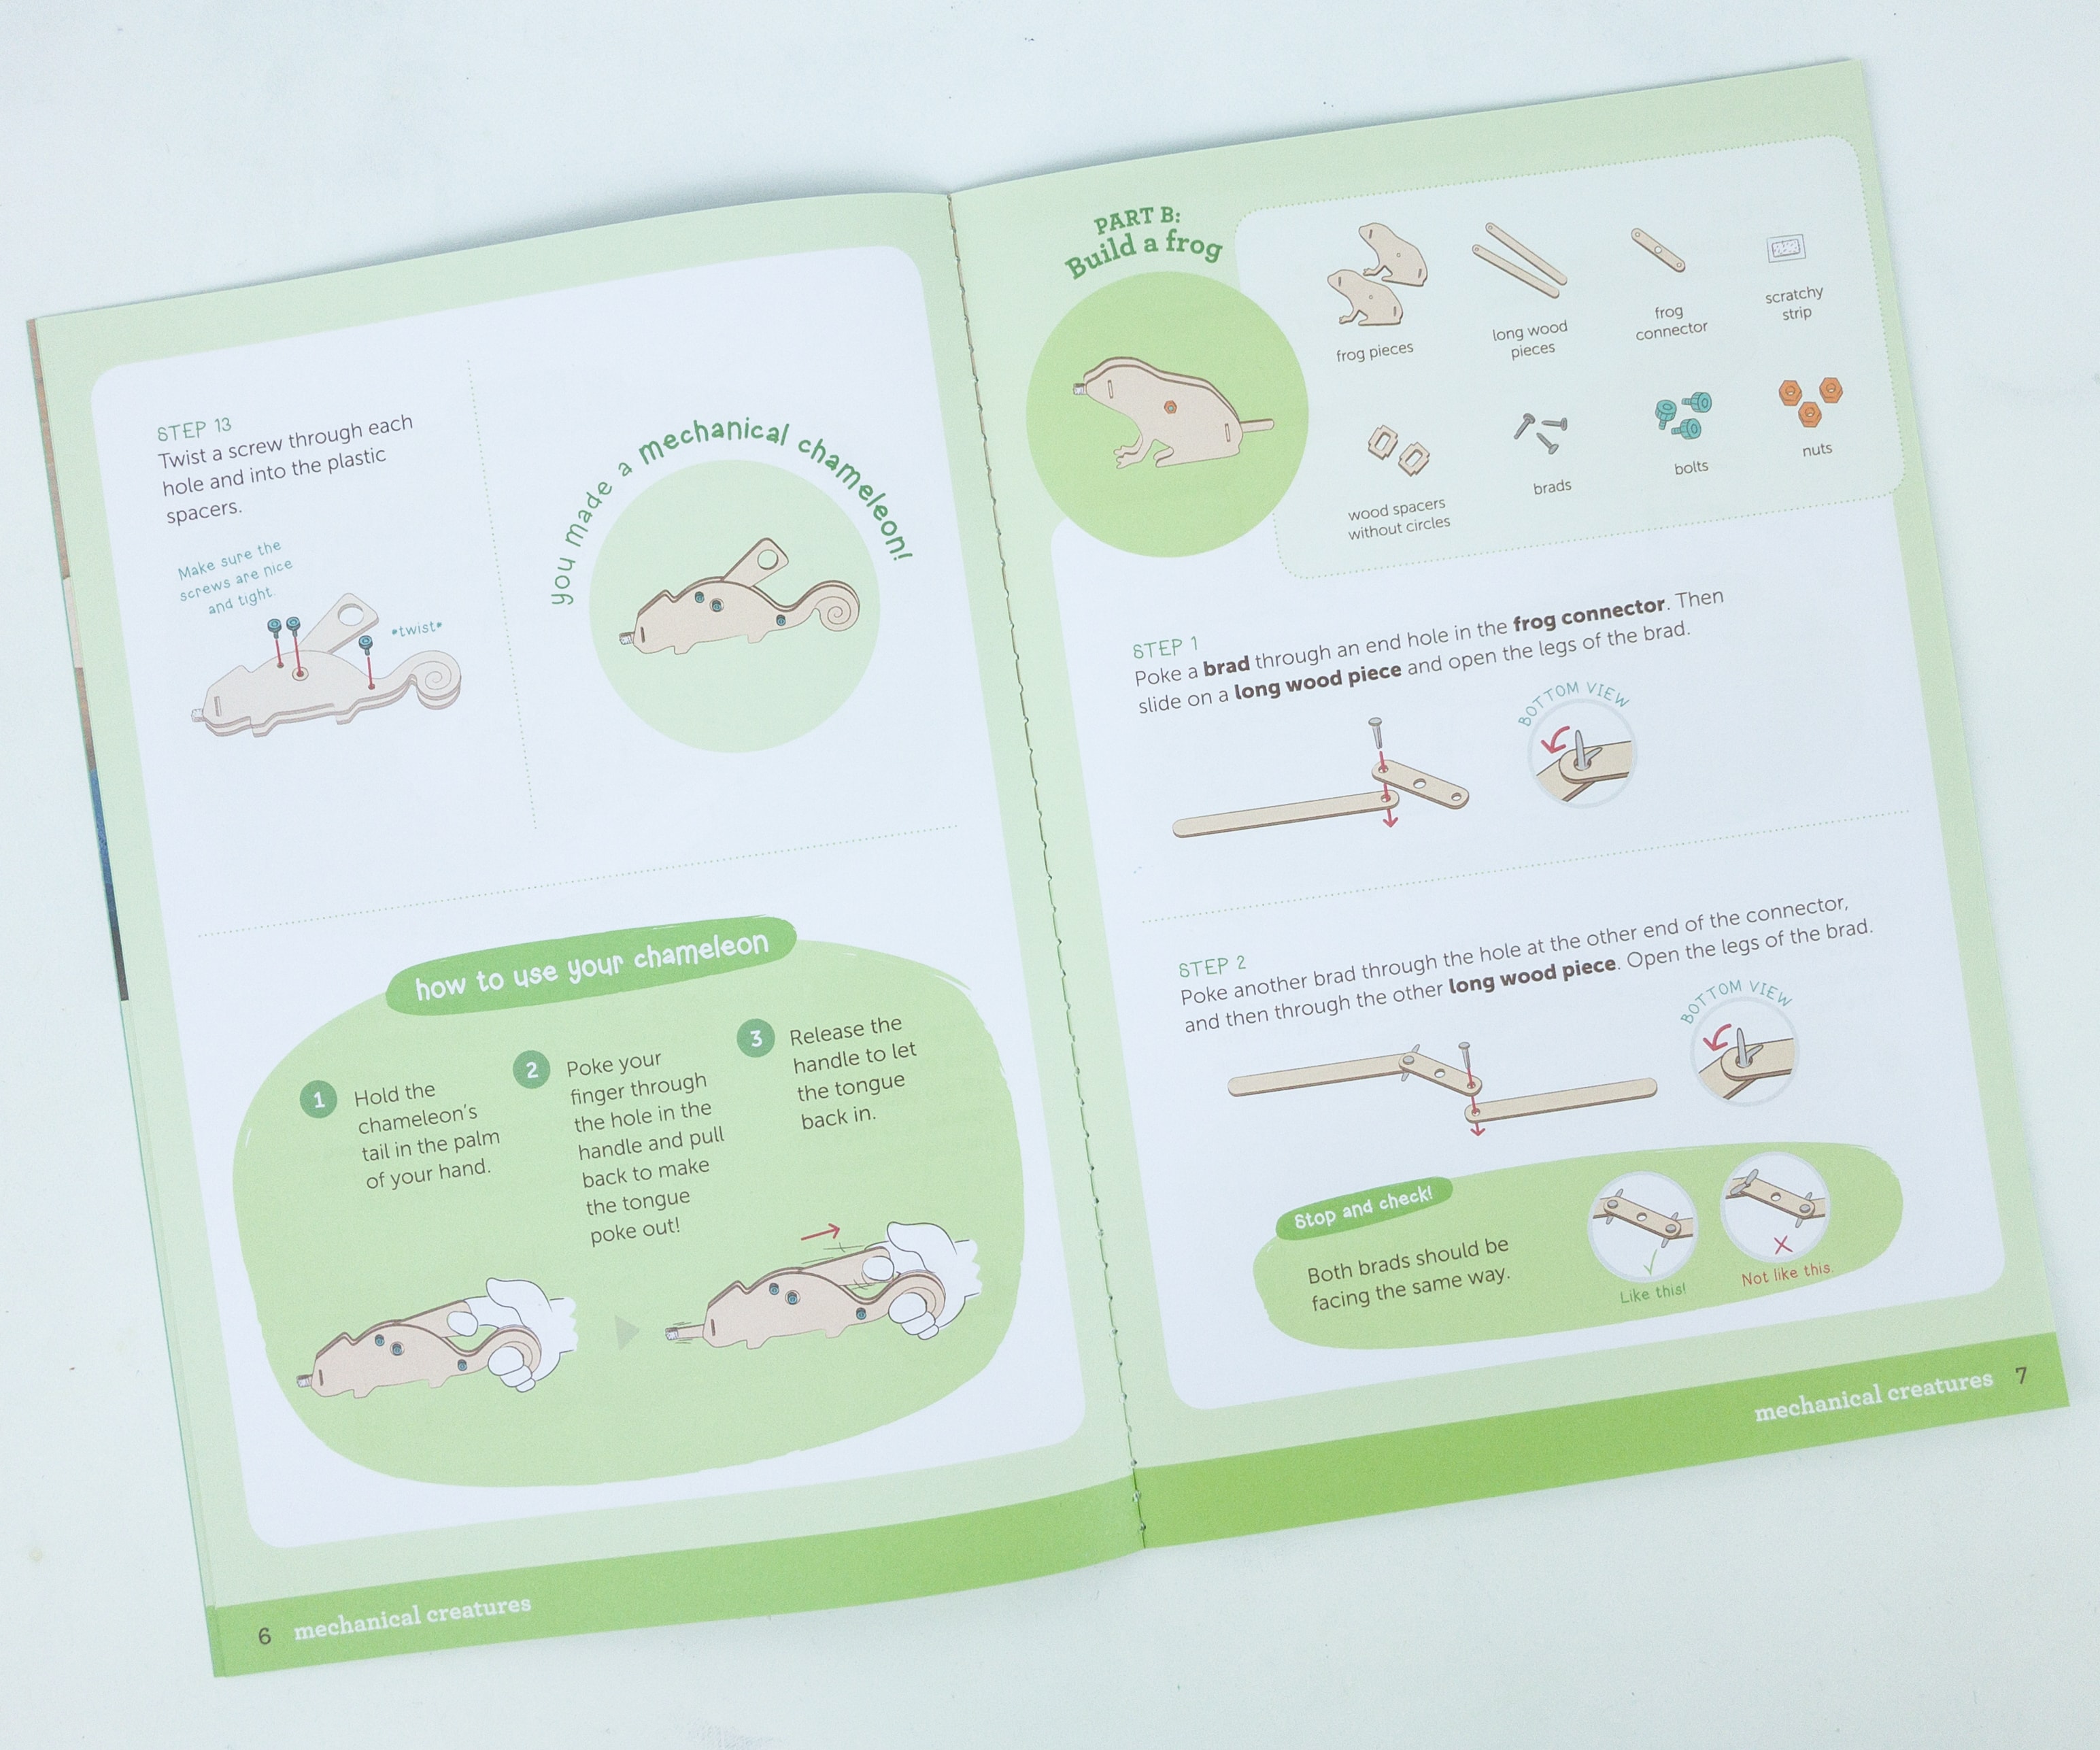
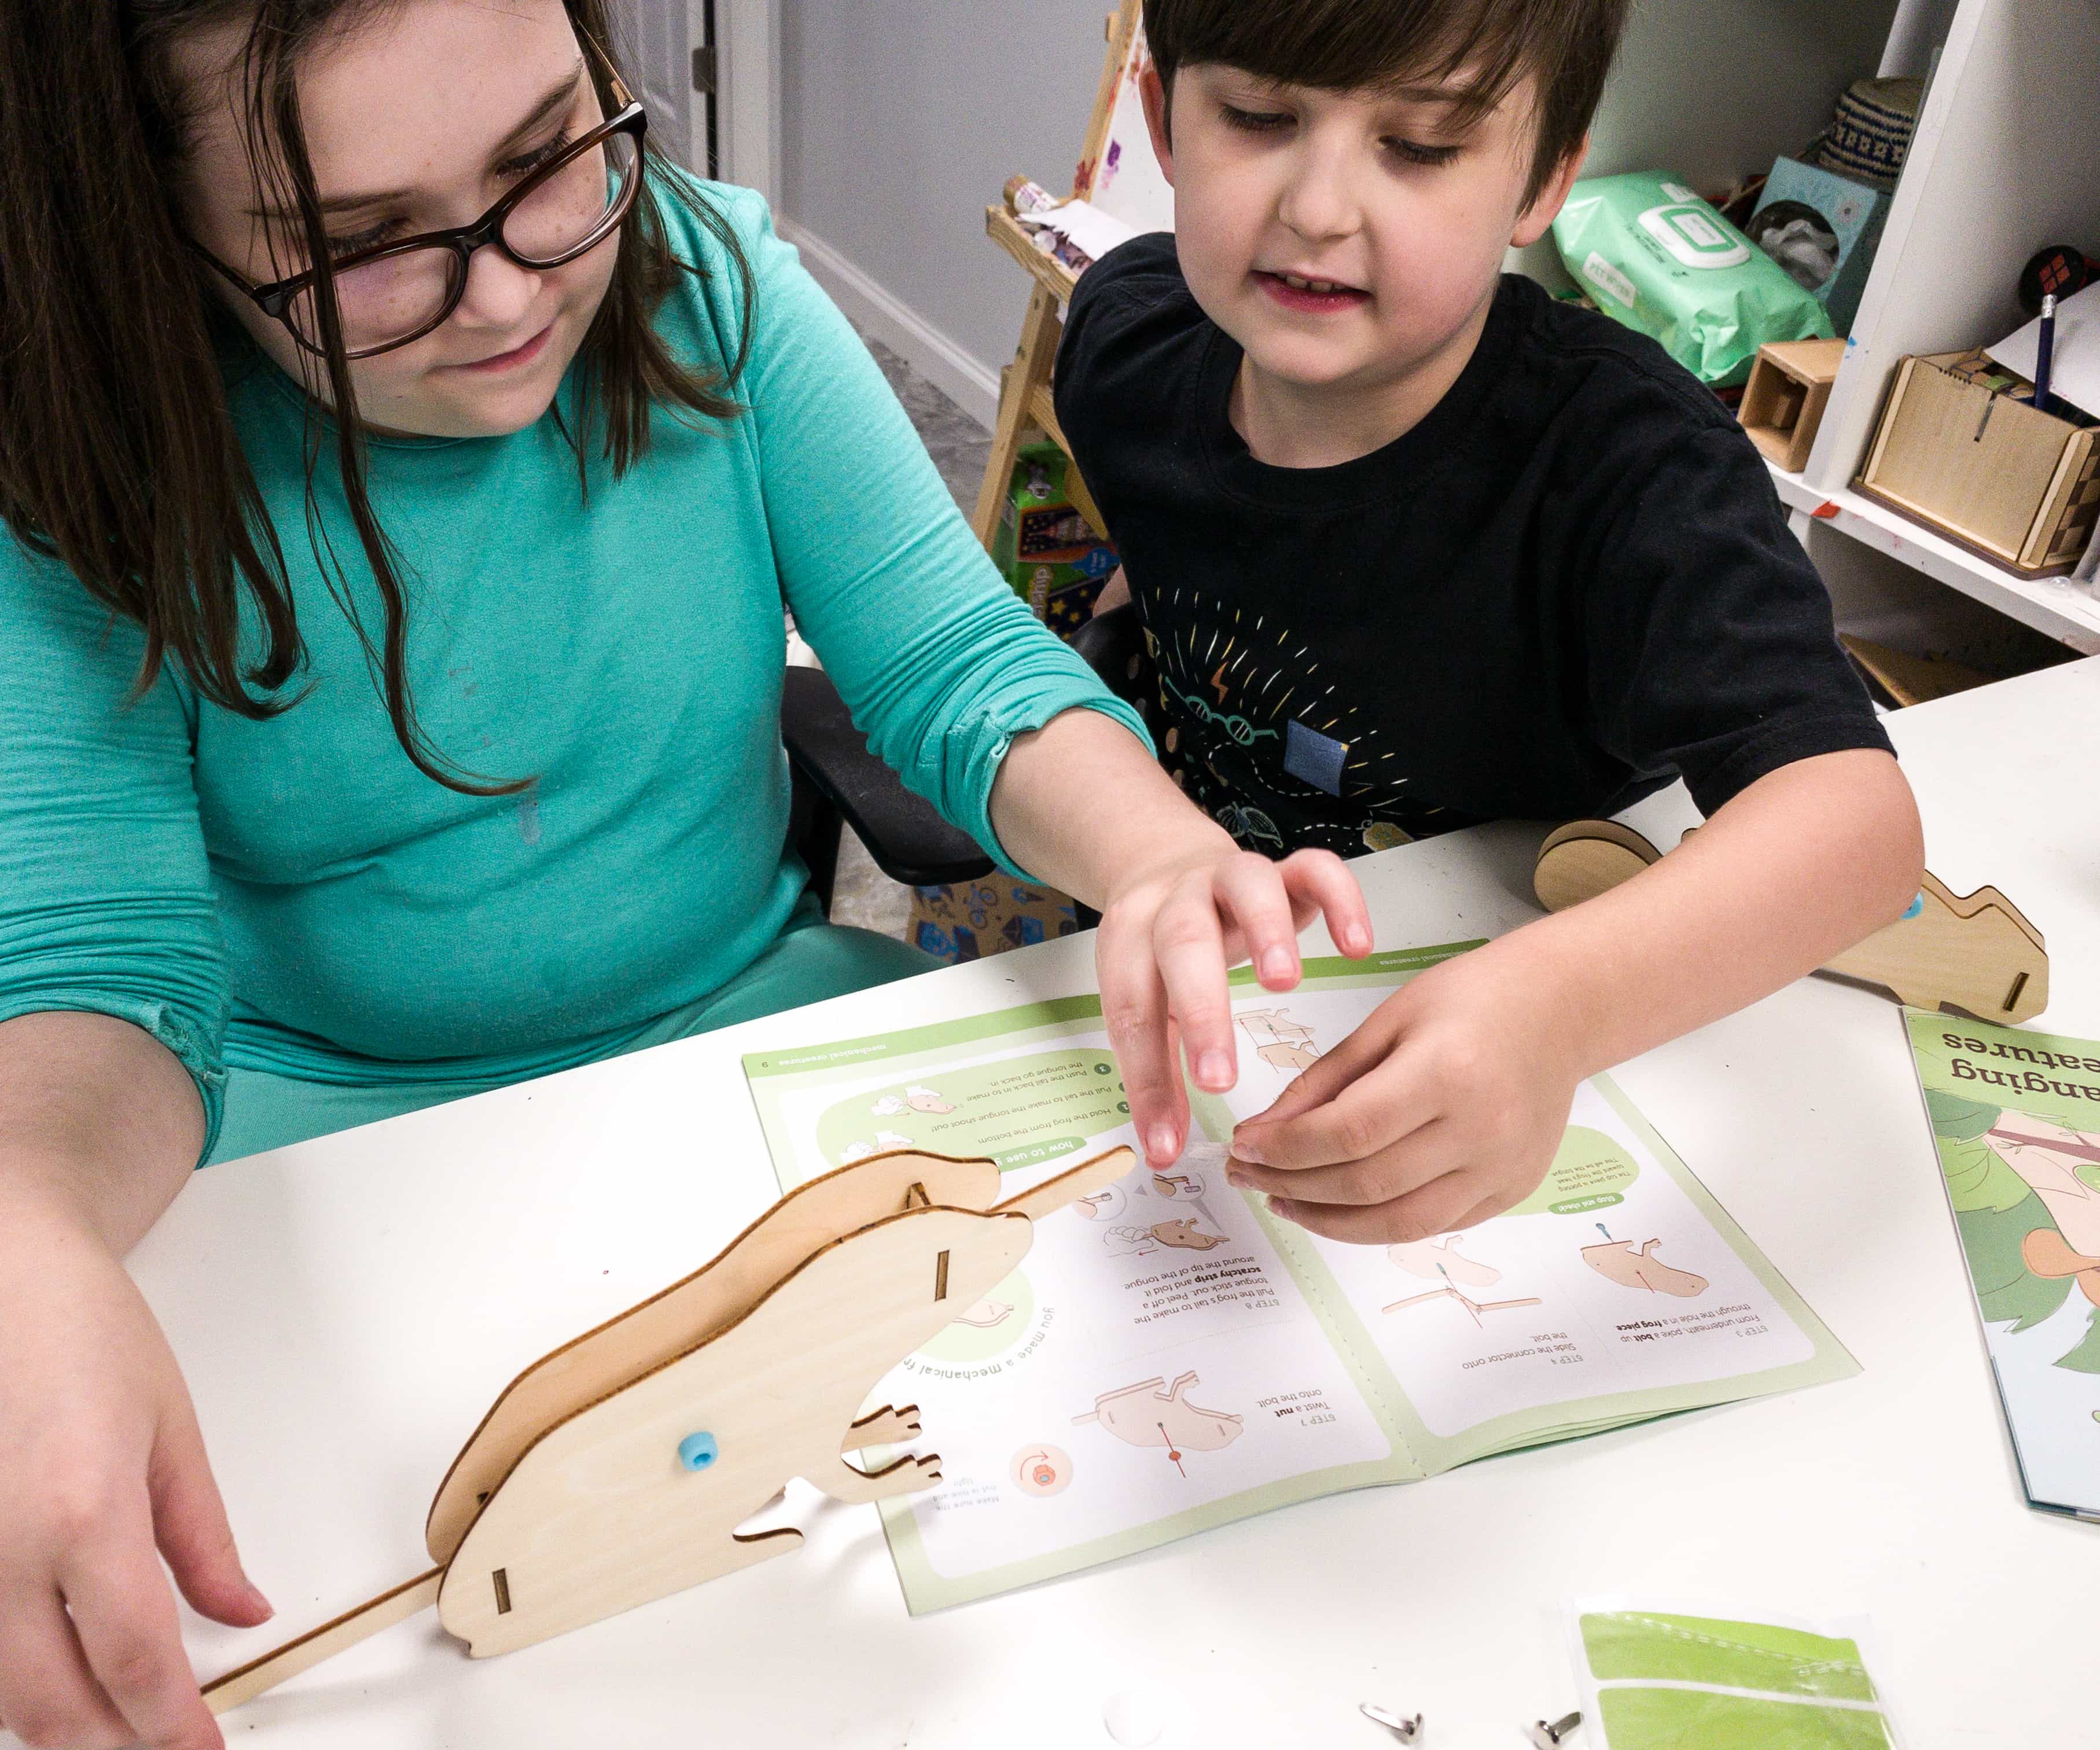
For the next part, we will be creating a mechanical frog!
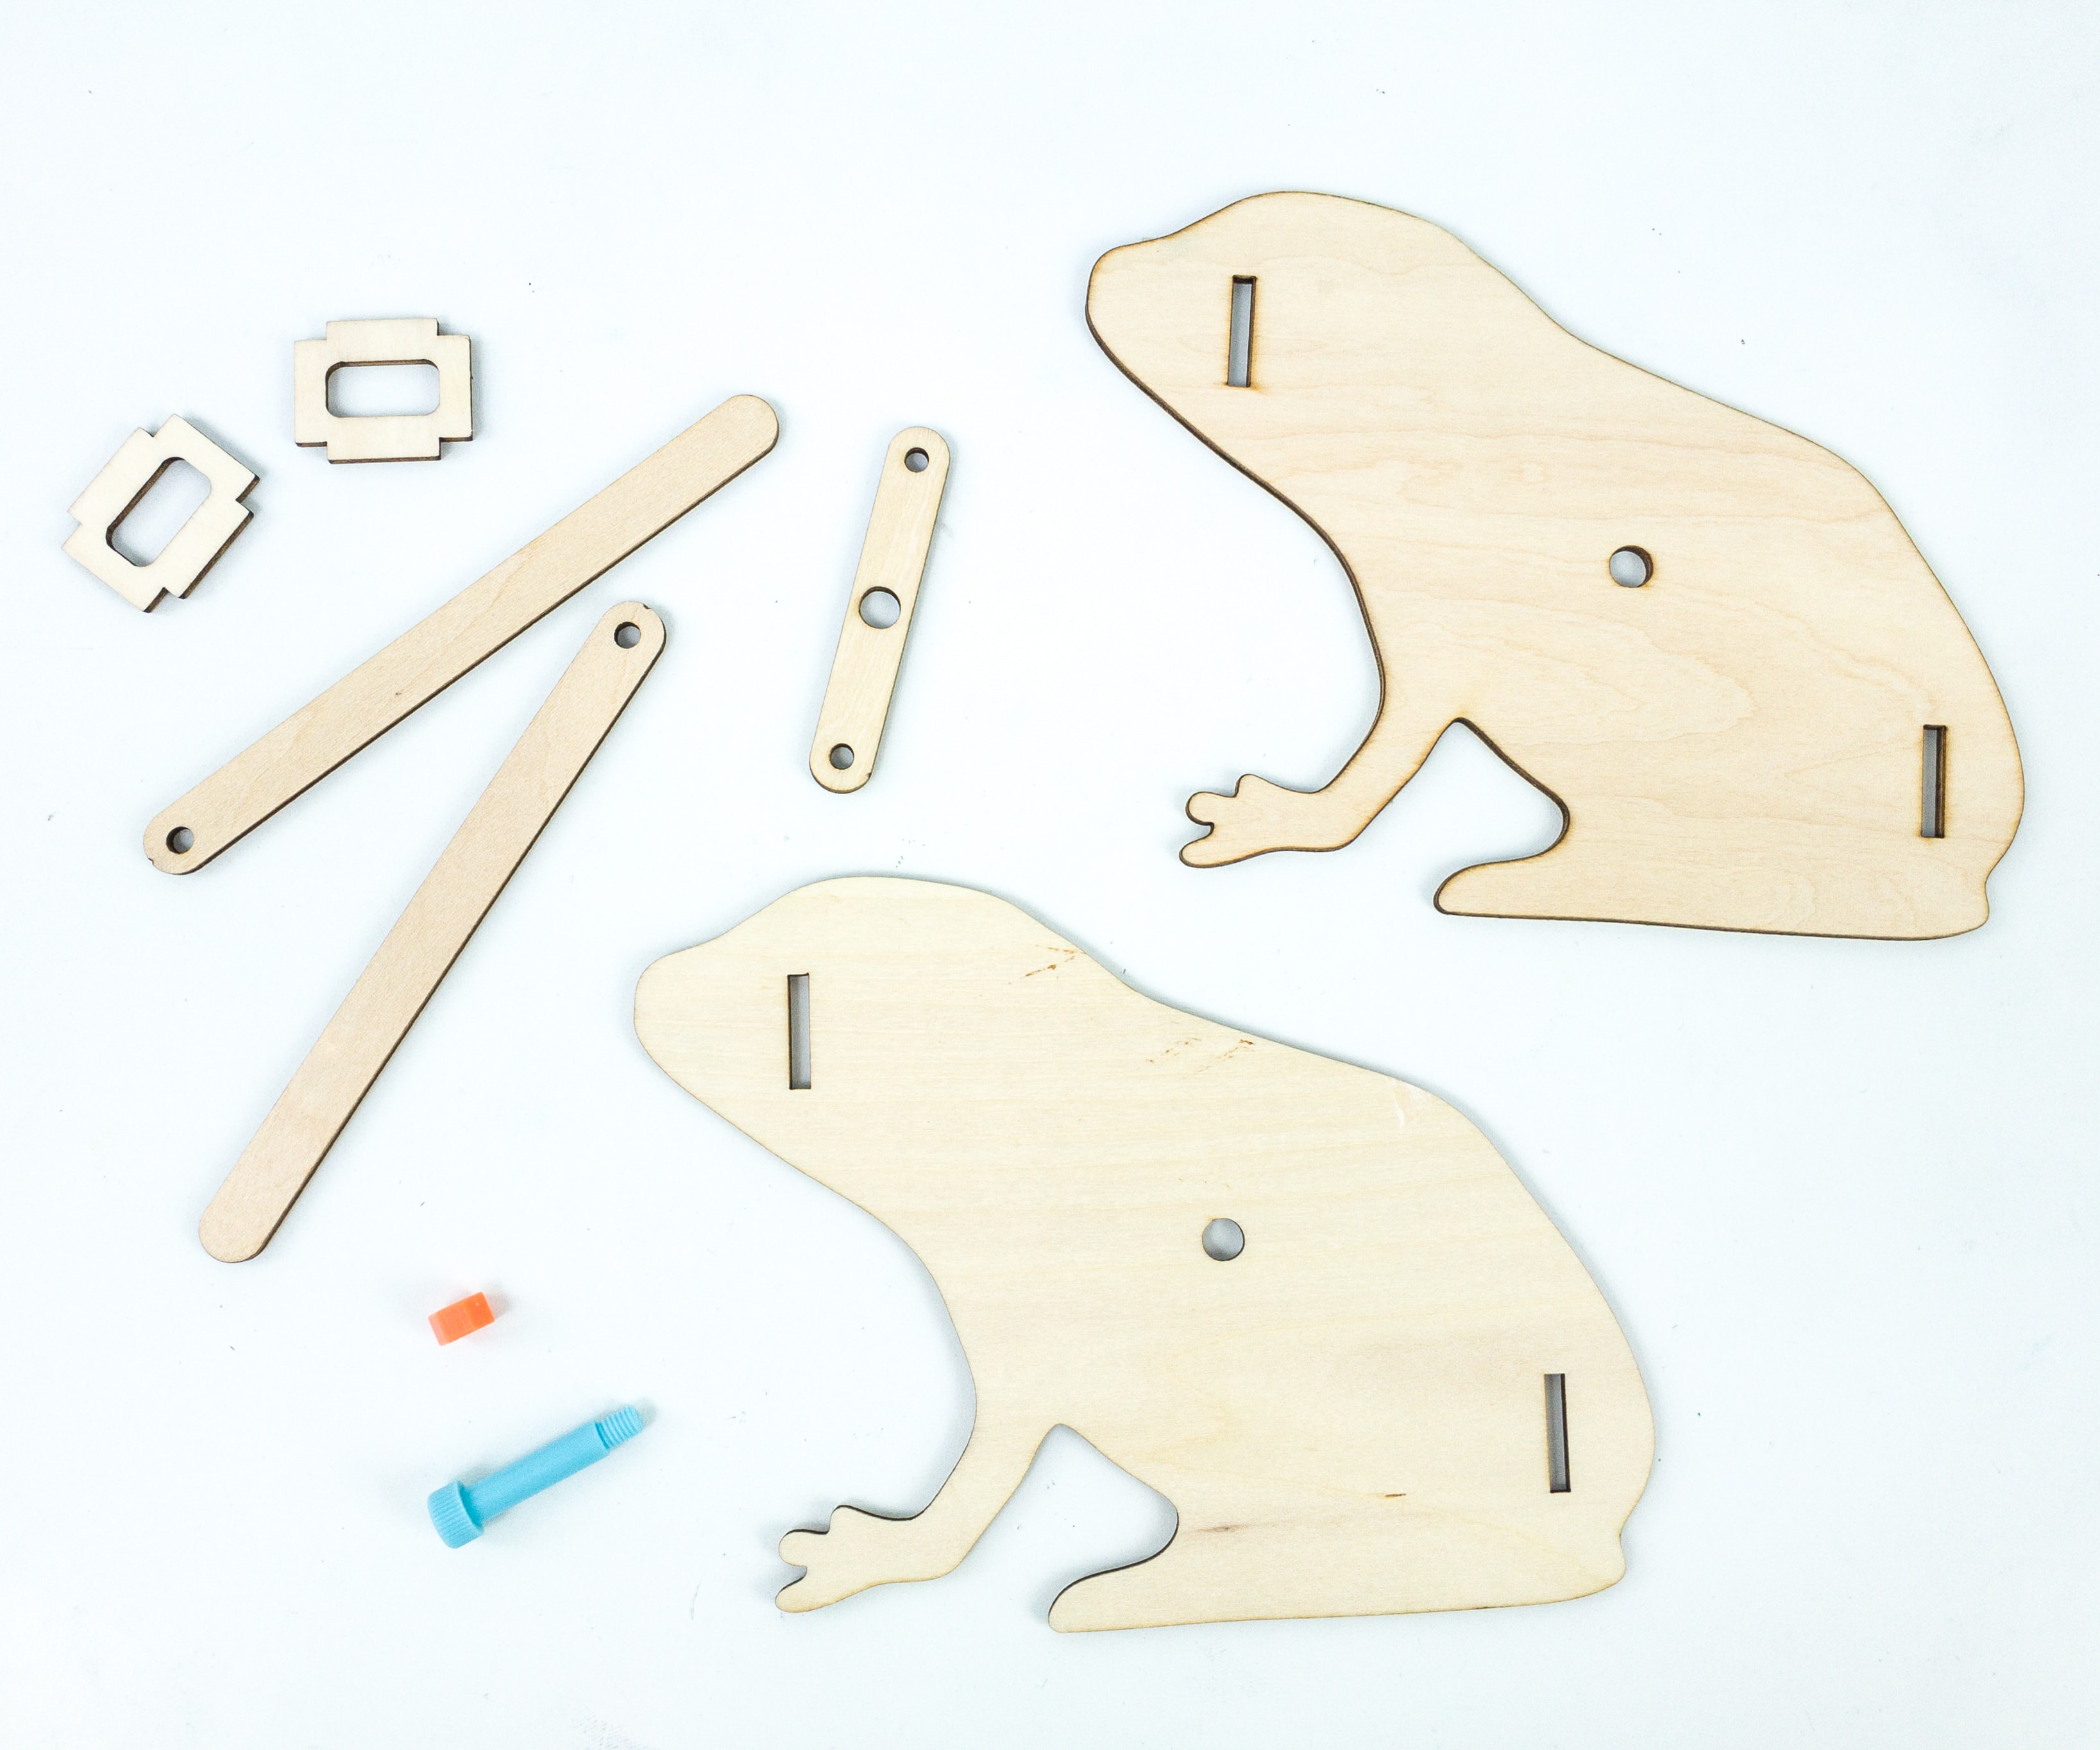
For this, we used the frog pieces, long wood pieces, frog connector, scratchy strip, wood spacers, brads, bolts, and nuts.
Like the chameleon, we started this project by poking the screws and bolts on the small holes of the frog.
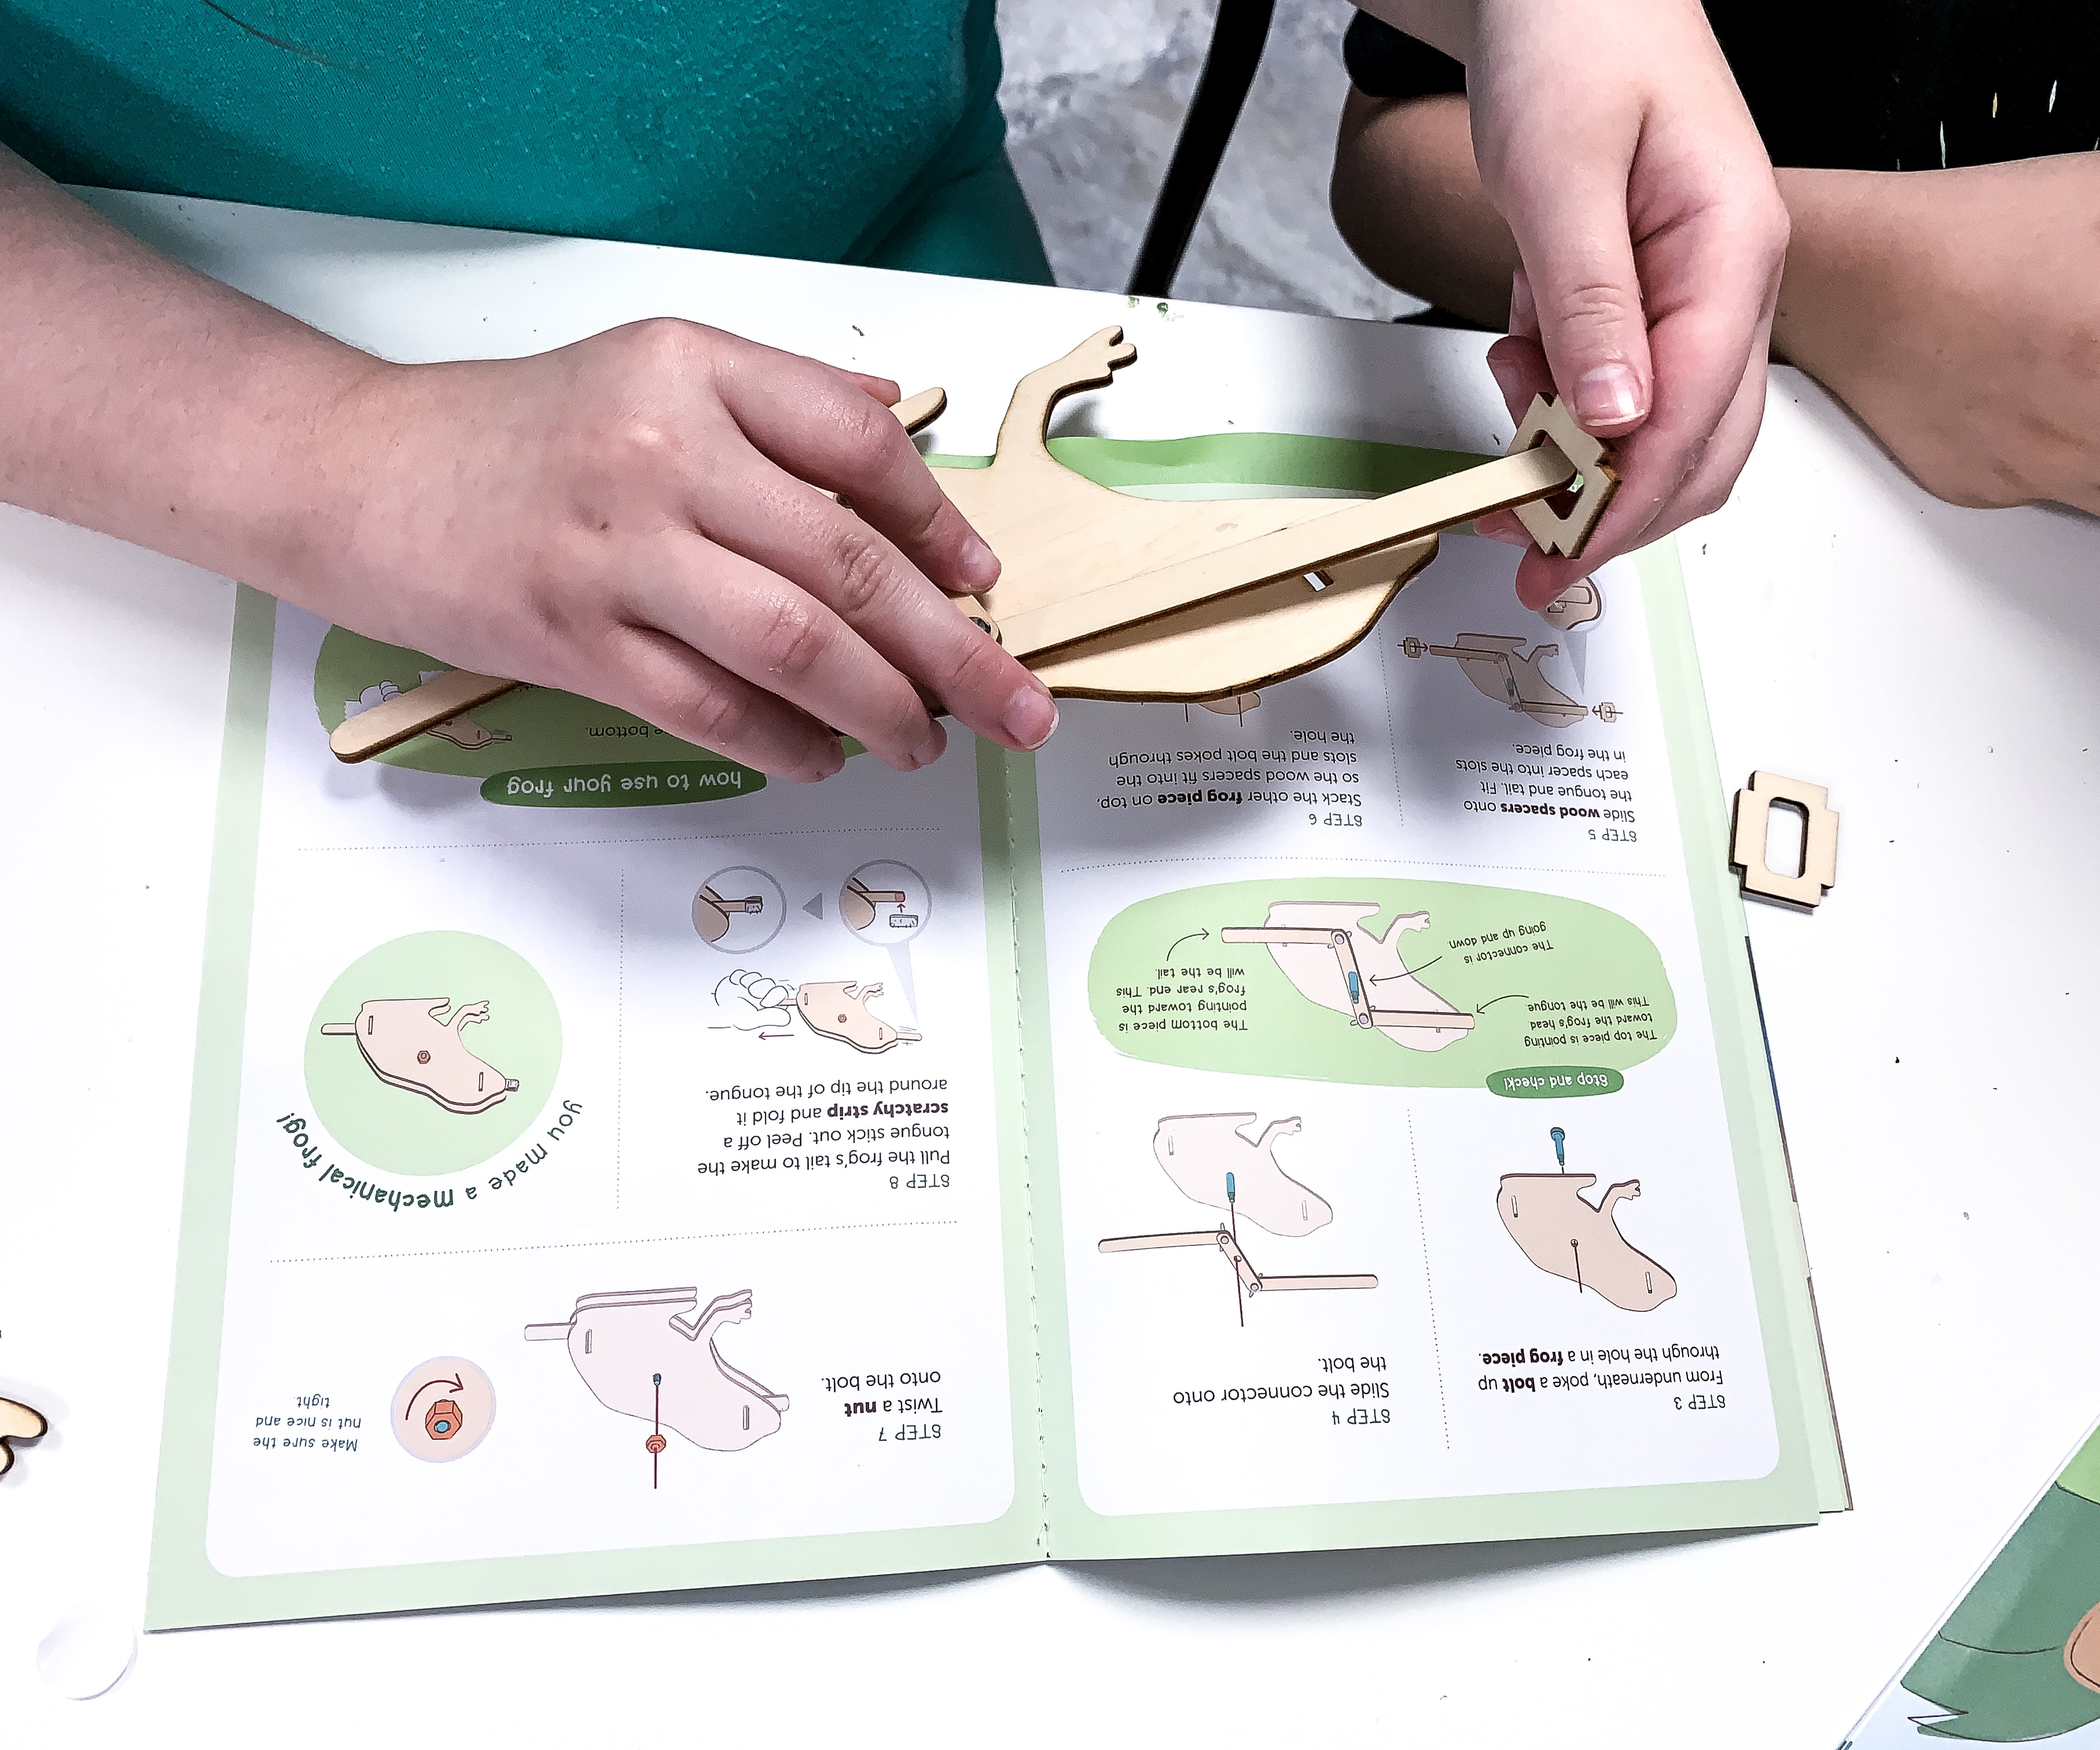
Once the screws and bolts are secured, slide the connector onto the bolt. Place the one end of the connector on the head and the other on the rear end of the frog.
Carefully place slide the wood spacers onto the tongue and the tail. Fit each spacer into the slots in the frog piece and then stack the other frog piece on top, so the wood spacers fit into the slots and the bolt pokes through the hole.
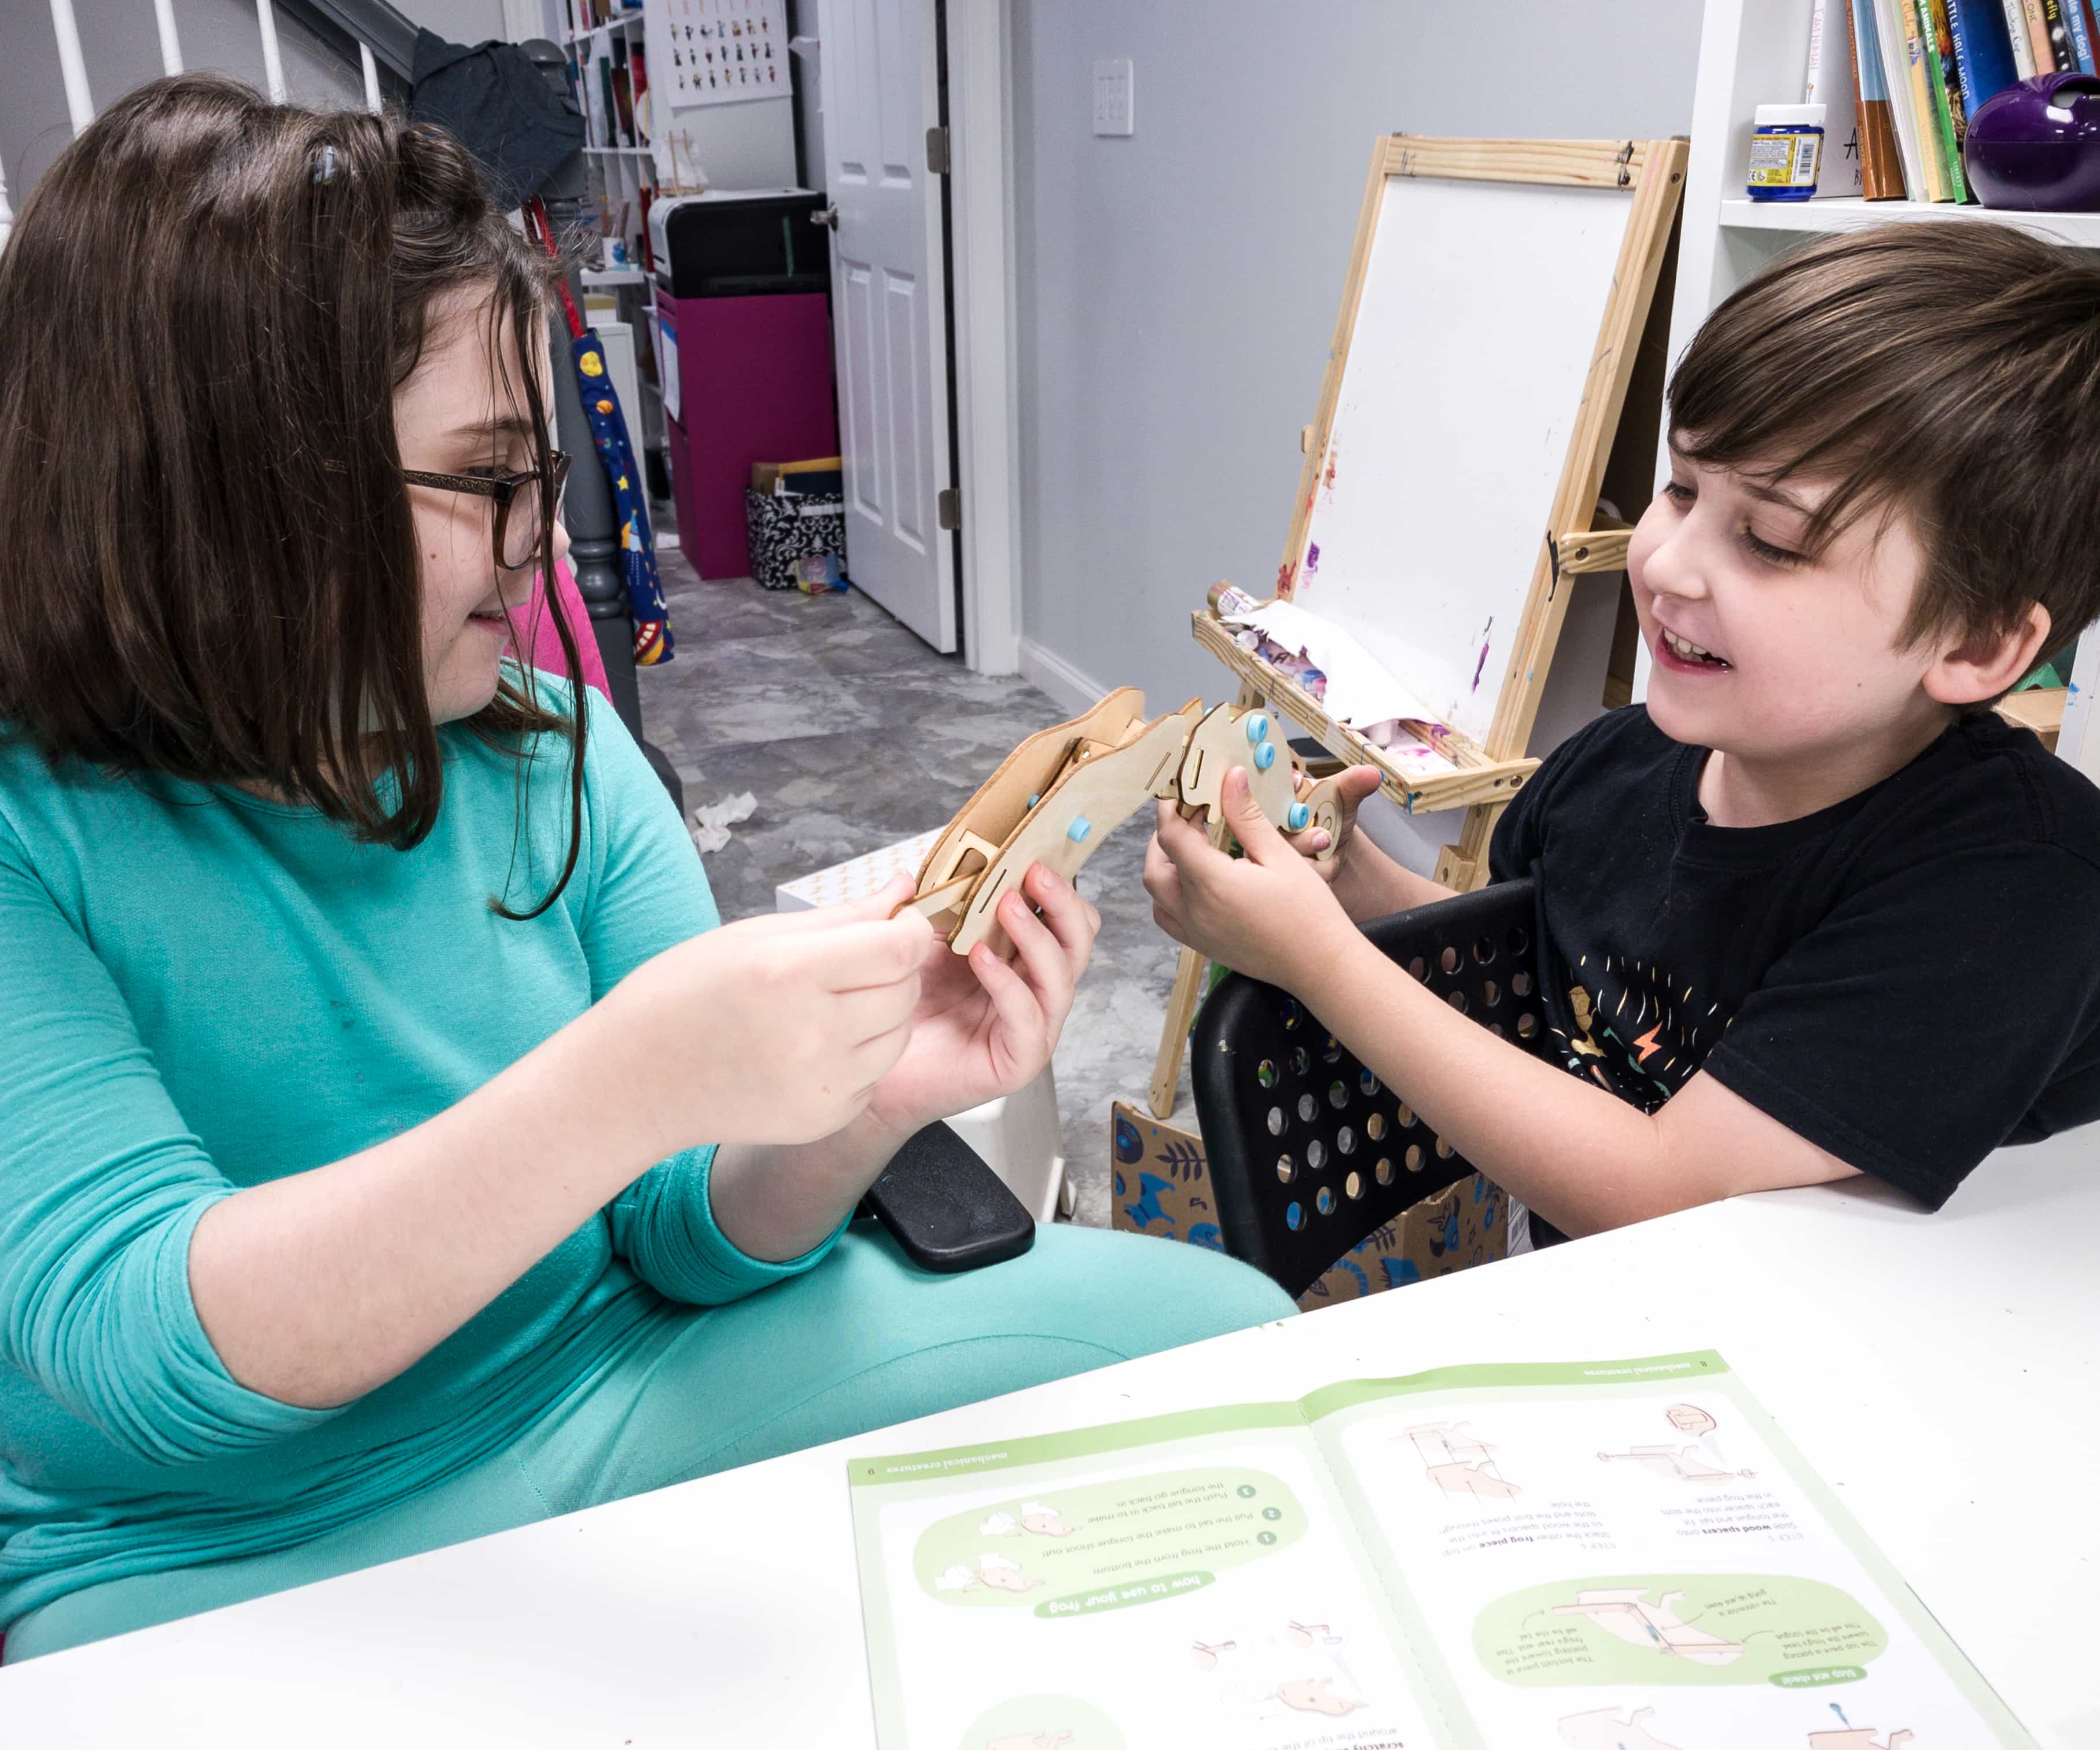
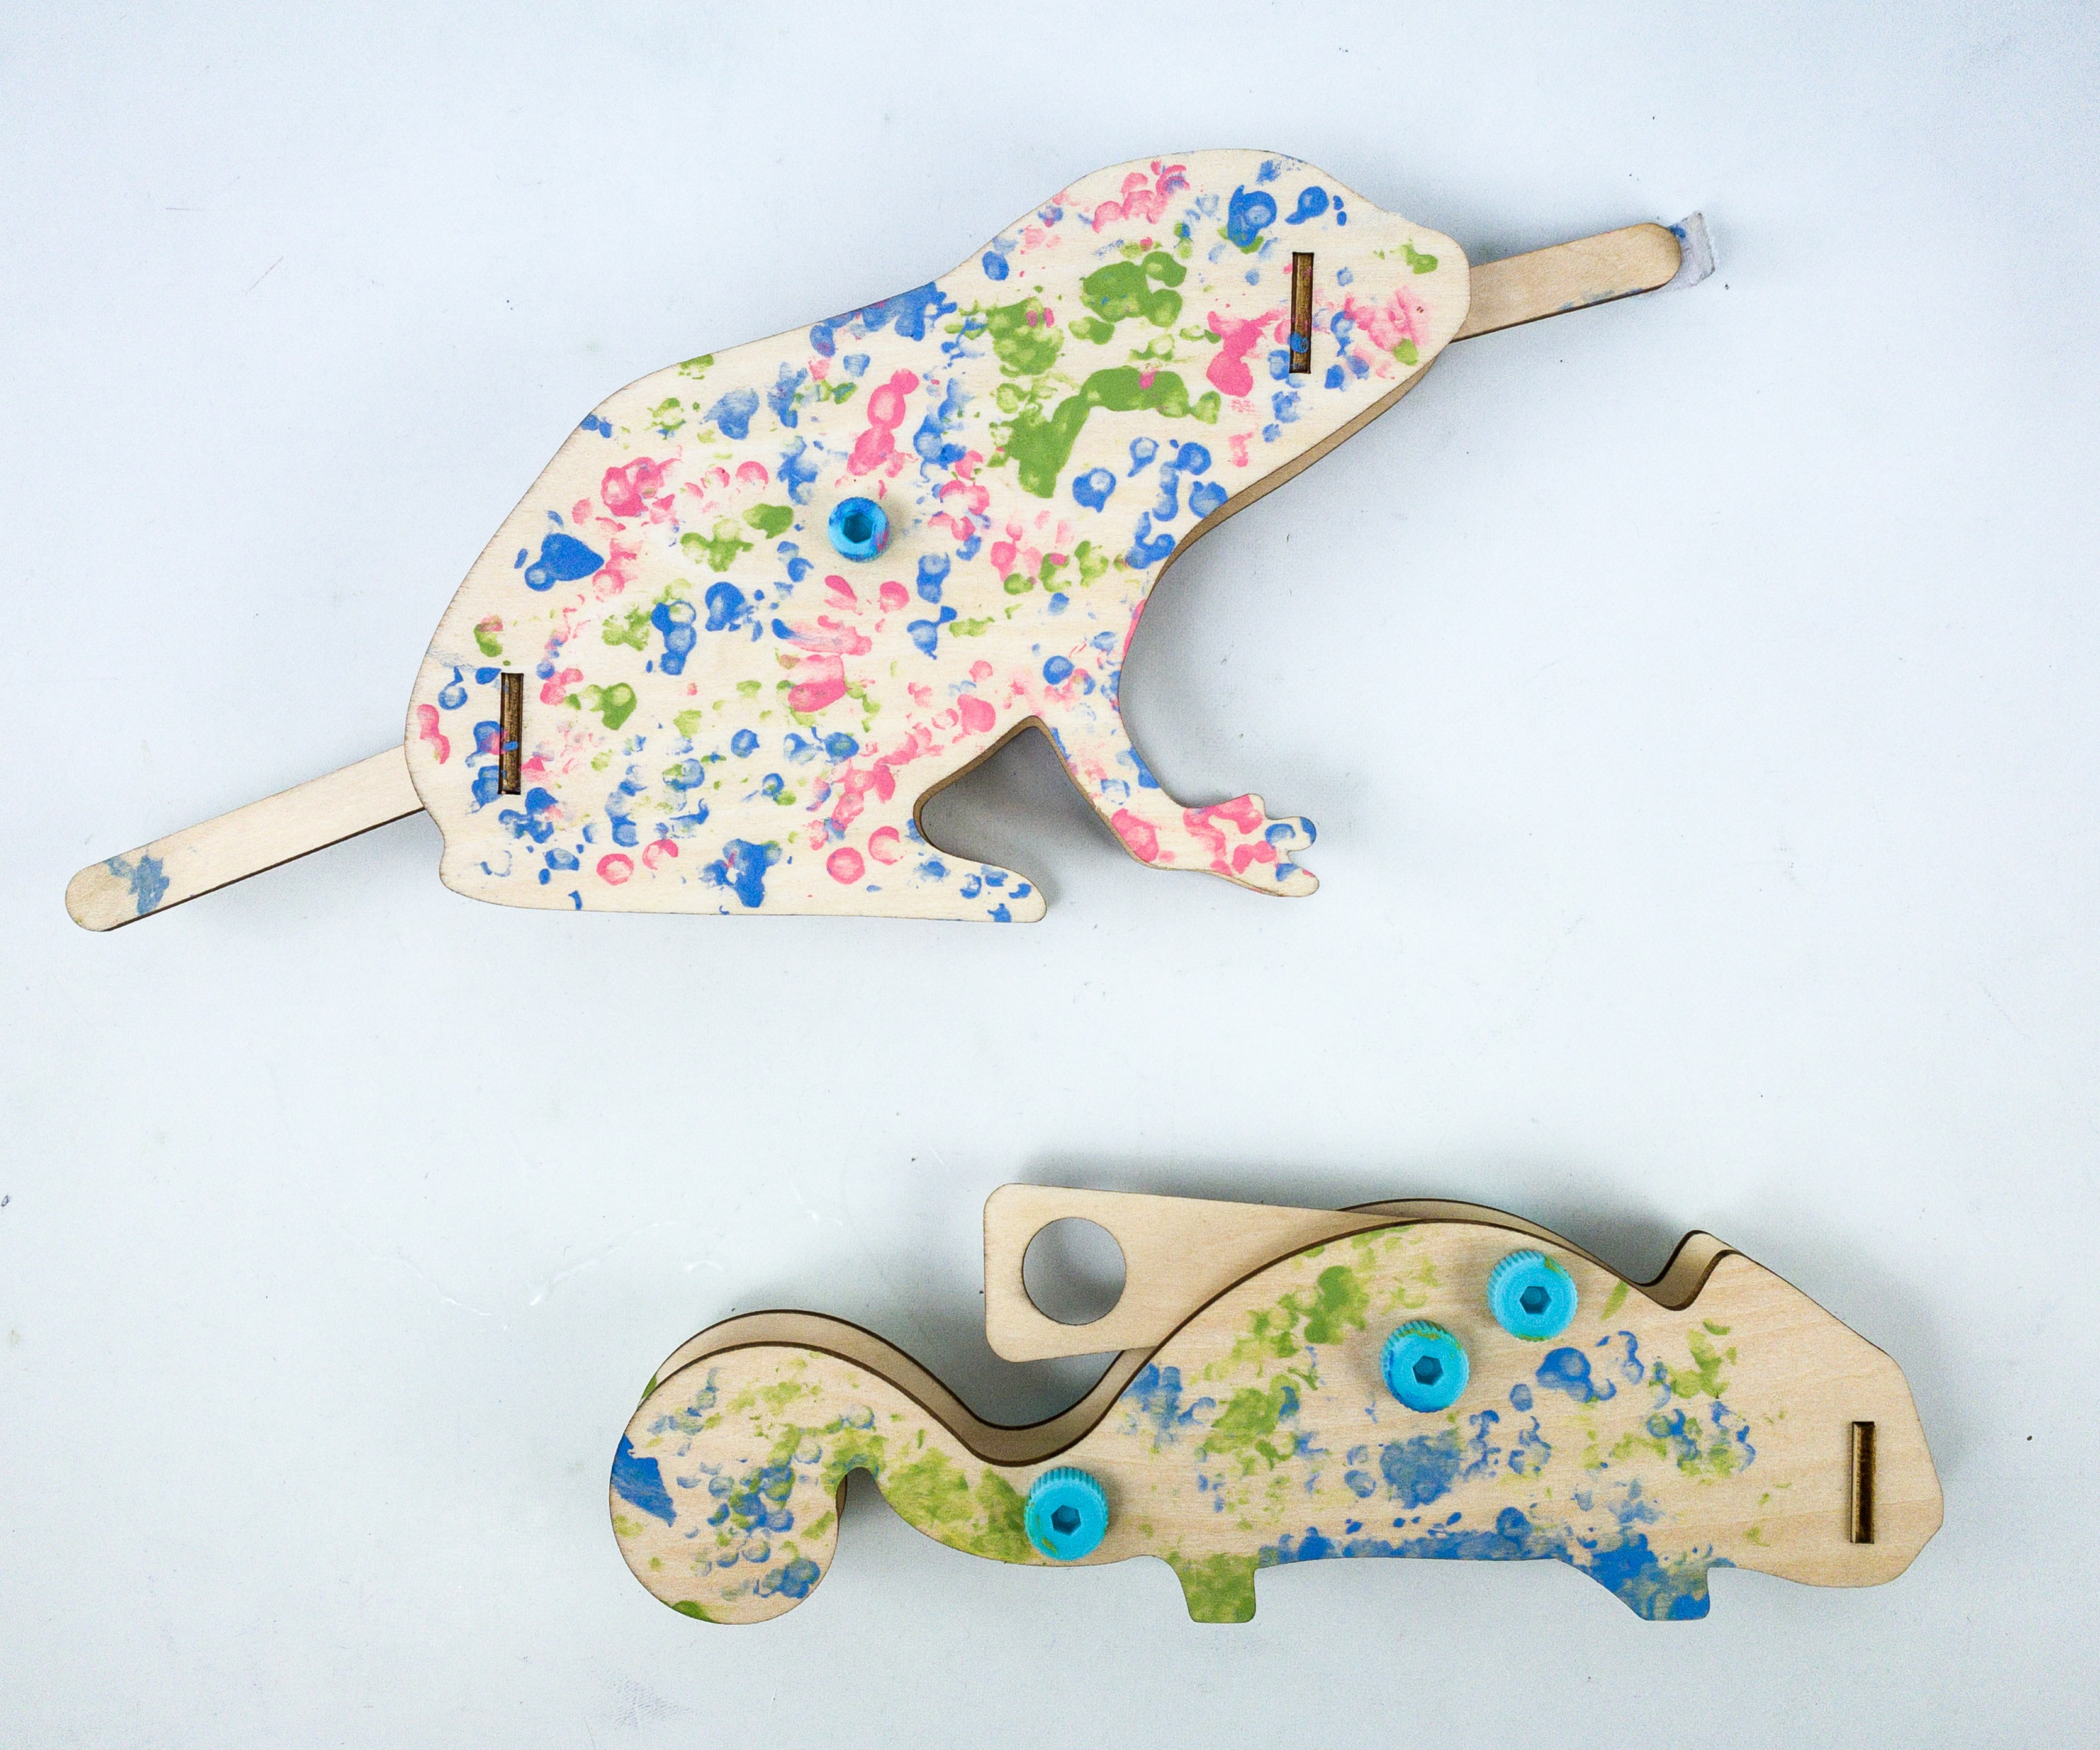
There we have our mechanical chameleon and frog!
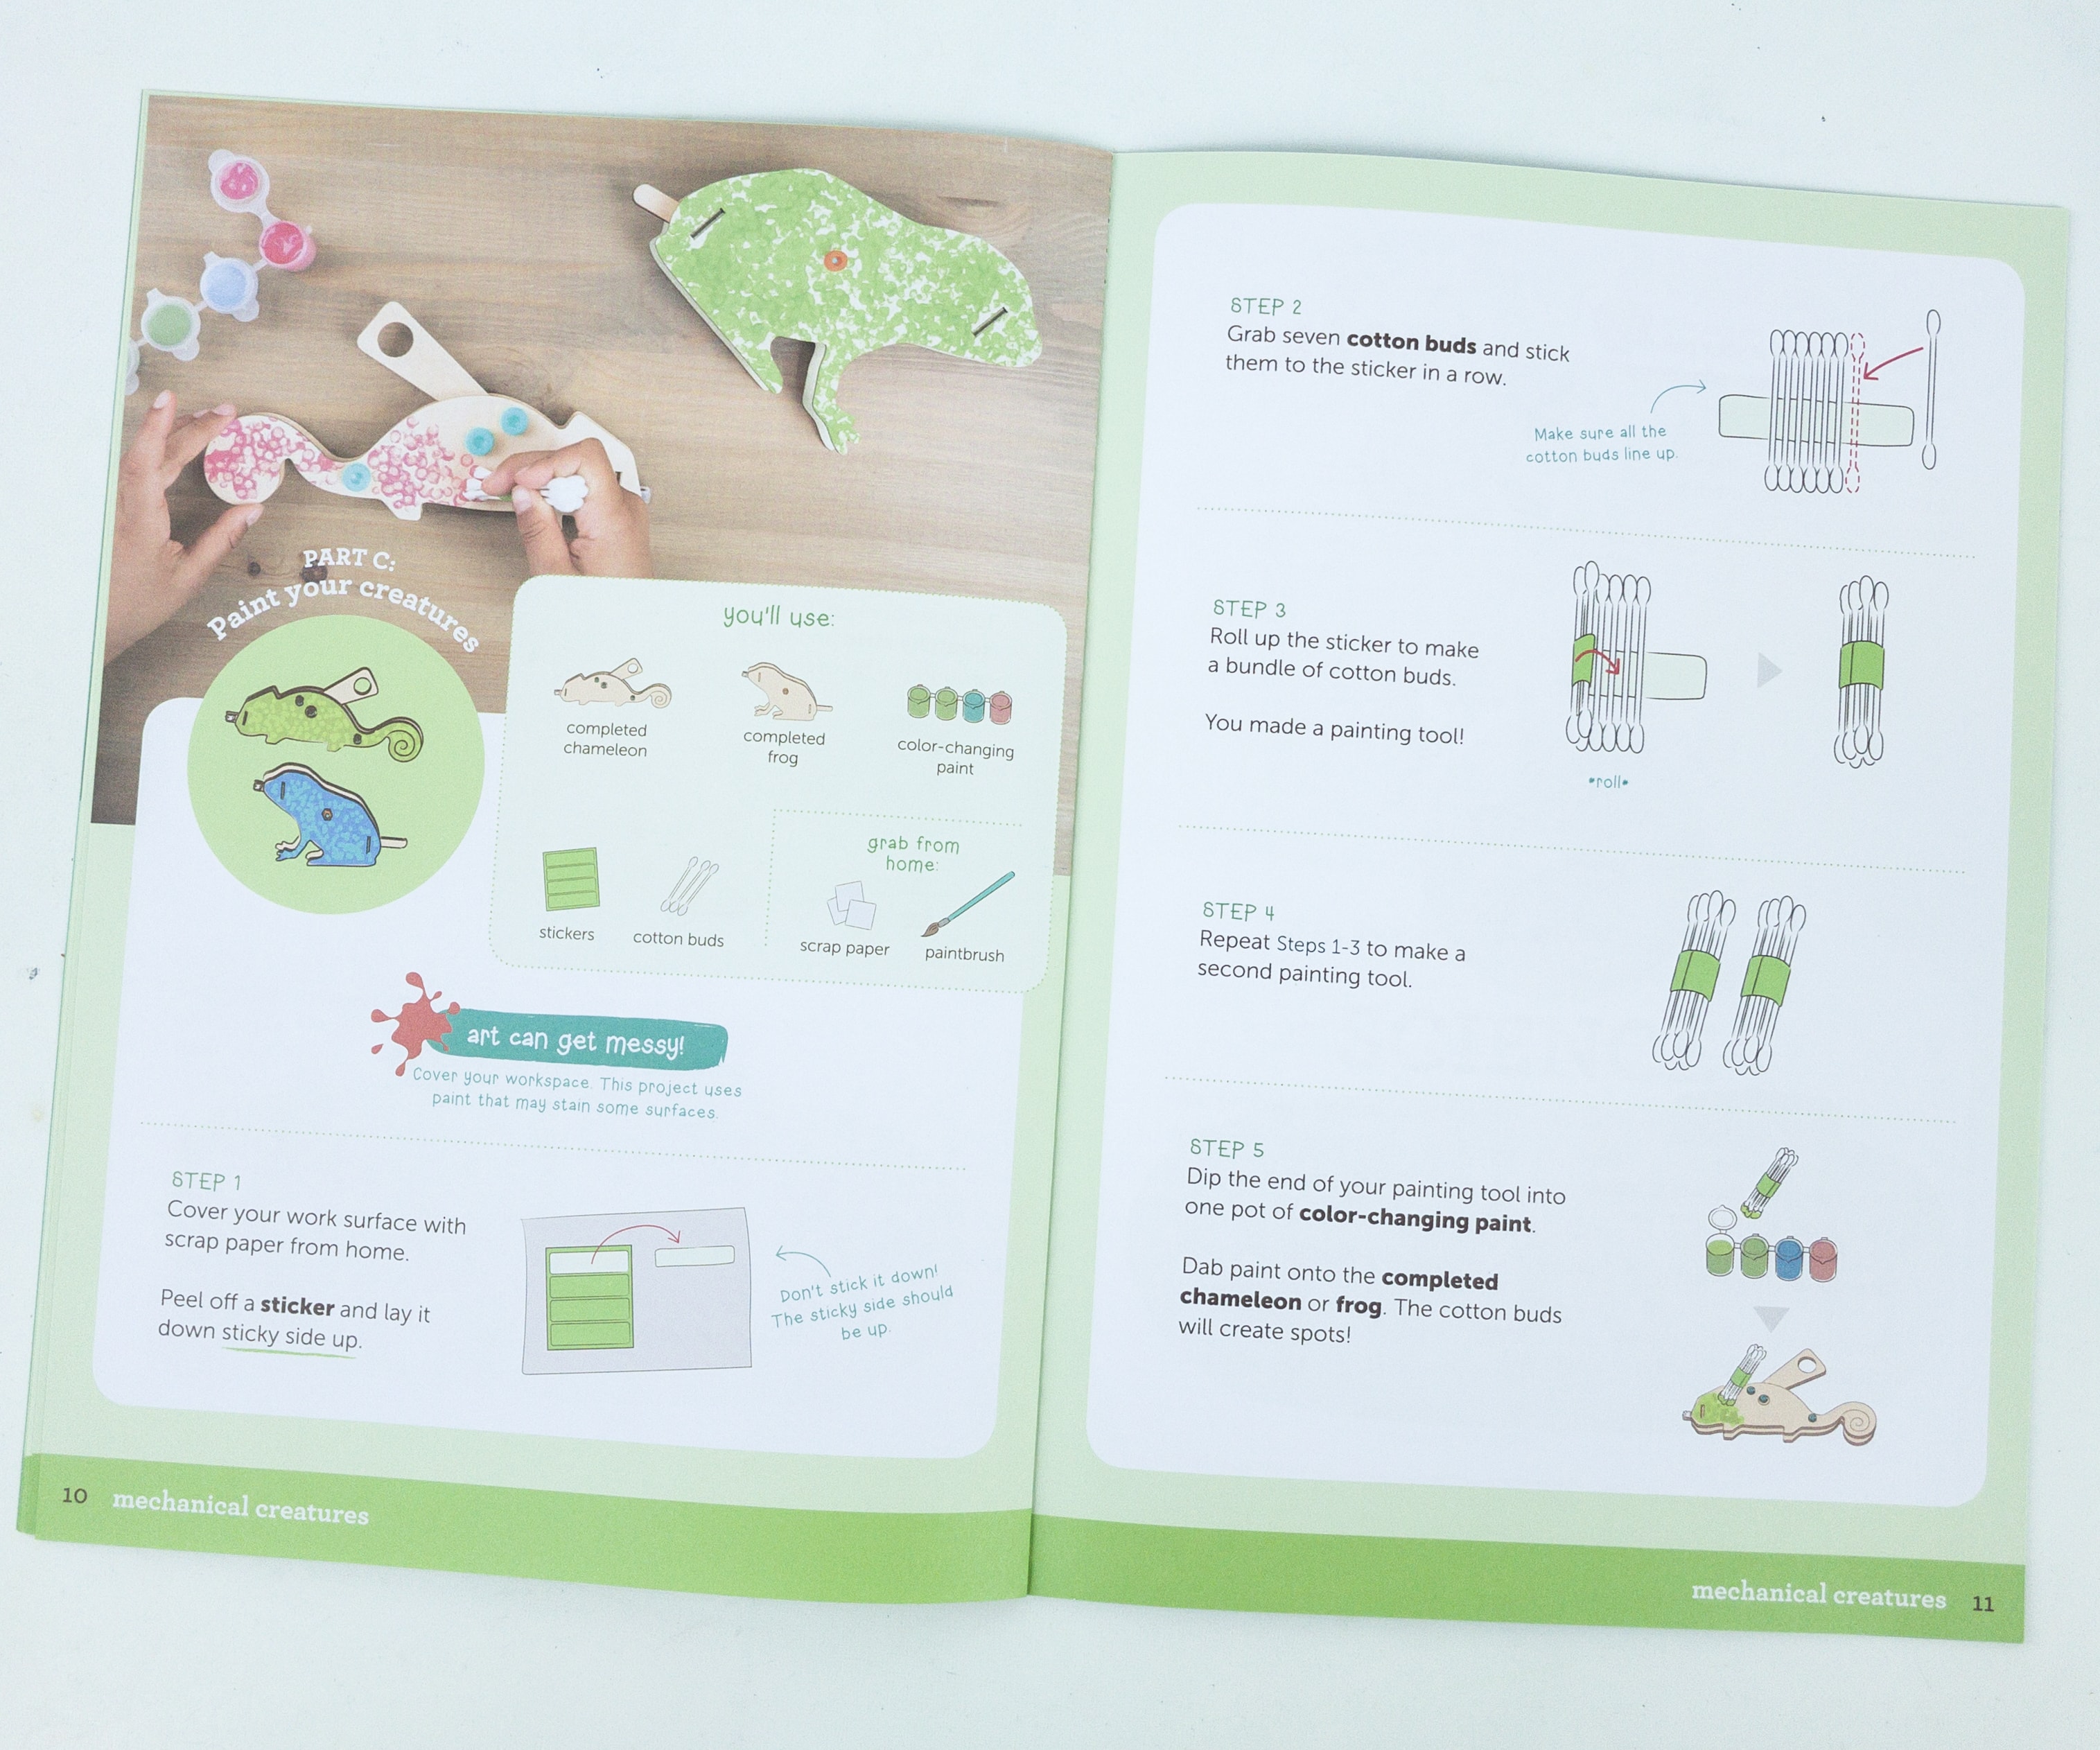
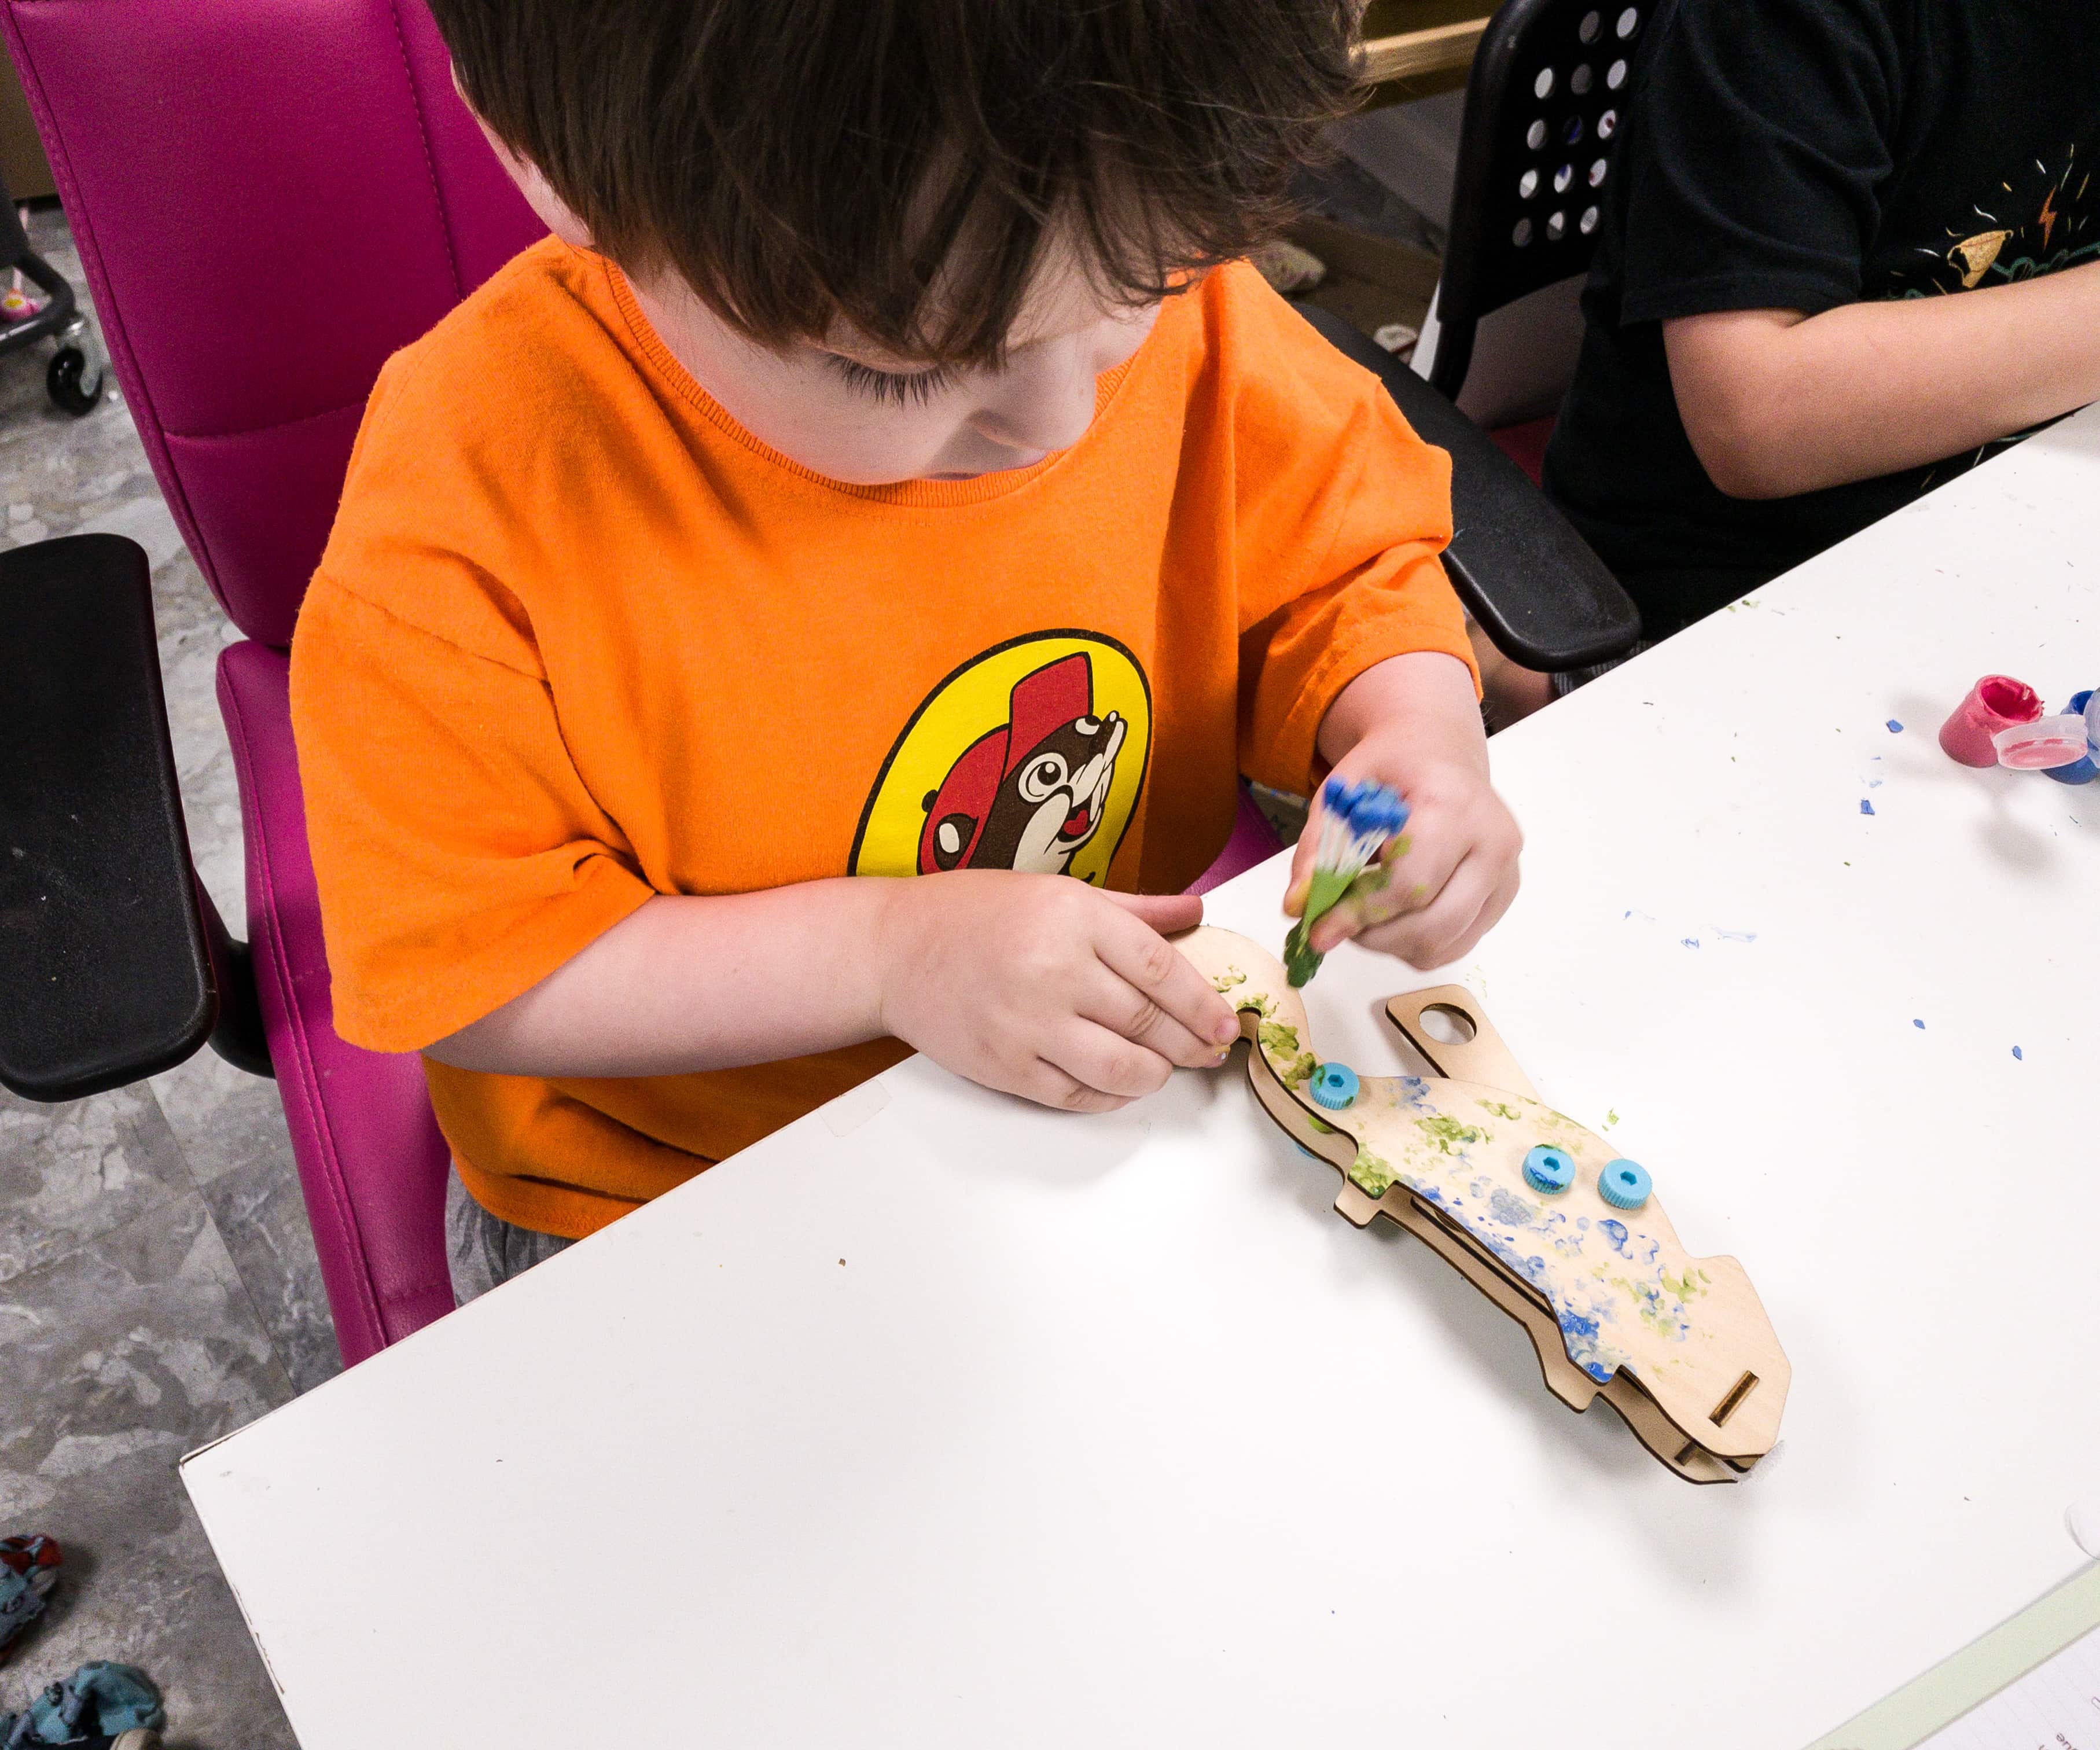
The third part of the activity is the painting of the creatures.
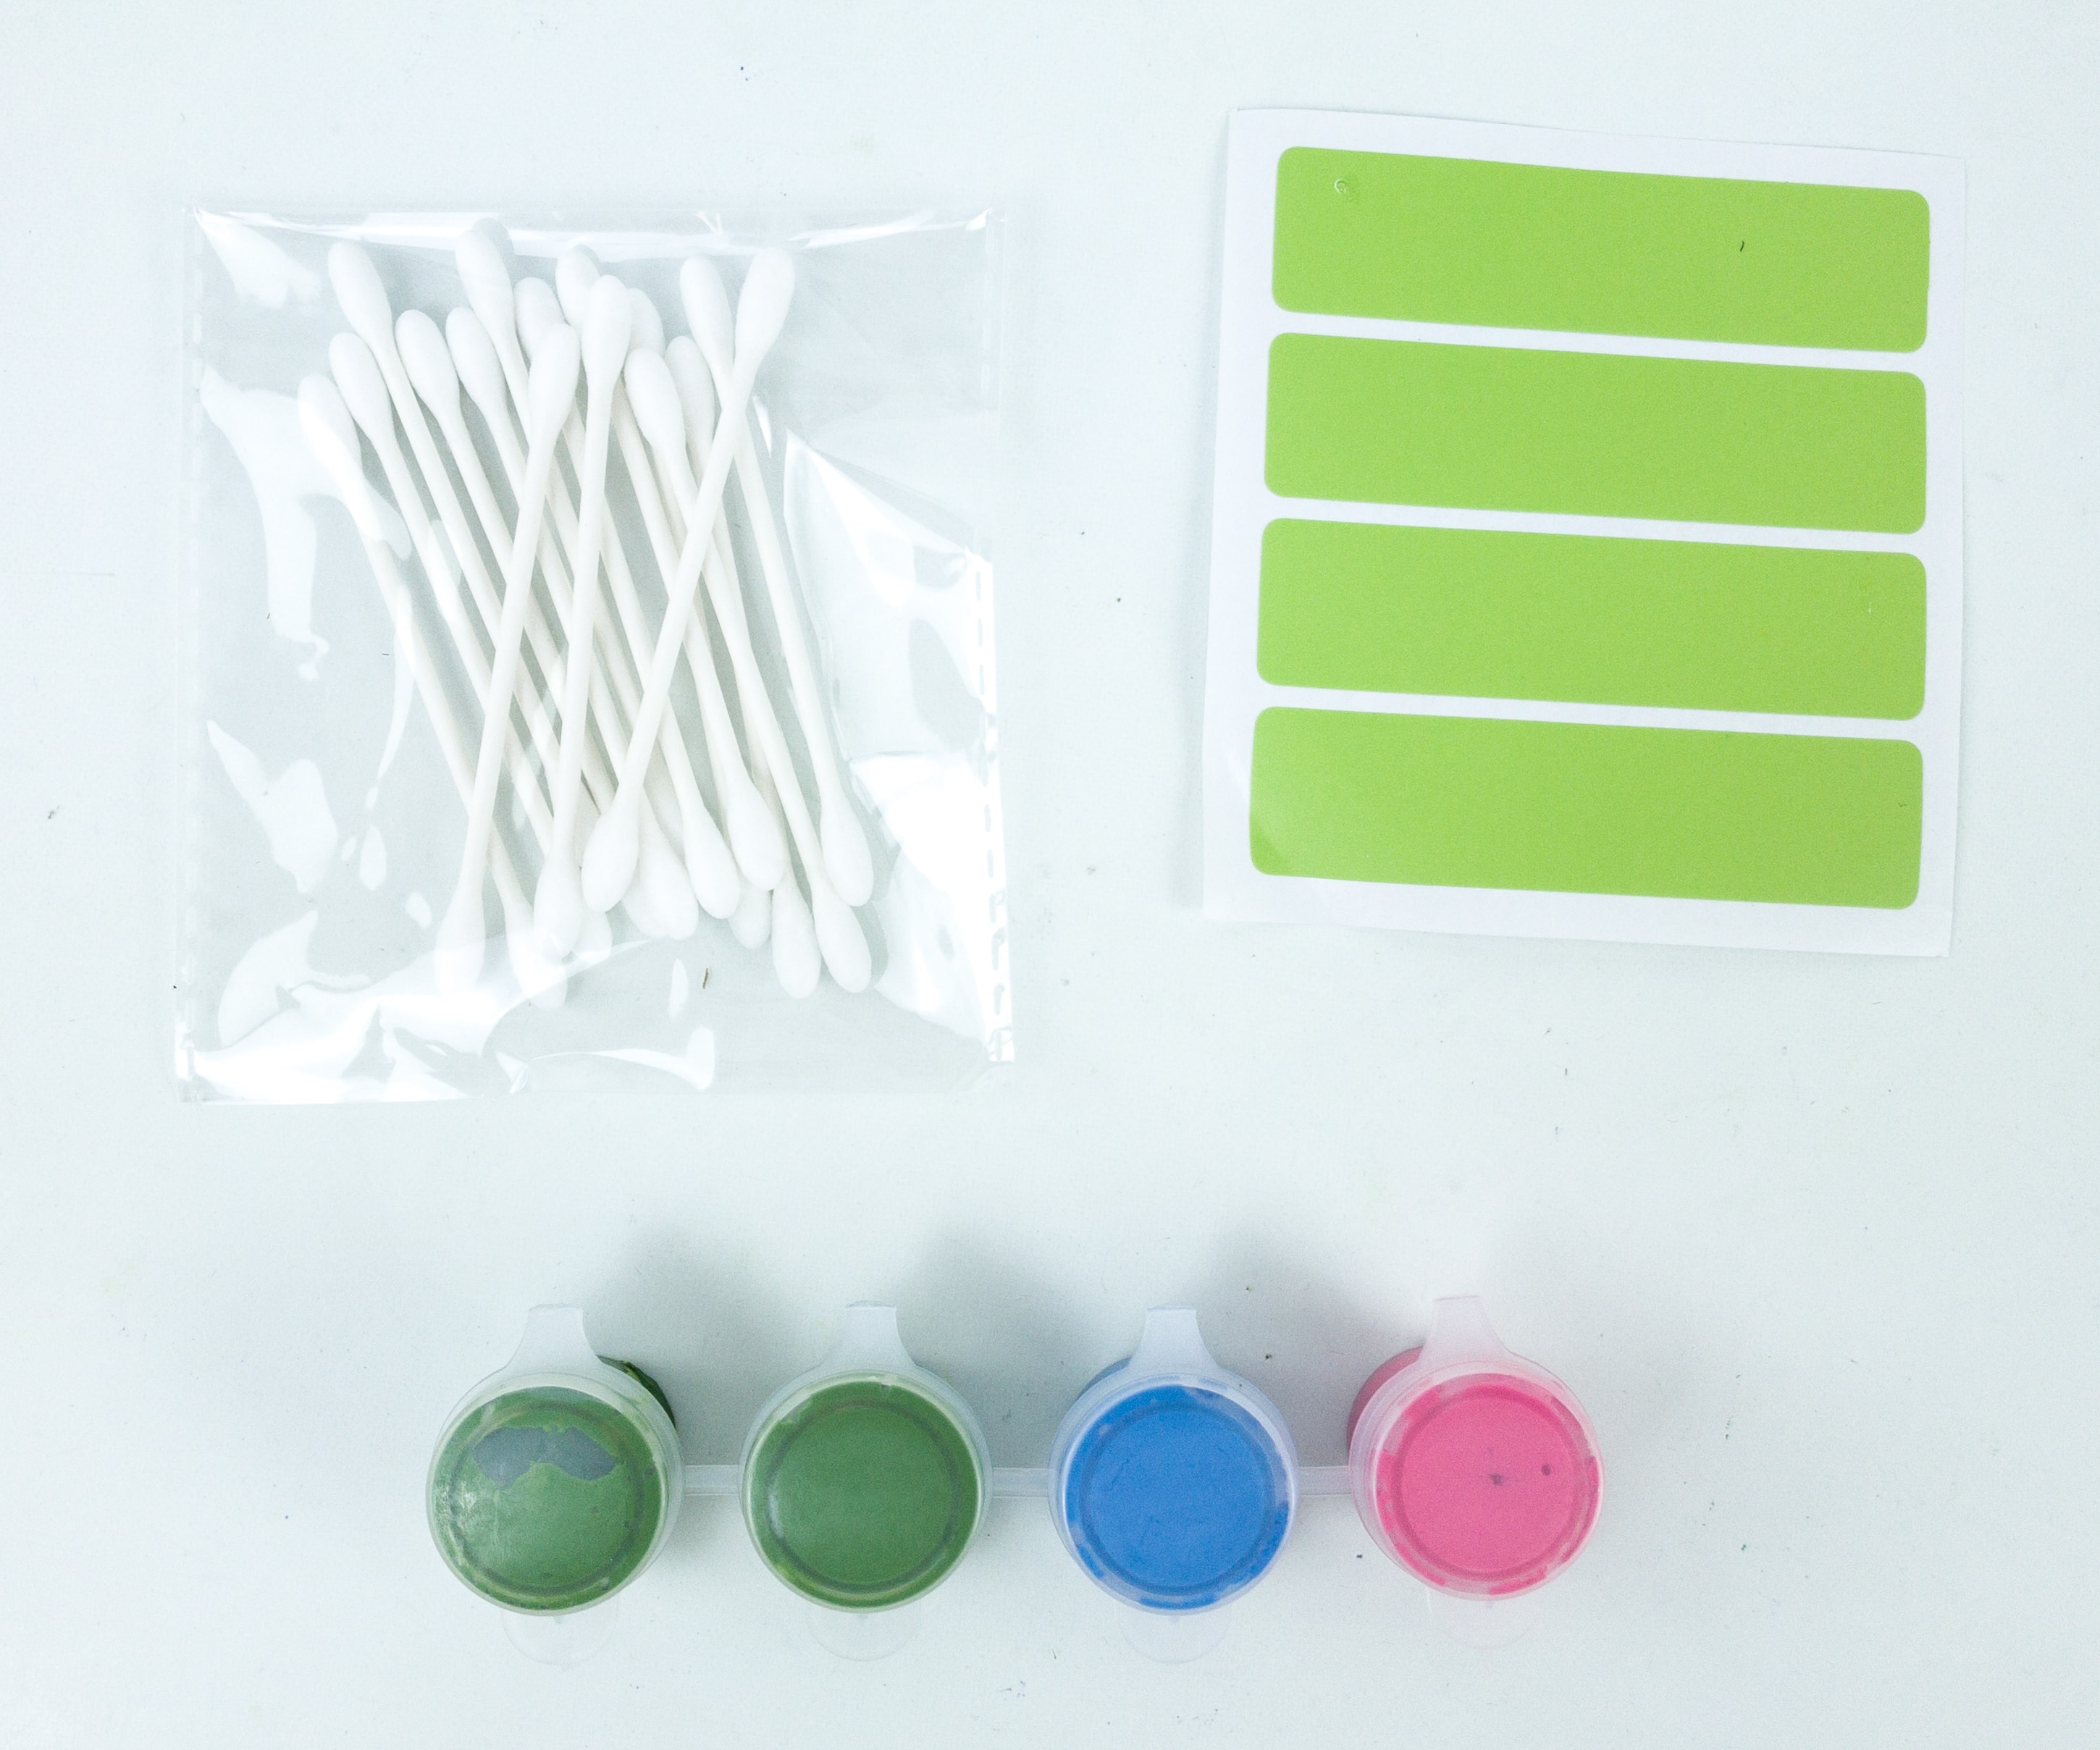
For this step, we used cotton buds, stickers, color-changing paints, and the completed mechanical chameleon and frog.
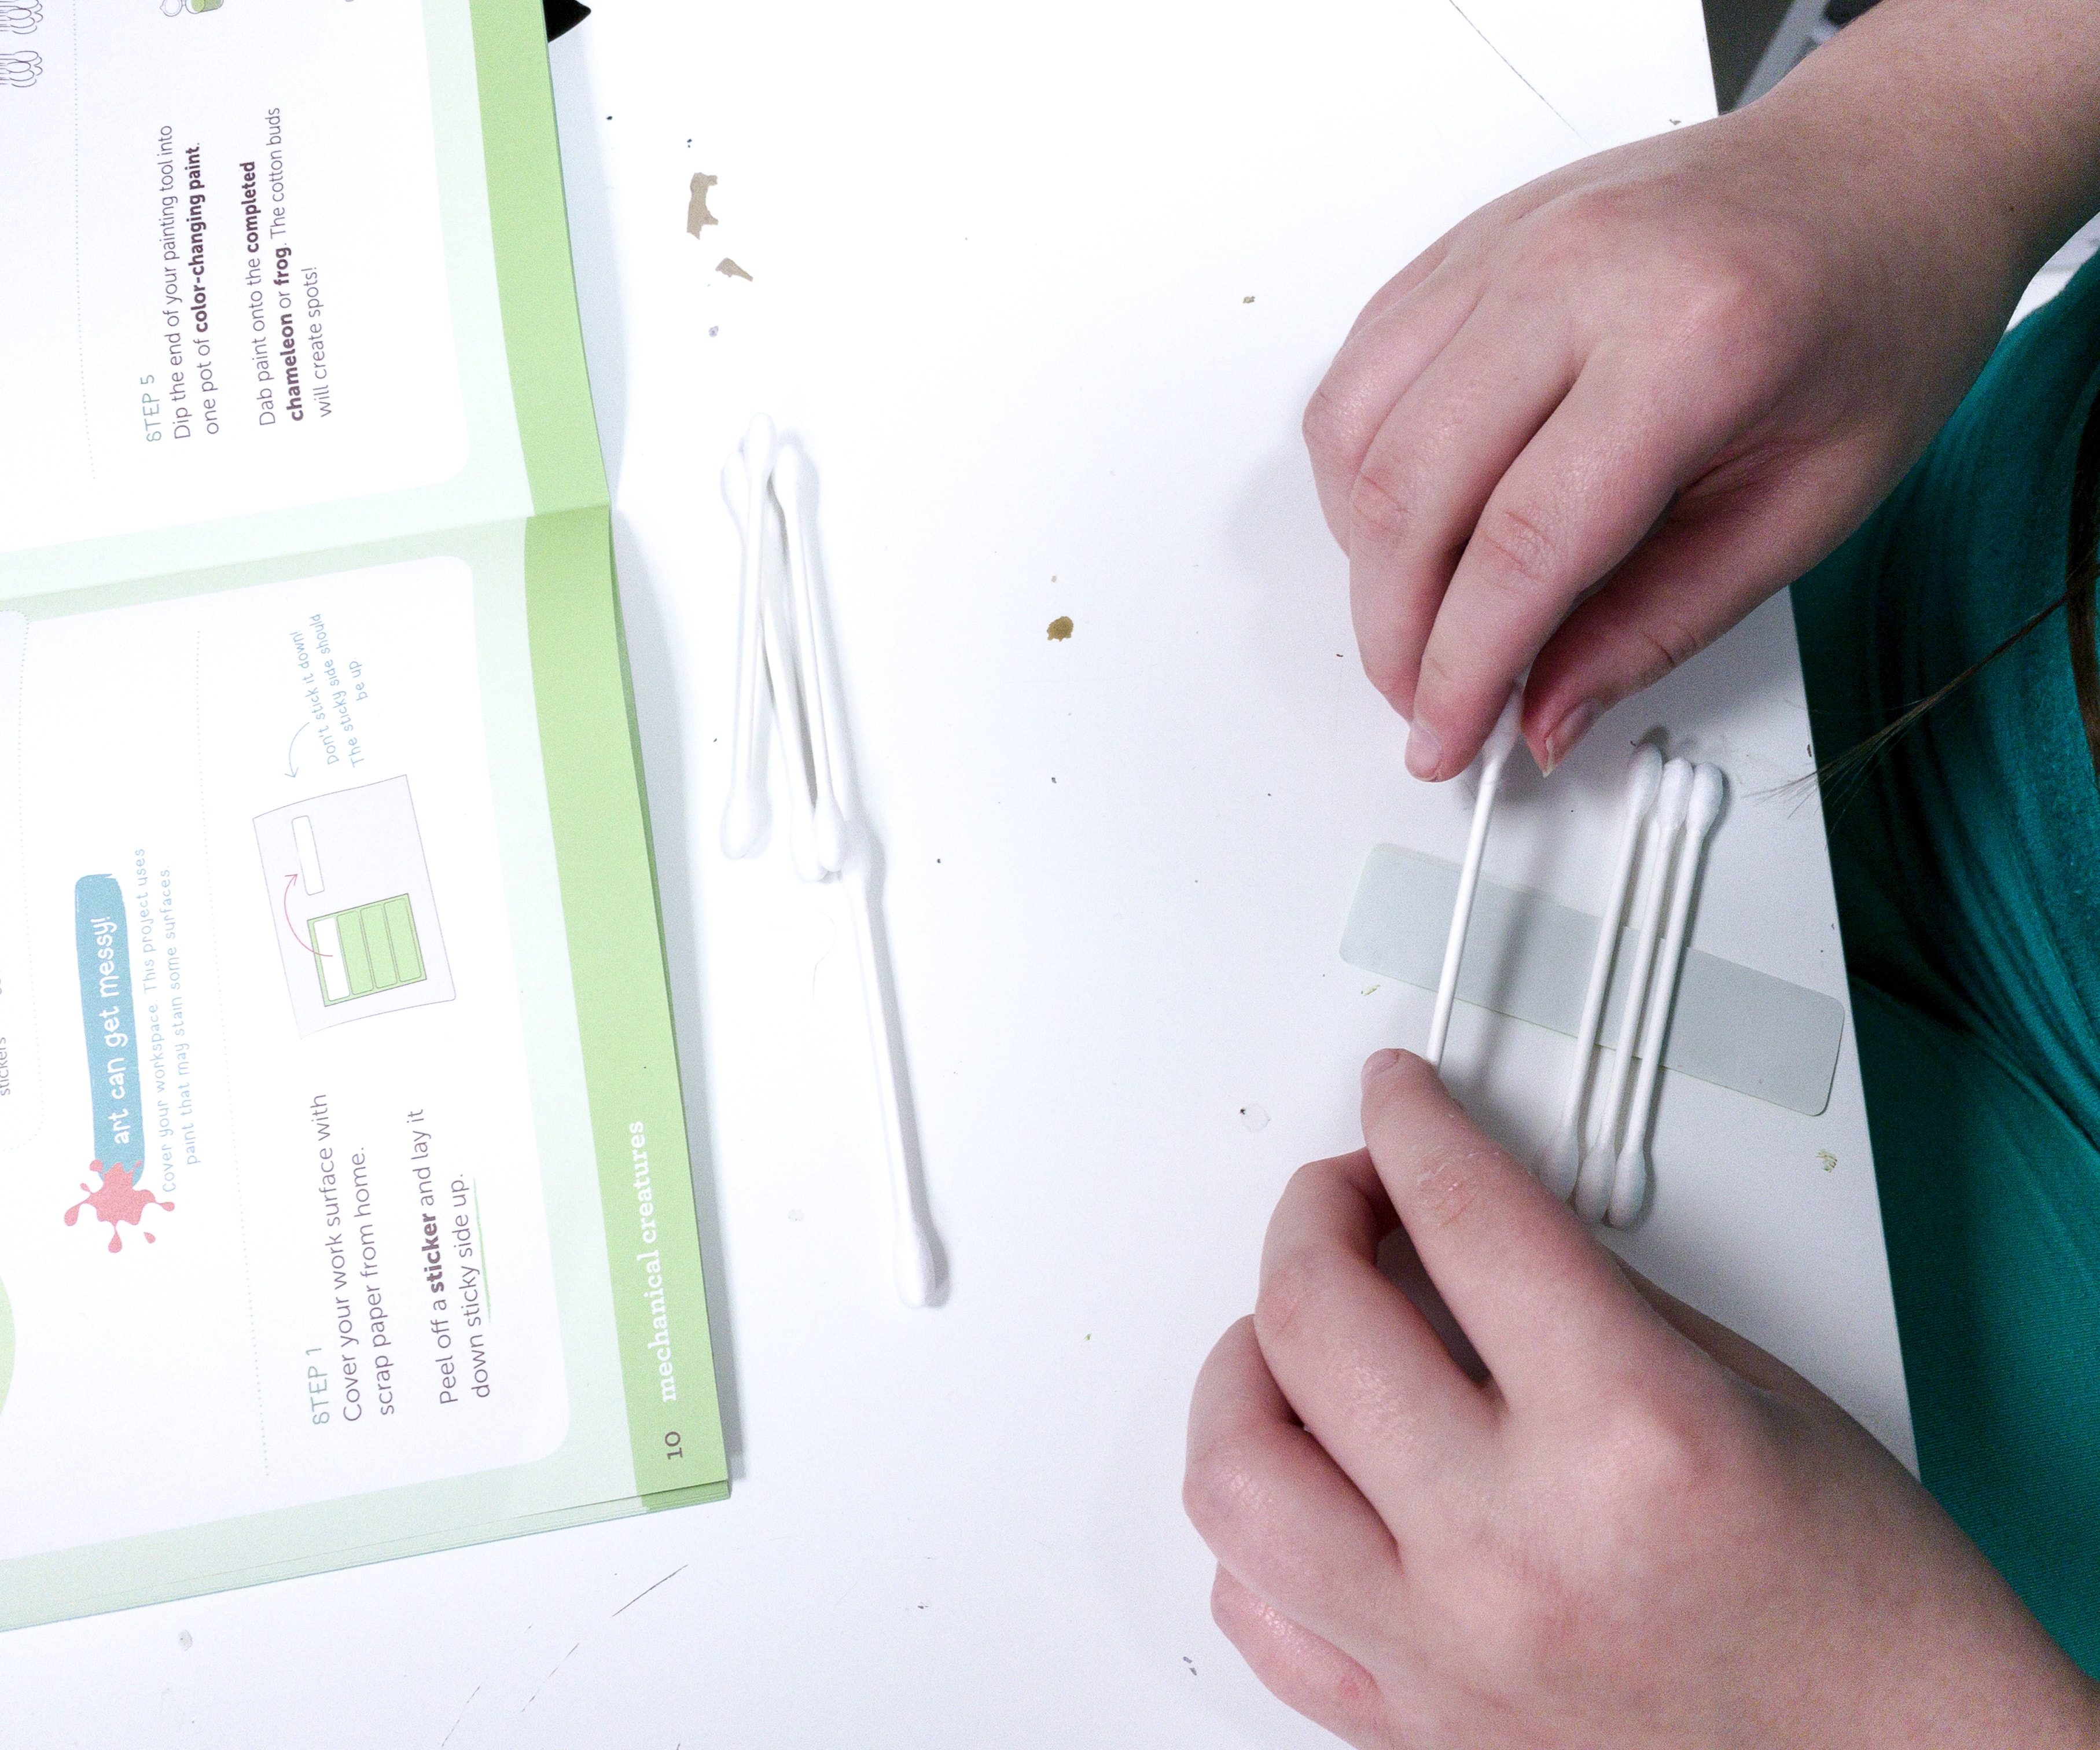
Peel off the sticker paper then grab seven cotton buds and carefully stick them to the stickers in a row. Roll the sticker to make a bundle of cotton buds.
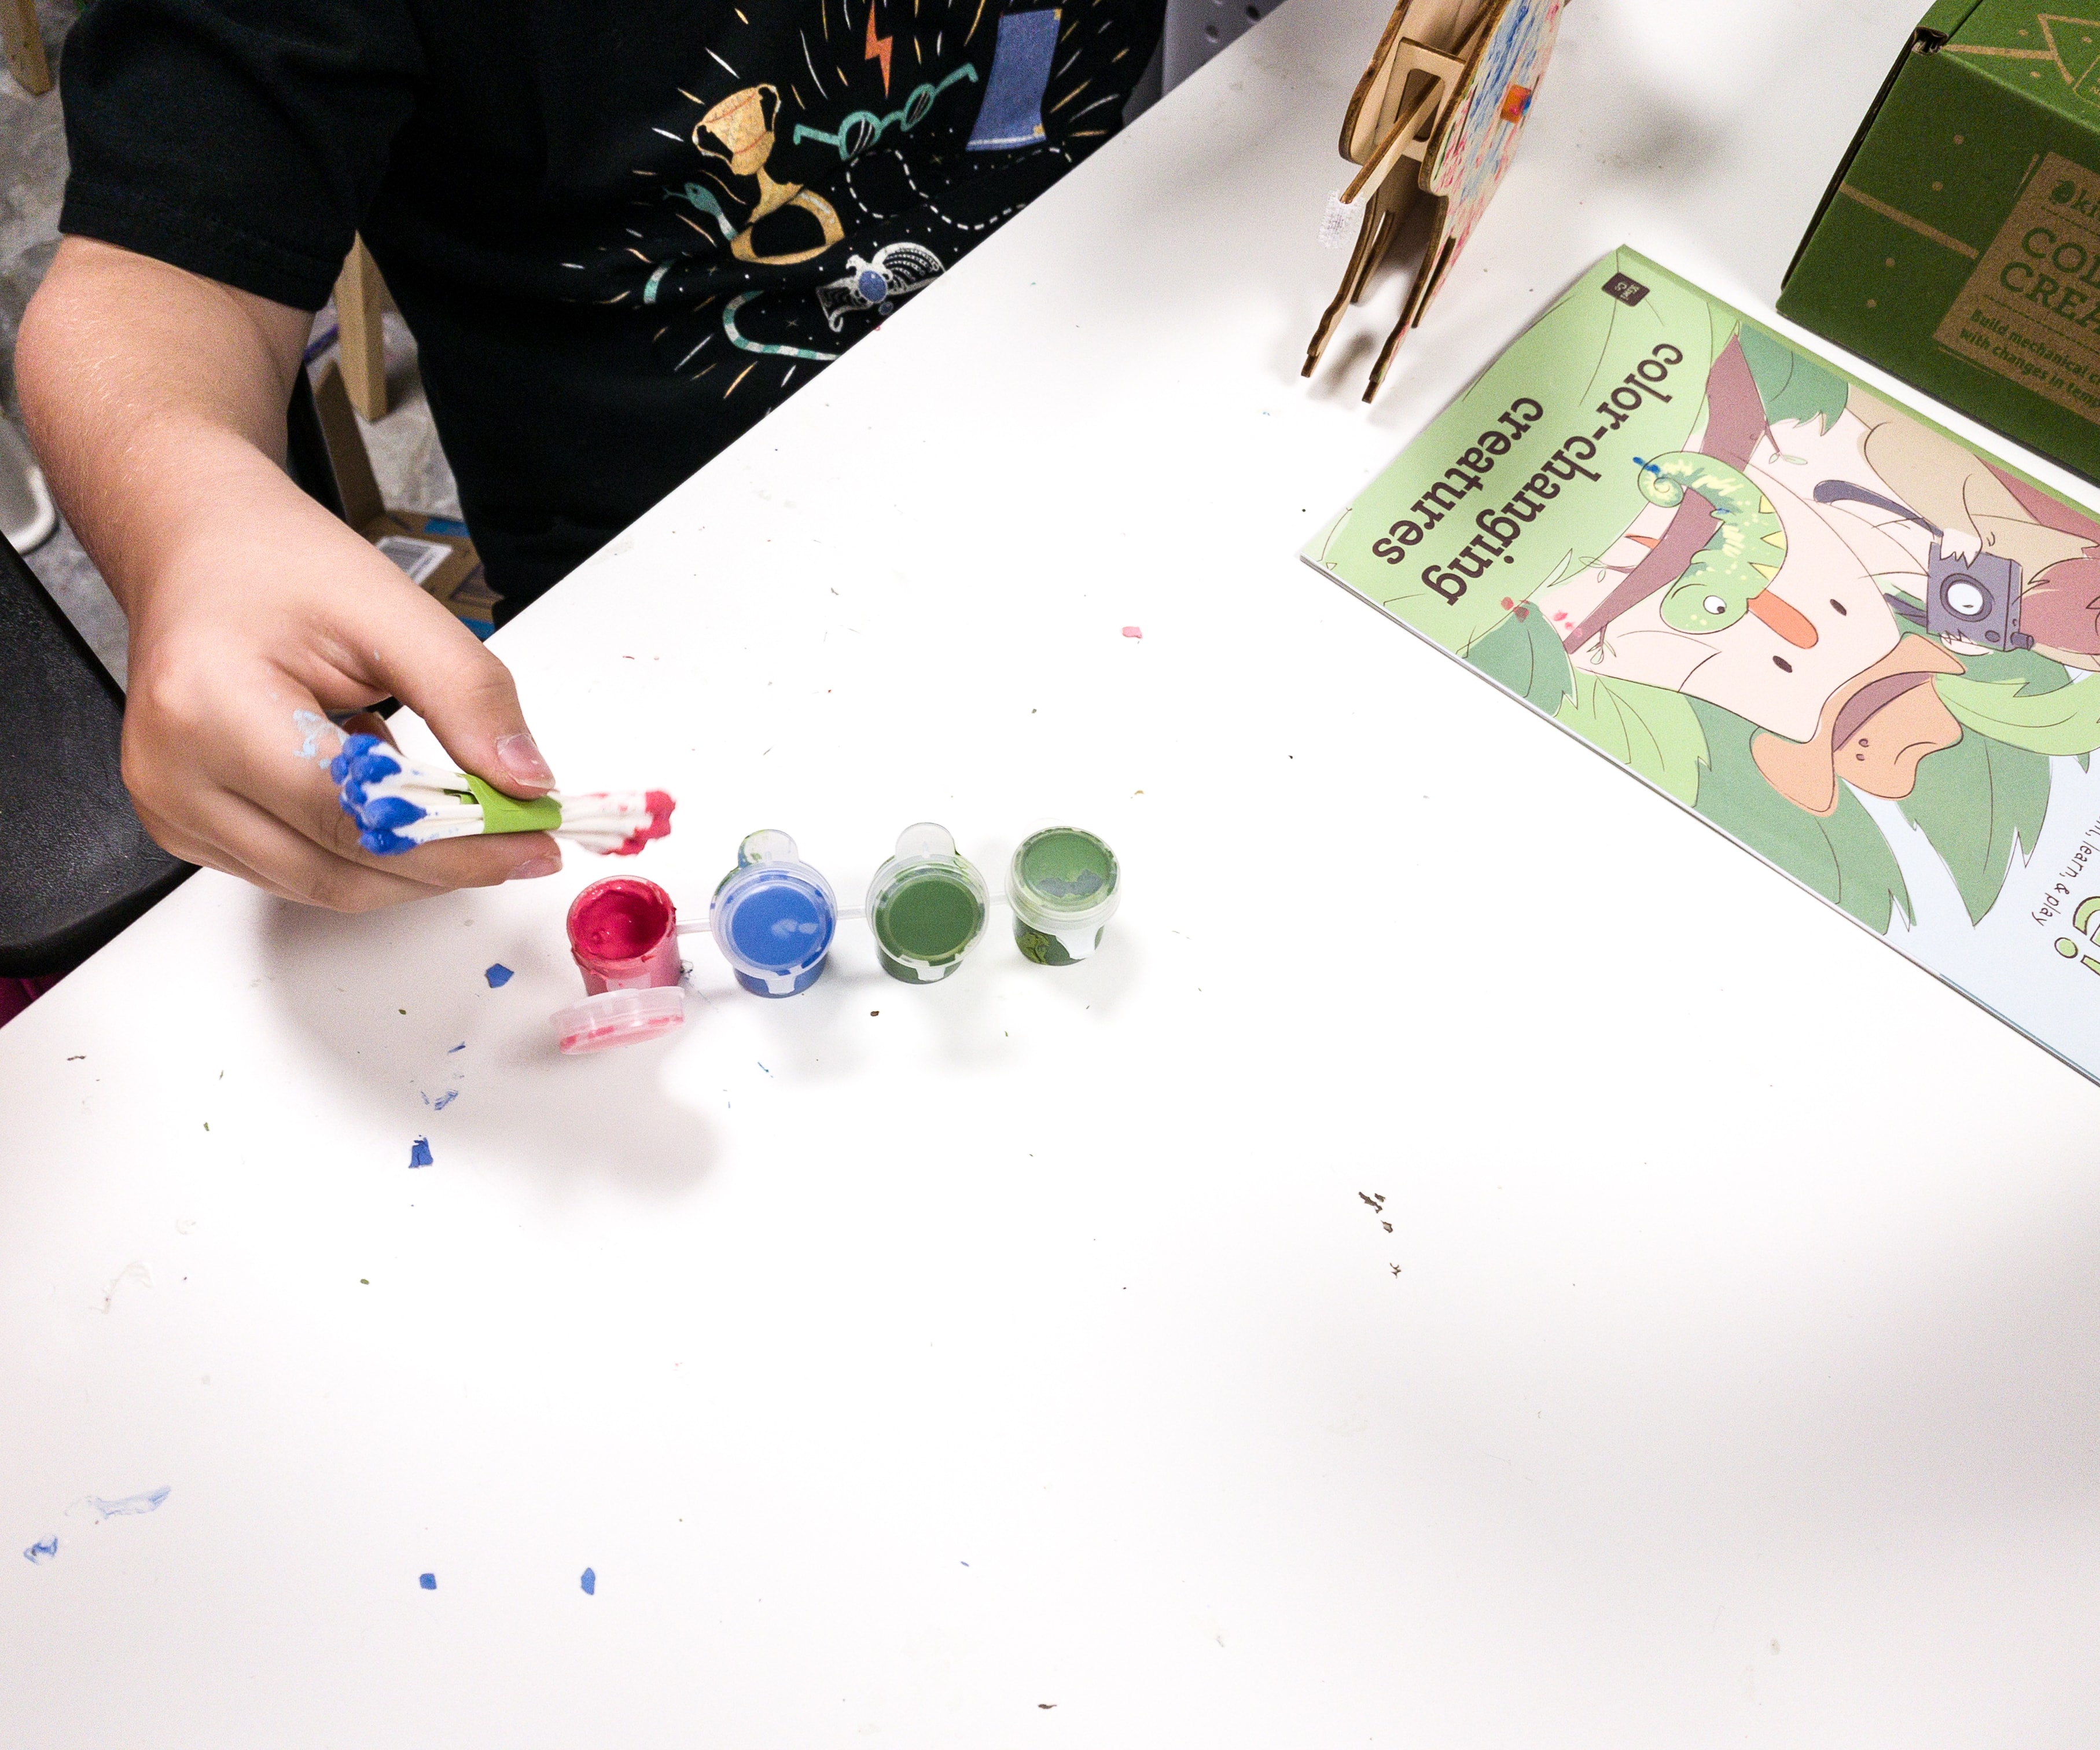
Once done with the painting tool, dip the one end of it into the pot of color-changing paint and the other end for another color. My son chose to use the red and the blue paint first!
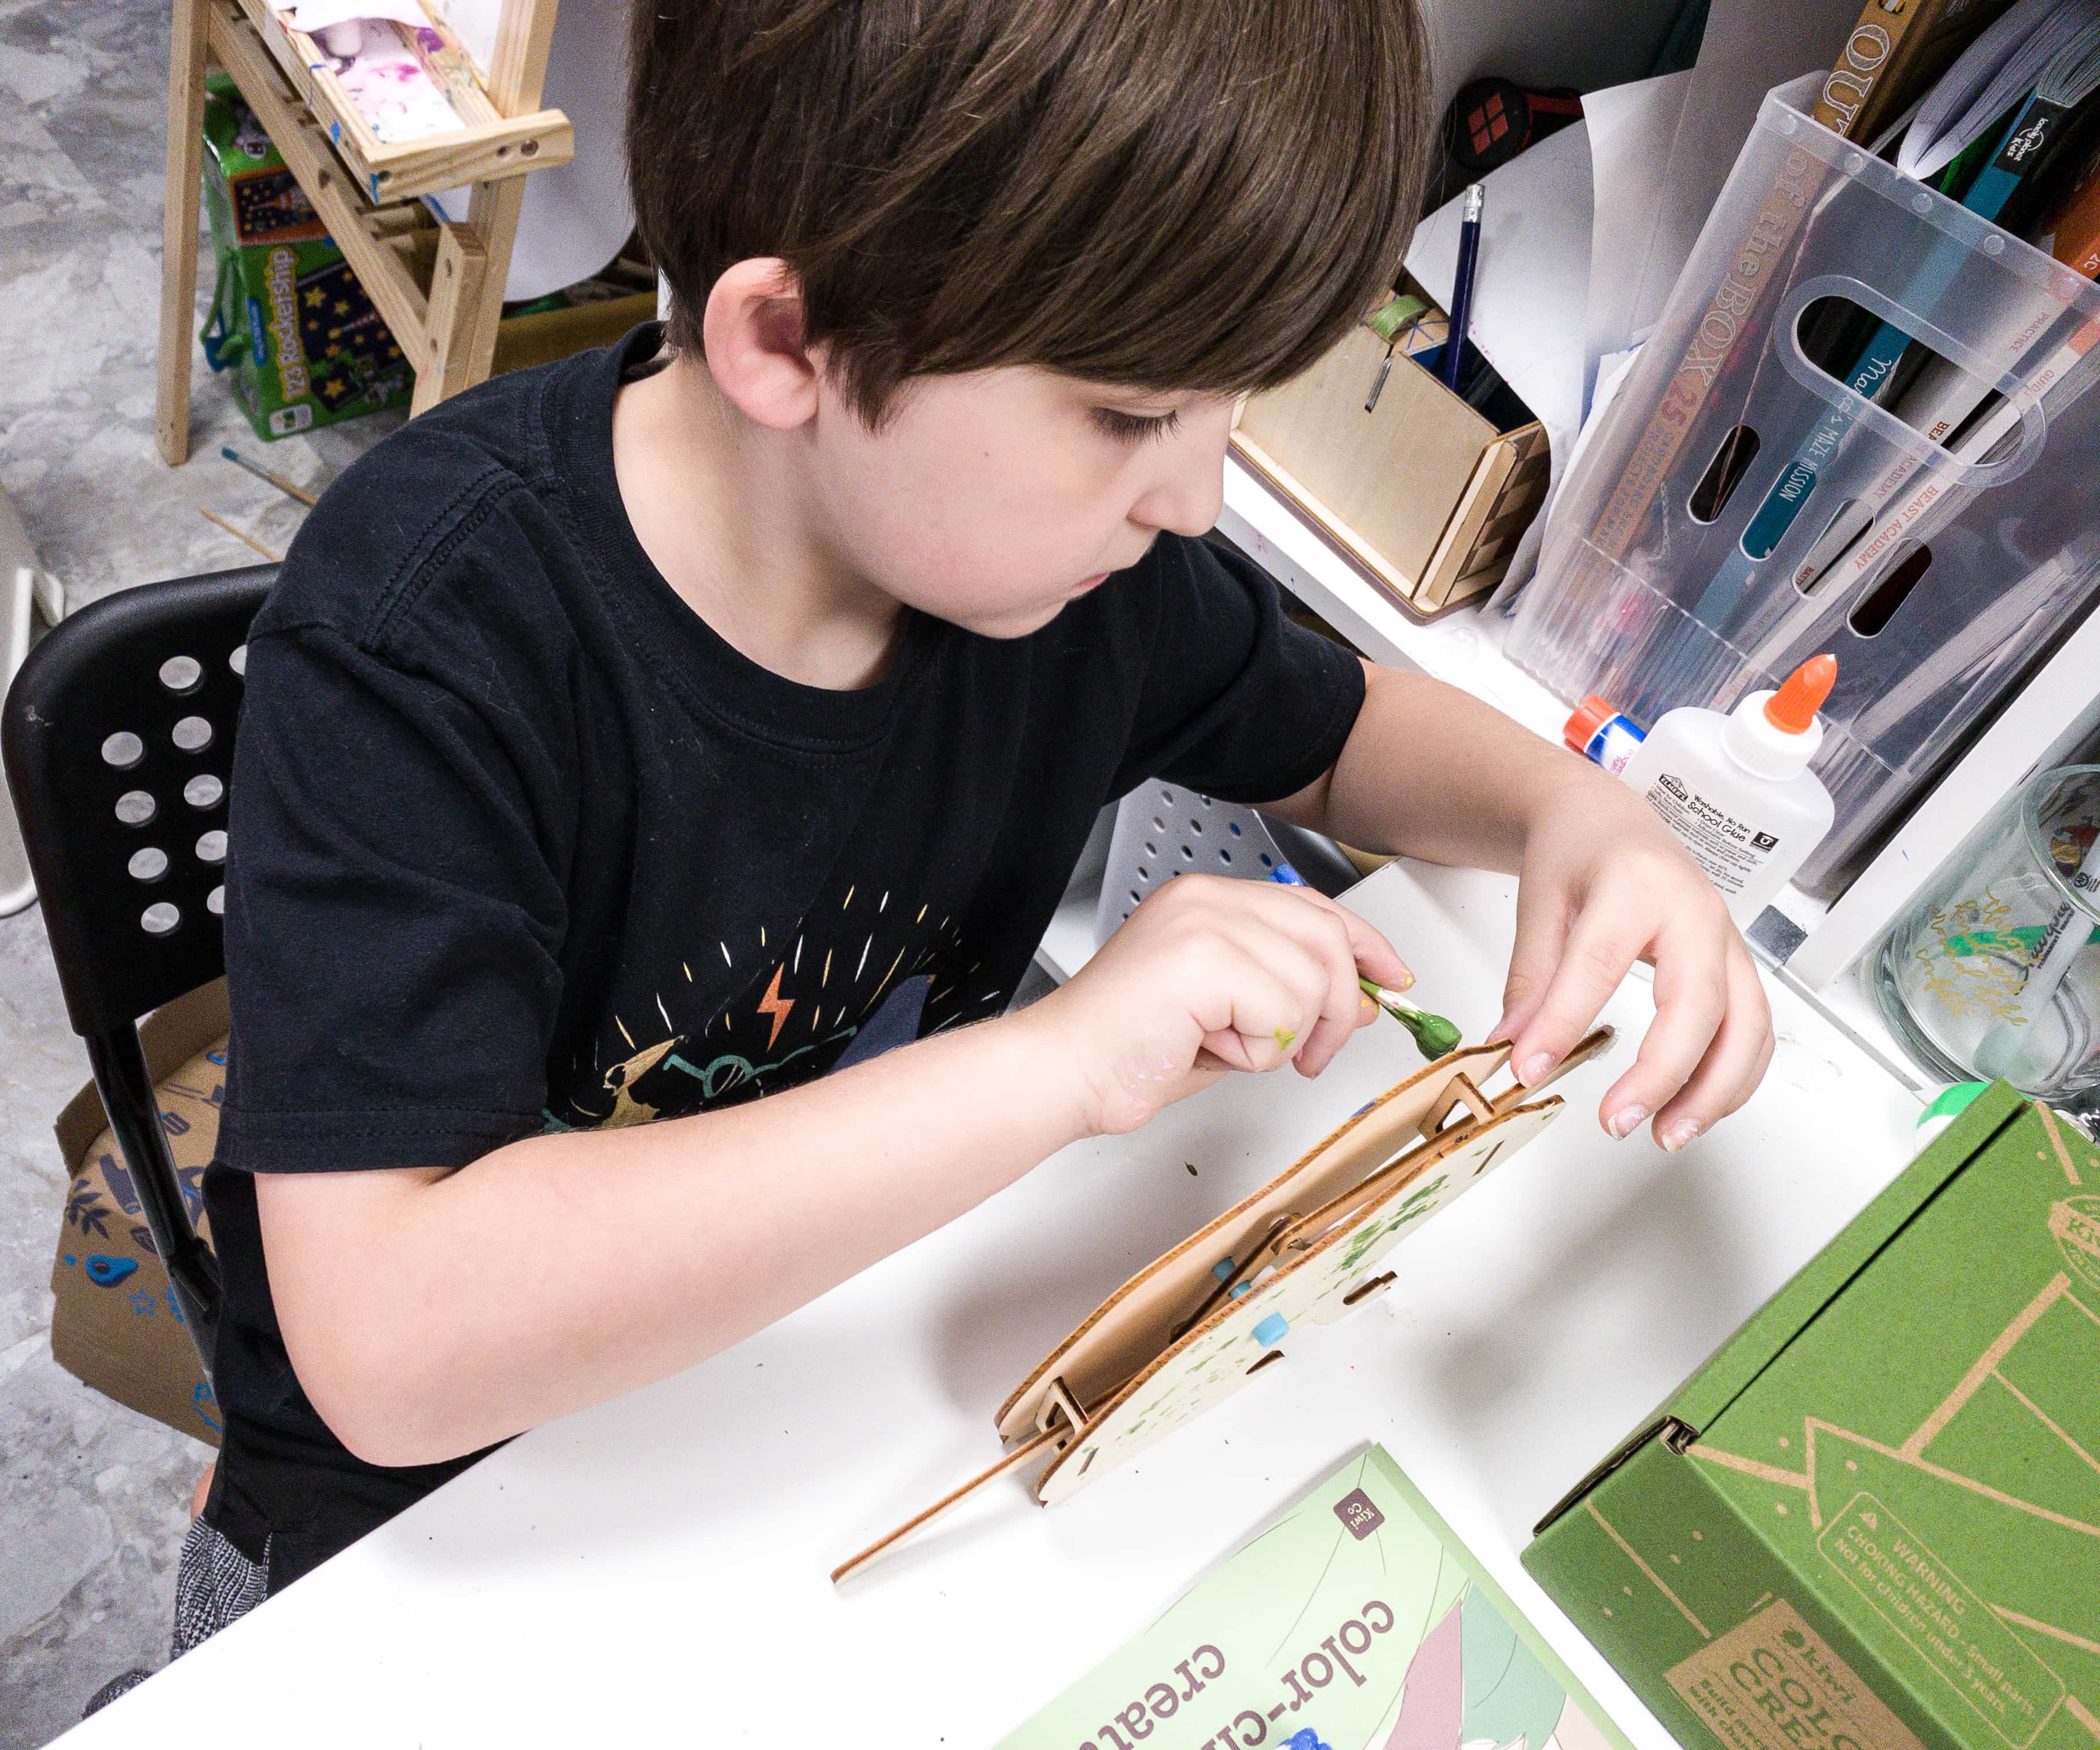
Dab the paint onto the completed chameleon or frog! The cotton buds will work as your improvised paintbrush.
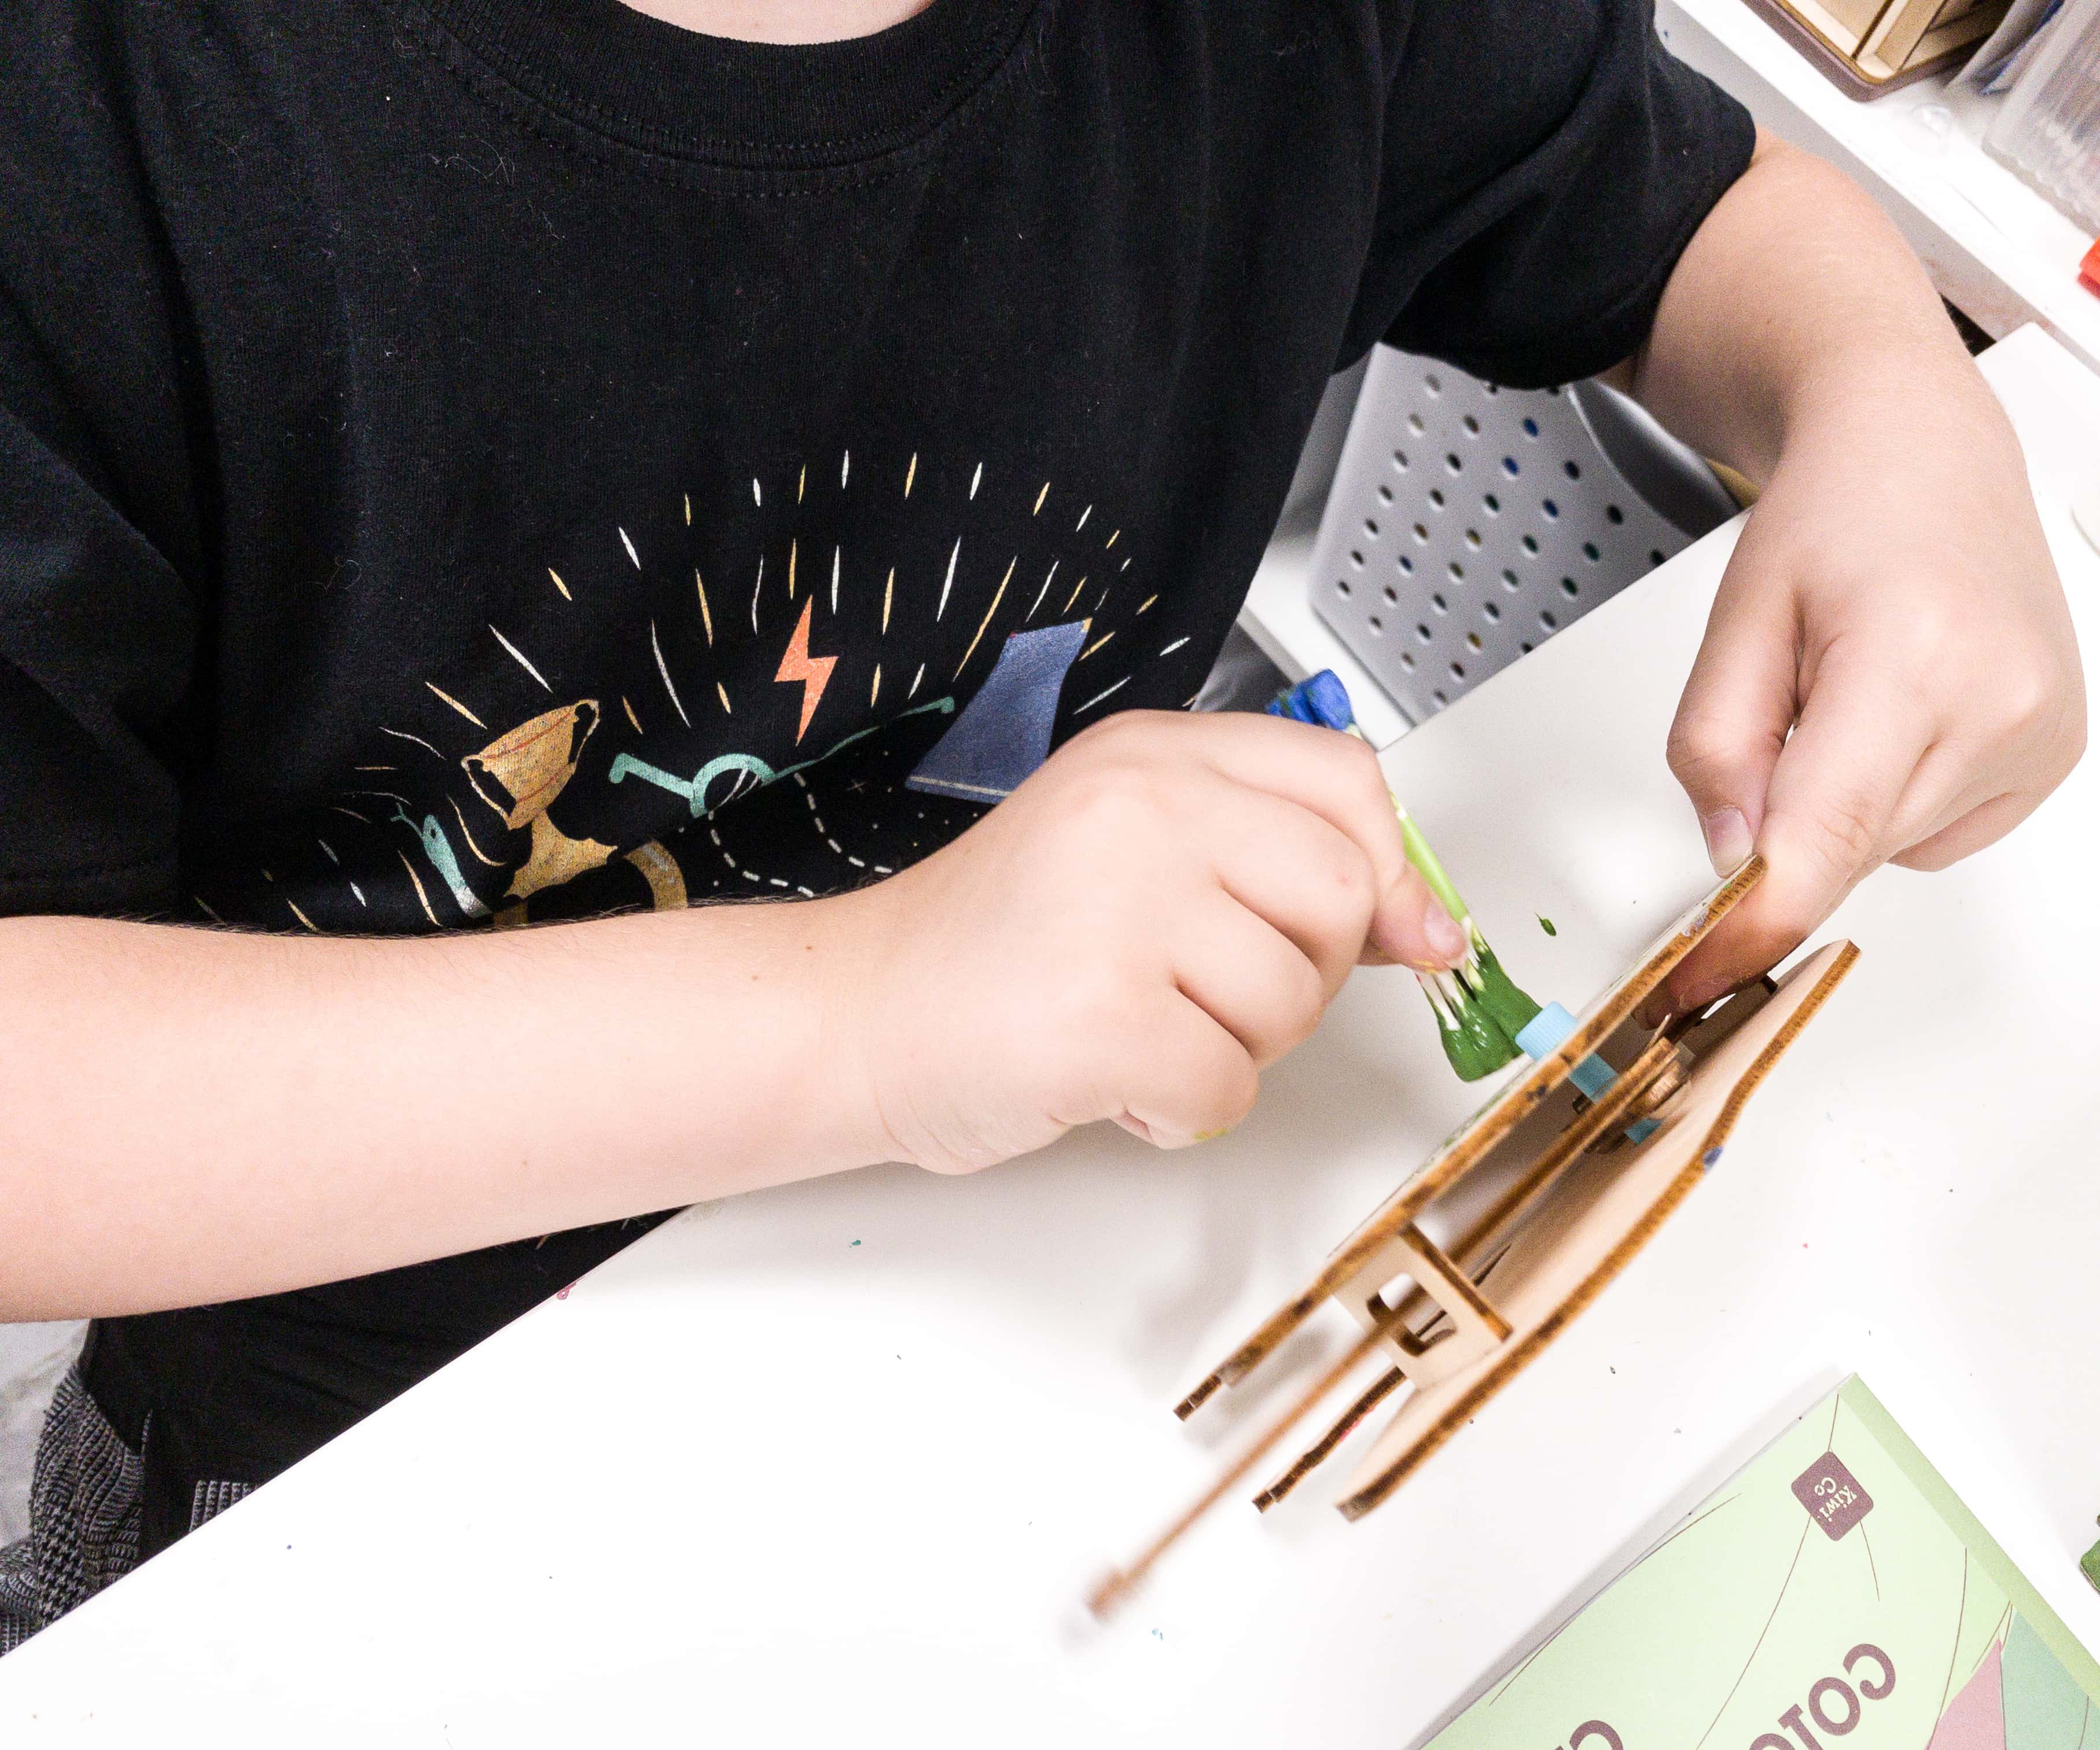
Use the other end of your painting tool to add more colors to your creatures.
Since we used cotton buds as our painting tool, it would take a lot of time to fully cover it. Patience is the key!
After painting, set the creatures to the side and wait an hour for them to dry completely.
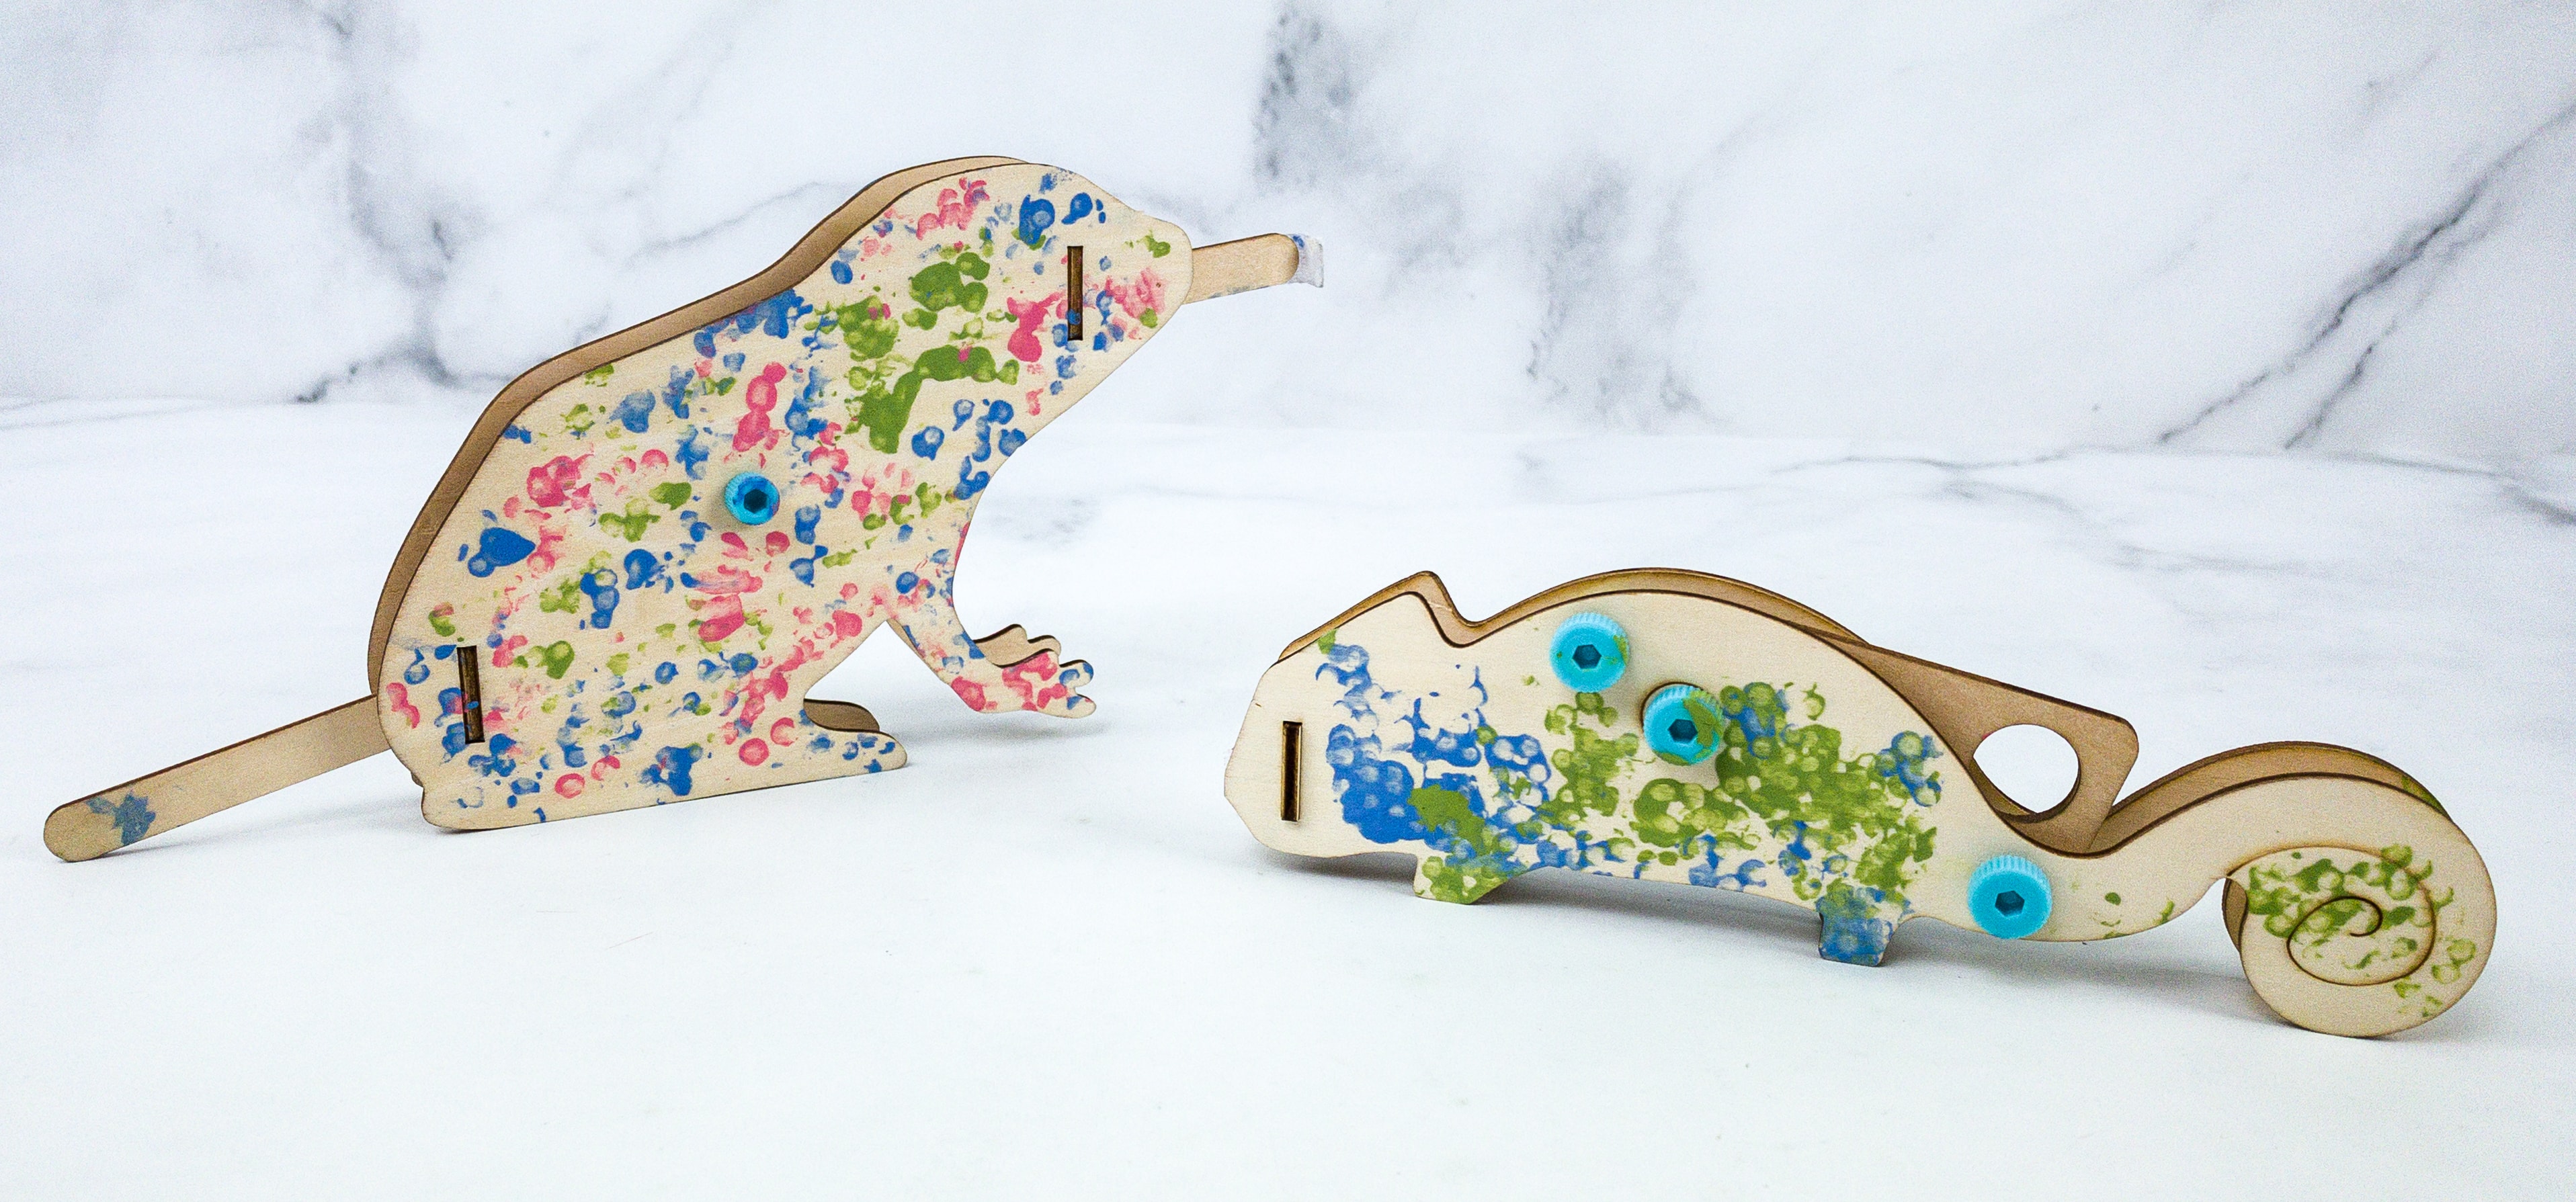
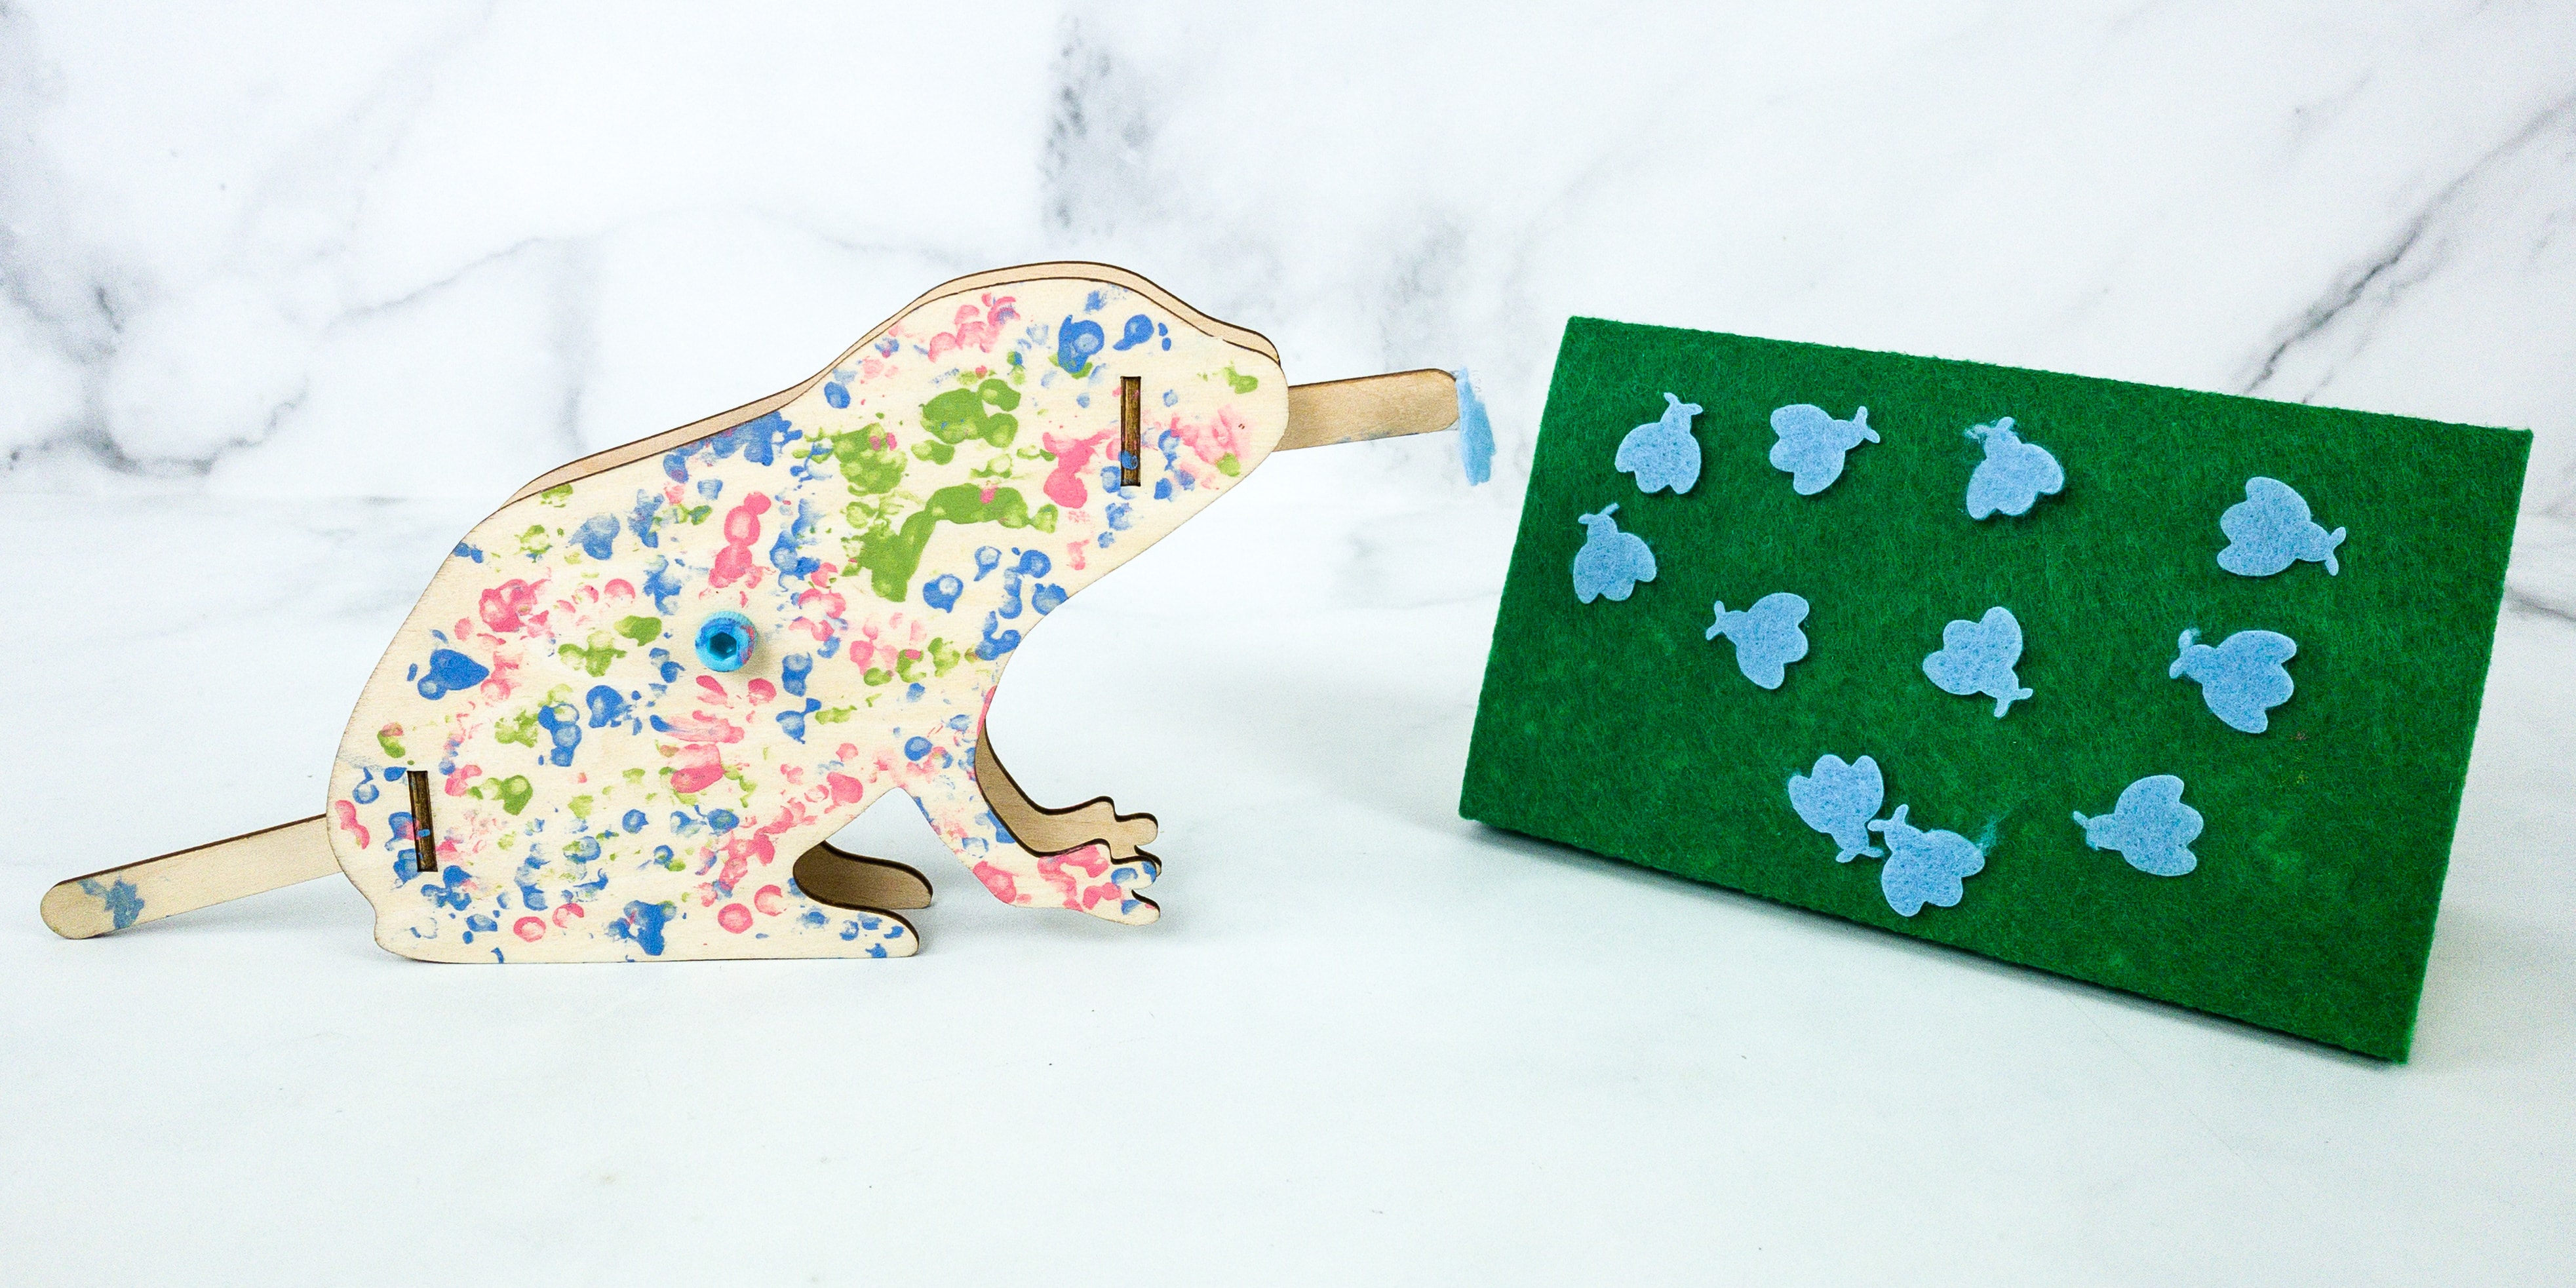
Here are our completed frog and chameleon mechanical creatures!
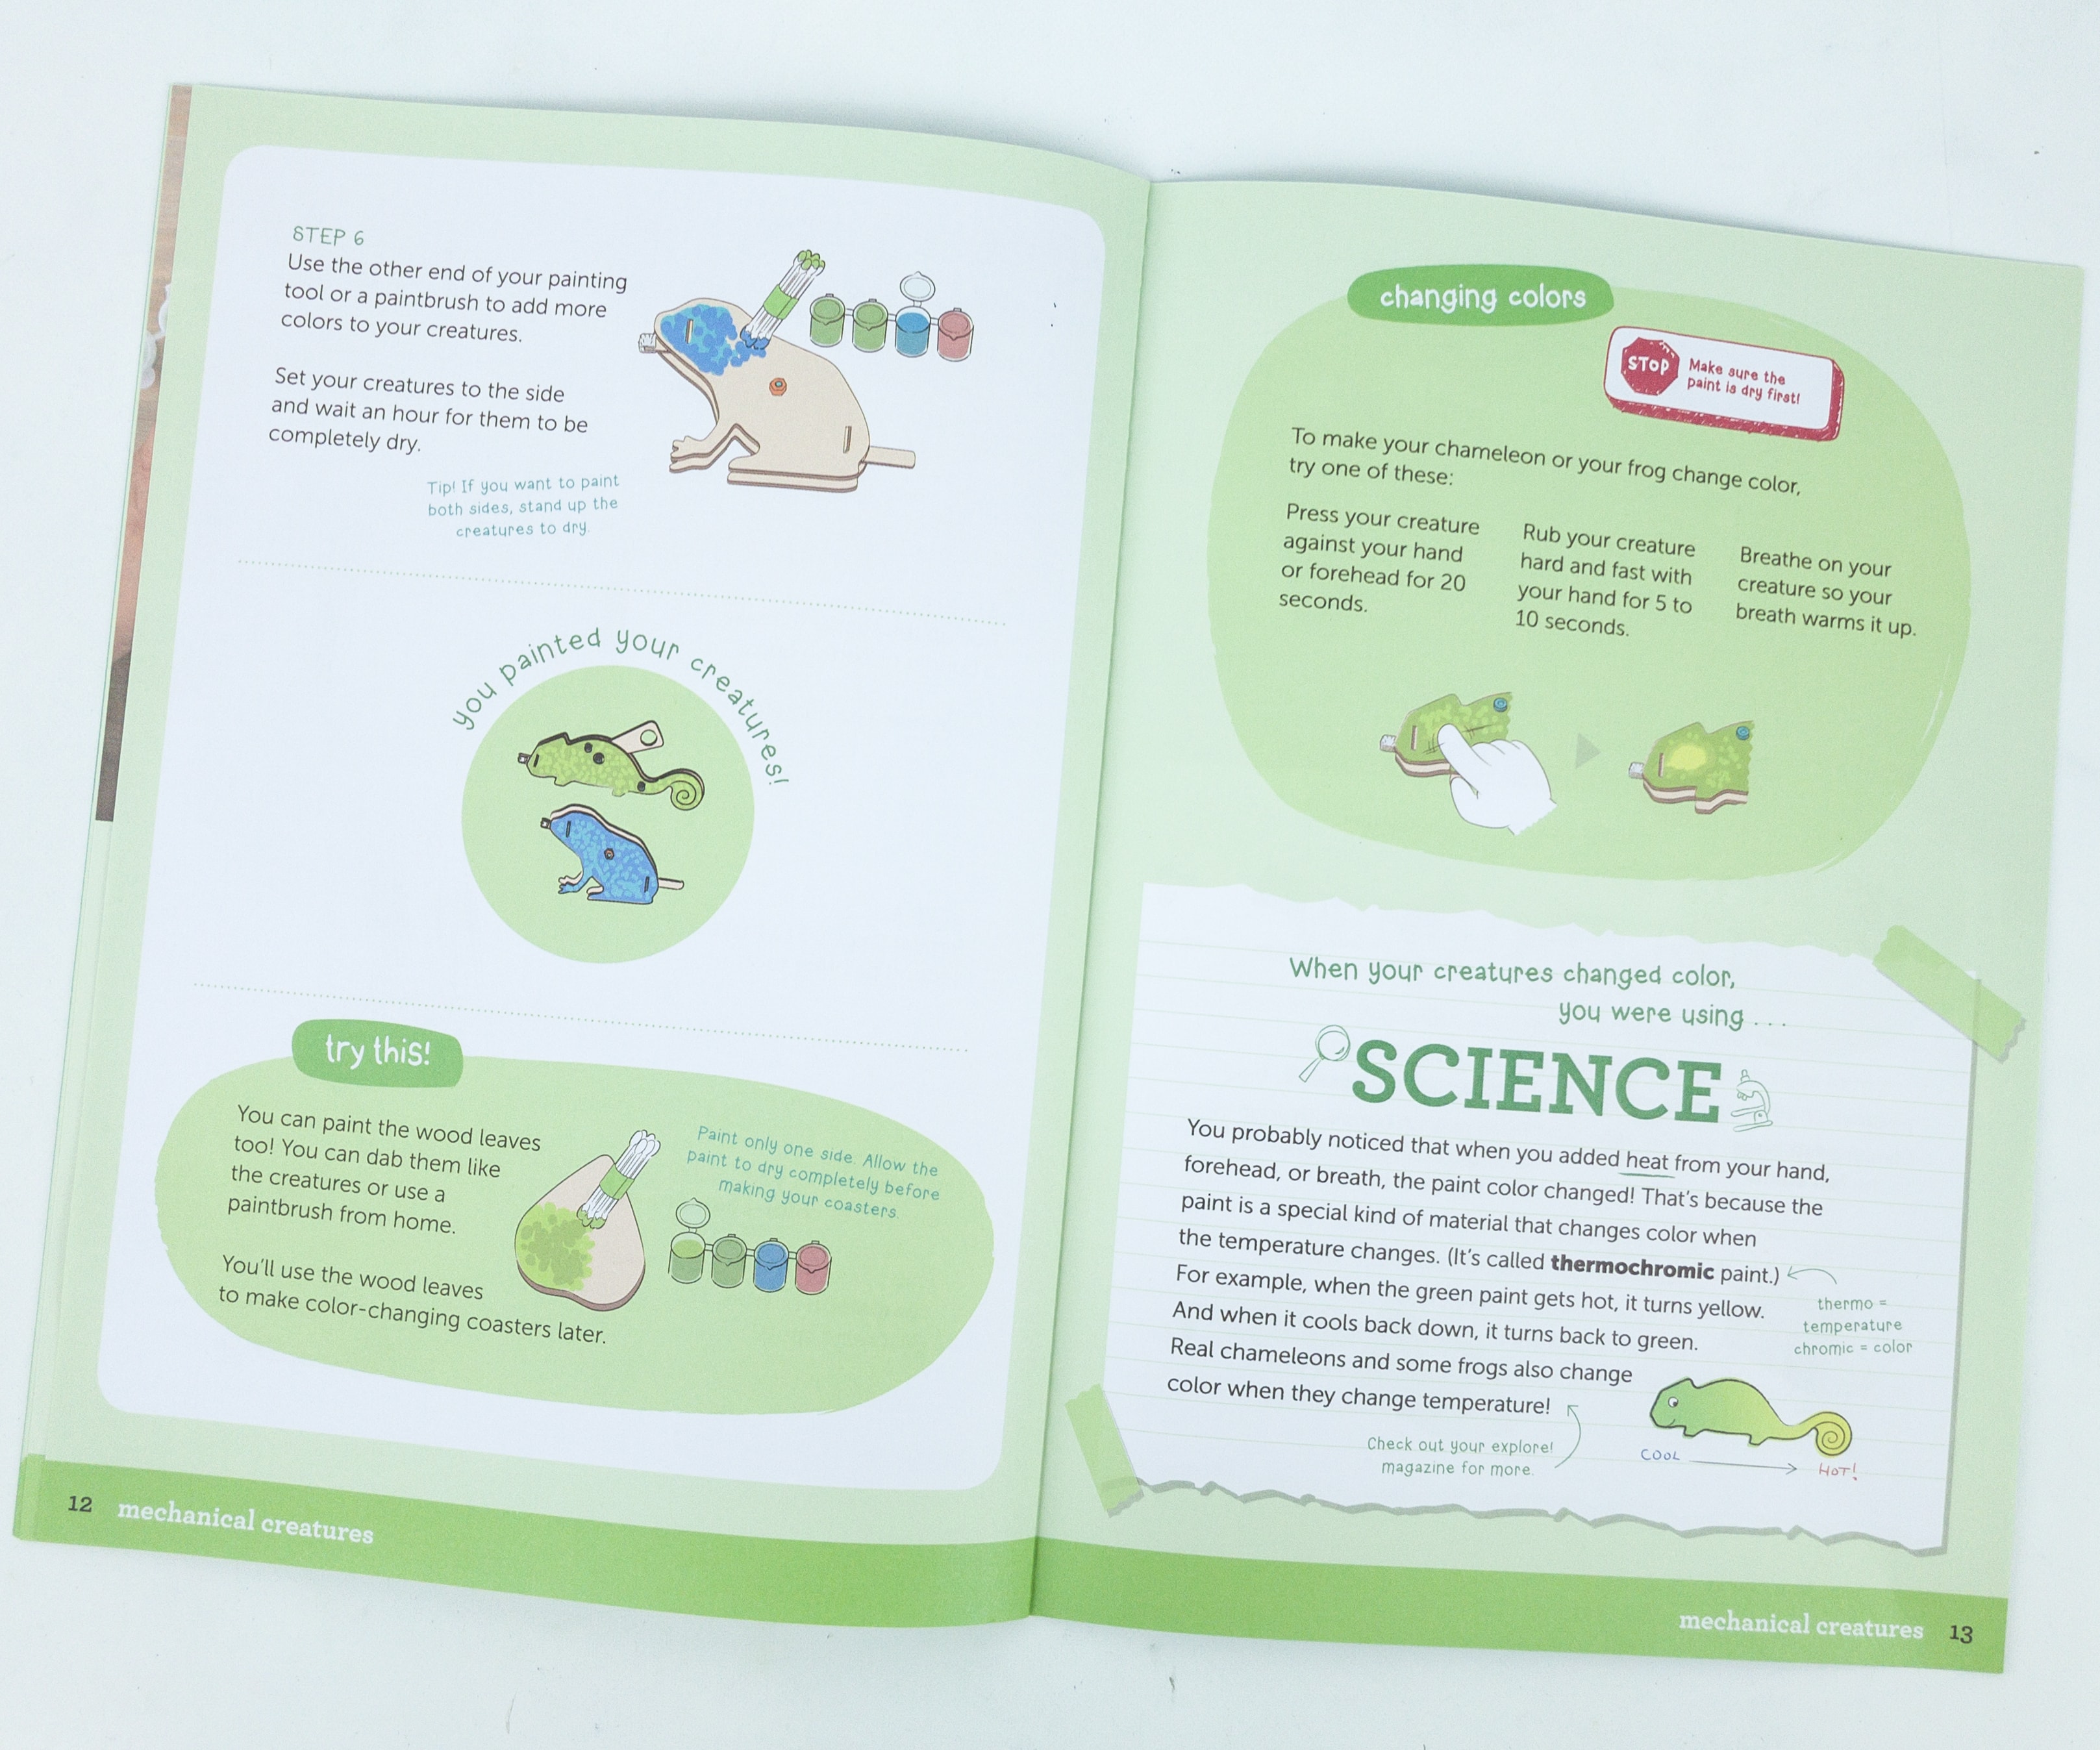
According to the booklet, to make your creature change color, press them against your hand, or rub them for 5 to 10 seconds using your hands, or breath on them so your breath would warm it up.
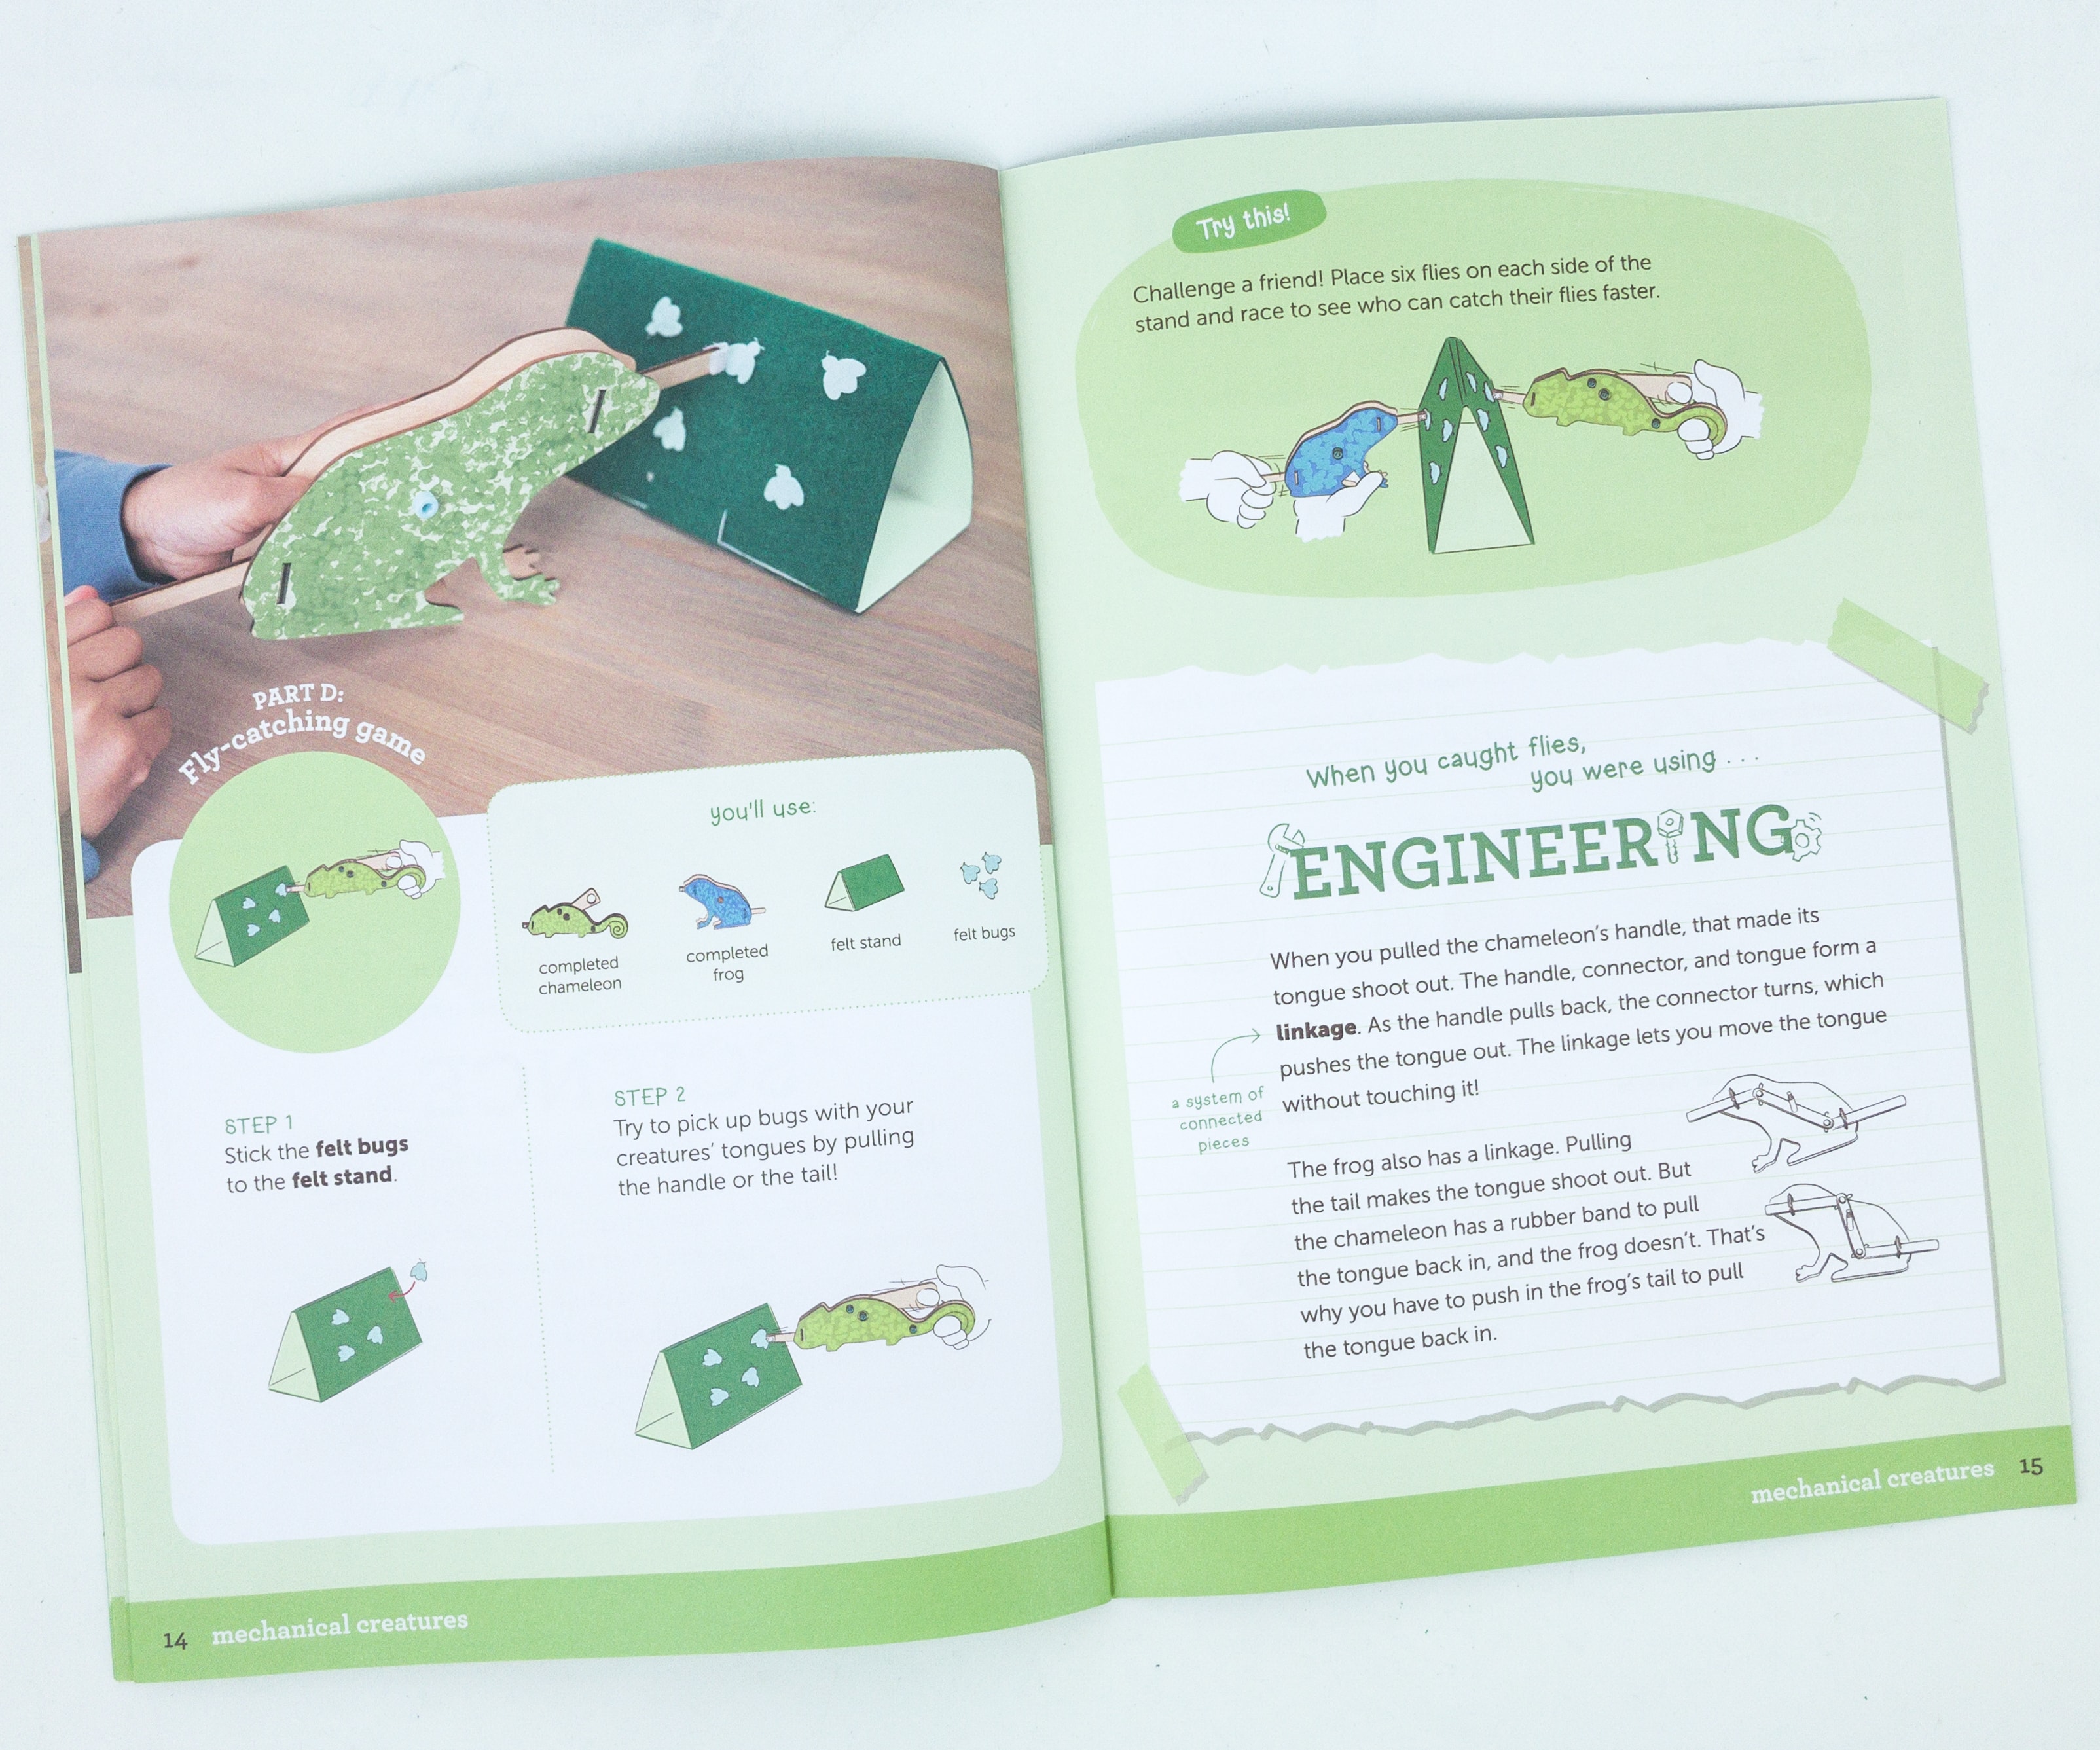
The final part is called the Fly-catching Game, and we’re tasked to build the bug stand!
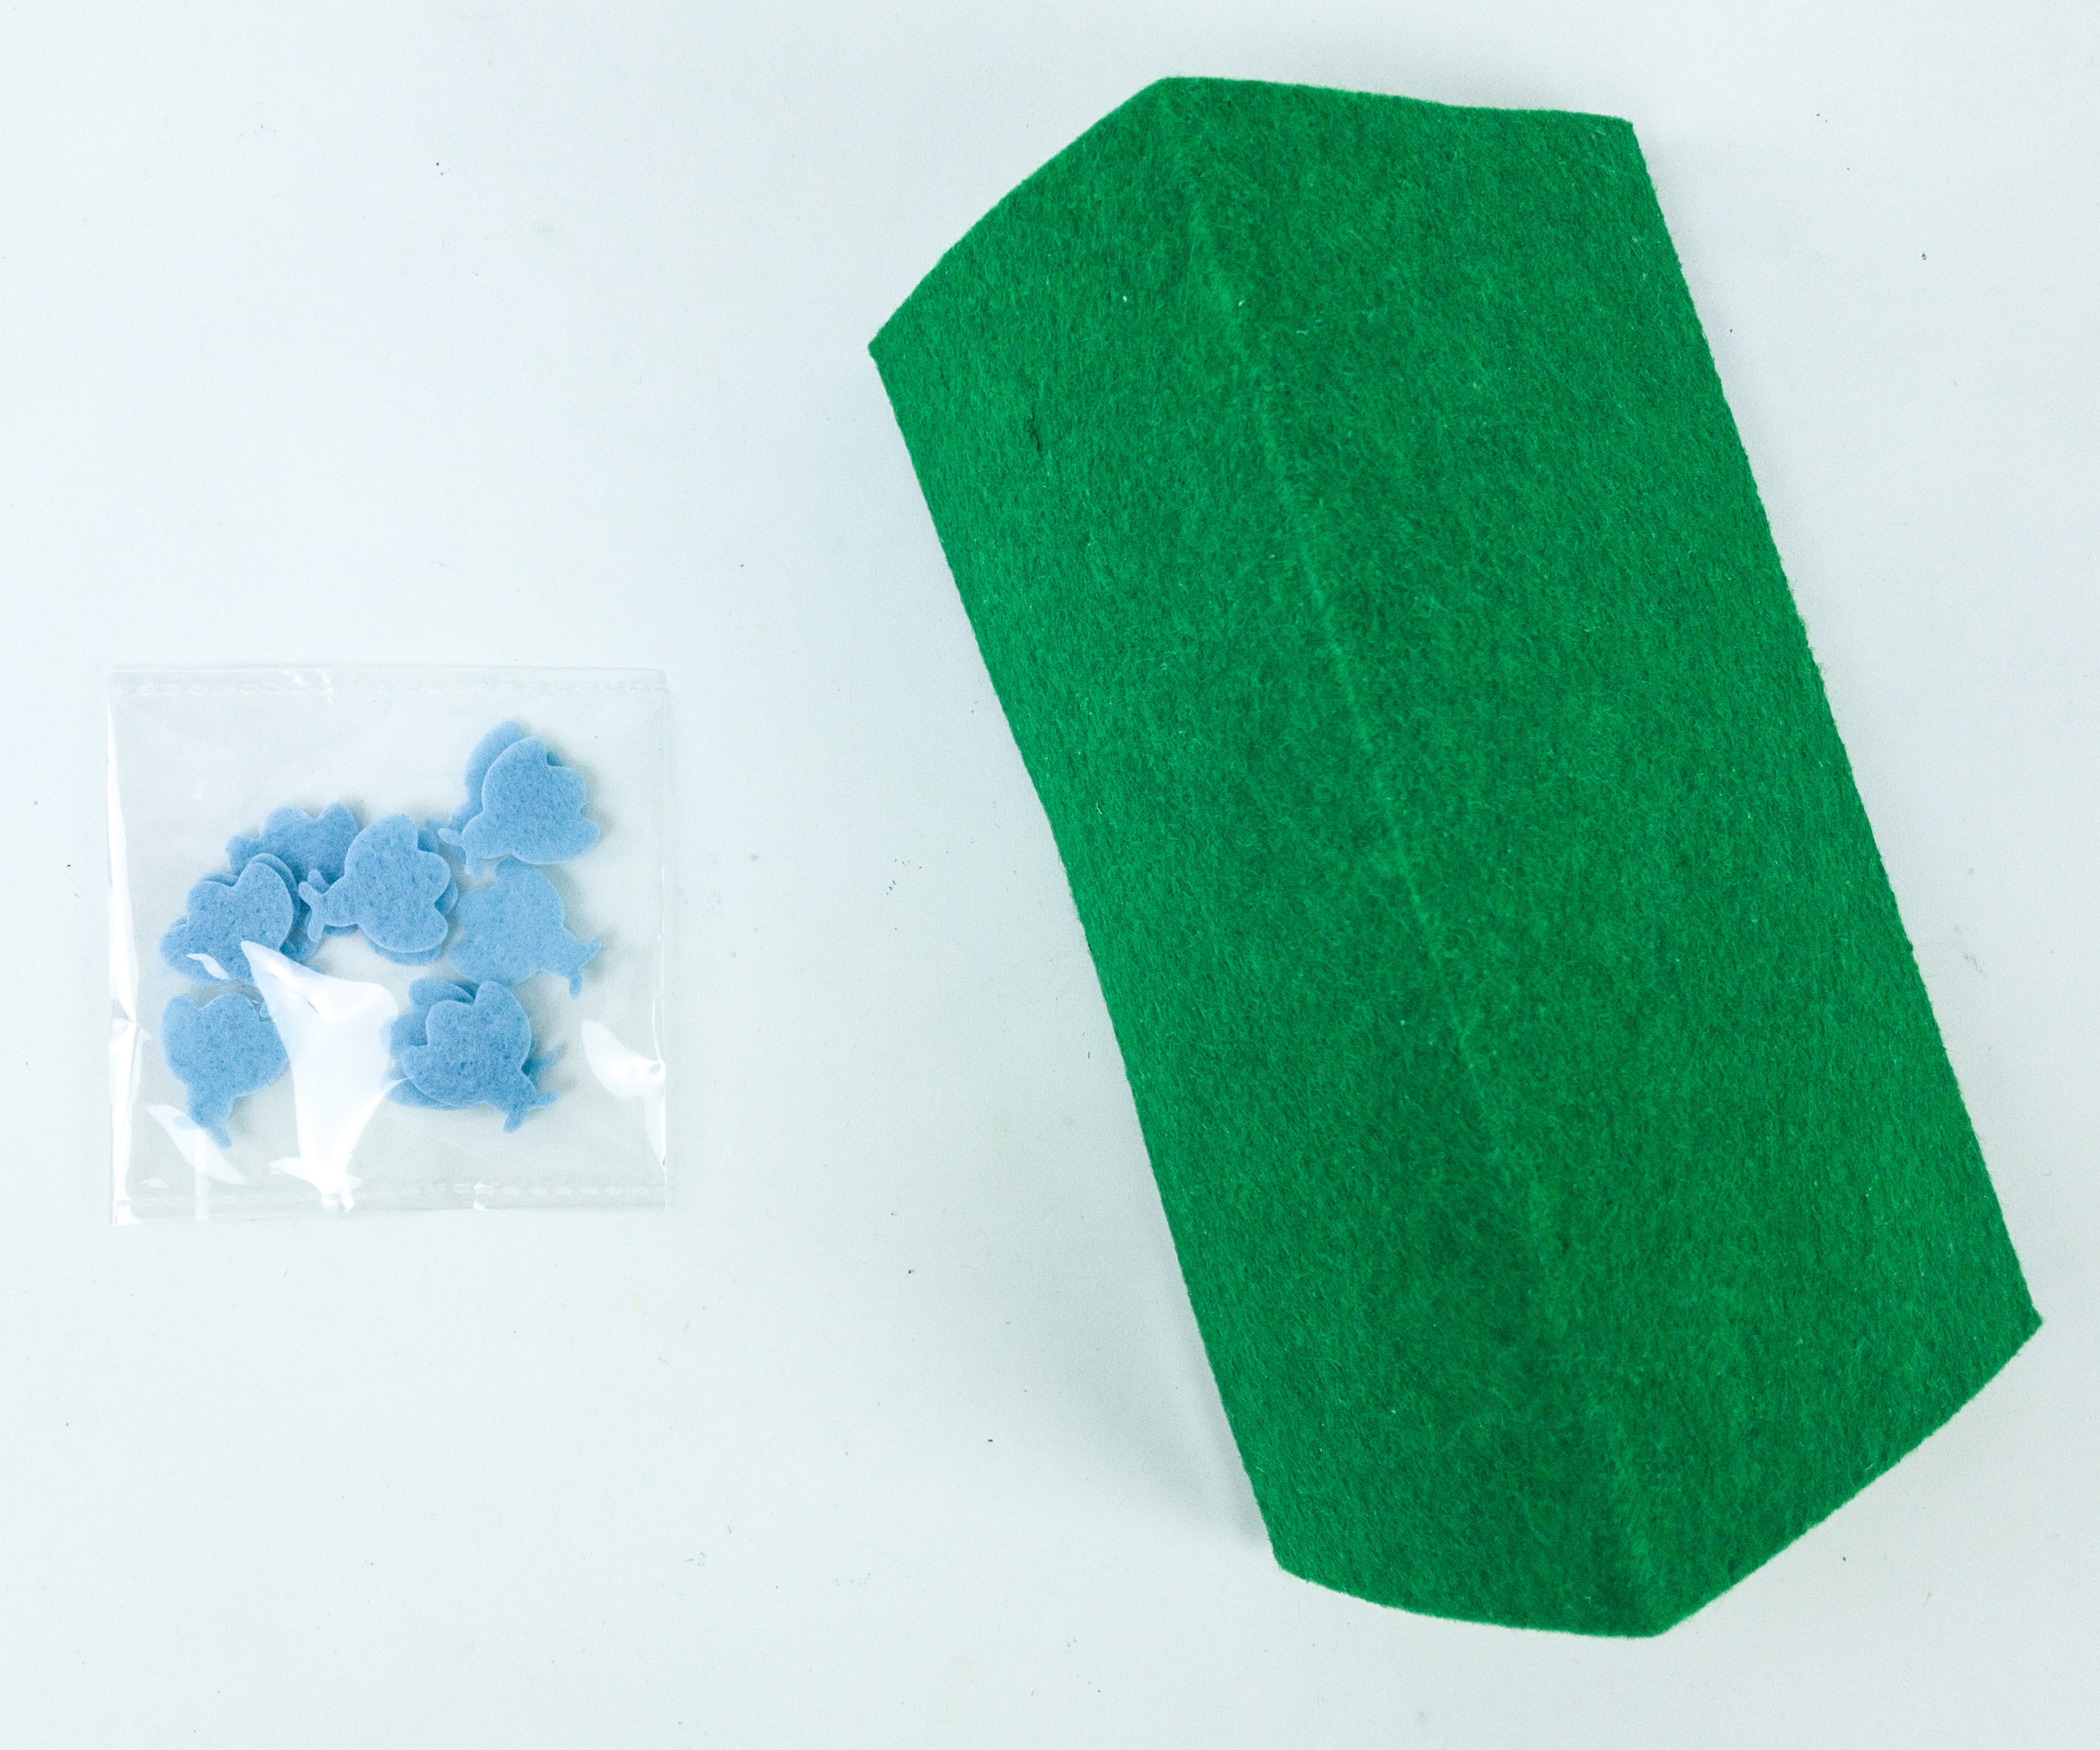
We used the felt bug and a felt stand!
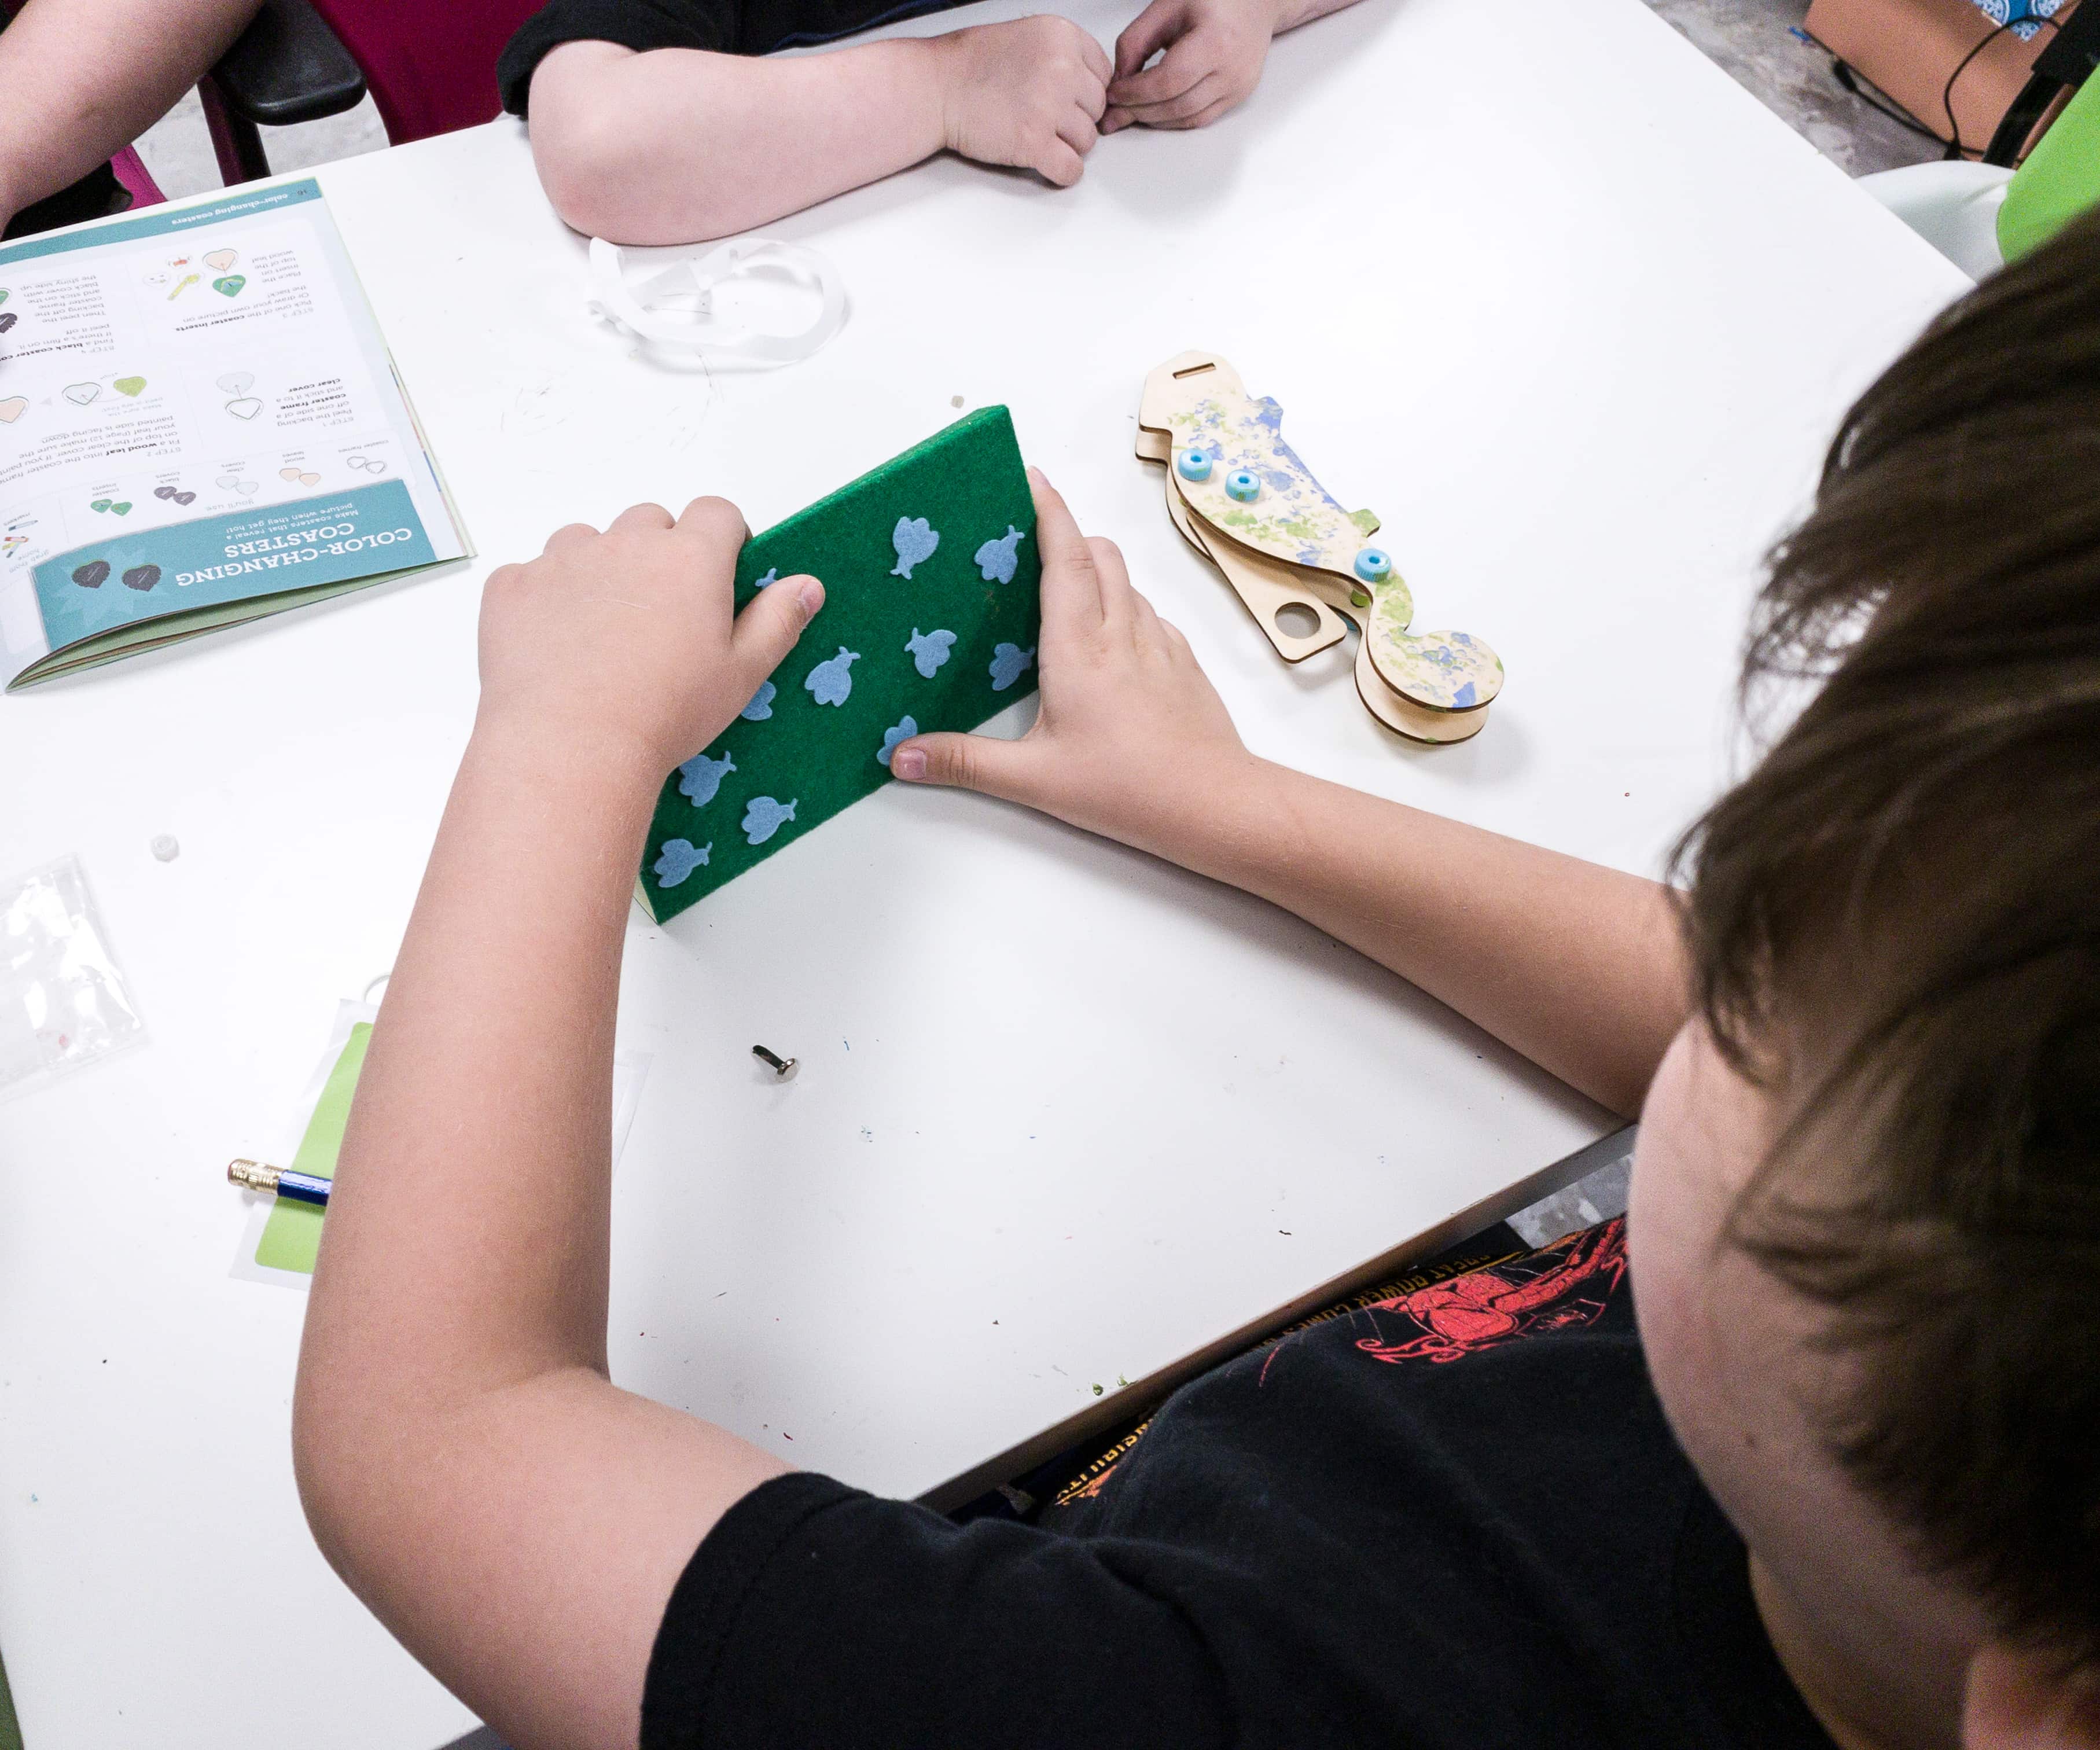
This activity is pretty simple, you just need to put the bugs on the stand and let the game begin!
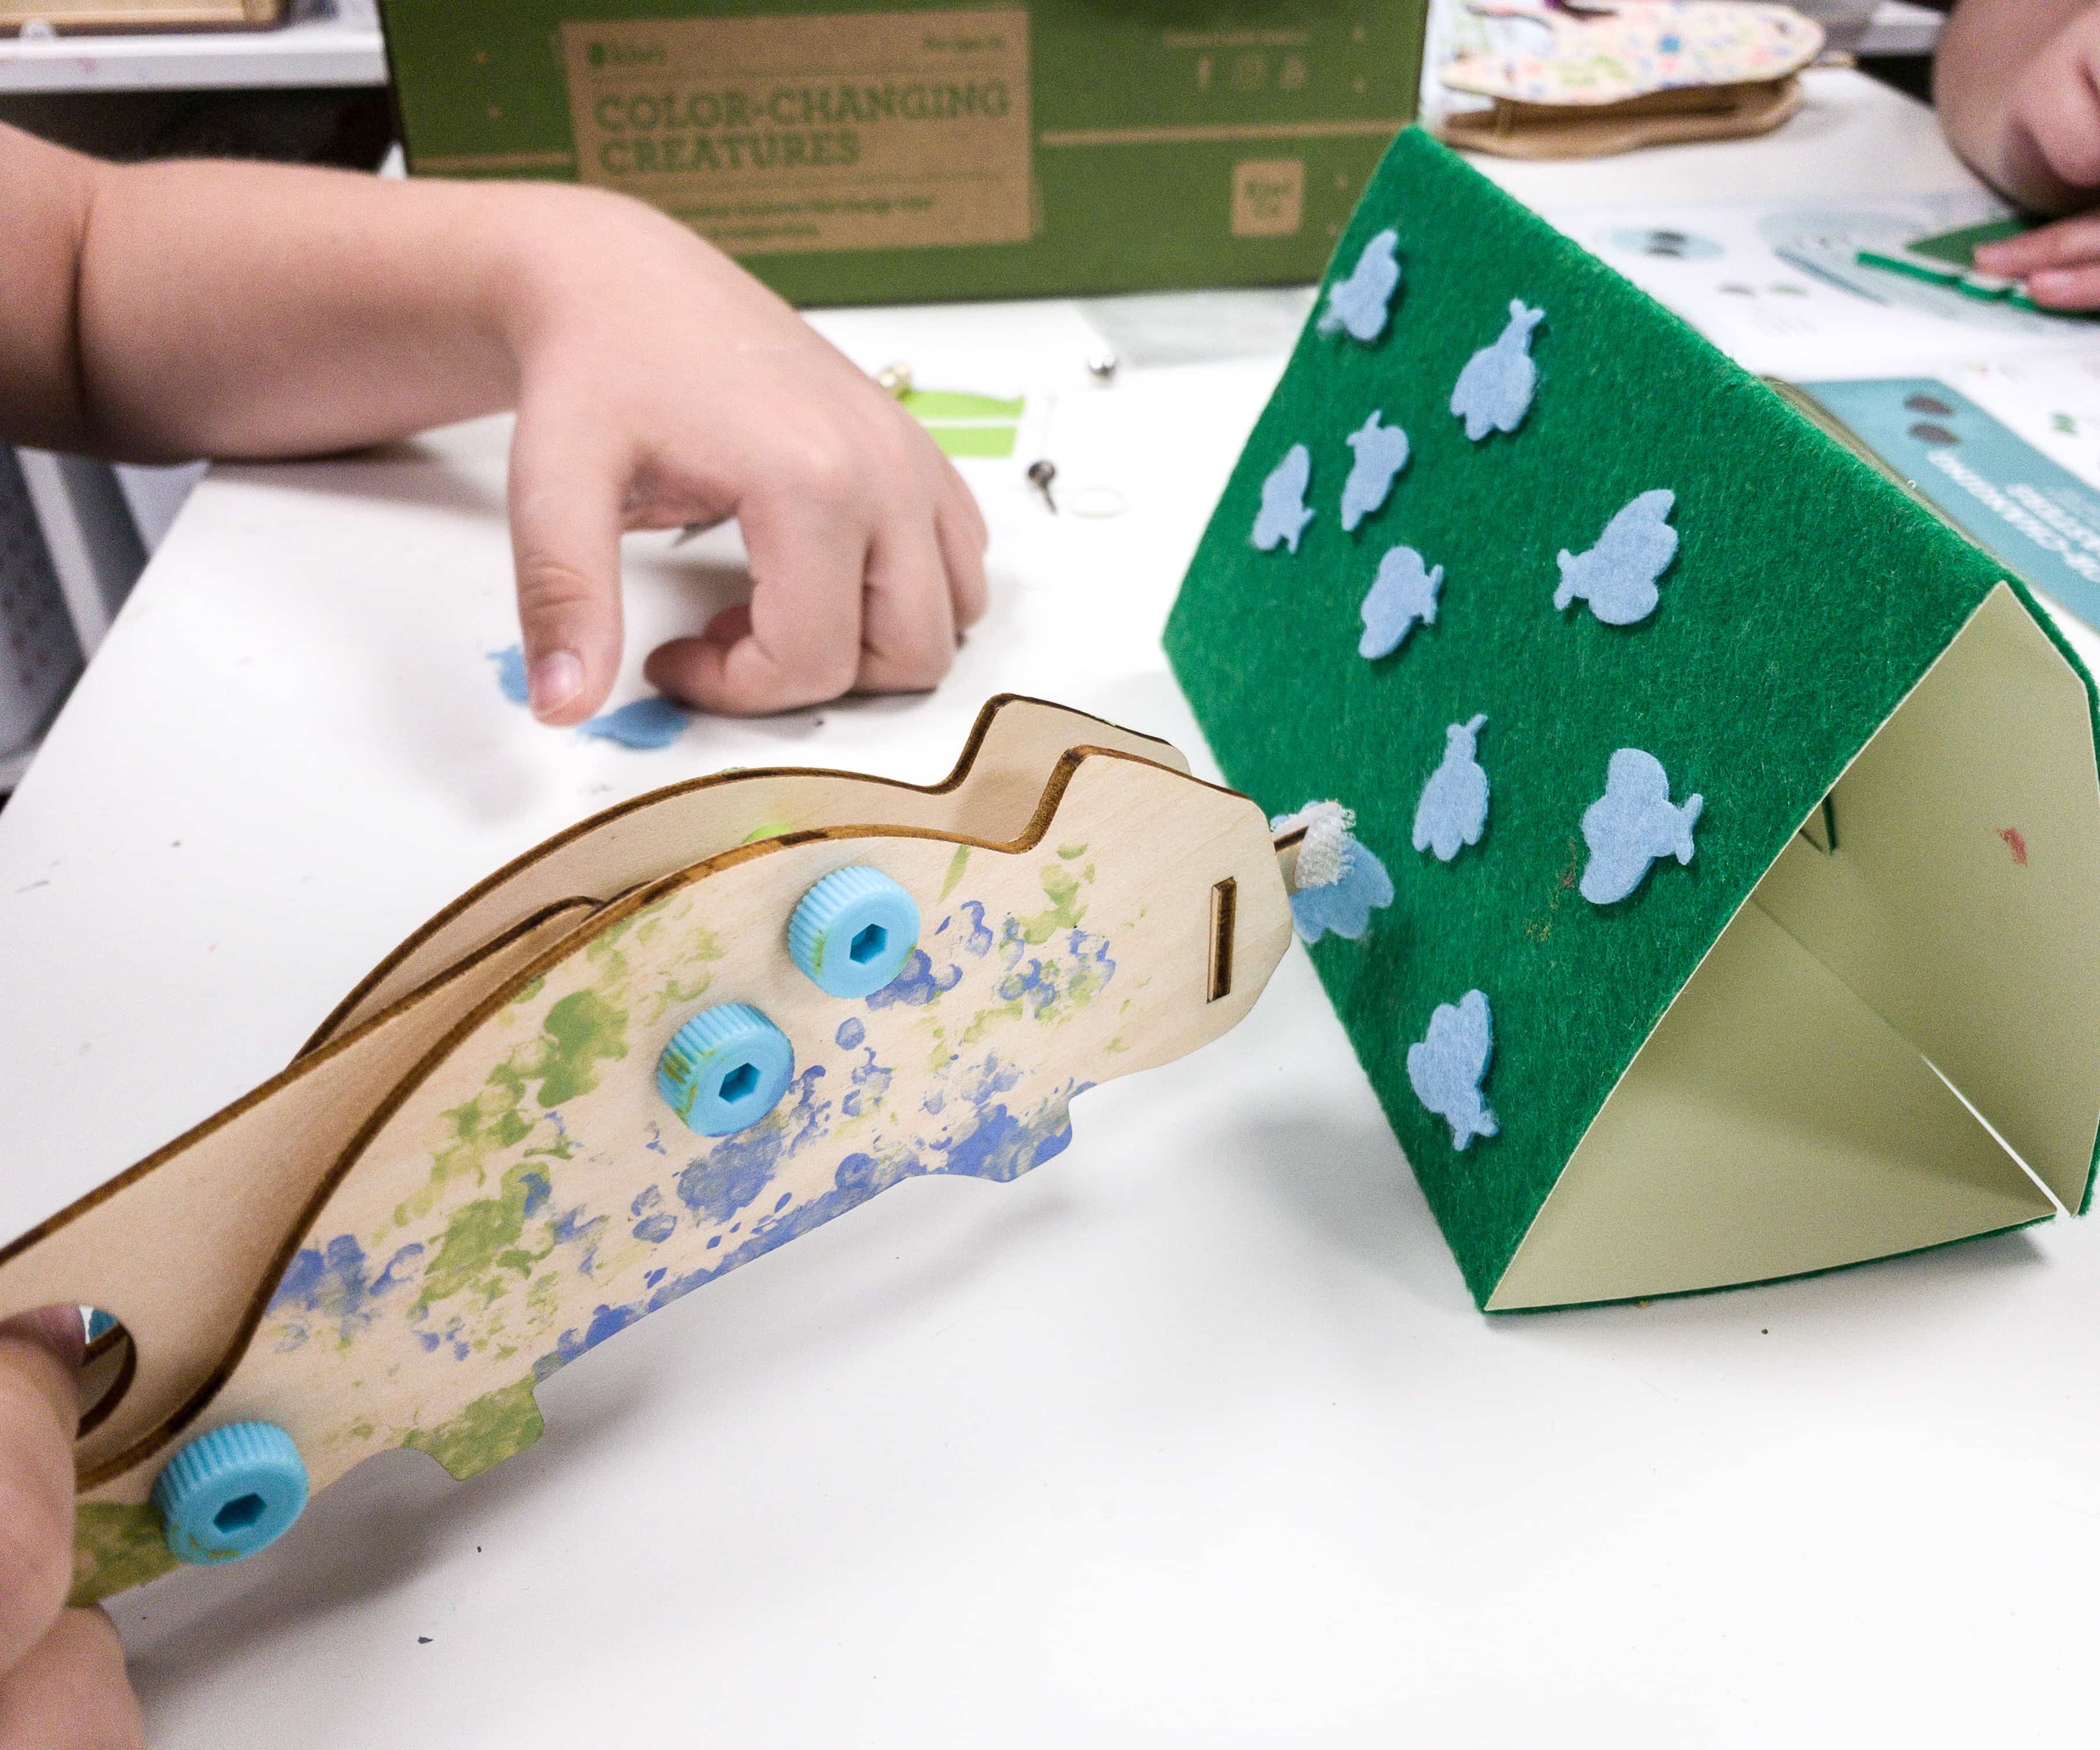
Using your completed chameleon and frog creatures, pull the tail and let their tongue capture the bug stuck in the felt paper stand.
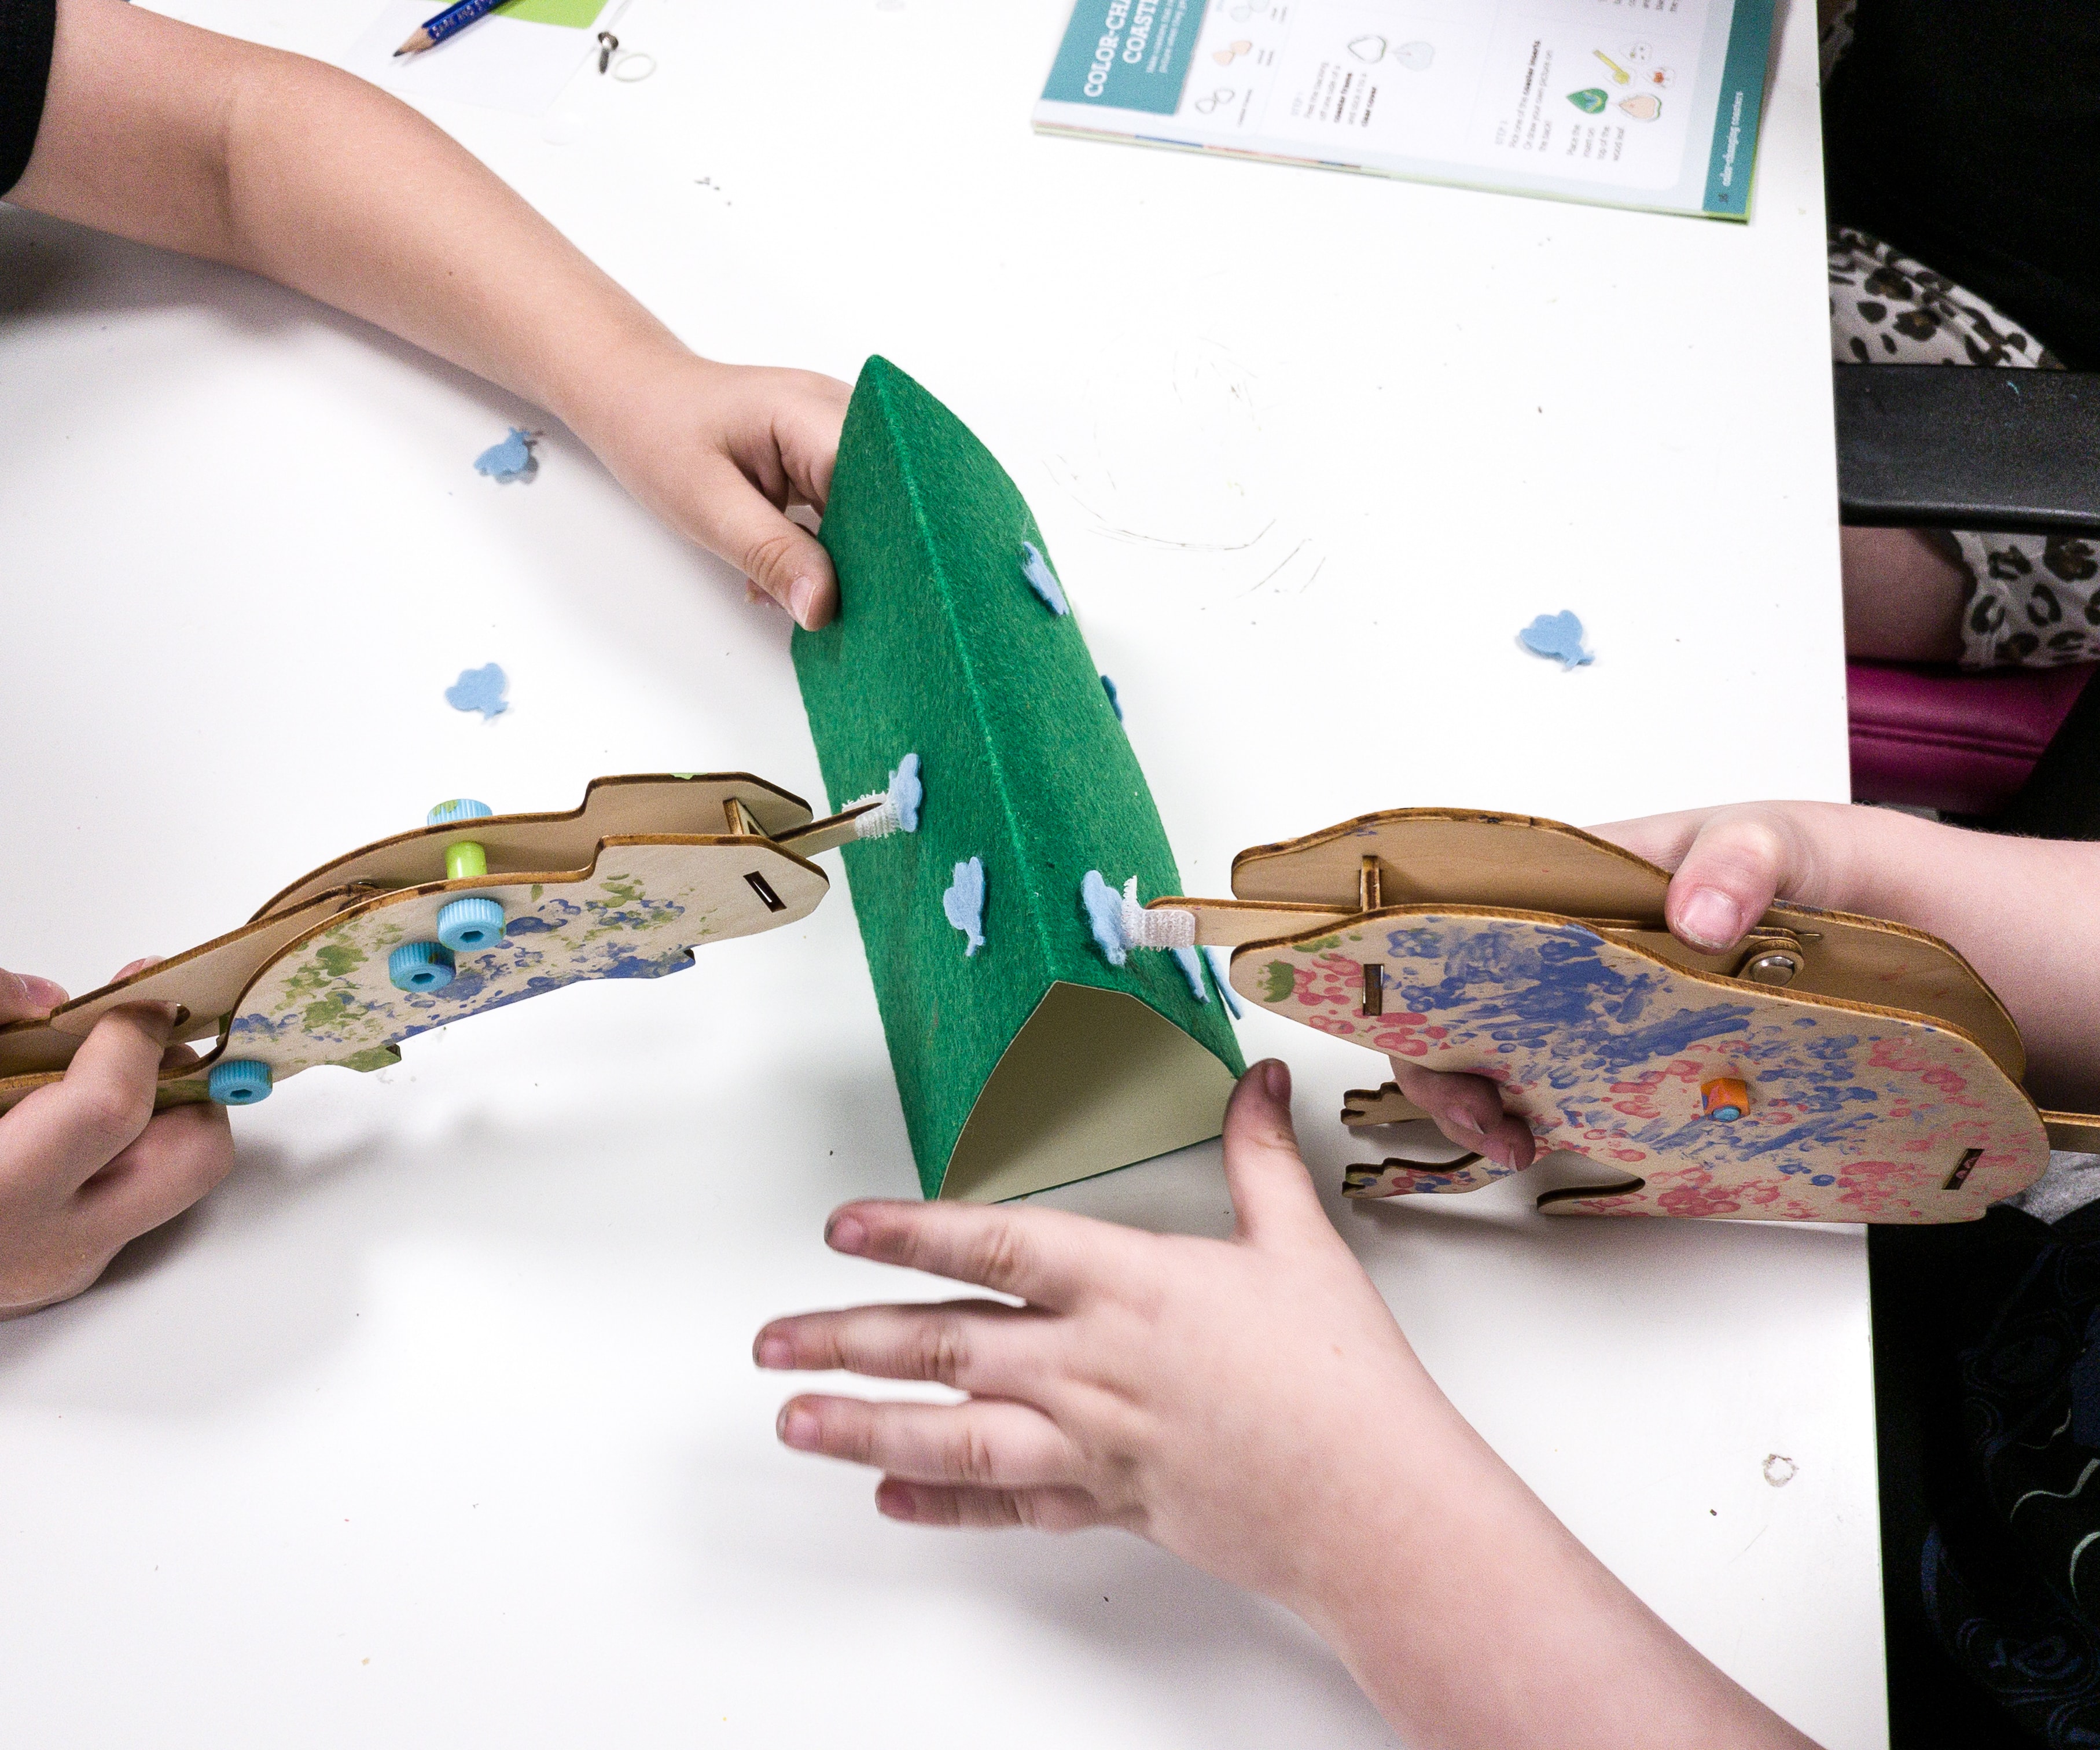
The first player who captures all the bugs will win the game!
This game sure is fun and very exciting!
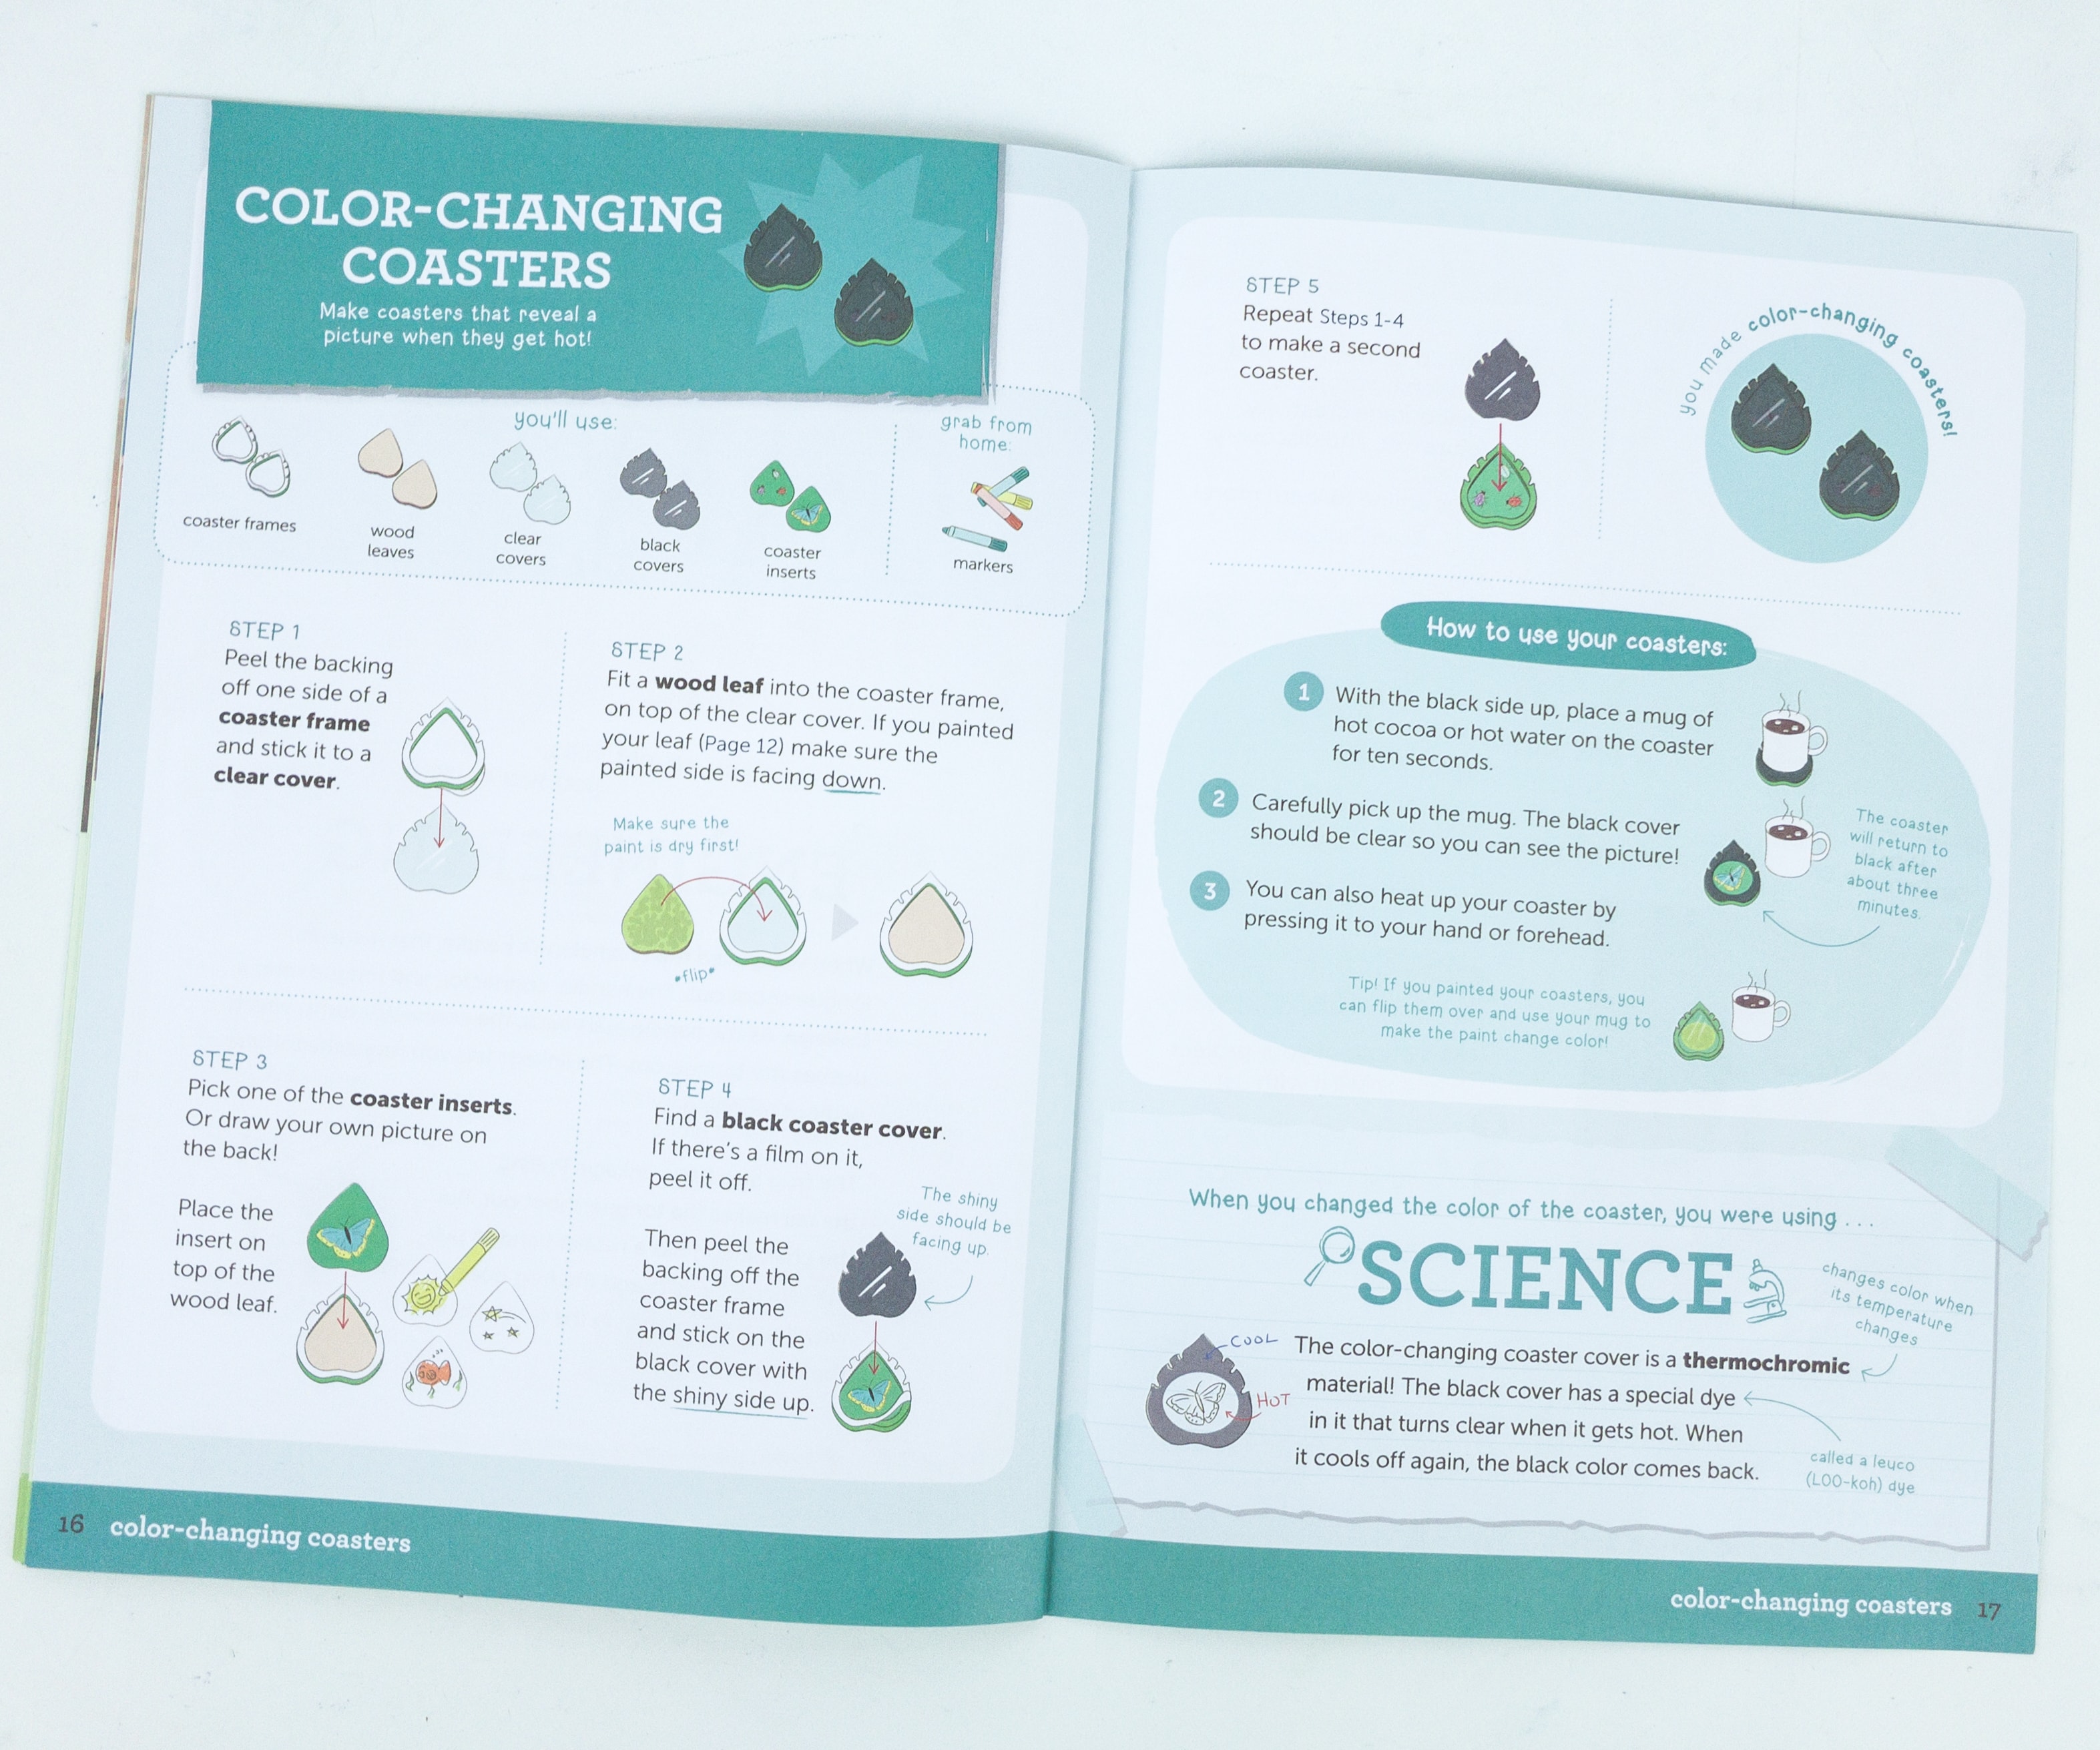
For the next activity, we’re making color-changing coasters!
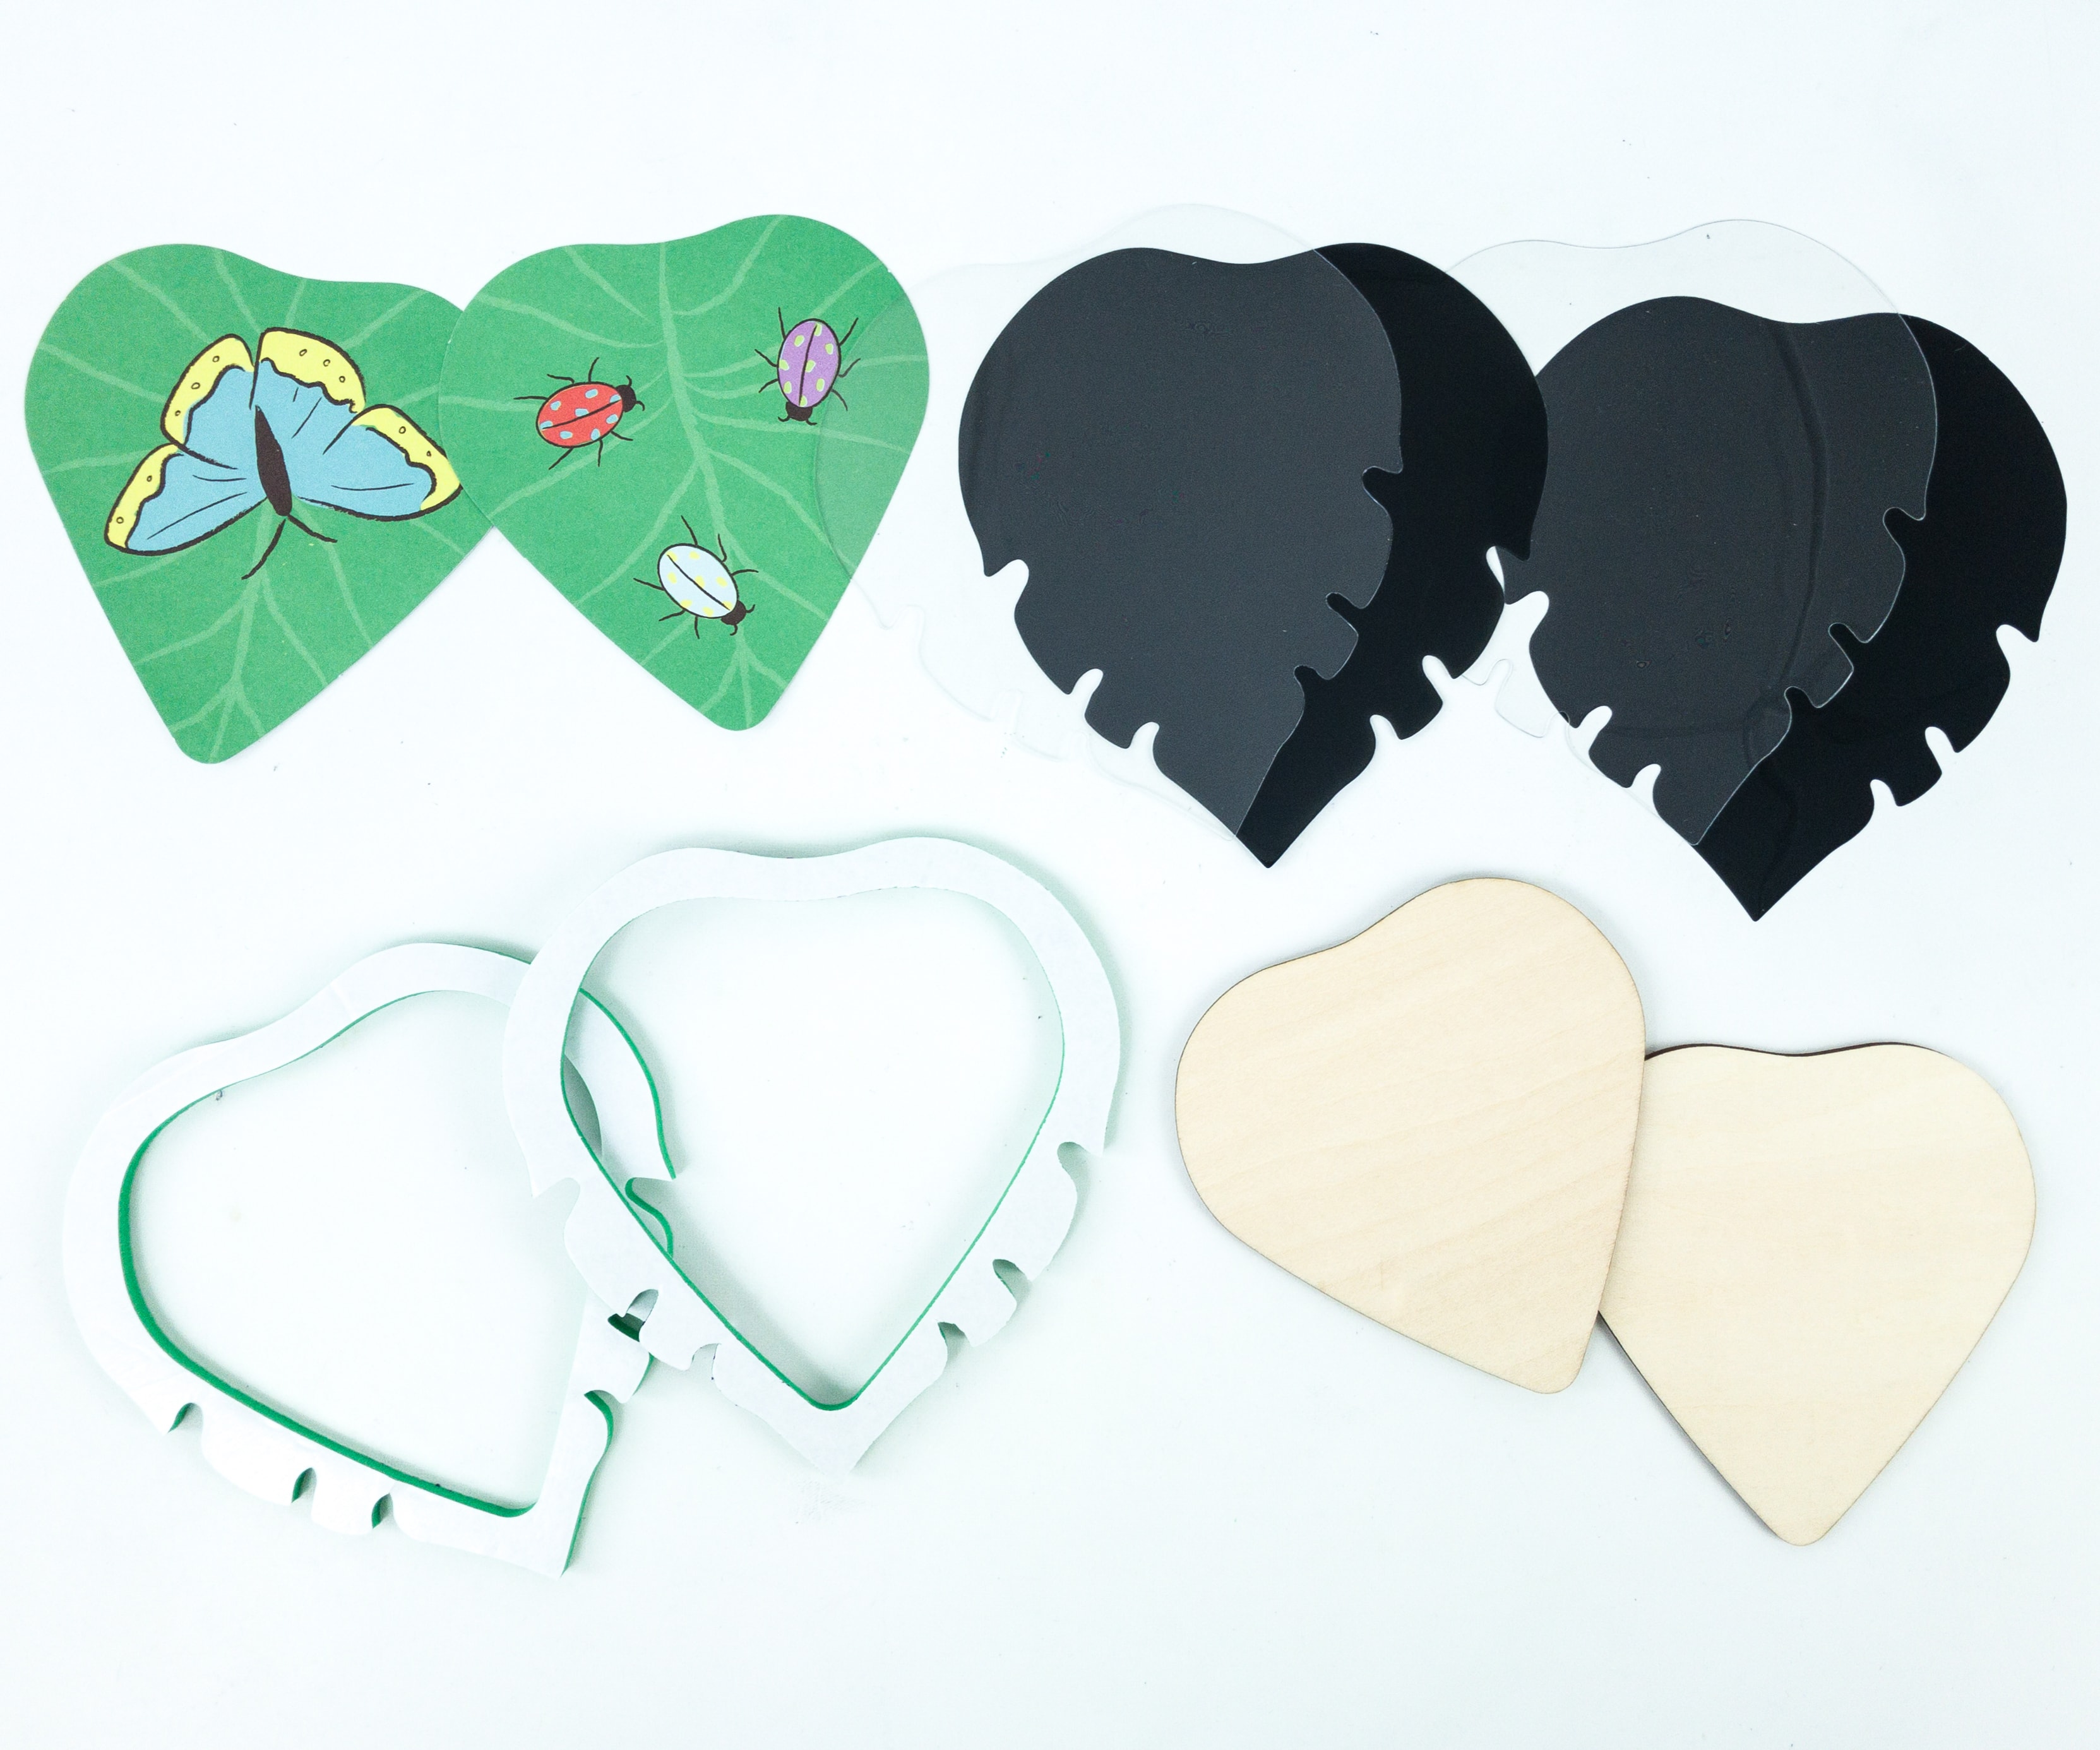
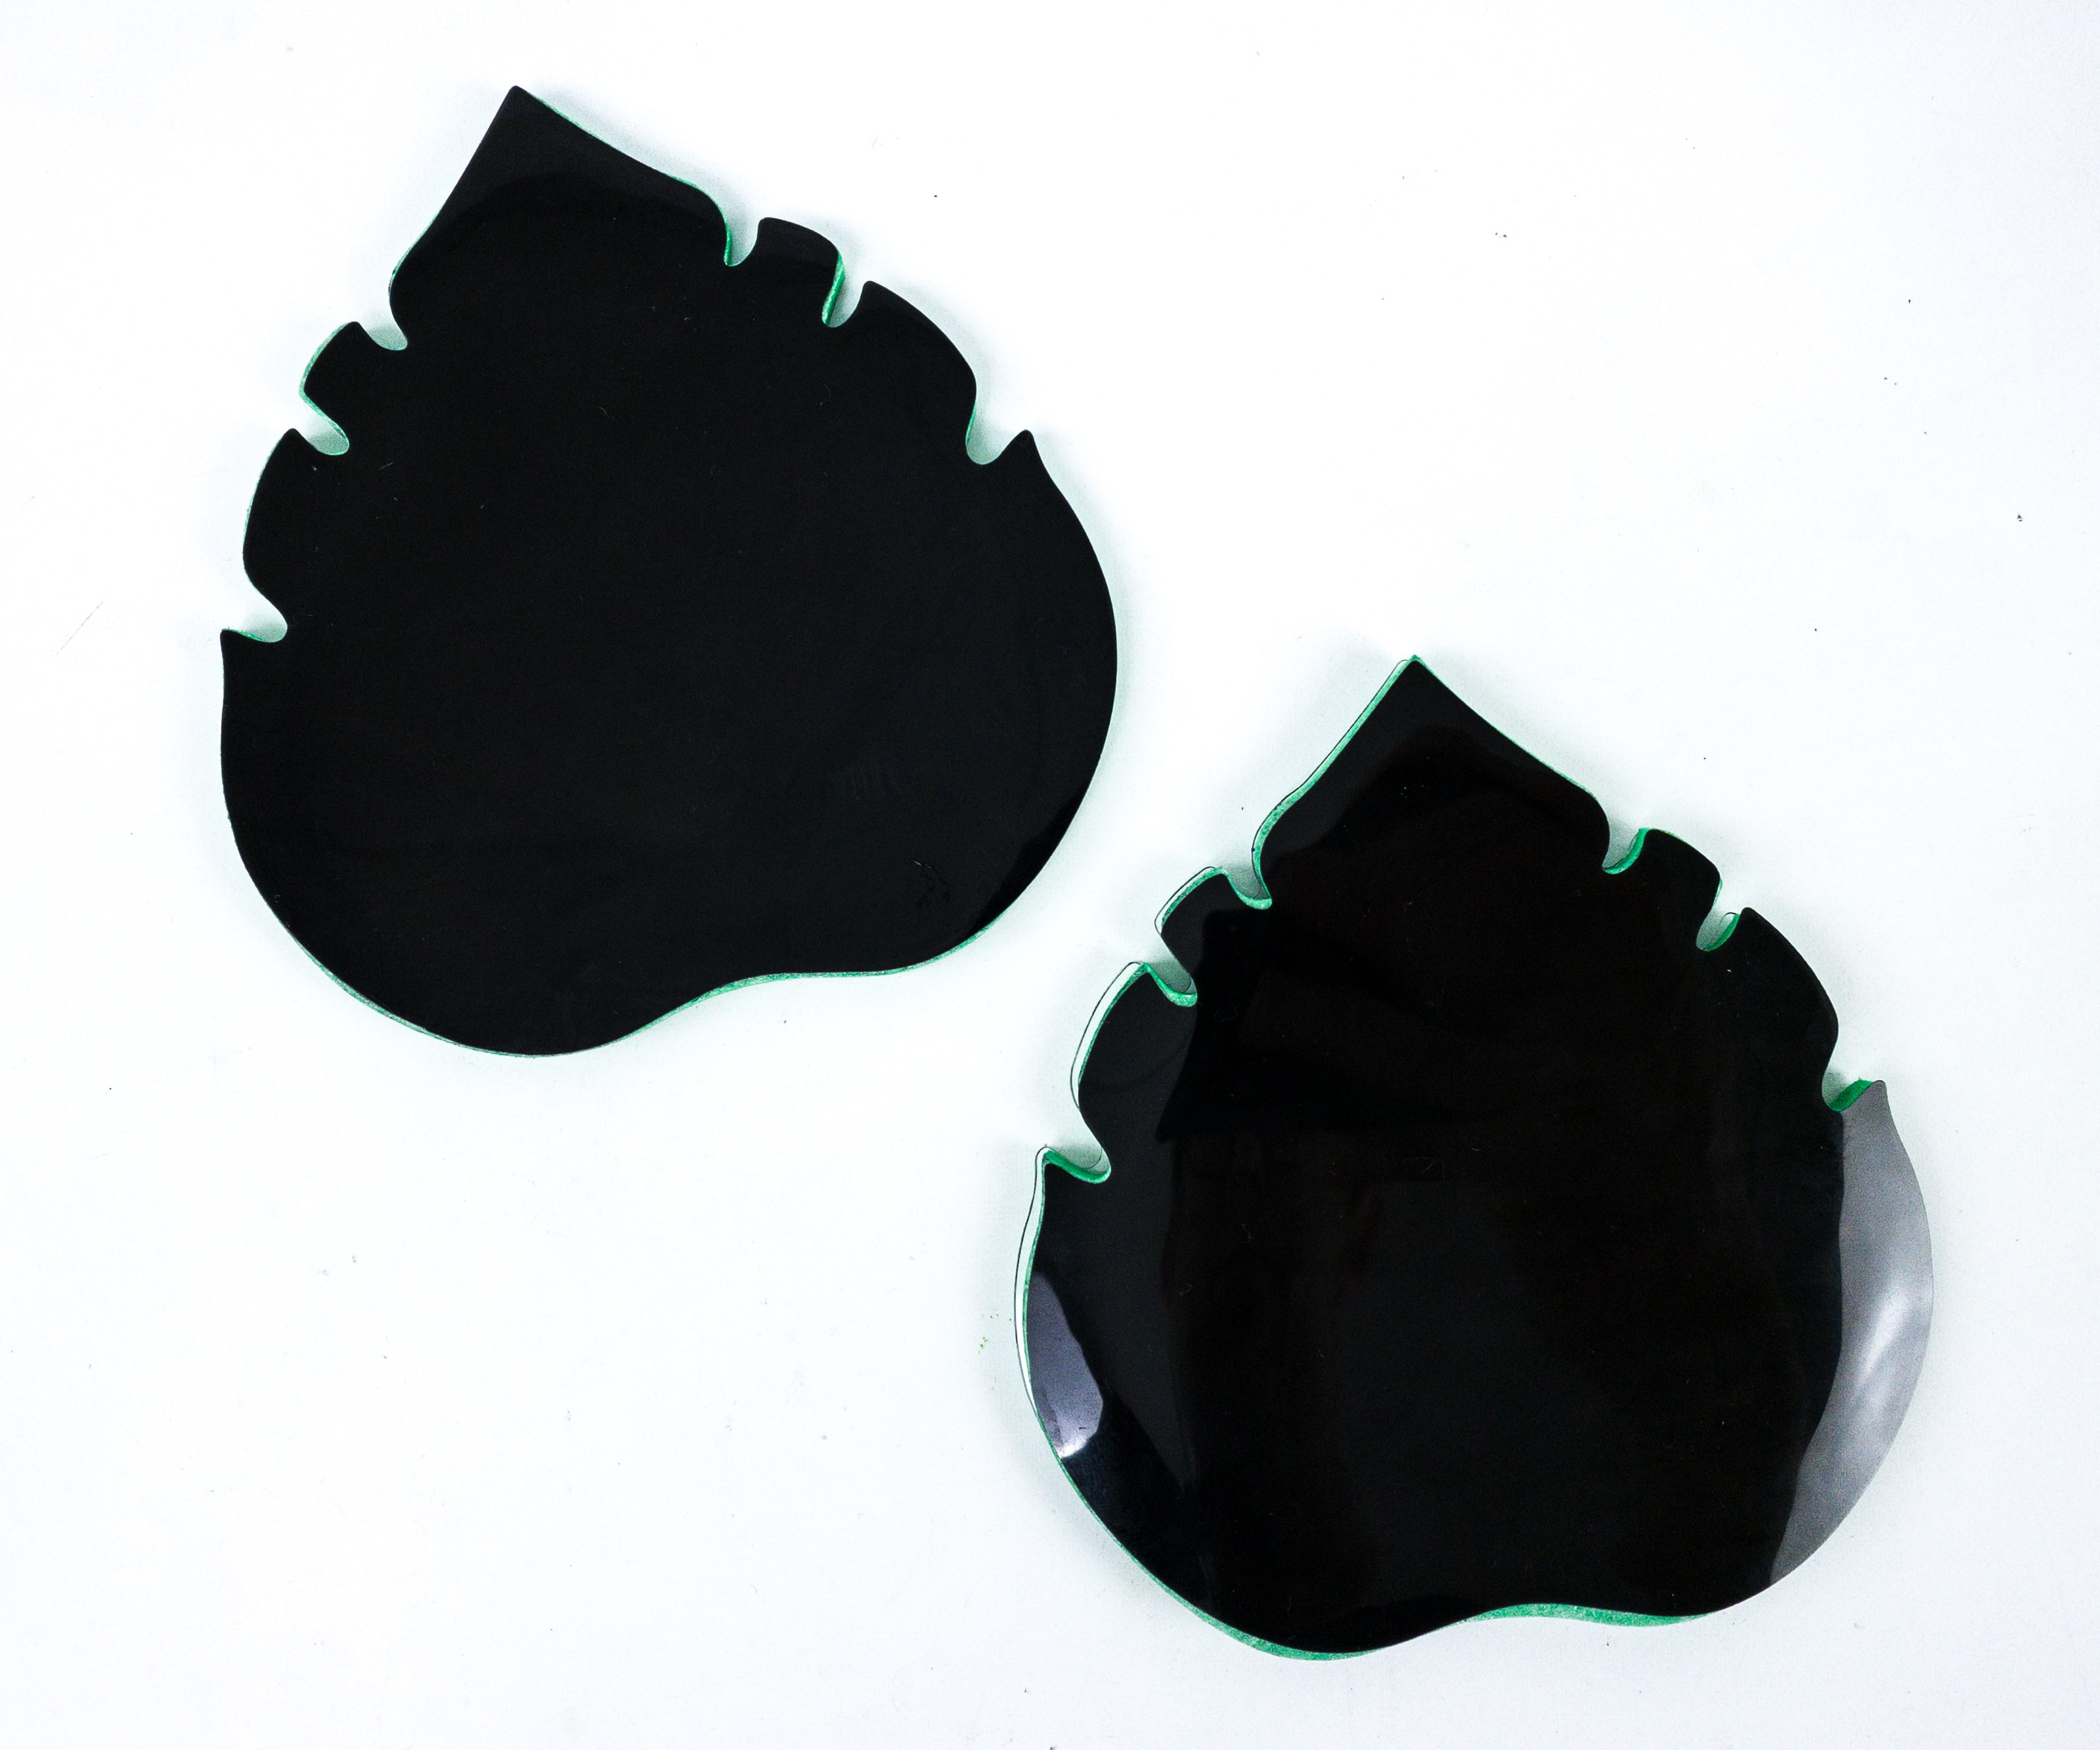
For this activity, we used the coaster frames, wood leaves, clear covers, black cover, and coaster inserts.
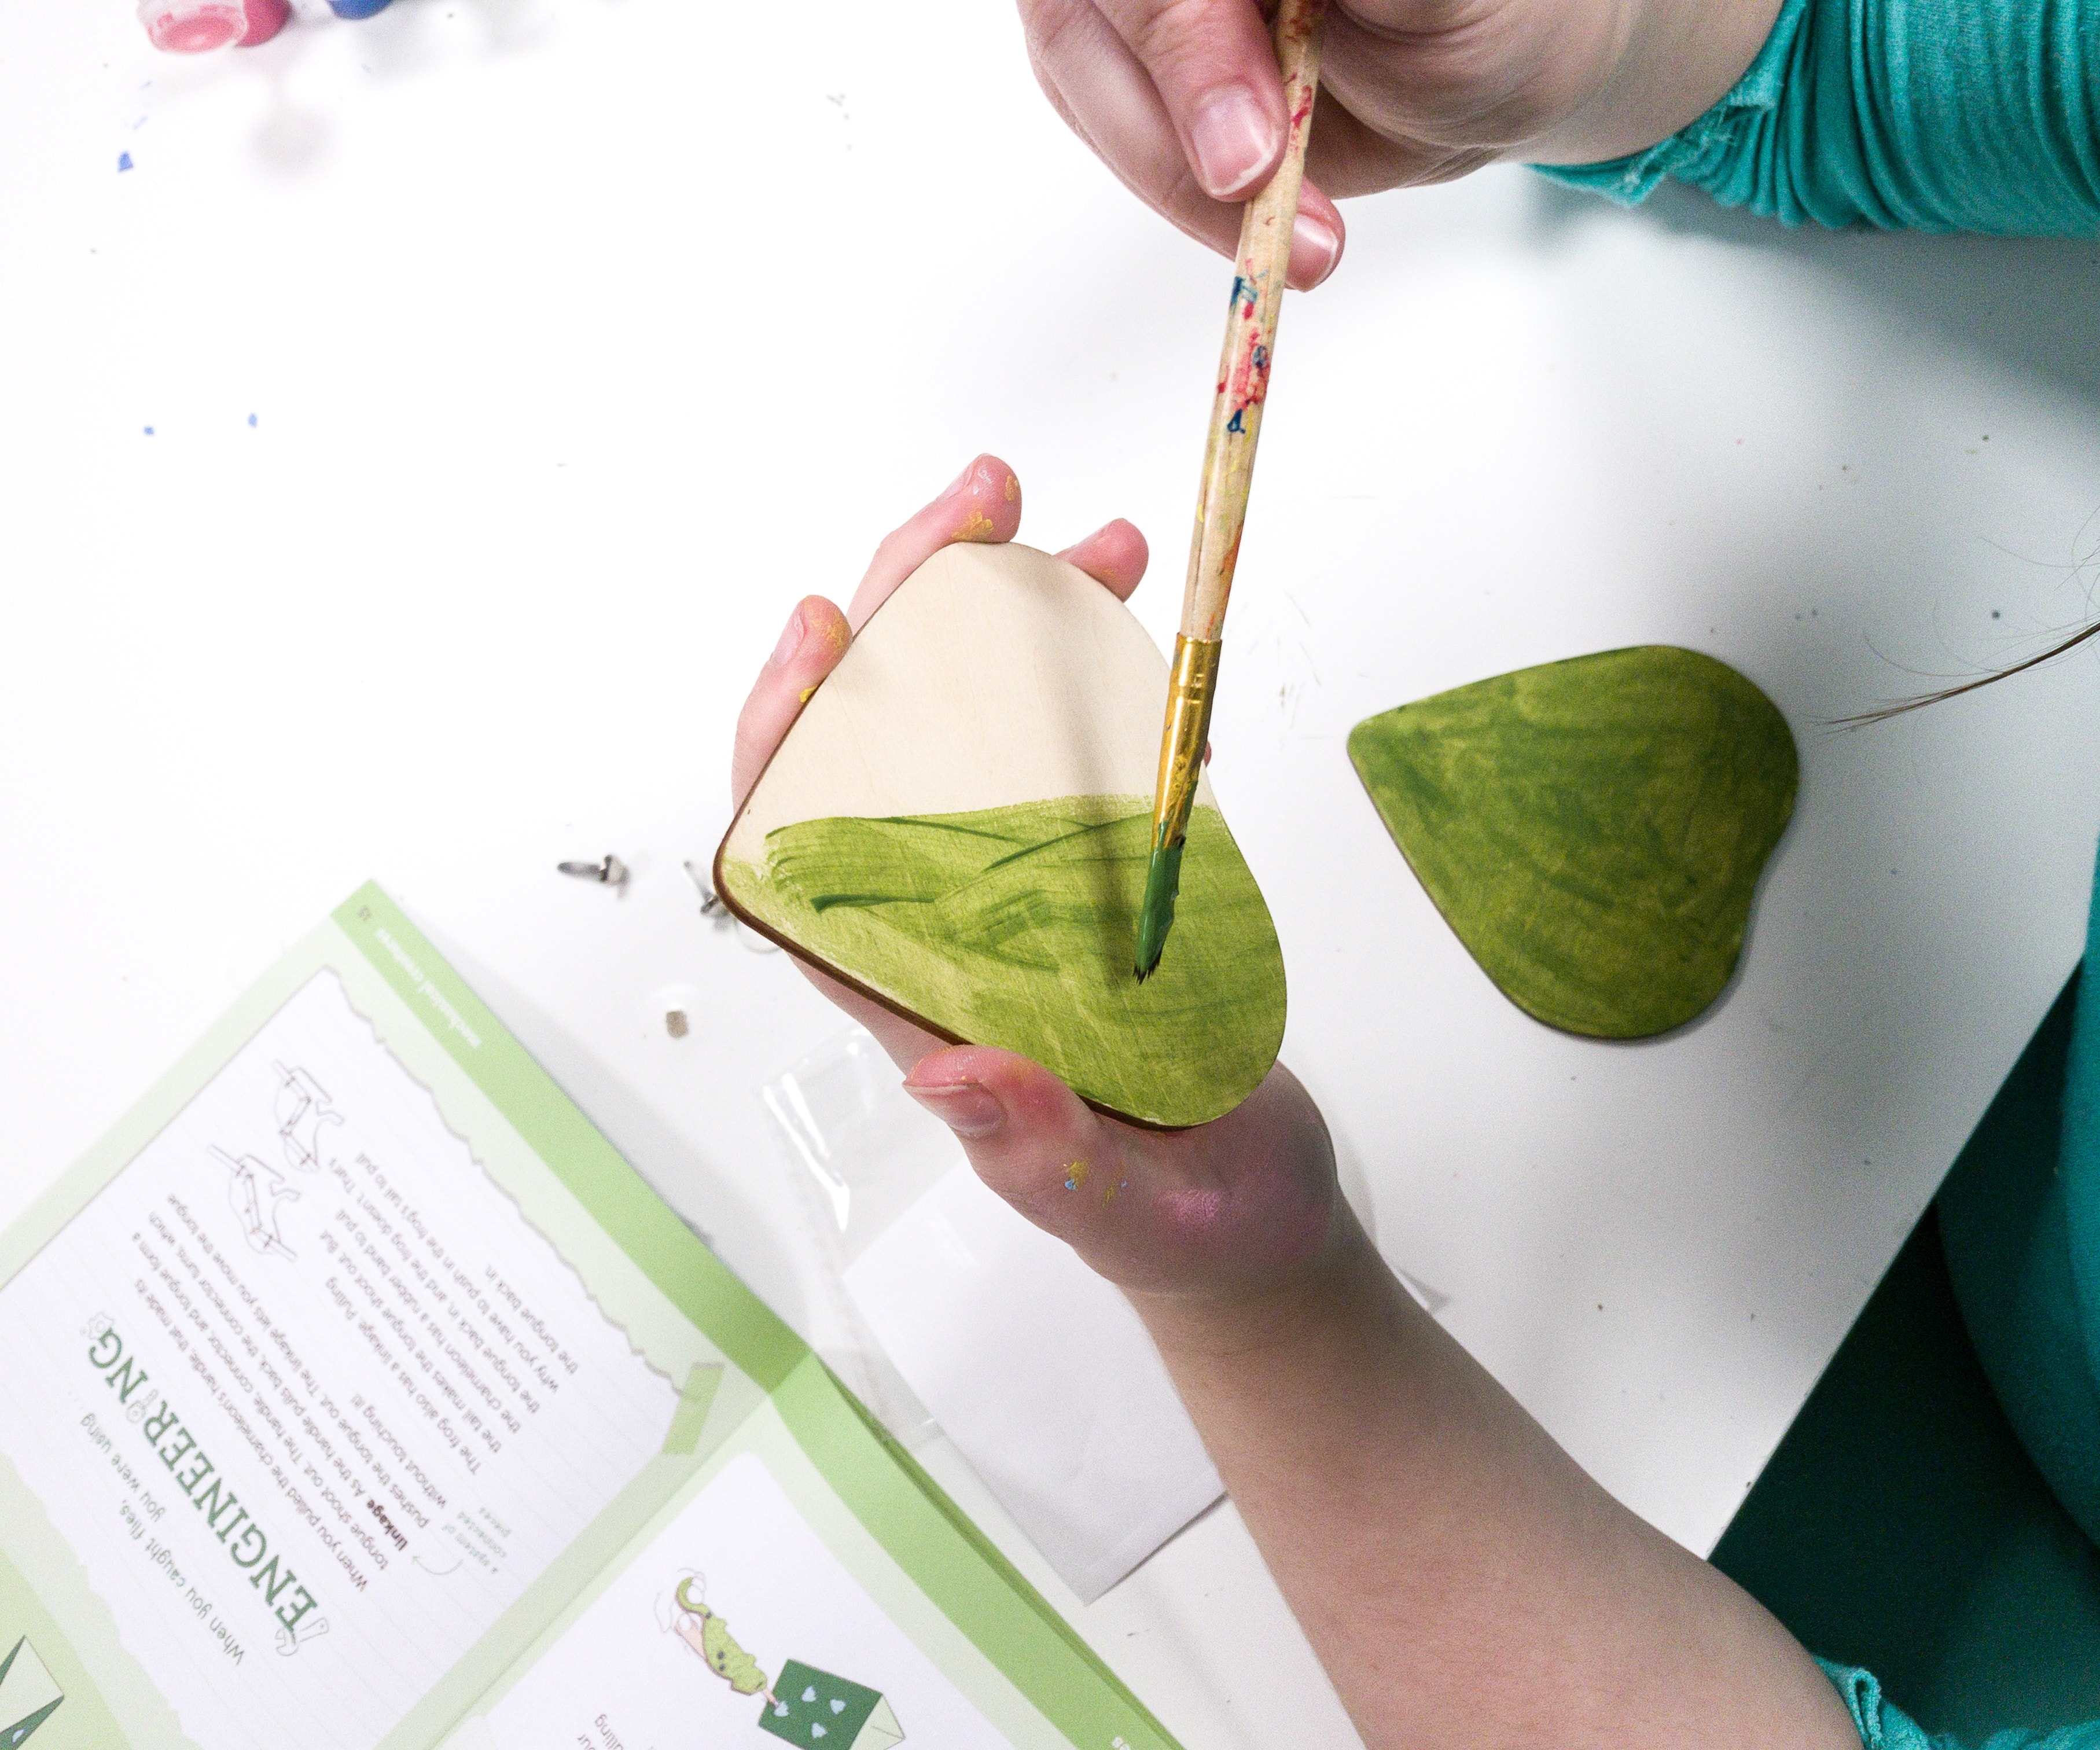
We started the activity by painting the wooden leaves using the excess paint we got from the first activity.
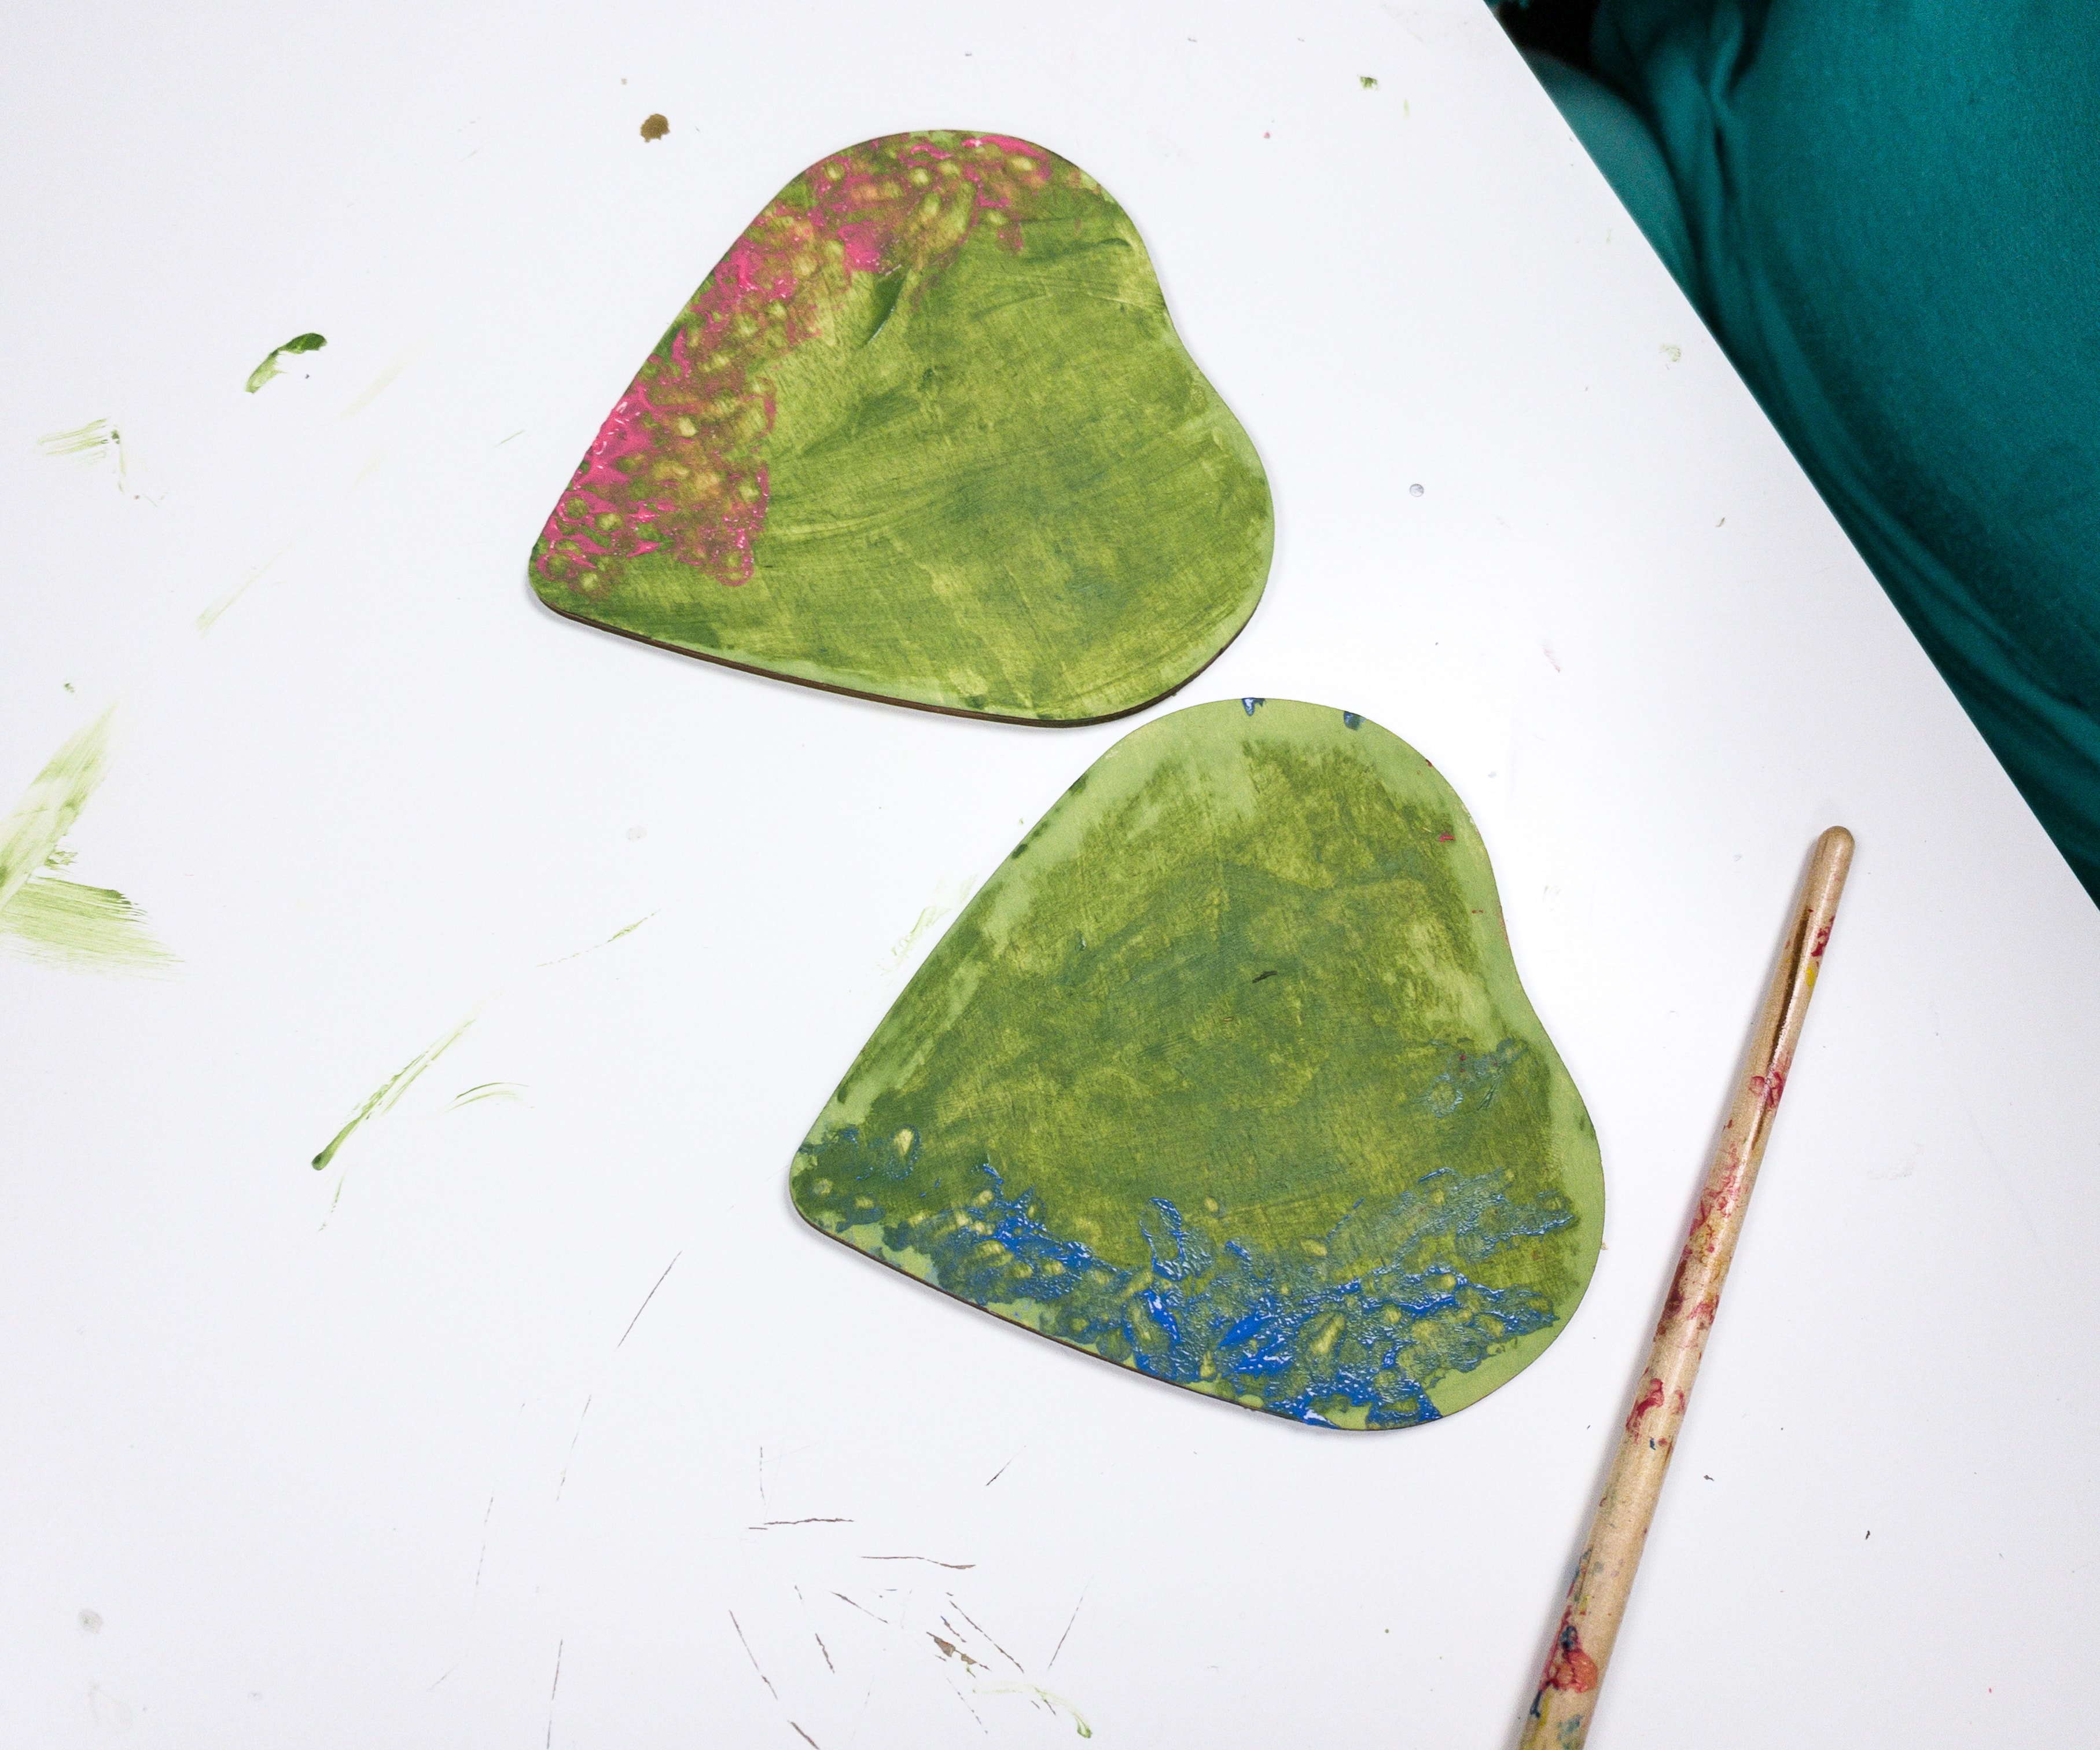
My kids put a little shade of red and blue color on the sides of the leaves and let them dry for a moment.

Once the wooden leaves are dry, fit the leaves into the coaster frame and put the painted color face down.
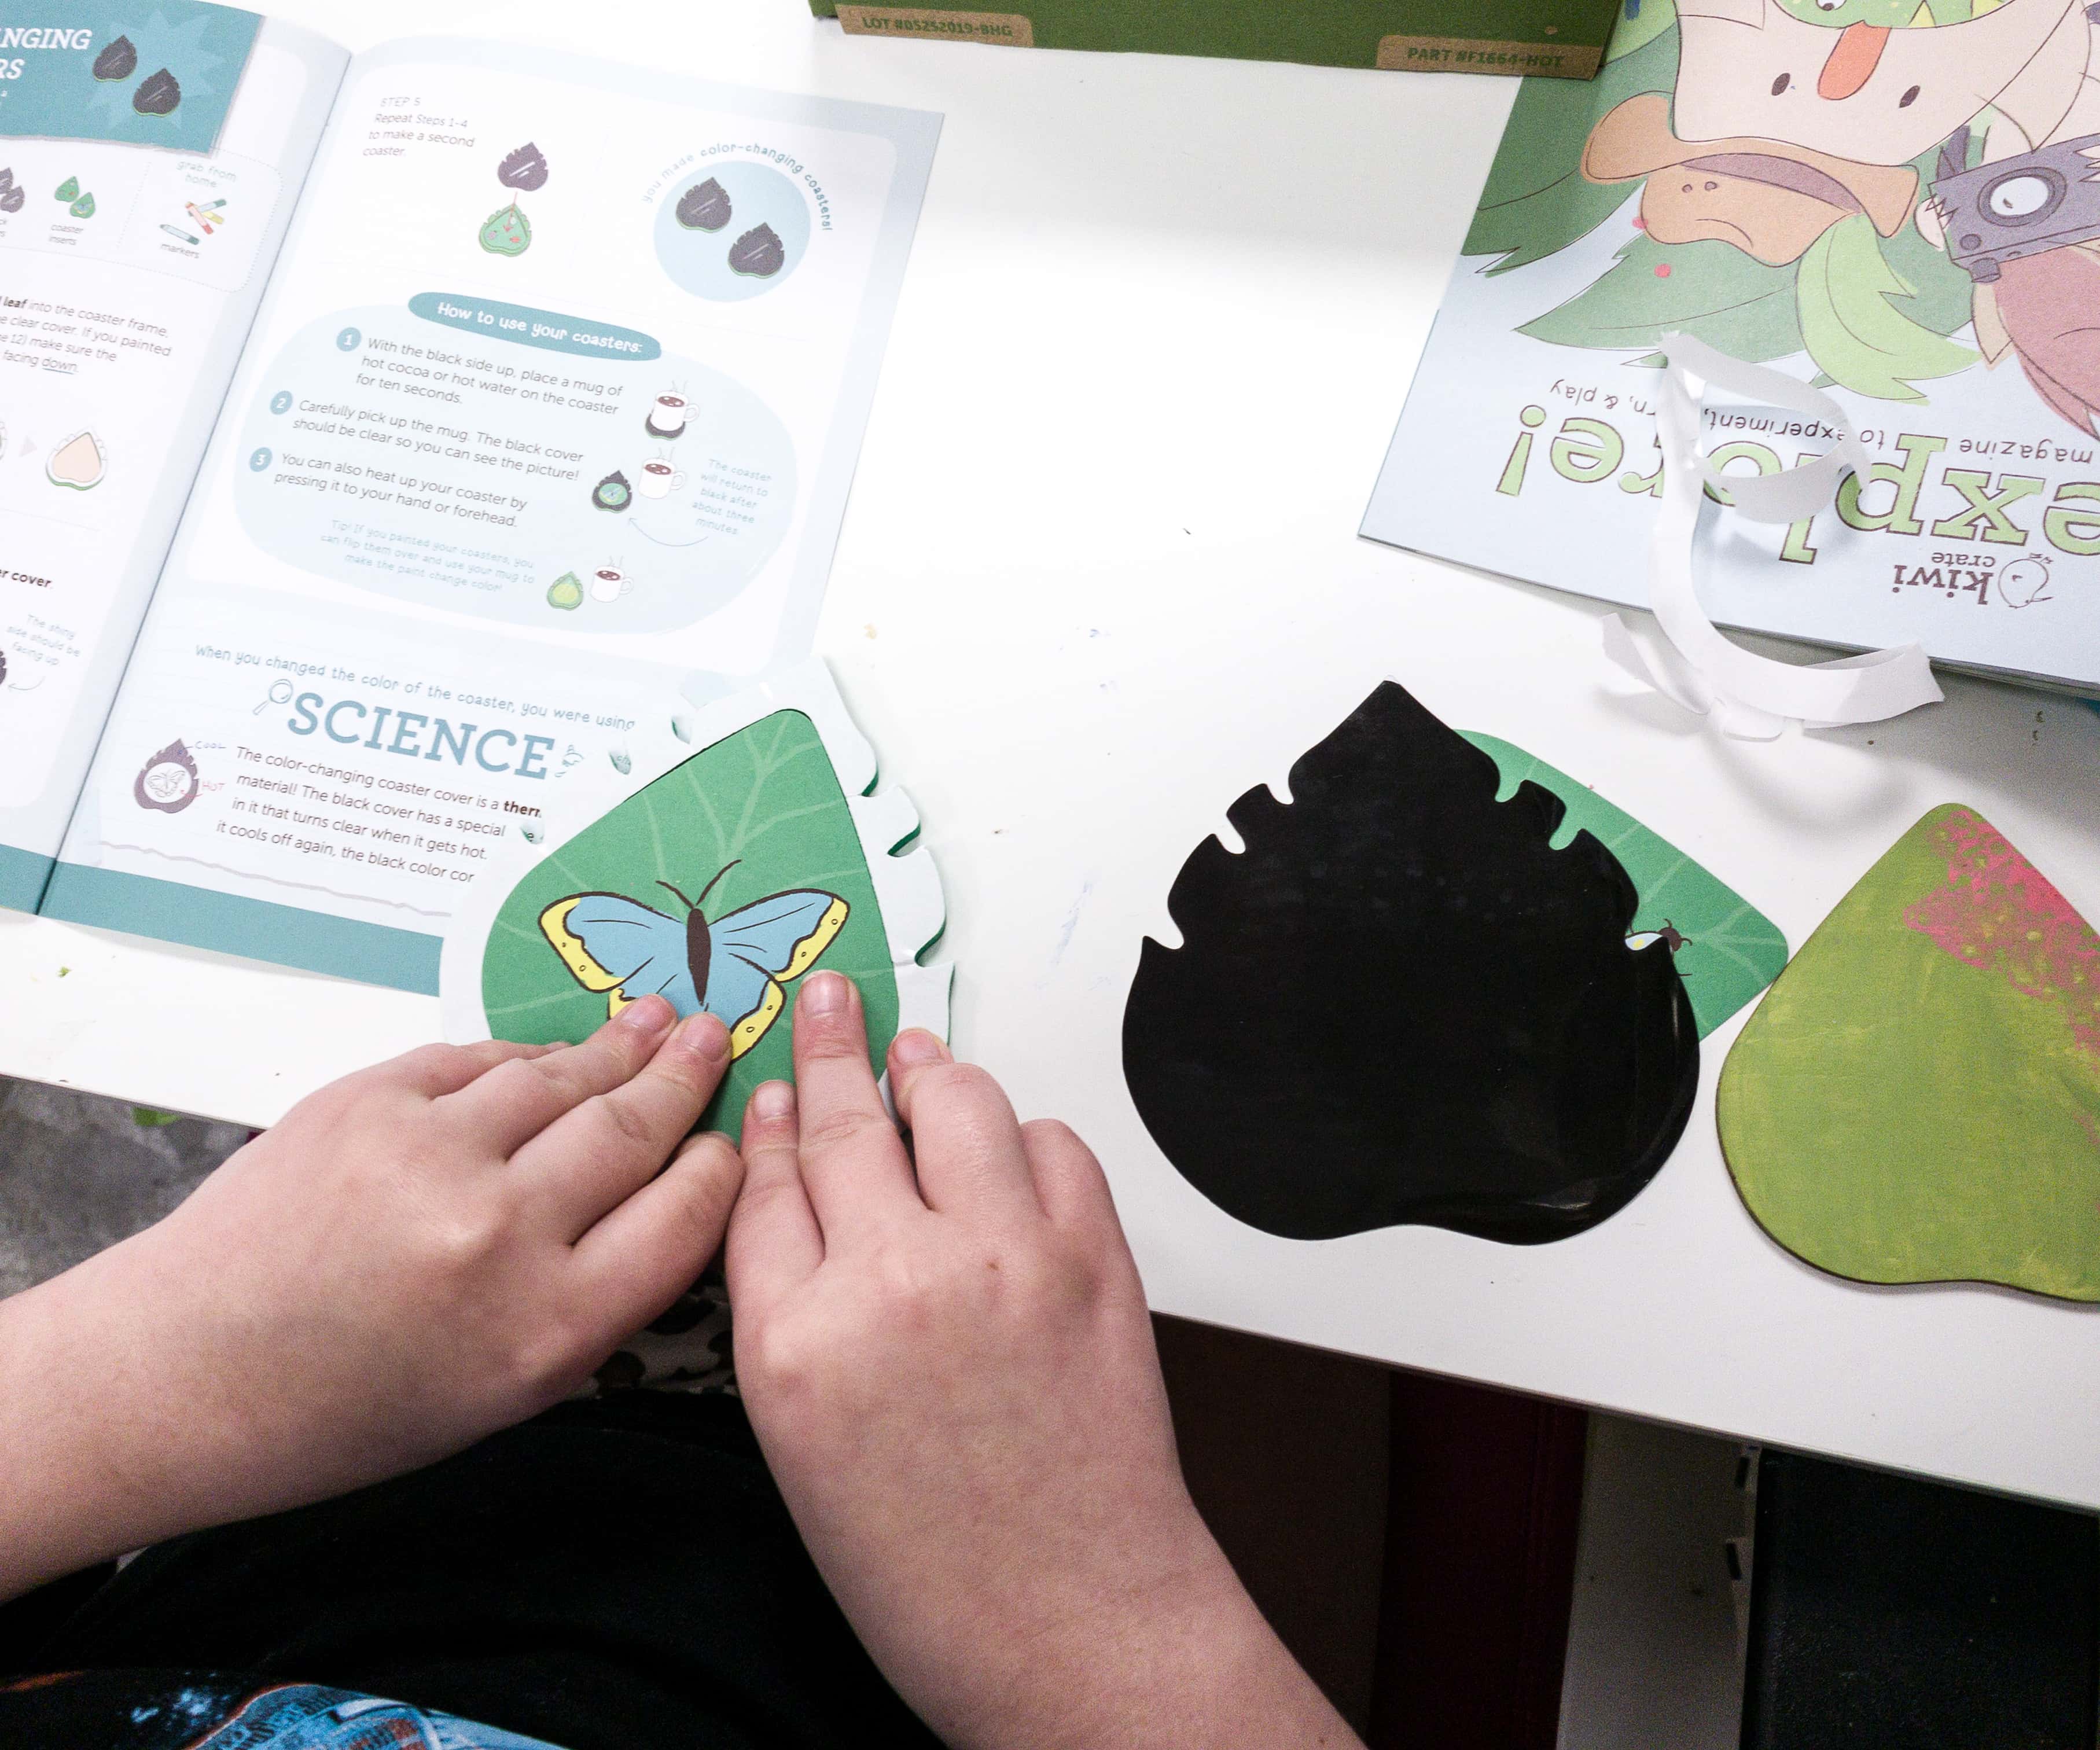
Pick one of the coaster inserts and place them on top of the wooden leaf.
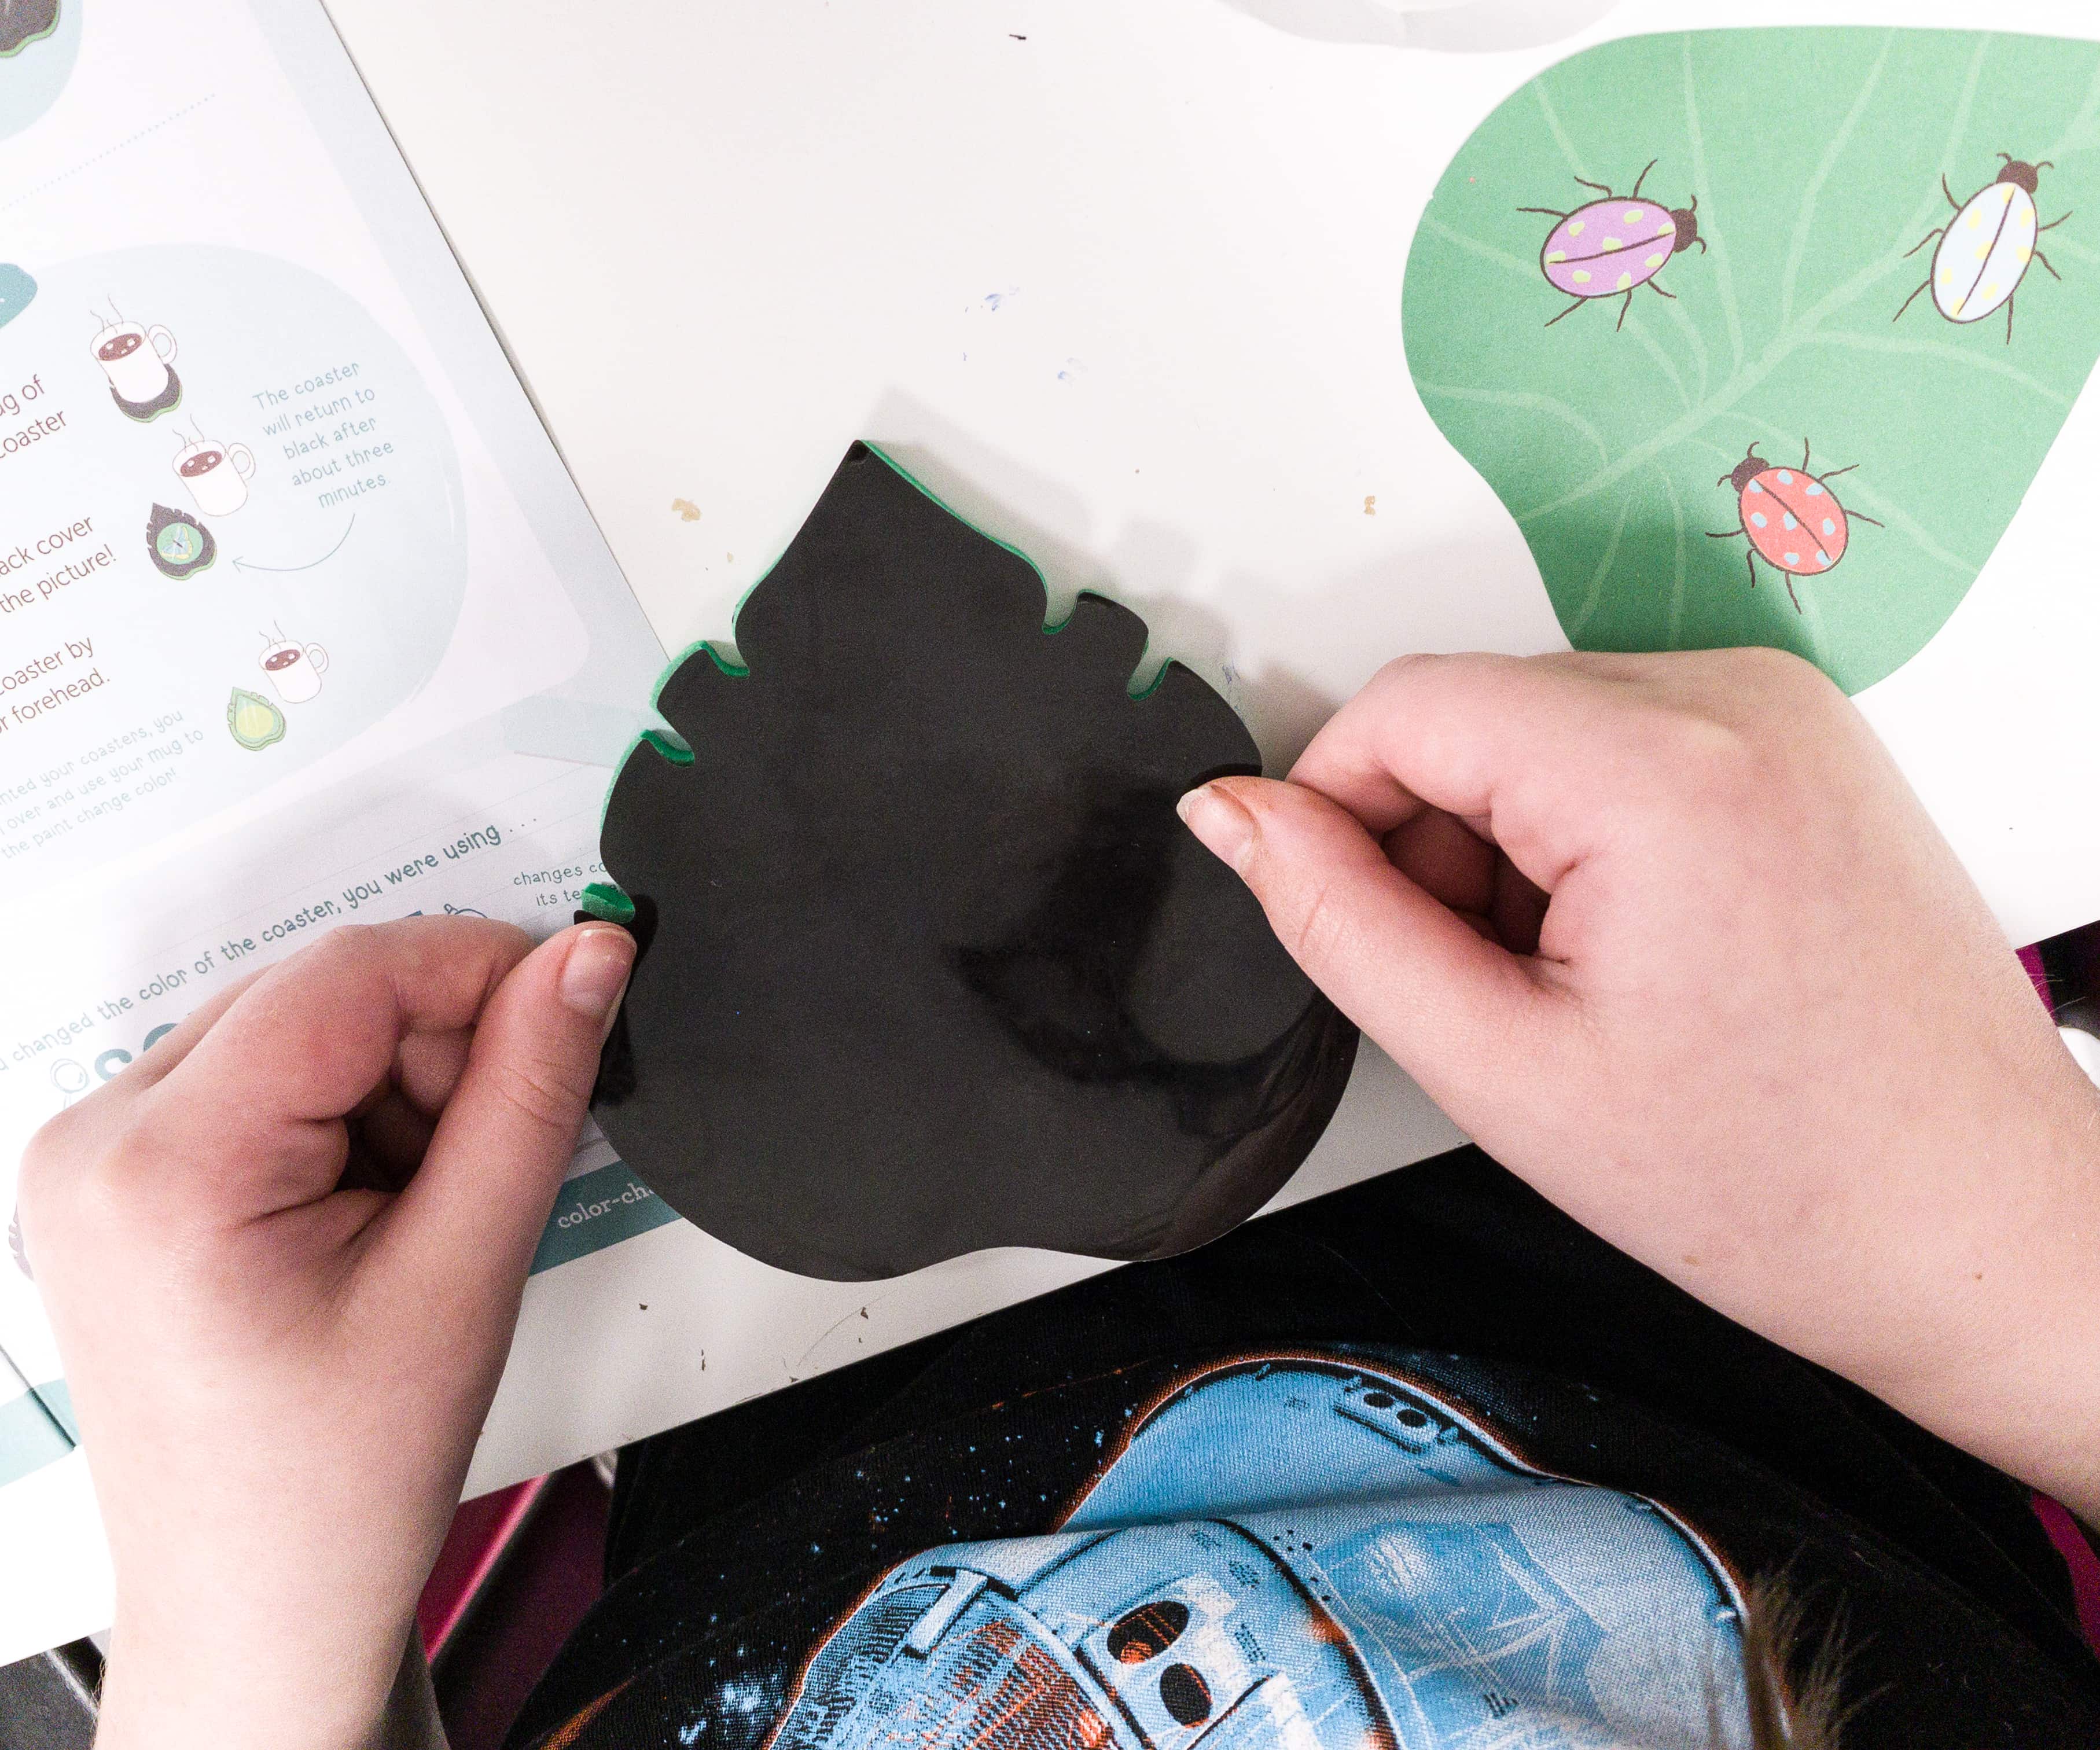
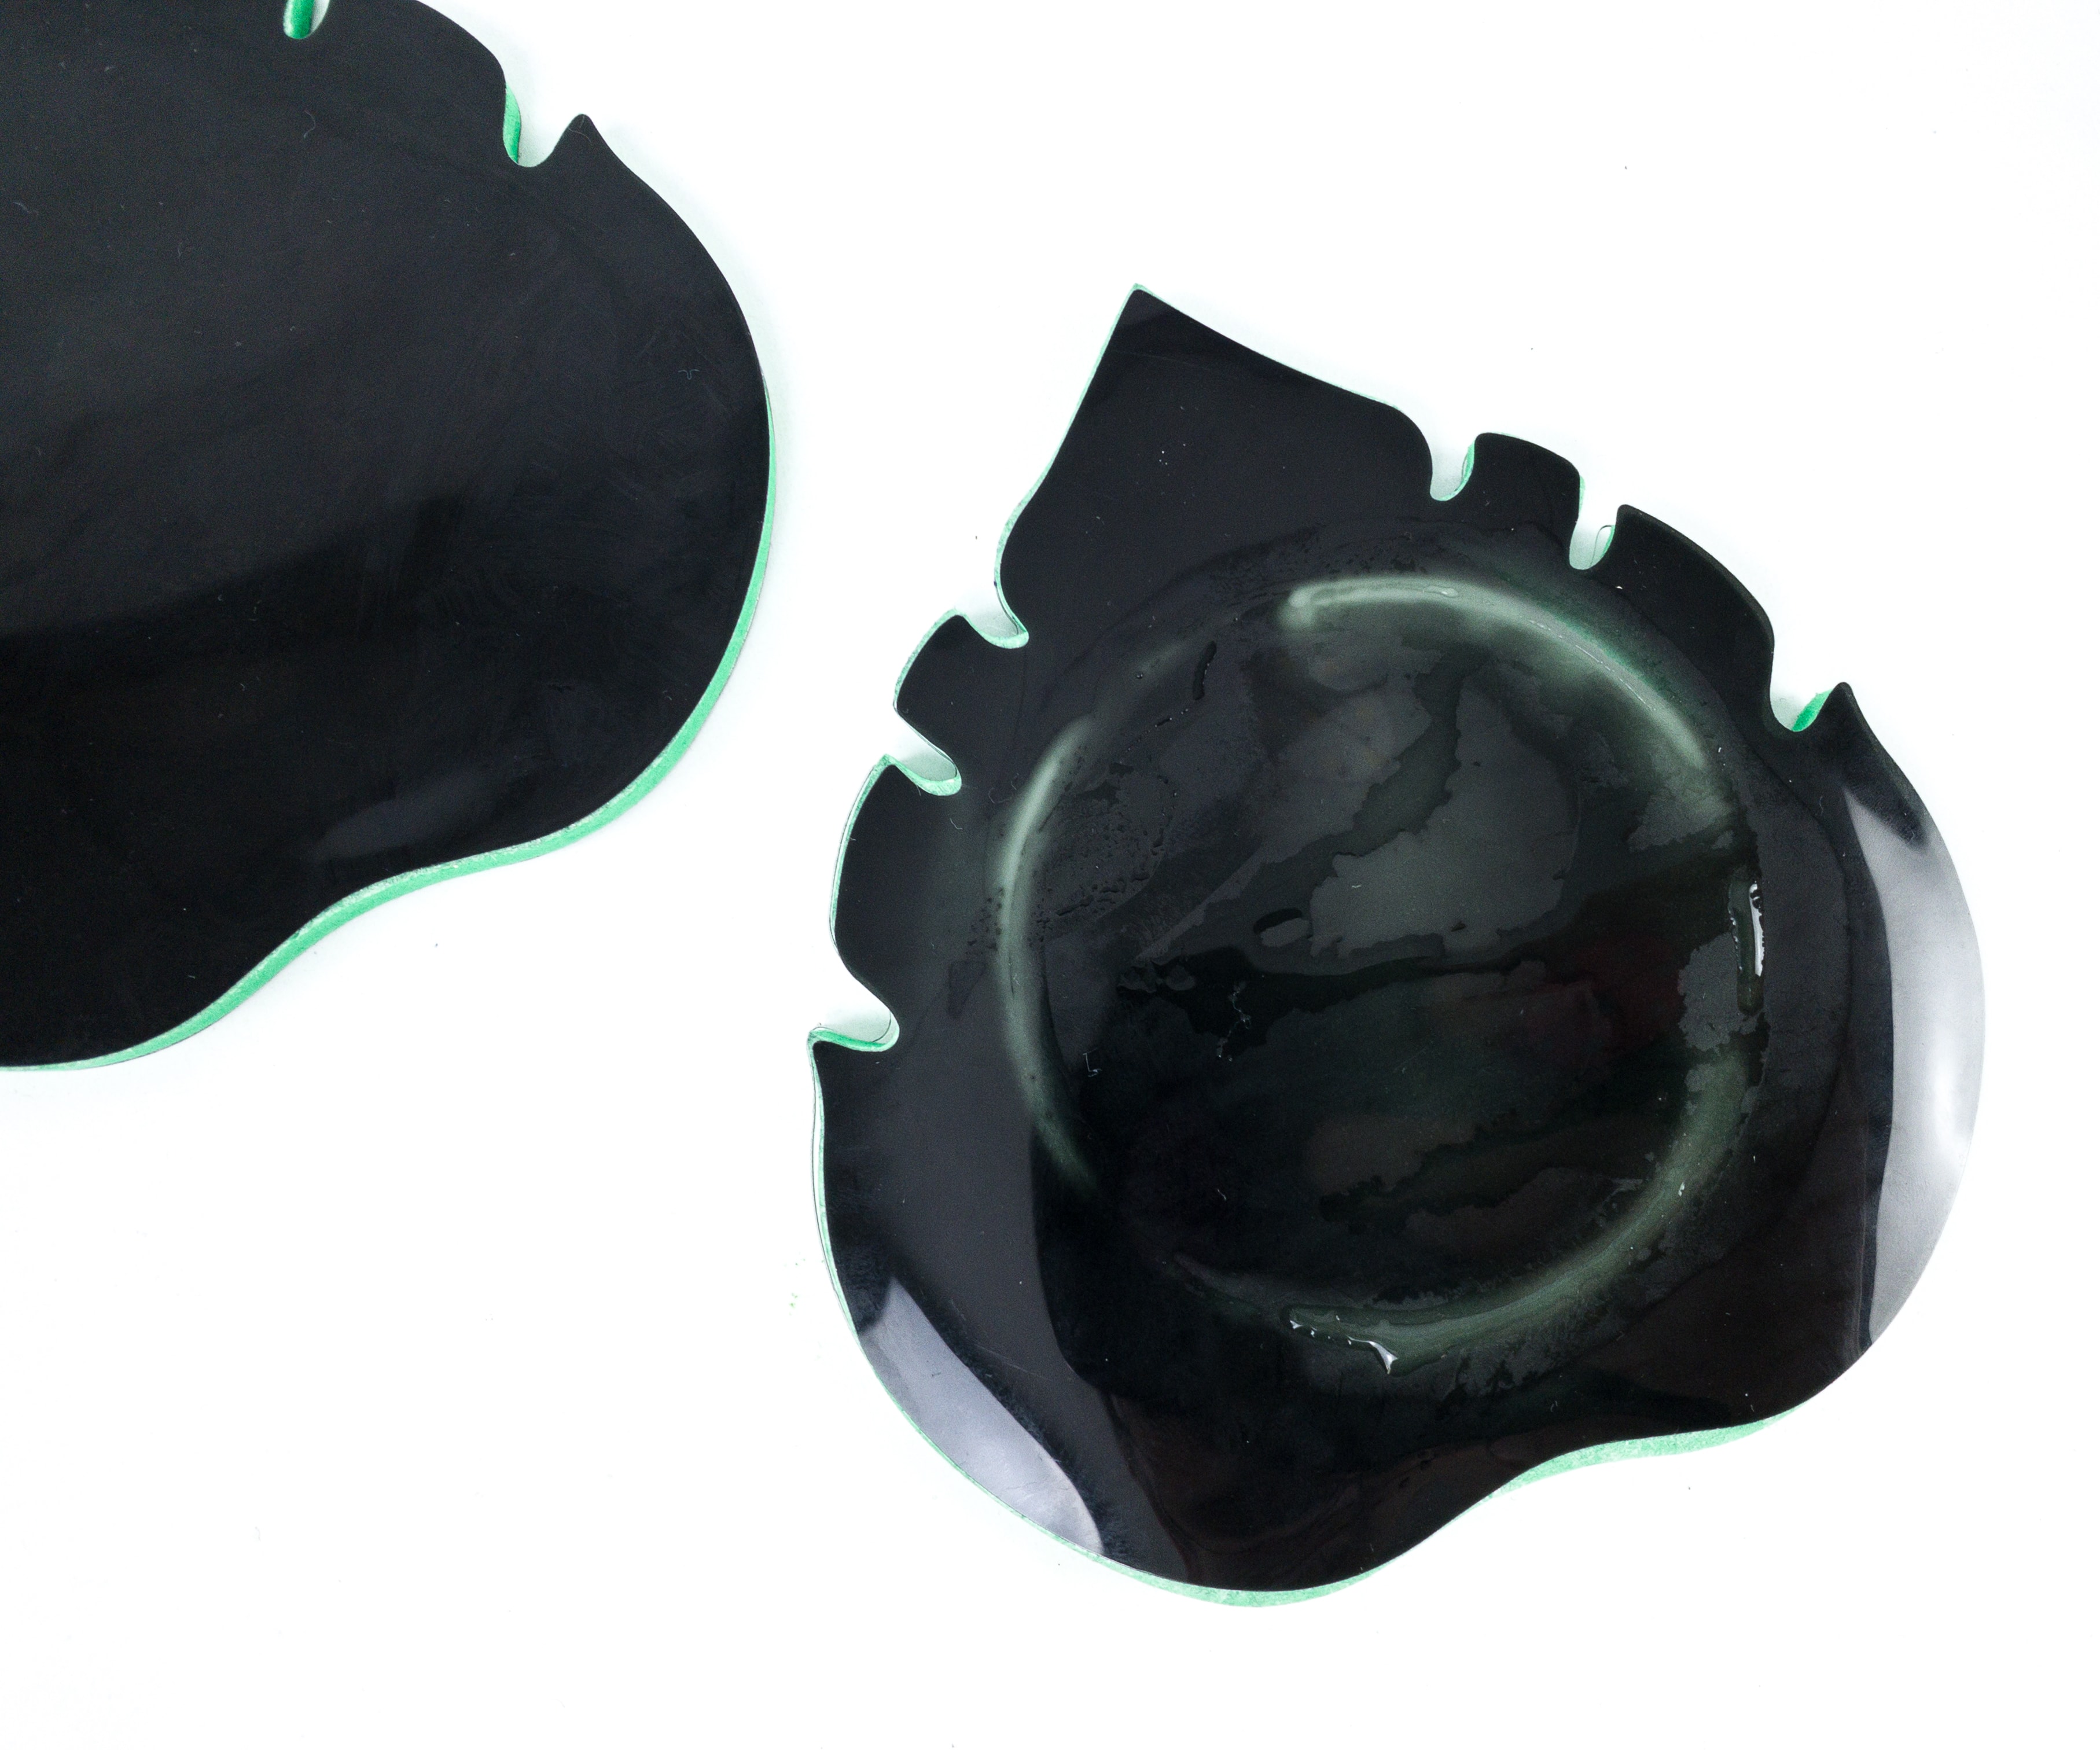
Peel off the shiny part of the black coaster cover and stick it to the frame. Make sure that the shiny part is facing the top.
Repeat the process for your second coaster, and here is how it should look like when done!
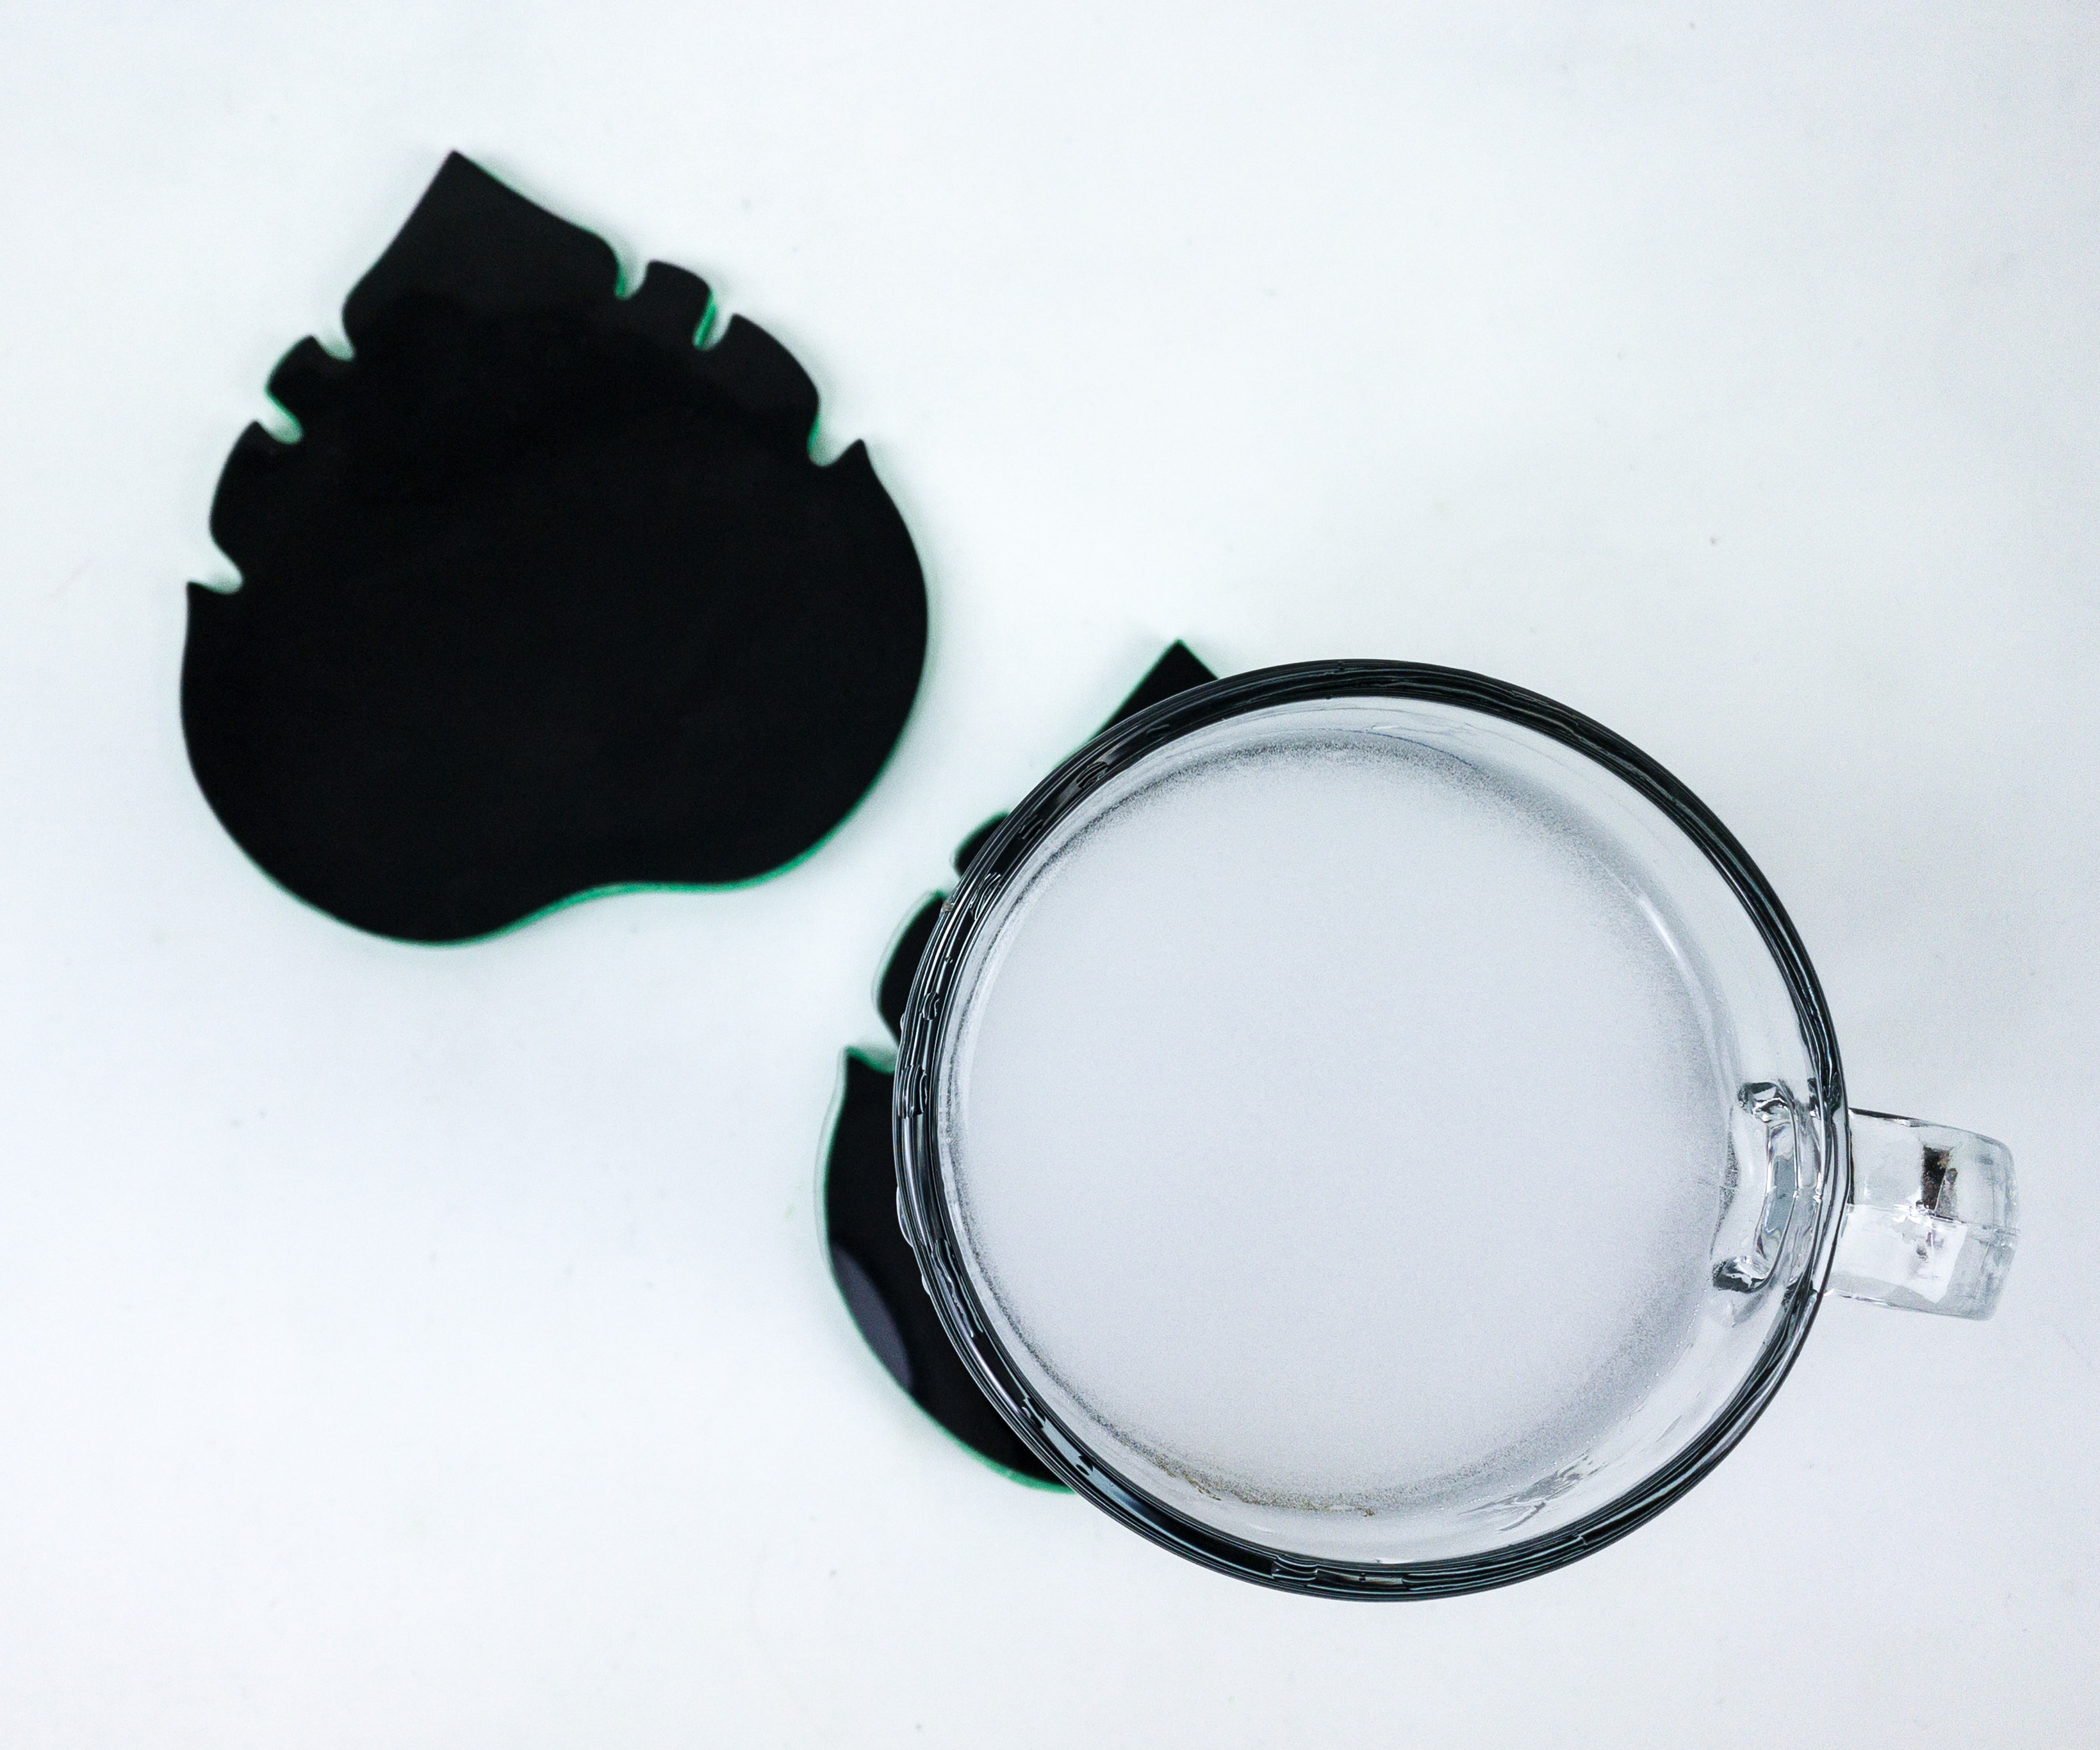
You can now try your coaster by putting a cup of hot water on top of it.
Let the cup stay for a few seconds and remove! Can you see the markings?
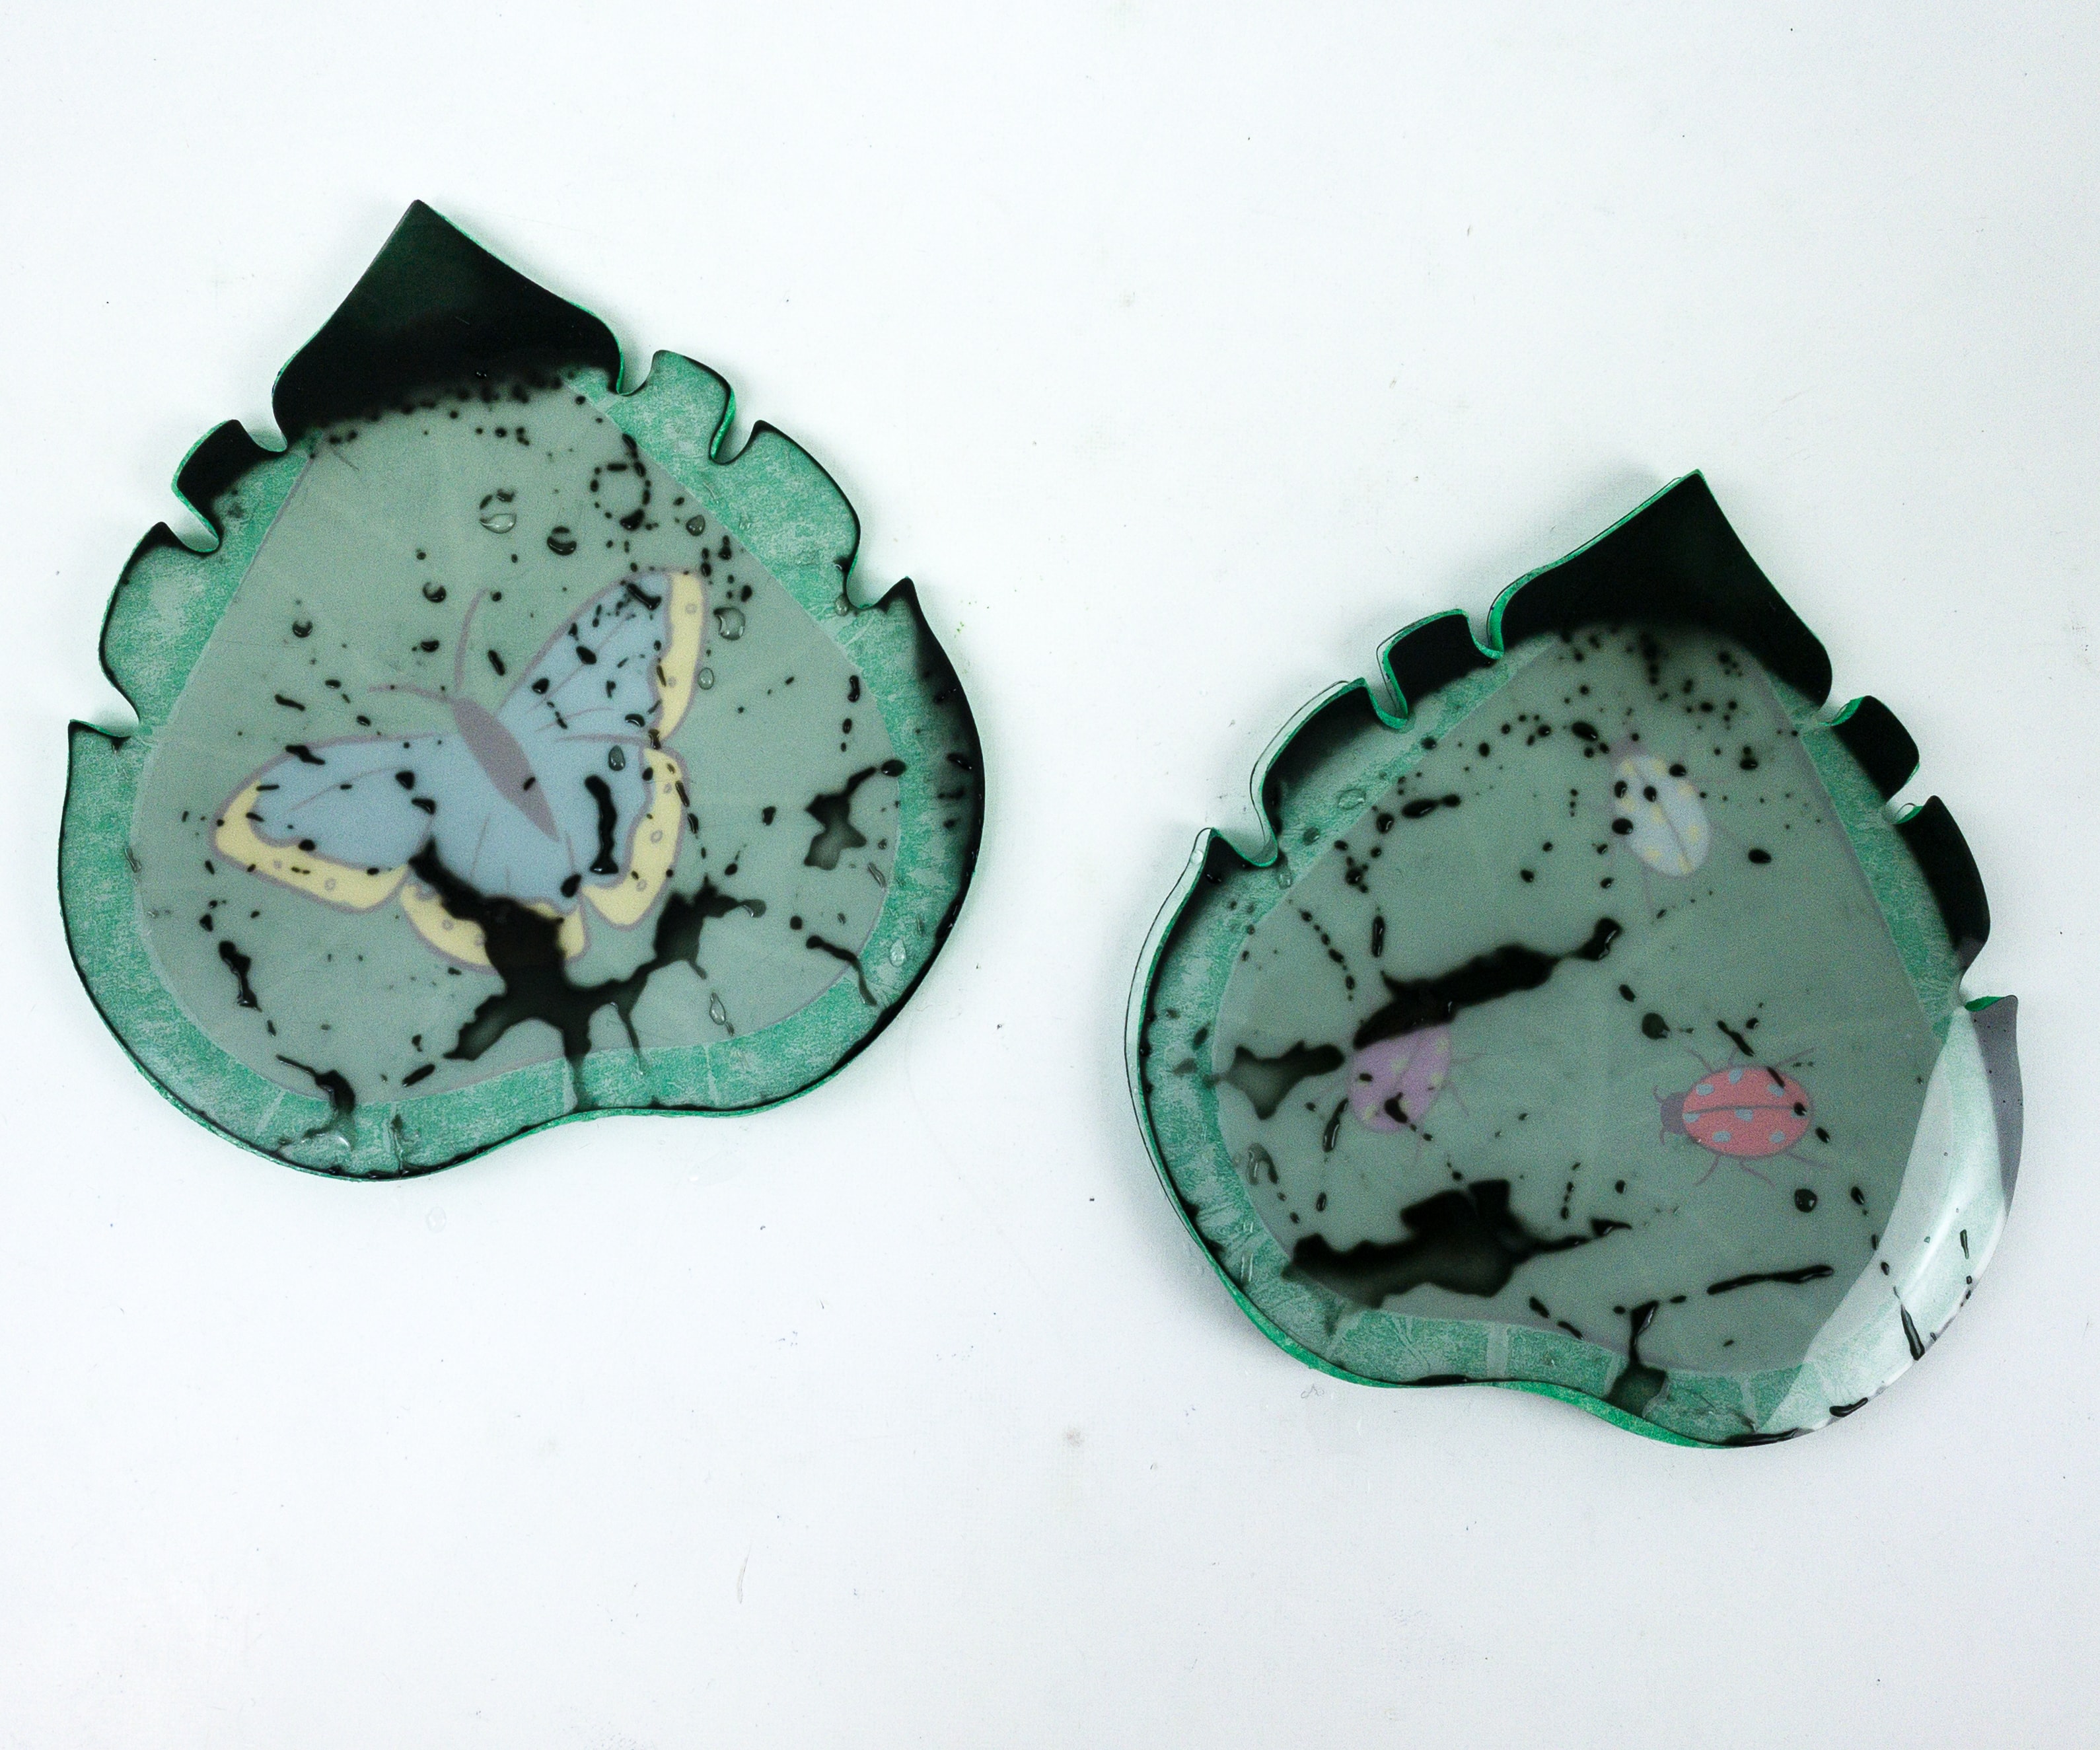
Wait for a few more moments and see how it reveals the picture inside. The coaster will return to black after about three minutes.
Here’s everything we’ve made this month! We had so much fun!
Extension Activities
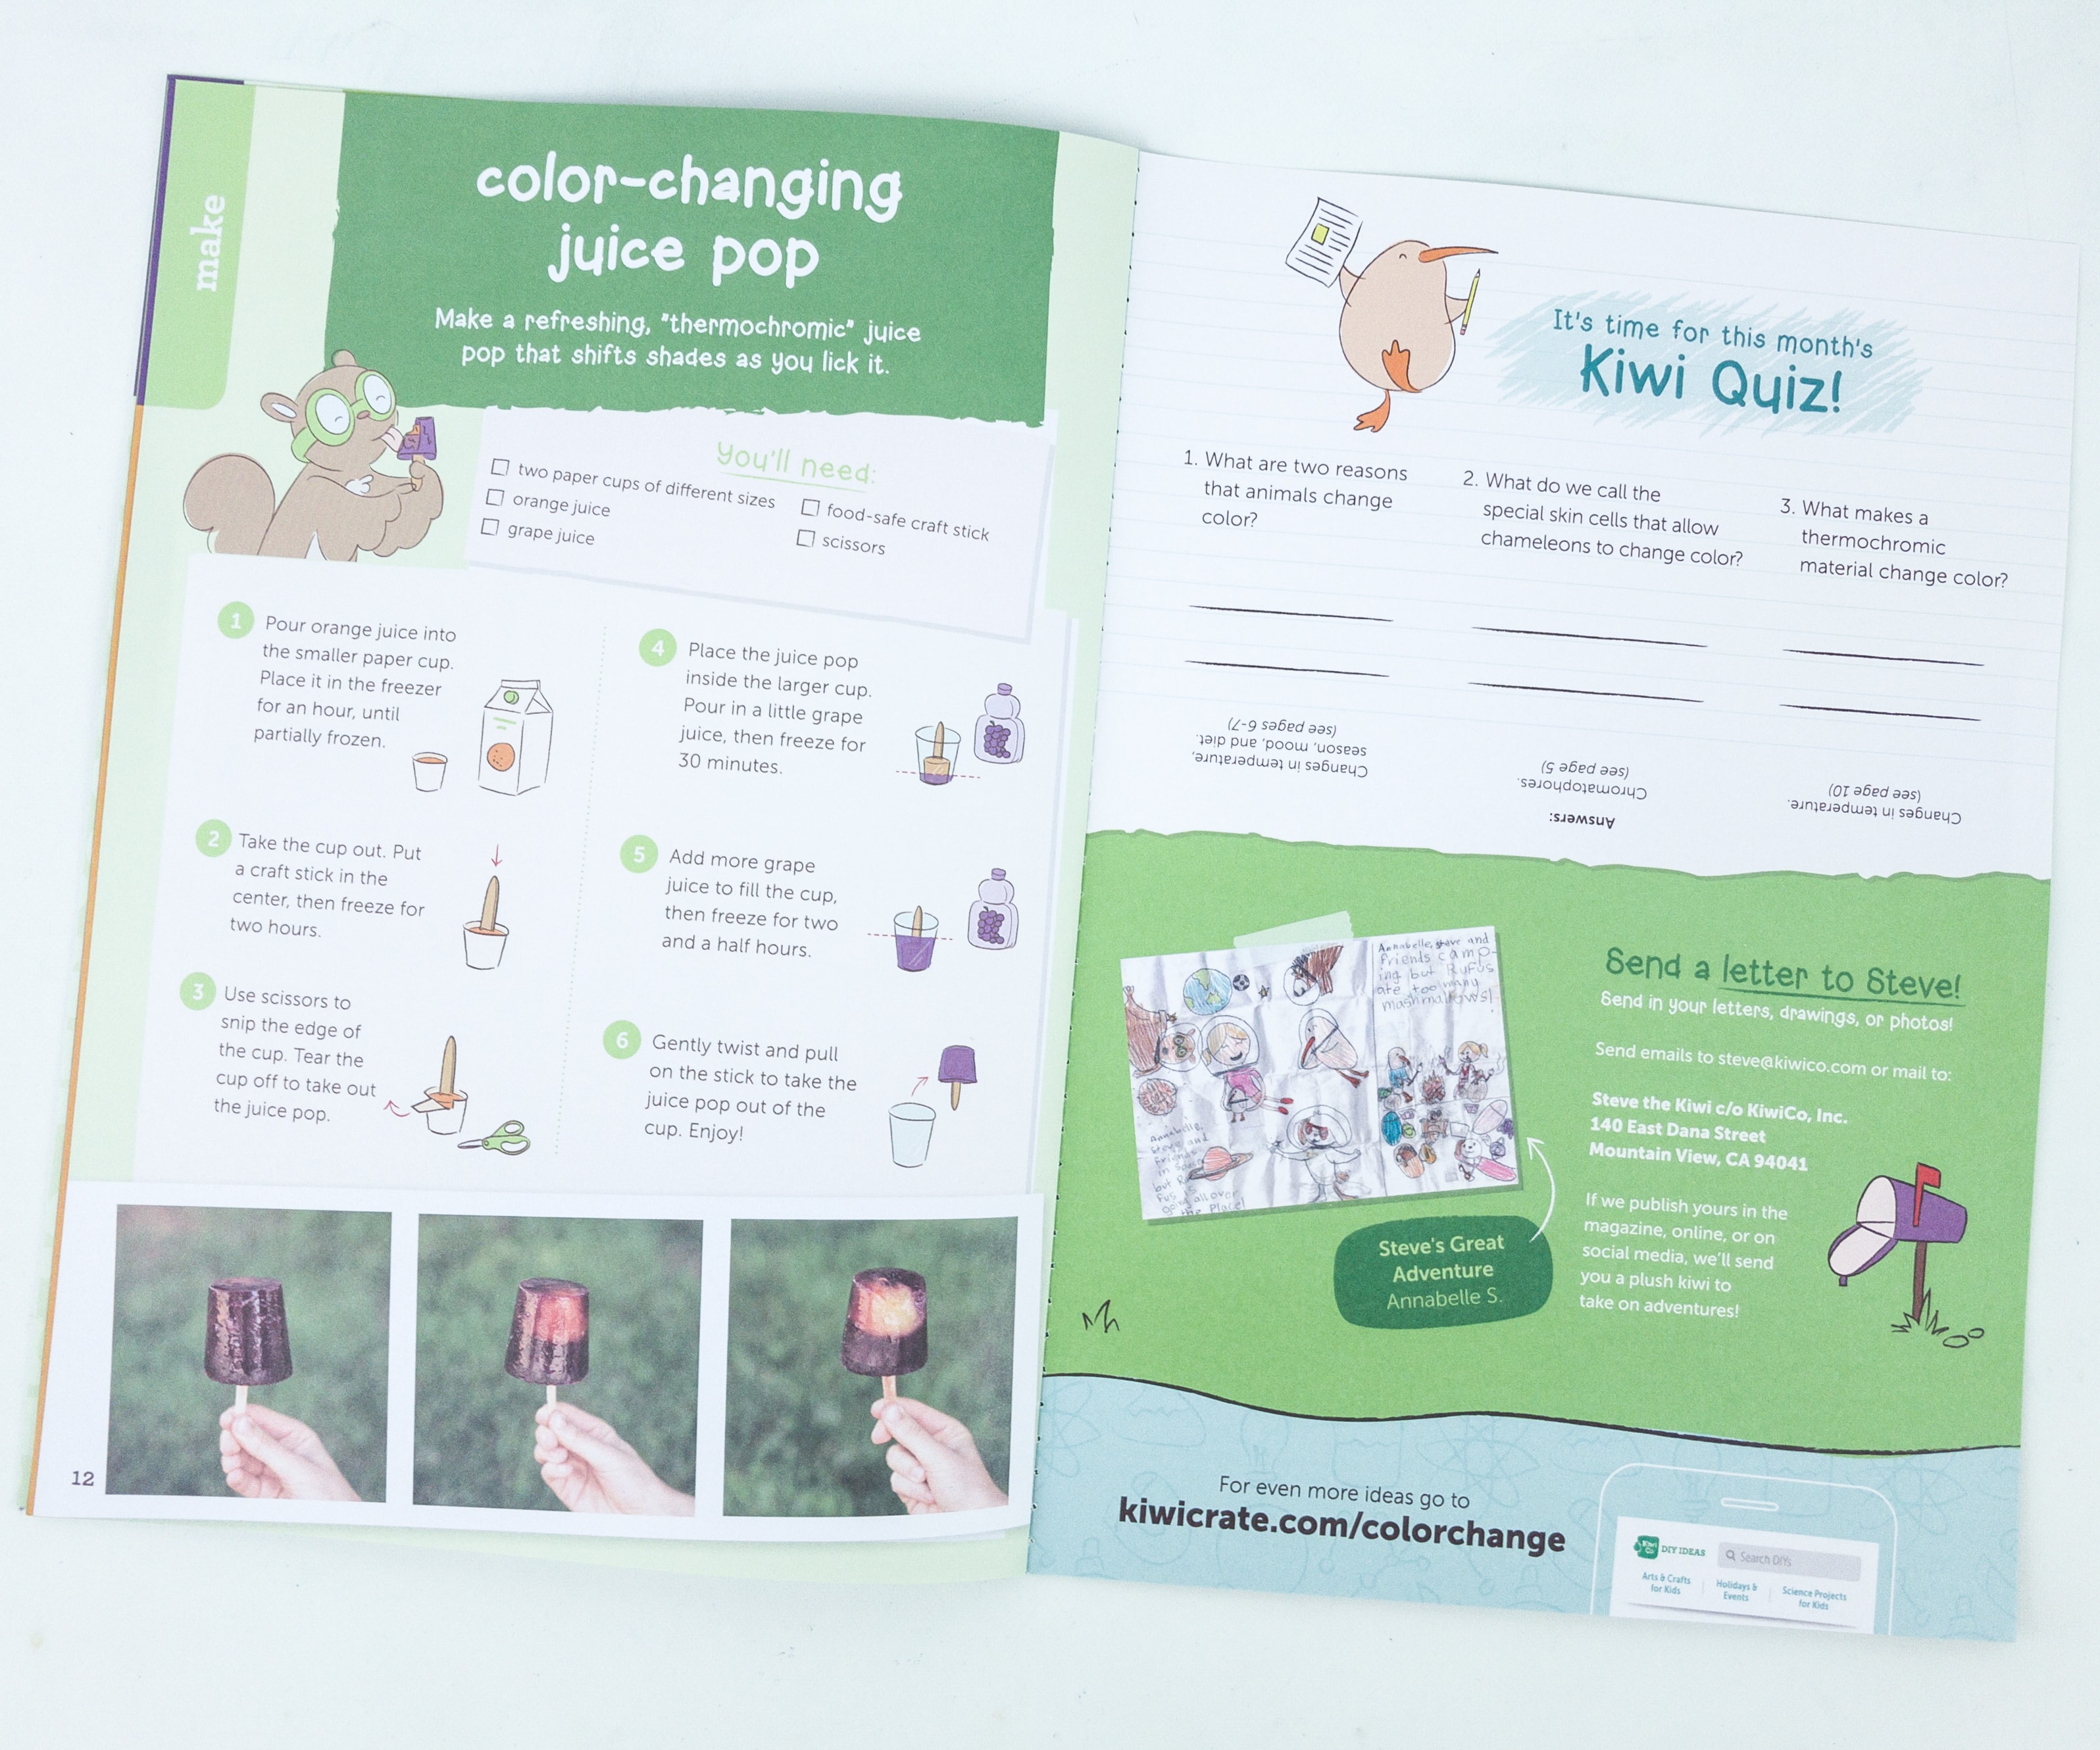
The booklet gave us a fun and yummy recipe to try, Color Changing Juice Pops! The other page also features a quiz, and they also encourage your kids to email a letter or picture to Steve, and if it is published, they’ll be sending you a plush kiwi.
This month’s Kiwi Crate is a whole lot of fun! Activities are always exciting and challenging, keeping my kids interested and involved in every step. I love how they come up with such impressive kid-friendly projects so that kids learn while having fun! Among the activities we made this month, my kids enjoyed the frog and chameleon mechanical the most. Those two both turned out amazing. My kids were eager and determined to finish all the activities no matter despite some obstacles and that made me proud. Overall, we’re are truly satisfied and we think that this is definitely a perfect way to spend quality time with the whole family!
Did you enjoy this month’s activity? Let us know in the comments!
Visit Kiwi Crate to subscribe or to find out more about this fantastic kids’ craft subscription box!


Comments