Green Kid Crafts is a subscription box that sends 5-8 themed projects made with eco-friendly materials to your home every month. The boxes contain hands-on explorations in science, math, technology, engineering and art that are intended to challenge children from 3-10 years of age.
DEAL: Save 50% on your first box! Use coupon code HELLOSUB50.
Green Kid Crafts offers two age ranges – the Junior Discovery Box (ages 2-4) or the Discovery Box (ages 5-10+). This is a review of the Discovery box! Green Kid Crafts also offers a Sibling Discovery Box (ages 2-10+).
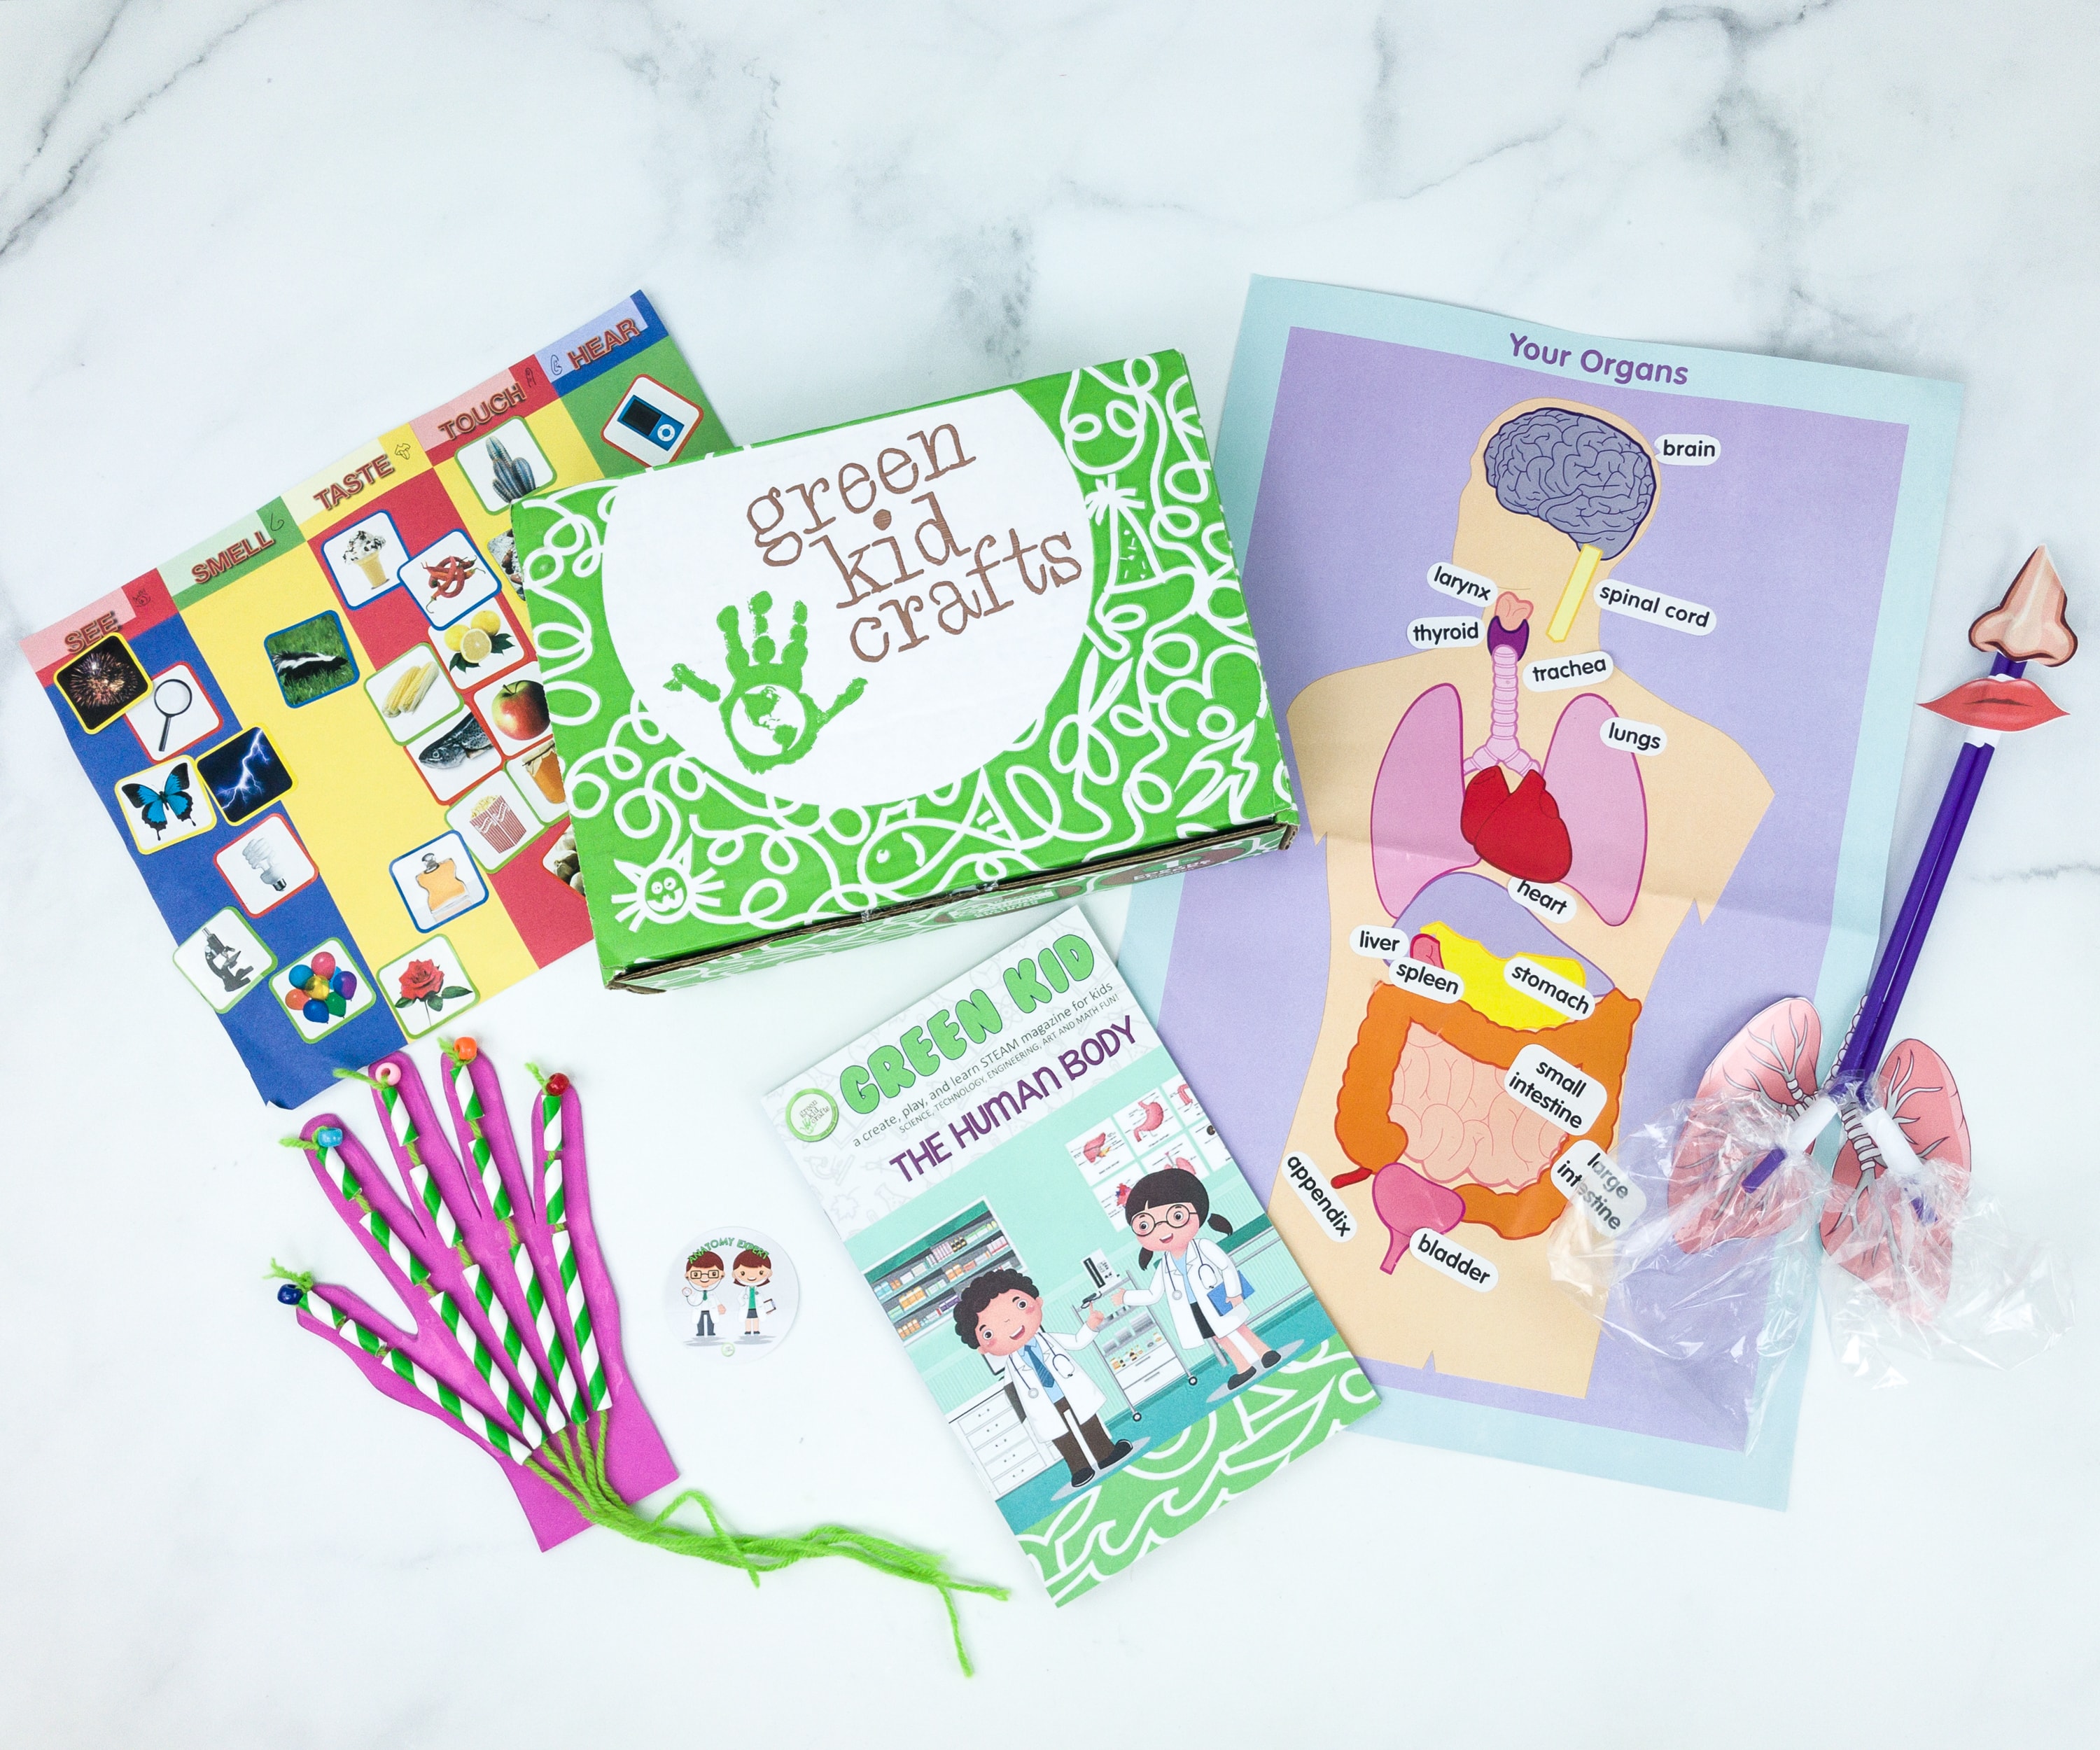
The box itself is in green, with cute doodles on it, and all the items are packed neatly inside it.
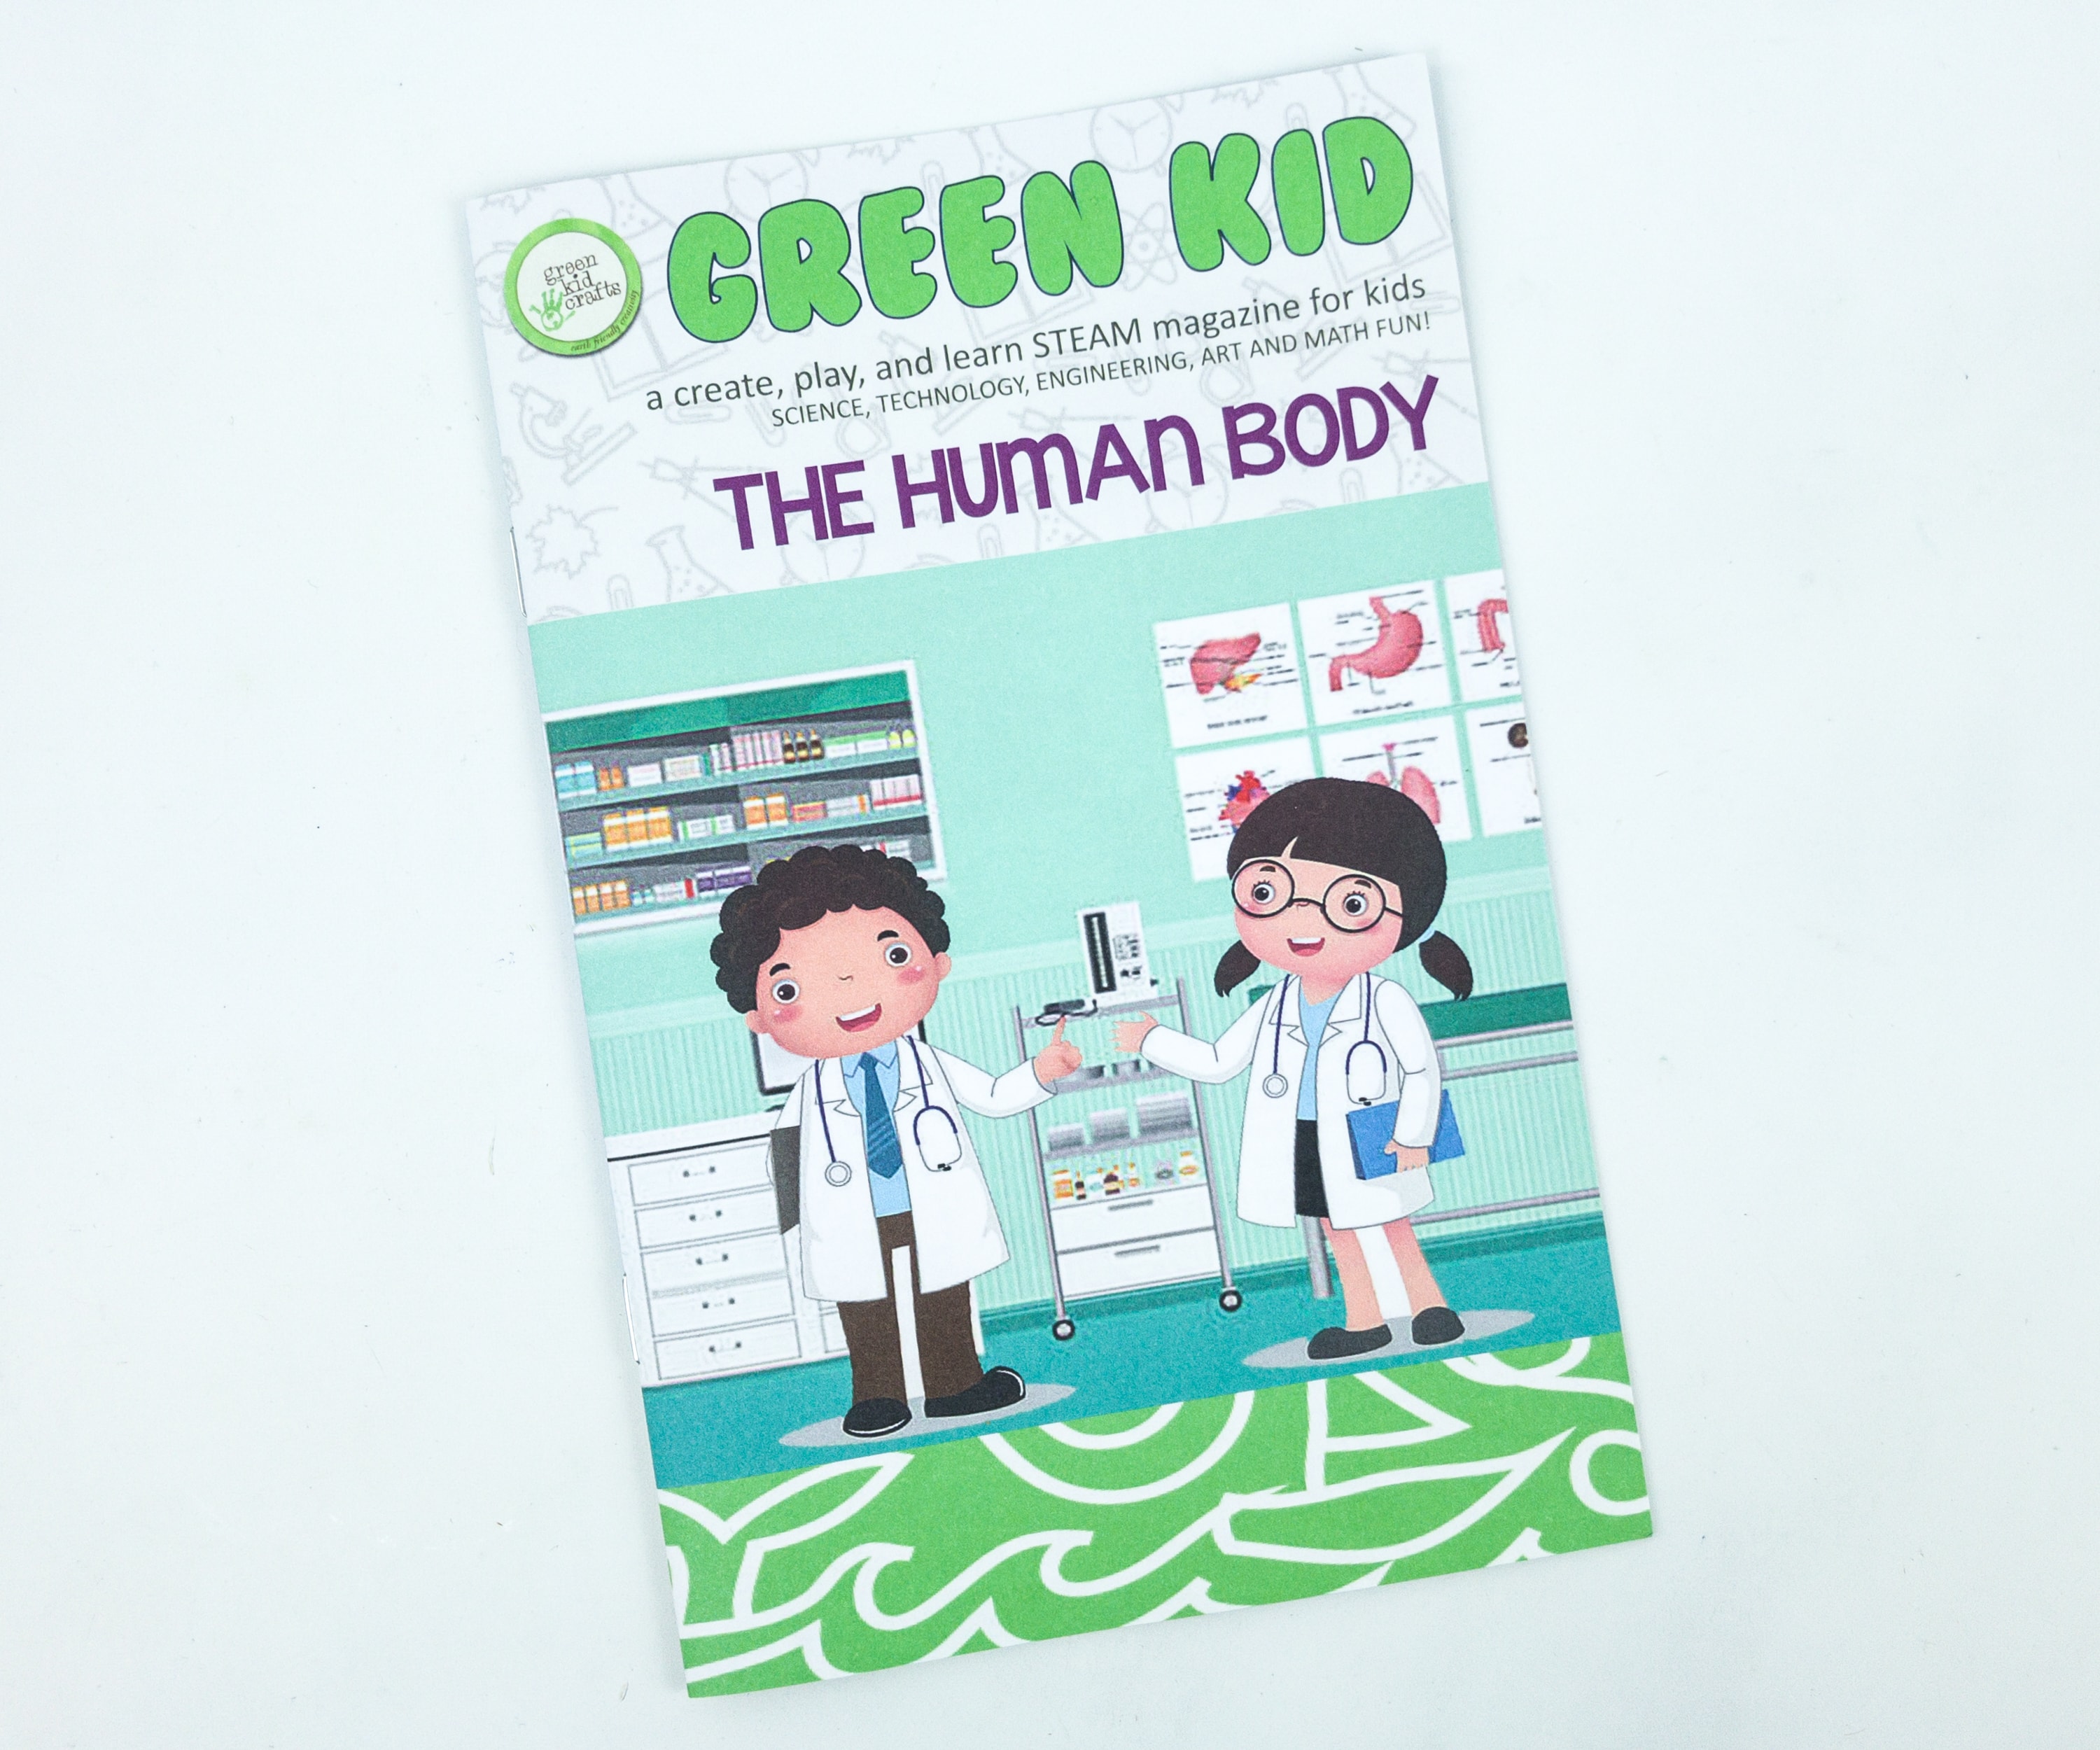
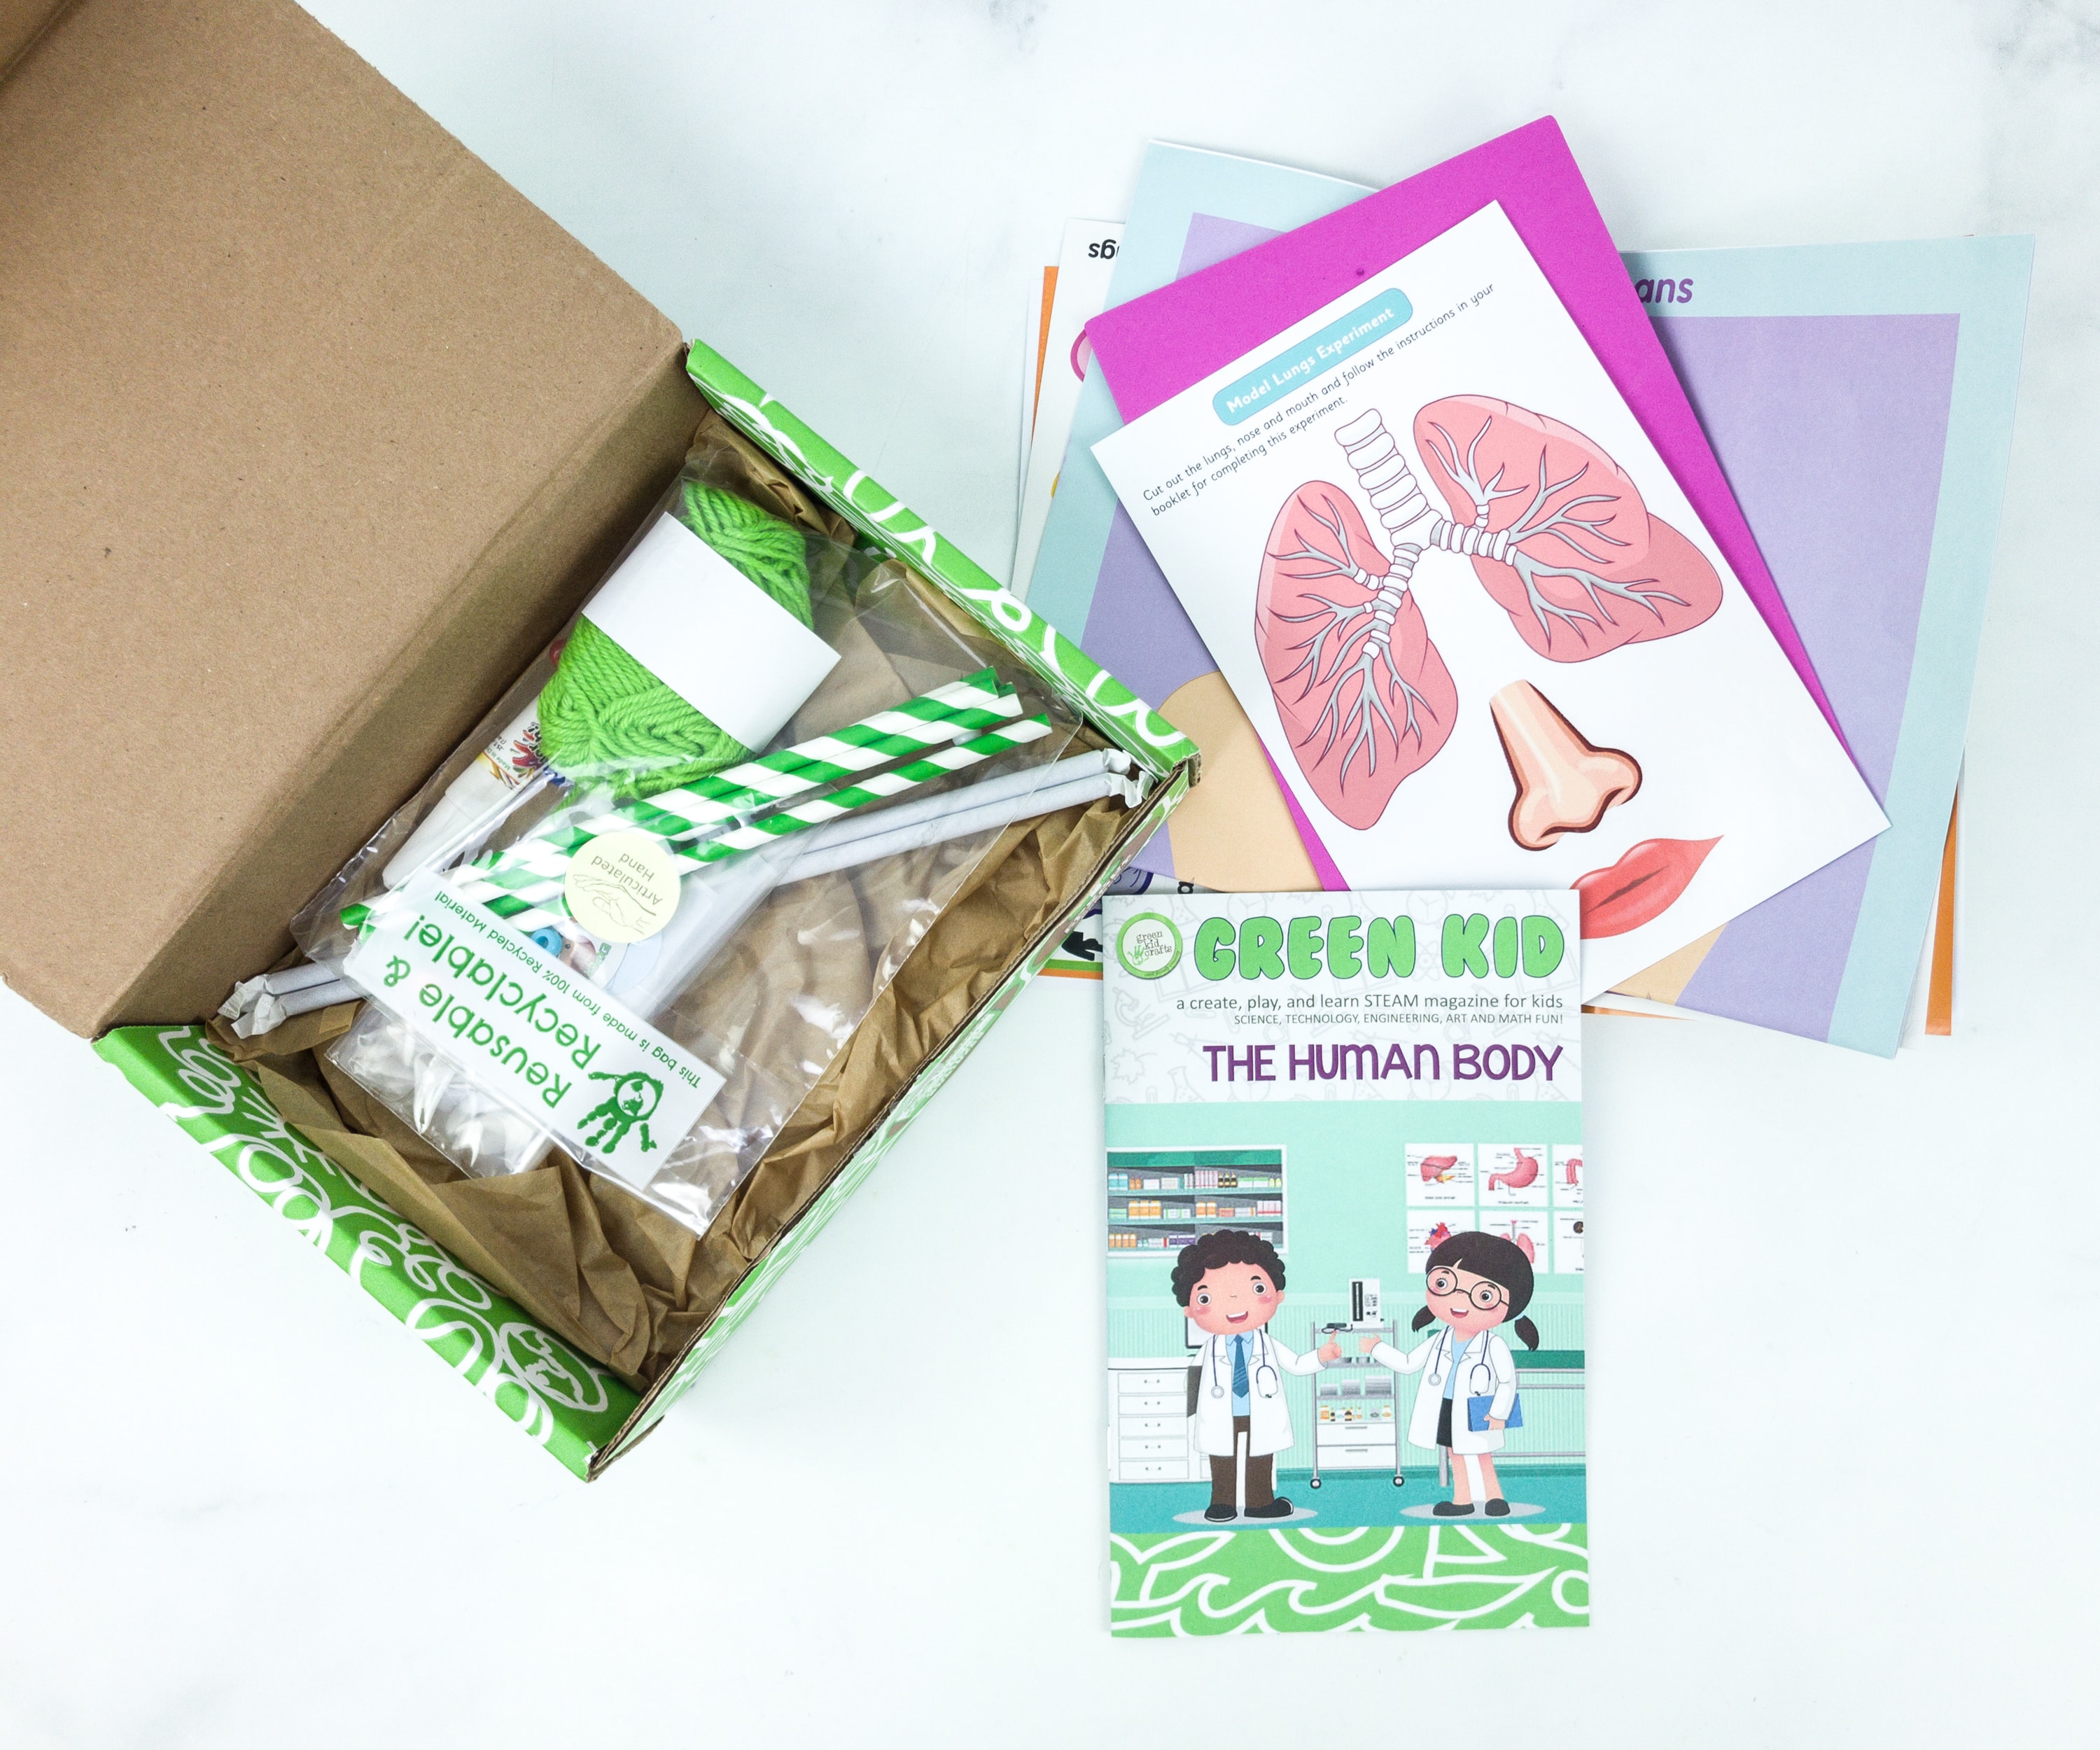
This box’s theme is THE HUMAN BODY.
The booklet provides essential information about the subscription and projects that you can work on.
The booklet is well detailed and informative. It provides complete instruction and details for each and every project.
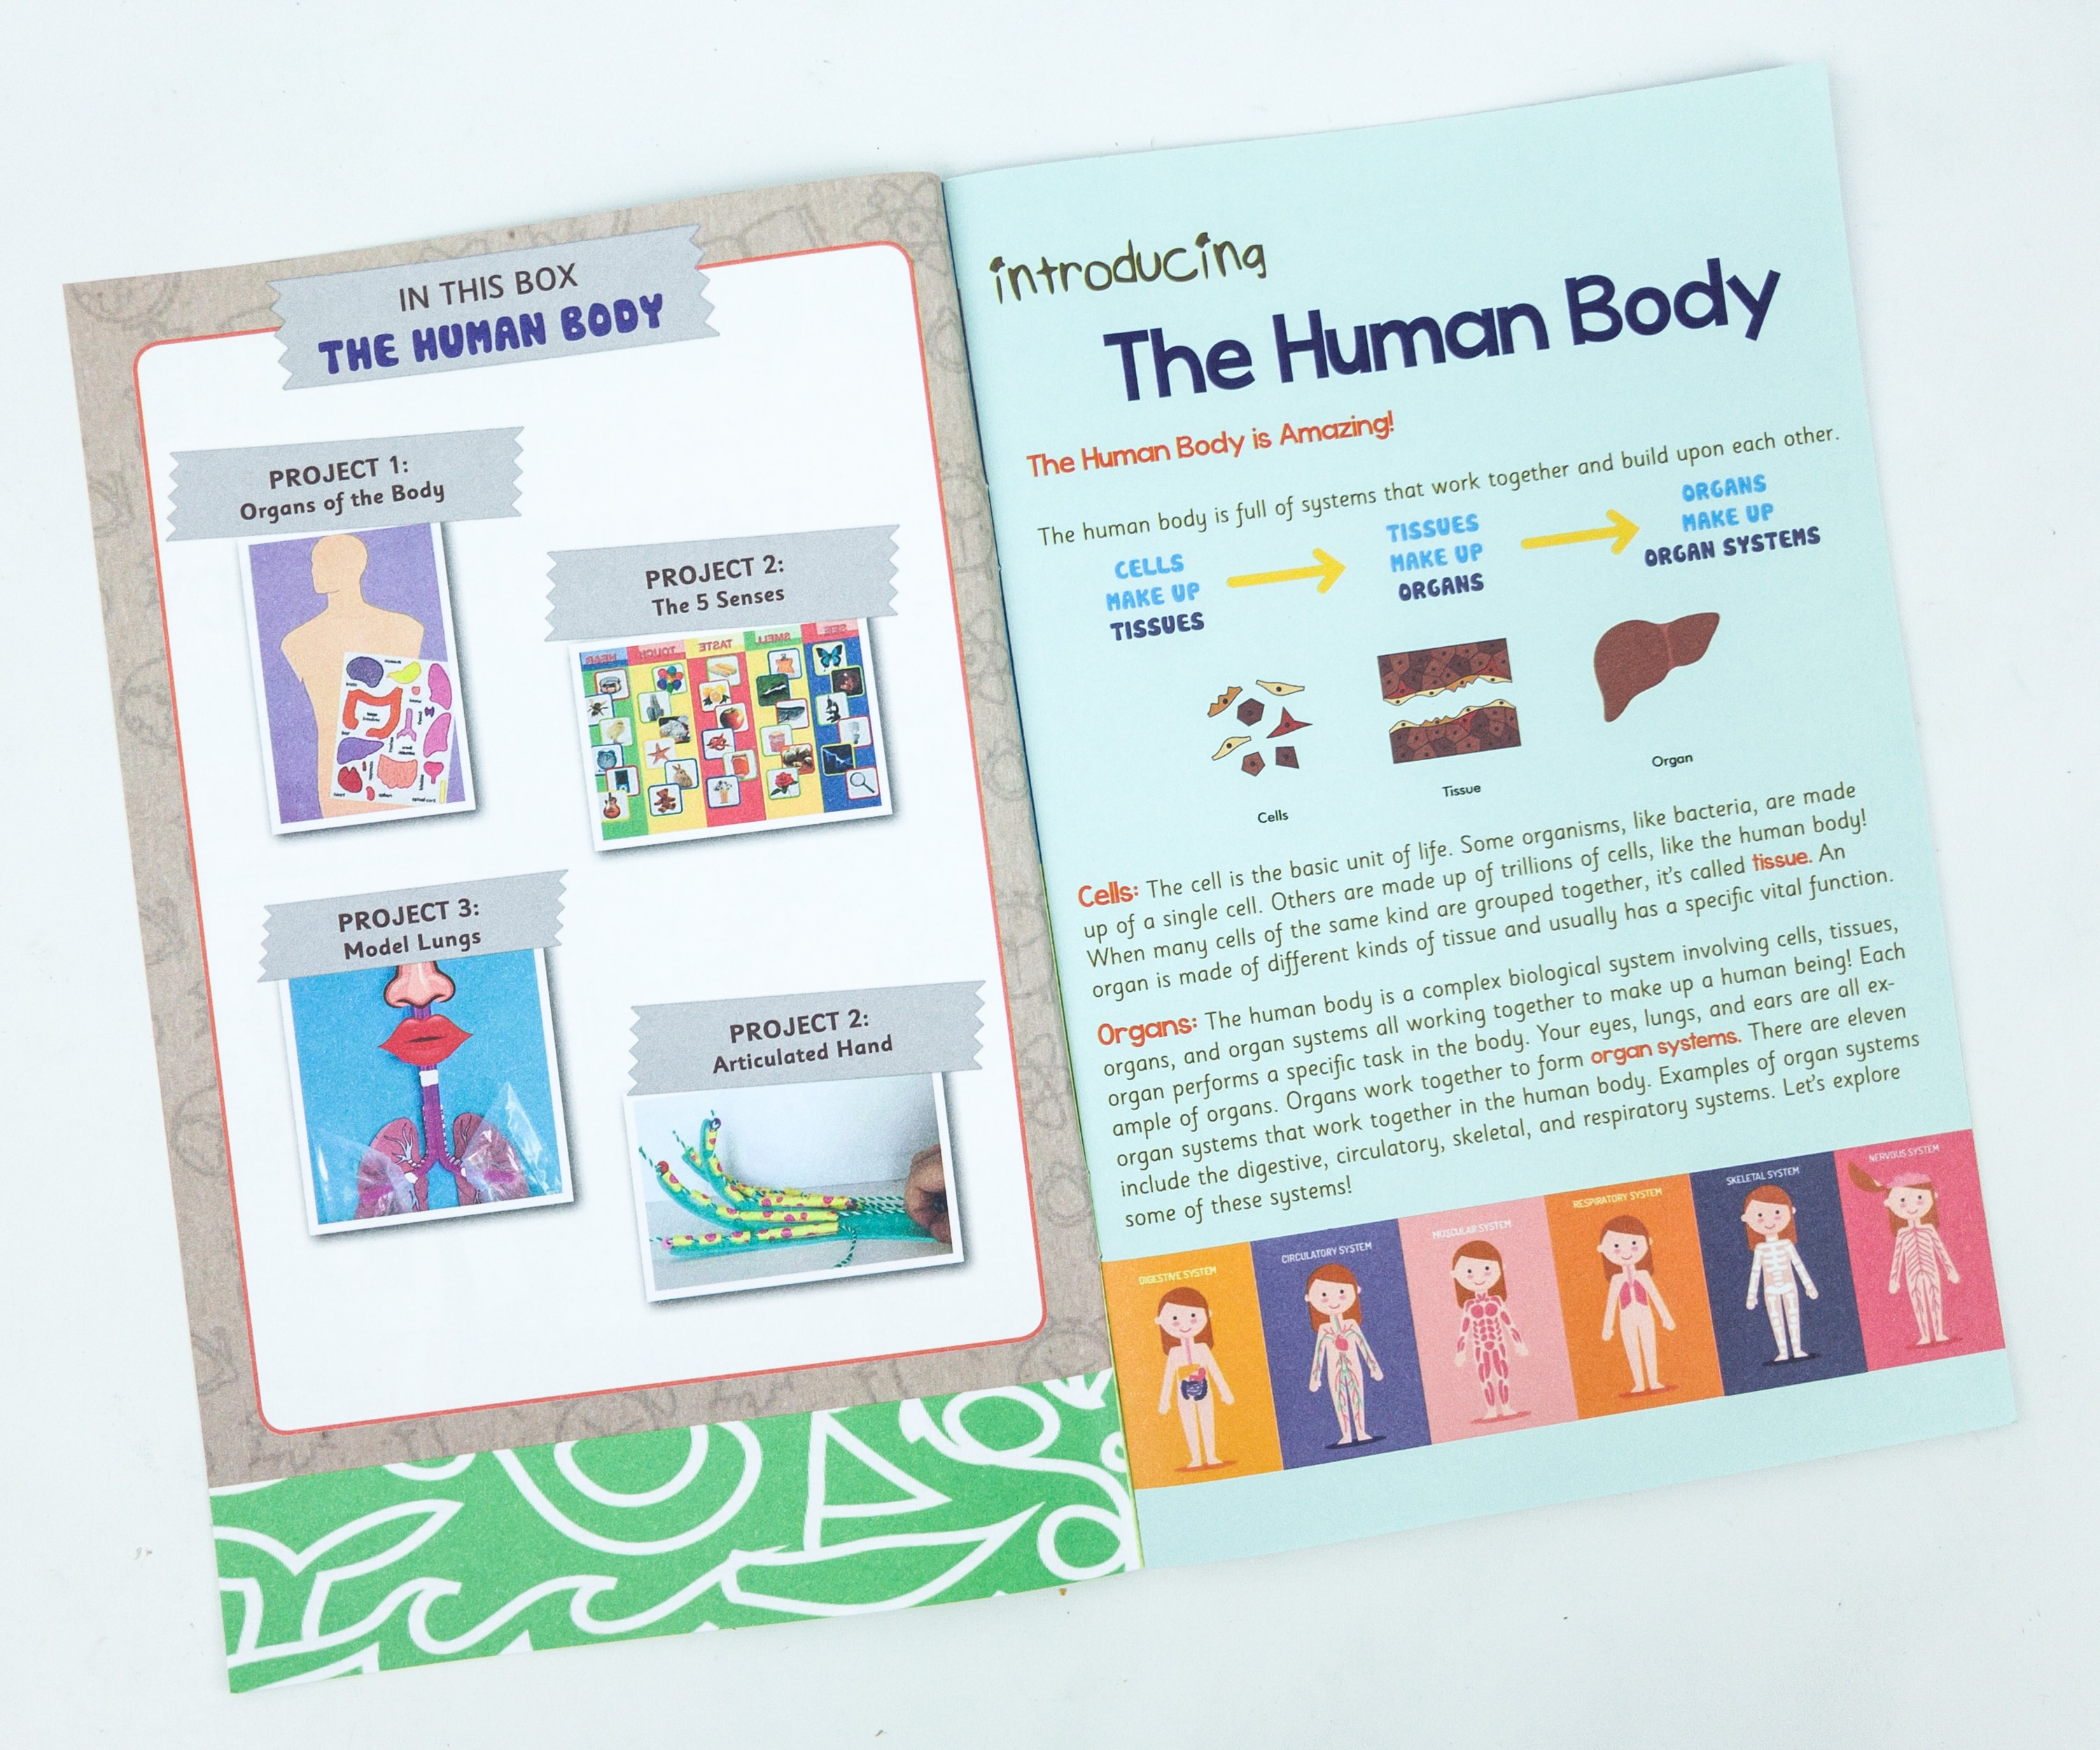
There’s a total of 4 projects for this activity box!

Aside from the projects, the booklet also comes with a lot of cool on-page activities for your kids to enjoy, like puzzles and mazes.
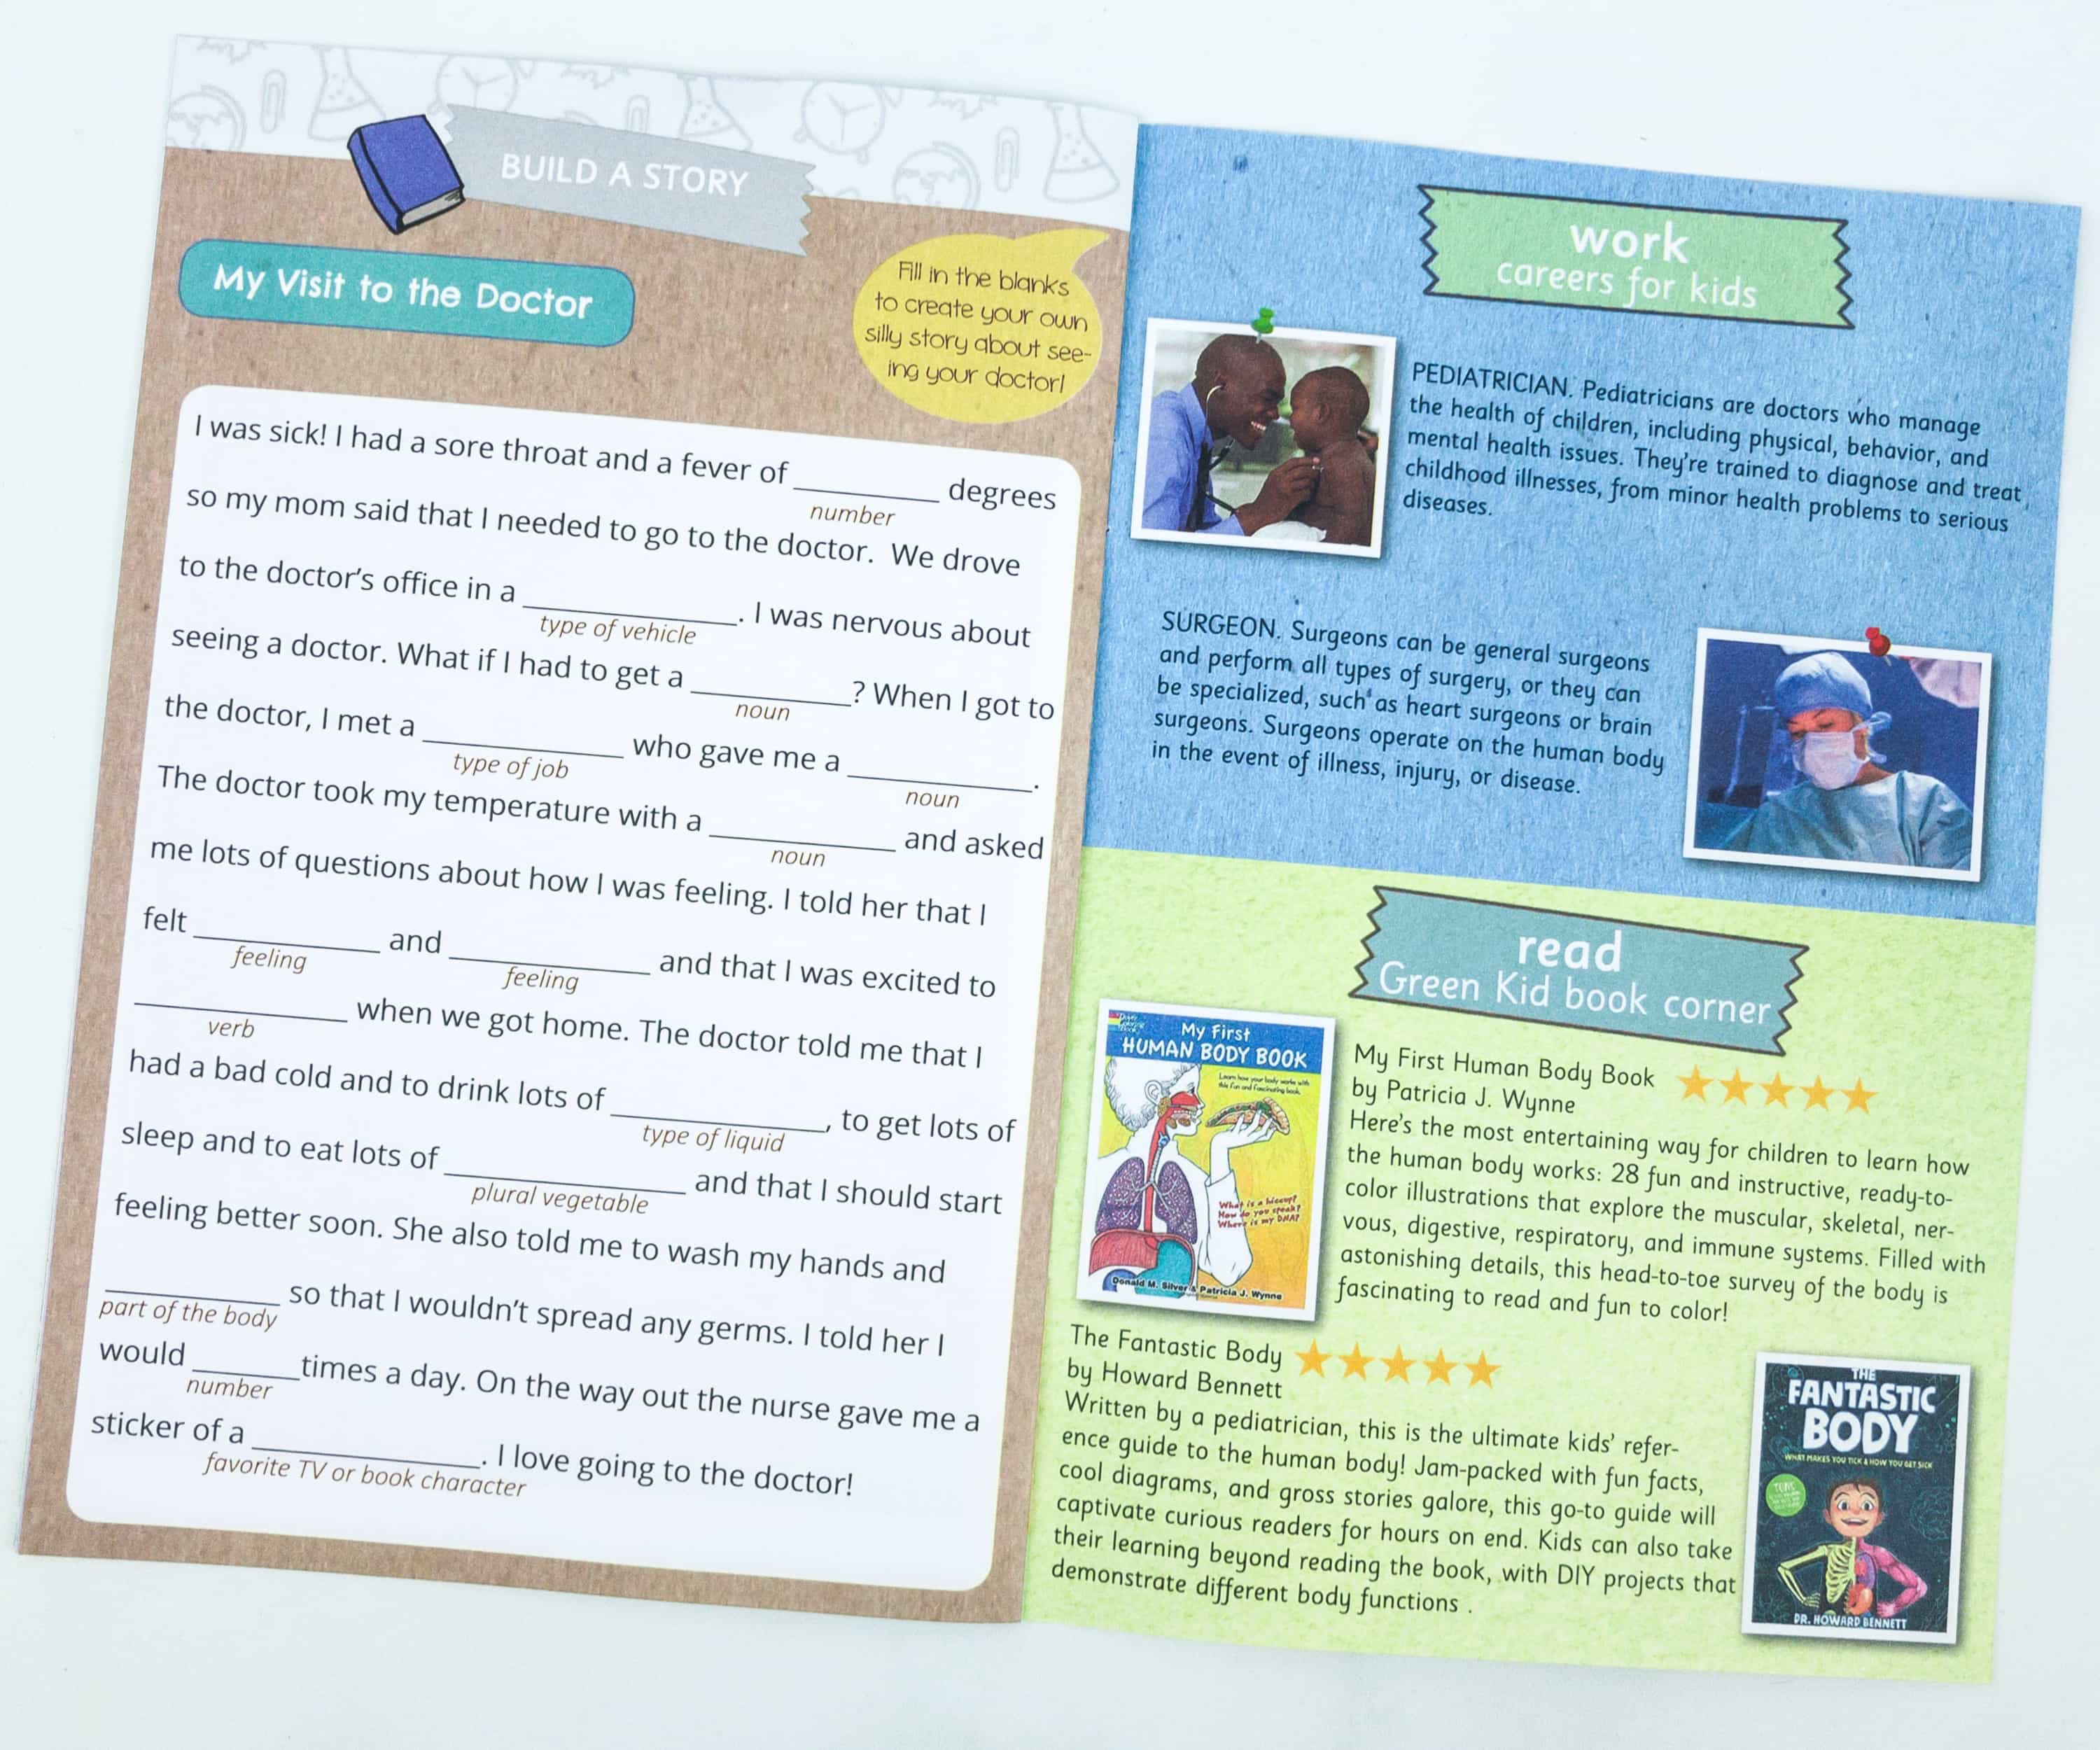
Another activity that my kids love is build-a-story! For this, they need to fill in the blanks with words related to the suggested theme to complete the story. This month, the story is all about a visit to the doctor!
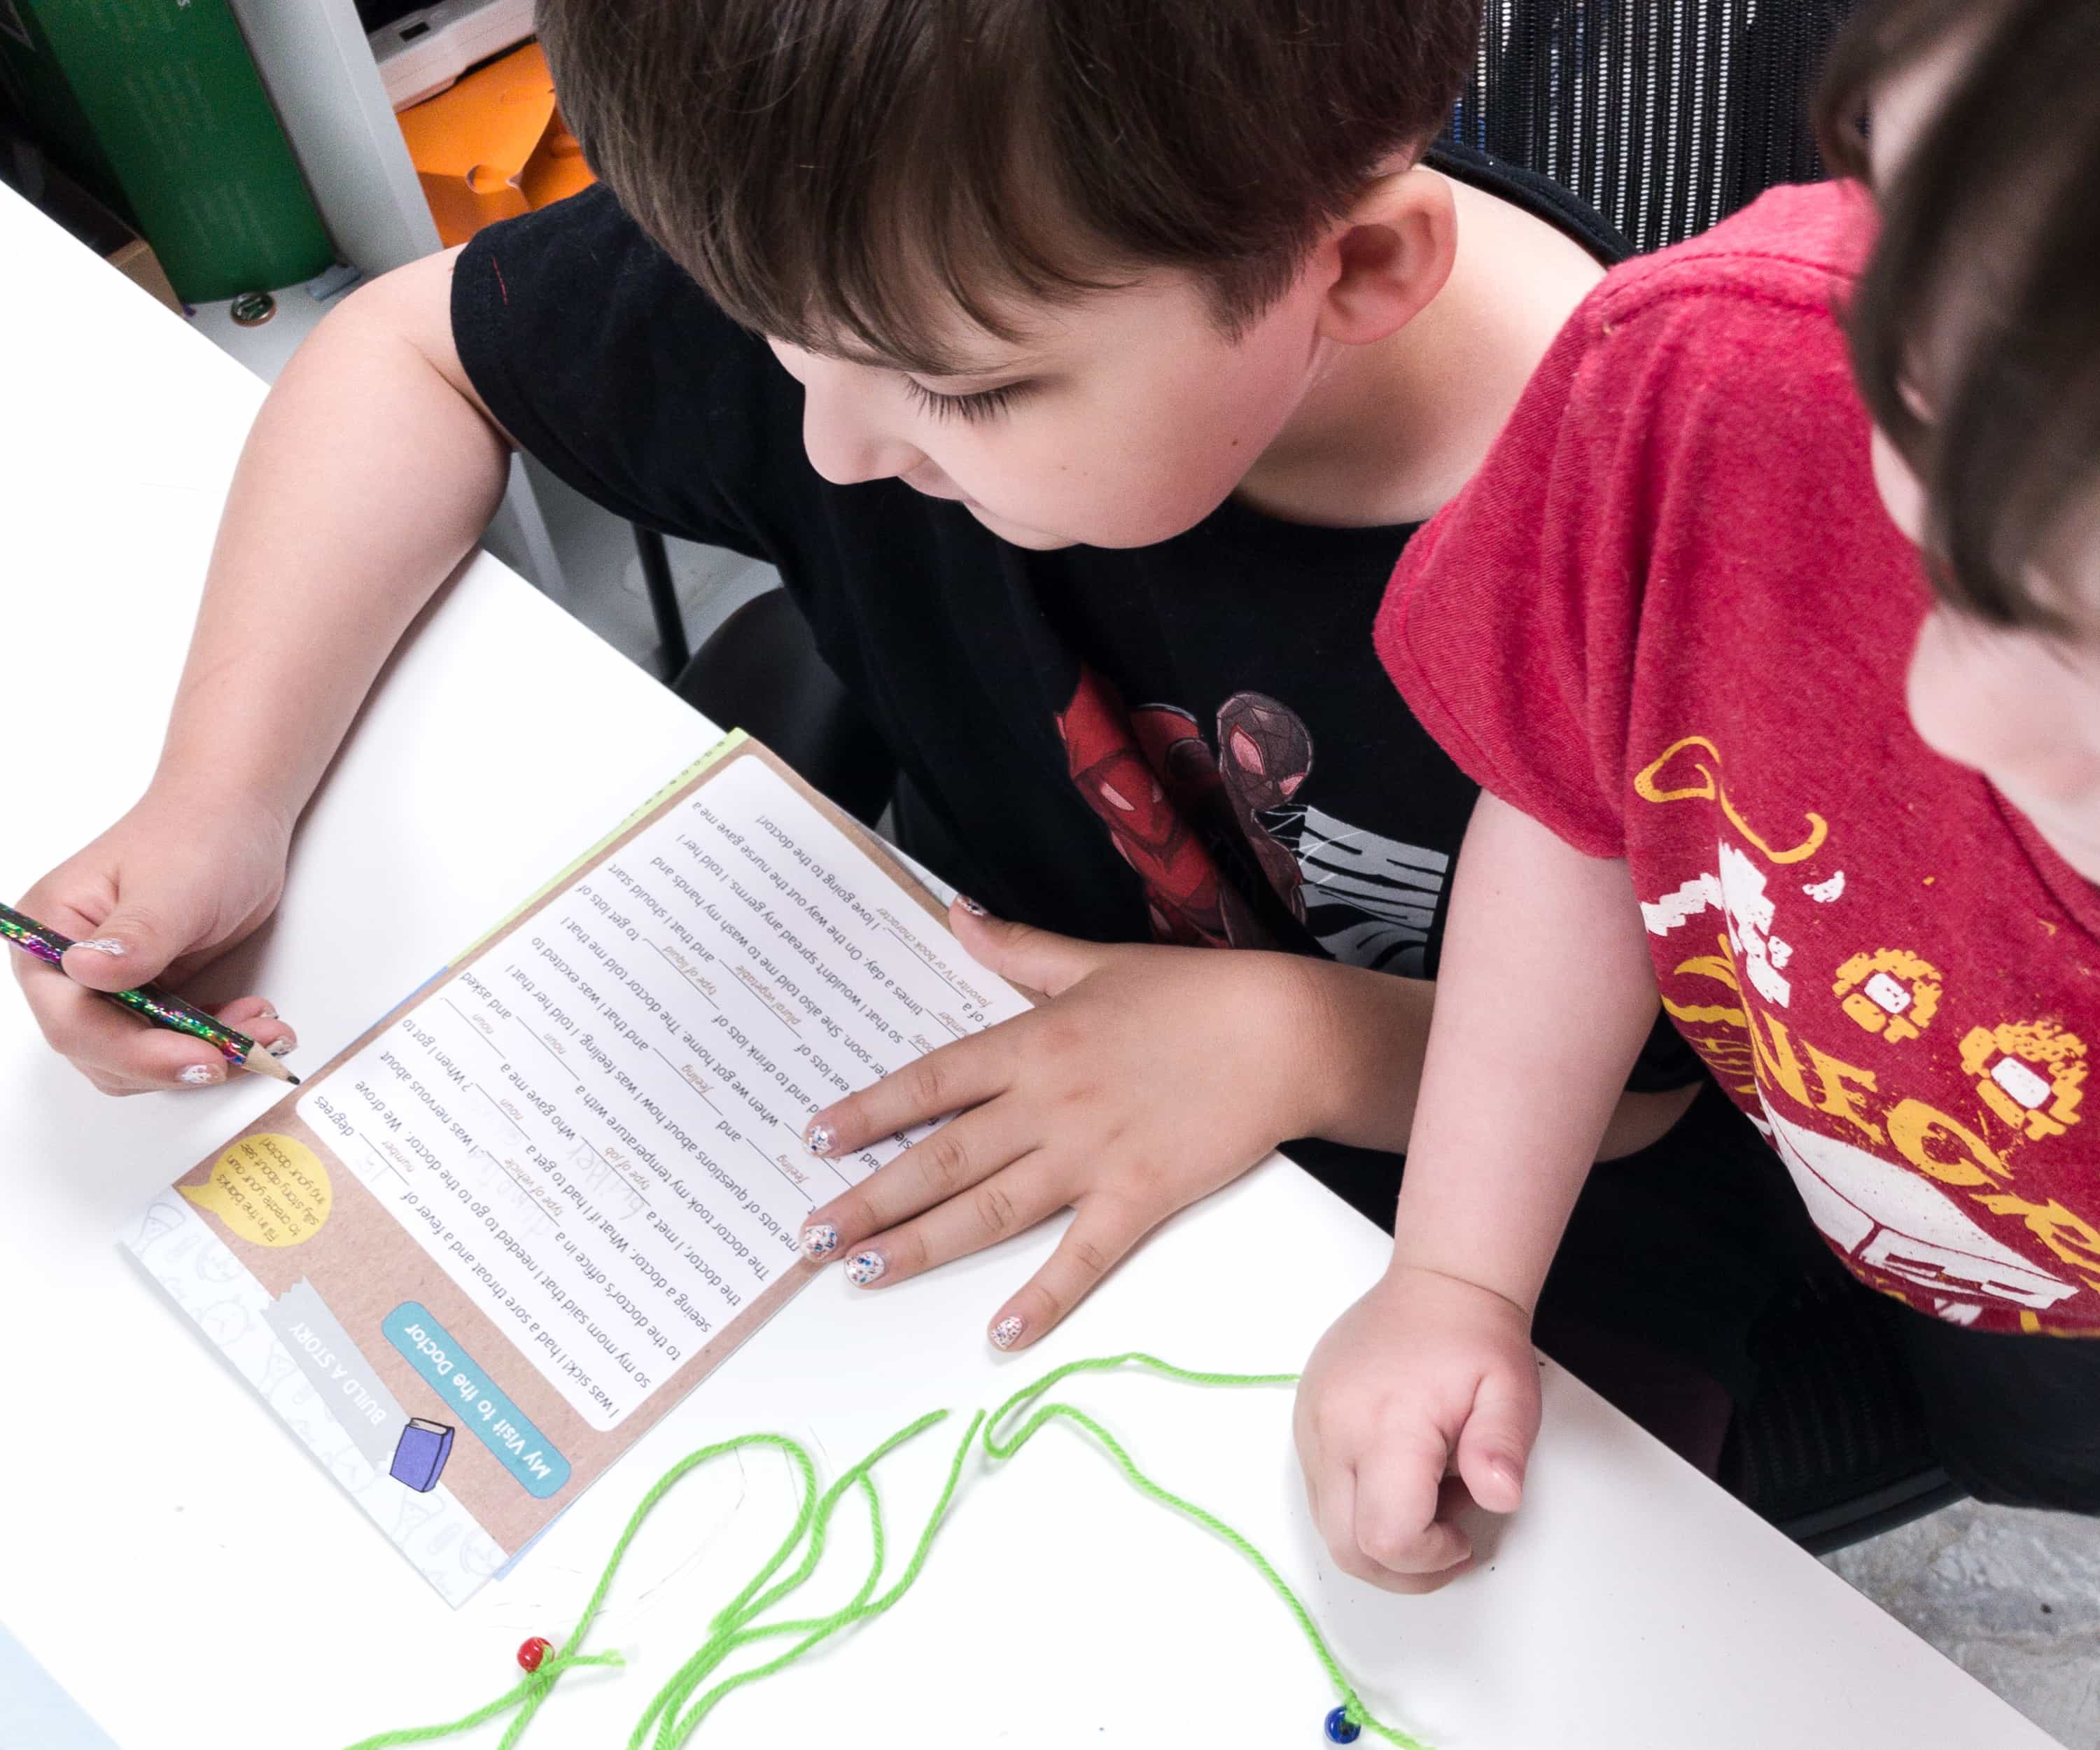
My kids immediately started with the activities and took them seriously!
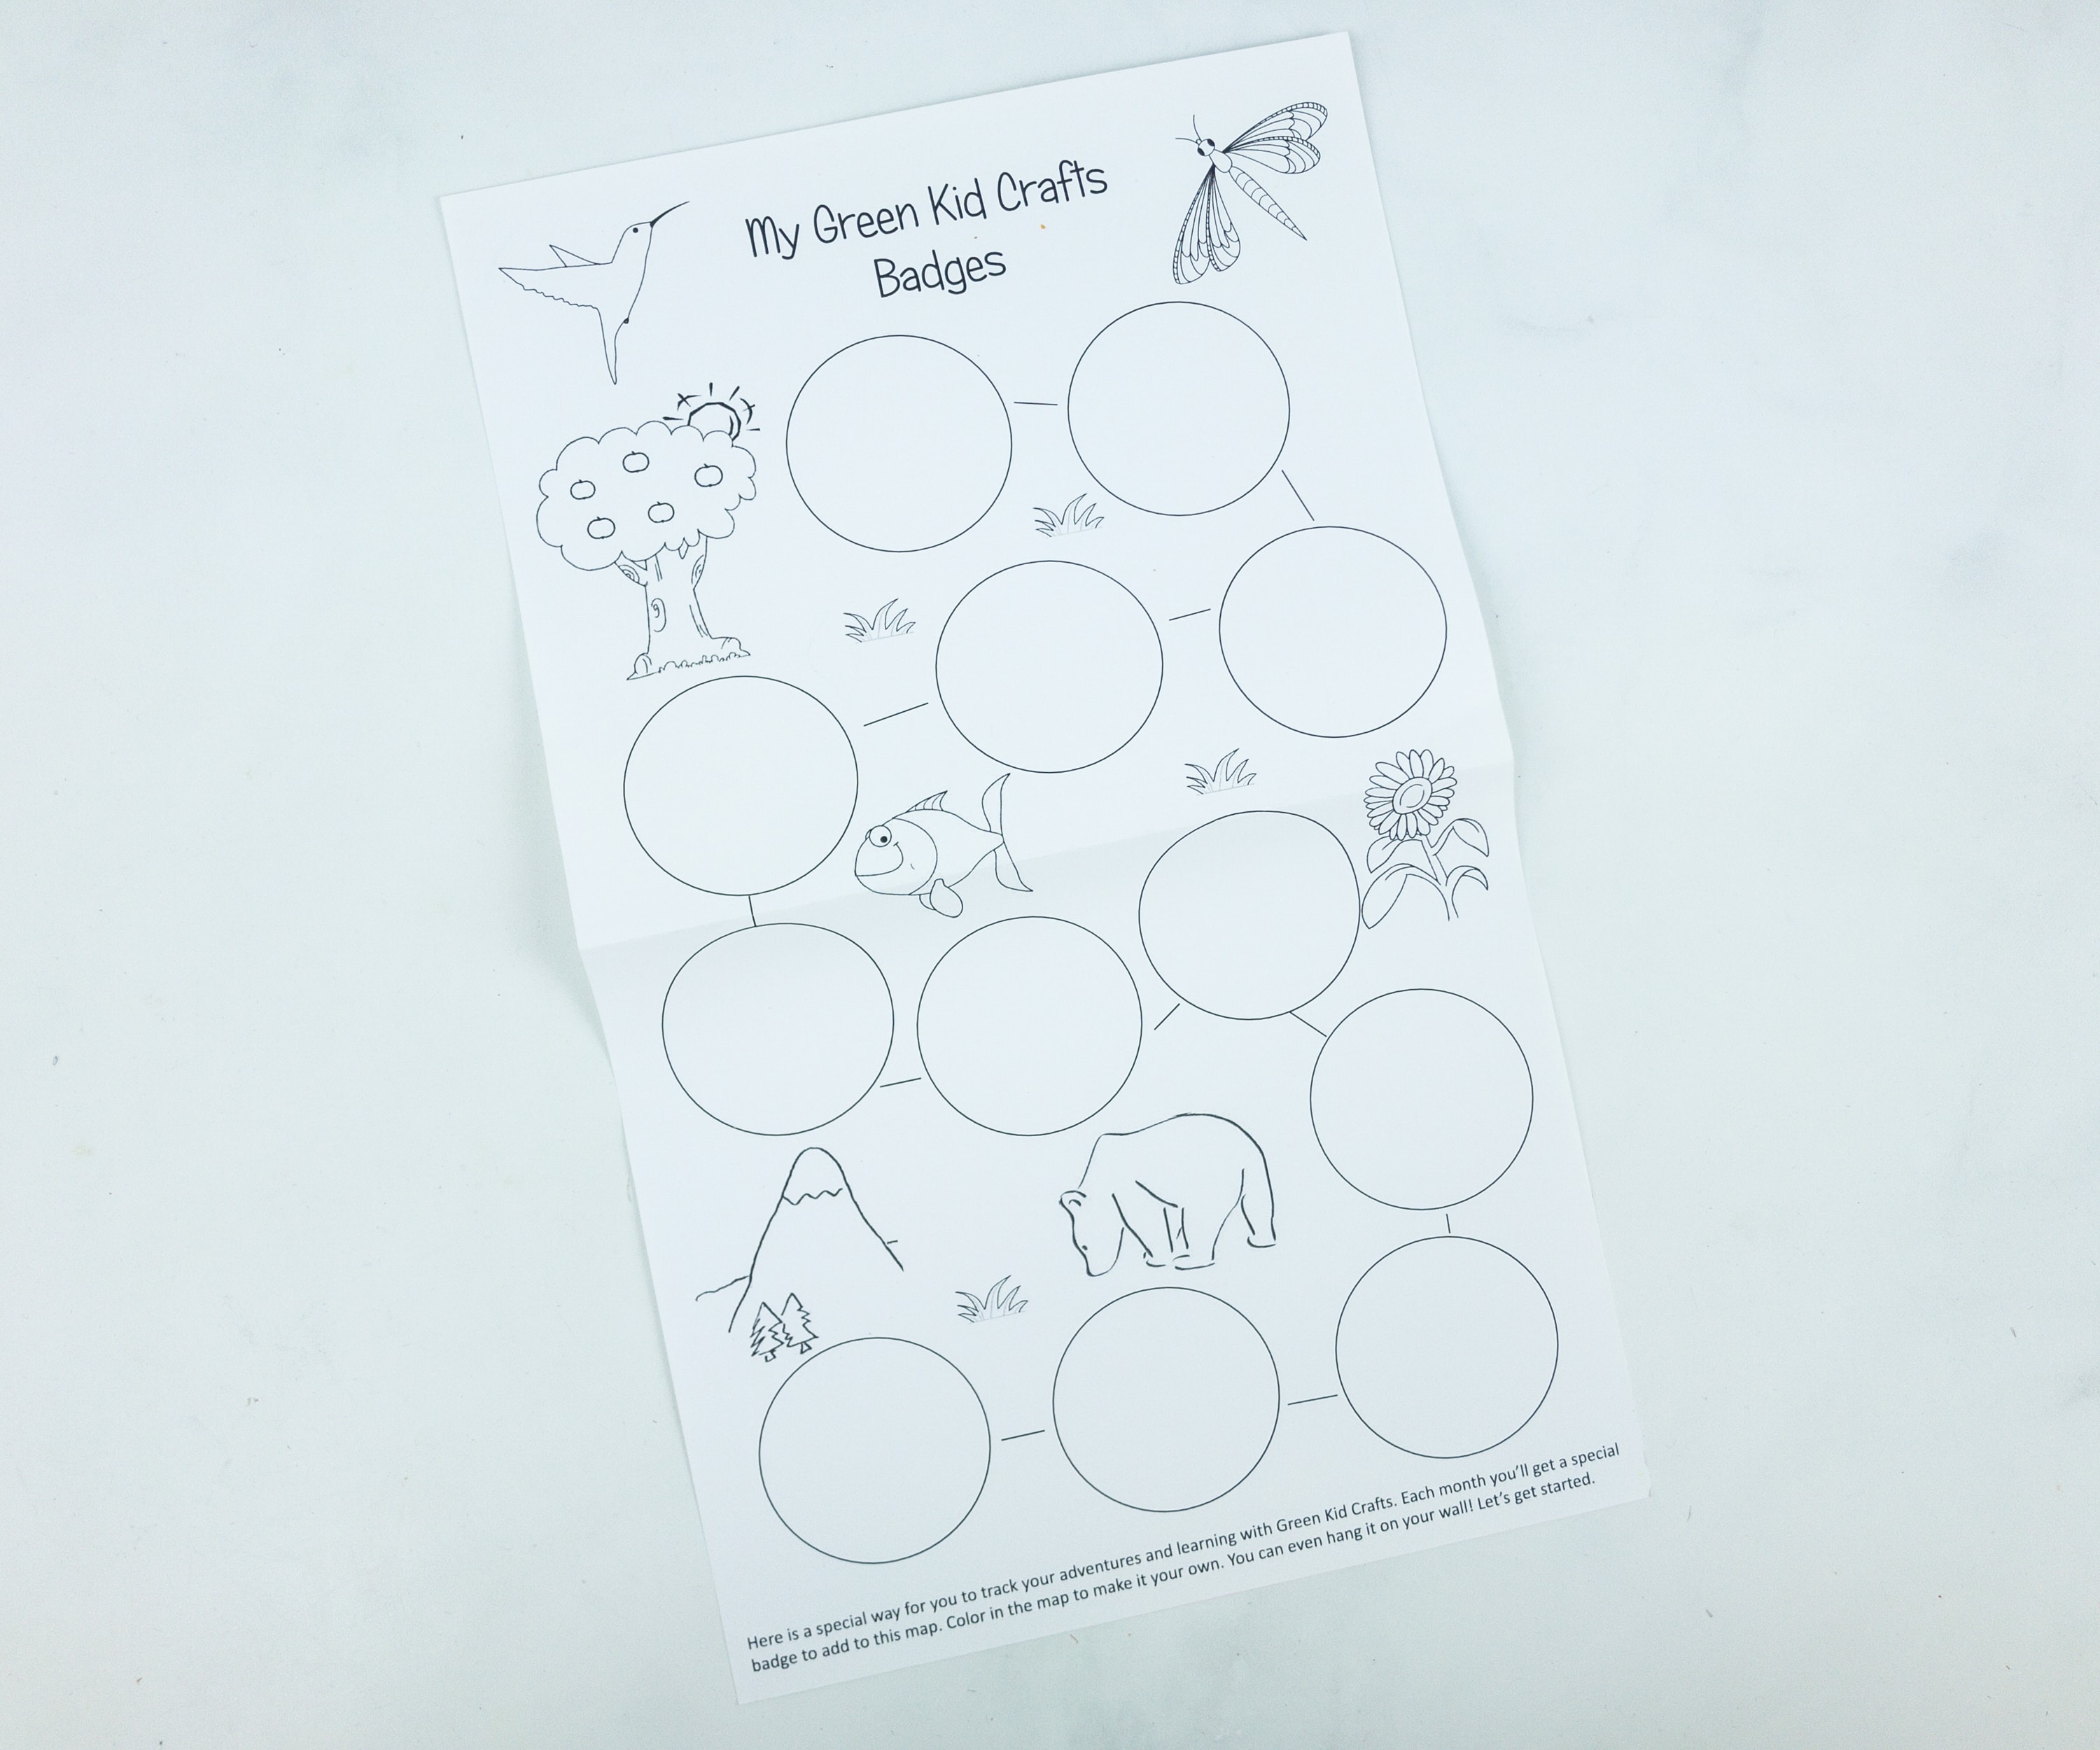
Each month you’ll get a special badge that you can collect and stick on this badge sheet.
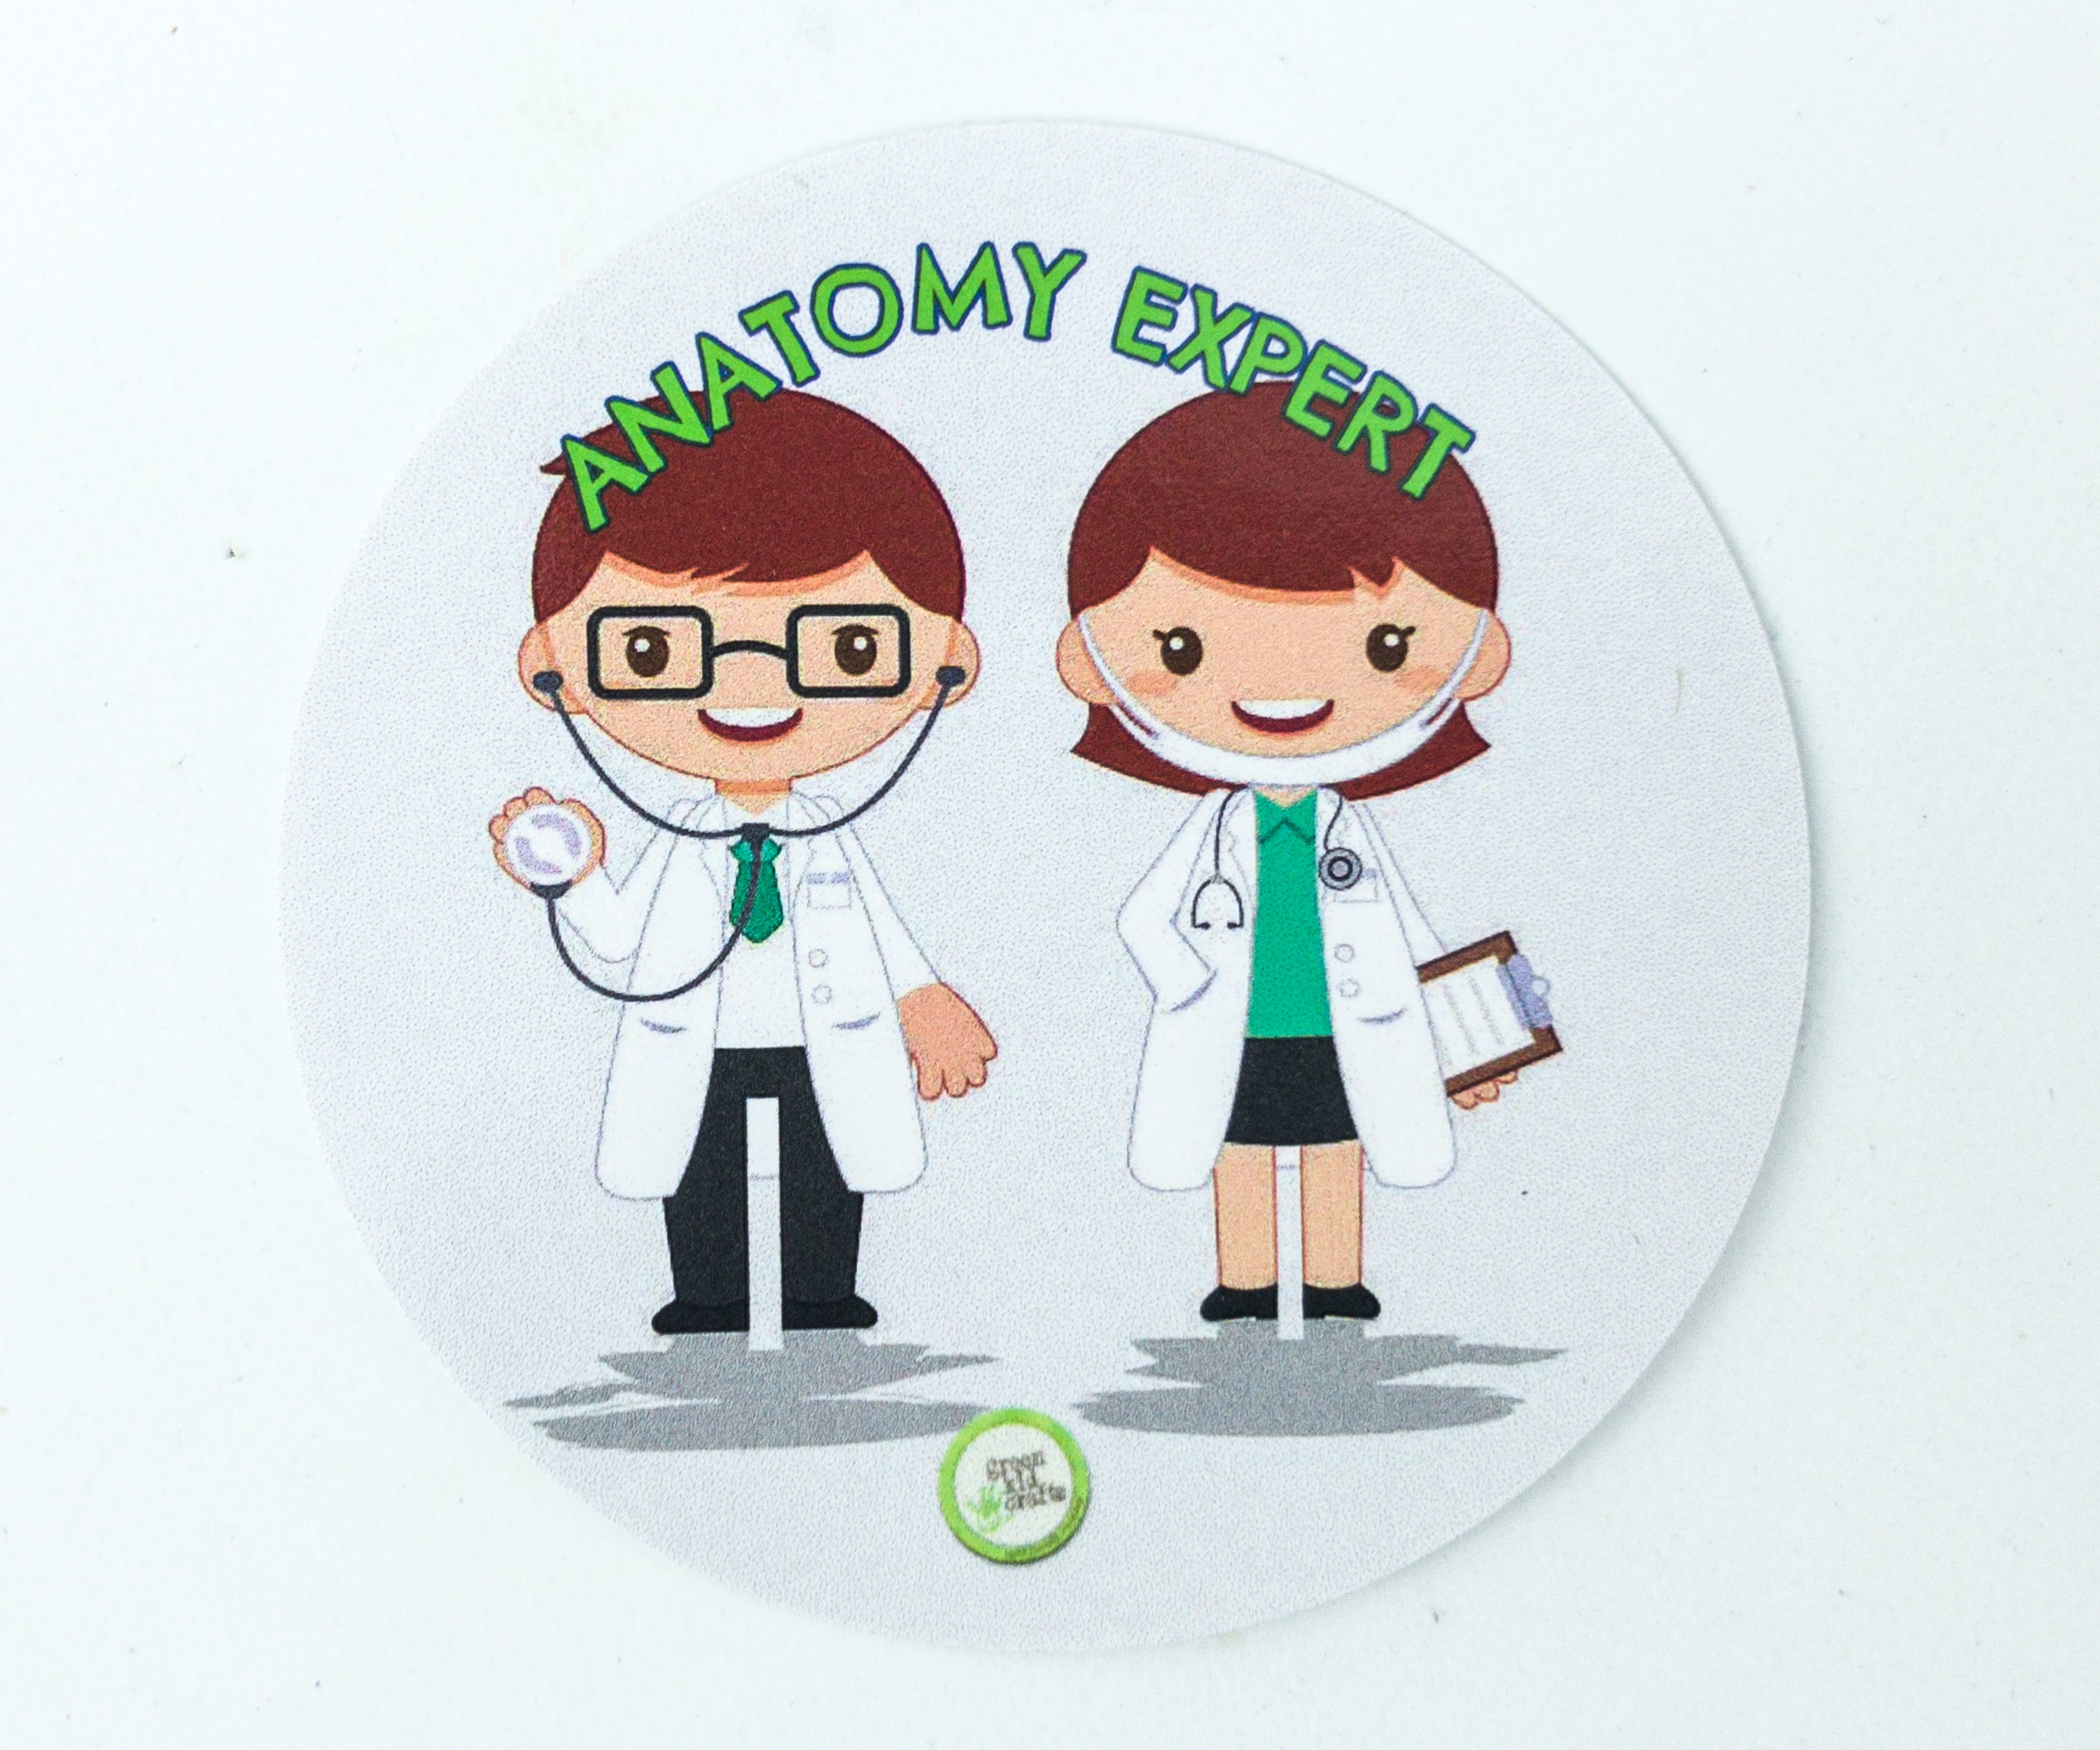
Here’s the Anatomy Expert badge!

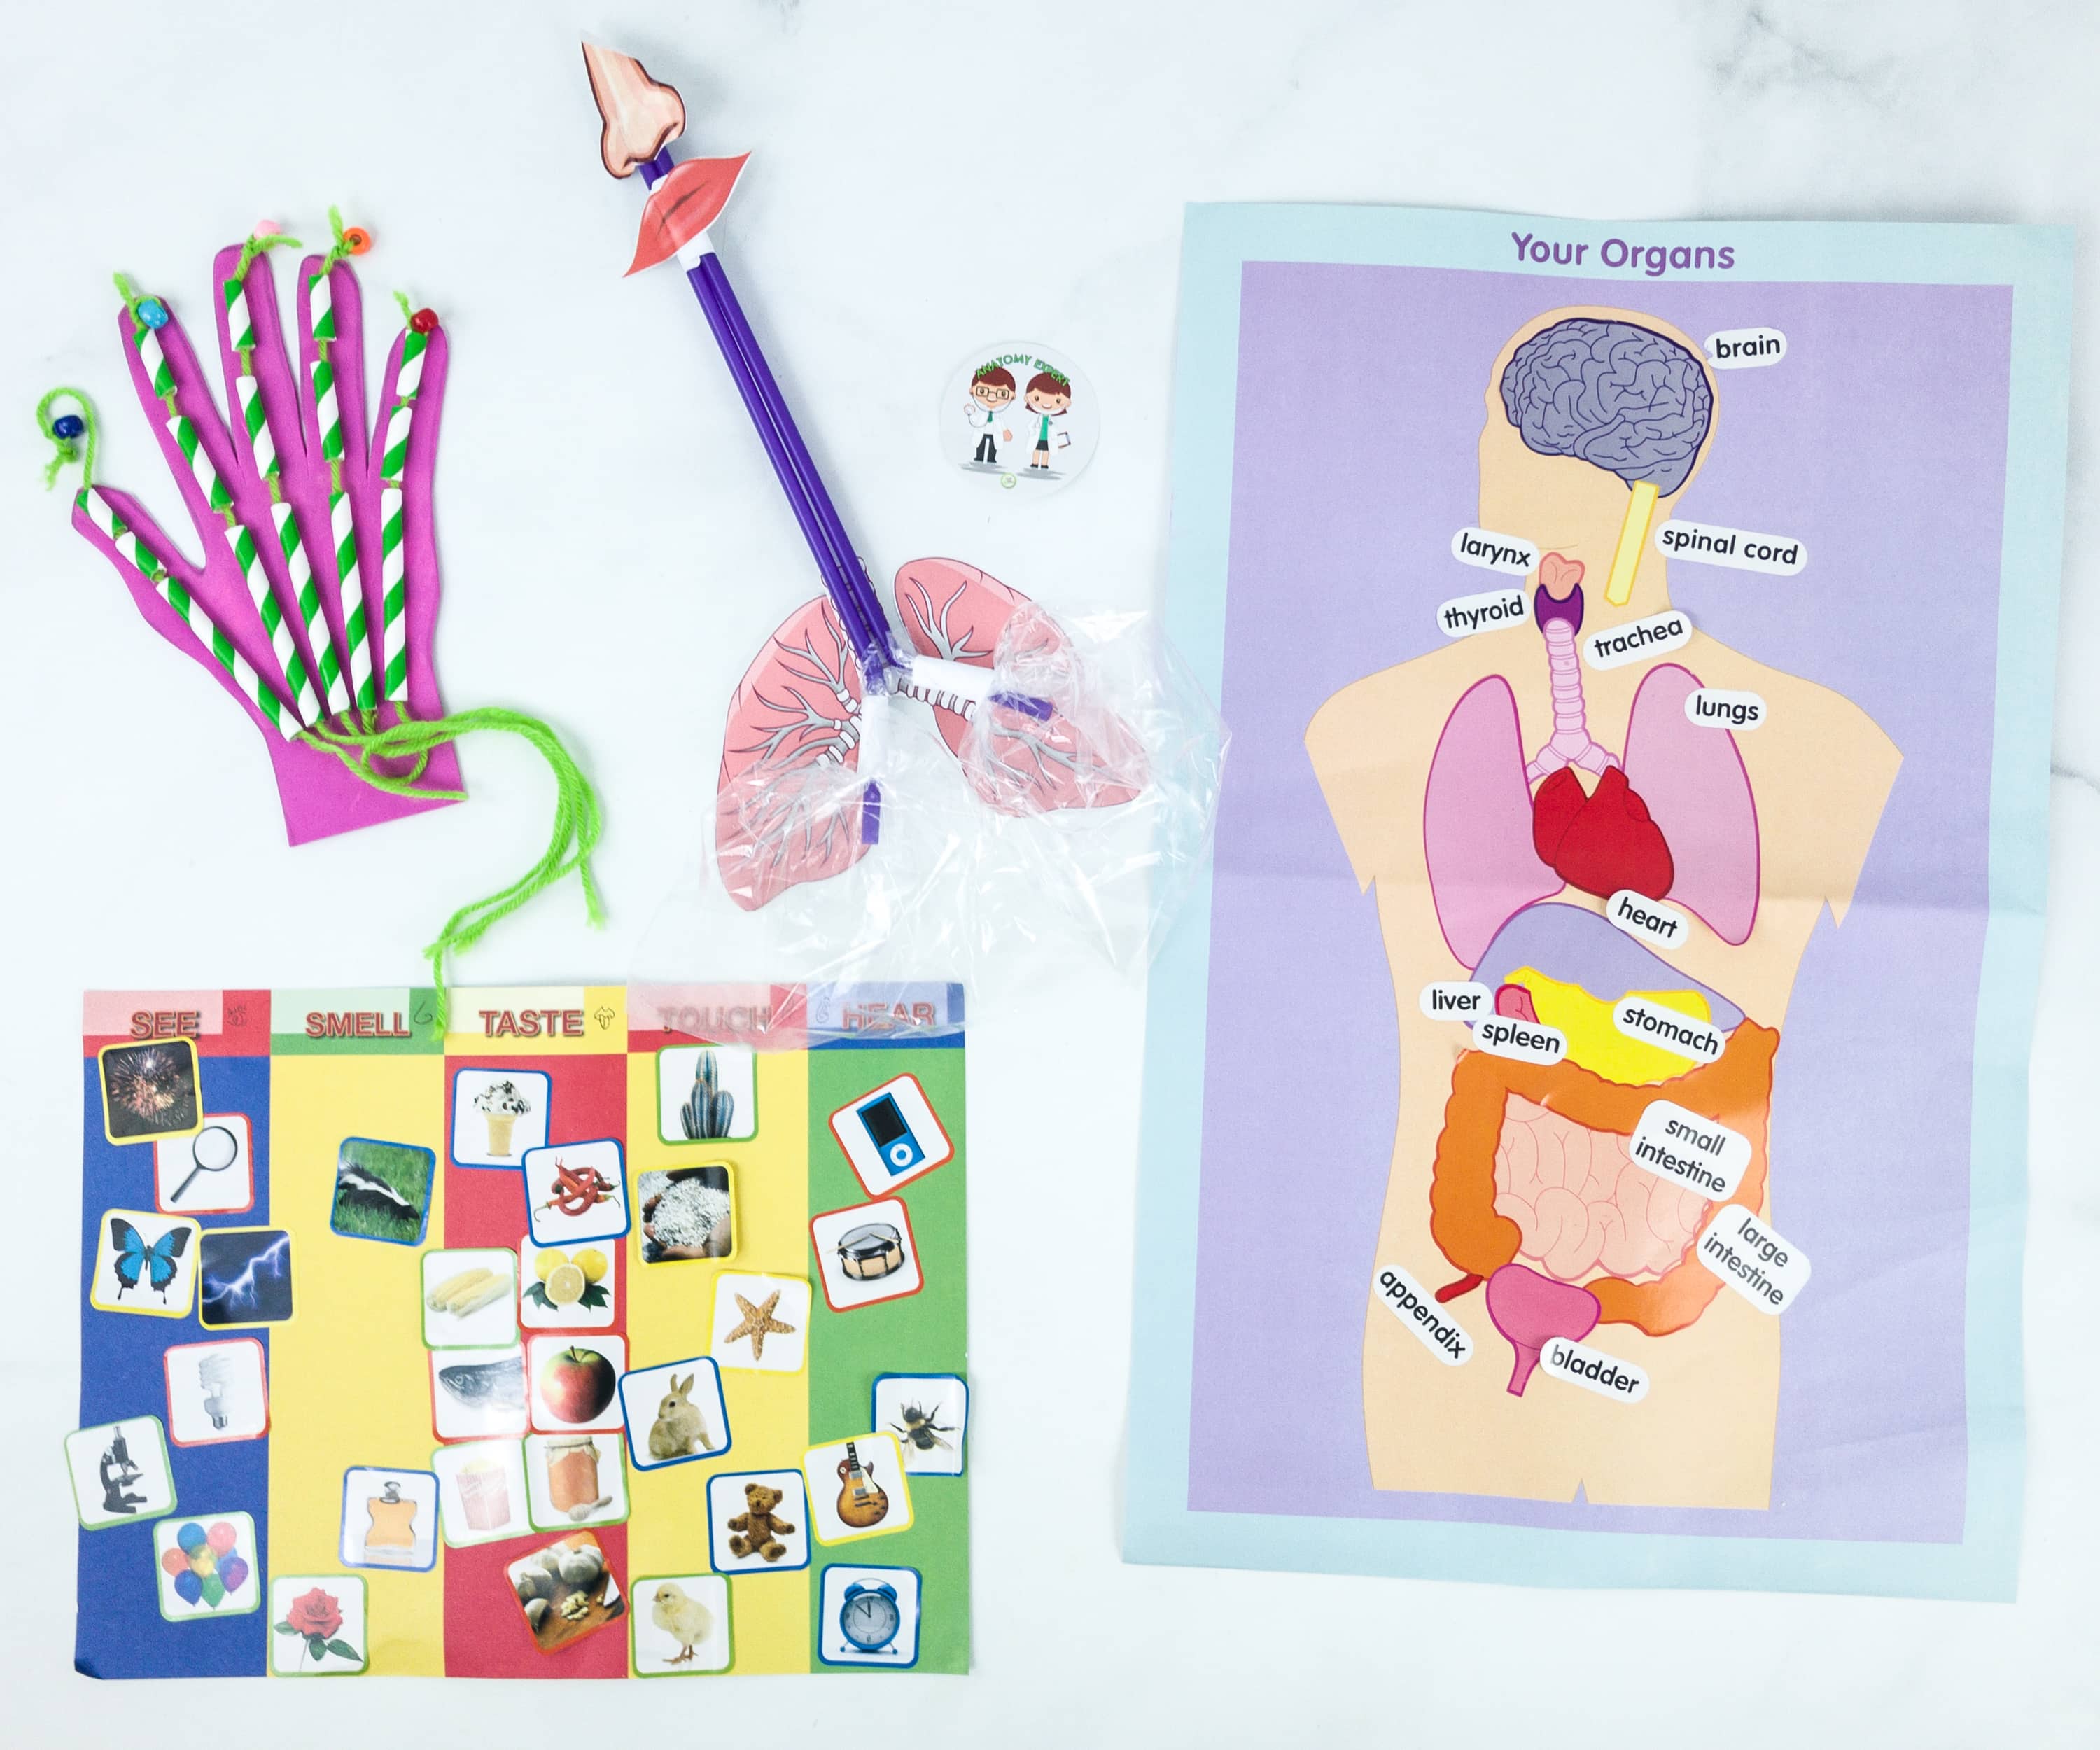
Everything in my box!
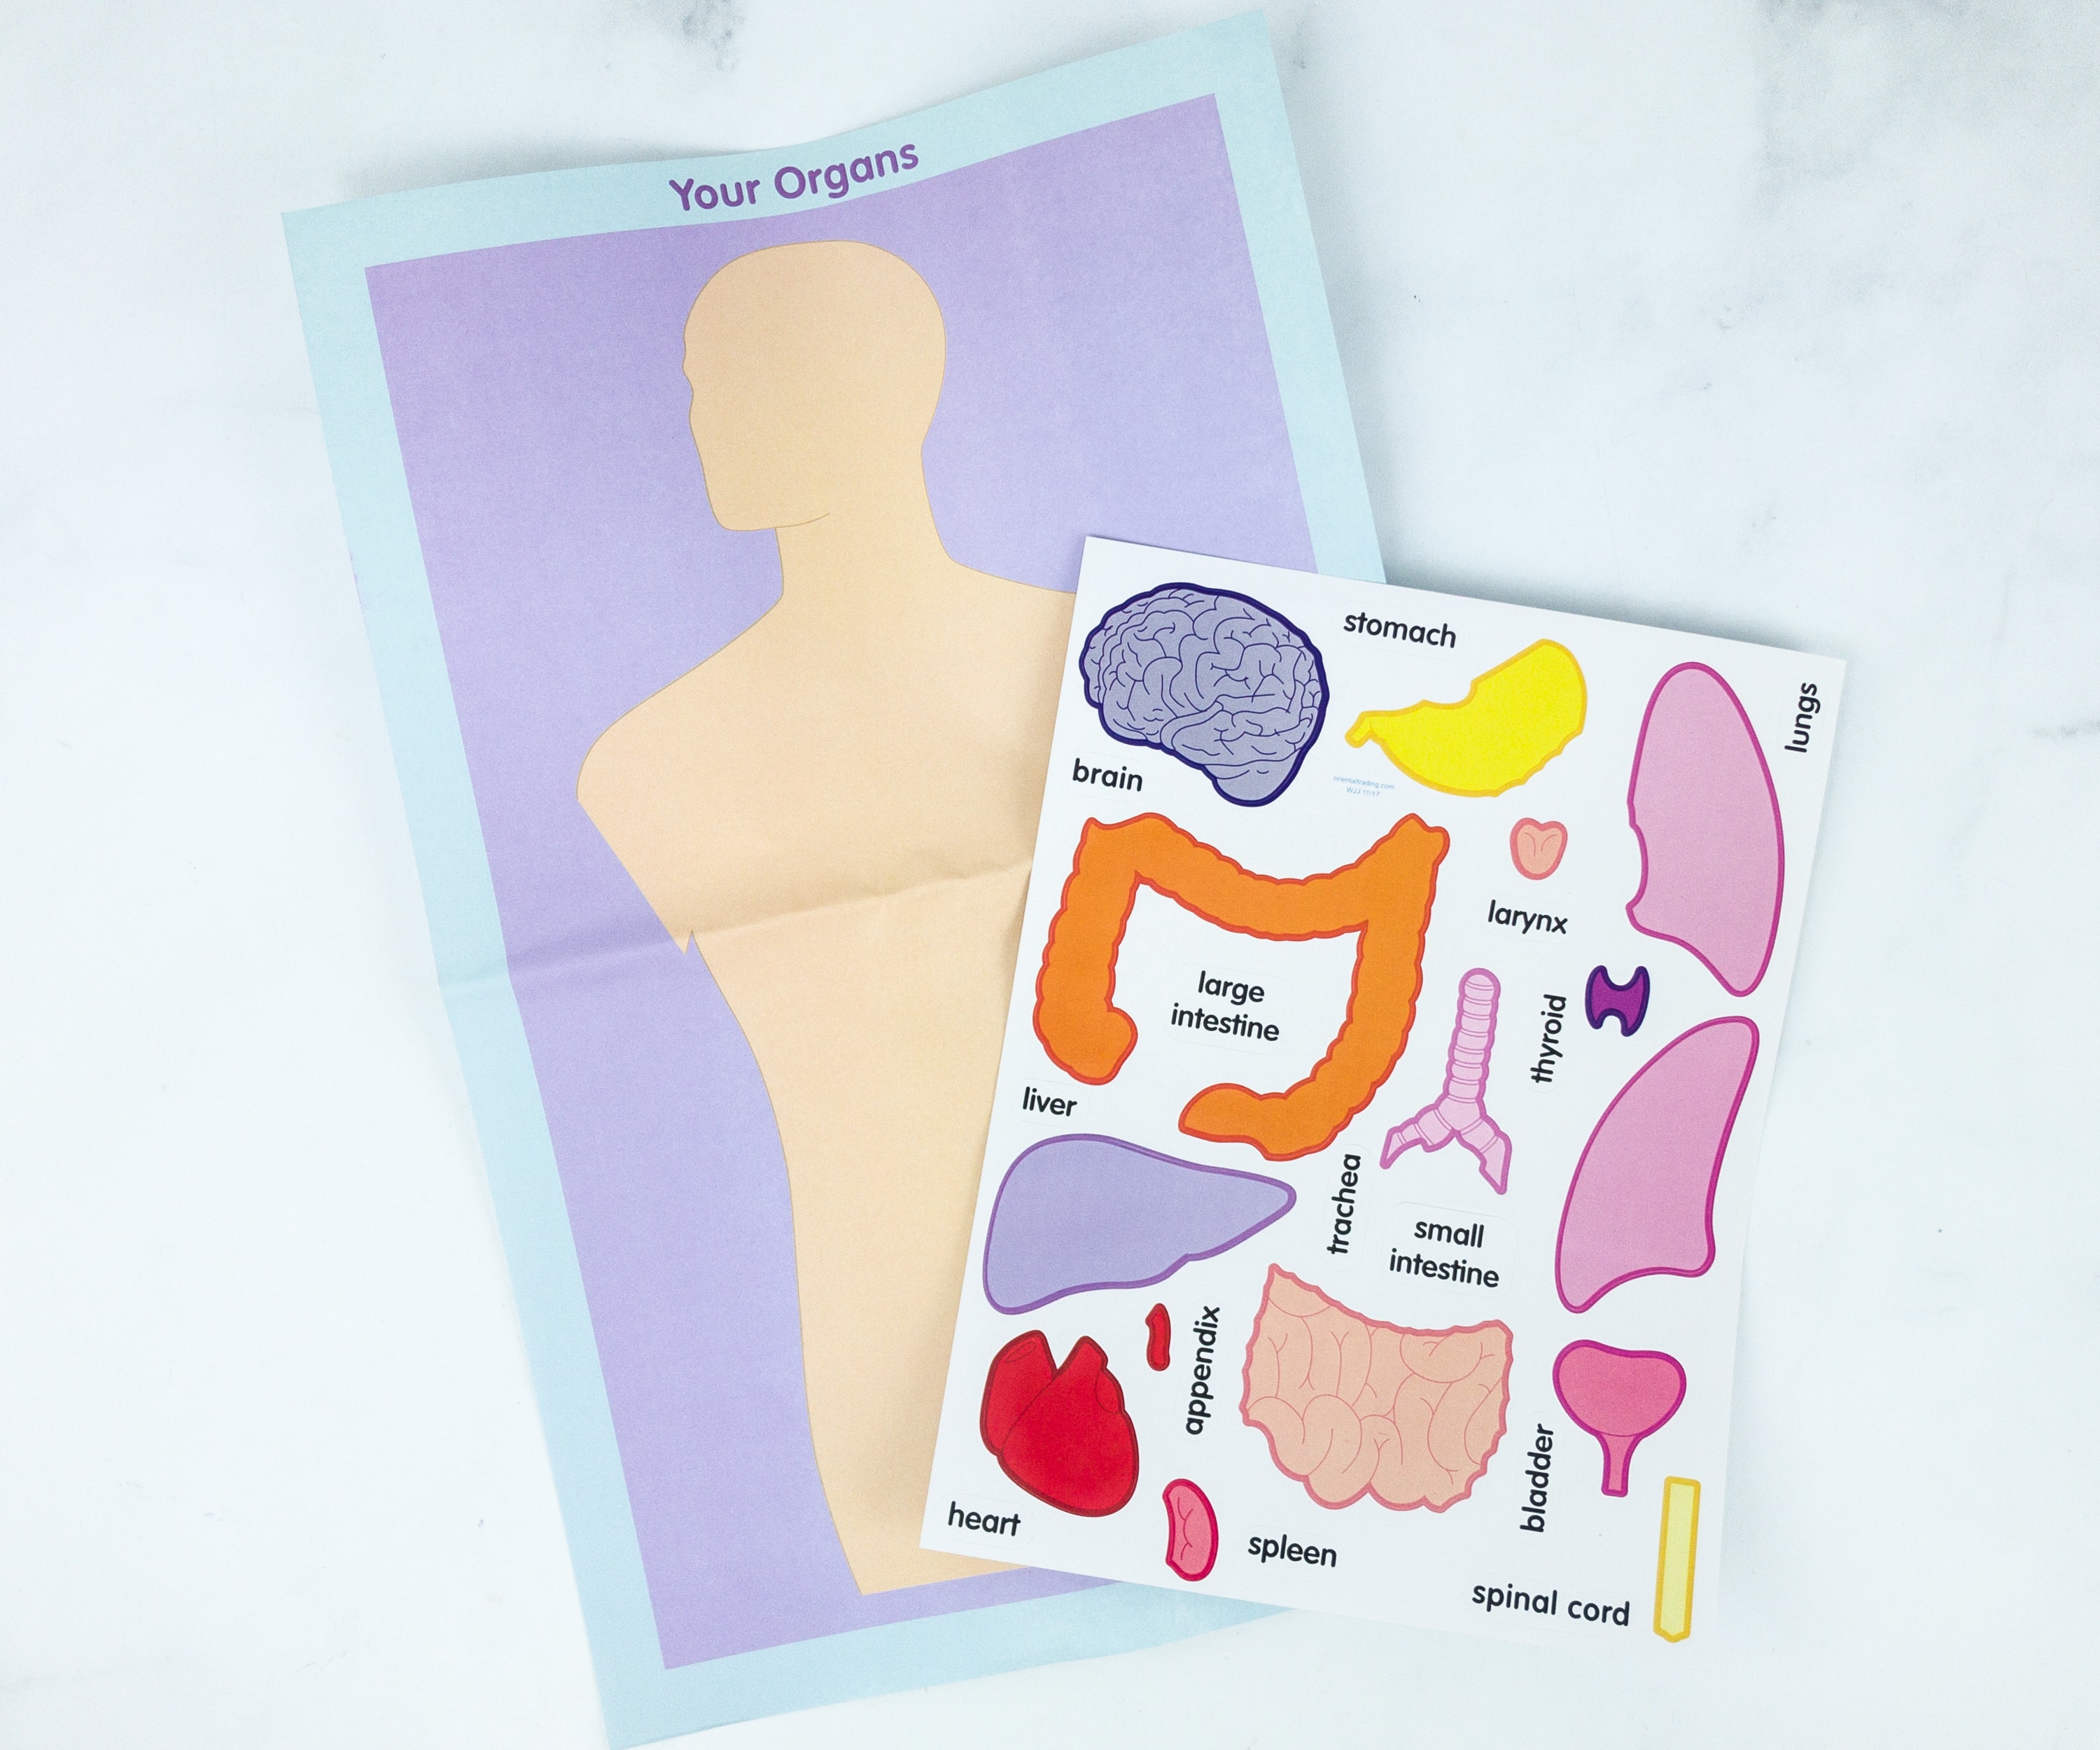
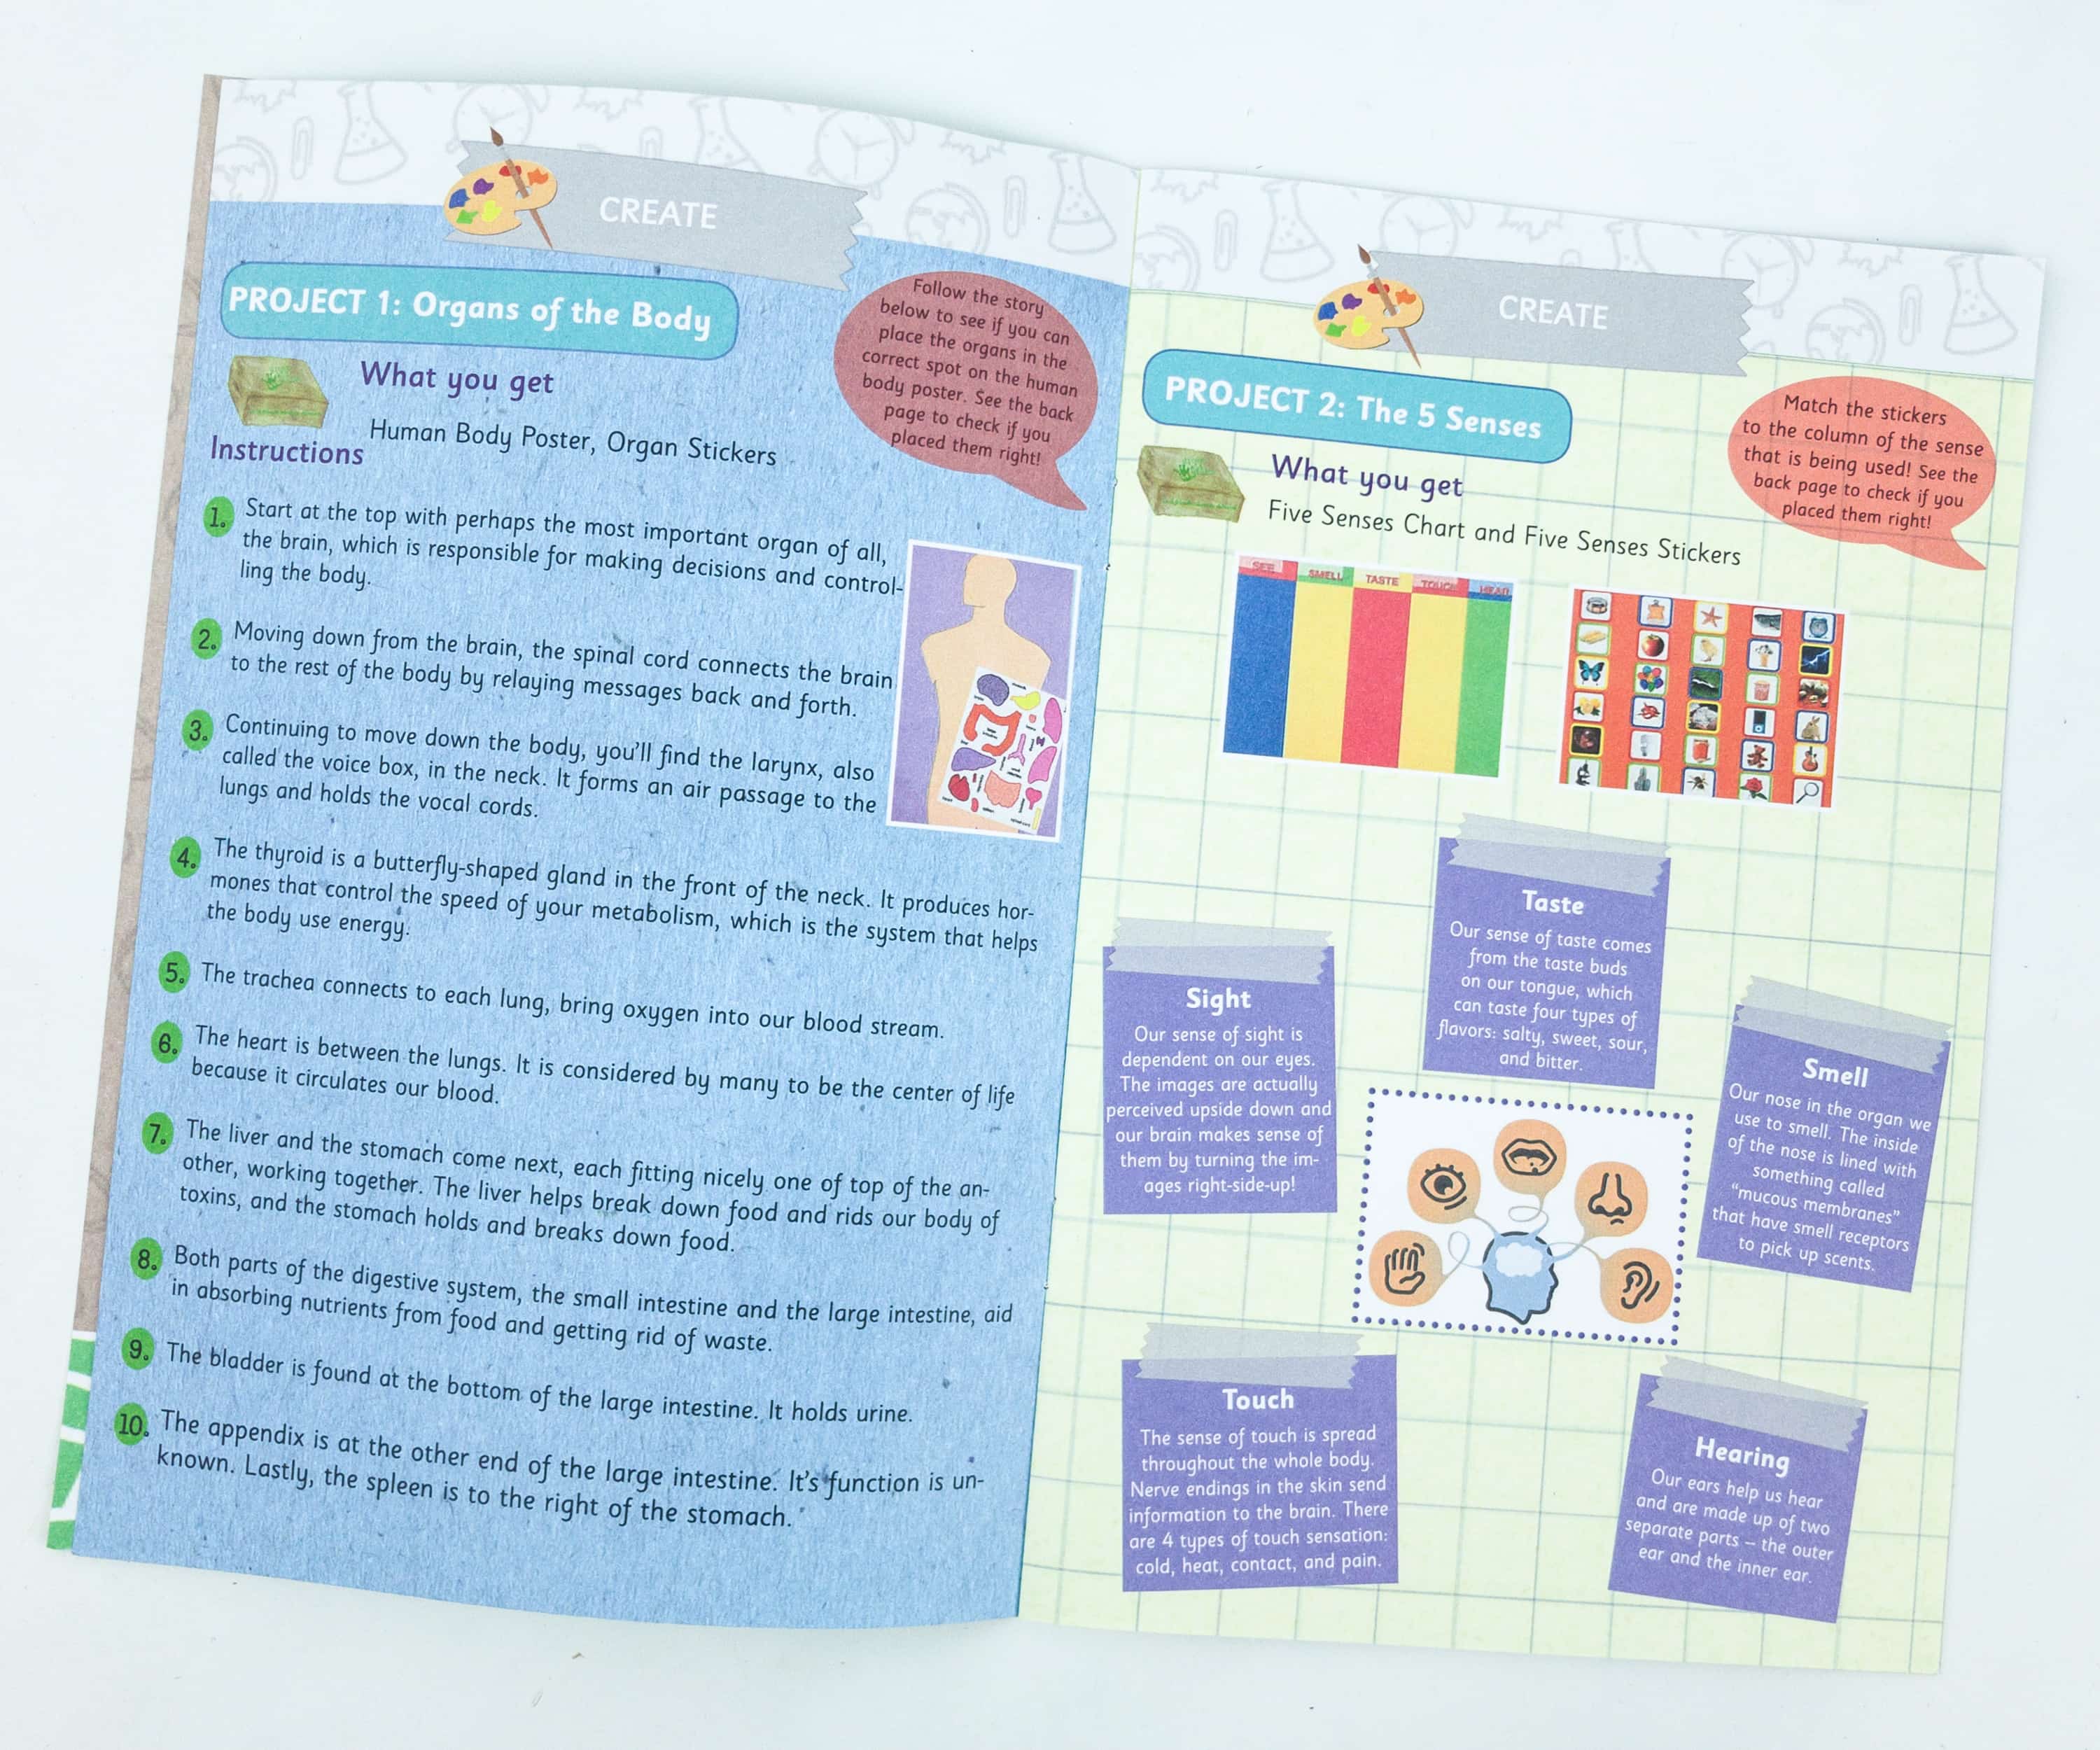
Project #1: Organs Of The Body. For the first project, we used the human body poster and organ stickers.
This activity is simple and informative at the same time. All you need to do is to put the organ stickers to their appropriate places on the human body poster.
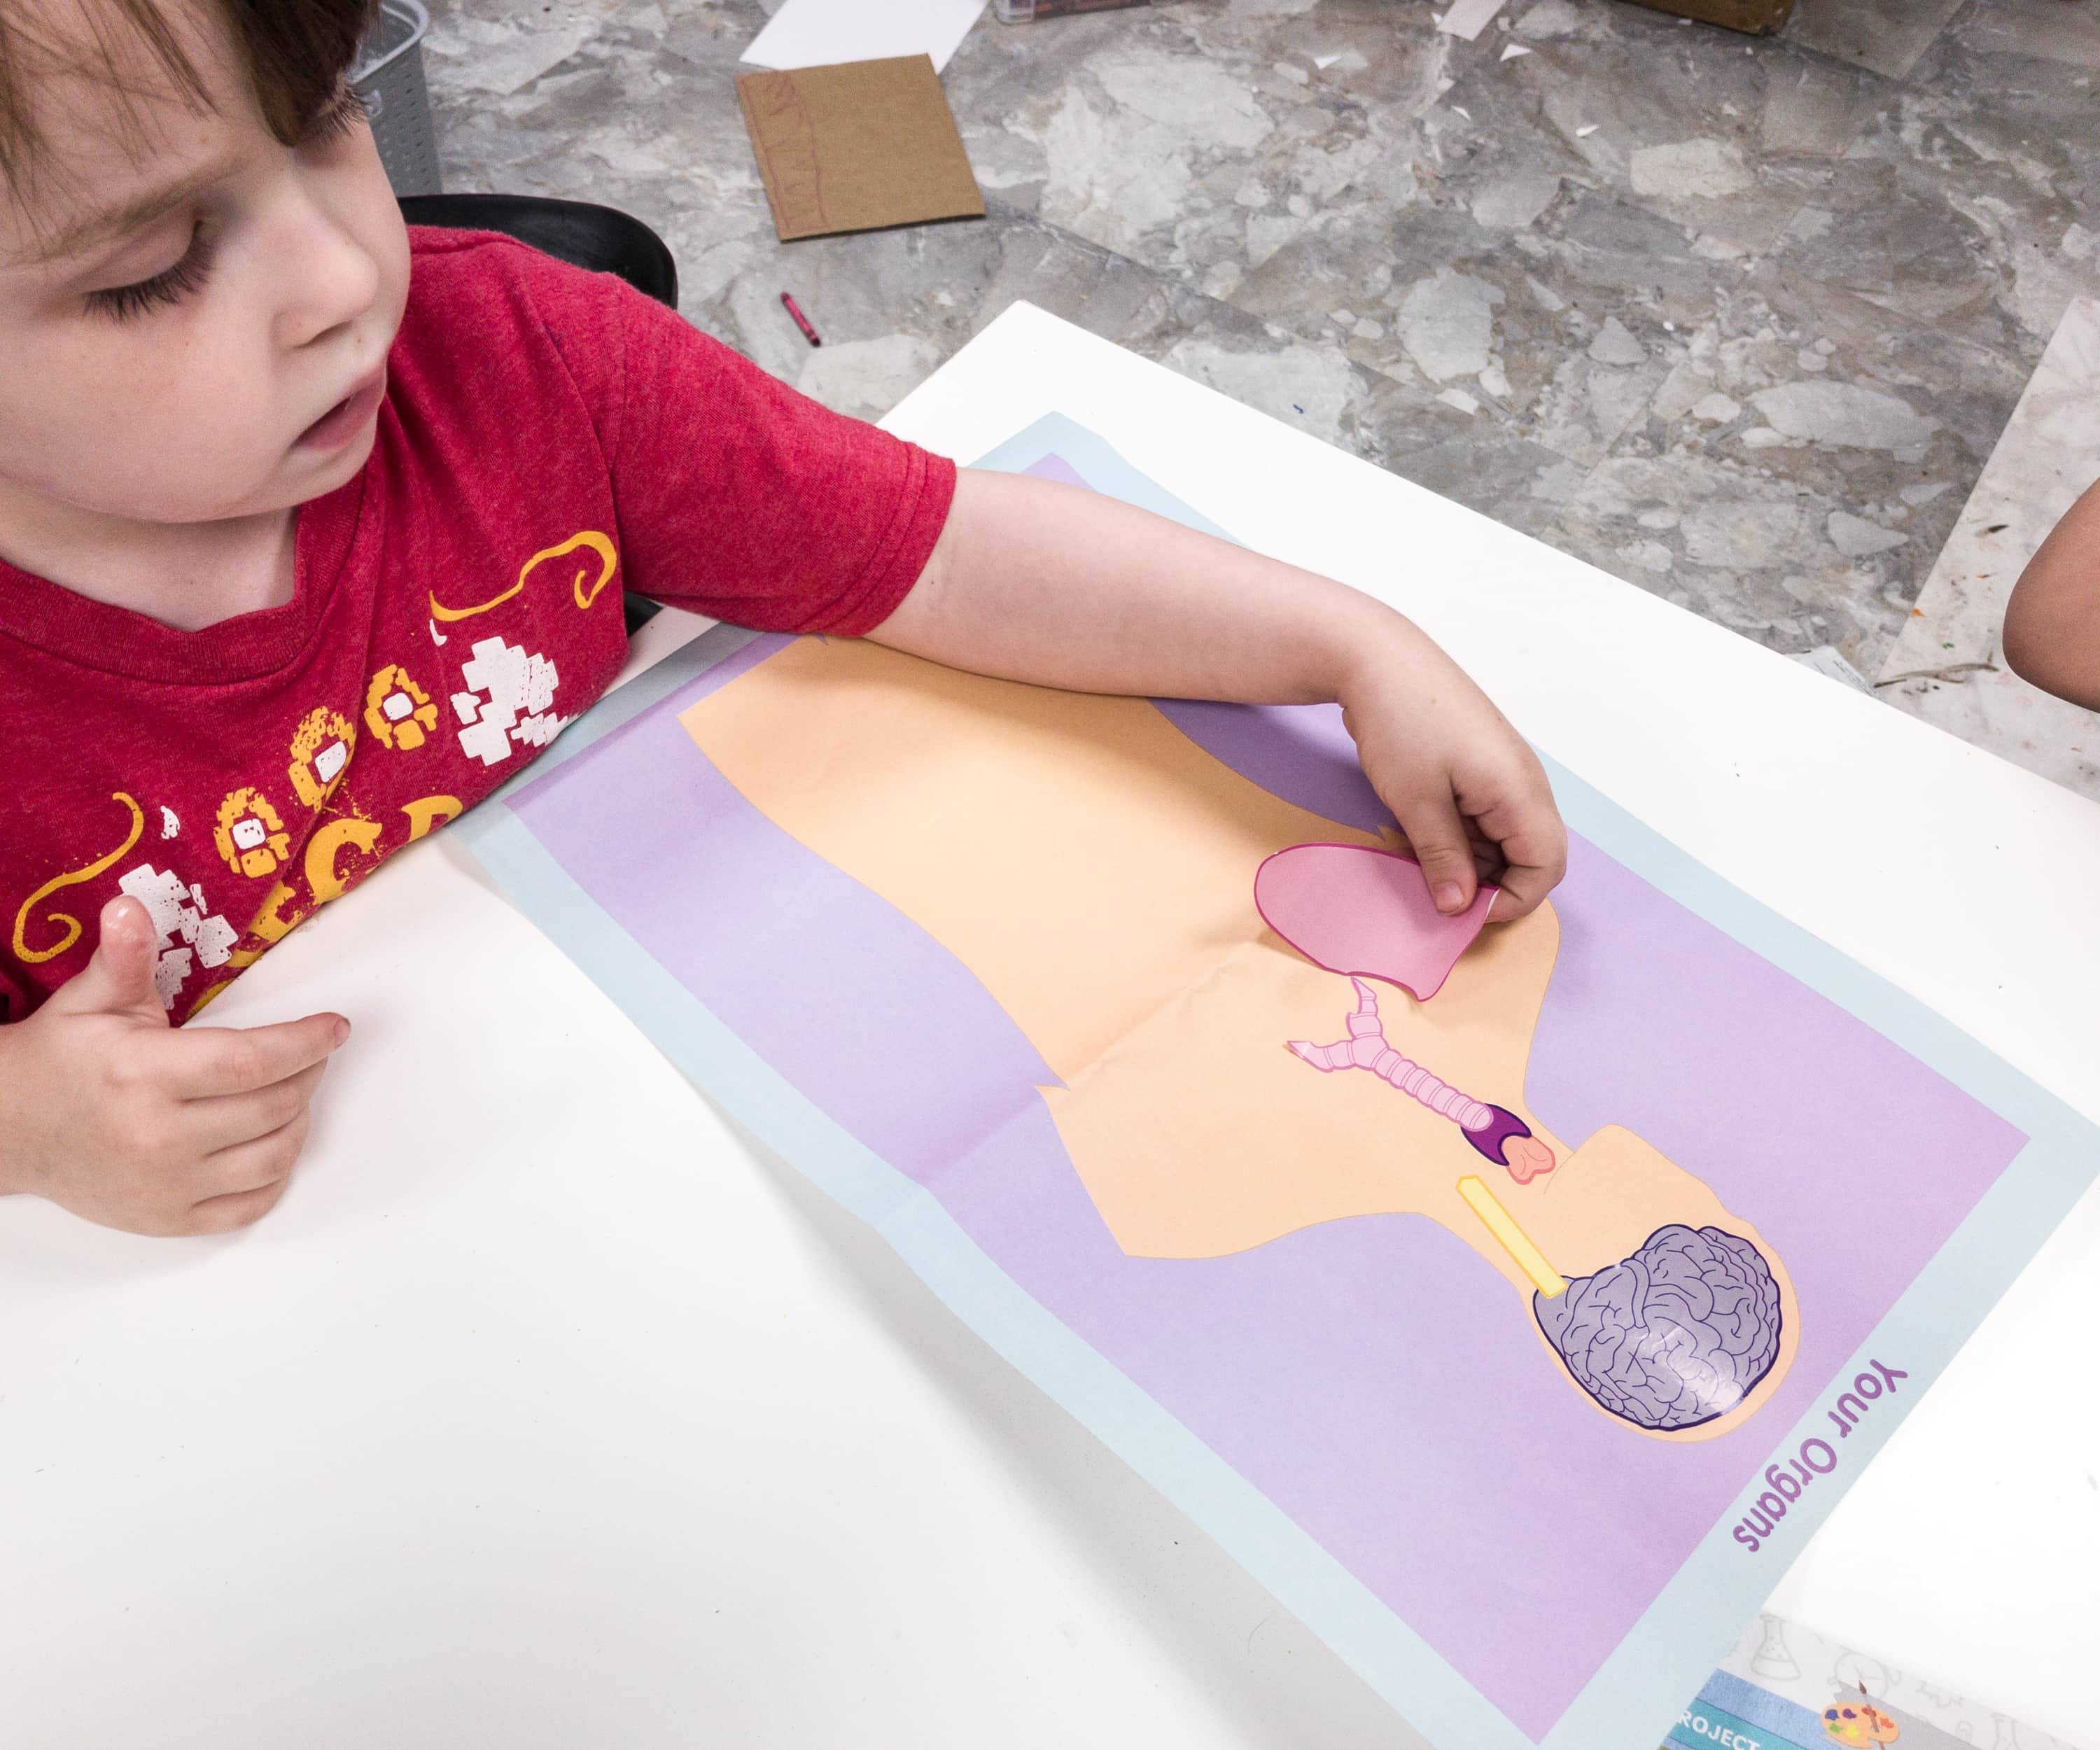
According to the booklet, it is best to start at the top, the place where one of the most important organs is placed, the brain.

Then, continue moving down using spinal cord, larynx, thyroid, and trachea which is directly connected to the lungs.
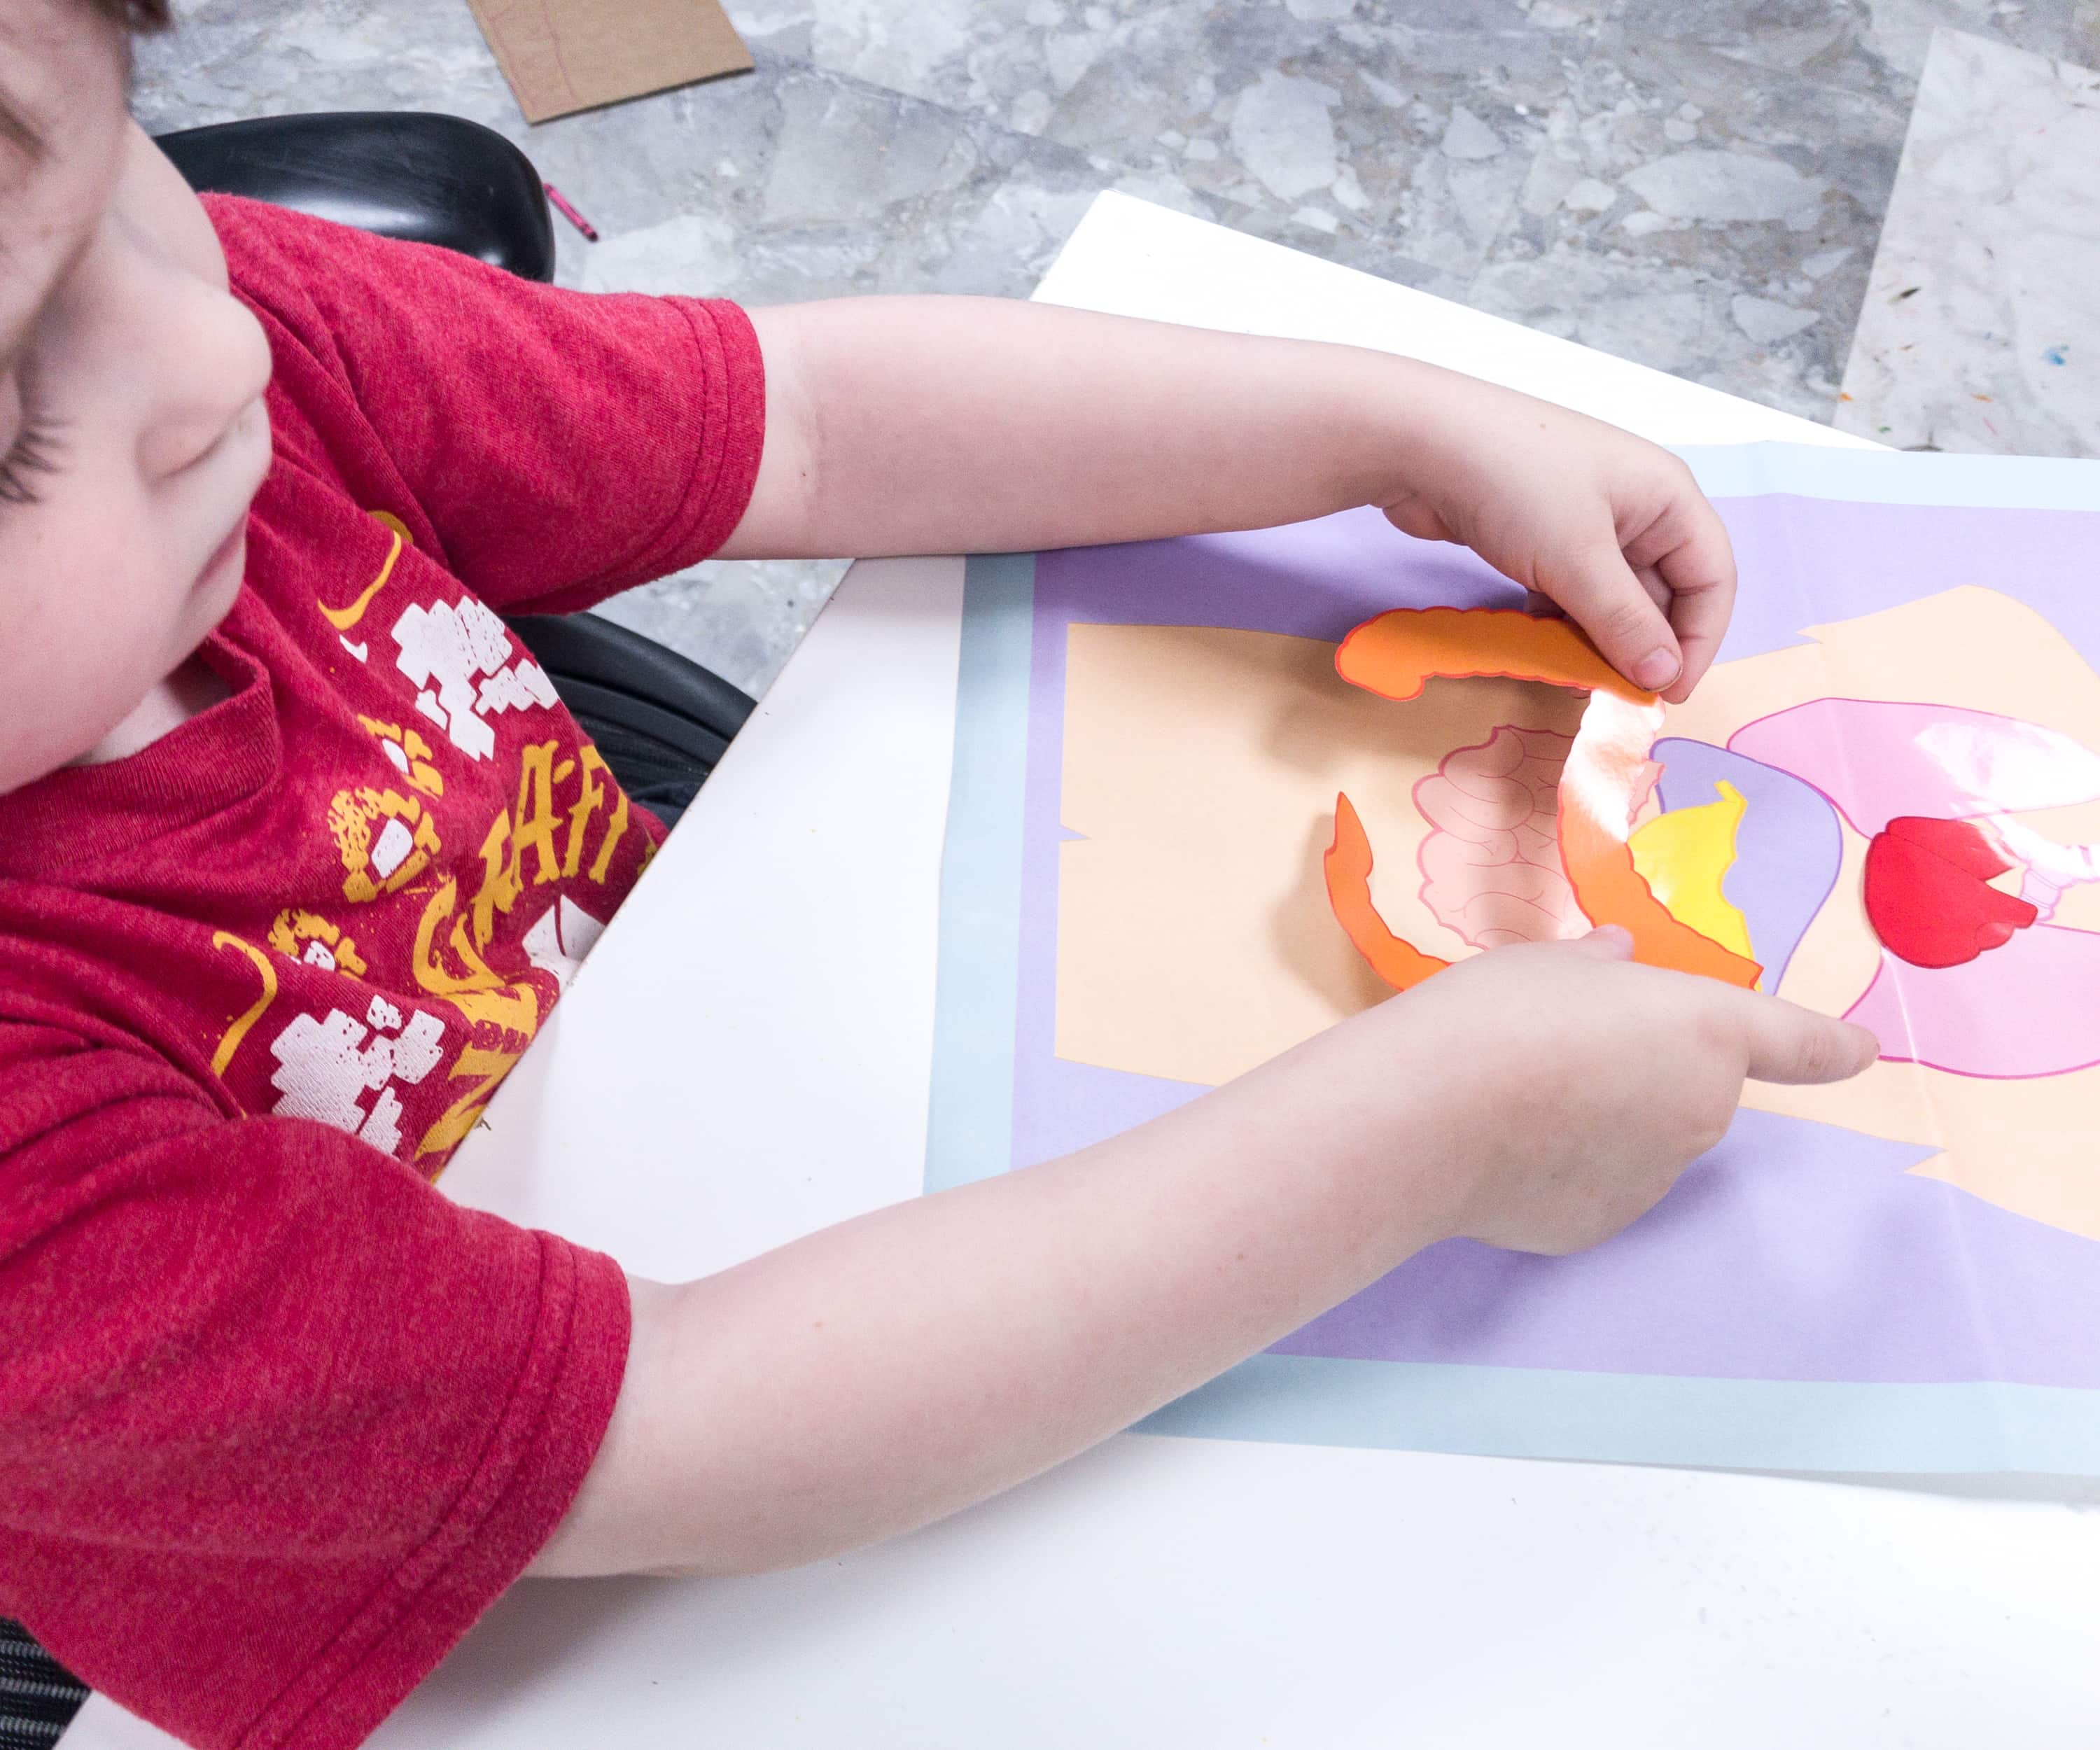
The heart, liver, and stomach are now placed in order. My son also placed the large intestine surrounding the small intestine.
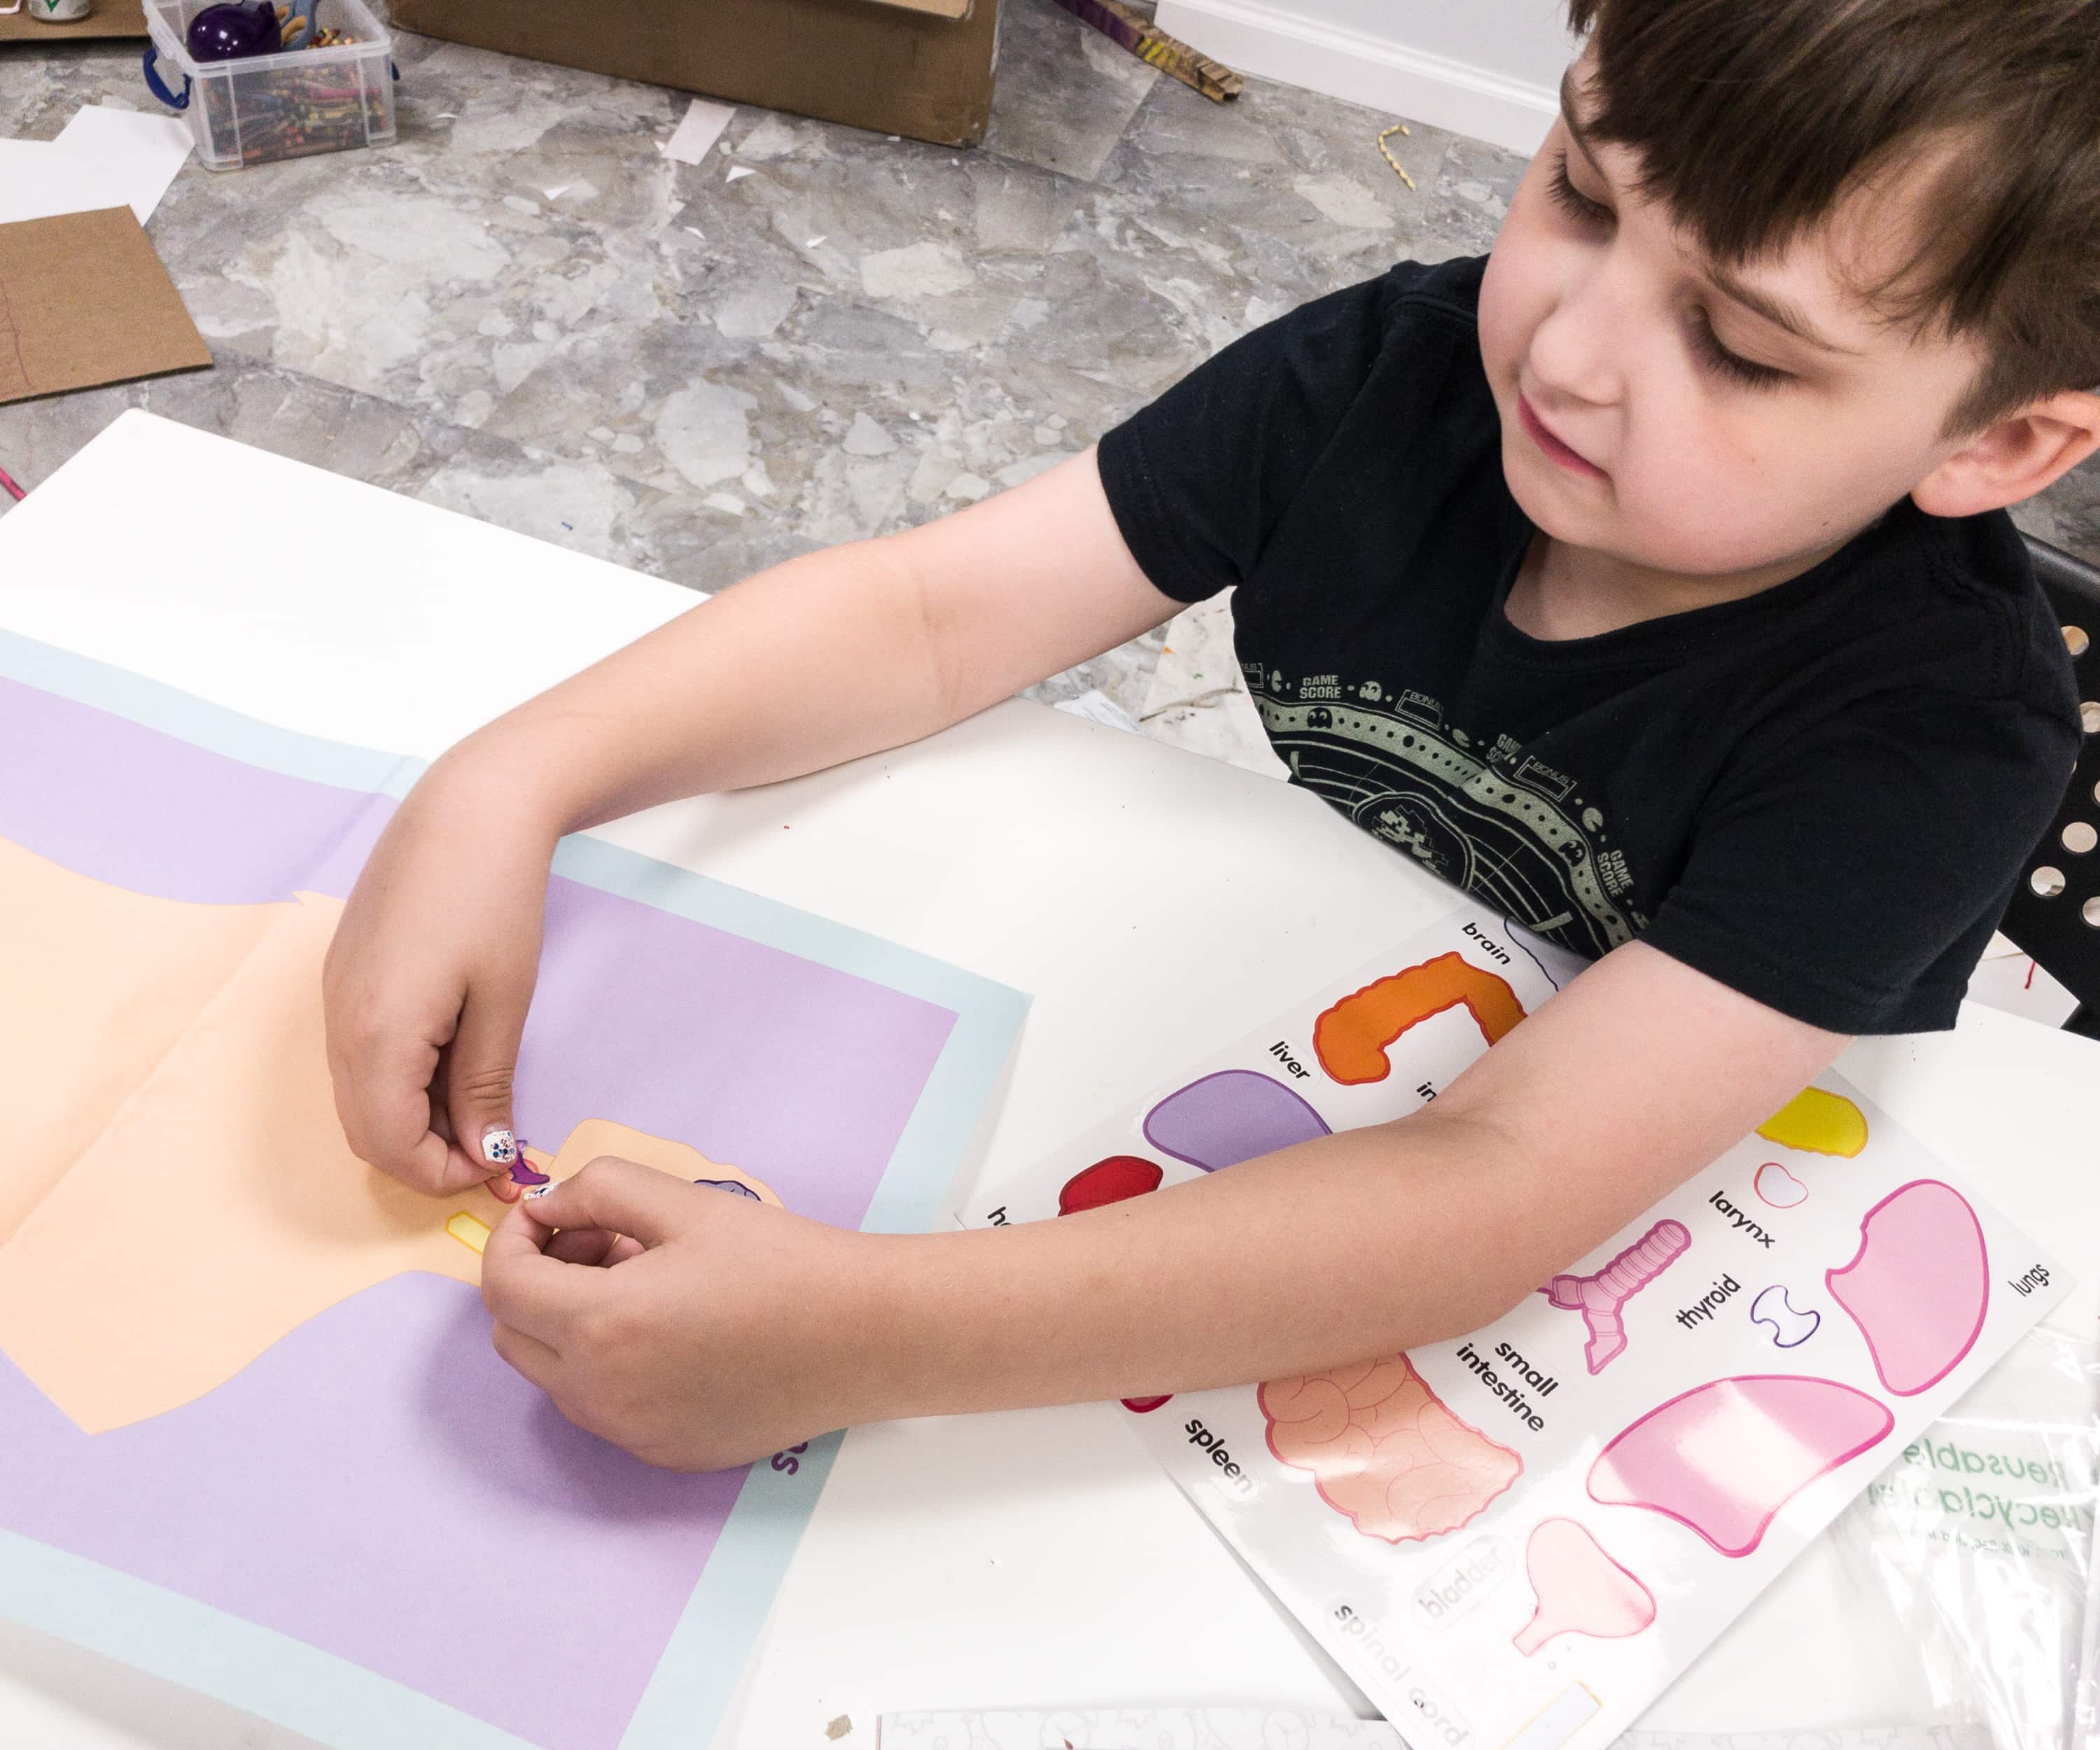
After putting the organs together, it’s time to place the name sticker for each.
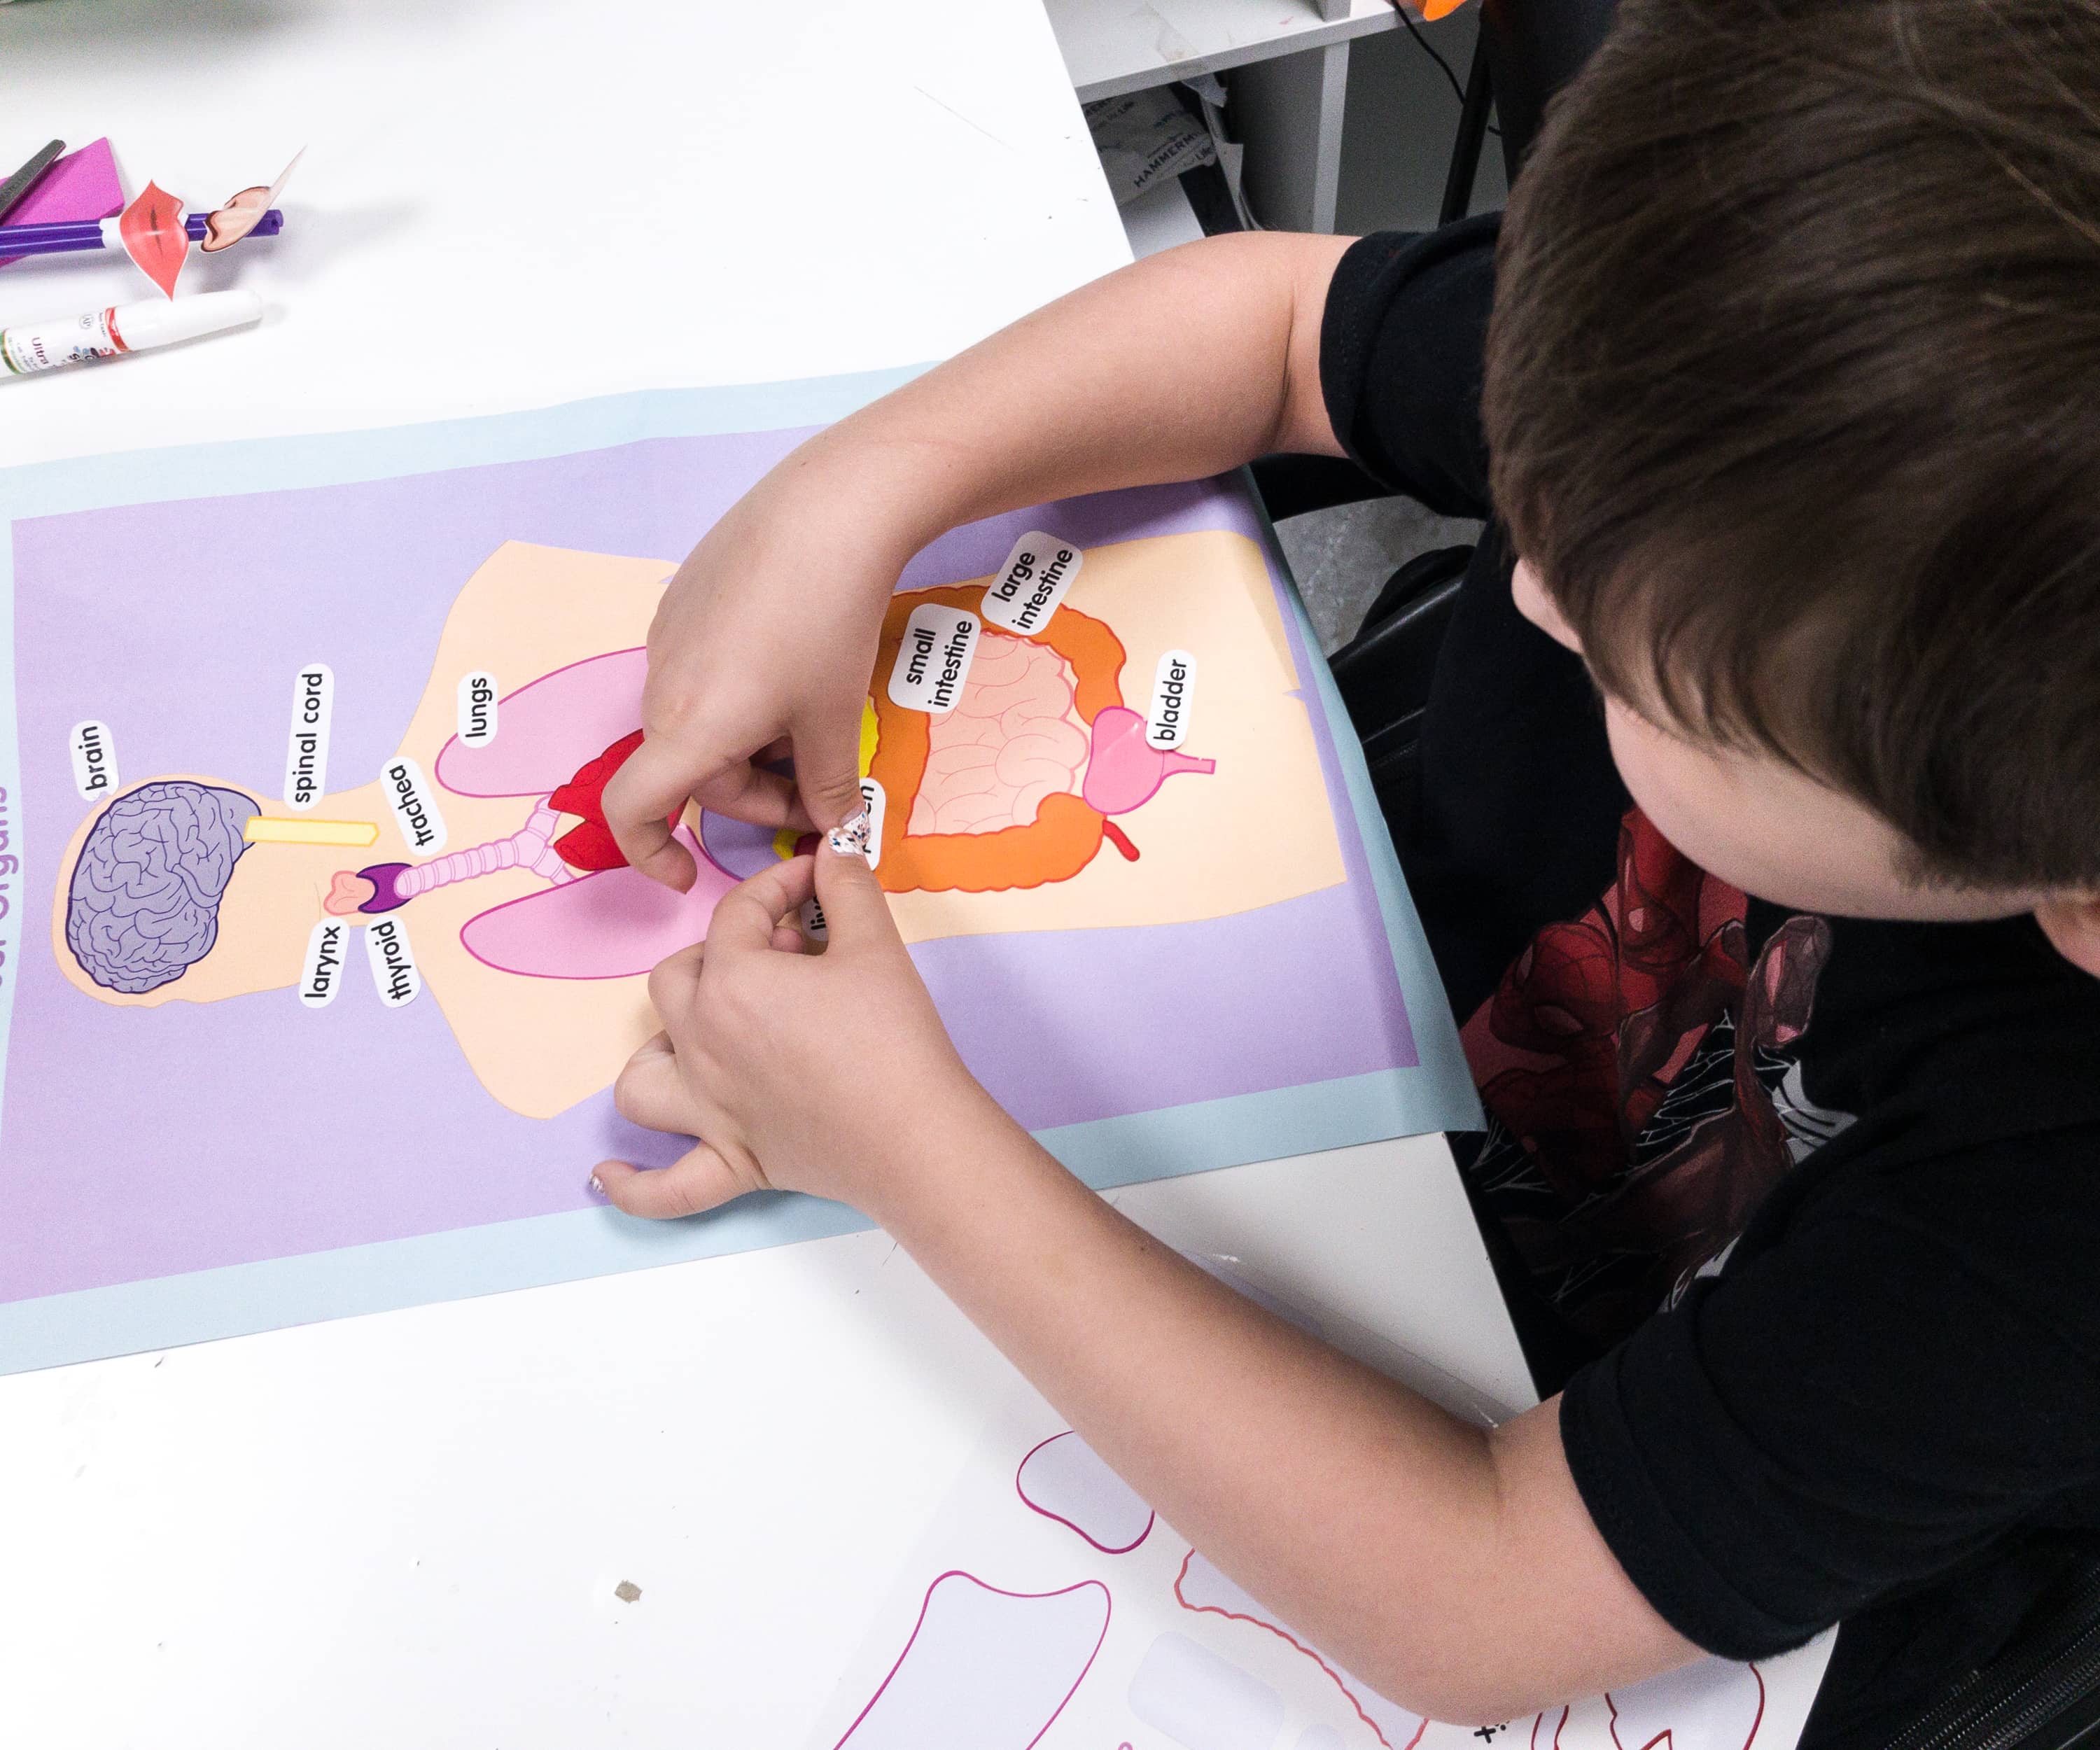
My son found it easy to match the names with the organs!
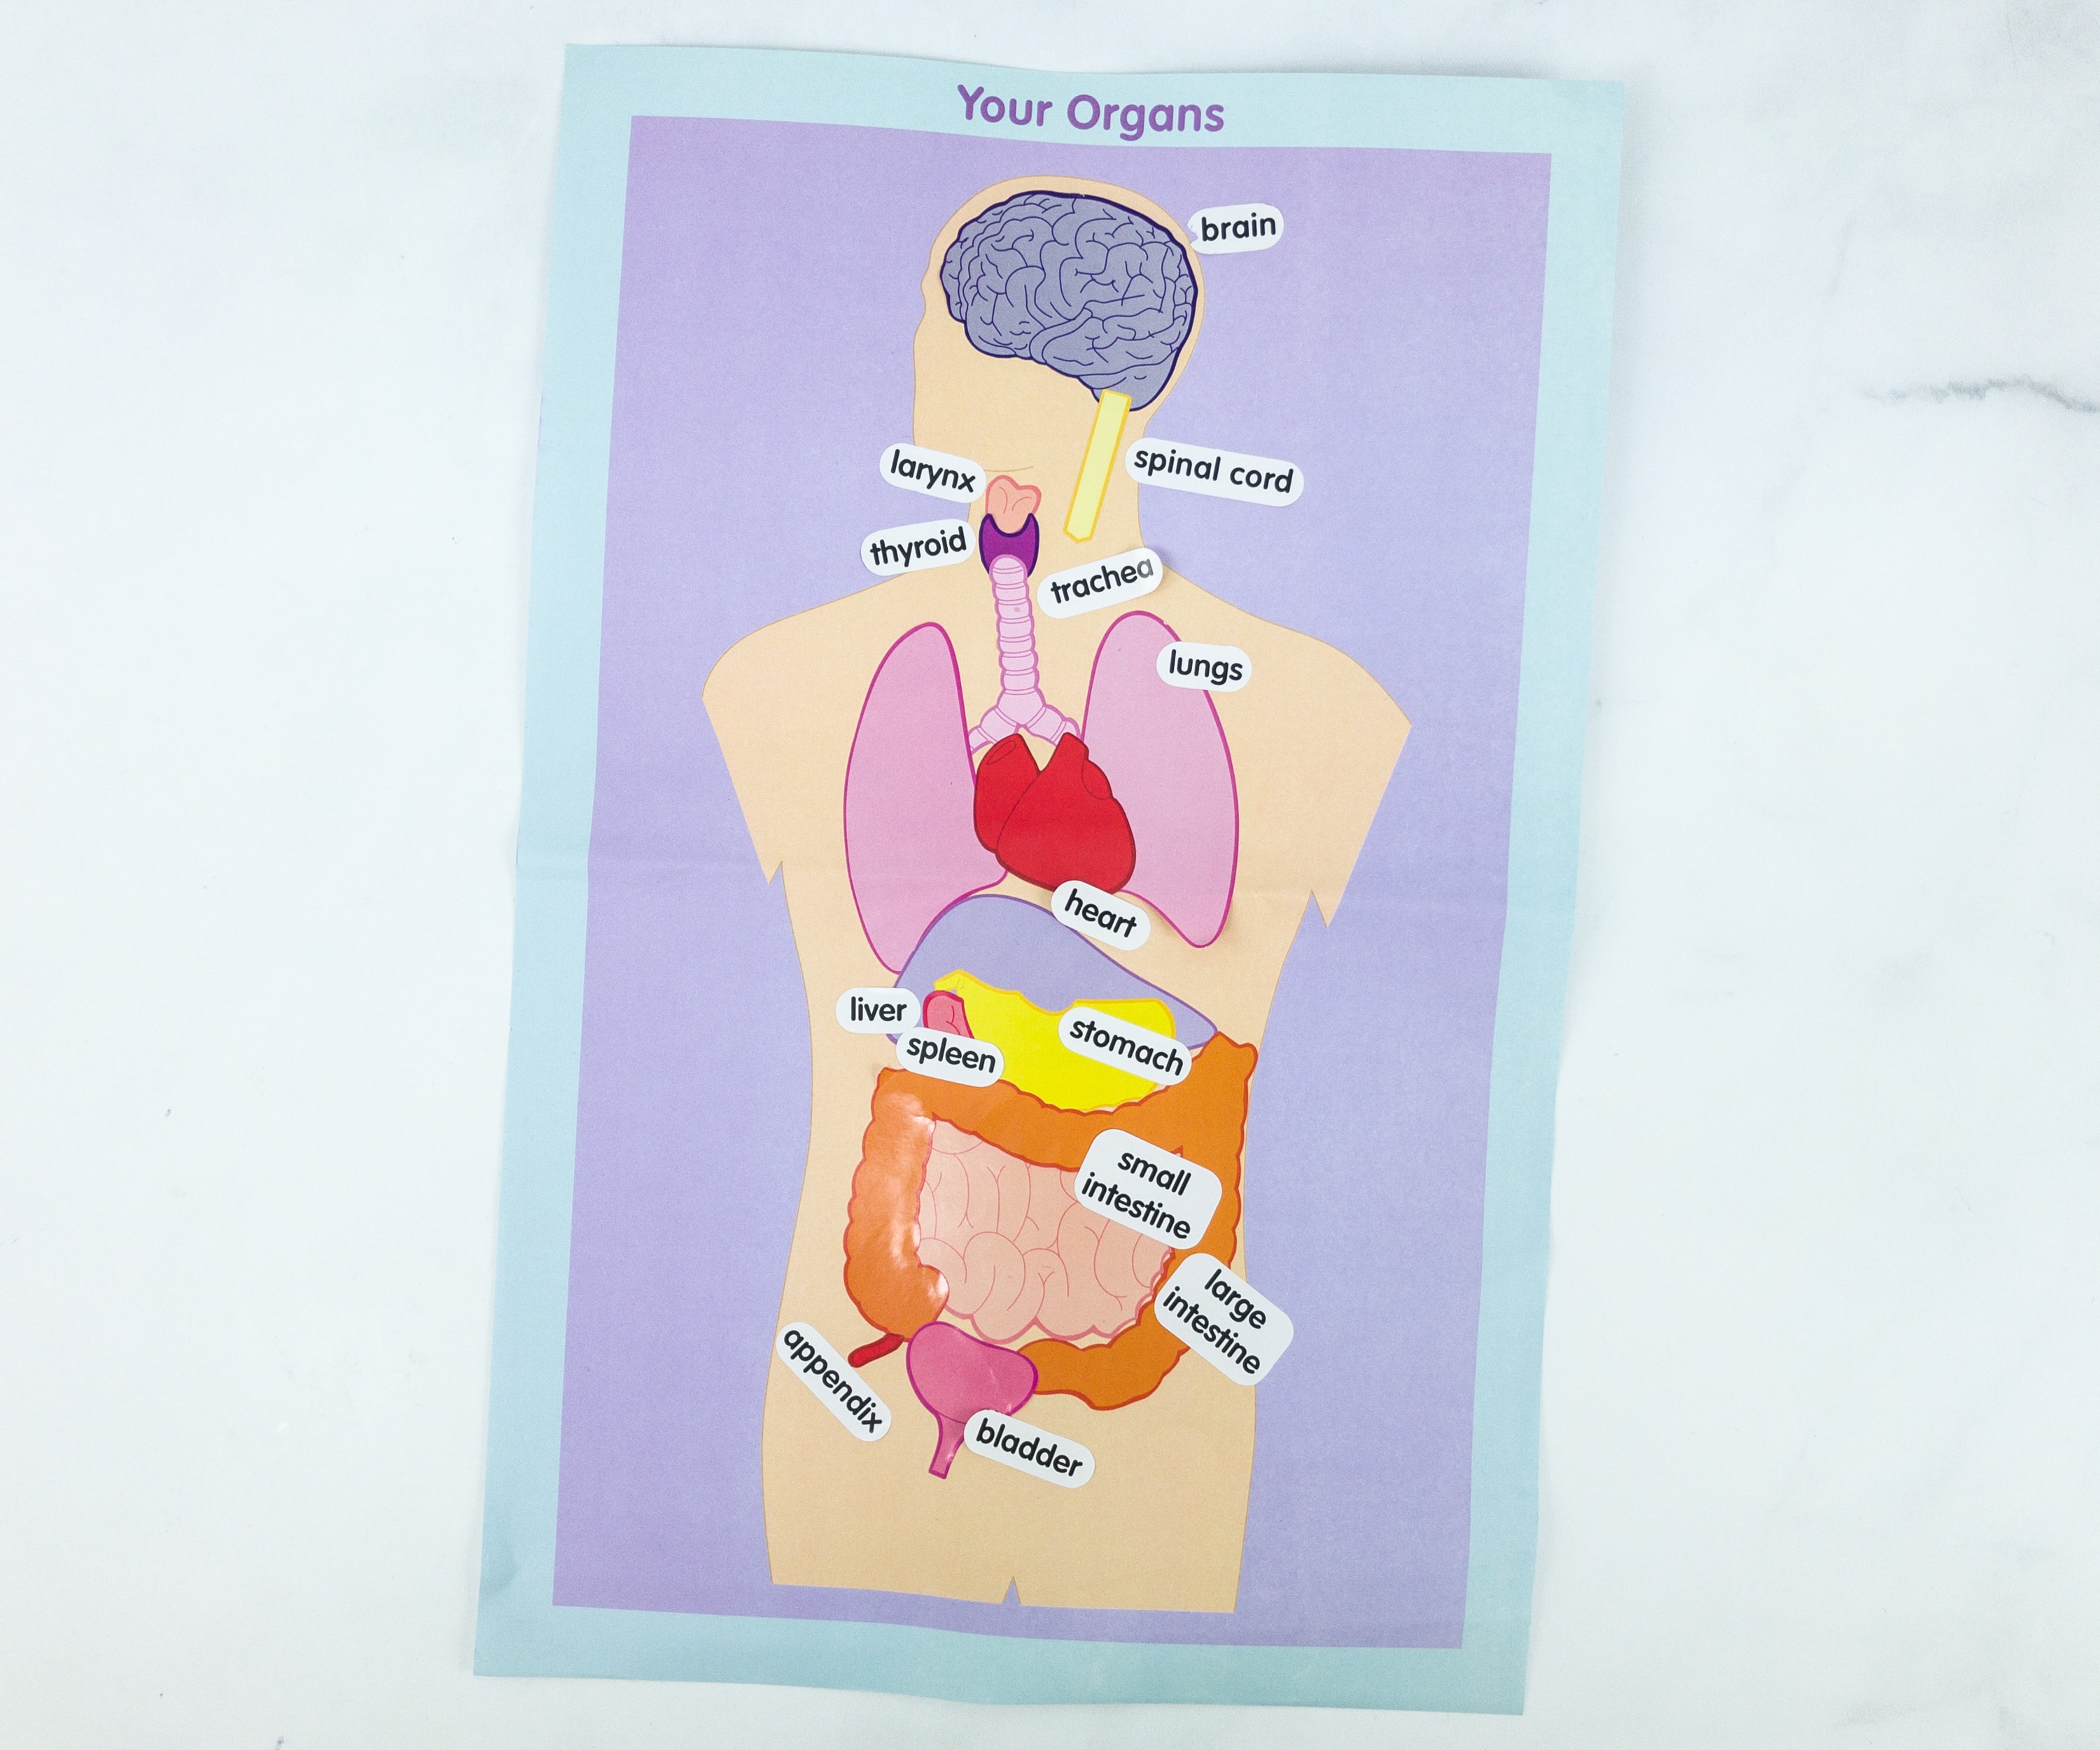
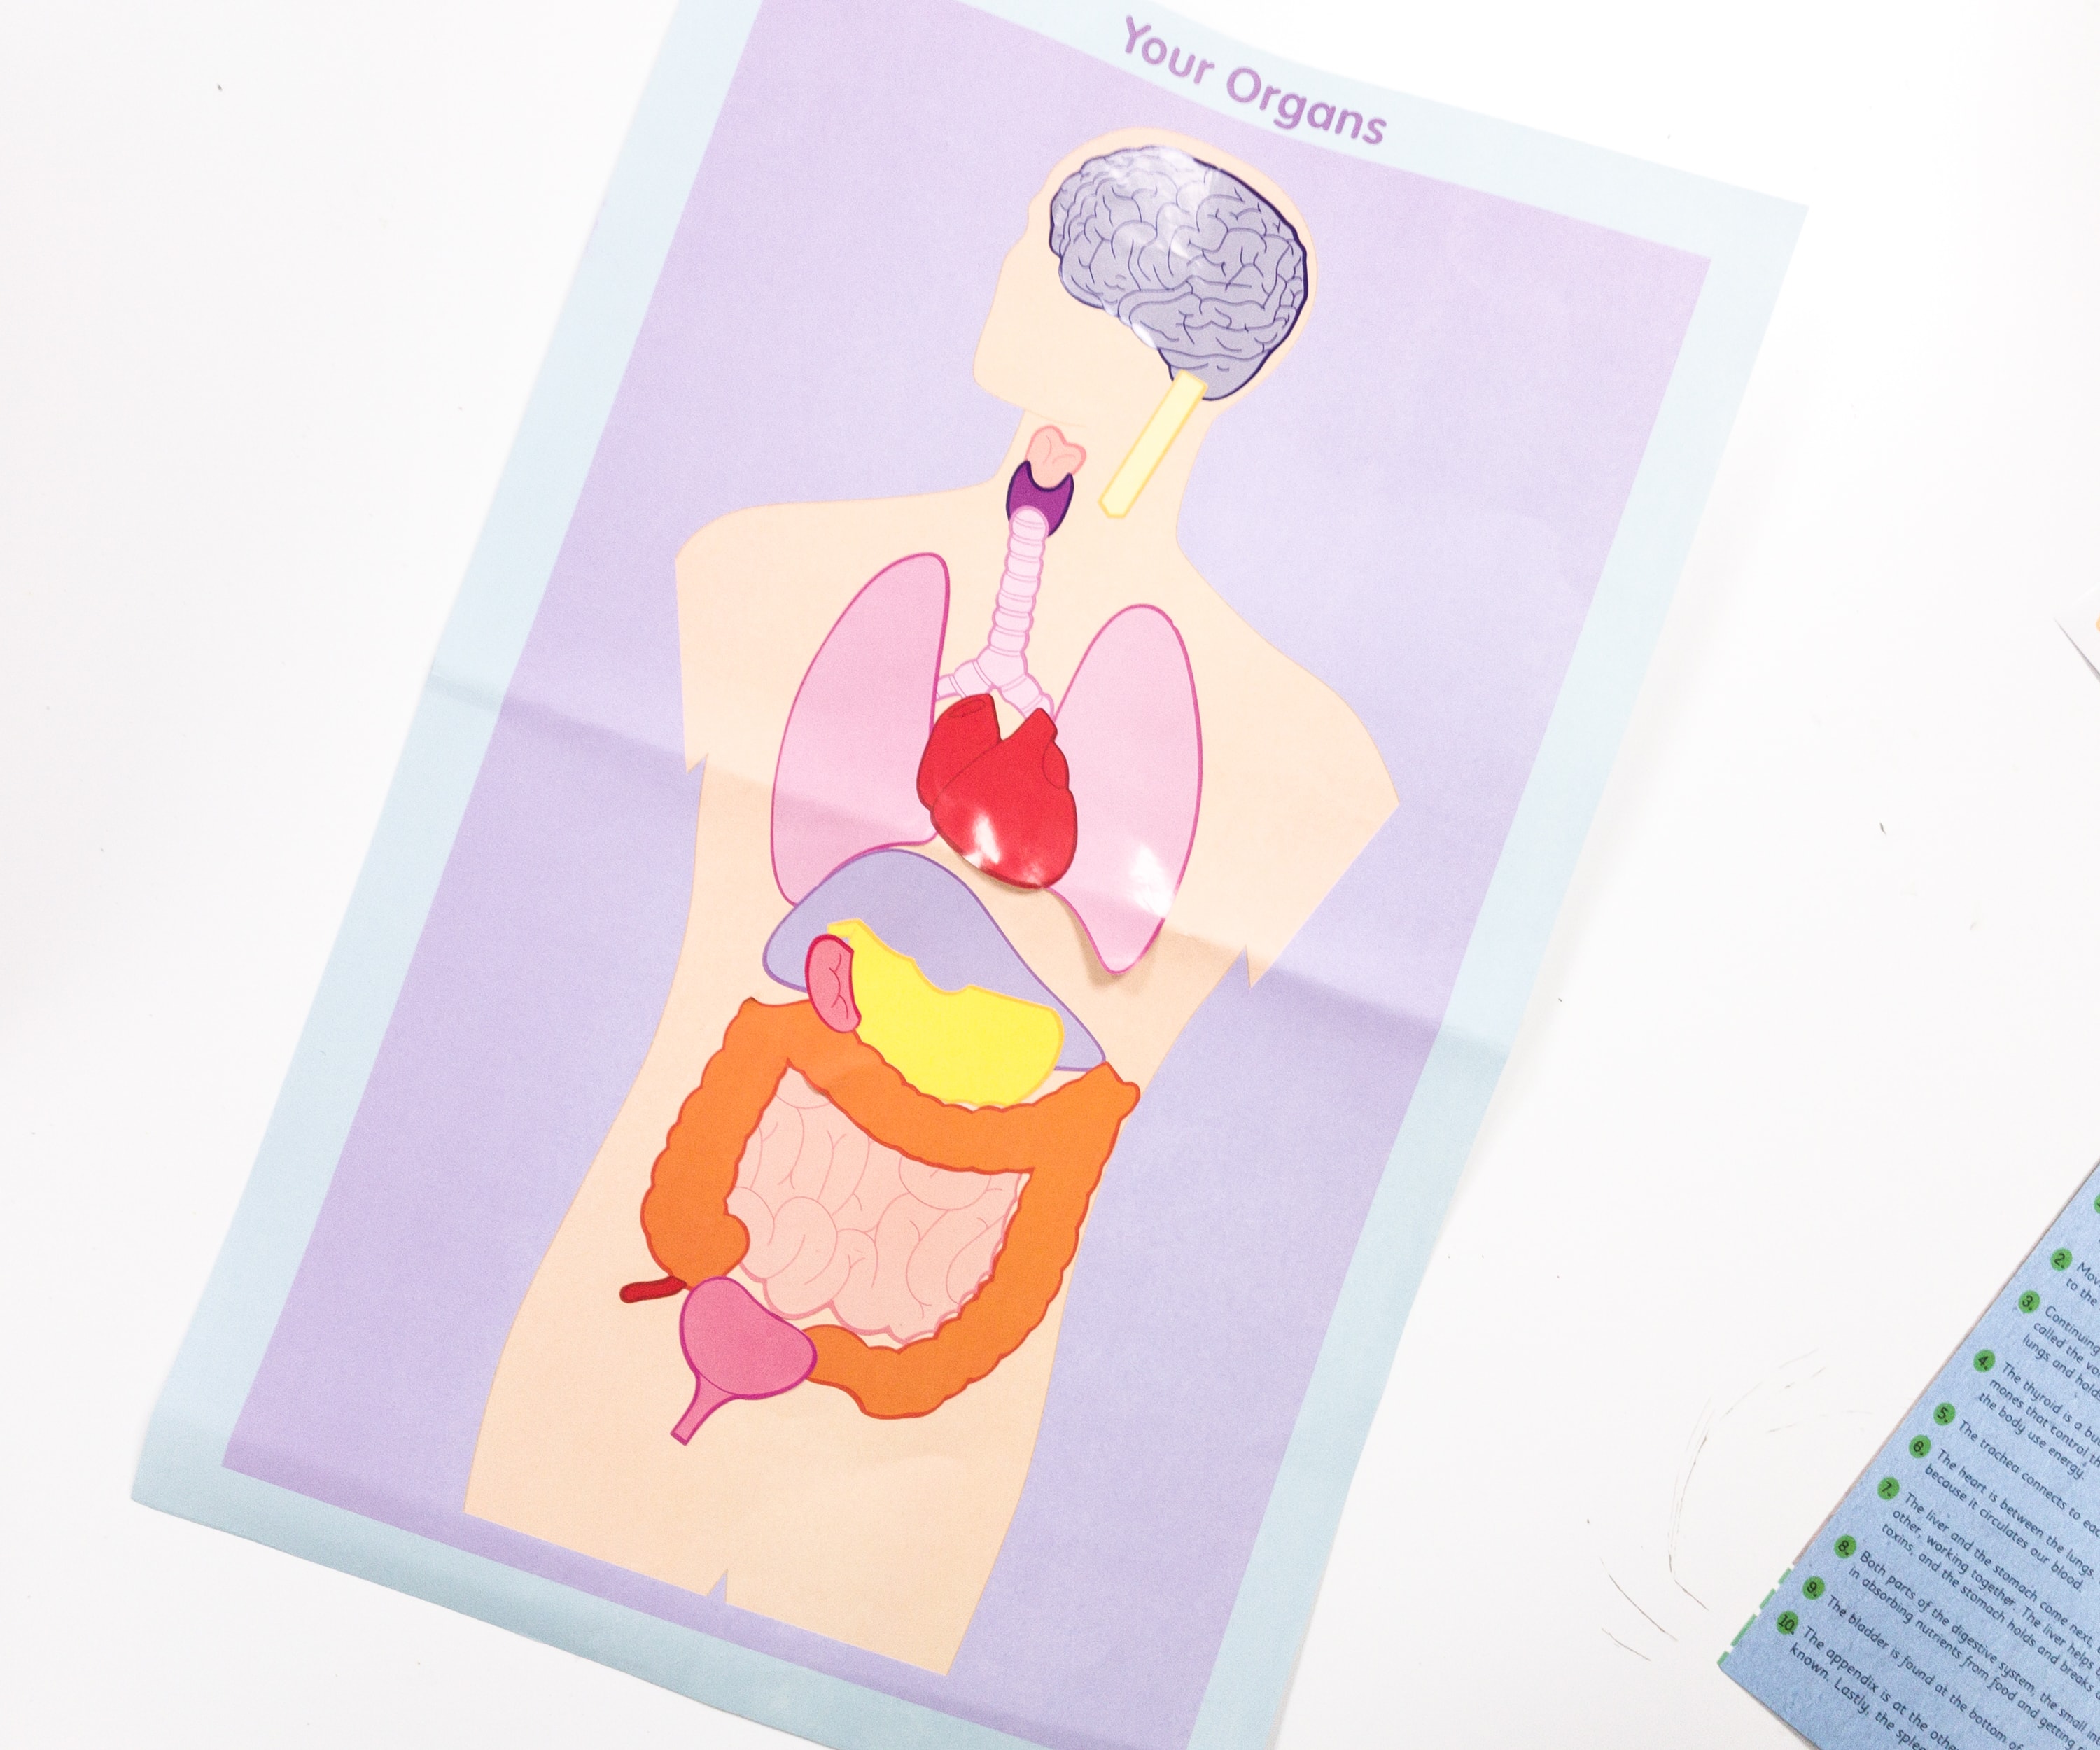
Here’s the final look of the poster! My kids did such a great job!
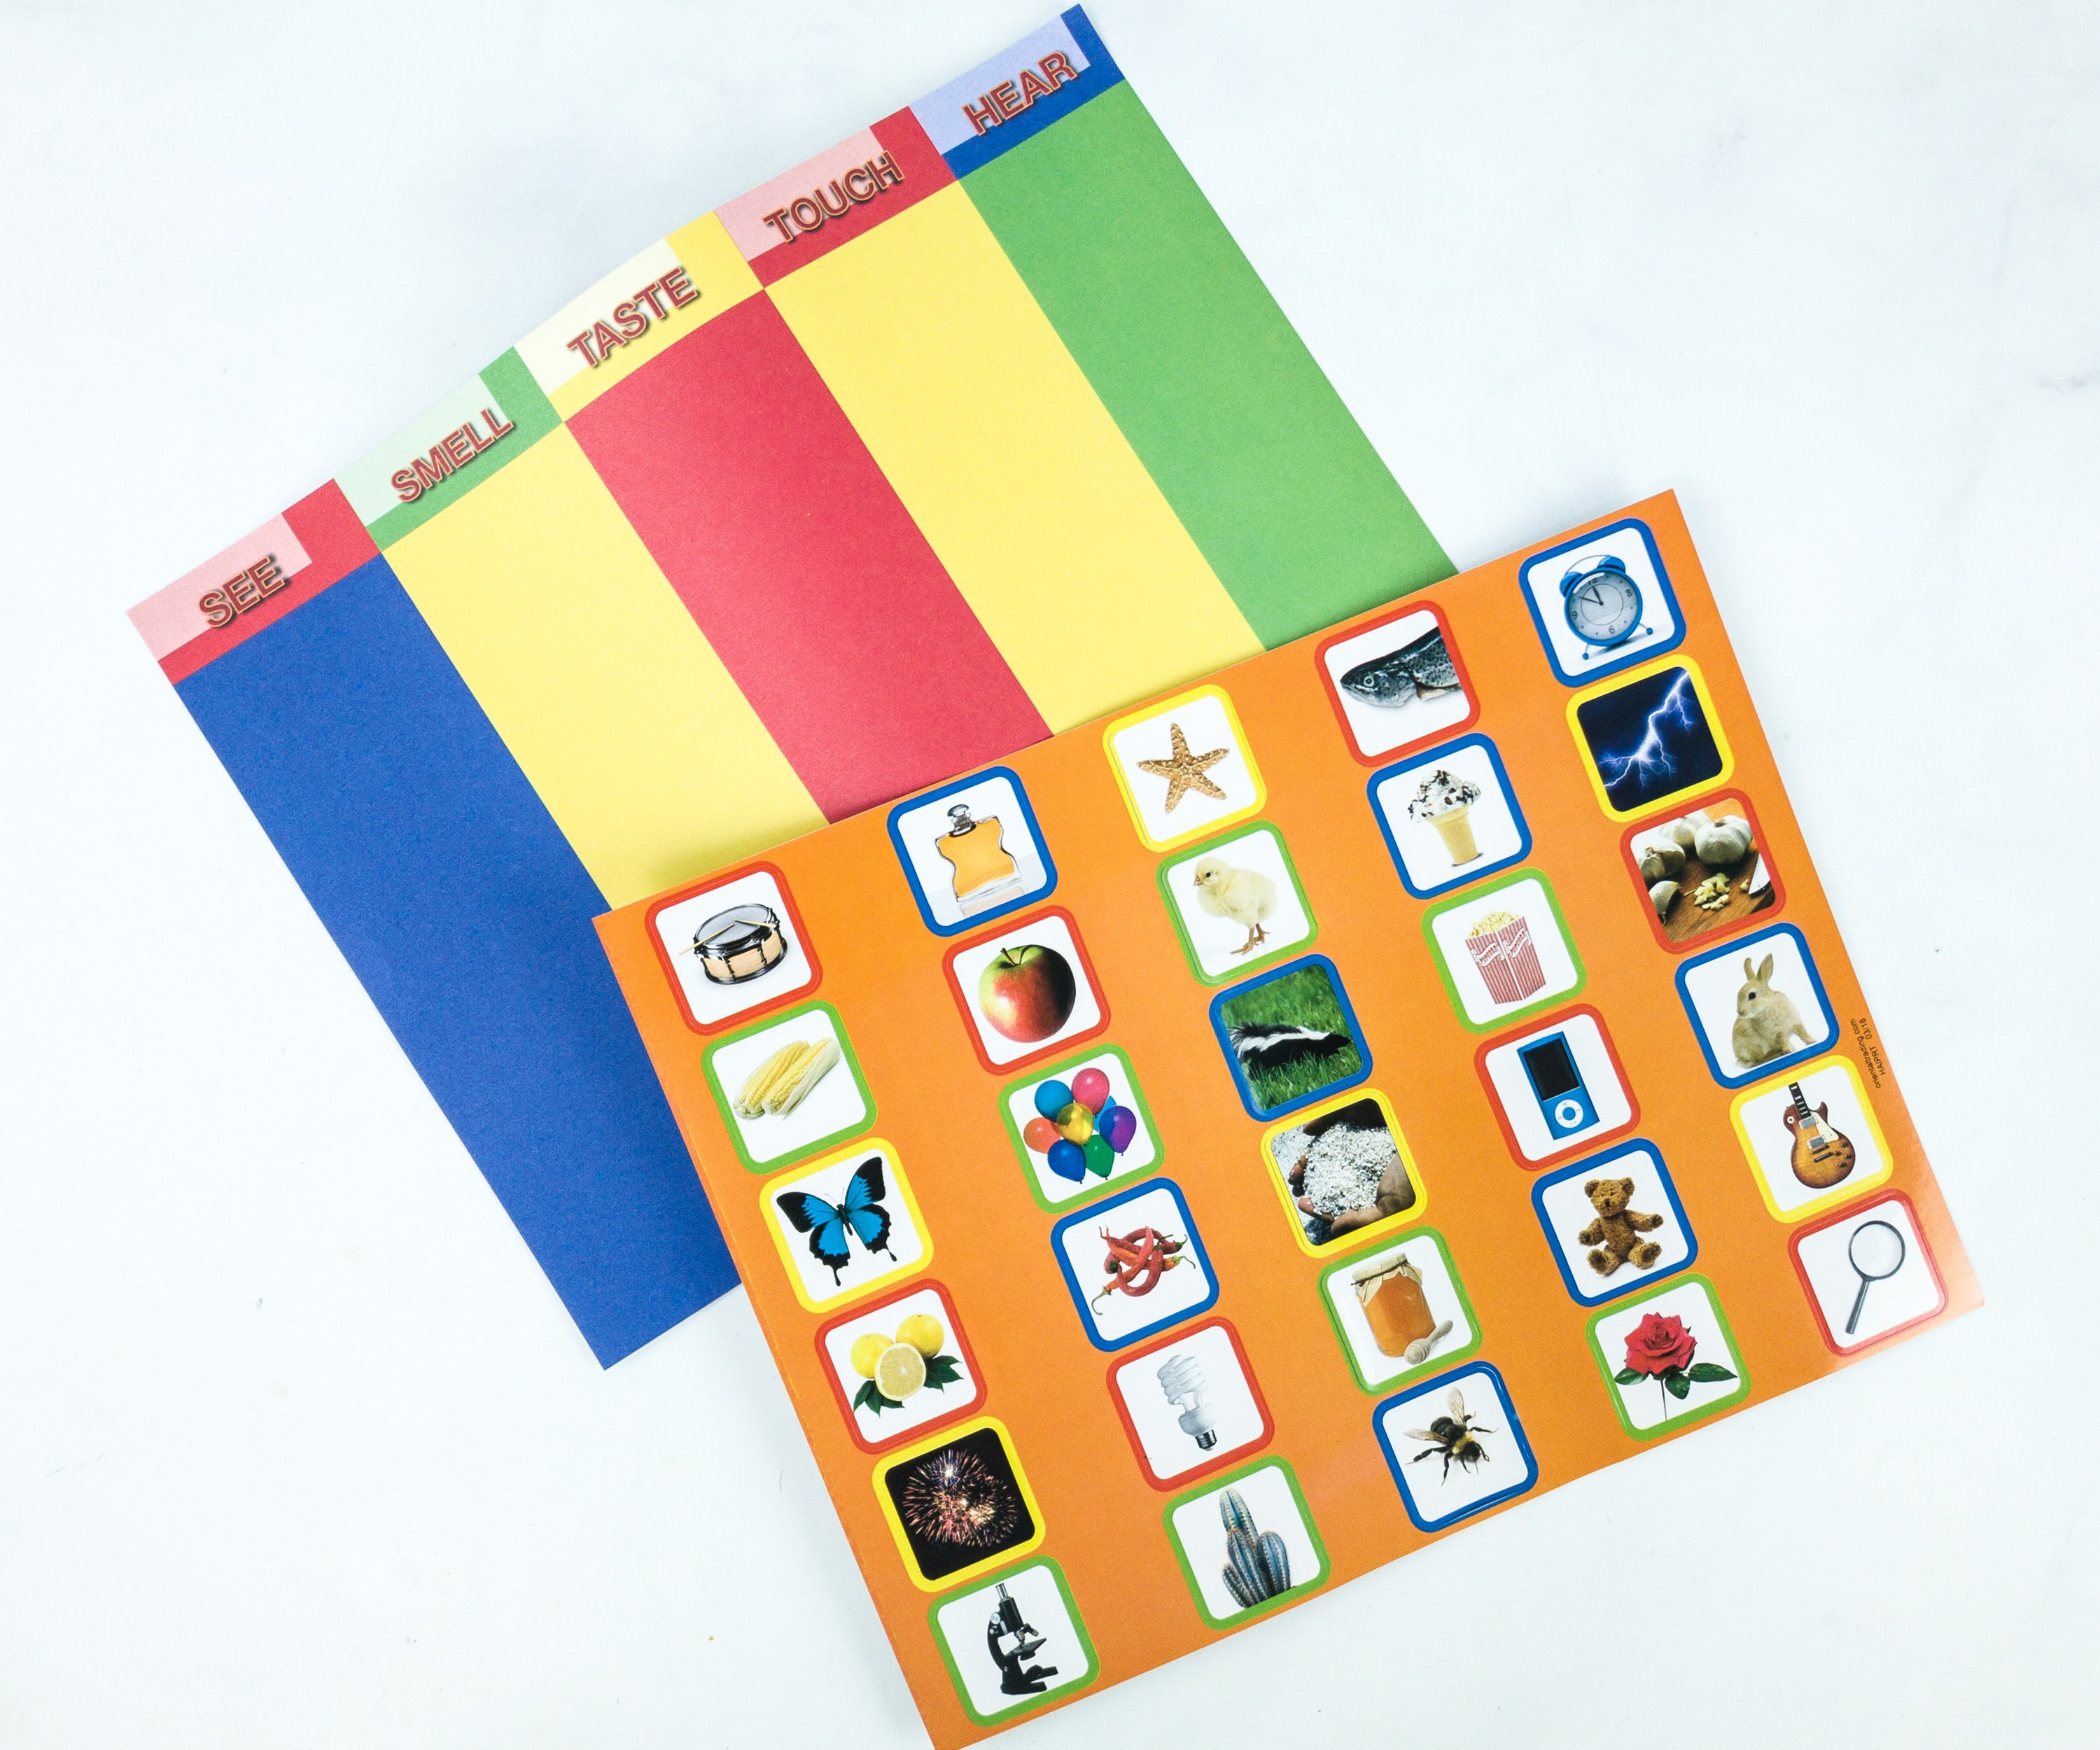
Project #2: The 5 Senses. For the second activity, we used the five senses chart and five senses stickers.

Just like the first activity, you just need to transfer the stickers on their proper place in the chart.
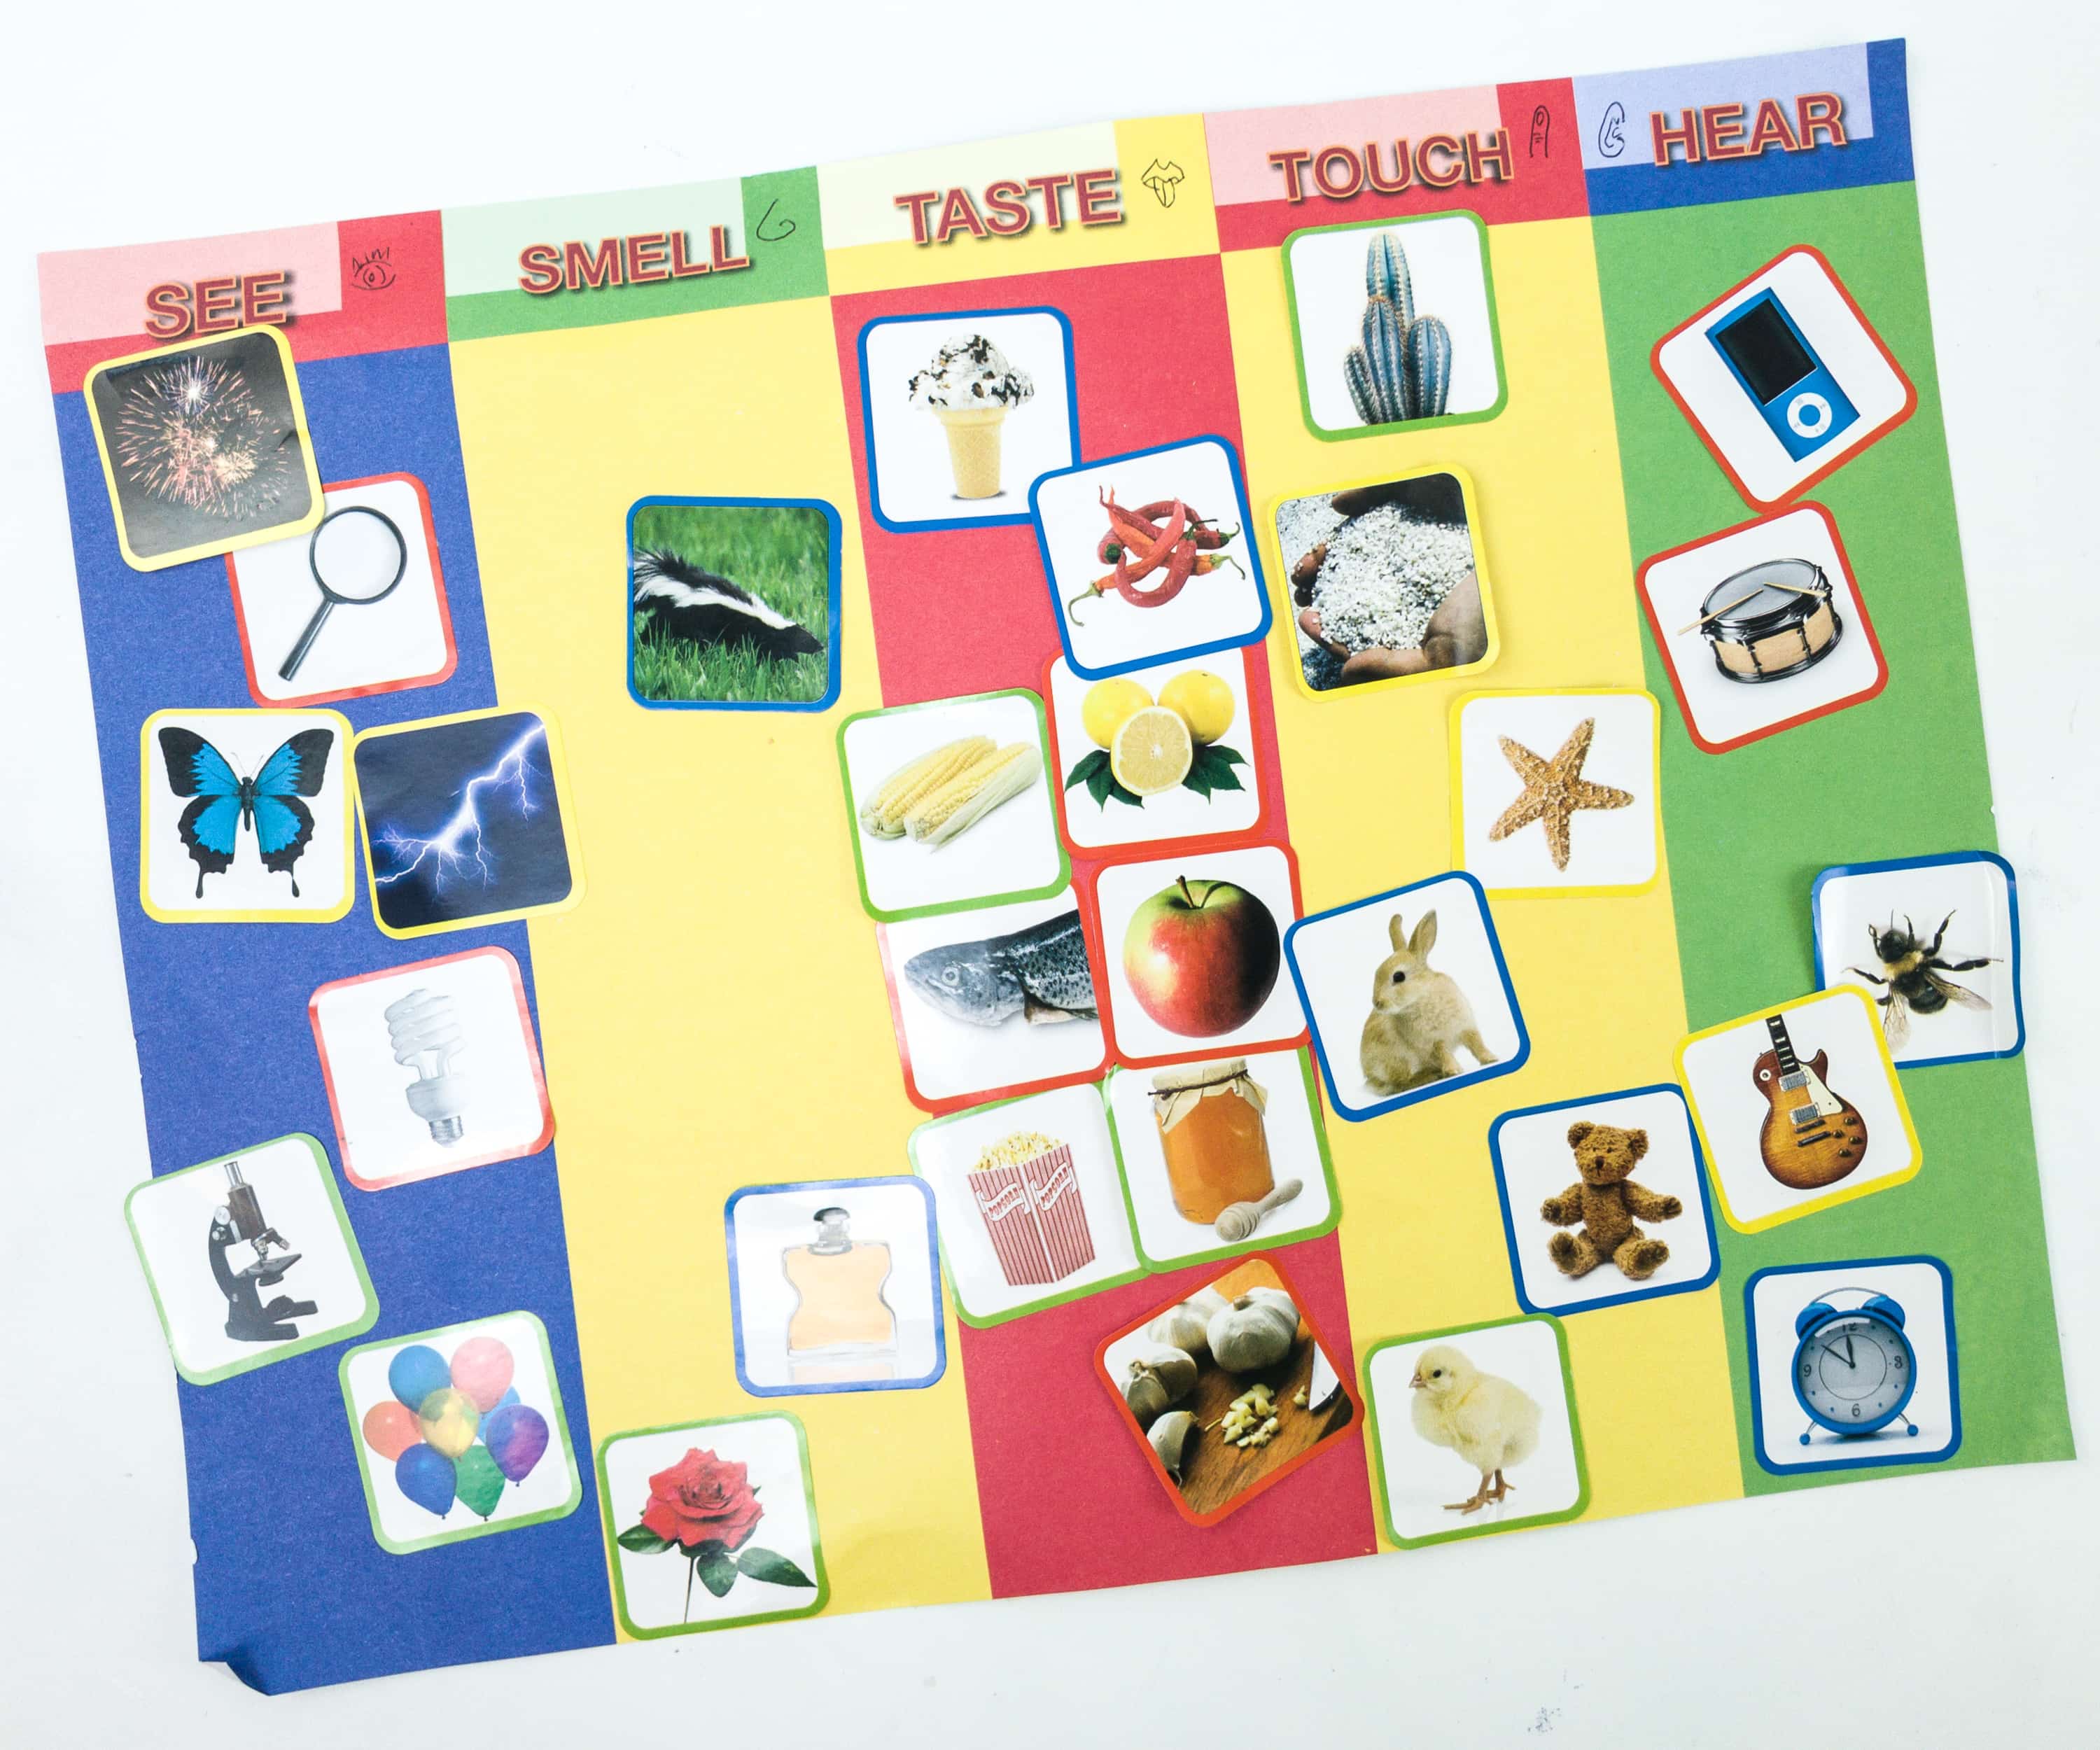
You need to match the object stickers to the column of the proper sense used to recognize it. You might find it a little tricky, there’s no correct answer as long as your kids can justify them.
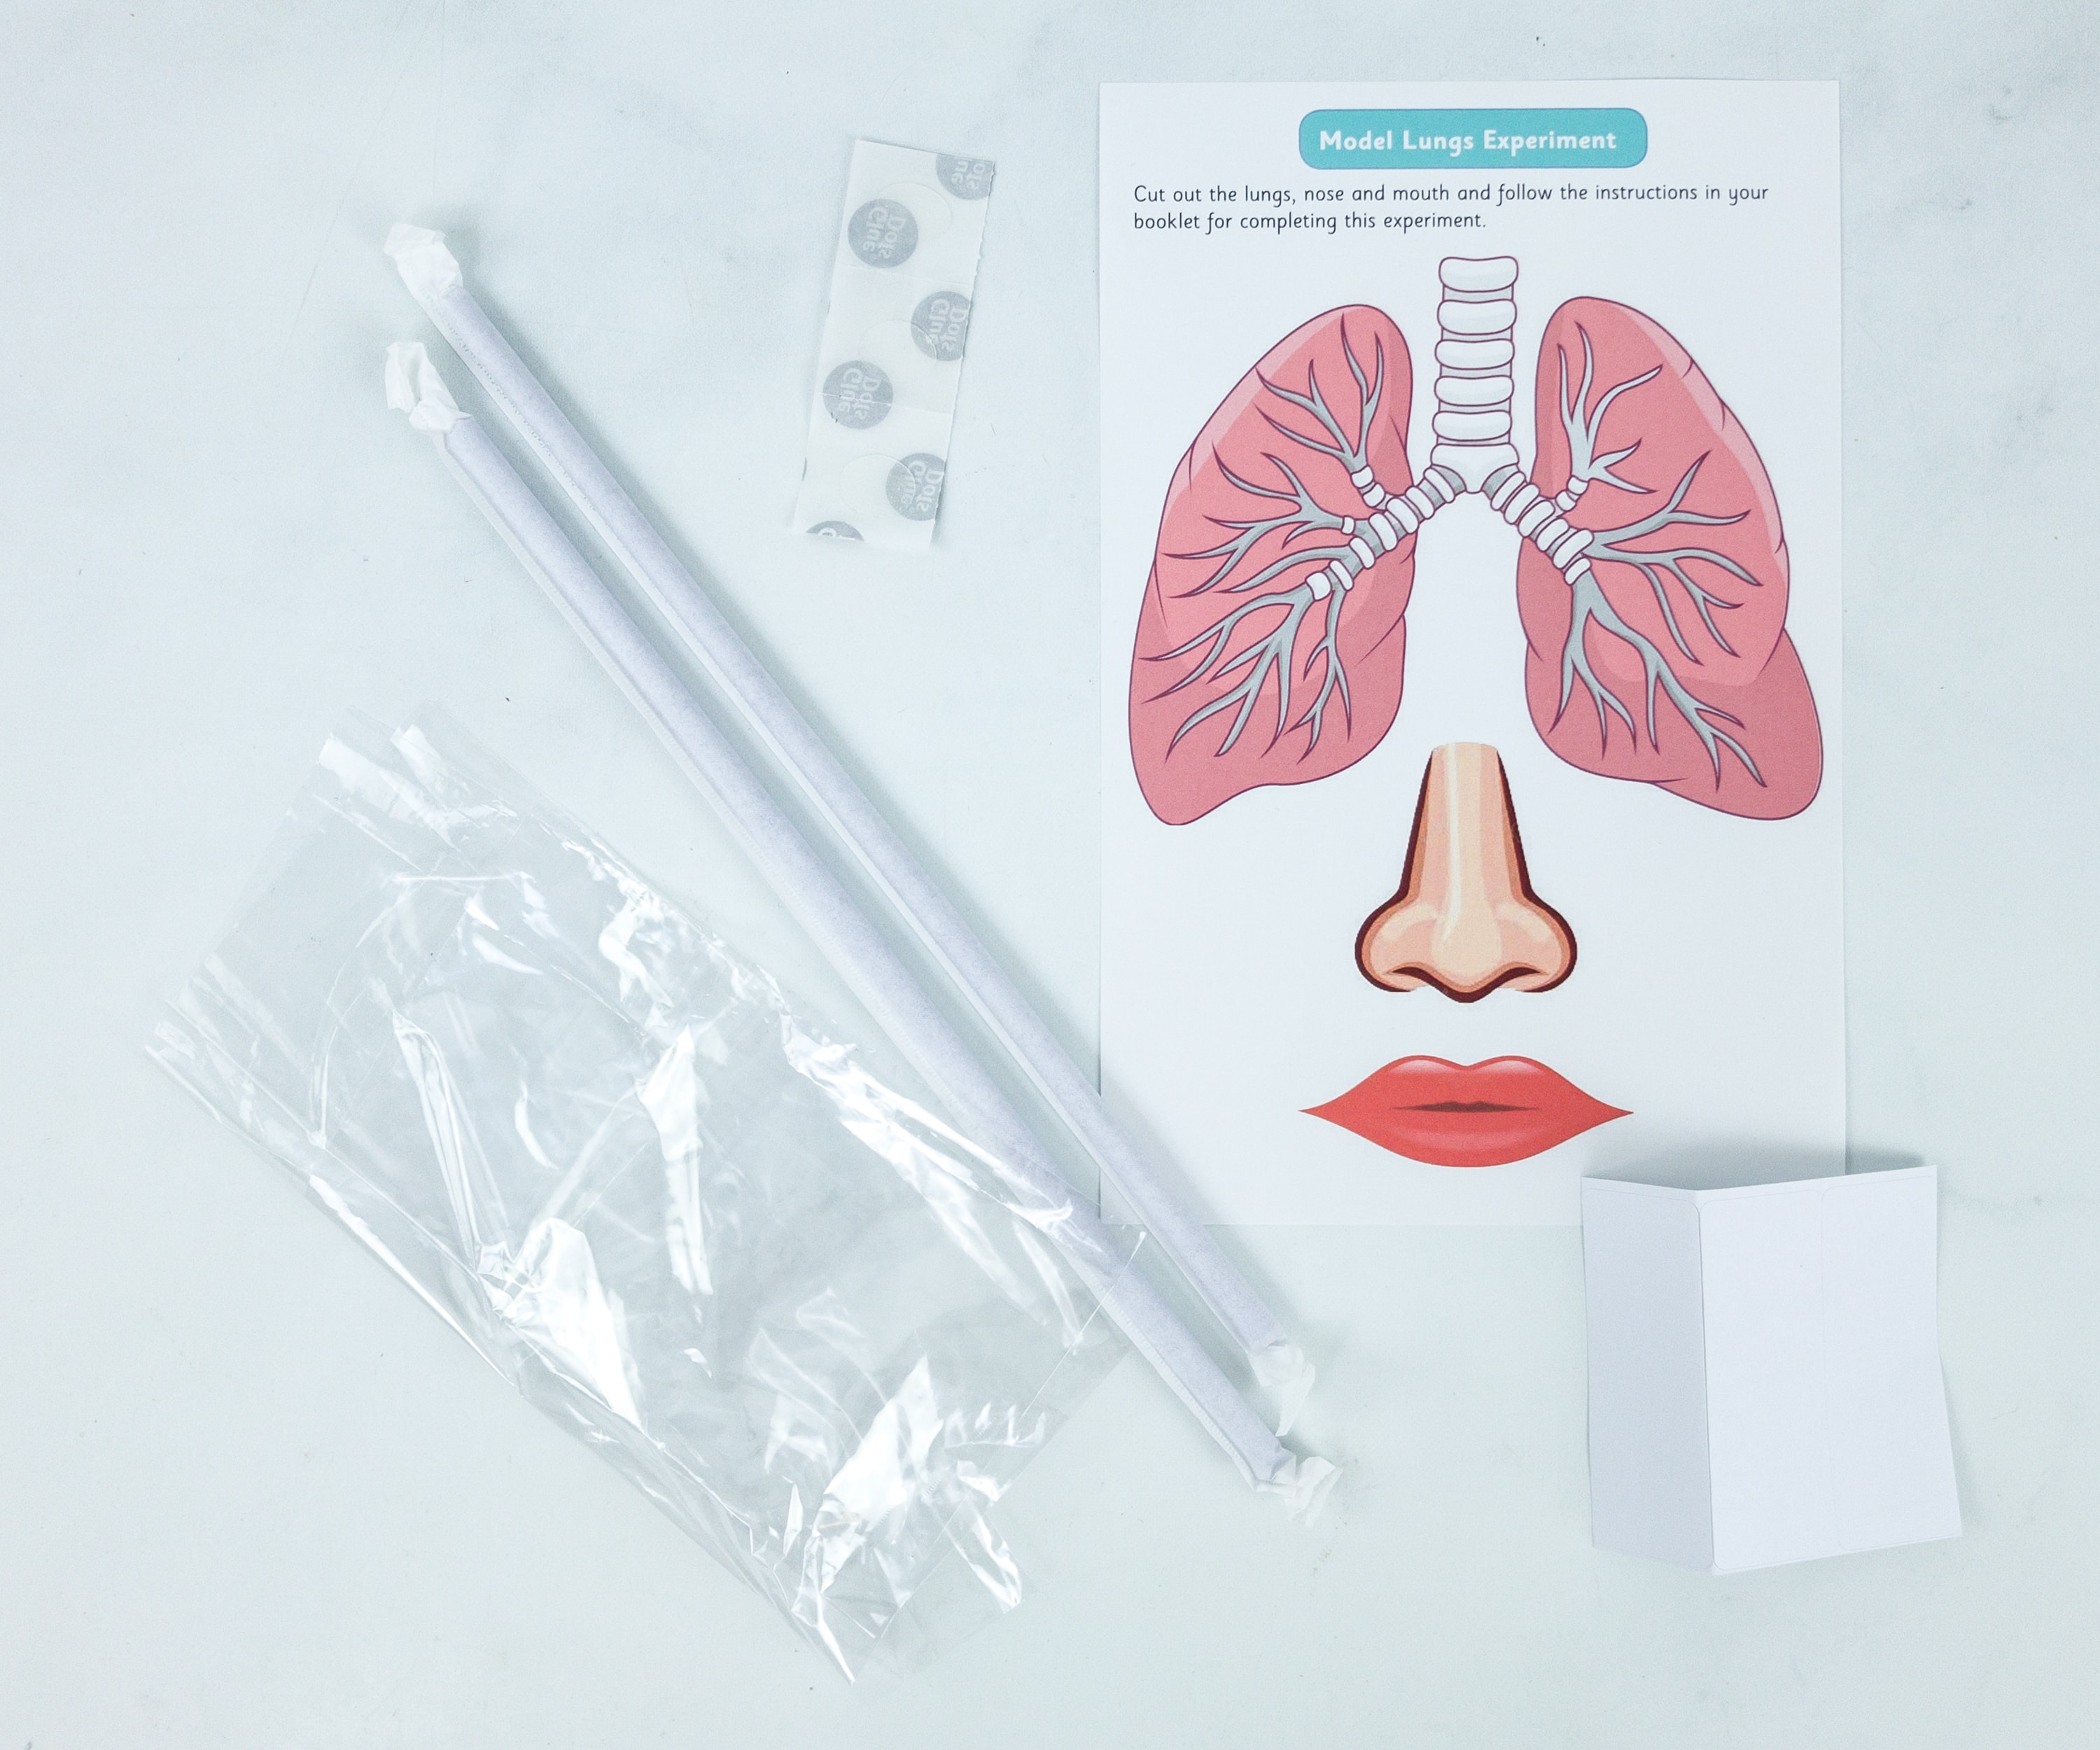
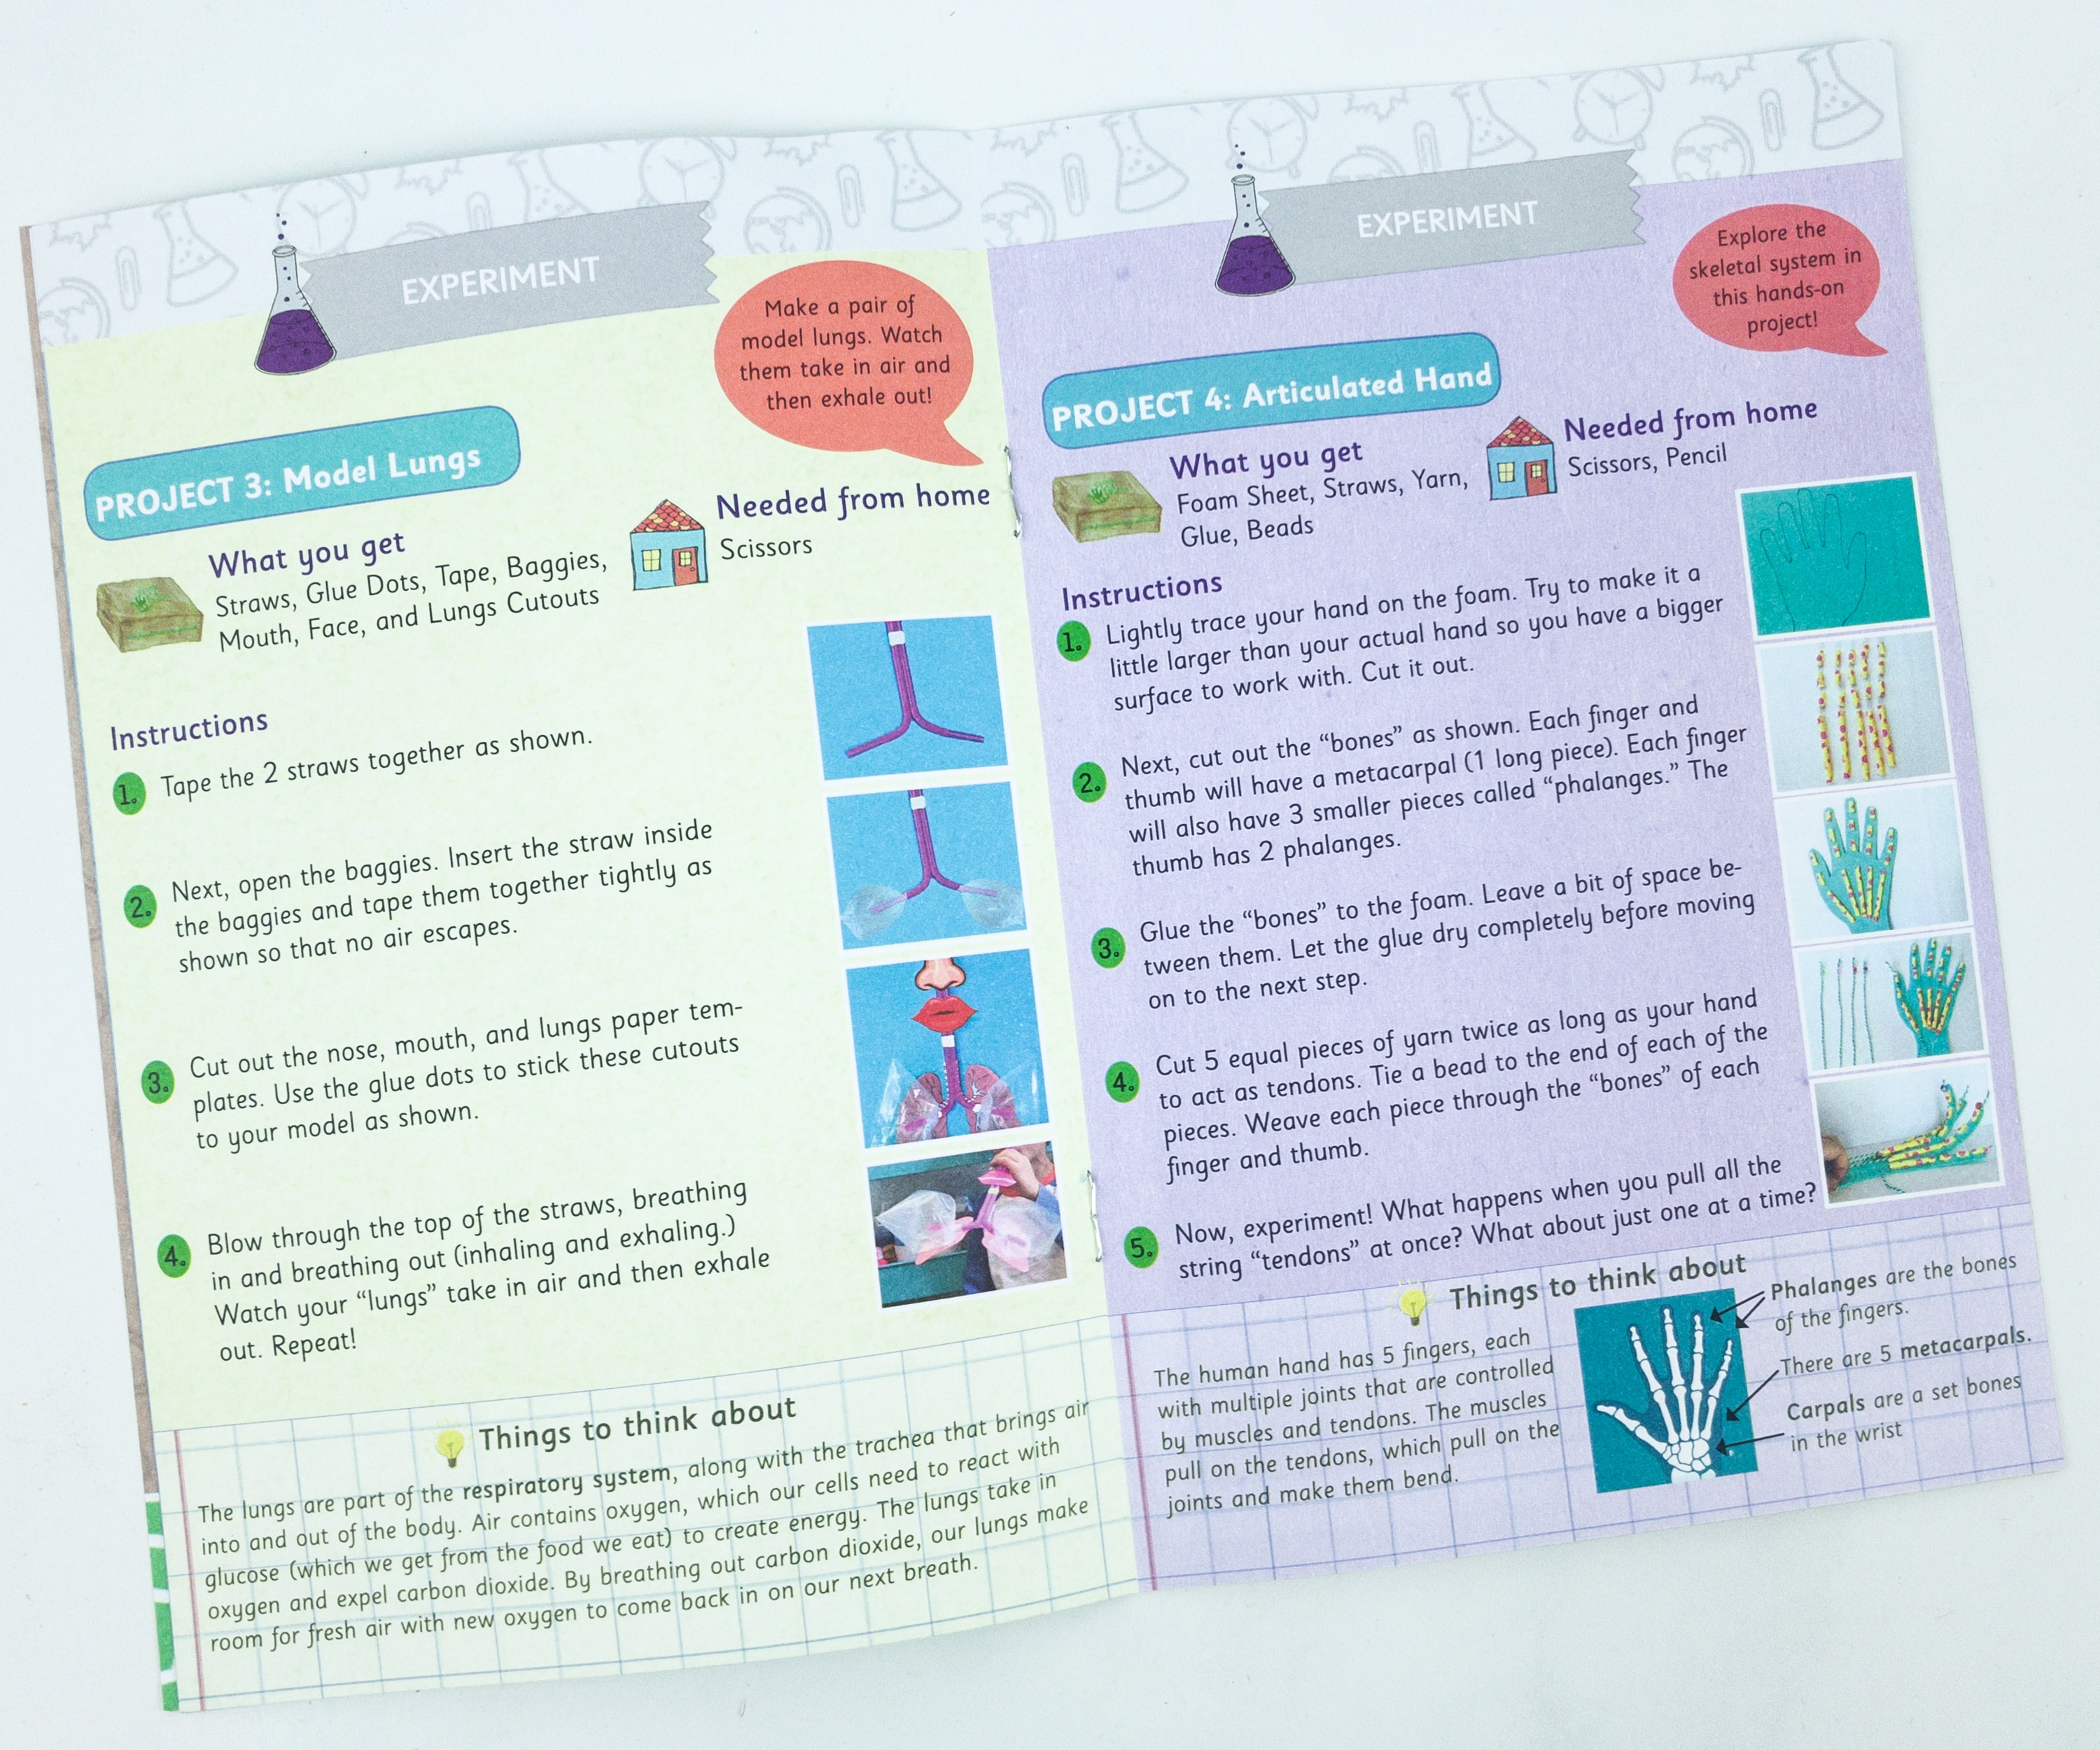
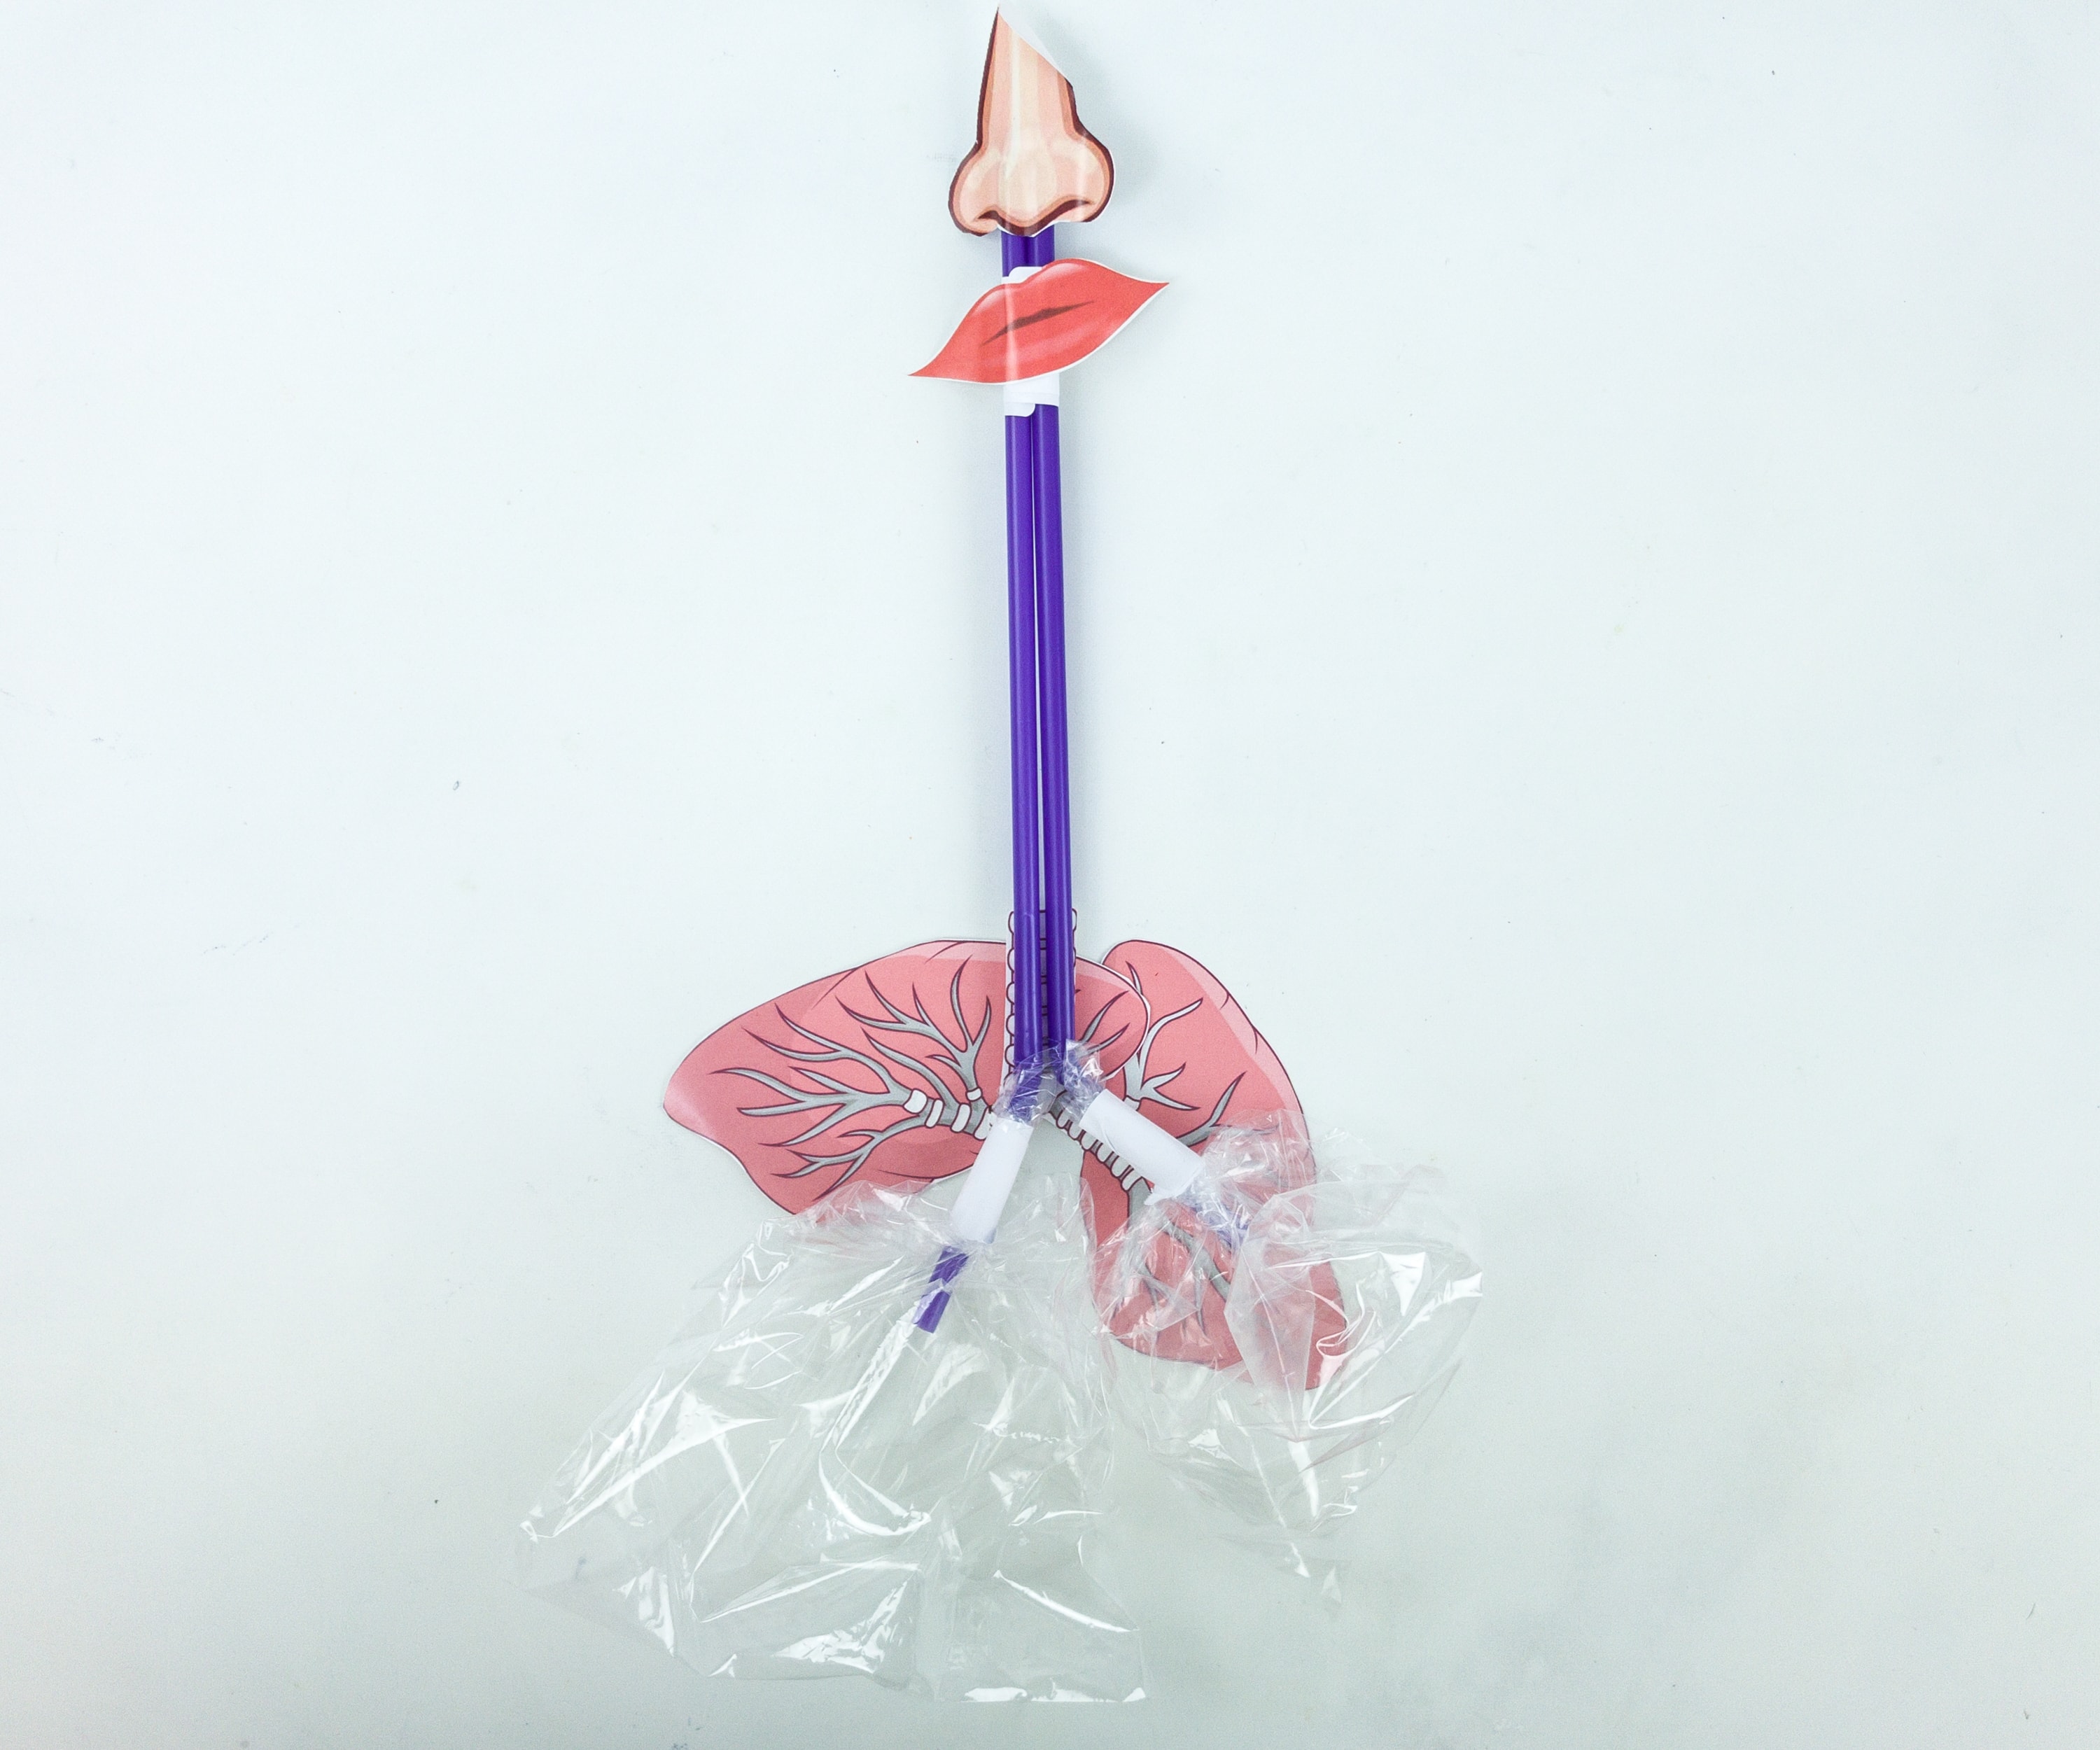
Project #3: Model Lungs. For the third project, we’re making a model of lungs! Materials needed for this project are straws, glue dots, tape, baggies, mouth, face, and lung cutouts.
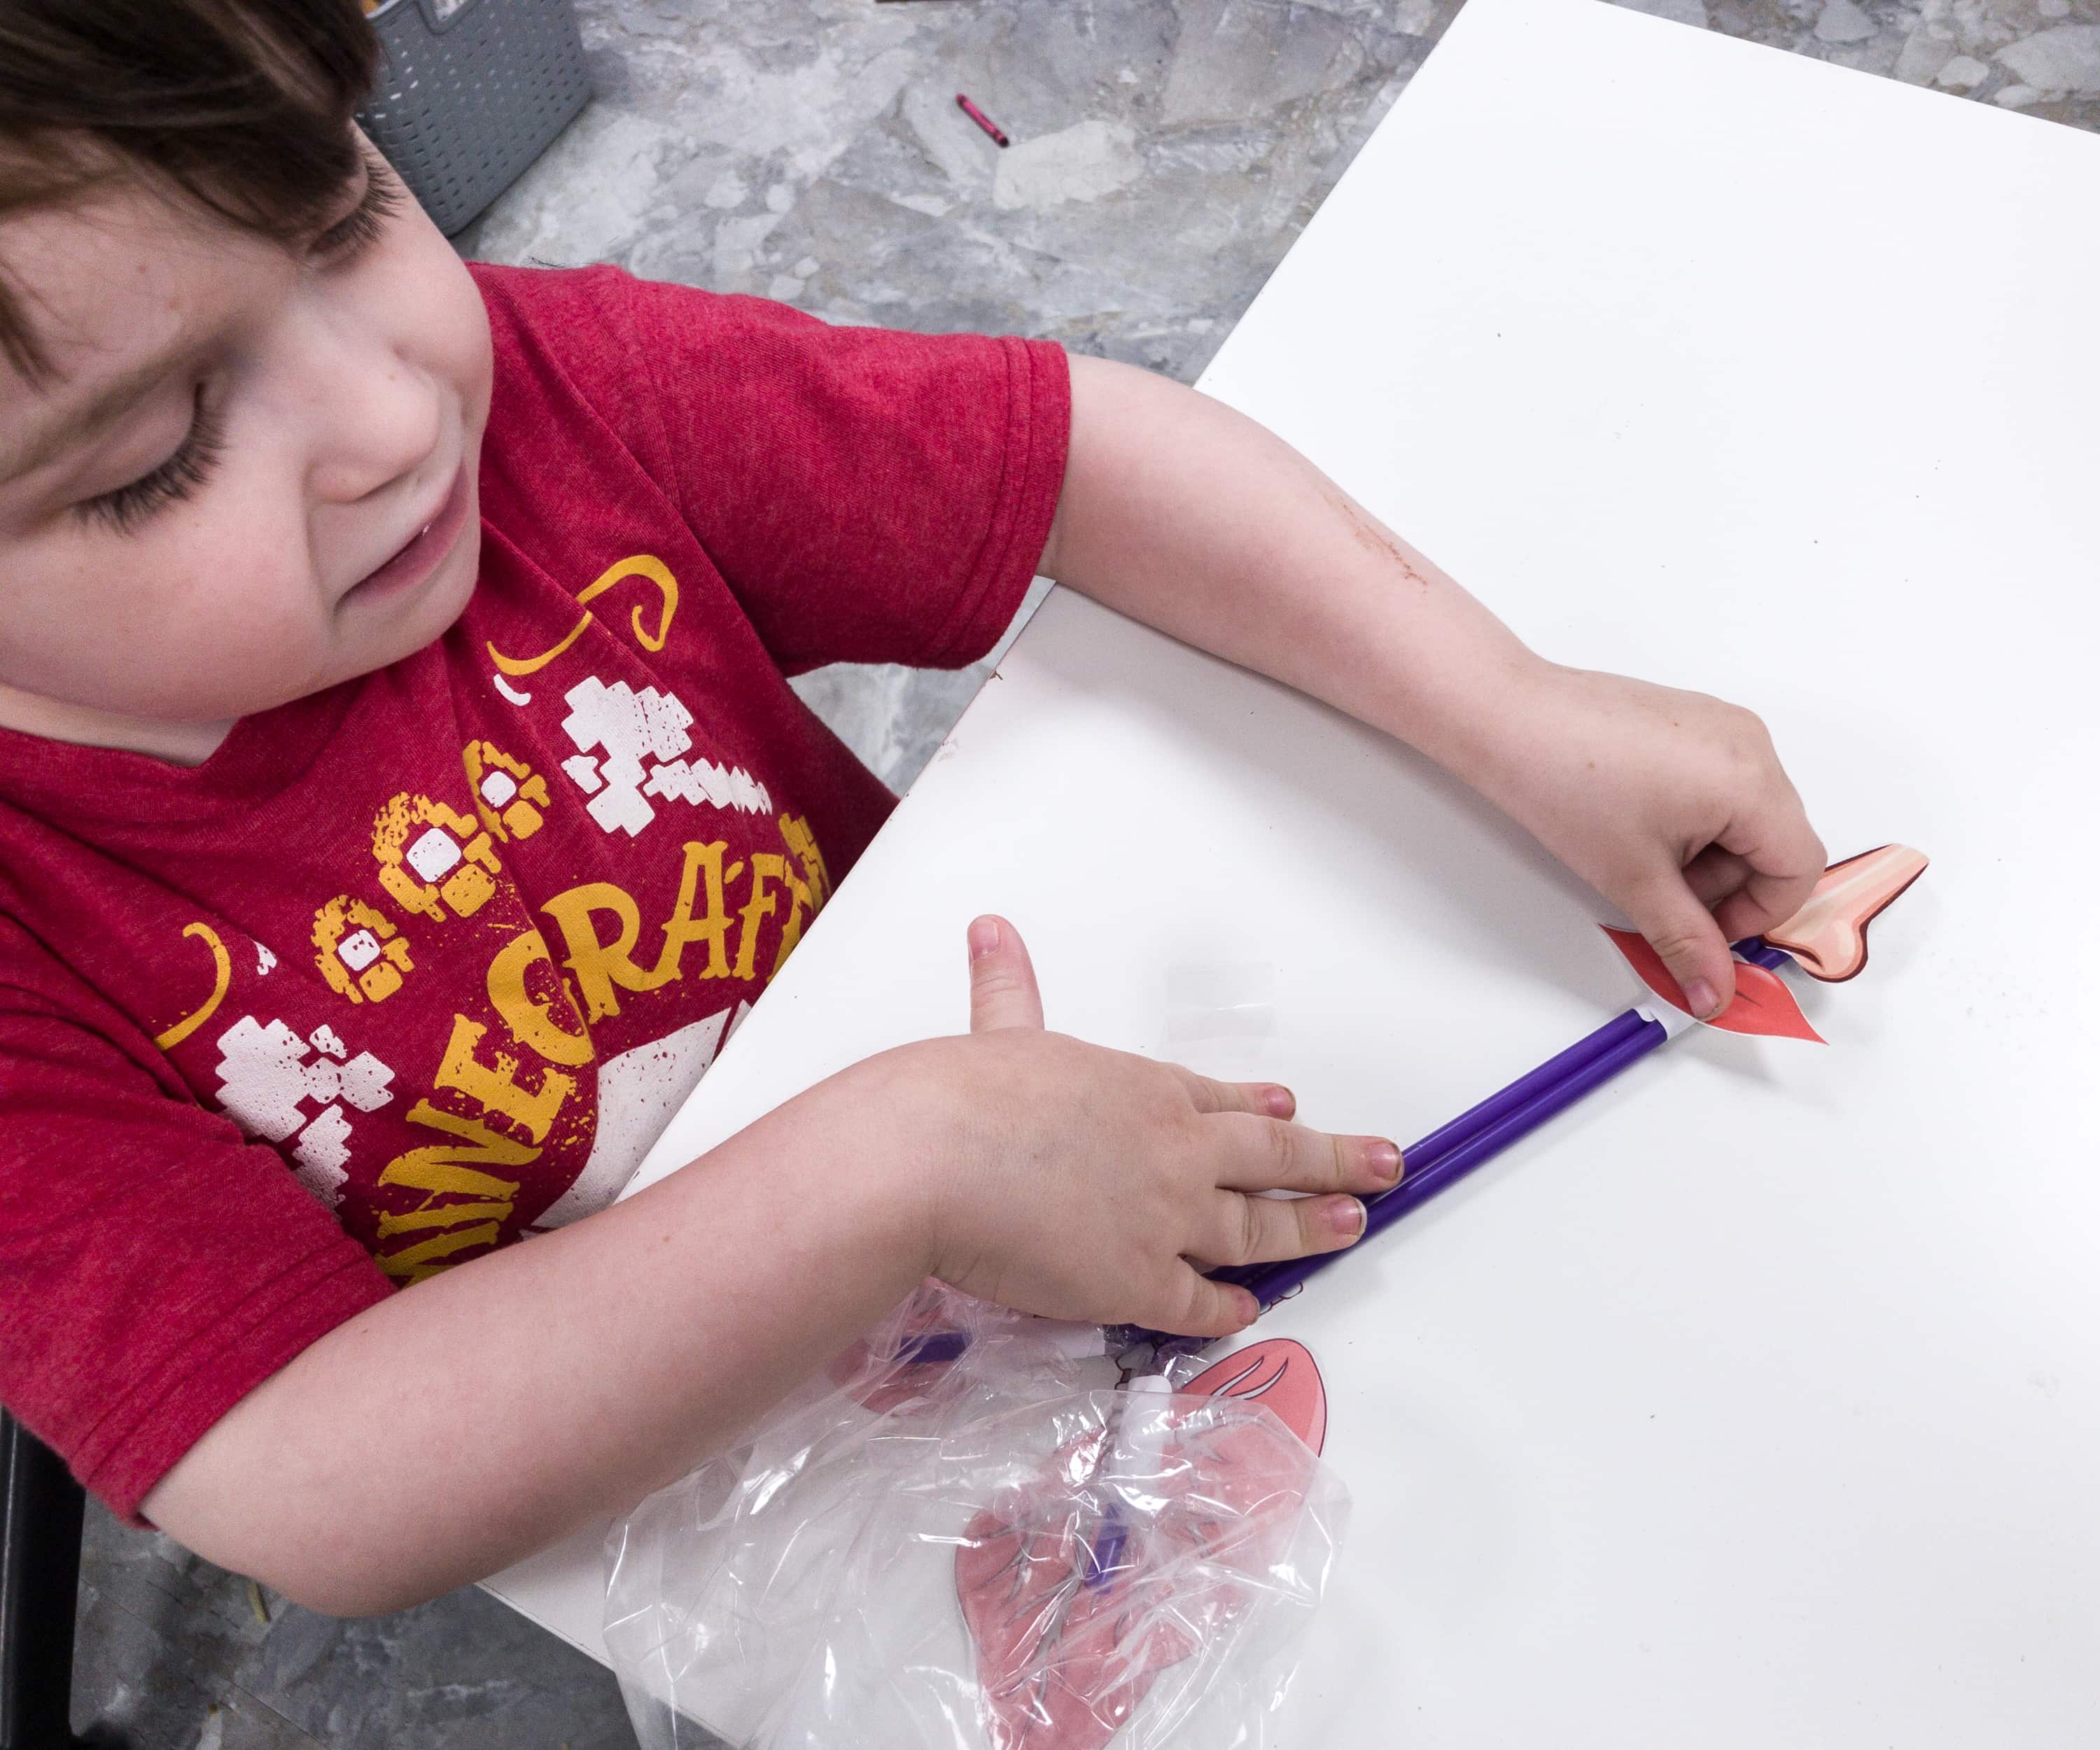
To start, connect the first end of the straw on the nose and stick the lips cutout below it, then connect the other end of the straw on two separate plastic bags with lung cutouts and seal it using tape.
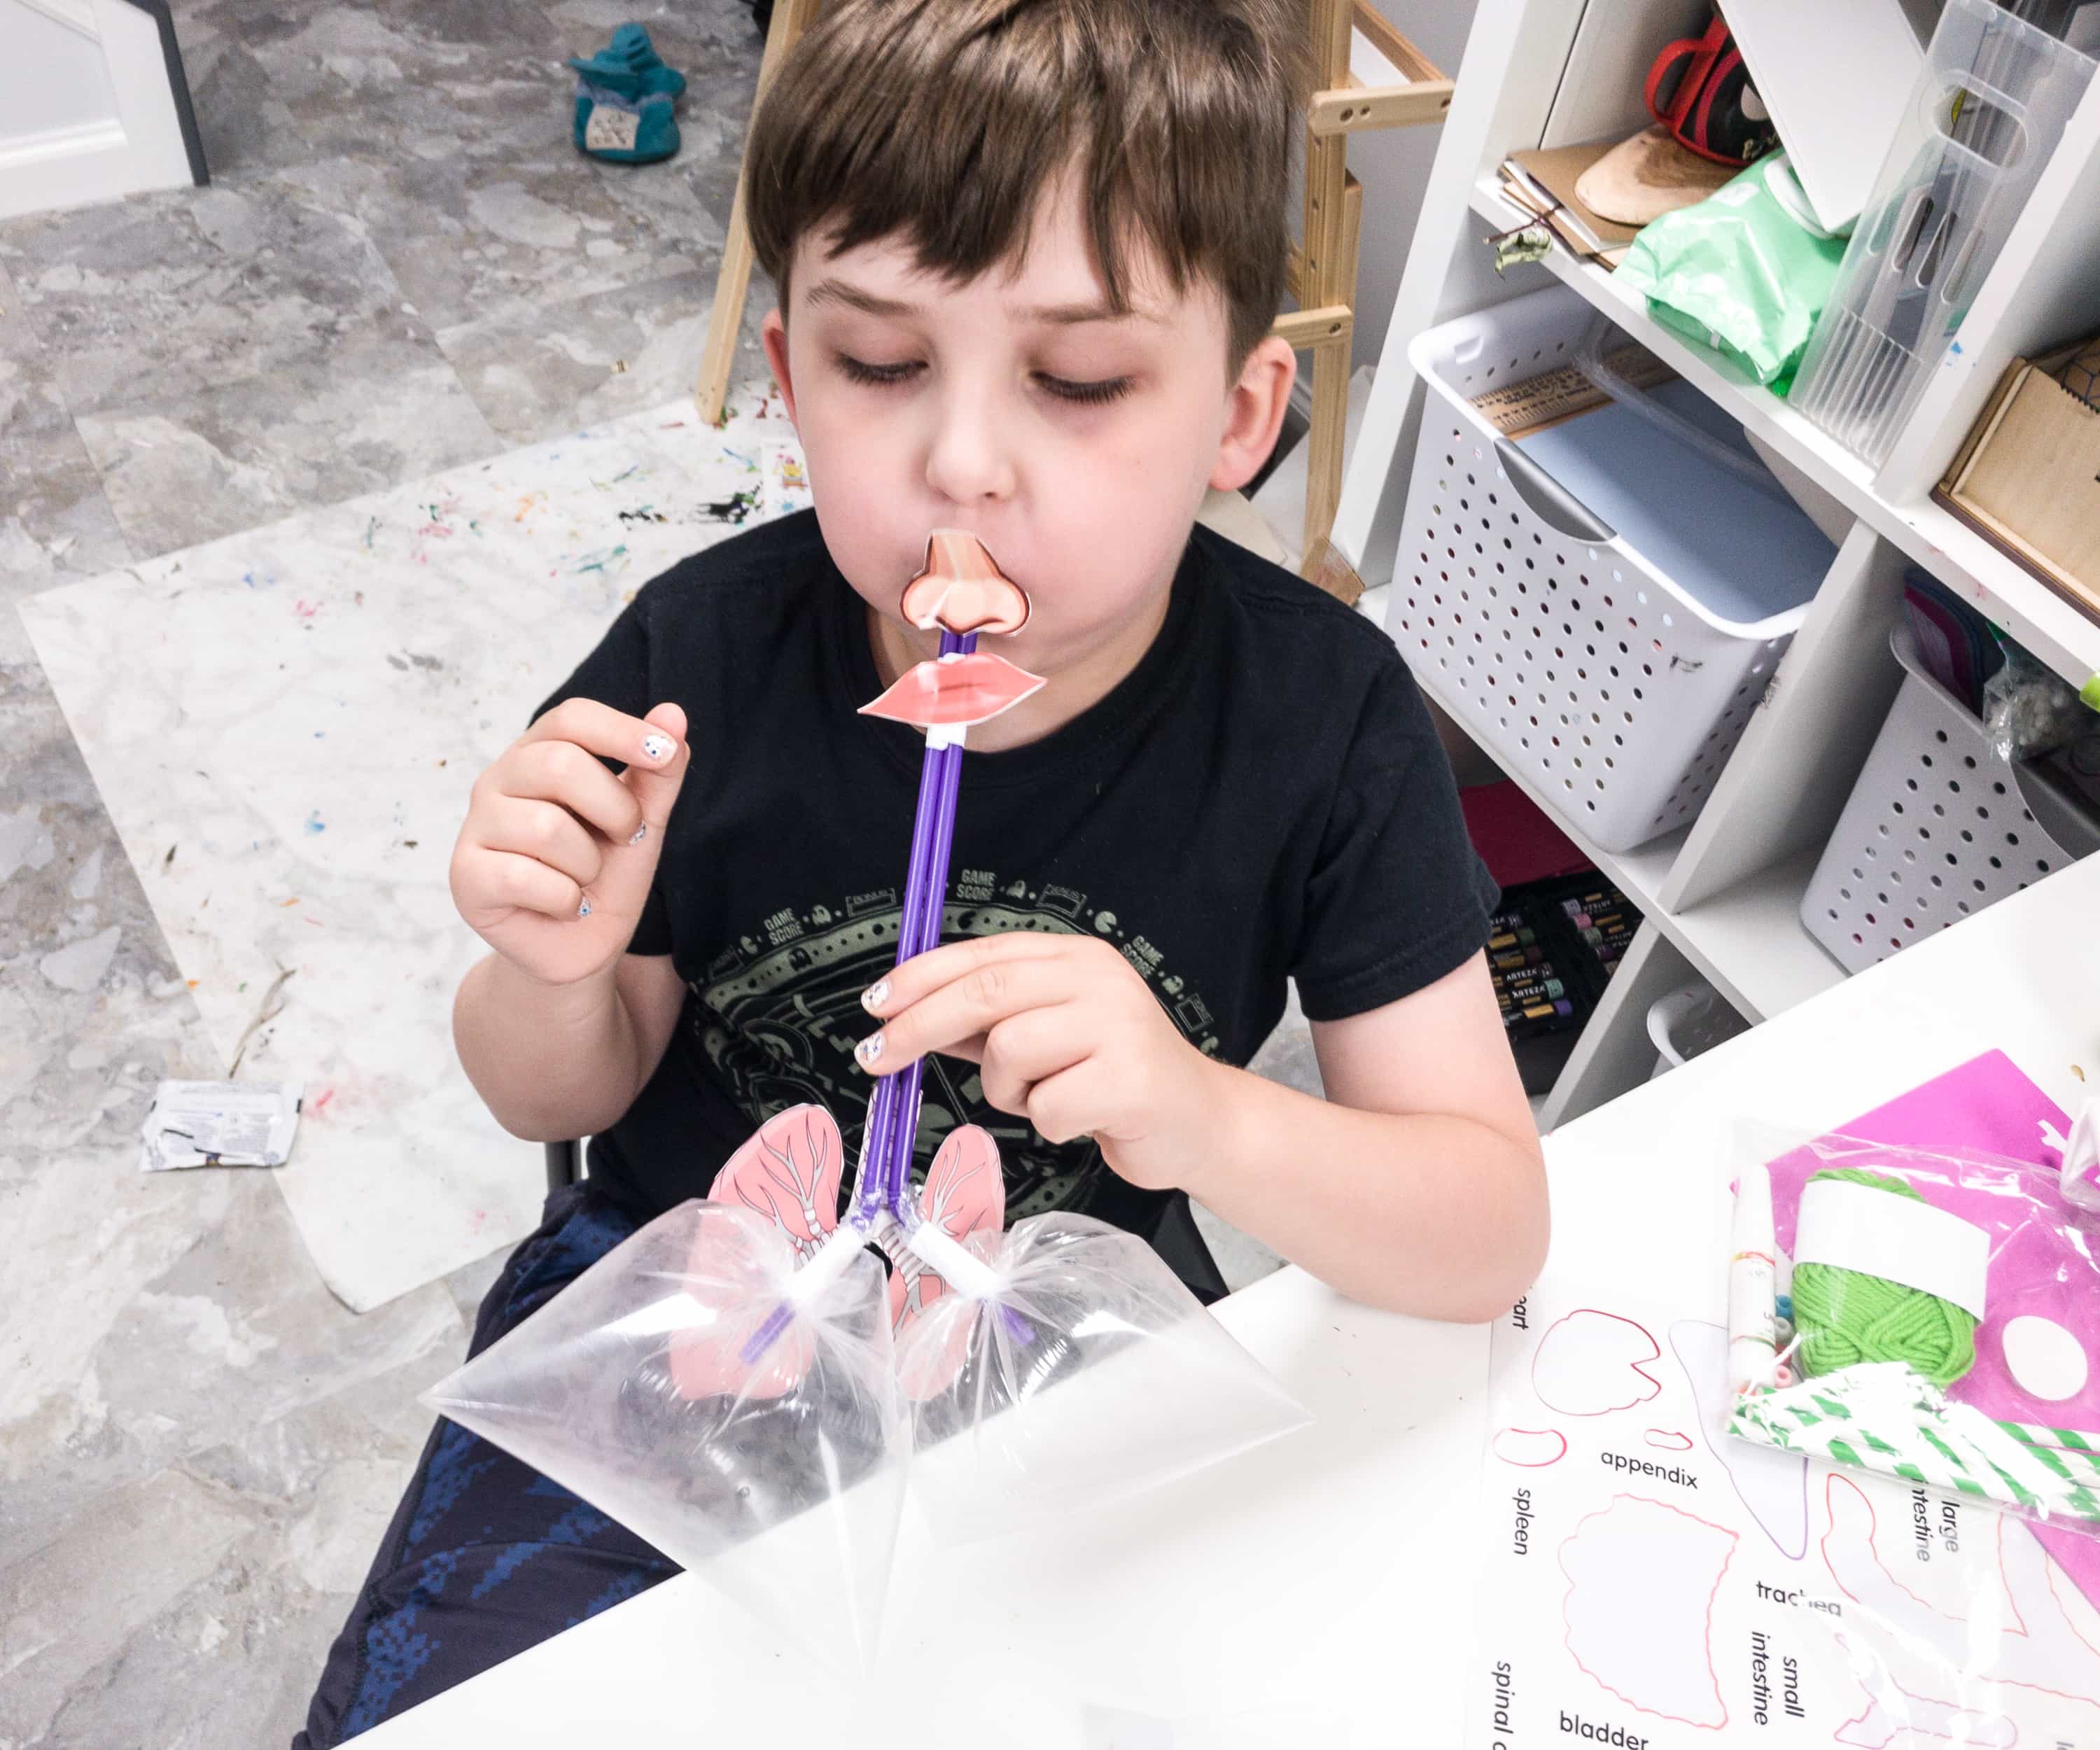
Once you’ve ensured that baggies are properly connected to the straws, you can now start the experiment by blowing air through the straw, like breathing in and breathing out.
At the end of this activity, you will learn how the lungs look-like and how they work inside your body. Pretty interesting!
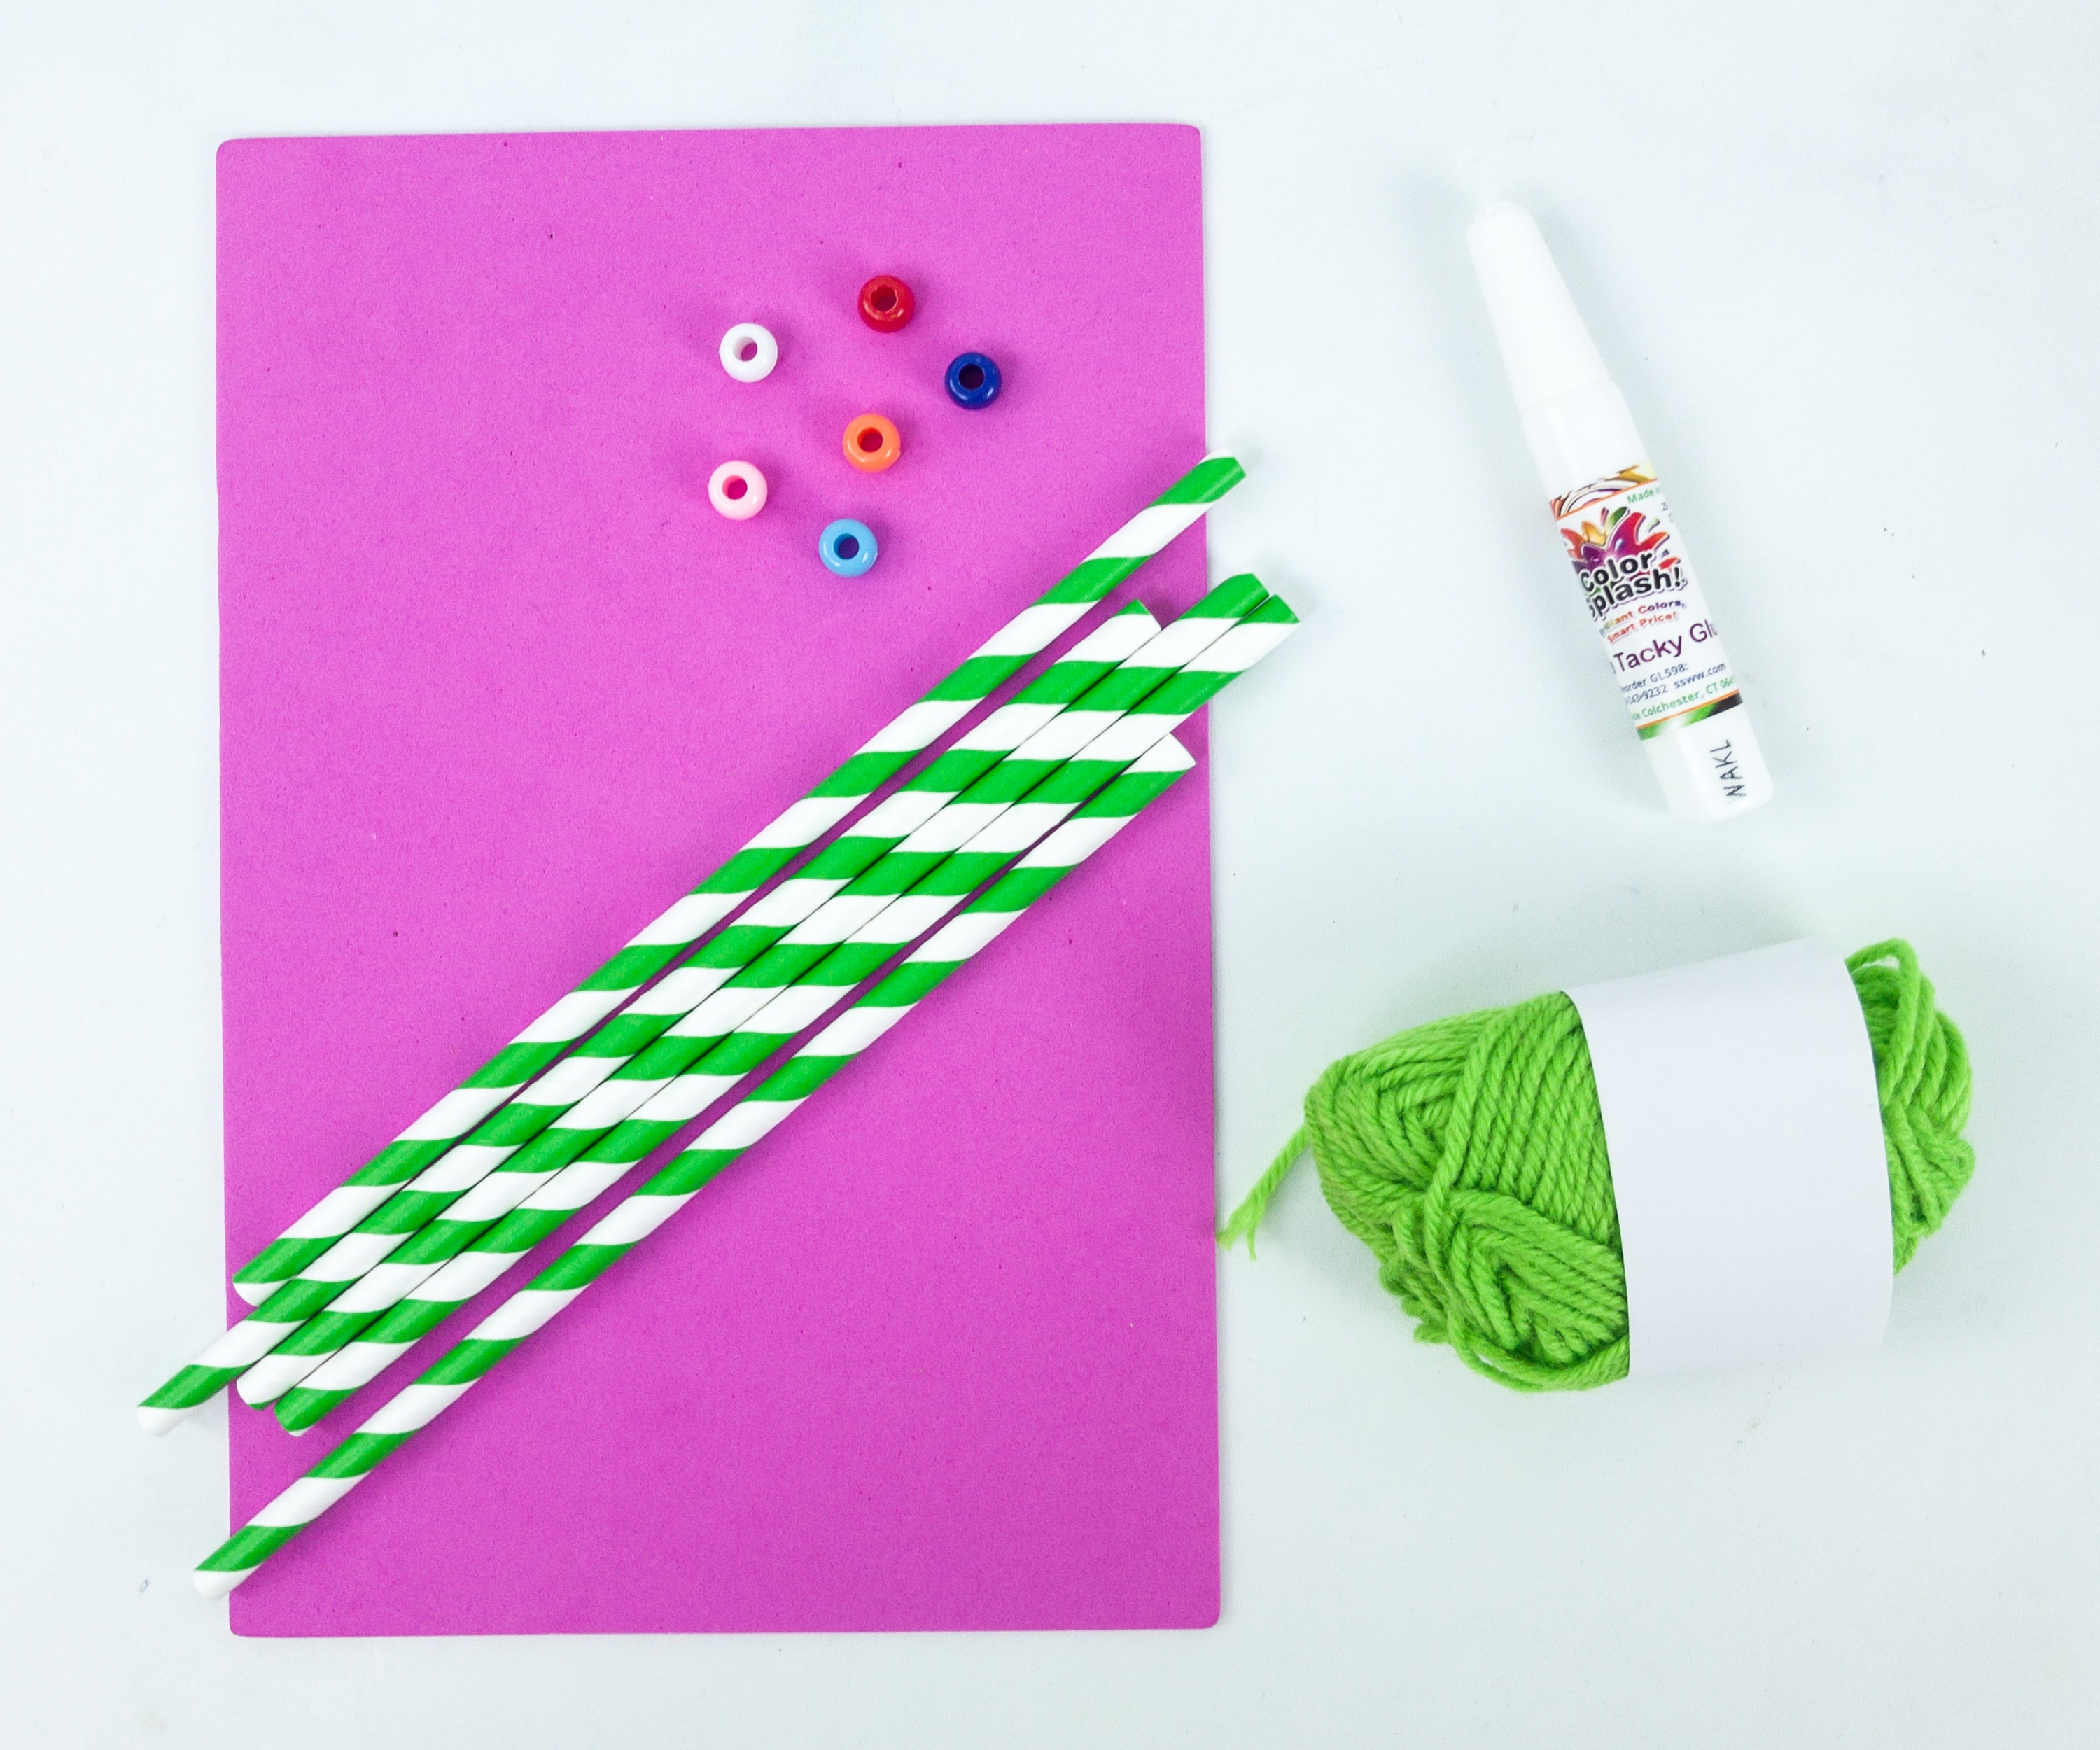
Project #4: Articulated Hand. For the last activity, we’re using a foam sheet, straws, yarn, glue, and beads.
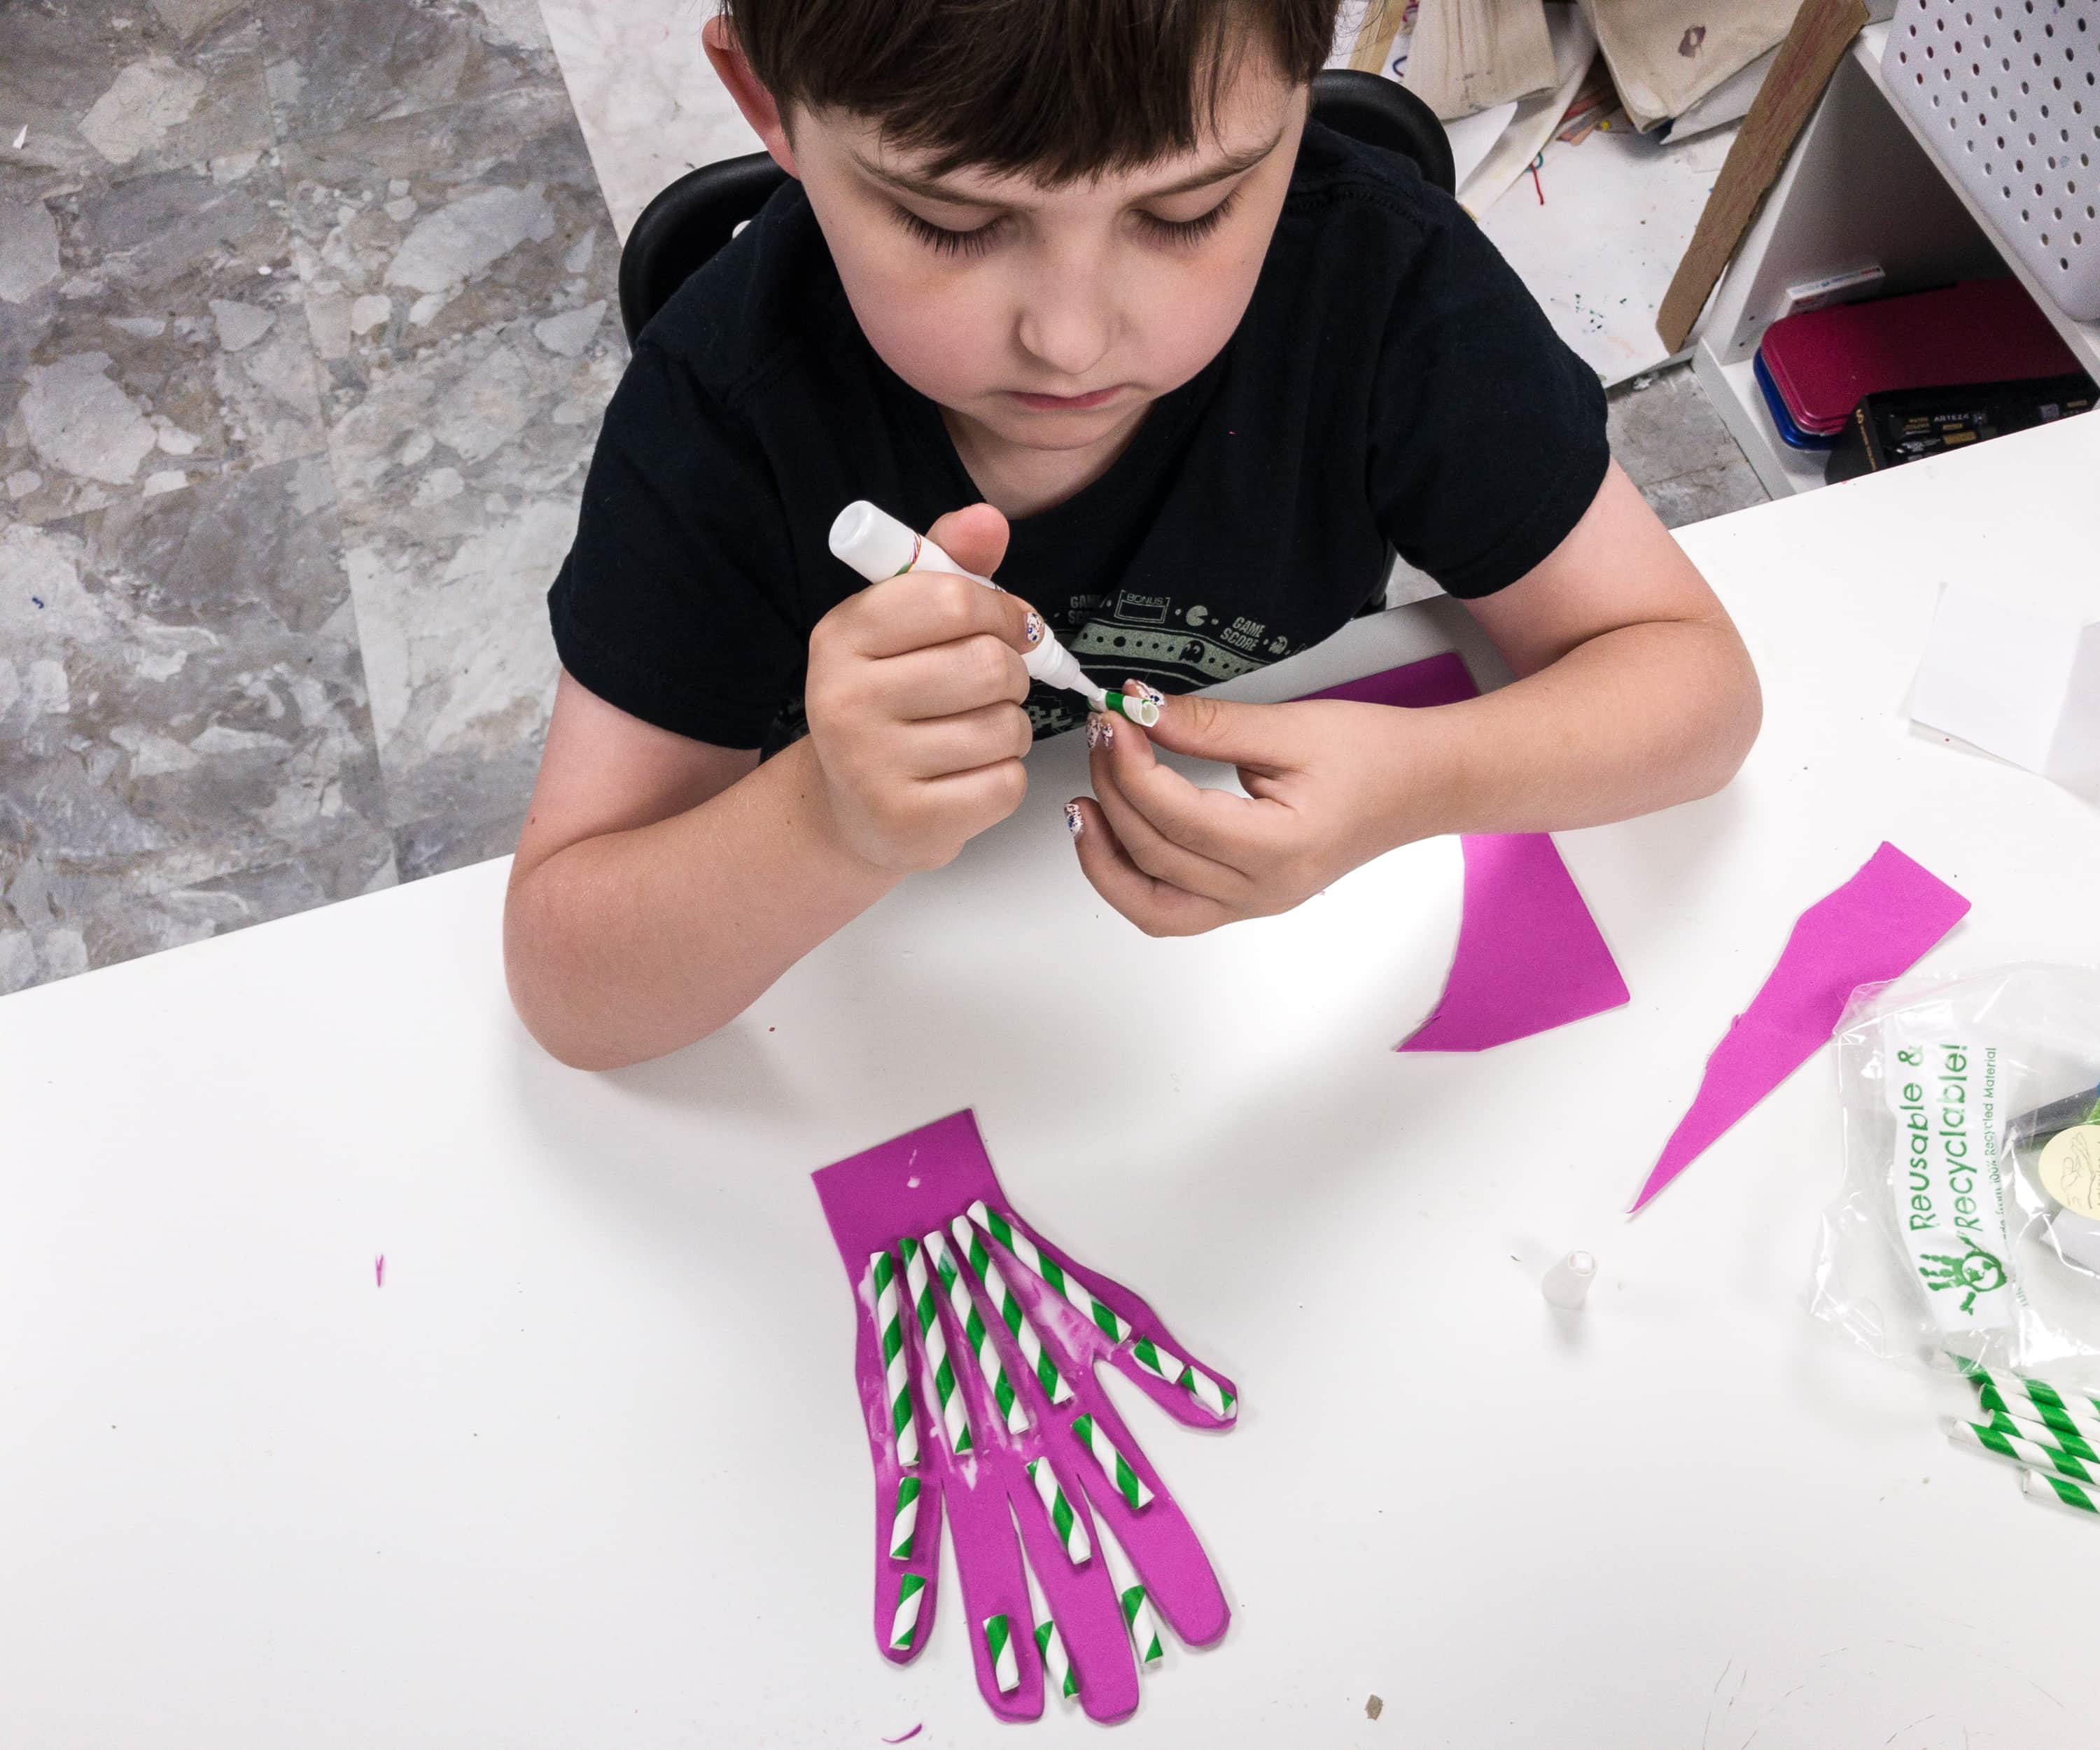
The first step is to trace your hand on the foam sheet and cut it out. Then, cut out the straws as shown in the instruction manual and glue the straws on the foam.
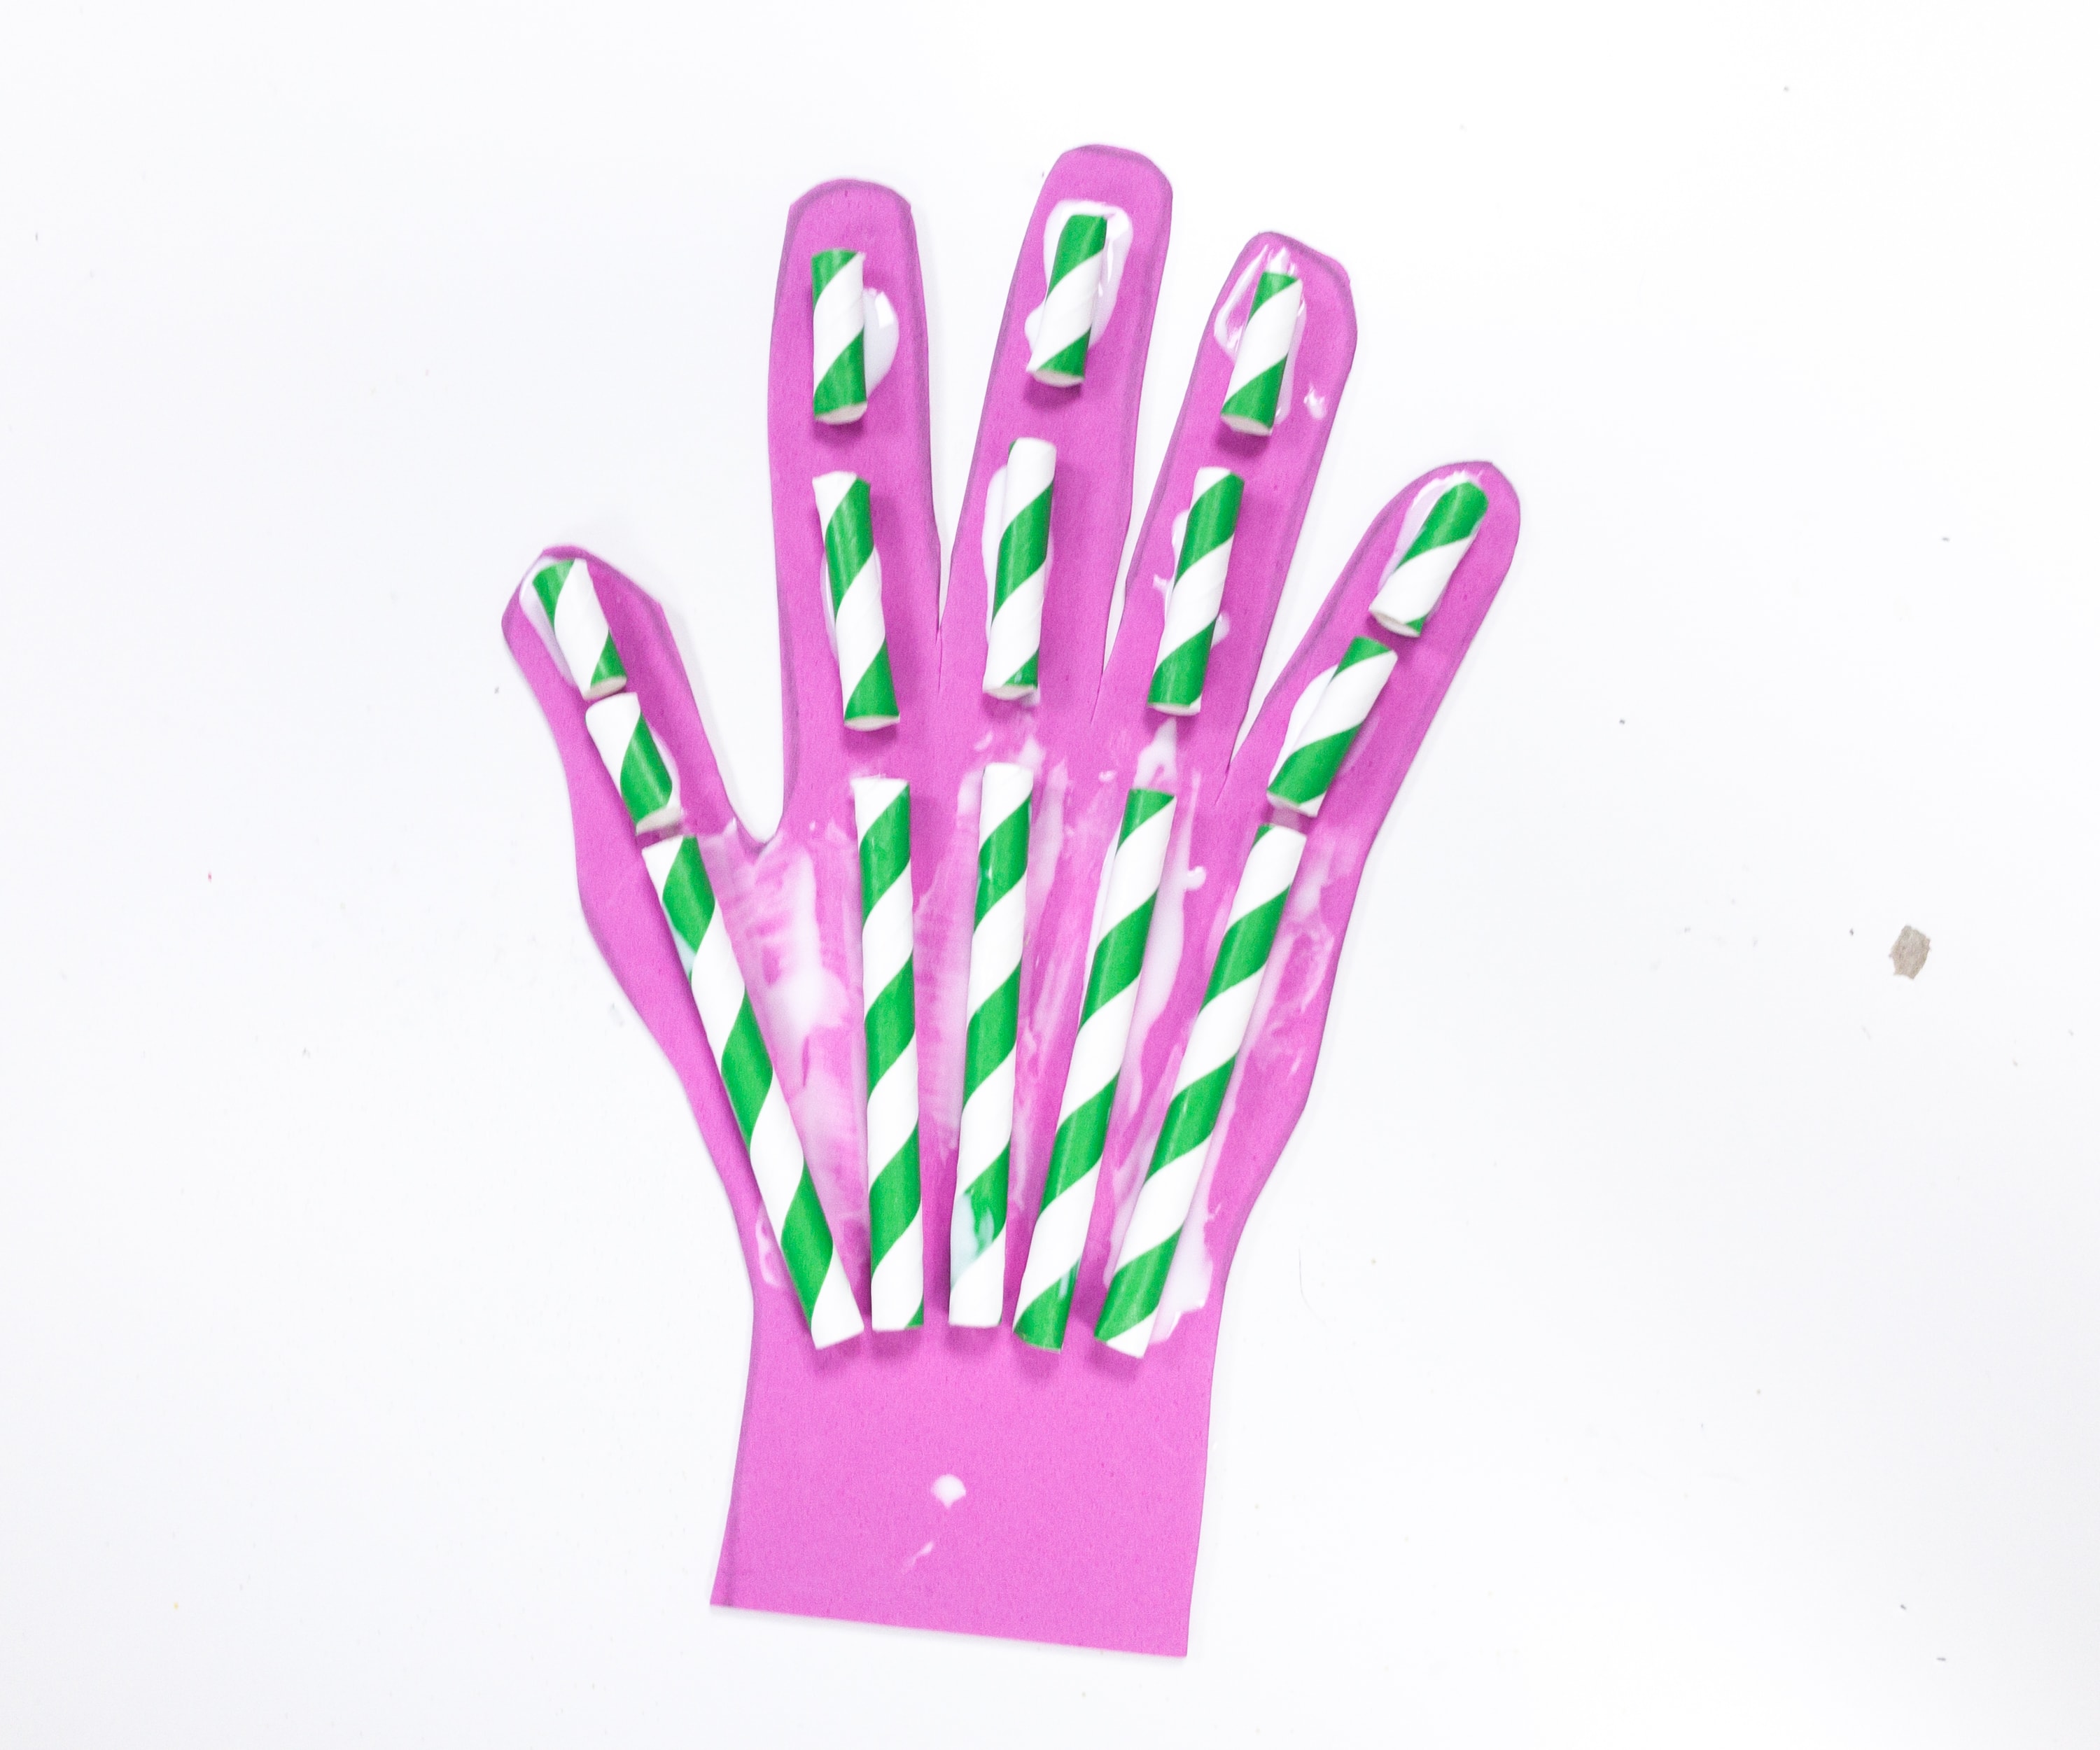
Let the glue dry completely before moving to the next step.

While waiting for the glue to dry, we cut out 5 equal pieces of yarn and tied one end of it on the bead.
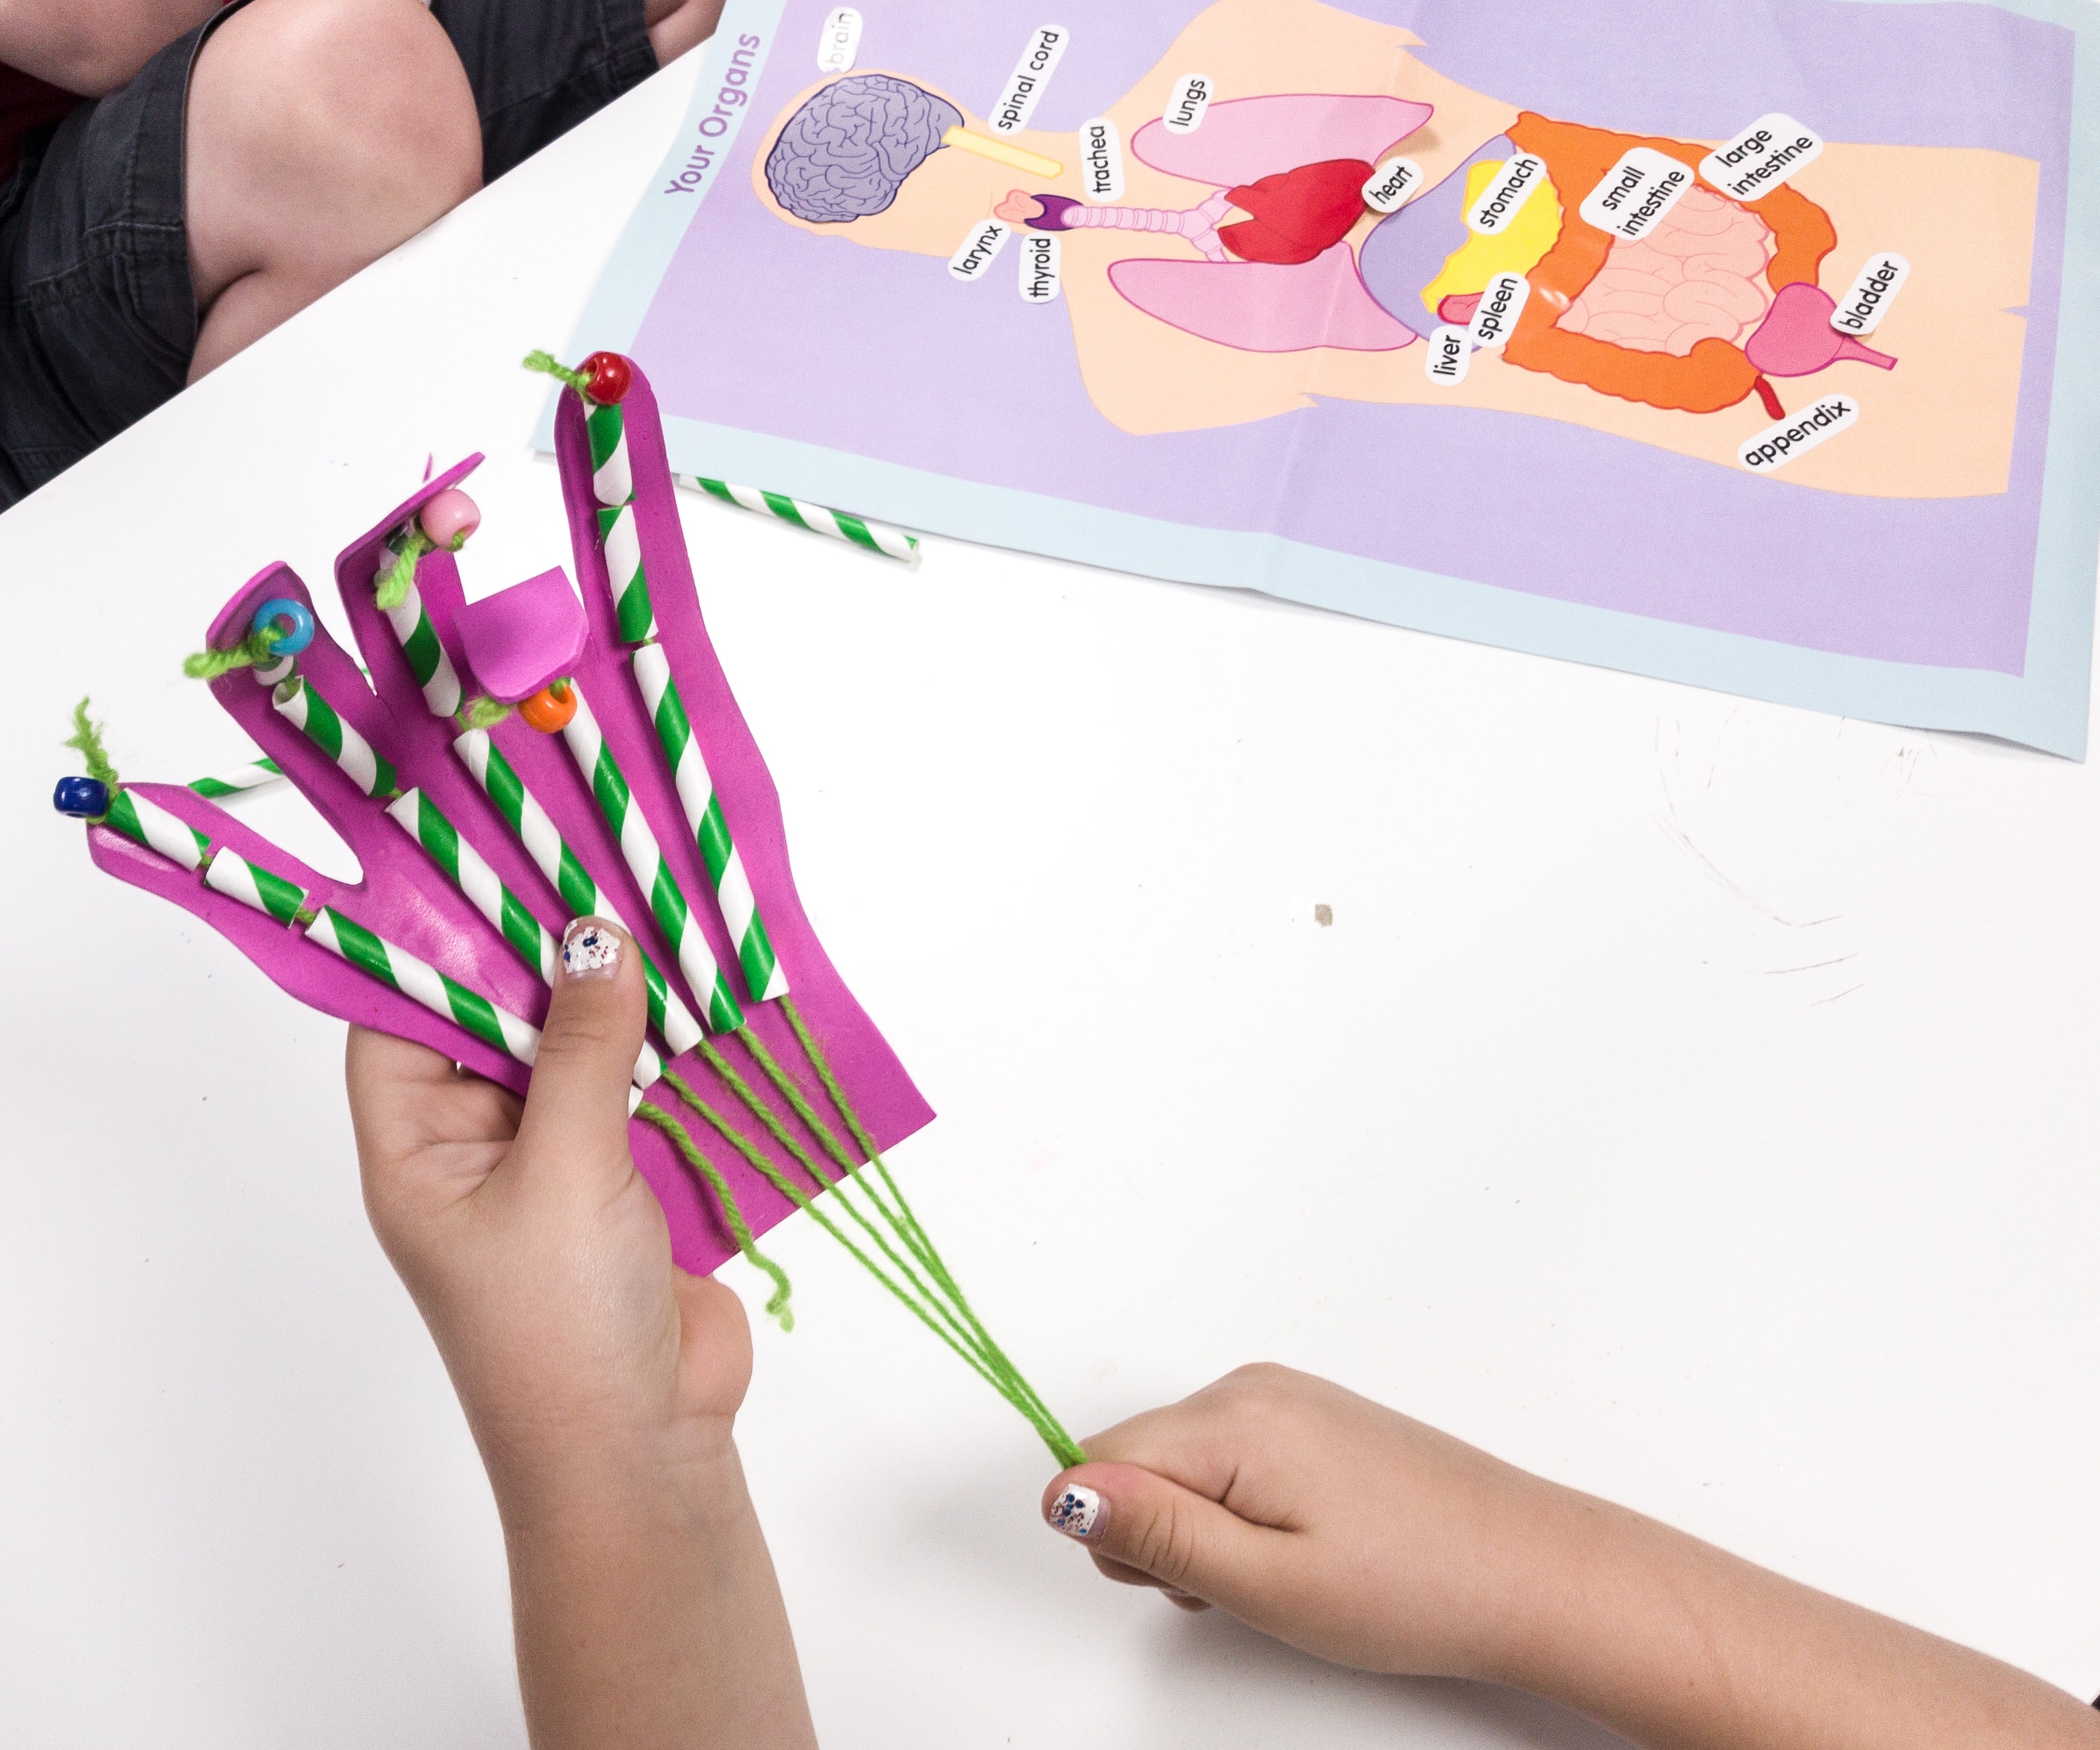
Once the glue has dried, insert the yarns on the straws. They act as the tendons of your hand, which is the reason why it is moving.
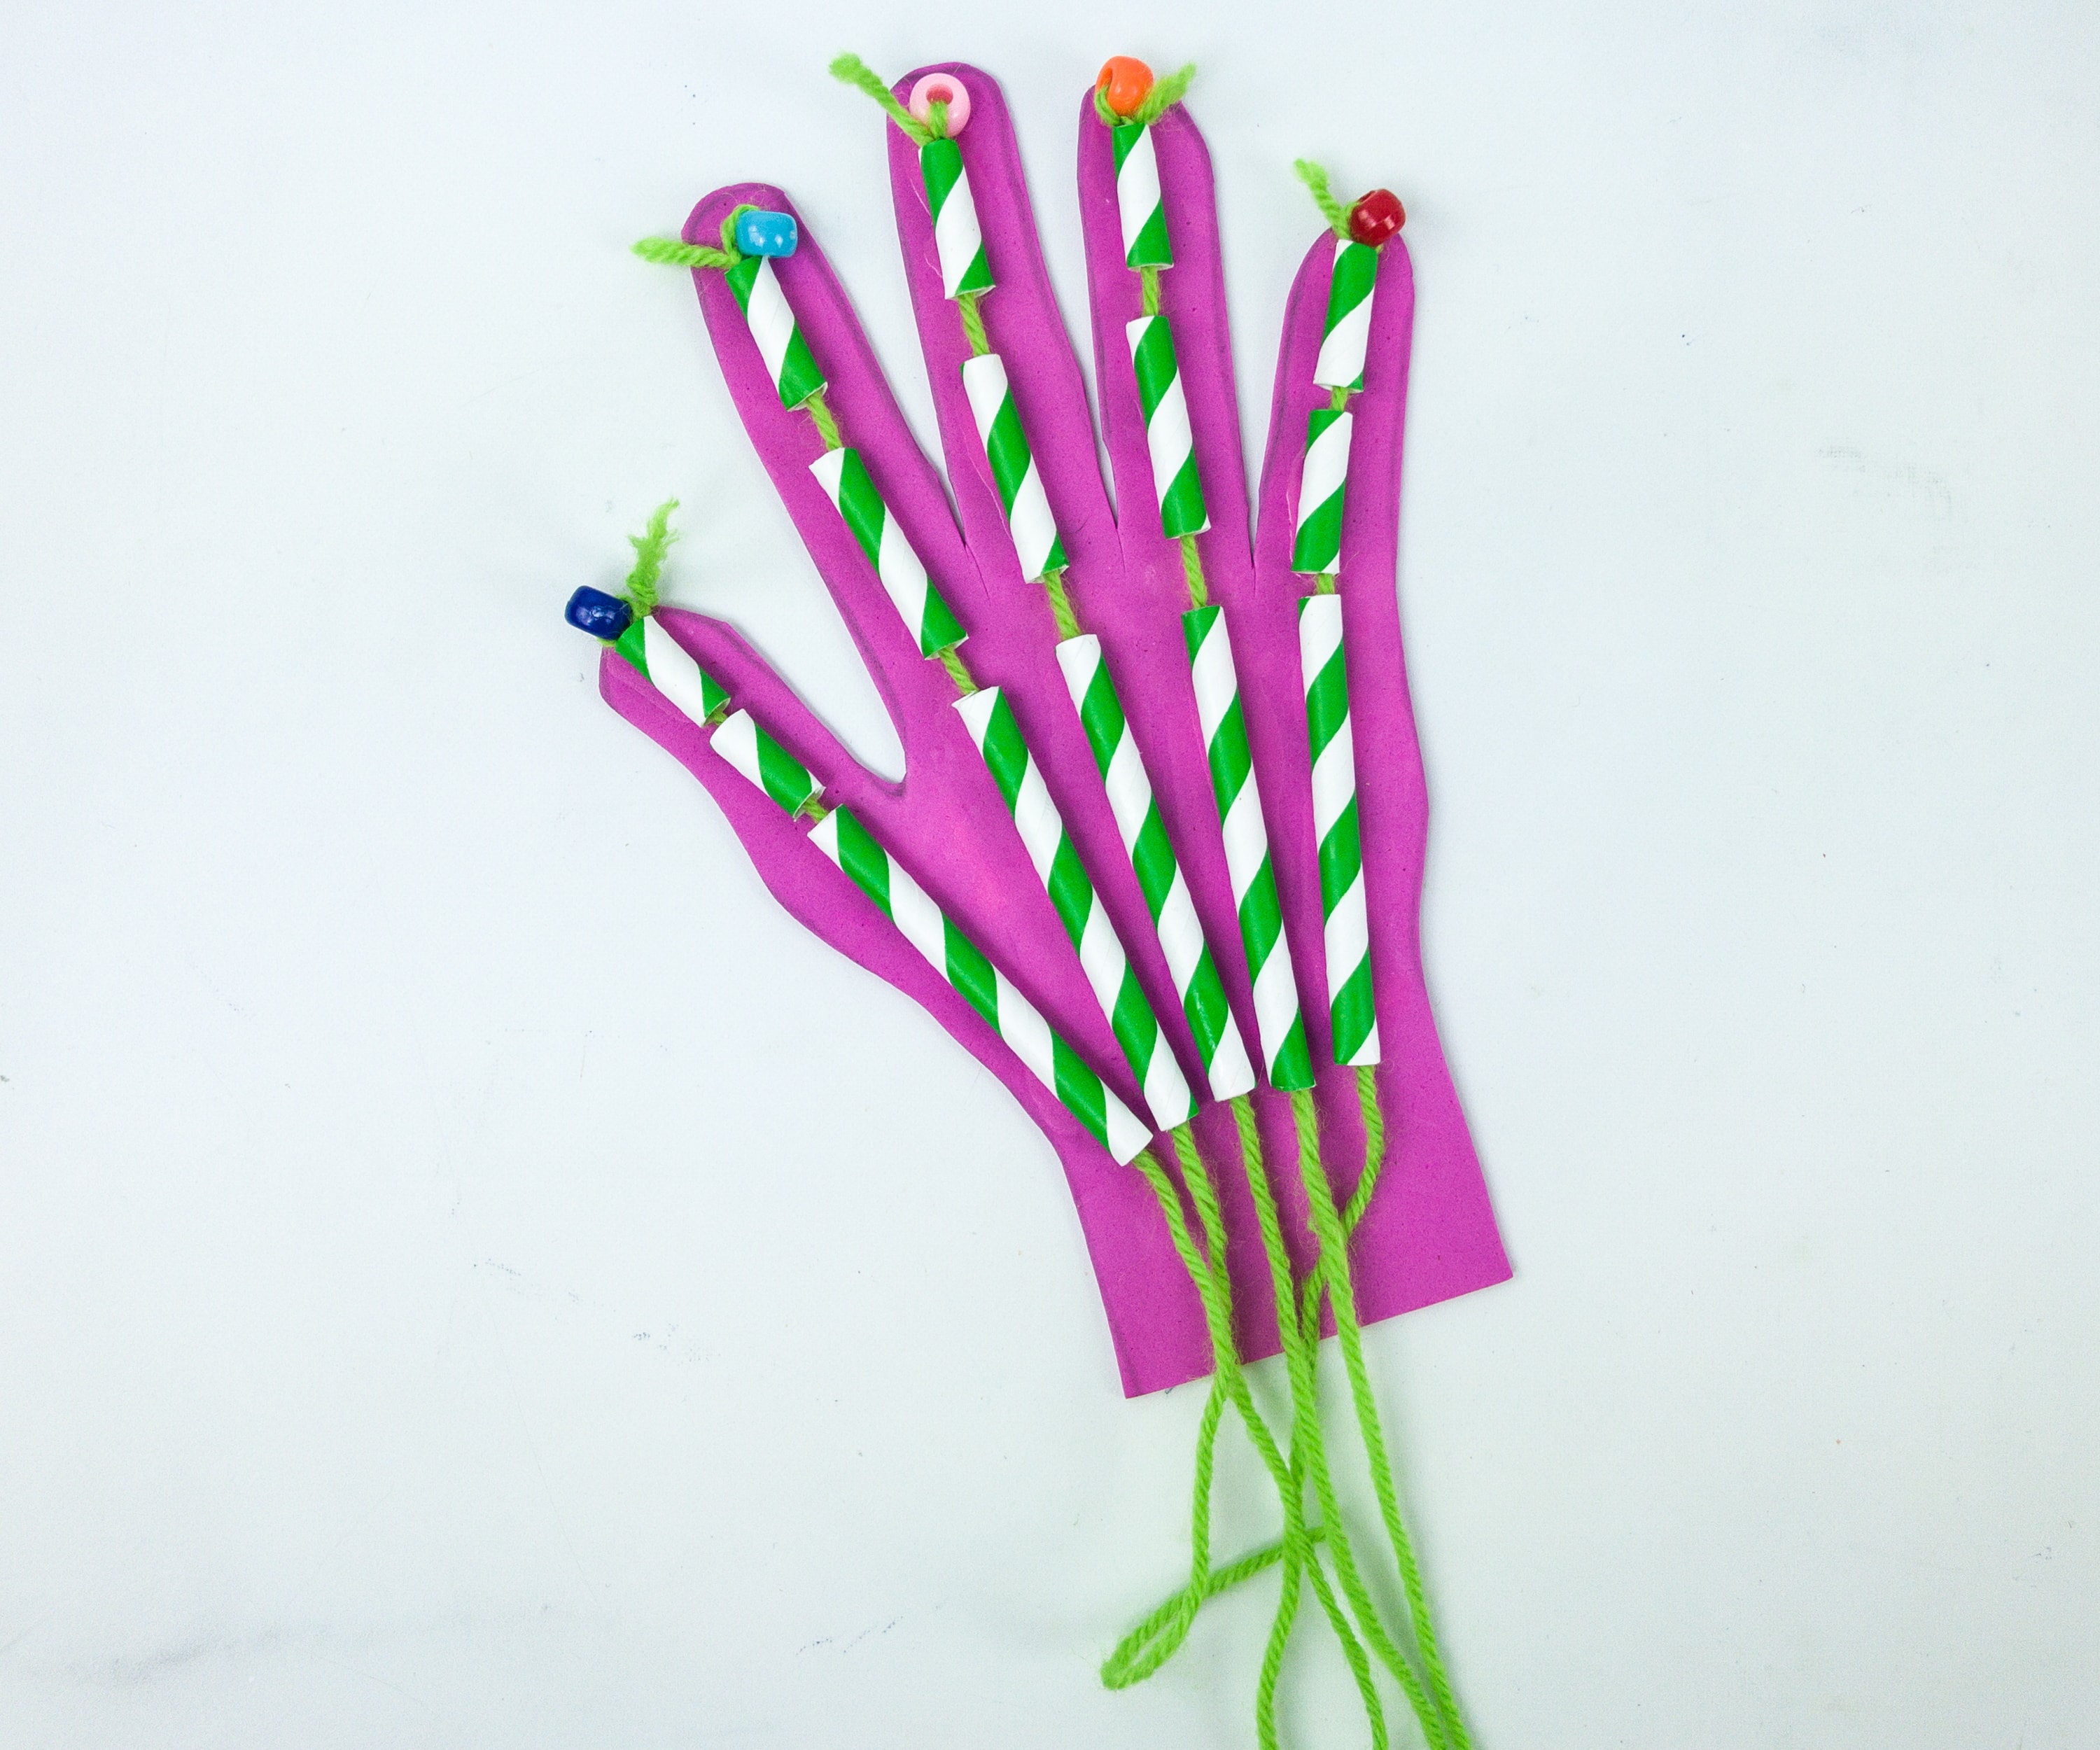
Try to pull one string at a time, and see how each finger moves. So cool!
It’s always fun to learn about the human body and how it works, and I’m sure my kids would agree!
The first two projects are quite easy and the last two are more crafty. Everything taught my kids to follow instructions!
My kids are ever curious and this box is perfect for them because they get to craft, play, and learn at the same time. From this anatomy-themed crate, they learned about how some of our body parts work, like our lungs and hands. They were also engrossed in putting the organ stickers on the body chart, as well in matching objects with the right senses. It’s really good to see my kids learning a lot of things while enjoying. As always, the box provided almost everything we needed to execute each project, so there’s less preparation hassle. It’s another great box, and we’re certainly looking forward to seeing more of this in our next box!
Has your family tried Green Kid Crafts?


Comments