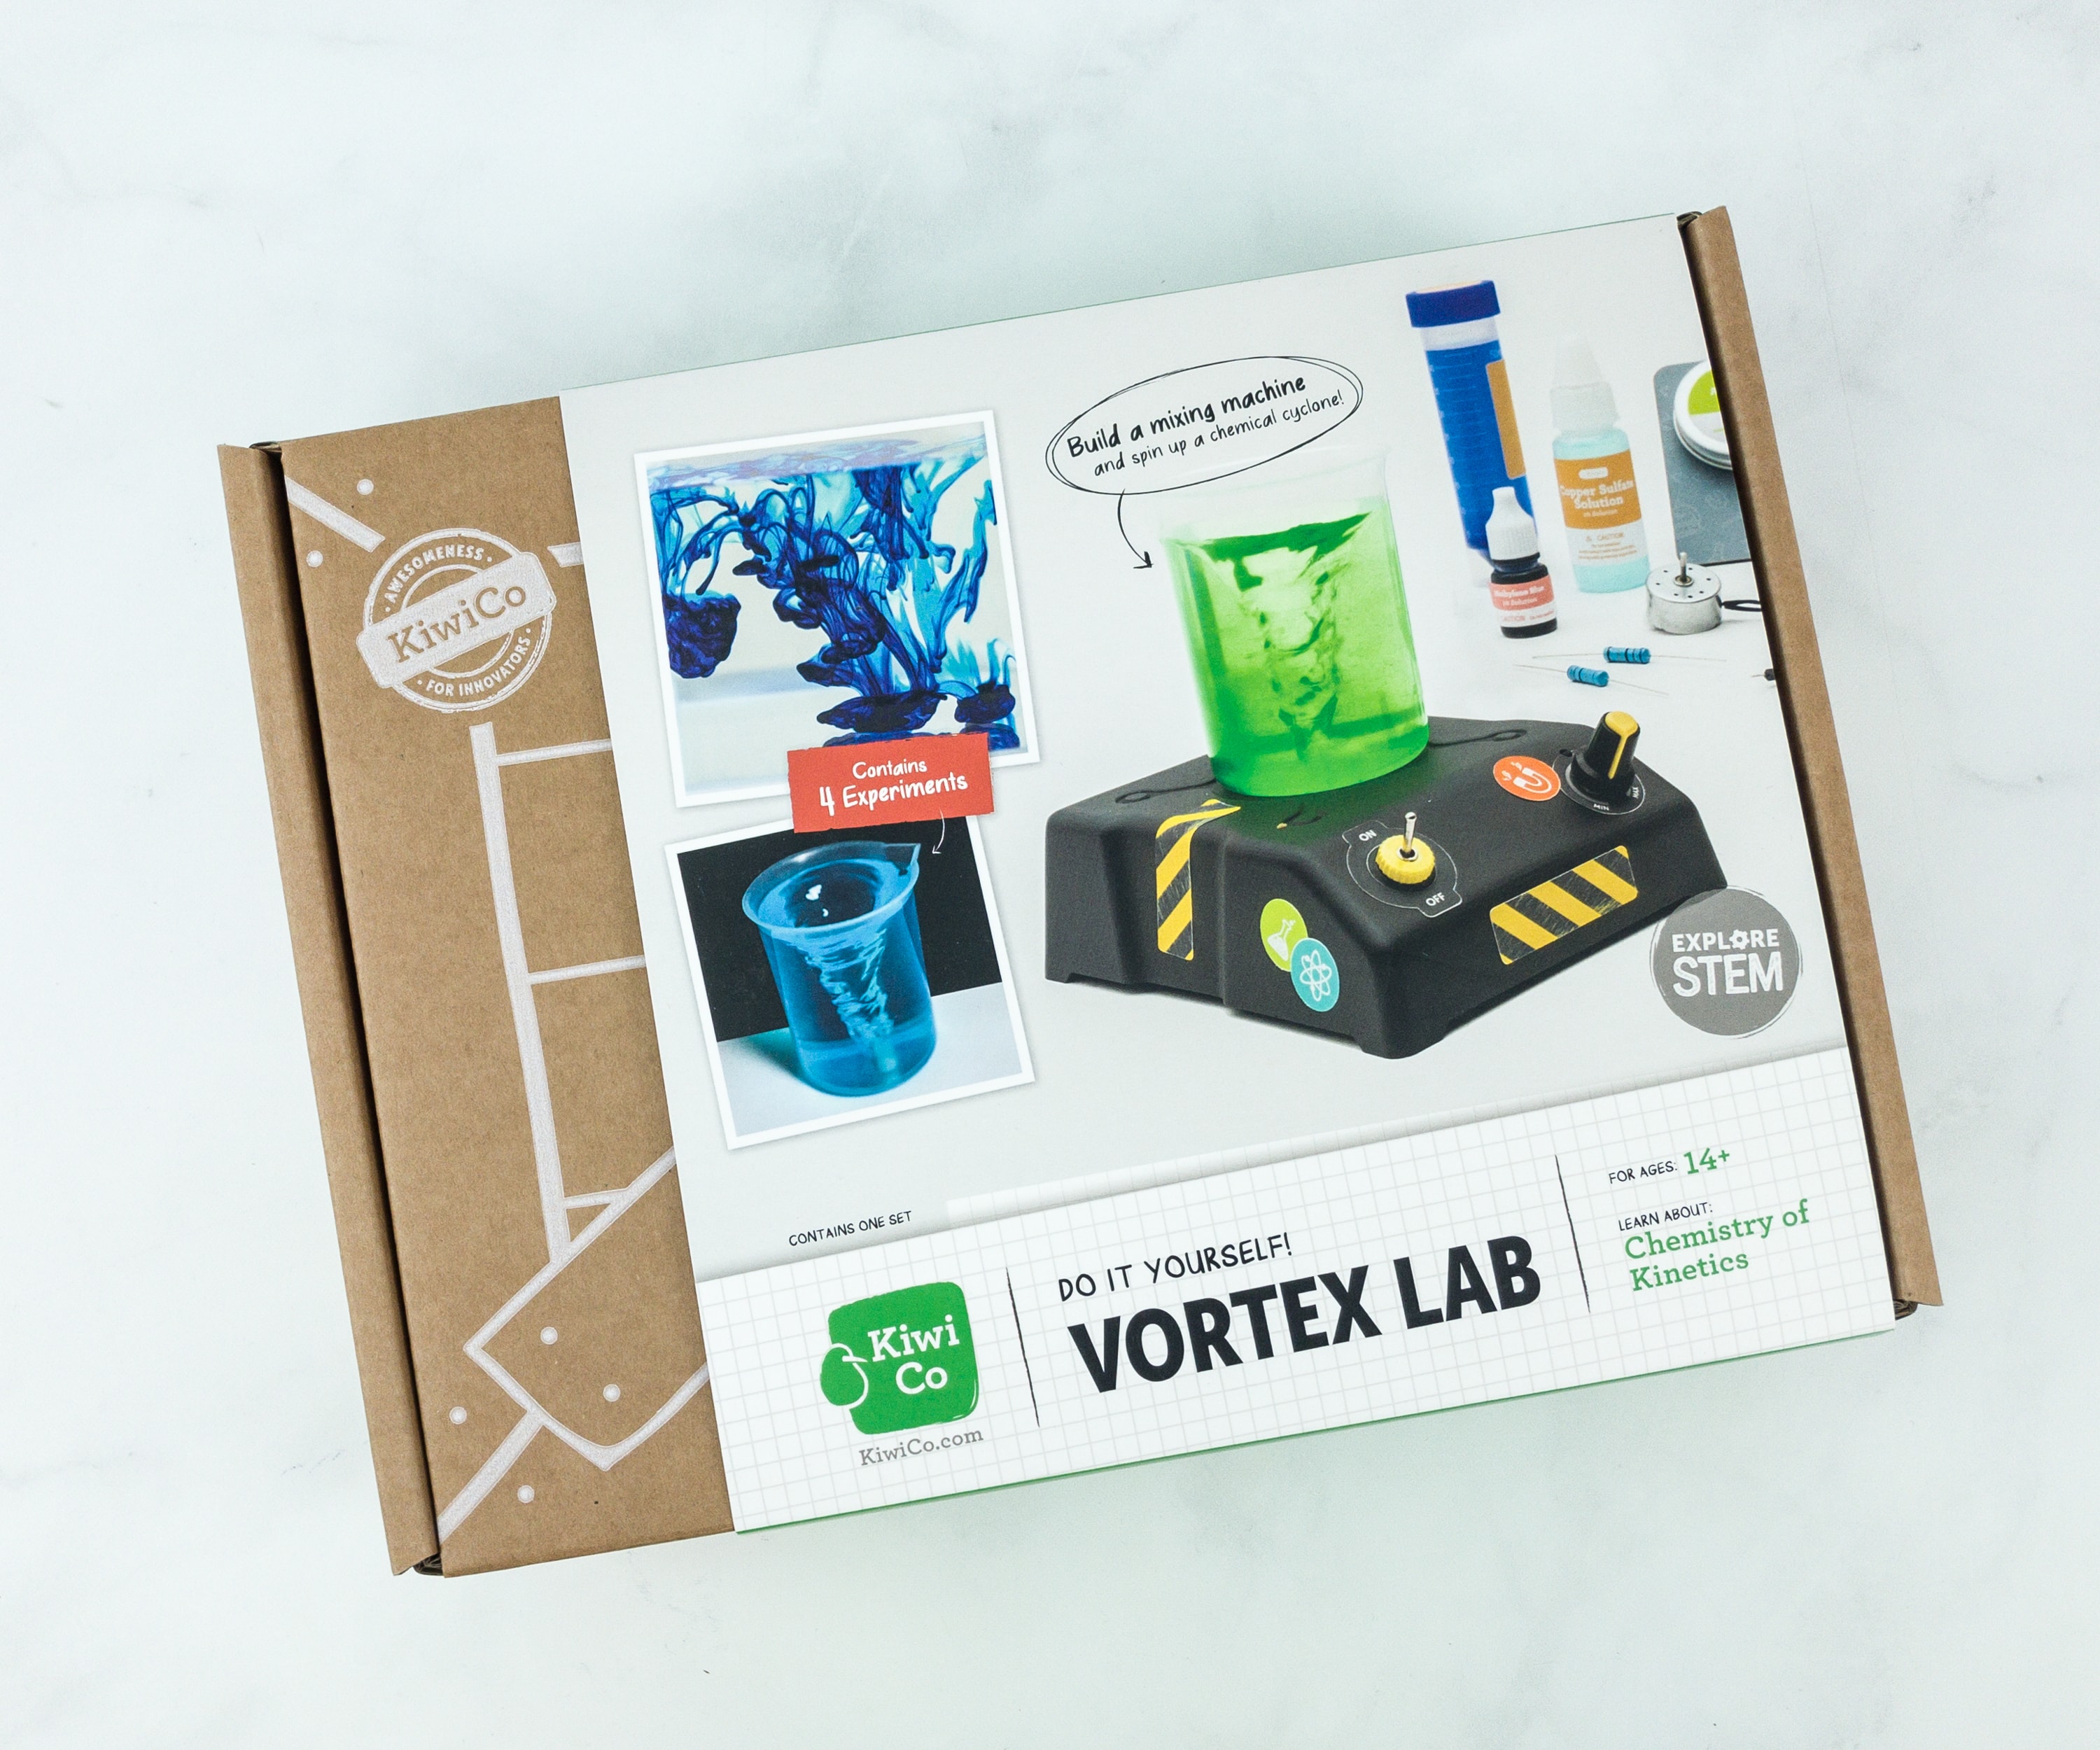
KiwiCo, home to Tinker Crate and other STEM subscriptions for kids, has a new Chemistry Set! There are 3 crates available, Fire Lab, Glow Lab, and Vortex Lab. We’ll be reviewing all three, but this is a review of the Vortex Lab! The box costs $49.95.
The KiwiCo Chemistry Packs are more advanced than the typical Tinker Crate project and is recommended for ages 14+. It can be suitable for interested kids younger than that with the proper supervision.
Tinker Crate is a subscription box that inspires kids to learn about science, engineering, and technology, all while having lots of fun. Each month, the box explores a field of study within a STEM (Science, Technology, Engineering, and Math) discipline. Kids practice their problem-solving skills and learn how to engage in both structured and open-ended exploration and investigation. Most boxes walk the tinkerers through the construction of fairly complex mechanical devices.
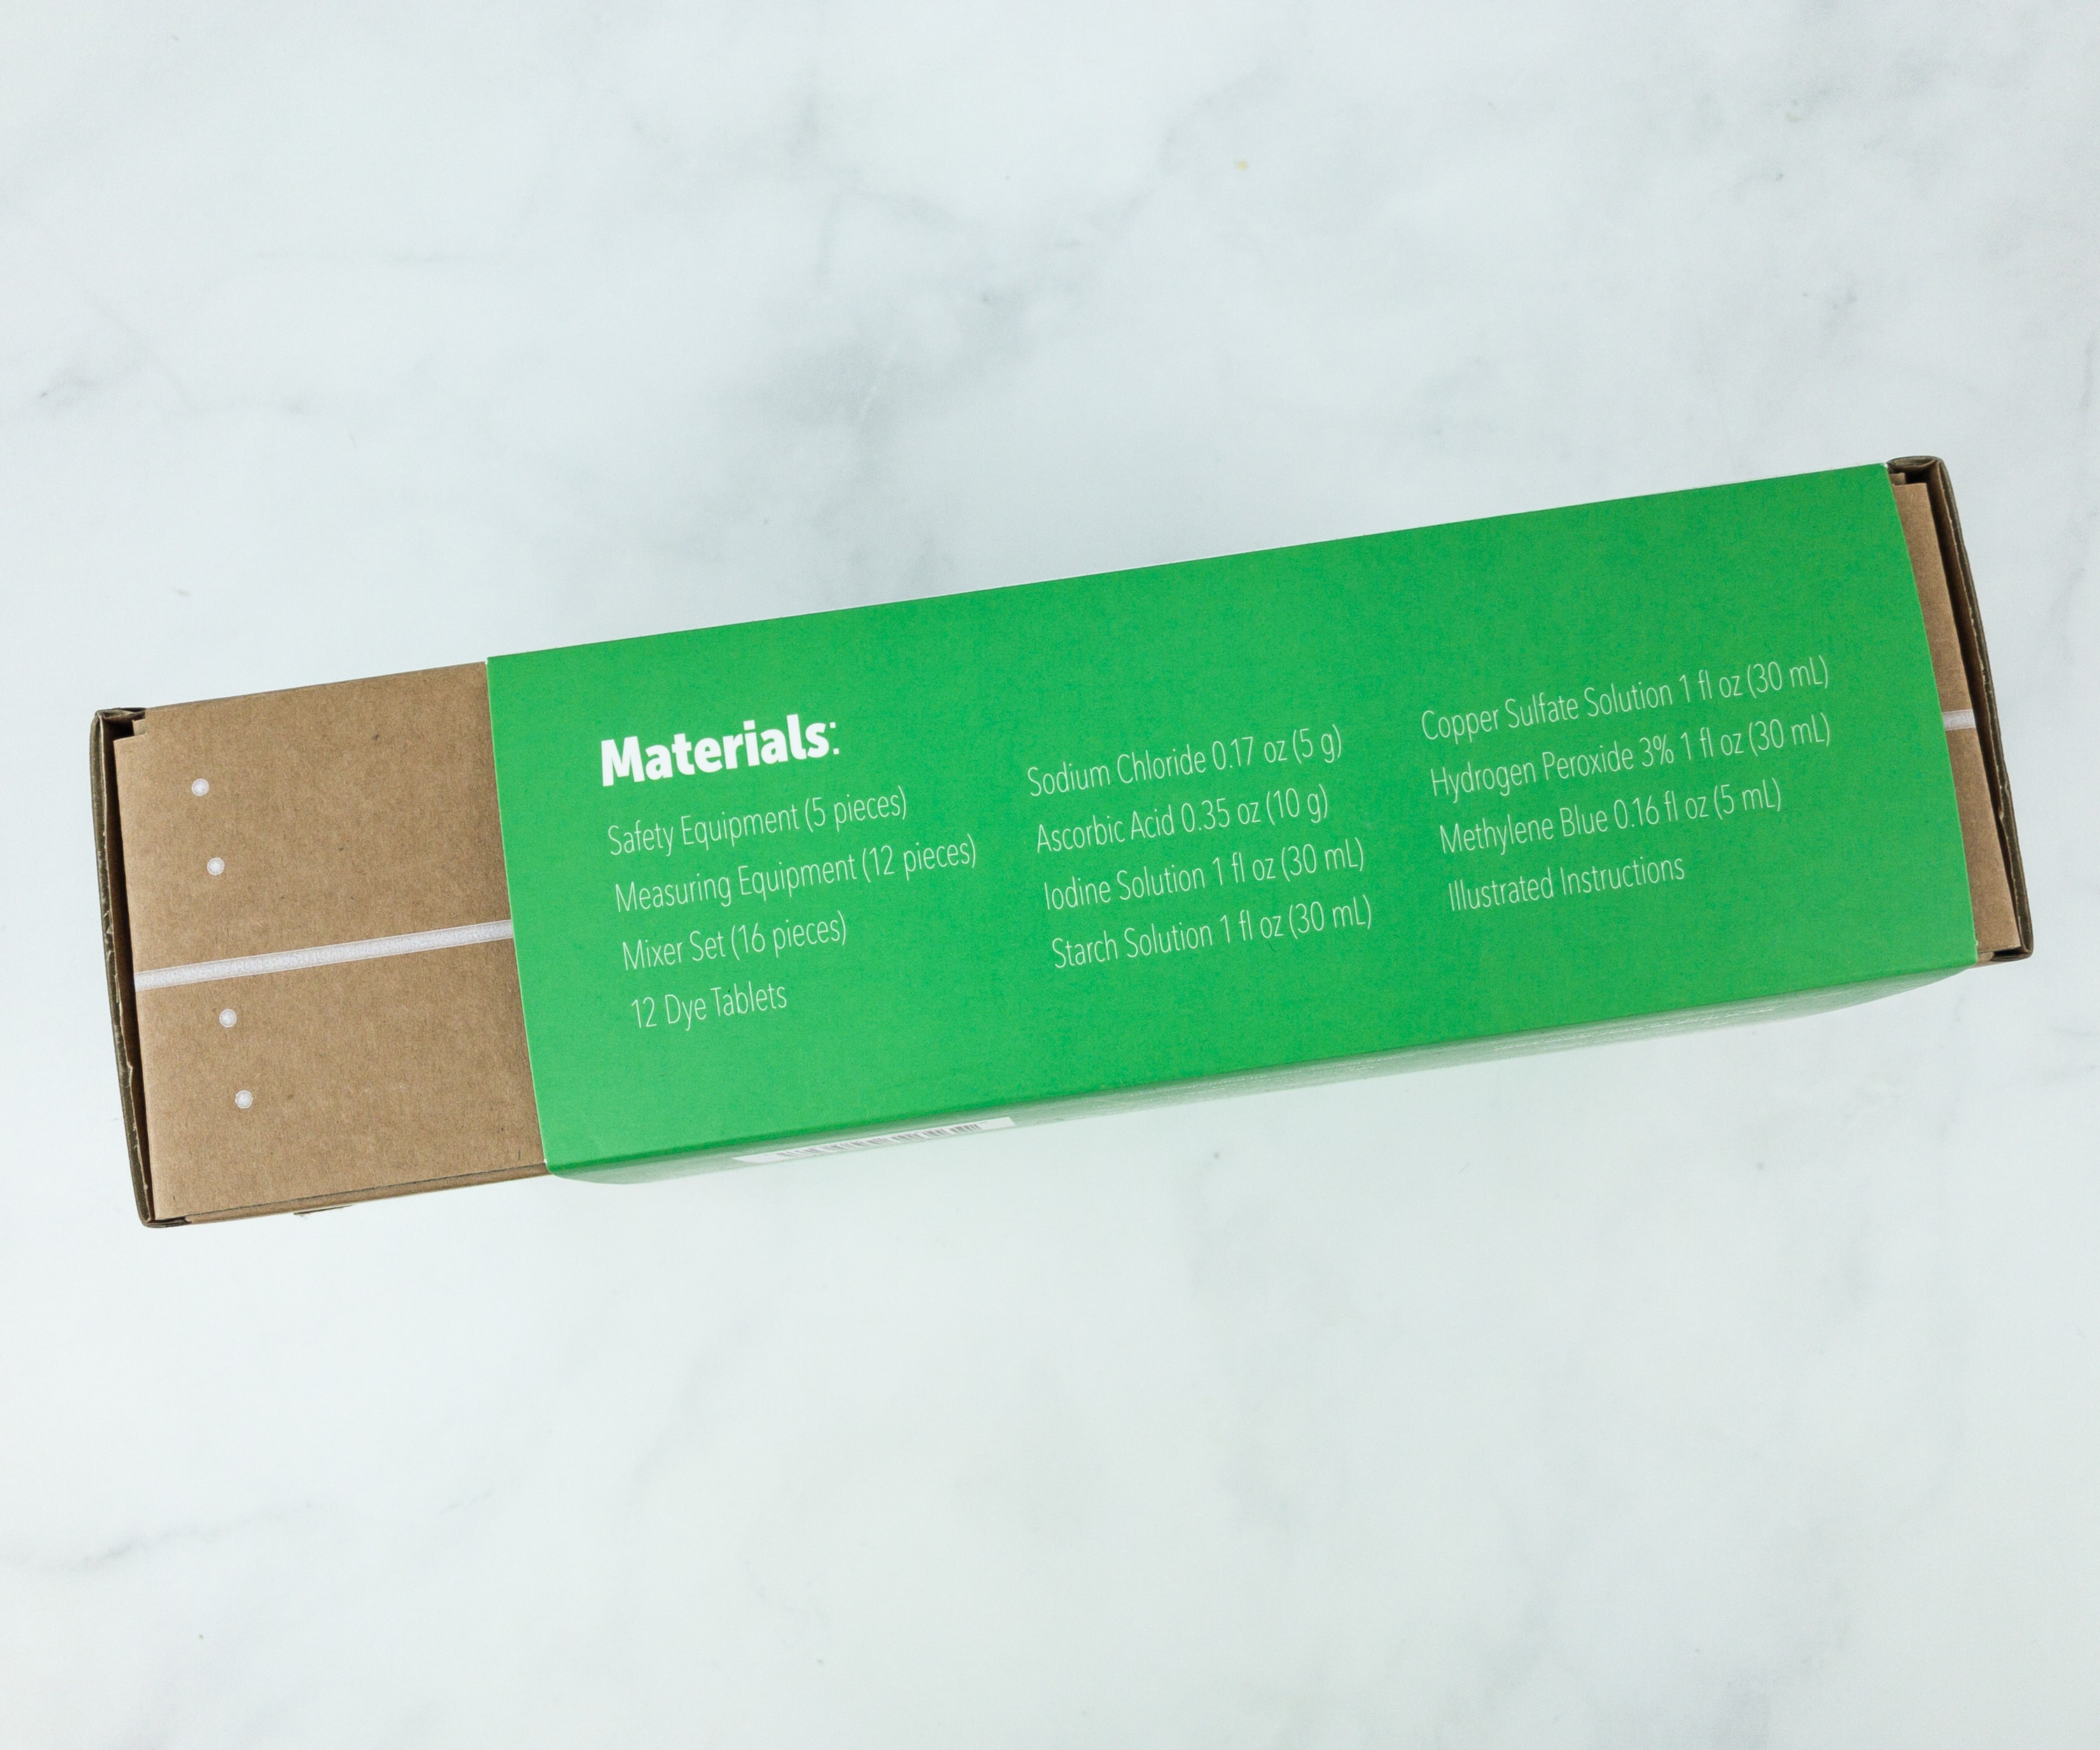
The box’s sleeve lists all the materials included in this crate.
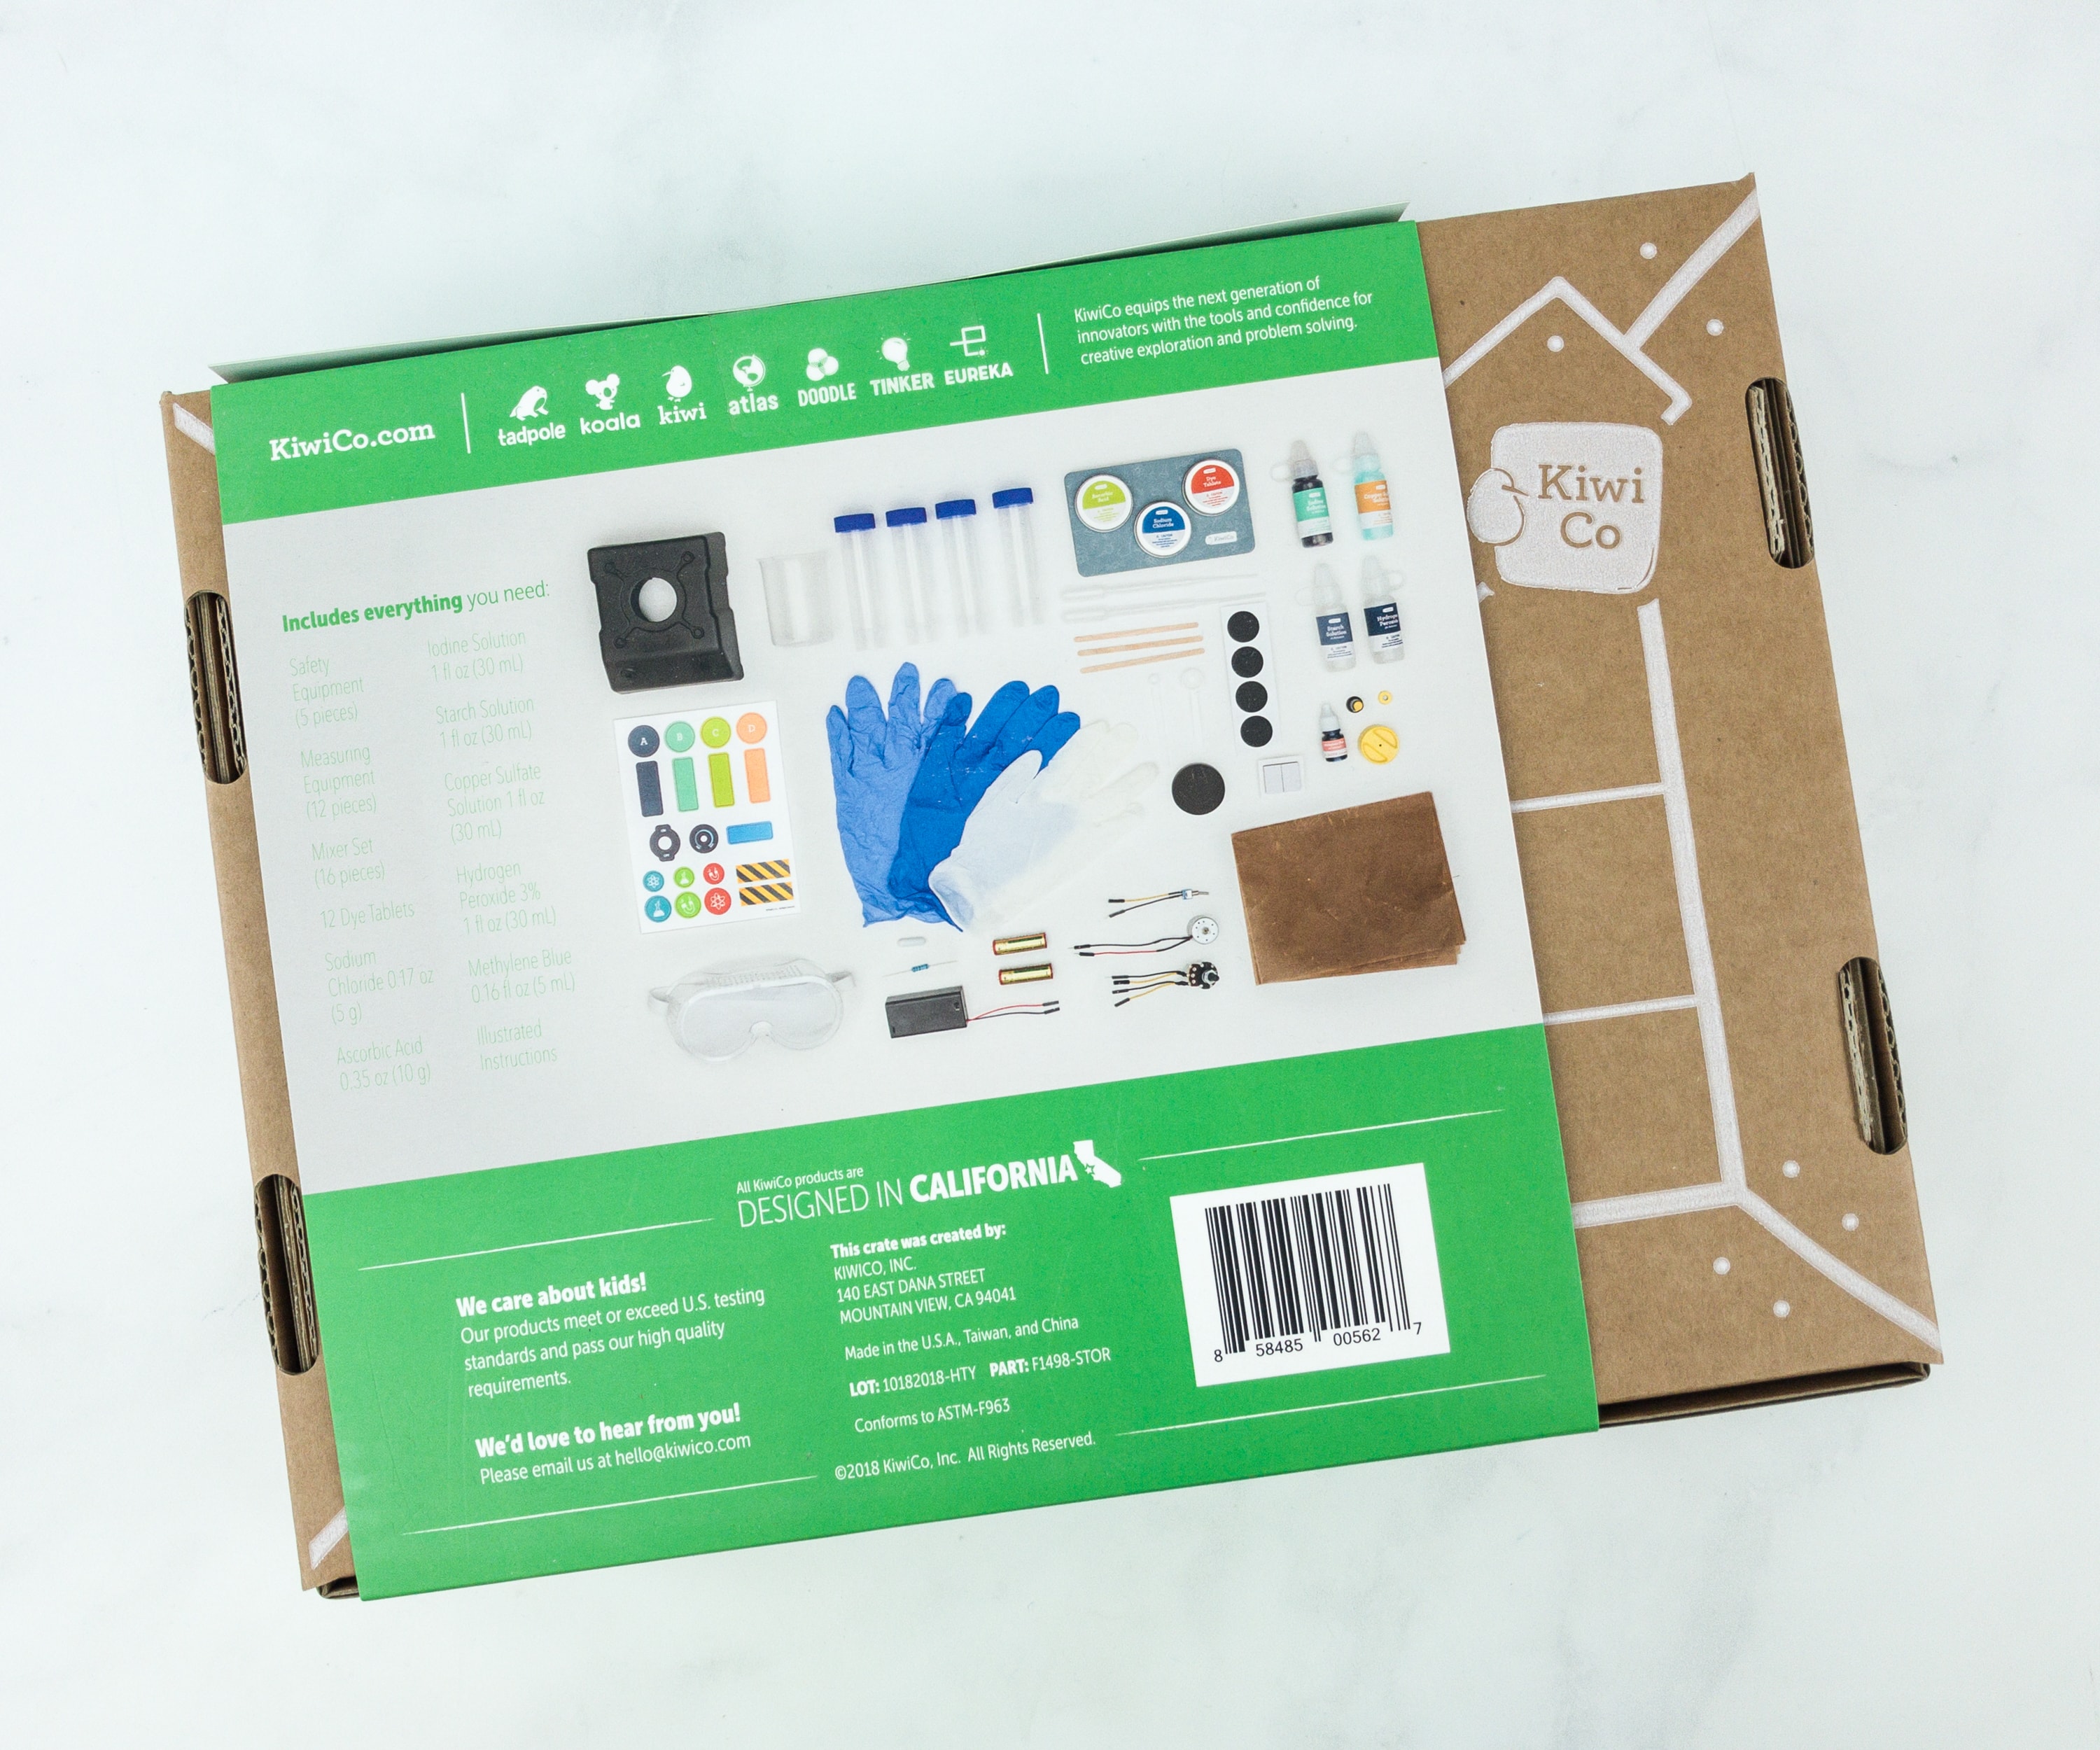
The box includes everything that you will need to perform the experiments.
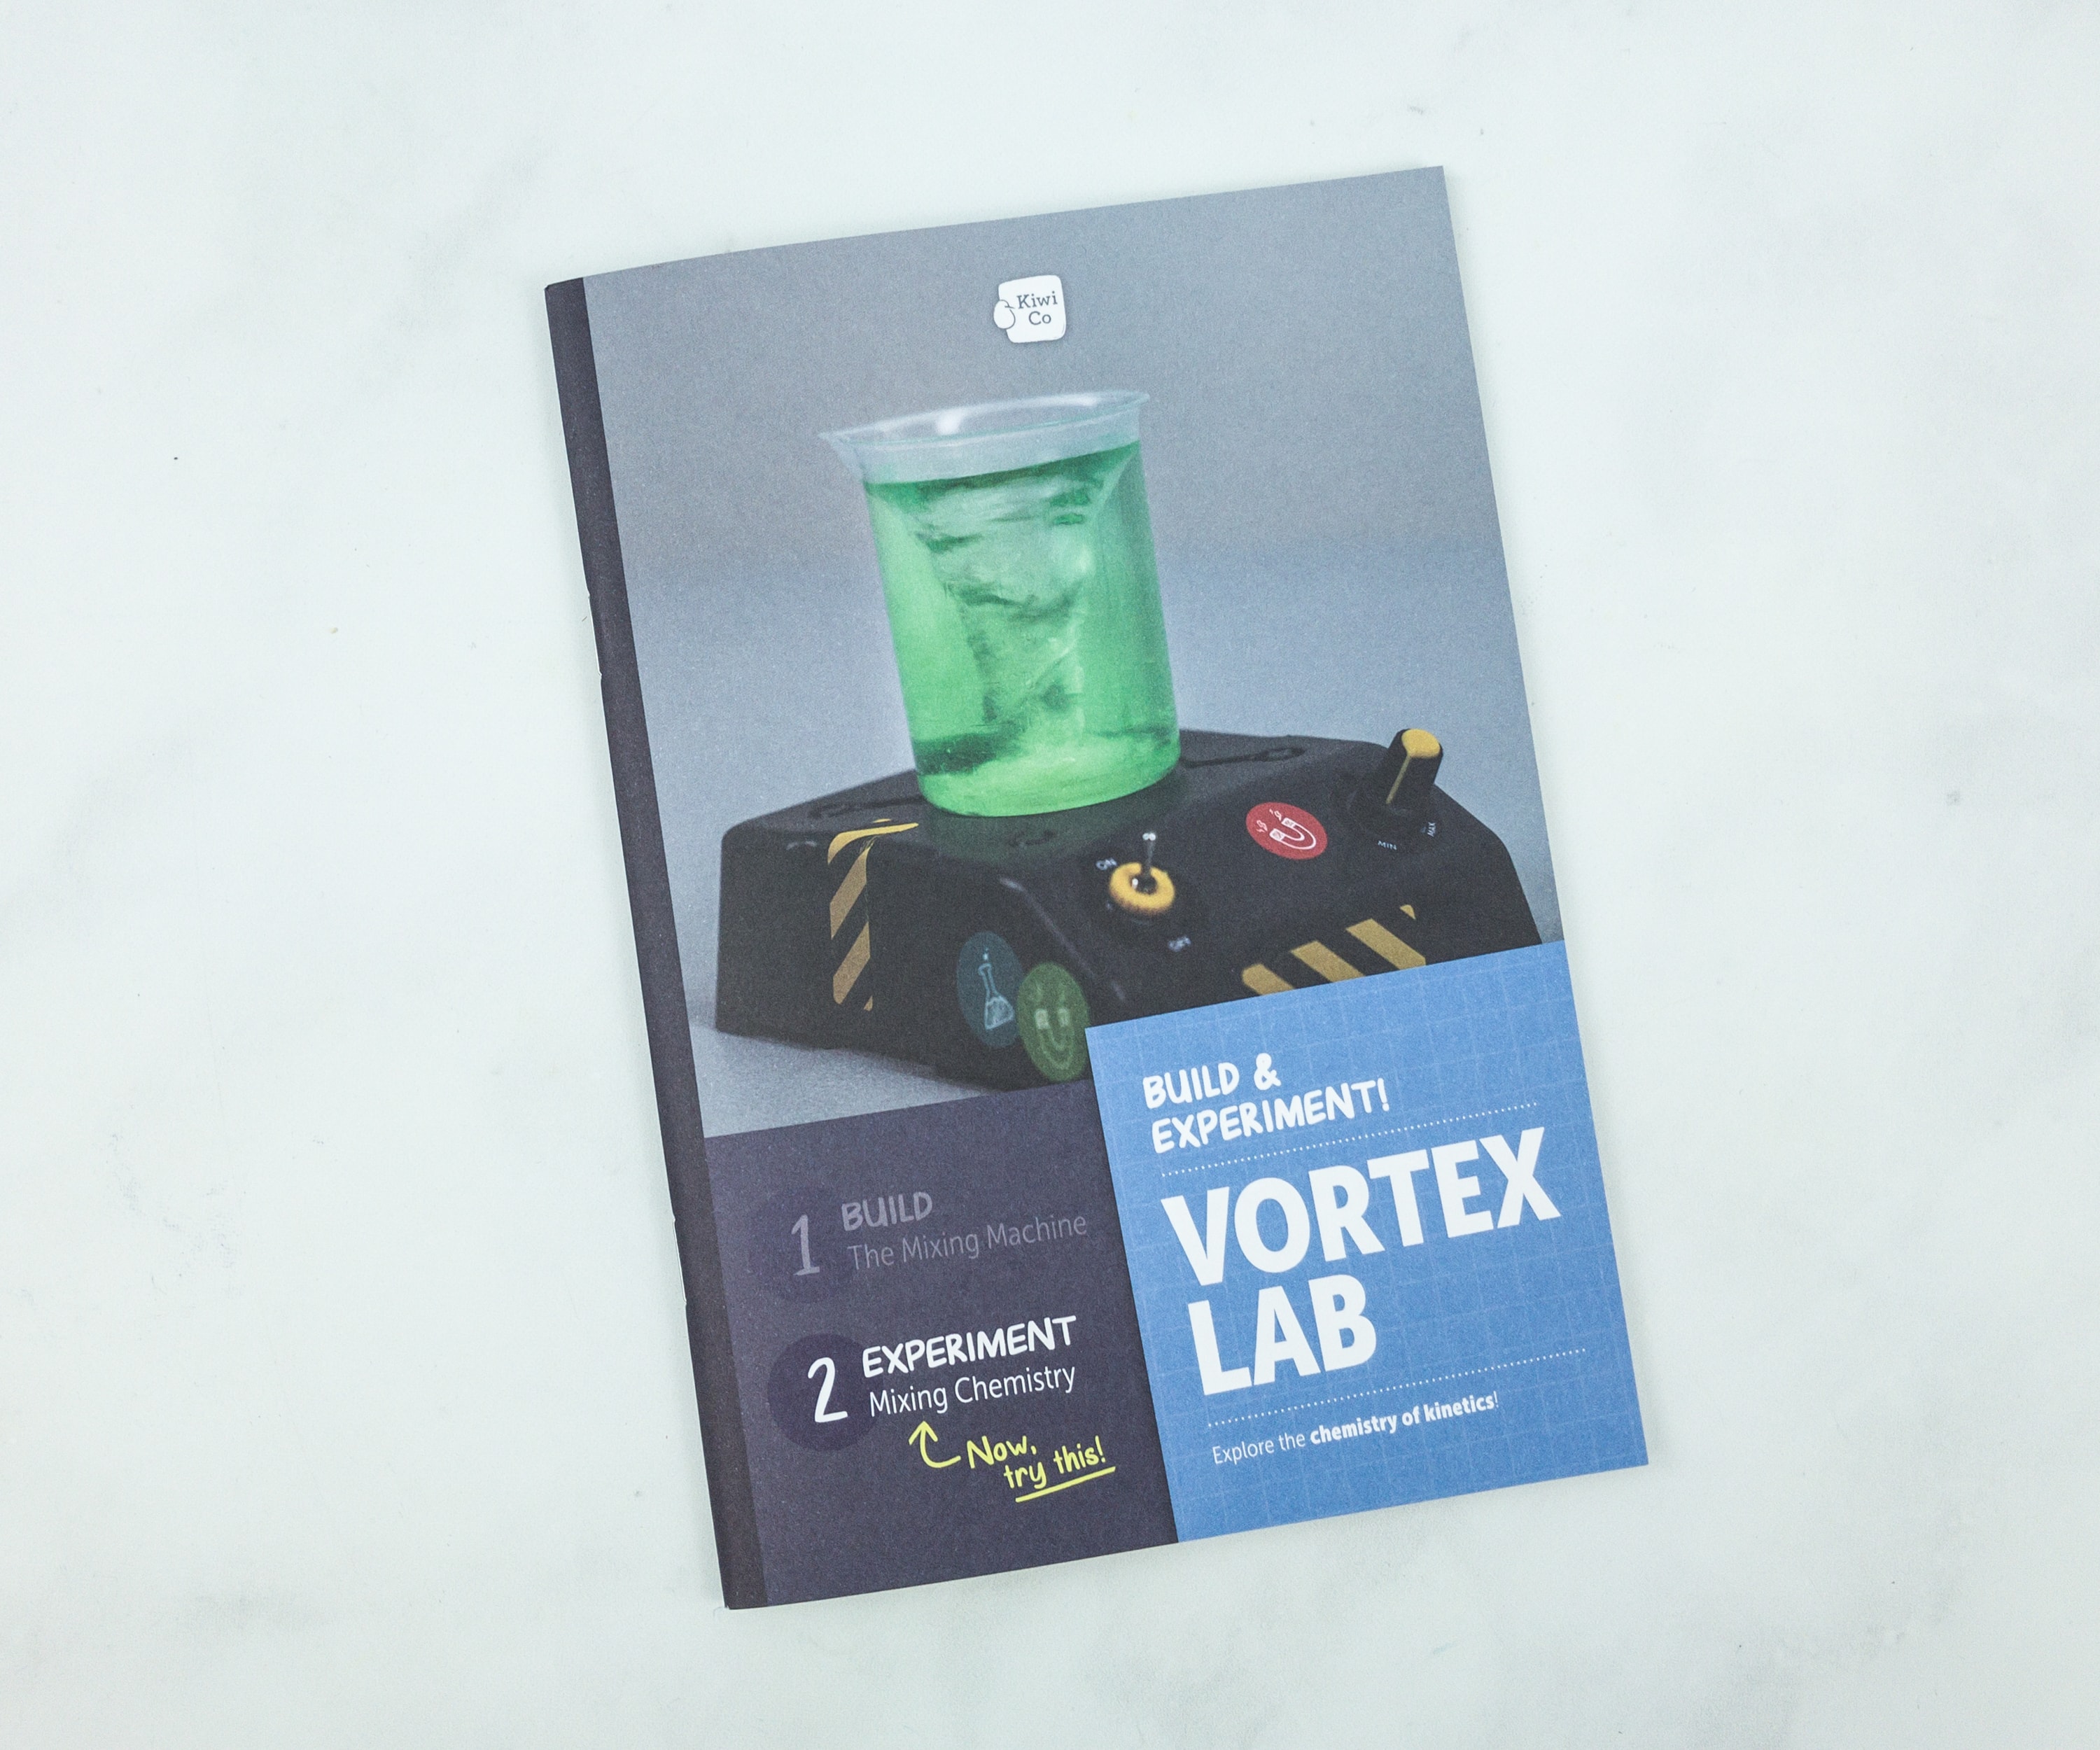
Vortex Lab ($49.95)
Build a magnetic mixing machine and spin up a chemical cyclone! Contains everything you need to try 4 chemistry experiments exploring the science of solubility, reaction speed, and oxidation-reduction. Experience some cool color-changing reactions and mix it up — with chemistry!
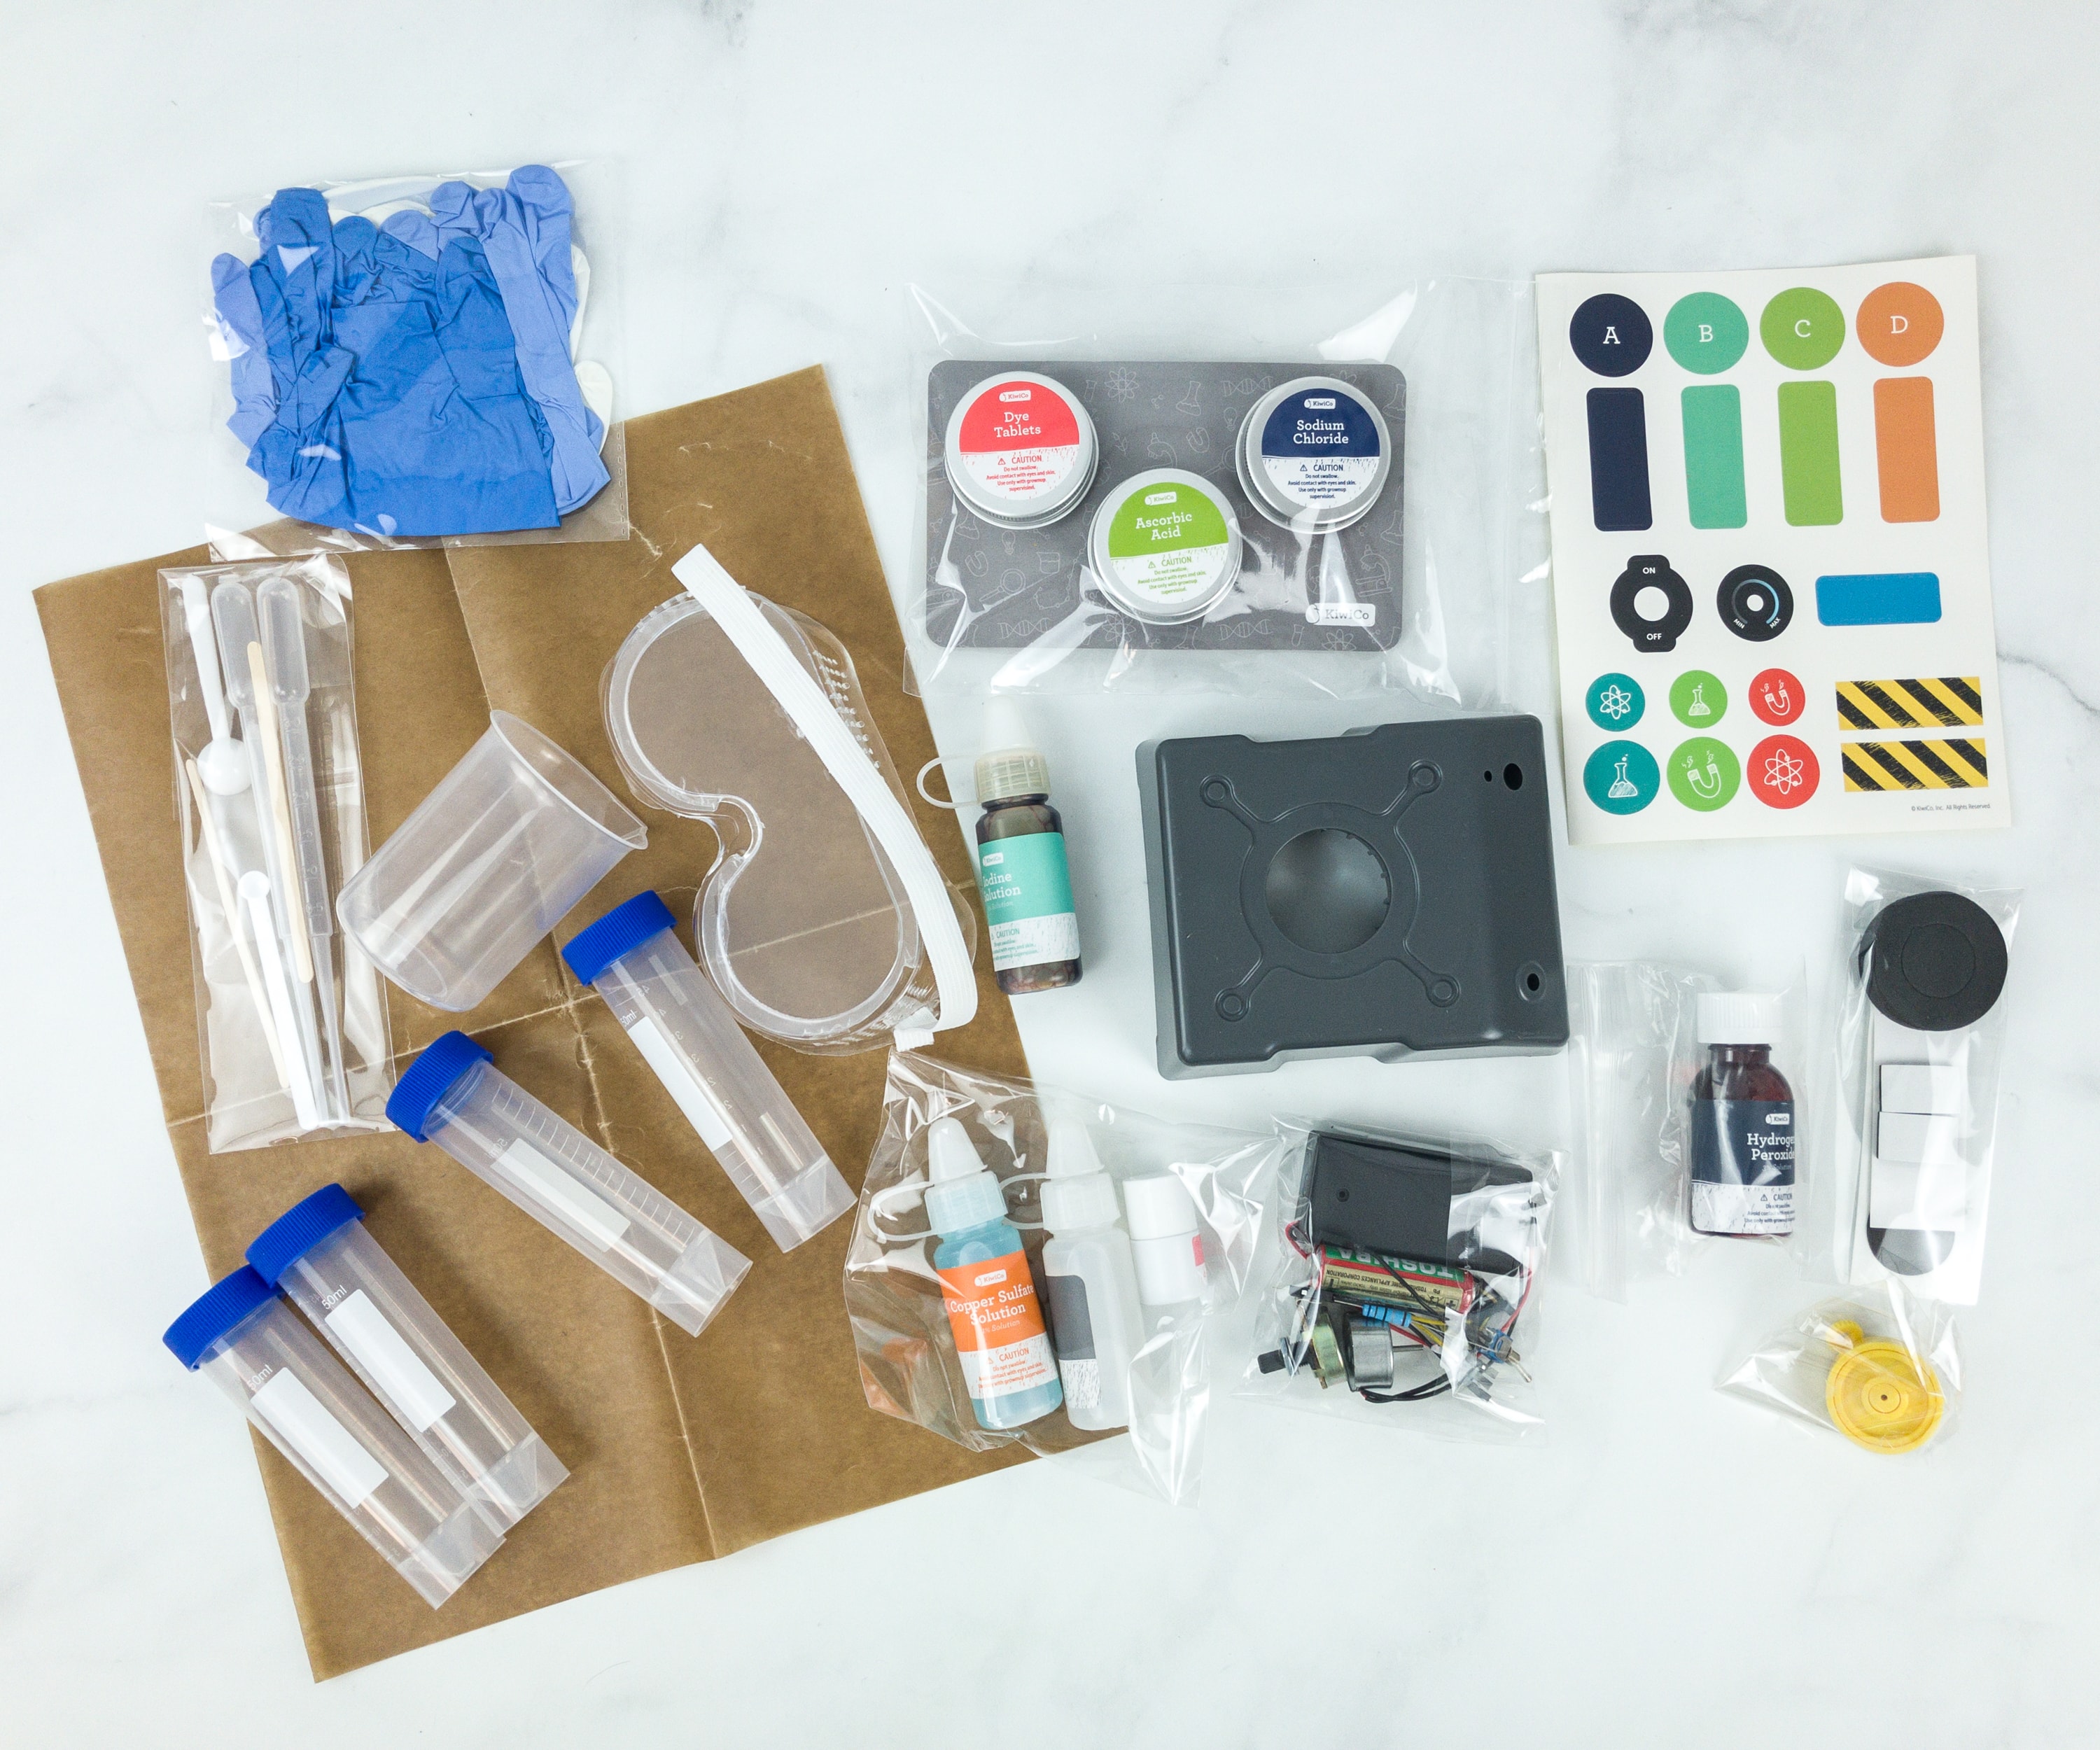
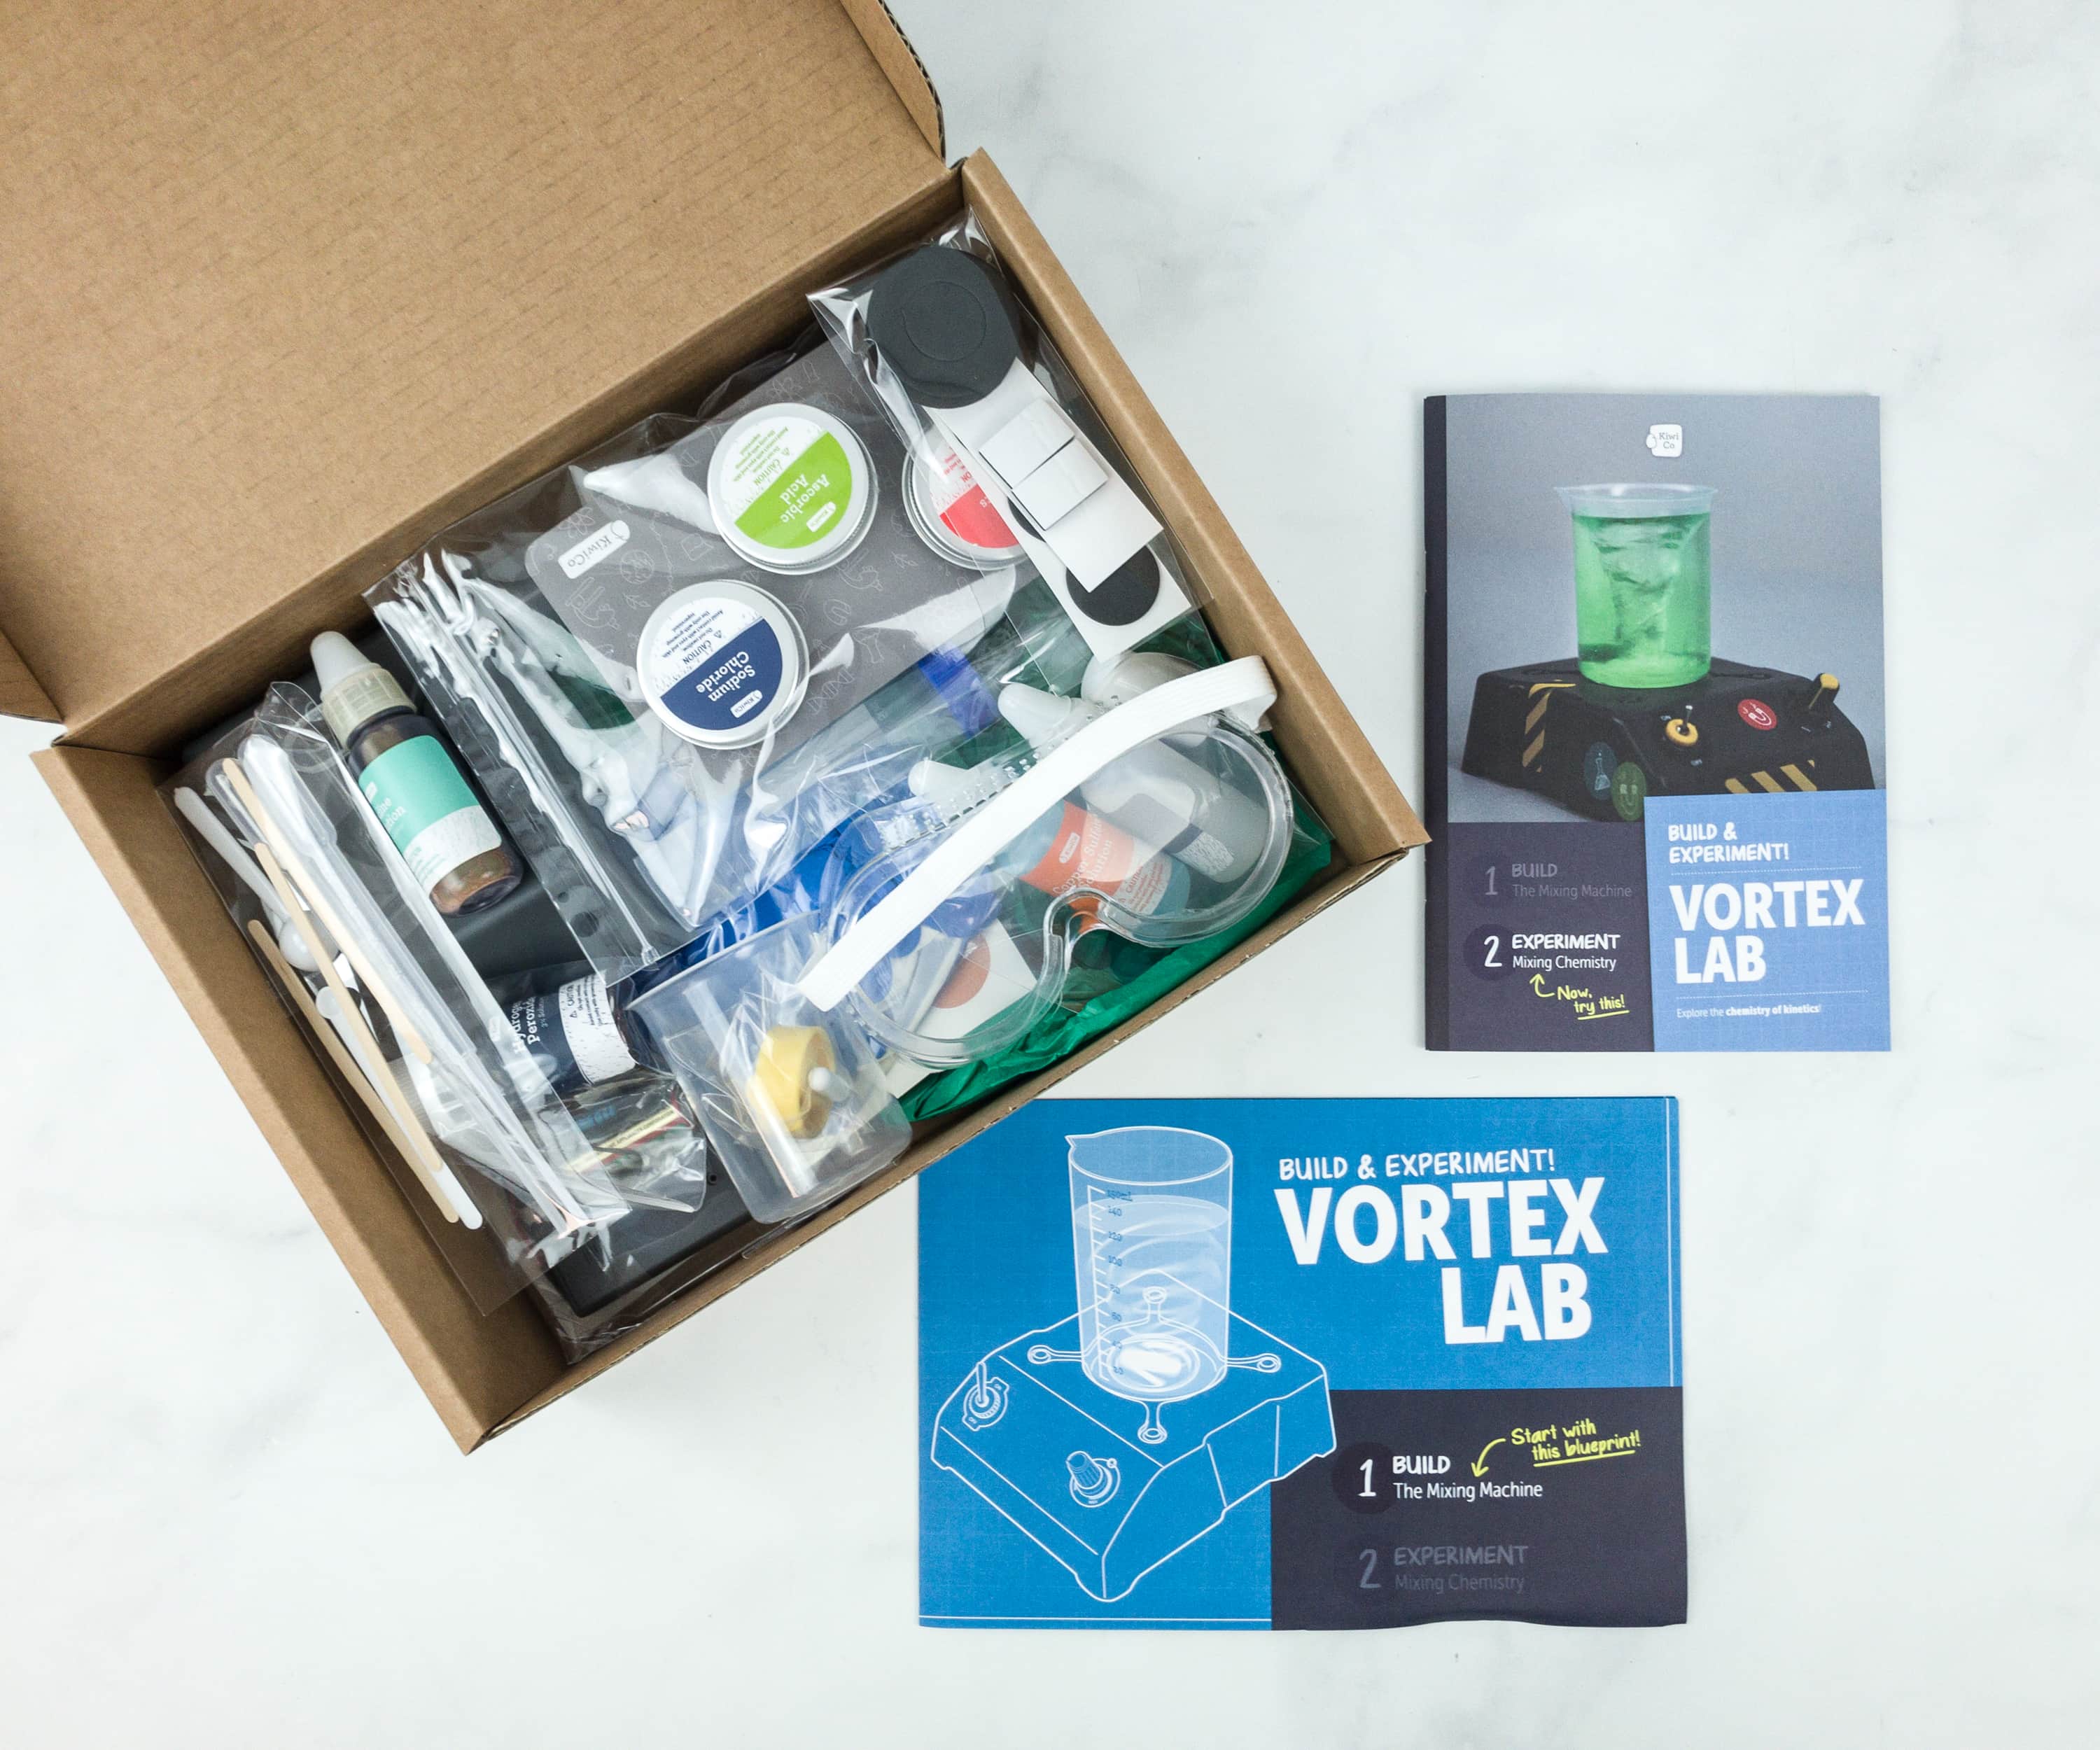
Everything in my box!
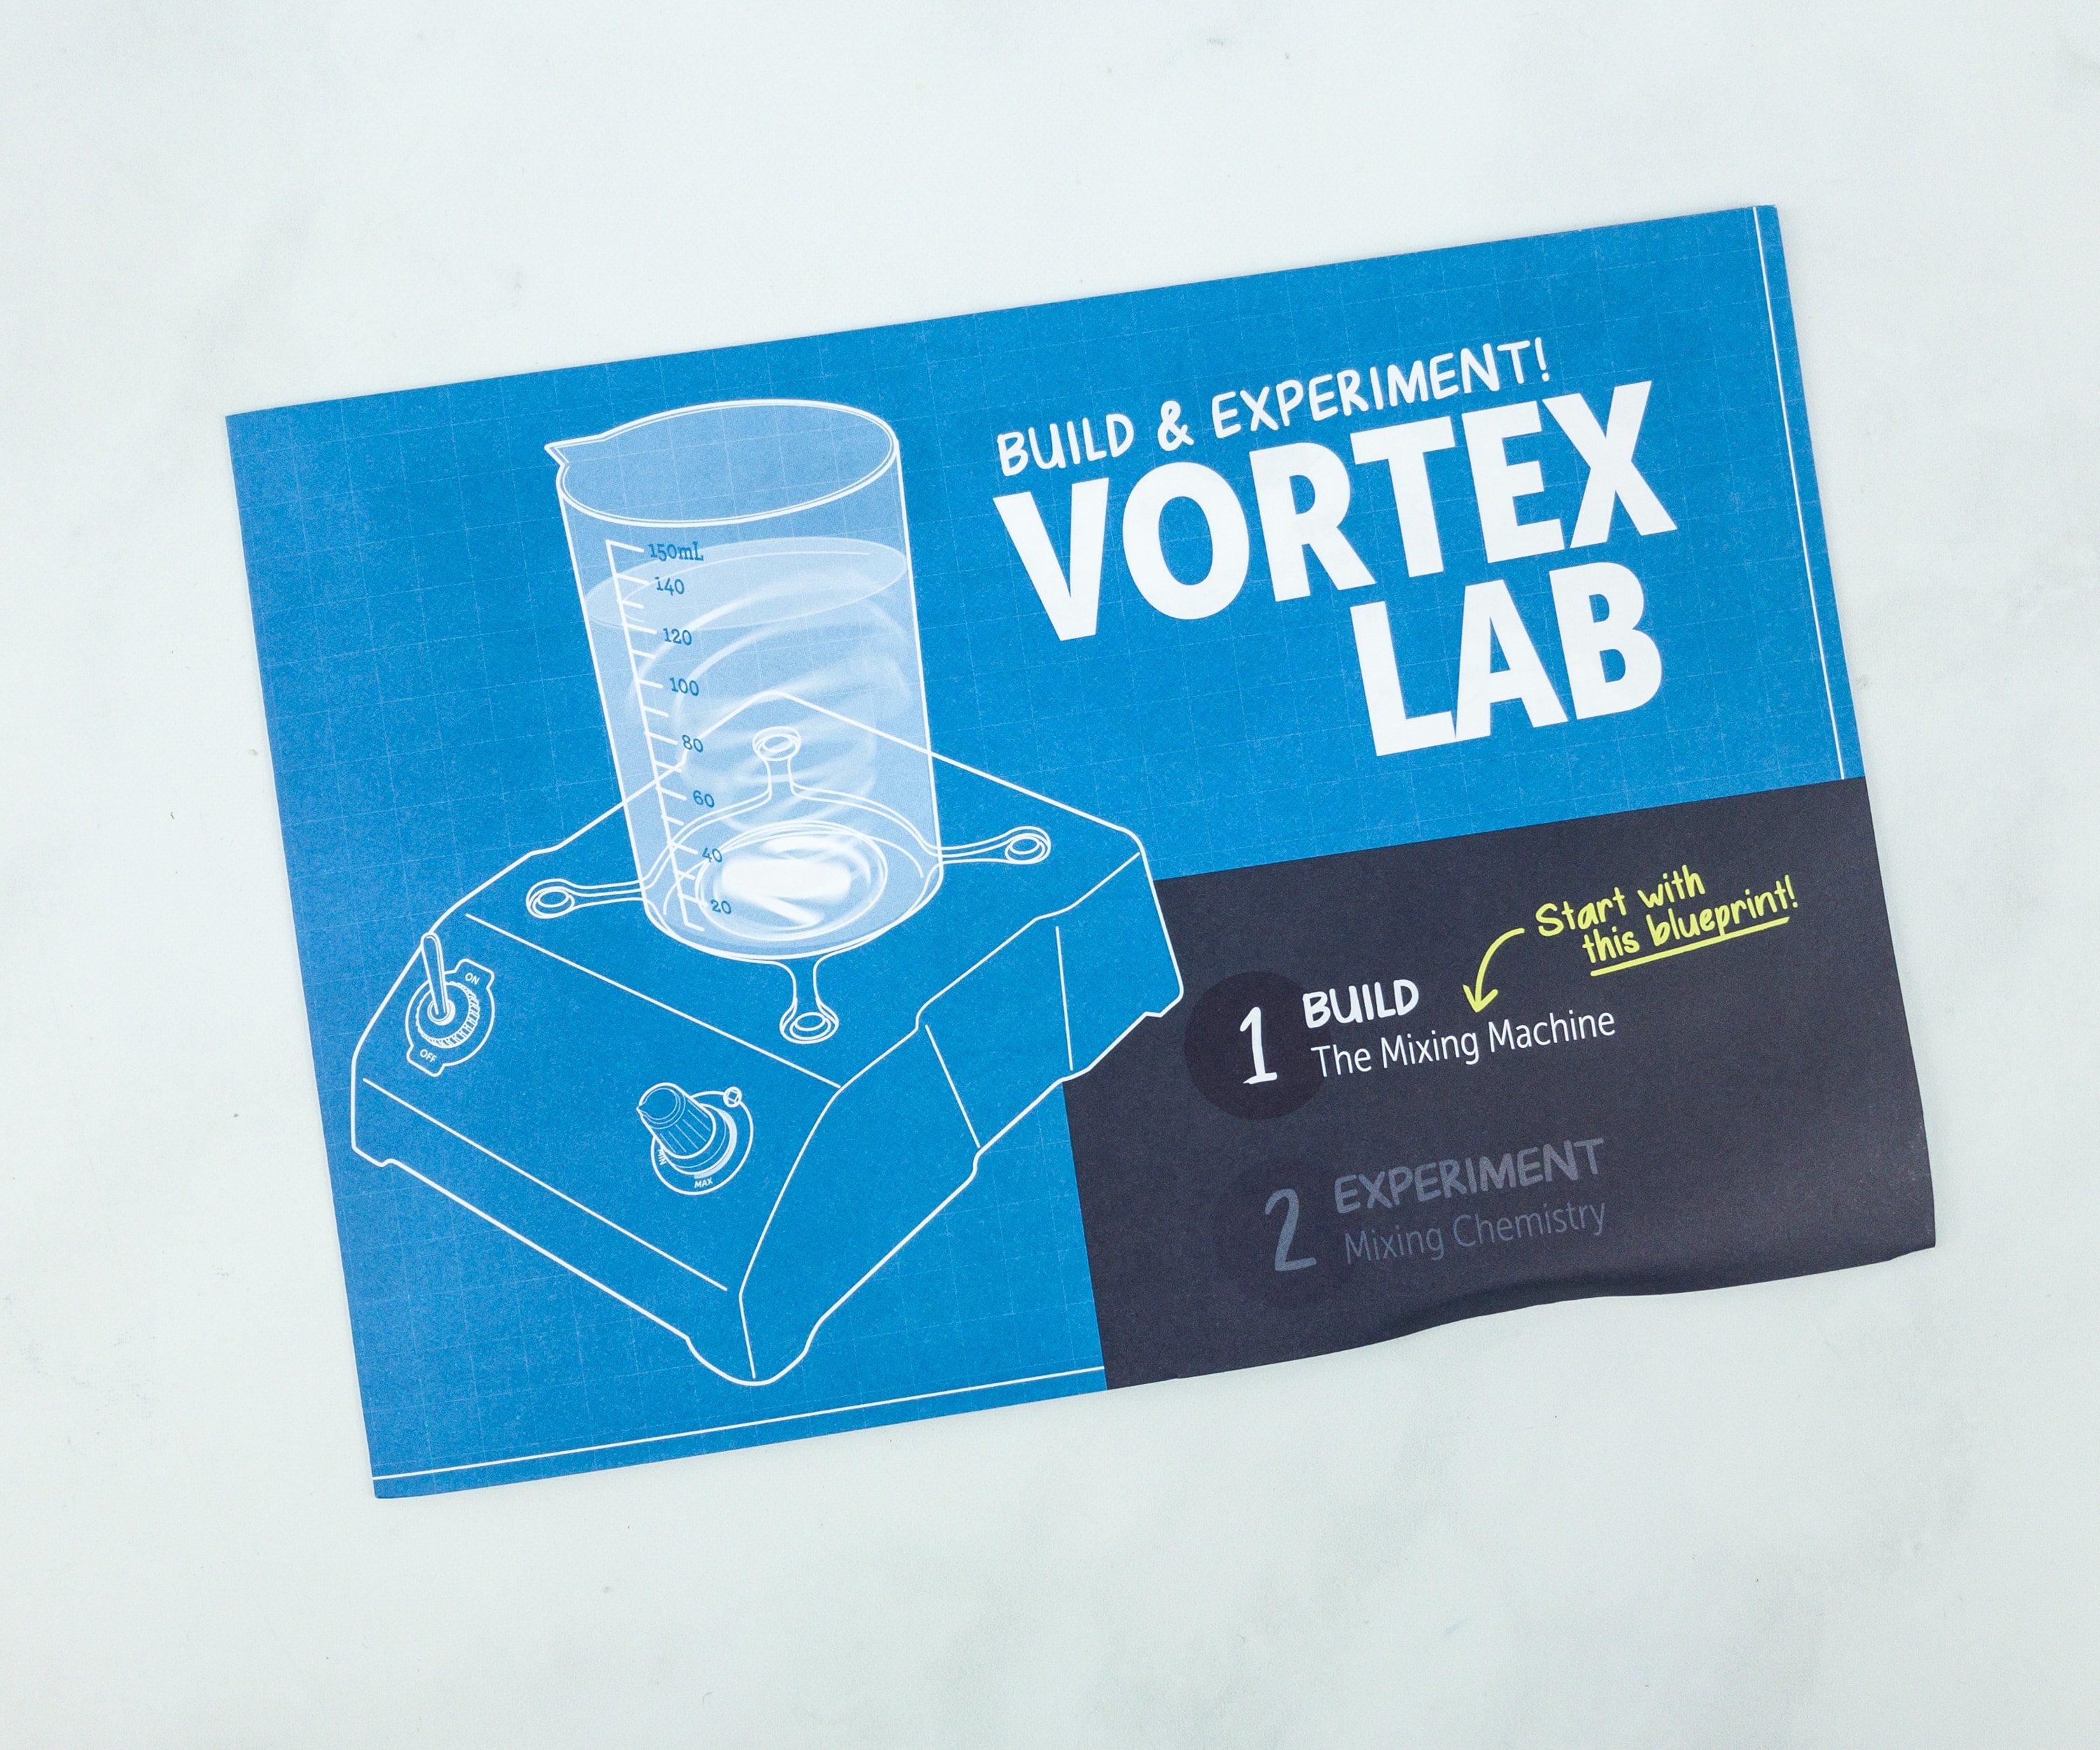
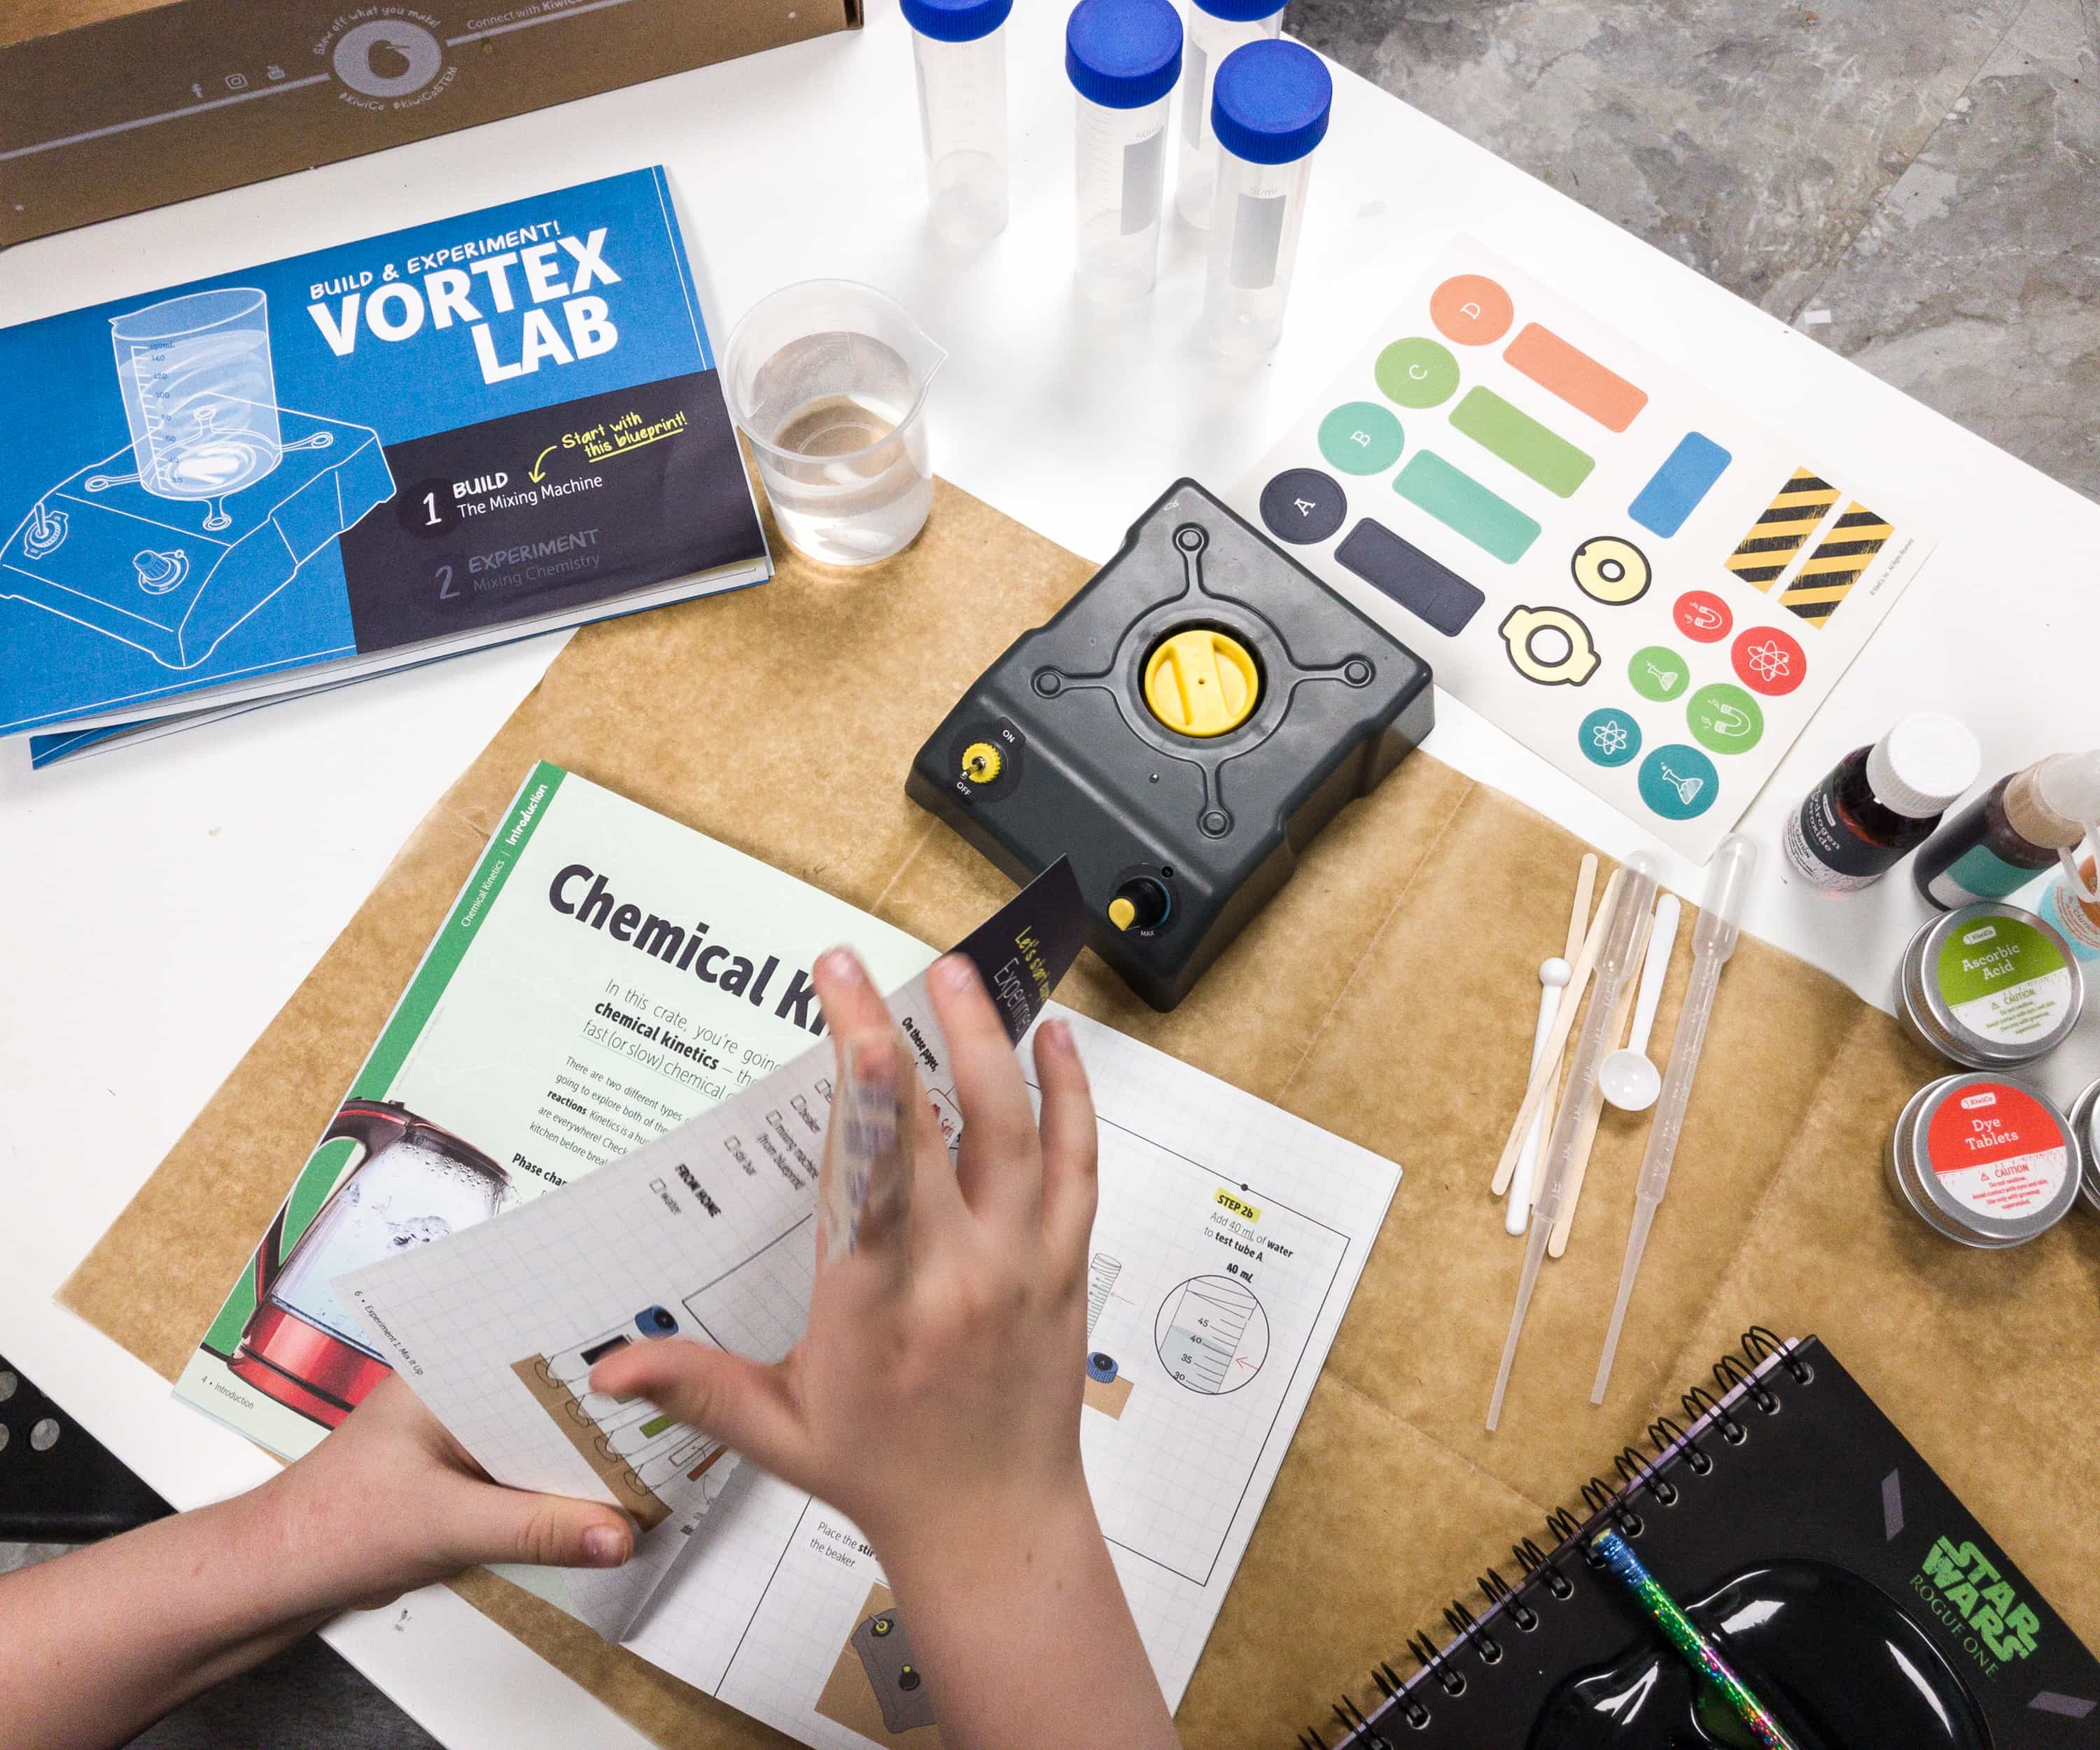
The very first thing we need to accomplish is to make the mixing machine, and they included a blueprint for it.
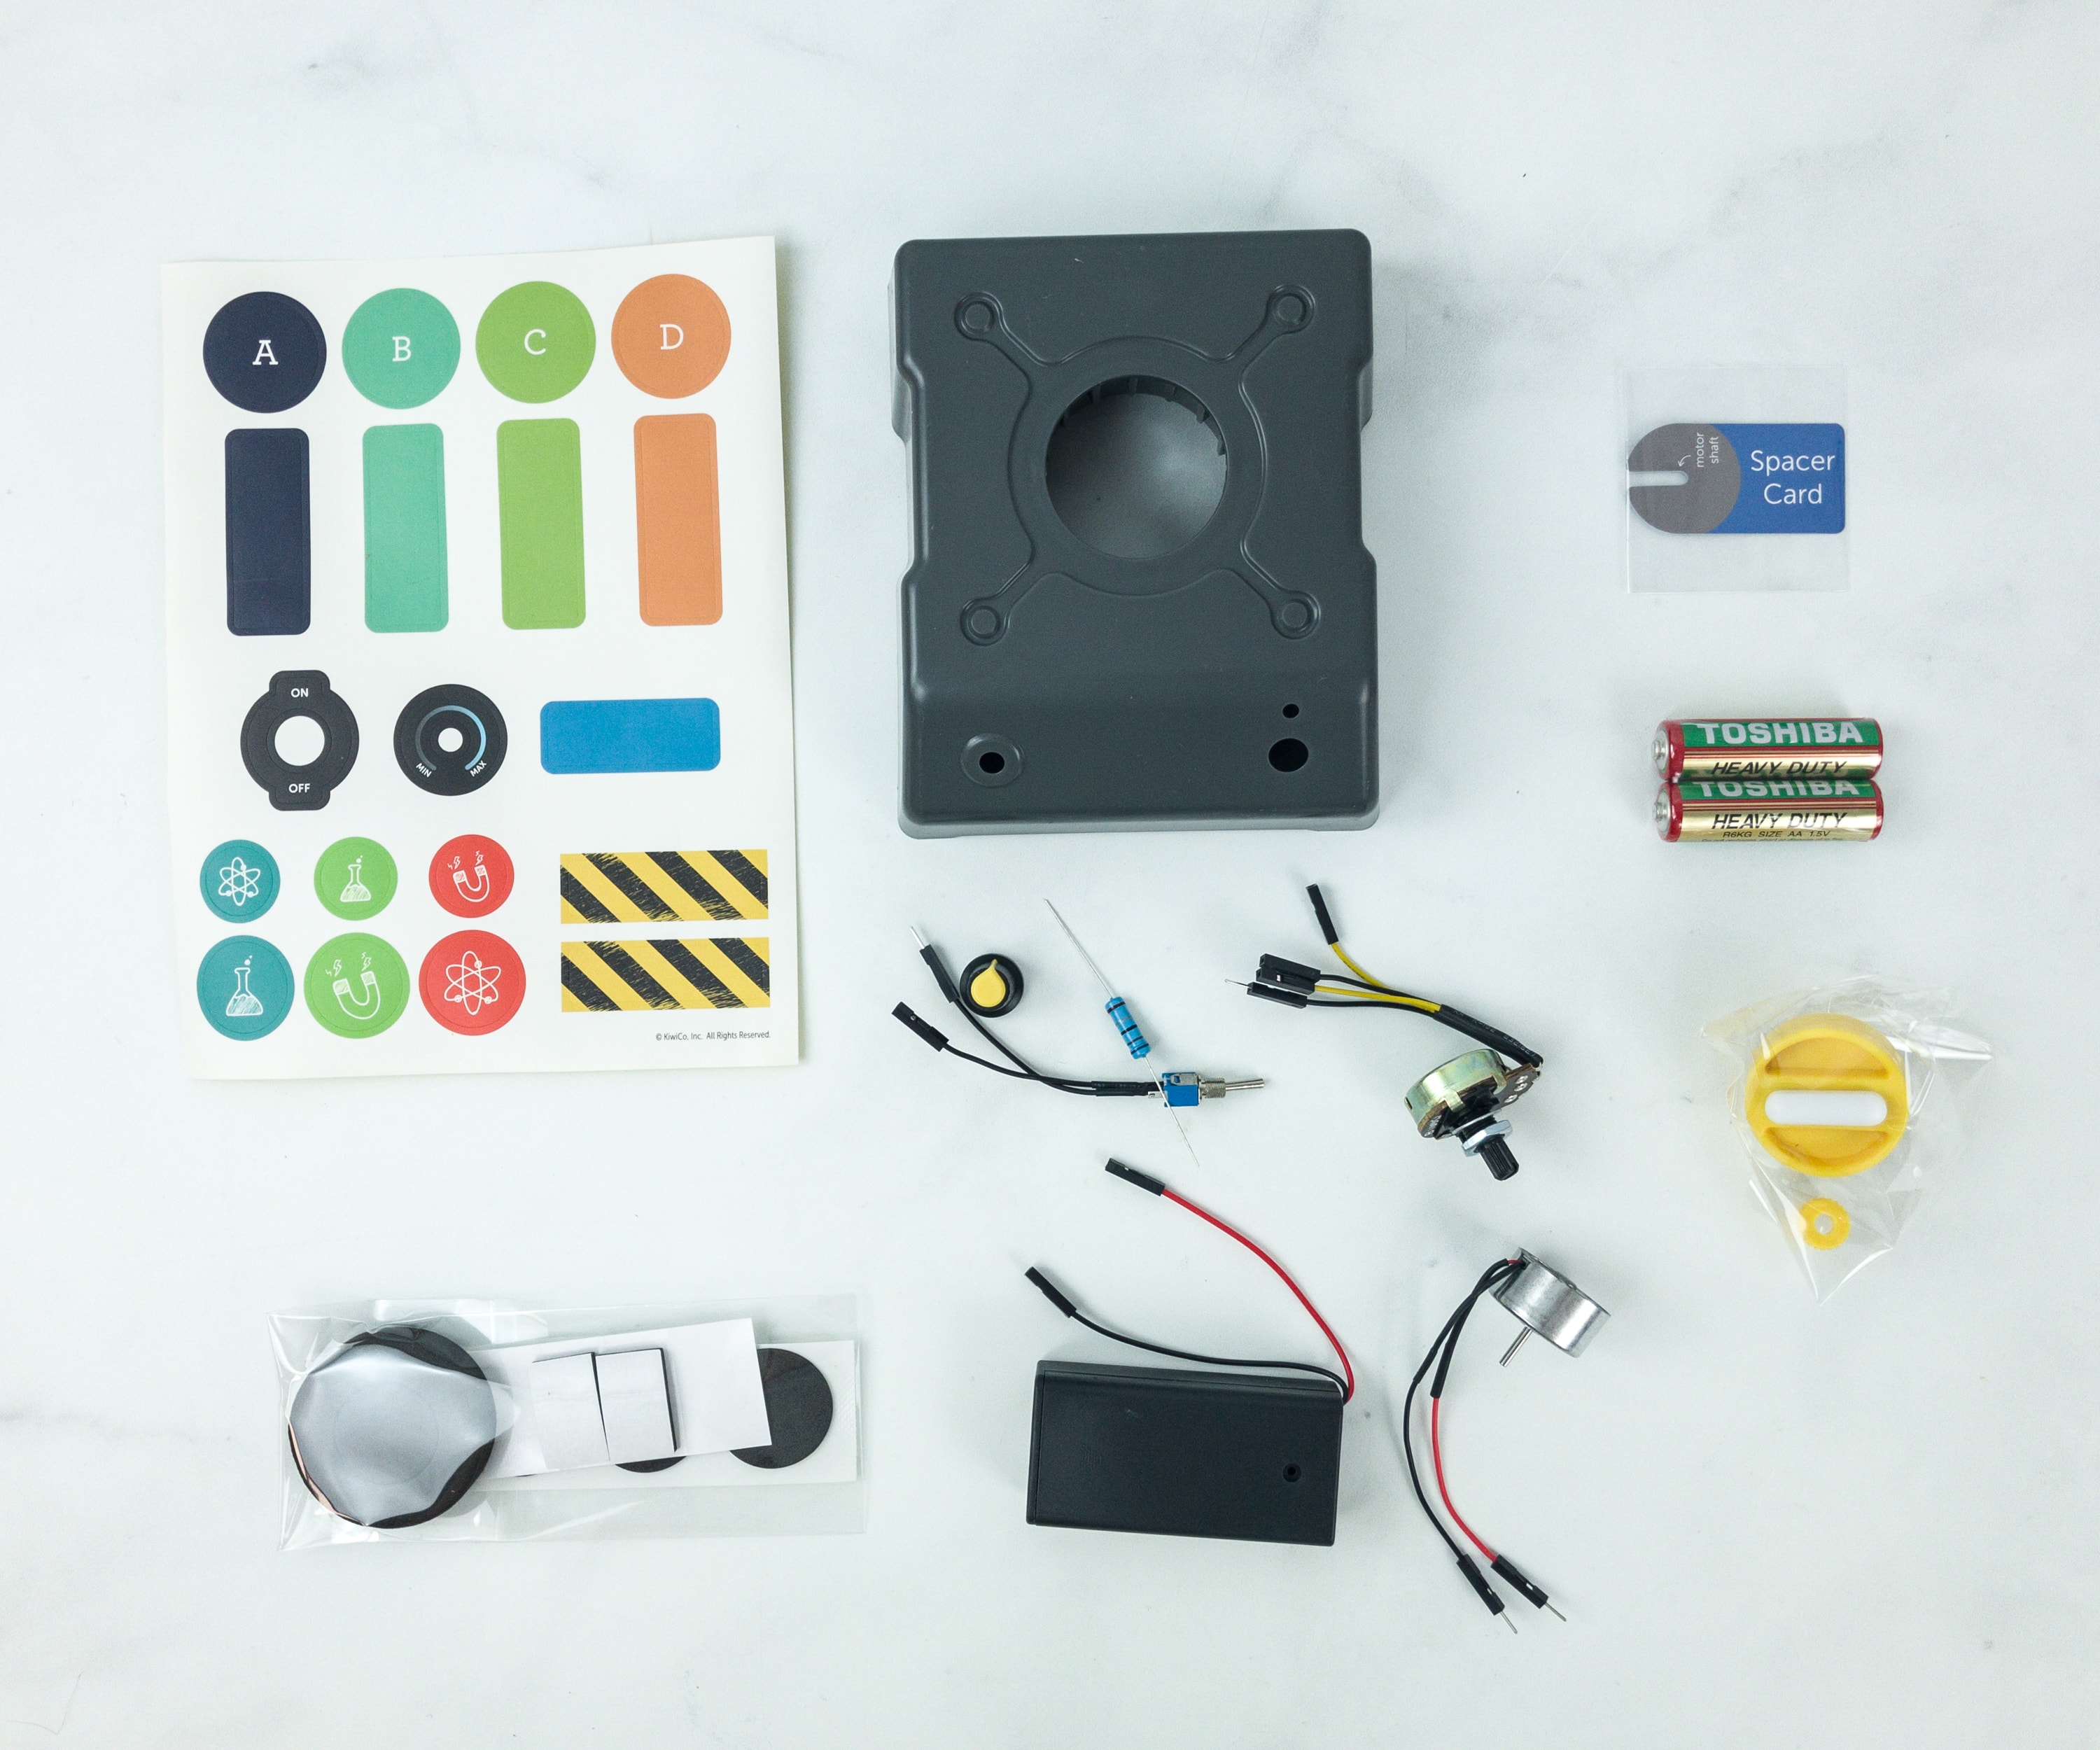
The parts needed to complete the mixing machine are the following: body shell, toggle switch, motor, min/max sticker, yellow nut, plastic puck, on/off sticker, battery pack, spacer card, resistor, AA batteries, sticky foam, potentiometer, double-stick foam, stir bar, knob, foam donut, a beaker.
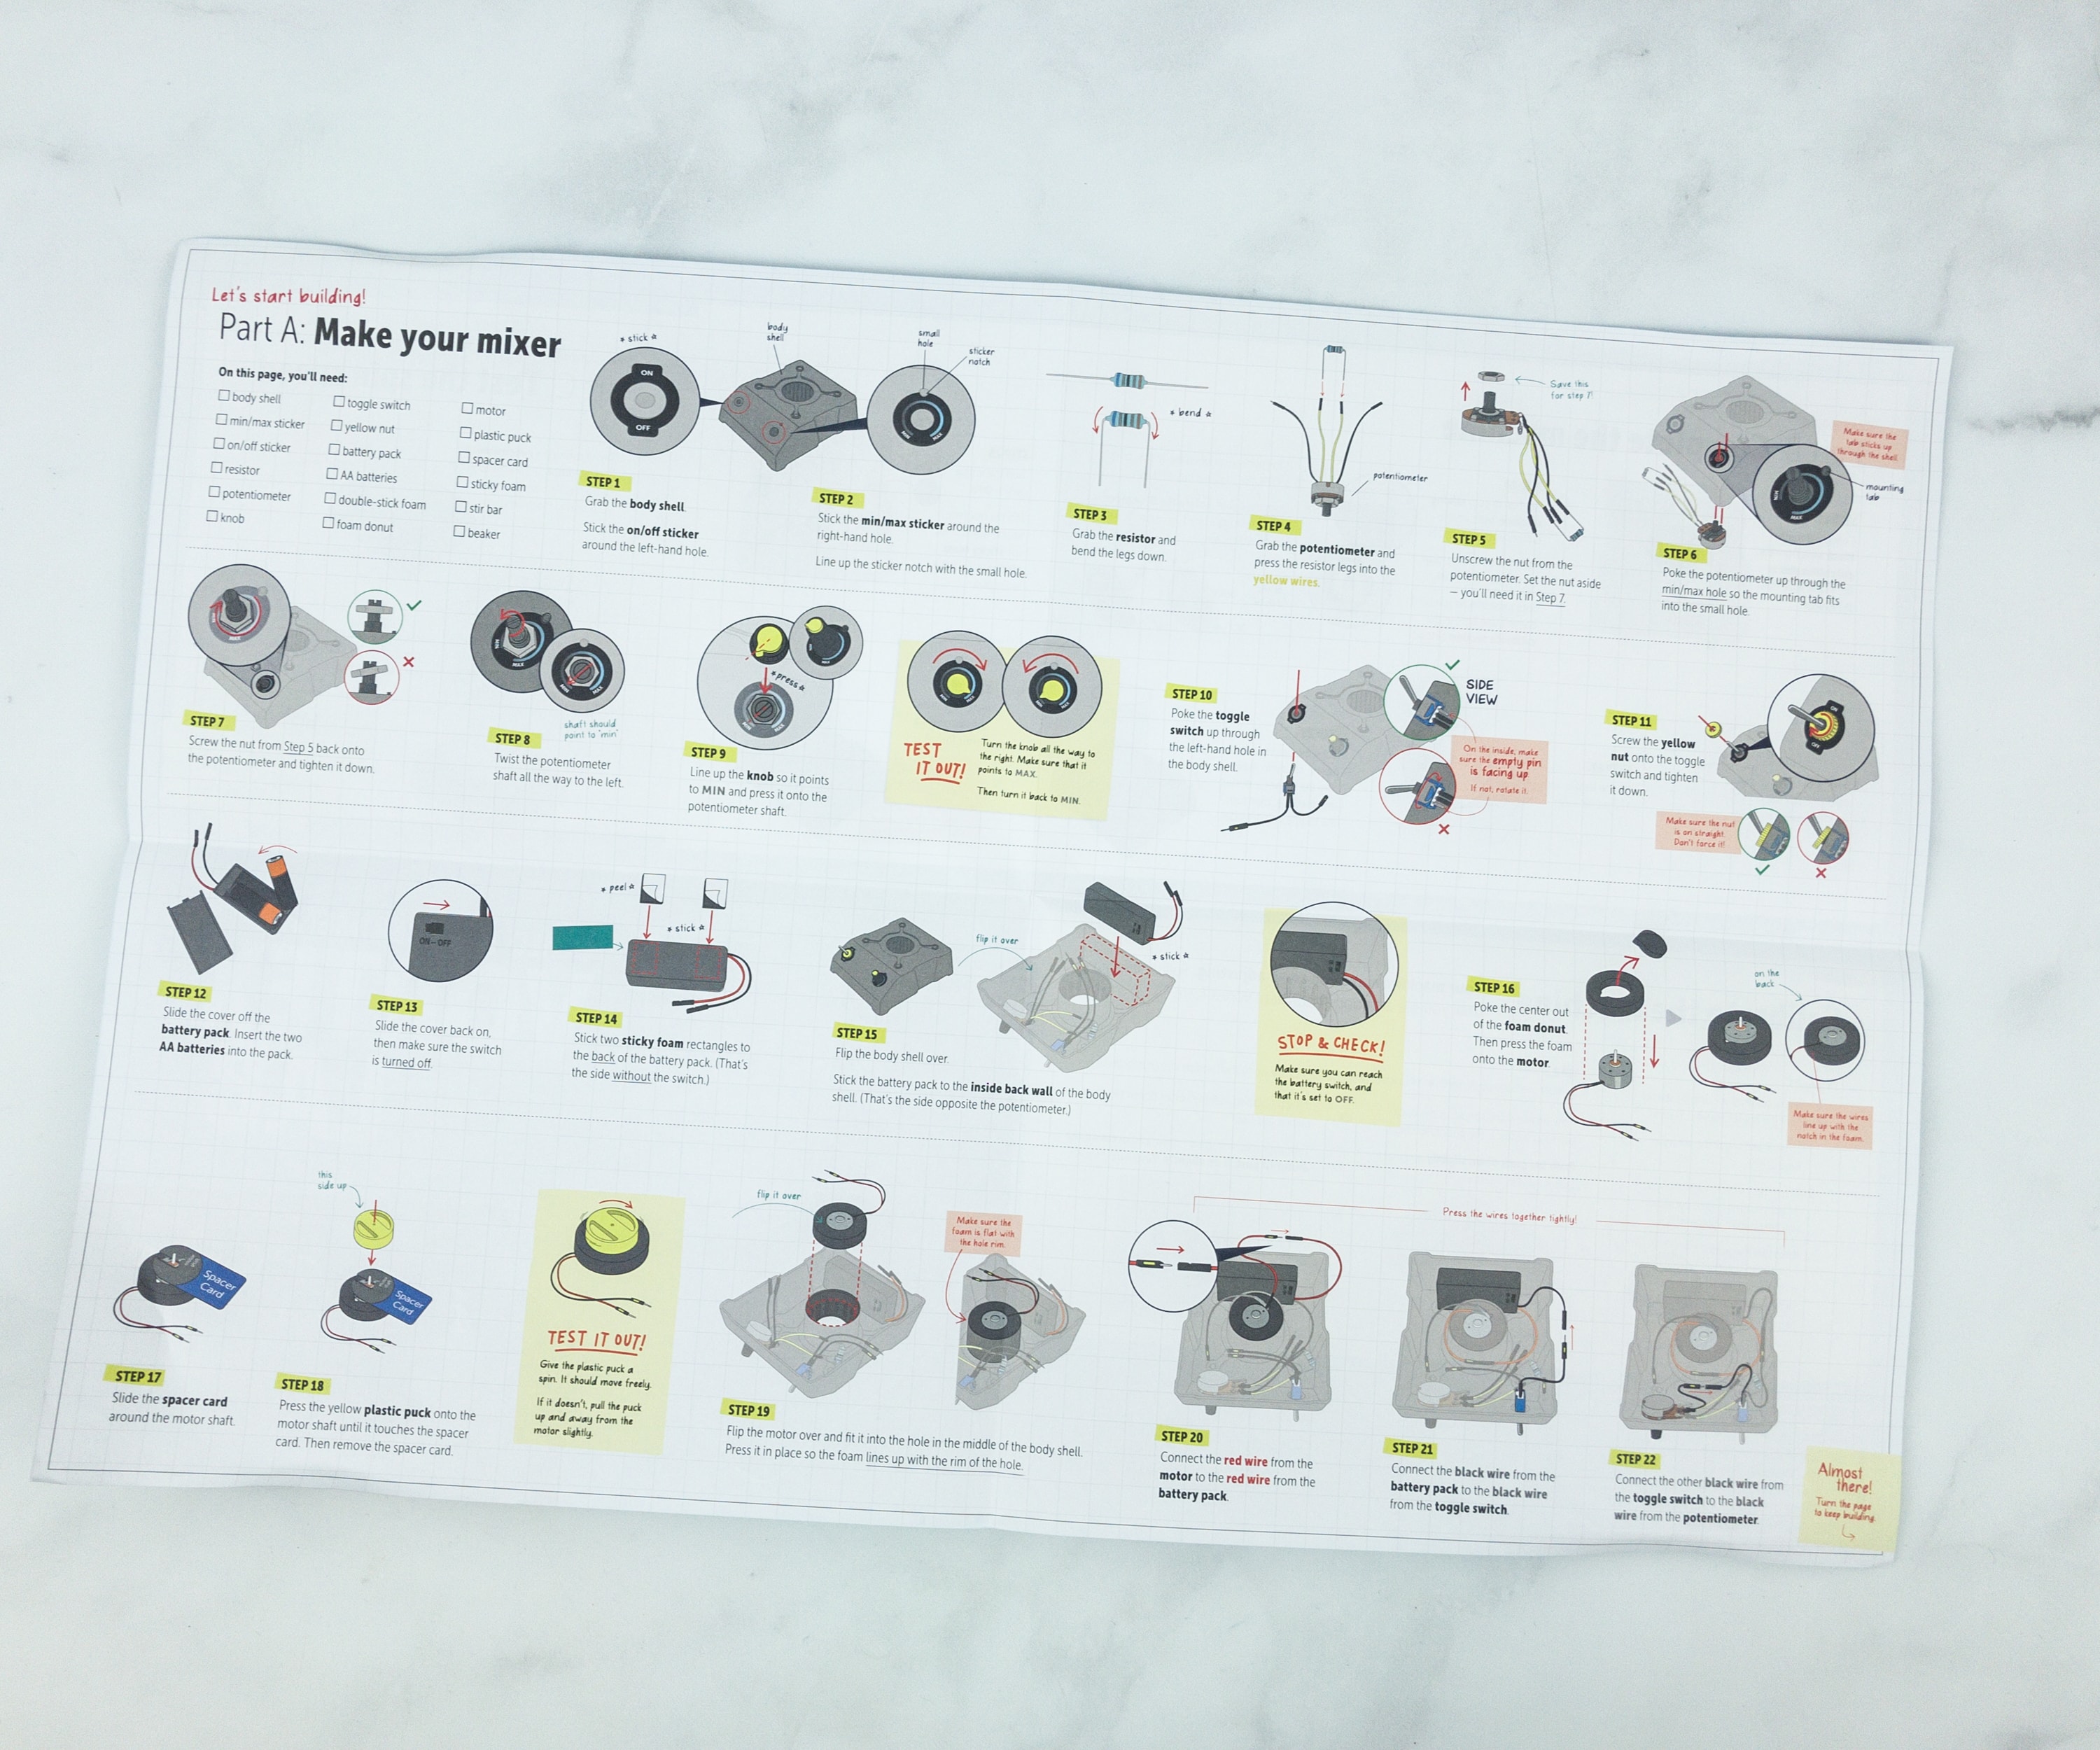
The blueprint provided a step-by-step instruction on how to assemble the mixing machine.
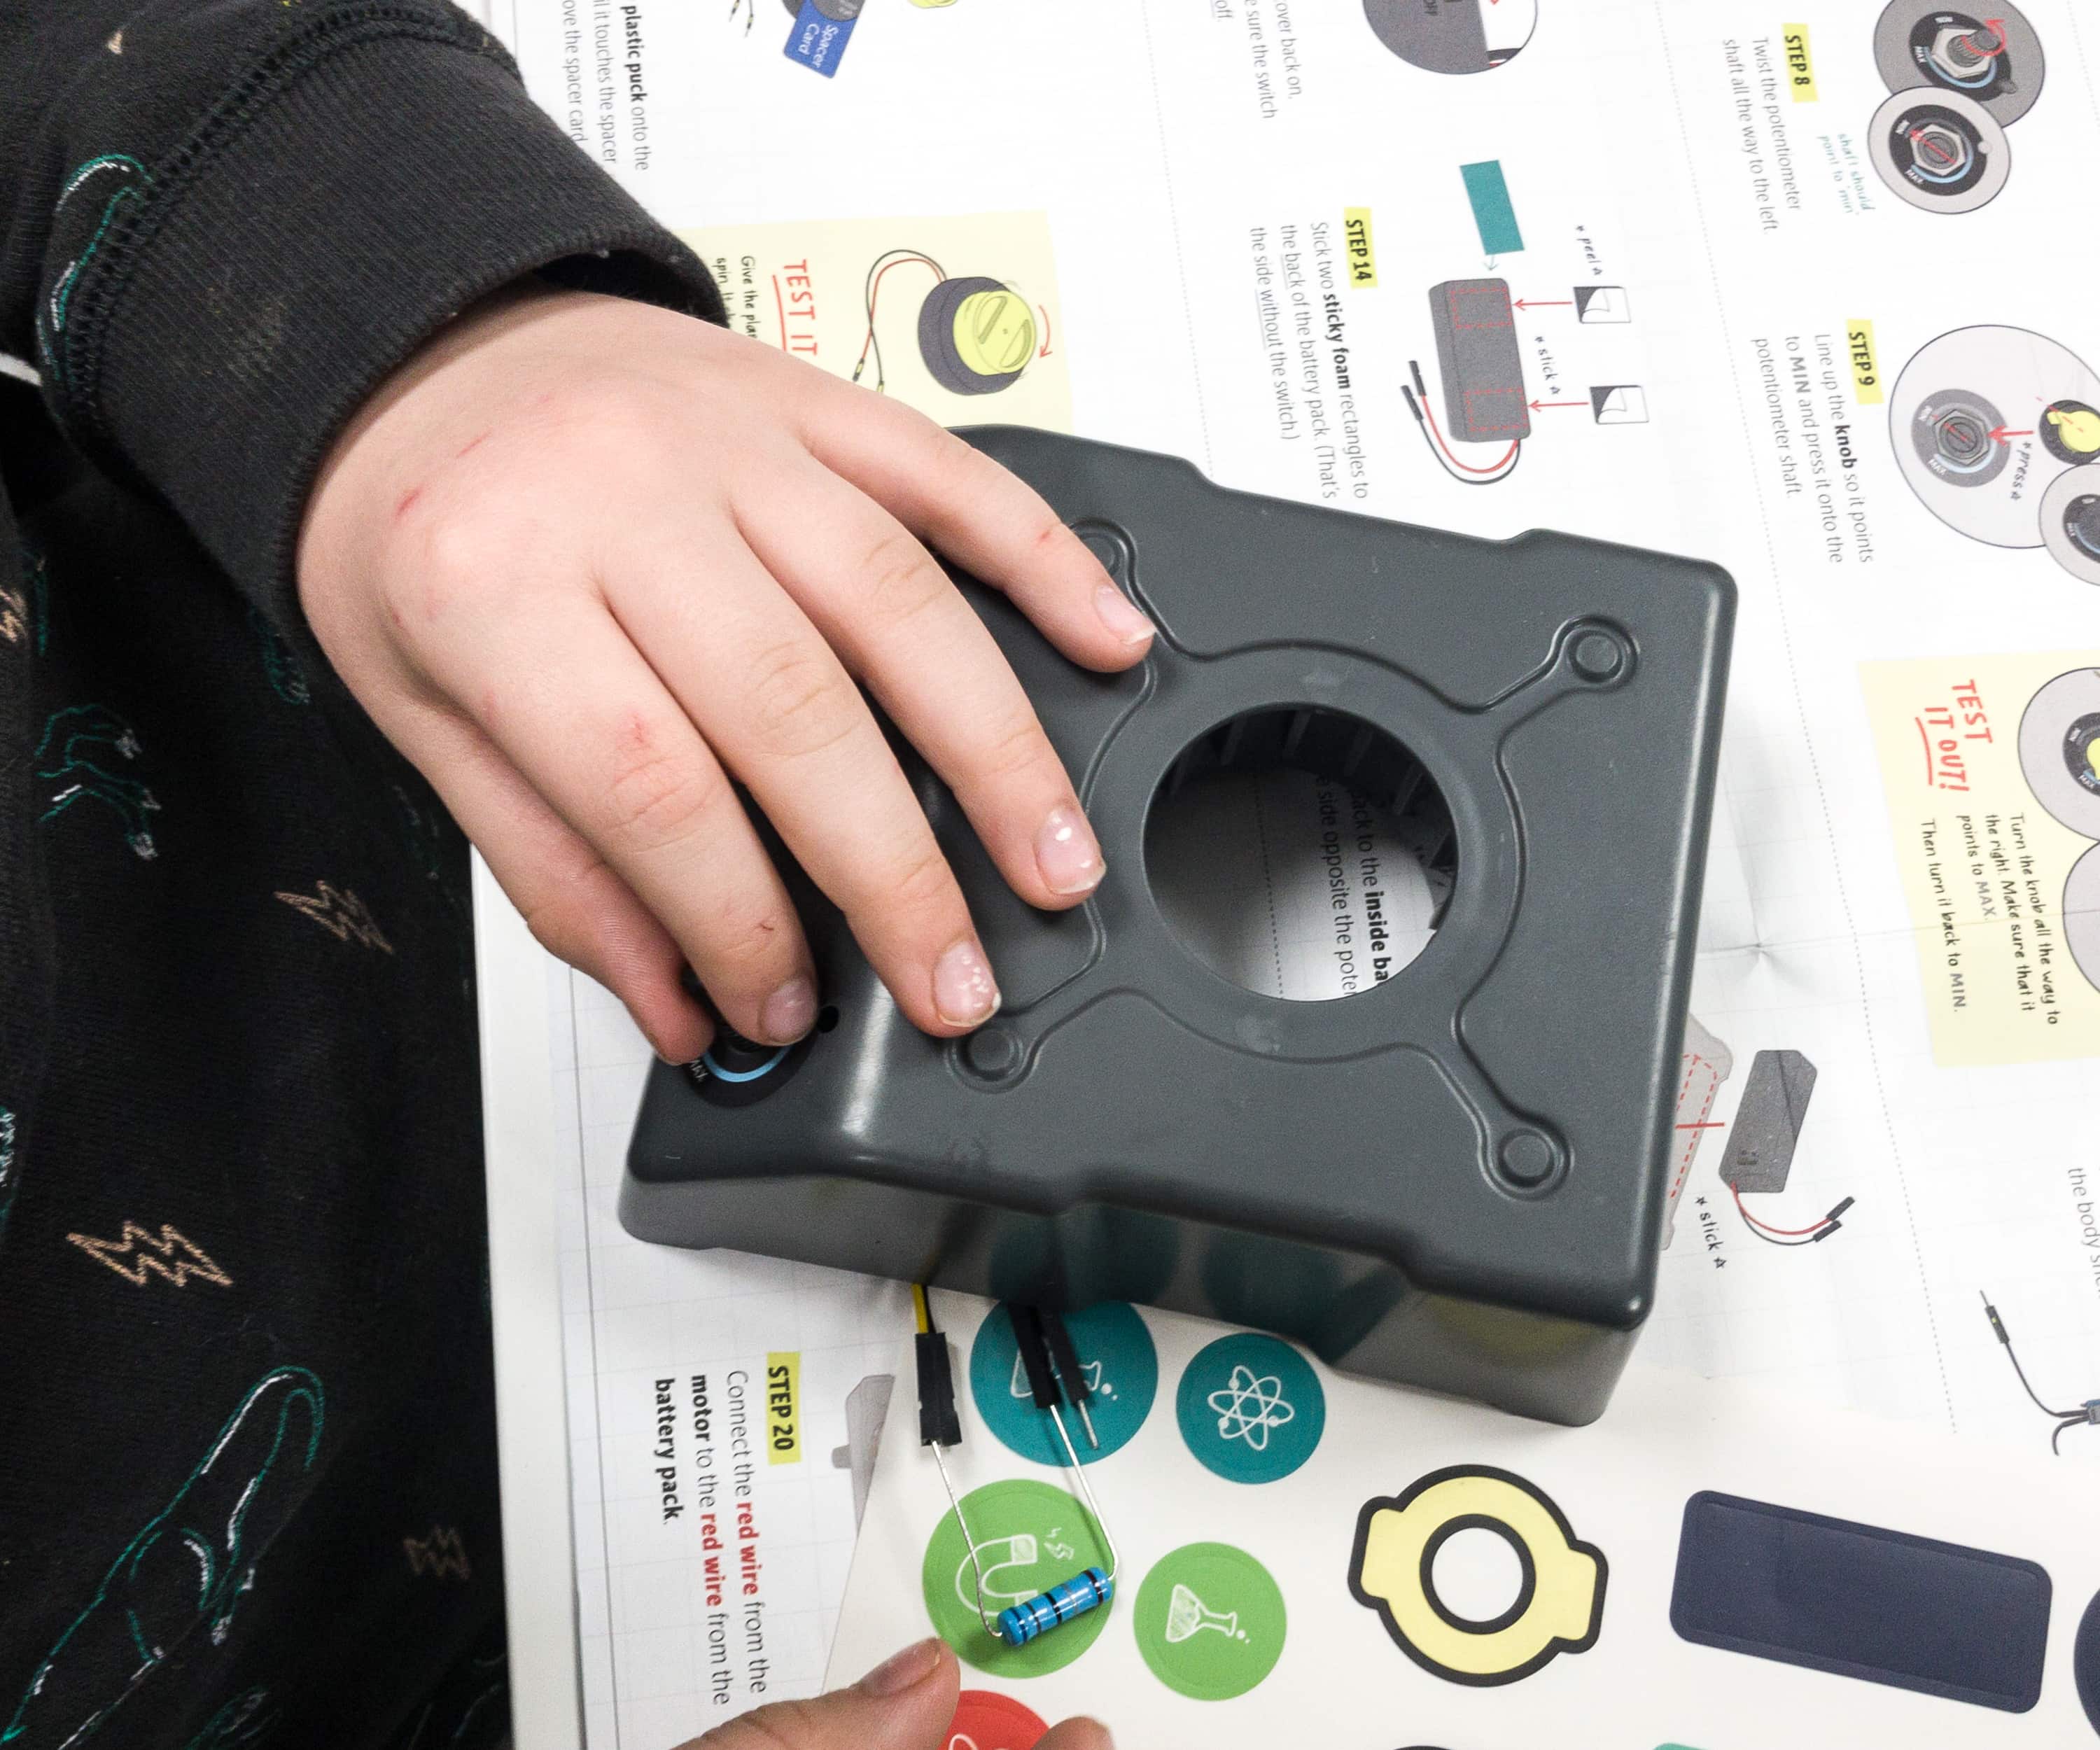
The kids took turns in assembling and reading the instructions from the blueprint, it’s nice to see how they work together in order to finish the task.
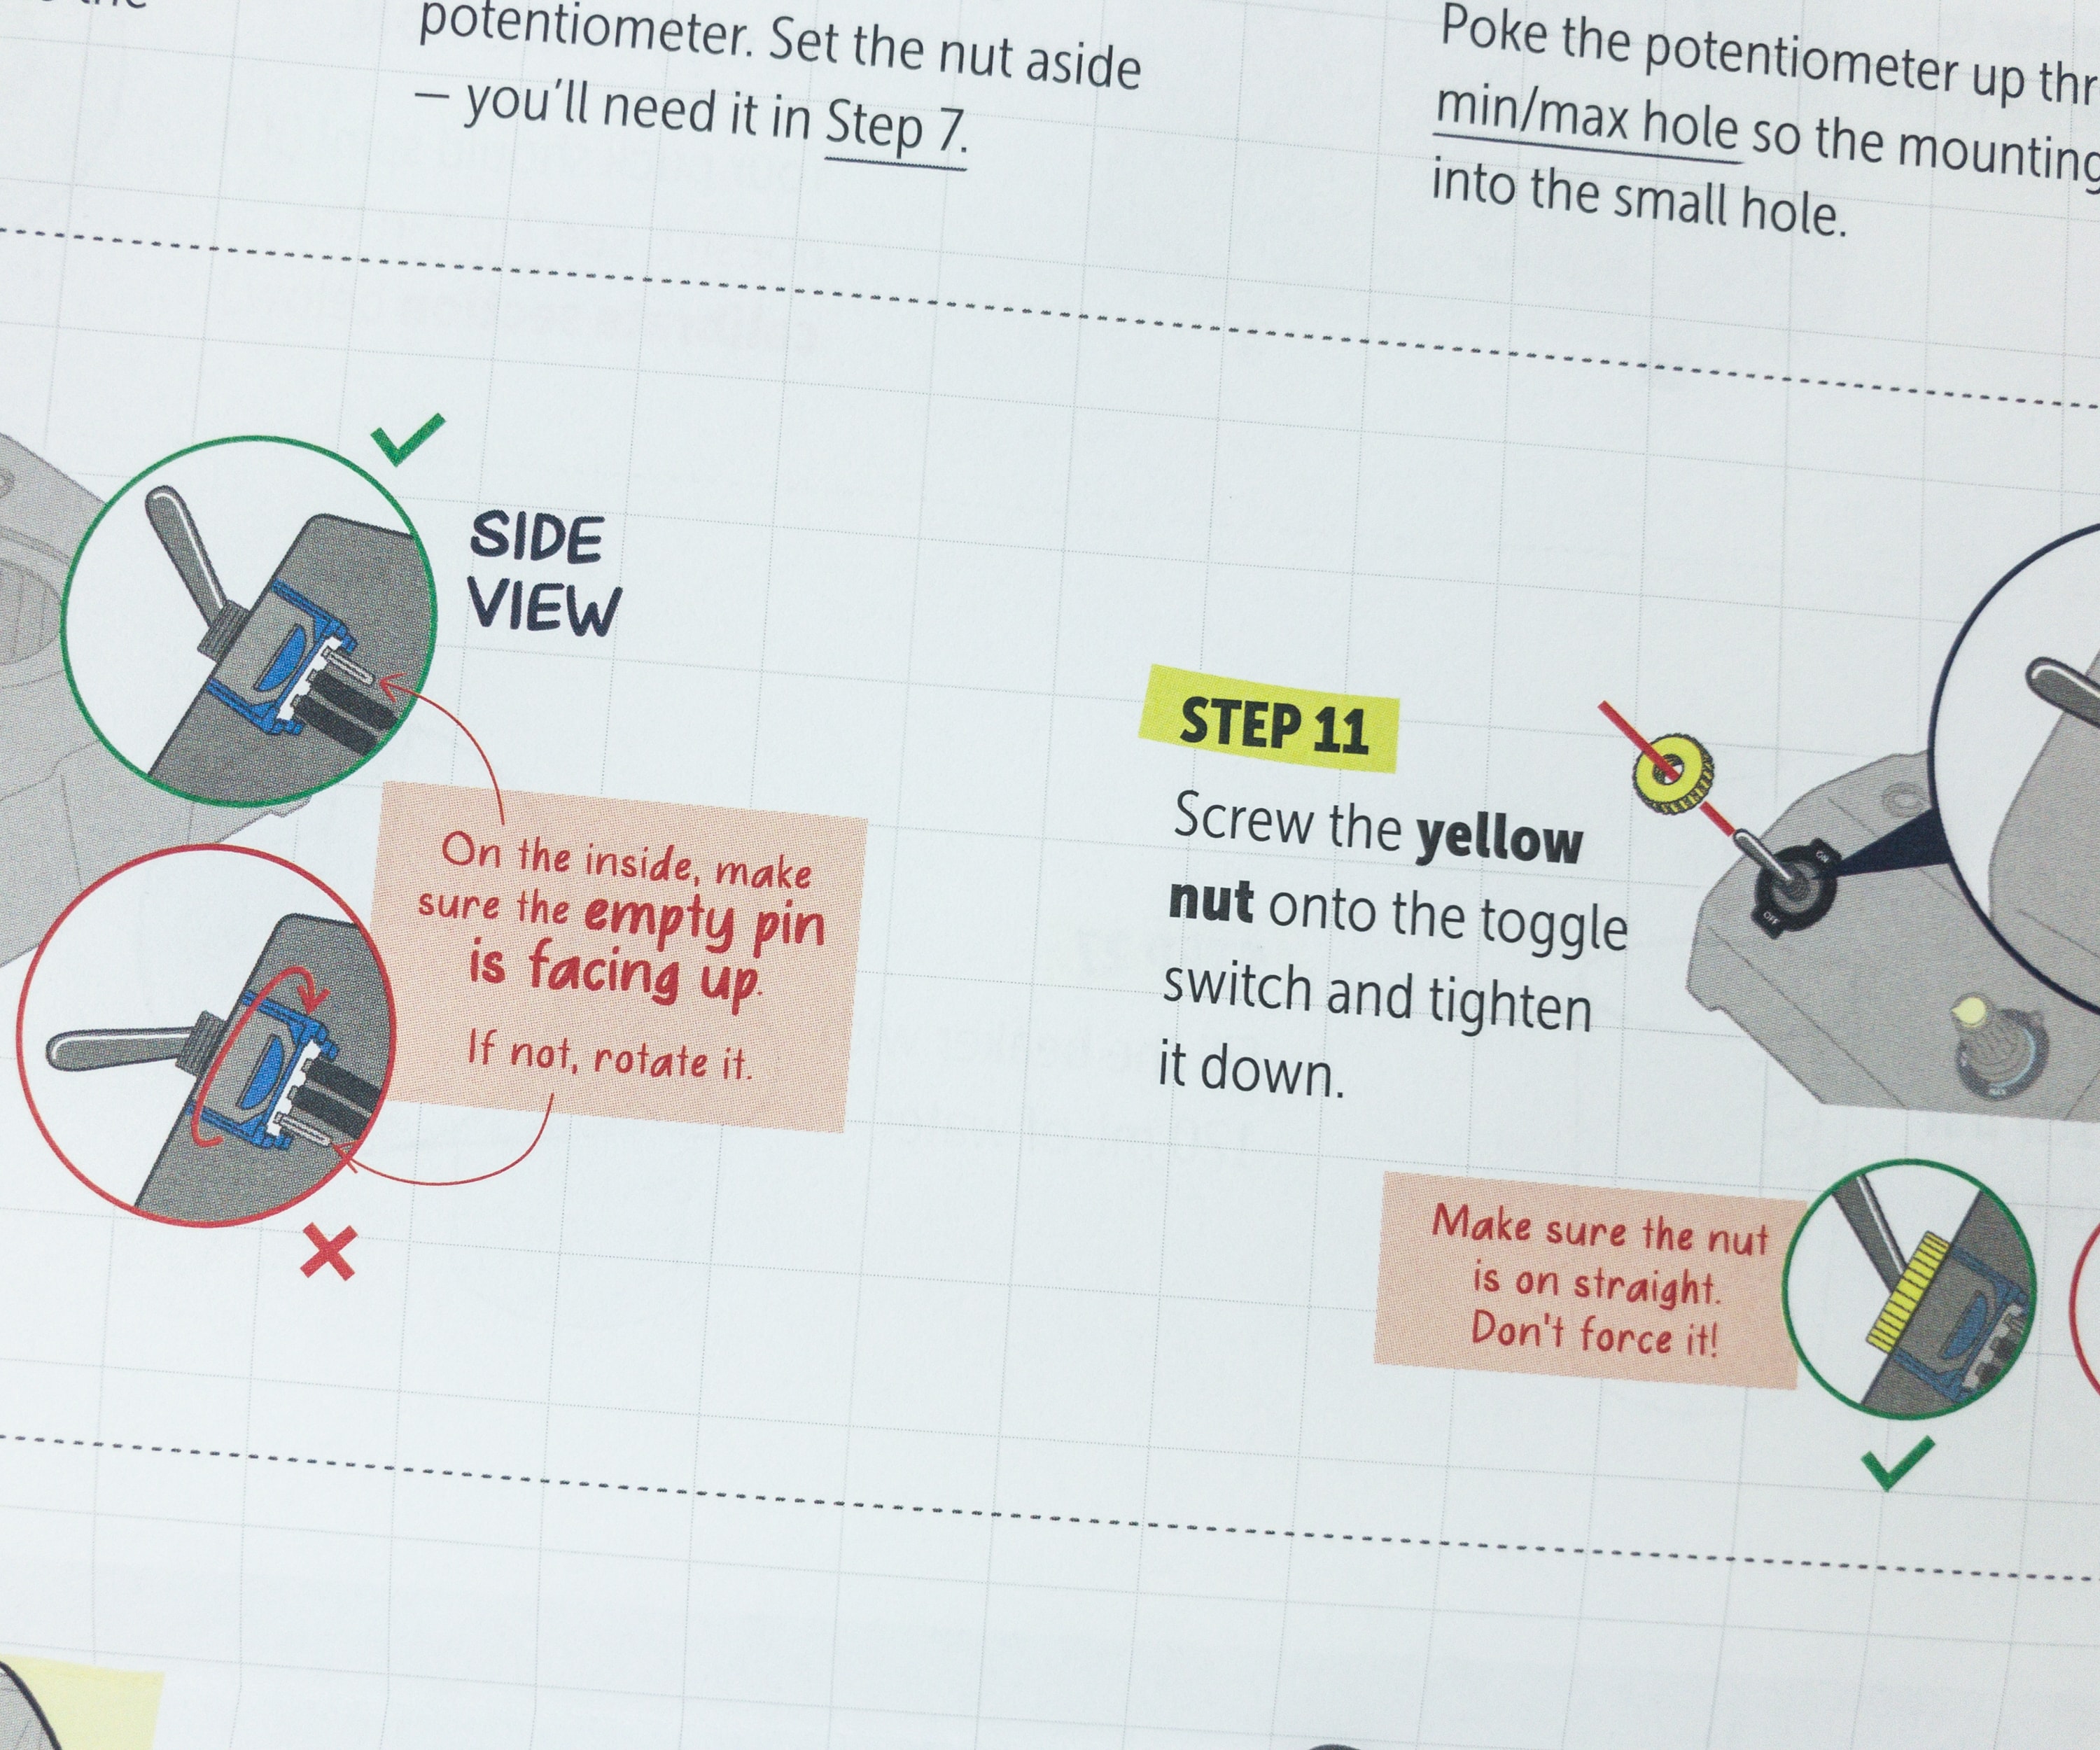
The blueprint included some tips and pointers to make the machine.
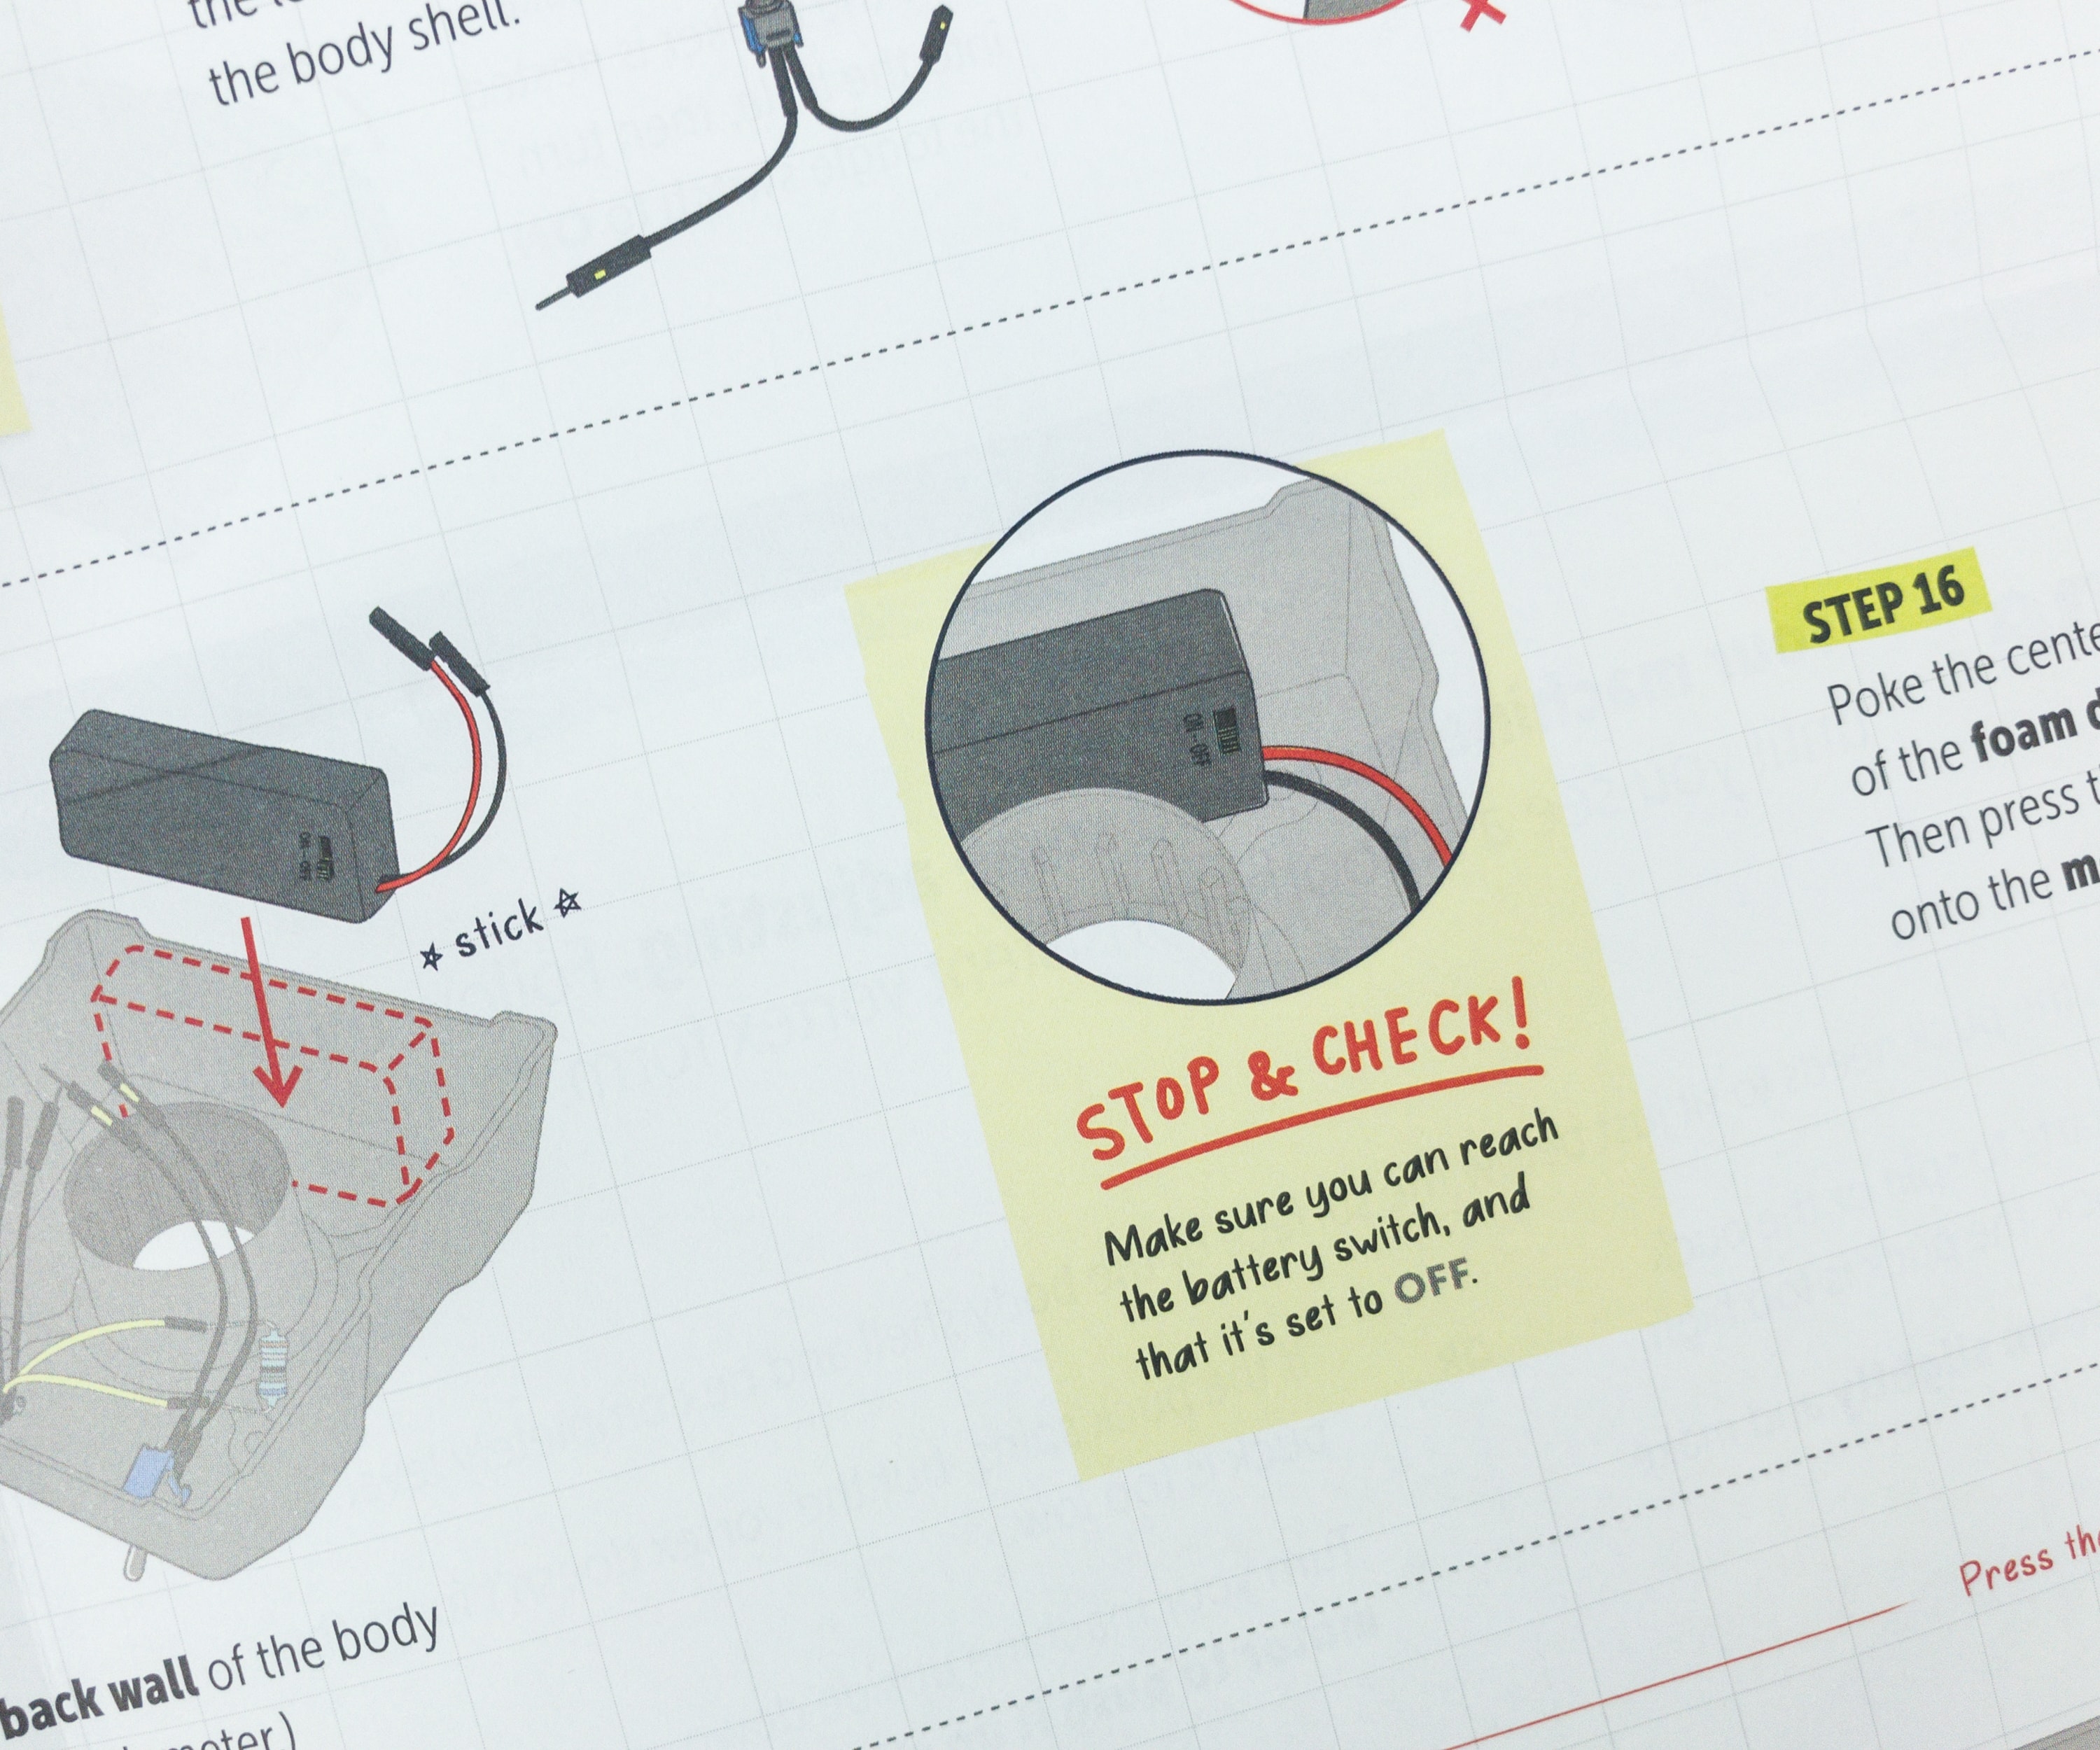
Make sure if it works by stopping and checking what you had recently done, so if there’s something wrong, you can always go back and try again.
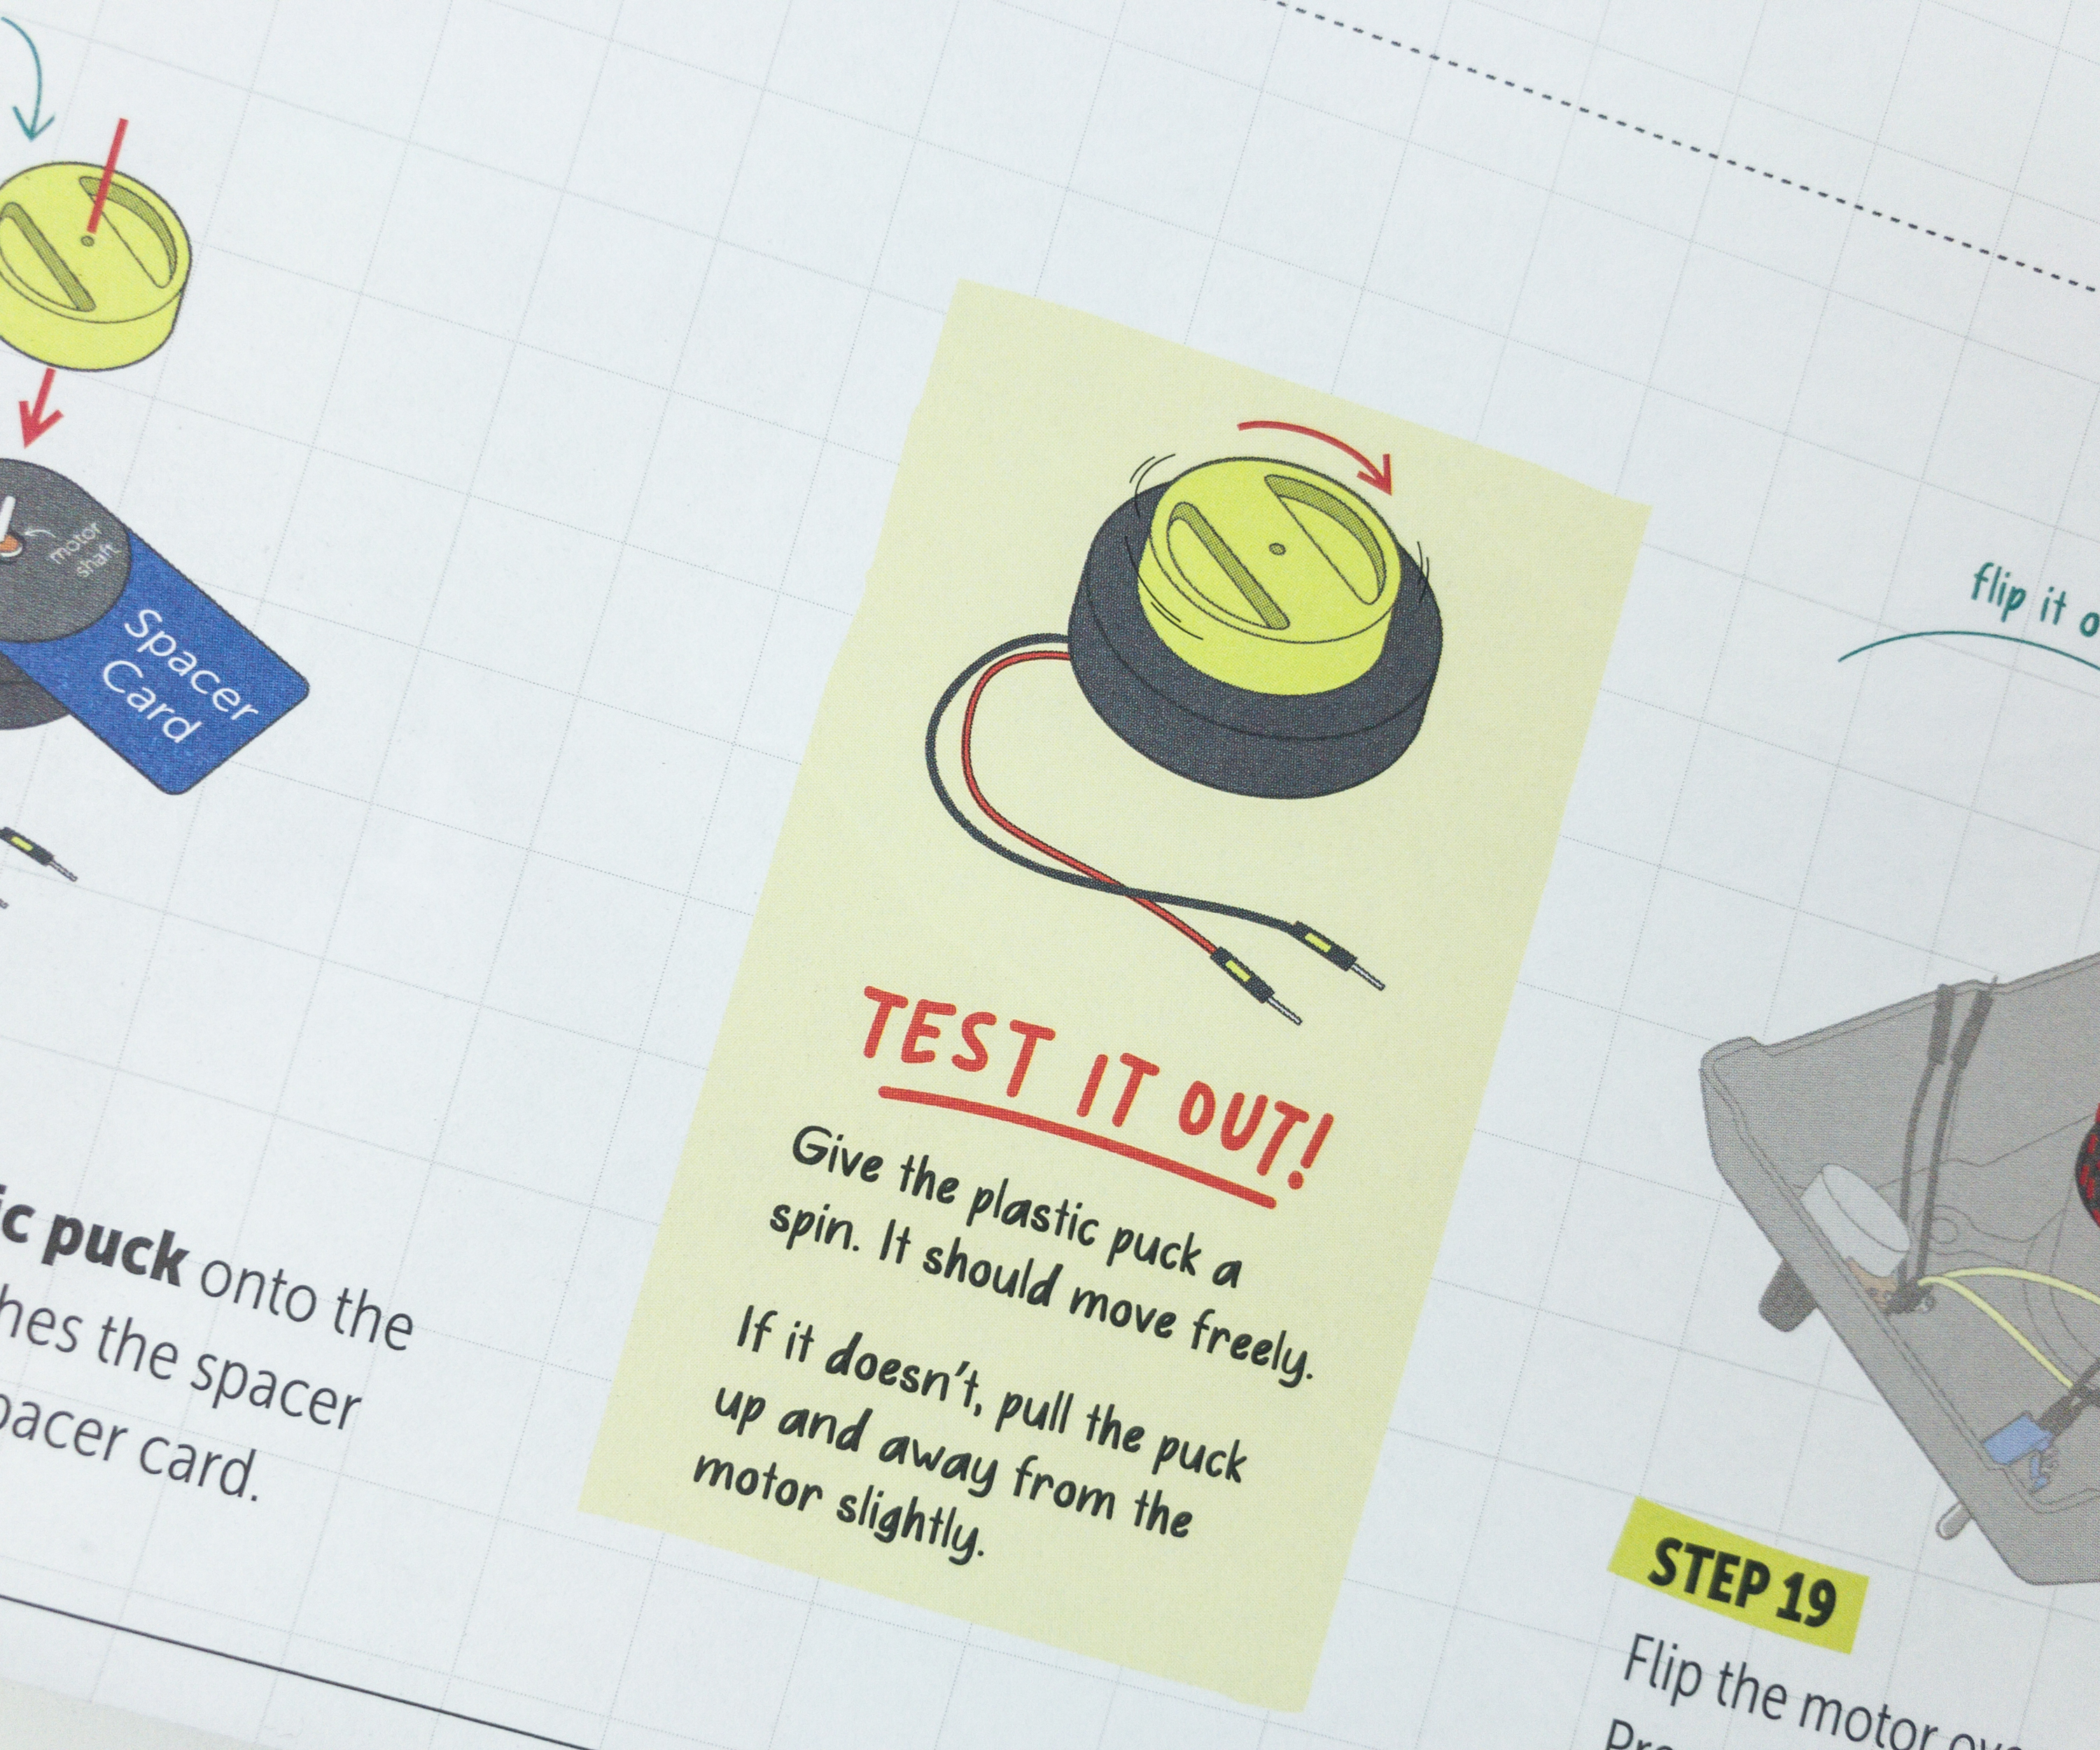
You can test the components out if you did the step correctly, like this one where you’ll try if the plastic puck moves freely. If it doesn’t work, they provided solutions to it.
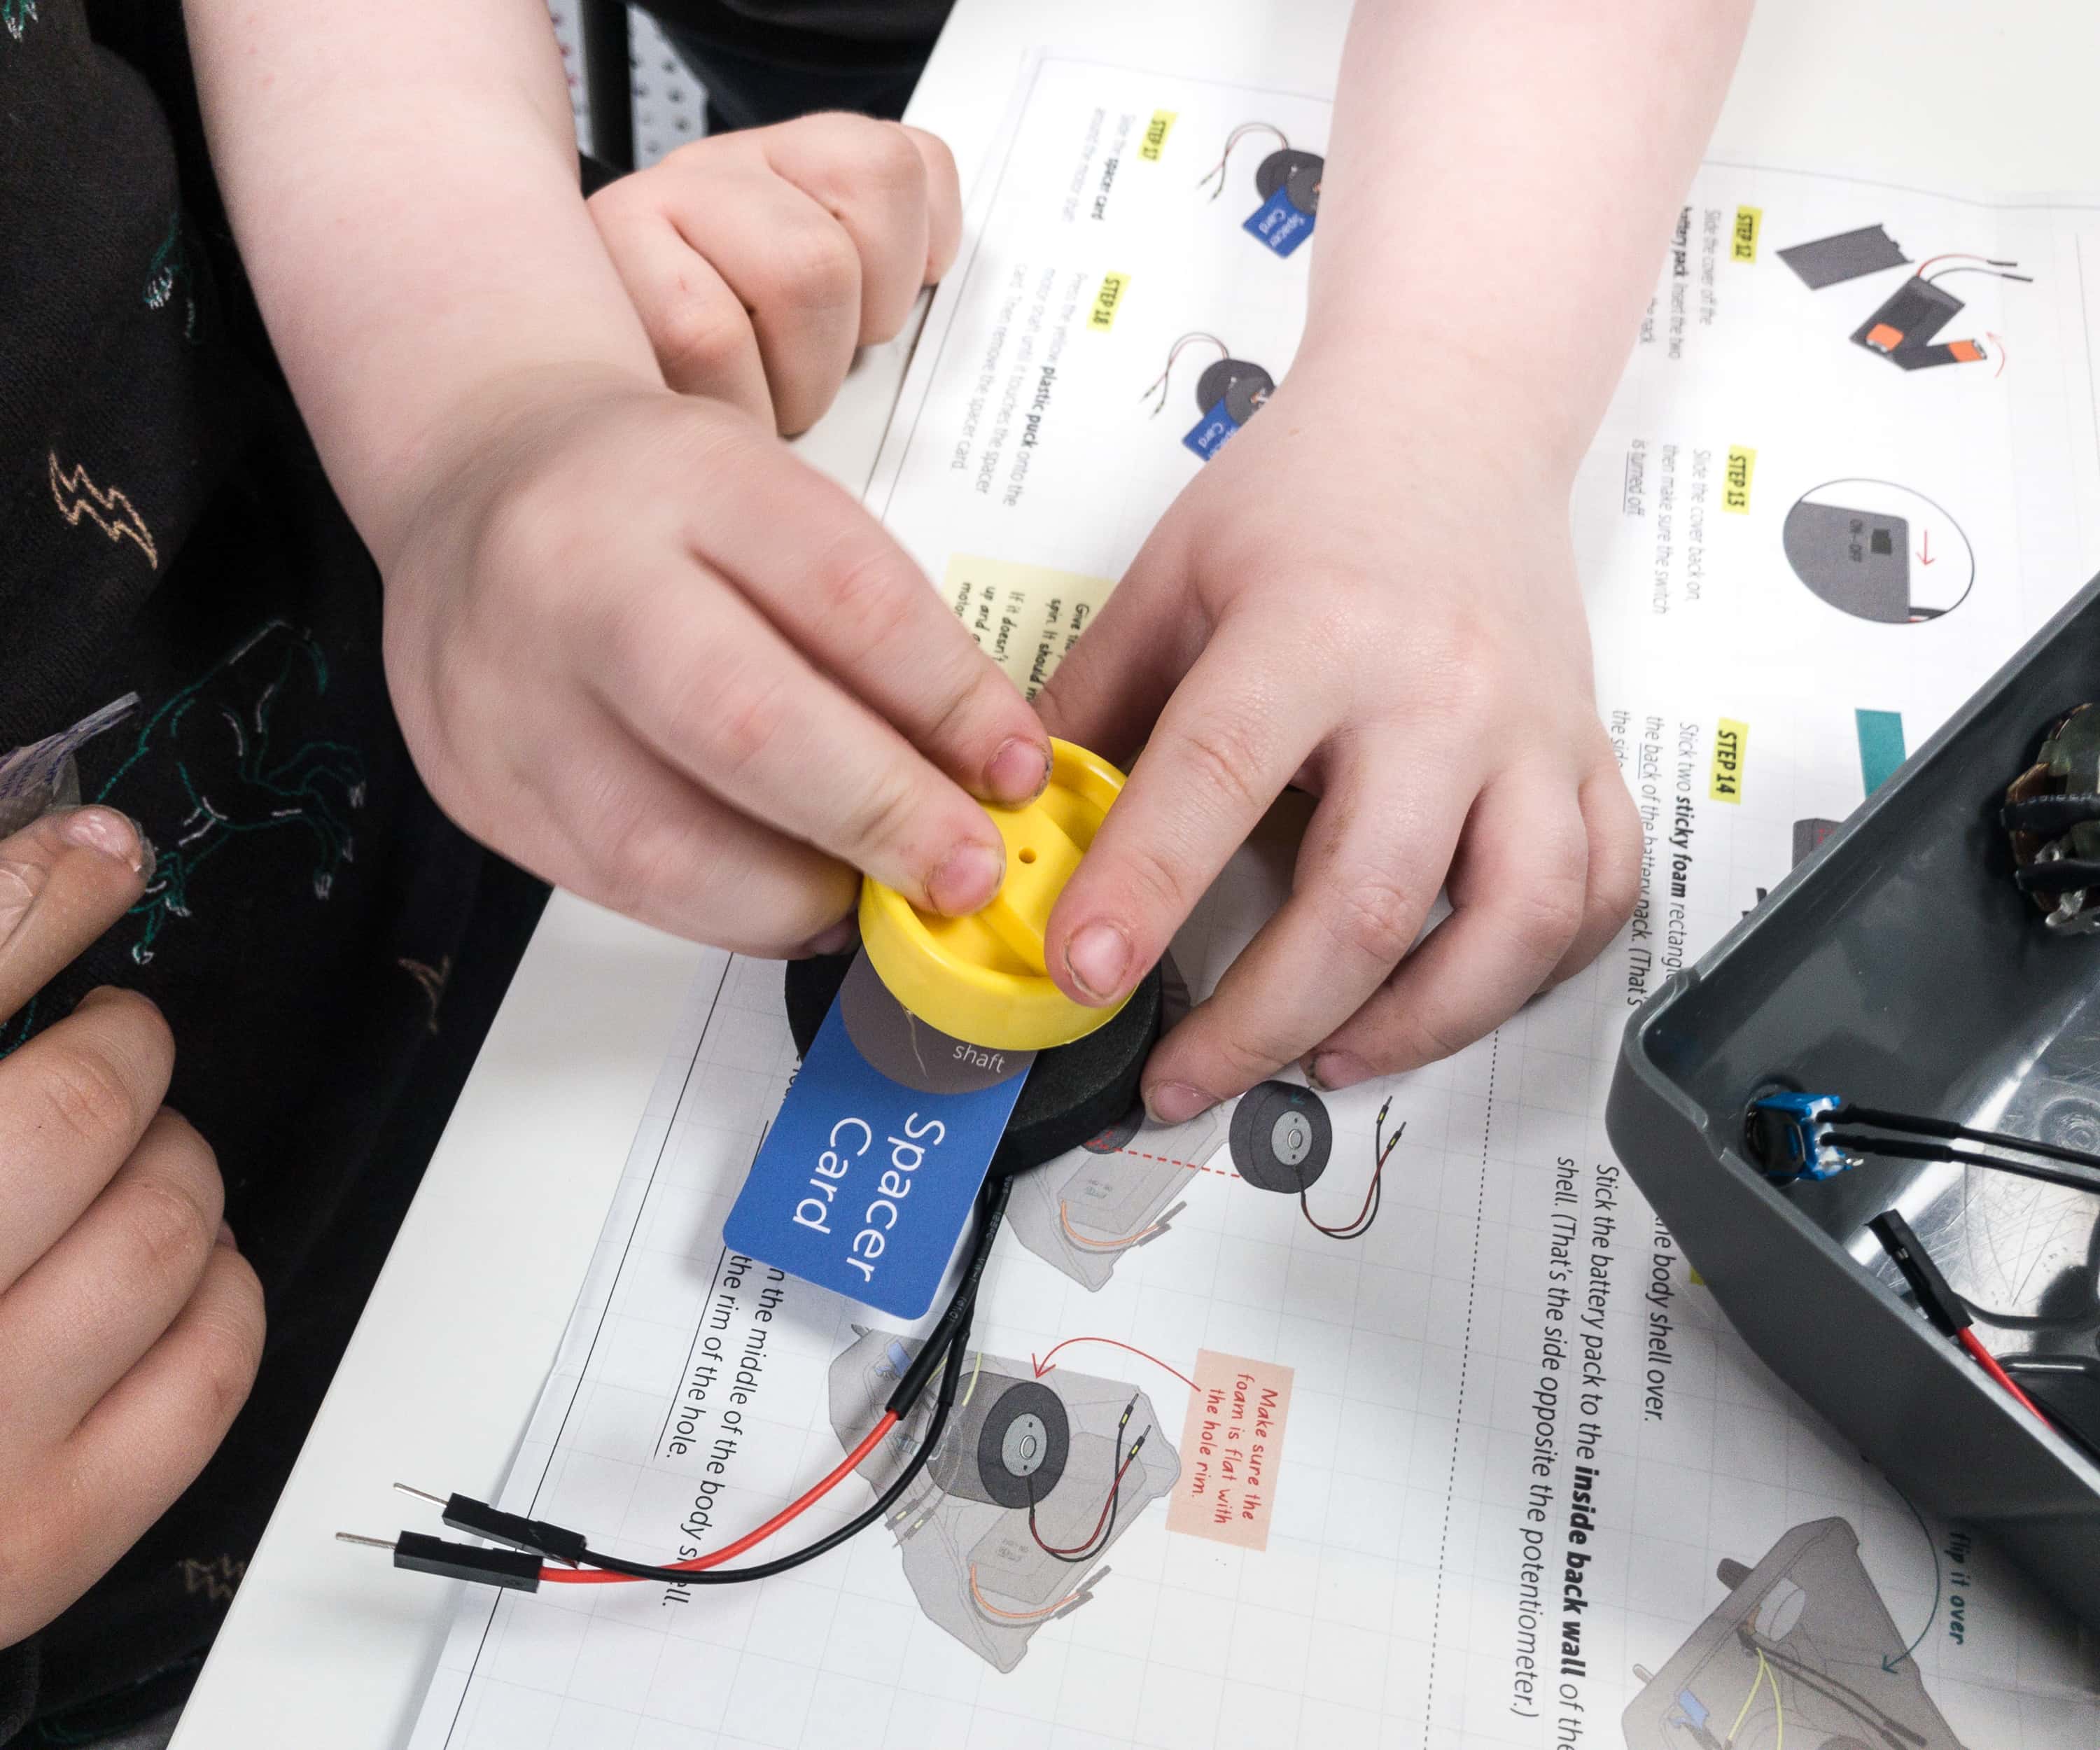
The kids are now testing out the plastic puck.

My kids are really focused on this activity, you can’t disturb them!
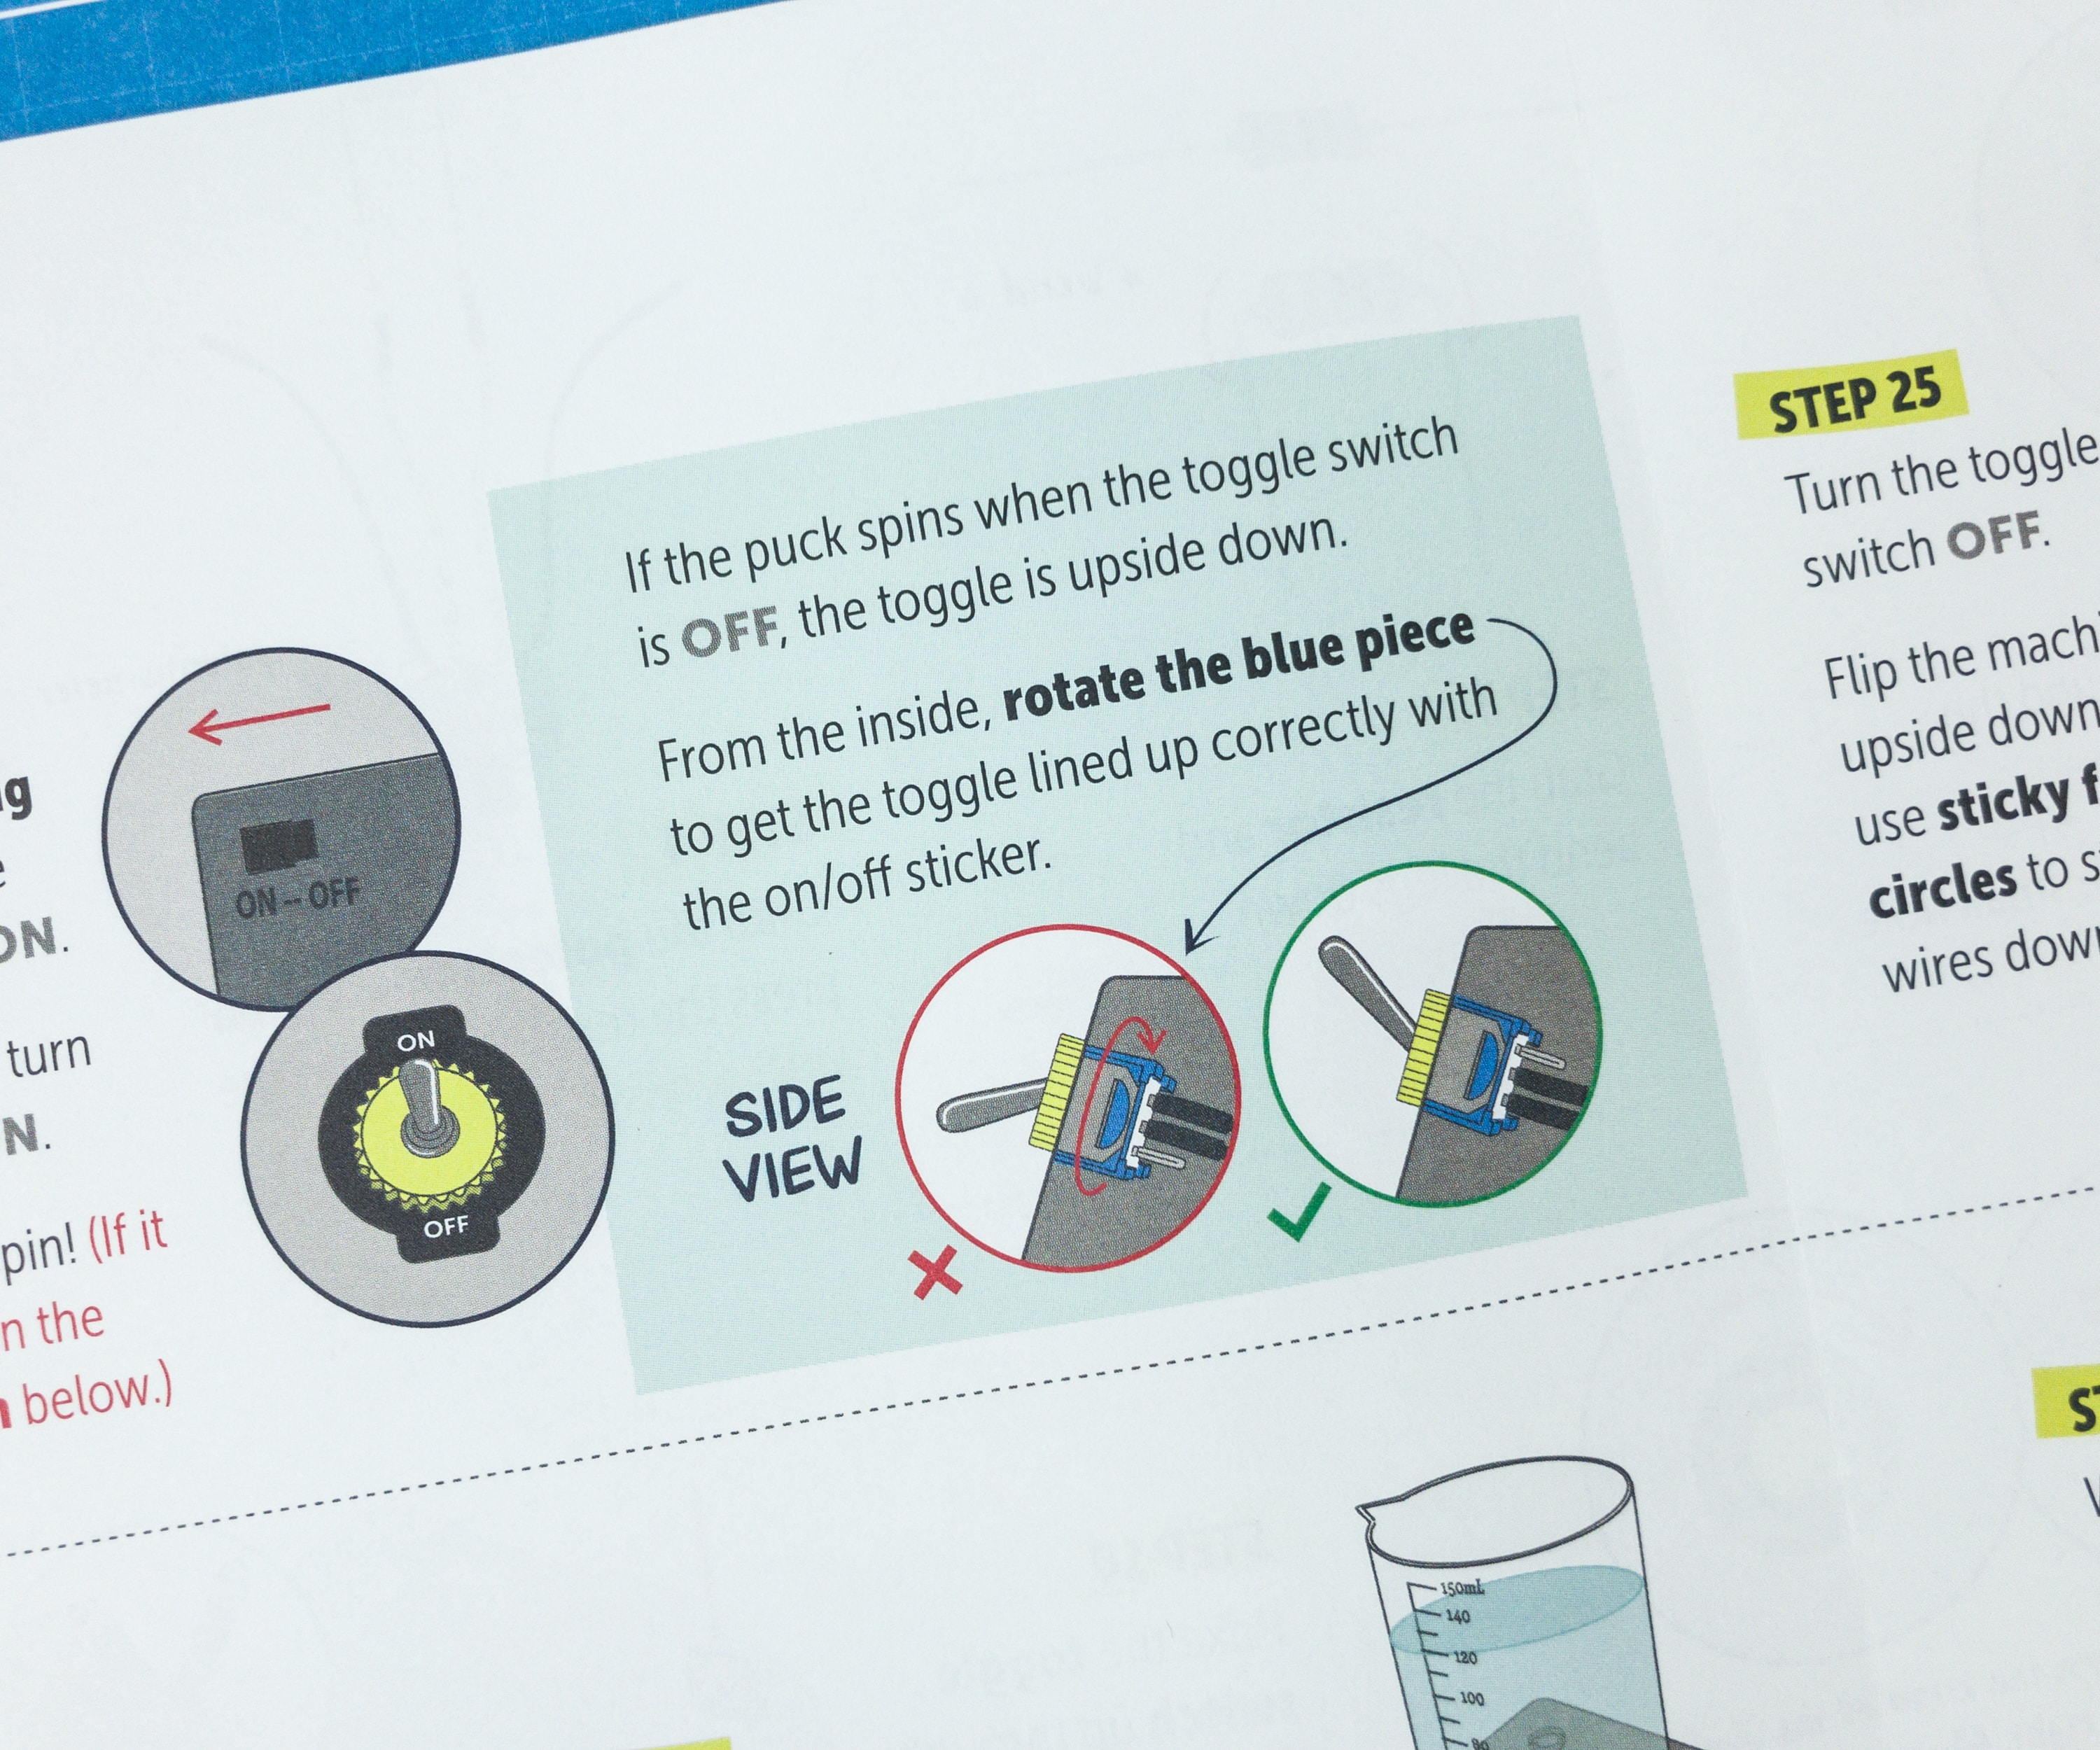
The blueprint explained how the toggle switch works, and even gave visuals to make sure that you’re doing the right step.
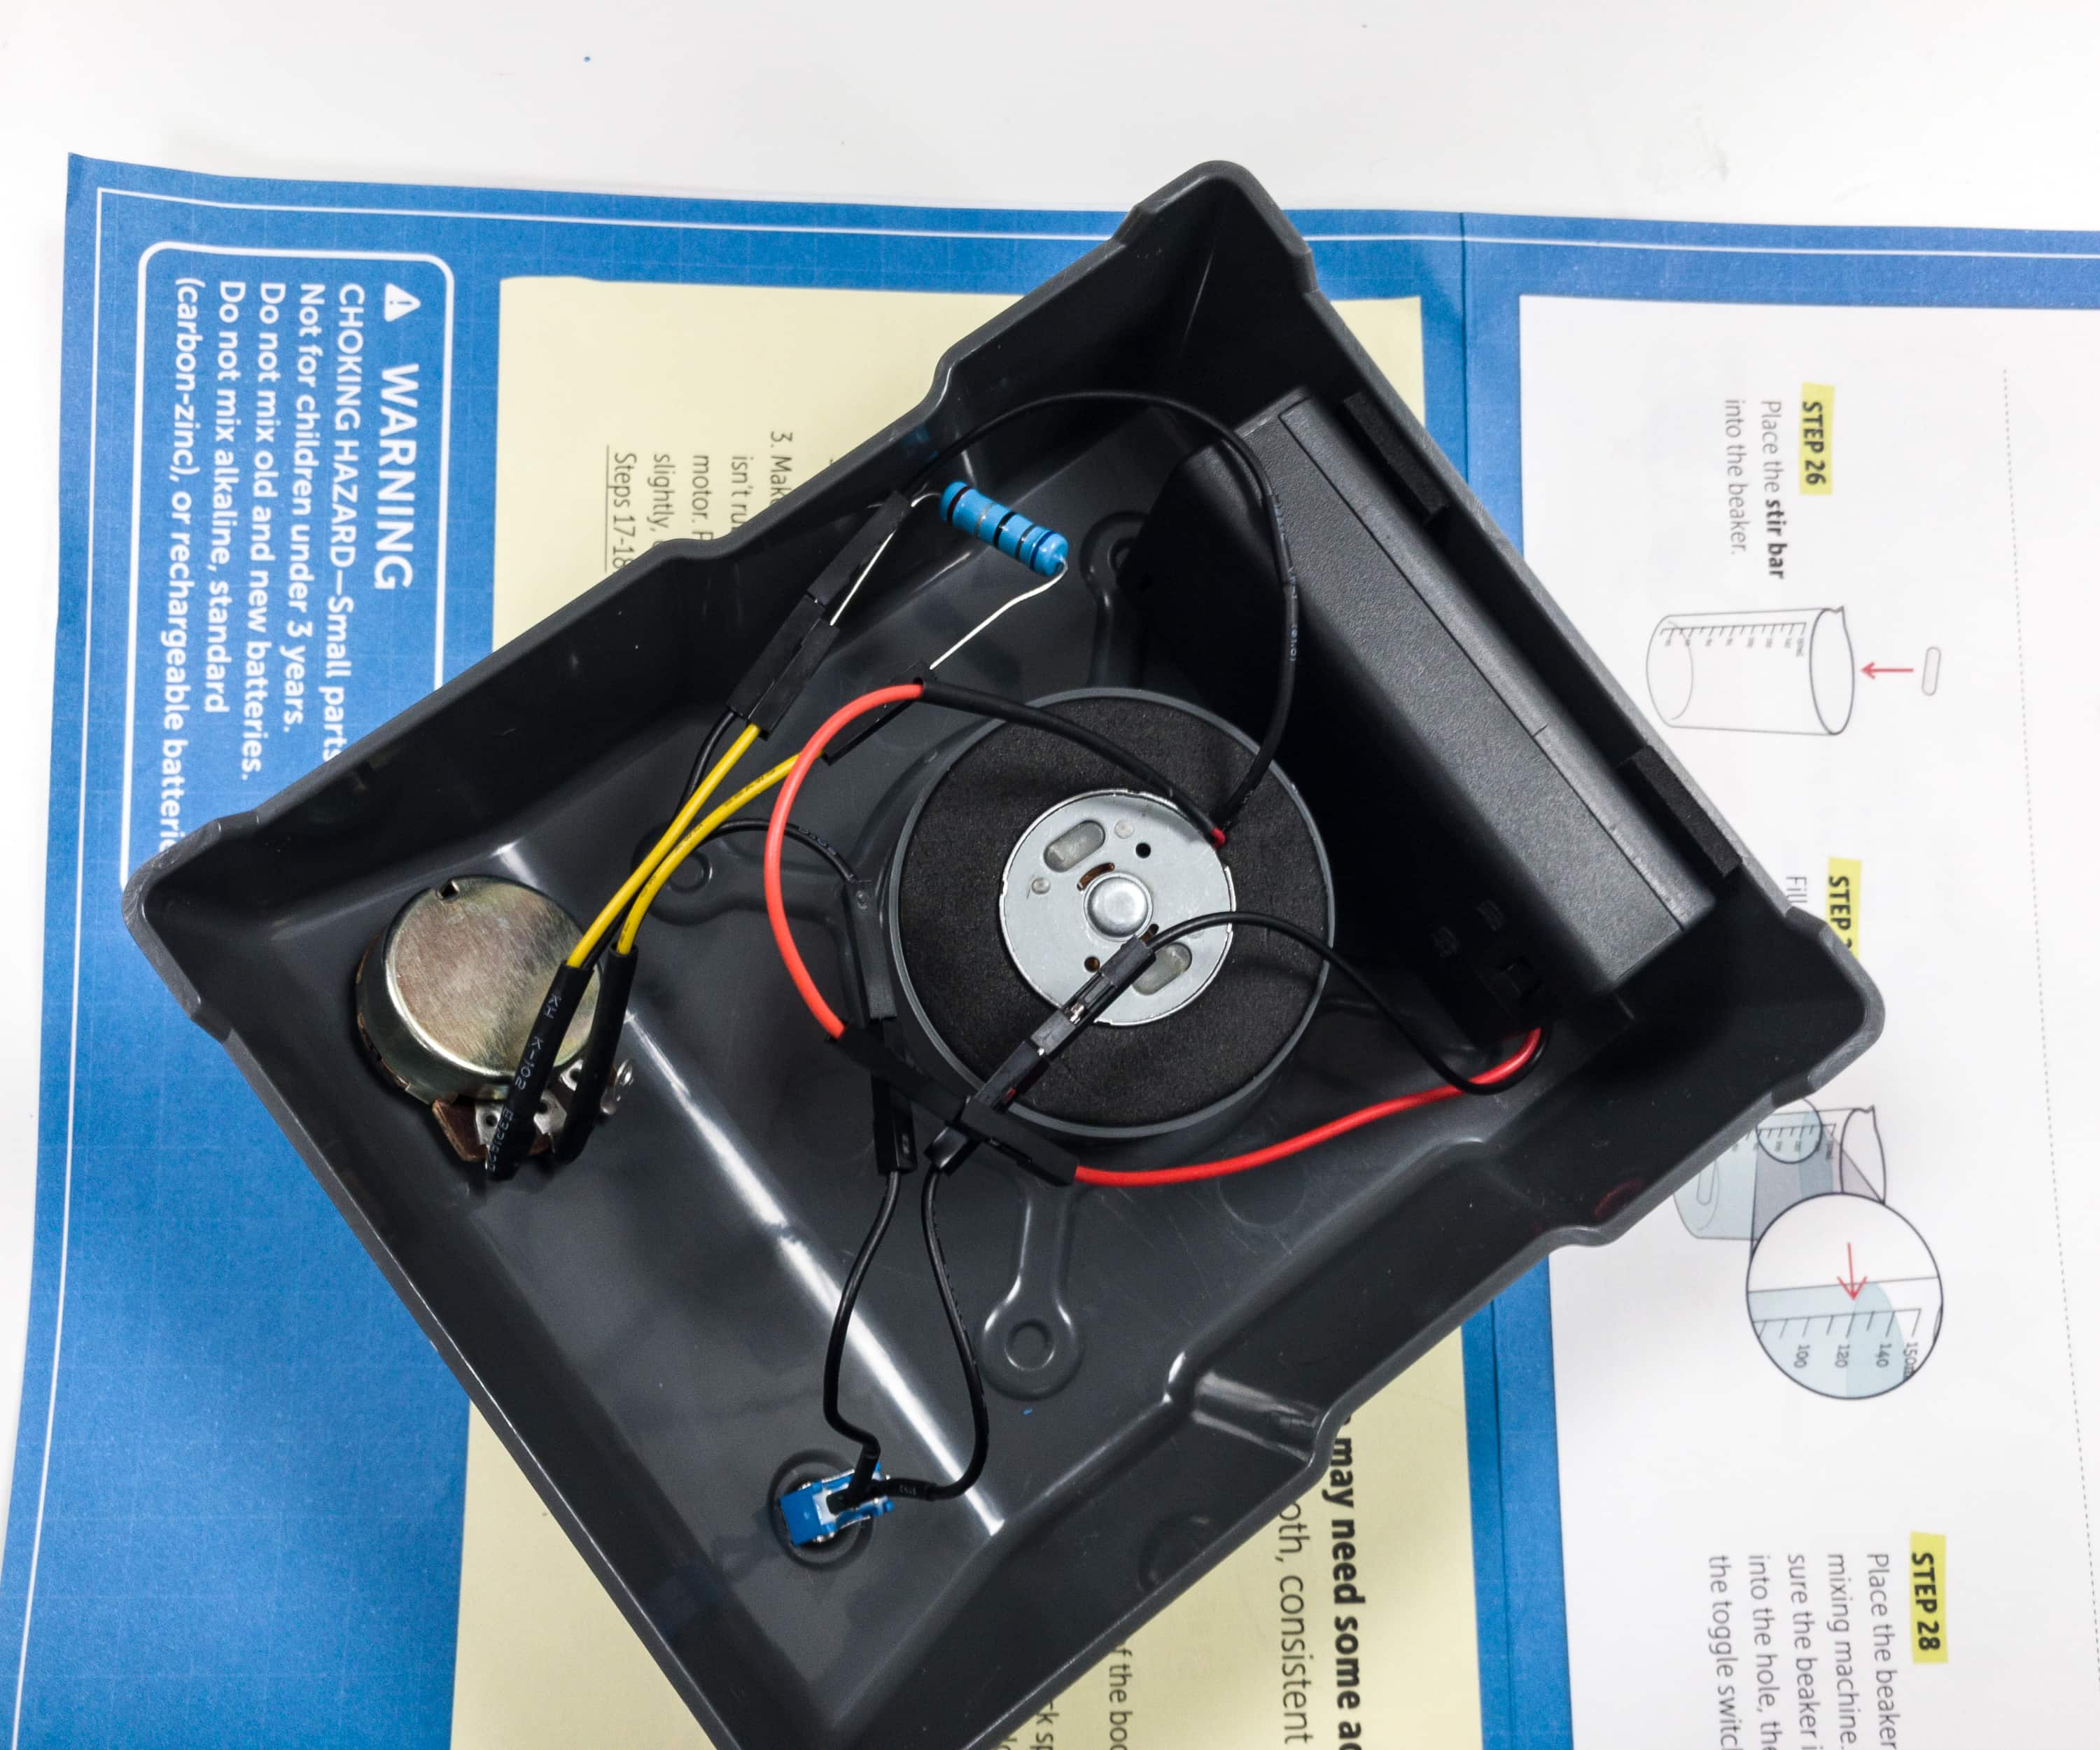
All the wires are kept at the bottom of the machine, it’s a good practice to keep them in place so that they won’t become obstructions when using the apparatus.
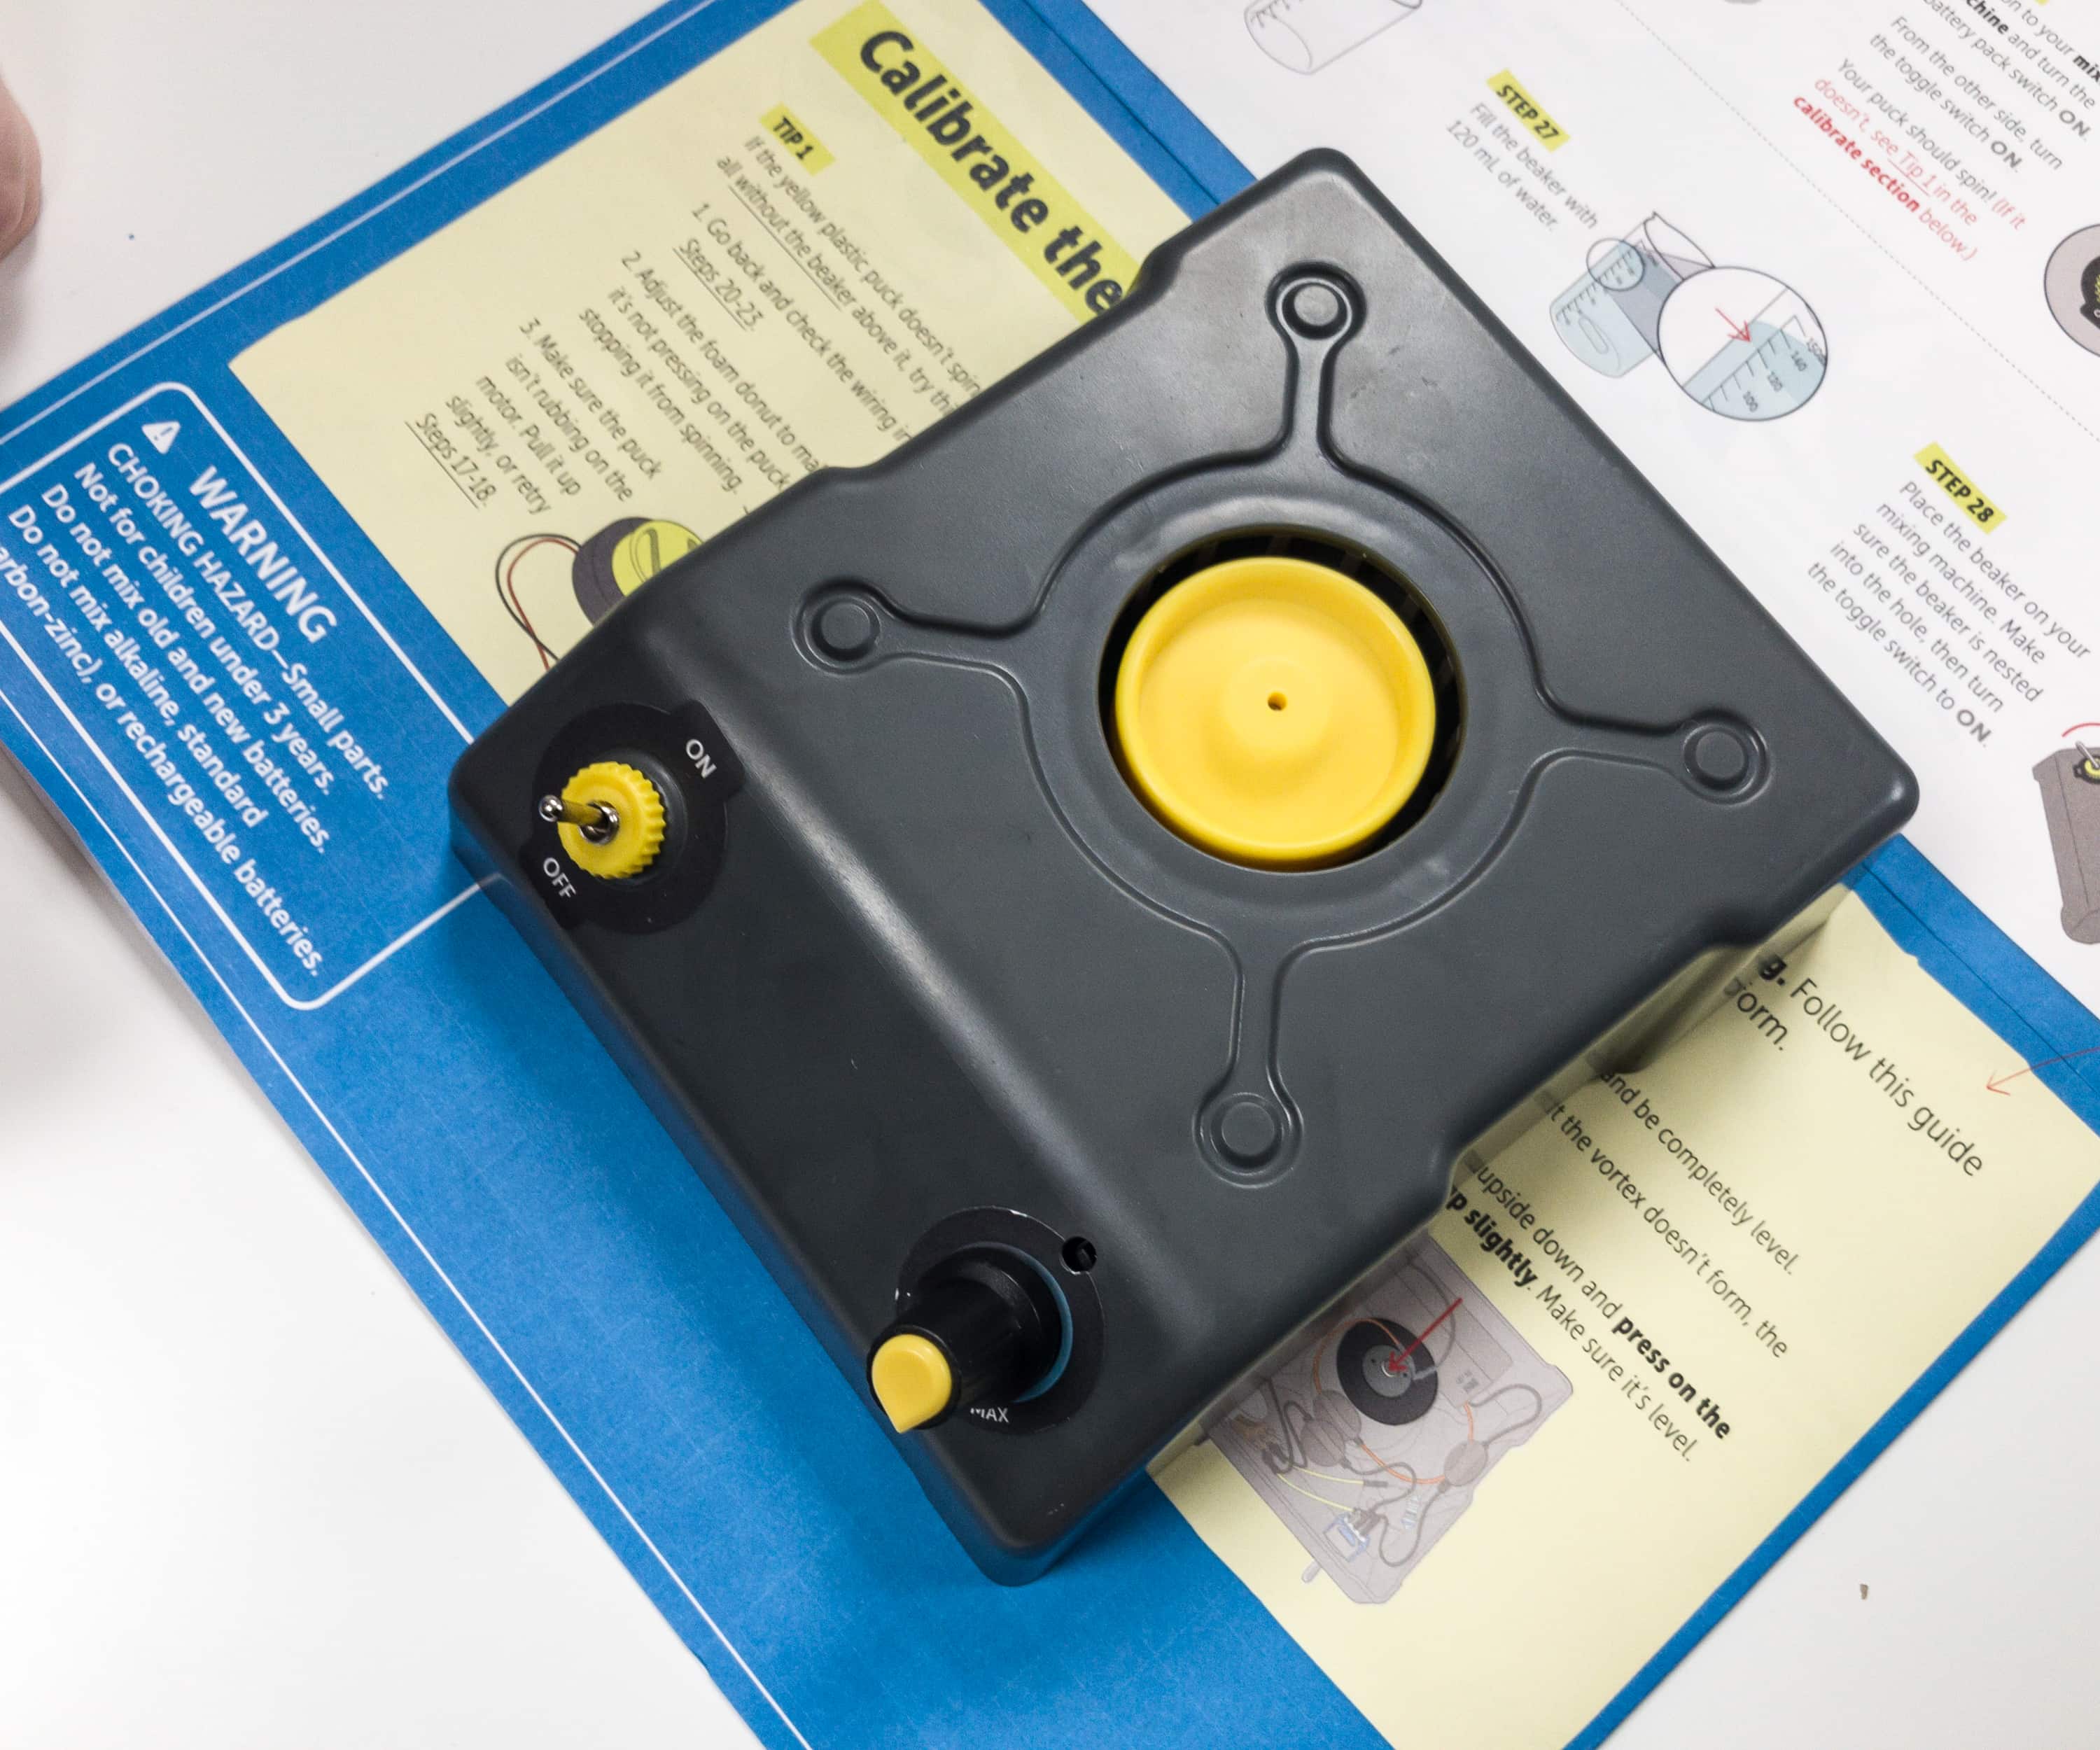
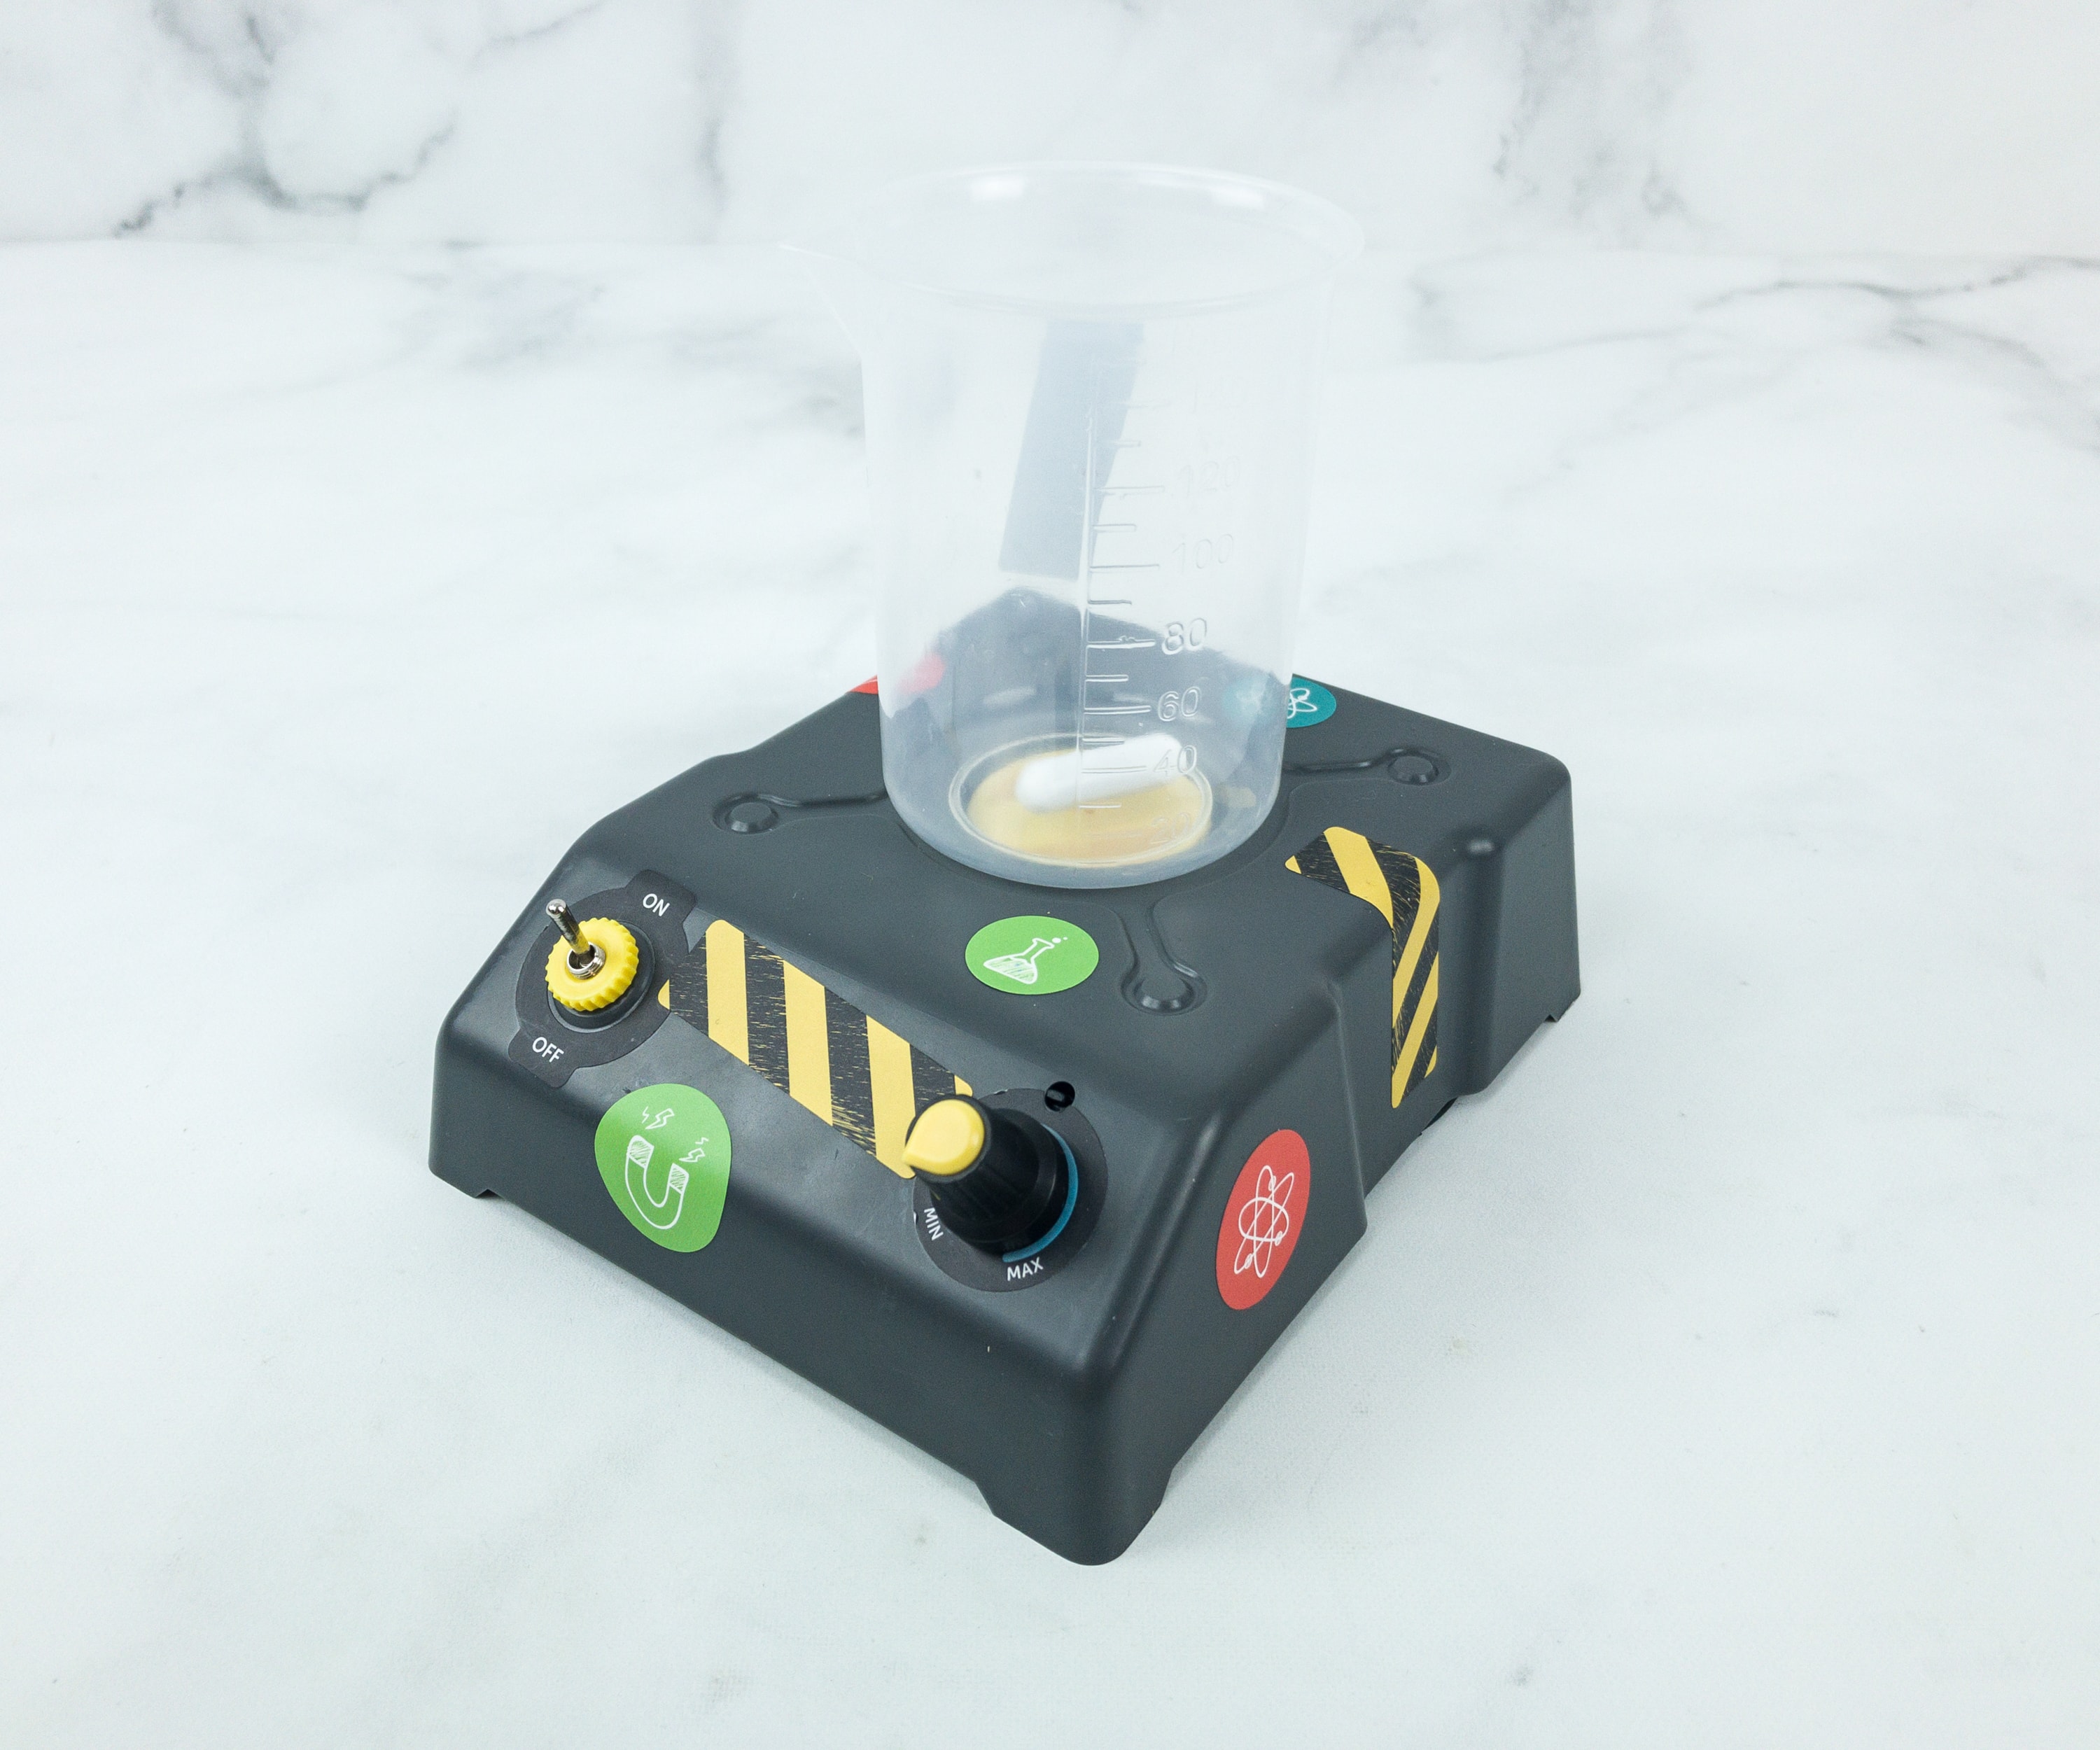
Here’s the completed mixing machine, now we just need to perform a calibration and speed test.
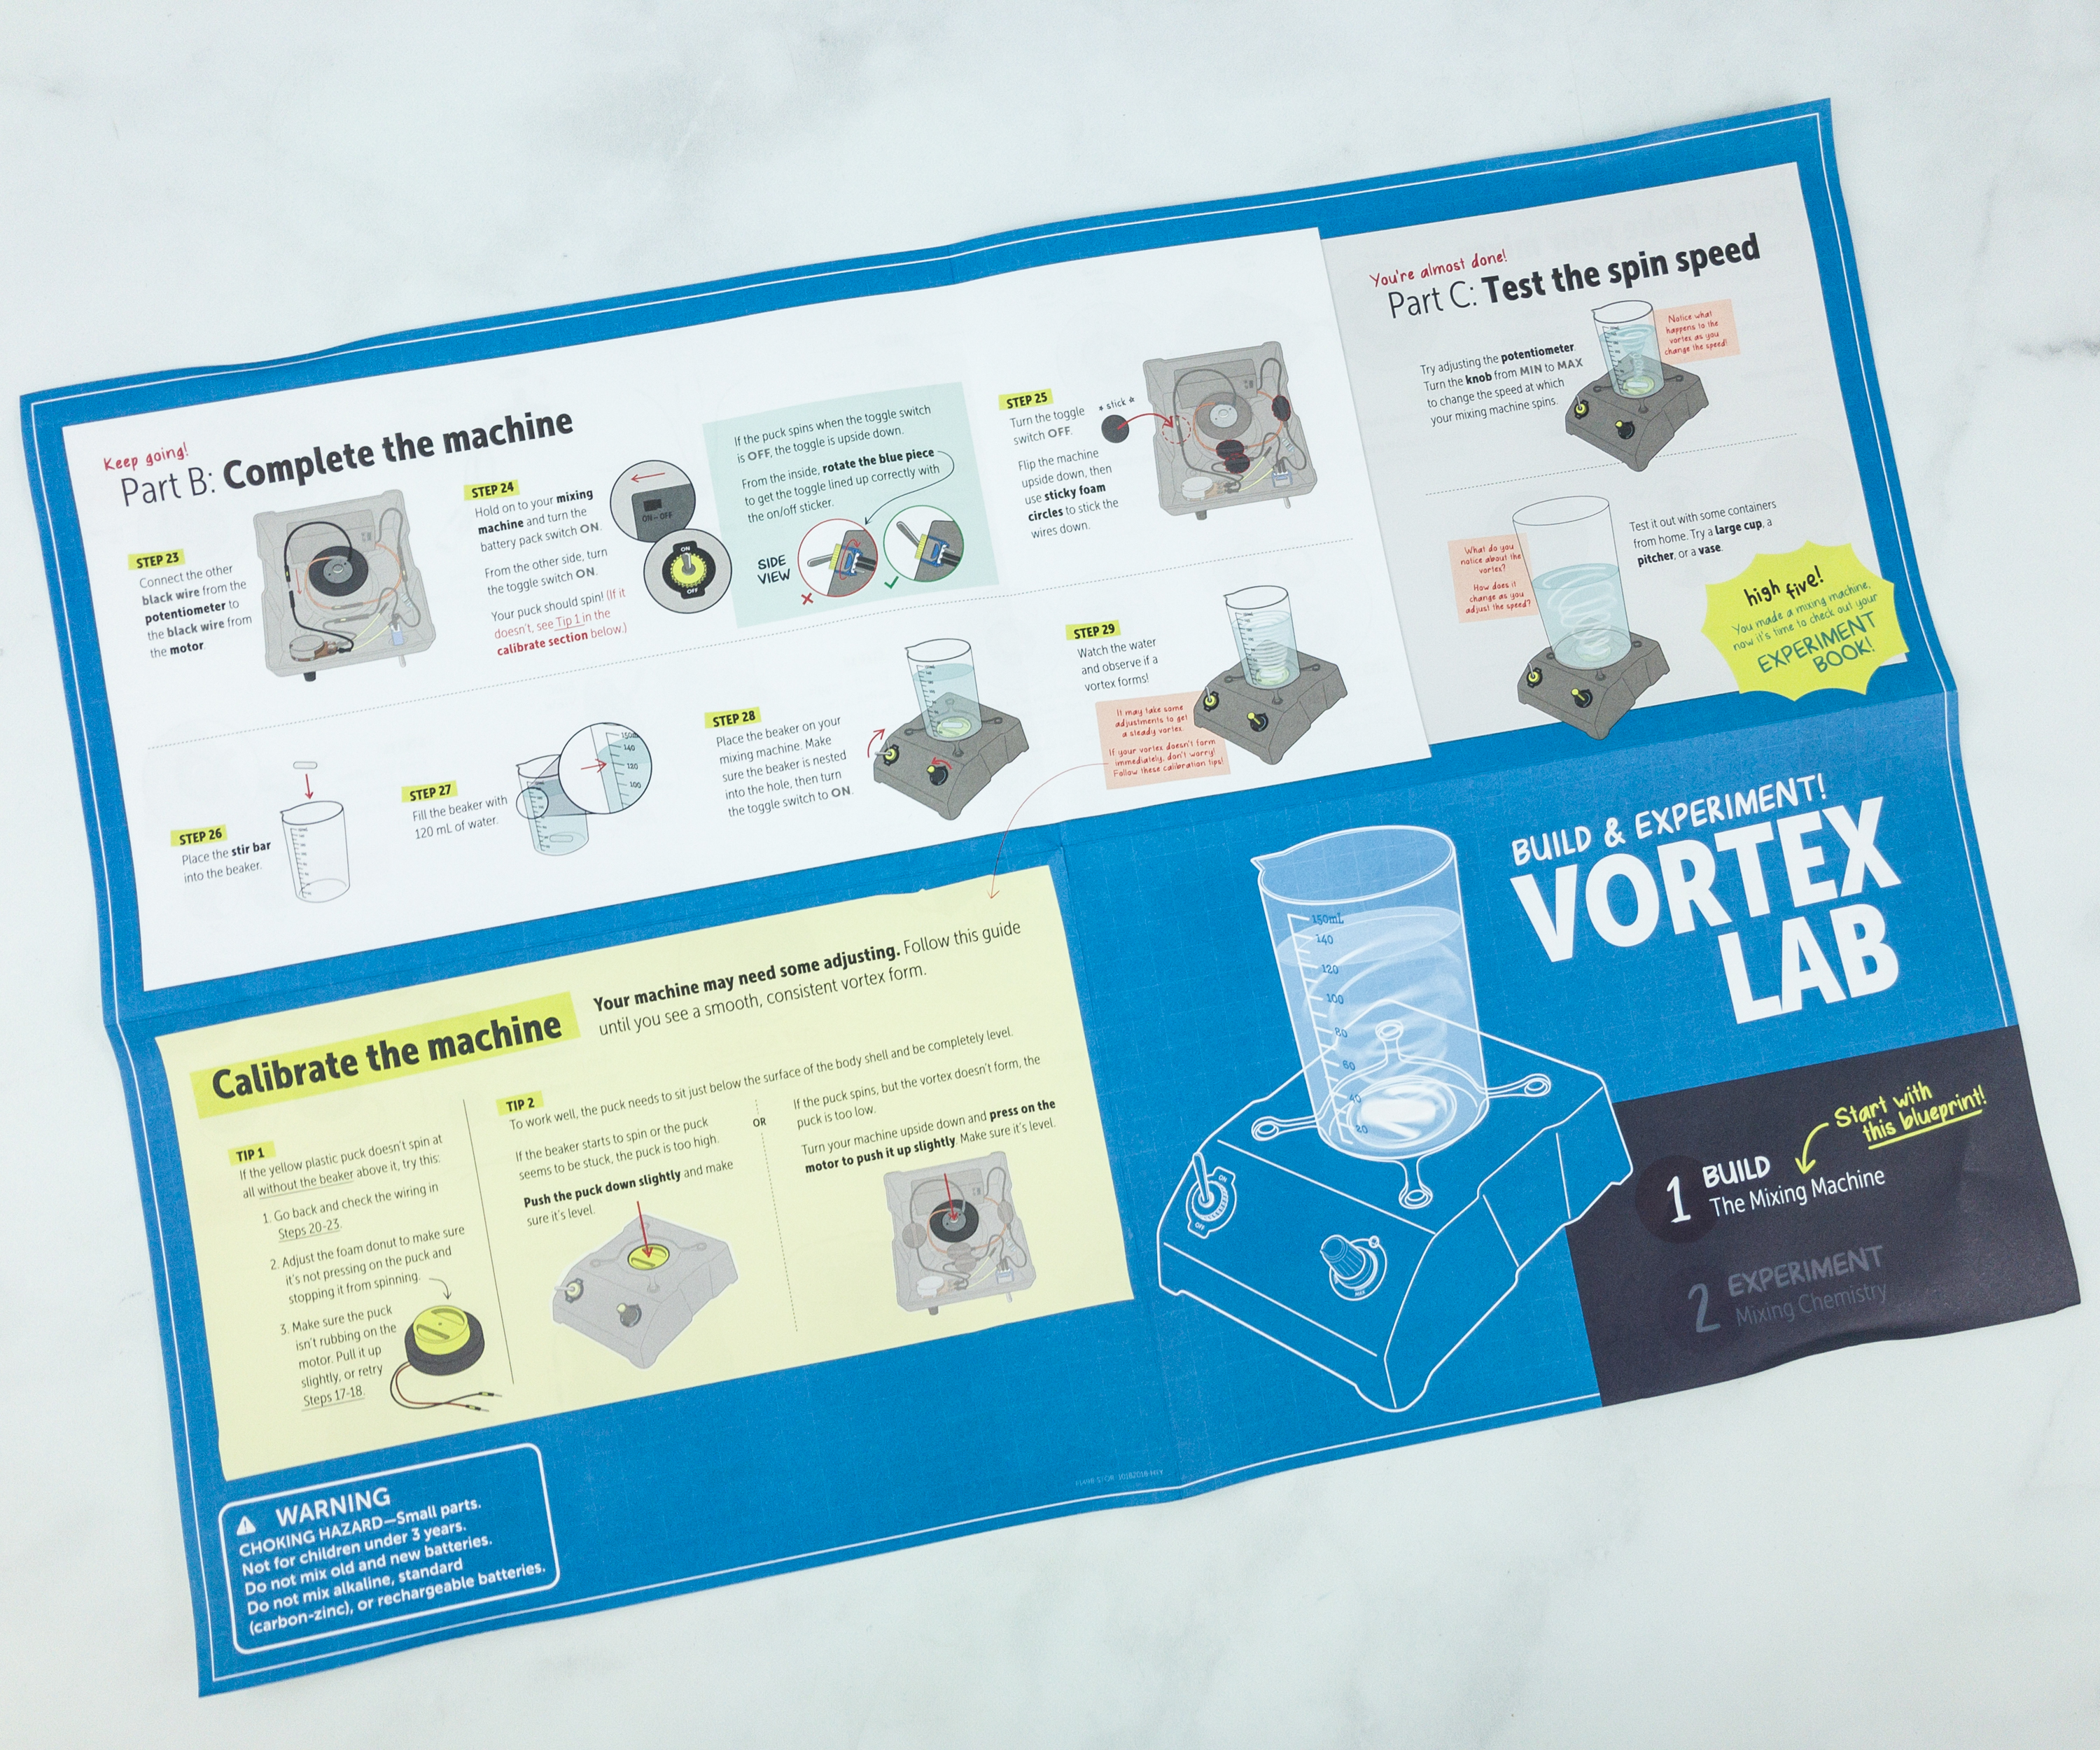
The blueprint also included the instructions on how to calibrate the machine.
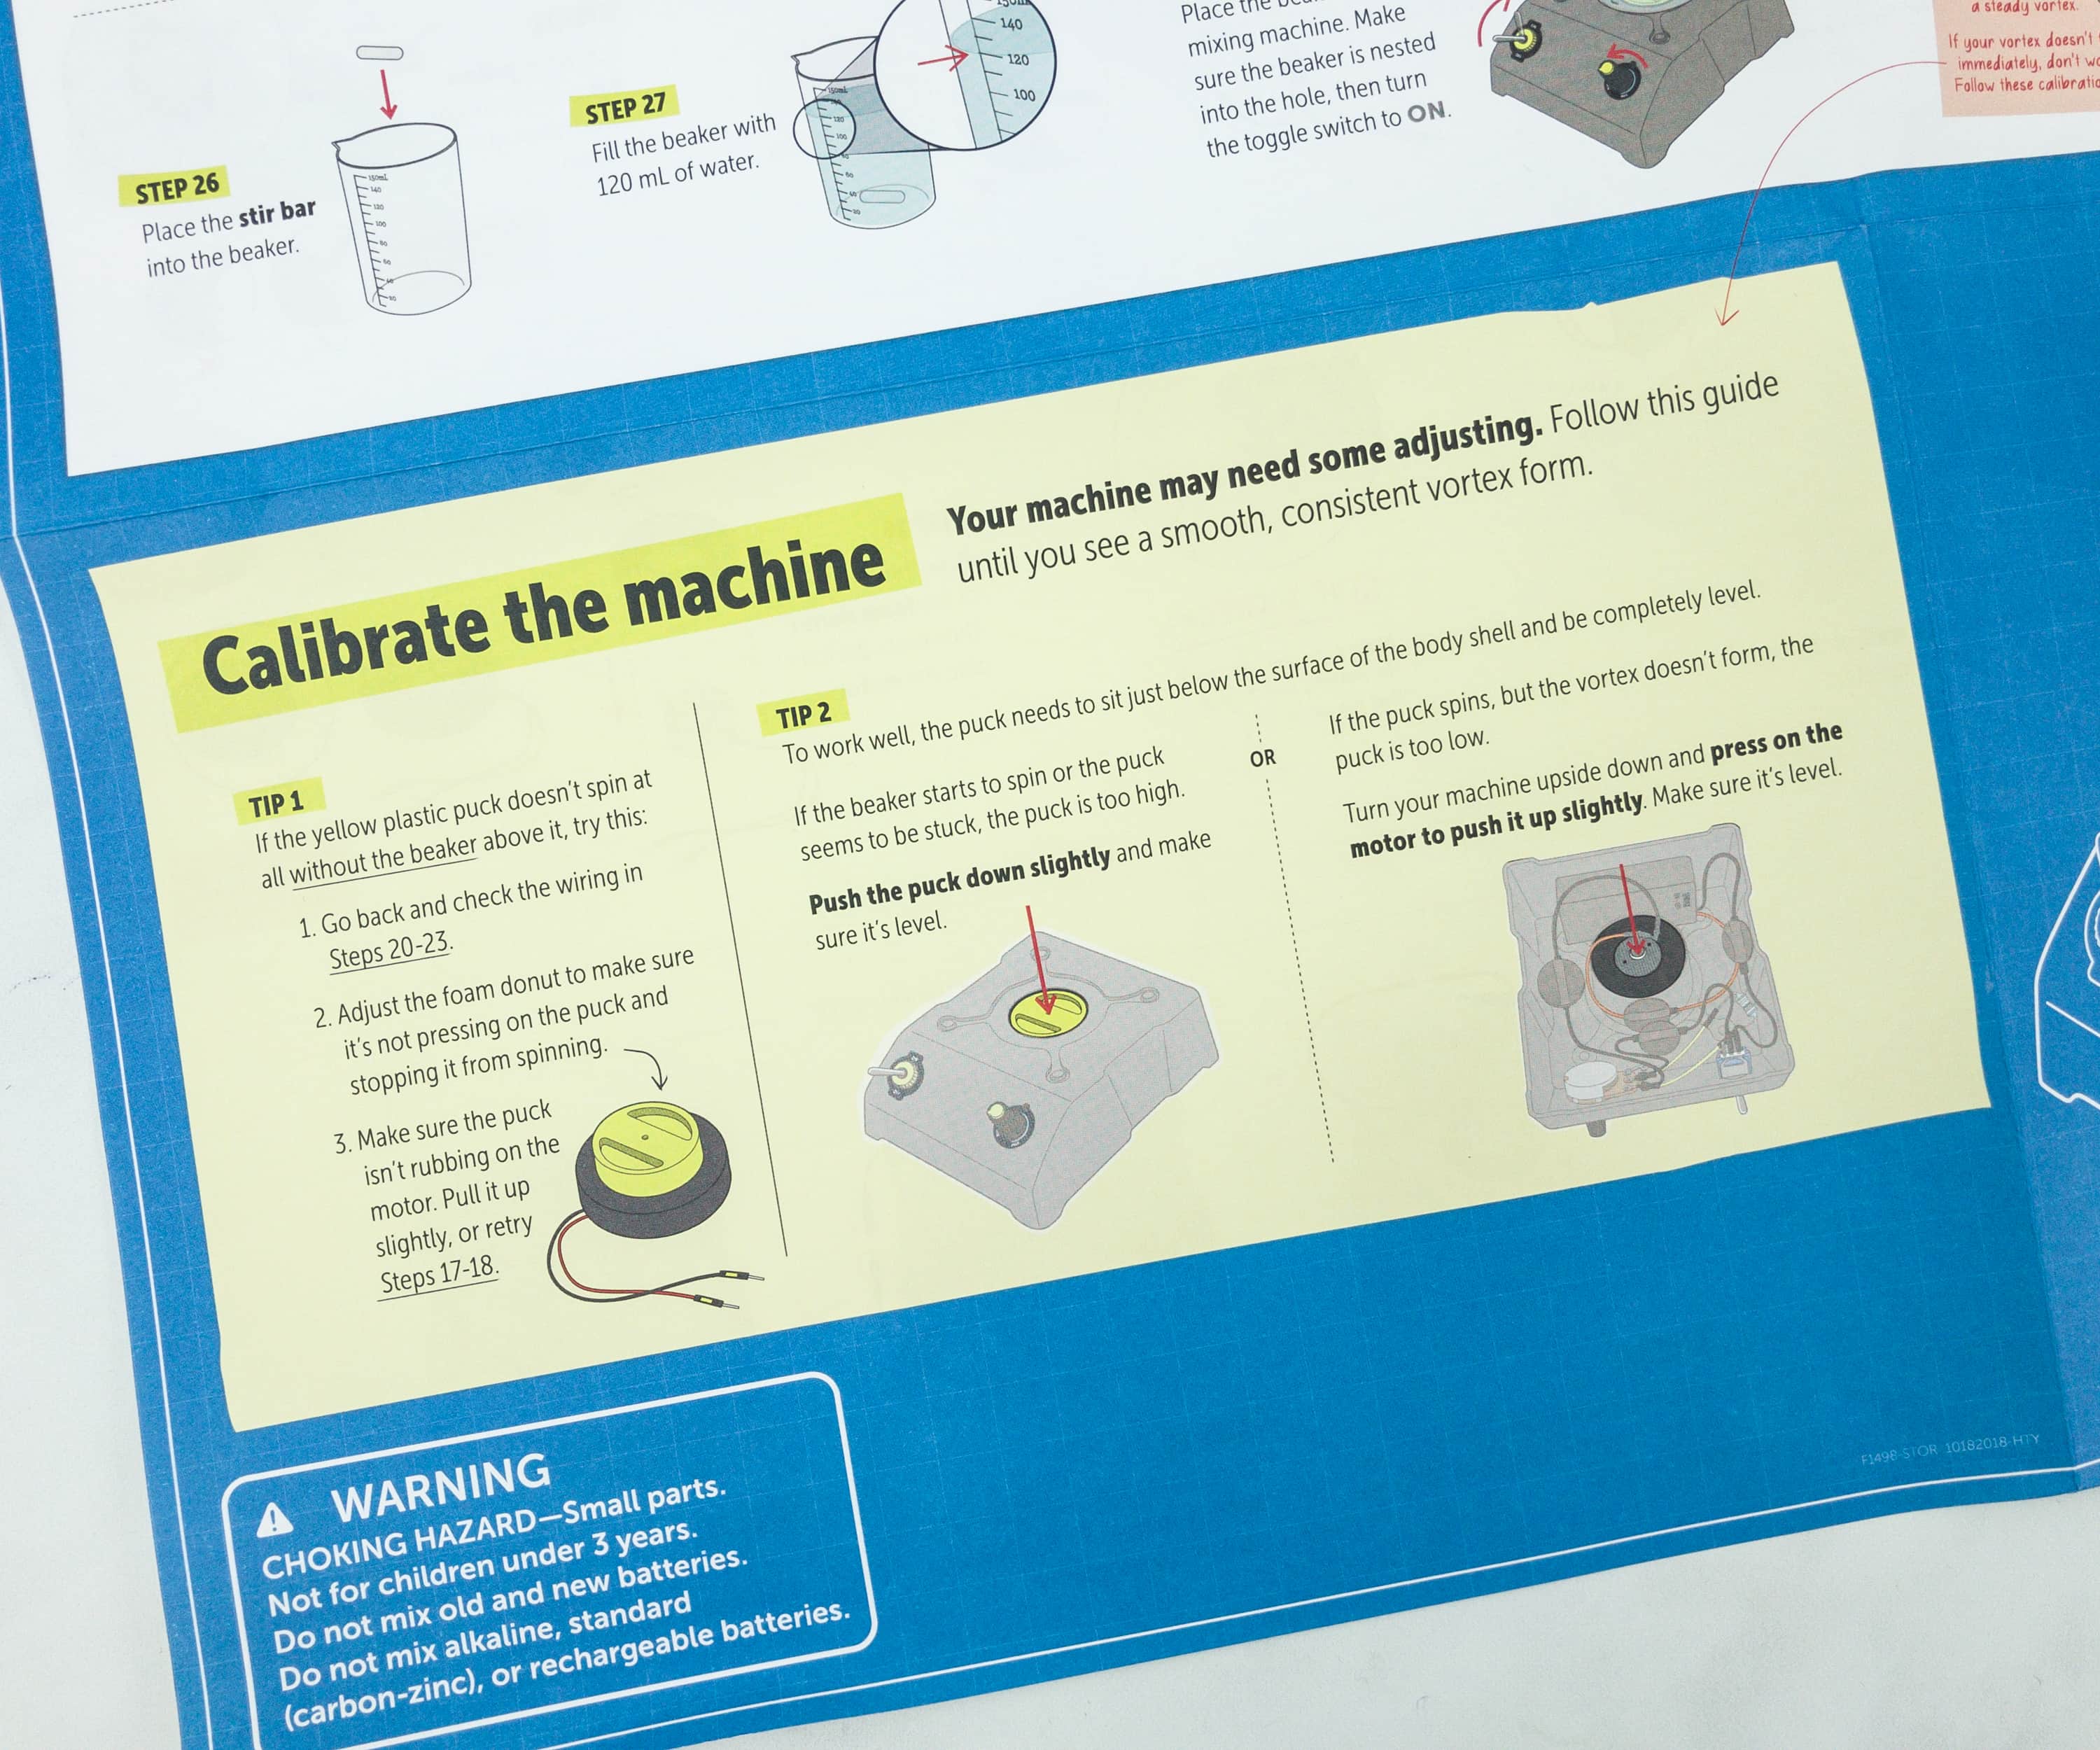
Calibration ensures the accuracy and precision of the equipment before use and eliminates bias in instrument reading.
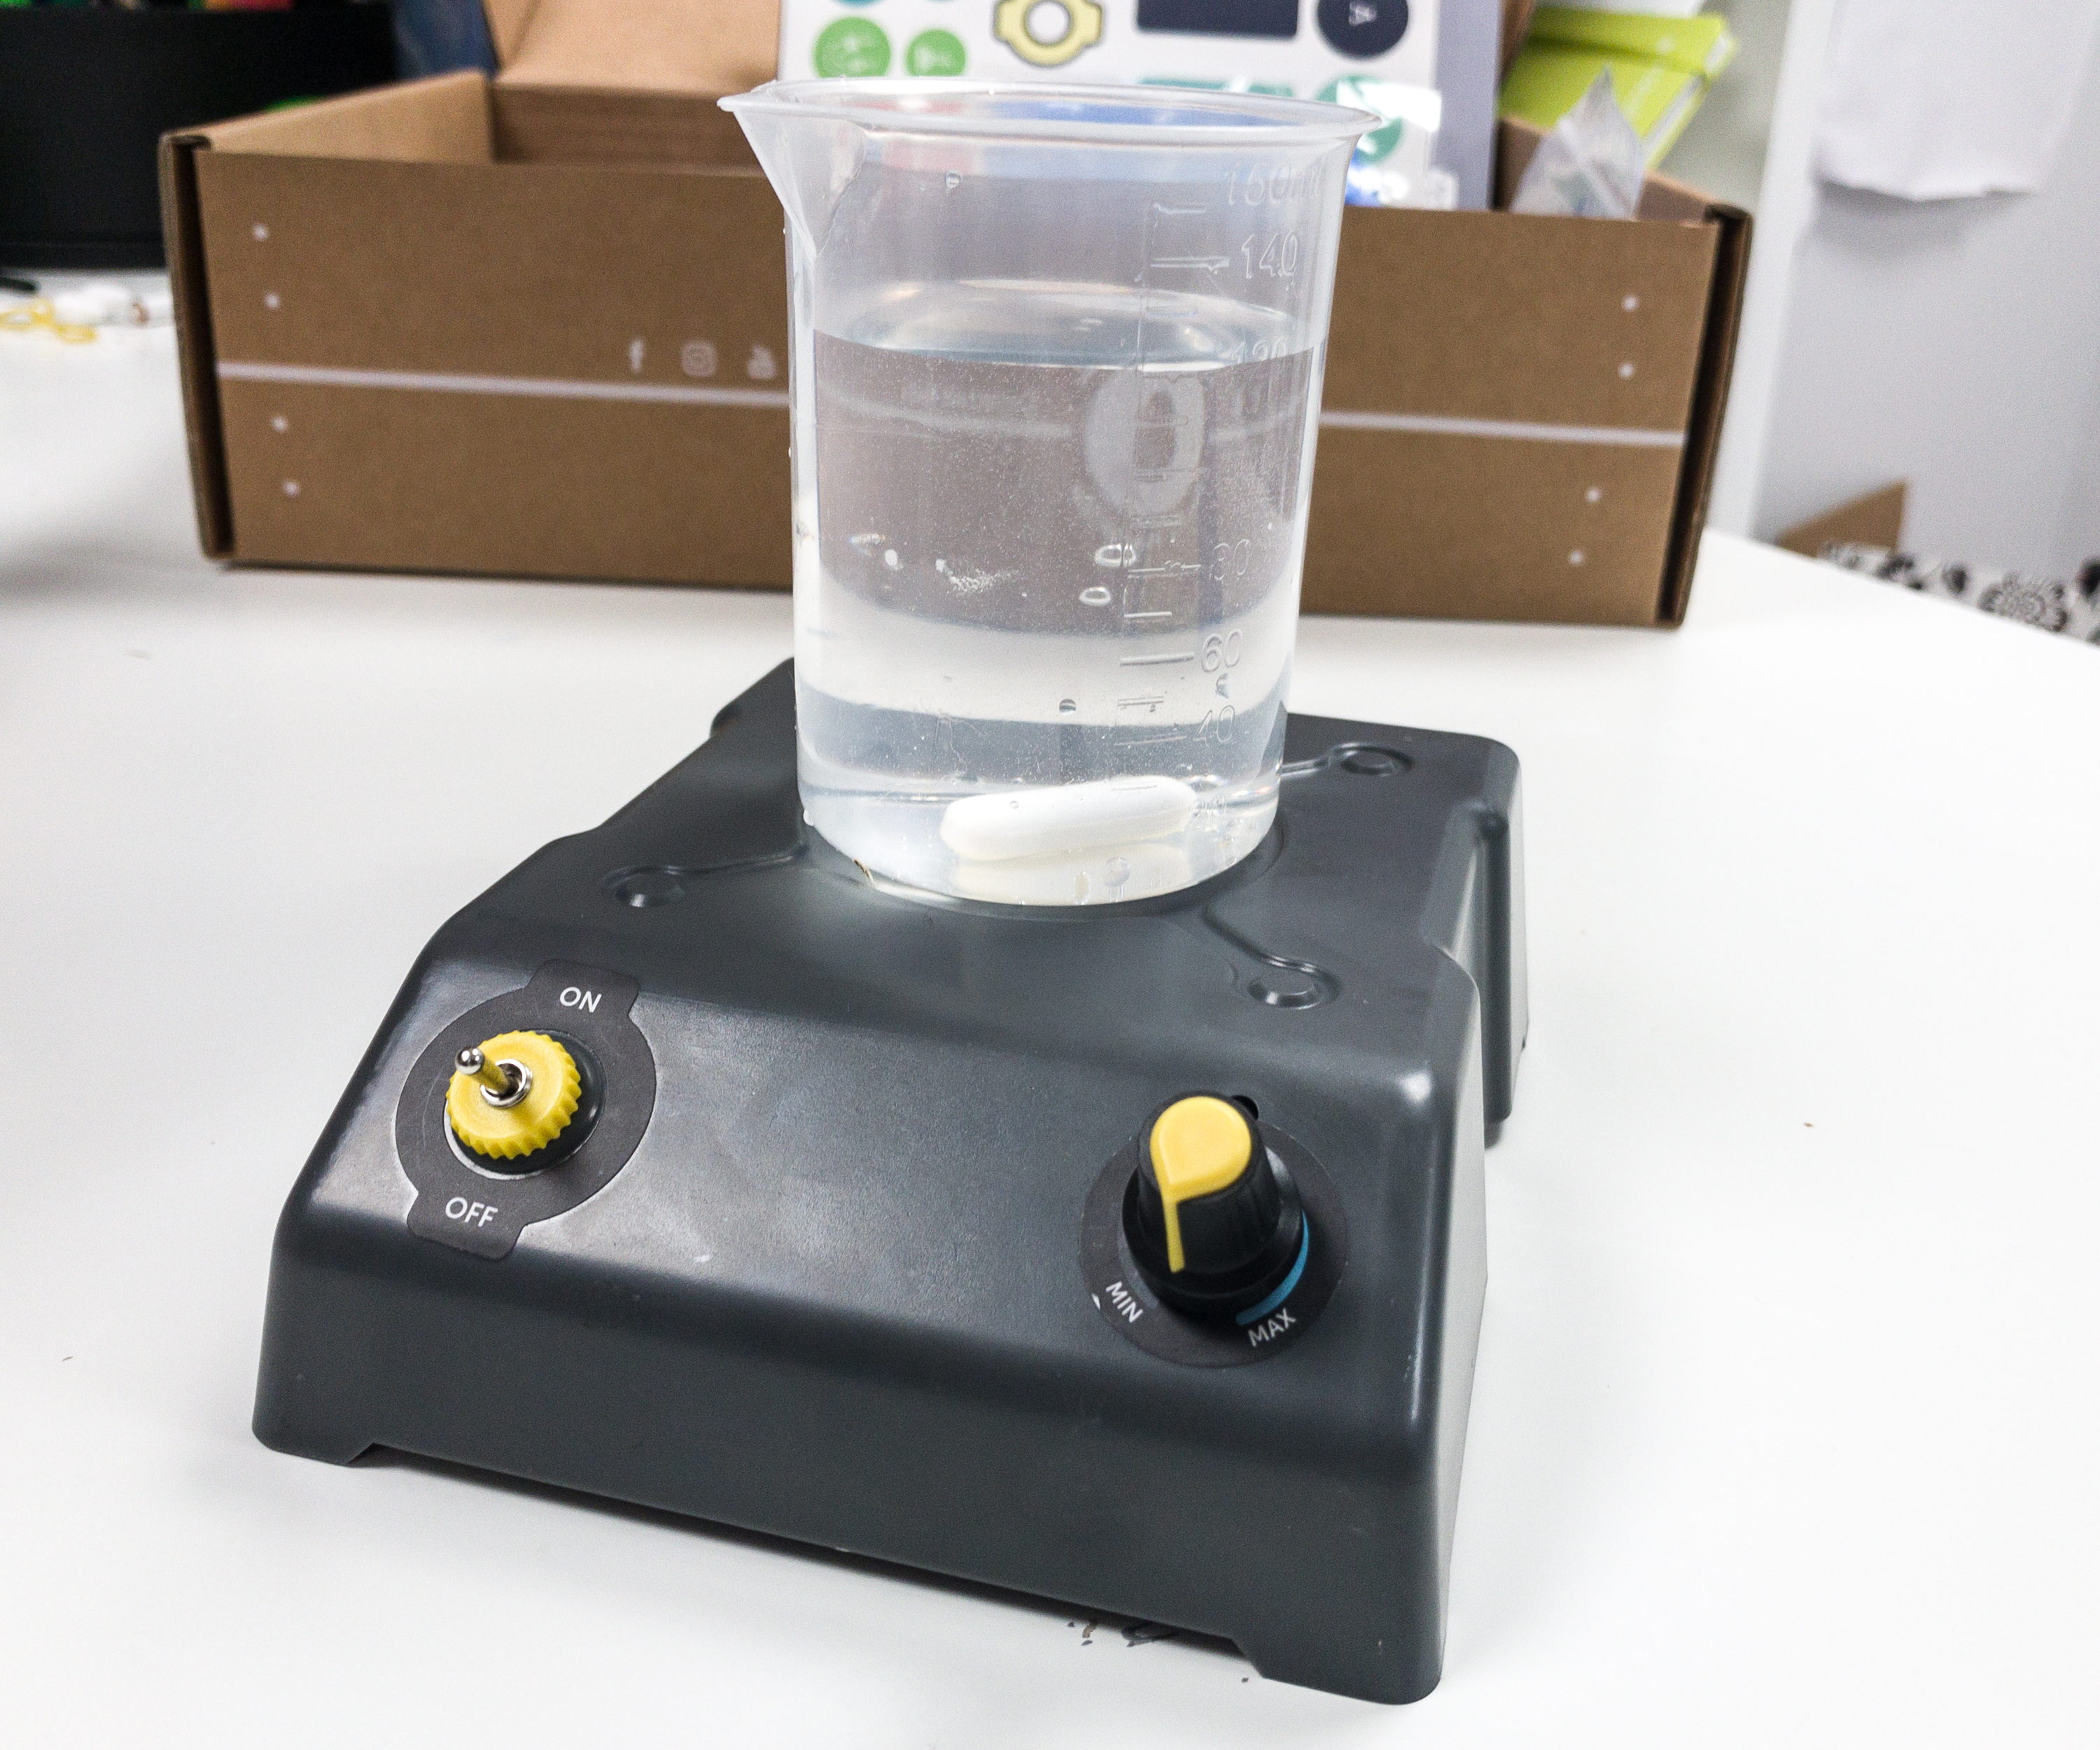
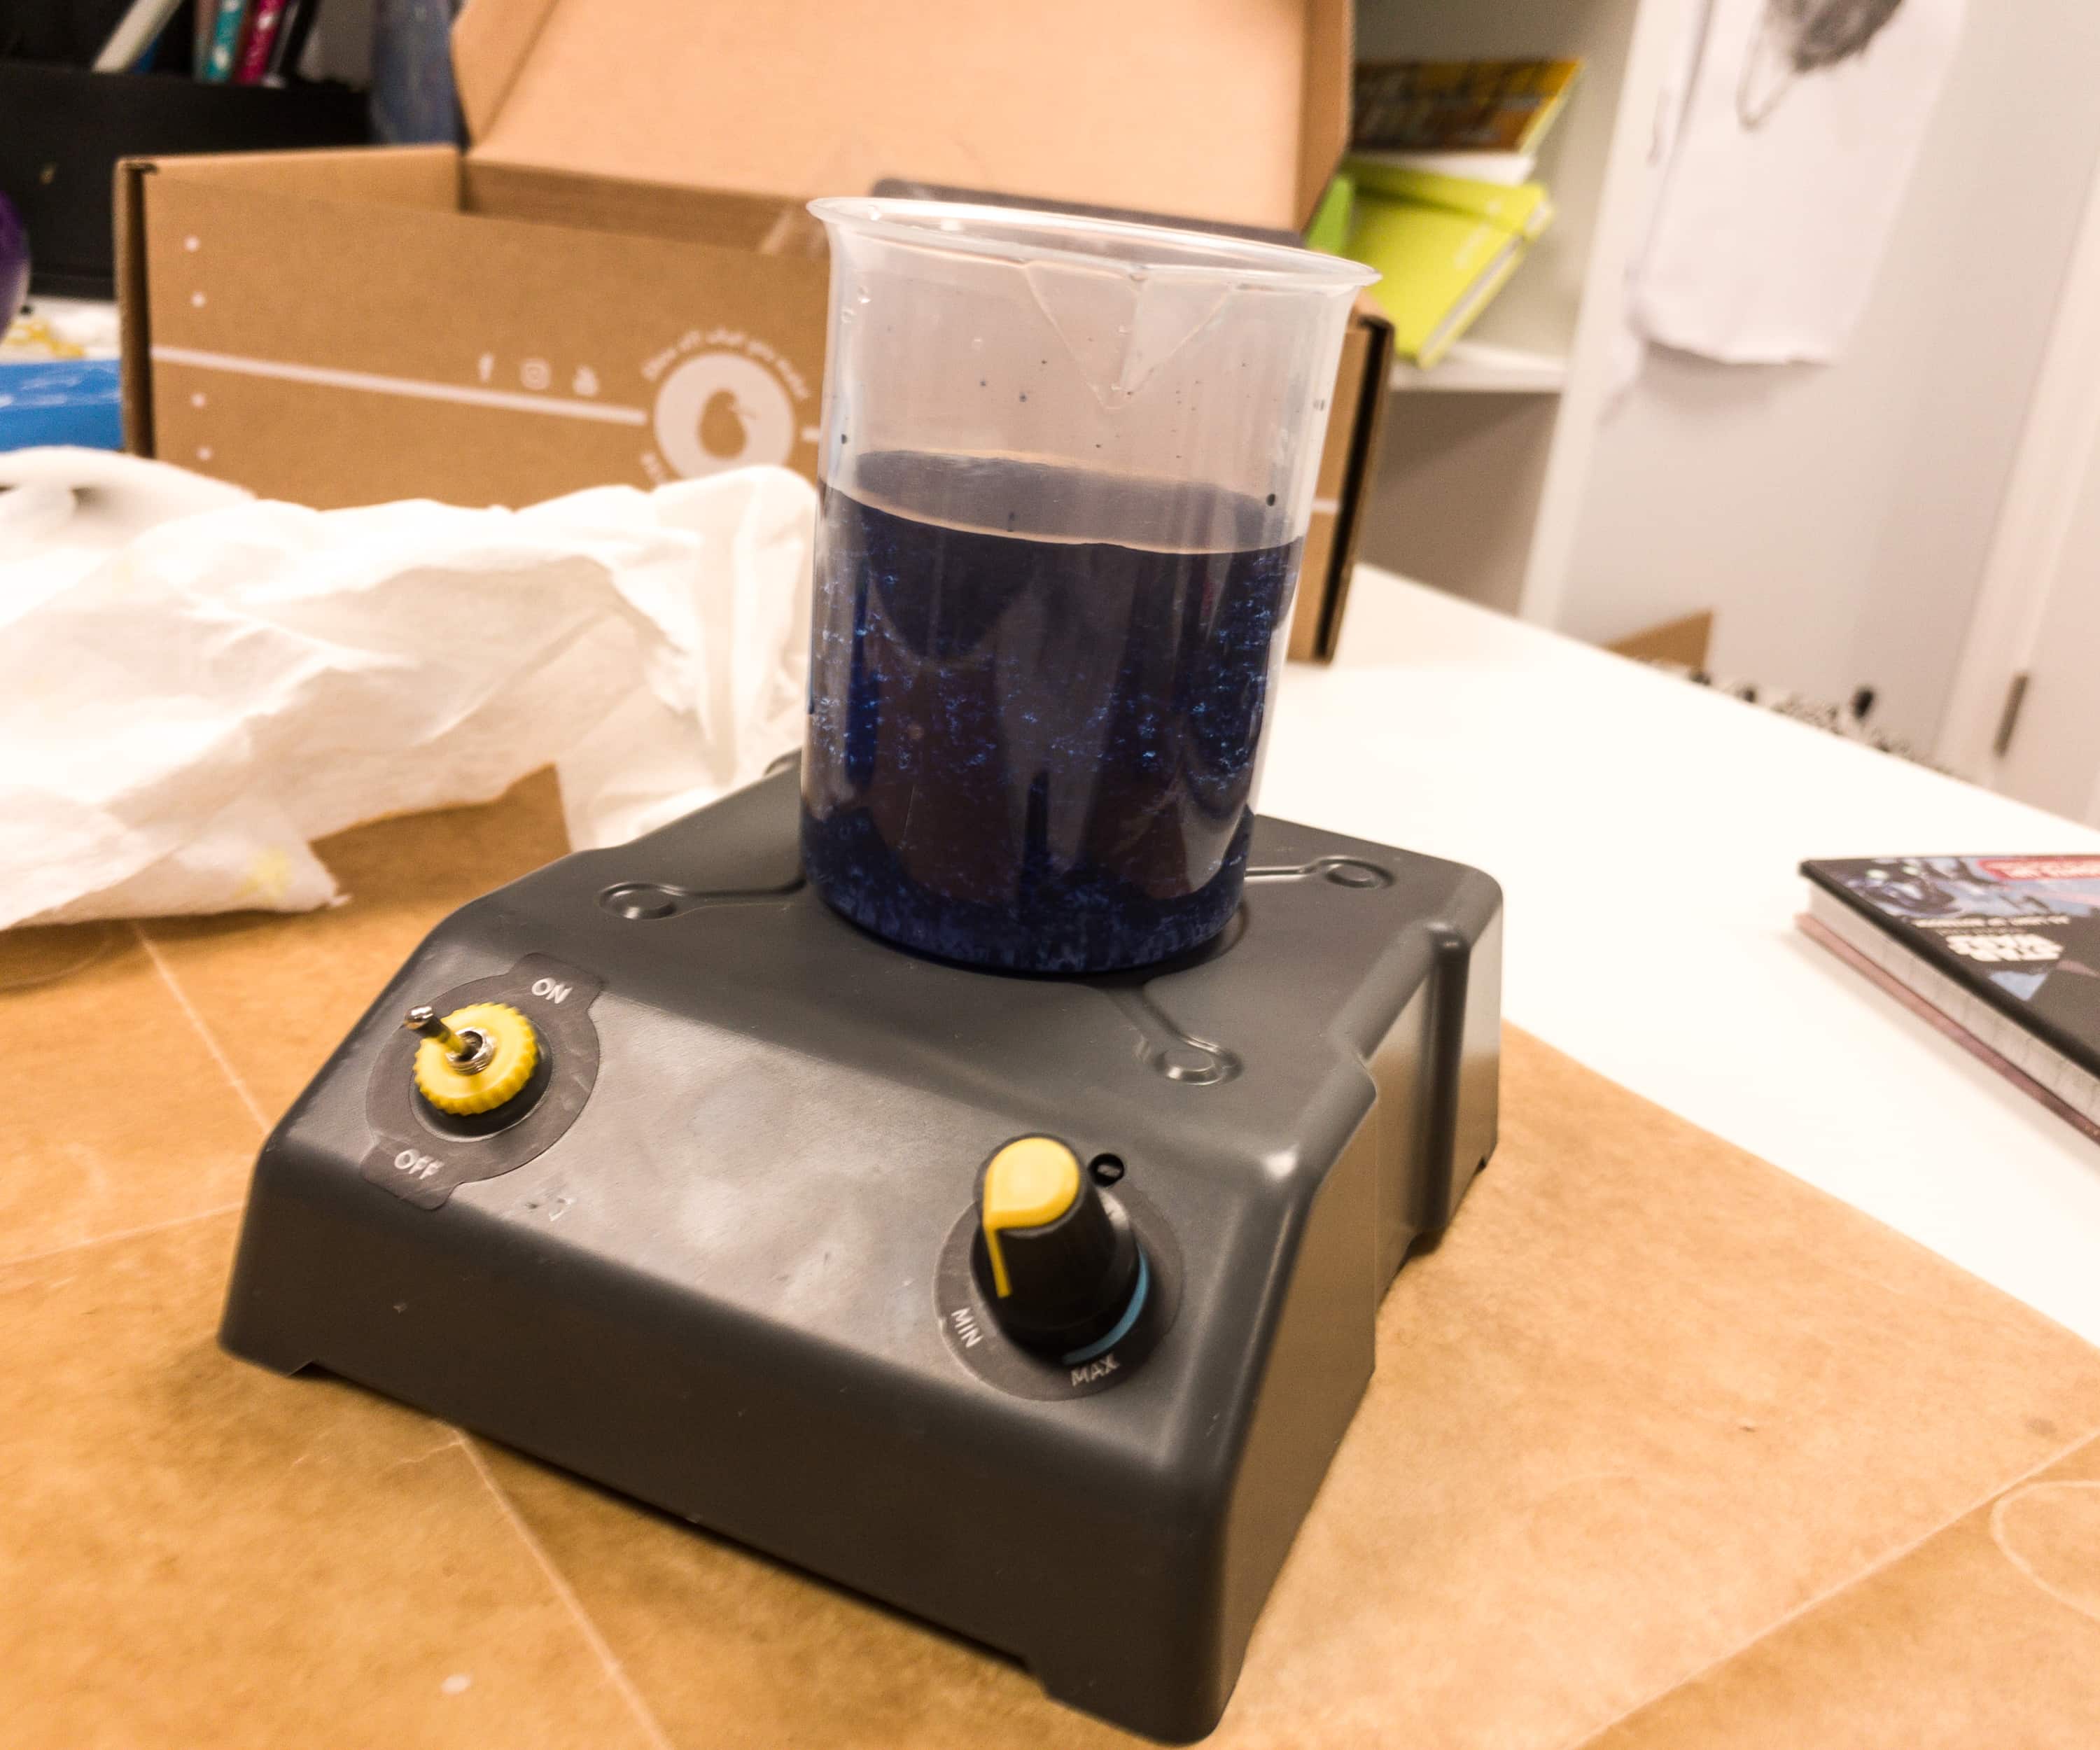
It’s time to test out if this machine will form a vortex.
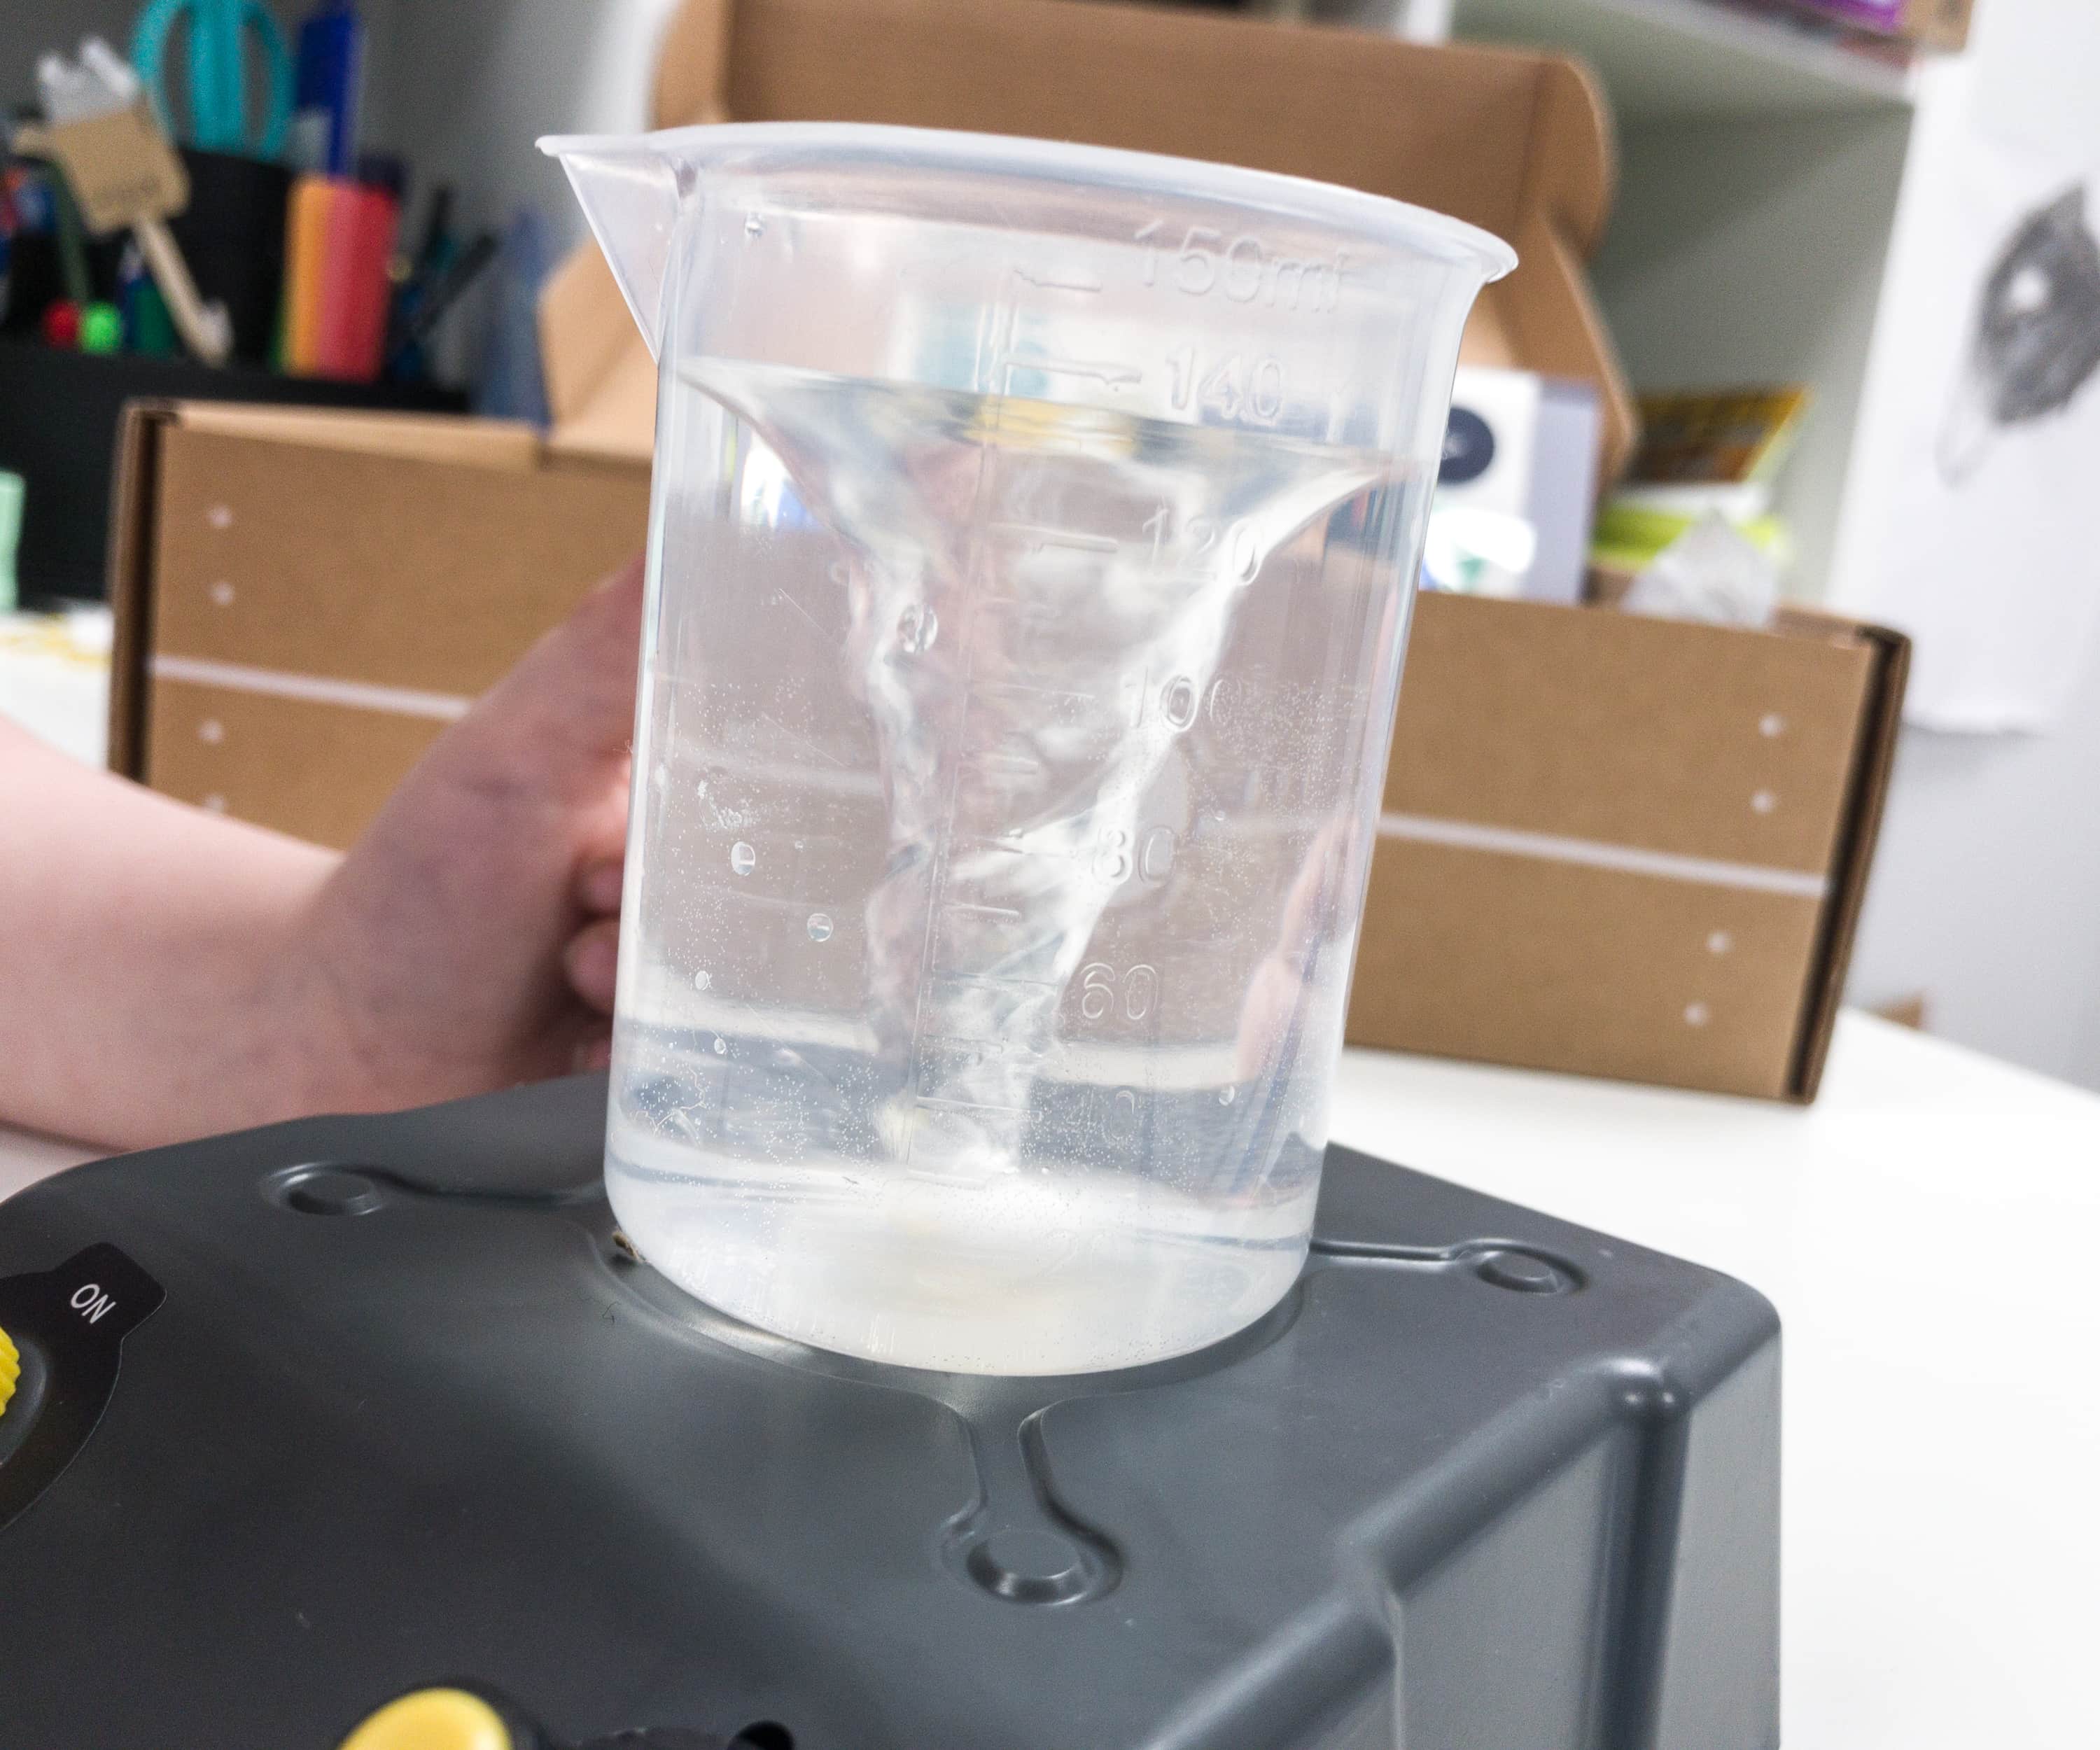
It did! We also tested the spin speed, and the mixing machine is now ready for some experiments.
Now, on to the experiments!
Each pack contains an illustrated instruction booklet that talks more about the underlying scientific principles for each of the activities and also explains the experiments and even the materials used.
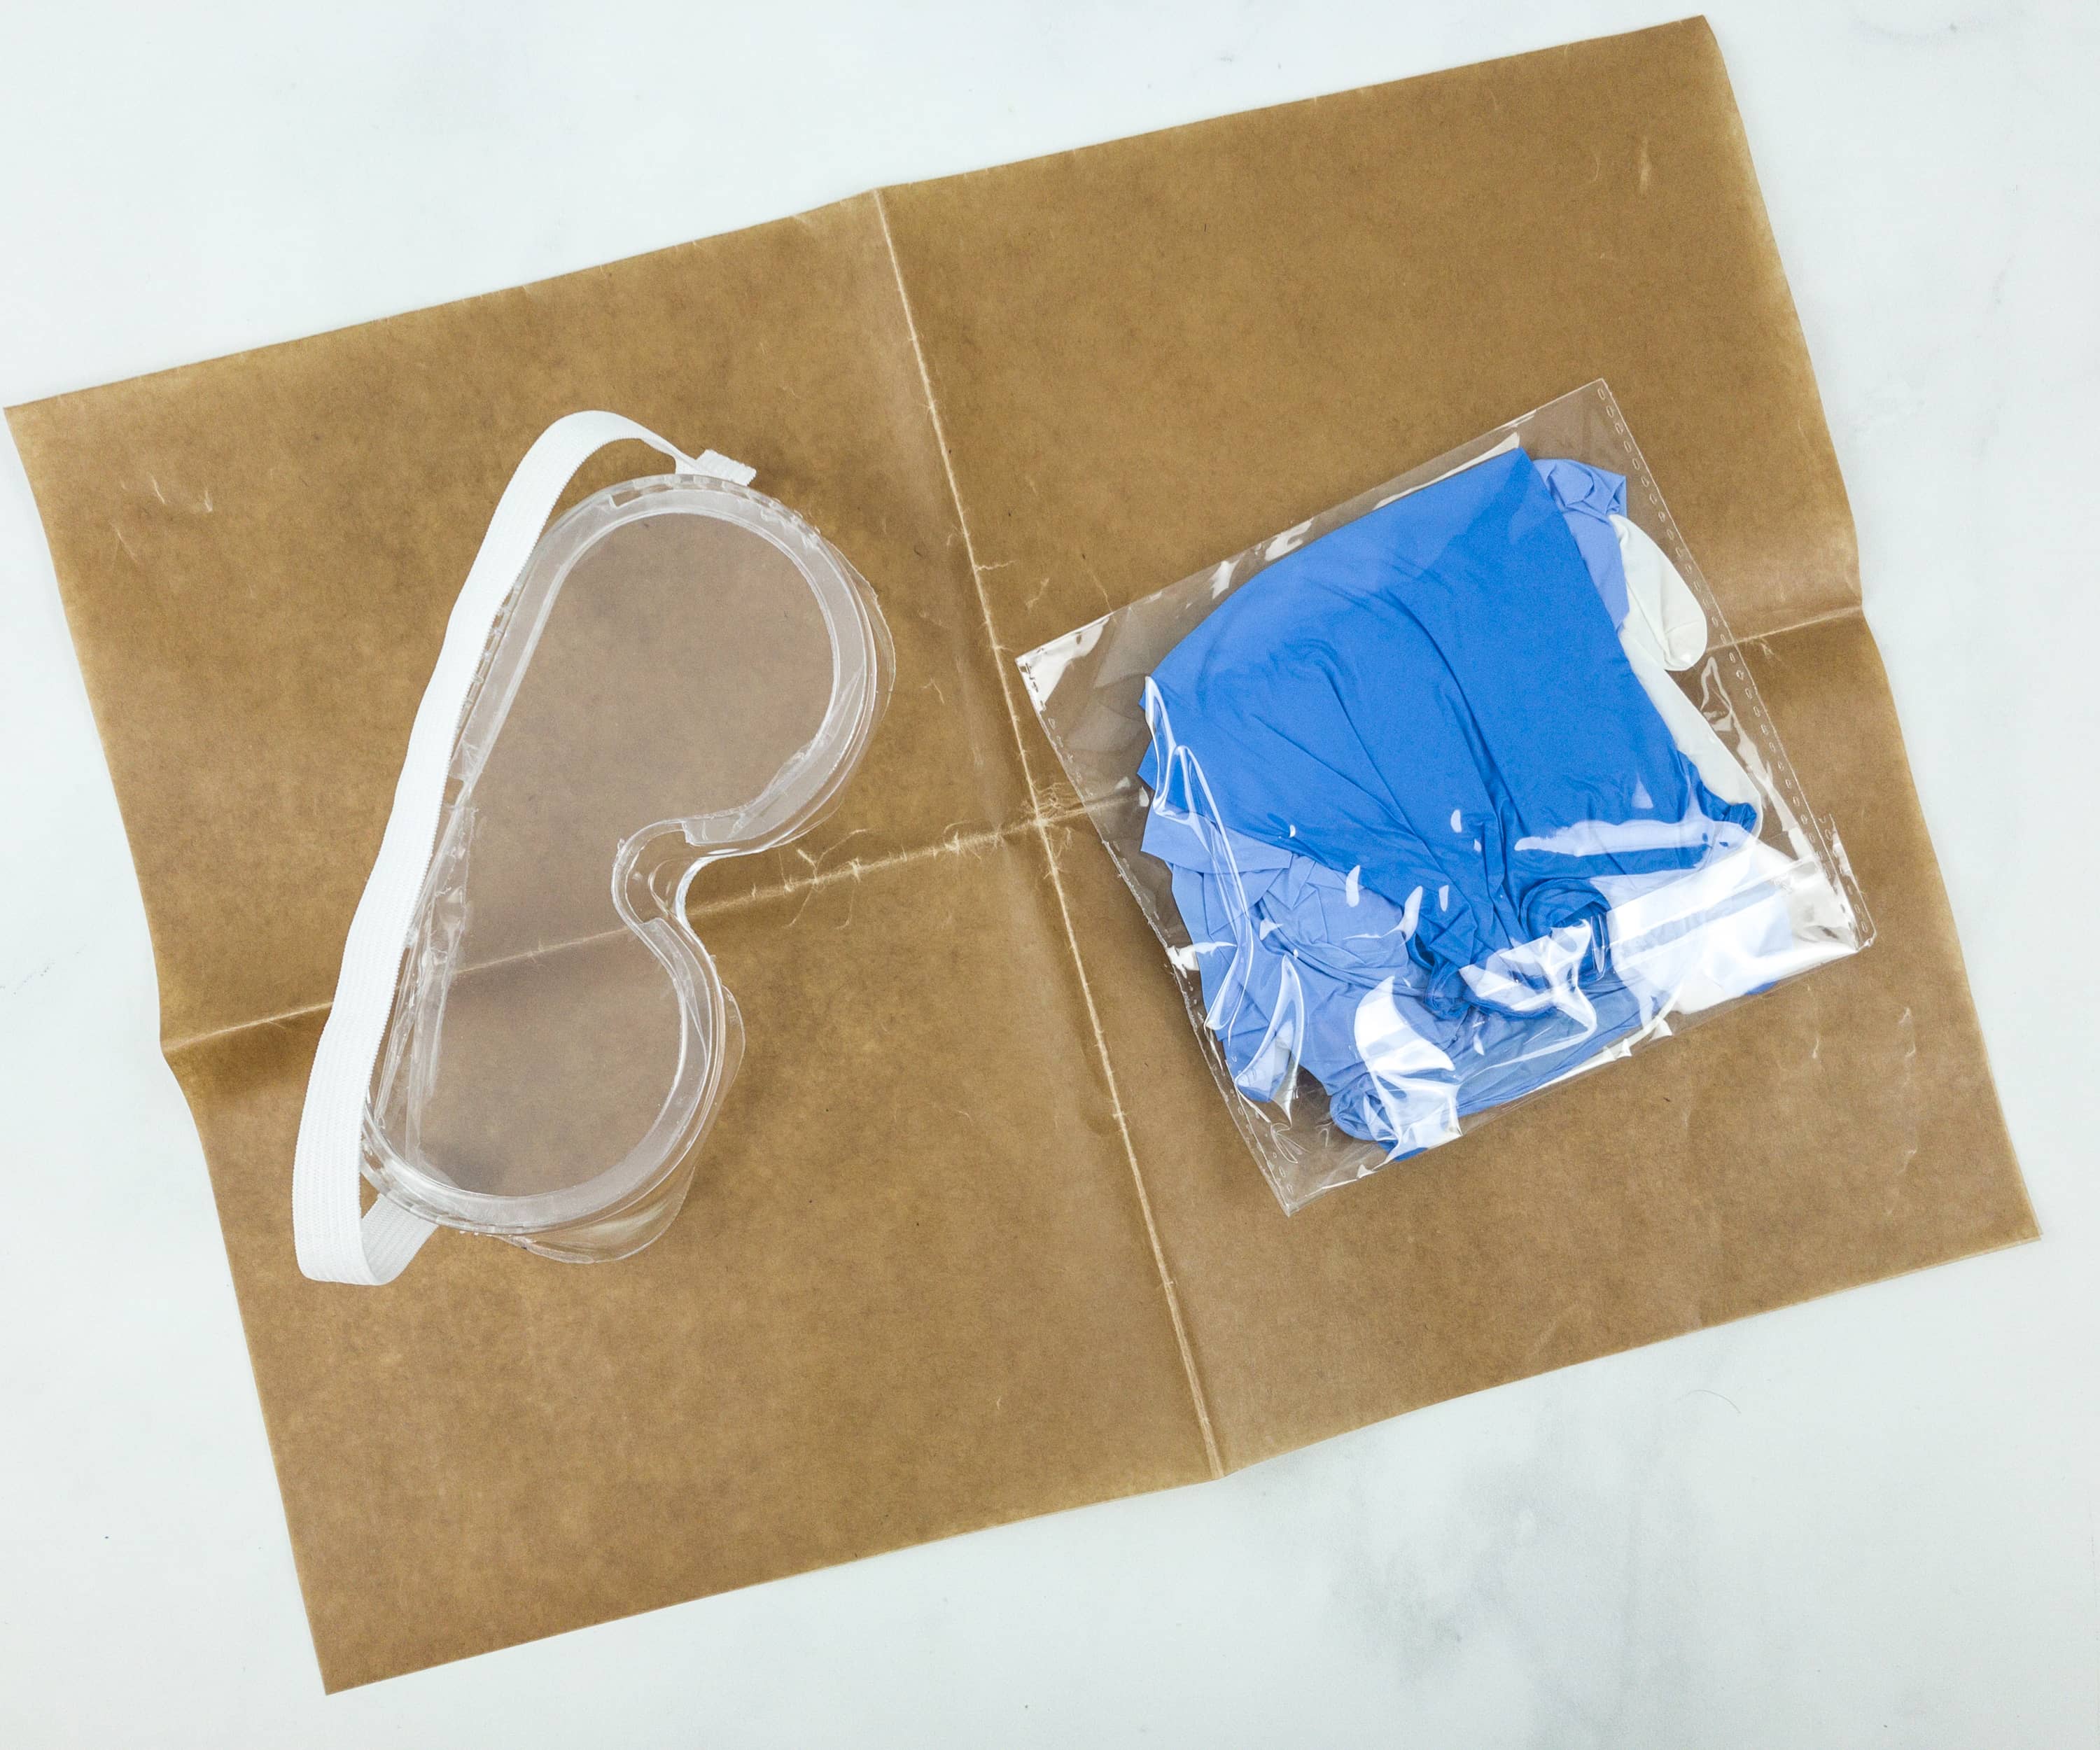
The crate also included some safety gears: goggles, gloves, and a mess mat.
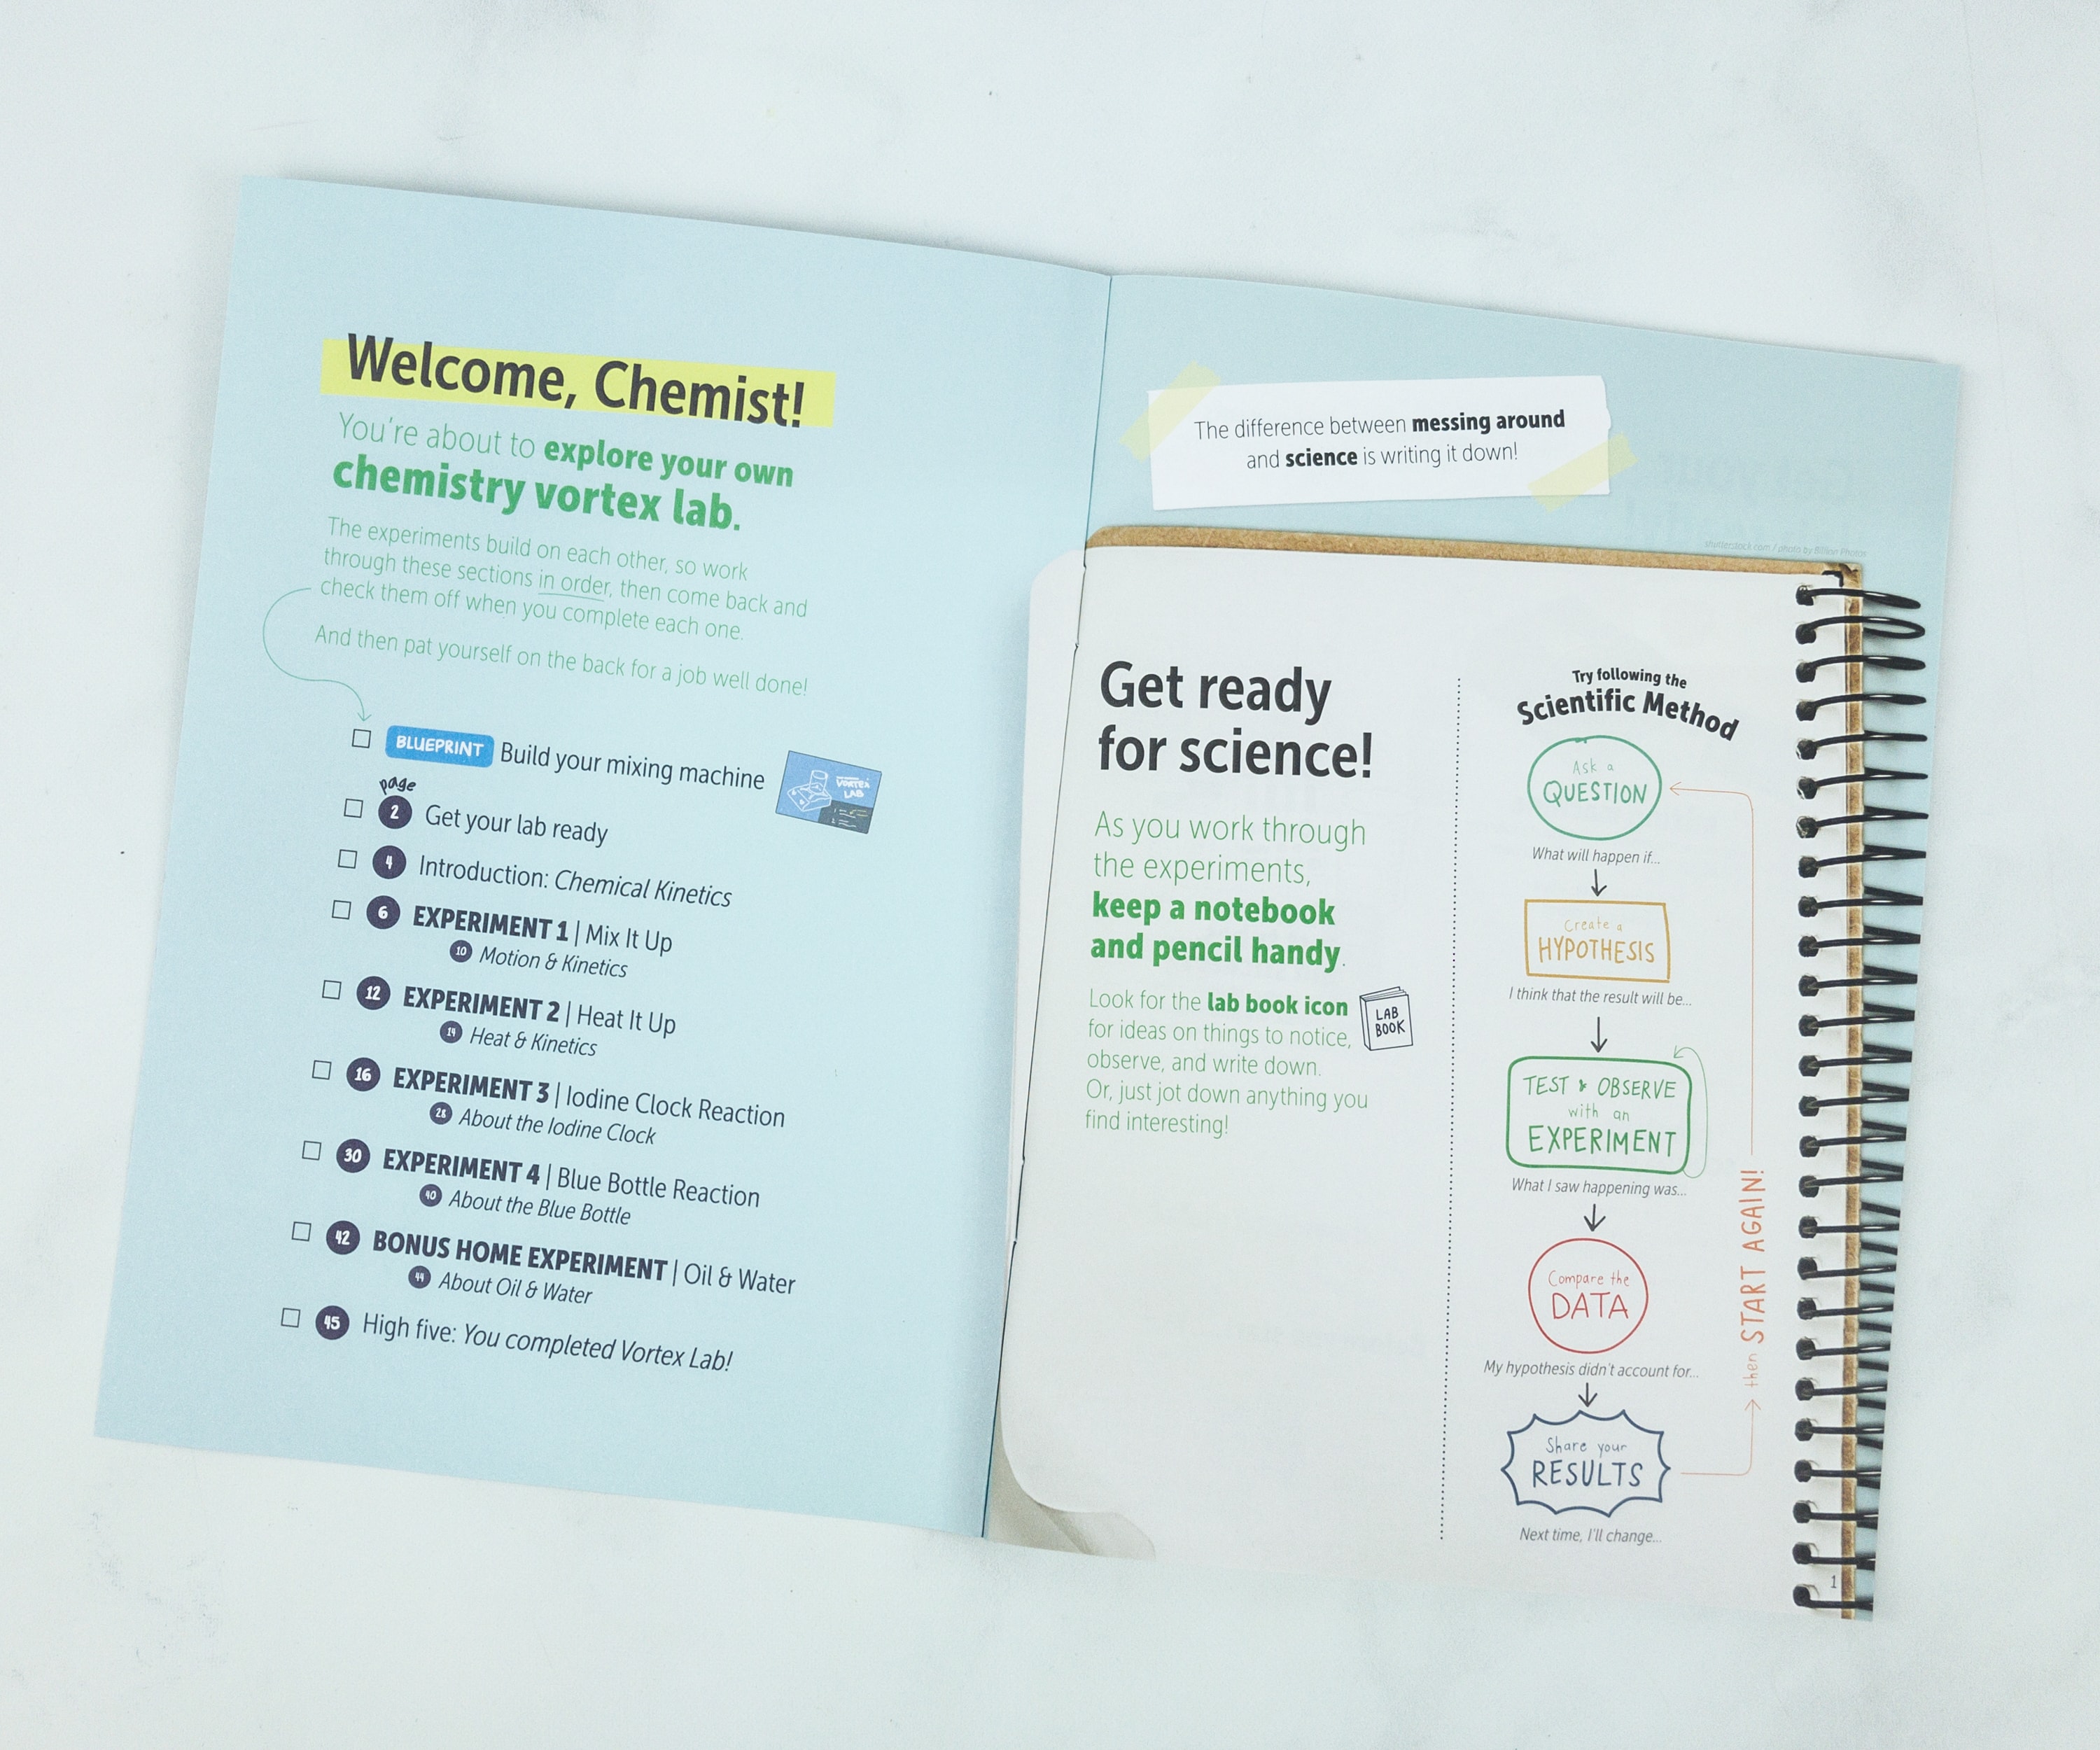
There’s a total of 4 experiments for this pack, plus a bonus home experiment. Keep a notebook and pencil handy while performing the activities.
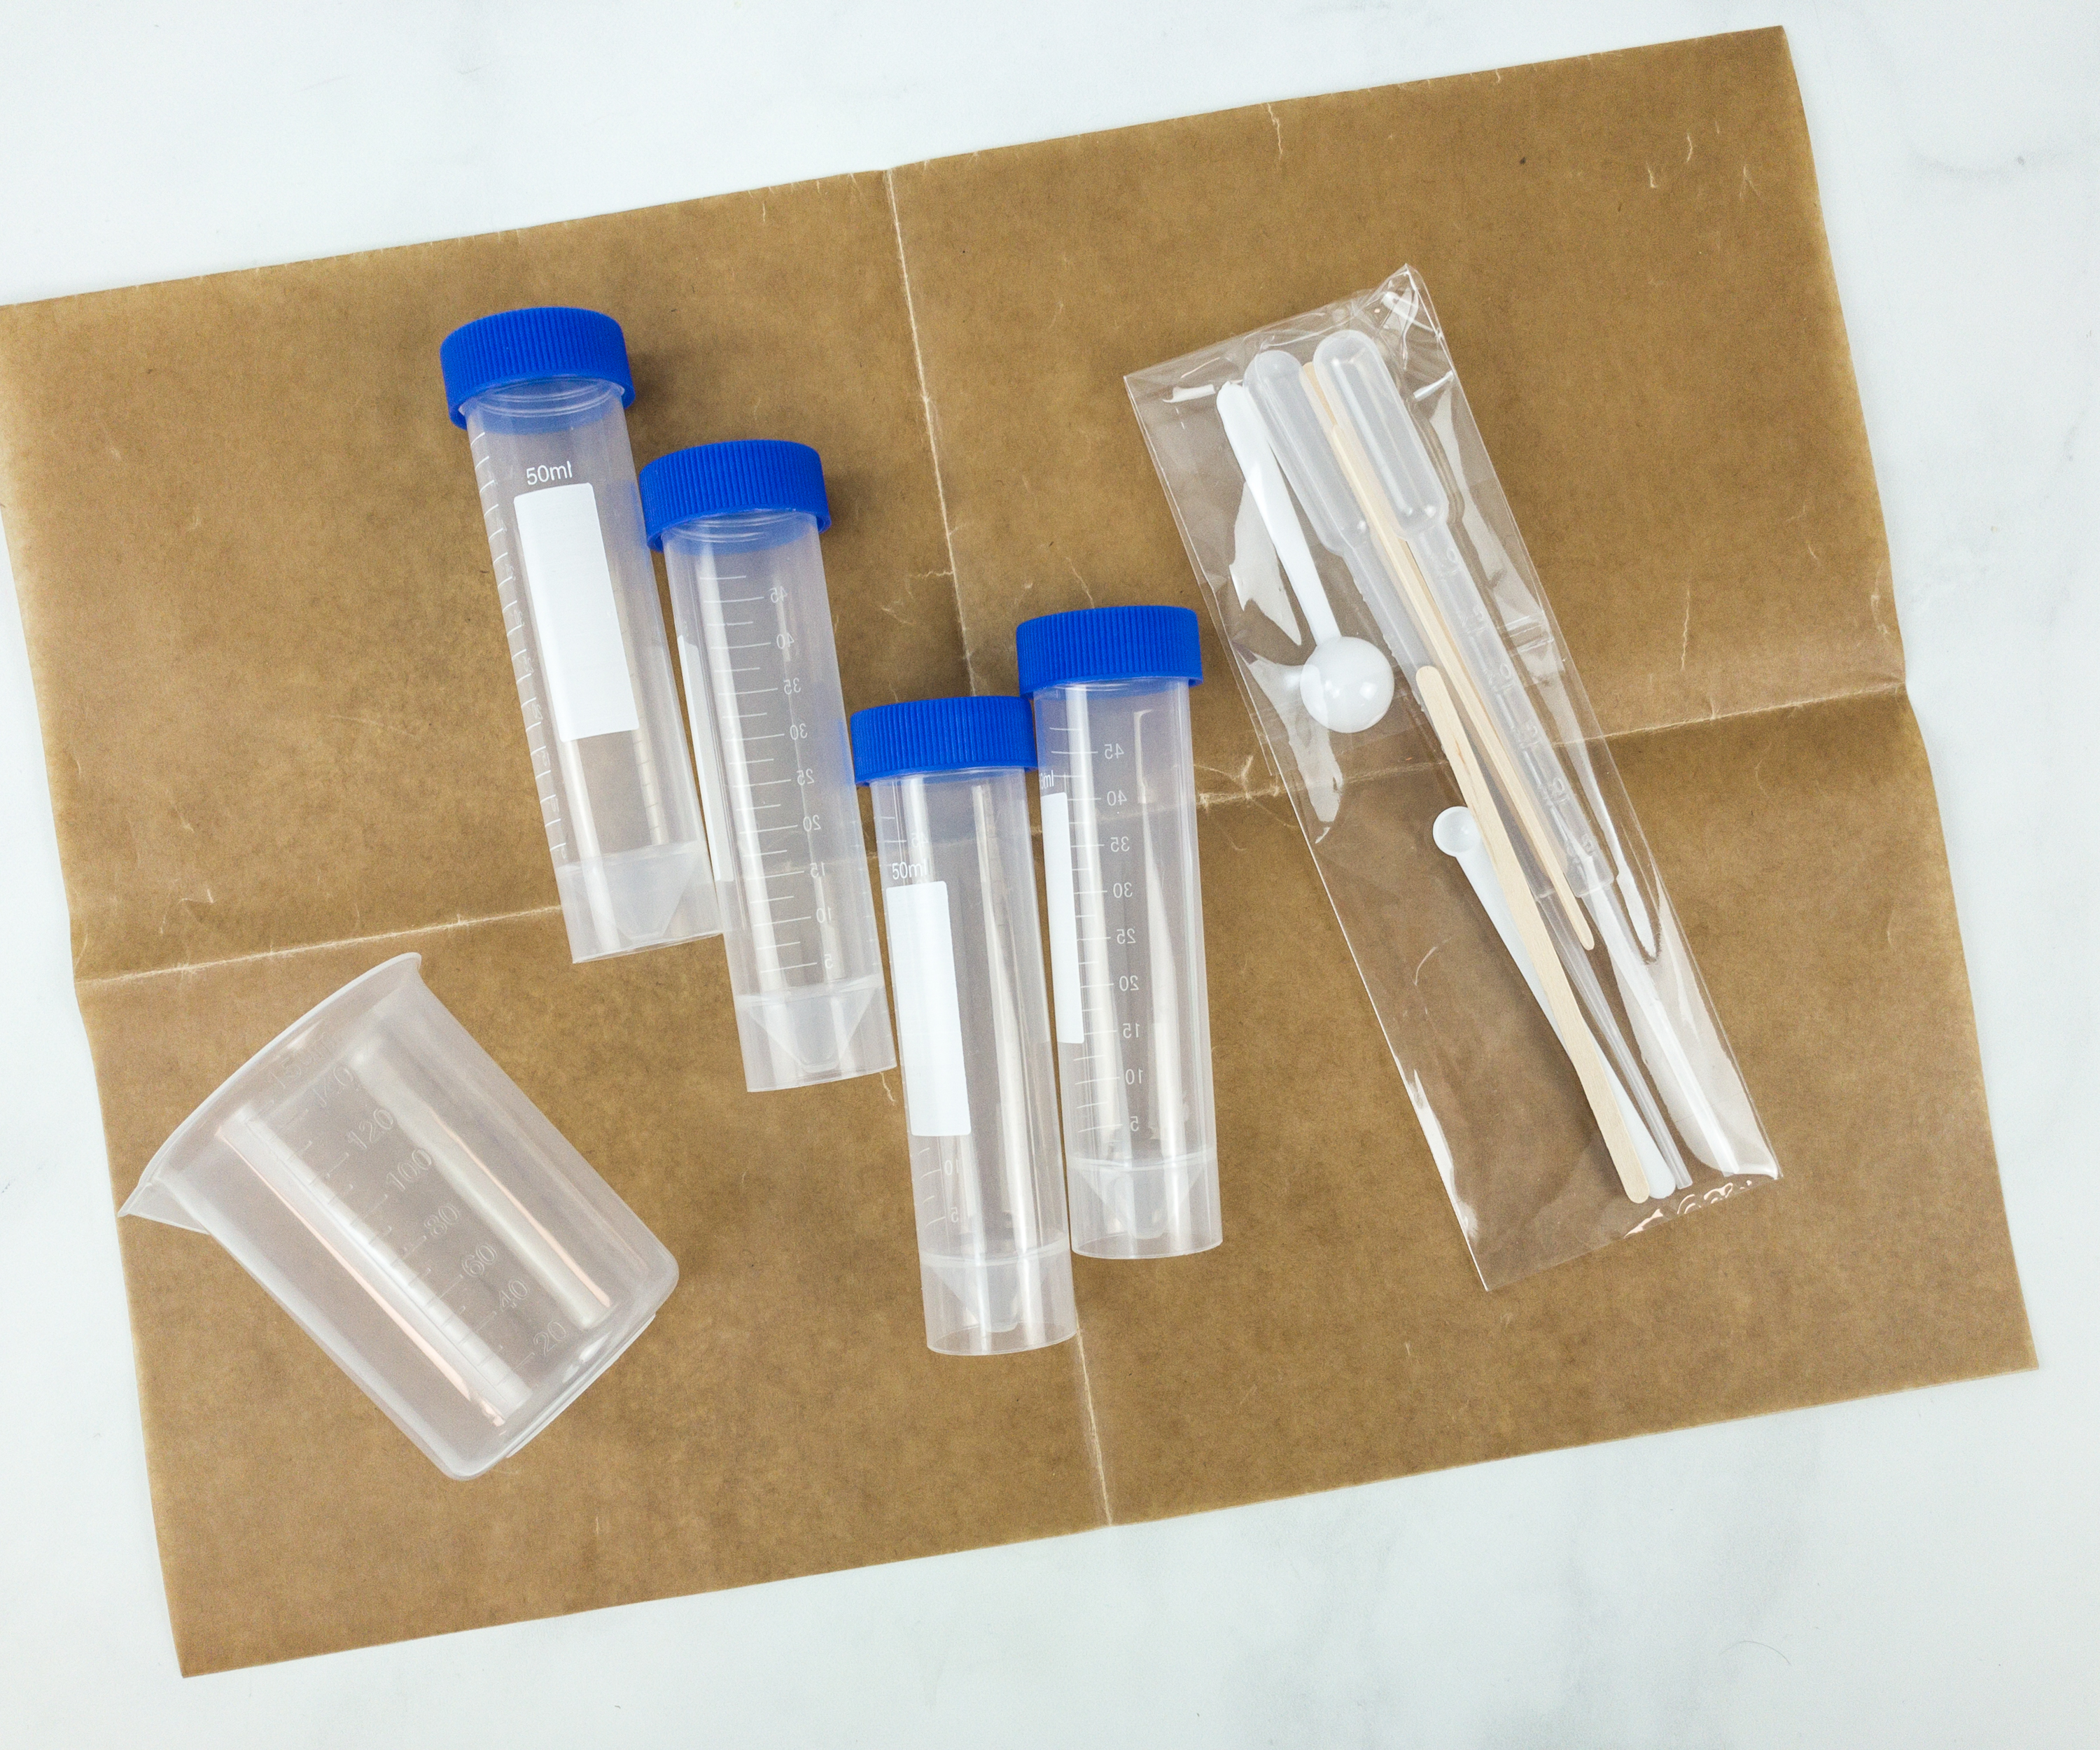
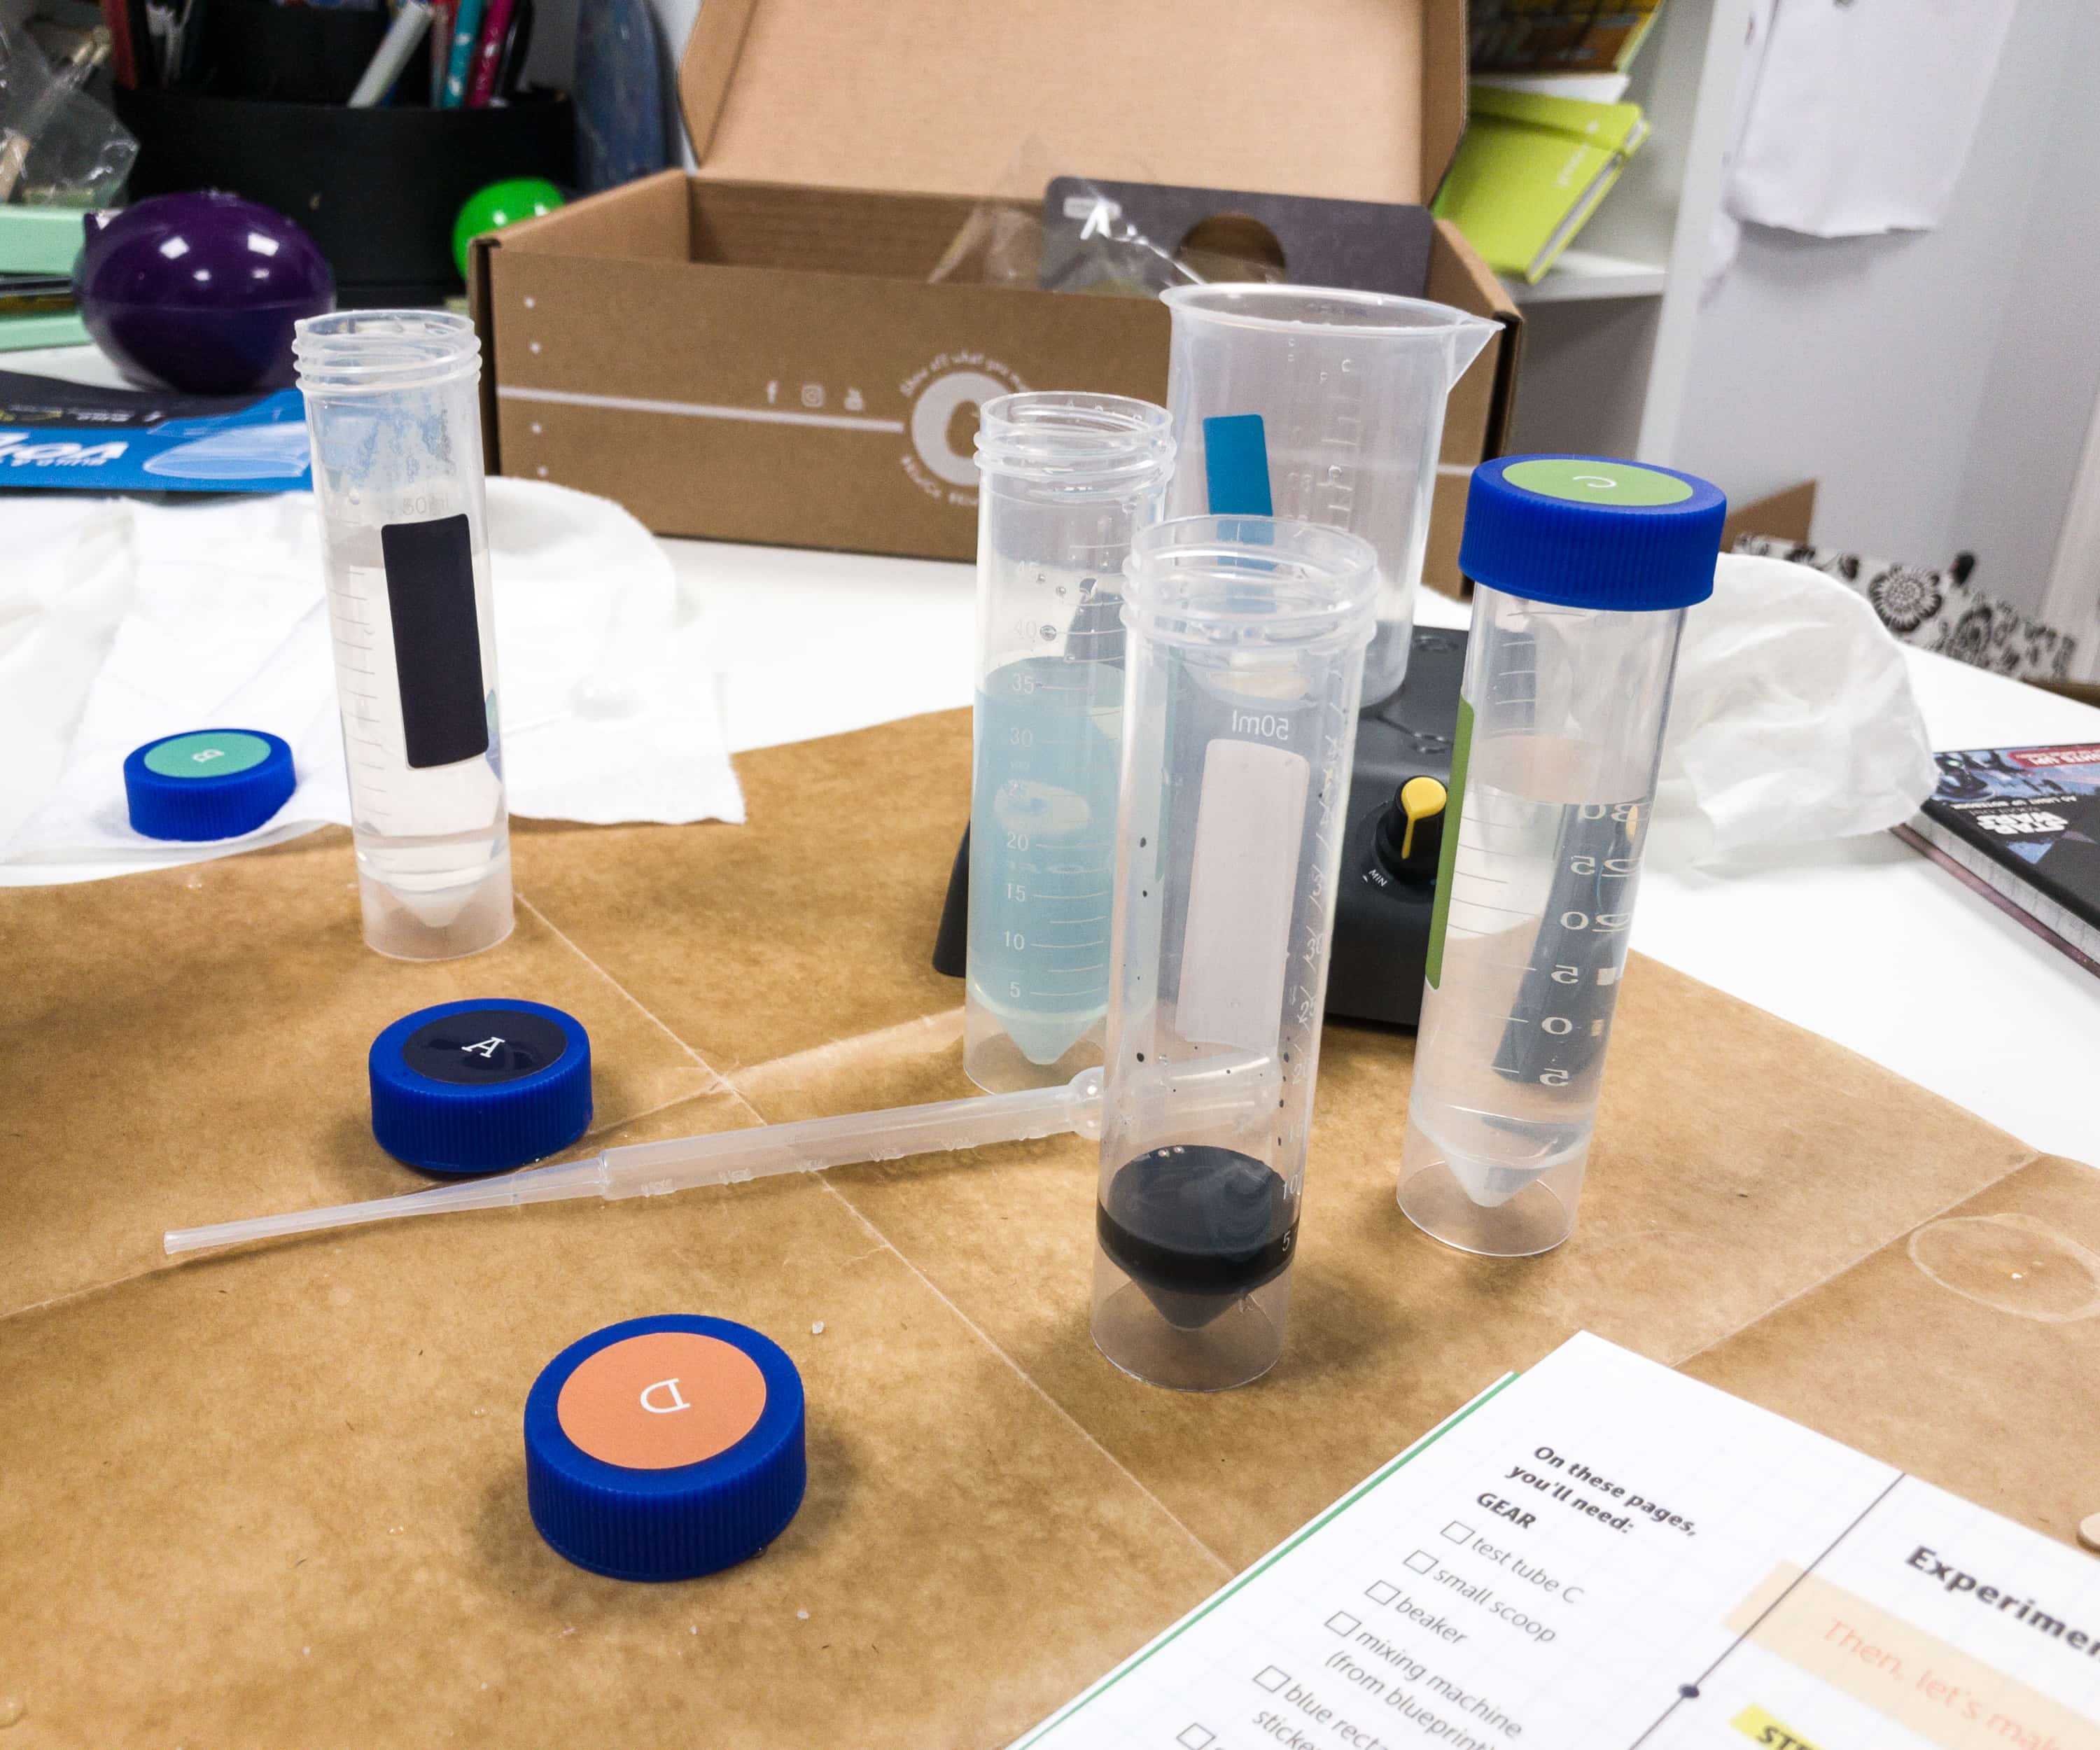
For this experiment, the box provided the following, aside from the mixing machine: pipettes, scoops, stir sticks, a beaker, and some test tubes.

The booklet also gets you ready for these experiments, as they’re real chemistry experiments. They also have some precautionary measures, especially when handling the chemicals.
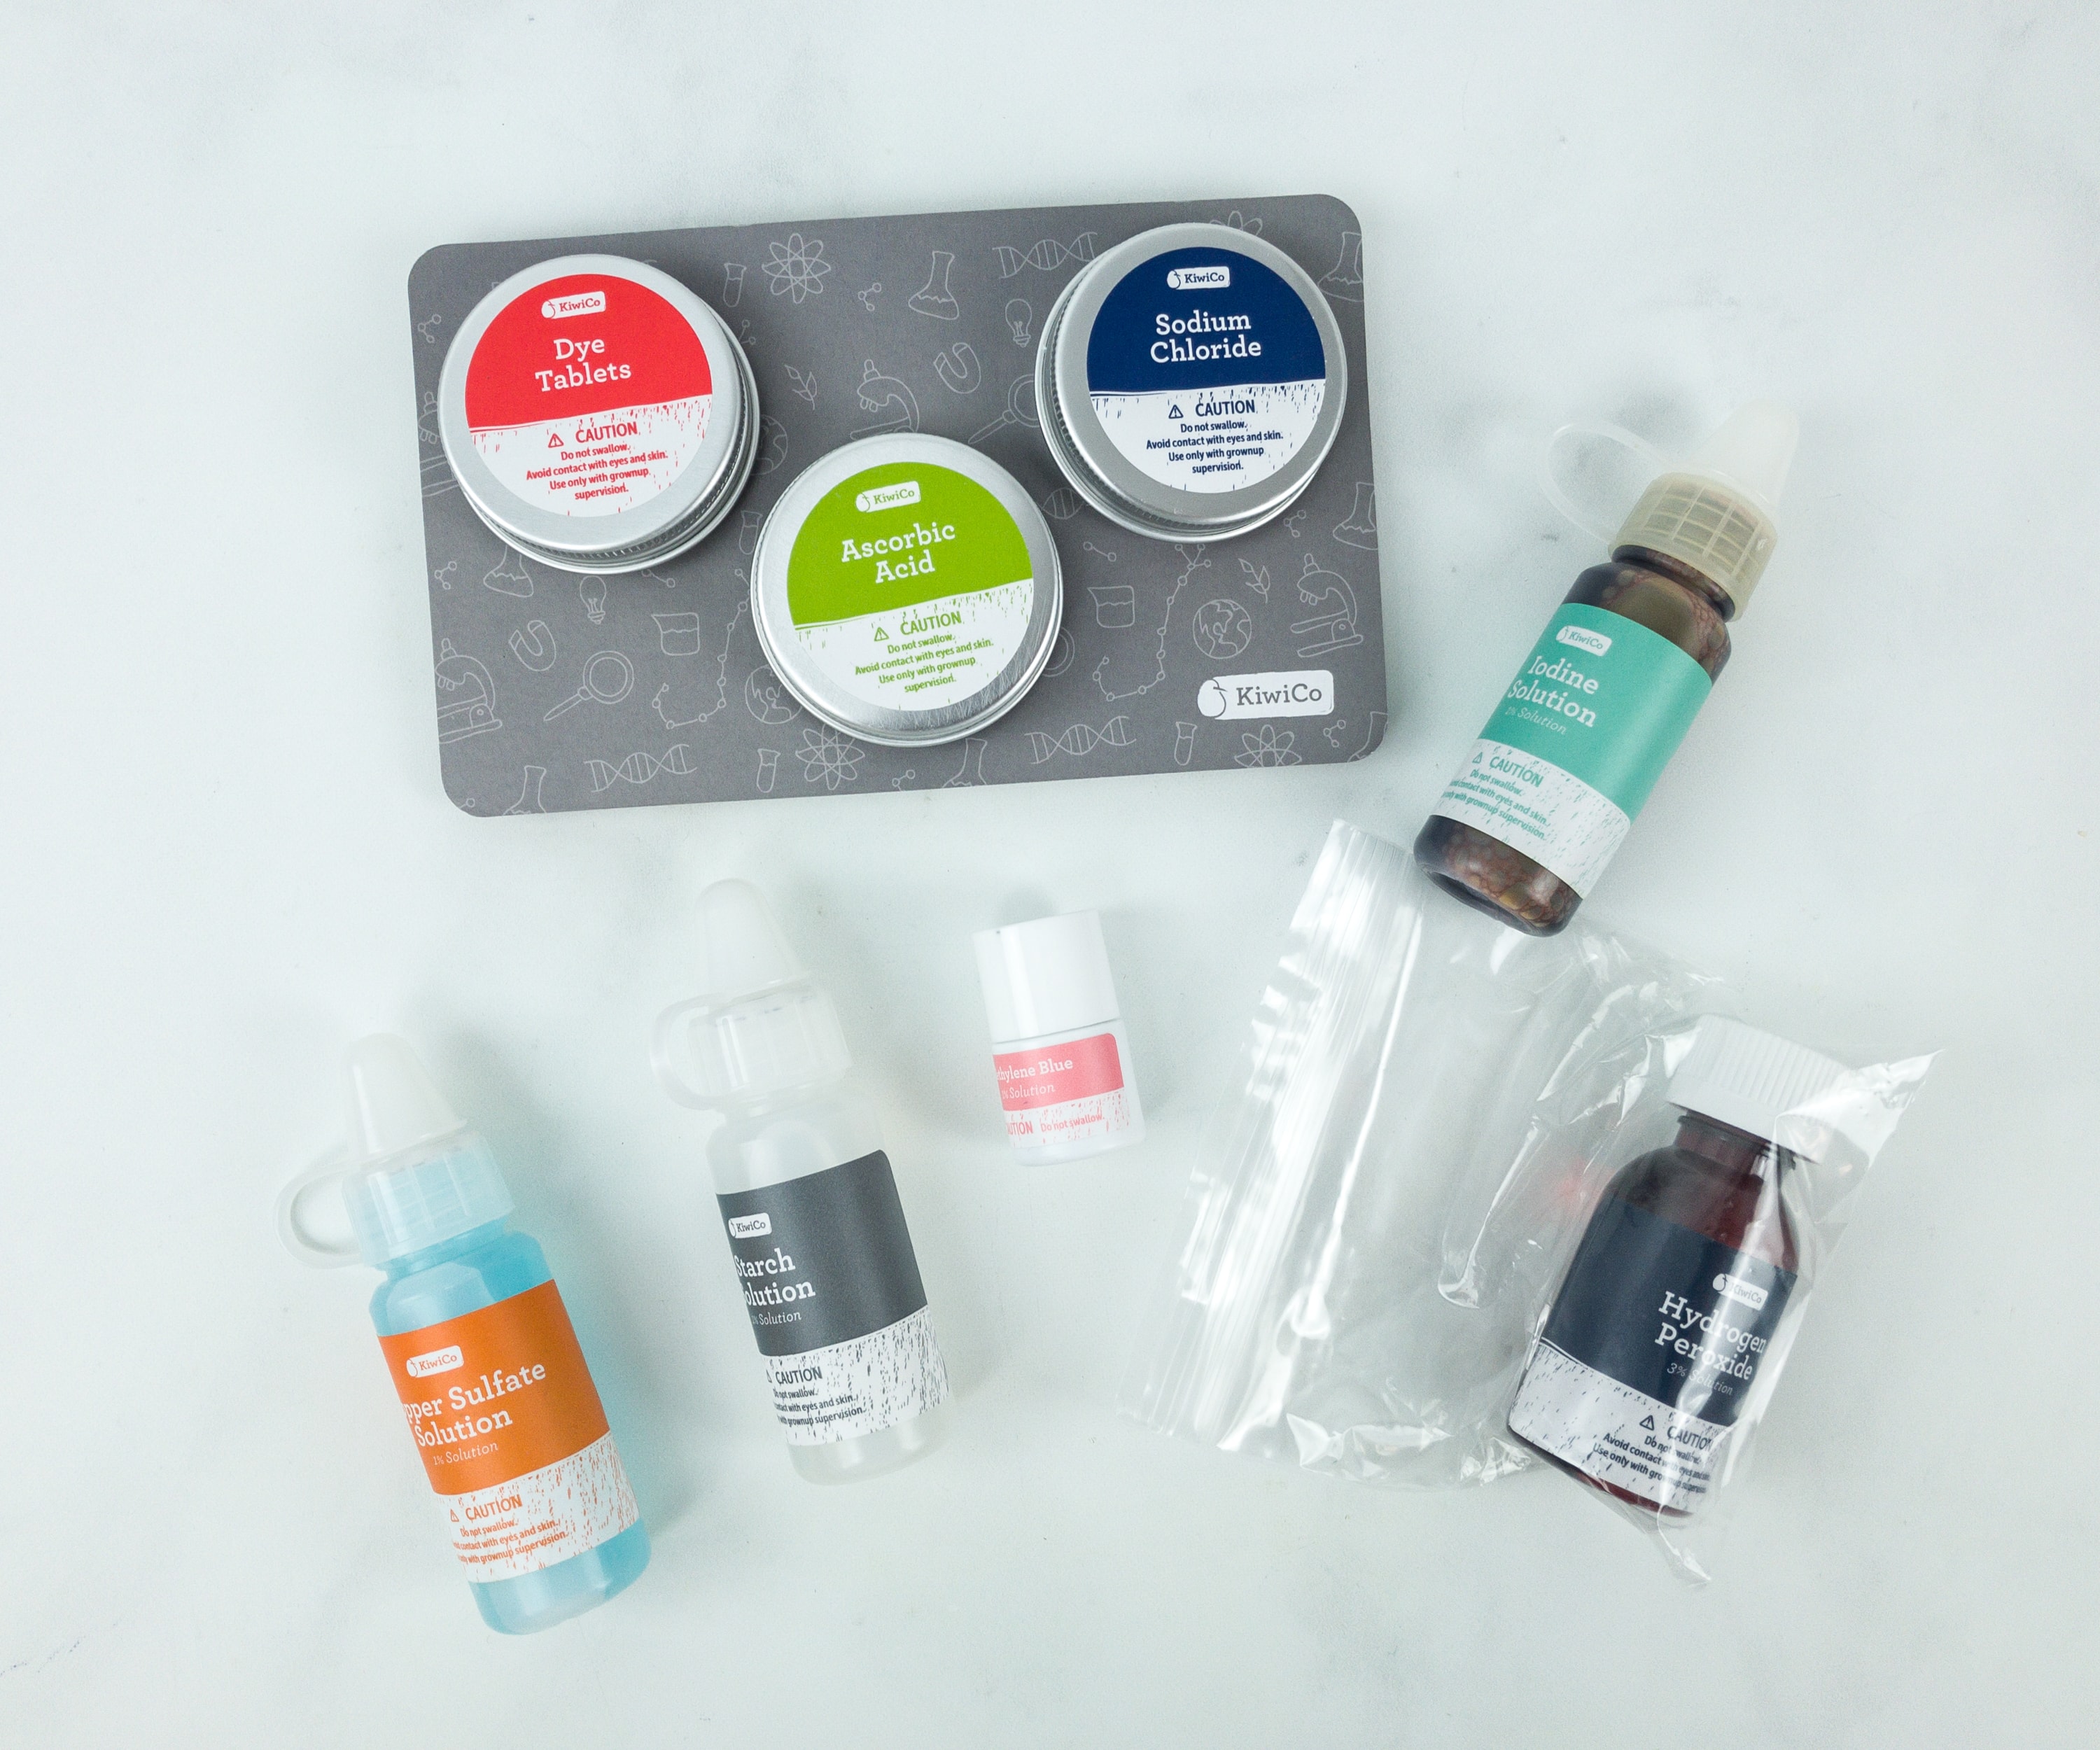
Here are the chemicals we’ll need for the experiments: dye tablets, ascorbic acid, sodium chloride, starch solution, copper sulfate solution, iodine solution, methylene blue and 5% hydrogen peroxide. Just remember not to touch these chemicals with bare skin, avoid contact with eyes, and never put them near your mouth.
We are now ready to do the experiments. We placed all the materials needed on top of the mess mat.
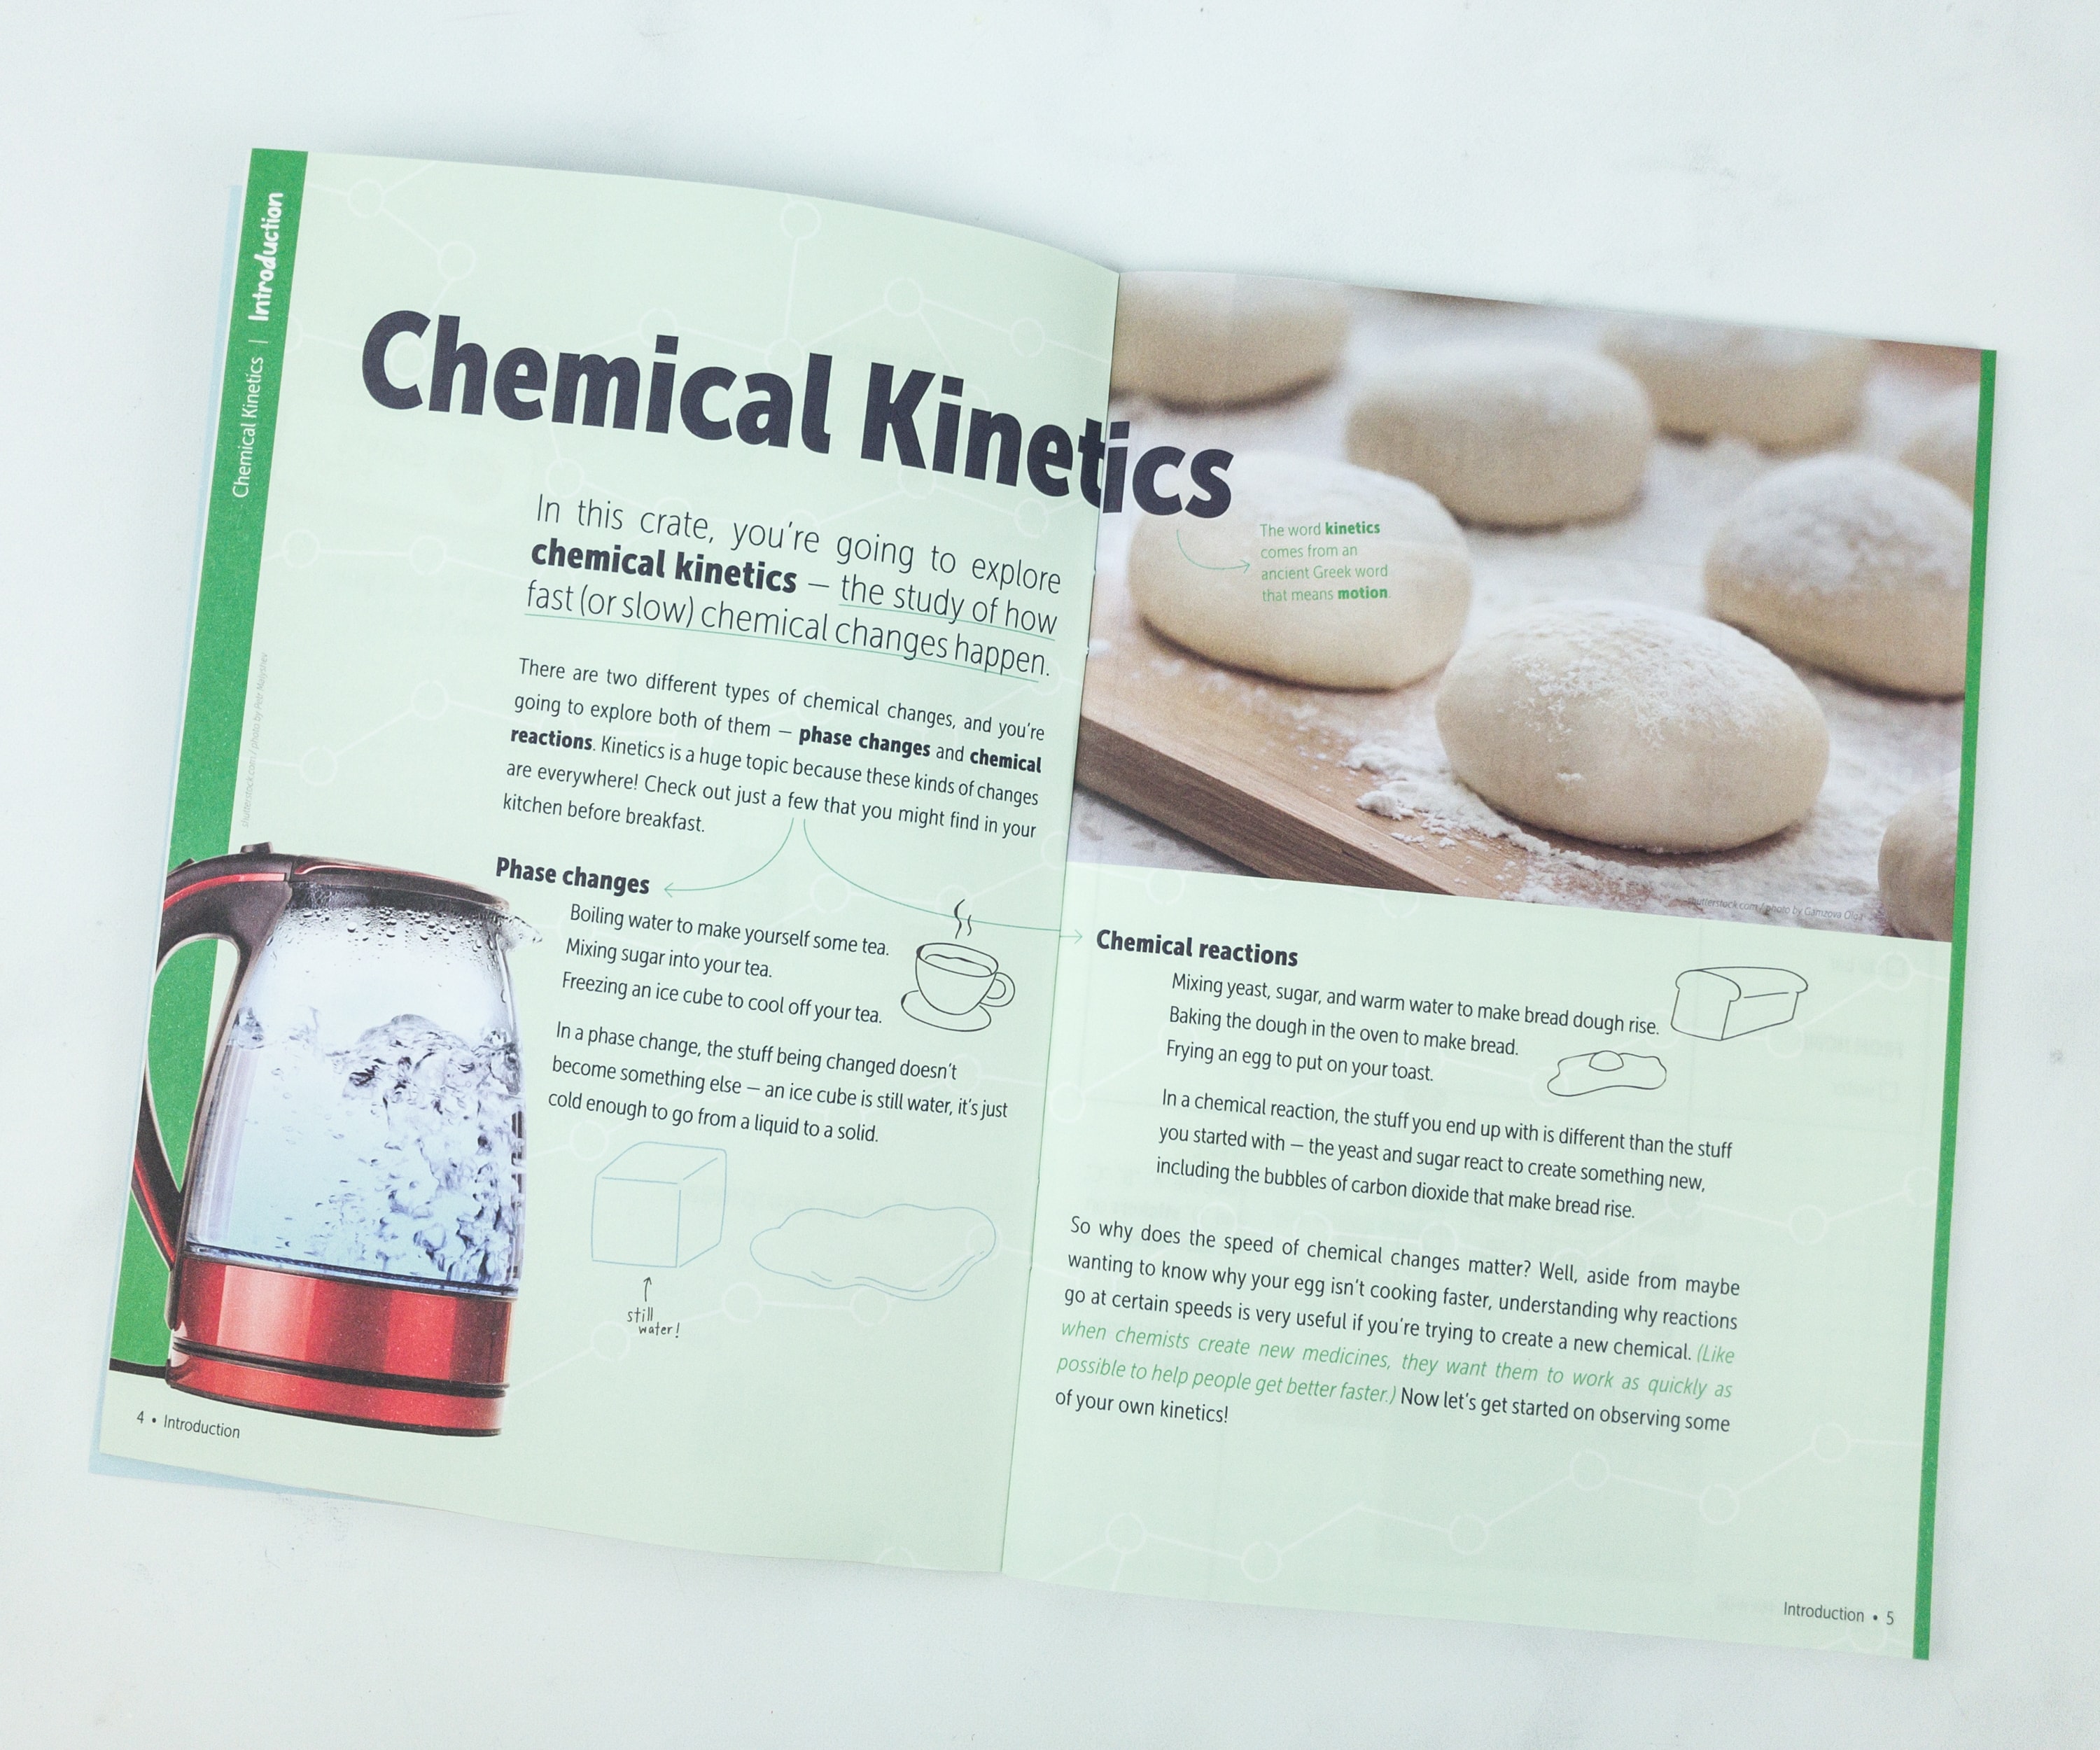
Chemical Kinetics is the study of how fast (or slow) a chemical change happens. For this experiment, we will be seeing two chemical changes: phase change and chemical reactions.

The first experiment is mixing up! For this experiment, we’ll need some stickers, test tubes, beaker, the mixing machine, stir bar, and water.
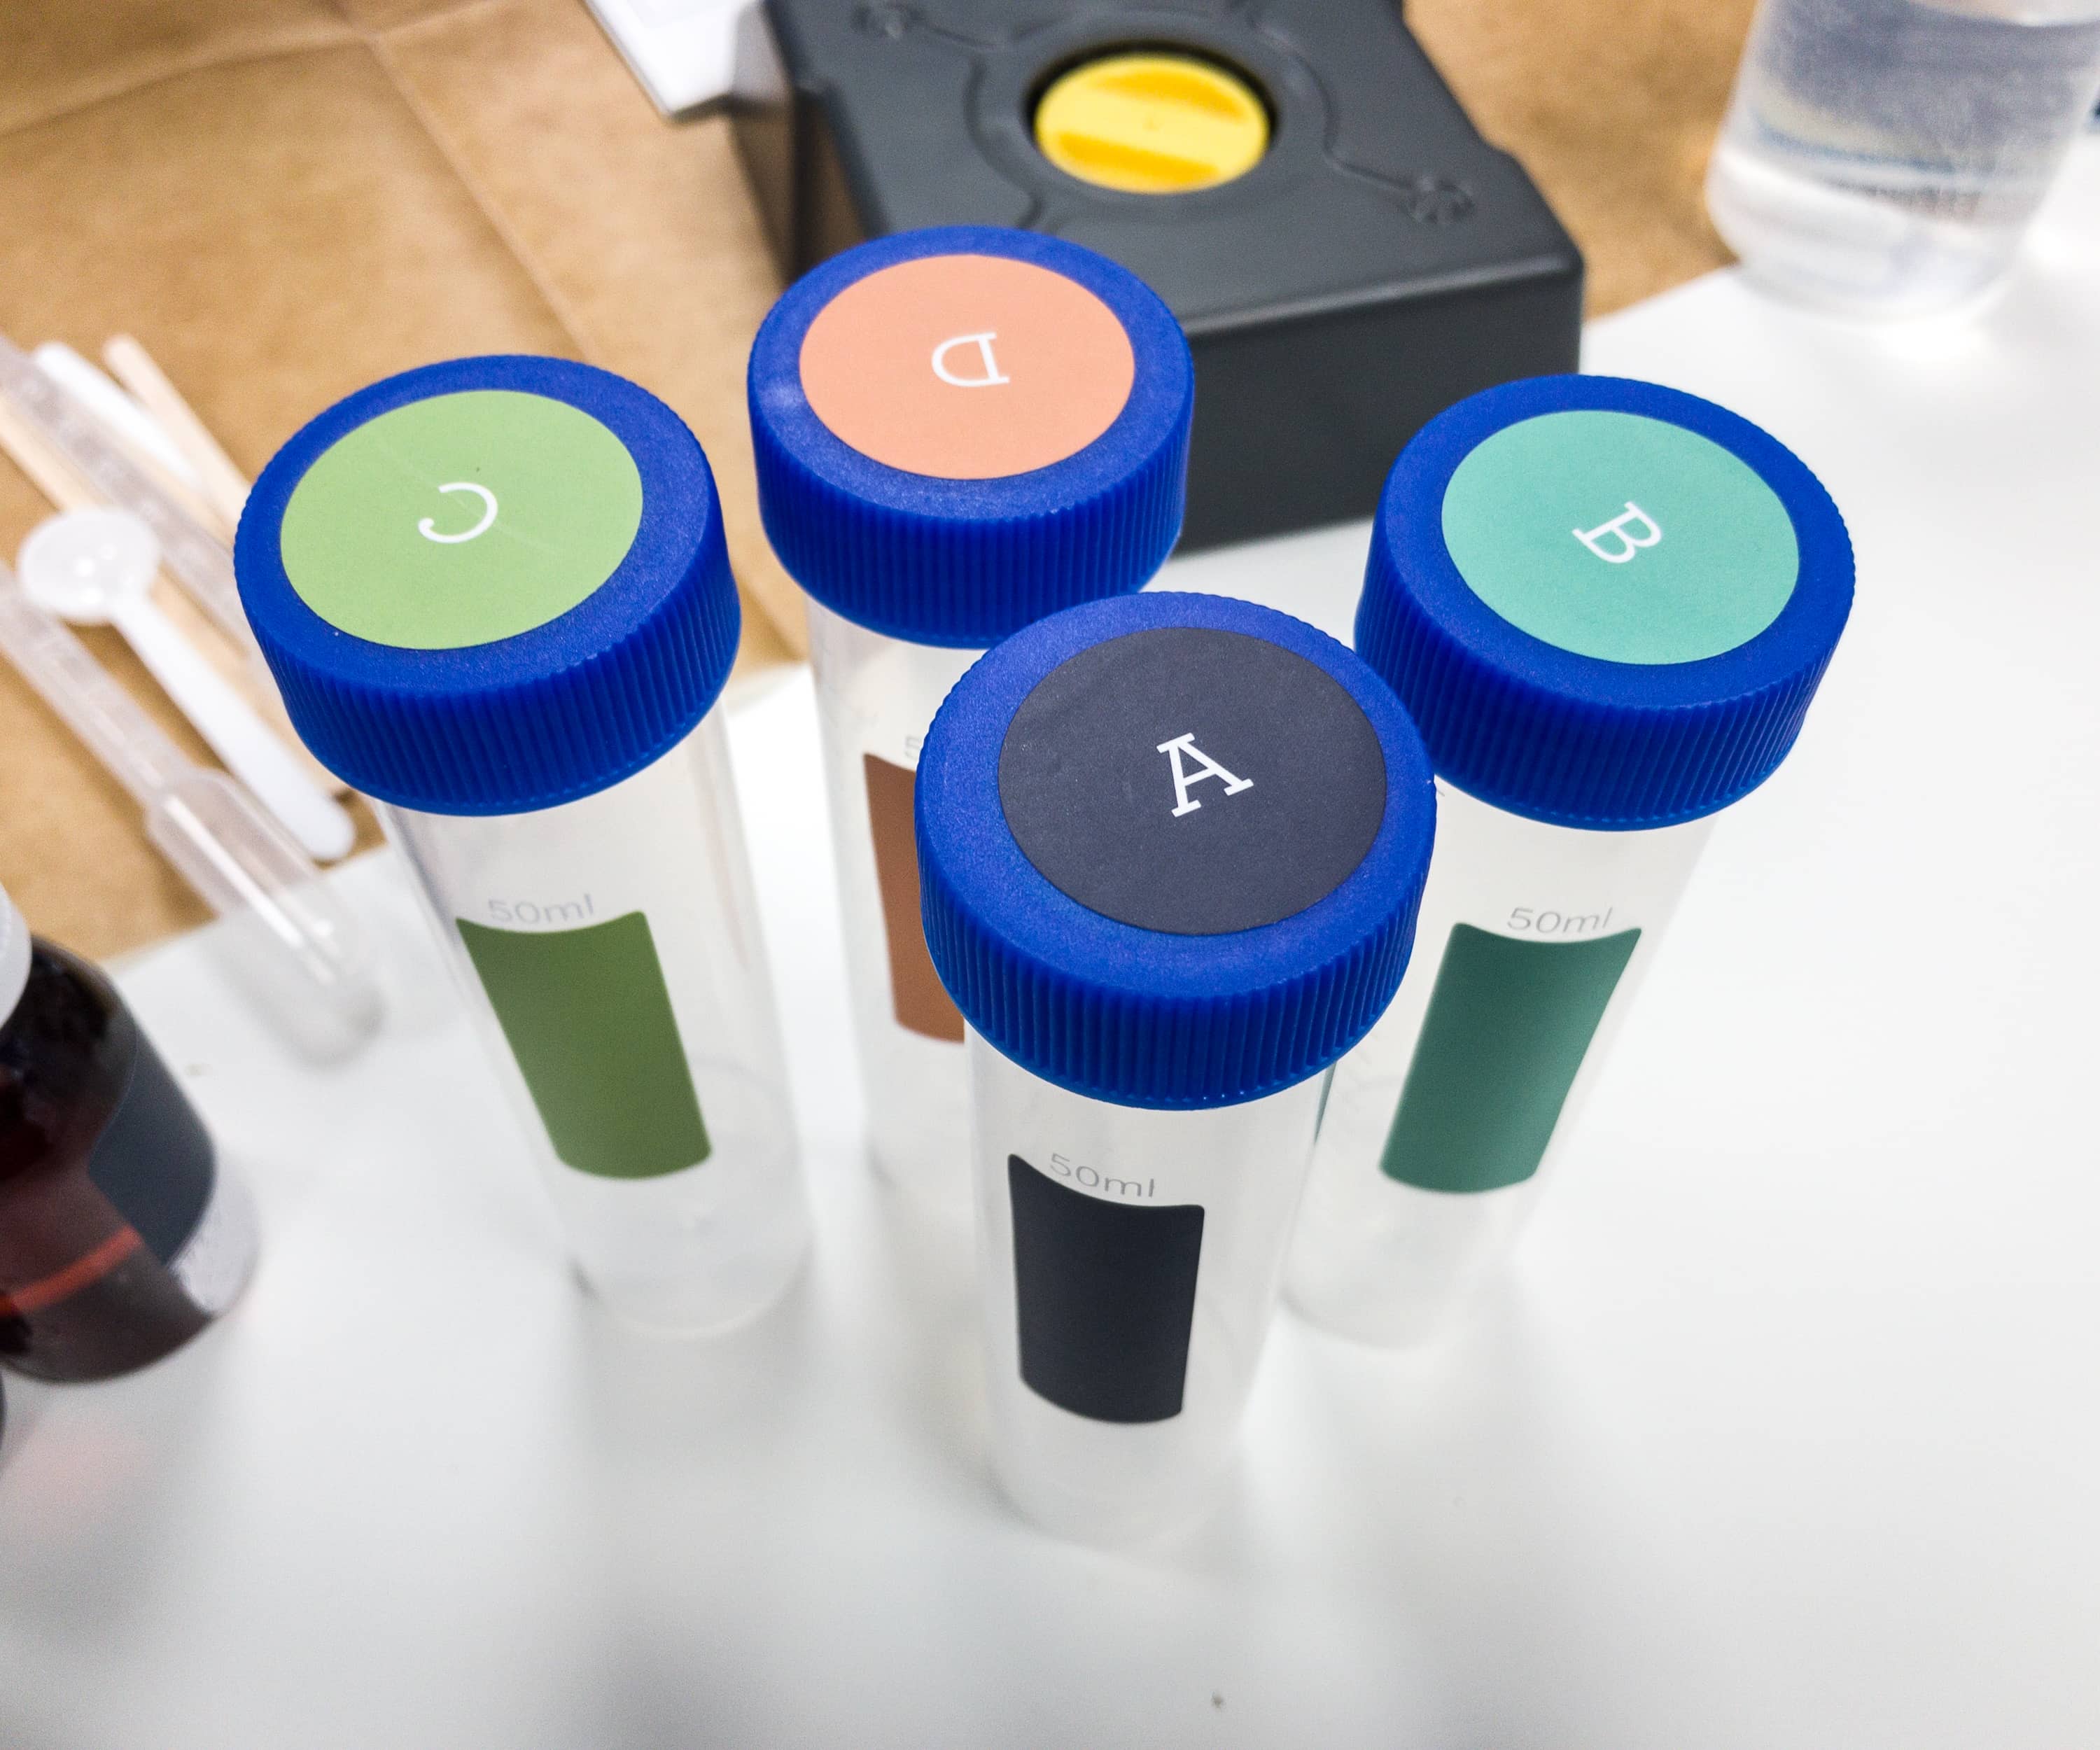
We labeled each test tube by placing the A-D stickers on each cap and sticking the matching colored rectangles on the tubes.
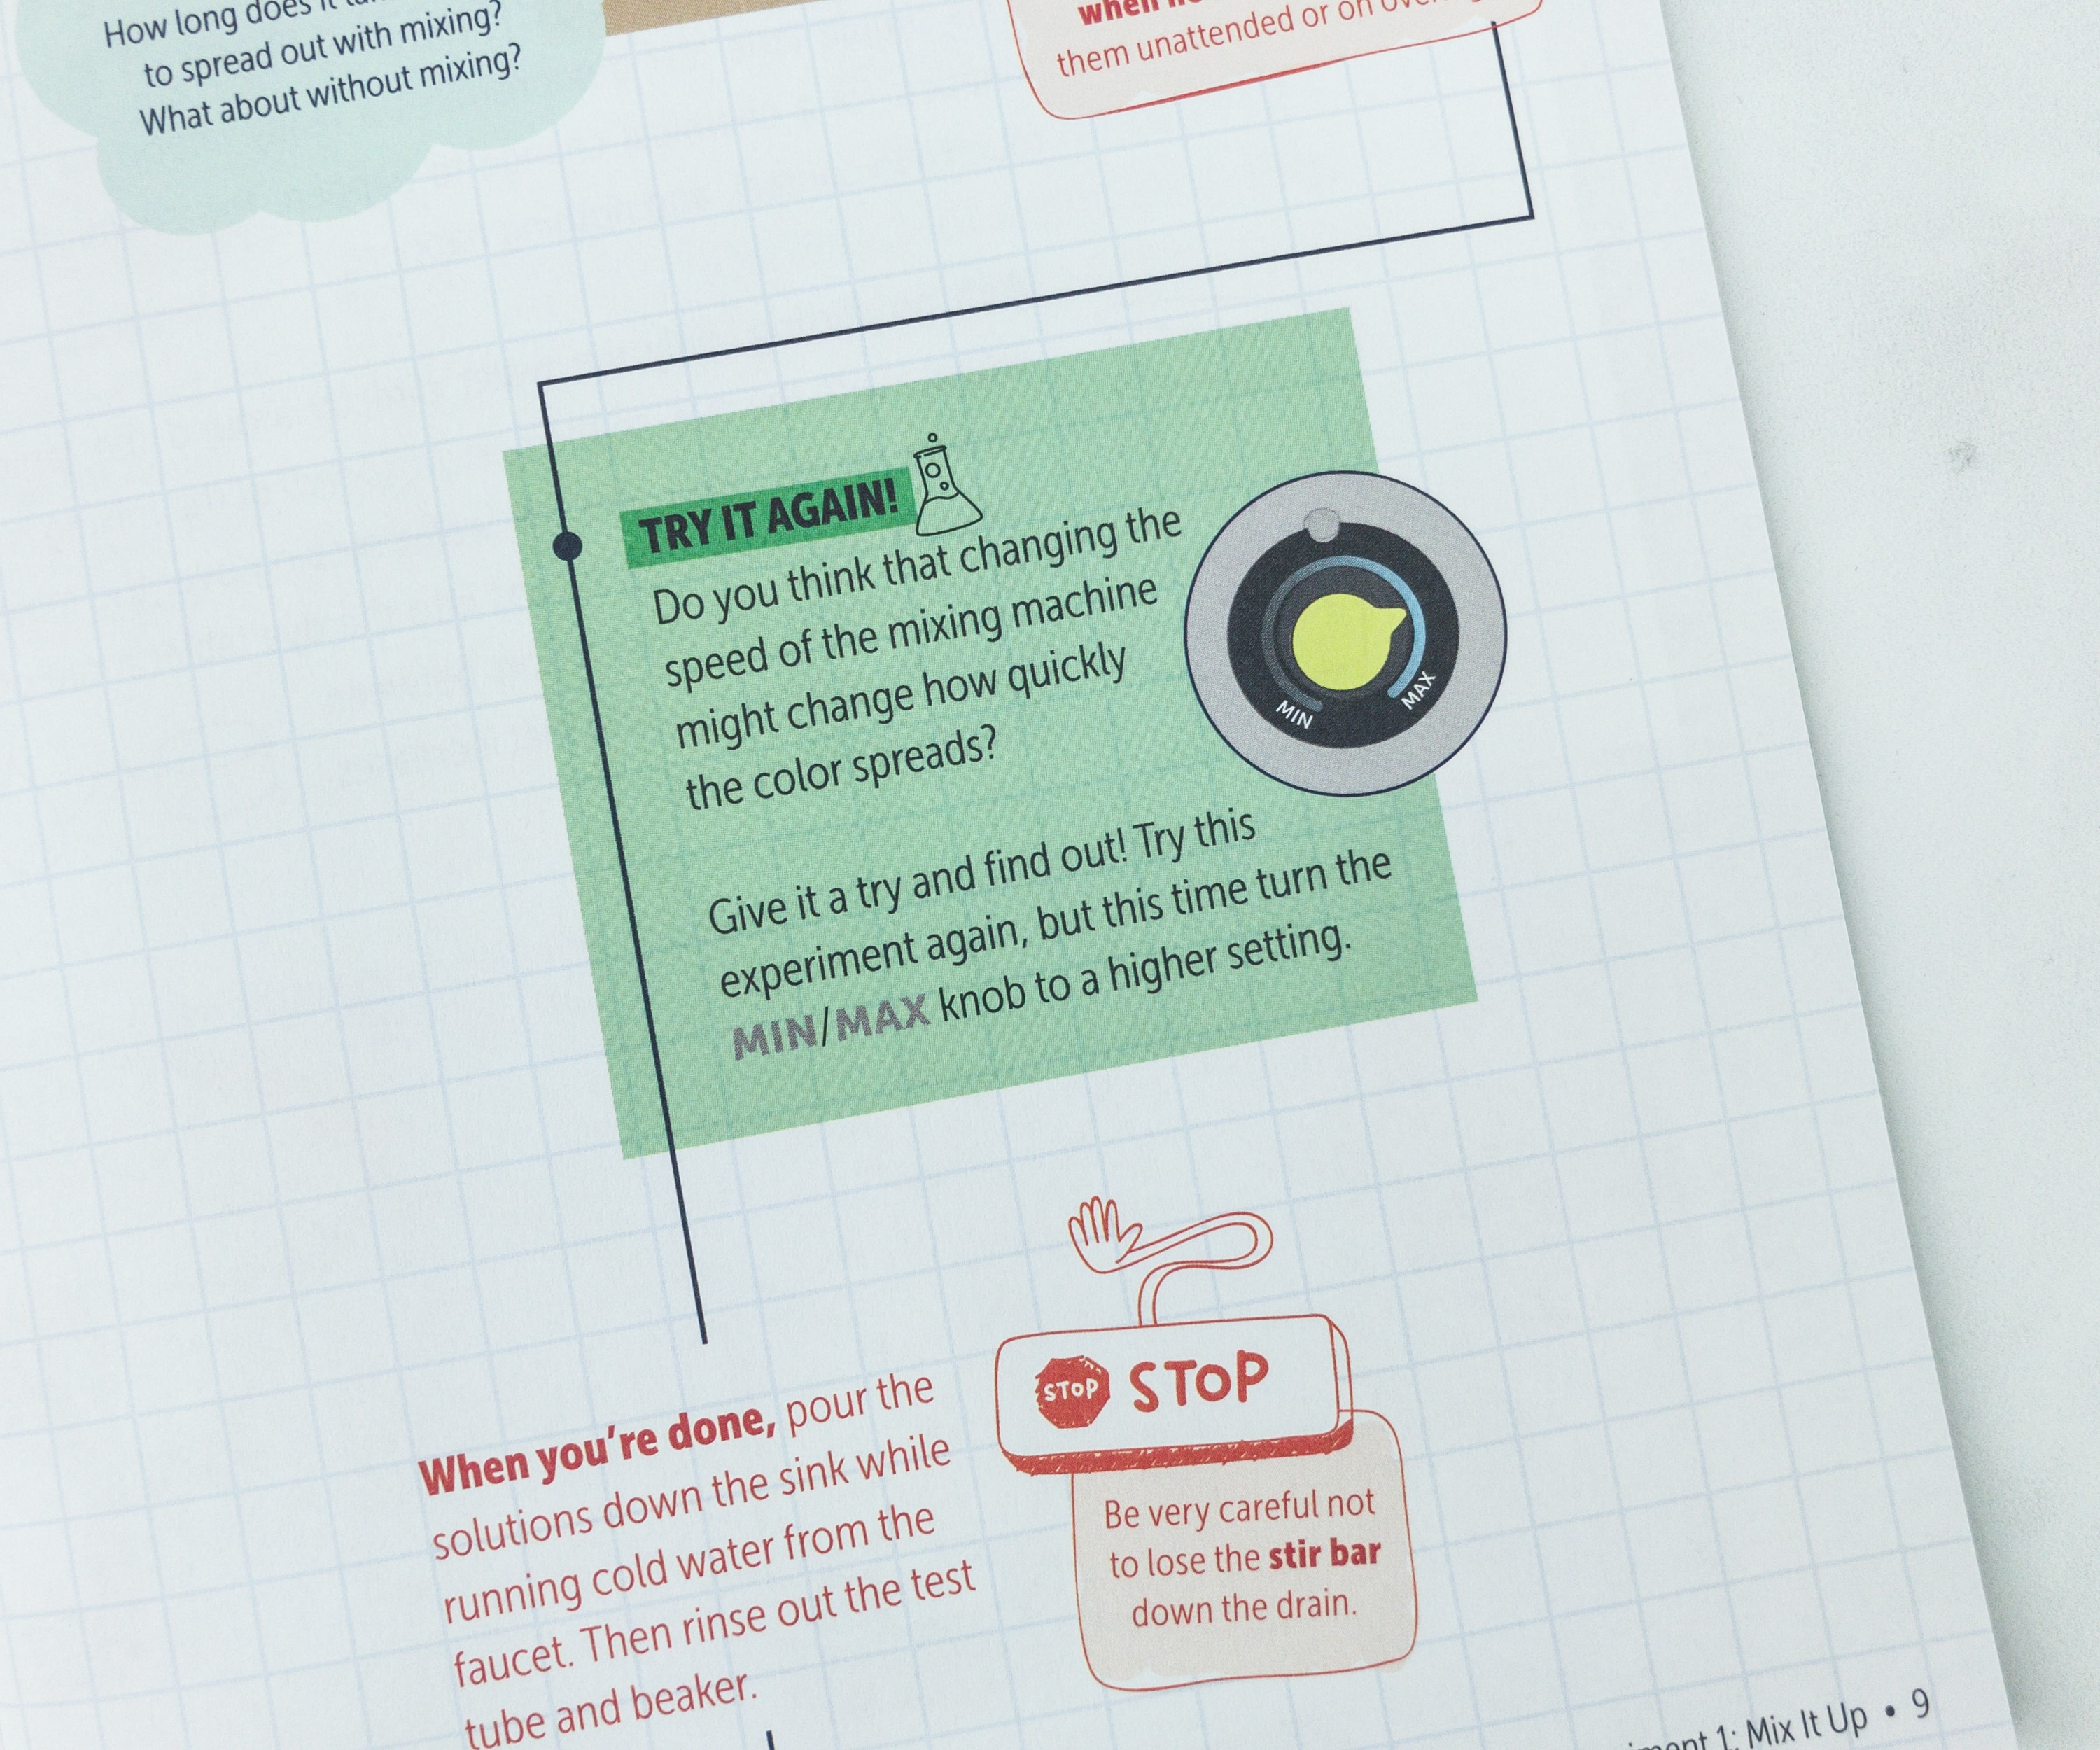
For this experiment, we will find out if the speed of stirring or mixing will have some effect on chemical change.
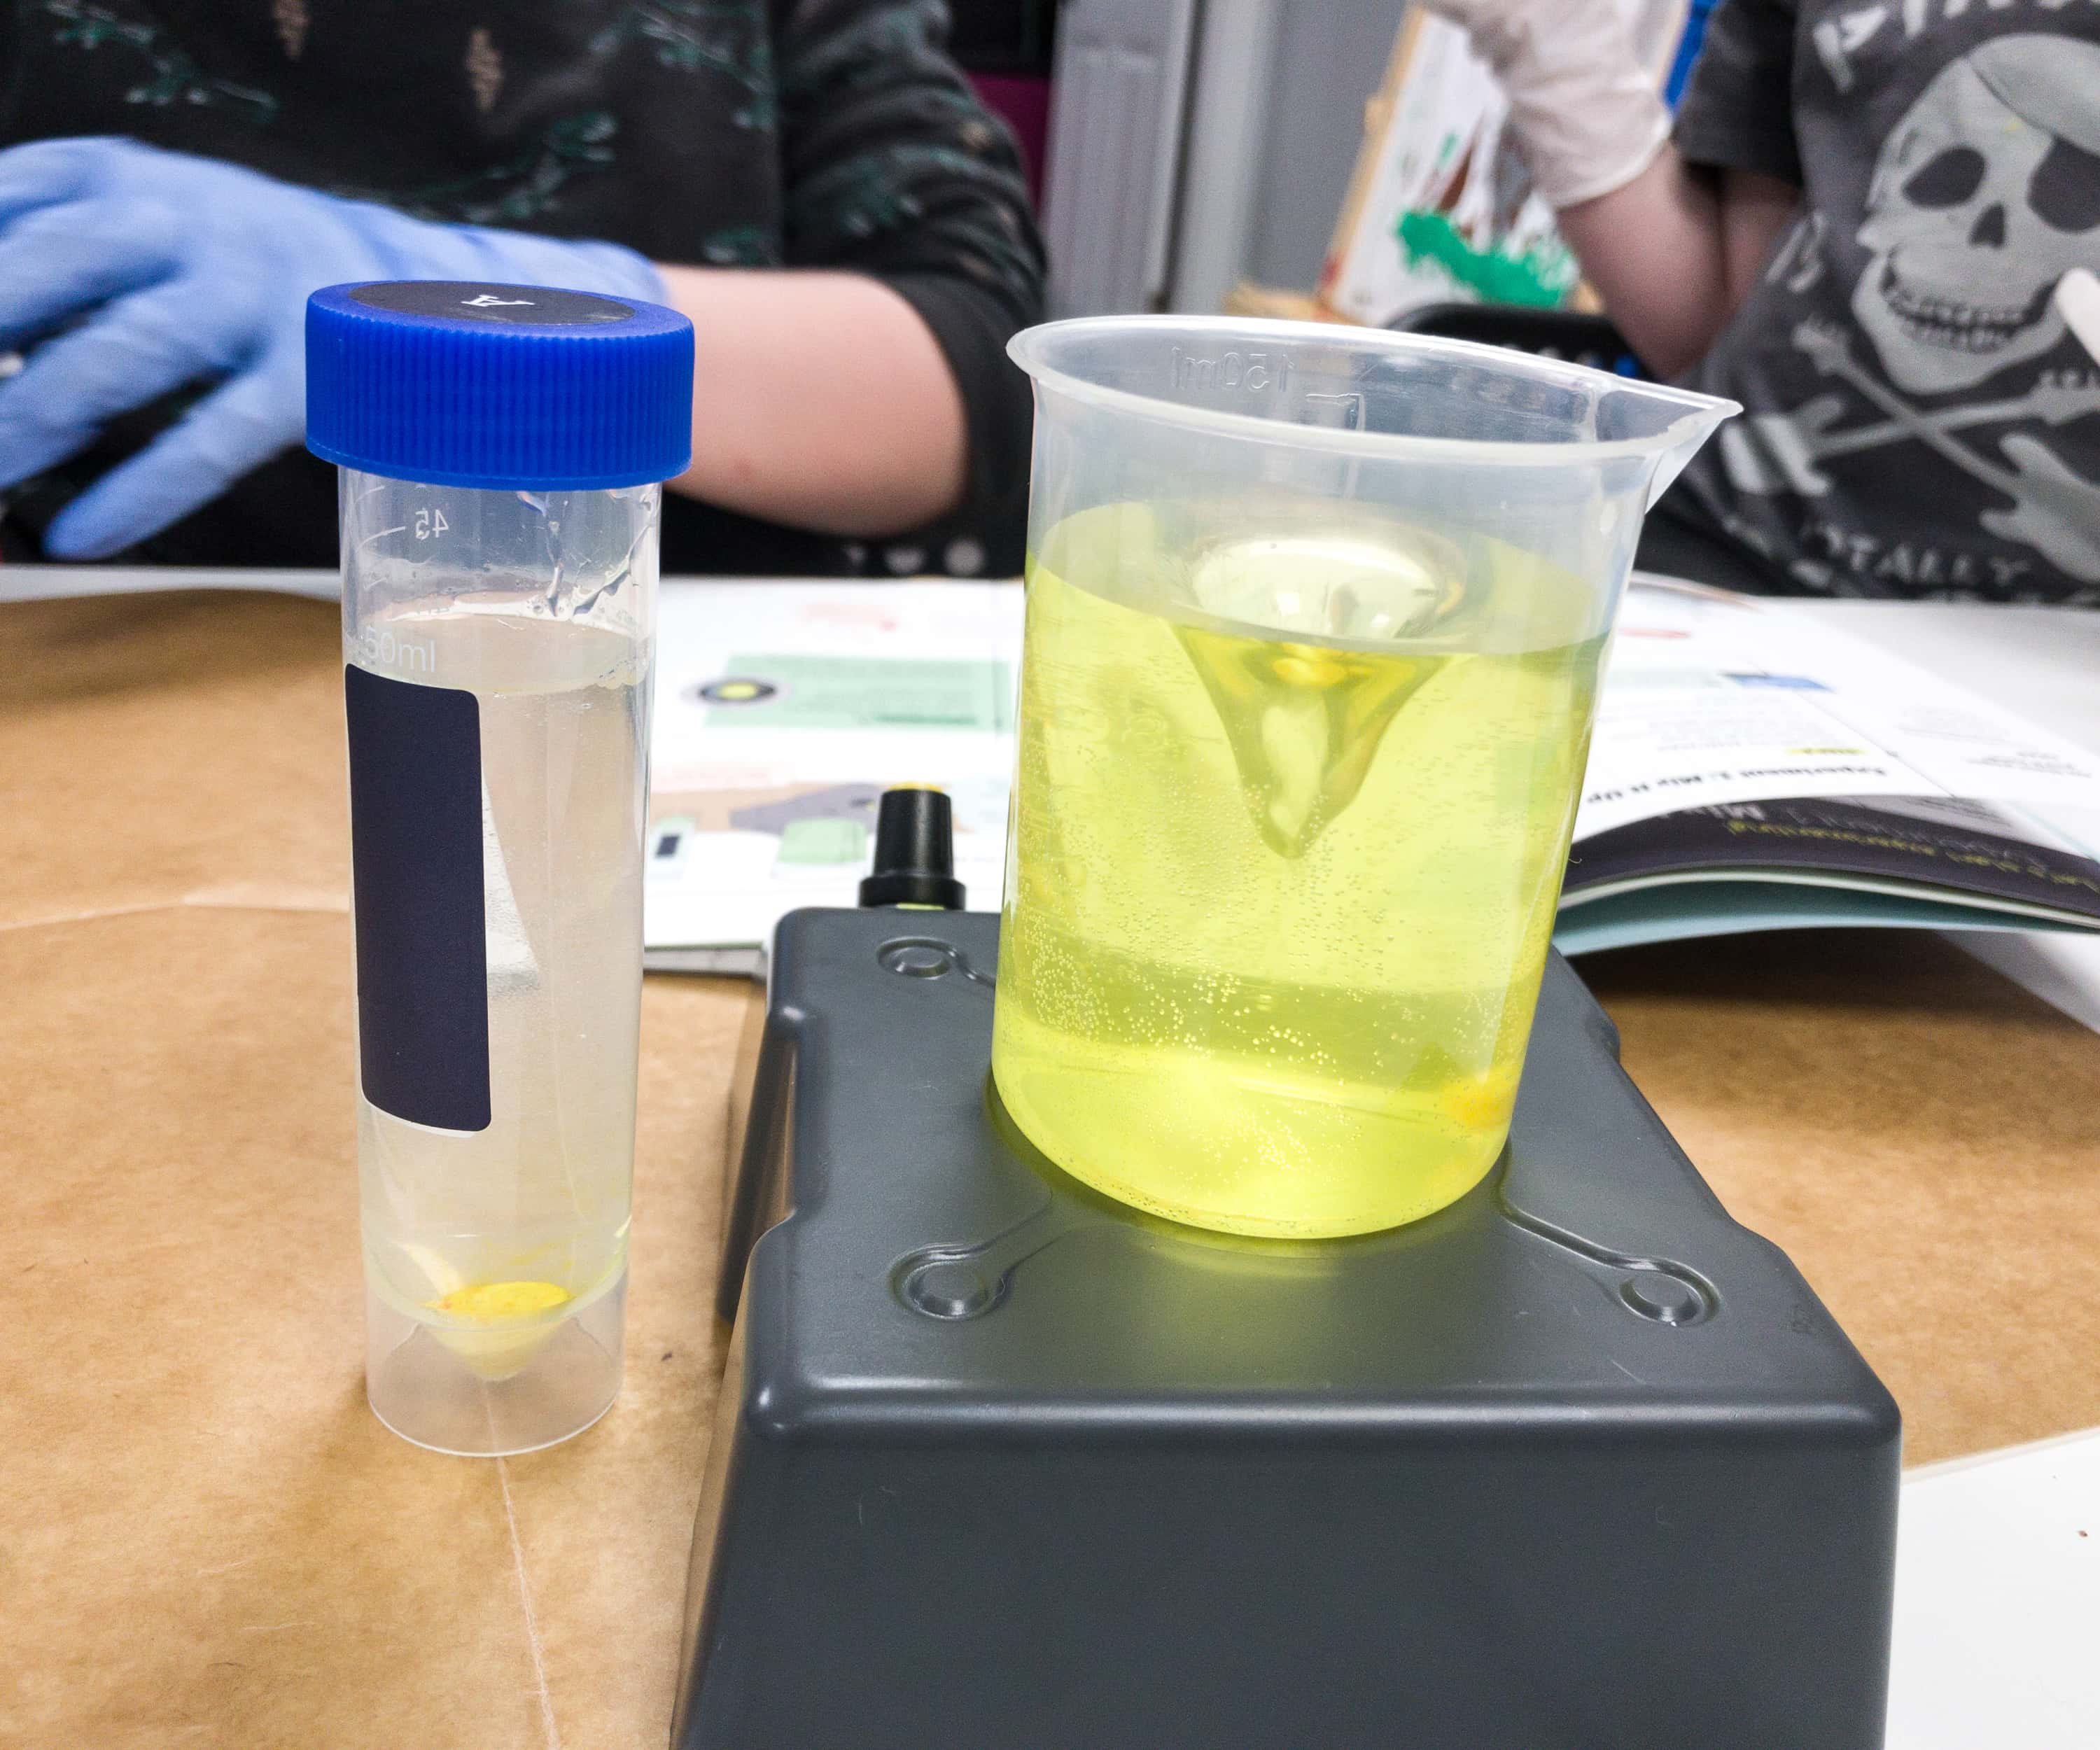
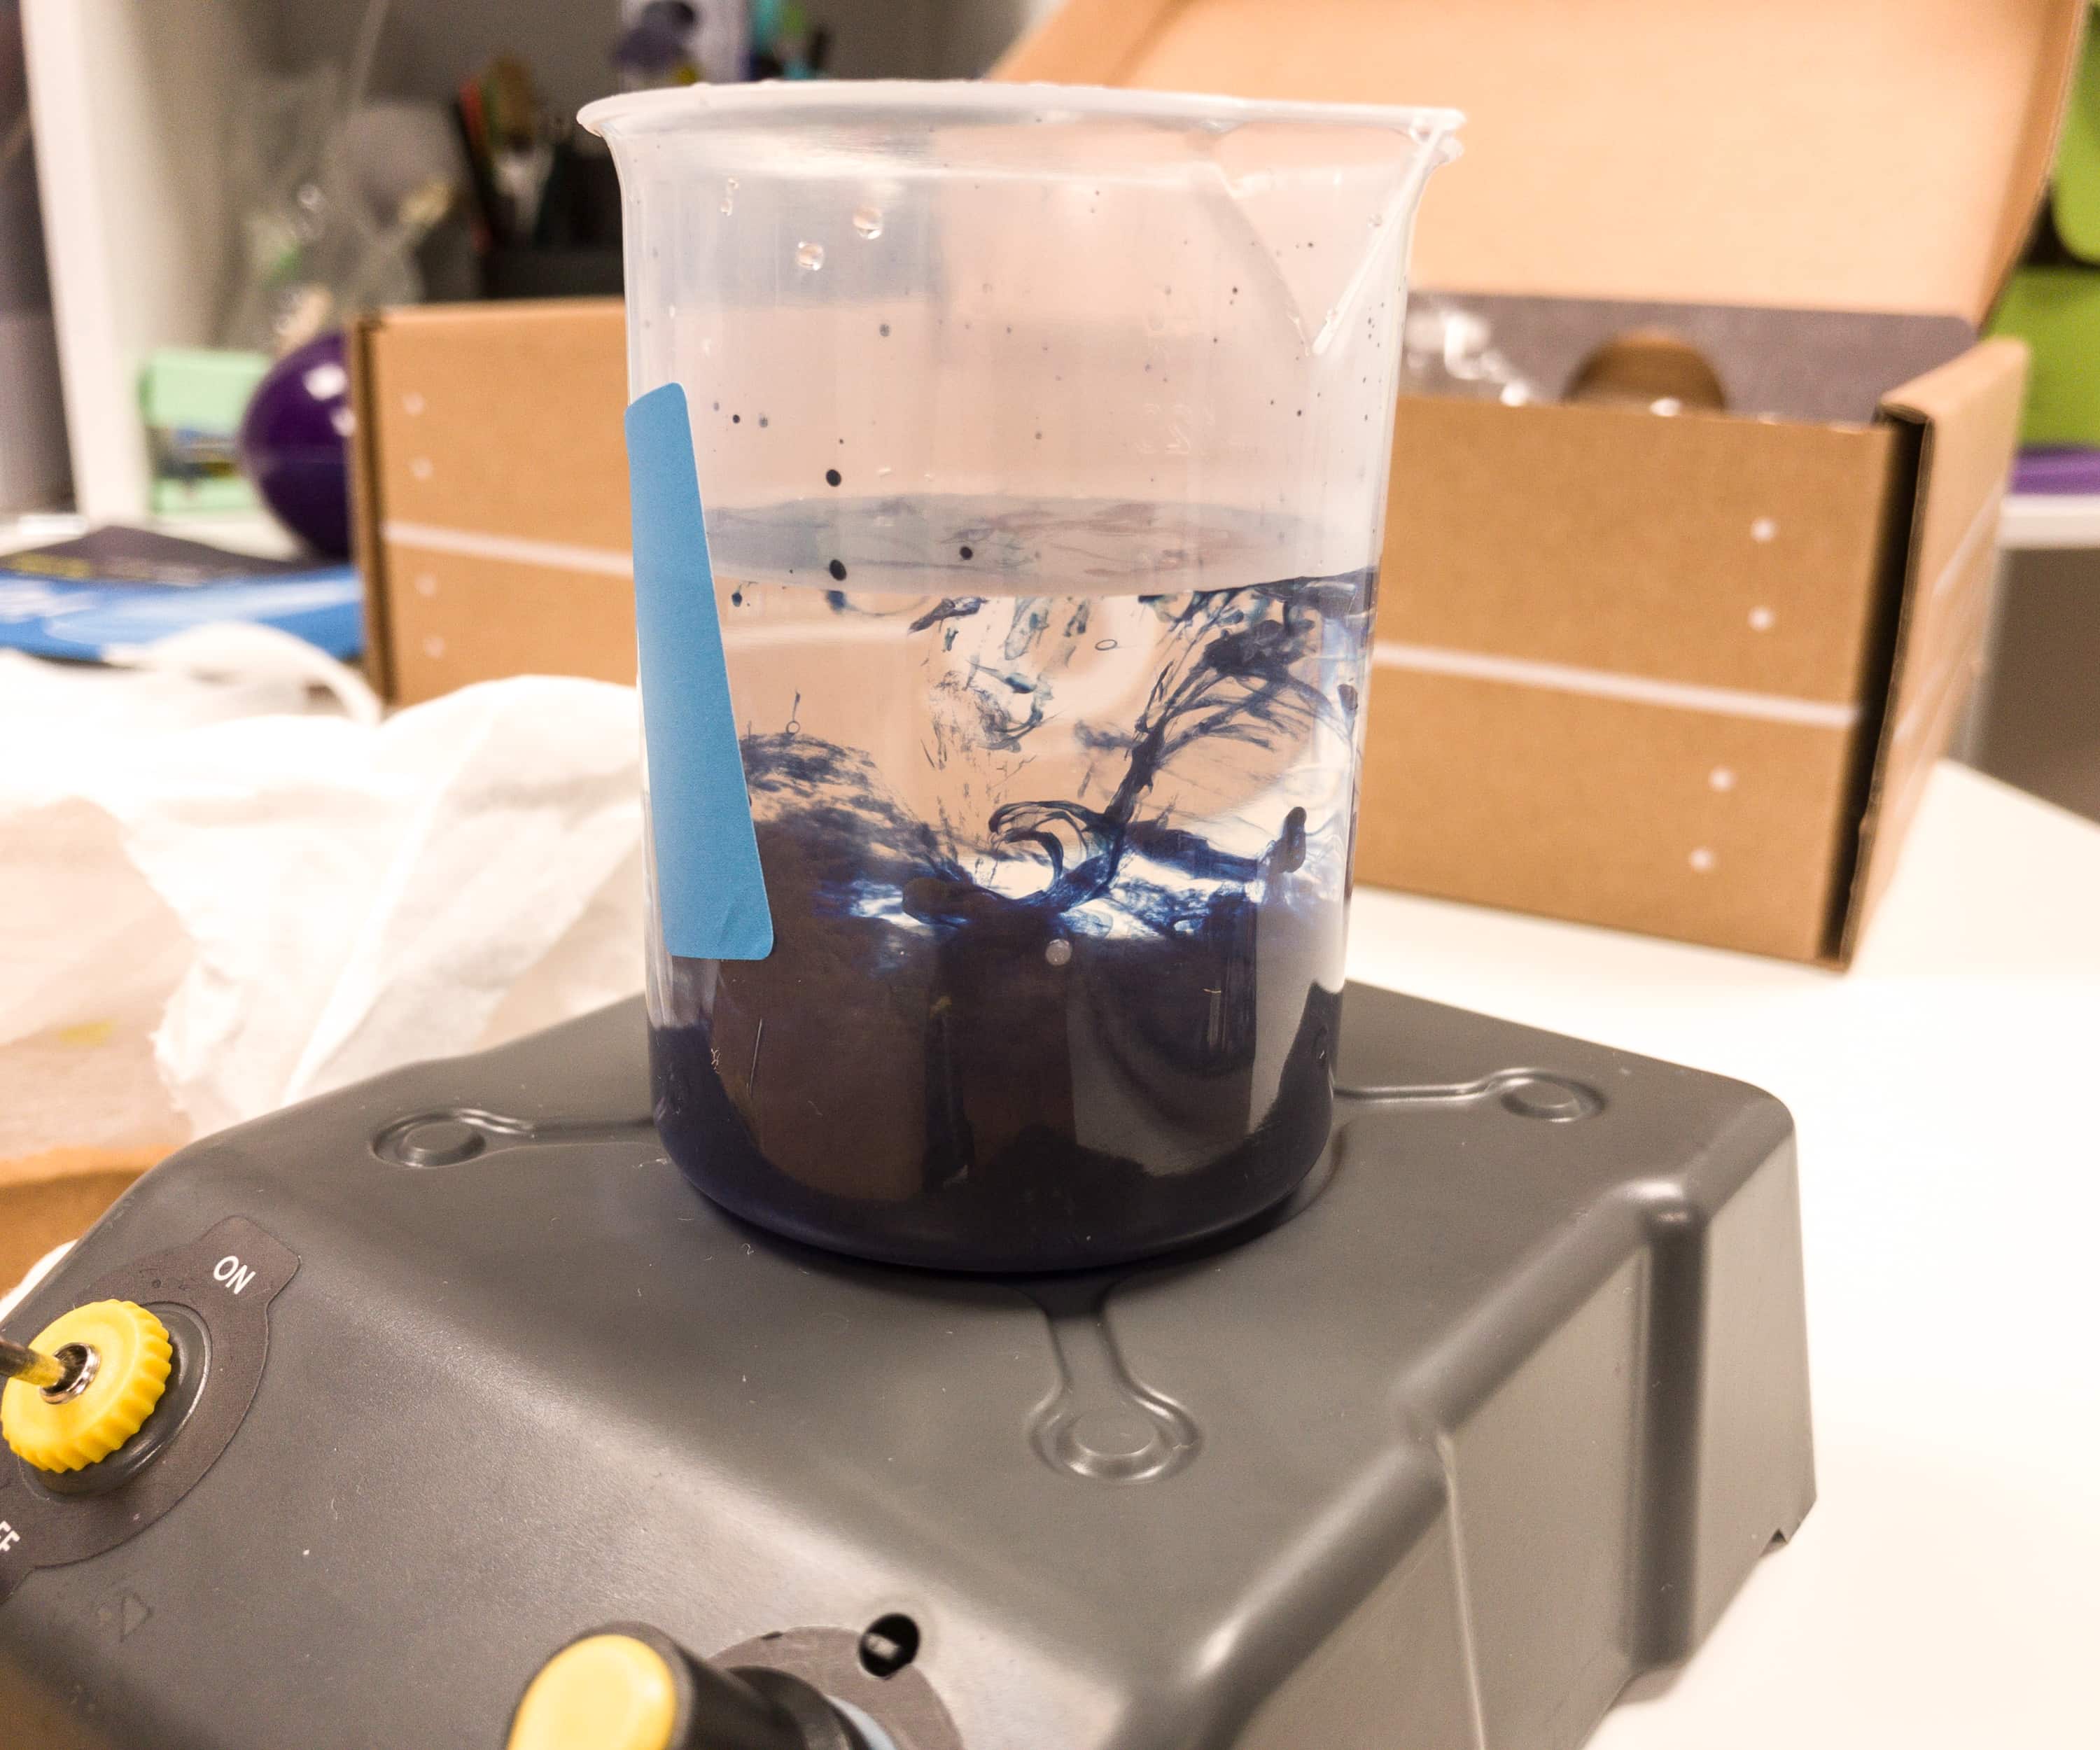
We placed one dye tablet on a test tube with still water, while another one is placed on the beaker on top of the mixing machine.
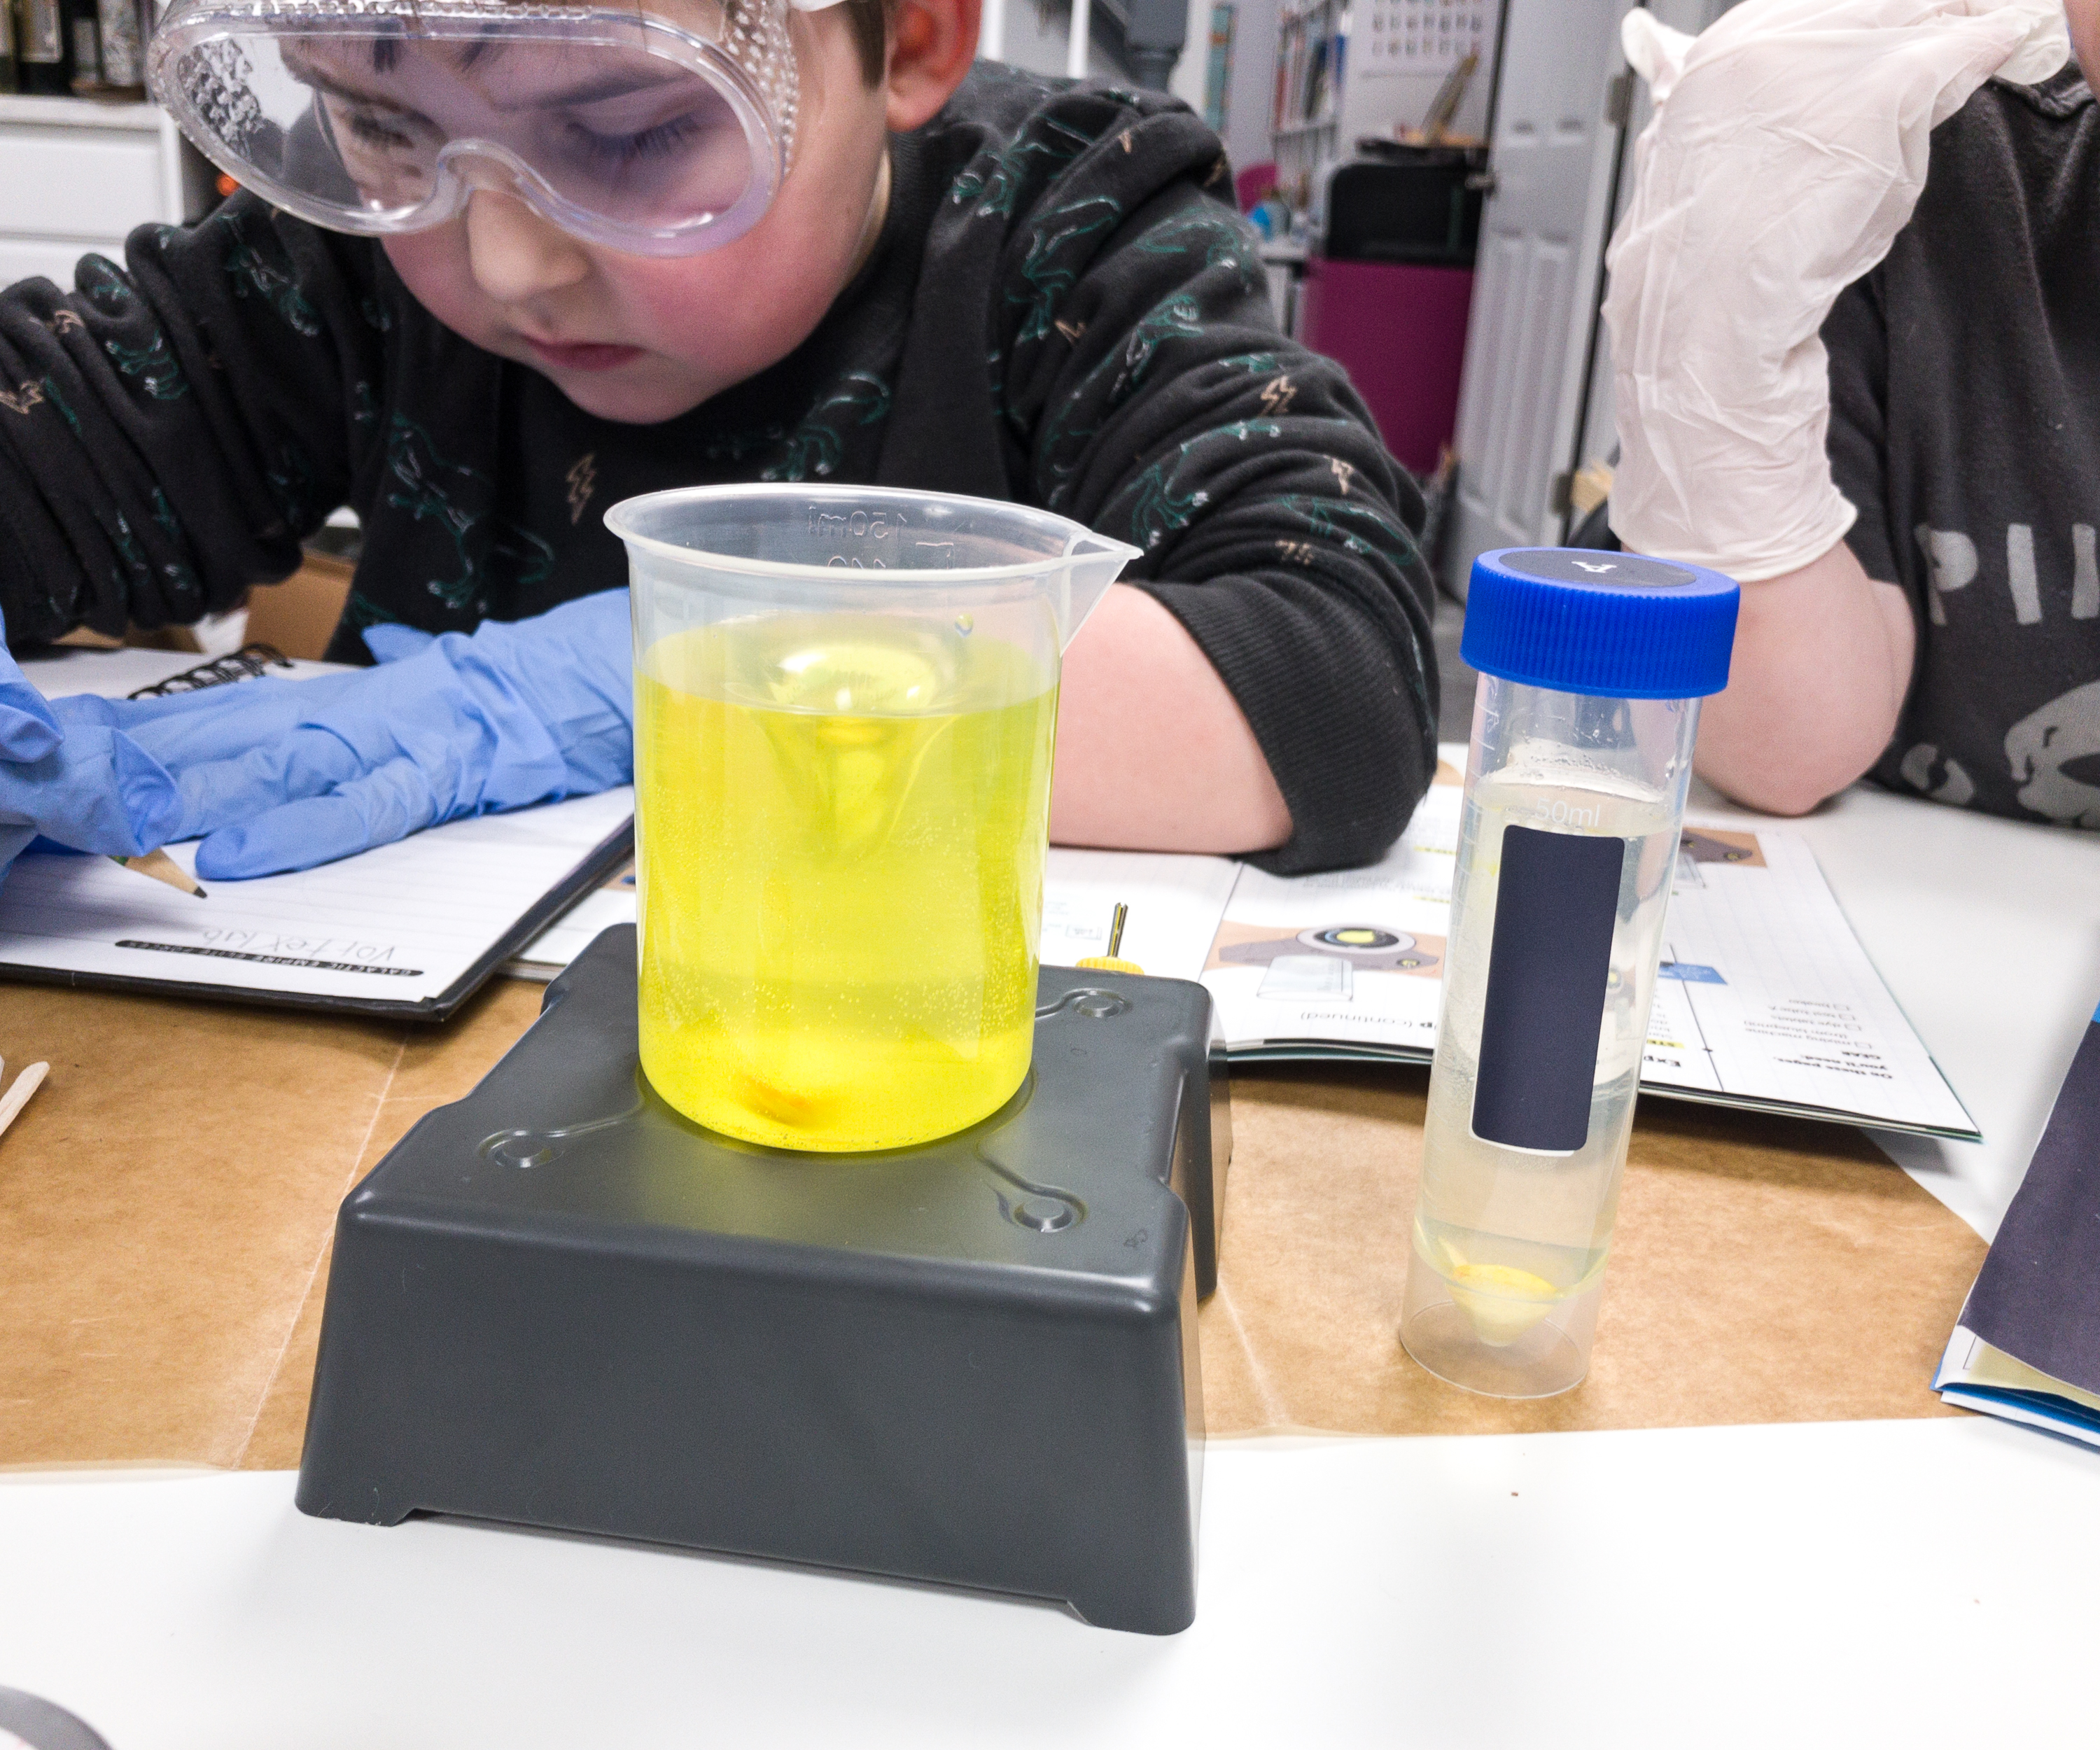
The kids write their observations in their notebook.
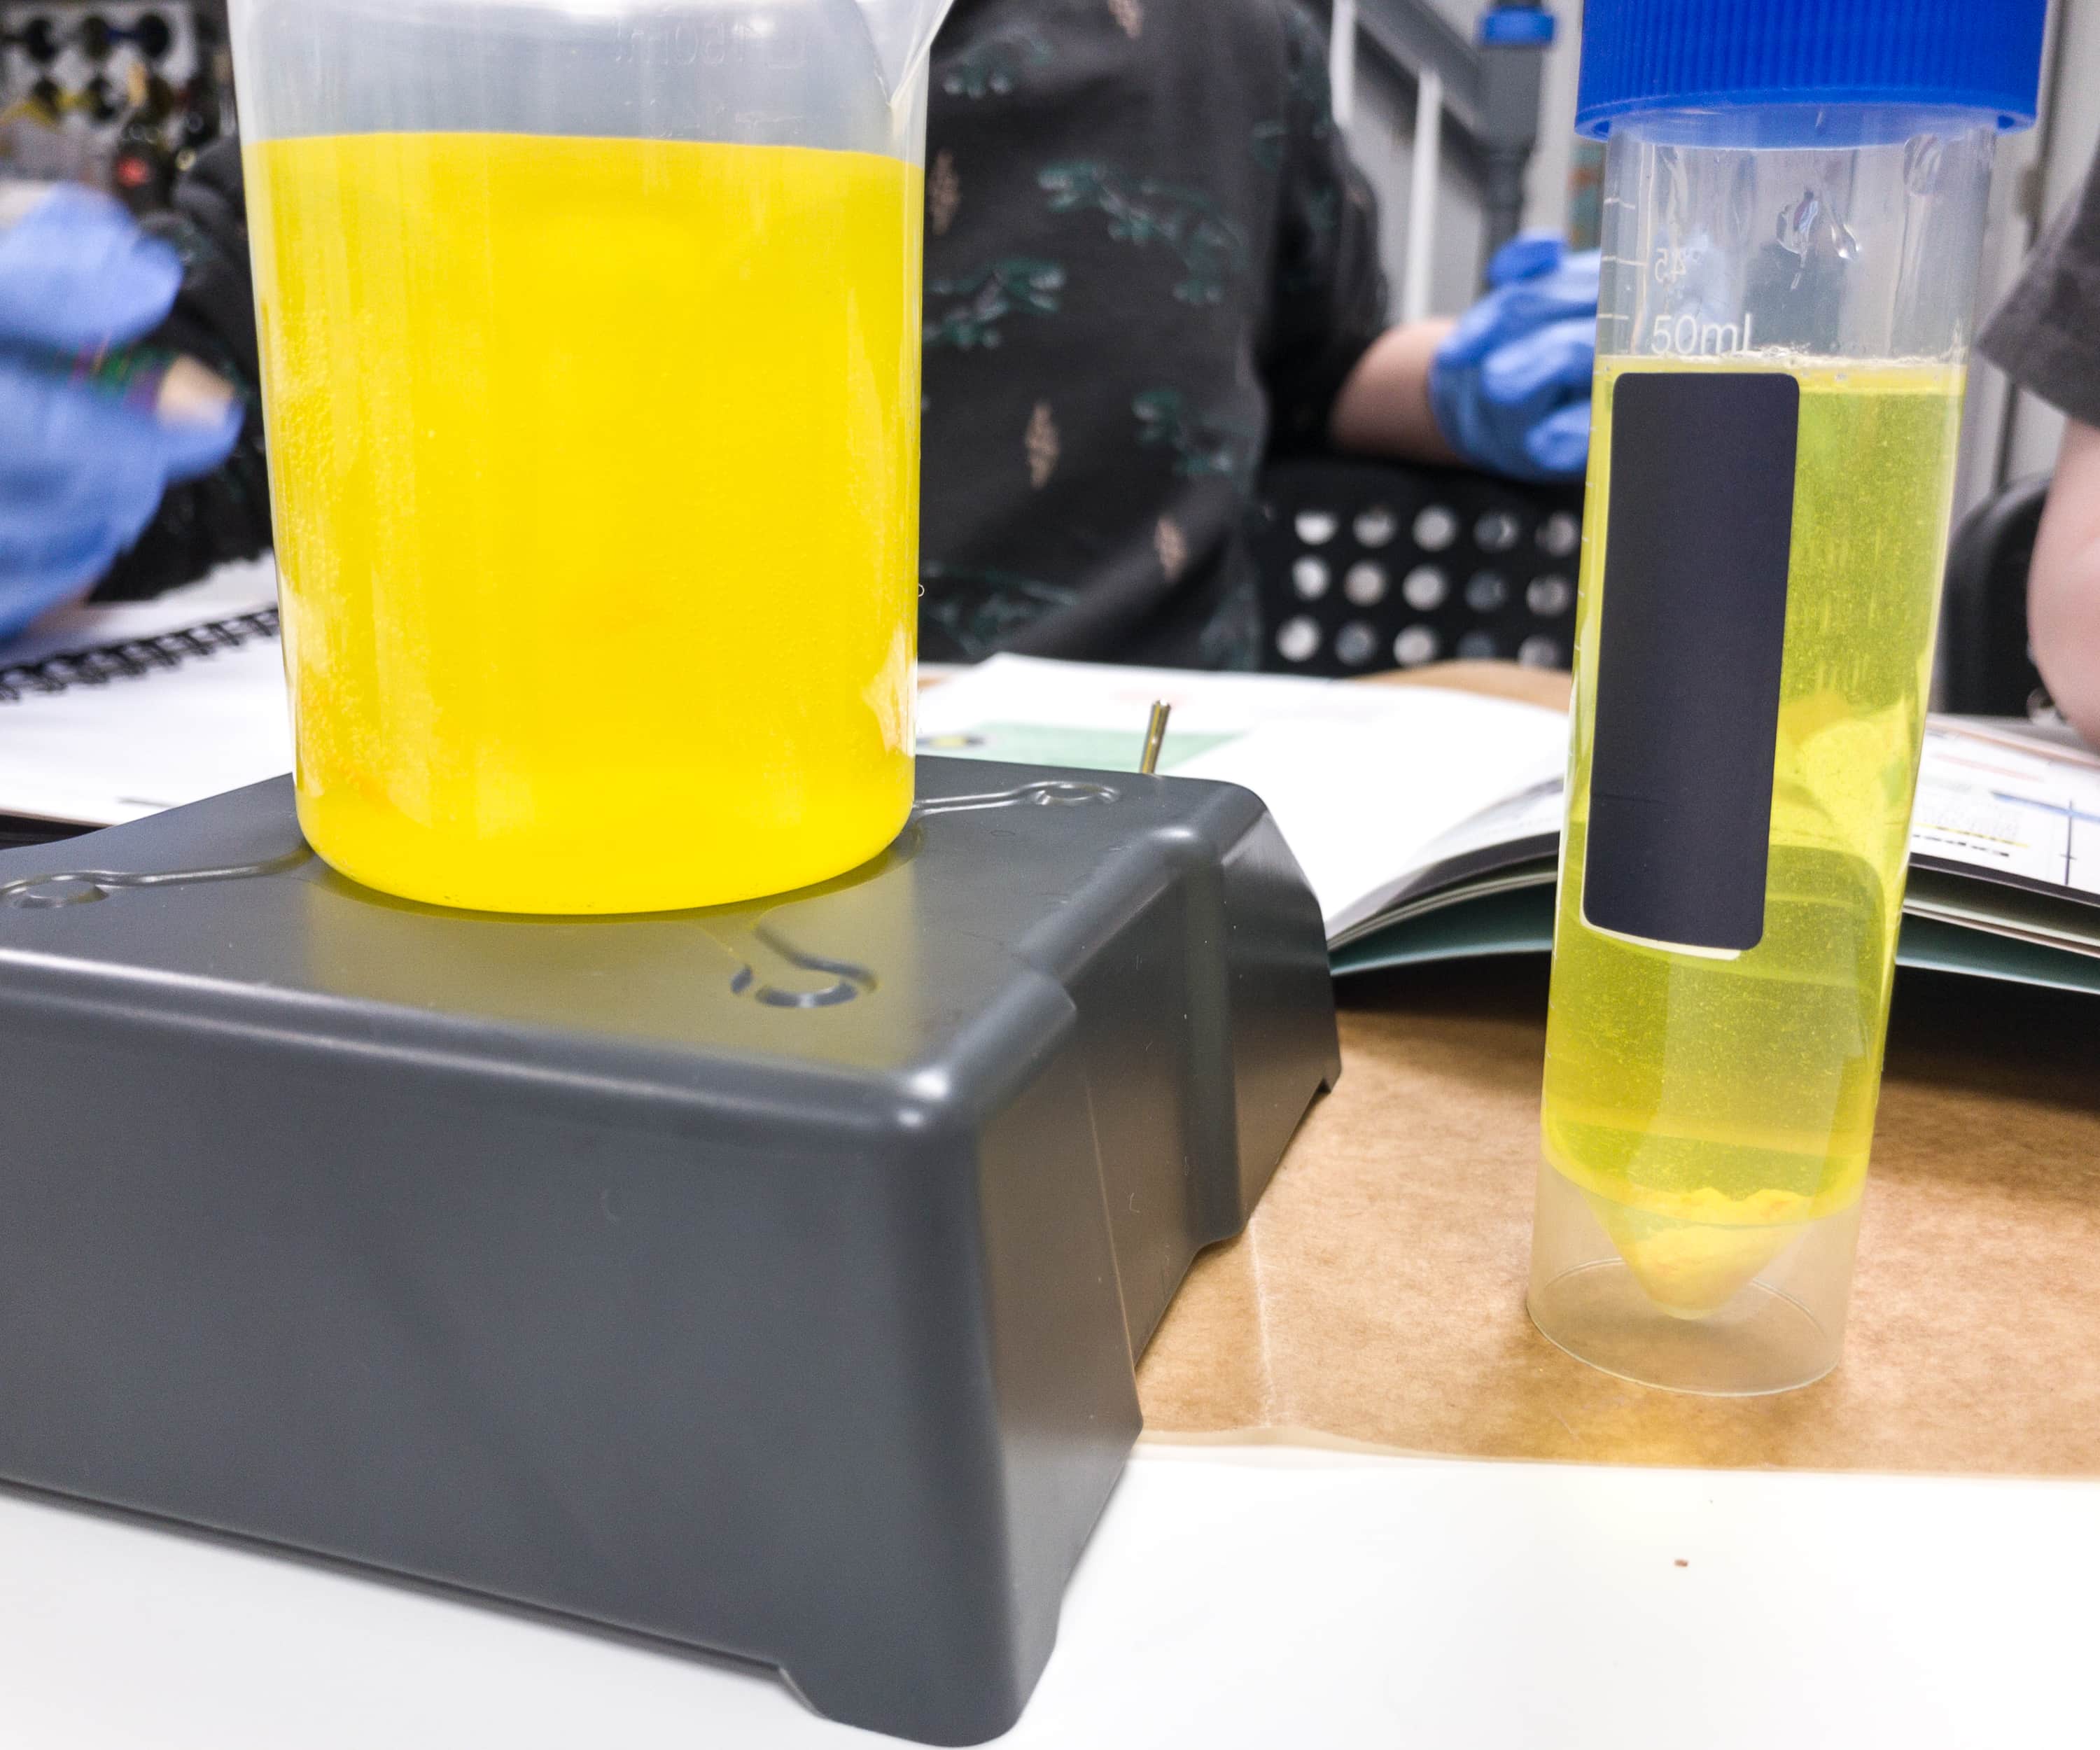
We can easily see that the one placed on the mixing machine has its color dispersed easily, and it turns really yellow, as compared to the liquid on the test tube.
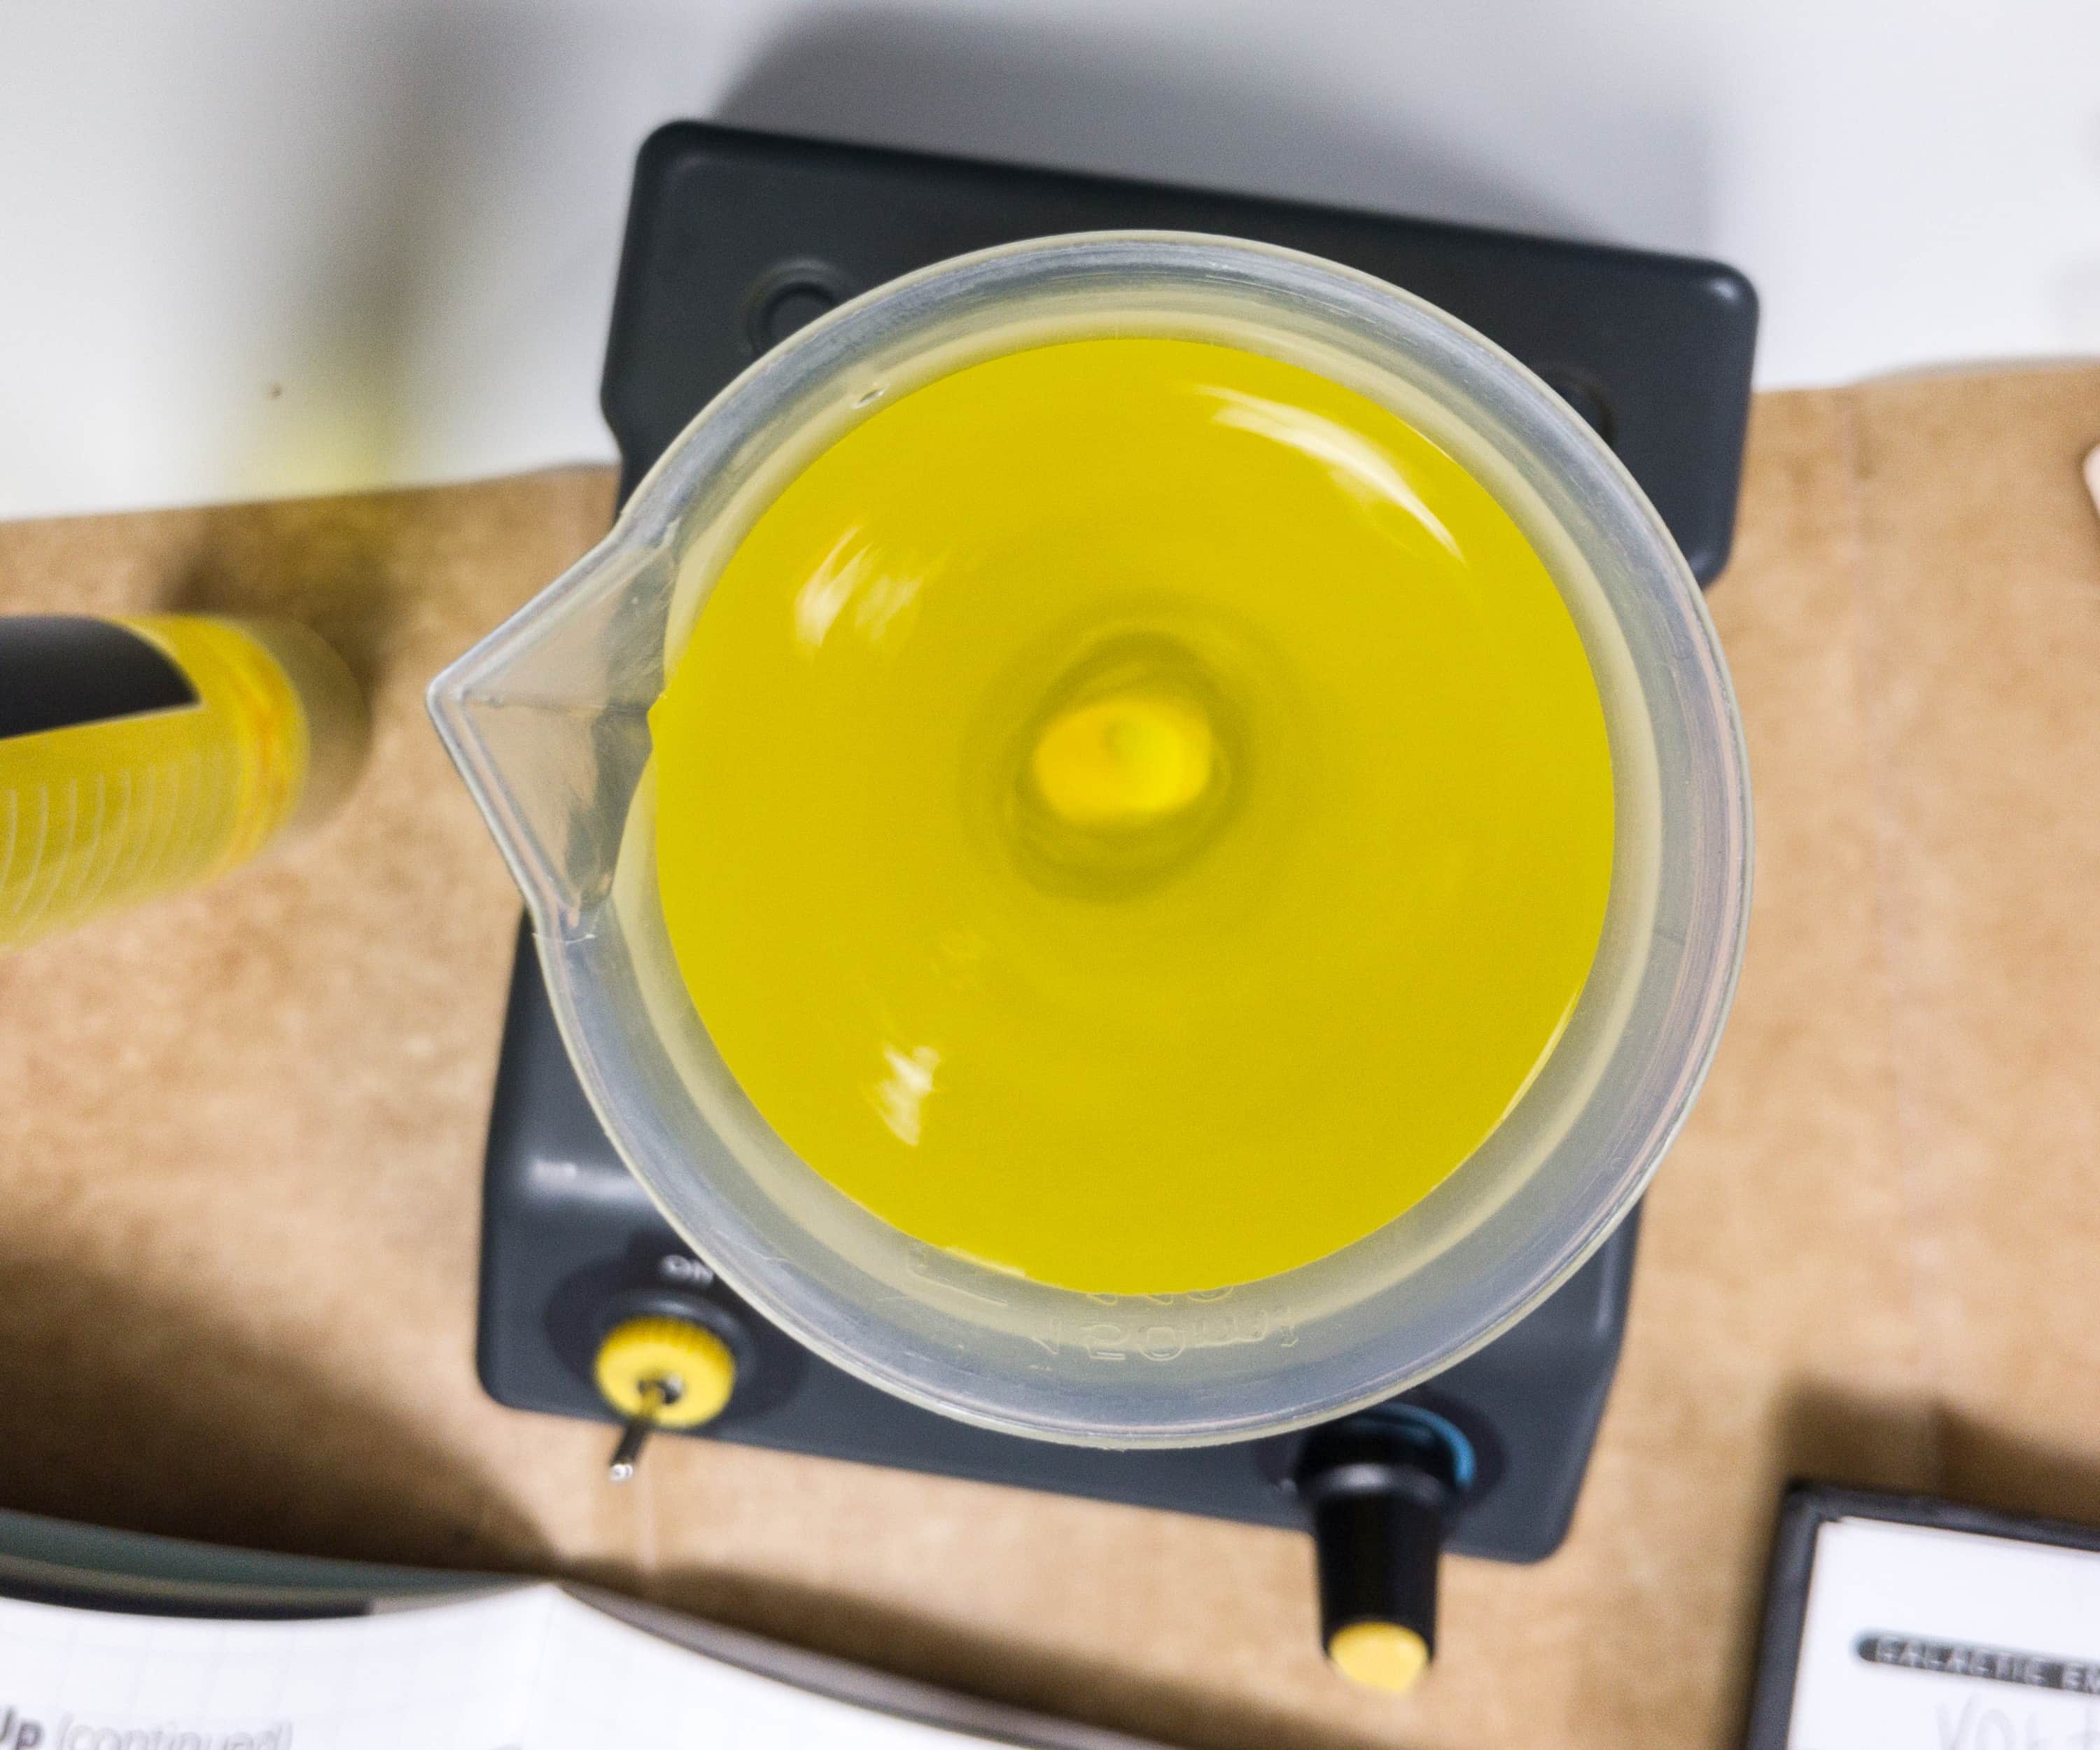
It is proven that mixing does affect the chemical change, and make it faster!
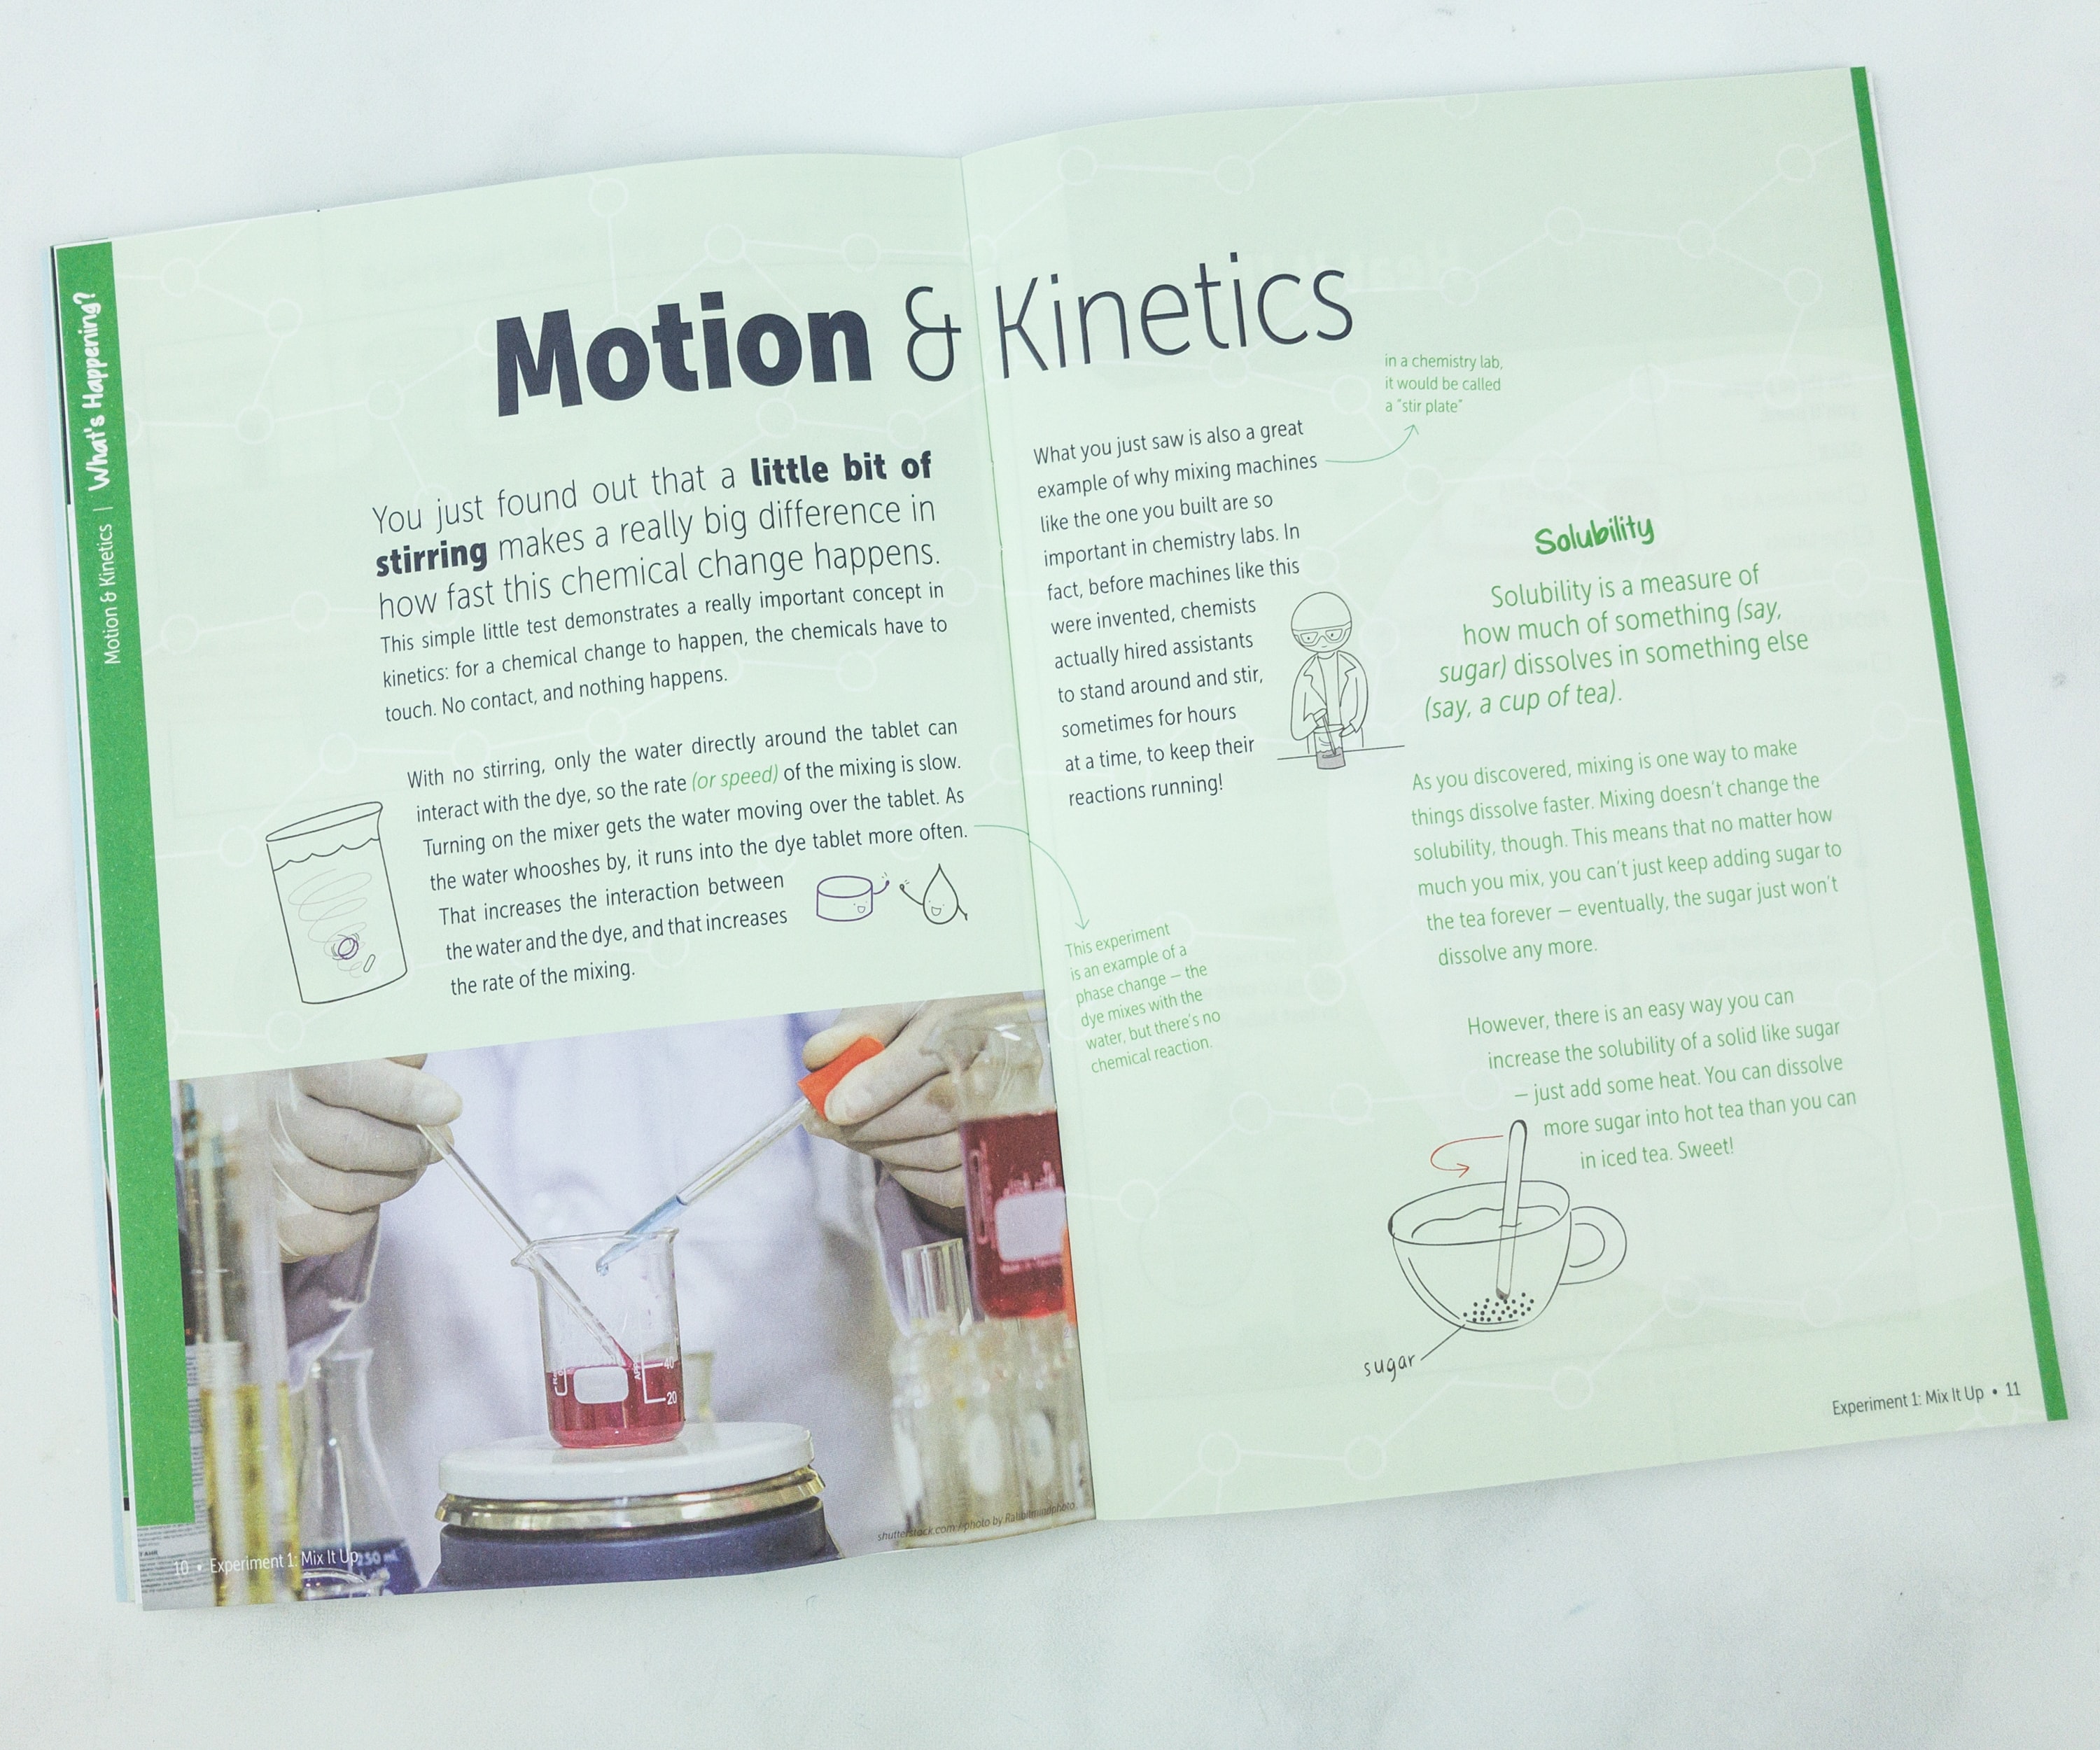
At the end of each experiment, the expected results and the underlying principles are being explained. A little bit of stirring makes a really big difference in how fast the chemical changes happened.
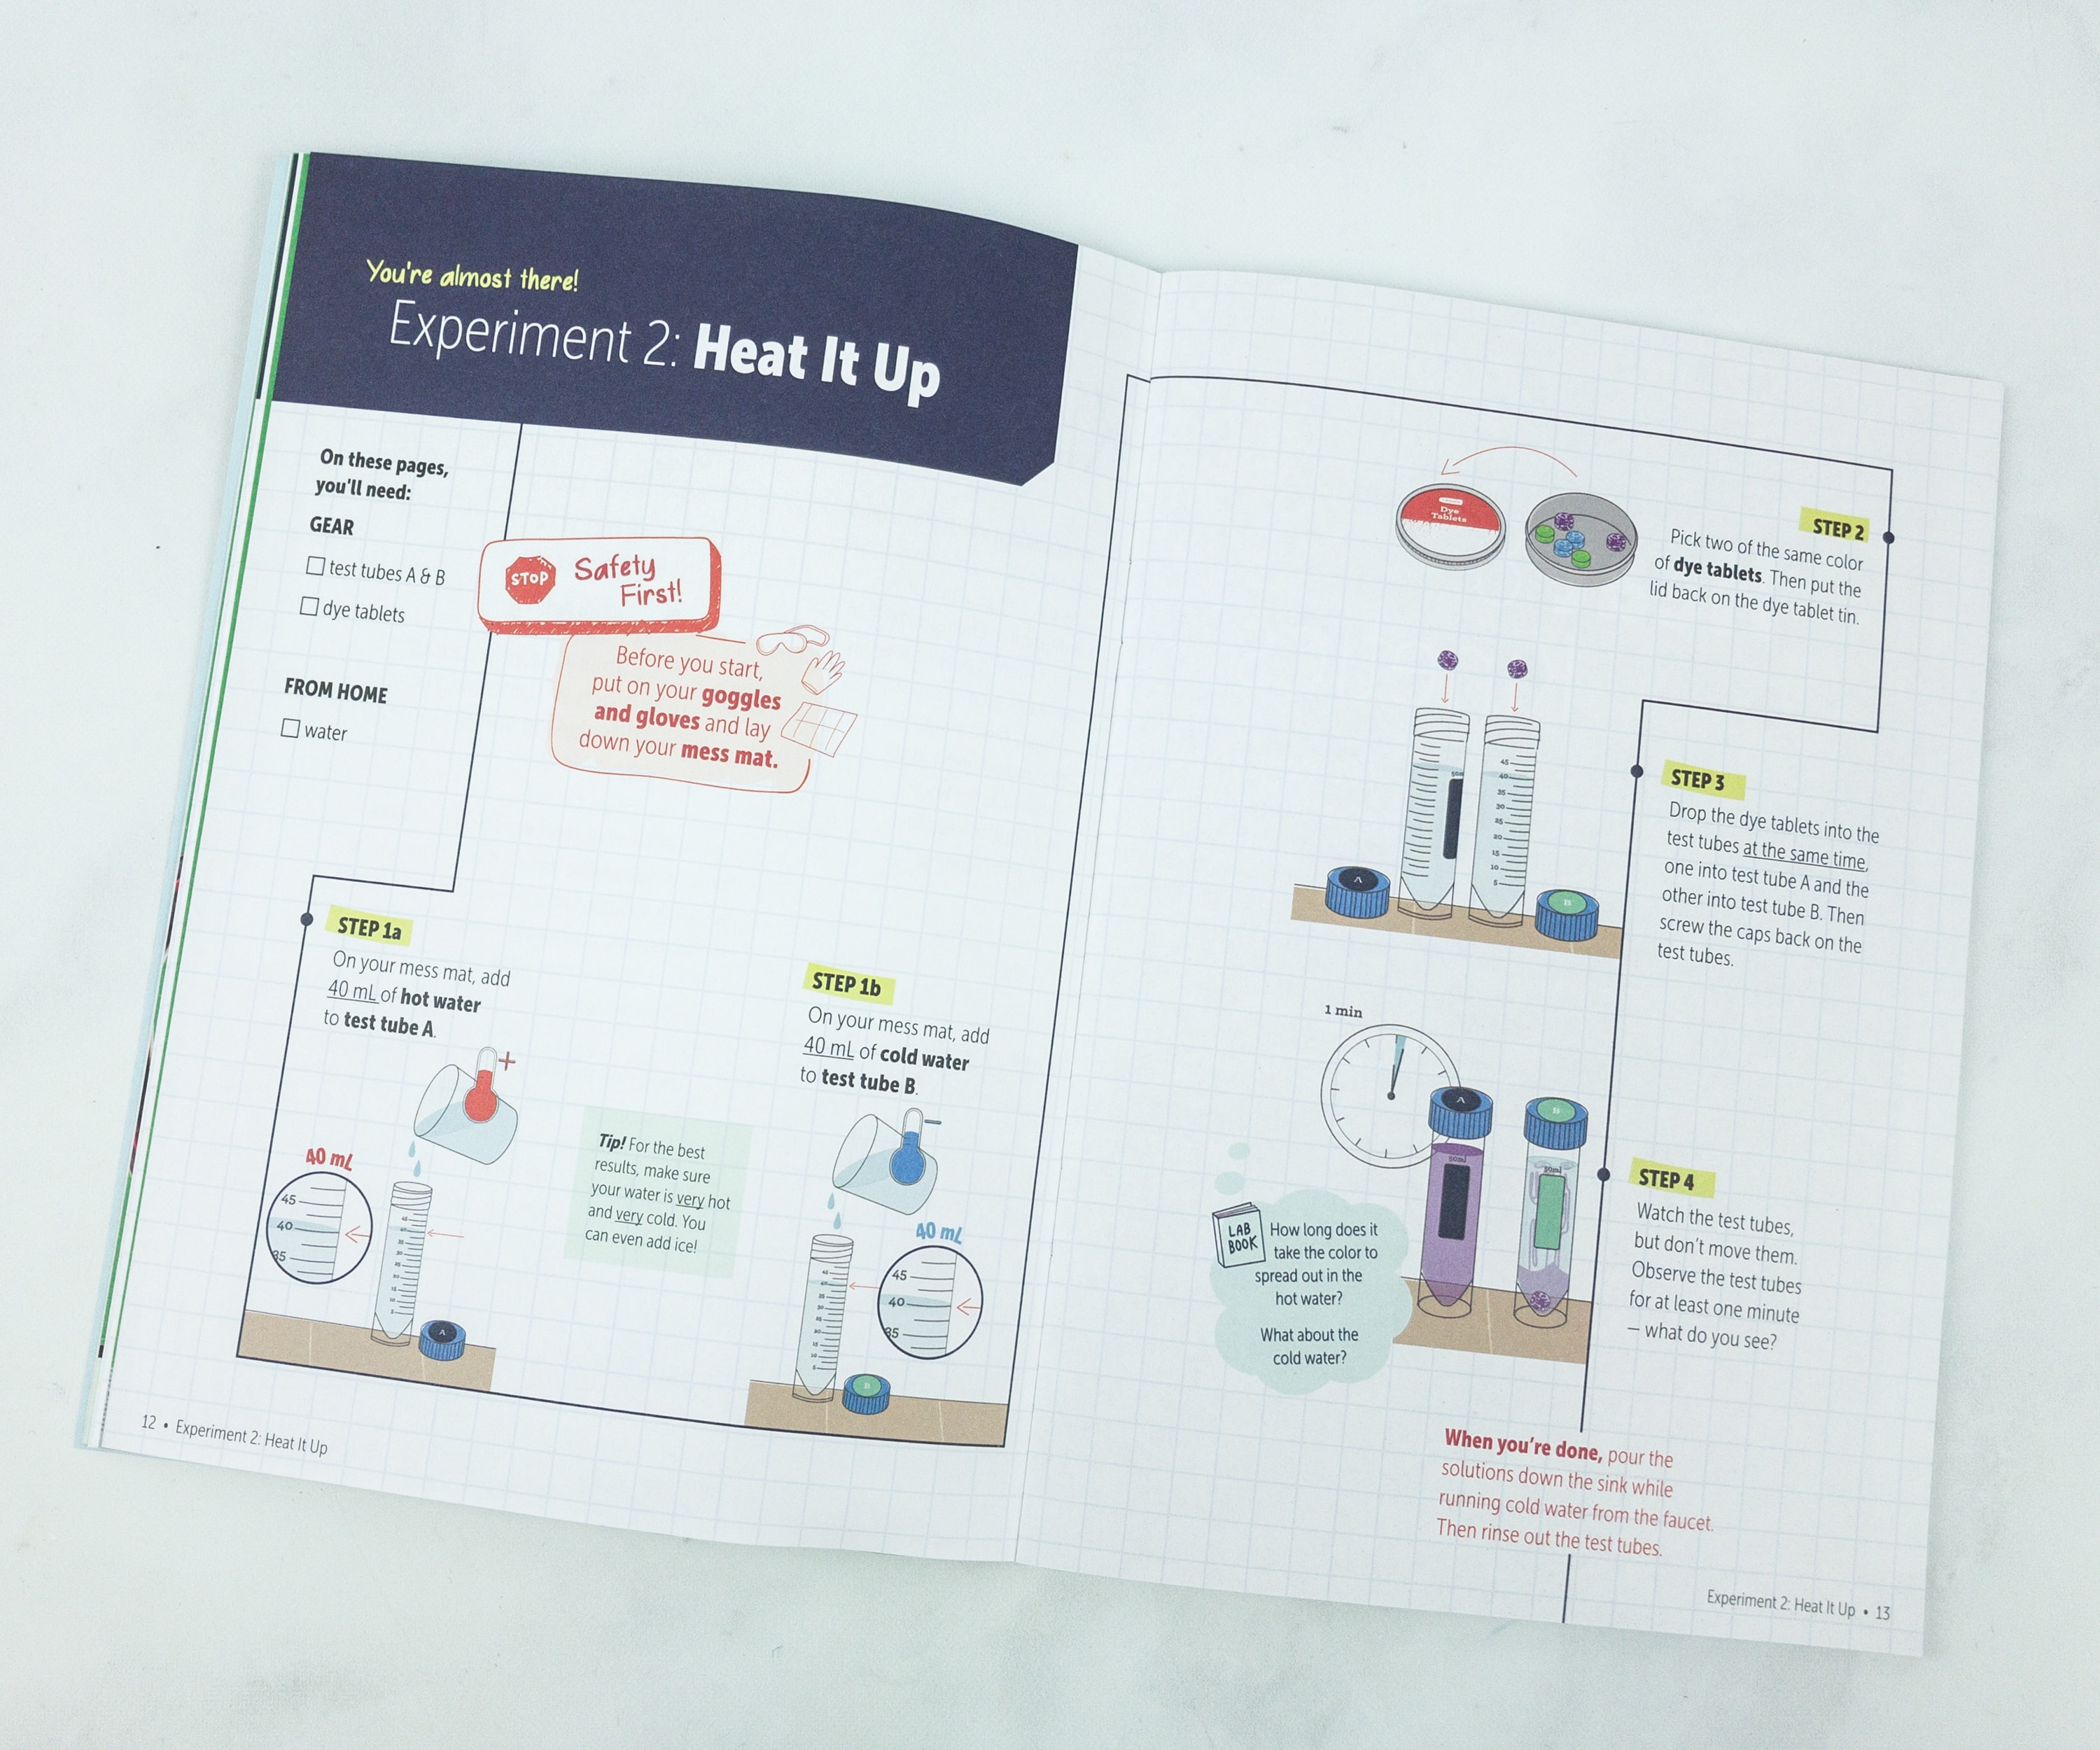
For the second experiment, we will find out if heat also has an effect on chemical changes.
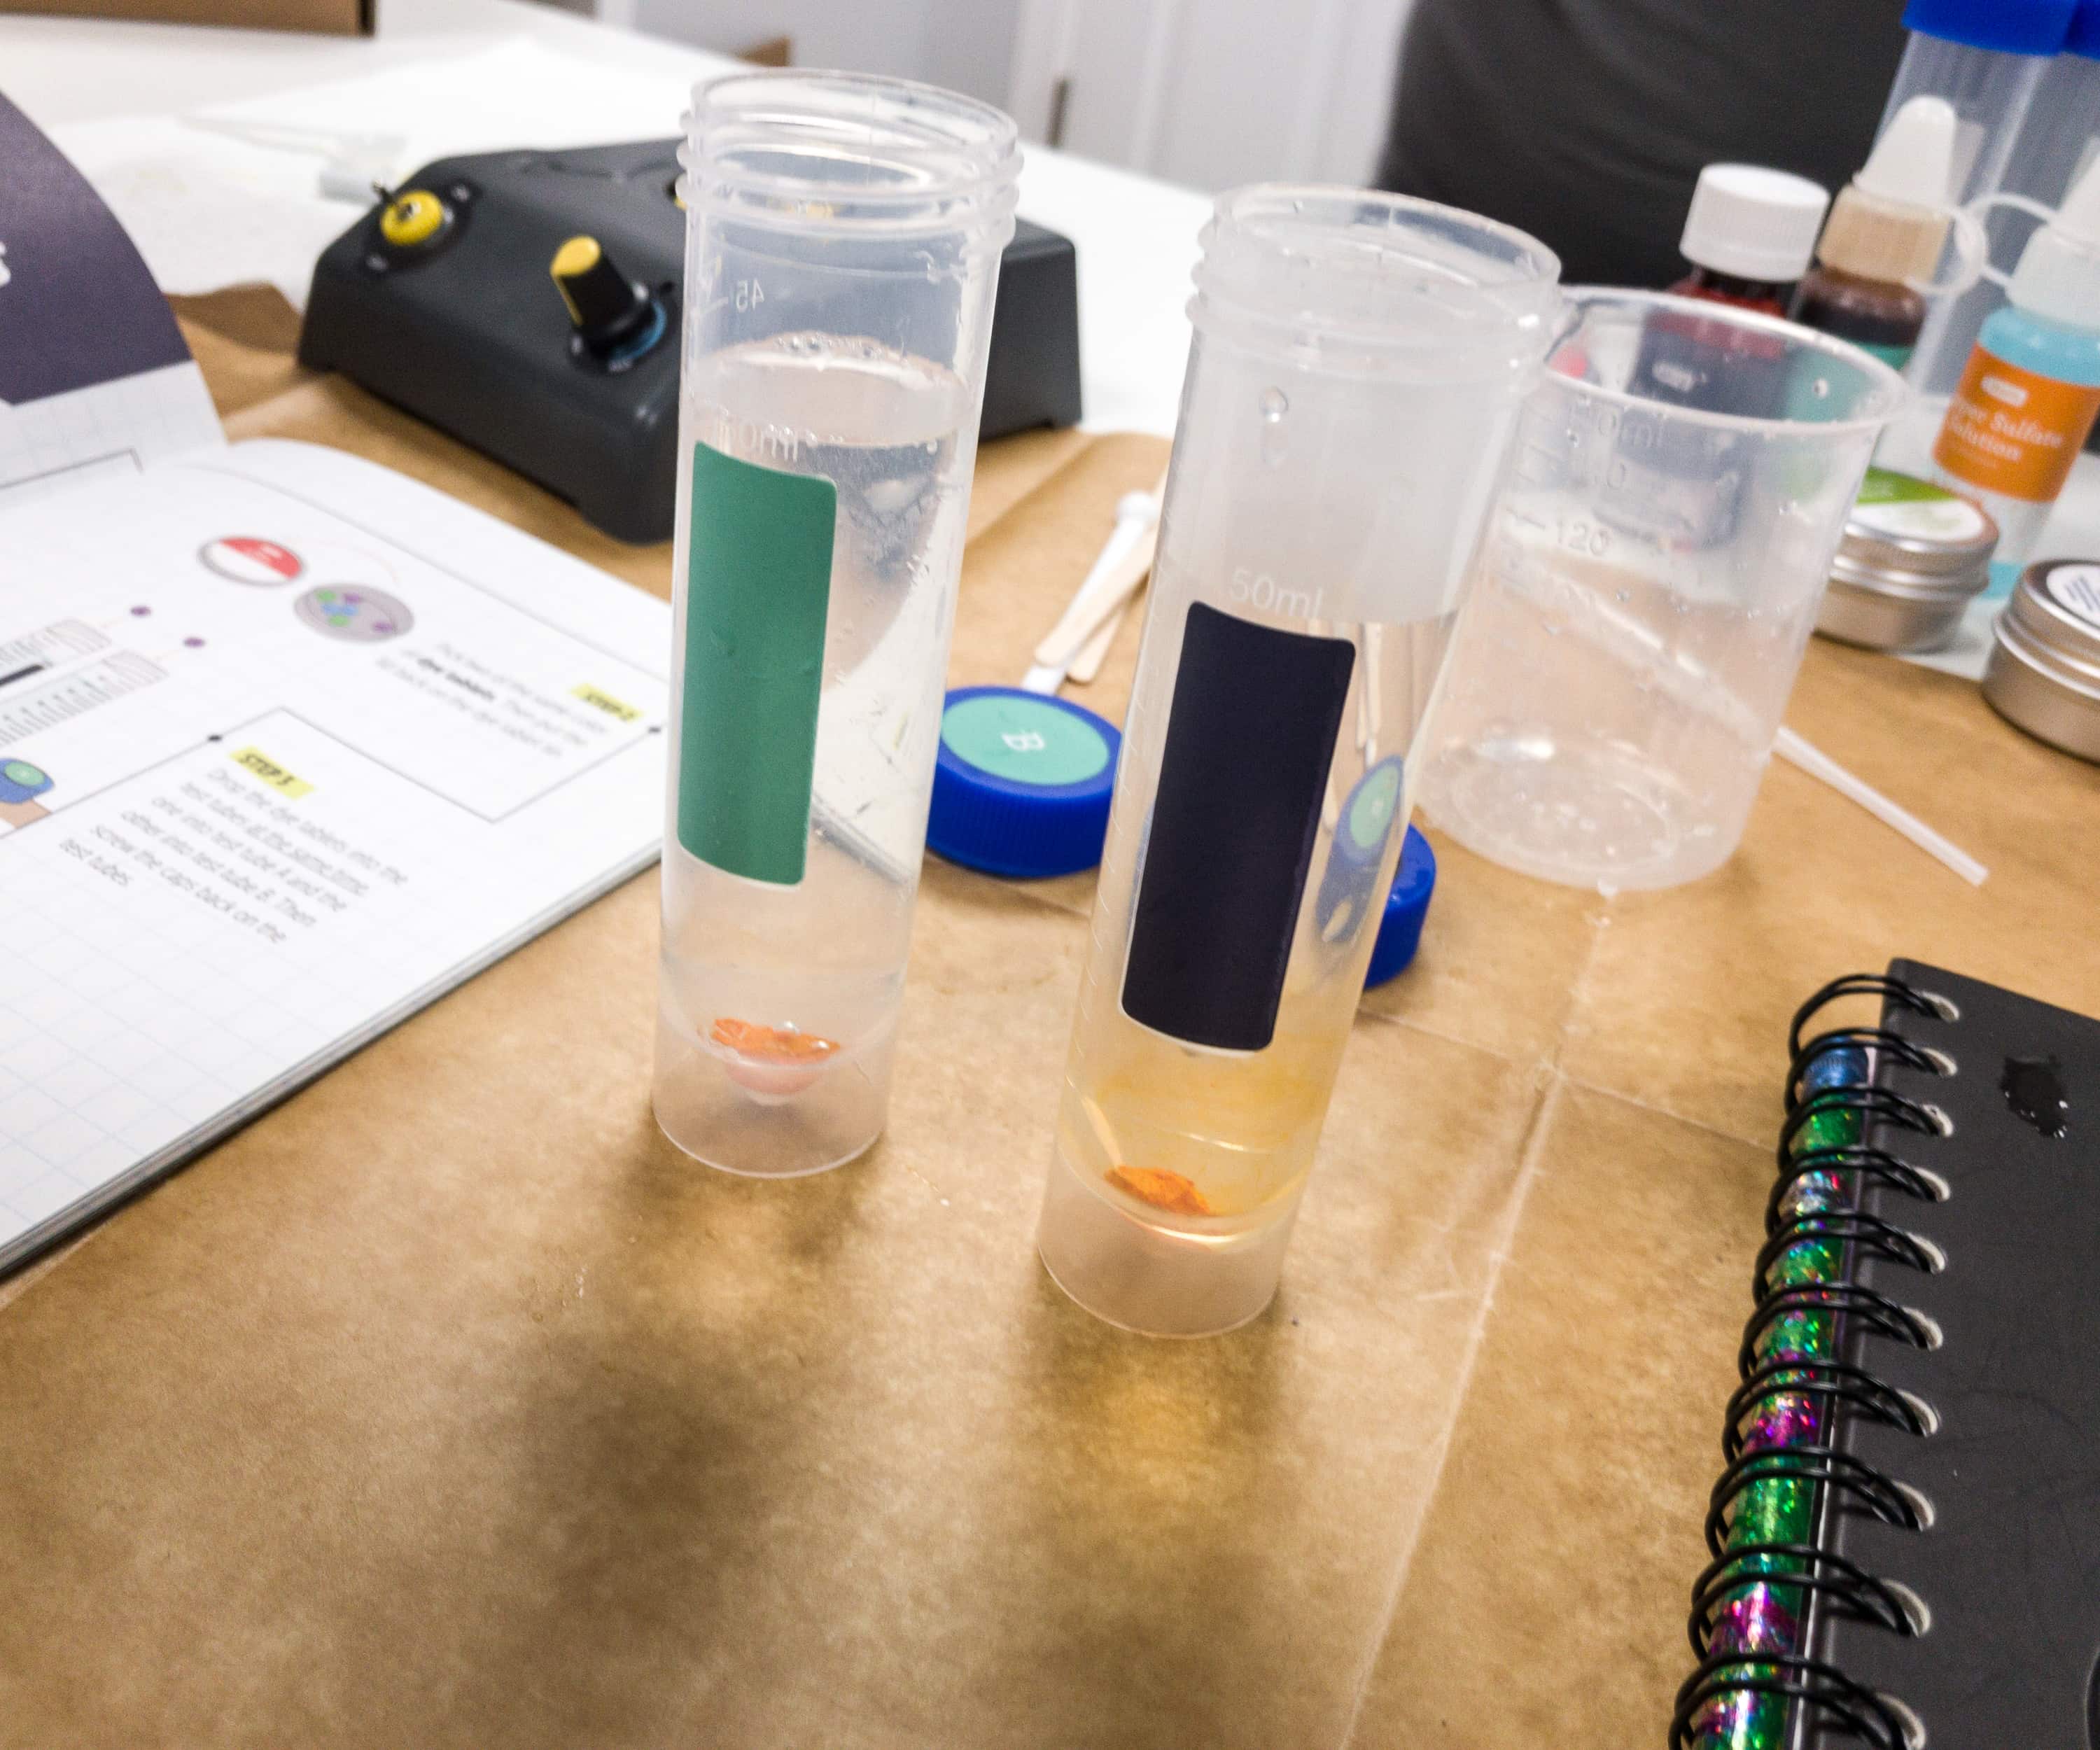
For this one, one test tube has normal temperature water, while another one has hot water in it. We dropped dye tablets on each tube and see which one dissolves first. The one dropped on the hot water is the first one that gets dissolved completely.
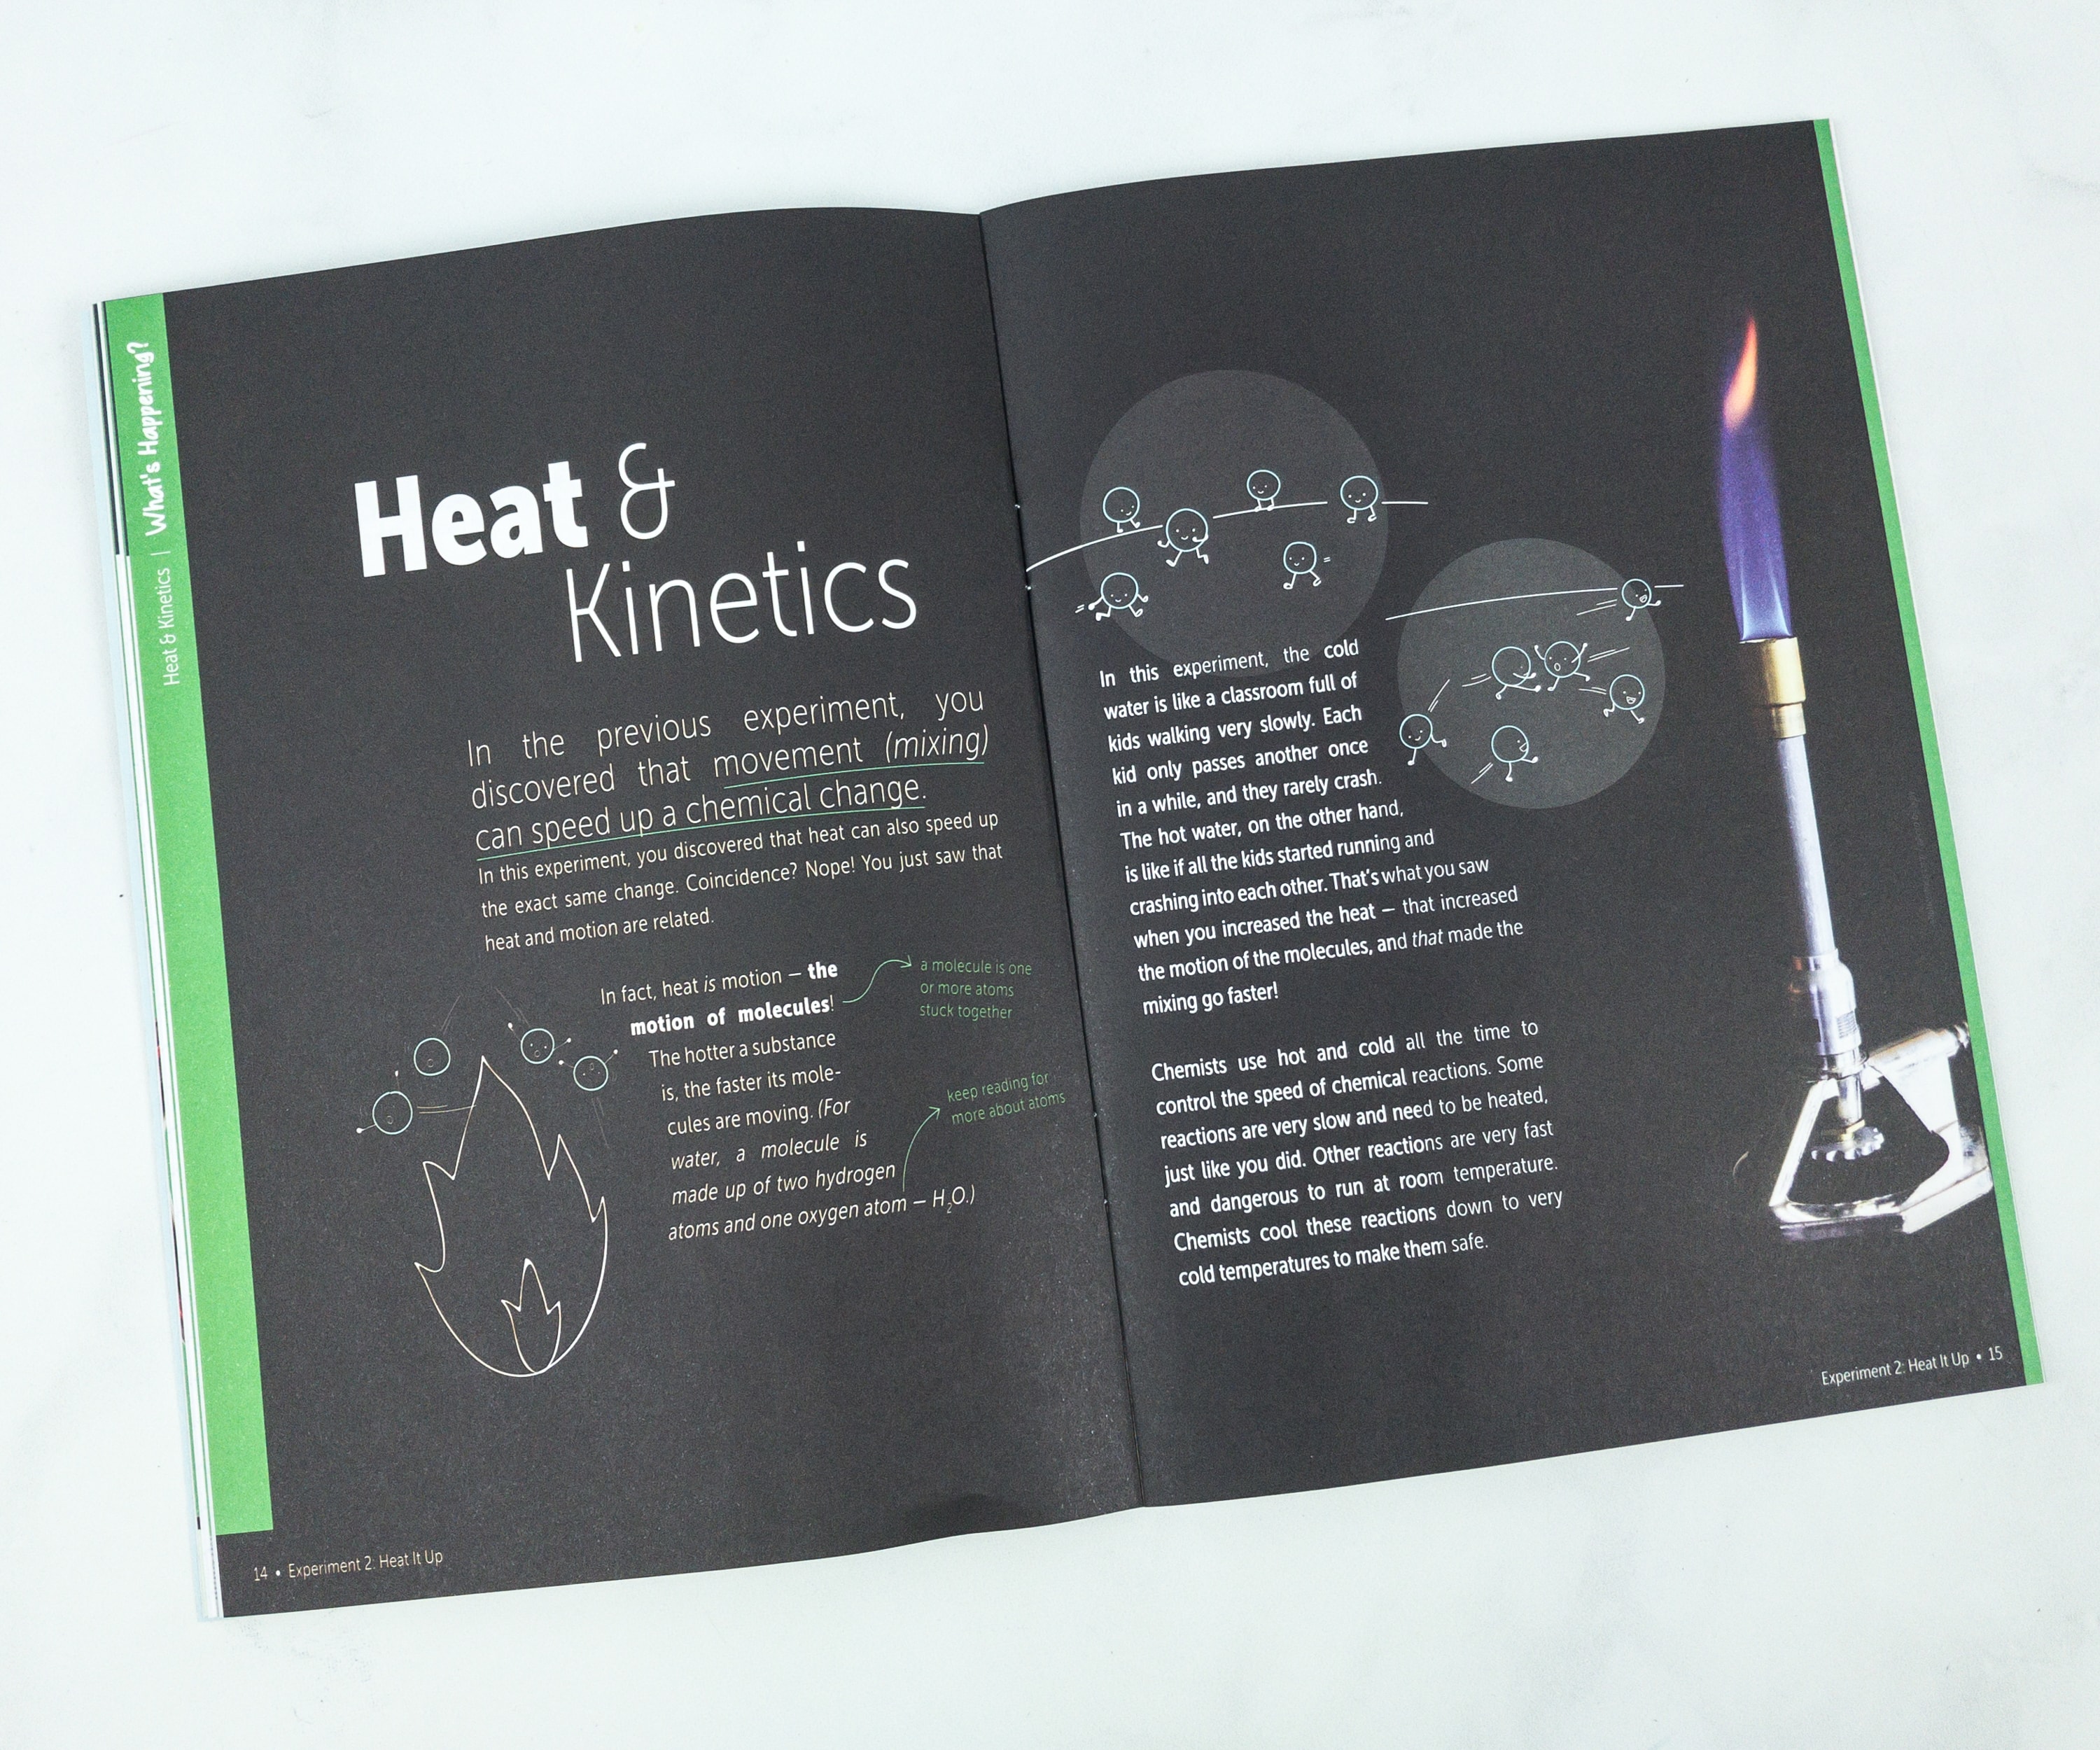
Heat can also speed up the chemical change, as heat is also motion. The hotter a substance is, the faster its molecules are moving.

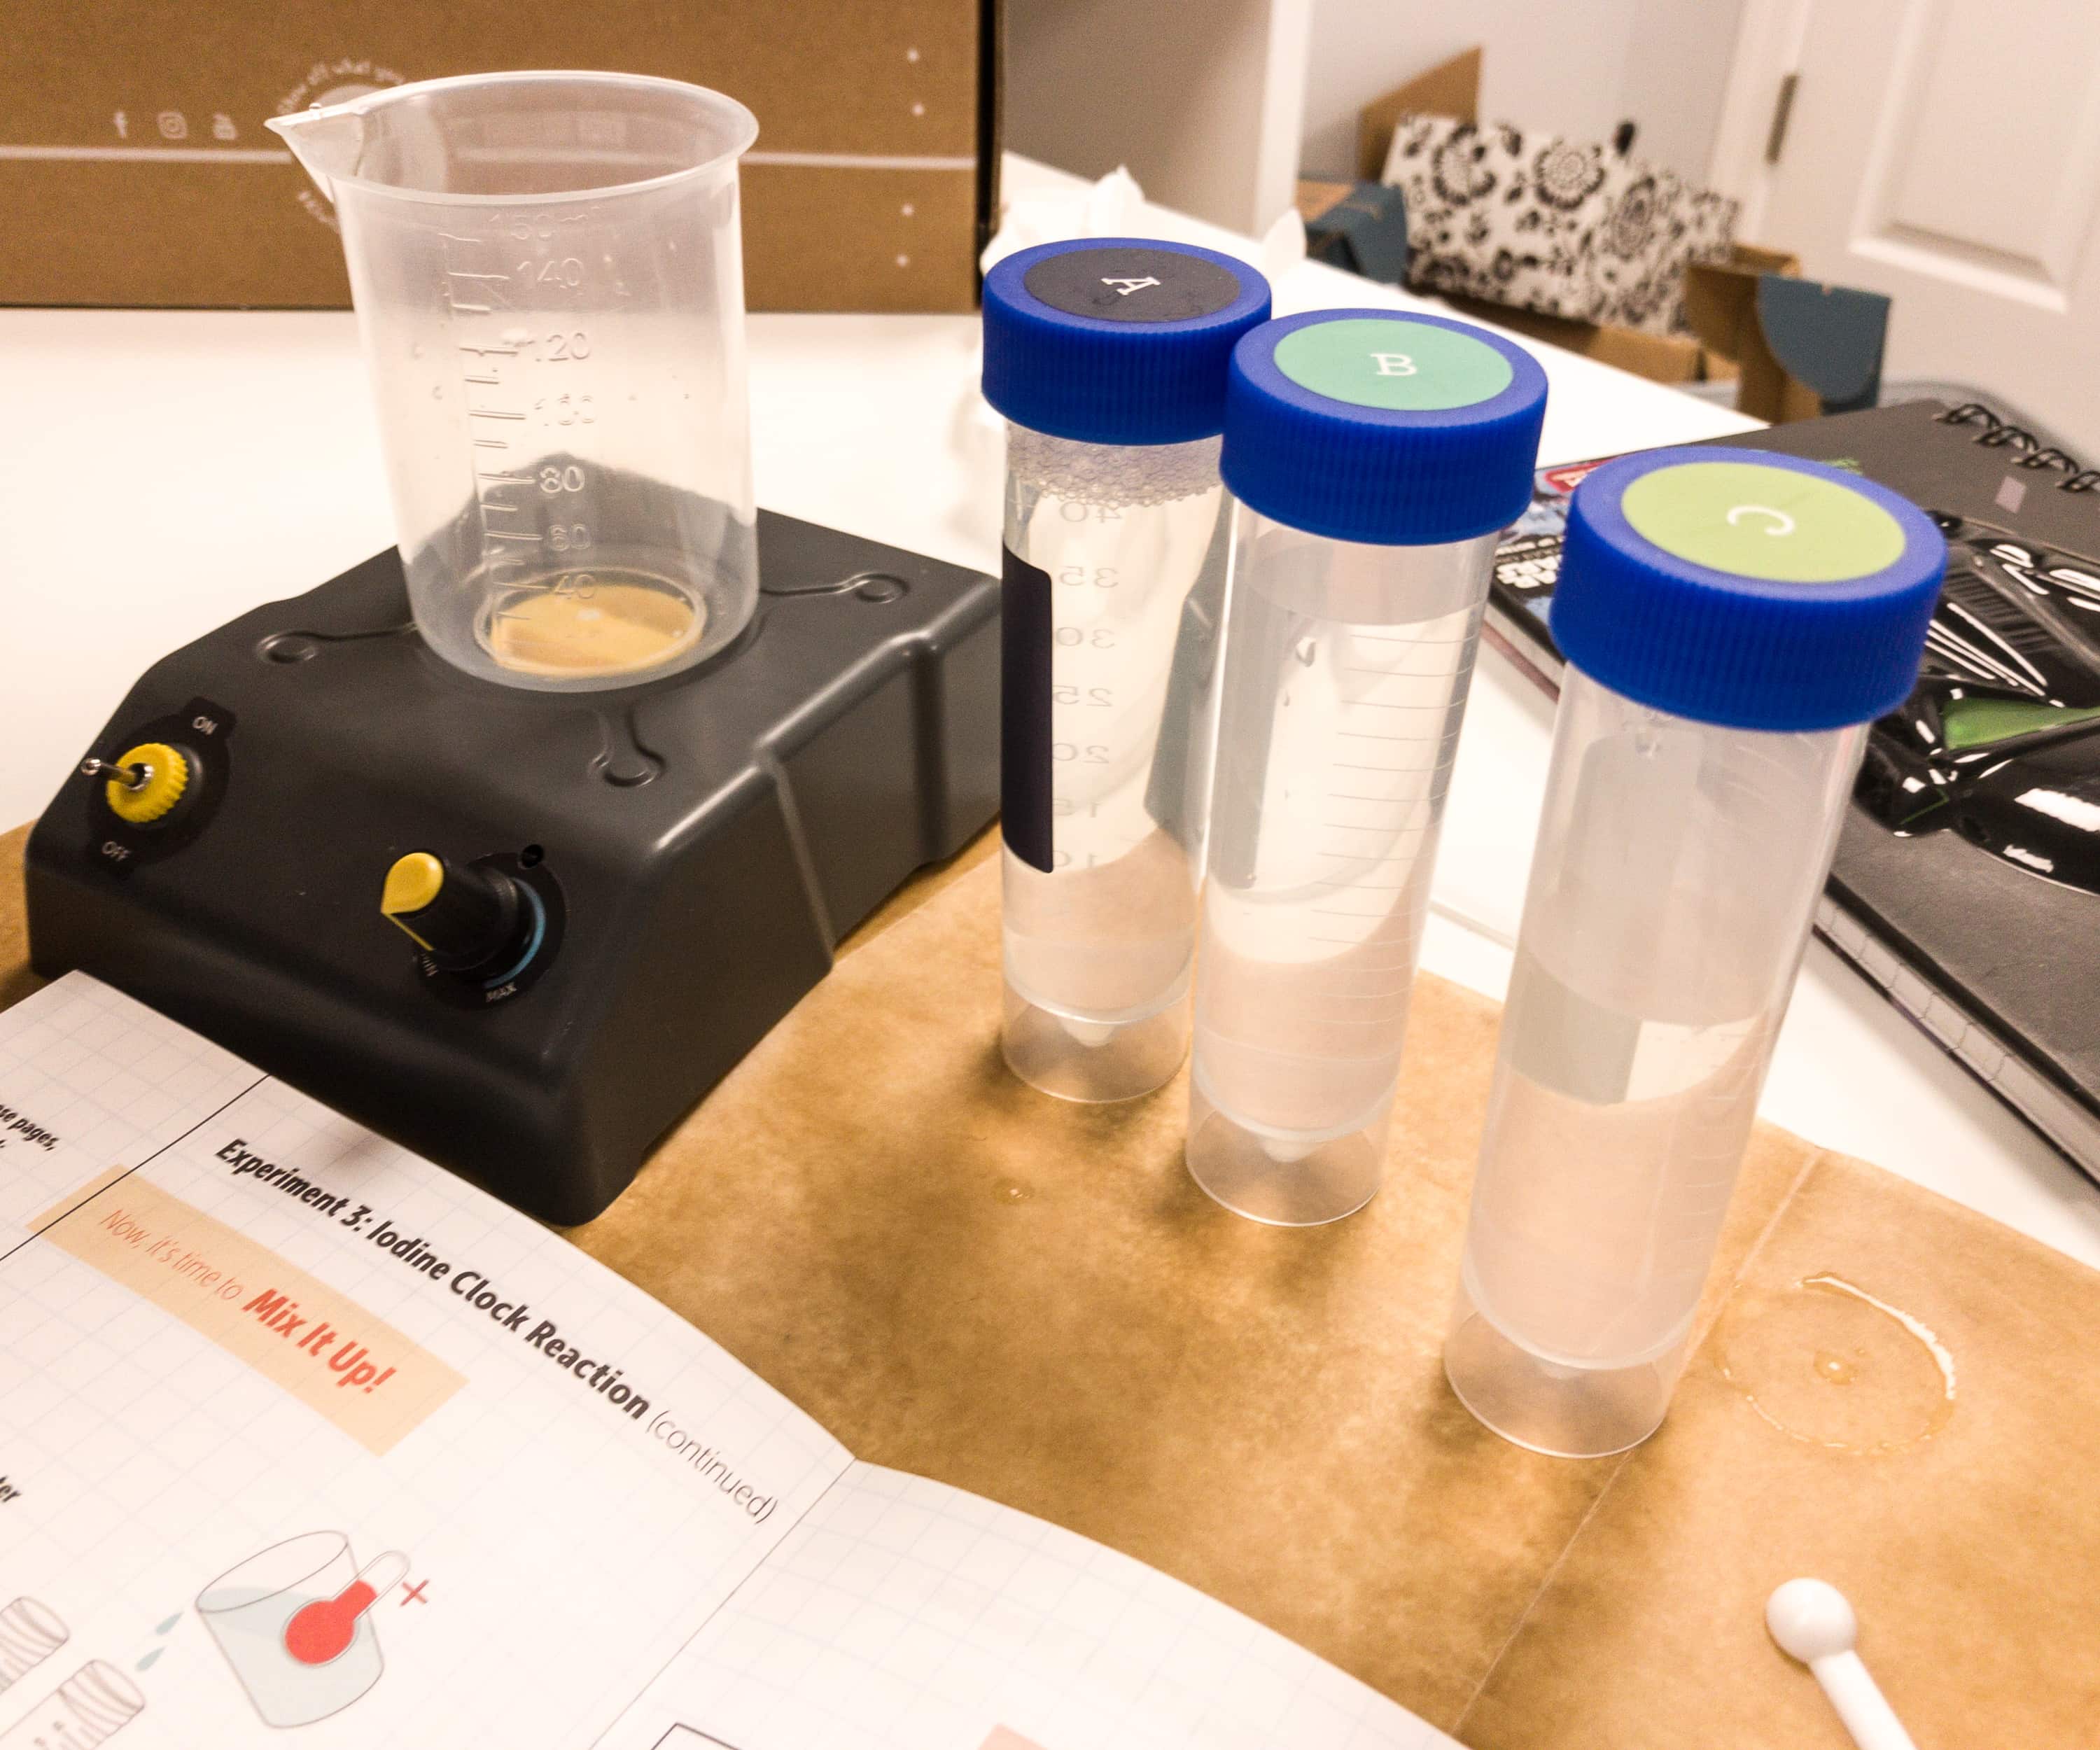
For the third experiment, we will now be using the iodine solution, and perform the Iodine Clock Reaction.
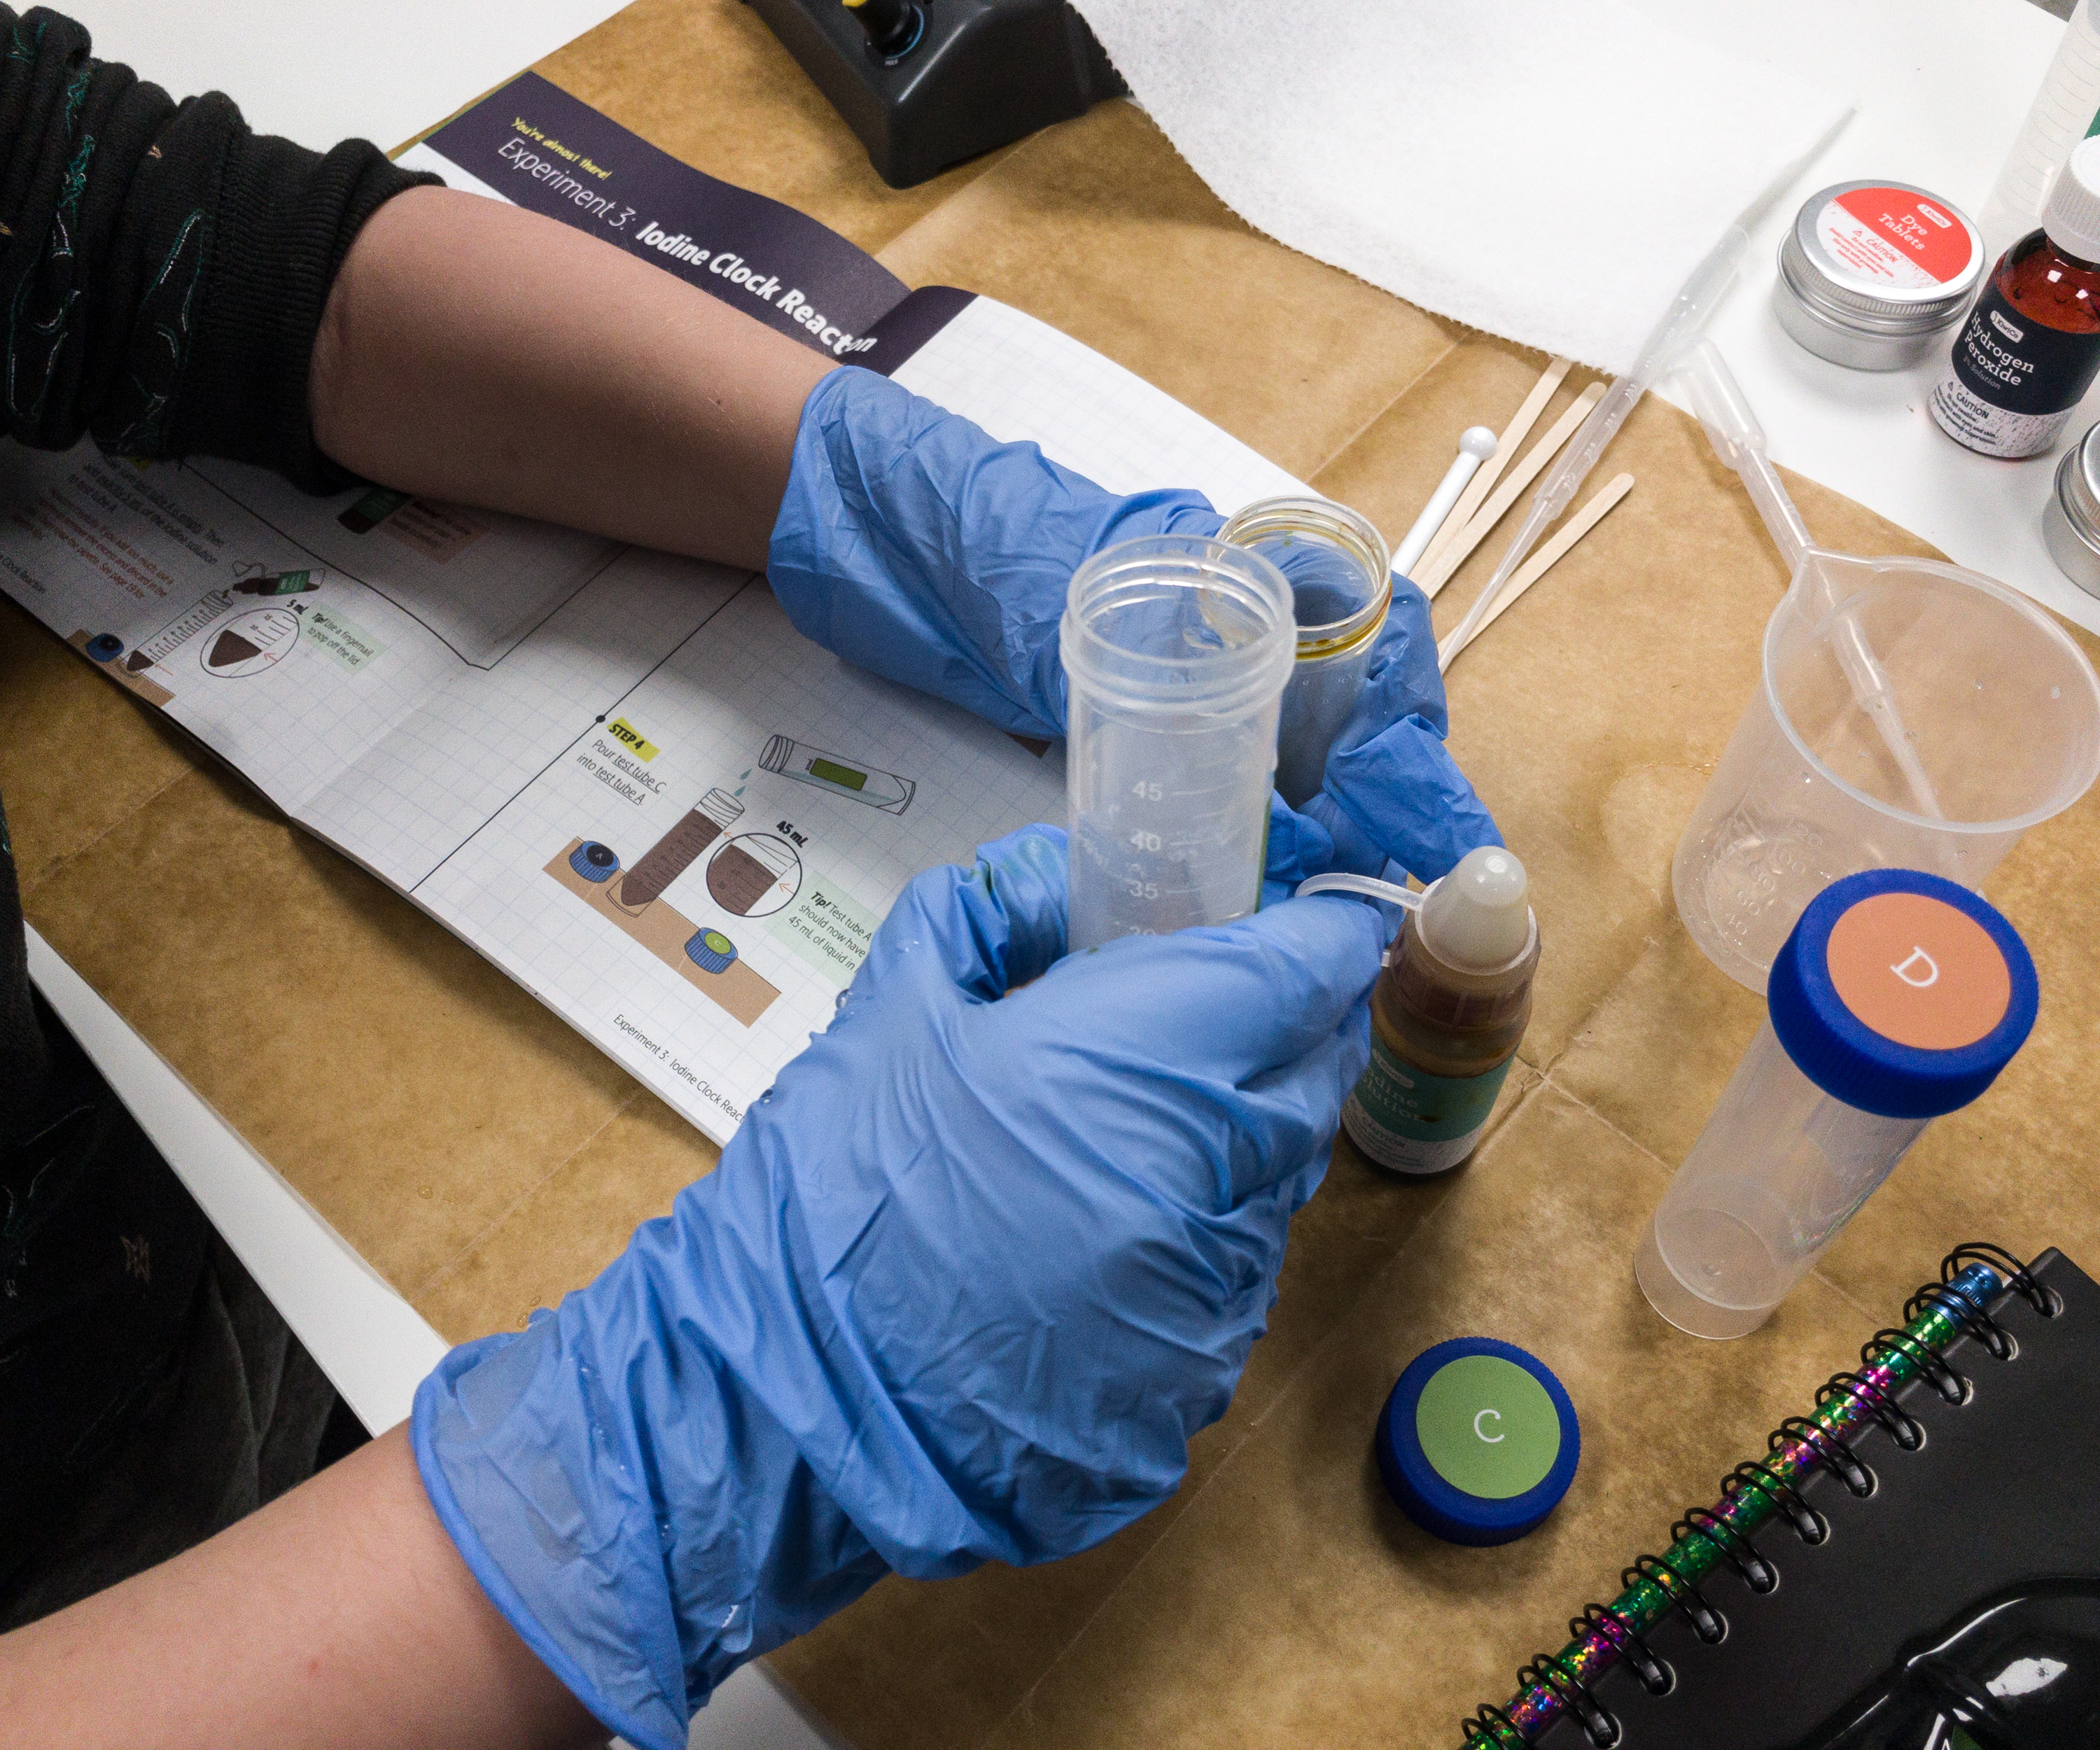
We prepared test tubes A and C by placing iodine solution and hot water respectively.
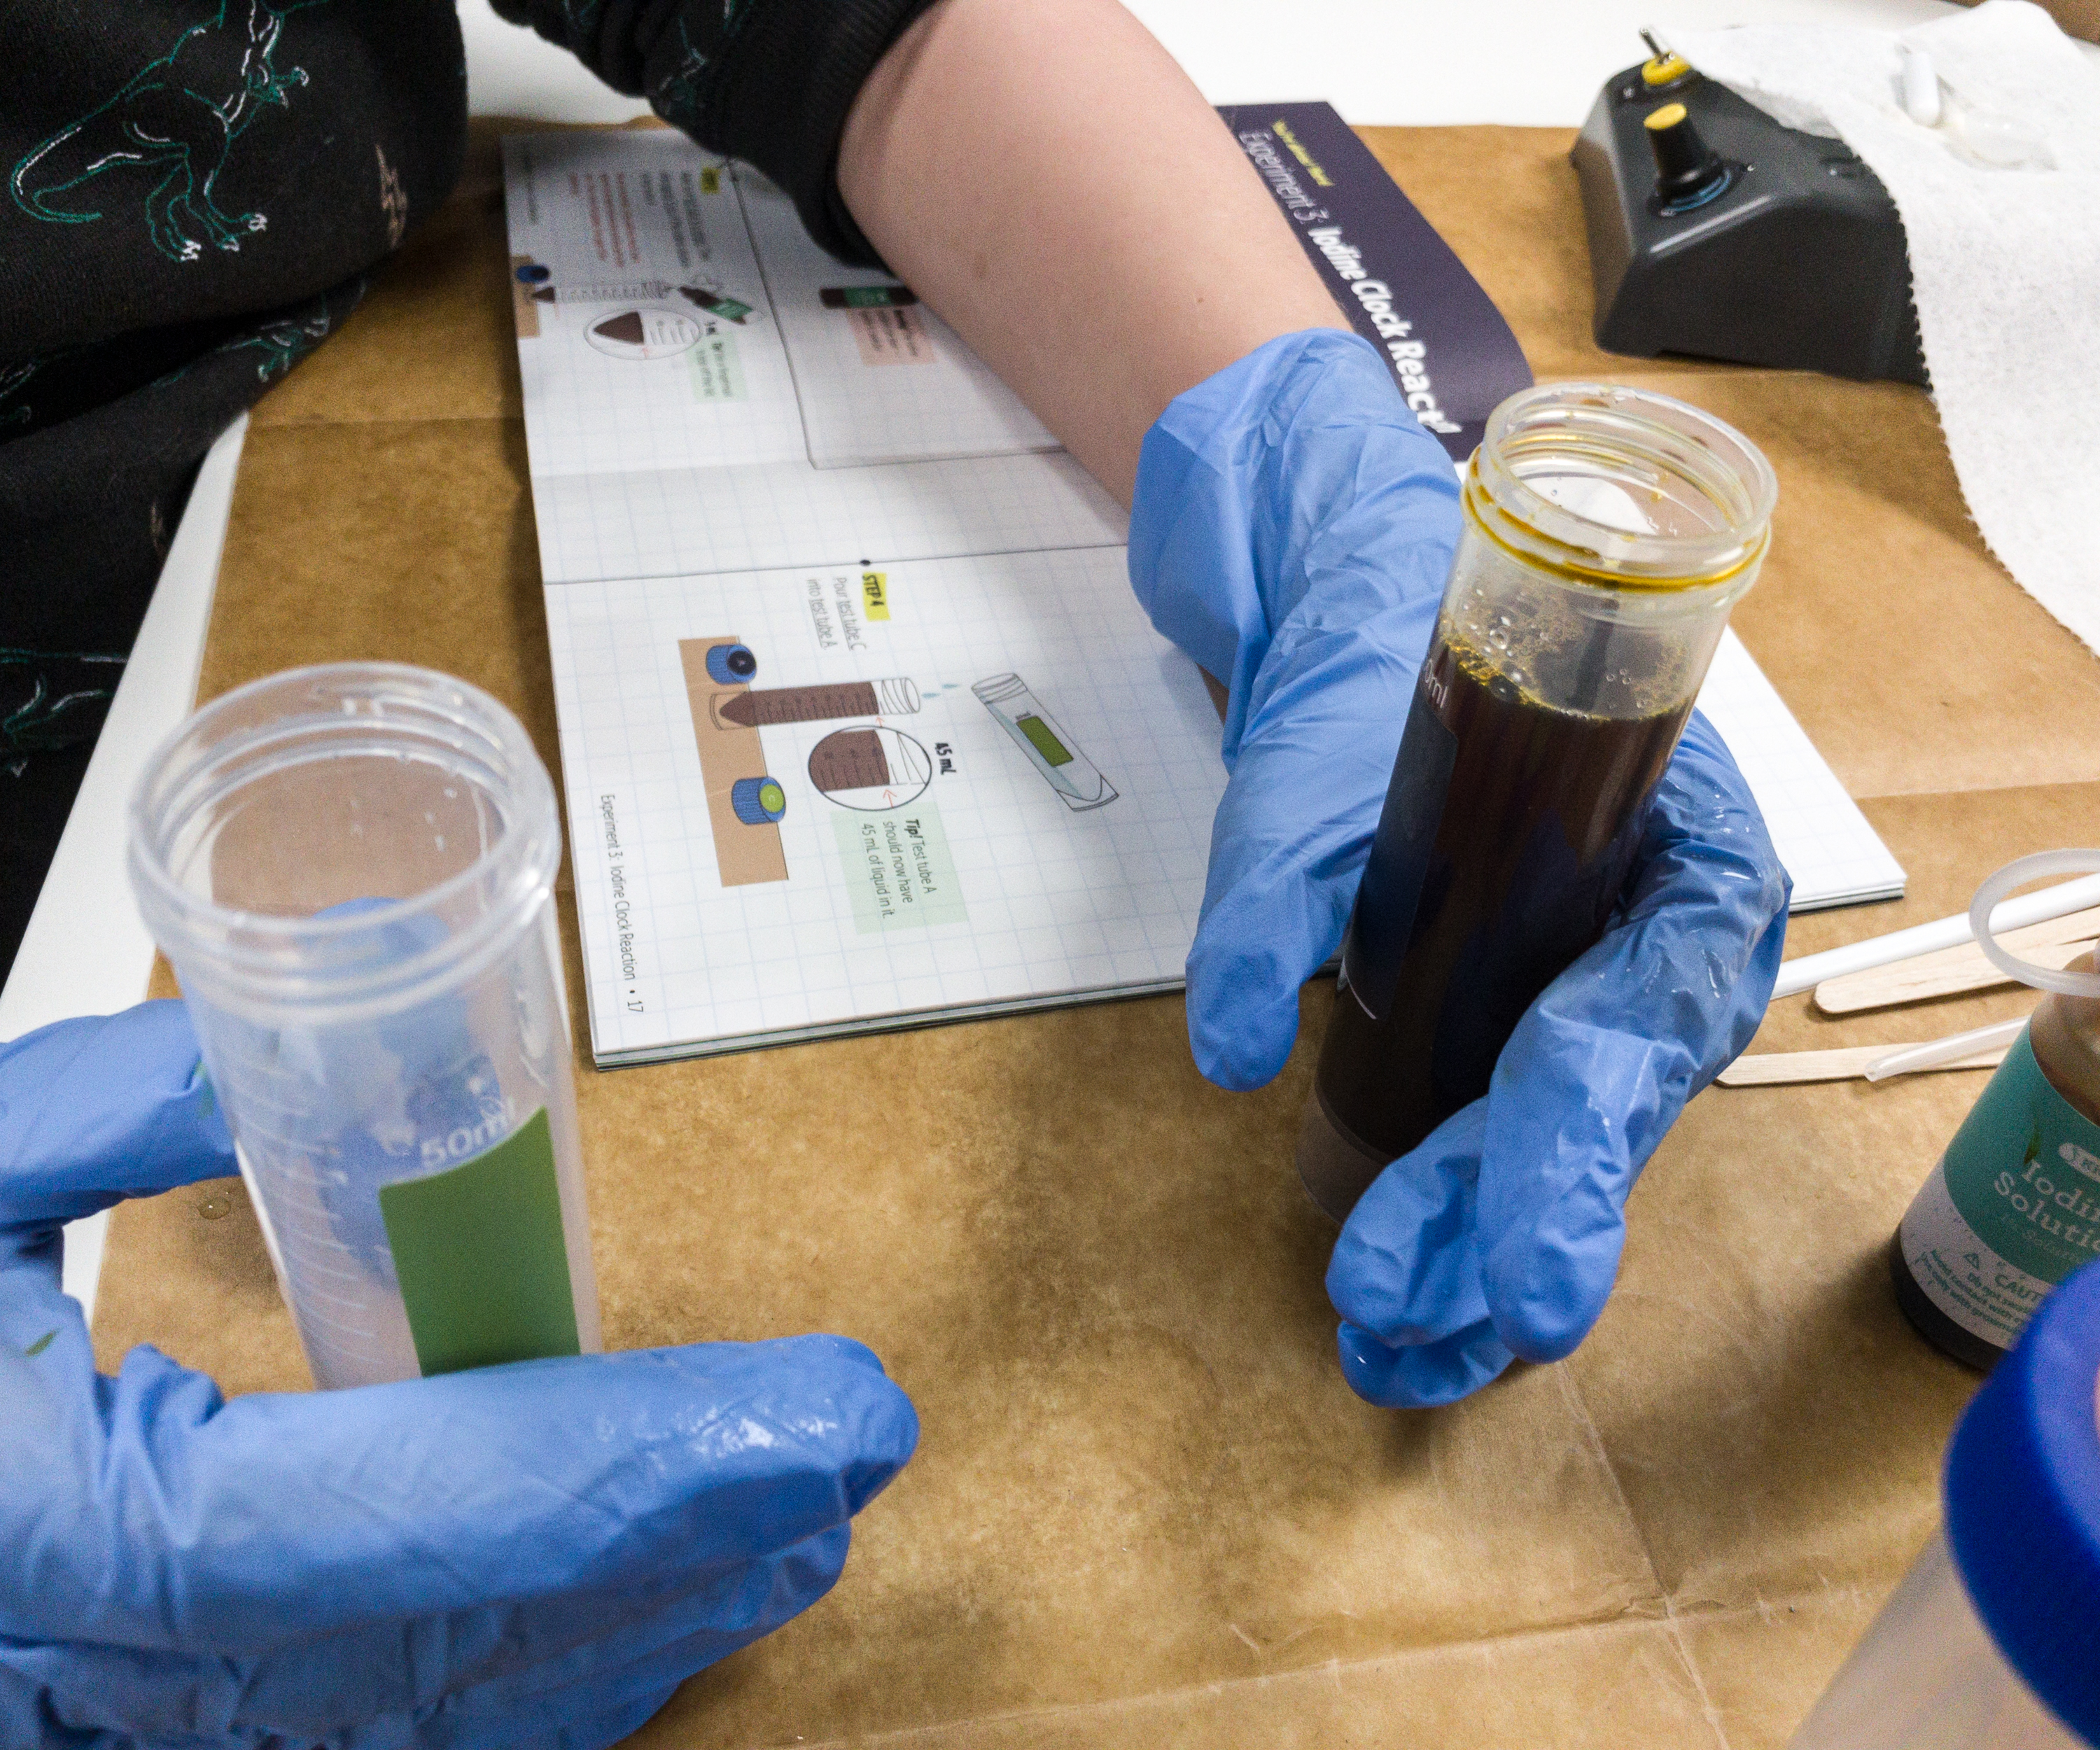
Then we placed all the contents of test tube C to A.
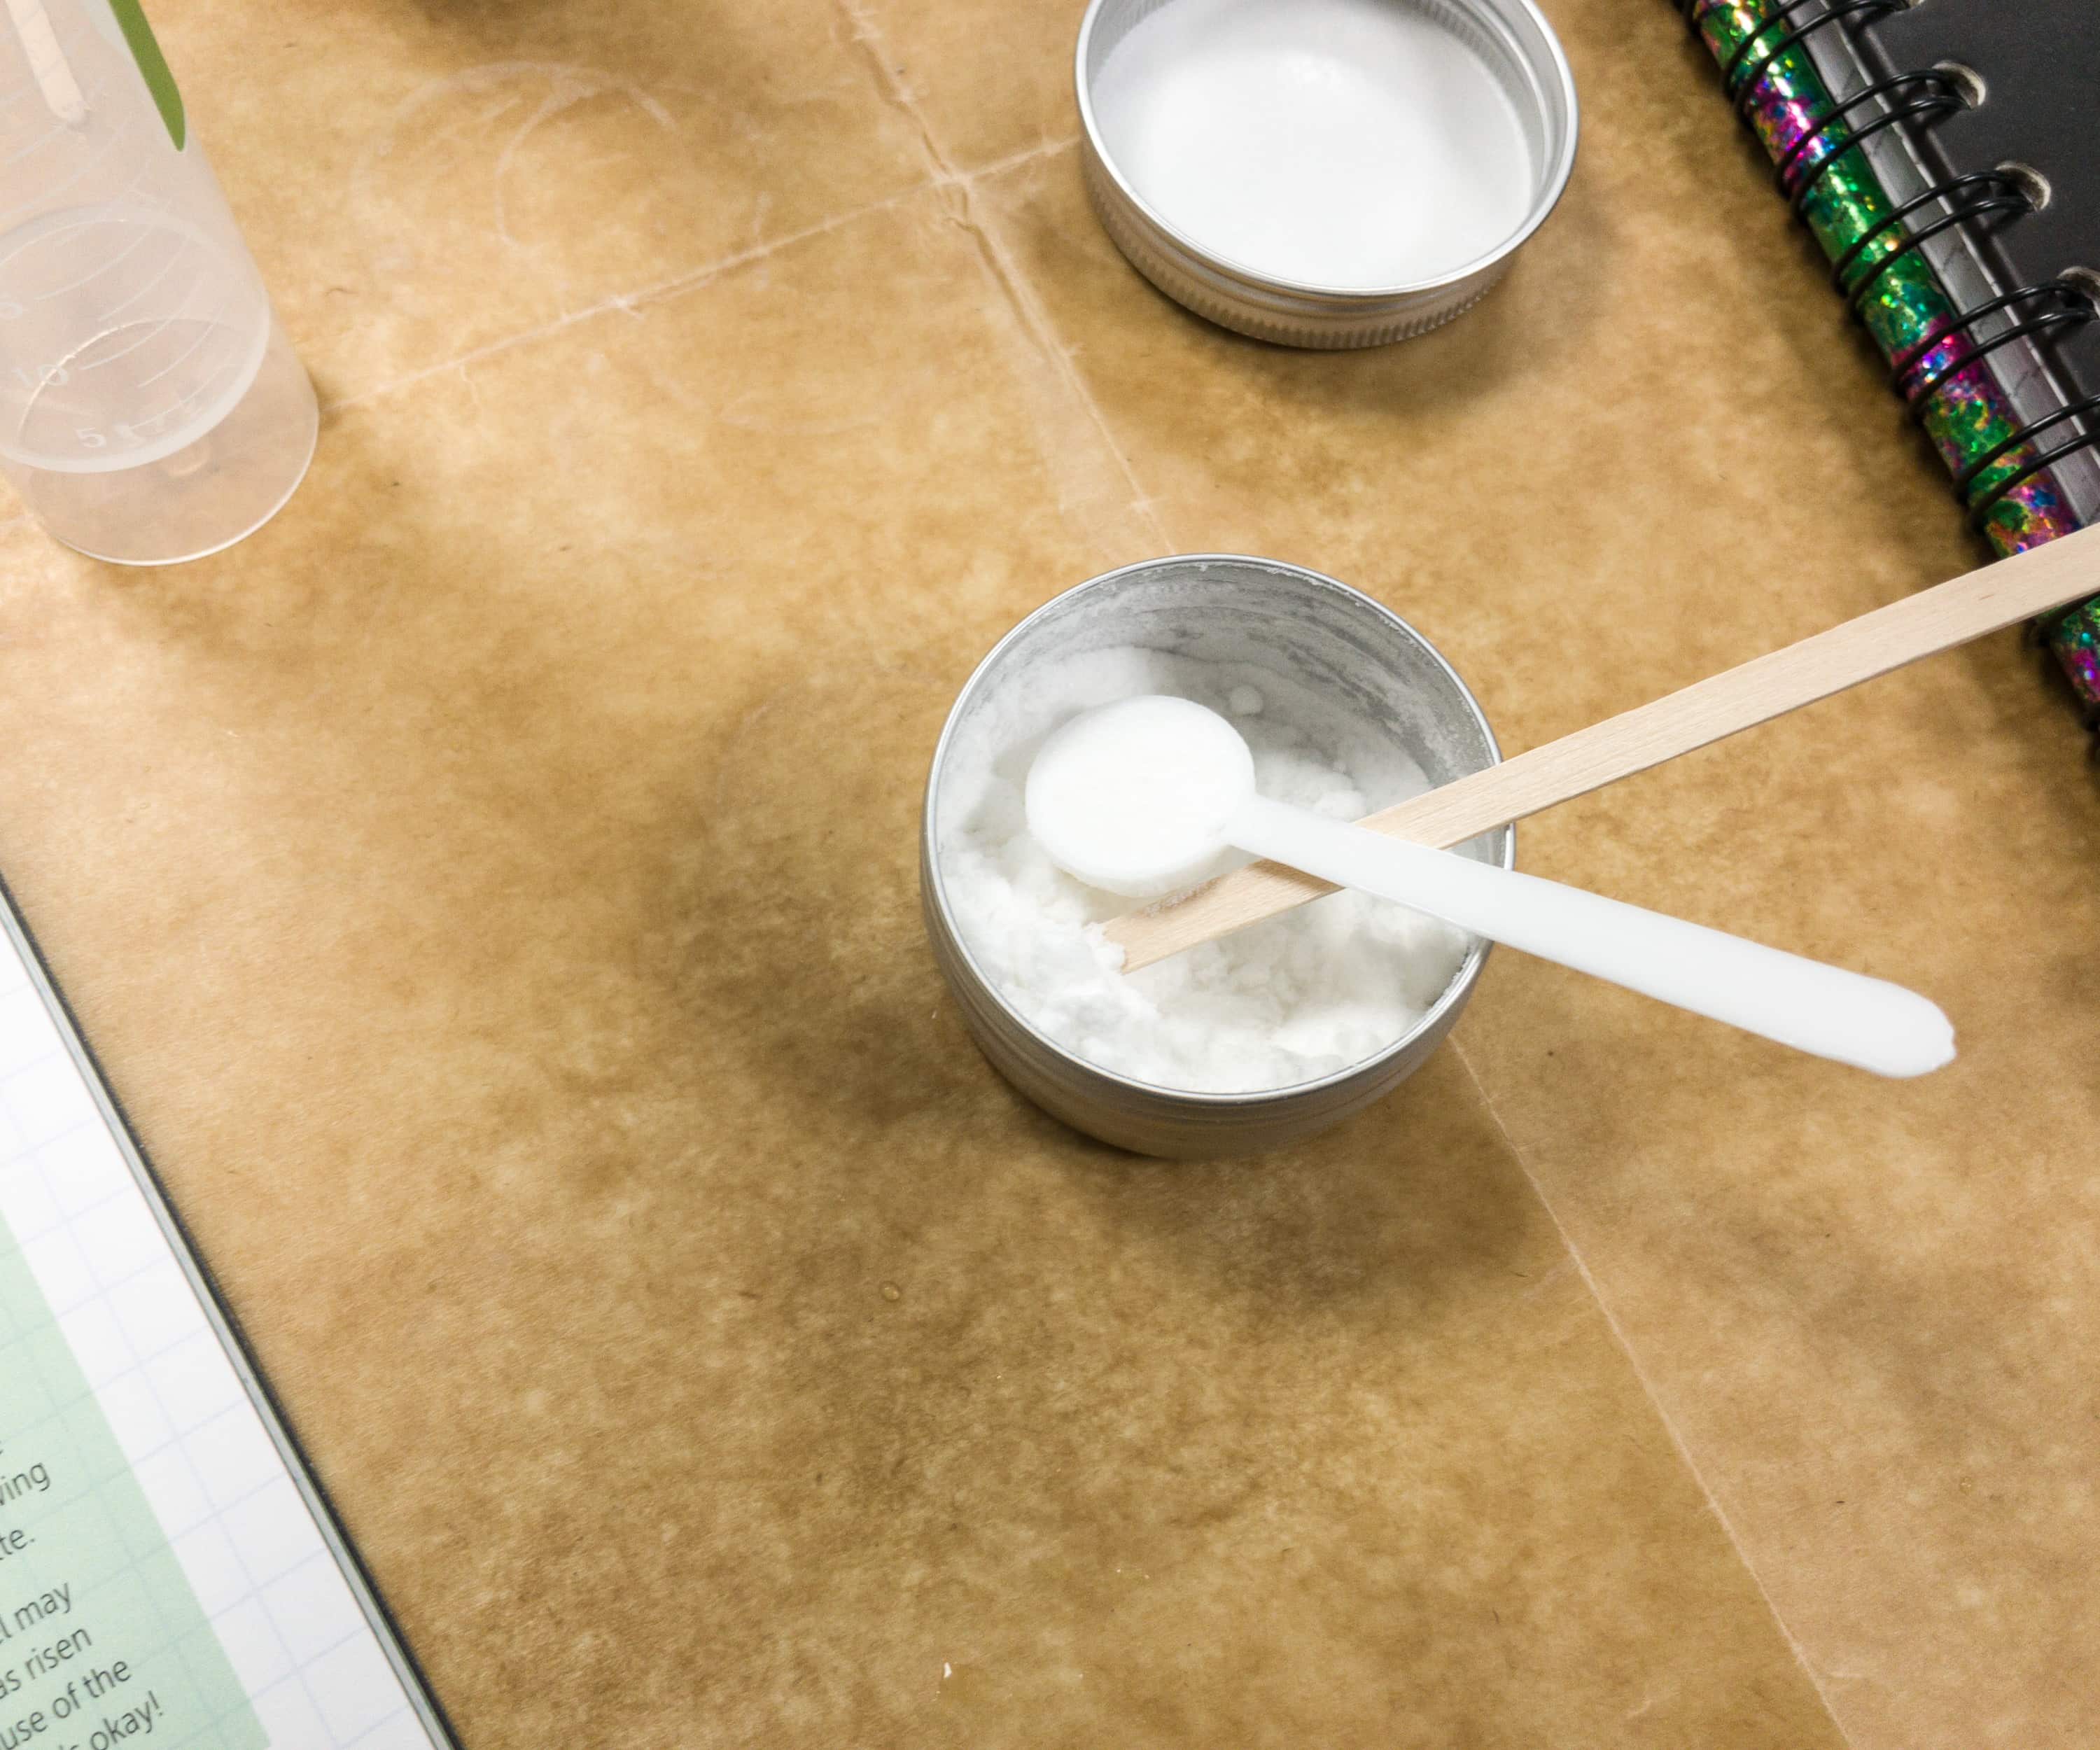
We also measured some ascorbic acid that we will be mixing with the solution.
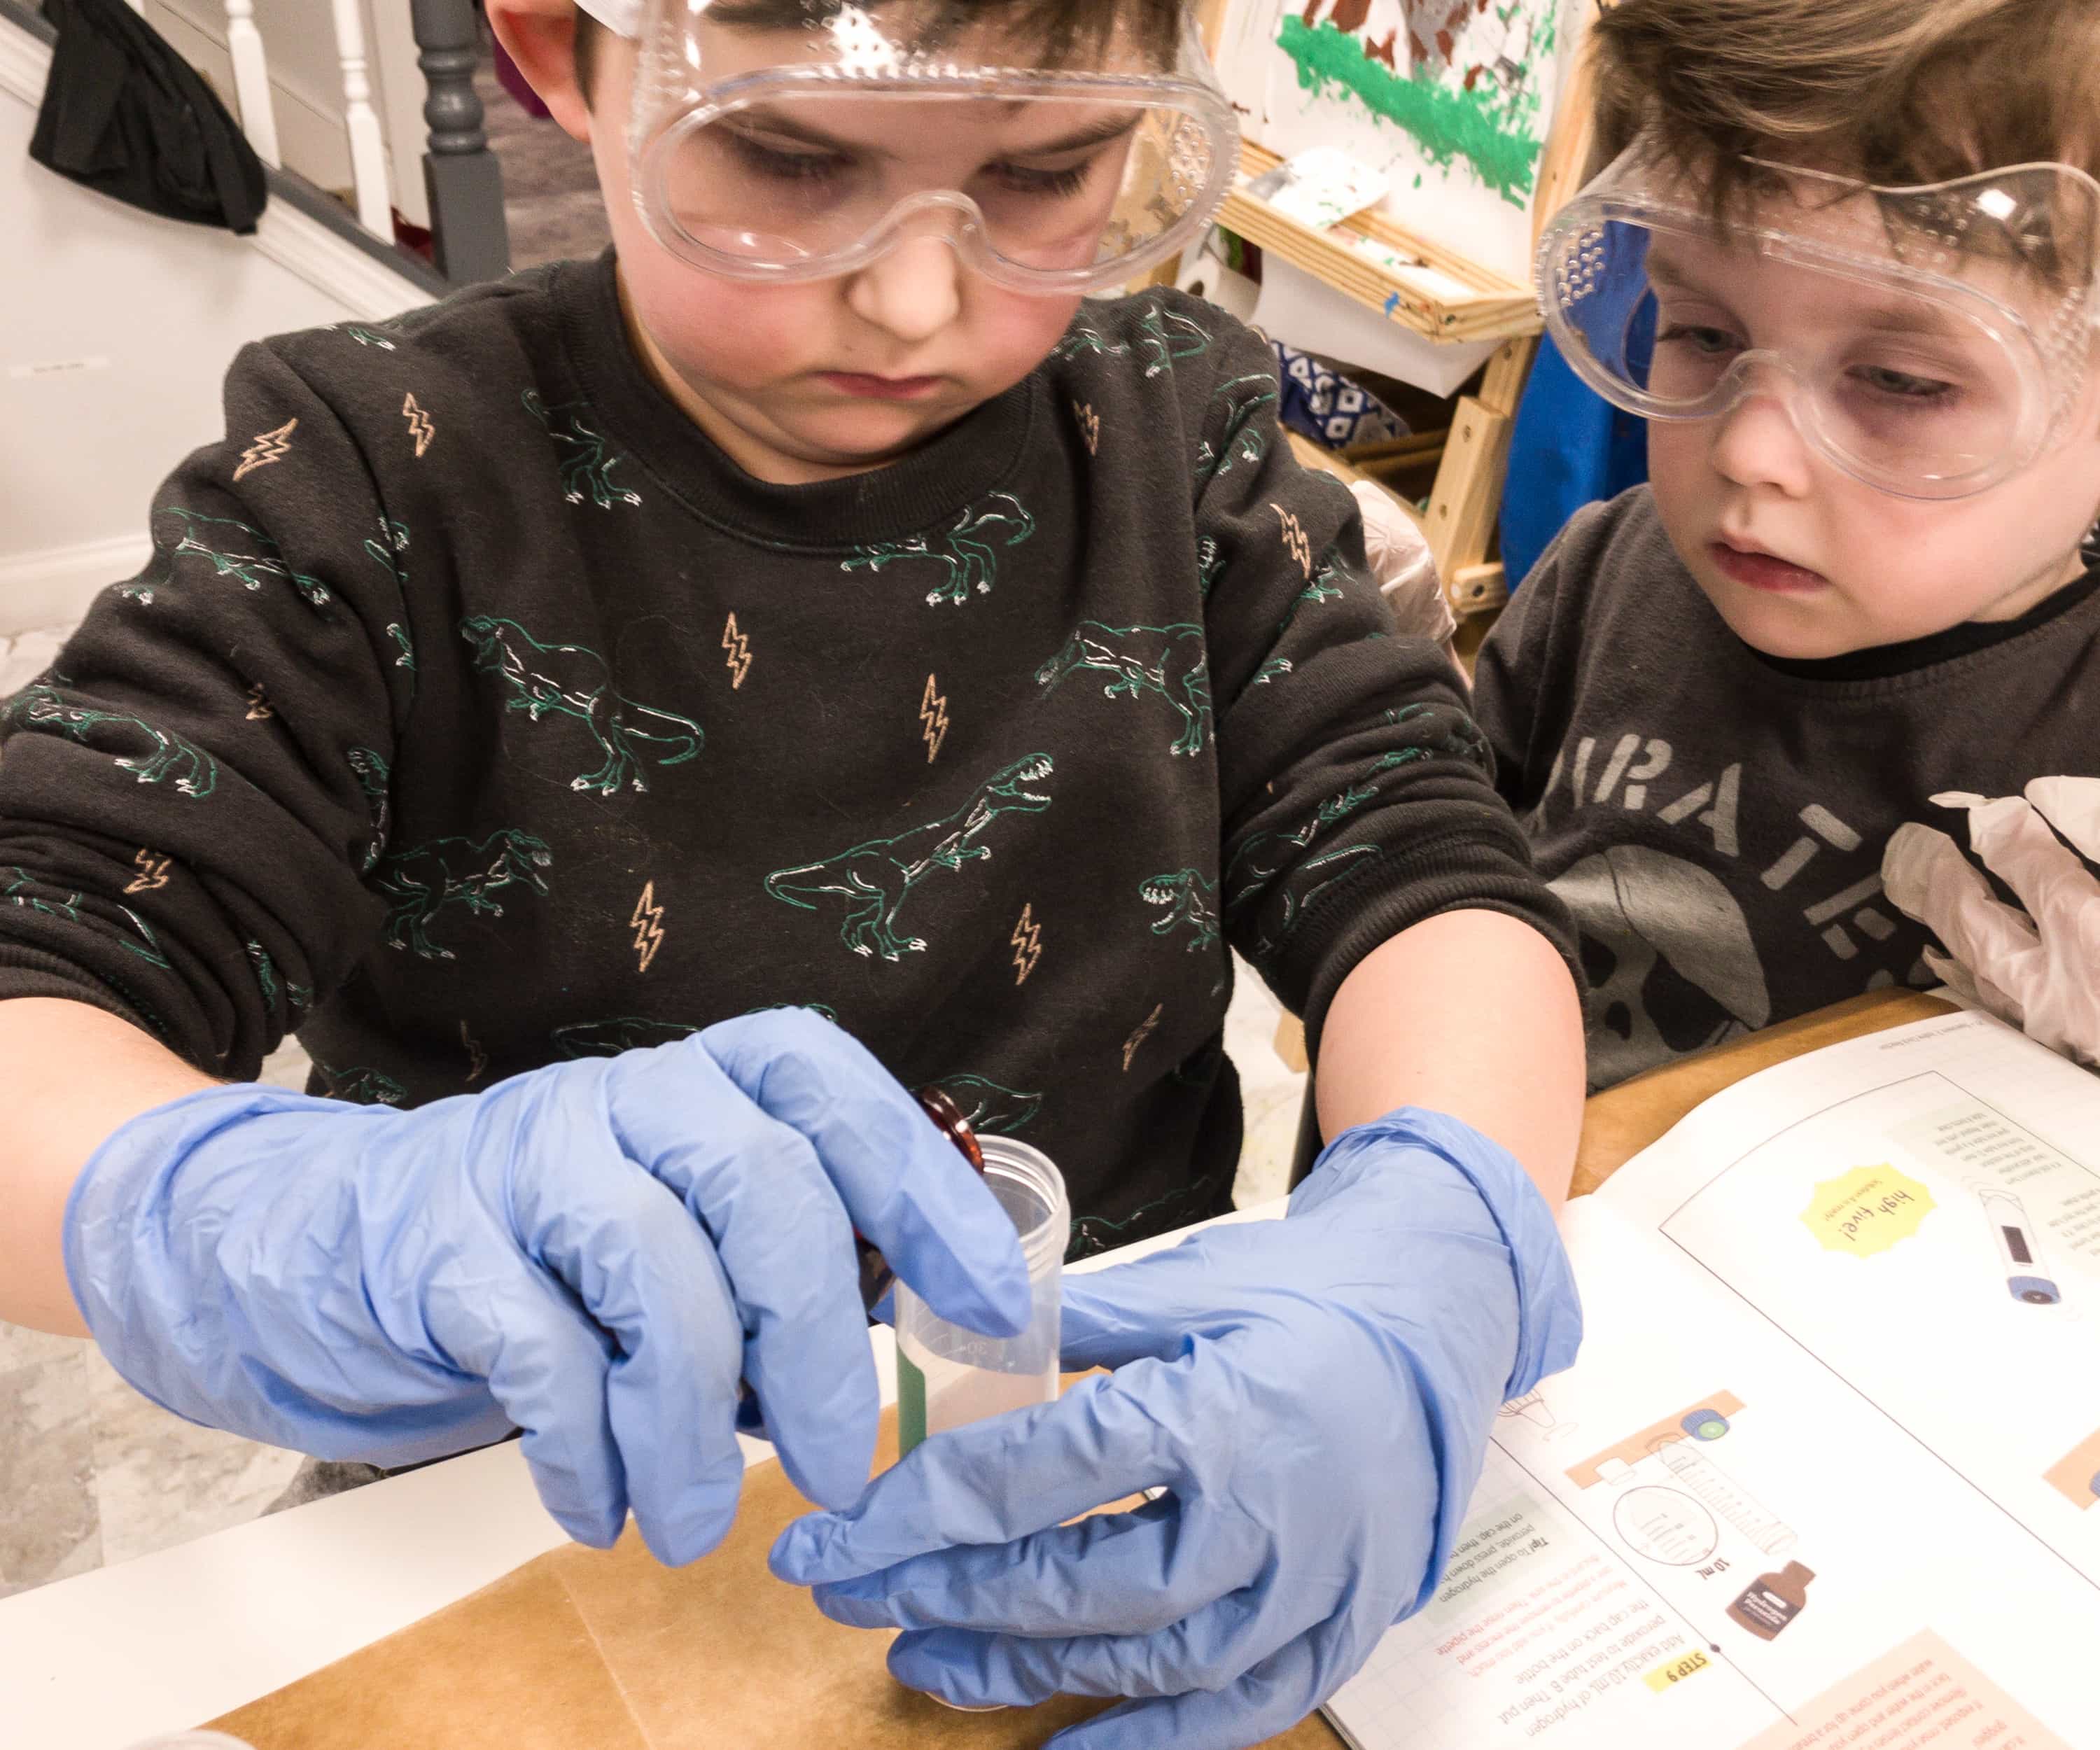
In another test tube, we mixed the starch solution with hydrogen peroxide.
We are now ready to mix everything on the beaker (after quite a bit of prep!).
As we mix them, two reactions are actually occurring, one fast and one slow.
Nothing much has changed since we started mixing them all up…
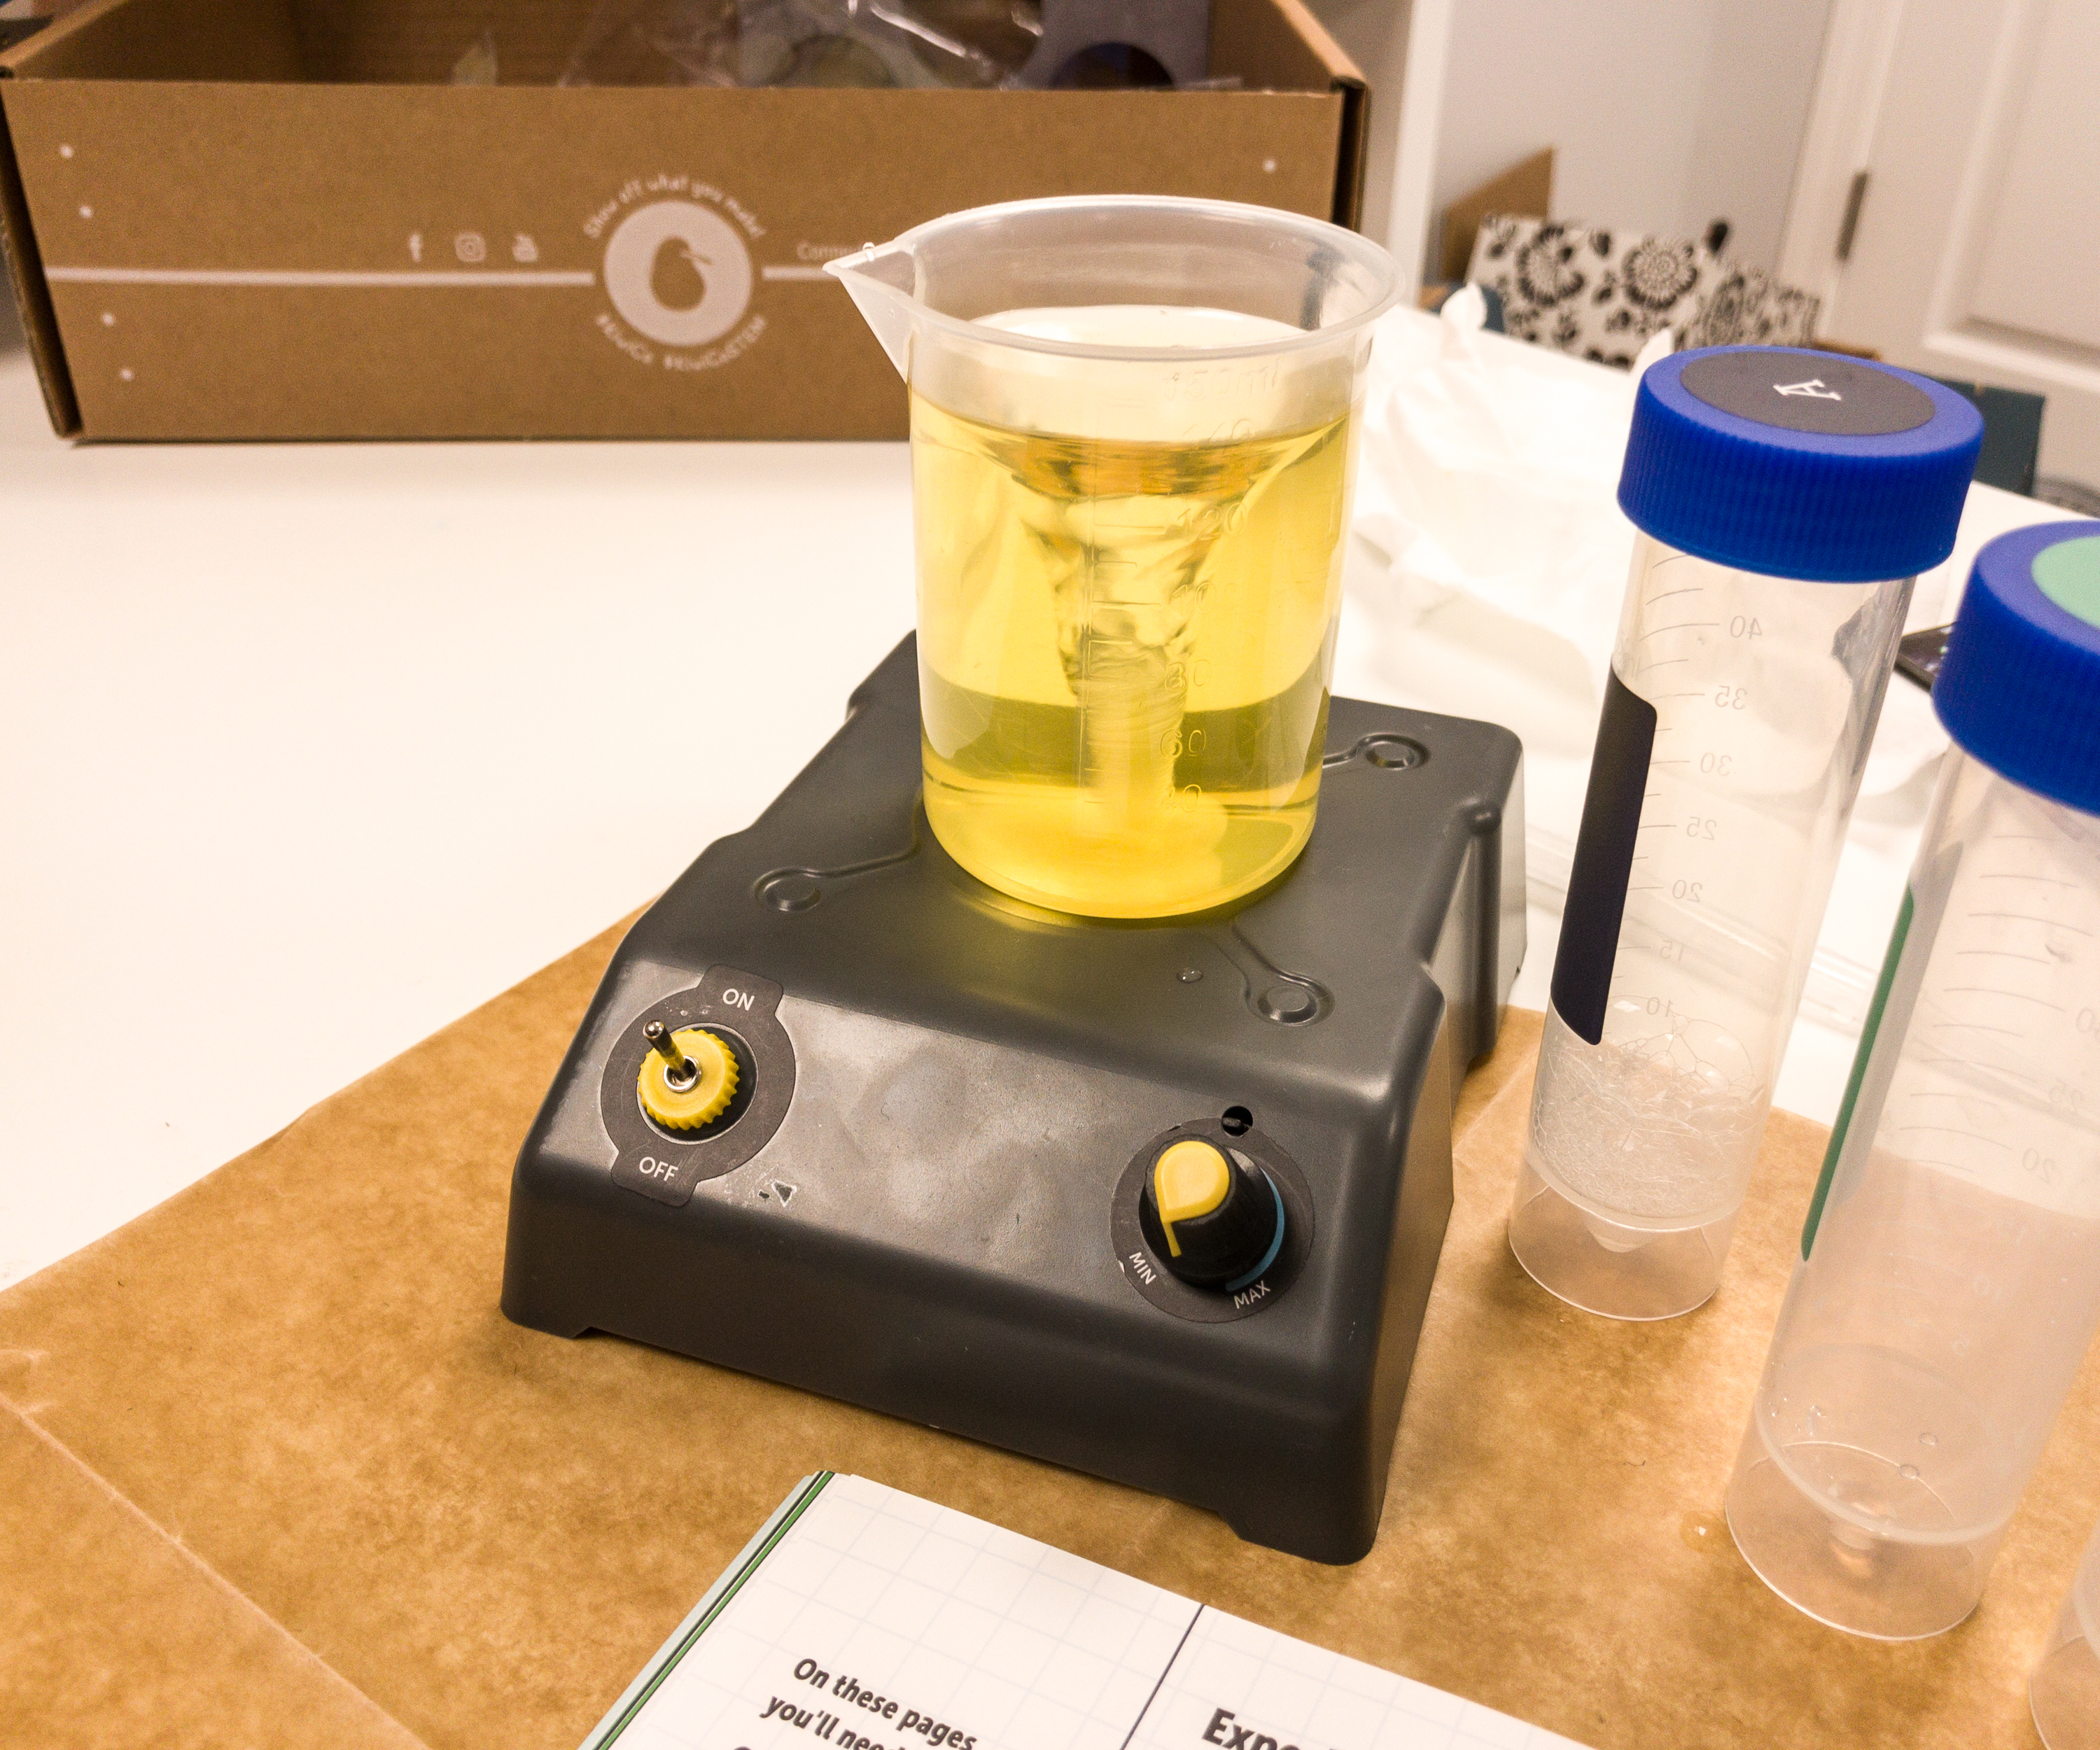
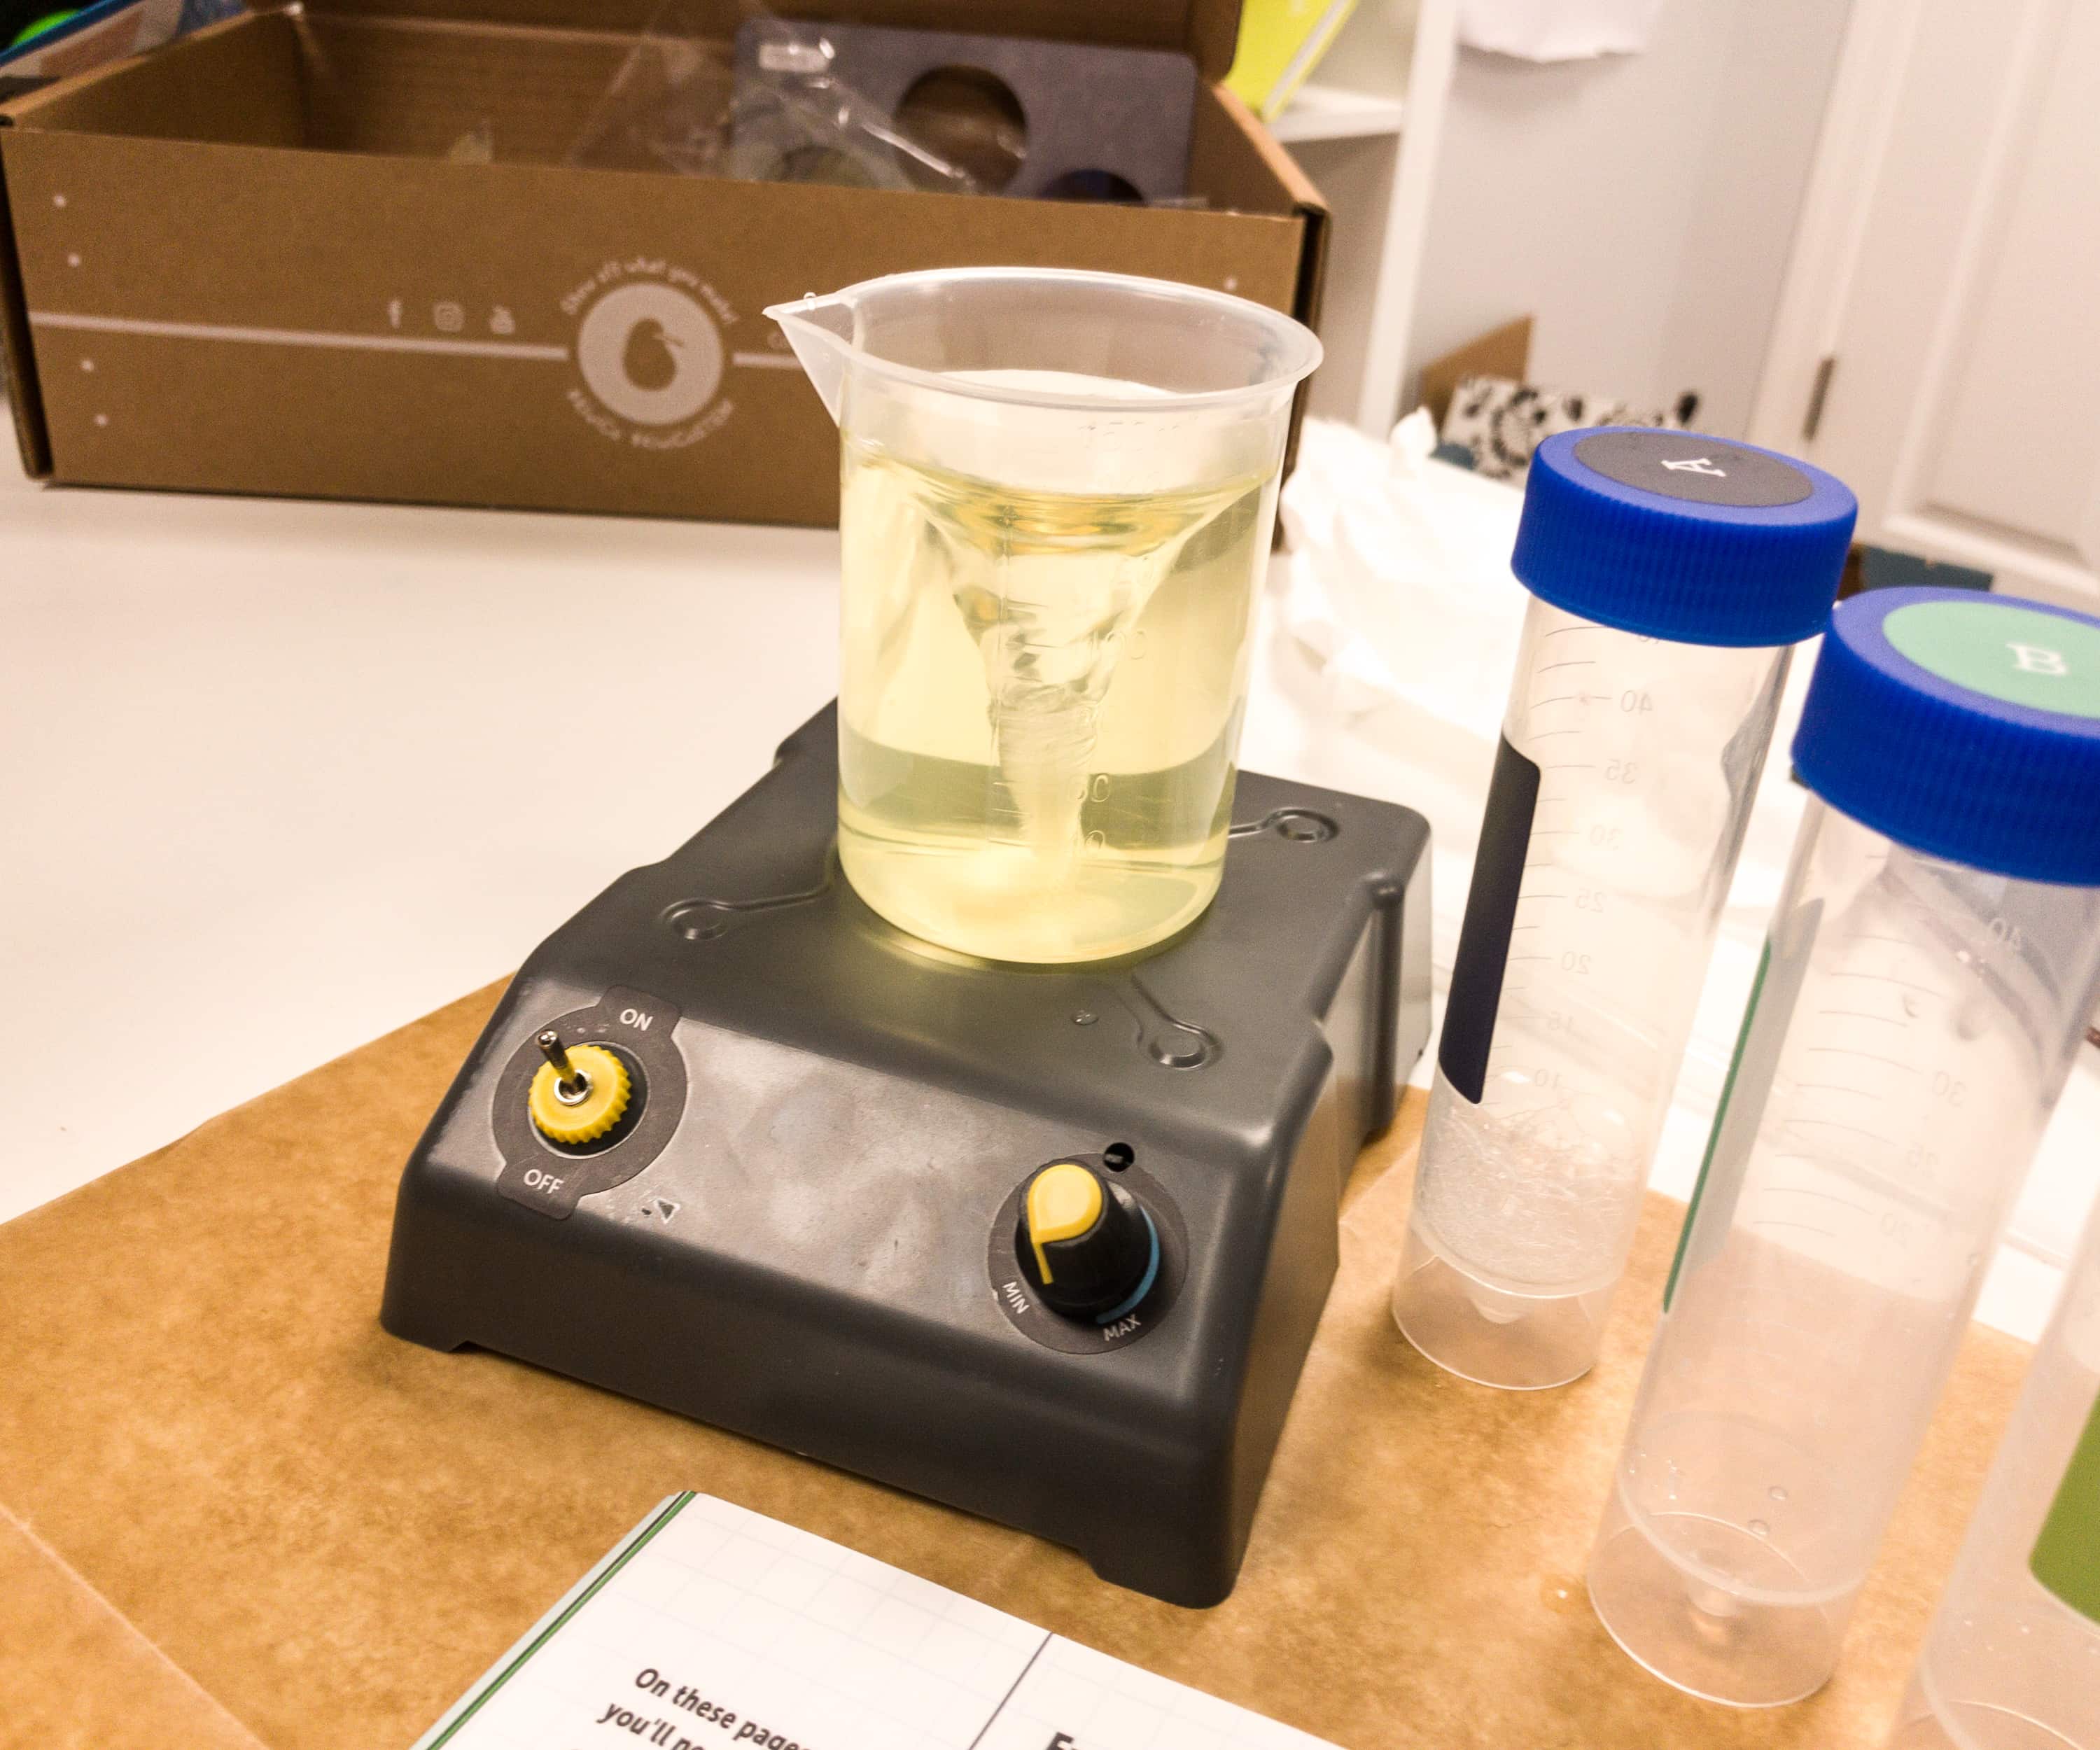
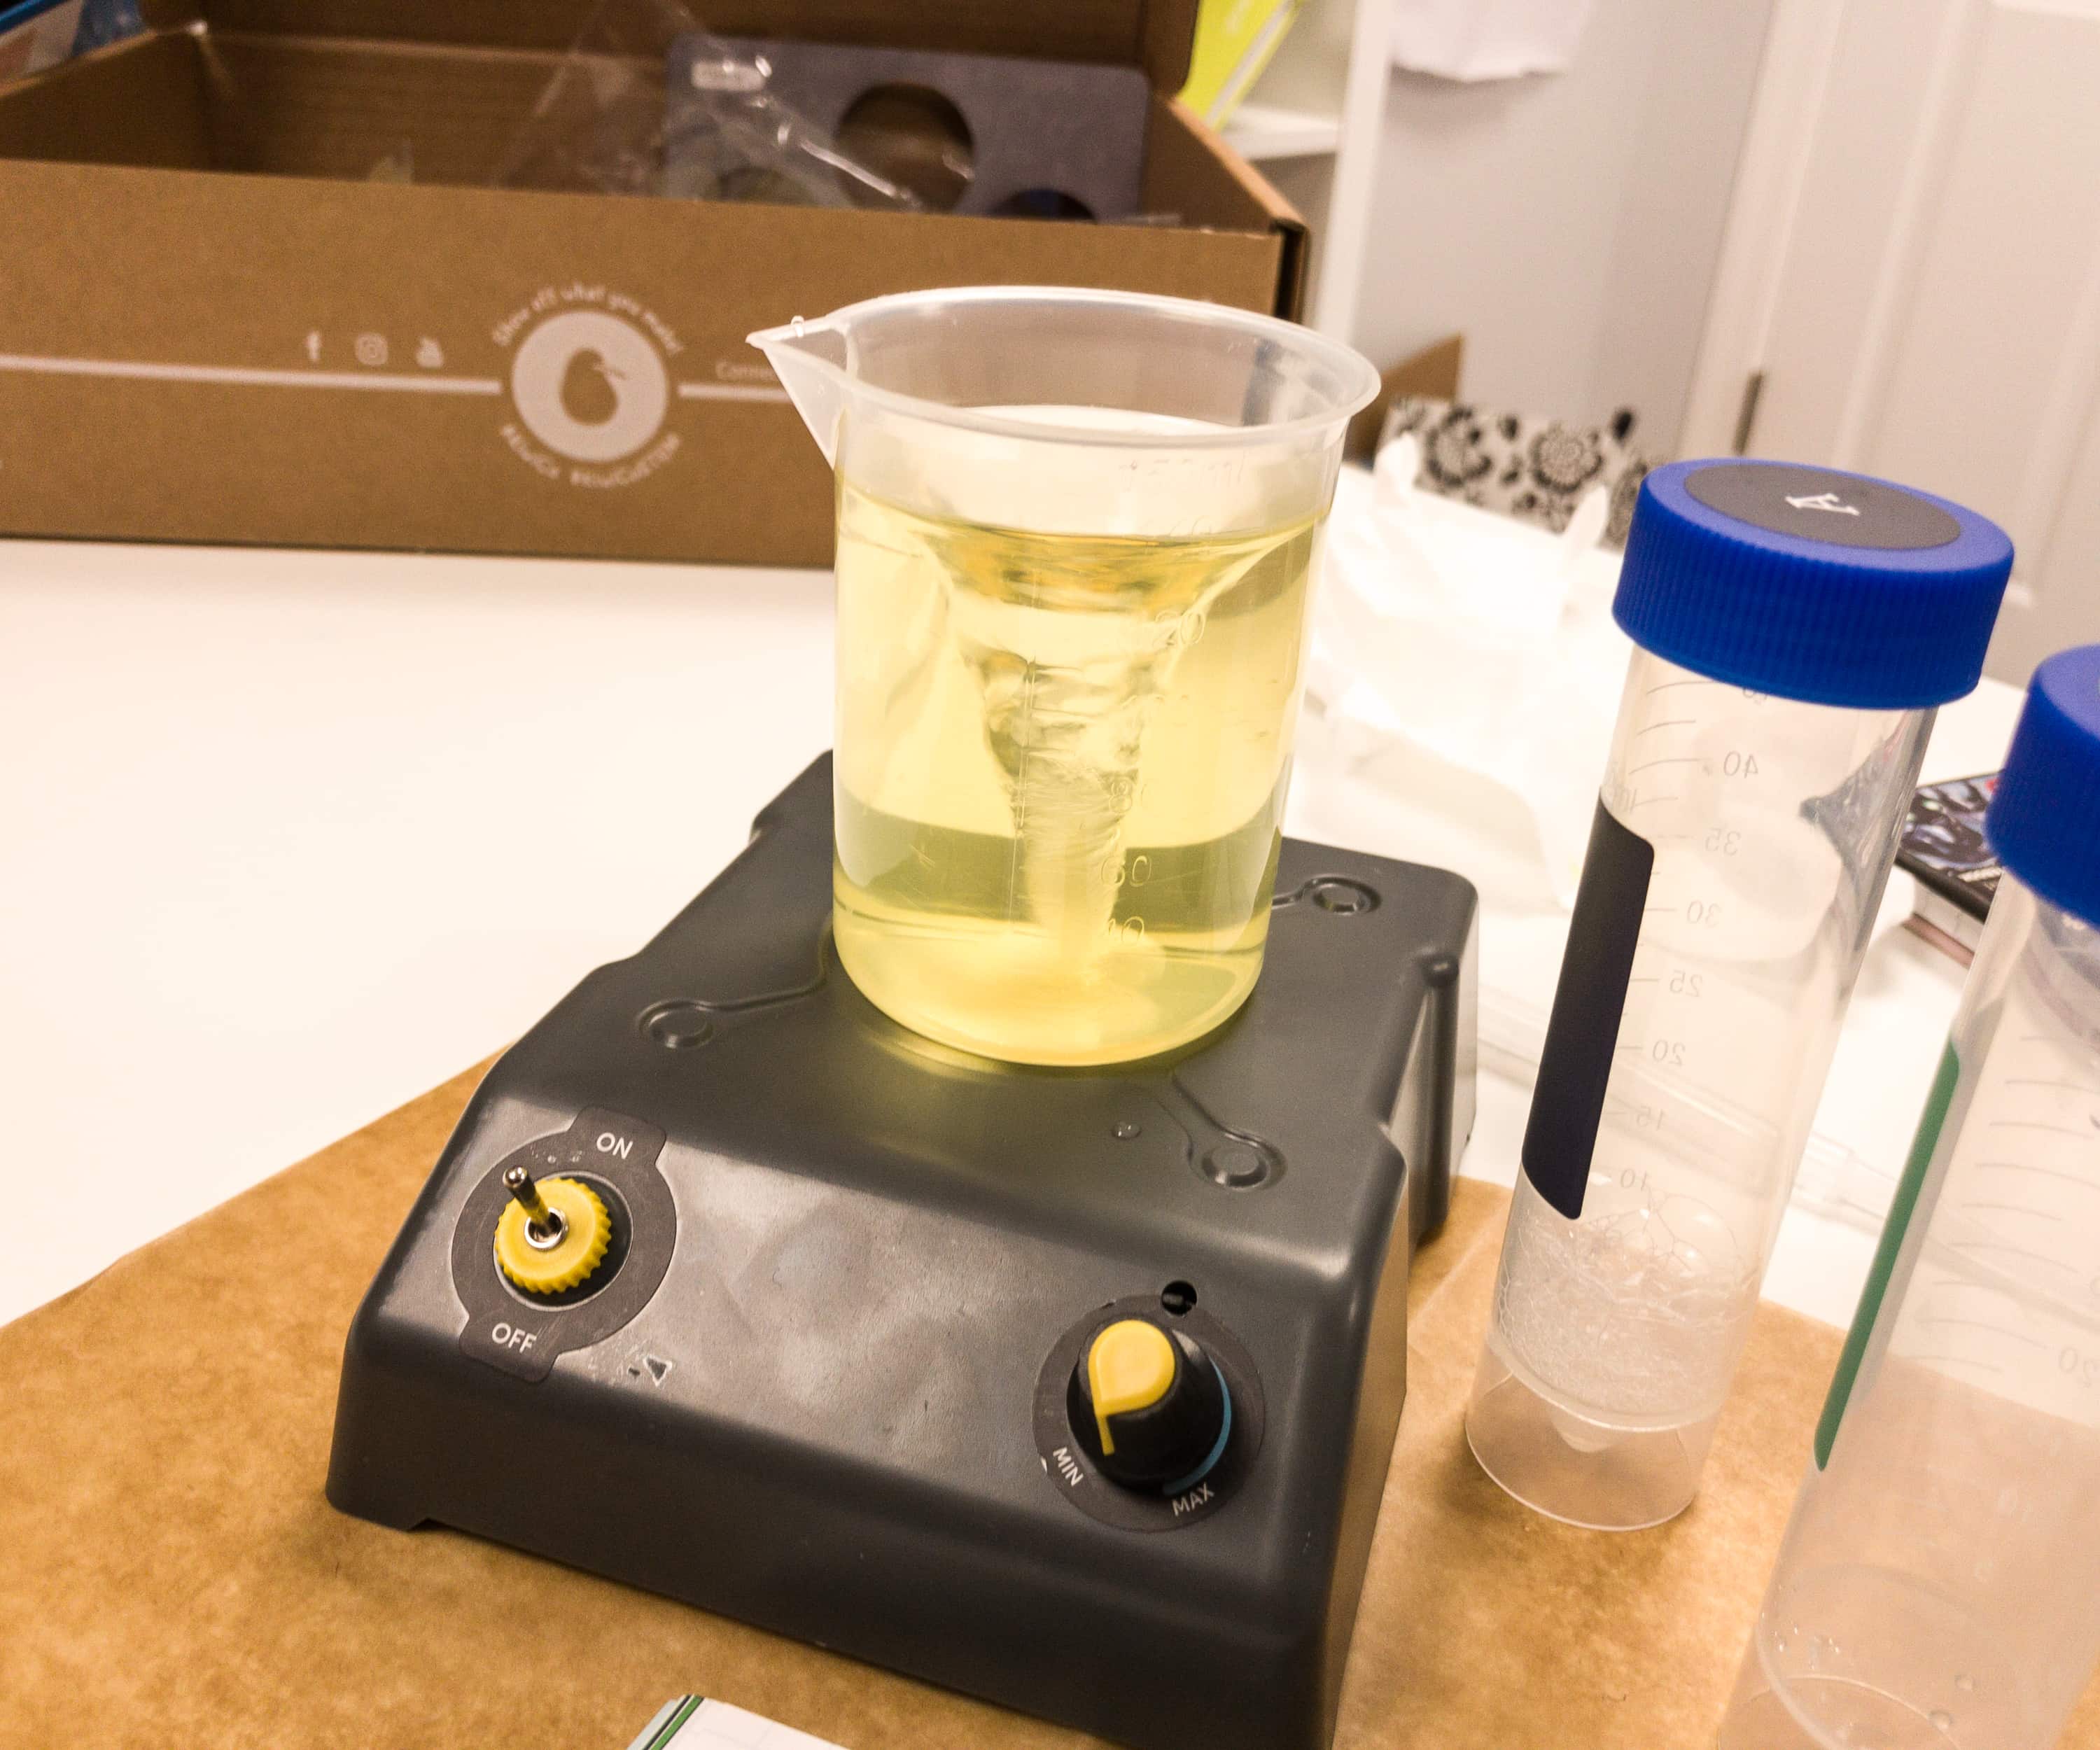
As time goes, the solution is becoming more yellow, an indication that all the hydrogen peroxide is used up.
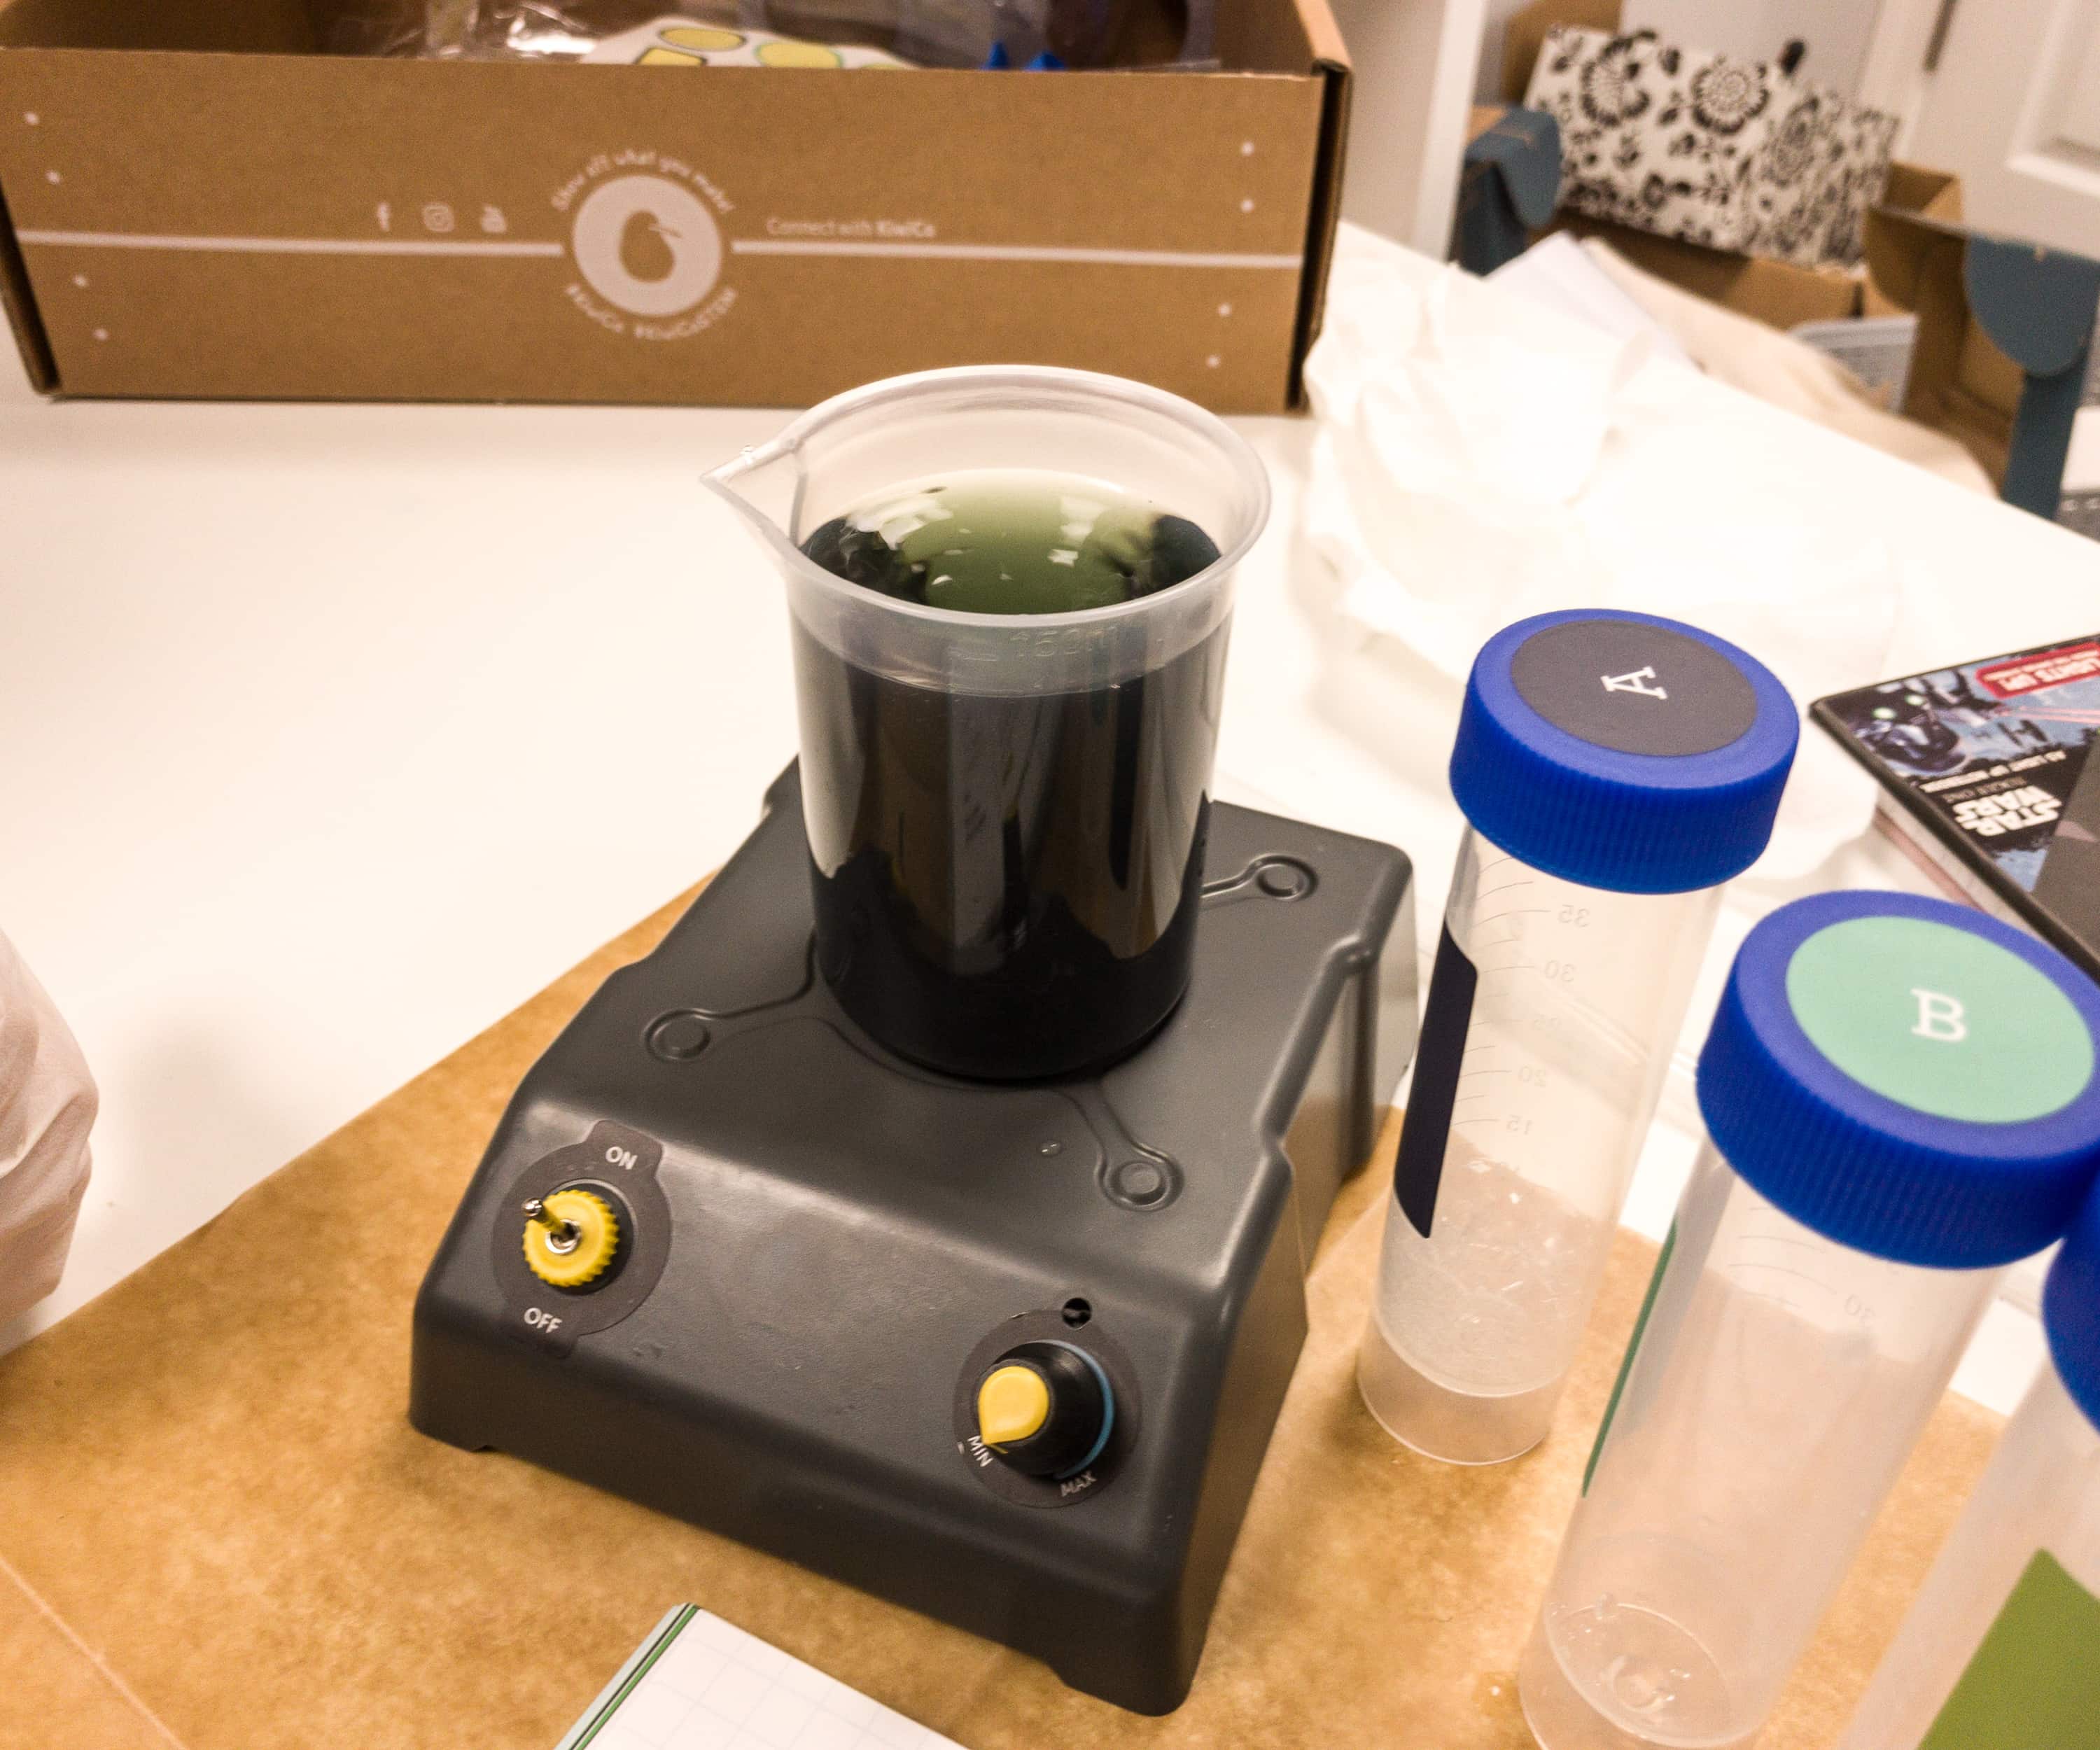
The end mixture turned blue-black, and it is because the starch has taken over.
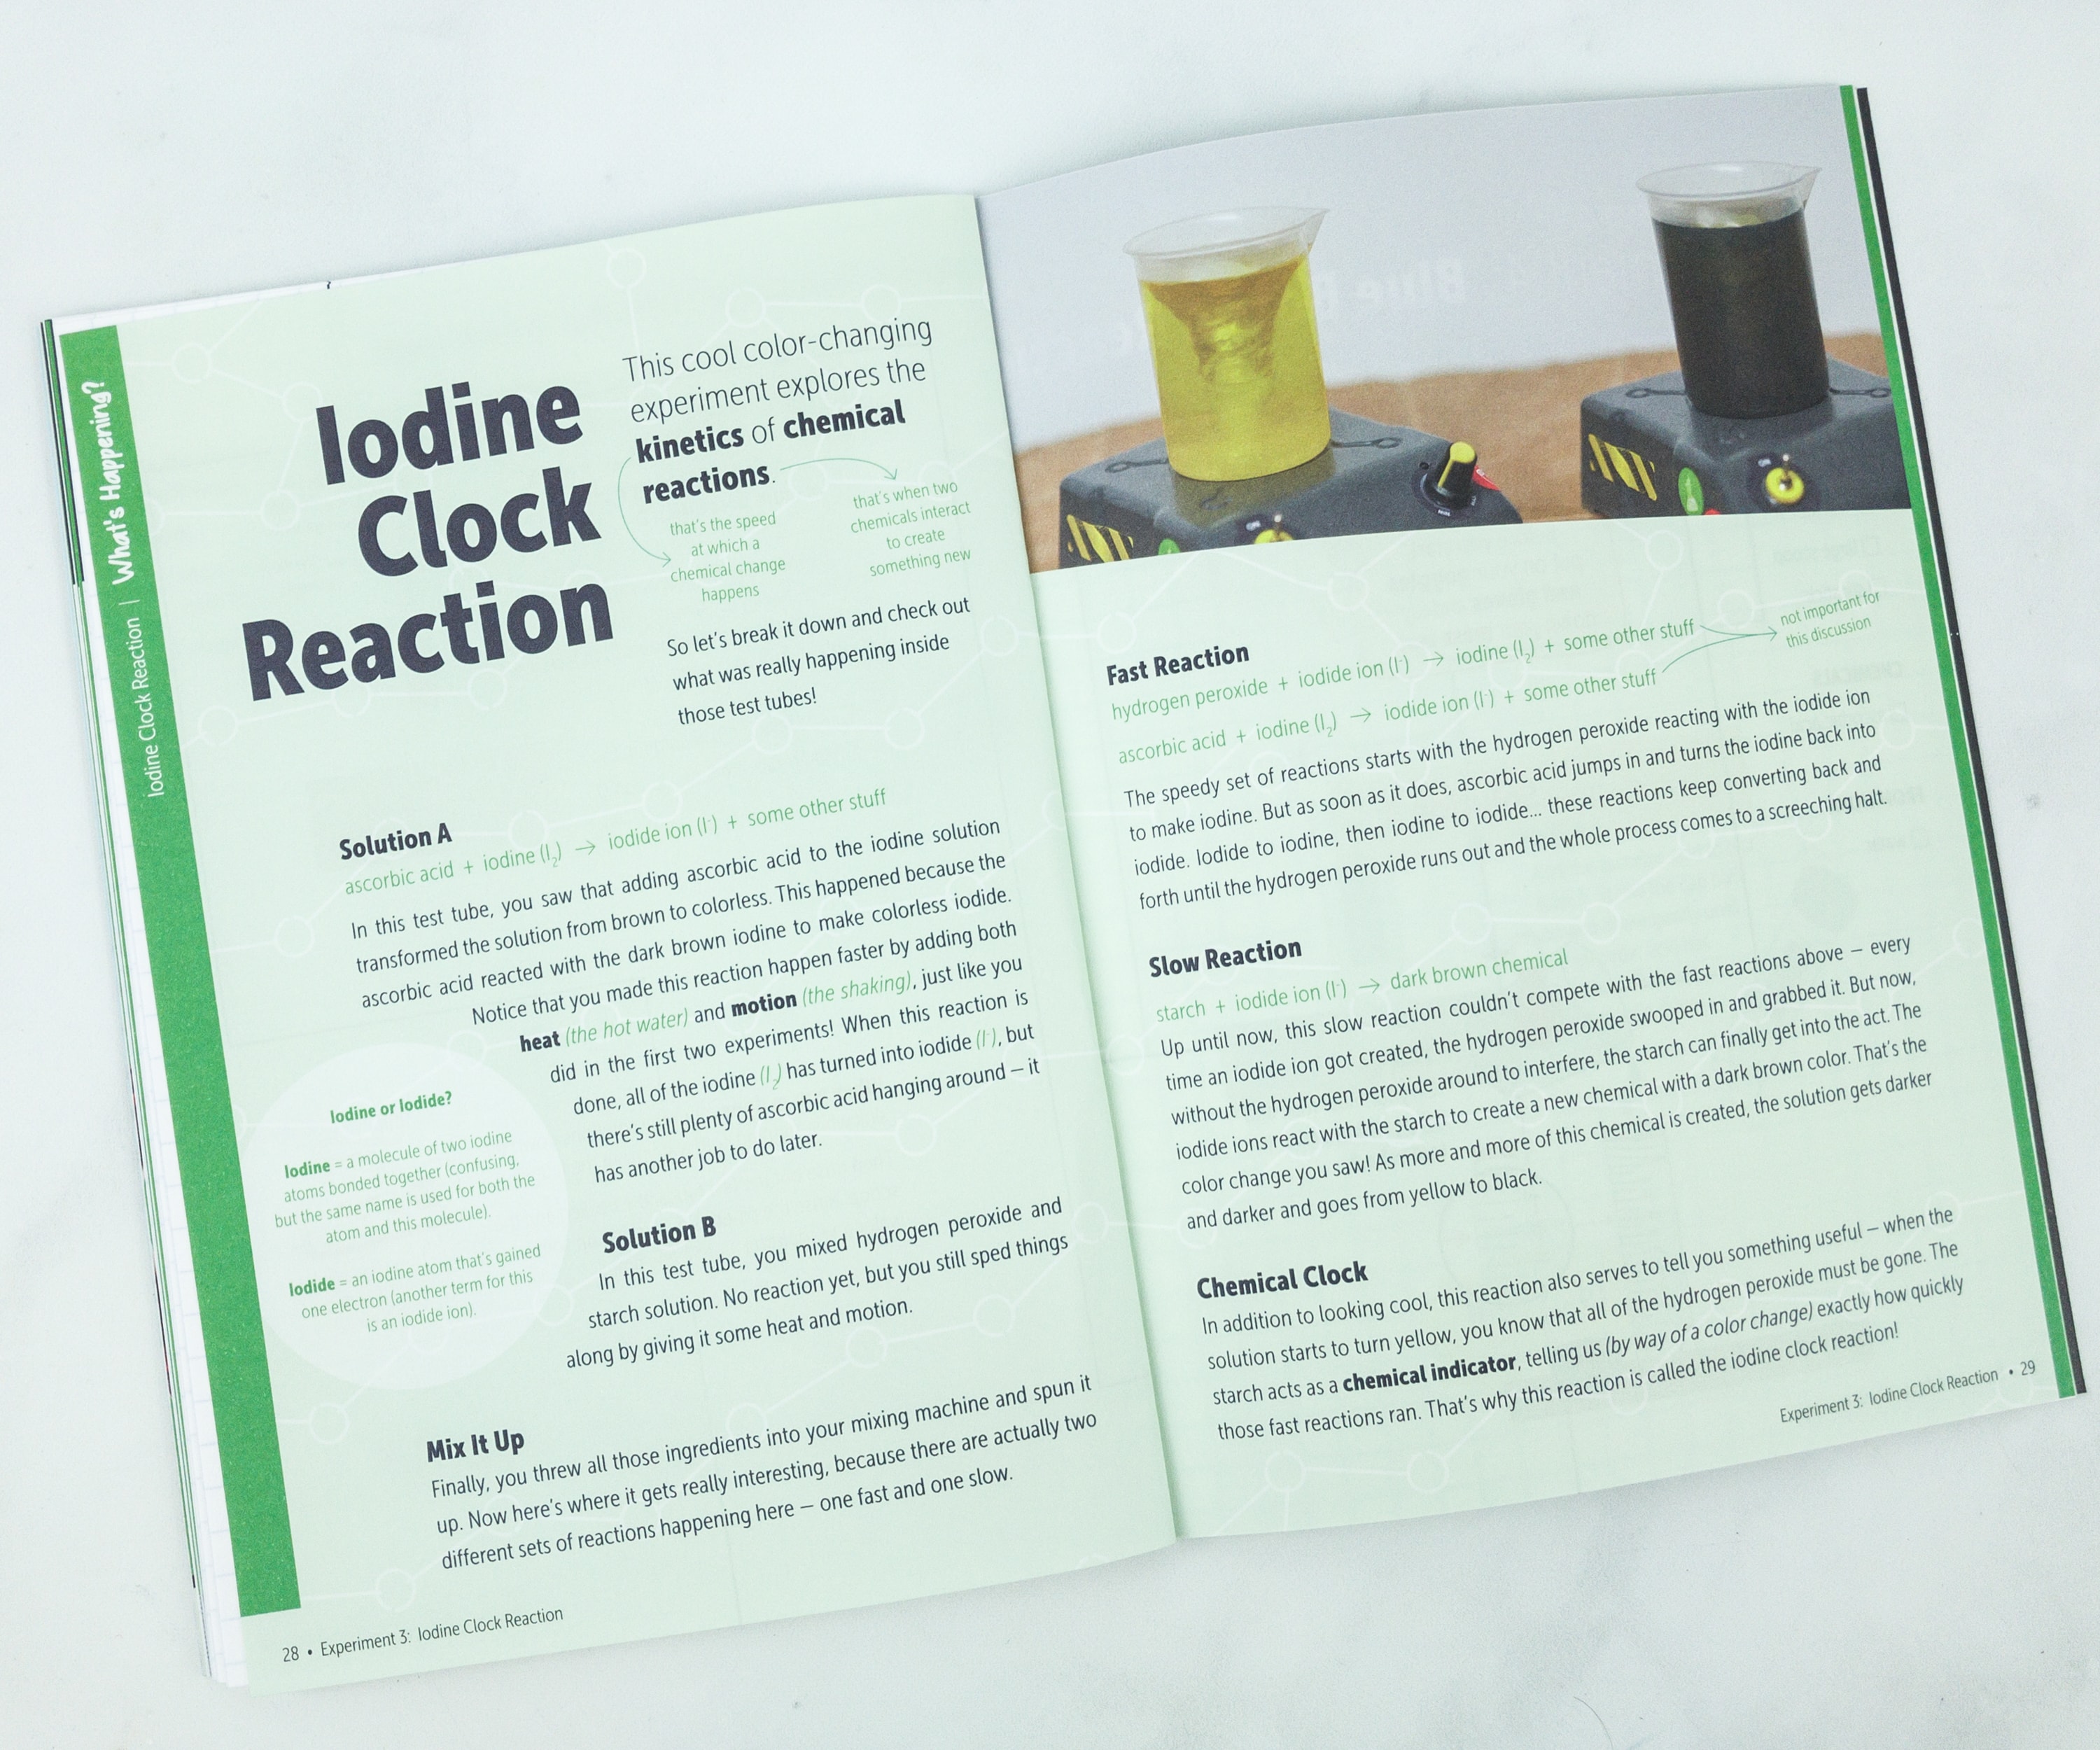
To know more about the reactions for the Iodine Clock, the booklet has a lot of things to say. Just read on and you’ll see how wonderful the reactions you just witnessed are! We love how there’s a complete scientific explanation – it’s not just science tricks!
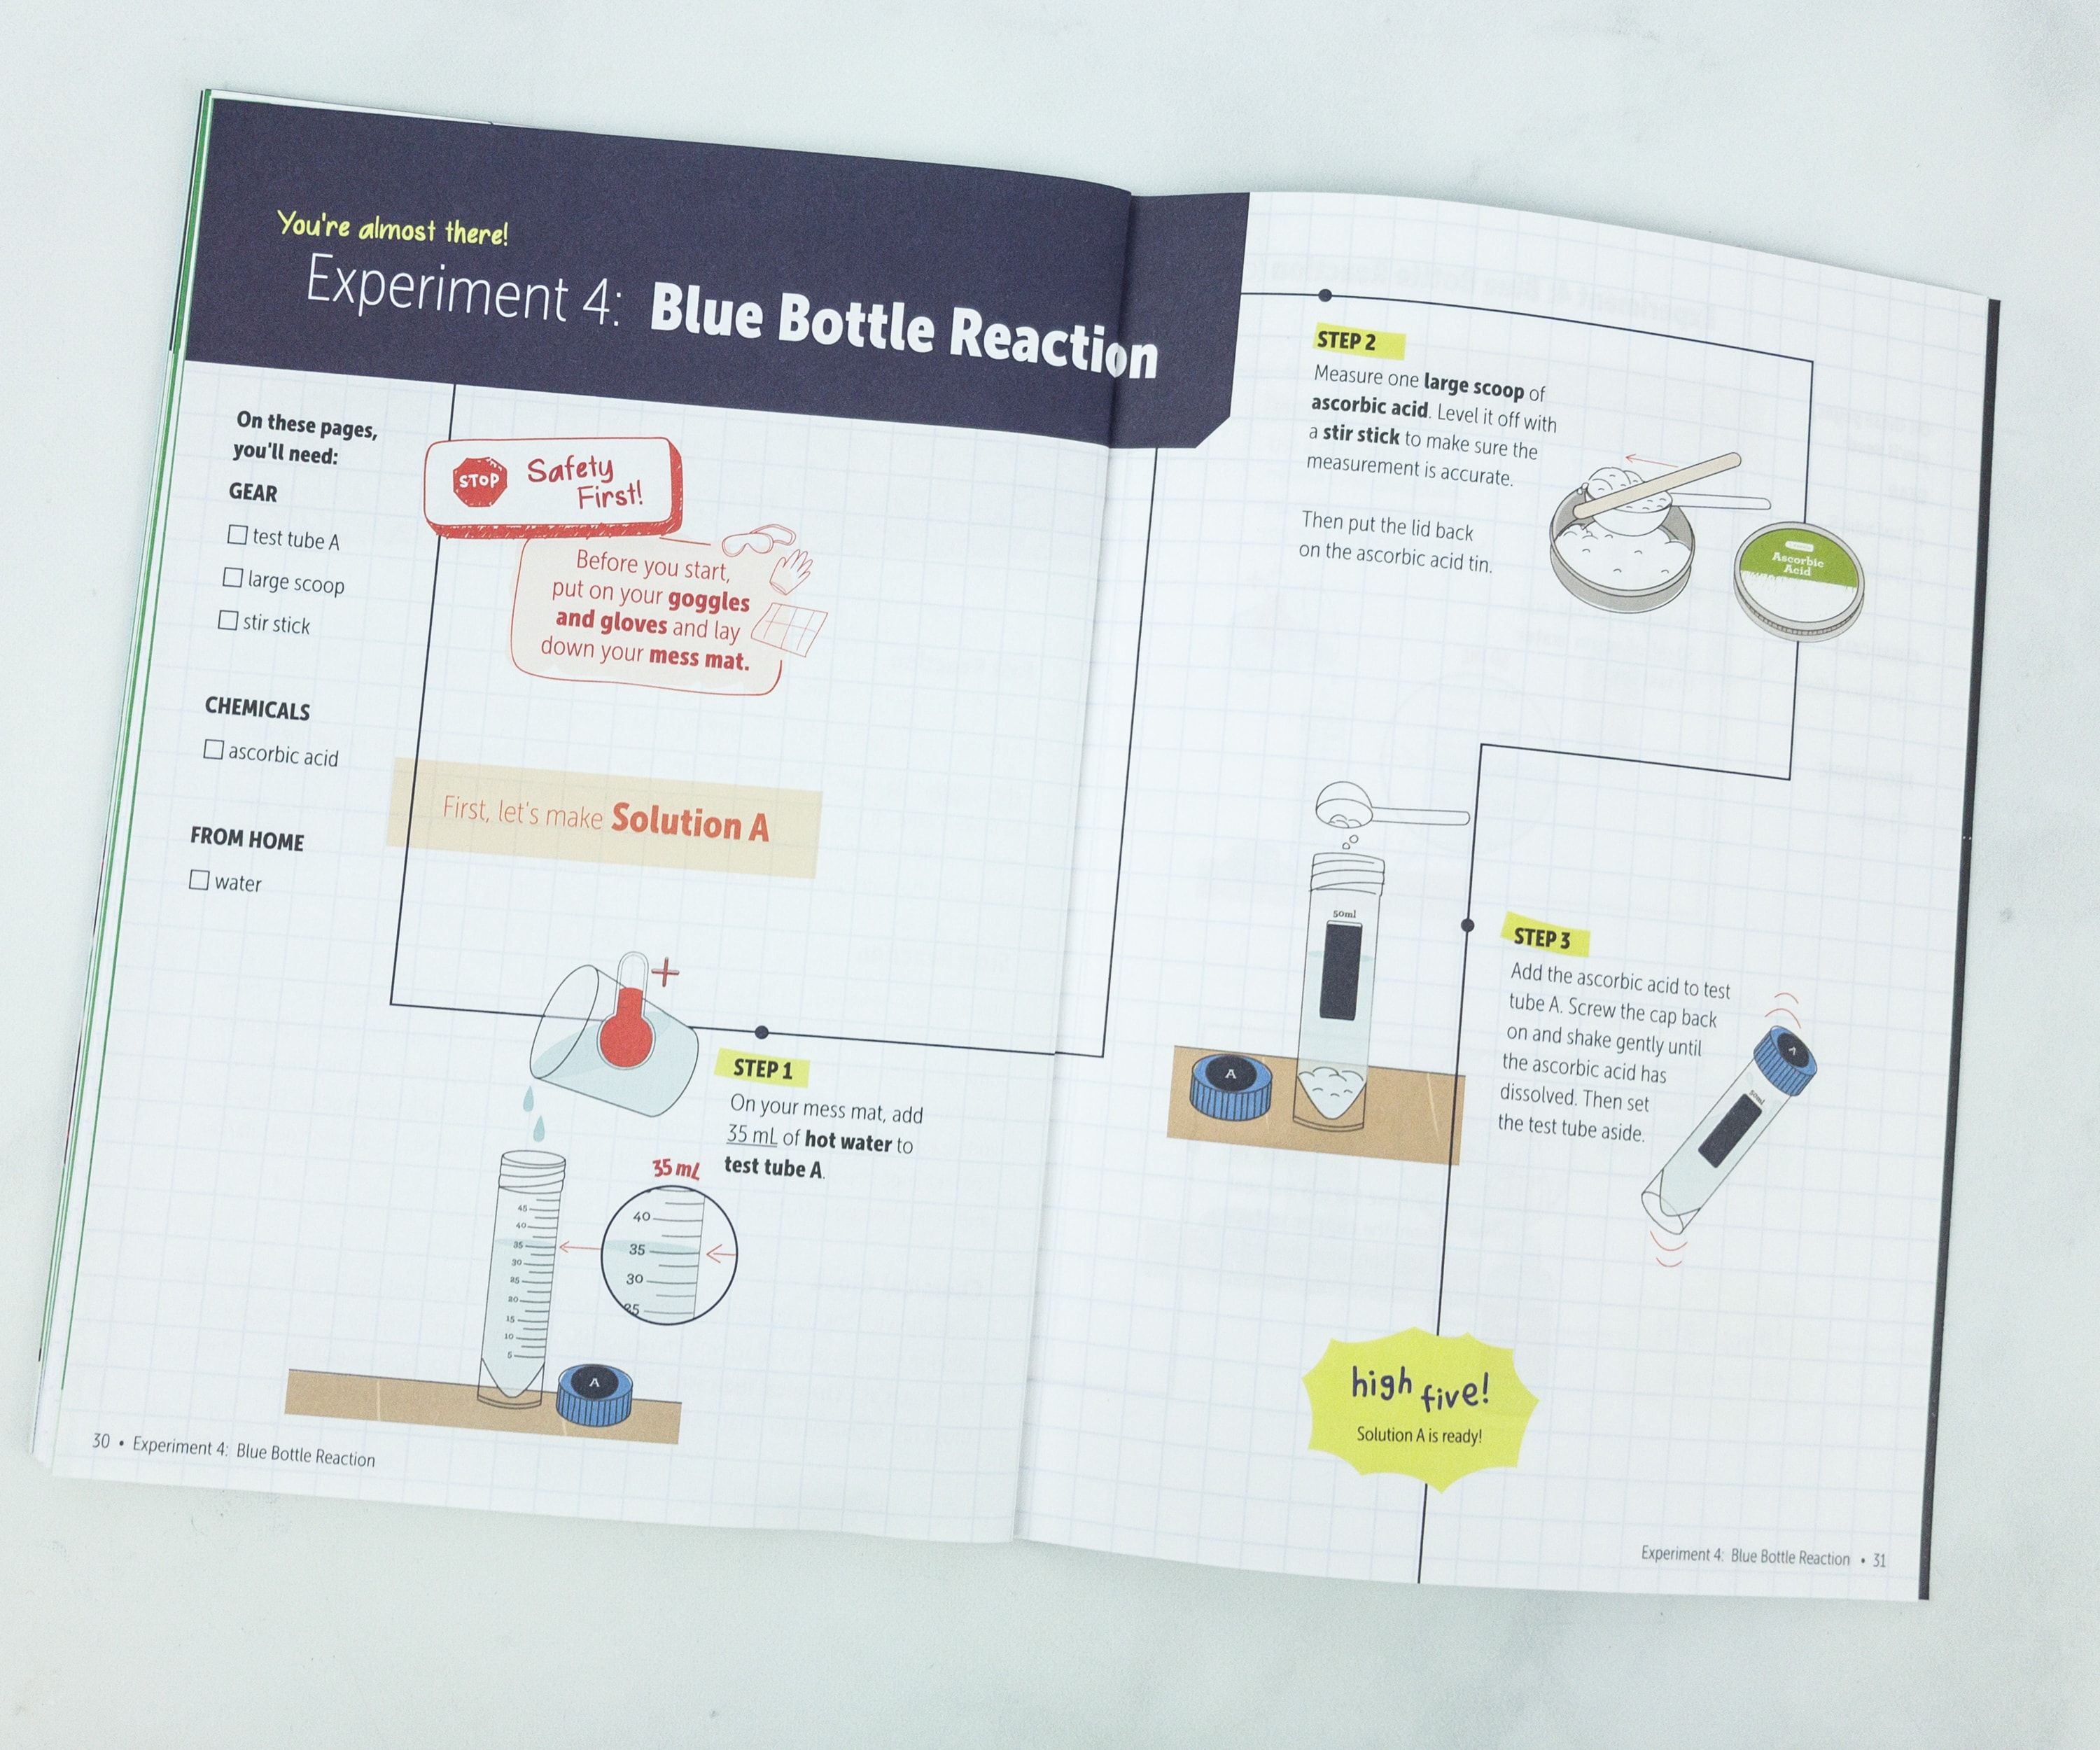
The fourth experiment calls for the use of ascorbic acid. First, we prepared the ascorbic acid solution (A).
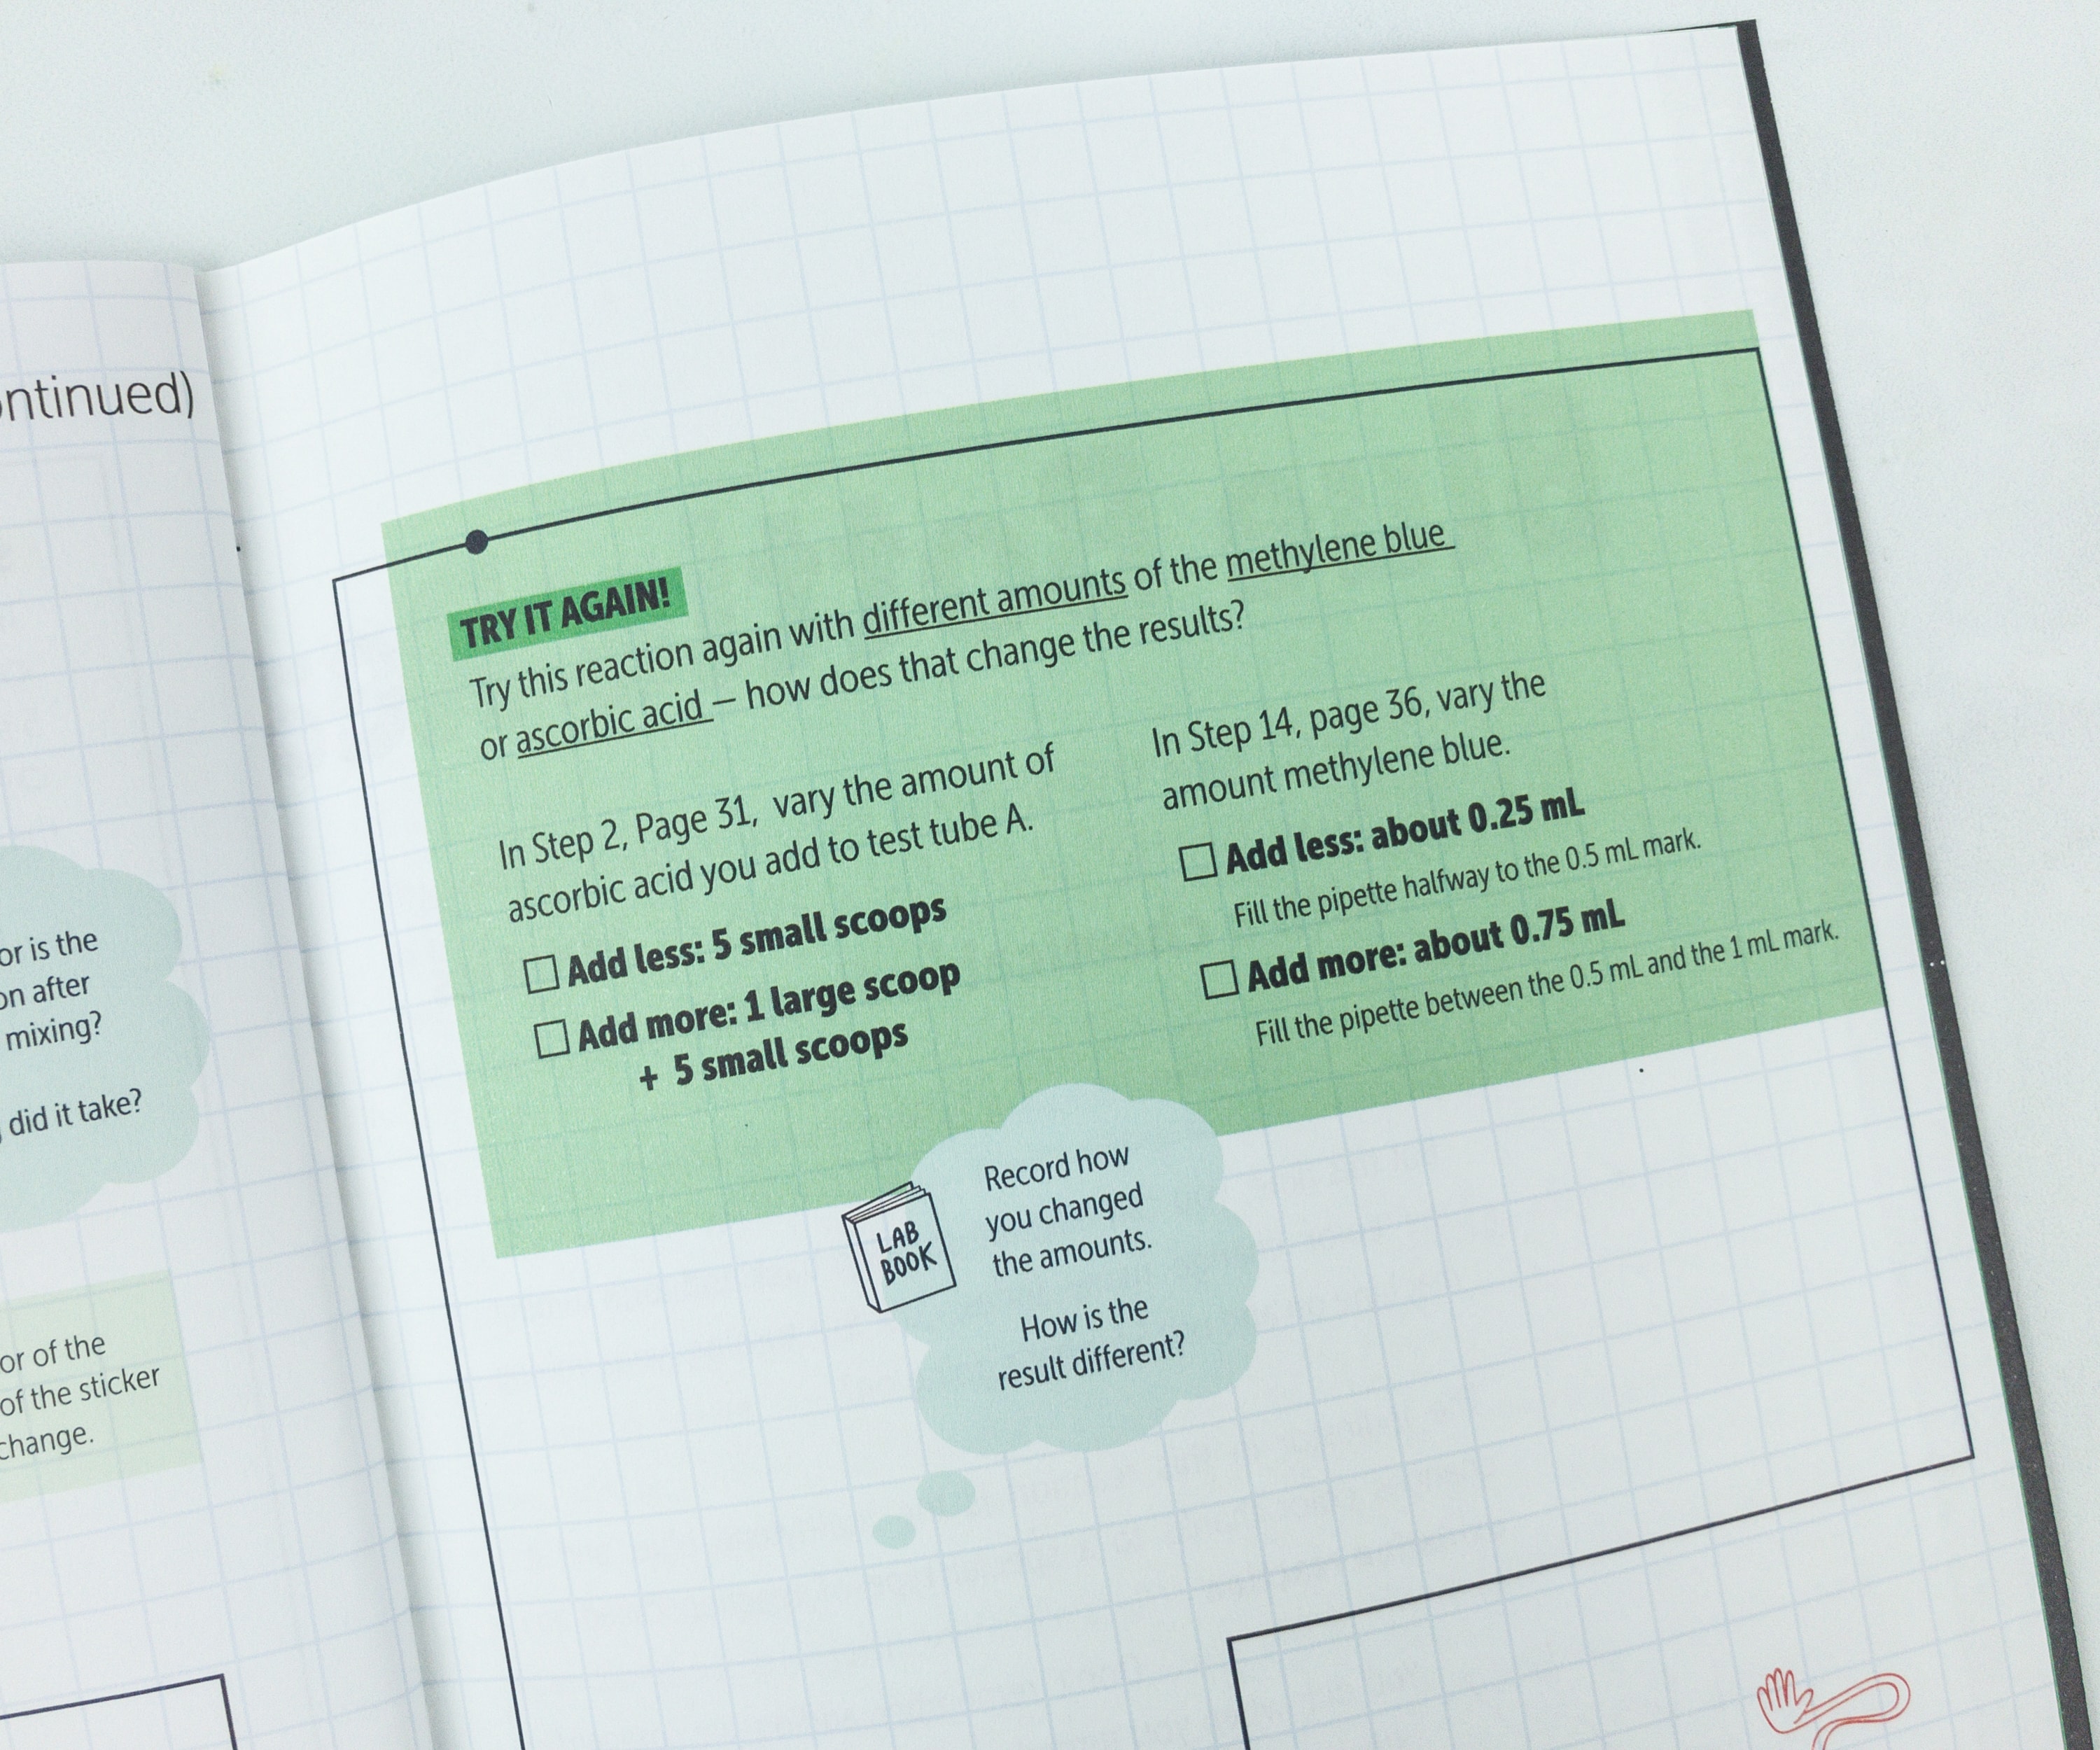
Also, we used a chemical indicator in this experiment, which is the methylene blue.
The solutions are now ready! The reaction will also depend on how much of the ascorbic acid or methylene blue you will use.
The solution shifts from colorless to blue, as you incorporated oxygen to the mixture by turning the mixing machine on!
For this experiment, an oxidation reaction happens.
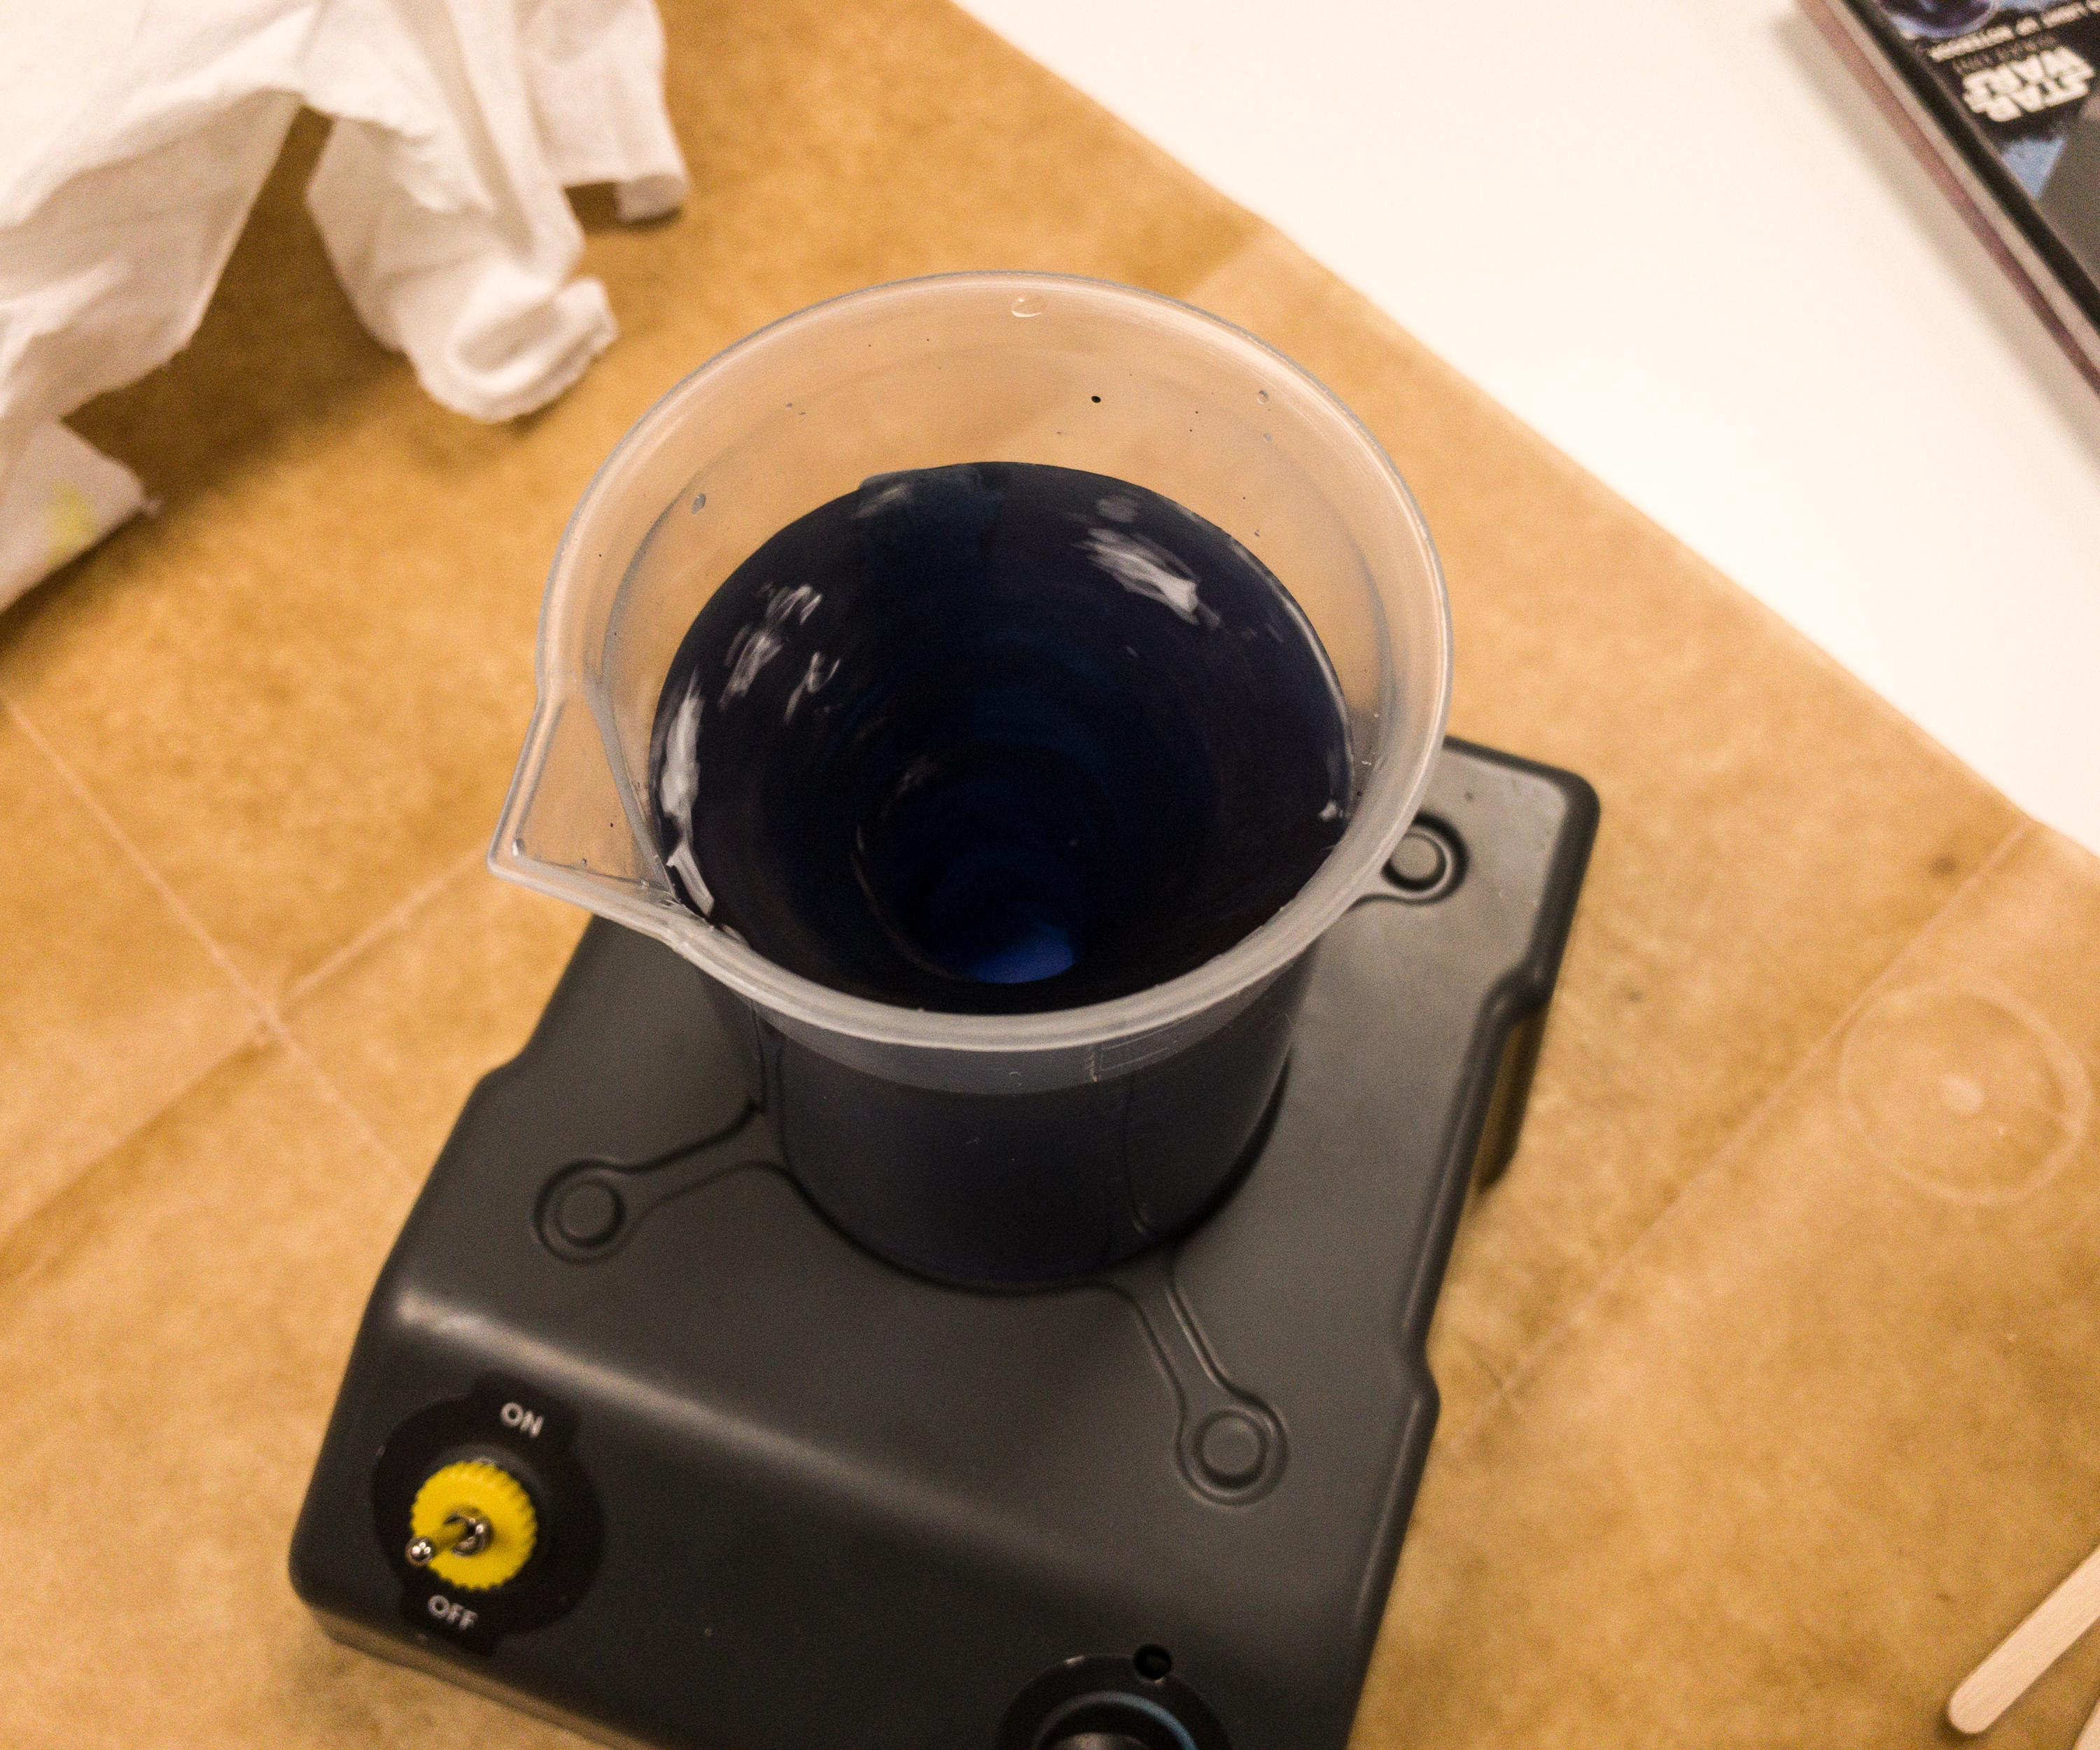
As long as there’s oxygen, the solution will remain blue. Stop spinning and it separates and turns clear. Spin again, back to blue. You can do it for about an hour!
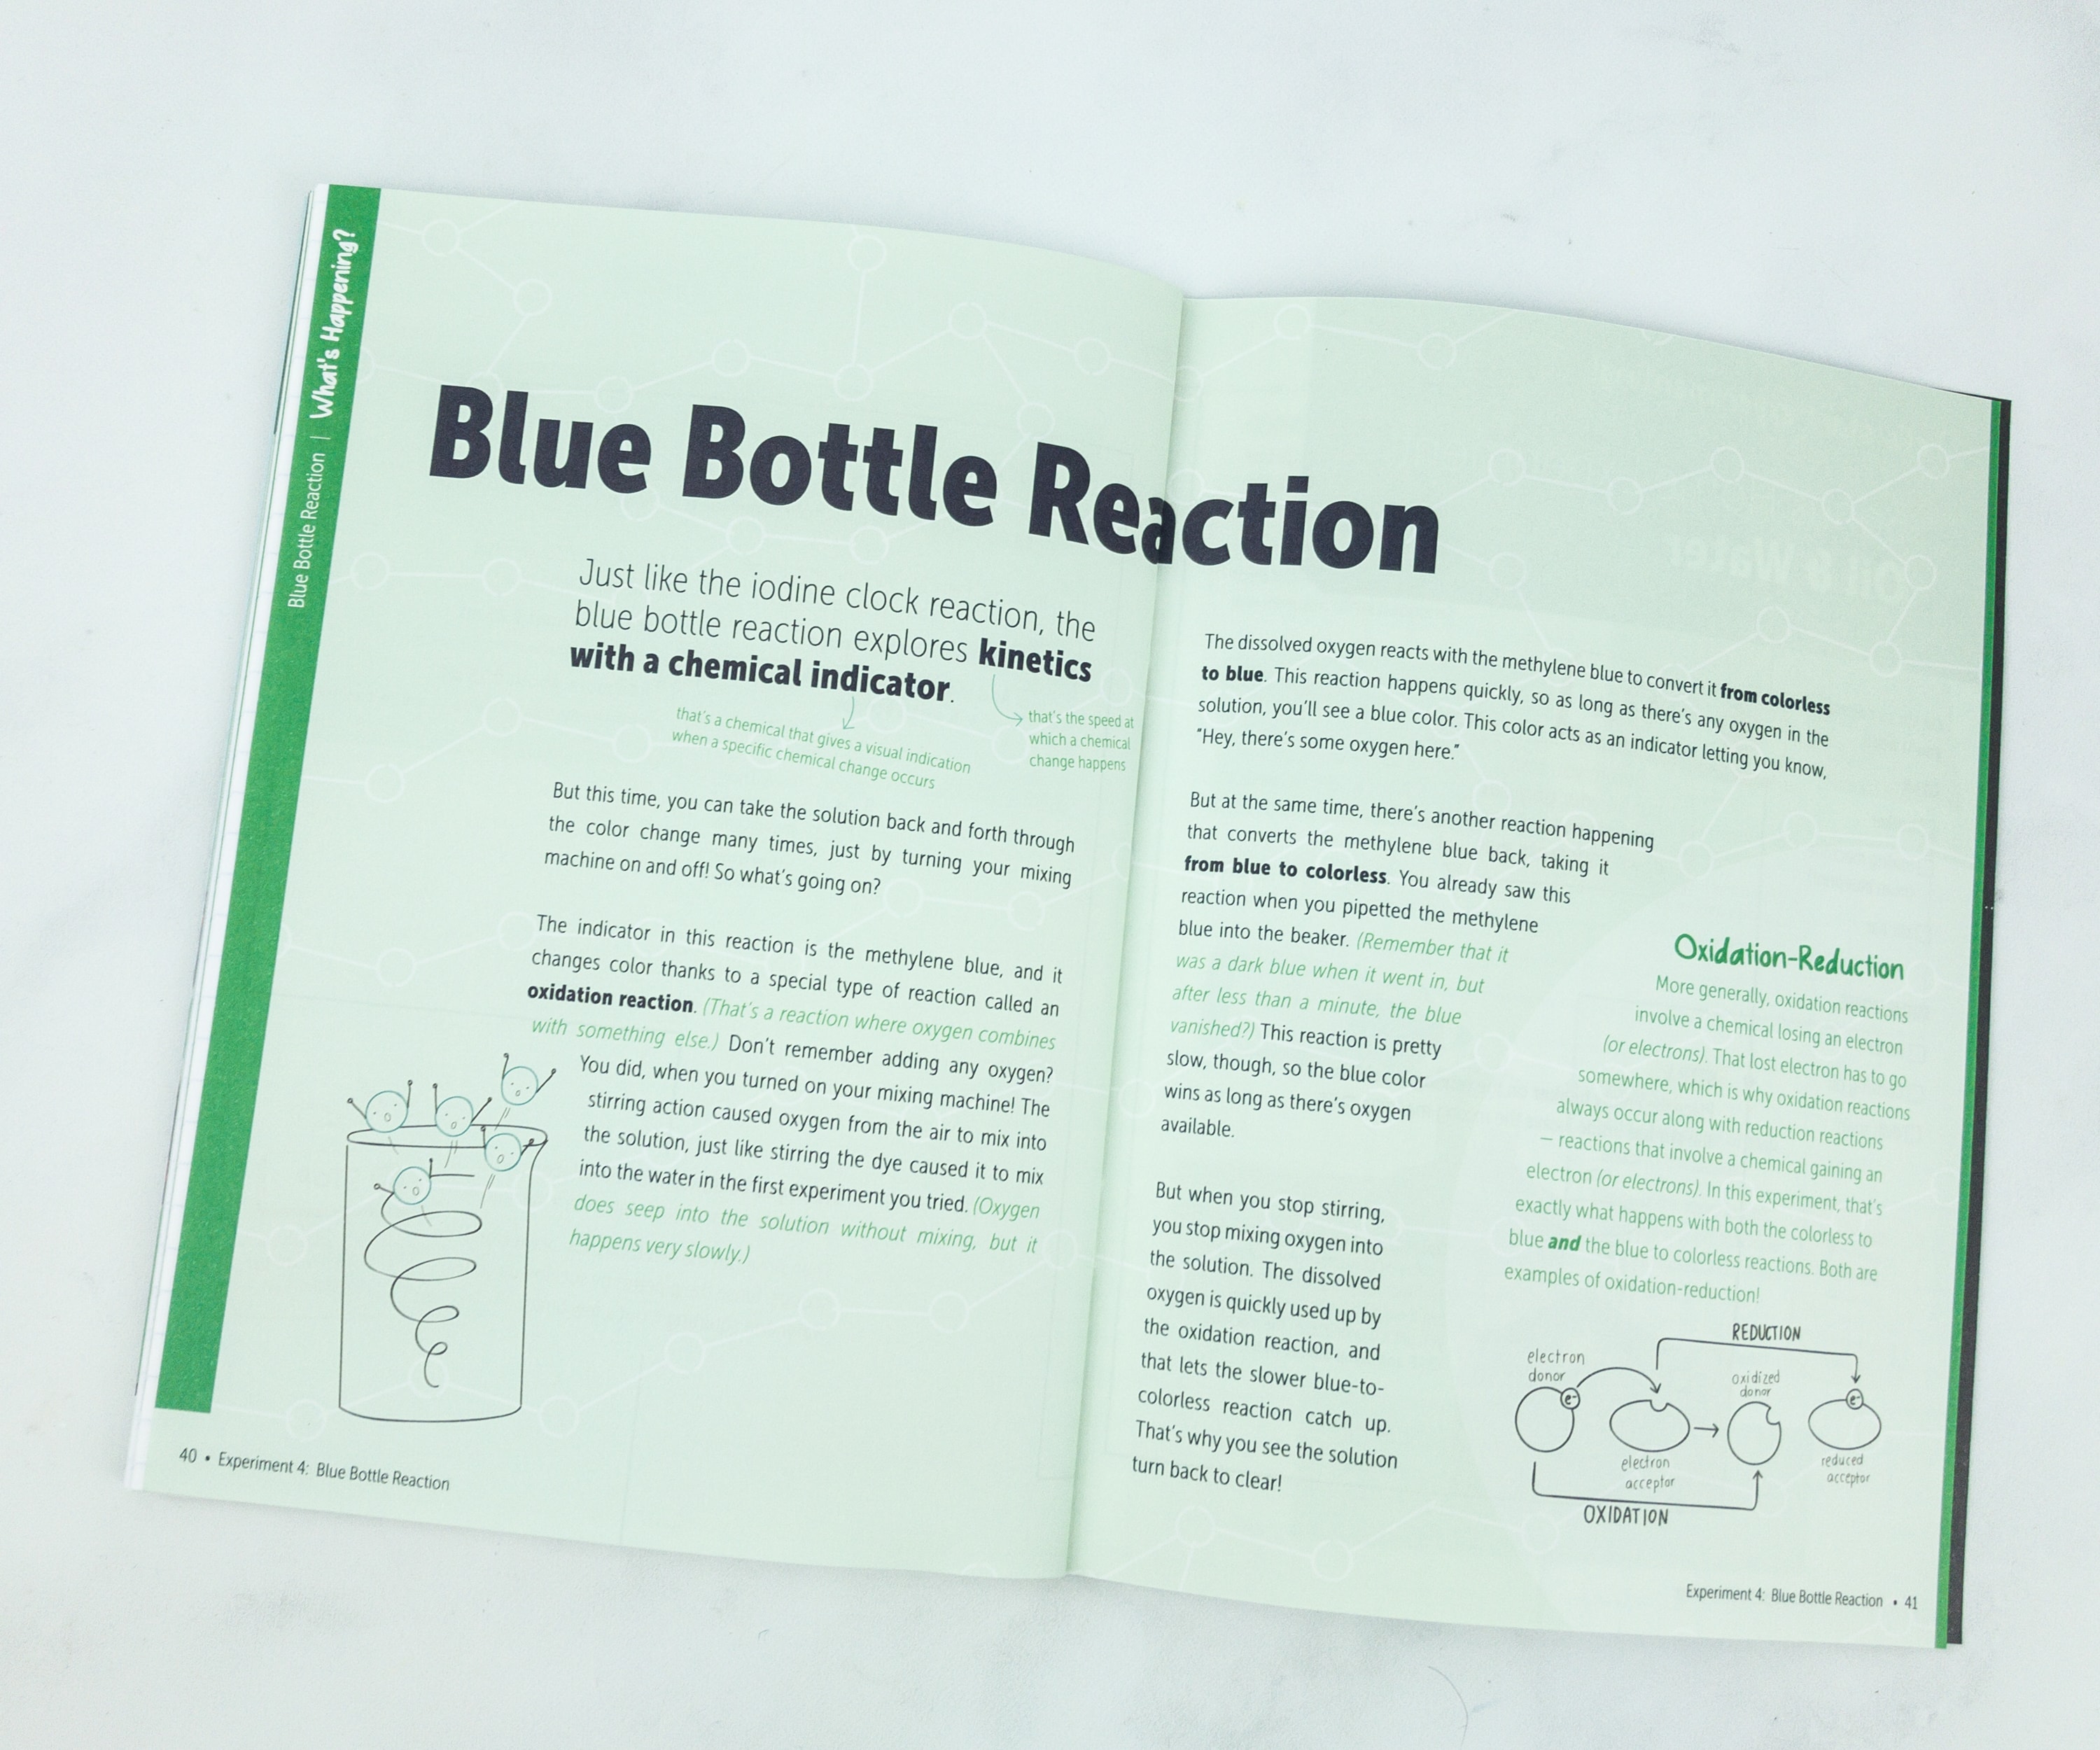
Like the previous experiment, the booklet also explains what happened in this experiment. It introduces us to another chemical reaction, which is the oxidation reaction.
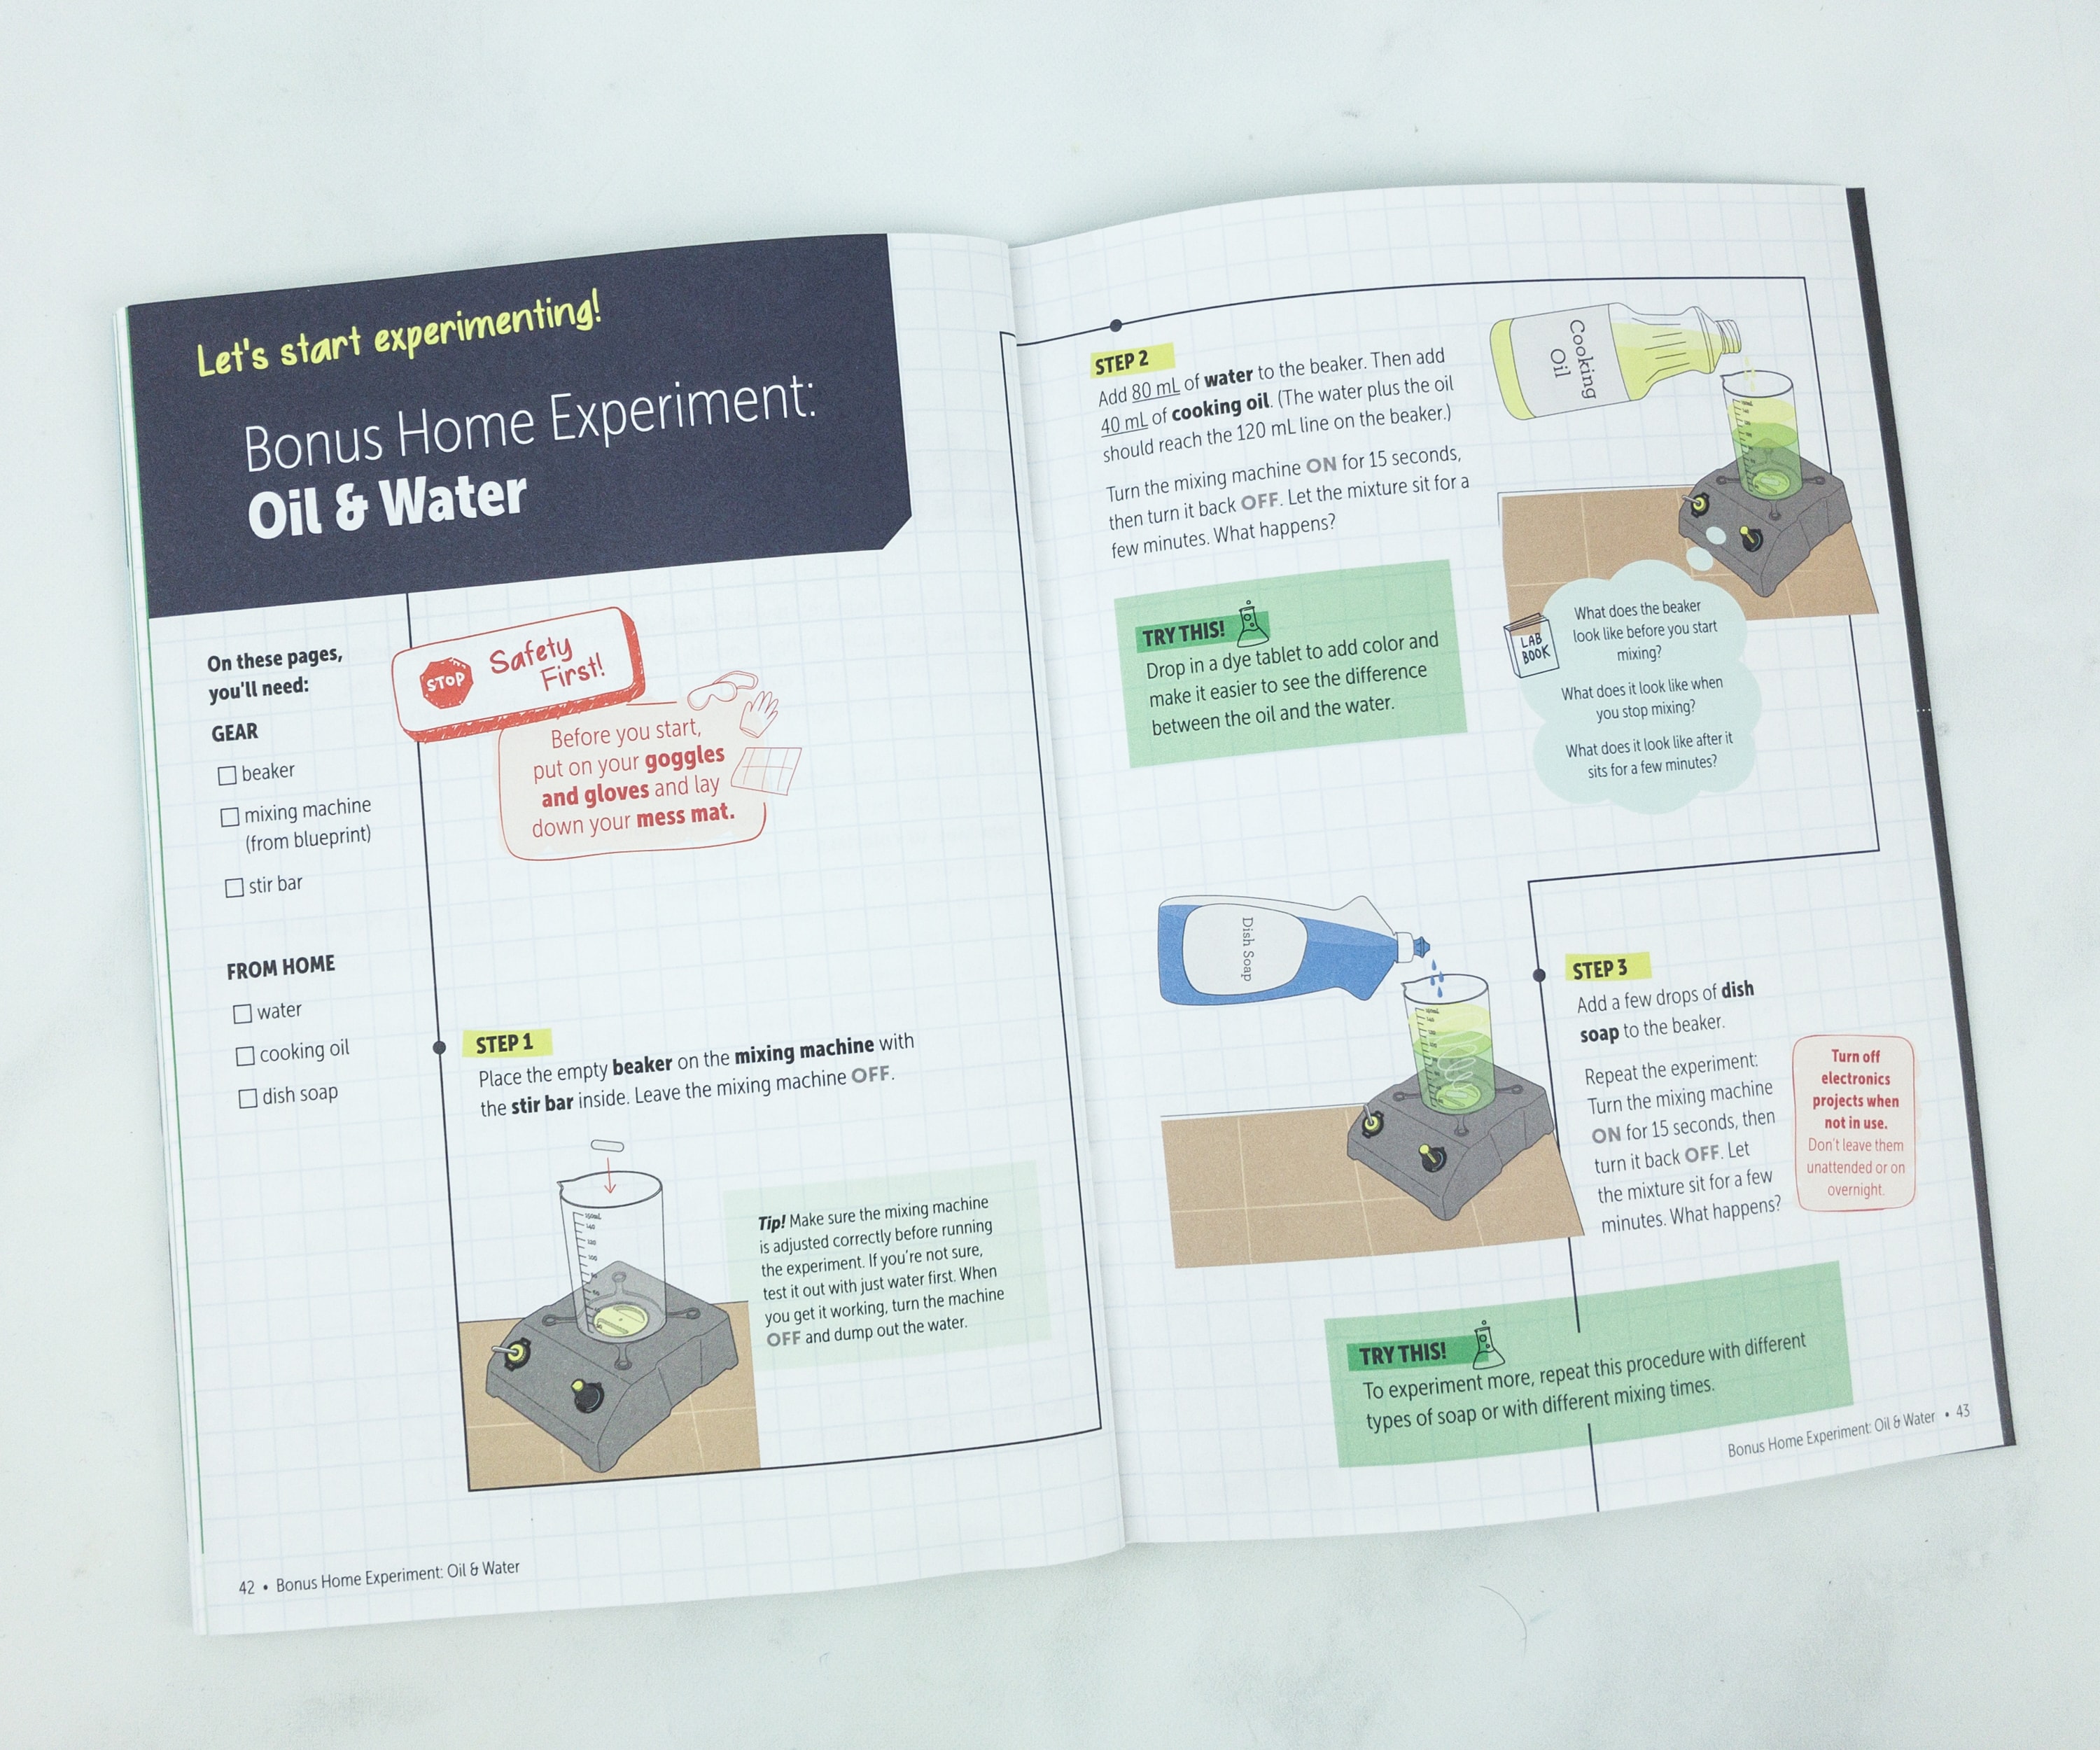
And for the last and bonus home experiment, we’ll be using some oil, water, and dish soap!
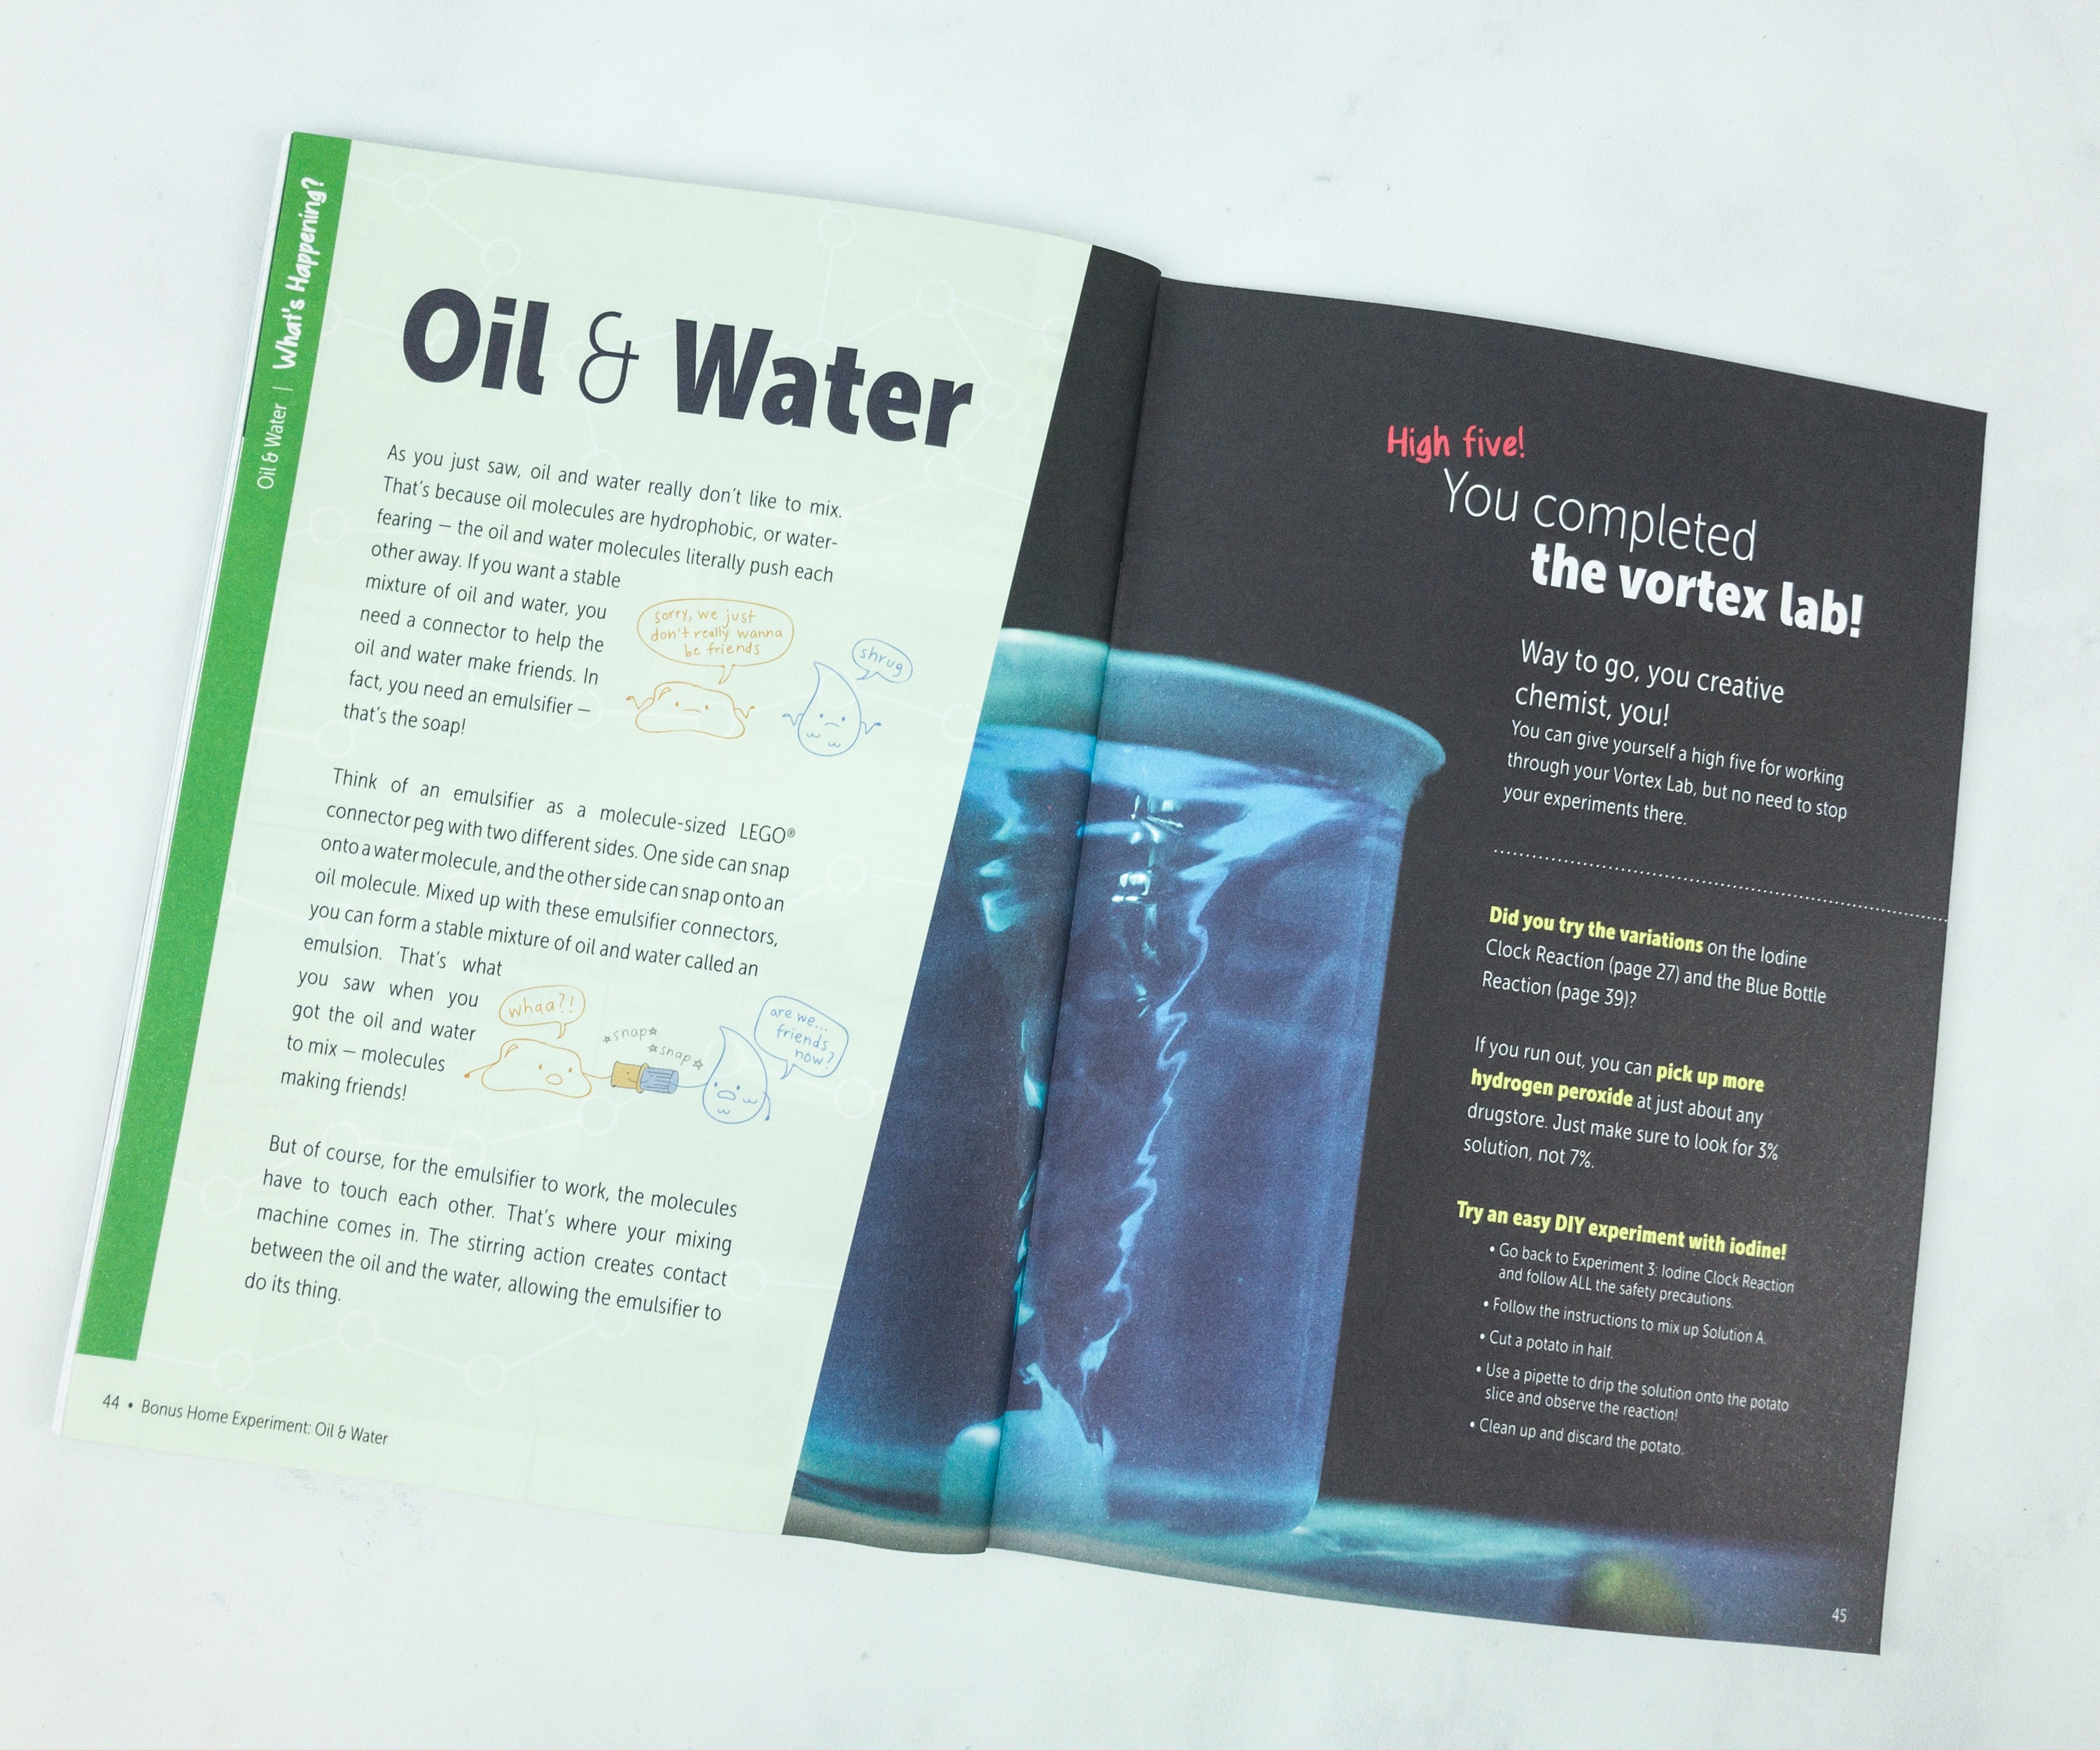
Oil and water are immiscible or doesn’t really like to mix, so when you try to put them in one container, you can see that they’re separated in layers. Oil molecules are hydrophobic, and by adding an emulsifier, which in this case is the dish soap, you can actually mix the two!
You can still use this mixing machine for more cool experiments and tests!
This KiwiCo Chemical Pack that features the Vortex Lab is truly wonderful! Just by completing the mixing machine, the kids felt like winners when they were done with it. They learned a lot about chemical reactions, and how some conditions affect the reaction, like heat, stirring or agitation, and even with the use of indicators. We had a lot of fun doing each and every experiment, and this is what we love about KiwiCo crates, you learn while having lots of fun. They also provided safety gear to ensure safety during each experiment and reminded adults to guide and supervise their children, which makes it a great parent-kid bonding activity and quality time. We love the vortext machine, and we’re sure to use it for other experiments and activities.
Are you getting the KiwiCo Chemistry Pack? Want even more? You can also subscribe to the regular Tinker Crate, Eureka Crate, Atlas Crate, or Doodle Crate and save 30% on your first month! Just use this link to subscribe!


Comments