KiwiCo, home to Tinker Crate and other STEM subscriptions for kids, has a new Chemistry Set! There are 3 crates available, Fire Lab, Glow Lab, and Vortex Lab. We’ll be reviewing all three, but this is a review of the Fire Lab! The box costs $34.95.
The KiwiCo Chemistry Packs are more advanced than the typical Tinker Crate project and is recommended for ages 14+. It can be suitable for interested kids younger than that with the proper supervision.
Tinker Crate is a subscription box that inspires kids to learn about science, engineering, and technology, all while having lots of fun. Each month, the box explores a field of study within a STEM (Science, Technology, Engineering, and Math) discipline. Kids practice their problem-solving skills and learn how to engage in both structured and open-ended exploration and investigation. Most boxes walk the tinkerers through the construction of fairly complex mechanical devices.
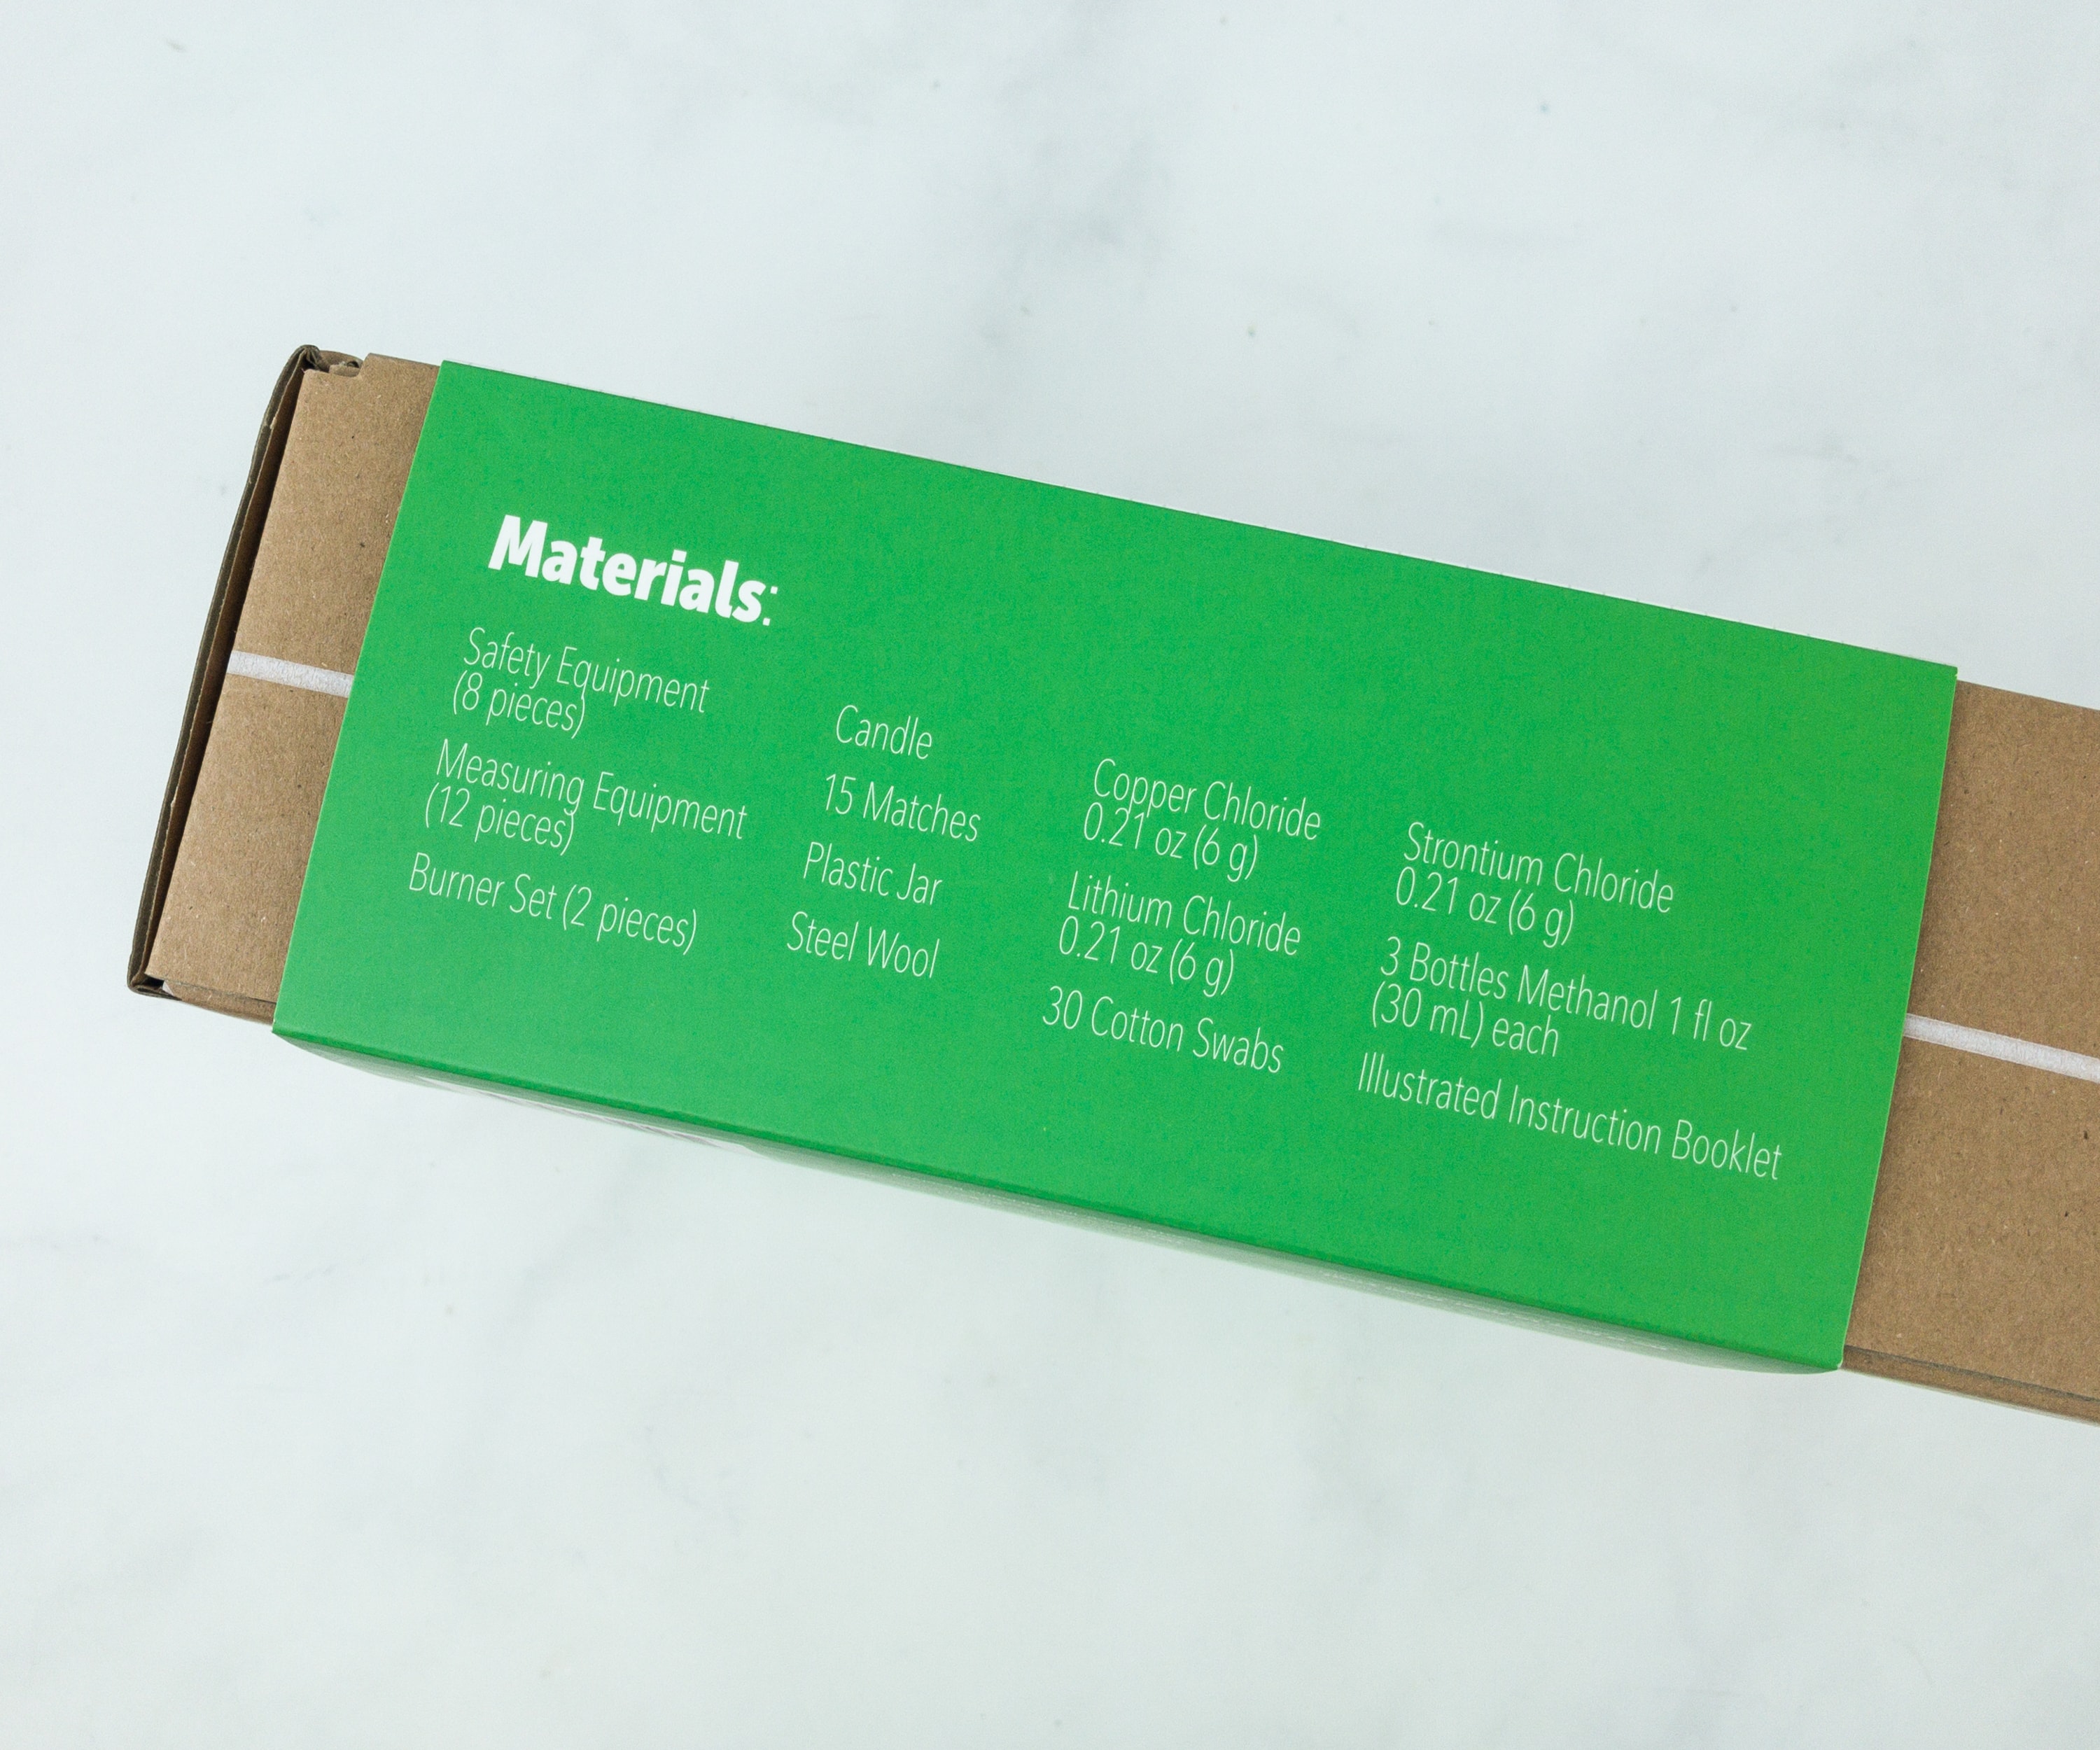
The box’s sleeve lists all the materials included in this crate.
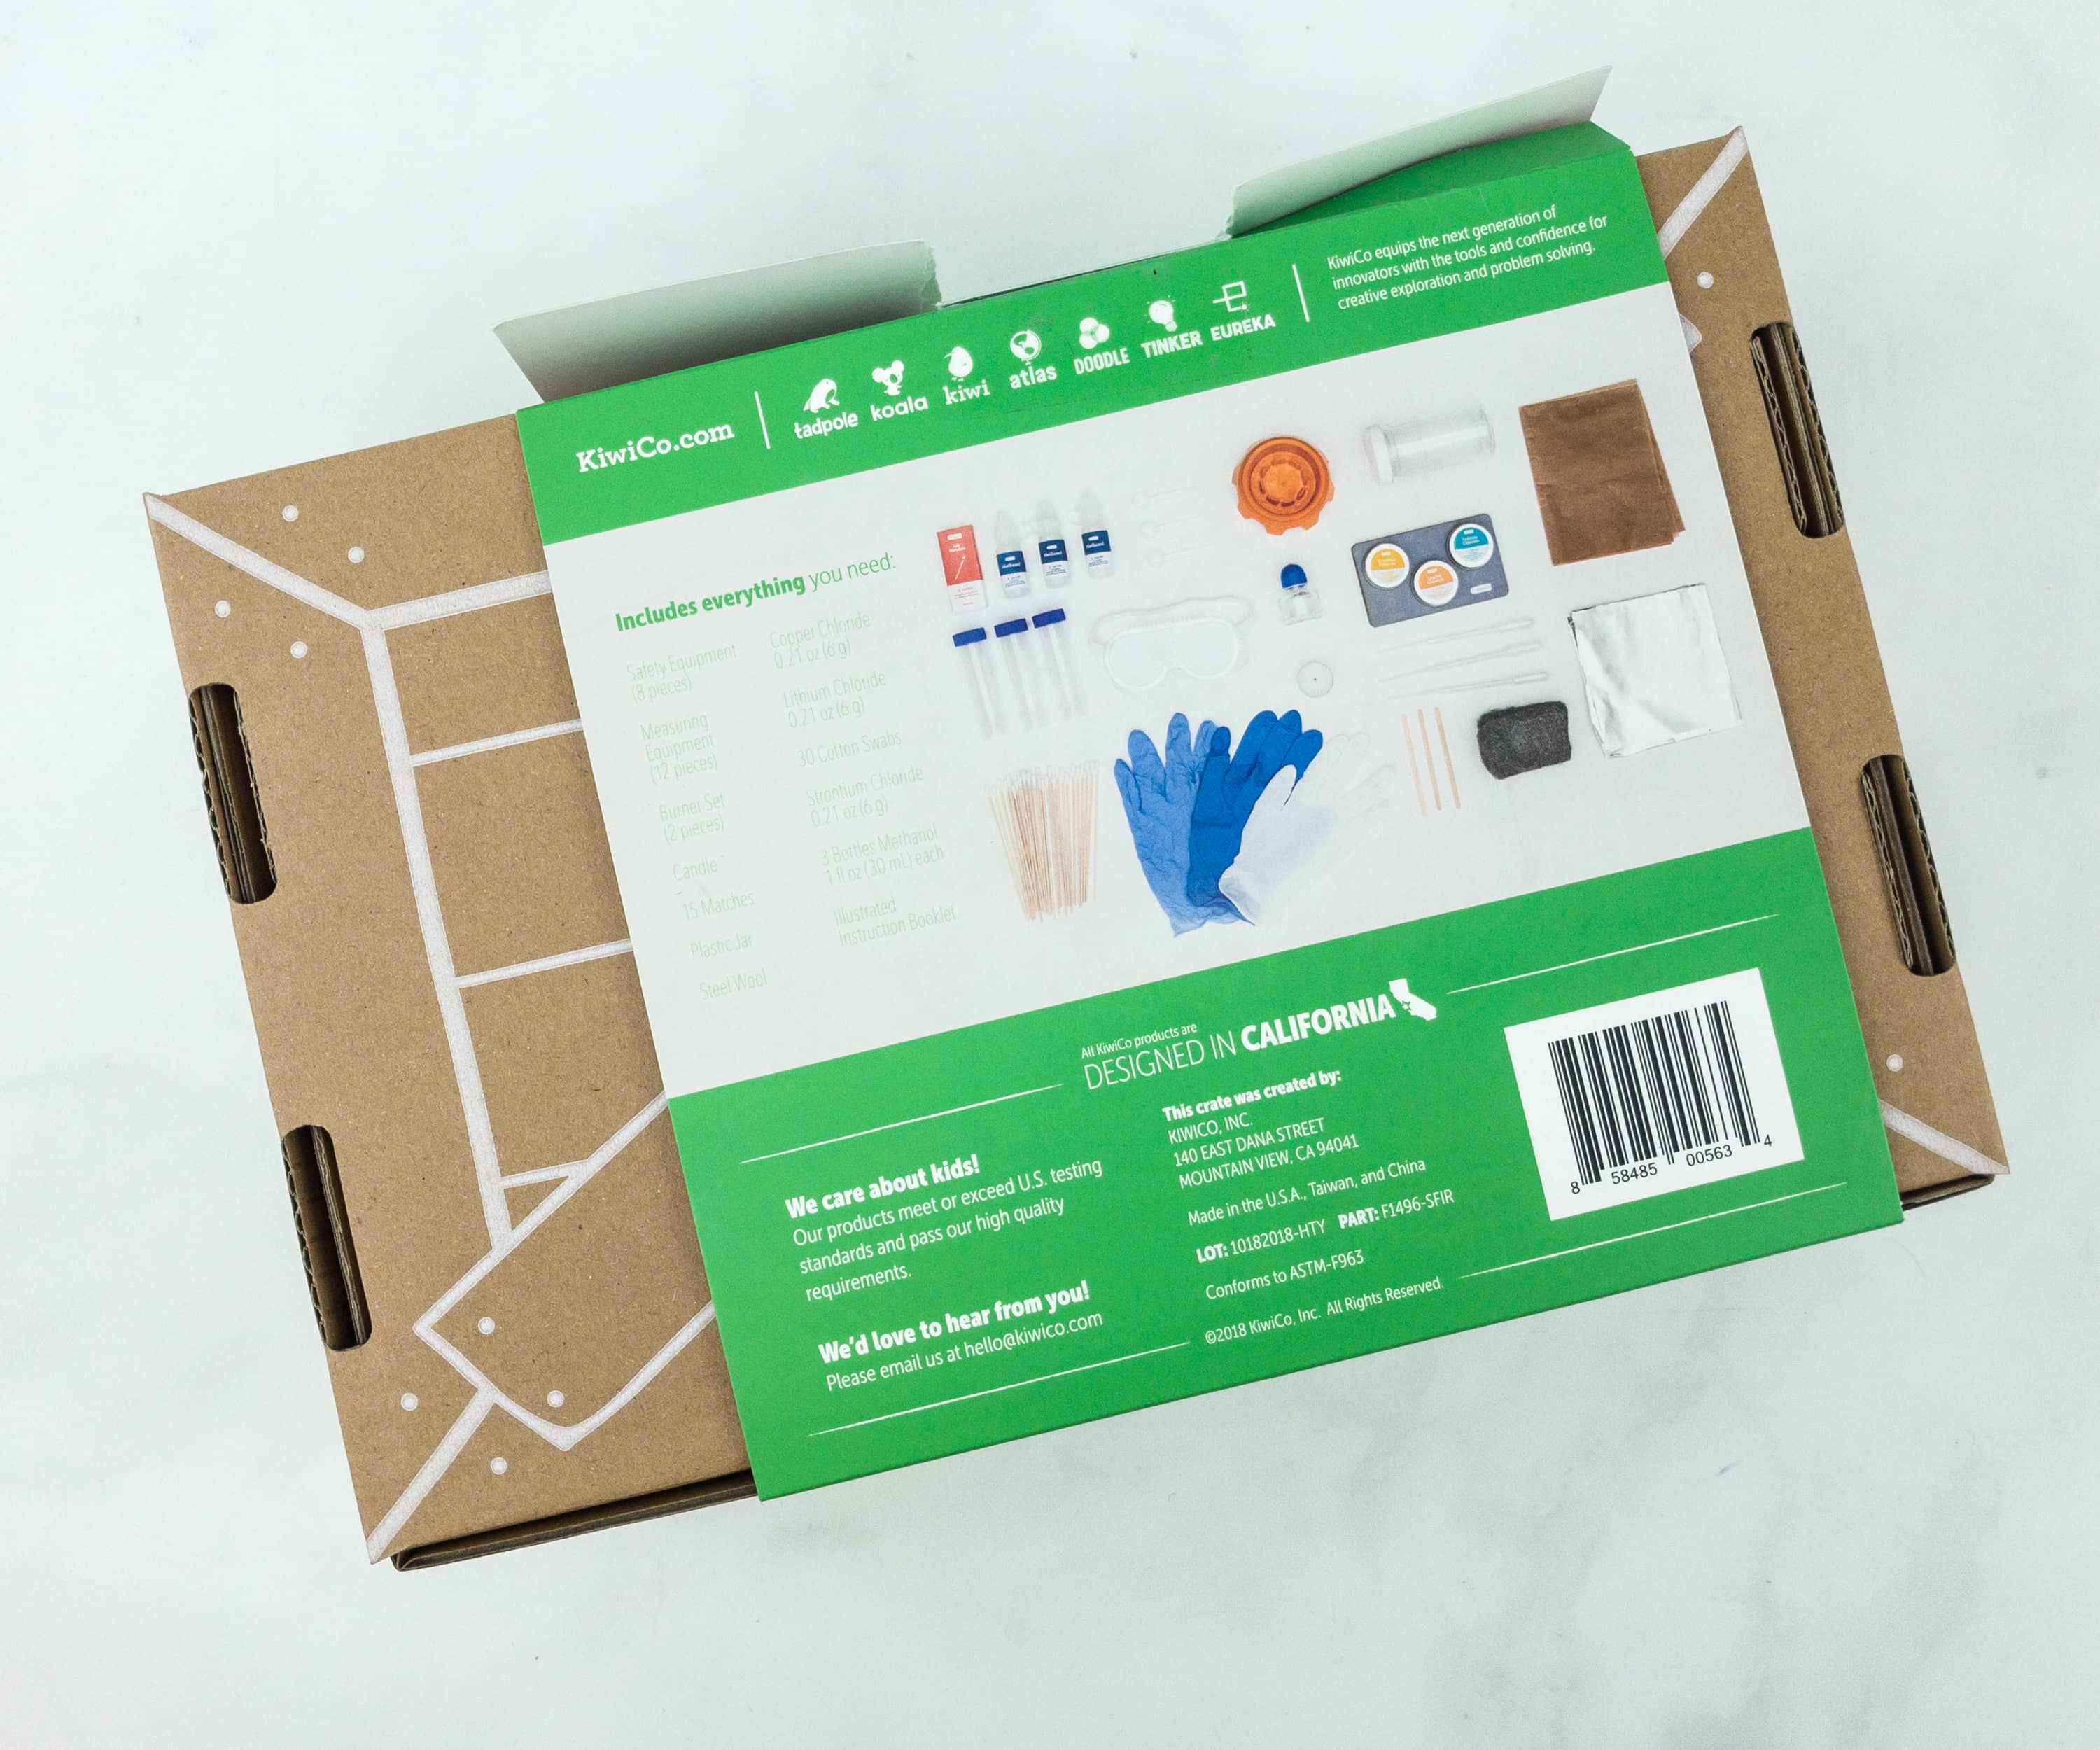
The box includes everything that you will need to perform the experiments.
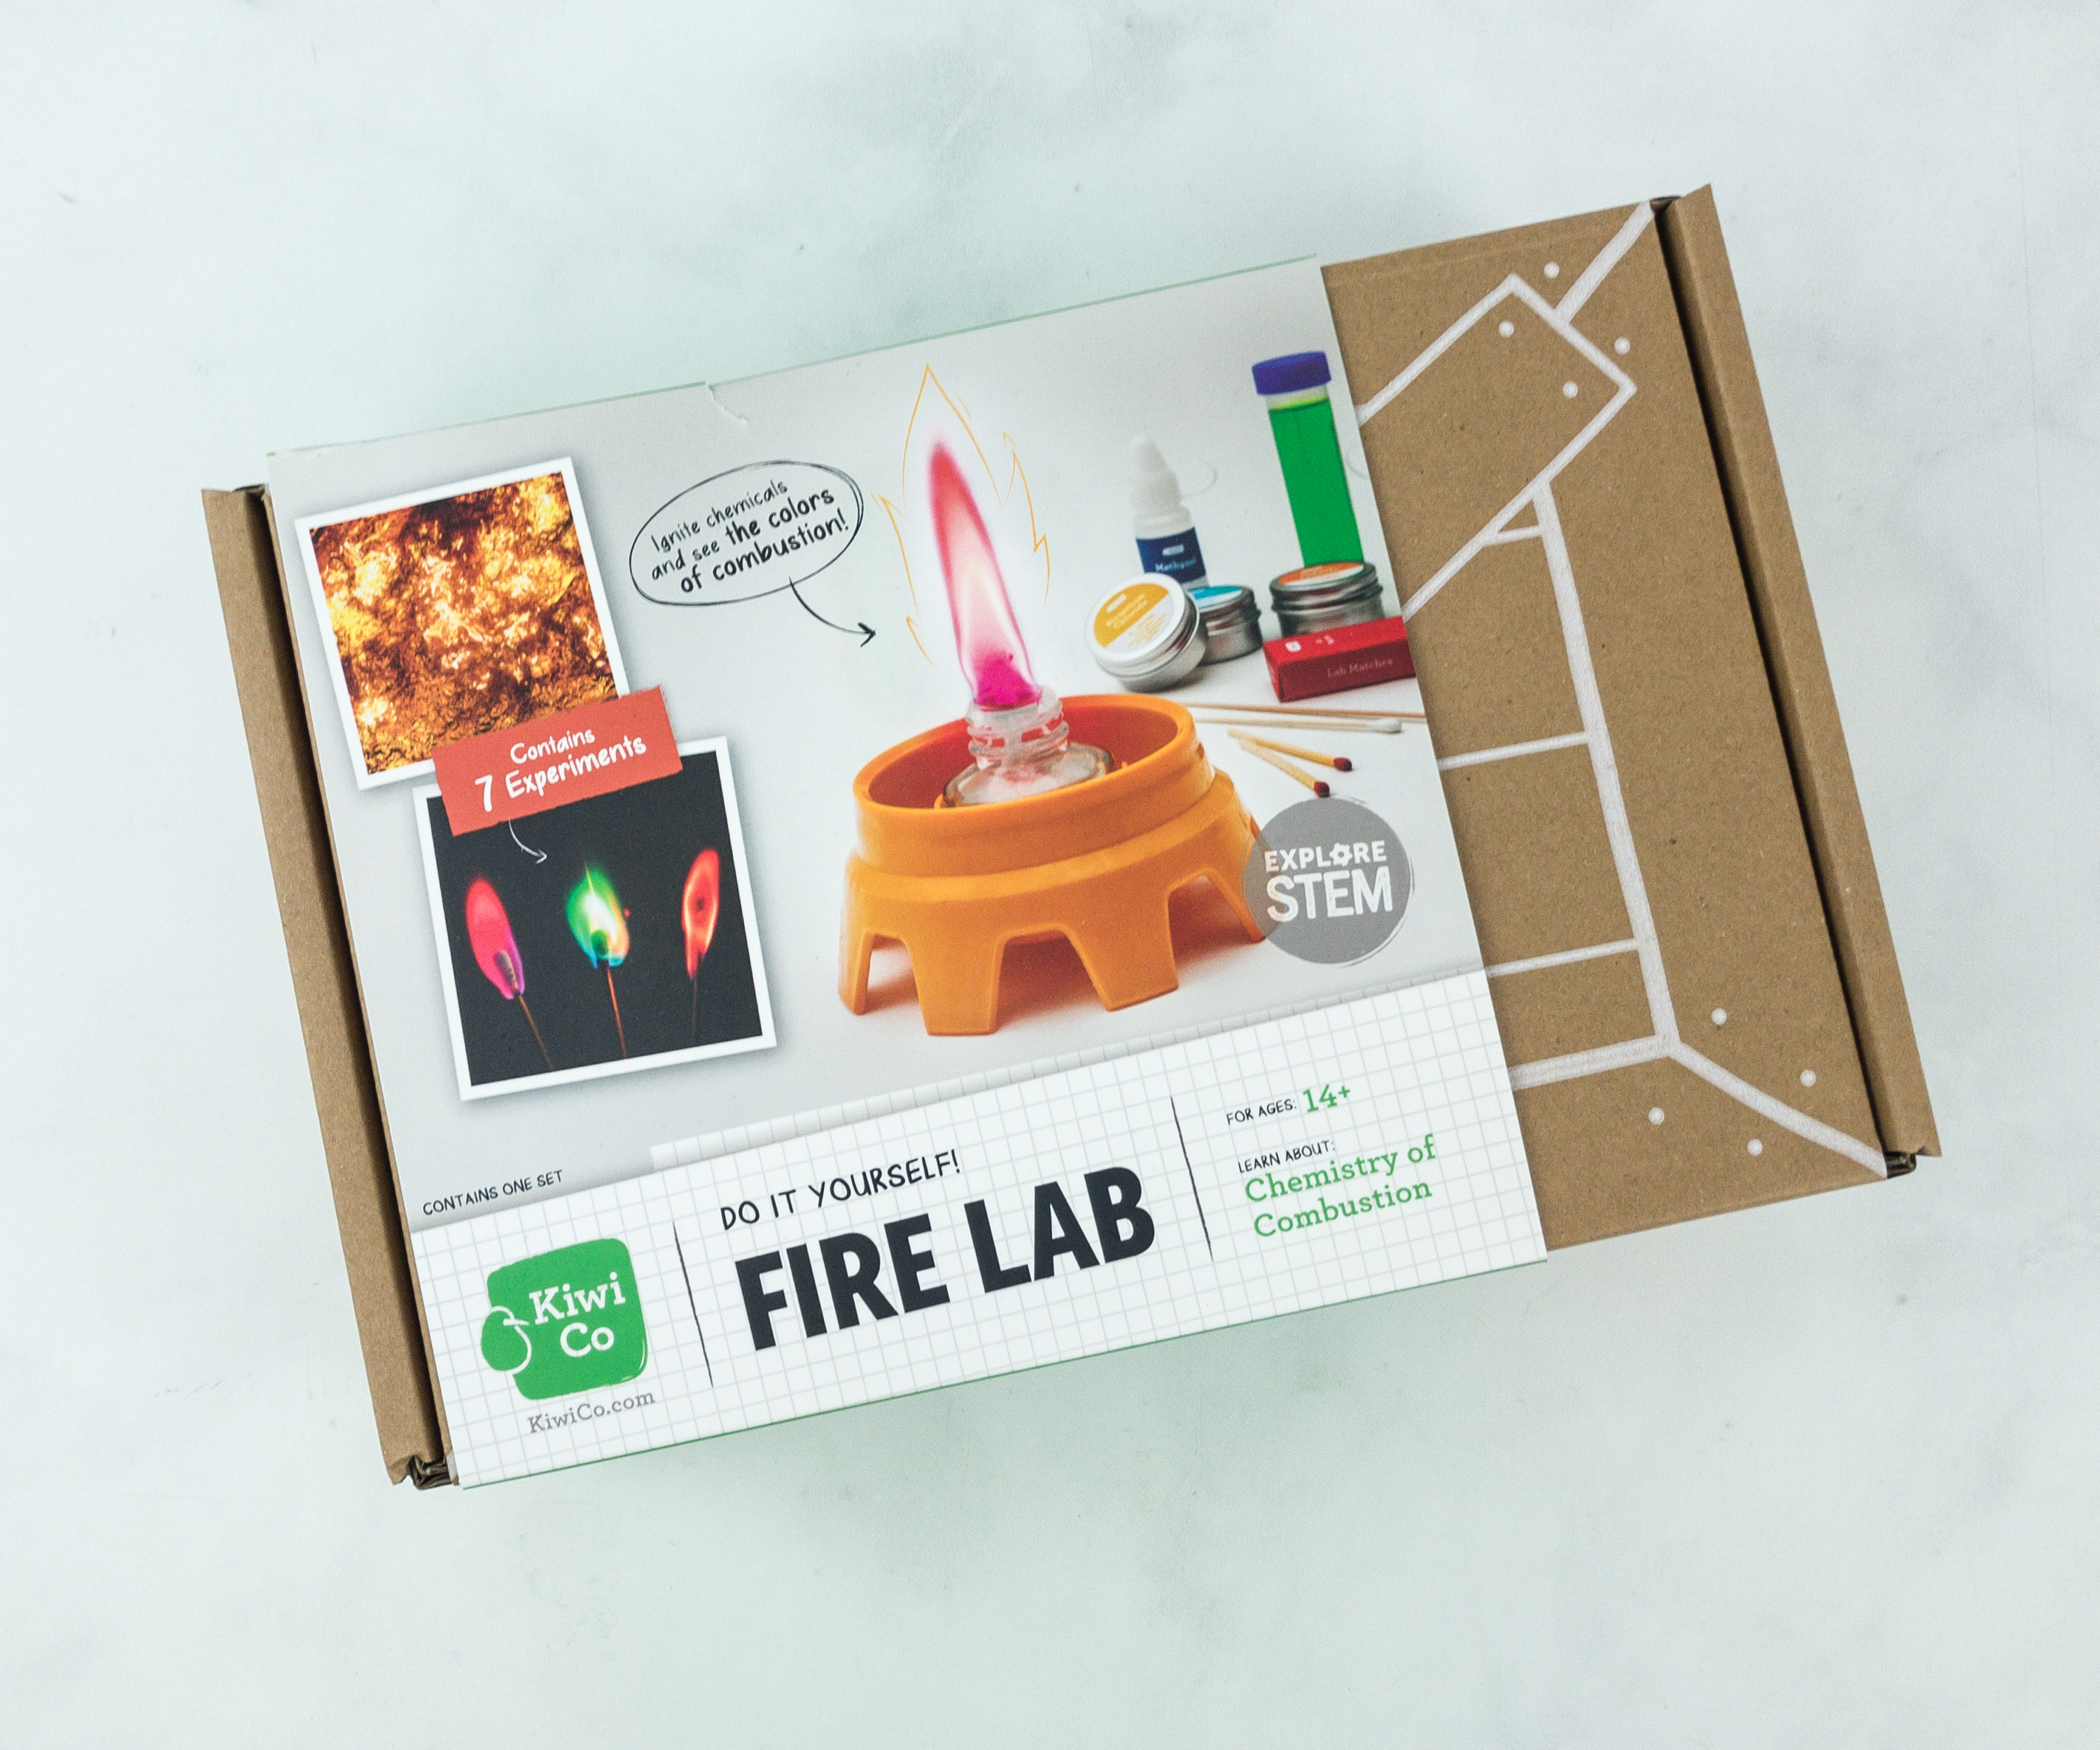
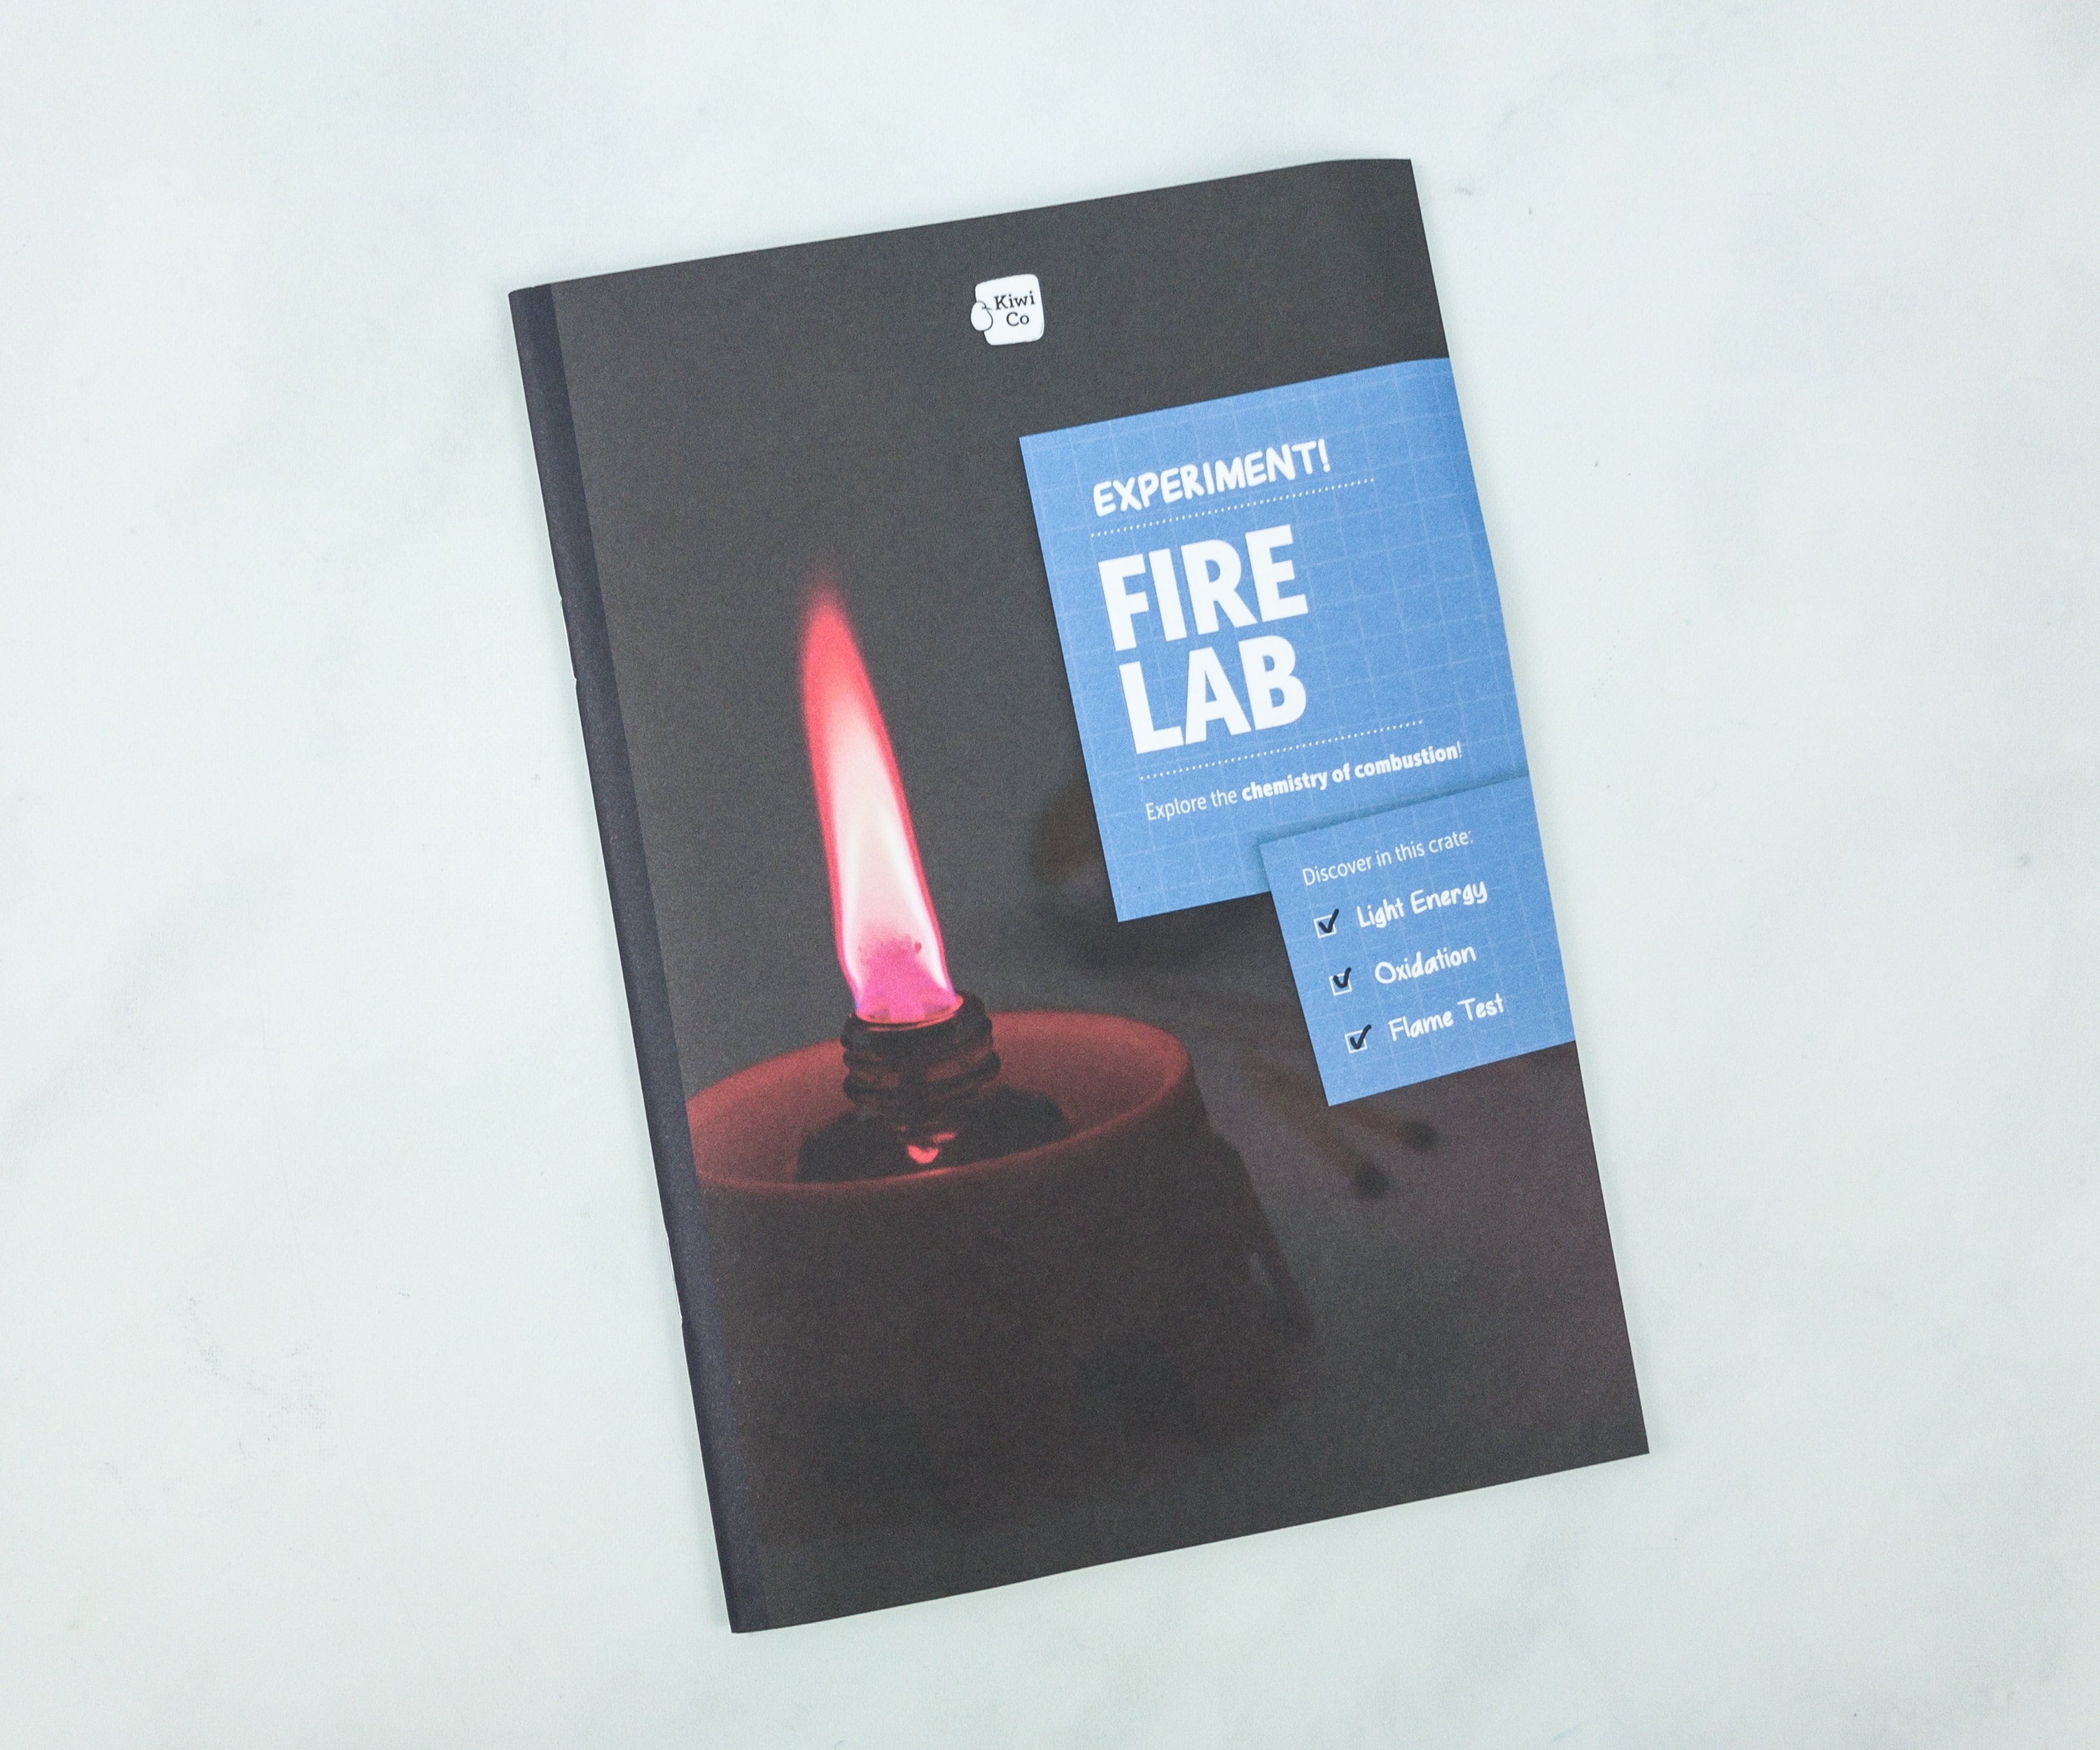
KiwiCo Fire Lab ($34.95)
Ignite chemicals and see the colors of combustion! Contains everything you need to try 7 experiments exploring the chemistry of oxidation, the flame test, and light energy. Make a colorful flame lamp and spark a passion for science!
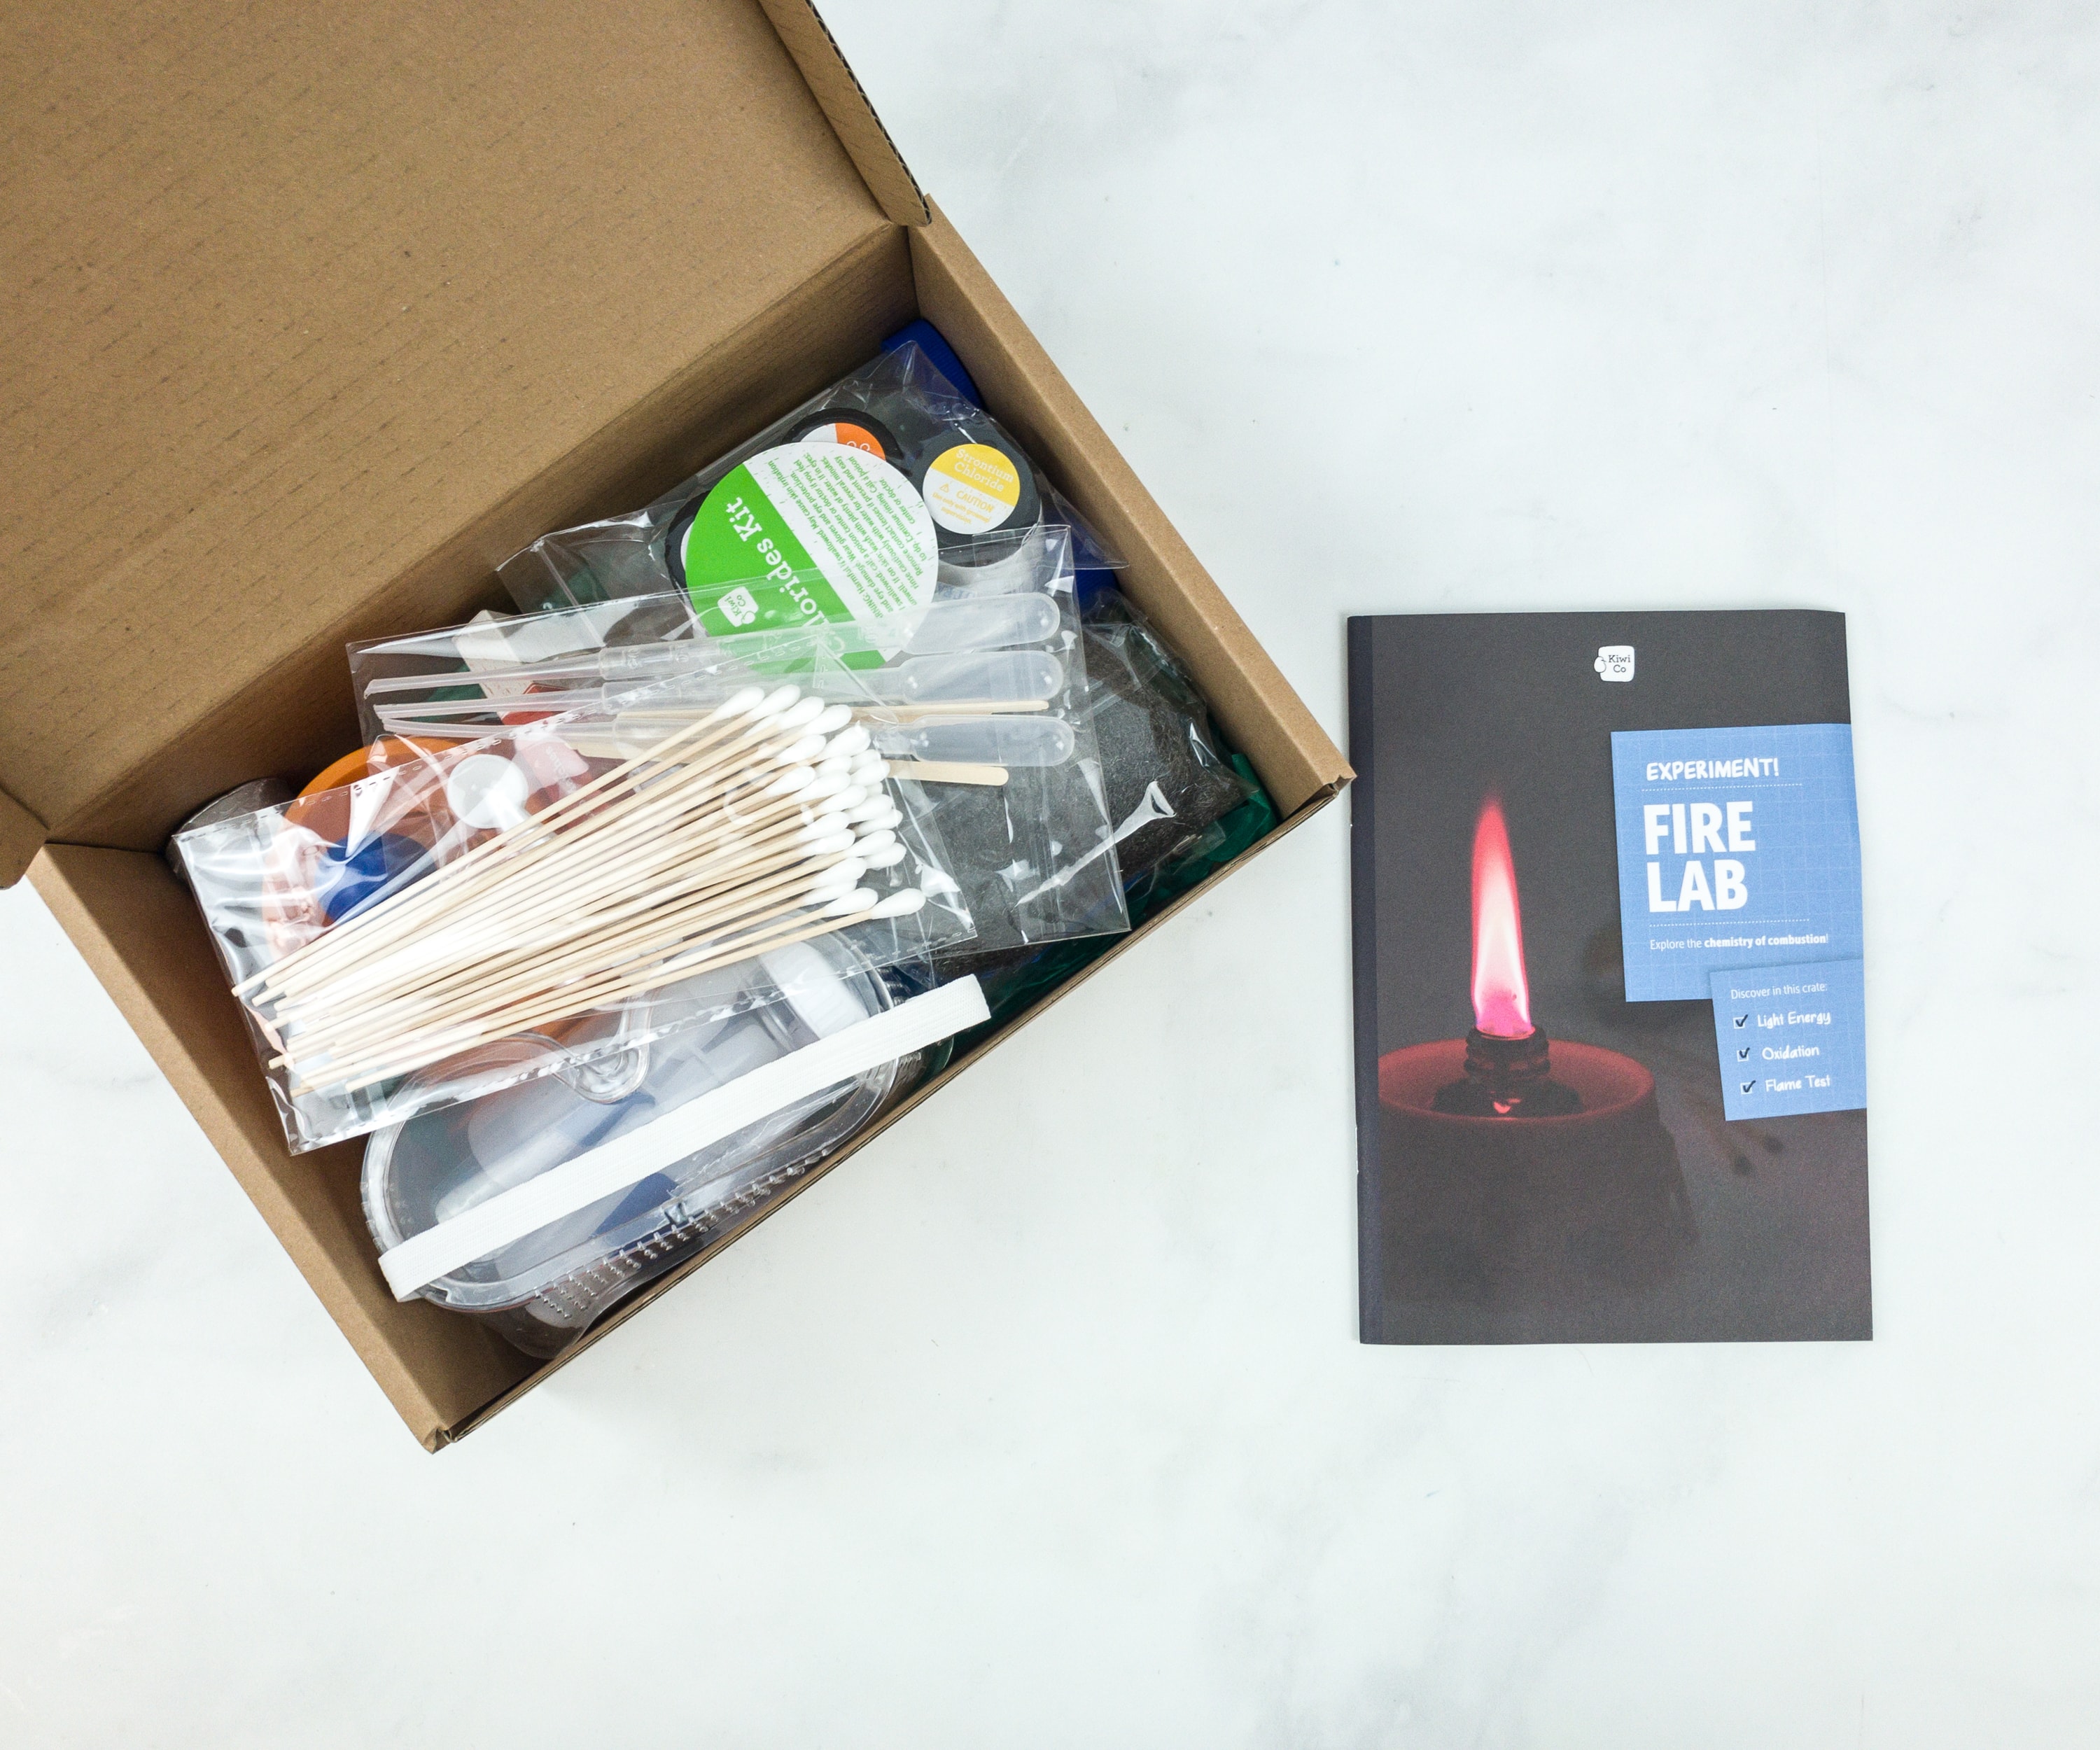
Each pack contains an illustrated instruction booklet that talks more about the underlying scientific principles for each of the activities and also explains the experiments and even the materials used.
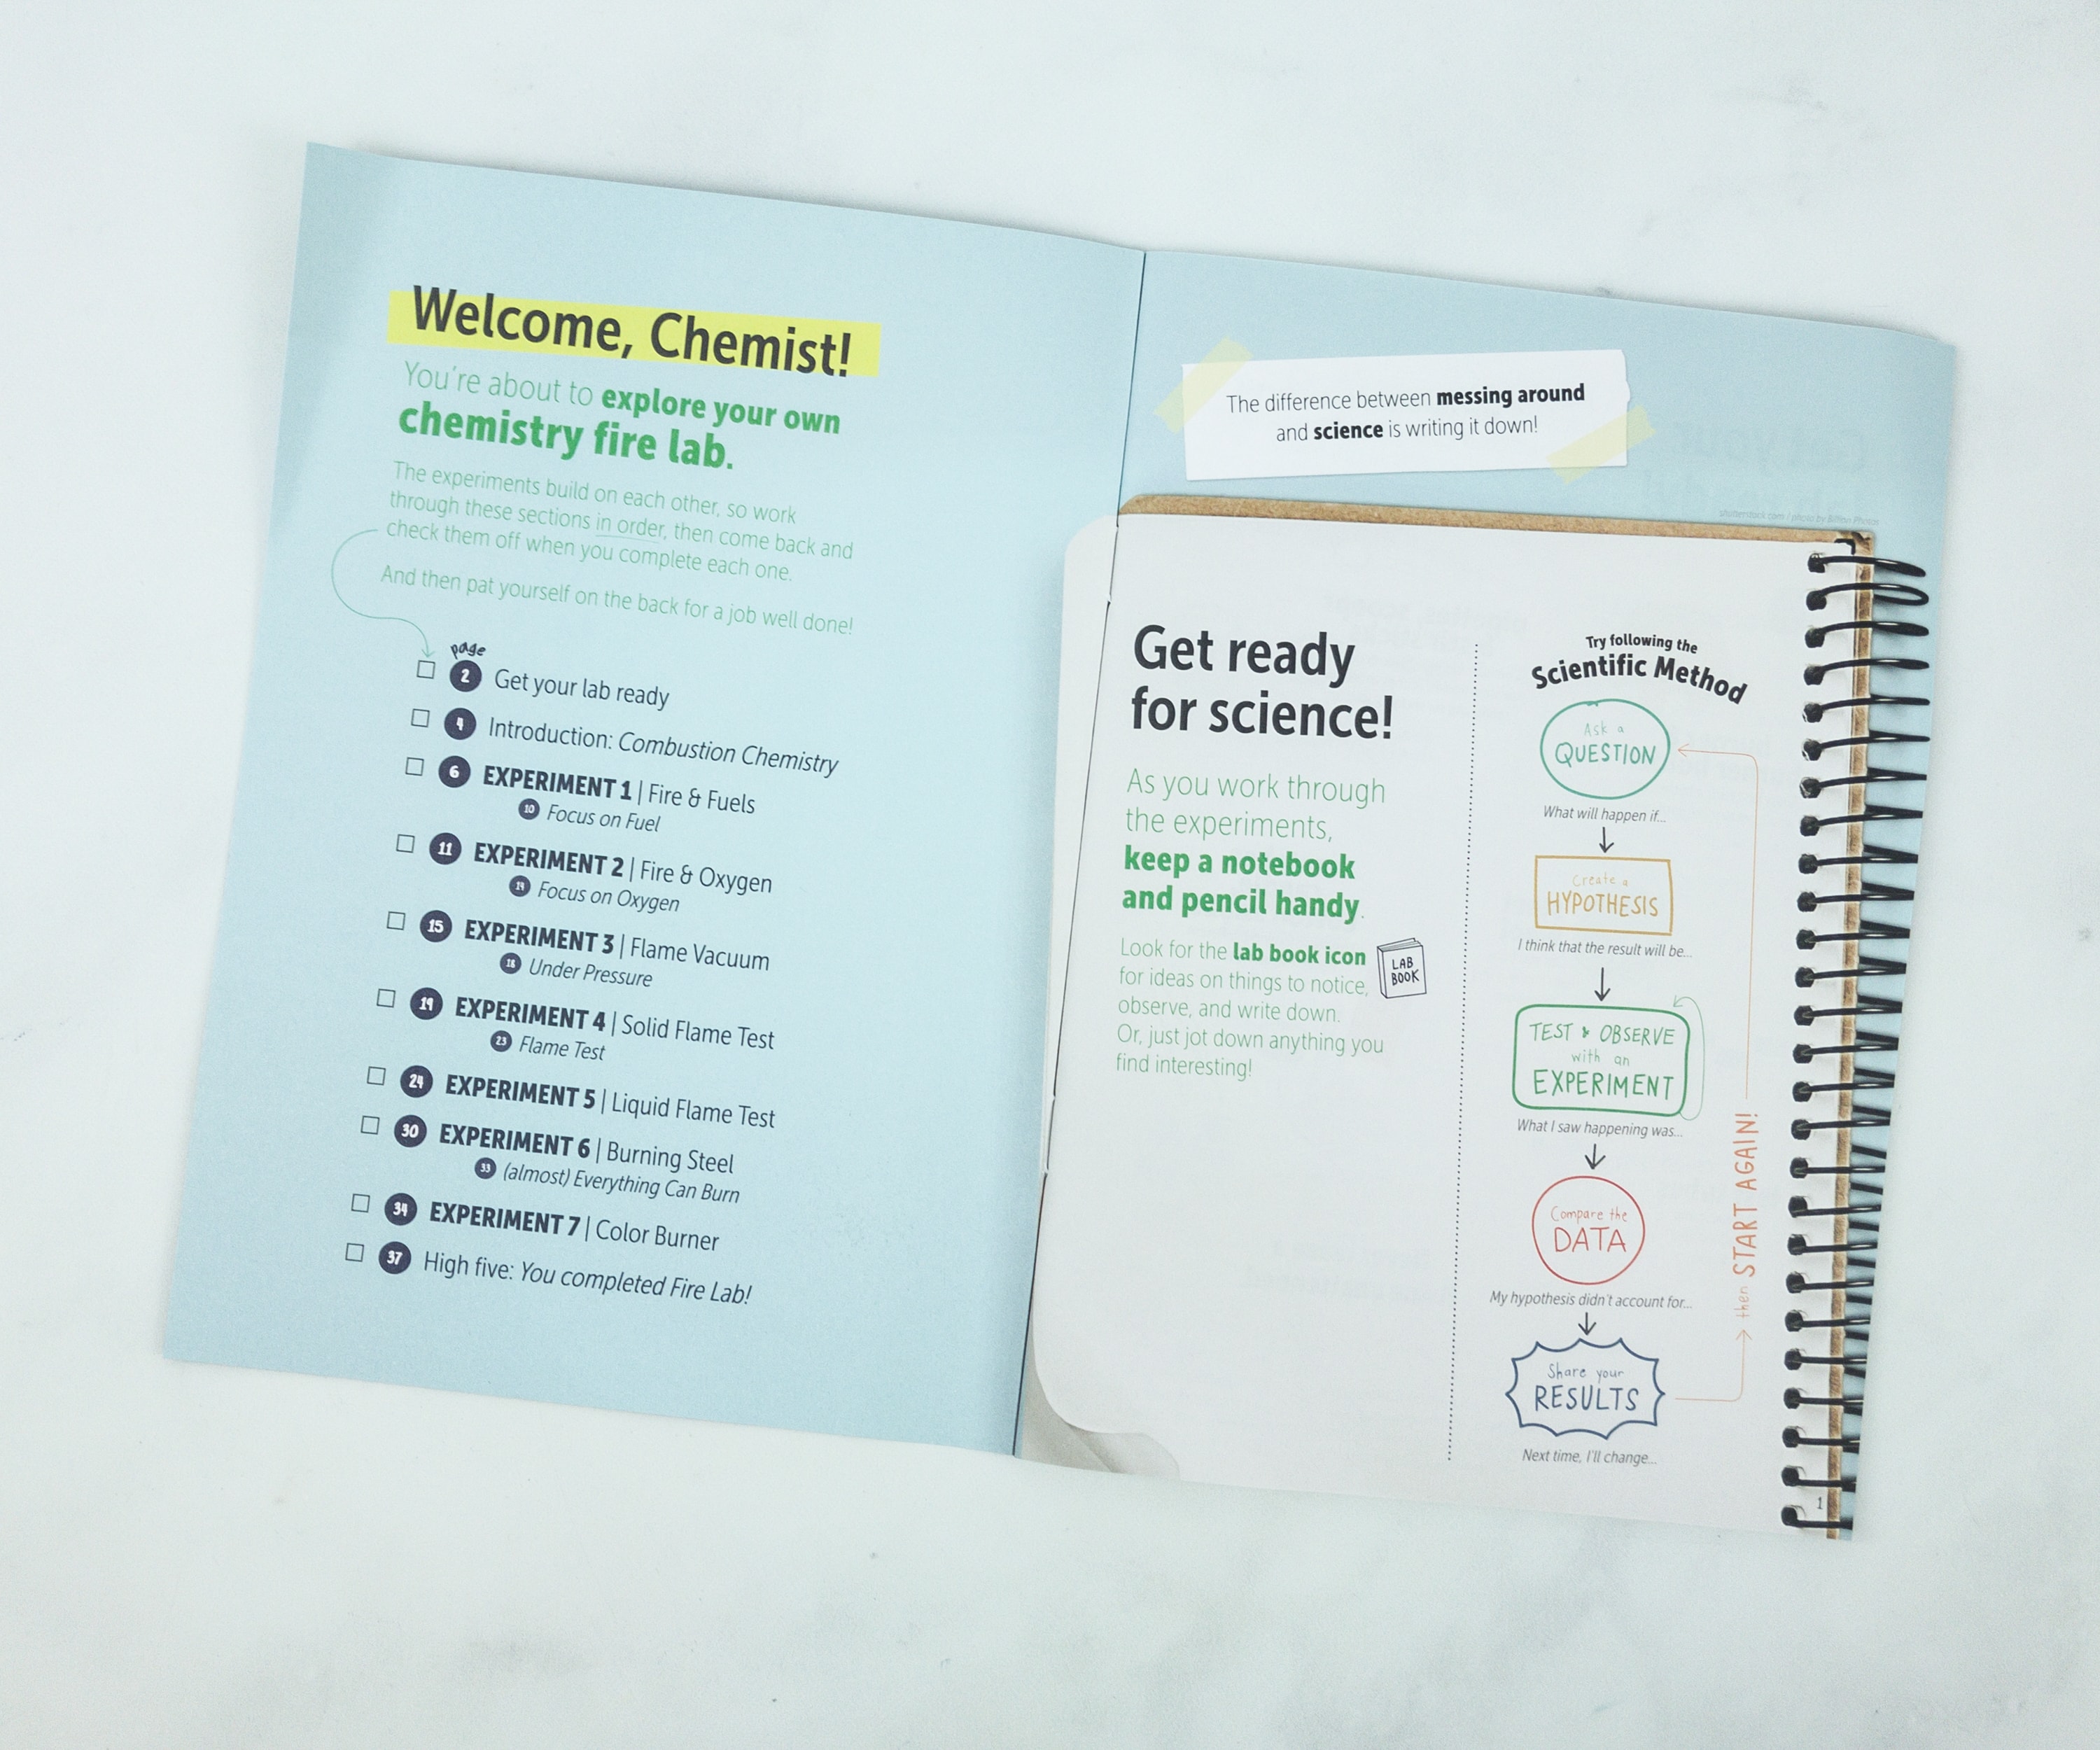
There’s a total of 7 experiments for this pack. Keep a notebook and pencil handy while performing the activities.
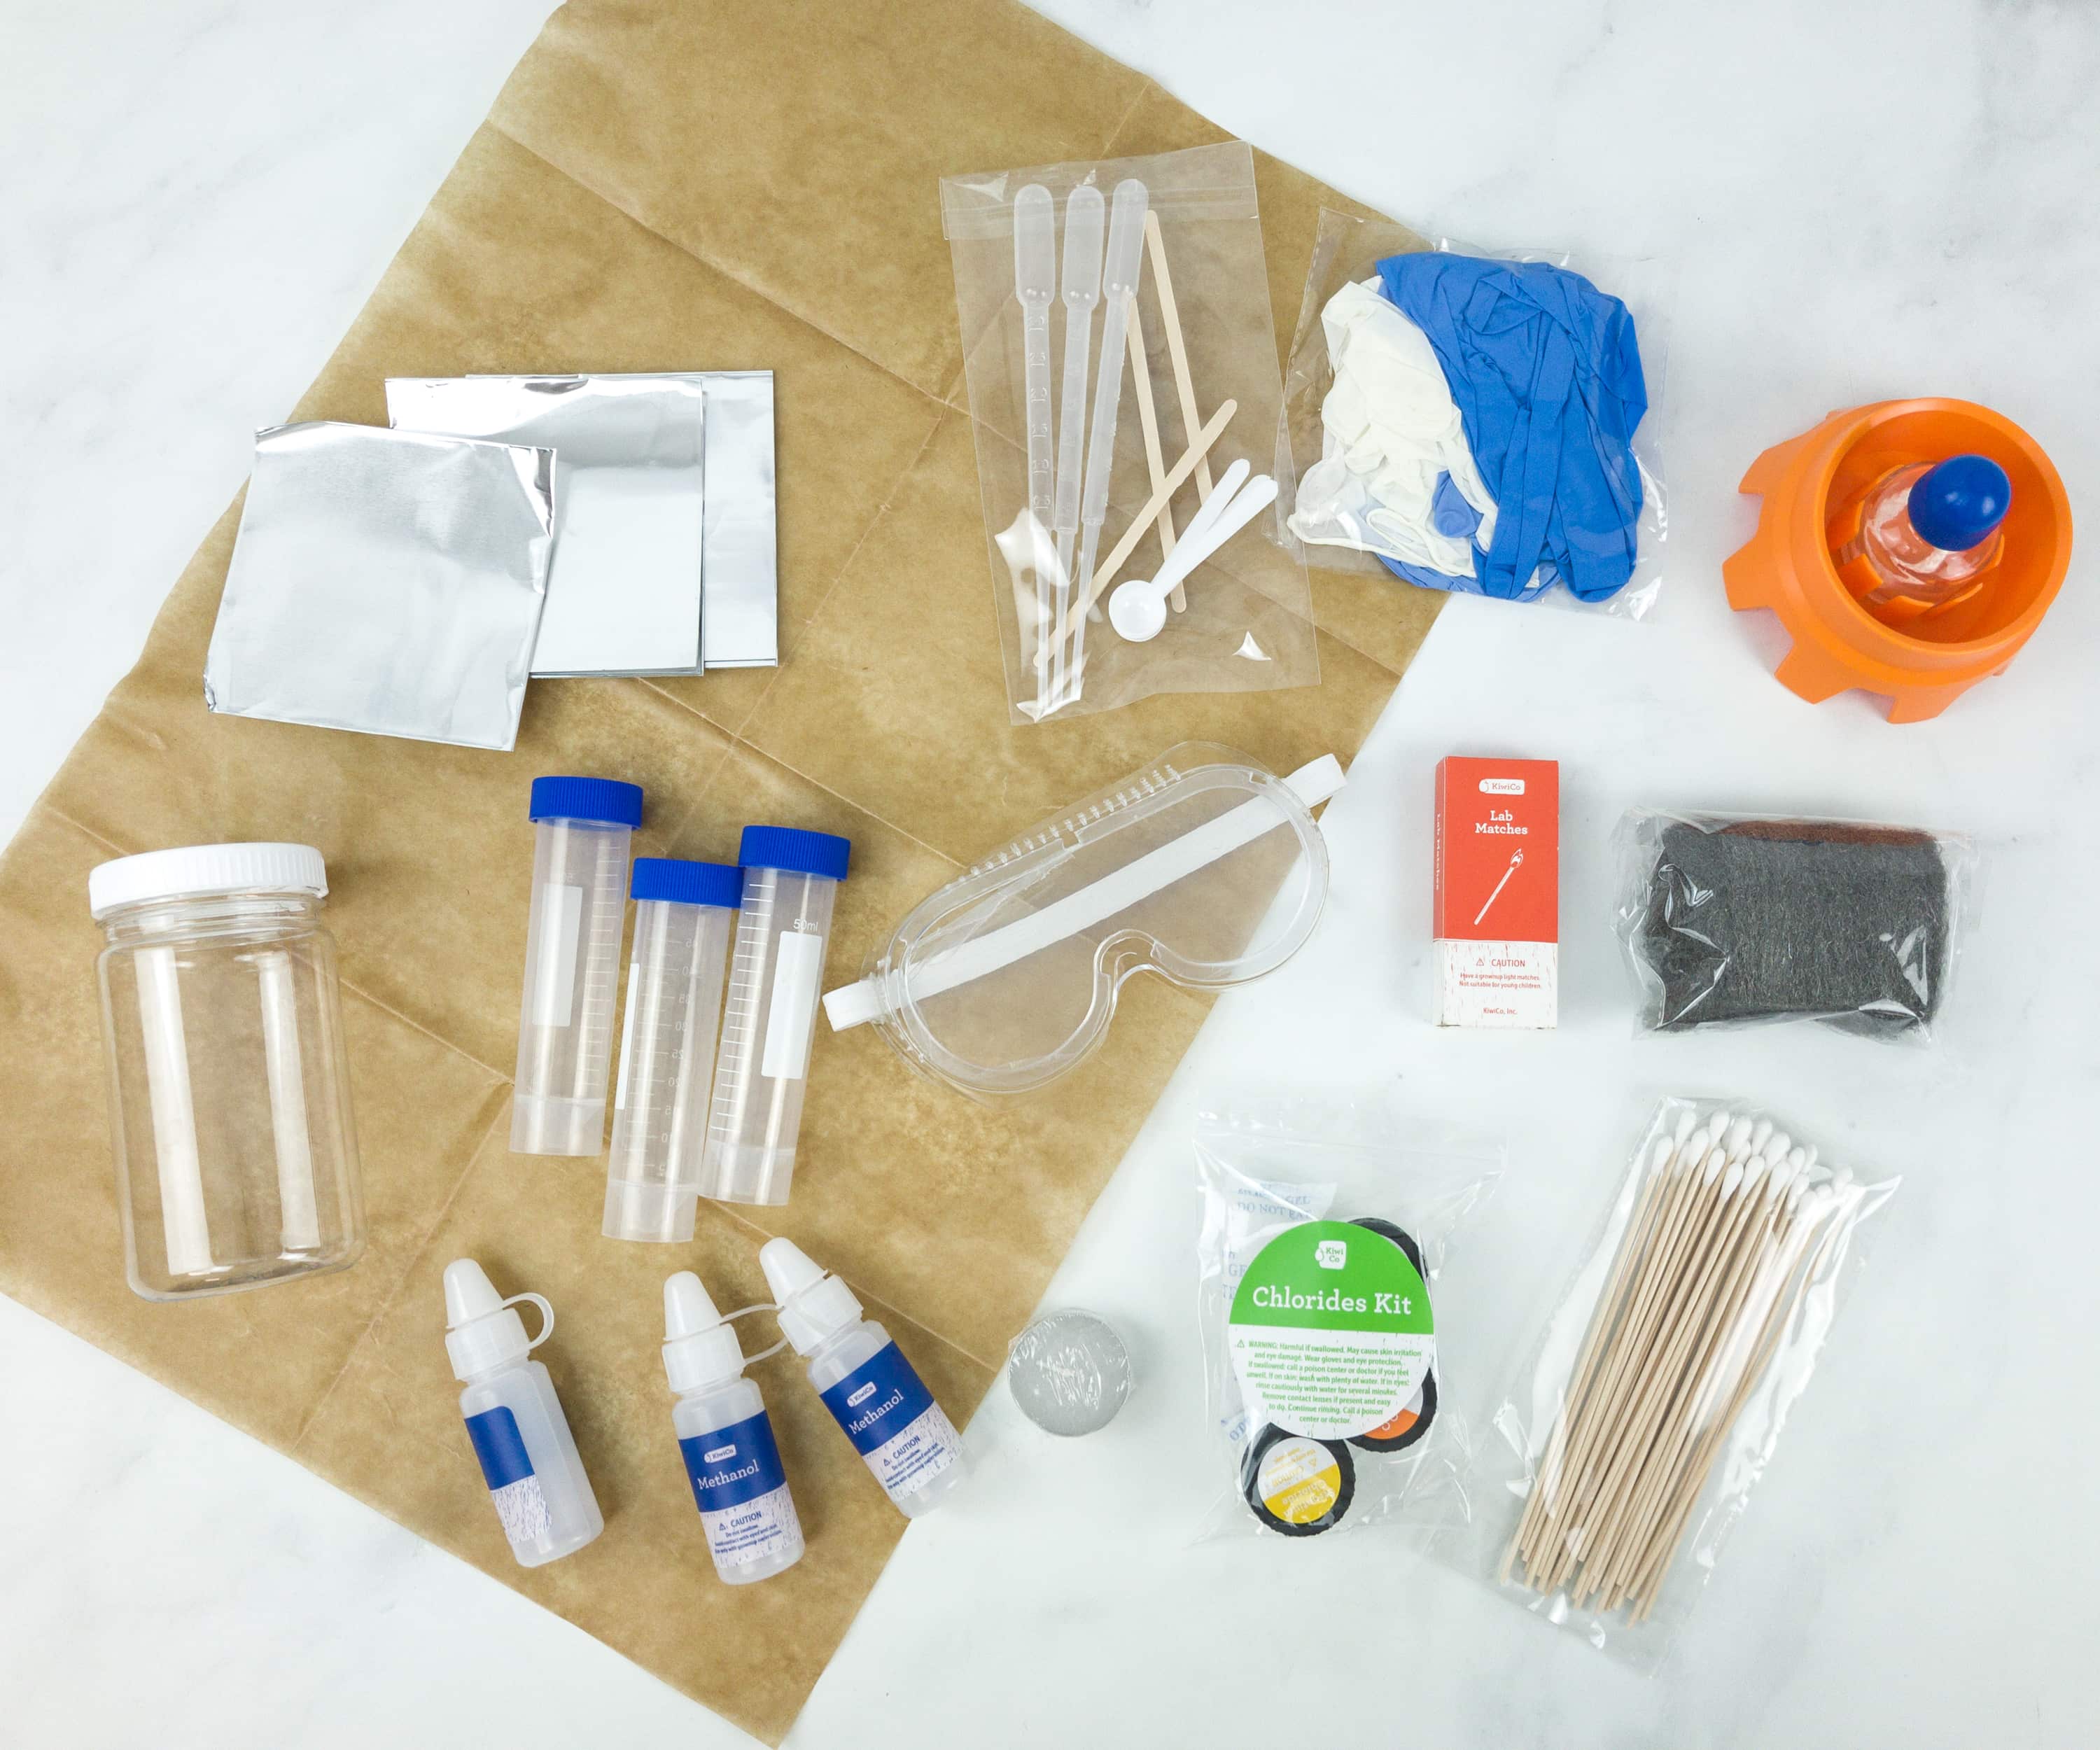
Everything in the box!
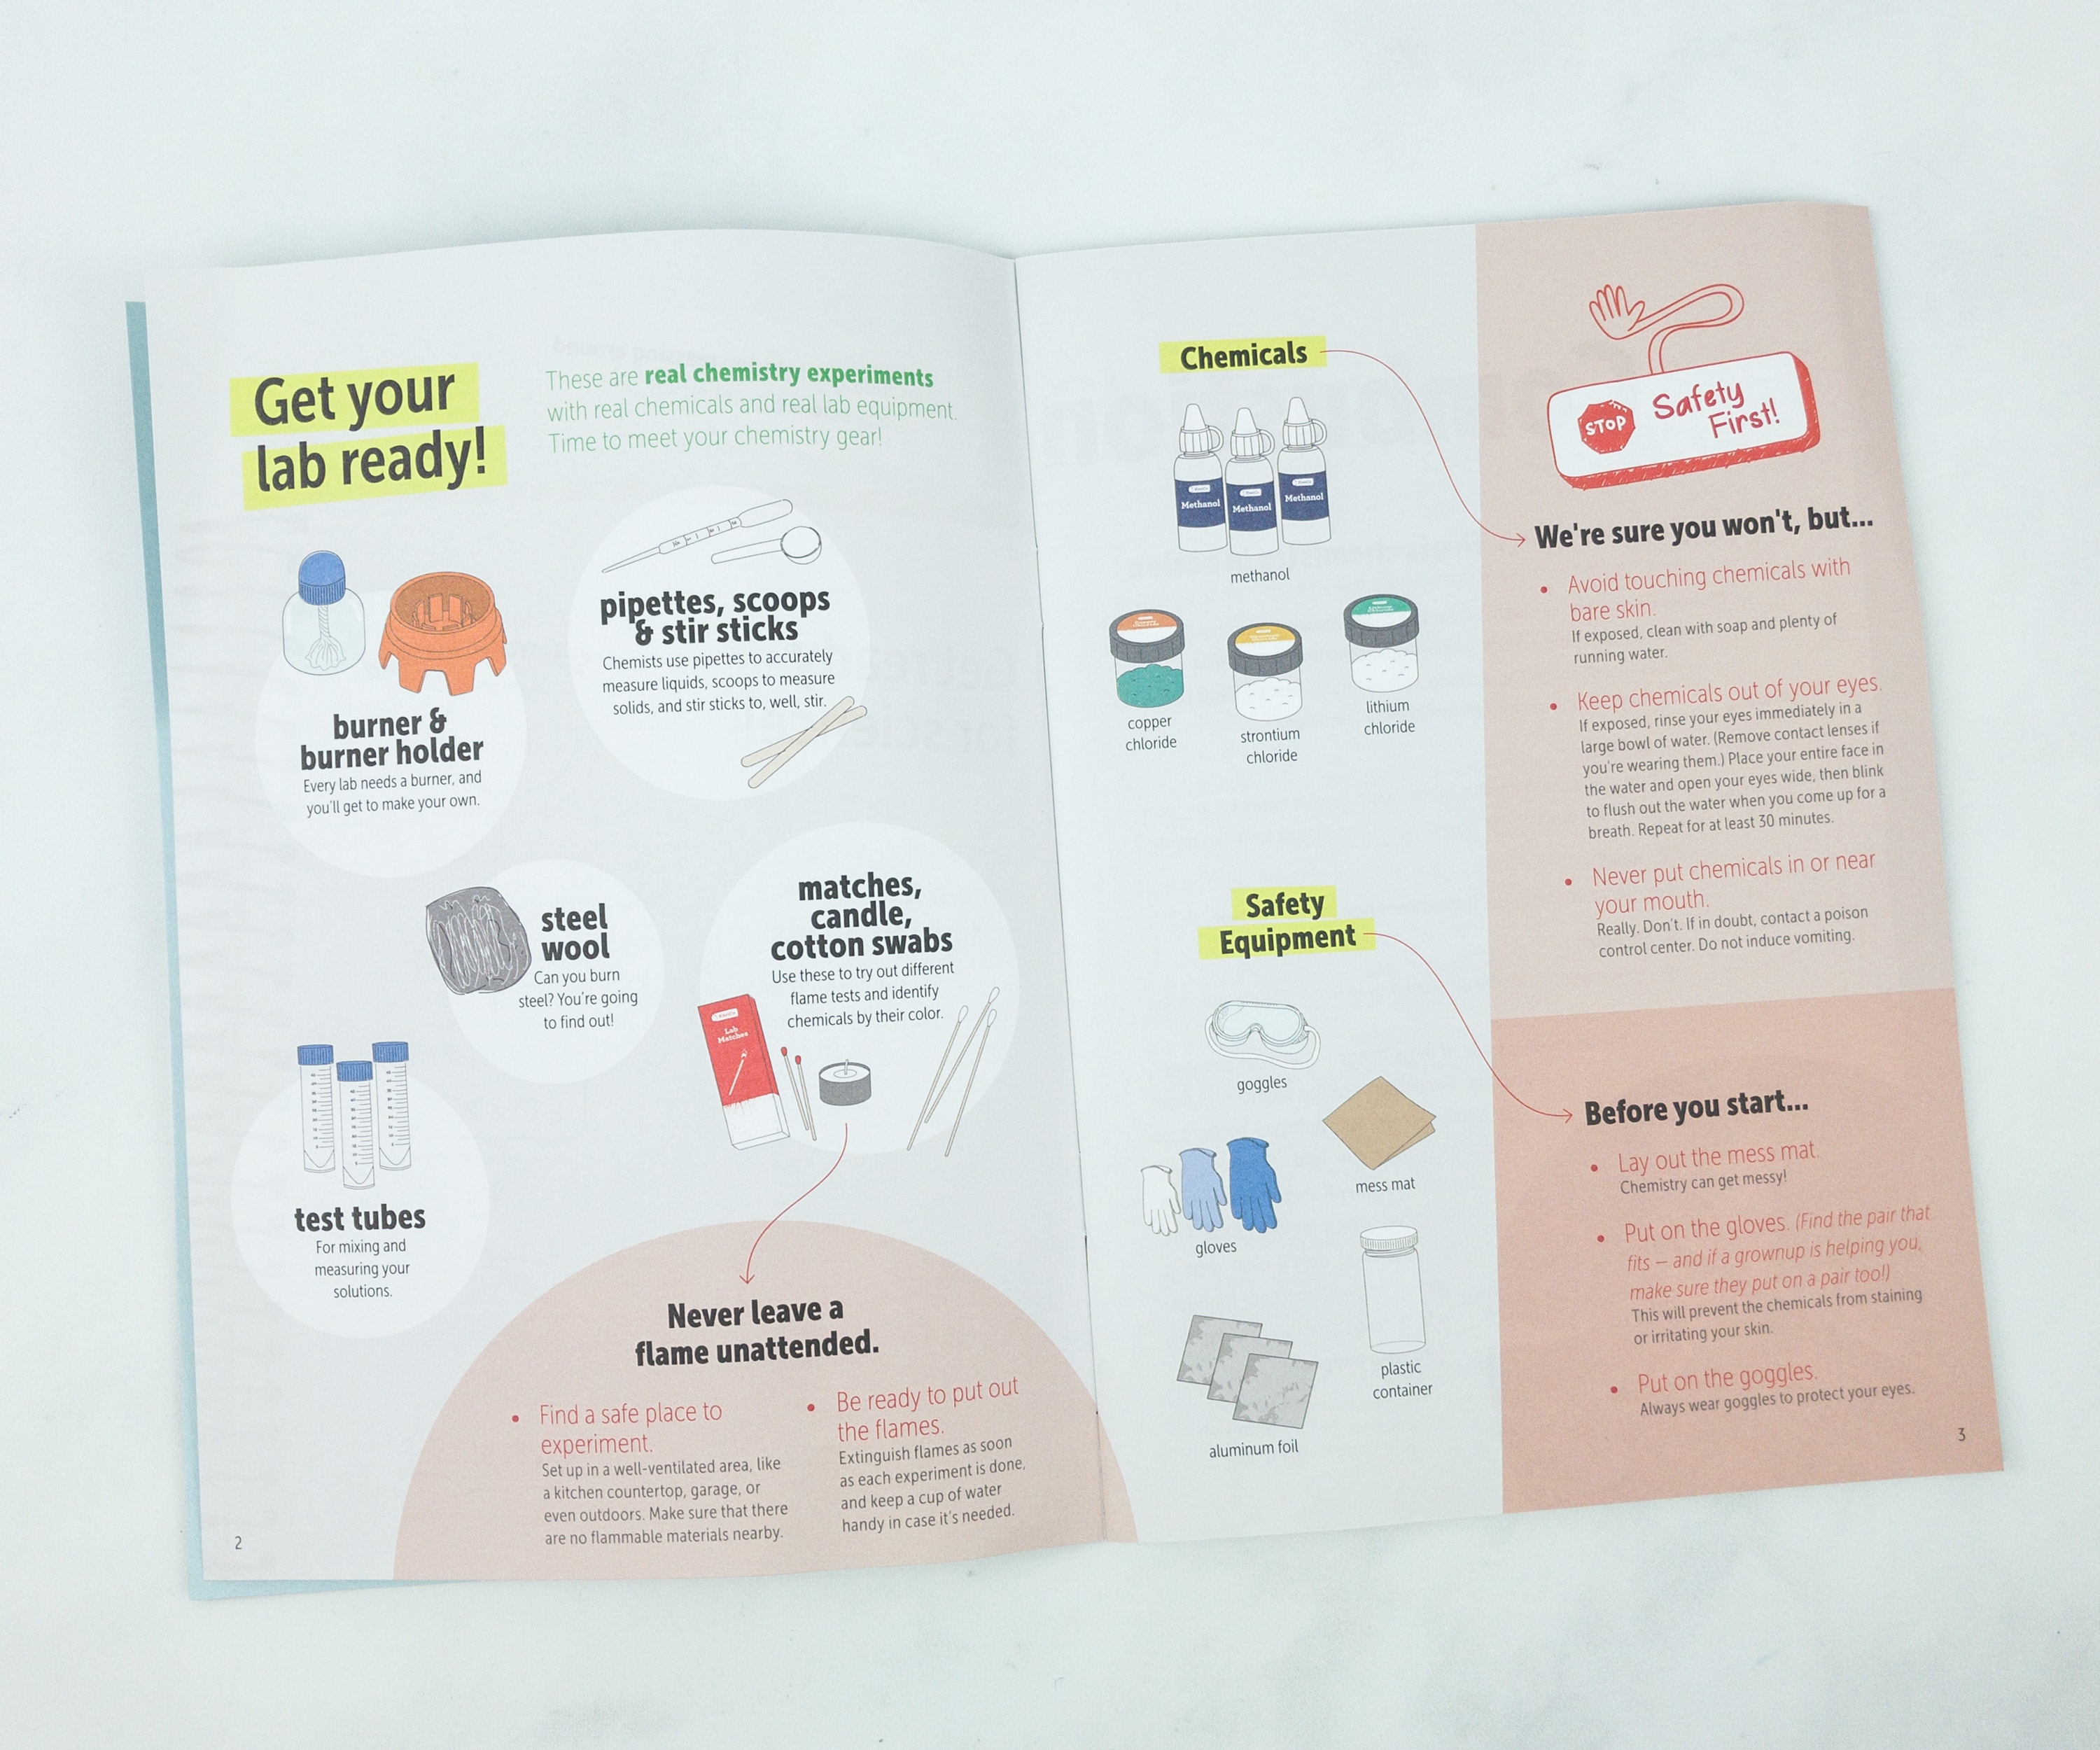
The booklet gets you ready for these experiments, as they’re real chemistry experiments. They also have some precautionary measures like never leave a flame unattended and find a safe place to do the experiments. There’s even safety equipment in the crate for you to use.
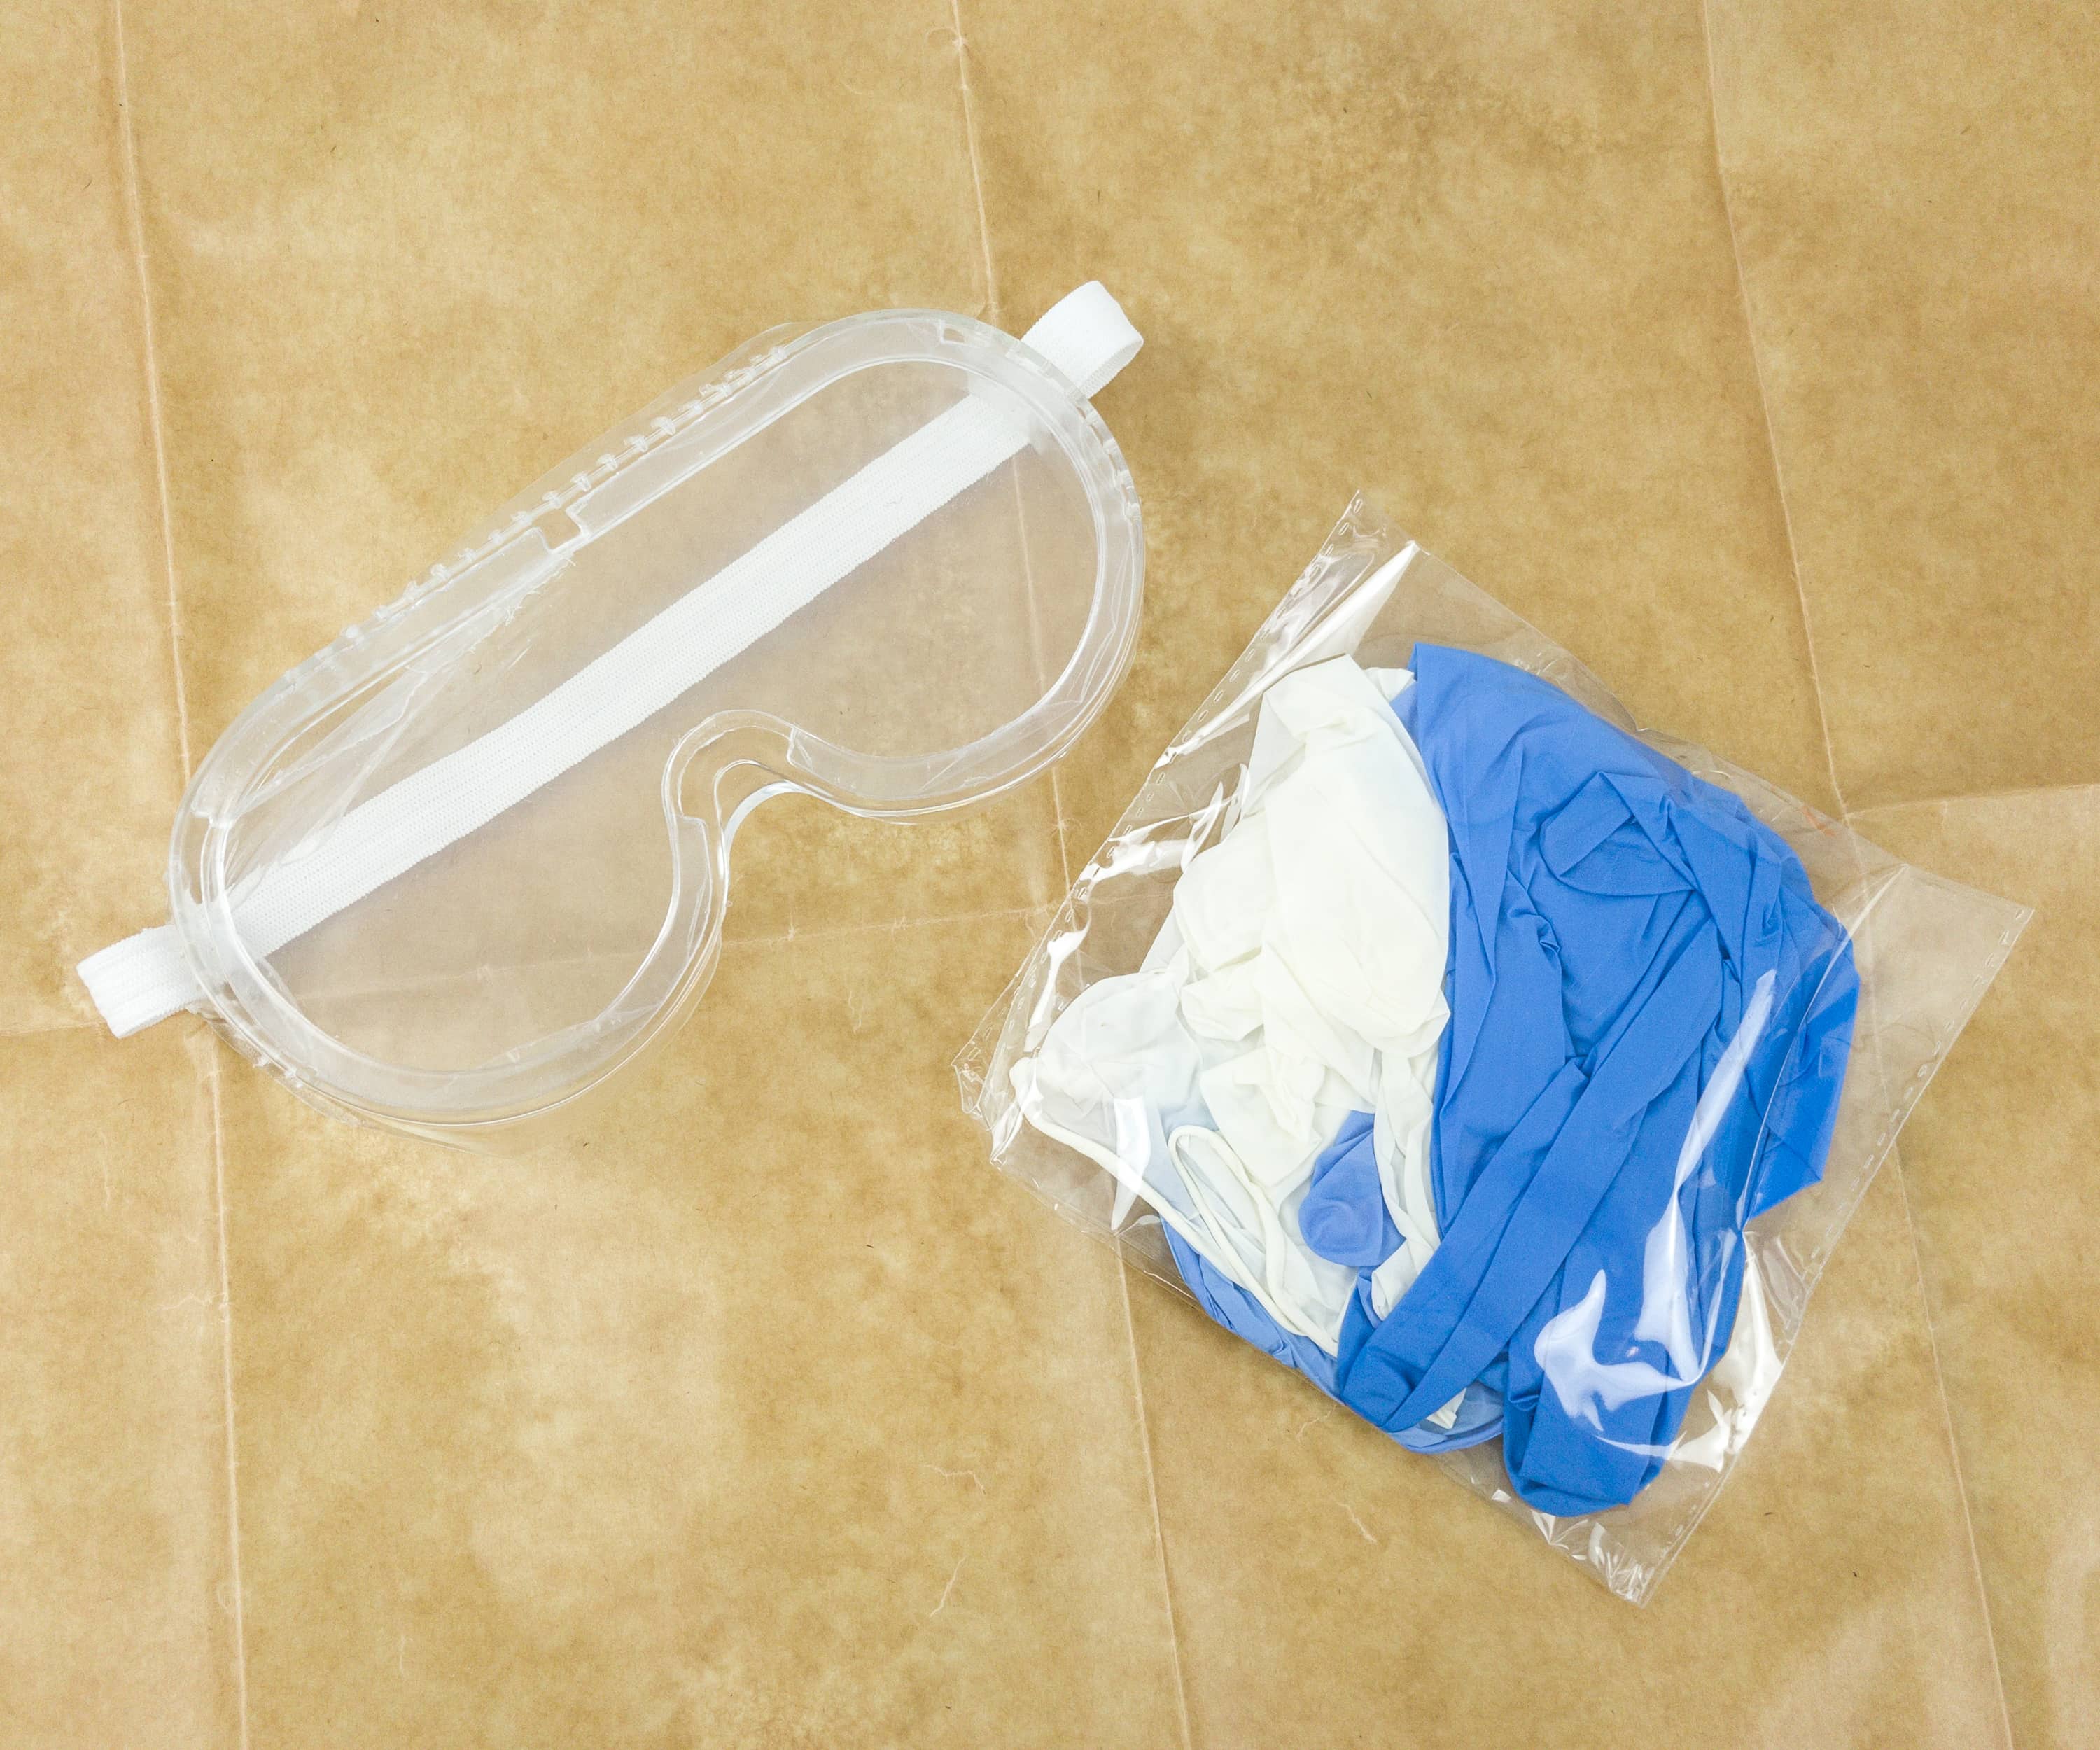
Here’s the set of safety gears. It includes goggles, gloves, and mess mat.
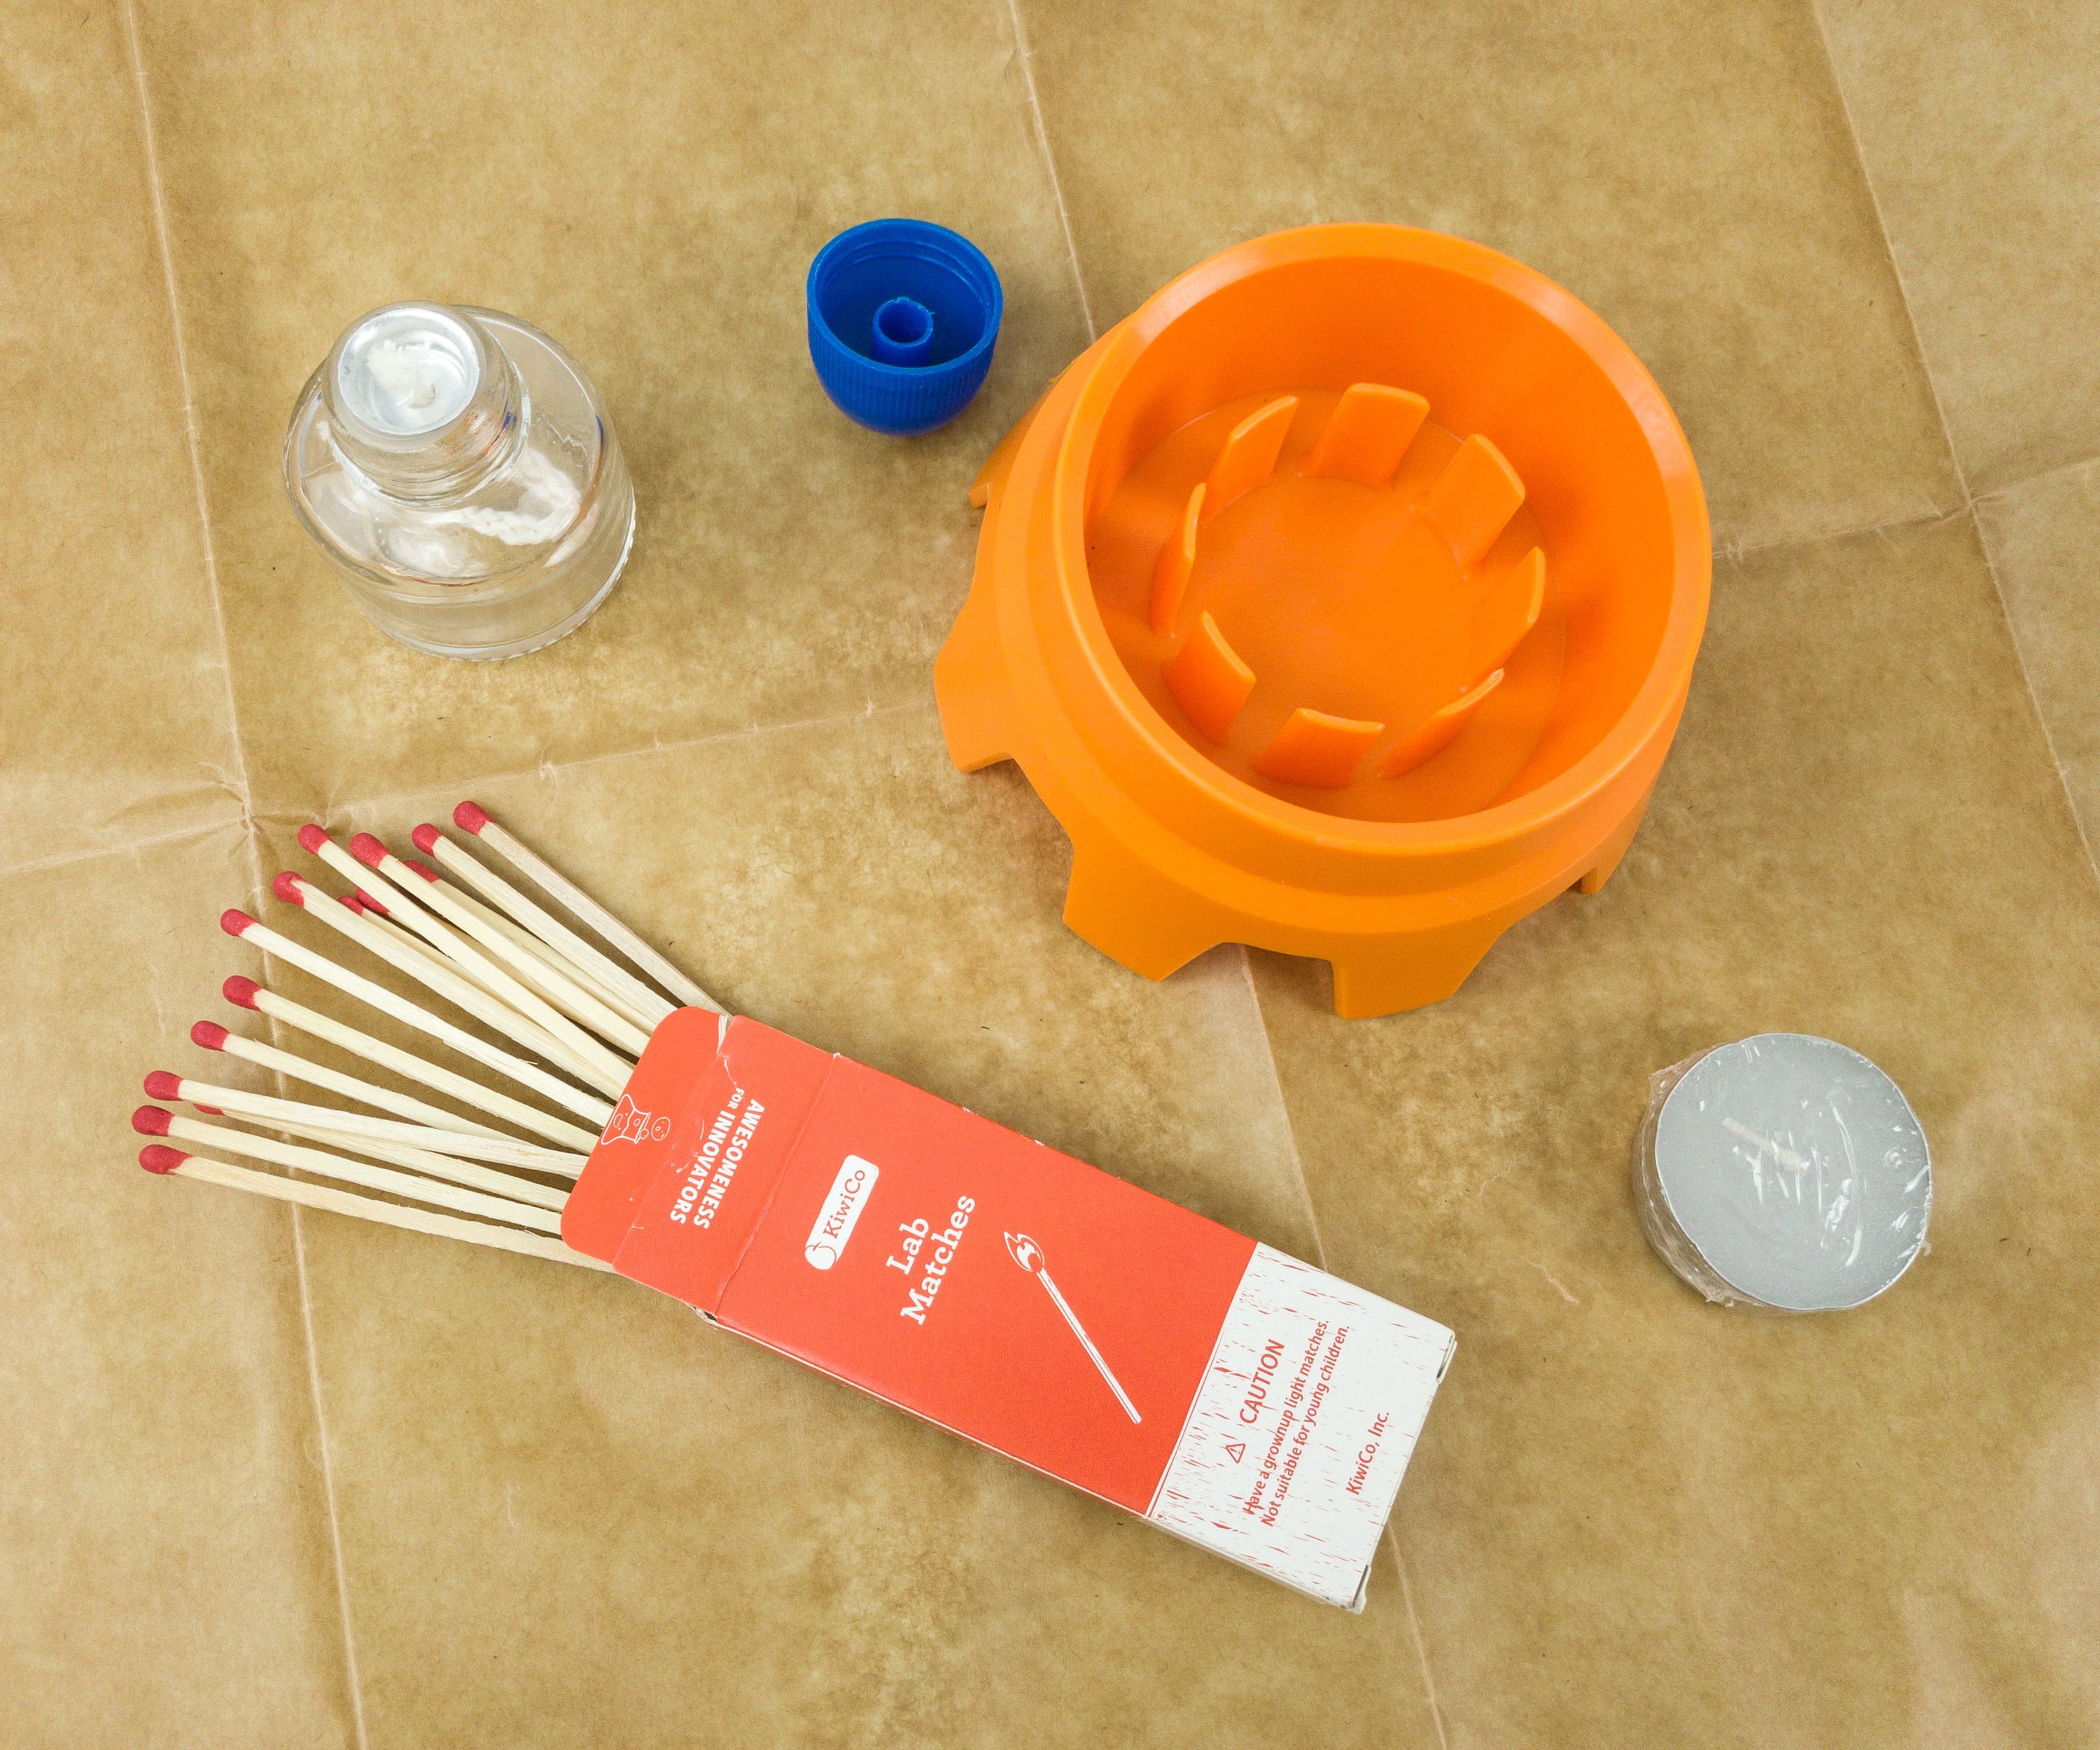
There’s also a burner and burner holder, some matches, and a candle.
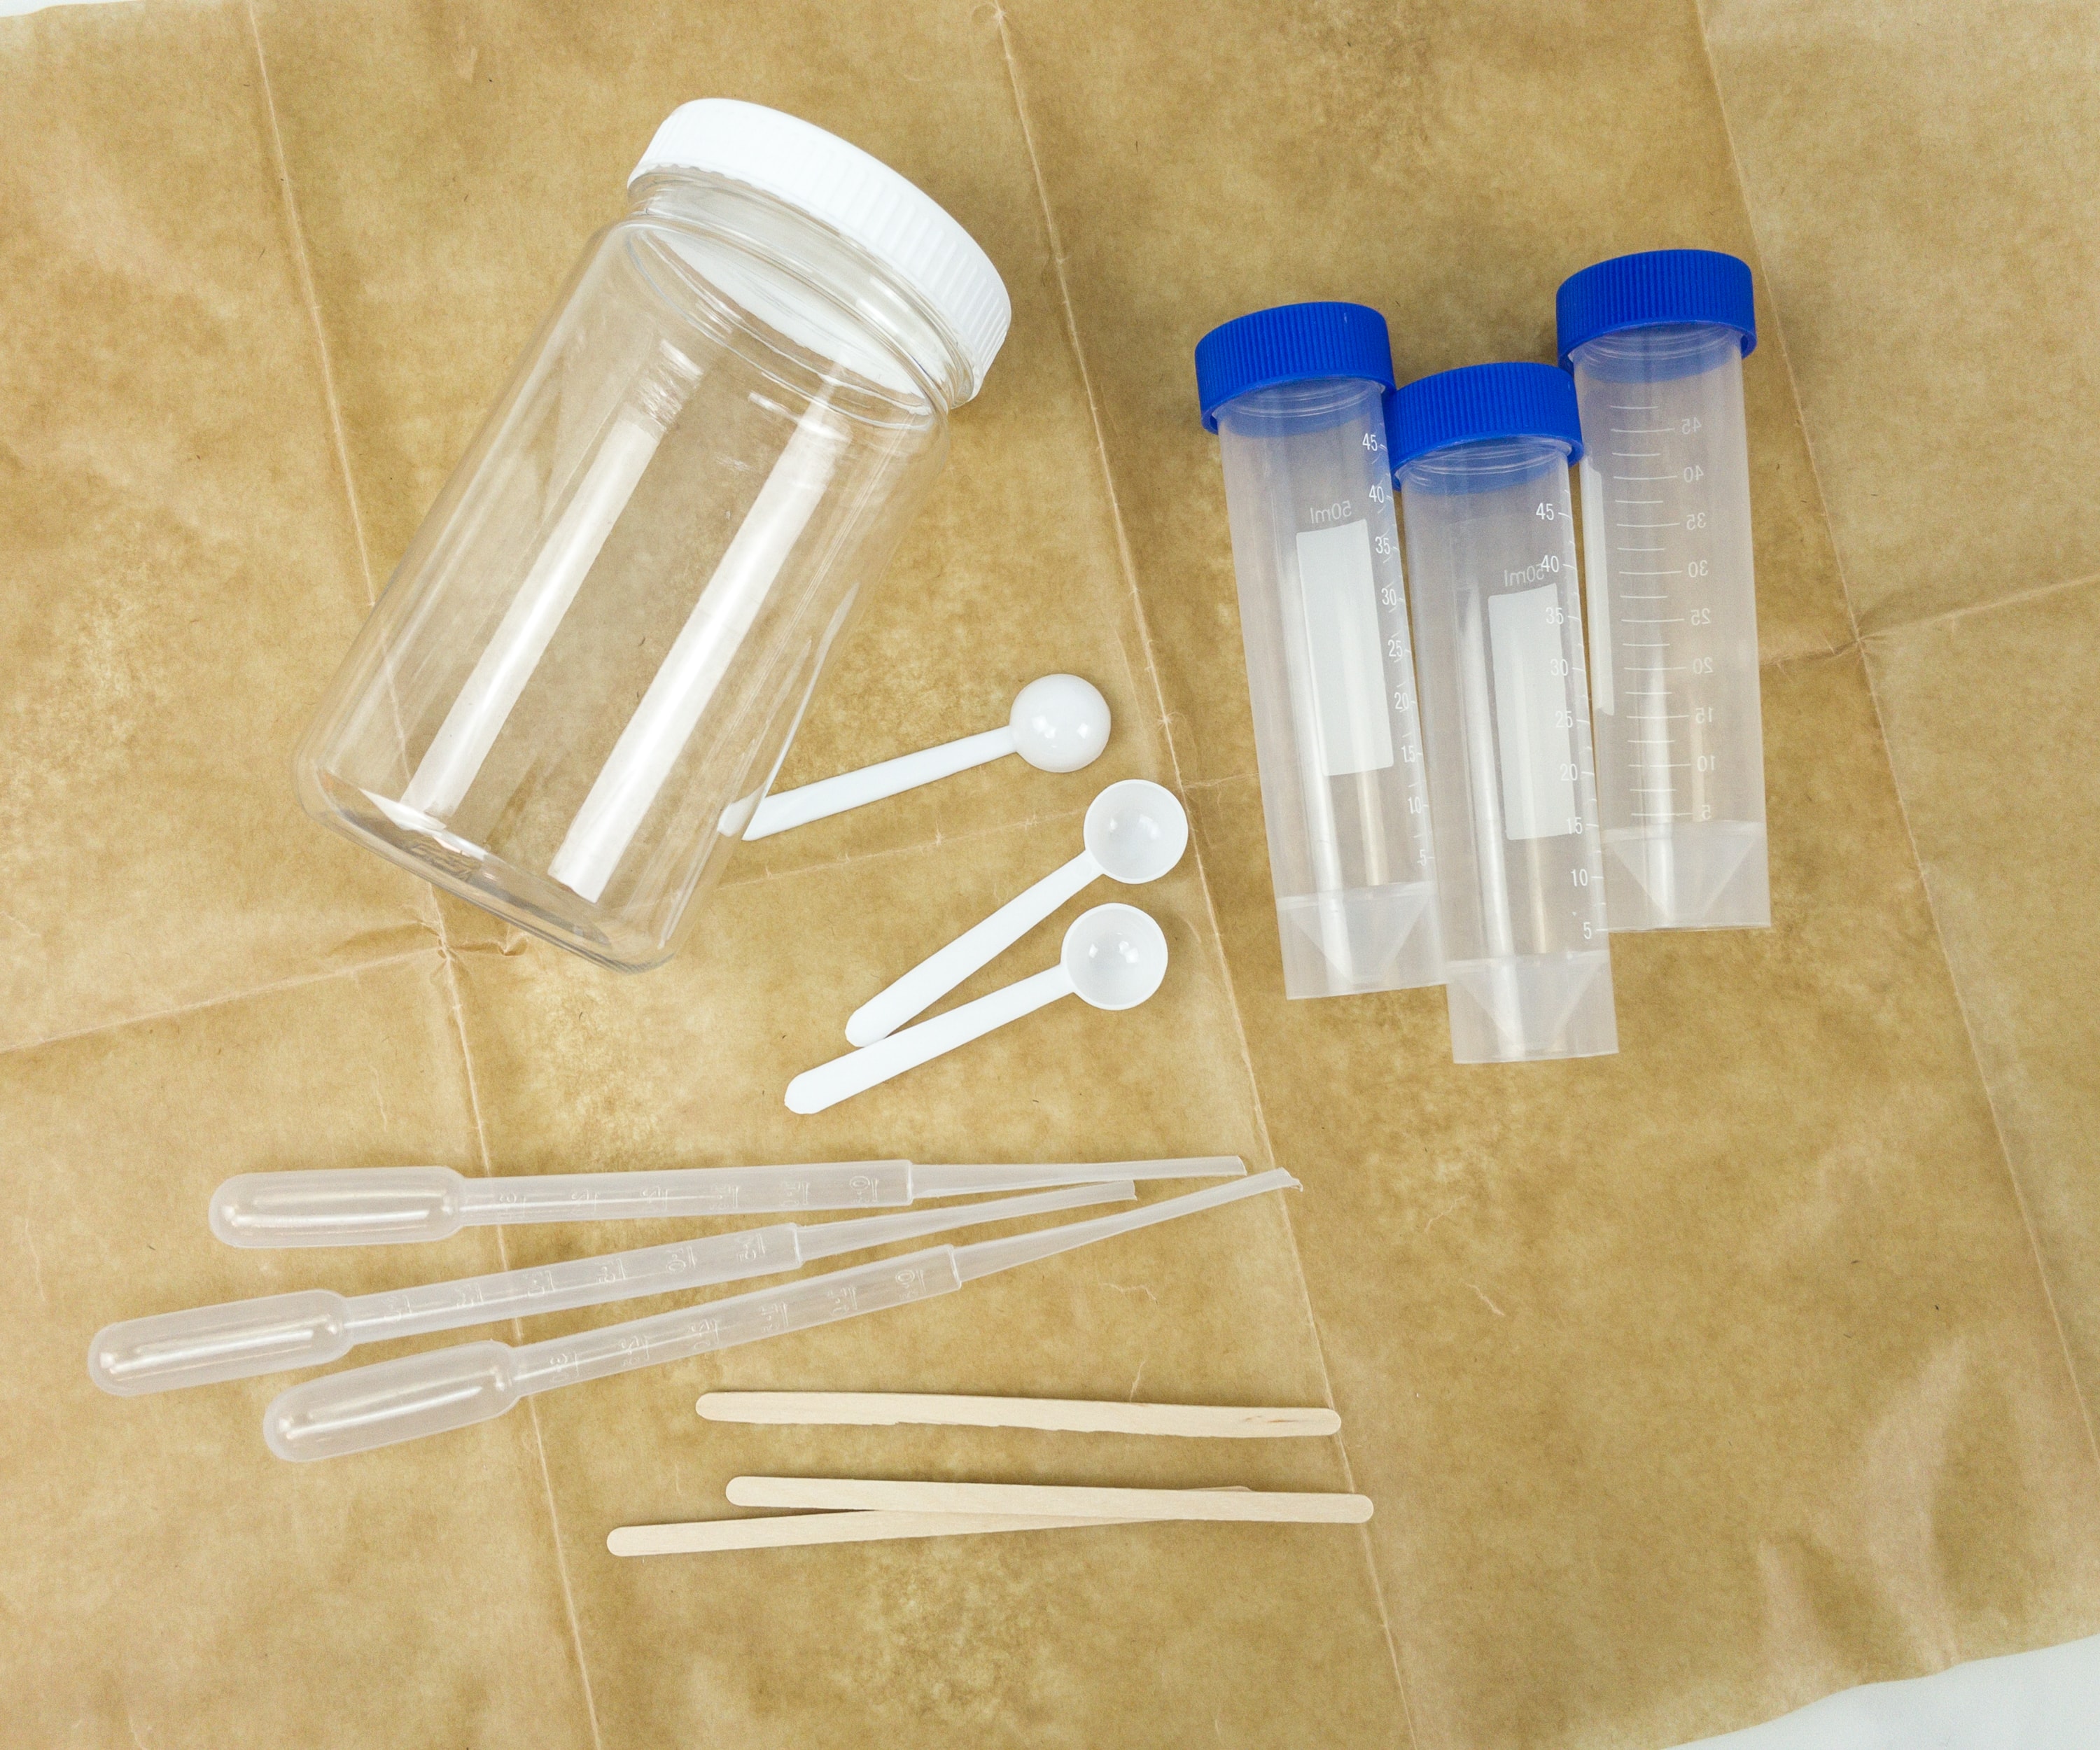
More useful materials! There are pipettes, scoops, test tubes, plastic container, and stir sticks.
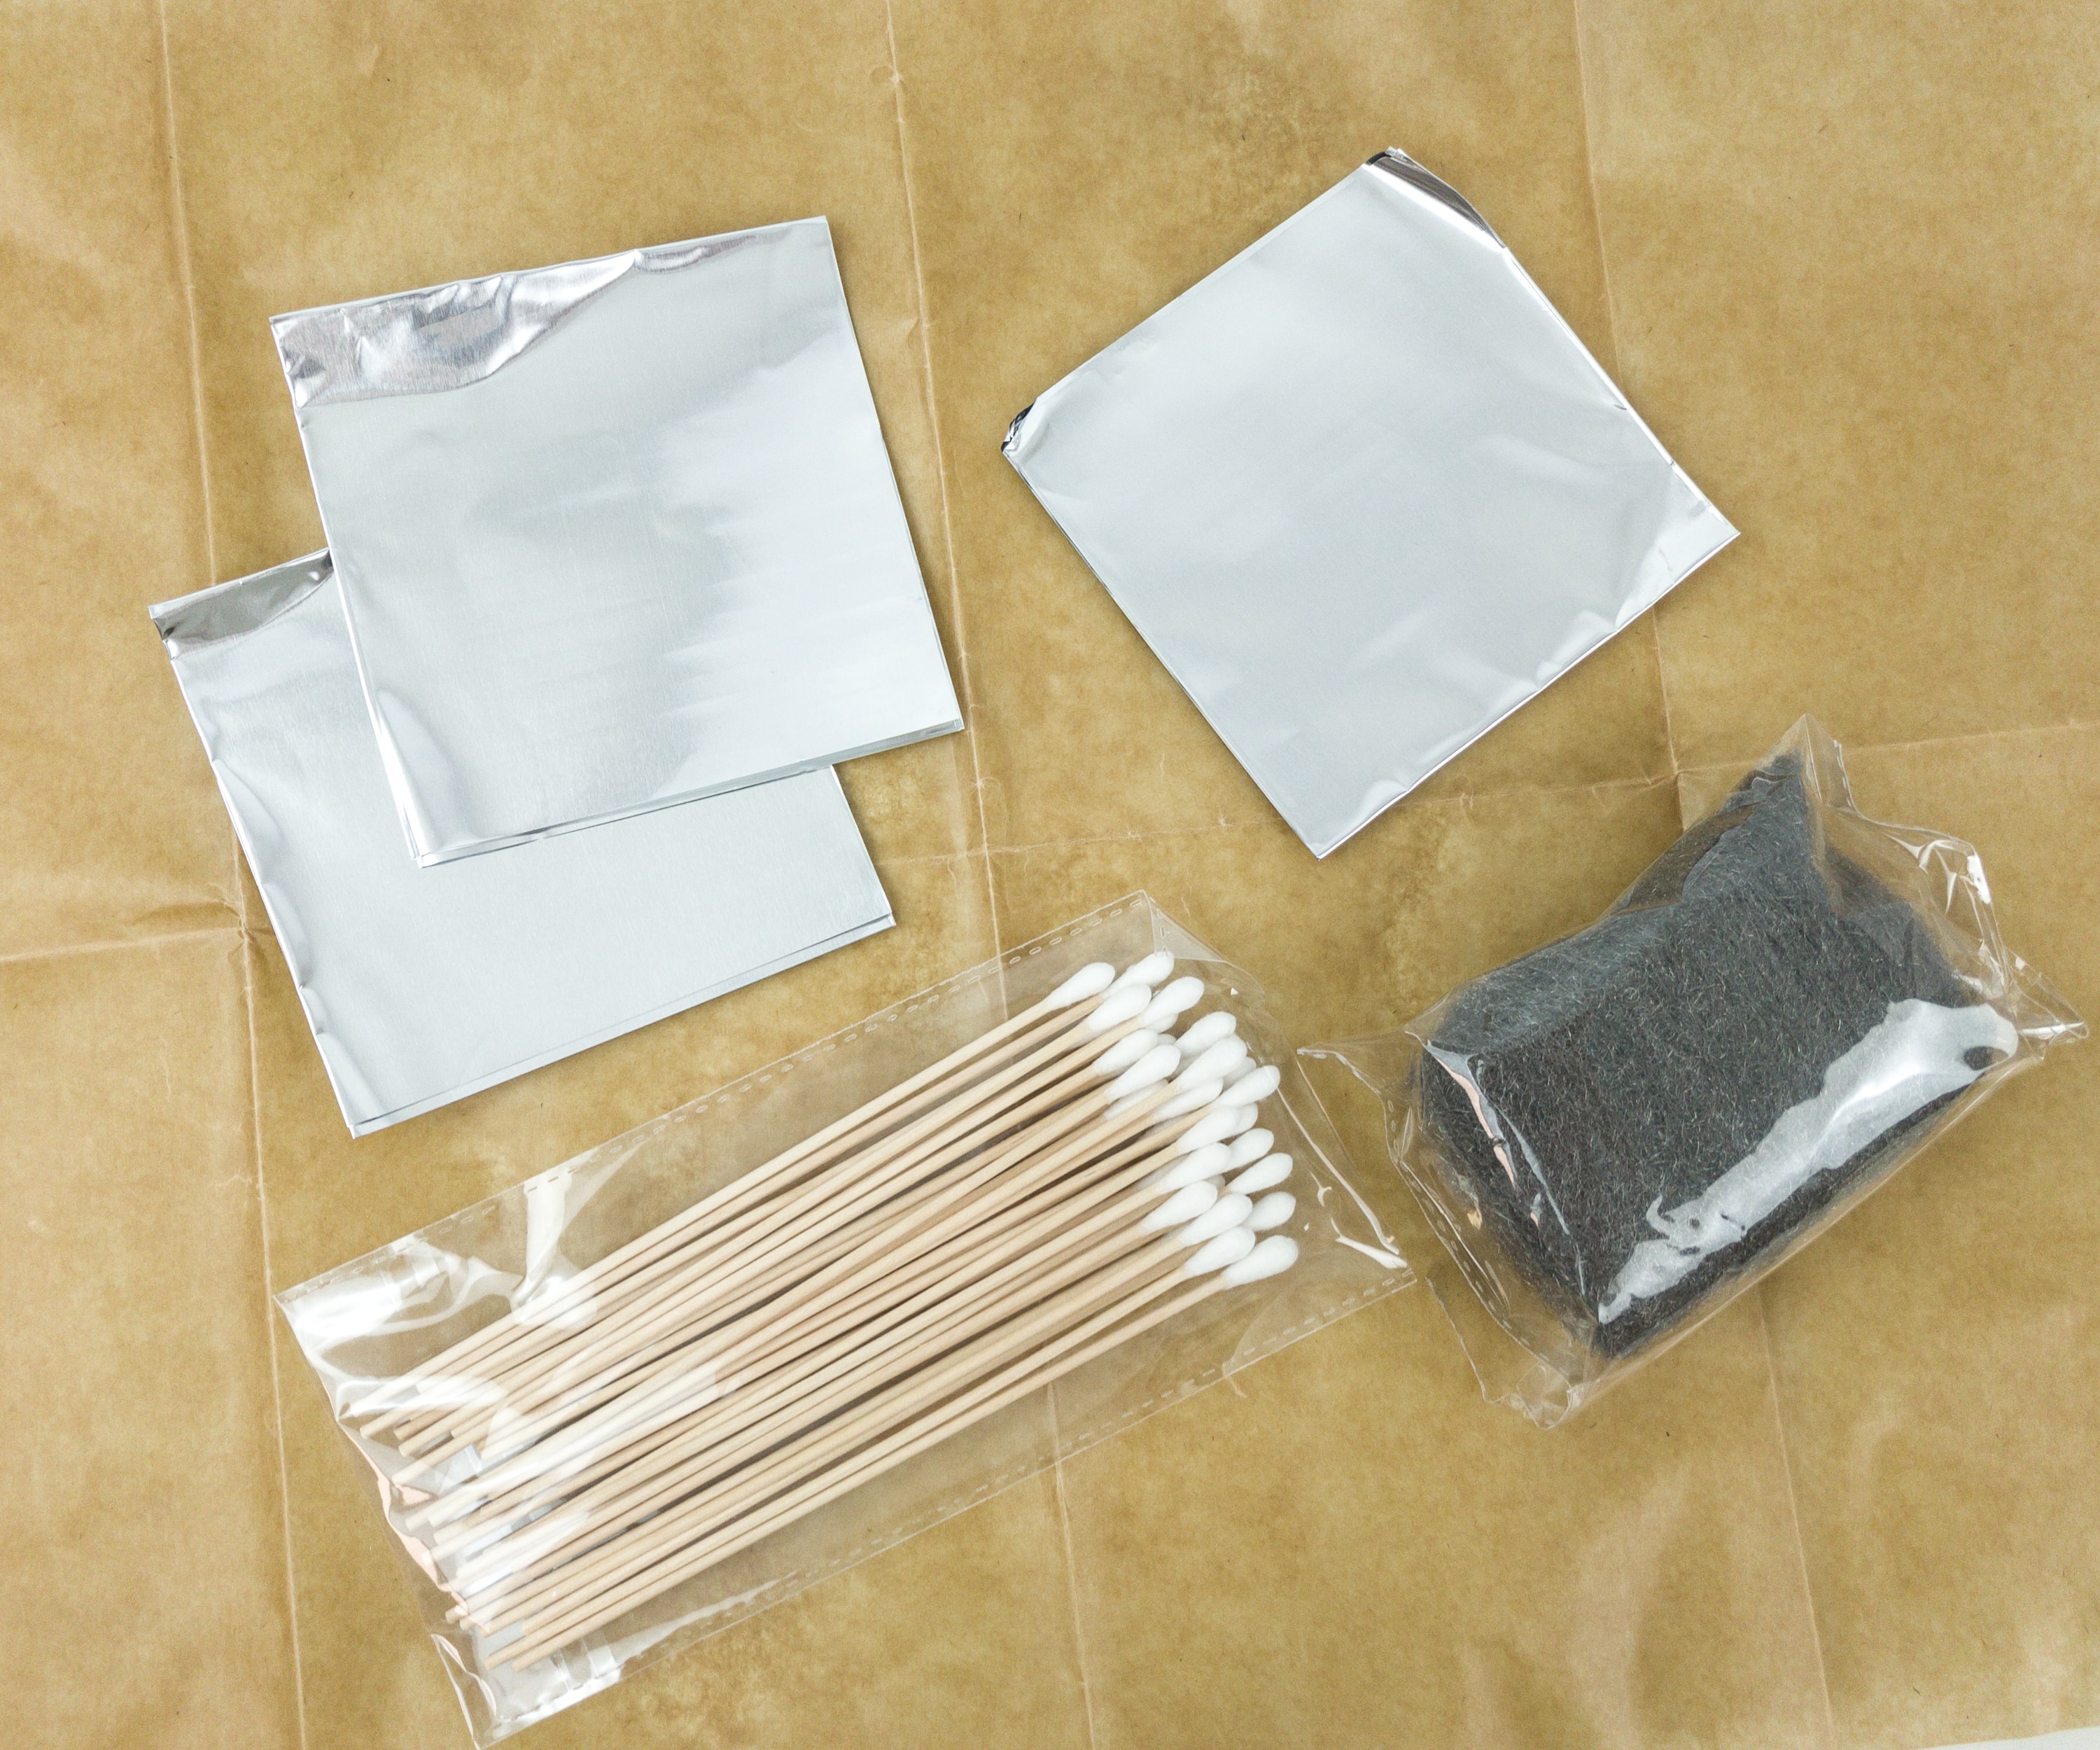
Aluminum foils, cotton swabs, and steel wool are also included in the crate.
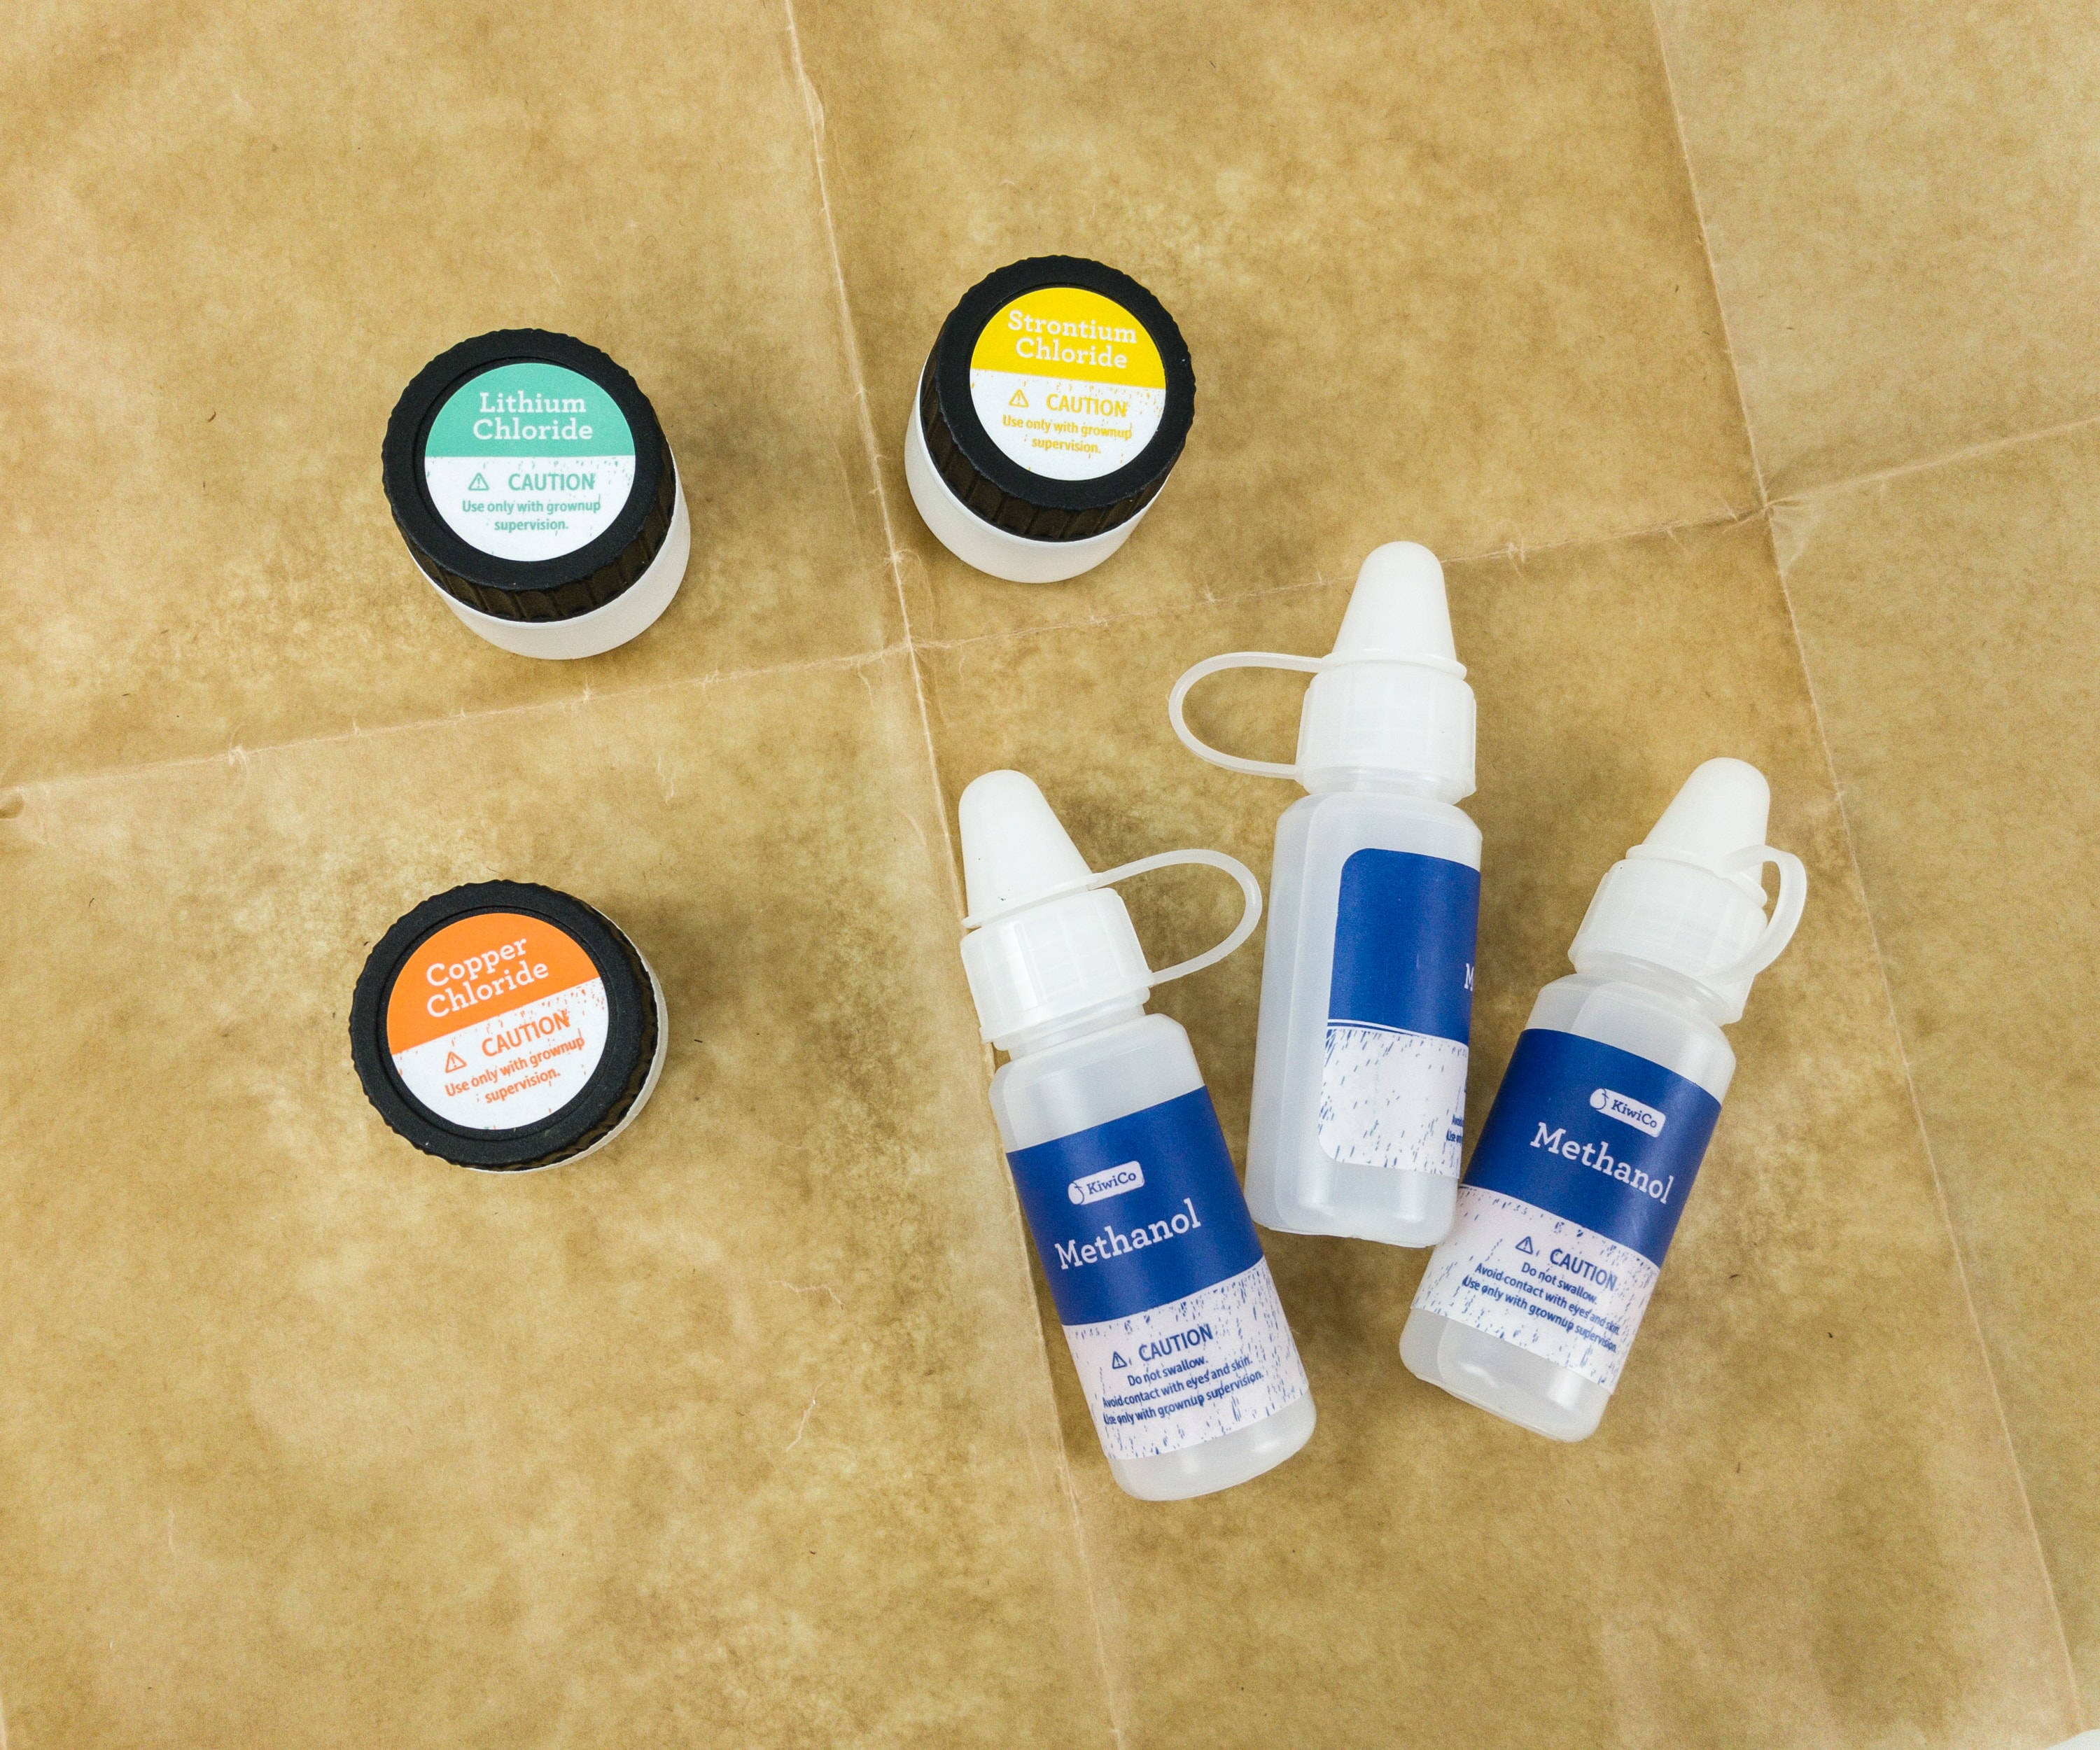
Here are the chemicals we’ll need for the experiments: several containers of Methanol, Lithium Chloride, Strontium Chloride, and Copper Chloride. Just remember not to touch these chemicals with bare skin, avoid contact with eyes, and never put them near your mouth.
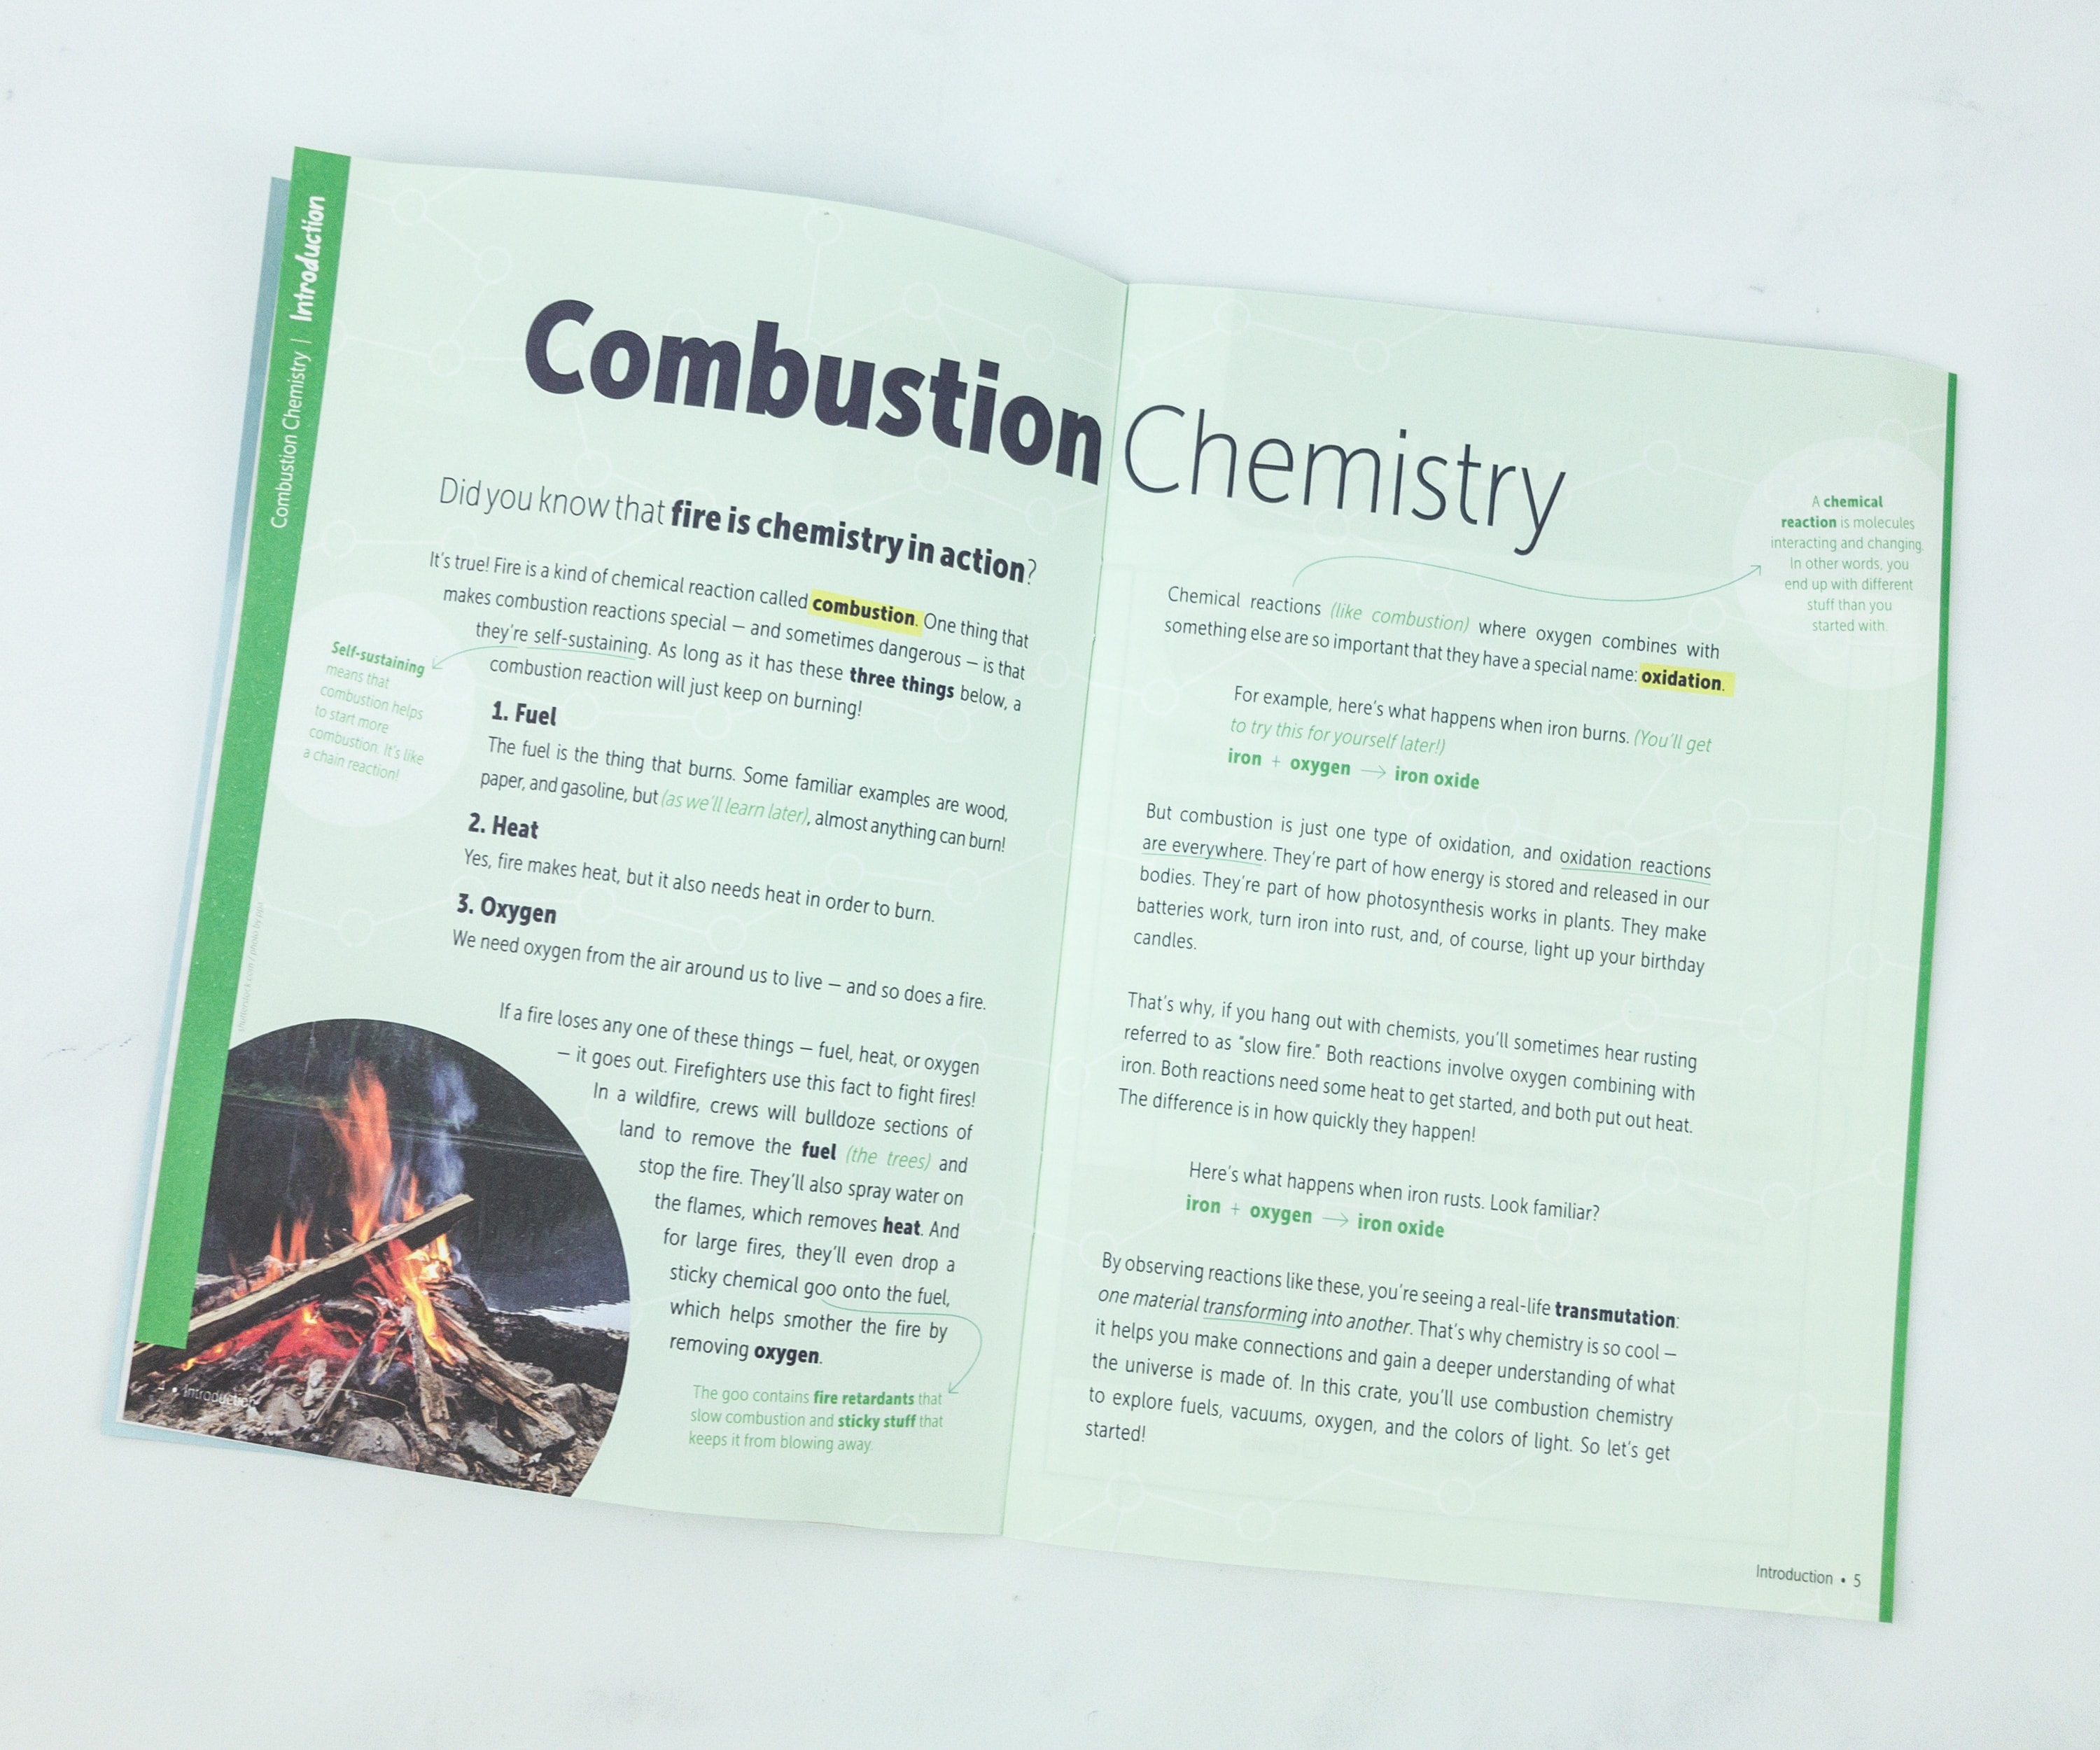
This page in the booklet that talks about Combustion Chemistry. Combustion is a kind of chemical reaction that involves fire, and it is self-sustaining. To make it work, you’ll need these three: fuel, heat, and oxygen.
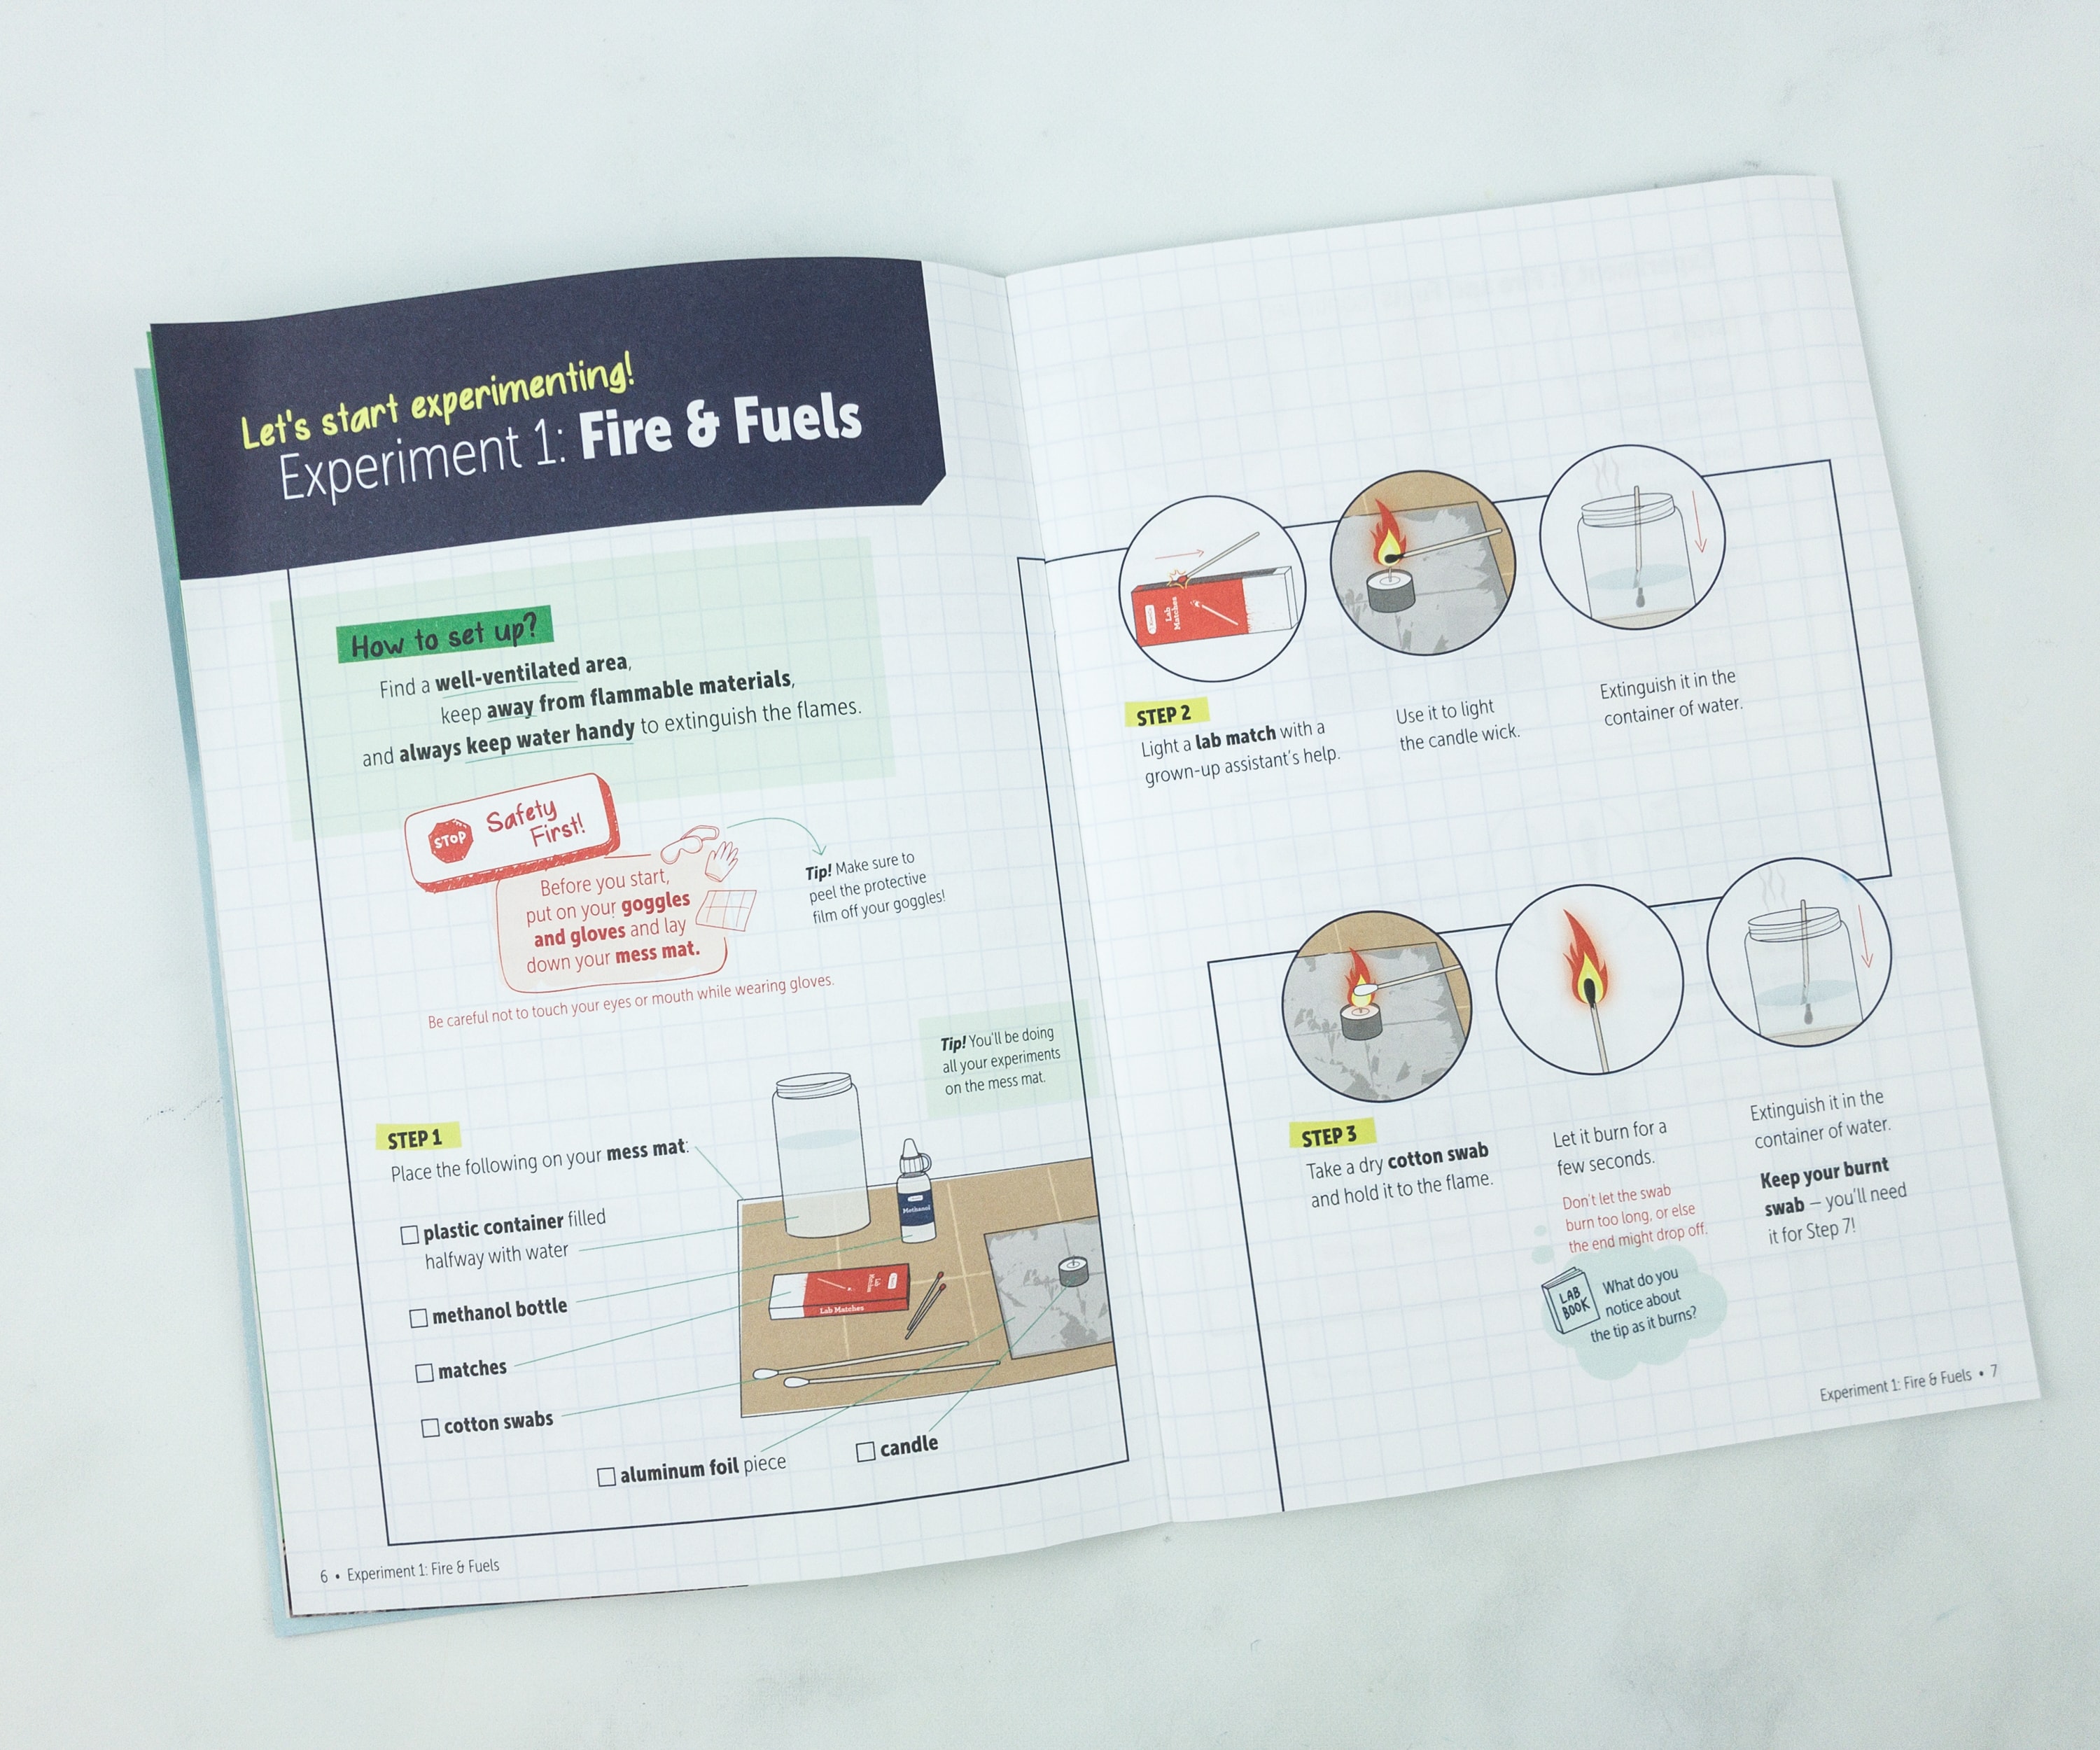
For the first experiment, we’ll be exploring fire and fuels. Safety first so we need to wear goggles and gloves, and place everything that’ll be used on top of the mess mat.
For this experiment, we’ll need methanol, aluminum foil, candle, matches, cotton swabs, and the plastic container with water. In this photo, we can see that we lit the candle using the matches, and extinguished it by dipping the match on the water.
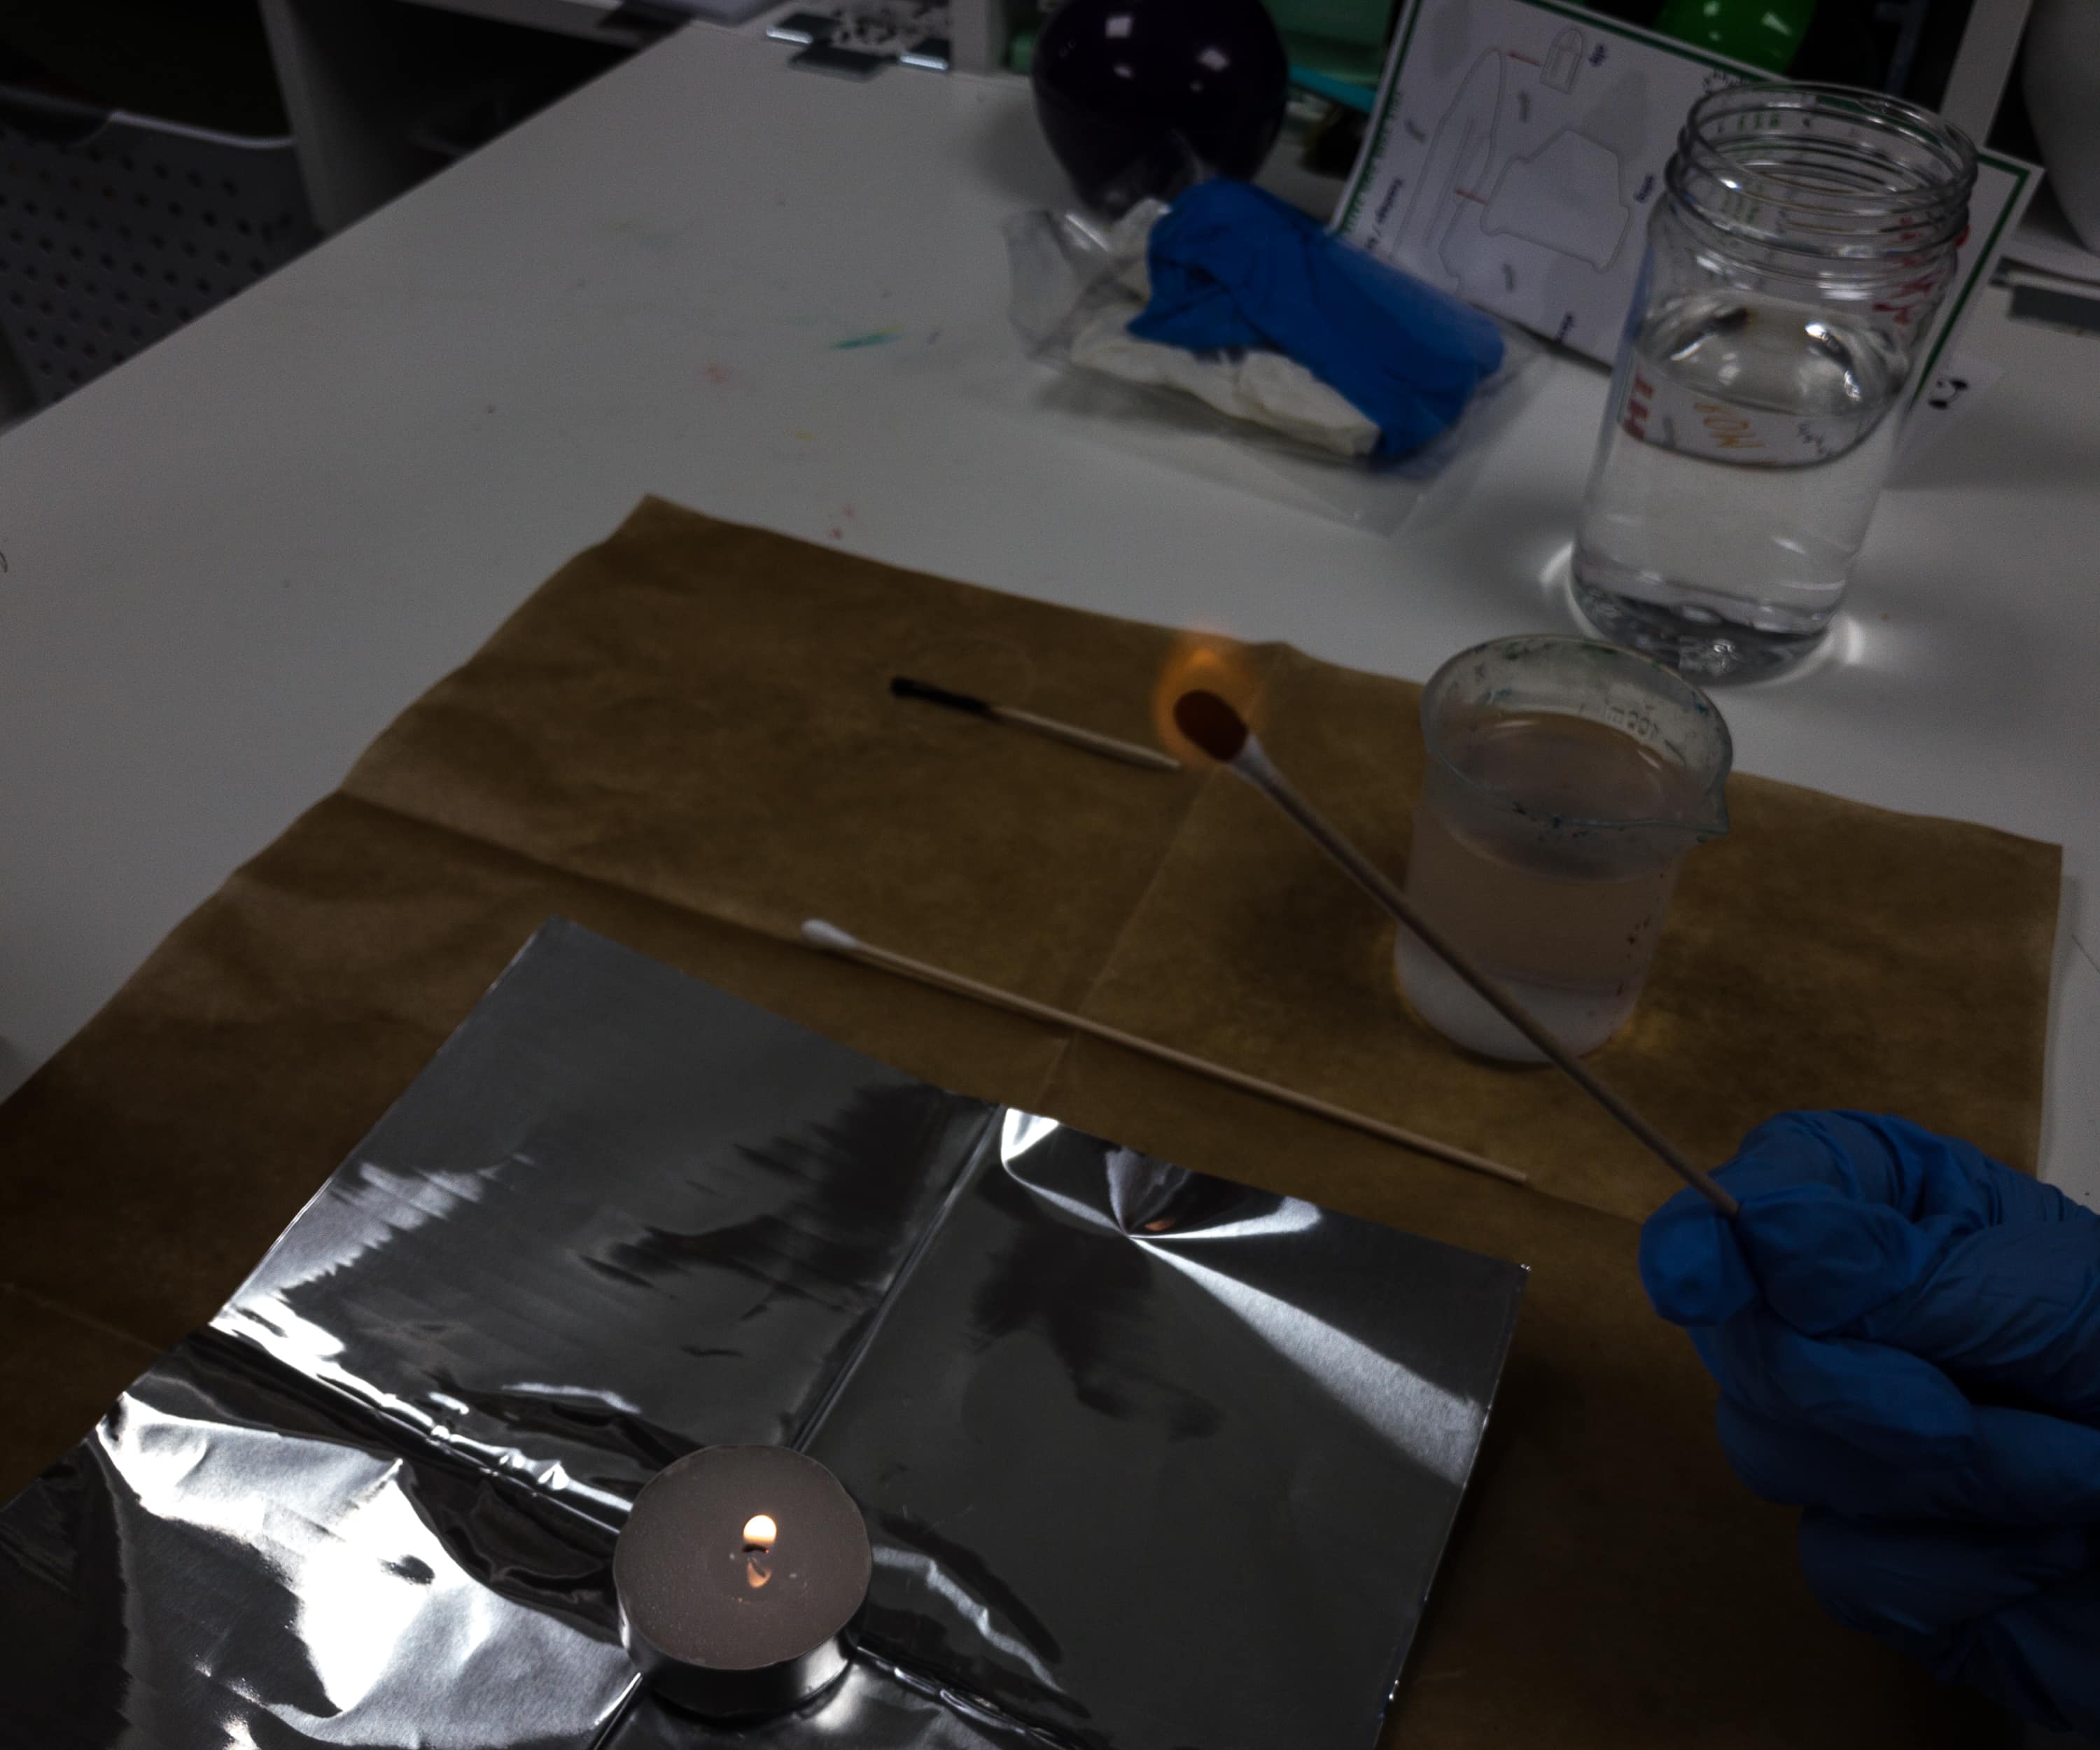
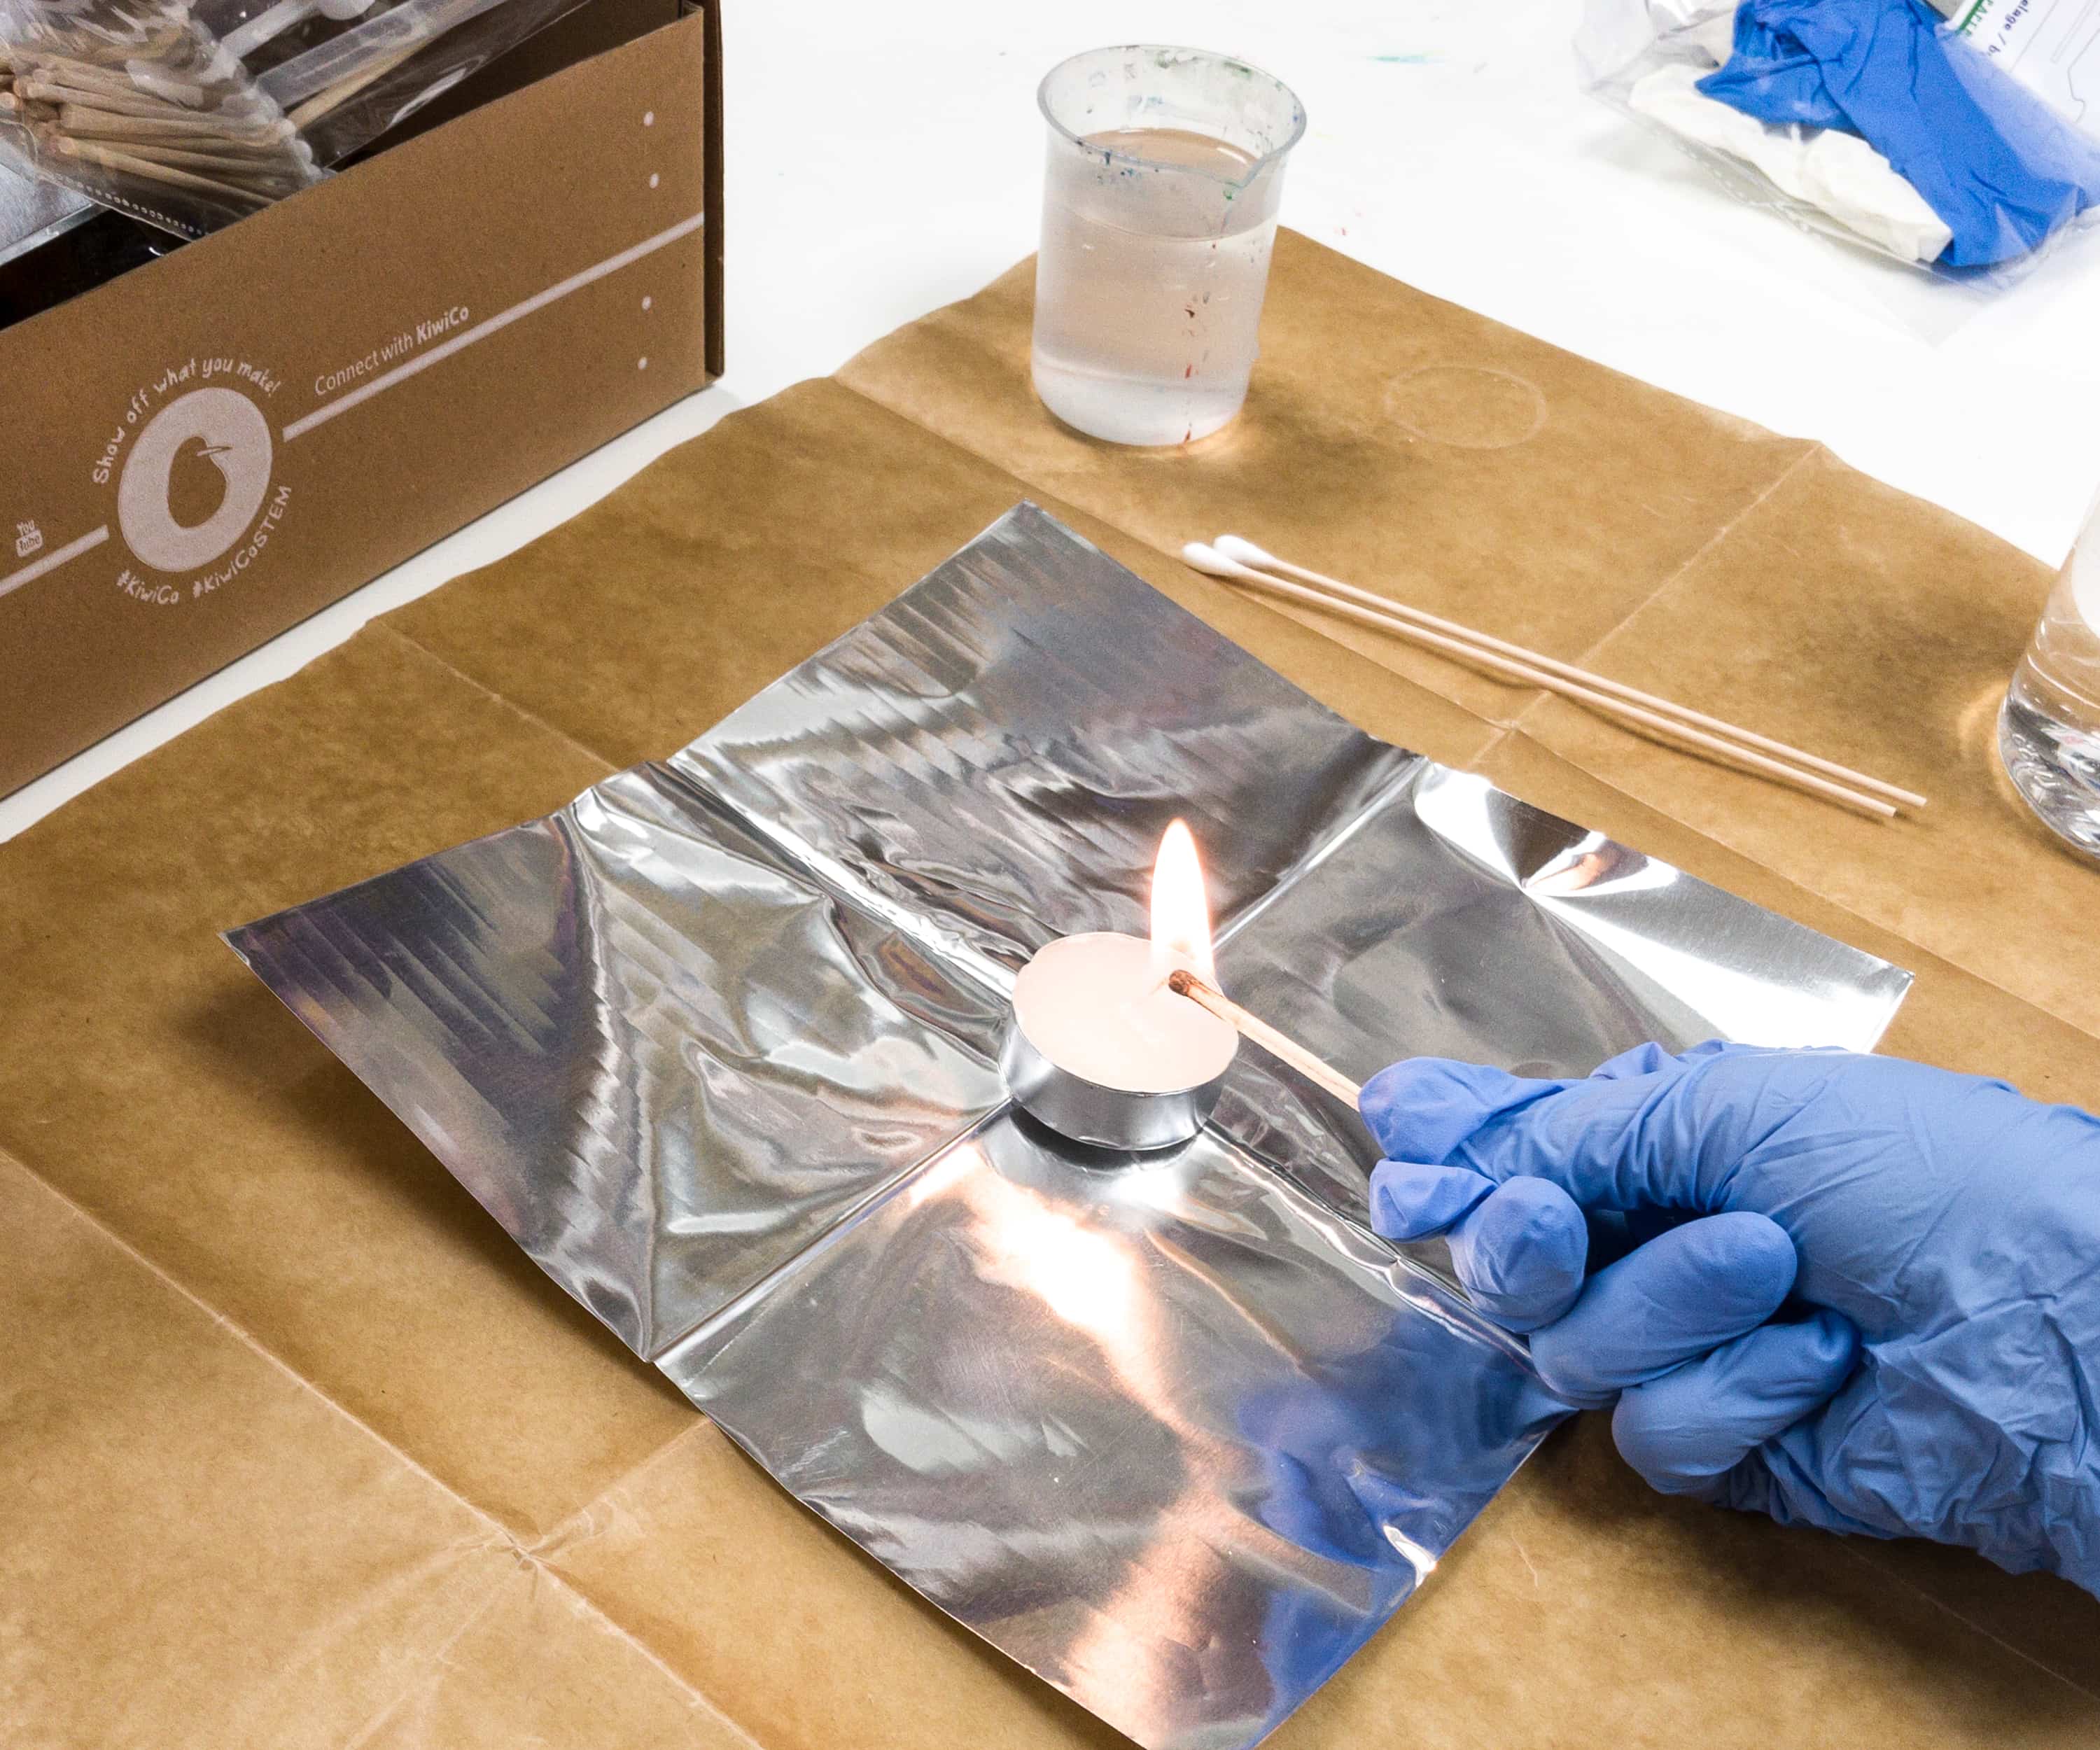
Next up is the swab. They light it up using the same candle then let it burn for a few seconds and extinguished it with water. Don’t throw away the swab as it’ll still be needed for the next steps.
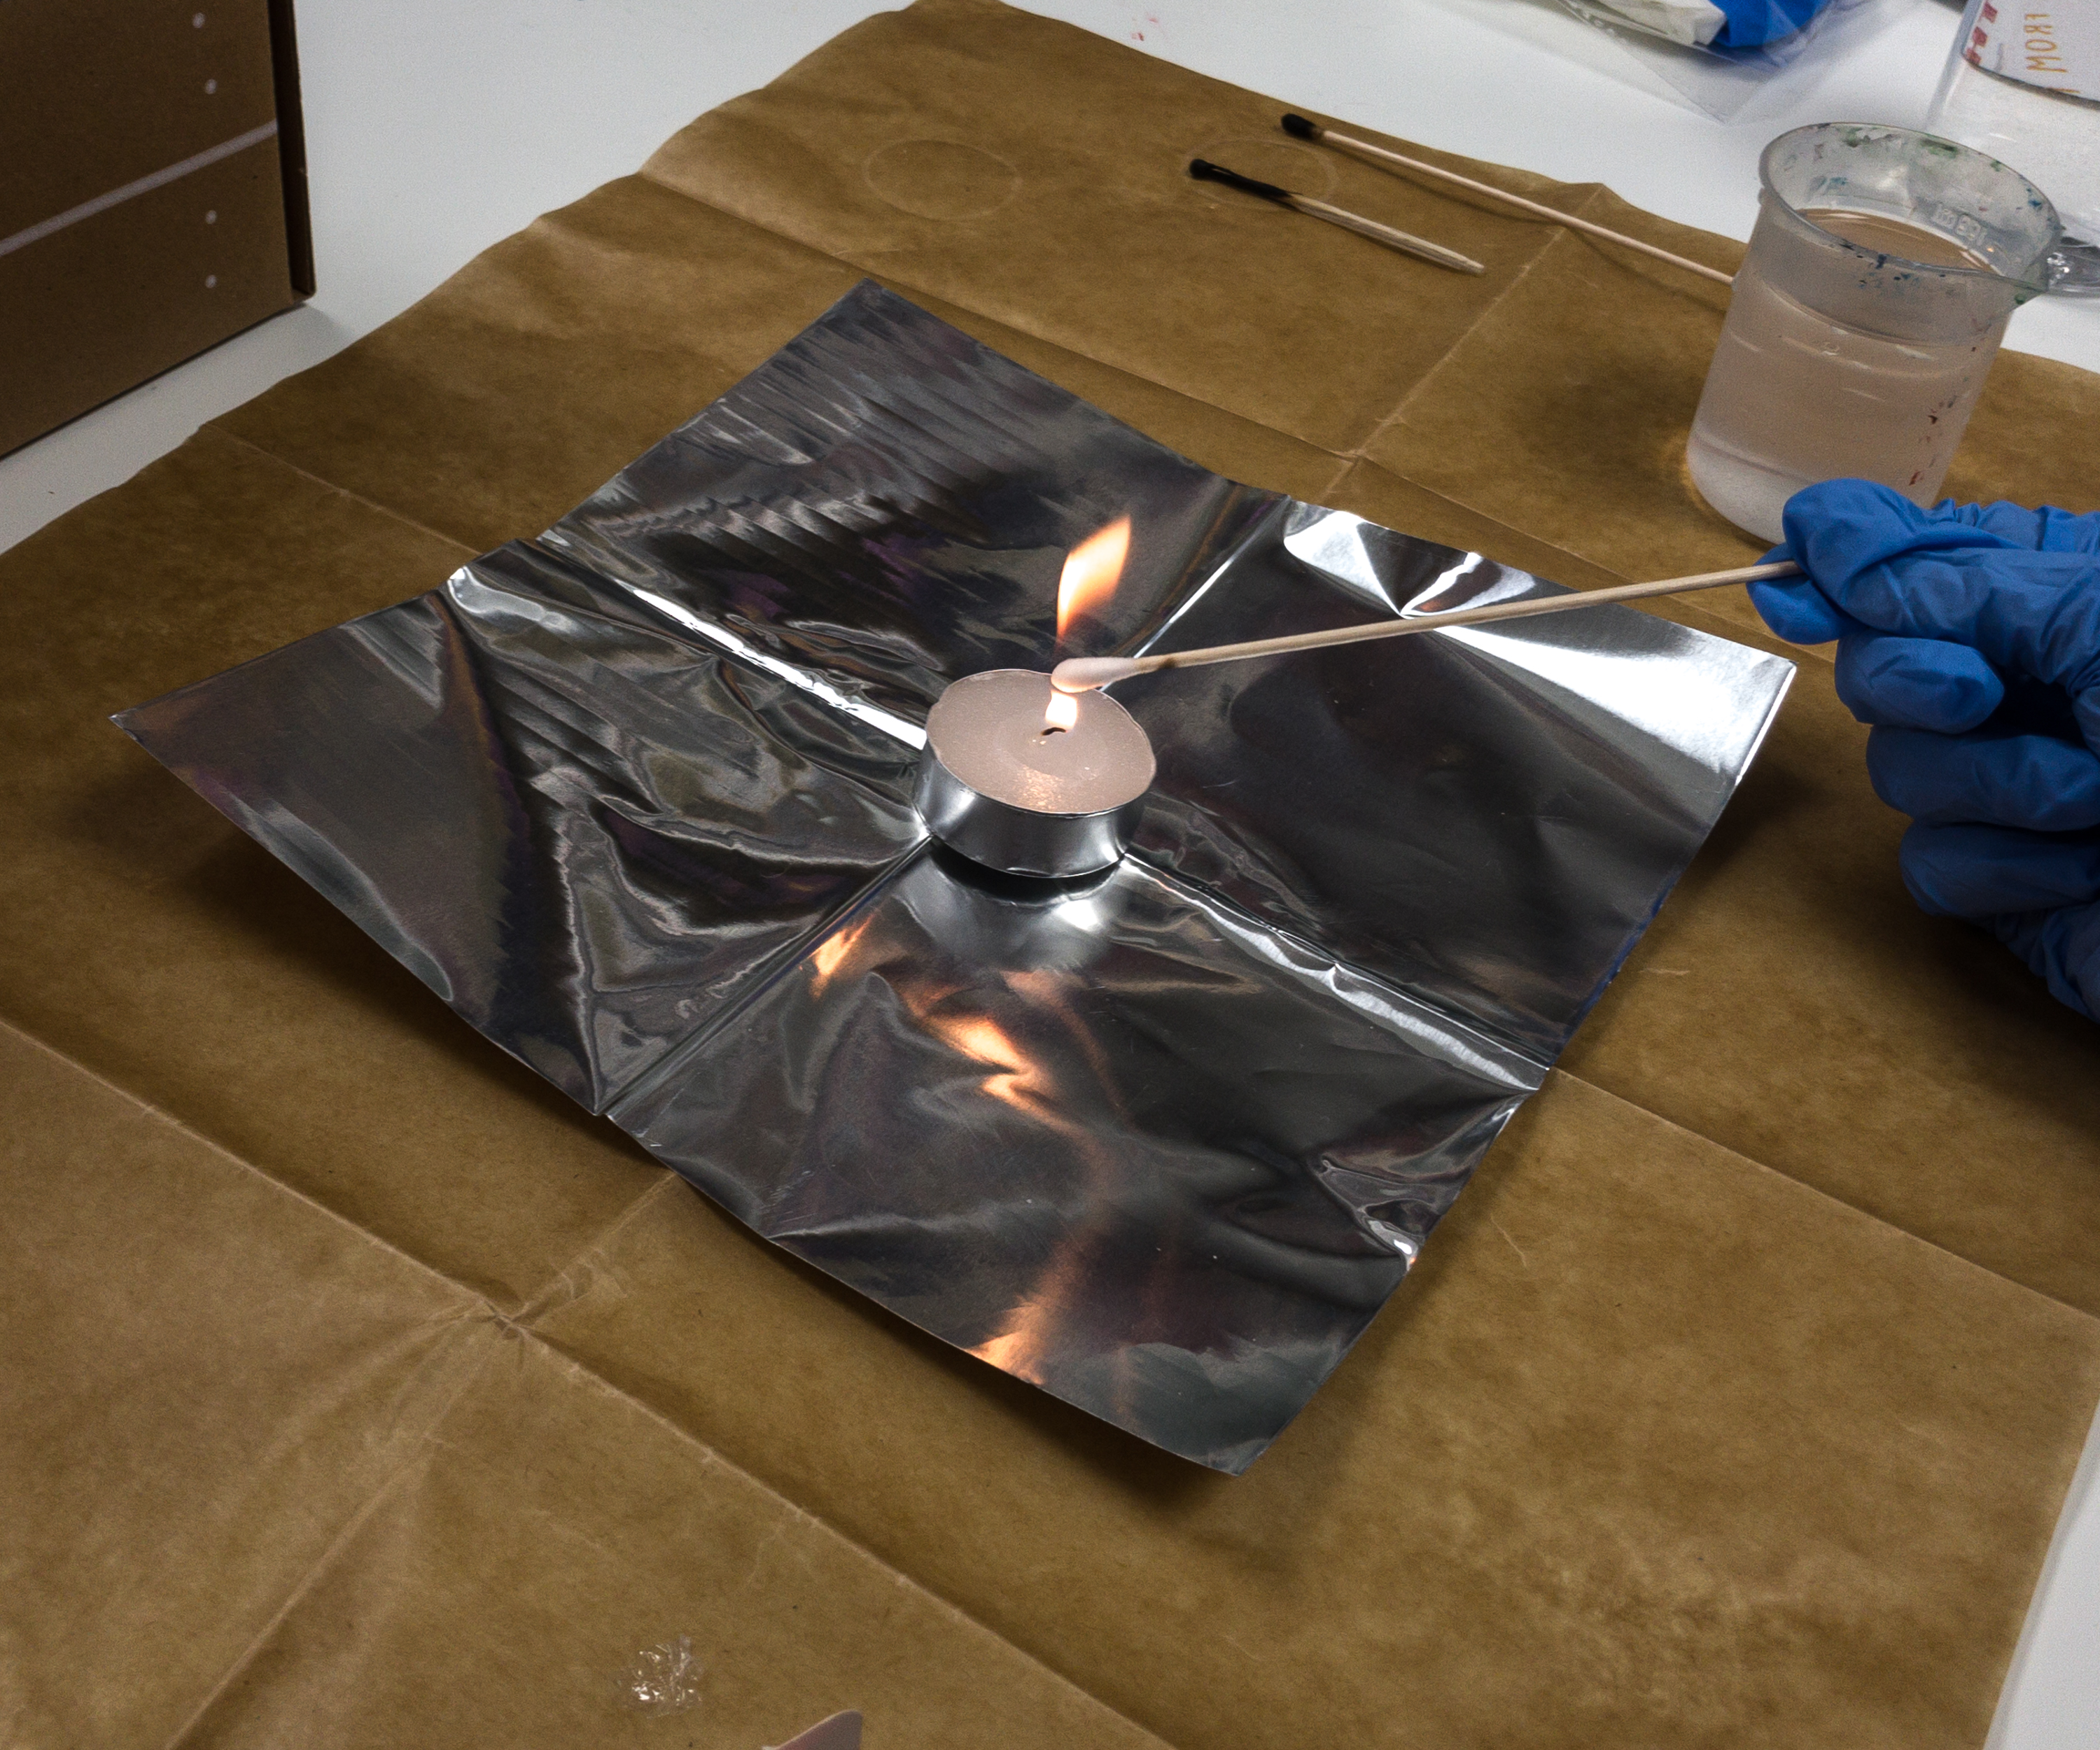
Here’s the actual lighting of the second swab that has been dipped on methanol using the lighted candle.
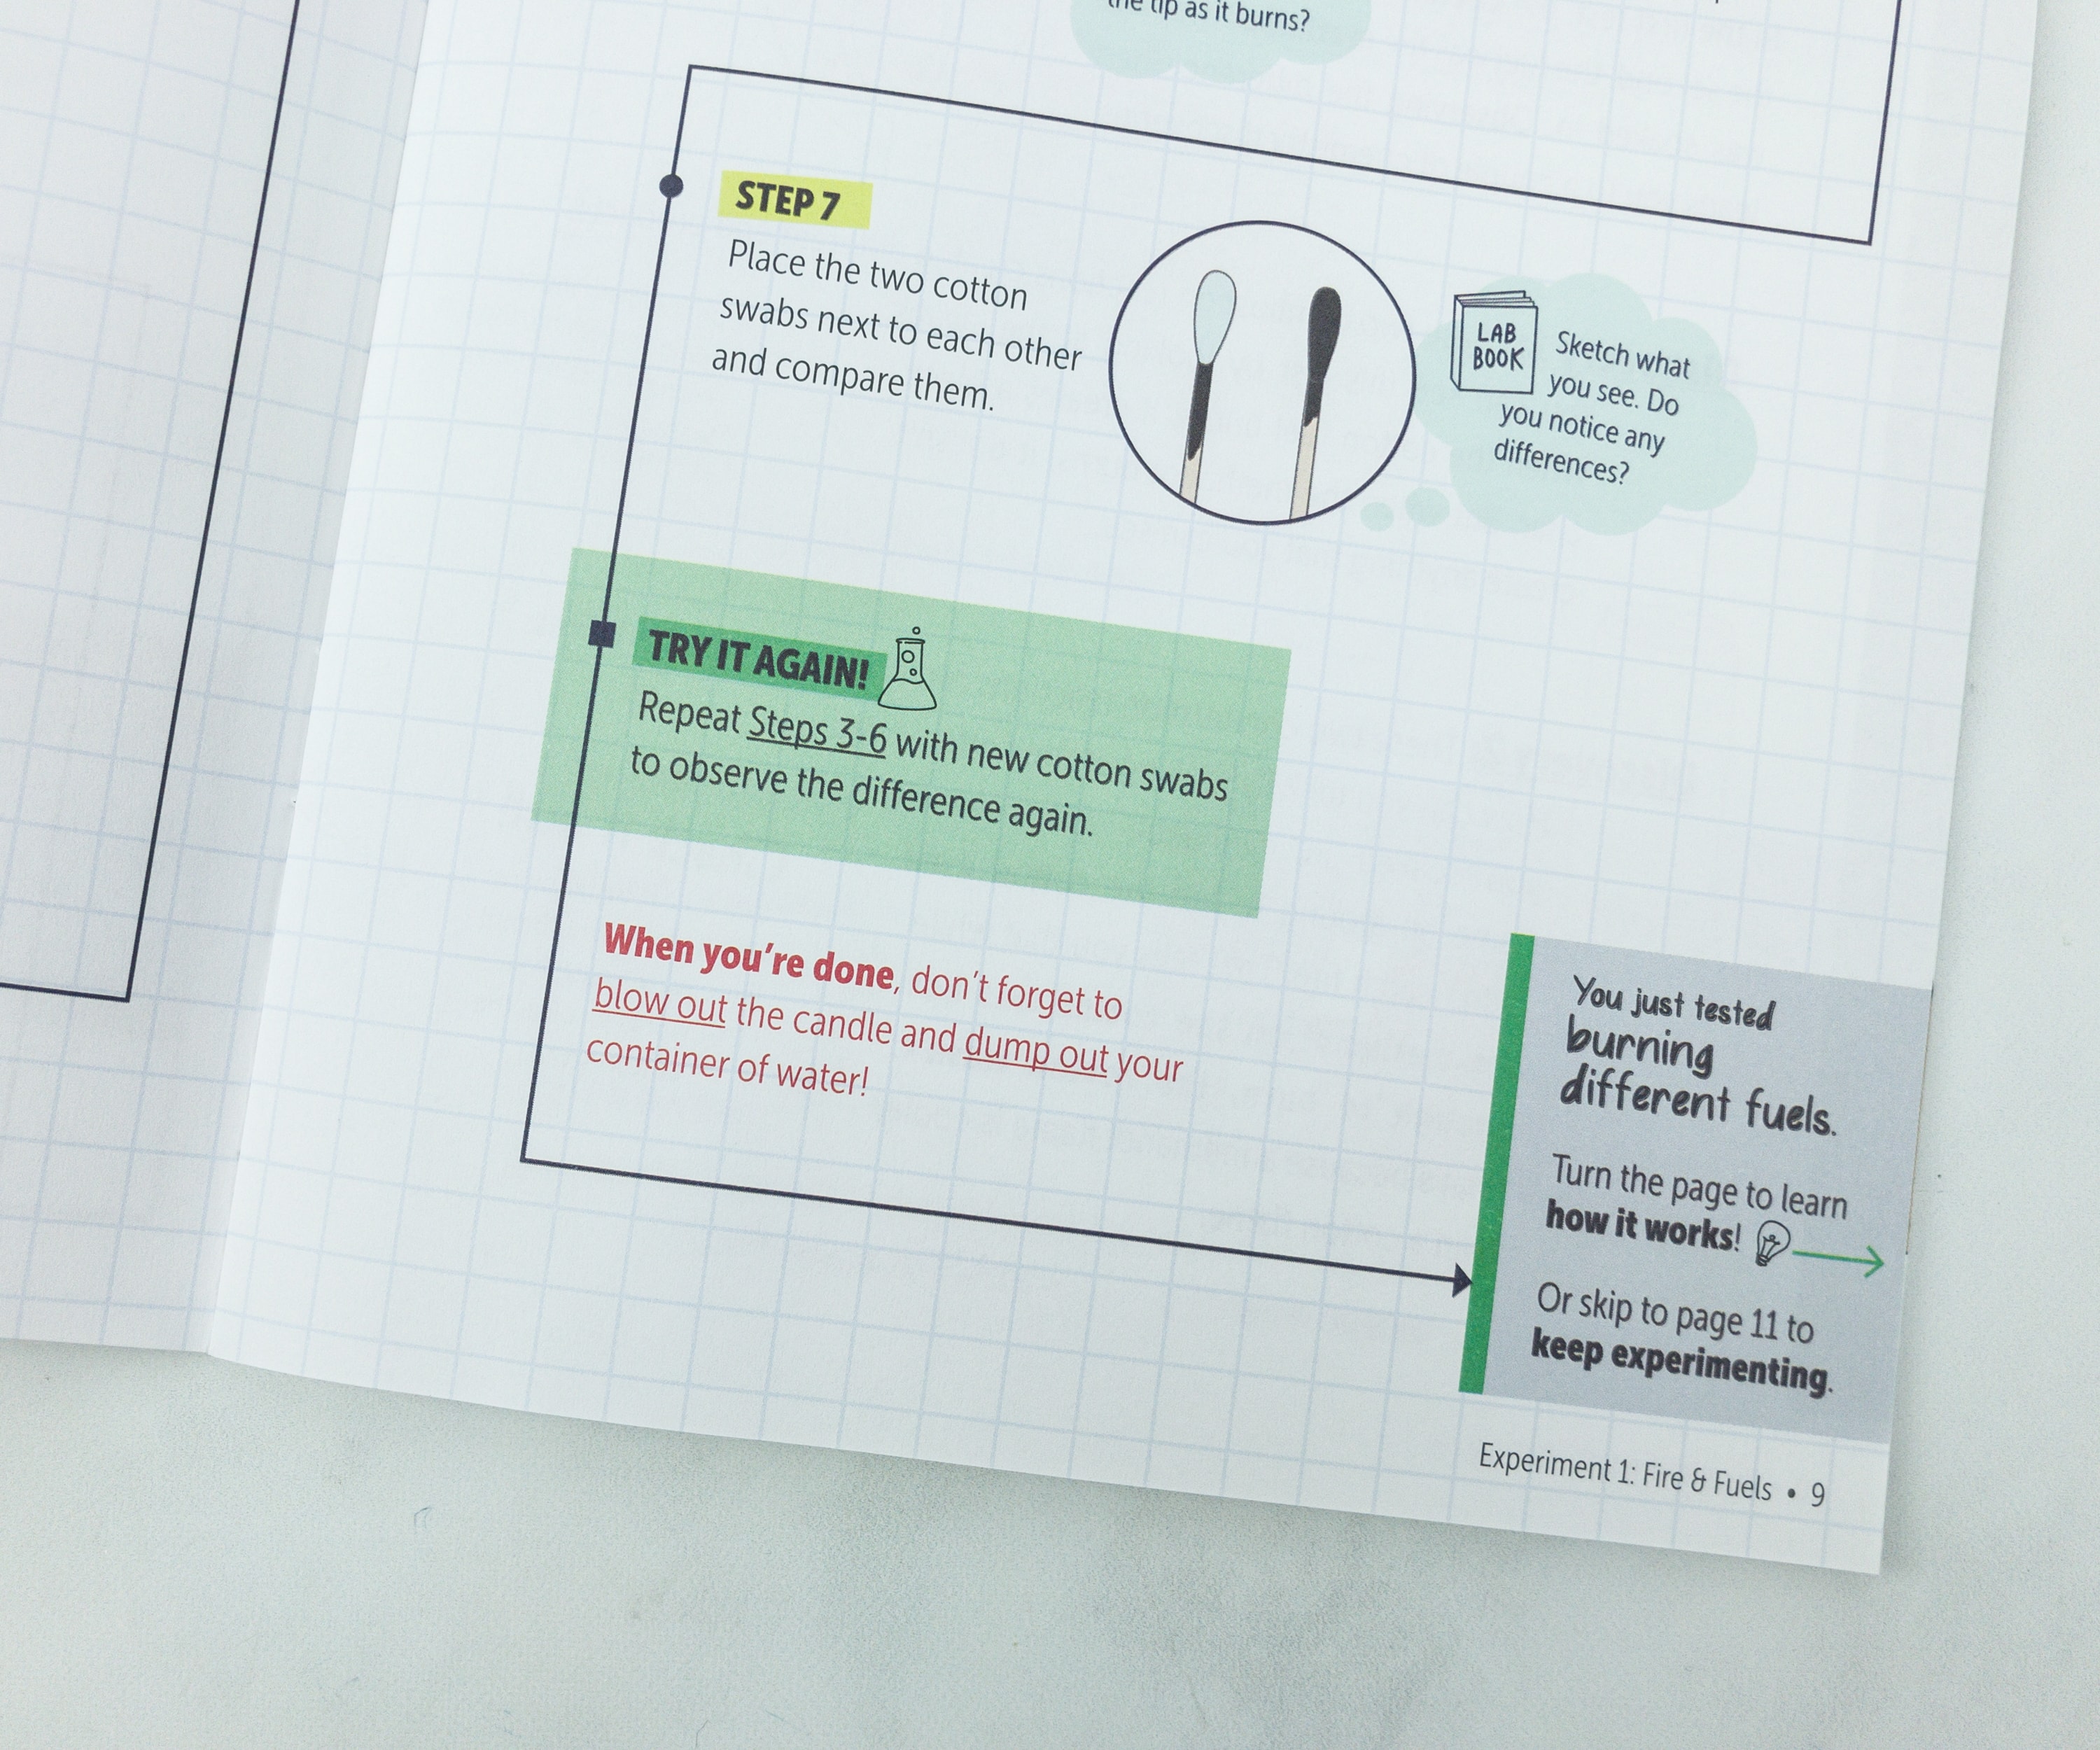
Now, compare the two swabs, the one that was directly burned without putting anything on, and the other one that was dipped on the methanol. The kids sketched the differences on the notebook and compared the two swabs, then listed the differences they noticed between the two.
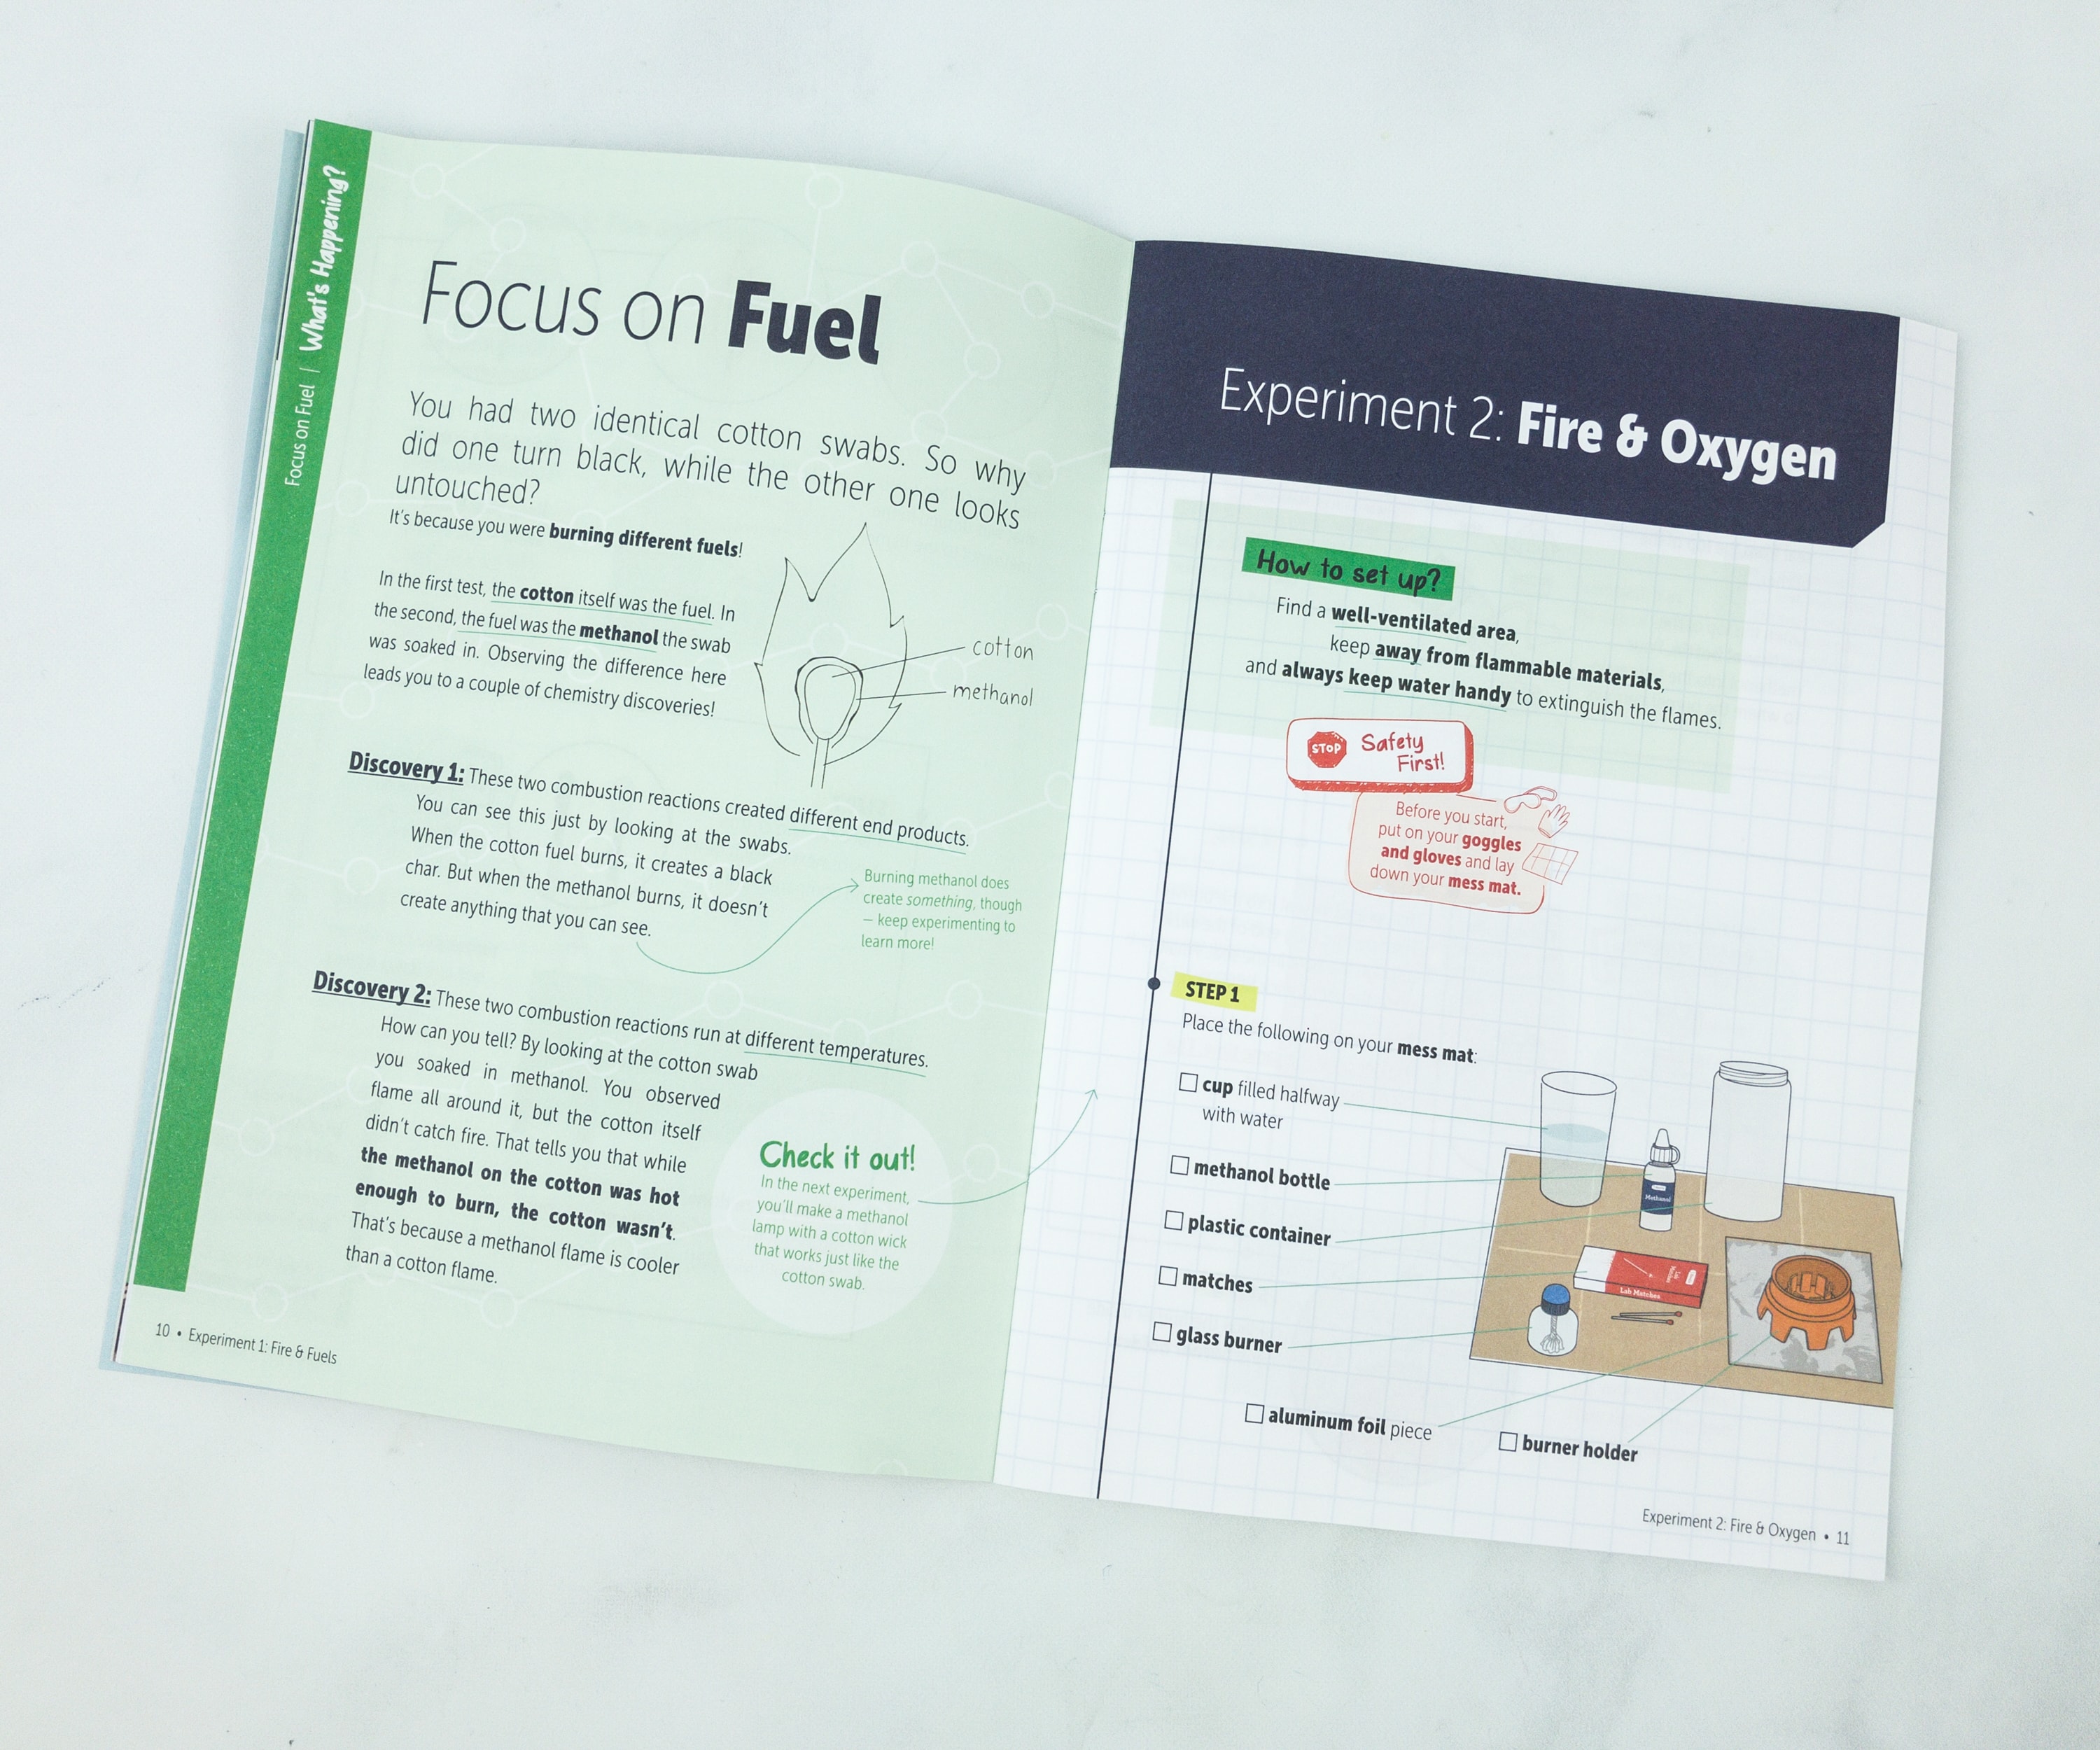
The following page explains why you obtained different results from the swabs, as you have used different fuel. This is a good read, as it thoroughly explains the principles behind what happened with the first experiment.
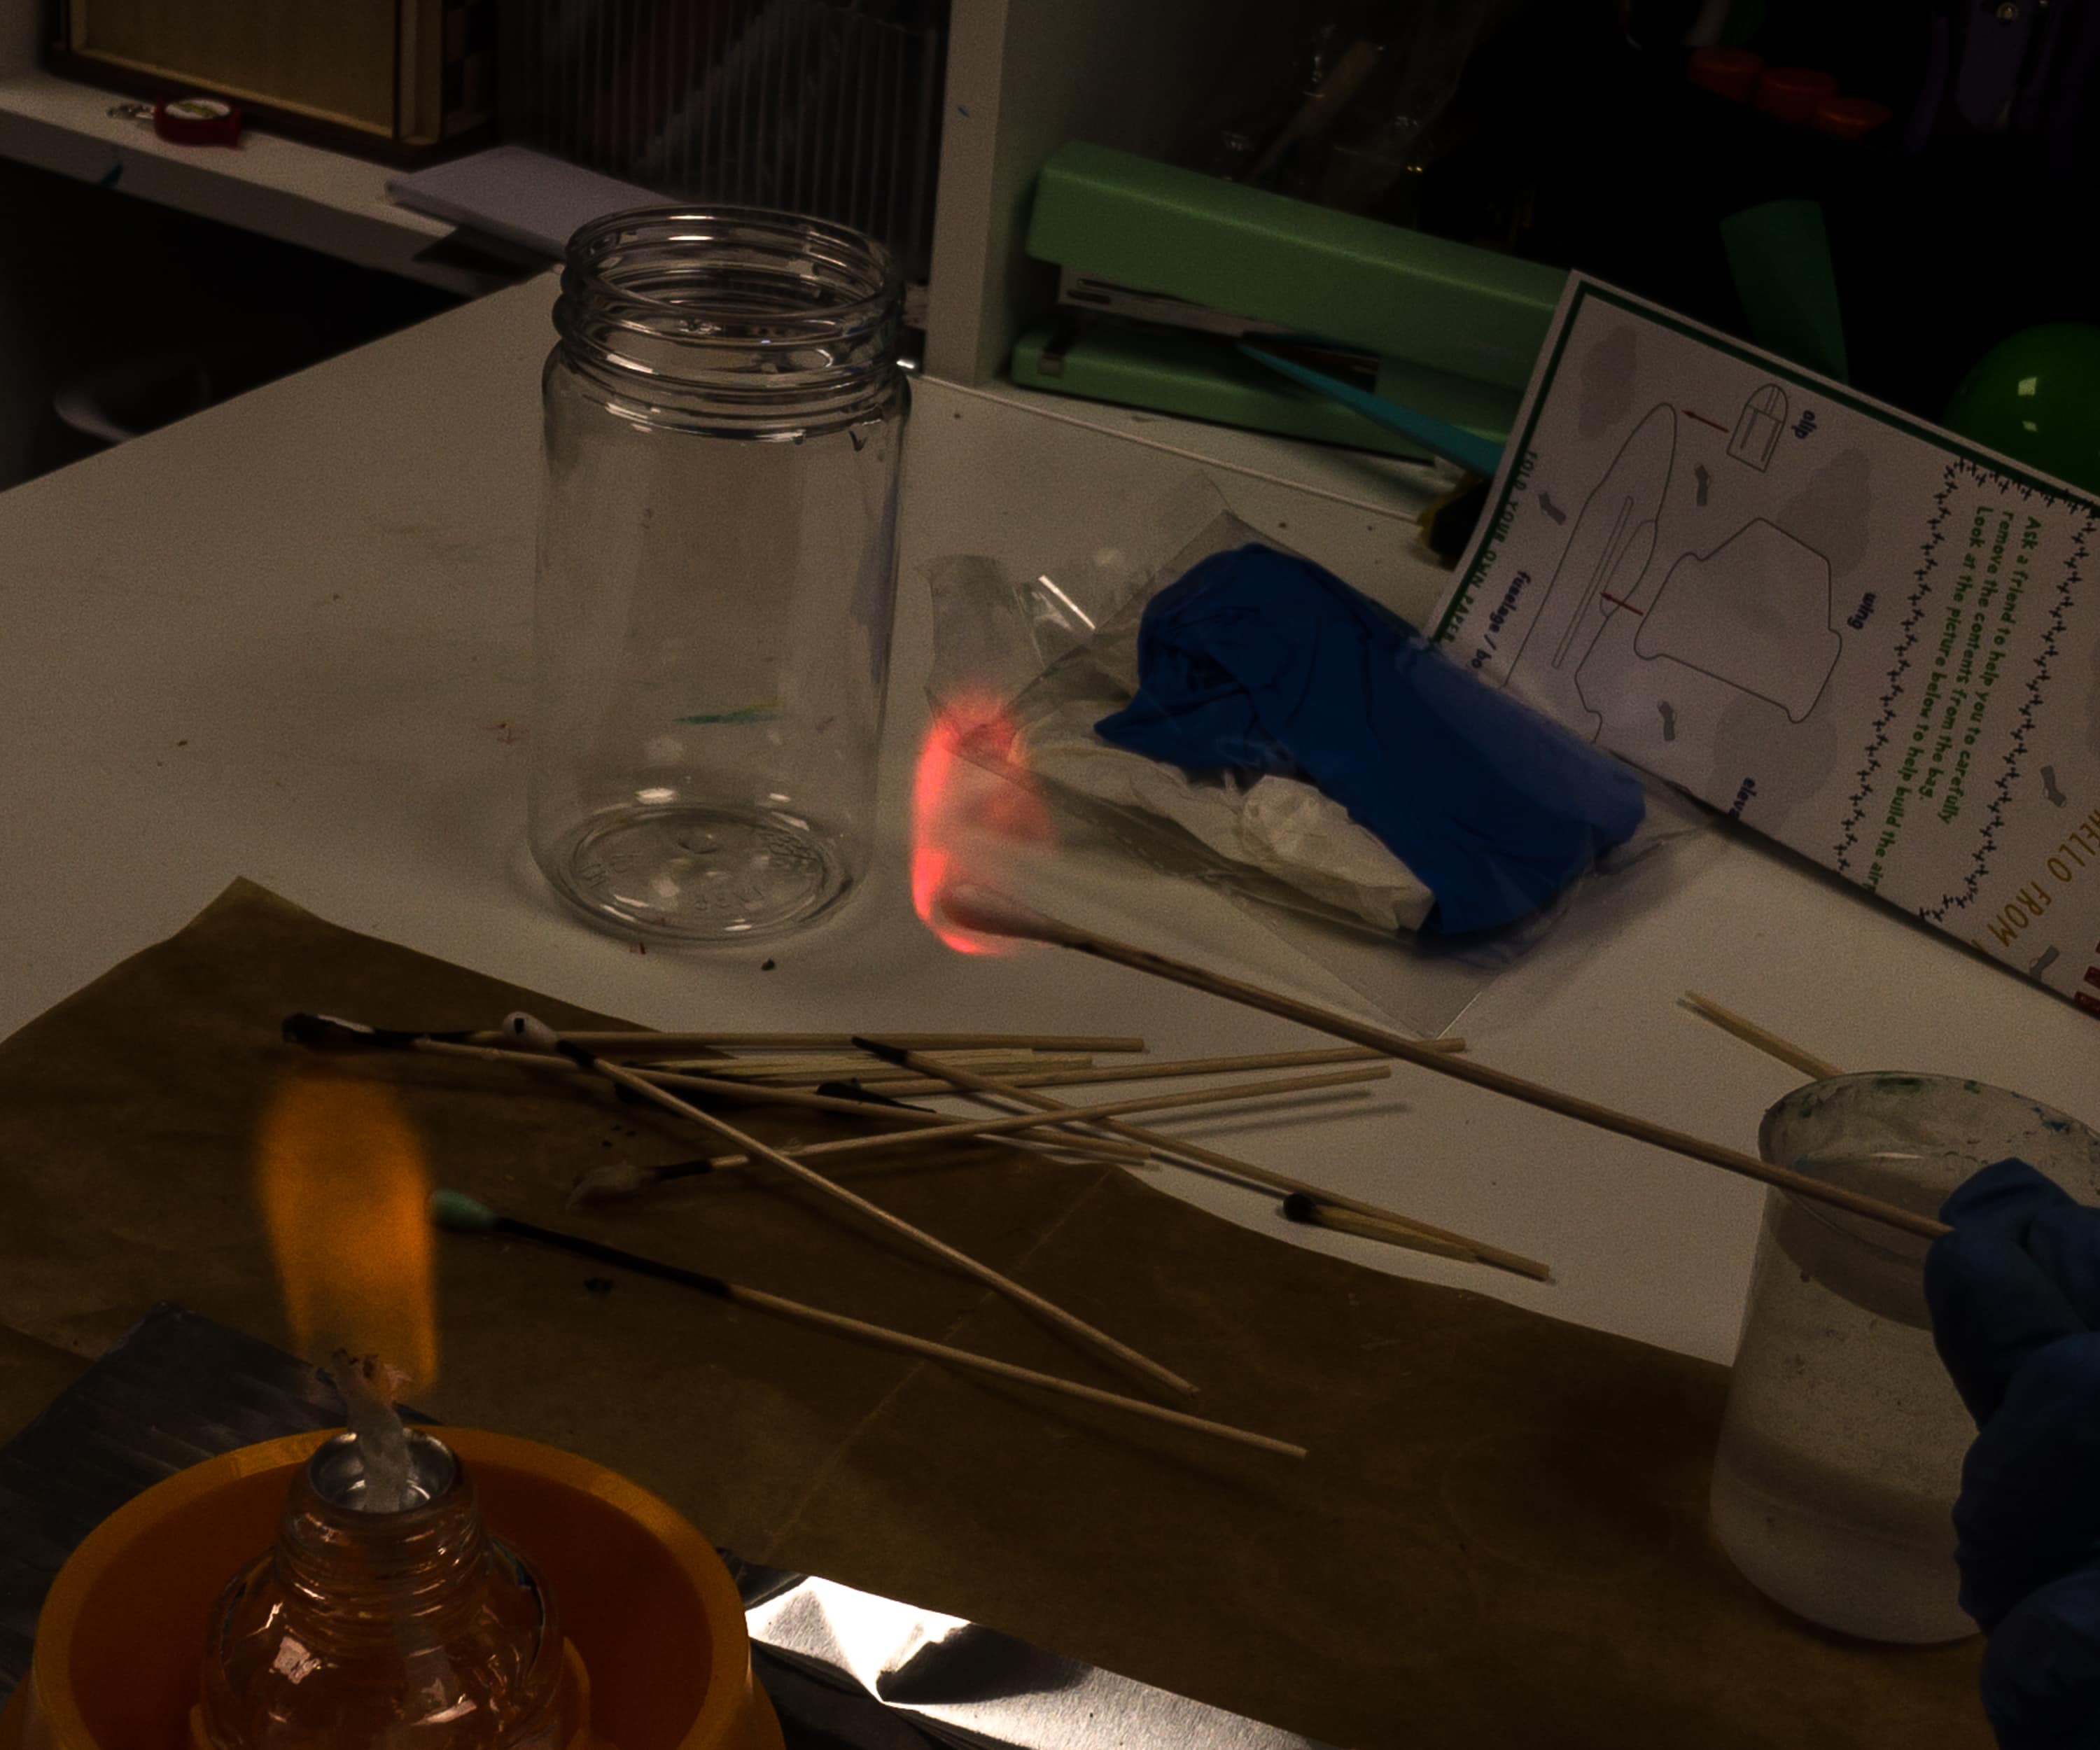
The next experiment focused on Fire and Oxygen. For this experiment, we will now make use of the alcohol burner.
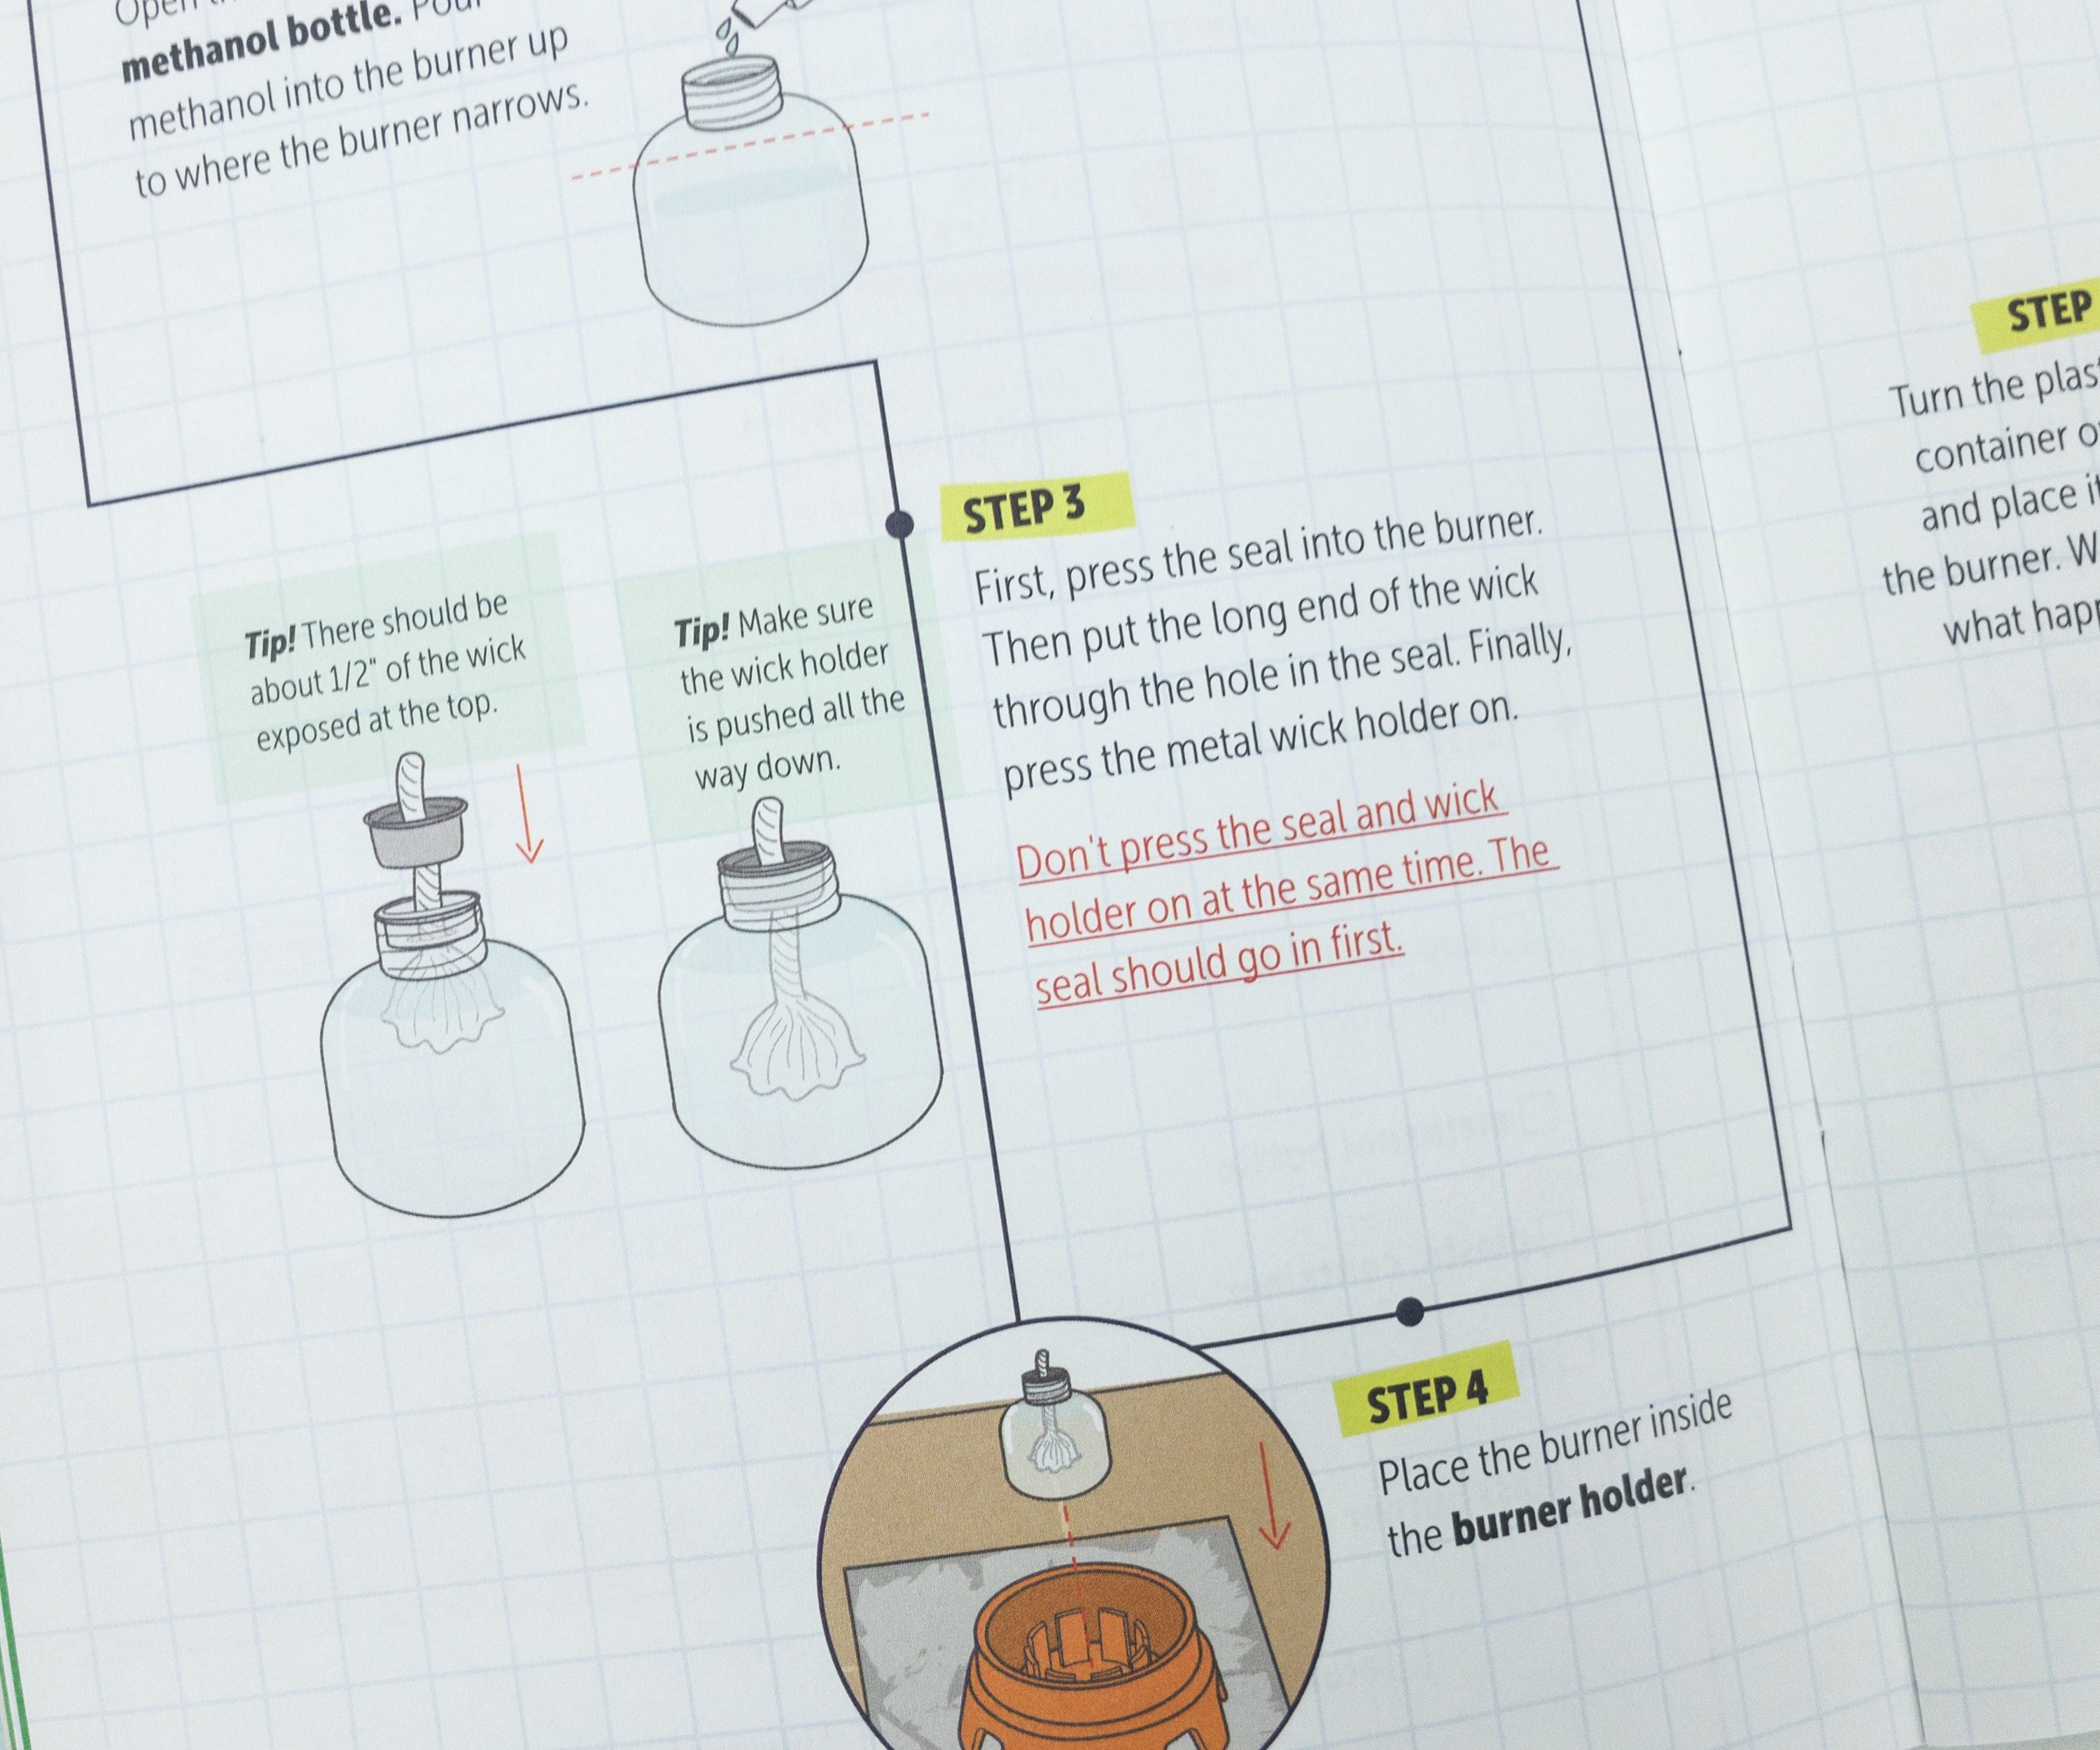
The booklet really has full-detailed illustrated instructions, so it’s really easy for the kids to do the experiments. Of course, it involves fire so adult supervision and guidance are very much needed.
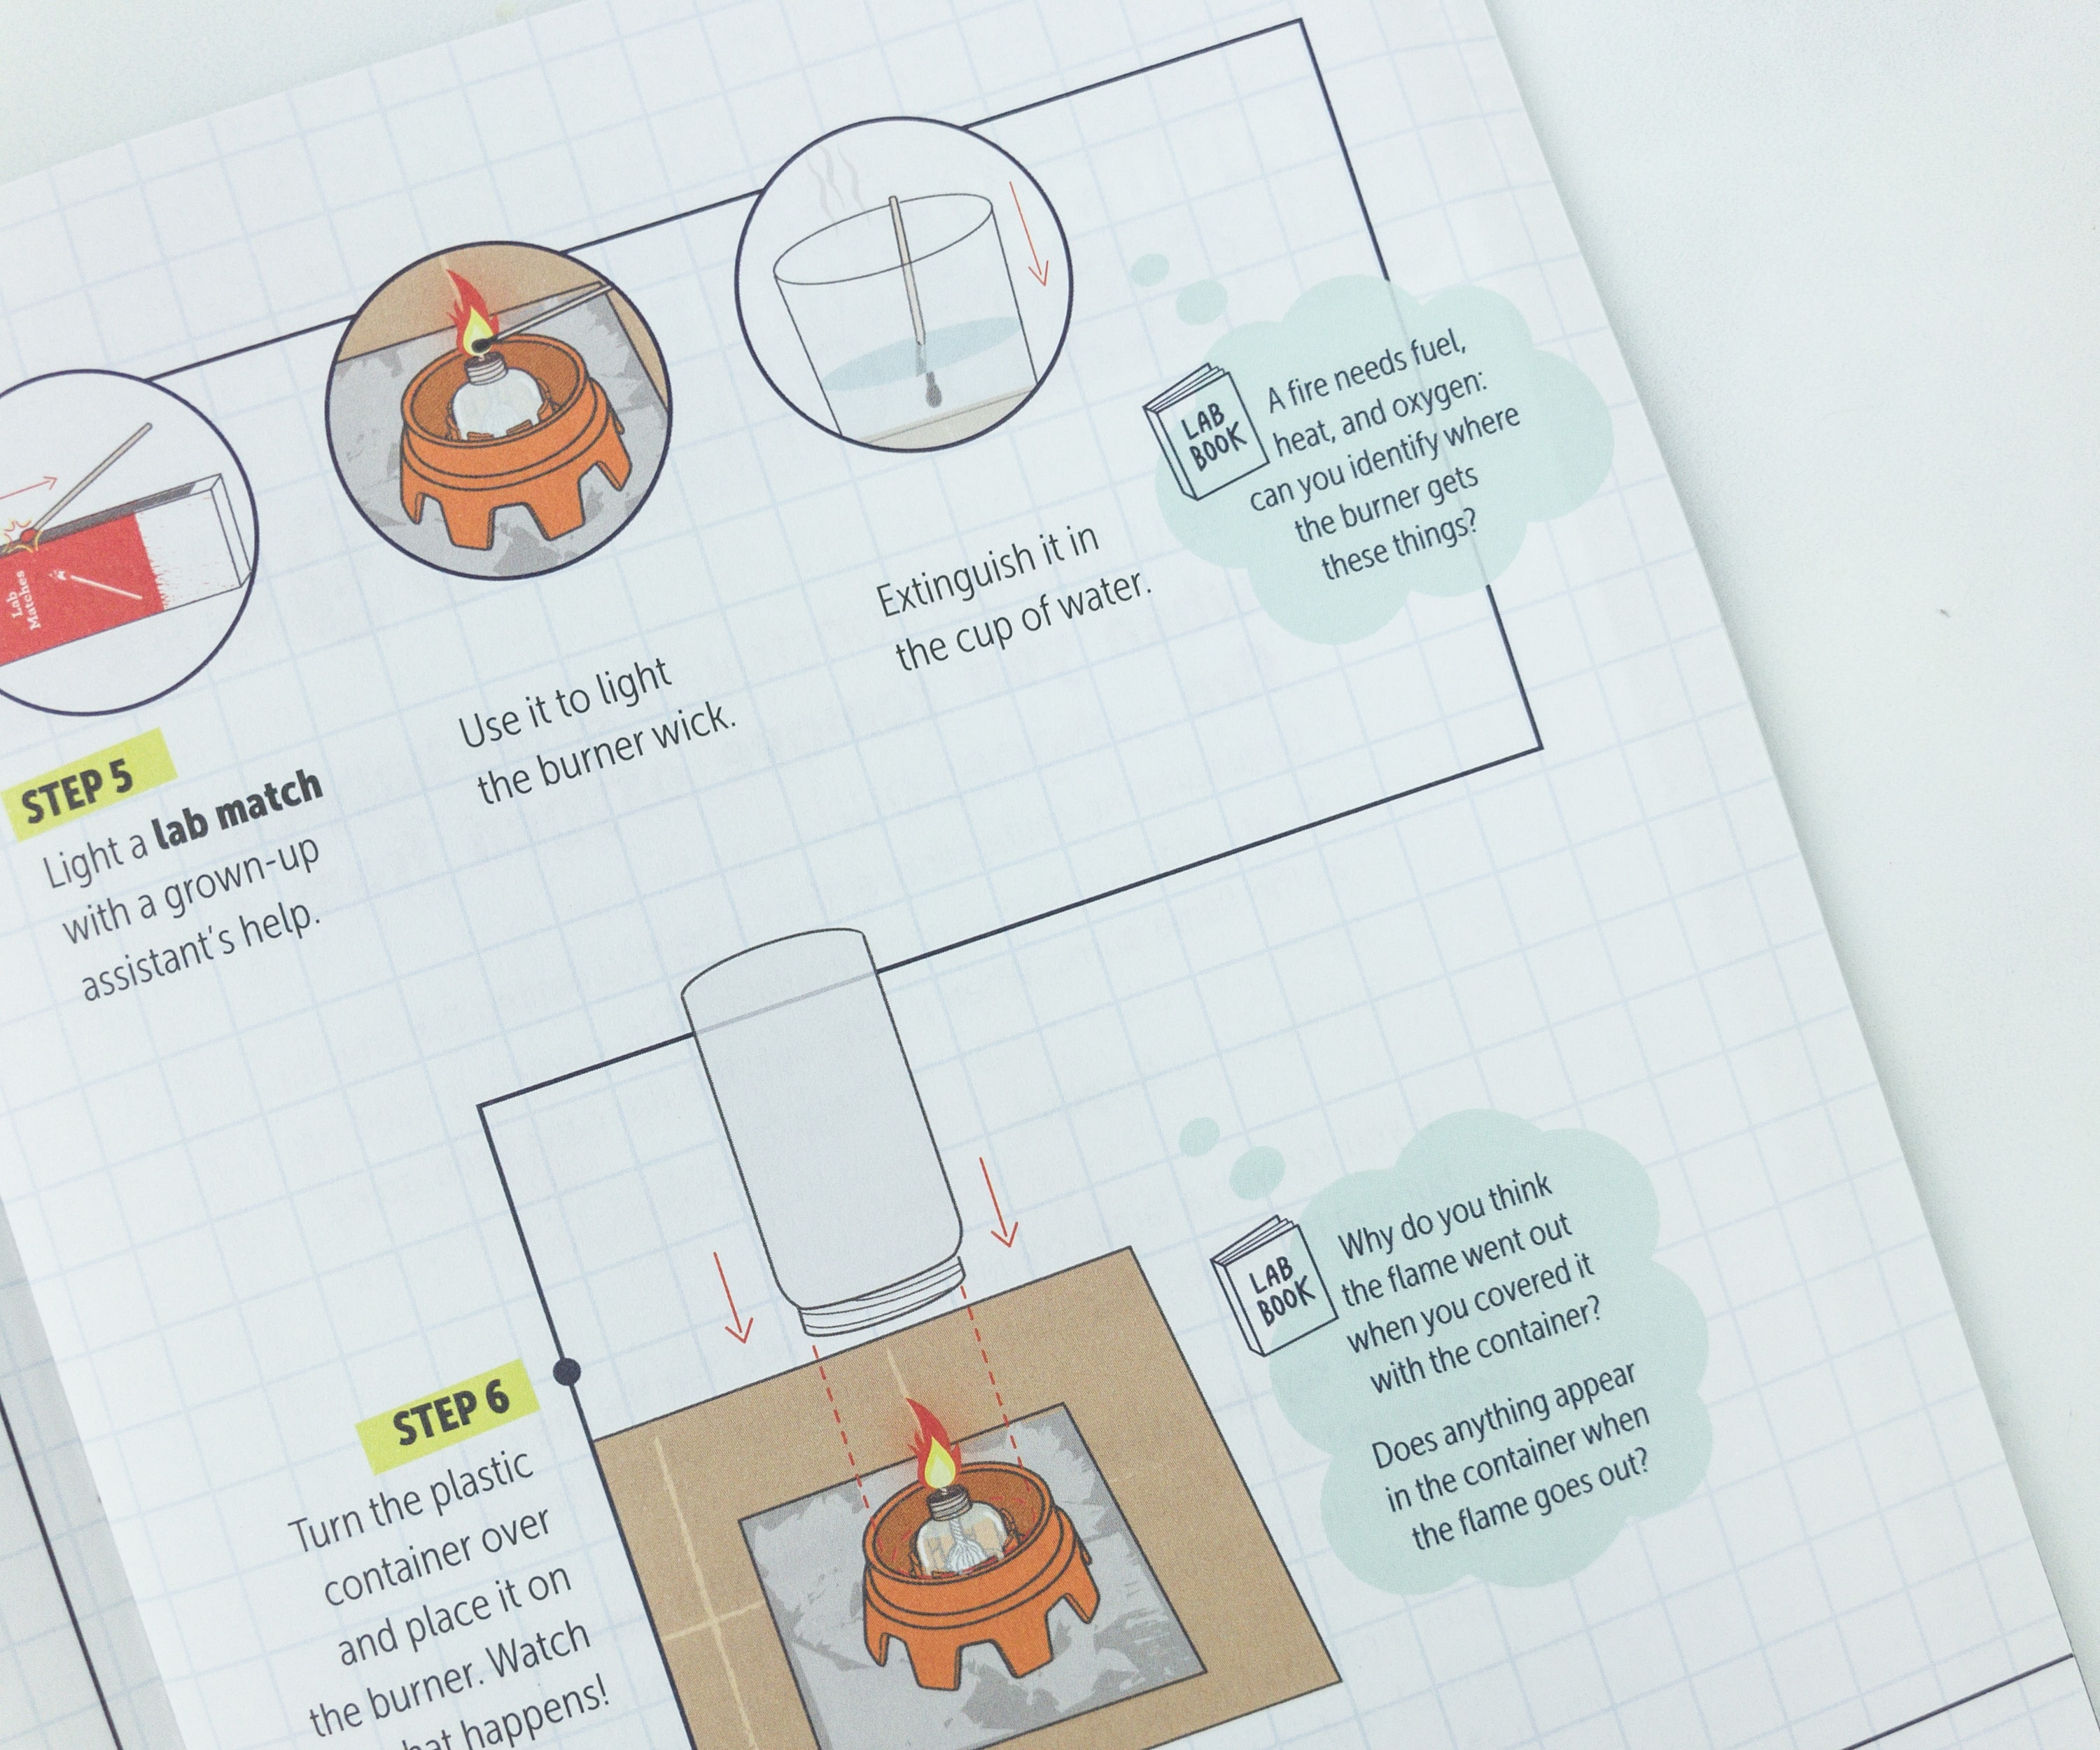
The alcohol burner setup is easy, so all they need to do is to turn the plastic container over the burner, and observe what happens.
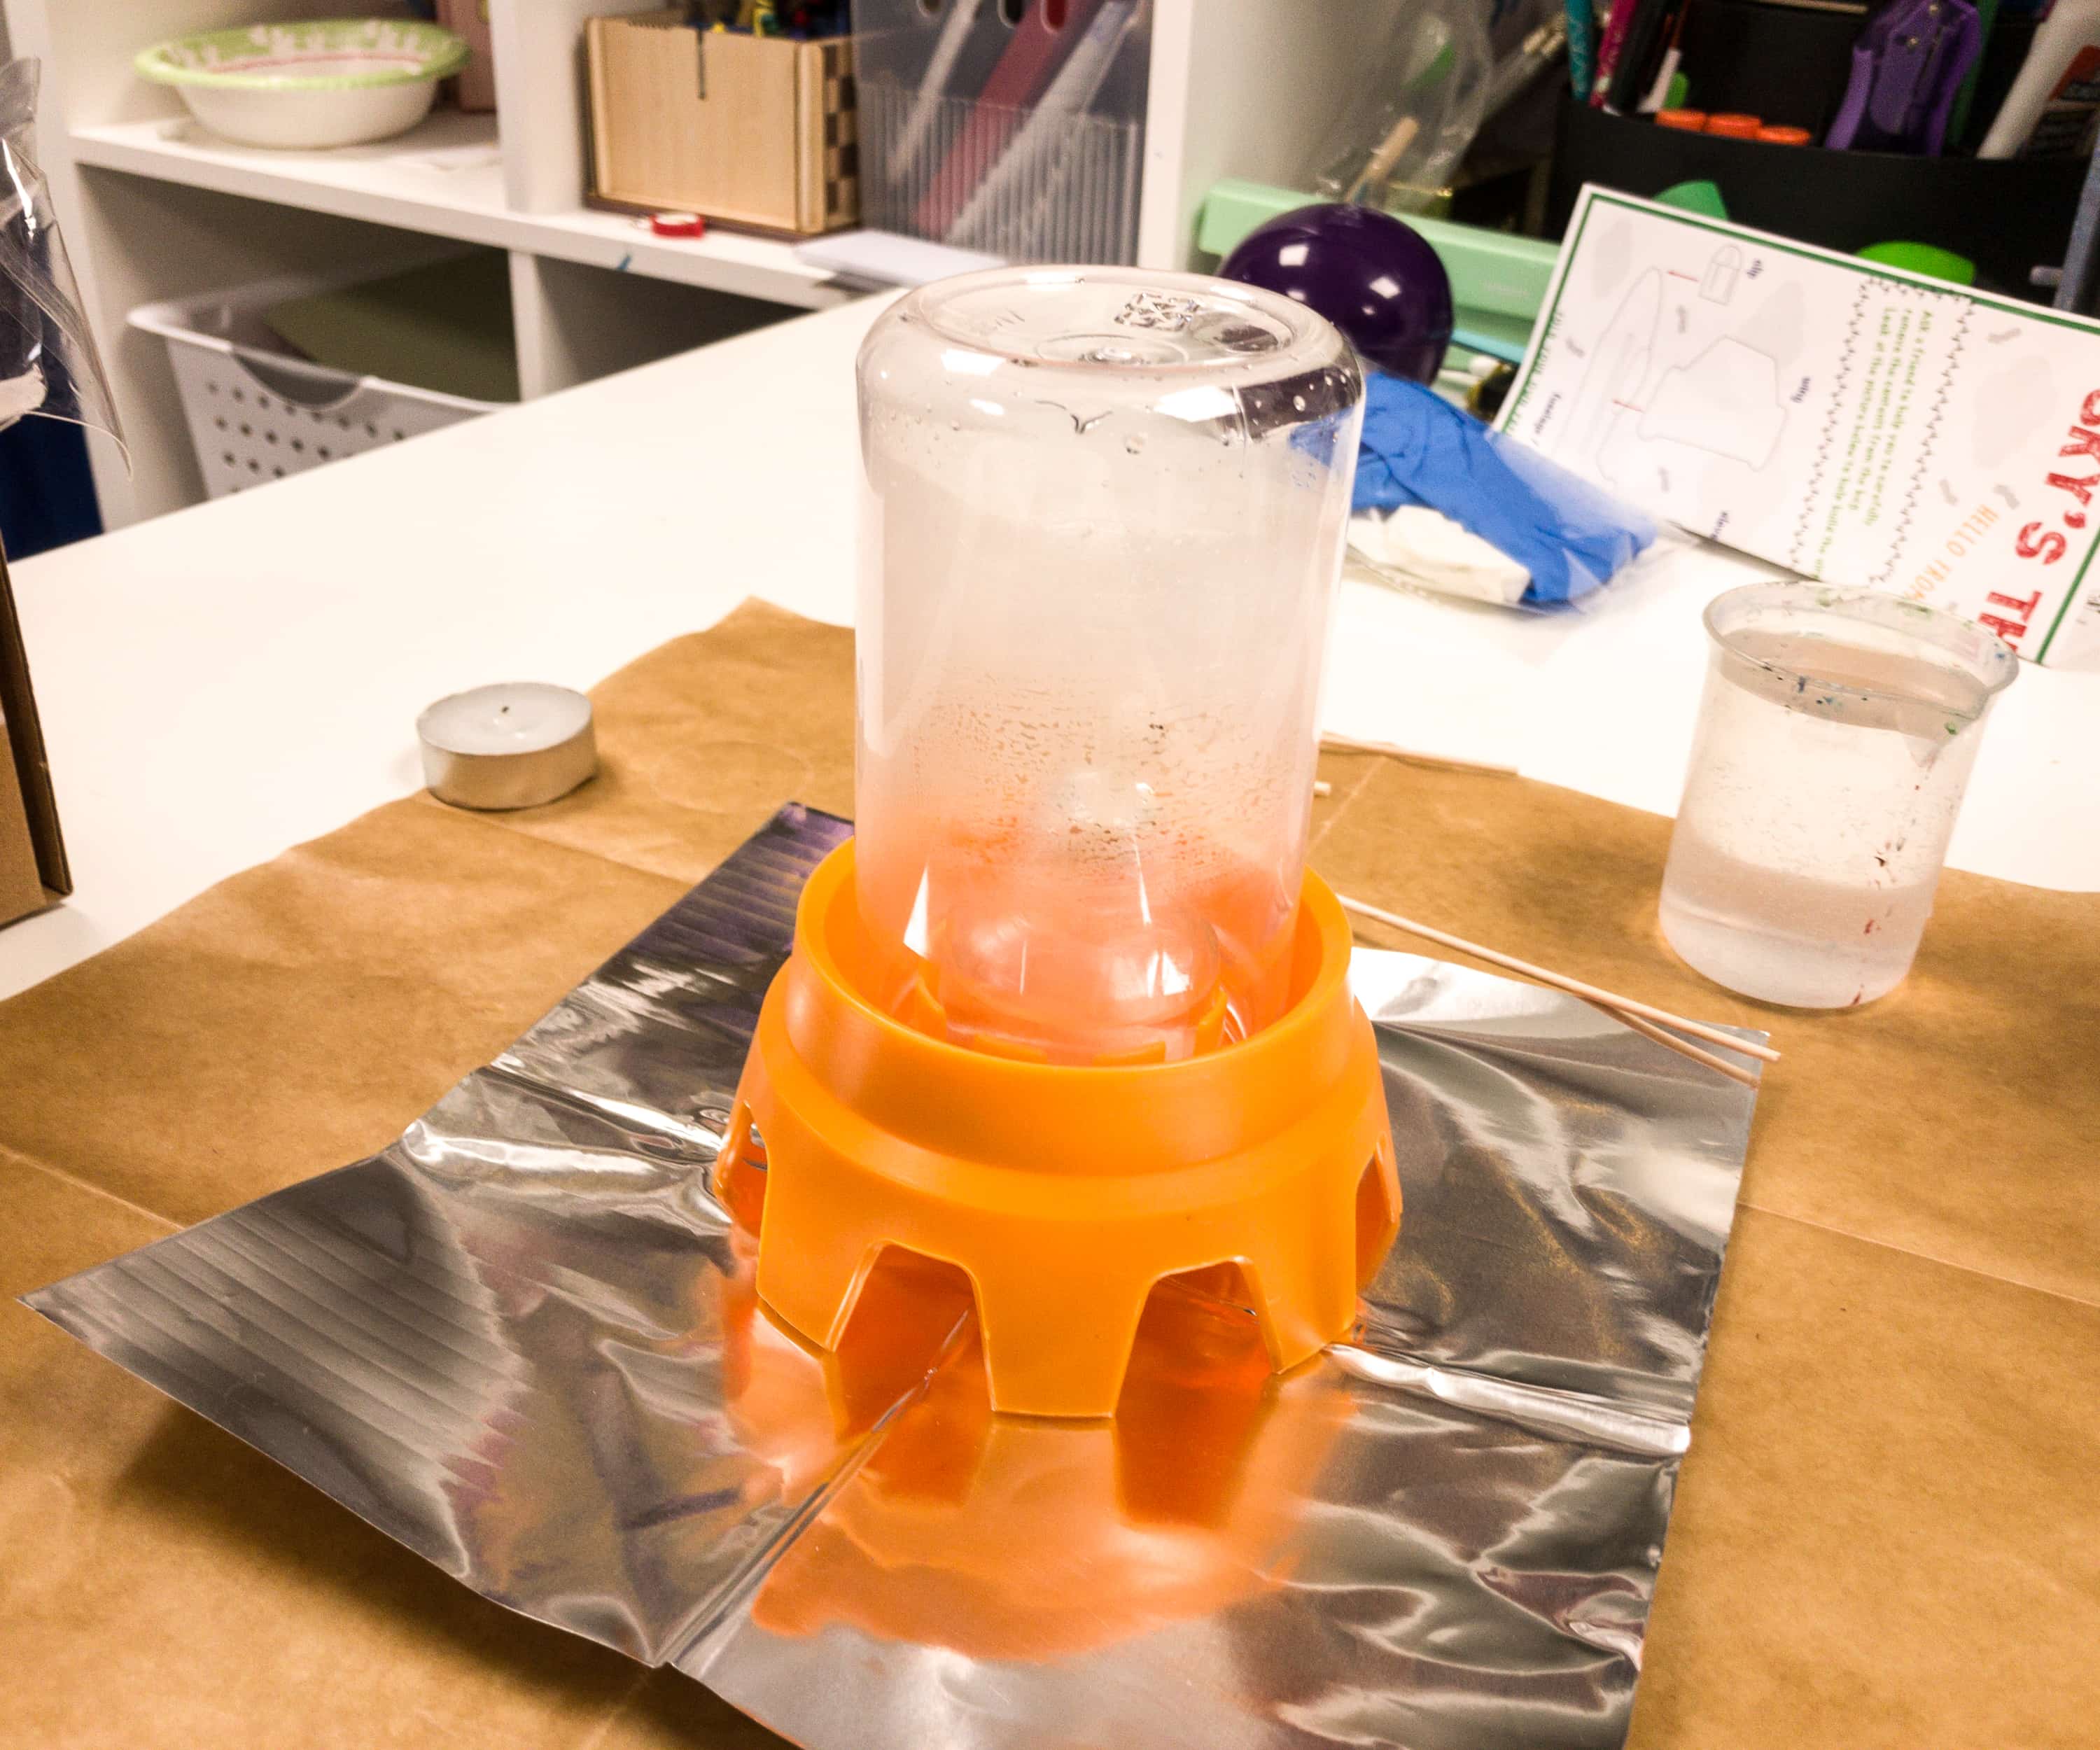
The flame went out!
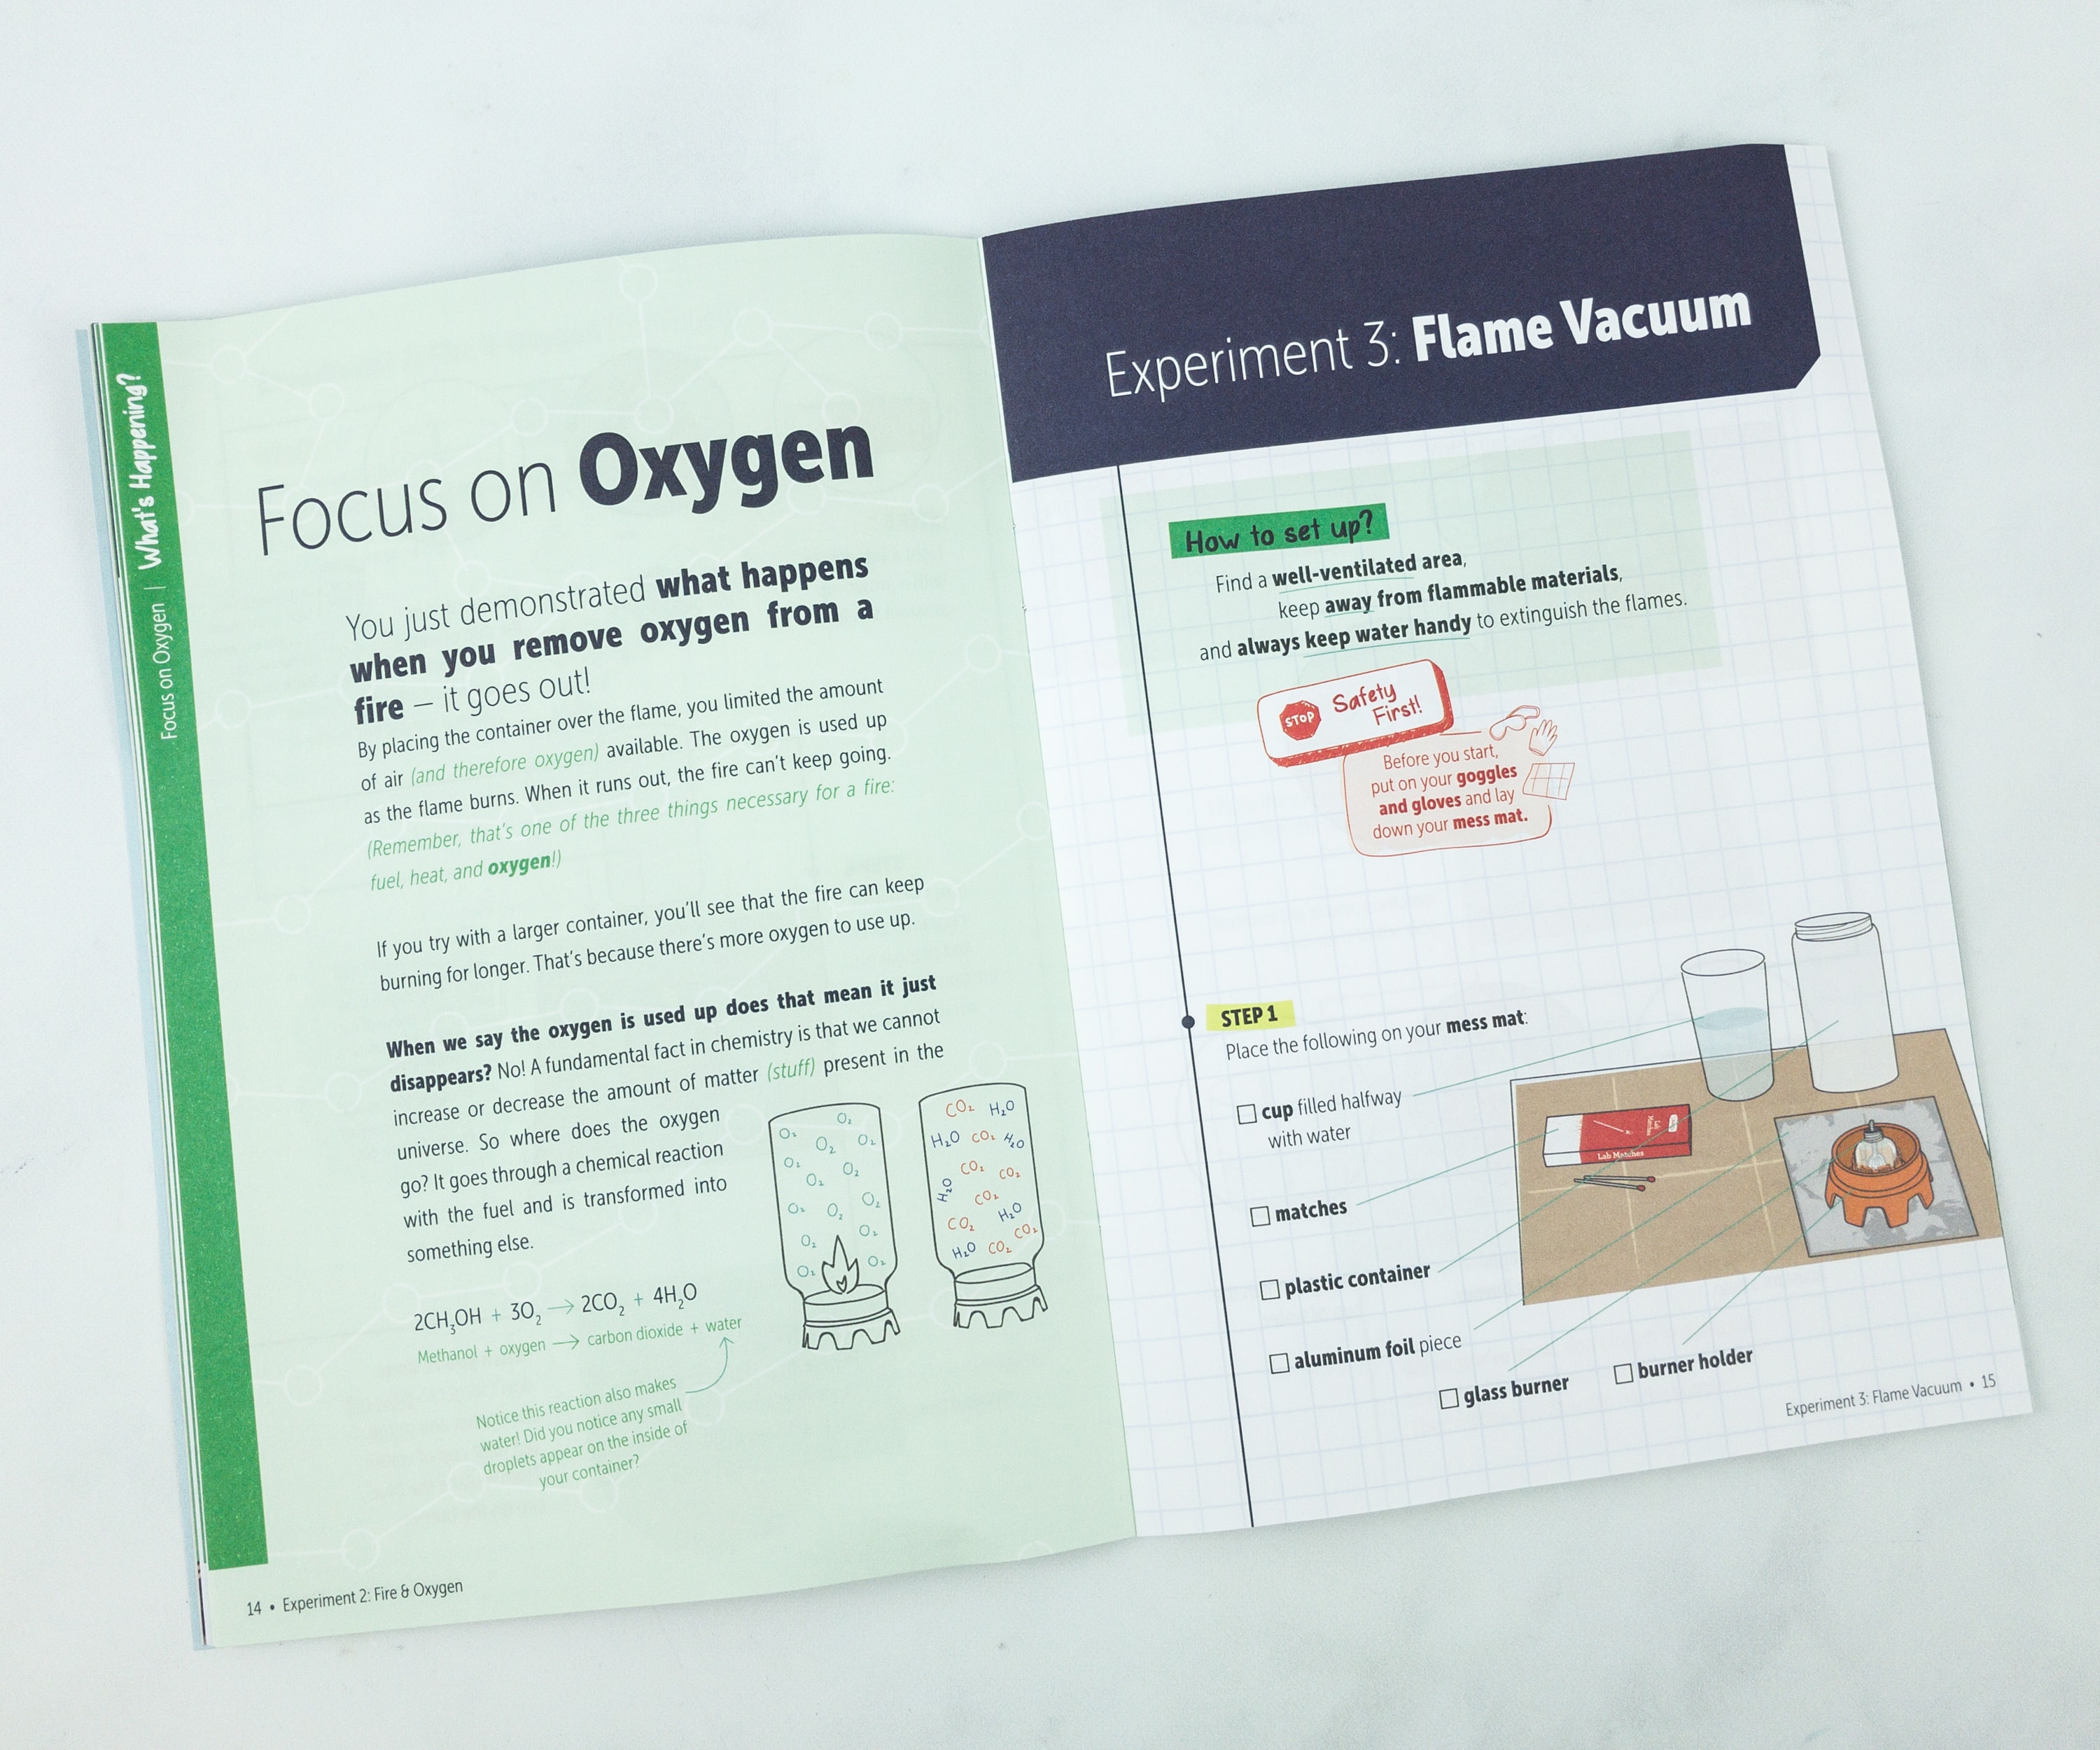
The booklet also explains what happened, as the oxygen that is used up in the process turned to something else. The products of combustion are usually Carbon Dioxide (CO2) and Water (H2O).
For Experiment # 3, we’re doing the flame vacuum. It almost has the same setup with experiment # 2.
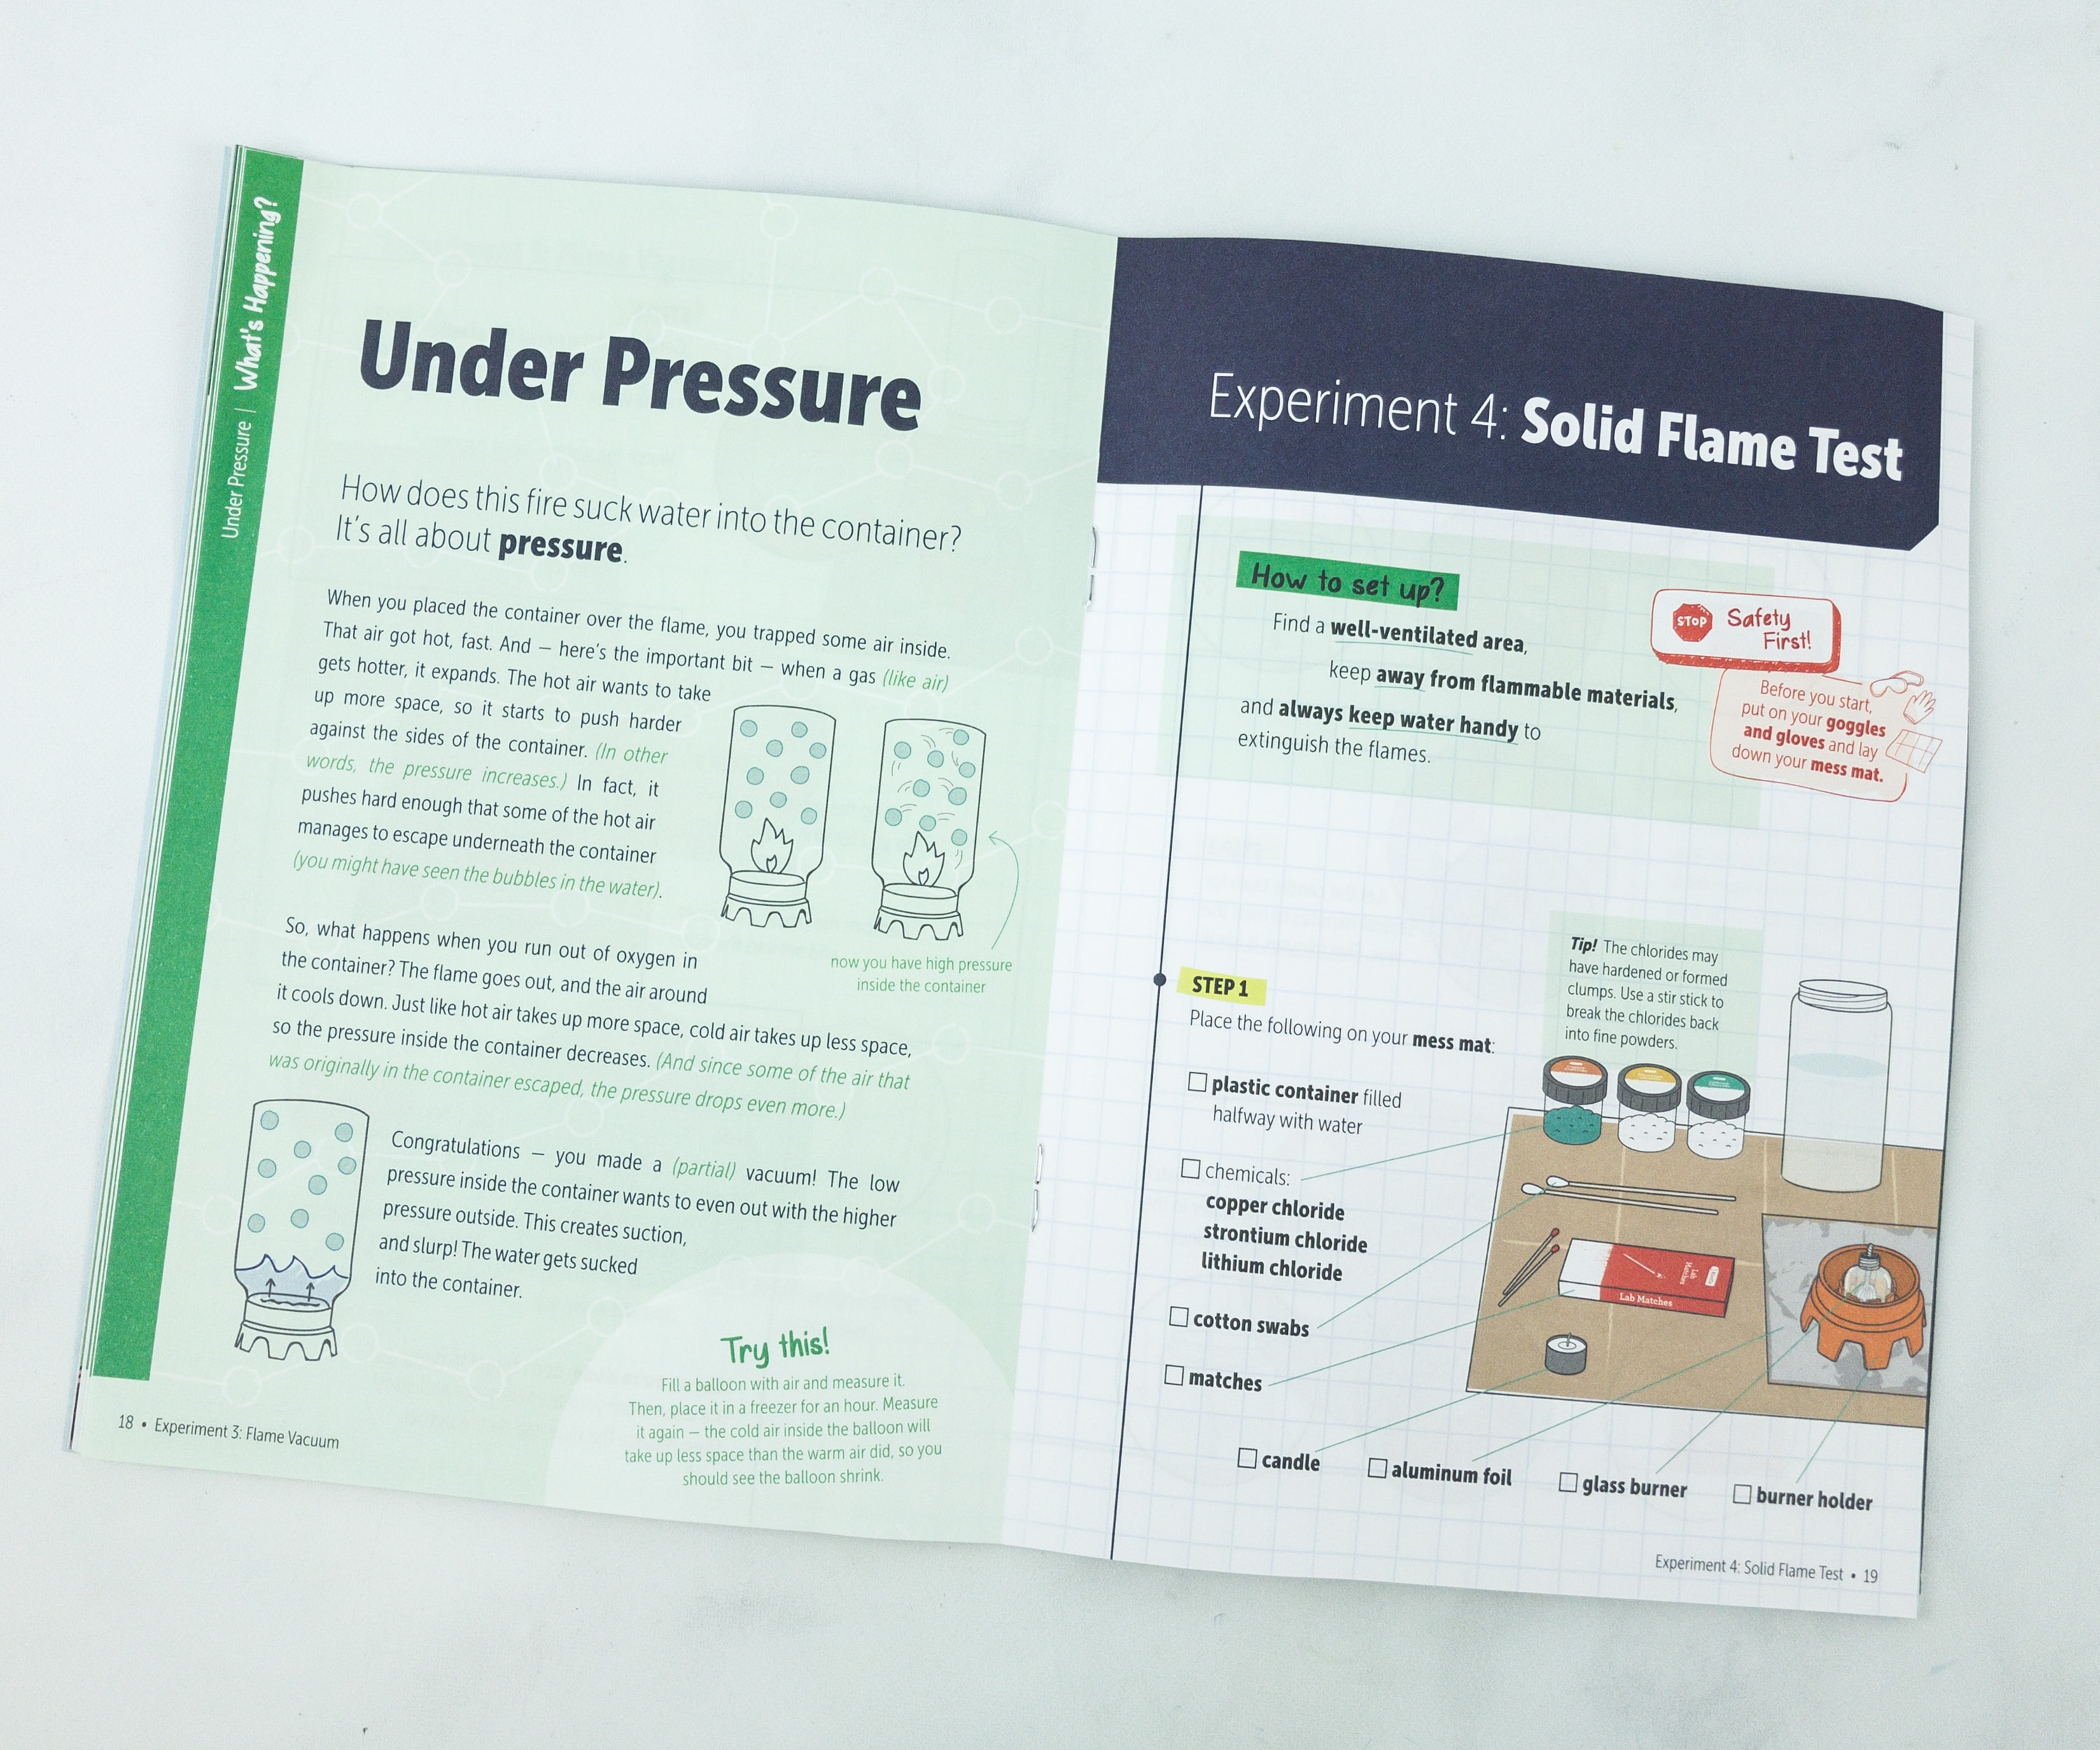
It also explains the difference between the pressure inside the container, and how you are able to make a vacuum! It worked!
For Experiment #4, we did the Solid Flame Test. For this experiment, we will be using the other chemicals (metal salts aka chlorides) that are included in the pack.
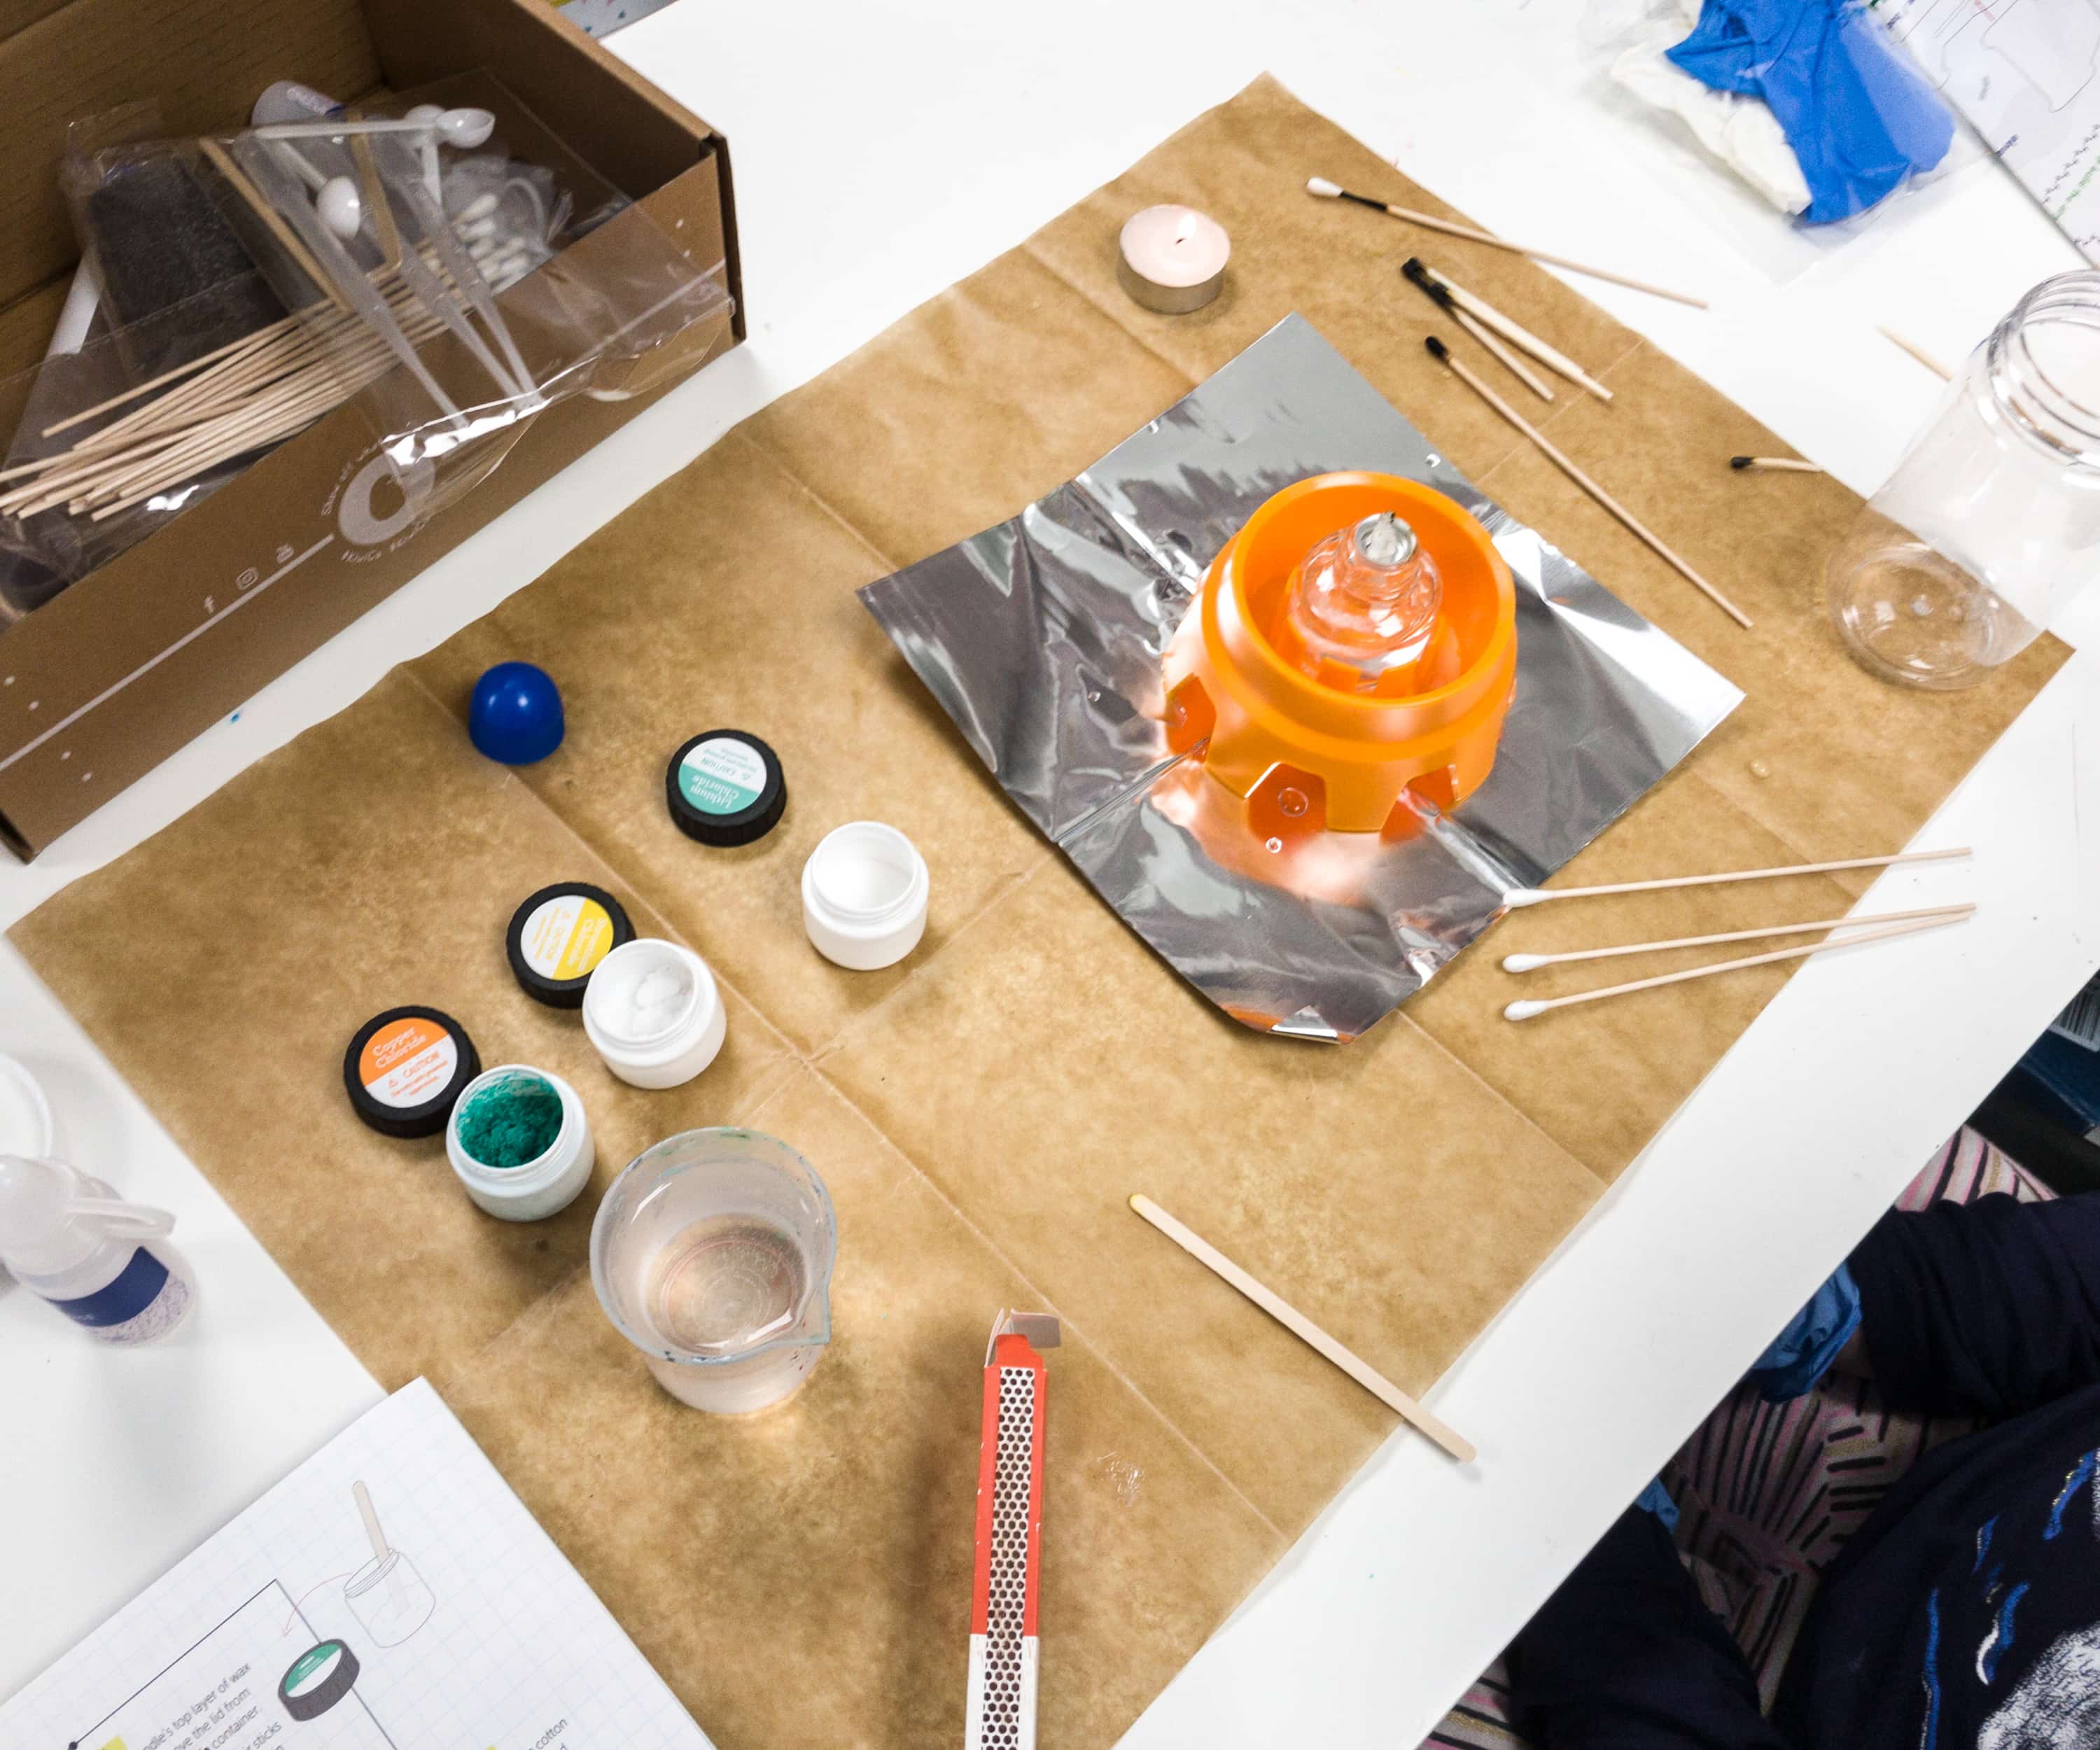
The setup is still the same with the previous experiments, just this time, we’ll be using the chlorides, and more swabs!
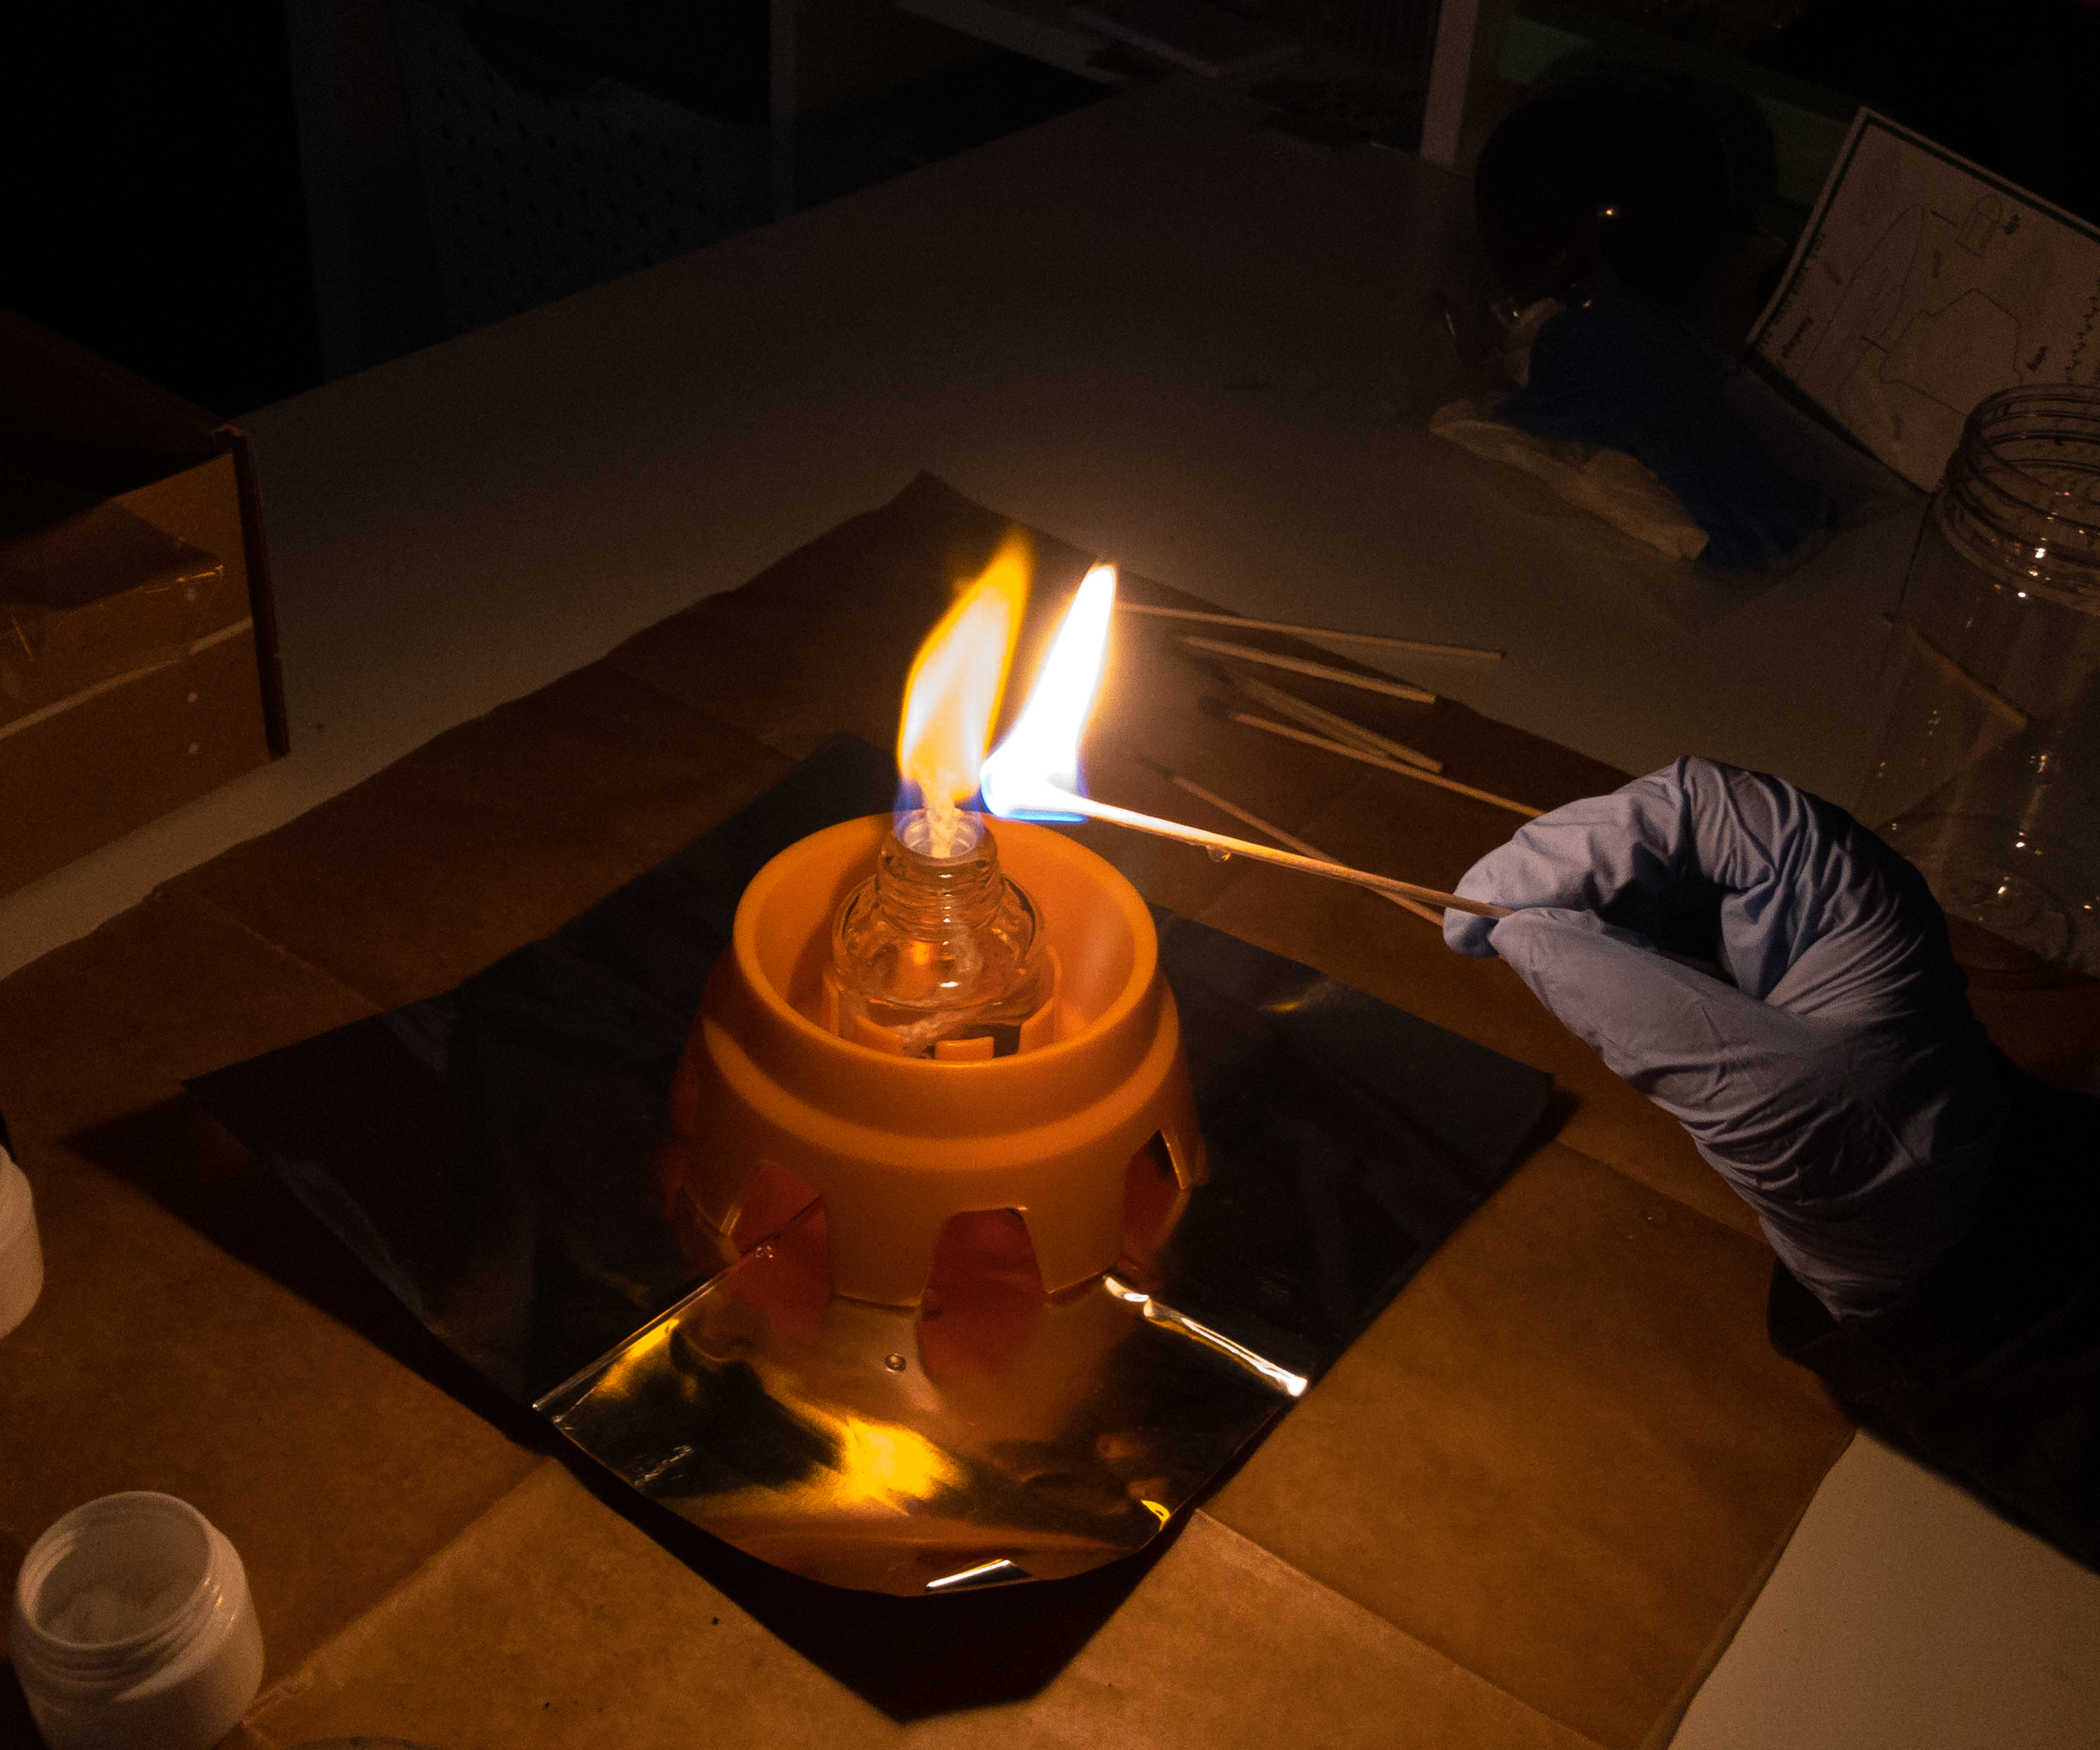
We dipped the swabs on each of the chemicals. And now it’s time to see how would each react with flame.
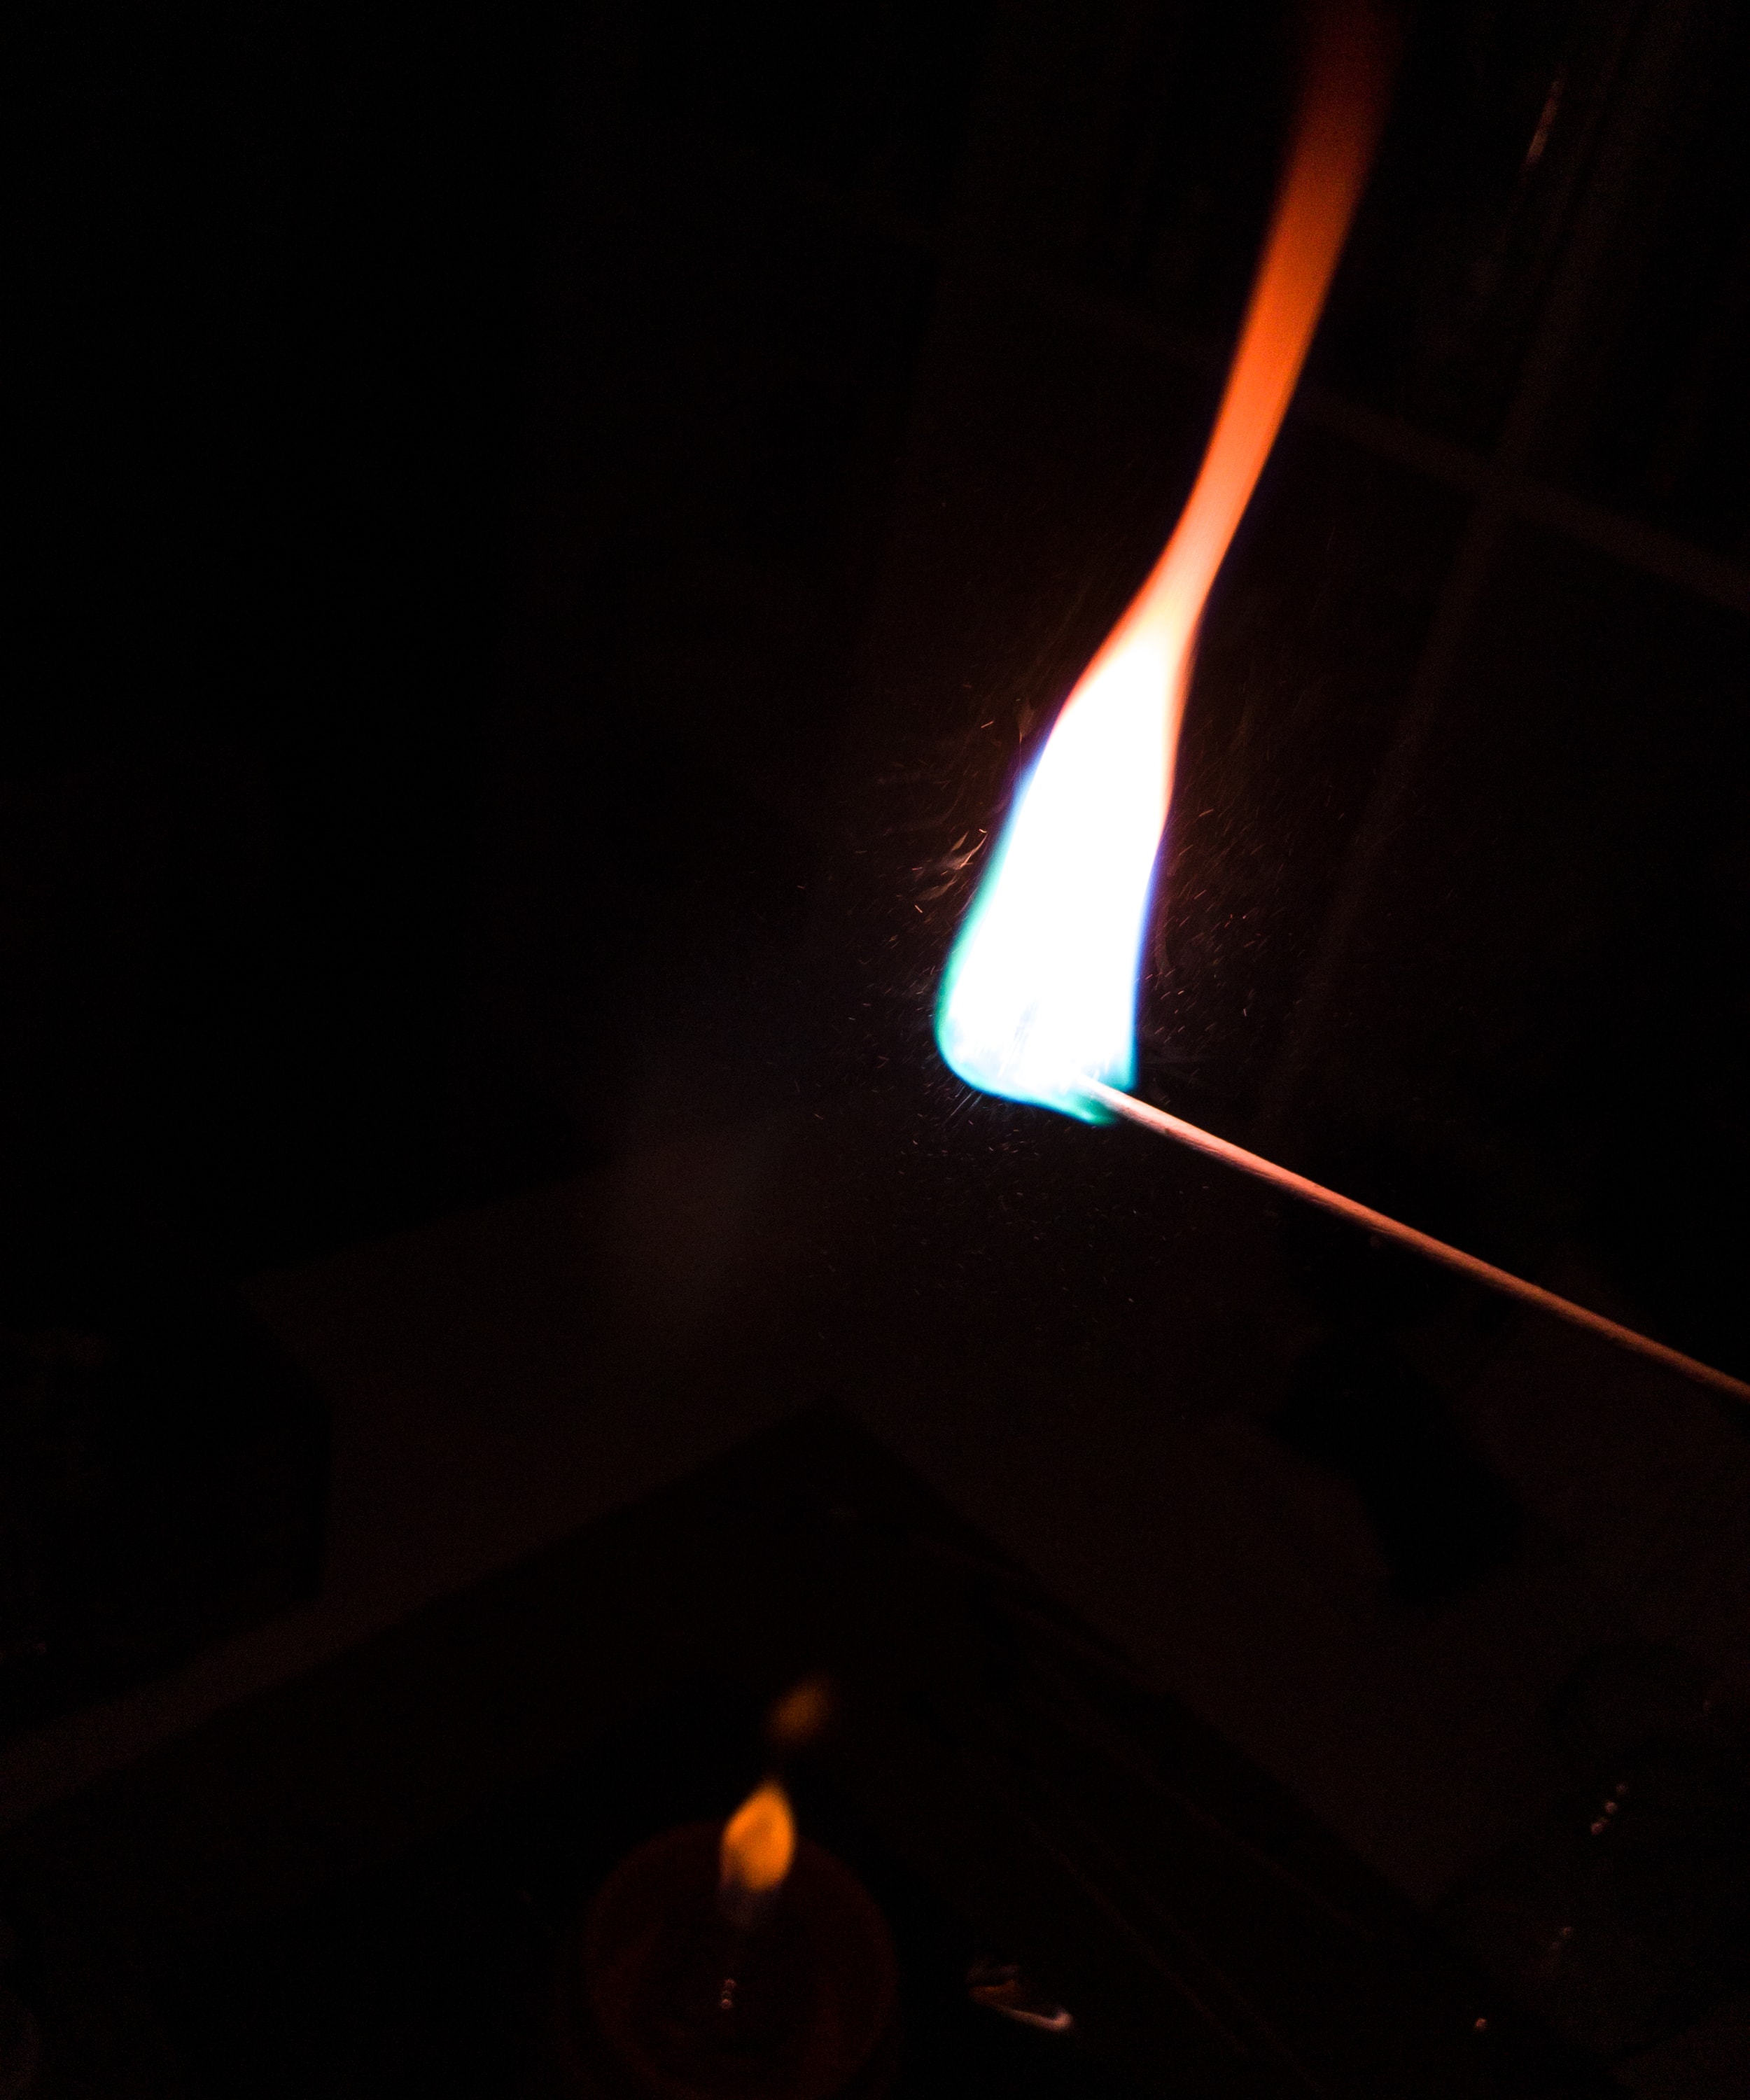
Each chemical reacted with the flame by producing different colors.
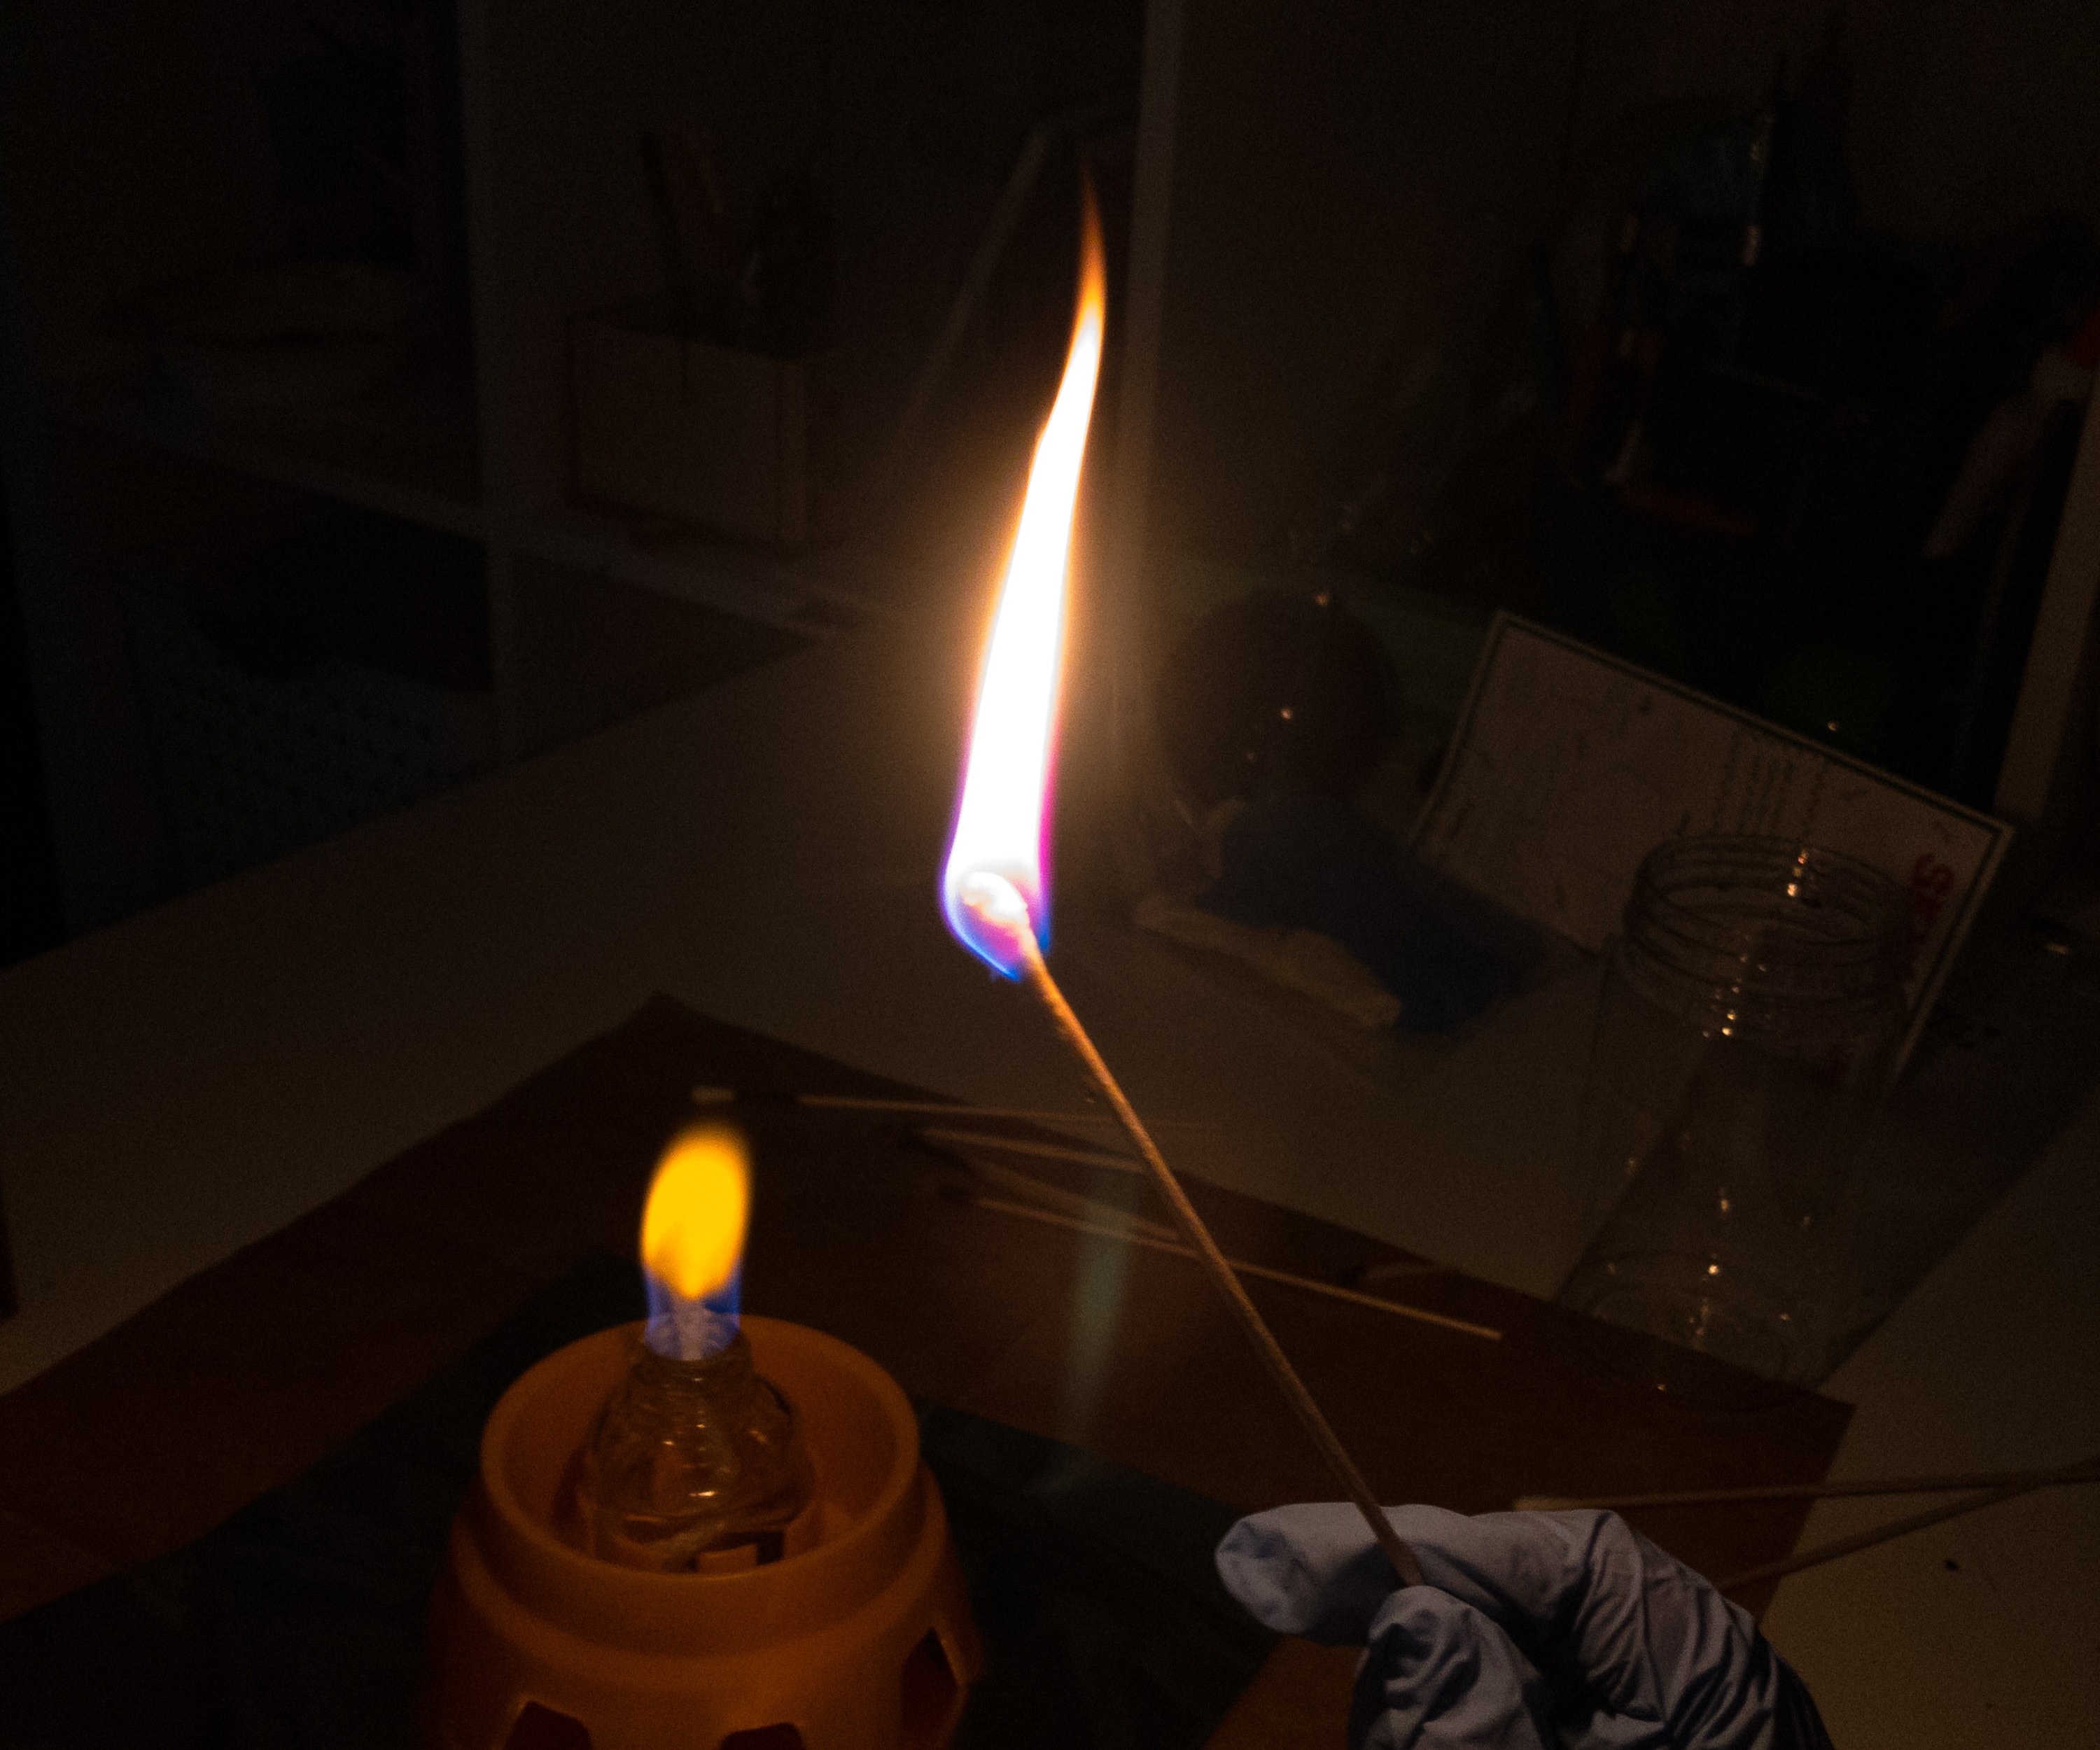
The last one that we did is dipping the swab on strontium chloride, then followed it with copper chloride. As expected, a different colored flame was produced.
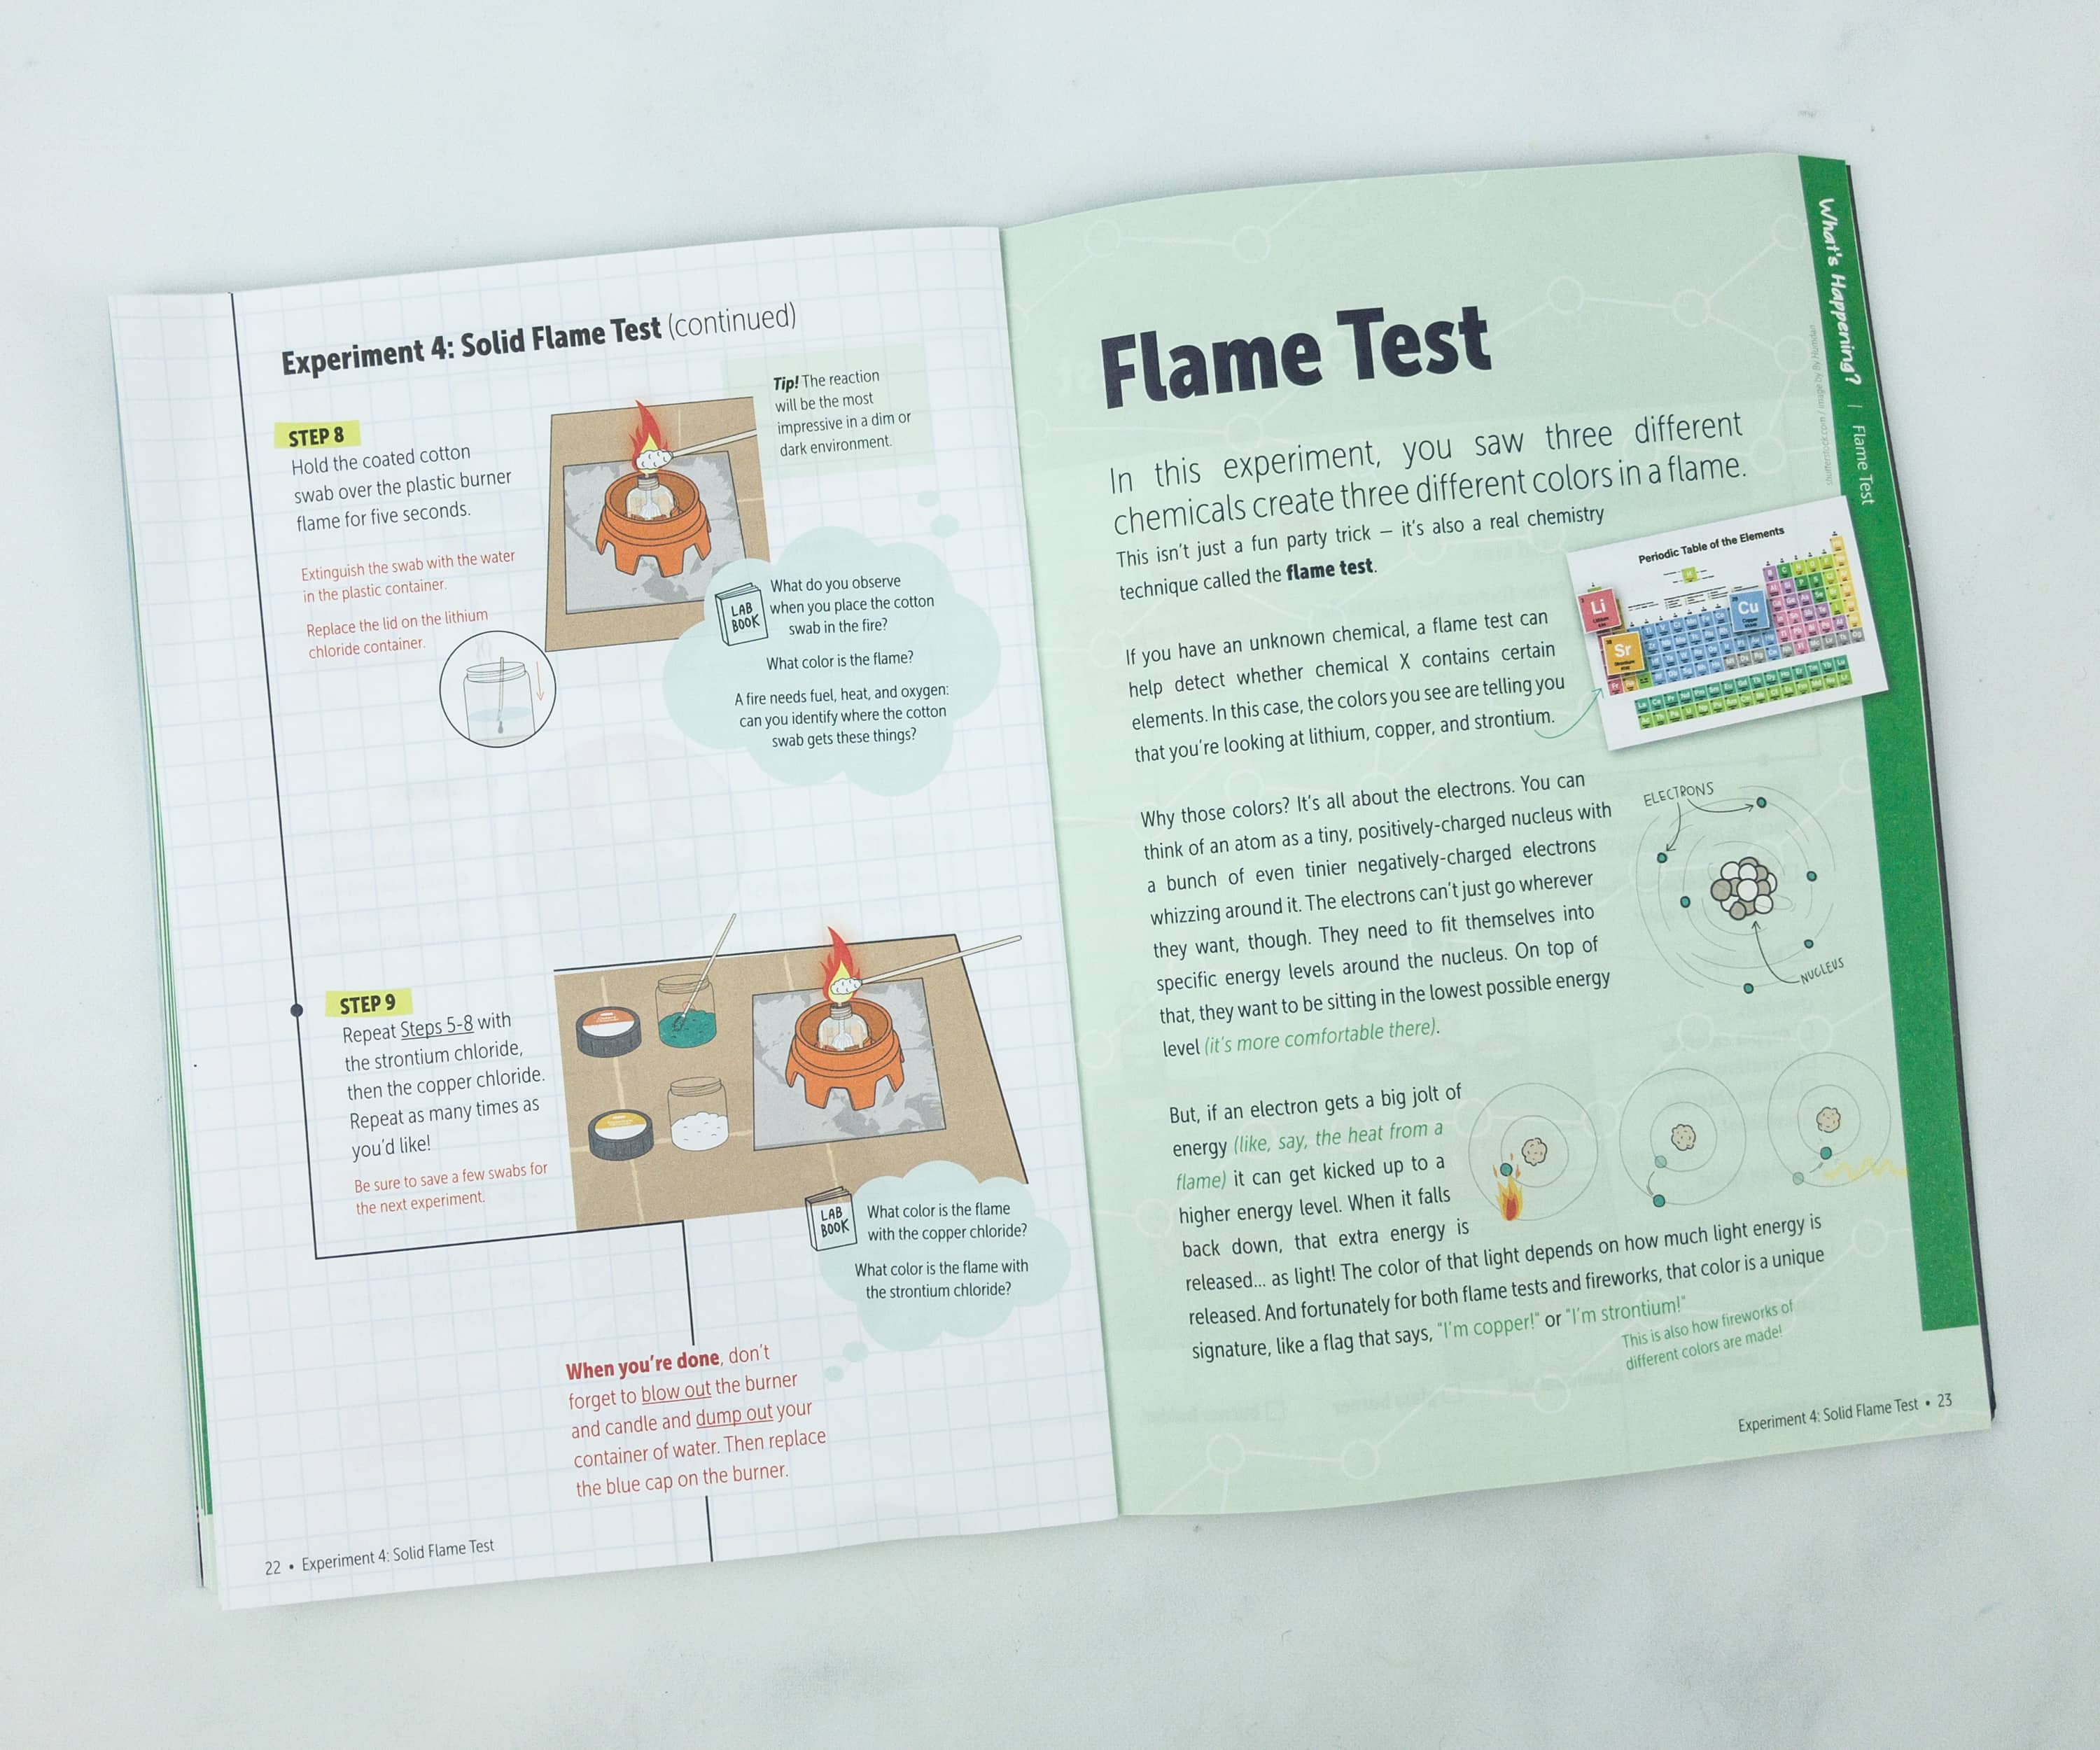
The booklet also explains the result of this experiment, and it’s all about the electrons!
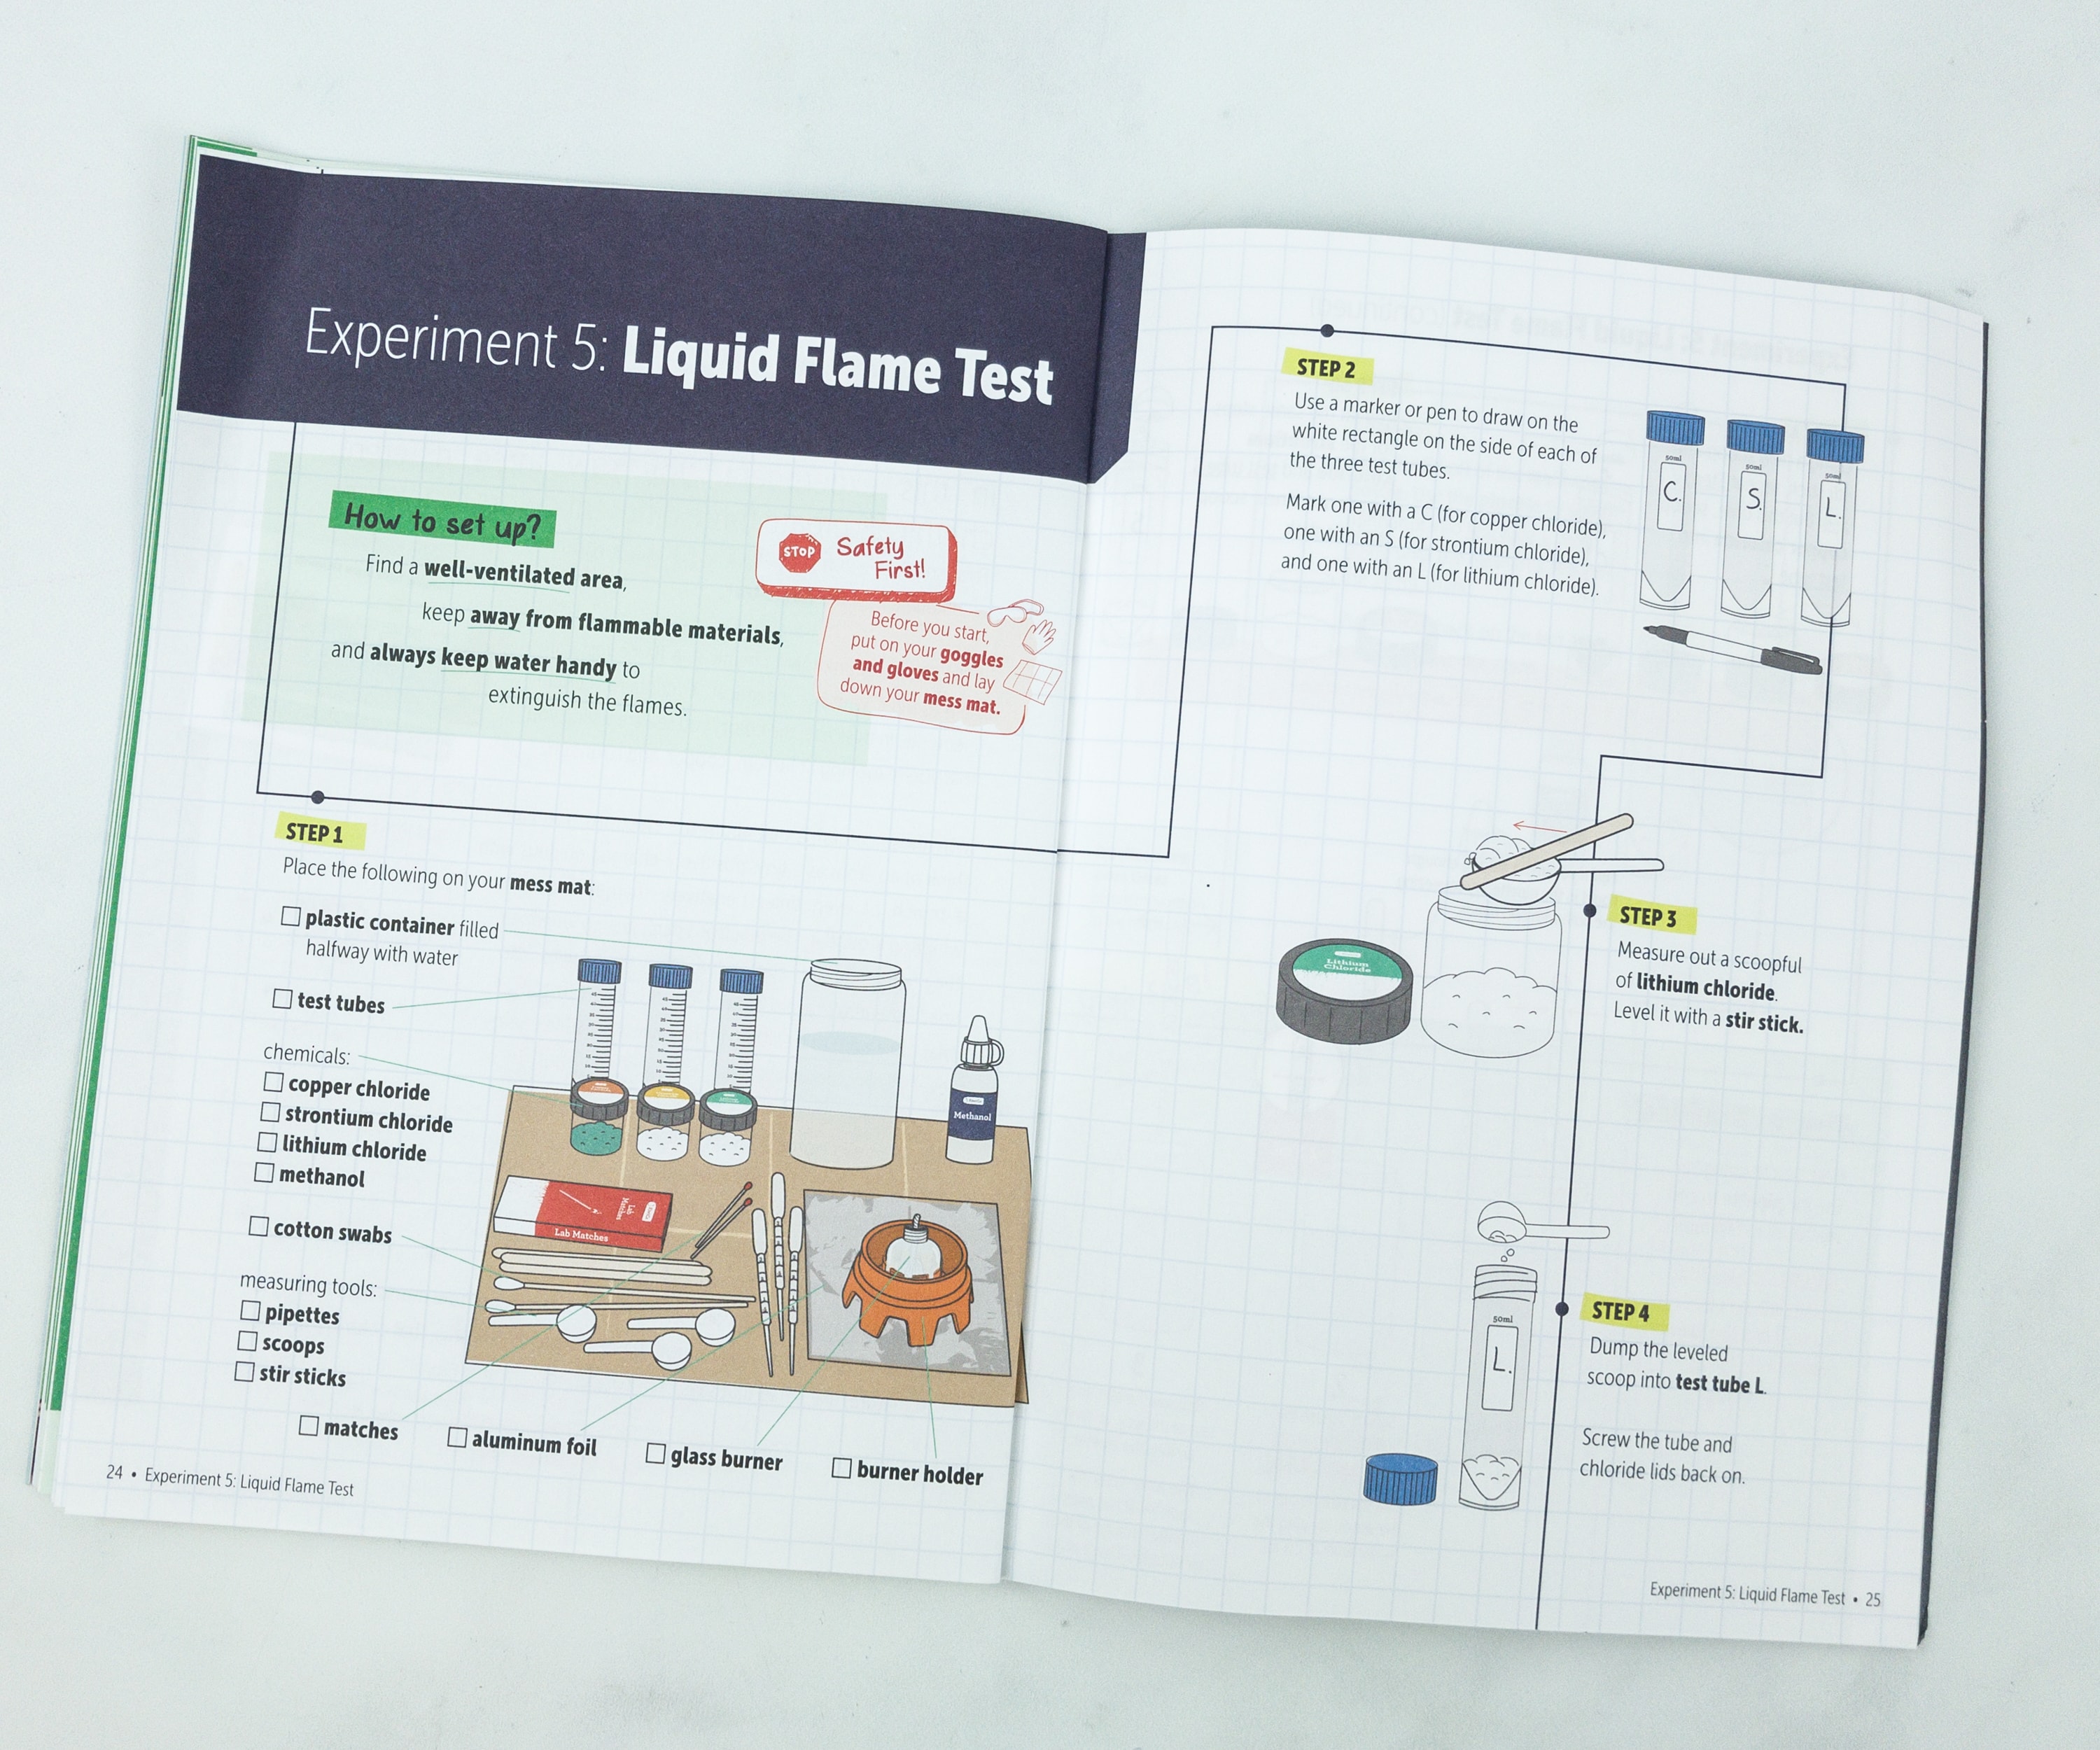
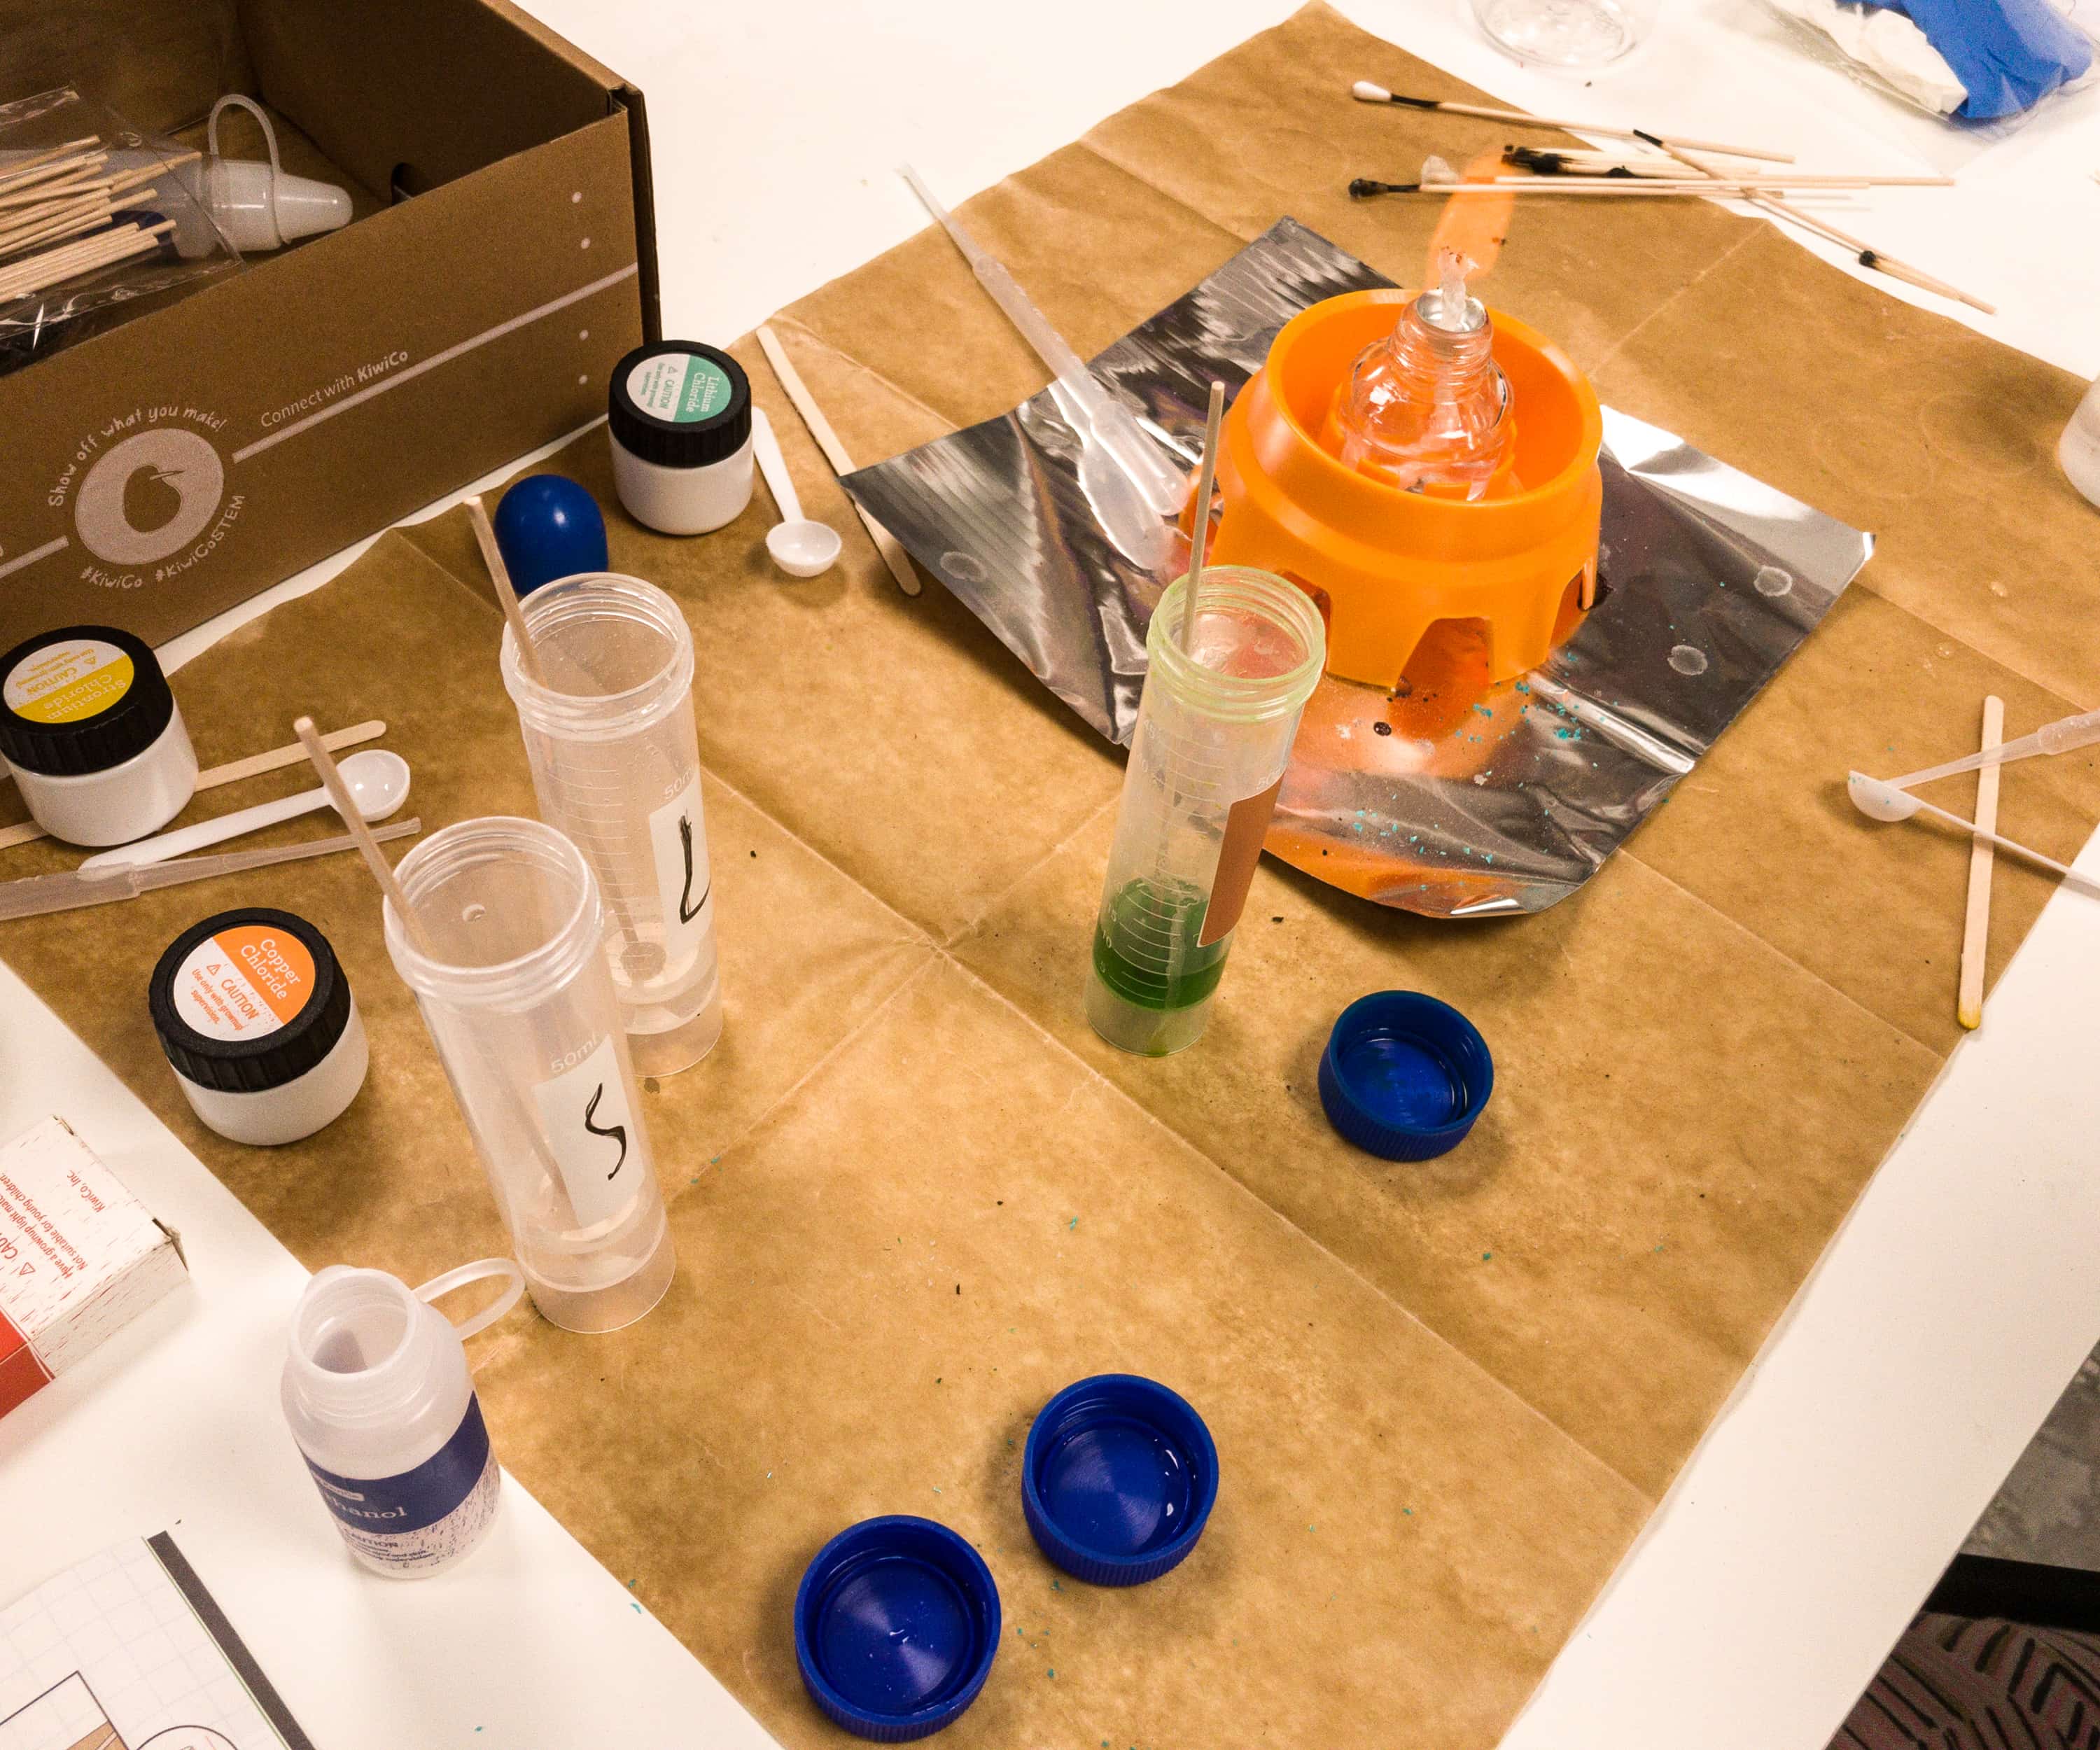
Experiment # 5 is the Liquid Flame Test. For this experiment, we will now make use of the measuring tools, and the test tubes.
Each chloride gets a test tube.
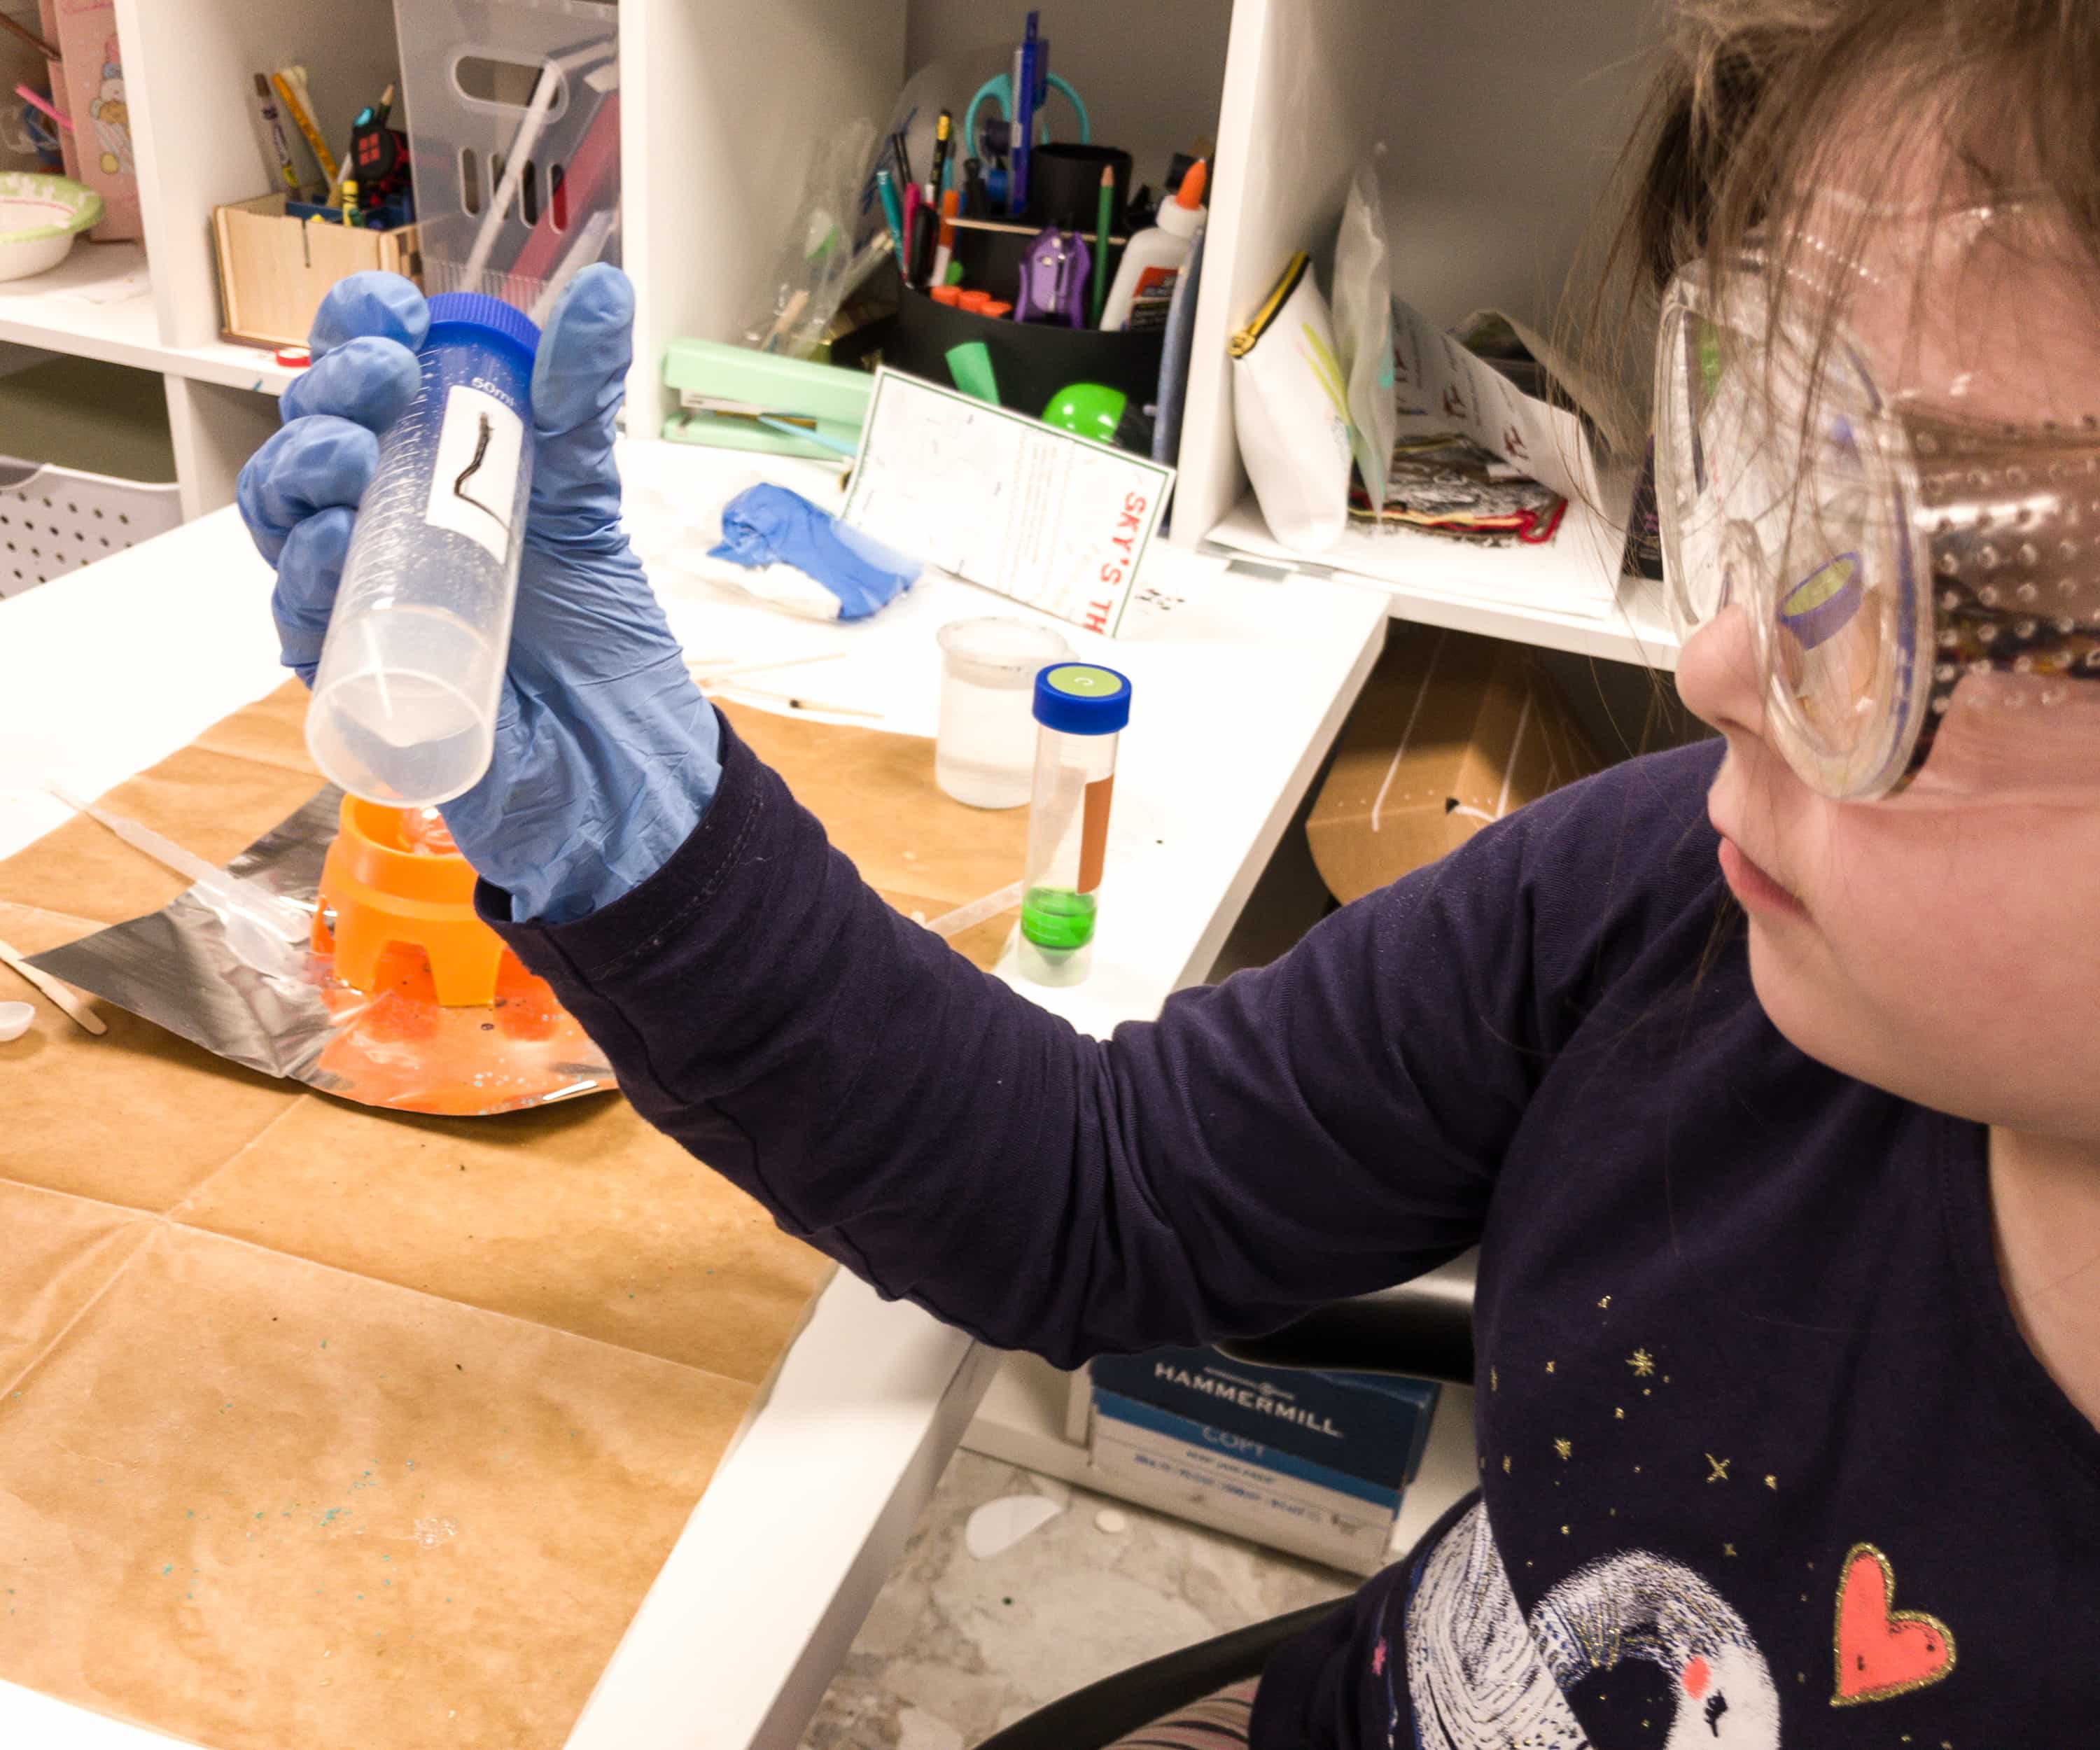
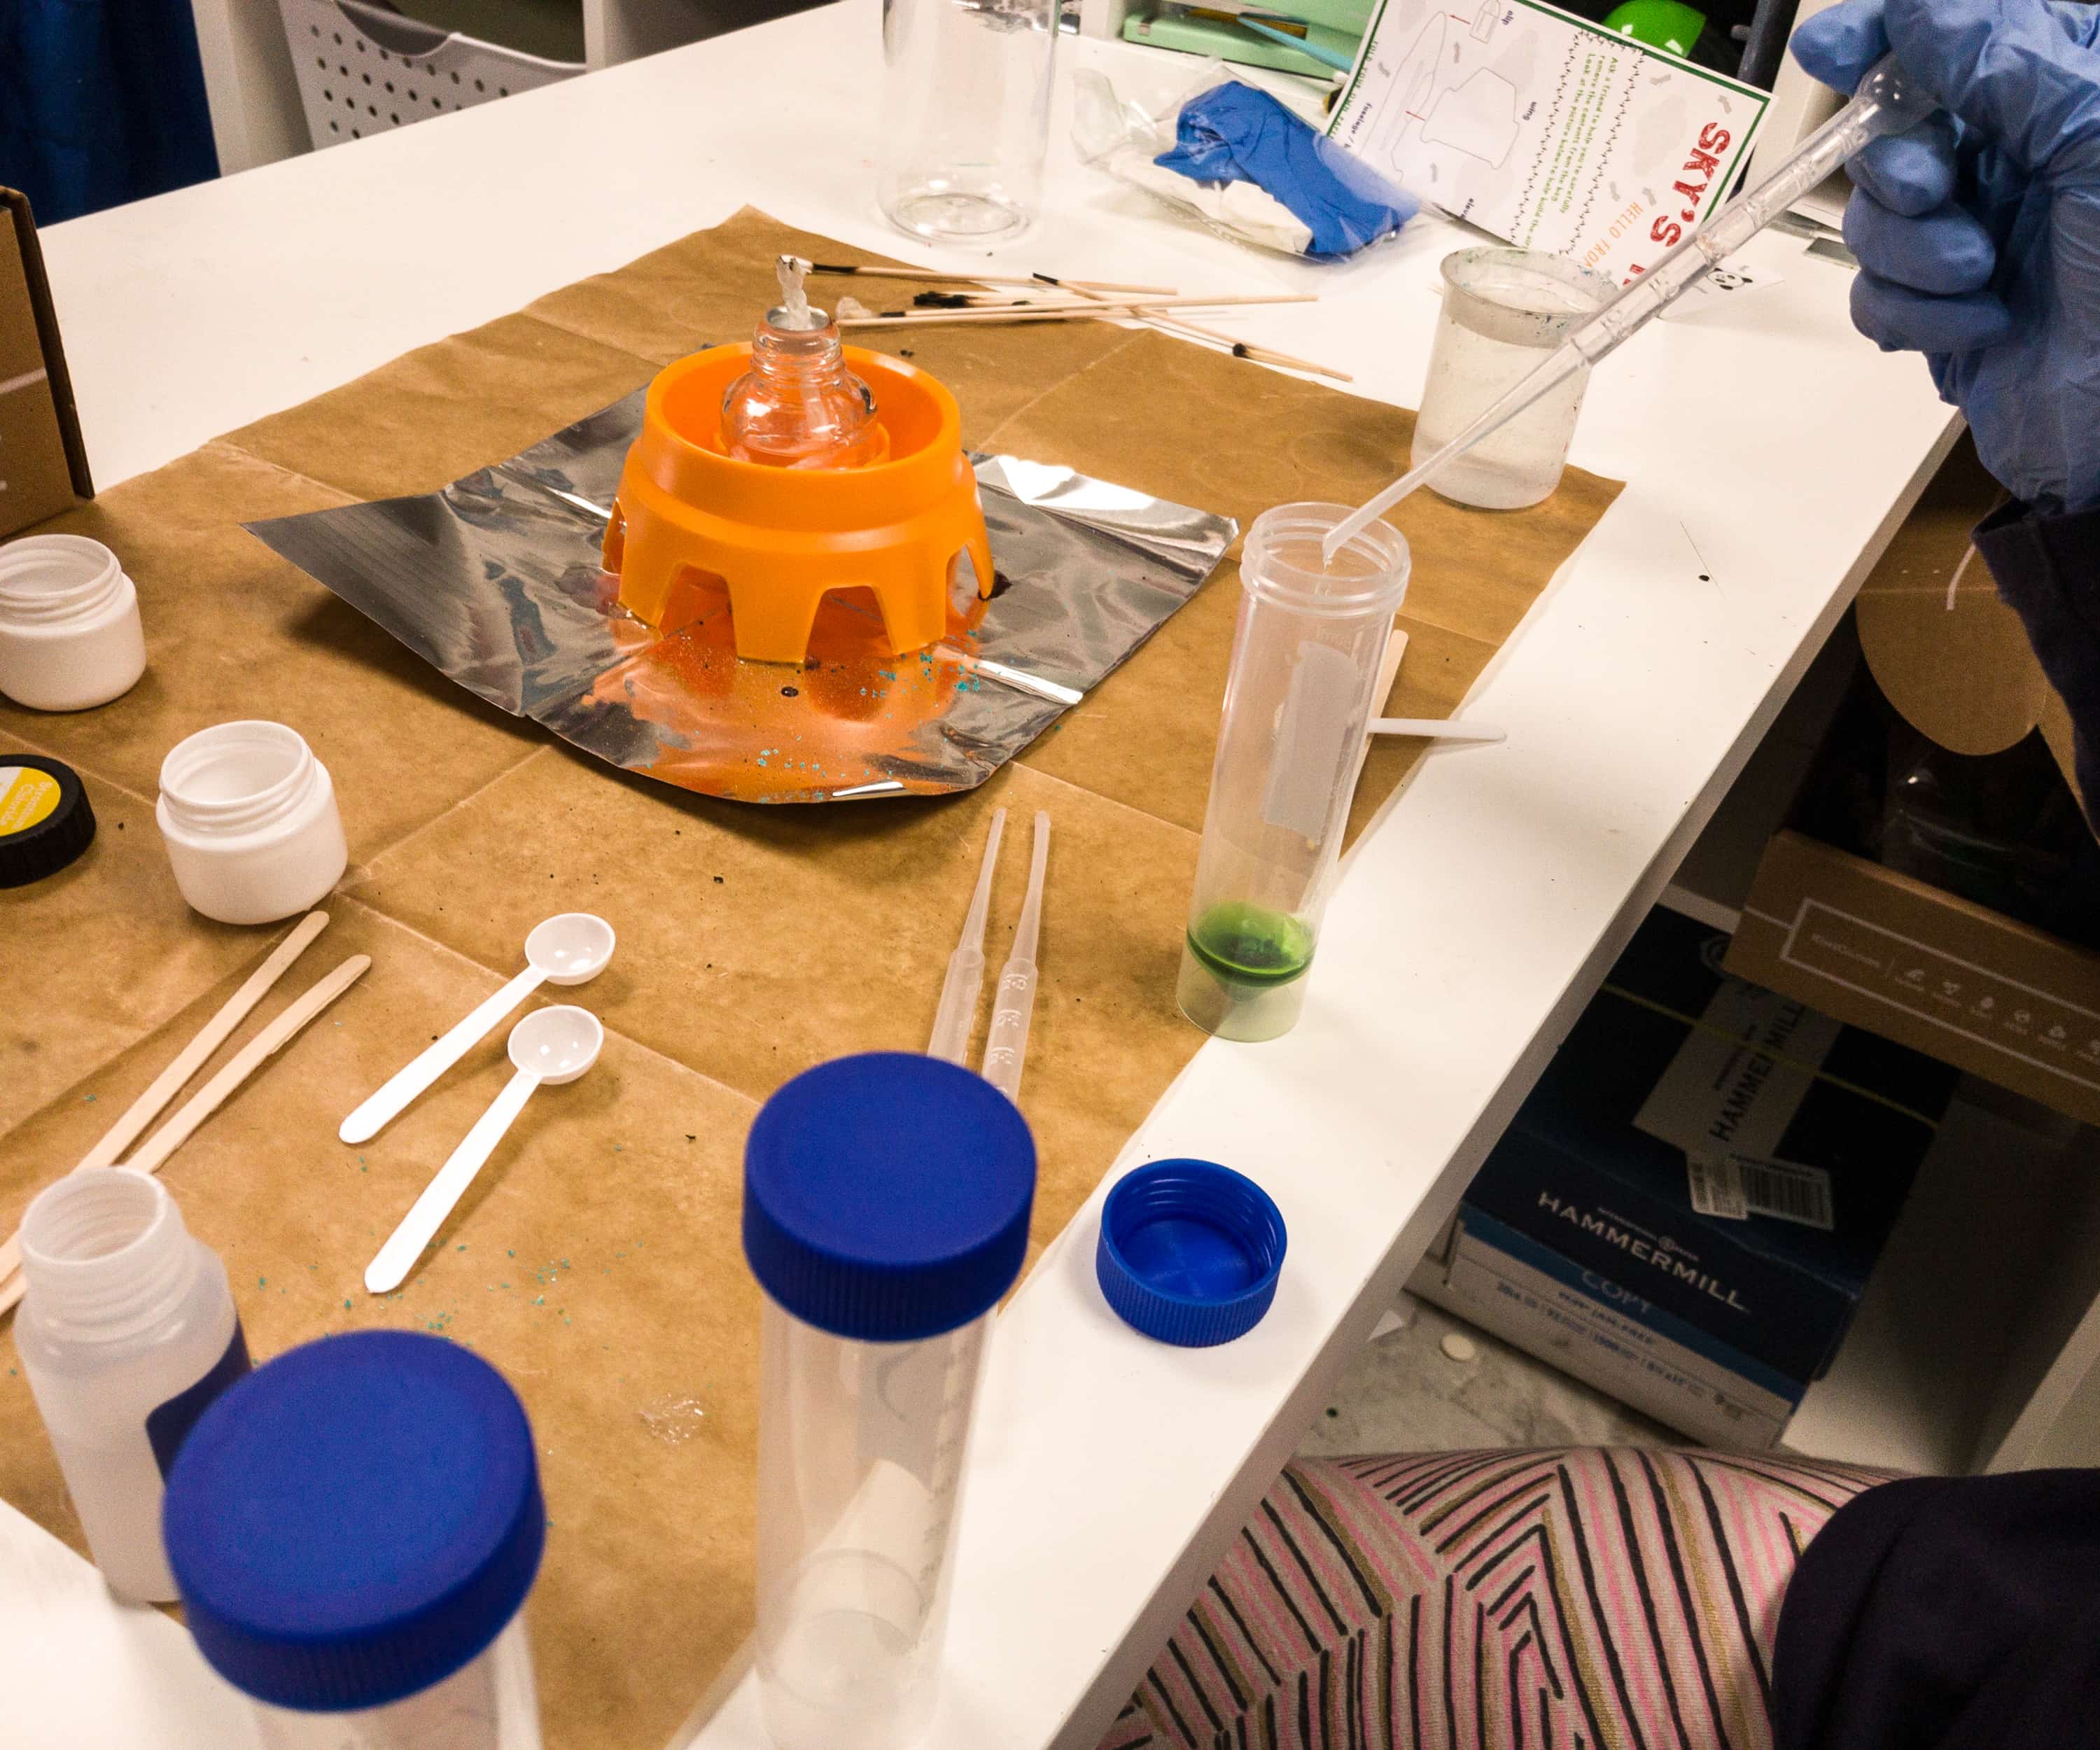
They dissolved each chloride with the solvent, before dipping the swabs and testing them out on the flame.
Here are the swabs dipped on each test tube.
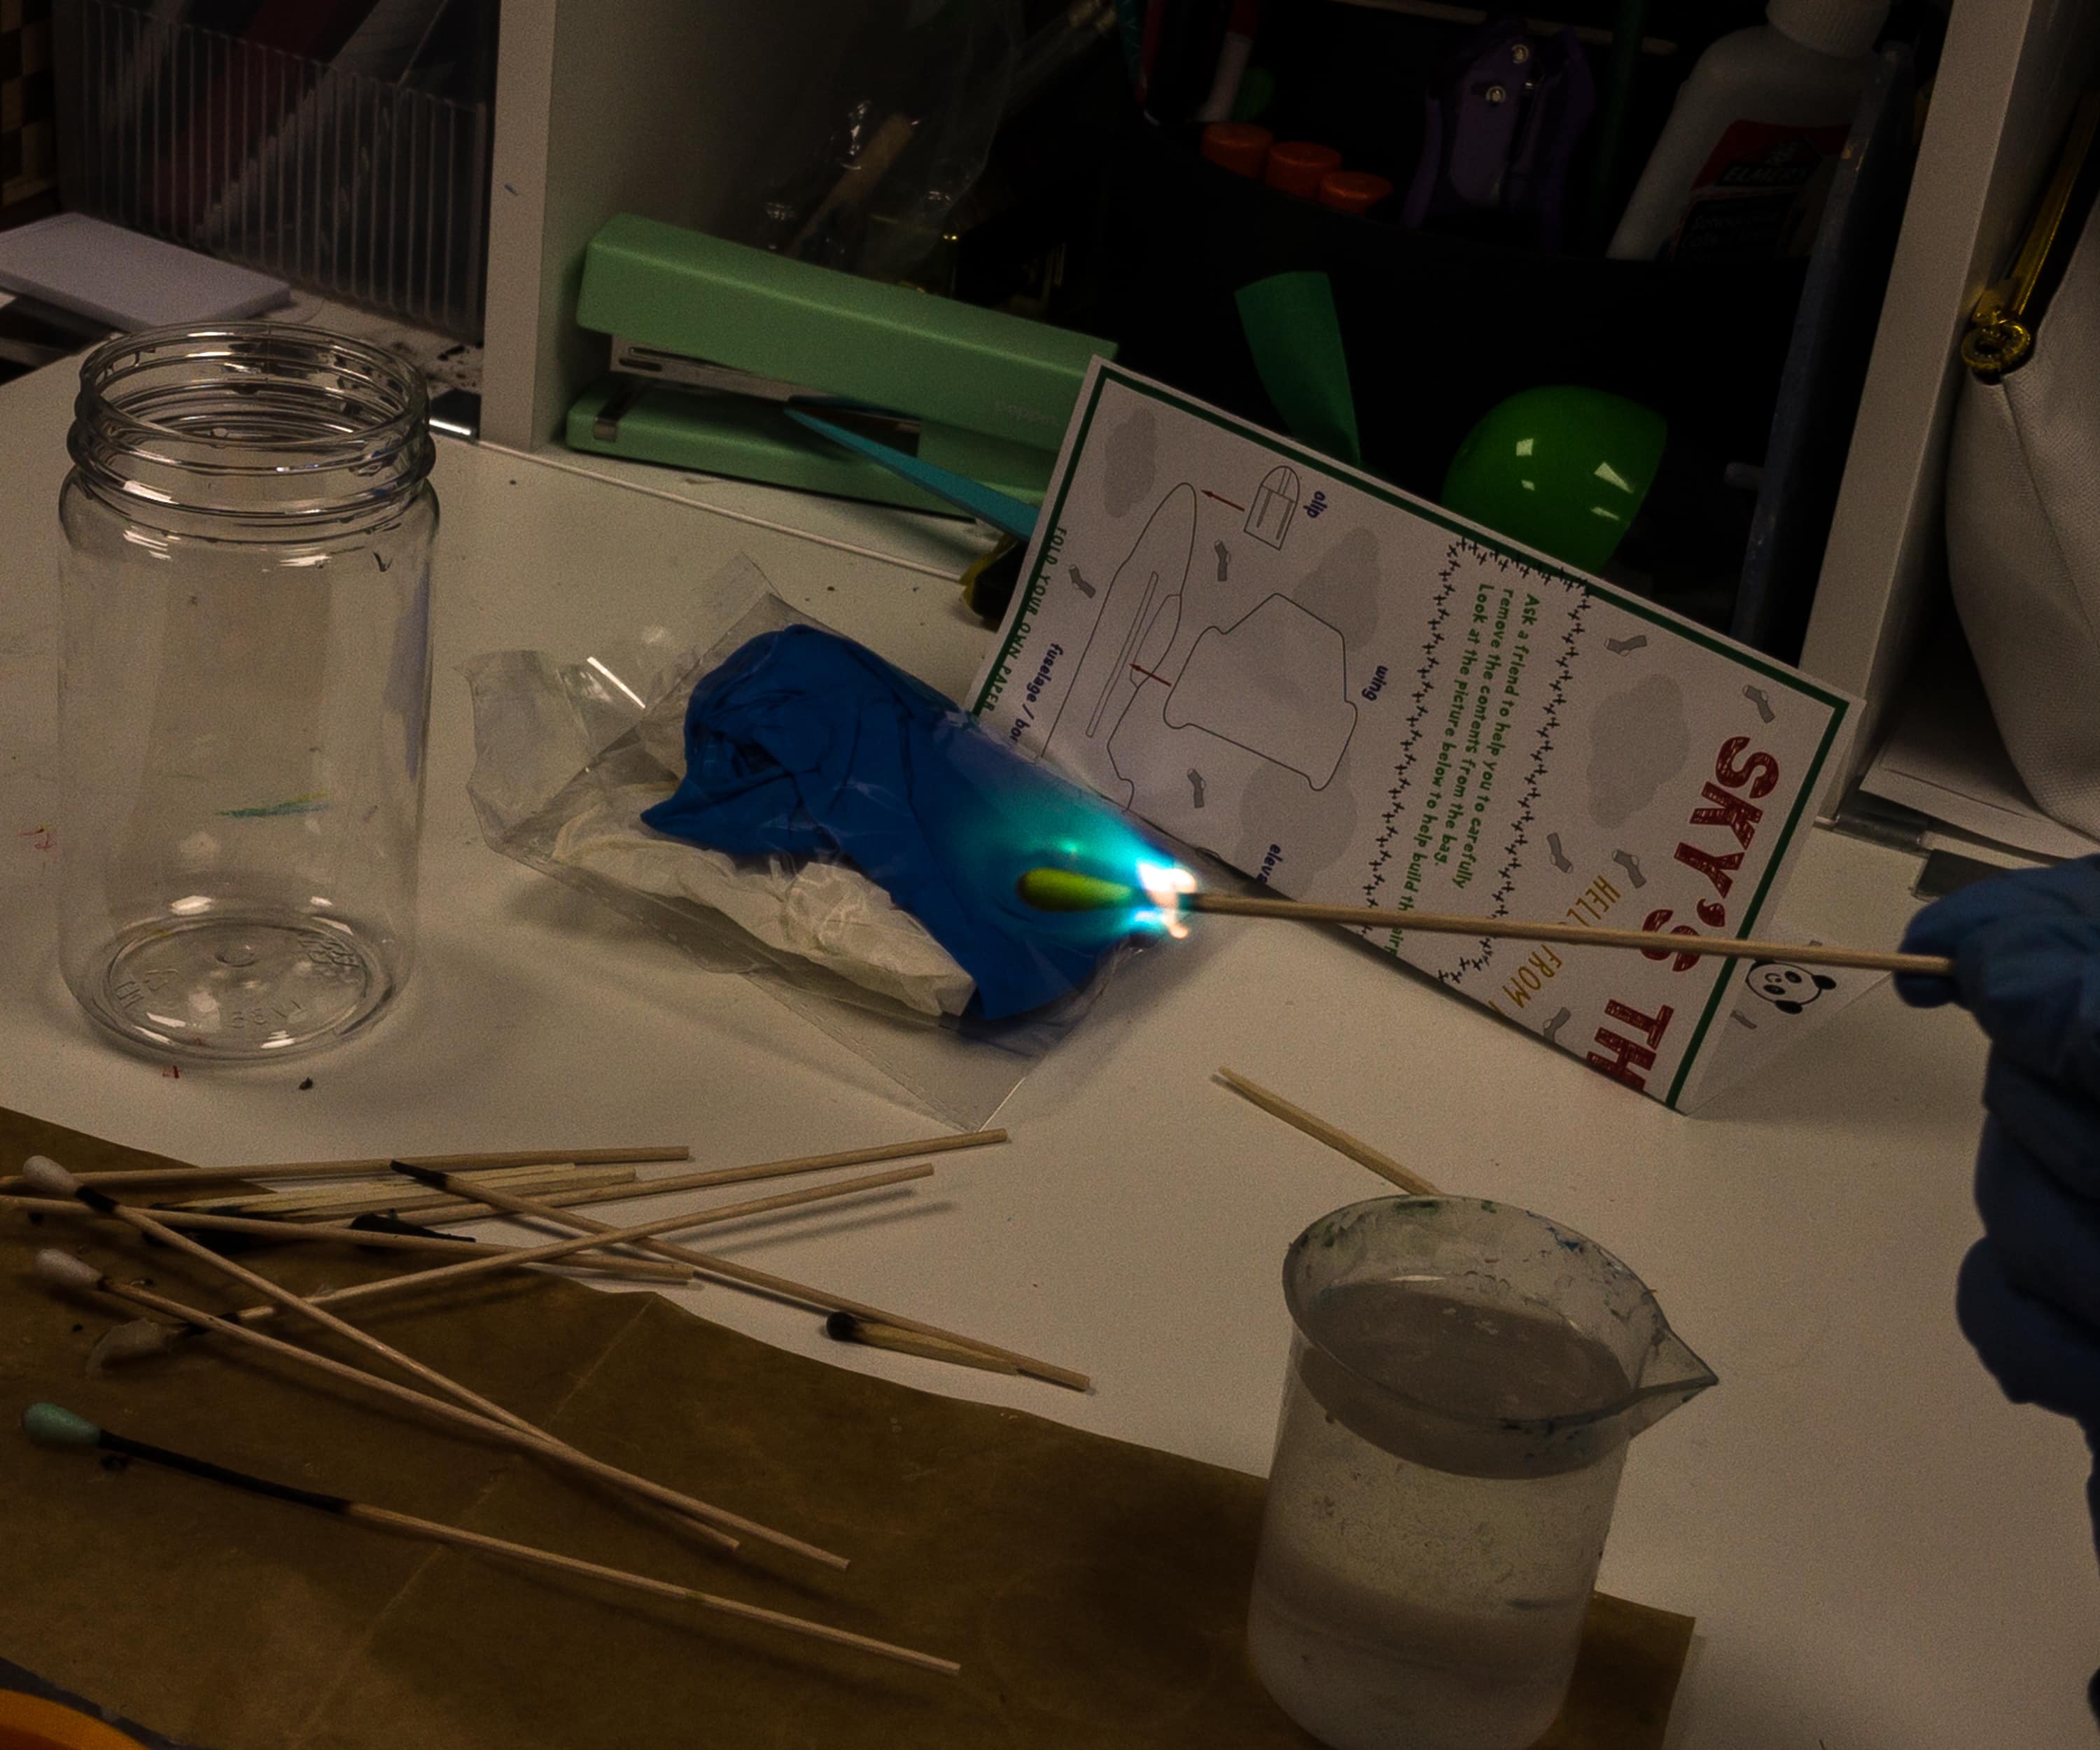
Like the previous experiment, each swab produced different colors of flame.
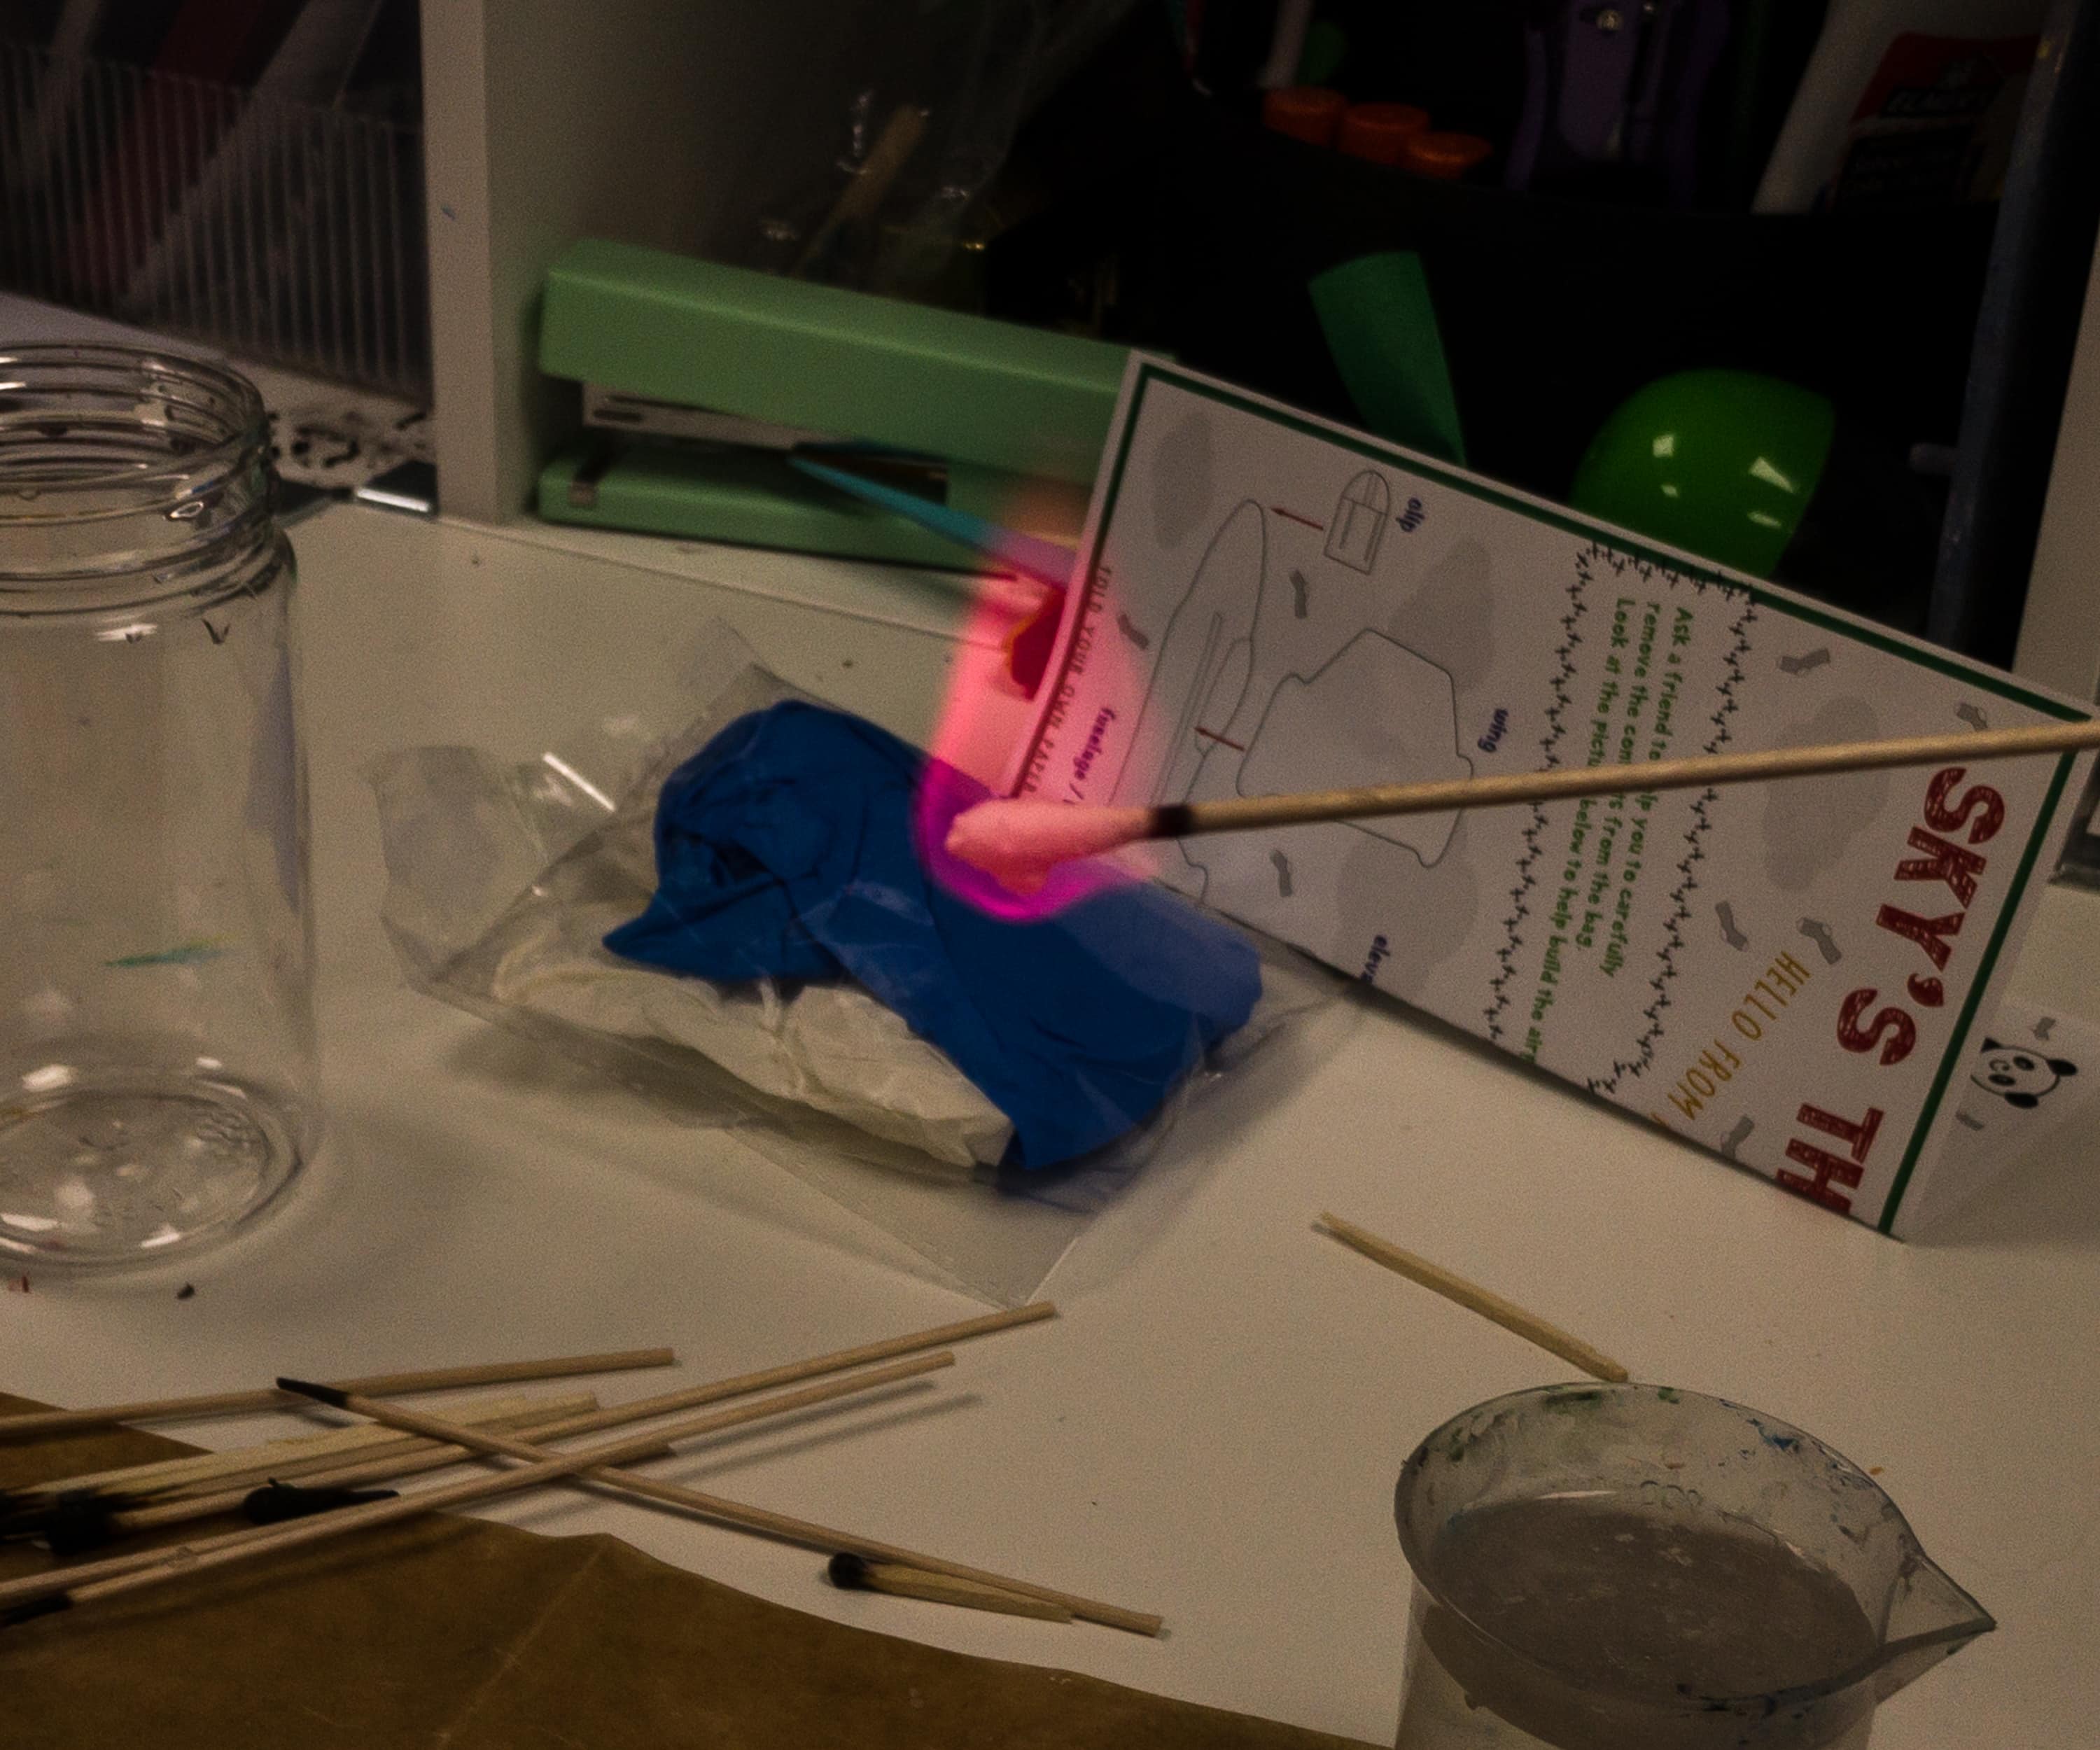
This flame is really beautiful!
While the last one is not as bright as the first two, but still, it produces a different color.

For the next experiment, we tried to burn steel, and this is where the steel wool plays a very important role.
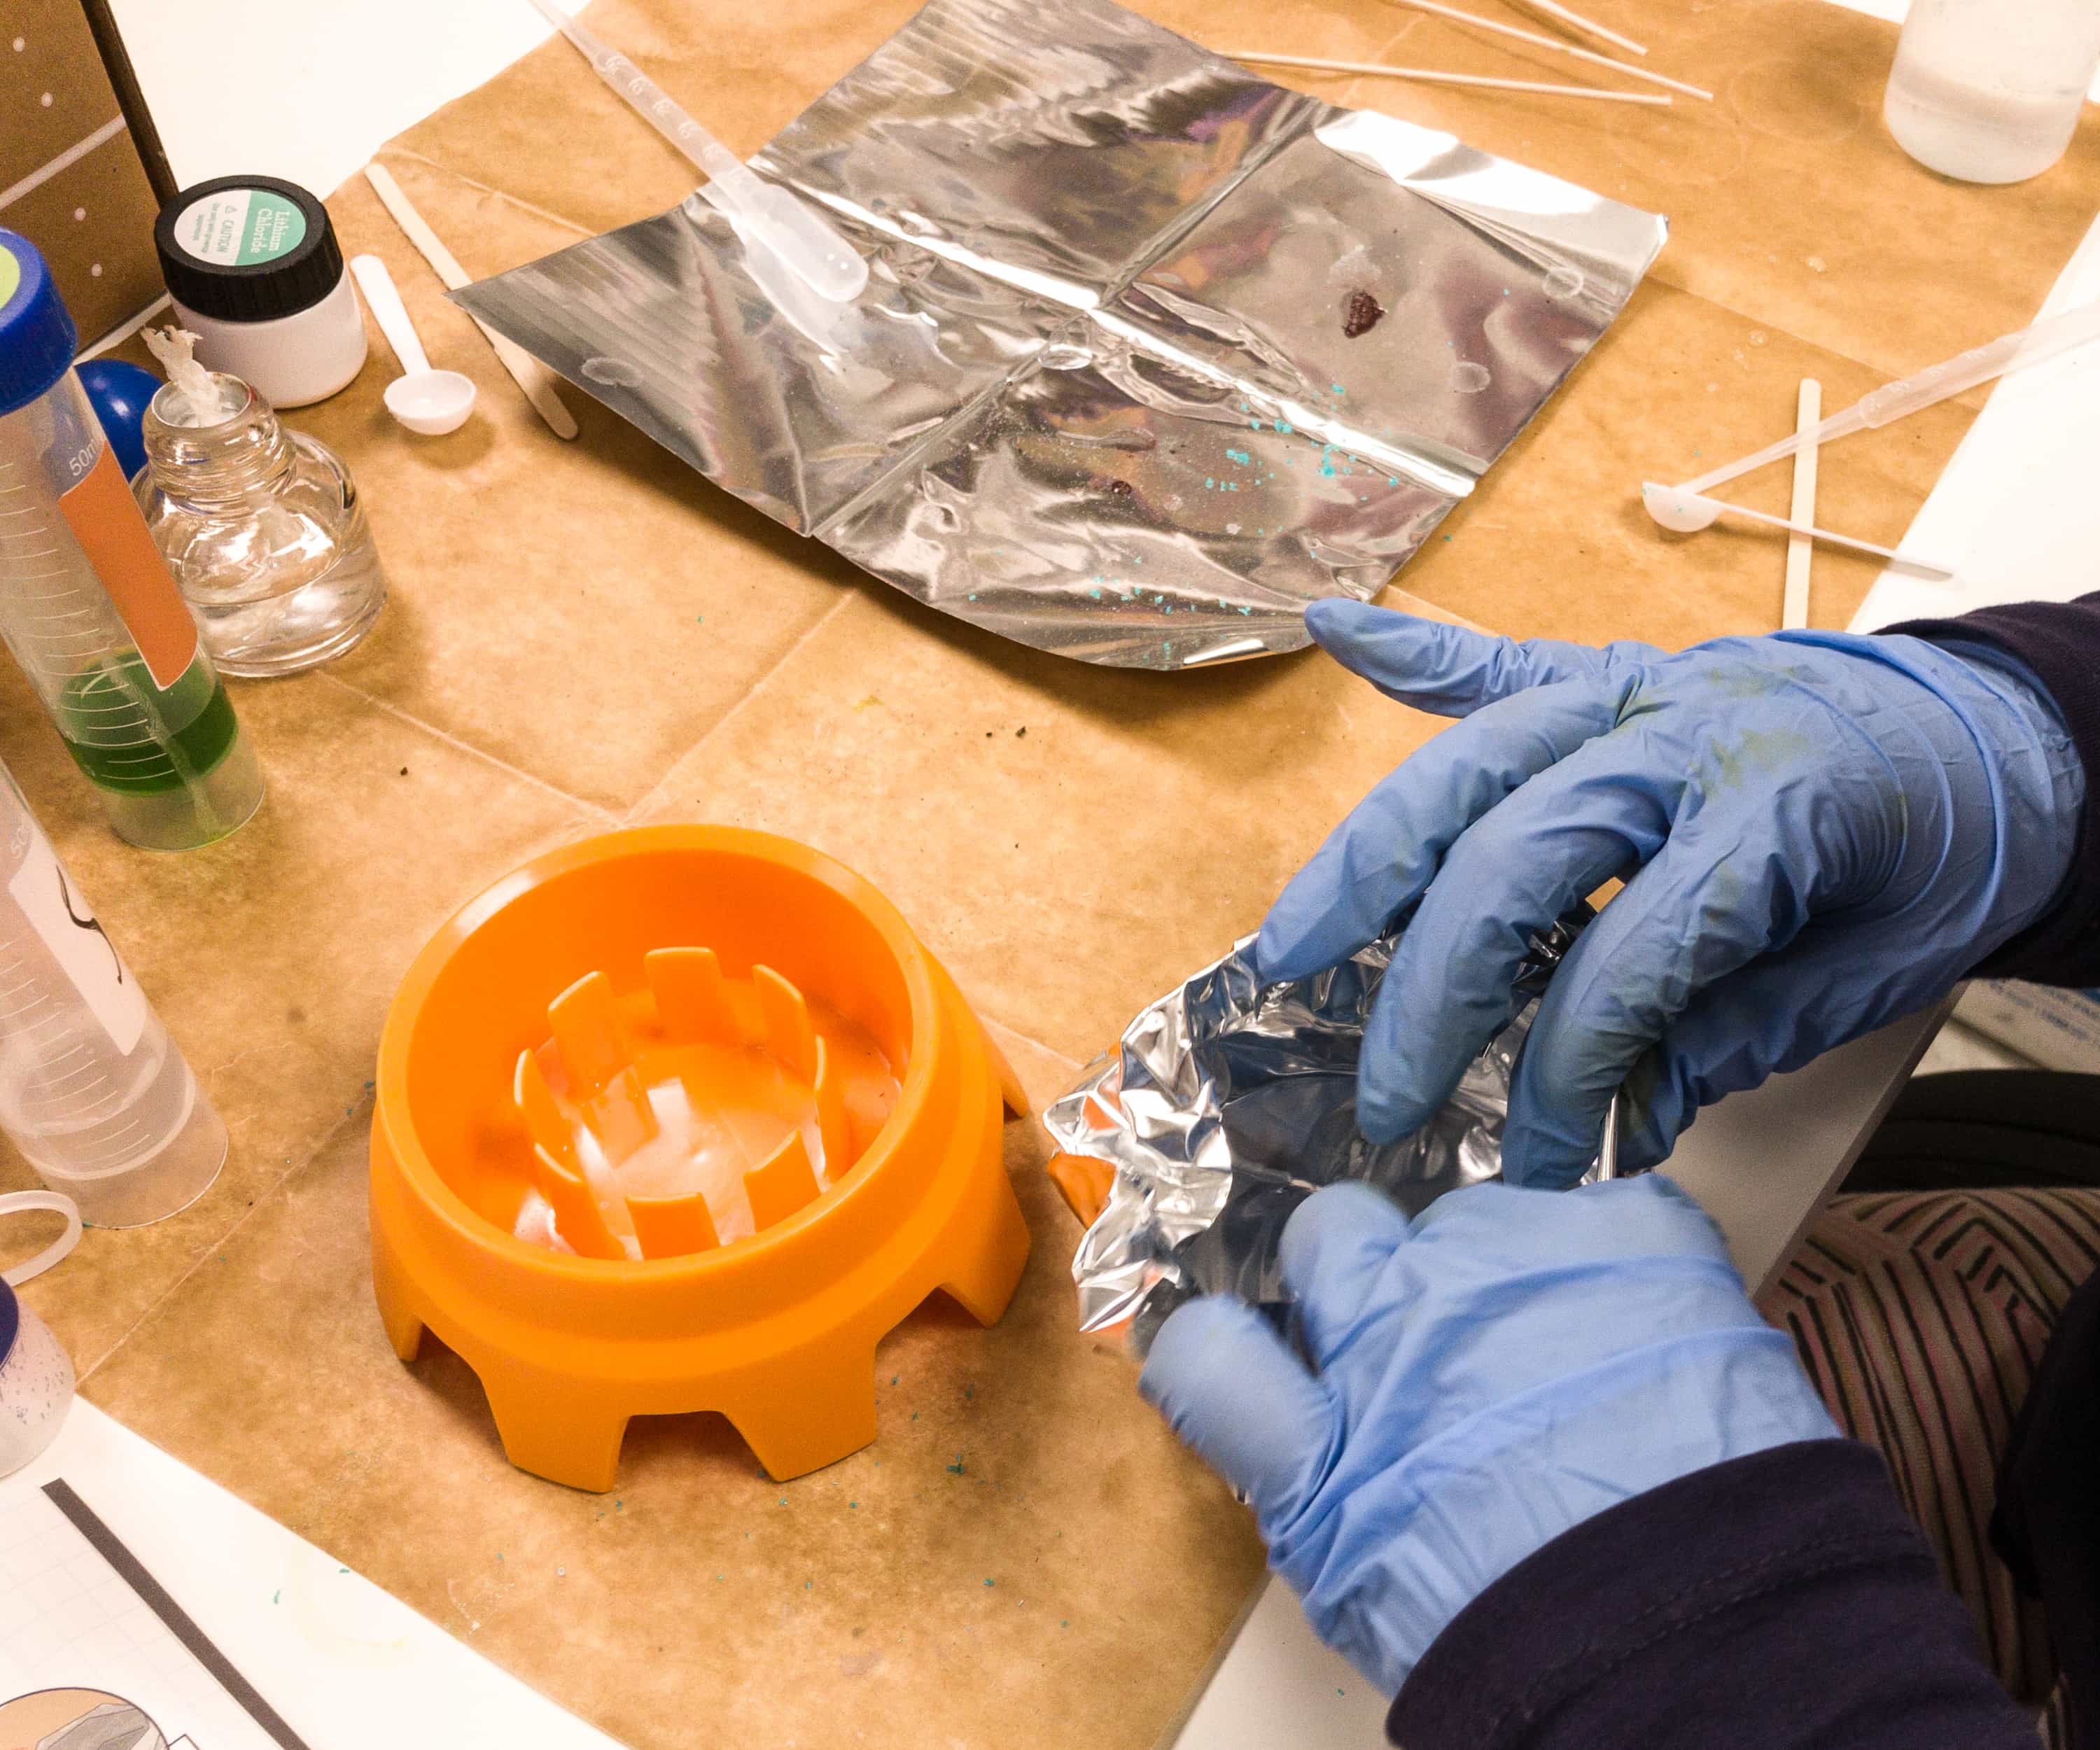
The kids made an aluminum foil bowl by shaping an aluminum sheet around the burner holder.
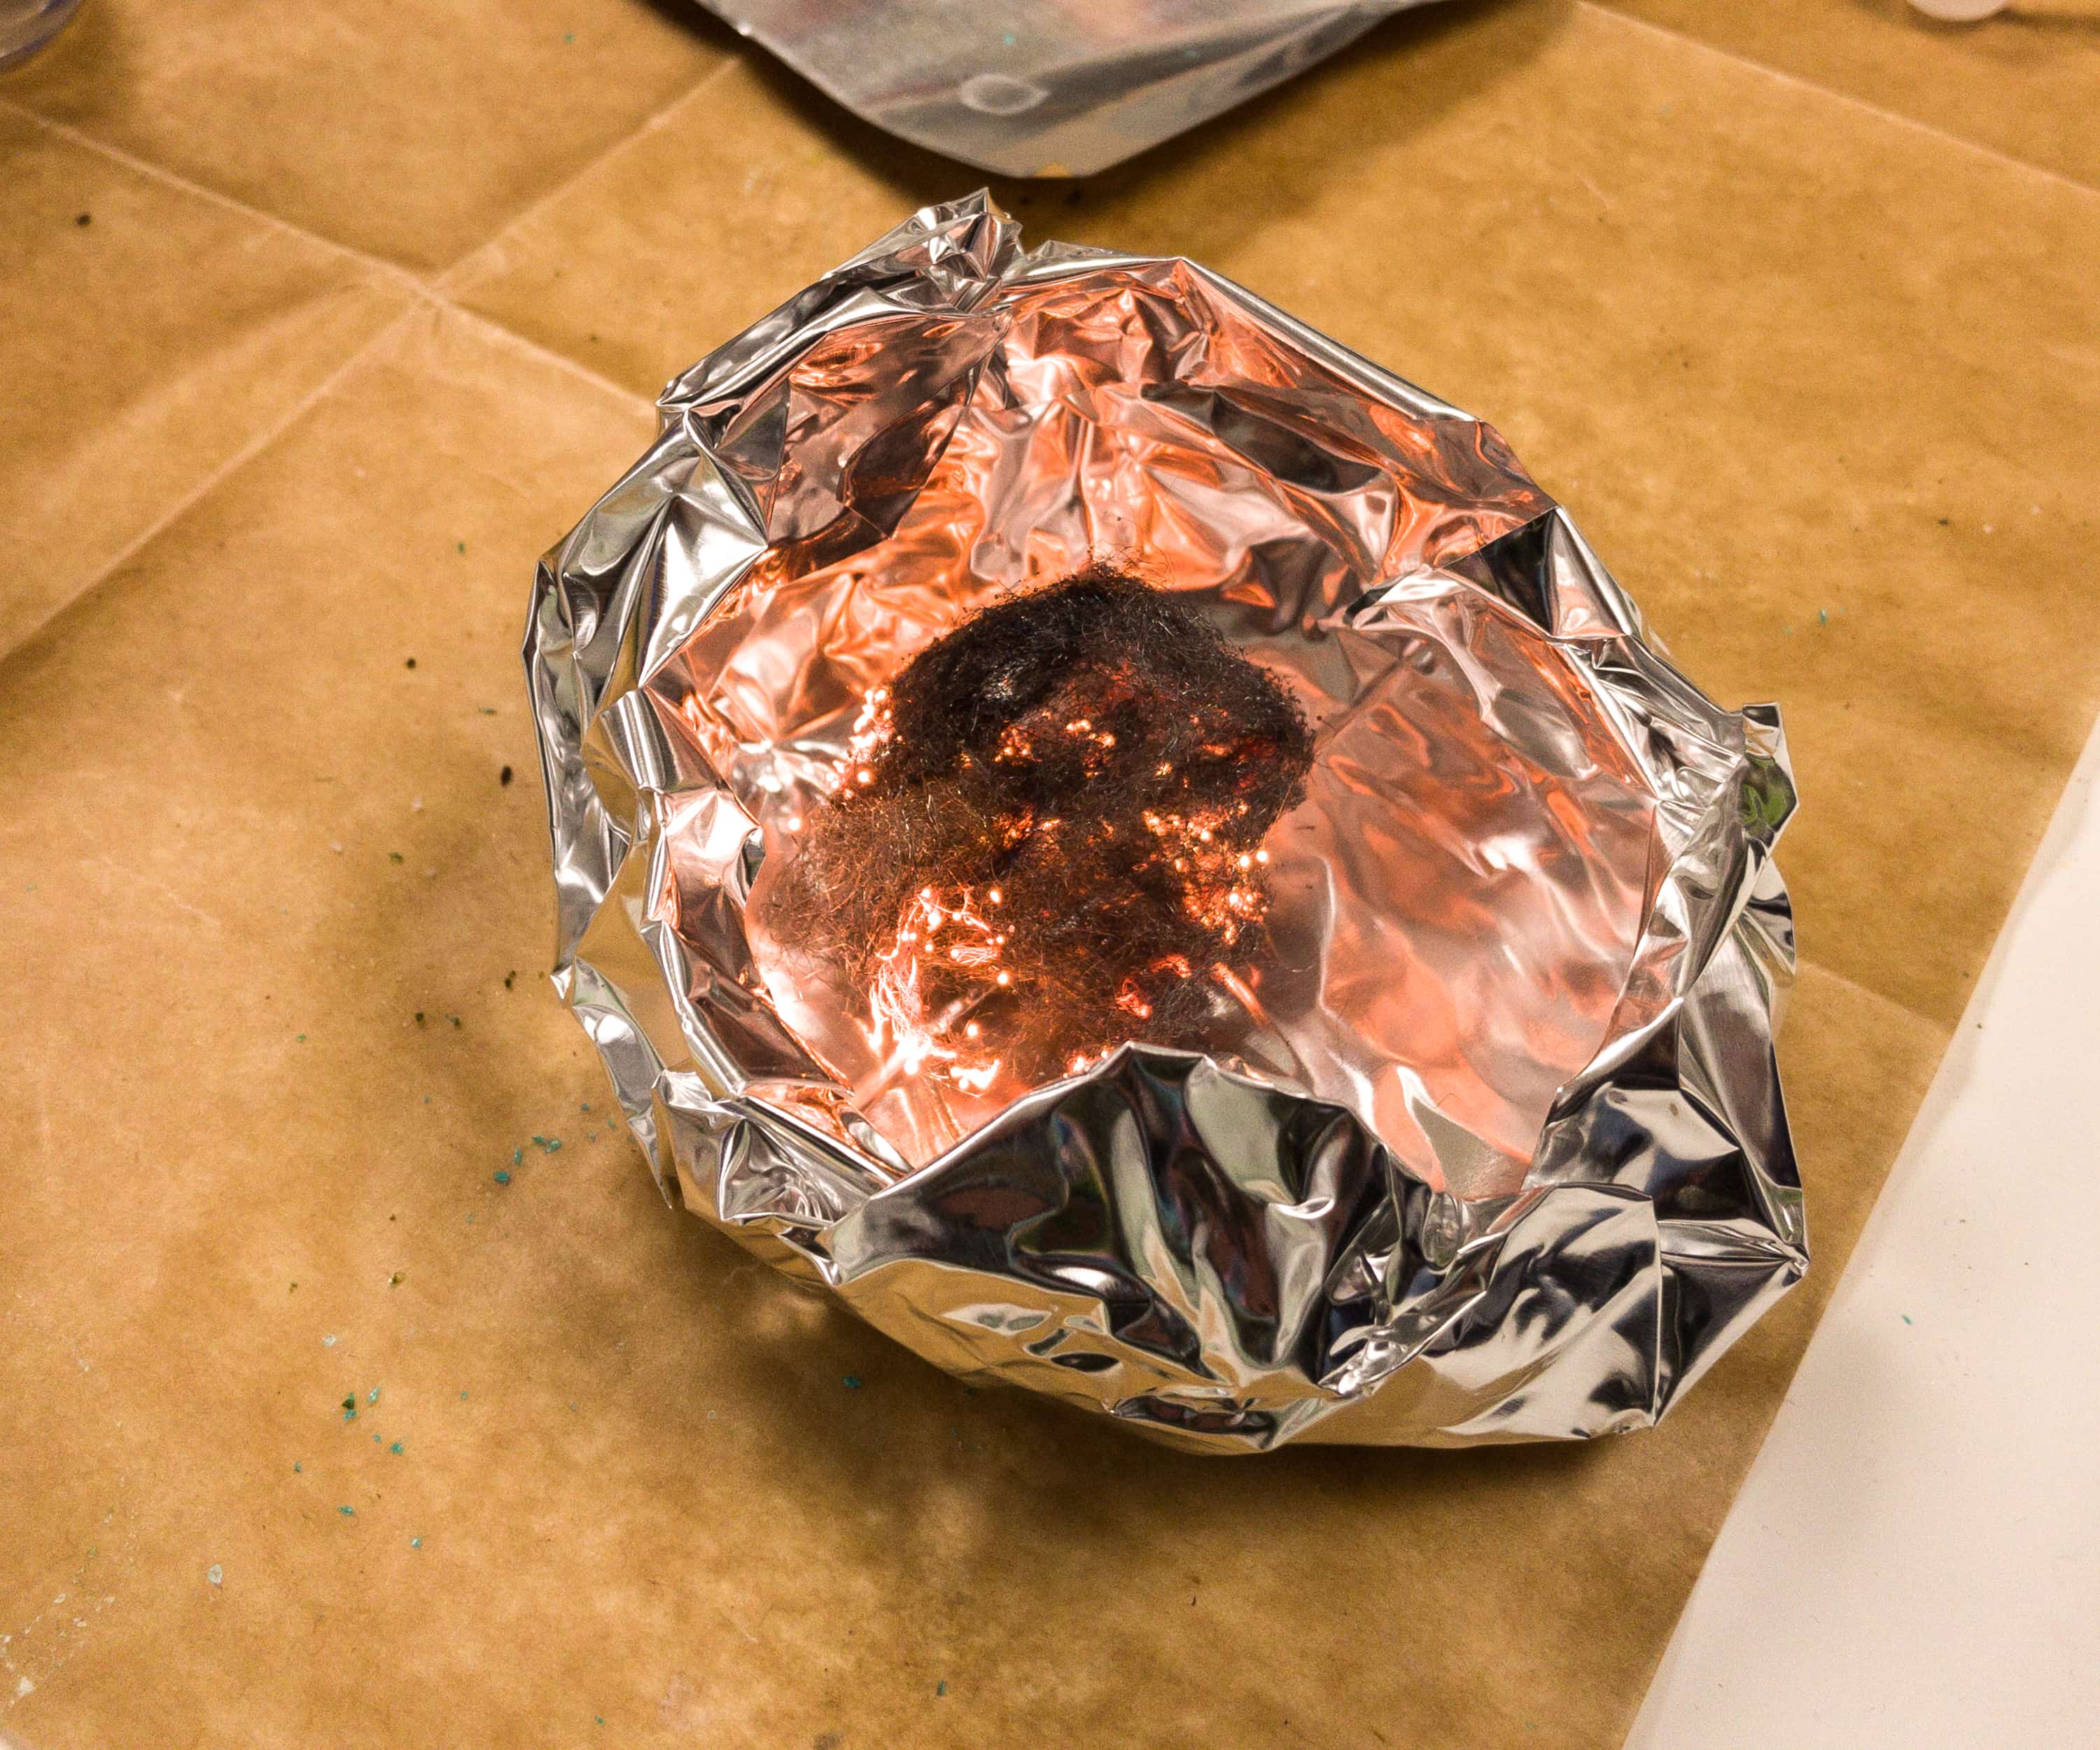
After pulling apart the steel wool to have the fibers, the kids placed them inside the bowl and lit it up. It burns!

This experiment proves that combustion needs the right ratios of fuel, heat, and oxygen, as almost everything can burn!
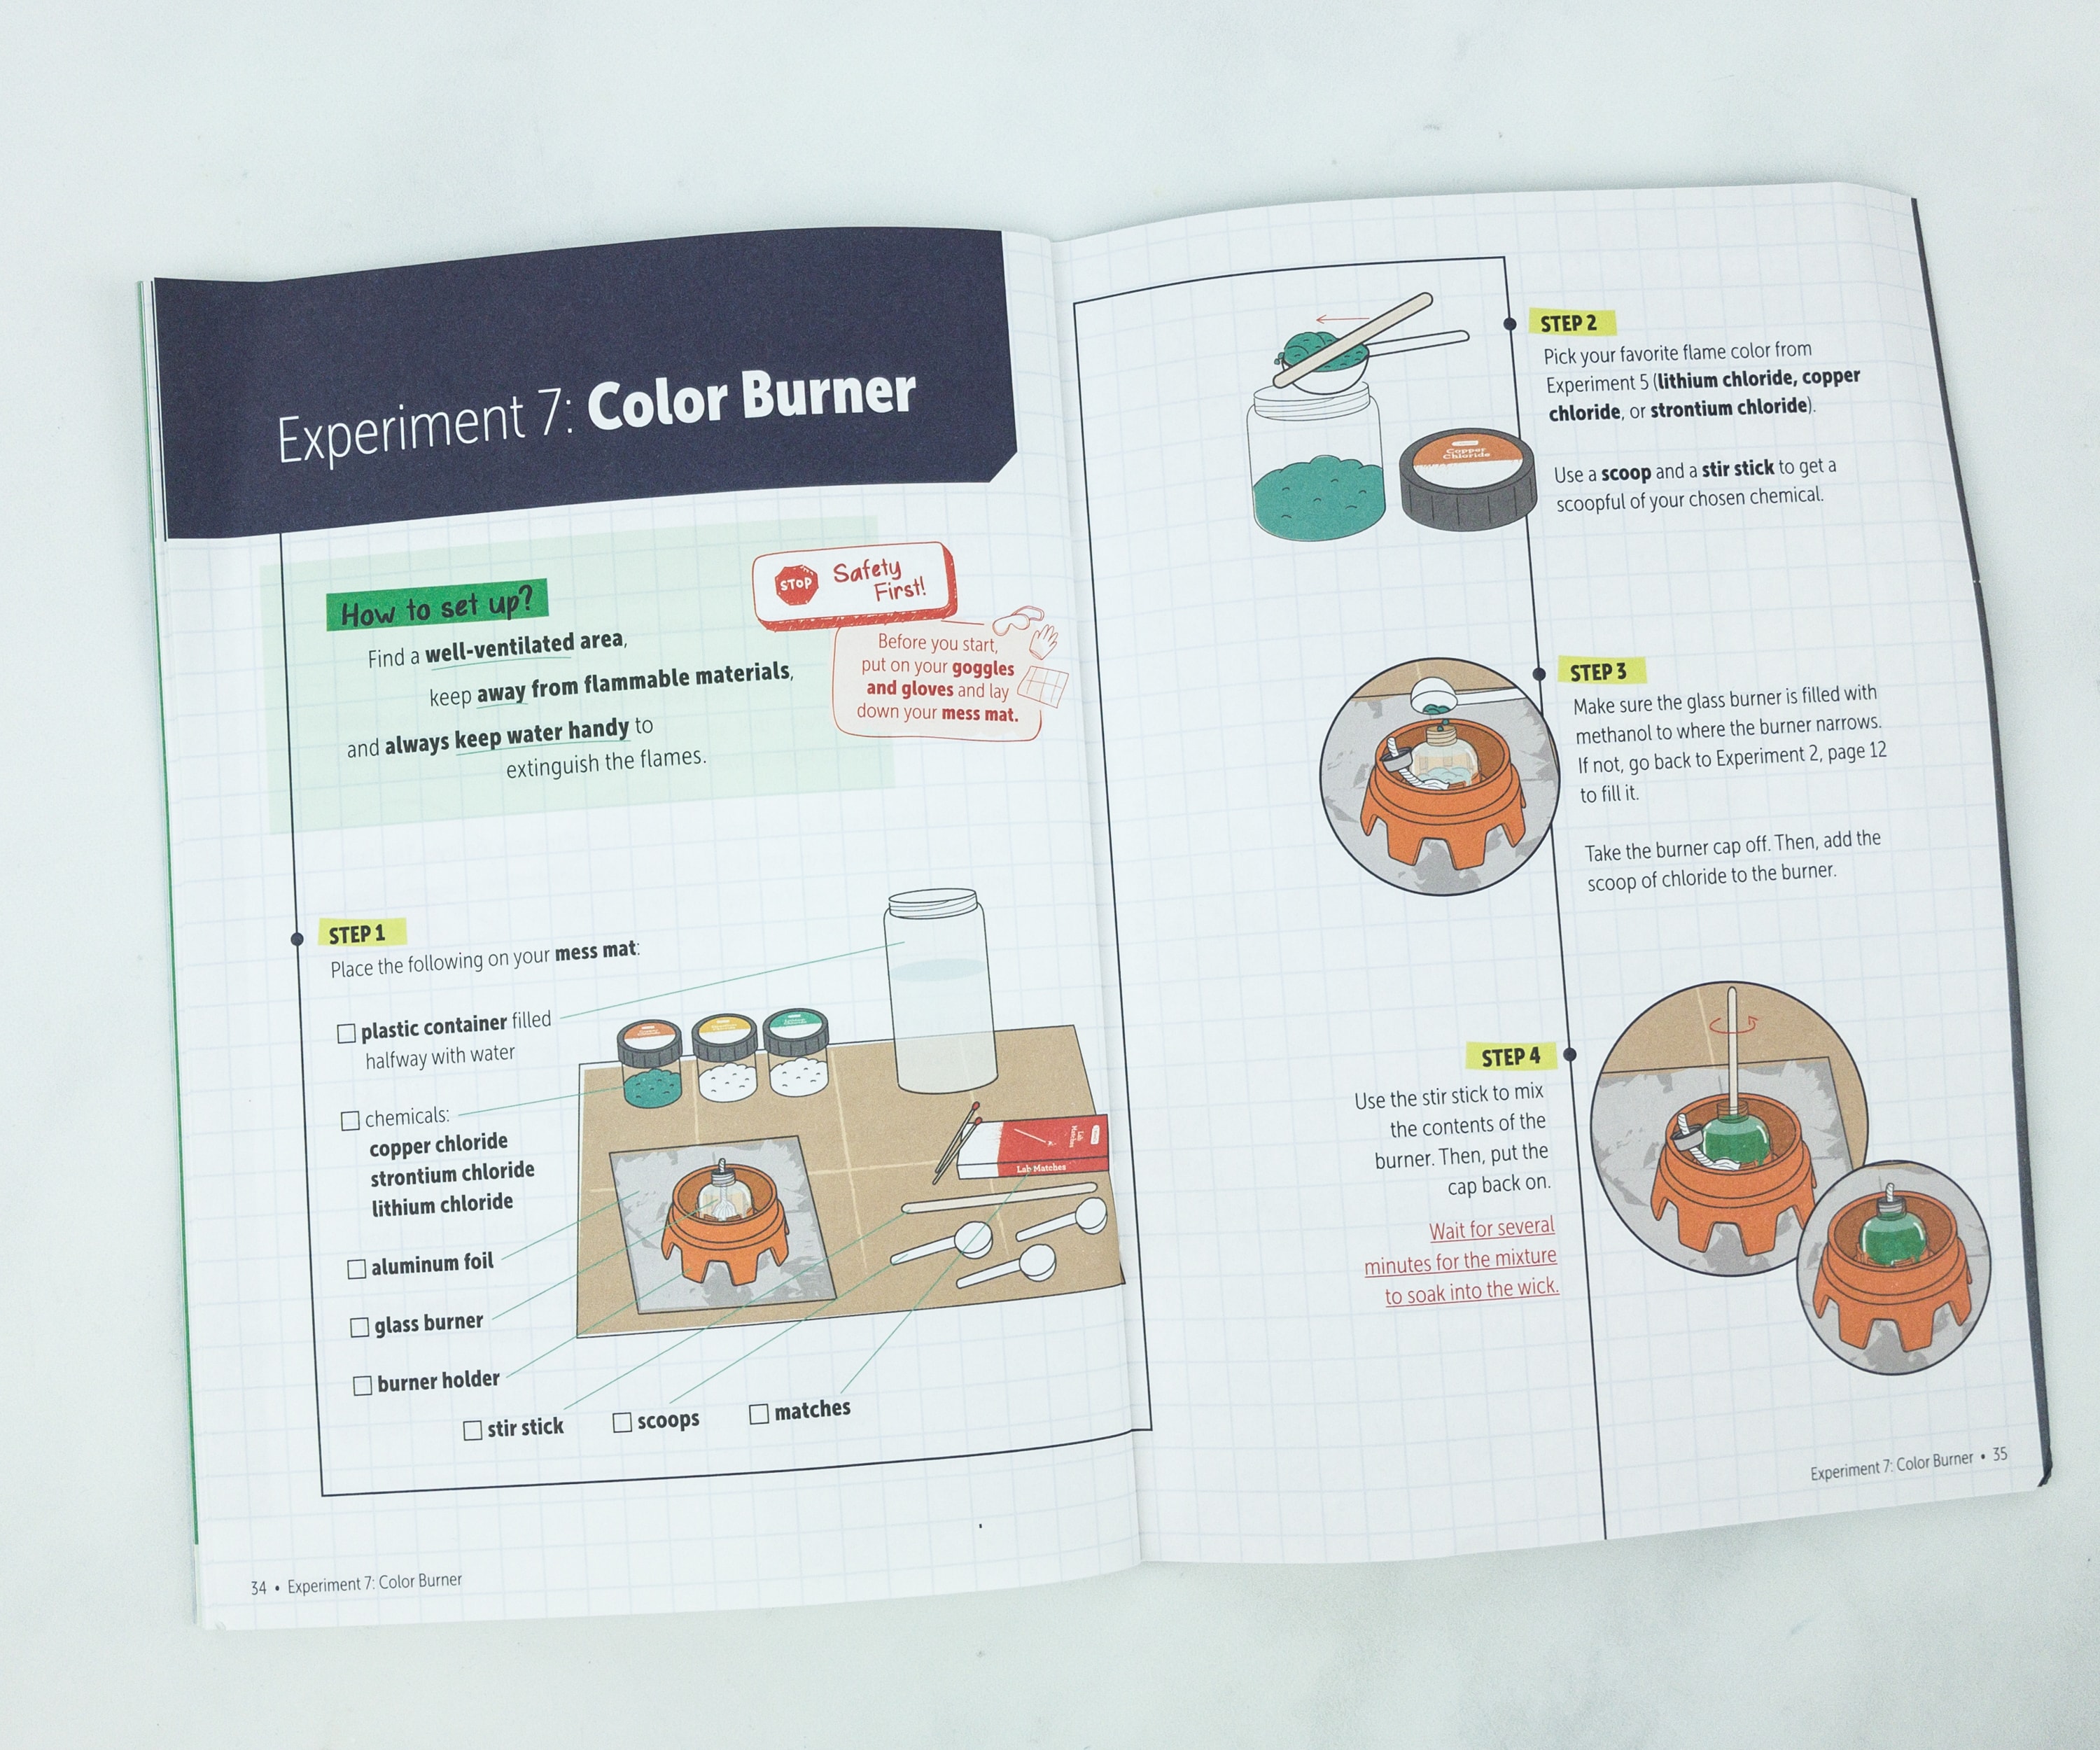
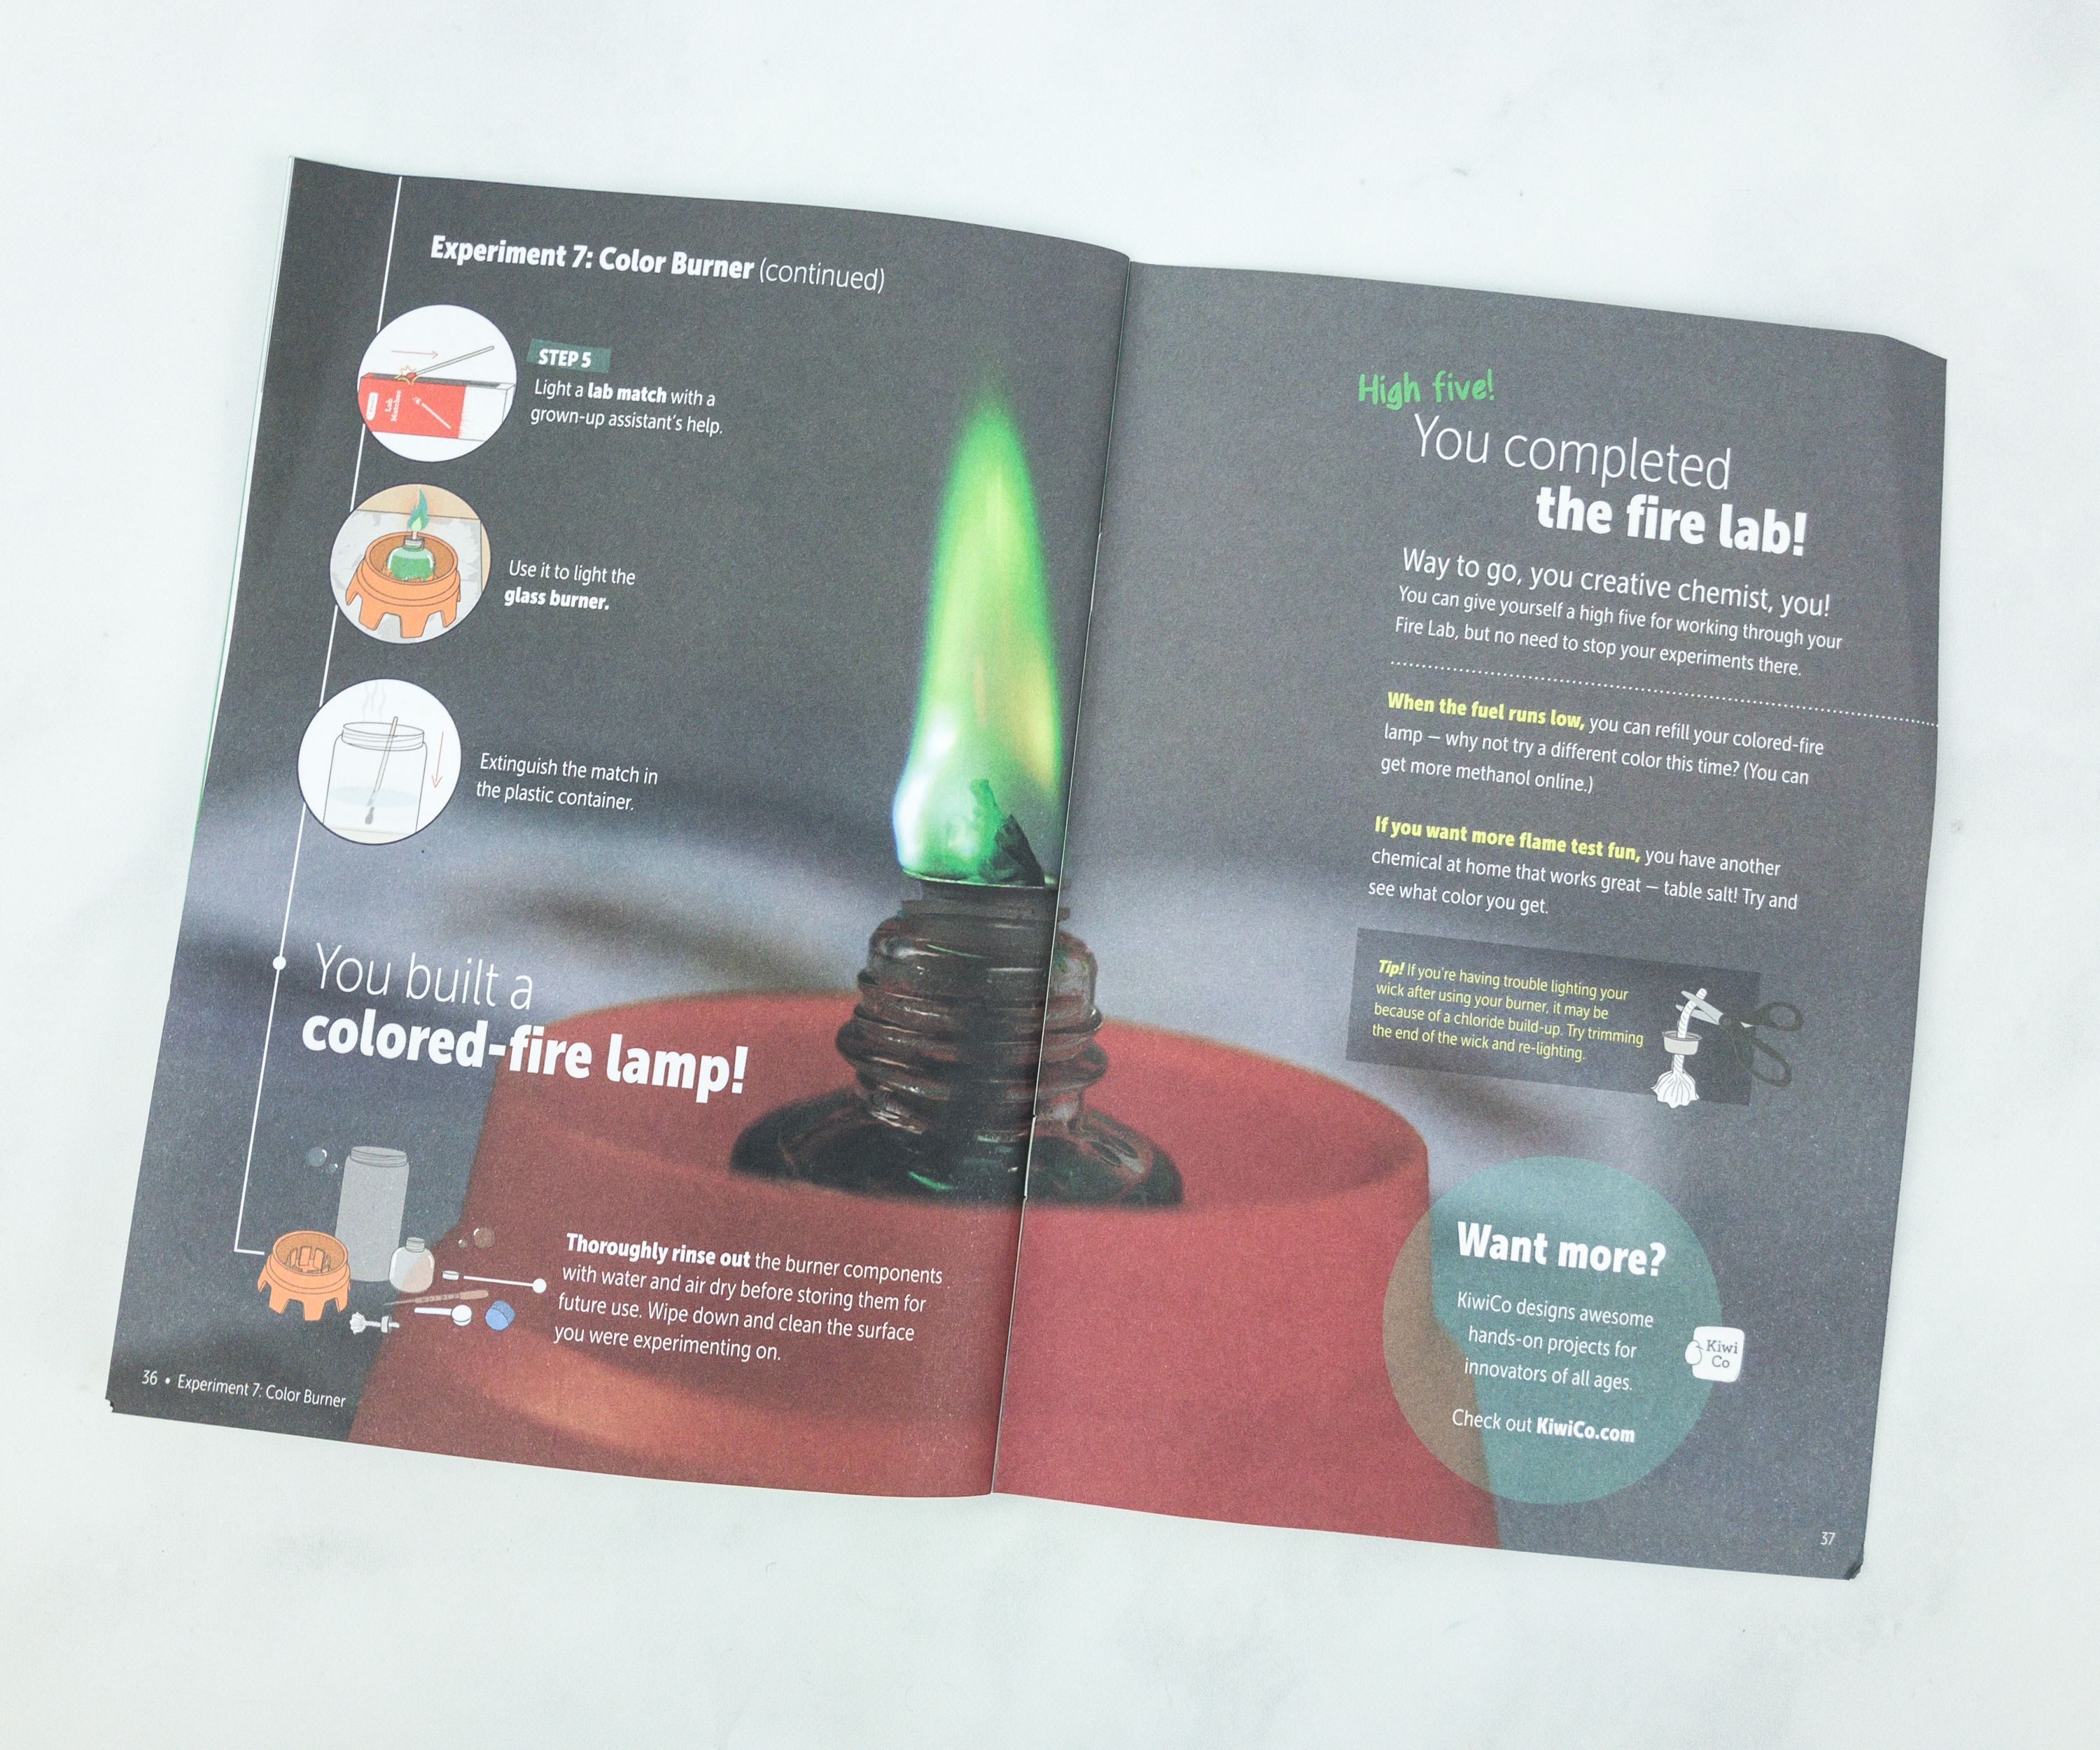
For the last experiment, we will be doing the Color Burner. You can choose your favorite flame color from the previous experiments, and use the chloride that produces that flame color.
After adding the chloride to the burner, we lit it up.
It looks like a normal candle flame, but you can see that the blue color is prominent.
The next salt made a color that’s more of a yellow-orange.
Blue!
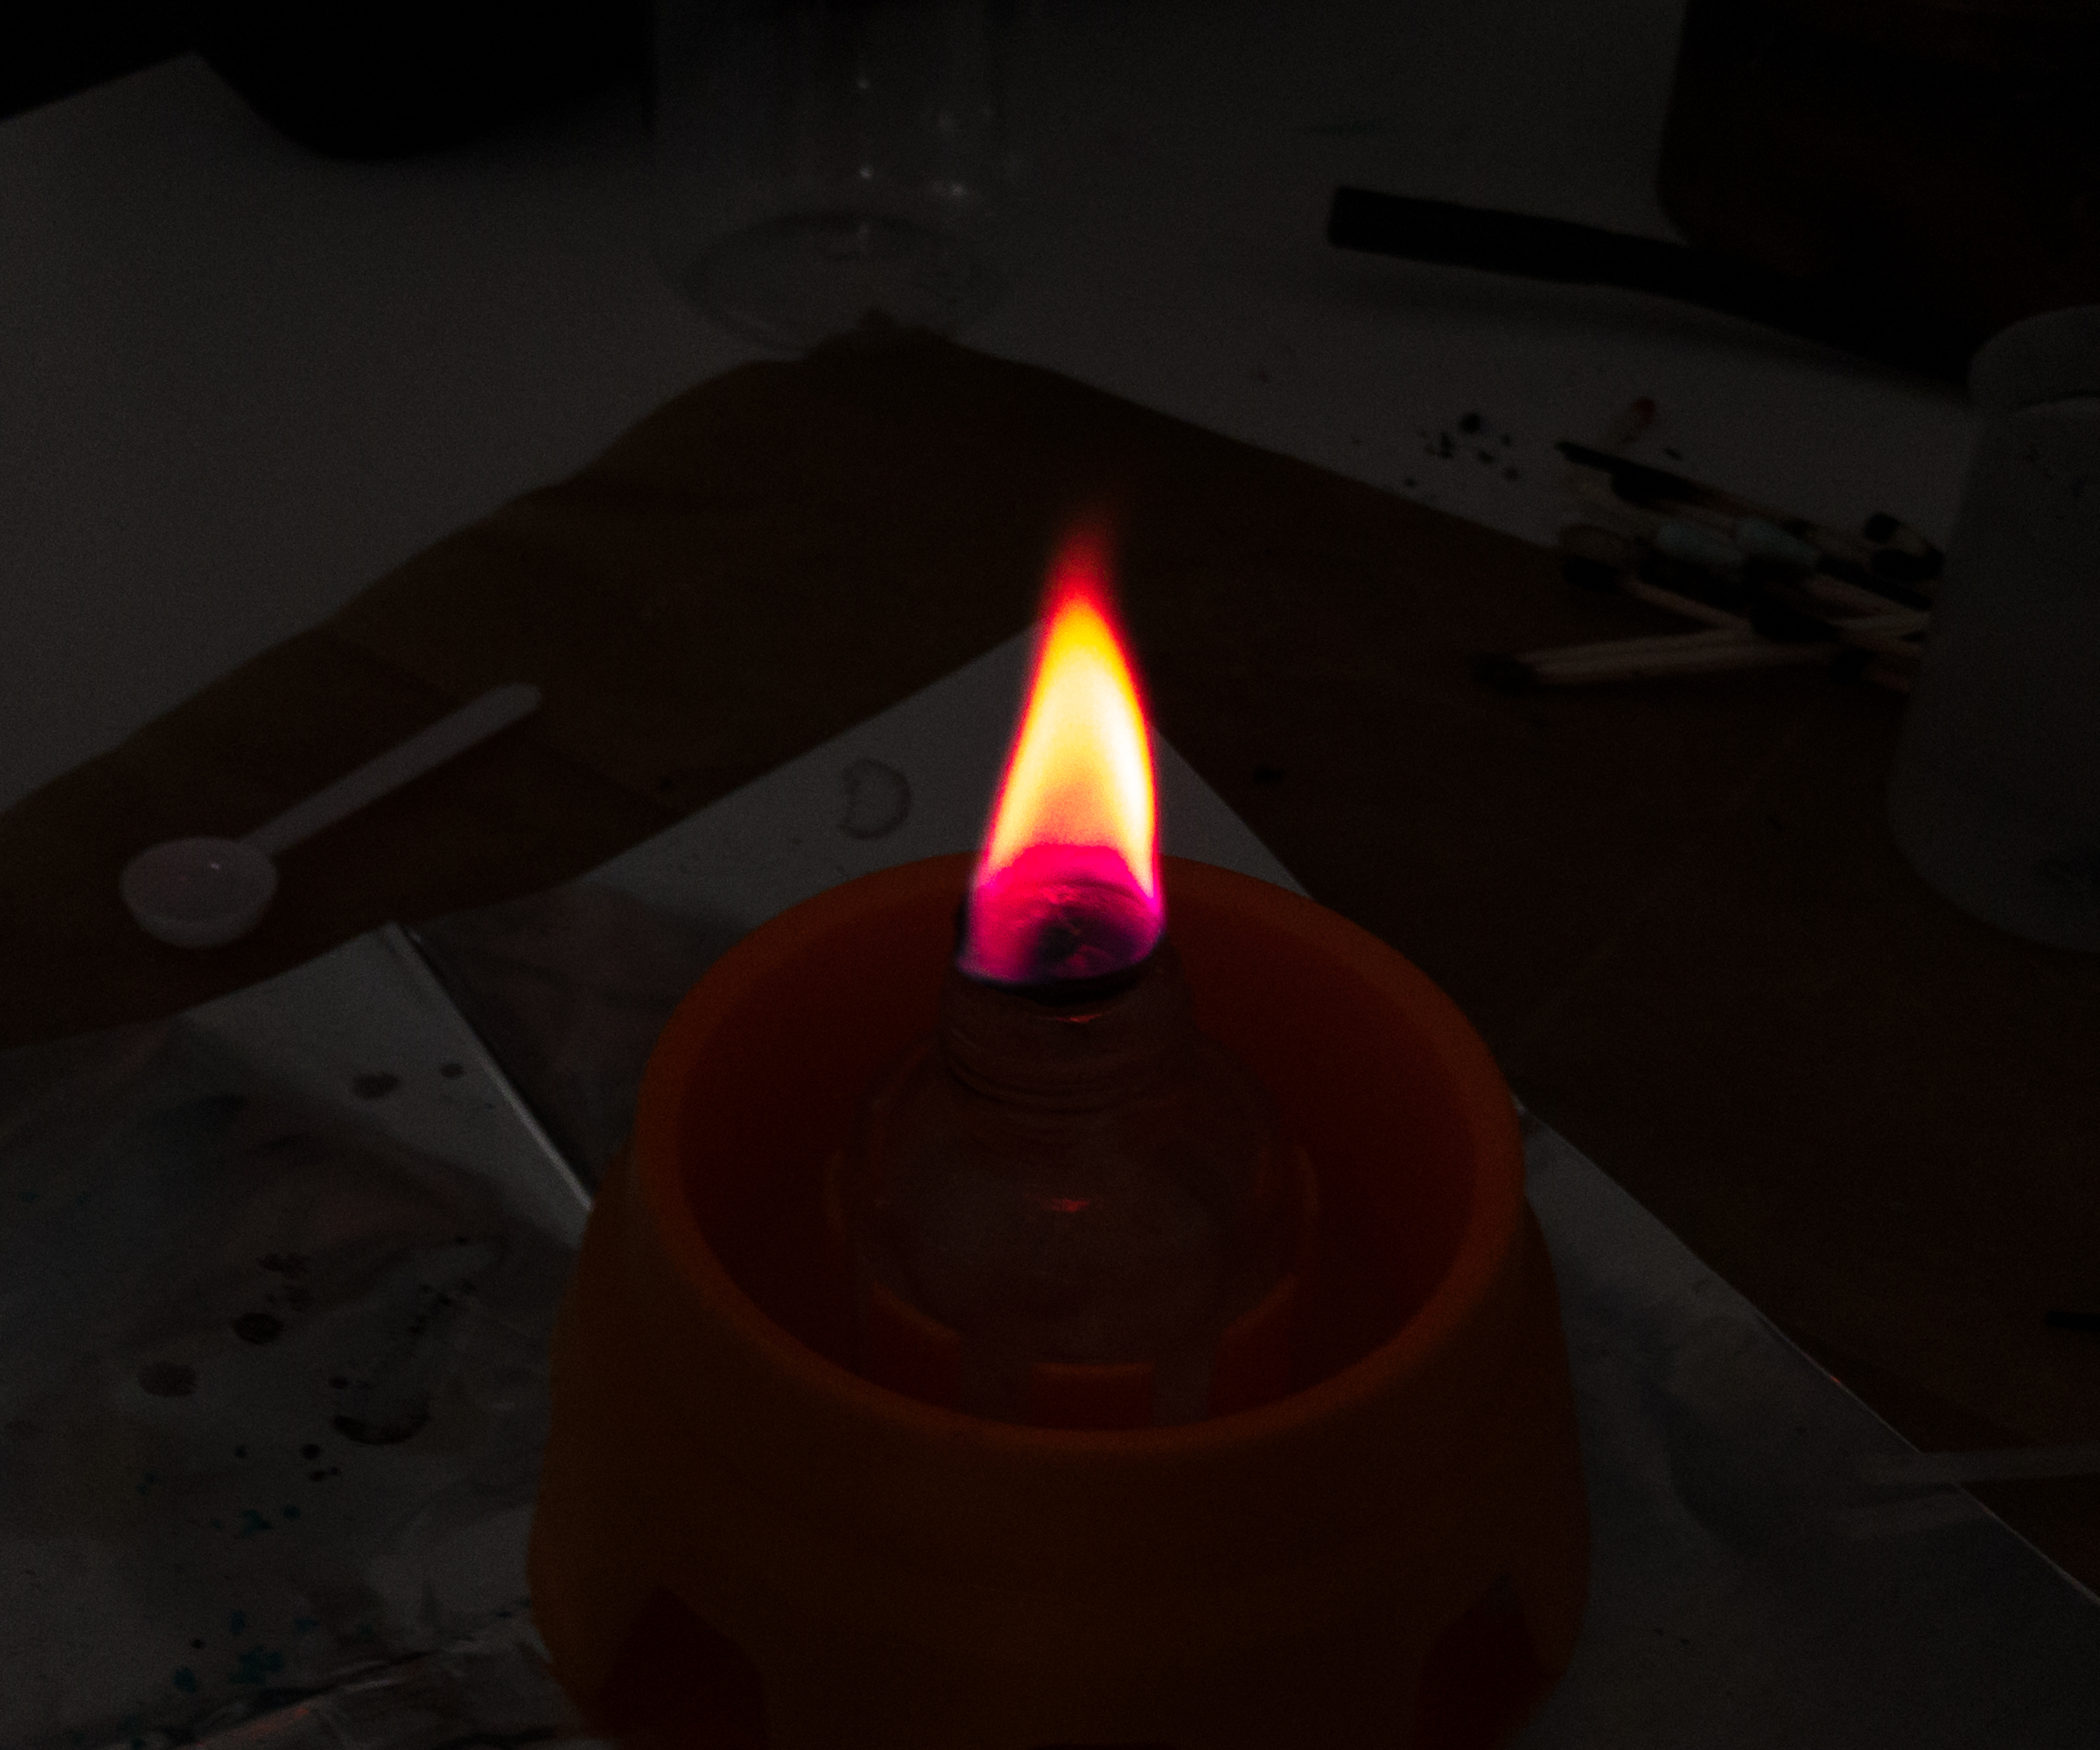
We used the salts to create a beautiful yellow-orange-pink flame, which really looks chic in my opinion, probably my favorite flame color from all these activities!
And that’s a wrap! The kids really had fun with this pack, and they also learned a lot about how fire works and its importance!
Having the KiwiCo Chemistry Packs makes it easier to introduce to the kids different chemistry-related principles that they can surely use. This Fire Lab pack is really fantastic, the experiments were able to teach the kids more about the importance of fire. Fire is a very important element that we use every day, to cook our food, light, and warm us up. It’s really essential to know how the science works, aside from its different functions, and the booklet has fantastic explanations. This crate definitely made science fun!
They enjoyed the flame tests and also wondered what it was about these chemicals produced a rainbow-colored flame! I also love how these crates put safety first by providing safety gear and equipment, and how it reminds adults to look after the kids when performing the activities, that makes it a good parent-kid bonding activity! My 10 year old was able to do this entire crate on her, with supervision, after we worked on how hard and where to press down on matches! It took us a few hours, because we did every permutation and extra test we could think of! While you can use this kit over multiple sessions, it will be hard to tear your child away!
Are you getting the KiwiCo Chemistry Pack? Want even more? You can also subscribe to the regular Tinker Crate, Eureka Crate, Atlas Crate, or Doodle Crate and save 30% on your first month! Just use this link to subscribe!


Comments