 Spangler Science Club delivers cool, hands-on science experiments for young scientists monthly. The interactive experiments are designed to get young people excited about science while reinforcing in very concrete ways what is often taught in abstractions in school. Each shipment includes a lab notebook for kids and a parents’ guide, both of which include detailed directions to aid in successful scientific discovery as well as ideas for extending learning further.
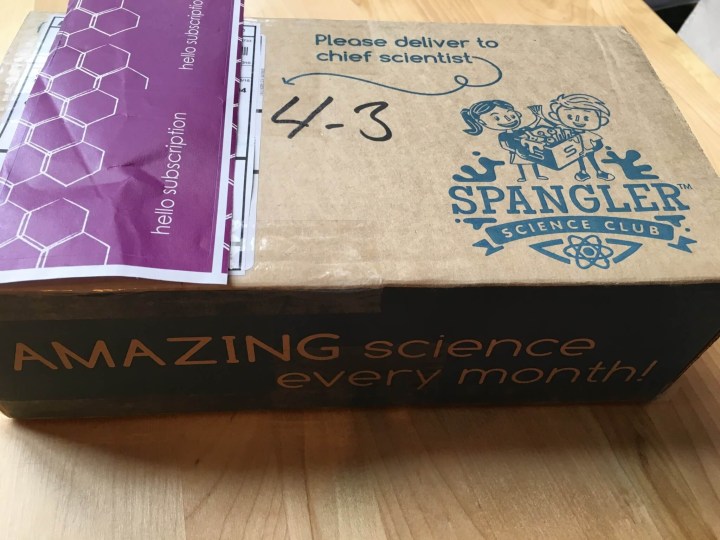
 We were very excited to receive our first shipment! I’ve been eyeing this subscription for months and was thrilled when it arrived! While my son is clearly younger than the intended audience for this box, he loves doing science experiments, and I’m excited to try my hand at scaffolding the enclosed activities to bring the excitement of hands-on science into our home.
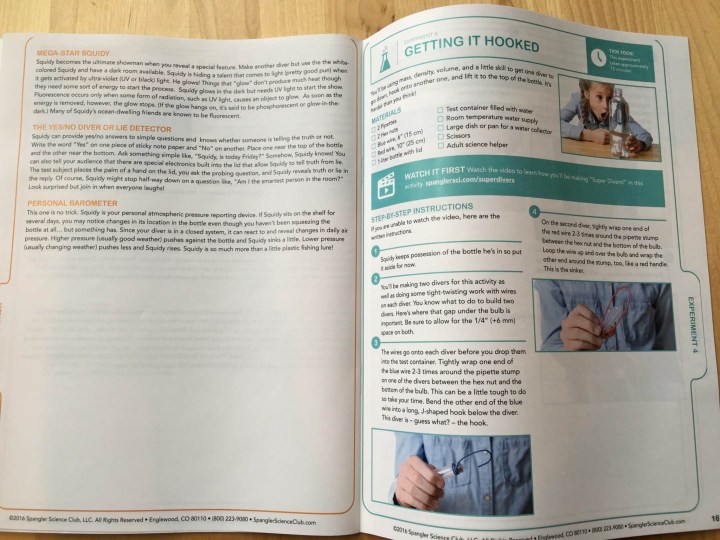
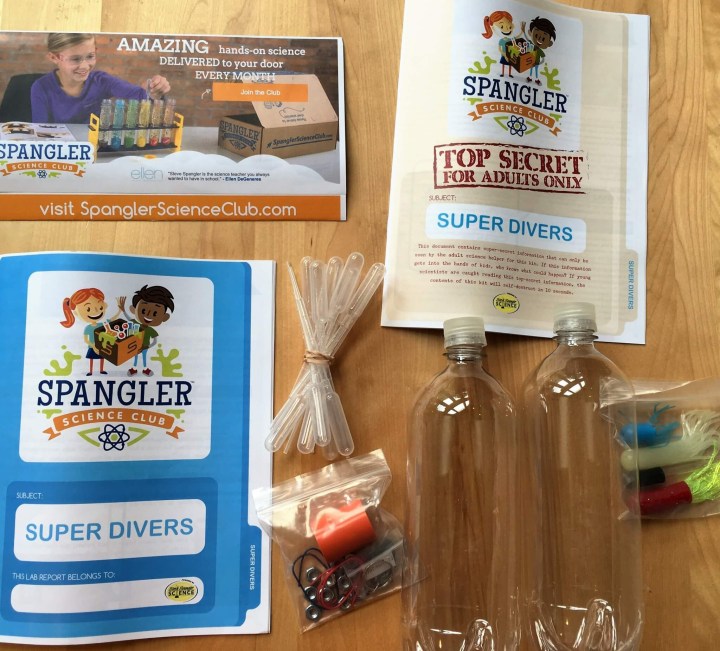 Here’s everything included in this month’s shipment. This box is intended for independent readers and writers who need minimal help and who can log their discoveries in their own included lab book. Since my son won’t be doing that, I’ve tried to enclose pictures of both the kid’s and adult’s versions of the lab notebooks for those who are interested. Relevant pages are included with descriptions of the applicable experiments. While directions for how to complete the experiments are located in video tutorials online, written descriptions are also included in the kid’s manual.
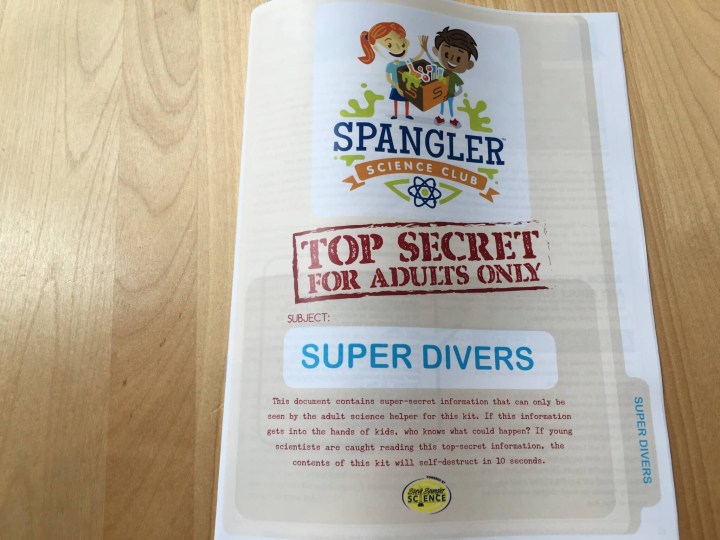
The adult manual’s outer cover is beige, while the kid’s manual is blue. While the kid’s manual is comprehensive, the adult’s manual is not; it contains hints intended to help a child who is stuck.
Experiment 1:
Classic Cartesian Diver (blue–10 minutes):
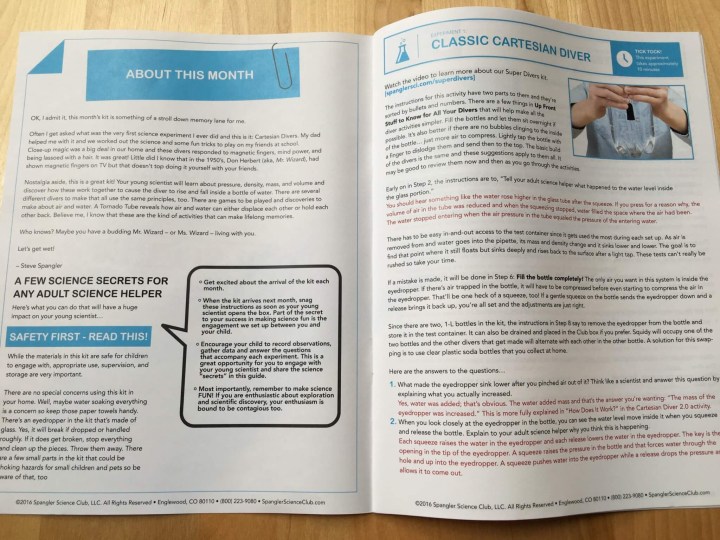
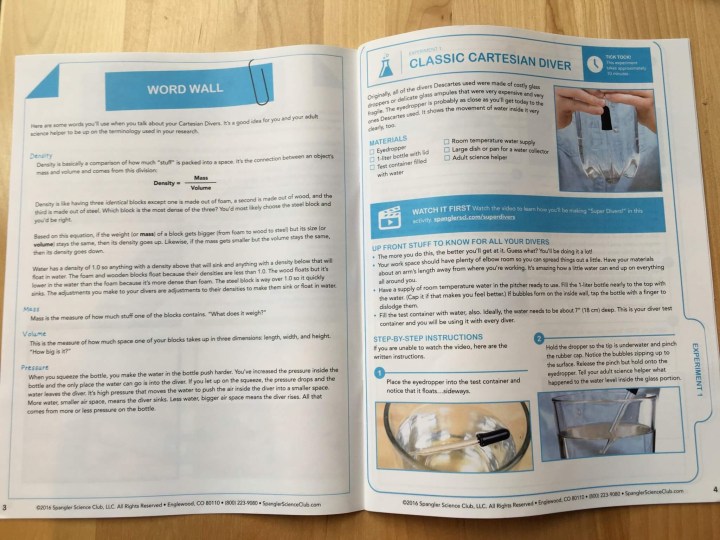
Each experiment is color coded, with an approximate time needed for completion listed on the top of the page.
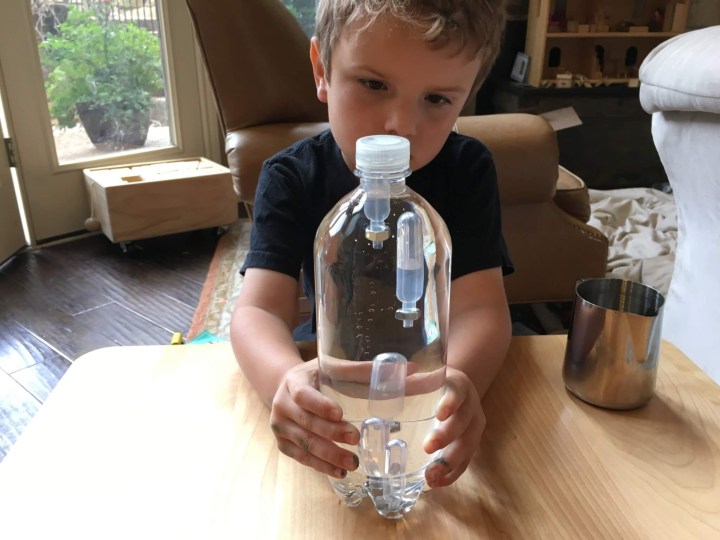
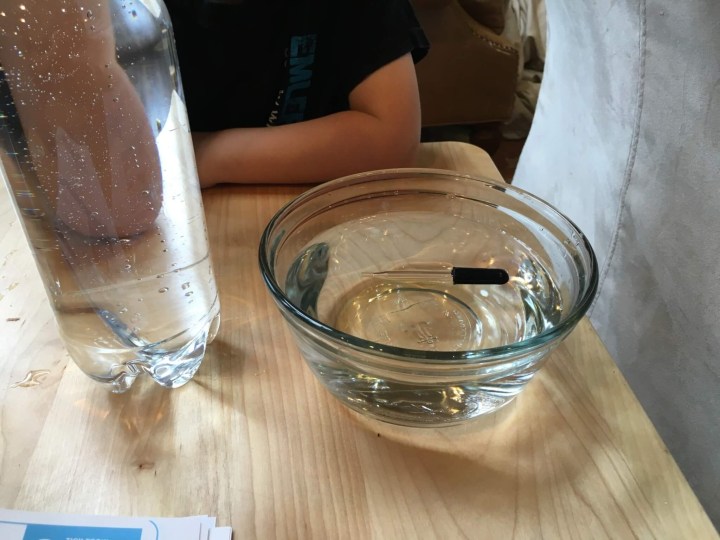 In this experiment, we began by placing a glass eye dropper into a bowl of water. It floated on its side. We talked about density and how things that are less dense than water float, but things that are more dense than water sink.
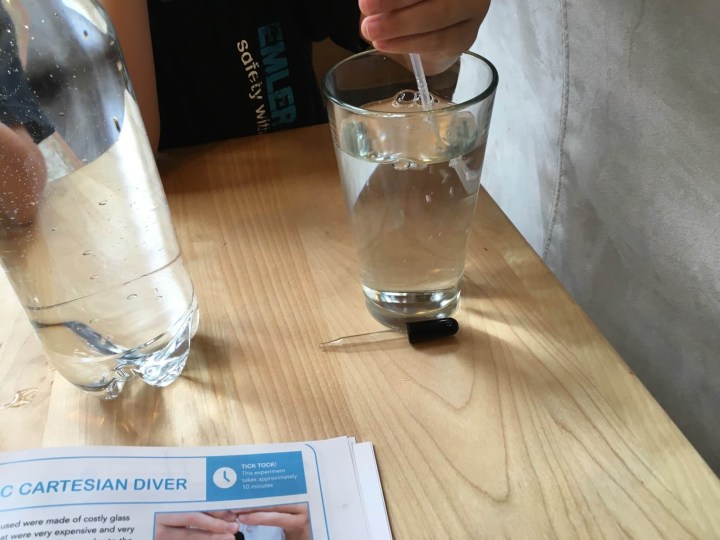 I had trouble creating bubbles with the glass eyedropper, so I asked my son to try to make bubbles with the plastic pipette. He had a lot of fun. I explained that the bubbles were created when the air inside the pipette escaped. Water took up the room left behind.
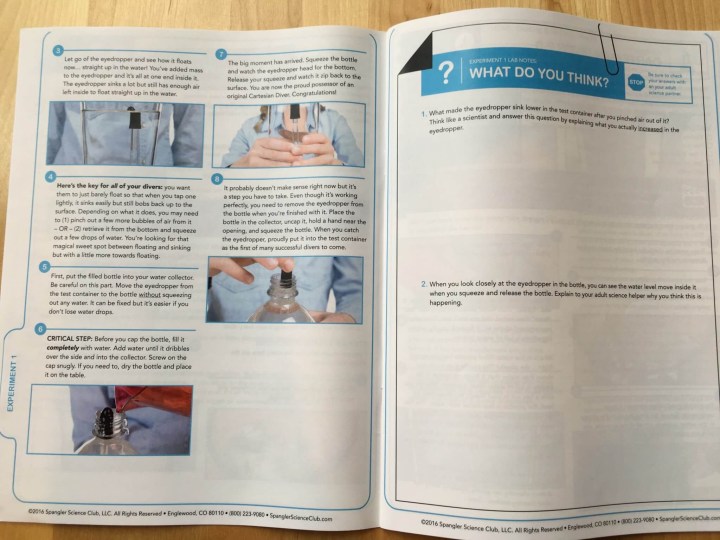
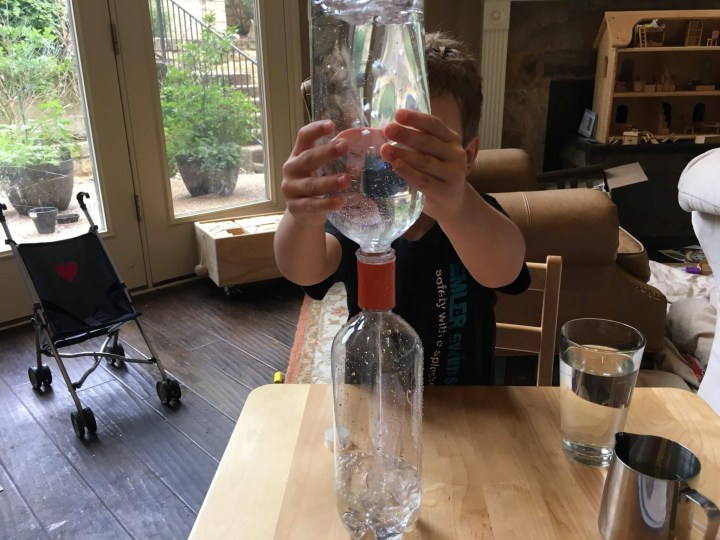
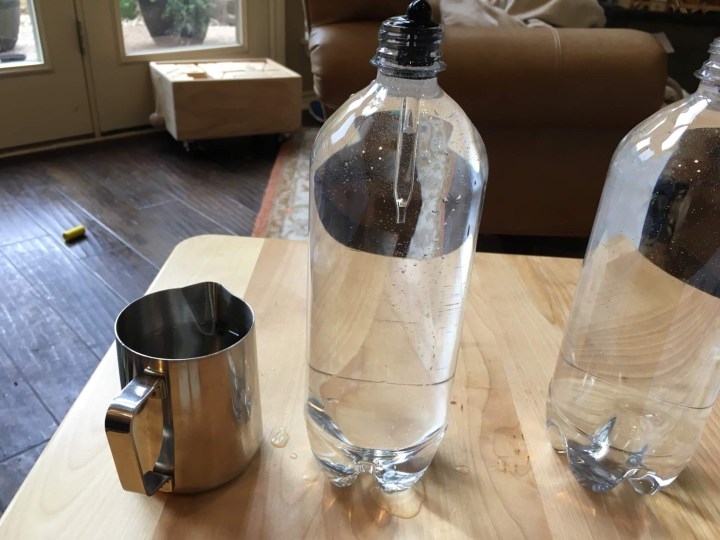 Next, I got just enough water inside the glass eye dropper that the eye dropper was floating in the enclosed bottle, but was vertical. I poured enough water into the bottle to fill it to the top and closed it with one of the enclosed screw tops.
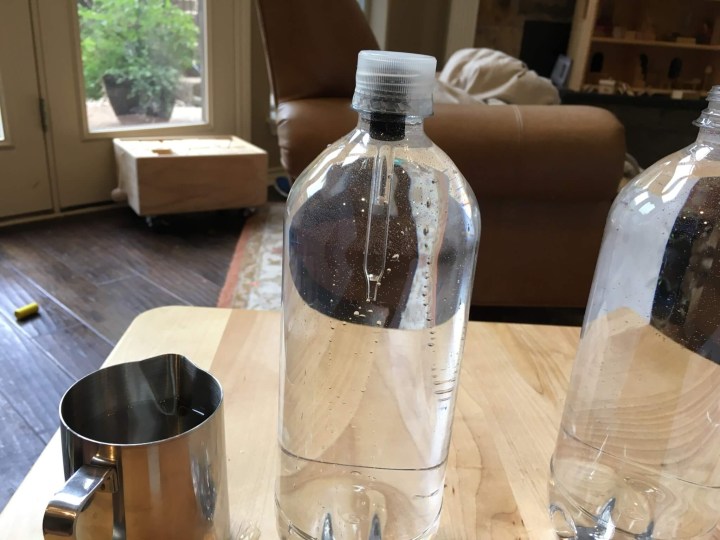 Perhaps because I was unable to remove all the bubbles, my son had difficulty squeezing this set up hard enough to make the eye dropper move.
 I helped him.
The added pressure to the bottle was enough to compress the air within the eye dropper. This freed up room for more water to enter the dropper, increasing the eye dropper’s mass enough for it to become more dense than the water. The eye dropper fell to the bottom. My son and I enjoyed making the dropper rise and fall according to how much pressure we applied. This experiment was originally performed by René Descartes.
Experiment 2:
Cartesian Diver 2.0 (purple-15 minutes):
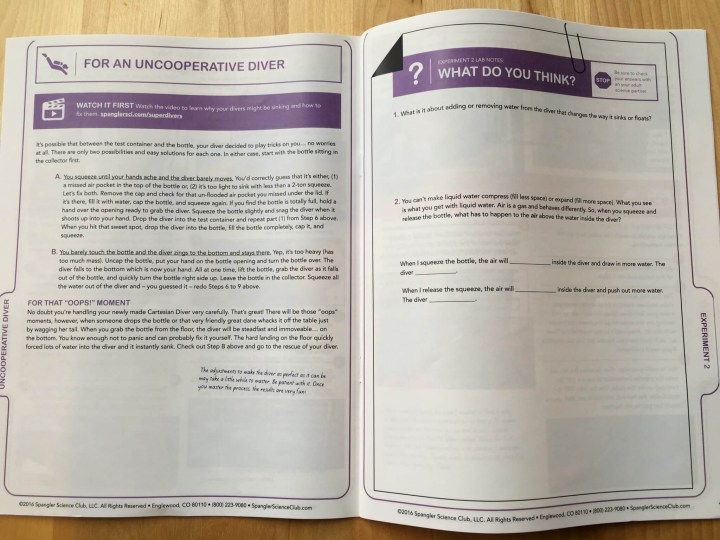
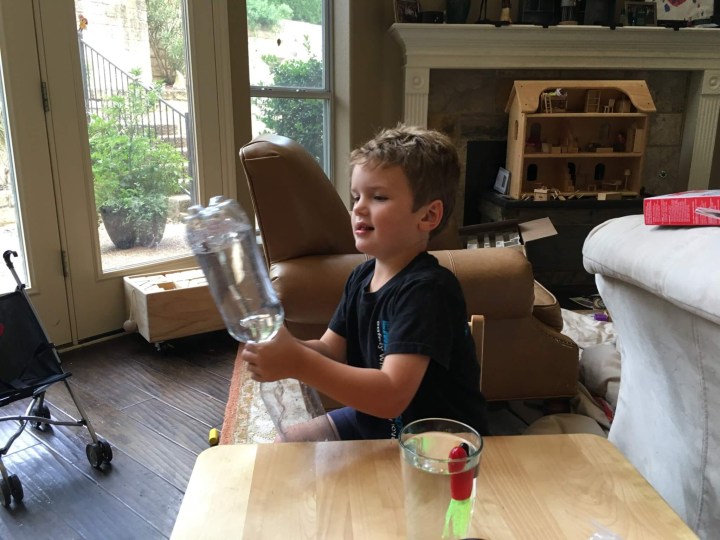
Like most of the experiments in this month’s box, this was an extension of the first experiment. In this experiment, the child uses a hacked plastic pipette in lieu of the glass eye dropper.
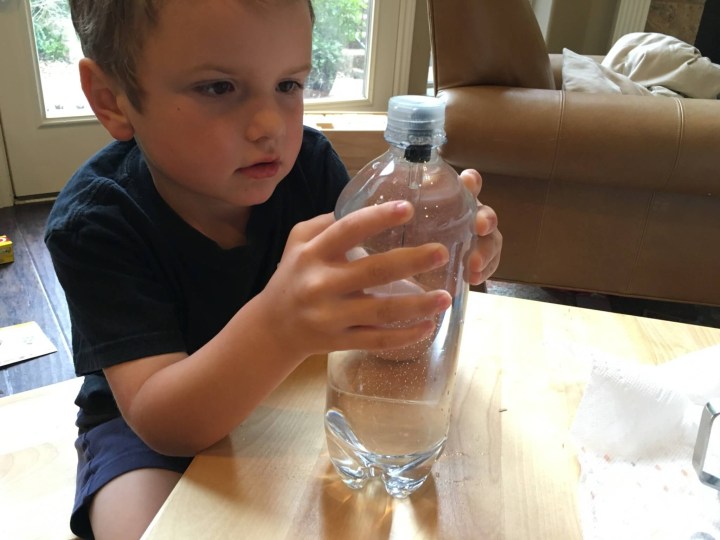
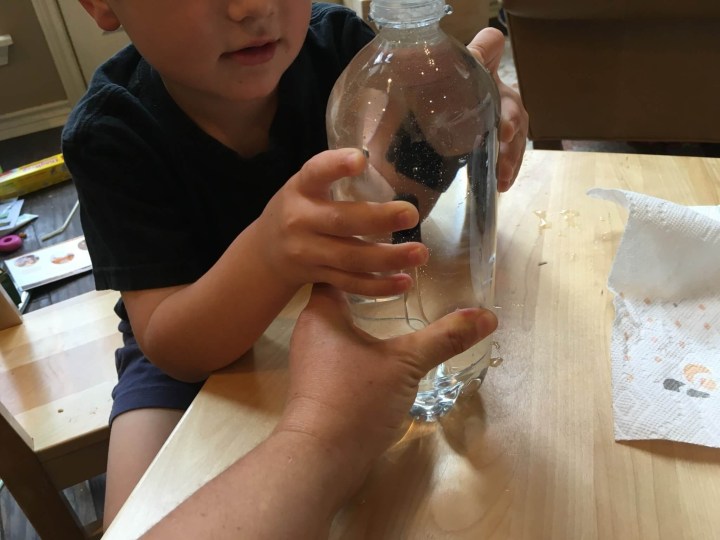
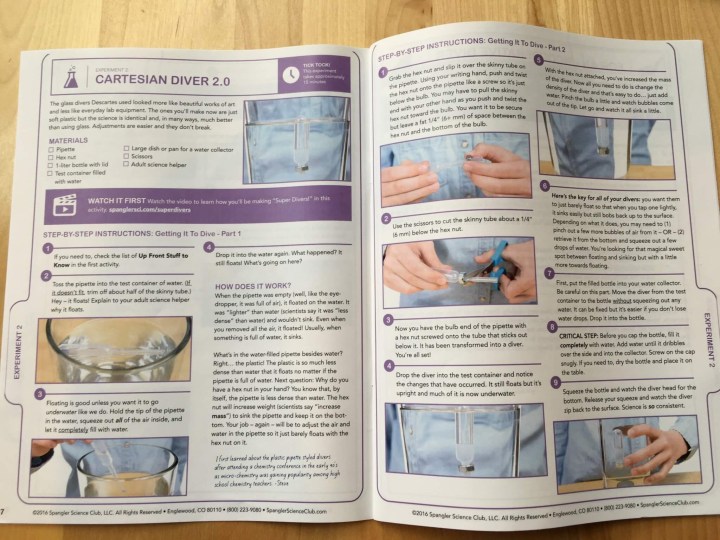
 We began the experiment in the same way: we laid the pipette in a bowl of water and saw that it floated horizontally. When we tried to suspend it vertically, though, we faultered. Because the plastic is less dense than water, no amount of additional water would get the plastic pipette to suspend vertically or sink. So we used one of the enclosed hex nuts to weigh down the pipette enough to suit our purposes. After affixing the hex nut, I cut the end of the pipette off with a pair of scissors (not included), leaving a 1/4″ clearance on either side of the hex nut.
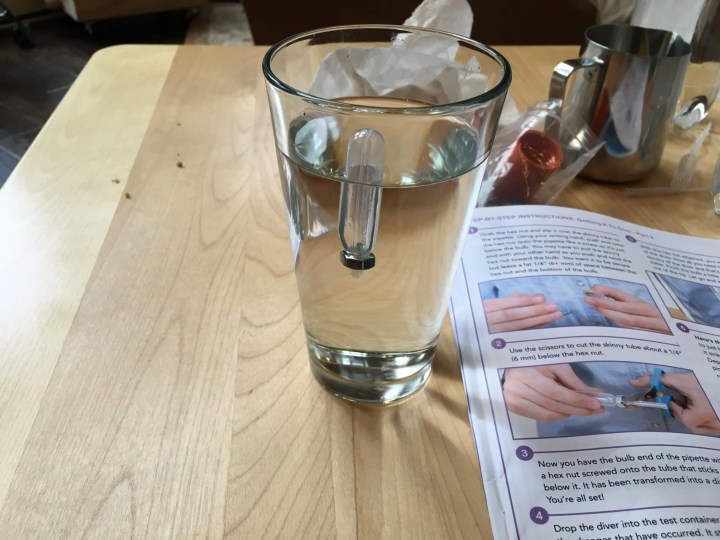
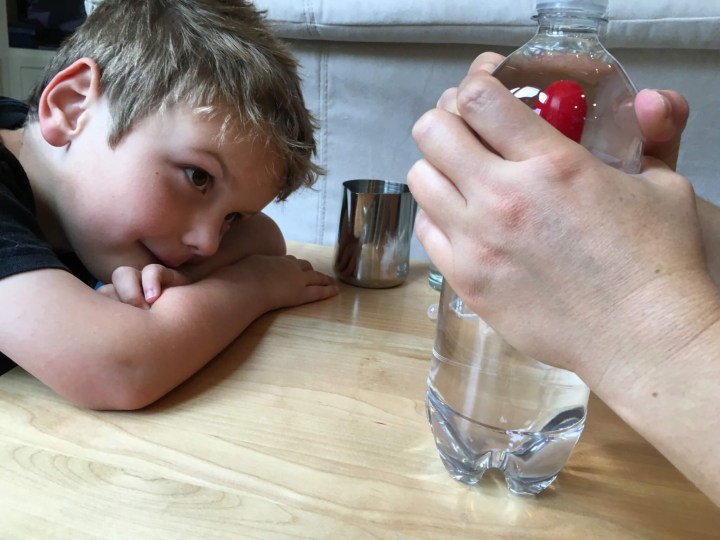
 After finding success in our test glass, my son put the hacked pipette into the bottle with water and filled the bottle to the brim with water. I screwed the cap on very tight and helped my son squeeze the bottle.
He enjoyed watching the pipette go up and down in the bottle based on how tightly we squeezed it.
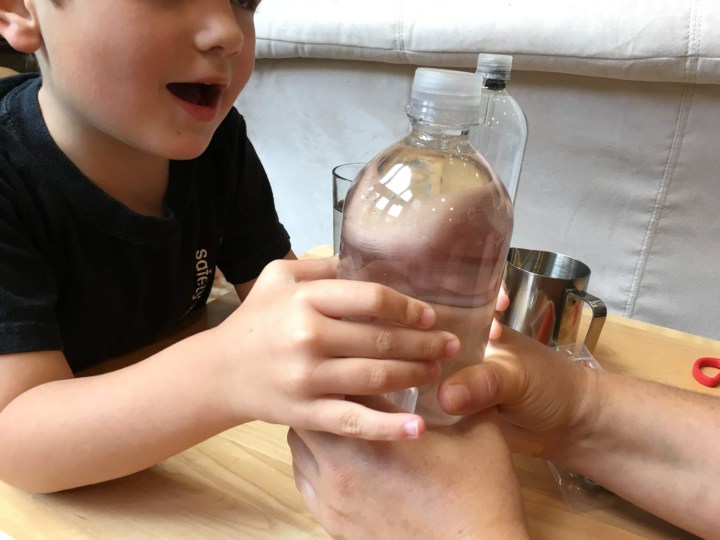
Experiment 3:
Hidden in Plain Sight (orange-10 minutes):
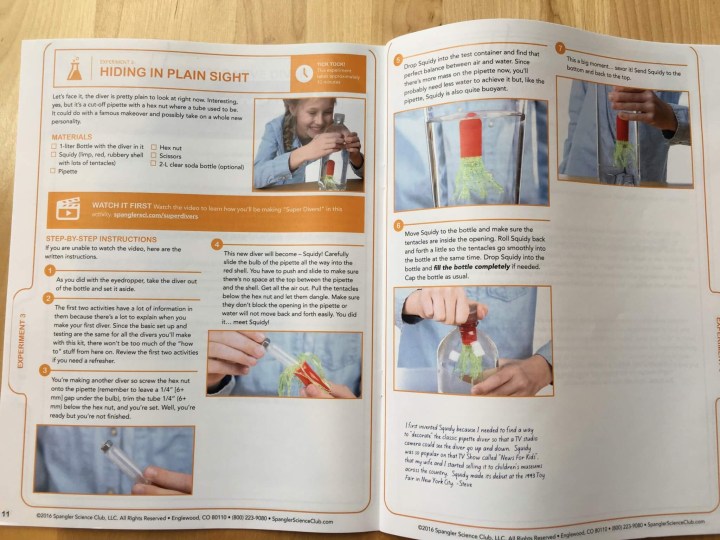
This activity just adds to the fun of the previous set up.
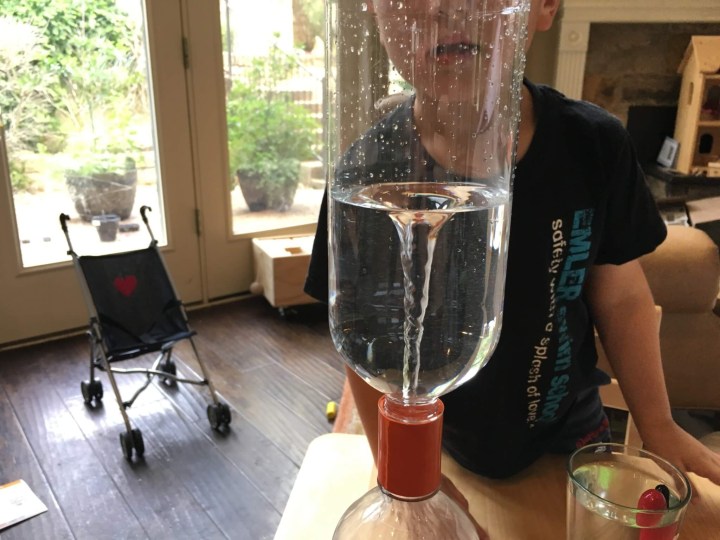
I did have some difficulty at this point, though (it actually looks like the picture below was a picture of my problematic setup!). In order for these experiments to work, you need to have a tight seal on your bottle. Since I used brand-new bottle caps for the previous two experiments, I didn’t have any issues with them. For this one, though, I had to remove the pipette from the bottle. When I did this, the screw cap released from the plastic ring, which remained behind. Try as hard as I might, I could not reseal the bottle without removing the ring that stayed behind. While one ring was easy to remove, the other bottle’s ring was not. I ended up using a pair of scissors to cut it off. All told, this mishap probably added 30 minutes of frustration to an otherwise fun experience. Hopefully, you won’t run into the same issues (and if you do, you’ll know what to do!).
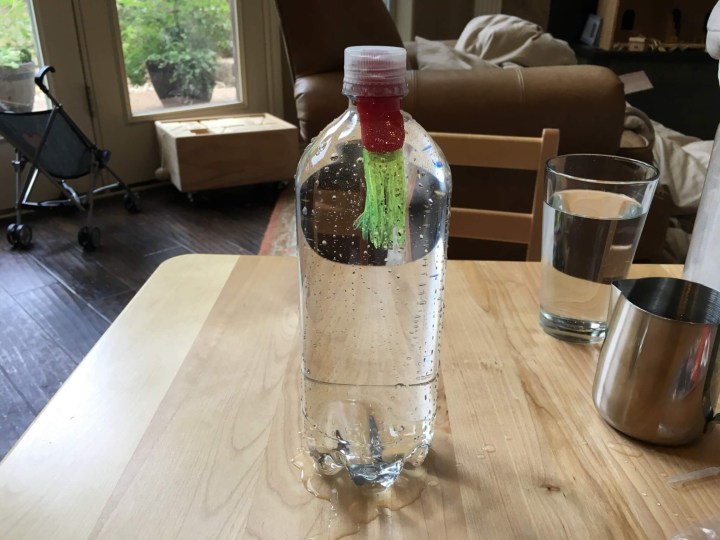 Here, you affix the enclosed “squidy” around your pipette set up and watch it go up and down.
My son thought the moving squid was pretty cool.
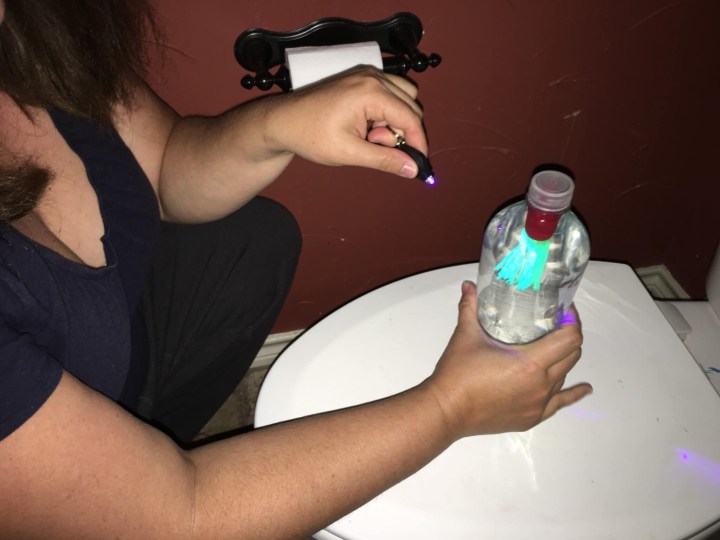 He especially liked looking at the setup in the dark bathroom under UV light. He loves all things glow-in-the-dark!
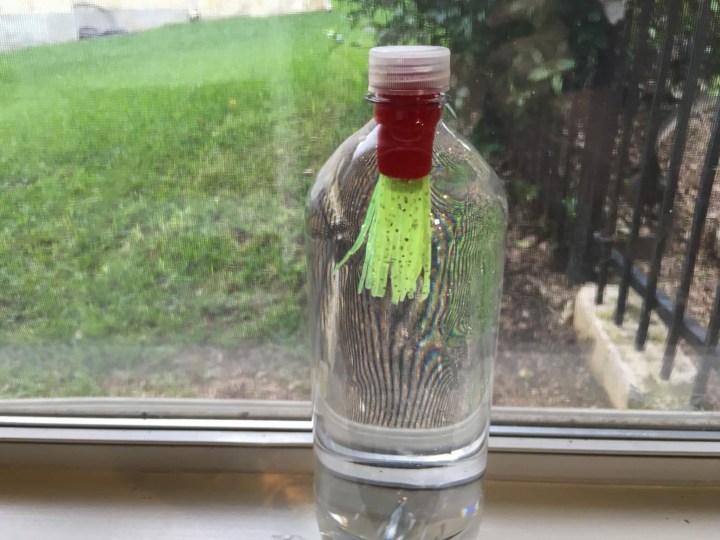
When we were done, we put our squidy set up in front of a window. One of the extension activities is to notice differences in barometric pressure based upon the relative position of squidy in the bottle. Cool!
Experiment 4:
Getting Hooked (turquoise-15 minutes):

This experiment is more of the same, with a more complicated set up.
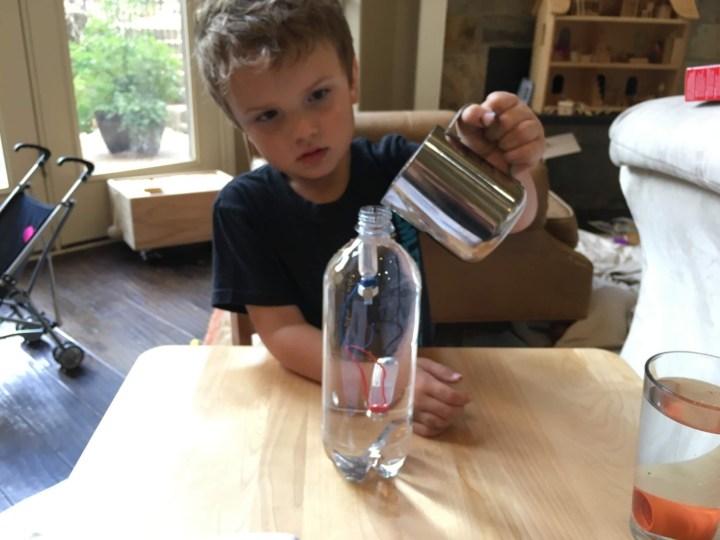 After testing the setup in our water glass, I moved the apparatus to the water bottle. My son filled the bottle to the top with water, and we were ready to go.
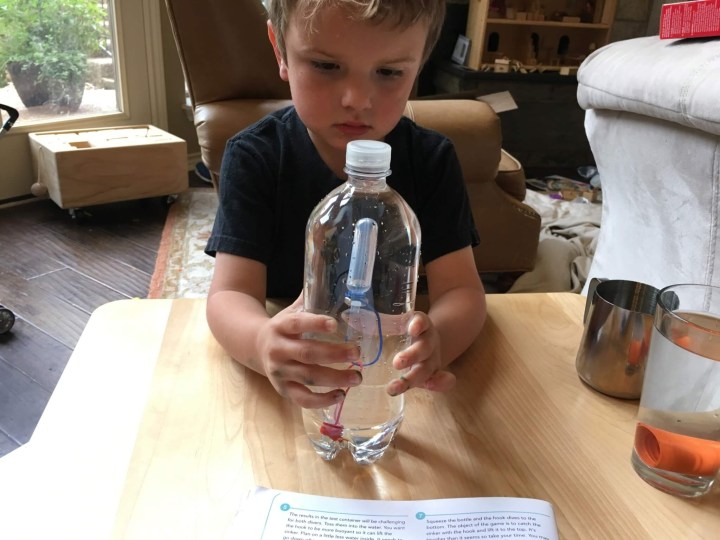
Although I’m not sure exactly why (less bubbles, perhaps?), this set up was much easier for my son to manipulate on his own. He enjoyed controlling the movement by himself.
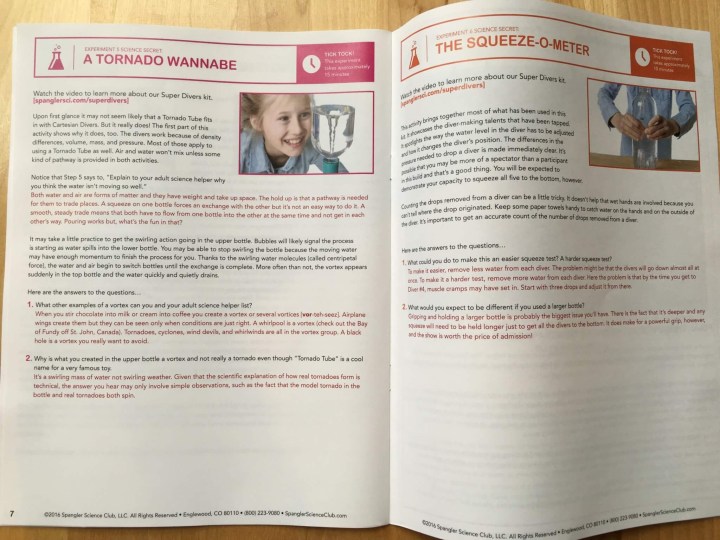
Experiment 5:
A Tornado Wannabe (magenta-15 minutes):
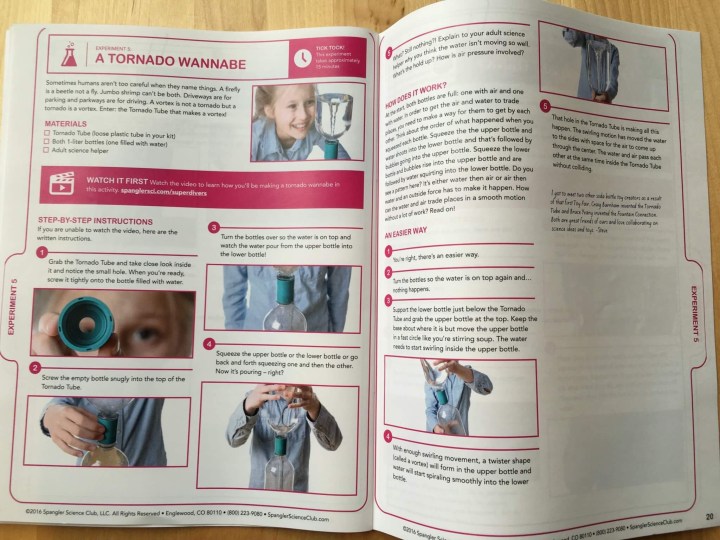
This was the one activity this month that deviated from the setup of the other activities.
 Here, you fill one bottle with water, affix the tornado tube and then attach an empty bottle to the other side. After watching the water drip from one bottle into the other, my son squeezed the water-filled side and watched the drips increase in volume to a single stream.
 Next, the real fun began. My son took the bottles and swirled them around in circles until he created a tornado!
 He thought this was pretty amazing.
He loved exploring his vortex from all angles! I mentioned to him that the direction of rotation differs depending on whether you live in the northern or southern hemisphere, and he thought that was pretty cool. He began to ask more questions, which is great!
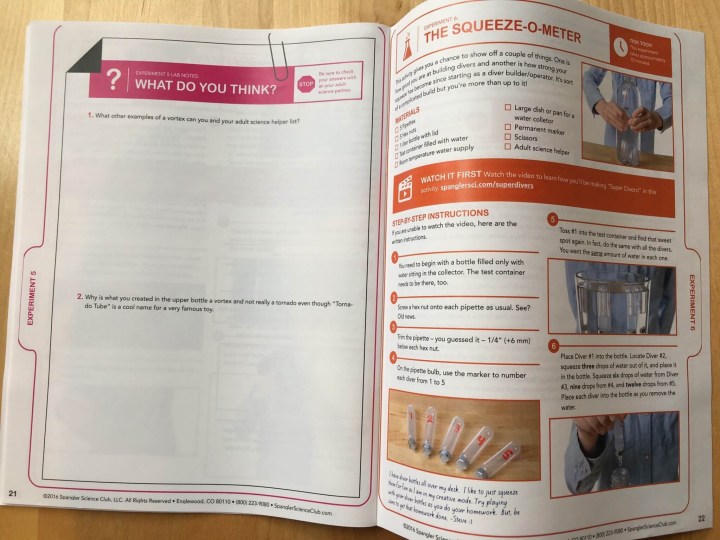
Experiment 6:
The Squeeze-O-Meter (burnt orange-10 minutes):
This last experiment is very much like the original cartesian diver and its applications, but this time, you have five pipettes, all containing different amounts of air!
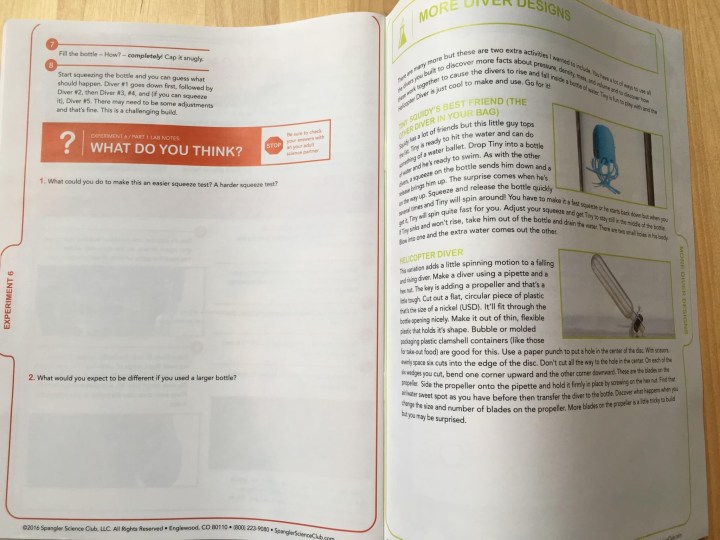
After placing all five hacked pipettes in the tester, you’ll want to find that sweet spot where the pipettes sink, but just barely. Then you’ll want to make sure they all have the same water levels. Next, remove three drops from pipette 2, six from pipette 3, nine from pipette 4 and twelve drops from pipette 5. Place them all in your bottle in order beginning with pipette 1 and watch to see what happens! My son enjoyed watching pipettes 3, 4 and 5 go up and down very much!
Extension Ideas:
More Diver Designs (light green):

The student manual contains even more ideas to further apply what you’ve learned in this month’s box. Cool!
My son and I had a great time exploring pressure, volume and density in this month’s installment of Spangler Science Club! I only wish I had had access to something like this in high school–it would have made the Ideal Gas Law really come alive in an otherwise pretty boring high school science class. Needless to say, this subscription would be ideal for homeschoolers or anyone else interested in having fun learning about science in a low-key, playful way. My four year old son loved it, and I loved working through the activities with him! I’m sure we’ll revisit these ideas many times in the future together, and when we do, we’ll look back fondly onto all the fun we had playing with our cartesian divers.
We can’t wait to discover more about the world around us with next month’s installment of the Spangler Science Club! You can save $6 on your first kit with any length subscription with coupon code SIGNSAVE20!
Visit Spangler Science Club to subscribe or find out more!
The Description: Amazing hands on science delivered to your door! Ignite the spark of science and creativity in your child with a subscription to the Spangler Science Club. Join today and you’ll receive Steve Spangler’s most amazing hands-on science experiments delivered to your door each month.
The Price: $29.99 per month
The Categories: Kids Educational & Learning Subscription Boxes.Homeschool Subscription Boxes, STEM Subscription Boxes.
The Reviews: See all our Spangler Science Club Reviews.


Comments