 Green Kid Crafts is a monthly subscription box that sends 5-8 themed projects made with eco-friendly materials to your home every month. The boxes contain hands-on explorations in science, math, technology, engineering and art that are intended to challenge children from 3-10 years of age.
 June’s theme was bugs. This got my son very excited. He loves being outdoors more than anything, and we enjoy looking for bugs together! When my son was 3, we once spent 30 minutes stopping and staring at a lone dung beetle in the middle of a 5.5 mile hike. We routinely stop for ladybugs, spittlebugs and roly polies. We offer caterpillars the right of way. We get excited when we see bees. But I digress…
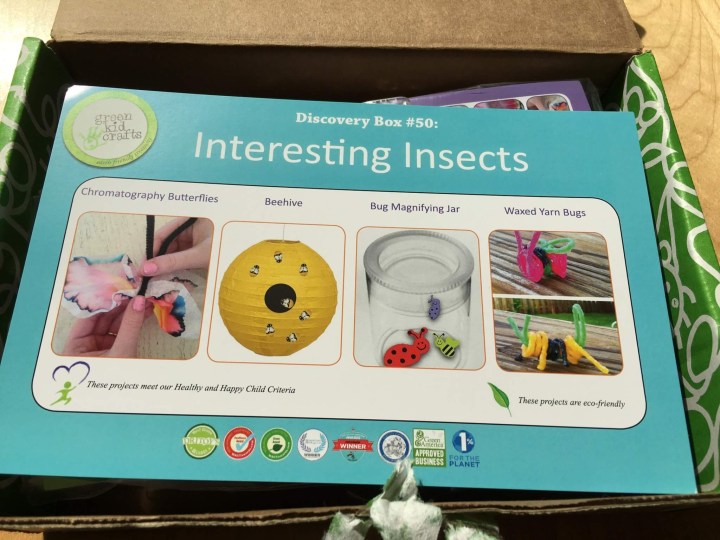
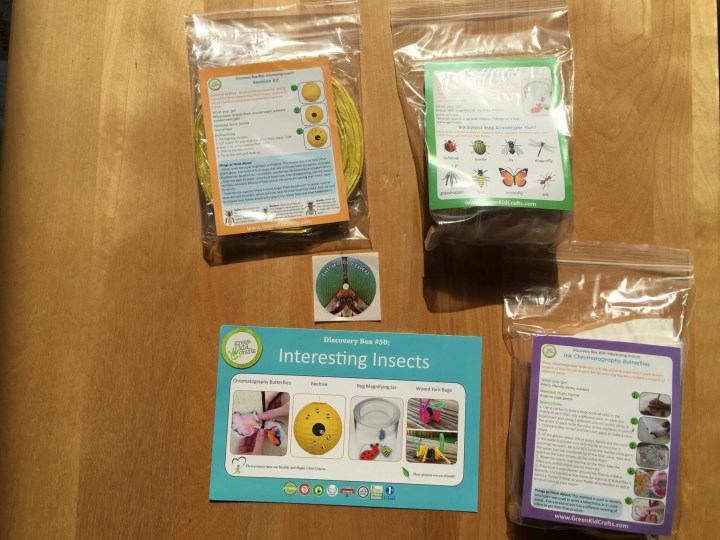 Each set of crafts is grouped together by theme. The introductory card depicts some of the exercises: chromatography butterflies, beehive, bug magnifying jar, waxed yarn bugs. Once your child has completed all of the activities in the box, the folks behind Green Kid Crafts have enclosed a badge to stick on a banner to signify the box’s completion.
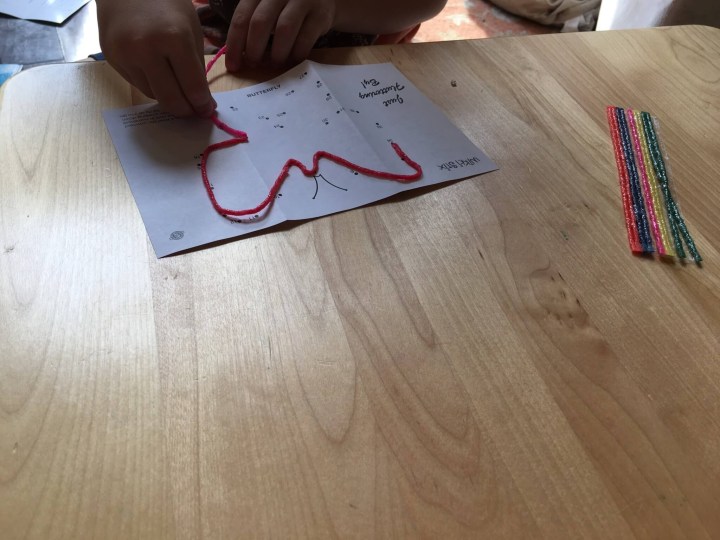
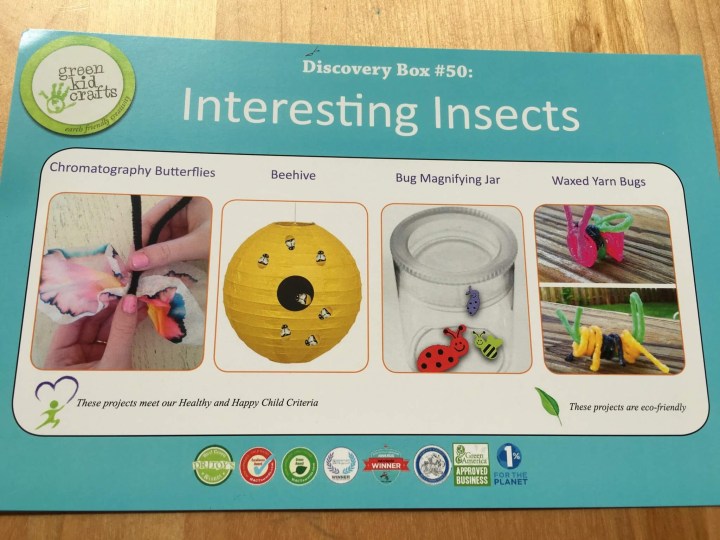 Before we began, we checked out this nice visual representation of the different activities awaiting us in the box. Then we got to work.
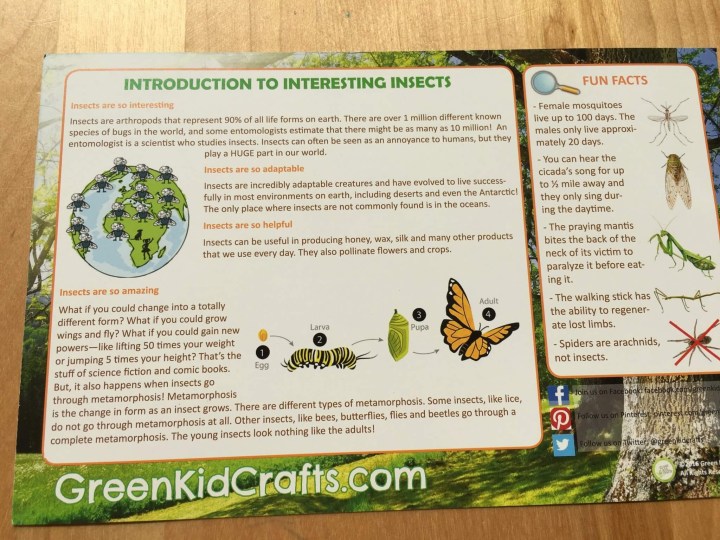 We began by talking about insects and why they’re important. We talked about metamorphosis and the stages in a butterfly’s life. Then we talked about the cool bug facts contained on the card. My son was especially interested in learning more about mosquitoes and stick bugs.
This month, virtually all of the activities were art activities. They were still grouped together according to theme, though: butterflies, bugs and bees and more bugs.
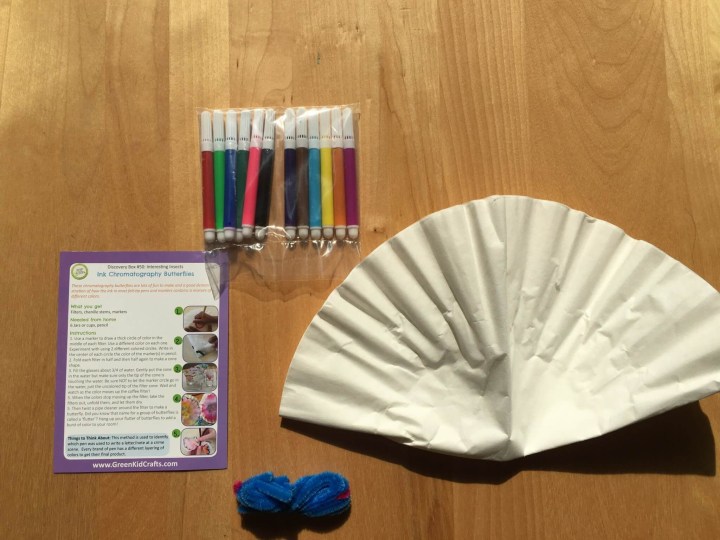
 In the first activity, Ink Chromotography Butterflies, my son used chromotography to separate the colors within ink to decorate five butterflies.

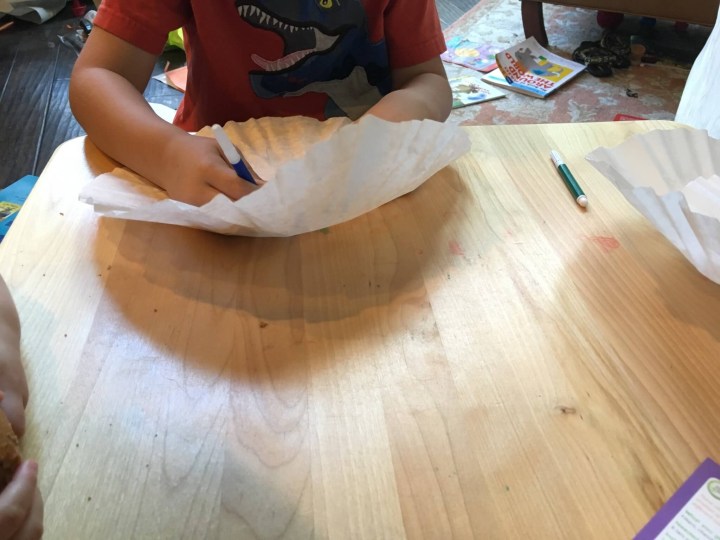
After coloring circles with the enclosed markers on the enclosed coffee filters, my son folded the coffee filters into cone shapes and placed them in water. Note: When doing this at home, you’re supposed to draw rings, not filled-in circles, in the middle of the coffee filter. I asked my son to draw solid circles. Oops! We’ll see how this turns out…
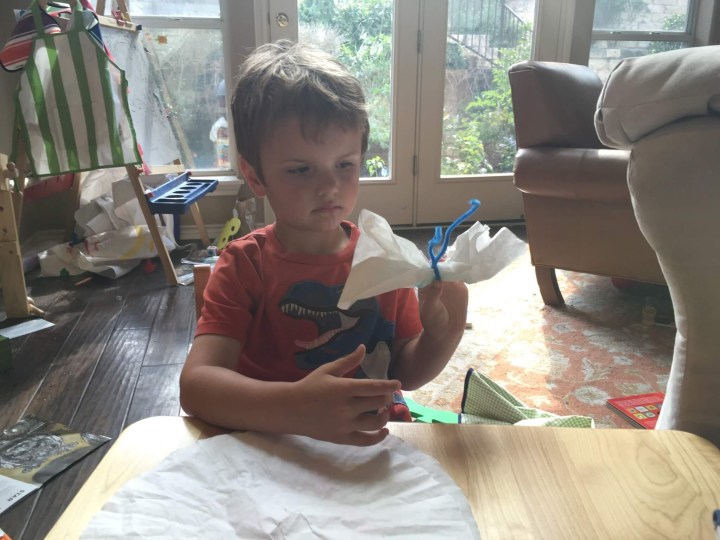
Unfortunately, a lot of the color left the paper and entered the water. Live and learn. The most interesting coloration came with the black circle, but by the time my son turned the five filters into butterflies, a lot of the colors were lost to the middle of the butterflies.
Still, they were easy to make and fun to play with. Once he was done, he offered one to me, my husband and my daughter. He kept two.
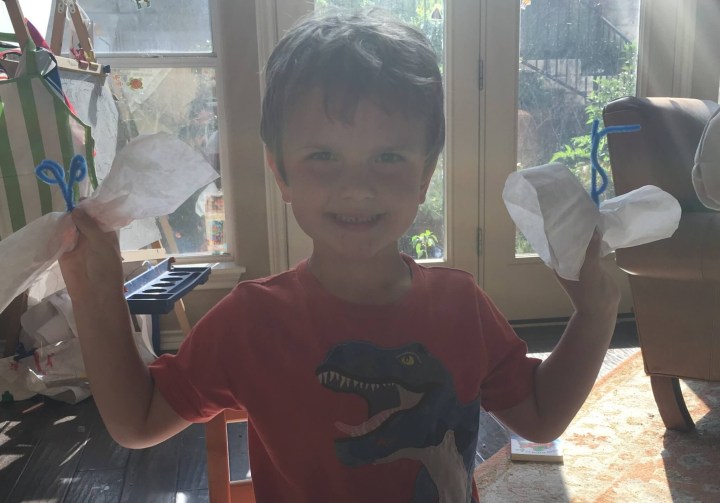
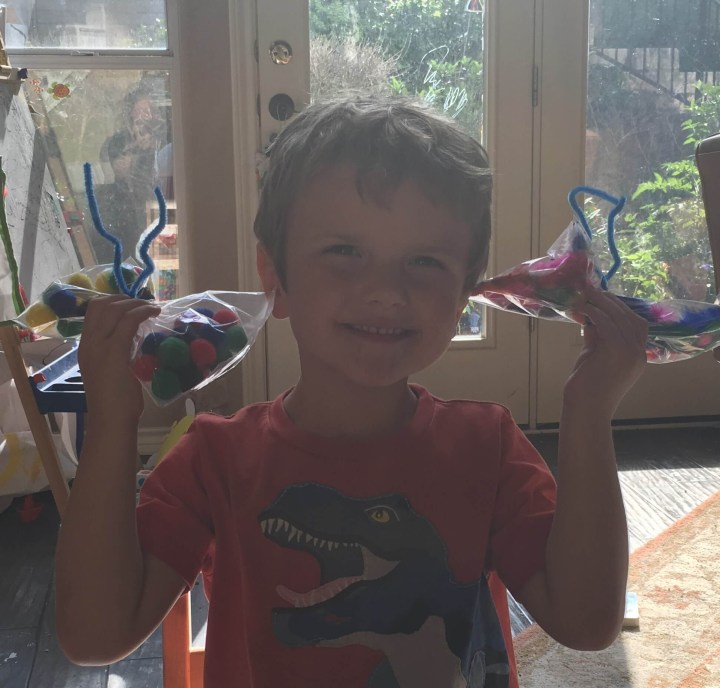
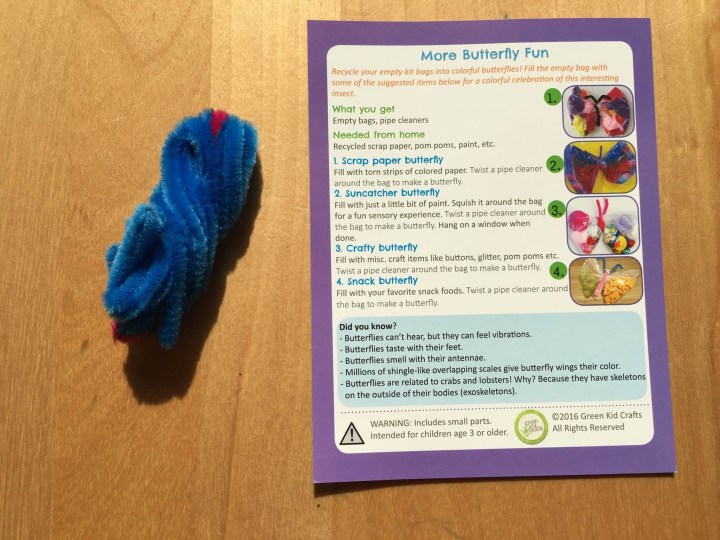 The next activity was very similar. Instead of using chromatography to decorate the wings, though, this time you filled the bags from the box with objects of your choosing to decorate the wings.
 My son made two of these butterflies: one with feathers and one with pom poms.
They turned out well. Once we were done with these activities, we read and discussed the fun facts about butterflies contained on the bottom of the activity card.
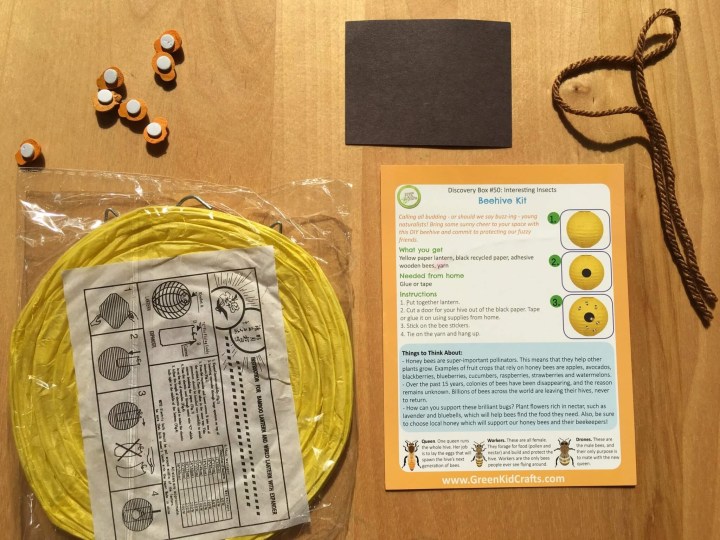 Next, my son attempted to make a delightful beehive to play with.
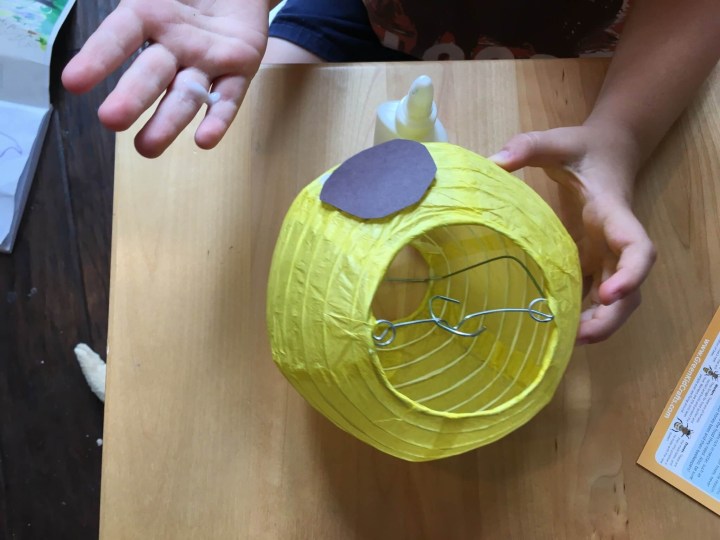 After assembling the lantern, my son asked me to help him cut the piece of paper into a circle. He affixed it onto the lantern with glue.
 Next, he affixed bees to the latern using the peel and stick technique he’s mastered through Doodlebug Busy Bags.
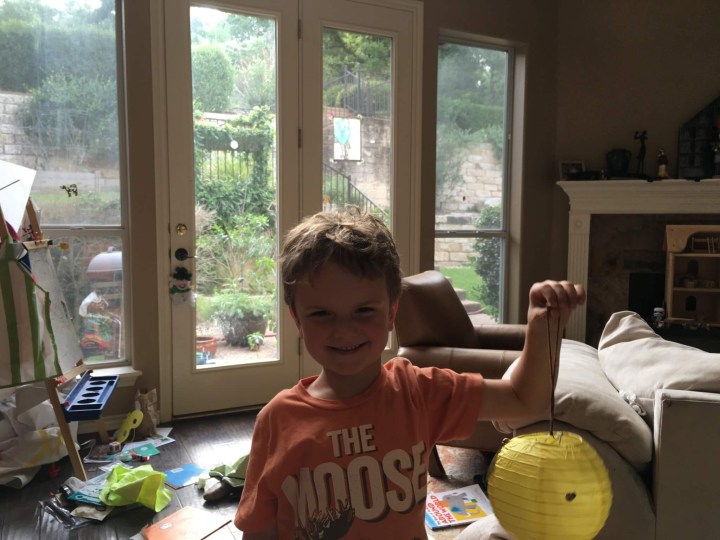
The beehive couldn’t be cuter! My son hung it on our banister for easy access for additional play.
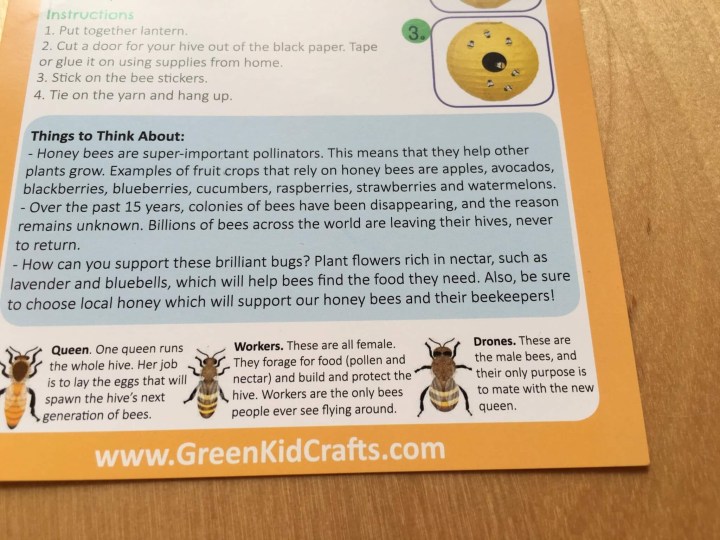
Once he completed the beehive, we sat down to read more about bees, the types of plants they pollinate and the mystery behind their decline. We also learned about the three different types of bees.
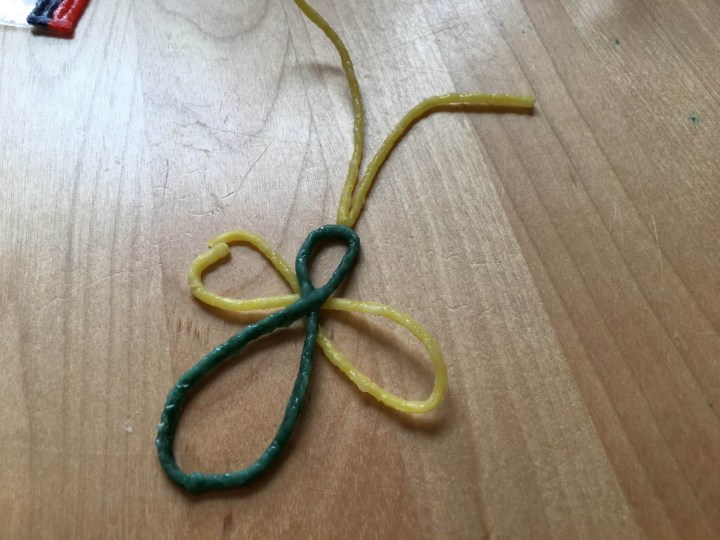
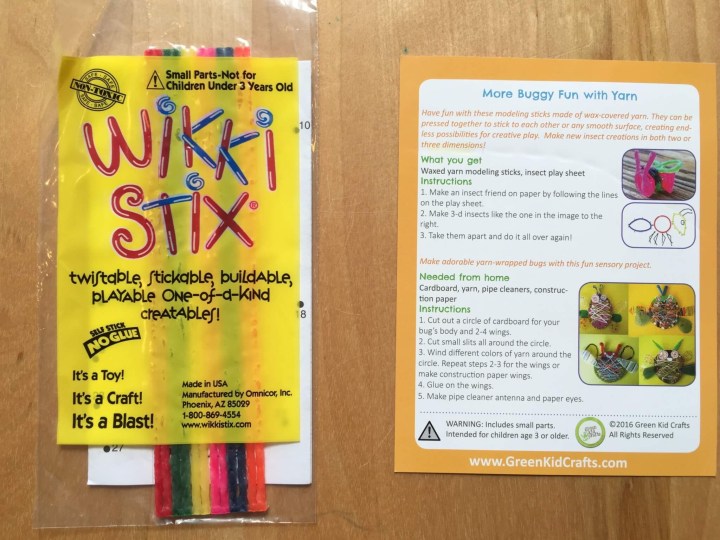 The next activity uses really cool wax covered pieces of yarn to construct bugs. Fun!
 To get things started, Wikki Stix included a number game to use to construct a 2-d butterfly.
 After completing the butterfly, my son created his own 2-d beehive.
 These looked like so much fun to play with that I had to join in! I made a bee to go with my son’s beehive.
 Afterwards, my son decided he wanted to construct another butterfly, this time with different colors. While he did so, I tried my hand at a 3-d bug. It didn’t go as well, but it was a lot of fun! My son pointed out that my insect had only one main body part instead of three, had only two wings instead of four and had no antennae. Hmmm. At least he knows his insects!

While my son was busy reading, I prepped this next craft by cutting out a circular piece of cardboard and cutting notches into its side.
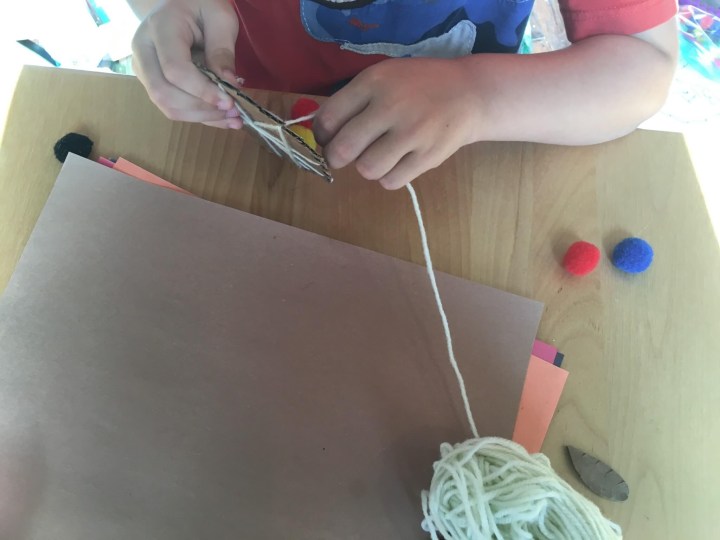 When my son was done, he wrapped yarn around the circle, placing it into the notches each time he went from front to back.
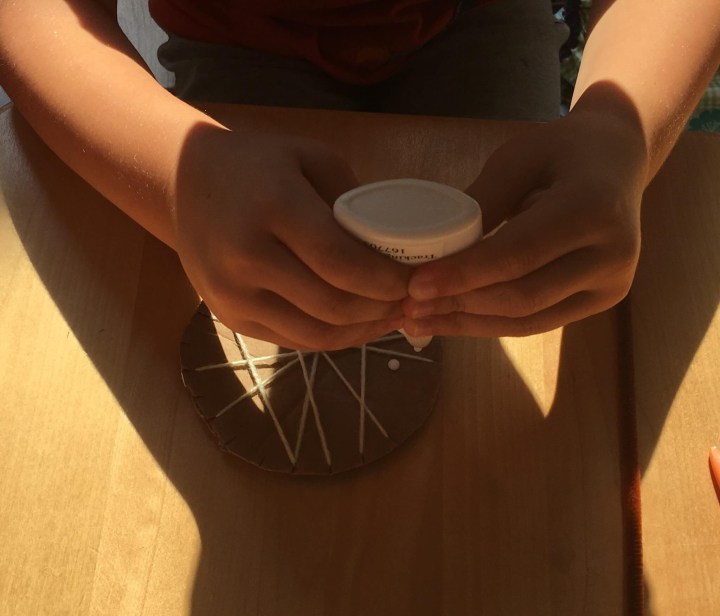 When he started to flag, he stopped and affixed eyeballs to his bug with glue. Next, he cut out wings and affixed them and a pair of antennae with tape.
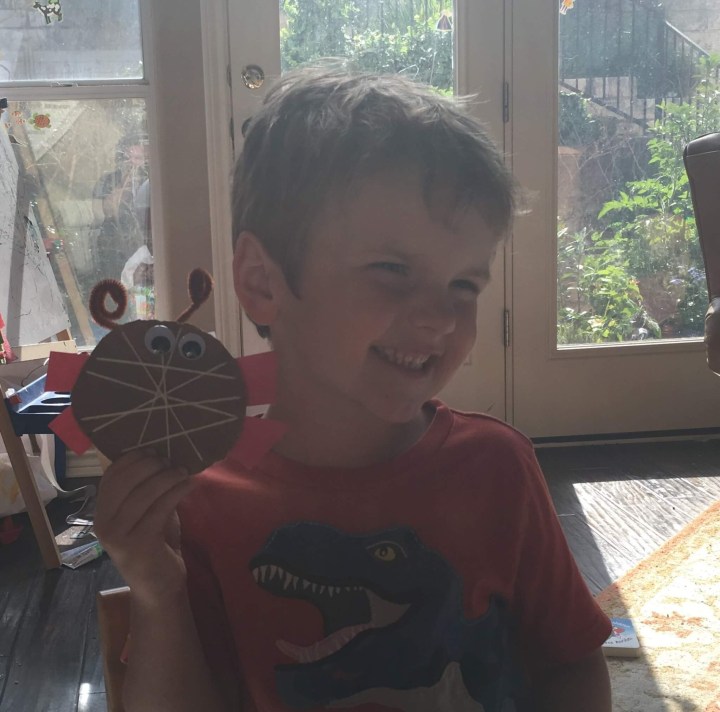
He thought his bug was pretty cute!
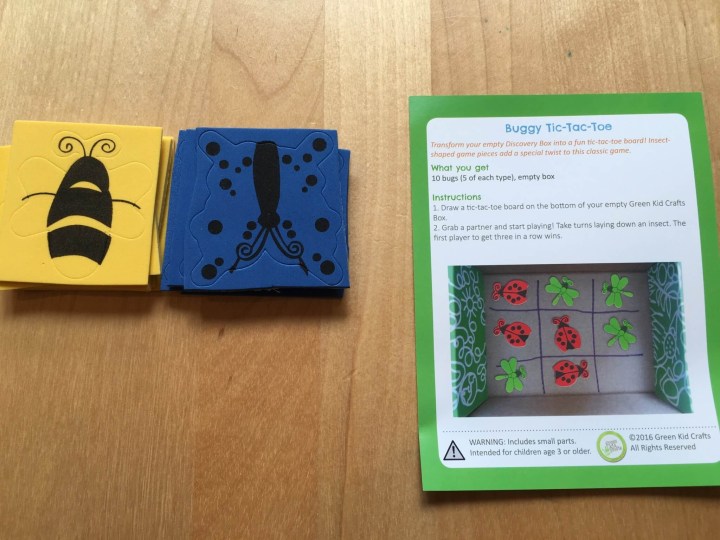 Each month, Green Kid Crafts offers an activity that utilizes the box that the subscription comes in. This month, the activity was a game of tic-tac-toe! My son loves stickers and tic-tac-toe, so he really enjoyed this activity!
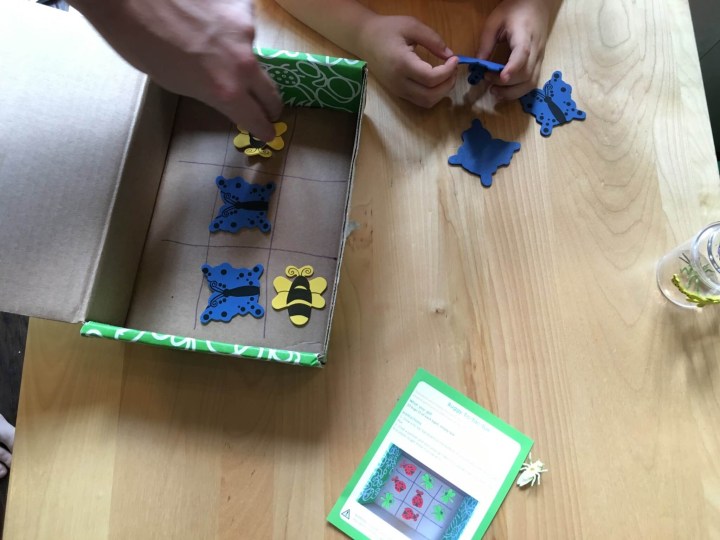
His game with his dad ended in a draw.
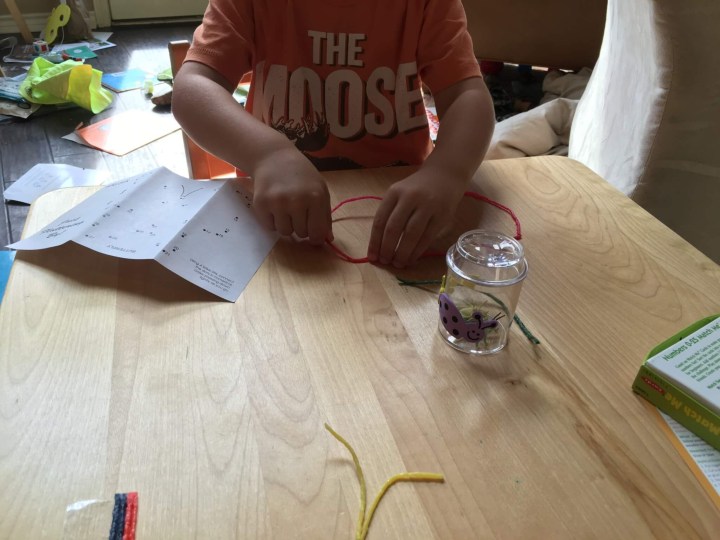
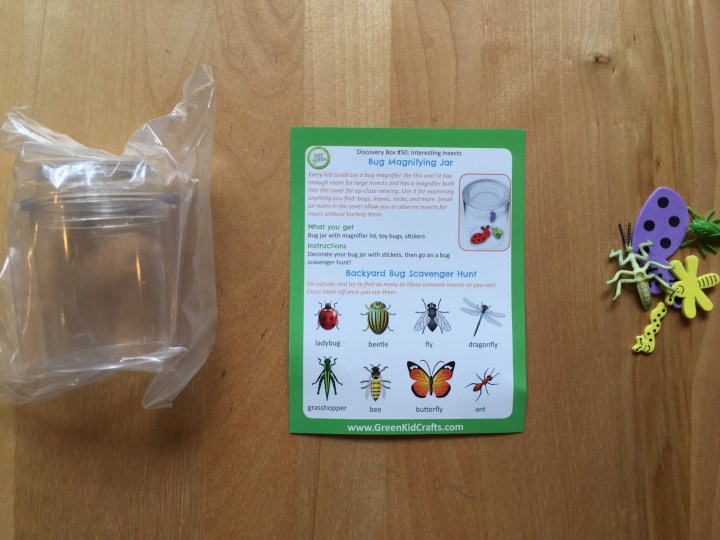 This cool bug jar has holes at the top so you can look at live bugs for a long time. It also has a built-in magnifying glass at the top so that you can see lots of details on your bug.
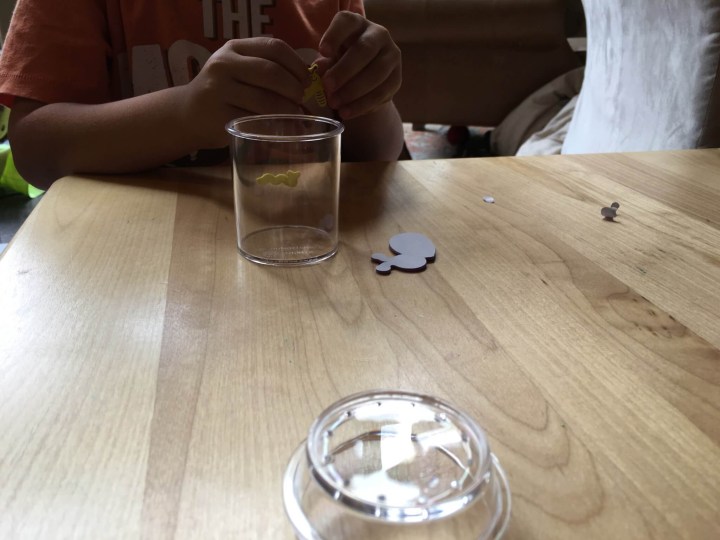 After decorating the jar with stickers, my son placed one of the enclosed bug toys inside of the jar.
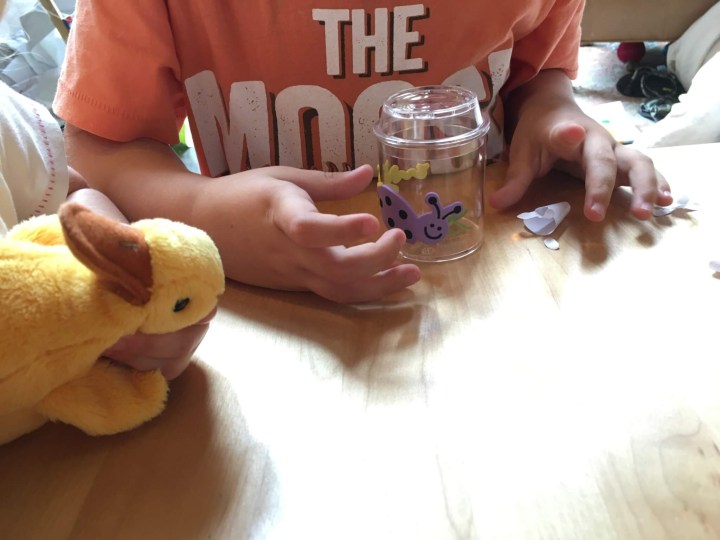 He enjoyed studying the toy through the magnifying glass. My daughter enjoyed looking inside too!
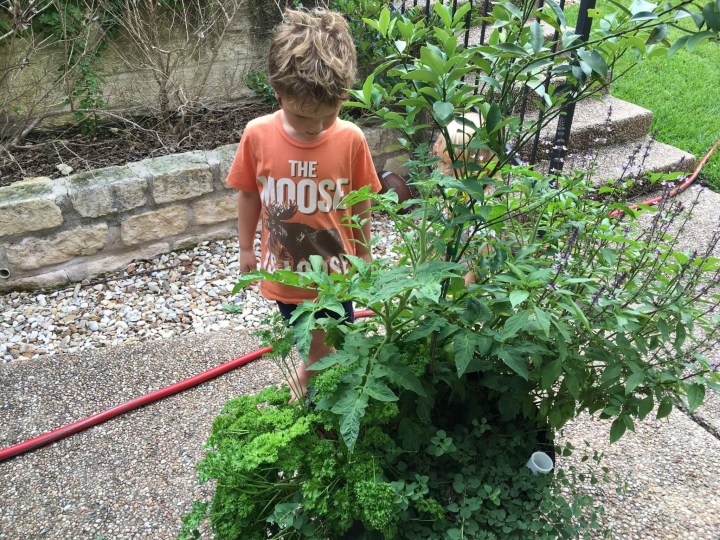 Next, my kids inspected some of our plants, looking for bugs or bug sign.
 They found this guy on our milkweed plant.
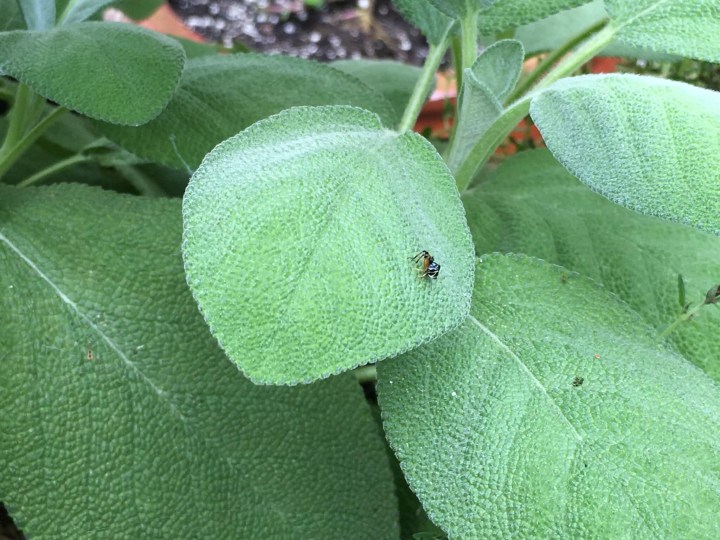 They found this guy on a sage leaf. They also found a number of spider webs, which didn’t show up in pictures.
What a fun box of crafts and scientific discovery! Once my son had completed all eight projects, my son proudly affixed his badge to his shirt (he couldn’t pass up the chance to wear an “entomology expert” sticker!).
For those who are interested, I thought I’d update you with our successes from last month’s garden science box.
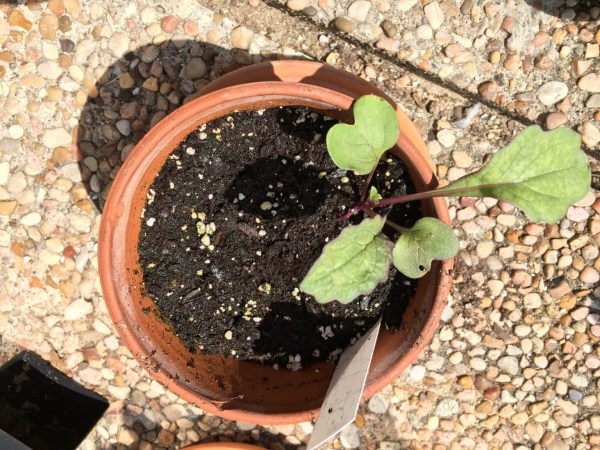 Our radishes are thriving. This is just one of many.
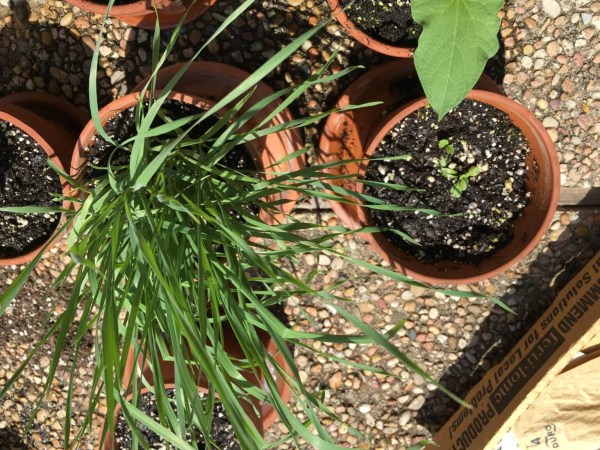 Our wheatgrass has really taken off. Just above it, you can see our little lettuce sprouts.
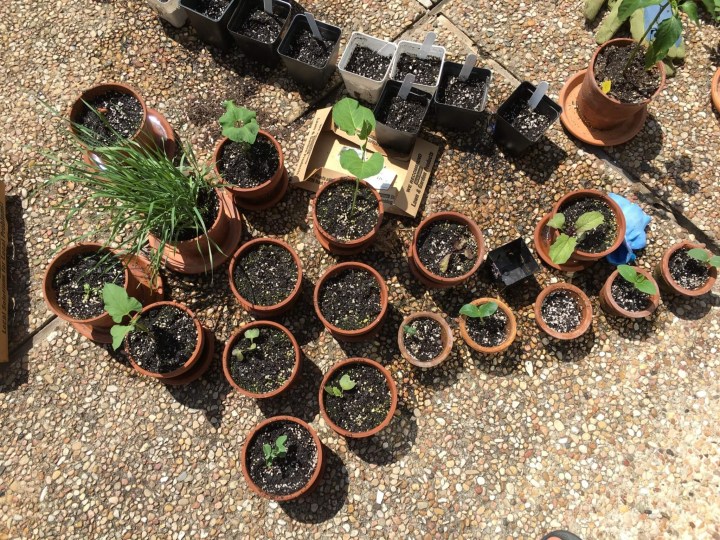
All of our seeds from last month’s projects sprouted. But more important, our success prompted our family to begin gardening in earnest! Every day, my kids go outside to help me water our babies. They love it, and I love it too.
While this box was more crafty than other boxes we’ve completed recently, we still enjoyed it very much. We can’t wait to complete more projects together next month! I wonder what we’ll learn about then!
Has your family tried Green Kid Crafts? Use code 10FUN to save $10 on your first box!
Visit Green Kid Crafts to subscribe or find out more!
The Description: In the Discovery Box you’ll find three eco-themed crafts connected by a monthly theme using art, science, movement, and play. All materials are non-toxic and sustainable where possible.
The Price: $20.00 per month
The Categories: Kids Craft & Activities Subscription Boxes. Green & Eco-Friendly Subscription Boxes, Kids Subscription Boxes with Sibling Add-Ons.
The Reviews: See all our Green Kid Crafts Reviews.
The Spoilers: Check out Green Kid Crafts Spoilers.


Comments