 Green Kid Crafts is a monthly subscription box that sends 5-8 themed projects made with eco-friendly materials to your home every month. The boxes contain hands-on explorations in science, math, technology, engineering and art that are intended to challenge children from 3-10 years of age.
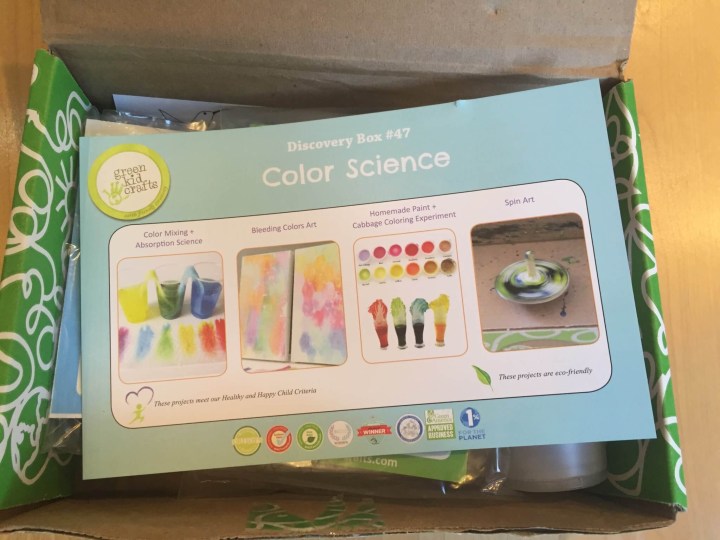 March’s theme was Color Science. The timing of this box couldn’t have been better, as my son just finished a “Tinkering with Color and Light” camp at our local children’s museum. I was hoping that these activities would continue to reinforce what he learned there while also challenging him continue to think about color in new ways.
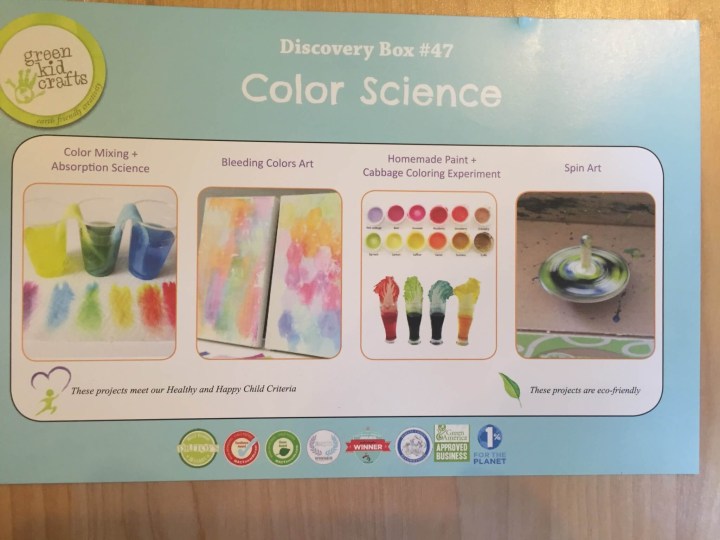
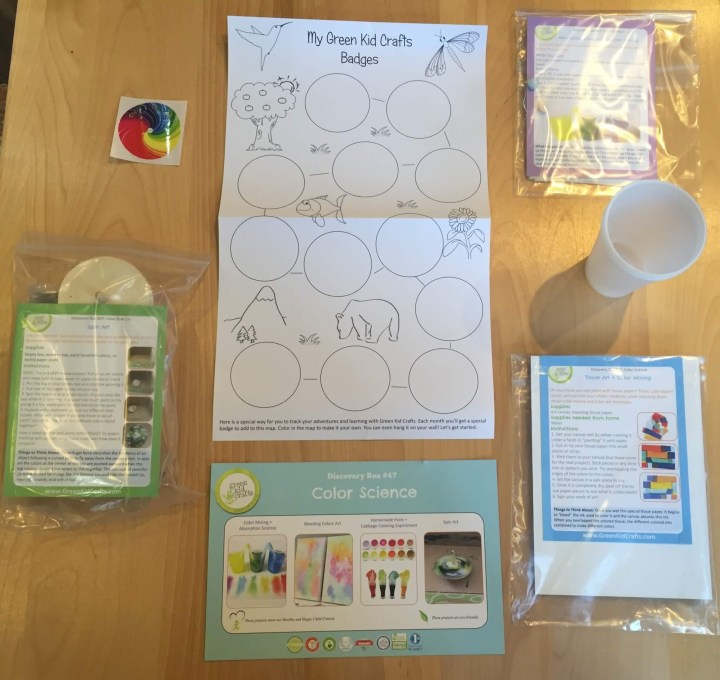 Each set of crafts is grouped together by theme. The introductory card depicts all seven crafts: absorption science and color mixing; chromatography experiment; cabbage science experiment; tissue art and color mixing; tie dye treasure bag; DIY vegetable paint and spin art.
The first three experiments are grouped together in a plastic bag, as are the next two and, finally, the last two. If attempting multiple activities in one day, the groupings into bags help provide continuity of theme. Once your child has completed all of the activities in the box, the folks behind Green Kid Crafts have enclosed a badge to stick on a banner to signify the box’s completion.
 Before we began, we checked out this nice visual representation of the different activities awaiting us in the box. Then we got to work.
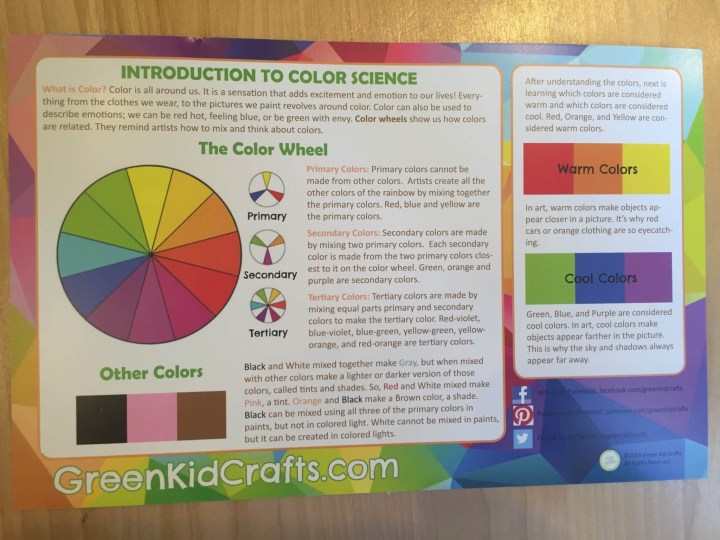 We began by discussing the color wheel, types of colors and warm vs. cool colors. While parts of this were a review of concepts my son learned last week at camp, other aspects of the color wheel were completely new for him. I liked how the box built off known information to challenge him even more. There’s always more to learn!
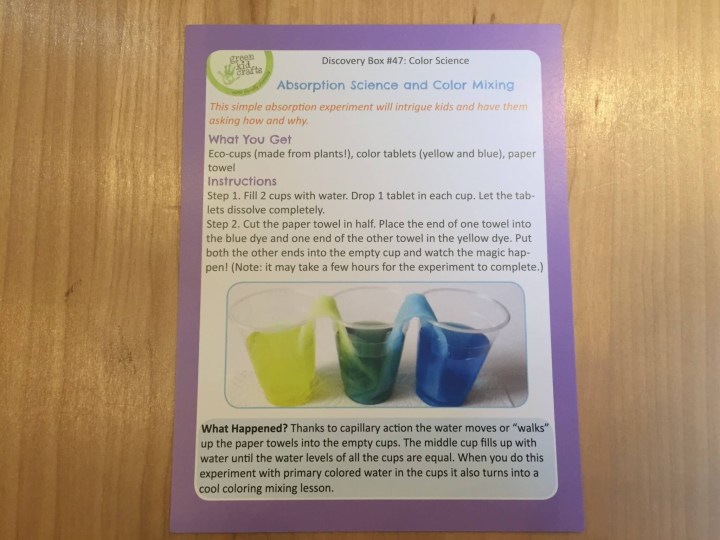 This first activity helps to reinforce primary and secondary colors while also introducing children to the idea of capillary action.
 The setup here was pretty straightforward. Put water in two cups. Add a coloring disc. Wait for disc to dissolve. Then put a paper towel in each of the cups of colored water. Put the ends of each paper towel in an empty cup and see what happens.
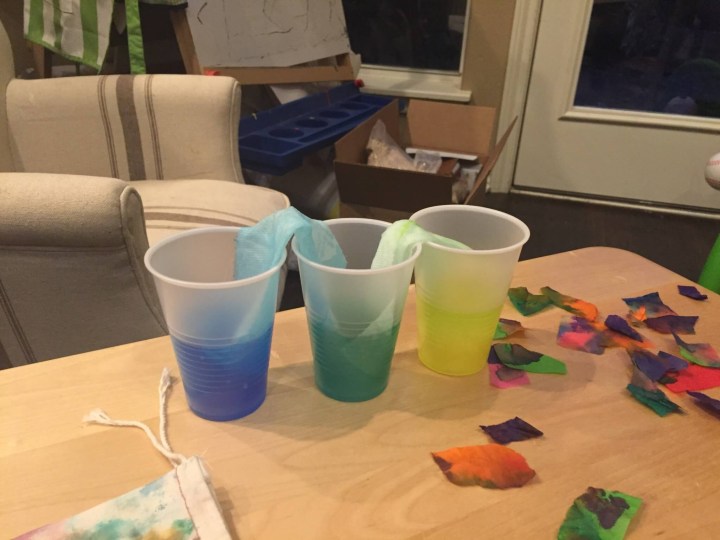 When we awoke the next morning, the previously empty middle cup was full of a beautiful green water. We reviewed: blue and yellow are primary colors, while green is a secondary color. This really excited my son! It was also worth noting that the water levels reached an equilibrium overnight.
 Although we did not do these next two activities at the same time as the previous one, it would make sense to do them together, so I’m covering them next. We moved onto the next set of activities the first evening instead because we didn’t have the supplies for these experiments handy. These activities require markers and either cabbage, flowers or celery. We chose to use white roses.
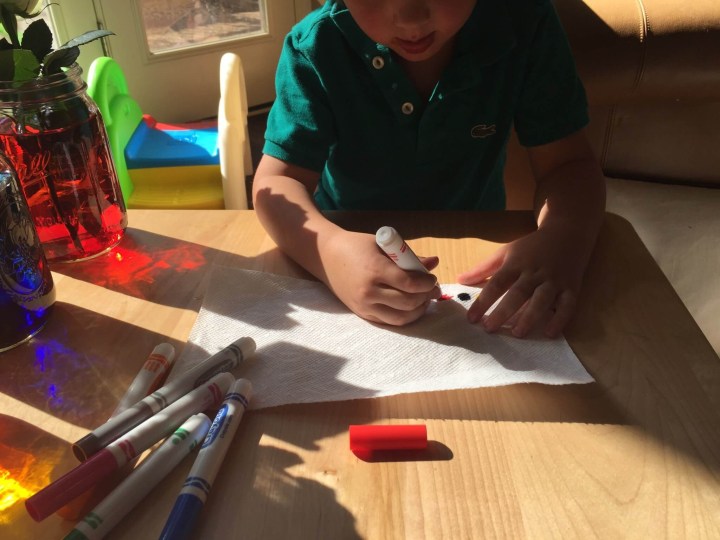 About nine months ago, my baby got hold of a nontoxic marker and sucked on it, freaking me out. In response, I threw away all of the markers in the house. Since she’s no longer putting EVERYTHING in her mouth, it seemed like a good time to get a new set.
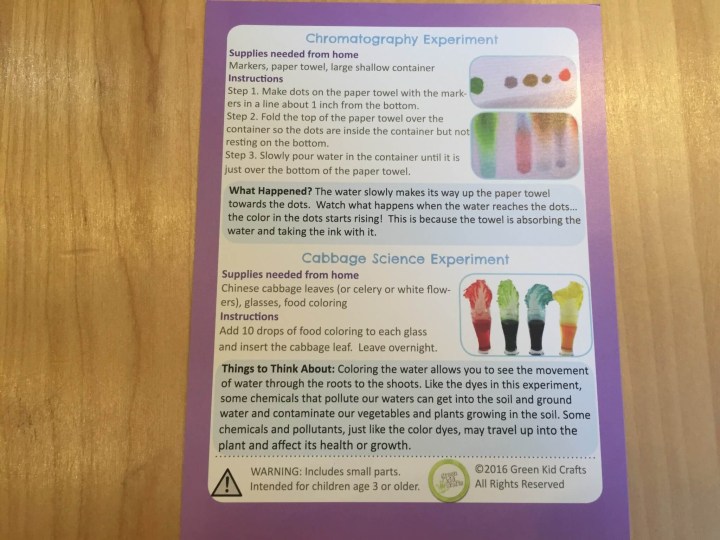
This experiment is pretty straightforward: put colored dots on a paper towel. Place the end of the paper towel in a little bit of water and see what happens.
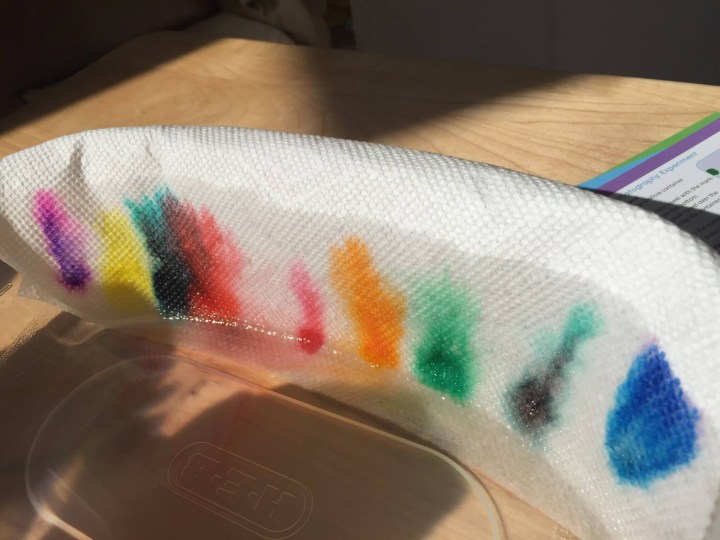
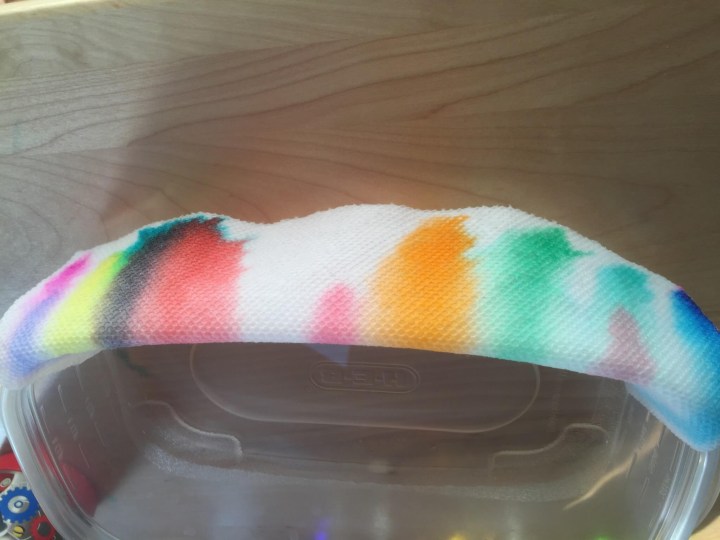
While we didn’t see a lot of the separation of colors like we had hoped, it’s always fun seeing color move up and over a paper towel!
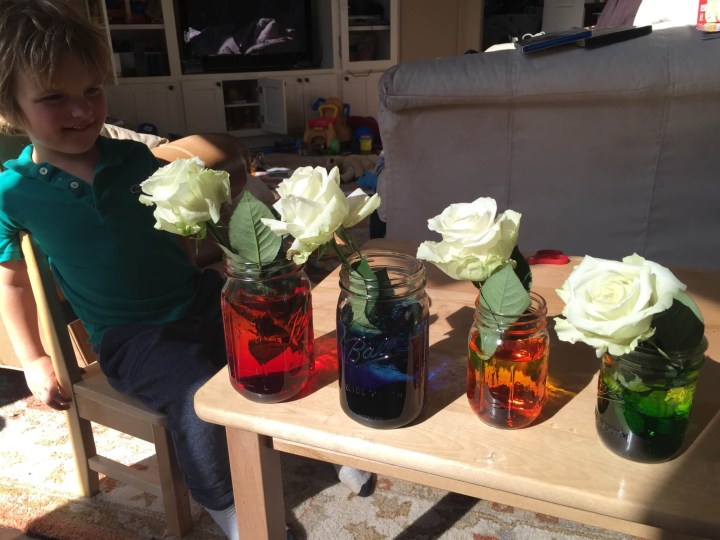 For the next experiment, my son filled four mason jars with waters of differing tints. He then placed white roses in the jars. While he thought this was really pretty, he was a bit concerned: he hypothesized that the colored waters would kill the flowers. I told him we’d have to wait to see.
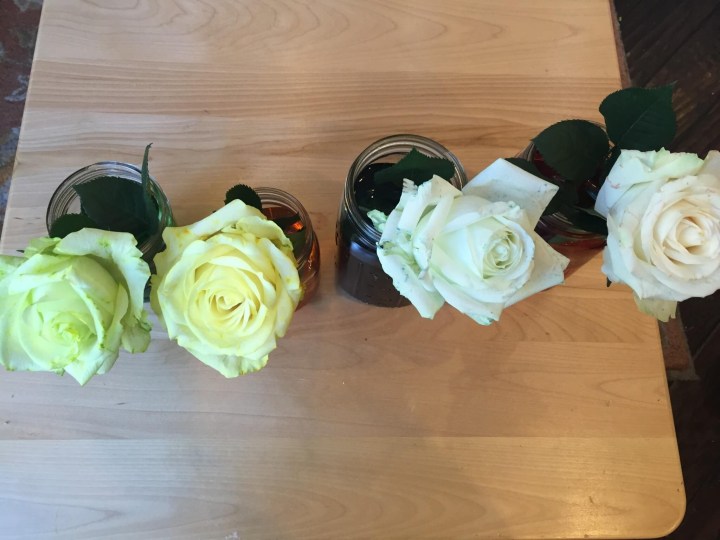 After 19 hours, this is what the roses looked like. The two roses with the shorter stems (those in the smaller mason jars) had started to turn green and yellow; the two roses with the longer stems (those in the taller mason jars) had slight tinges of blue and red on the ends of their petals. Given the size of our stems, it looks like this experiment will take a while. Next time, we’ll use smaller mason jars and cut the stems of the flowers shorter!
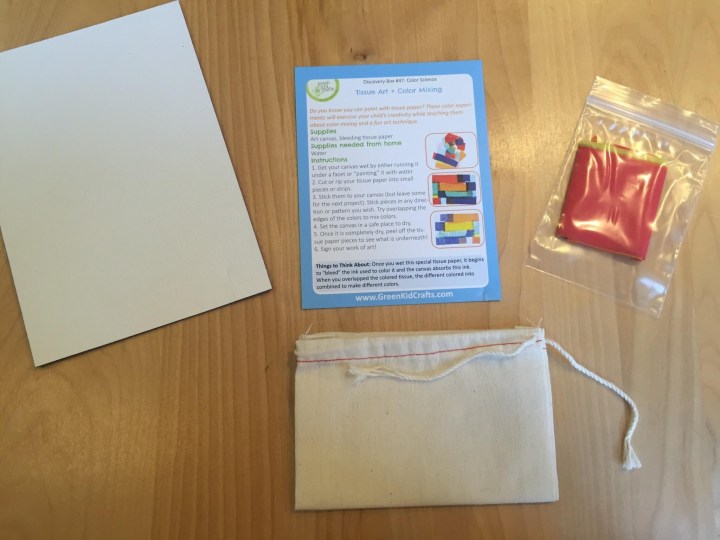 The next two crafts were very similar. In each, my son wetted a surface and applied special bleeding tissue paper to it. Then he let it dry and removed the tissue paper, unveiling a masterpiece.
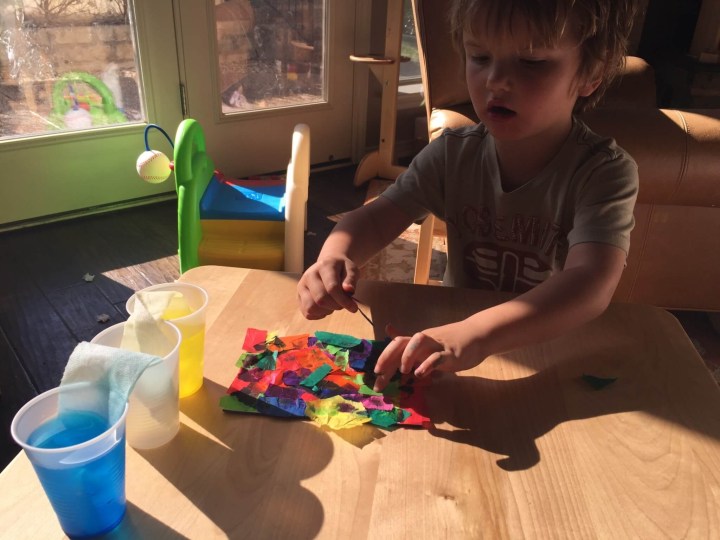
My son had so much fun with these that he asked me, “Mom, can we do more science experiments? This is so fun!” Naturally, my answer was a resounding “yes!”
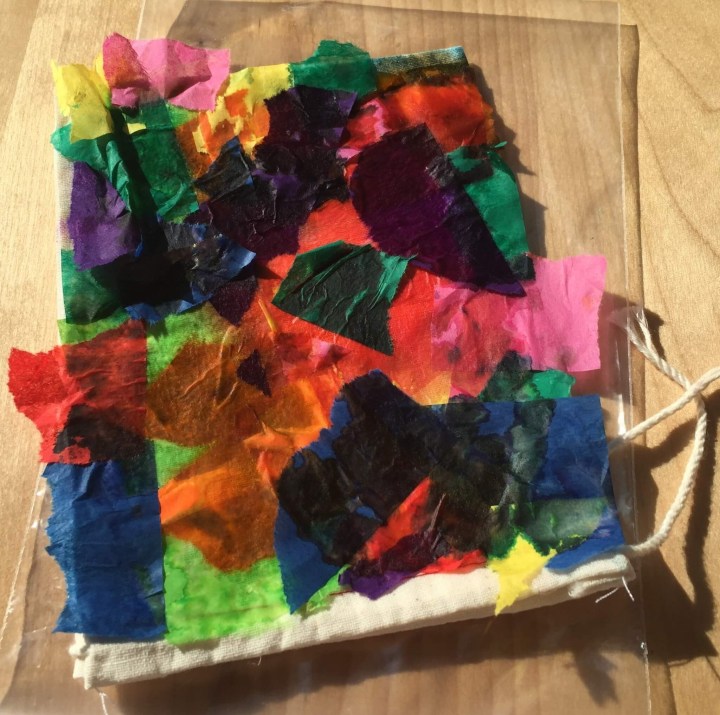
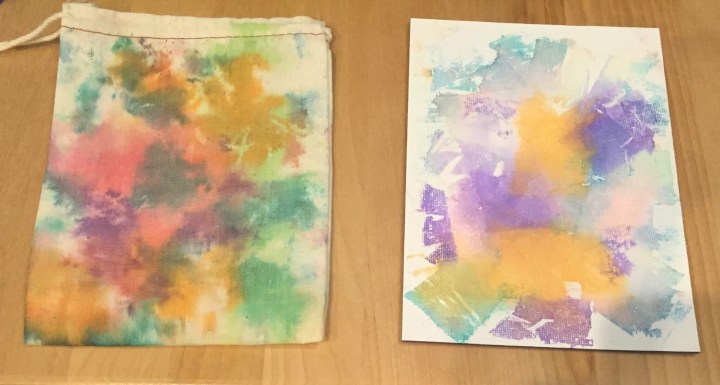 I love using little bags like this to help organize the toys that are constantly covering our floor. I hope that, since he decorated it, my son will be even more inclined to using this one!
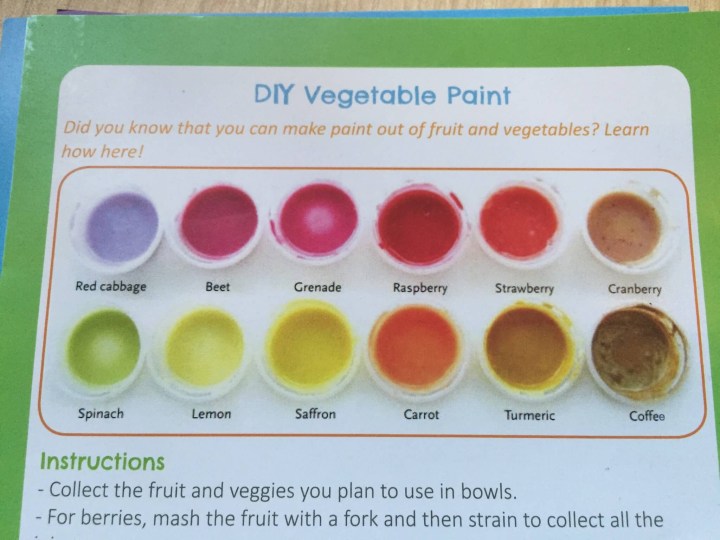 This project excited me. For years, I’ve envied those organized, crafty moms who seem to know how to do everything. How do they do it? Who has the time to make paint from foods, I’ve wondered. A few weeks ago, I purchased an acrylic easel for my daughter and thought about giving her fruit pouches to use on it because I just assumed making paint from food would be too difficult. Well, after reading the directions, I felt empowered! While some of the suggestions sounded time consuming, I wondered how many colors I could get from the spice rack. Since I had just used my strainer to cook lentils and didn’t feel like cleaning it out just yet, we were going to go the super simple route: boil water and add to spices in bowls. Mix. It worked!
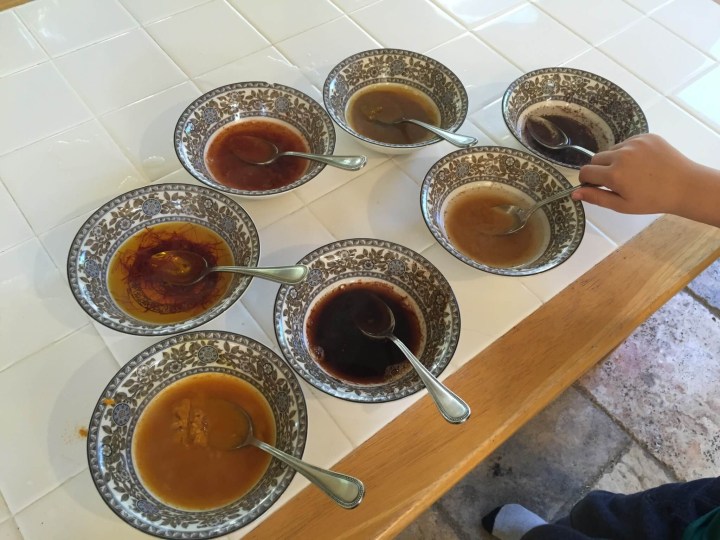 We attempted to make seven colors. Five worked well. One did not work at all. The last one (sumac) seemed to work, but it took a long time for the color to seep out and into the water. If you decide to use sumac, just leave an extra half hour or so for the color infuse into the water. Our most successful colors came from tumeric, saffron, ancho chili powder, piment d’ espelette and curry powder. Mace was unsuccessful. I wouldn’t have gotten so adventurous with the spices if it hadn’t been for a helpful employee at Central Market who told me that they sell bulk spices for a fraction of the cost of the jarred varieties. Evidently, in the spice world, most of what you pay for is the packaging. Who knew? Anyhow, I was able to snag these very cheaply, which was perfect for experimenting. I’m thinking about making sensory tubes with what’s left after both of my kids explore the paints.
 (For what it’s worth, if you’re feeling adventurous and want to try your hand at all the fruit suggestions listed on the card, we think that they intended to write pomegranate when they wrote grenade.)
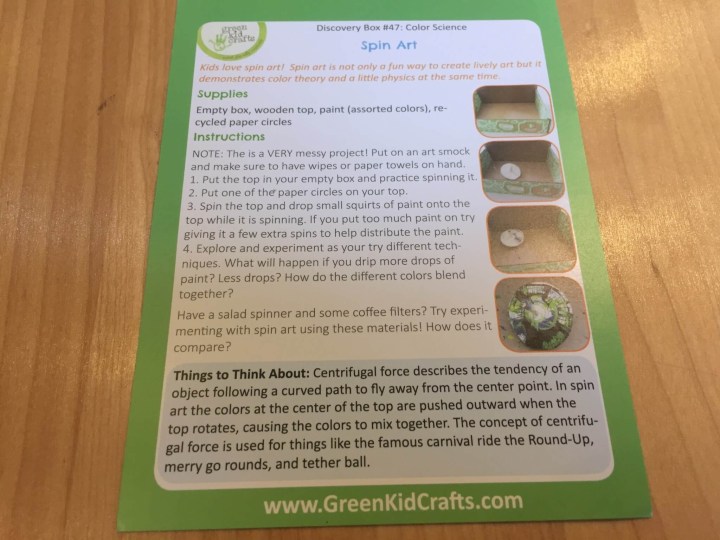 The final activity of the kit was to create spin art using a top and the green kid crafts box.
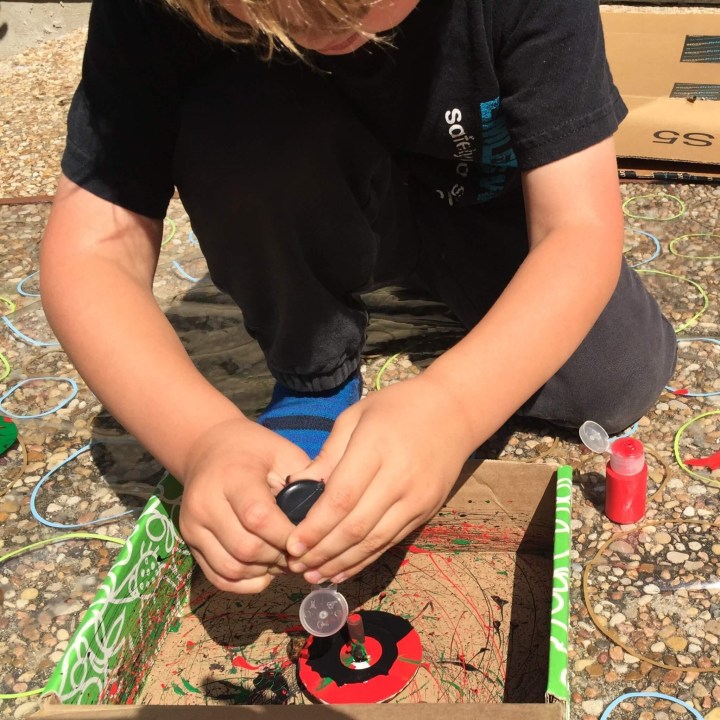 While my son enjoyed this activity very much, it was difficult for him to squeeze out only a tiny bit of paint from the enclosed squeeze bottles. The more paint you squeeze out, the more difficult it is to view centrifugal force.
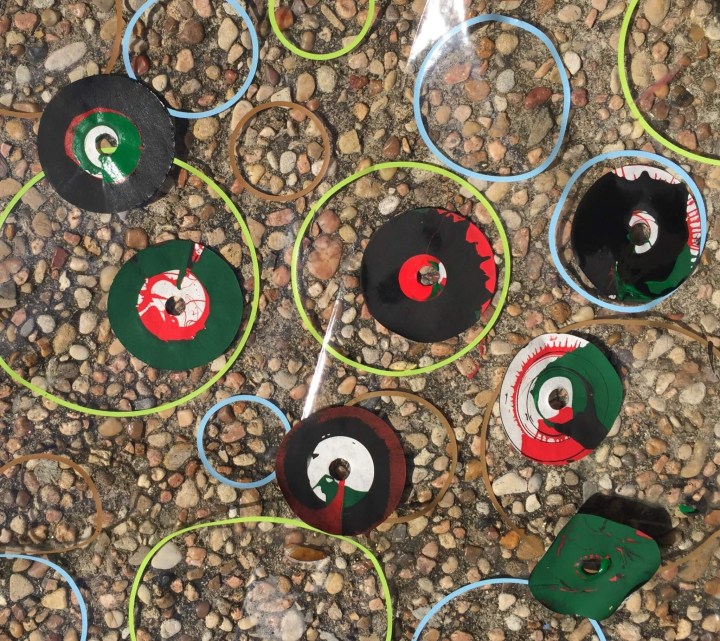
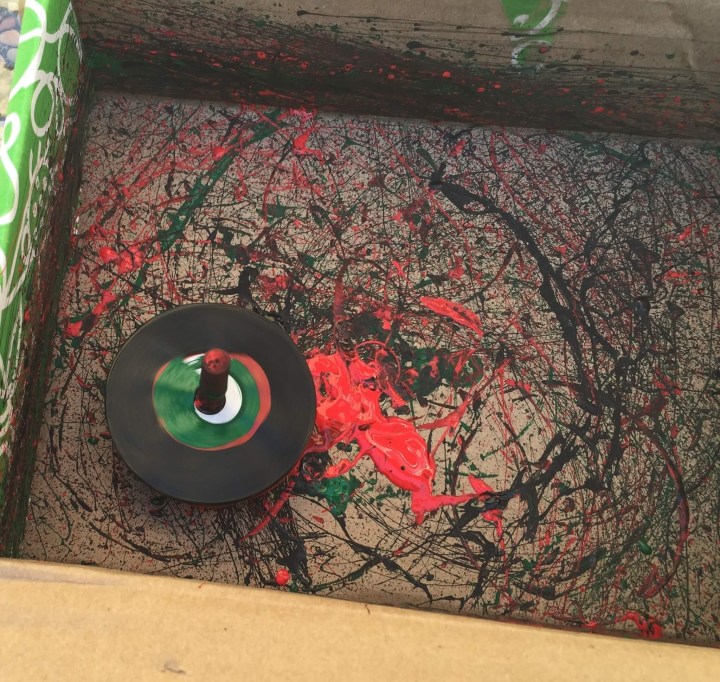 The color choices as well as the type of included paint made it difficult to see what happens when you combine colors. Perhaps next time, we’ll choose primary colors in a watercolor medium to complete the activity and see what happens.
 For those of you who are new to spin art, one option that seems to work a little better is to take a box fan, remove one grate and attach a piece of paper to the spoke in the middle of the fan blades. Turn on the fan and squeeze paint. Since the fan spins faster than the top enclosed in the kit and since a regular piece of paper has a larger surface area than the enclosed circles, it’s much easier to see centrifugal force at work with this set up.
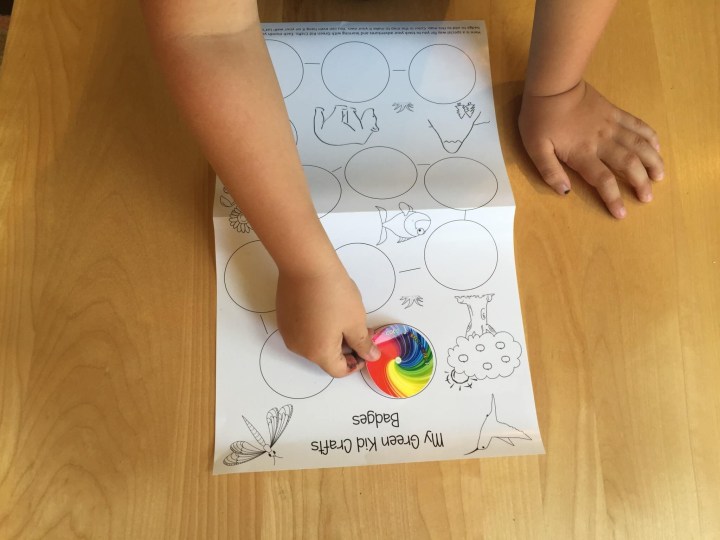 What a fun box of crafts and science experiments! Once we had completed all seven projects, my son proudly affixed his badge to his green kid crafts poster. We can’t wait to complete more projects together next month! I wonder what we’ll learn about then!
Visit Green Kid Crafts to subscribe or find out more! Get a free trial box! Use this link to get the deal. Pay $4.95 shipping.
The Description: In the Discovery Box you’ll find three eco-themed crafts connected by a monthly theme using art, science, movement, and play. All materials are non-toxic and sustainable where possible.
The Price: $20.00 per month
The Categories: Kids Craft & Activities Subscription Boxes. Green & Eco-Friendly Subscription Boxes, Kids Subscription Boxes with Sibling Add-Ons.
The Reviews: See all our Green Kid Crafts Reviews.
The Spoilers: Check out Green Kid Crafts Spoilers.


Comments