 Green Kid Crafts is a monthly subscription box that sends 5-8 themed projects made with eco-friendly materials to your home every month. The boxes contain hands-on explorations in science, math, technology, engineering and art that are intended to challenge children from 3-10 years of age.
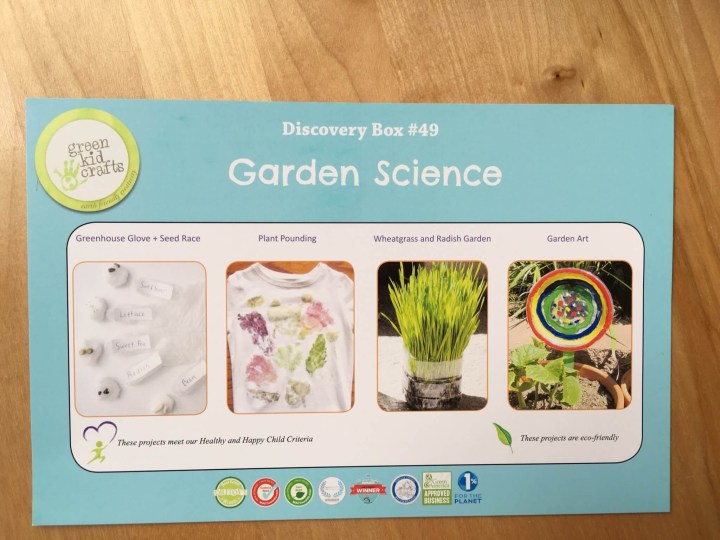
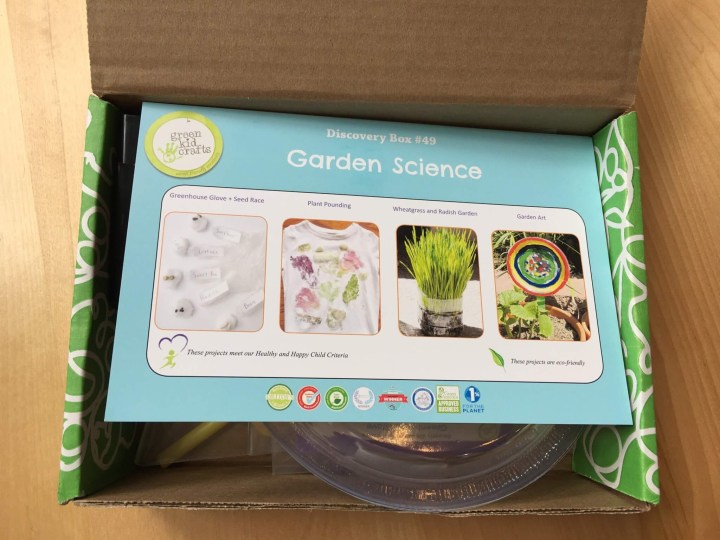 May’s theme was garden science. This got my son very excited. He loves being outdoors more than anything!
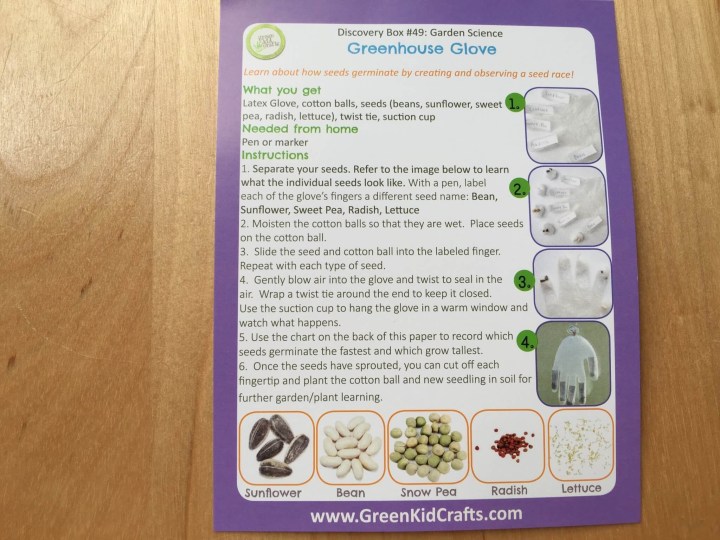
 Each set of crafts is grouped together by theme. The introductory card depicts some of the exercises: greenhouse glove and seed race, plant pounding, wheatgrass and radish garden and garden art. Once your child has completed all of the activities in the box, the folks behind Green Kid Crafts have enclosed a badge to stick on a banner to signify the box’s completion.
 Before we began, we checked out this nice visual representation of the different activities awaiting us in the box. Then we got to work.
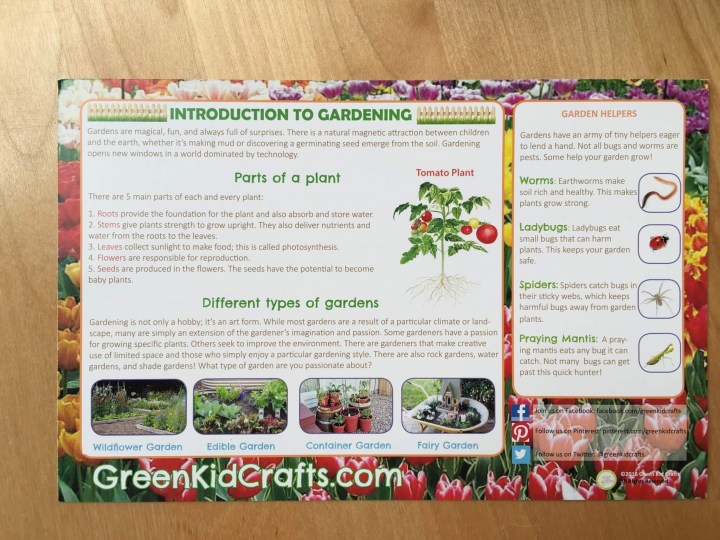 We began by talking about the different parts of a plant and why they’re important, different types of gardens and different types of animals that help gardens grow. Then we went out to inspect some of our own plants. Unfortunately, we saw many bugs, but none of them were listed on our card!
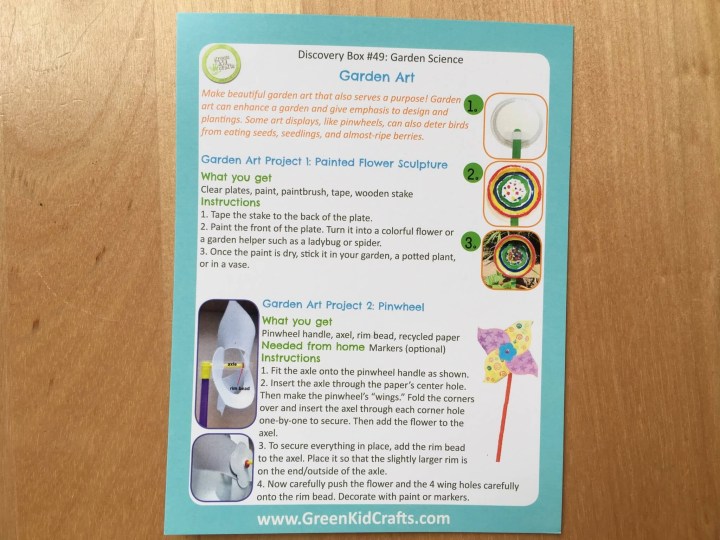
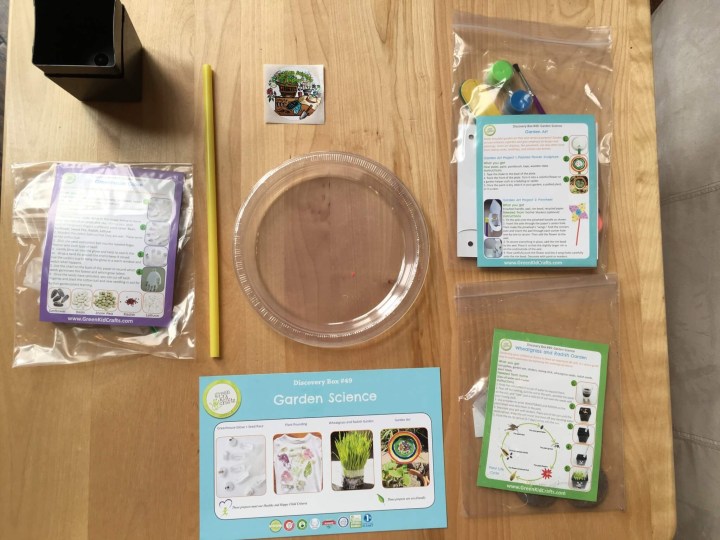
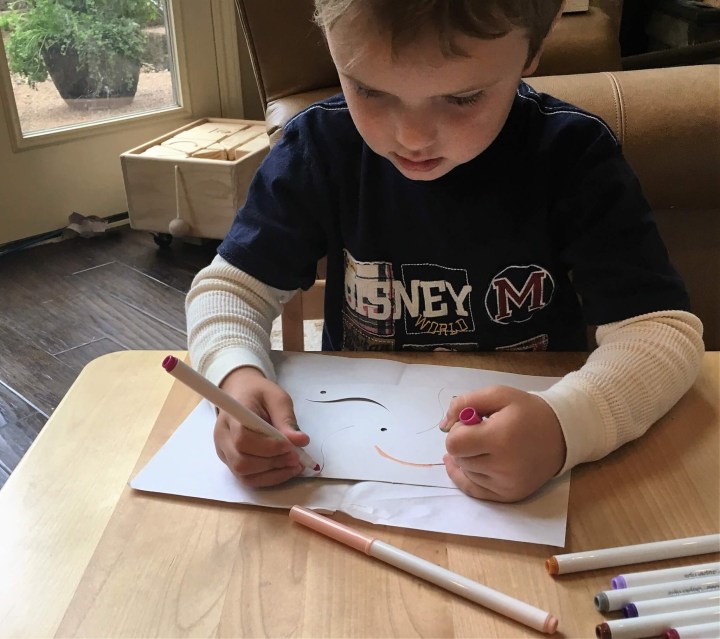
This month, the art activities were all grouped together on one card. We decided to do those first.
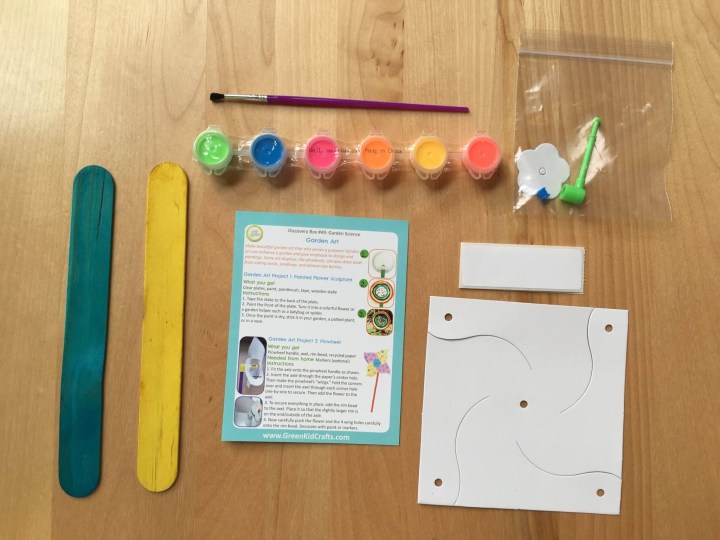 These supplies, along with a plastic plate, were included for use with the art activities.
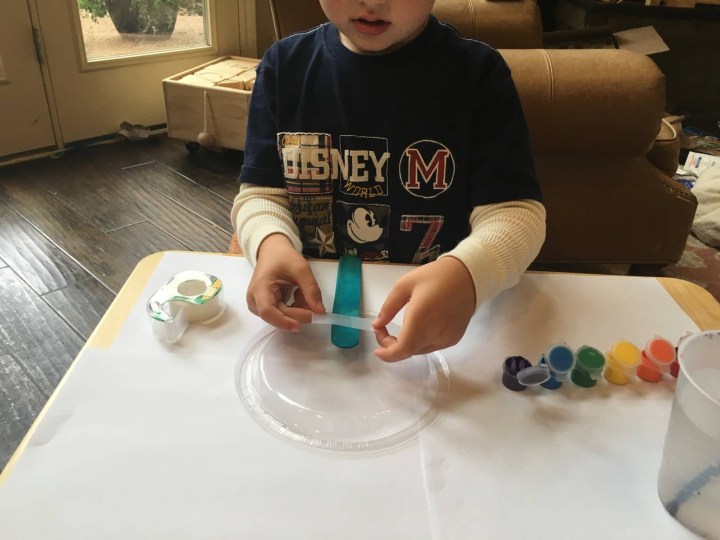 My son began by affixing a stick to the plate with tape.
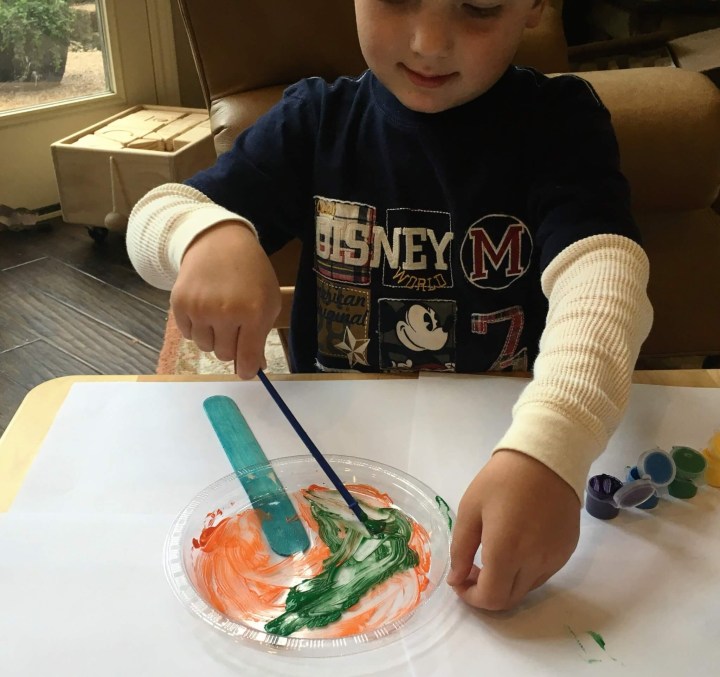 He had fun mixing paint colors together. He seems to find color mixing more enjoyable than painting pictures these days.
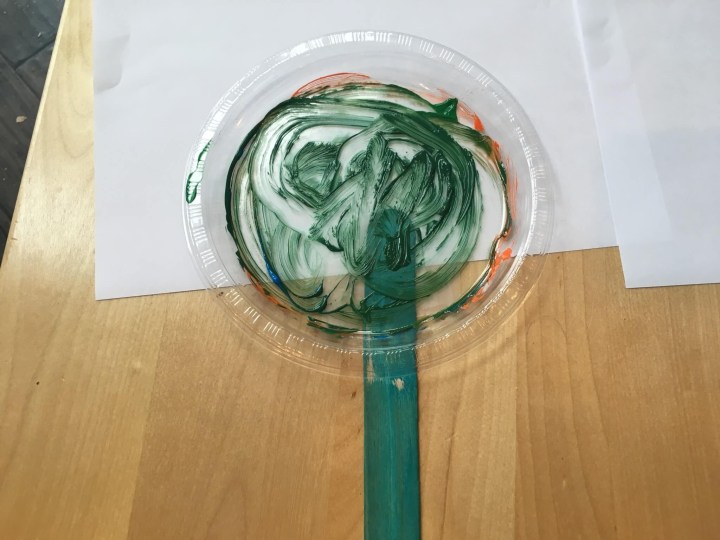 Once our garden art dries, we’ll stick it into one of the pots in our garden.
 Next, my son attempted the pinwheel.
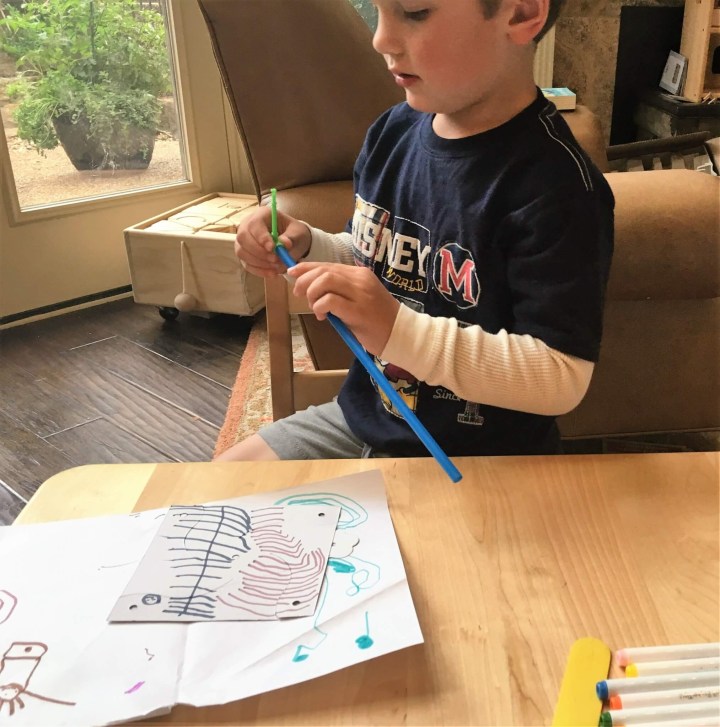 After decorating both sides of his eventual pinwheel spinner, he began to assemble it. I’m not sure whether or not I lost it or it was never included in the shipment, but I could not find the stick with which to hold the pinwheel once complete. I ended up borrowing ours from the one that was originally included in our Ivy Kids box.
 My son did all of the assembly until the very end. The rim bead is difficult to install!
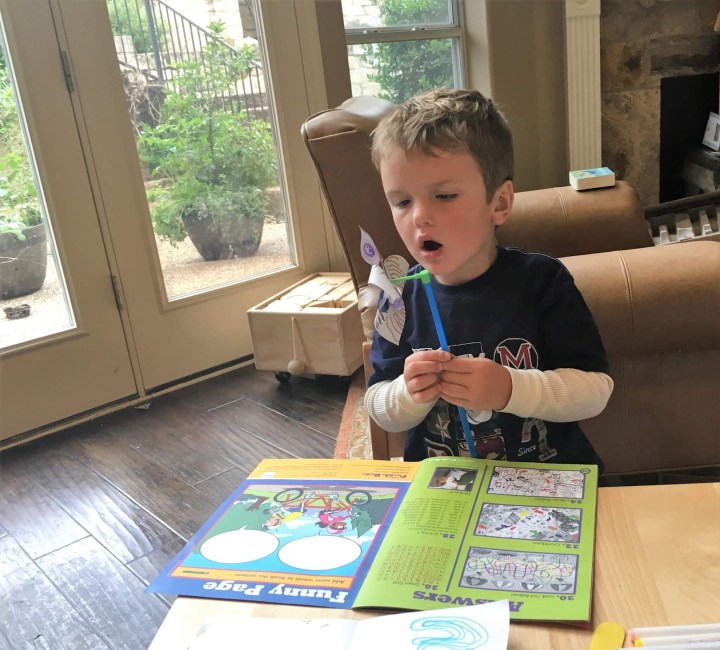 Once complete, he had fun blowing his pinwheel.
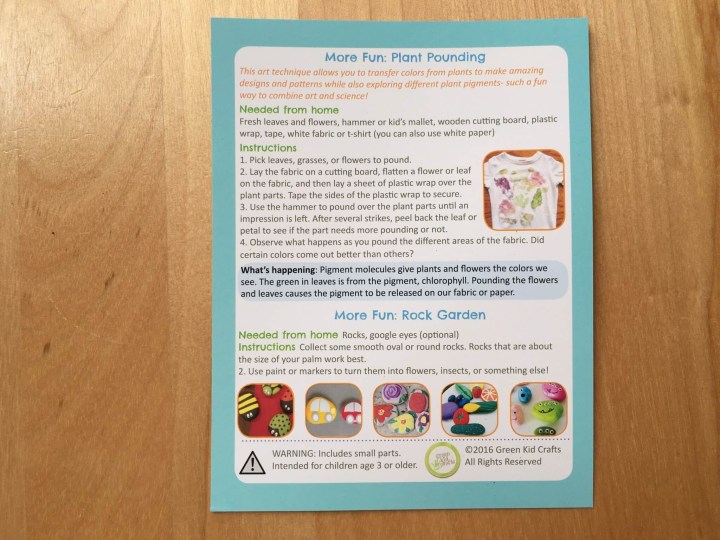
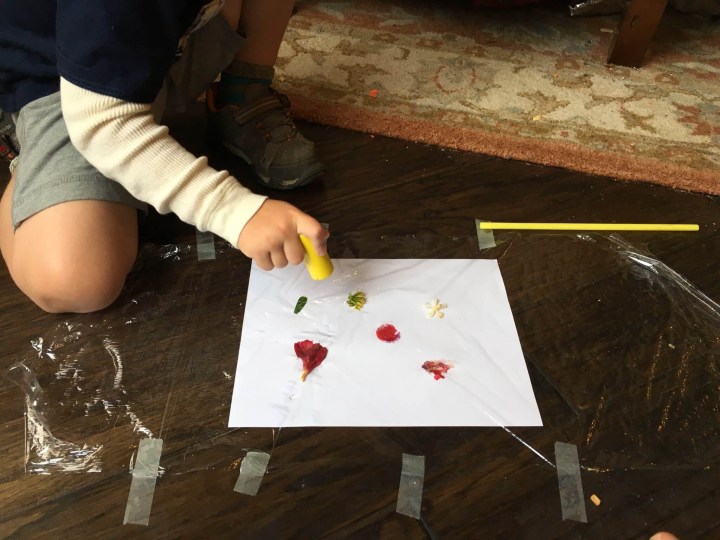 Next, he went out into our backyard to pick up leaves and flowers that had a lot of color to them. I laid them out on a sheet of paper and placed plastic wrap over them. My son taped the plastic wrap down with transparent tape. I couldn’t find a hammer, so my son used a peg to hammer down the flowers and leaves.
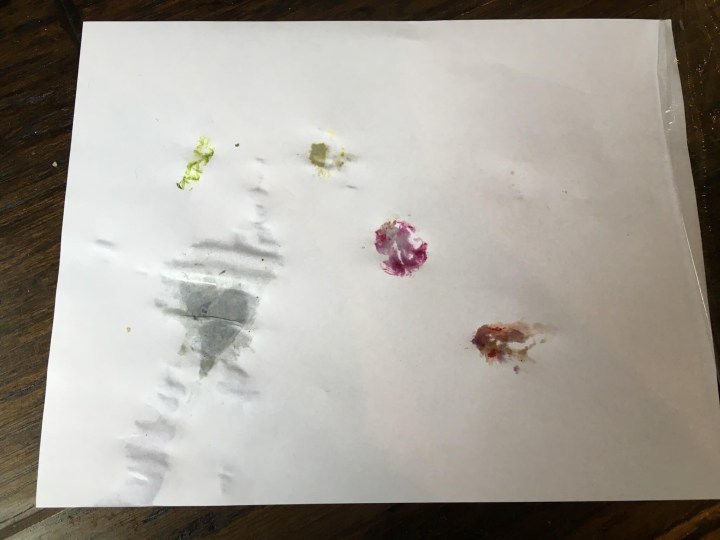 He thought it was amazing that some of the colors came off onto the sheet!
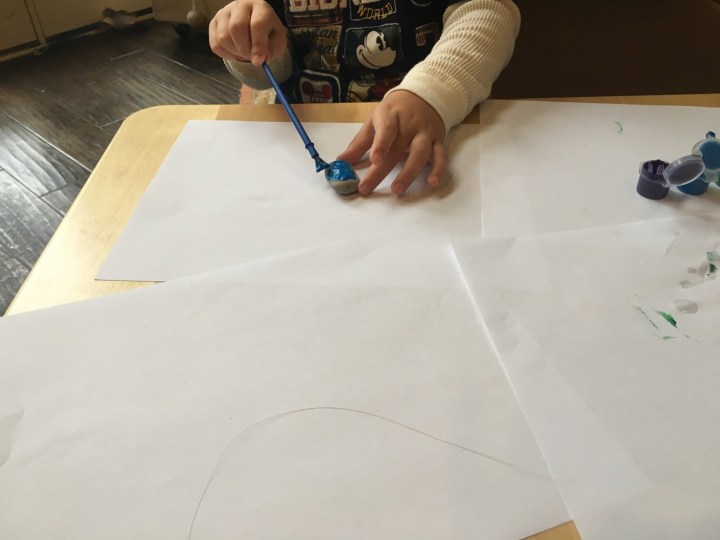 Once he was done, he went back outside to pick up a rock. When he returned, he painted it, again focusing on color mixing.
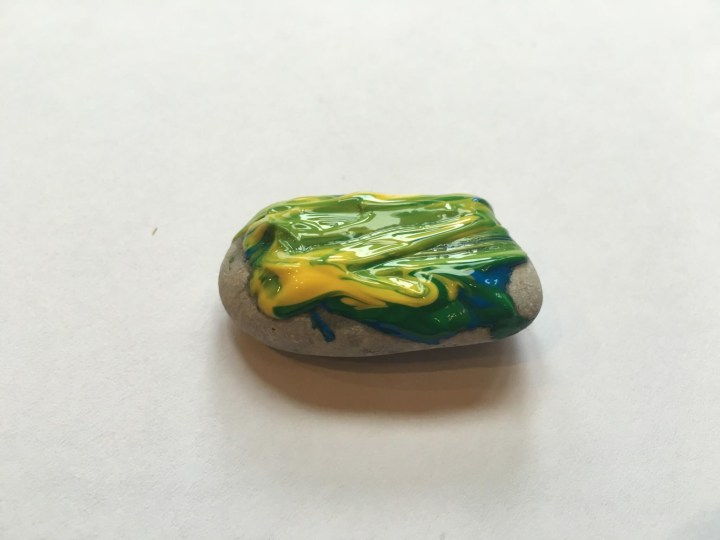
He thought this was really beautiful!
Once the art projects were complete, my son began gardening.
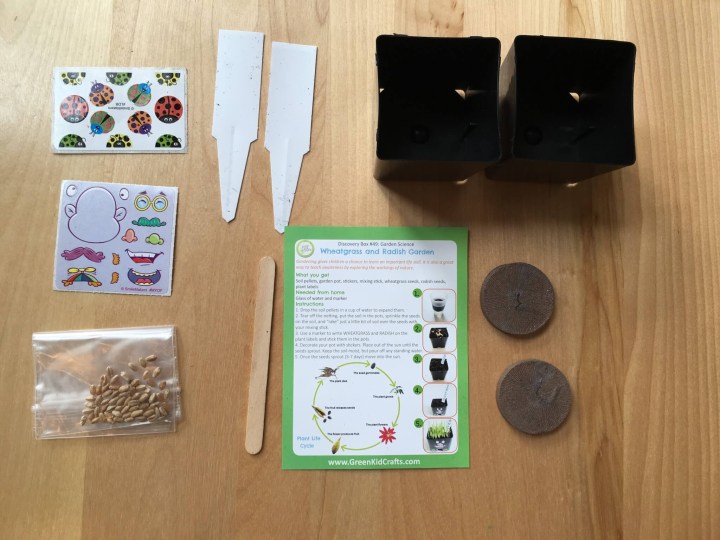
These were all of the contents of the gardening bag.
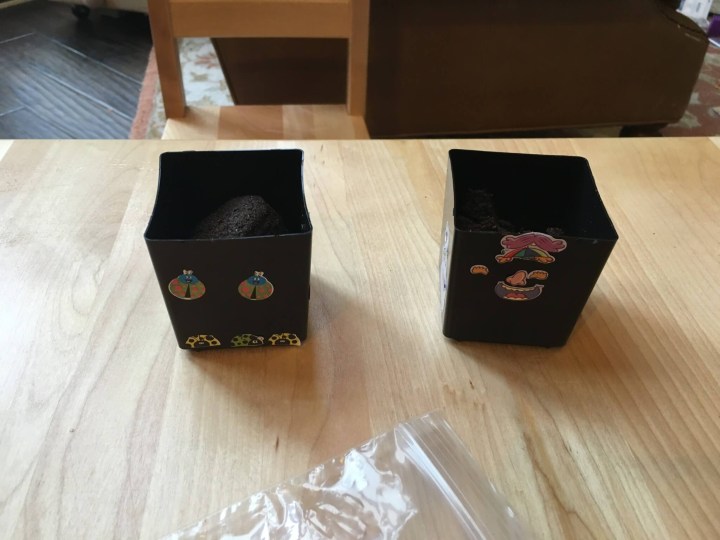
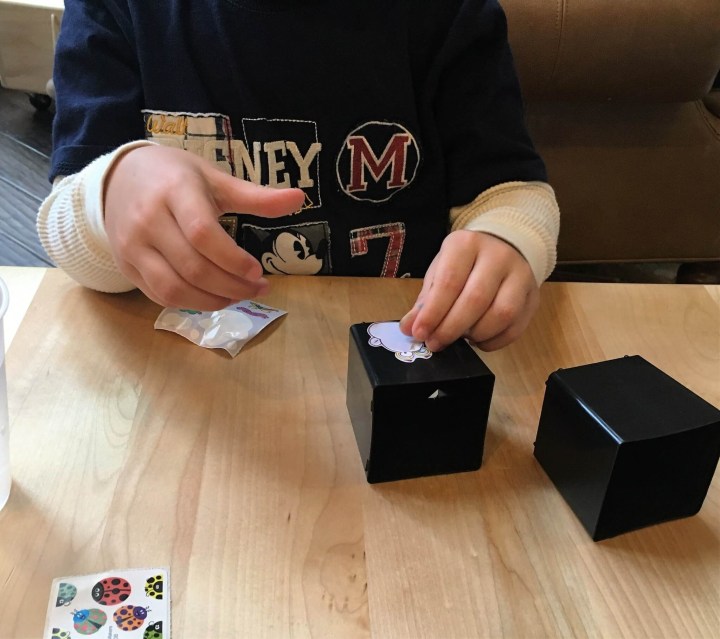 The first order of business was to decorate the planters with the enclosed stickers. My son loves stickers!
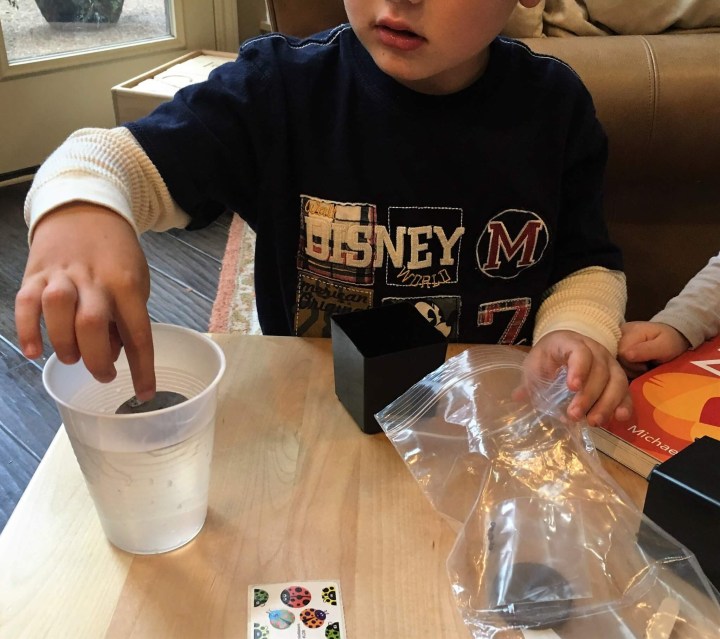 Next, he placed the soil pellets into a glass of water and watched them expand.
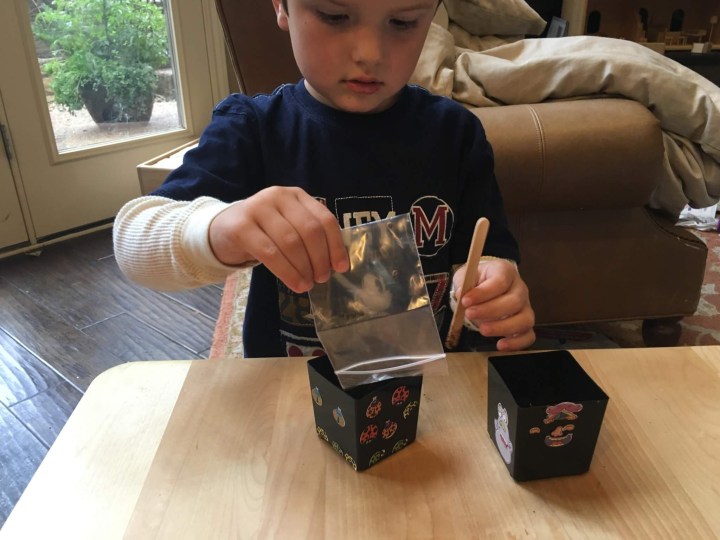
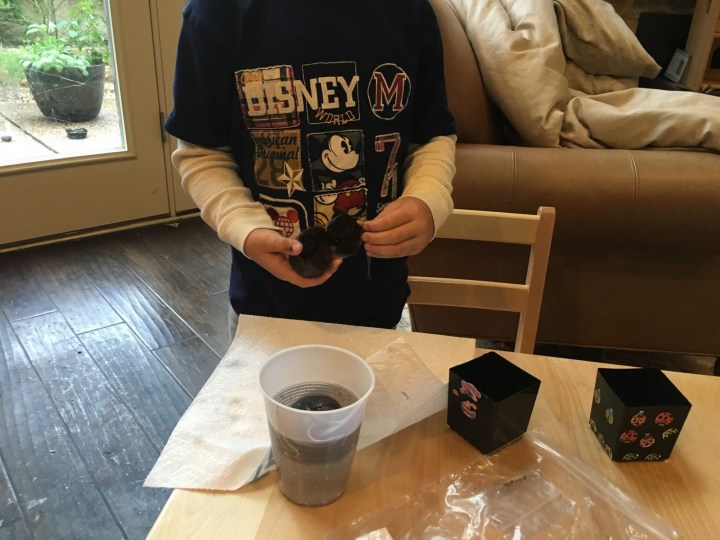 Once they had expanded to about 2″ in height, my son peeled the mesh off of the soil and put the soil into his decorated containers.
 After admiring his handiwork, he poured his seeds into the containers: radish seeds in one container, wheatgrass seeds in the other.
 Using the enclosed stick, he loosely stirred the seeds into the soil.
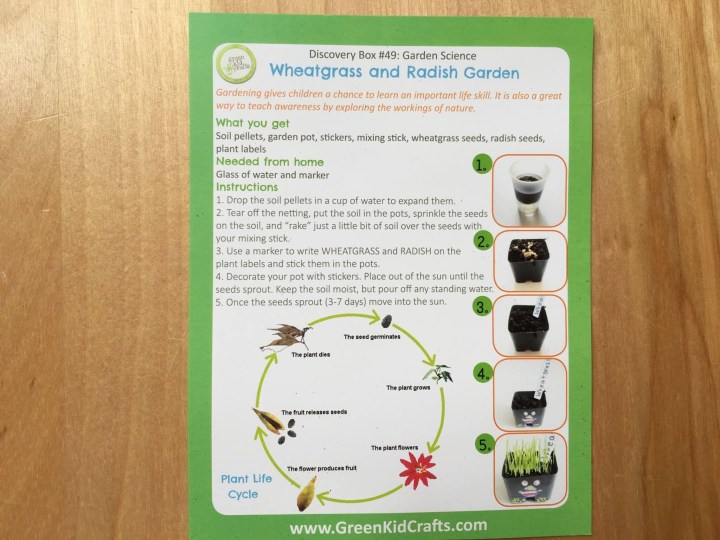
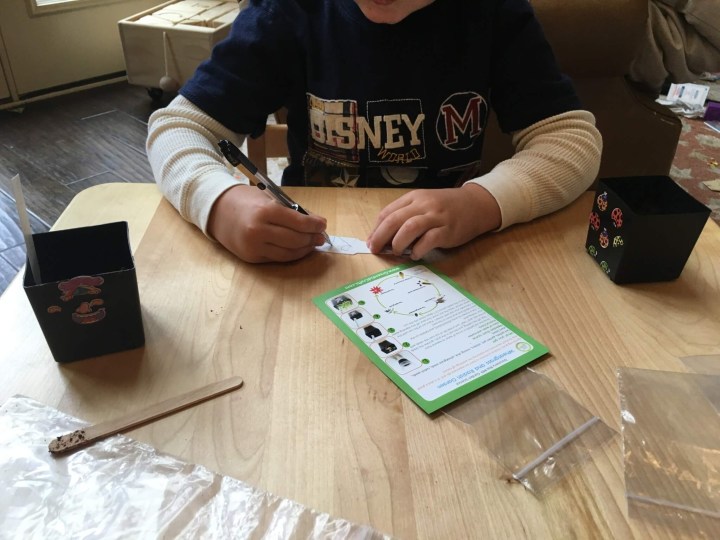 Then he got to work writing “wheas” (his abbreviation for wheatgrass) and “radish” on the enclosed garden markers. The enclosed directions said to keep these out of the sun until they sprout. My son put them on our kitchen island, where we can keep a close eye on them.
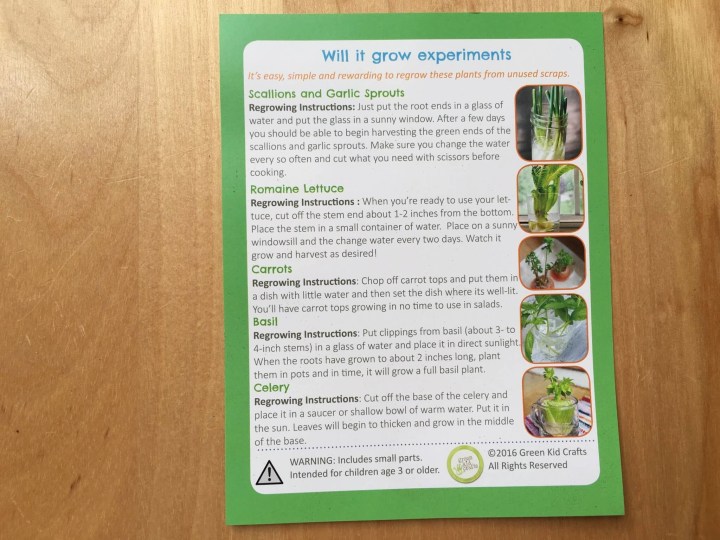
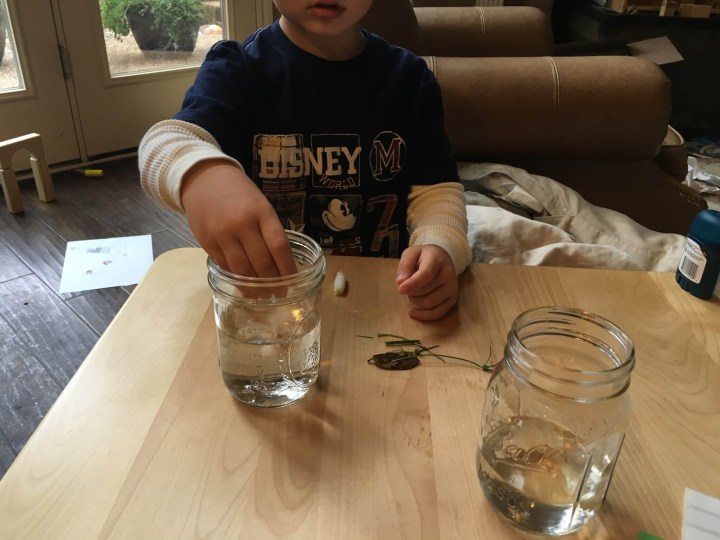 Next, he placed the bottom of green onions and the tops of a carrot into mason jars with water and placed them in front of a window.
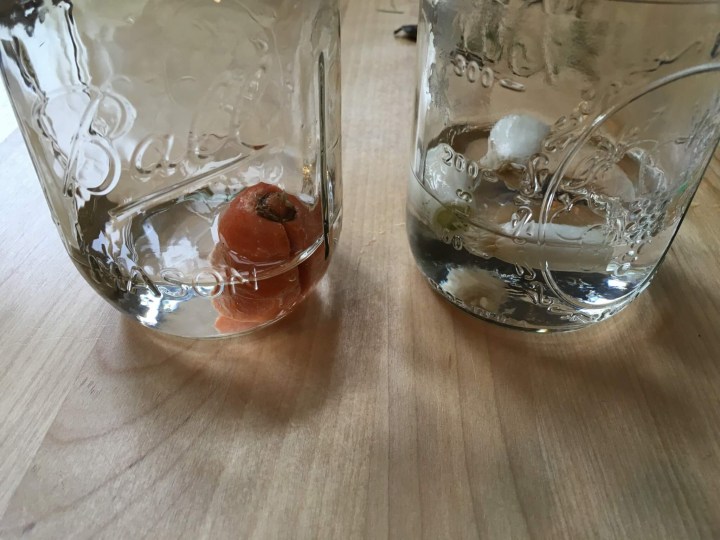
We’ll see if they shoot up!
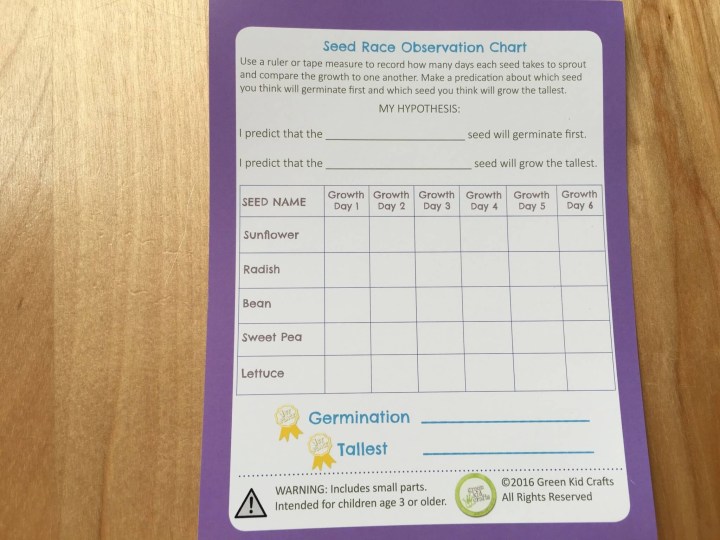
The last activity is a multi-day science experiment. I’ll detail the setup in this review. We’ll have to wait six days to see what our results are.
 First, my son sorted the seeds into five piles. Then, while my son busied himself soaking cotton balls, I began labeling a glove with the different types of seeds my son would be planting.
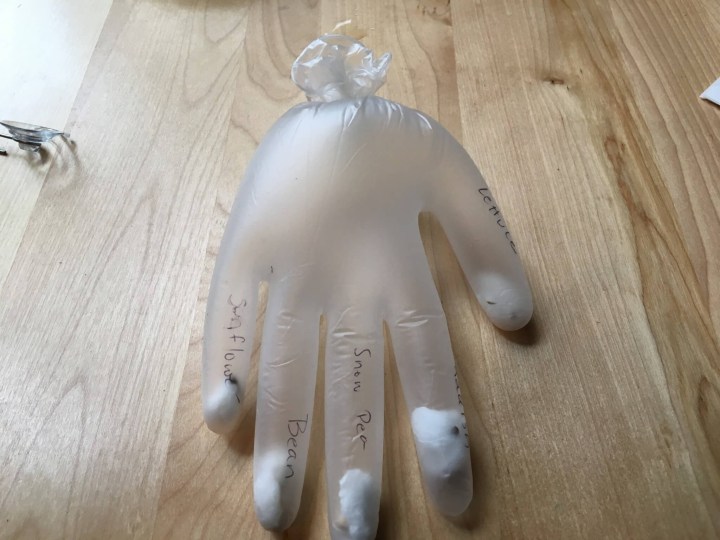
Once he had finished soaking the cotton balls, my son wrapped each kind of seed in a cotton ball and placed it in the corresponding finger of the glove. Once all fingers were accounted for, I blew into the glove, sealed it and affixed it to our back door. We can’t wait to see what seeds sprout!
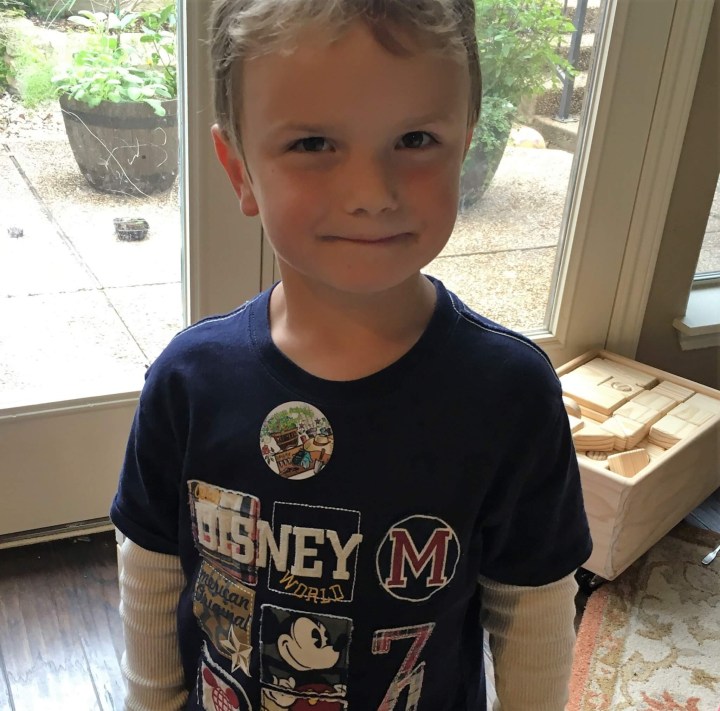
What a fun box of crafts and science experiments! Once we had completed all seven projects, my son proudly affixed his badge to his shirt (he couldn’t pass up the chance to wear a “garden science expert” sticker!).
We can’t wait to complete more projects together next month! I wonder what we’ll learn about then!
Has your family tried Green Kid Crafts?
Visit Green Kid Crafts to subscribe or find out more! Get a free trial box! Use this link to get the deal. Pay $4.95 shipping.
The Description: In the Discovery Box you’ll find three eco-themed crafts connected by a monthly theme using art, science, movement, and play. All materials are non-toxic and sustainable where possible.
The Price: $20.00 per month
The Categories: Kids Craft & Activities Subscription Boxes. Green & Eco-Friendly Subscription Boxes, Kids Subscription Boxes with Sibling Add-Ons.
The Reviews: See all our Green Kid Crafts Reviews.
The Spoilers: Check out Green Kid Crafts Spoilers.


Comments